





















Phantom Hourglass 100% Completion Walkthrough19 chapters
- Temple of FireEvery key, the Boomerang, the Boss Key, how to beat Blaaz, the Heart Container, Leaf and Astrid’s Power Gem.
- Temple of WindGet the bombs, the Boss Key, beat Cyclok, free Neri and take the Heart Container.
- Molida Island and the Temple of CourageBeat the Giant Eye Plant, light Molida’s statues, get the Bow, defeat Crayk and awaken the Spirit of Courage.
- The Ghost ShipFind the ship with the Spirits, free the Cubus sisters, win their volley game, get the Ghost Key and Heart Container.
- Goron TempleTeam up with Gongoron, get the Bombchus and the Boss Key, beat Dongorongo and take the Crimsonine.
- Temple of IceLever order, three small keys, Grappling Hook, Boss Key, Gleeok fight, Heart Container and Azurine.
- Mutoh’s TempleGet the Hammer, find both small keys and the Boss Key, beat Eox and collect the Aquanine.
- Mercay Island and the First Sea ChartGet Oshus’s Sword, solve the lever passage, rescue Linebeck and find the first sea chart.
- Temple of the Ocean KingTake the Phantom Hourglass, sneak past Phantoms, carry three Force Gems and find the Northwestern Sea Chart.
- Temple of the Ocean KingPhantom Eyes, the hourglass crest door, the Salvage Arm, treasure salvage and the Sun Key.
- Zauz and the Temple of the Ocean KingPure Metals, Triforce door, crystal puzzles and the Southeastern Sea Chart.
- Temple of the Ocean KingGold Phantoms, the B11 bridges, three Force Gems on B12 and the Northeastern Sea Chart.
- The Phantom Sword and BellumPhantom Hourglass walkthrough for the Phantom Sword, the last Temple of the Ocean King descent, Bellum.
- Isle of Ember and AstridFirst voyage, Beedle’s Shop Ship, Kayo’s torches, freeing Astrid and the volcano path to the Temple of Fire.
- Cannon Island, the Ghost Ship Chase and Molida IslandBuy the Cannon from Eddo, chase the Ghost Ship, then reach Molida Island and take the Shovel.
- Northwestern Sea and the Isle of GustThe fog route, Bannan Island fishing, Zauz, the Cyclone Slate, Golden Frogs and the way to the Temple of Wind.
- Goron Island and GongoronSail the Southeastern Sea, beat the Massive Eye, pass Biggoron’s quiz, find Gongoron and reach the Goron Temple.
- Isle of Frost and the Yook MysteryCannon the ice, Anouki Estates, find the Yook among six villagers and fight through the Great Ice Field.
- Isle of the Dead and the Isle of RuinsDig spot, Phantom Corridor path, Regal Necklace, King’s Key, Max and the door symbol.
| Covers | Temple of Ice on the Isle of Frost: 1F to 3F, B1, B2, the Gleeok boss fight and the exit |
|---|---|
| You need | Boomerang, Bombs, Bow and Bombchus, plus the temple door opened by beating the Yooks of the Great Ice Field |
| Rewards |  Grappling Hook,  3 small keys,  Boss Key,  2 Wisdom Gems,  a Big Green Rupee,  2 big red Rupees (200 each),  a red Rupee,  Heart Container,  Azurine,  2 minutes of Sand of Hours |
The Temple of Ice is the sixth dungeon and the one that hands you the Grappling Hook. You climb to 3F for the first small key, come back down to take the hook from a chest on 2F, then use it to work through B1 and B2 to the Boss Key, and finally fight the two-headed Gleeok for the second Pure Metal, Azurine. Almost every puzzle after the hook is a tightrope, so keep it equipped.
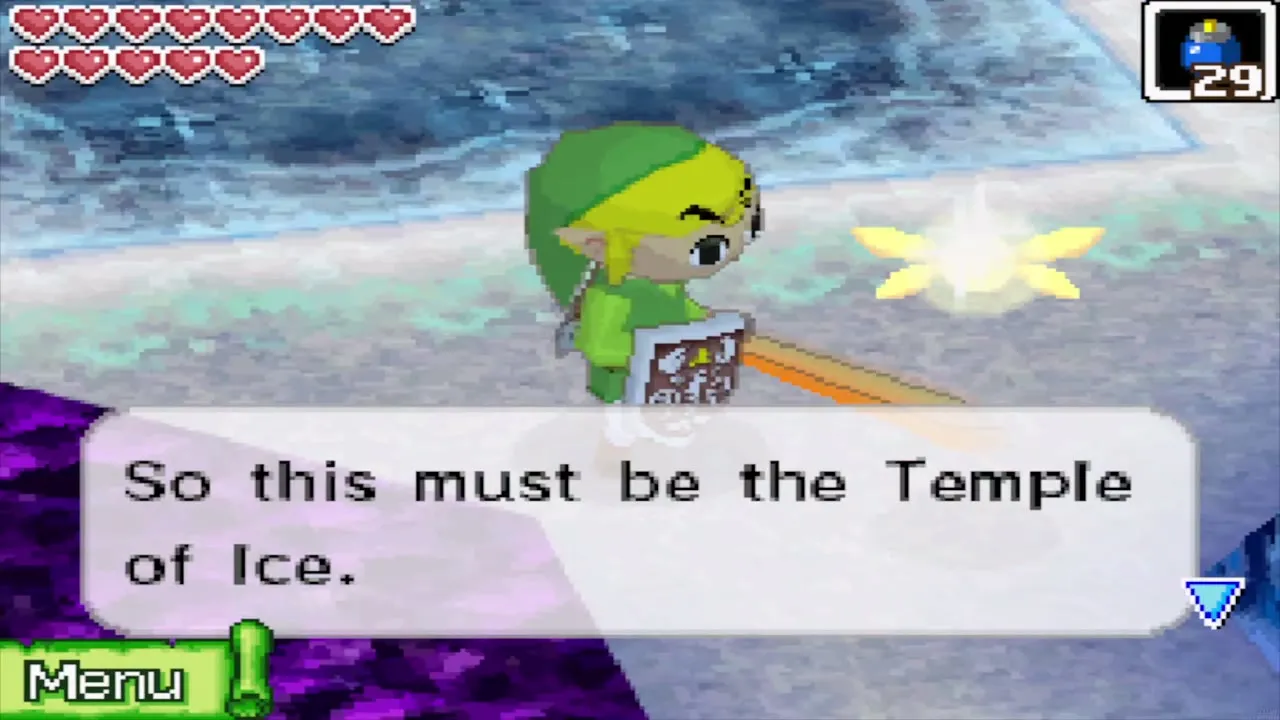
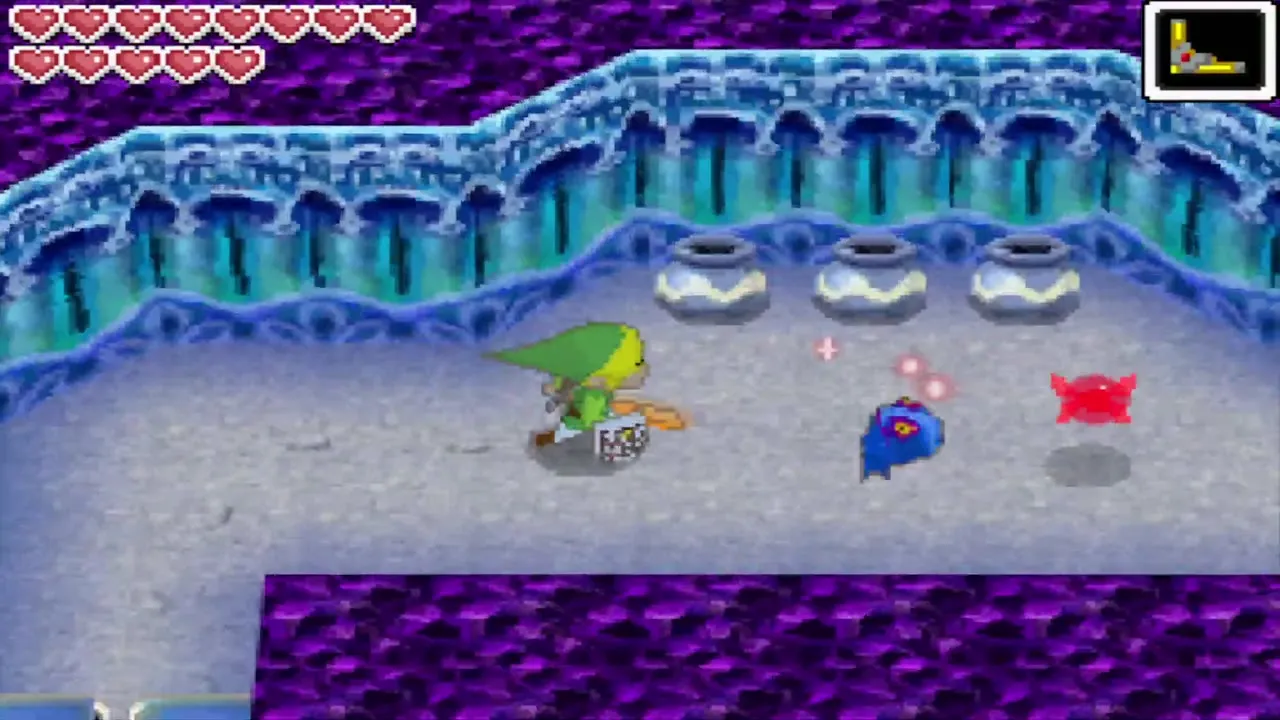
Table of Contents
Temple of Ice entrance and 1F
First pass through 1F
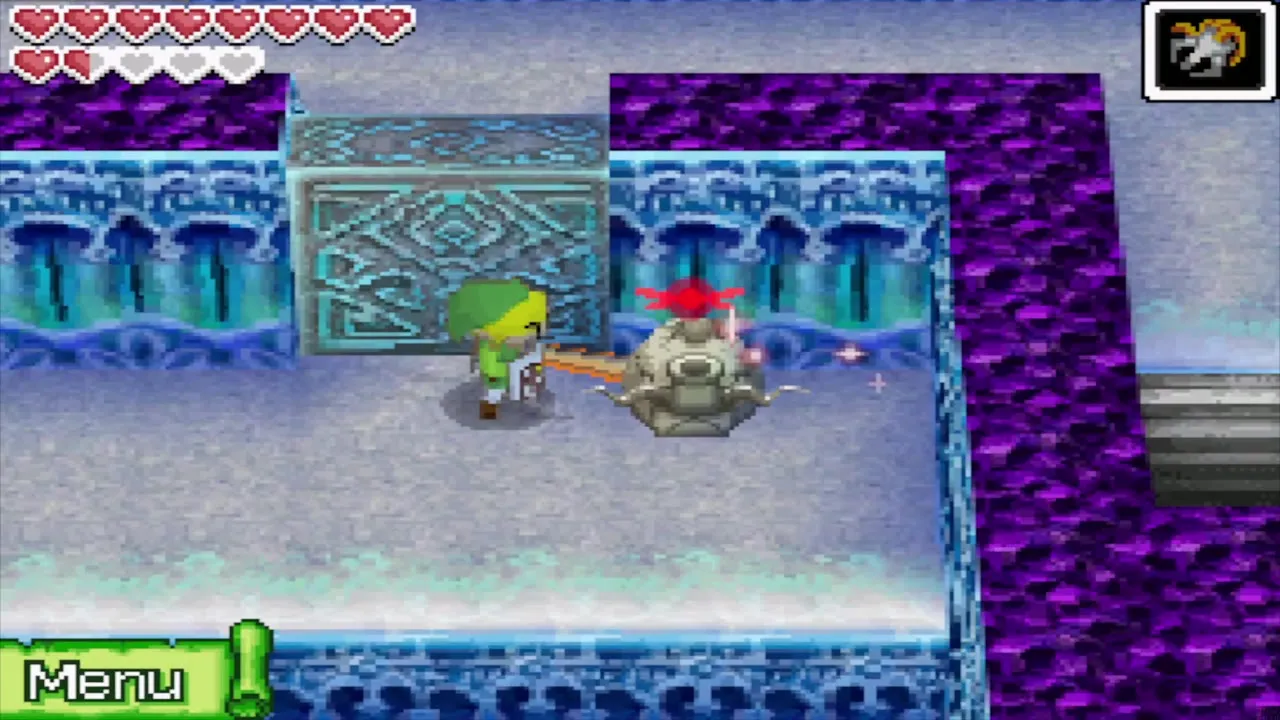
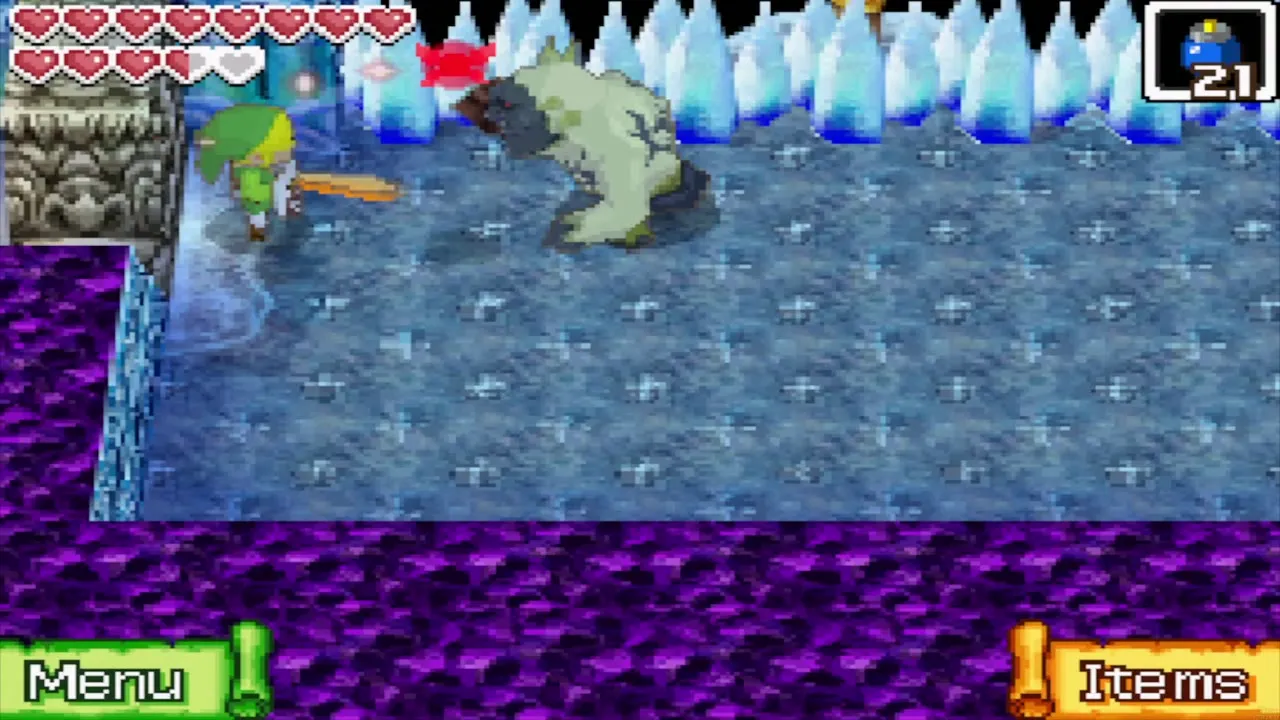
Inside the doors it is warm compared with the blizzard outside. Hit the crystal switch with your sword to lower the blocks to the north, then set off the next crystal switch from a distance so the blocks change colour, and run north over the tiles. Cross the ice bridge to the east, dodging the spinning blade traps, and head back west to step on the floor switch that reopens the entrance.
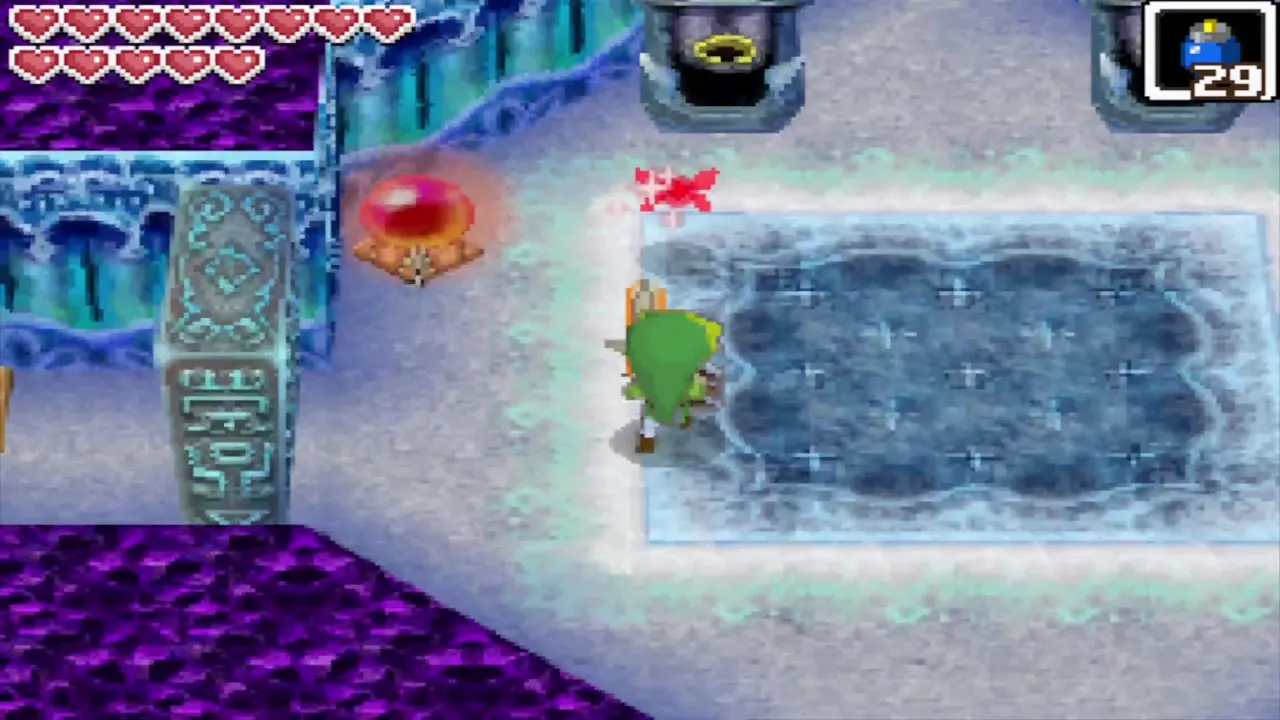
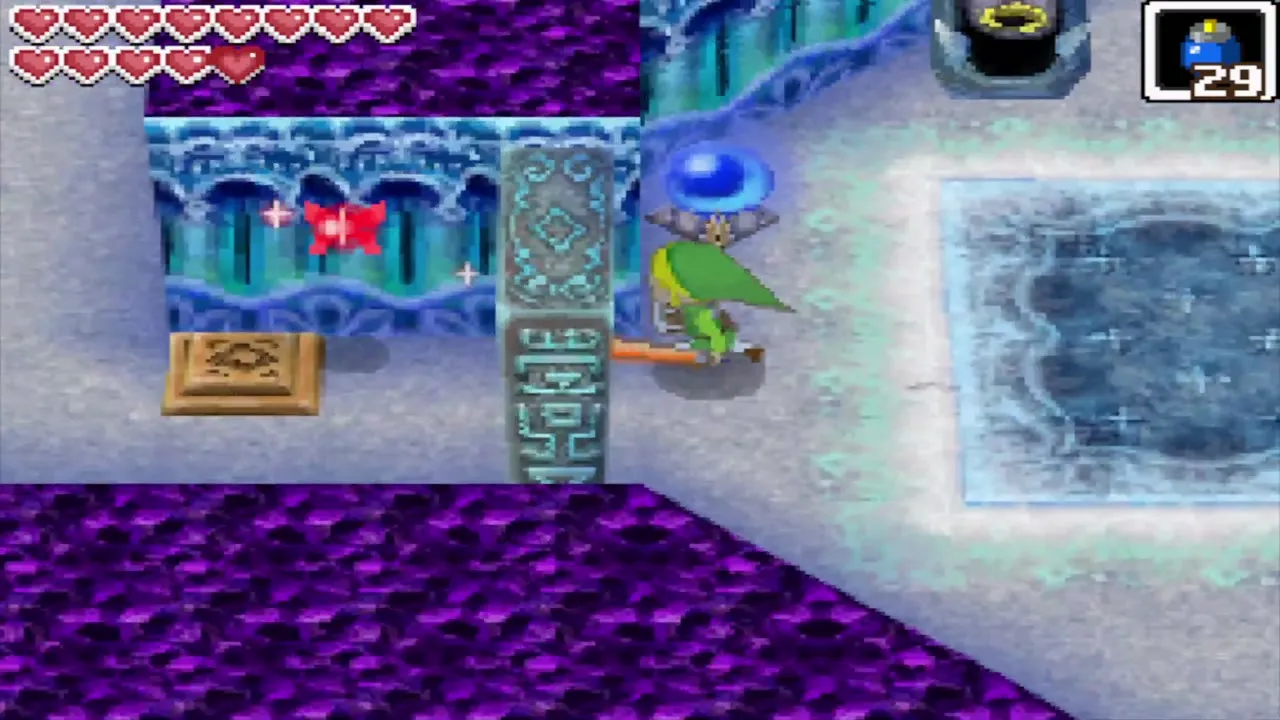
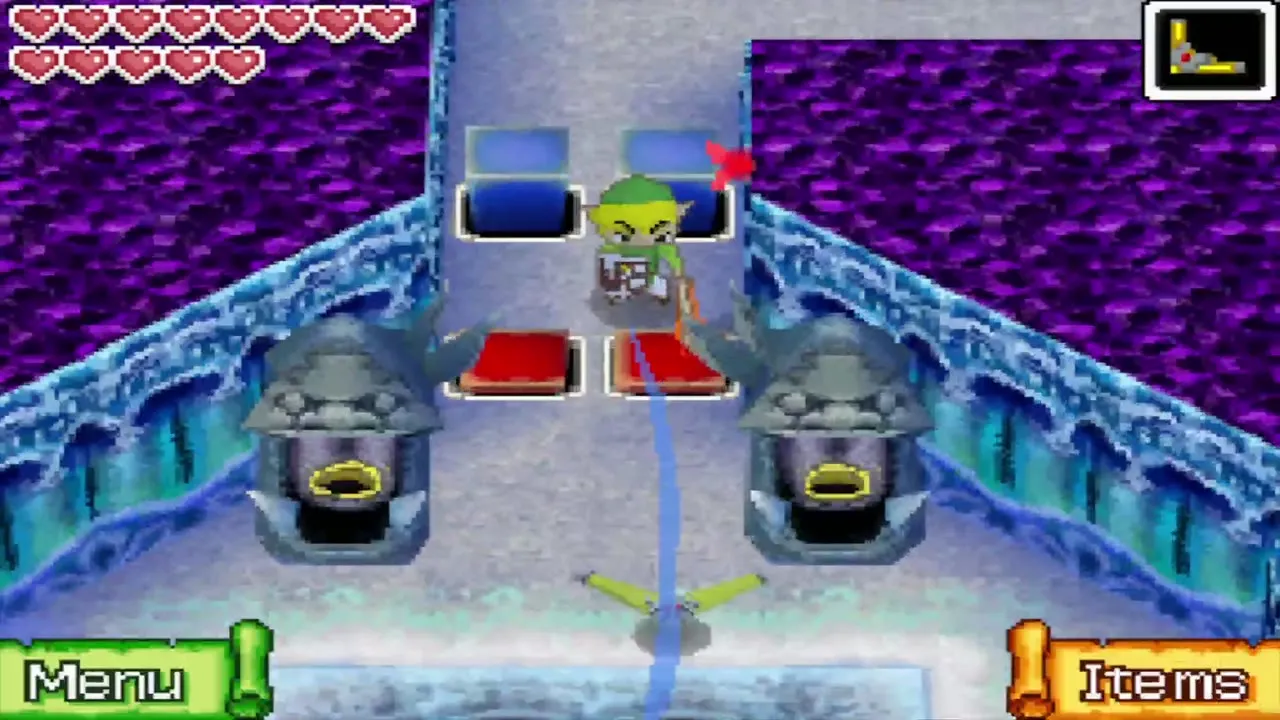
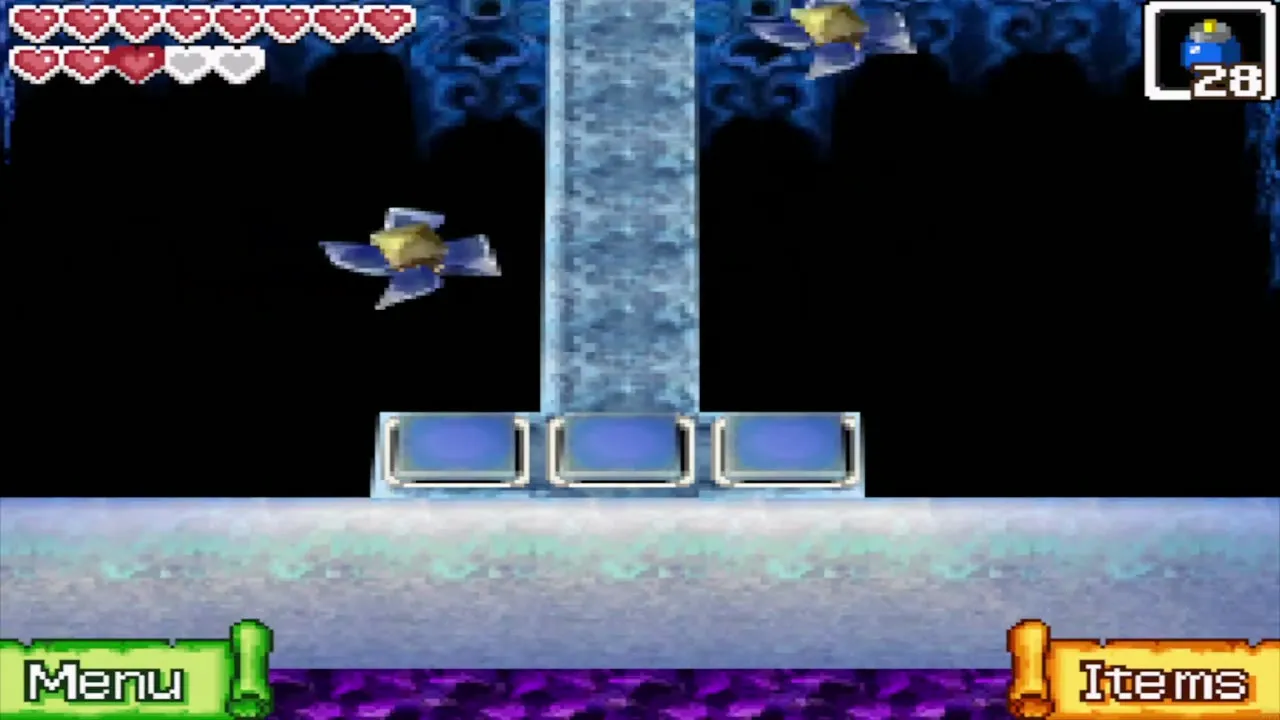
Return to the lowered blue blocks, stand on them, and send a Bombchu at the crystal switch near the entrance. A bomb also works, but only if you are quick. The path north is now open, so climb the stairs to 2F, smash the pots for hearts and continue up to 3F.
3F: Stag Beetle, levers and the first small key
Melt the ice on 3F
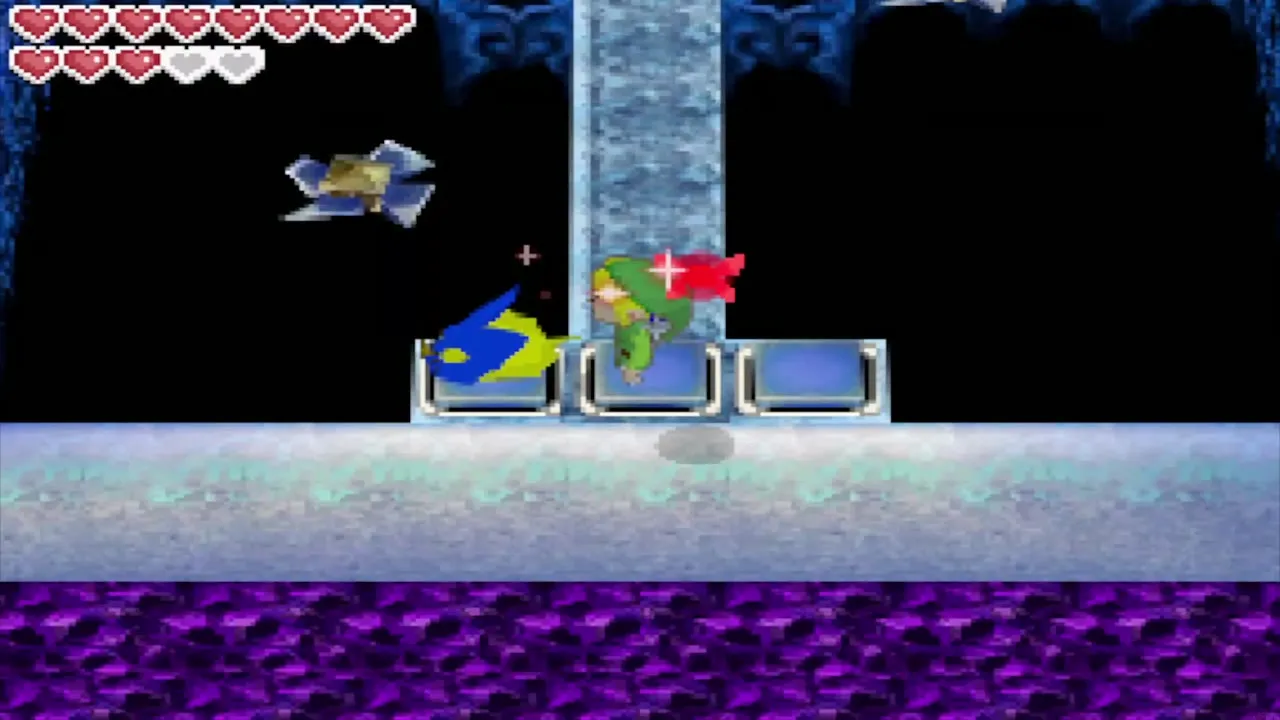
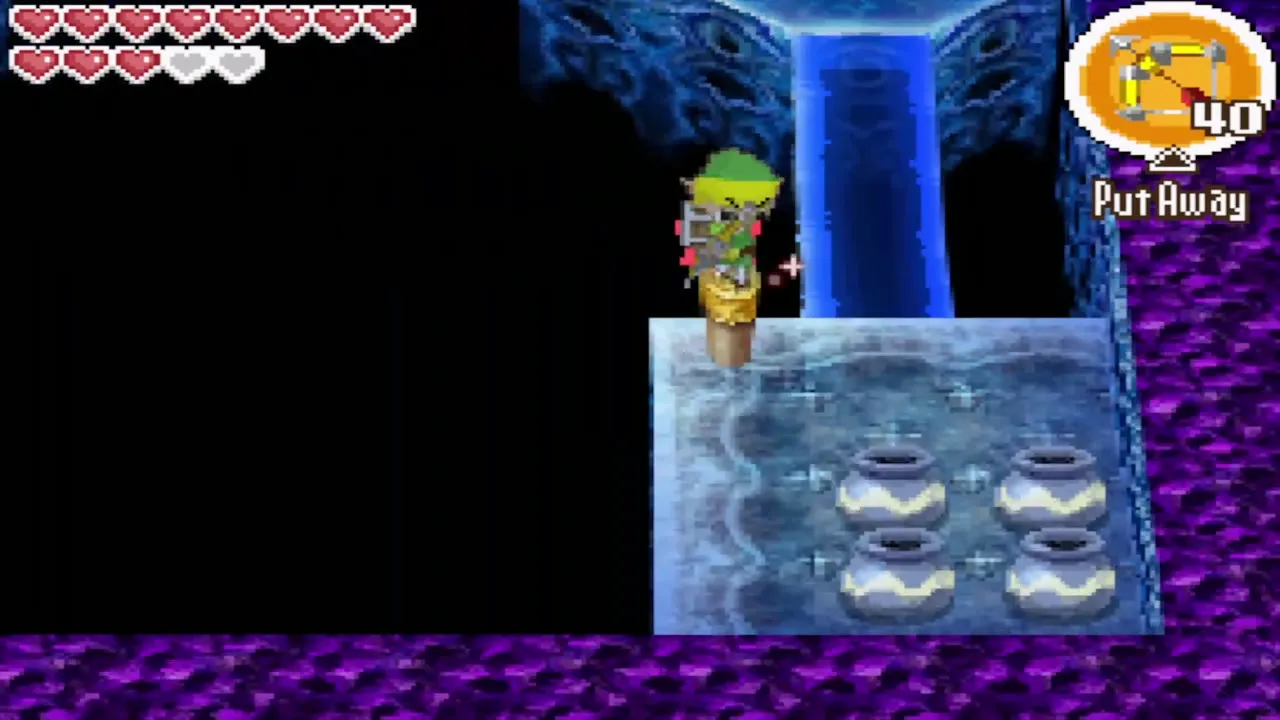
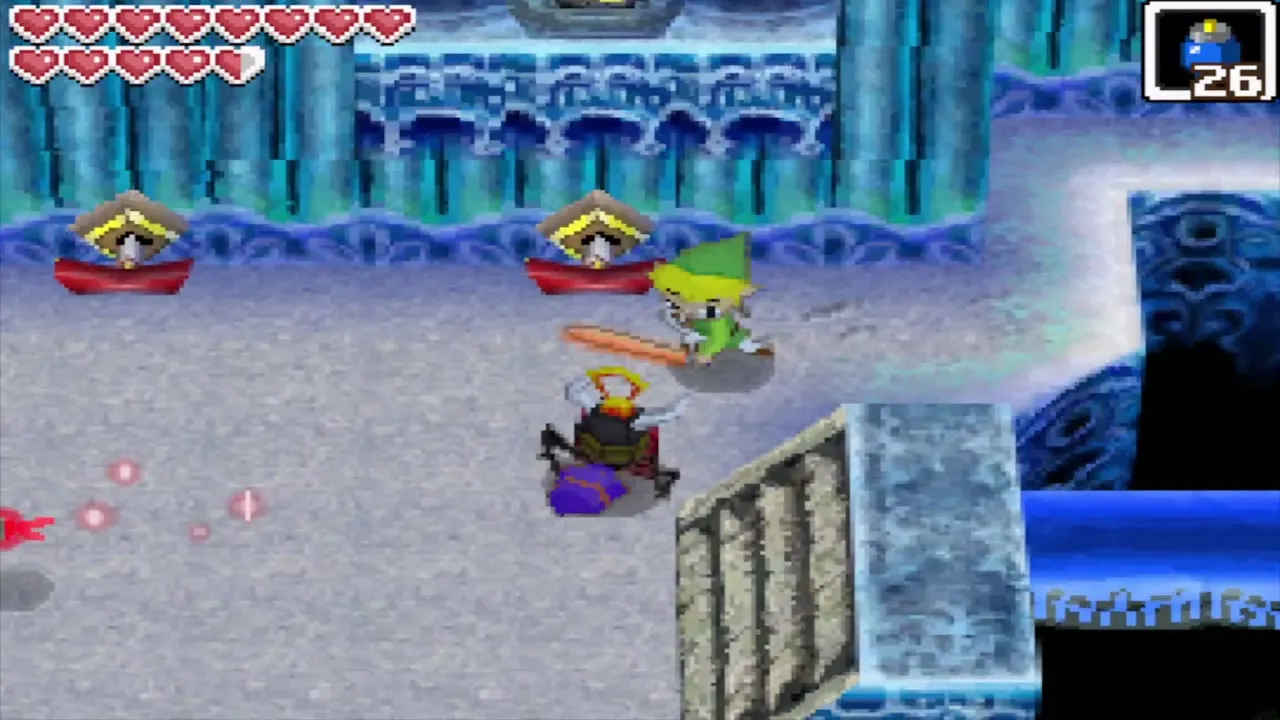
Stand on the wooden peg in the south-east corner and shoot the crystal switch to the north with an arrow. The ice ahead melts and you can cross the bridge. Stag Beetles patrol this floor, and their fronts are armoured, so slash them from behind.

3F lever puzzle order
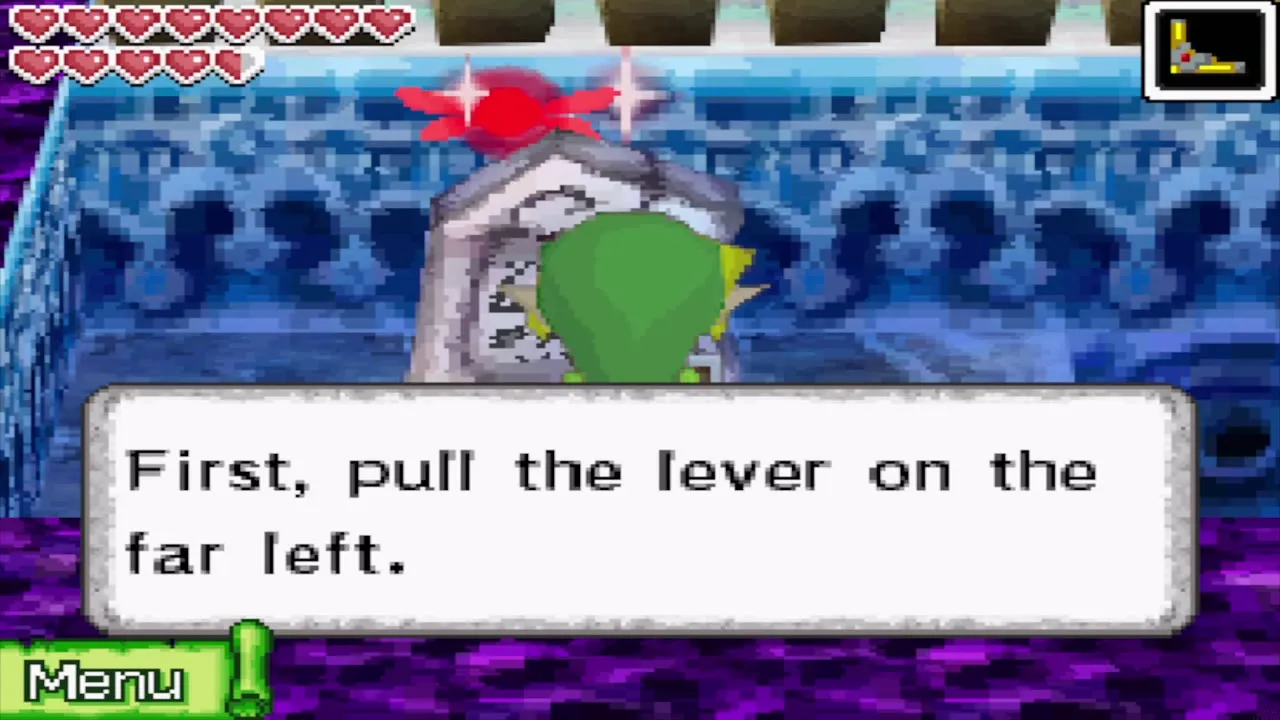
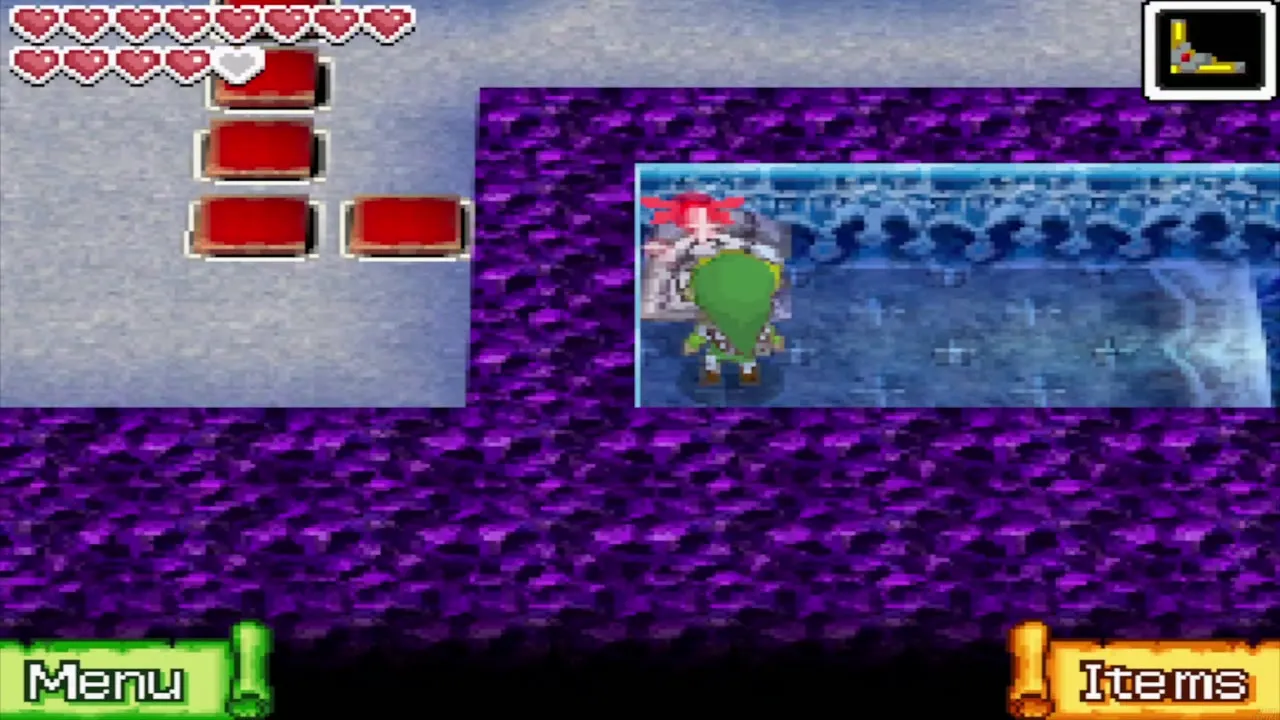
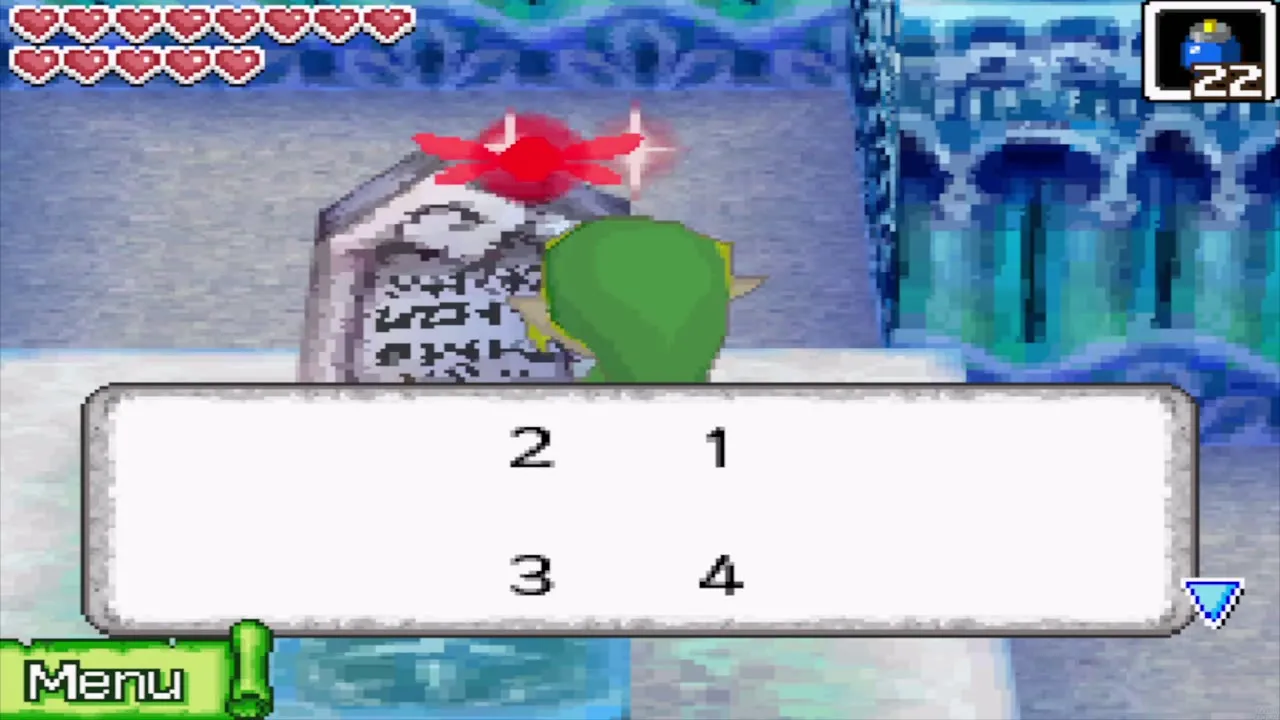
Four levers stand in a row, and the stone tablets nearby give vague hints about the order, such as “pull the one in front of the tongue second” and “pull the lever in that location last”. Pull them counting from the left: the far left lever first, the far right lever second, the lever second from the right third, and the lever second from the left last. That is 1, 4, 3, 2, which is worth jotting on your map with the Memo tool. A door opens when you finish.

3F Wisdom Gem
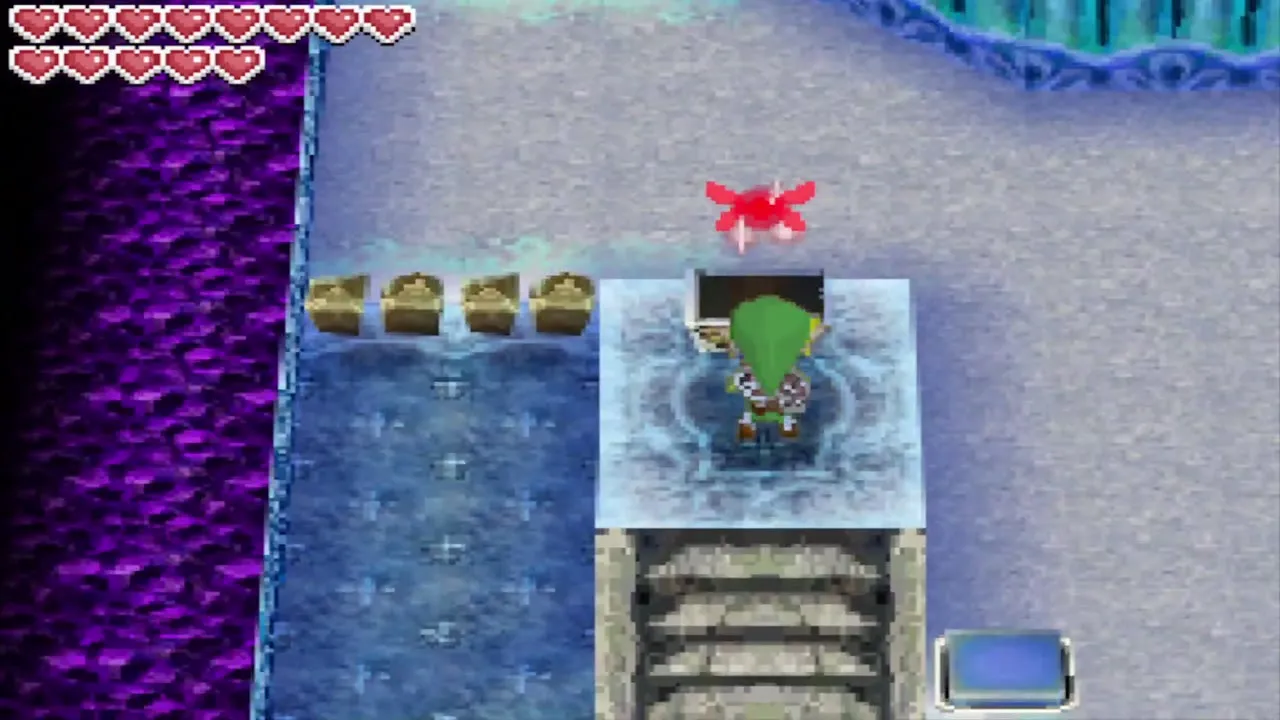
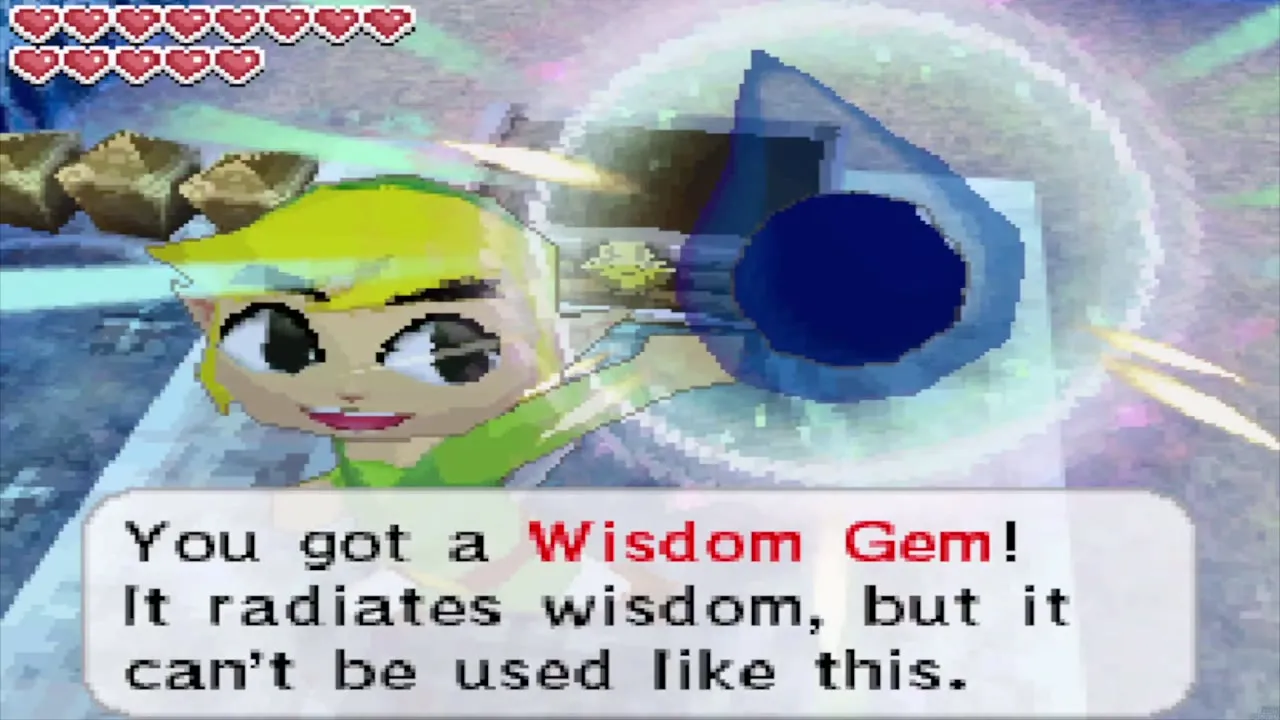
Climb the ramps to the higher platforms across the ice bridges and clear the Ice Keese and Ice Bubbles from a distance with arrows. In the south-west, throw a bomb over the edge at the blue crystal switch so the blue blocks sink. Go west up the ramp and open the chest for a Wisdom Gem. Keep it for the shrine on Spirit Island.
3F small key
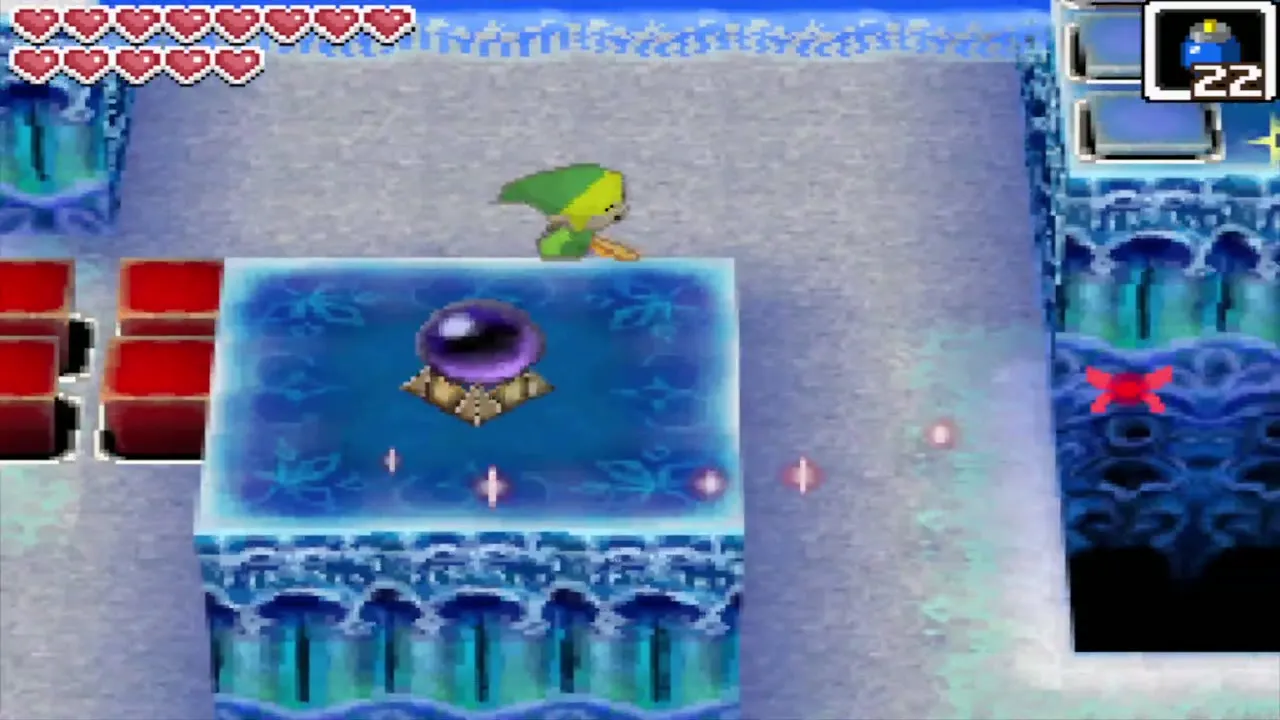
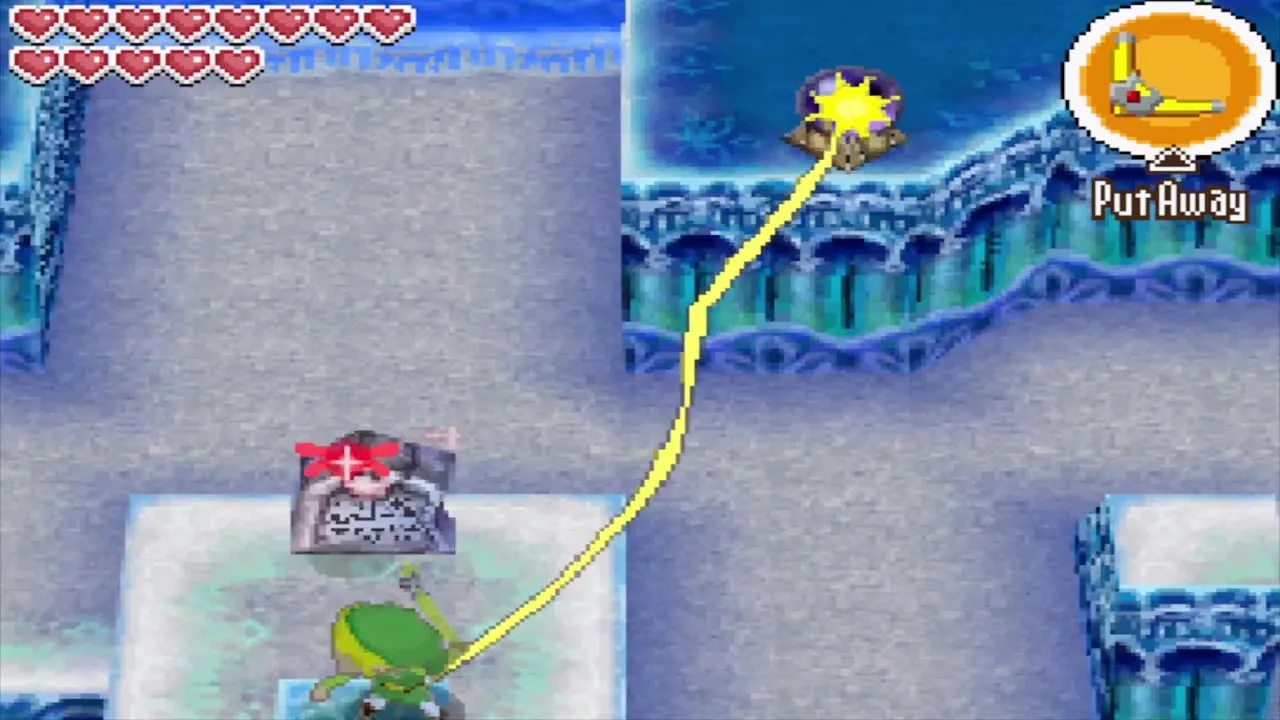
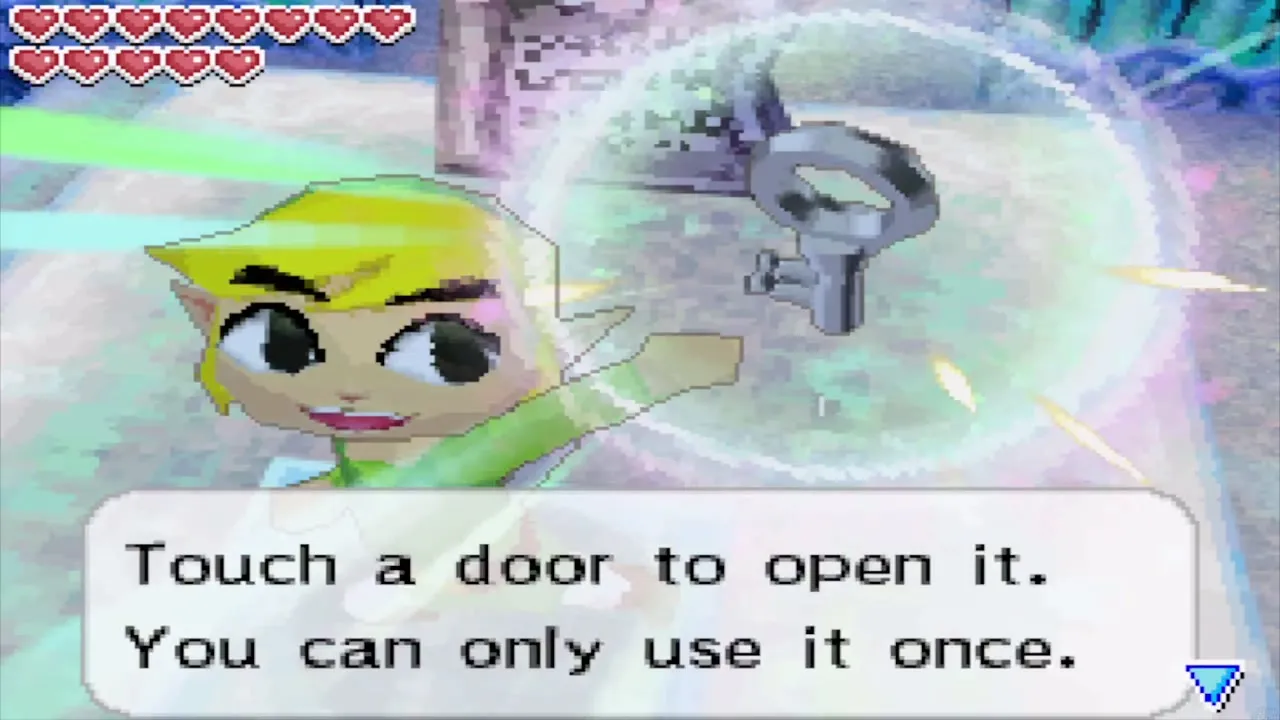
Go back to the main platform and cross the ice bridge west. A stone tablet shows a grid of numbers. Stand on the blue tile and throw the Boomerang at the four crystal switches in that order: north-east, north-west, south-west, then south-east. A small key drops from the ceiling, so fetch it with the Boomerang. Unlock the door in the north and go down to 2F.
On 3F, after you cross the bridge that the melted ice uncovers, a chest in the north-east holds a Big Green Rupee.

How to get the Grappling Hook
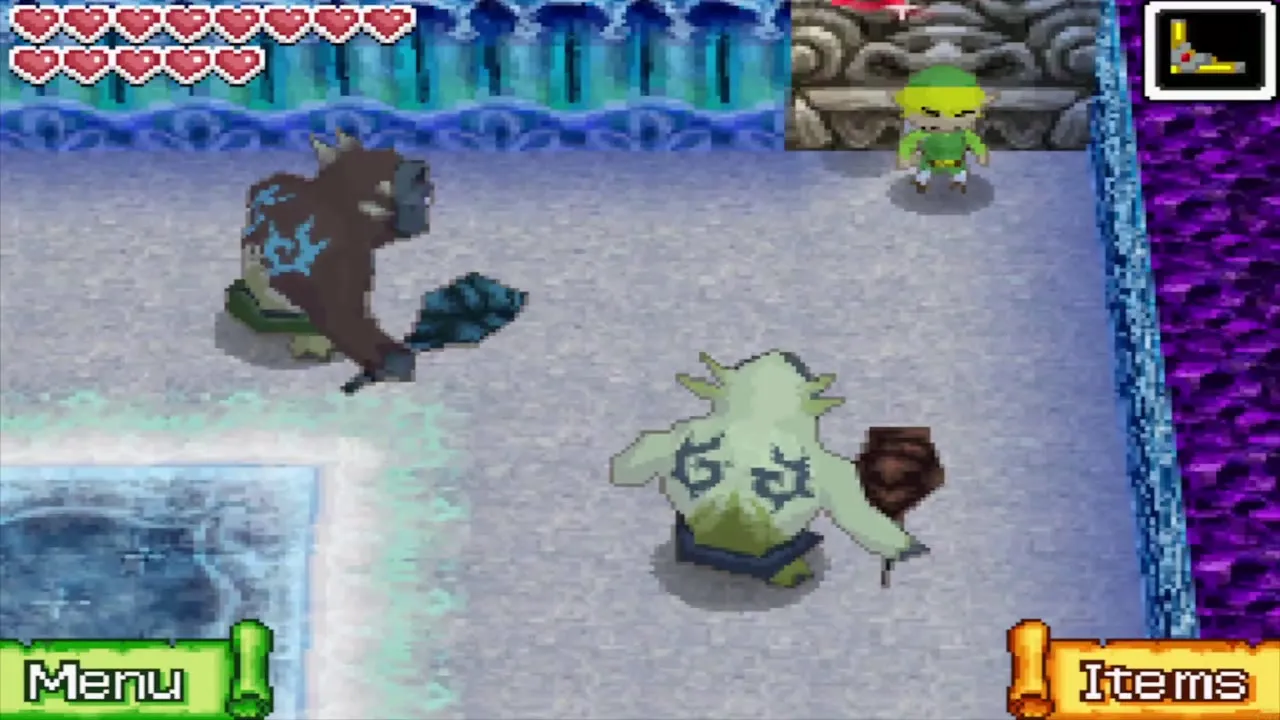
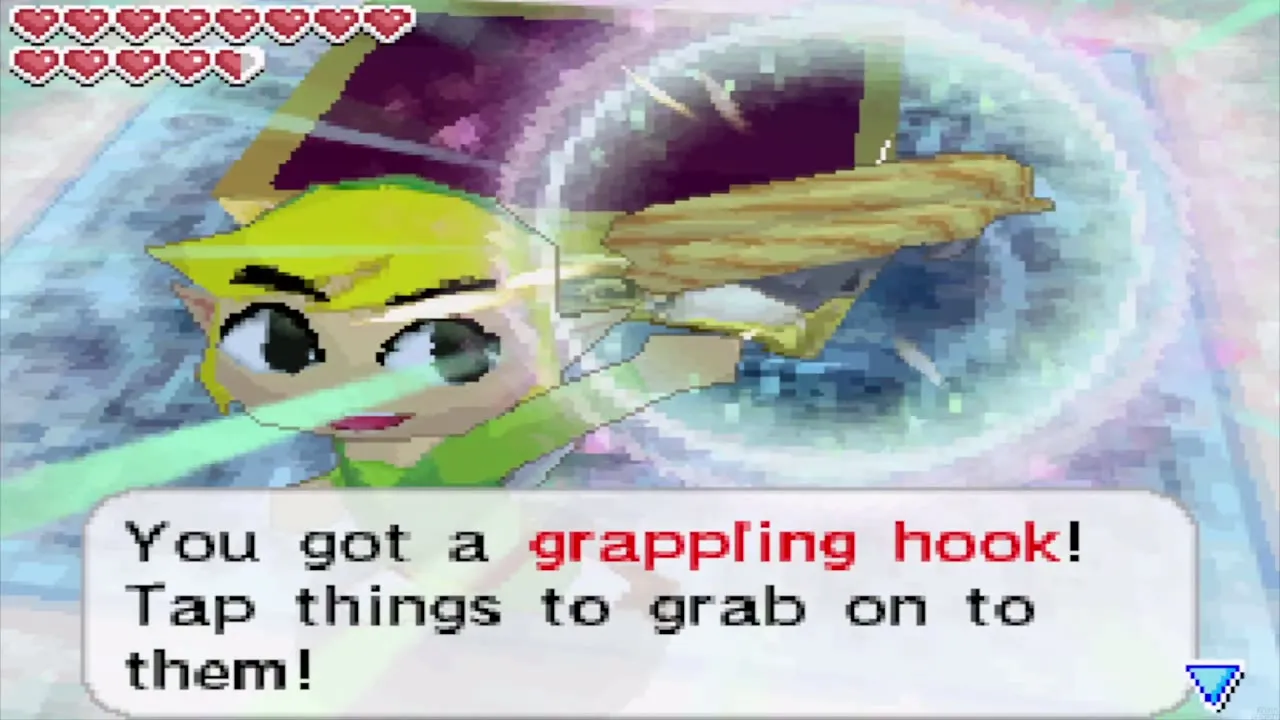
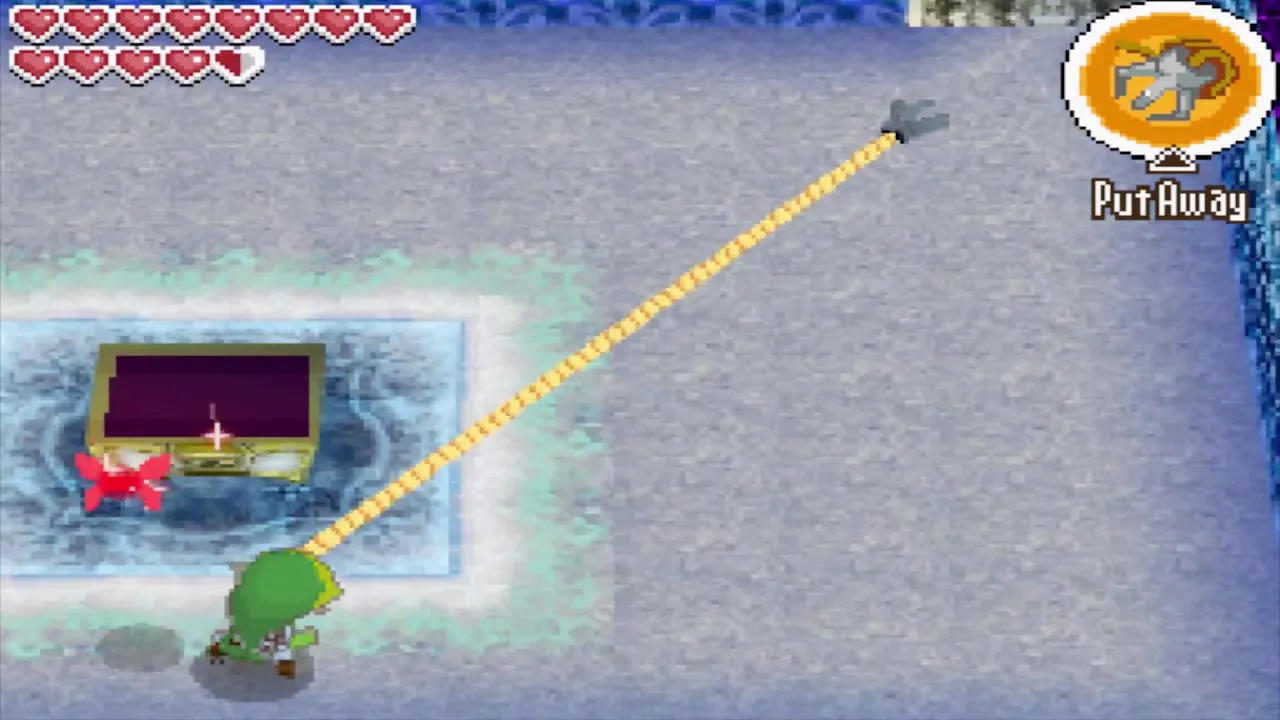
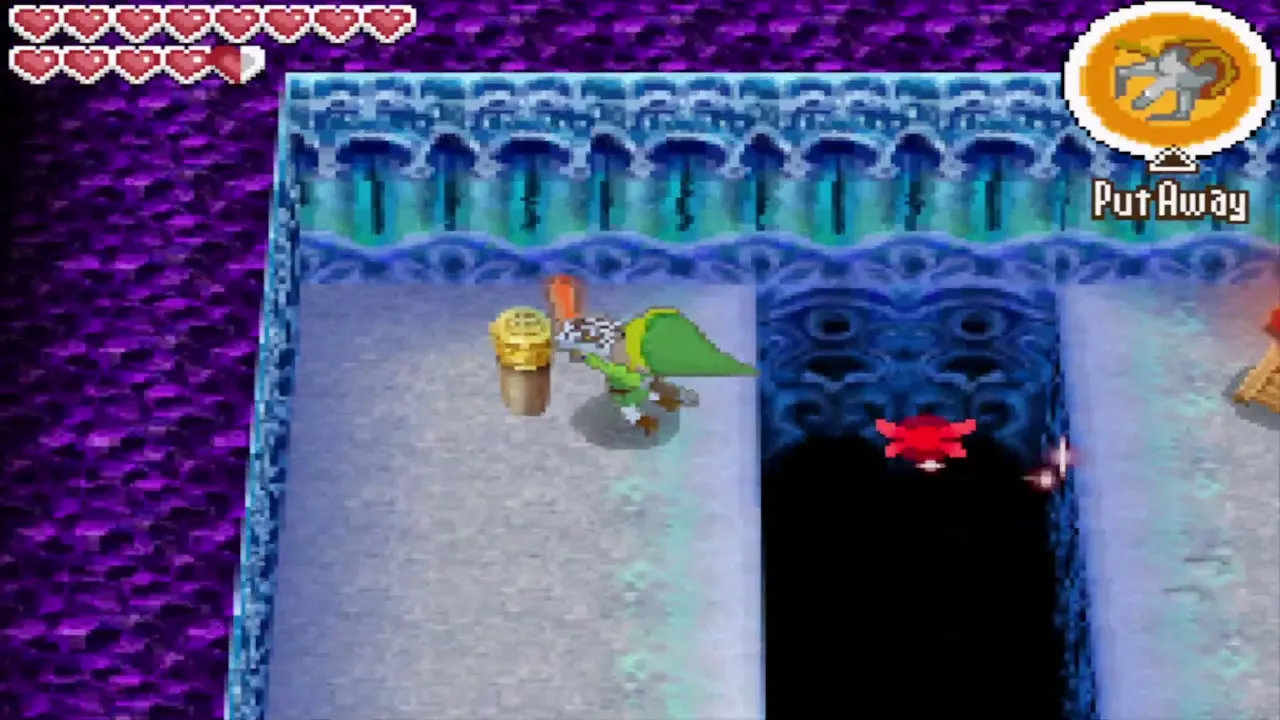
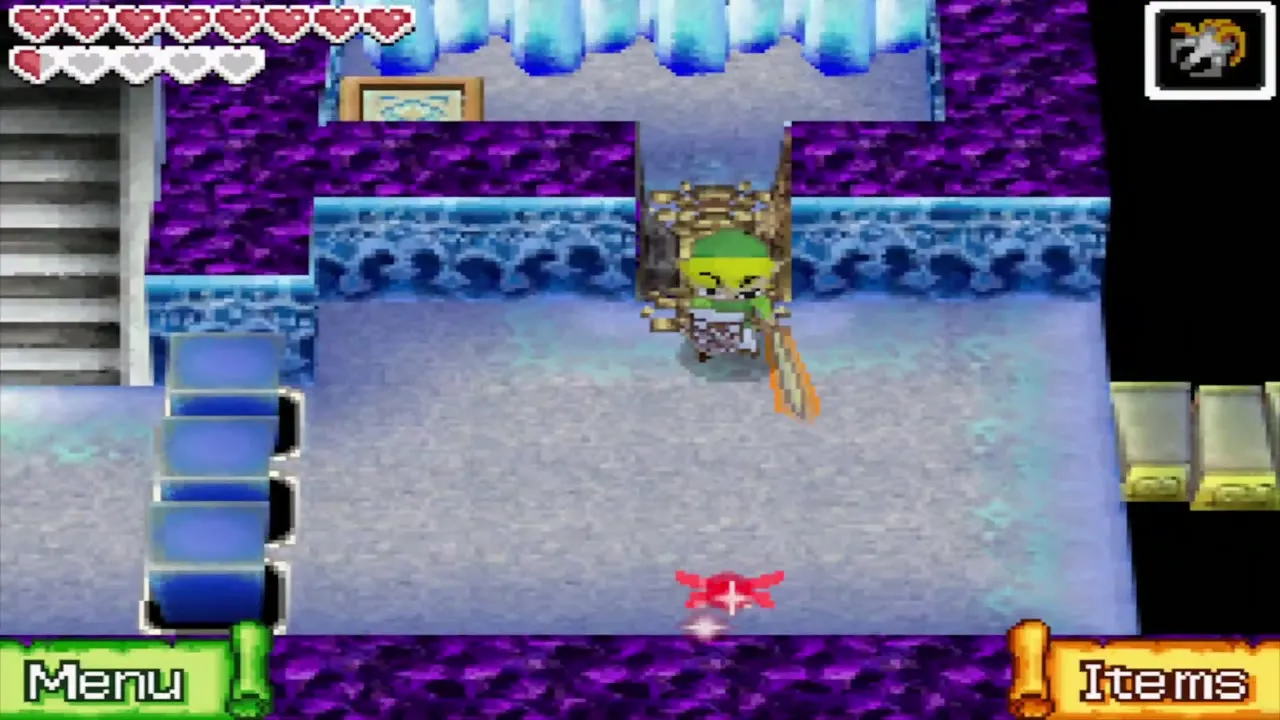
Two Yooks wait on 2F. Wait for one to inhale, throw a bomb into its mouth and then slash it. Once both are down, open the chest for the Grappling Hook. Tap an object with the hook equipped to fire it: light objects fly towards you, and heavy ones pull you to them. Grapple the wooden peg on the west side to cross the gap, and take the stairs down to 1F.

1F second pass with the Grappling Hook
Stag Beetles are back here. Hook one to pull off its mask, then slash it. Grapple the tongue of the middle of three statues to melt the ice to the south, cross the gap with the hook and step on the east floor switch to reopen the entrance route. Grapple the statues inside the entrance to melt the ice that blocks the west stairs, then go down to B1.


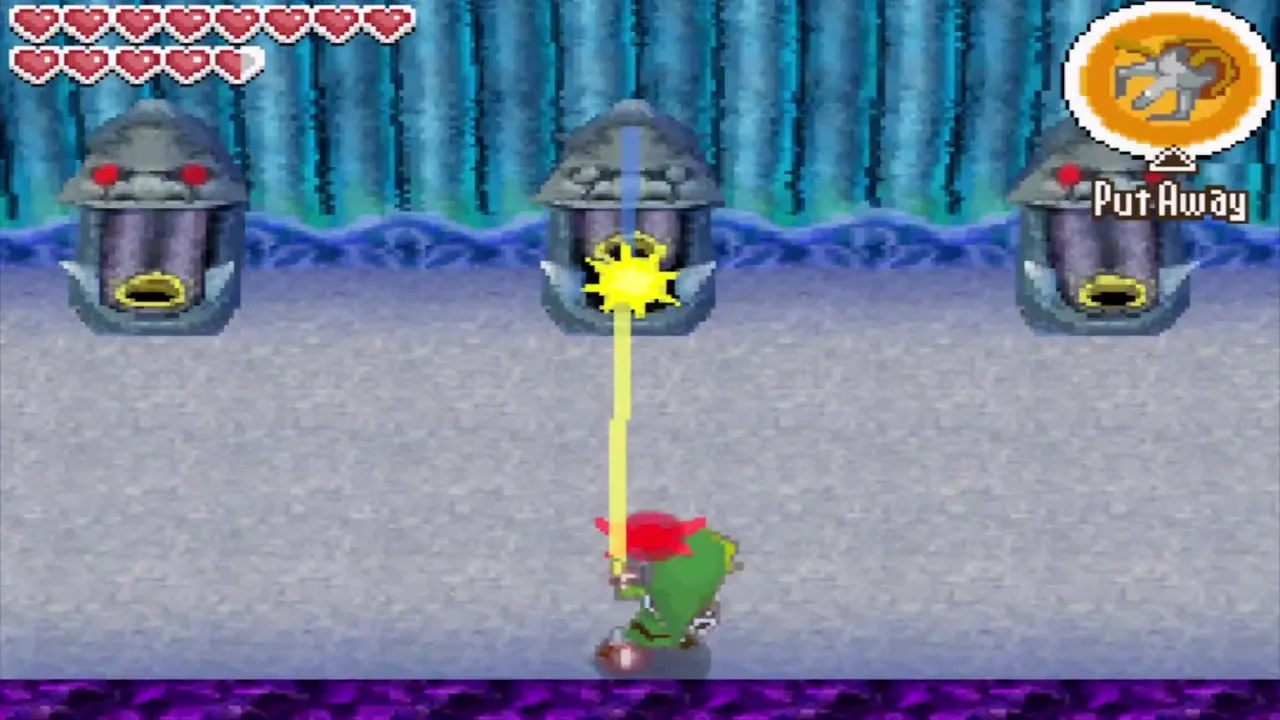
Temple of Ice B1
B1 big red Rupee and the first tightrope
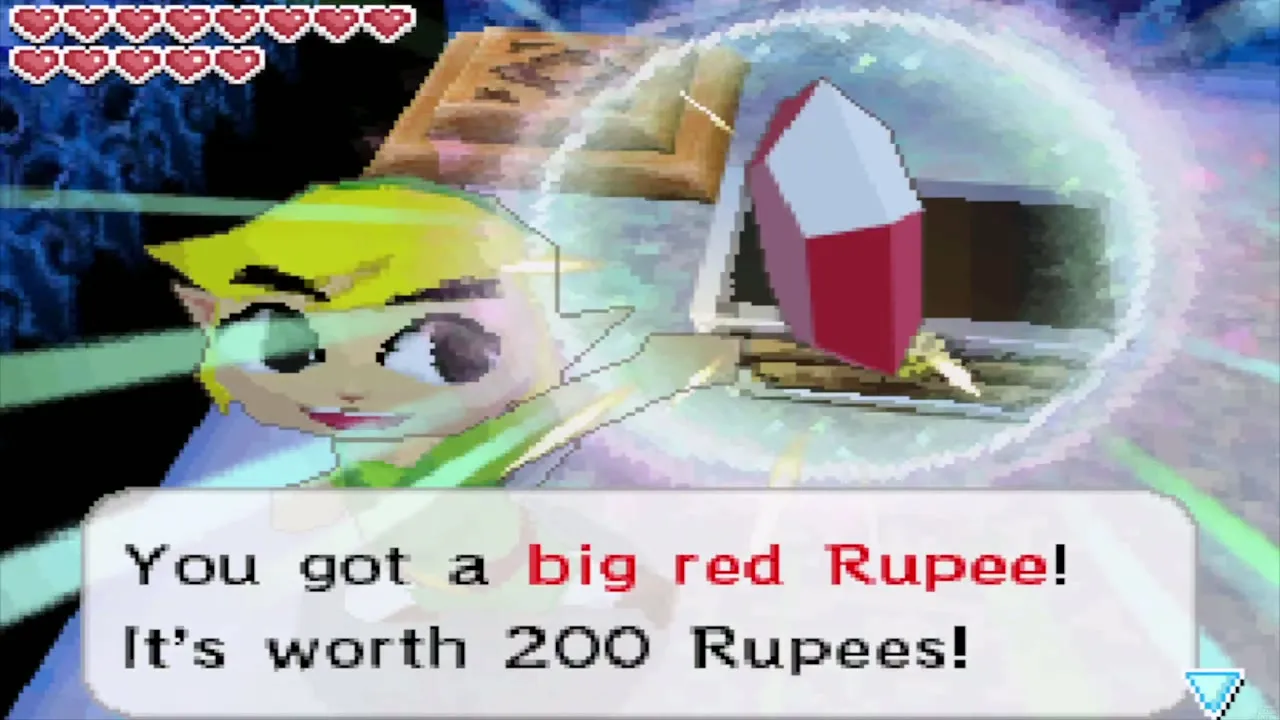
Bomb the cracked wall north of you, walk in and step on the floor switch. A chest appears across the gap. Grapple the chest to pull yourself over and open it for a big red Rupee worth 200 Rupees. Step on the nearby switch to raise a bridge back, and bomb the wall above the chest to open a shortcut.
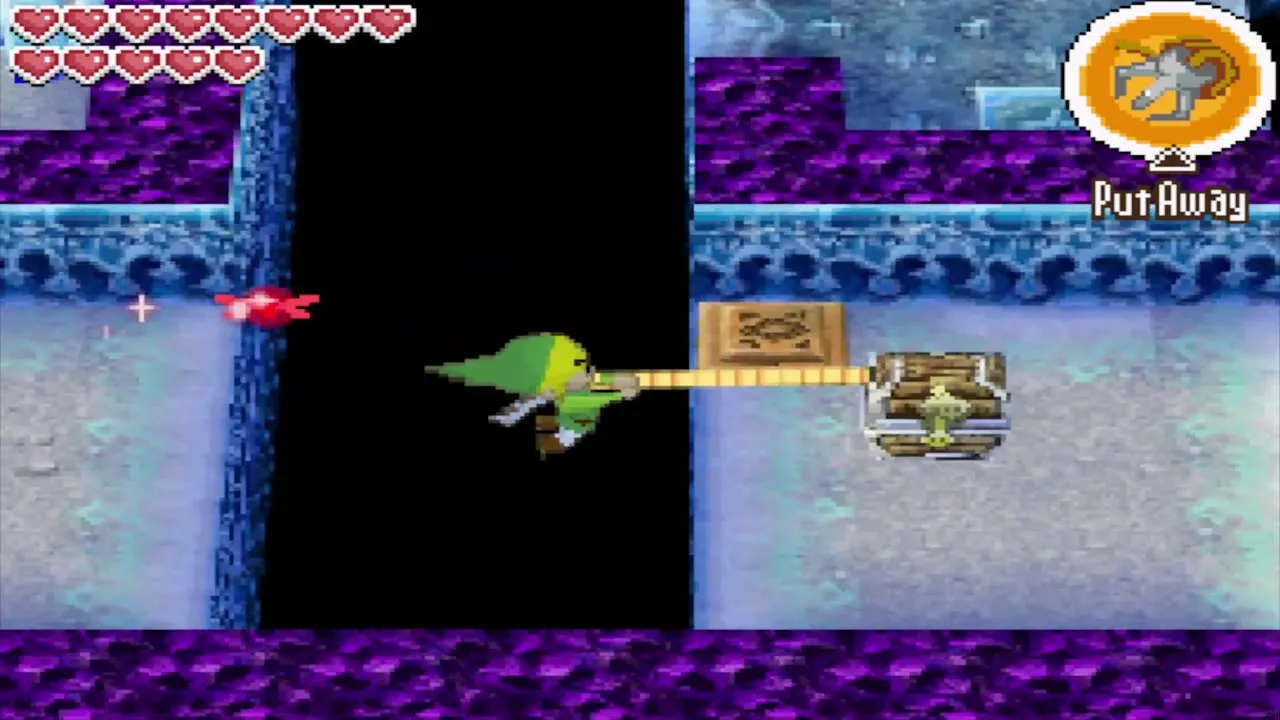
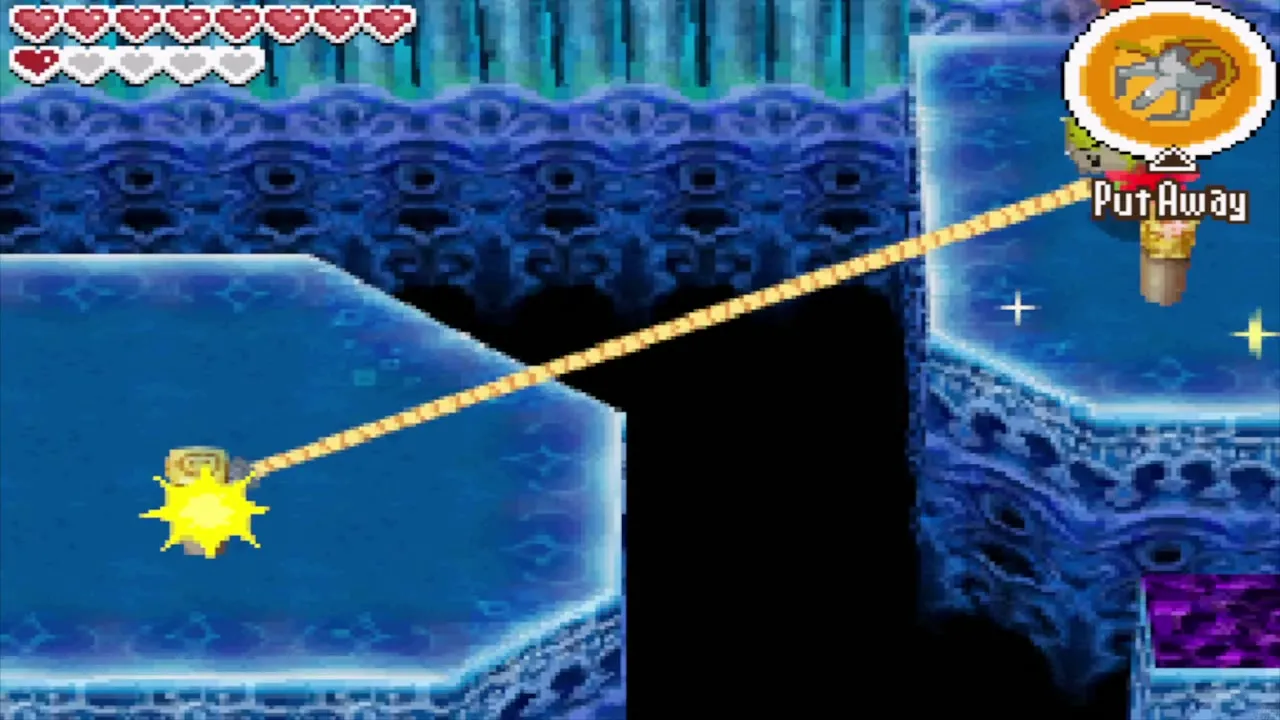
Go east, smash the pots and bomb the blue tile to open a wall. Stop before the wooden peg and hook it to draw a tightrope across the gap. From the middle of the rope, throw the Boomerang through the four crystal switches to the north to melt the ice, then shoot the eye switch with an arrow to melt more. Make a second tightrope east of the statue and cross it, then grapple the wall switch on the north wall.


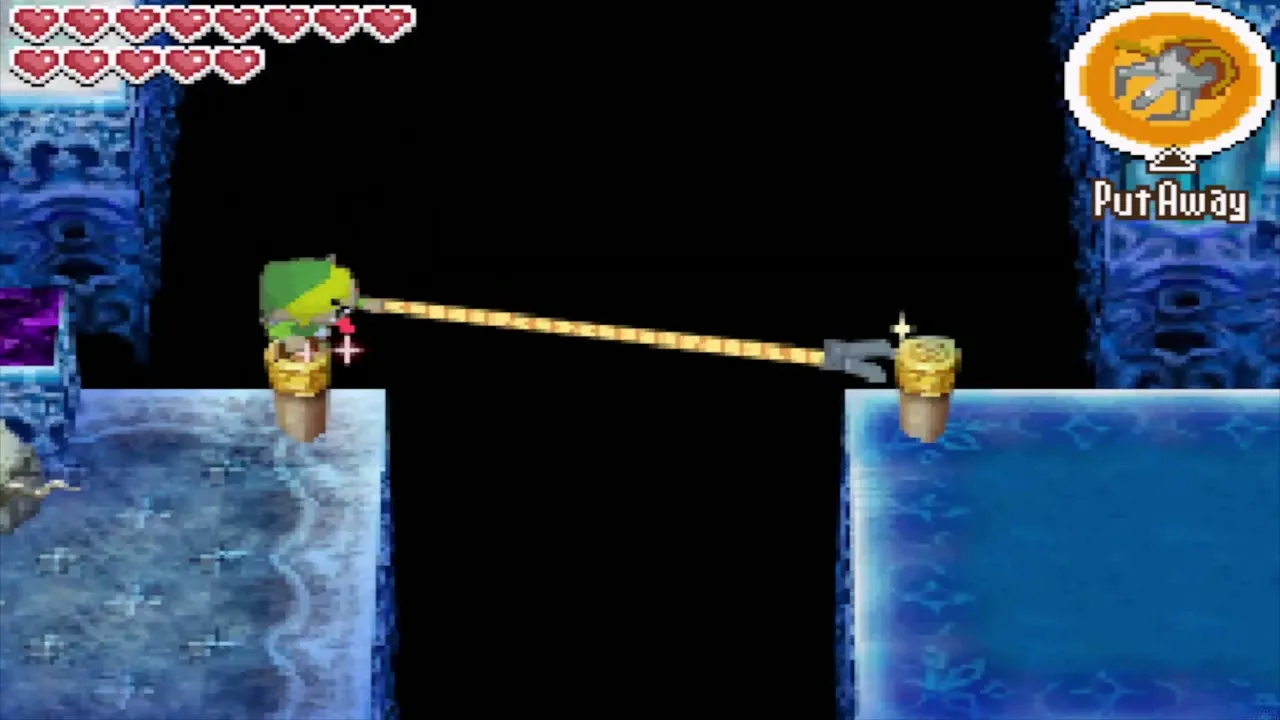
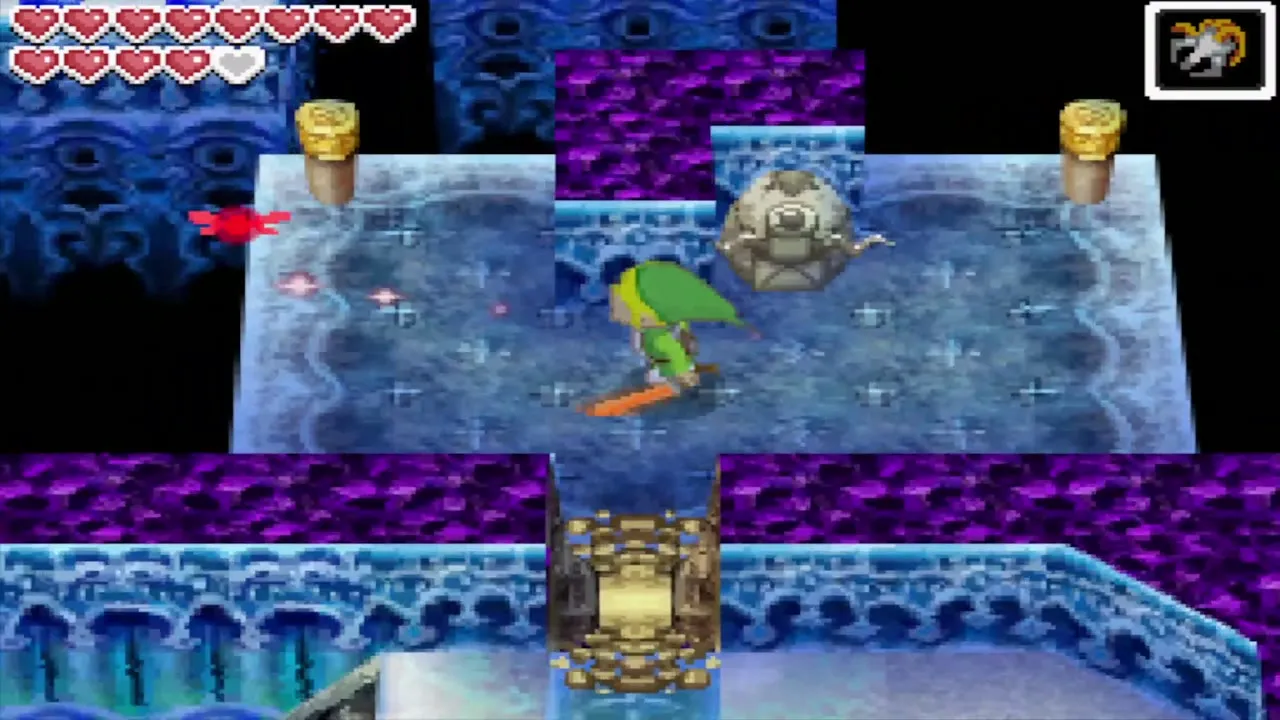
B1 second small key
Go north-east to a statue with a tongue. Knock the Stag Beetles off the ledge or hook them. Grapple the statue tongue from as far away as the ledge allows and hold on. The ice to the south melts for a short time, so run, jump off the ledge that was blocked and go east to a chest holding a small key.

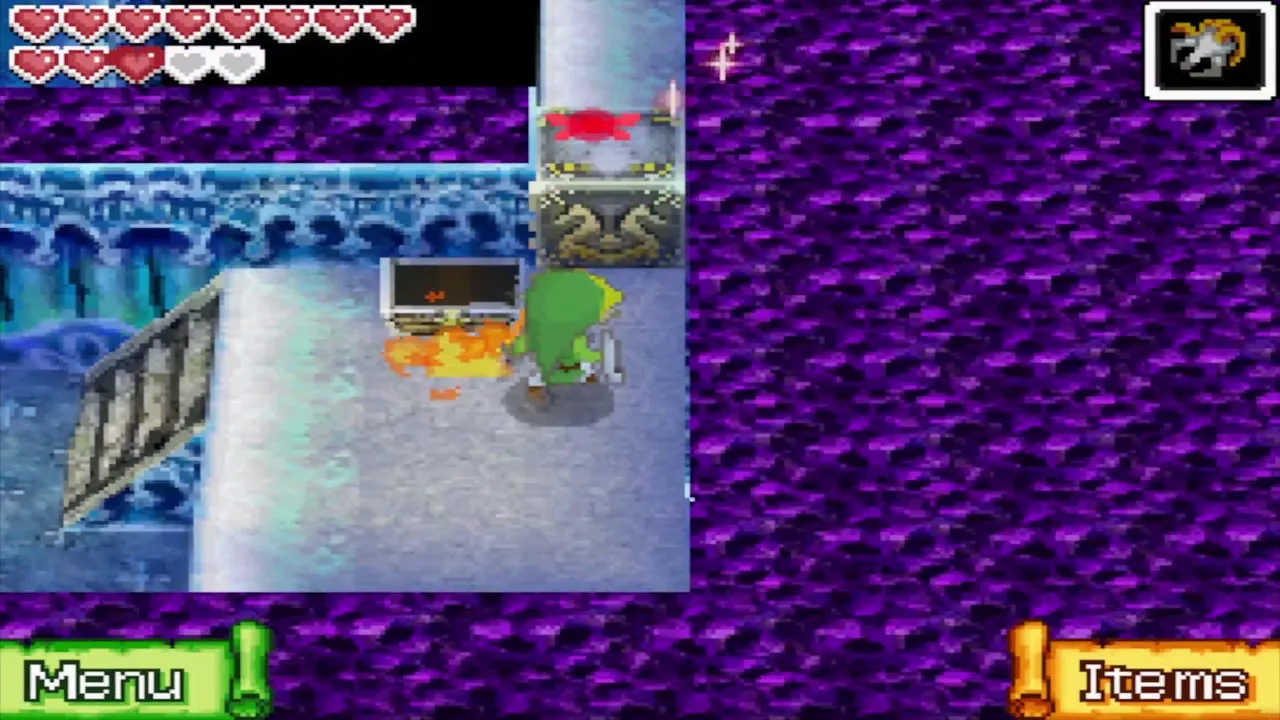
B1 Wisdom Gem
Use the key on the locked door in the north-east. Inside, open the chest for a second Wisdom Gem. Afterwards, stand outside the room and boomerang the red crystal switch so the blue blocks rise.
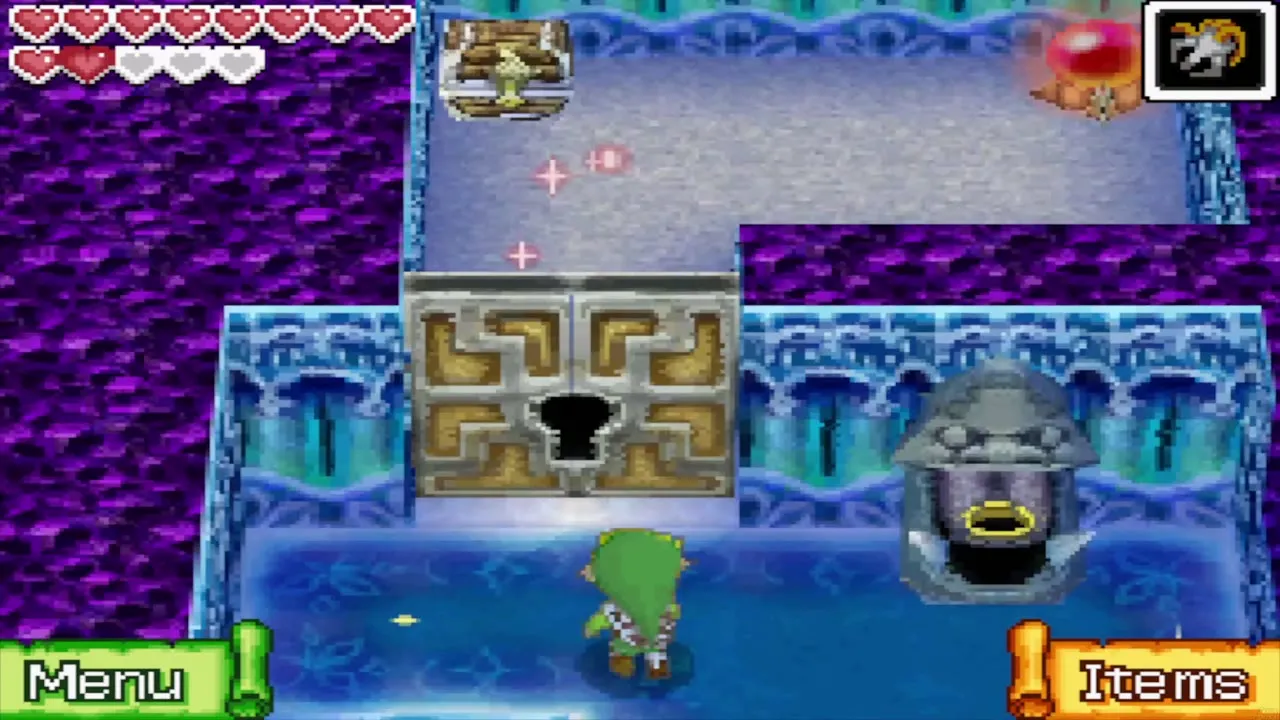

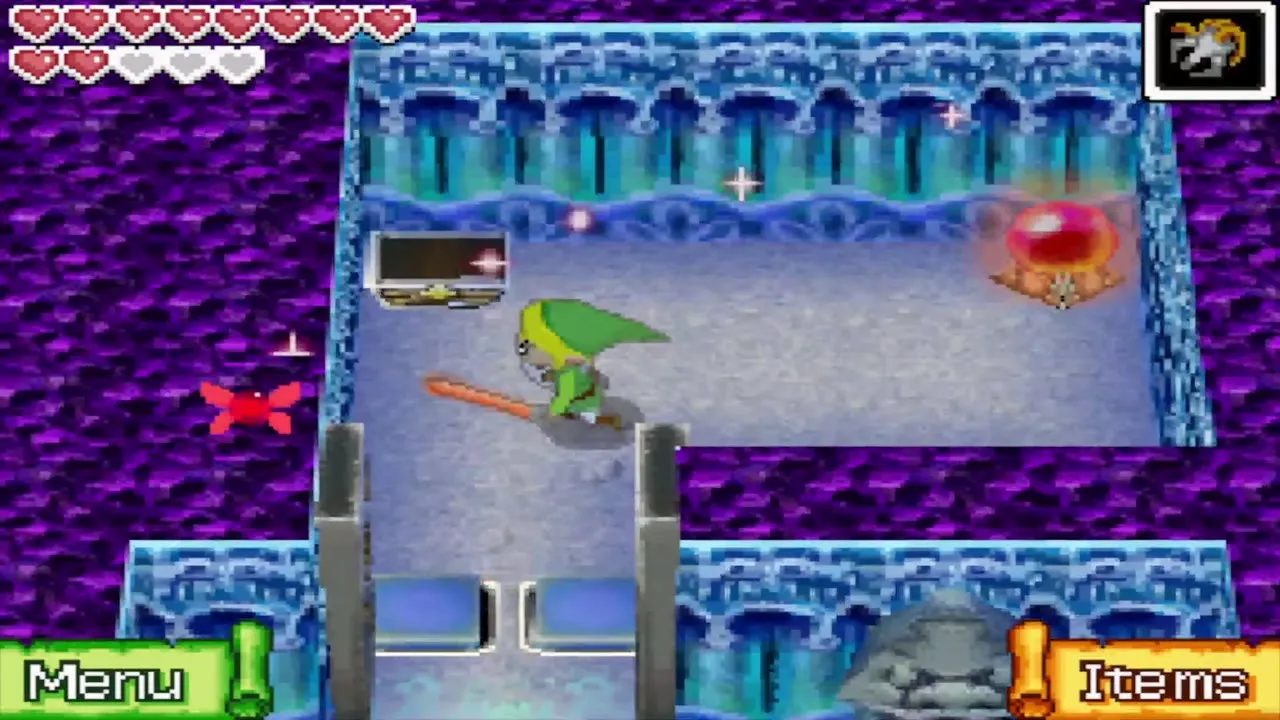
B1 timed door to B2
Return to the first tightrope and make a second one to its left. Stand in the middle and boomerang the north crystal switches from left to right. Then drop to the south-west corner and grapple the statue tongue from as far away as you can to open the north door. It closes again, so race back through the hole above the first chest, grapple the pegs to the north-west in order and slip through the door before it shuts. The stairs beyond lead down to B2.
Temple of Ice B2: small key and Boss Key
First half of B2
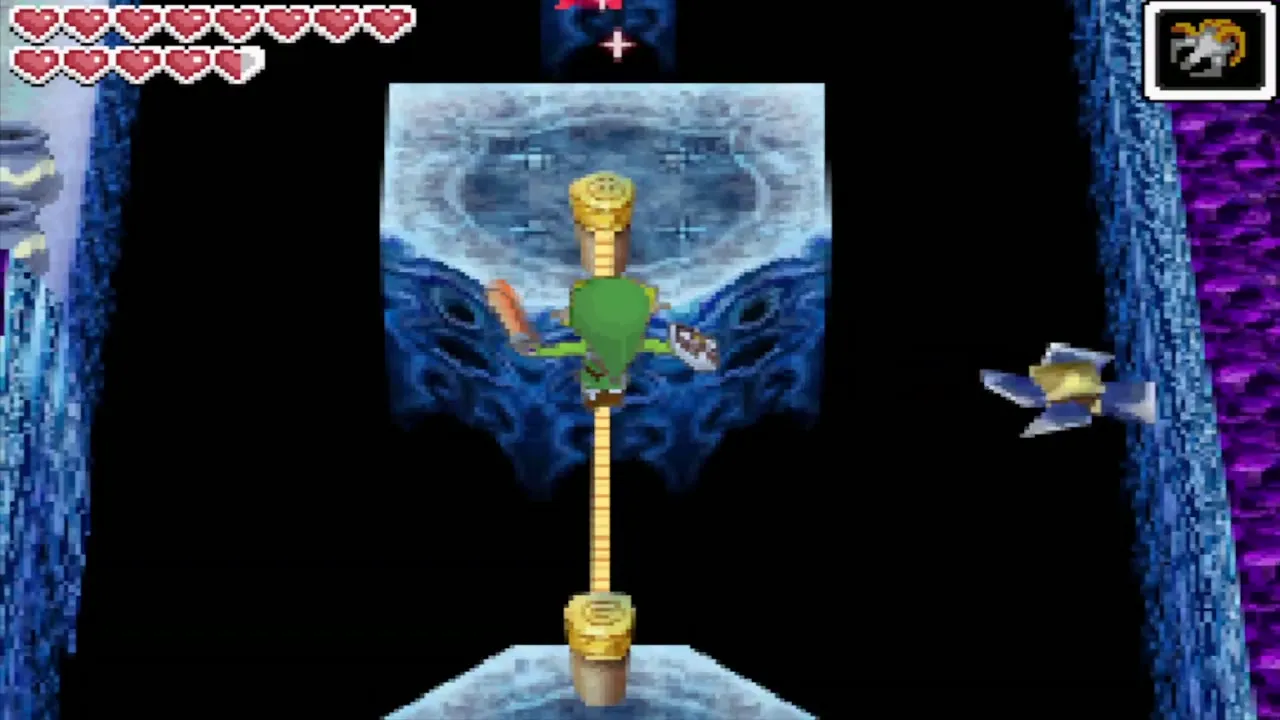
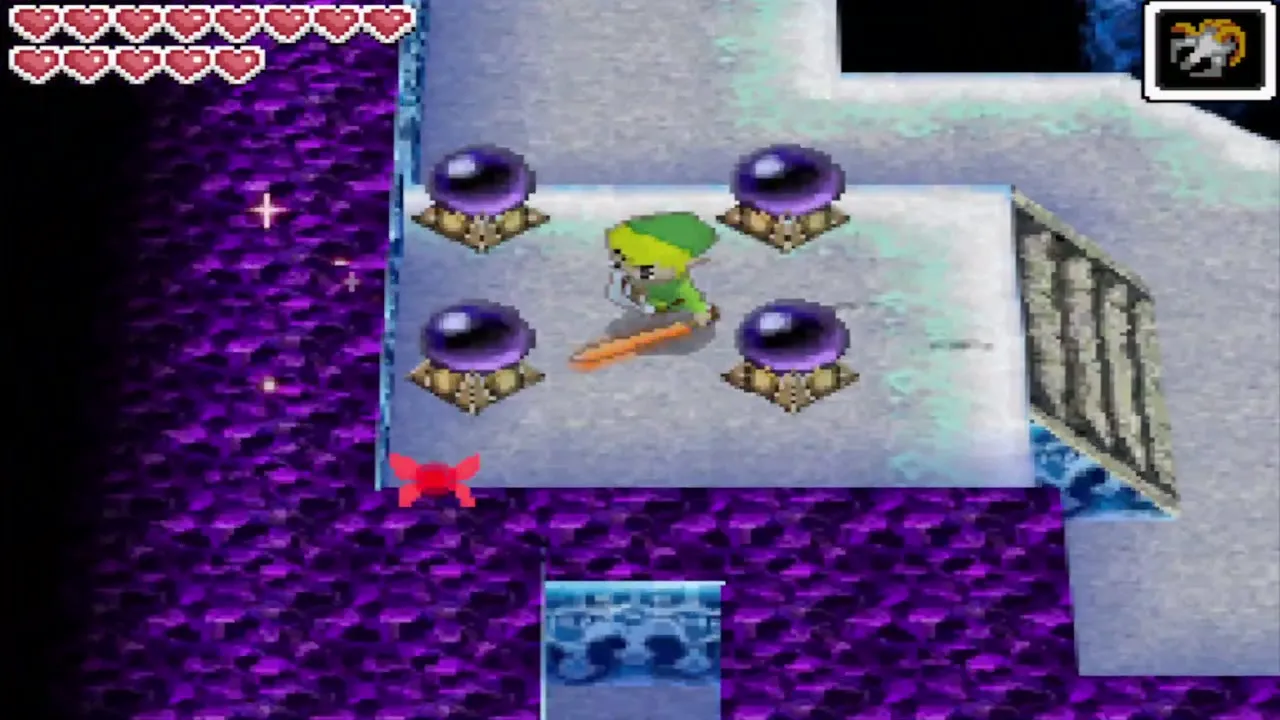
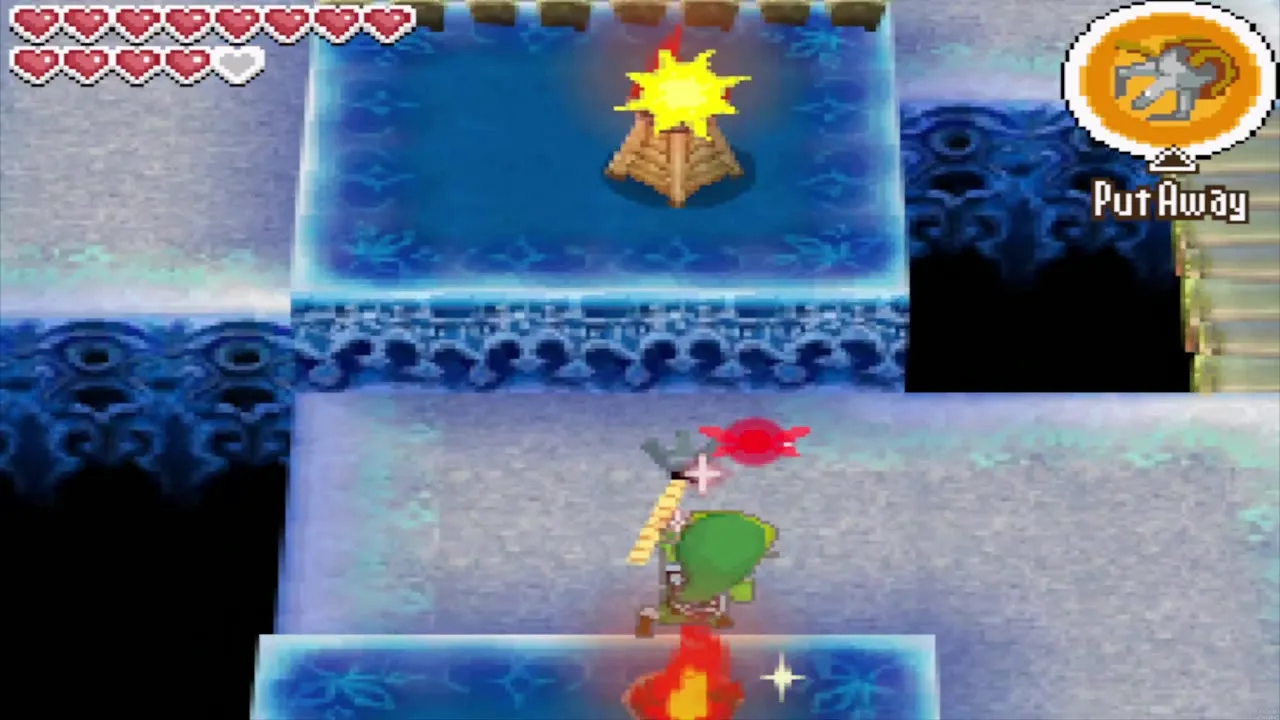
Grapple north-west across the gap and beat a Yook and a Gel in the east room so the ice to the north melts. Cross the gaps with tightropes, avoiding the spinning blade trap. In the north, draw a rope between two pegs and use it as a catapult: run into it from the left, and let go so that you are flung west over the gap. In the south, hit the four crystal switches on the platform with the Boomerang or a spin attack to open the south door.
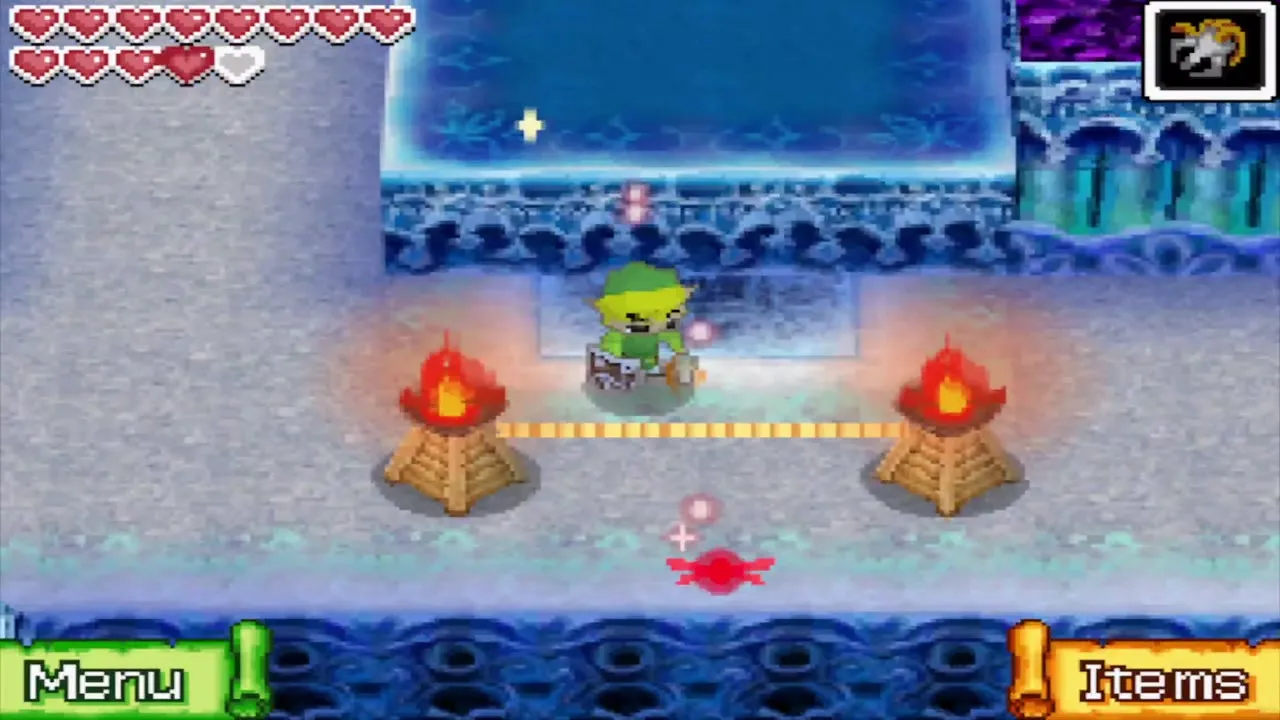
Go back through the door and east, then stretch a tightrope between two torches so you are launched north. Hook the west and north torches, and shoot the eye switch on the north wall with an arrow before you jump down. Go north-east and step on the floor switch to make a bridge and a shortcut.

B2 eye switch small key
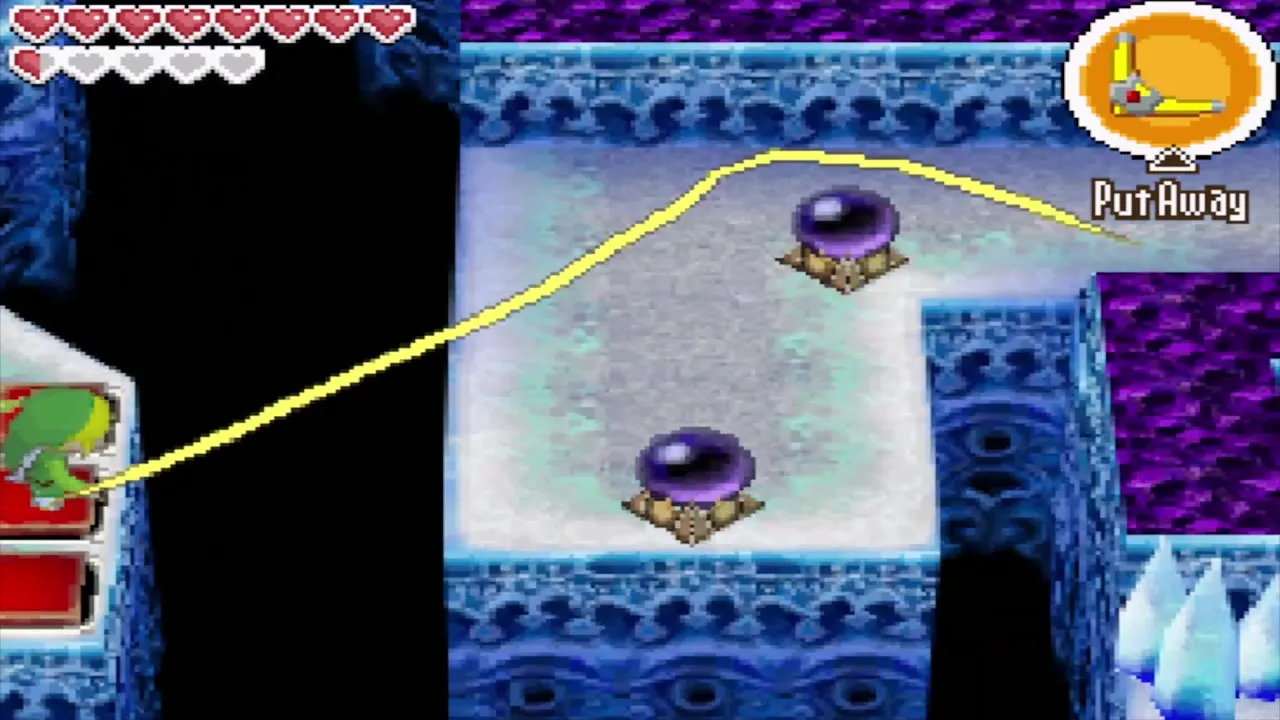
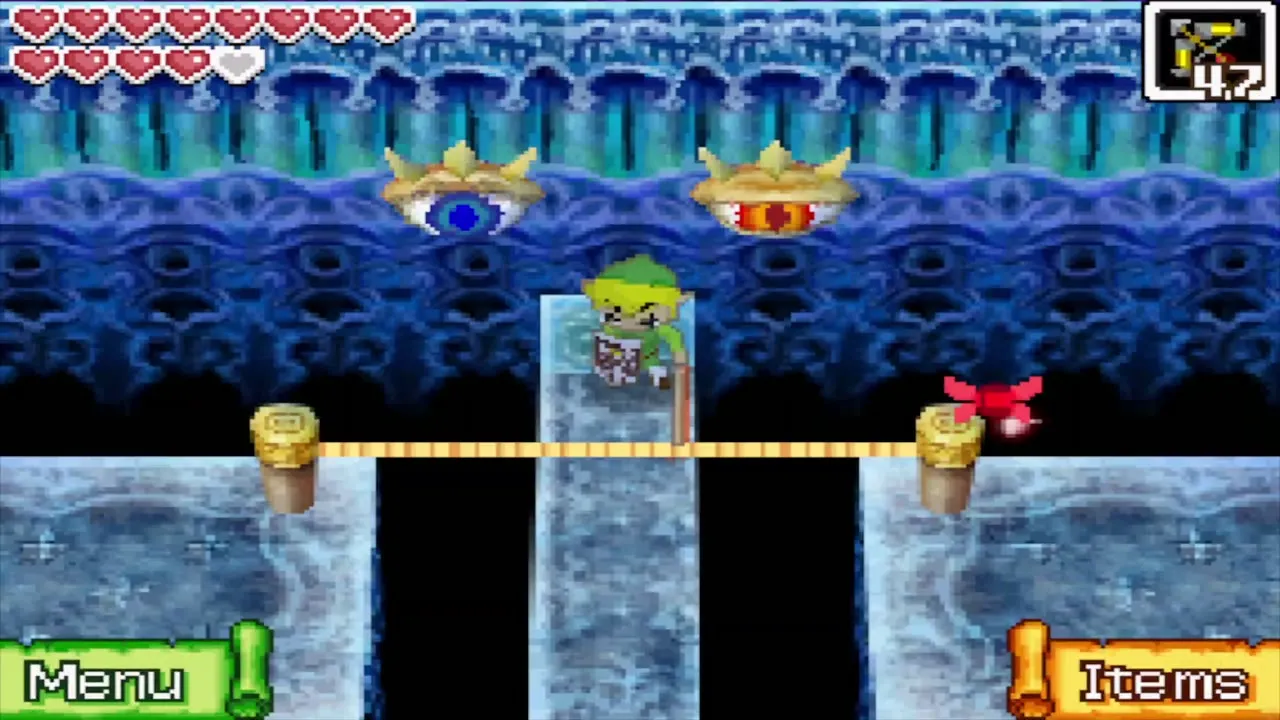
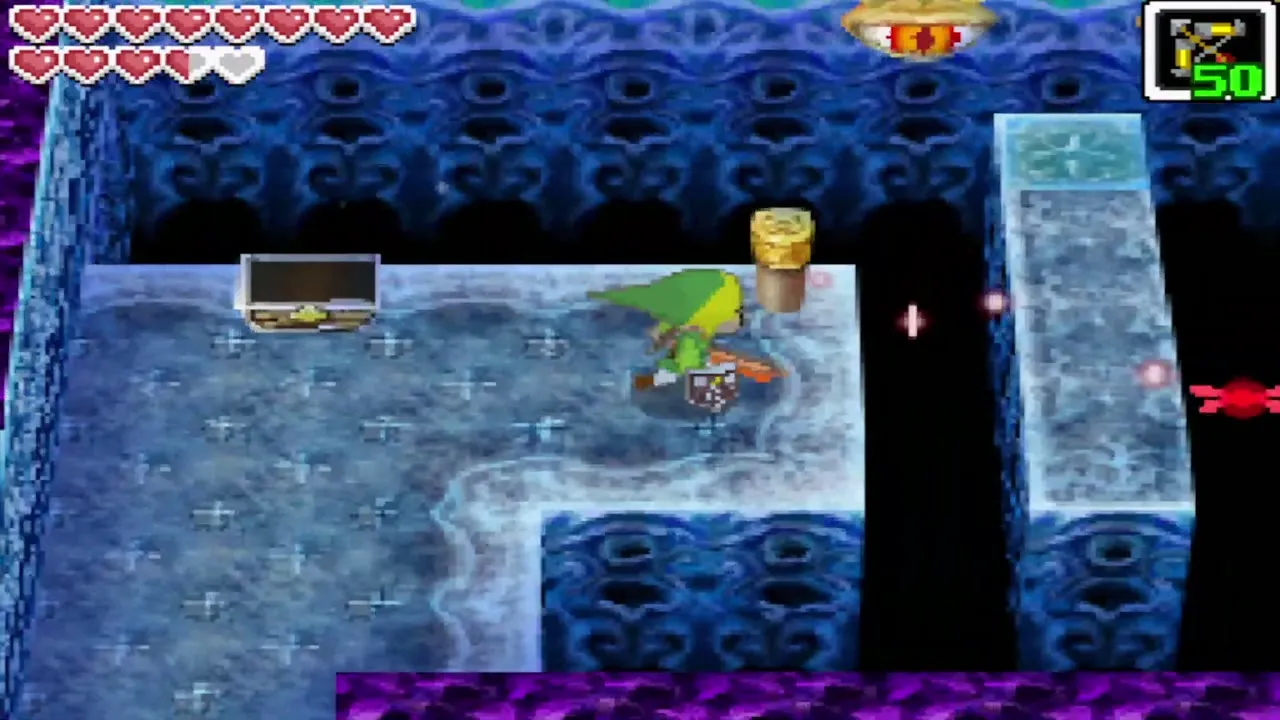
Enter the unlocked door. The two eye switches here only open when Link is not looking at them. Stand on the blue tile on the thin middle ledge, make a tightrope between the pegs and shoot the rope with an arrow so that it bounces into the eyes while they are open. A chest appears across the gap with the third small key. Use it on the locked central door.

How to get the Boss Key
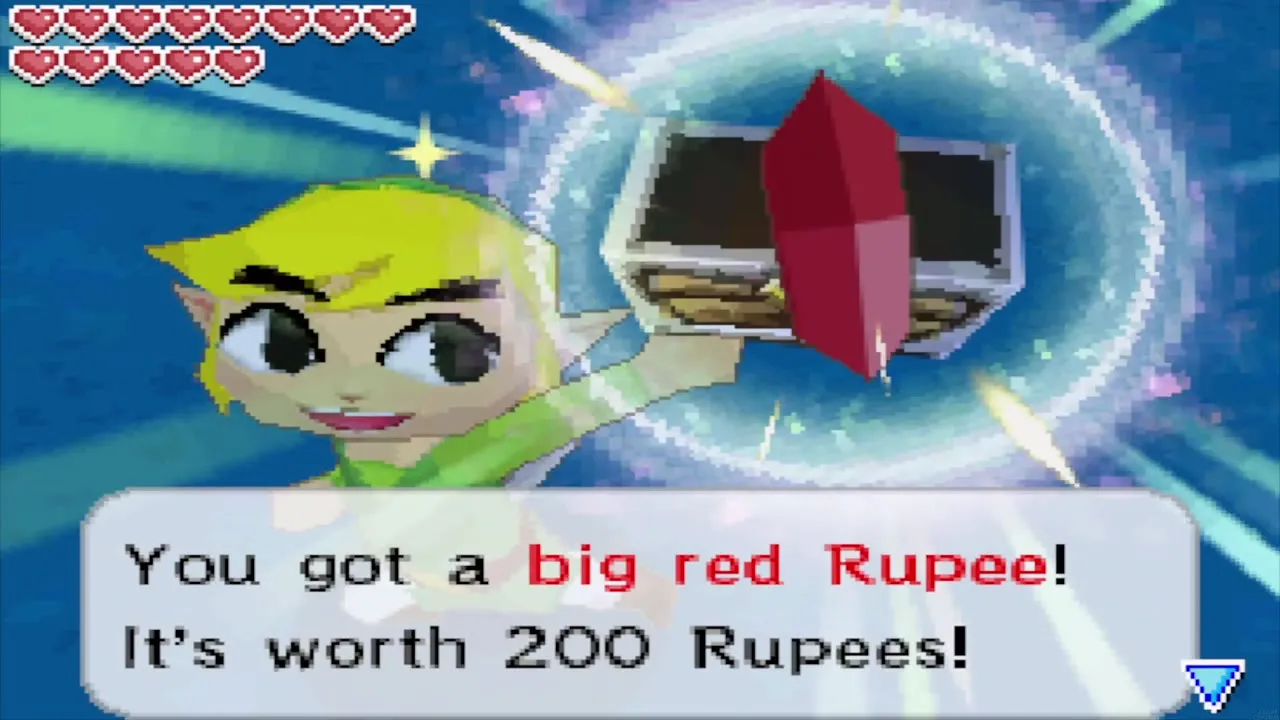
In the new room, beat a Yook and two Ice Keese. A chest appears holding a big red Rupee worth 200 Rupees, and the south door opens. Go through, grapple across the gap and climb the pegs to a floor switch at the top to melt ice, then cross the narrow ice bridge to a second switch to melt the last of it. Open the large chest for the Boss Key.

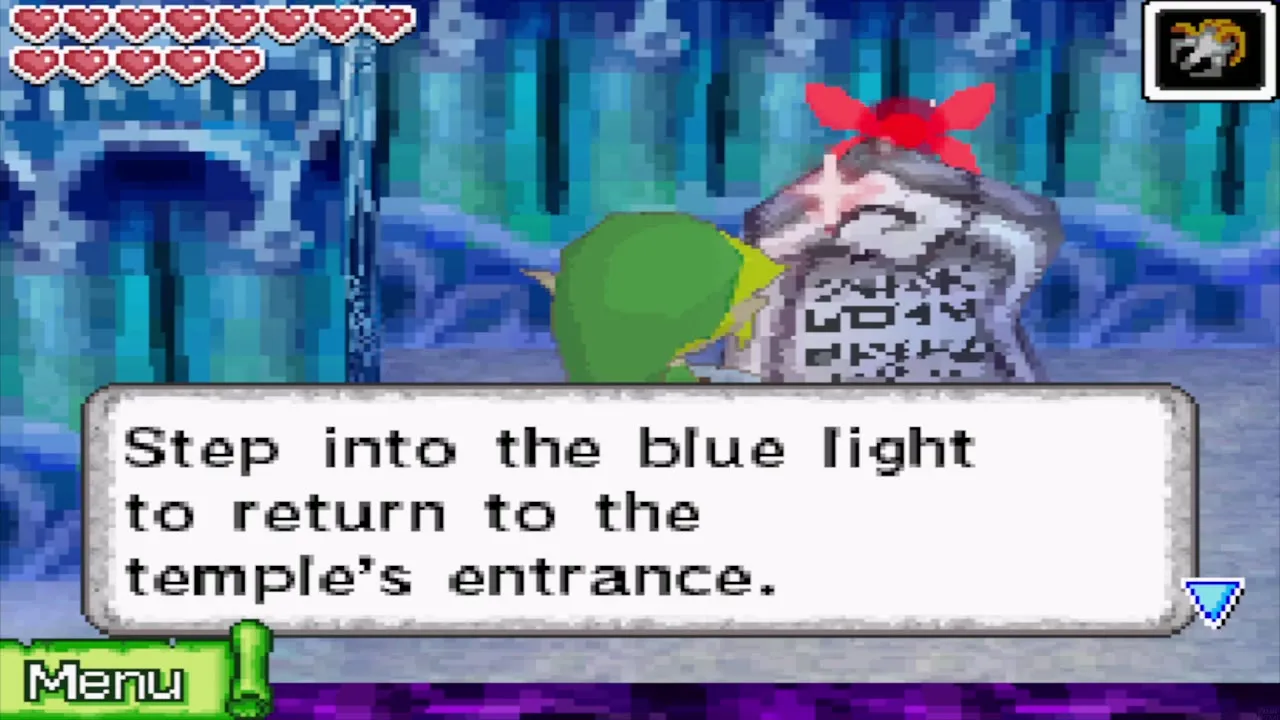
Carry the Boss Key up to B1 and use it on the boss door. Read the stone tablet near the stairs to open a blue warp light back to the entrance, then climb the stairs to the boss.

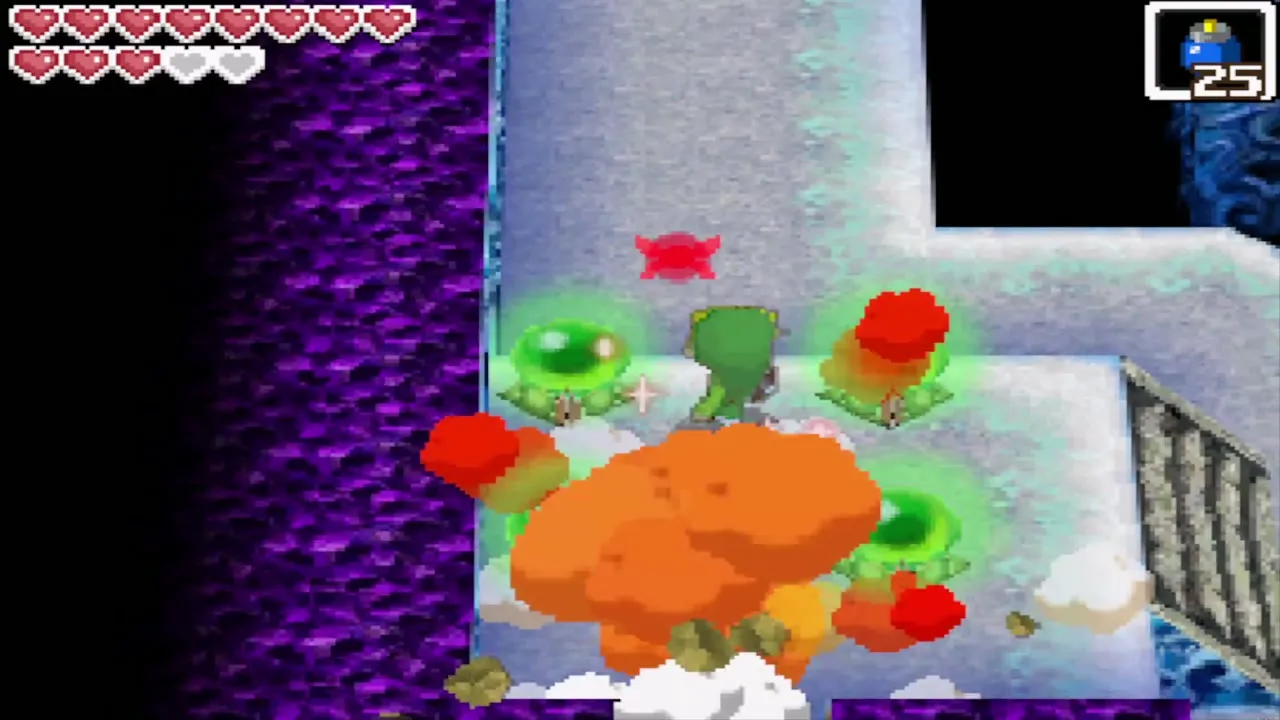
One more chest on B2 holds a red Rupee. Bomb the south wall of the south room to reach it, after hitting the four crystal switches there.


Gleeok boss fight
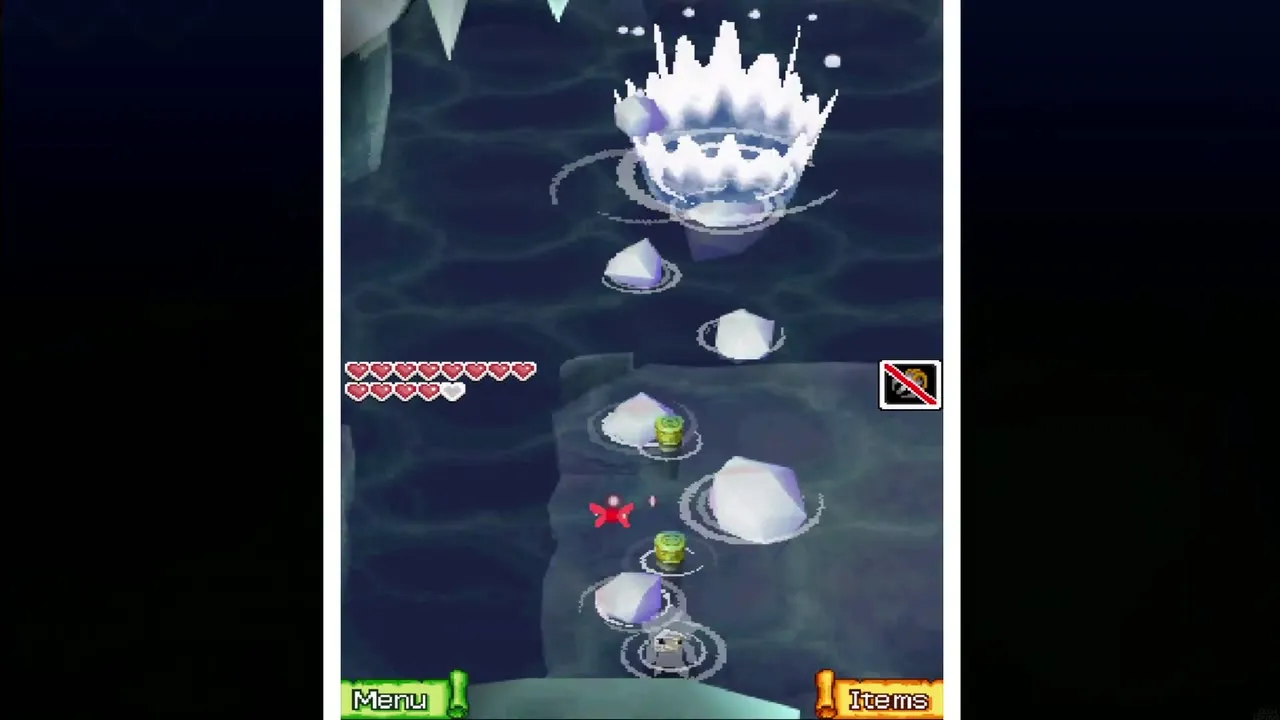
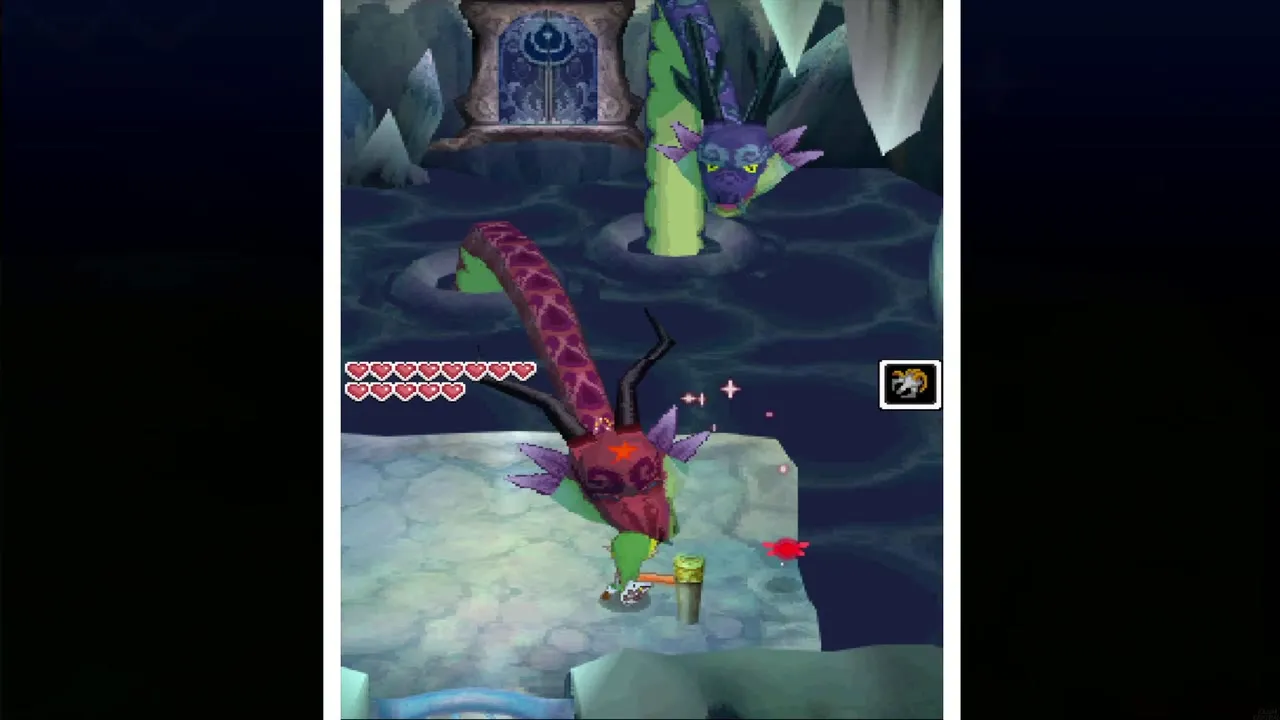
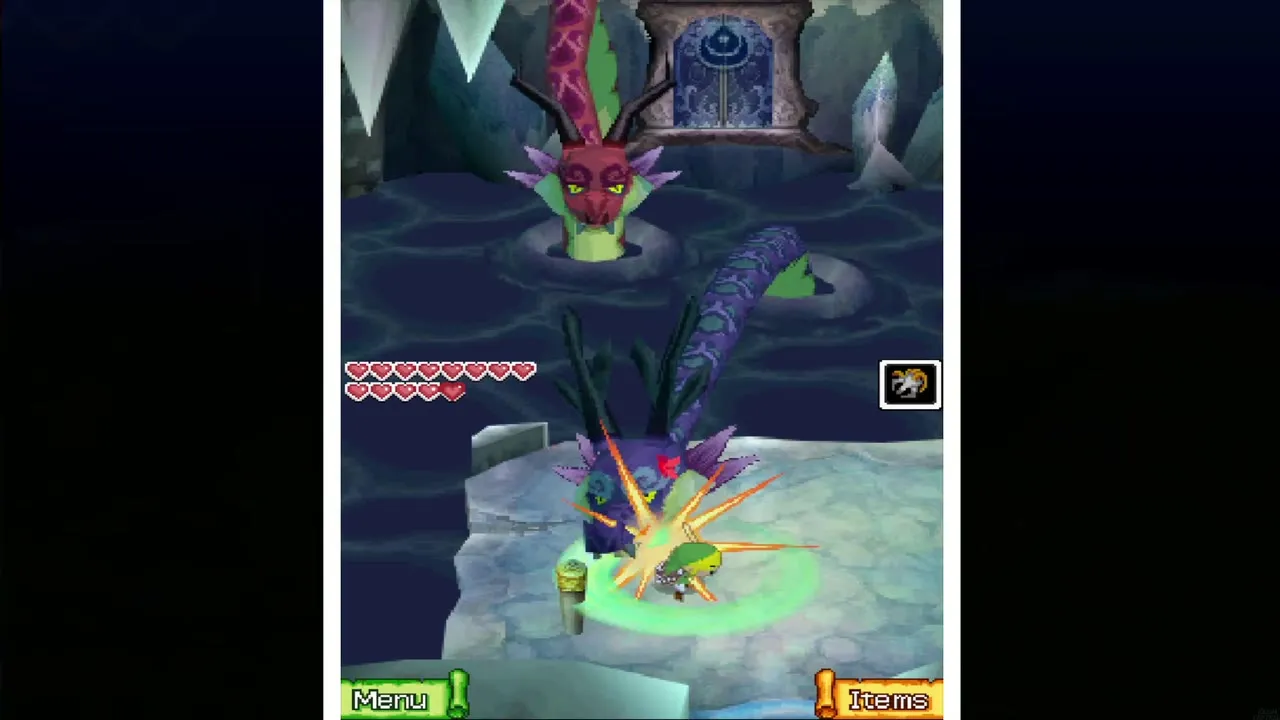
Gleeok is a two-headed dragon with a fire head and an ice head, and both wear masks. Pegs stand around your platform. When a head fires, grapple two pegs to draw a tightrope across the shot so it bounces back at the other head. A rope from the north-west peg to the south-east peg sends the fire onto the ice head, and a rope from the north-east peg to the south-west peg sends ice onto the fire head.
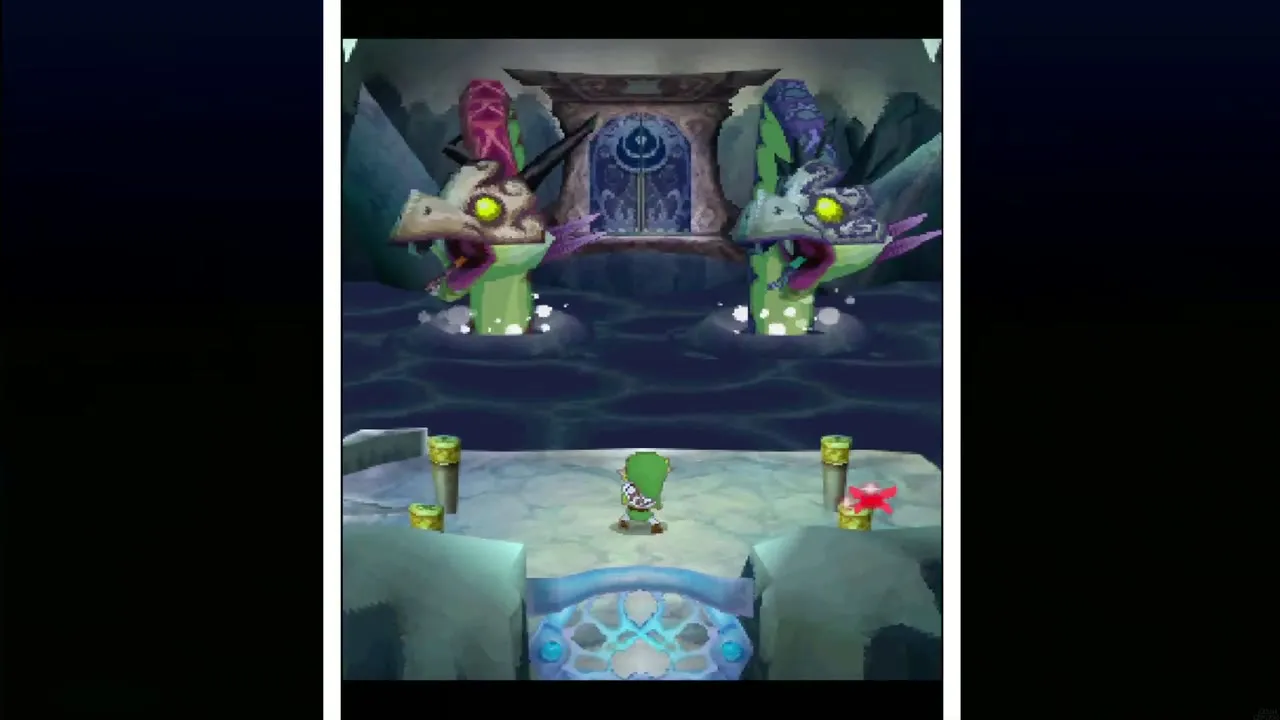
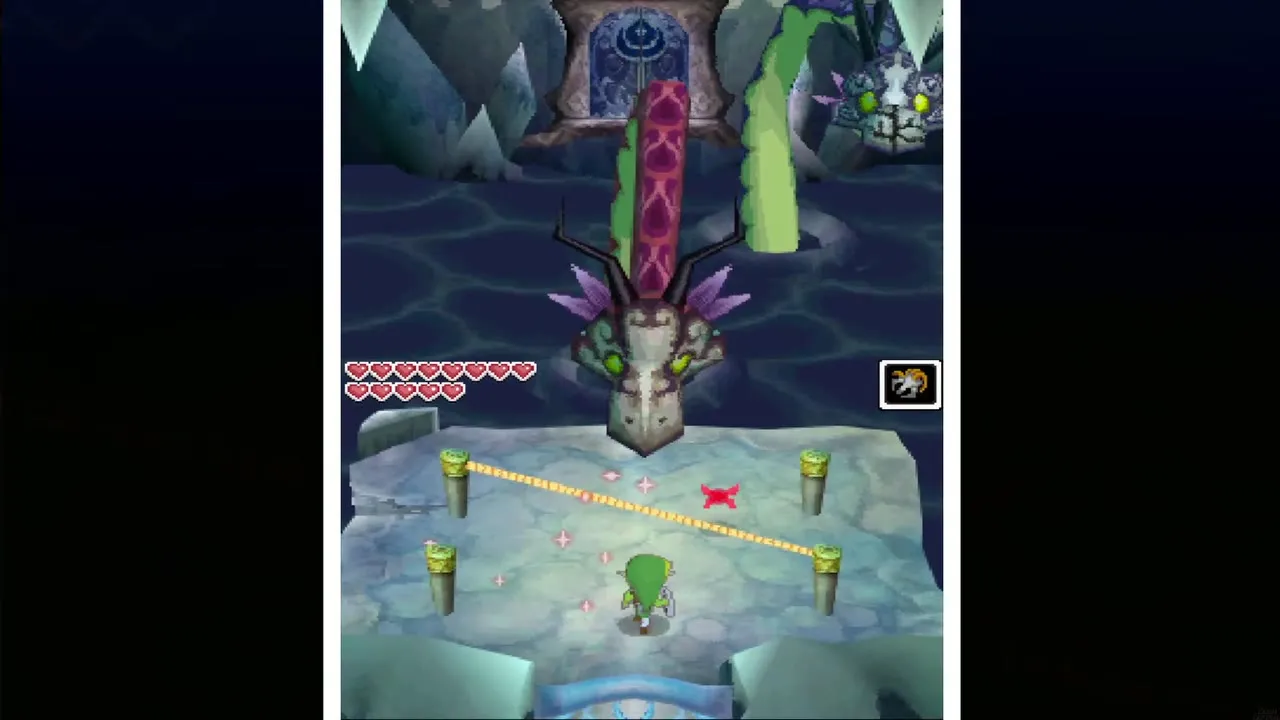
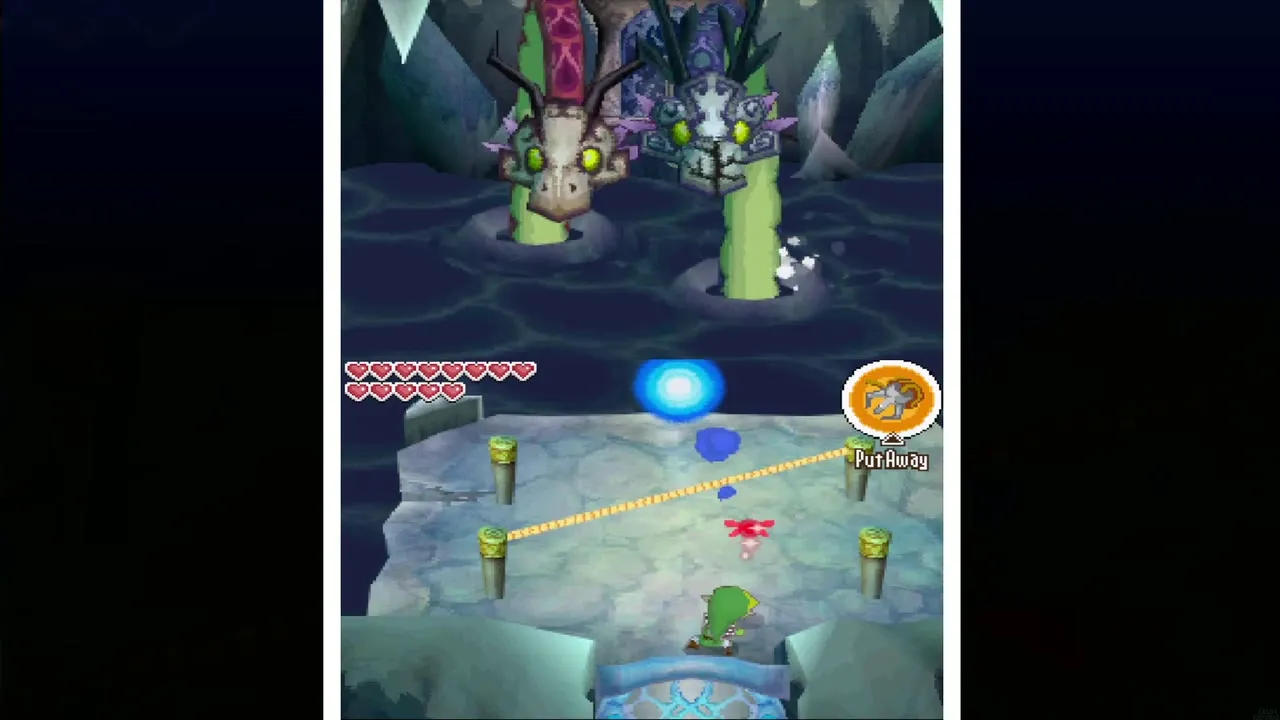
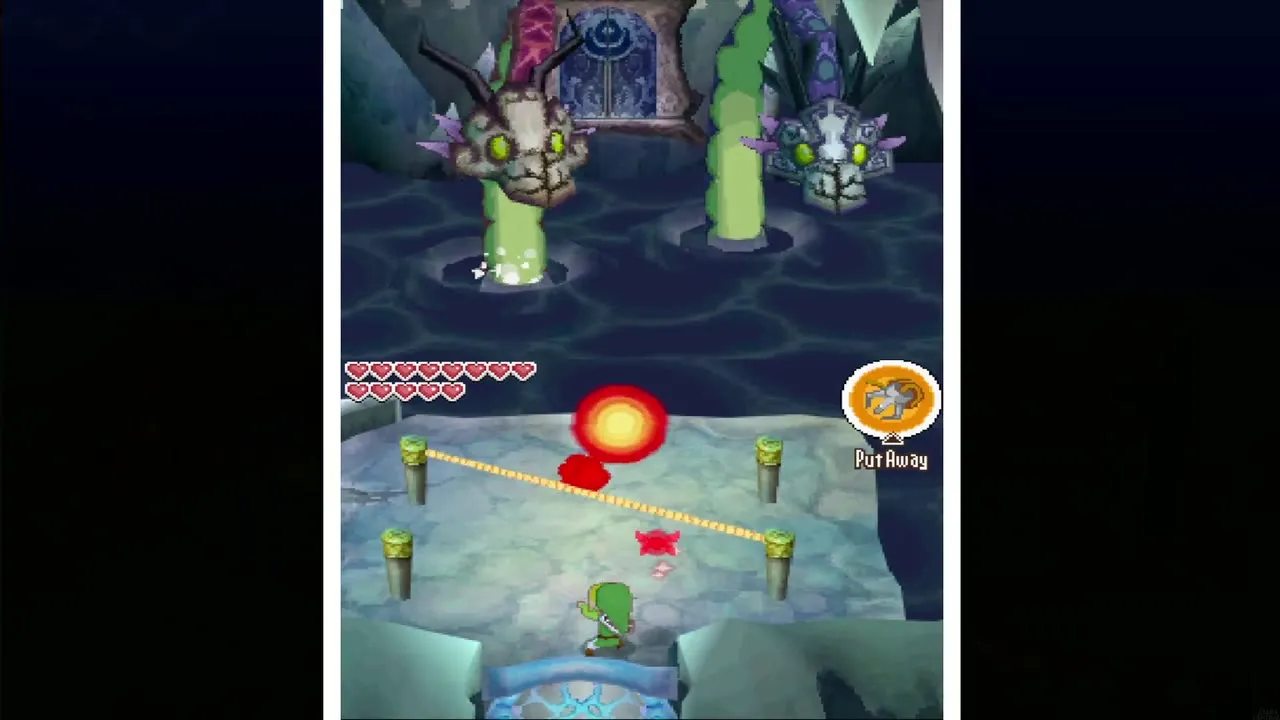
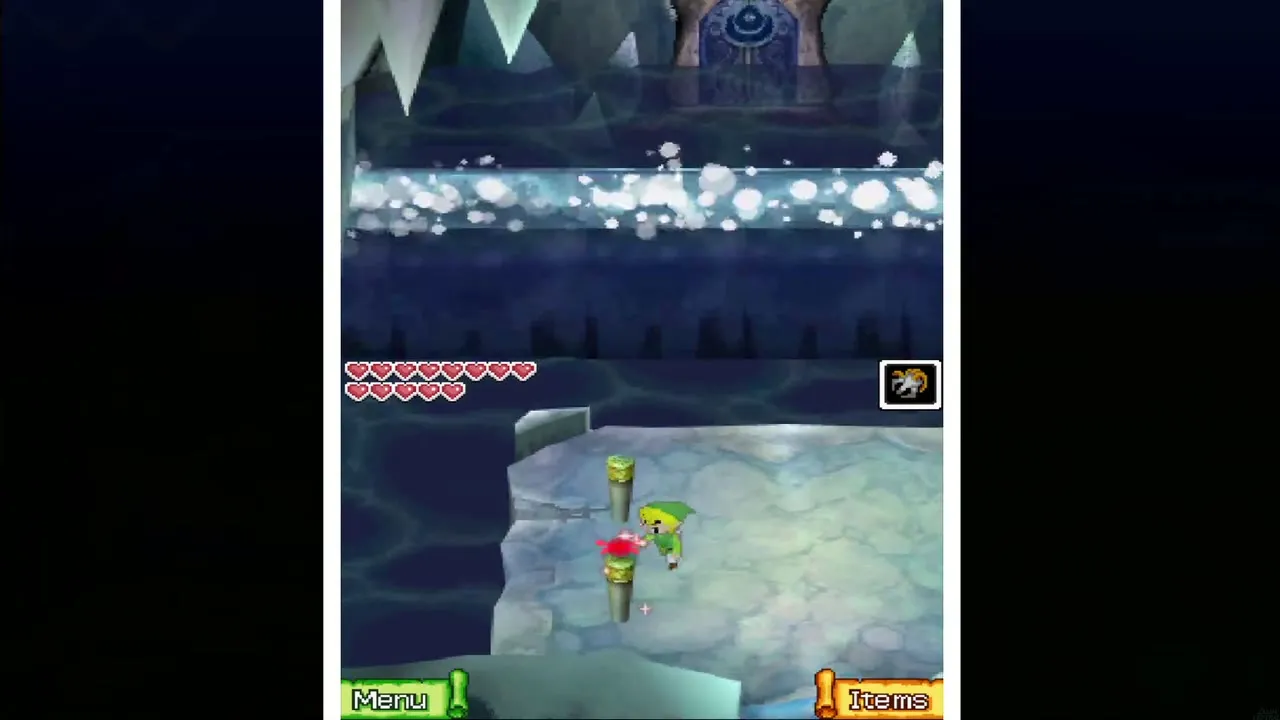
Keep moving when a head dives at your rope, because each bite breaks it and a head can bite more than once. When the masks are gone the heads go under and send waves across the platform. Stand on a peg while the water passes, and watch out for falling ice. Afterwards, the heads bite off the front pegs and one inhales before it breathes fire or ice. Grapple a peg to its tongue and pull it down, then slash the head. Repeat until Gleeok falls.

Temple of Ice rewards
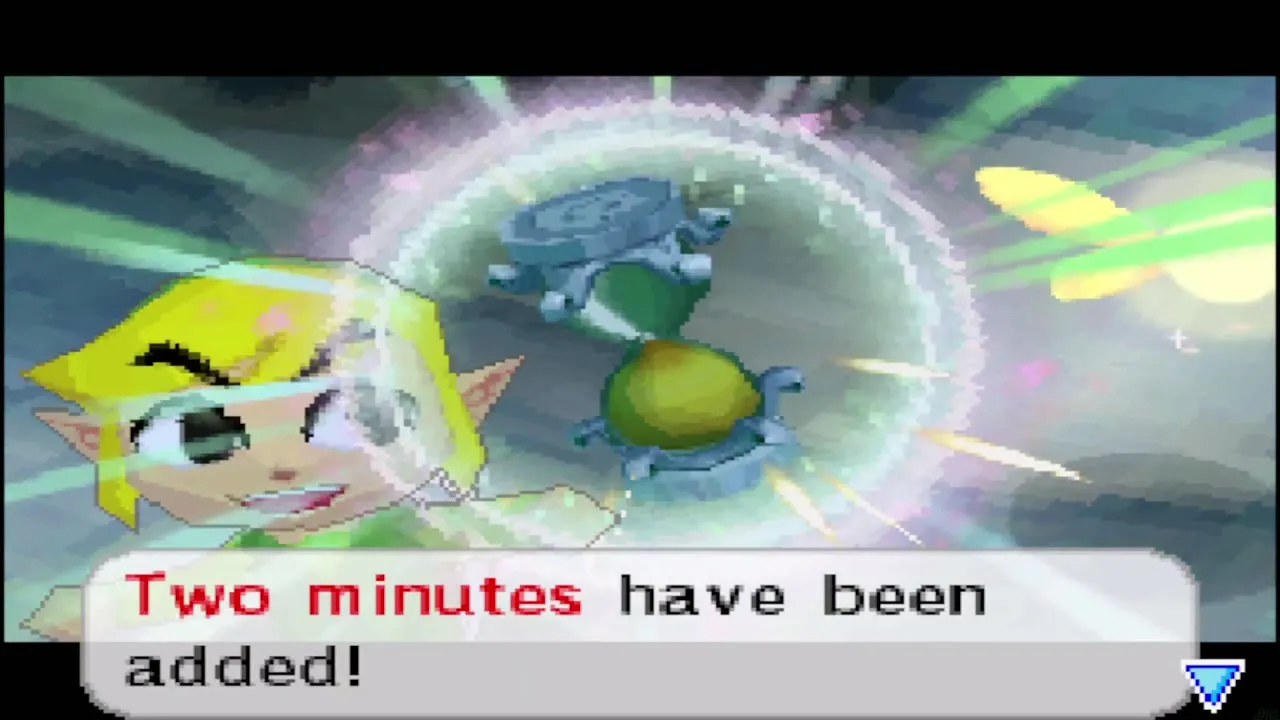
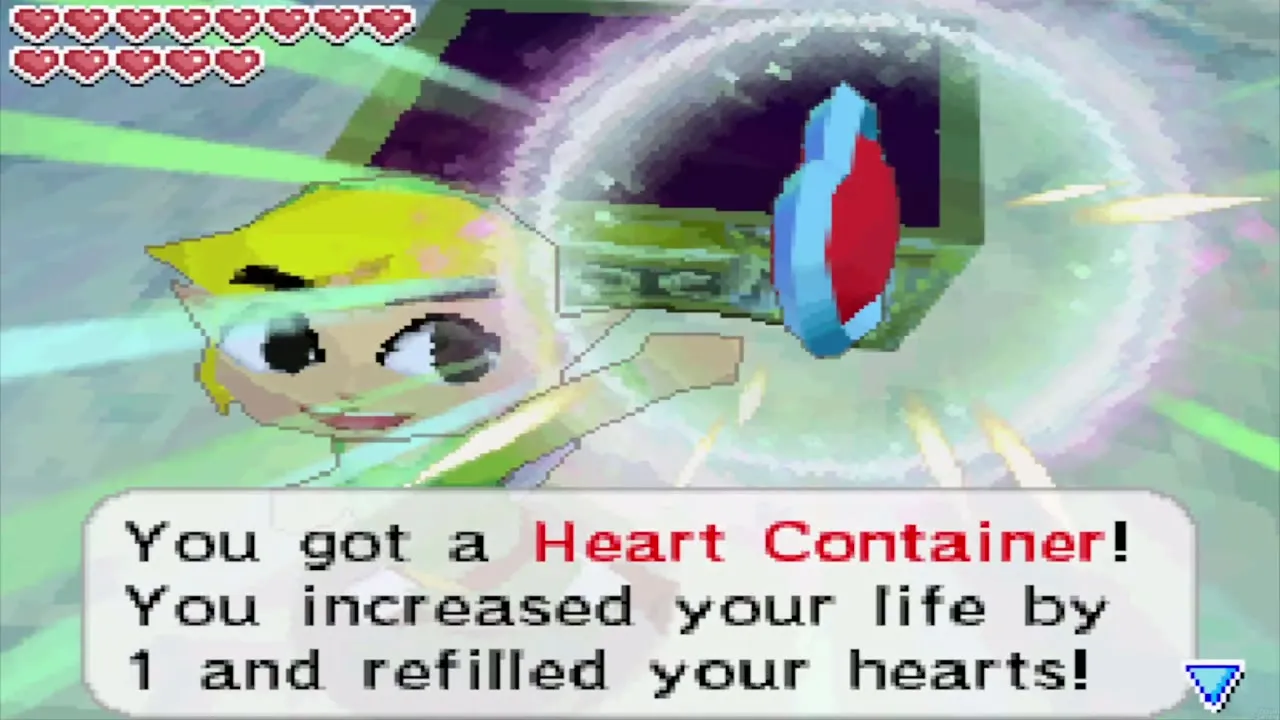
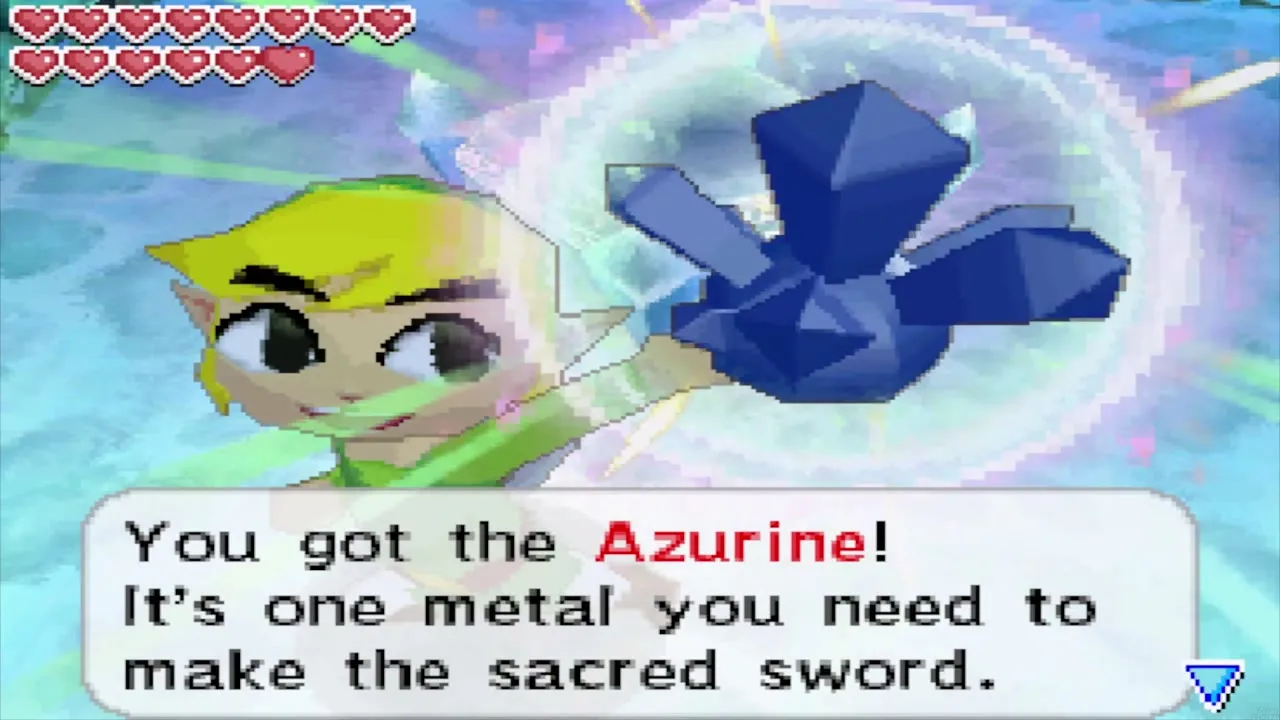
Gleeok leaves Sand of Hours that adds two minutes to the Phantom Hourglass. Open the chest for the Heart Container, then go north through the door and take Azurine, the second of the three Pure Metals. Step into the blue light to the north to return to the temple entrance.
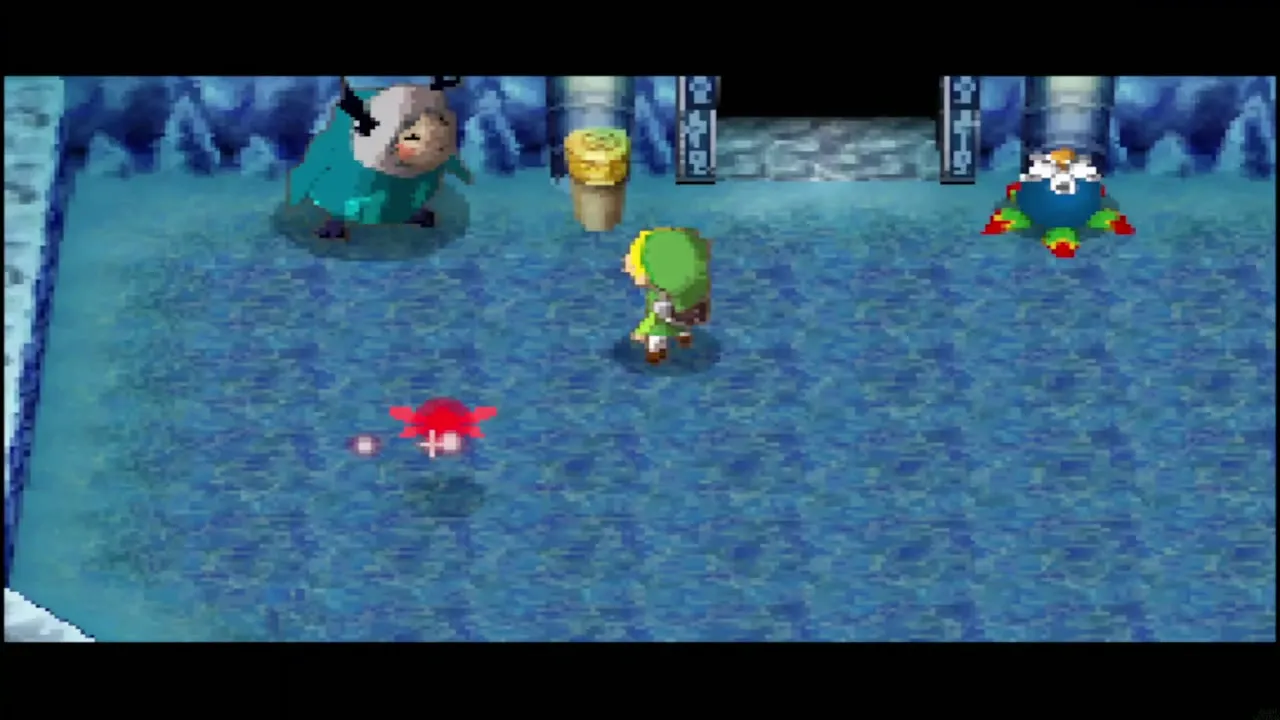
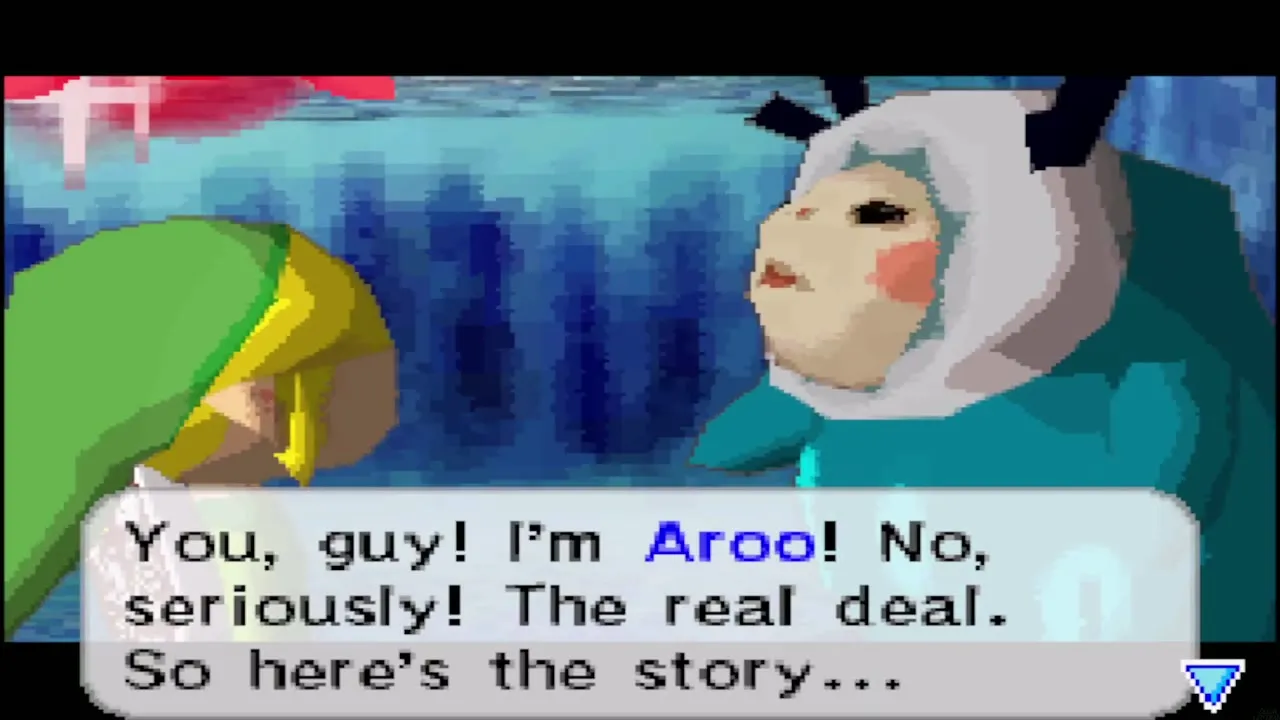
Outside, the real Aroo tells you his story. Standing on the wooden pole nearby and hooking upward reaches ledges with treasure. The Grappling Hook also opens chests on the Isle of Frost that hold a Power Gem and a Wisdom Gem, and Aroo also mails you another Wisdom Gem a little later, so check any mailbox.

Chapter checklist
| Collectible | Type | Where |
|---|---|---|
| Small key | Key | 3F, Boomerang the four crystal switches in the order on the tablet |
| Wisdom Gem | Spirit Gem | 3F, chest in the west after bombing the blue crystal switch |
| Grappling Hook | Item | 2F, chest after beating two Yooks |
| Big Green Rupee | Rupees | 3F, chest in the north-east past the melted ice |
| Big red Rupee | Rupees (200) | B1, chest across the gap beyond the cracked wall |
| Small key | Key | B1, chest in the north-east past the statue’s melting ice |
| Wisdom Gem | Spirit Gem | B1, chest in the locked north-east room |
| Small key | Key | B2, chest after the arrow-bounce eye switches |
| Big red Rupee | Rupees (200) | B2, chest after the Yook and Ice Keese room |
| Red Rupee | Rupees | B2, chest behind the bombed south wall |
| Boss Key | Key | B2, large chest past the narrow ice bridge |
| Sand of Hours | Hourglass time (+2 minutes) | Gleeok’s remains |
| Heart Container | Heart Container | Chest after Gleeok |
| Azurine | Pure Metal | Chamber beyond the Heart Container |
With Azurine collected, sail back to the sea chart and continue in the Temple of the Ocean King, B10 to B13, where the Grappling Hook helps on the lower floors.
