Phantom Hourglass 100% Completion Walkthrough19 chapters
- Temple of FireEvery key, the Boomerang, the Boss Key, how to beat Blaaz, the Heart Container, Leaf and Astrid’s Power Gem.
- Temple of WindGet the bombs, the Boss Key, beat Cyclok, free Neri and take the Heart Container.
- Molida Island and the Temple of CourageBeat the Giant Eye Plant, light Molida’s statues, get the Bow, defeat Crayk and awaken the Spirit of Courage.
- The Ghost ShipFind the ship with the Spirits, free the Cubus sisters, win their volley game, get the Ghost Key and Heart Container.
- Goron TempleTeam up with Gongoron, get the Bombchus and the Boss Key, beat Dongorongo and take the Crimsonine.
- Temple of IceLever order, three small keys, Grappling Hook, Boss Key, Gleeok fight, Heart Container and Azurine.
- Mutoh’s TempleGet the Hammer, find both small keys and the Boss Key, beat Eox and collect the Aquanine.
- Mercay Island and the First Sea ChartGet Oshus’s Sword, solve the lever passage, rescue Linebeck and find the first sea chart.
- Temple of the Ocean KingTake the Phantom Hourglass, sneak past Phantoms, carry three Force Gems and find the Northwestern Sea Chart.
- Temple of the Ocean KingPhantom Eyes, the hourglass crest door, the Salvage Arm, treasure salvage and the Sun Key.
- Zauz and the Temple of the Ocean KingPure Metals, Triforce door, crystal puzzles and the Southeastern Sea Chart.
- Temple of the Ocean KingGold Phantoms, the B11 bridges, three Force Gems on B12 and the Northeastern Sea Chart.
- The Phantom Sword and BellumPhantom Hourglass walkthrough for the Phantom Sword, the last Temple of the Ocean King descent, Bellum.
- Isle of Ember and AstridFirst voyage, Beedle’s Shop Ship, Kayo’s torches, freeing Astrid and the volcano path to the Temple of Fire.
- Cannon Island, the Ghost Ship Chase and Molida IslandBuy the Cannon from Eddo, chase the Ghost Ship, then reach Molida Island and take the Shovel.
- Northwestern Sea and the Isle of GustThe fog route, Bannan Island fishing, Zauz, the Cyclone Slate, Golden Frogs and the way to the Temple of Wind.
- Goron Island and GongoronSail the Southeastern Sea, beat the Massive Eye, pass Biggoron’s quiz, find Gongoron and reach the Goron Temple.
- Isle of Frost and the Yook MysteryCannon the ice, Anouki Estates, find the Yook among six villagers and fight through the Great Ice Field.
- Isle of the Dead and the Isle of RuinsDig spot, Phantom Corridor path, Regal Necklace, King’s Key, Max and the door symbol.
| Covers | Mercay dock, Cannon Island and the Bomb Garden, Eddo’s Garage, the first Ghost Ship chase, Molida Island, Romanos’s cave, the second hideout, Spirit Island |
|---|---|
| You need | The Northwestern Sea Chart from the Temple of the Ocean King, the Boomerang and Sword, and 50 Rupees for the Cannon (500 more if you want the Power Gem sold on Molida; it is sold once between the Mercay and Molida shops) |
| Rewards |  Cannon,  Shovel,  2 Power Gems,  1 Courage Gem,  2 treasure maps, treasures (such as  Goron Amber,  Zora Scale and  Pink Coral, plus whatever Beedle sells), the fog route; no Heart Container |
This chapter turns a dusty chart into a working ship. Clean the Northwestern Sea Chart at the Mercay dock, sail to Cannon Island to buy the Cannon from Eddo, follow the Ghost Ship into the fog until it throws you back, then learn the way through the fog on Molida Island. Along the way you pick up the Shovel, a Power Gem chest, two treasure maps and a handful of treasures.
Table of Contents
Clean the Northwestern Sea Chart on Mercay Island
Show Linebeck the new chart
Leave the Temple of the Ocean King and walk to the Mercay Island dock, where Linebeck waits by his ship. Tell him you found a new sea chart. He asks whether your ship has a cannon, which it does not yet, and mentions that a man called Eddo sells them on another island.

Blow the dust off the chart
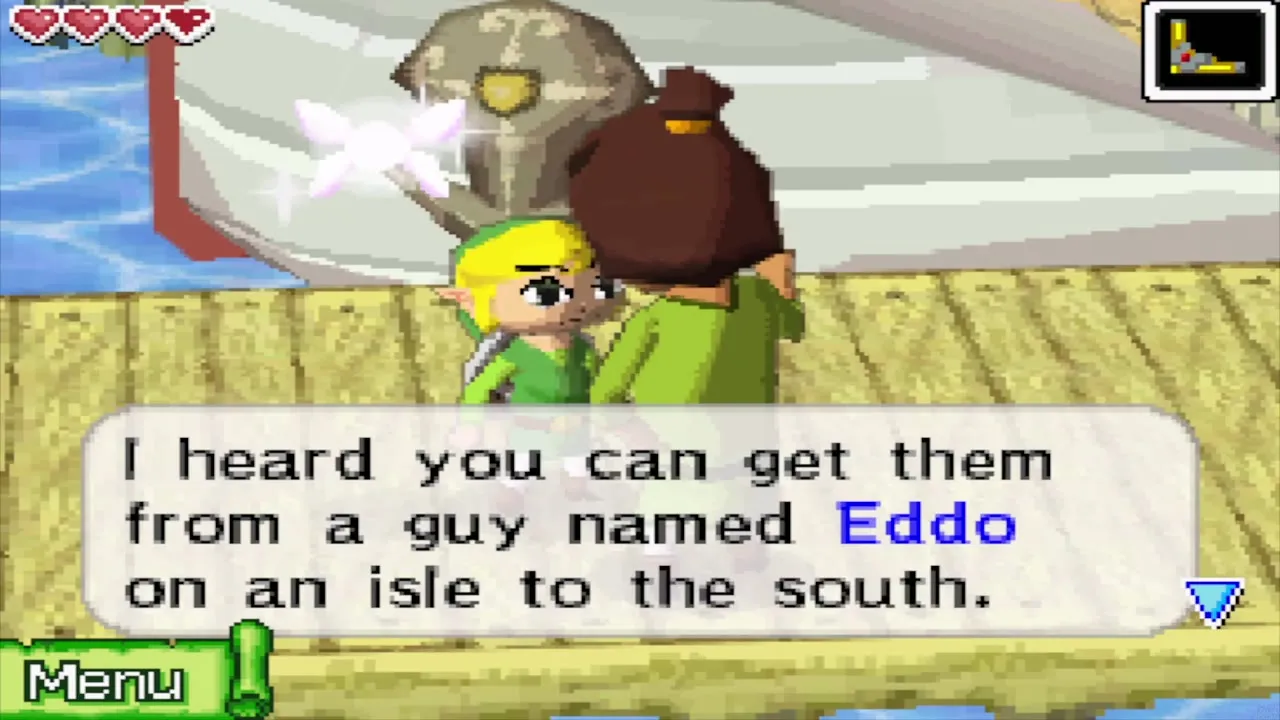
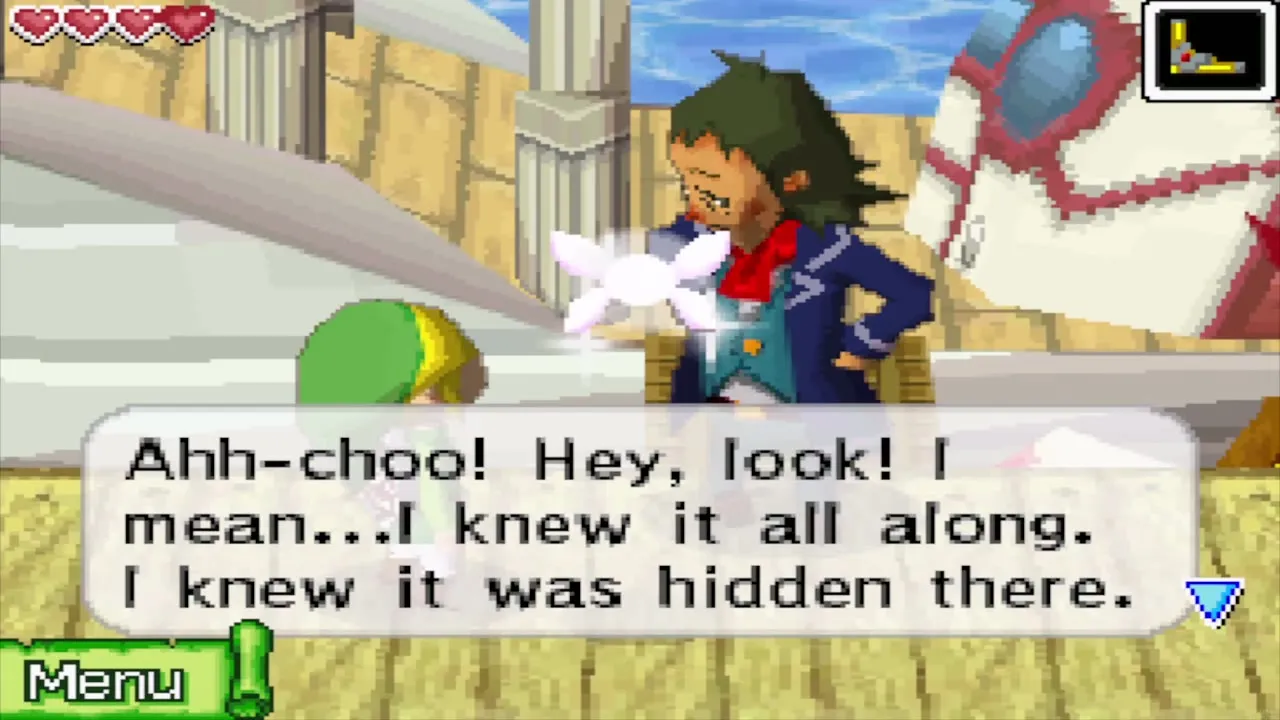
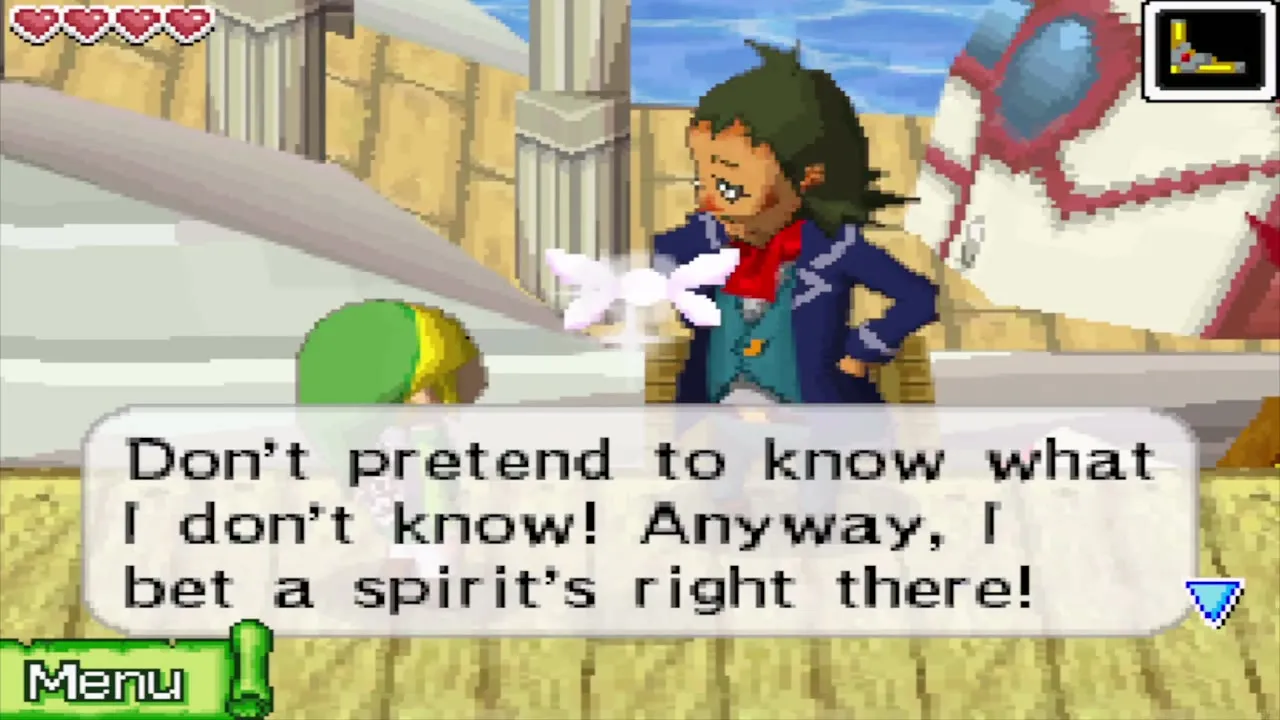
The chart is too dusty to read, so Linebeck orders you to clean it. Open the chart and blow into the microphone until the dust clears. A new crest appears on the chart, and Linebeck pretends he knew it was there all along. Ciela is more interested in the idea that a spirit is waiting at that spot.
Linebeck then explains how to leave the Southwestern Sea. Draw a course to the top edge of the Southwestern chart until the Northwestern Sea comes up, then draw the next leg on the Northwestern chart. Do not try it yet. You need a cannon first, so the route goes by way of Cannon Island.
Cannon Island: how to get the Cannon
Meet the Postman and Fuzo
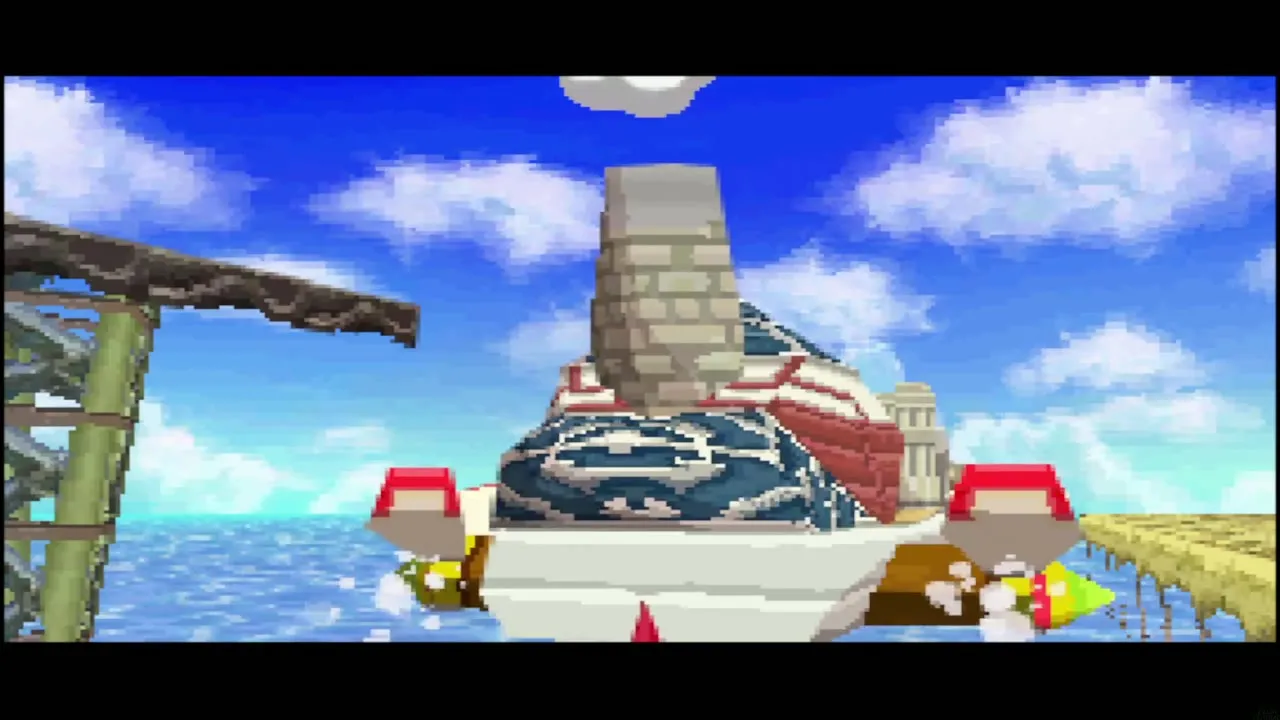
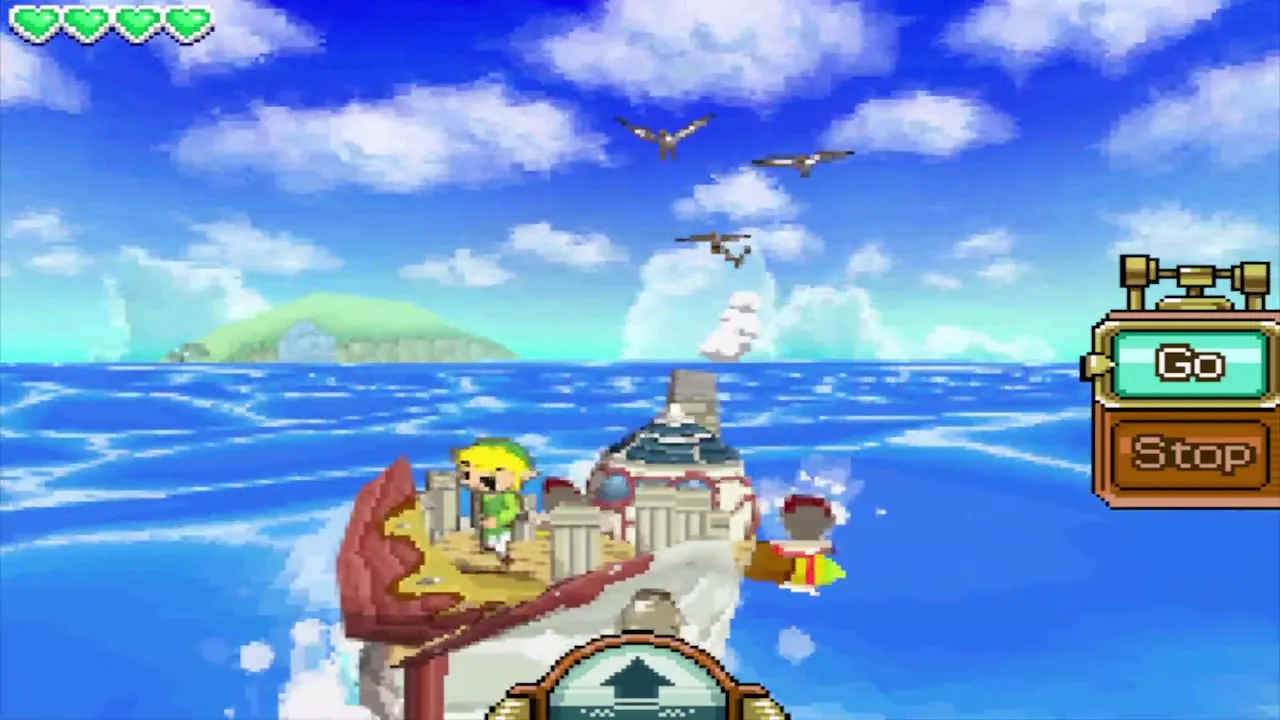
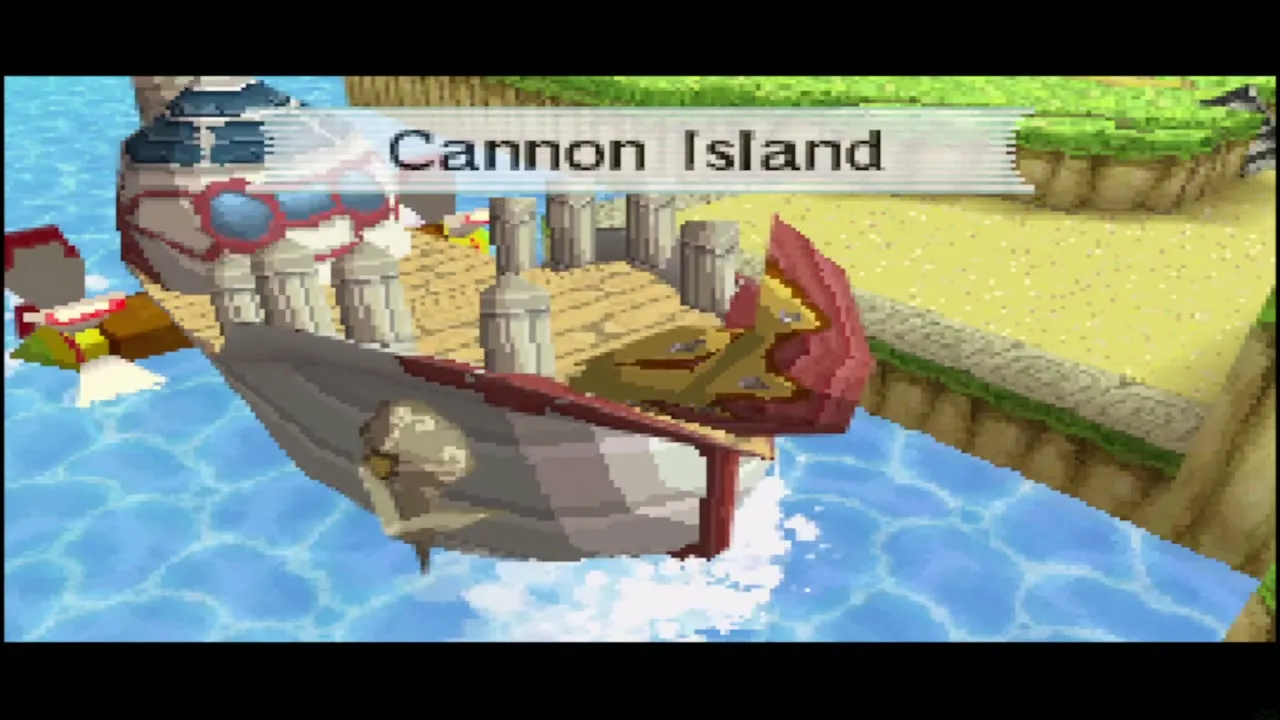
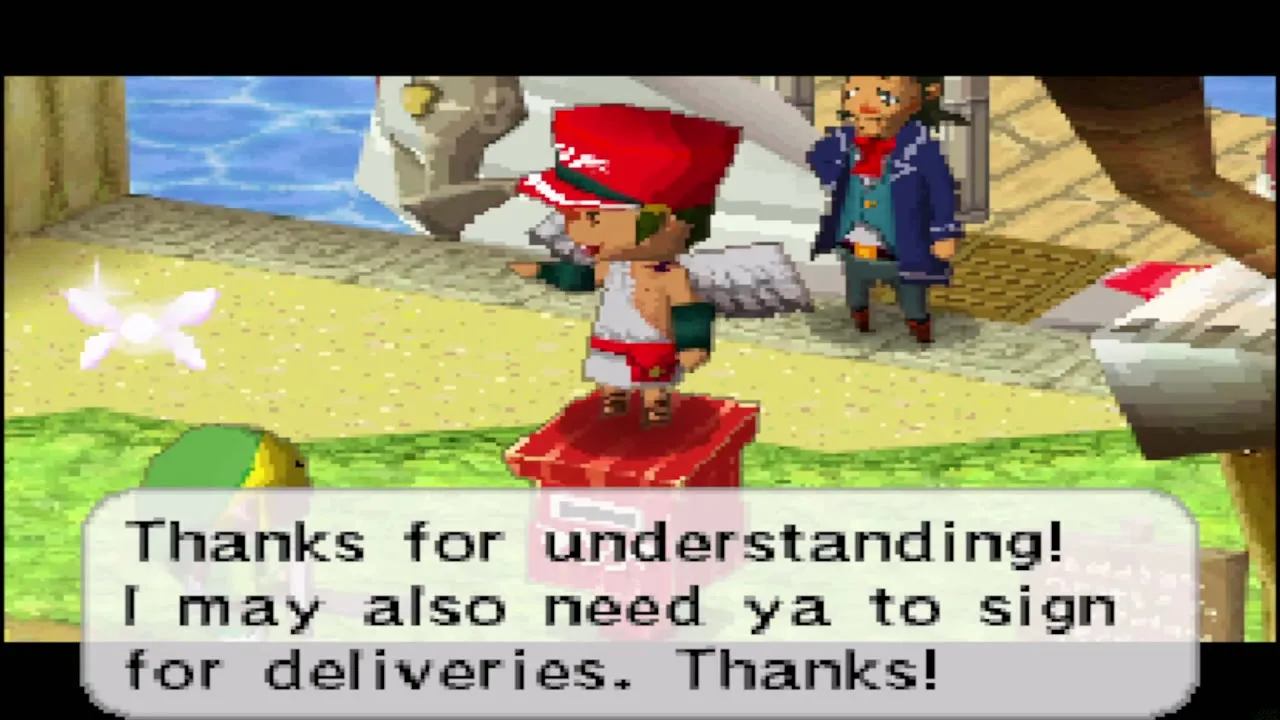
Set sail for Cannon Island, a short trip from Mercay Island, and dock at the stairs. The Postman stands on the red mailbox at the top. From now on he brings letters to the mailbox at each port, and he asks you to write your name on the touch screen when you sign for a delivery.
Go into Eddo’s Garage, the building past the mailbox. Eddo’s apprentice, Fuzo, explains that there are no cannons for sale. His master is shut in his workroom, and the way in is the back door. The back door will not open from the inside, so Fuzo opens the gate that leads out to the rest of the island.
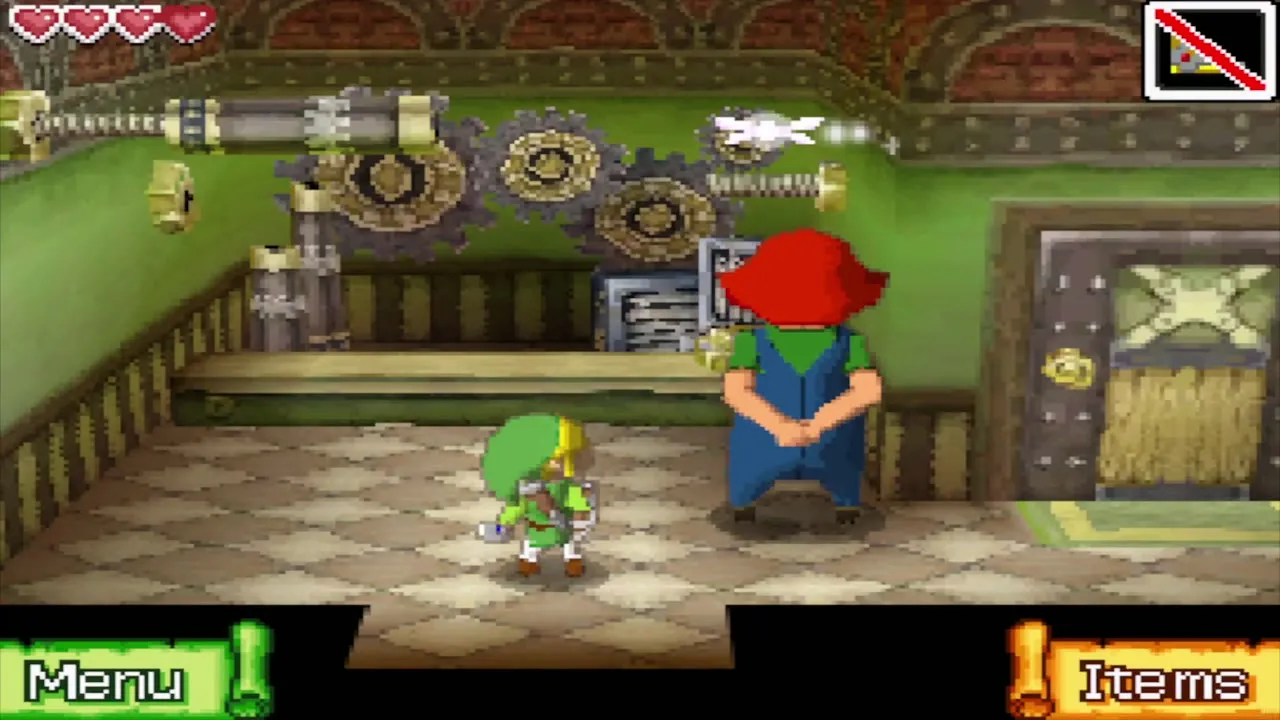
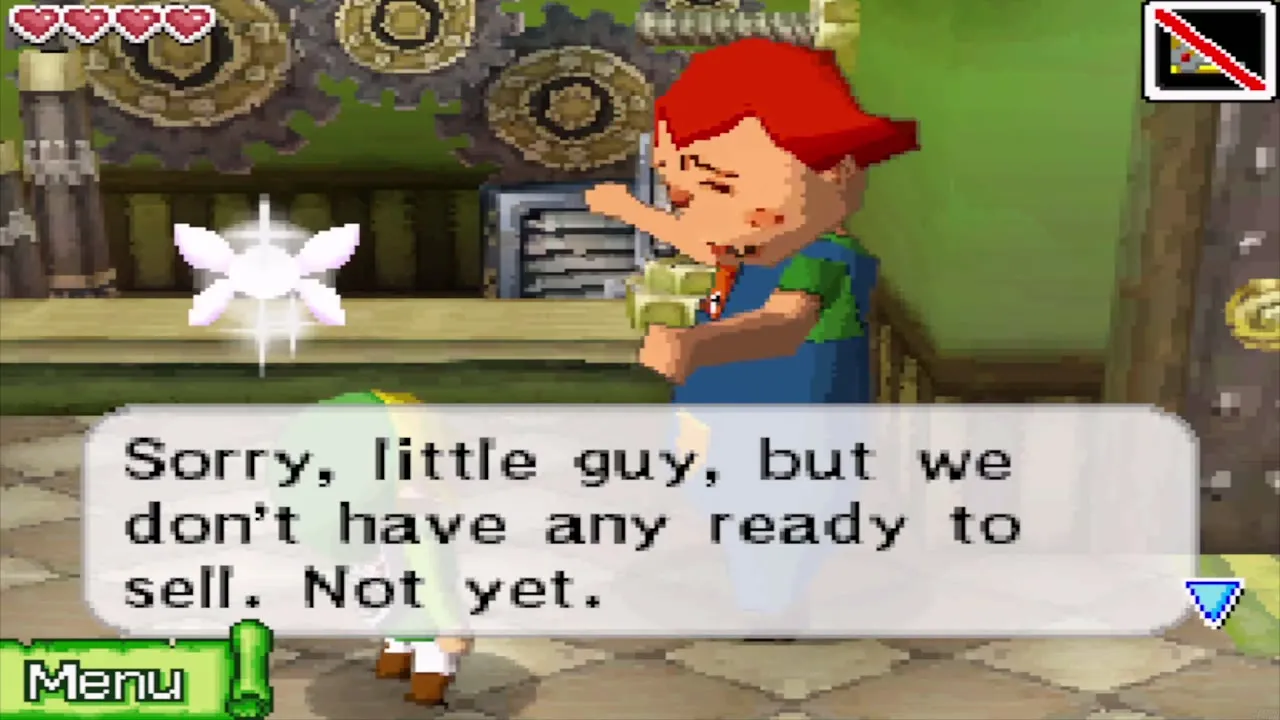
Cross the Bomb Garden to the back door
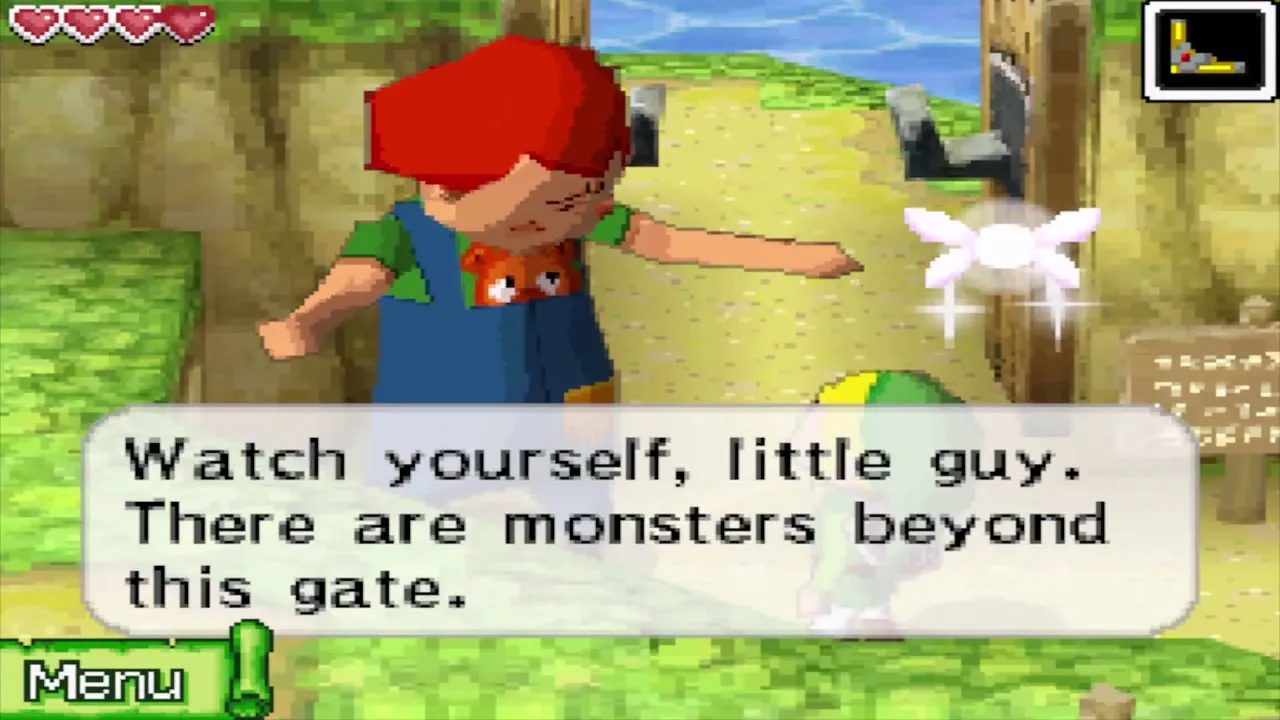
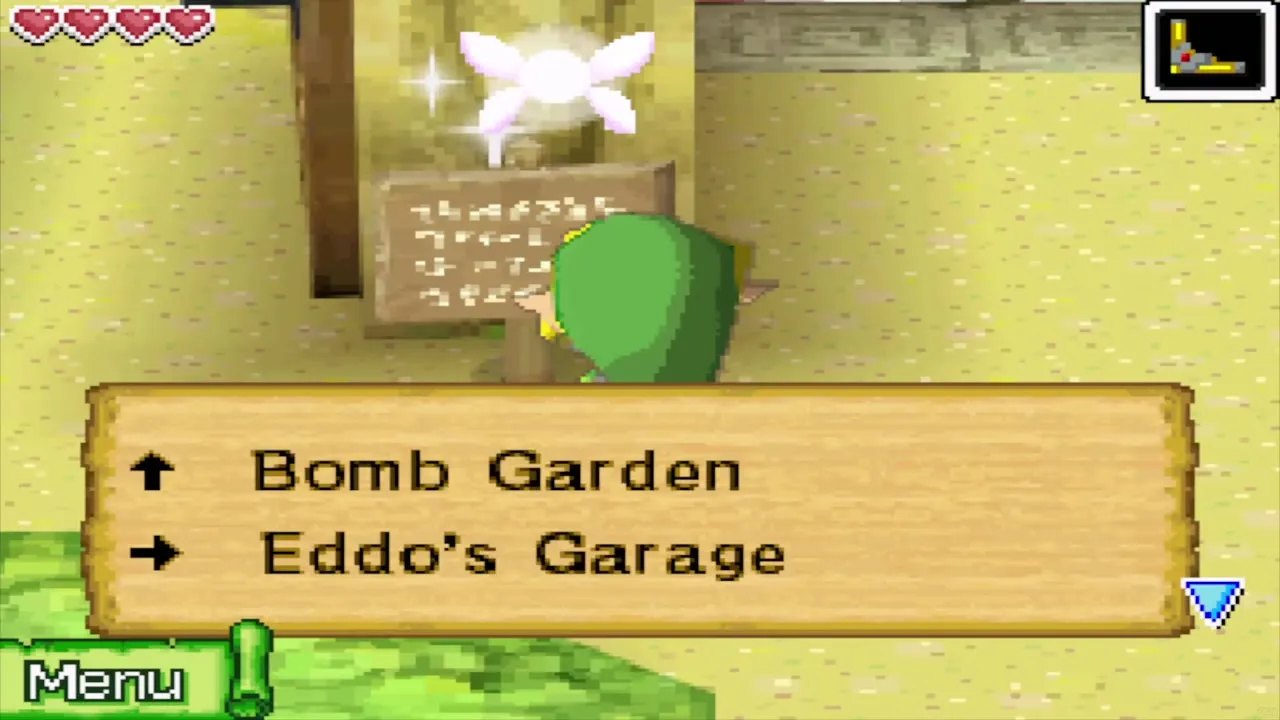
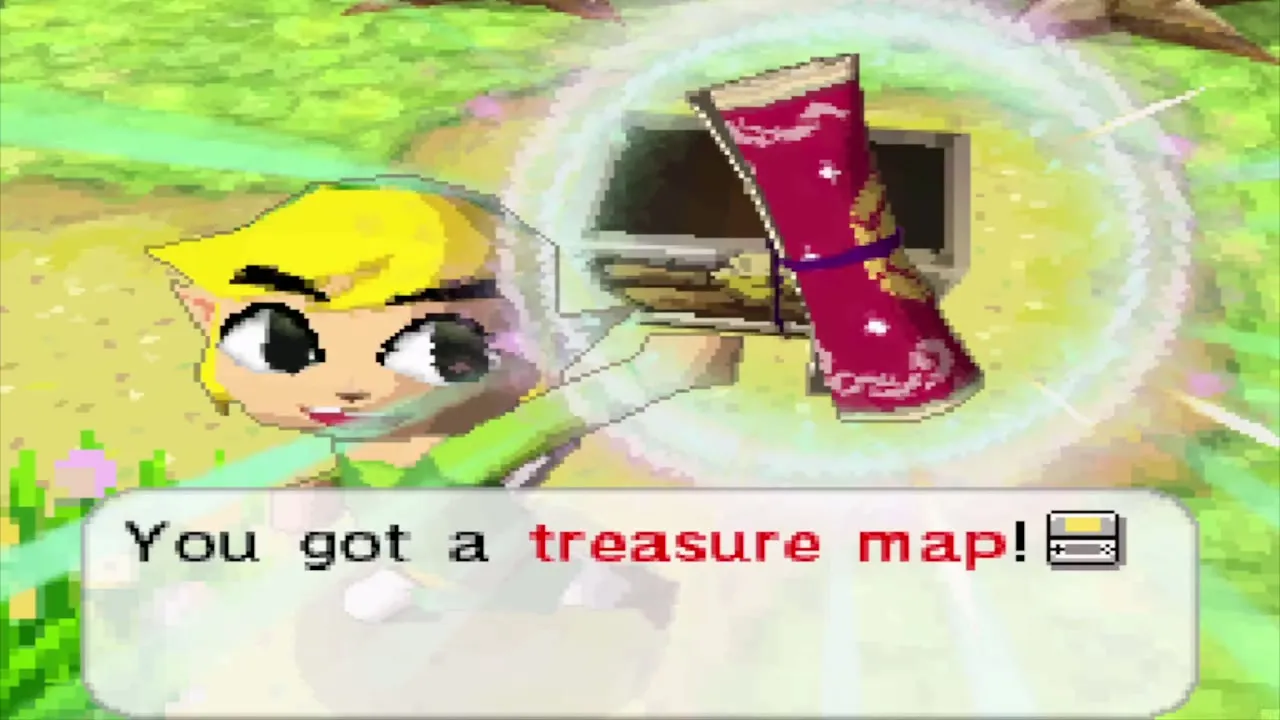
Take the gate Fuzo opened and follow the path past the signs for the Bomb Garden and Eddo’s Garage. Cut the bushes as you go and watch for monsters. At the first fork, a chest in a grassy clearing holds a treasure map. It is treasure map 1, and the sea treasure it marks is a ship part. You cannot salvage it until you own the Salvage Arm, which a later chapter covers.
The path then drops into a cave. Defeat the rats and pick up a Bomb Flower, carry it to the cracked rocks on the east side of the room and throw it. In the next room, throw a Bomb Flower over the fence to clear a rock, then push the blocks around to open a route. Carry another Bomb Flower through the small block maze to blast the rocks at the end, and climb the stairs.

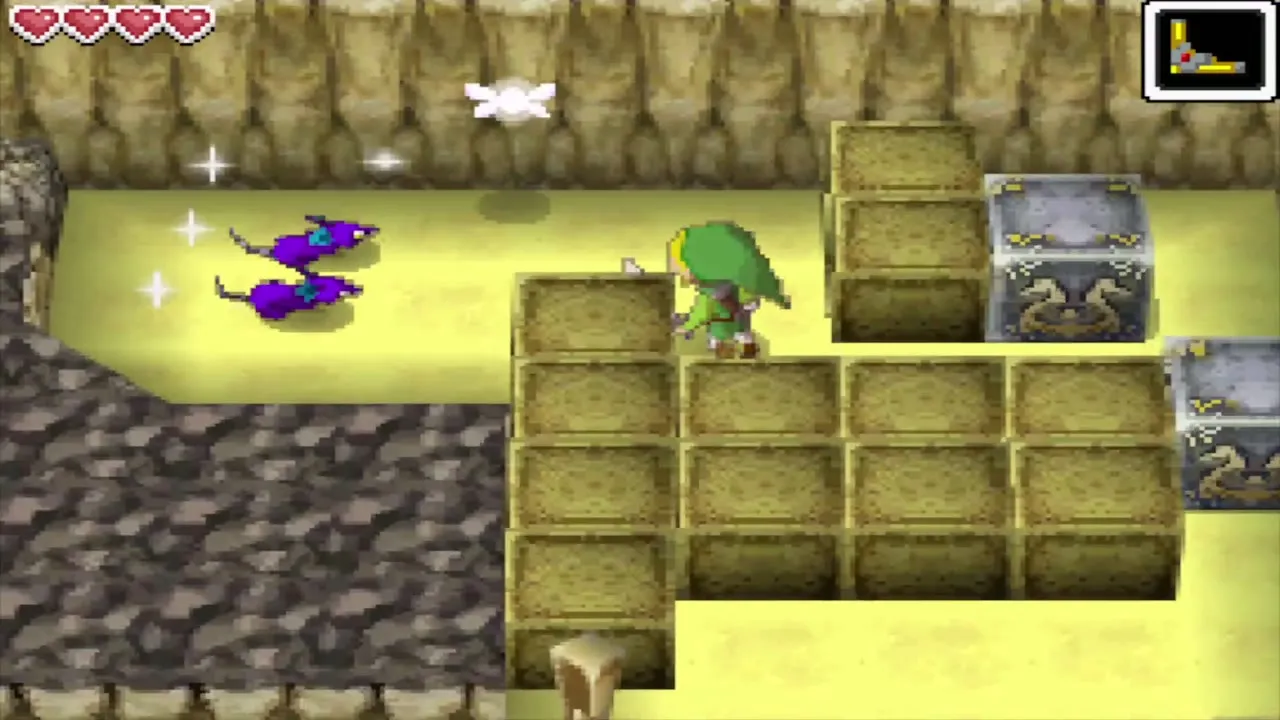
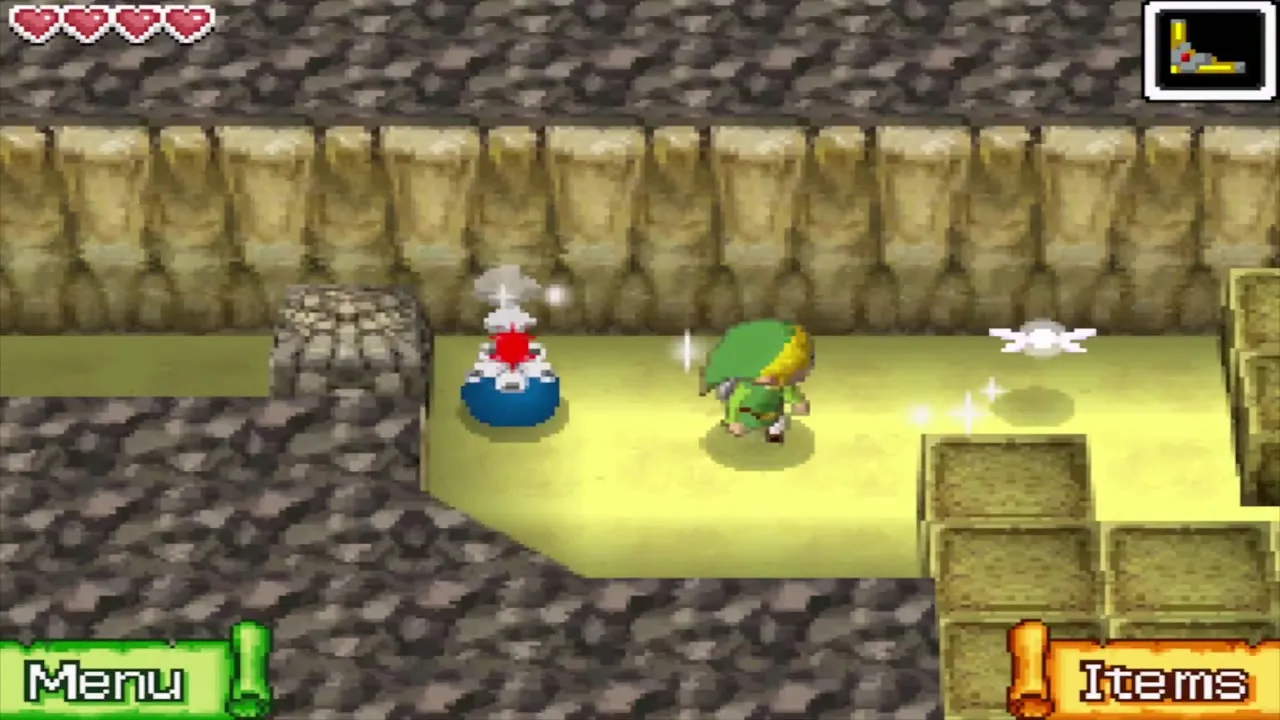
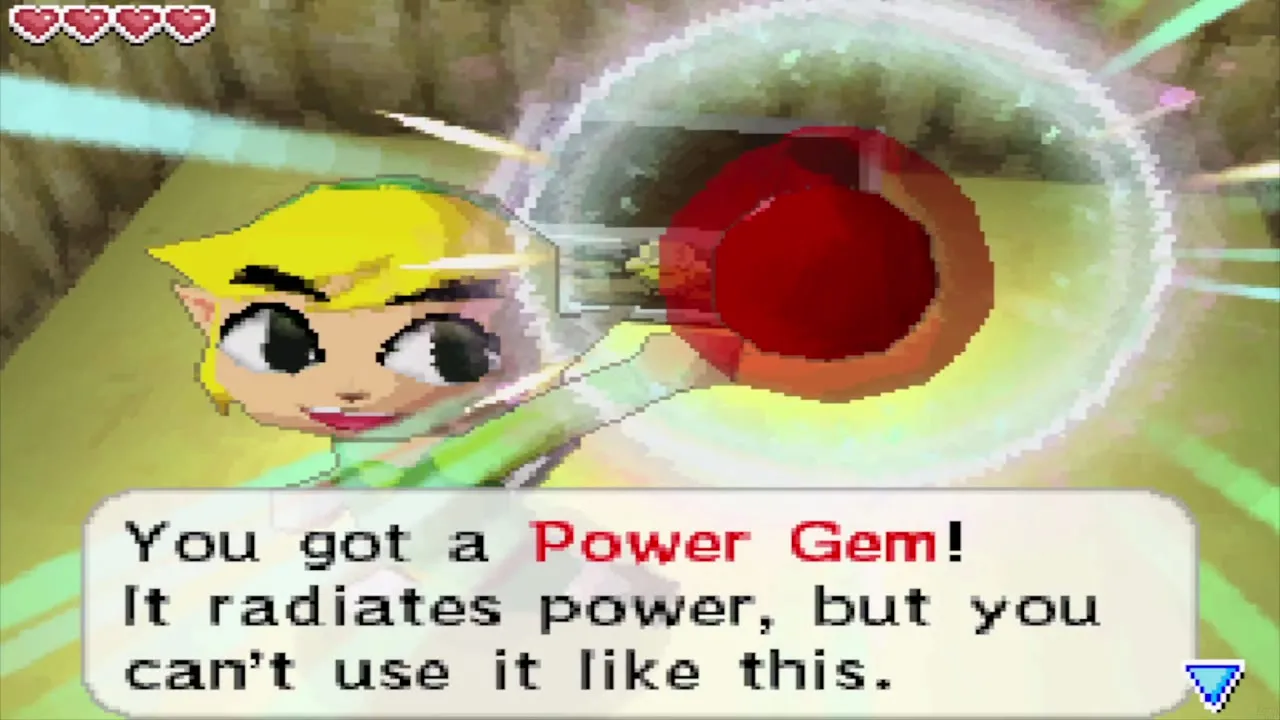
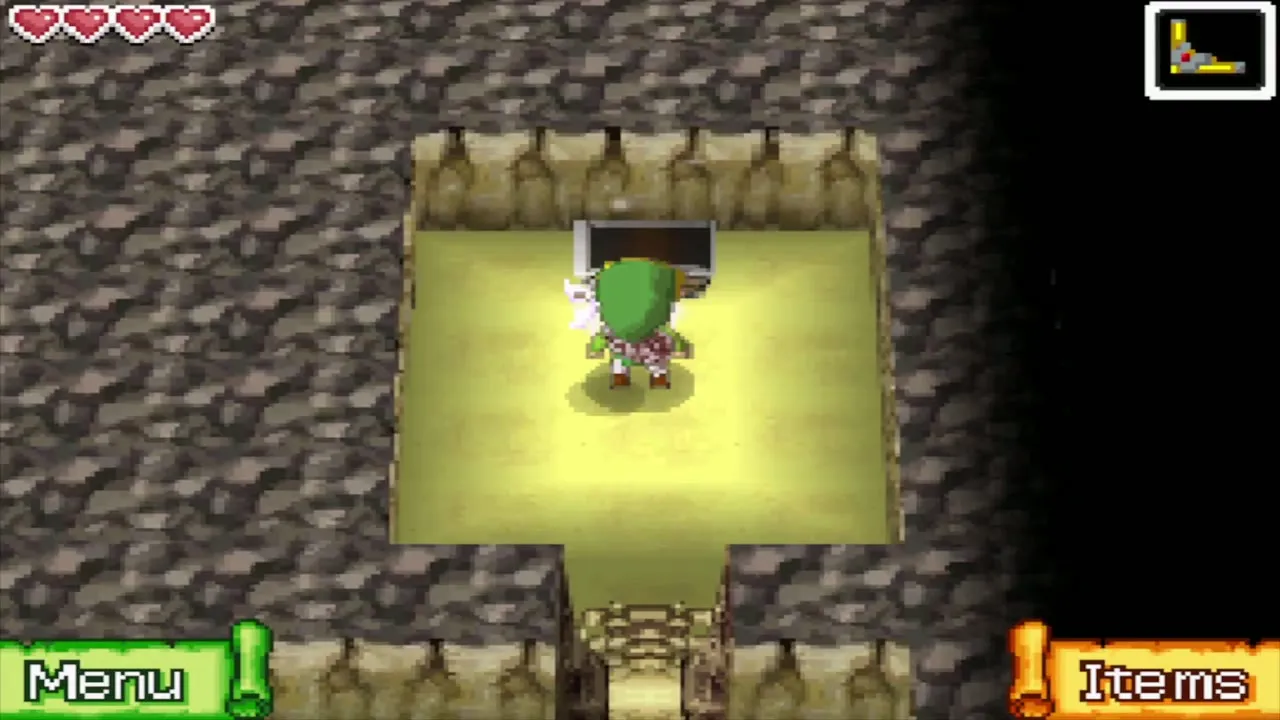
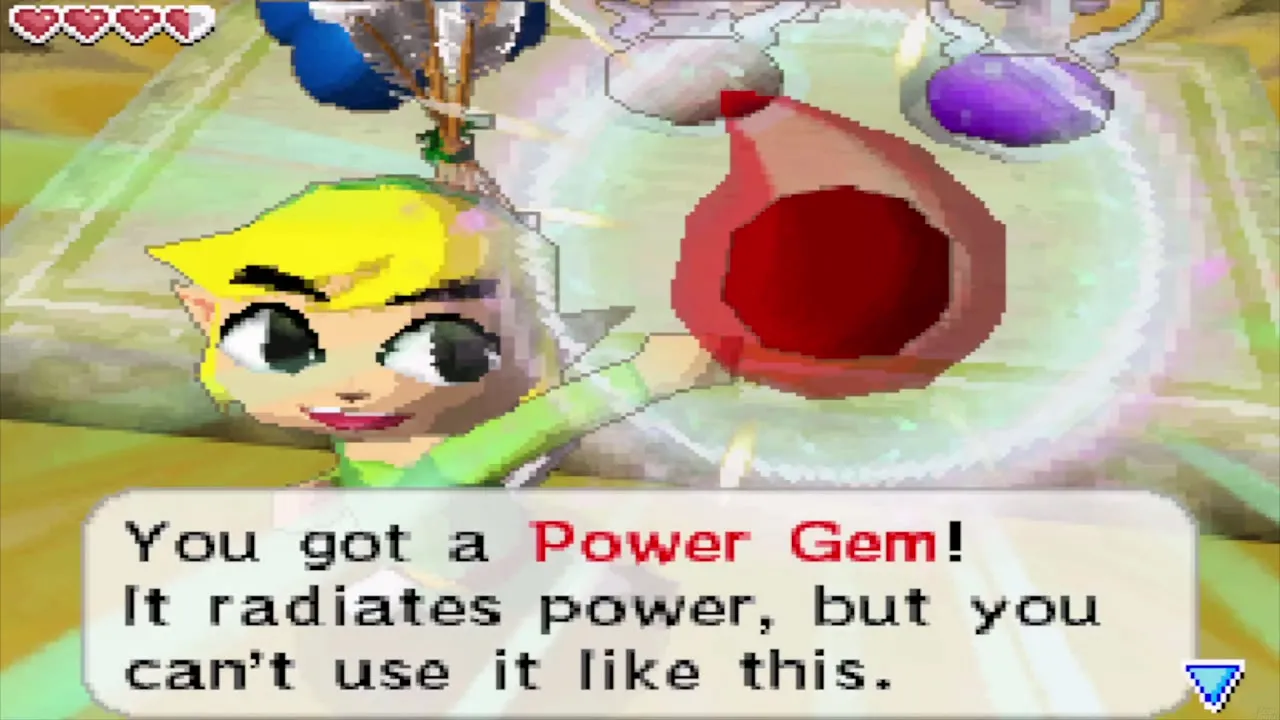
A chest in this cavern, behind a cracked wall that a Bomb Flower will open, holds the first Power Gem of the chapter. You cannot use it yet. Keep it until you reach the shrine on Spirit Island, which is covered at the end of this chapter.
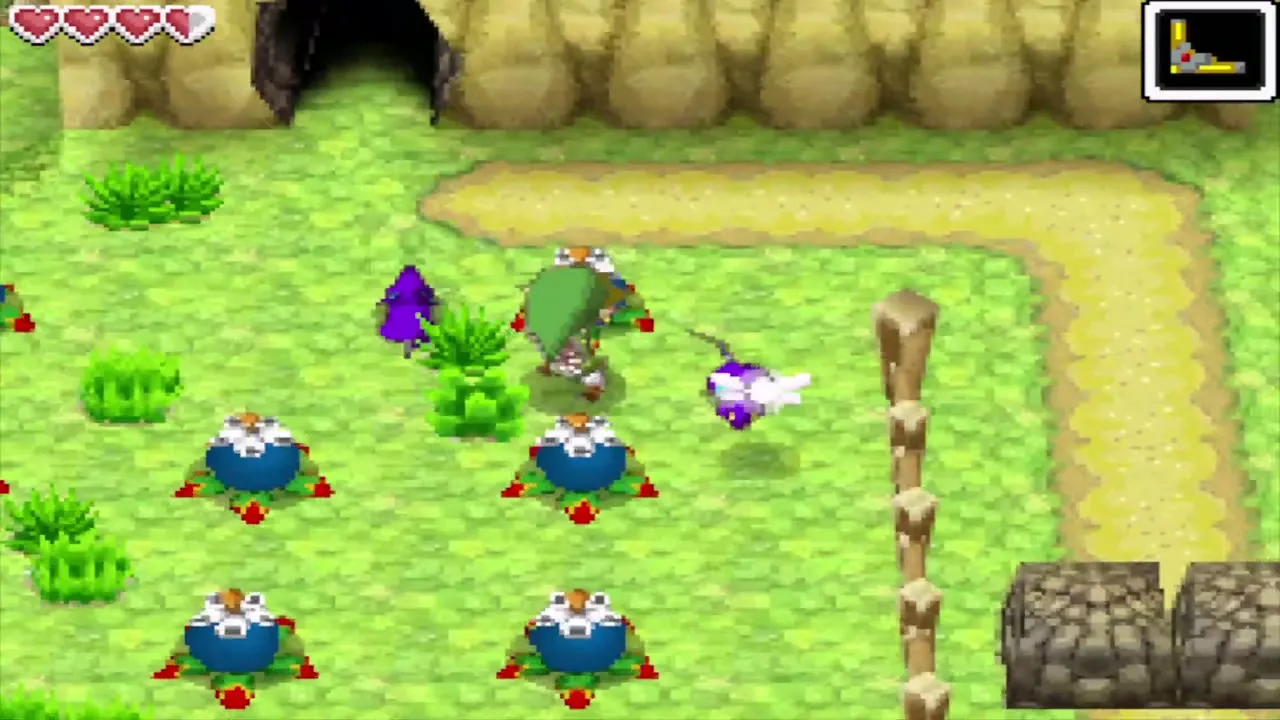
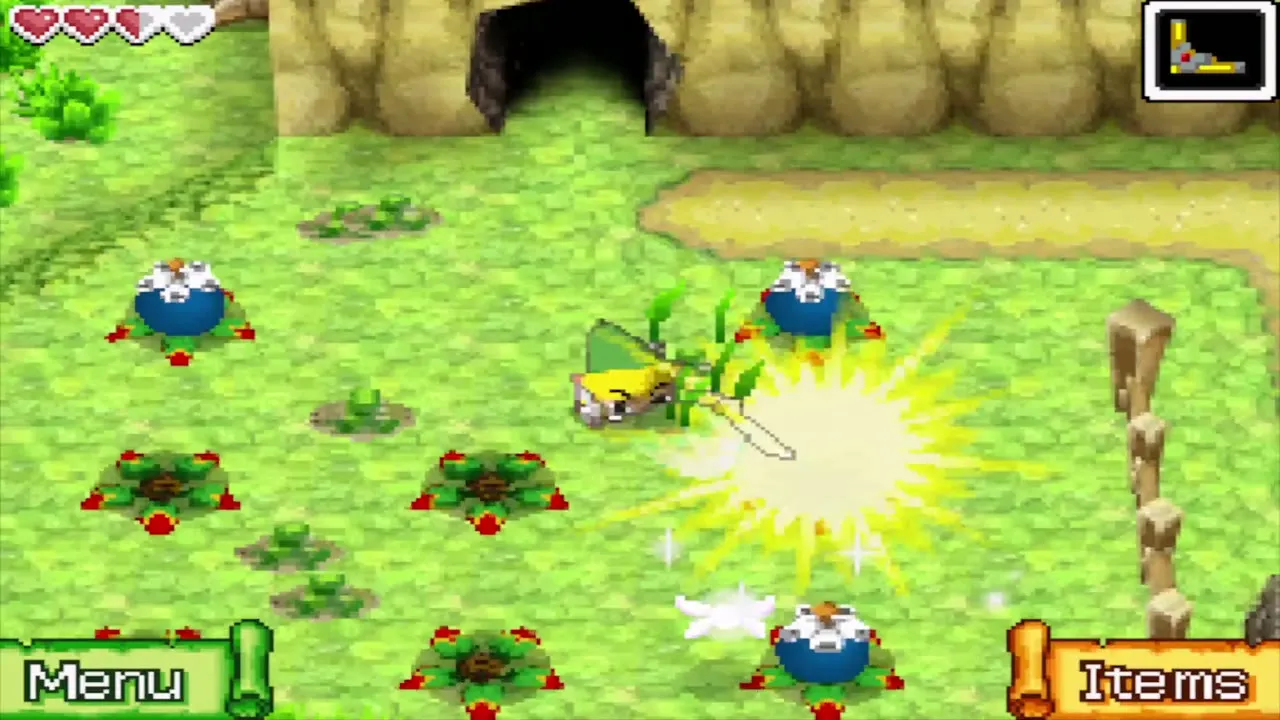
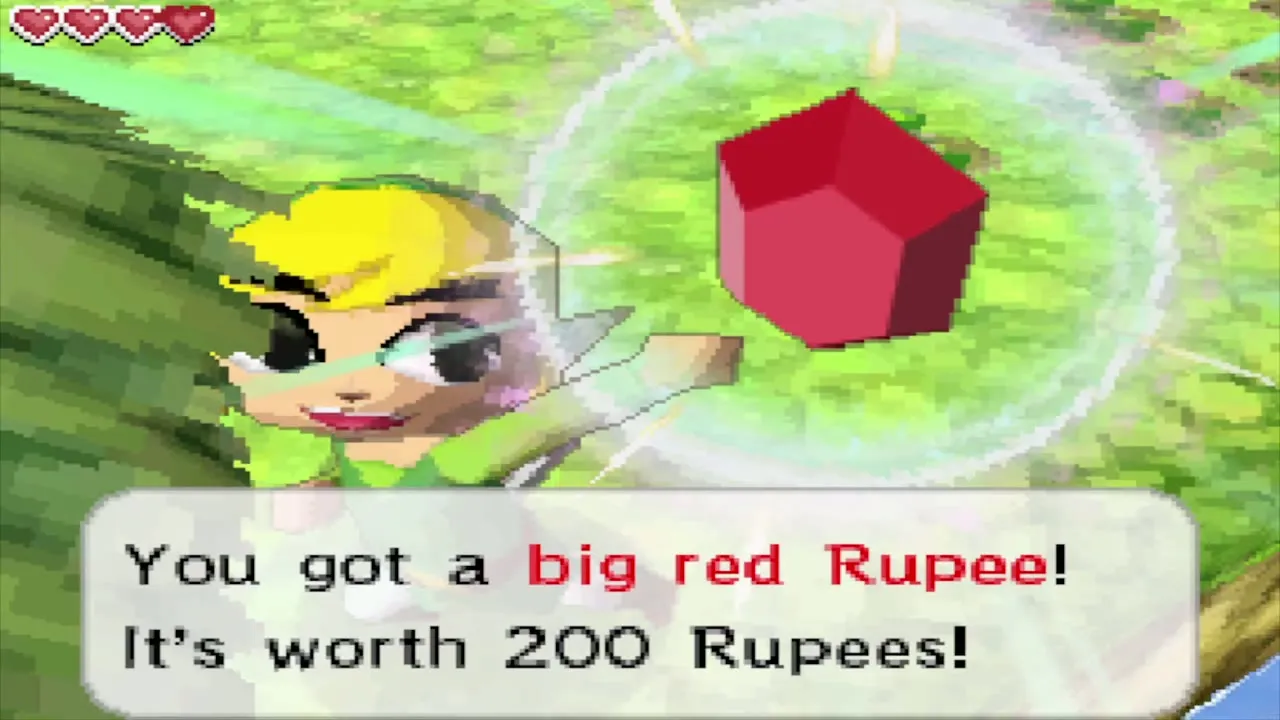
Outside, you reach the Bomb Garden itself, a fenced field of Bomb Flowers with monsters roaming in it. Blow up the rocks that block the way east with the flowers. A chest south of the fences, just before a ledge, is optional and holds a Red Rupee worth 20 Rupees, and rolling into the lone tree east of the Bomb Garden shakes loose a Big Red Rupee worth 200. Farther along, take another Bomb Flower from a ledge, jump down and throw it at the blocks past a fence. The path north ends at Eddo.
Buy the Cannon from Eddo
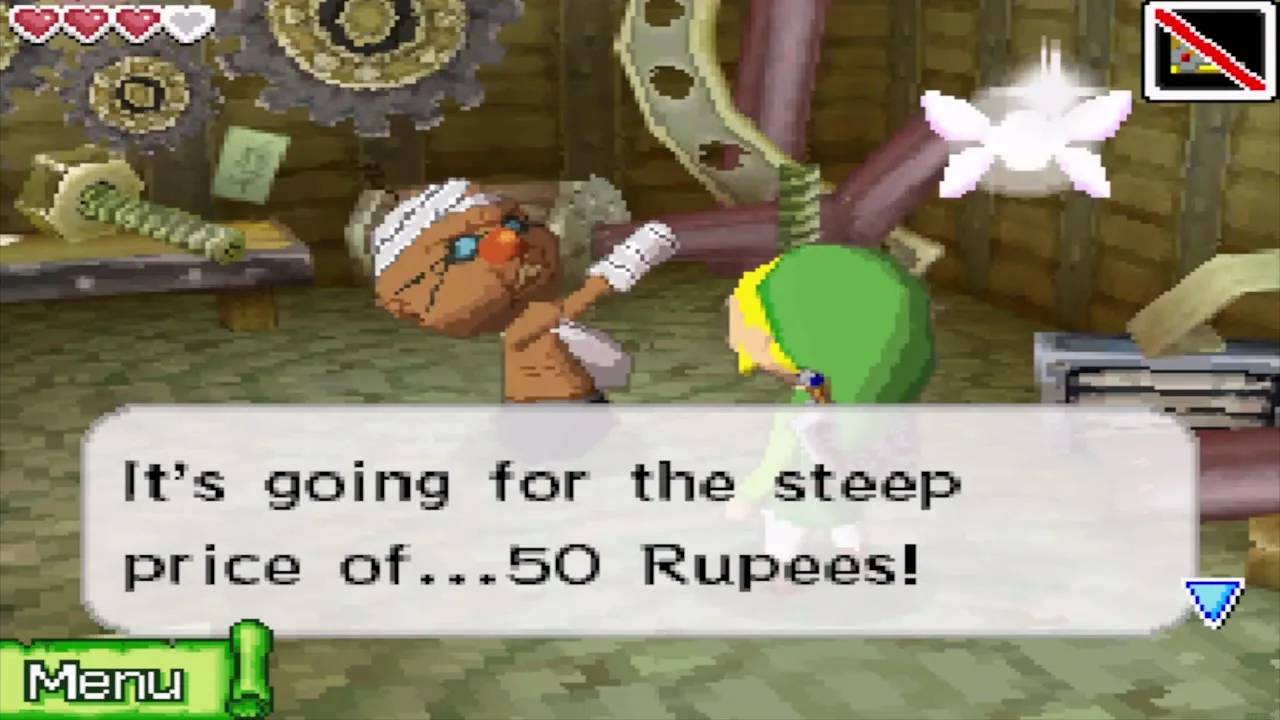
Talk to Eddo in his workroom. He teases the price before he says it: the Cannon costs 50 Rupees. Answer yes and pay to take the Cannon, which your ship now carries on its deck. Eddo adds that he plans a Salvage Arm that will pull treasure from the seafloor. That is where your treasure maps will pay off later.

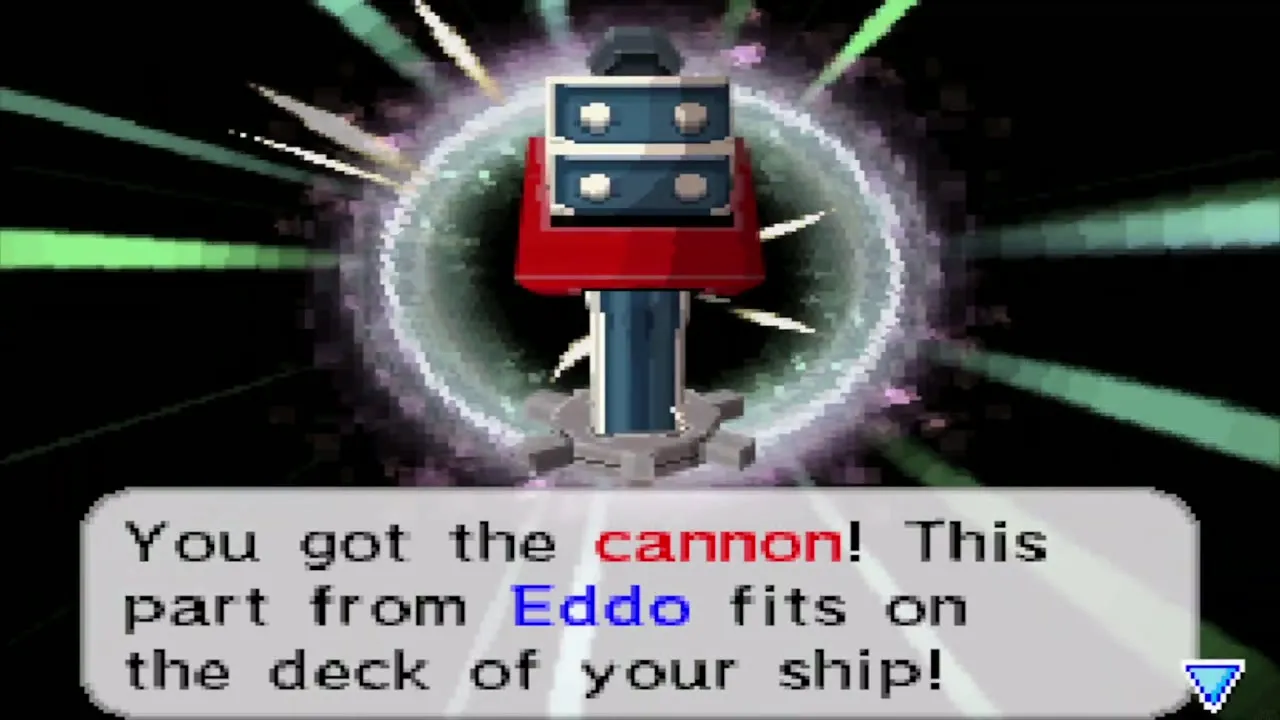
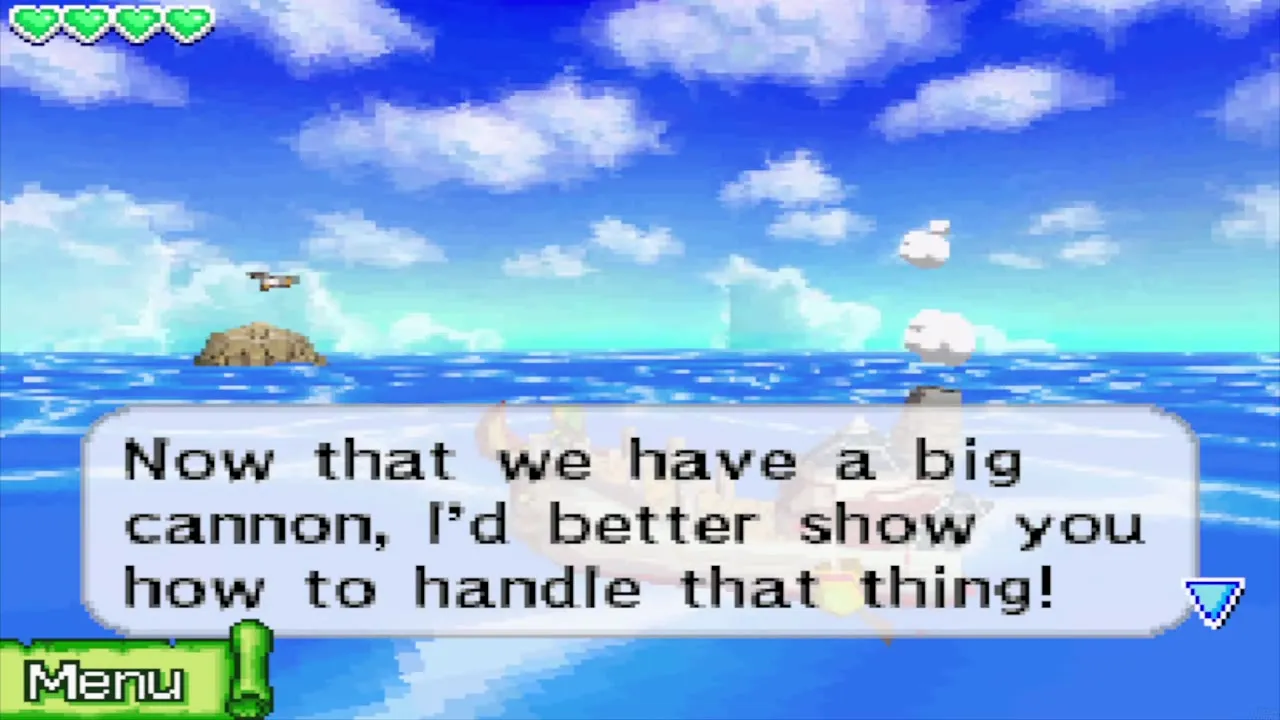
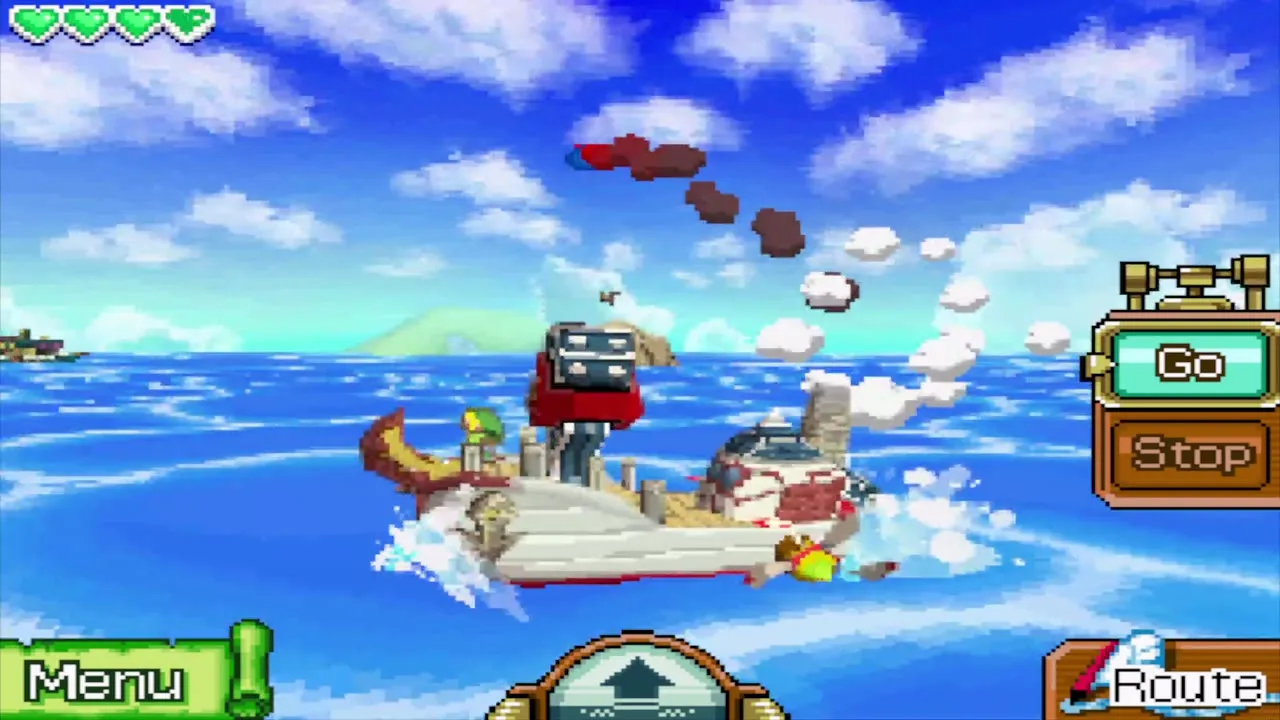
Walk back to the dock. The Postman is waiting with a letter from the Postmaster, who asks you to be kind to the new postman. Write your name when asked and board the ship. Eddo’s shop boy comes along for a cannon lesson at sea: tap a target on the touch screen to fire at it, and shoot the practice targets until you are happy with your aim.

Sail the Southwestern Sea and chase the Ghost Ship
Beedle’s Shop Ship
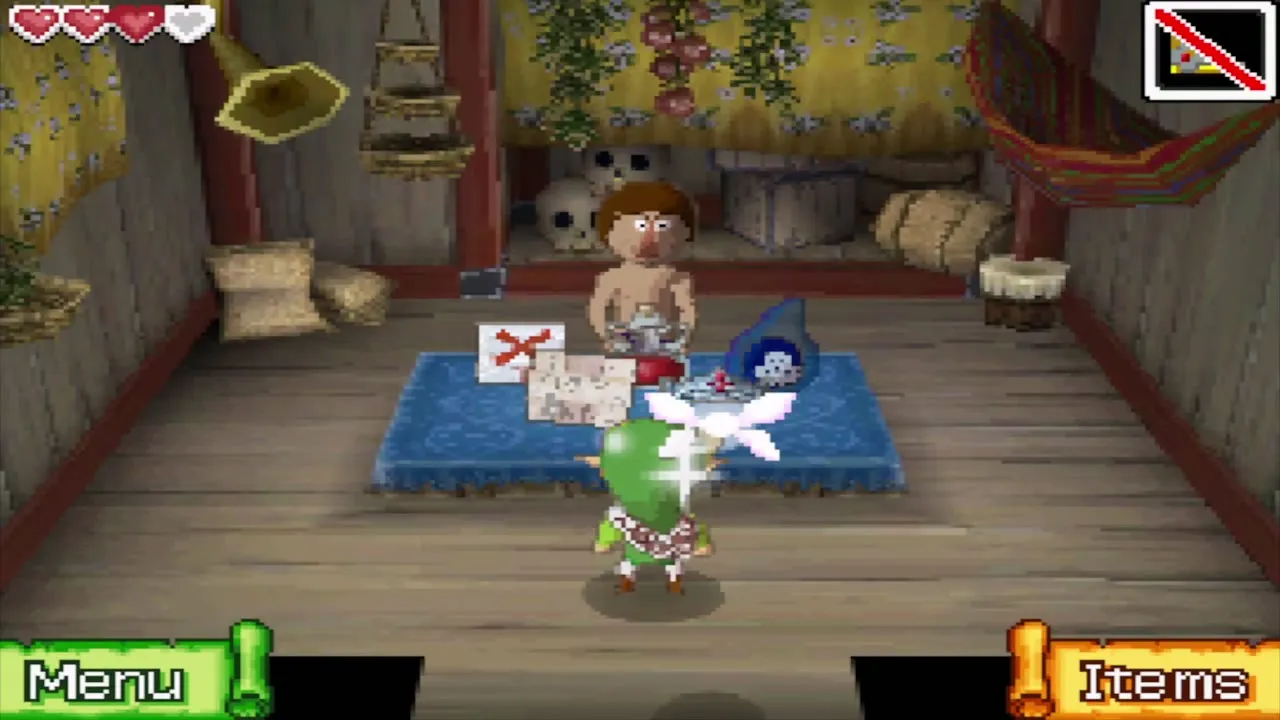
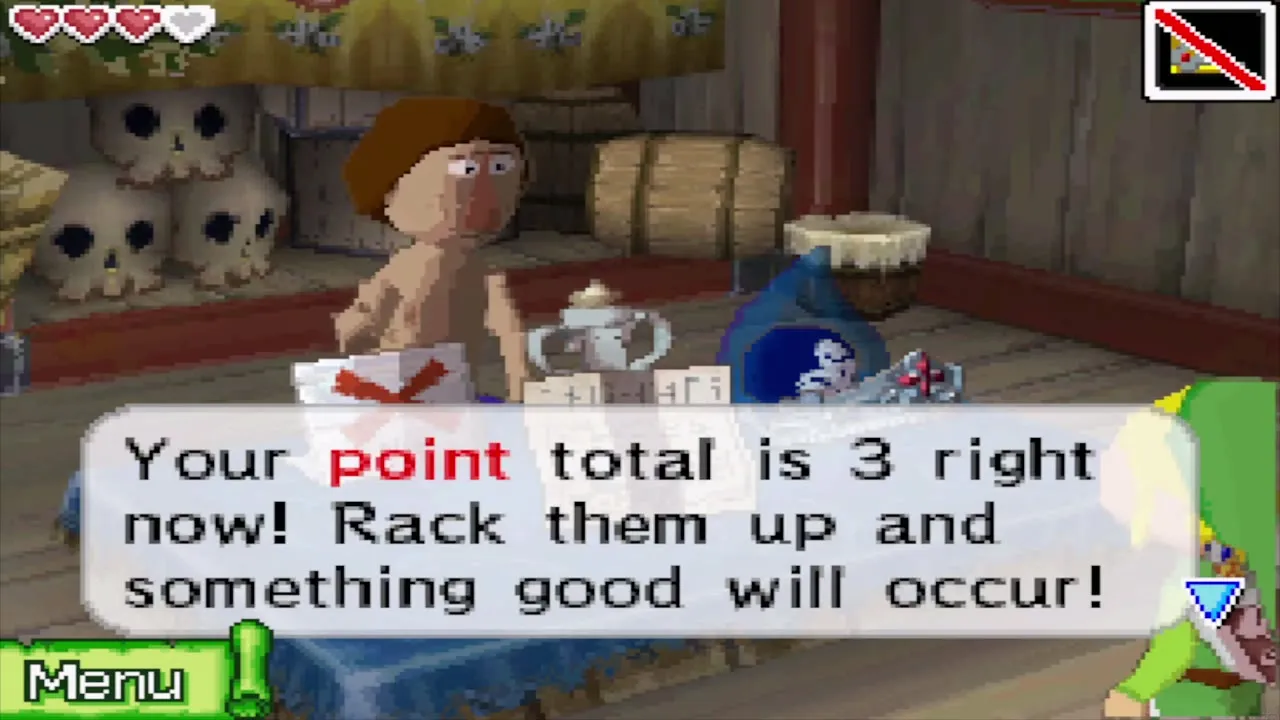
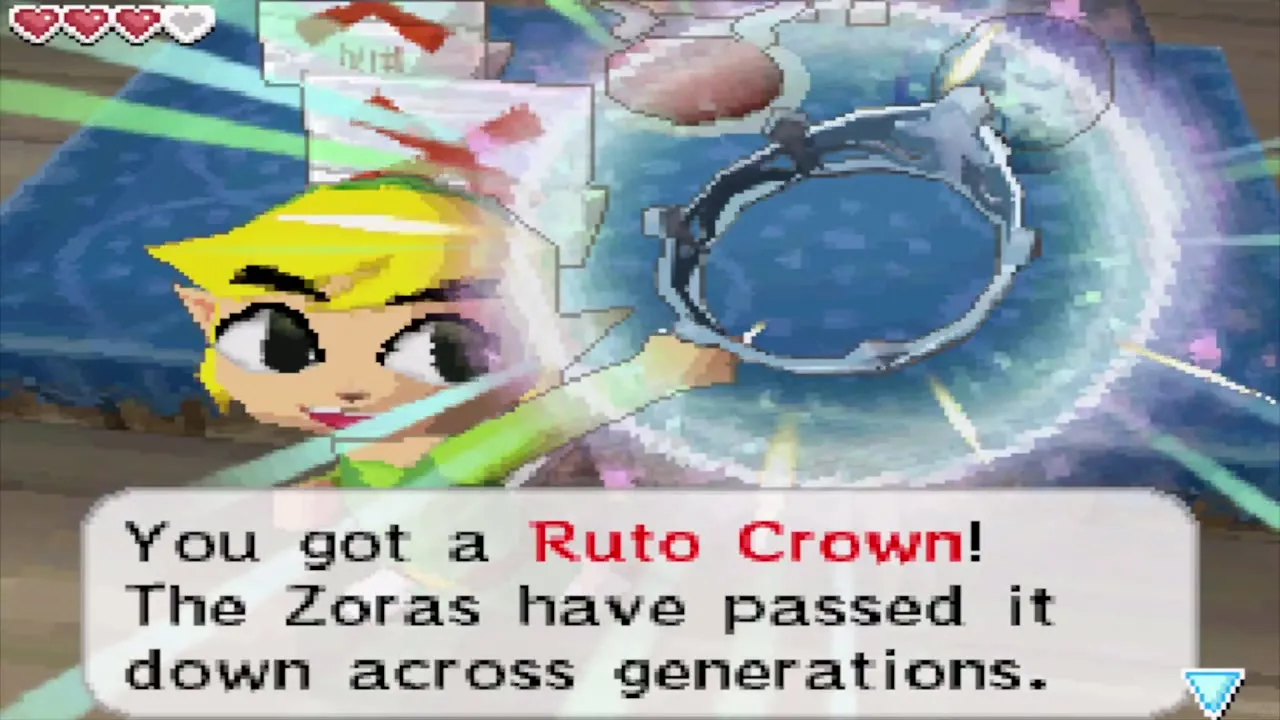
A merchant ship soon floats alongside and invites you aboard. This is Beedle’s Shop Ship. It sells ship parts, potions and a treasure, and its stock changes from day to day. Browse for a treasure to sell to the Treasure Teller on Mercay Island, or for a ship part such as the Horn Chimney.
Jump or blast the Sea Trap
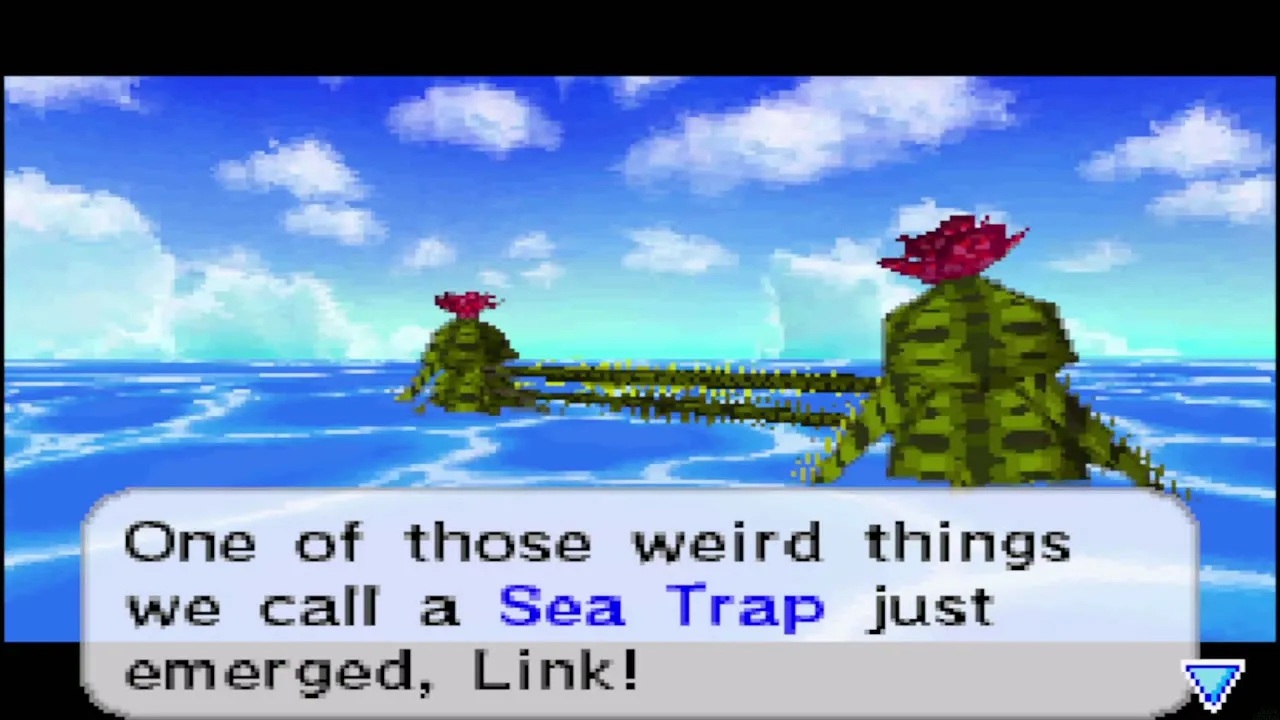
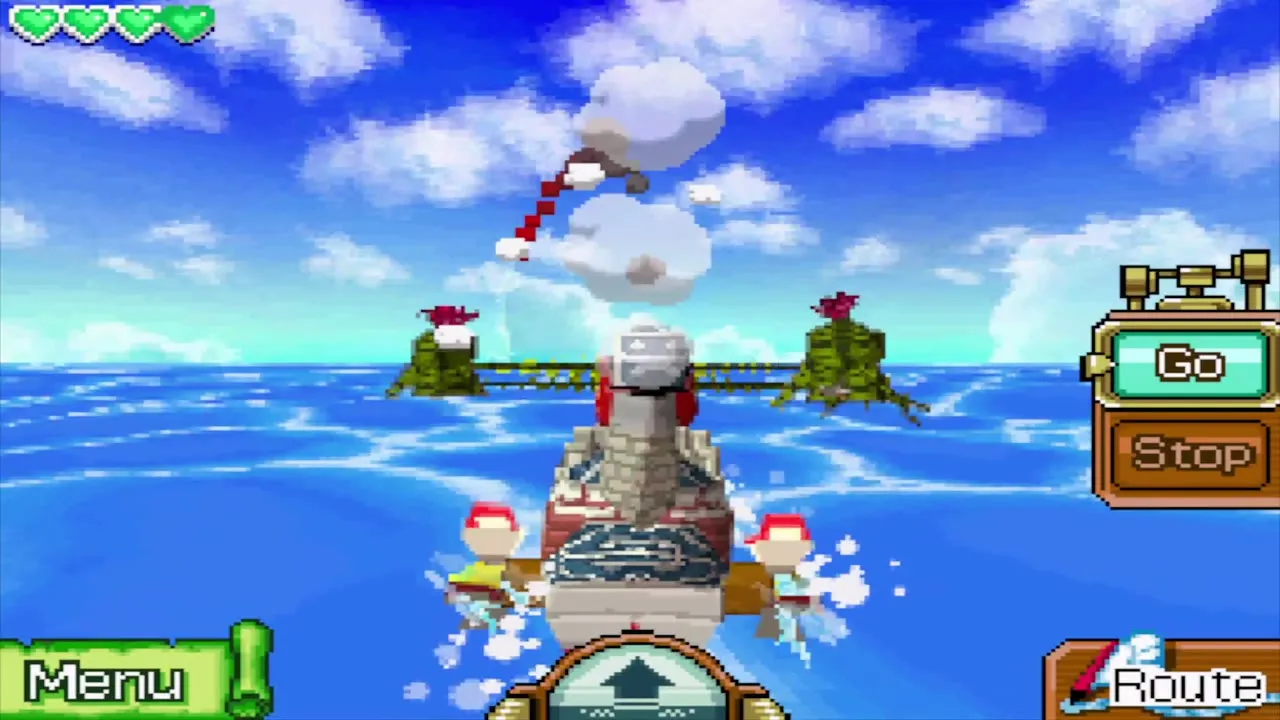
Plot a course on the chart and set sail. A Sea Trap blocks your way: two urchins hold a barbed wire between them. When the collision warning appears, you have two options. Blast each end with the Cannon, or tap the Jump Arrow to hop over the wire.

Follow the Ghost Ship into the fog
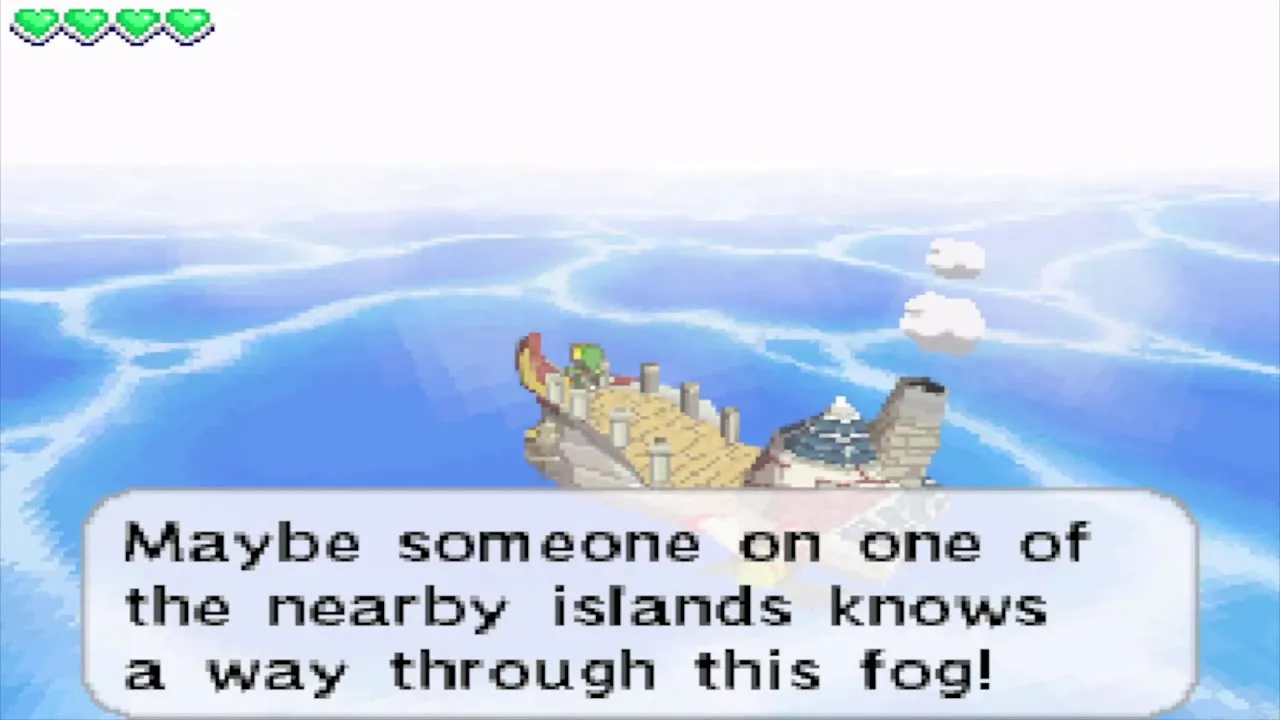
Head west through the gap in the rocks at the edge of the Southwestern Sea and use the Cannon on the boulders that block the passage. The Ghost Ship drifts into view. Linebeck wants to follow it for treasure, so draw a route after it into the fog to the north.
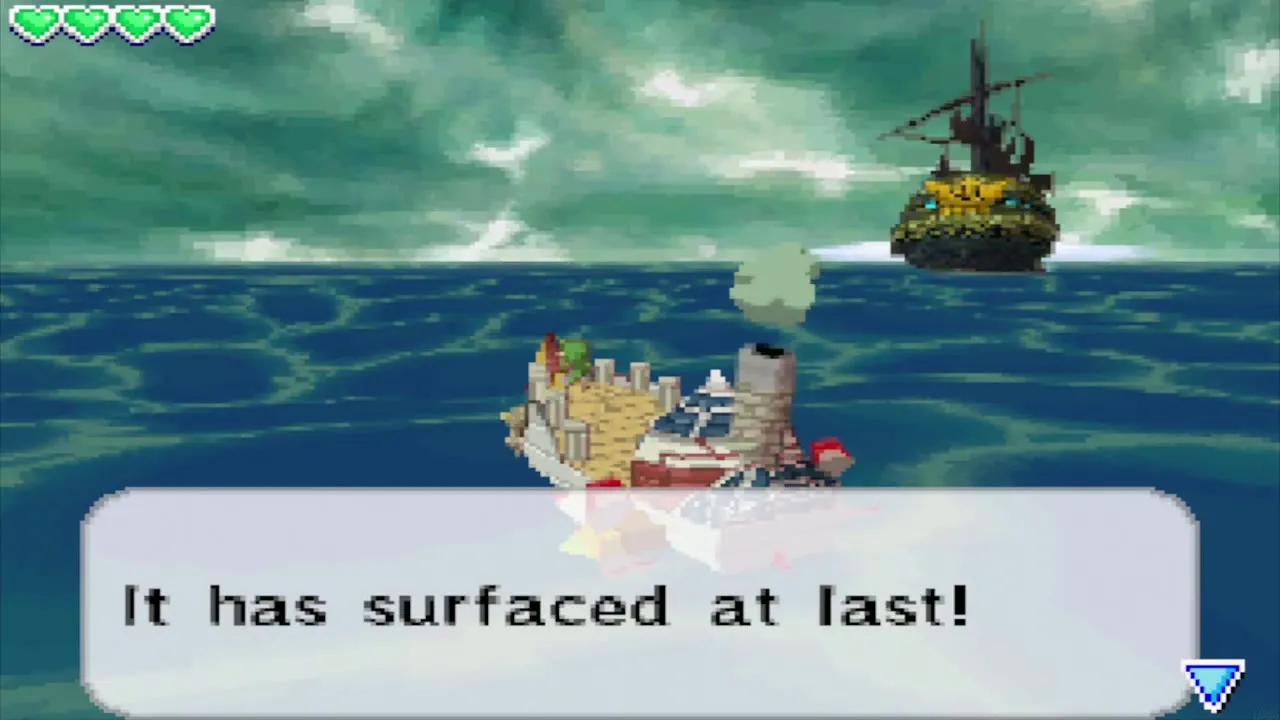
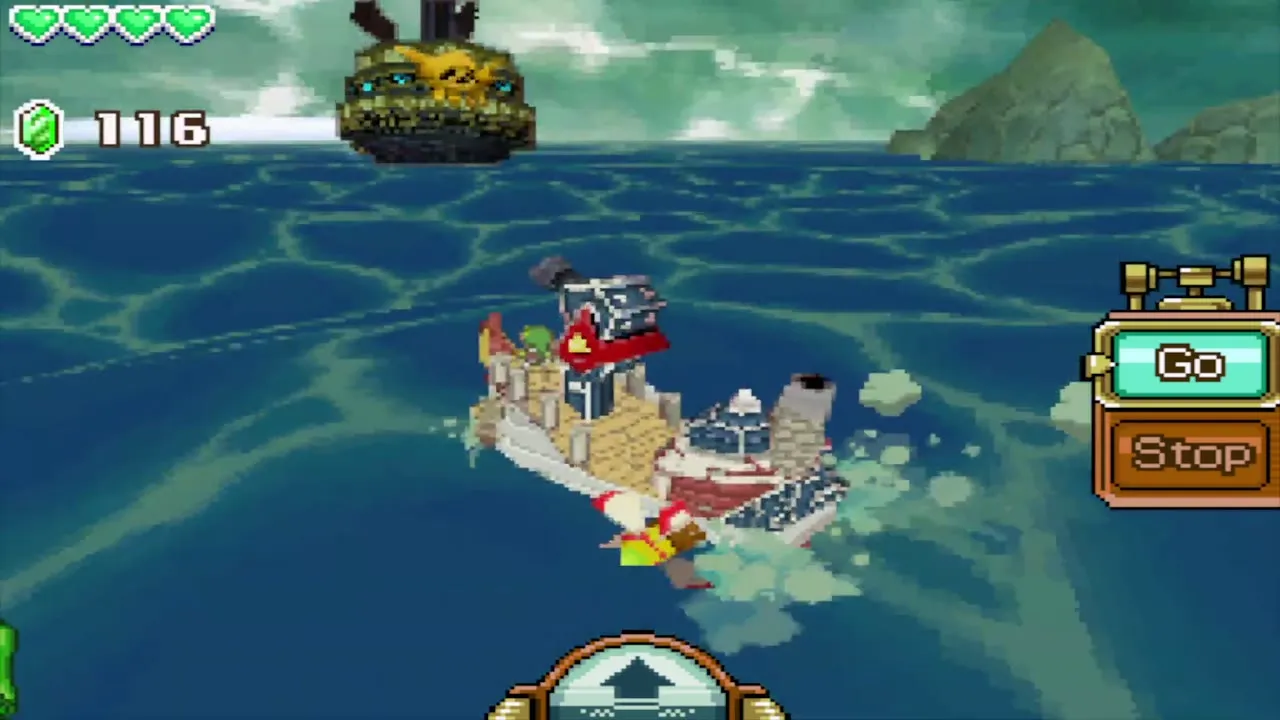
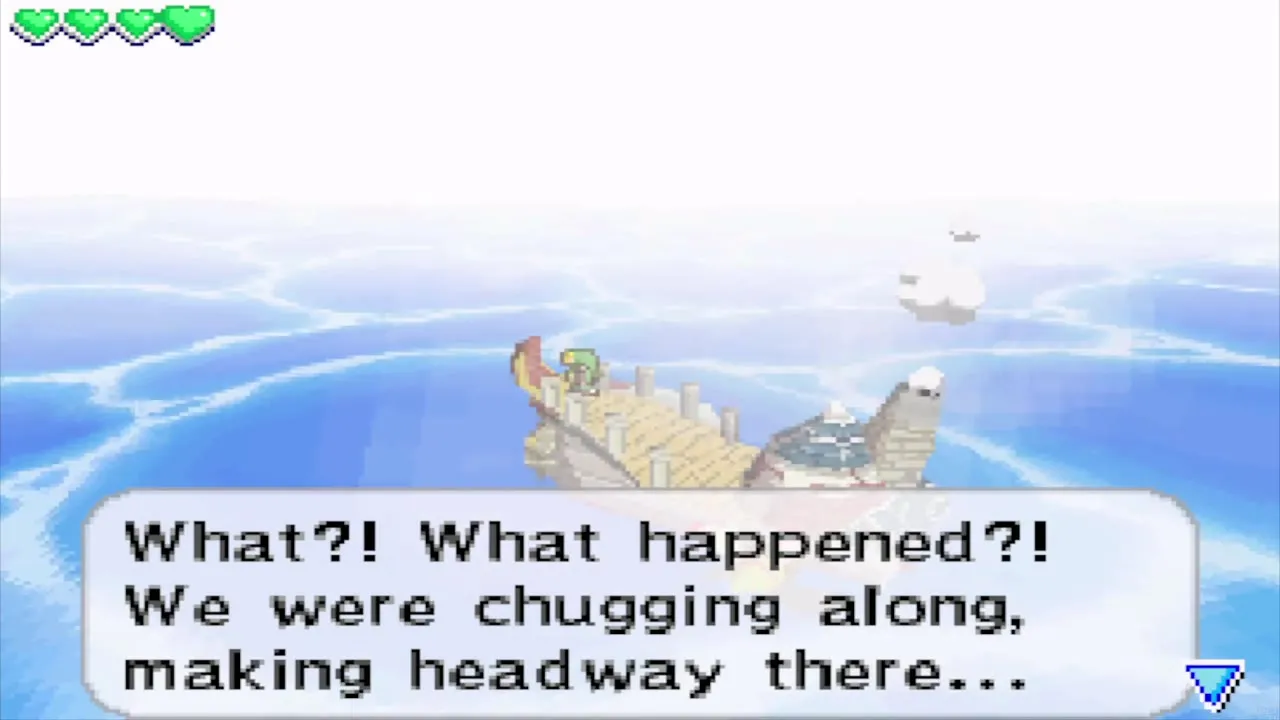
The fog thickens and your ship stalls. The crew blame the Ghost Ship, and Linebeck gives up. You cannot sail through at this point, because the fog bank pushes you back out. His suggestion is to ask the islanders for a safe passage, which sends you to Molida Island.
Molida Island: Romanos, the cave and the Shovel
Arrive and read the tablets
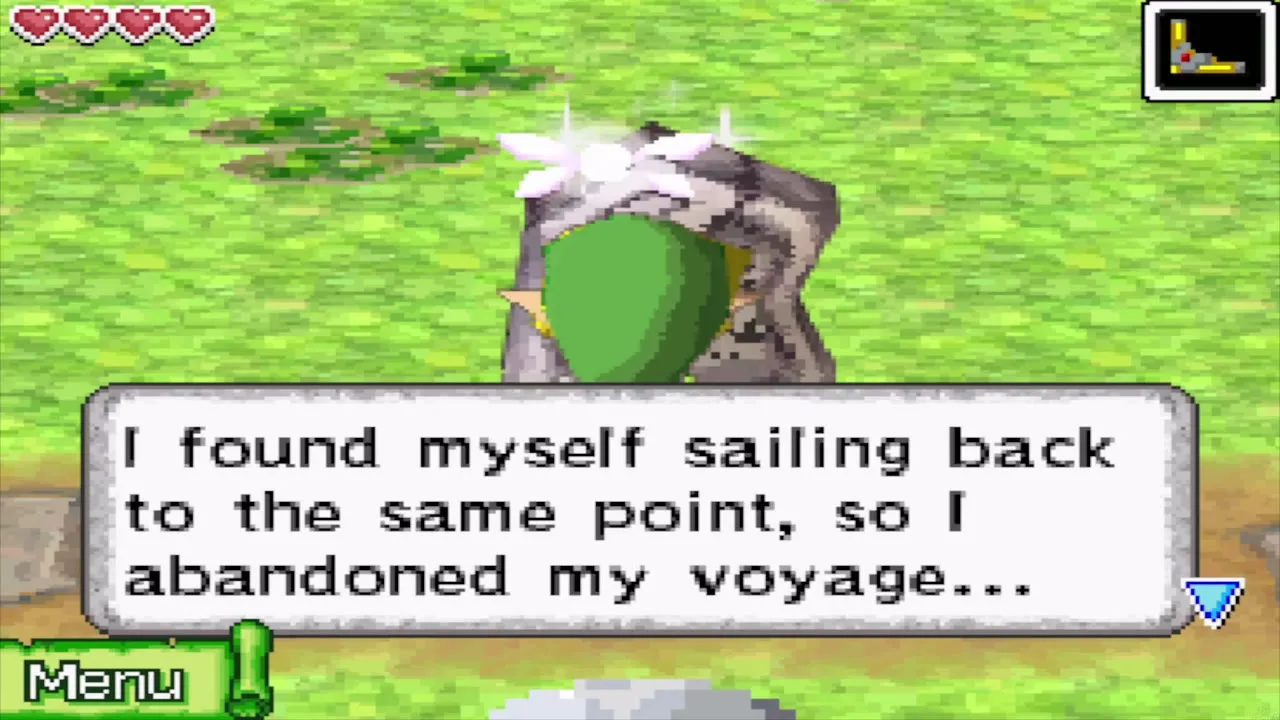
Select Molida Island on the chart and sail in. The villagers say nobody can navigate the fog, and several talk about the Ghost Ship. Read the stone tablets scattered across the island, which are signed Wayfarer’s Words. The first one, near the dock, describes a failed attempt to sail north through the fog. Later tablets mention the Isle of Gust and a dream of seeing every island beyond it. Remember where the tablets stand, because you need them in a moment.


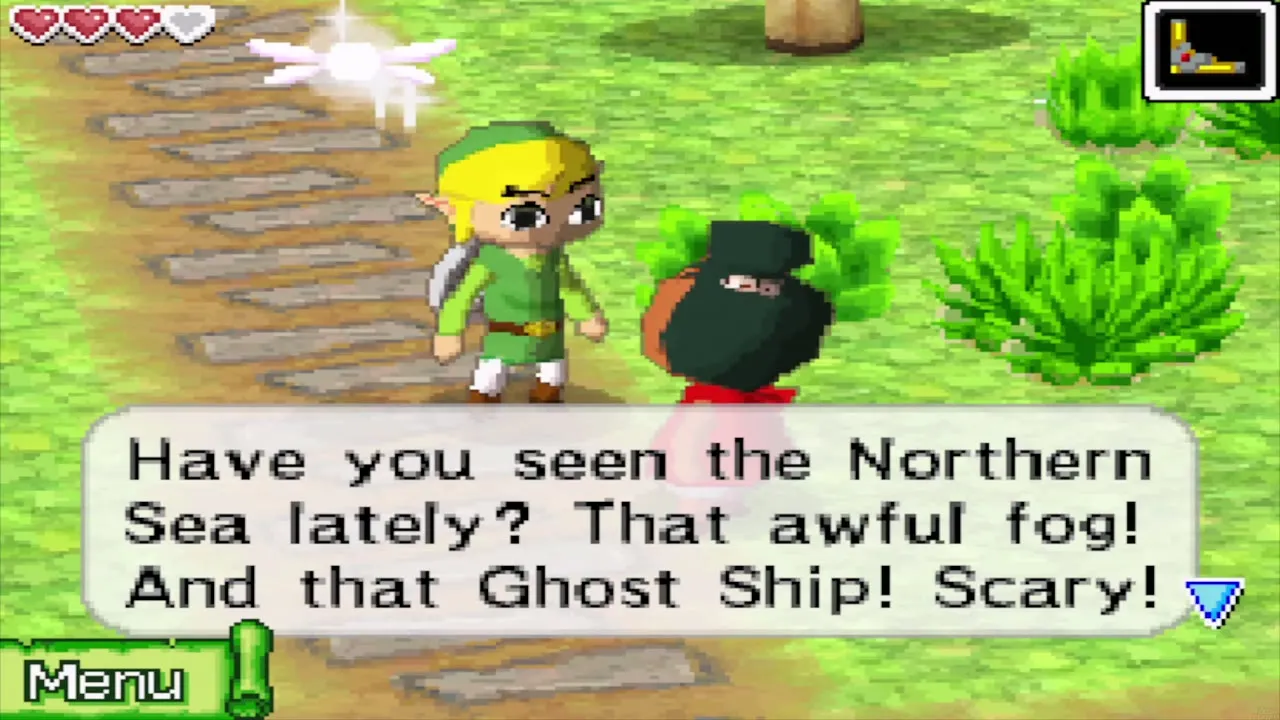
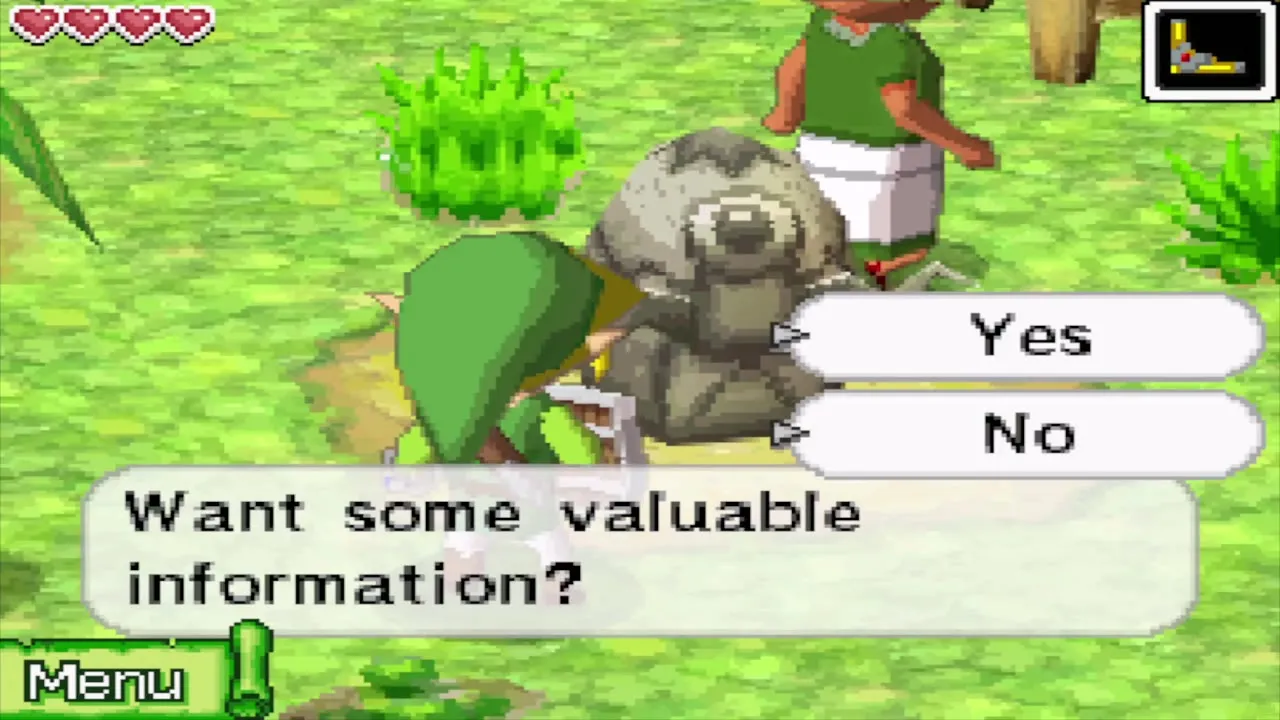
A stone tablet in the village offers valuable information: a tiny island between three boulders south of Molida. Say yes and it is marked on your chart. That is Spirit Island, and the end of this chapter returns to it.
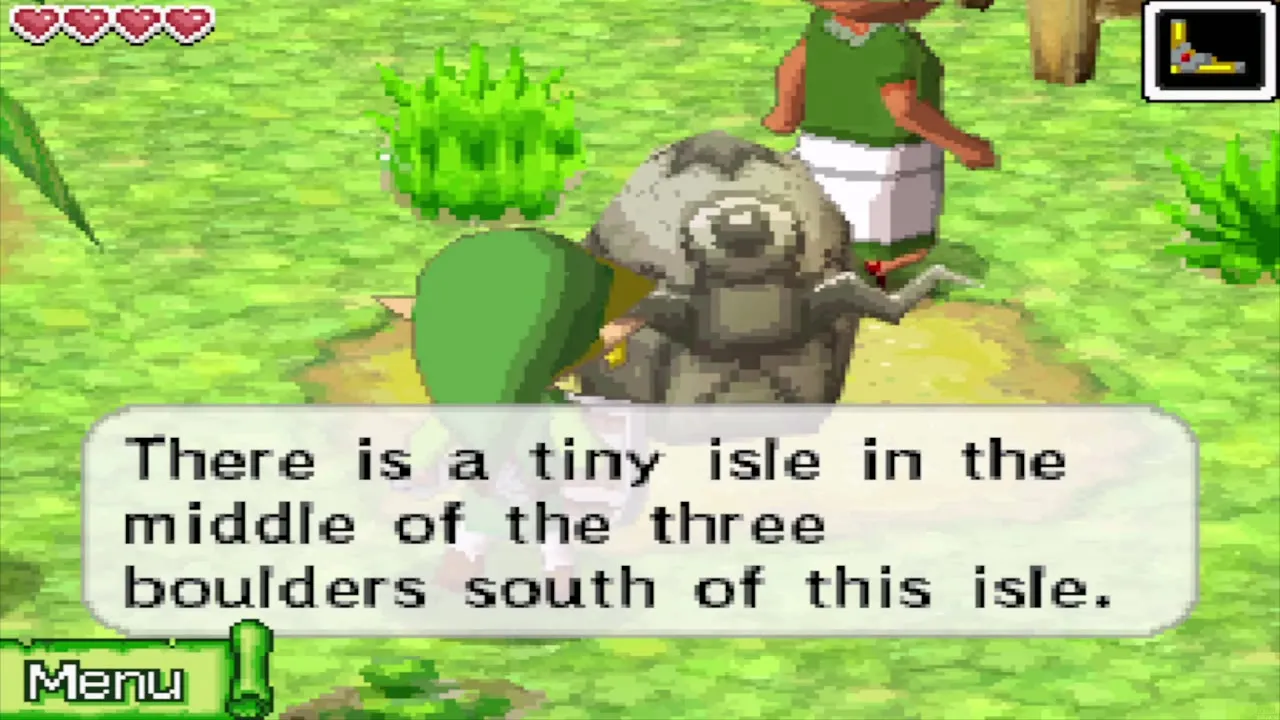
Shop and mailbox
Walk to the red mailbox at the sea wall. The Postman delivers a letter from Astrid, who wants to repay you at the Isle of Ember. It is only a thank-you note and gives nothing here.
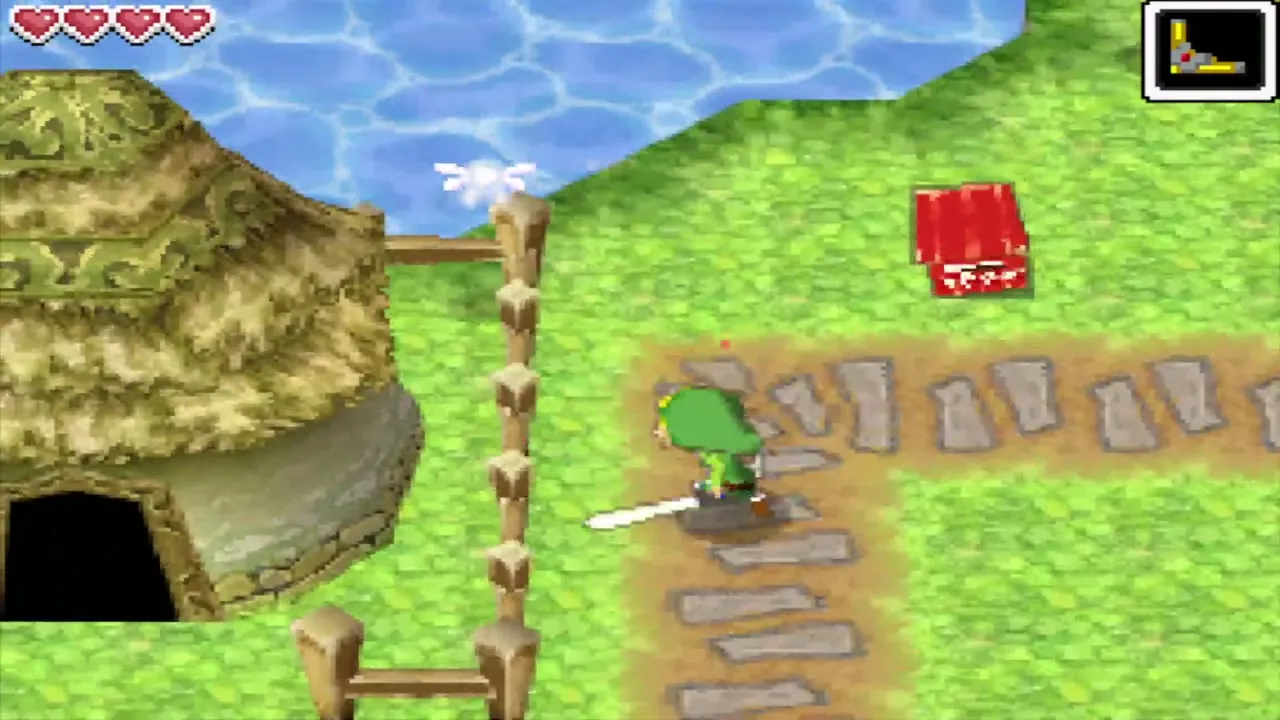


The shop sells bombs, arrows and potions. The shopkeeper will not sell arrows until you own a bow, which you do not have yet. The shop also sells a Power Gem for 500 Rupees. You can buy it now if you have saved up. The Mercay Island shop sells the same gem, and you can buy it only once between the two shops. Spirit Gems pay off at the shrine on Spirit Island, so an early gem is never wasted.

Talk to Romanos and his mother
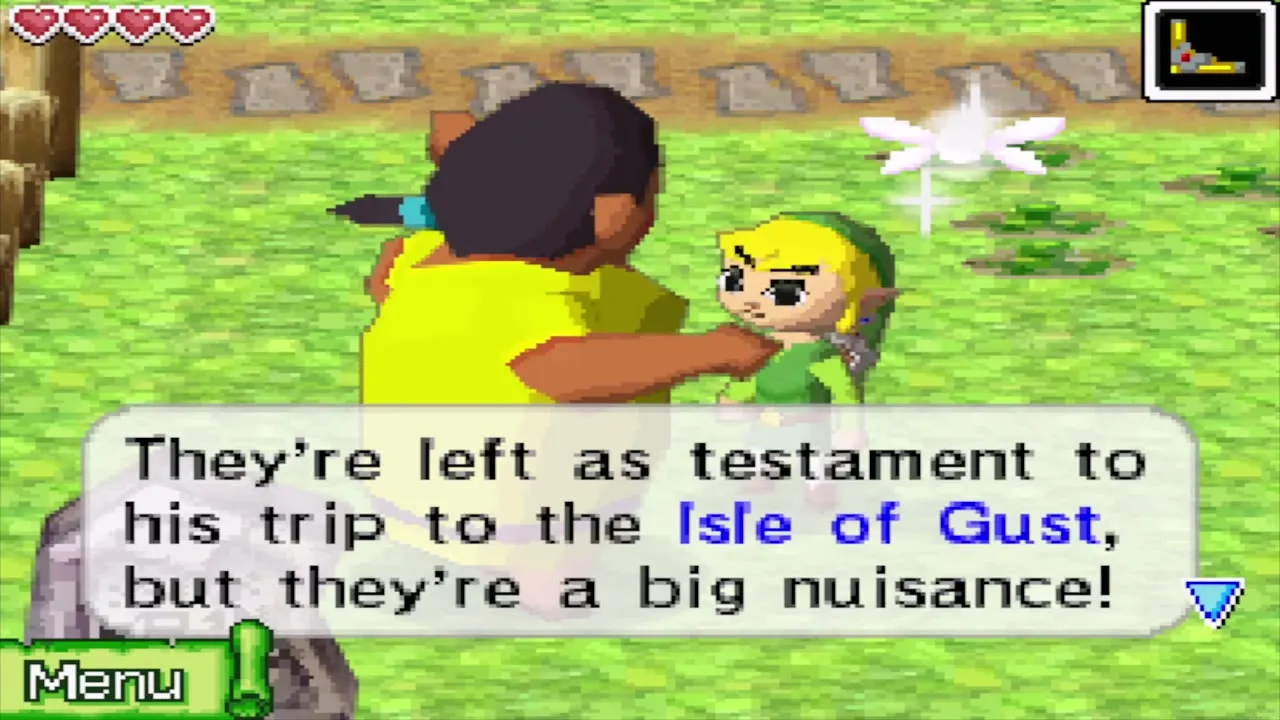
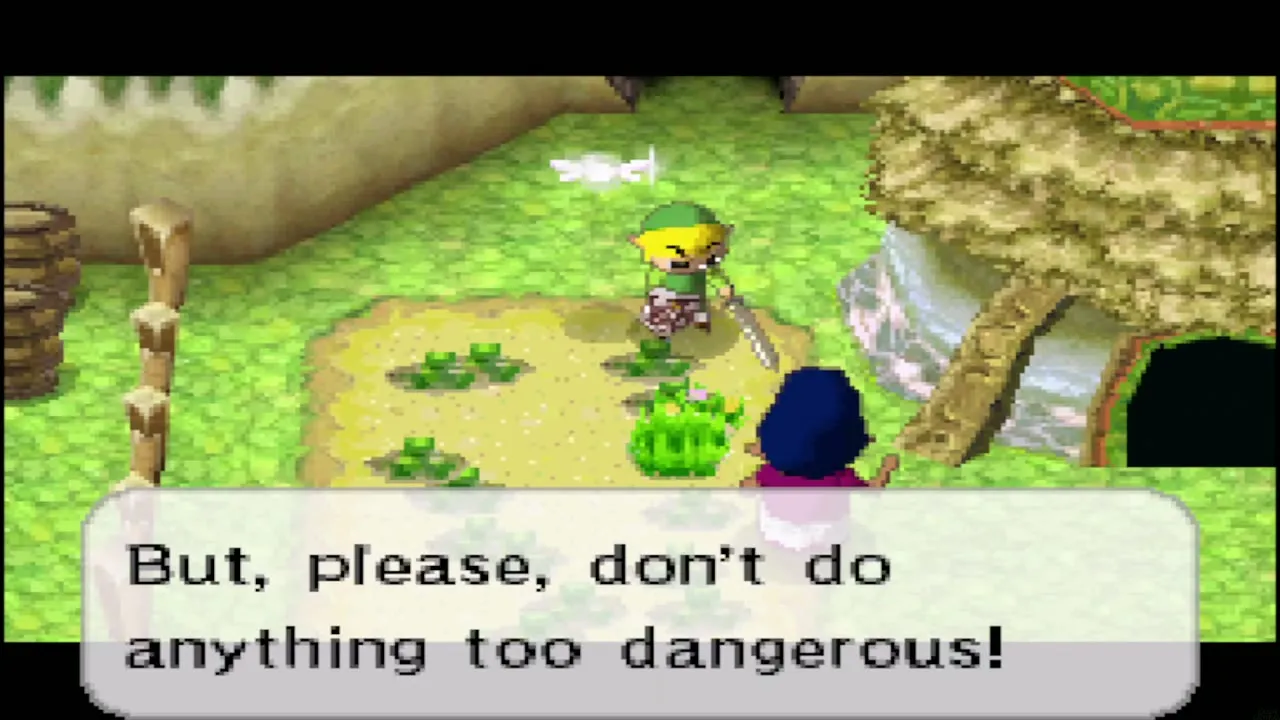
Walk east to the edge of the village and read the stone monument. Romanos’s father scattered stones here, a record of his trip to the Isle of Gust. Go to the house with the dark doorway, where Romanos’s mother lives. She wants to sail to the Isle of Gust, says her husband was a fisherman and explorer, and tells you to ask Romanos. She also warns you away from the cave beside the house.
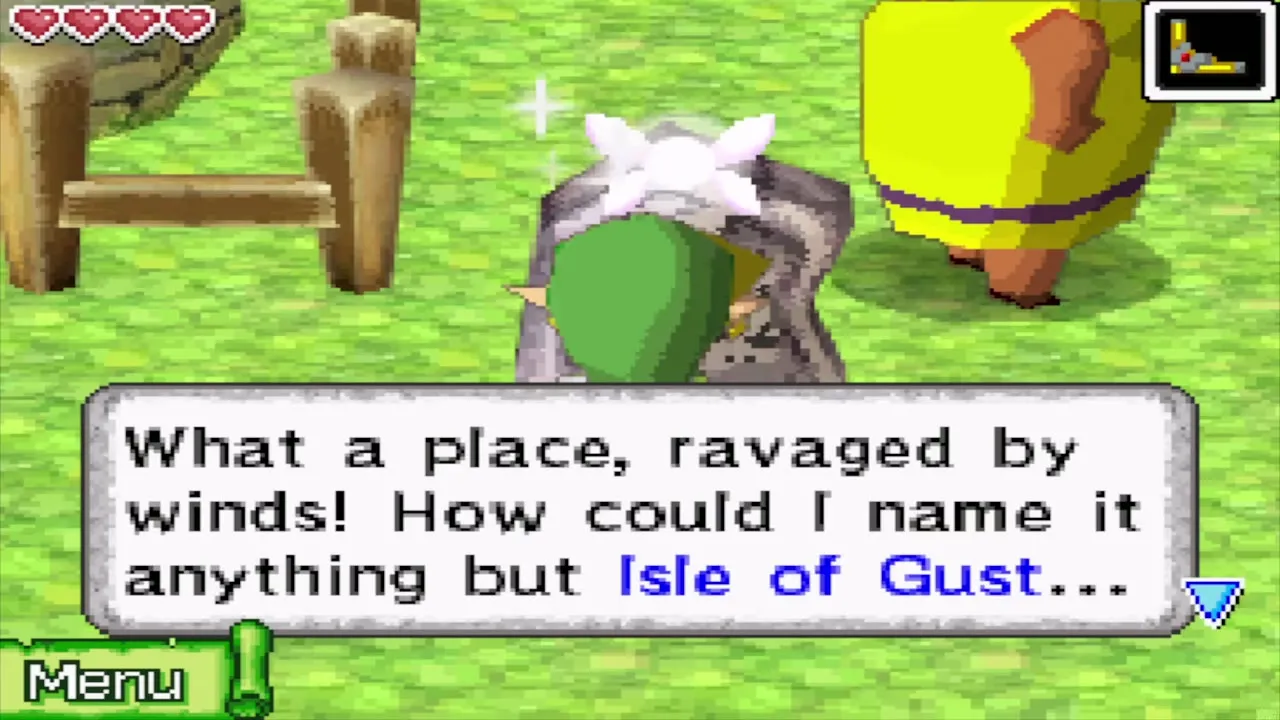
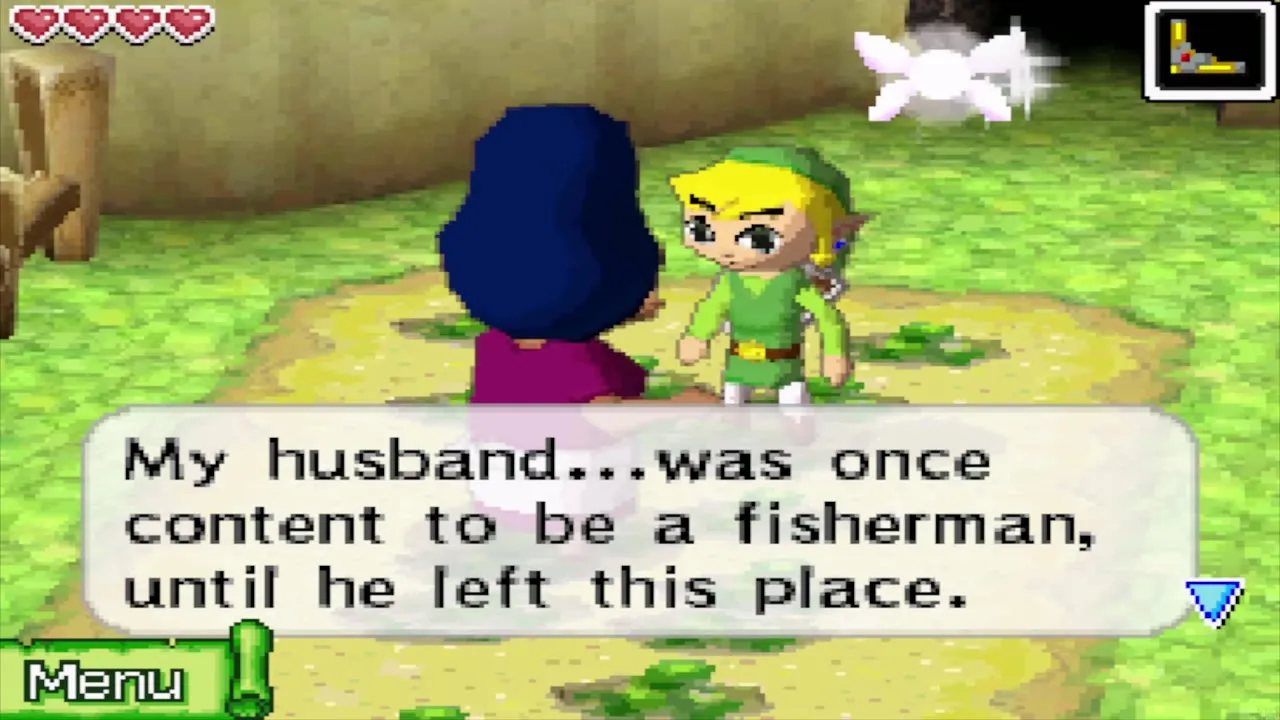
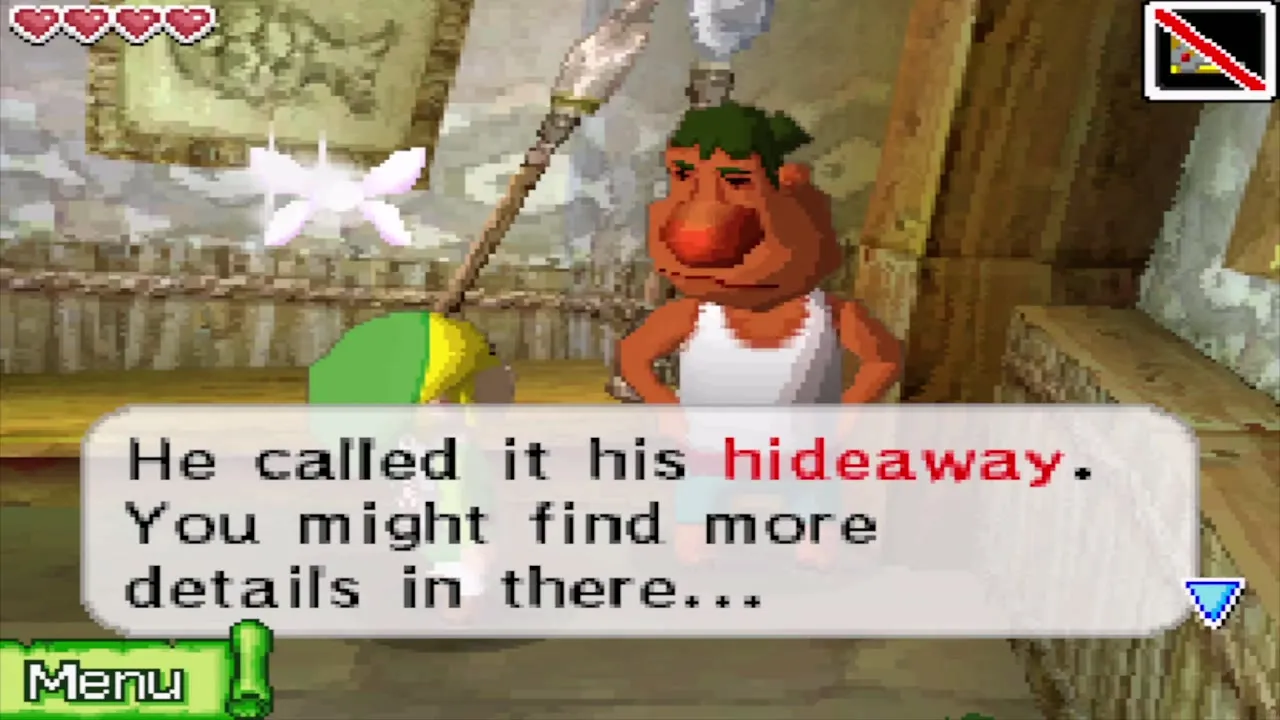
Before you go in, a small cave near the stone monument at the village edge holds a treasure, such as a Goron Amber, that you can sell to the Treasure Teller. Enter the rightmost house, which is Romanos’s, and talk to him. He refuses to discuss the Isle of Gust at first, then admits that only his father knew the way through the fog, and that the cave behind the house was his father’s hideaway.


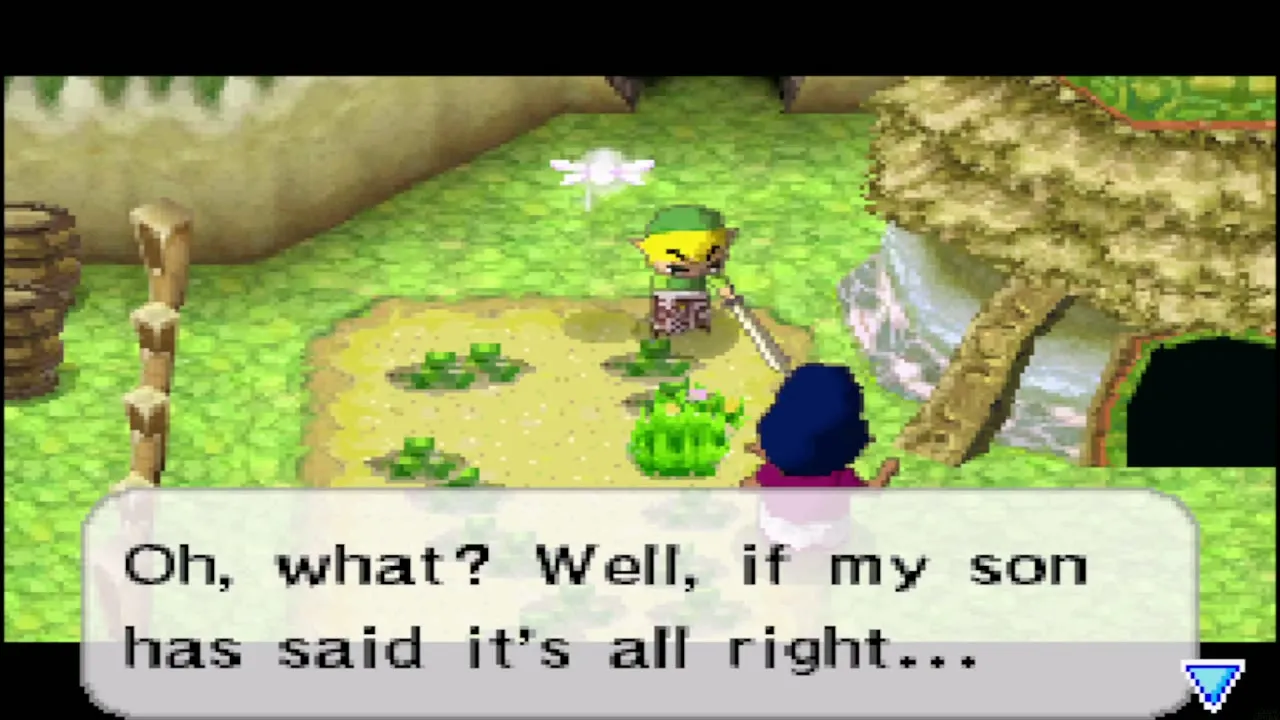
Go back to his mother at the cave. She gives in once Romanos says it is all right, and she asks you not to be reckless.
Walk through Romanos’s cave to the Shovel
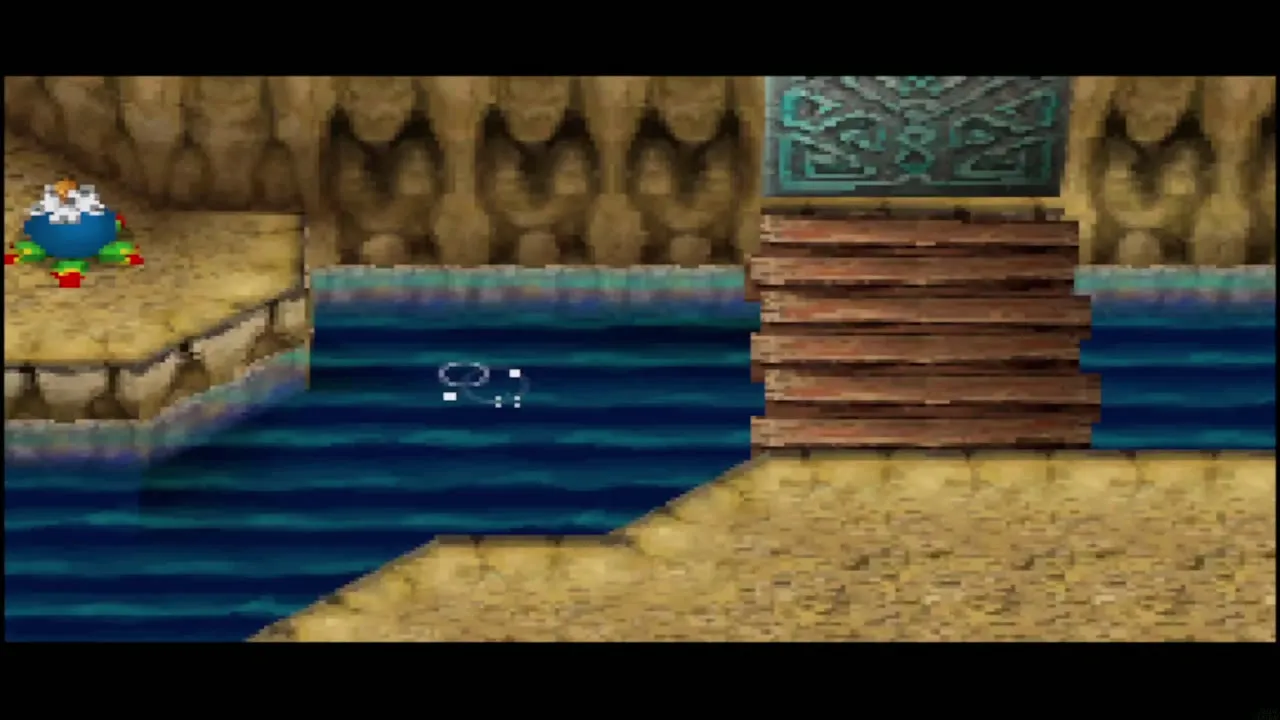
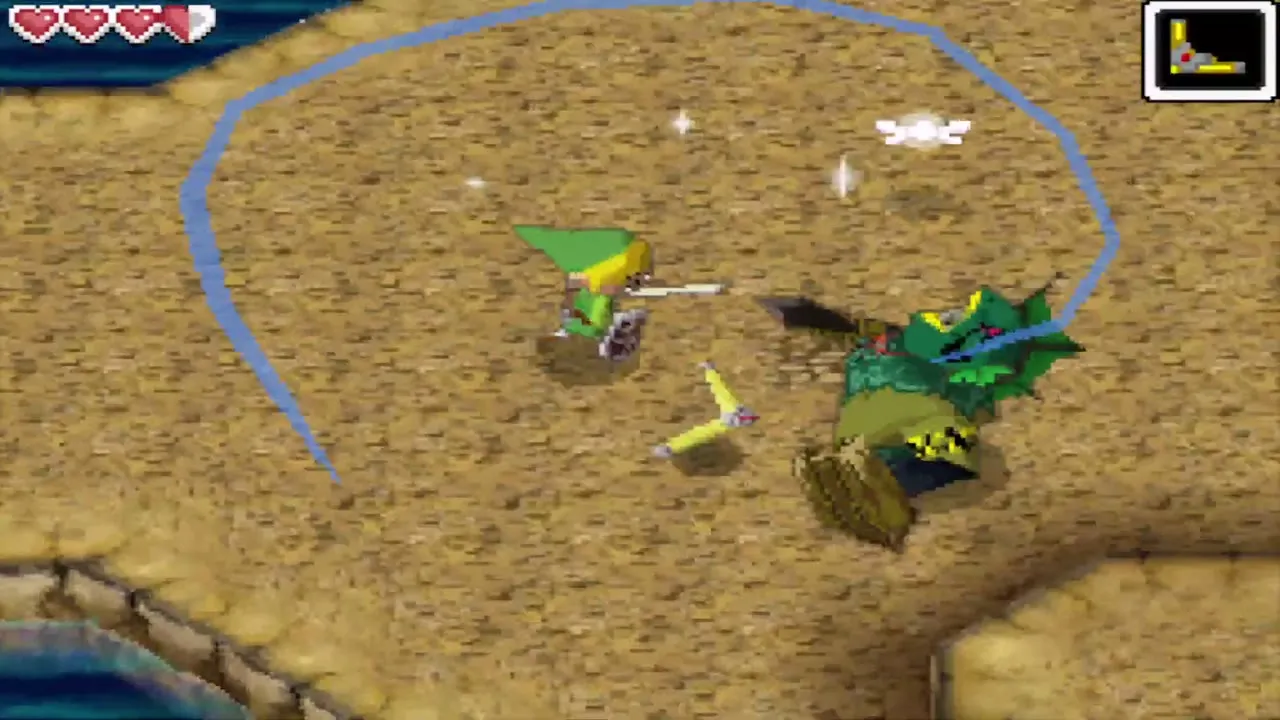
Enter the cave. Follow the sand tunnels beside the water channels and cross the wooden bridge. Fight the monsters you meet on the way, using the Boomerang on those you cannot reach. Use Bomb Flowers on any cracked wall that blocks the way, and drop down the pit when you find it.

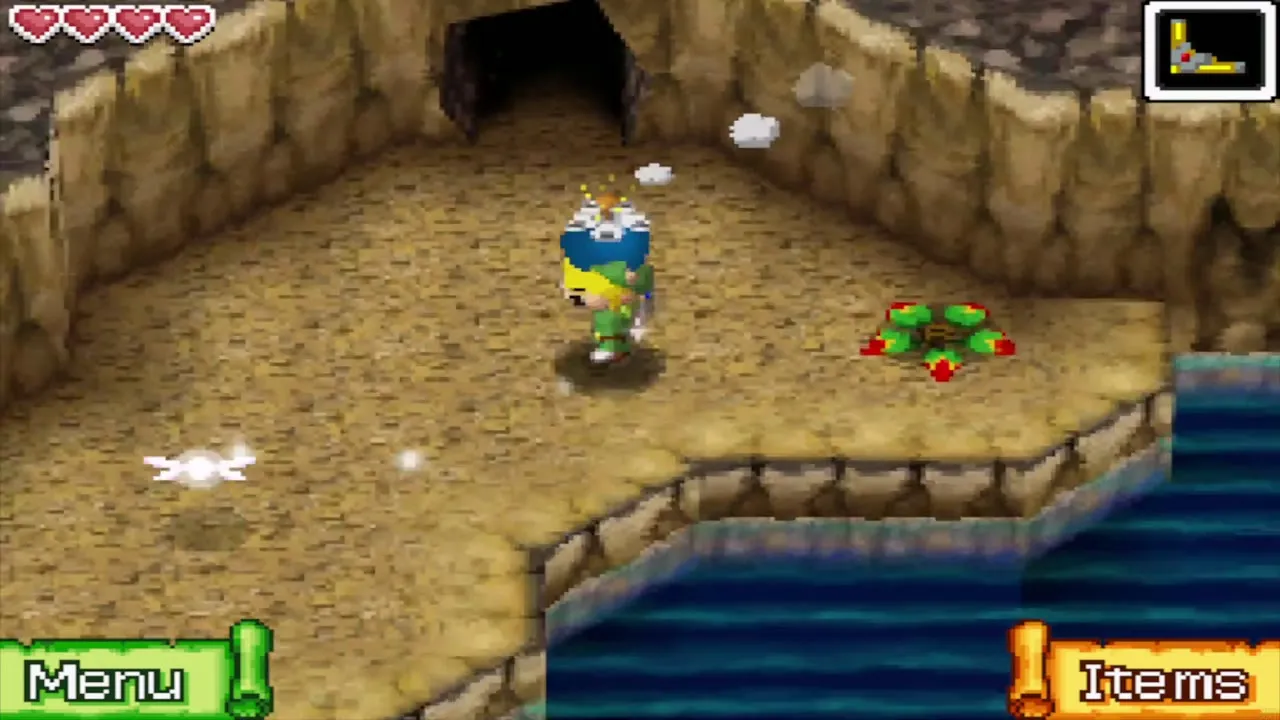
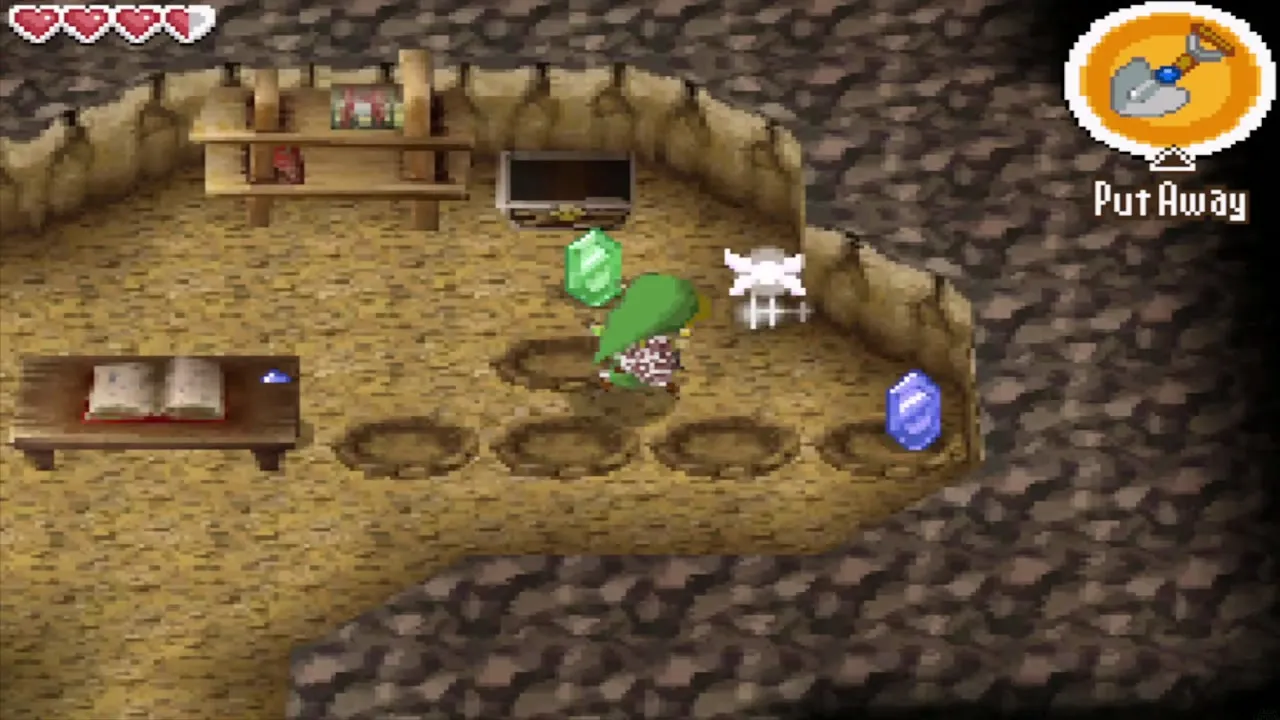
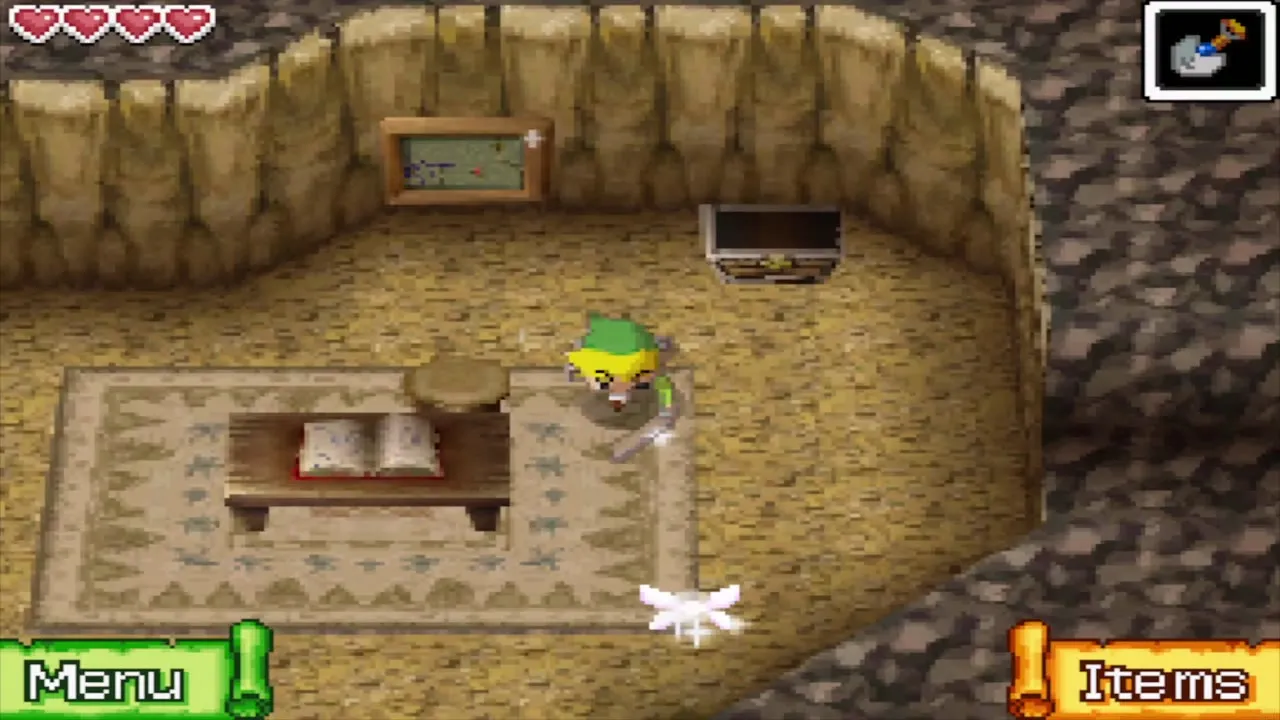
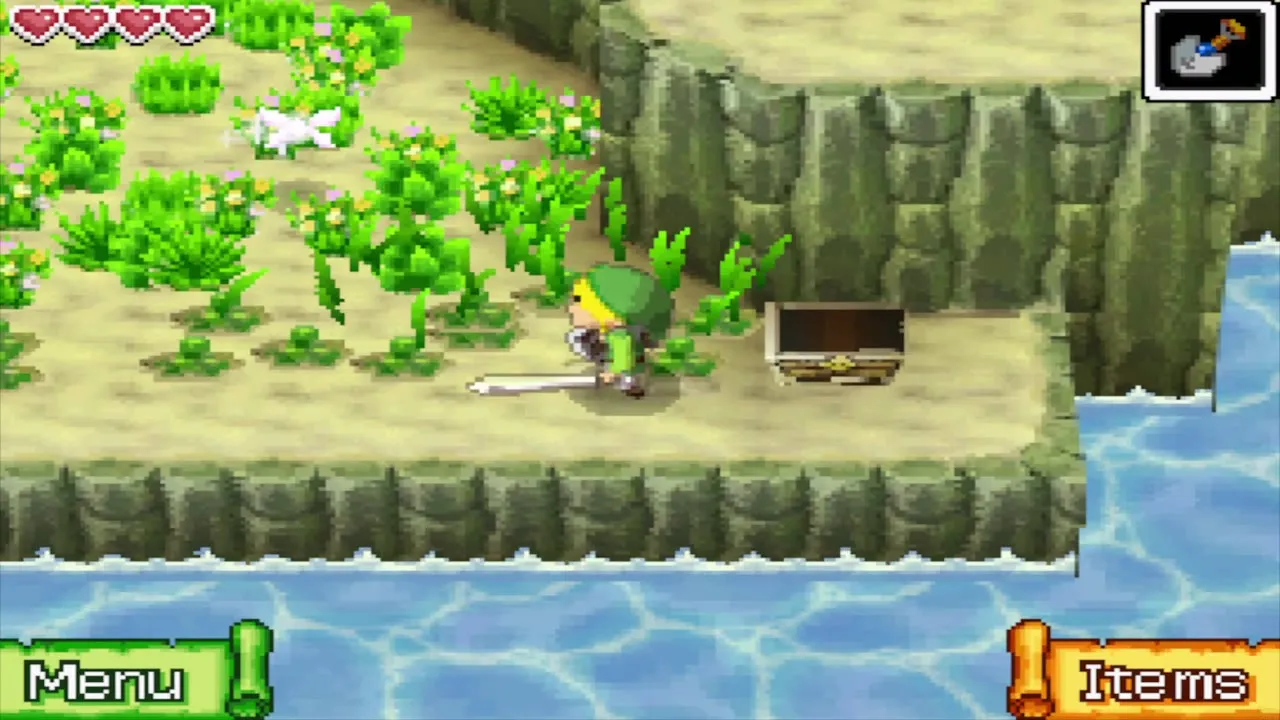
At the end is the hideaway, a small room with wooden shelves and a desk with a book. Open the chest in this room to get the Shovel. Tap a spot on the ground to dig there, and try it wherever the ground looks soft or cracked.
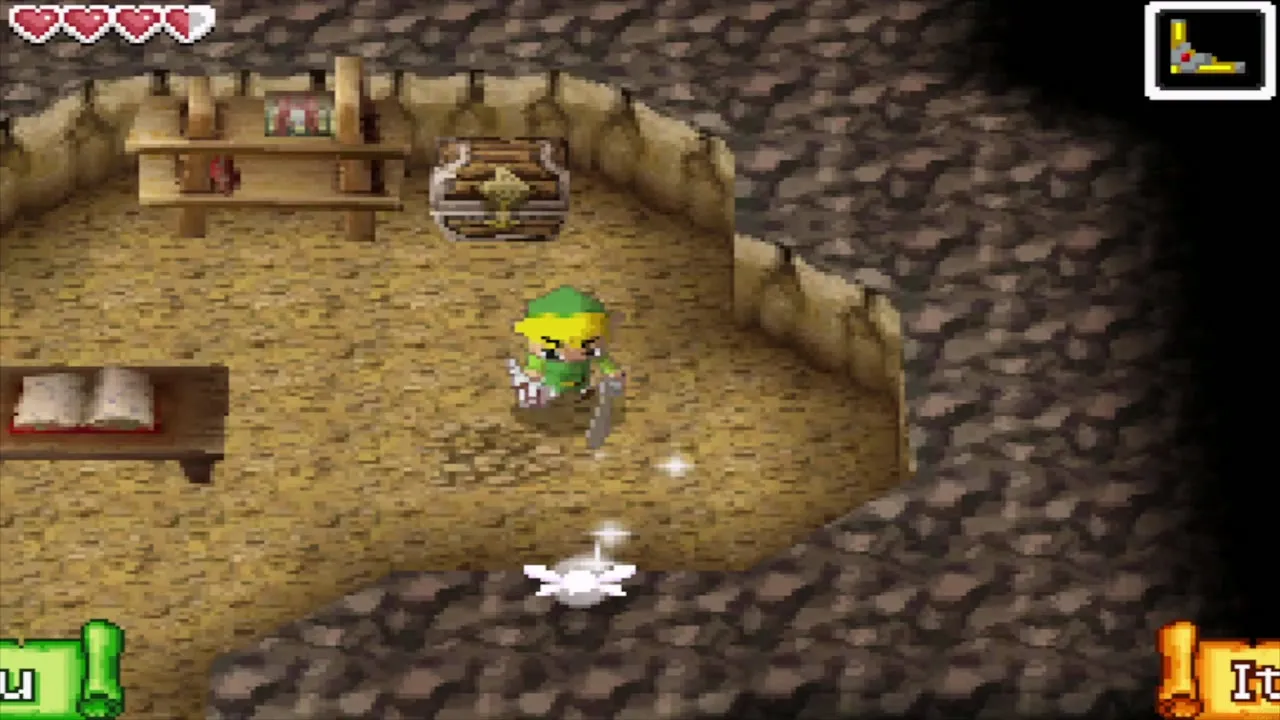


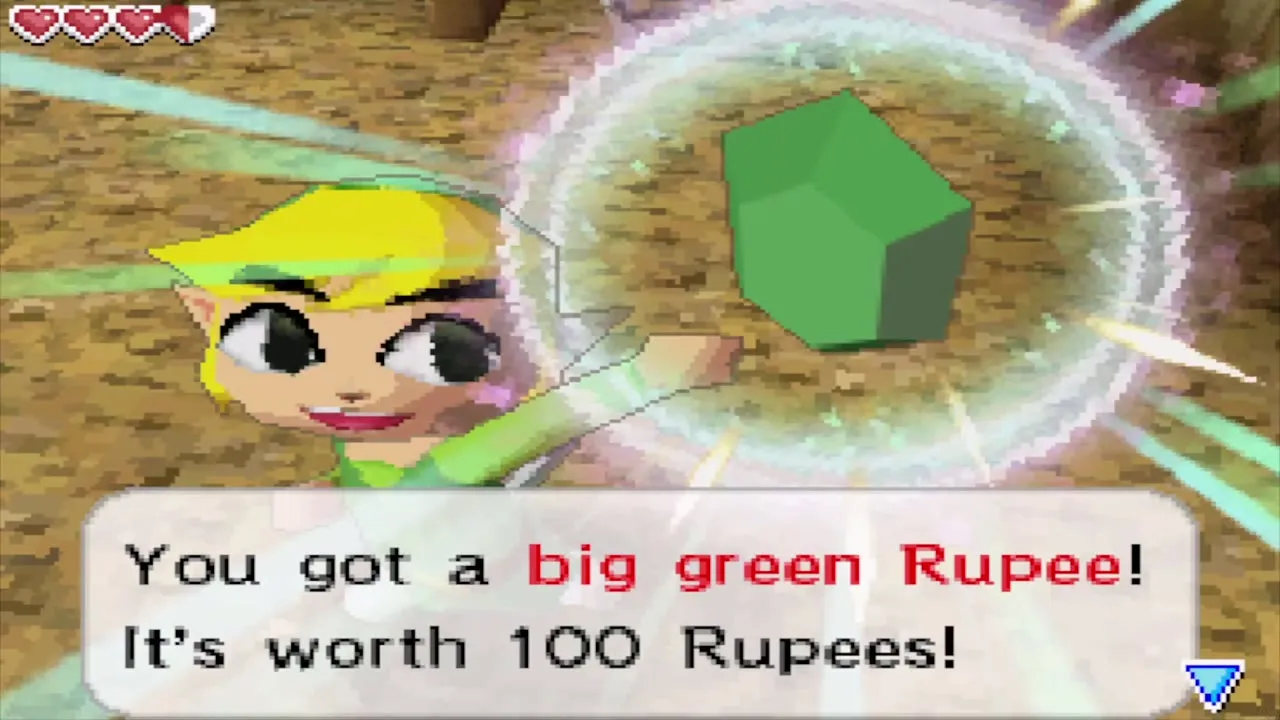
Dig the patches of soft ground in the room and the tunnels beyond for Rupees. One find is a big green Rupee, worth 100 Rupees. Read the book on the desk too. It says the hideaway is a private retreat, and that a second hideaway lies under the place where straight lines between his stone tablets cross.

Mark the tablets and find the second hideout
Leave the cave and walk to each of the four tablets. Open the island map, use the Memo tool and join the tablet positions with straight lines. The lines cross close to a palm tree near Romanos’s house, where the ground can be dug.

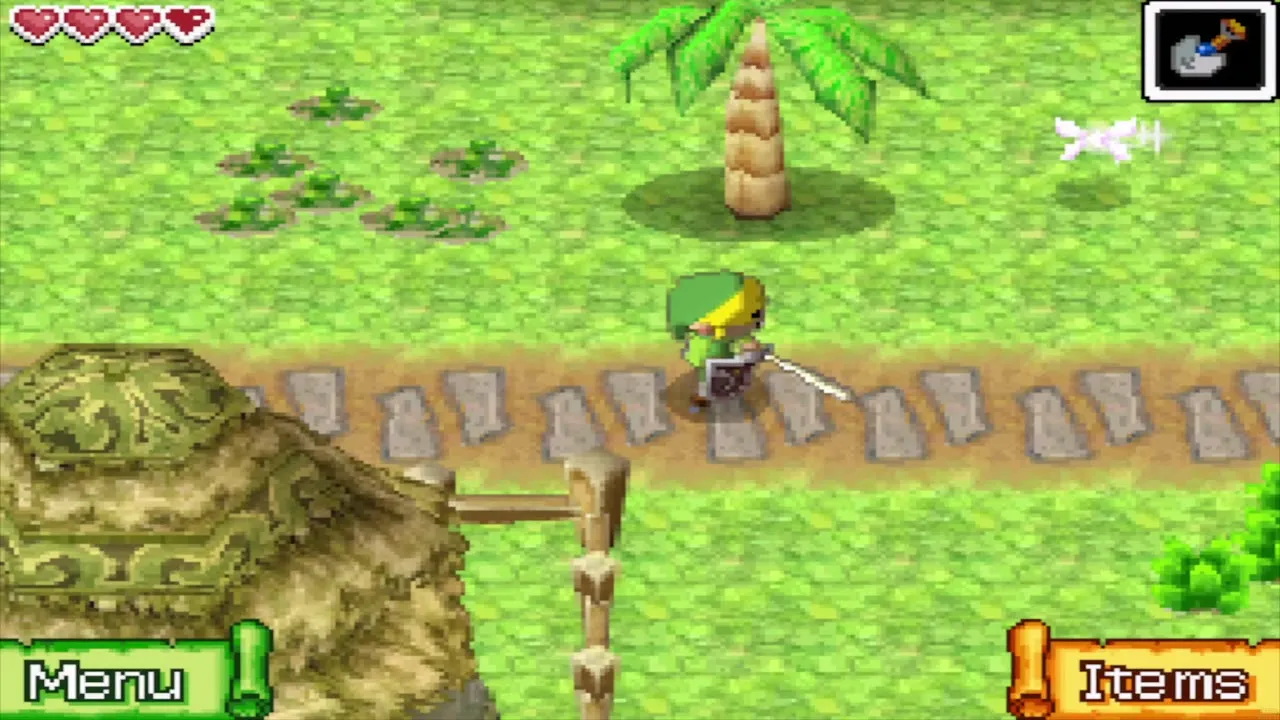
On the way, a Zora in the field near the third tablet drops a treasure, such as a Zora Scale, when you defeat it, another one to sell.


Equip the Shovel and dig around the palm tree where the lines meet. When a hole opens, jump in. You land in the second hideout, a wooden room with a desk and a letter addressed to Romanos. It is the father’s last message. He apologises to his family, tells of the Ghost Ship that takes people away, and says he gave his life to finding out where they go.

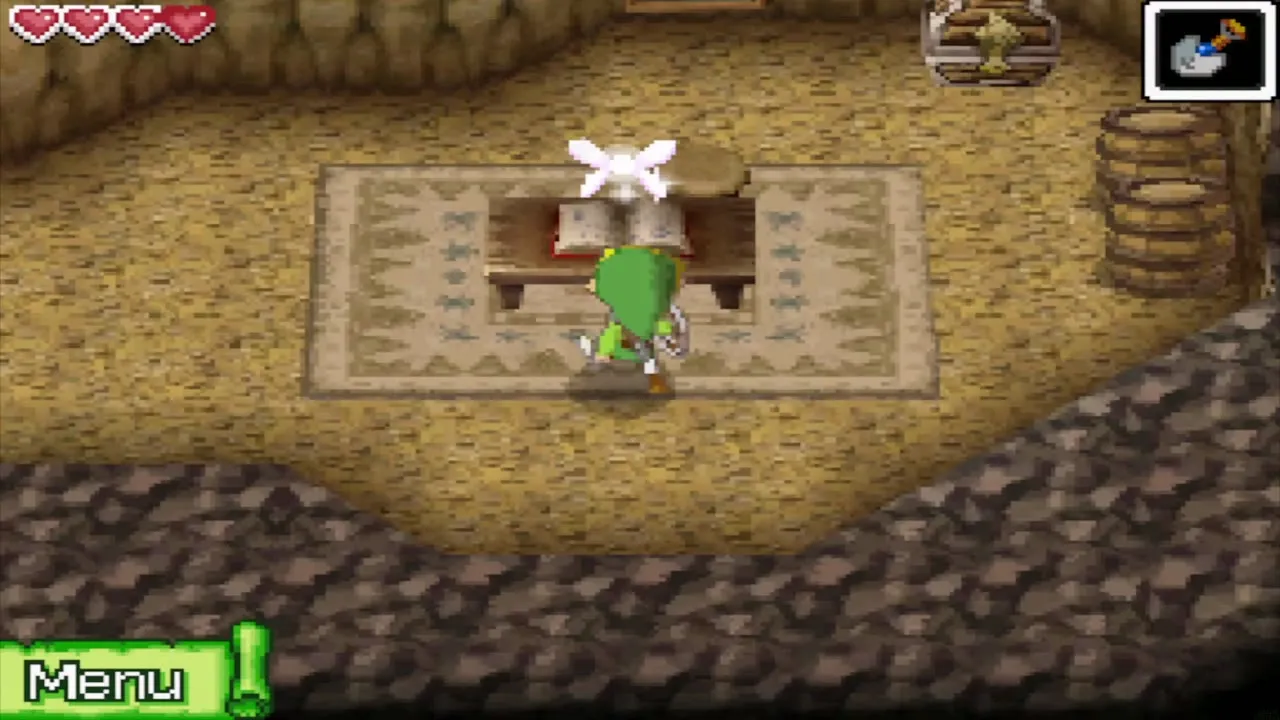
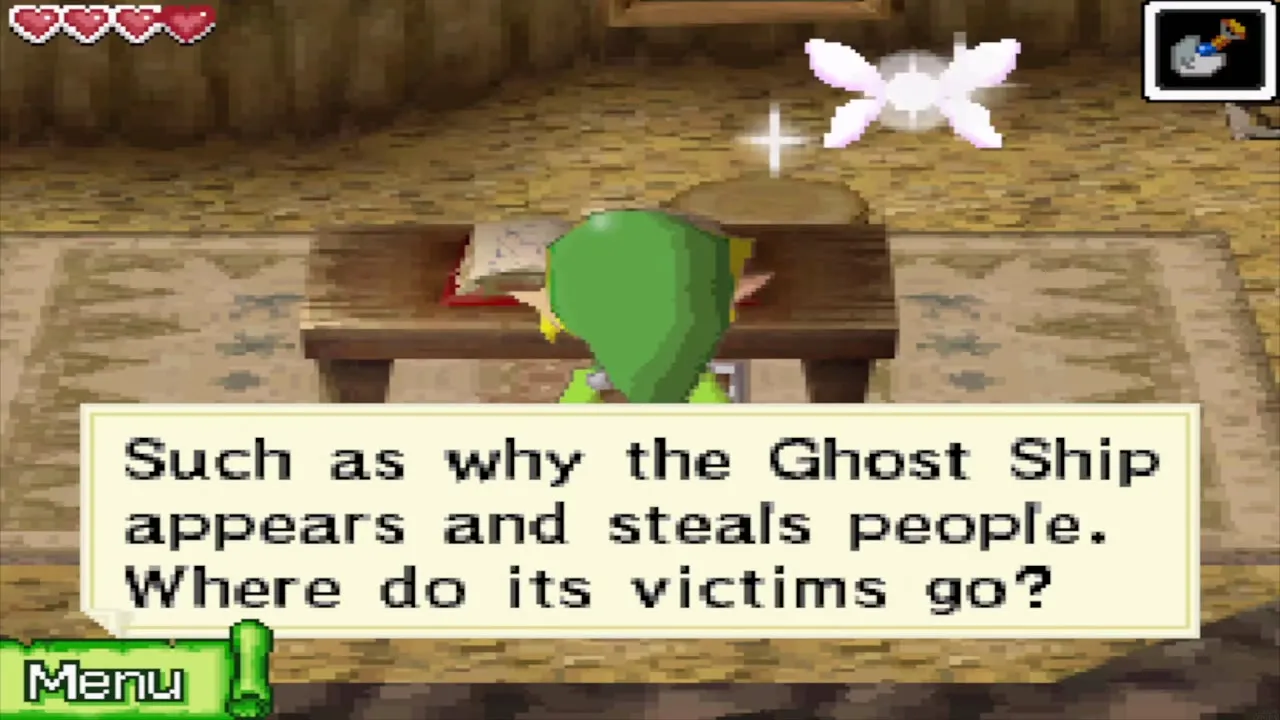
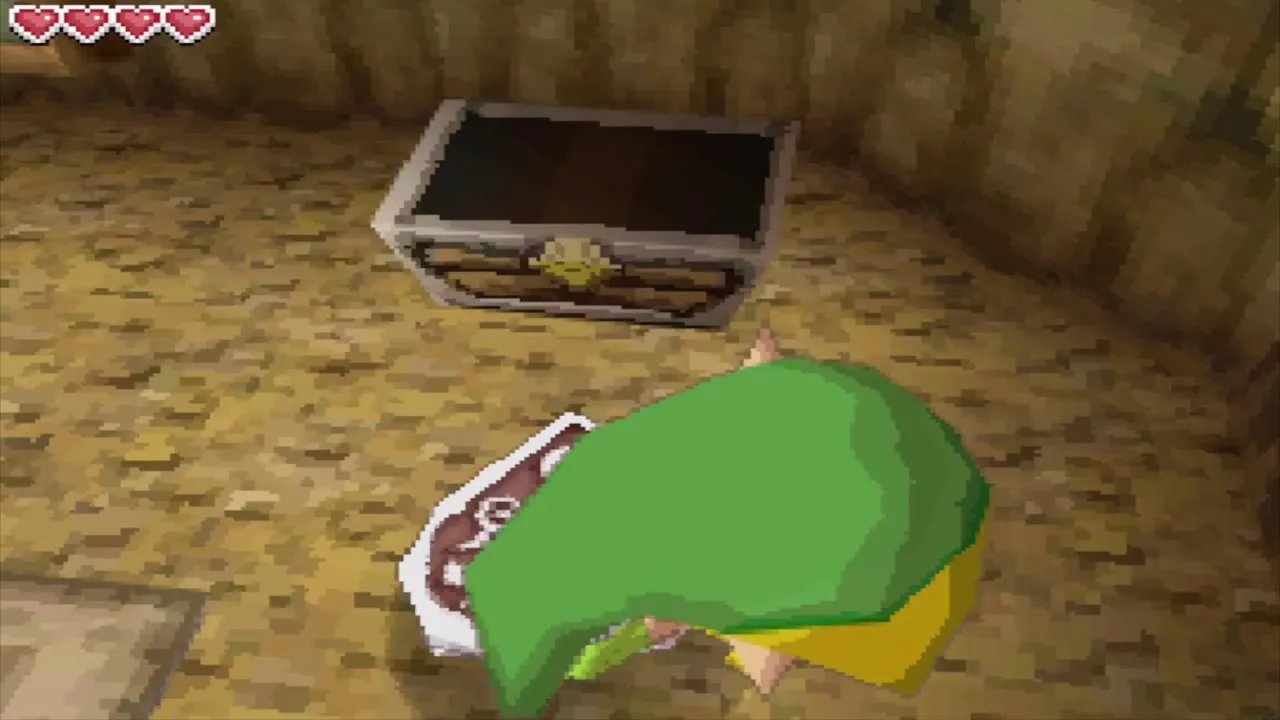
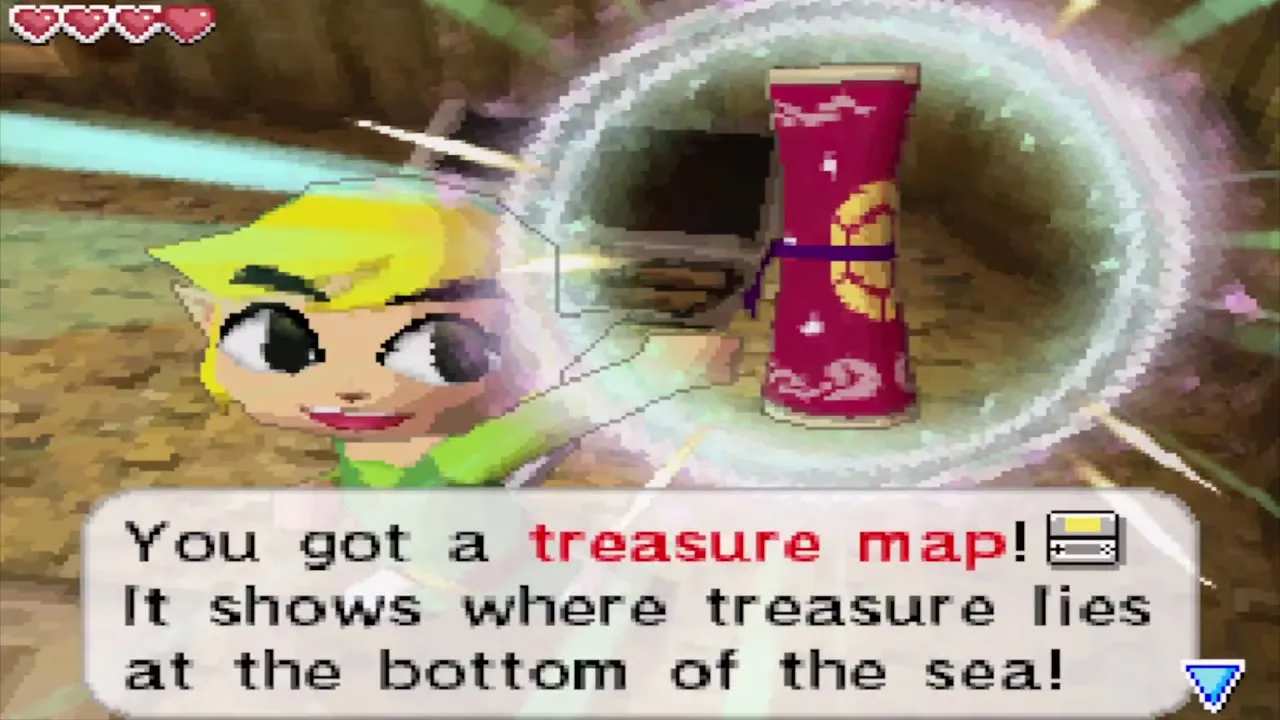
Open the chest in the room for a treasure map. This is treasure map 2. Its X marks a chest holding one minute of Sand of Hours, which lengthens the Phantom Hourglass once you can salvage it. You need the Salvage Arm for that.
Copy the fog route and note the sun door
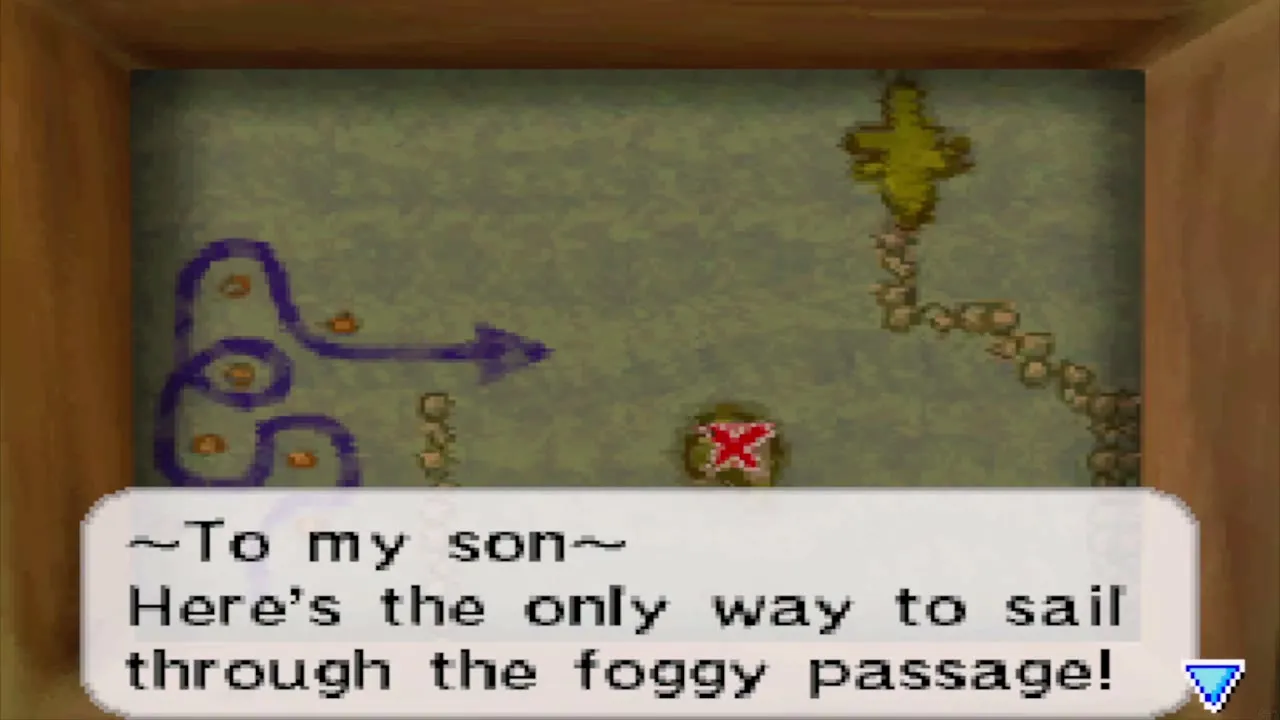
The letter ends with a chart showing the only way through the fog, a winding route drawn over the Northwestern Sea. Study it, then open your Northwestern chart and copy the route onto it with the stylus. You need the drawing for the next chapter.
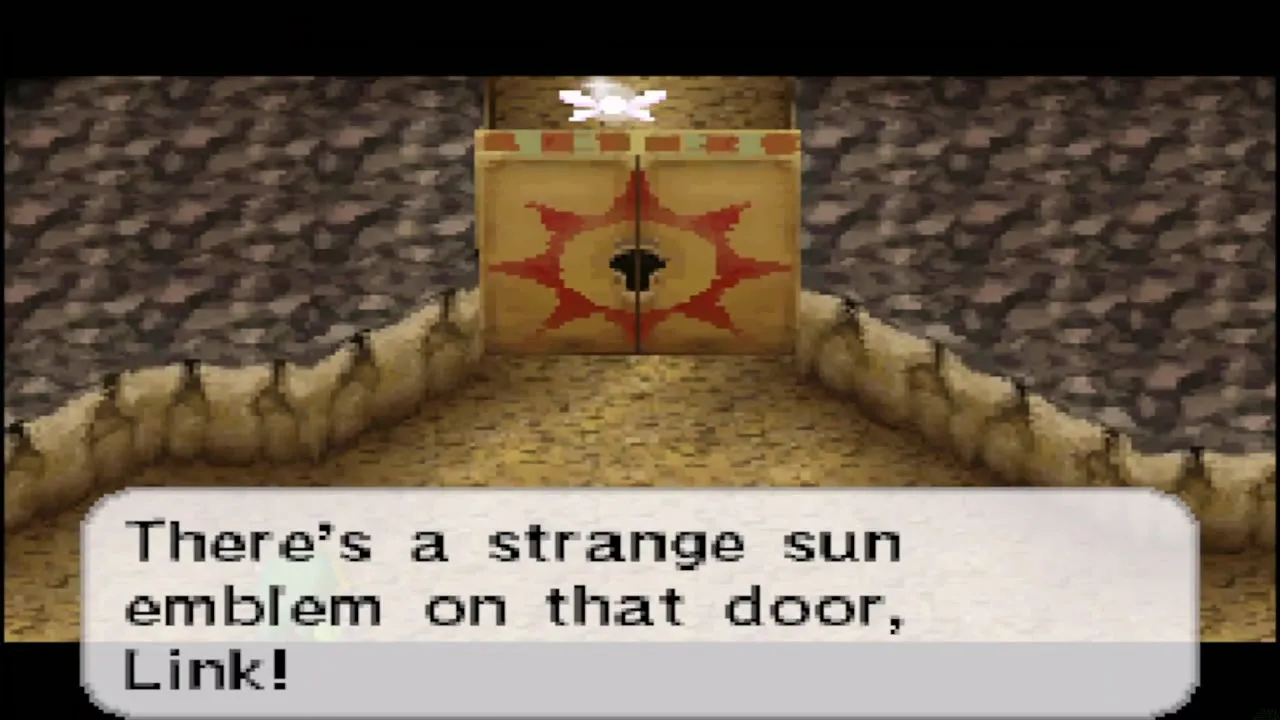
A locked door with a sun emblem is further in. It will not open without the Sun Key, which you cannot get yet. Tap the emblem and the game suggests drawing it on your map so that you remember it. Do that, and come back when you own the Sun Key. A later chapter covers it.

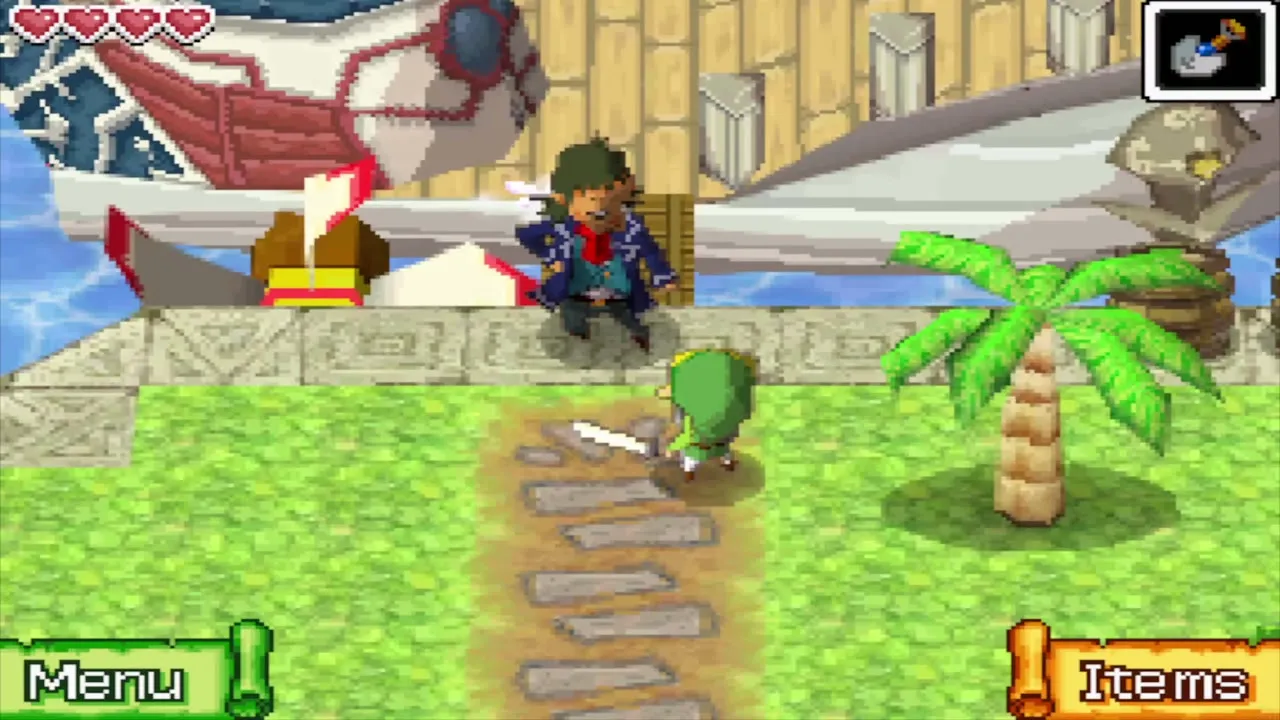
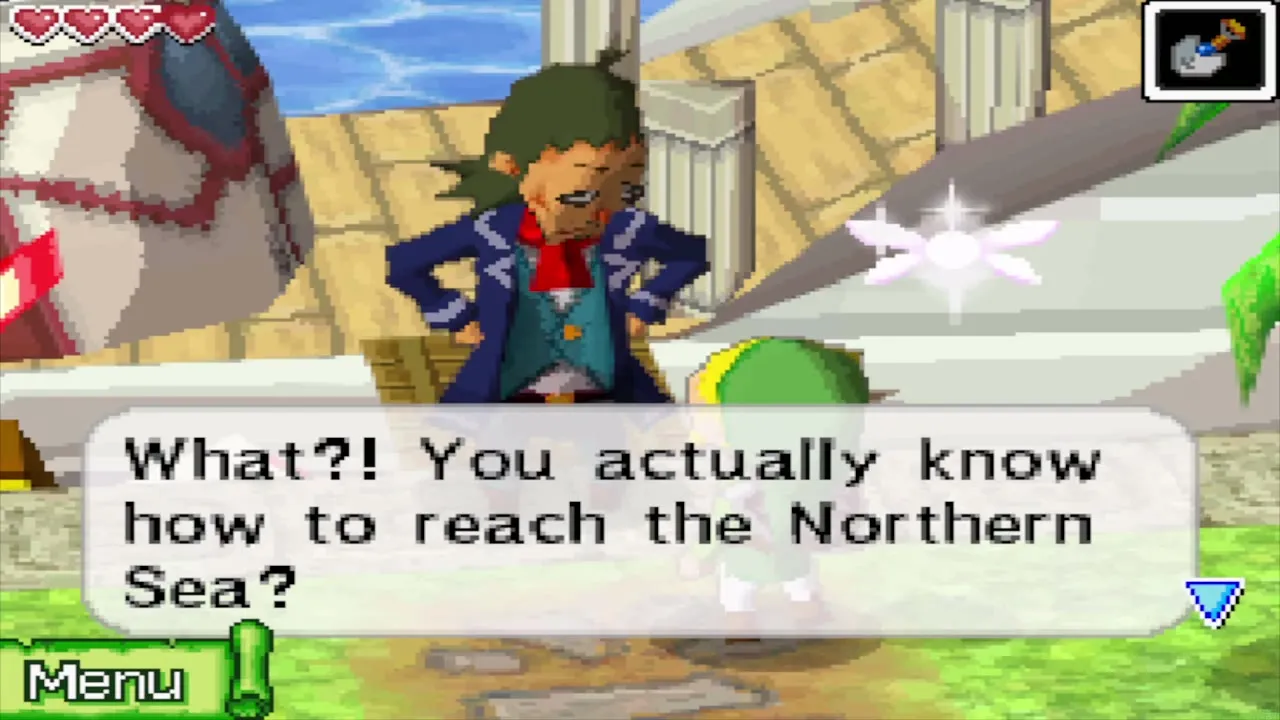
Climb out and go to the dock. Linebeck asks whether you wrote the route down. Say yes, and he is amazed that you know the way to the Northern Sea. Spirit Island is the one detour worth making before you sail on.
Spirit Island and the Courage Gem
Sail south to the island between three boulders
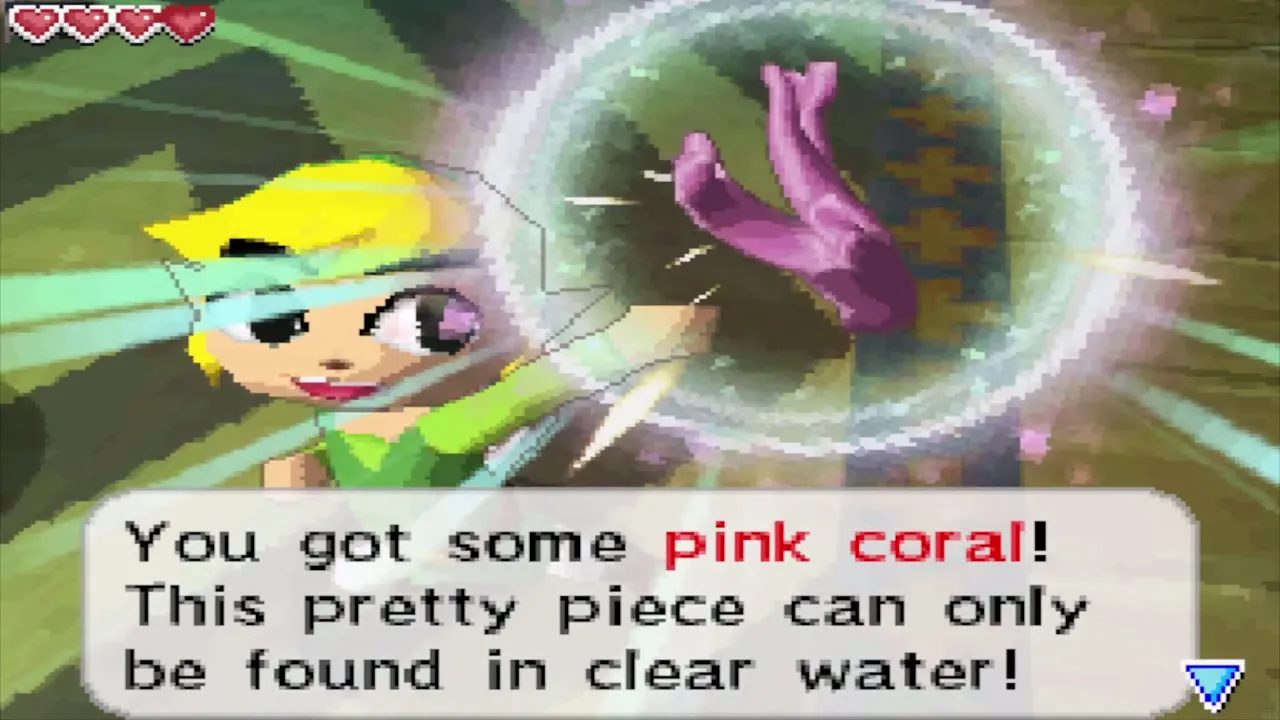
From Molida, sail south to the small island between three boulders, the one the villager marked on your chart. On the way, visit the Traveler’s Ship in the south-west of the sea. Miniblins and a Geozard have taken over the deck while the guard Nyave lies on the planks pretending to be dead. Clear them out and he thanks you with treasures, such as Pink Coral.

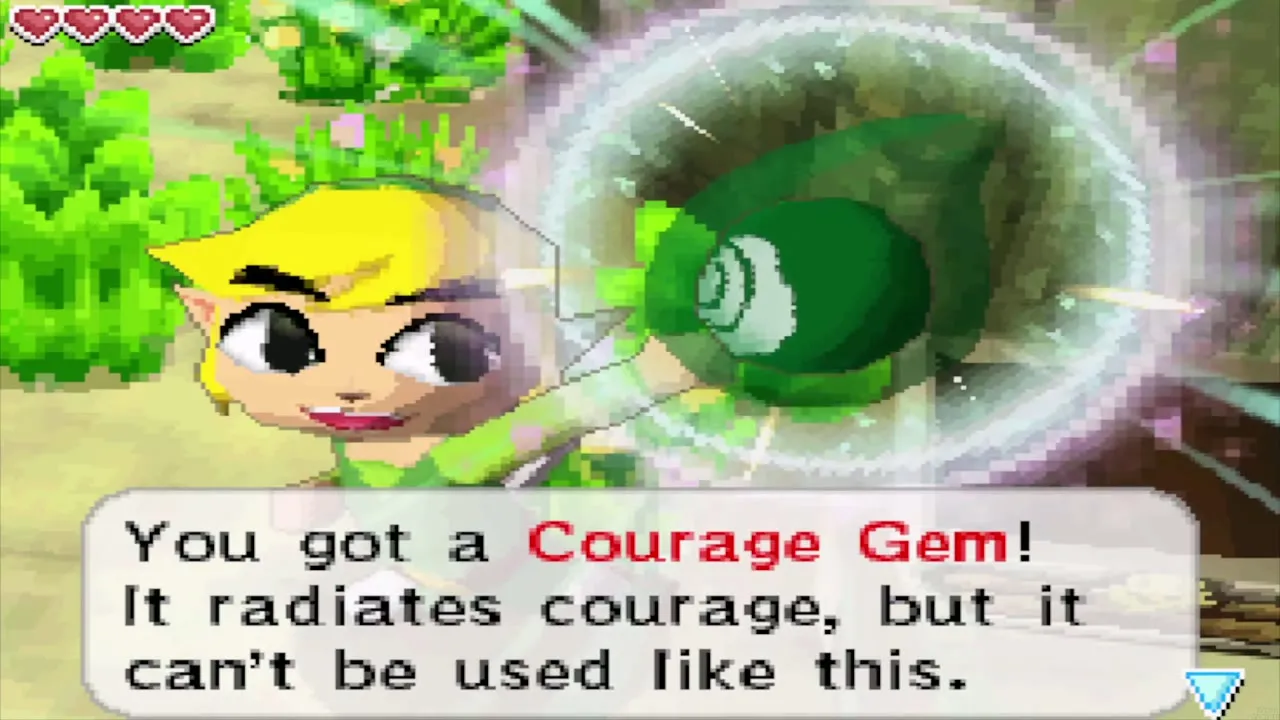
Walk up from the dock. A chest east of the dock holds a Courage Gem. It radiates courage, but you cannot use it alone.
Use the Shrine at Spirit Island
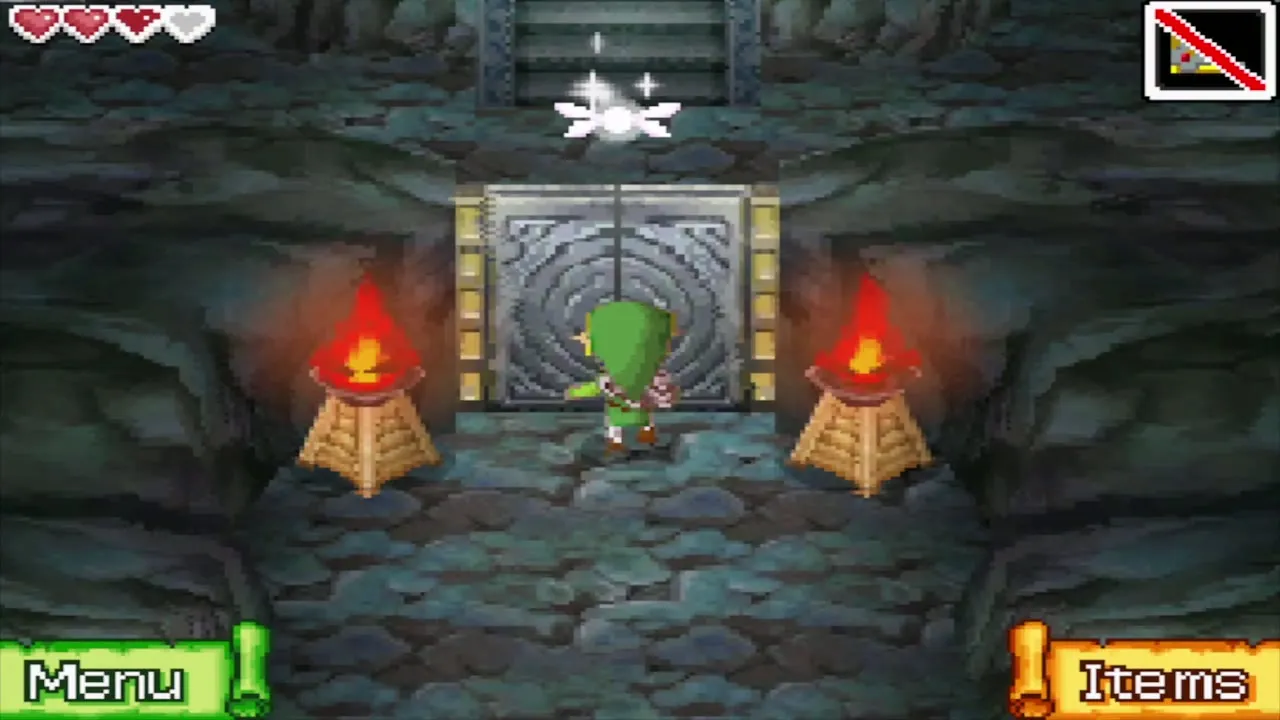
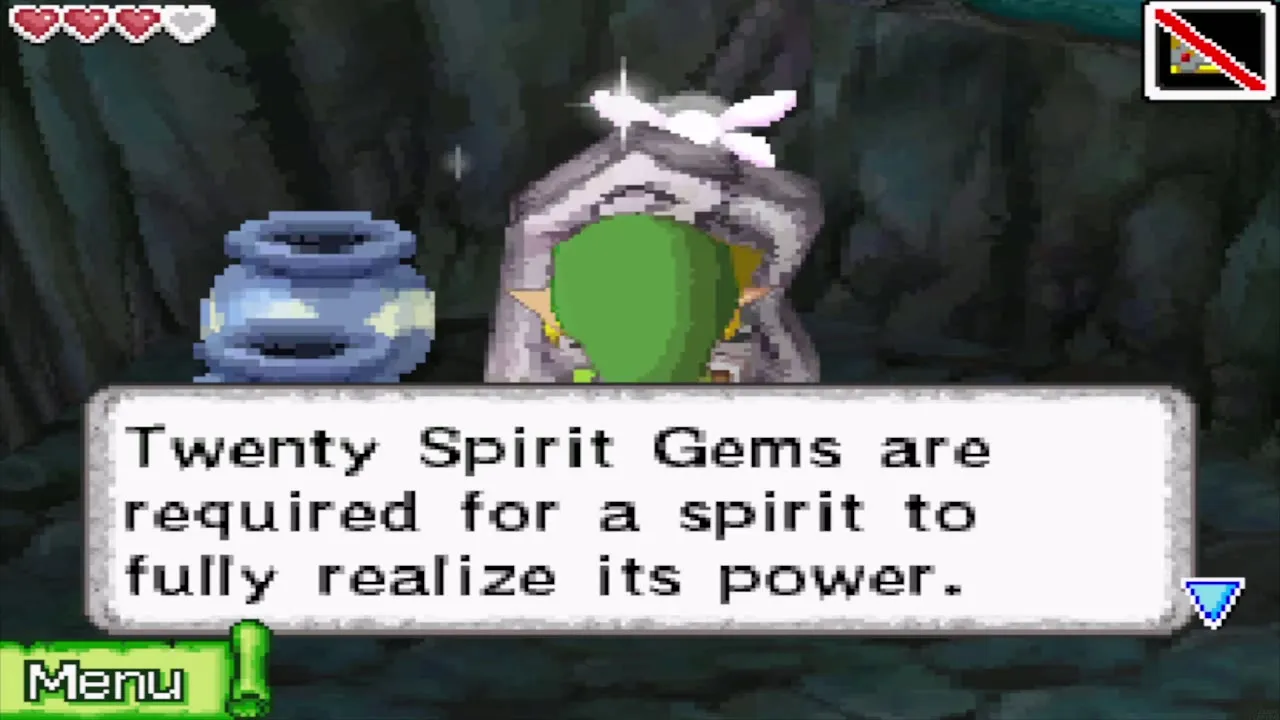
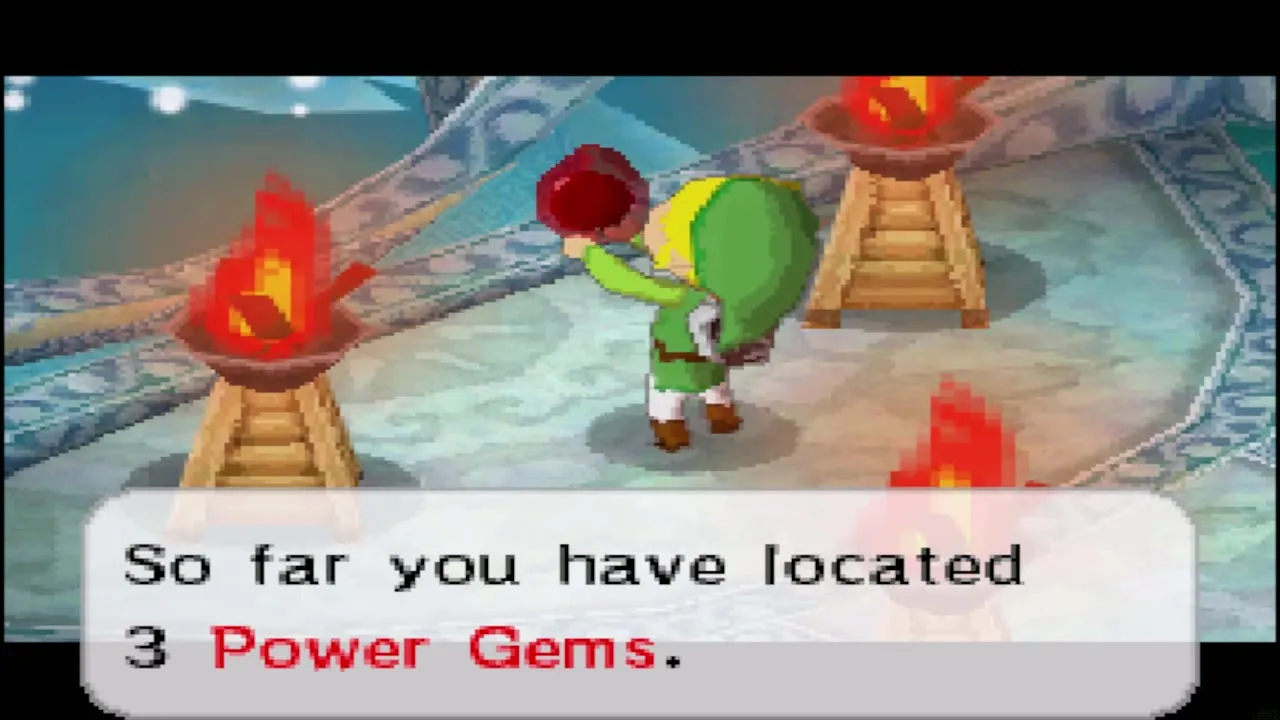
Walk into the cave to the Shrine at Spirit Island. The spirit servant explains that the spirits travelling with you have not recovered their strength. Twenty Spirit Gems of one kind bring a spirit to full power, and ten bring the first level. Offer your gems at the shrine. If you have the Cannon Island gem, the gem from the shop and the gem Astrid gave you, you hold three Power Gems, so seven more are needed for the first level. Equip a spirit from the Collection screen to use its power.
Golden Frog at sea
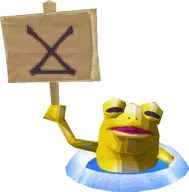
Back at sea, a yellow Golden Frog may surface. Shoot it with the Cannon. It complains about being hit, but its symbol is recorded for later. There are two in the Southwestern Sea. You need the Cyclone Slate to warp to them, which you get in the Northwestern Sea in the next chapter. The Golden Frog Locations page lists all six.


Chapter checklist
| Collectible | Type | Where |
|---|---|---|
| Cannon | Item | Bought from Eddo on Cannon Island for 50 Rupees |
| Shovel | Item | Chest in the hideaway at the end of Romanos’s cave, Molida Island |
| Treasure map 1 | Treasure map (ship part) | Chest in the grassy clearing near the cave mouth, Cannon Island |
| Power Gem | Spirit Gem | Chest in the Bomb Garden cavern, Cannon Island |
 Red Rupee (20) | Rupees | Optional chest south of the Bomb Garden fences |
 Big Red Rupee (200) | Rupees | Roll into the lone tree east of the Bomb Garden |
| Power Gem | Spirit Gem | Molida Island shop, 500 Rupees (once between the Mercay and Molida shops) |
| Treasure (such as Goron Amber) | Treasure | Small cave near the stone monument at the village edge, Molida Island |
| Treasure (such as Zora Scale) | Treasure | Dropped by a Zora in the field near the third tablet, Molida Island |
 Big green Rupee (100) | Rupees | Dig spots in the hideaway cave, Molida Island |
| Treasure map 2 | Treasure map (1 minute of Sand of Hours) | Chest in the second hideout under the palm tree, Molida Island |
| Treasures (such as Pink Coral) | Treasure | Given by Nyave on the Traveler’s Ship after you clear it of monsters |
| Courage Gem | Spirit Gem | Chest east of the dock, Spirit Island |
| Random treasure or ship part | Shop (optional) | Beedle’s Shop Ship, stock changes daily |
 Golden Frogs (2 in this sea) | Golden Frog (Cyclone Slate needed) | Southwestern Sea, shoot with the Cannon |
The Sun Key door, the shooting range and the other Molida Island secrets need items you do not own yet and are picked up in later chapters. Next, follow the fog route in Northwestern Sea and the Isle of Gust.