





















Phantom Hourglass 100% Completion Walkthrough19 chapters
- Temple of FireEvery key, the Boomerang, the Boss Key, how to beat Blaaz, the Heart Container, Leaf and Astrid’s Power Gem.
- Temple of WindGet the bombs, the Boss Key, beat Cyclok, free Neri and take the Heart Container.
- Molida Island and the Temple of CourageBeat the Giant Eye Plant, light Molida’s statues, get the Bow, defeat Crayk and awaken the Spirit of Courage.
- The Ghost ShipFind the ship with the Spirits, free the Cubus sisters, win their volley game, get the Ghost Key and Heart Container.
- Goron TempleTeam up with Gongoron, get the Bombchus and the Boss Key, beat Dongorongo and take the Crimsonine.
- Temple of IceLever order, three small keys, Grappling Hook, Boss Key, Gleeok fight, Heart Container and Azurine.
- Mutoh’s TempleGet the Hammer, find both small keys and the Boss Key, beat Eox and collect the Aquanine.
- Mercay Island and the First Sea ChartGet Oshus’s Sword, solve the lever passage, rescue Linebeck and find the first sea chart.
- Temple of the Ocean KingTake the Phantom Hourglass, sneak past Phantoms, carry three Force Gems and find the Northwestern Sea Chart.
- Temple of the Ocean KingPhantom Eyes, the hourglass crest door, the Salvage Arm, treasure salvage and the Sun Key.
- Zauz and the Temple of the Ocean KingPure Metals, Triforce door, crystal puzzles and the Southeastern Sea Chart.
- Temple of the Ocean KingGold Phantoms, the B11 bridges, three Force Gems on B12 and the Northeastern Sea Chart.
- The Phantom Sword and BellumPhantom Hourglass walkthrough for the Phantom Sword, the last Temple of the Ocean King descent, Bellum.
- Isle of Ember and AstridFirst voyage, Beedle’s Shop Ship, Kayo’s torches, freeing Astrid and the volcano path to the Temple of Fire.
- Cannon Island, the Ghost Ship Chase and Molida IslandBuy the Cannon from Eddo, chase the Ghost Ship, then reach Molida Island and take the Shovel.
- Northwestern Sea and the Isle of GustThe fog route, Bannan Island fishing, Zauz, the Cyclone Slate, Golden Frogs and the way to the Temple of Wind.
- Goron Island and GongoronSail the Southeastern Sea, beat the Massive Eye, pass Biggoron’s quiz, find Gongoron and reach the Goron Temple.
- Isle of Frost and the Yook MysteryCannon the ice, Anouki Estates, find the Yook among six villagers and fight through the Great Ice Field.
- Isle of the Dead and the Isle of RuinsDig spot, Phantom Corridor path, Regal Necklace, King’s Key, Max and the door symbol.
| Covers | The Southeastern Sea, the Massive Eye, Goron Island, Biggoron’s quiz, Gongoron’s chase, the north maze and the door of the Goron Temple |
|---|---|
| You need | The Southeastern Sea Chart, the Cannon, the Bow, Bombs and the Shovel; 20 Rupees for the quiz |
| Rewards | 1  Wisdom Gem, 1  Power Gem, 1  treasure map and a  Big Green Rupee on the island; on the sea,  Courage Gems, a 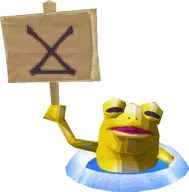 Golden Frog and the Harrow Island dig prizes |
The Southeastern Sea Chart opens a new quarter of the Great Sea, and the next pure metal lies on Goron Island. Gorons live there, and they will not let a stranger near their temple. You fight your way through a cyclone by shooting the Massive Eye, say hello to every Goron, pass Biggoron’s quiz to become Goro-Link, and follow the runaway Gongoron through a maze of cracked blocks to the temple door.
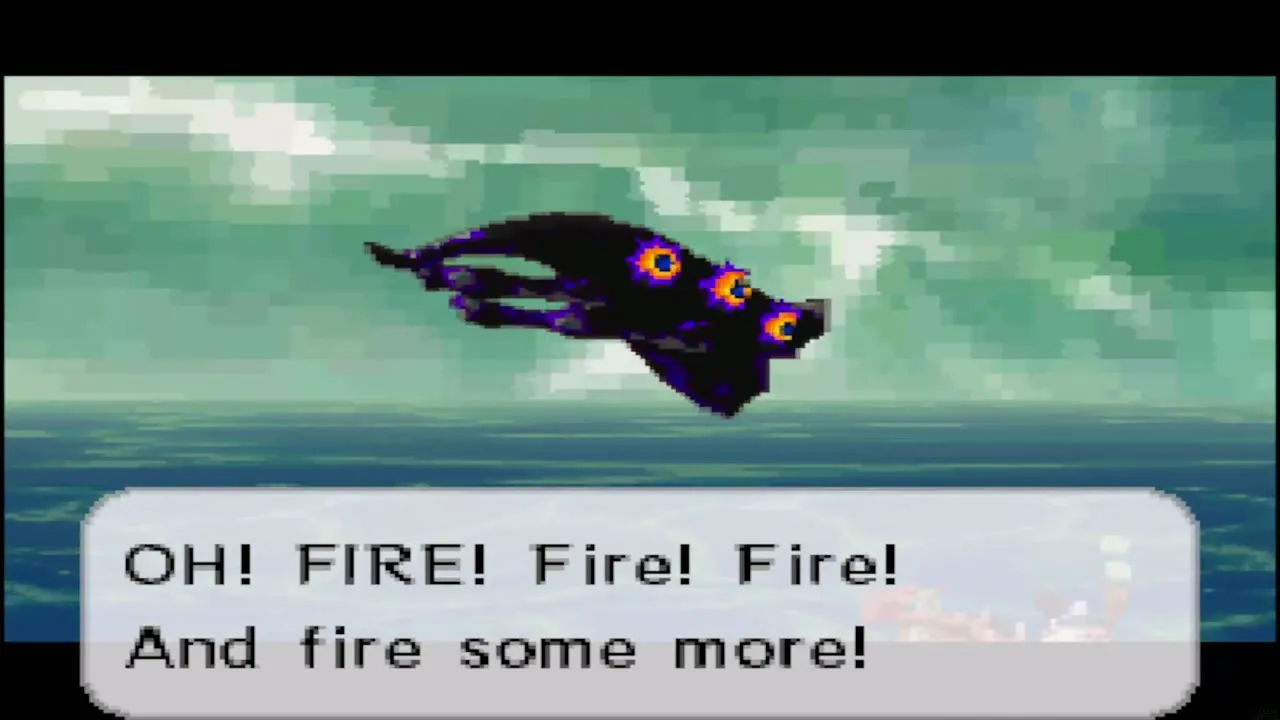
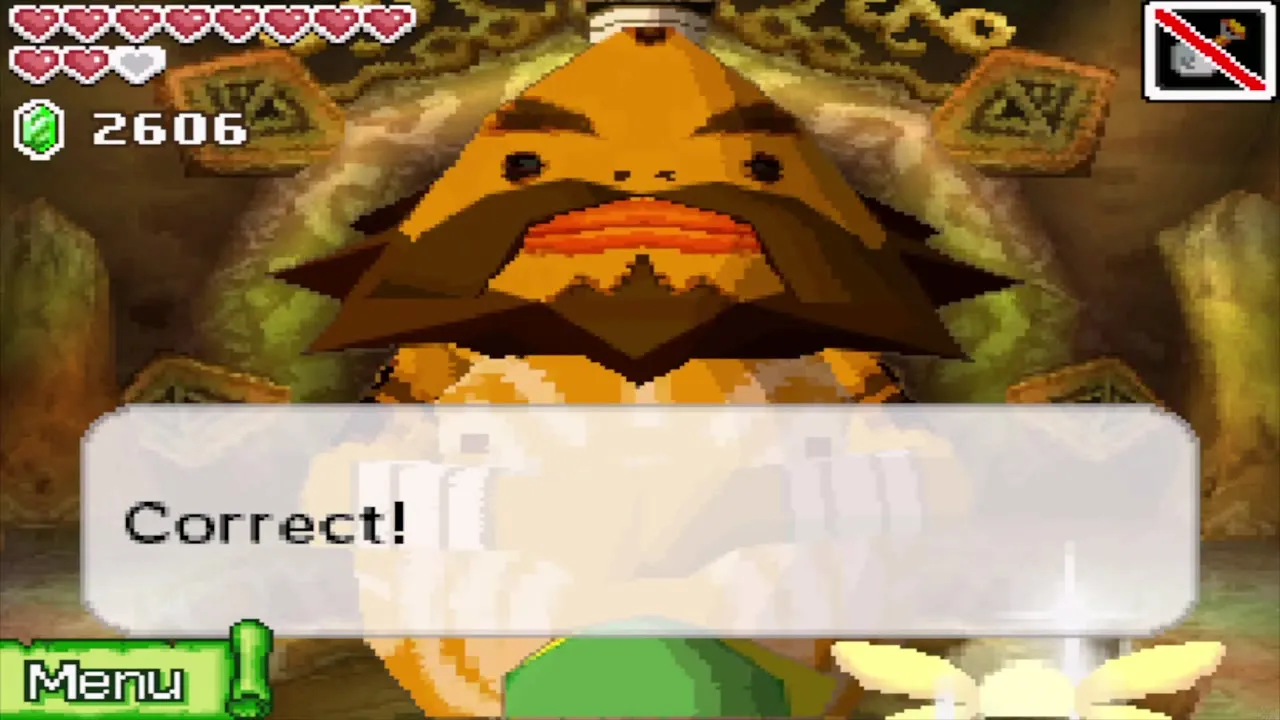

Table of Contents
Sailing the Southeastern Sea
Route to Goron Island
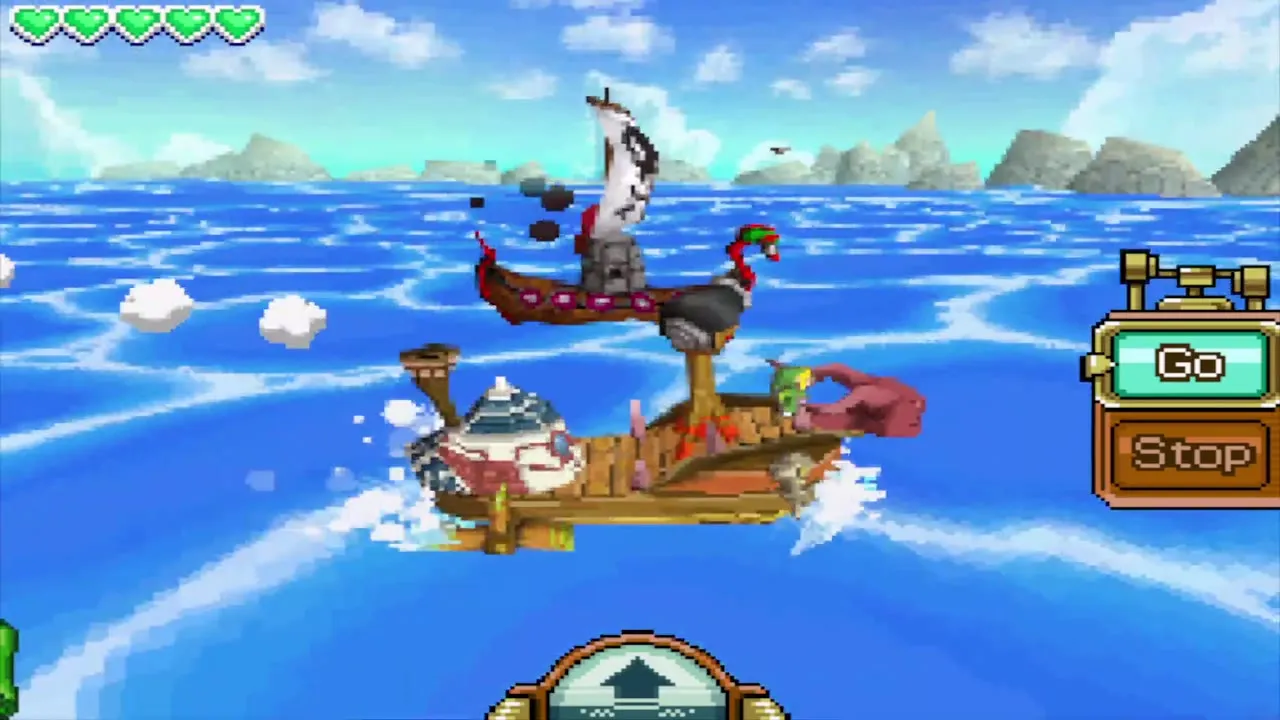
Leave the Temple of the Ocean King and sail into the Southeastern Sea. Open the Sea Chart, pick Goron Island, draw your line there and tap Go. Pirate ships attack on the way, so tap them with the cannon as they come into range, and tap the jump button to hop over any Sea Trap, the barbed wire strung between two urchins.

Courage Gem from the boarding party
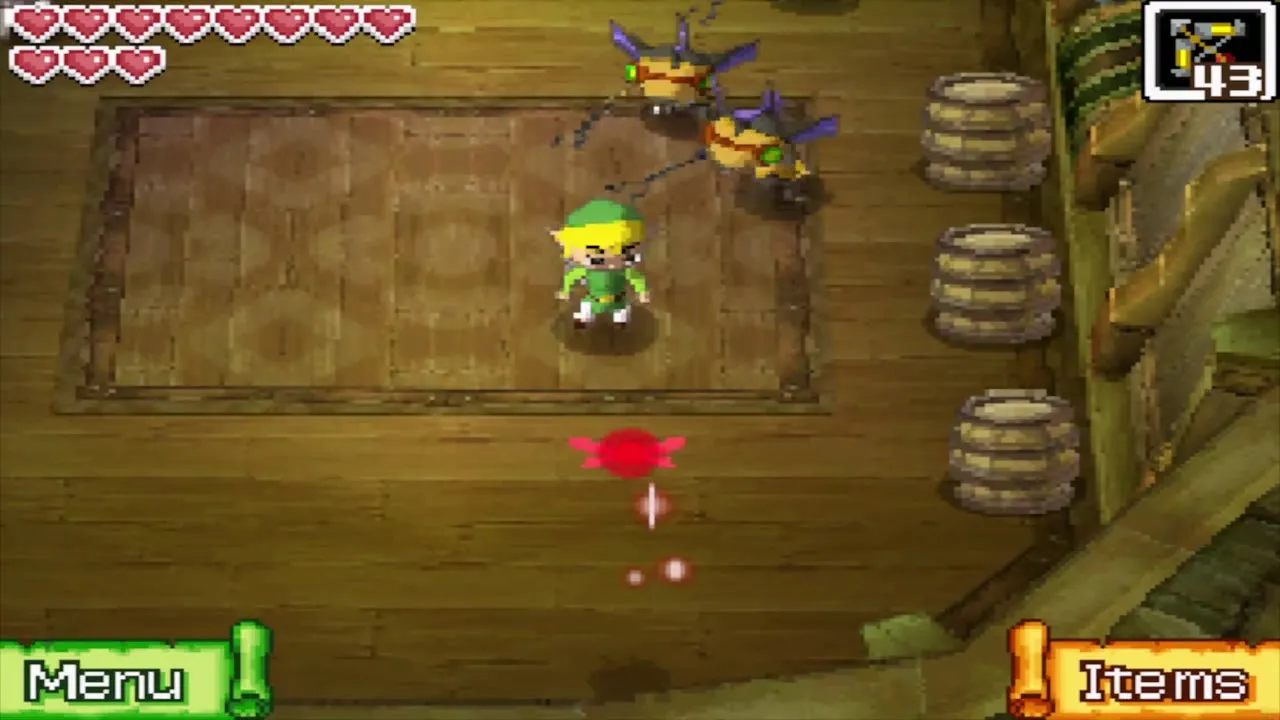
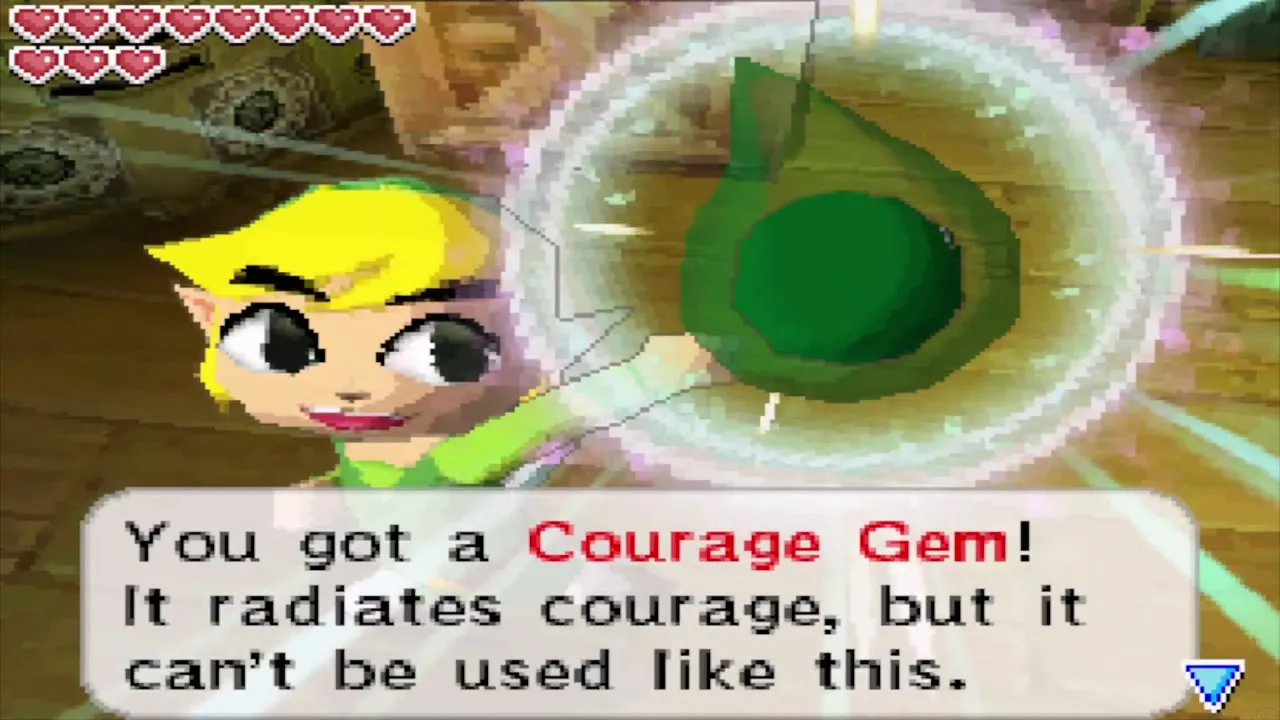
Soon after you enter the Southeastern Sea, a pirate ship attacks and Miniblins swarm onto Linebeck’s deck. Beat every one of them with your sword and Linebeck rewards you with a Courage Gem. Keep it in your collection until you visit the Spirit Island shrine.

Golden Frog north of Dee Ess Island
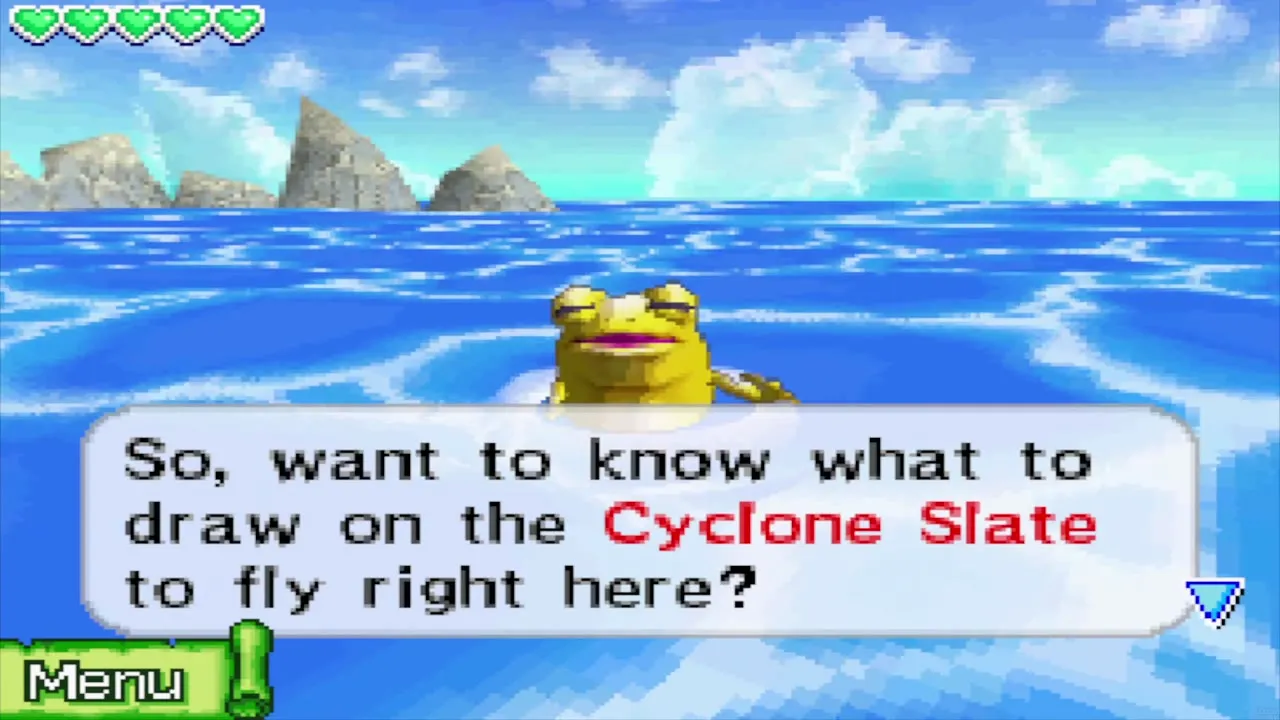
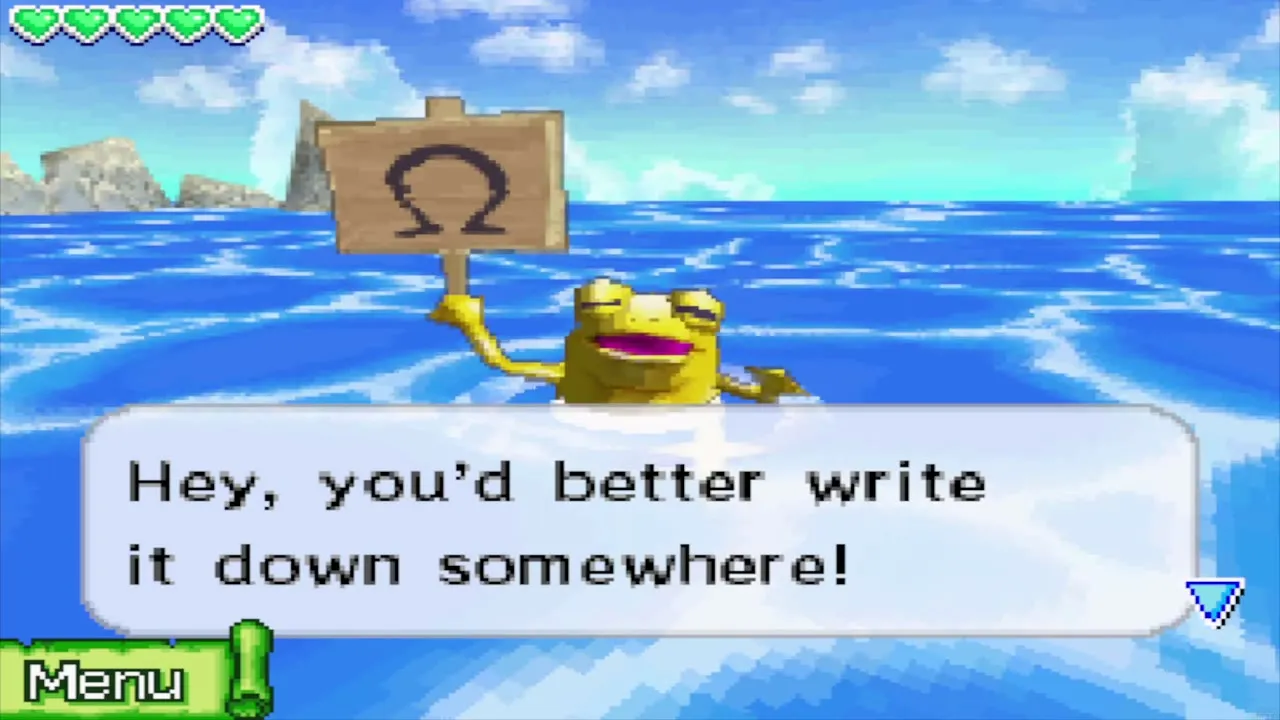
Once you own the Cyclone Slate, shoot the Golden Frog north of Dee Ess Island with the cannon, leading the shot because he moves. He holds up a sign with a symbol like a capital omega. Draw that symbol on the Slate whenever you want to be carried back to this spot, and note it on your sea chart so you do not forget it.
Beedle’s Masked Ship
The Masked Ship appears at sea only at certain times by the DS clock: late evening on weekdays, and in the morning at weekends. It sells a Courage Gem for 500 Rupees and a Heart Container for 1,500 Rupees. Buy the gem if you have the money. The Heart Container is a large expense you can leave until your wallet is full.


Harrow Island
Harrow Island digging game
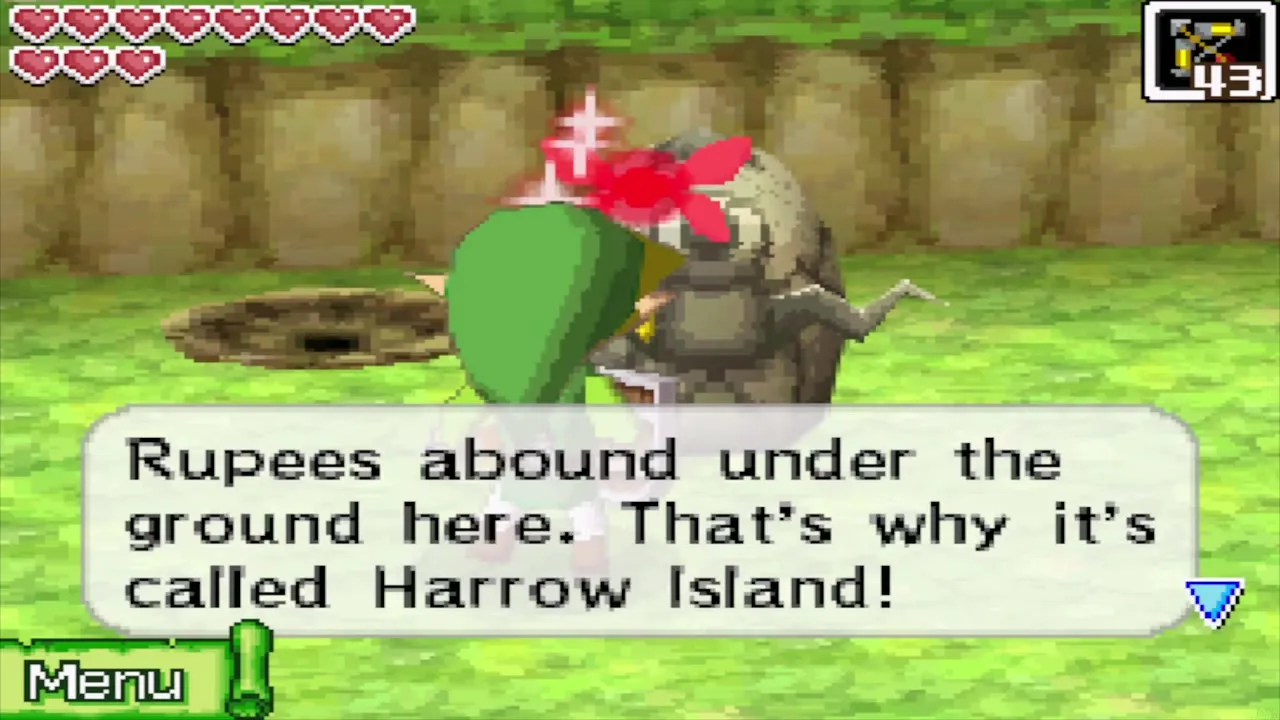
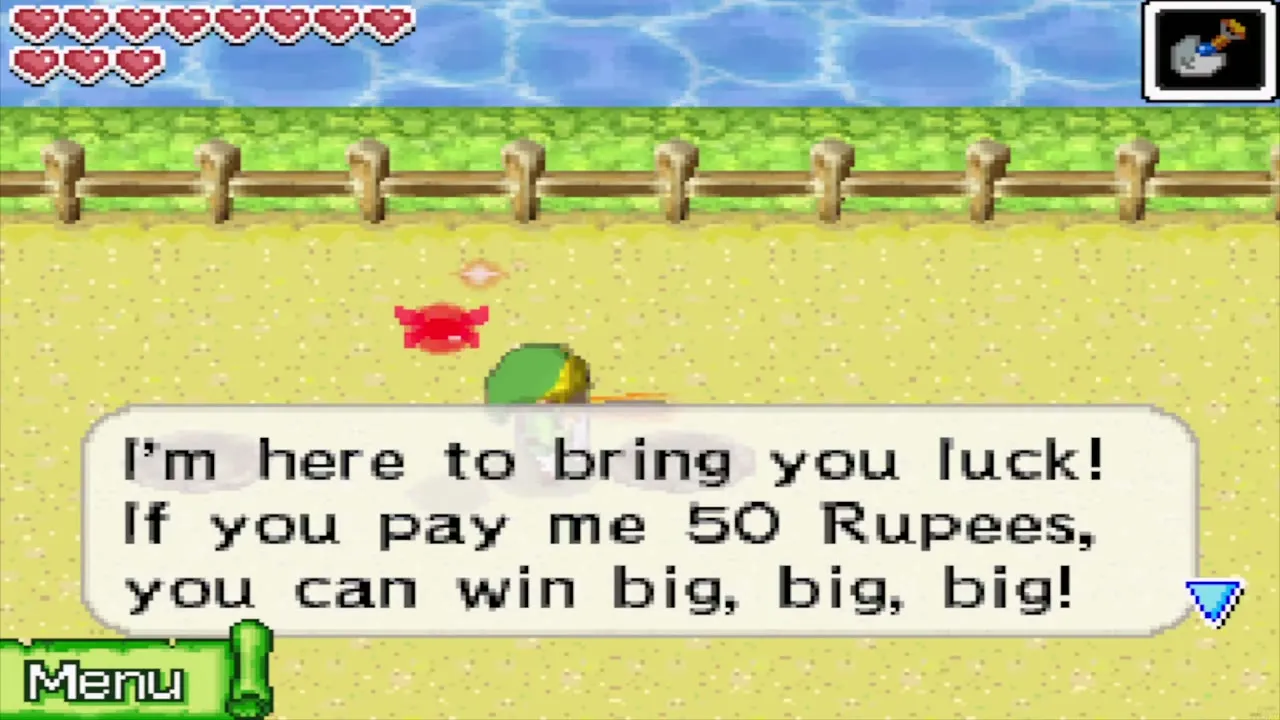
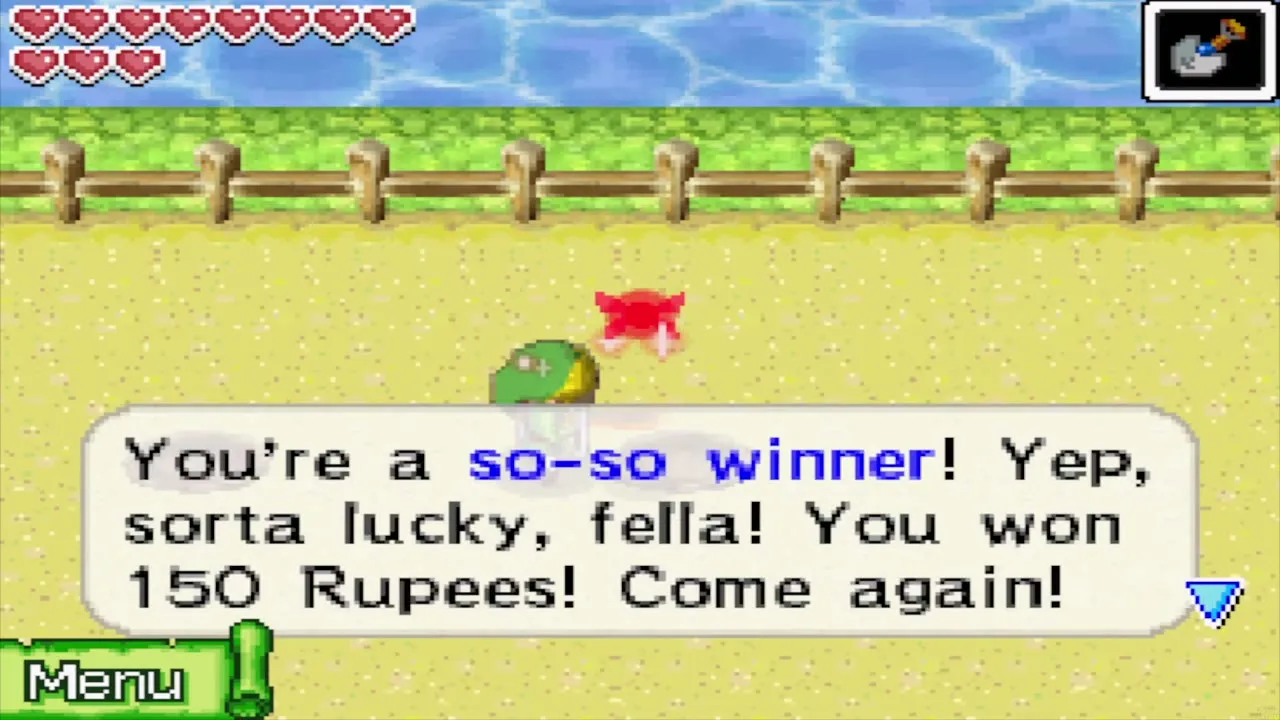
Harrow Island holds a digging game. Pay 50 Rupees, enter the sand field with the Shovel and dig up to ten spots. Prizes include Rupees and treasure maps; the island has four maps in all, and two of them turn up with the Southeastern Sea Chart. Stop at ten holes, because digging more is fined. Lucky Lee sometimes pops out of the ground and offers a chest gamble for 50 Rupees, and since it is pure luck, it is up to you whether you play.

Dee Ess Island
Courage Gems on Dee Ess Island
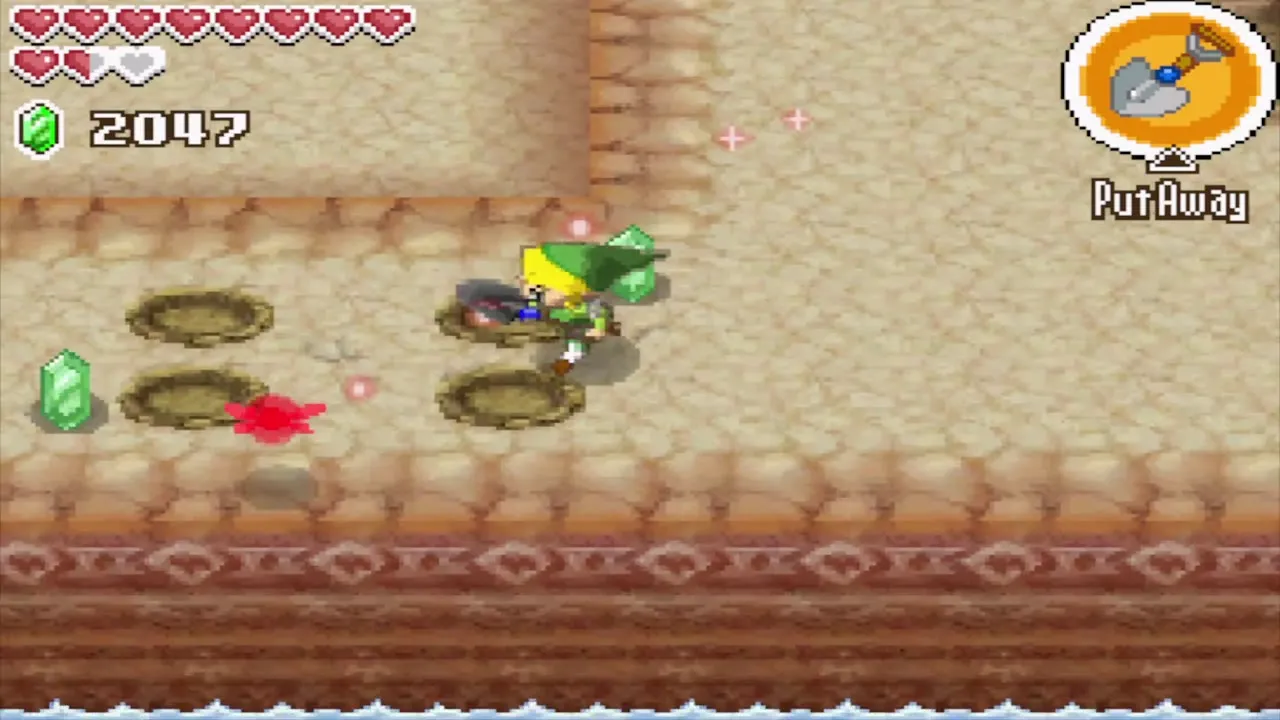
An island missing from your chart appears as you sail past, and it is Dee Ess Island, which is shaped like a Nintendo DS. Dig in the bottom-left corner of the lower-screen half for one Courage Gem, then defeat the two large enemies in the pit of the upper-screen half for a chest holding a second. You can come back later to play the Goron Game here.


Massive Eye boss fight
The cyclone
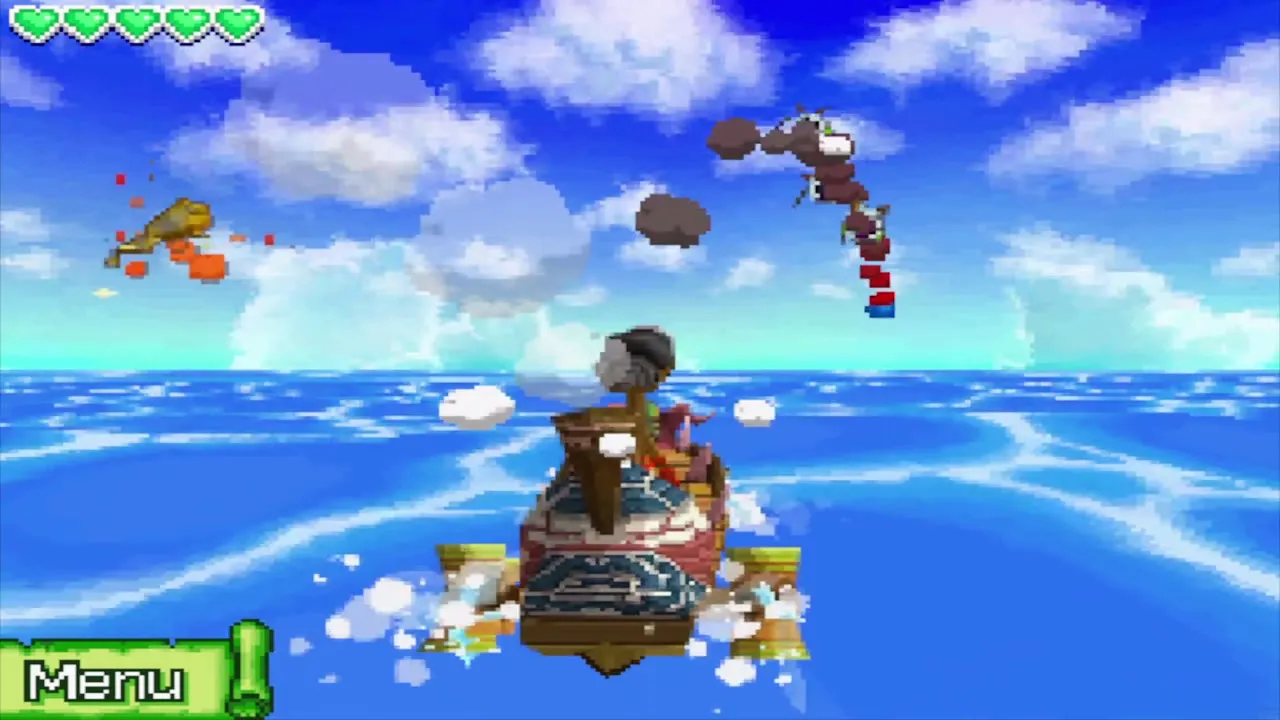
As you near Goron Island a cyclone catches the ship, and a huge flying fish called the Massive Eye rises above you. The cyclone soaks the engine and leaves the ship stuck, and you cannot dock until the monster is beaten, so take the cannon.

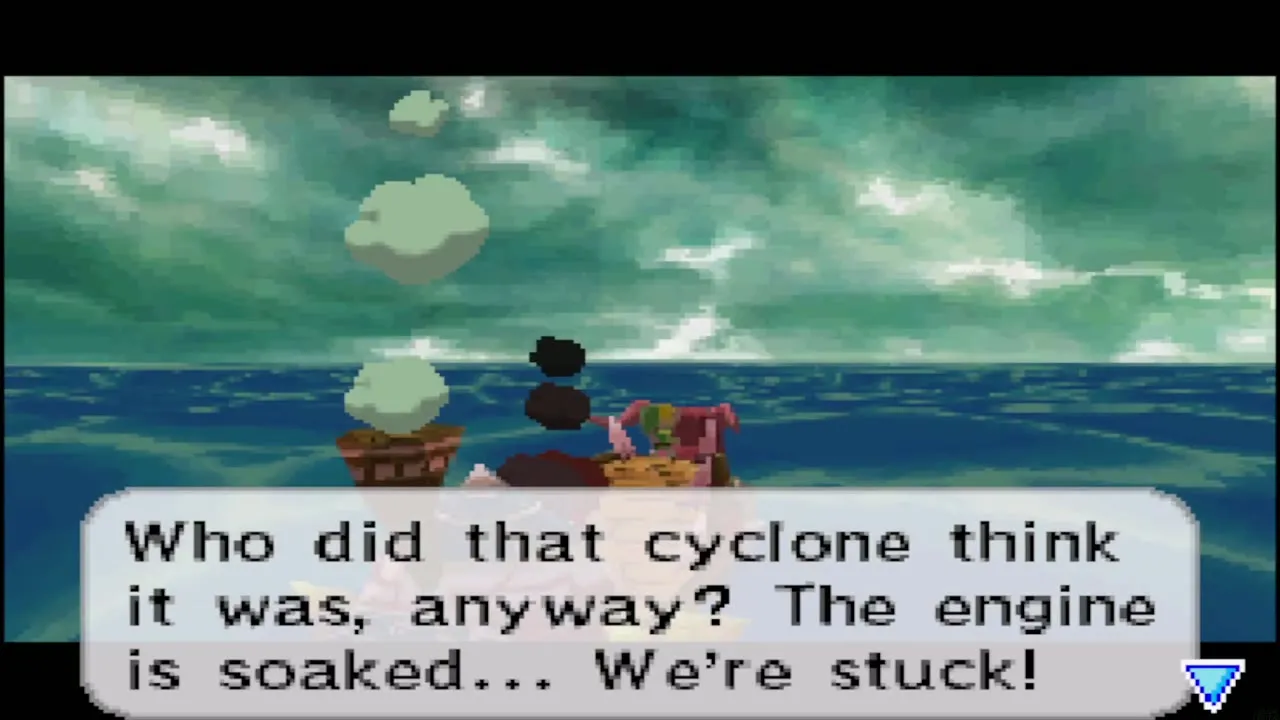

How to beat the Massive Eye
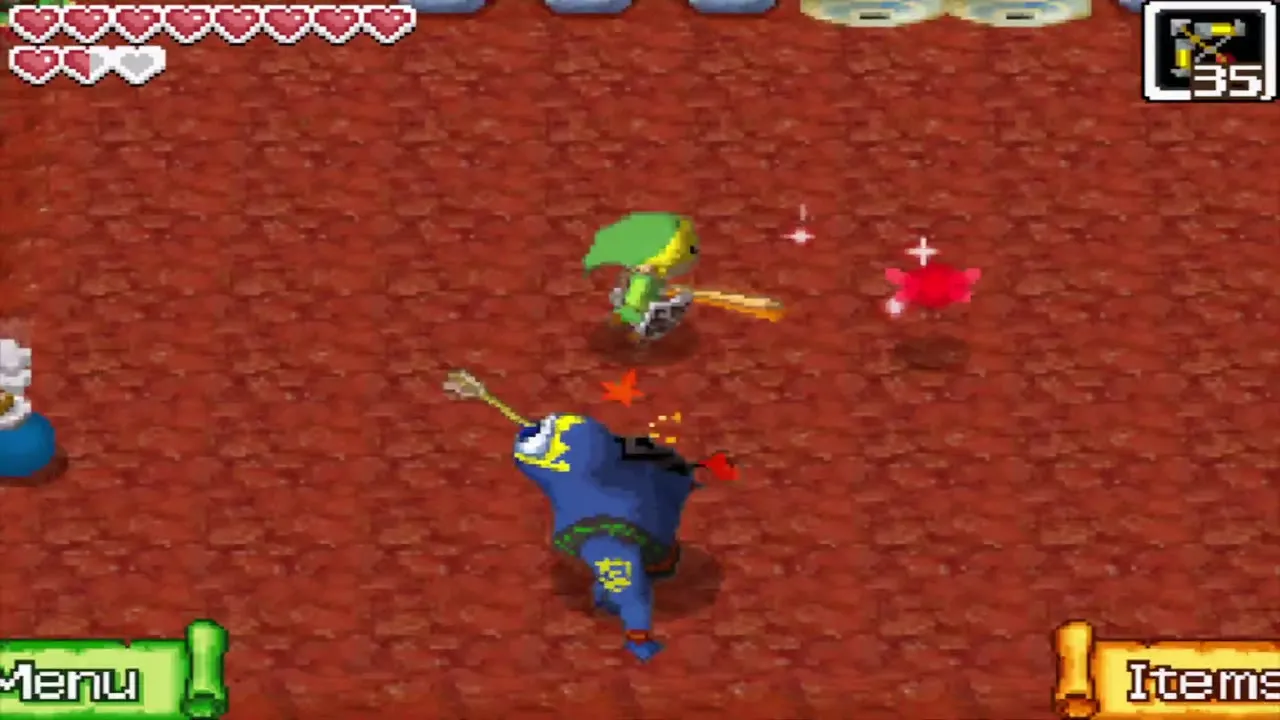
The Massive Eye has six eyes, and each needs two cannon hits: a hit turns an eye from yellow to pink and a second hit closes it. It fires yellow energy balls and sends small flying sea monsters at you, so shoot those down first, then aim for the eyes. Now and then it swoops down to ram the ship, and this cannot be avoided. When the last eye closes it is beaten and you can dock at Goron Island.


Goron Island
How to greet every Goron
The Gorons call you an outsider and tell you to make yourself known to everyone. Biggoron, the elder, will not speak of the pure metal until you have talked to every Goron on the island, including those inside their homes. Walk the paths, enter each cave house and speak to each Goron you find. There are fourteen of them.


Goron Island shop
The island’s shop stands in the south-west. Ten arrows cost 50 Rupees, and potions and a shield are on the shelves. Bombchus only go on sale once you own them, which happens in the temple ahead, and after you finish the temple the Bombchu Bag upgrade is offered for 1,000 Rupees.

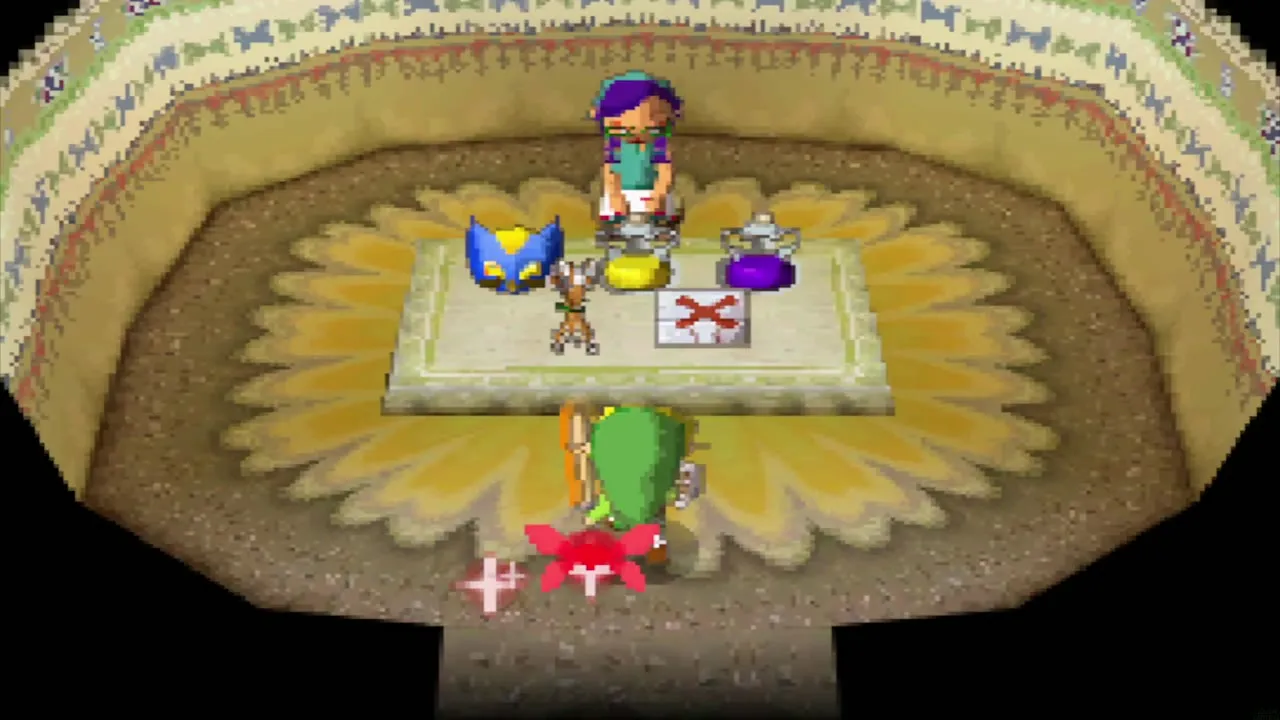

Shout across the gap
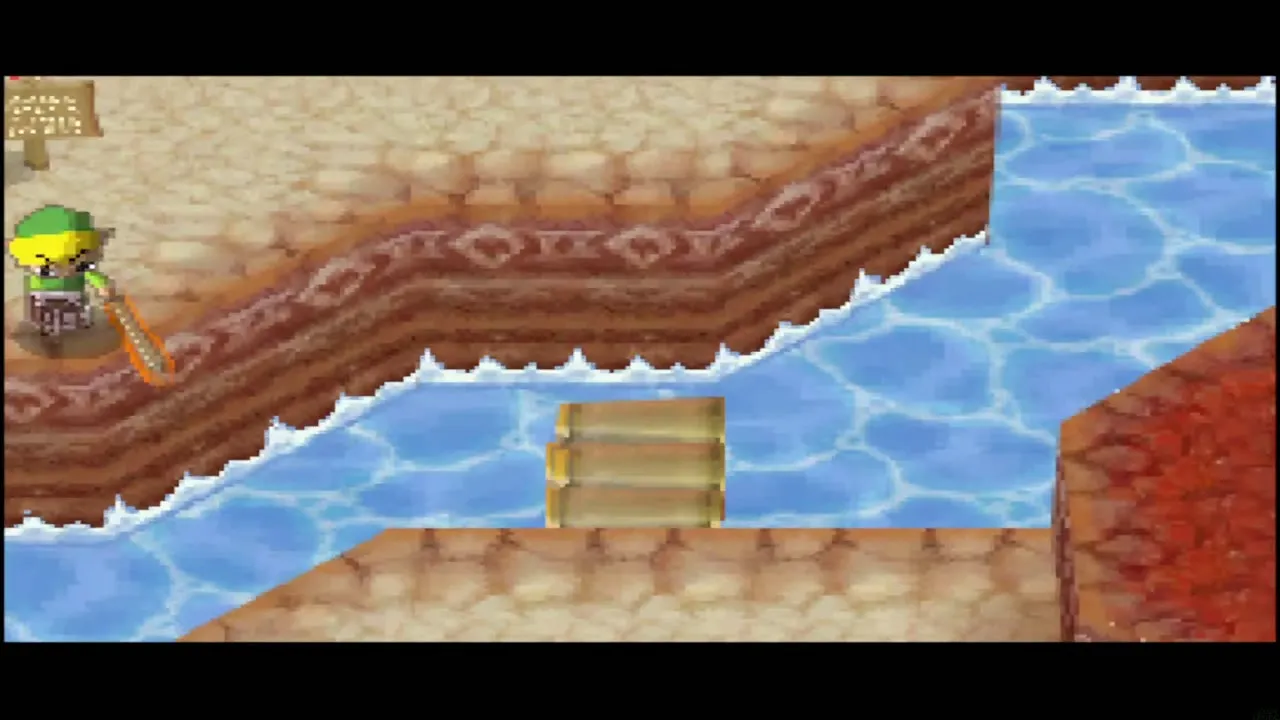
A Goron on the far side of a stretch of water will extend a bridge for you. Shout or blow into the DS microphone to catch his attention, then cross and keep talking to the Gorons on the far side.

Treasure map from the Goron afraid of the Yellow ChuChus
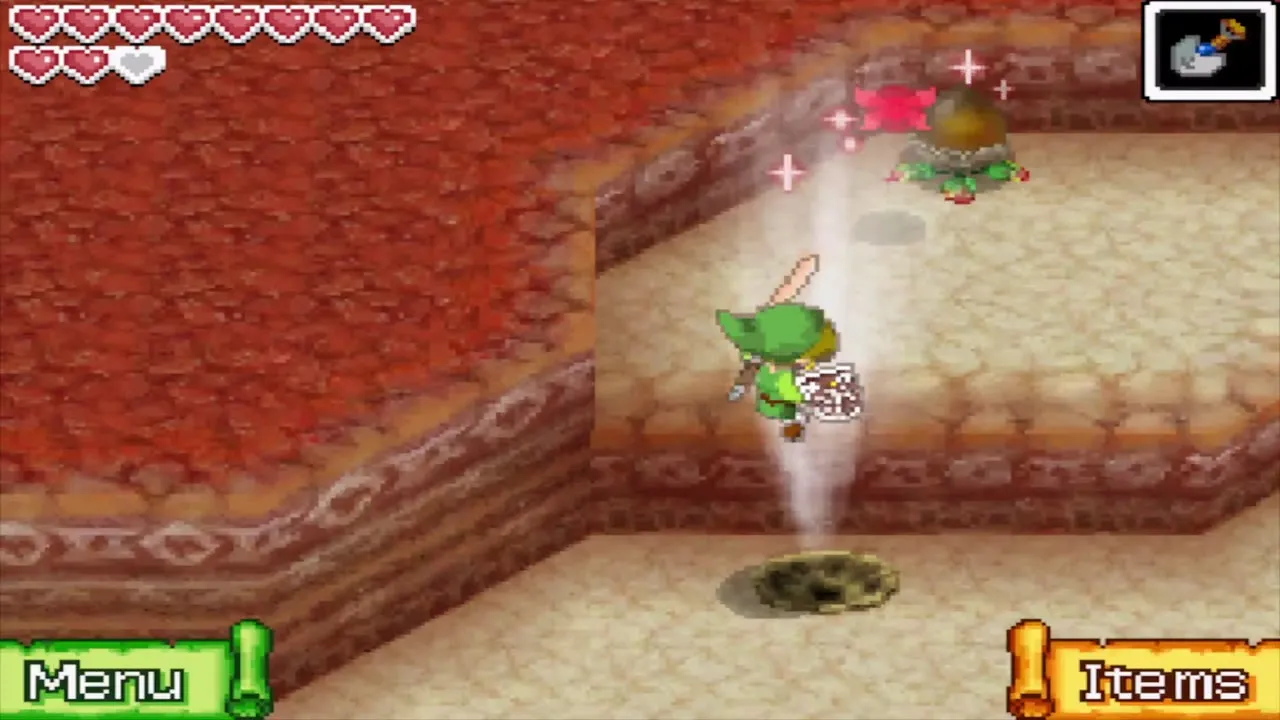
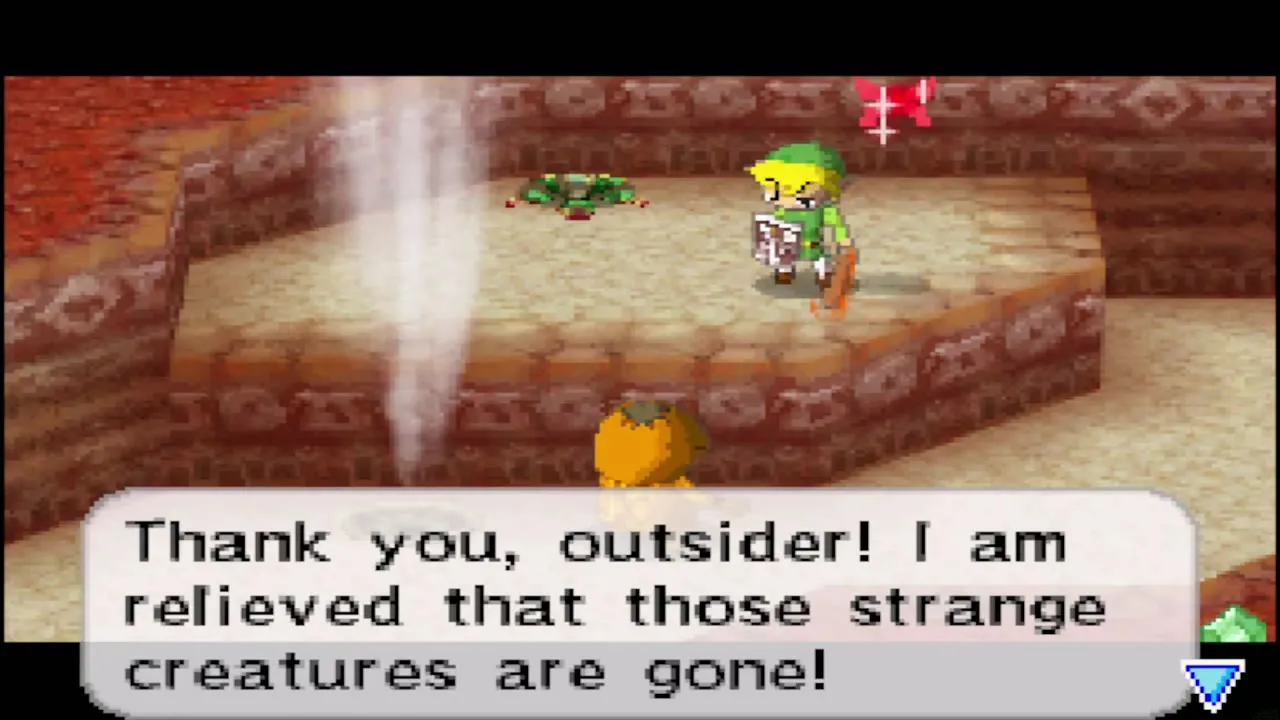
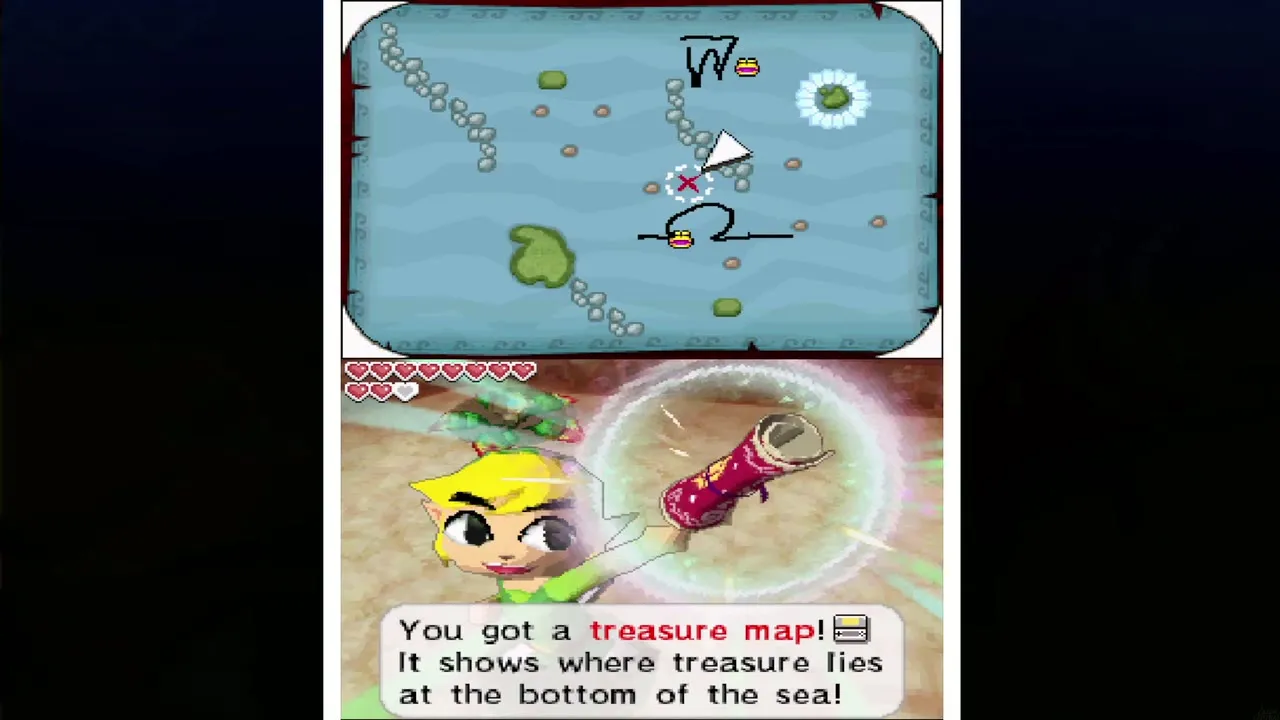
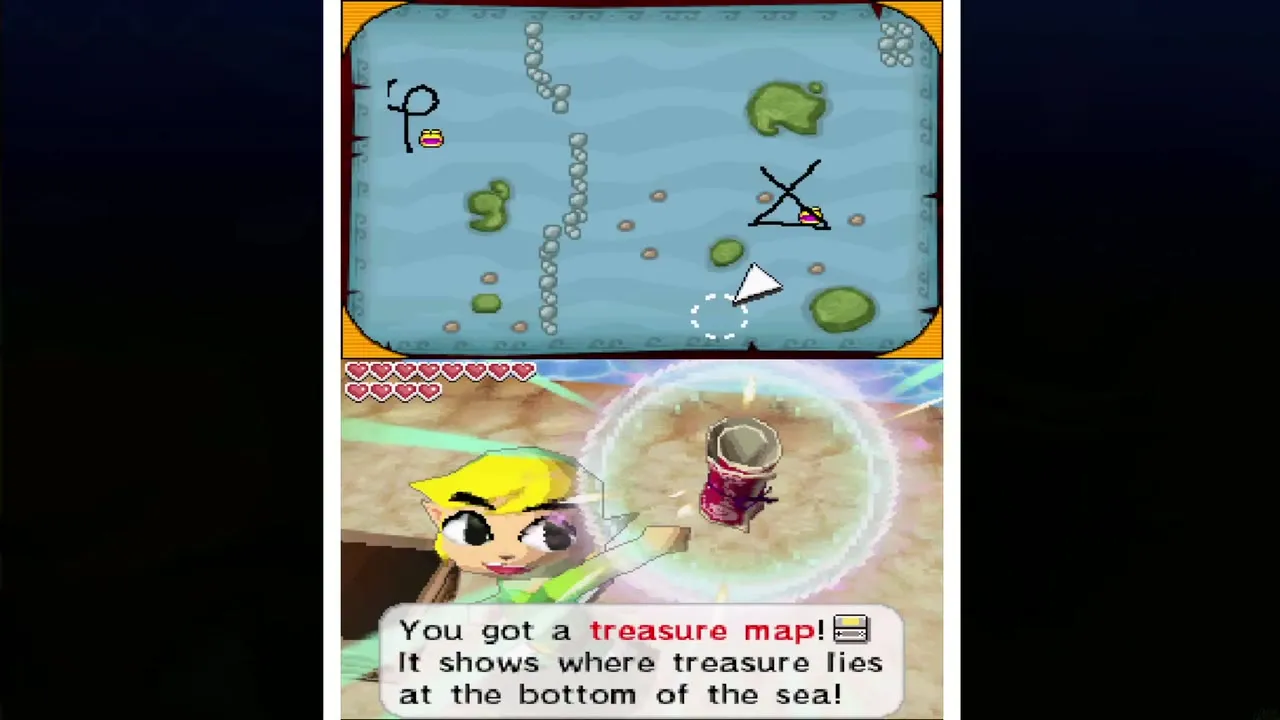
A Goron north of the harbor is frightened by strange creatures on a nearby cliff. Dig the Shovel into the geyser spot just north of him so that a gust lifts you to the higher platform. From there shoot the Yellow ChuChus across the gap with the Bow, and he thanks you with a treasure map. It marks a ship part under the sea, so keep the map for the Salvage Arm.

Courage Gem on a Goron roof
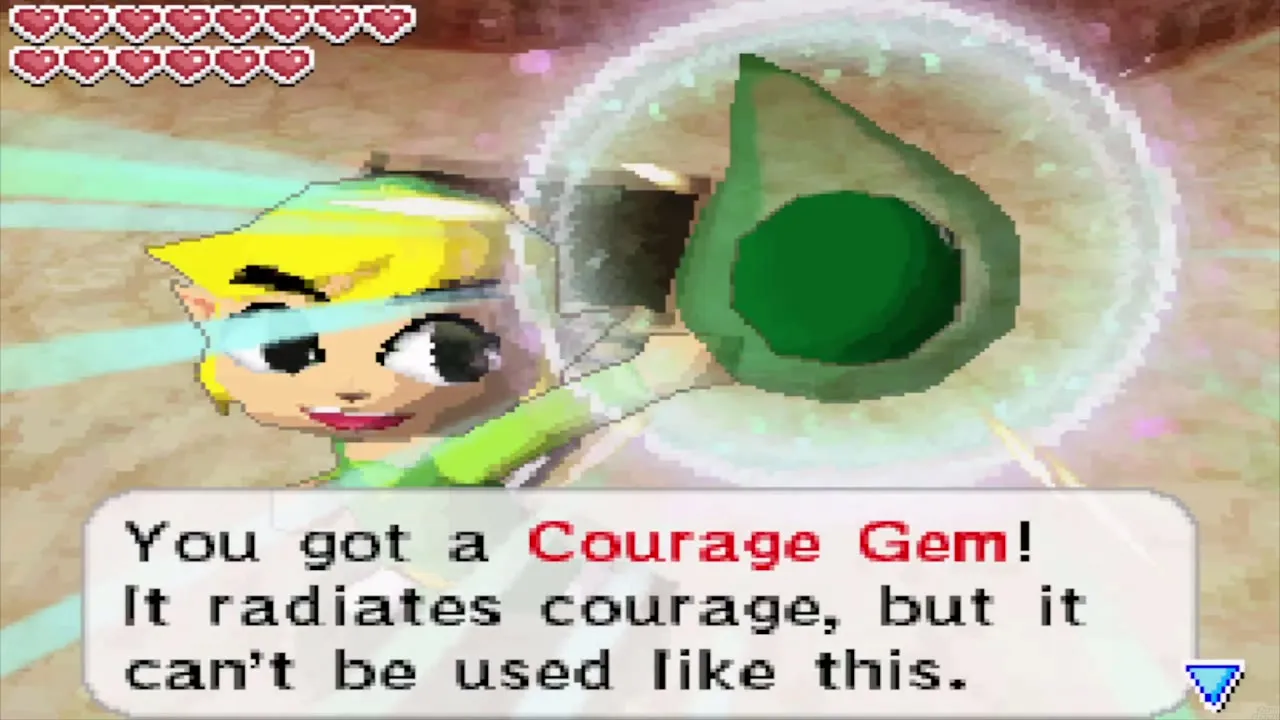
A Courage Gem sits in a chest on top of a Goron home on the south-west side of the island, near where you land. You can only reach it by hooking a nearby rock with the Grappling Hook, which you do not have yet, so leave it for the Temple of Ice chapter.

Biggoron’s quiz answers
How the quiz works
When you have met everyone, climb to the elder’s house and talk to Biggoron. He charges 20 Rupees for the initiation test and asks six questions, with a Rupee prize for each right answer, and he lets you use one Gorohint to remove a wrong answer. One wrong answer and he takes your winnings back, so you lose the fee and must pay again if you want to retry.

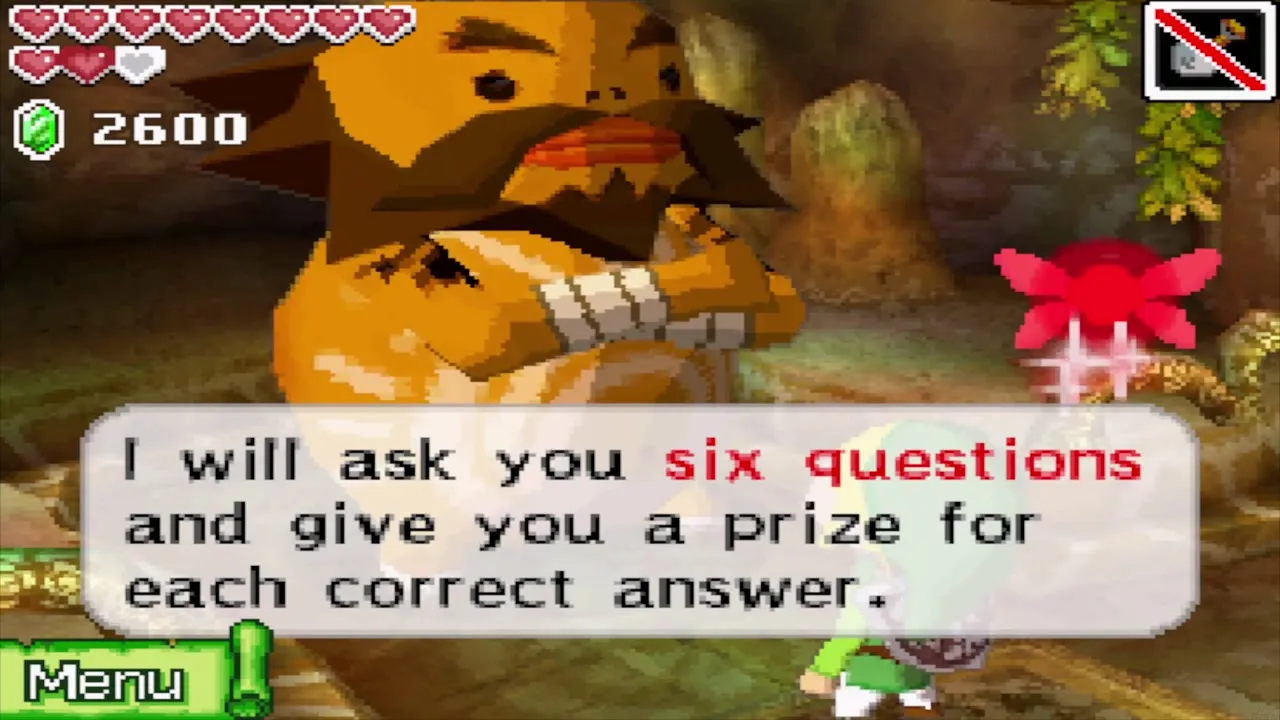
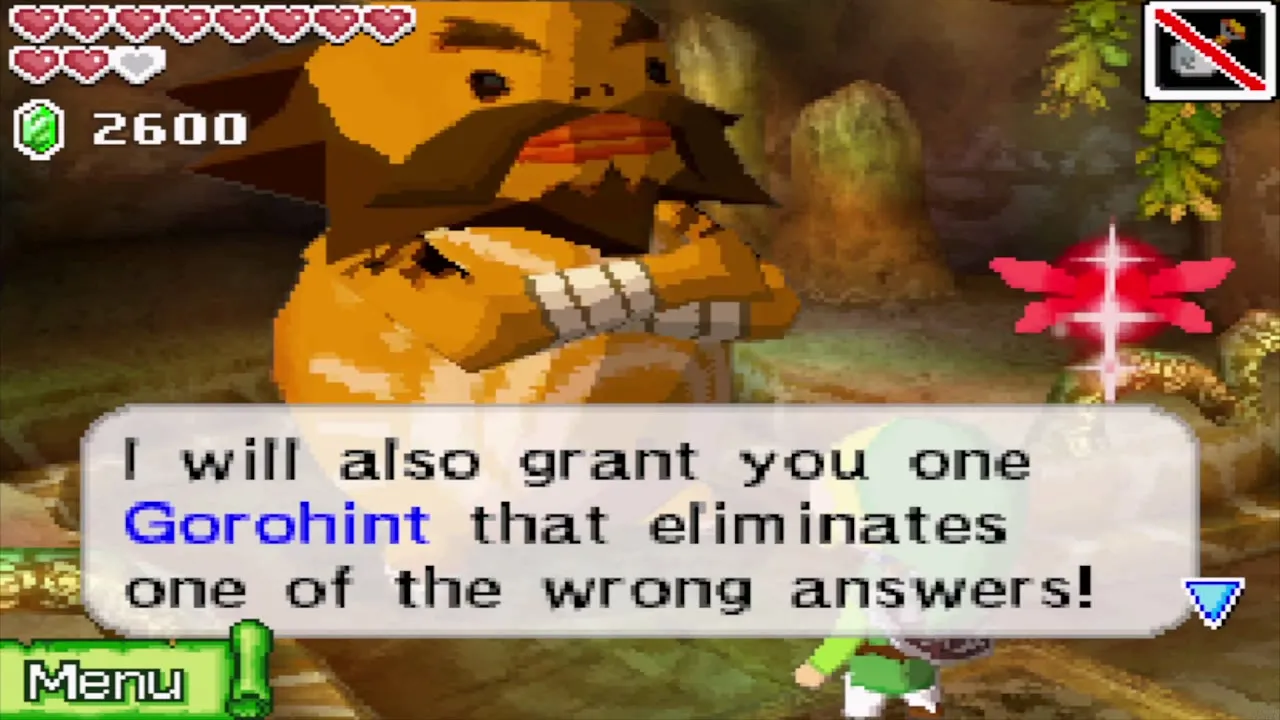
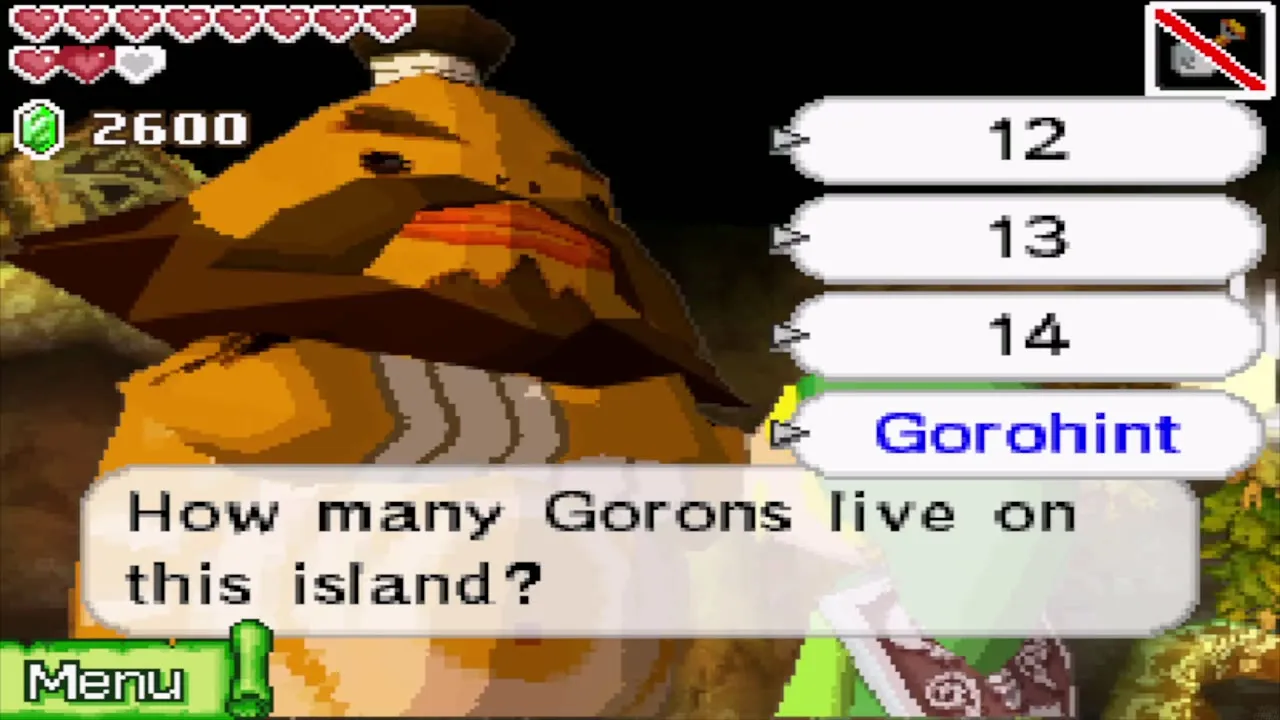
The six questions are drawn at random from a pool of twelve, and the first three are always the same ones, though not always in the same order. Answers: how many Gorons live on the island (14), how many homes there are (6), what the Goron at the marked spot is staring at (a ship), what colour the odd creatures on the cliff were (yellow), how many Gorons are outside (7), how many are inside their homes (7), how many of those outside are adults (4), how many Goron children live here (6), how many rocks are in the home you are asked about (3) and what is on the marked spot (a chest).

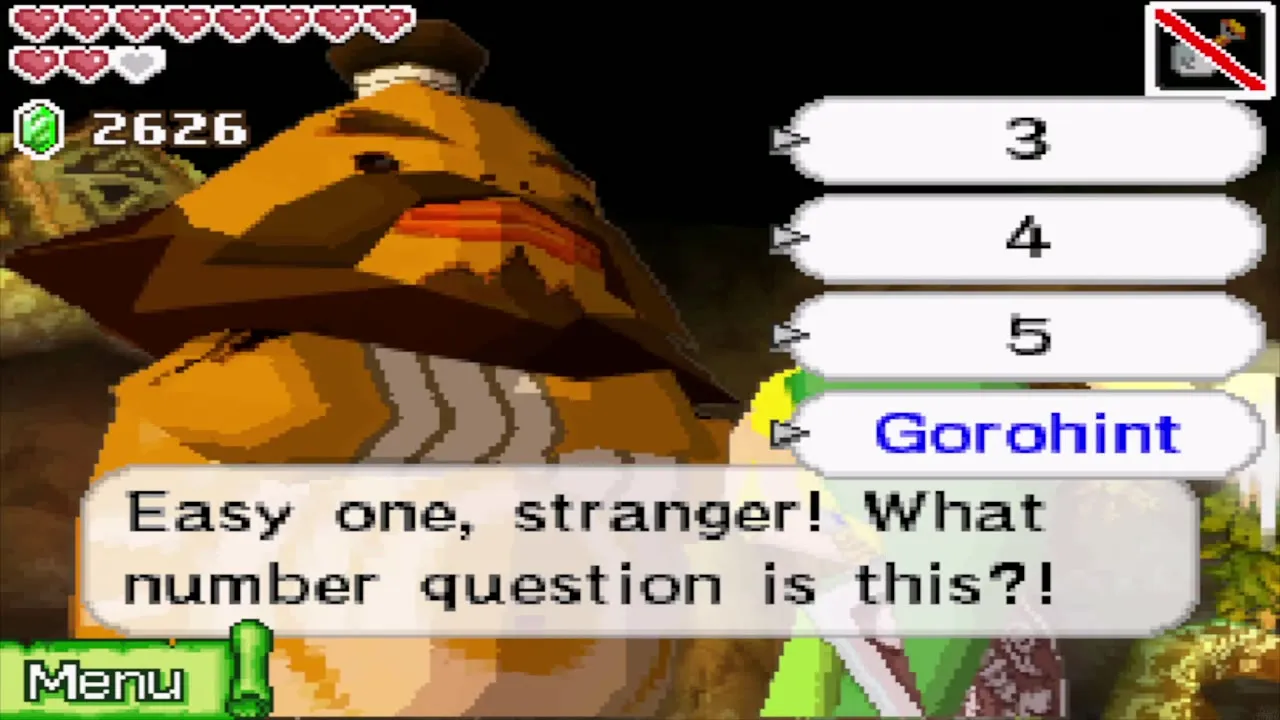
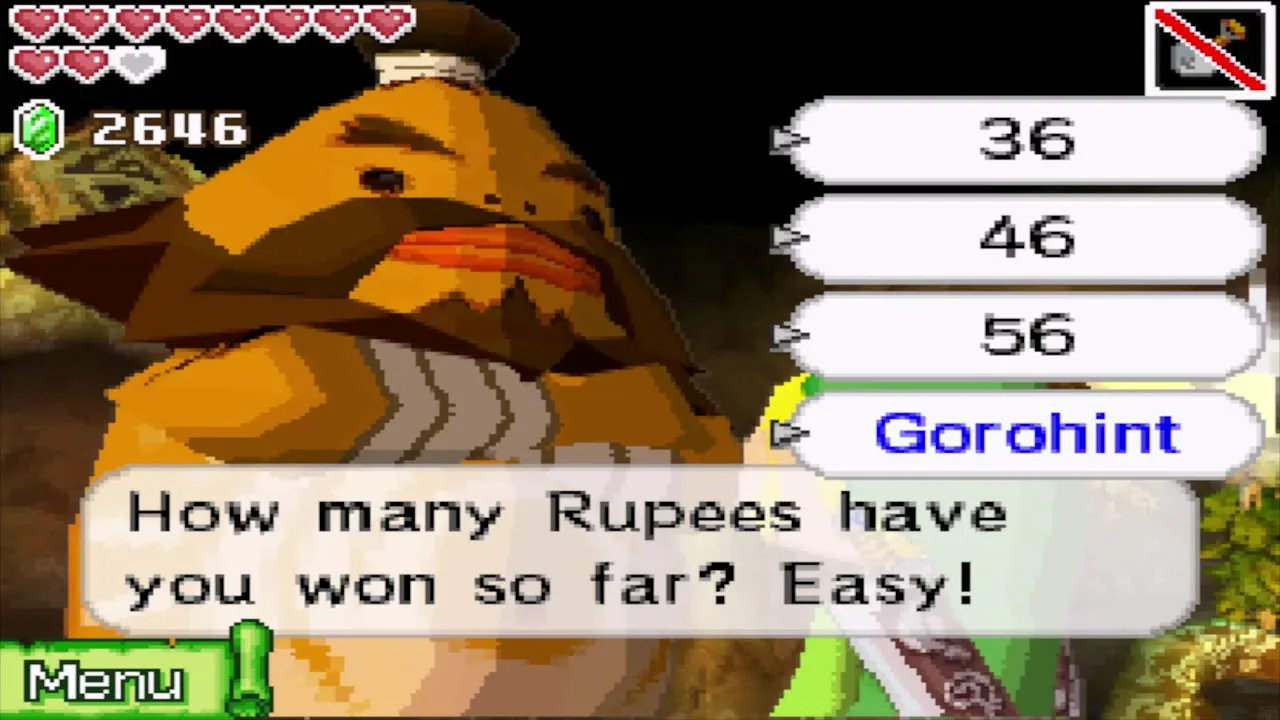
Two questions depend on the quiz itself: “what number question is this” is simply its position, and “how many Rupees have you won so far” is the total of your prizes up to that point, which is 46 when it is asked fifth. Pay attention as you tour the island, because the other questions ask about what you saw.
Wisdom Gem and dues
With all six right, Biggoron declares you Goro-Link and gives you a Wisdom Gem. He then collects 146 Rupees in membership dues, so the quiz costs you only the 20 Rupee fee. He says the pure metal is in the temple and that his son Gongoron will show you the way.


Gongoron hide and seek
Find Gongoron twice
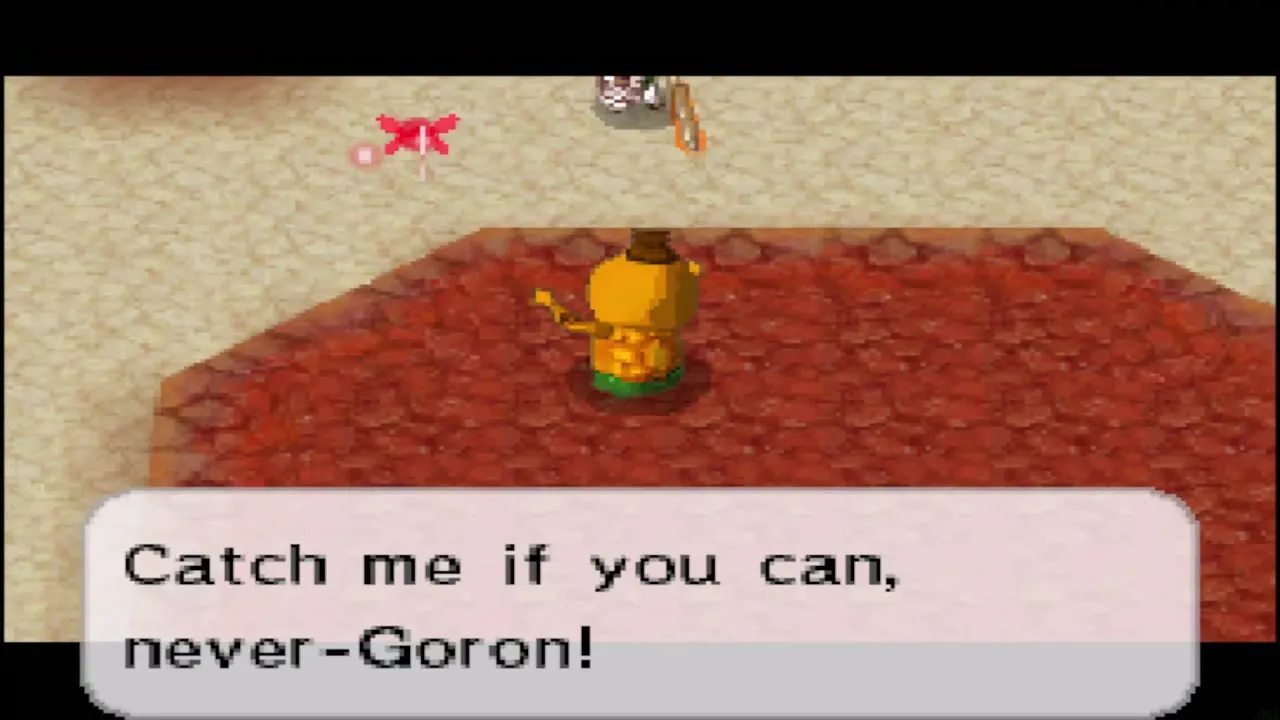
Gongoron does not accept you and runs off at once, so you have to find him. The first time you see him is on a cliff on the western side of the island, and he runs again. The second time is on the eastern side, where the Goron who barred your way stood. Now that you are Goro-Link the guard lets you pass and tells you Gongoron has gone to the temple.



North maze
How to cross the maze
The north of the island is a maze of cracked blocks between stone walls. Blow the cracked blocks open with Bombs or a bomb flower and work north, then west, toward the temple. When the cracked blocks run out, look for a floor design just past a wall in the north and bomb that spot to open the way on.

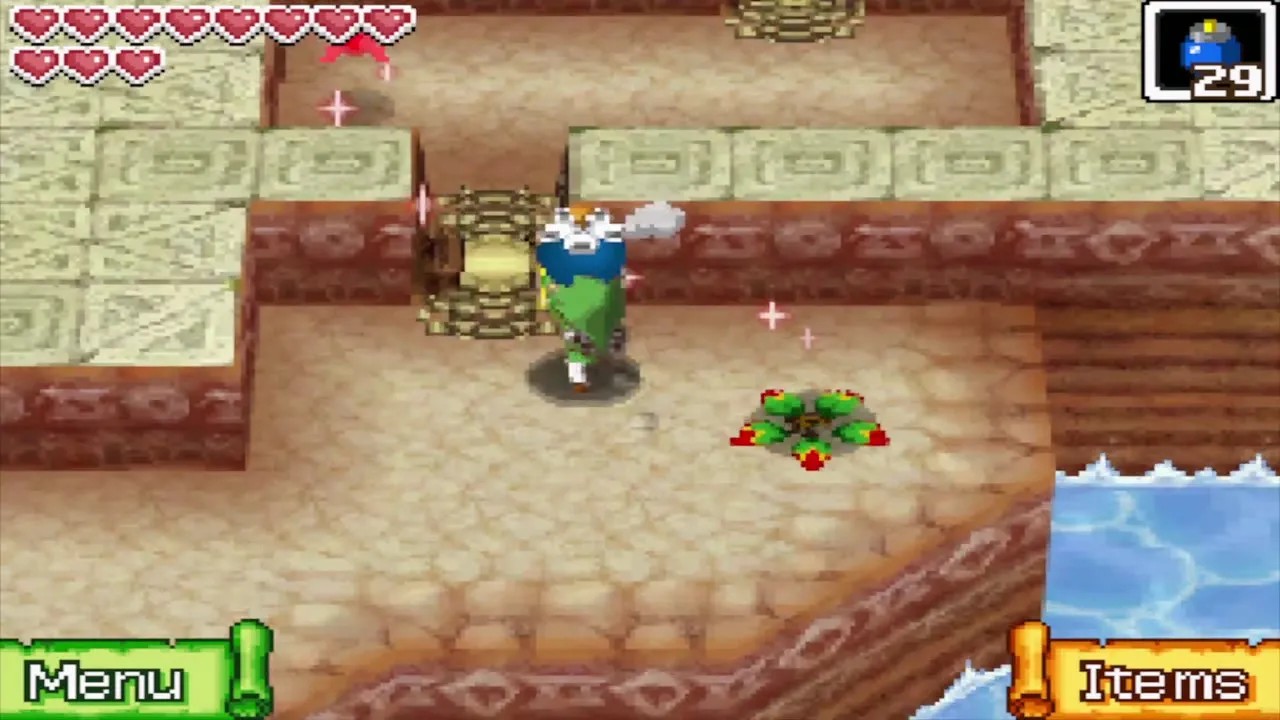

Big Green Rupee and Power Gem
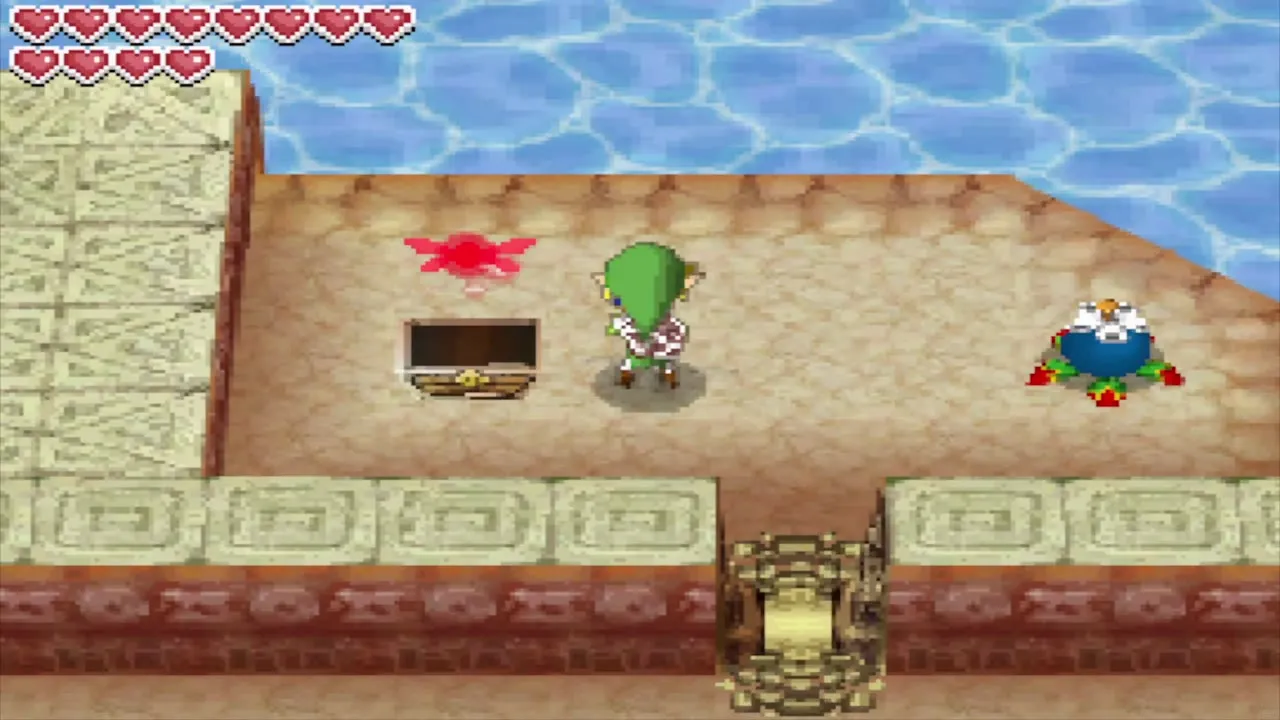
A chest on the second row of the maze from the top holds a Big Green Rupee, worth 100 Rupees; the path looks like a dead end, so bomb the wall under the dark mark even though it is not cracked. For the Power Gem, leave the maze toward the temple, then re-enter on the third row from the top. A floor switch nearby retracts the spikes in the way, and the chest beyond holds the Power Gem. Watch out for a Like Like on the island, which can swallow your shield.
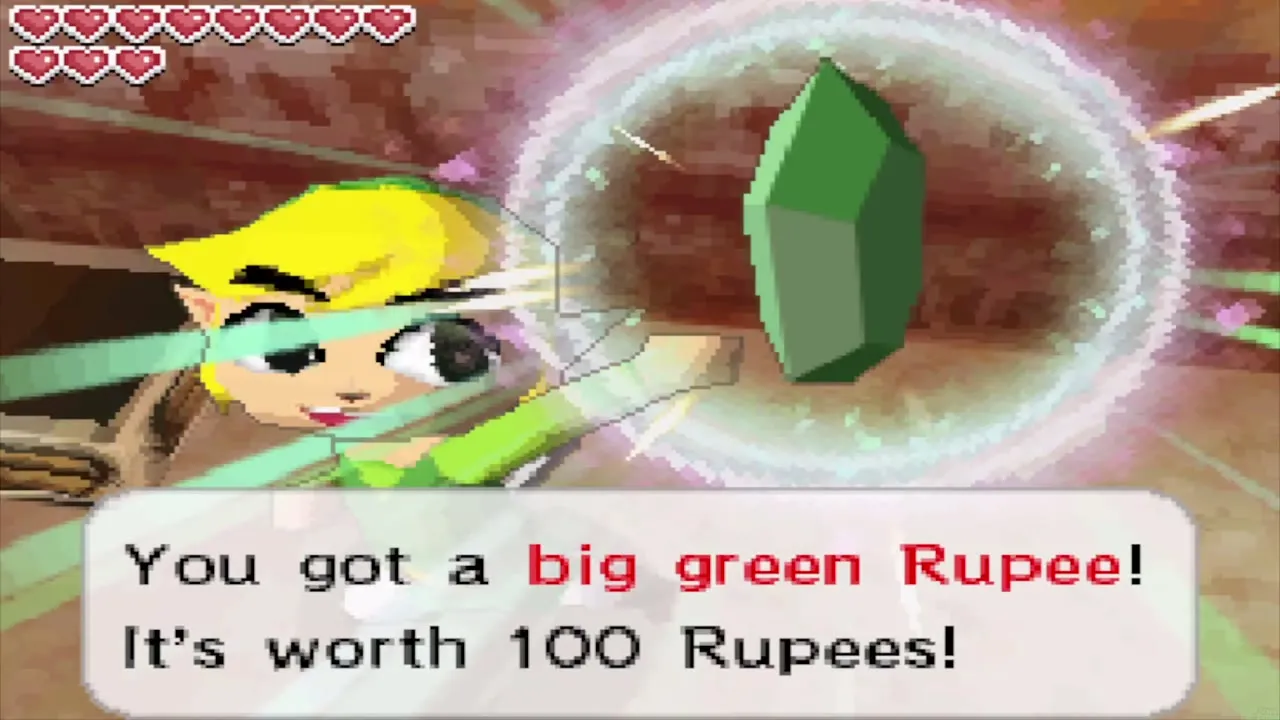
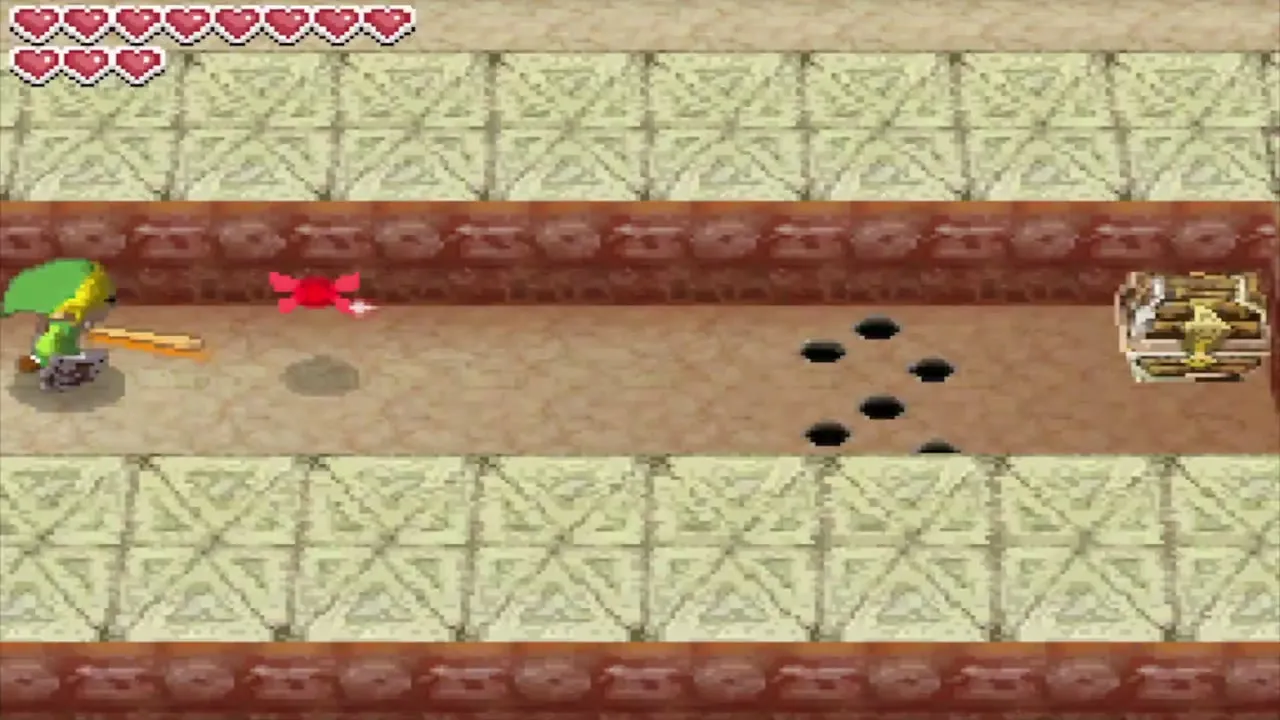

Goron Temple entrance
The maze ends on the coast, where a stone doorway with gold ornaments is the entrance to the Goron Temple. Gongoron is already inside, so follow him in.


Once you own Bombchus, you can come back for a second treasure map on the island: send a Bombchu through the hole at the maze entrance to open a timed chest in the north-east. It marks a sunken Ship Part (Treasure Map 16 in the treasure map list).

Chapter checklist
| Collectible | Type | Where |
|---|---|---|
| Courage Gem | Spirit Gem | Miniblins on Linebeck’s deck, Southeastern Sea |
| Courage Gems (2) | Spirit Gem | Dee Ess Island: dig in the bottom-left corner, and the chest in the upper pit |
| Courage Gem | Spirit Gem | Beedle’s Masked Ship, 500 Rupees |
| Golden Frog | Cyclone Slate warp | North of Dee Ess Island, omega symbol |
| Treasure maps | Treasure map | Harrow Island digging game |
| Treasure map | Treasure map | Goron north of the harbor, shoot the Yellow ChuChus (Treasure Map 14) |
| Wisdom Gem | Spirit Gem | Biggoron’s quiz |
| Power Gem | Spirit Gem | North maze, re-enter on the third row from the top and use the floor switch to drop the spikes |
| Treasure Map 16 | Treasure map | Maze entrance, Bombchu through the hole (after the Goron Temple) |
| Big Green Rupee | Rupees | North maze, second row from the top, chest behind a wall that is not cracked |
| Courage Gem | Spirit Gem | Goron home roof, needs the Grappling Hook (Temple of Ice chapter) |
 Heart Container | Heart Container | Beedle’s Masked Ship, 1,500 Rupees |
Gongoron is waiting inside, so continue to the Goron Temple.
