





















Skyward Sword 100% Completion Walkthrough18 chapters
- Skyview TempleSmall keys, the Beetle, the Golden Carving door, the Ghirahim boss fight, the Heart Container and the Ruby Tablet.
- Earth TempleGet the Bomb Bag from Ledd, carry the Dragon Sculpture, beat Scaldera and collect the Amber Tablet.
- Lanayru Mining FacilityTimeshift Stones, Gust Bellows, Small Key, Armos, Ancient Circuit, Moldarach and the Goddess’s Harp.
- Ancient CisternBoth Small Keys, the Whip, the Blessed Idol, the Koloktos boss fight, Farore’s Flame and the Goddess Longsword.
- SandshipThe Timeshift Stone, Scervo and the Bow, both generators, Squid Carving, Tentalus and Nayru’s Flame.
- Fire SanctuaryAll three small keys, the Mogma Mitts, the Mysterious Crystals, Ghirahim’s second fight and the Master Sword.
- Skyloft Silent Realm and Sky KeepThe Skyloft Silent Realm and its 15 Sacred Tears, the Stone of Trials, every Sky Keep room and all three Triforces.
- Skyloft and the Goddess SwordFind your Loftwing, win the Wing Ceremony, draw the sword and take your first dive.
- Sealed Grounds, Faron Woods and the Deep WoodsThe Sealed Grounds, the missing Kikwi, the Slingshot, the Deep Woods and the way into Skyview Temple.
- Eldin Volcano and the Key PiecesPlace the Ruby Tablet, run Skyloft errands, earn the Digging Mitts and find all five Earth Temple key pieces.
- Lanayru Mine and Lanayru DesertLanayru Mine, Timeshift Stones, the Hook Beetle, the Temple of Time and how to set the three power generator dials.
- The Goddess’s Harp, The Imprisoned and the Isle of SongsBallad of the Goddess, The Imprisoned, the Light Tower, the Isle of Songs and Farore’s Courage.
- Farore’s Silent Realm and Lake FloriaAll 15 Tears of Farore, the Water Dragon’s Scale and Sacred Water.
- Nayru’s Silent Realm and the Lanayru Sand SeaNayru’s Wisdom, Nayru’s Silent Realm and the Clawshots, Golo’s key, Skipper’s boat, the Shipyard.
- Din’s Silent Realm and Volcano SummitDin’s Power, the Fireshield Earrings, frog statues, the Water Basin and the Scrapper escort.
- True Master Sword, Levias and BilocyteSkyward Sword walkthrough for the True Master Sword, the second Imprisoned fight, the Spiral Charge.
- Song of the HeroEscape Eldin, beat the third Imprisoned, win the Tadtone song in Faron Woods and heal Lanayru’s Thunder Dragon.
- The Horde, Ghirahim and DemiseClear the last side quests, beat the Horde, Ghirahim’s third fight and Demise, then unlock Hero Mode.
| Covers | The Earth Temple at the foot of Eldin Volcano: the lava halls, the Lizalfos mini-boss, the boulder slopes, the Dragon Sculpture lock, the Scaldera boss fight and Earth Spring |
|---|---|
| You need | The Beetle, the Slingshot, the Digging Mitts and the five key pieces that open the temple door (see the previous chapter); the Goddess Sword’s Skyward Strike for the finale |
| Rewards | Bomb Bag, Dungeon Map, Dragon Sculpture (opens the boss door), Heart Container (1), Amber Tablet; treasures: Golden Skull, Blue Bird Feather, Amber Relic, Lizard Tail and Jelly Blob drops; no small keys |
The Earth Temple is the second dungeon, a lava maze that you cross on rolling stone balls. A Mogma named Ledd gives you the Bomb Bag after you beat two Lizalfos, bombs open the rest of the temple, you carry a golden Dragon Sculpture up two boulder-filled slopes to the boss door, and you finish Scaldera by throwing bombs into its mouth. The Heart Container and the Amber Tablet wait at the end. There are no small keys here, and no Boss Key.

Table of Contents
Before you go in

Open the temple door
Collect all five key pieces on Eldin Volcano, as described in the Eldin Volcano chapter, and take them to the temple entrance. The key assembles itself and the door swings open. Walk through the arch into the first hall, where the name of the temple appears and the air glows orange from the lava below.
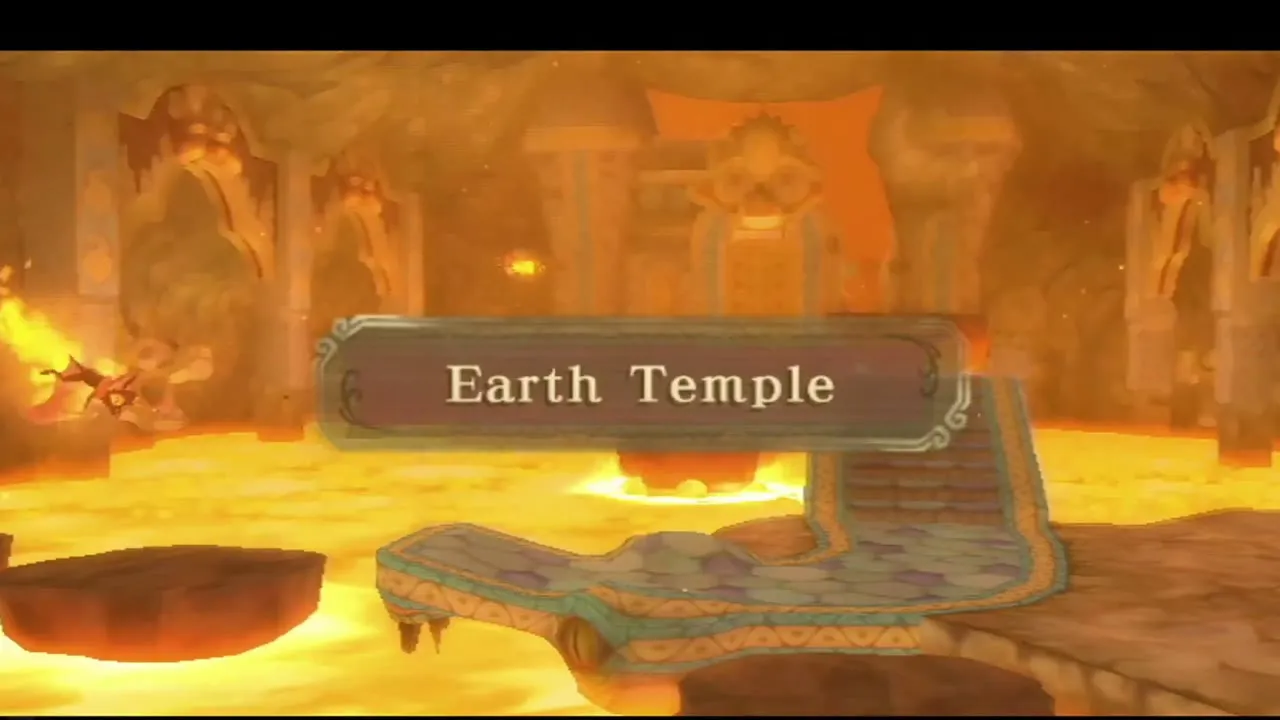
Two Goddess Cubes sit outside the temple on the volcano side, one near the entrance and one in the Bokoblin camp next to it. Strike each with a Skyward Strike if you have not already; their Goddess Chests in the sky hold a Gold Rupee on Bamboo Island and a Treasure Medal on a small island southeast of Beedle’s Island. The Goddess Cubes page lists every cube and chest.


Entrance hall and the drawbridge
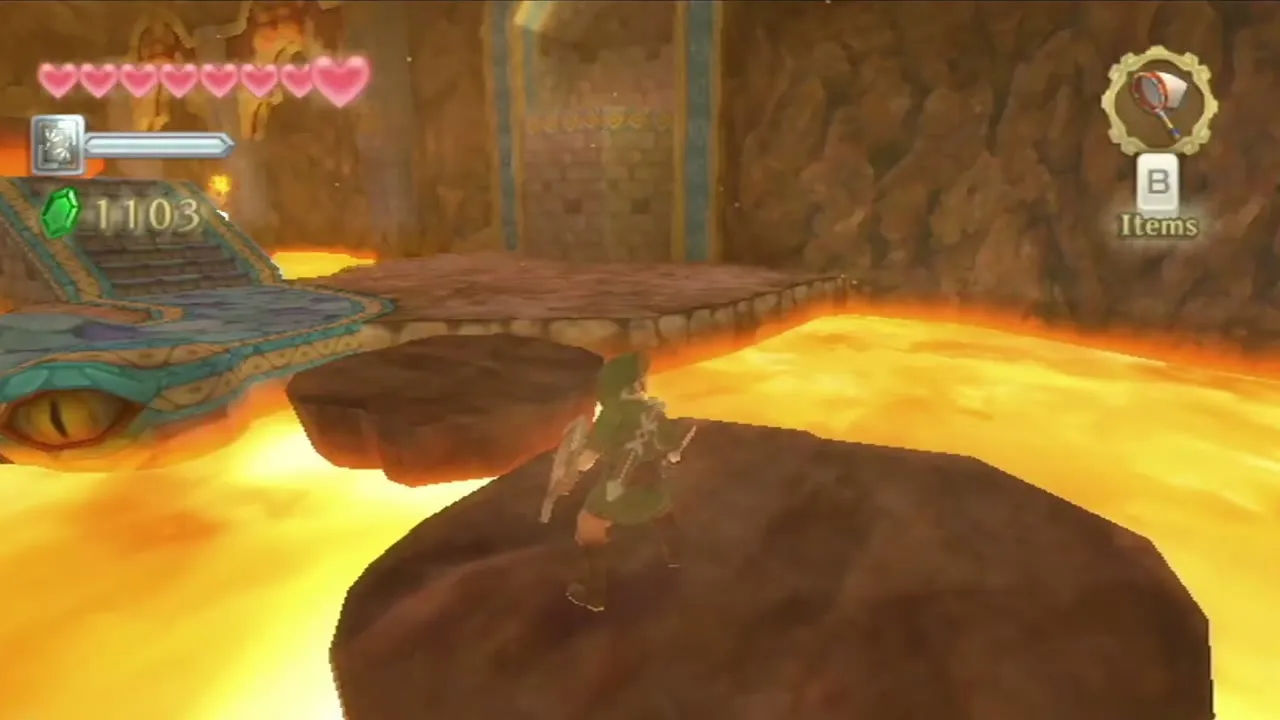
Cross the first lava platforms
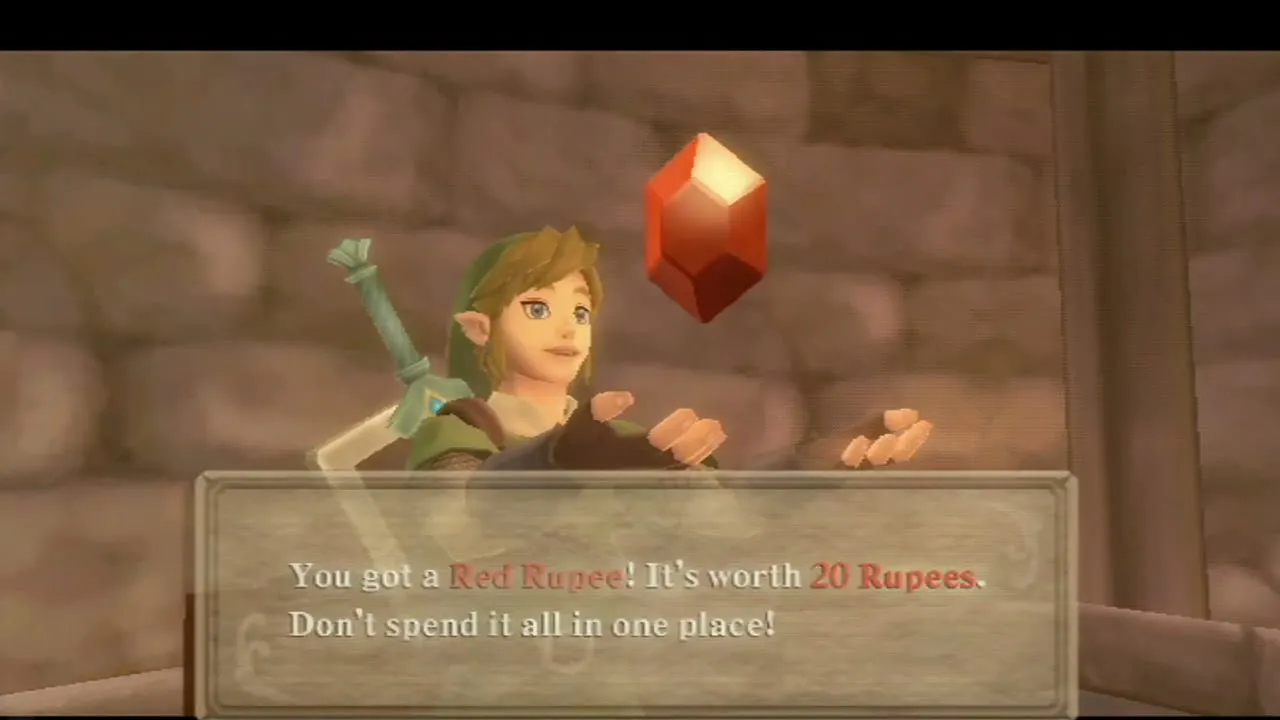
Step off the entrance ledge and hop across the flat rocks that float in the lava. A Fire Keese and a Red Chuchu patrol here, so cut them down first; a Chuchu can leave a Jelly Blob behind, a treasure you can use for upgrades. Look for a patch of soft soil on the east side and dig it with the Digging Mitts. The air geyser that bursts out launches you up to a ledge, where a chest holds a Red Rupee (20 Rupees).
Talk to the worried Mogma
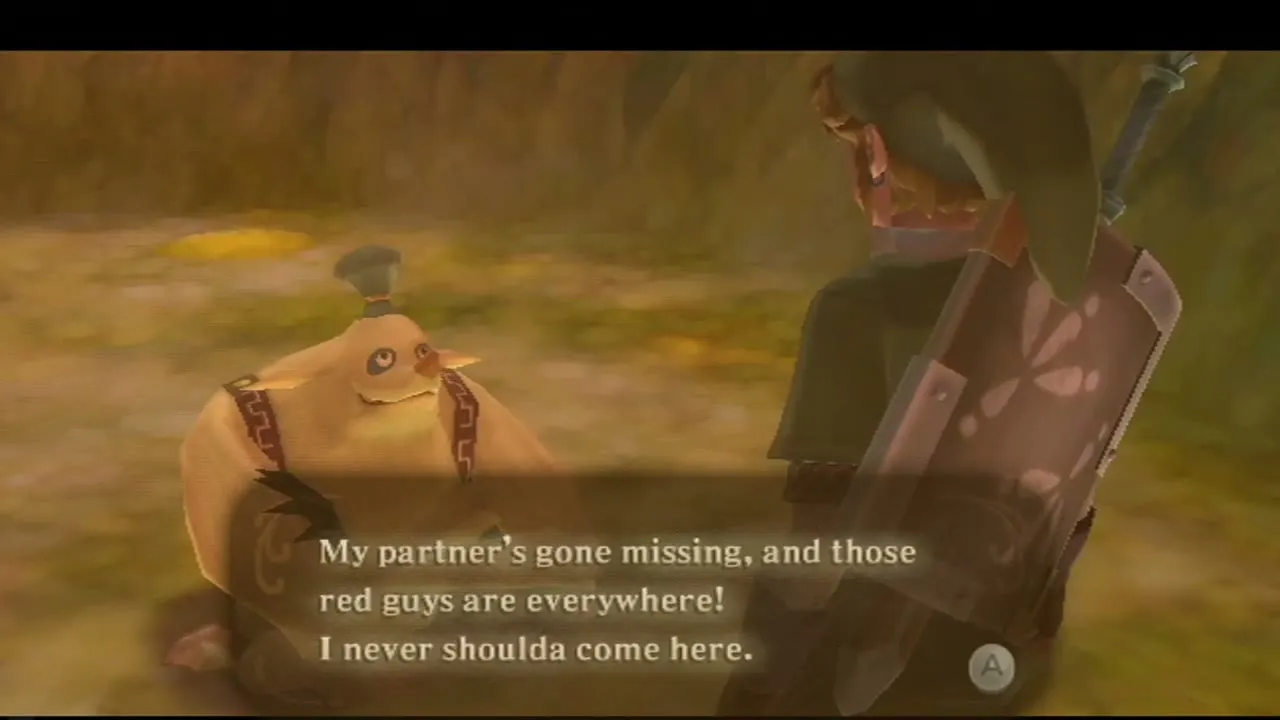
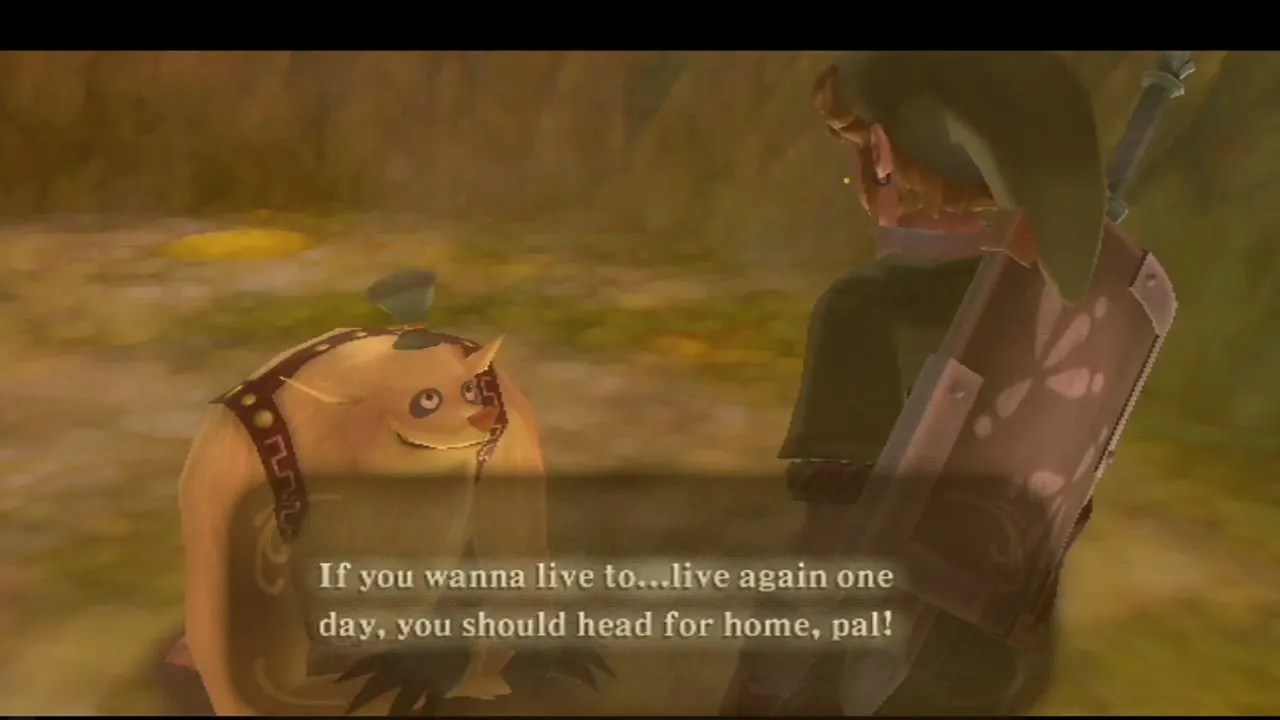
A Mogma named Cobal tells you that his partner Ledd has gone missing and that you should head home. Speak to him for the story; he gives you no item.
Lower the drawbridge
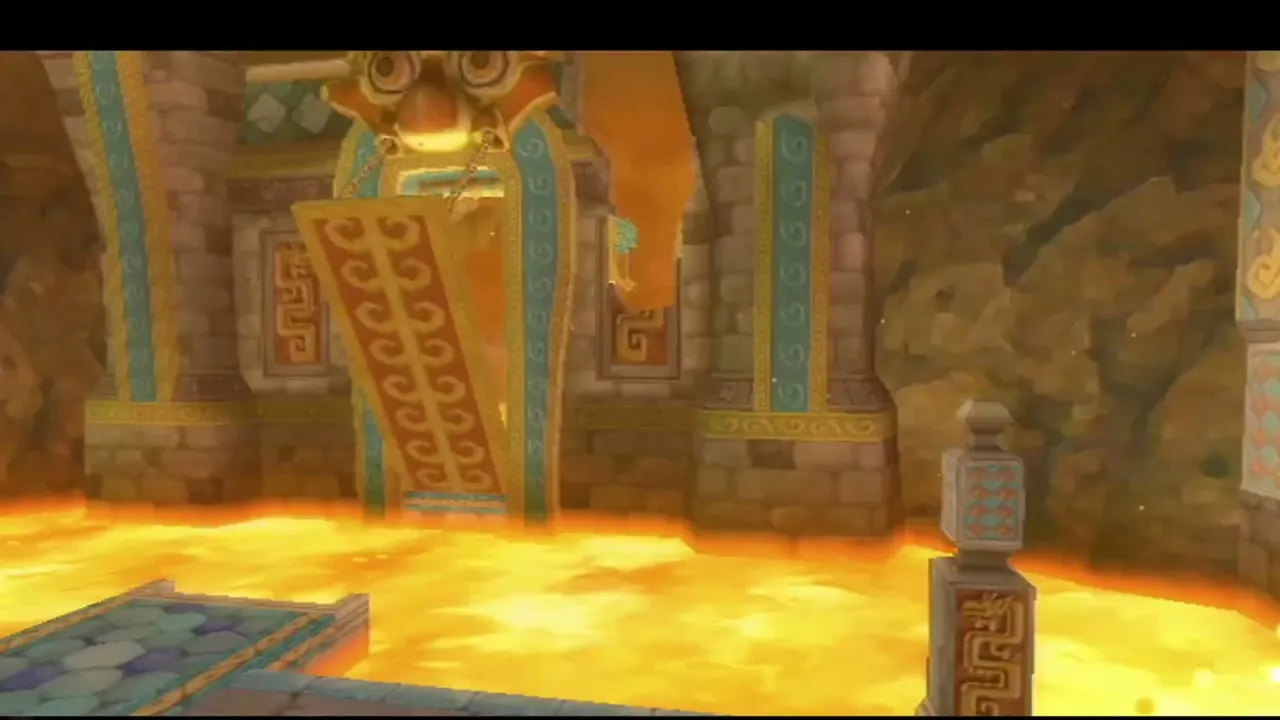
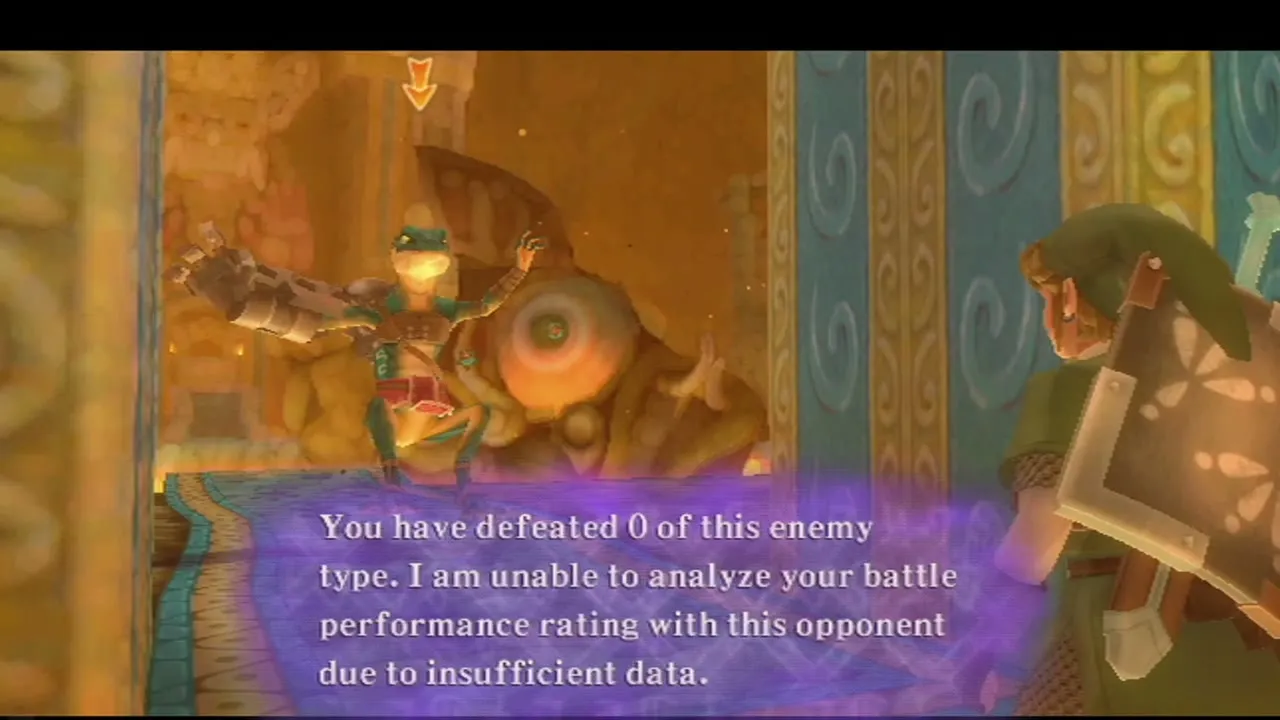
To the north a drawbridge is held up by ropes. Swing your sword at the ropes on the two mechanisms at either side of the bridge, then fly the Beetle to the third rope, to the right of the bridge, and cut it. The bridge drops and you can walk across to the central lava chamber, where the first Lizalfos waits. Strike it from the side that its arm guard does not cover, back off when it swings, and finish it with a few slashes.
Rolling stone balls and the lava chamber
Shoot the Bomb Flower to release the ball
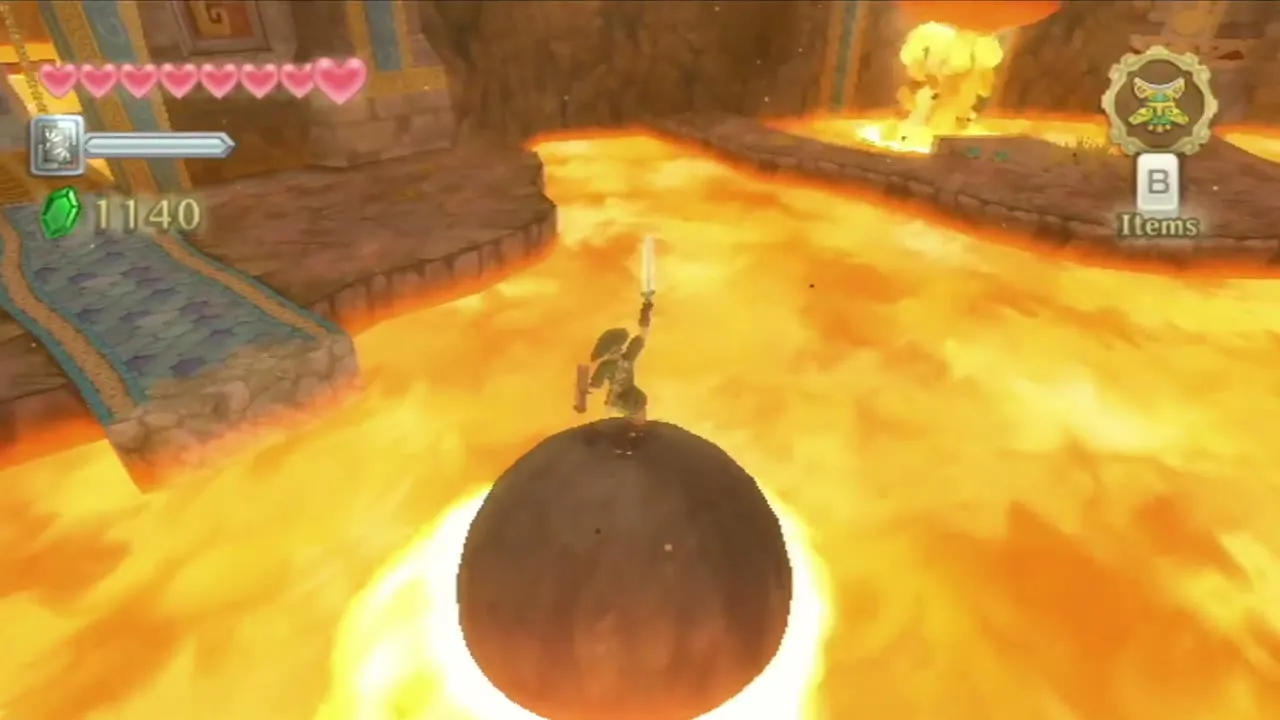
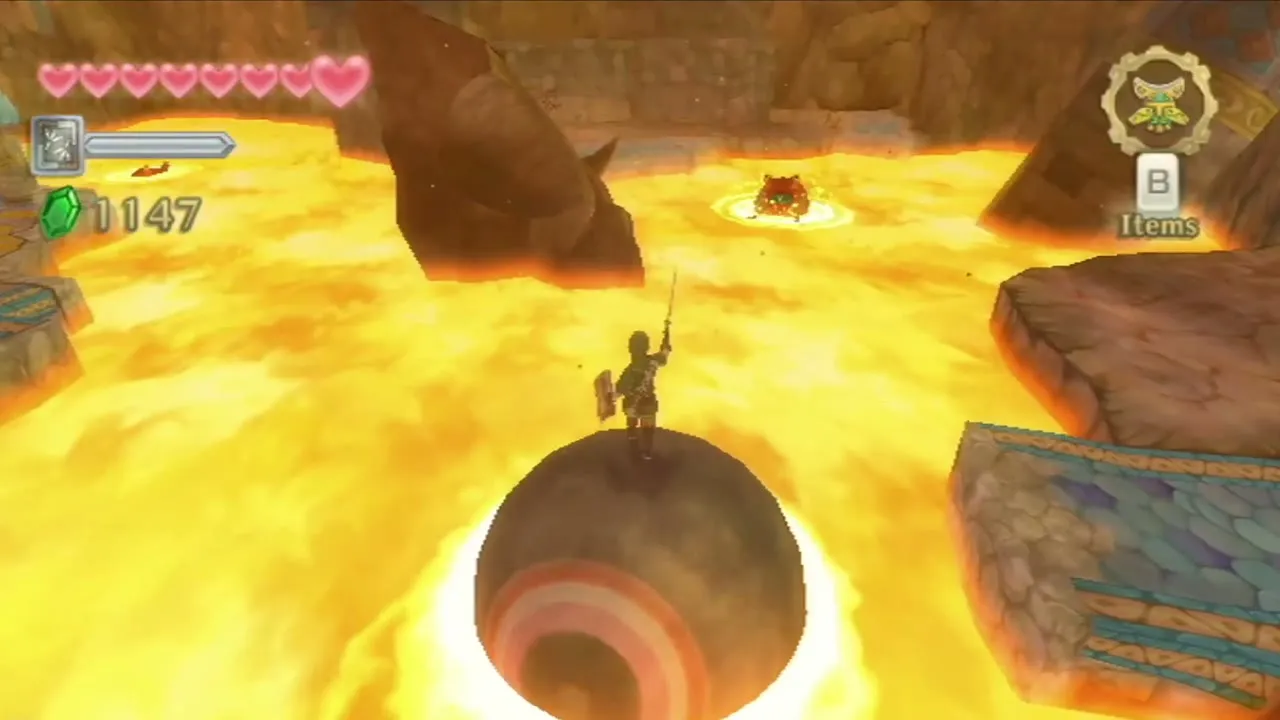
A Bomb Flower grows on a stone structure out in the lava. Aim the Slingshot with the pointer and shoot the flower. The explosion frees a large stone ball. Walk up to it and press the button shown on screen to pilot it, then steer with the Nunchuk stick across the lava and hop off when you reach a ledge. You use these balls for most of the temple, so take your time and keep away from the edges.
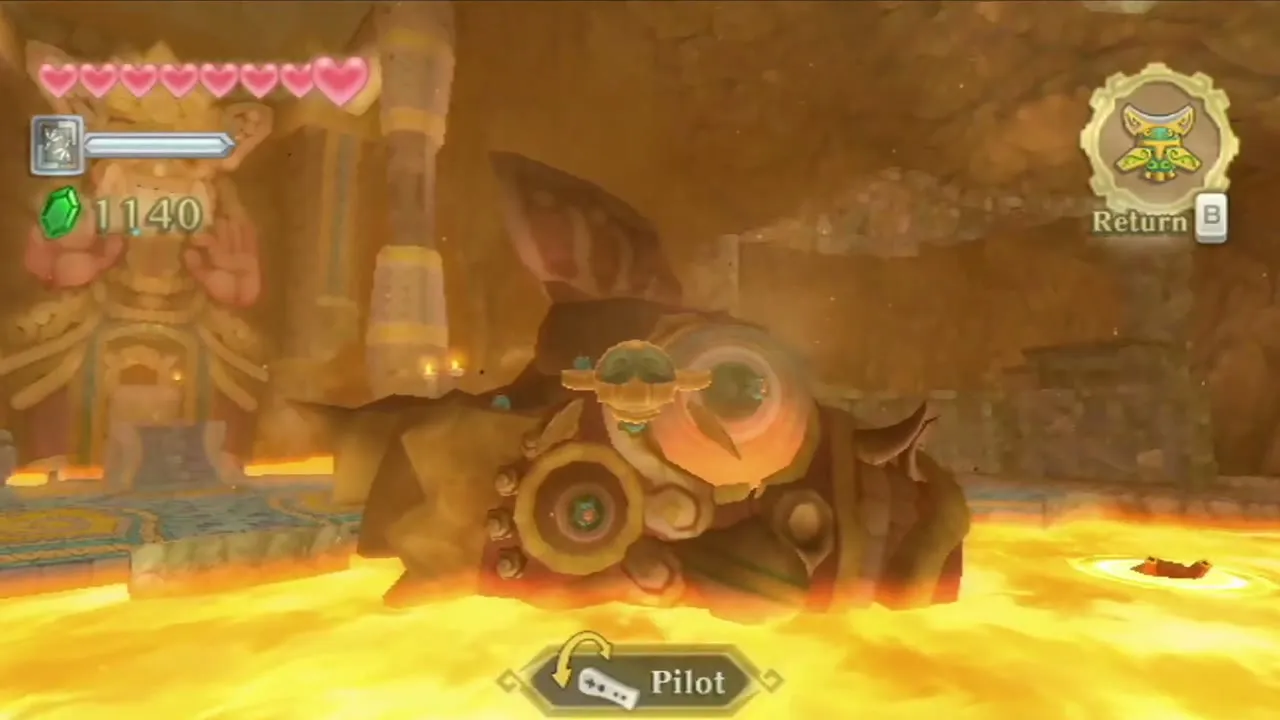
Golden Skull and Blue Bird Feather
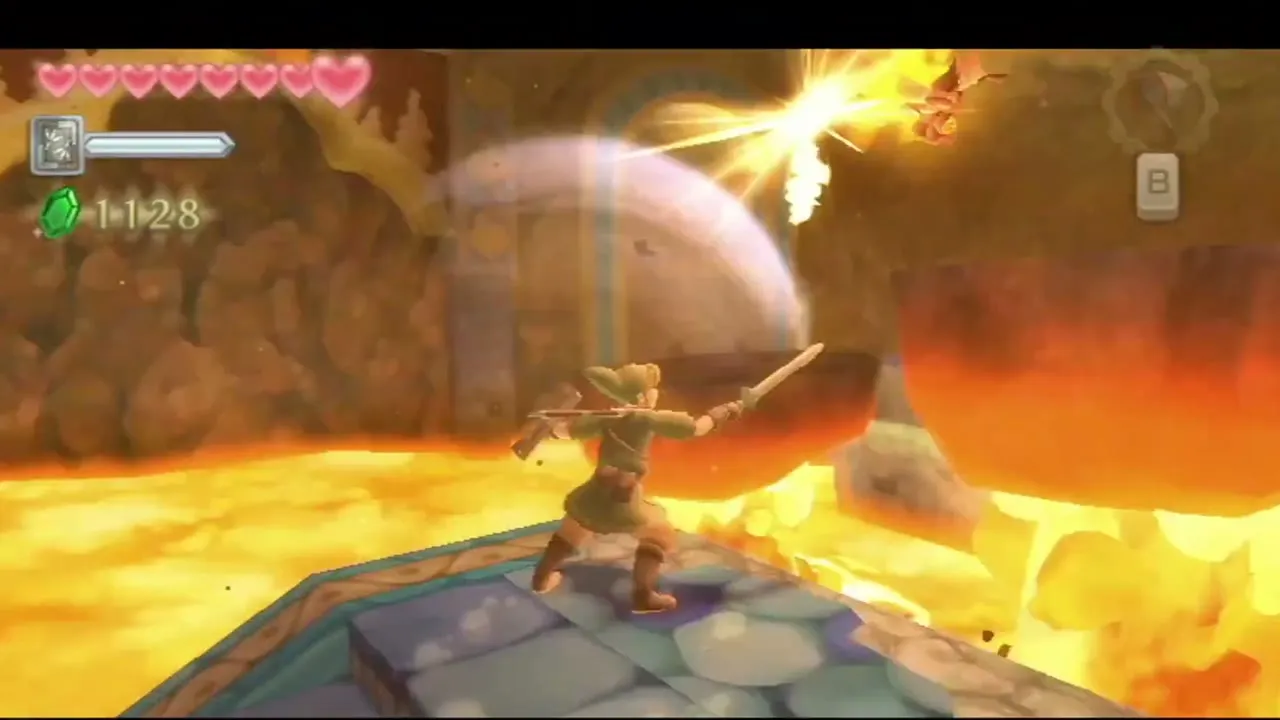
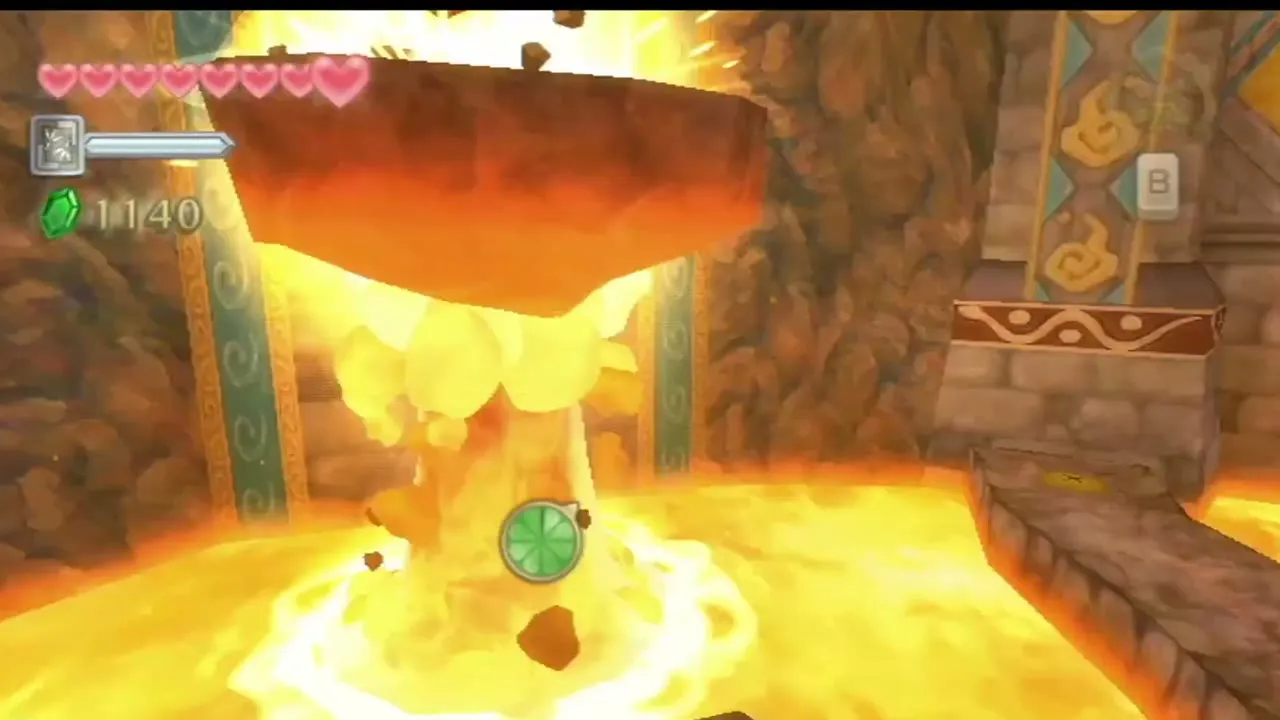
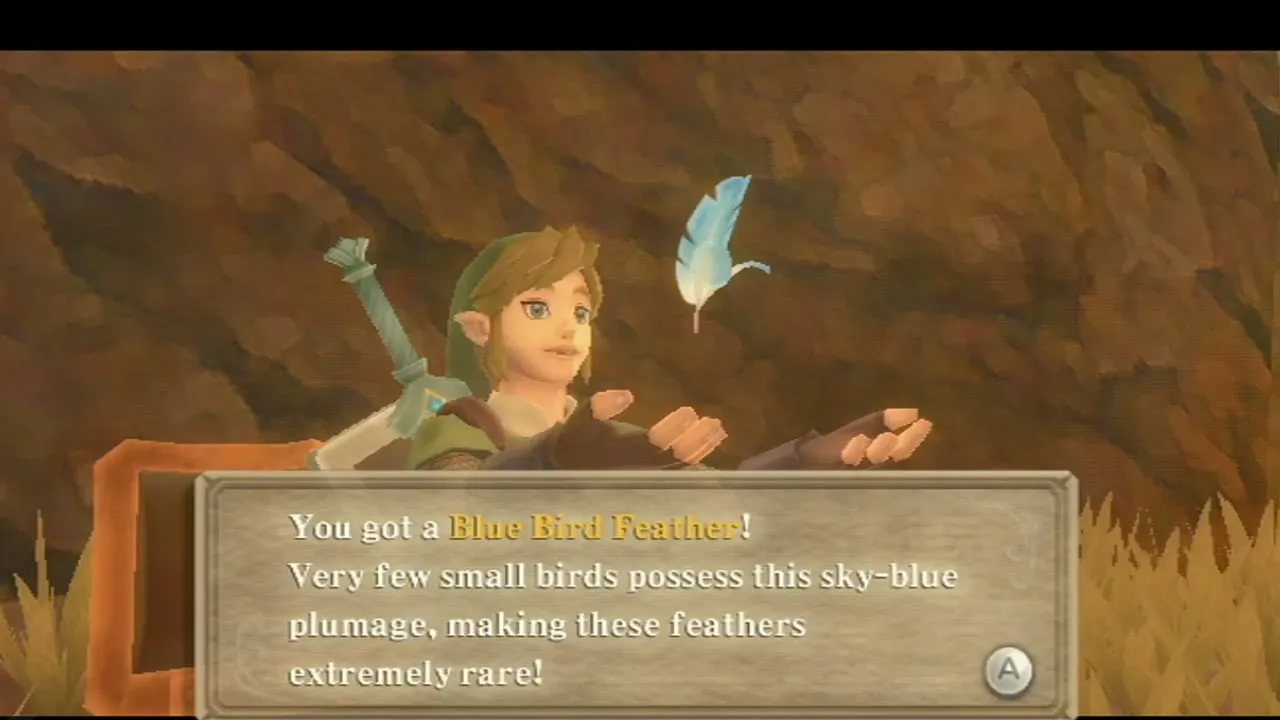
Roll the ball left until you reach a platform that sits low in the lava. Throw a Bomb Flower onto it; the platform rises and the flower explodes beneath a boulder, which breaks. Climb up to the opened ledge and open the chest for a Golden Skull, one of the rare treasures. Then roll the ball north-west to a second chest holding a Blue Bird Feather, another rare treasure. Both are needed for several upgrades listed on the bugs and treasures page.

Press the lava switch
Roll the ball east onto the switch in the lava. It raises a platform that you need a little later. The area also has pots to break for rupees, and two spots of soft soil that you can dig for rupees and sometimes a fairy.

Bomb Bag and the Lizalfos mini-boss
Meet Ledd
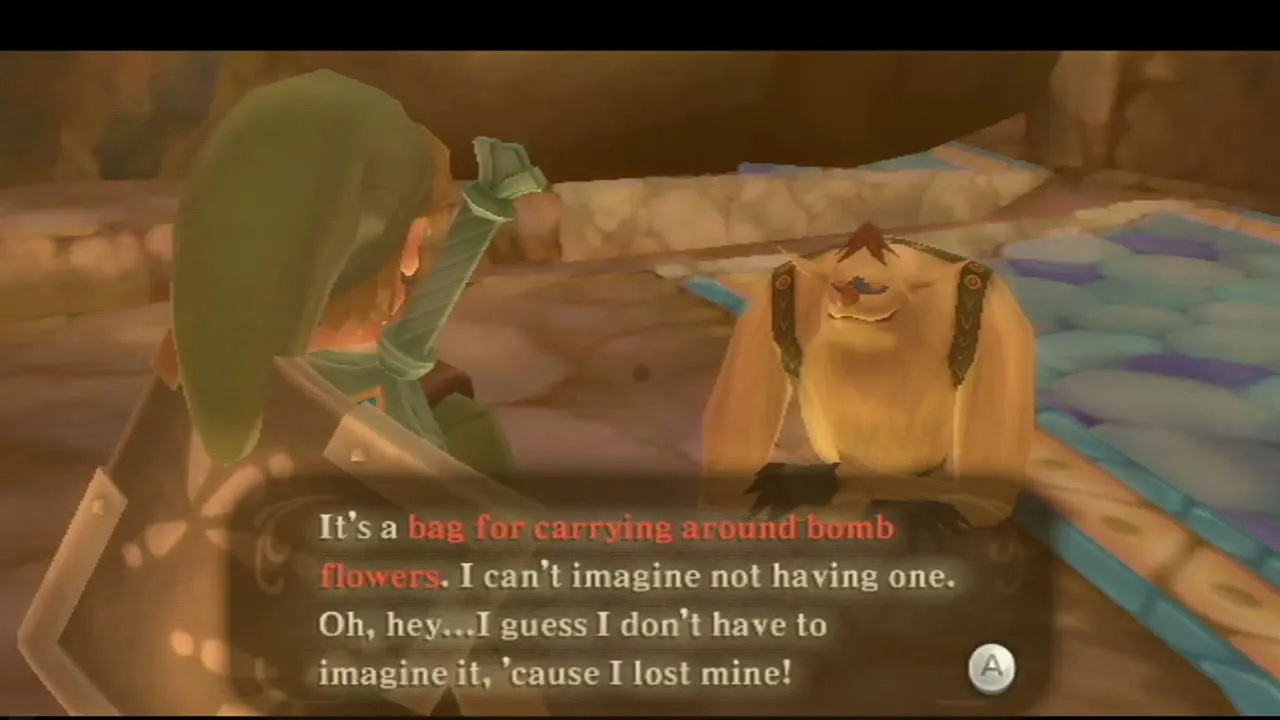
Ride the ball south-east to a ledge where a Mogma named Ledd is looking for his Bomb Bag. He lost it behind a pile of boulders and asks you to fetch it. Crawl through the low hole beside him, defeat the Bokoblin on the other side, and dig up the soft soil there for rupees and sometimes a fairy.
Roll a Bomb Flower into the boulders
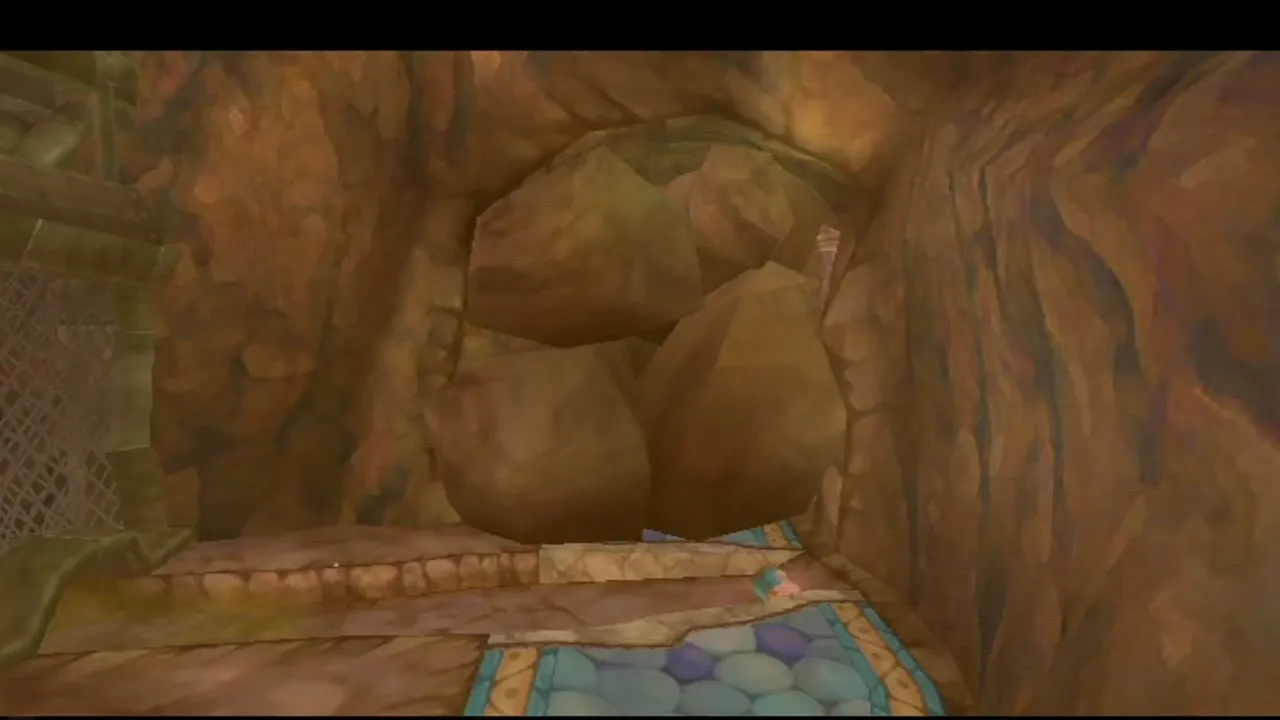
Pick up a Bomb Flower, carry it into the hole and roll it ahead of you through the gap, then retreat before it blows. The blast shatters the boulder wall. If one flower is not enough, fetch another. This is the only way through, because you do not own bombs yet.

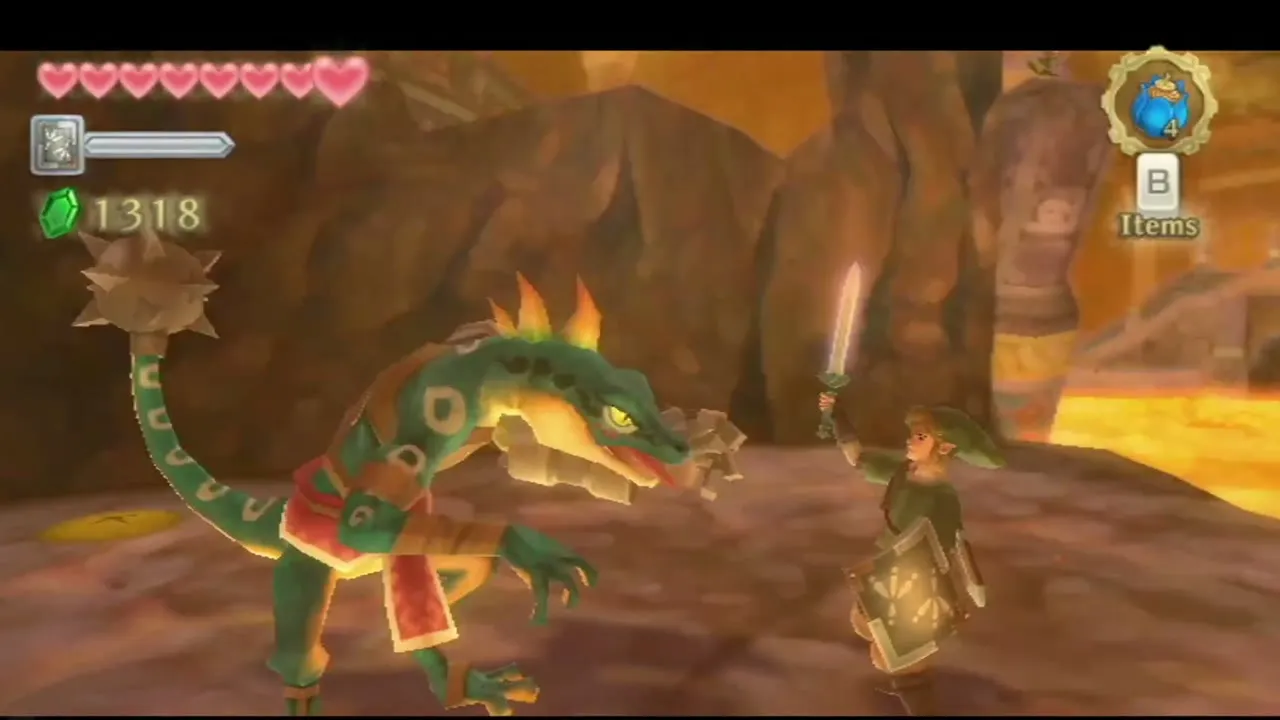
Lizalfos mini-boss fight
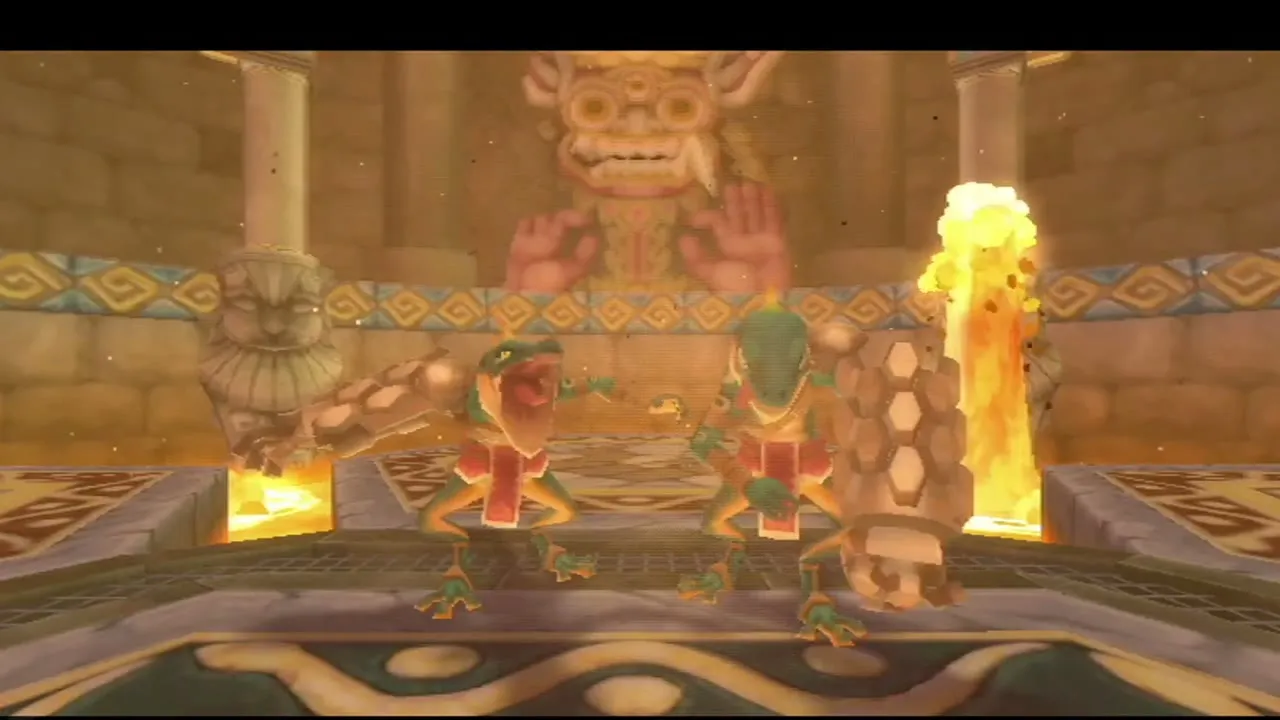
The door beyond leads to a statue hall with flame pillars, where two Lizalfos attack you together. Lock on to one, bash its shield with the Nunchuk if it raises its arm, and strike from the open side. Retreat when it swings its mace-tipped tail and attack again when it recovers. Defeat one, then the other. They can drop a Lizard Tail, a treasure used in Bomb Bag upgrades. Watch the flame pillars as you circle, since they burn you if you stand in them.
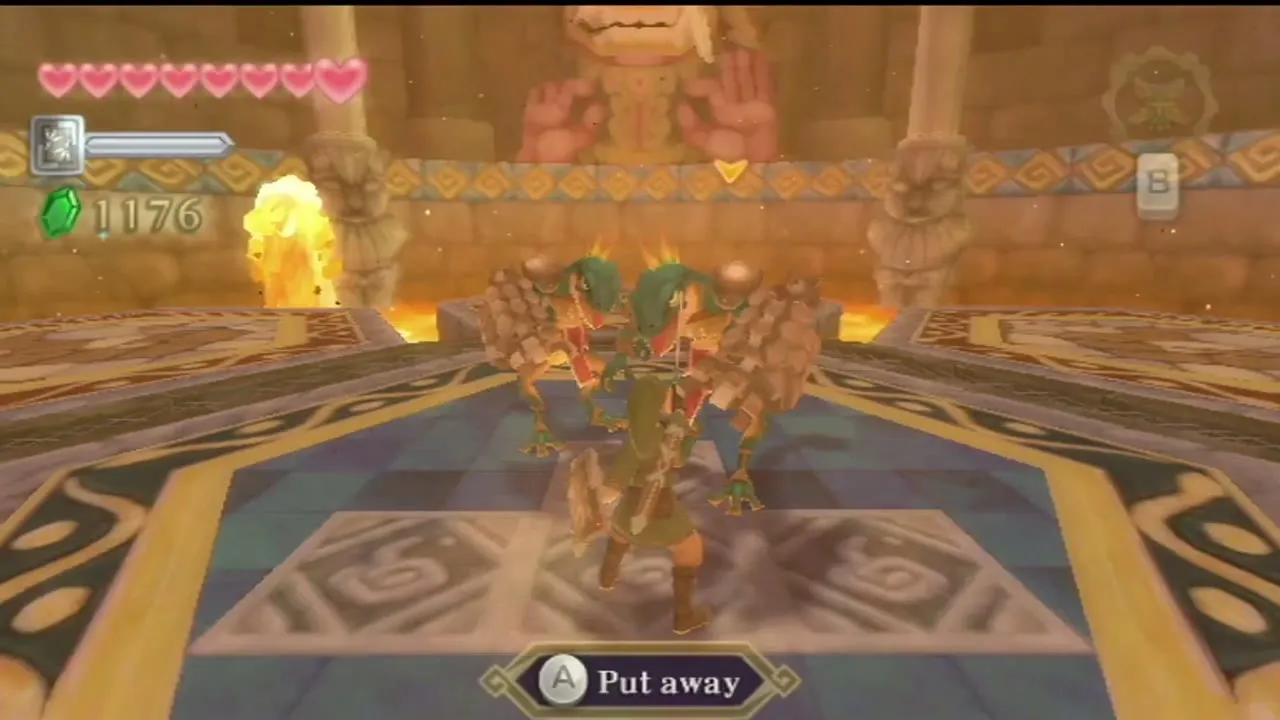

Get the Bomb Bag
A chest holds the Bomb Bag once both Lizalfos are down. Open it, and keep an eye out for treasures such as Amber Relics as you explore. Ledd lets you keep the bag.
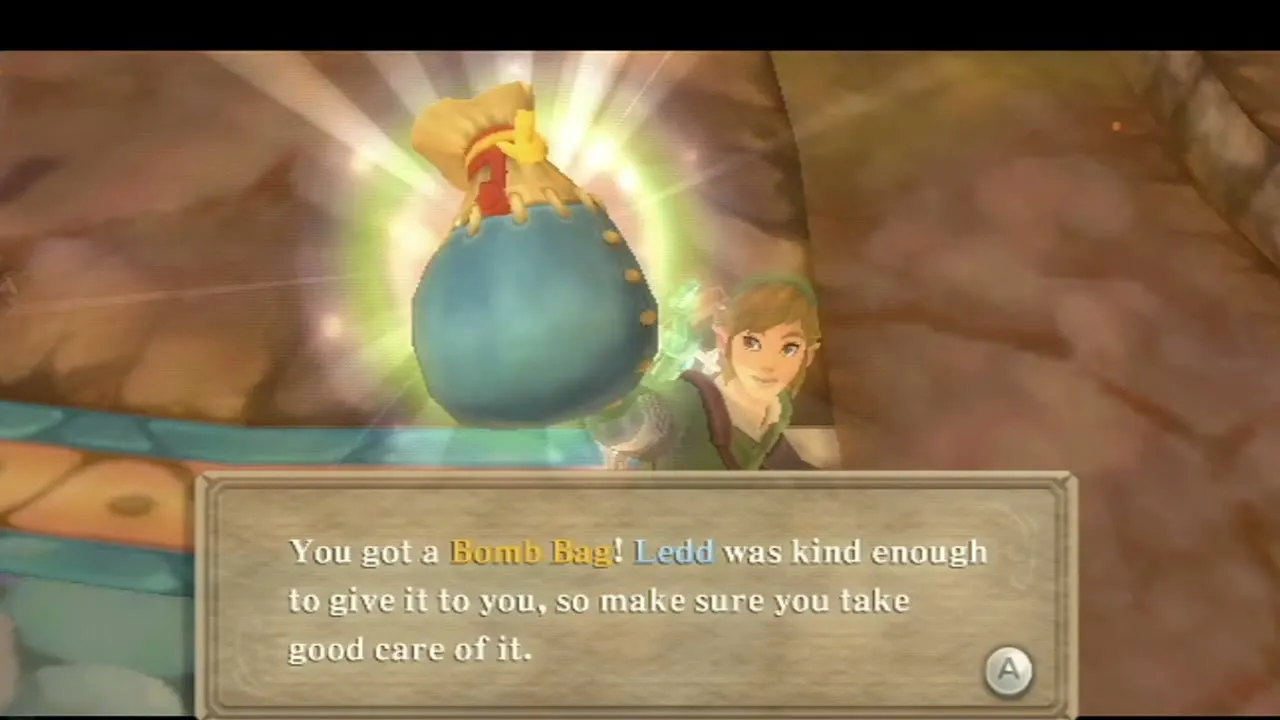
Ledd’s advice matters: a Bomb Flower can be stored in the bag, and when the bag runs low you refill it from the Bomb Flowers that grow around the temple. You can now bomb cracked walls anywhere in the game. Two Pieces of Heart open up because of it, one in a rock-pile cave in Faron Woods and one behind a cracked wall in the north-east of Lanayru Desert; see the heart piece page.
Dungeon Map and the lava corridors
Go through the west door
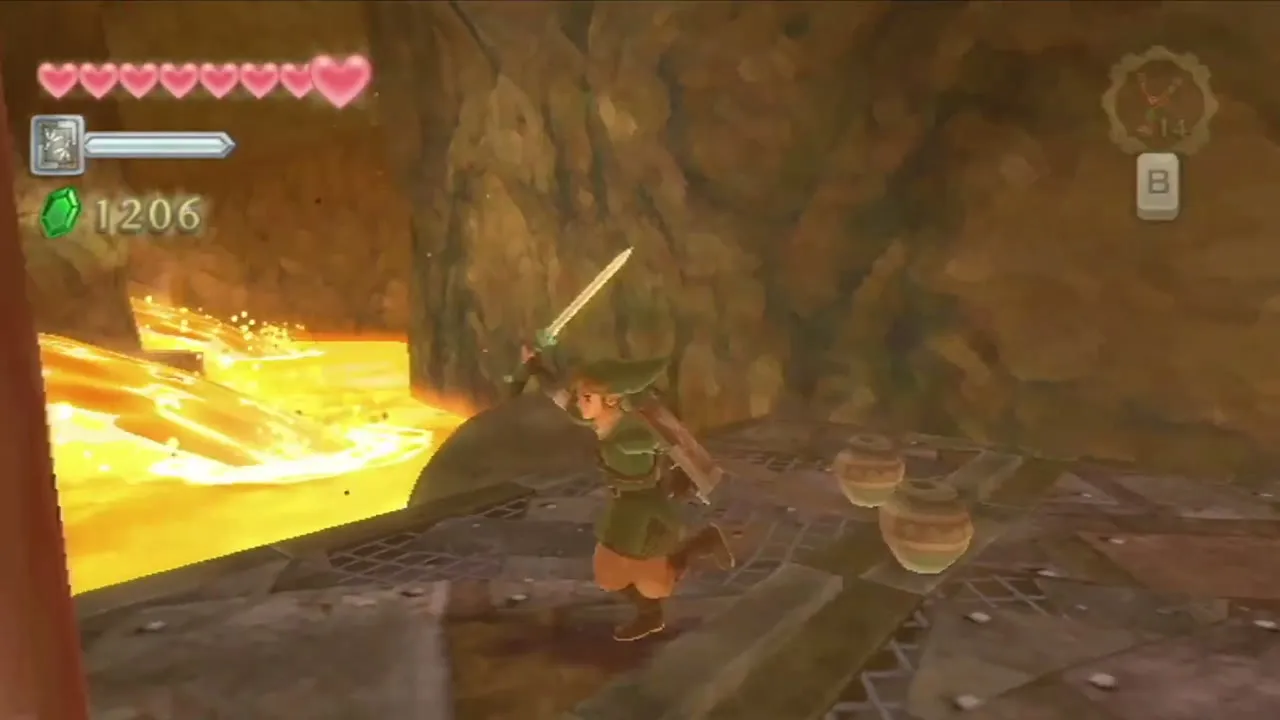
Ride the ball back to the central platform. Throw a bomb at the boulder on the west side, defeat the Lizalfos that waits behind it and go through the west door. In the next room a Bokoblin and several Magma Spumes block the way. Slice away the fireballs that the Magma Spumes spit, and cut the Bokoblin down.


Open the Dungeon Map chest
Across the room, wait for a platform to sink to ground level, jump on it and then jump to the ledge where the lava lifts you up. Beat the Bokoblin guarding the chest and open it for the Dungeon Map. The map marks an X on a wall to the east and shows the rest of the temple.
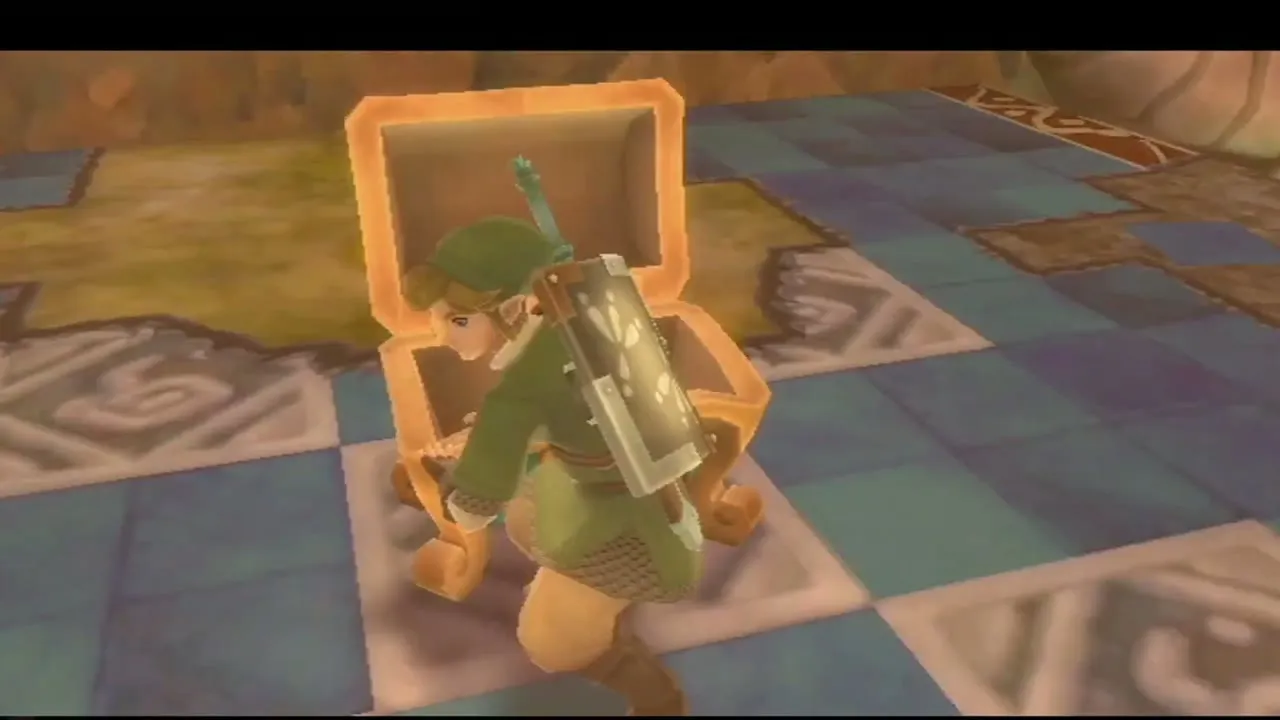

Blow open the marked wall
Go to the east wall marked with an X and place two bombs in front of it. A hidden passage opens. Roll through it, but stop at the first platform and restock with Bomb Flowers, because you will use more bombs soon. Beyond that, a statue spits lava; avoid its jets, find the cracked wall directly ahead of it and blow it up with two bombs as well.

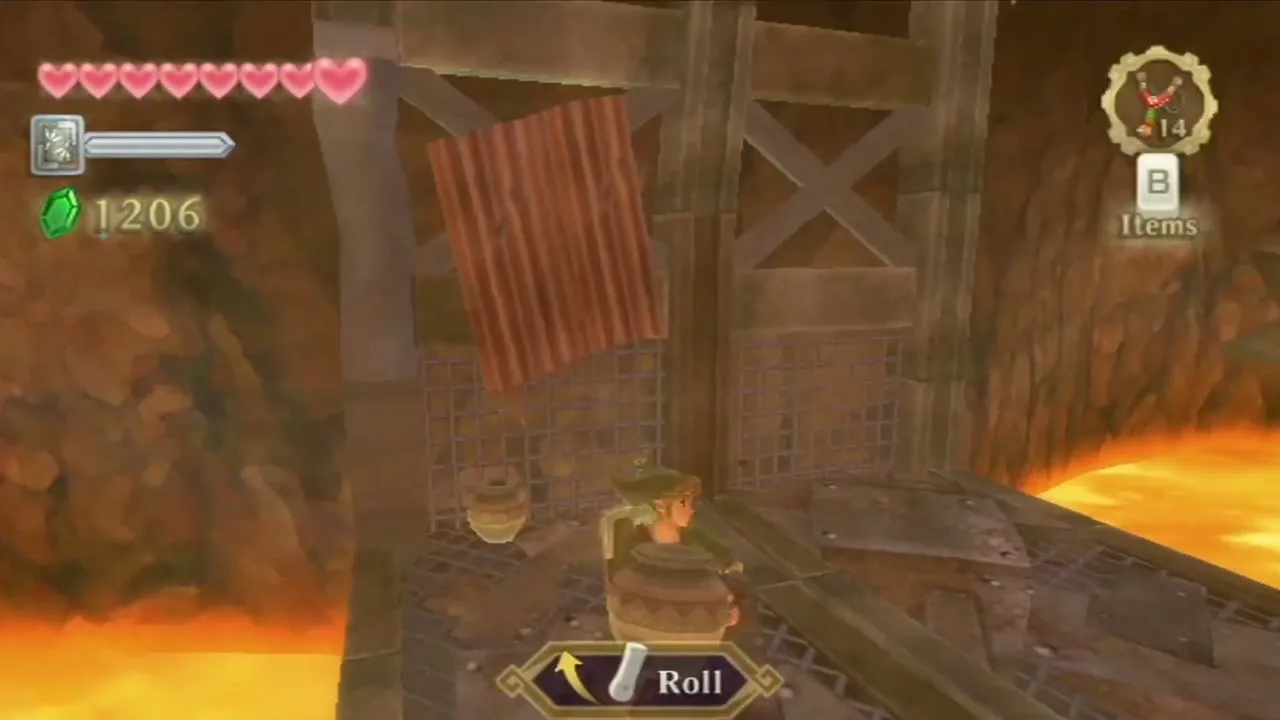

Cut the gate ropes with the Beetle
Deal with the next Magma Spumes the same way, then cut the rope of the large gate with the Beetle. Fly the Beetle through the passage on the left and cut a second rope to open the gate fully. A Silver Rupee sits in a dragon statue’s jaws near here, where only the Beetle can fetch it.
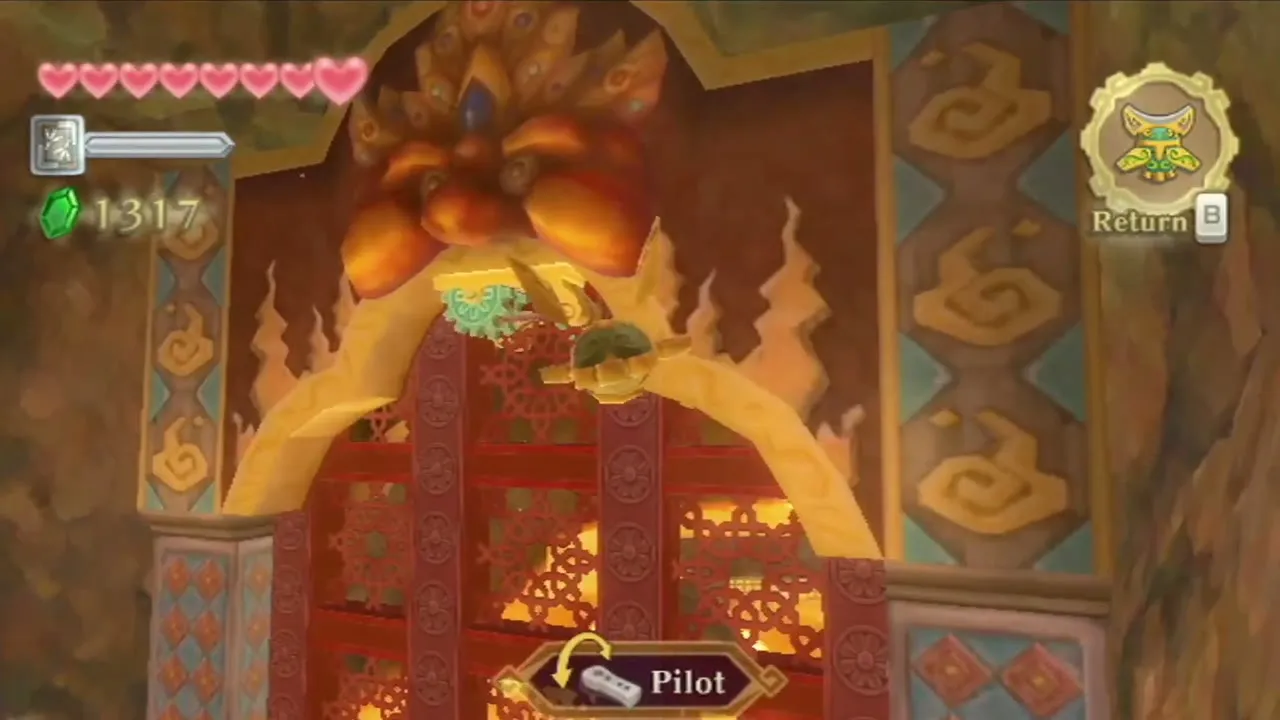
Save at the bird statue
Roll onward until you reach a platform with a bird statue, and save there. Cross the lava bridge beyond it at a steady pace. On the left a Lizalfos guards a chest with a Red Rupee, so defeat it and open the chest. Then roll over another lava switch in the floor to raise a platform, and go through the north door.
Dragon Sculpture and the boulder slopes
First sprint room
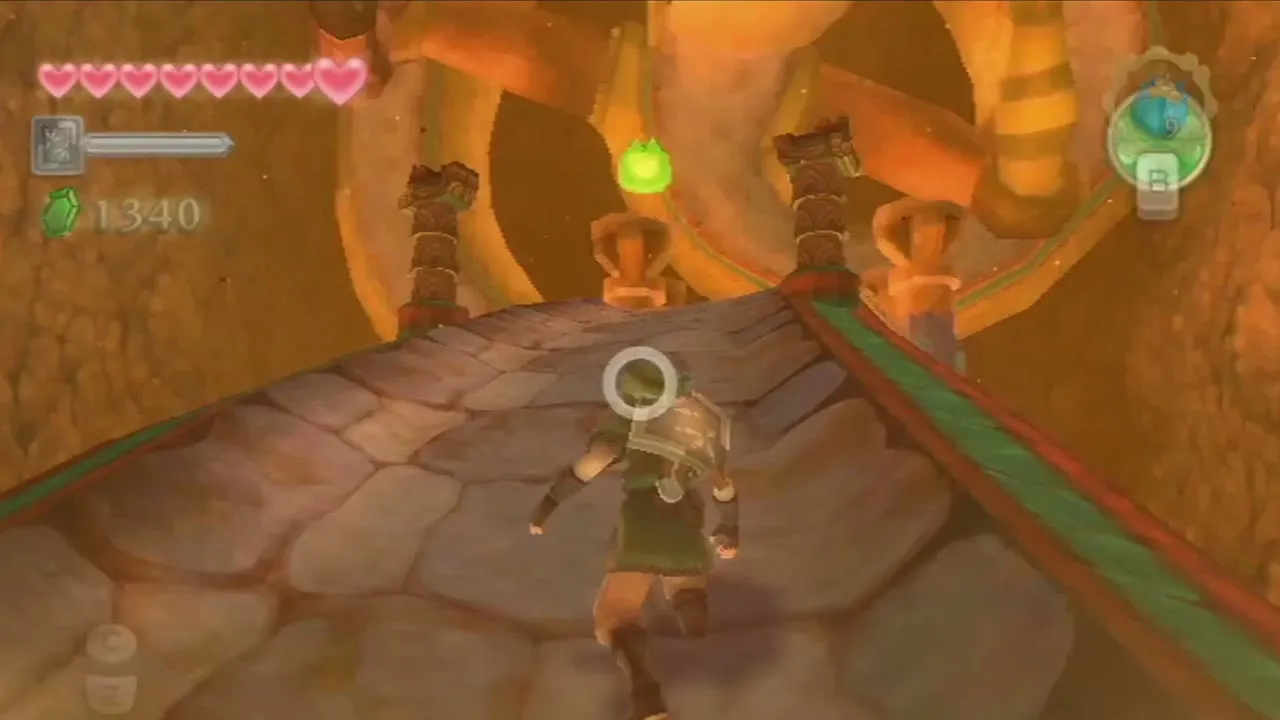
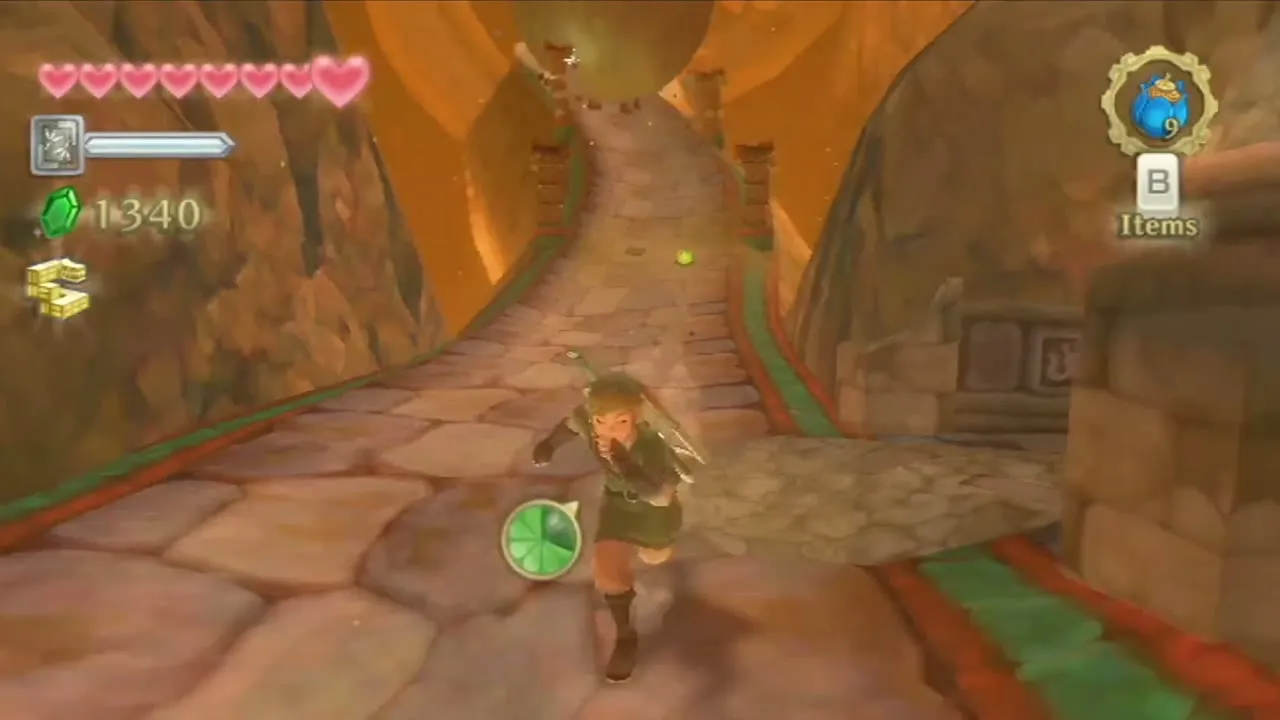
A steep stone slope leads upward, and boulders roll down it. Run uphill while you dodge them and stop at the safe niche on the left whenever you are tired. Your stamina wheel empties as you run, so rest when it is low and run again when the next boulder has passed.
Second sprint room
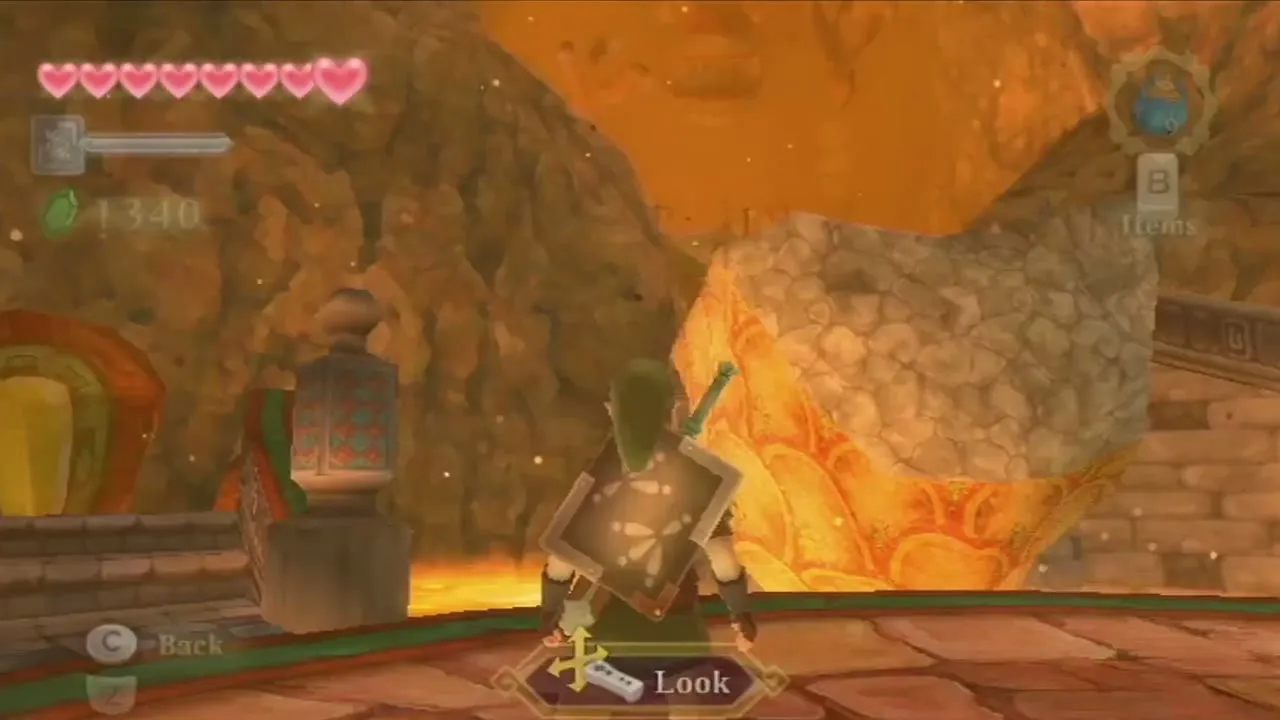
The resting spot on this slope is blocked by a boulder. Crawl through the low passage on the right, refill your bombs from the Bomb Flowers inside, dig up the soft soil for an air geyser and ride it to a higher ledge. From the ledge, toss a bomb down the slope so that it explodes next to the boulder and clears it. Return to the bottom and sprint up, resting in the niche as before.
Take the Dragon Sculpture
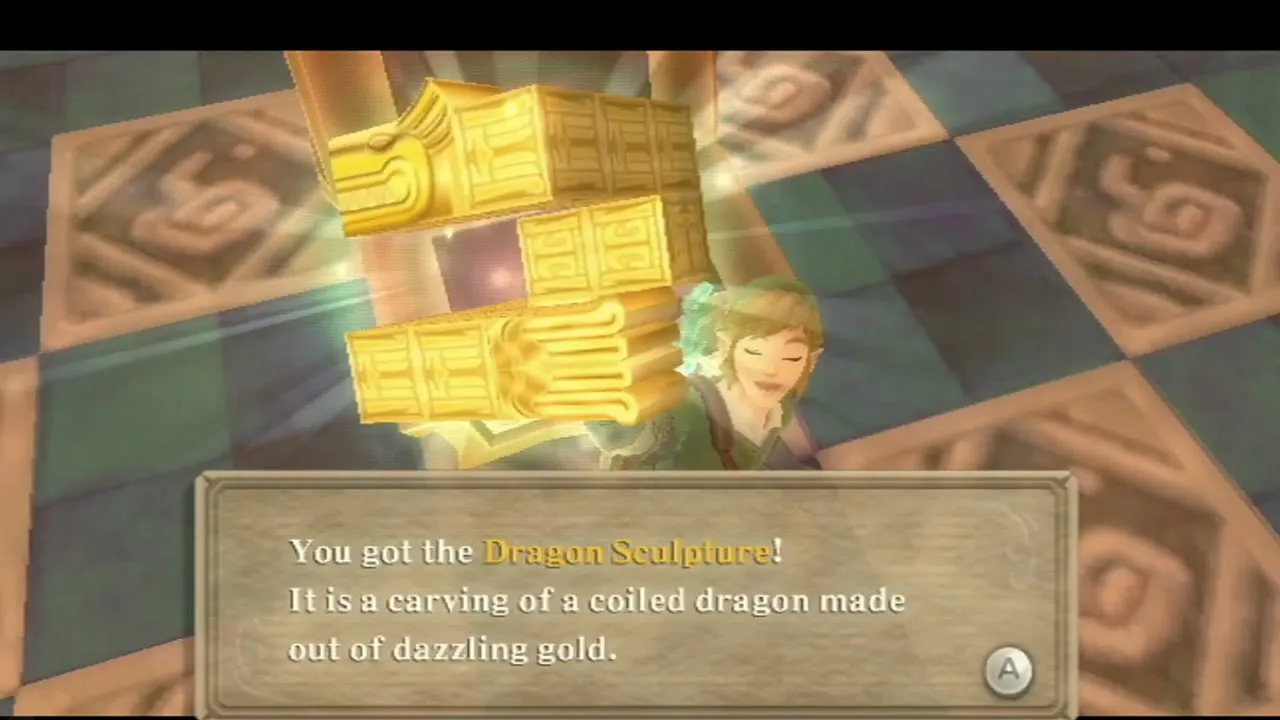
Climb to the top of the slope and open the chest there. It holds the Dragon Sculpture, a golden carving that serves as the key for the boss door in place of a Boss Key. As soon as you take it, an enormous boulder starts to chase you. Sprint down the path and dive aside. The boulder rolls on into the statue that was spewing lava and stops it.

Set the sculpture in the lock
Walk back to the save point and save once more, then go to the great red-and-gold door. Its lock is a golden disc with a blocky recess. Hold the sculpture in front of it and turn it with the pointer until its outline matches the recess, then release it with the button shown on screen. The lock turns and the doors open.
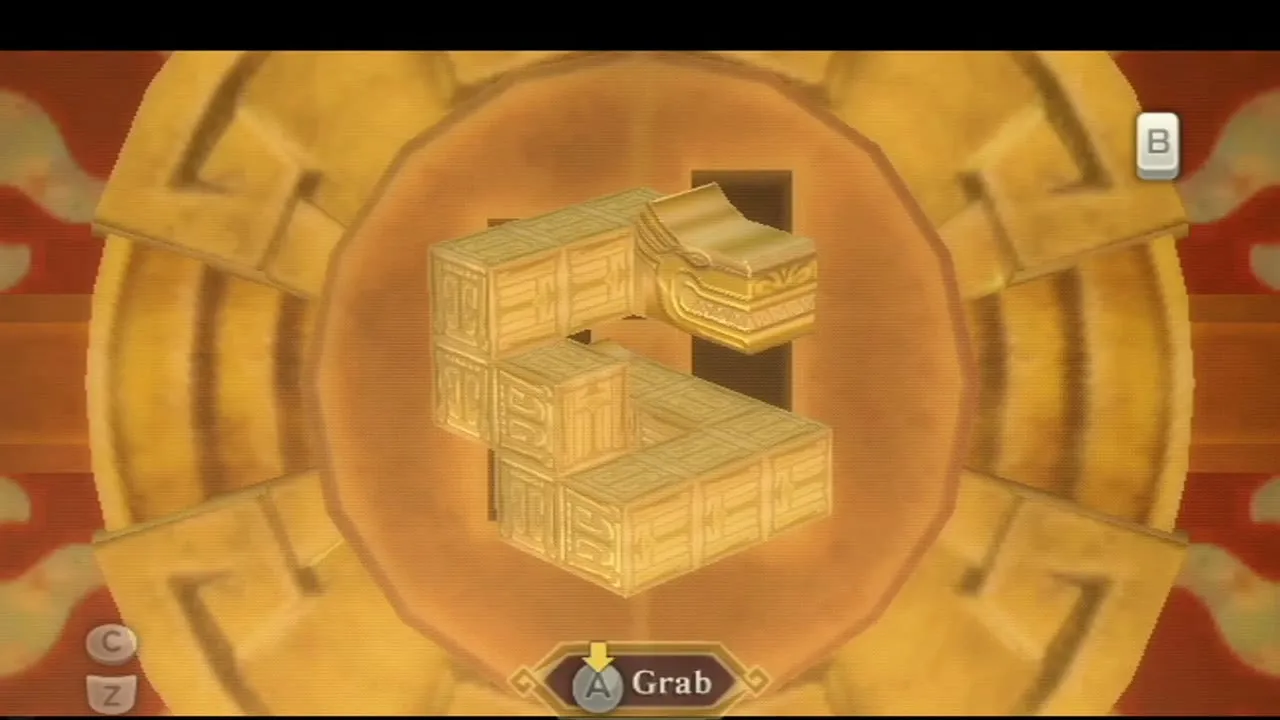


Scaldera boss fight
Before the fight
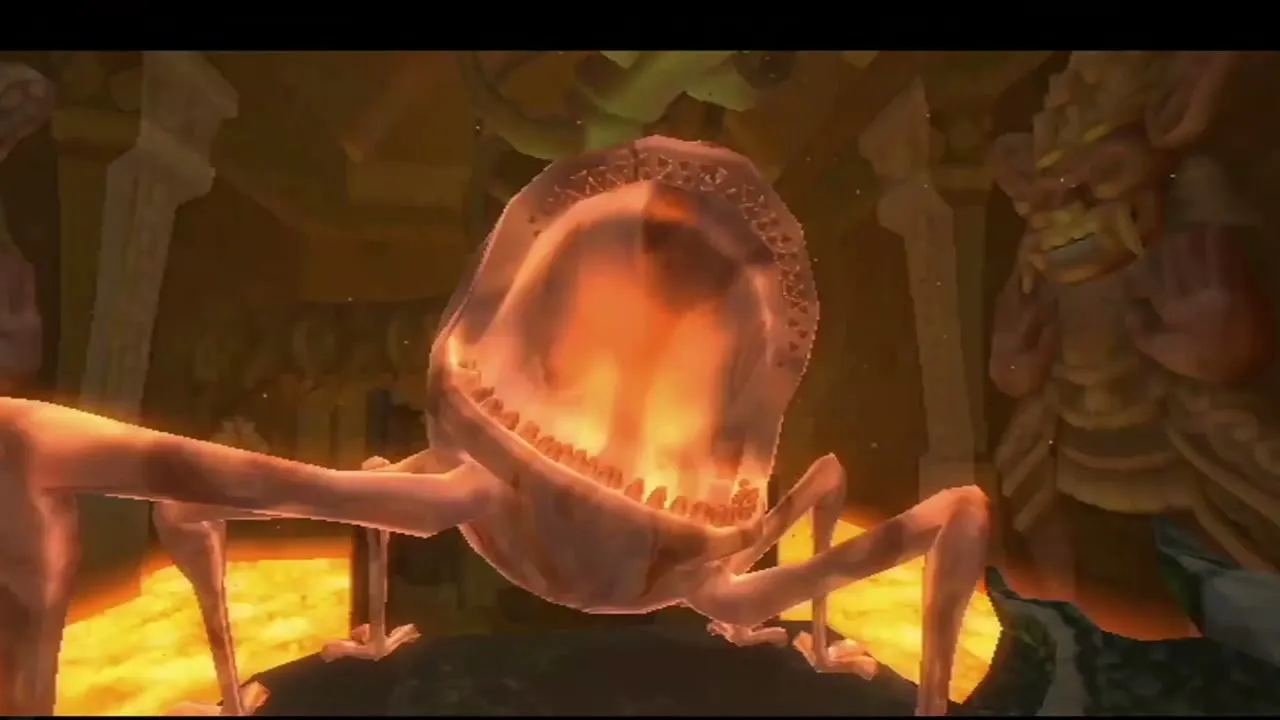
Ghirahim appears in the next hall and sneers at you, then sets a huge boulder on you that turns into the Pyroclastic Fiend Scaldera. The fight takes place on a long sloping arena littered with bones and edged with lava. Bomb Flowers and hearts grow at the top and bottom of the slope, so you can refill your bombs during the fight.

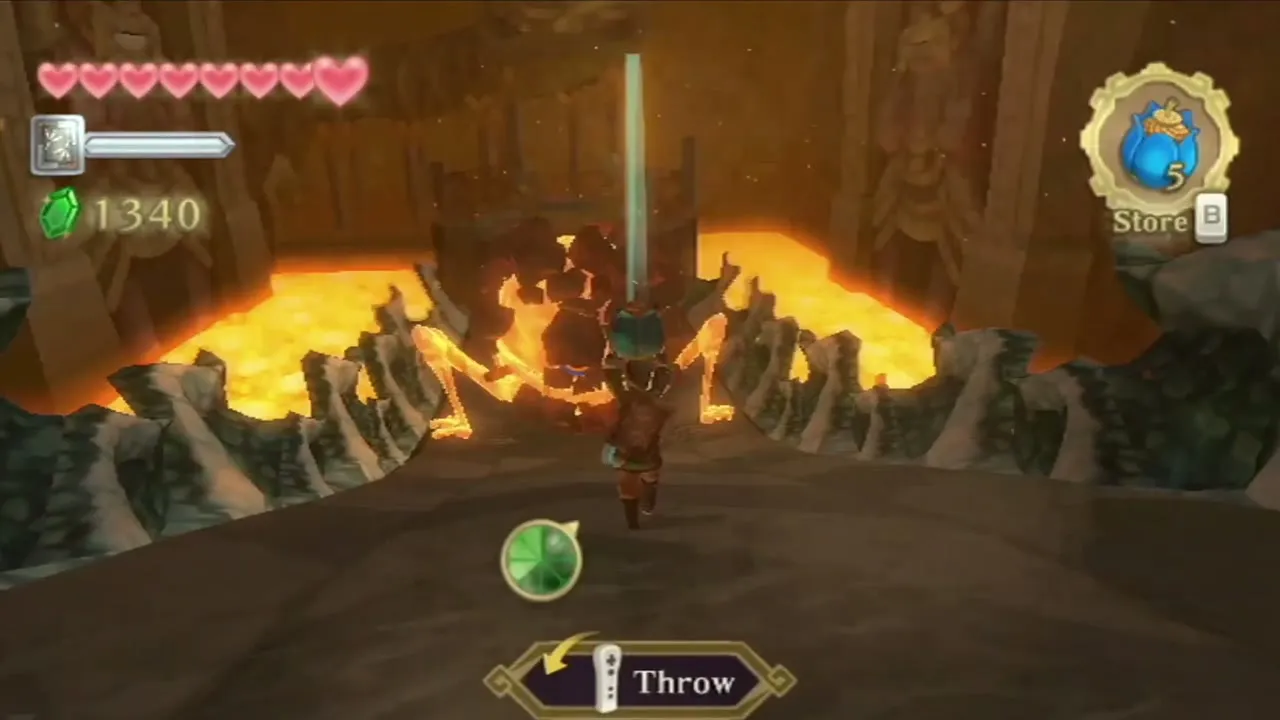
Phase one: bomb the open mouth
Scaldera chases you up the sloped bridge and shoots fireballs. Throw a bomb at it to send it rolling back down, and when it gets up and inhales for a fireball, throw or roll a bomb into its mouth. It topples and its shell cracks, which exposes a glowing eye. Run in and slash the eye several times before it recovers. When it ignites itself, throw another bomb to force it back down. Sidestep its fireballs and run to a Bomb Flower whenever you need more bombs.
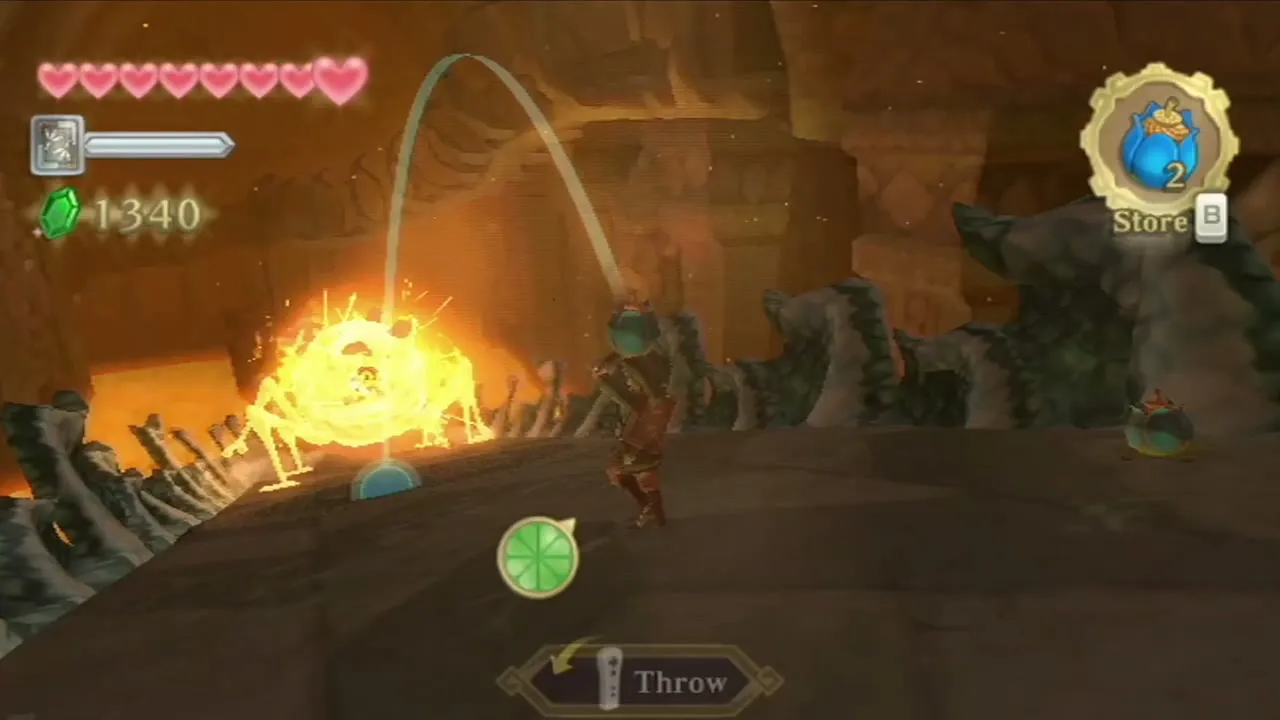

Phase two: under the legs
As Scaldera takes damage its eye starts to move and its fireballs curve toward you. It also climbs to the top of the bridge, curls up and rolls down at you, so step to the side as it passes. Keep feeding it bombs when it inhales, and cut the eye each time it is exposed. Once its rocky armor is gone and the eye has taken enough damage, it falls. See the boss strategies page for the other bosses.
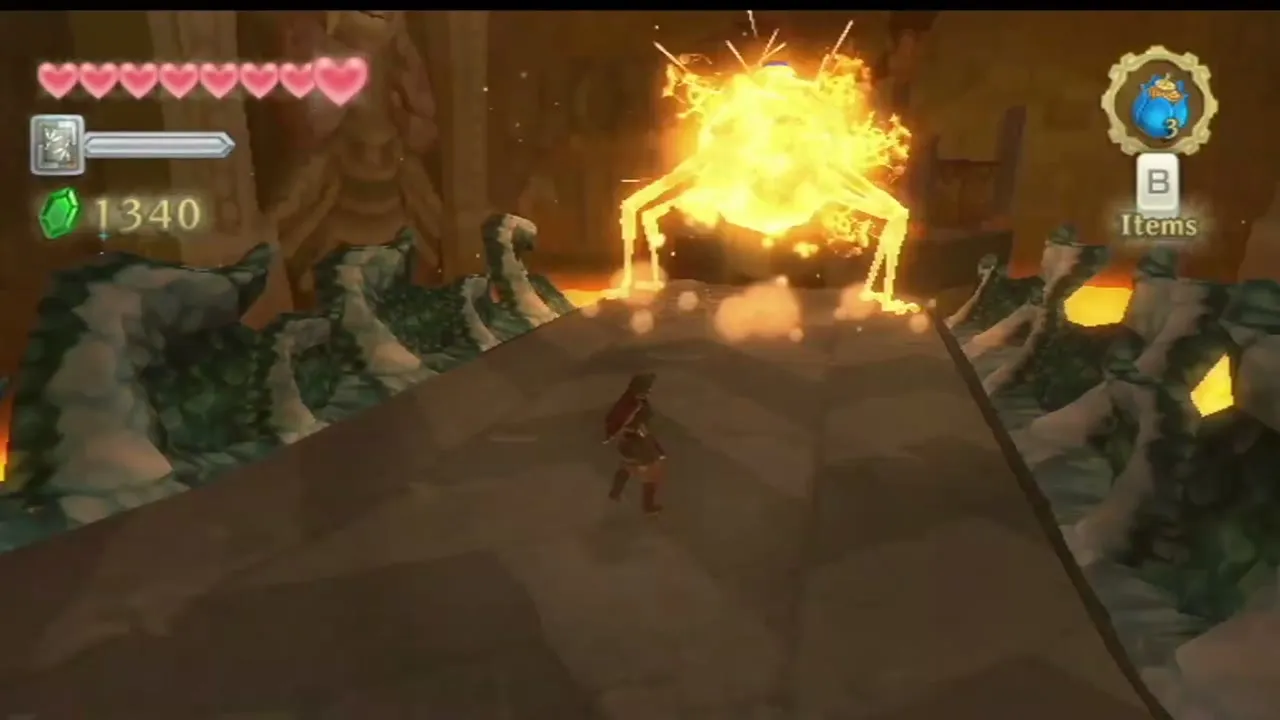
Collect the Heart Container
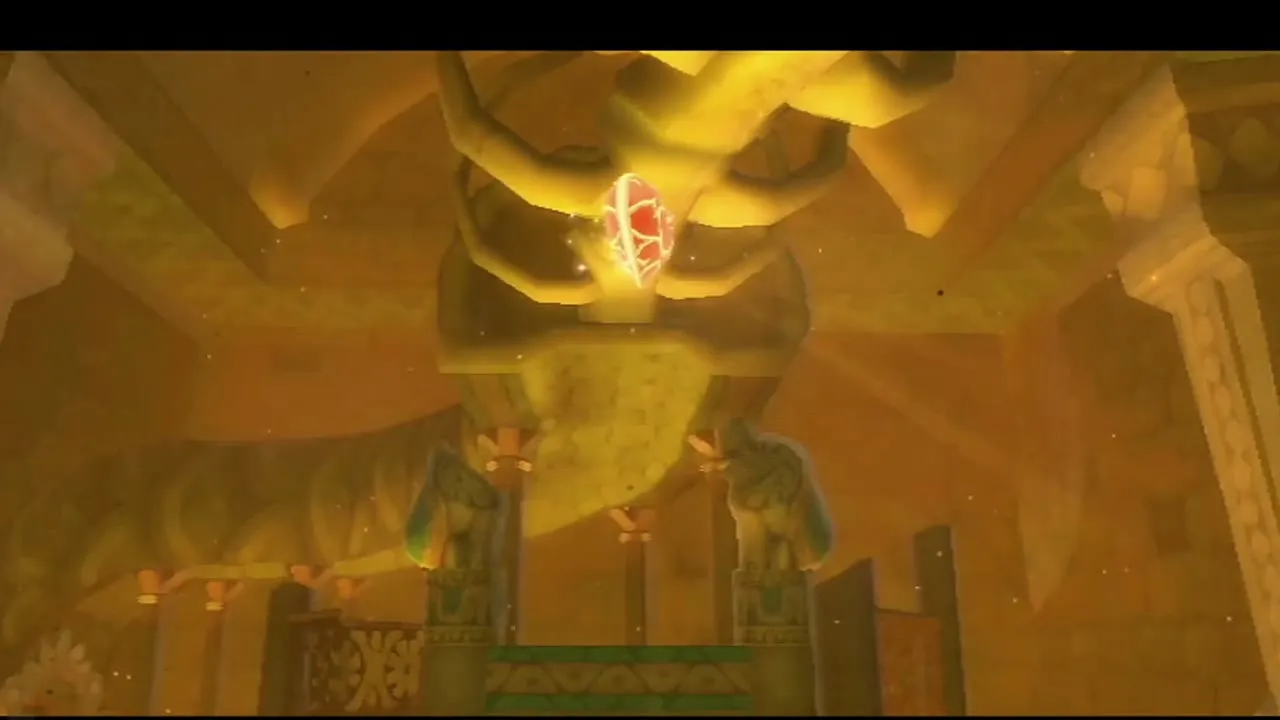
When Scaldera falls, a Heart Container appears in the arena. Take it to raise your maximum health by one heart and refill your hearts. Then walk up the slope and through the door at the top to reach Earth Spring.
Earth Spring and the Amber Tablet

Get the Amber Tablet
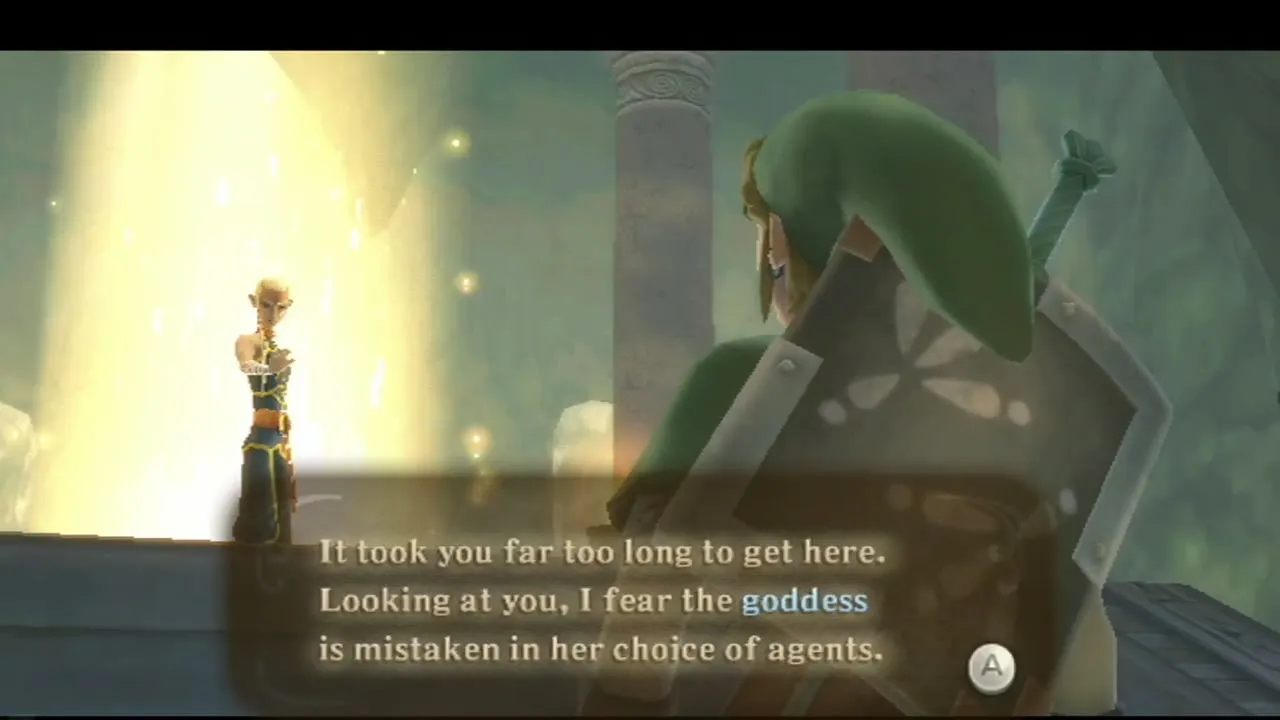
A cutscene shows that Zelda has gone on ahead, and A woman who serves the goddess tells you that you were late and that you must face the trials laid out before you before you can help her. Then raise the Goddess Sword and aim a Skyward Strike at the Goddess Crest. Fi translates a message from the gods and you receive the Amber Tablet. Fi explains that Zelda is heading toward Lanayru.

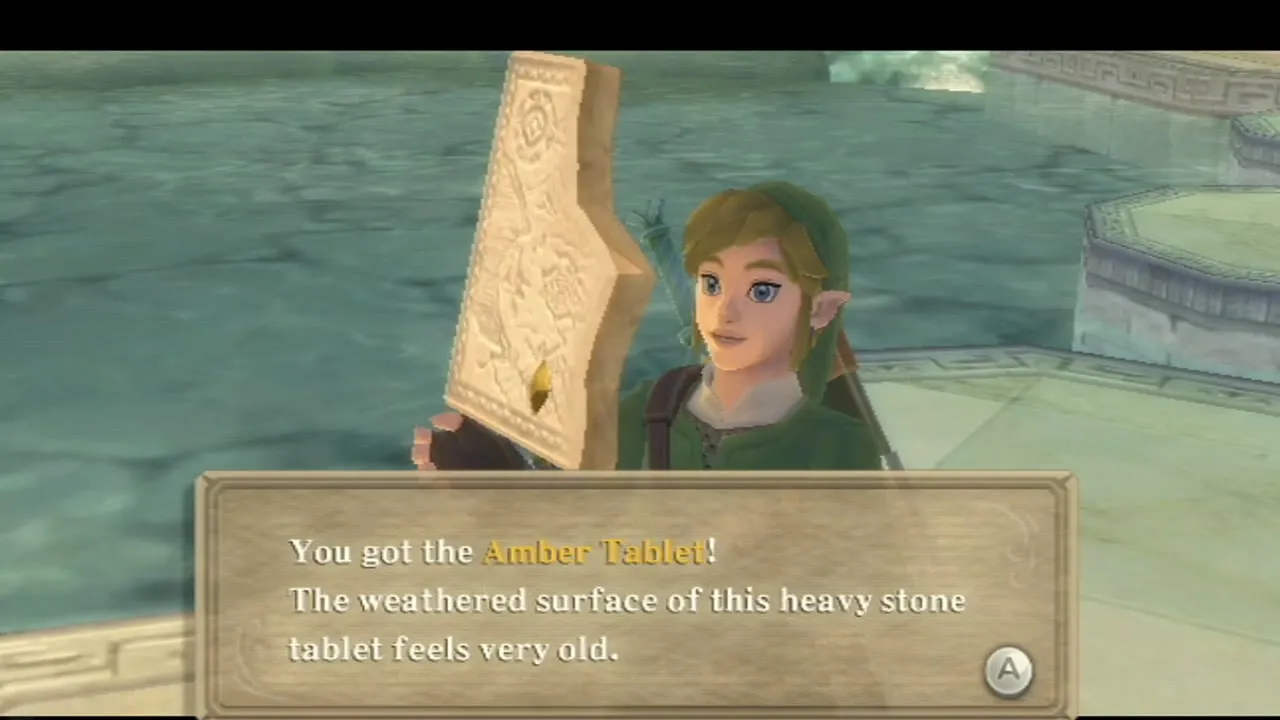
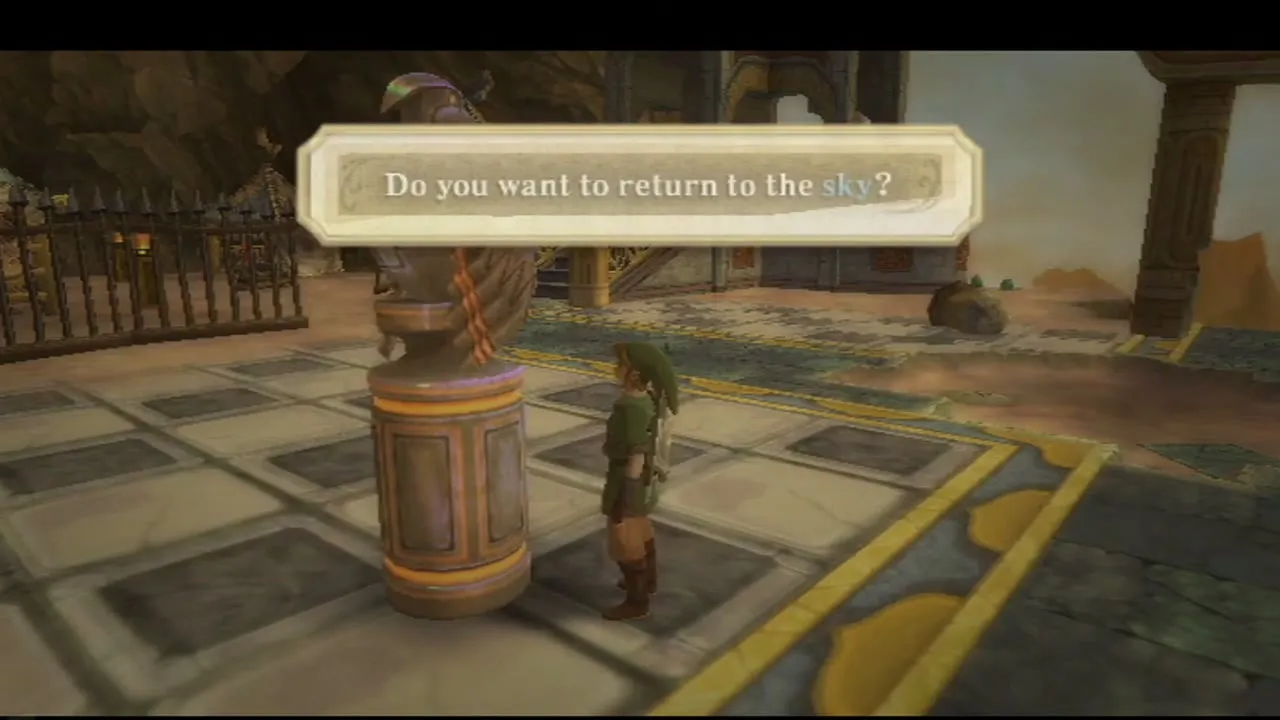
Walk out to the bird statue at the temple entrance, save, and choose “To the sky”. Fly to Skyloft and place the Amber Tablet in the Statue of the Goddess. A new column of light opens, which leads down to Lanayru.

Chapter checklist
| Collectible | Type | Where |
|---|---|---|
 Red Rupee | Chest | Ledge reached by the air geyser in the entrance hall |
 Golden Skull | Rare treasure | Chest above the low lava platform, found by riding the ball west |
 Blue Bird Feather | Rare treasure | Chest to the north-west, reached by the ball |
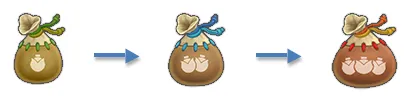 Bomb Bag | Item | Chest after the two-Lizalfos mini-boss; Ledd lets you keep it |
 Amber Relic | Treasure | Random treasure; look around as you explore |
 Lizard Tail, Jelly Blob | Treasure drops | Dropped by Lizalfos and Chuchus |
| Dungeon Map | Item | Chest at the end of the west room’s lava platforms |
 Silver Rupee | Rupee | In the dragon statue’s jaws behind the large gate, taken with the Beetle |
| Red Rupee | Chest | Guarded by a Lizalfos after the bird statue |
| Dragon Sculpture | Key item | Chest at the top of the second boulder slope; opens the boss door |
 Heart Container | Heart Container | Boss arena, after Scaldera |
| Amber Tablet | Story item | Earth Spring, with a Skyward Strike at the crest |
| Goddess Cubes 7 and 8 | Goddess Cubes | Outside the temple: near its entrance and in the Bokoblin camp beside it |
With the Amber Tablet in place, the way down to Lanayru opens; continue with Lanayru Mine and Lanayru Desert.
