Skyward Sword 100% Completion Walkthrough18 chapters
- Skyview TempleSmall keys, the Beetle, the Golden Carving door, the Ghirahim boss fight, the Heart Container and the Ruby Tablet.
- Earth TempleGet the Bomb Bag from Ledd, carry the Dragon Sculpture, beat Scaldera and collect the Amber Tablet.
- Lanayru Mining FacilityTimeshift Stones, Gust Bellows, Small Key, Armos, Ancient Circuit, Moldarach and the Goddess’s Harp.
- Ancient CisternBoth Small Keys, the Whip, the Blessed Idol, the Koloktos boss fight, Farore’s Flame and the Goddess Longsword.
- SandshipThe Timeshift Stone, Scervo and the Bow, both generators, Squid Carving, Tentalus and Nayru’s Flame.
- Fire SanctuaryAll three small keys, the Mogma Mitts, the Mysterious Crystals, Ghirahim’s second fight and the Master Sword.
- Skyloft Silent Realm and Sky KeepThe Skyloft Silent Realm and its 15 Sacred Tears, the Stone of Trials, every Sky Keep room and all three Triforces.
- Skyloft and the Goddess SwordFind your Loftwing, win the Wing Ceremony, draw the sword and take your first dive.
- Sealed Grounds, Faron Woods and the Deep WoodsThe Sealed Grounds, the missing Kikwi, the Slingshot, the Deep Woods and the way into Skyview Temple.
- Eldin Volcano and the Key PiecesPlace the Ruby Tablet, run Skyloft errands, earn the Digging Mitts and find all five Earth Temple key pieces.
- Lanayru Mine and Lanayru DesertLanayru Mine, Timeshift Stones, the Hook Beetle, the Temple of Time and how to set the three power generator dials.
- The Goddess’s Harp, The Imprisoned and the Isle of SongsBallad of the Goddess, The Imprisoned, the Light Tower, the Isle of Songs and Farore’s Courage.
- Farore’s Silent Realm and Lake FloriaAll 15 Tears of Farore, the Water Dragon’s Scale and Sacred Water.
- Nayru’s Silent Realm and the Lanayru Sand SeaNayru’s Wisdom, Nayru’s Silent Realm and the Clawshots, Golo’s key, Skipper’s boat, the Shipyard.
- Din’s Silent Realm and Volcano SummitDin’s Power, the Fireshield Earrings, frog statues, the Water Basin and the Scrapper escort.
- True Master Sword, Levias and BilocyteSkyward Sword walkthrough for the True Master Sword, the second Imprisoned fight, the Spiral Charge.
- Song of the HeroEscape Eldin, beat the third Imprisoned, win the Tadtone song in Faron Woods and heal Lanayru’s Thunder Dragon.
- The Horde, Ghirahim and DemiseClear the last side quests, beat the Horde, Ghirahim’s third fight and Demise, then unlock Hero Mode.
| Covers | Optional Skyloft errands after the Ancient Cistern, the Isle of Songs, Nayru’s Silent Realm, the Lanayru Caves, the Ancient Harbor, Skipper’s Retreat, the Lanayru Shipyard, the Pirate Stronghold and the search for the hidden Sandship |
|---|---|
| You need | Goddess Longsword (from Farore’s Flame), Goddess’s Harp, Beetle, Whip, Bomb Bag with Bombs, Gust Bellows, Slingshot, a Bug Net. The Clawshots come from this chapter’s Silent Realm. |
| Rewards | Nayru’s Wisdom, Clawshots, Golo’s key, Ancient Sea Chart, a Scattershot upgrade, Adventure Pouch slot, 5 Goddess Cubes (southwest desert, northeast desert, Sand Sea cave, Skipper’s Retreat, Pirate Stronghold), 1 Piece of Heart (northeast desert), Dusk Relics, a Goddess Plume, Tumbleweeds, Lanayru Ants, Sand Cicadas, Monster Horns, Evil Crystals and Silver Rupees |
This chapter turns the Goddess Longsword’s quest toward Nayru’s Flame. You learn Nayru’s Wisdom on the Isle of Songs, pass the trial in the northern Lanayru Desert to win the Clawshots, take Golo’s key through the Lanayru Caves, and wake the robot Skipper in the Ancient Harbor. With his boat you clear three stops, Skipper’s Retreat, the Shipyard and the Pirate Stronghold, and then hunt the hidden Sandship with the boat’s cannon.
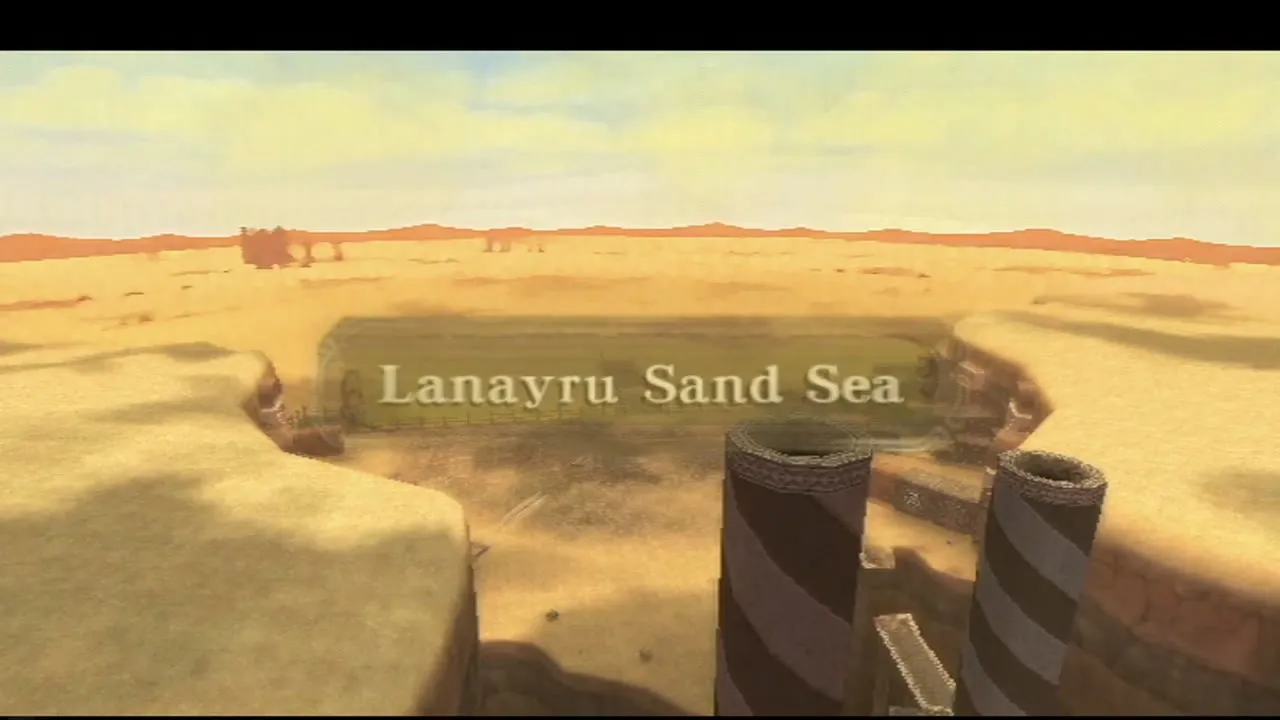

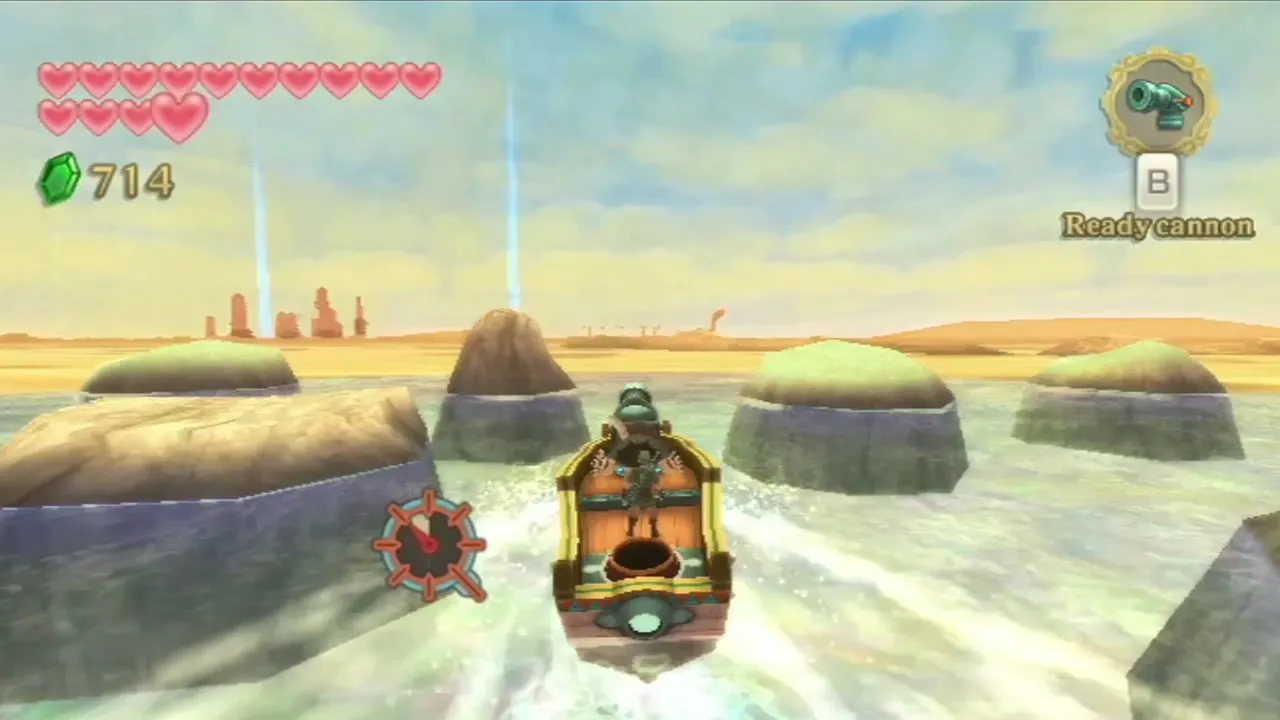
Table of Contents
Optional: Skyloft errands after the Ancient Cistern
Upgrade the Slingshot at the Scrap Shop
Farore’s Flame left your sword stronger, and your treasure pouch is probably full of materials from the cistern, so spend them in Skyloft. Gondo’s Scrap Shop turns the Slingshot into the Scattershot for 50 Rupees, 2 Dusk Relics, 2 Amber Relics and 3 Jelly Blobs. Hold the shot to charge it and it sprays a wide cone of seeds. The shop also offers the Big Bug Net for 100 Rupees, 3 Tumbleweeds, 2 Ancient Flowers and an Evil Crystal. Gather those first, since Tumbleweeds blow across the Lanayru Desert later in this chapter. The upgrades page has every recipe.

Buy the Air Potion
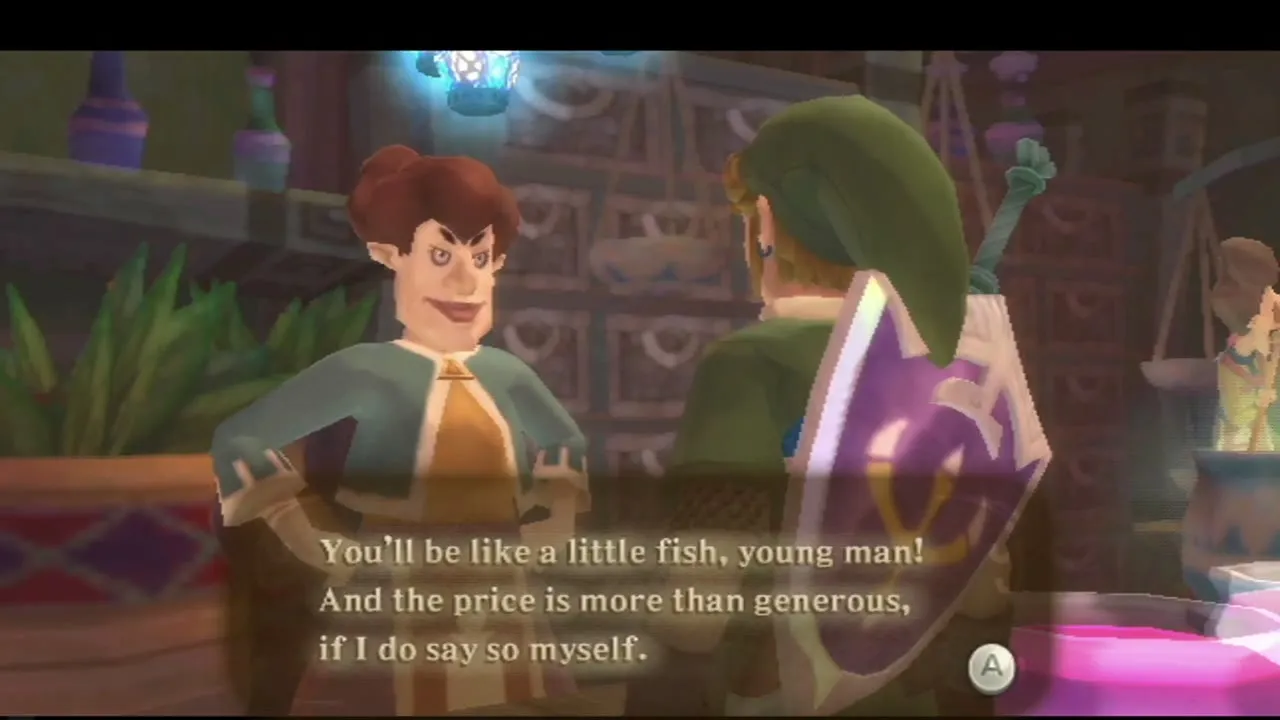
Now that you own the Water Dragon’s Scale, the Potion Shop stocks an Air Potion, which slows how fast you lose air underwater. Bring an empty Bottle and buy one from Luv if you want to explore underwater routes.

Buy the Adventure Pouch slot from Beedle
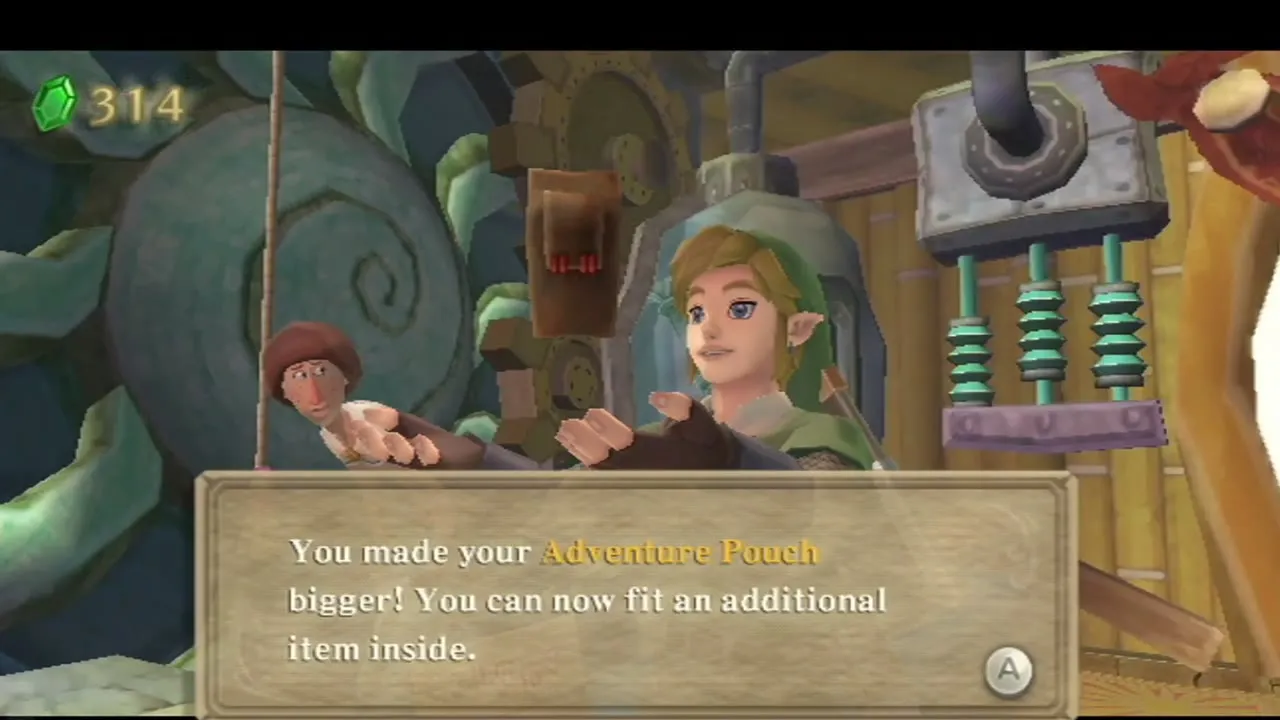
Beedle sells Adventure Pouch slots in a rising price ladder of 300, 600 and 1,200 Rupees. If you have already bought the first one, the second costs 600. A bigger pouch lets you carry more medals, potions and shields at once, so it pays for itself in the dungeons ahead. The Skyloft and the Sky page lists his whole stock.
Open the Silver Rupee Goddess Chest
Leave the Knight Academy area and leap off the southern edge with your Sailcloth to glide onto the small island below. A pale chest sits on it. This is the Goddess Chest that Goddess Cube 13, at the Great Tree in Faron Woods, unlocked. It holds a Silver Rupee worth 100 Rupees. Every cube you strike on the surface opens a chest like this one in the Sky, and the Goddess Cubes page lists all 27.
Isle of Songs and Nayru’s Wisdom
Fly into the Thunderhead
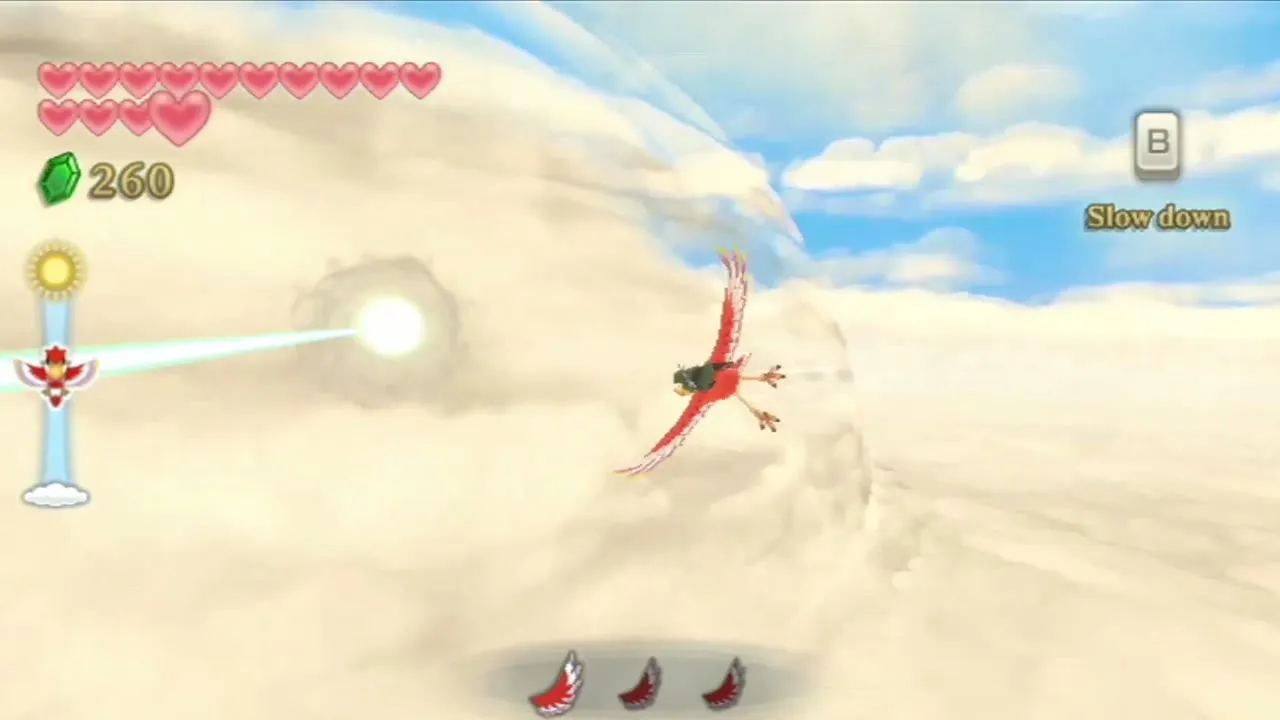
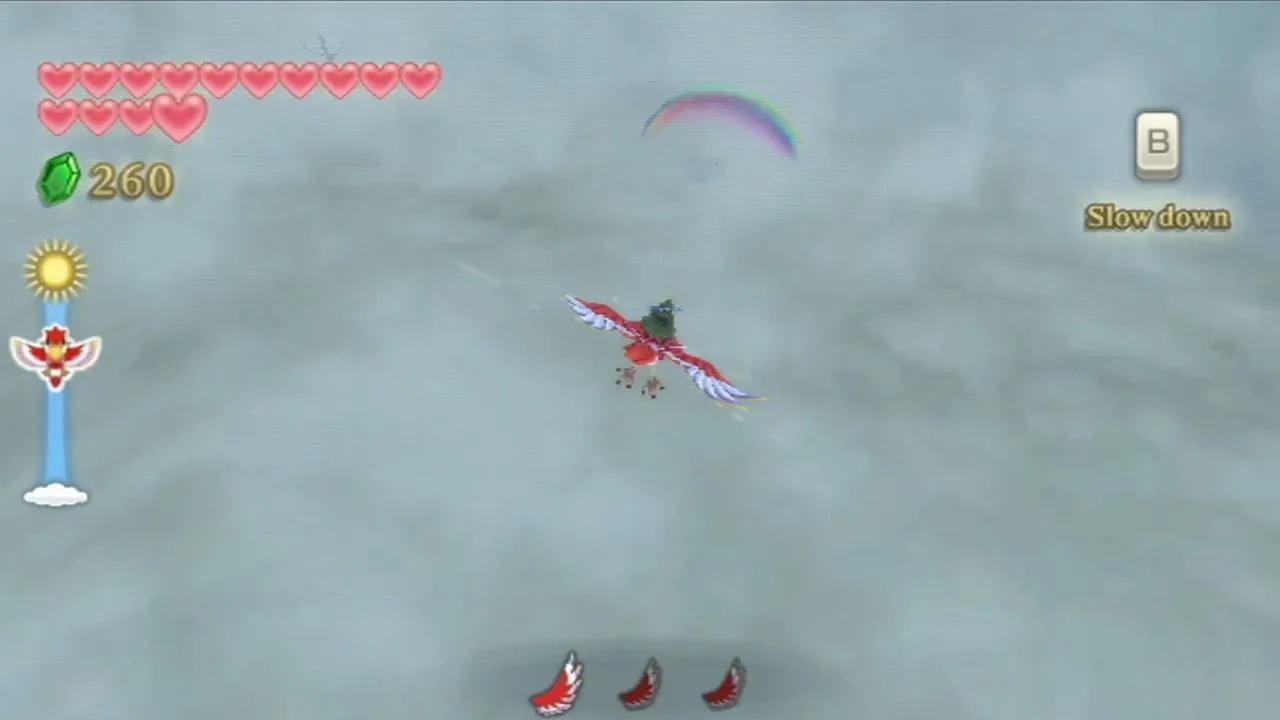
Dive off the edge of Skyloft and whistle for your Loftwing, then fly to the Thunderhead, the great storm cloud over the Sky. Choose the Isle of Songs on the map and follow the path to the island with the stone tower.

Learn Nayru’s Wisdom
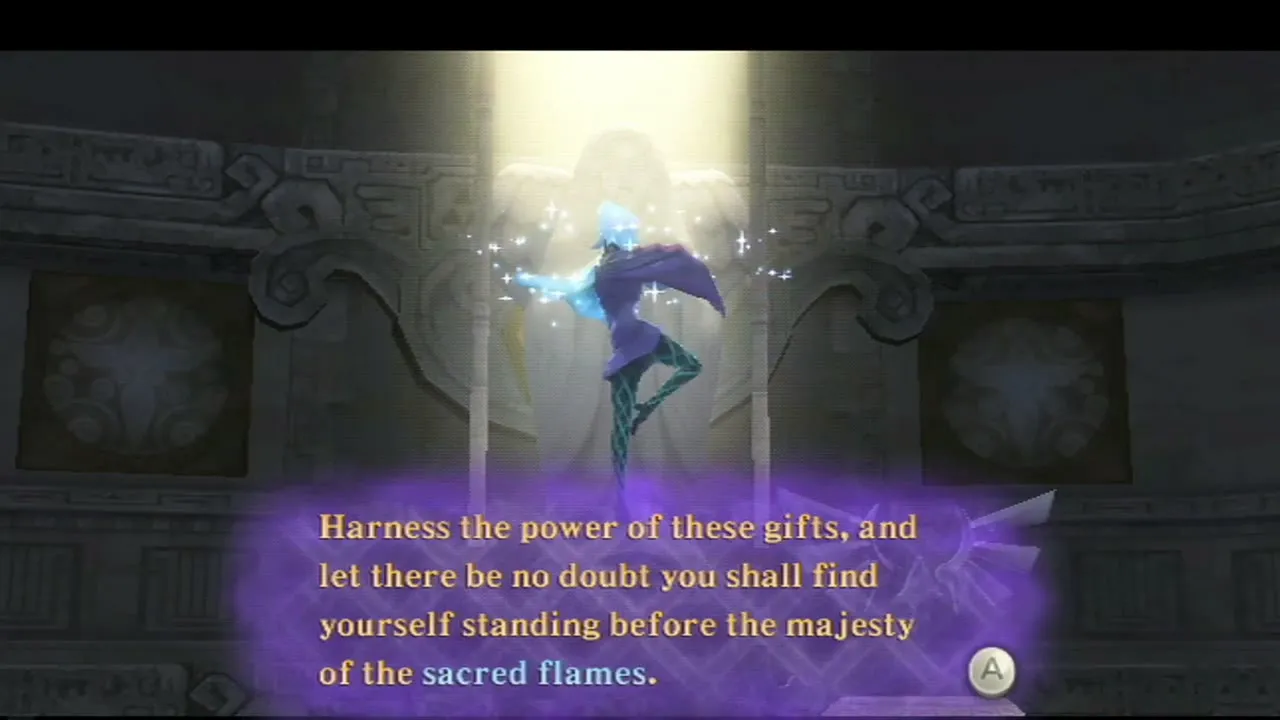
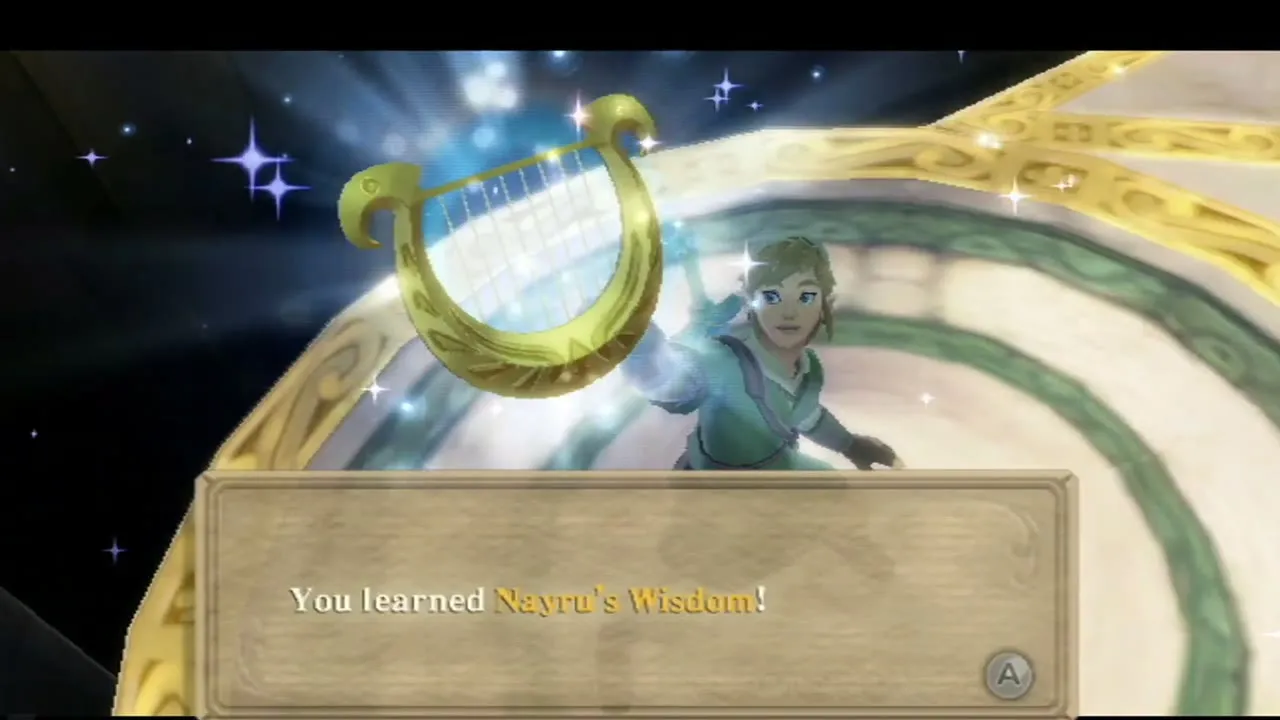
Crawl in through the low passage and walk the stone corridor to the Goddess Crest. Strike the crest with a Skyward Strike, raising the Wii Remote overhead and then slicing, and the statue awakens. After the goddess’s message you play the Goddess’s Harp, strumming the Wii Remote in time with the rings. You learn Nayru’s Wisdom, the melody that opens the second Silent Realm, and Fi tells you to go back to the desert. See the Harp songs page for what each melody does.

Nayru’s Silent Realm
Find the trial gate in the North Desert
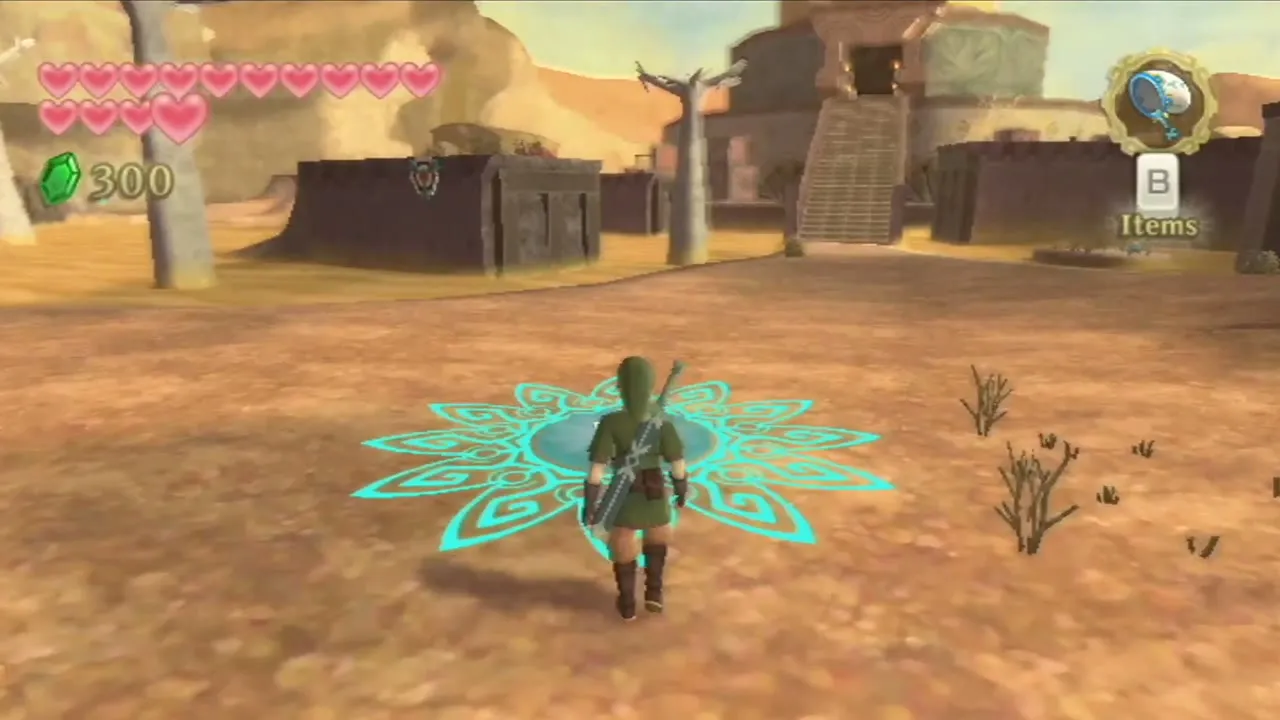
Return to the Sky map, fly down to the Lanayru Desert. Press C to dowse for the trial gate, then head for the glowing mark, revealed with Nayru’s Wisdom, beside the cluster of Blessed Butterflies. Face it, lock on, raise the Harp, and play Nayru’s Wisdom in time with the pulsing rings. Thrust the Goddess Longsword into the mark to cross into the realm.


Fill the Spirit Vessel
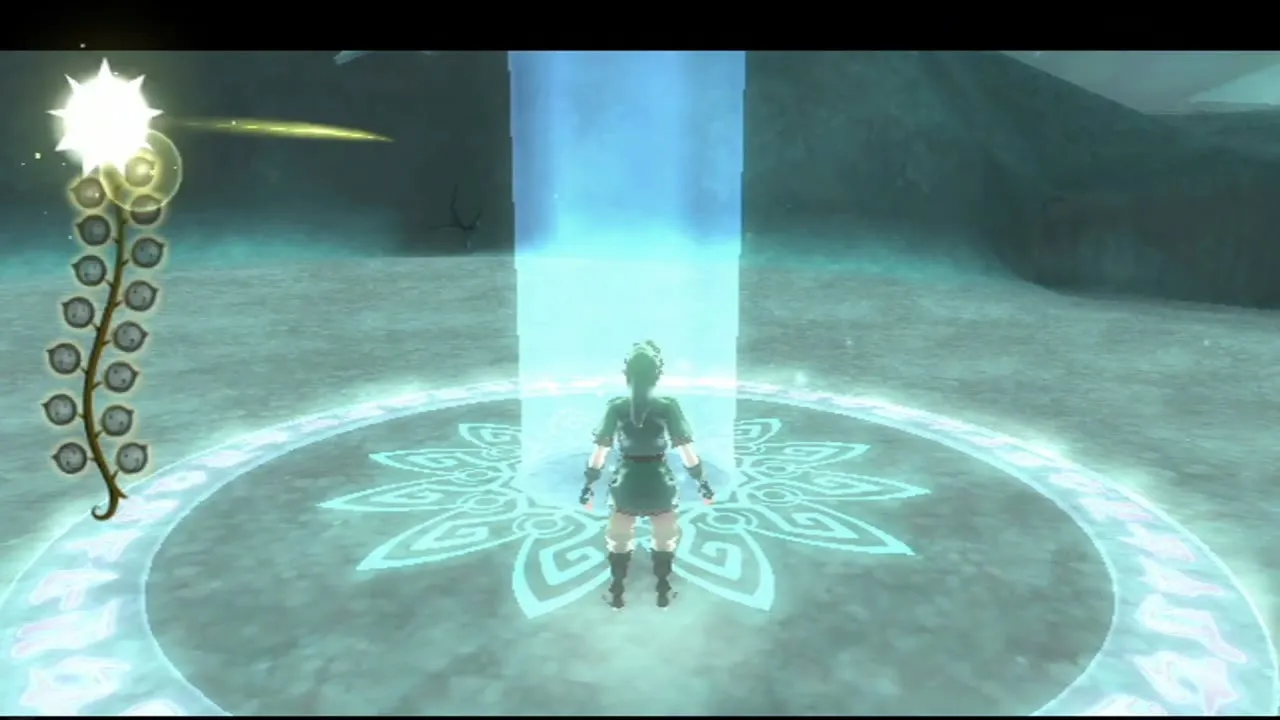
Inside the circle, the goddess explains that Fi cannot follow. You receive a Spirit Vessel, a plant that holds the 15 Tears of Nayru. Stepping outside the circle wakes the Guardians. Each Tear stops them for 90 seconds, and a Watcher’s lantern or a patch of Waking Water wakes them again at once. A single hit sends you back to the start, so move from one Tear to the next quickly. Fi never helps in here, and the map marks every Tear you have already taken.
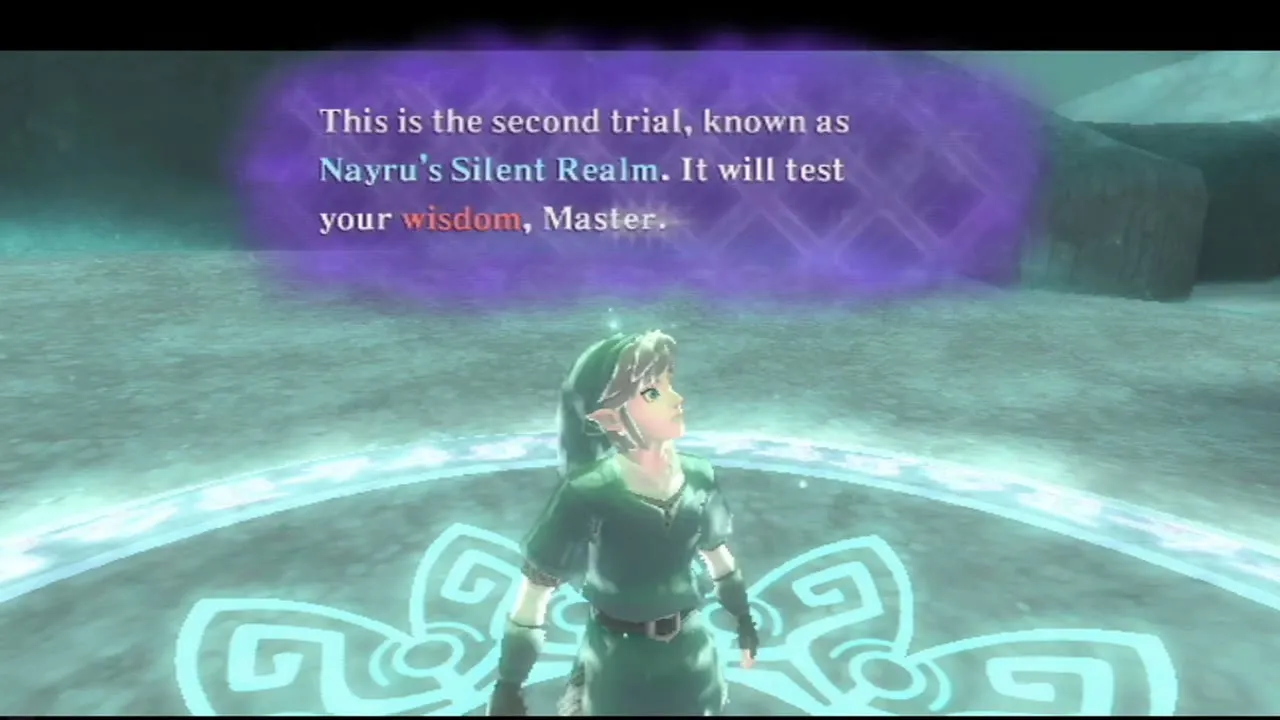
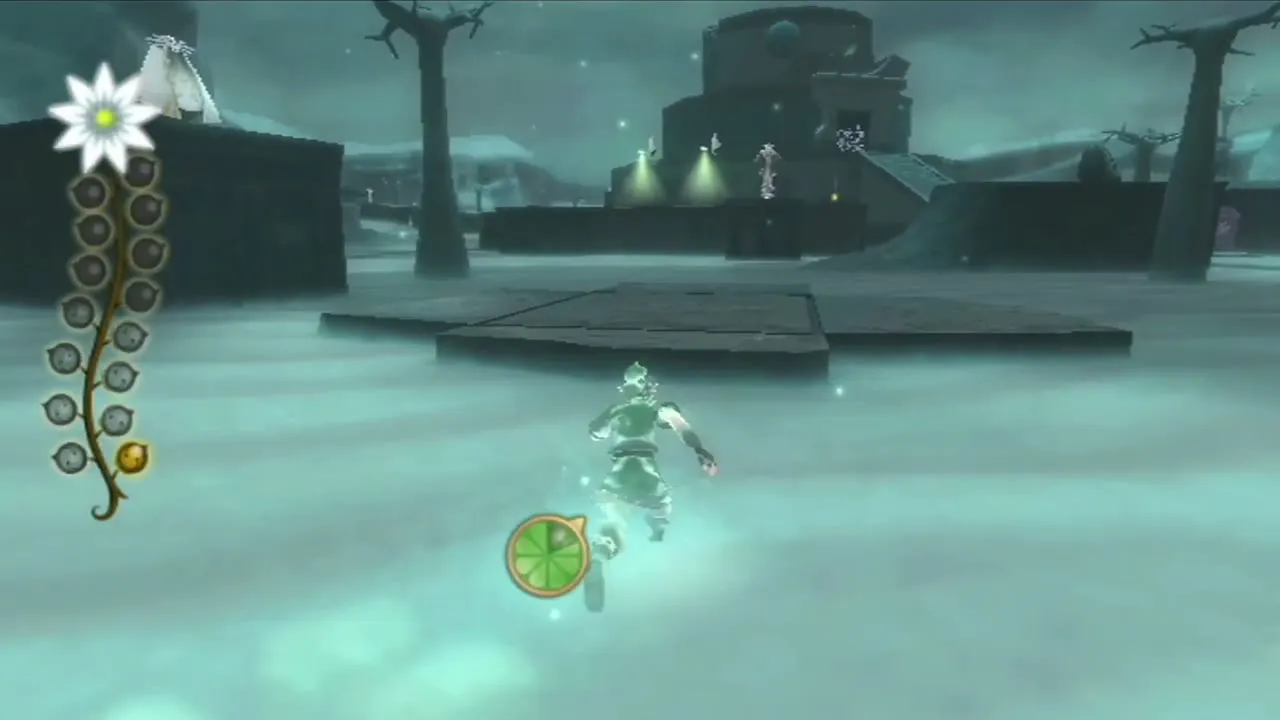
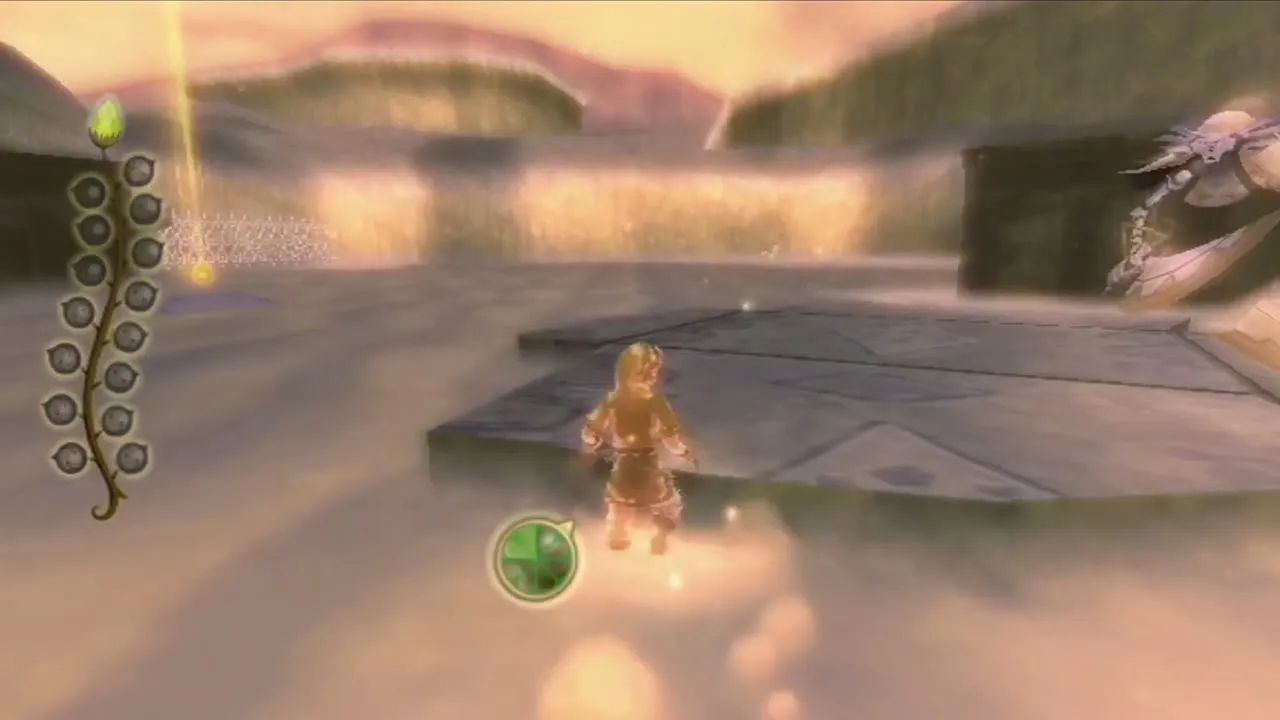
The first Tear sits on the stairs straight ahead of the starting circle, and a Light Fruit a few steps beyond it shows all remaining Tears for 30 seconds. Take the Tears on the ledges and platforms around the realm, and dash across any quicksand you meet, since it slows you but does not end the trial. Dusk Relics lie along the route and a Goddess Plume can turn up in the realm, so grab both when they are cheap to reach.
Return to the gate and claim the Clawshots
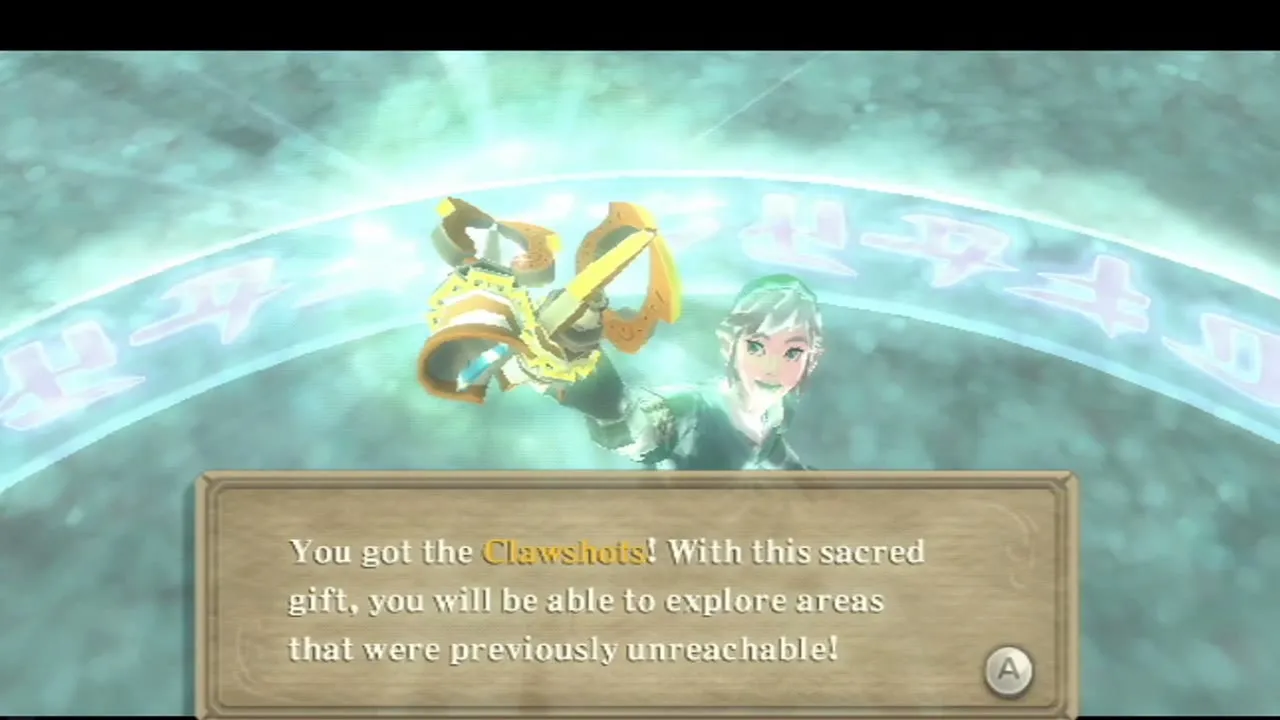
With the fifteenth Tear collected, walk back to the starting circle without touching a Watcher’s light or Waking Water. A Guardian can still end the trial on the way. The goddess then gives you the Clawshots. Aim with the pointer, fire a hooked chain at a target or vine and the chain pulls you across. You return to the desert, and the goddess says the flame lies somewhere in the sands.
New Clawshot targets in the Lanayru Desert

Heart Piece and Goddess Cubes
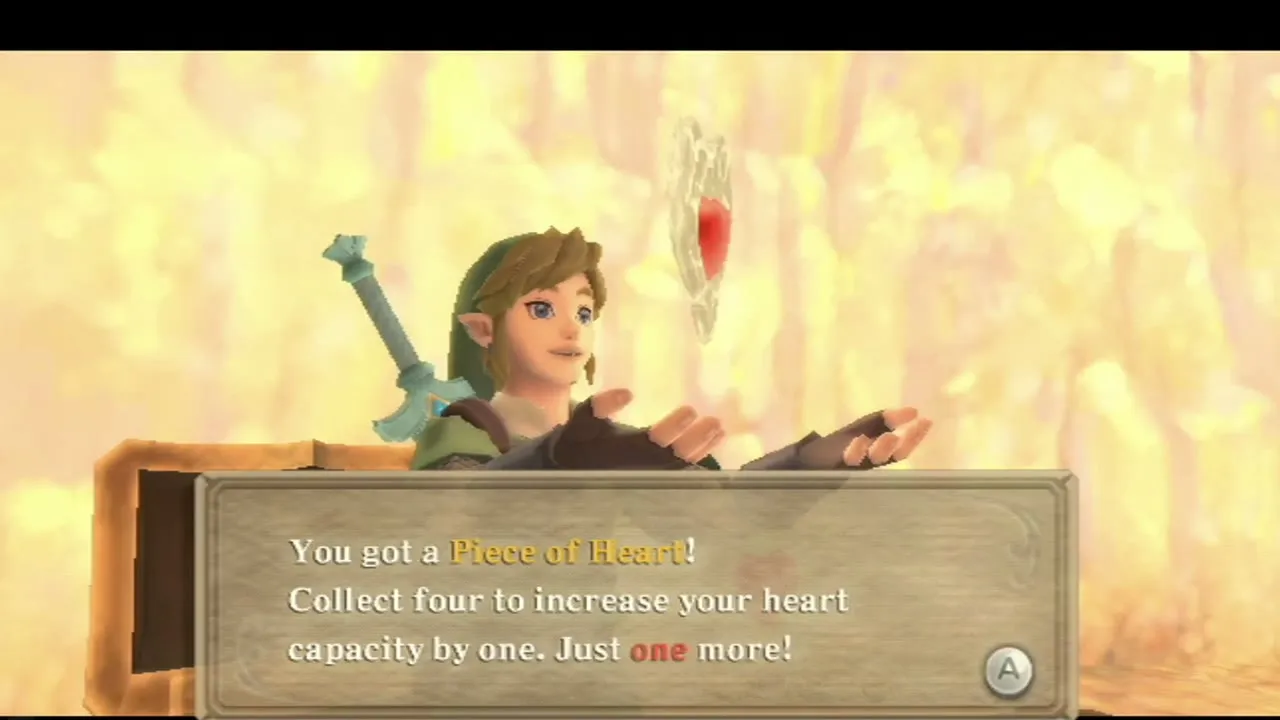
On the narrow strip of land in the northeast, bomb the cracked wall to uncover a secret passage and follow it, hooking from target to target. A chest at the end holds a Piece of Heart. Hook onward from there to reach a Goddess Cube. Its chest in the Sky holds a Heart Medal, but you need the Water Dragon’s Scale to swim to it later. A second cube sits on a high ledge southwest of the Mining Facility, where the Clawshots pull you up. Its chest holds a Life Medal. On the west side of the desert, hook up to an upper platform to open a chest holding a Dusk Relic.
Tumbleweeds and Lanayru Ants
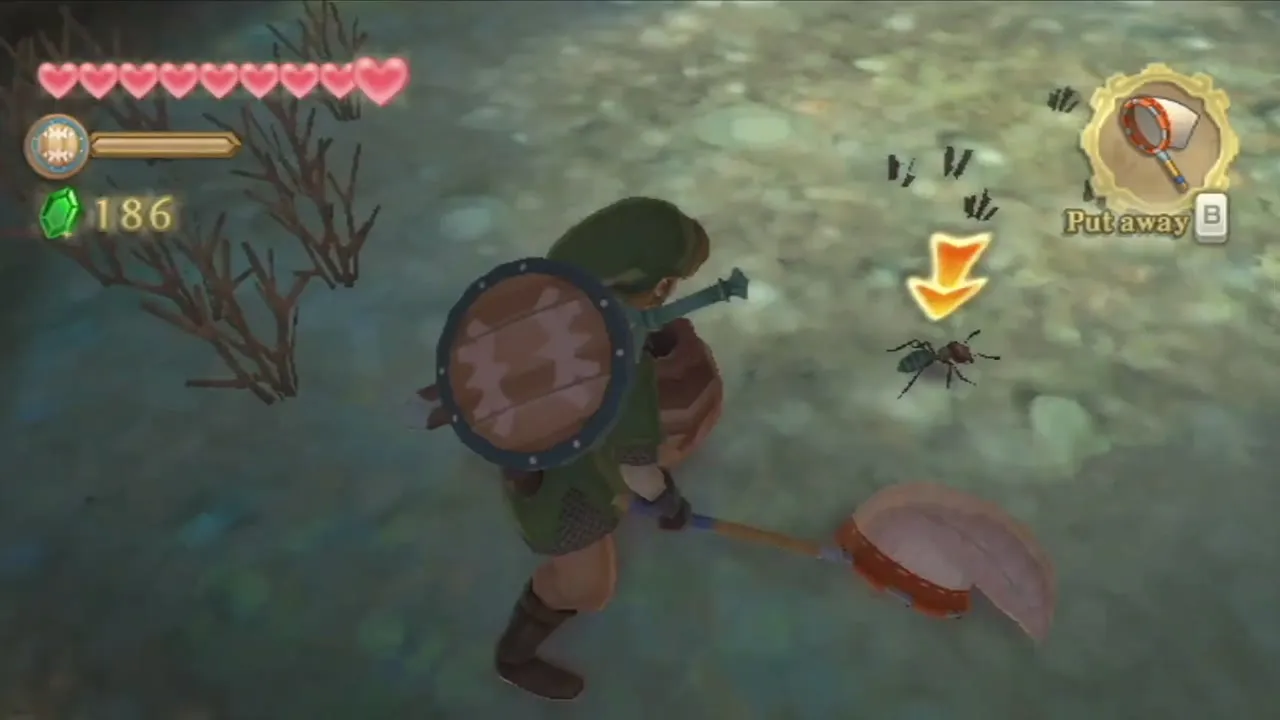
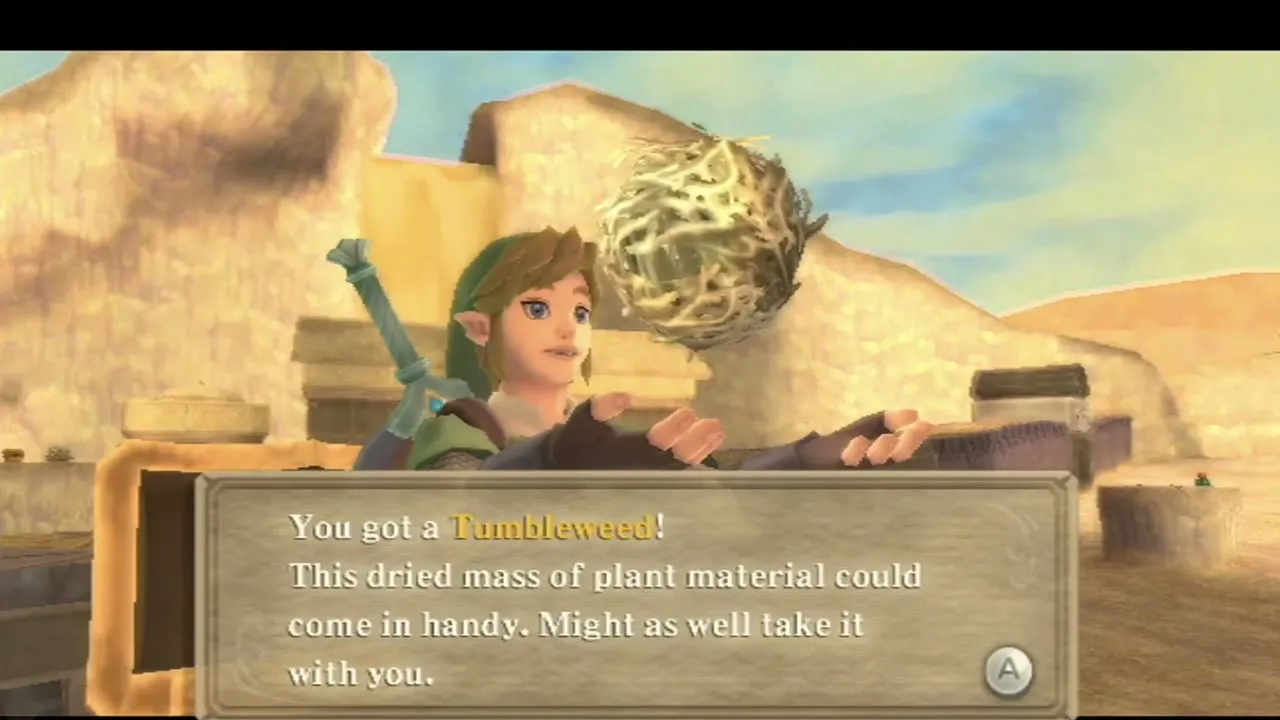
Tumbleweeds roll over the desert sand. Catch one with the Bug Net when it bounces past, and keep a few for the Big Bug Net recipe. Lanayru Ants scurry across the sand too, so net a couple for potion upgrades.
Lanayru Caves and Golo
Hook across the quicksand
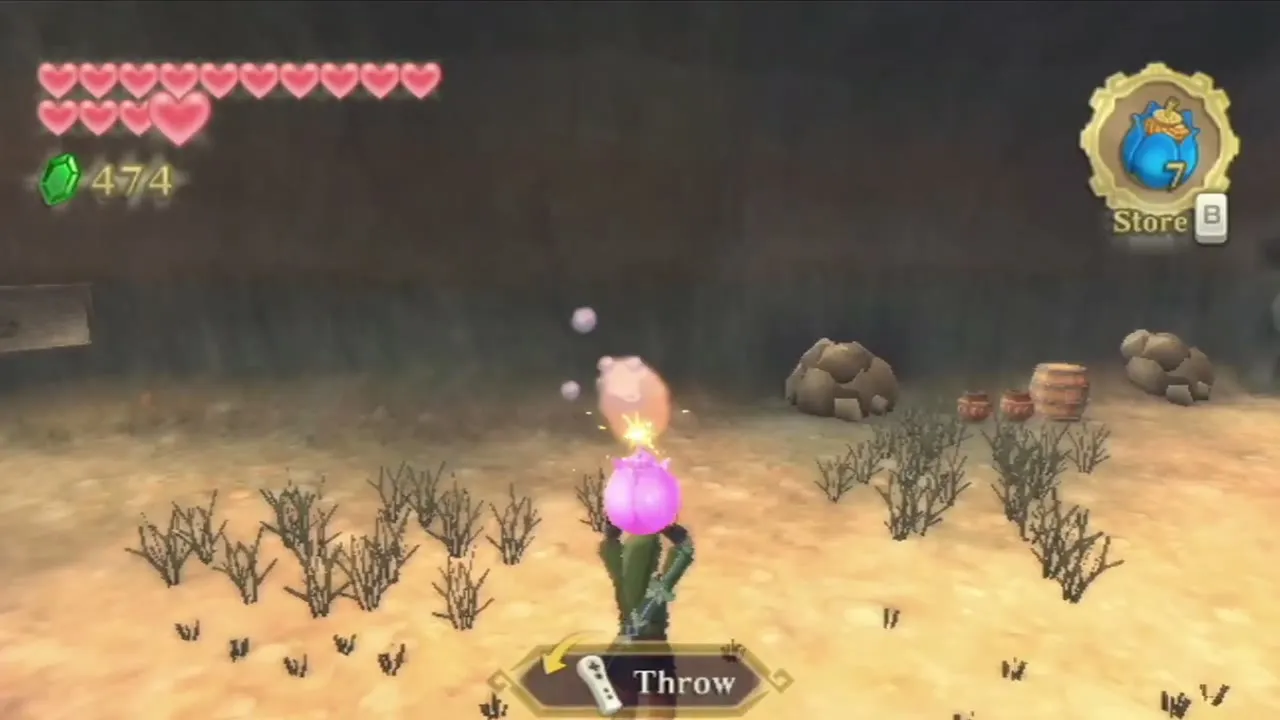
Return to the northern desert and follow the path toward the Lanayru Caves. A wide pit of quicksand blocks the entrance, so fire the Clawshots at the stone pillars and swing across, then climb along the cave’s own targets. The caves are full of Bomb Flowers, so pick one up, carry it to the cracked rocks and throw it. You can whip a Monster Horn off the Red Bokoblins on the desert path before the caves. A Gossip Stone and some Blessed Butterflies near the Harp spot give you an Evil Crystal.


Talk to Golo and take his key
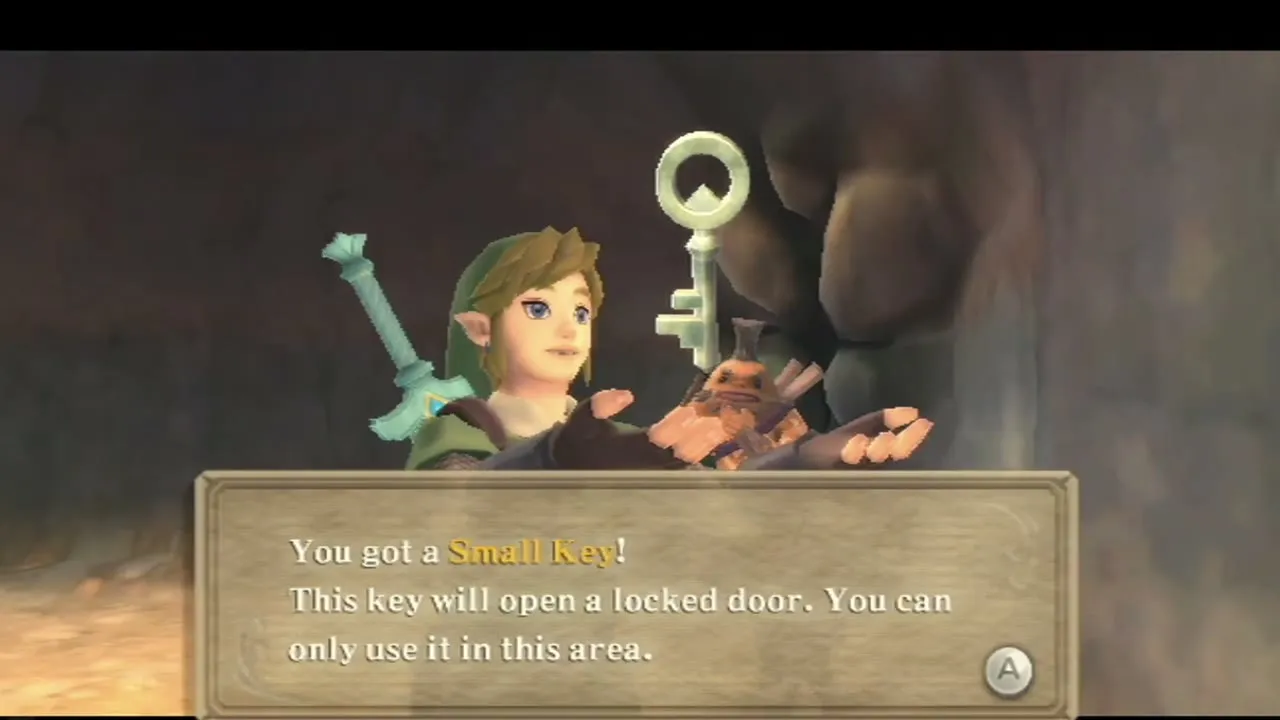
Inside the cave you meet the Goron Golo, who is digging for Timeshift Stones while studying the legend of the three dragons. When you tell him about the sacred flame, he remembers an old story about the Lanayru Sand Sea and gives you the key to the door that leads out to the sea. Hook up to the target above the door and unlock it. You will be back in these caves much later, when Lanayru the Thunder Dragon needs you.

Ancient Harbor and Skipper
Strike the Timeshift Stone on the boat
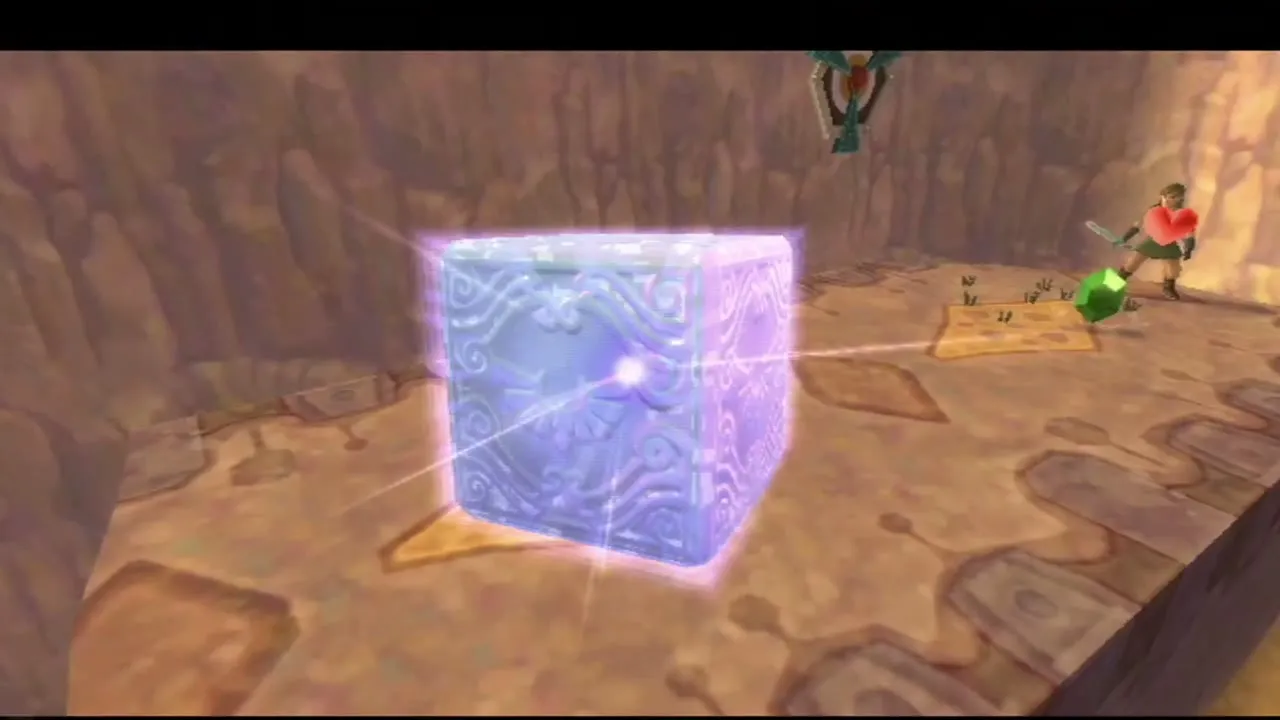
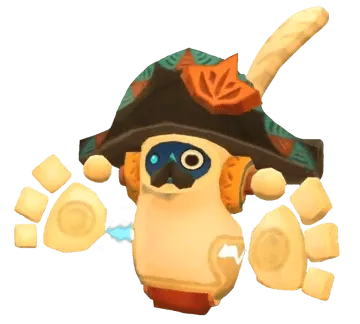
The door opens on the Ancient Harbor, a dock beside a sea of sand. Cross the cave’s rift on the pillar targets and Clawshot up to a higher crate to reach a hidden cave with an Aracha inside. Defeat it, then strike the cube with a Skyward Strike. It unlocks a Goddess Chest in the Sky behind Gondo’s Scrap Shop that holds a Gold Rupee worth 300 Rupees. At the west end of the dock lies a broken boat, a dead robot and a Timeshift Stone. Hit the stone with your sword. The sand around it turns to water and the robot wakes up as Skipper, the captain of the Sandship.


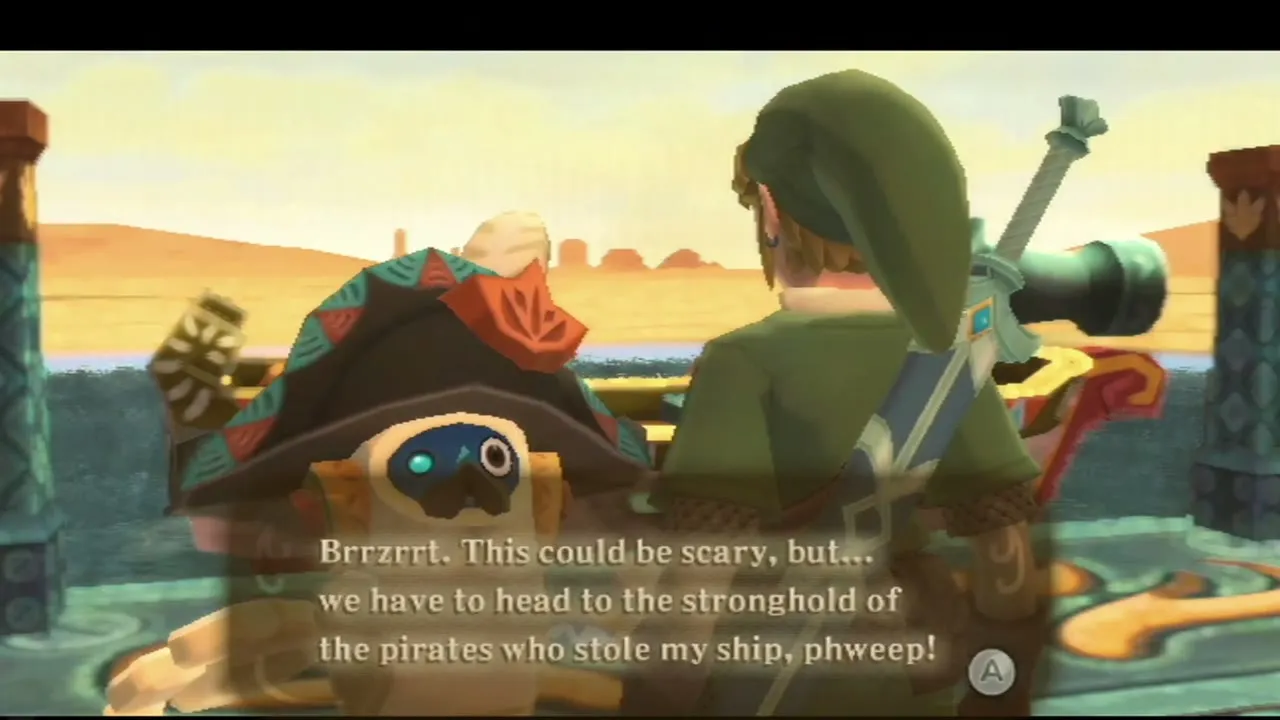
Skipper tells you that pirates stole his ship and hid it. Climb aboard. The sand around his boat turns to water as it sails, because of the Timeshift Stone on the bow. He tells you his sea chart is in his shack at Skipper’s Retreat, so head there first. Use the boat’s cannon on Bokoblin archers on the little islands and avoid the explosive barrels drifting on the water.

Skipper’s Retreat
Clawshot up the rock spires
Light the bird statue on the dock, then take the right-hand path. Bomb the Electro Spume, hook onto a pillar and cut down the Deku Baba. Peahats fly between the spires, so shoot the Clawshots at one to be carried across. Bomb the boulder to open a cave, defeat the Yellow Chuchu and beat the Metal Shield Moblin by jumping over its shield. After the Quadro Baba, open the chest for a Red Rupee, then look for the Goddess Cube on the open sand nearby and hit it with a Skyward Strike. Its chest in the Sky holds a Potion Medal.
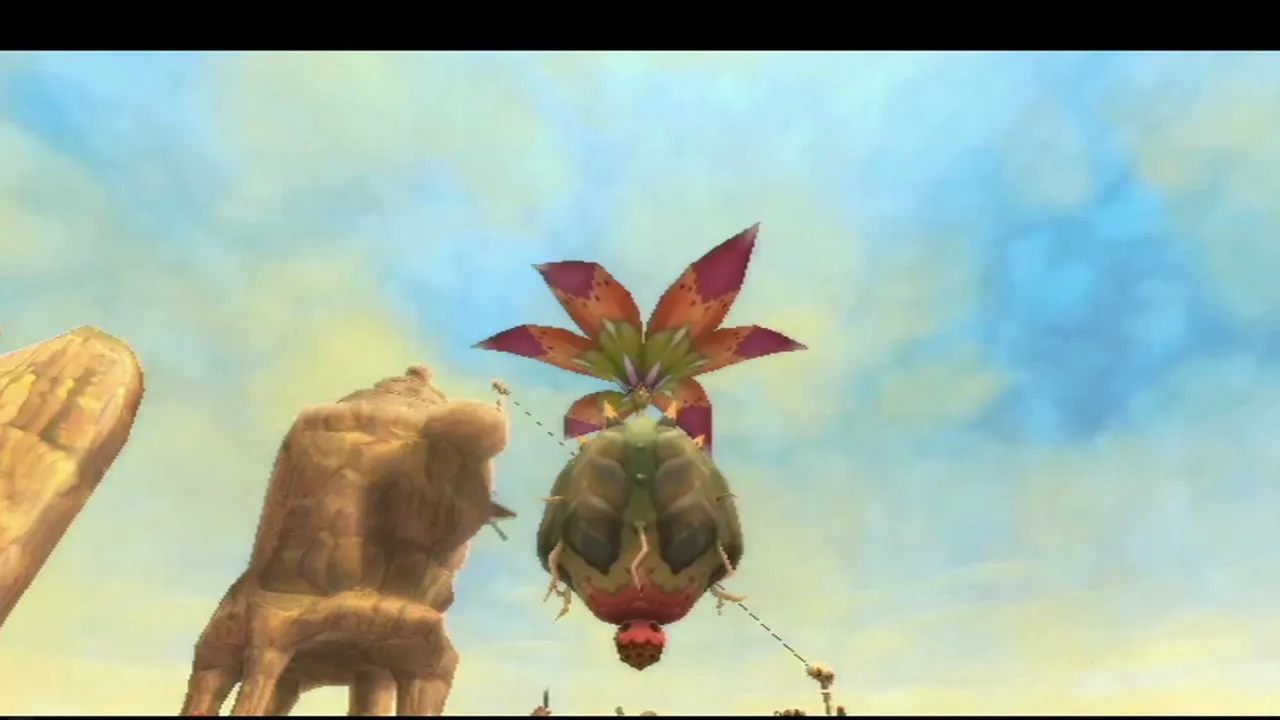

Whip the Furnix and ride the Peahat
Return past the Quadro Baba and hook the pillar on the north side. Pull the tail of the Furnix with the Whip and finish it with your sword. Whip the odd plant on the ledge until it becomes a Peahat, and ride it north to the next target. Use the Beetle to cut the Deku Baba hanging from the ceiling, then kill the two Furnix with the Whip. Time a Clawshot grab on the Peahat flying through the gap in the boulder.


Find the Ancient Sea Chart
Skipper’s shack is thick with dust and has an Aracha infestation. Clear the Aracha first, blow the dust away with the Gust Bellows, and open the chest to take the Ancient Sea Chart. The stool in the room restores your hearts. Climb to the roof and catch Sand Cicadas with the Bug Net if you want them. A zip line from the roof carries you to the dock where Skipper waits, and he marks the Shipyard next.

Lanayru Shipyard

Ride the minecarts
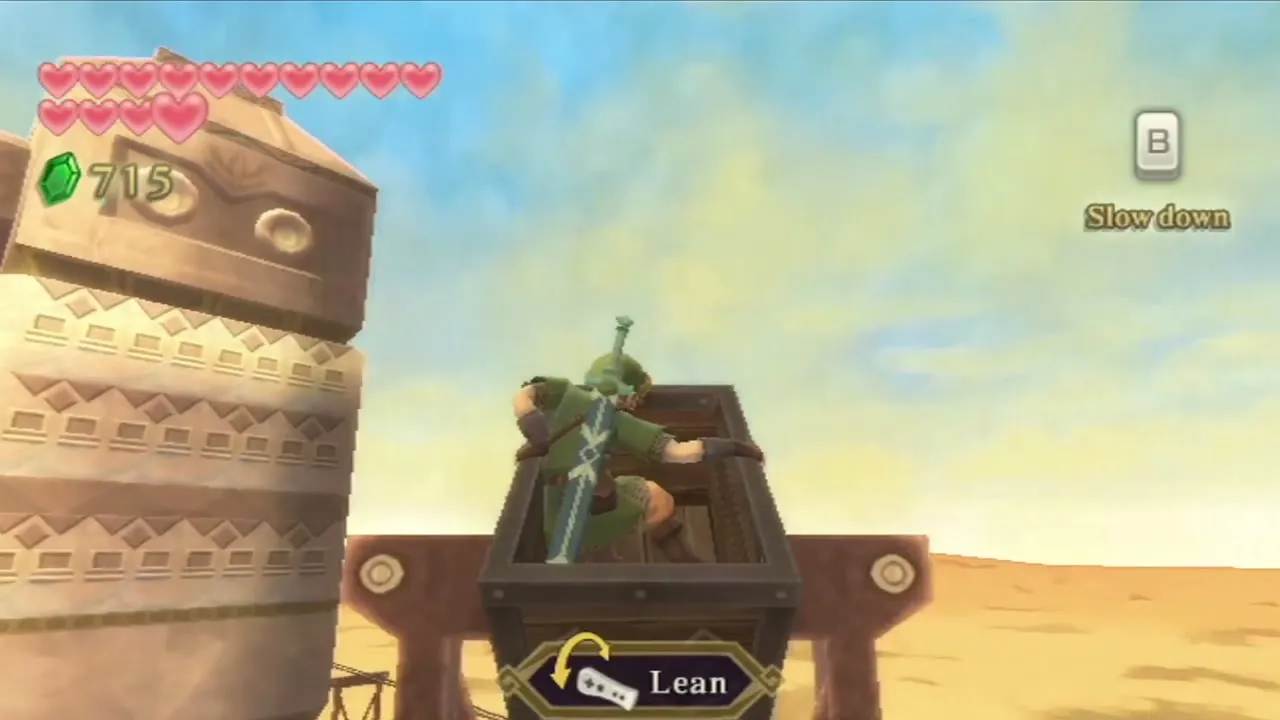
Light the bird statue and turn right to defeat the two Lizalfos. The Shipyard’s construction bay door is shut, so you must reach its back door by minecart. Read the Goron Gortram’s safety notes, then ride the carts. Lean with the Wii Remote toward the branch you want at each fork, lean away from barriers, and build up speed before the broken stretches of track so that you clear the jumps. The ride ends at the construction bay.


Defeat the second Moldarach
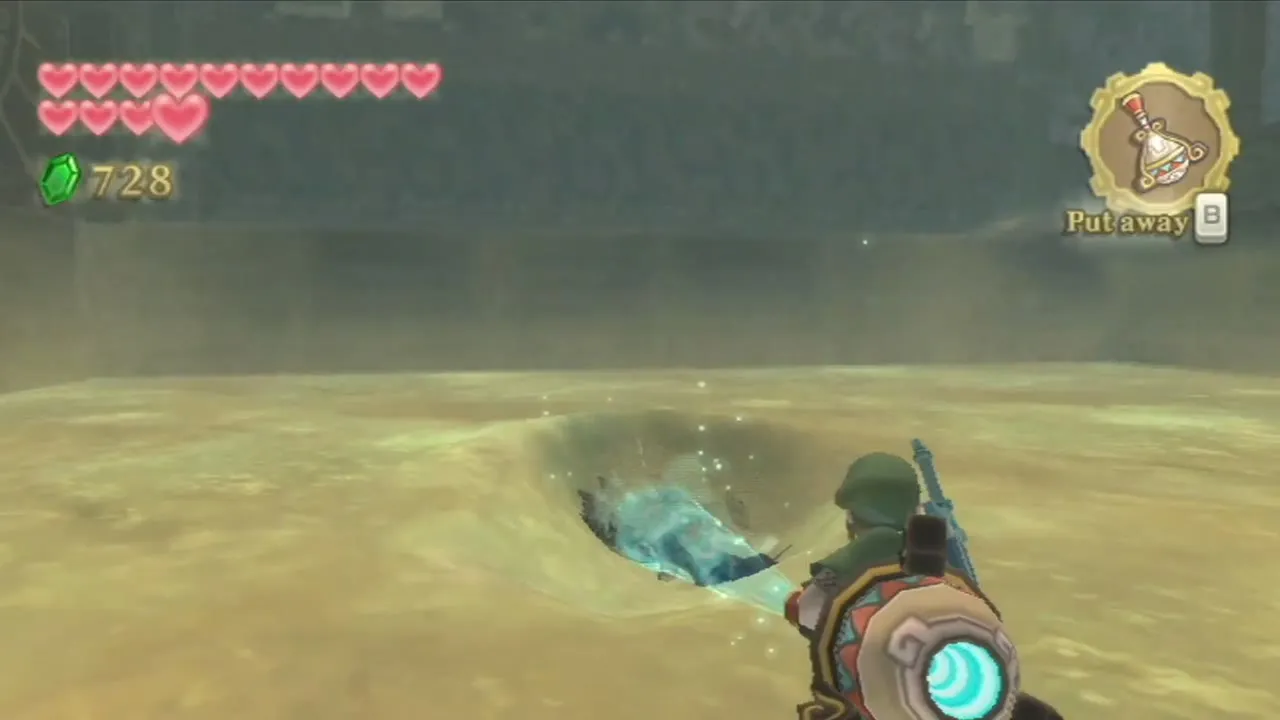
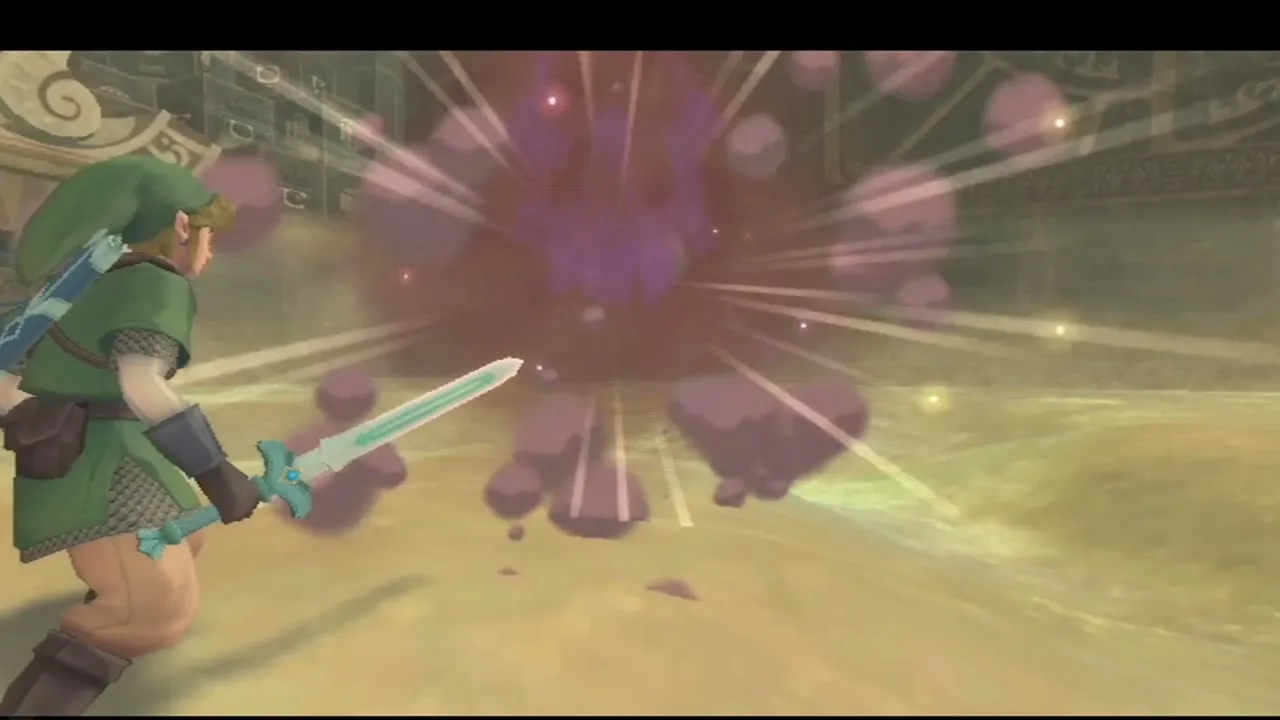
Light the second bird statue and enter the construction bay. Blow the sand away with the Gust Bellows to look for clues, and a buried Moldarach bursts out. It fights as it did in the Mining Facility, only now your sword is stronger. Cut its claws and eye as before, then return to Skipper. Gortram runs the Rickety Coaster here, and it pays out a Piece of Heart, as described on the mini-games page.

Pirate Stronghold

Carry the Timeshift Orb
Skipper’s last clue is the pirates’ headquarters. Light the bird statue and enter through the right-hand door. The Stronghold works on a Timeshift Orb, a portable version of a Timeshift Stone. Clear sand with the Gust Bellows and watch for Lizalfos and an Electro Spume in the sinksand. Pick up the orb and carry it, setting it down before you reach electric barriers. In each room use the orb to revive the Technoblins, Deku Babas and other enemies one at a time and defeat them, then pick it up again to open the next door.

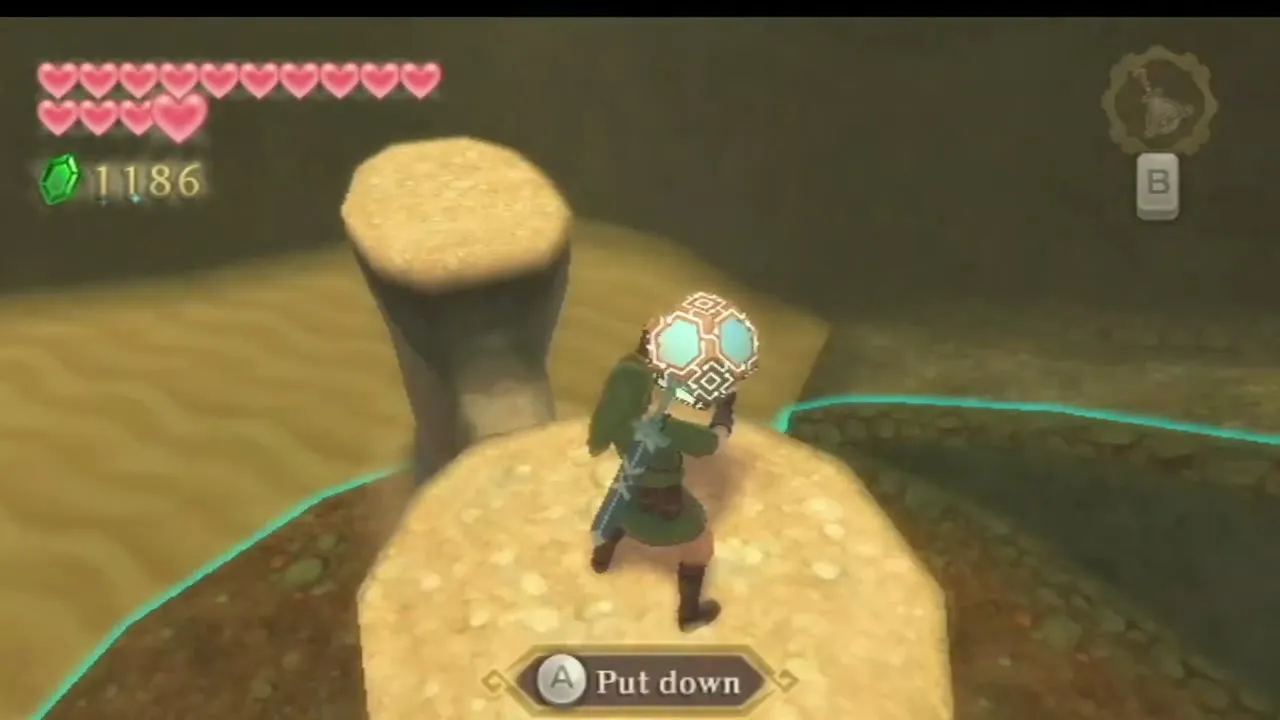
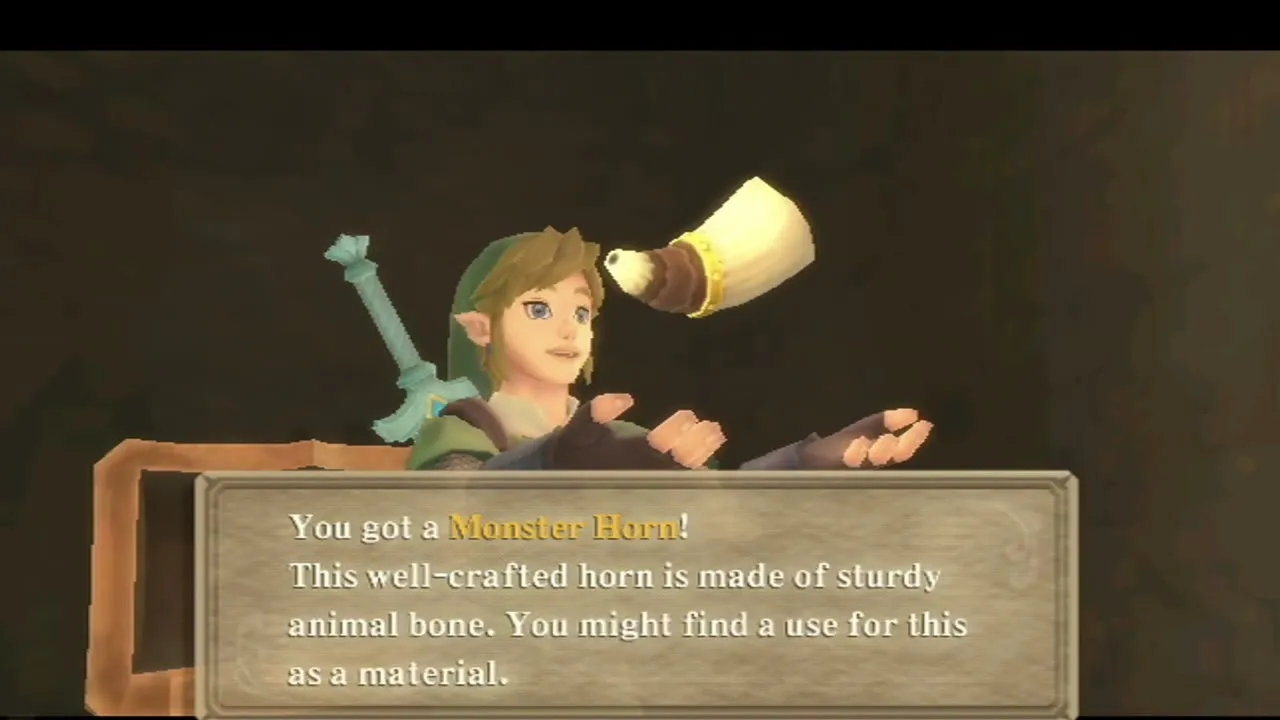
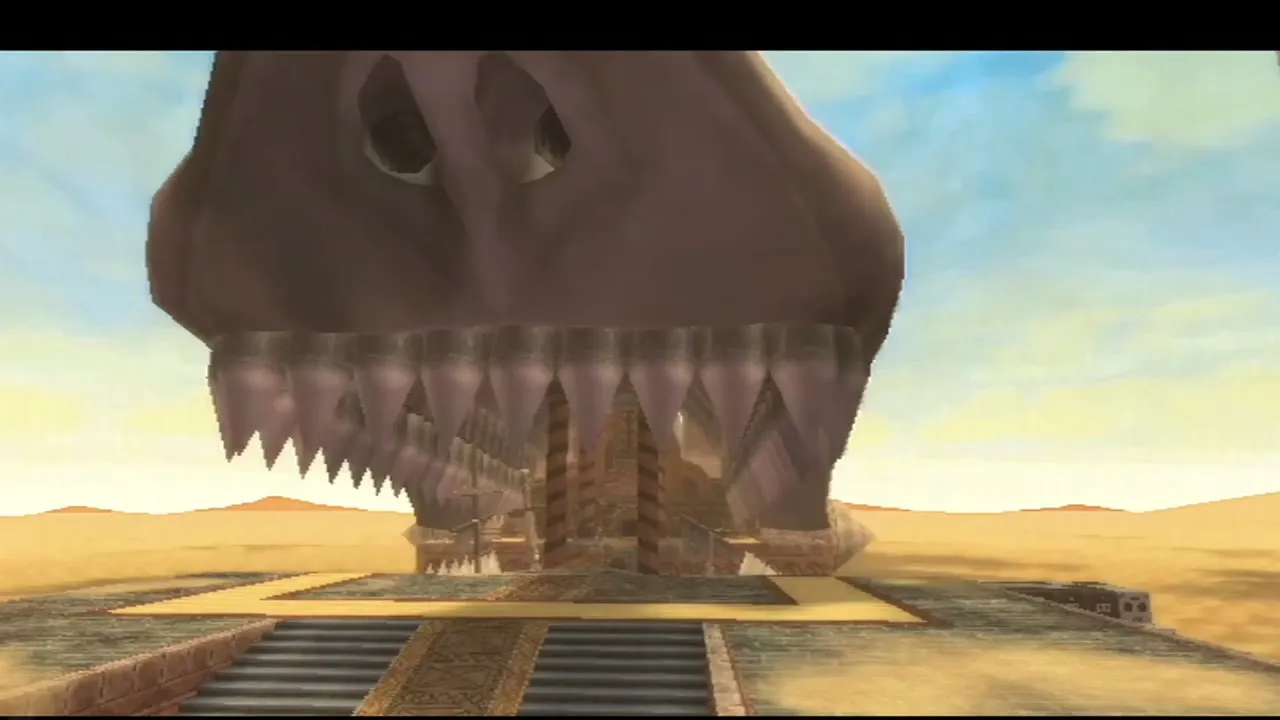
Three Silver Rupees sit in the nose of the stronghold, and you can reach them with the Beetle through the nostrils; they are gone once the mouth opens, so take them first. Chests along the way hold a Silver Rupee, an Evil Crystal and a Monster Horn. Bomb one of the Deku Babas in the hallway to take out the whole group. In the block room, push the block onto the floor switch. In the Armos room, blow the Gust Bellows at each head, then break the crystals to open the bars. Place the orb in its holder to open the great mouth outside, which reveals the wreck of the Sandship.
Strike the cube above the exit
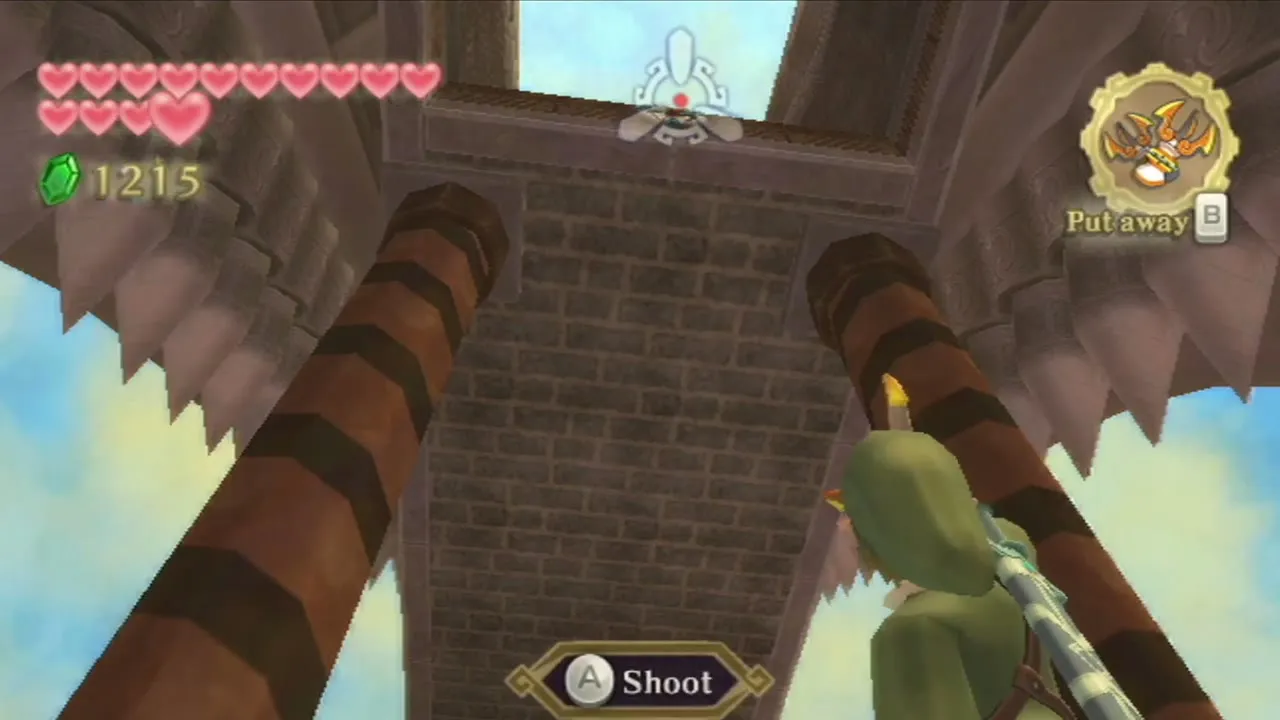
Step outside and turn around. Hook the target above the door and keep climbing from target to target. A Goddess Cube sits at the top. Its chest in the Sky, on the Waterfall Island, holds a Piece of Heart, but you need the Clawshots to reach the island.
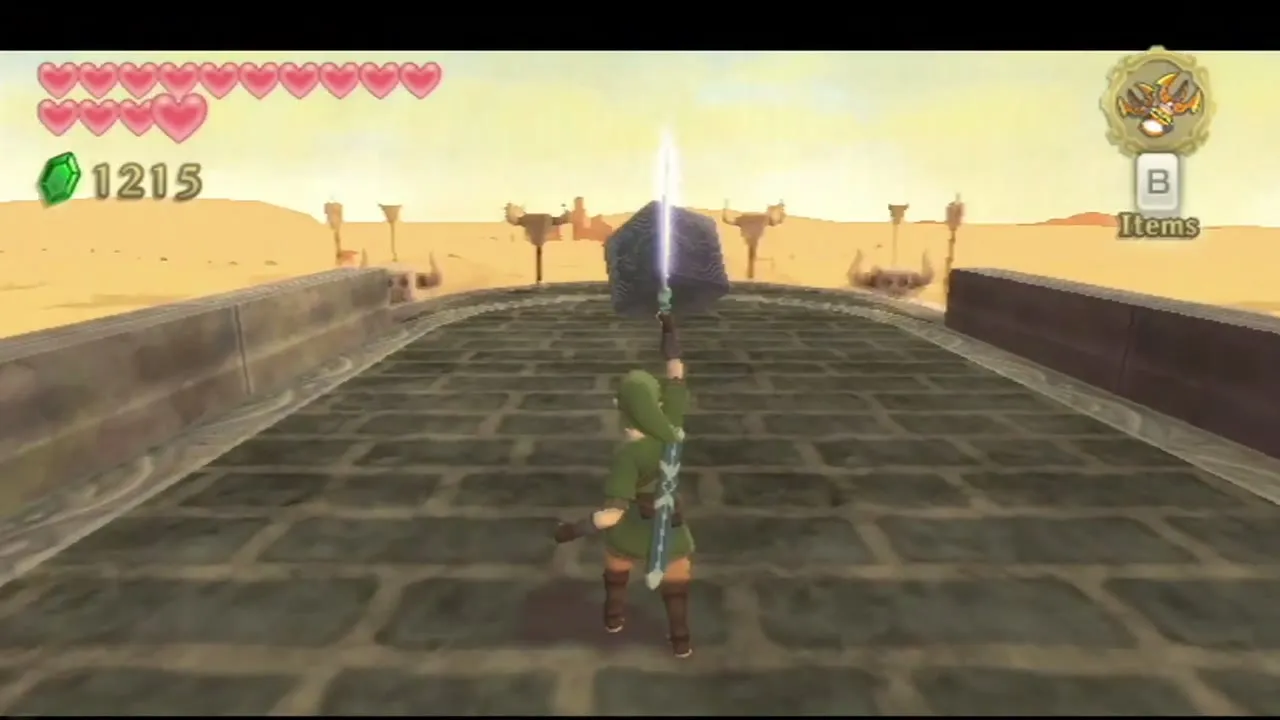

Find the hidden Sandship

Dowse for the ship and fire the cannon
Return to Skipper’s boat and talk to him. Fi can now dowse for the Sandship. Sail out, follow the pulsing signal and watch for Bokoblin archers and explosive barrels. When the signal peaks, fire the cannon toward it until a hit lands and the invisible ship flickers into view. Keep firing until the whole vessel is visible, then board it.


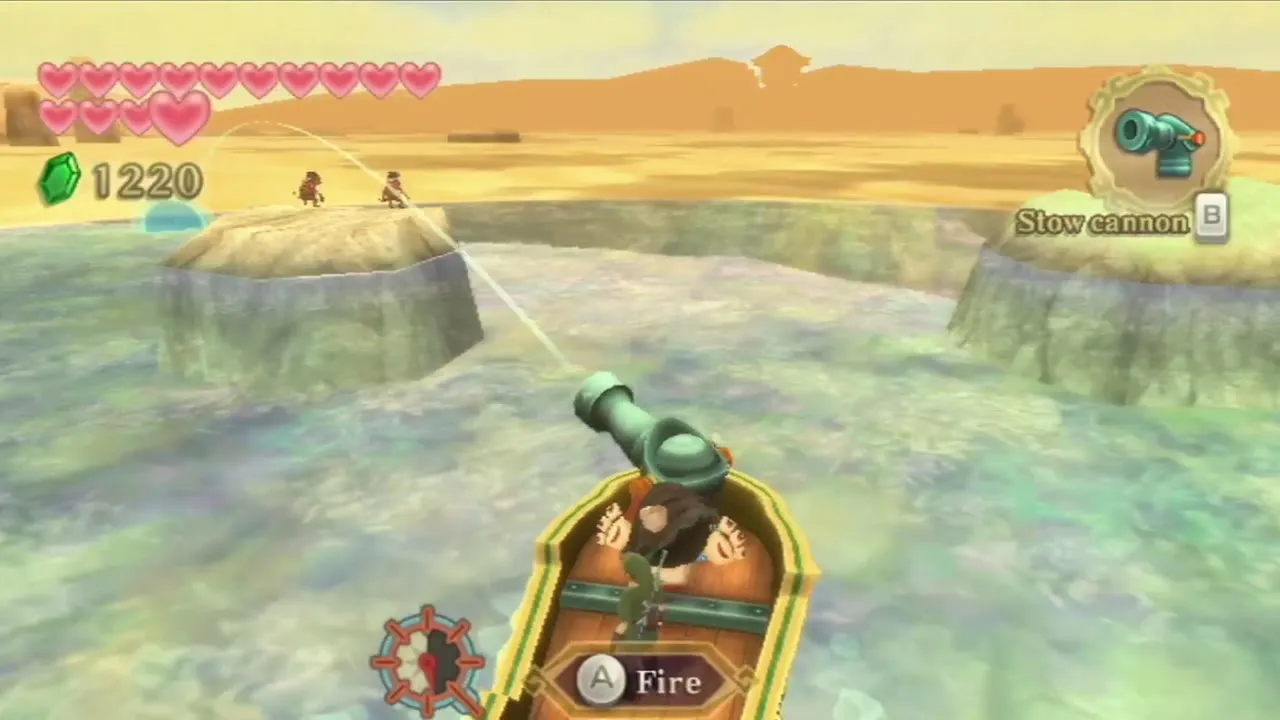

Step aboard
You climb onto the deck of the Sandship, where the next dungeon begins. The next chapter covers the dungeon from the first door to Nayru’s Flame.

Chapter checklist
| Collectible | Type | Where |
|---|---|---|
 Nayru’s Wisdom | Song | Isle of Songs, strike the Goddess Crest |
 Clawshots | Item | Nayru’s Silent Realm, North Desert |
 Scattershot | Upgrade | Gondo’s Scrap Shop, Skyloft |
 Adventure Pouch slot | Upgrade | Beedle’s Airshop, second slot for 600 Rupees |
 Silver Rupee | Goddess Chest | Island south of the Knight Academy (Cube 13) |
 Piece of Heart | Piece of Heart | Chest behind the cracked wall in the northeast desert |
 Heart Medal | Goddess Cube | Northeast desert cube; chest needs the Water Dragon’s Scale |
 Life Medal | Goddess Cube | Ledge southwest of the Mining Facility |
 Dusk Relic | Treasure | Chest on the upper west platform of the desert |
| Golo’s key | Key | Lanayru Caves, from Golo |
 Monster Horn | Treasure | Chest in the Lanayru Caves; another in the Pirate Stronghold |
 Lanayru Ant | Bug | Lanayru Caves and desert sand |
 Gold Rupee | Goddess Cube | Cave near the Ancient Harbor (chest behind Gondo’s shop) |
| Potion Medal | Goddess Cube | Skipper’s Retreat pillar |
| Ancient Sea Chart | Key item | Chest in Skipper’s room |
 Sand Cicada | Bug | Roof of Skipper’s house |
| Piece of Heart | Goddess Cube | Pirate Stronghold cube; chest on Waterfall Island needs the Clawshots |
| 3 Silver Rupees | Rupees | Nose of the Pirate Stronghold, reached with the Beetle; gone once the mouth opens |
| Silver Rupee, Evil Crystal, Monster Horn | Chests | Pirate Stronghold |
| Piece of Heart | Mini-game | Rickety Coaster at the Shipyard, run by Gortram |
The Sandship is waiting on the deck beyond the harbor, so continue to the Sandship walkthrough.