Skyward Sword 100% Completion Walkthrough18 chapters
- Skyview TempleSmall keys, the Beetle, the Golden Carving door, the Ghirahim boss fight, the Heart Container and the Ruby Tablet.
- Earth TempleGet the Bomb Bag from Ledd, carry the Dragon Sculpture, beat Scaldera and collect the Amber Tablet.
- Lanayru Mining FacilityTimeshift Stones, Gust Bellows, Small Key, Armos, Ancient Circuit, Moldarach and the Goddess’s Harp.
- Ancient CisternBoth Small Keys, the Whip, the Blessed Idol, the Koloktos boss fight, Farore’s Flame and the Goddess Longsword.
- SandshipThe Timeshift Stone, Scervo and the Bow, both generators, Squid Carving, Tentalus and Nayru’s Flame.
- Fire SanctuaryAll three small keys, the Mogma Mitts, the Mysterious Crystals, Ghirahim’s second fight and the Master Sword.
- Skyloft Silent Realm and Sky KeepThe Skyloft Silent Realm and its 15 Sacred Tears, the Stone of Trials, every Sky Keep room and all three Triforces.
- Skyloft and the Goddess SwordFind your Loftwing, win the Wing Ceremony, draw the sword and take your first dive.
- Sealed Grounds, Faron Woods and the Deep WoodsThe Sealed Grounds, the missing Kikwi, the Slingshot, the Deep Woods and the way into Skyview Temple.
- Eldin Volcano and the Key PiecesPlace the Ruby Tablet, run Skyloft errands, earn the Digging Mitts and find all five Earth Temple key pieces.
- Lanayru Mine and Lanayru DesertLanayru Mine, Timeshift Stones, the Hook Beetle, the Temple of Time and how to set the three power generator dials.
- The Goddess’s Harp, The Imprisoned and the Isle of SongsBallad of the Goddess, The Imprisoned, the Light Tower, the Isle of Songs and Farore’s Courage.
- Farore’s Silent Realm and Lake FloriaAll 15 Tears of Farore, the Water Dragon’s Scale and Sacred Water.
- Nayru’s Silent Realm and the Lanayru Sand SeaNayru’s Wisdom, Nayru’s Silent Realm and the Clawshots, Golo’s key, Skipper’s boat, the Shipyard.
- Din’s Silent Realm and Volcano SummitDin’s Power, the Fireshield Earrings, frog statues, the Water Basin and the Scrapper escort.
- True Master Sword, Levias and BilocyteSkyward Sword walkthrough for the True Master Sword, the second Imprisoned fight, the Spiral Charge.
- Song of the HeroEscape Eldin, beat the third Imprisoned, win the Tadtone song in Faron Woods and heal Lanayru’s Thunder Dragon.
- The Horde, Ghirahim and DemiseClear the last side quests, beat the Horde, Ghirahim’s third fight and Demise, then unlock Hero Mode.
| Covers | Skyview Temple in the Deep Woods, then Skyview Spring behind it |
|---|---|
| You need | Goddess Sword, Slingshot (from Bucha), the Deep Woods door opened, a shield and a few spare hearts or potions |
| Rewards | Dungeon Map, Beetle, 2 Small Keys, Golden Carving, 1 Piece of Heart, Heart Container, Ruby Tablet, Amber Relics, a possible Golden Skull drop, Goddess Cube 3 (opens a Gold Rupee chest at Pumpkin Landing) |
Skyview Temple is the first dungeon of Skyward Sword. You work through its flooded halls with the Slingshot, collect two Small Keys, win the Beetle from a Stalfos, swing across vines to a Golden Carving that unlocks the boss door, and then beat Demon Lord Ghirahim. A Heart Container and the Ruby Tablet wait at the end, and the tablet sends you back to Skyloft and on to Eldin Volcano.
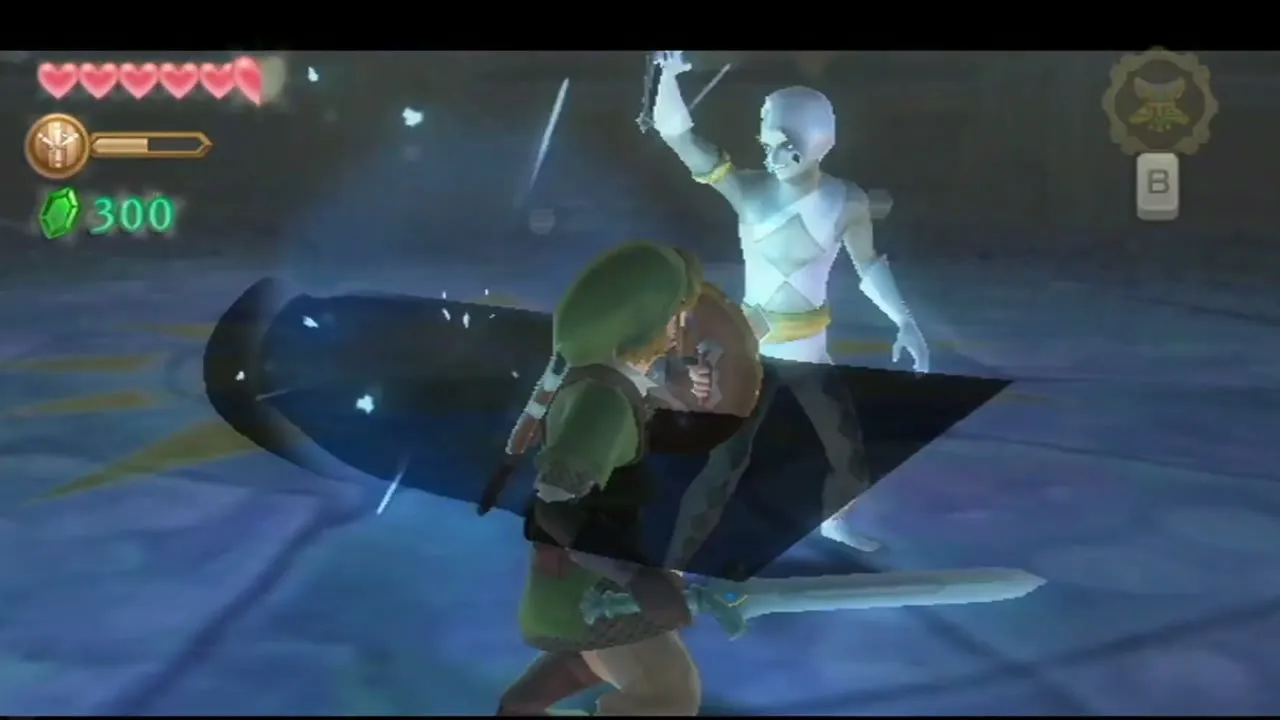
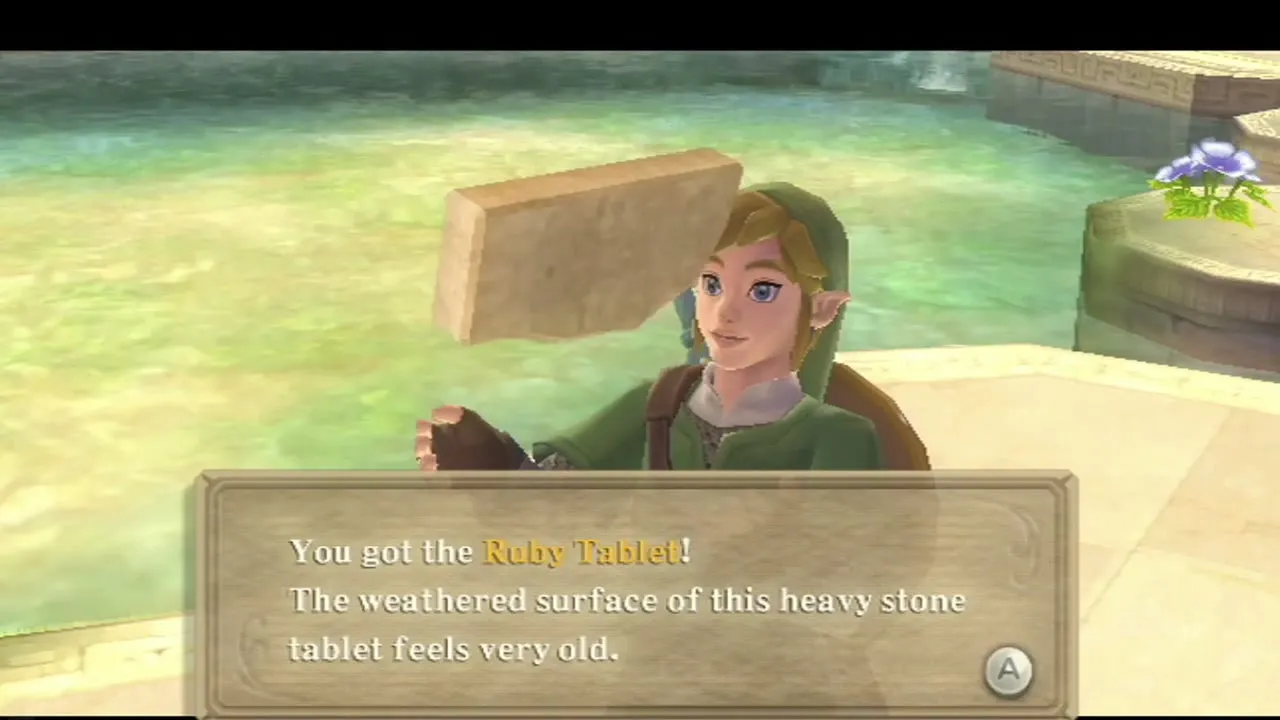
Table of Contents
Before you enter Skyview Temple
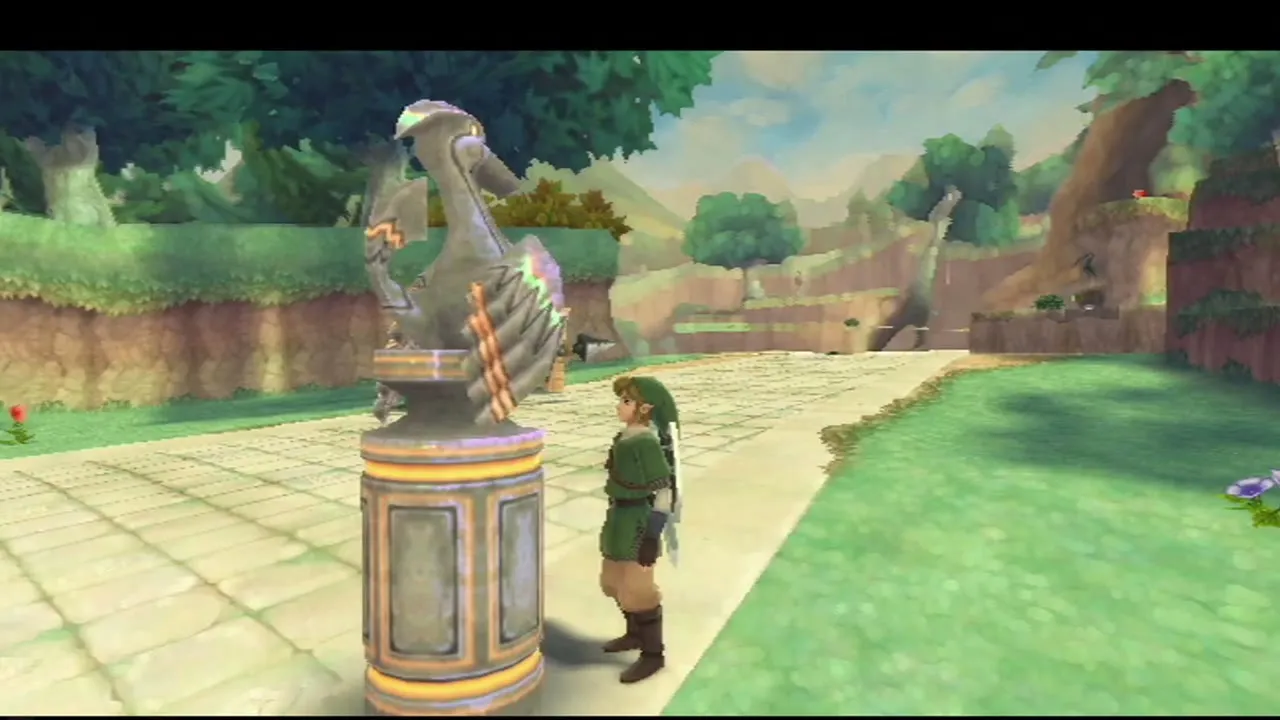
Save at the bird statue named Forest Temple outside the doors, because the dungeon is long and the boss fight is the first real test of your sword arm. If you are low on hearts, fly back to Skyloft first and buy a Heart Potion or fill a bottle; the temple holds hearts in pots and drops them from enemies, but they run out during the boss fight. Hold your shield on the Nunchuk and shake it for a shield bash whenever something charges at you.

The entrance and the first halls
Walk the entrance path
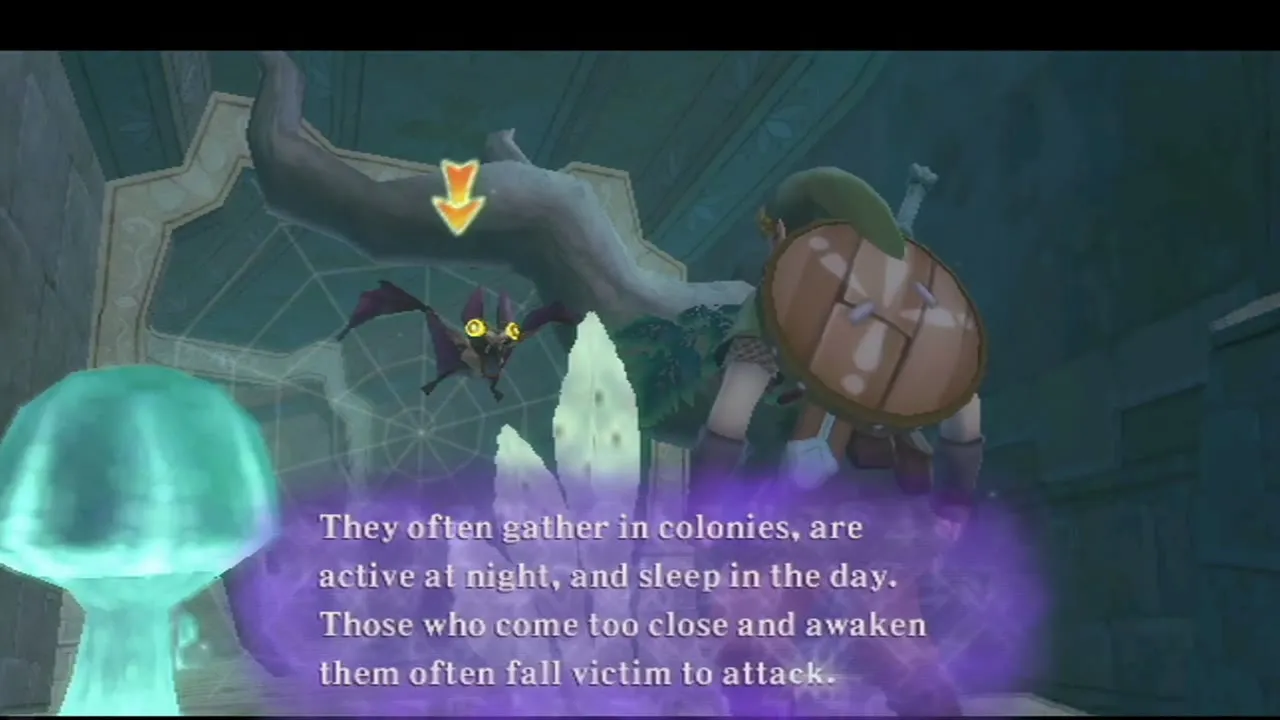
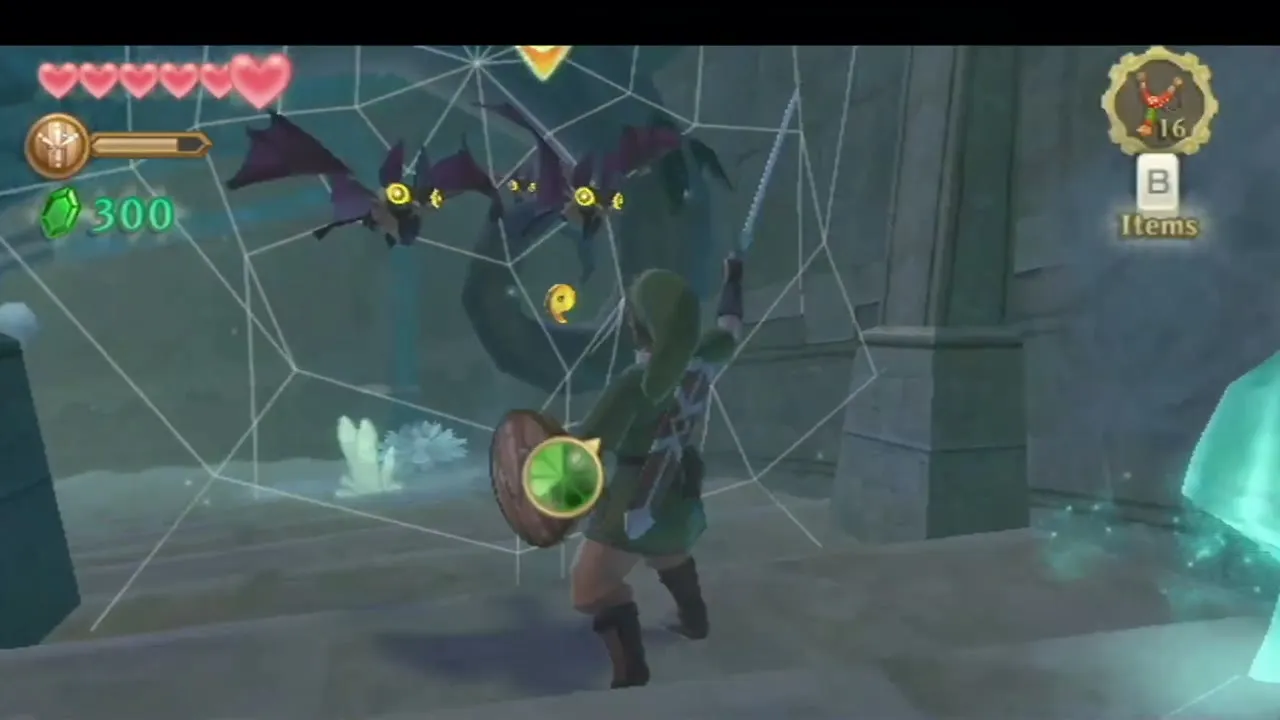
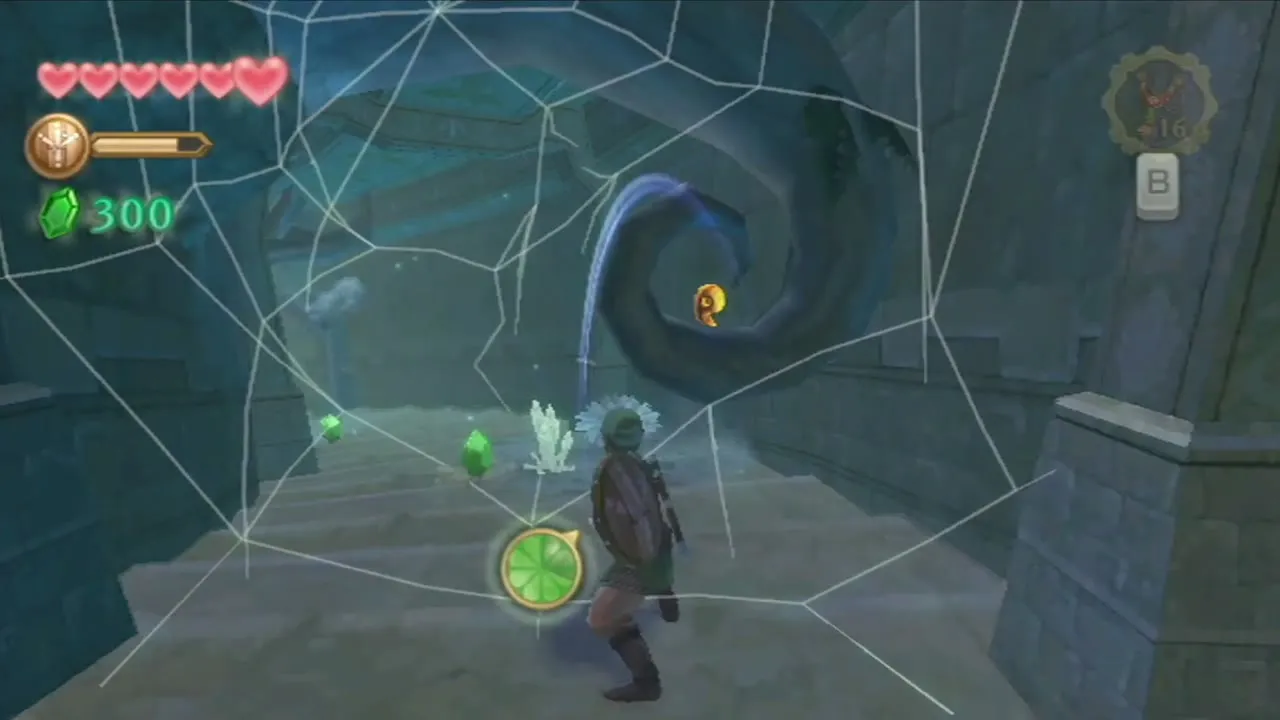
Step through the opened doors and go down the stairs. Follow the path and cut the spider webs, then swat the Keese and slash through the small trees blocking the way.
Open the first door with the Slingshot
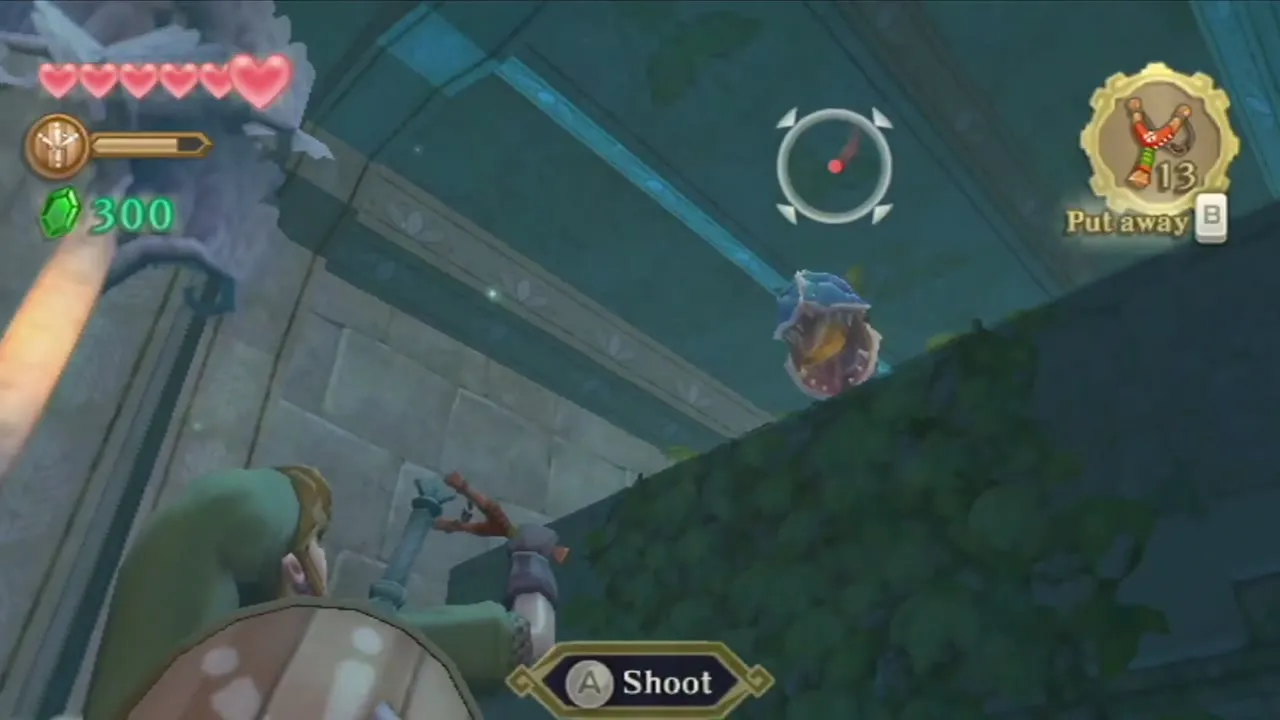
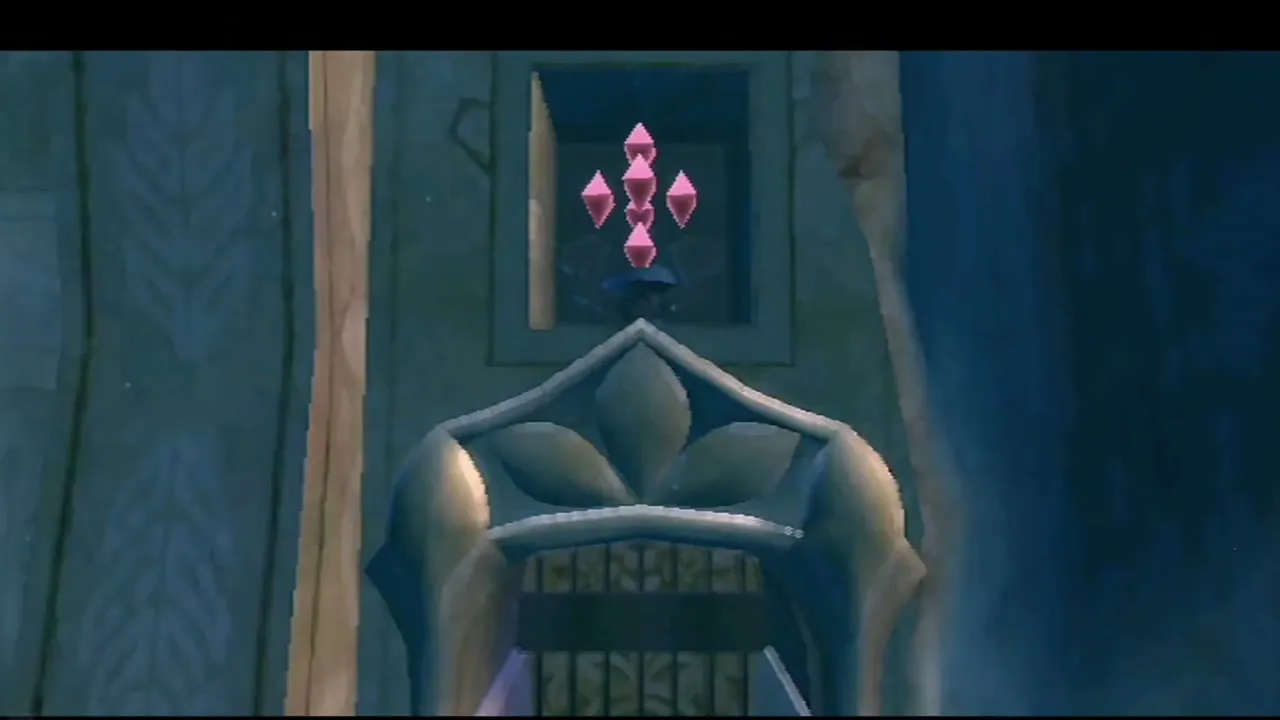
At the end of the path a Deku Baba sits on a ledge above you. You can fight it, but it is easier to back away, aim the pointer at the crystal switch near the door beside you, and fire a Slingshot seed. The door opens and you can go in.

Open the eye door by drawing circles
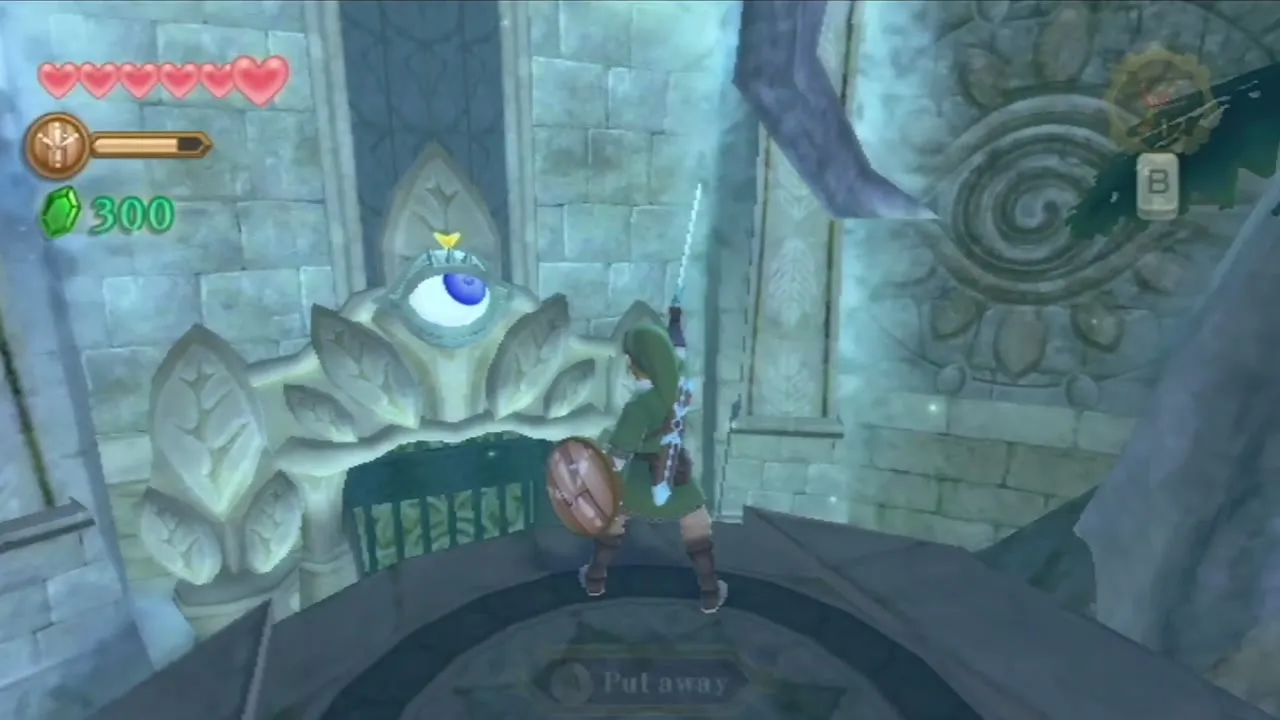
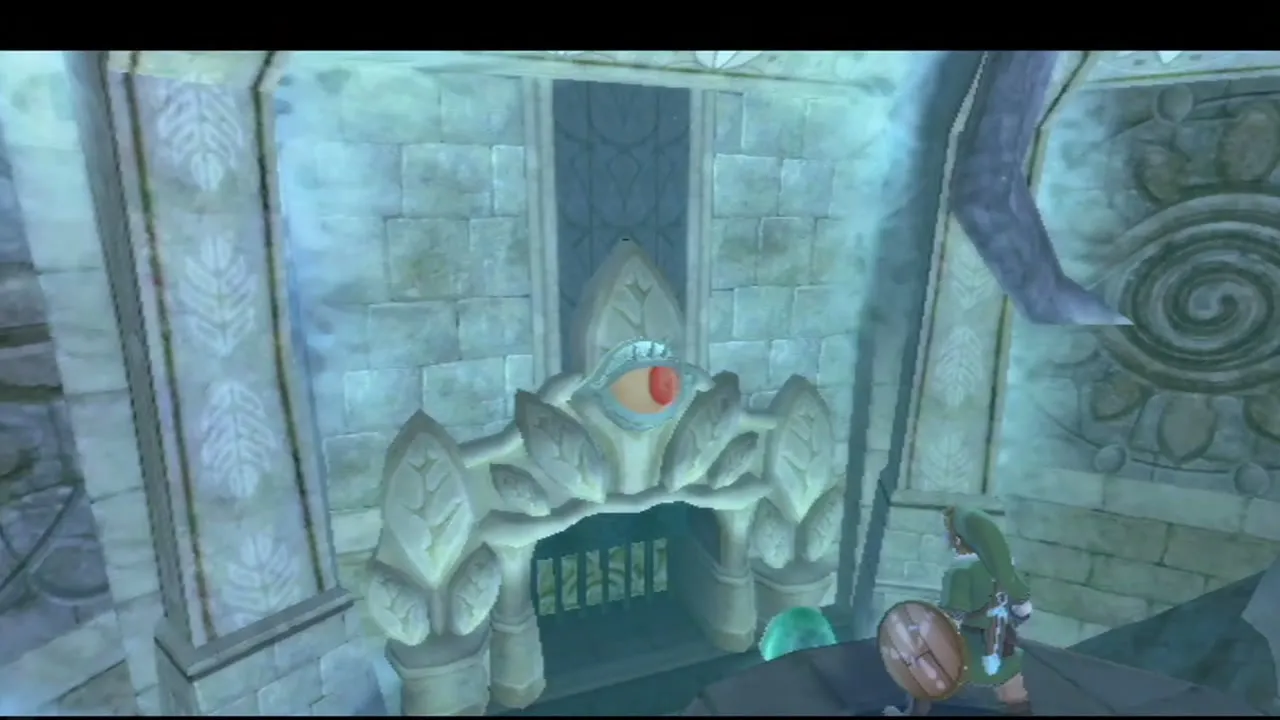
The next room has Deku Babas, and the only way on is a locked door. Climb the central stairs to the higher platform, where an Eye Guardian watches the door. Draw your sword and move the Wii Remote in slow circles near the eye so the tip follows a circle. The eye turns dizzy and the door unlocks. This same trick opens every eye-guarded gate in the temple, so remember it.
Raise the water in the main room
The room beyond is the hub of the temple, and its doors open up as you raise the water. First shoot the Walltulas off the walls with the Slingshot, then climb the vines to the alcove and cut the boards there, which later gives you a shortcut. Back below, deal with the Bokoblin and look at the door on the east side: a crystal switch sits above it. Shoot it and go through.
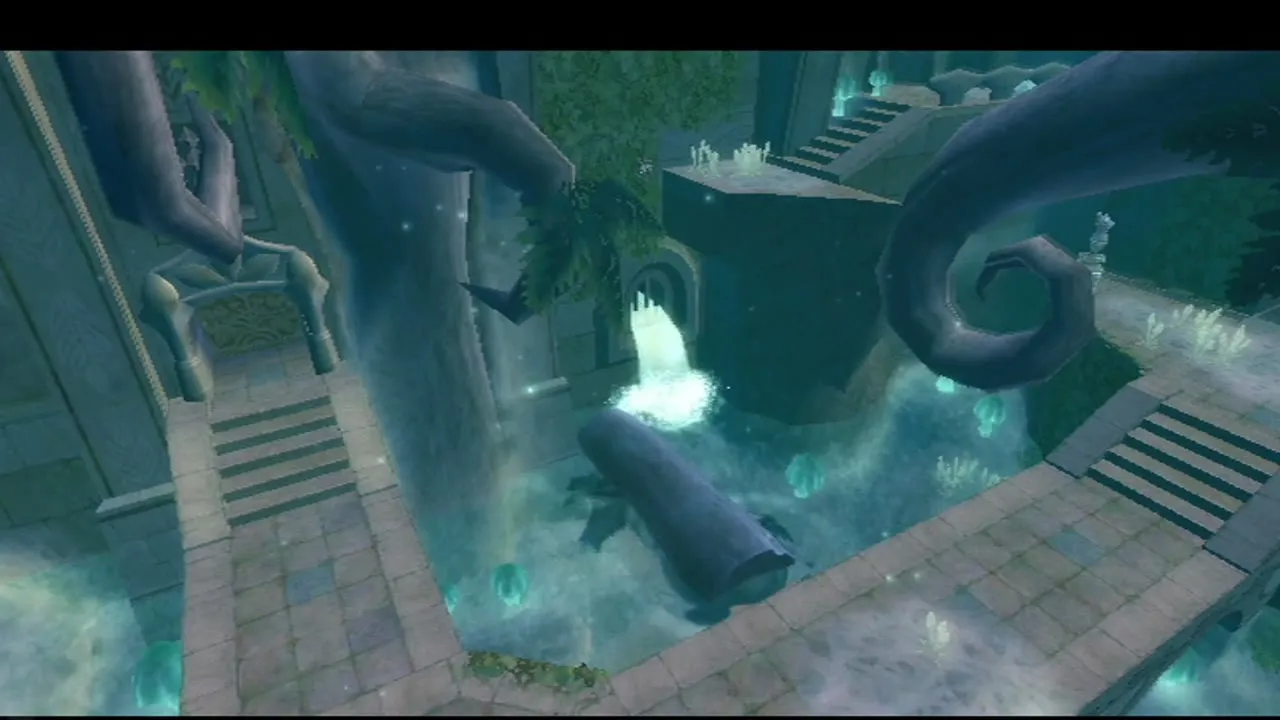
In the room beyond, cut the web, drop to the lower level and look at the east wall for a tunnel. Crawl through it to a statue holding another crystal switch and shoot that switch to raise the water. Crystal switches around the temple raise it in steps. Swim to the vine curtain, climb it, crawl through the passage at the top and return to the main room. You can now swim under the bridge to the west door, stand on the platform and shoot the crystal switch beside it to unlock that door.

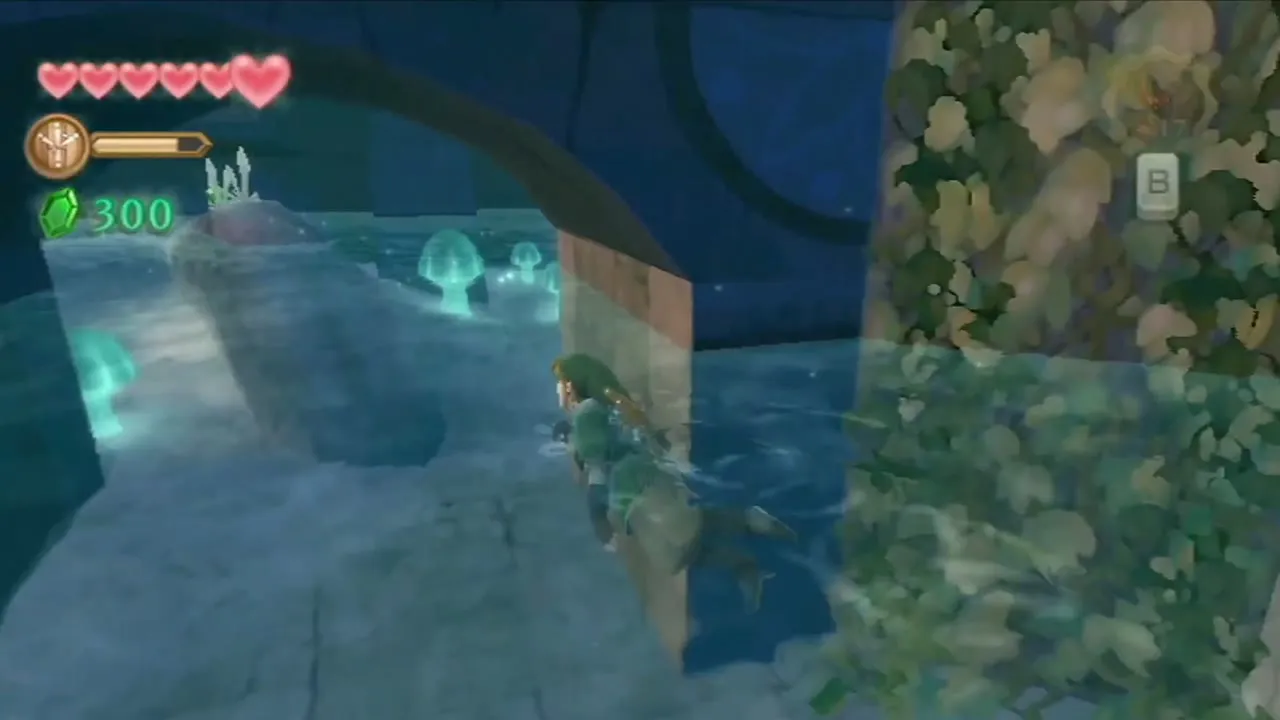

Cross the west hall to the Dungeon Map
Two Skulltulas hang from vines on the bridge. Leave their webs uncut, because the spiders are much harder once they drop. Look up on the west side, shoot the two curled-up green vines with the Slingshot and swing over the gap. Beat the Quadro Baba on the far side, climb the stairs and take the next door.
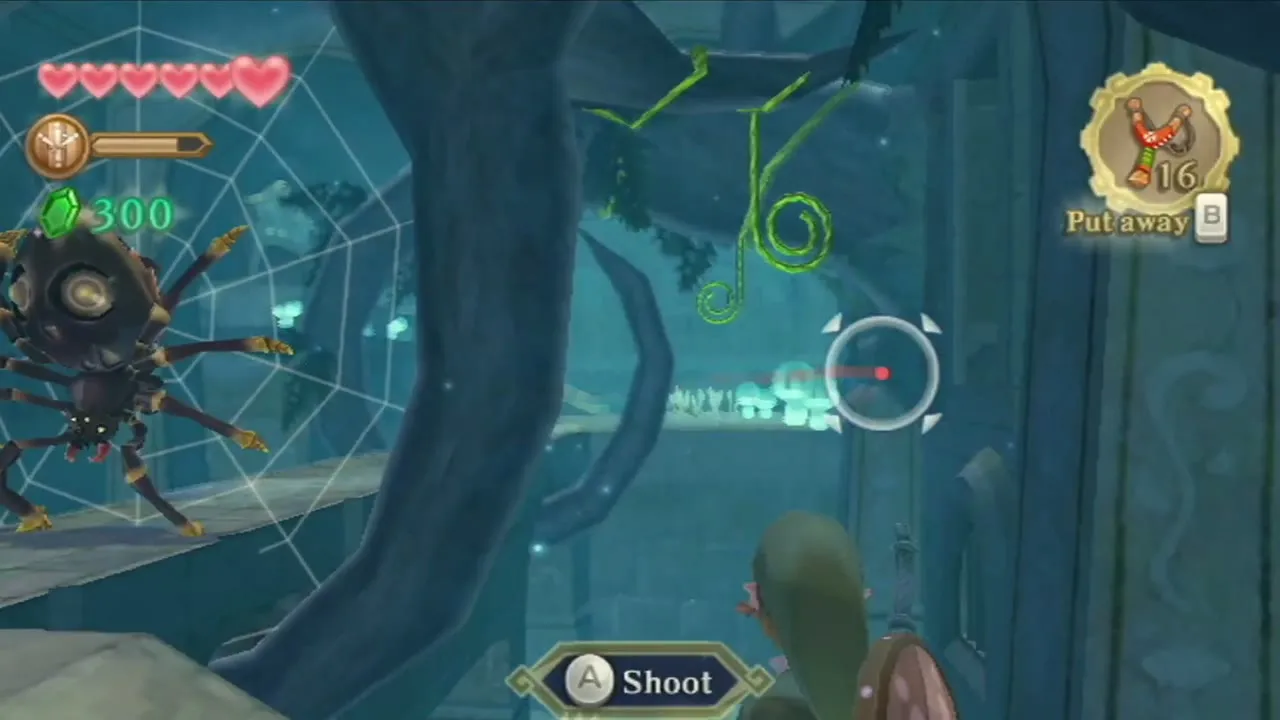
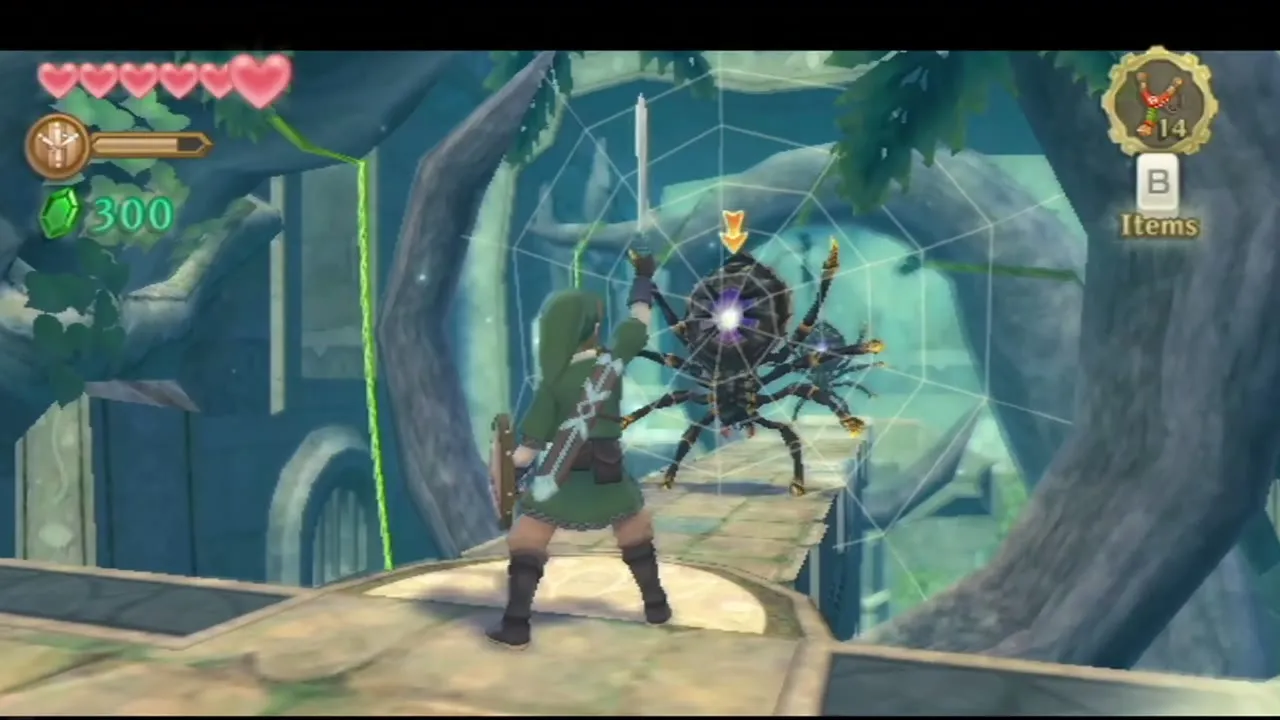
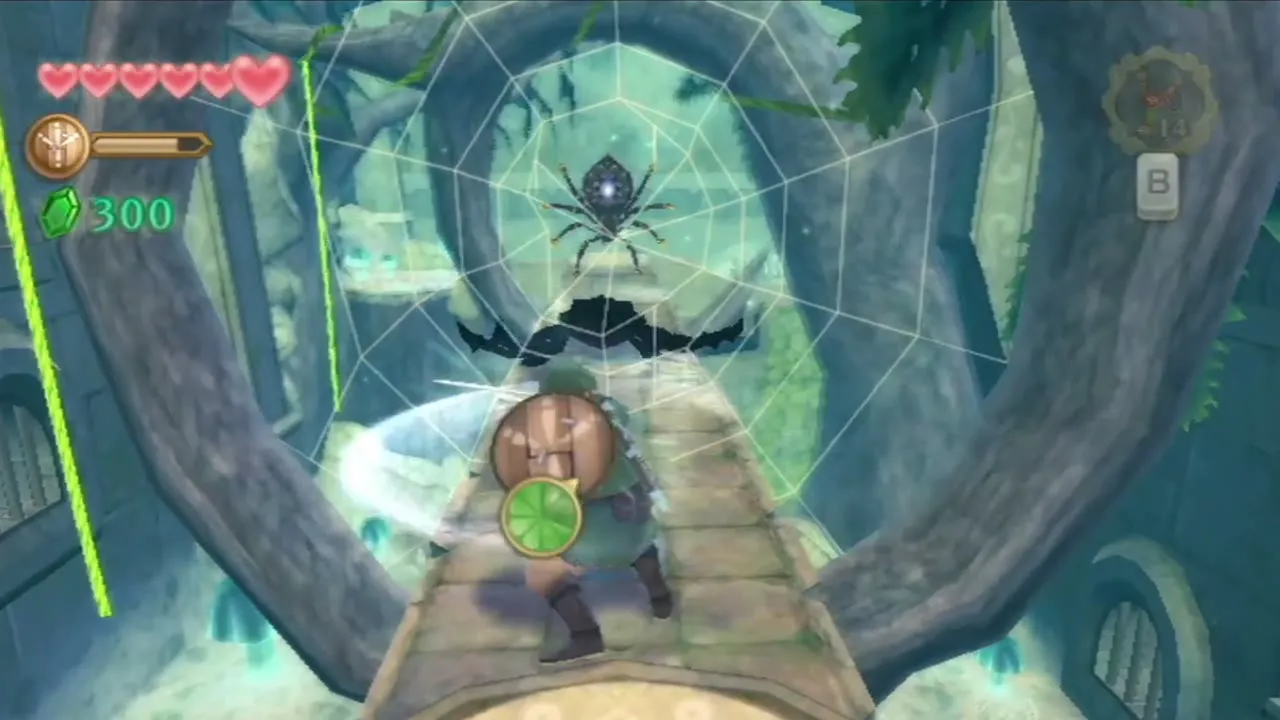


A Skulltula waits in the next hall. Lock on, slash across it horizontally to expose the purple jewel on its body, and thrust into the jewel. In the flooded passages, Bokoblins attack you, and one of them can drop a Golden Skull, a rare treasure used in Scrap Shop upgrades.
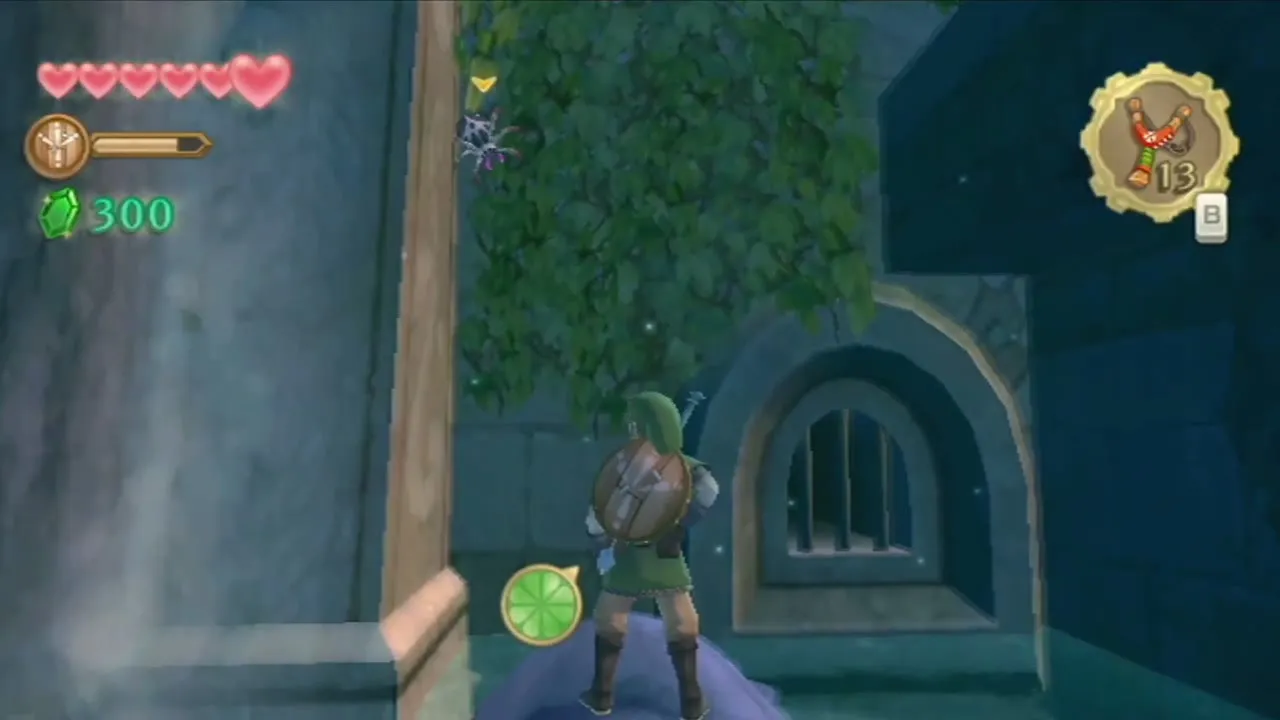
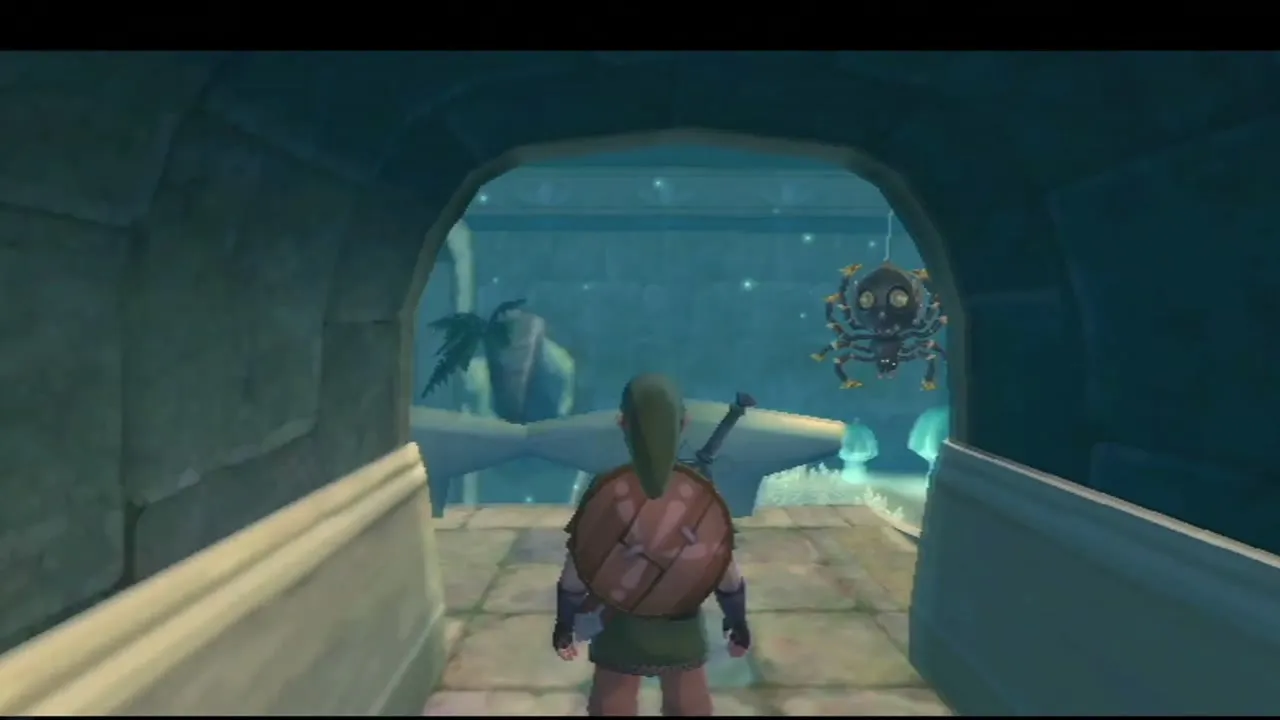
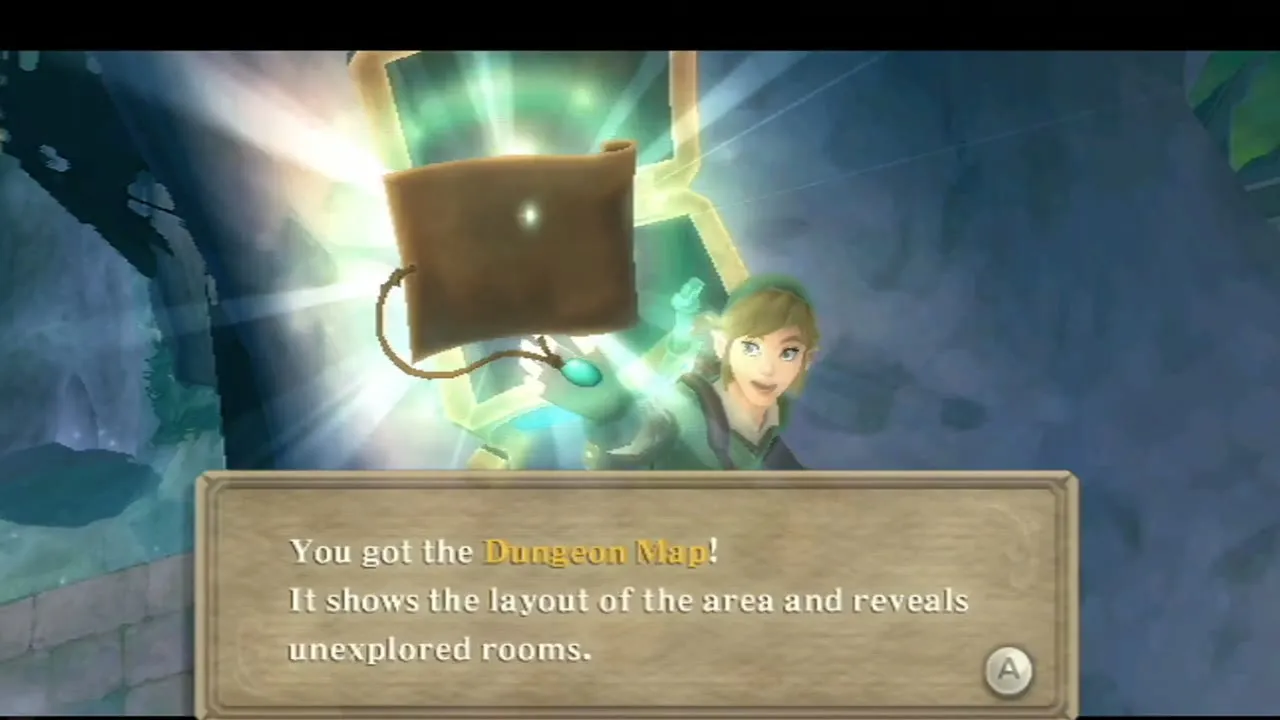
Follow the path up to the large chest to collect the Dungeon Map. Press the minus button to open it: it shows doors, locks and chests, which will save you a lot of wandering from here on.

Small Key, Stalfos and the Beetle
Skyview Temple first Small Key
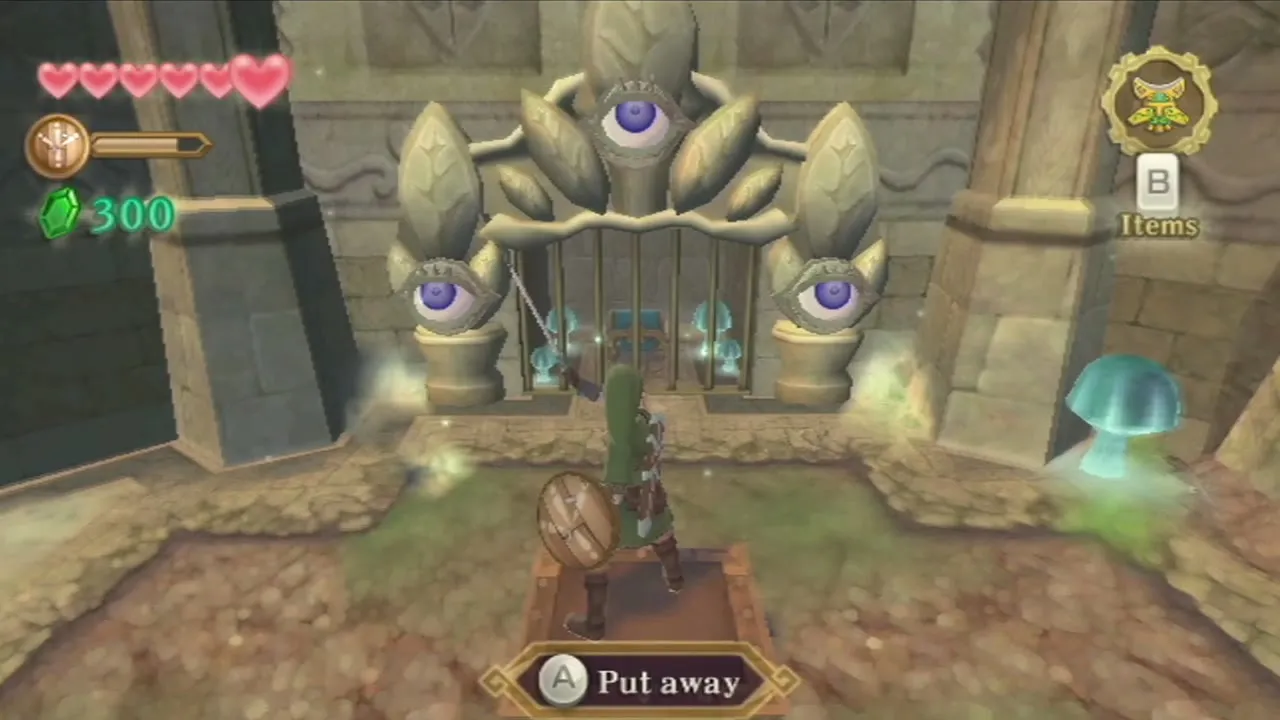
Return to the main room and take the east door and the stairs to the south-east room. Kill the Skulltula hanging from the web by slashing it sideways and stabbing the purple spot. Then look at the barred gate in the north wall: step back from the bars until an eye opens on each side, and circle your sword at both eyes. The gate lifts and the chest behind it holds the first Small Key.
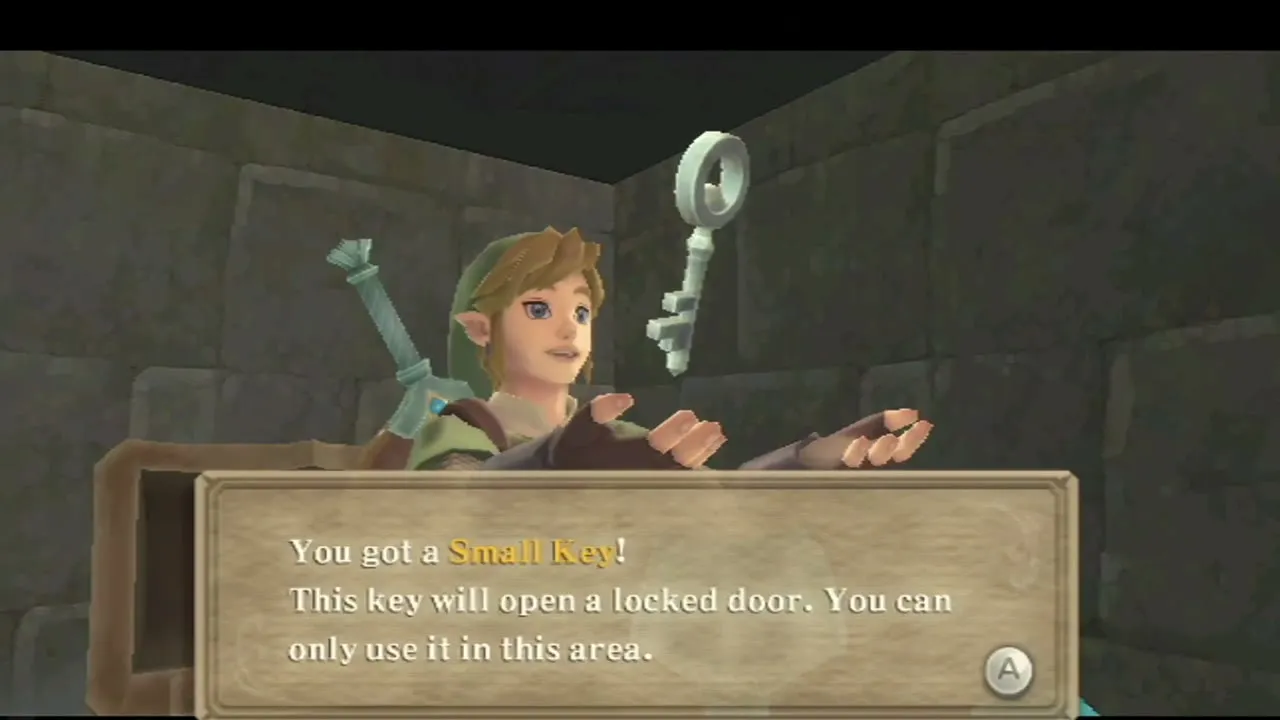
 Back in the main room, a second Amber Relic hangs above the northern door: knock it down with the Slingshot and pick it up. Then use the Small Key on that door.

Stalfos mini-boss
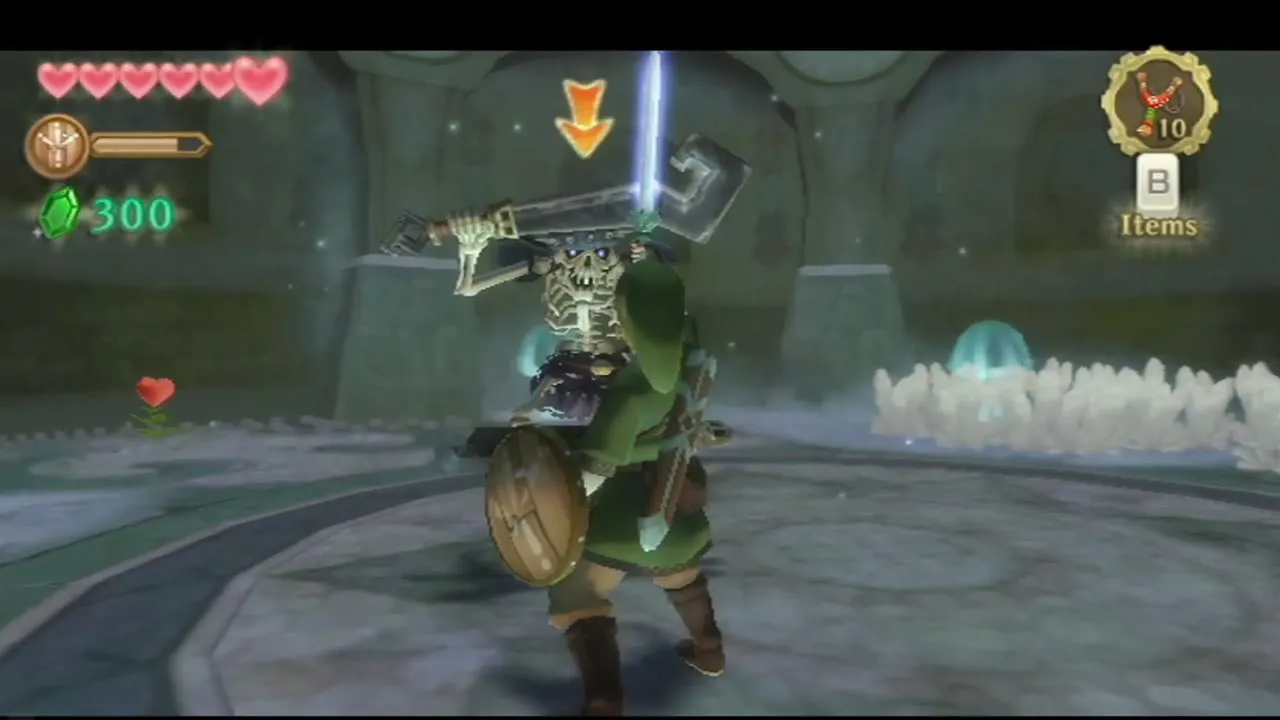
The door leads to a round room. Use the Slingshot on the crystal switch above the large structure at the centre to open it. Inside, a Stalfos wakes up and attacks with a sword. Watch which way its guard points and hit from an open side, and use a shield bash to stagger it before you slash. Jump back as soon as it winds up.

How to get the Beetle
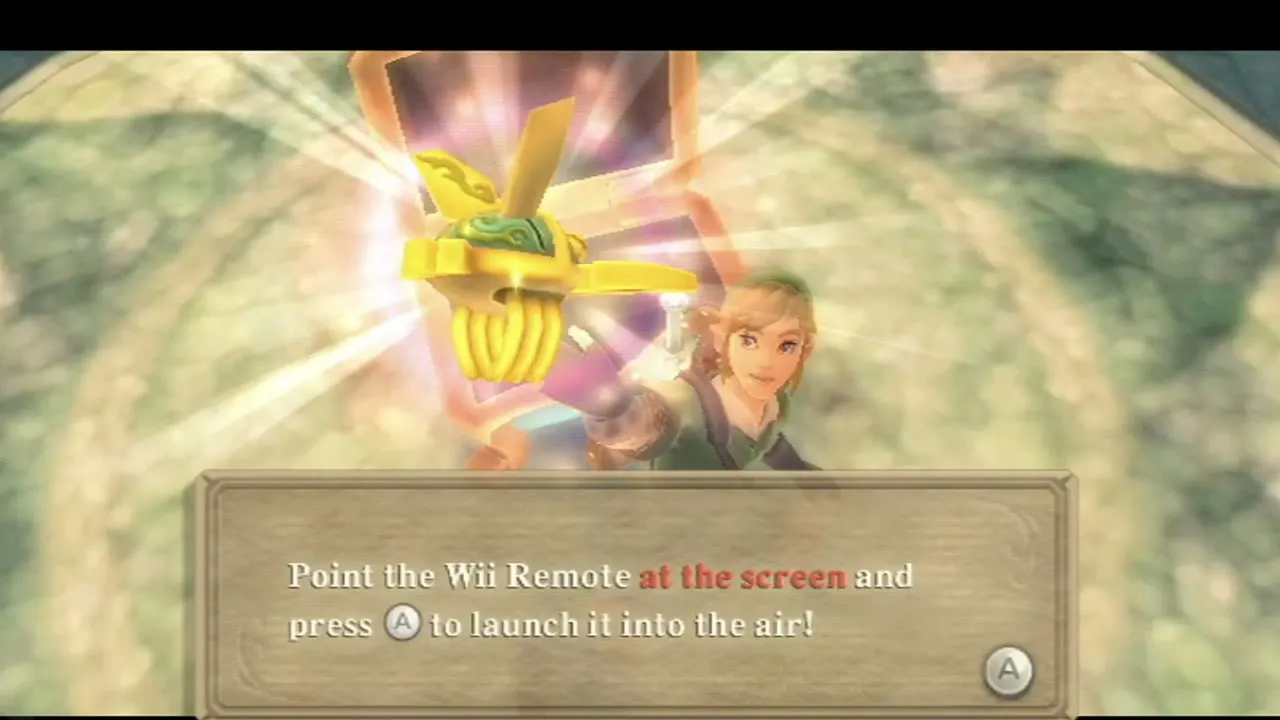
When the Stalfos falls, open the chest it was guarding to get the Beetle. Select it with B, aim at a spot with the pointer and press A to launch it, then tilt the Wii Remote to steer it. The Beetle cuts ropes and webs, drops hanging objects such as crates, cuts the stems of Deku Babas and hits switches that are out of the Slingshot’s reach.

Skyview Temple Piece of Heart
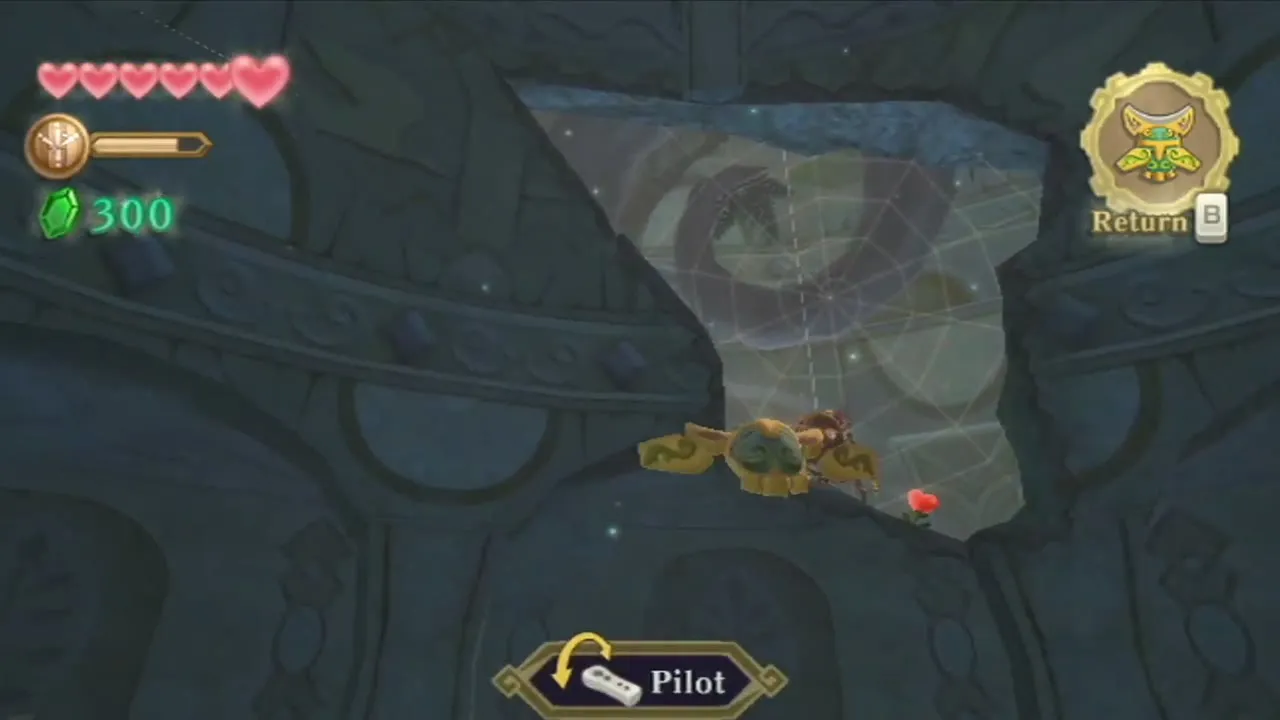
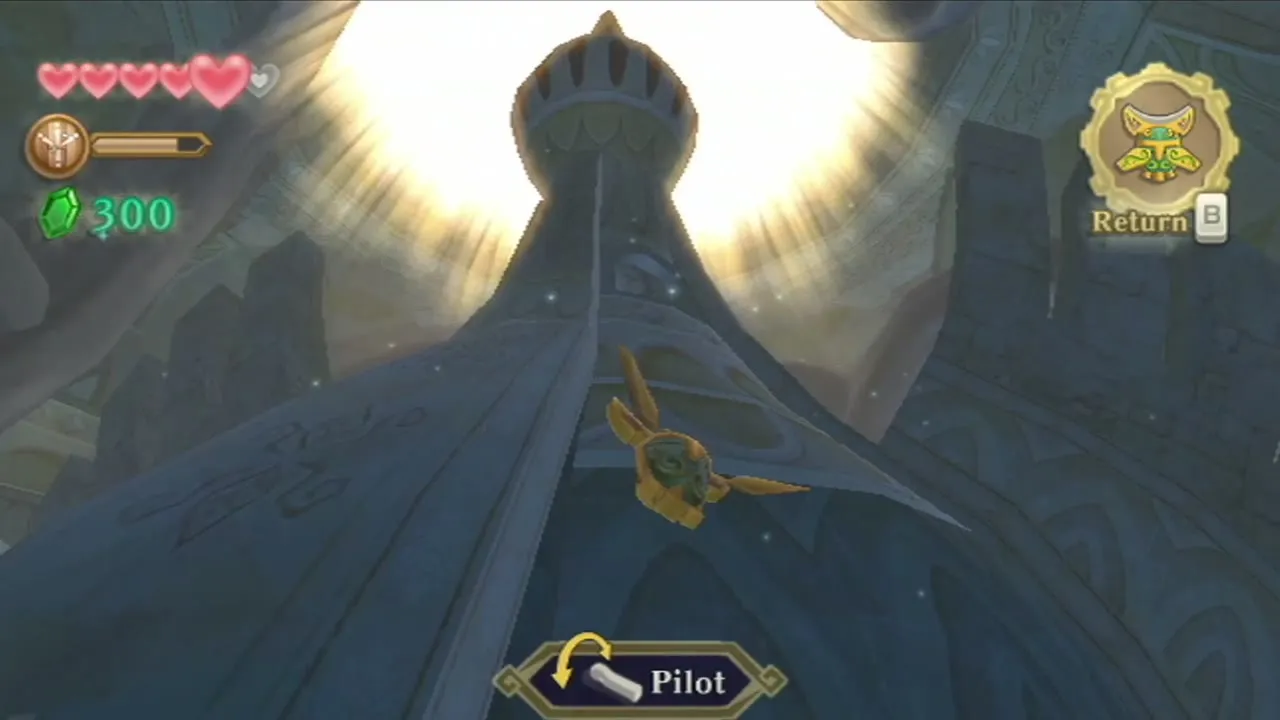
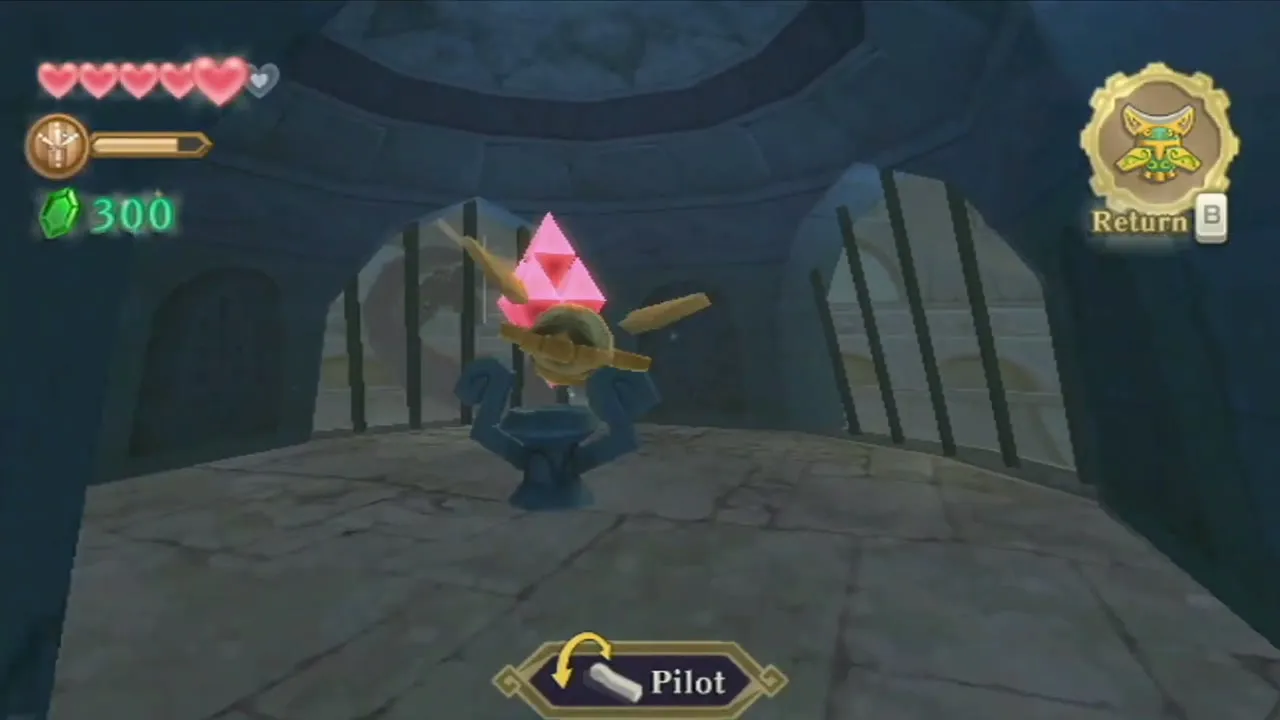
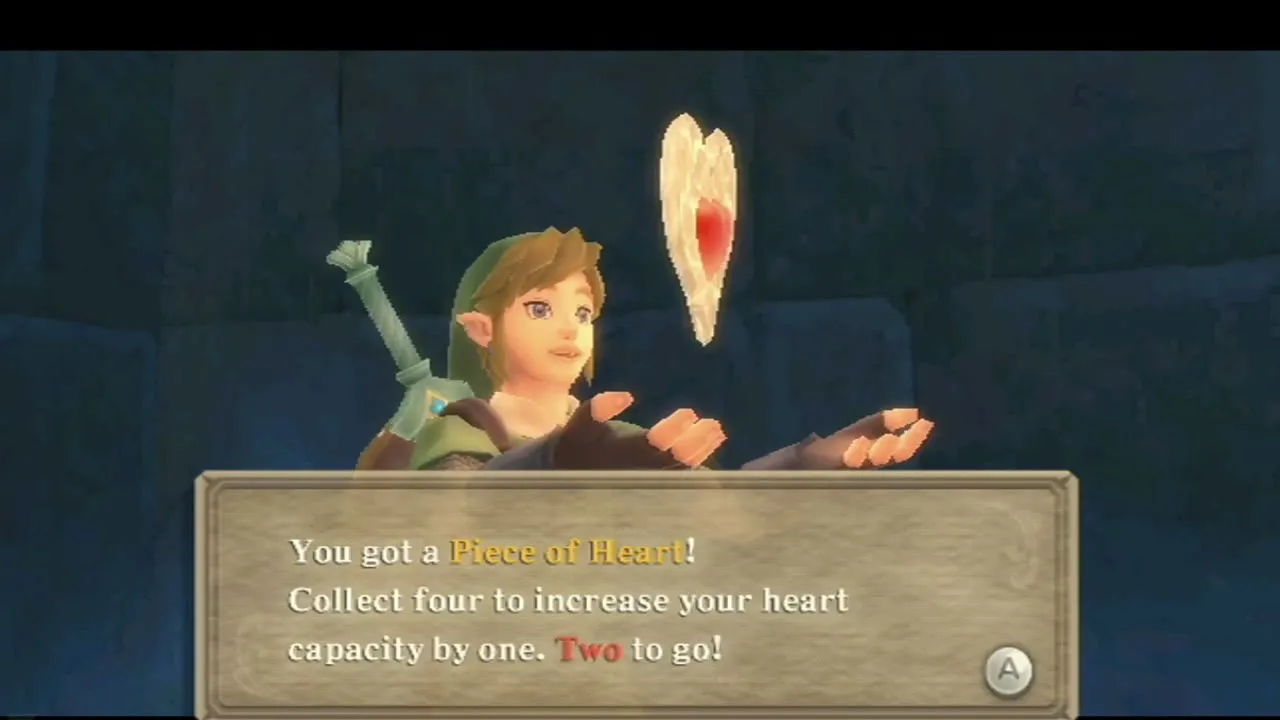
Stay in the round room. Walk behind the central structure and look through the bars at the Piece of Heart. Launch the Beetle, steer it up to the top of the structure and fly it into the crystal switch there. The bars lift, so you can walk in and take the heart.

Cut down the hanging crates
Several crates hang above the round room. Fly the Beetle into their ropes to drop them, and they spill Rupees.
The second Small Key
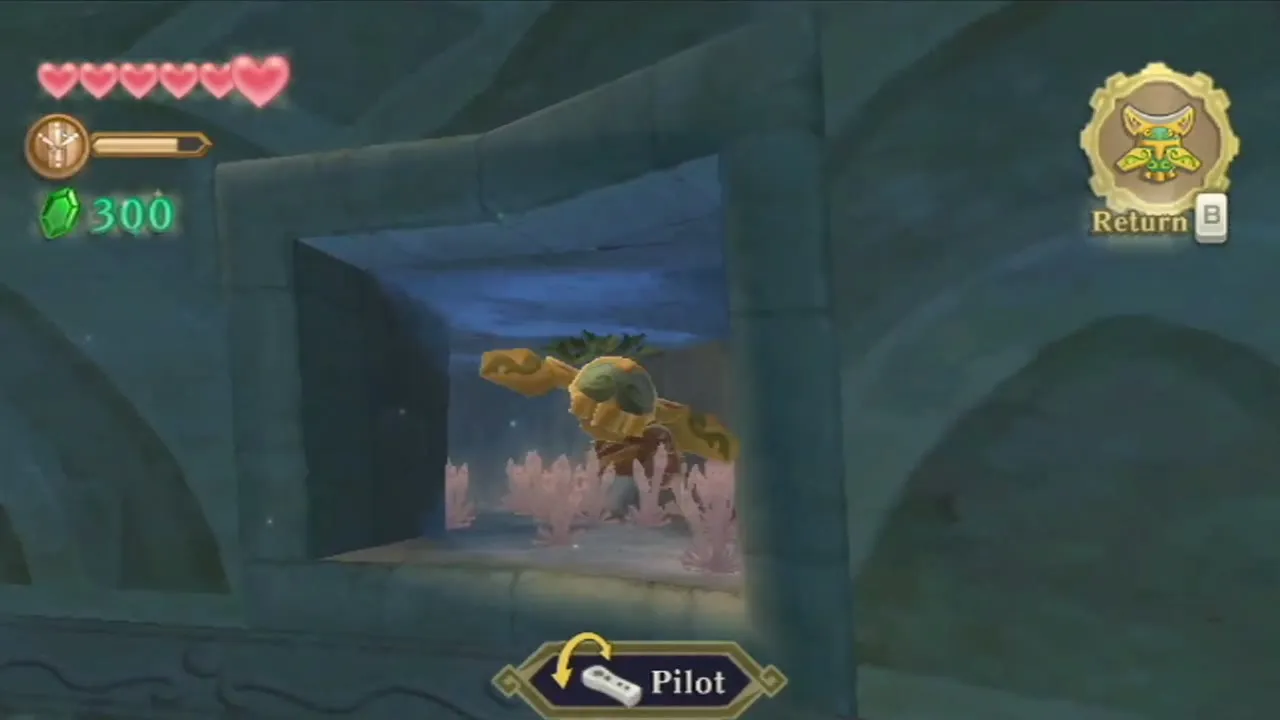
Take the west doorway out of the round room. Fly the Beetle through one of the two crawlspace openings above the barred gate, and cut down the Deku Baba stems on the way. Hit the hidden crystal switch at the end to unlock the next door.

In the room beyond, a Skulltula drops from the ceiling. Hit it with a vertical slash to expose its weak spot, then stab it. Climb the vines on the left, cut down the steel crate with the Beetle and push it to the middle of the floor. Climb on top, draw your sword and a trio of eyes opens around the barred gate. Circle your sword at all three, and the chest opens with the second Small Key.

The east side and the Staldra
Return to the round room and head to the east end of the main room, where a tightrope crosses over the water. Fly the Beetle at the Deku Babas hanging from the ceiling to cut them down, then cross the rope. Use the second Small Key on the chained door on the far side.


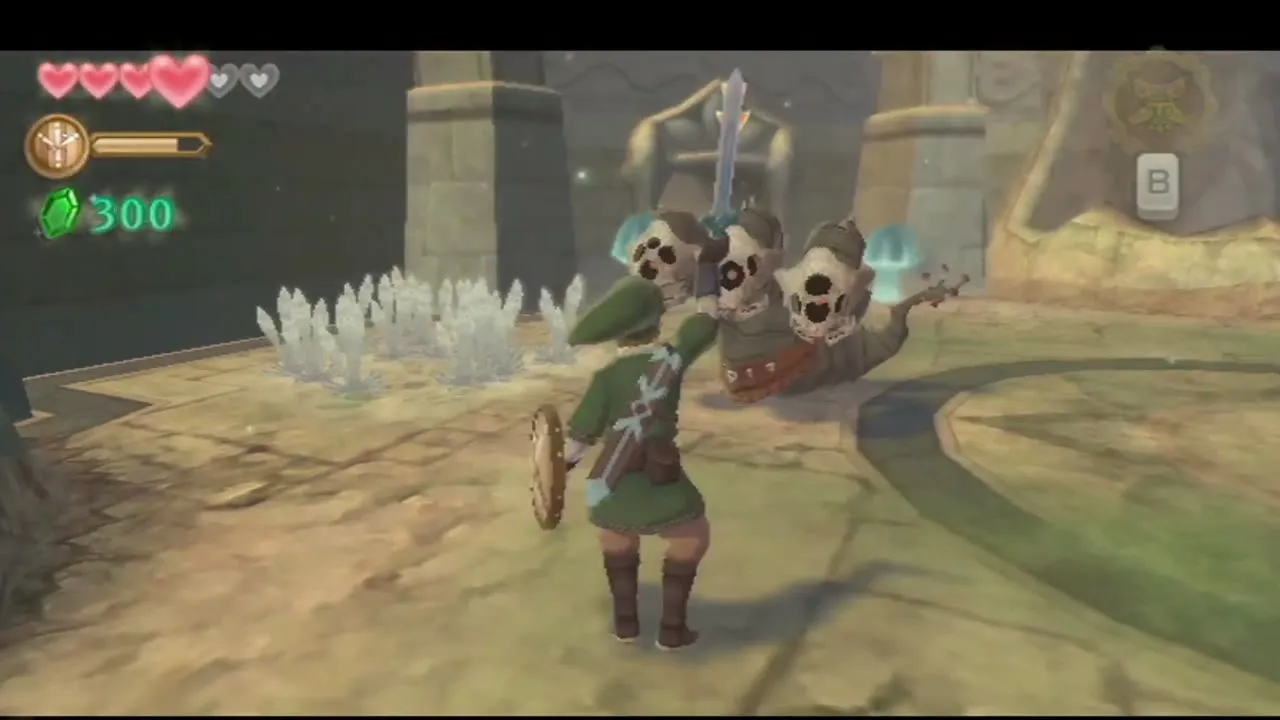
Beyond it, a three-headed Staldra attacks. Cut its heads off; they regrow, and when they line up in a row, use a horizontal slash or a spin attack to hit all three at once. Once it is gone, the northwest door opens.


The next room has a Bokoblin and a Skulltula hanging from a web over a pit. Cut the web with the Beetle, then dash and jump across the gap. Shoot or fly the Beetle into the crystal switch above the left door to open a shortcut back to an earlier room. Wobble the rope to knock Bokoblins off it, and take the Red Rupee from the chest in the northwest room.

The Golden Carving and the boss door
Skyview Temple Golden Carving
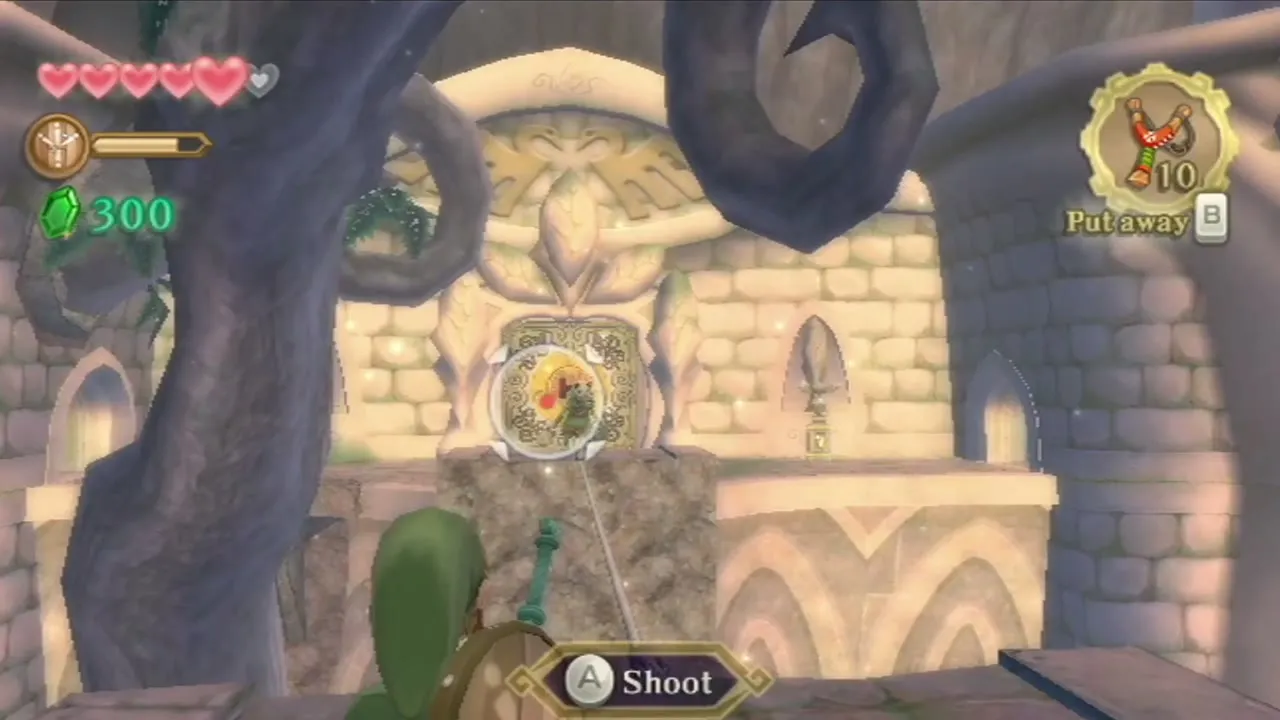
Climb the vines in the northeast corner to the upper ledge and cut the rope. Dash and jump to catch the swinging rope and aim slightly to the right so you land on the vine-covered platform. Climb the vines on the central platform, follow the path to the end, and look up.
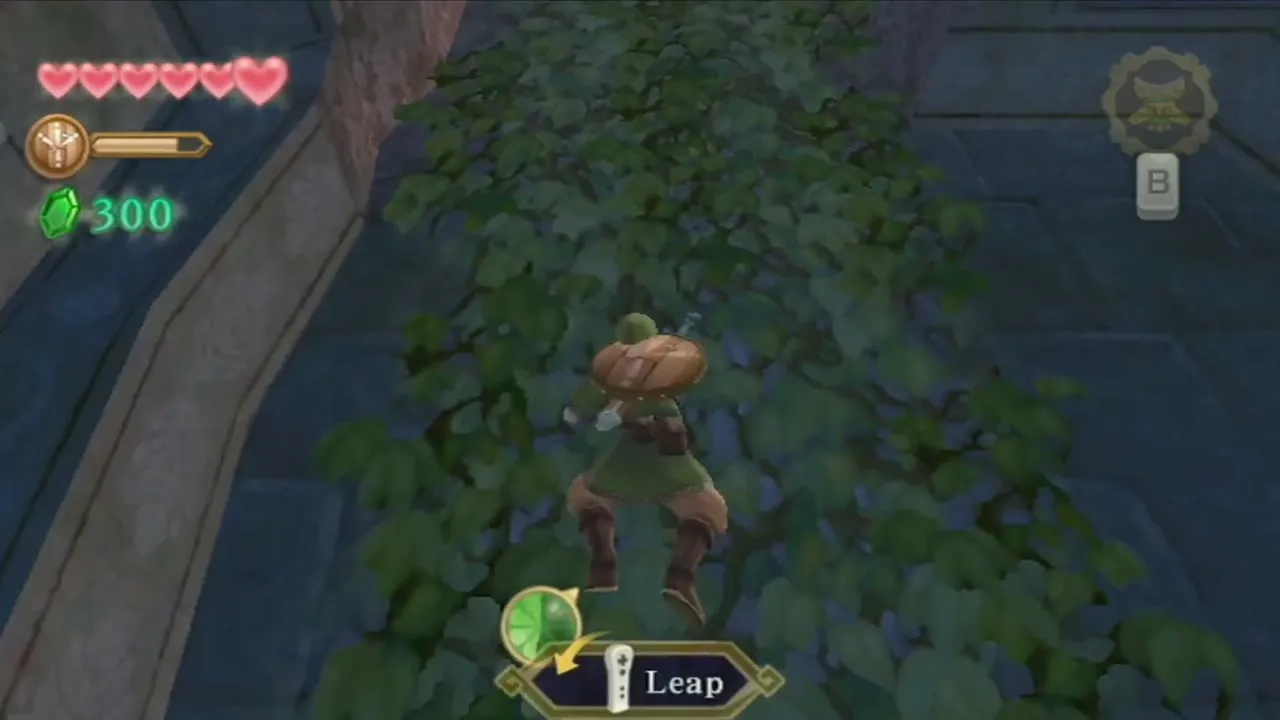


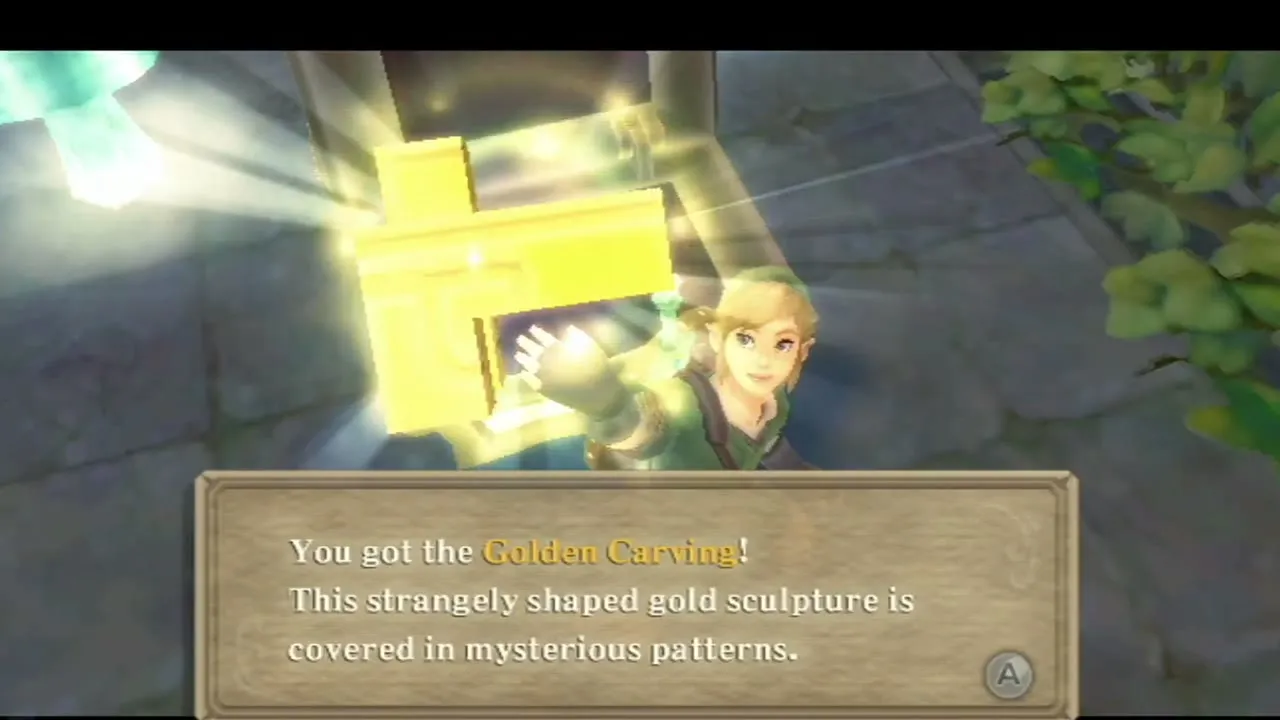
Two curled-up green vines hang overhead. Shoot them with the Slingshot or the Beetle so they unroll, and swing from one to the next until you reach a ledge. Open the chest there to take the Golden Carving. Climb the vine and jump along the top to return, then cross the tightrope again. There is a bird statue near the boss door, so save there.

Open the boss door
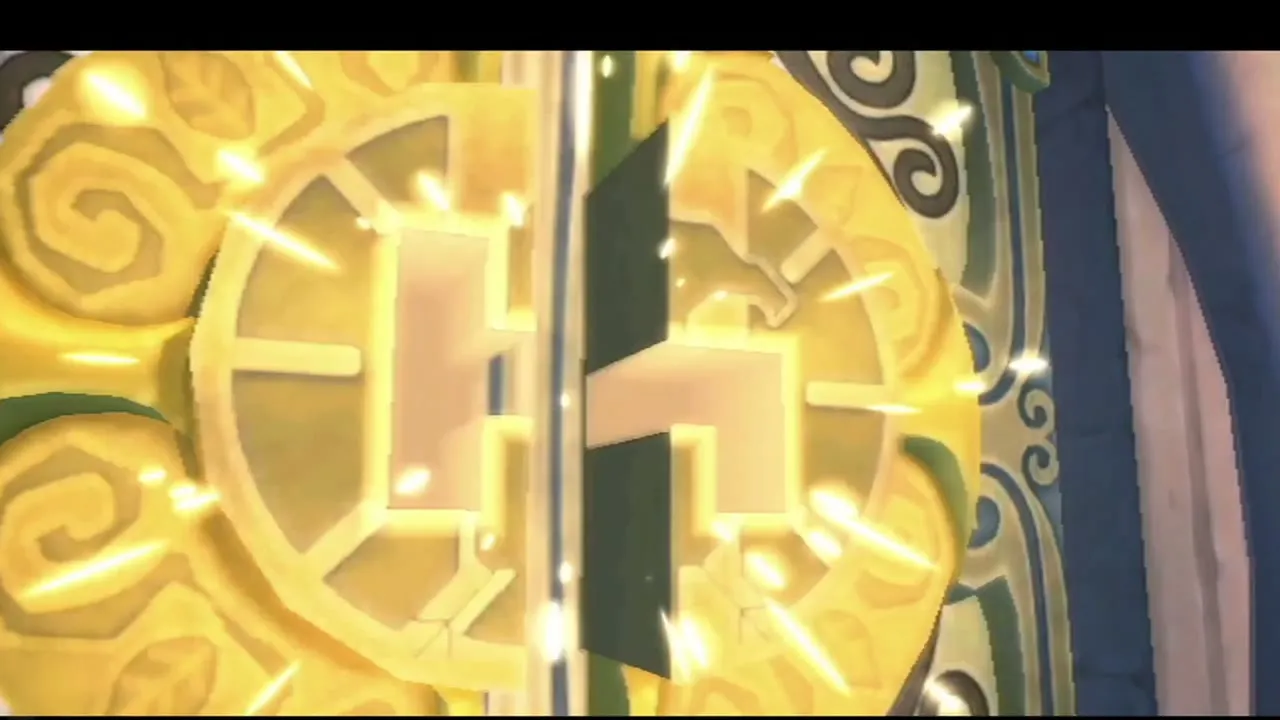
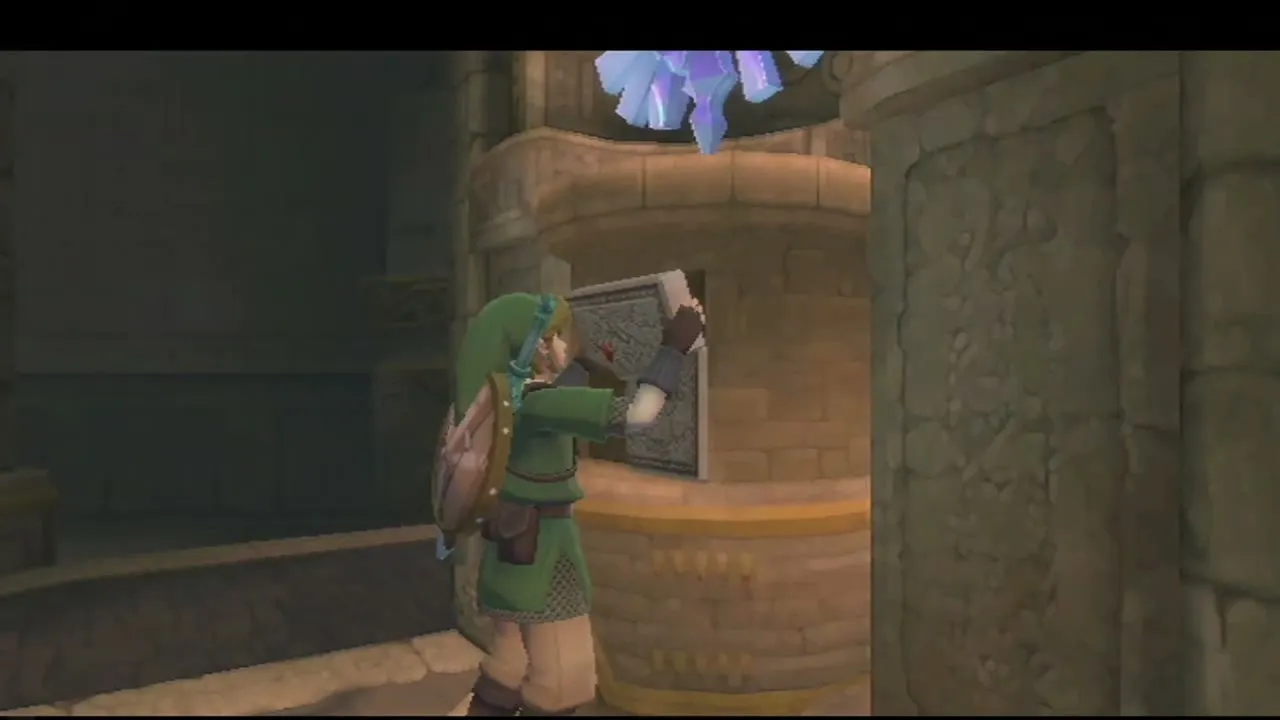
At the large door, rotate the Golden Carving with the Wii Remote until its shape matches the hole in the lock, then lock it in. The door swings open and a long cutscene follows.

Ghirahim boss fight
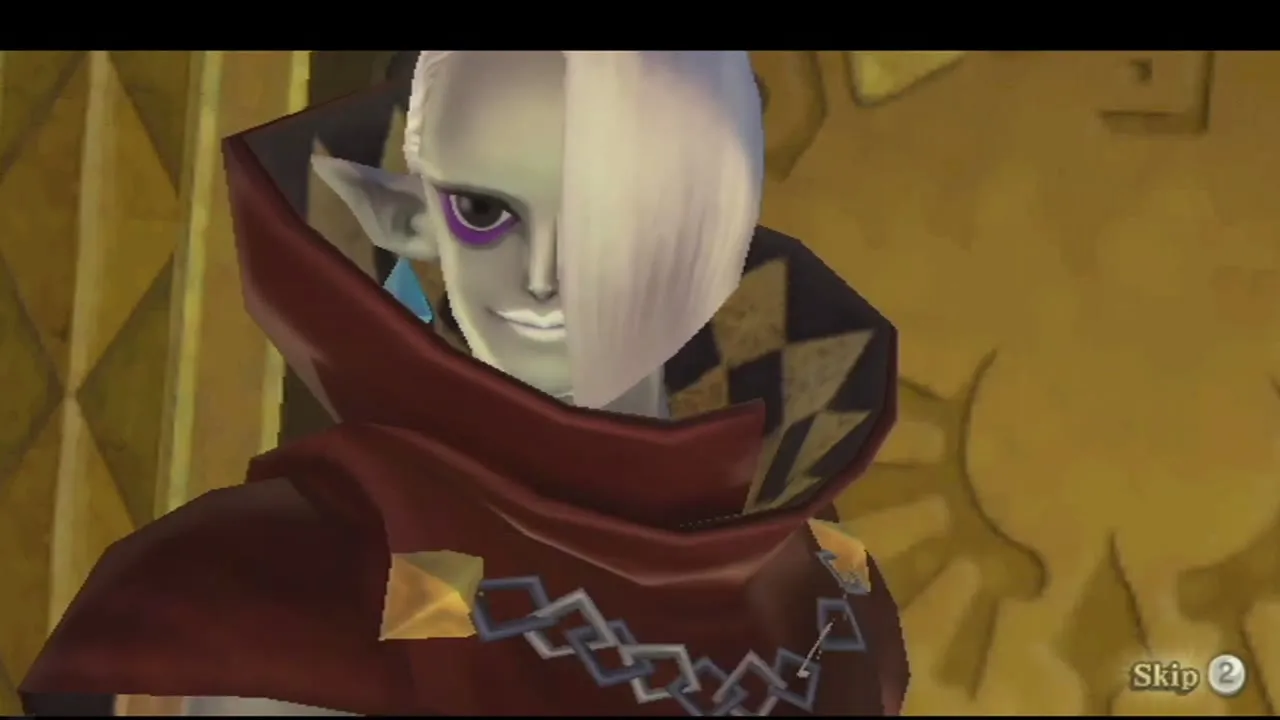
Ghirahim greets you in the golden chamber and then challenges you to a duel in a round arena. Pots around the edge hold hearts. The fight has three stages, and every stage punishes wild swinging.

In the first stage, he holds up a hand that follows your sword and catches any strike aimed at it. Hold your sword to one side so his hand follows it, then slowly slash from the opposite side; swing too fast and he catches the blade, and a shield bash frees it. Once his guard breaks, you get a few free hits before he backs off, and you should keep repeating this until the next stage begins.

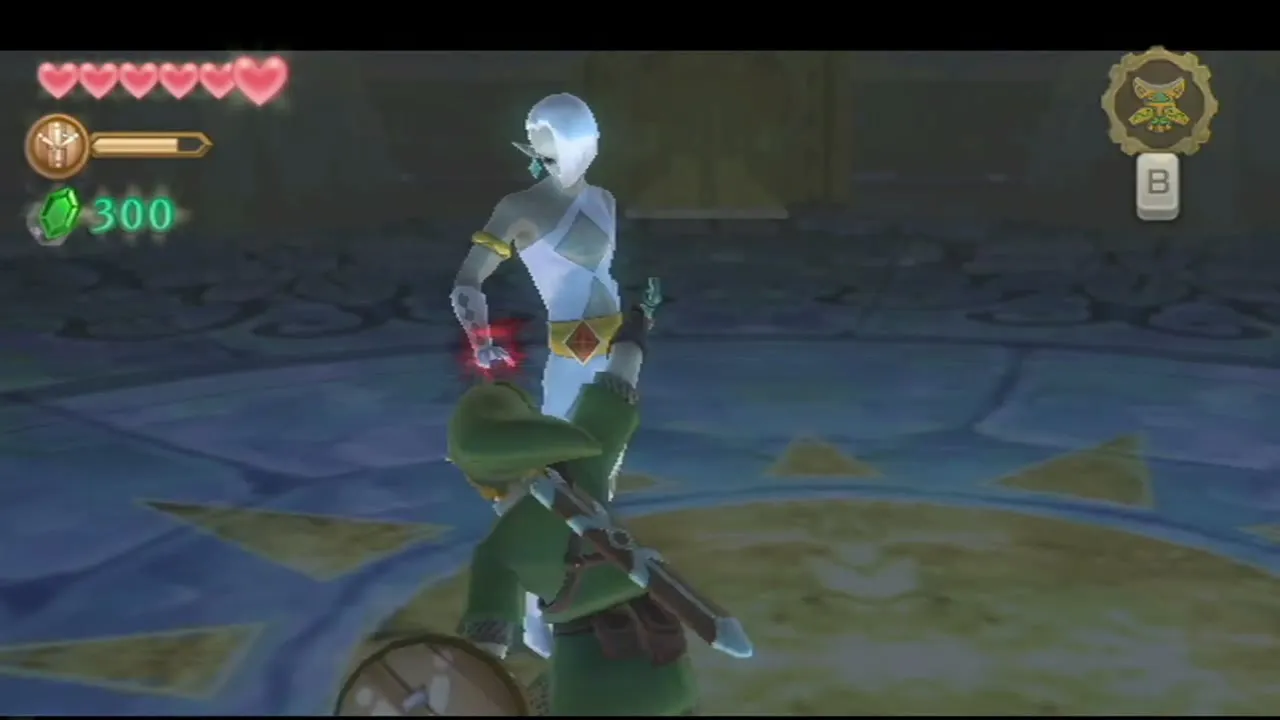
In the second stage he throws straight volleys of diamond-shaped projectiles. Slash them away, shield them, or run to the side. When he charges at you with his sword, use a shield bash to stagger him and strike him while he is dazed.

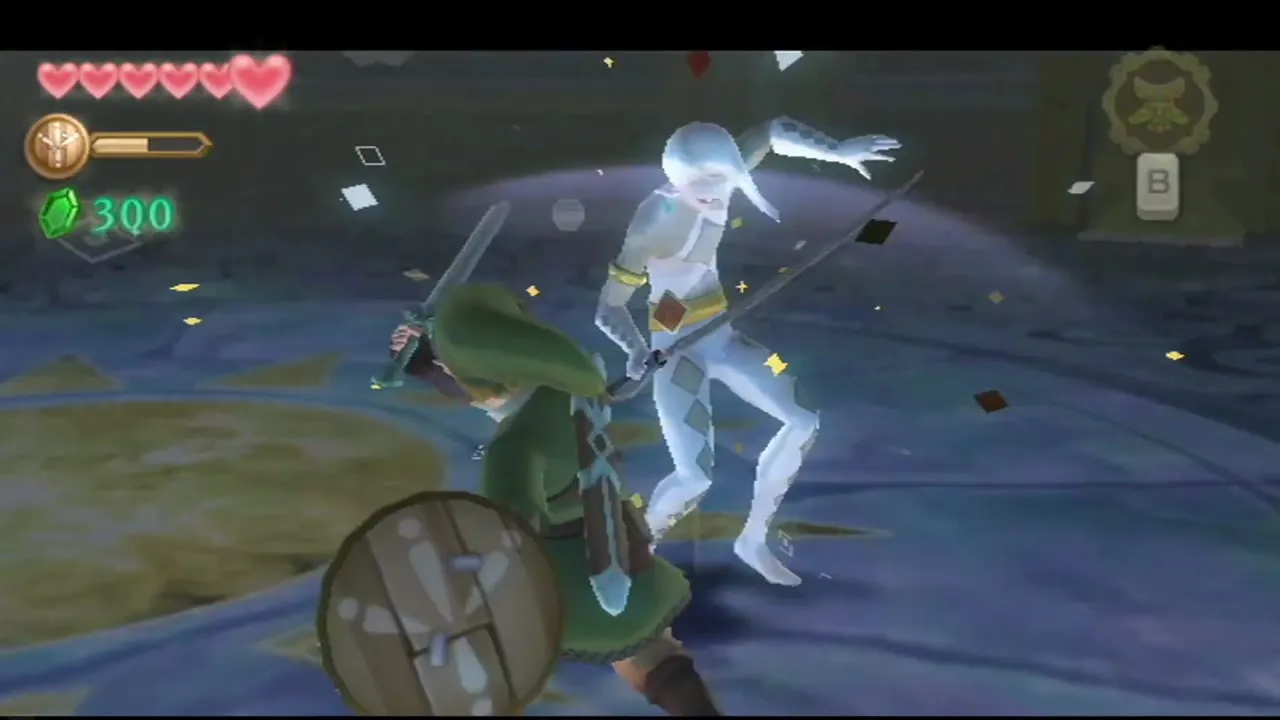
In the last stage he teleports and appears behind you, guarding with his sword. Turn around and slash from a direction his guard does not cover. A few more clean hits end the fight. If he knocks you down, get up and roll away so you can recover rather than rush back in.


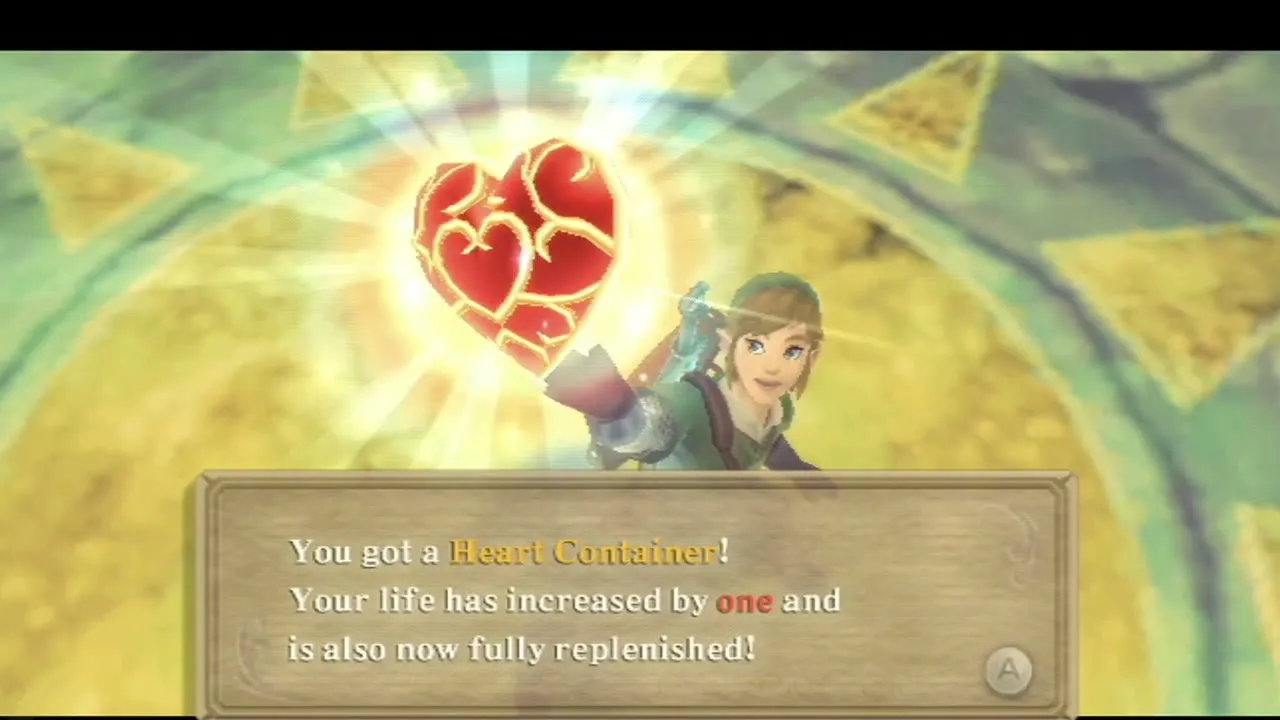
After the last hit, Ghirahim vanishes with a warning. Pick up the Heart Container that is left behind: it raises your maximum life by one heart and refills your hearts. Go through the new door at the back of the arena.

Skyview Spring and the Ruby Tablet
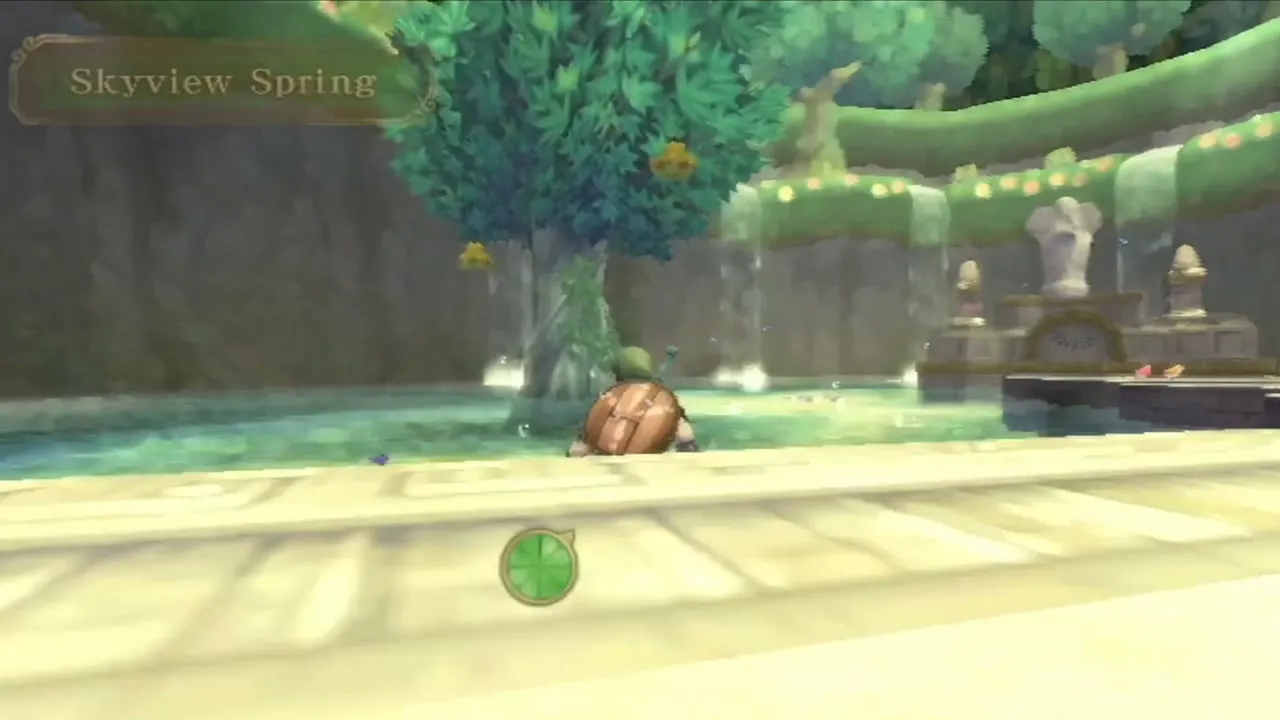
The door leads outside to Skyview Spring, a pool with waterfalls behind the temple. Take a moment to look around before you move on; you will come back here much later with Sacred Water for the Water Dragon.

Skyview Spring Goddess Cube
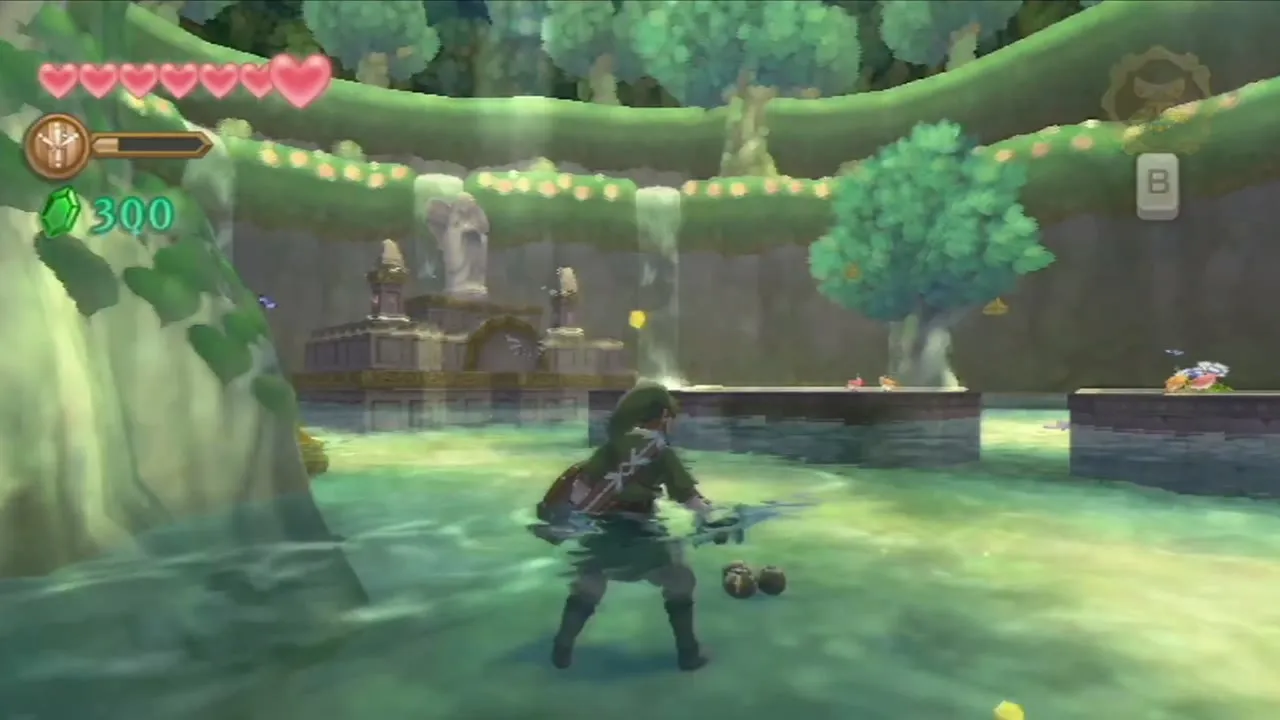
Walk around behind the shrine and the statue and you will find a Goddess Cube. Raise your sword and strike it with a Skyward Strike. It opens Goddess Chest number 3 (see the Goddess Cubes page), which holds a Gold Rupee worth 300. The chest is at Pumpkin Landing in the sky, so collect it on your next flight.


How to get the Ruby Tablet
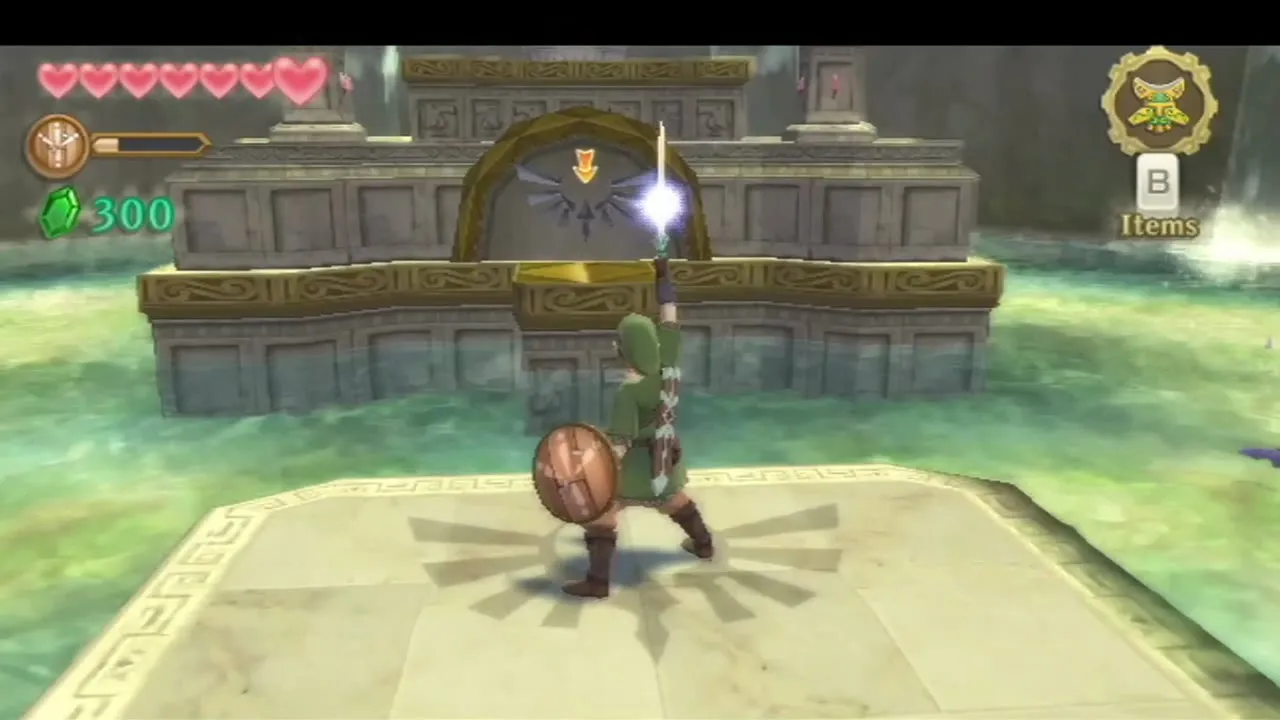
Step onto the altar platform and use a Skyward Strike on the glowing wing emblem. Hylia’s message is translated by Fi, and the Ruby Tablet is yours. It tells you that Zelda is heading for the Earth Spring, hidden in the scorched earth of Eldin.
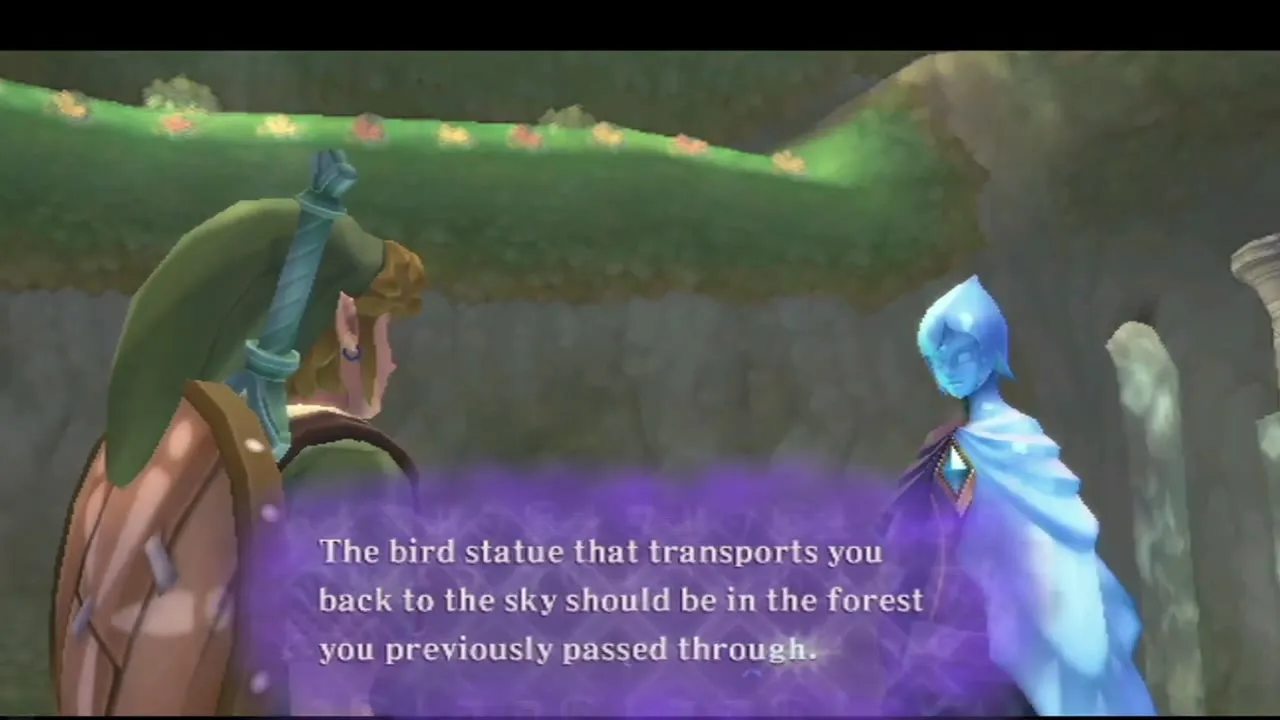
Go back to the Forest Temple bird statue and choose the option to return to the sky. The tablet goes into the Statue of the Goddess in Skyloft. Before you place it, the next chapter covers what to do in Skyloft first: the Bug Net, shopping and the first Gratitude Crystal quests.

What you can do after Skyview Temple
The Gear Shop at the Bazaar now sells the Iron Shield for 100 Rupees; it does not burn, though lightning hurts it. You will come back to Skyview Spring much later with Sacred Water for the Water Dragon, and the temple then holds a tougher second set of fights, including three Stalfos as the mini-boss.

Chapter checklist
| Collectible | Type | Where |
|---|---|---|
 Dungeon Map | Item | Large chest above the flooded halls, reached after the water rises |
 Small Key 1 | Key | Chest behind the barred eye gate in the south-east room |
| Beetle | Item | Chest in the round room after the Stalfos |
 Piece of Heart | Piece of Heart | Behind bars at the centre of the round room, lifted with the Beetle |
| Small Key 2 | Key | Chest behind the three-eye gate, after the crate puzzle |
| Golden Carving | Key item | Chest on the ledge reached by vine swings, opens the boss door |
 Red Rupee | Rupees | Chest in the northwest room before the boss door |
 Golden Skull | Treasure | Rare drop from a Bokoblin in the flooded halls |
| Amber Relic | Treasure | Roll into the wall in the entrance corridor; a second hangs above the northern door in the main room (see the Small Key section) |
| Hanging crates | Rupees | Cut down with the Beetle in the round room |
 Heart Container | Heart Container | Dropped by Ghirahim |
| Goddess Cube 3 | Goddess Cube | Behind the shrine at Skyview Spring; opens a Gold Rupee chest at Pumpkin Landing |
| Ruby Tablet | Story item | Skyward Strike on the wing emblem at the Spring altar |
With the Ruby Tablet in hand, the next chapter takes you back to Skyloft and then down to Eldin Volcano.