
























Skyward Sword 100% Completion Walkthrough18 chapters
- Skyview TempleSmall keys, the Beetle, the Golden Carving door, the Ghirahim boss fight, the Heart Container and the Ruby Tablet.
- Earth TempleGet the Bomb Bag from Ledd, carry the Dragon Sculpture, beat Scaldera and collect the Amber Tablet.
- Lanayru Mining FacilityTimeshift Stones, Gust Bellows, Small Key, Armos, Ancient Circuit, Moldarach and the Goddess’s Harp.
- Ancient CisternBoth Small Keys, the Whip, the Blessed Idol, the Koloktos boss fight, Farore’s Flame and the Goddess Longsword.
- SandshipThe Timeshift Stone, Scervo and the Bow, both generators, Squid Carving, Tentalus and Nayru’s Flame.
- Fire SanctuaryAll three small keys, the Mogma Mitts, the Mysterious Crystals, Ghirahim’s second fight and the Master Sword.
- Skyloft Silent Realm and Sky KeepThe Skyloft Silent Realm and its 15 Sacred Tears, the Stone of Trials, every Sky Keep room and all three Triforces.
- Skyloft and the Goddess SwordFind your Loftwing, win the Wing Ceremony, draw the sword and take your first dive.
- Sealed Grounds, Faron Woods and the Deep WoodsThe Sealed Grounds, the missing Kikwi, the Slingshot, the Deep Woods and the way into Skyview Temple.
- Eldin Volcano and the Key PiecesPlace the Ruby Tablet, run Skyloft errands, earn the Digging Mitts and find all five Earth Temple key pieces.
- Lanayru Mine and Lanayru DesertLanayru Mine, Timeshift Stones, the Hook Beetle, the Temple of Time and how to set the three power generator dials.
- The Goddess’s Harp, The Imprisoned and the Isle of SongsBallad of the Goddess, The Imprisoned, the Light Tower, the Isle of Songs and Farore’s Courage.
- Farore’s Silent Realm and Lake FloriaAll 15 Tears of Farore, the Water Dragon’s Scale and Sacred Water.
- Nayru’s Silent Realm and the Lanayru Sand SeaNayru’s Wisdom, Nayru’s Silent Realm and the Clawshots, Golo’s key, Skipper’s boat, the Shipyard.
- Din’s Silent Realm and Volcano SummitDin’s Power, the Fireshield Earrings, frog statues, the Water Basin and the Scrapper escort.
- True Master Sword, Levias and BilocyteSkyward Sword walkthrough for the True Master Sword, the second Imprisoned fight, the Spiral Charge.
- Song of the HeroEscape Eldin, beat the third Imprisoned, win the Tadtone song in Faron Woods and heal Lanayru’s Thunder Dragon.
- The Horde, Ghirahim and DemiseClear the last side quests, beat the Horde, Ghirahim’s third fight and Demise, then unlock Hero Mode.
| Covers | Fire Sanctuary at the top of Volcano Summit, the Mogma digging tunnels, the second fight with Demon Lord Ghirahim, Din’s Flame, and Skyloft upgrade errands afterwards |
|---|---|
| You need | Goddess White Sword, Clawshots, Bow, Hook Beetle, Gust Bellows, Bomb Bag, Sailcloth and the Goddess’s Harp; an Empty Bottle for fairies is a good idea |
| Rewards | Mogma Mitts, Dungeon Map, 3 small keys, Mysterious Crystals, Heart Container, Din’s Flame and the Master Sword, 1 Piece of Heart, Empty Bottle 4, Rupees from a Goddess Wall, Medium and Large Quiver upgrades, Heart Potion+; with the Mitts, a second Piece of Heart on Volcano Summit and, later, the fifth Empty Bottle |
The Fire Sanctuary is the sixth main dungeon in Skyward Sword. You freeze fire hands with water, dig through Mogma tunnels with a new pair of mitts, carry a lump of crystals to the door of the boss and beat Ghirahim a second time. His defeat leaves a Heart Container and lets you temper your blade in the last Sacred Flame, which turns it into the Master Sword.
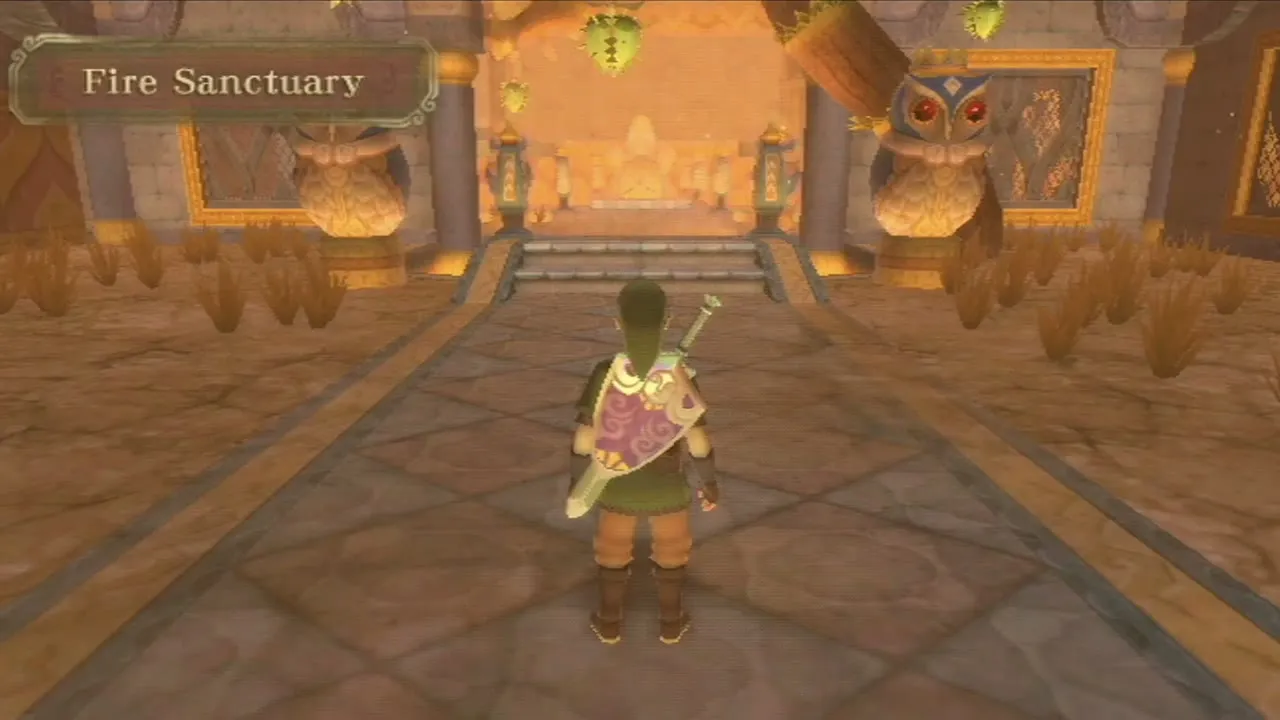
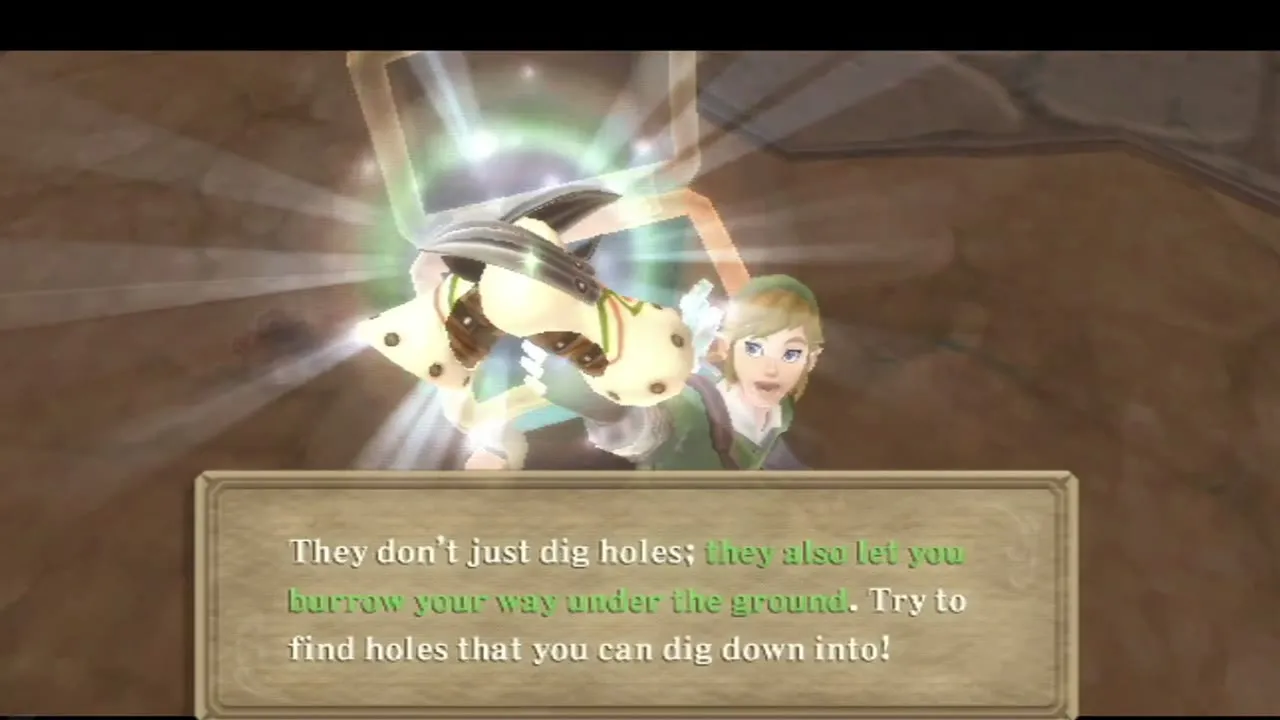
Table of Contents
Fire Sanctuary entrance and first small key
How to enter the Fire Sanctuary
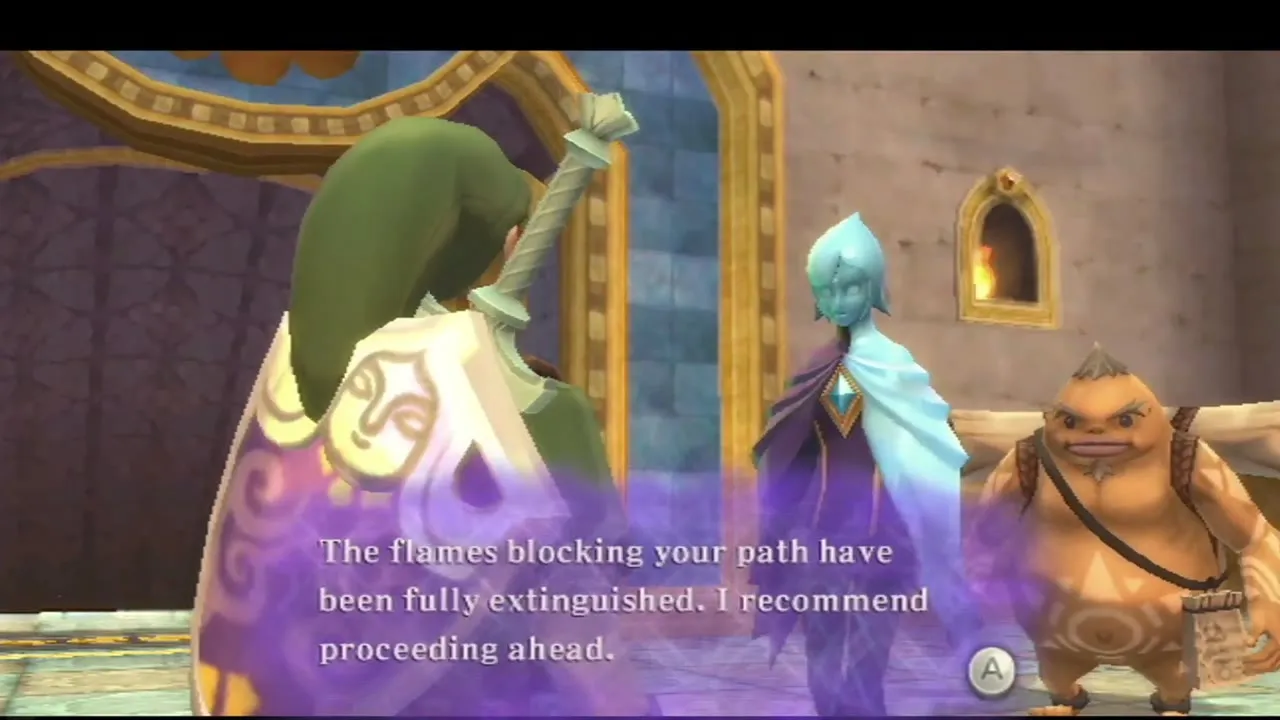
Climb through the hall at the top of Volcano Summit, past the frog statue whose fire wall has just been put out, and walk up to the doorway. A Bird Statue stands just inside. Use it to save, because you can also fly back to the sky from here.
Cross the lava with the water plants
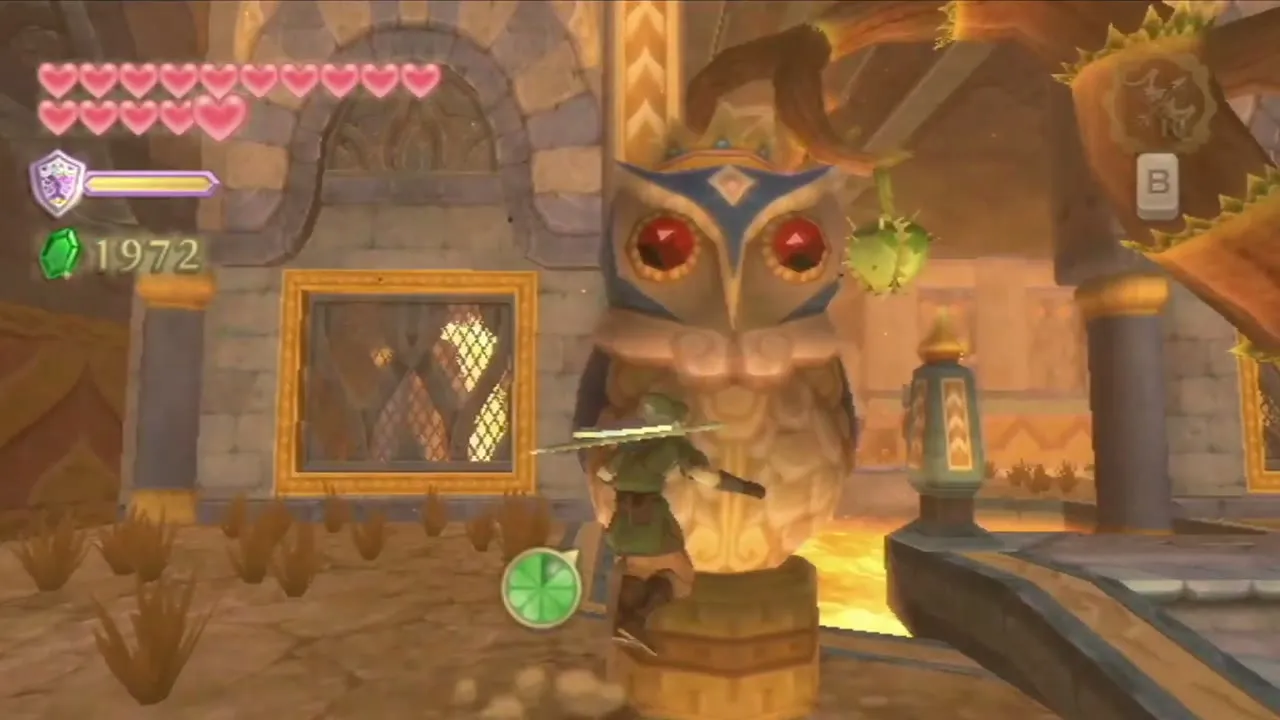
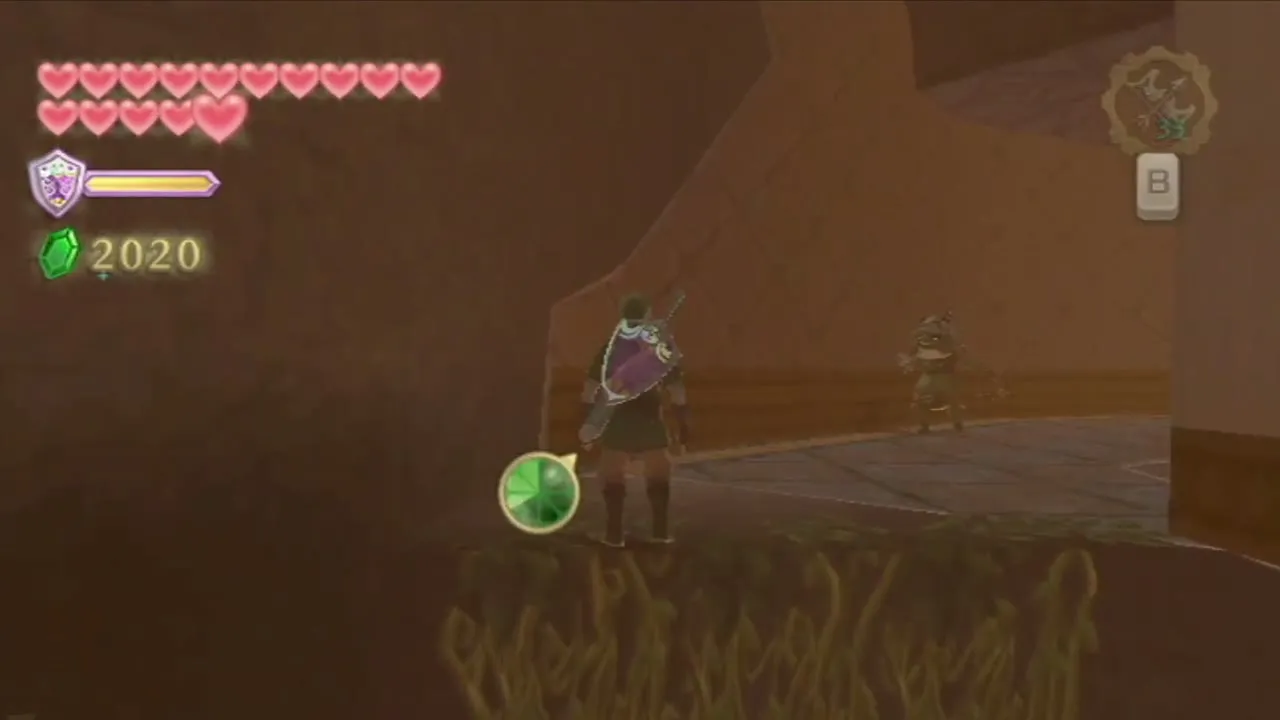
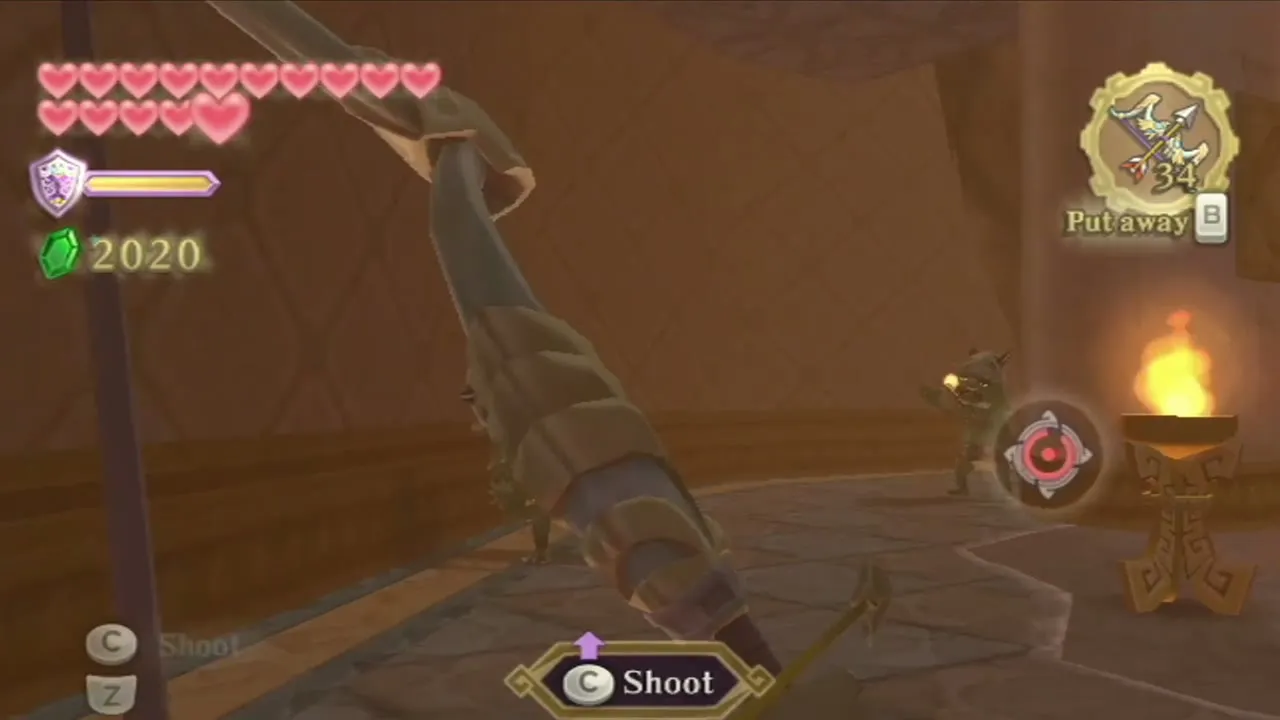
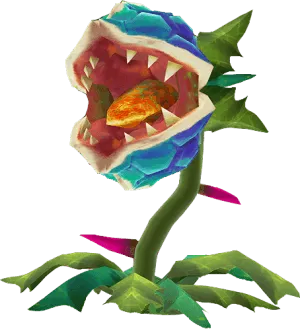
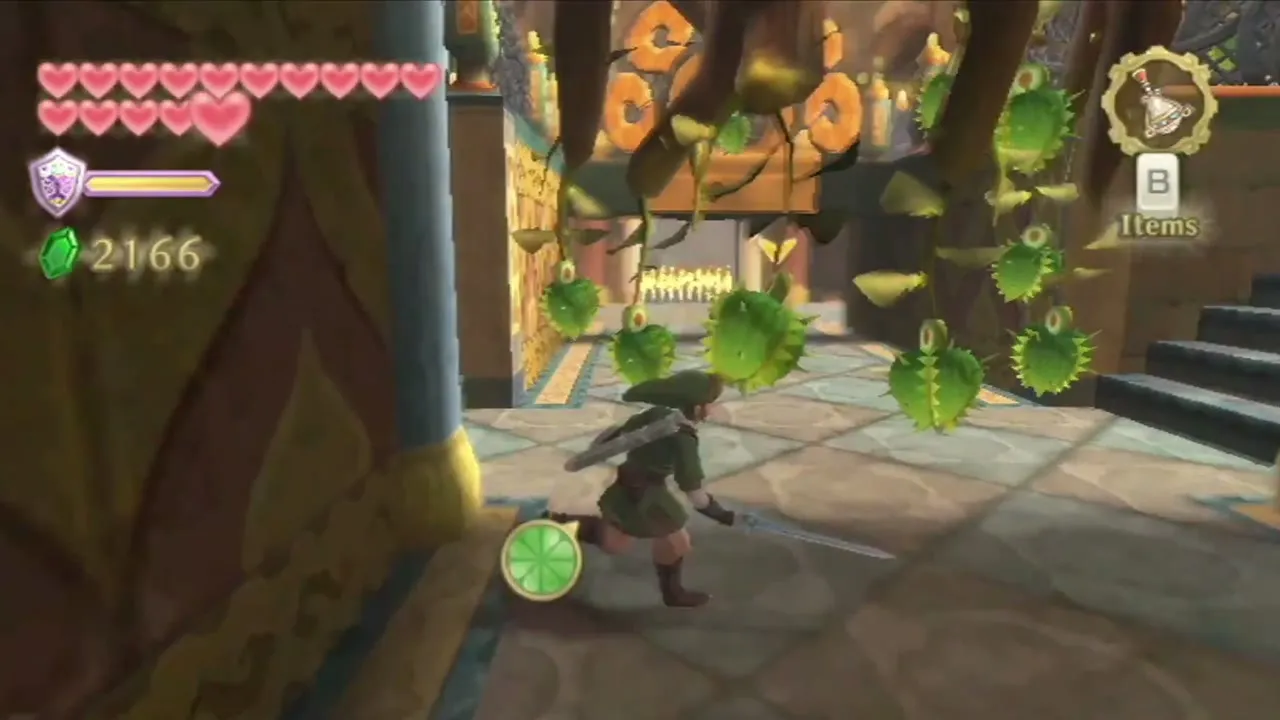
Lava fills the first room. Hanging above it are spiky water plants. Hit one with a Beetle launch or a Clawshots shot to drop water on the lava, which hardens into a stone platform that sinks after a short time. Cross on it, hit the next plant on the way and ride the second platform along the current. Raise your shield against the arrows of the Bokoblin Archers on the bank.
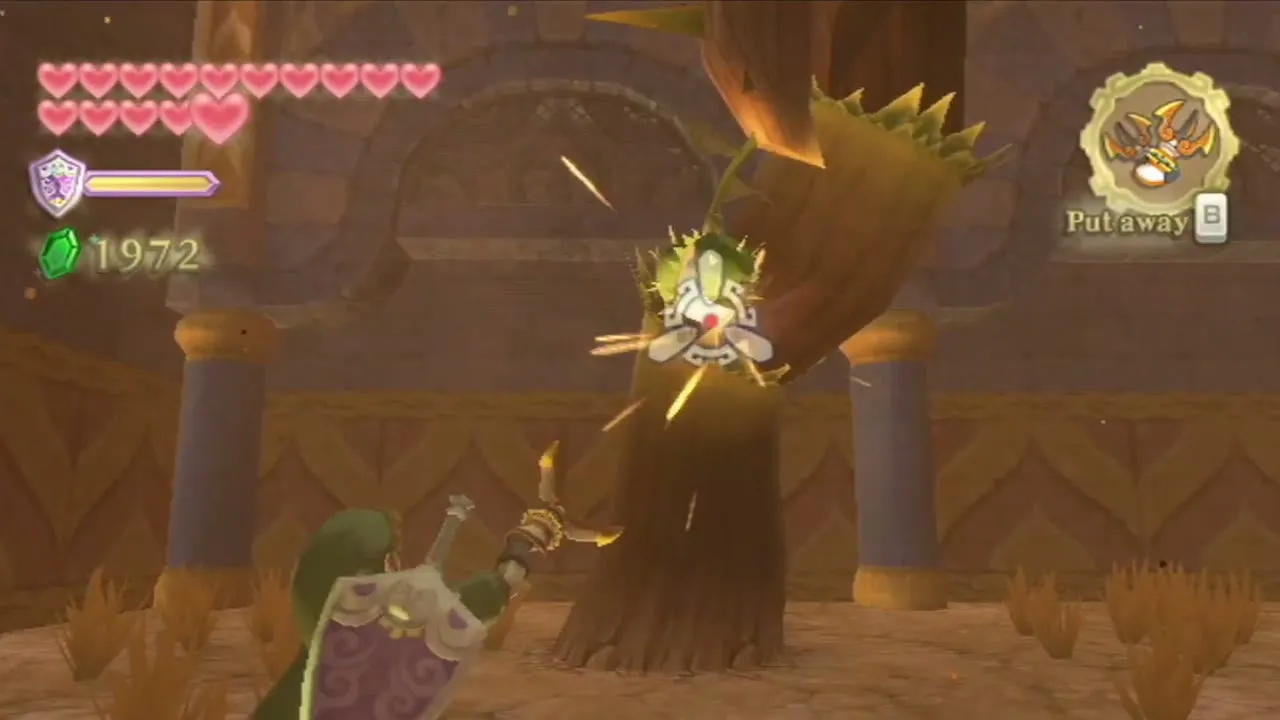
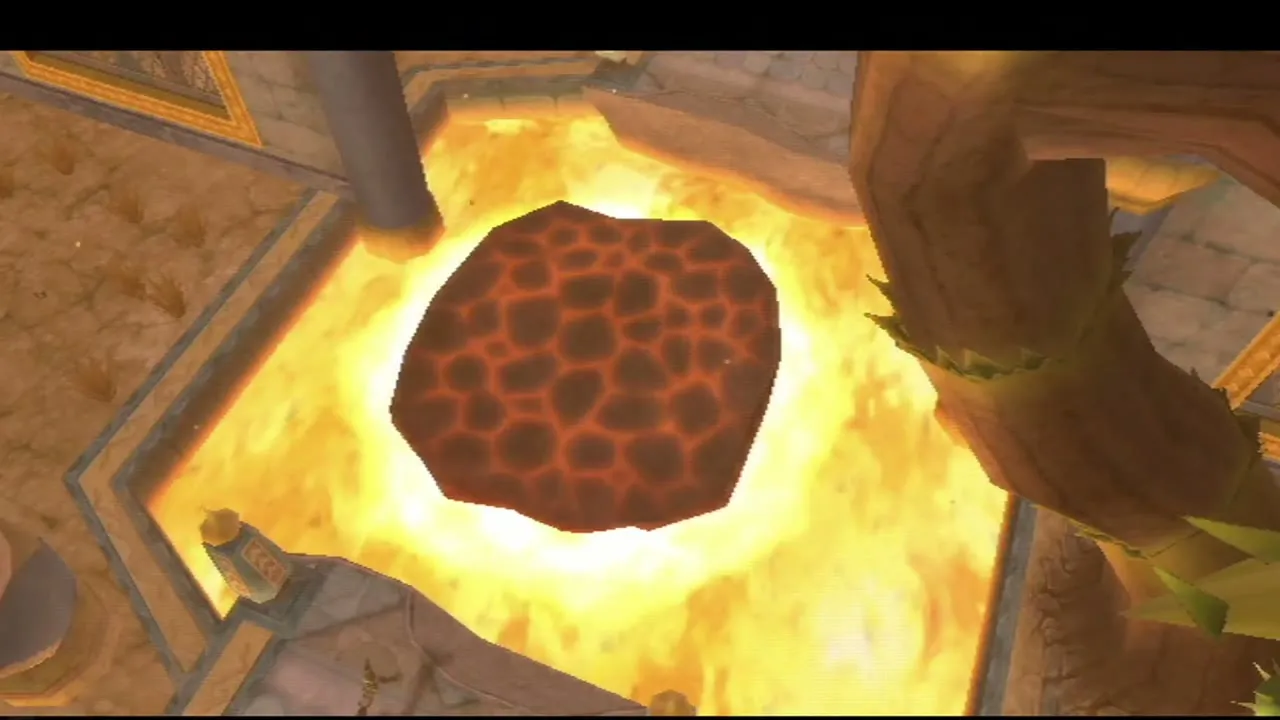
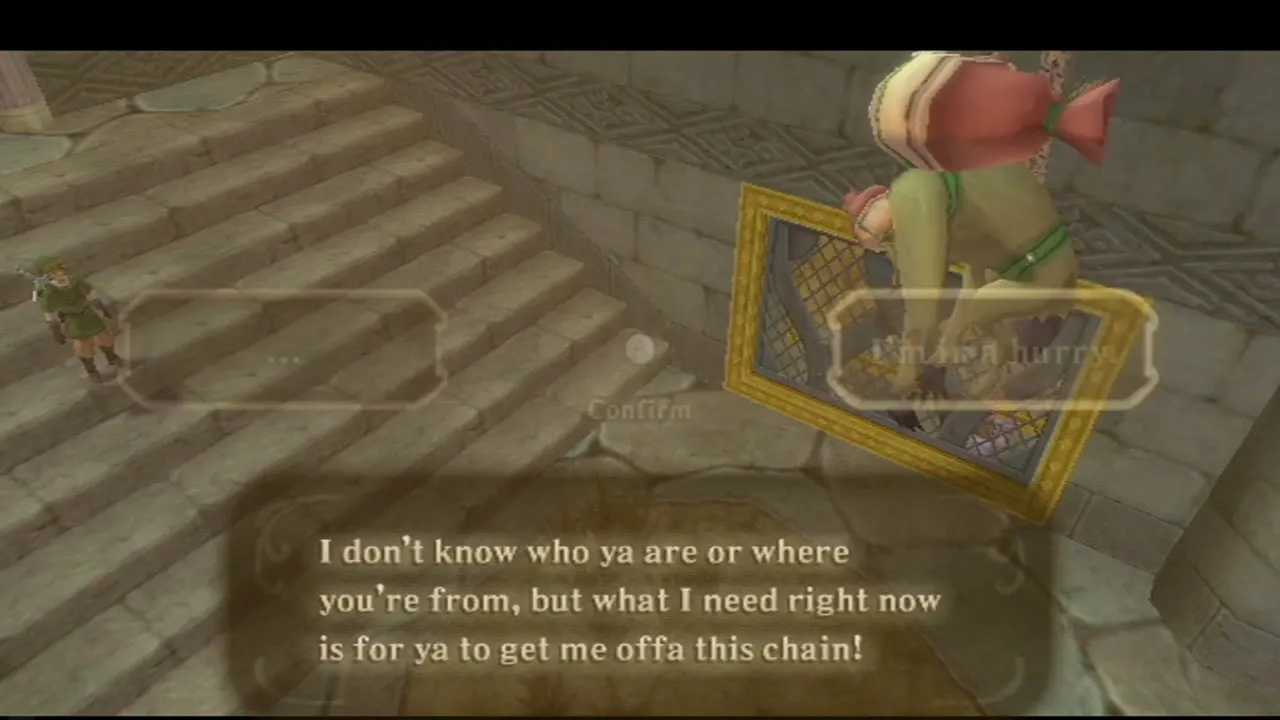
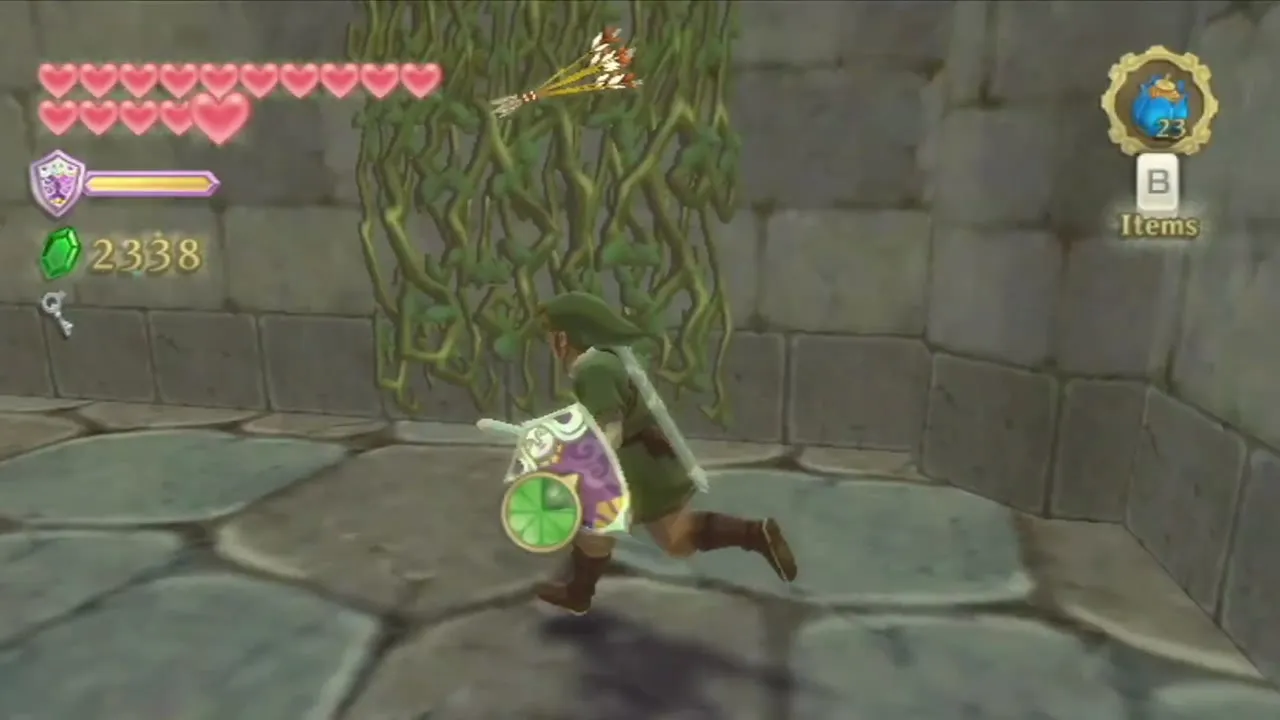
Climb the steps on the far side and defeat the Blue Bokoblin to open the gate to a chest. It holds your first small key. Step back out, then jump into the mouth of the sleeping statue standing between the two statues that face each other. You fall into a side chamber where you meet a Mogma called Guld. Unlock the nearby door with your key.
The south hall and the first Magmanos room
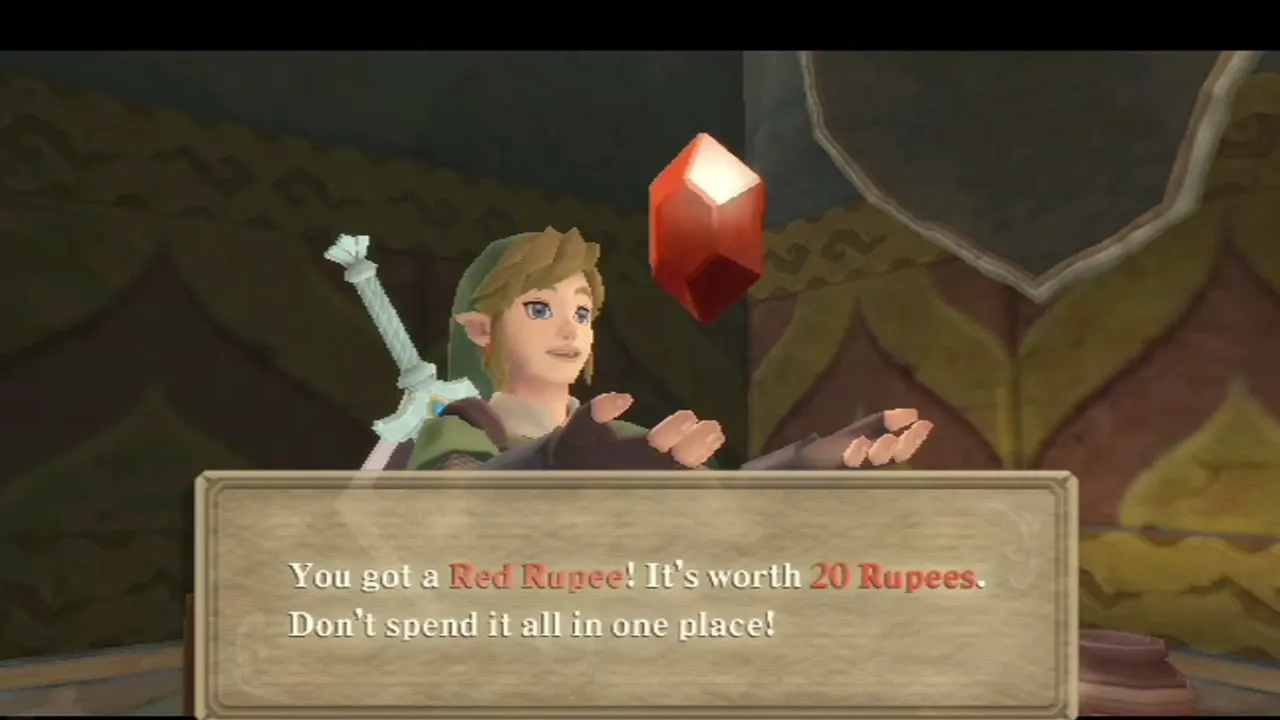
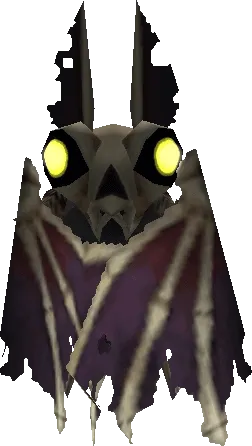
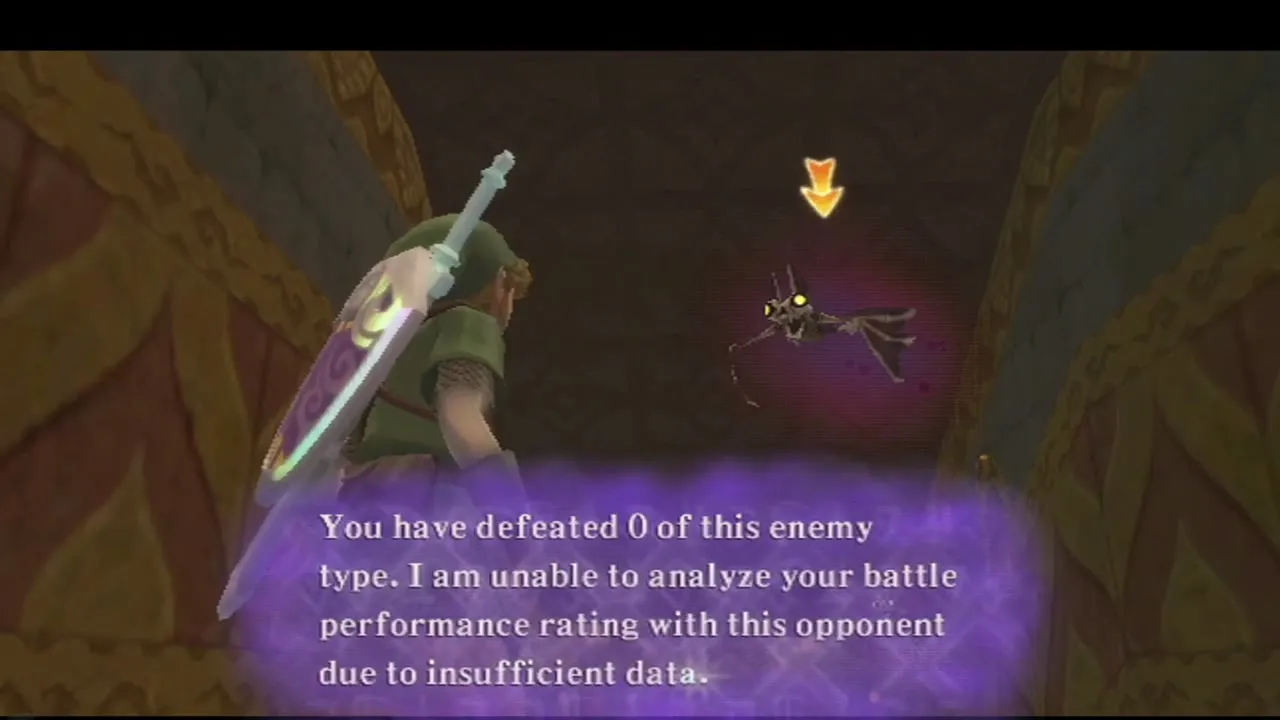
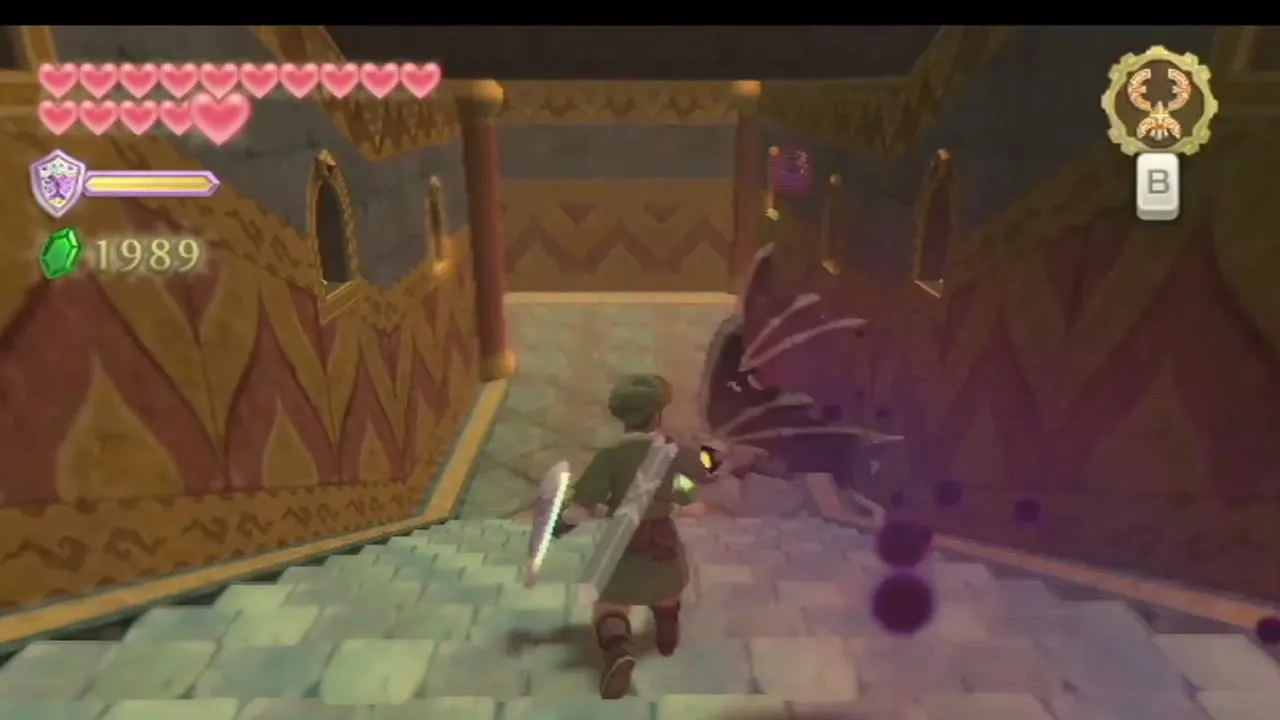
Another Bird Statue stands in the next corridor. Kill the Dark Keese quickly, since their touch curses you and blocks your sword, then deal with the Bokoblins on the stairs. The left-hand corridor has a chest with a Red Rupee.
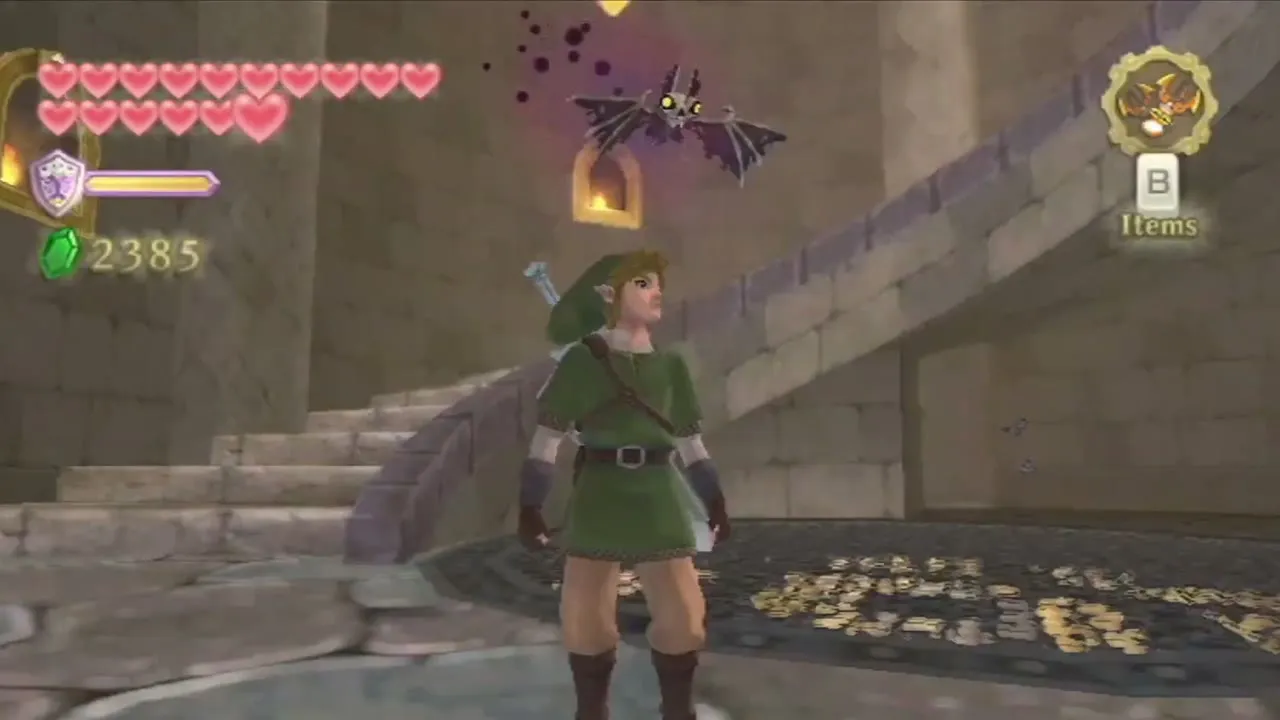
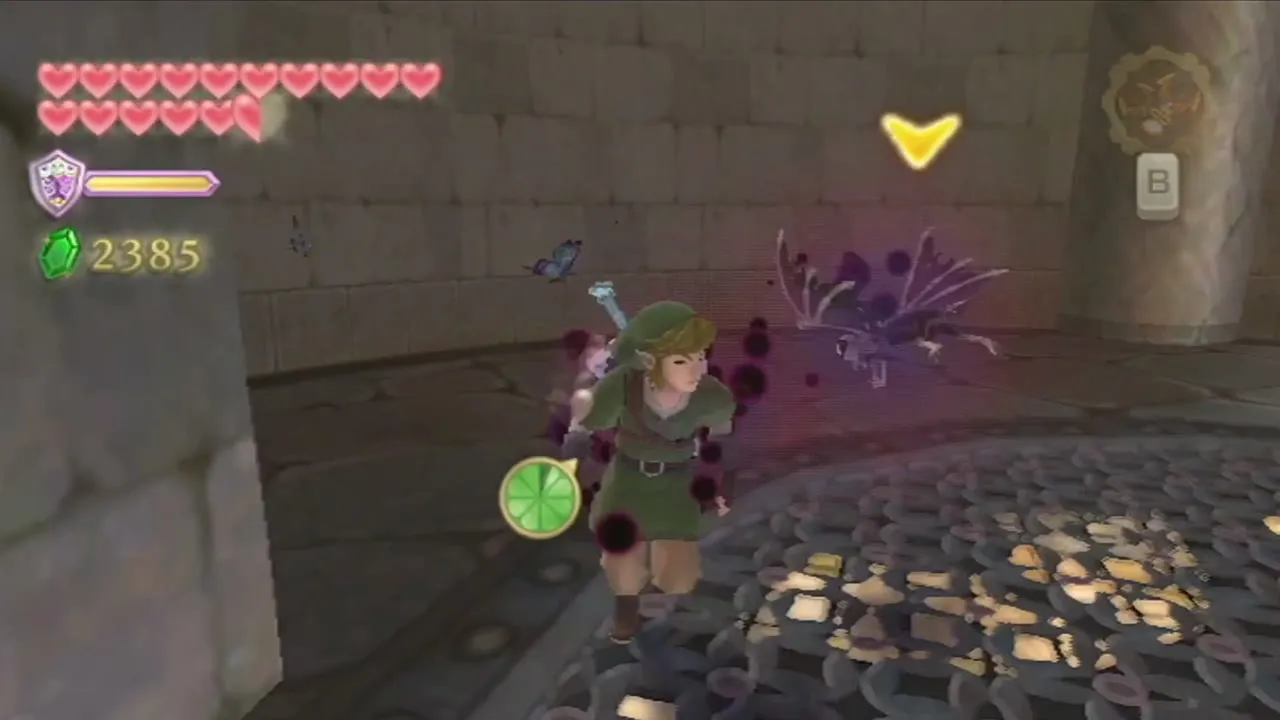
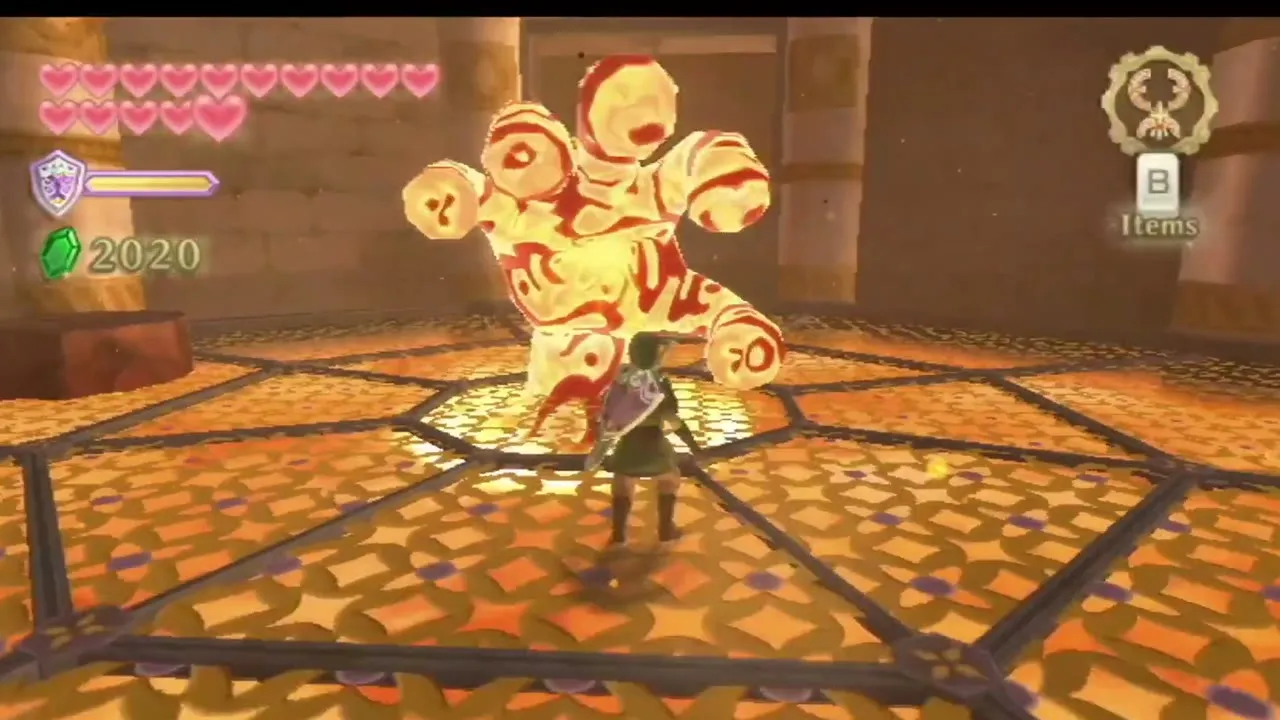
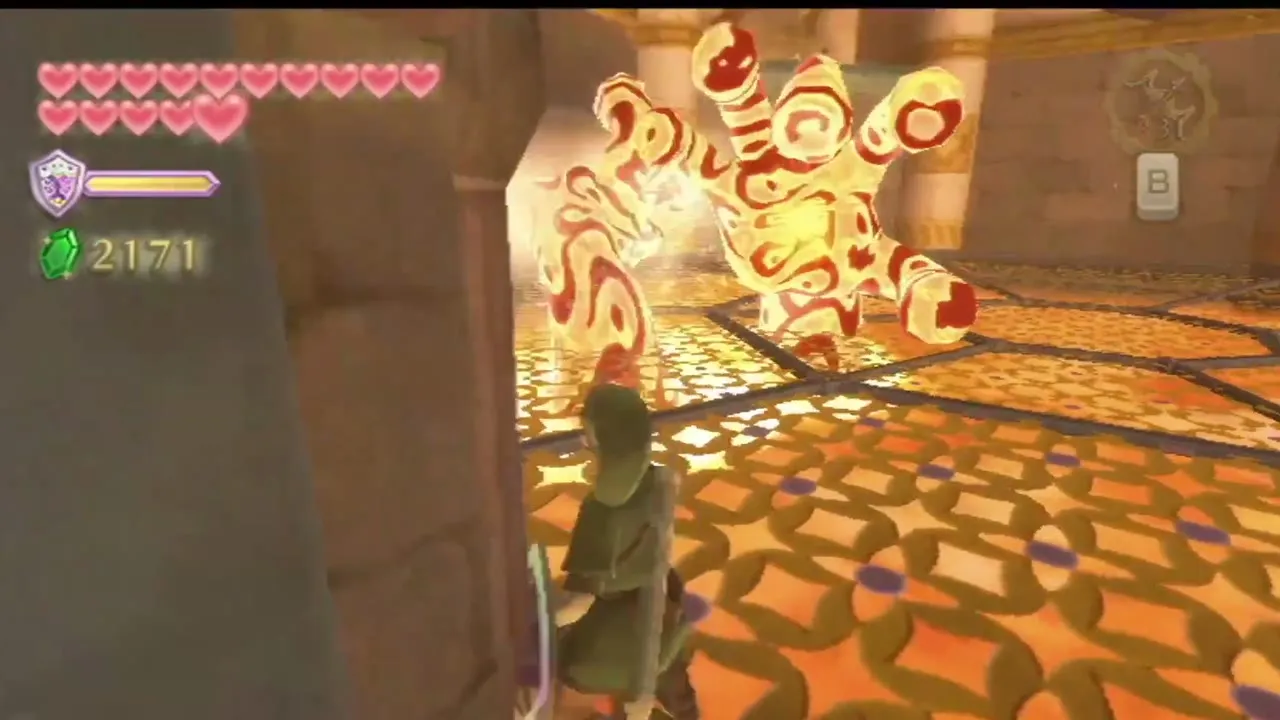
Go back to the big first hall and take the right ramp down to the caged floor. A Magmanos, a hand of molten rock, grabs at you when you land. Stand on the rock beside it and wait. When the hand lifts the rock you can jump to a higher ledge. Climb the vines, beat the Bokoblin, shoot the archer and drop to the Bird Statue below. Go through the door beside it.
Dark Lizalfos and the west wing
How to beat the Dark Lizalfos
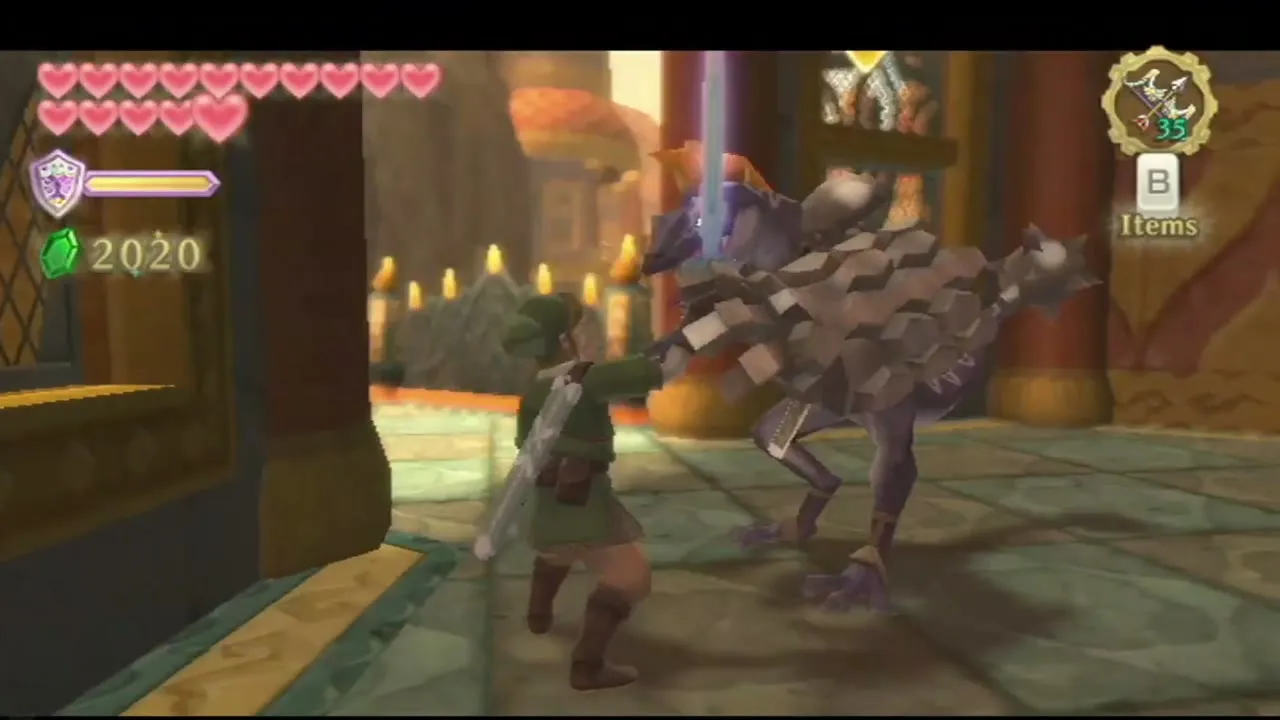
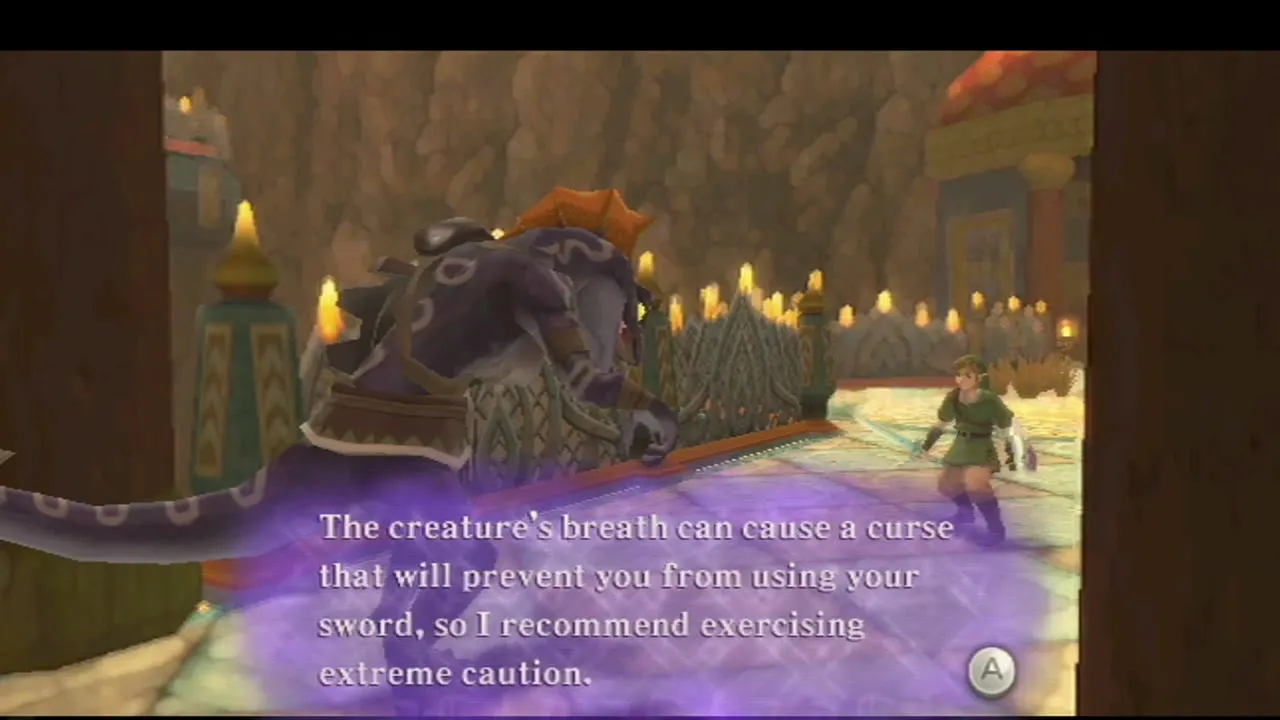
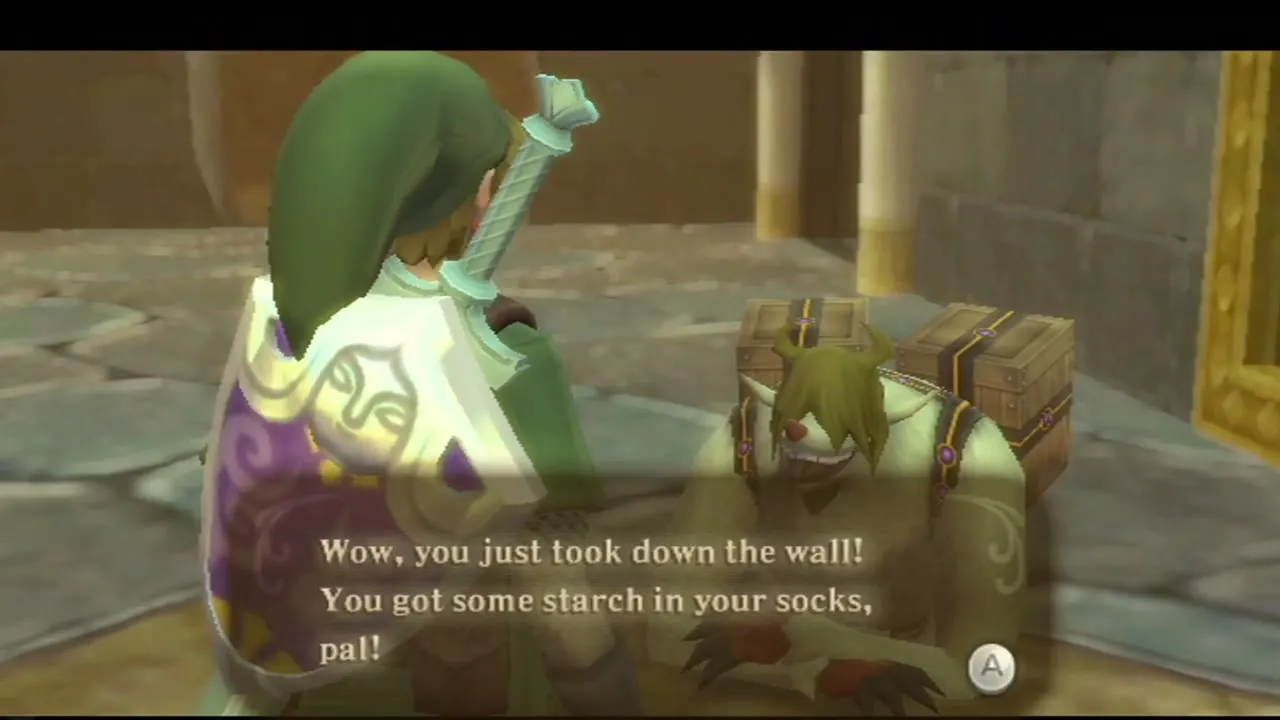
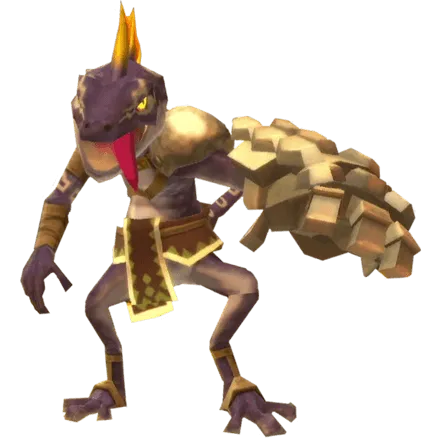
The door of the next room locks behind you and a Dark Lizalfos attacks. It is faster than the ordinary Lizalfos and its breath curses you instead of burning you. Fight it as you would the plain kind: keep your shield up, strike the open side when it swings and finish it with a sword combo. Lizalfos can drop a Lizard Tail, which the Bomb Bag and Sacred Bow upgrades use, and cursed enemies sometimes leave an Evil Crystal for the Iron Bow.
The boulder in the statue’s mouth
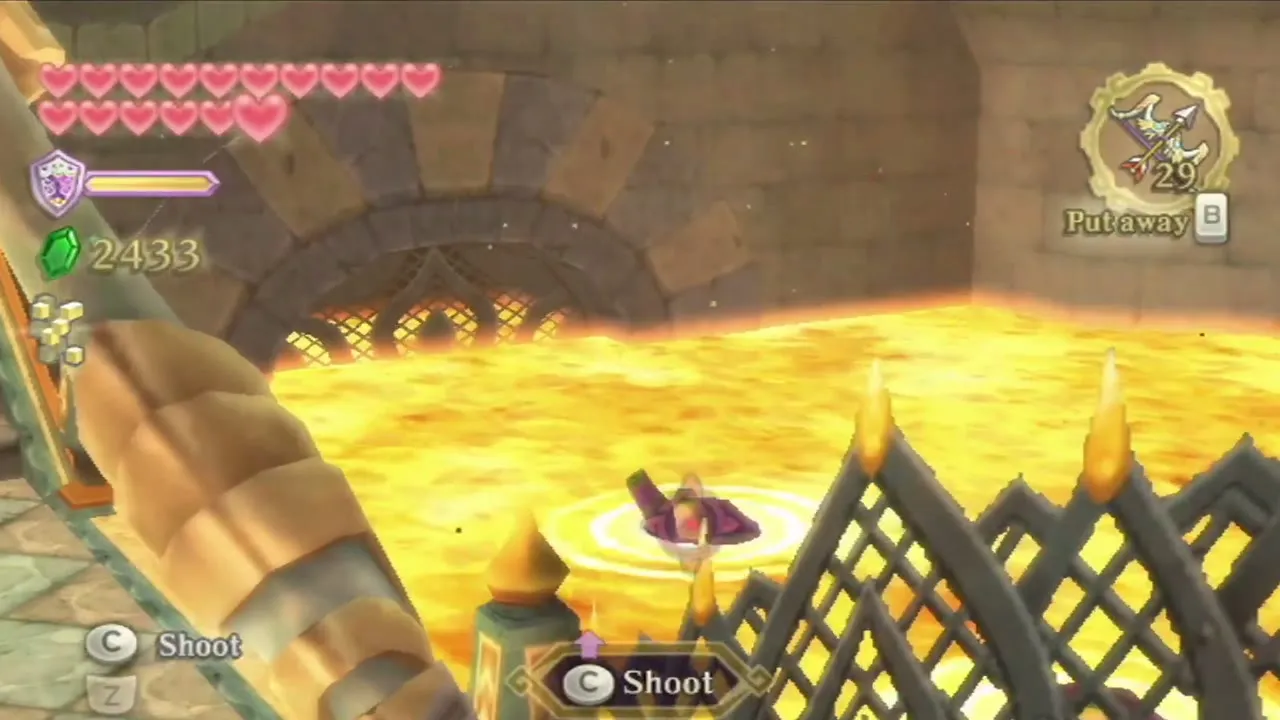
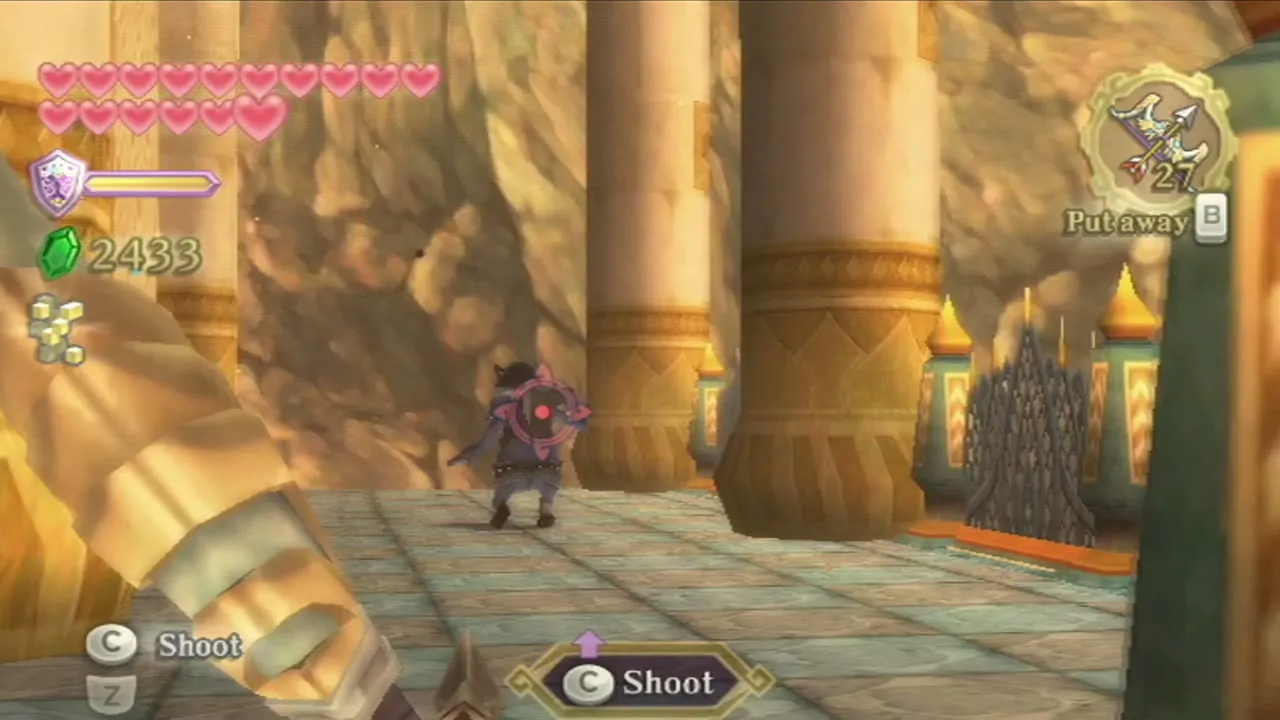
Shoot the Cursed Spumes and archers with the Bow. A tunnel high in the wall can be reached with your Hook Beetle for Rupees. Pick up a Bomb Flower and roll it into the rocks that fill the mouth of the statue; the blast frees the lava, which flows again. Use the Beetle on the water plant to make a floating platform and ride it to the west door.

Second small key and the captive Mogma
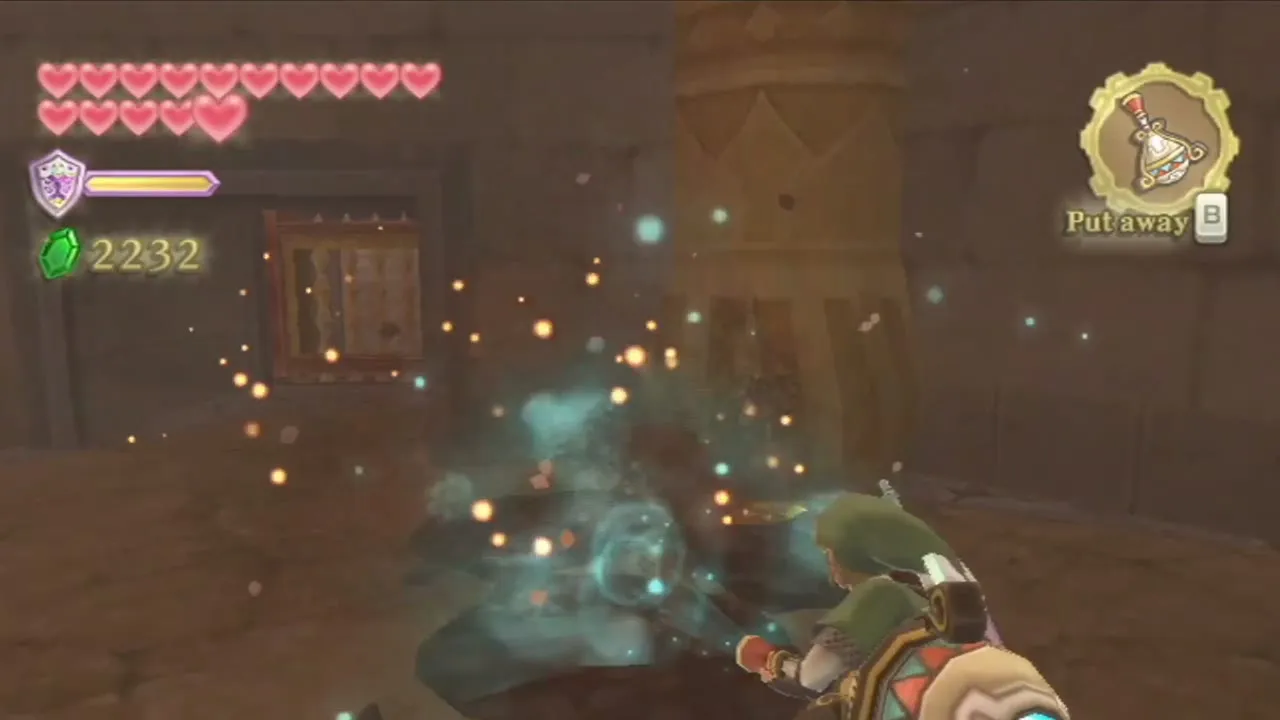
A Mogma is hanging above the lava in the next room. For now leave him. Use the Gust Bellows to blow away the cooled ash on the floor, which uncovers treasure, and walk around the corner to a chest with the second small key. Unlock the door beside the room.
Frog statue and the random treasure chest
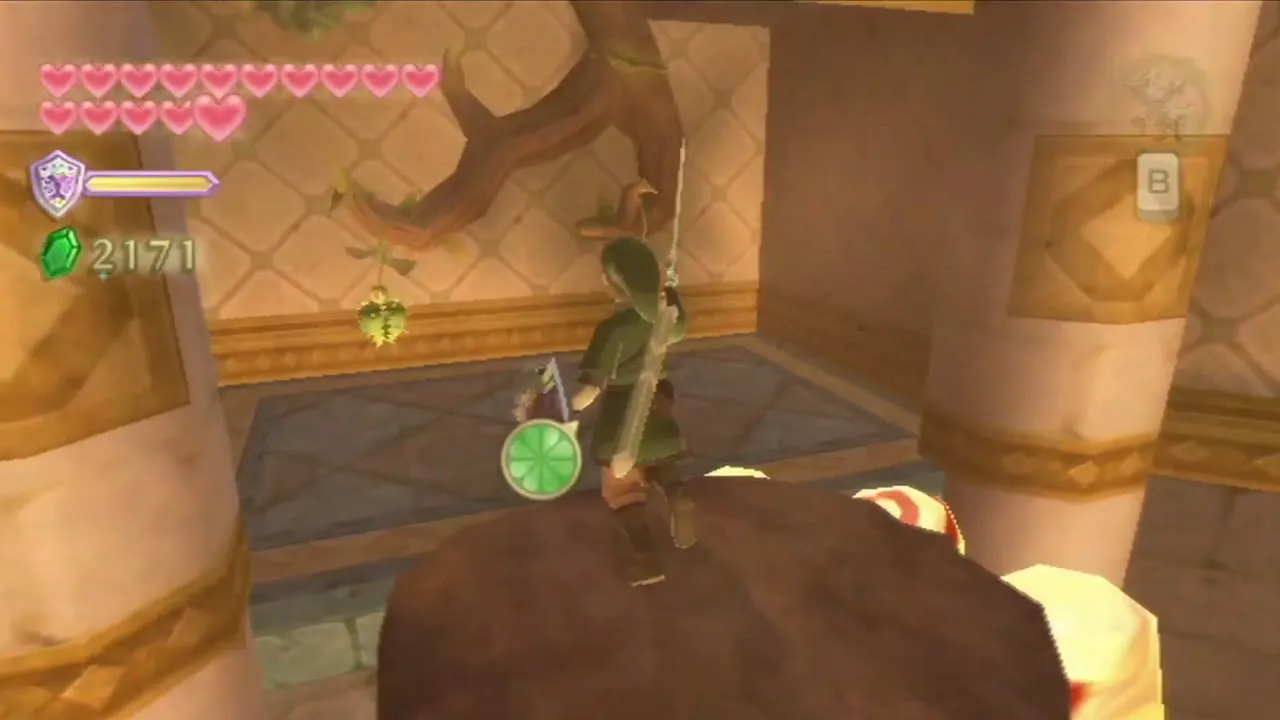
Cut the spiky plants as you climb the steps; they grow back. A chest at the first intersection holds a Red Rupee, and a pot nearby hides a fairy, which you can catch in an Empty Bottle. Take the upper west chest for a treasure. Pick a water plant off the ground with a sword jab so that it sticks to the blade, walk to the platform edge and swing the sword at the mouth of the frog statue. The water puts out the wall of fire. Defeat the Dark Keese and the Bokoblin, save at the Bird Statue and go on.
Magmanos fight and the Mogma Mitts
Magmanos pair mini-boss
The door locks behind you and you drop to a cage floor to fight two Magmanos. Stand on the rock beside you until a hand lifts it and sends you up to a ledge. Jab a water plant with your sword. Go back down and wait for a Magmanos to rise and follow you. Throw the water at it. Its lava turns to stone, and you strike it until the hand breaks. Repeat with the second one. The lava drains away and reveals a doorway.
How to get the Mogma Mitts
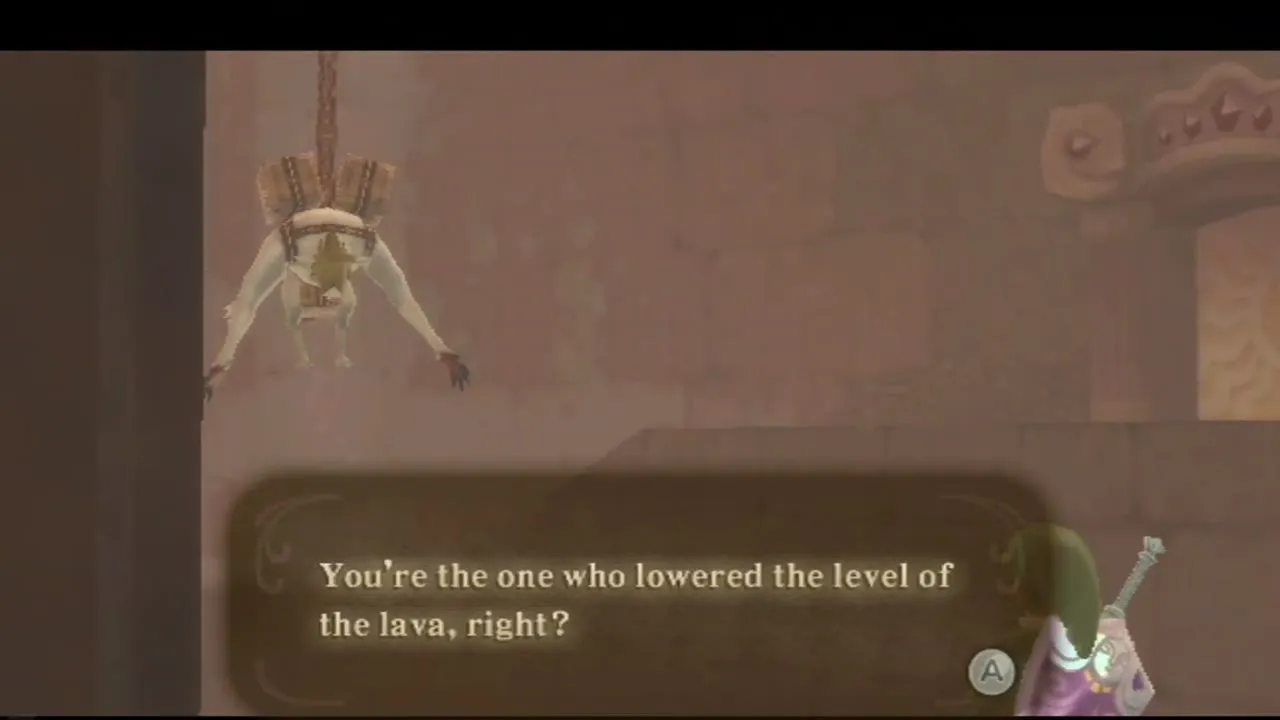
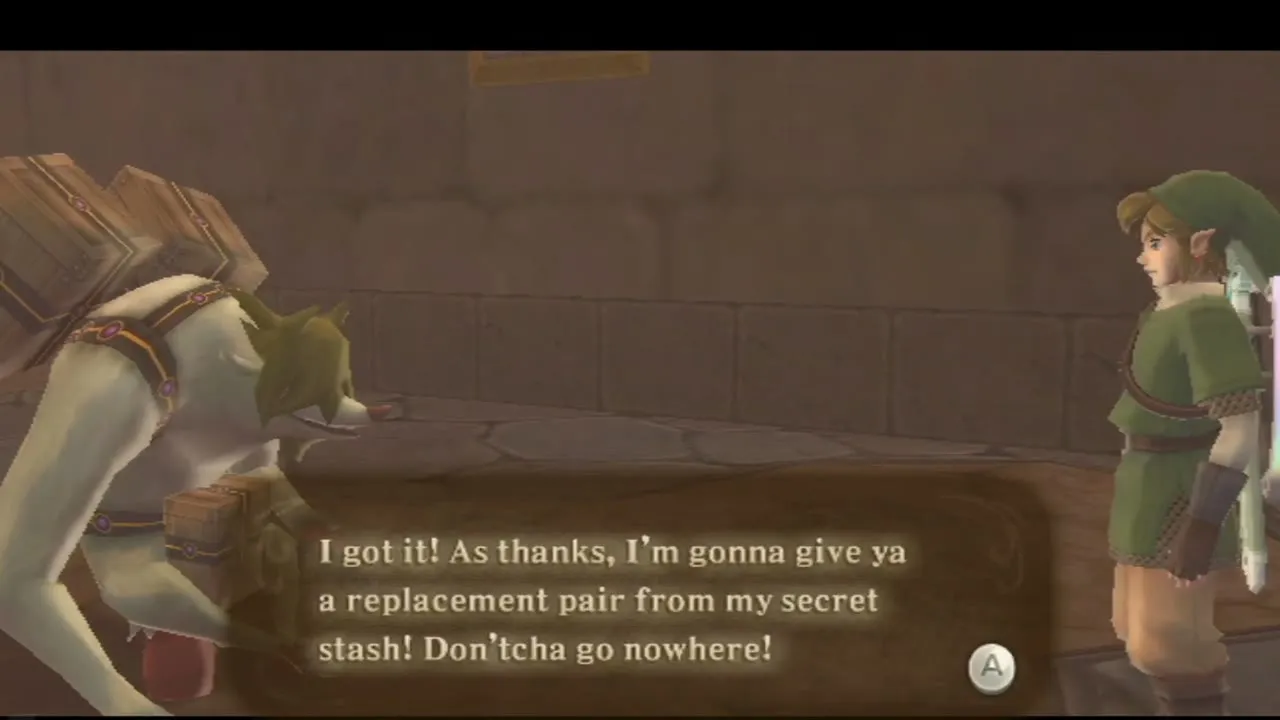
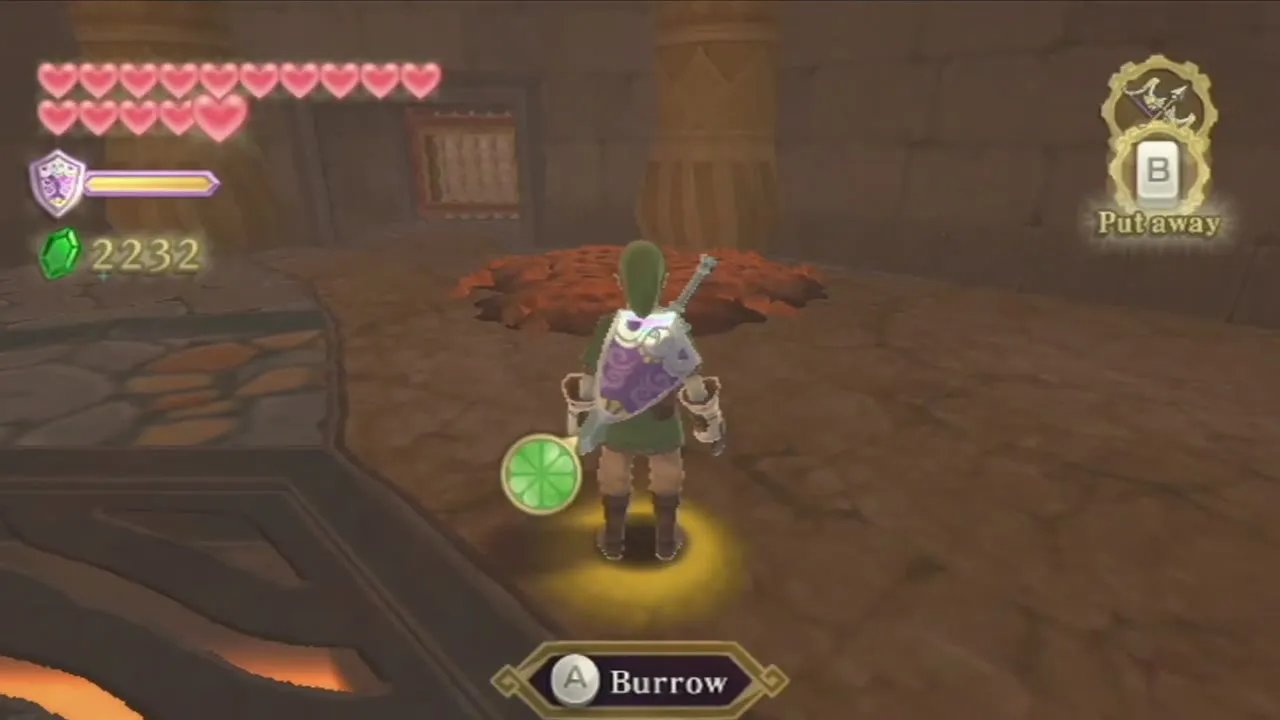
Beyond the door, a captive Mogma hangs over a pit. Hit the wall switch to lower him. This is Silva, another of the Mogmas exploring the sanctuary. As thanks he gives you a pair of Mogma Mitts from his secret stash. They work like the Digging Mitts but also let you burrow underground through the dark soil patches of the Fire Sanctuary.
How the digging tunnels work
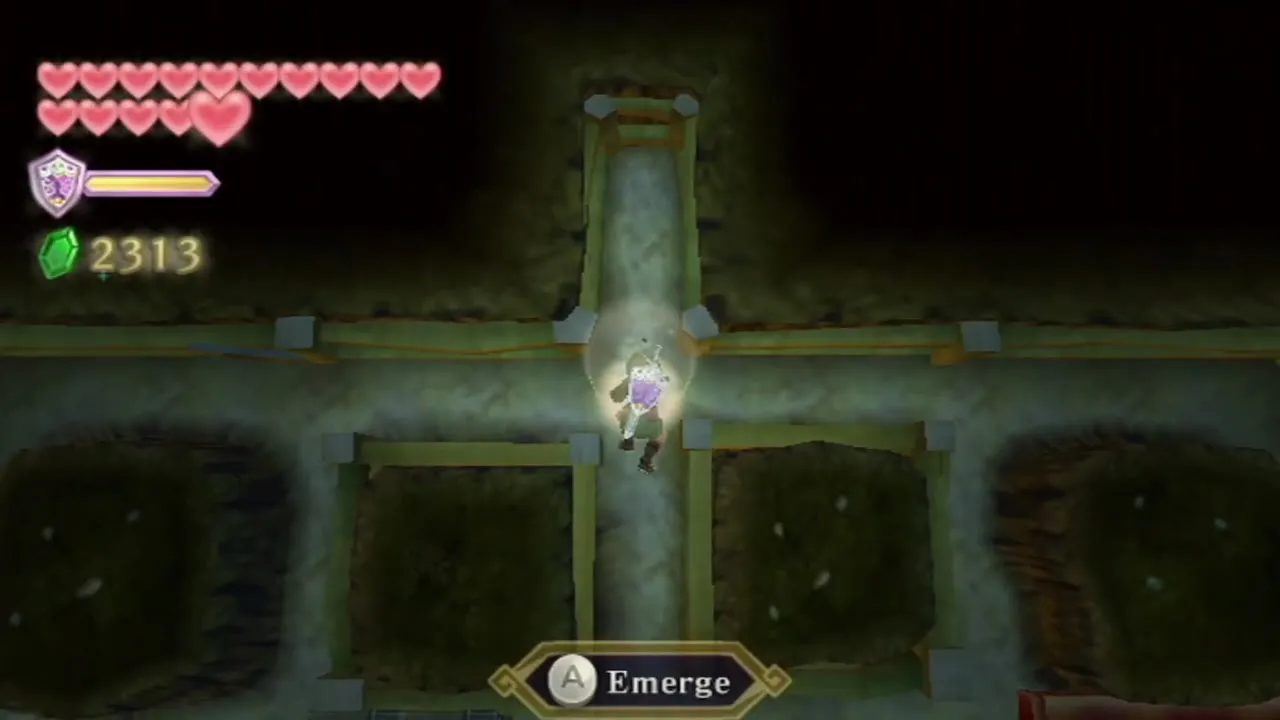
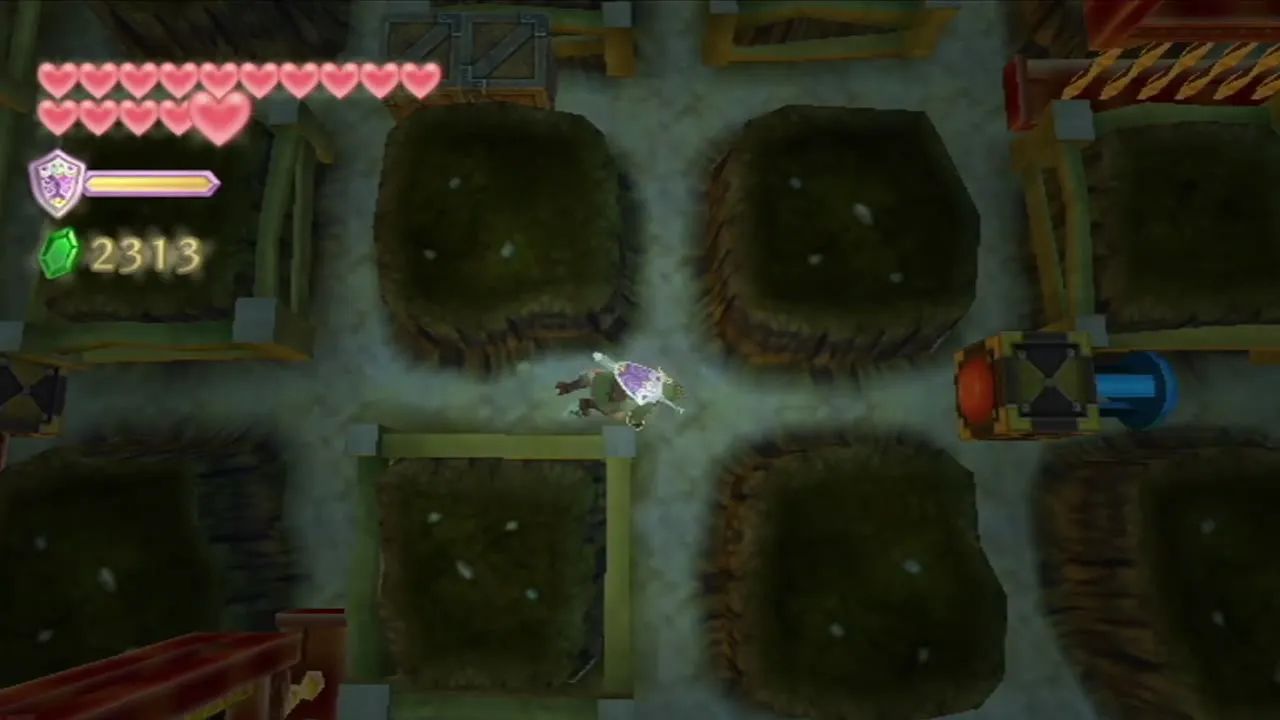
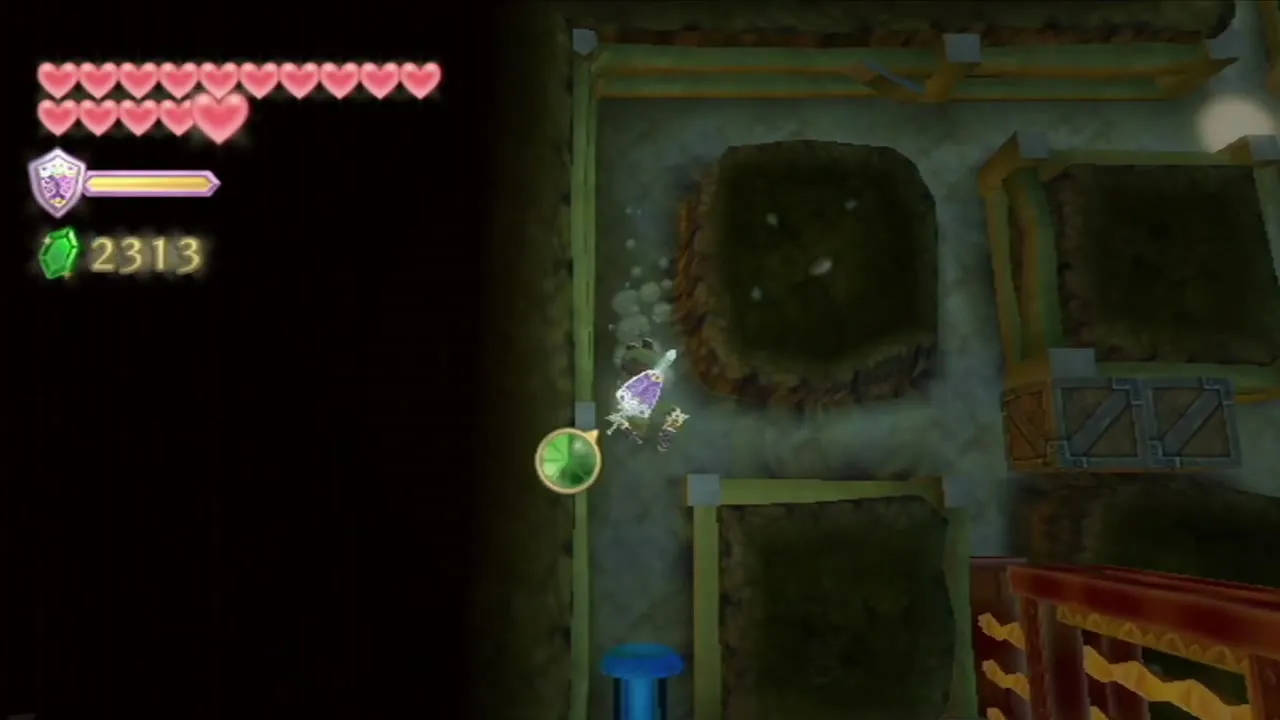
Step on a dark soil patch and press A to dig in. Underground you see a grid of tunnels. Steer along the tunnels, claw through soft rock with the Mitts and roll a Bomb along a tunnel to destroy a boulder that the claws cannot break. Hit a switch and walls above or below move. Tunnels and switches are the main puzzle in the second half of the dungeon.
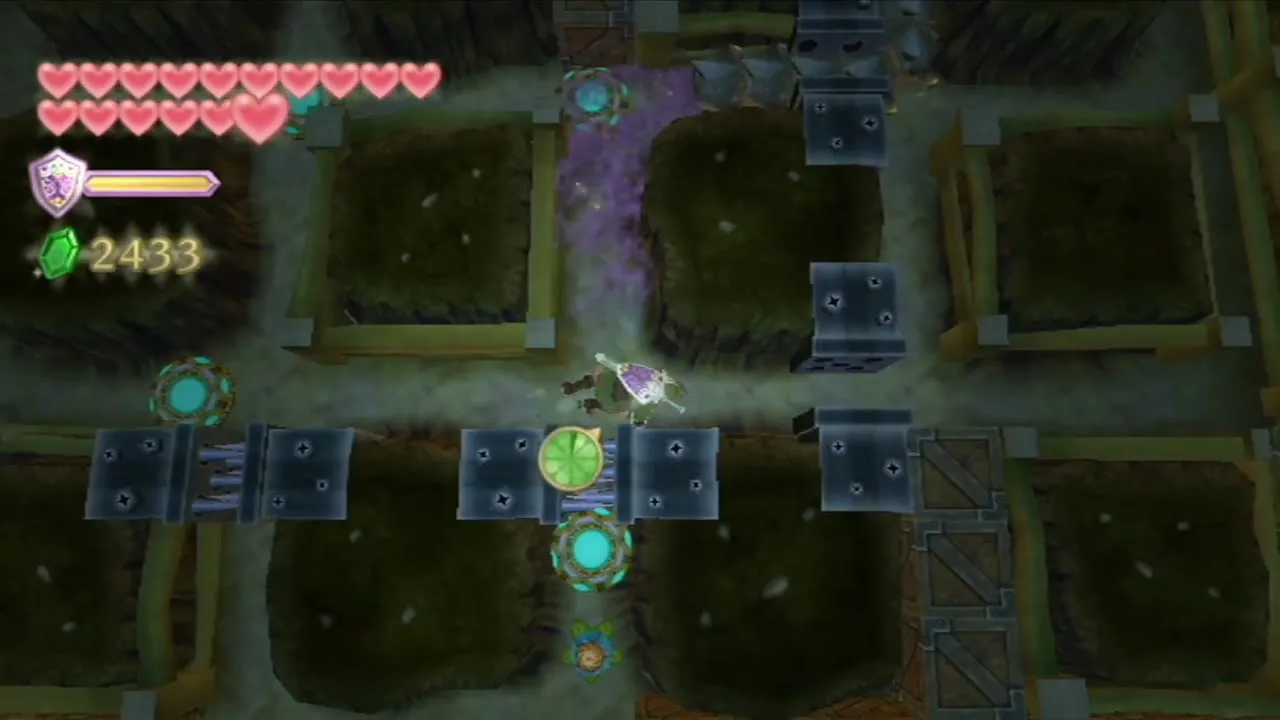
Your first tunnel starts in the cage area. Dig through the soft rock, hit the red switch to move a wall and surface in the room you passed. Defeat the Blue Bokoblin there and step on the floor switch to move the barricade.
Empty Bottle 4 and the Dungeon Map

Fire Sanctuary Empty Bottle
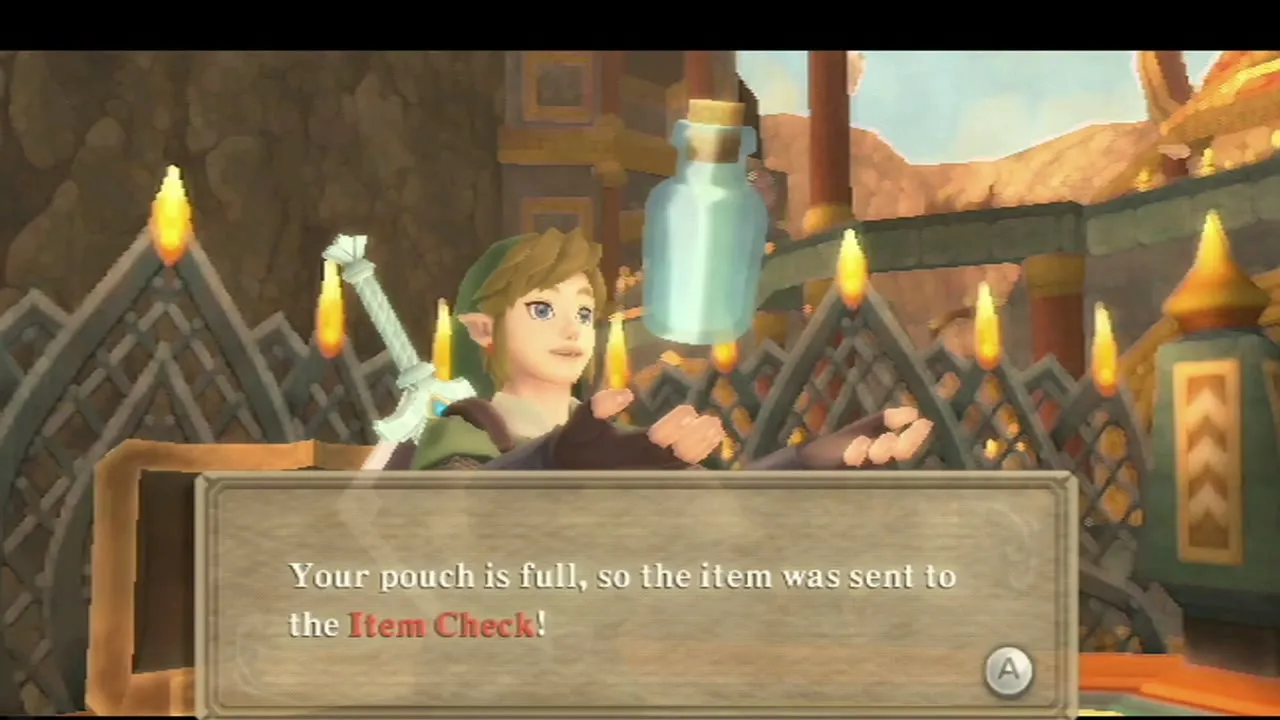
From the bridge, go left through the door. Dig into the soil beside the first Magmanos room and hit the blue switch underground. Surface, pass the moved gate and step on the floor switch to open another gate. Beat the Magmanos in that room with a water plant as before, walk west and open the chest to take Empty Bottle 4. This is the fourth bottle of the five in the game.

Dungeon Map and the hidden room
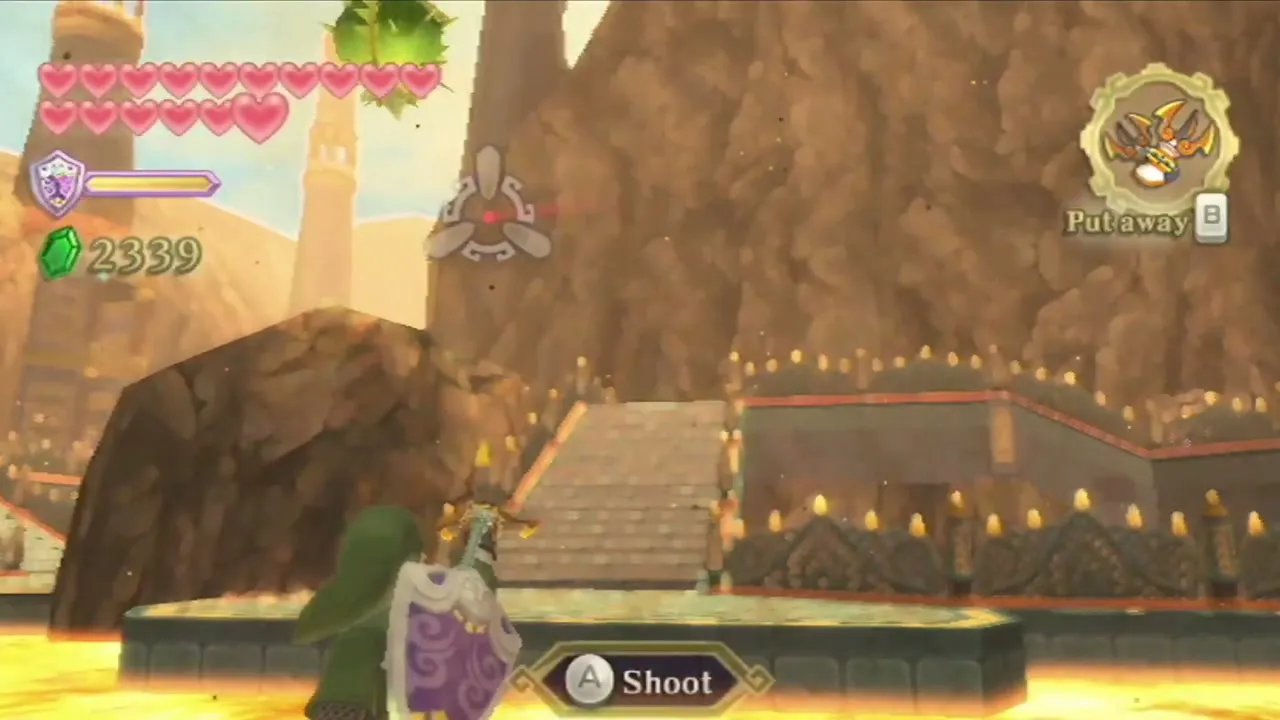
Go back to the outdoor bridge and shoot the Bokoblin Archers across the gap with the Bow. Use the Clawshots on the pillars to pull yourself across and go in at the door. Dig into the soil in the second Mogma room and hit the tunnel switches in the right order. Which order is right depends on the direction you came from, so try the other switch first if the doors look wrong. Pick a water plant and fling it at the frog statue to put out the fire wall.
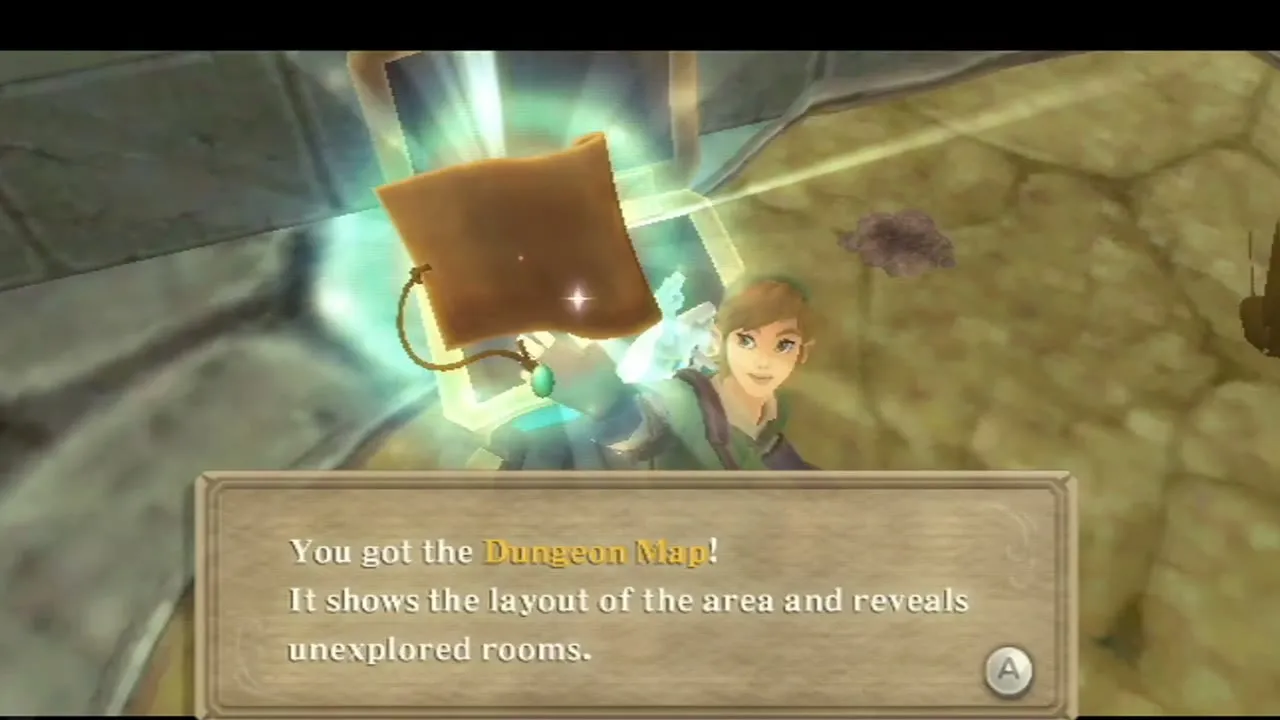
Free the captive Mogma. He digs up a chest with the Dungeon Map. Check the map for the cracked wall in the east of the room. Bomb it to reveal a hidden room with a small soil patch inside.
Moldorm tunnels and the third small key
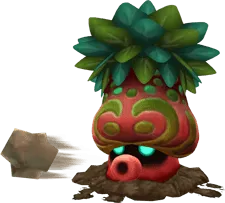
Moldorm in the tunnels
Dig in at the soil in the hidden room. A Moldorm is crawling in the tunnel. Hit its tail from behind with your claws, three times in all. Each hit shortens it and makes it faster. Surface at the other exit.
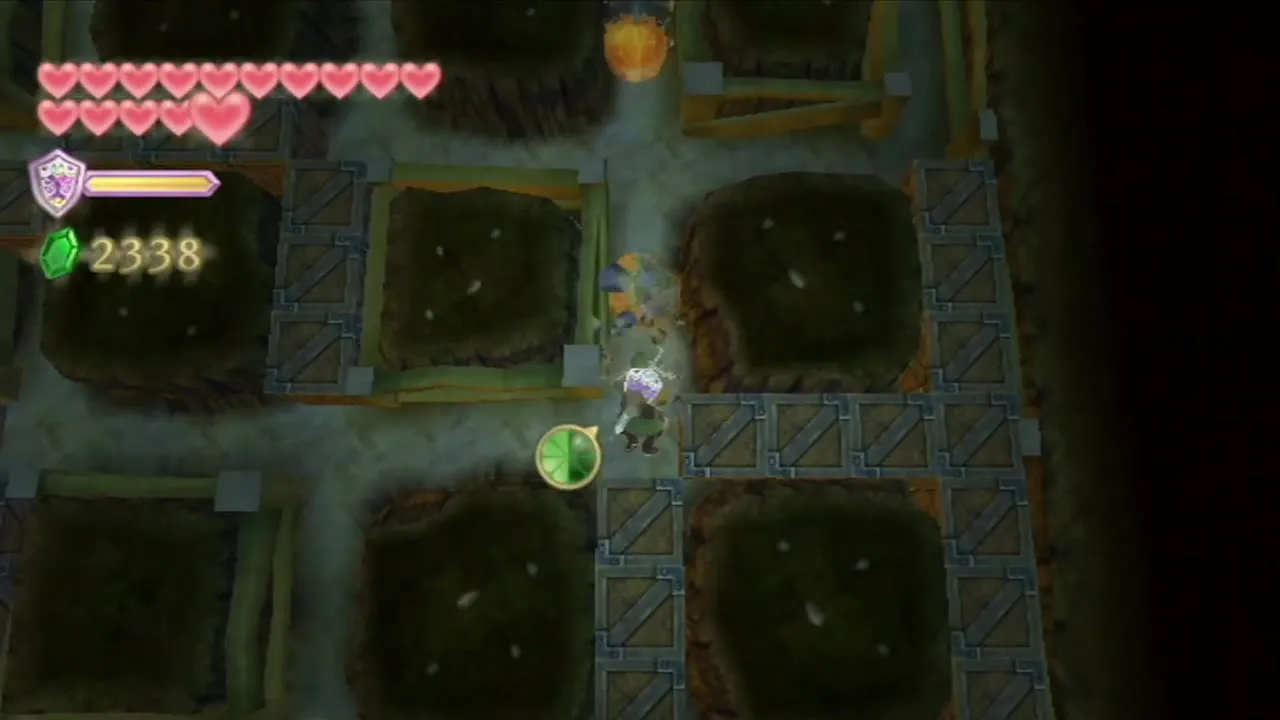
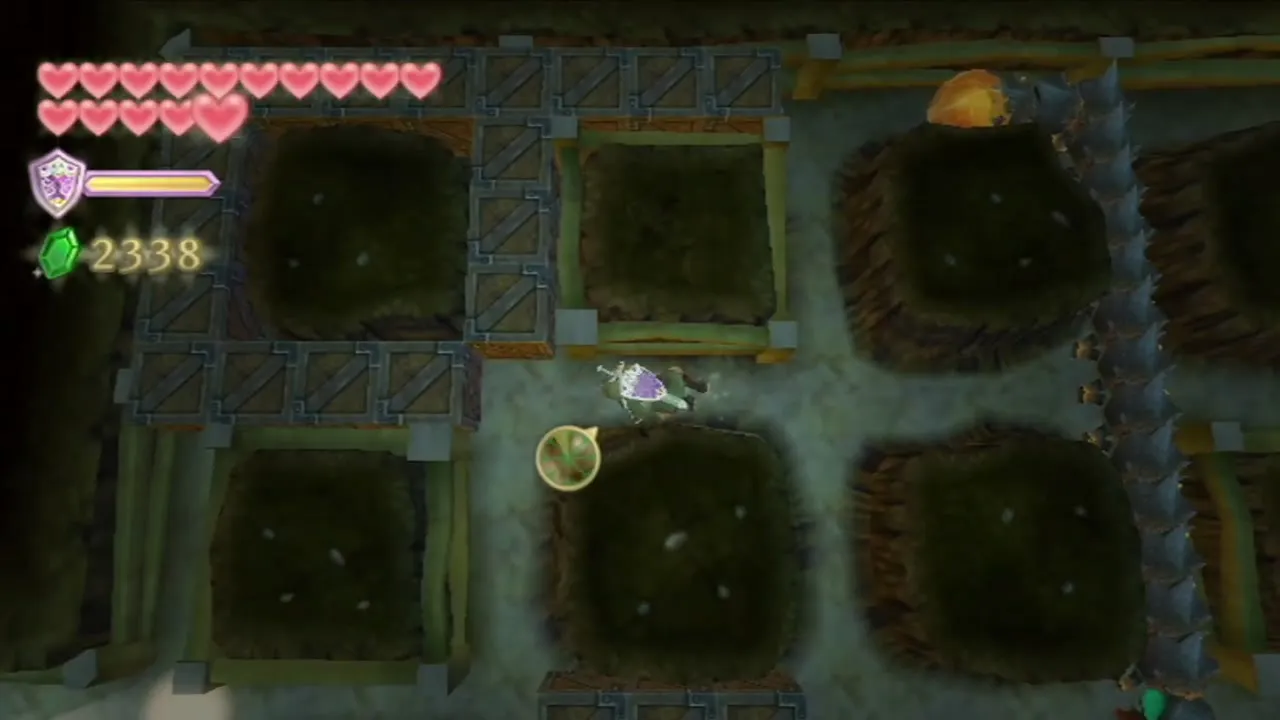
The chest in the next room holds the third and last small key of the dungeon. Climb the vines, drop off the ledge, shoot the distant archer with the Bow and Clawshot back across. Go down the stairs, turn right and use the key to open the locked door.
Piece of Heart: the Mogma tag game
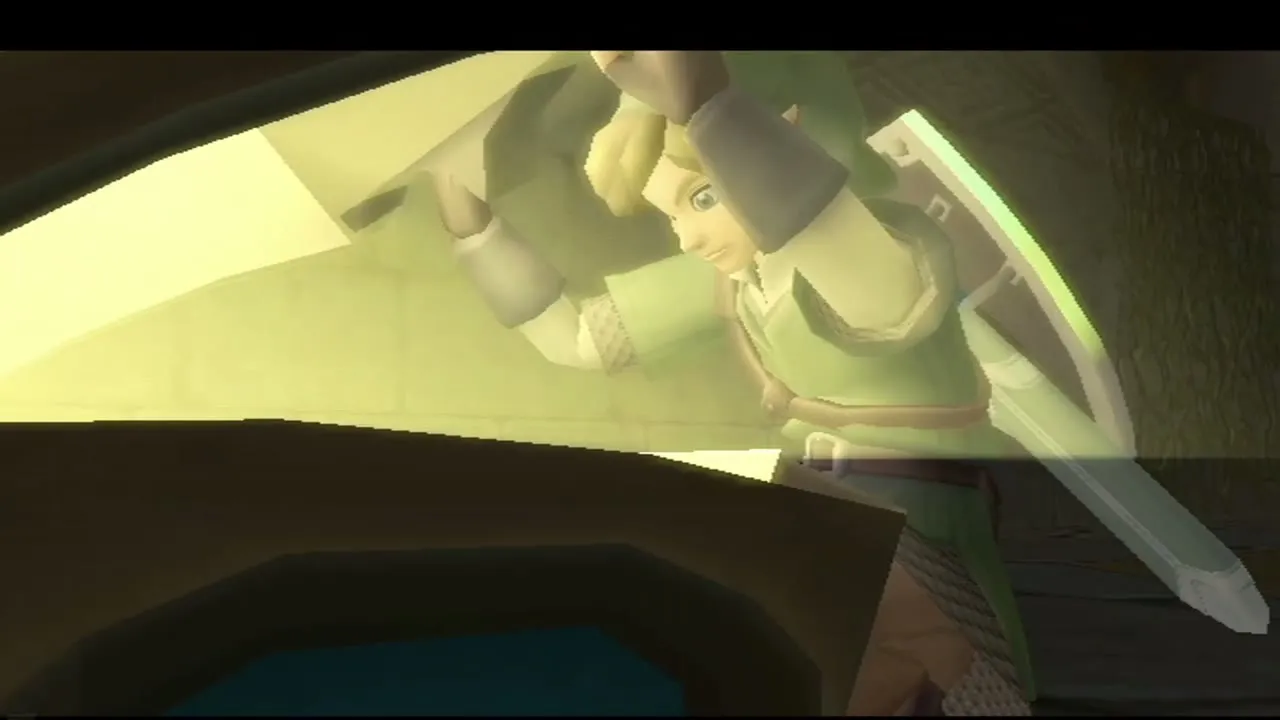
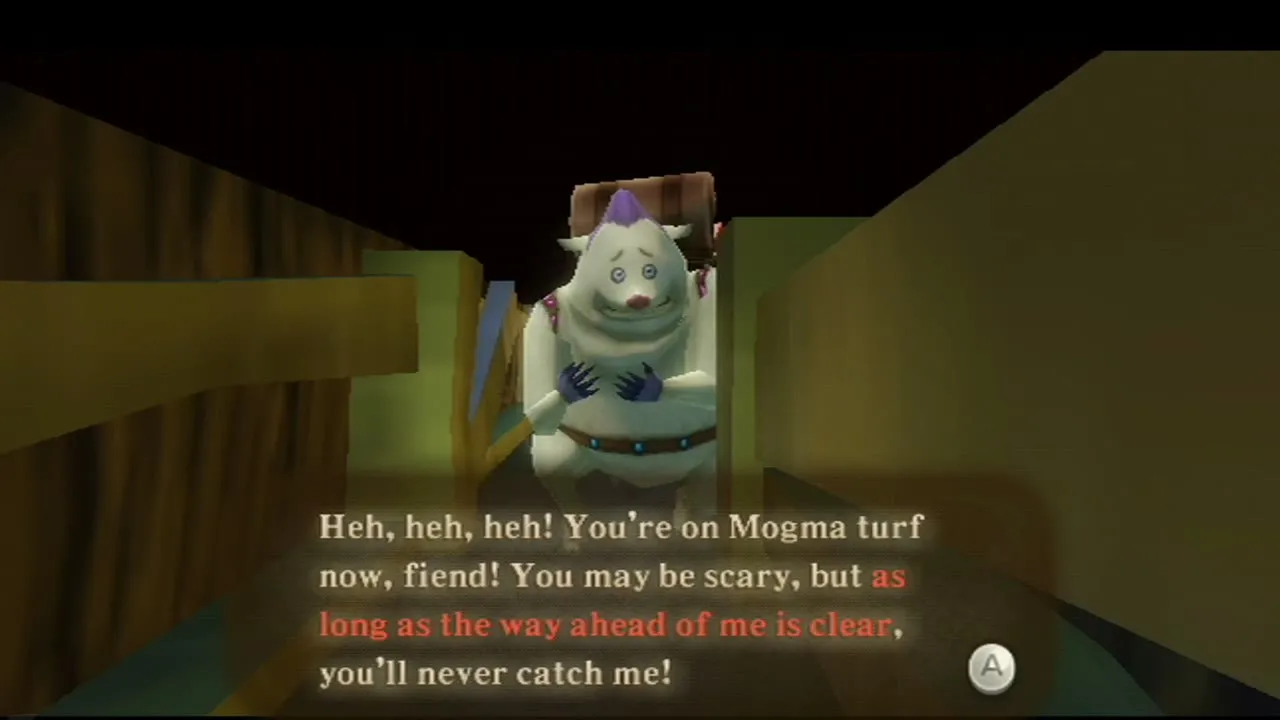
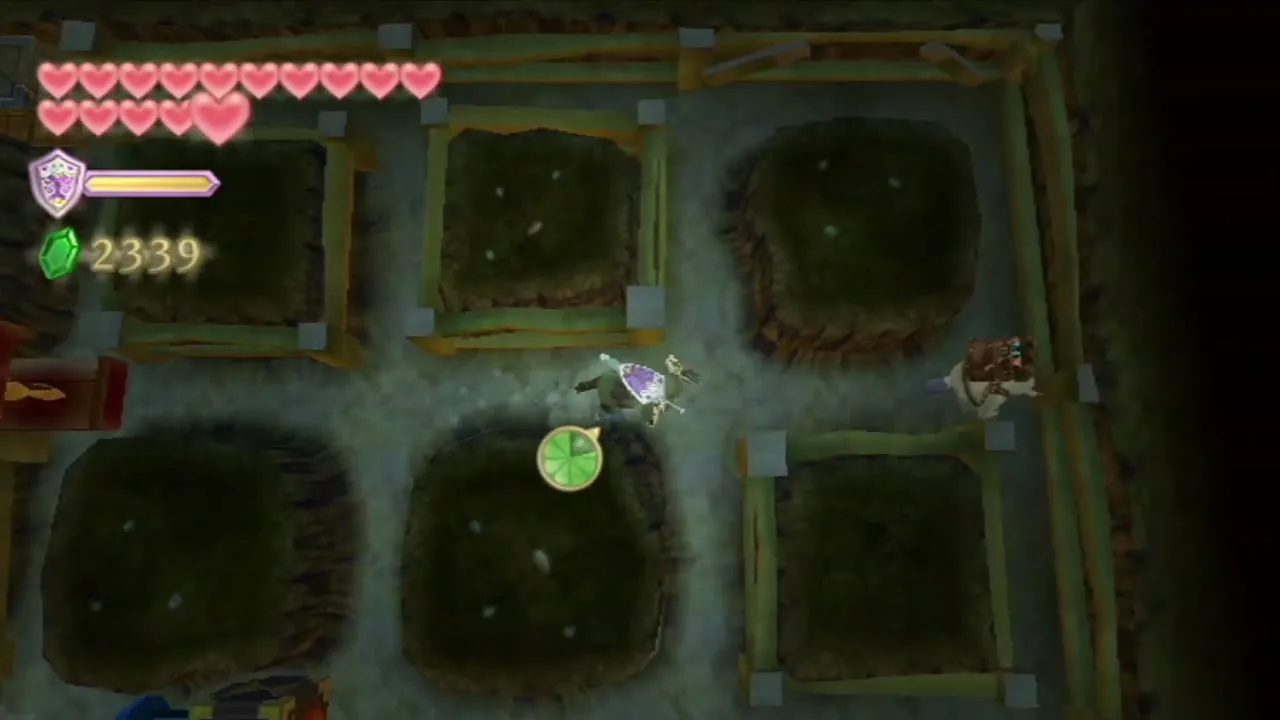
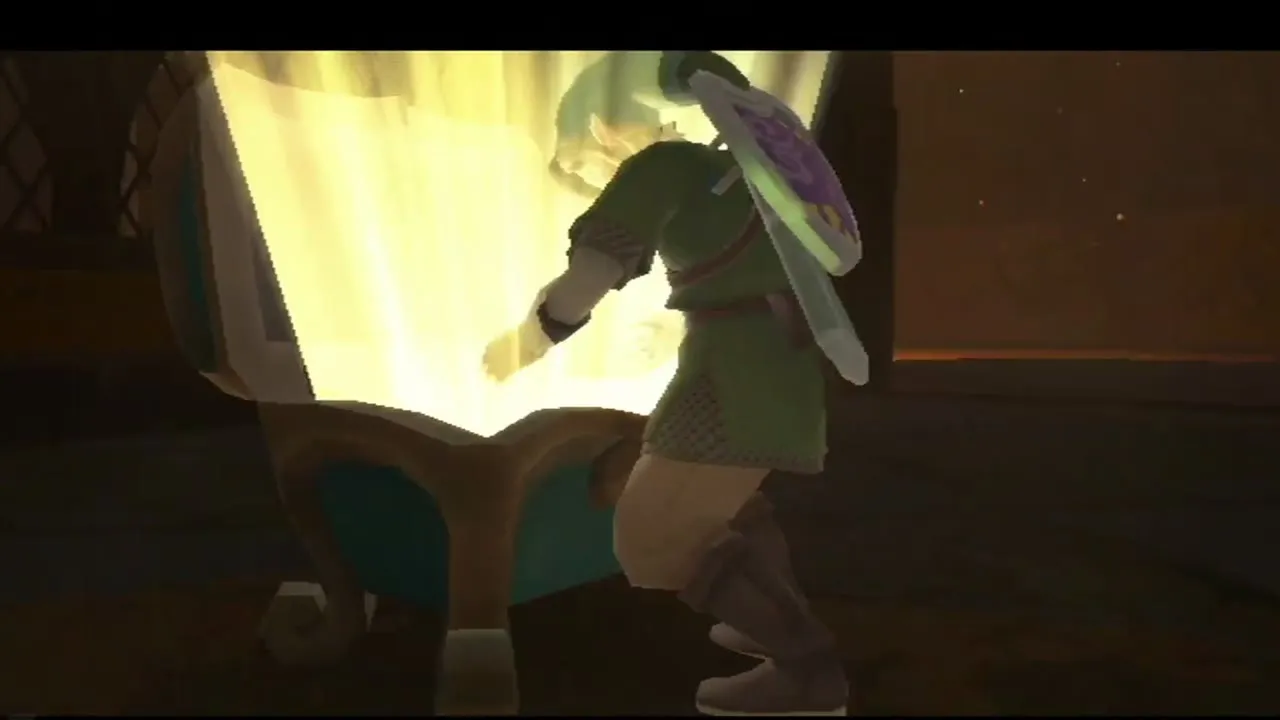
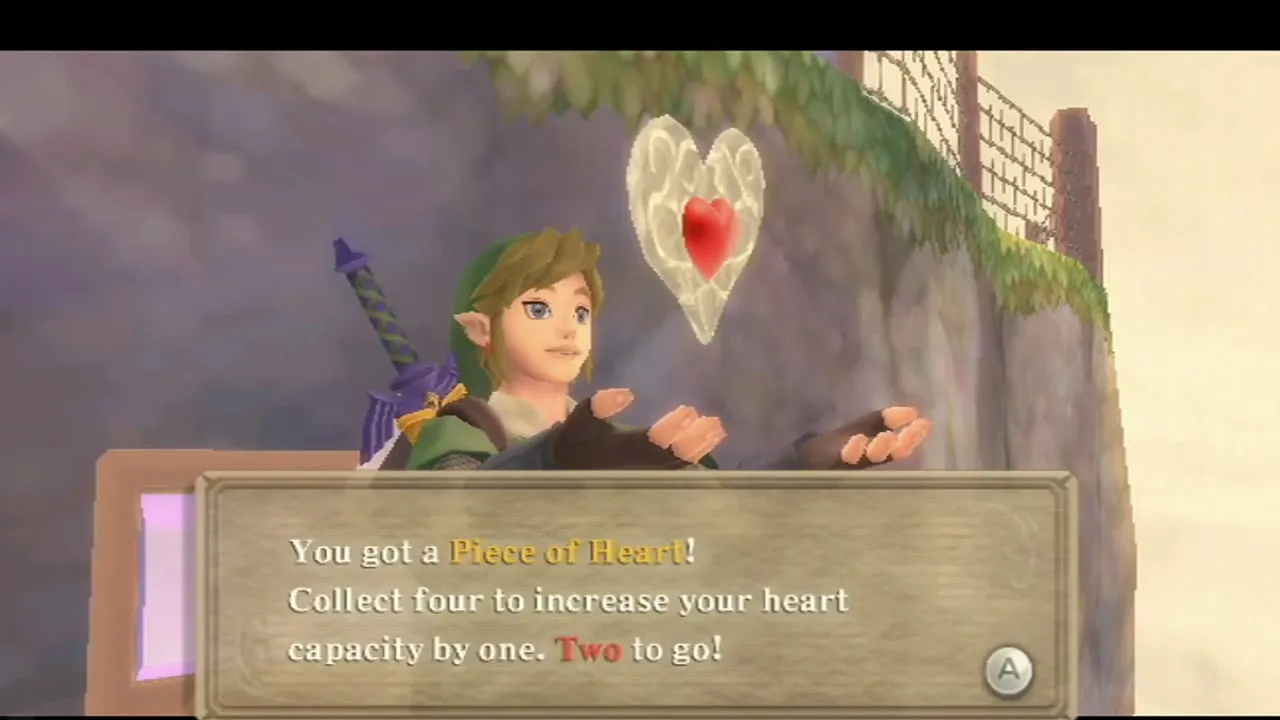
Beat the Bokoblin and the Cursed Spume on the far side and make a platform from the water plant. After the Dark Keese and the Blue Bokoblin, shoot the Cursed Spume with an arrow and dig into the soil on the far side. Hit the switch in the tunnels. A second Mogma runs in and flips it back. Stand in the middle and catch him as he comes round an edge of the grid by running into him. Once caught, he lets you open a chest holding a Piece of Heart.
The boulder and the flooding room
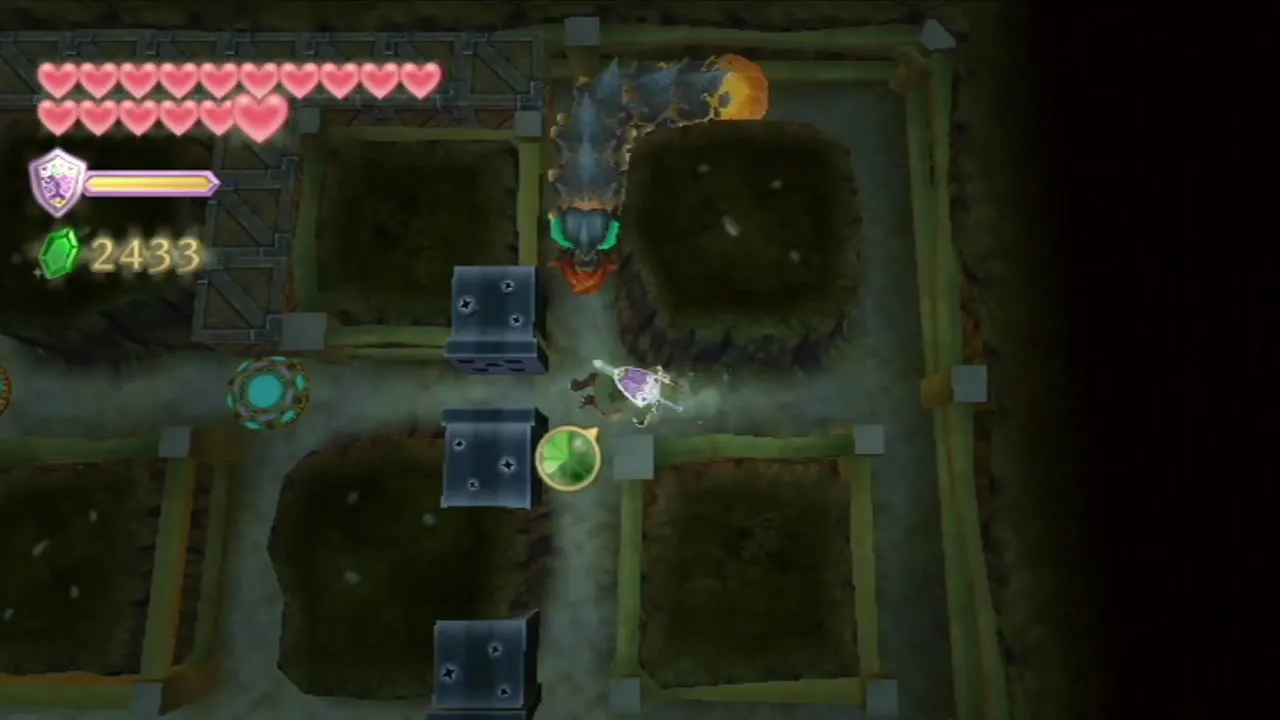
Surface, kill the Cursed Spume and Dark Keese, hit the water plant to make a platform and ride it to the end of the path. A Bird Statue stands there. Dig back into the tunnels through the middle soft rock and hit the Bomb to blow open the boulder, then leave quickly because the room floods with lava. Step on the floor switch to open the gate, go right into the big room, make a platform with a water plant and ride the lava to the ledge. Climb the steps, turn right and dive off the left edge, then open the Sailcloth to land softly near the statue.
Goddess Walls and the statue puzzle
Goddess Wall rupees
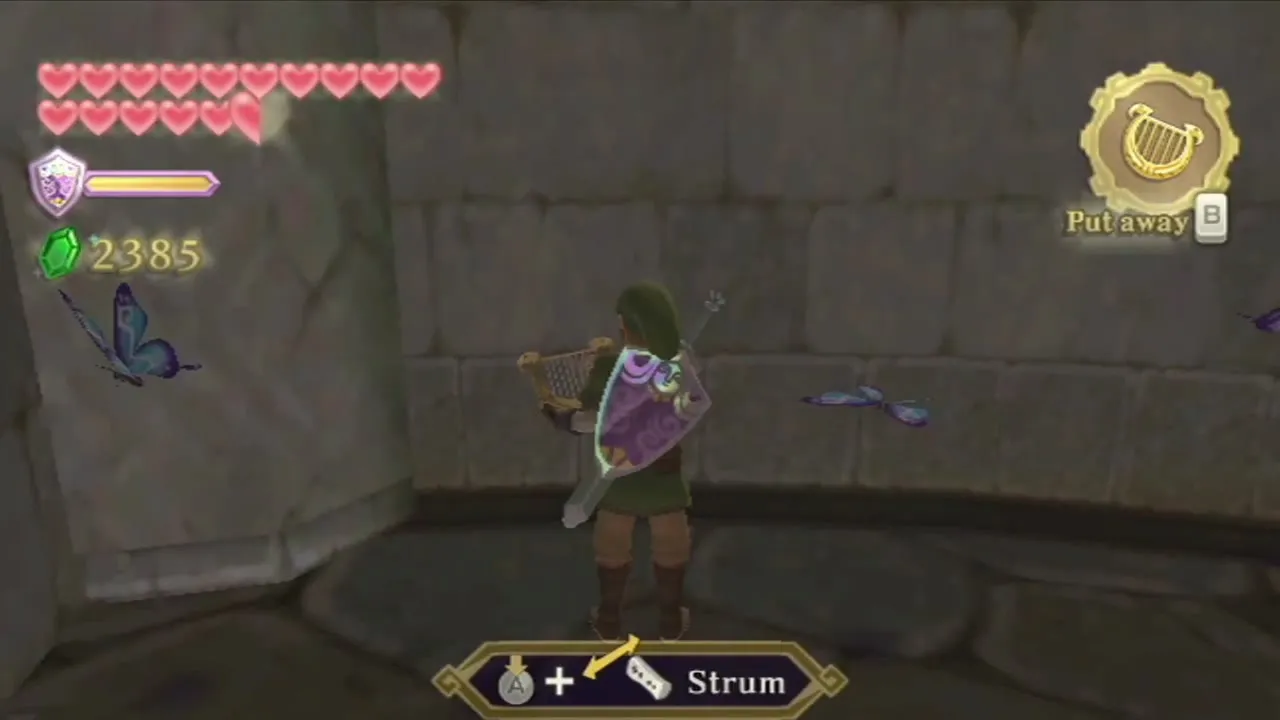
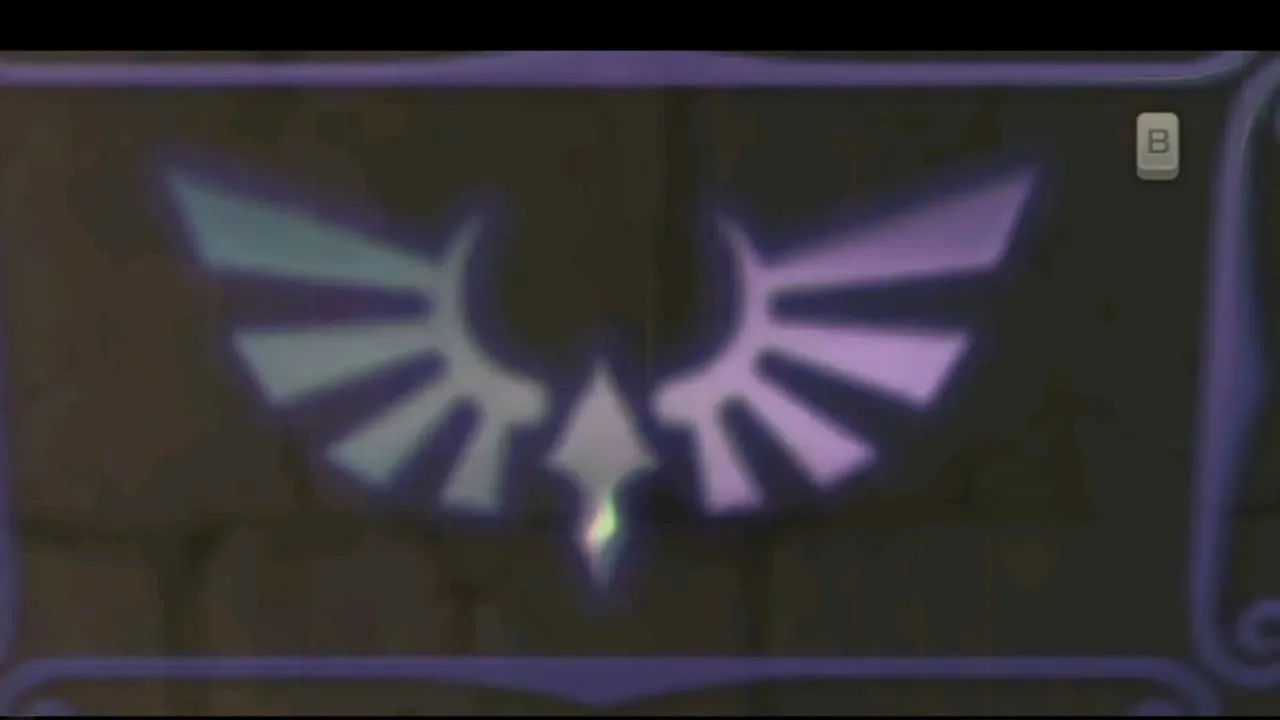
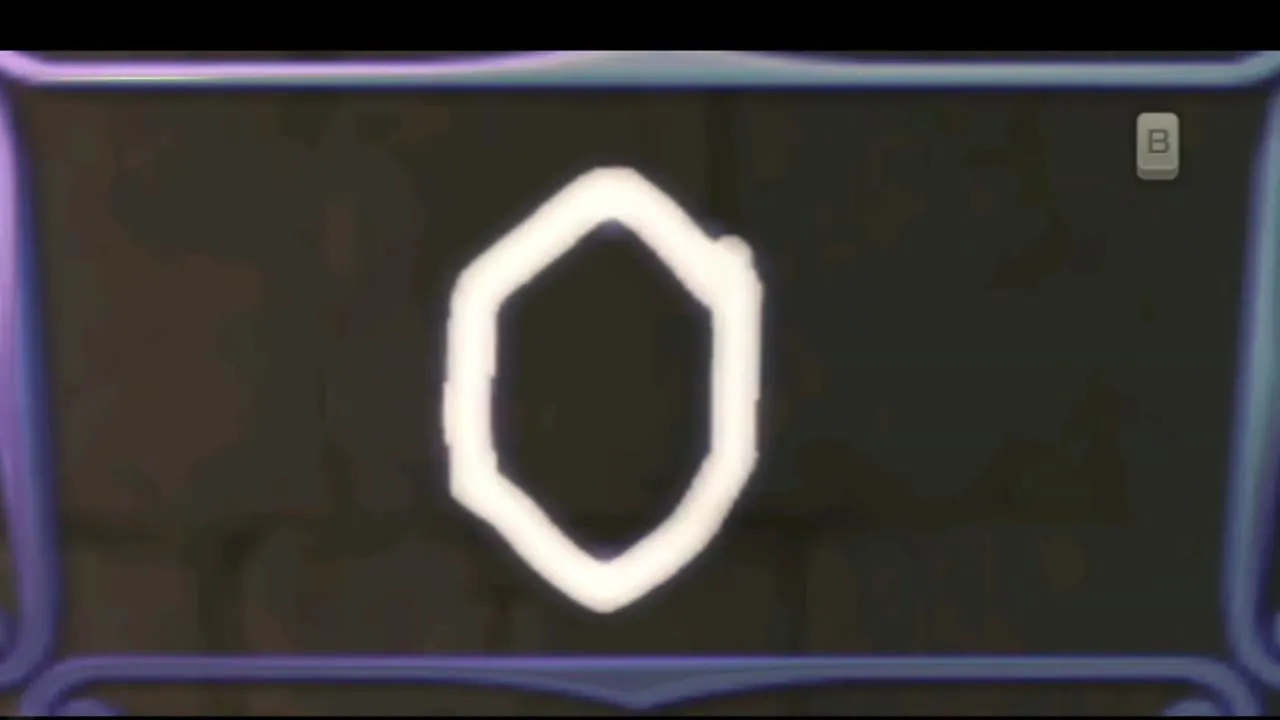
Blessed Butterflies near a wall on these stairs mark a hidden Goddess Wall. Walk up to the butterflies, take out the Goddess’s Harp and strum it to reveal the wall, with the Goddess Crest in its center. Then charge a Skyward Strike and draw the shape of a Rupee, a hexagon, on the wall with your sword. The wall pays out Rupees.
Two Dark Lizalfos and the spiral stairs
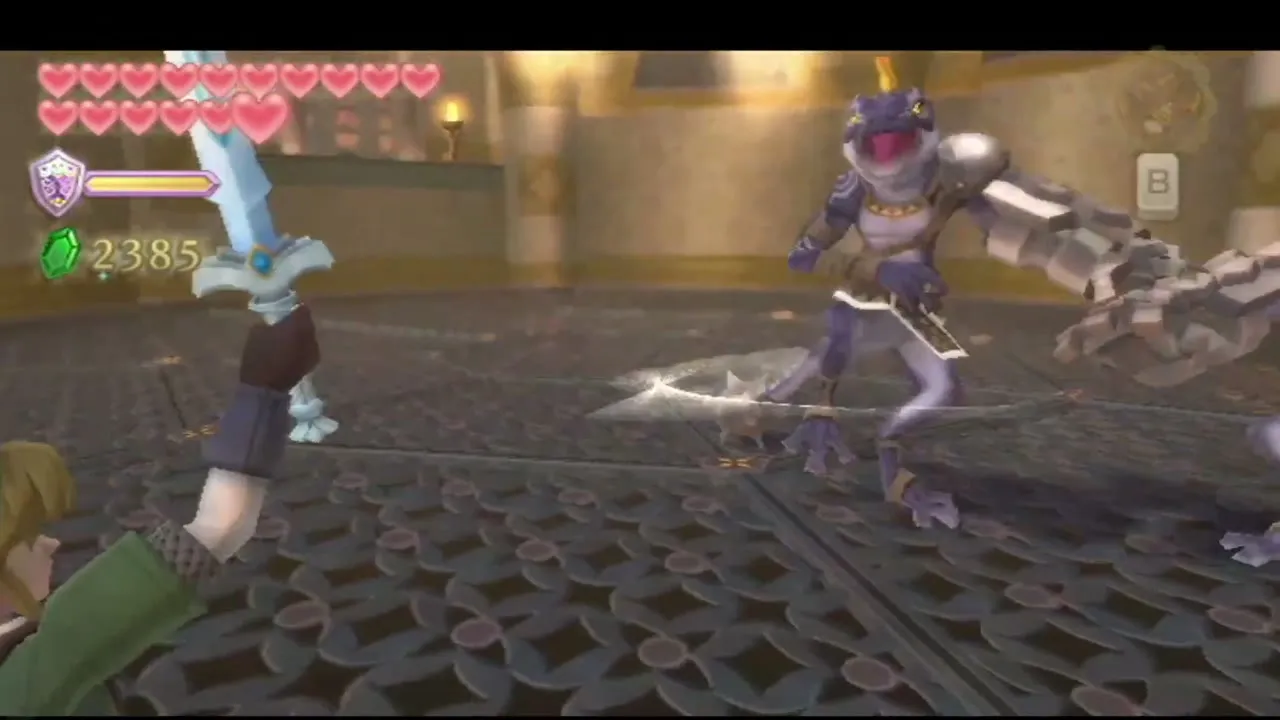
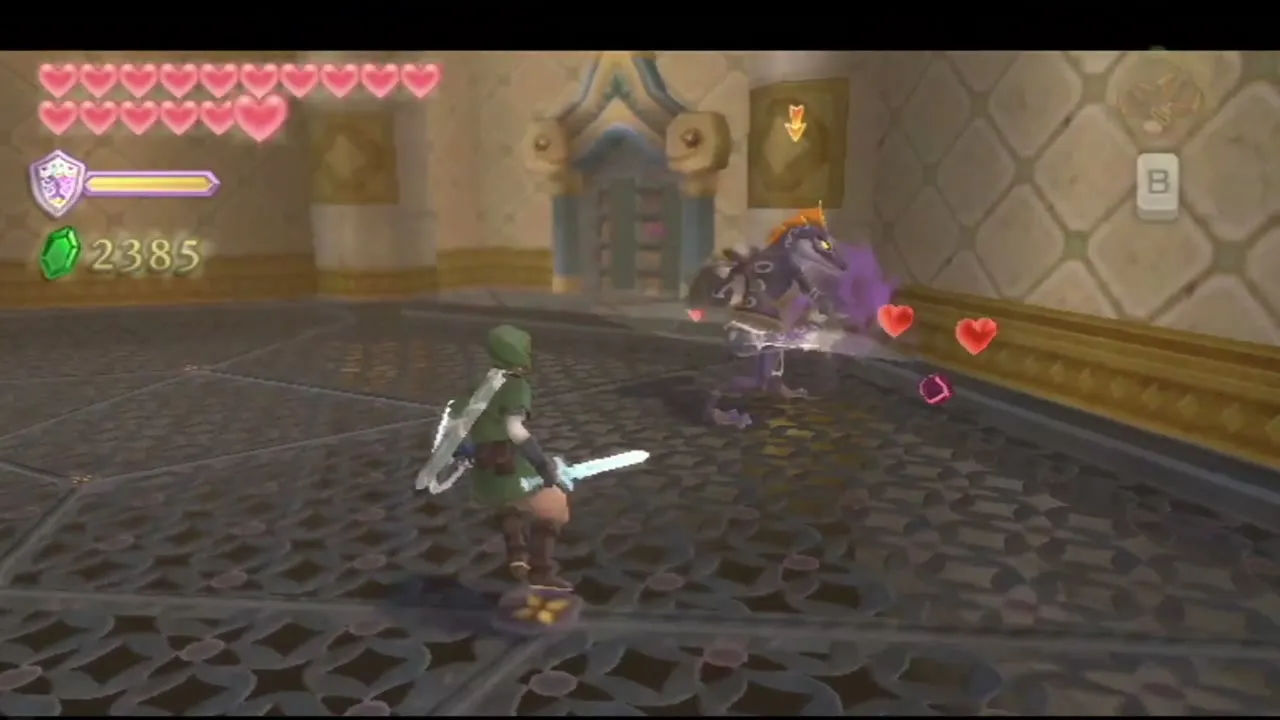
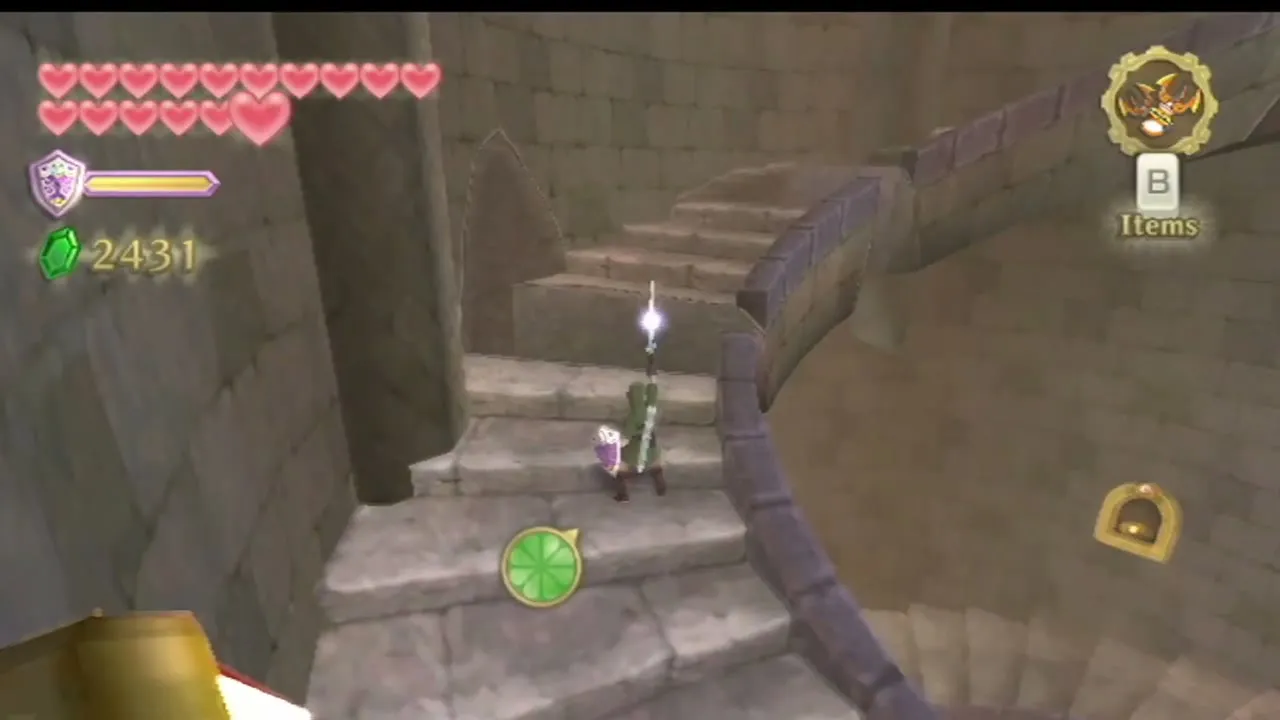
Go through the door up the stairs and defeat the two Dark Lizalfos. Climb the spiral stairs, shoot the Clawshots at the vines to reach a chest with a treasure and continue to the door at the top.
The statue puzzle: light by the number of wings
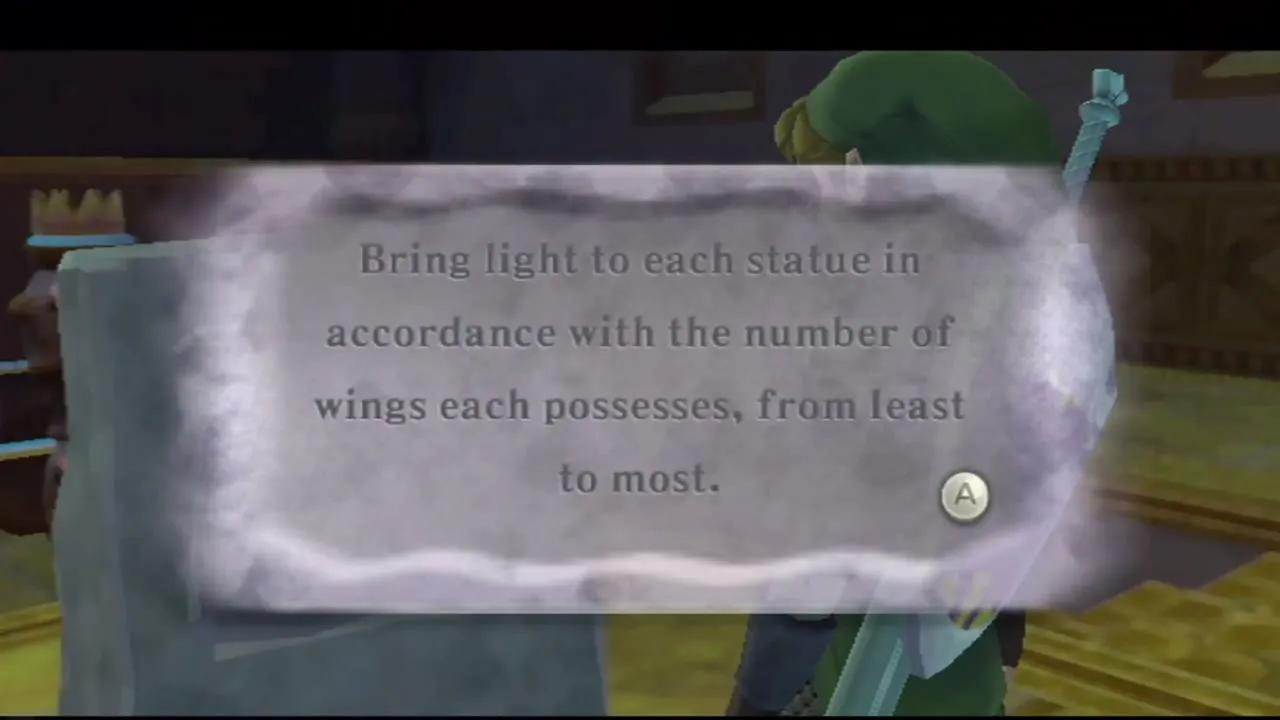
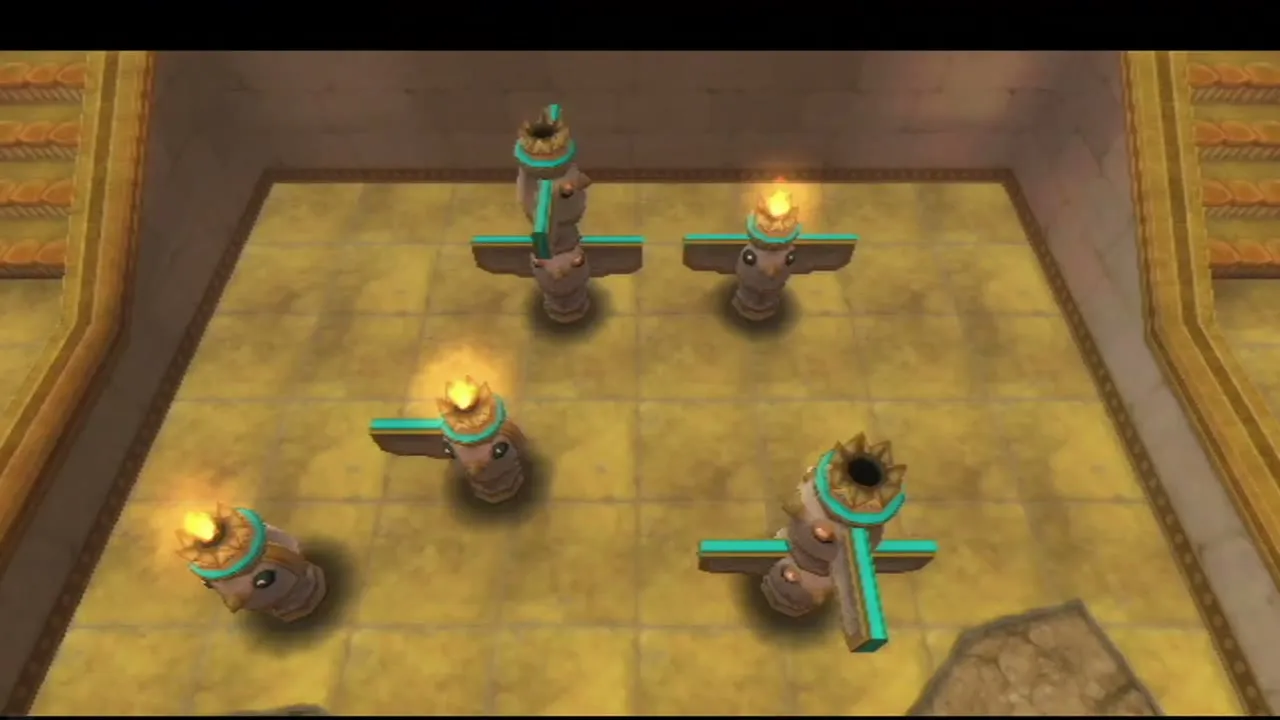
A stone tablet tells you to bring light to each statue in line with how many wings it has, from fewest to most. Underground, work through the orange switches in that order. Crawl over the first two, blow open the boulder with a Bomb without touching the switch near it yet, then crawl onto the third switch and finish with the fifth. Each switch lights a statue above.
Second Moldorm and the Mysterious Crystals
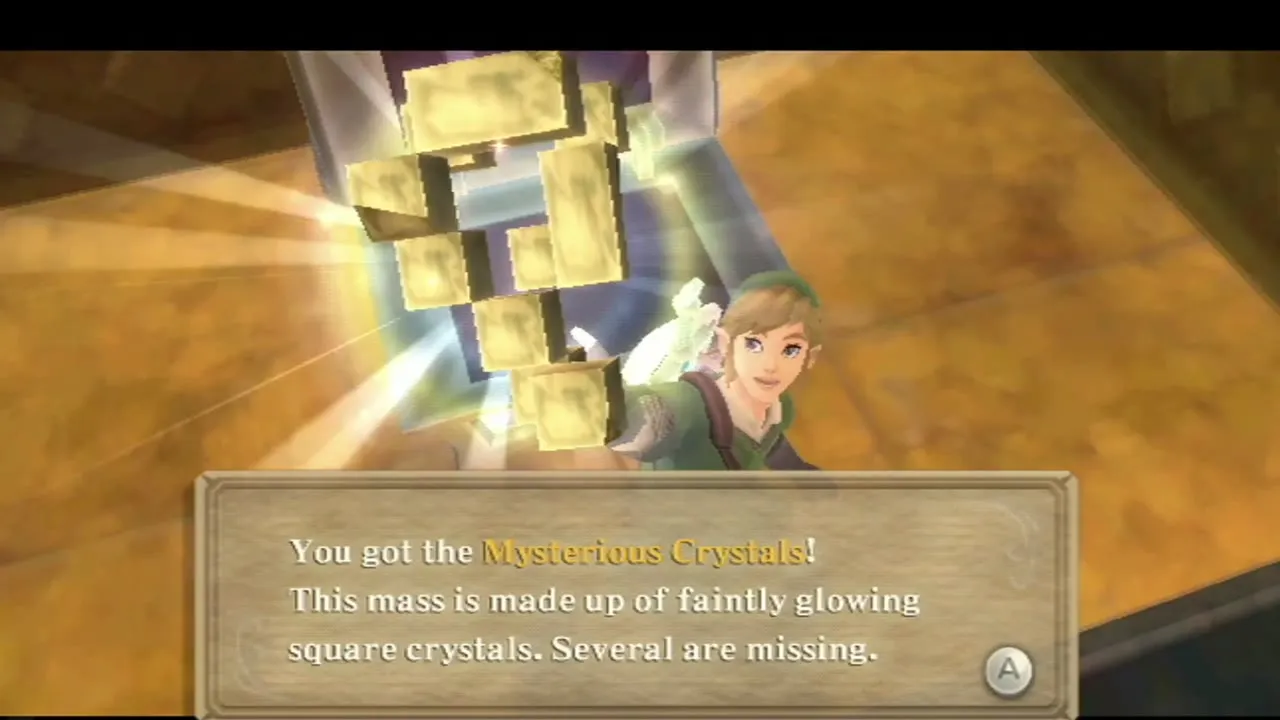
A second Moldorm slithers through these tunnels. Hit its tail three times as before and surface. The gate above is now open. Take the steps up and open the chest to receive the Mysterious Crystals, a lump of glowing stone that acts as the key to the boss door. Smash the pots on the way for hearts and fairies. Step on the floor switch and save at the Bird Statue.
Boss door and Ghirahim
How to open the boss door
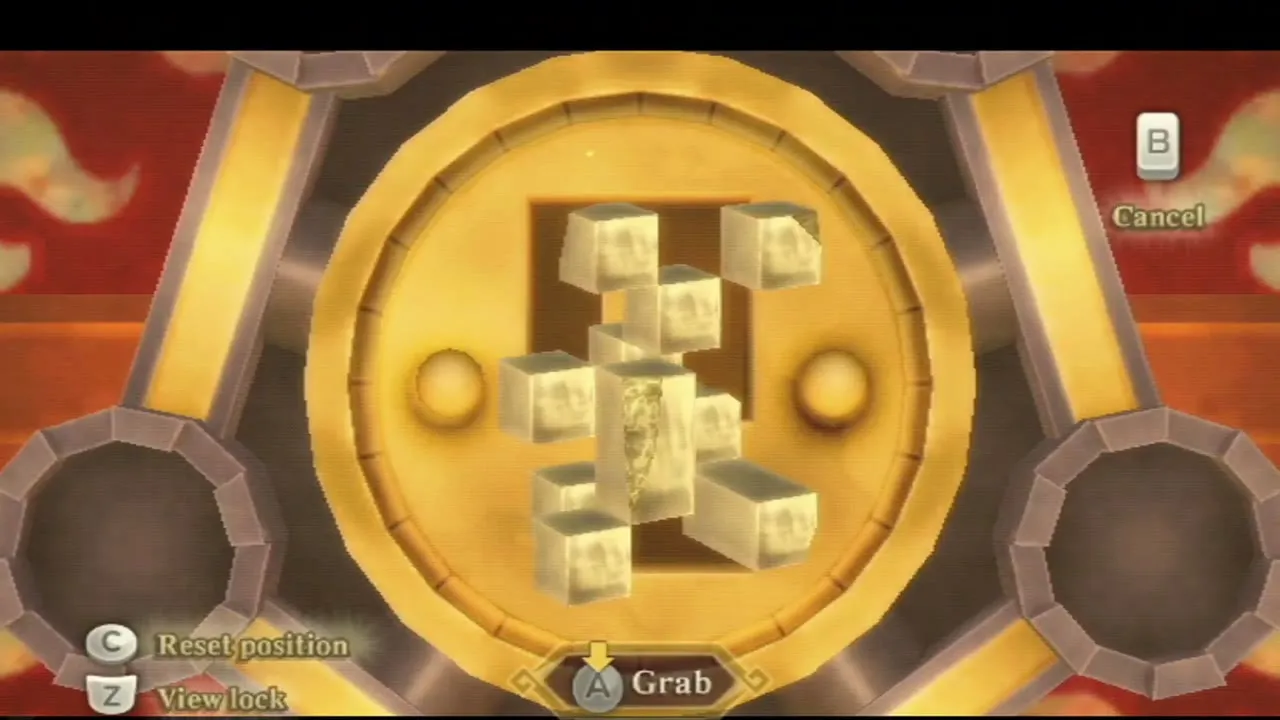
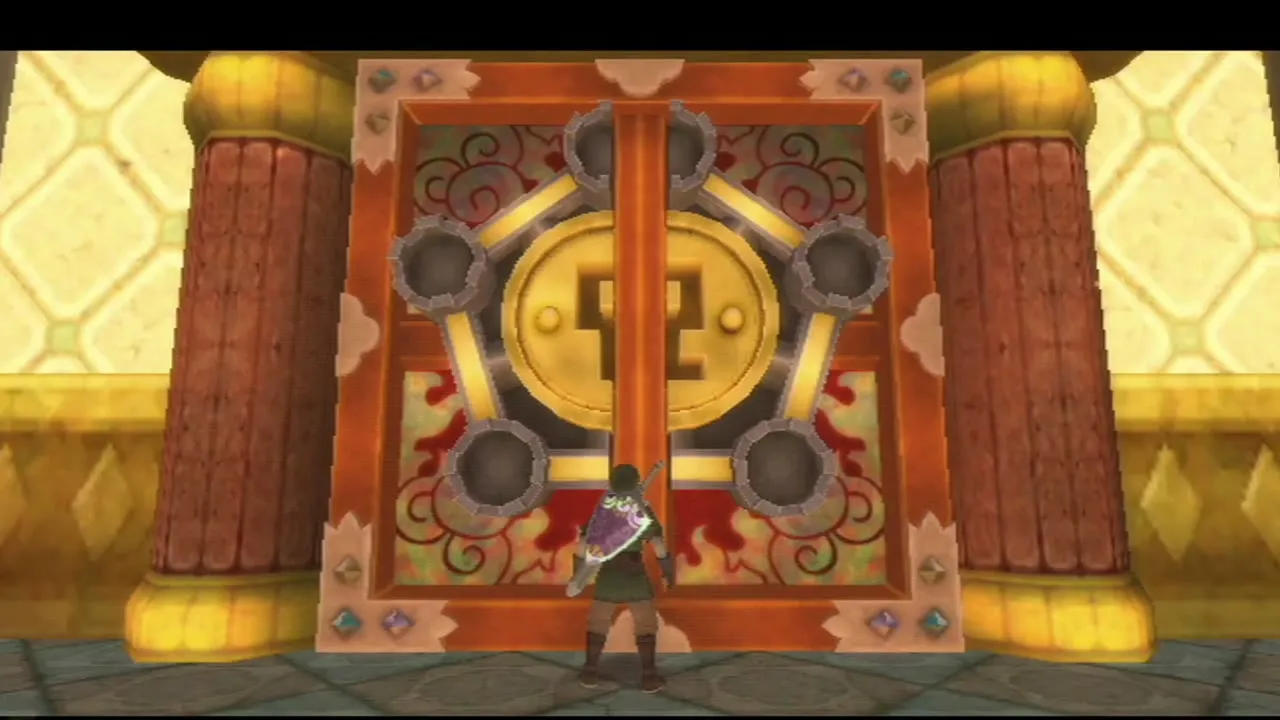
Climb the northern steps to the big golden door. Face the round lock and set the Mysterious Crystals into it. Attach the crystal pieces on the disc until they join into a single clean shape, and the doors swing open. There is no Boss Key in this dungeon; this puzzle takes its place.
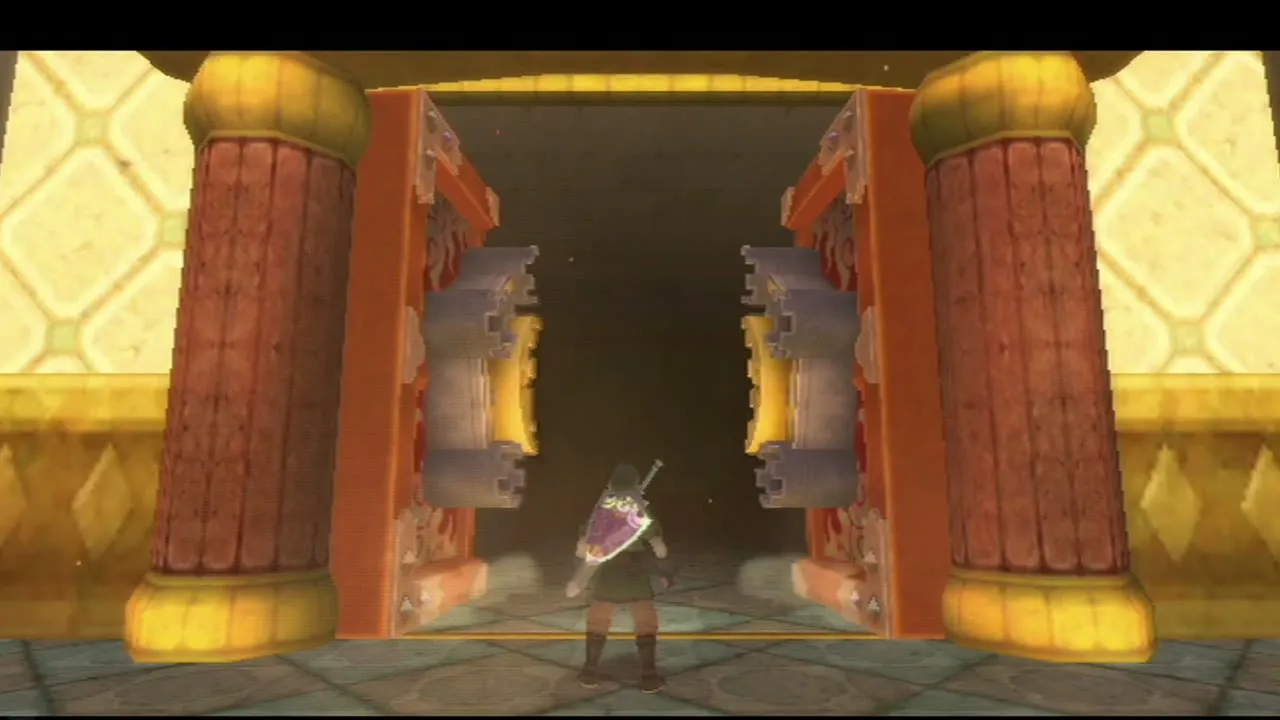
Meet Ghirahim in the hall
Ghirahim is waiting inside. He taunts you about a second Gate of Time, then challenges you to a duel. Draw your sword and fight him on the round stone floor.
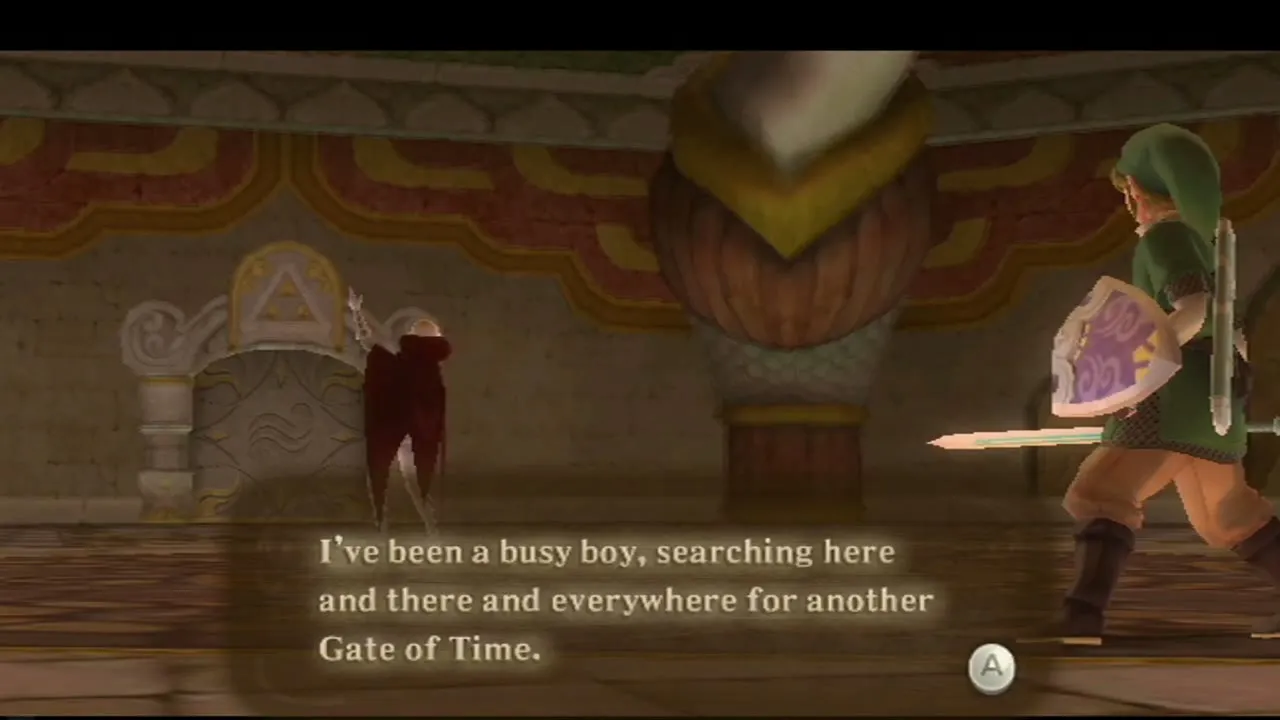
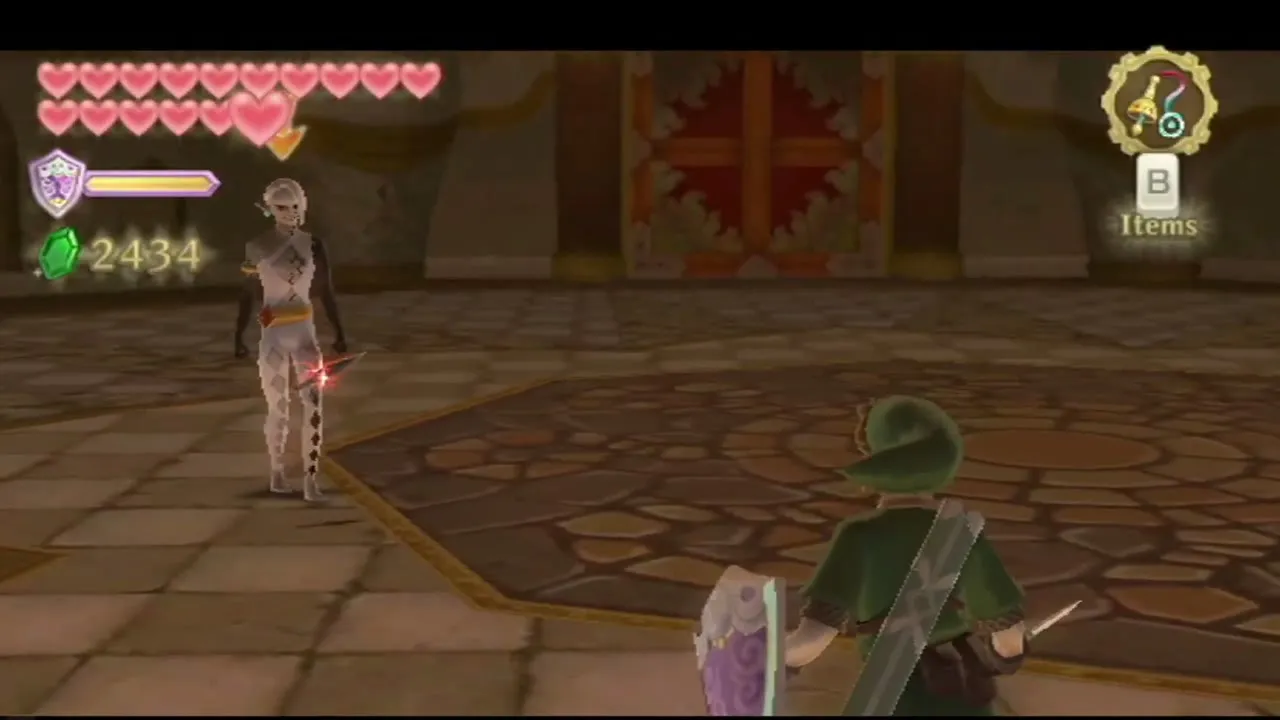

Ghirahim second fight
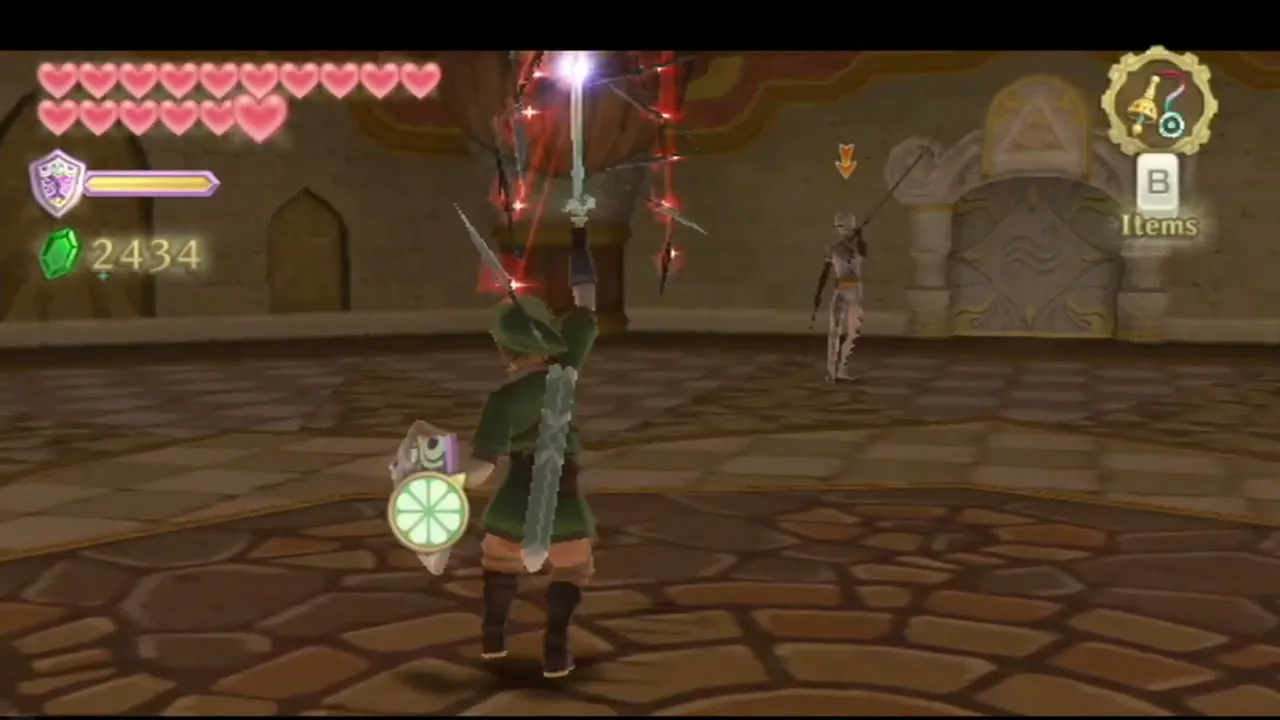
Phase one: Ghirahim flicks red diamonds at you in lines. Slash them out of the air in the direction they come from. Up close he hides behind them, so hit the diamonds first and strike him when his guard drops. If he catches your sword between two fingers, keep your sword moving and strike once his hand has moved aside.
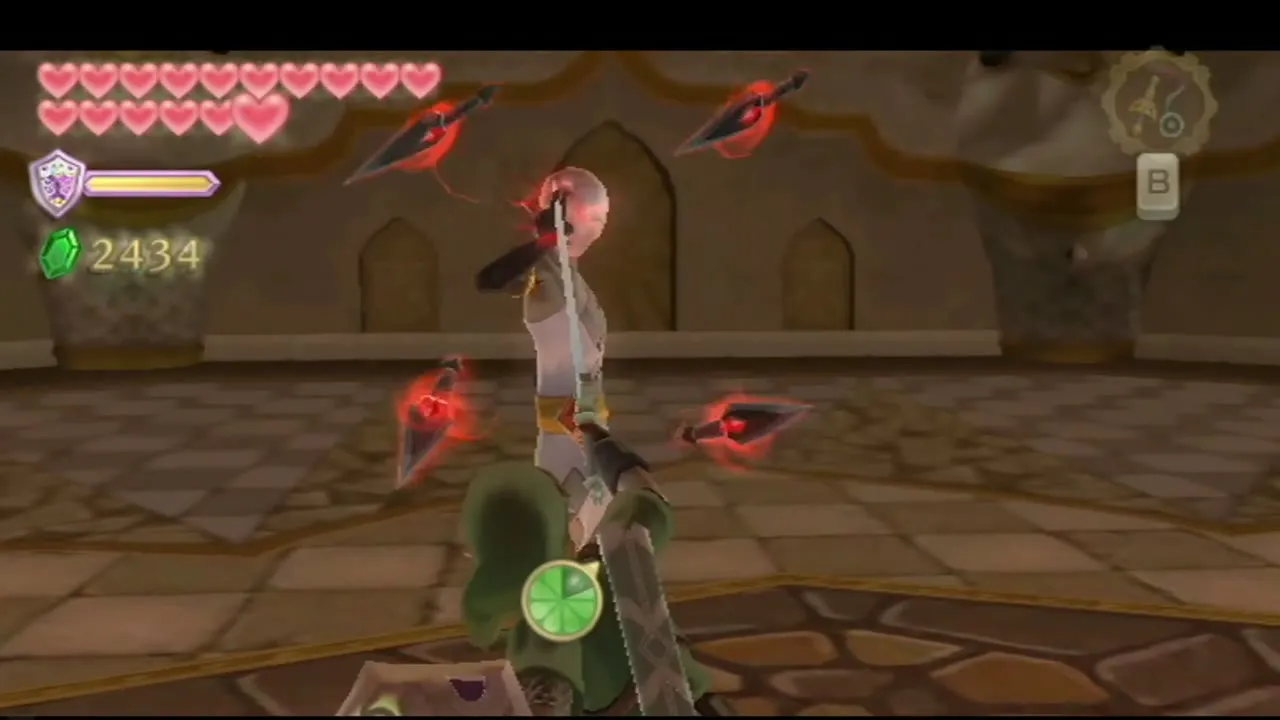
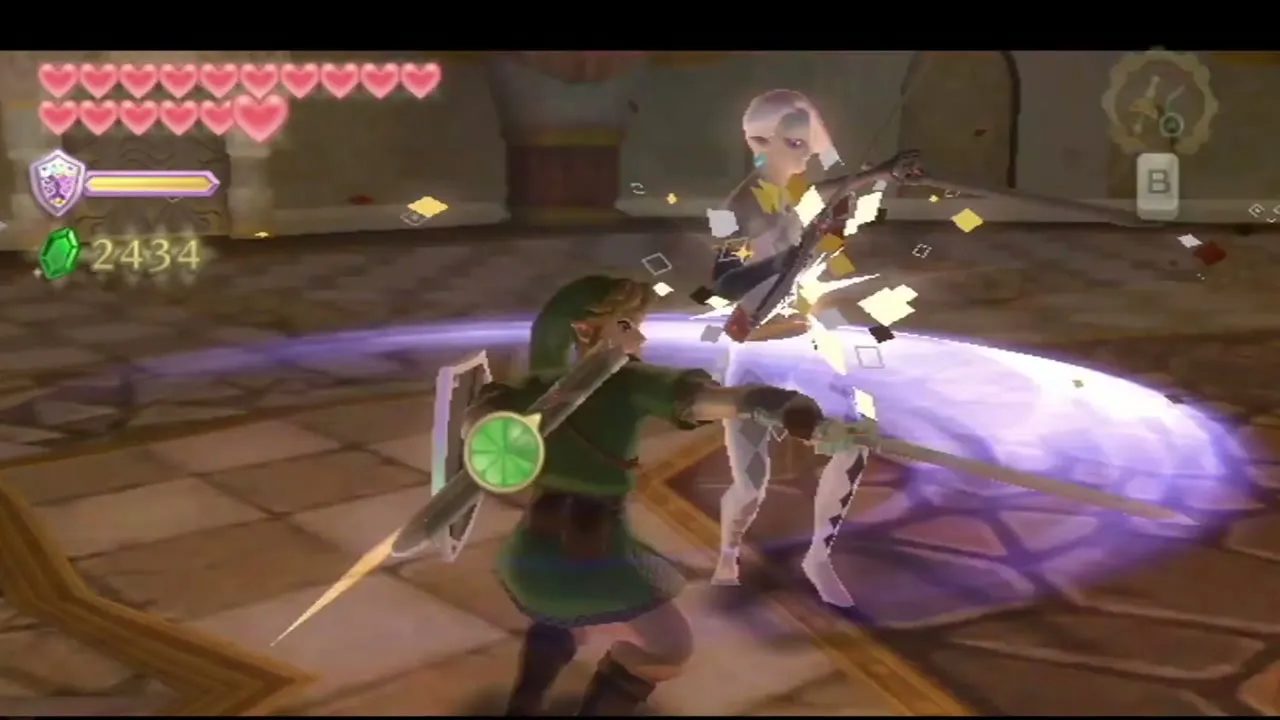
Phase two: once he has taken enough damage he draws two slender sabers and blocks your strikes much as a Stalfos does, so slash at the side he leaves open. Block his rush with a Shield Bash, and when he jumps and teleports before a downward thrust, dodge it, because his swords stick in the floor and leave him open. He also summons the red diamonds in a ring around you: use a vertical spin attack when the ring is vertical and an ordinary spin attack when it is horizontal.
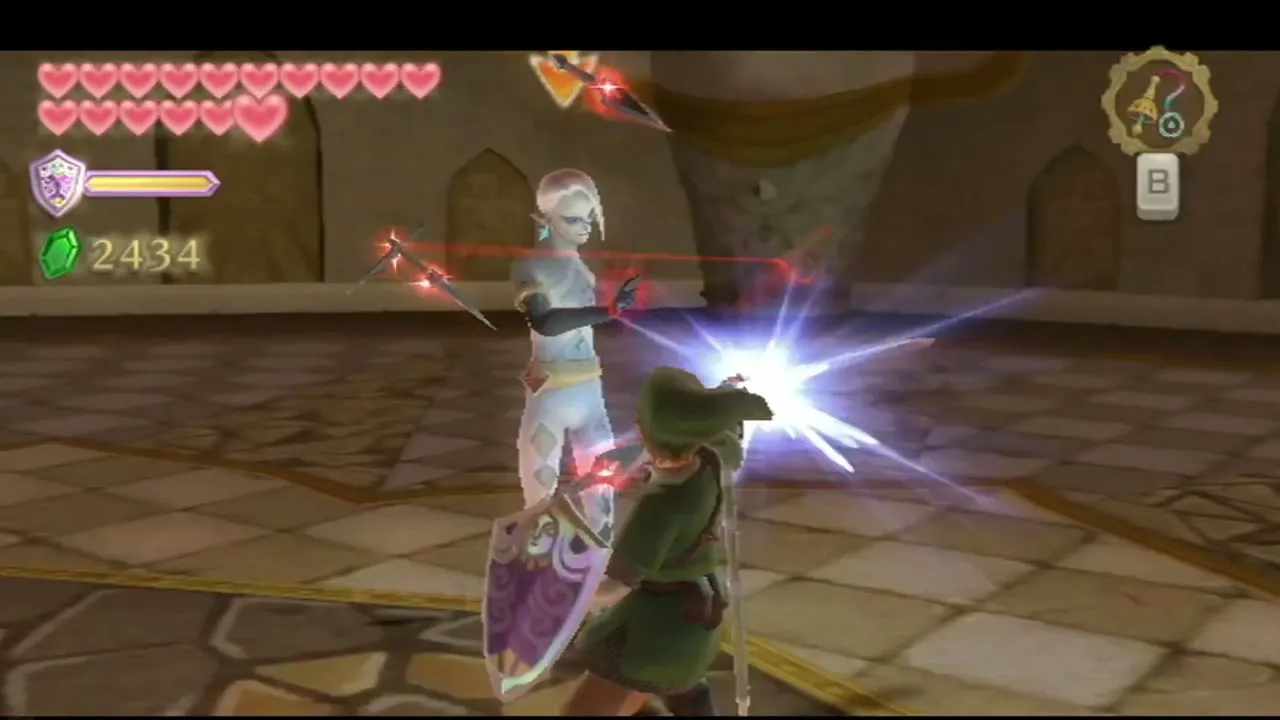
He also fires the diamonds at you in groups of five, which you slash away in the direction they come from. Keep a potion or a fairy ready. After the final hit he rants and retreats, and a Heart Container appears.

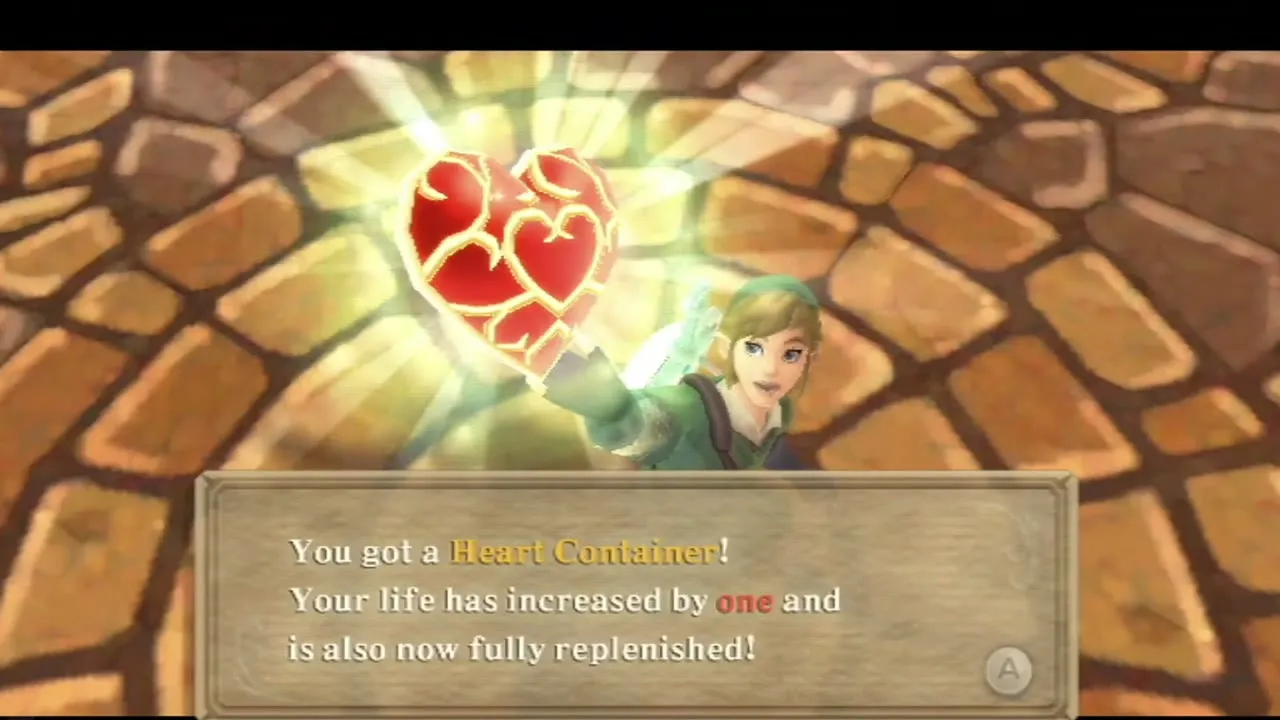
Heart Container
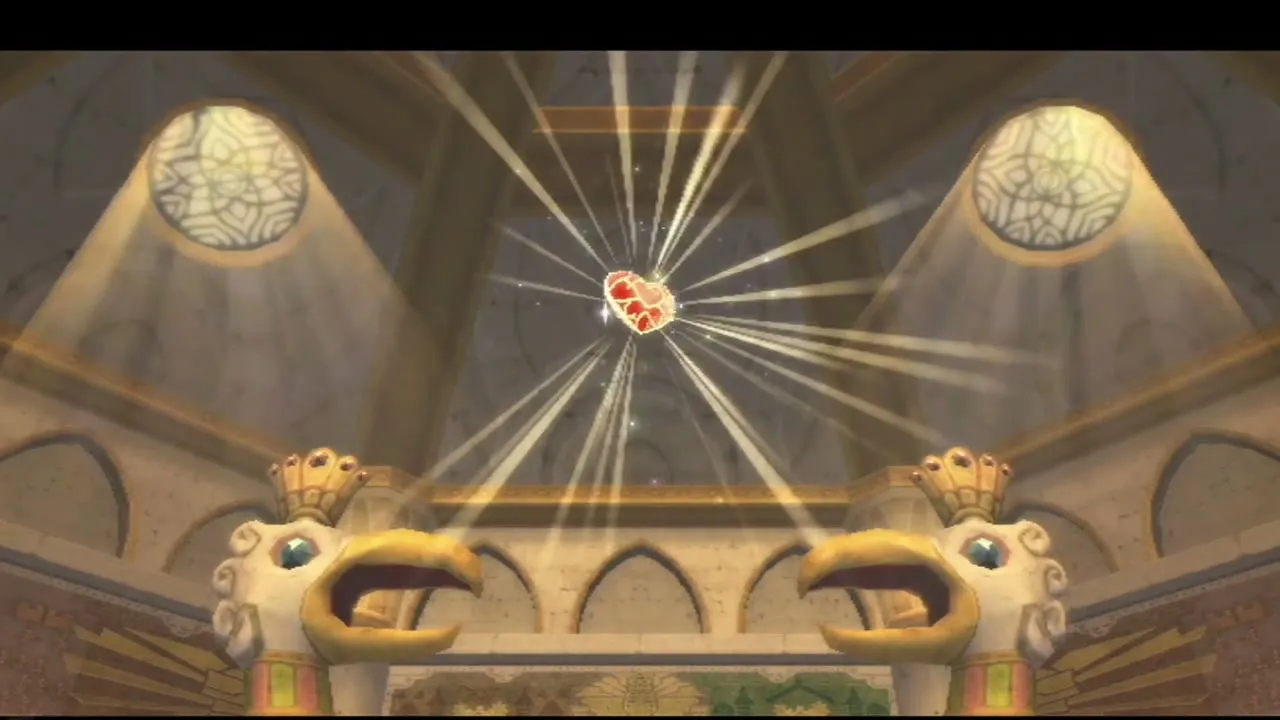
Walk into the golden sacred hall and take the Heart Container. It adds a heart and refills your health.
Din’s Flame and the Master Sword
Light your sword with Din’s Flame
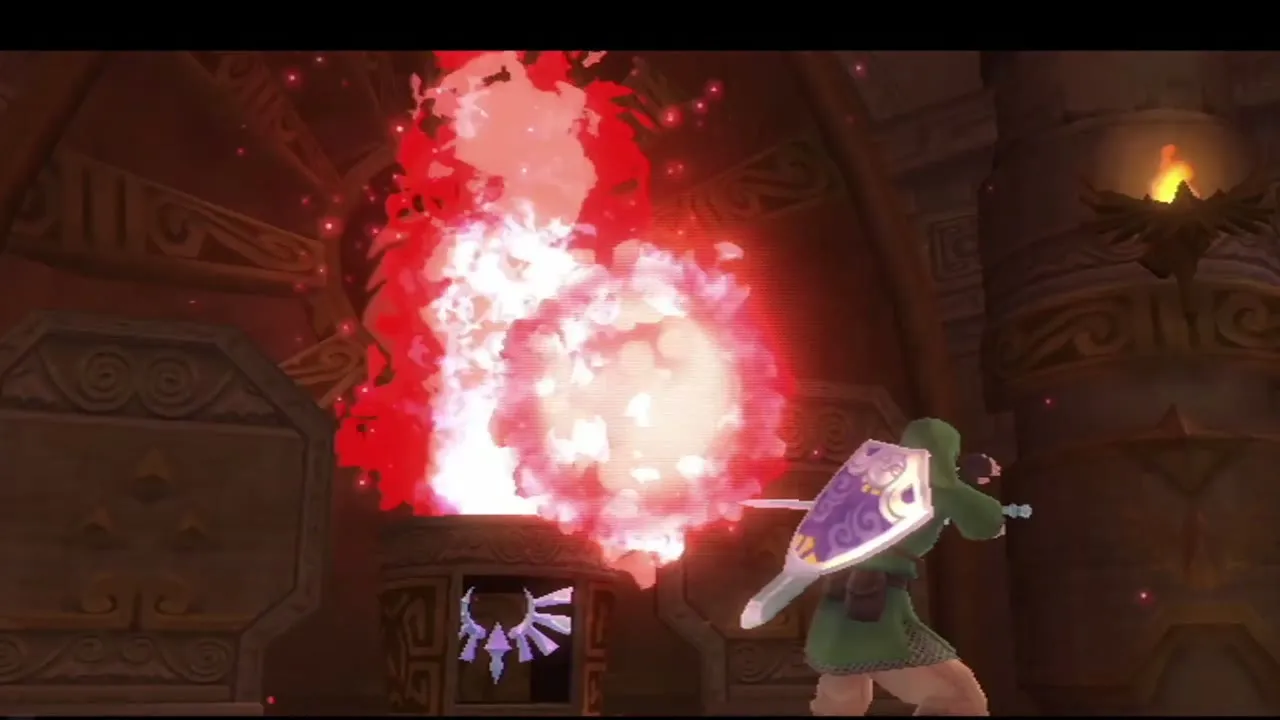
Go through the glowing gate and the sealed doors to the Sacred Flame chamber. Stand before the flame, raise your sword and fire a Skyward Strike at the sacred fire. The blade glows as Din’s Flame, the last of the three Sacred Flames, tempers it.

The Master Sword
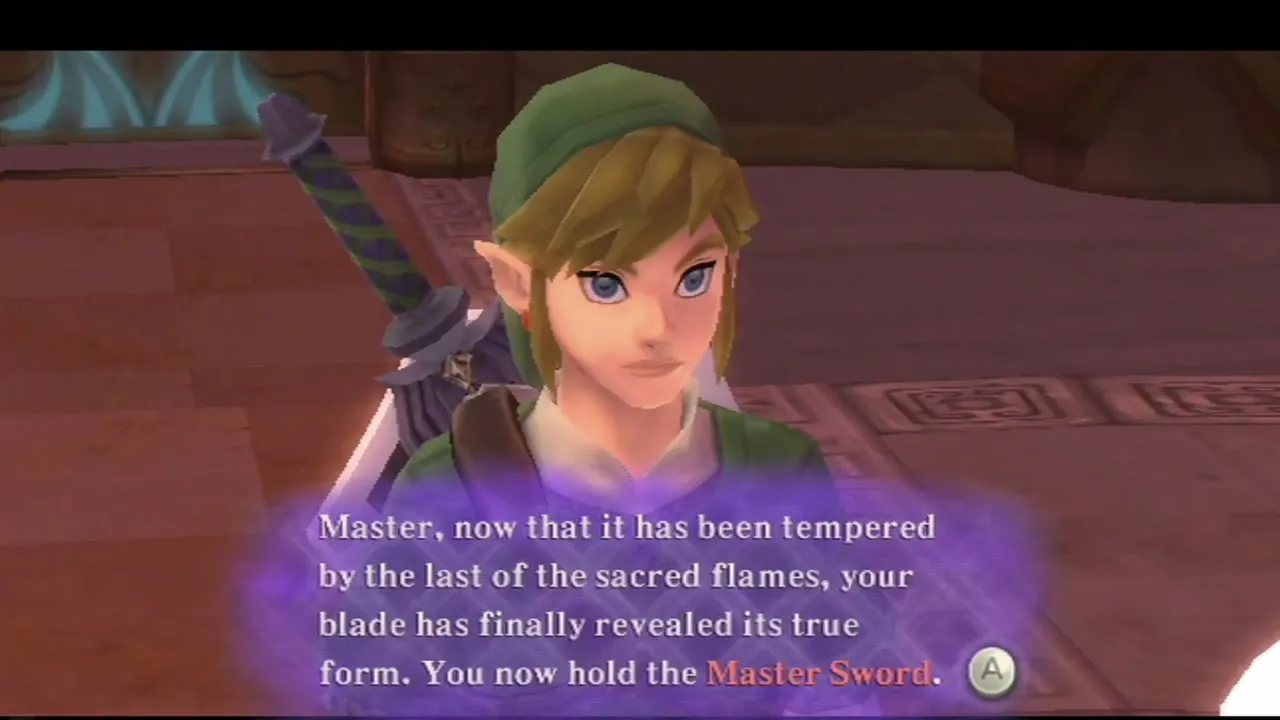
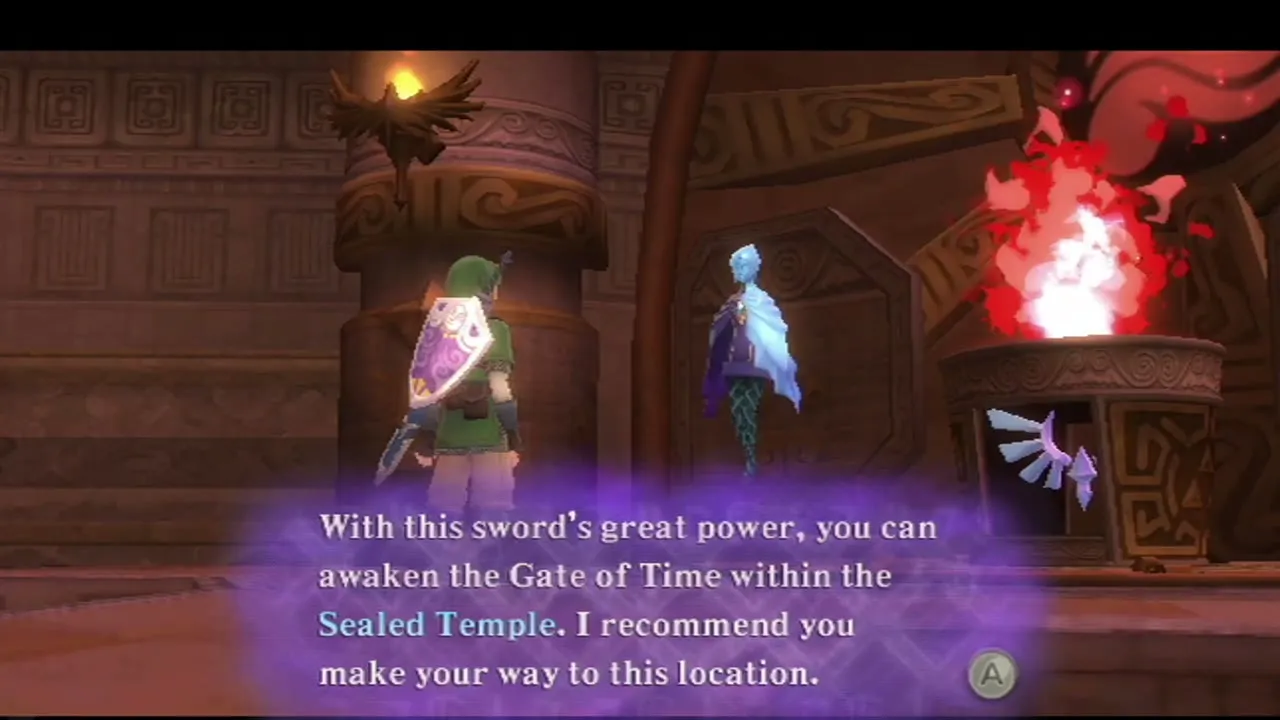
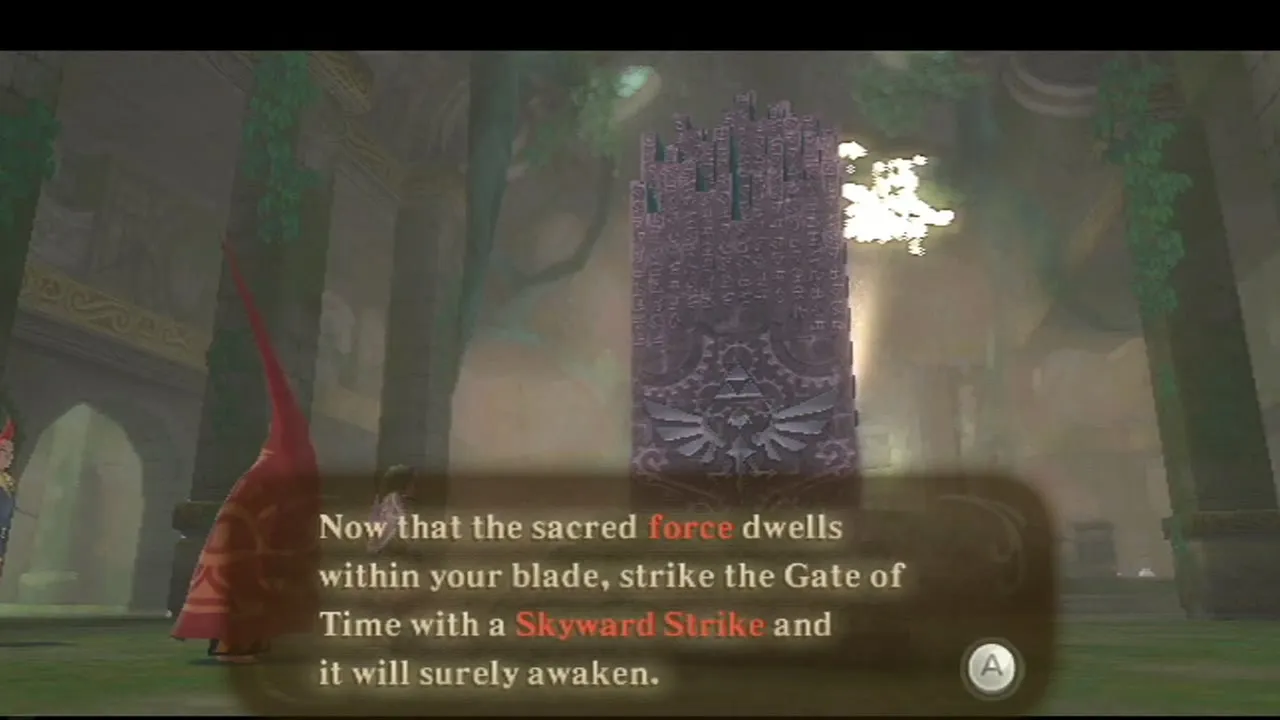
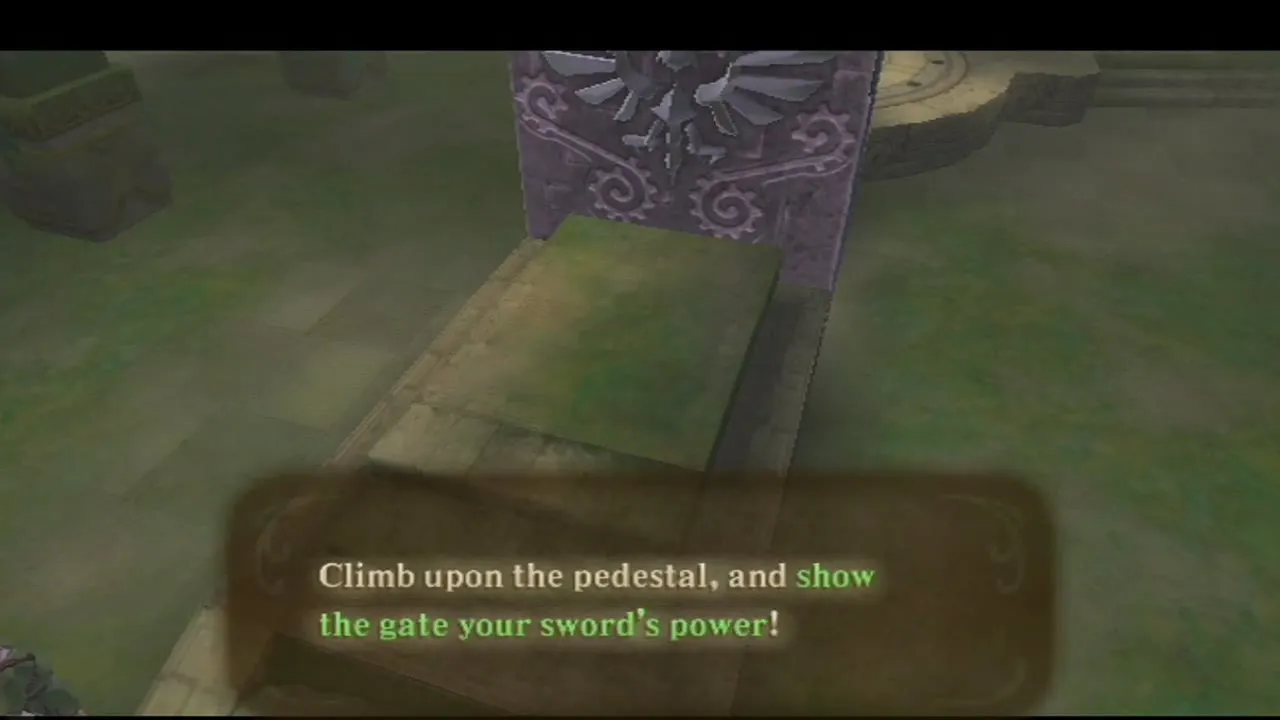
Fi tells you that your sword has finally shown its true form: the Master Sword. It has four times the power of the sword you started with, and with it you can wake the Gate of Time in the Sealed Temple. Use the Bird Statue in the next room to save and fly back to the sky.
Skyloft errands after the Fire Sanctuary
How to upgrade the Quiver
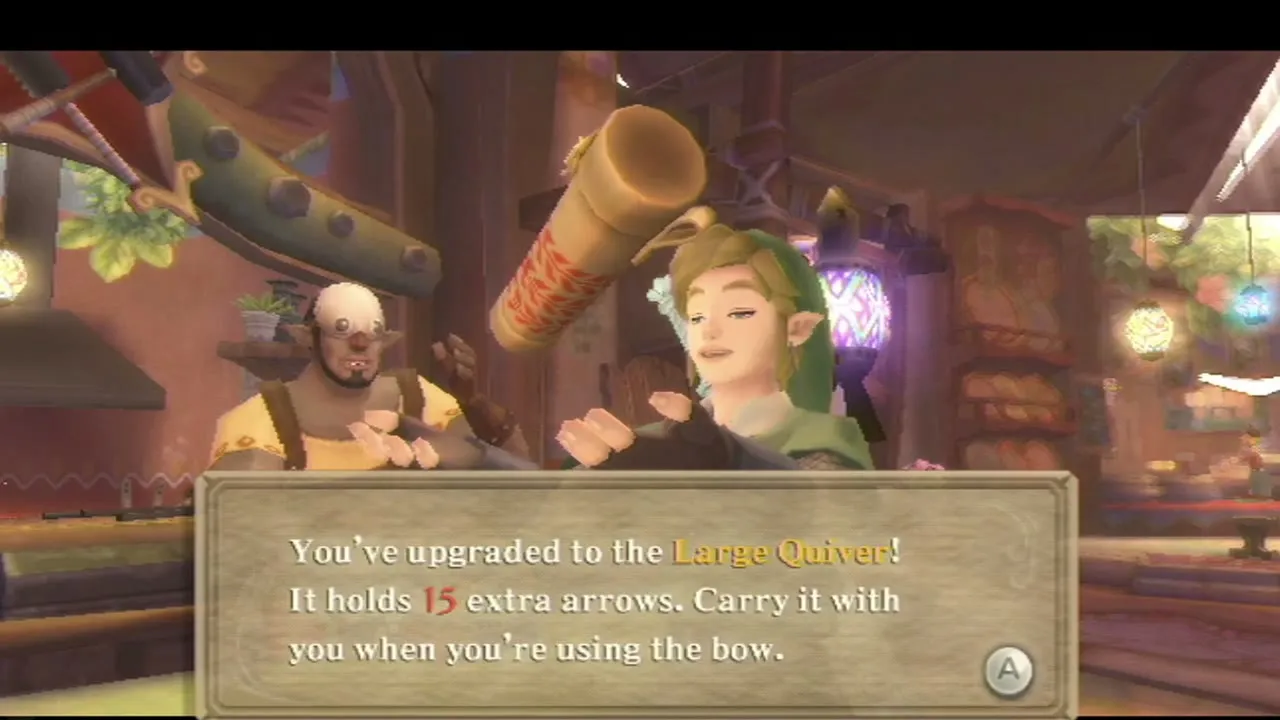
Land in Skyloft and visit Gondo’s Scrap Shop. The Small Quiver becomes the Medium Quiver for 50 Rupees, 3 Monster Horns, 3 Dusk Relics and 5 Amber Relics, adding 10 arrows. The Medium Quiver becomes the Large Quiver for 100 Rupees, 2 Monster Horns, 3 Dusk Relics, 1 Golden Skull and 1 Goddess Plume, adding 15 more. A Quiver only adds arrows while it is stored in your Adventure Pouch.

Heart Potion+
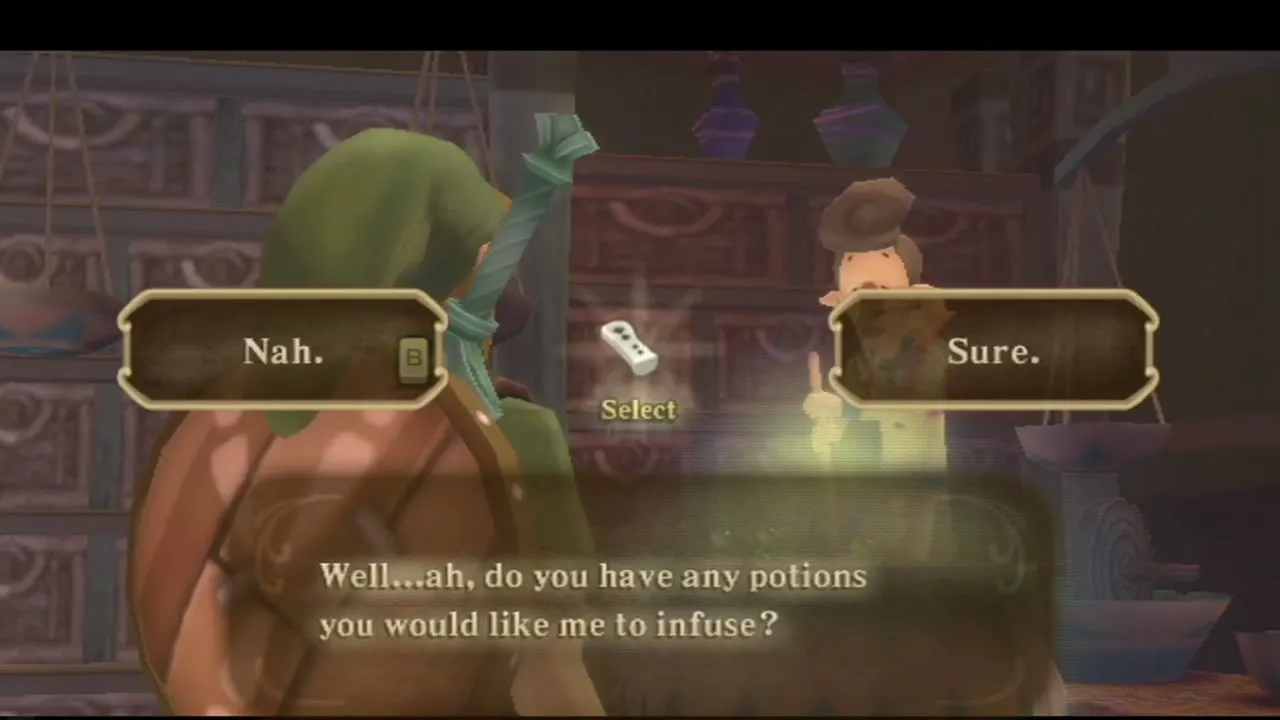
Bertie infuses potions with bugs at the Infusion Shop next to Luv’s Potion Shop. Bring a Heart Potion, 3 Blessed Butterflies, 1 Woodland Rhino Beetle and 1 Volcanic Ladybug, plus 20 Rupees, and you receive a Heart Potion+ that restores all your hearts.
Fi and the Gate of Time
Talk to Fi. She says the Gate of Time in the Sealed Temple is likely to lead to Zelda and tells you to open it with your newly strengthened sword. The next chapter takes you there.
What the Mogma Mitts unlock outside

Volcano Summit Piece of Heart
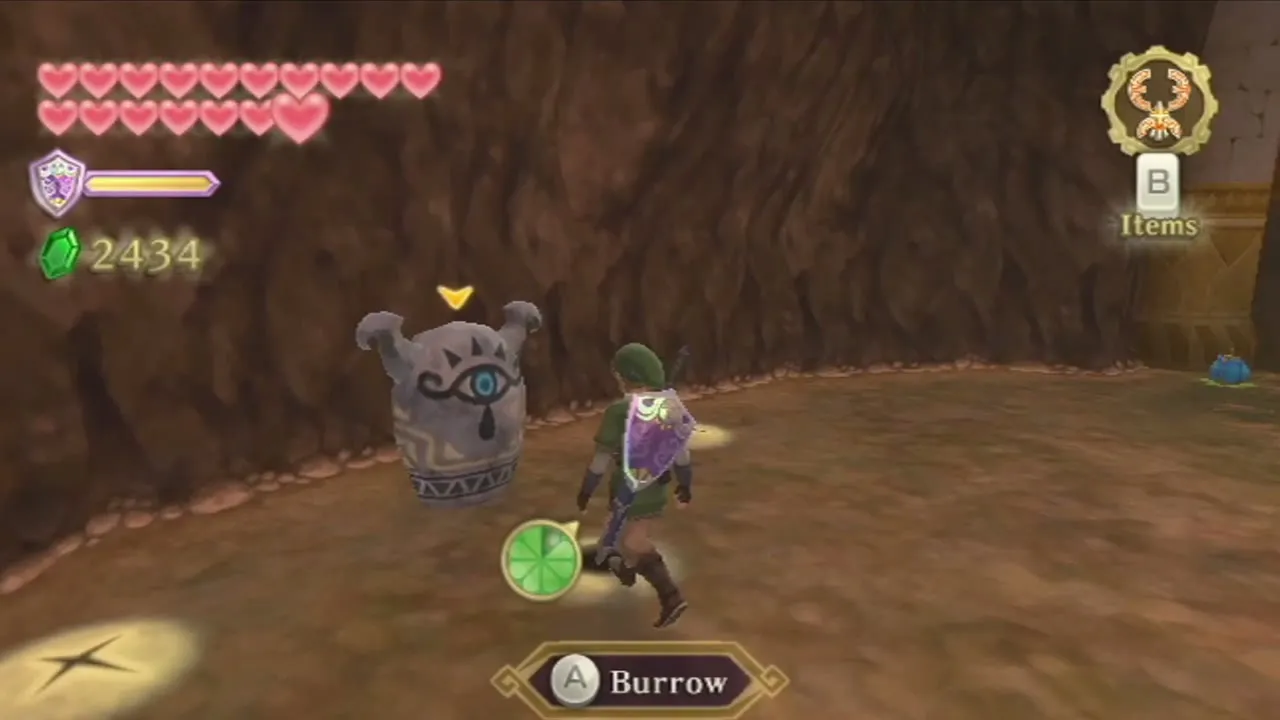
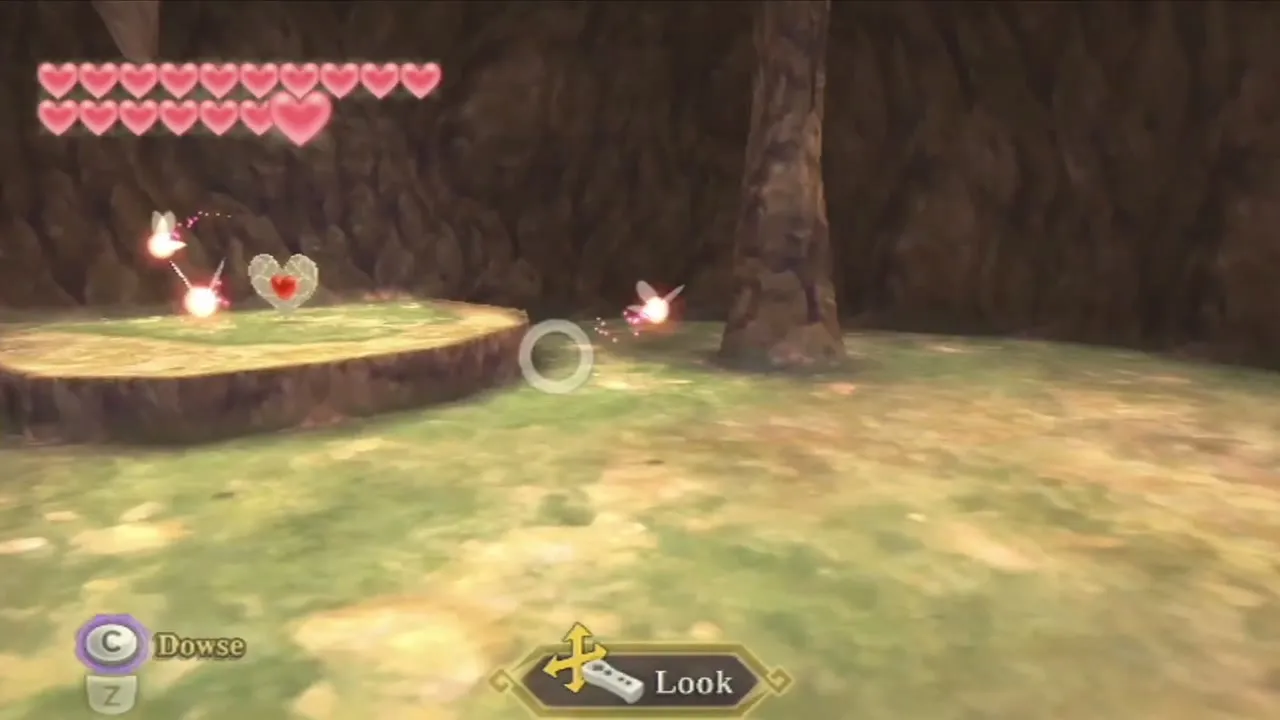
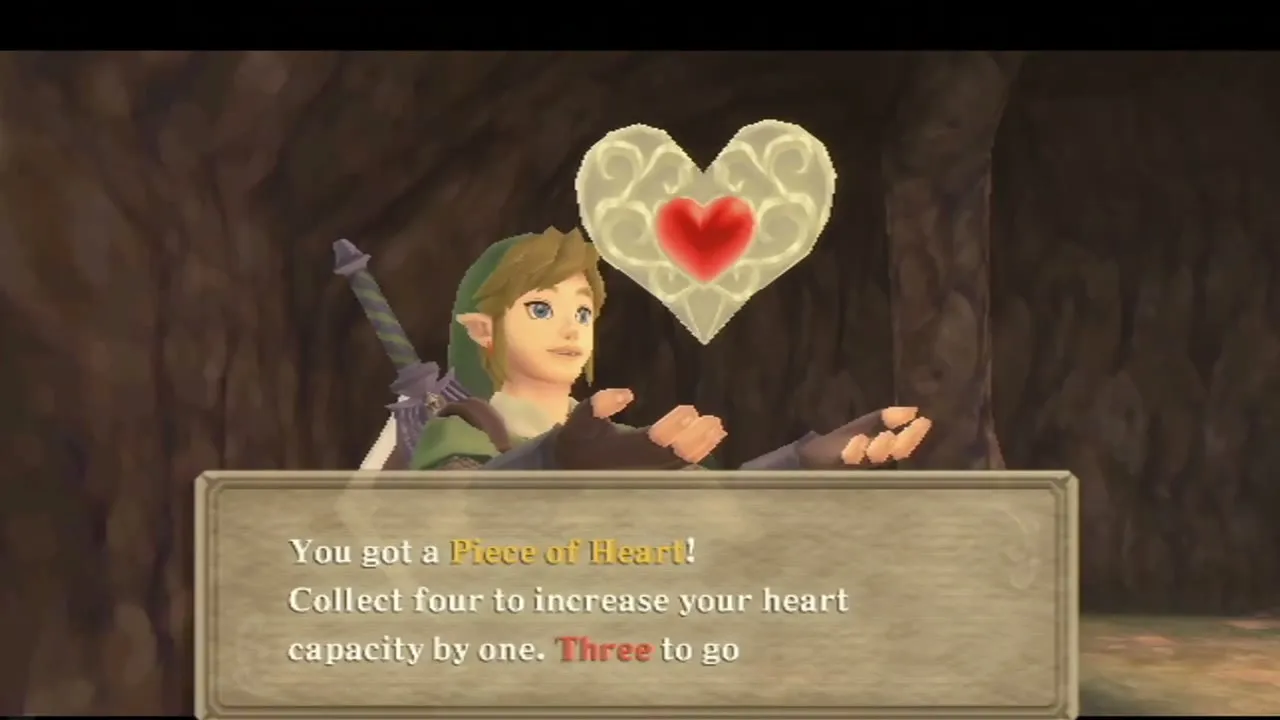
Near the frog statues before the Fire Sanctuary, a Gossip Stone points to a Piece of Heart. Dig into the soil in front of the stone and burrow to the other exit. A small cave holds a Piece of Heart with three fairies circling it.

Summit Goddess Cubes
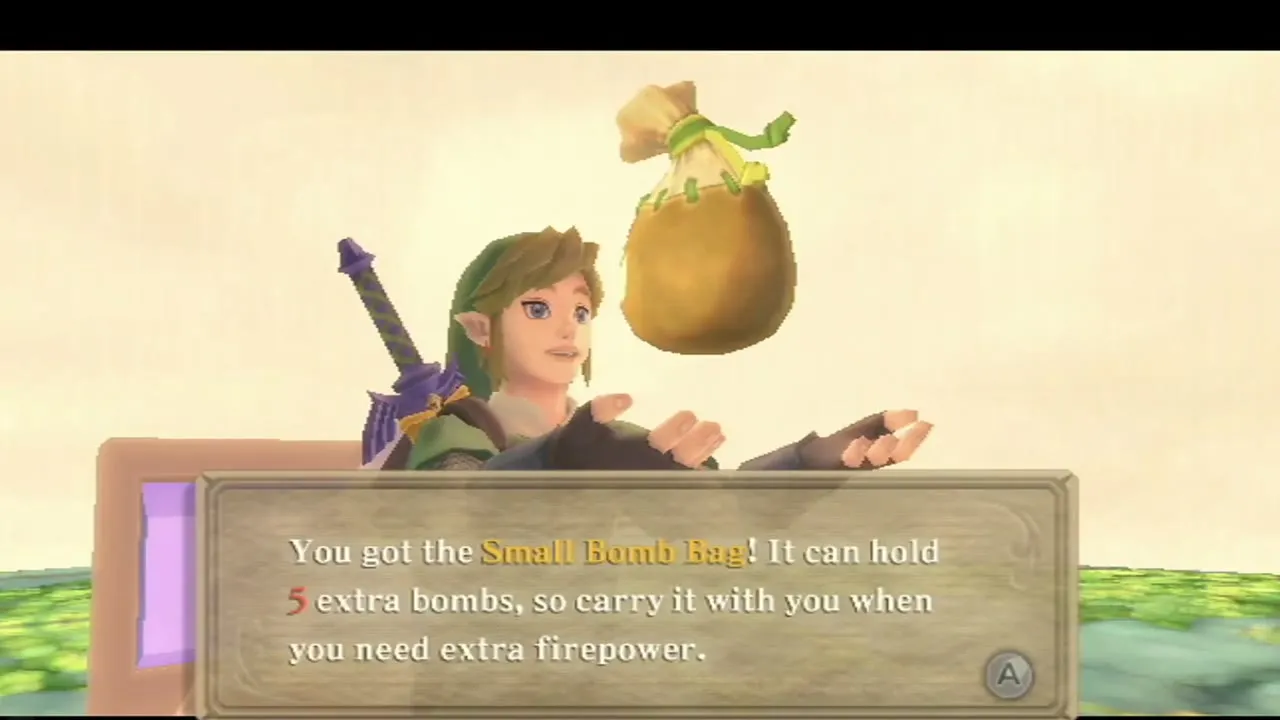
The two Goddess Cubes you struck on Volcano Summit (cube 24 by the waterfall and cube 25 outside the Fire Sanctuary) open the Bug Rock chest with a Piece of Heart and the Isle of Songs tower chest with a Small Bomb Bag. A third summit cube, cube 26 in the eastern room, is reachable only later, when you return for the Fire Dragon; its chest, on a Thunderhead island south-west of the Isle of Songs, needs the Mogma Mitts and holds Empty Bottle 5. See the Goddess Cubes page.
Chapter checklist
| Collectible | Type | Where |
|---|---|---|
| Small Key 1 | Key | Entrance, chest on the hill after the Blue Bokoblin |
| Small Key 2 | Key | West wing, chest after clearing the ash with the Gust Bellows |
| Small Key 3 | Key | Chest after the first Moldorm tunnel |
 Mogma Mitts | Item | Gift from Silva, the captive Mogma, after the Magmanos pair |
| Dungeon Map | Item | Chest dug up by the second captive Mogma |
| Empty Bottle 4 | Bottle | West of the Magmanos room, reached by digging |
| Piece of Heart | Piece of Heart | Mogma tag game in the north-west tunnels |
 Red Rupees and treasure chests | Chests | South corridor and the west rooms |
 Rupees | Goddess Wall | Goddess Wall on the stairs |
| Fairies | 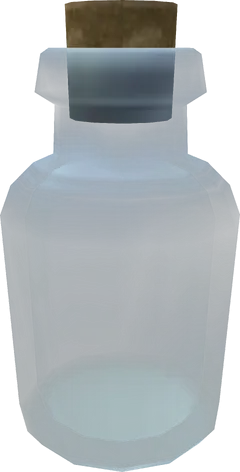 Bottle | Pots in the west rooms and by the boss door |
 Mysterious Crystals | Key item | Chest after the second Moldorm |
| Heart Container | Heart Container | After Ghirahim |
| Din’s Flame and the Master Sword | Sword | Sacred Flame chamber |
 Medium and Large Quiver | Upgrade | Gondo’s Scrap Shop, Skyloft |
| Heart Potion+ | Potion | Bertie, Skyloft |
| Volcano Summit Piece of Heart | Piece of Heart | Cave behind the Gossip Stone dig spot |
| Cubes 24 and 25 (cube 26 is later) | Goddess Chests | Volcano Summit cubes; chests at Bug Rock and on the Isle of Songs tower |
With the Master Sword in hand, fly to the Sealed Grounds for the True Master Sword, Levias and Bilocyte chapter.
