





















Skyward Sword 100% Completion Walkthrough18 chapters
- Skyview TempleSmall keys, the Beetle, the Golden Carving door, the Ghirahim boss fight, the Heart Container and the Ruby Tablet.
- Earth TempleGet the Bomb Bag from Ledd, carry the Dragon Sculpture, beat Scaldera and collect the Amber Tablet.
- Lanayru Mining FacilityTimeshift Stones, Gust Bellows, Small Key, Armos, Ancient Circuit, Moldarach and the Goddess’s Harp.
- Ancient CisternBoth Small Keys, the Whip, the Blessed Idol, the Koloktos boss fight, Farore’s Flame and the Goddess Longsword.
- SandshipThe Timeshift Stone, Scervo and the Bow, both generators, Squid Carving, Tentalus and Nayru’s Flame.
- Fire SanctuaryAll three small keys, the Mogma Mitts, the Mysterious Crystals, Ghirahim’s second fight and the Master Sword.
- Skyloft Silent Realm and Sky KeepThe Skyloft Silent Realm and its 15 Sacred Tears, the Stone of Trials, every Sky Keep room and all three Triforces.
- Skyloft and the Goddess SwordFind your Loftwing, win the Wing Ceremony, draw the sword and take your first dive.
- Sealed Grounds, Faron Woods and the Deep WoodsThe Sealed Grounds, the missing Kikwi, the Slingshot, the Deep Woods and the way into Skyview Temple.
- Eldin Volcano and the Key PiecesPlace the Ruby Tablet, run Skyloft errands, earn the Digging Mitts and find all five Earth Temple key pieces.
- Lanayru Mine and Lanayru DesertLanayru Mine, Timeshift Stones, the Hook Beetle, the Temple of Time and how to set the three power generator dials.
- The Goddess’s Harp, The Imprisoned and the Isle of SongsBallad of the Goddess, The Imprisoned, the Light Tower, the Isle of Songs and Farore’s Courage.
- Farore’s Silent Realm and Lake FloriaAll 15 Tears of Farore, the Water Dragon’s Scale and Sacred Water.
- Nayru’s Silent Realm and the Lanayru Sand SeaNayru’s Wisdom, Nayru’s Silent Realm and the Clawshots, Golo’s key, Skipper’s boat, the Shipyard.
- Din’s Silent Realm and Volcano SummitDin’s Power, the Fireshield Earrings, frog statues, the Water Basin and the Scrapper escort.
- True Master Sword, Levias and BilocyteSkyward Sword walkthrough for the True Master Sword, the second Imprisoned fight, the Spiral Charge.
- Song of the HeroEscape Eldin, beat the third Imprisoned, win the Tadtone song in Faron Woods and heal Lanayru’s Thunder Dragon.
- The Horde, Ghirahim and DemiseClear the last side quests, beat the Horde, Ghirahim’s third fight and Demise, then unlock Hero Mode.
| Covers | The Sealed Grounds and Sealed Temple, the second Imprisoned fight with the Groosenator, the Gate of Time and the Temple of Hylia in the past, the Knight Academy, the Spiral Charge lesson, the Lumpy Pumpkin, the Thunderhead and the Bilocyte boss fight, plus the Skyloft quests that open now |
|---|---|
| You need | The Master Sword from the Fire Sanctuary, the Goddess’s Harp, the Bow, the Clawshots and the Gust Bellows (for the optional quests), Scrapper repaired, and your Loftwing |
| Rewards | The True Master Sword (a free upgrade with a faster Skyward Strike charge), the Spiral Charge, knowledge of the Song of the Hero, a Woodland Rhino Beetle, a Piece of Heart from Gorko’s Goddess Wall, 5 Gratitude Crystals from the Rattle quest and 5 more from the Crystal Ball quest, access to Bug Heaven on Bug Rock; no Heart Container or Goddess Cube on the main route |
This chapter turns the Master Sword into its final form and sets up the hunt for the Triforce. You re-seal The Imprisoned with Groose’s help, pass through the Gate of Time to meet Zelda, and receive her blessing. Back in Skyloft you learn the Spiral Charge from Instructor Owlan, collect Pumm’s pumpkin soup, have Scrapper carry it into the Thunderhead, and free Levias from the parasite Bilocyte. Levias then explains that the four parts of the Song of the Hero will reveal where the Triforce lies.

Table of Contents
Sealed Temple and the Gate of Time
Dive to the Sealed Grounds
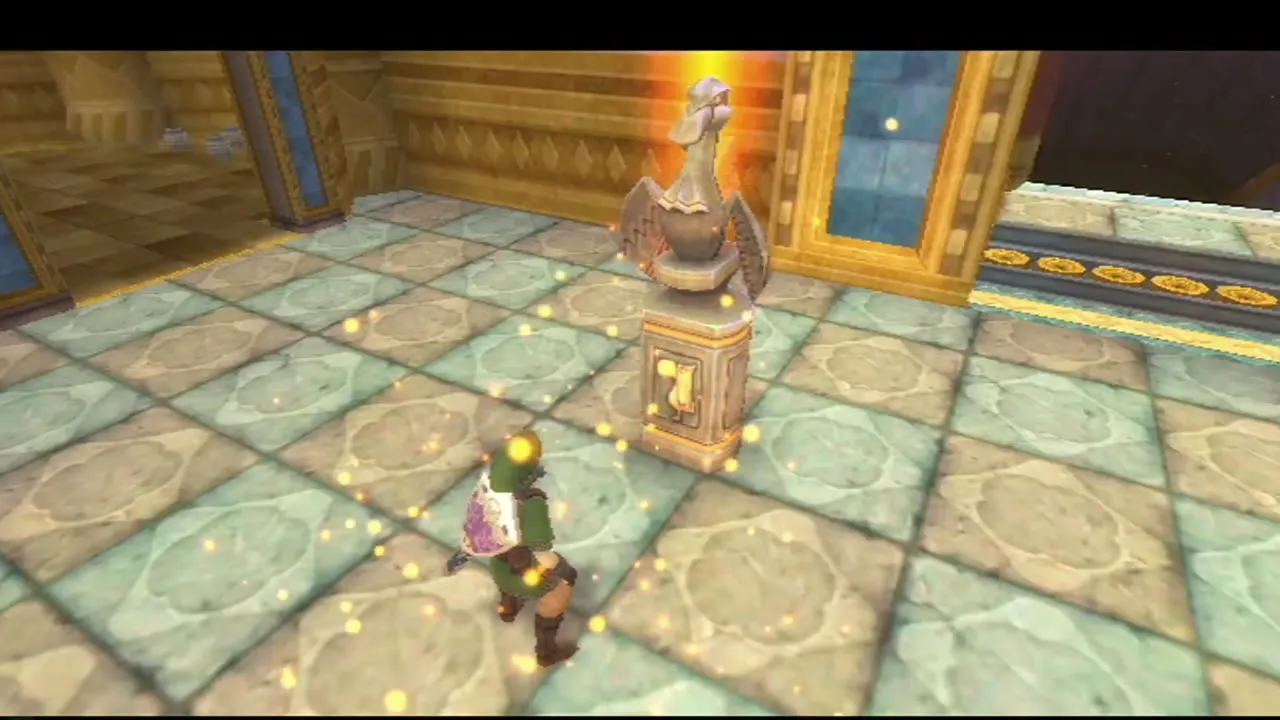
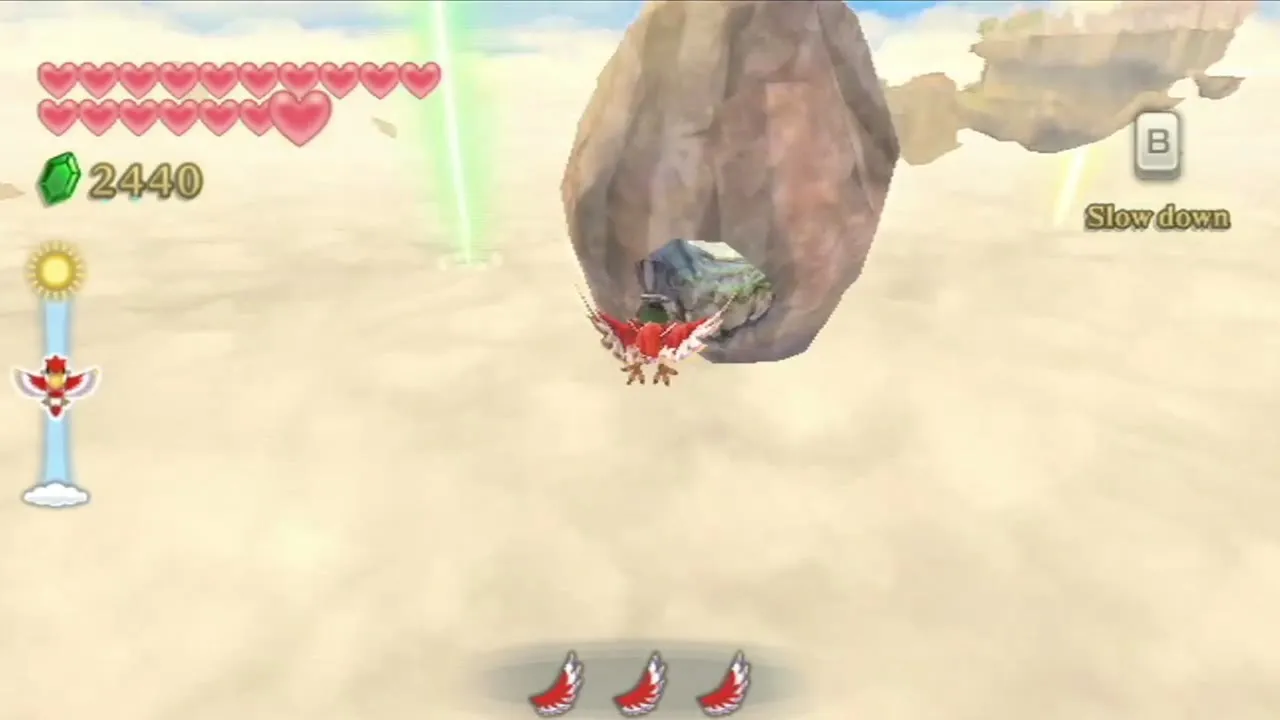
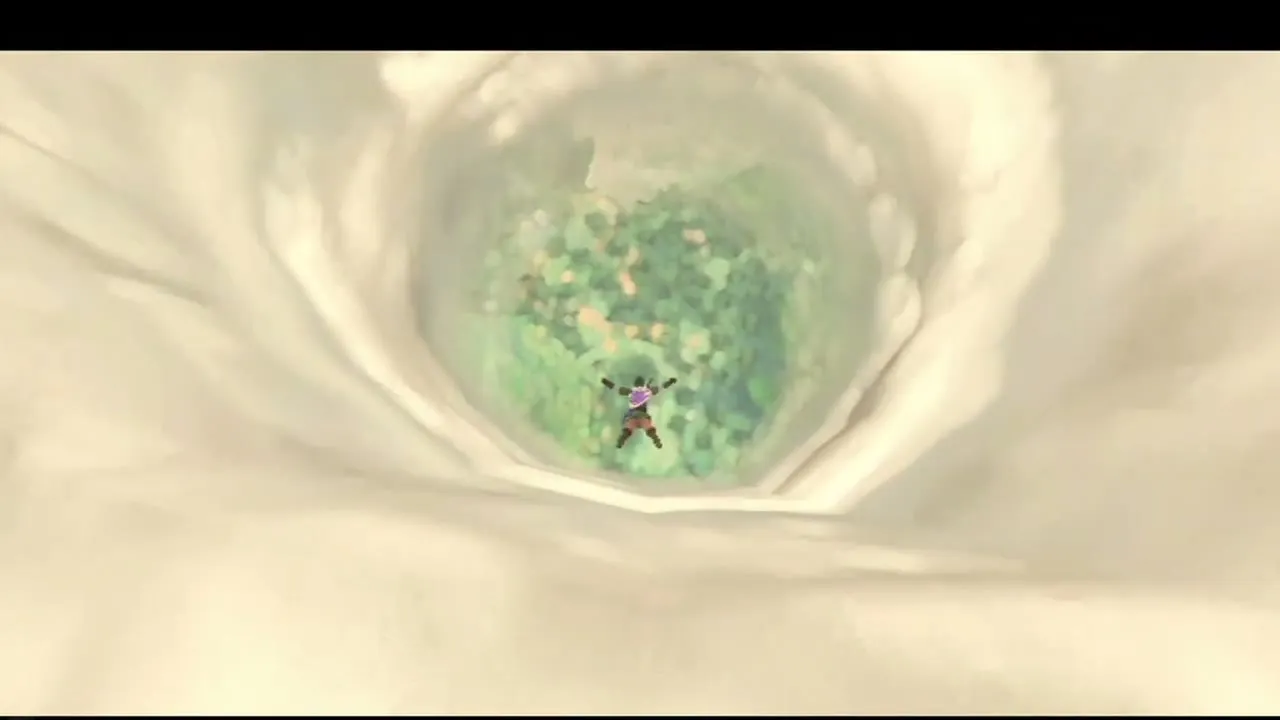
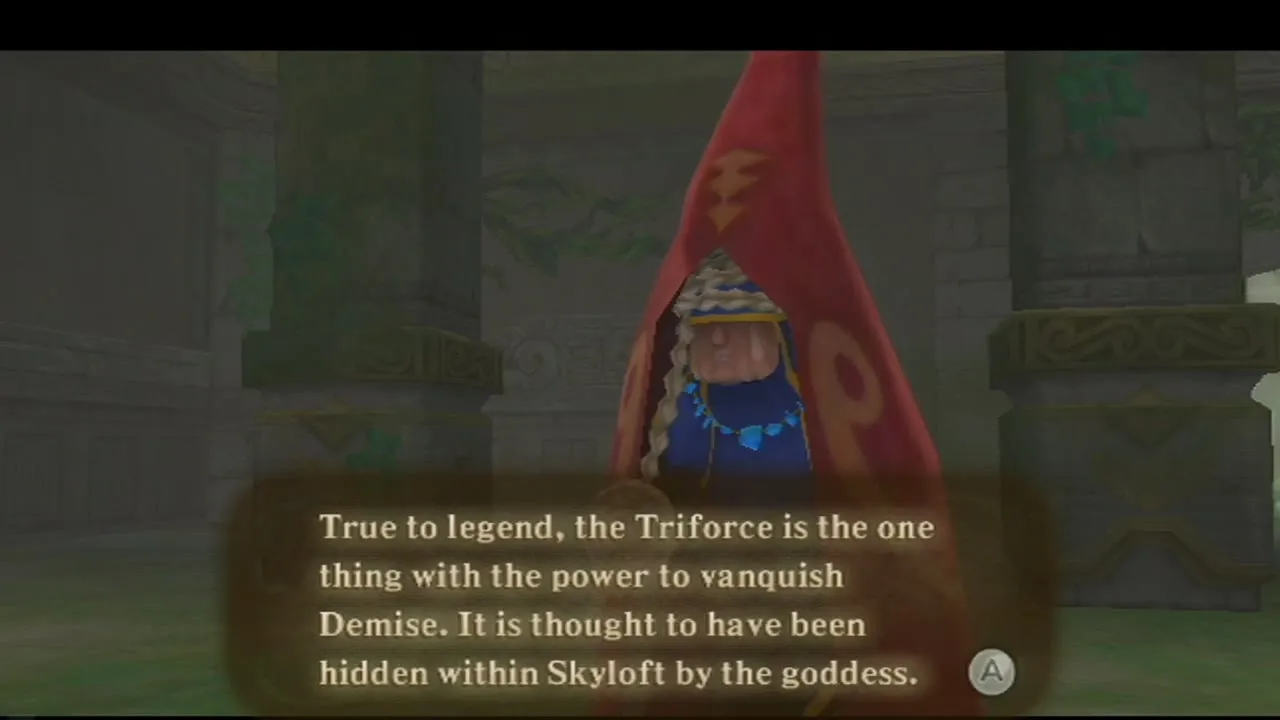
Once the Master Sword is yours, Fi tells you the Gate of Time in the Sealed Temple is the way to reach Zelda, and that the sword’s new strength should wake it. Save at the Bird Statue, pick “To the sky” and fly to the green light pillar over Faron. Dive, choose Sealed Grounds on the descent map and land. Groose has laid wooden rails around the area, so follow the track to the Sealed Temple.
Wake the Gate of Time
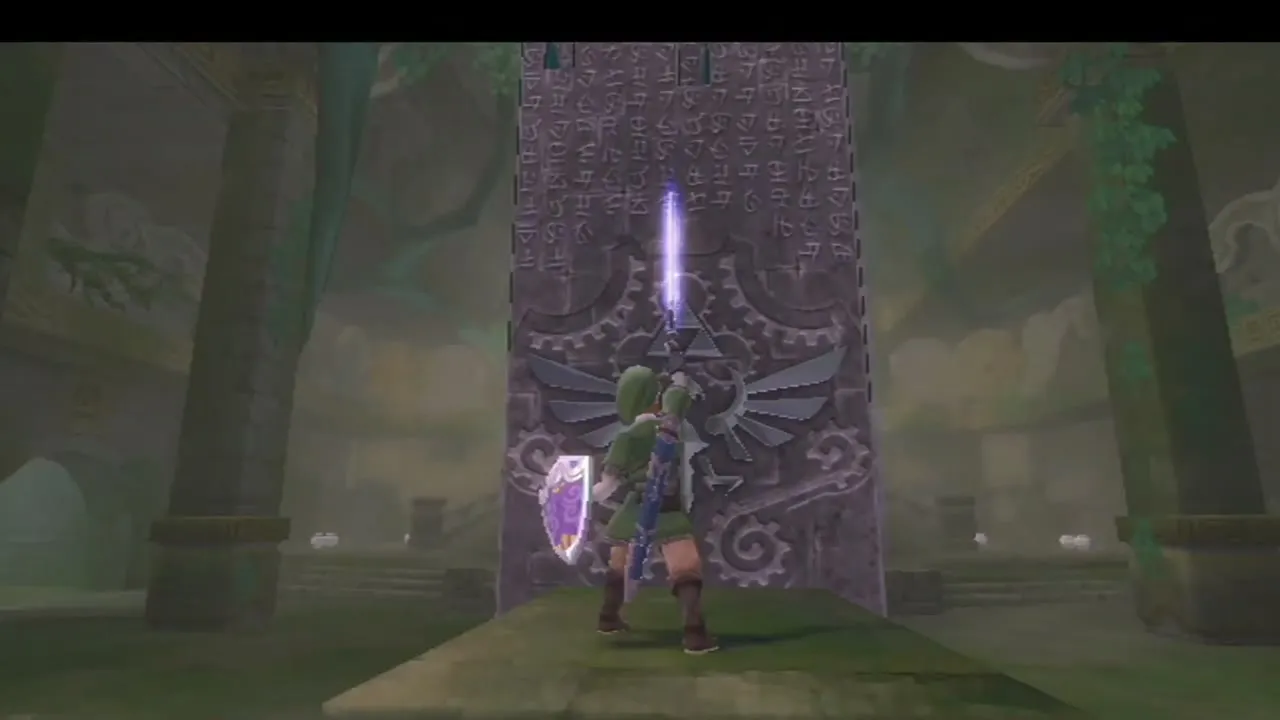
Inside the temple the old woman congratulates you on the sword and tells you to stand on the pedestal in front of the stone slab that is the Gate of Time. Raise the Master Sword until it glows and swing it down for a Skyward Strike. The ground shakes before the gate can open: the evil beneath the Sealed Grounds has broken loose again, and she sends you outside to deal with it.
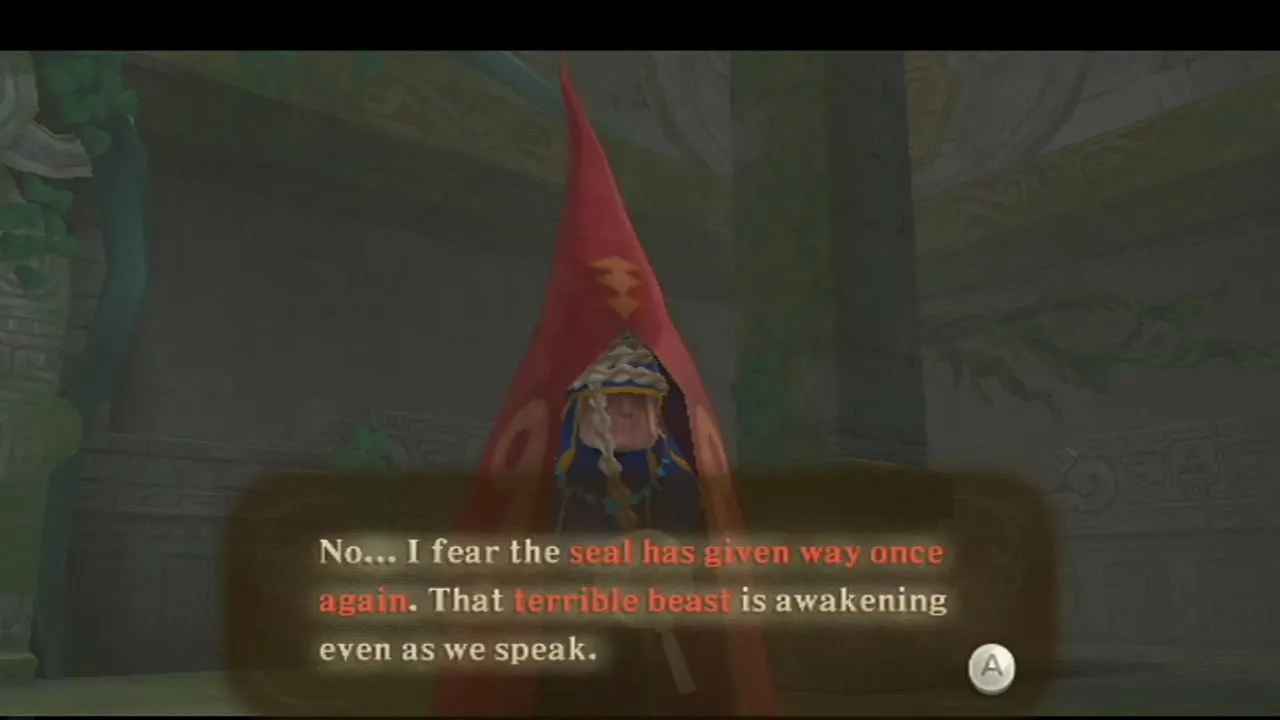
Groose and the pit
Groose runs up, boasting about the machine he has built. It runs on a rail track around the top of the pit and he calls it the Groosenator. Save at the Bird Statue beside the temple, then drop down to the round floor at the bottom. The Imprisoned rises from its seal as you arrive.
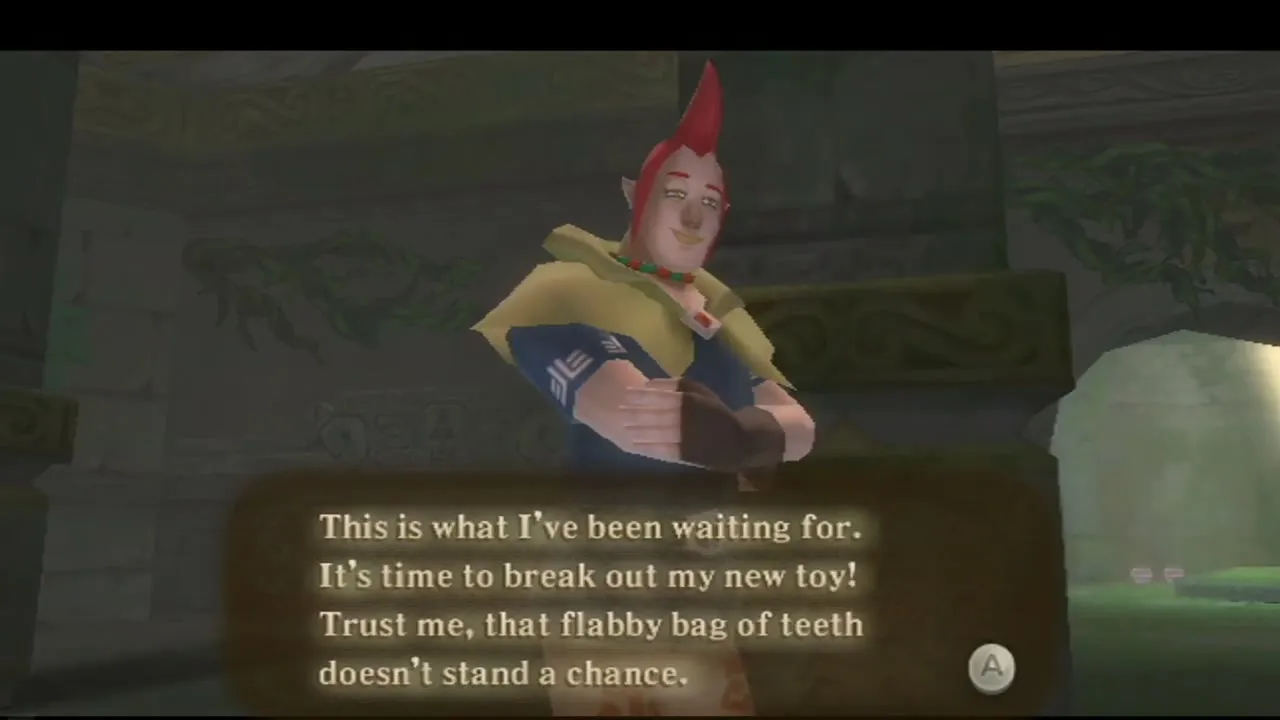
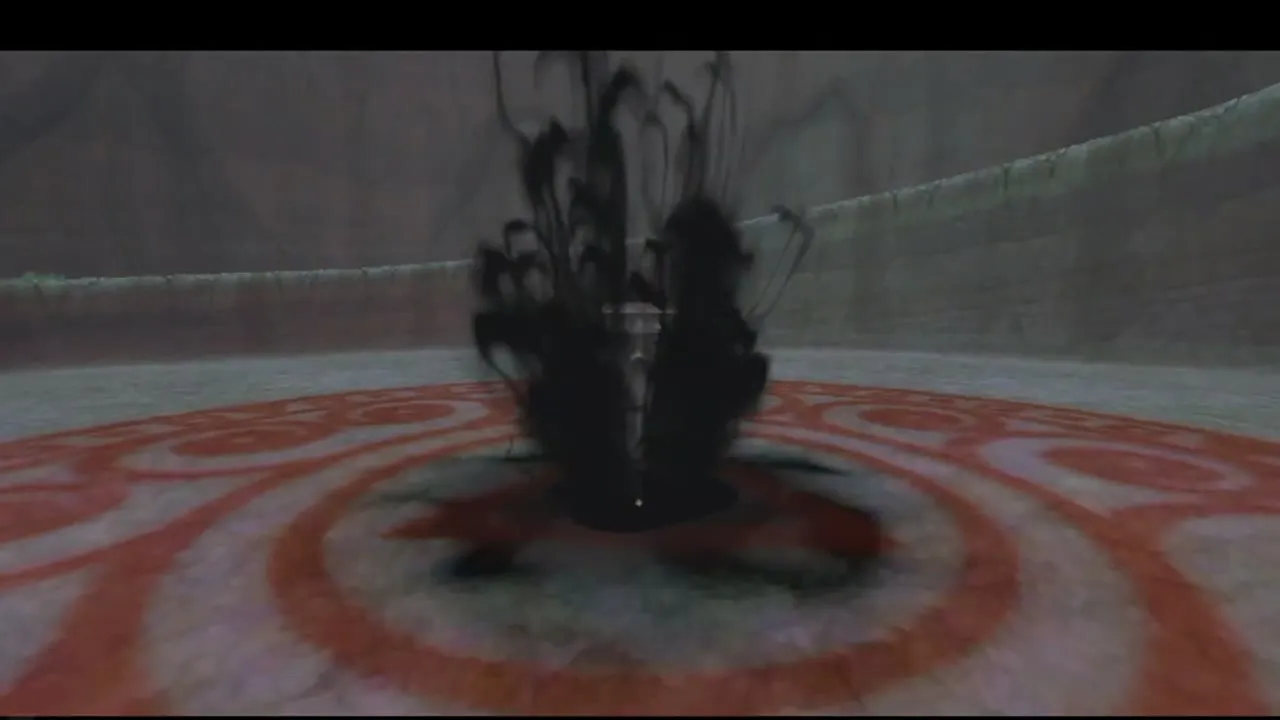
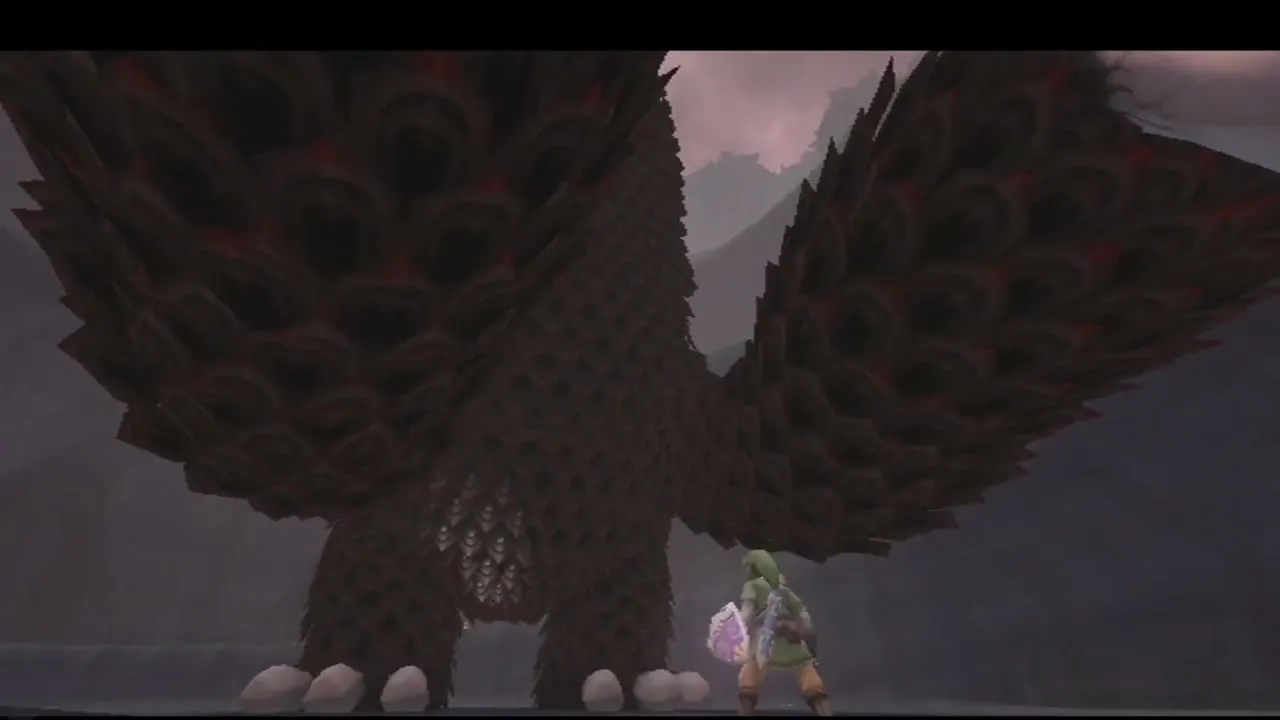
The Imprisoned second fight
Cut off the toes
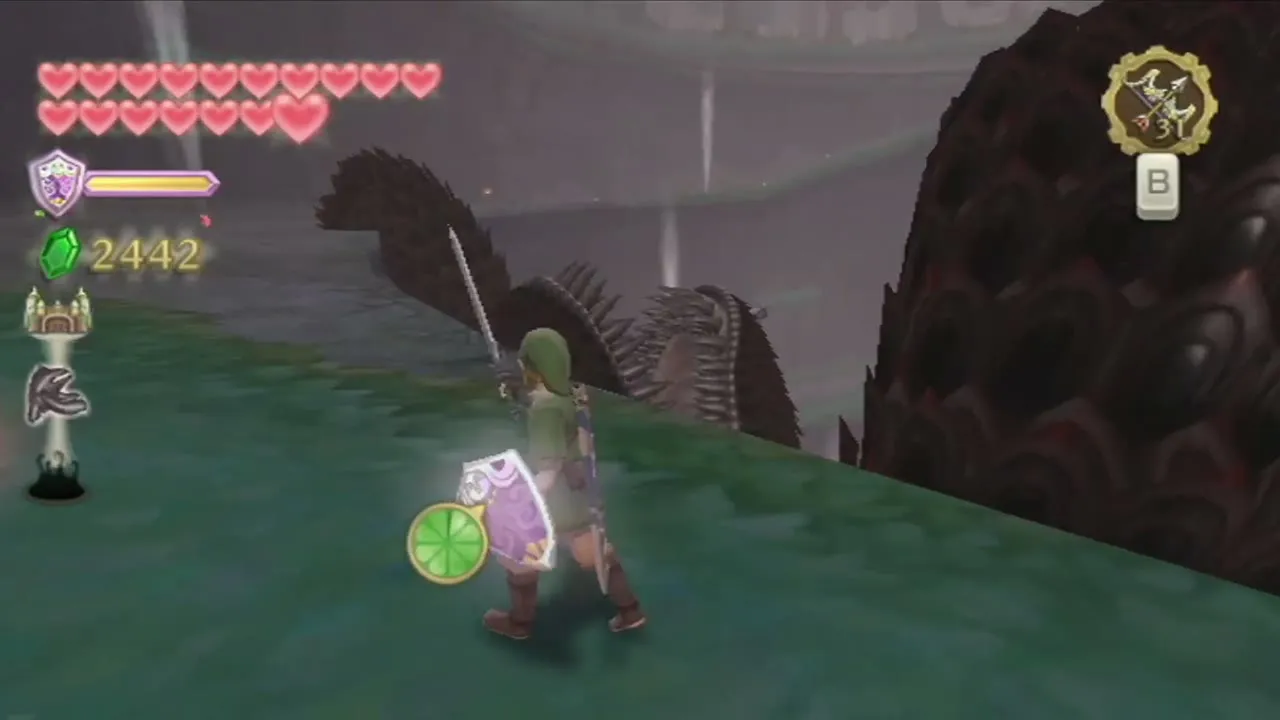
The routine is the same as the first fight, with extra arms to deal with. The beast marches up the spiral path toward the temple, and it is game over if it gets there. Slash the four white toes on each foot until all eight are gone and it falls. This time it also has hands, and it uses them to climb the pit wall, which makes the toes harder to reach.
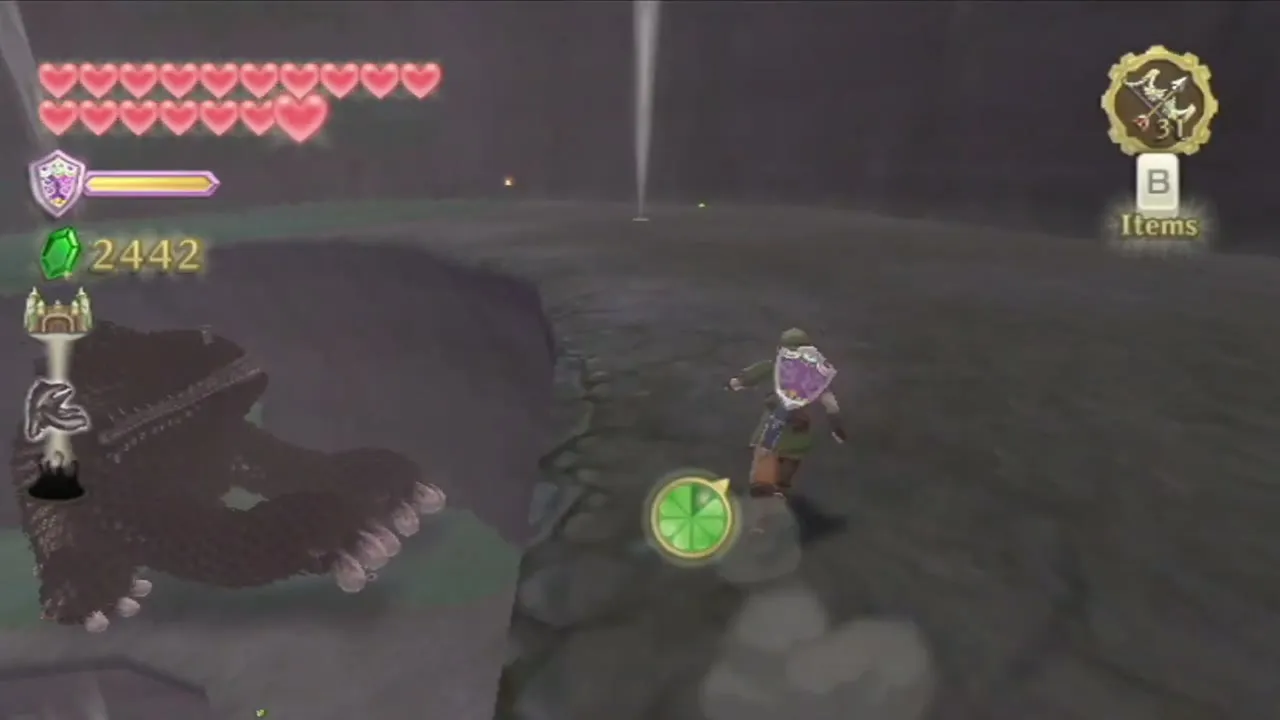
Fire bombs with the Groosenator
When the beast climbs too far ahead, press up on the D-pad to signal Groose, who then gives you control of the Groosenator. Move it around the rails with the Control Stick, aim with the pointer and fire a Bomb Flower. A hit stuns the beast for a few seconds. The machine needs a while to reload, so fight on foot until Groose calls you again, then fire another bomb and attack the toes while it is stunned.


Strike the sealing spike
When the beast is down, run to its head and slash the spike in its forehead with vertical strokes. You can also jump on it from a ledge above. If you are too slow the beast throws you off, but the spike keeps its depth, so back away, wait for it to stand and repeat. Driving the spike in three times in total finishes it.

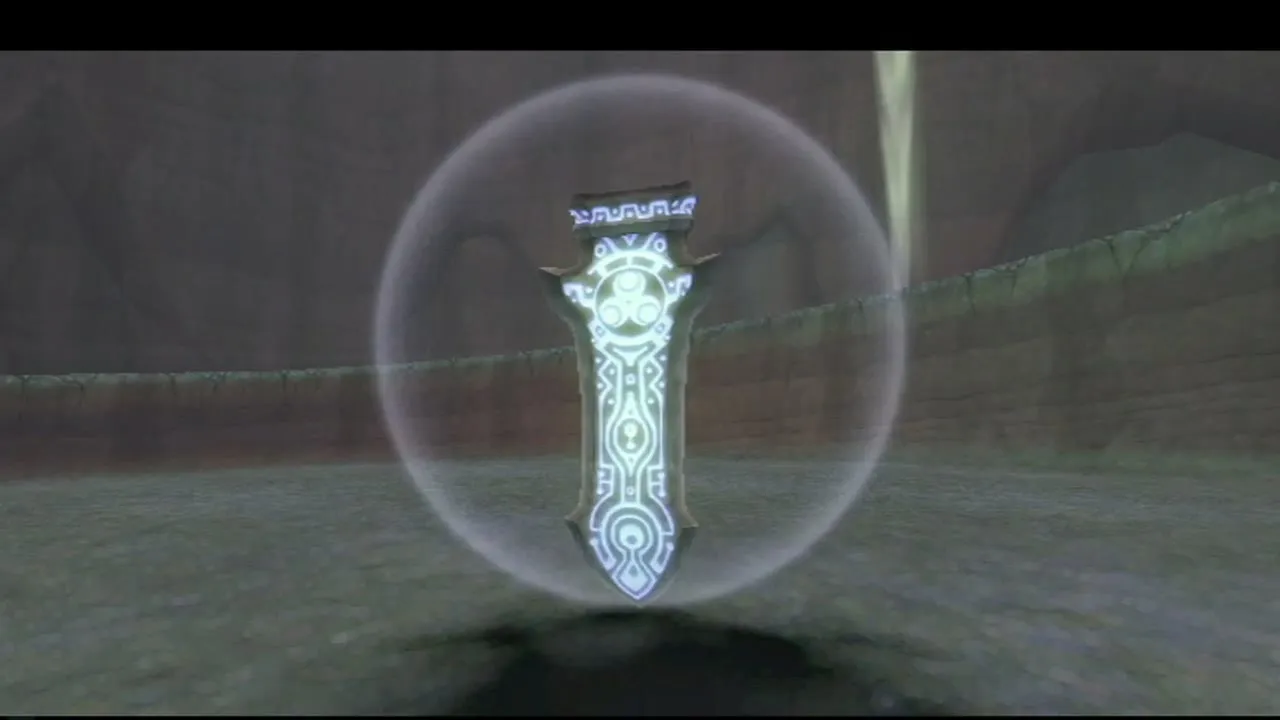
Reseal the spike
The monster bursts and is drawn into the spike, which drops to the floor of the pit inside a glowing bubble. Raise the sword, strike the spike with a Skyward Strike, then use the pointer to trace the glowing figure that appears around it in one stroke. There is no Heart Container for this fight, but the seal holds again.

Gate of Time and the Temple of Hylia
Return to the temple and open the gate
Climb back out of the pit and return to the temple. The old woman says the sealed evil will keep returning until it is destroyed at its source and that there is no time to lose. She asks for another Skyward Strike on the Gate of Time. This time it opens. Groose says he will stay behind to guard the temple while you pass through.
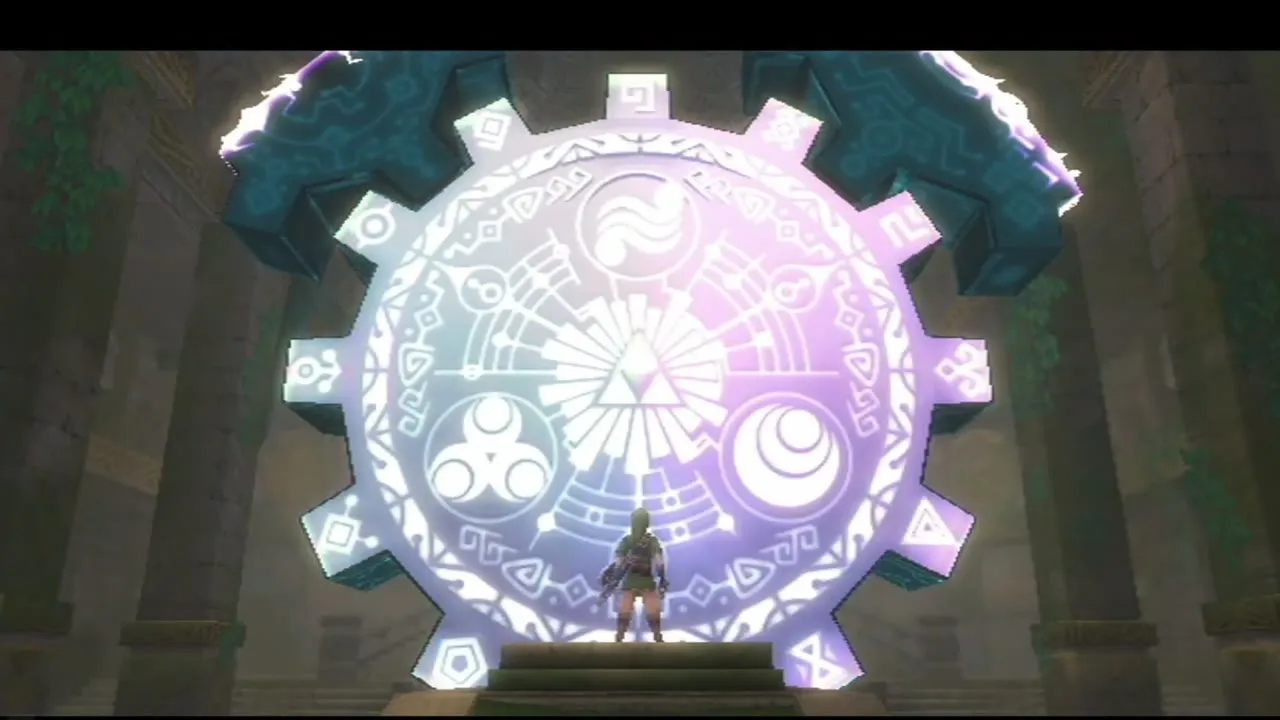


Meet Impa and Zelda in the past
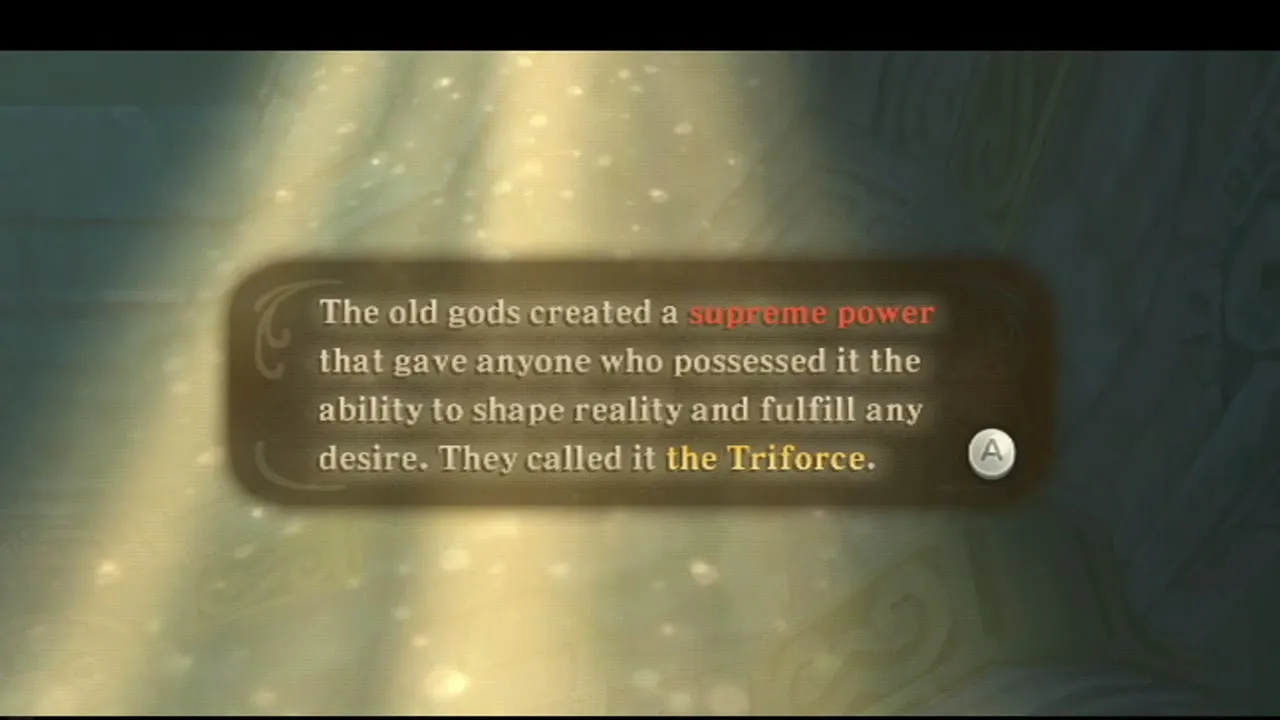
You arrive in the Temple of Hylia, long before your own time. Impa, much younger than the old woman you know, explains that Zelda waits in the next chamber. Walk through the temple door and talk to Zelda in a column of light. She explains the origin of the Triforce, the battle between Hylia and Demise, and why she took mortal form. She will stay in this age, in a deep sleep, to keep the seal on Demise strong.



The True Master Sword
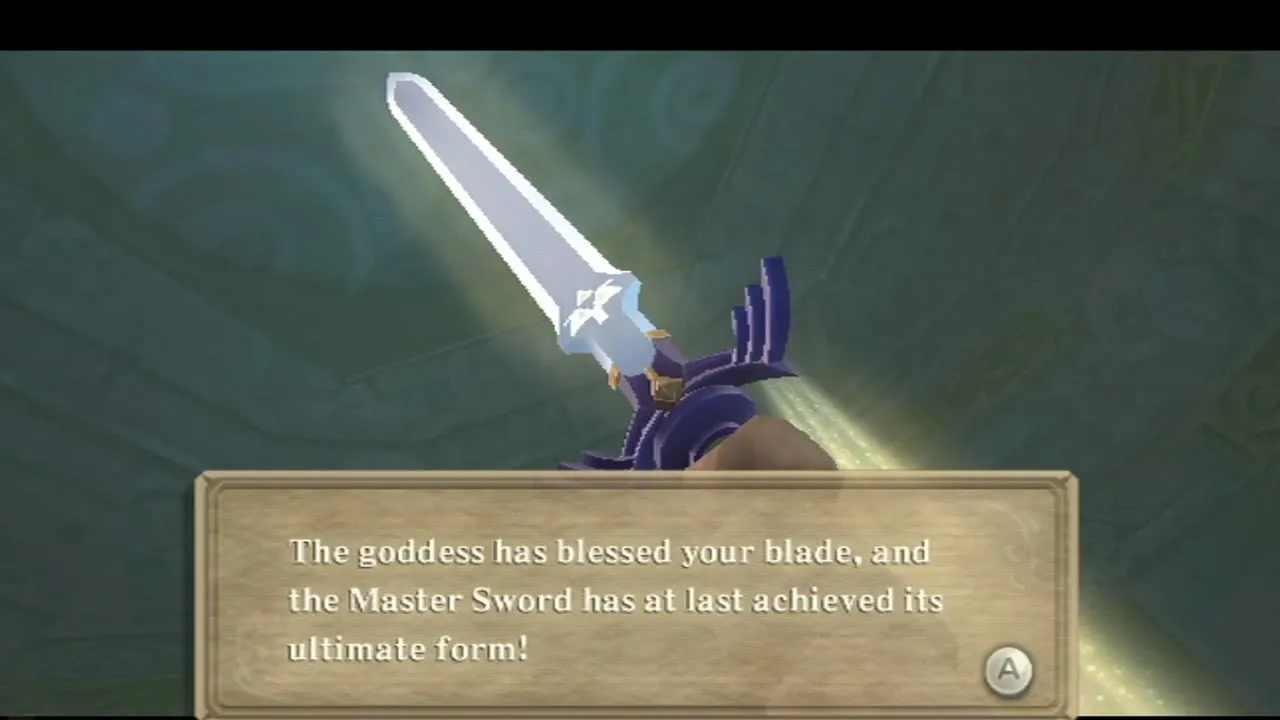
Zelda tells you that you have shown wisdom, power and courage, and she blesses the Master Sword. Hold the sword up to the light and it becomes the True Master Sword: the guard spreads outward, and the blade gains a white glow. It can now harm Demise, and it charges a Skyward Strike faster than before. This is a free upgrade, so there is nothing to carry or pay for.
Zelda’s request
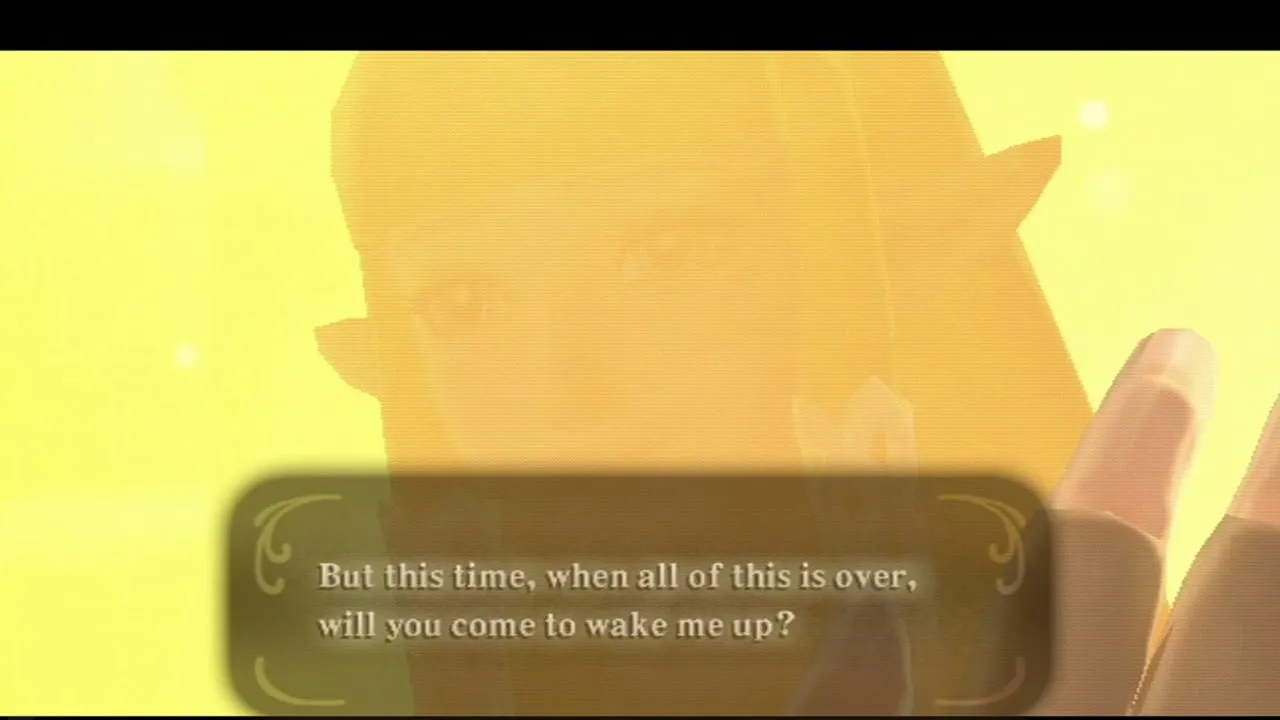
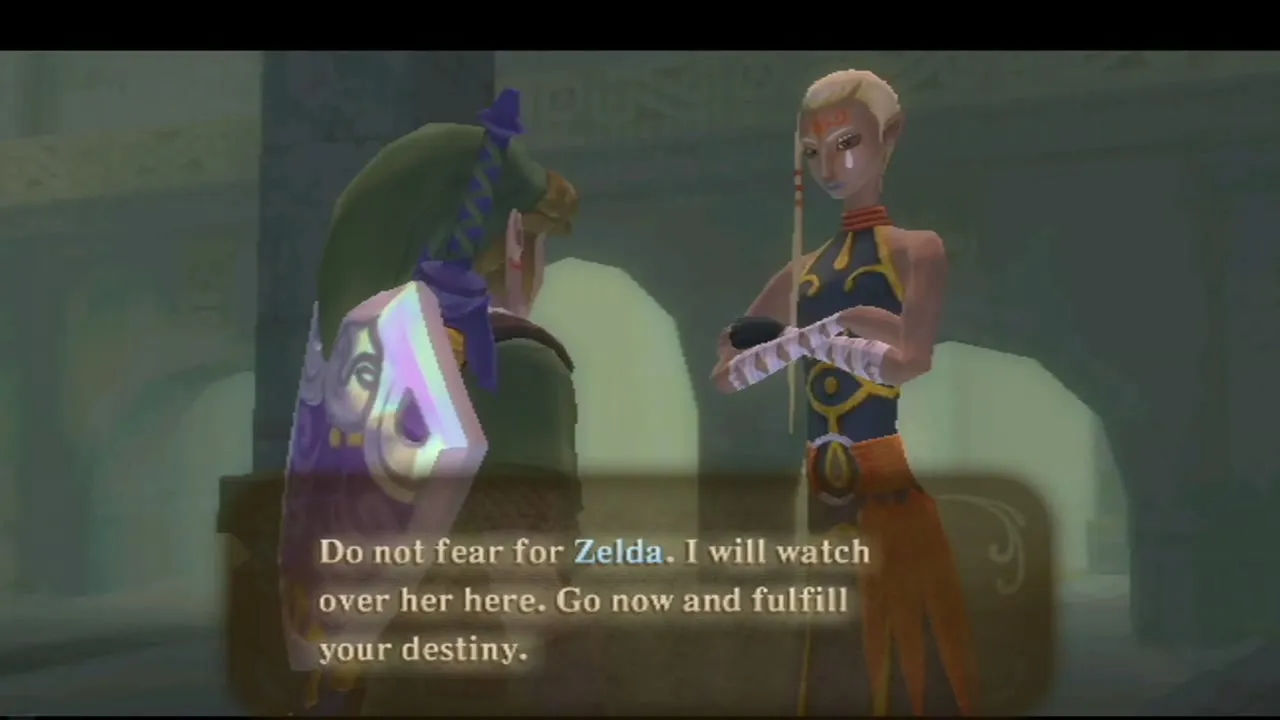
Zelda apologises for the burden she has placed on you and asks you to wake her when Demise is gone. Walk back out to Impa, who promises to watch over her, and return through the Gate of Time to the present.
Back in the present
Back in the temple, the old woman tells you that the Triforce is the only thing that can end the threat for good and that you must now find it. Groose says he has decided to stay here. Save at the Bird Statue outside the temple, and then fly home.
Woodland Rhino Beetle in the Sealed Grounds
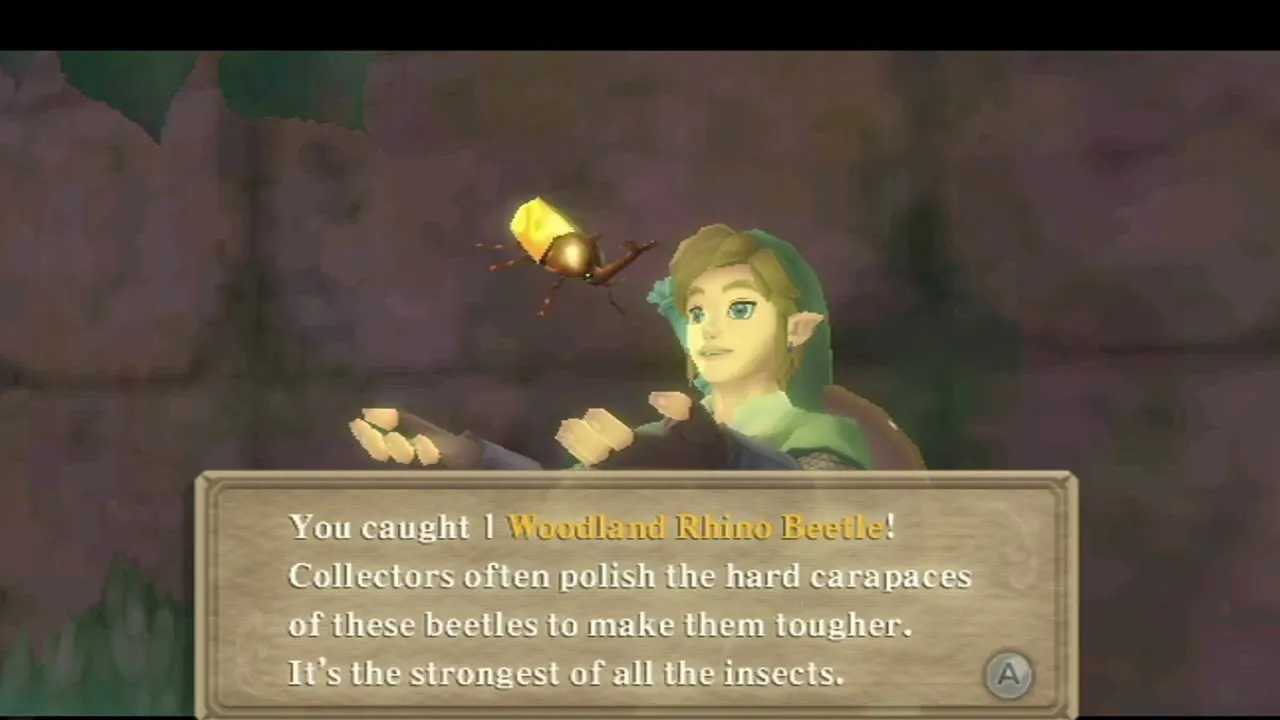
As you leave through the grass by the rails, keep an eye out for a Woodland Rhino Beetle on the walls behind the temple and catch it with the Bug Net (Beedle’s Airshop sells one for 50 Rupees). Bugs appear at random in their home areas, and this beetle can also be found on the walls near the temple, in the Deep Woods and around the Great Tree. Keep it, because Bertie at the Infusion Shop needs one for the upgraded Heart Potion and the upgraded Revitalizing Potion. The Bugs and Treasures page lists every bug.

Gorko’s Goddess Wall
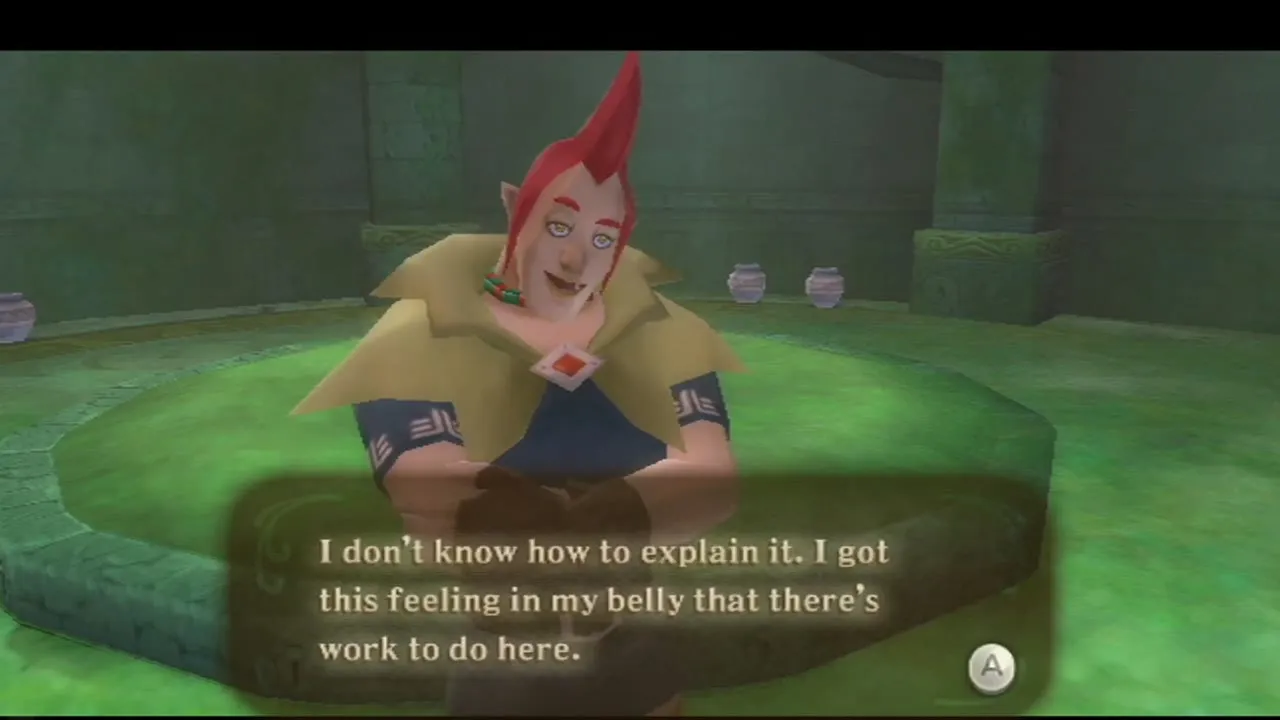
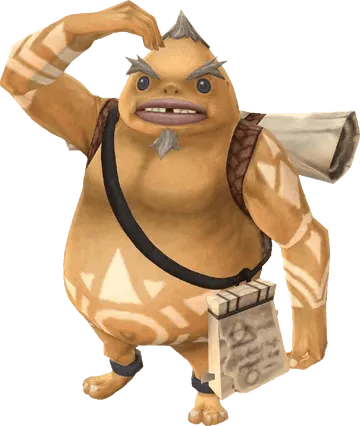
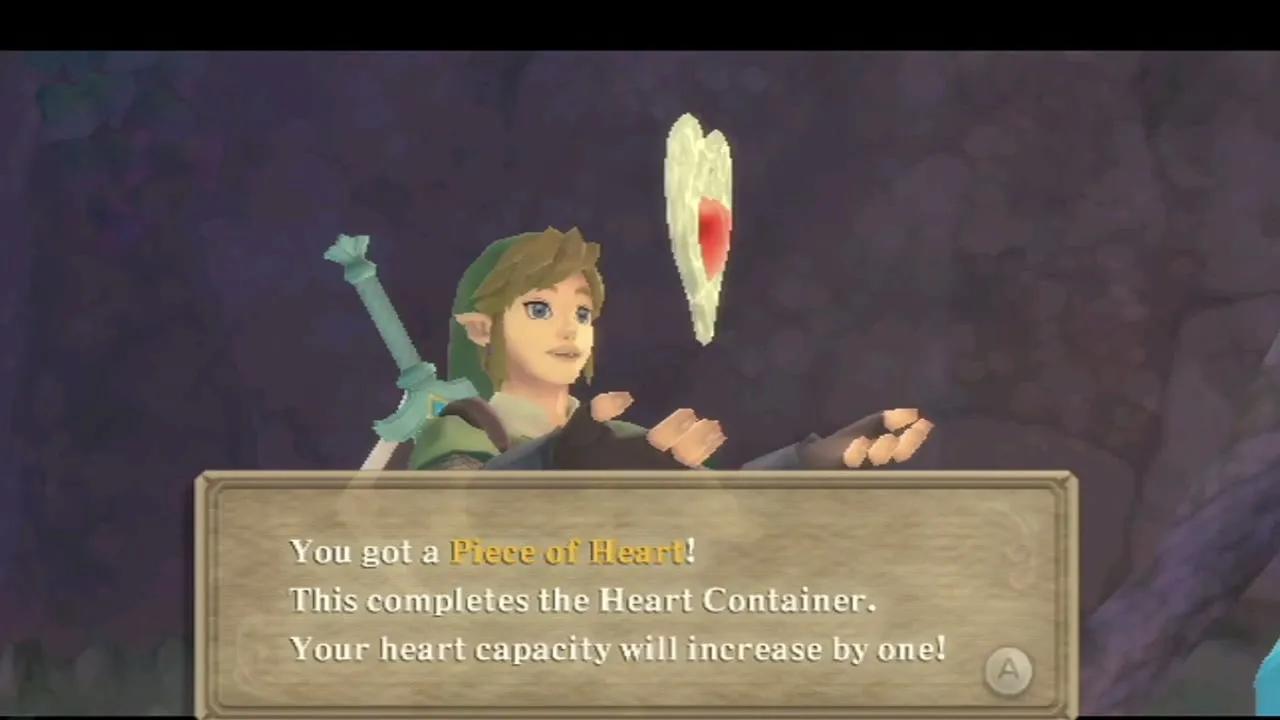
While you are in the Sealed Grounds, find Gorko in the glade with the Blessed Butterflies and play the harp beside them to reveal a Goddess Wall. Gorko names a shape; draw it on the wall with a charged Skyward Strike. The first correct drawing pays a Piece of Heart. If you get it wrong, wait for the wall to refresh and try again. The Piece of Heart page lists it as number 22.


The hunt for the Triforce at the Knight Academy
Talk to Gaepora
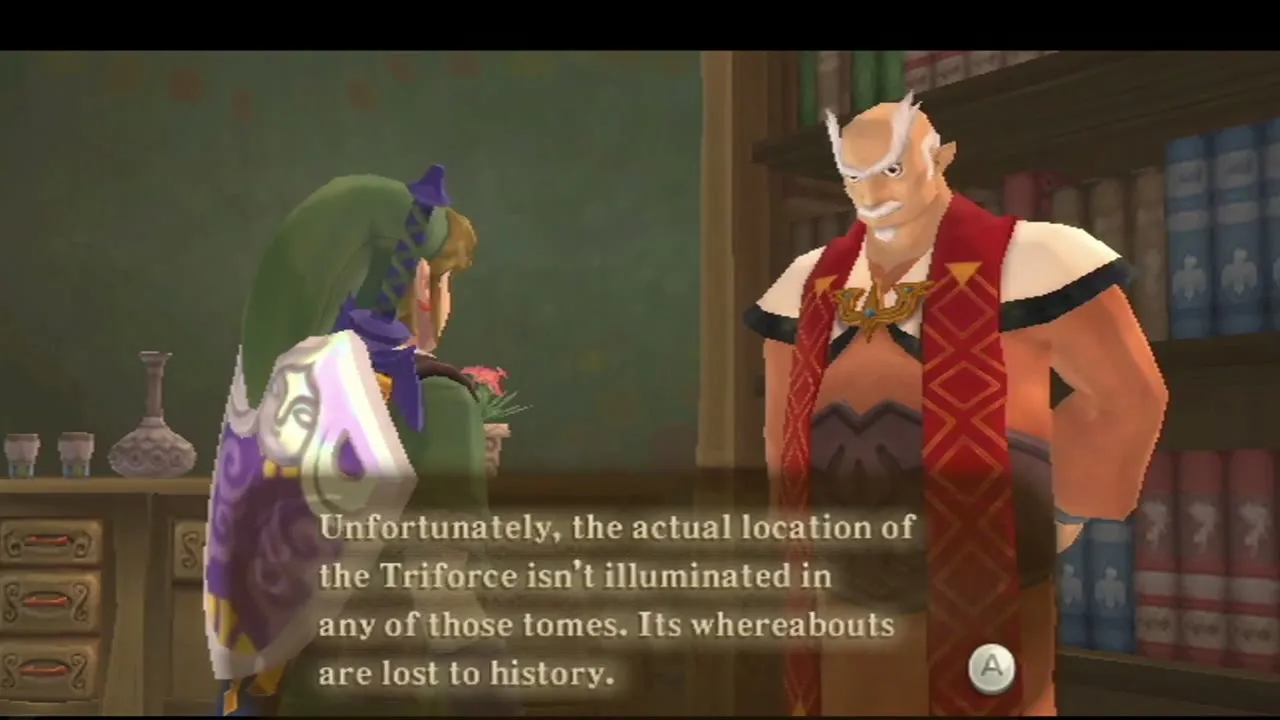
Zelda’s words mean you now need to find the Triforce. Land on Skyloft and walk through the Knight Academy courtyard to Headmaster Gaepora’s study. He is happy to share all he knows, but he admits the old books never say where the Triforce is. He suggests Levias, the great sky spirit who protects the sky, because his knowledge is vast, and mentions that the Thunderhead is hiding something and that Instructor Owlan has been looking into it.


Find Instructor Owlan
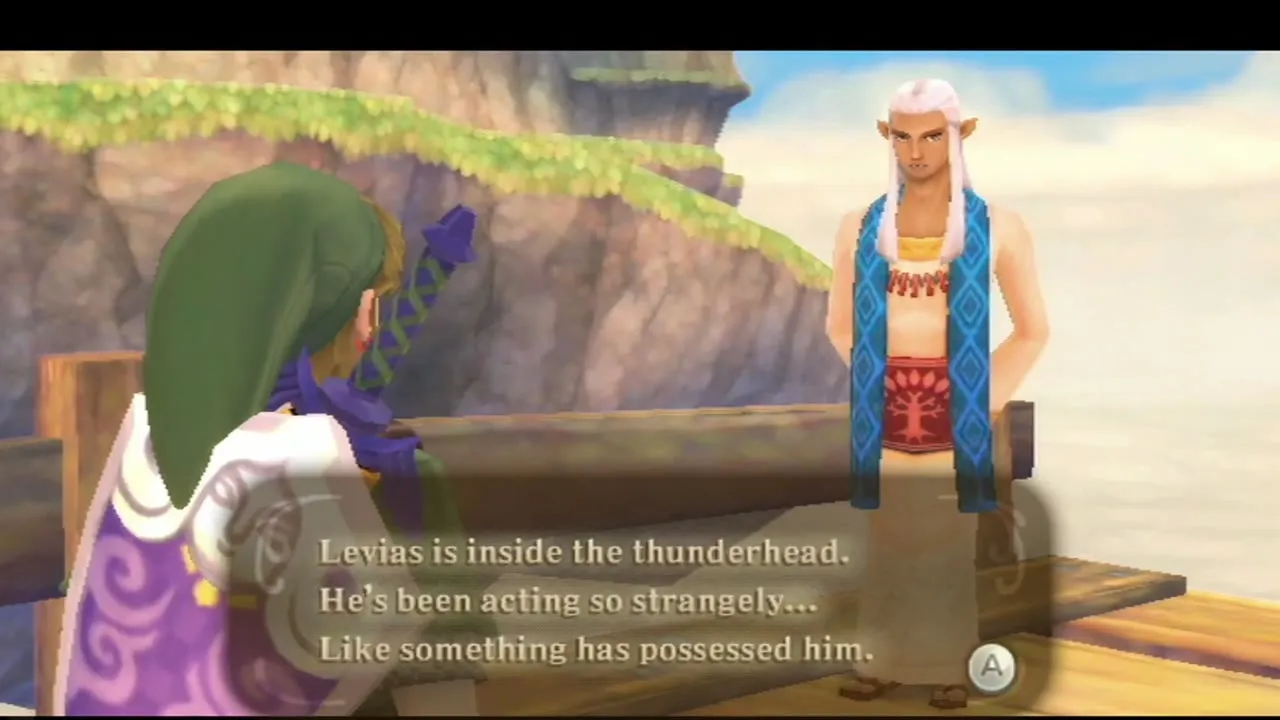
Owlan is in his room in the Academy; ask the people in the hall if you cannot find the door. He tells you Levias is inside the Thunderhead but is no longer himself, and he looks possessed. When he sees you are set on going anyway, he takes you to the Loftwing platform and offers to teach you a powerful bird-riding move for freeing Levias, the Spiral Charge.

Pass the Spiral Charge test
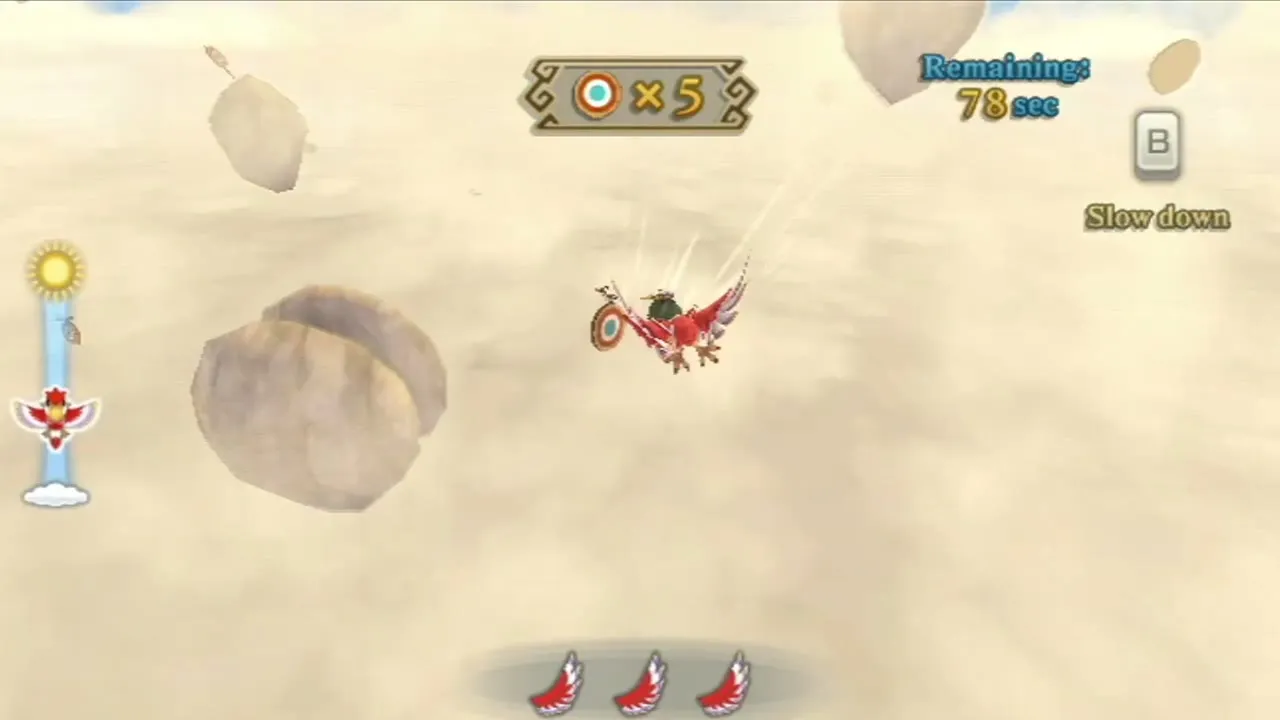
Dive off the platform and call your Loftwing. Owlan gives you 120 seconds to break ten targets. Use the Spiral Charge to drive your bird forward at speed, and fly straight at each target. The counter on screen tells you how many are left, so line up each one rather than rushing. When you finish, Owlan recognises you as a skilled rider and lets you use the Spiral Charge whenever you like.
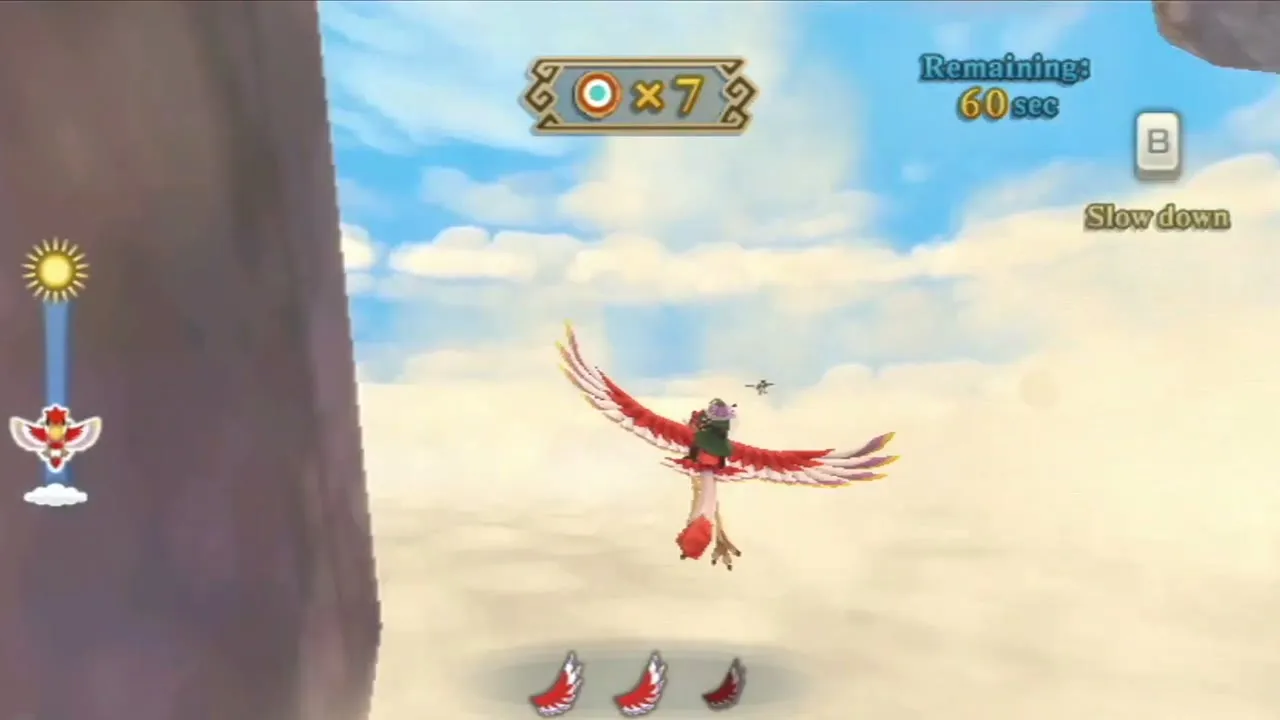

Spiral Charge for treasure
You can also use the Spiral Charge to smash the rocks on two islands, one east of Fun Fun Island and one southwest of Pumpkin Landing, which uncovers chests with a Silver Rupee in each. The Skyloft and the Sky page covers the rest of the Sky.
Pumm’s pumpkin soup for Levias
Visit the Lumpy Pumpkin
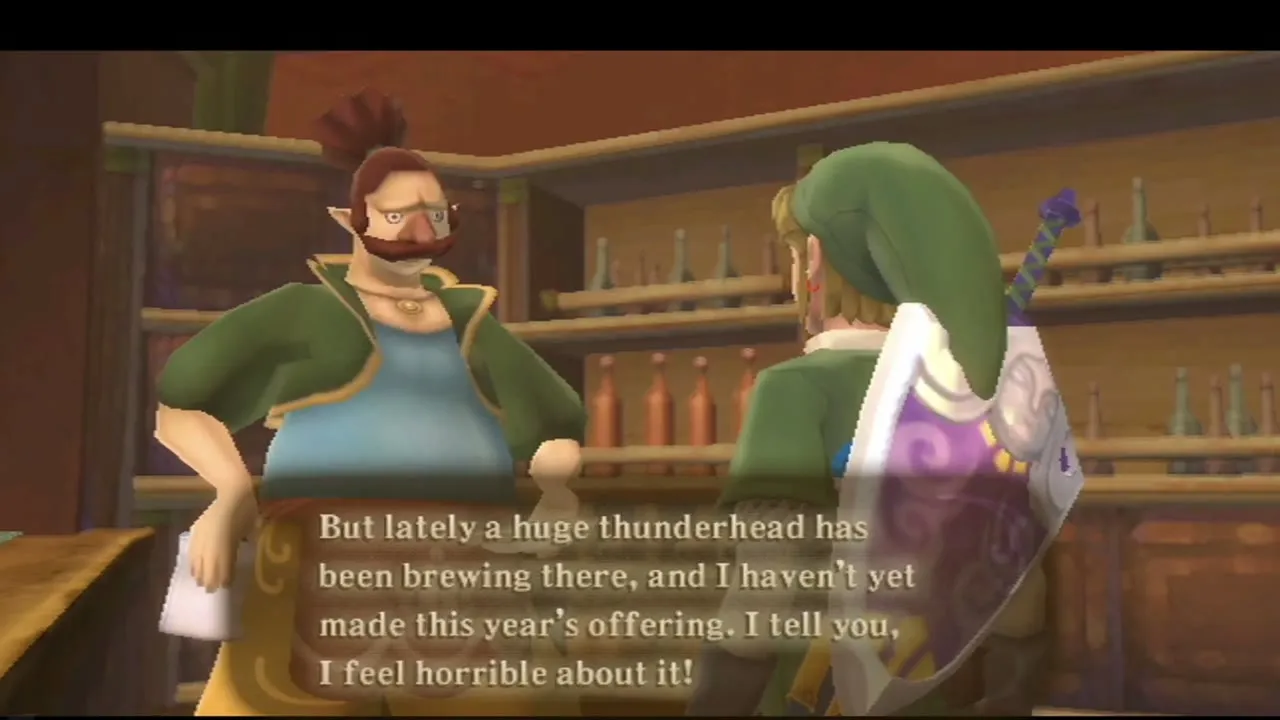
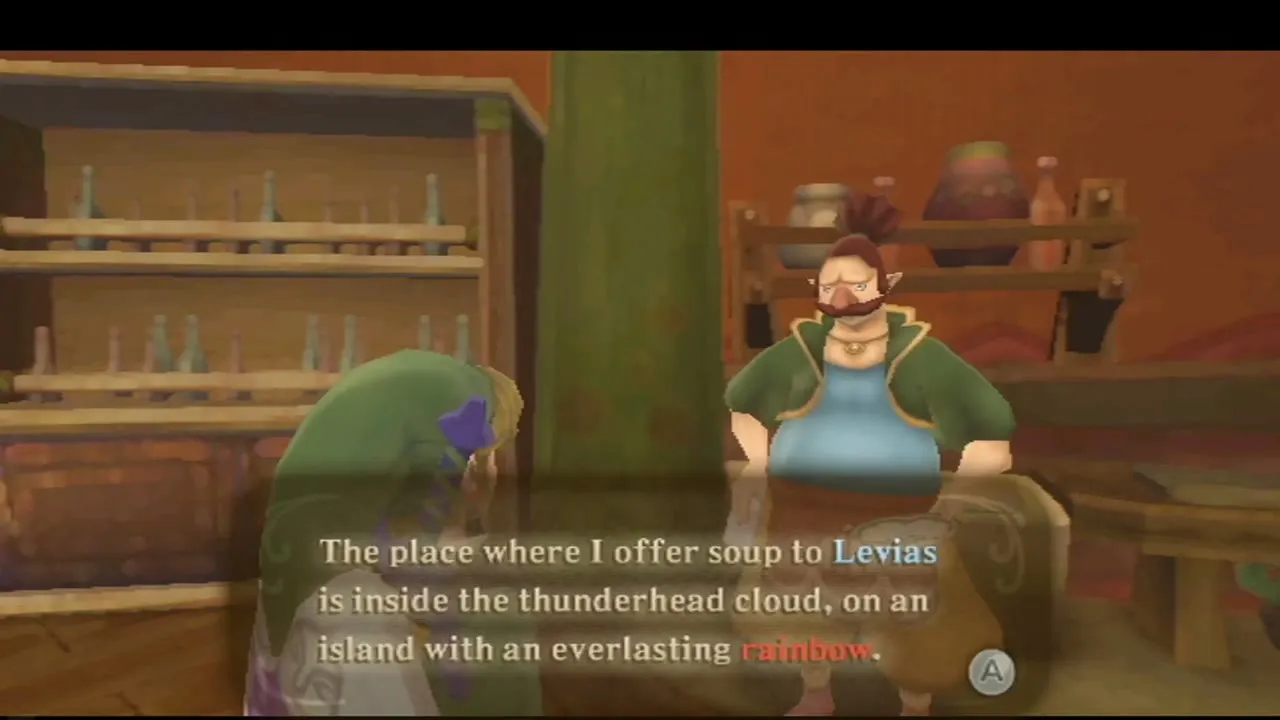
Owlan sends you to the Lumpy Pumpkin, on Pumpkin Landing, a large island in the north-east of the Sky. Open the Sky map, choose Pumpkin Landing and land there. Pumm, the owner, offers a basin of his pumpkin soup to Levias every year, but the Thunderhead has stopped him this year. When you offer to take it, he sets about making the best batch ever.
Call Scrapper to carry the pot
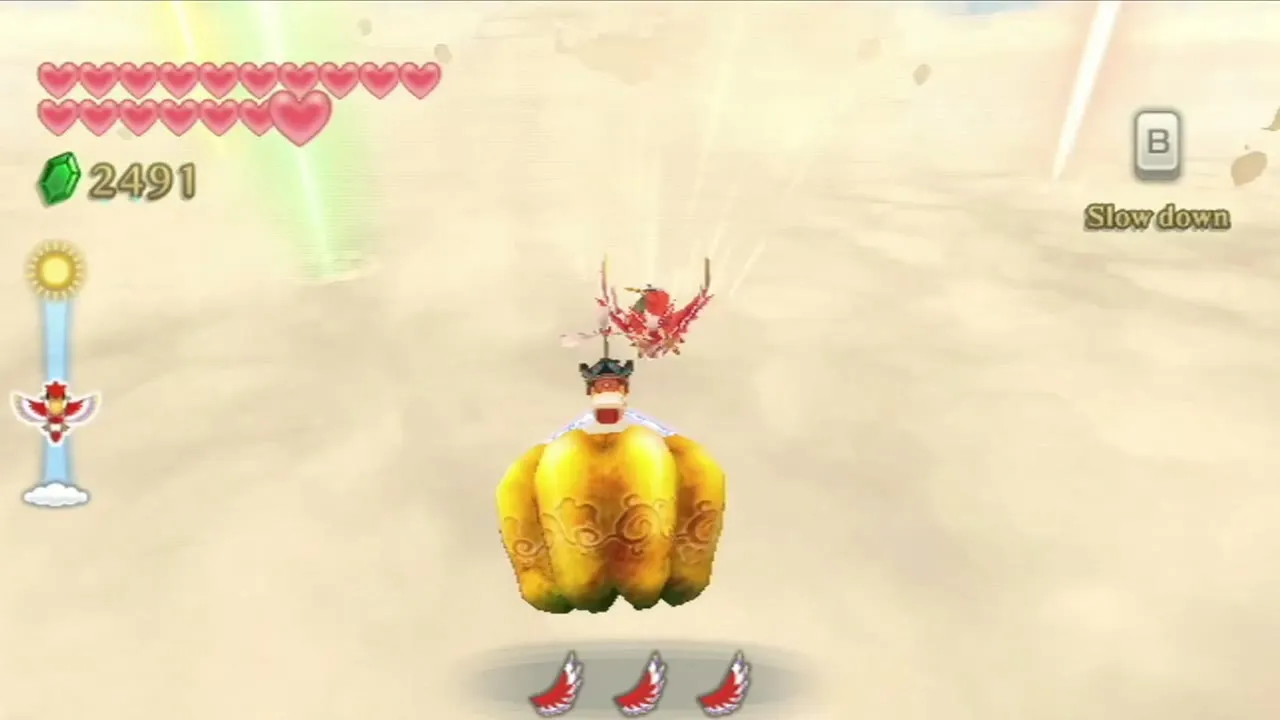
The soup is far too heavy to carry yourself. Fi tells you she will signal for Scrapper, who arrives to carry the pot. Call your Loftwing and fly to the Thunderhead with Scrapper flying along, holding the pot.
Deliver the soup to the cloud
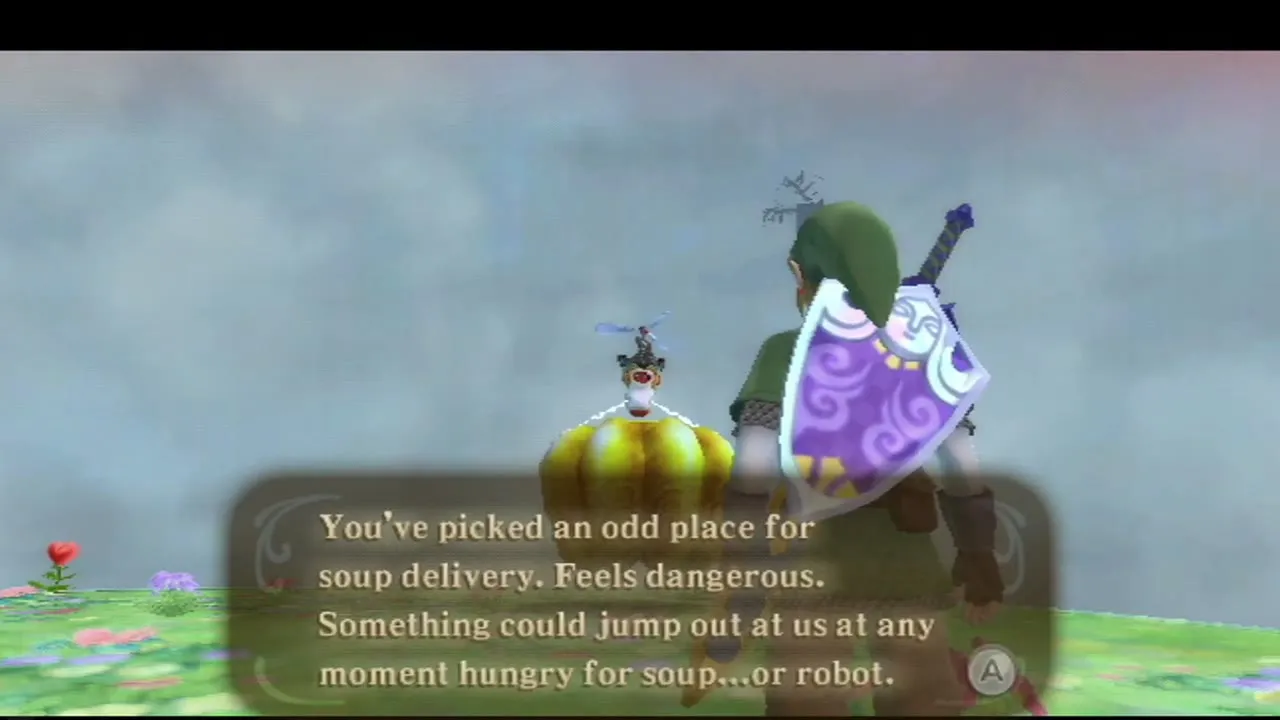
Fly into the Thunderhead, a storm full of wind and rain, with Scrapper carrying the pot. Land on the grassy island covered in red and pink flowers and walk to the middle. Scrapper unloads the pot there, grumbles that the place feels dangerous, and leaves. As soon as the pot is down, Levias smells the soup and rises out of the clouds.



Bilocyte boss fight
Levias is possessed
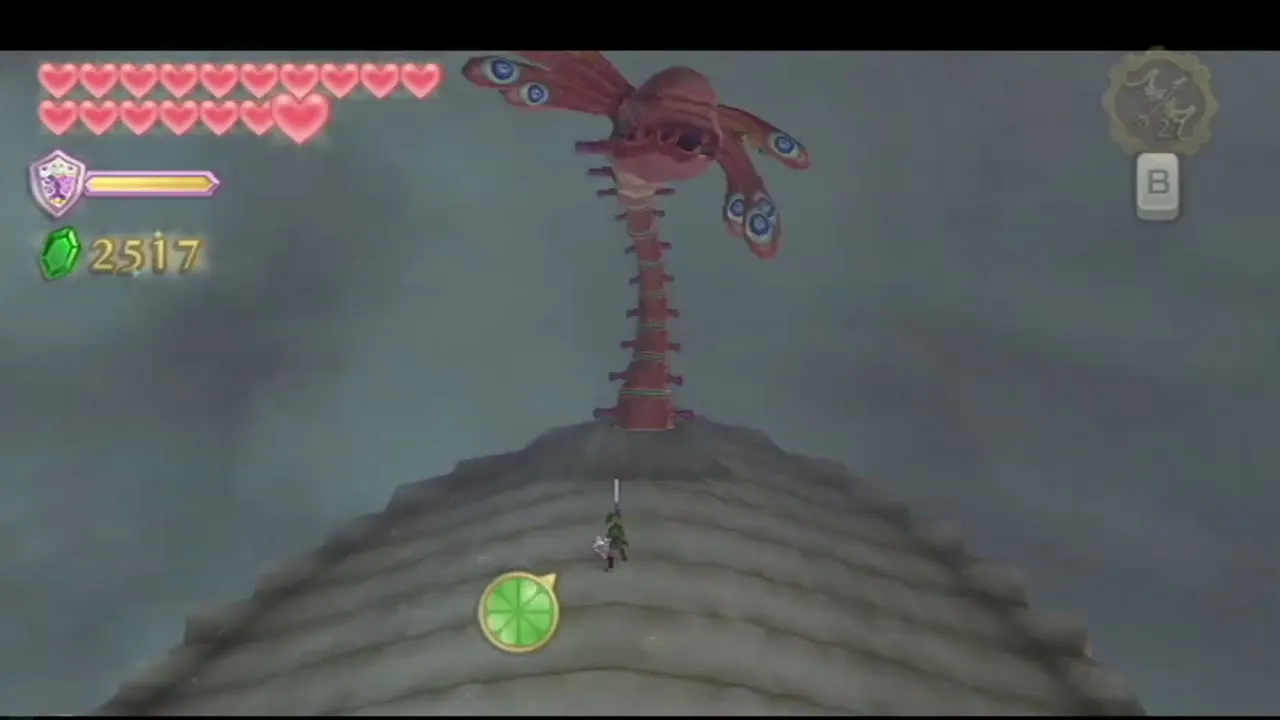
Levias is a vast flying whale, and tentacles with eyeballs on their tips poke out of holes along his body. These are the arms of a parasite called Bilocyte, which controls him and makes him lash out at anything that comes near. Take to the air on your Loftwing and circle him.

Destroy the tentacles
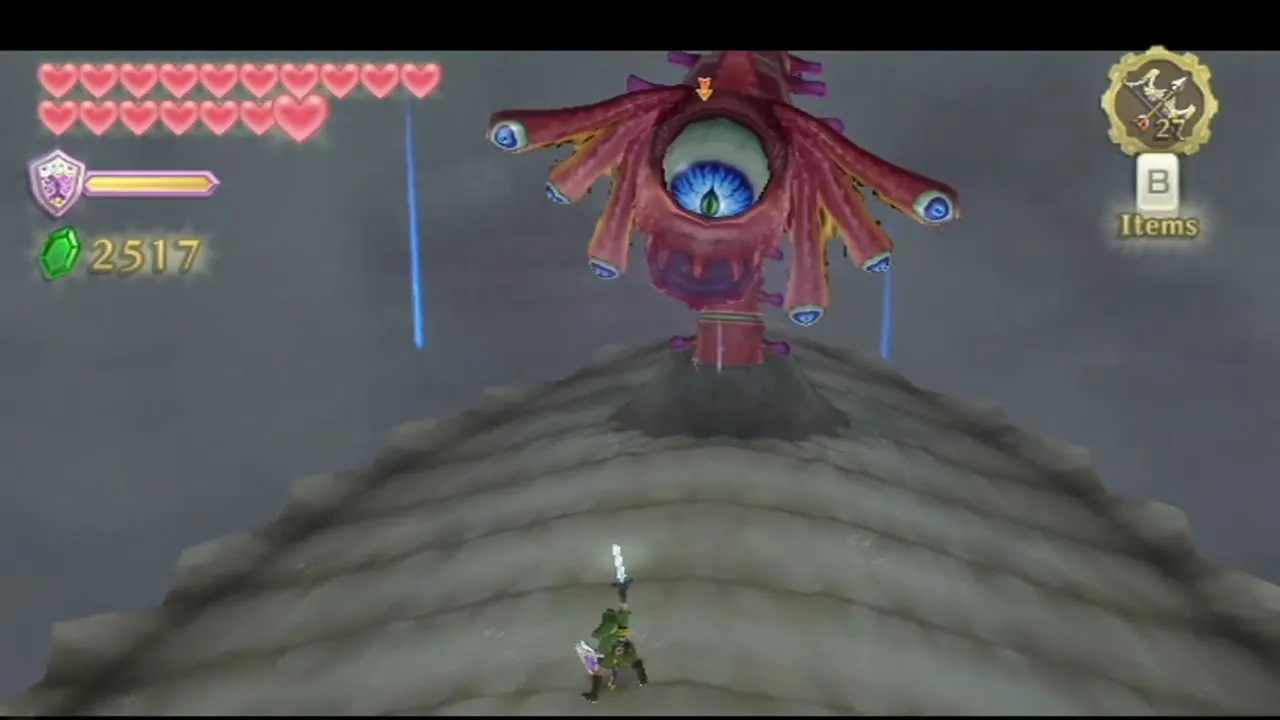
There are two ways to deal with the tentacles. On your Loftwing, line up each eyeball and Spiral Charge into it. Alternatively, land on Levias’s back and shoot each tentacle eye with the Bow. Hitting an eye breaks that tentacle, and when the last one is gone a larger eye appears from his blowhole.

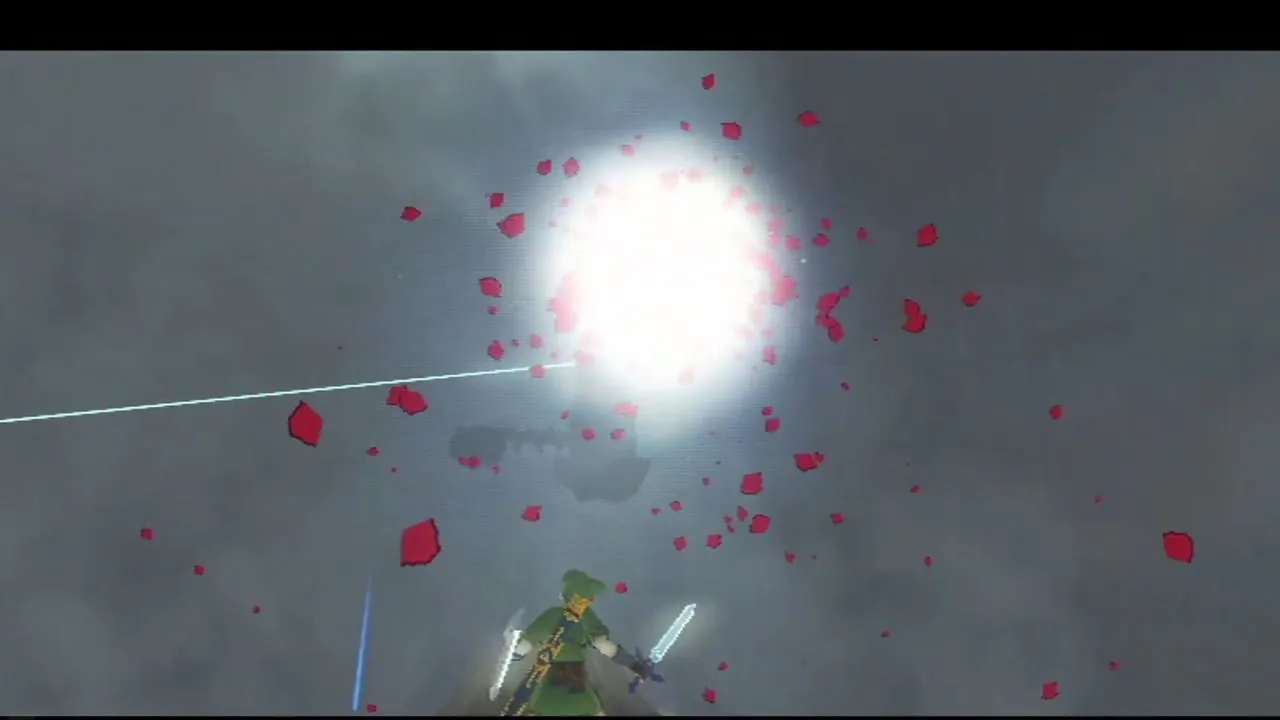
Lure out and beat Bilocyte’s head
Land on Levias’s head to draw the parasite fully out. It is a red creature with a single big eyeball and two frills. It spits green balls from its mouth, so swing your sword to bat them back at the frills and close them. With both frills shut, reflect another ball into the eye, or hit it with an arrow or a Skyward Strike, and it falls forward. Run up and slash it with the sword. Repeat a few times until Bilocyte is destroyed.

Levias explains the Song of the Hero
Freed, Levias thanks you and the Thunderhead rain stops. He tells you he is the warden of the skies appointed by Hylia and that those who learn the Song of the Hero will find the way to the Triforce. The clue is a song to be played on the harp, the Song of the Hero, which Hylia split into four parts: she gave one to Levias and the other three to the dragons of Faron Woods, Eldin Volcano and Lanayru Desert. Learn those three, then return and he will sing the last part. There is no Heart Container.


Bug Rock opens
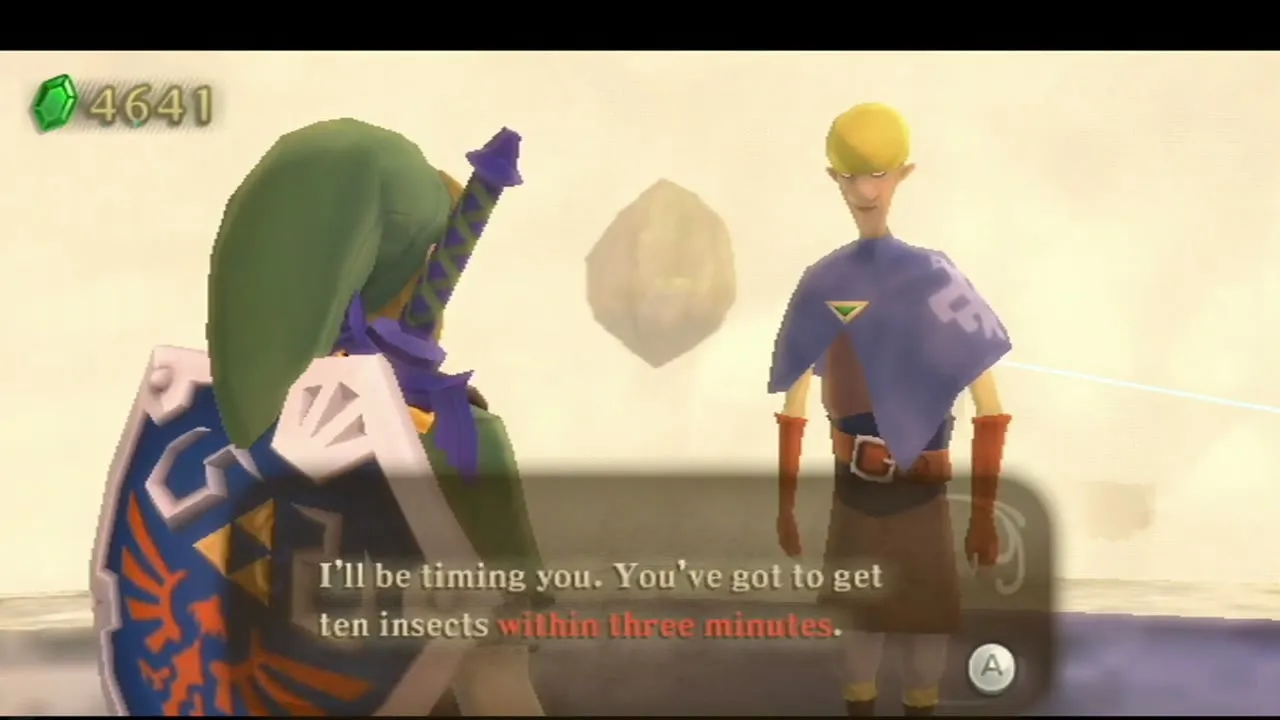
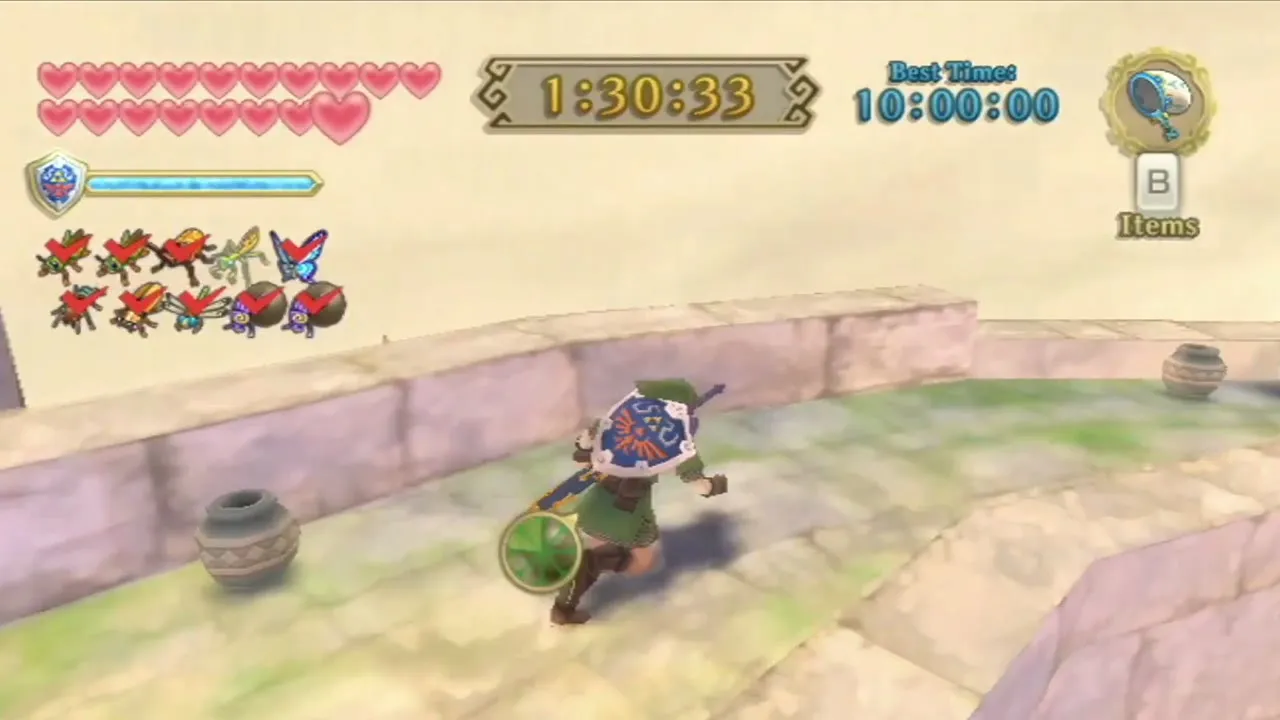
With Bilocyte gone, Strich arrives at Bug Rock, an island in the Thunderhead. He runs the Bug Heaven mini-game, where you catch bugs against a clock for prizes. The Mini-Games page lists the rules and prizes, and the quest for Beedle’s lost Horned Colossus Beetle also needs it.
Optional Skyloft quests that open now
Find the baby’s Rattle (Bertie)
Bertie runs the Infusion Shop in the Bazaar. Visit his house at night (sleep in a bed and choose “Until night” if it is still day) and he tells you a bird has taken his baby’s Rattle and his baby will not sleep without it. Use the Clawshots to climb the floating islands near the Waterfall Cave, then glide onto the windmill nest and use the Gust Bellows to blow the dust off the Rattle, then pick it up.
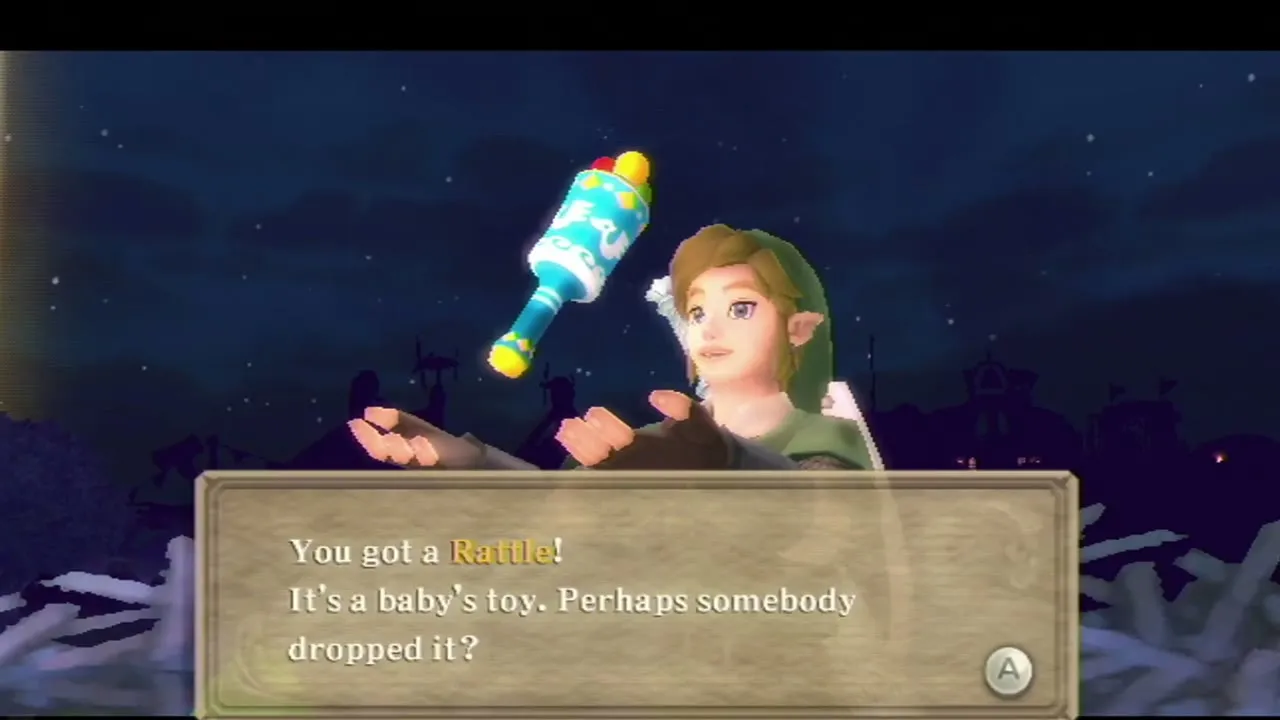
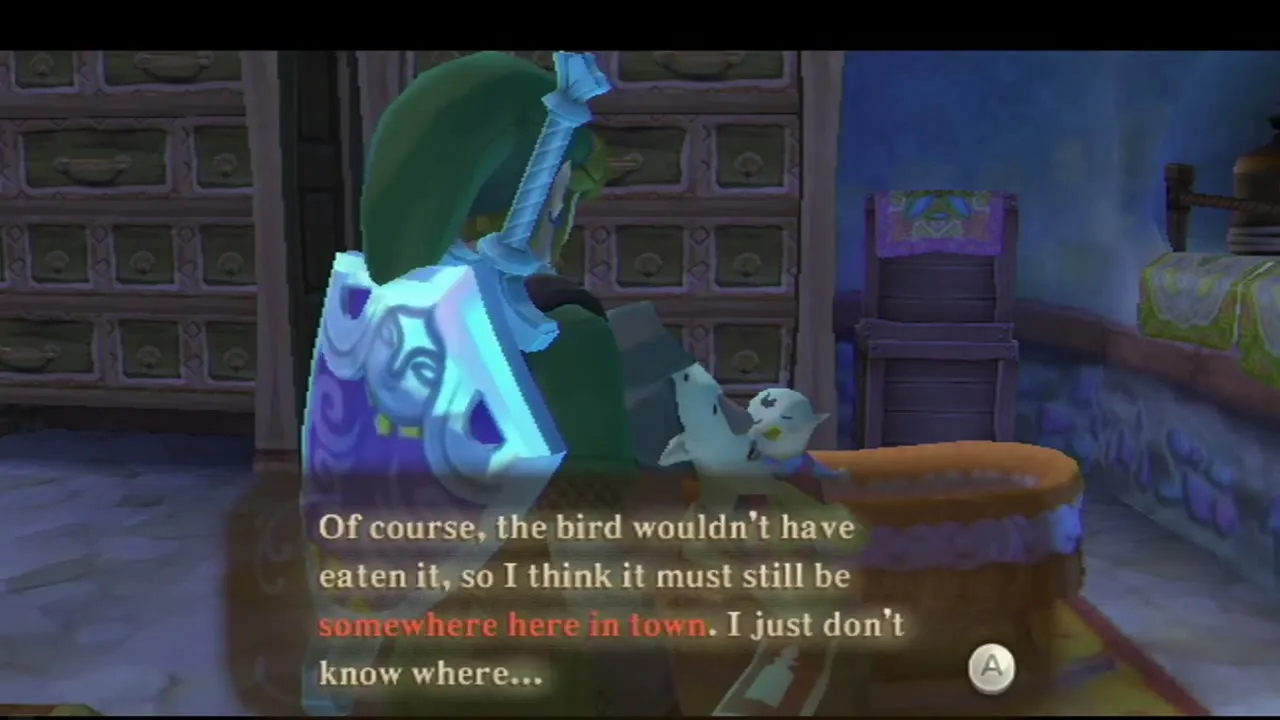
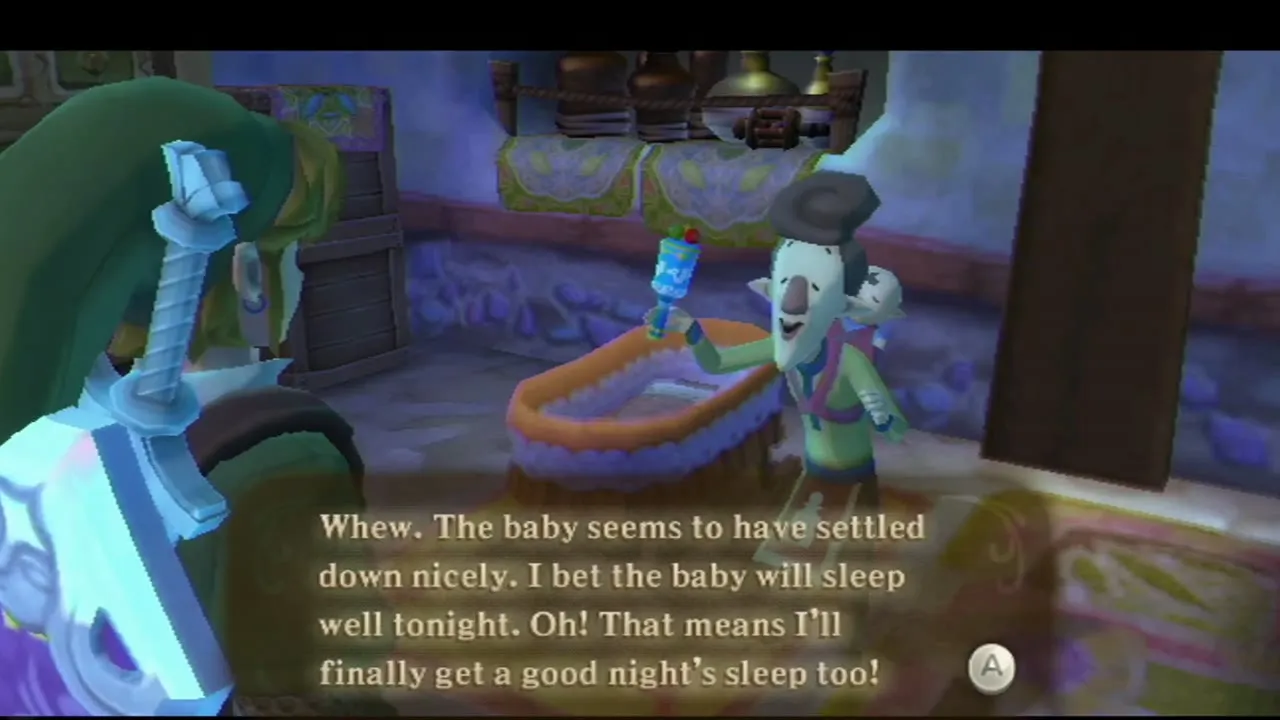
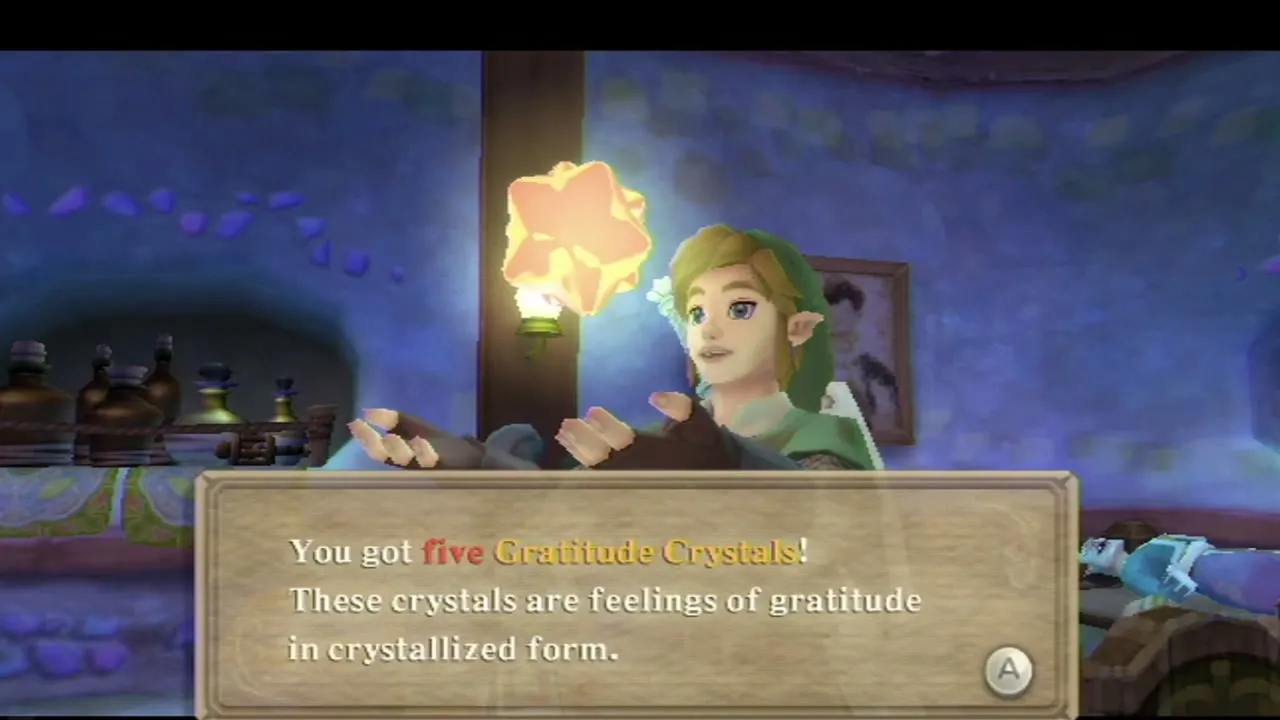
Return to Bertie’s house. When you hand over the Rattle the baby settles down in its cot. Bertie rewards you with 5 Gratitude Crystals. See Gratitude Crystals for how to spend them with Batreaux.

Find My Crystal Ball (Sparrot)
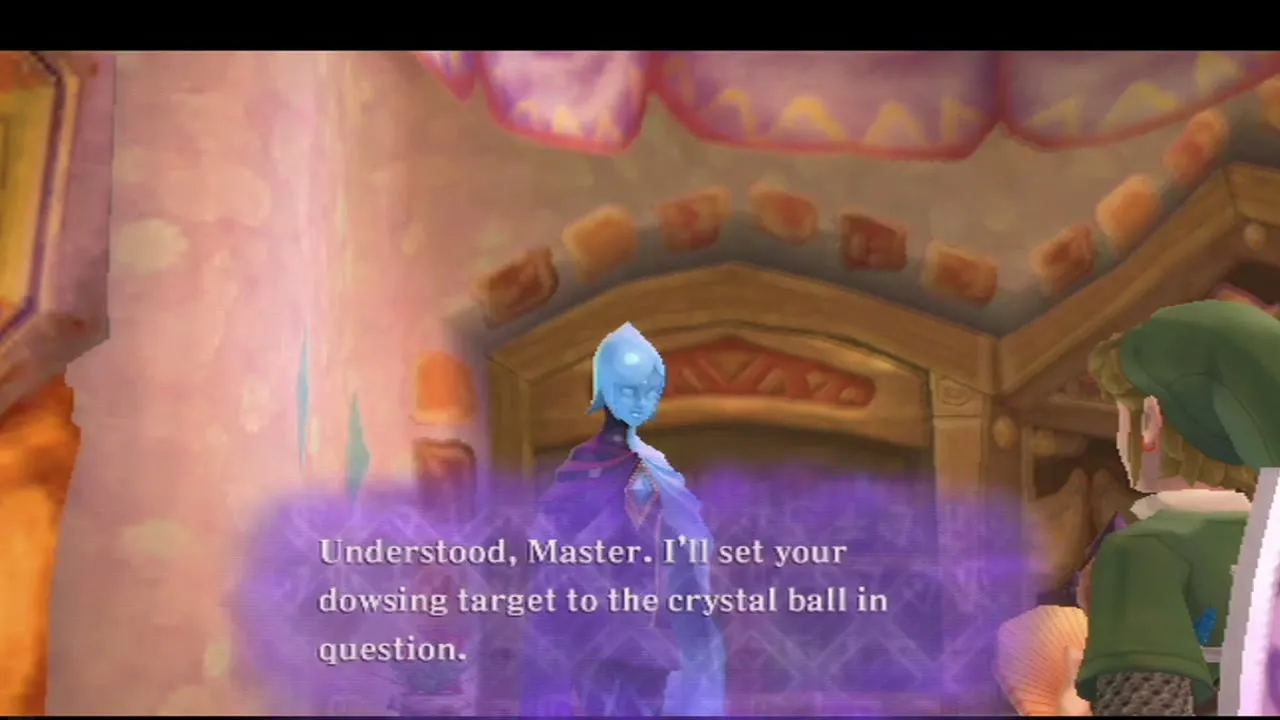
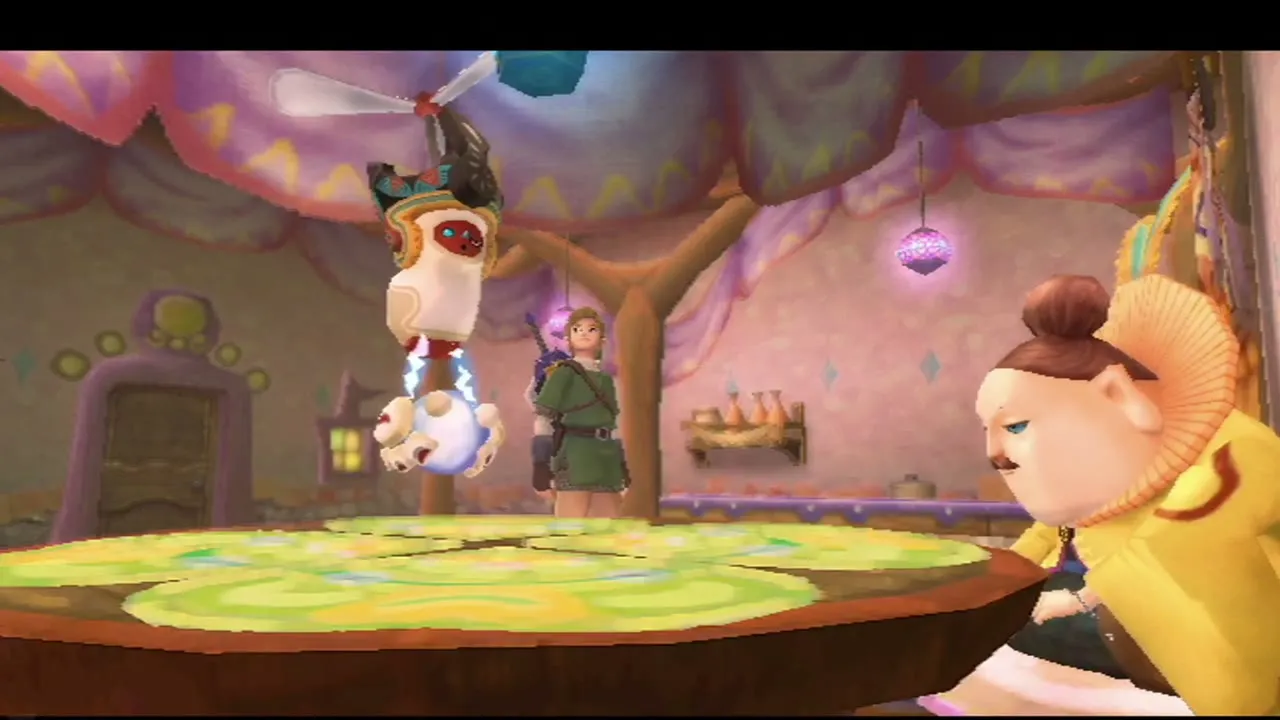
Visit Sparrot, the fortune teller, in his house on the east side of Skyloft. His crystal ball has cracked and he cannot see the future, so he asks you to find another from beneath the clouds. Say yes, and Fi adds the crystal ball to your dowsing menu. Dive to the Surface, find the target, and use the Clawshots to reach it. Fi then calls Scrapper to carry it back up. Sparrot gives you 5 Gratitude Crystals and cheaper fortunes.

Other quests to start later
Other Gratitude Crystal quests need items you do not have yet, so leave them for later chapters. The Side Quests page lists every quest and what it needs, and the Goddess’s Harp Songs page covers the songs you are about to learn.
Chapter checklist
| Collectible | Type | Where |
|---|---|---|
| True Master Sword | Sword upgrade | Zelda’s blessing in the Temple of Hylia, after the second Imprisoned fight |
| Spiral Charge | Loftwing technique | Instructor Owlan’s ten-target test over Skyloft |
 Woodland Rhino Beetle | Bug | Sealed Grounds near the rails; also Deep Woods and the Great Tree |
 Piece of Heart (Gorko’s Goddess Wall) | Piece of Heart | Sealed Grounds, harp near the Blessed Butterflies beside Gorko, draw the shape he names |
 Song of the Hero (clue) | Song | Levias explains the four parts after Bilocyte |
| Find the Baby’s Rattle (Bertie) | Gratitude Crystals (5) | Bertie’s house at night; Rattle in the windmill nest near the Waterfall Cave |
| Find My Crystal Ball (Sparrot) | Gratitude Crystals (5) | Opens after the Fire Sanctuary, when Sparrot’s ball shatters; the new ball is in Eldin Volcano above the Earth Temple entrance (Clawshots, Scrapper) |
| Bug Heaven | Mini-game | Bug Rock in the Thunderhead, after Bilocyte |
With Levias freed and the Song of the Hero explained, continue to Song of the Hero: Faron, Eldin and Lanayru Gorge.
