Skyward Sword 100% Completion Walkthrough18 chapters
- Skyview TempleSmall keys, the Beetle, the Golden Carving door, the Ghirahim boss fight, the Heart Container and the Ruby Tablet.
- Earth TempleGet the Bomb Bag from Ledd, carry the Dragon Sculpture, beat Scaldera and collect the Amber Tablet.
- Lanayru Mining FacilityTimeshift Stones, Gust Bellows, Small Key, Armos, Ancient Circuit, Moldarach and the Goddess’s Harp.
- Ancient CisternBoth Small Keys, the Whip, the Blessed Idol, the Koloktos boss fight, Farore’s Flame and the Goddess Longsword.
- SandshipThe Timeshift Stone, Scervo and the Bow, both generators, Squid Carving, Tentalus and Nayru’s Flame.
- Fire SanctuaryAll three small keys, the Mogma Mitts, the Mysterious Crystals, Ghirahim’s second fight and the Master Sword.
- Skyloft Silent Realm and Sky KeepThe Skyloft Silent Realm and its 15 Sacred Tears, the Stone of Trials, every Sky Keep room and all three Triforces.
- Skyloft and the Goddess SwordFind your Loftwing, win the Wing Ceremony, draw the sword and take your first dive.
- Sealed Grounds, Faron Woods and the Deep WoodsThe Sealed Grounds, the missing Kikwi, the Slingshot, the Deep Woods and the way into Skyview Temple.
- Eldin Volcano and the Key PiecesPlace the Ruby Tablet, run Skyloft errands, earn the Digging Mitts and find all five Earth Temple key pieces.
- Lanayru Mine and Lanayru DesertLanayru Mine, Timeshift Stones, the Hook Beetle, the Temple of Time and how to set the three power generator dials.
- The Goddess’s Harp, The Imprisoned and the Isle of SongsBallad of the Goddess, The Imprisoned, the Light Tower, the Isle of Songs and Farore’s Courage.
- Farore’s Silent Realm and Lake FloriaAll 15 Tears of Farore, the Water Dragon’s Scale and Sacred Water.
- Nayru’s Silent Realm and the Lanayru Sand SeaNayru’s Wisdom, Nayru’s Silent Realm and the Clawshots, Golo’s key, Skipper’s boat, the Shipyard.
- Din’s Silent Realm and Volcano SummitDin’s Power, the Fireshield Earrings, frog statues, the Water Basin and the Scrapper escort.
- True Master Sword, Levias and BilocyteSkyward Sword walkthrough for the True Master Sword, the second Imprisoned fight, the Spiral Charge.
- Song of the HeroEscape Eldin, beat the third Imprisoned, win the Tadtone song in Faron Woods and heal Lanayru’s Thunder Dragon.
- The Horde, Ghirahim and DemiseClear the last side quests, beat the Horde, Ghirahim’s third fight and Demise, then unlock Hero Mode.
| Covers | Eldin Volcano (captured, the stealth route and Volcano Summit), the third Imprisoned fight in the Sealed Grounds, flooded Faron Woods and the Tadtones, Lanayru Gorge, the Life Tree and Levias in the Thunderhead |
|---|---|
| You need | Goddess’s Harp, Beetle, Water Dragon’s Scale (for swimming), Gust Bellows, Clawshots and Mogma Mitts; the Triforce hunt must have started and Pumm’s soup must have reached Levias in the Thunderhead (see the previous chapter) |
| Rewards | The four parts of the Song of the Hero; every item stripped from you in Eldin returned, including the True Master Sword; the Life Tree Seedling and Life Tree Fruit; Amber Relic, Ornamental Skull and Ancient Flower treasures, a Gerudo Dragonfly; 5 Gratitude Crystals from Sparrot, plus 10 more from two optional errands; two Goddess Cubes (Volcano Summit and Lanayru Gorge) that open the Empty Bottle chest and the Small Quiver chest in the sky |
This chapter collects the Song of the Hero, the melody that opens the last trial. Three dragons each hold one part and Levias holds the fourth: you survive an eruption in Eldin, win a Tadtone chase in flooded Faron Woods, heal the sick dragon of Lanayru Gorge with fruit from the Life Tree, and finish with Levias in the Thunderhead.

The three dragon quests can be done in any order, and the order below is simply the one that flows well. Fi will not let you descend into Faron Woods until the third Imprisoned has been dealt with, so that fight arrives whenever you first head for Faron. Do Lanayru last, because the Life Tree needs a trip to the Sealed Temple and its Gate of Time.

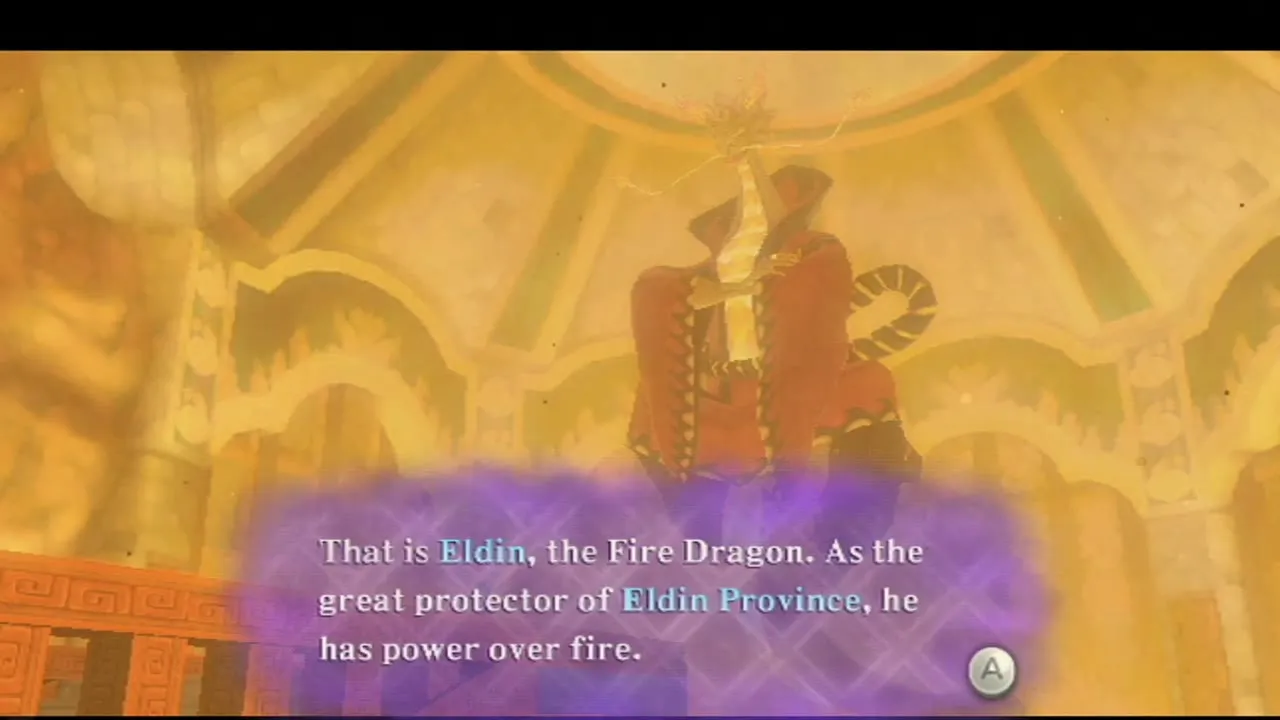
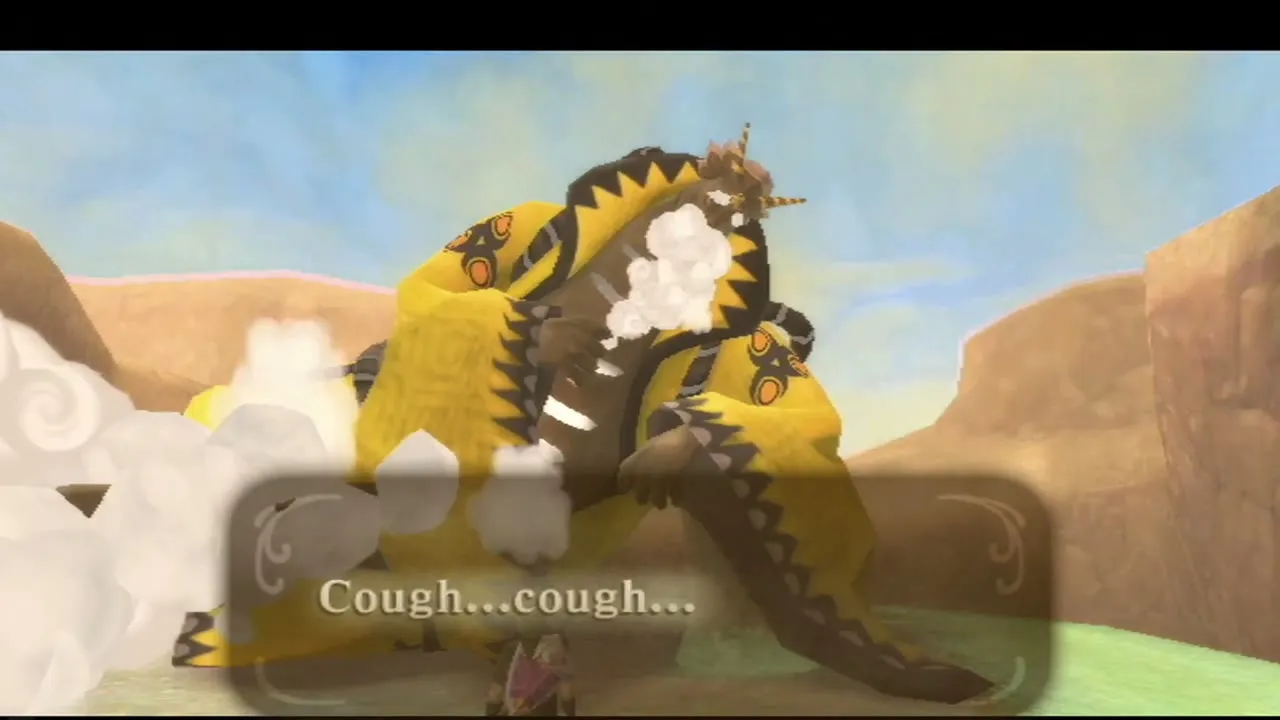
Table of Contents
Eldin Volcano: captured and stripped of your gear
Wake up in the cell and get the Mogma Mitts back
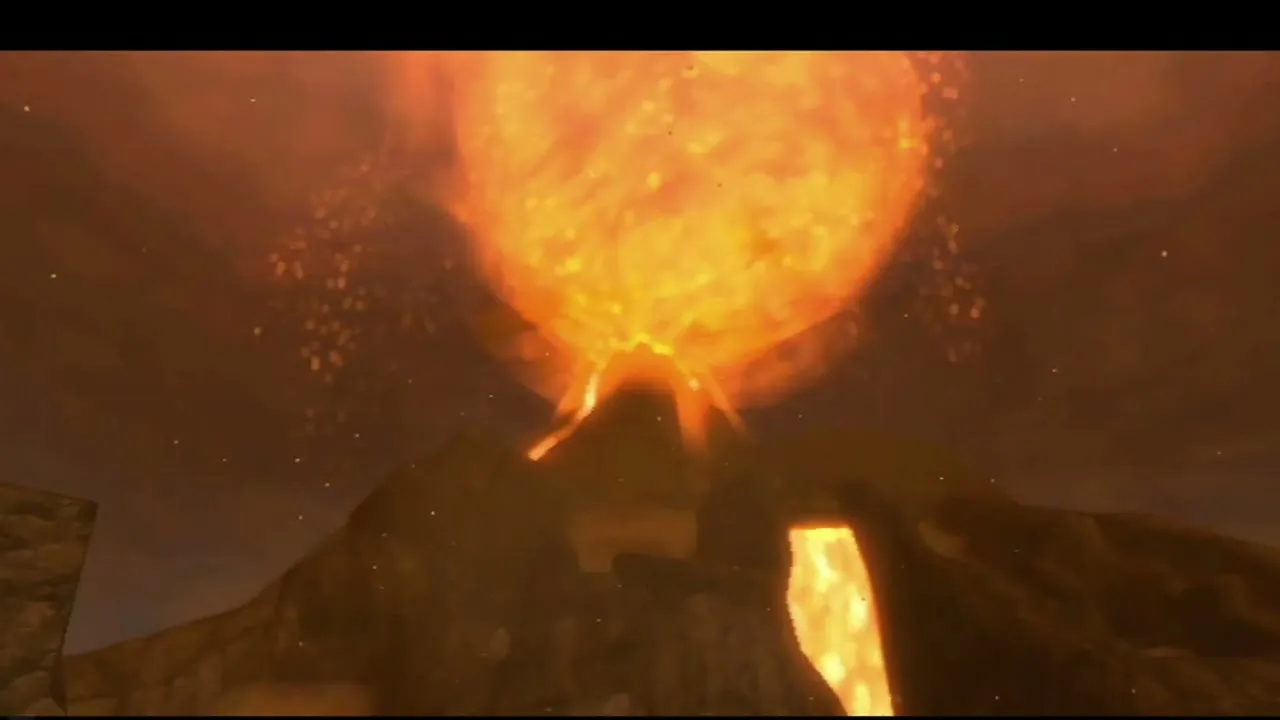
Fly to the Eldin Volcano and dive in. The mountain erupts as you arrive, and you wake in a Bokoblin cell with none of your gear. Smash the pots for recovery hearts, then lift the barrel. A Mogma named Plats burrows in and hands the Mogma Mitts back.

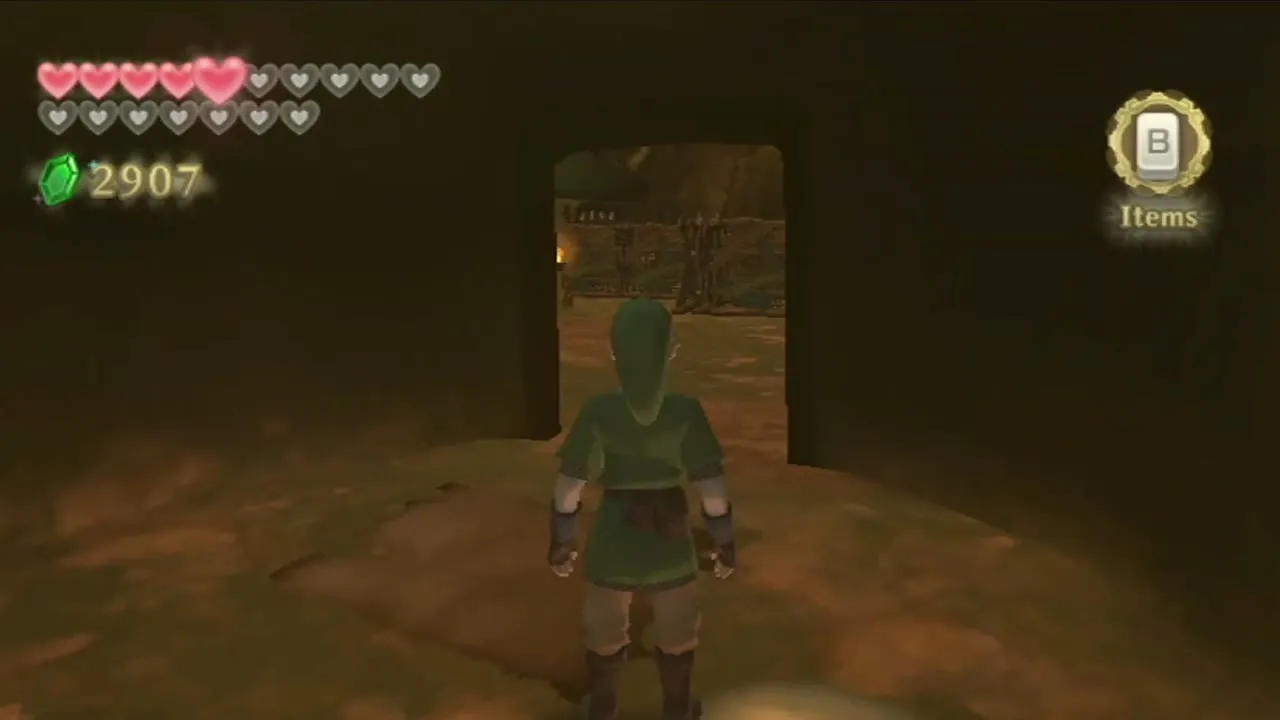
Dig through the soil patch in the cell and follow the tunnel out. A Bird Statue stands close to the exit, so save there. If a Bokoblin spots you from this point on, you are sent back to a recent checkpoint. Plats marks every chest that holds one of your items on your map.

Stealth route: how to get your items back
Guards cannot see you through the fences with holes in them, so hide behind those, wait for a patrol to turn away and then move on. The yellow ring under a watchtower’s light shows where you would be seen. Moldorms underground are not worth fighting, and the Peahats overhead make useful Clawshot targets later.


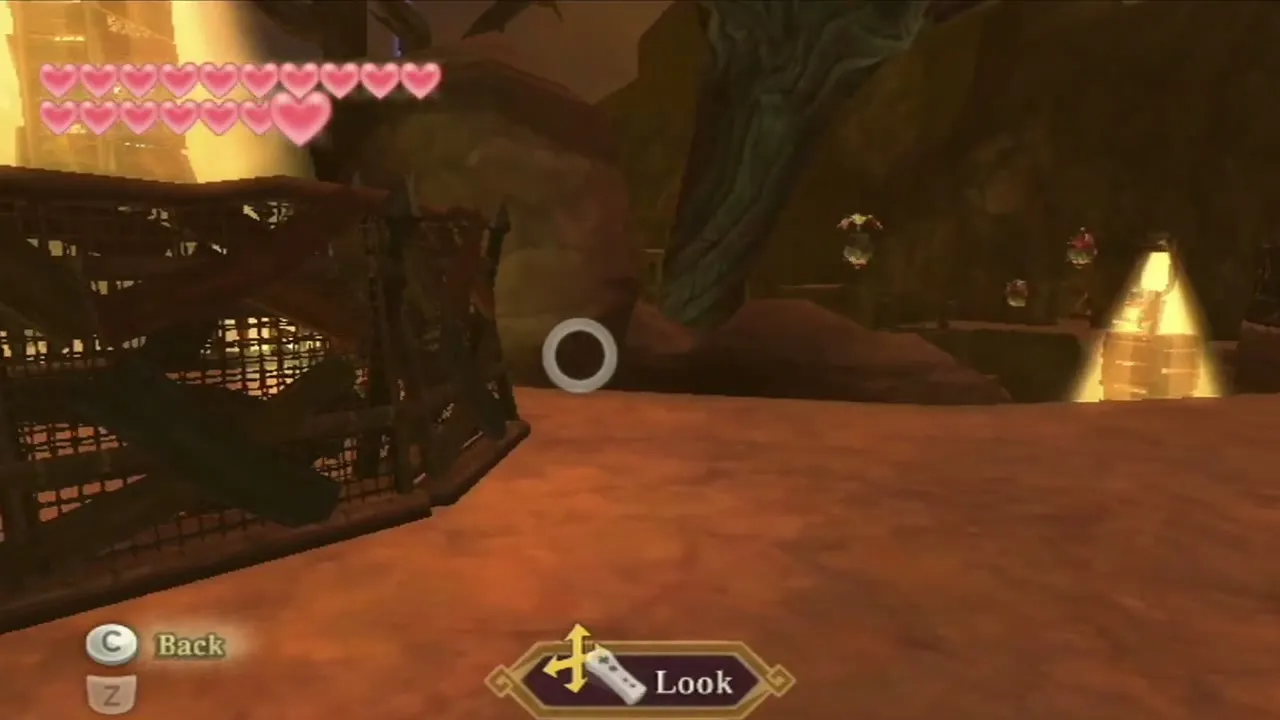

First, take the left path down from the cell area once the nearby Bokoblin has turned its back, and burrow underground. Break the light boulders from beneath, use Bomb Flowers on the dark ones, and climb out of the north hole toward a wooden watchtower. Dig past its light, come out on the north side and climb the ledges to a chest holding the Gust Bellows. Use them on the ash below to clear a way on.
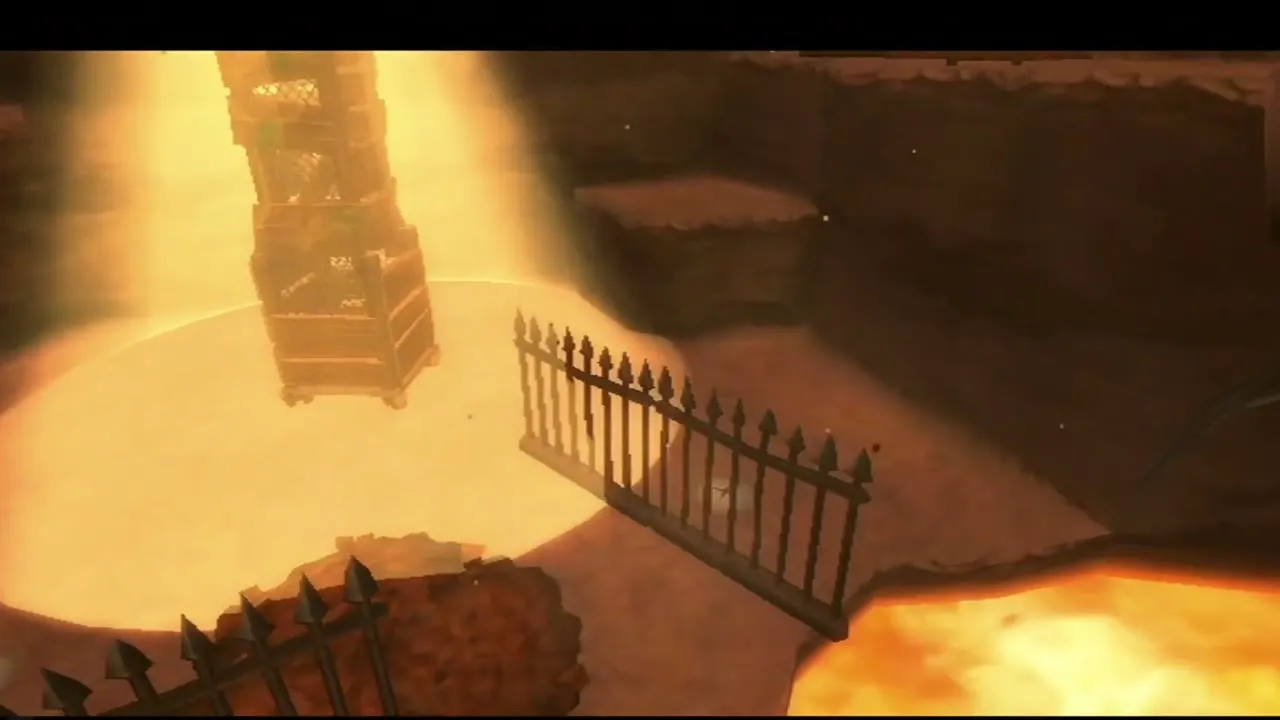


Next, follow the first of two patrolling Bokoblins from fence to fence. At the last fence wait on the left until the second guard walks off, slip around the fence and burrow through the soil patch. Underground, break the boulders, ignore the second Moldorm and leave by the east exit. Drop down the ledges to a chest with the Clawshots.

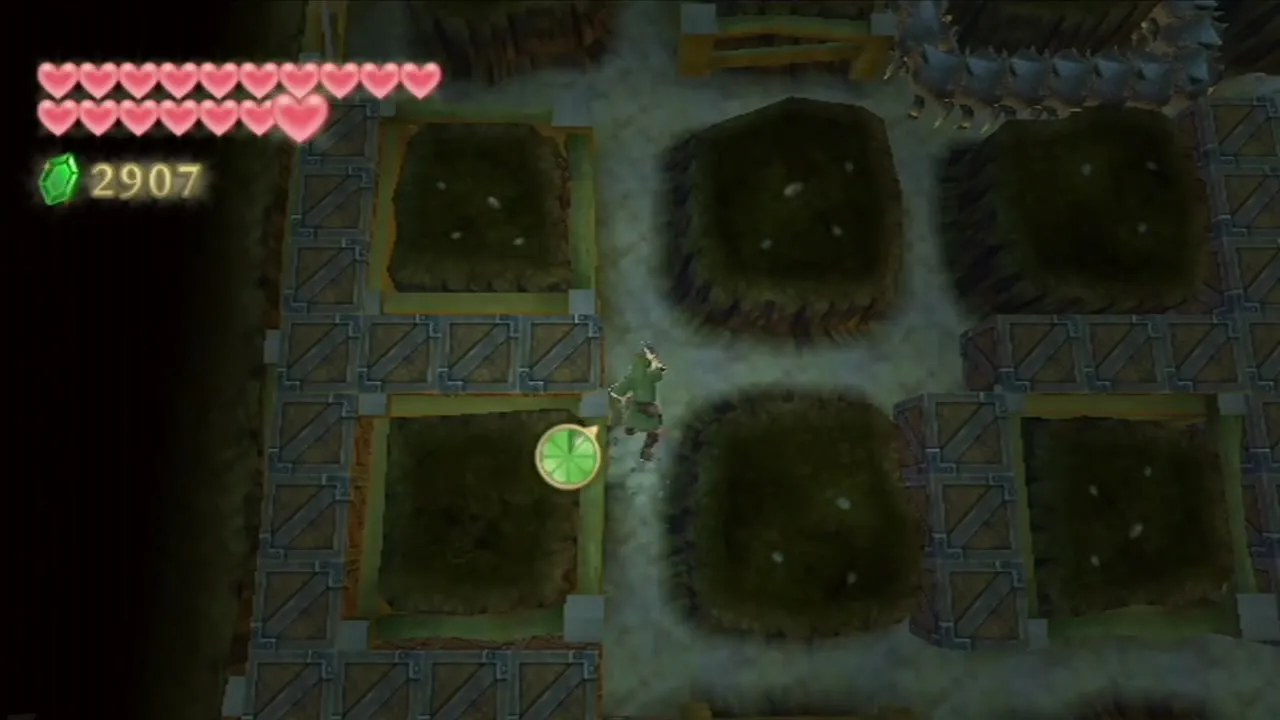
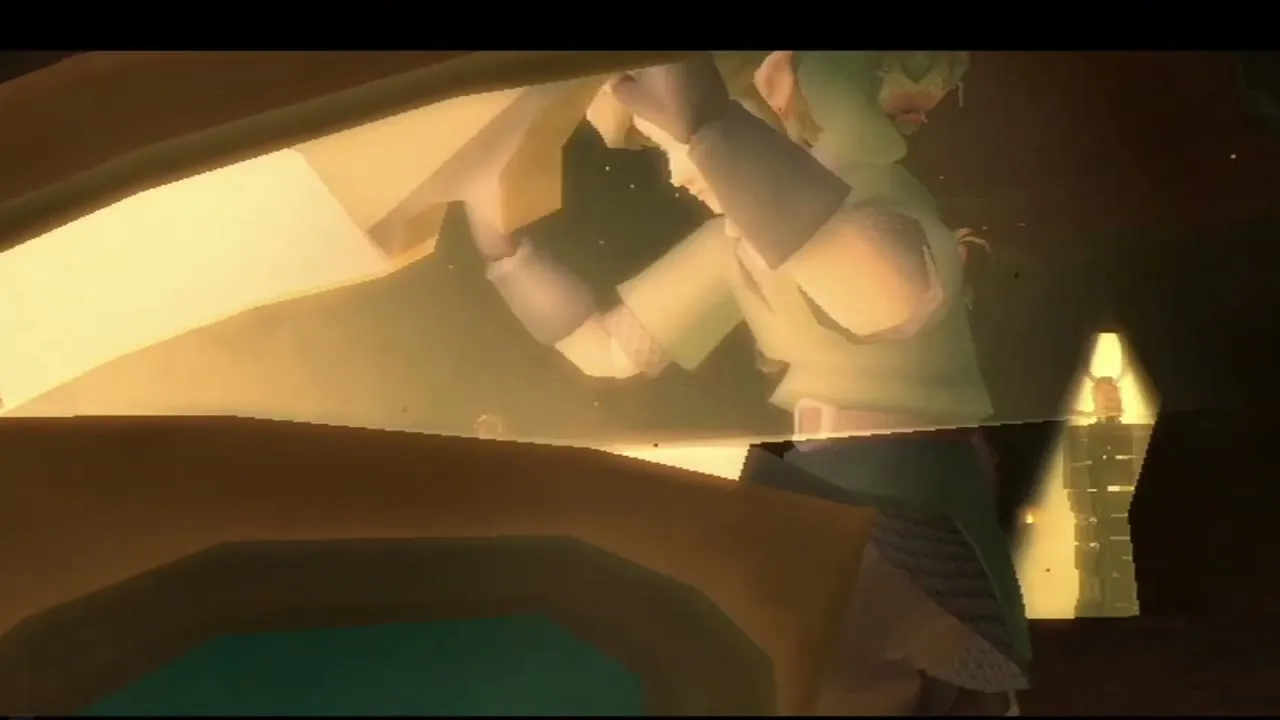

Now Clawshot across a chain of four or five Peahats, then to the vines, and land on the ledge below. Floating platforms ride the lava current, so wait for one. Blow up the watchtower that blocks the way with a Bomb Flower, open the chest it was guarding for the Whip, and pass behind the fence once the Bokoblin above you faces away. Beyond the gate, use the Whip and the Clawshots on the Peahat to cross.
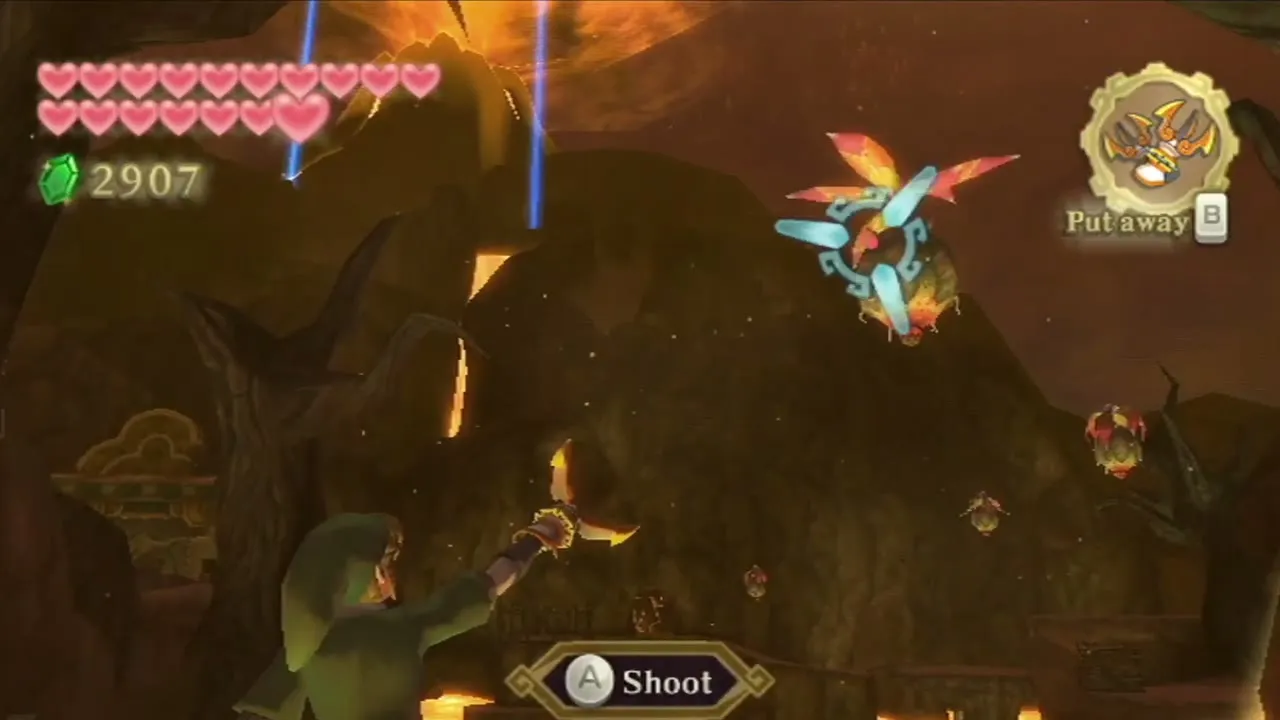
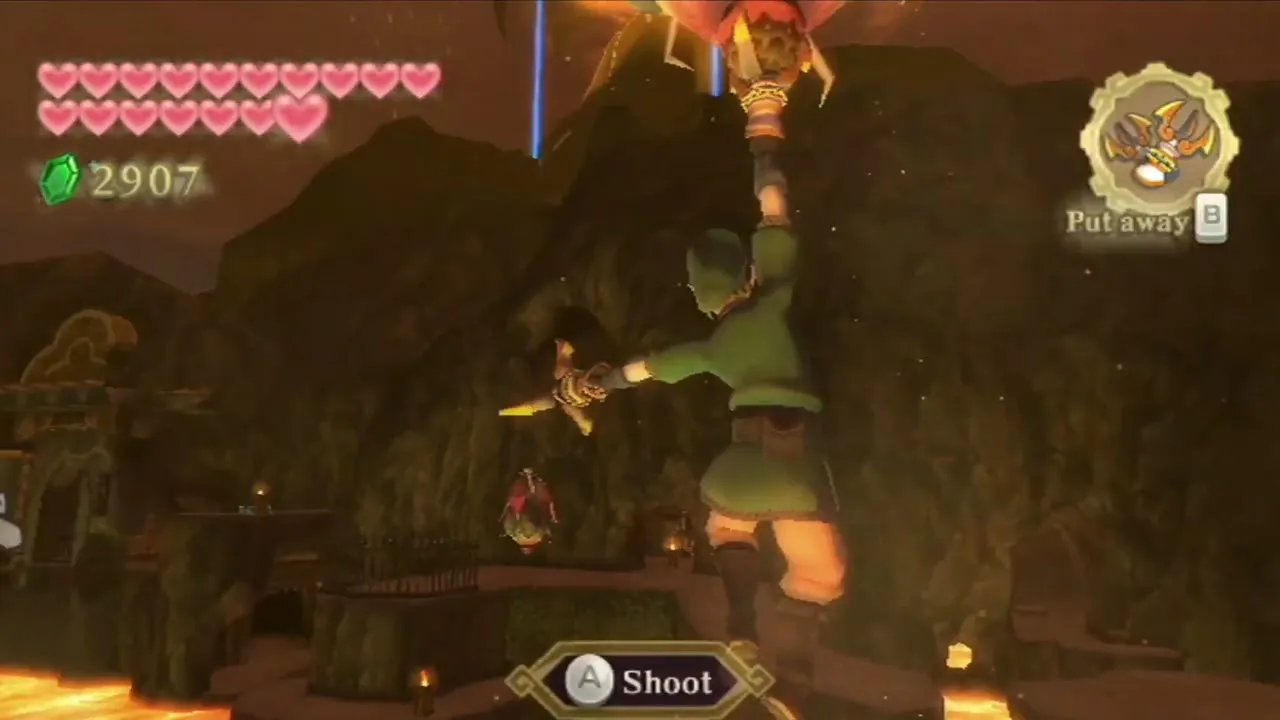

The fourth chest holds the Slingshot, or the Scattershot if you upgraded it. Whip a plant to coax a Peahat out, bomb the boulders at the cave mouth and in the whirlwind tunnel, and float up on the air. Ride a magma platform to the bridge, throw a Bomb Flower from a platform to topple the next watchtower, and ride back to the chest. The Slingshot stuns guards, so use it at the encampment near the Earth Temple.
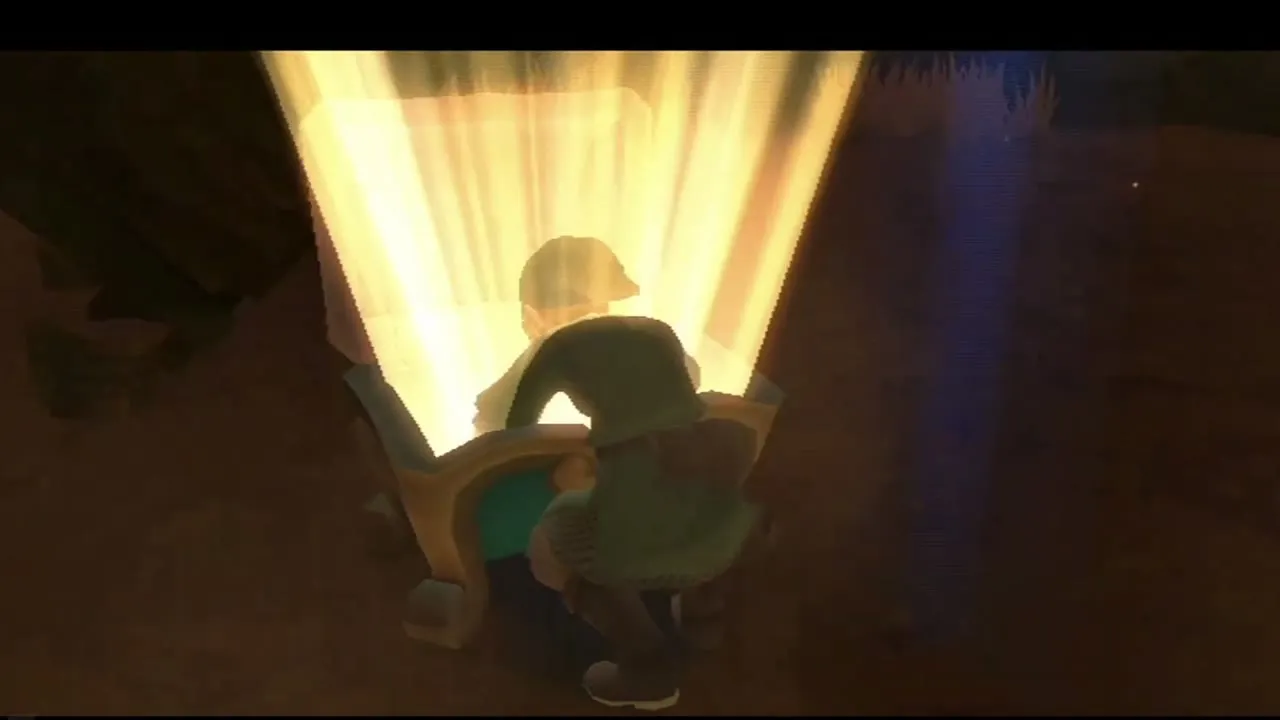

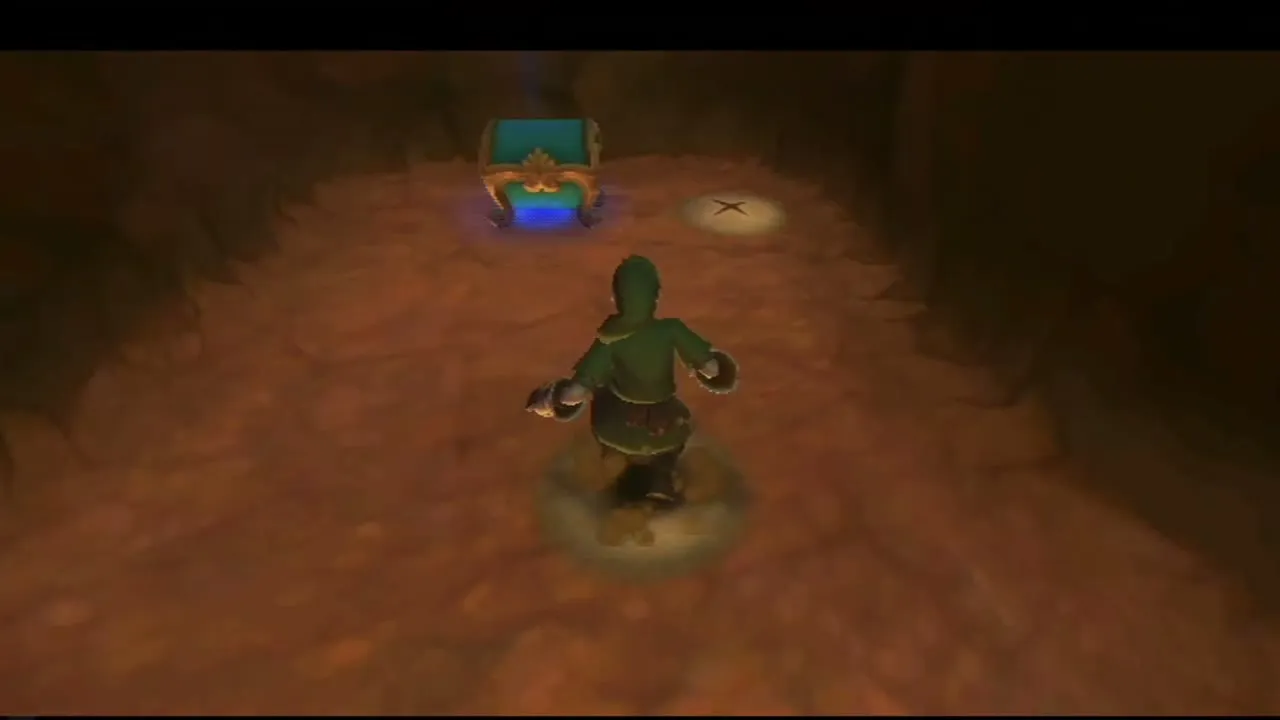
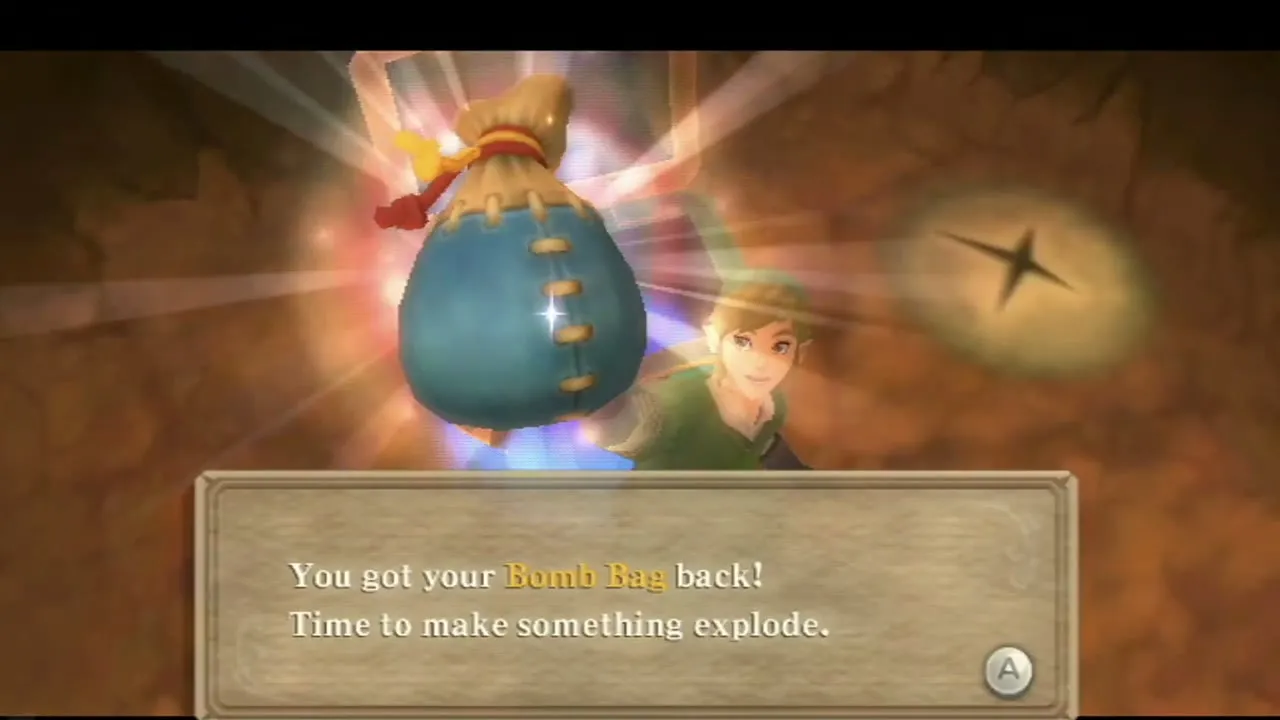
The last chest holds the Bomb Bag. Stun the Bokoblin with a seed, go underground, break the boulders, knock a Bomb Flower east to clear the rubble and come out of the hole beside the chest. With bombs in hand, retrace your path through the Earth Temple area, stunning guards as you go, then follow the long path and the incline up to the Volcano Summit.
Volcano Summit: the sword, the cube and the Fire Dragon
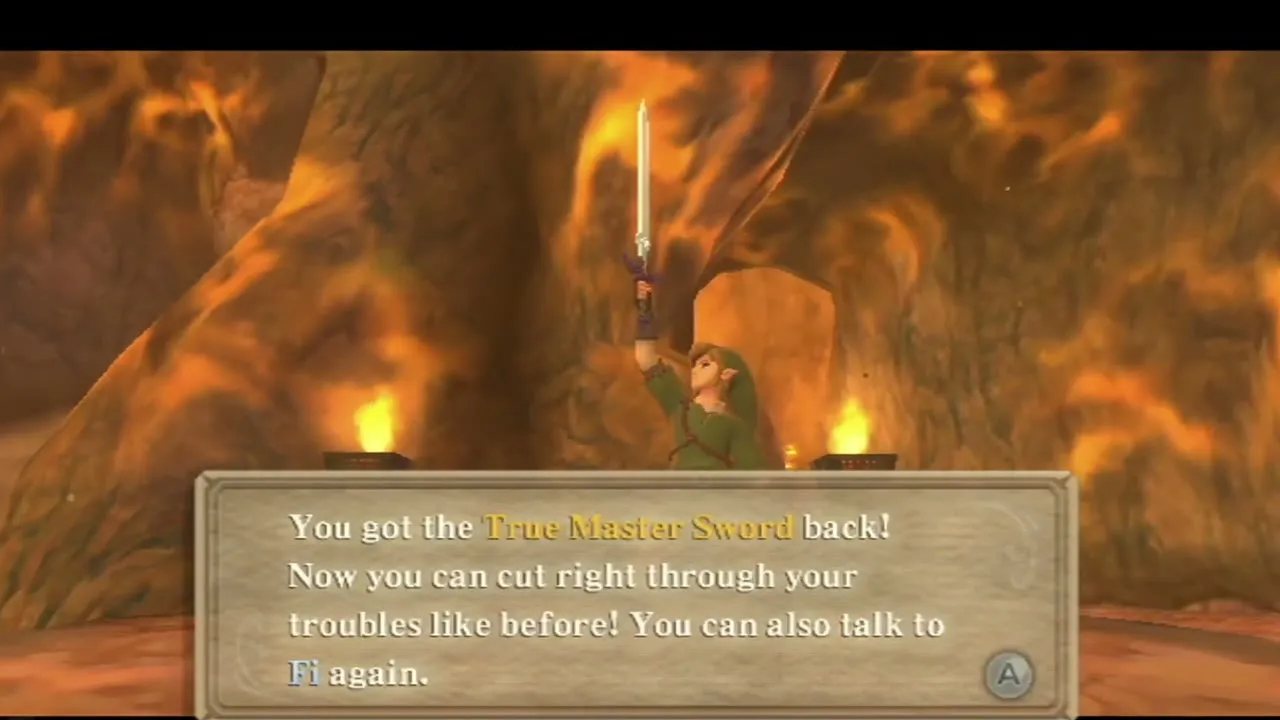
Inside the summit you take back your sword: the message confirms the True Master Sword is yours again, and Fi can talk to you once more. She tells you a dragon who knows a verse of the Song of the Hero is close by.

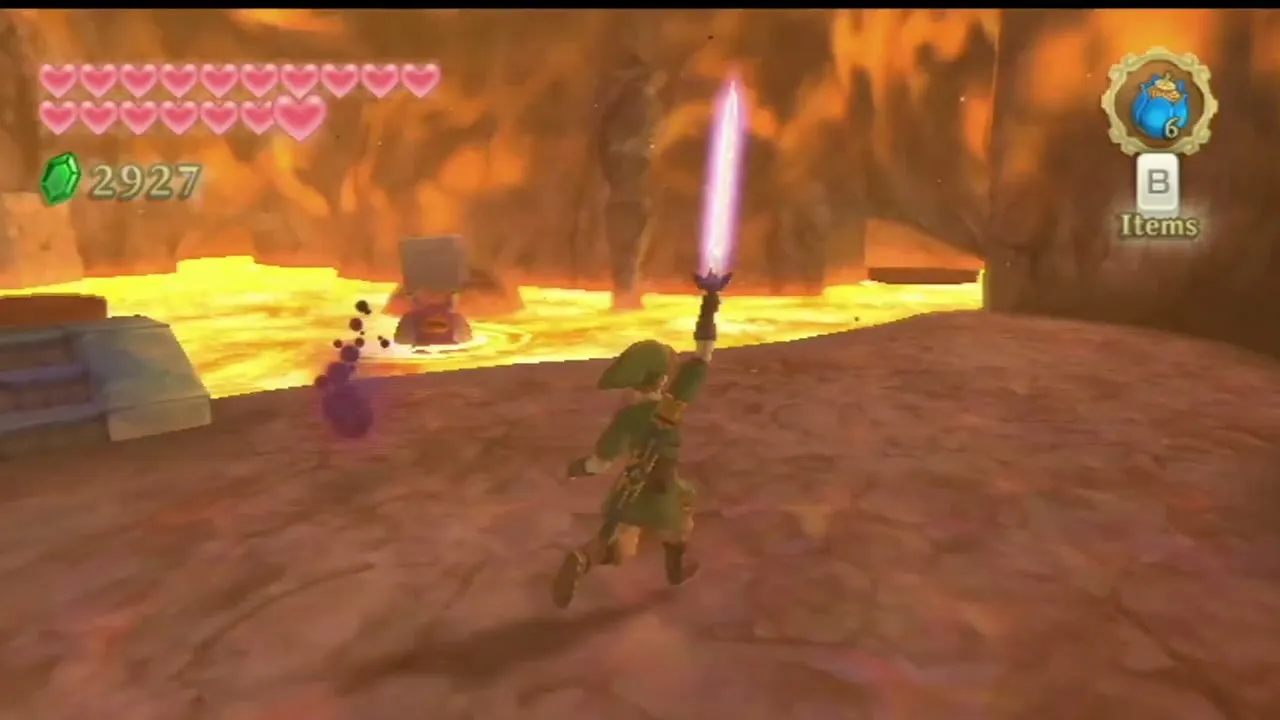
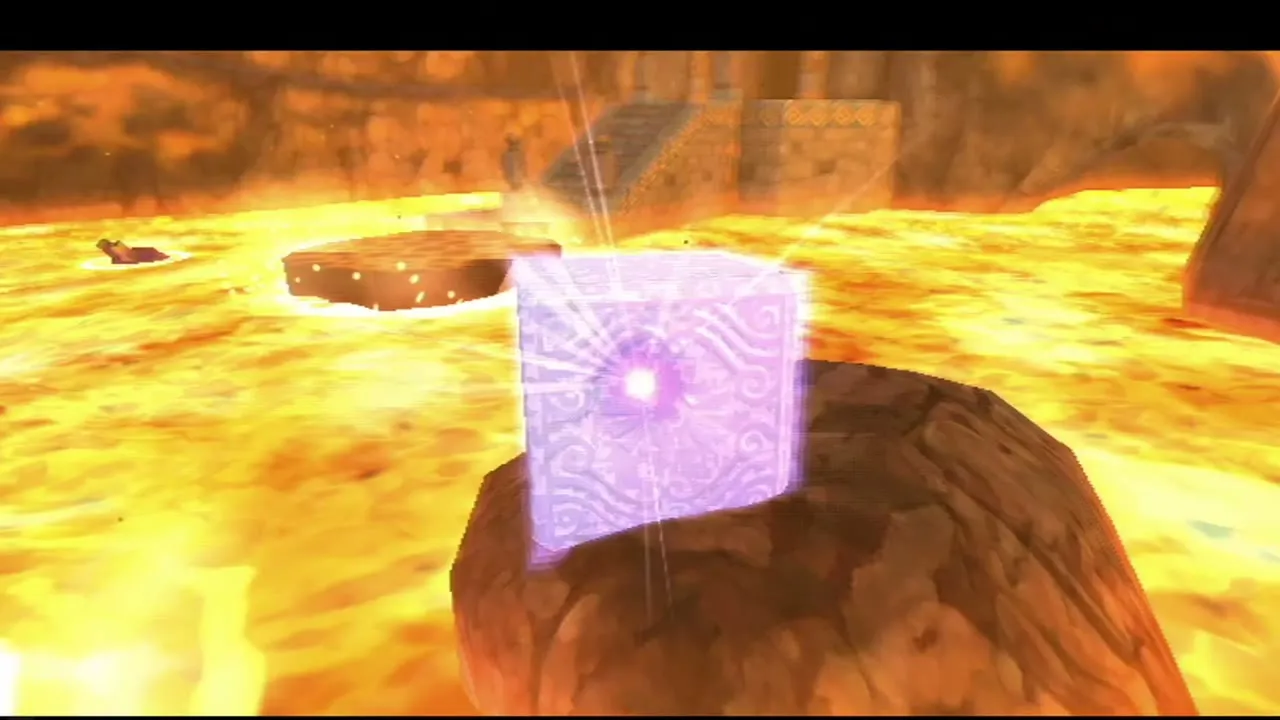
Before moving on, look for the Goddess Cube in the eastern room. Raise the sword to charge a Skyward Strike, ride the moving lava platform and release the strike as the cube passes. This cube opens the Empty Bottle chest in the sky; the Goddess Cubes page covers the sky side.
A chest in the summit hands back your Adventure Pouch, and the rest of your items come with it, so your equipment is complete again. Fight off the Fire Keese and Bokoblins around it first.


Climb back up, bomb the blockade and head for the next hall. Cut the rope on the ledge, then send the Beetle to cut the ropes on each side of the raised drawbridge. Once the bridge is down, cross it into the dragon’s hall.

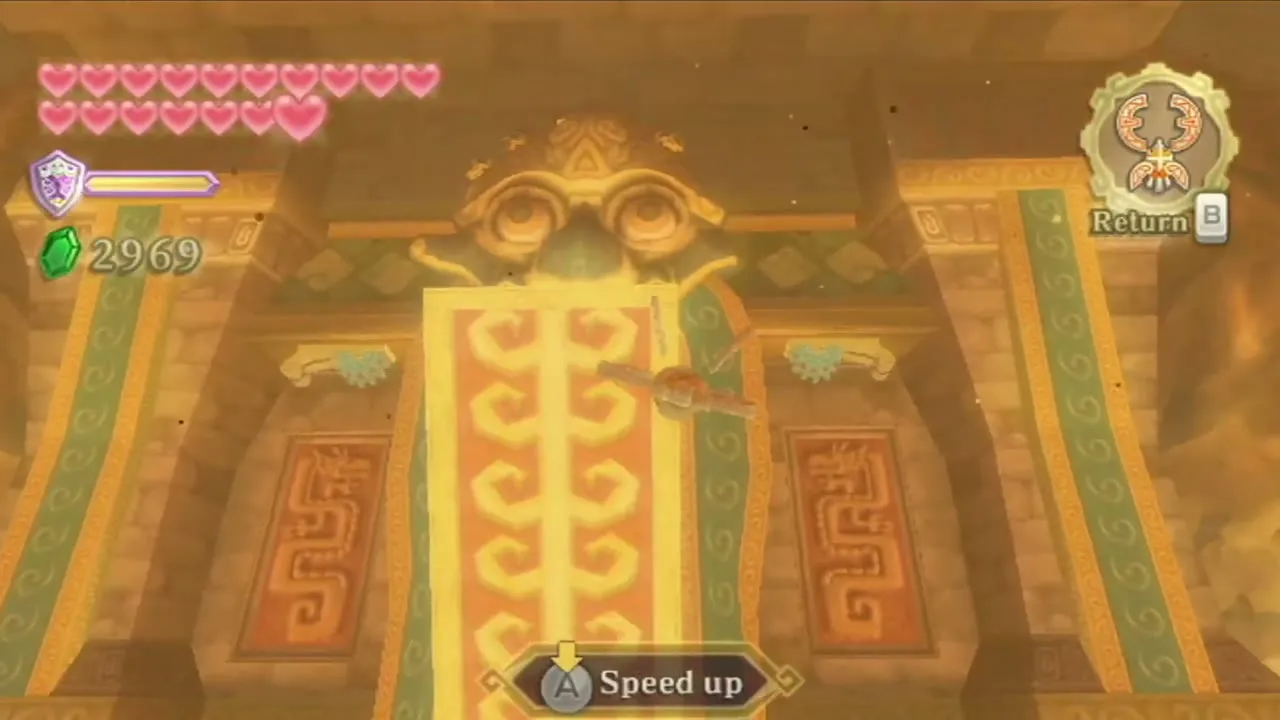
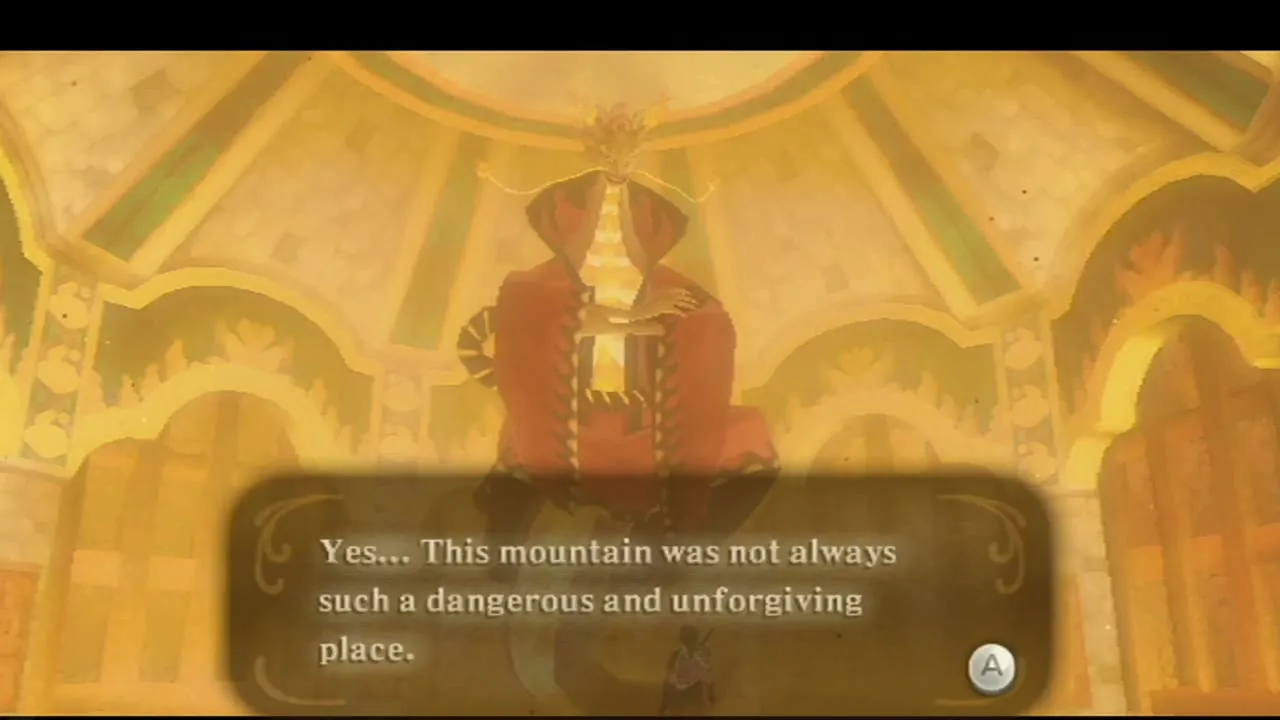
Eldin, the Fire Dragon, studies you and decides the goddess has chosen you. He teaches the second part of the Song of the Hero and admits that the eruption was an accidental burst of his own power. You leave through the mountain beside the Earth Temple, and Fi reports that the volcano has calmed.


Eldin errands: Sparrot’s crystal ball and Guld
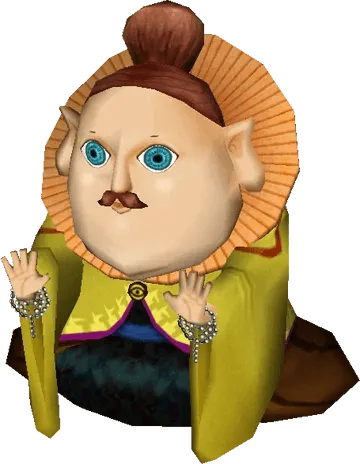
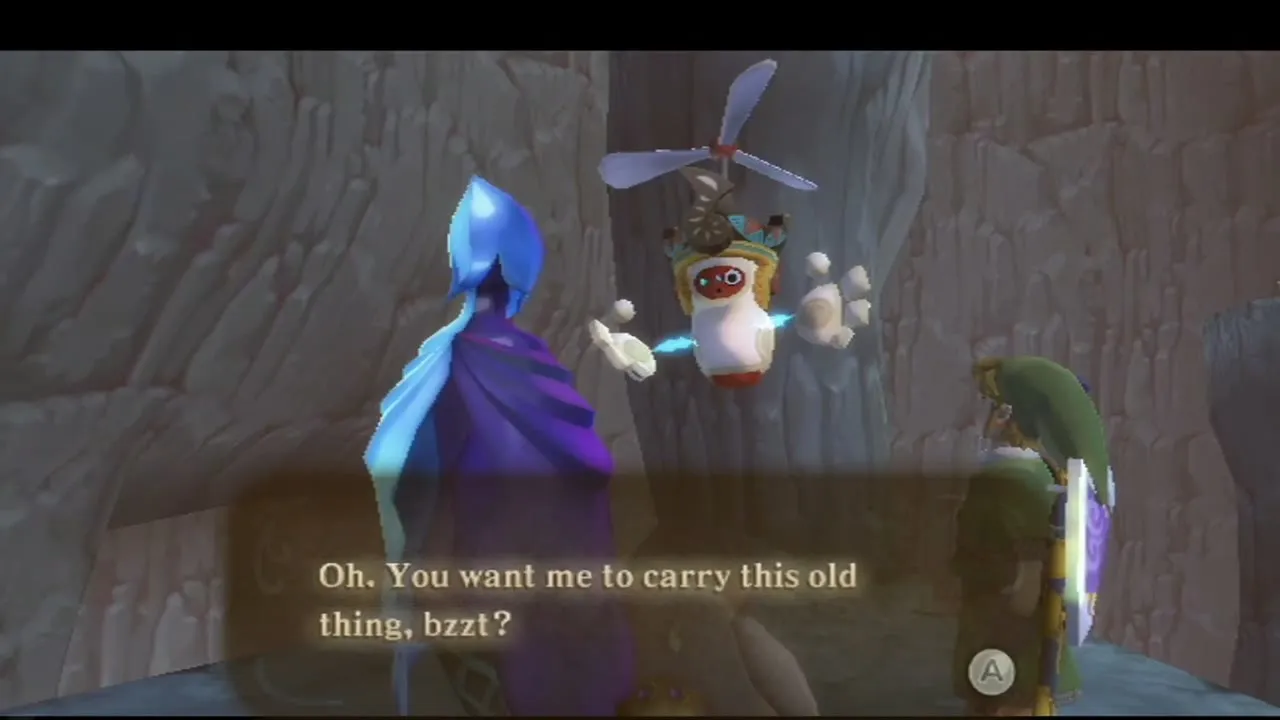
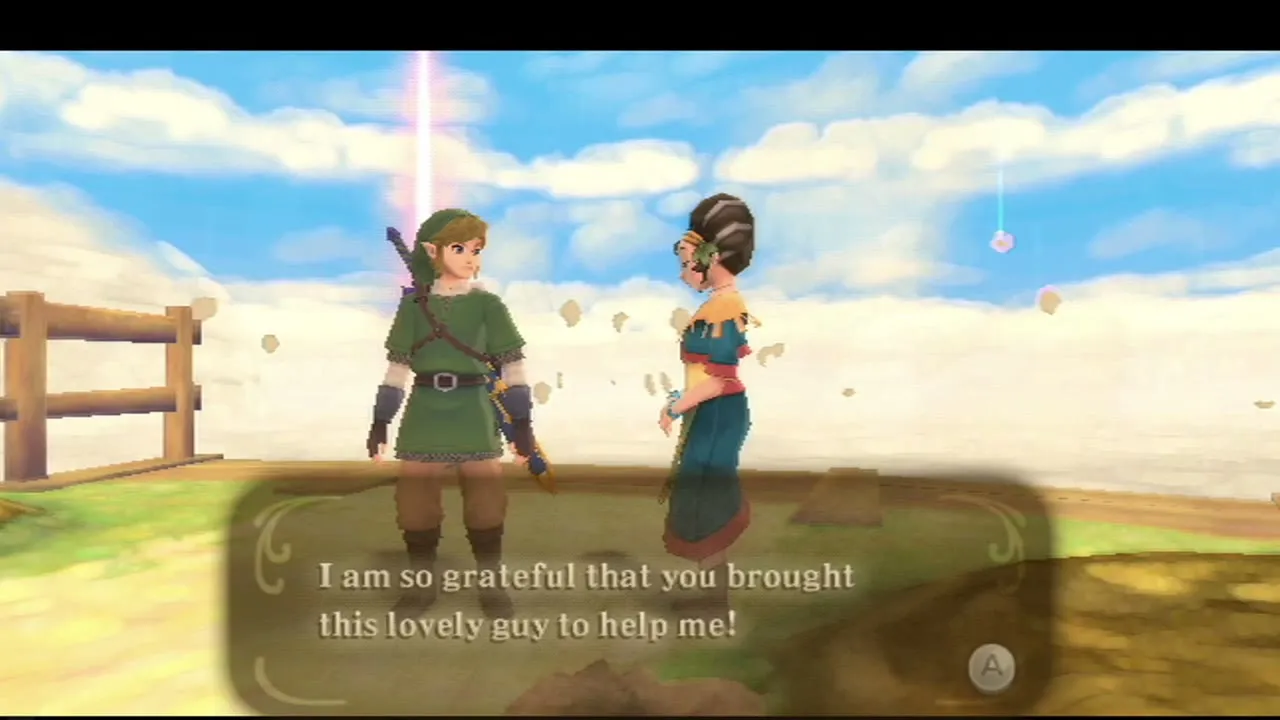
Outside the exit, Fi senses a glowing sphere at the entrance to the Earth Temple, out of reach on foot until you Clawshot up to it. It is the replacement crystal ball for Sparrot, the fortune-teller in Skyloft. Let Fi call Scrapper to carry it, then hand it over for five Gratitude Crystals. The side quests page has the earlier steps of the errand.


If you have already finished the Lumpy Pumpkin tasks, Kina at Pumpkin Landing wants the Mogma elder Guld (her request opens once the Fire Sanctuary is done). Land at the Volcano East landing, drop into the volcanic area where you first got the Mogma Mitts and glide over to a rock pillar in the north to find him. Have Fi call Scrapper to carry him out, take him to the Lumpy Pumpkin, and Kina pays you five more Gratitude Crystals.

The Imprisoned, third fight
Arrive at the Sealed Grounds
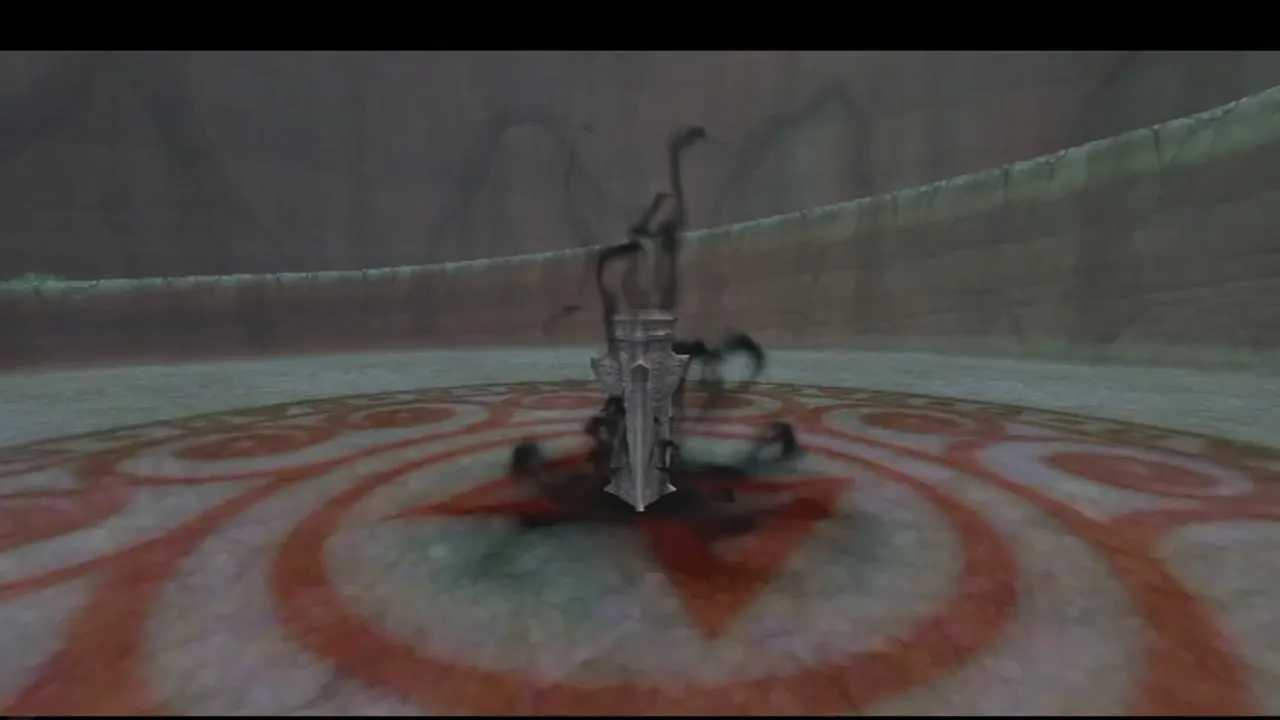
Head for Faron Woods on your Loftwing. Fi warns that flooding makes it impossible to descend into the forest, so you can only land in the Sealed Grounds. Groose is waiting with the Groosenator, a bomb launcher, because the Imprisoned is breaking out of its seal again. Jump into the pit at its bottom centre to start.
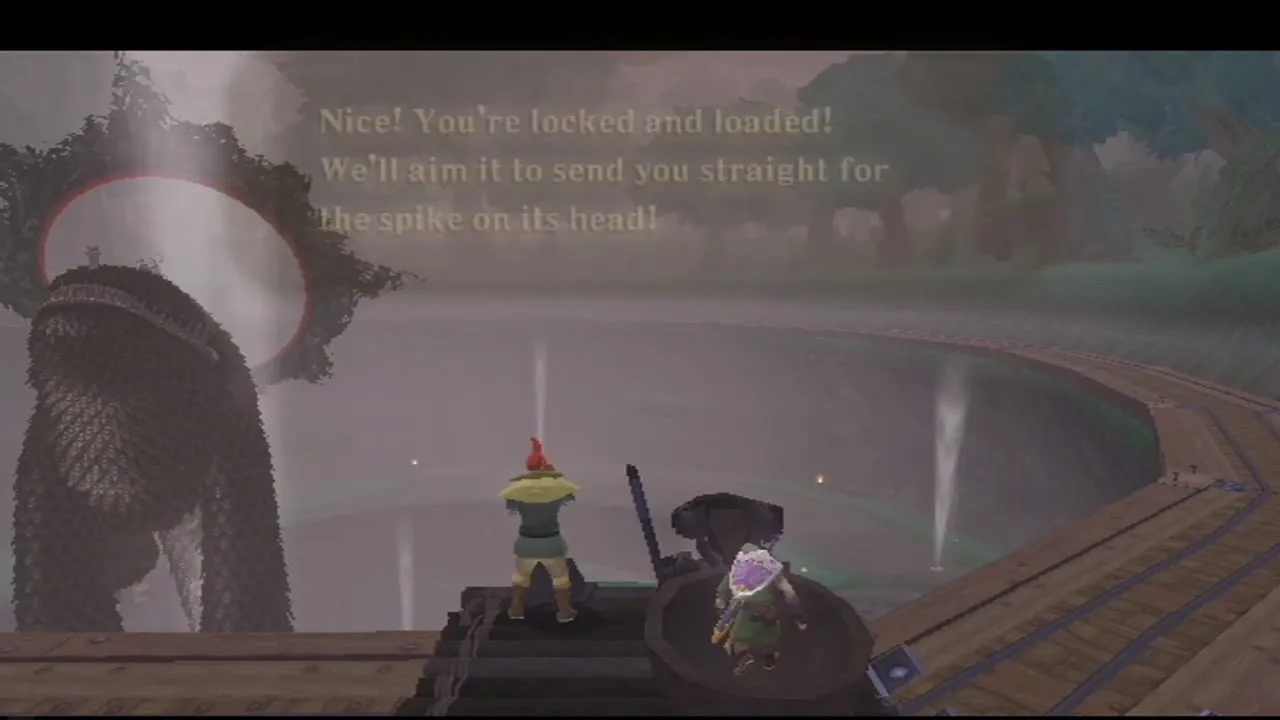
Imprisoned boss fight
This time the monster has a tail and moves fast. Let Groose stun it with a bomb, cut off the toes of each foot to topple it, then drive the spike into the seal on its head with a down-and-up swing. Three spike hits make one round, and after the first round it floats up into the air on a dark halo.
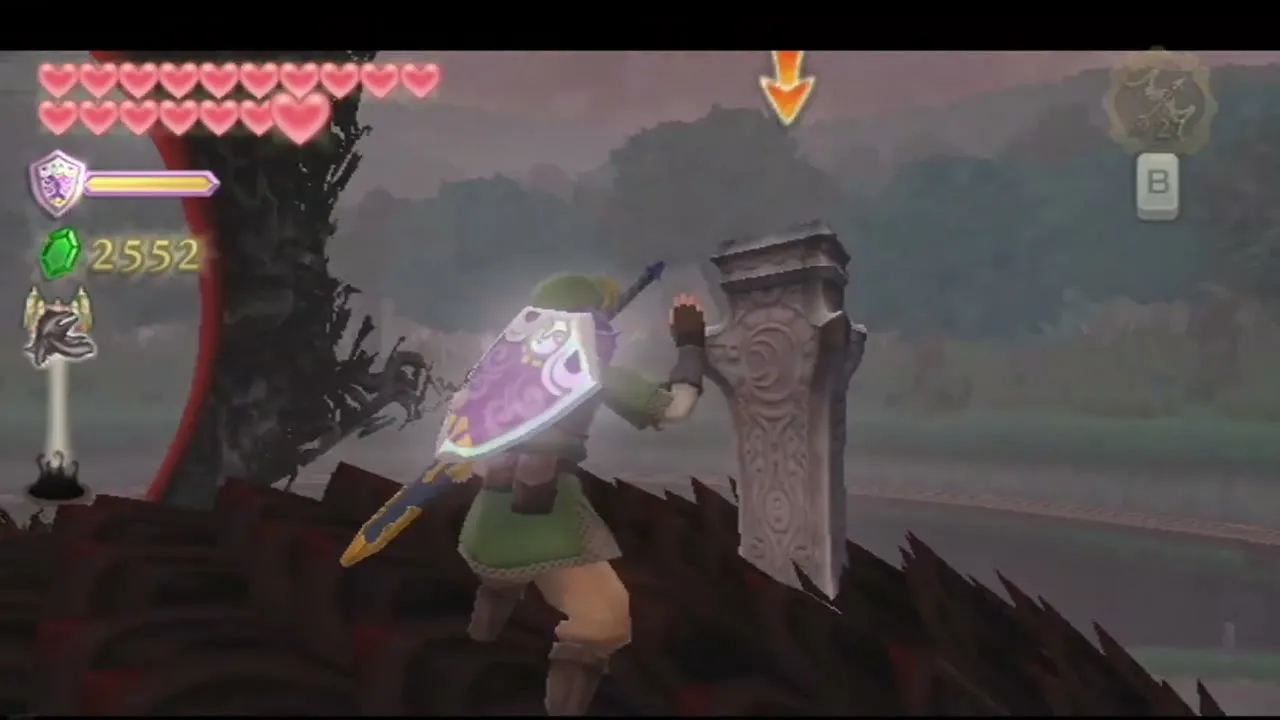
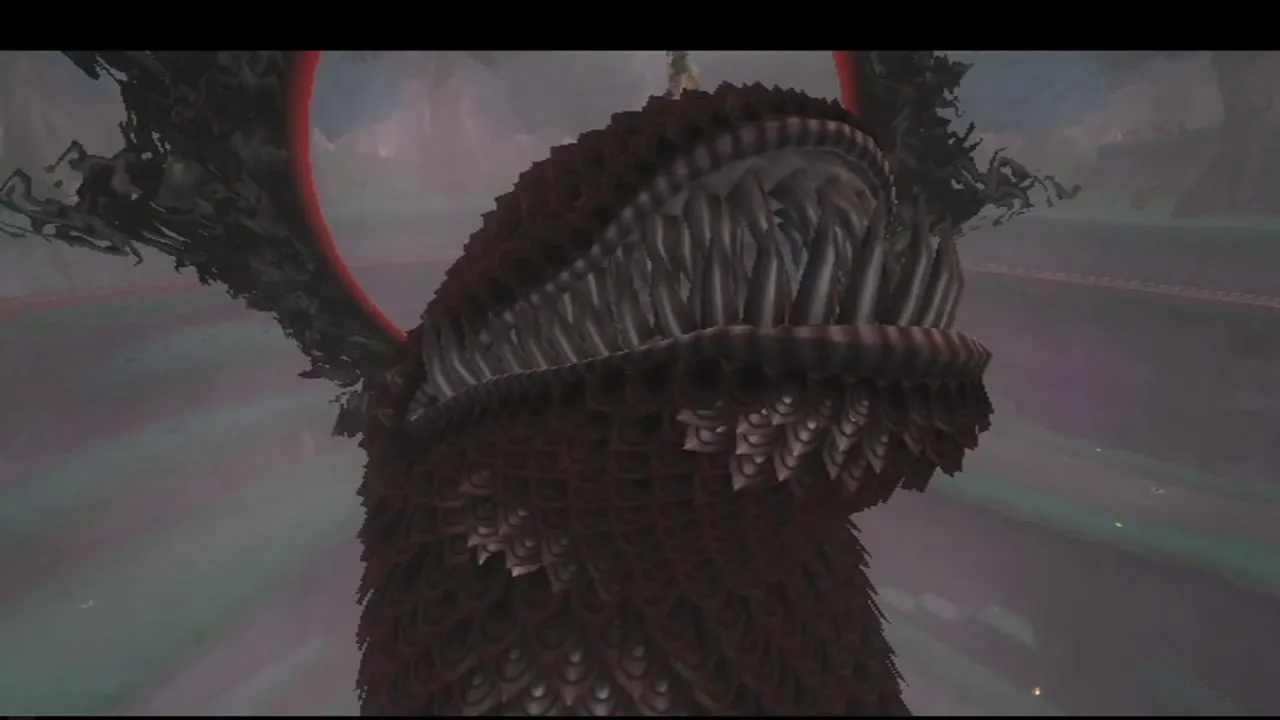
While it flies, wait for the Groosenator to recharge. A bomb knocks it down again, and you need three more spike hits. You can also ride the whirlwind at the centre of the pit to reach its head.

In the last round, use Groose’s catapult to be flung at the monster’s head. Line your aim up with the spike on its head, then hit it three more times. The ninth hit ends the fight.
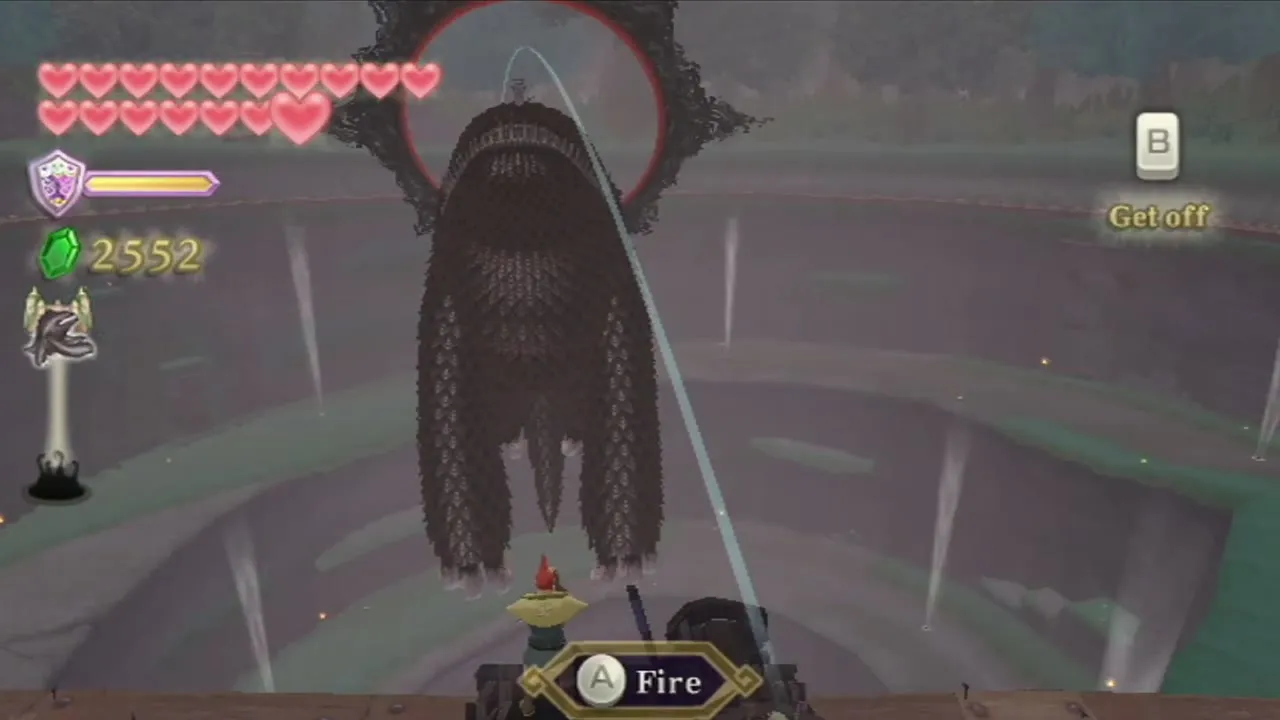
Finish with a Skyward Strike on the sealing spike at the bottom of the pit, then swing the Wii Remote to match the design that appears. Ride a whirlwind back up to the Sealed Temple. The beast is sealed away for the third time.
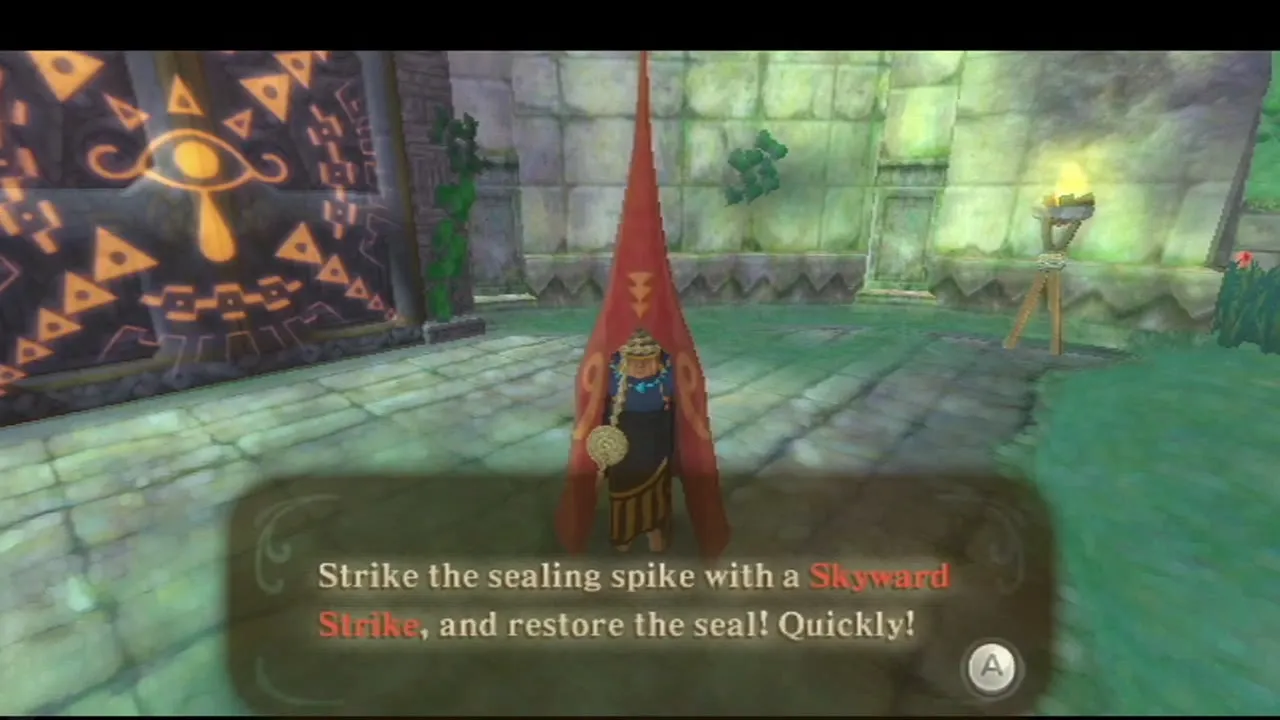

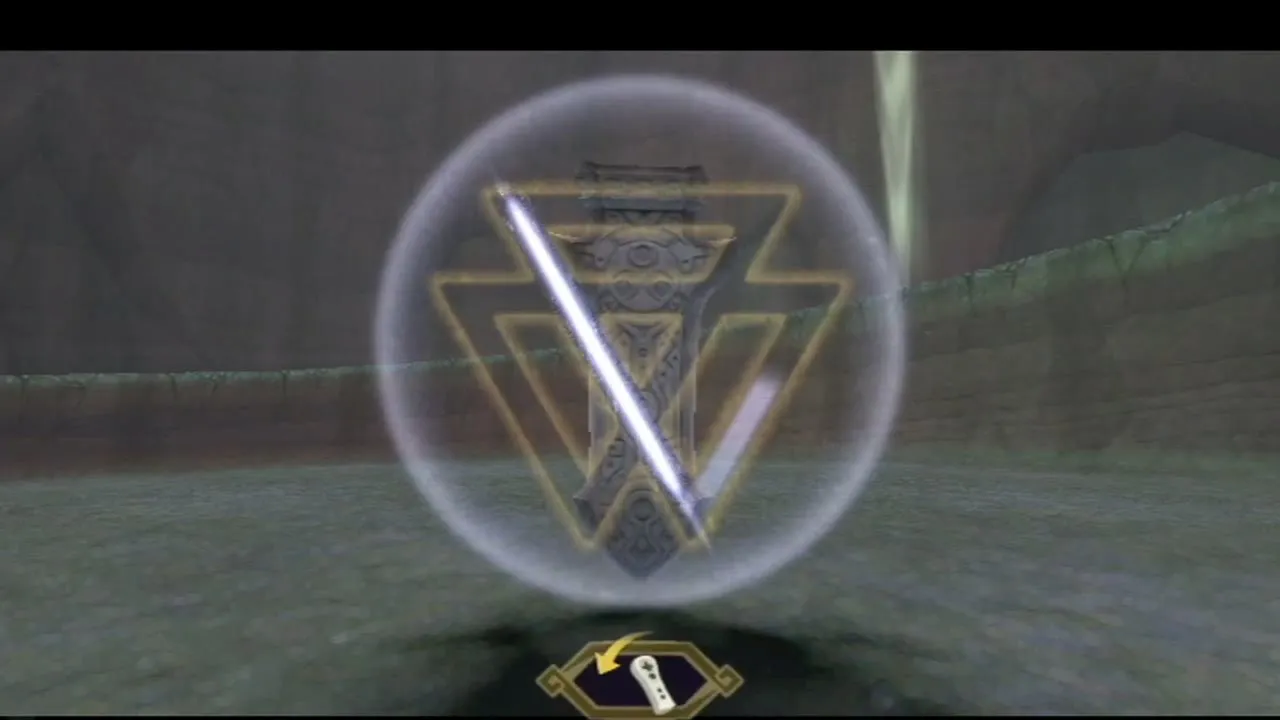
Inside the Sealed Temple the old woman tells you that Faron Woods has somehow been flooded. Save at the Bird Statue, walk out of the front door and Groose flings you with his catapult into the flooded woods. Woodland Rhino Beetles crawl on the walls behind the temple, so take a Bug Net if you want some.


Flooded Faron Woods: the Tadtone song
Meet Faron
You land in a flooded forest, so swim with the Water Dragon’s Scale. Talk to Bucha, the Kikwi elder, then swim into the opening at the base of the Great Tree. Surface inside and climb onto the land at the top.
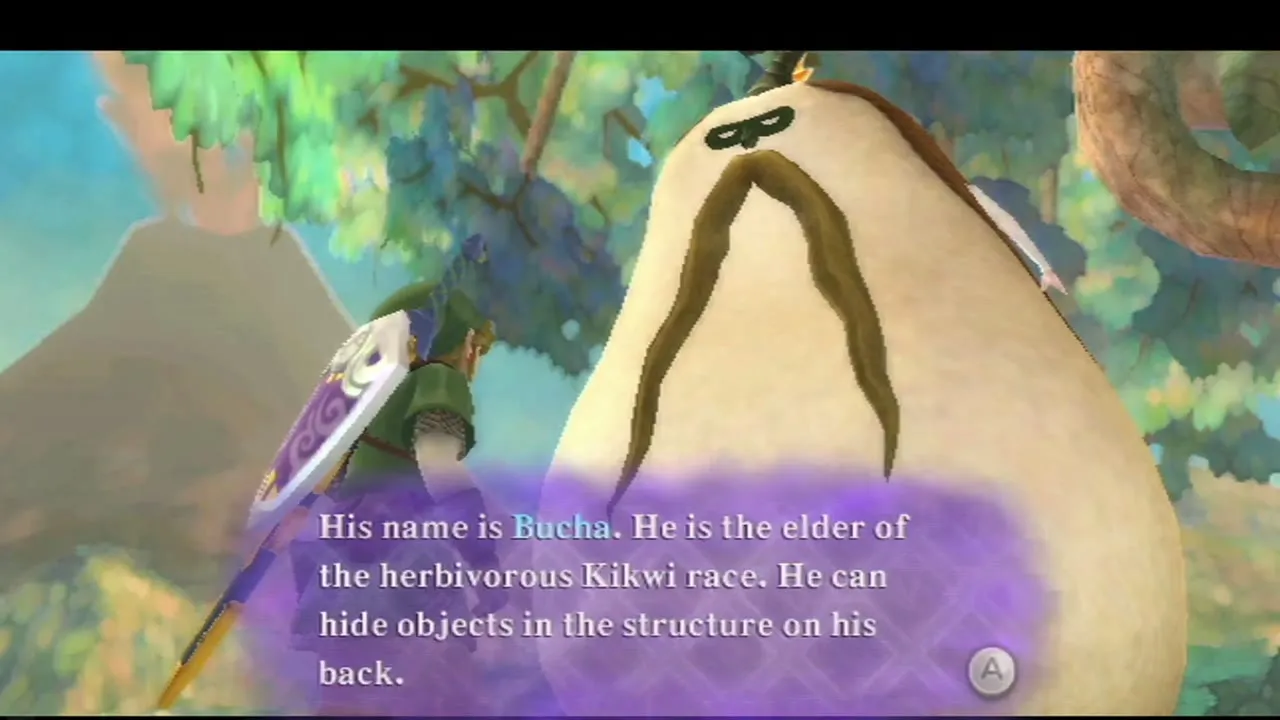

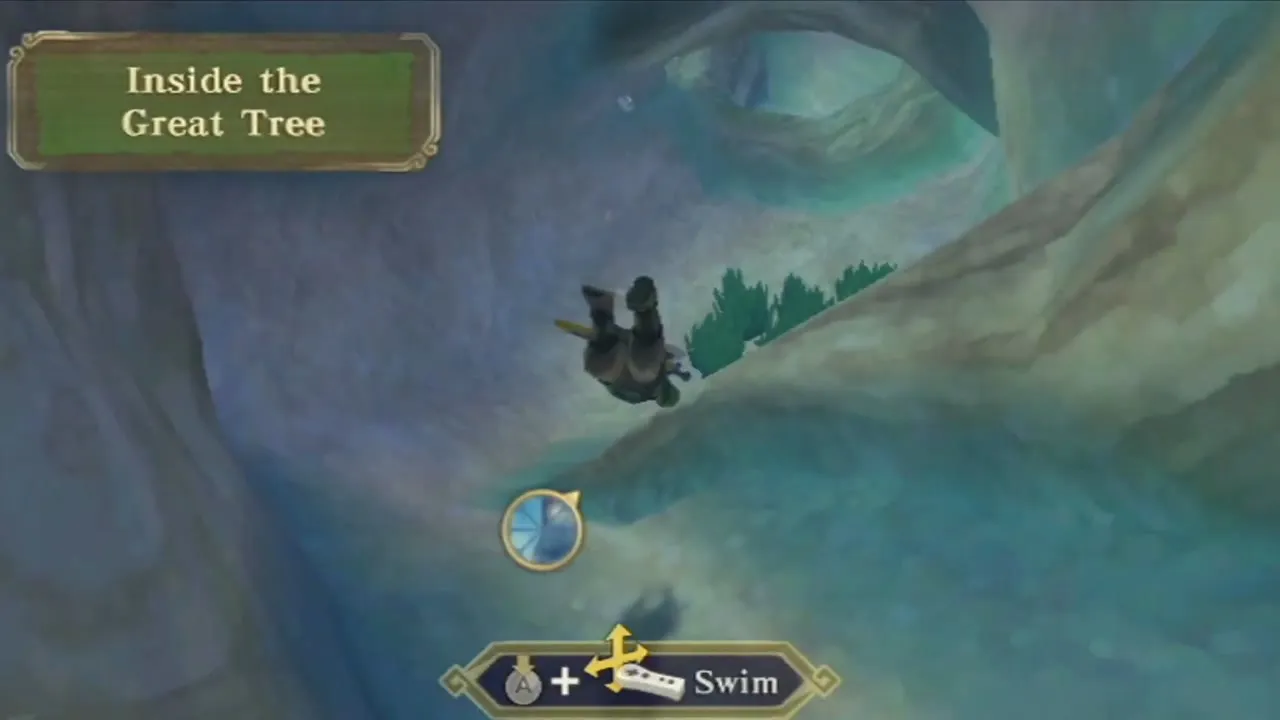
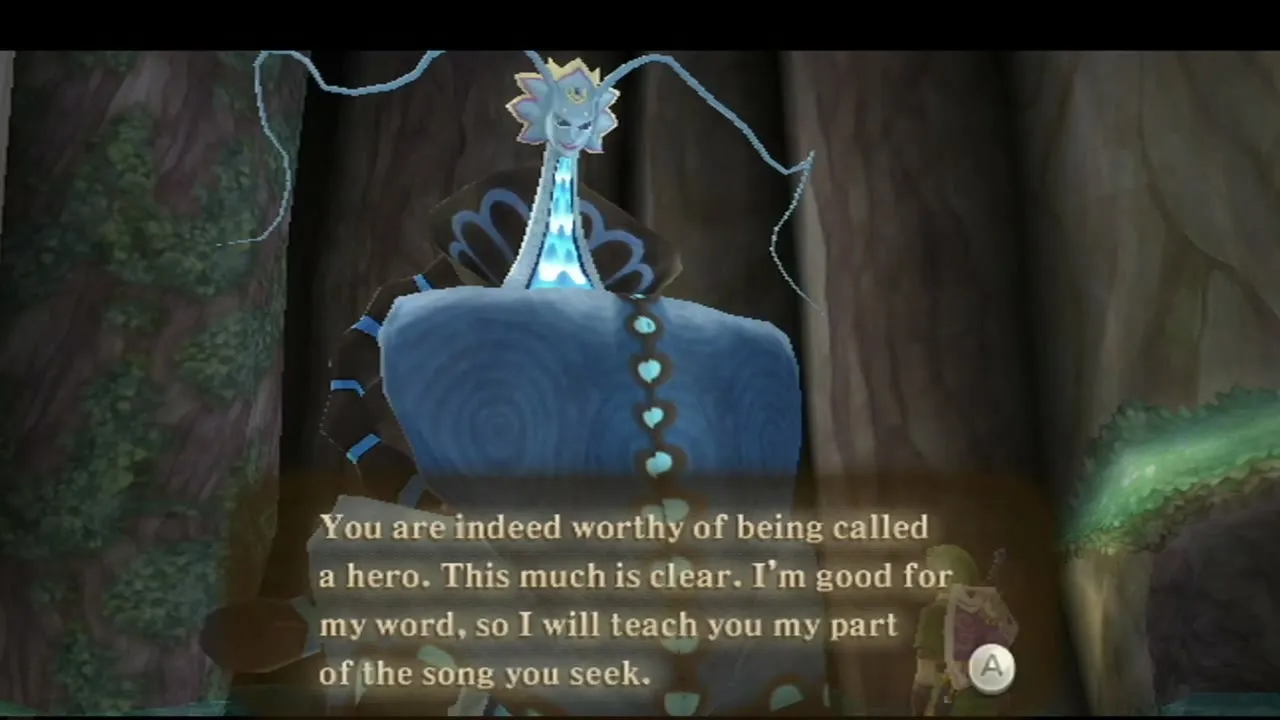
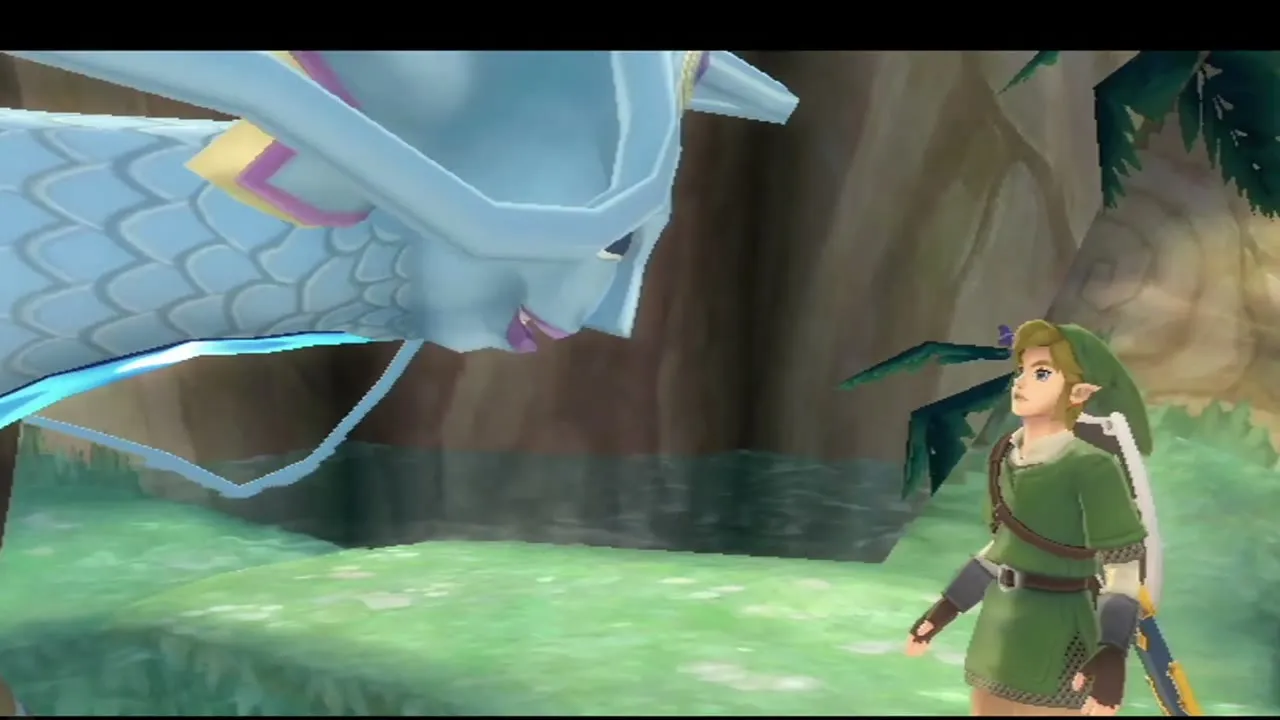
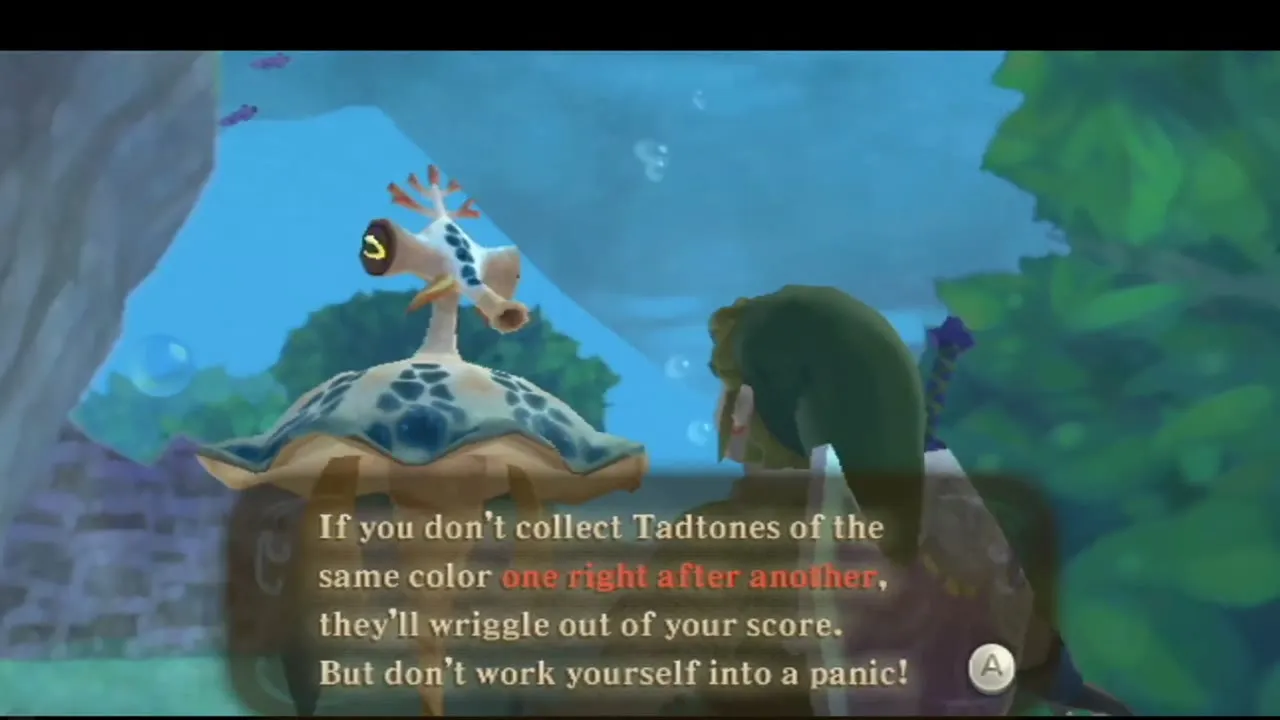
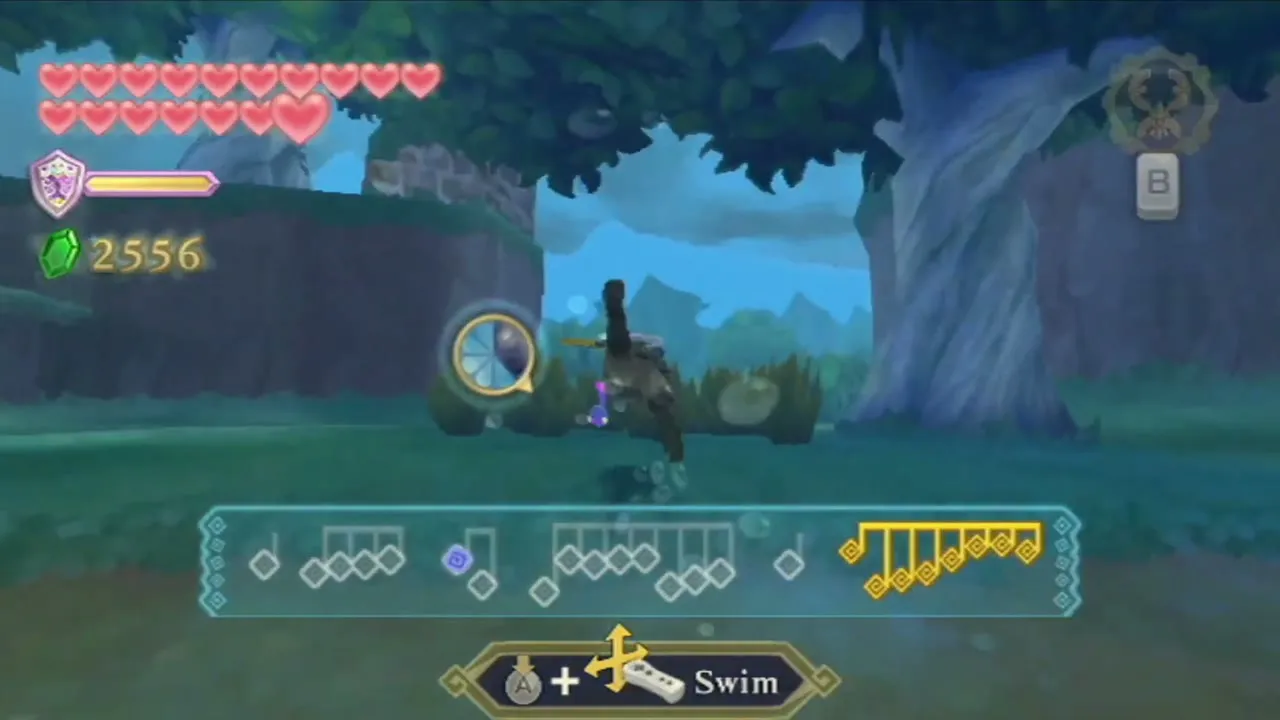
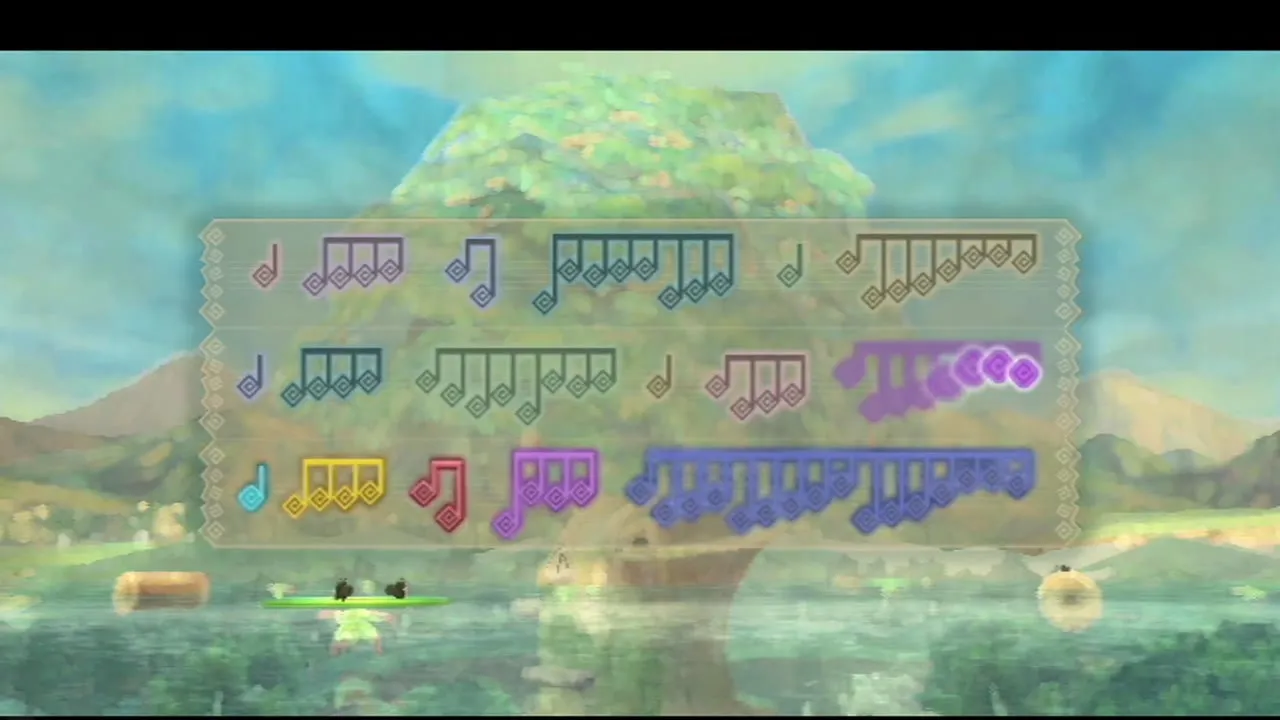
Faron, the Water Dragon, rises from the pool. She flooded the forest on purpose to wash out the monsters, and she will teach her part of the Song of the Hero only if you collect her scattered Tadtones. A musical score appears on screen: each group of coloured Tadtones matches a run of notes, and you must swim through the members of one group one after another before touching the rest.
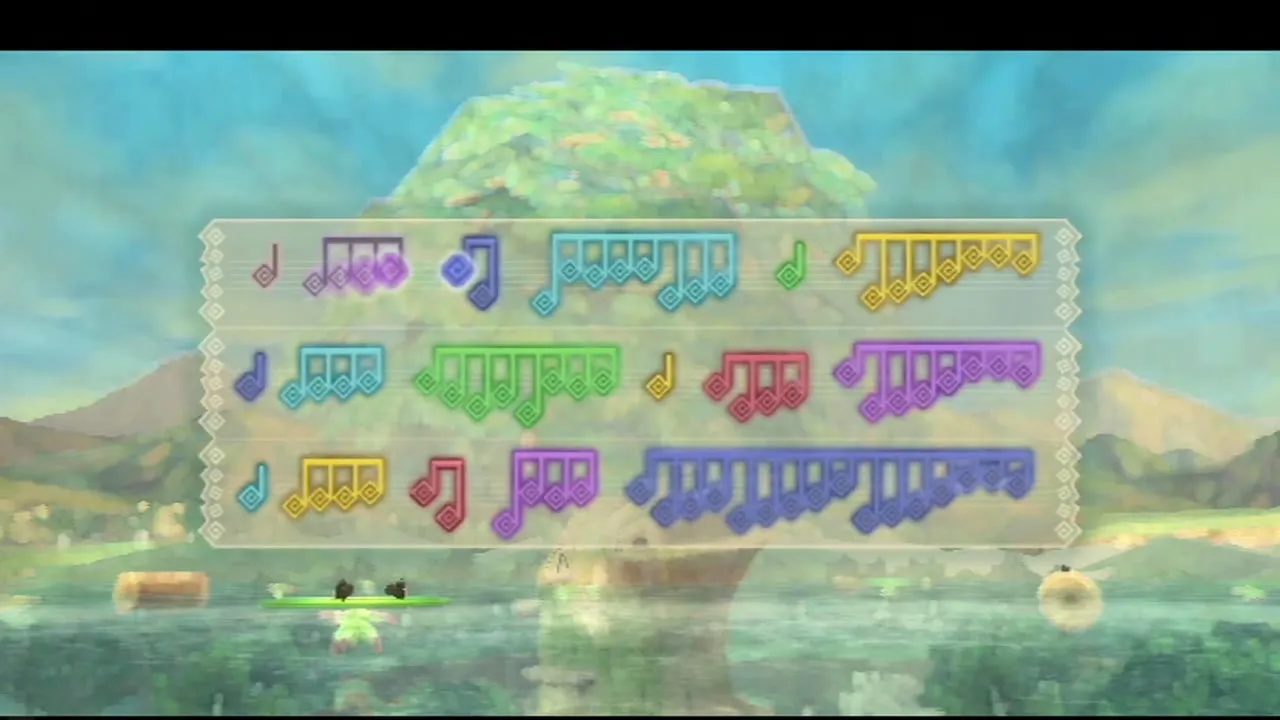
How the Tadtone score works
There are 17 groups in all, from single Tadtones to large rings. If you hesitate too long inside a group, its members escape back to the score and you must gather them again. A spin attack underwater draws in nearby Tadtones and helps with the ones that dart away. Air bubbles refill your air gauge. Avoid green spiky growths, purple poison bubbles and monster fish such as Cranioc that charge when they see you.
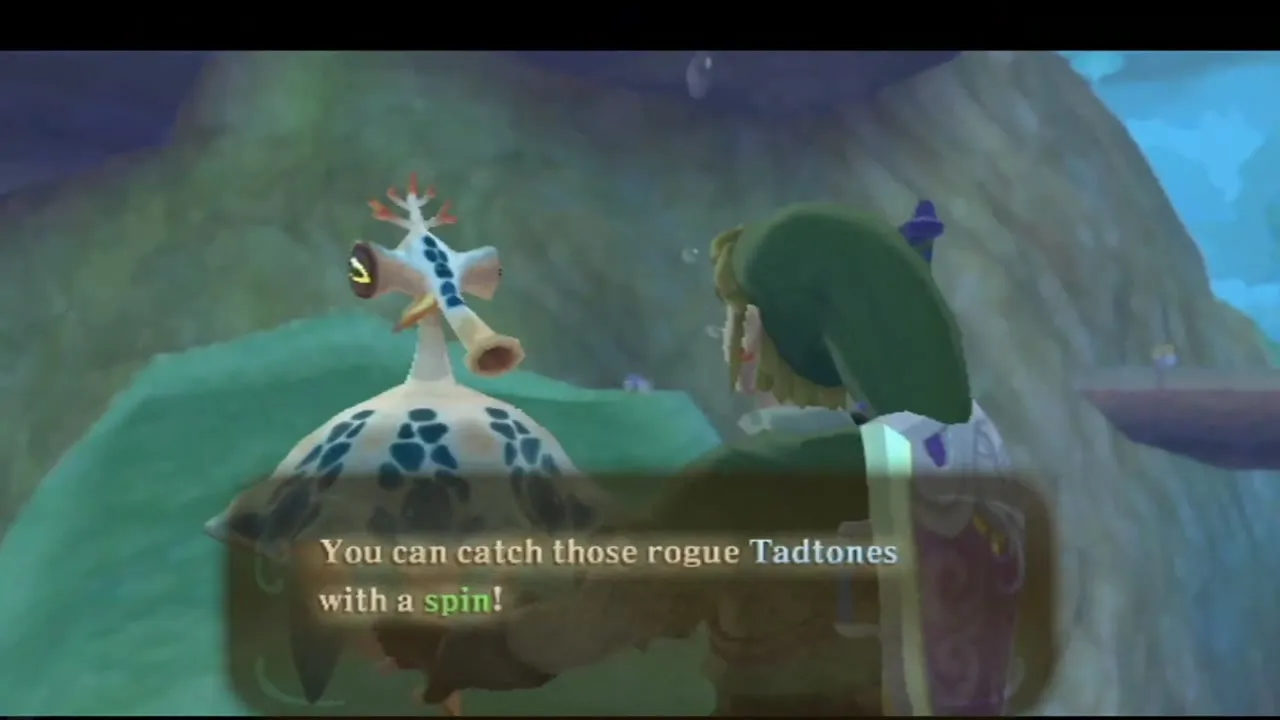

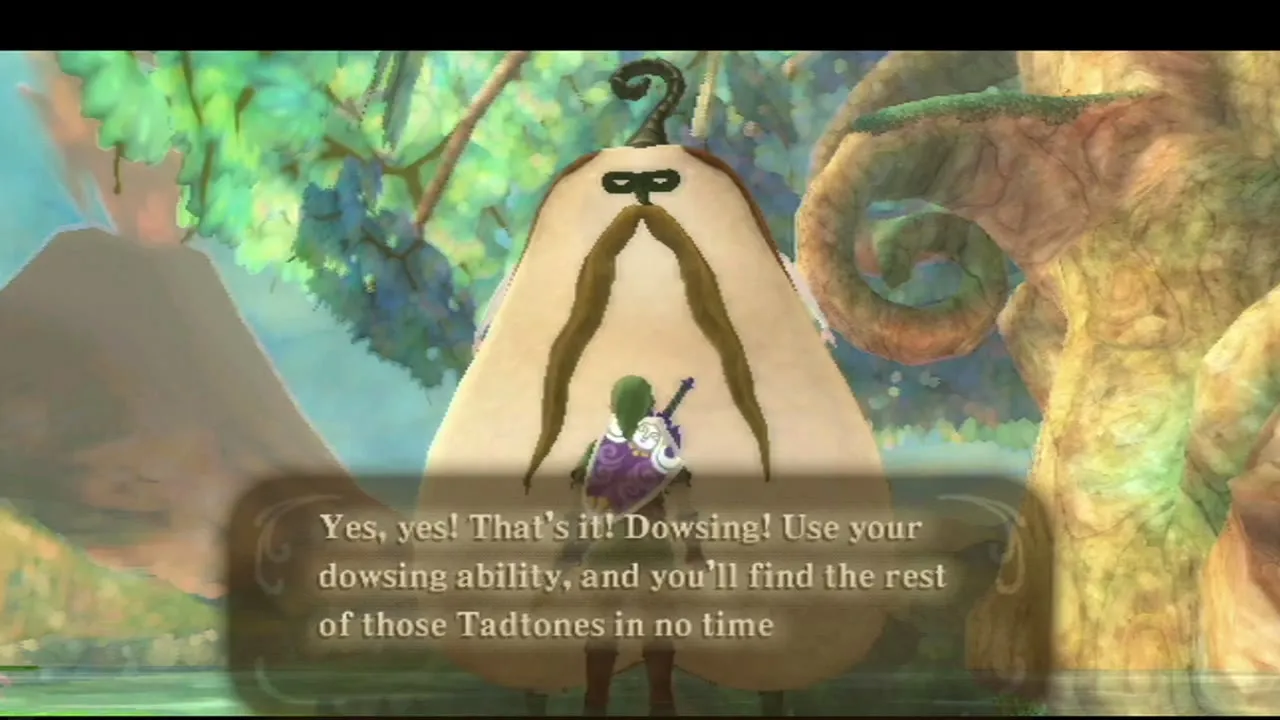
Partway through the hunt, talk to Bucha again. He remembers something that could help, and Fi adds the Tadtones as a Dowsing target. Use C to dowse and see which way the nearest group lies; stand on a lily pad or the shore if the water gets in the way.

The groups range from single Tadtones in yellow, red, light blue, purple and green, through pairs, fours and a six, to eights, and the biggest group is fifteen purple Tadtones along a narrow path in the south-west corner of the woods. Singles are the easiest way to start, and the score on screen shows the colour order.
Treasures on the way
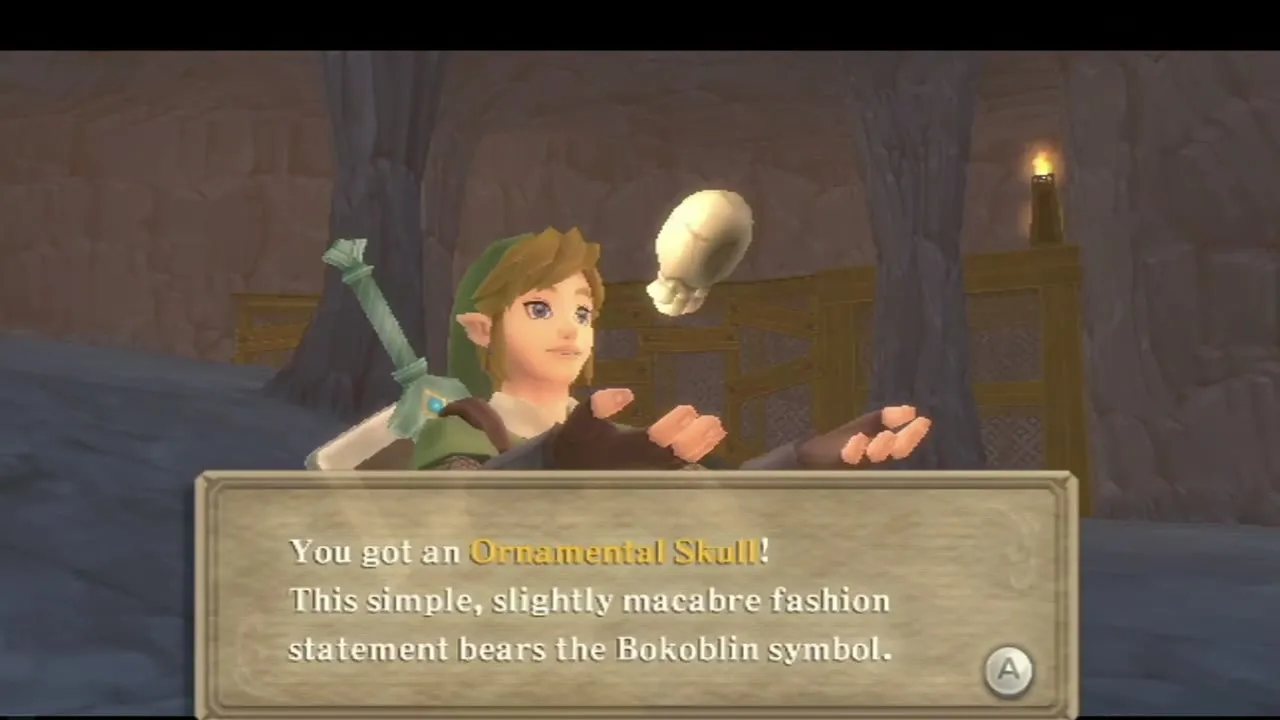
You can pick up an Amber Relic as a treasure in the woods, and Blue Bokoblins can drop an Ornamental Skull. Both are crafting treasures; the bugs and treasures page shows what they upgrade.
Collect the first part of the song
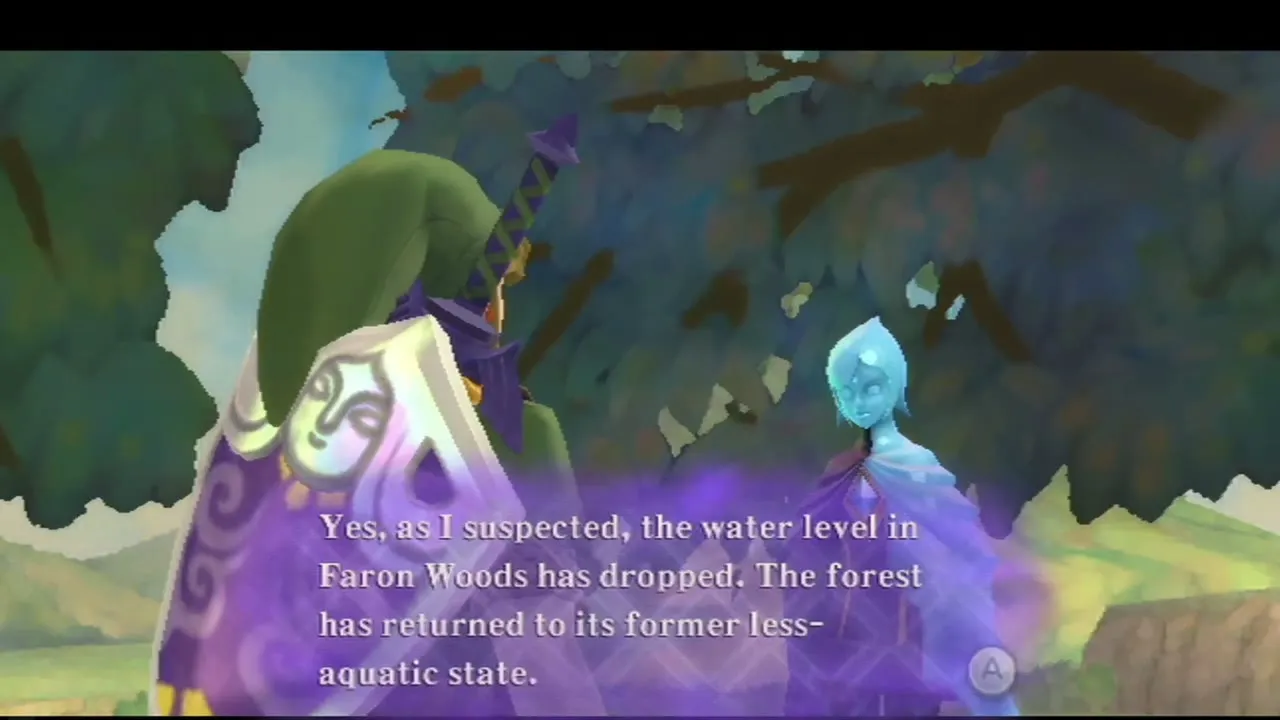
When the last group is collected, return to the pool. Faron praises you, teaches the first part of the Song of the Hero, and returns to Lake Floria so that the woods drain. Fi confirms the water level has fallen. Take the Bird Statue back to the sky.

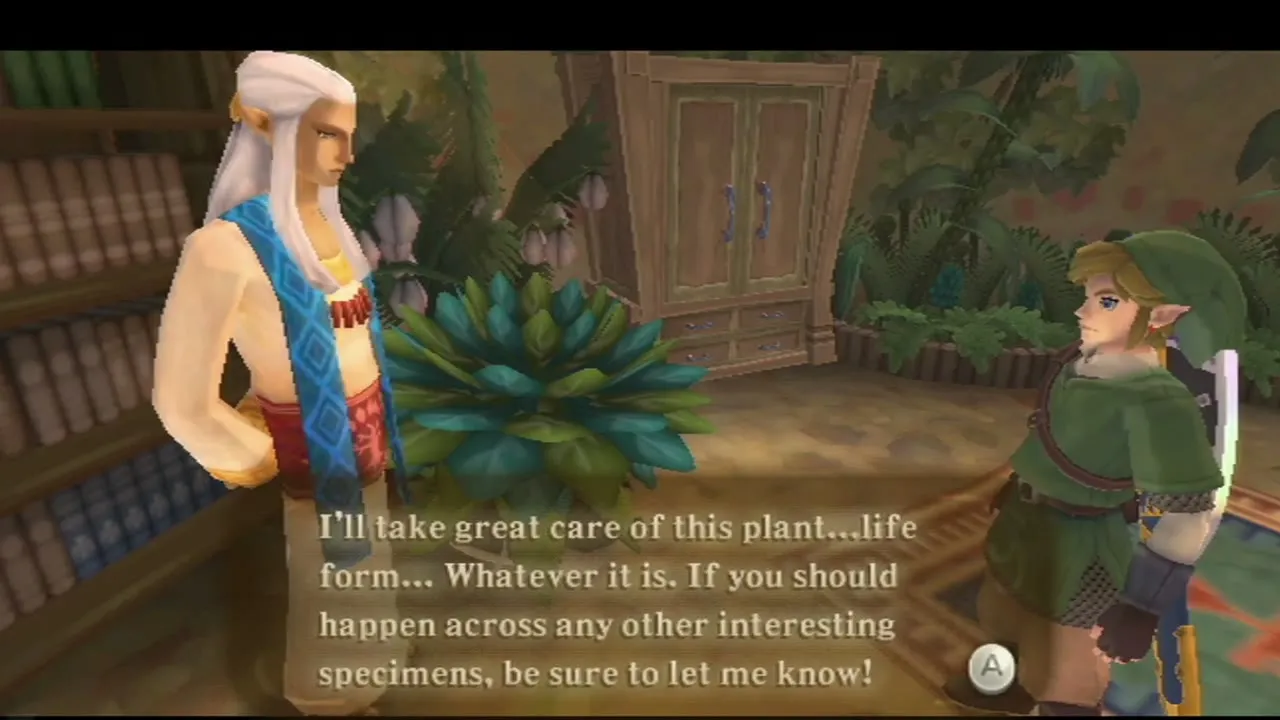
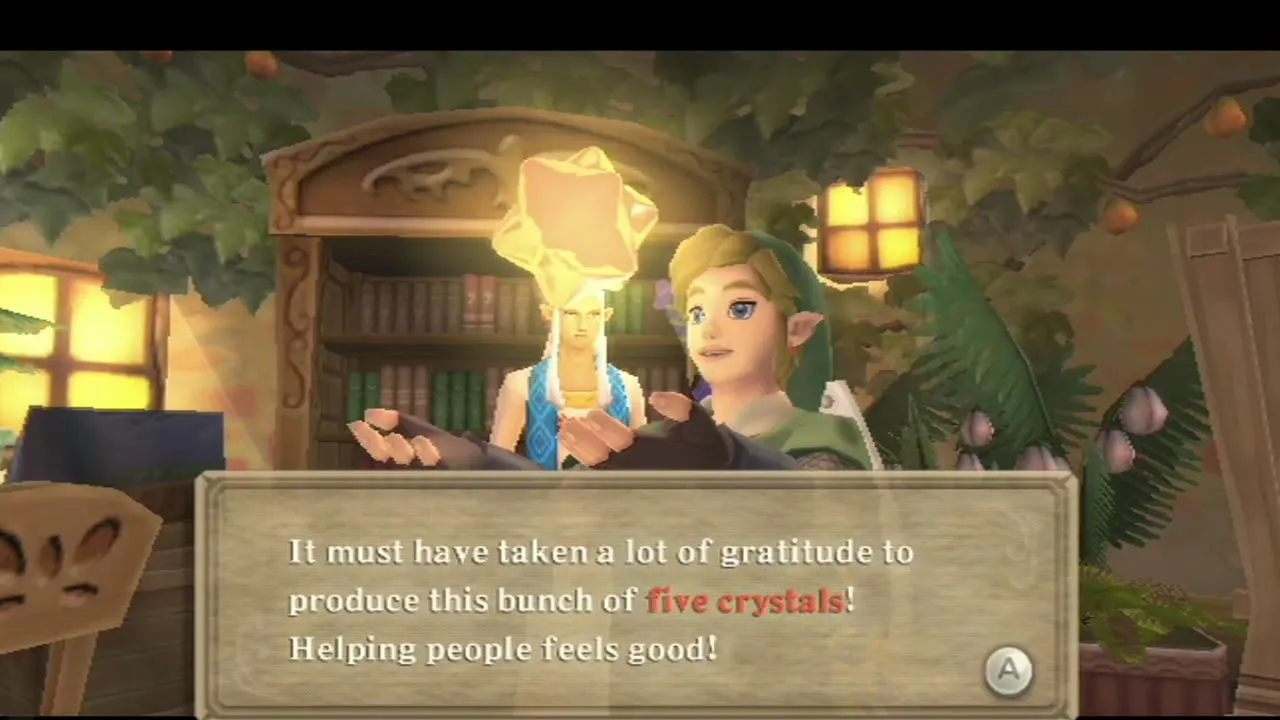
An optional Skyloft errand fits here. Instructor Owlan wants an exotic plant: fly to the Viewing Platform in Faron Woods, dowse for Oolo the Kikwi, let Fi call Scrapper to carry him, and Owlan thanks you with five Gratitude Crystals.
Lanayru Gorge: the Thunder Dragon and the Life Tree
Reach the Gorge
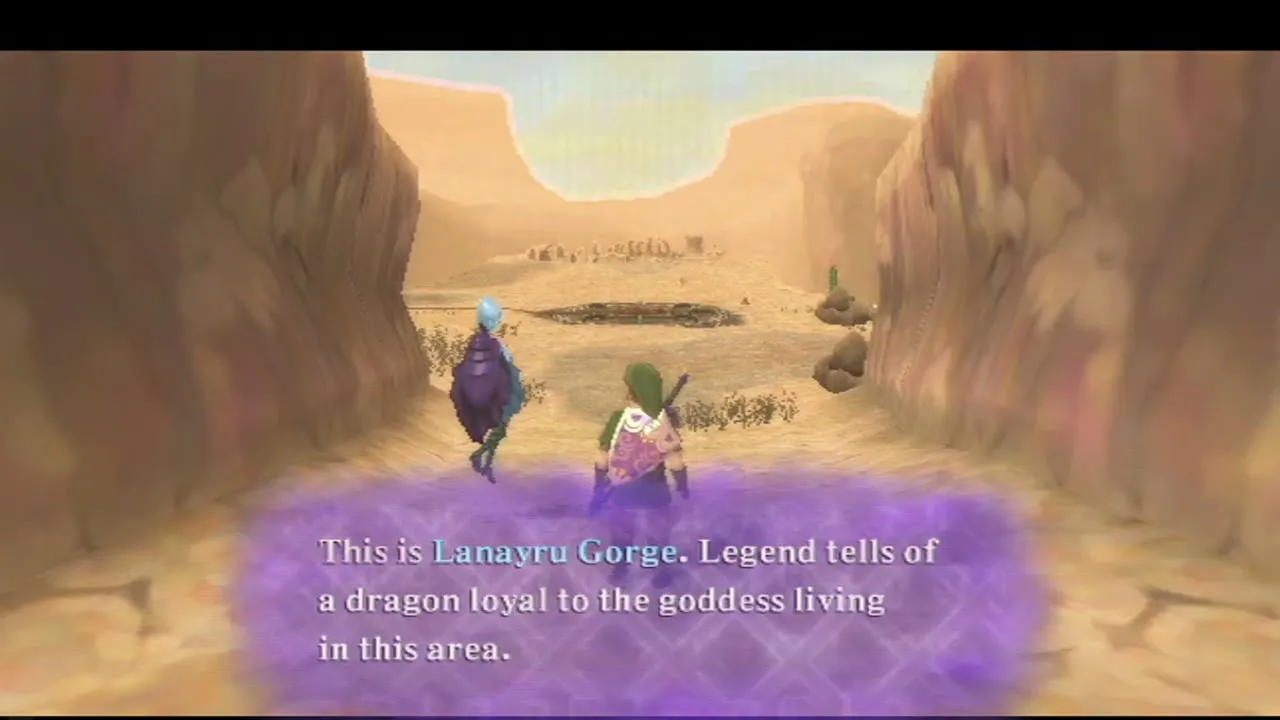
Fly to the Lanayru Desert and descend near the Mine Entry, or land in the Sand Sea and walk through the Lanayru Caves. Learn Lanayru’s part last: if you talk to Golo, the Goron in the caves, again after learning the Thunder Dragon’s part while the others are missing, the Wii game could lock the quest. Follow the cliffs into the Lanayru Gorge, where a Bird Statue lets you save and a gate marked with the dragon’s sigil lies ahead.
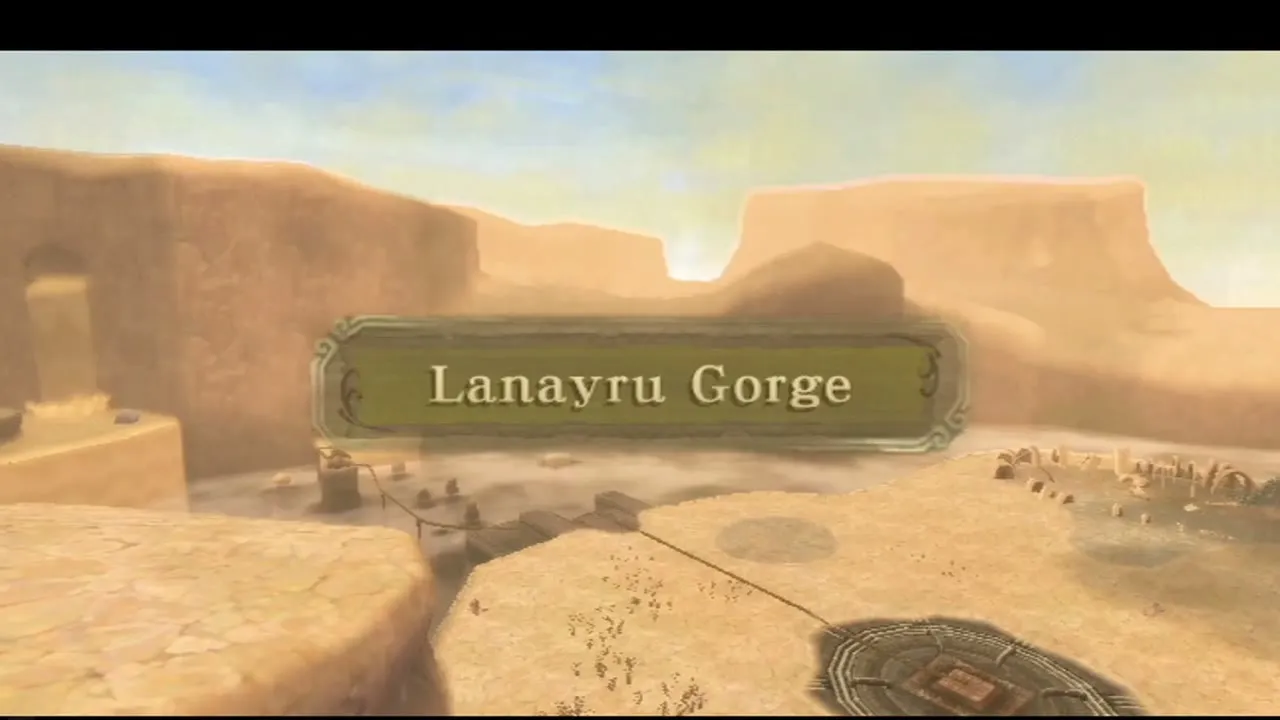
The mine and the Timeshift Stone
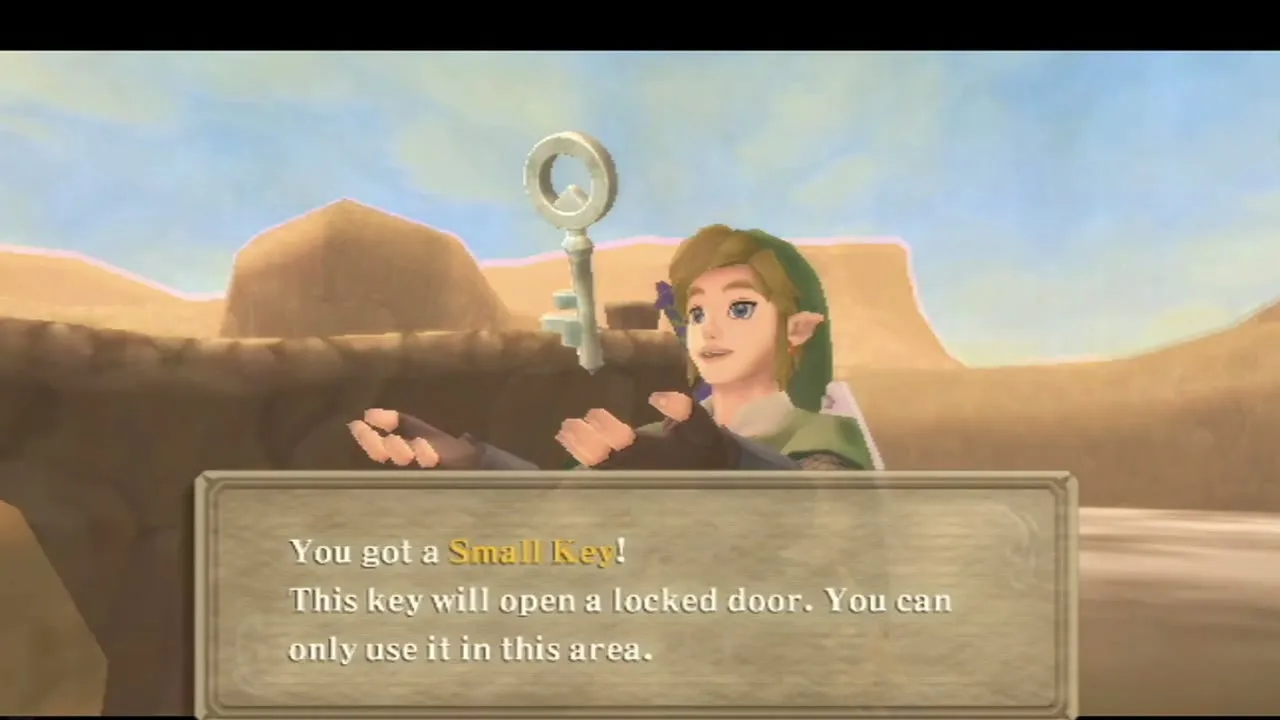
Roll a bomb through the passage to clear the boulders, then jump the gap beyond the Bird Statue to reach the mine. Send the Beetle to fetch a Small Key from a distant pillar, unlock the door and Clawshot over the Peahats. A mine cart holds a Timeshift Stone: hit it and the whole mine returns to its ancient, working state. Speak to the robot and the cart rolls on.
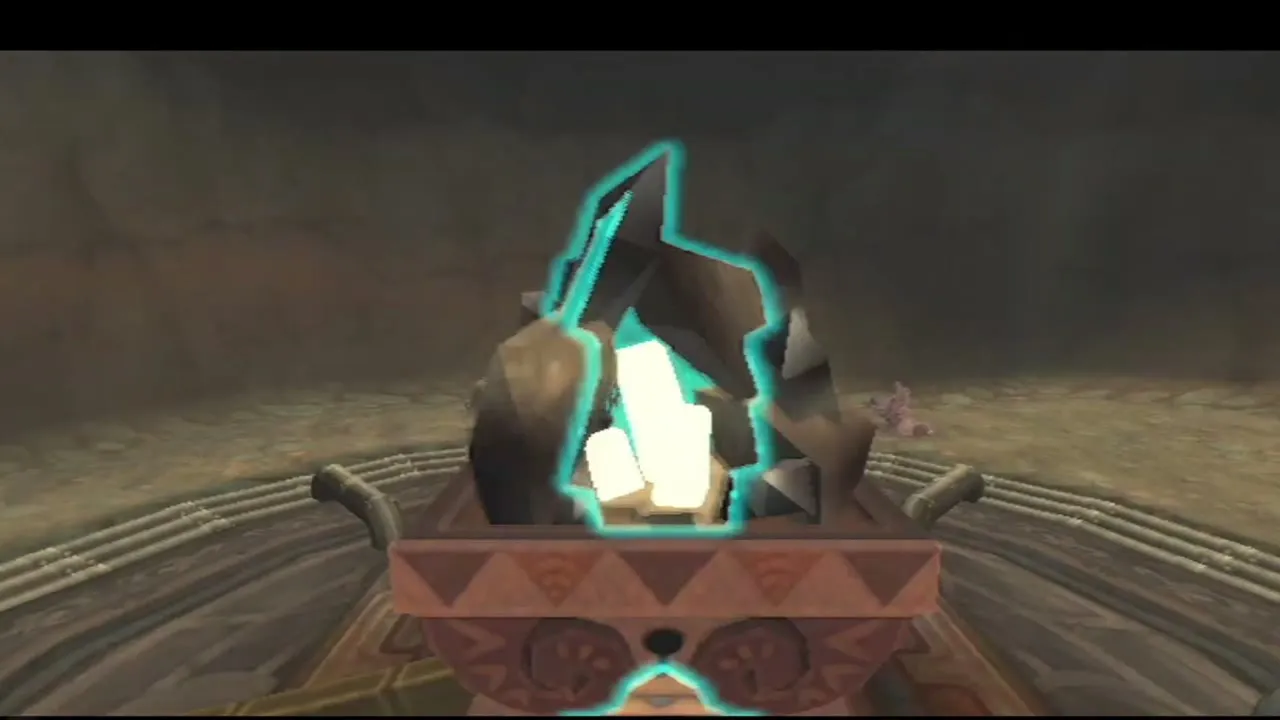
Ride and fight onward. Technoblins, Deku Babas and Beamos guard the way. Step on the switches to keep the cart moving, and use the Clawshots and the Beetle to cross gaps and drop a bomb on the rocks blocking its path. Stamina Fruit grows on the vines and sand slopes. A pink Ancient Flower grows in areas the Timeshift Stones have returned to the past. When the cart reaches the end of the line, the Thunder Dragon is revived but far too ill to teach you.
How to get the Life Tree Seedling
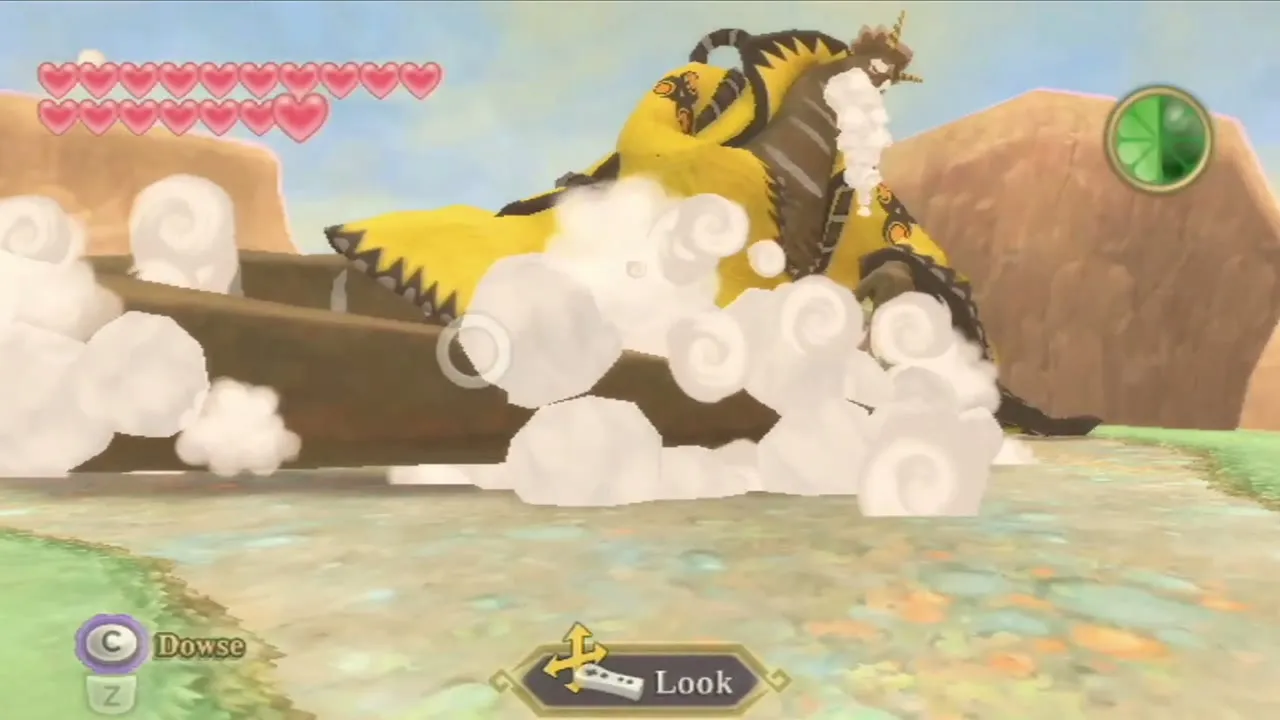
Lanayru explains that his robots planted a seedling of the Tree of Life, whose fruit is said to cure any illness, but it will not grow in the dry gorge. Cross the bridge to the sand and dash to the small island where the sickly tree stands. Blow the Gust Bellows at the sand pile to uncover a Timeshift Stone, hit it, and the tree turns back into a seedling that you can dig up.


A robot nearby agrees the seedling cannot grow here and that it must be planted somewhere else. Before you leave, hit the Goddess Cube near the withered tree with a Skyward Strike. It opens the Small Quiver chest in the sky. If the bridge vanishes when the stone’s effect ends, hit the stone again to bring it back. A Gerudo Dragonfly flutters around the grass here.


Plant the seedling and pick the Life Tree Fruit
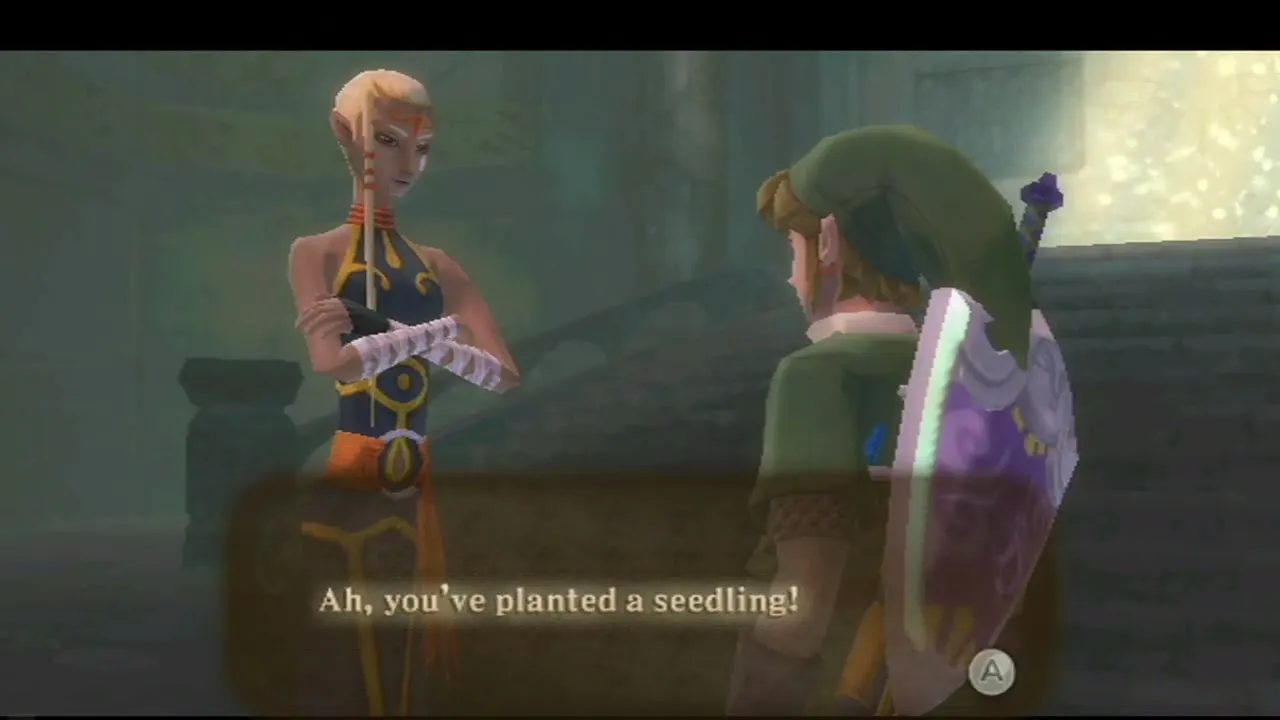
Fly to the Sealed Grounds, enter the Sealed Temple and talk to Groose about the patch of dirt there. Do not plant it in the present, because the tree would take ages to grow. Use the Gate of Time to go to the past, plant the seedling in the mound of dirt in the side room there, and go back to the present, where the tree has grown.

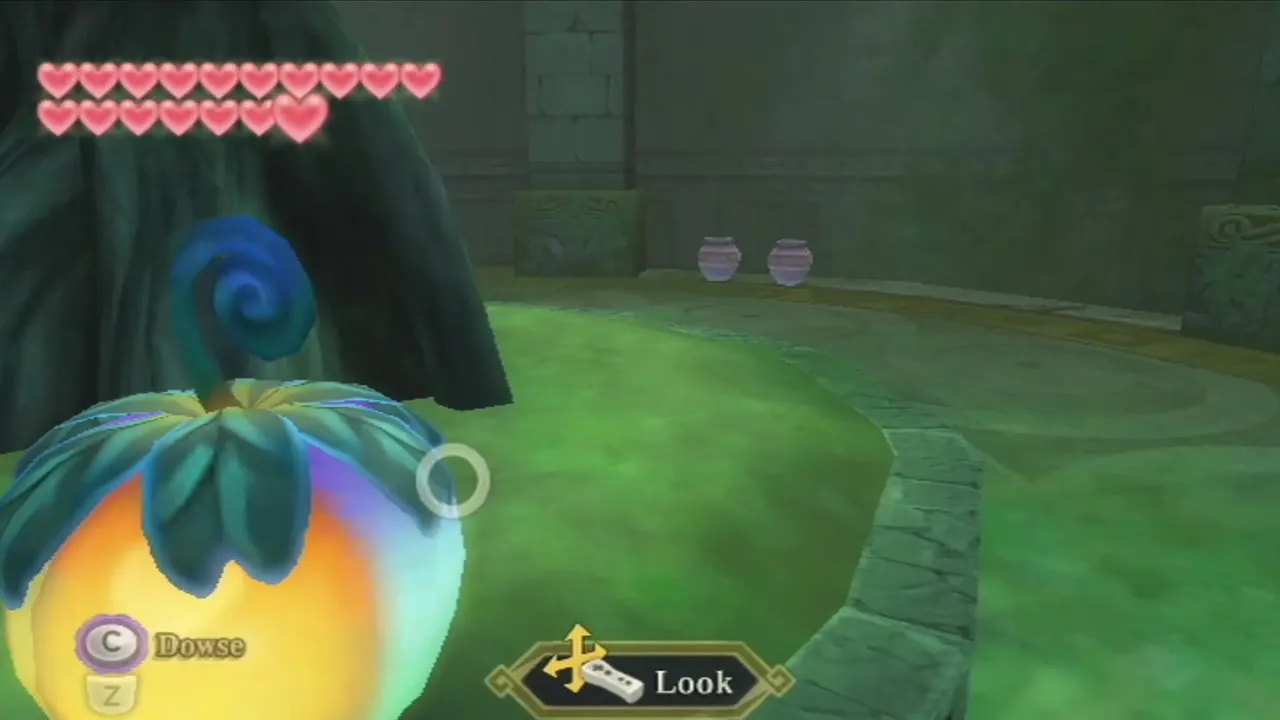
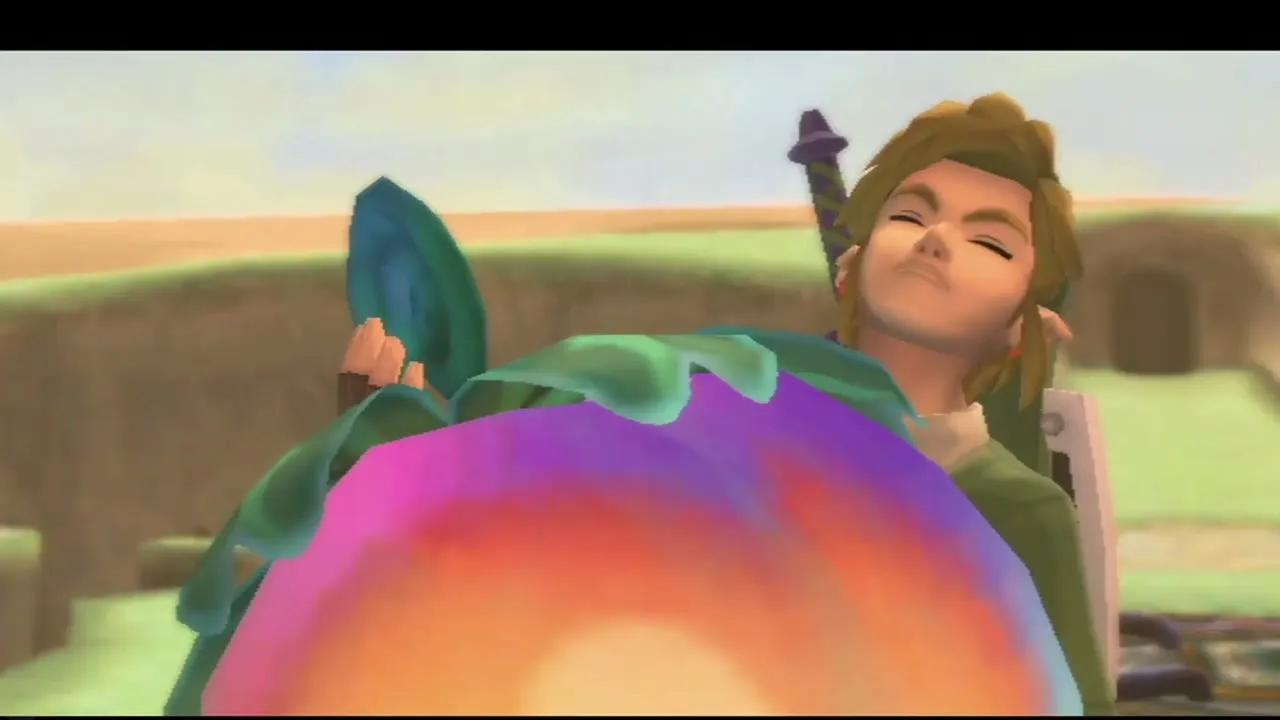
Roll into the trunk and a glowing fruit drops. Pick it up: you receive the Life Tree Fruit, and the message tells you to take it to the Thunder Dragon.

Return to Lanayru Gorge and give the fruit to the Thunder Dragon. He recovers and teaches the third part of the Song of the Hero. Fi congratulates you on three parts and tells you to meet Levias.
Levias completes the Song of the Hero
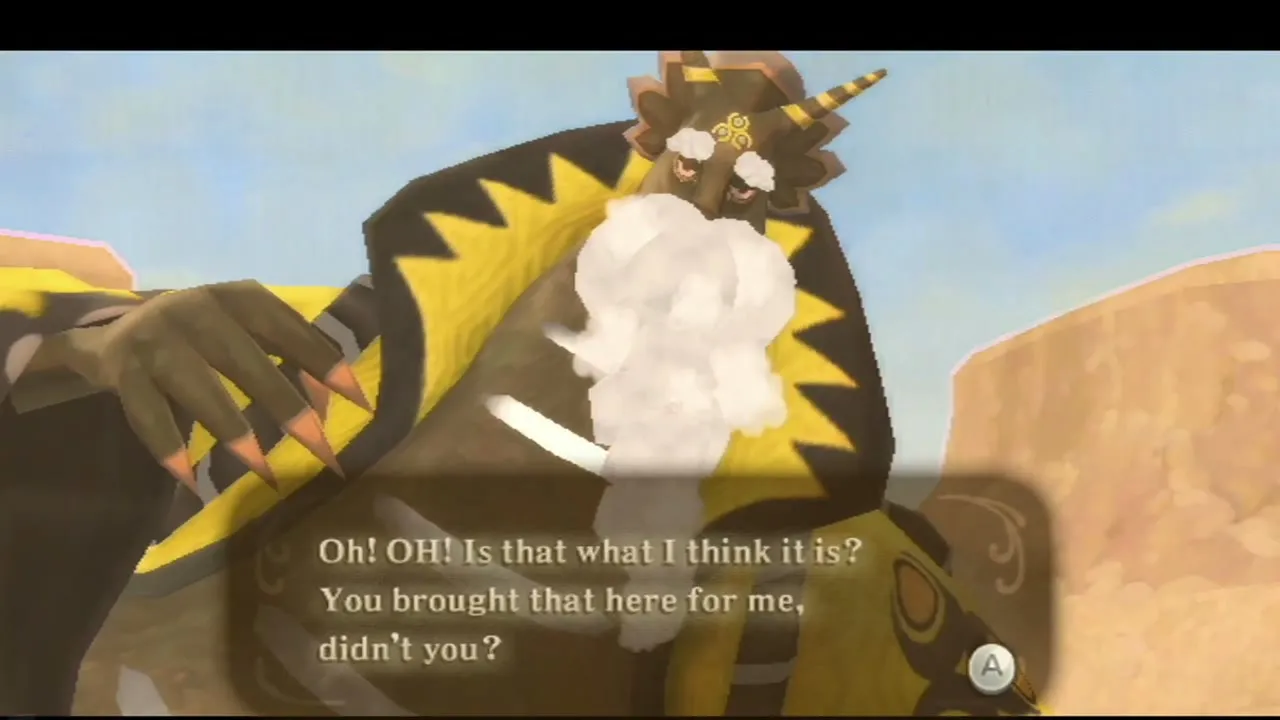
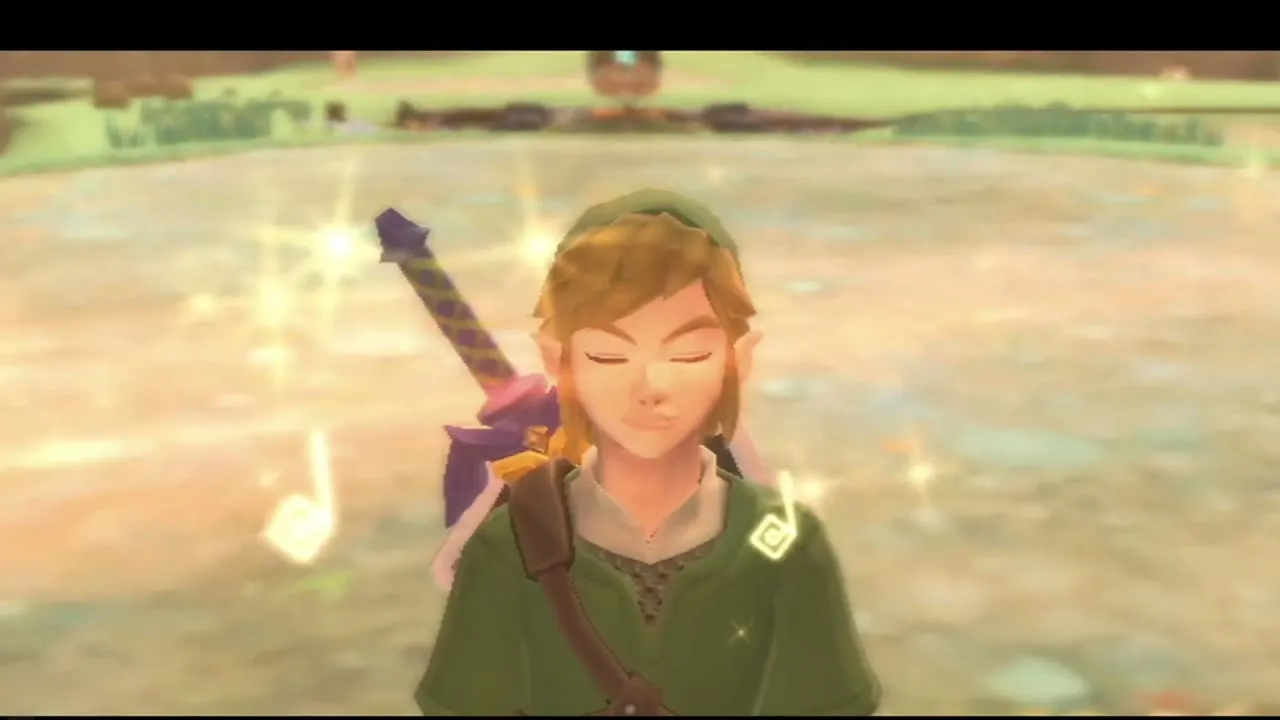
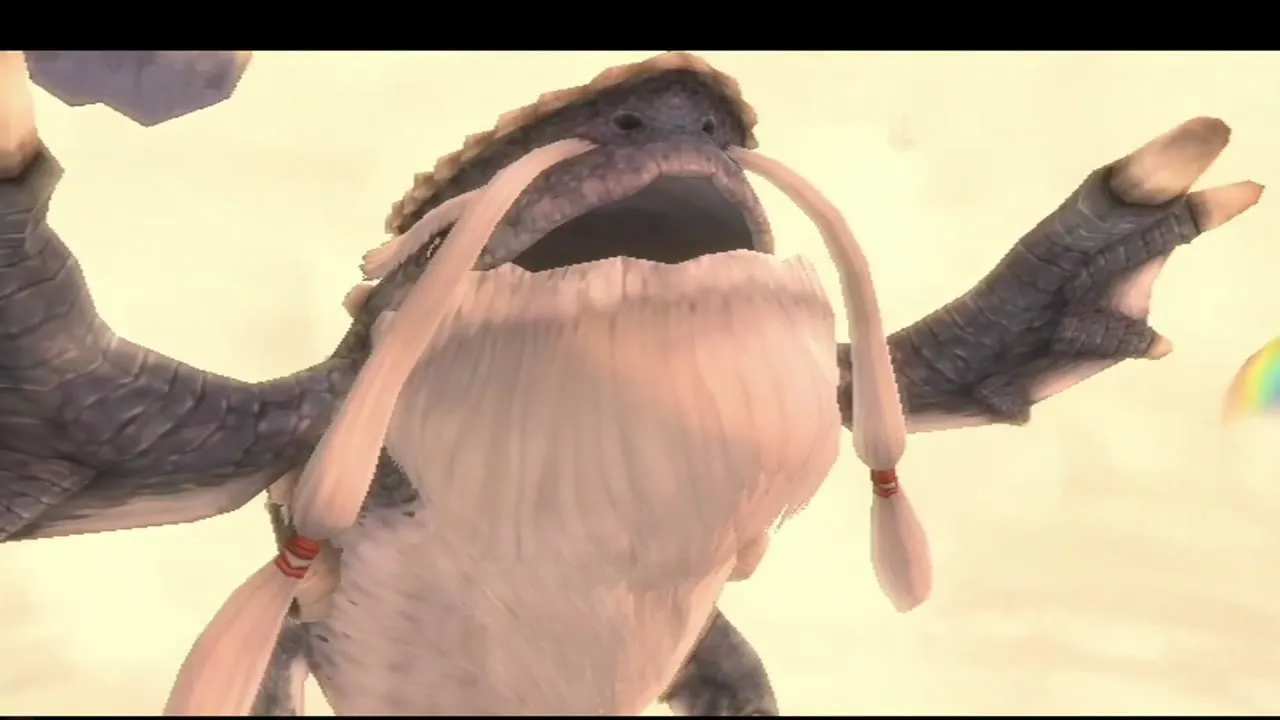
Fly into the Thunderhead and land on Levias’s head. Levias is pleased that you learned all three parts from the dragons, so he plays the last part for you and the Song of the Hero is complete. He says the song opens a door to a great trial, and that the path to the Triforce will be revealed if you succeed.

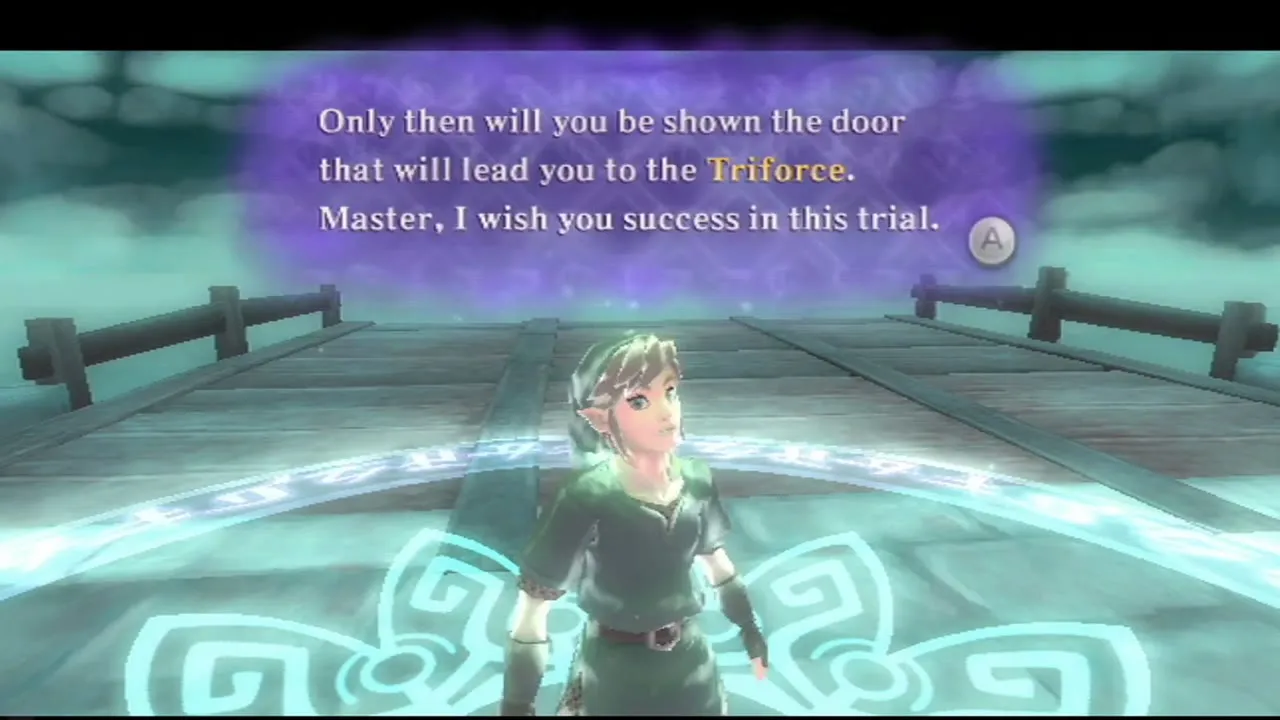
Fi says the Trial Gate is somewhere among the floating islands; it stands on Skyloft and the finished song can open it. The trial is the Skyloft Silent Realm, covered in the next chapter. Meanwhile the cubes you hit in the volcano and the gorge have chests waiting on the island south-west of the Isle of Songs; the next chapter explains how to reach them. The bottle page covers the Empty Bottle.
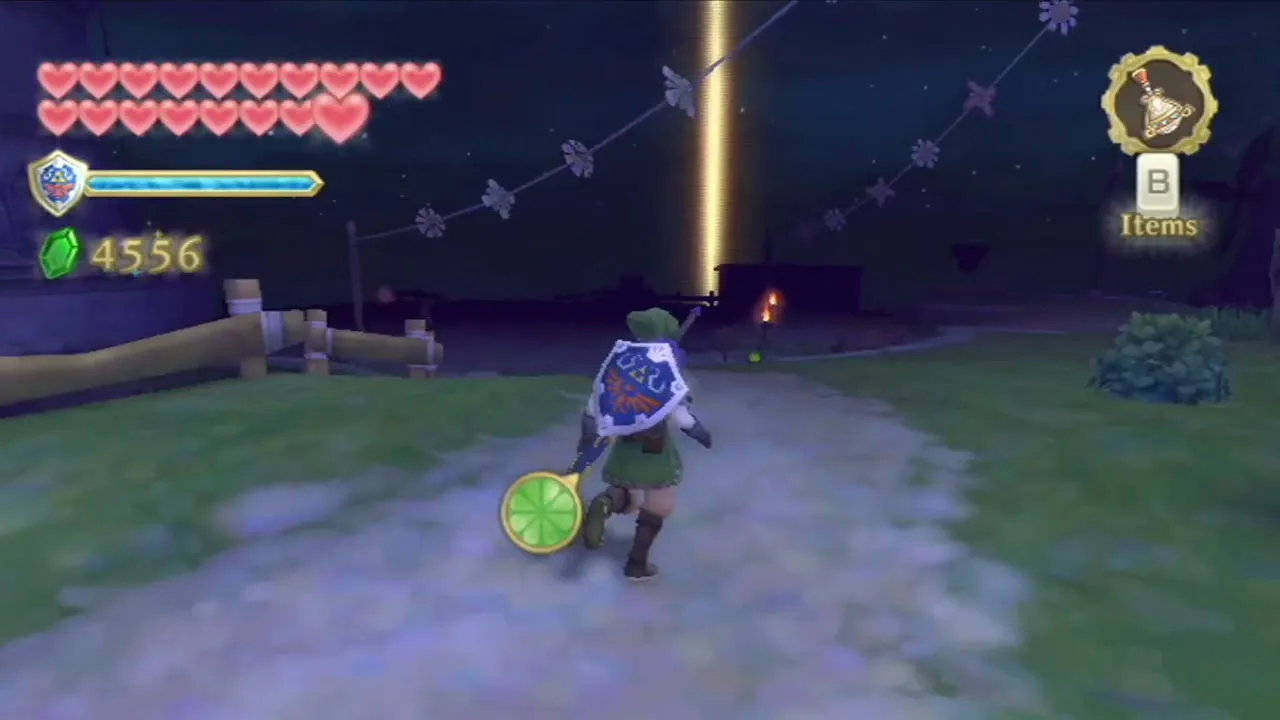
Lanayru’s Lightning Round, a boss replay challenge, also opens at the healed Thunder Dragon. Four wins in a row offer a Piece of Heart and eight the Hylian Shield, which are jobs for later, once your gear is strong.


Chapter checklist
| Collectible | Type | Where |
|---|---|---|
 Mogma Mitts | Item returned | Plats, Eldin cell |
 Gust Bellows, Clawshots, Whip, Slingshot or Scattershot, Bomb Bag | Items returned | Five chests along the Eldin stealth route |
 True Master Sword | Sword returned | Inside the Volcano Summit |
 Adventure Pouch and the rest of your gear | Items returned | Chest inside the Volcano Summit |
 Goddess Cube (Empty Bottle chest) | Goddess Cube | Moving lava platform, Volcano Summit; chest south-west of the Isle of Songs |
 Song of the Hero, second verse | Song | Eldin, the Fire Dragon |
 Third Imprisoned fight | Boss | Sealed Grounds pit |
| Song of the Hero, first verse | Song | Faron, after the Tadtones |
 Amber Relic, Ornamental Skull | Treasures | Flooded Faron Woods |
 Ancient Flower | Treasure | Lanayru Gorge (areas returned to the past) |
 Gerudo Dragonfly | Bug | Grass by the Thunder Dragon |
| Life Tree Seedling, Life Tree Fruit | Quest items | Lanayru Gorge island; Sealed Temple tree |
| Goddess Cube (Small Quiver chest) | Goddess Cube | Ledge near the sickly tree, Lanayru Gorge |
| Song of the Hero, third verse | Song | Lanayru, the Thunder Dragon |
| Song of the Hero, final verse (complete) | Song | Levias, Thunderhead |
 5 Gratitude Crystals each | Quests | Sparrot (crystal ball); optional Owlan (Oolo) and Kina (Guld) |
With the song complete, head for the trial gate at Skyloft in Skyloft Silent Realm and Sky Keep.