
























Skyward Sword 100% Completion Walkthrough18 chapters
- Skyview TempleSmall keys, the Beetle, the Golden Carving door, the Ghirahim boss fight, the Heart Container and the Ruby Tablet.
- Earth TempleGet the Bomb Bag from Ledd, carry the Dragon Sculpture, beat Scaldera and collect the Amber Tablet.
- Lanayru Mining FacilityTimeshift Stones, Gust Bellows, Small Key, Armos, Ancient Circuit, Moldarach and the Goddess’s Harp.
- Ancient CisternBoth Small Keys, the Whip, the Blessed Idol, the Koloktos boss fight, Farore’s Flame and the Goddess Longsword.
 SandshipThe Timeshift Stone, Scervo and the Bow, both generators, Squid Carving, Tentalus and Nayru’s Flame.
- Fire SanctuaryAll three small keys, the Mogma Mitts, the Mysterious Crystals, Ghirahim’s second fight and the Master Sword.
- Skyloft Silent Realm and Sky KeepThe Skyloft Silent Realm and its 15 Sacred Tears, the Stone of Trials, every Sky Keep room and all three Triforces.
- Skyloft and the Goddess SwordFind your Loftwing, win the Wing Ceremony, draw the sword and take your first dive.
- Sealed Grounds, Faron Woods and the Deep WoodsThe Sealed Grounds, the missing Kikwi, the Slingshot, the Deep Woods and the way into Skyview Temple.
- Eldin Volcano and the Key PiecesPlace the Ruby Tablet, run Skyloft errands, earn the Digging Mitts and find all five Earth Temple key pieces.
- Lanayru Mine and Lanayru DesertLanayru Mine, Timeshift Stones, the Hook Beetle, the Temple of Time and how to set the three power generator dials.
- The Goddess’s Harp, The Imprisoned and the Isle of SongsBallad of the Goddess, The Imprisoned, the Light Tower, the Isle of Songs and Farore’s Courage.
- Farore’s Silent Realm and Lake FloriaAll 15 Tears of Farore, the Water Dragon’s Scale and Sacred Water.
- Nayru’s Silent Realm and the Lanayru Sand SeaNayru’s Wisdom, Nayru’s Silent Realm and the Clawshots, Golo’s key, Skipper’s boat, the Shipyard.
- Din’s Silent Realm and Volcano SummitDin’s Power, the Fireshield Earrings, frog statues, the Water Basin and the Scrapper escort.
- True Master Sword, Levias and BilocyteSkyward Sword walkthrough for the True Master Sword, the second Imprisoned fight, the Spiral Charge.
- Song of the HeroEscape Eldin, beat the third Imprisoned, win the Tadtone song in Faron Woods and heal Lanayru’s Thunder Dragon.
- The Horde, Ghirahim and DemiseClear the last side quests, beat the Horde, Ghirahim’s third fight and Demise, then unlock Hero Mode.
| Covers | The Sandship in the Lanayru Sand Sea (the fifth dungeon): the Scervo mini-boss, the Timeshift Stone on the mast, both generators, the crew in the brig, the Squid Carving and the Tentalus boss fight |
|---|---|
| You need | The Goddess Longsword, Clawshots, Whip, Gust Bellows, Bomb Bag, Beetle, Slingshot and the Goddess’s Harp; the Sandship stopped and boarded with Skipper’s boat cannon |
| Rewards | The Bow, Dungeon Map, Squid Carving, 2 Small Keys (both used up), 1 Piece of Heart, 2 Silver Rupees, three random treasure chests, 1 Heart Container, Nayru’s Flame, the Goddess White Sword and extra dowsing targets; a Goddess Wall on the way |
The Sandship is a mechanical galleon that protects Nayru’s Flame, and in this chapter you win it back from the Arachas, Technoblins and Beamos that have overrun it. You open a Small Key chest with a puzzle in the sand, beat the mini-boss Scervo for the Bow, use the Bow to wake the Timeshift Stone on the mast, switch on two generators, free Skipper’s crew for the captain’s key, and fetch the Squid Carving that opens the control room. A tentacle-filled corridor leads out to the deck, where you fight Tentalus, collect the Heart Container and claim Nayru’s Flame.
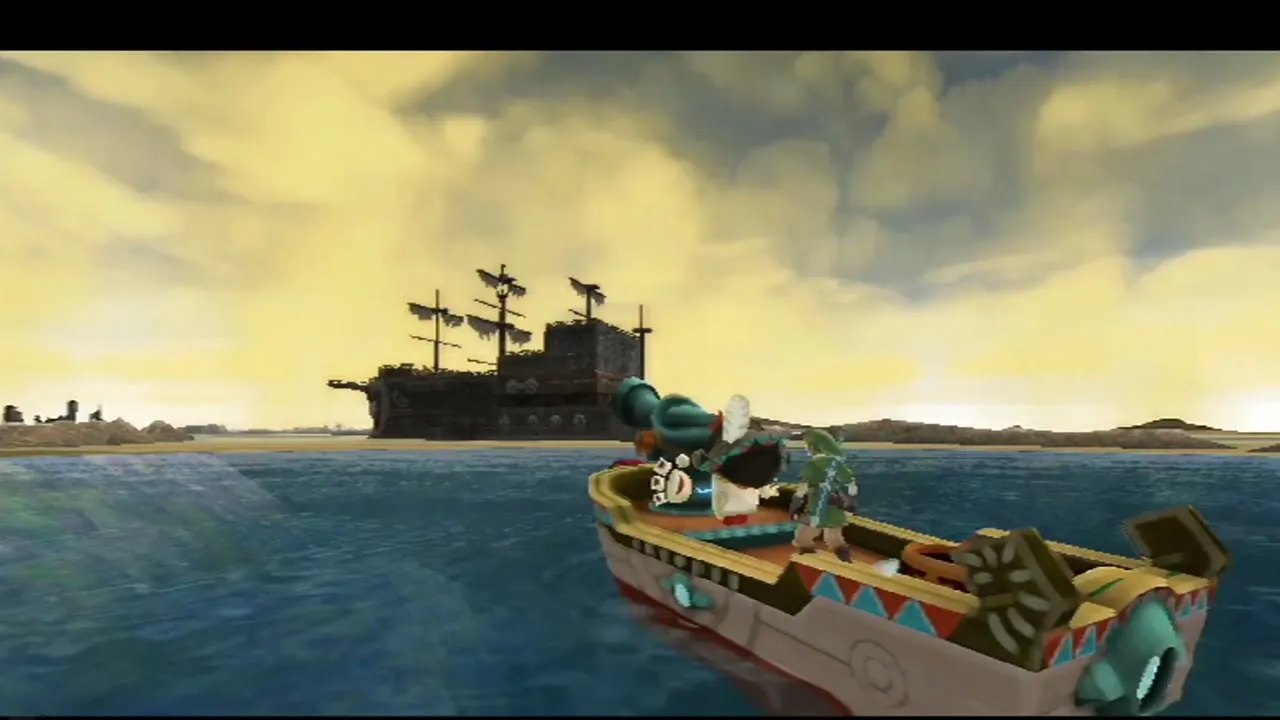
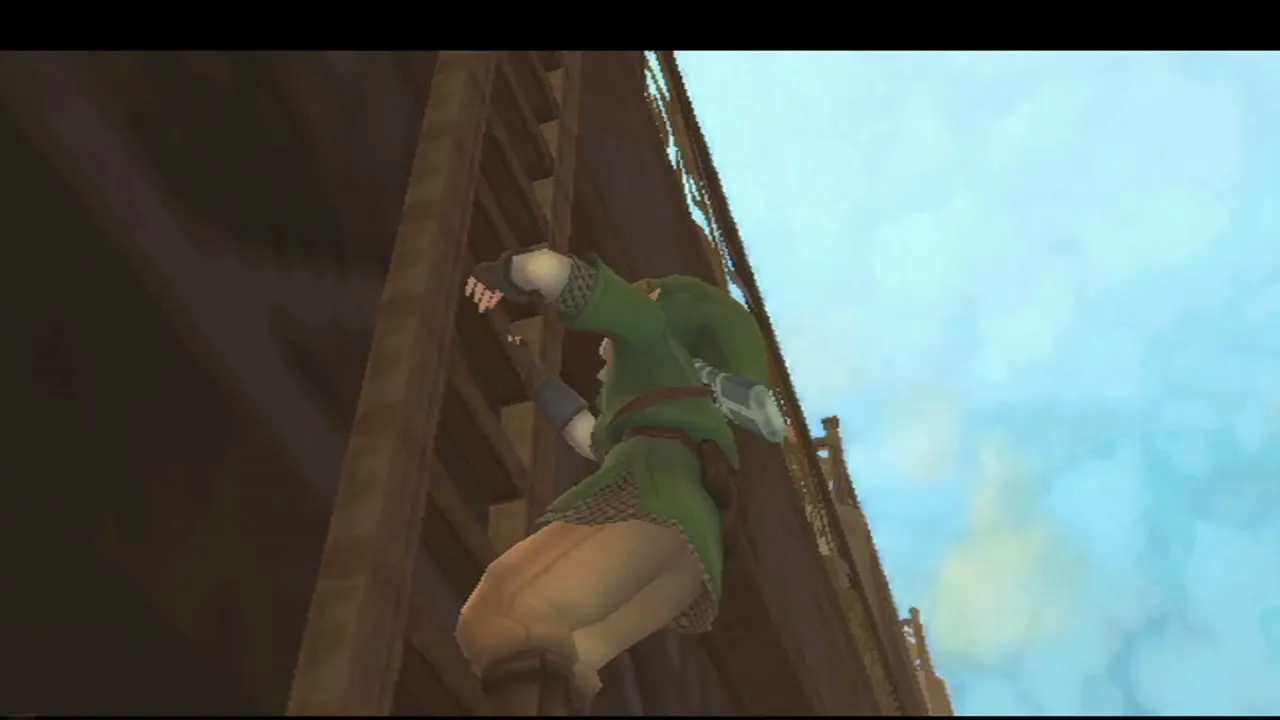
Table of Contents
How to enter the Sandship
Entrance hall and the first Bird Statue
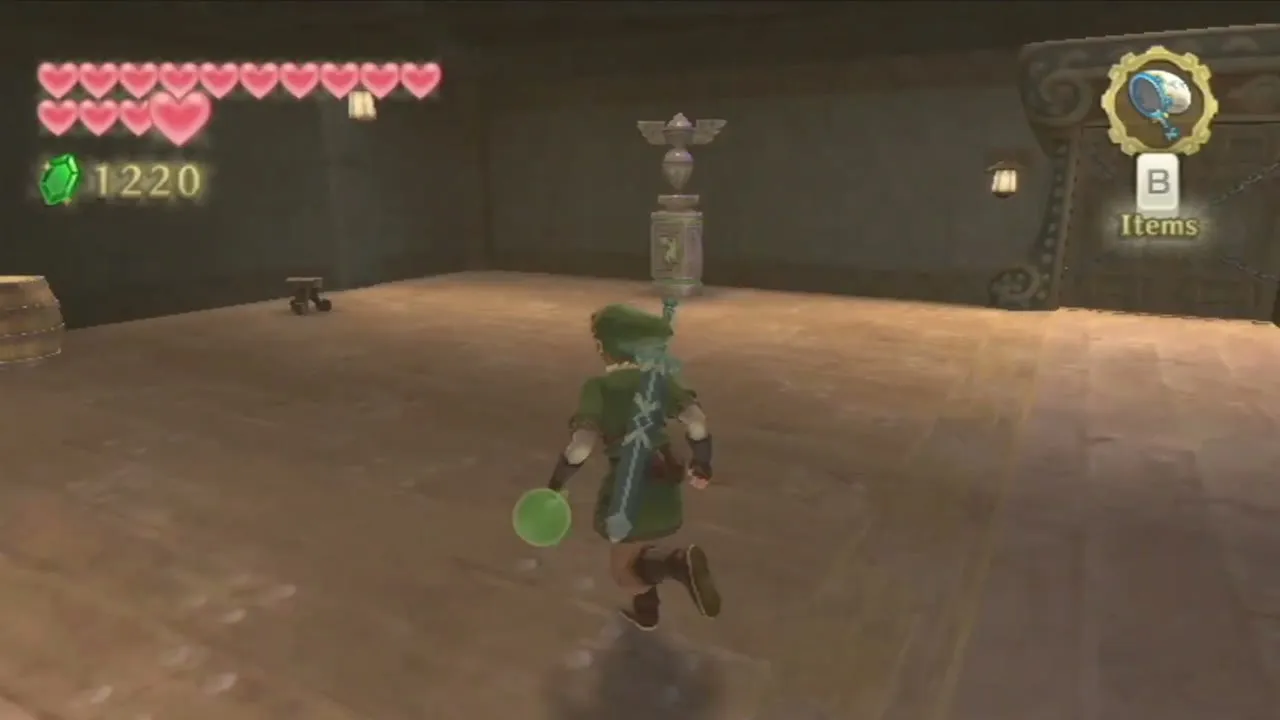
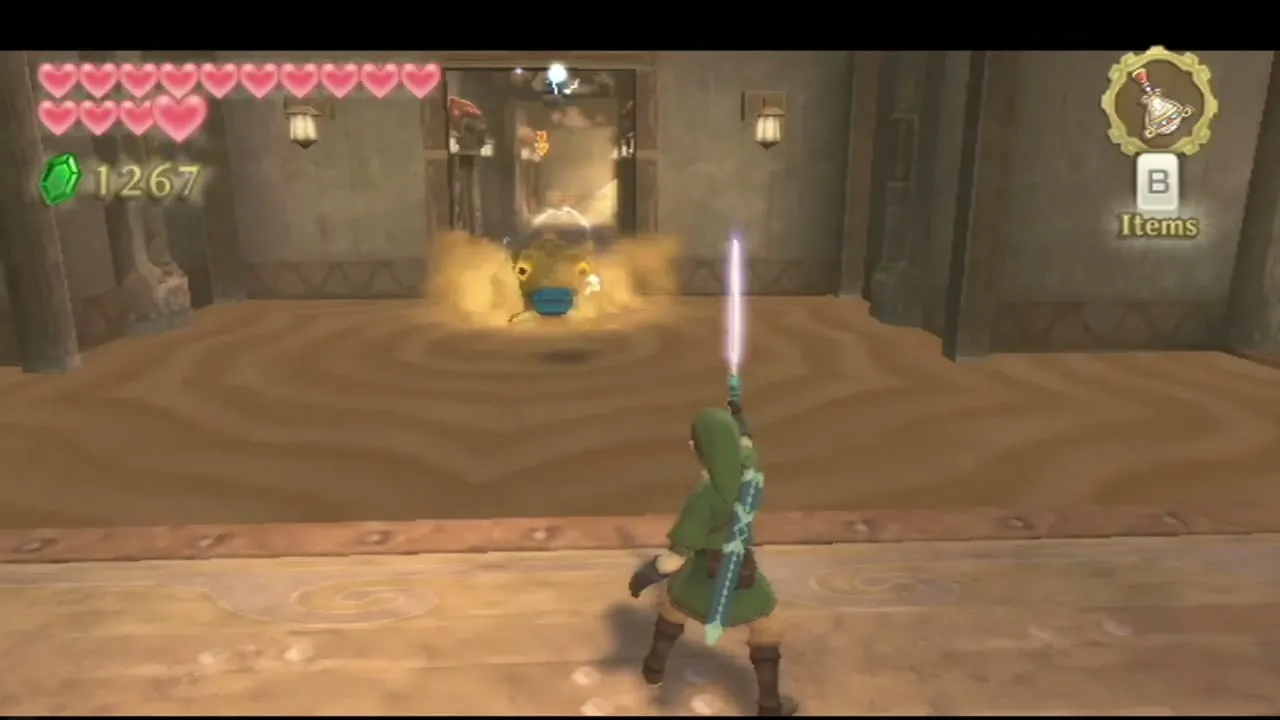
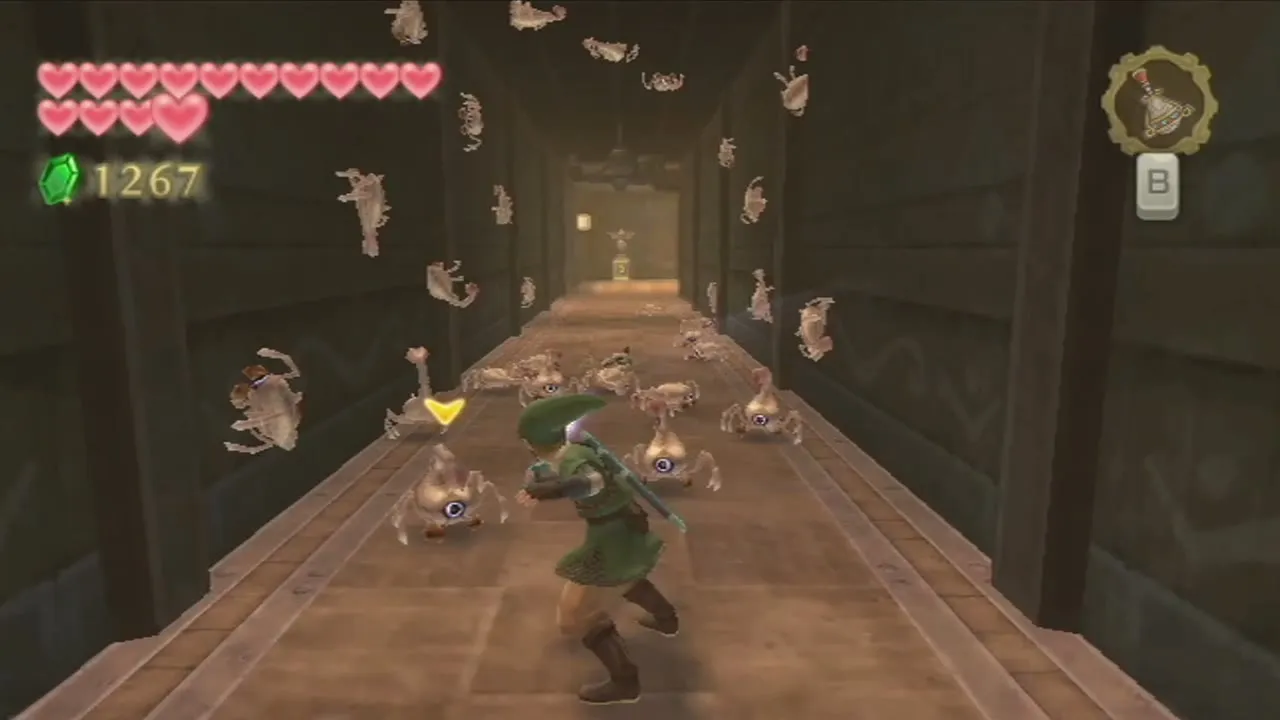
Step off the boat onto the wooden dock and walk through the west door of the deck room. Save at the Bird Statue just inside, because there is another one a few rooms further on and the dungeon is long. Take the stairs down. The south hall has Thunder Keese, and you can strike them between flashes of electricity. A room of sinking sand follows with an Electro Spume above it: drop a bomb on it, then run across the sand without stopping, because walking slowly drags you under. Beyond it you go down a stair and clear a hall of Arachas, then come to the first dungeon Bird Statue, a stool that restores your health, and a huge chained door that you cannot open yet.
Sand symbols and the first Small Key
Read the symbols under the sand
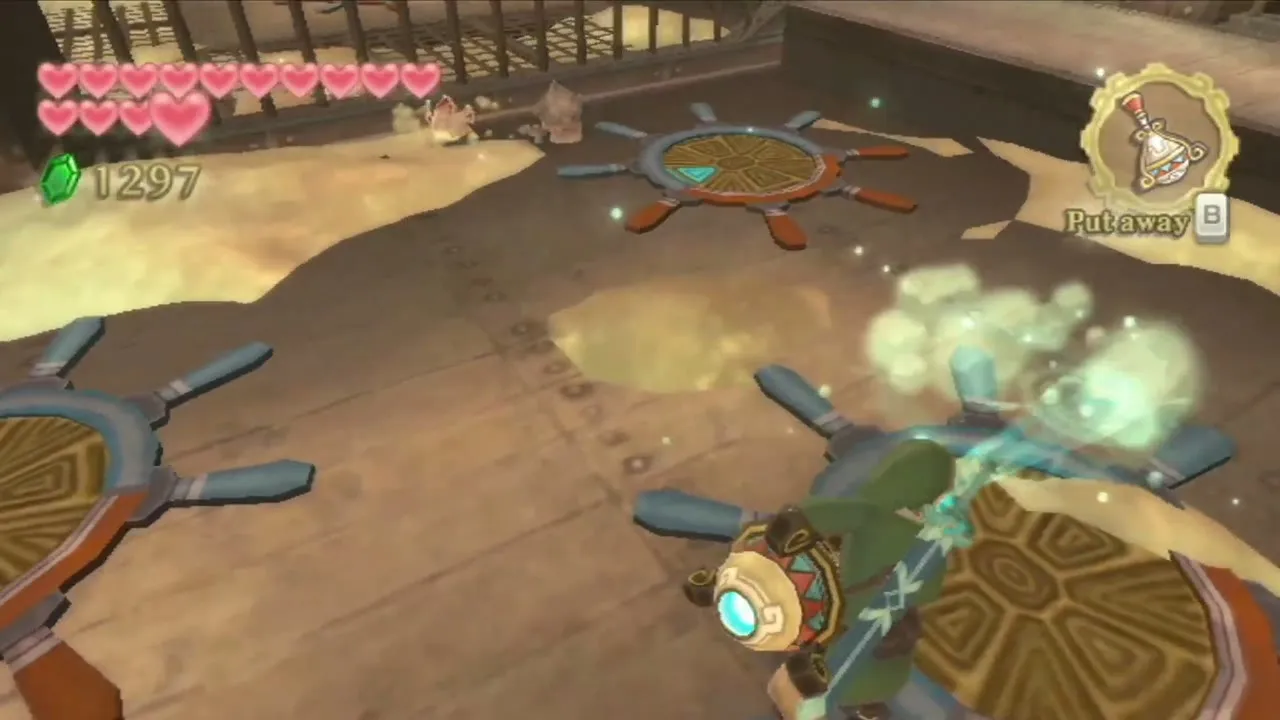
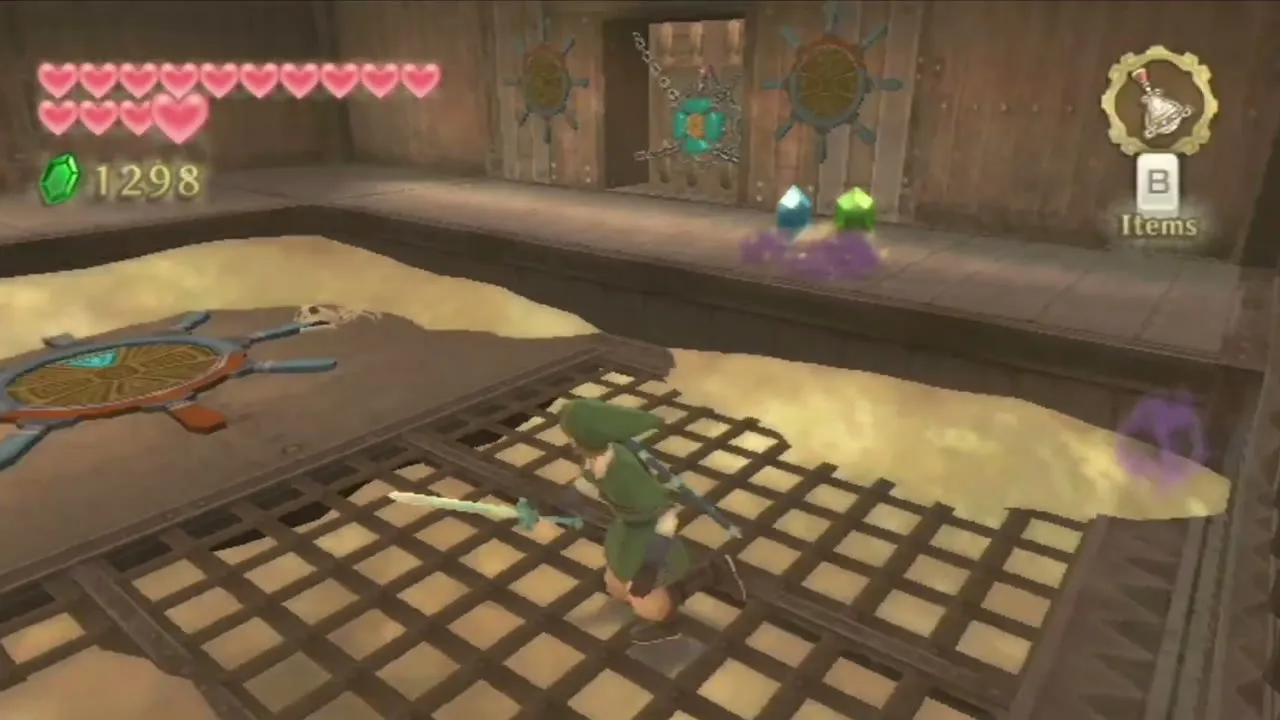
North of the statue is a room covered in sand. Kill the Arachas that crawl out, then equip the Gust Bellows and blow the sand off the floor with A. Four ship’s-wheel symbols appear, each with a different number of red sticks. Read the lit sections of the wheels to get the order for the lock.
Hit the gem lock in order
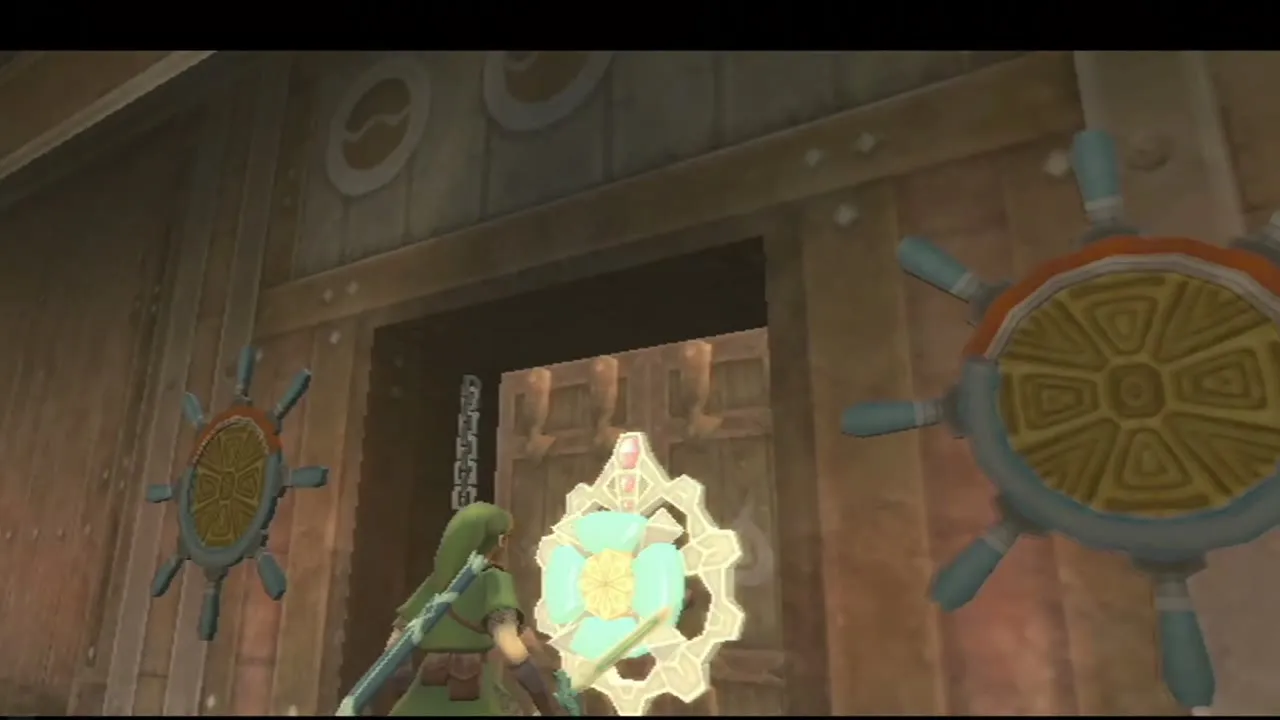
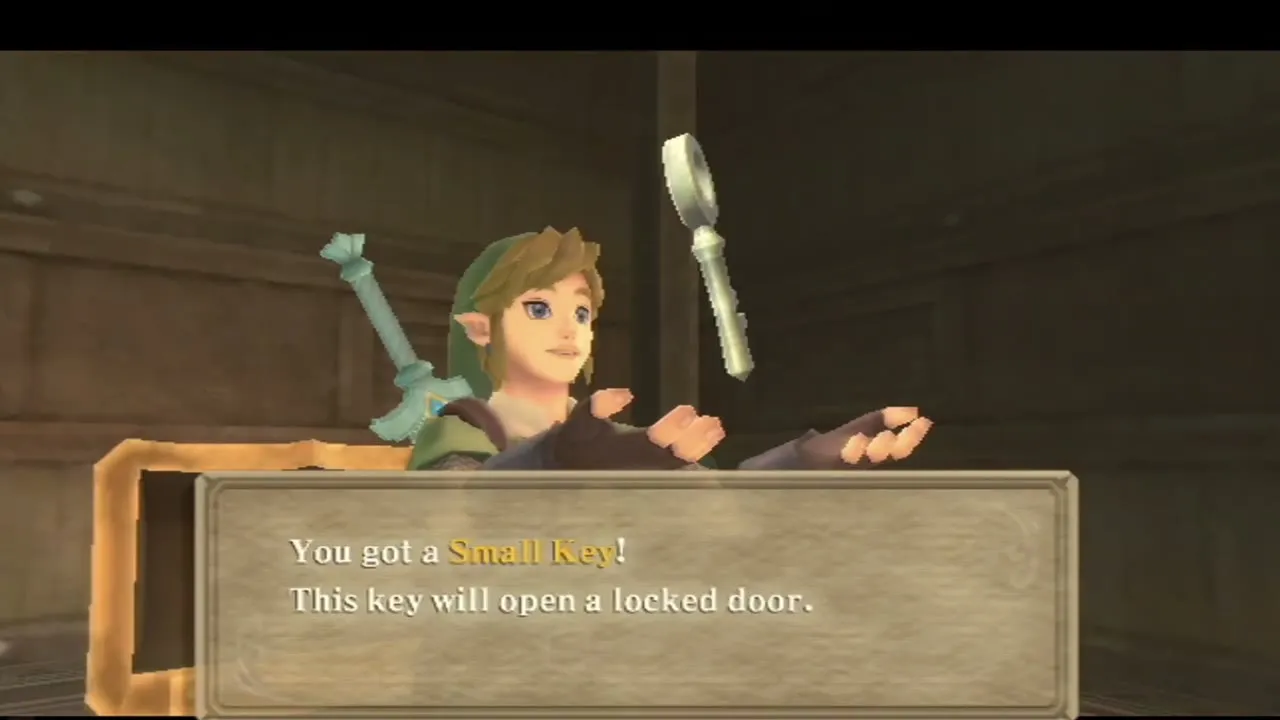
Go back to the chained door by the Bird Statue. Its lock has a gem on each side; strike them with your sword in the order the wheels showed you: bottom, top, bottom, right. The chains fall away and the door swings open on a chest that holds the Small Key. Keep it for the locked door beside the statue, which leads to the mini-boss.
Scervo mini-boss and how to get the Bow
Scervo boss fight
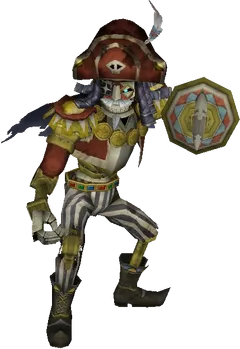
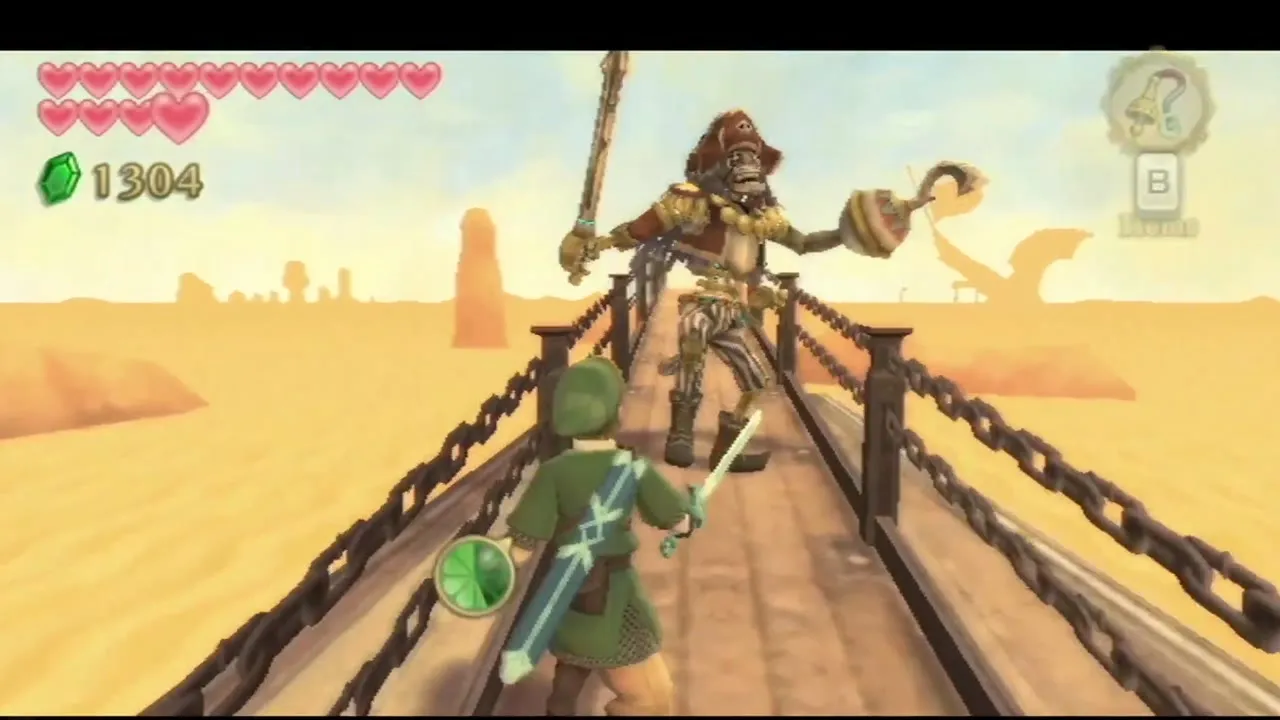
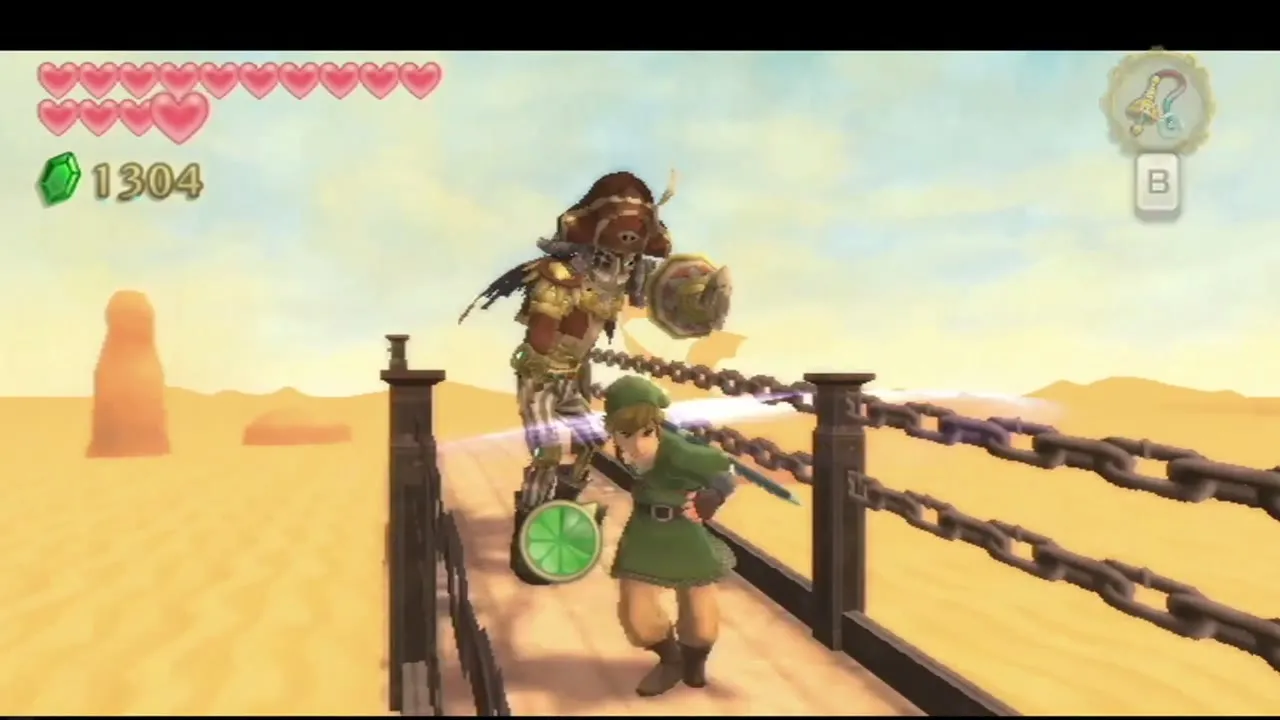
Save at the statue and open the locked door to reach a long plank, where the skeletal pirate captain LD-002G Scervo waits. Wait for each wind-up, then bash him with your shield or backflip, and strike the side where his sword and shield are not raised. Each time you hit him he is knocked back toward the end of the plank, so keep pressing forward. When he reaches the edge he loses a weapon and the spiked wall behind you advances, which gives you less room each round. He swings twice in a row, so stay back after dodging, and in the last phases he adds electrified swings and a spinning hook; shield bashes and backflips beat both. After the third push he falls off the ship into the sand.
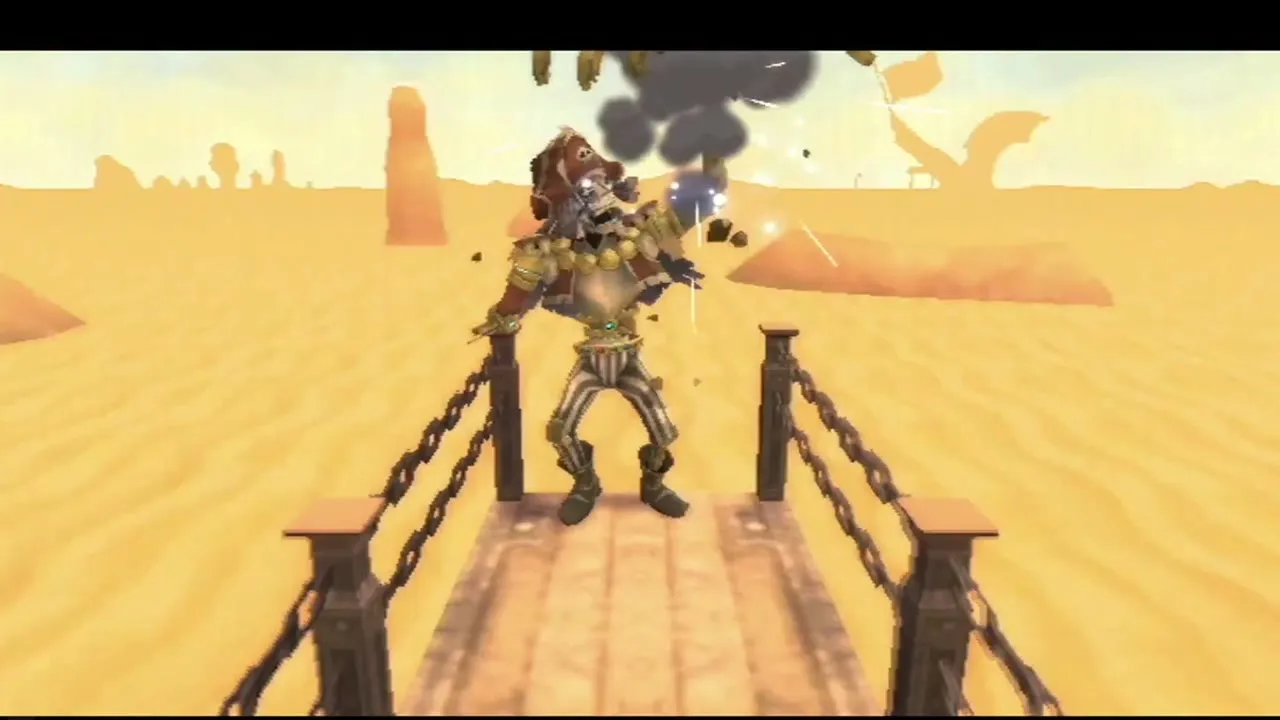

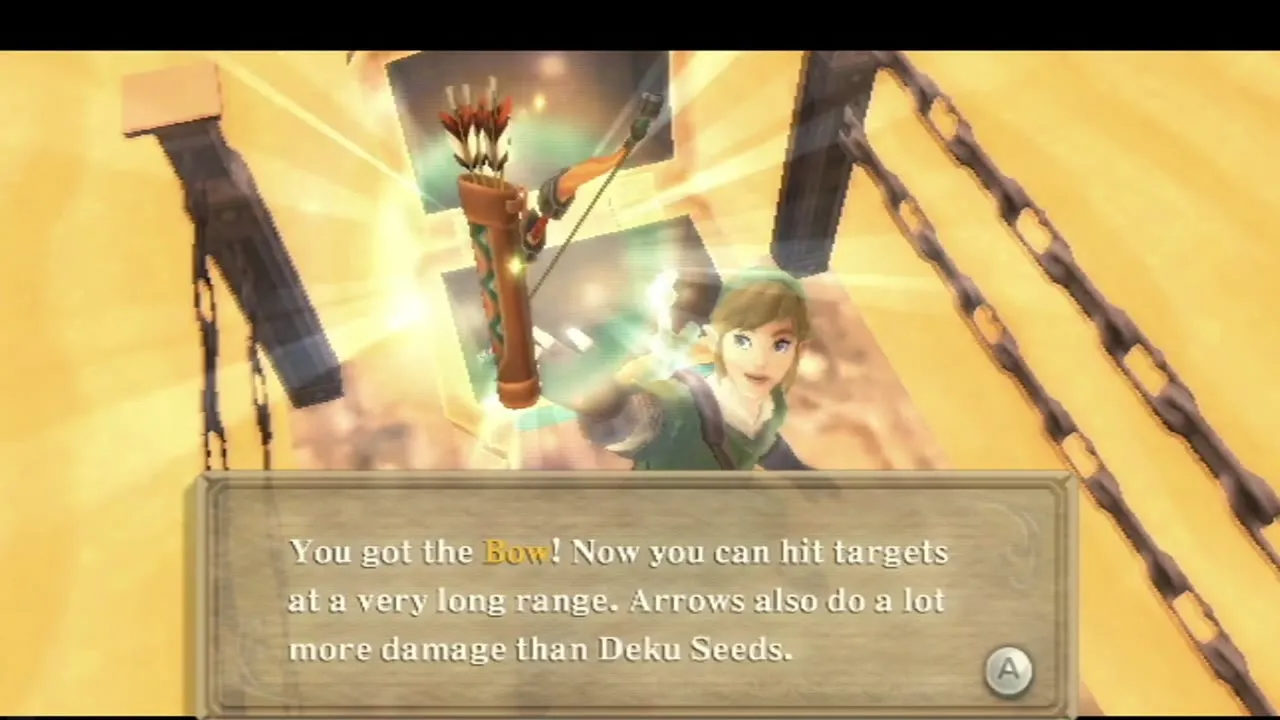
The Bow
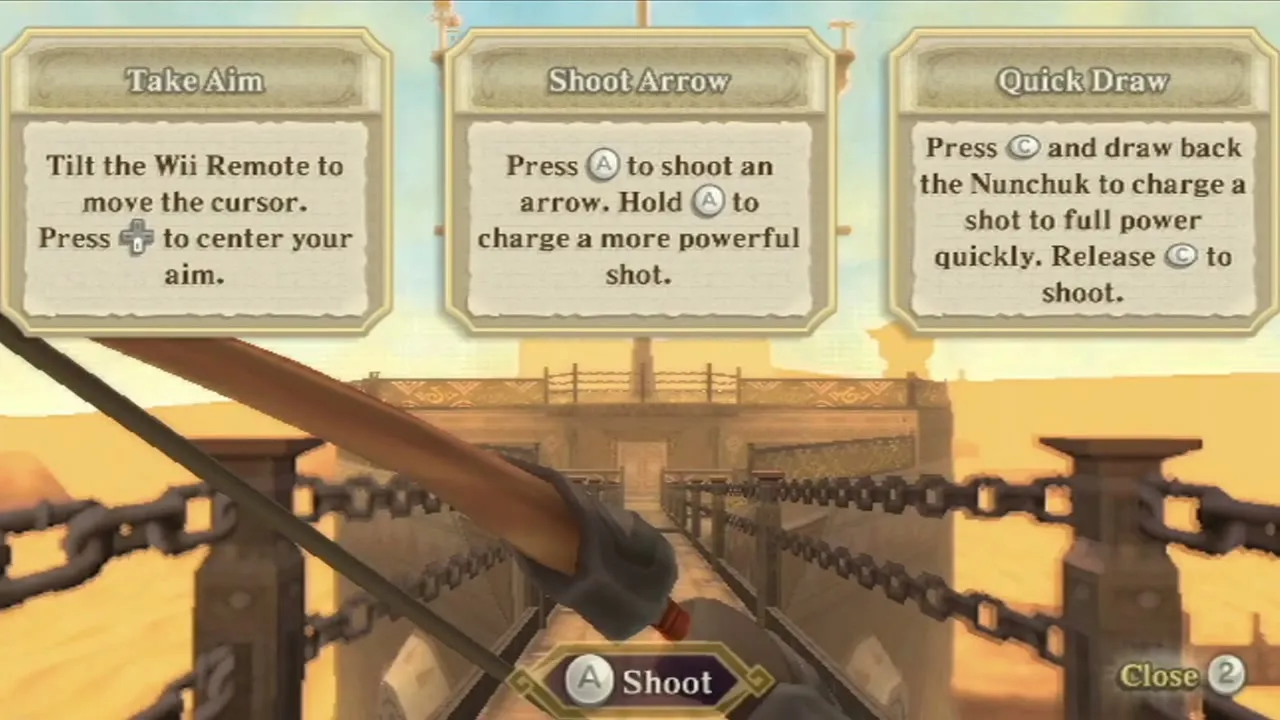
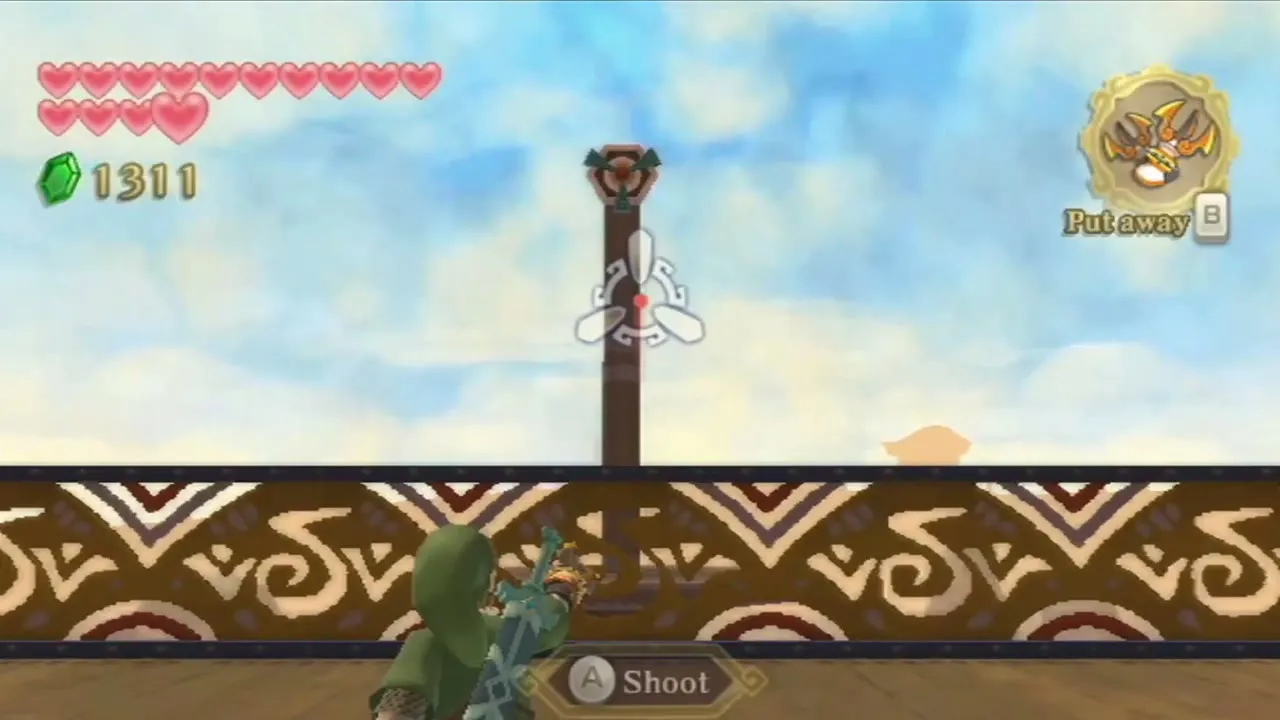
A chest appears on the plank when Scervo is gone and holds the Bow. Select it on the item wheel, point the Wii Remote at your target and press A to fire; hold A to draw it back for a straighter, faster shot, and press the plus button to recentre the cursor if it drifts. Arrows that stick in wood or walls can be picked up again, so go and collect them. You can also buy bigger quivers and a stronger bow later, as the item upgrades page explains.
Timeshift Stone on the mast
Shoot the target on the mast
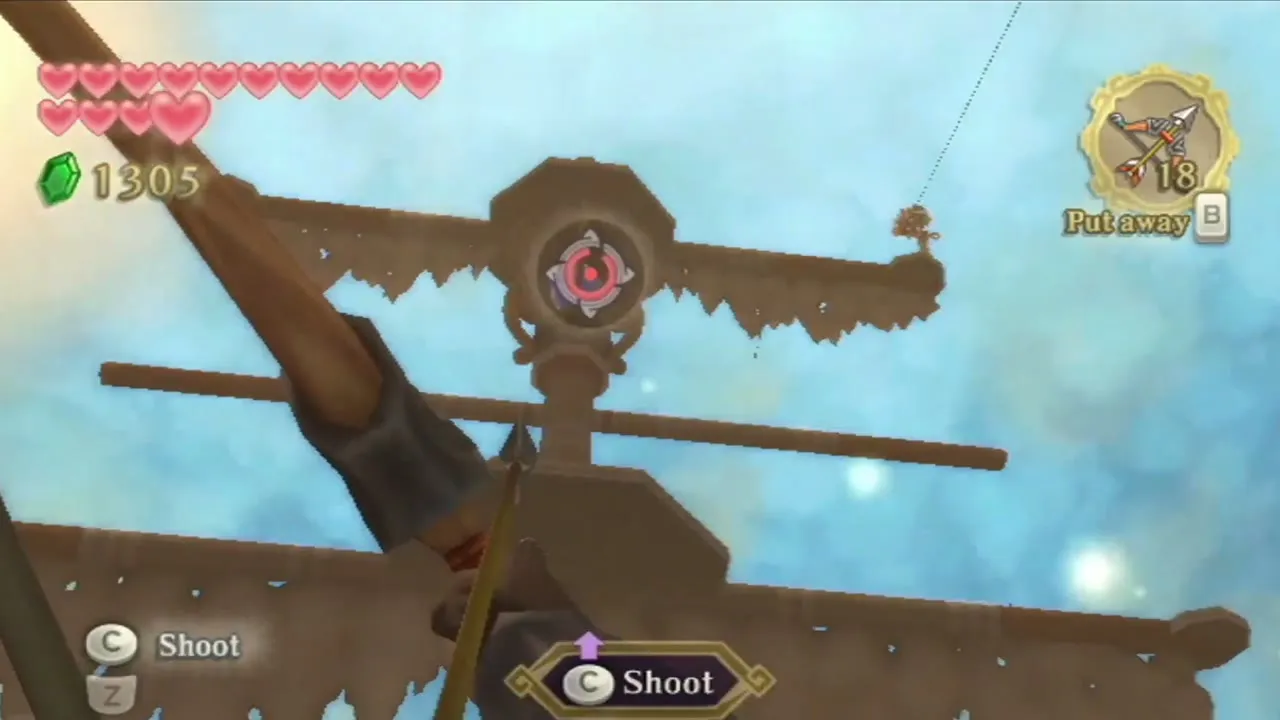
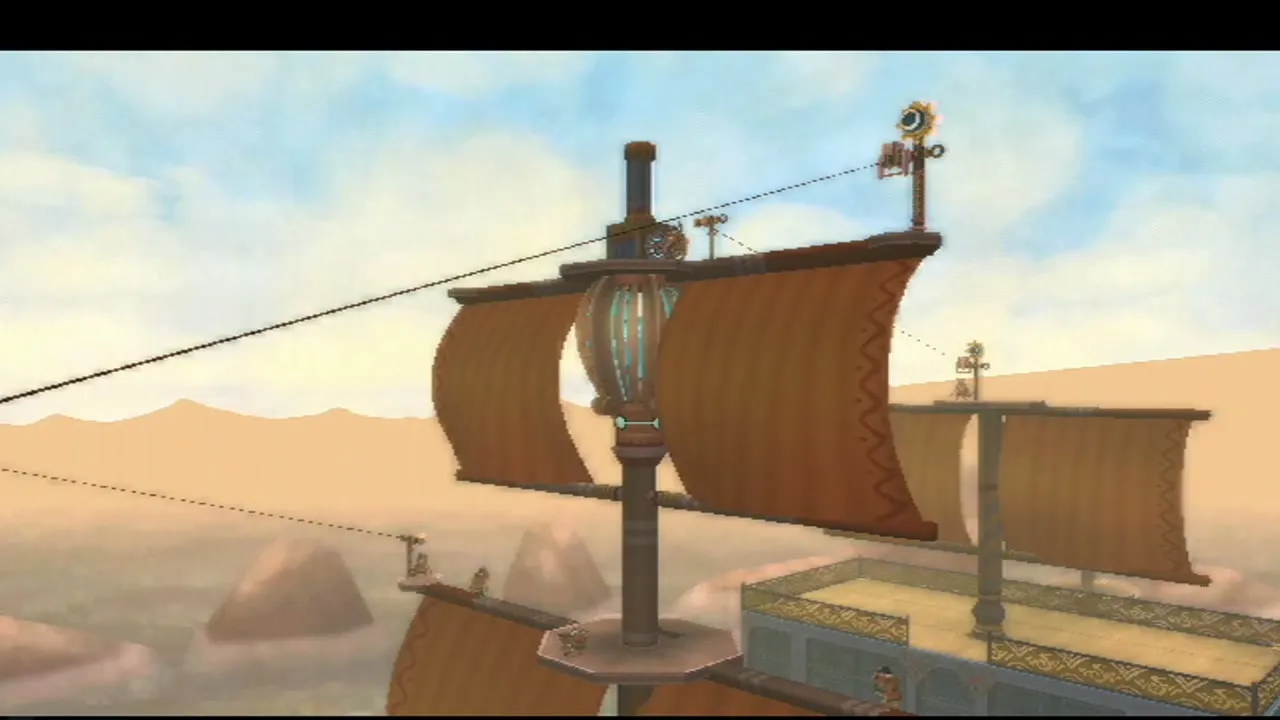
Go back up and out onto the deck. Fi points out the Timeshift Stone. A blue target sits on the main mast: shoot it and the stone appears at the top; shoot the stone and the ship and everything around it flip into the past, bringing the vessel back to life. The stone works for the whole dungeon, and it swaps the ship between its working past and its ruined present, so many puzzles ask you to flip it, solve something, and flip it back.
Bokoblin Archers and the rope bars
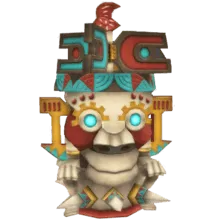
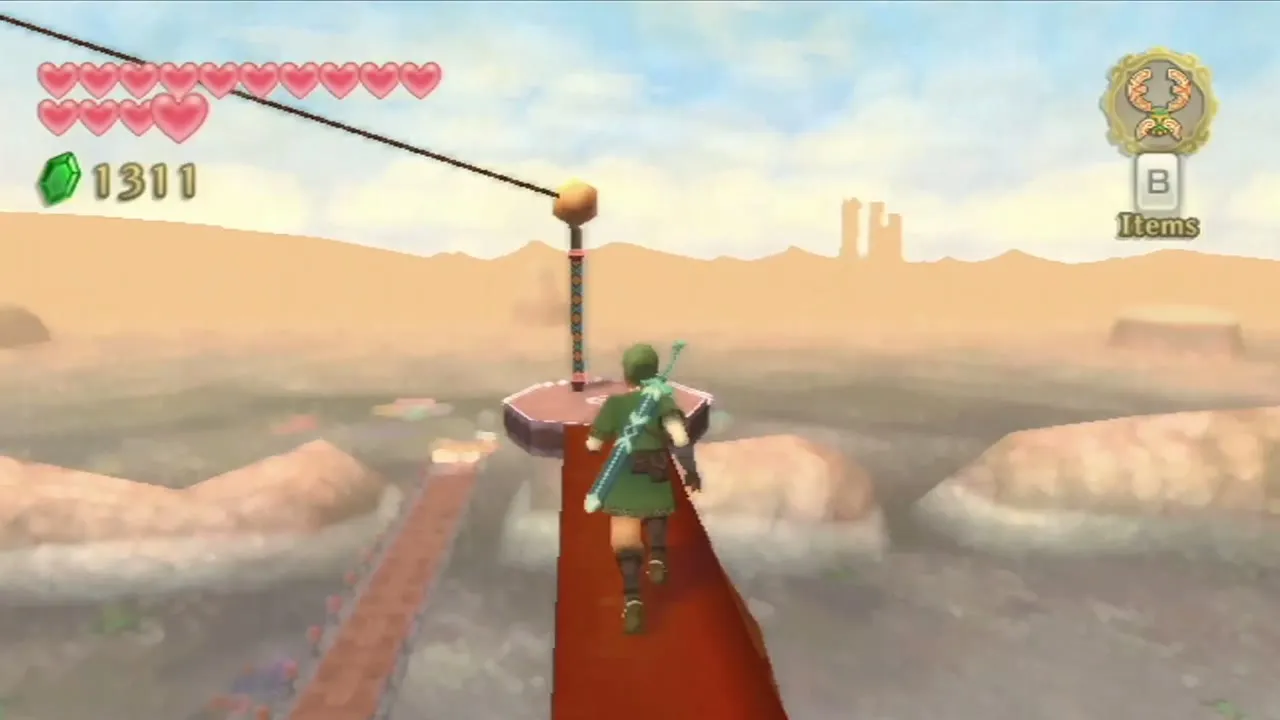
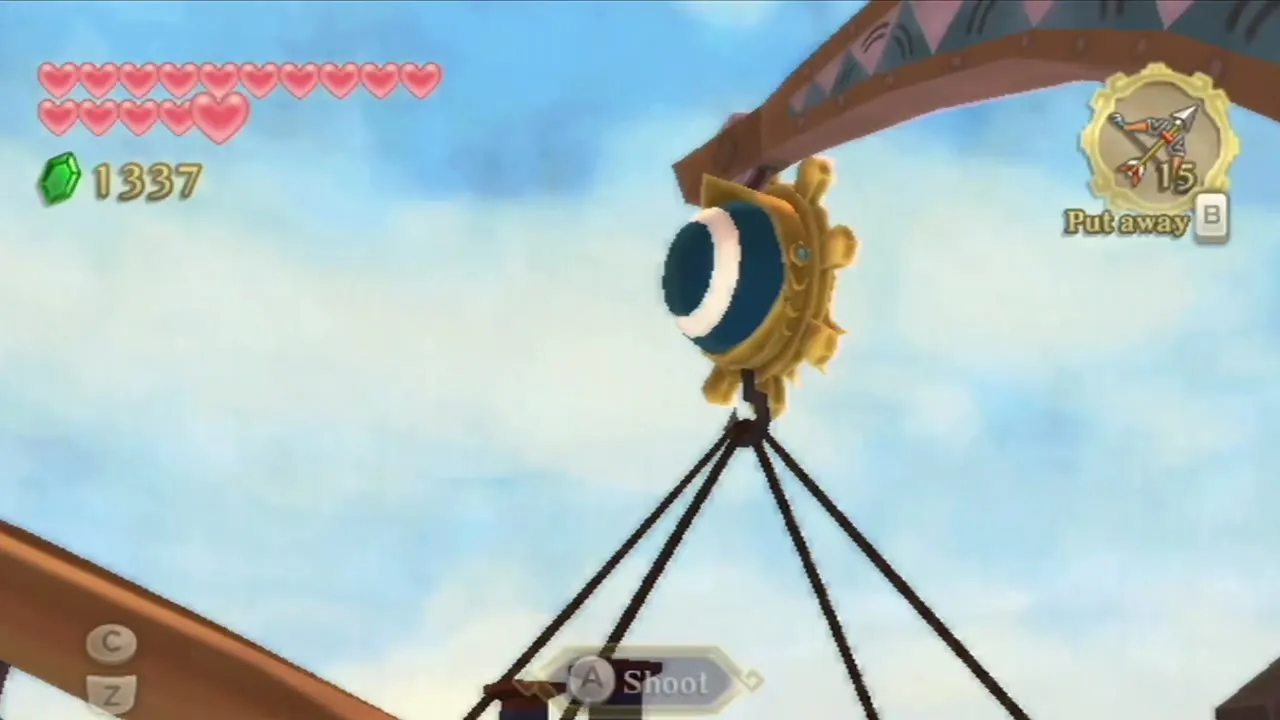
Past Bokoblins now fill the deck, and archers fire down at you. Climb the ladder on the east side of the mast and kill the archers with your sword, or pick off the distant ones with single arrows. Then shoot the blue target at the far end of the rope. A rope bar slides over to you, and when the Grab prompt shows you can hang from it to ride across. Kill any Bokoblins on the next platform, shoot the target at the end of the next rope to bring a second bar, and cross to the other mast.
Turn the dial
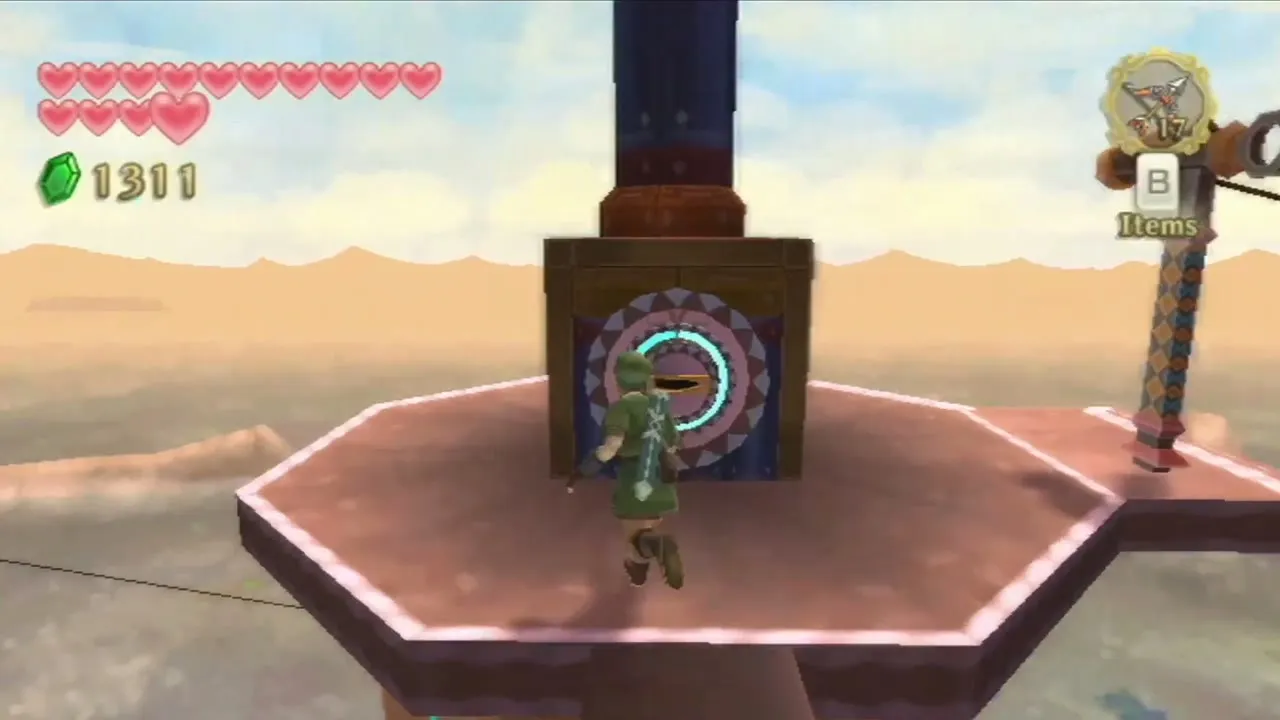
On the second mast, thrust your sword into the dial, turn it clockwise until it points to the top and press it in. This opens the gate that closed over the Timeshift Stone and unlocks the door back into the ship. Skipper arrives and tells you his crew is locked in the brig, and the map marks it.
East deck Piece of Heart
Lower the raft first
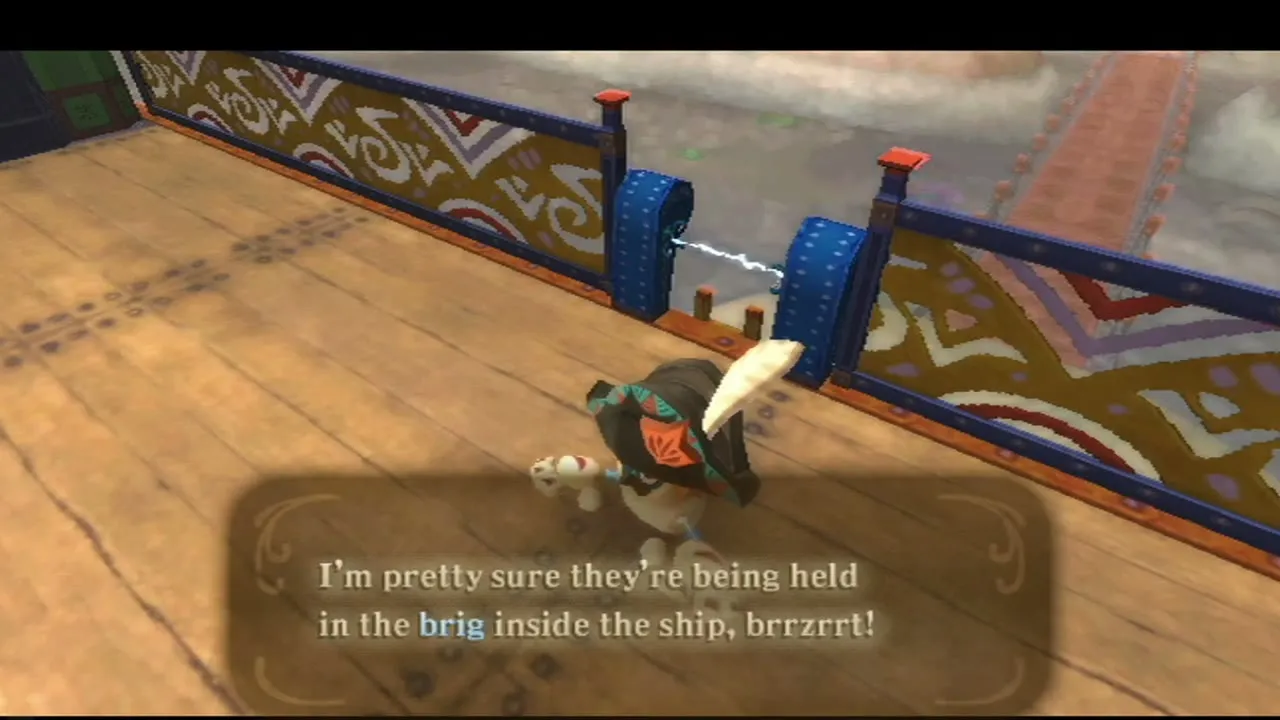
Before you leave the deck, find the device that holds a small boat and shoot the blue target on it. The boat drops to the water, and you will need it later to travel between the deck and the windows below.
Zip line and Clawshots Piece of Heart
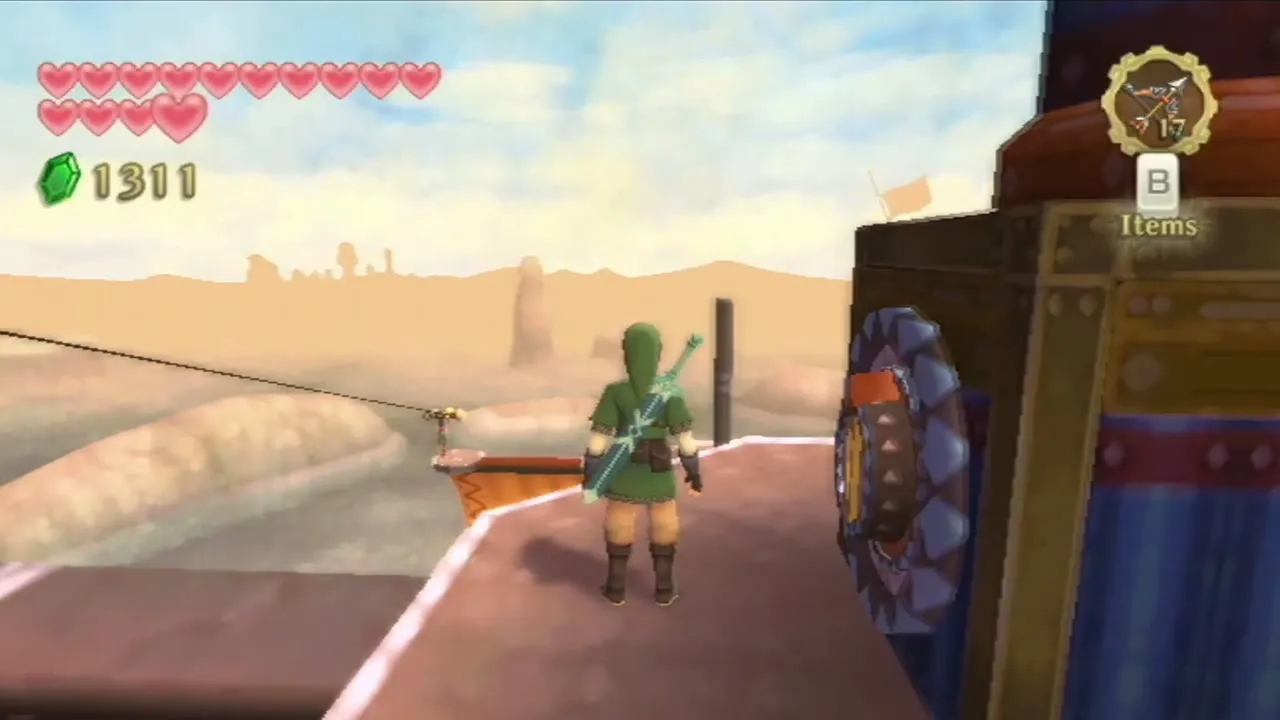
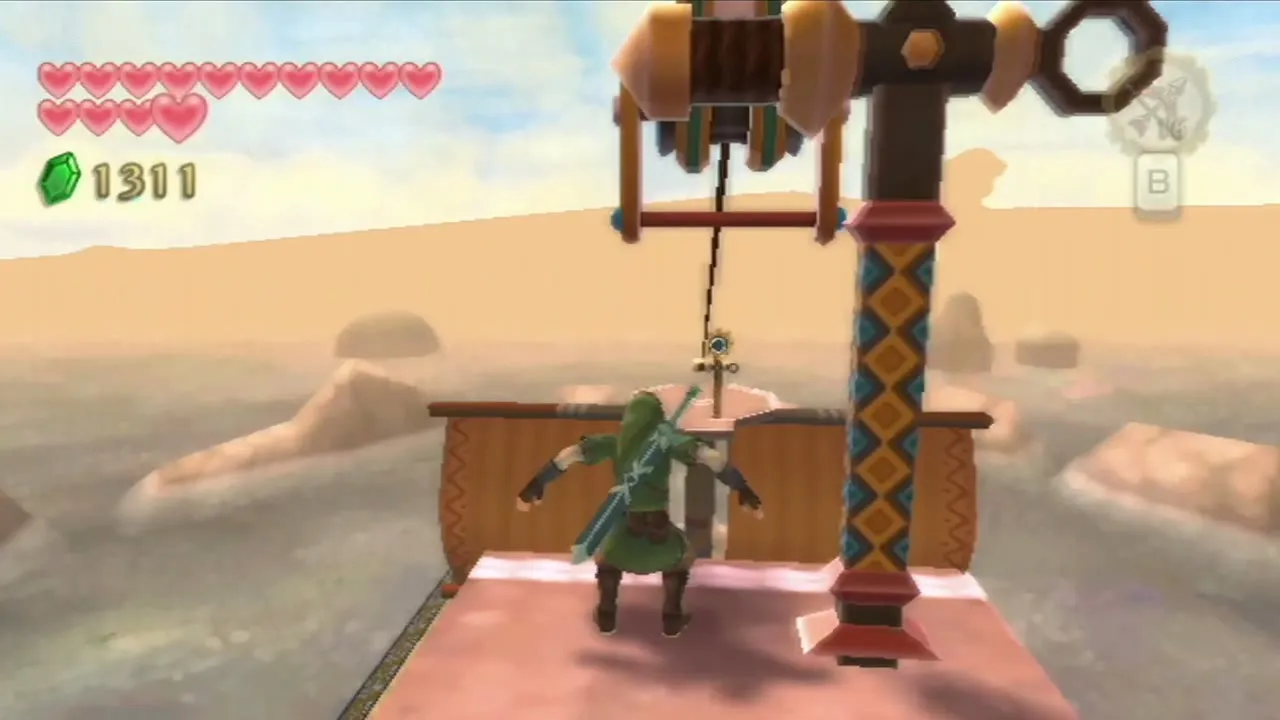
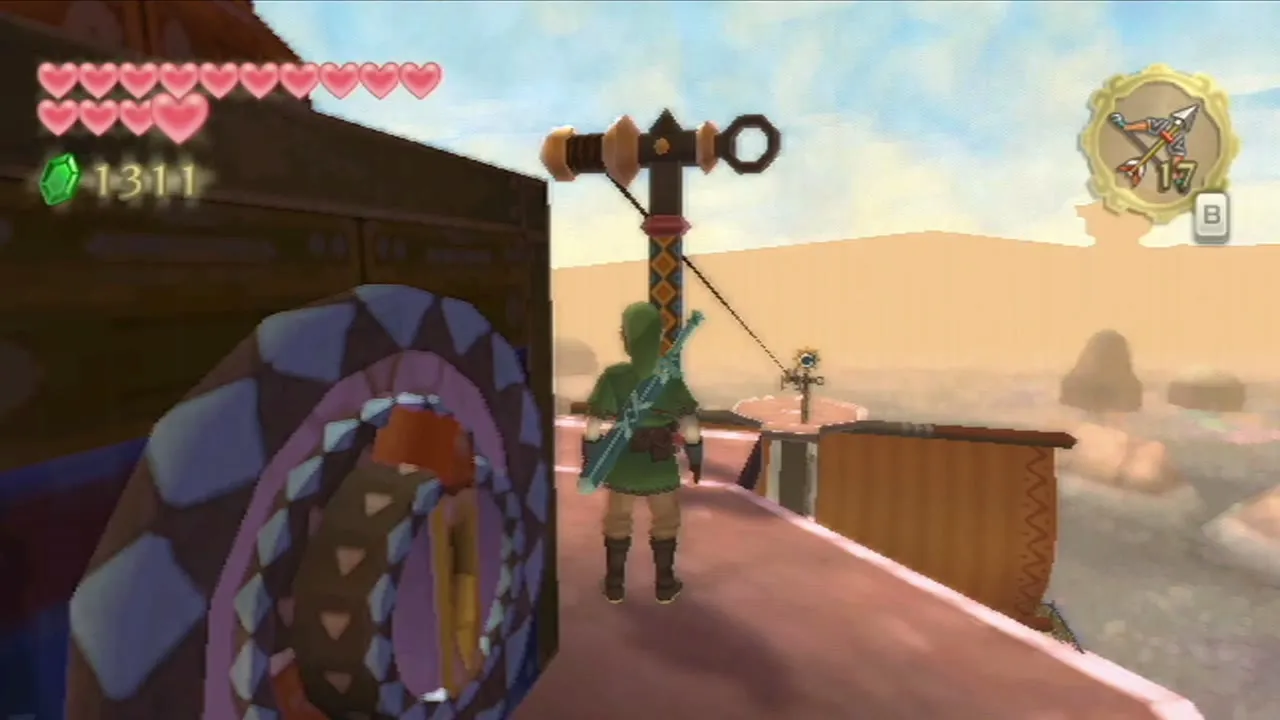
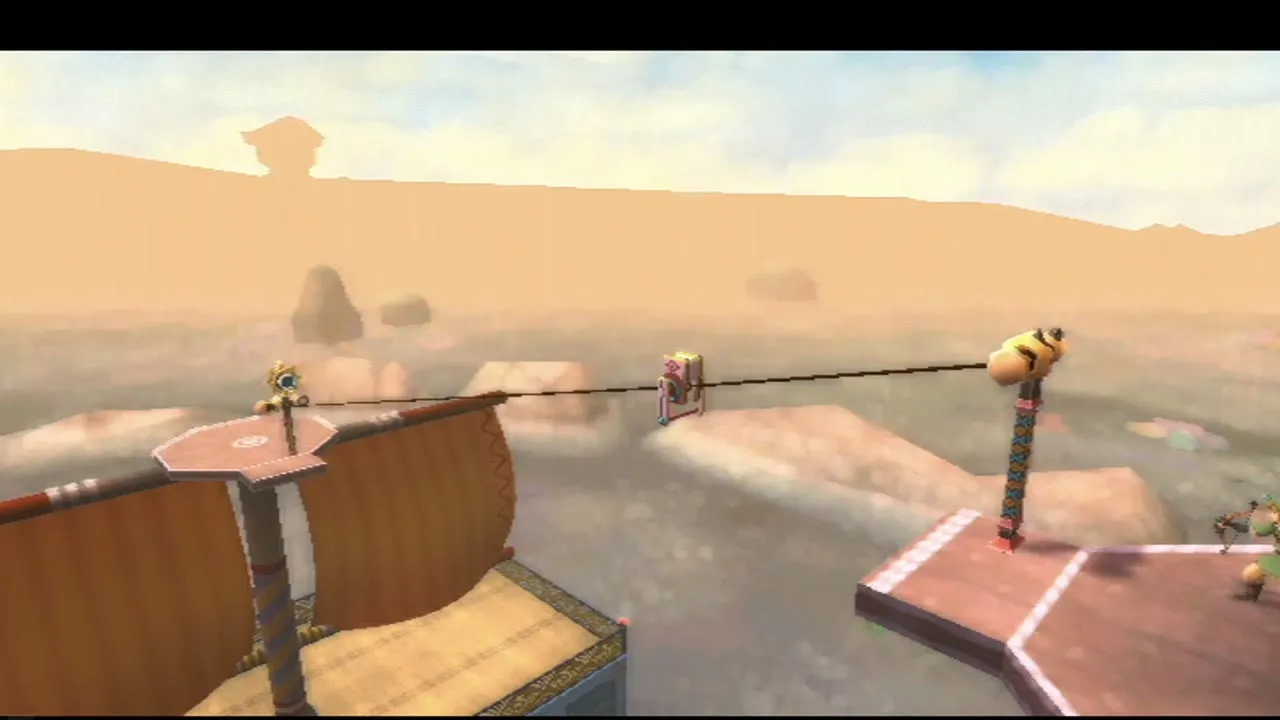
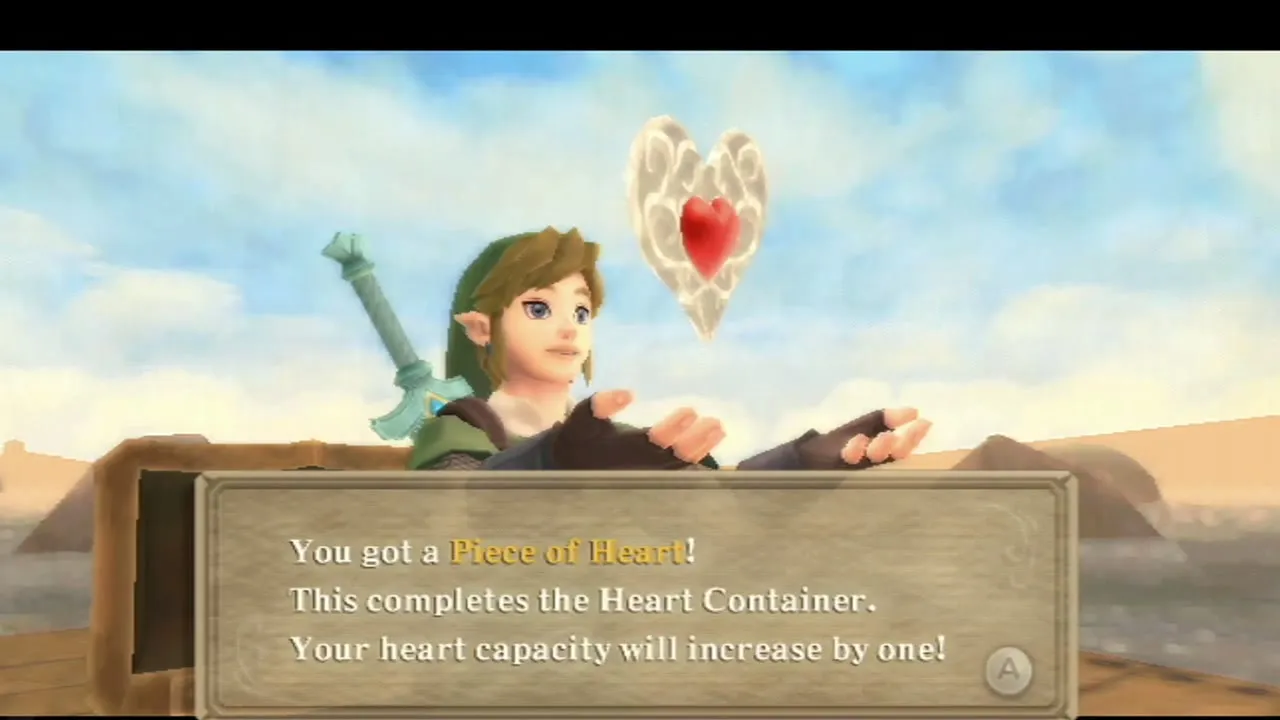
From the top of the main mast, shoot the blue target at the end of the zip line and ride the bar to the east end. Drop to the back deck, smash the barrels for a fairy, then use the Clawshot targets on the mast and behind you to reach a chest. It holds a Piece of Heart.
Goddess Wall on the deck
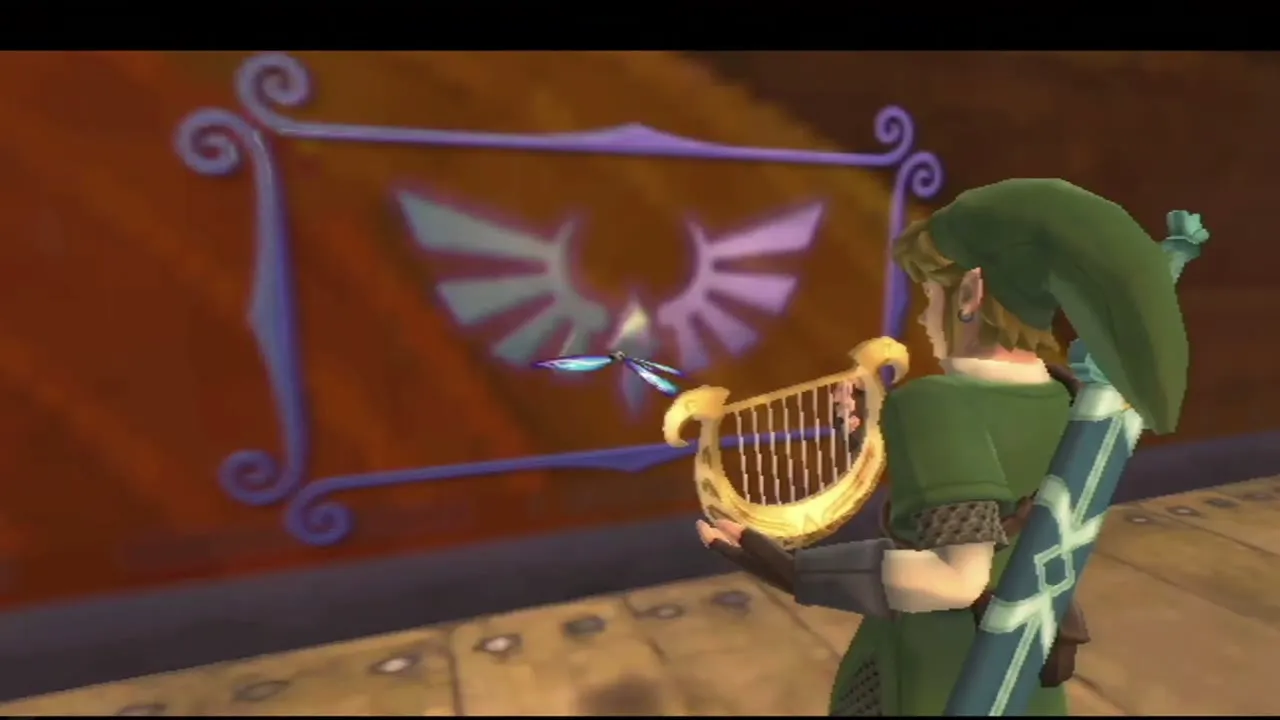
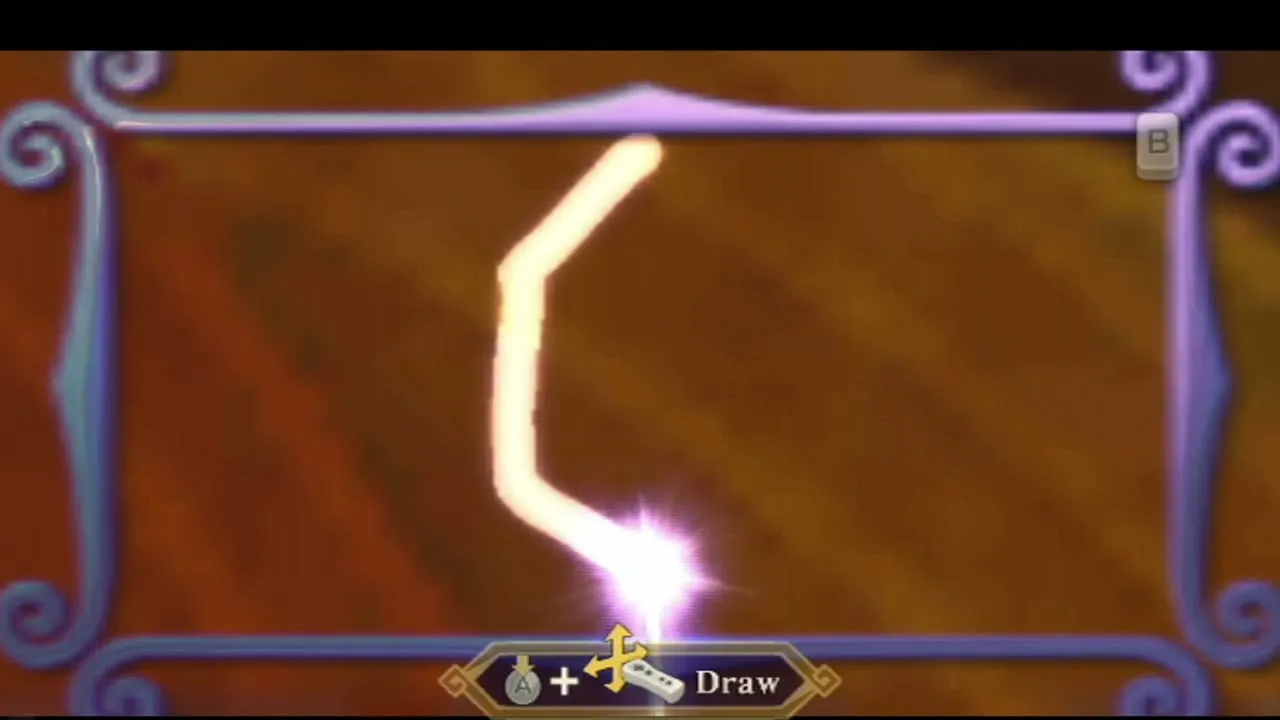
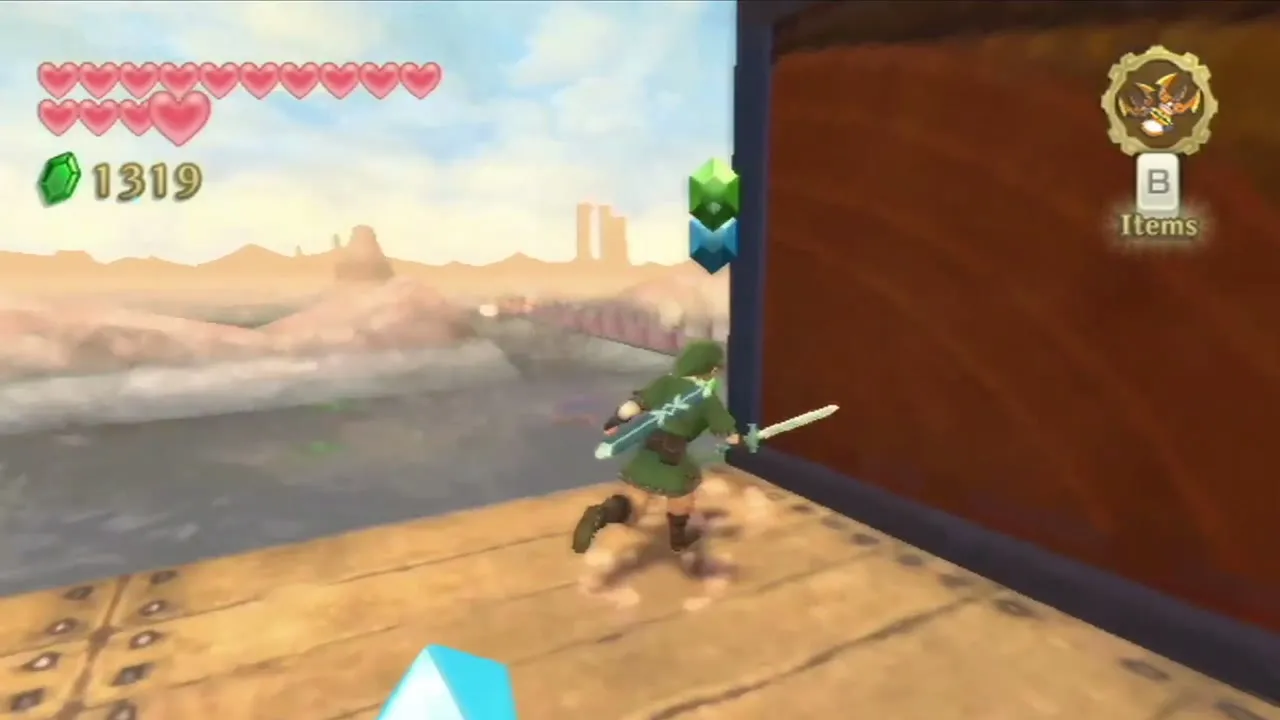
On the south side of the deck is a Goddess Wall under a group of Blessed Butterflies. Strum the Harp beside it, raise your sword and draw one of the shapes in the harp songs list for a rupee, heart or arrow refill. Use the Clawshots to return afterwards.
How to get the Dungeon Map
The sunlit room and the ceiling vent
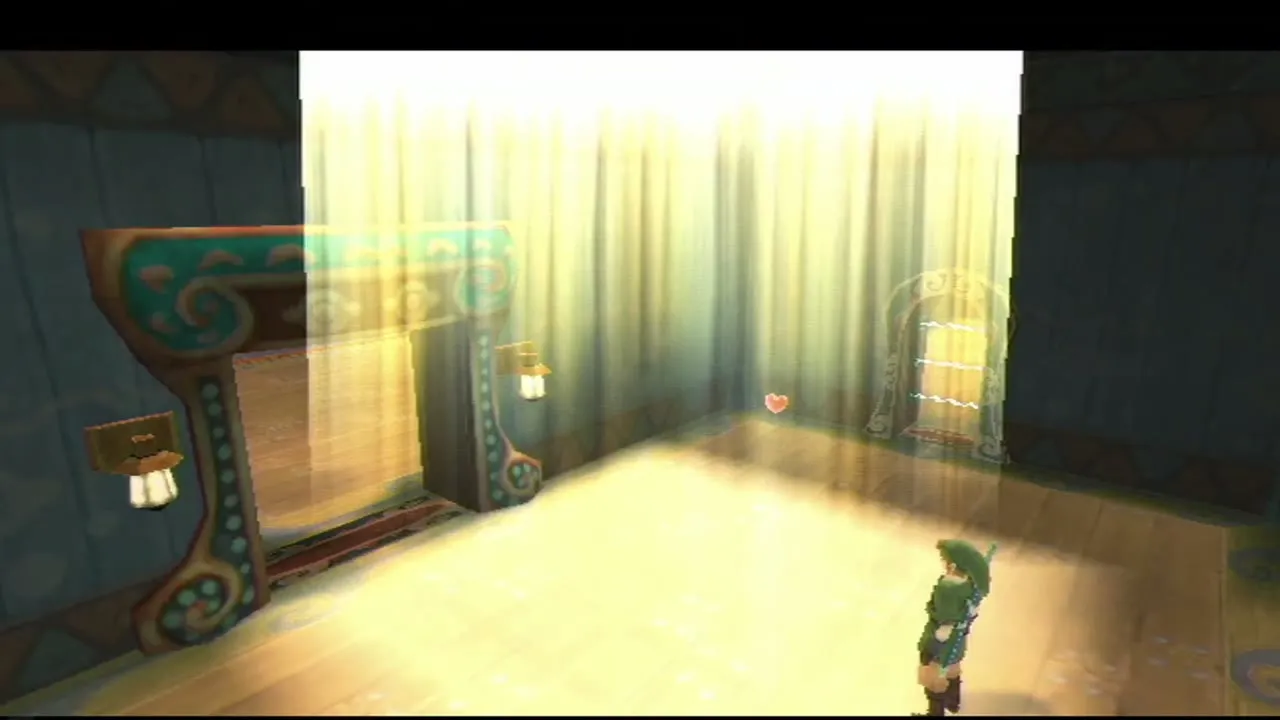
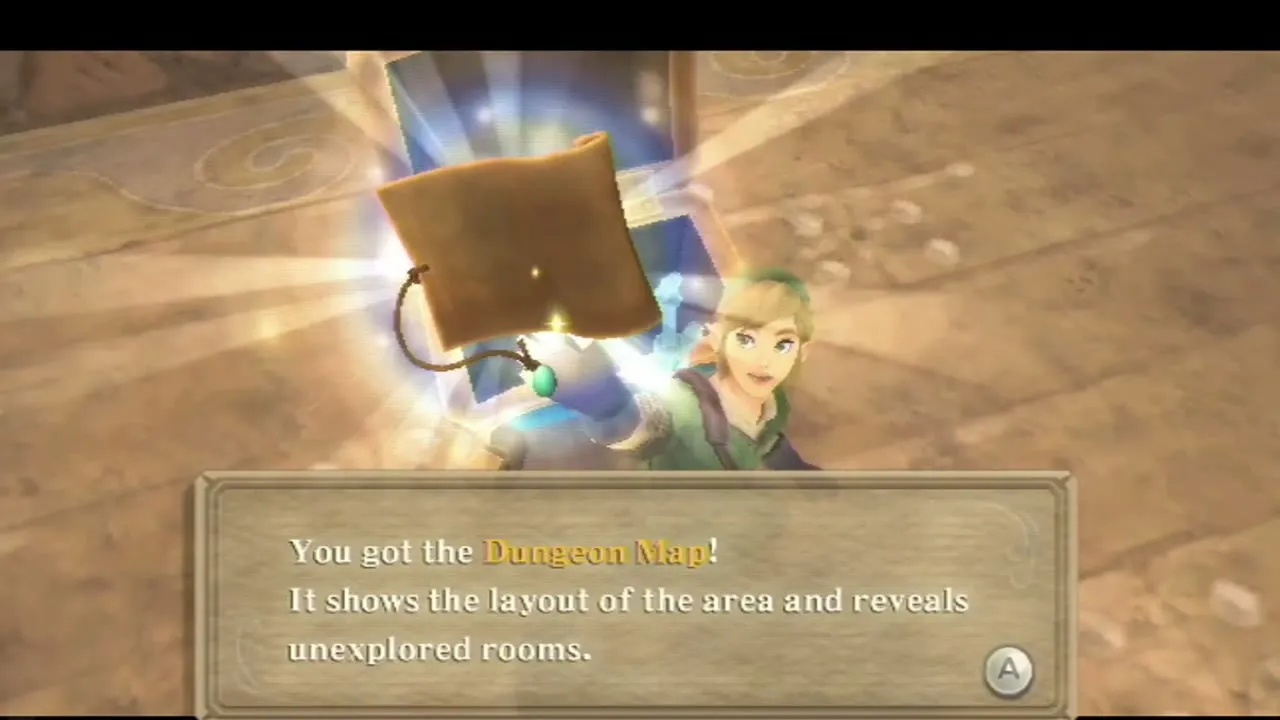
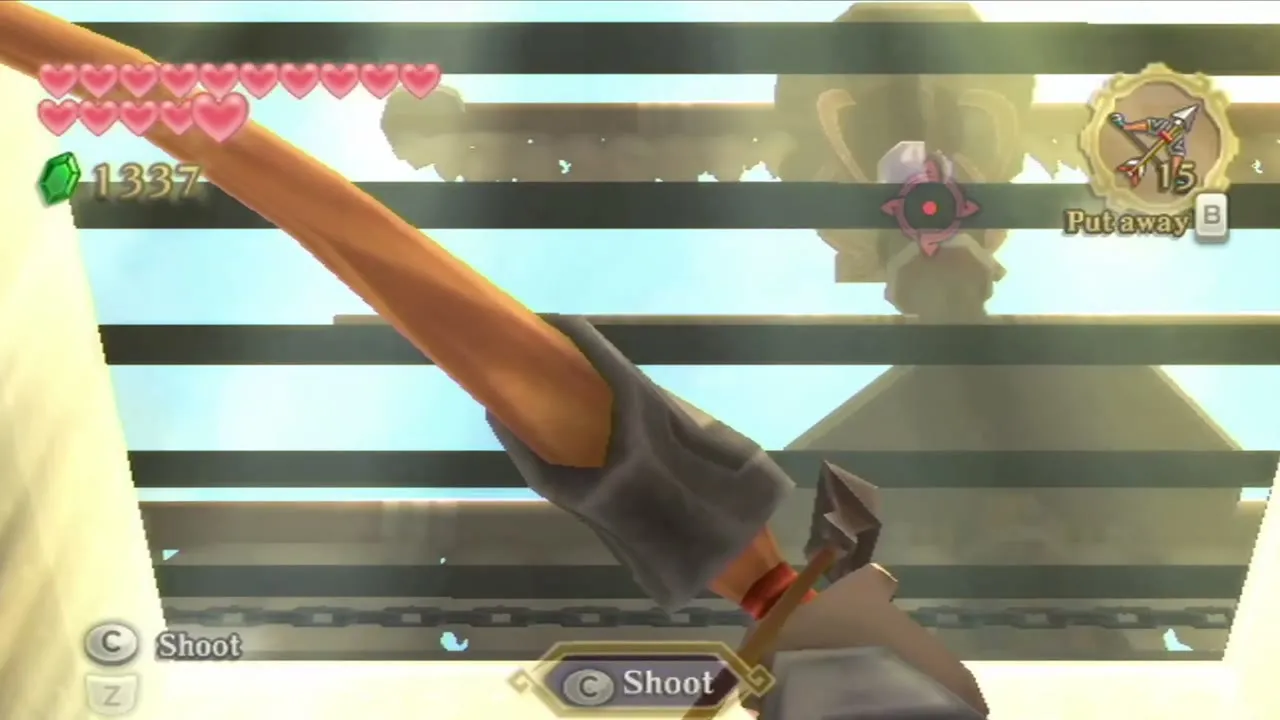
Take the west door into the ship, save at the Bird Statue, go down the stairs and take the door on the right in the hall. Kill the Technoblins in the next room, then enter the small northwest room where sunlight pours in through a hole in the roof. Aim up through the gap in the ceiling at the Timeshift Stone outside and shoot it; the ship returns to the present. In the large room below, open the chest for the Dungeon Map, then pull the nearby lever to open a gate.

Quicksand, fans and the Thunder Keese room
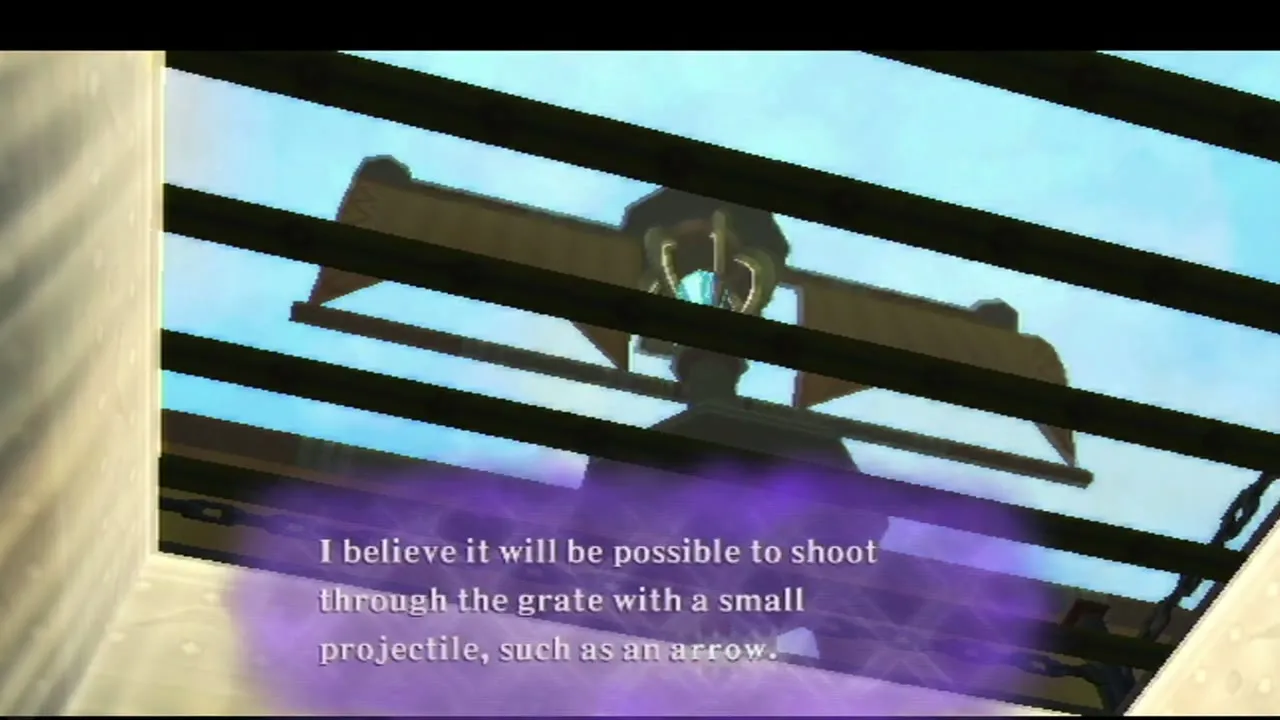
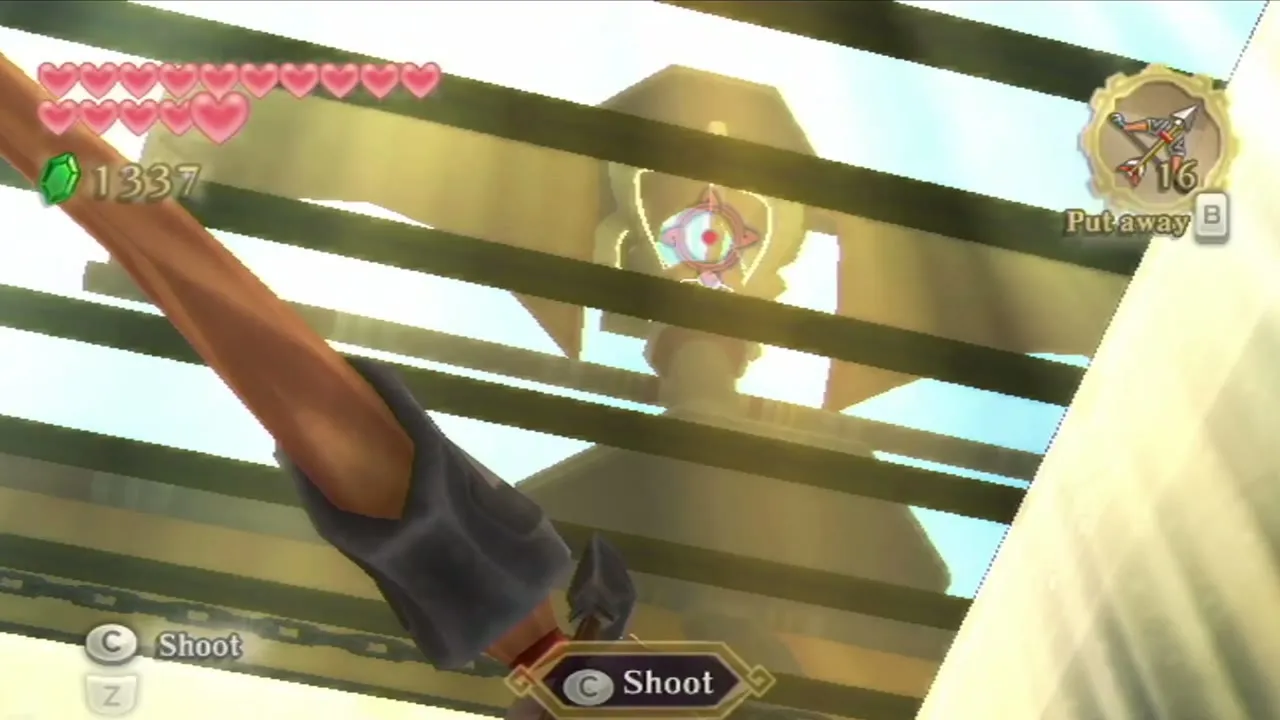
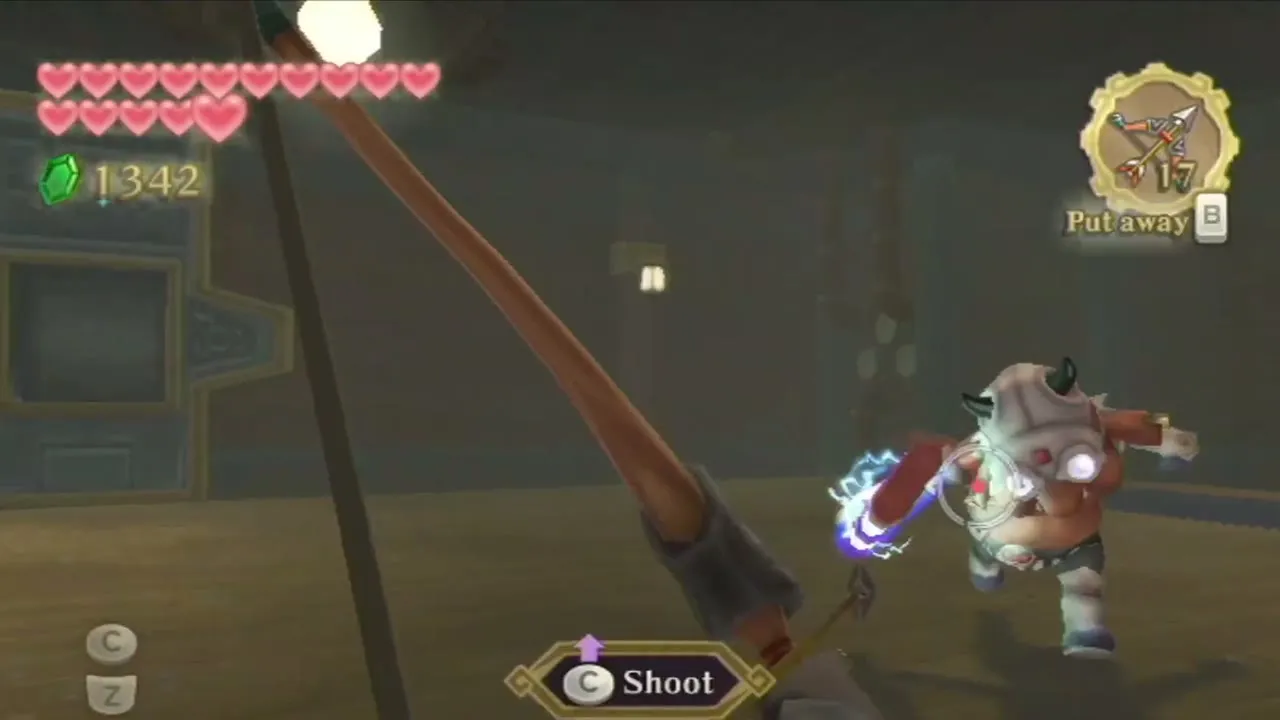
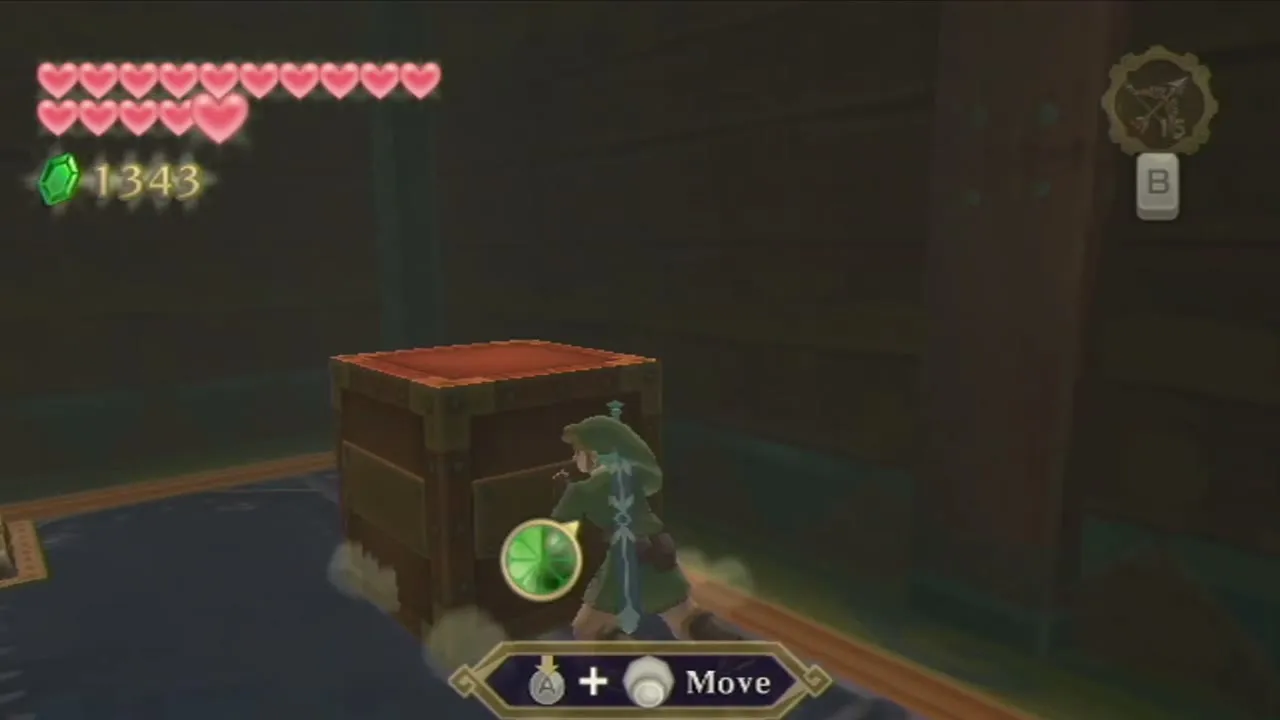
Cross the sinking sand beyond the gate and shoot the blue switch that sits behind the idle propeller, aiming through the gaps between its blades; the door opens. In the next room, defeat the Thunder Keese and push the metal block off its ledge, which uncovers a second inactive fan. Stand on the floor switch at the east end of the room and shoot the second blue switch through the fan. You must stay on the floor switch, because the blue switch disappears when you step off. The way ahead opens, and these two rooms are the shortcuts you need for the generators.
How to activate both generators
Generator 1
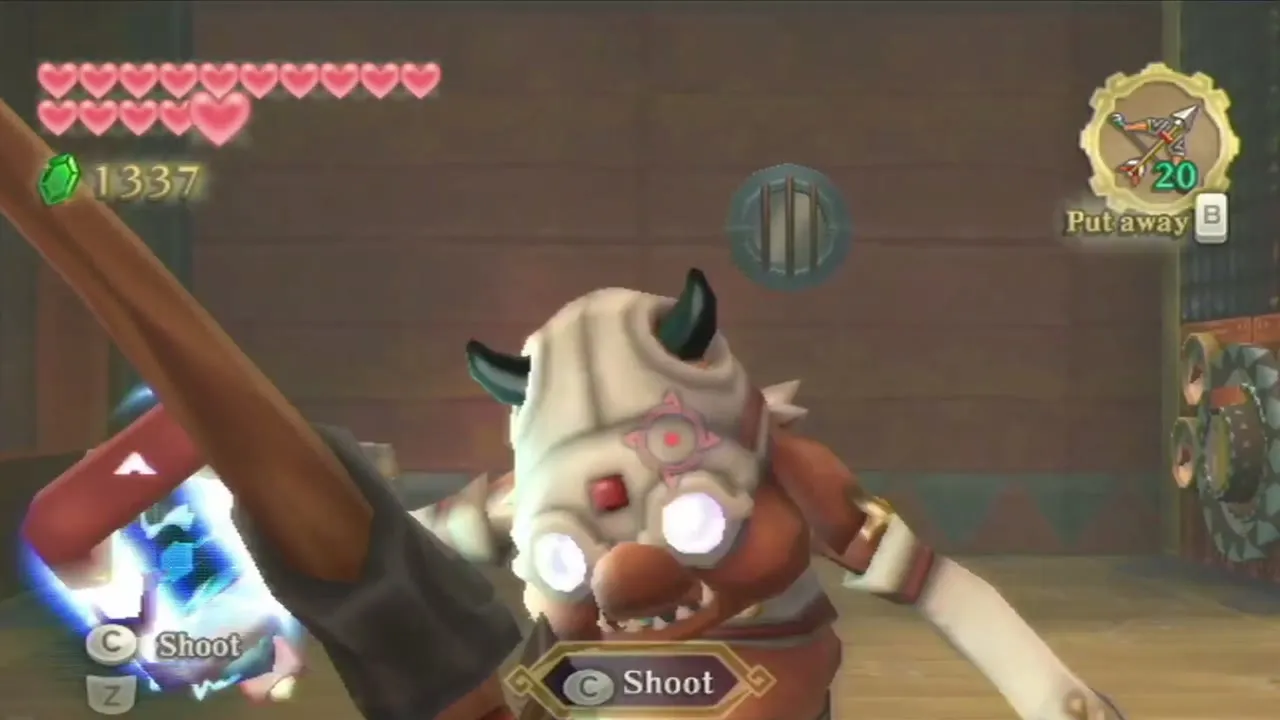
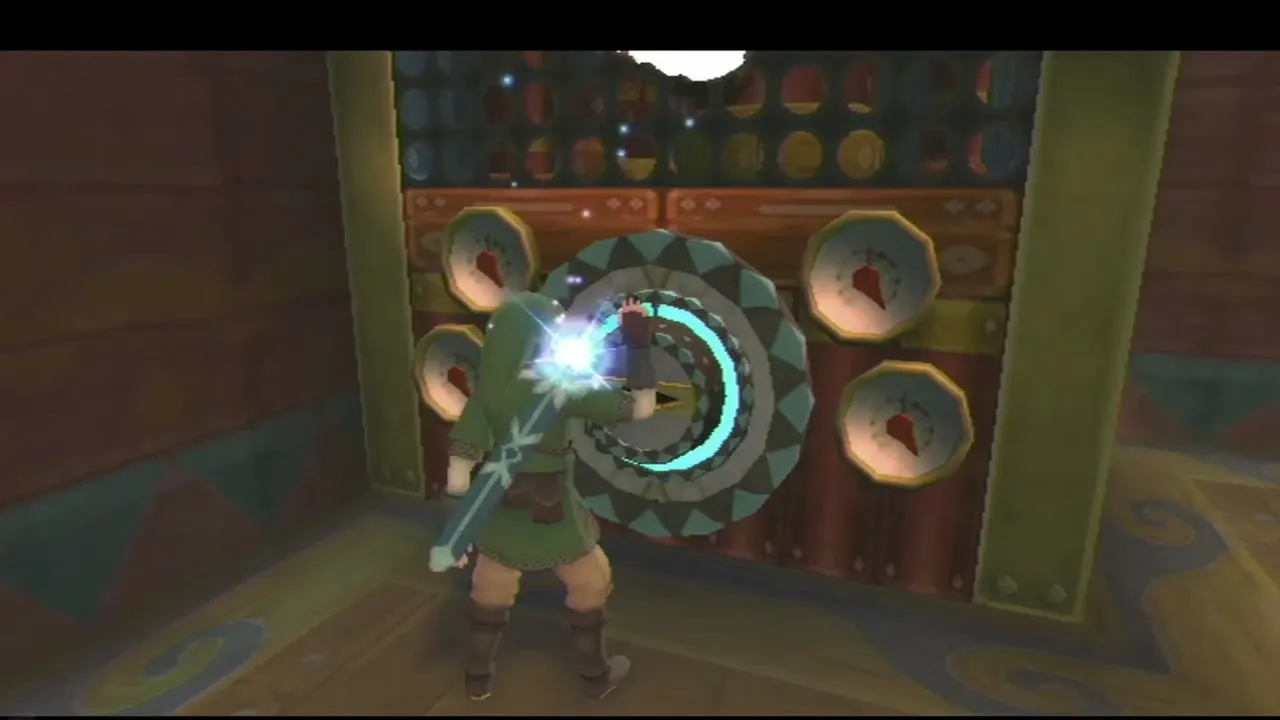
Return to the map room and go into the adjoining room to shoot the Timeshift Stone through its ceiling hole, which sends the ship to the past. Walk down the long hall and take the first door on the right. Defeat the Technoblin inside, then push your sword into the key slot of the generator, turn it and press it in. The first generator hums into life.
Generator 2 and the raft
Back in the hall, take the second door on the left and defeat the two Technoblins. Push the steel block onto the floor switch to open the windows in the wall. If you lowered the raft earlier, it is floating by the window: jump onto it, shoot the blue switch to lift it to the deck, flip the Timeshift Stone back to the present, and stay on the raft and shoot the switch again to lower it. Return inside through the window, enter the room beside the Technoblin room and pull the lever to unlock the door. Stand in the sunbeam that falls through the roof, shoot the stone through the hole, and work the second generator exactly as you did the first.
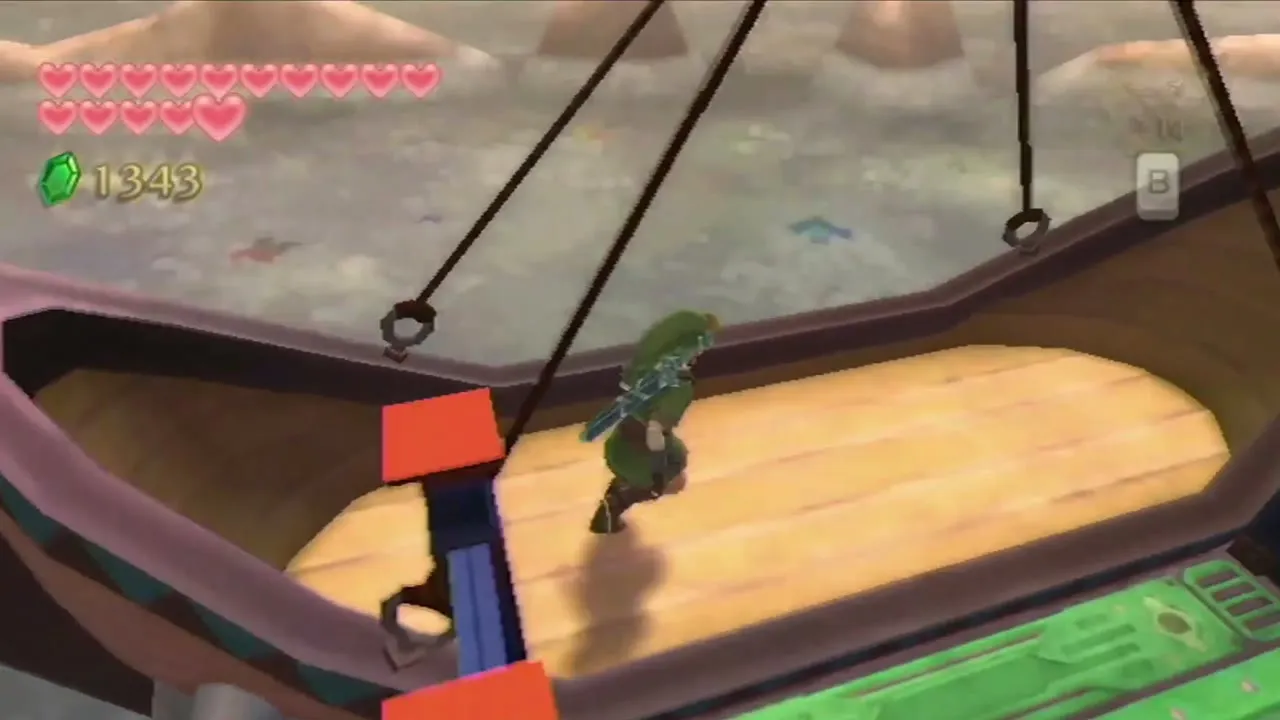
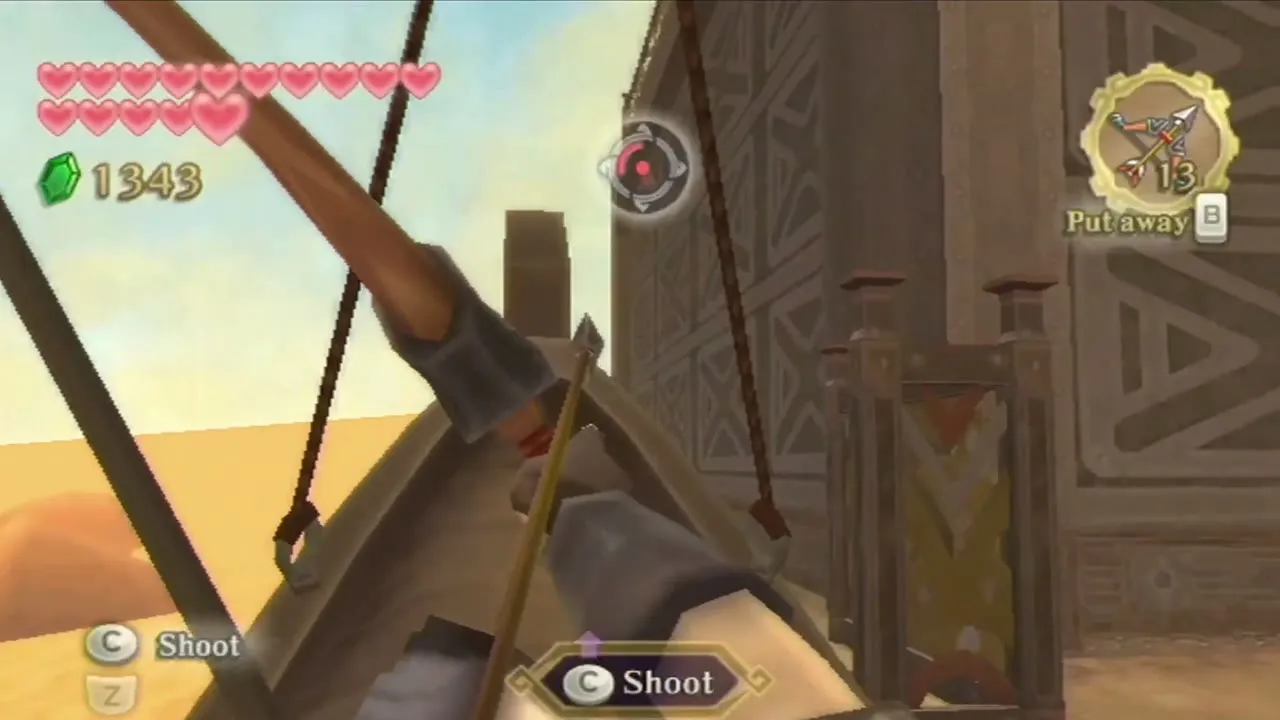
Engine room, Silver Rupees and the brig

The Whip bars and five chests
Go out through the hall and enter the other door. Use the window that does not have the raft, climb down the stairs and run through the door at the end of the hall once the moving blocks pull back. Face west, Whip the bar above the gap and swing across, then climb the ladder to a nook with five chests. Two of them hold a Silver Rupee, worth 100 each, and the other three hold random treasure such as an Evil Crystal or a Monster Horn. Drop back down, climb the next stairs and Whip across to the next area.
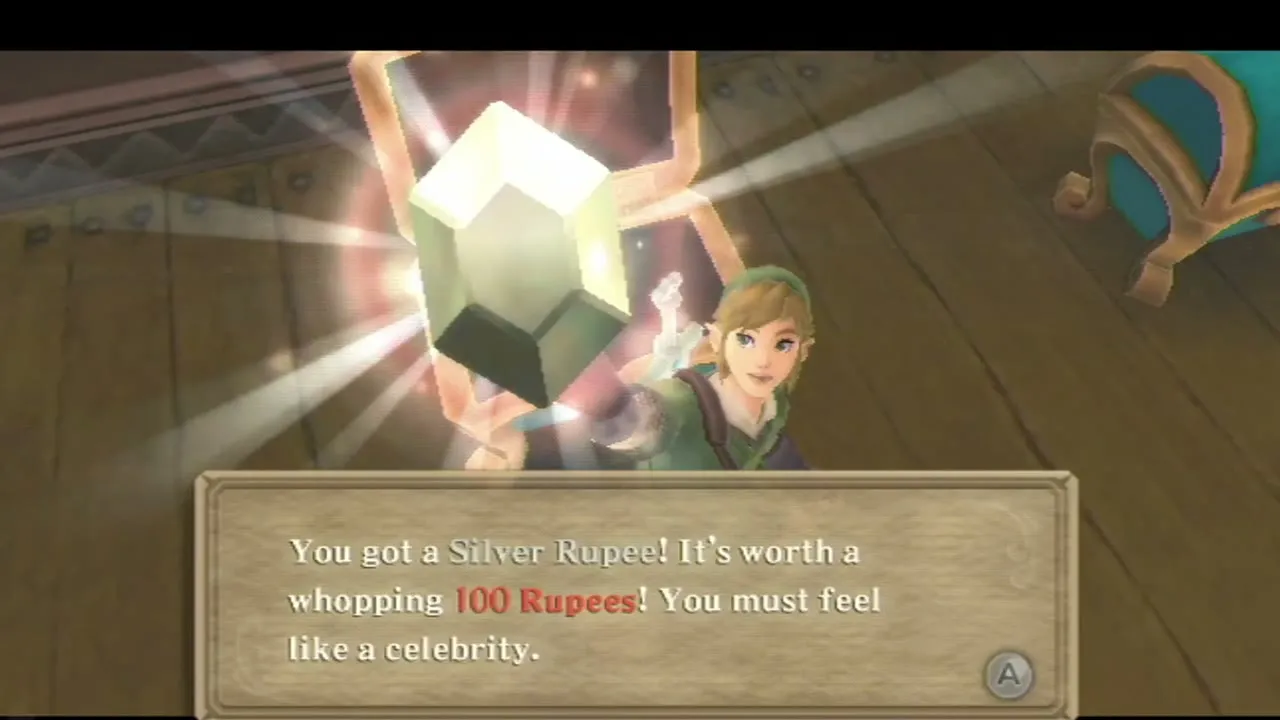
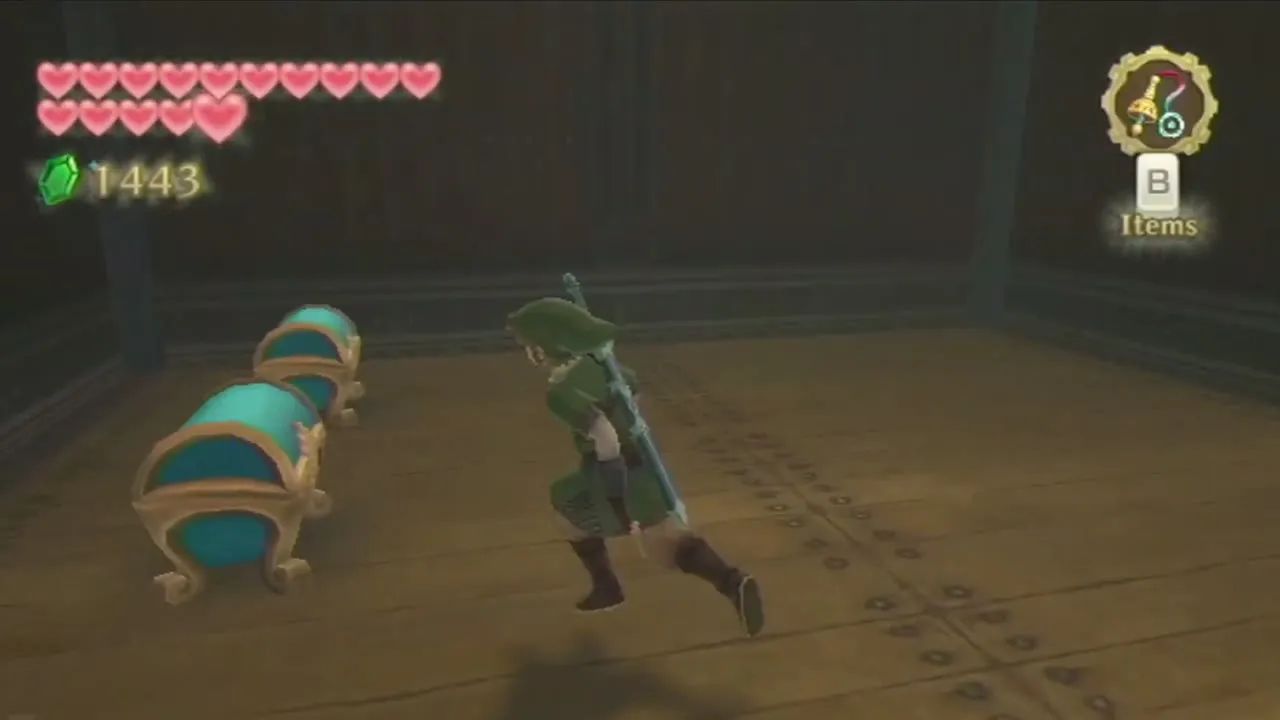
Pistons and box paths
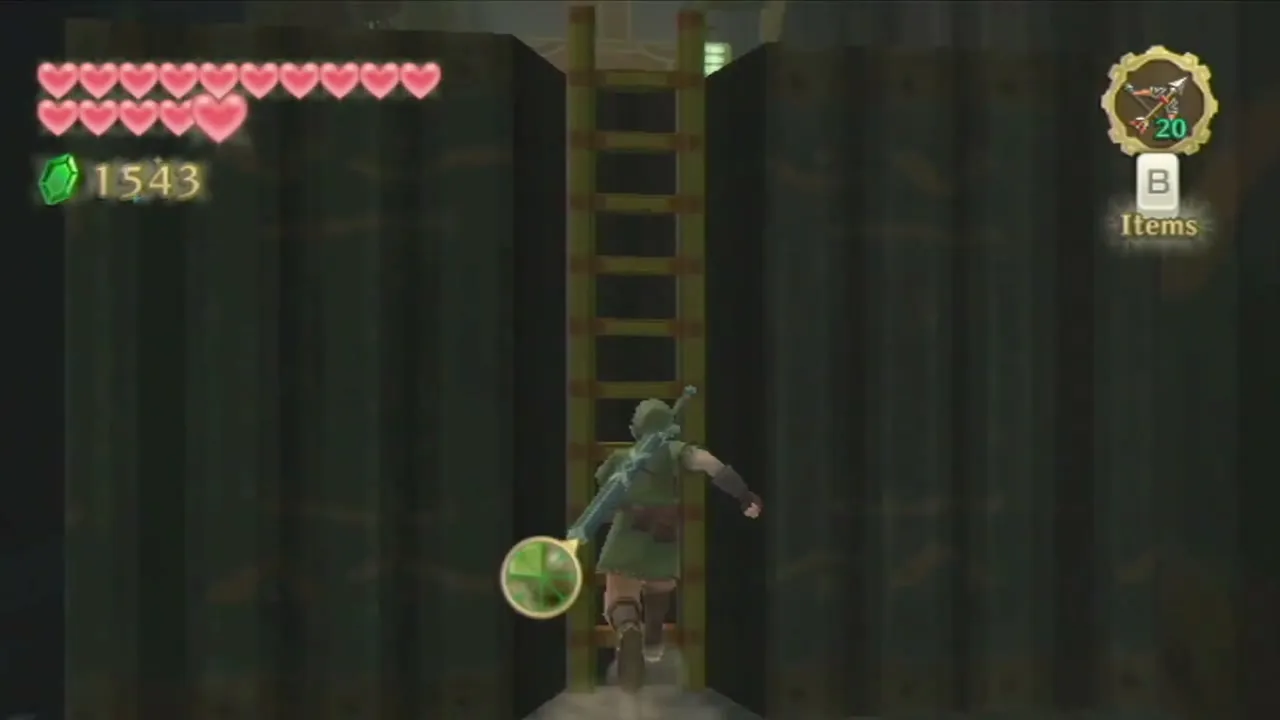
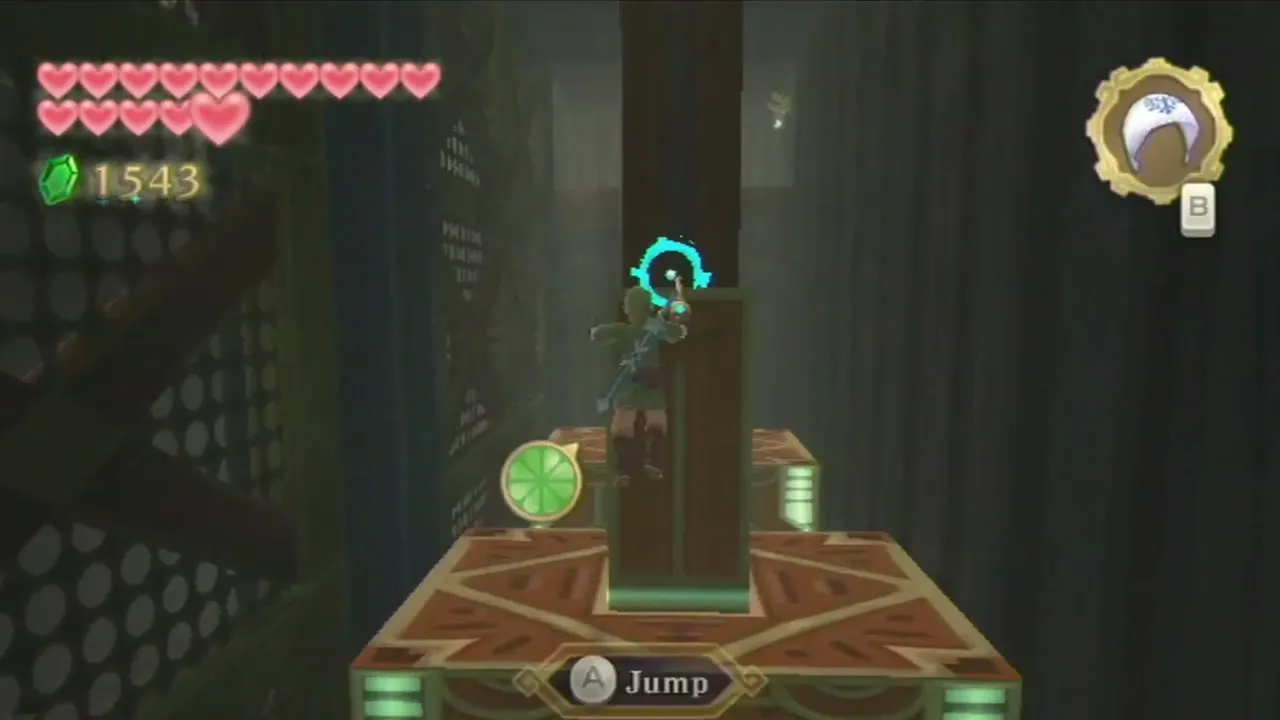
Dash to the ladder when the blocks clear, Whip the next ceiling bar, and swing onto the boxes. Jump from box to box as they line up and reach the platform. Run past the five pistons as soon as the first one has risen high enough, then climb the ladder and Whip onto the first piston, ride it up, and jump from piston to piston to the ledge above. Pull the lever there to open a gate that skips the box path on the way back.
Free Skipper’s crew
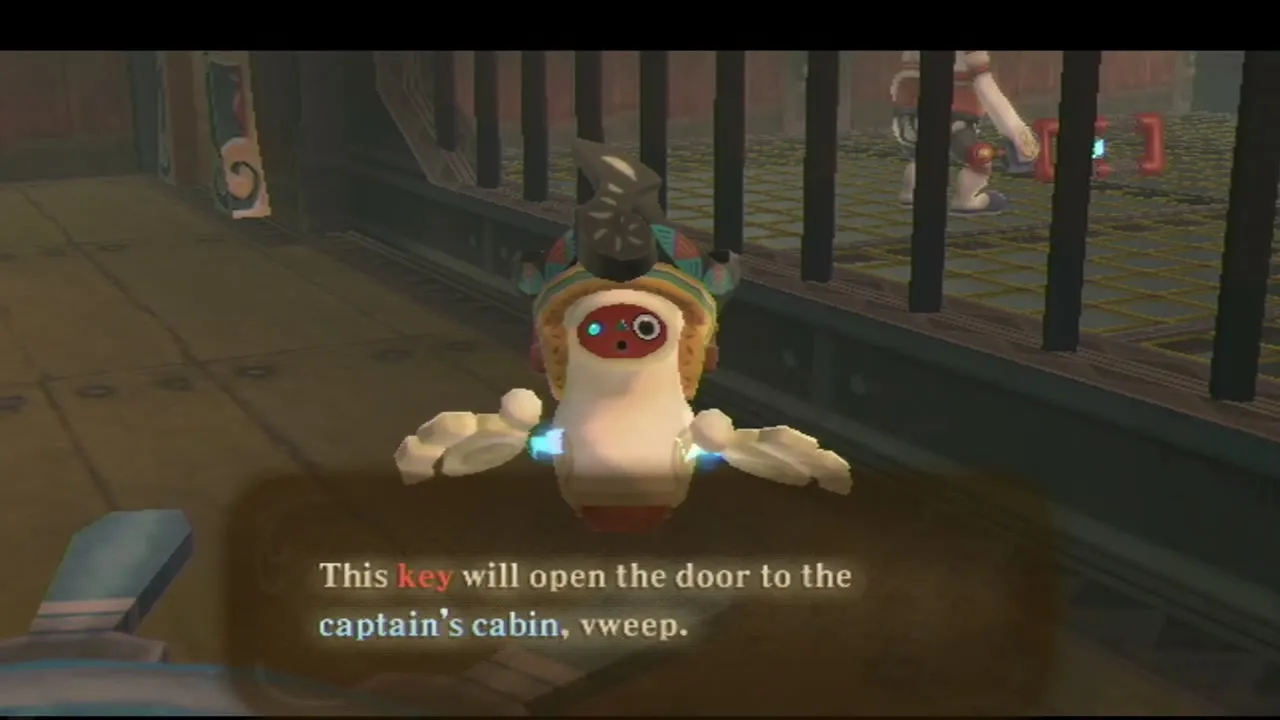
Crawl through the small hole, climb the stairs and pull the next lever. The cell opens and the robots of Skipper’s crew are free. One of them gives you the captain’s cabin Small Key and marks the cabin on your map. Crawl back through the hole and return to the deck, using the raft again if you need it, and shoot the Timeshift Stone at the top of the mast to bring the present back.
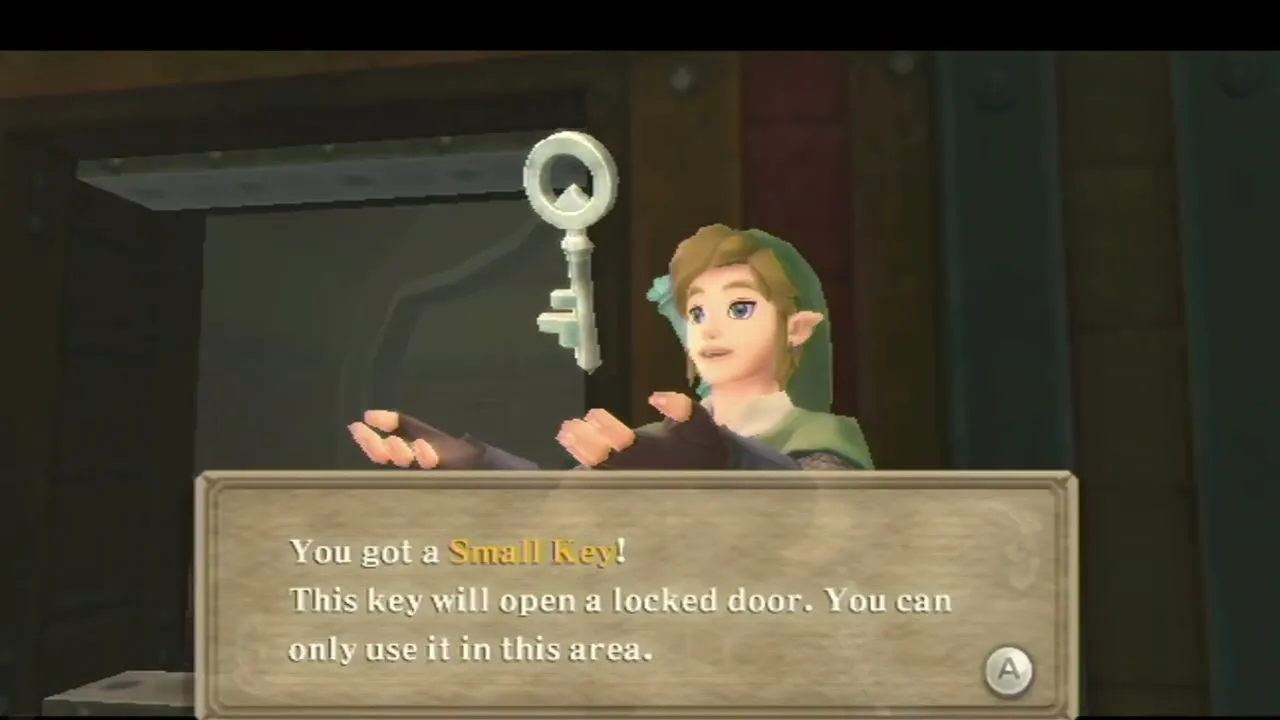
Captain’s cabin and the Squid Carving
Unlock the captain’s cabin
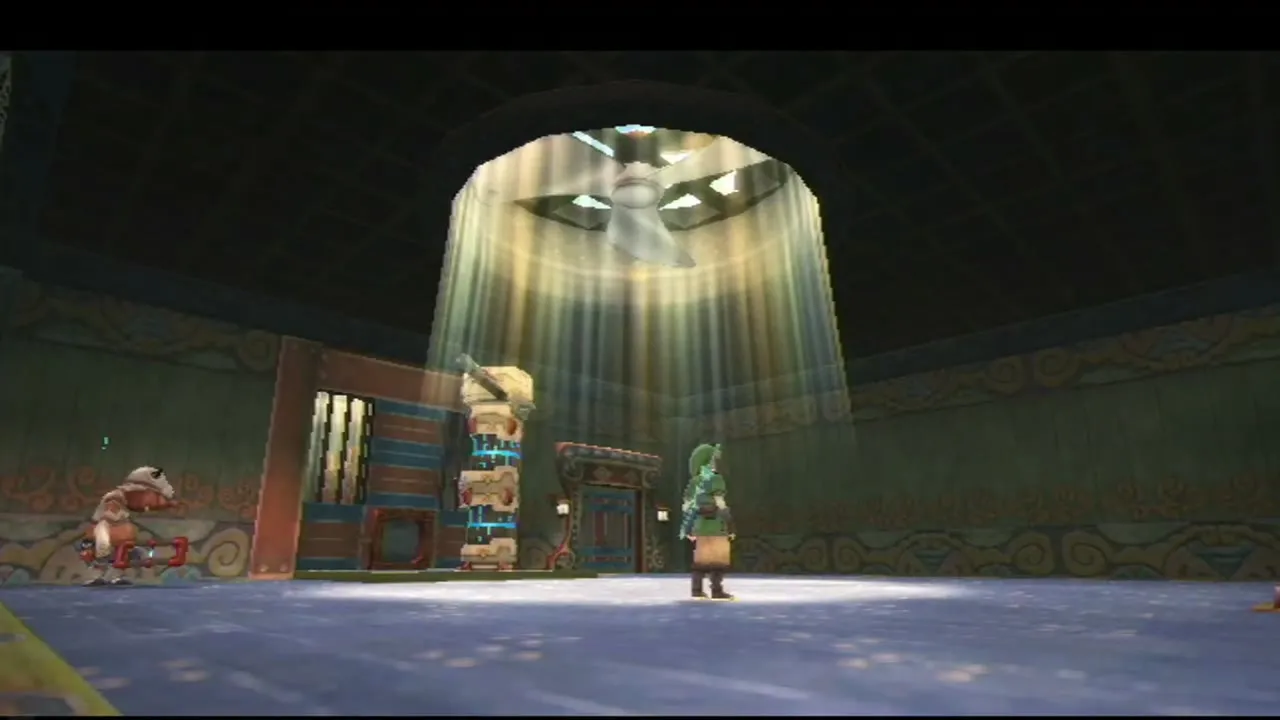
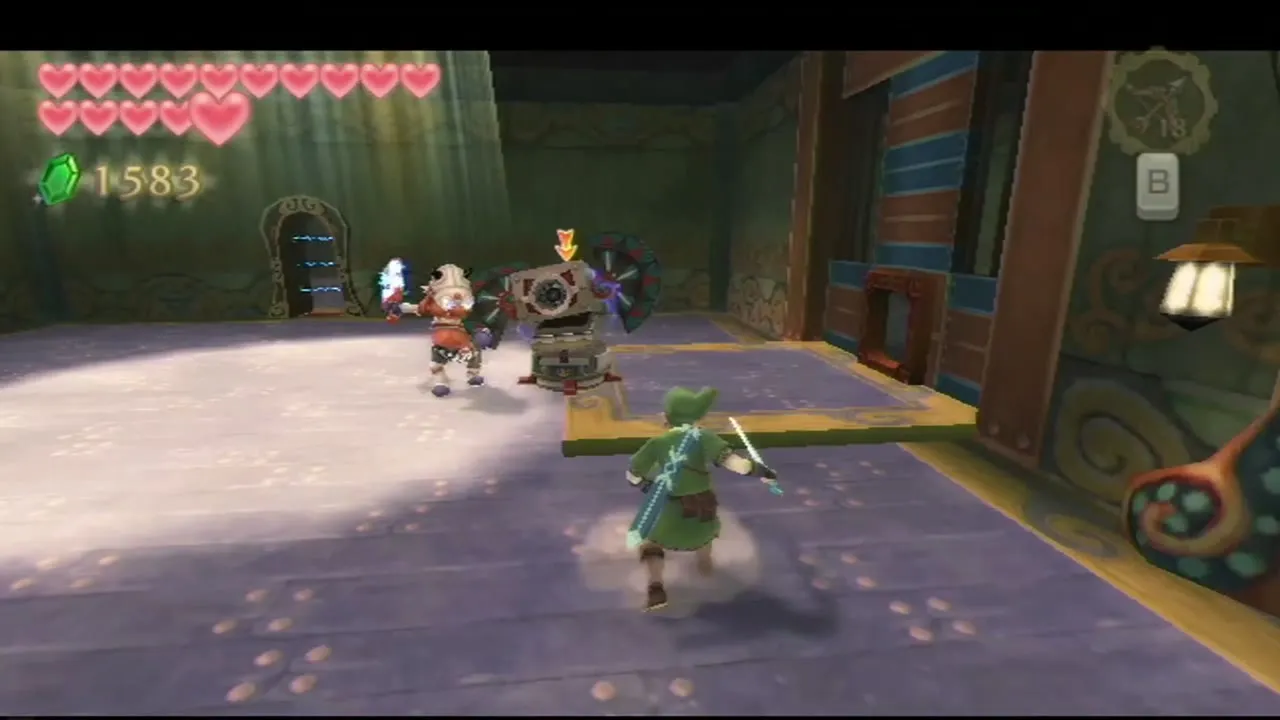
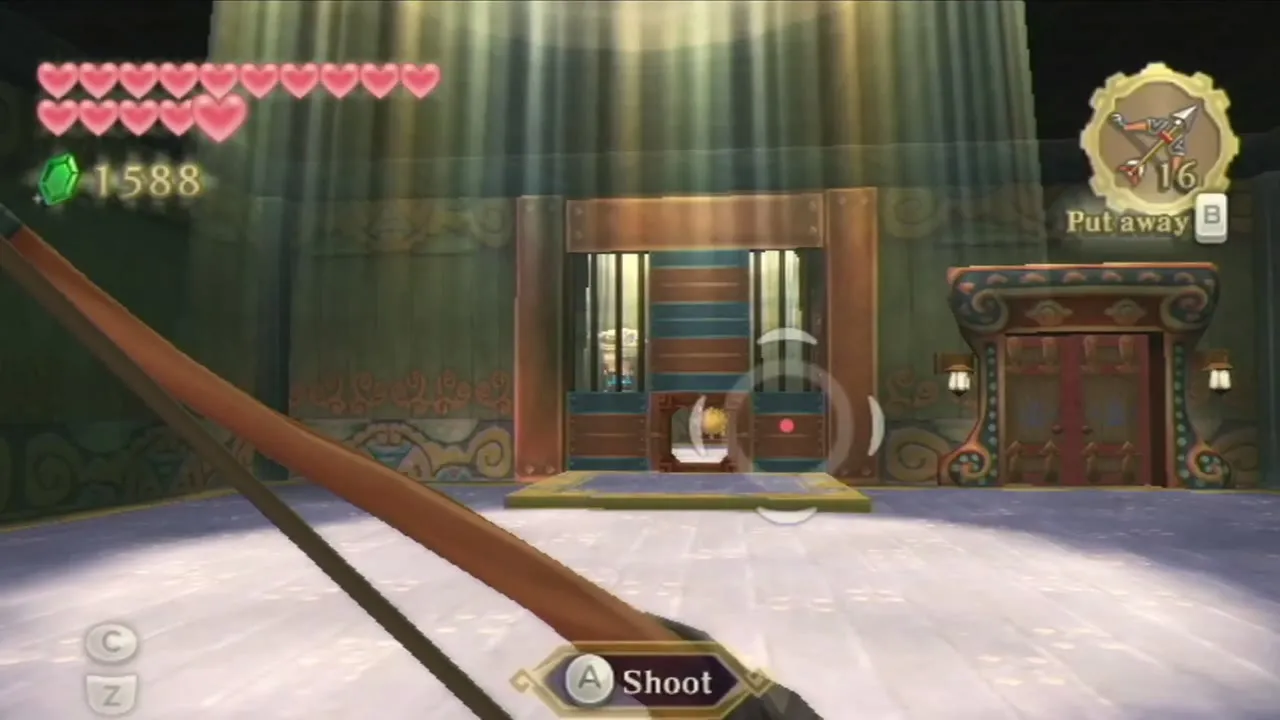
Use the Small Key on the locked door on the east side of the deck, go down the stairs and take the far left passage. Save at the Bird Statue in the corridor, then enter the propeller room. Stand under the big propeller and aim straight up to hit the Timeshift Stone; the past brings out a Technoblin and a Beamos together, so deal with the Technoblin first. Stand on the floor switch at the north end of the room and shoot the blue switch through the small hole that has opened. The door unlocks.
Three Beamos and the chest
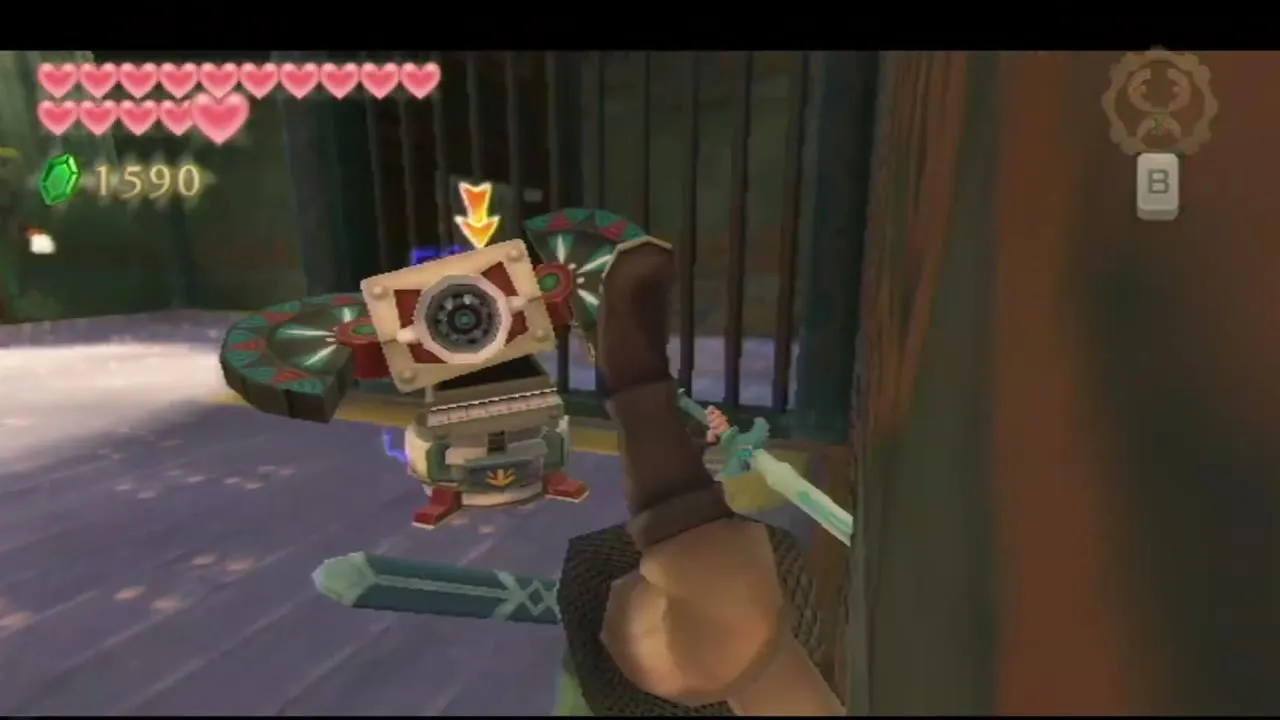
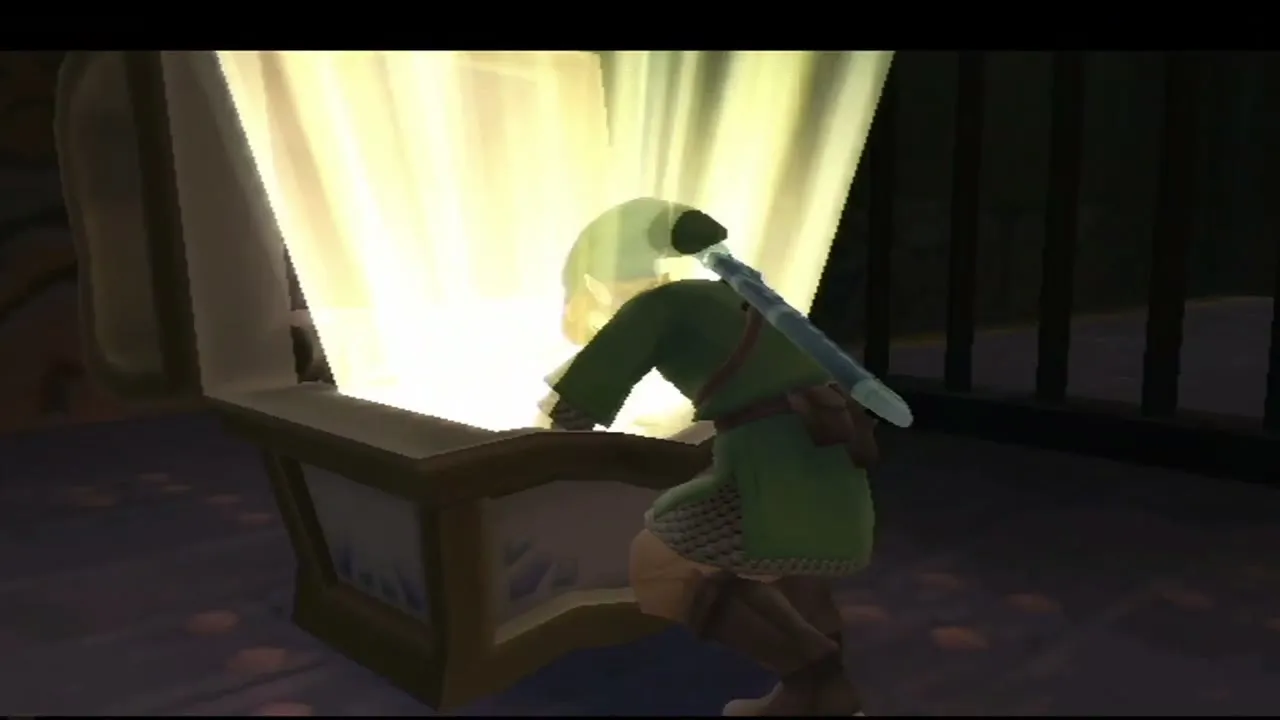
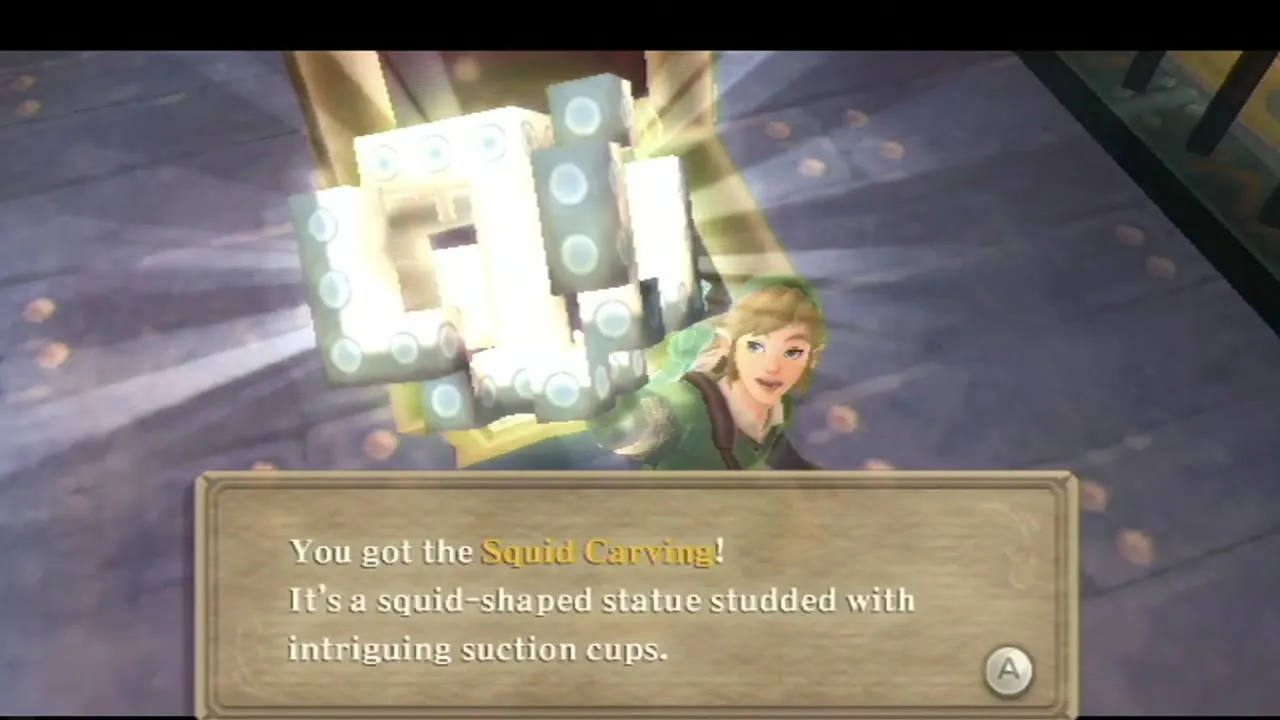
The next room holds three Beamos. Slip close and shoot each one in its glass eye with an arrow. Two gates then open, and the chest behind them holds the Squid Carving, the key to the control room. Fi marks the control room door on your map.
Control room door and the tentacle corridor
Turn the Squid Carving to fit the lock
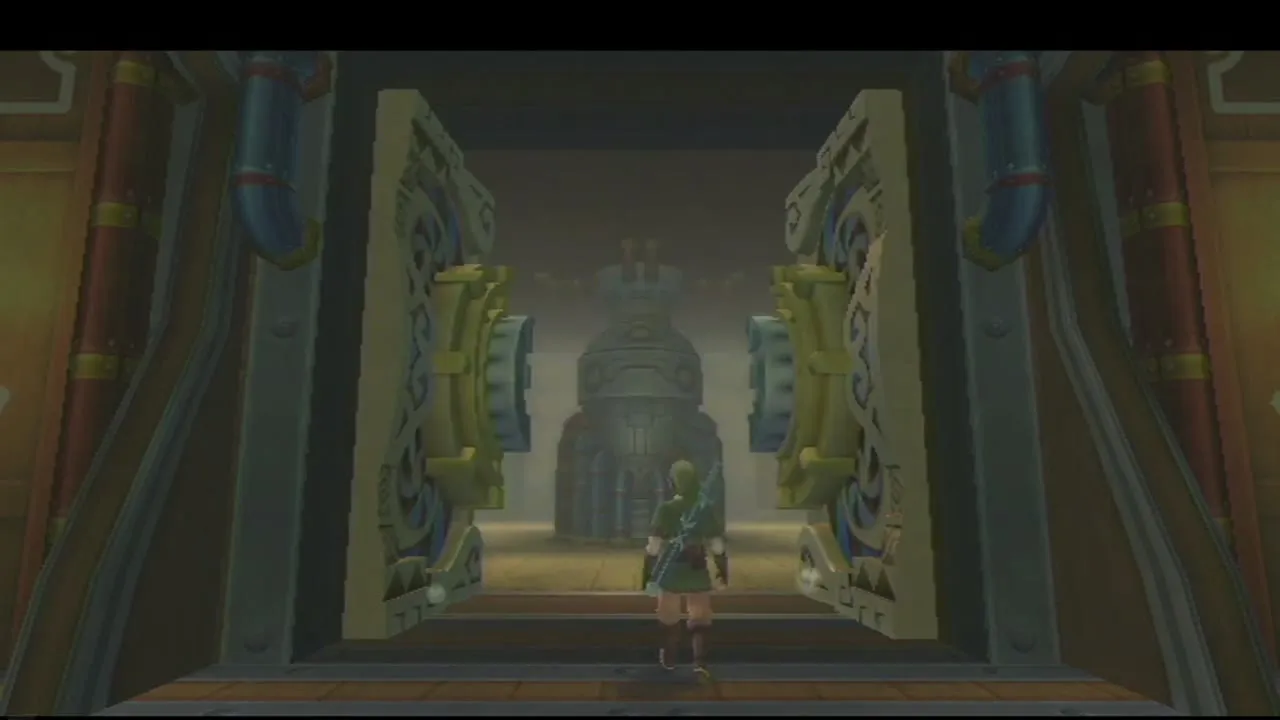
Rest on the stool, save at the Bird Statue, then walk down to the control room door at the end of the long corridor. The door has a round golden lock with a pattern of white blocks. Hold the carving in front of it, press A to grab it, turn it with the Wii Remote until its shape matches the lock, and press A to release it. The lock glows when the shape is right and the golden doors swing open.
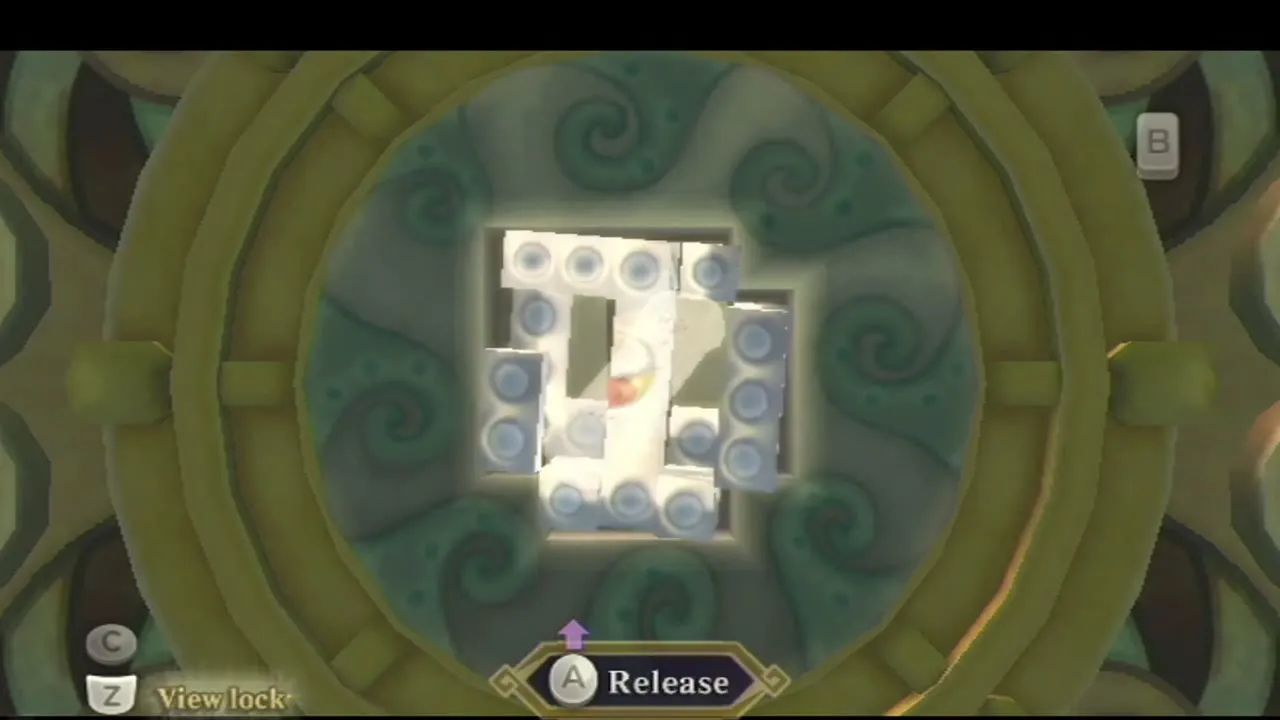
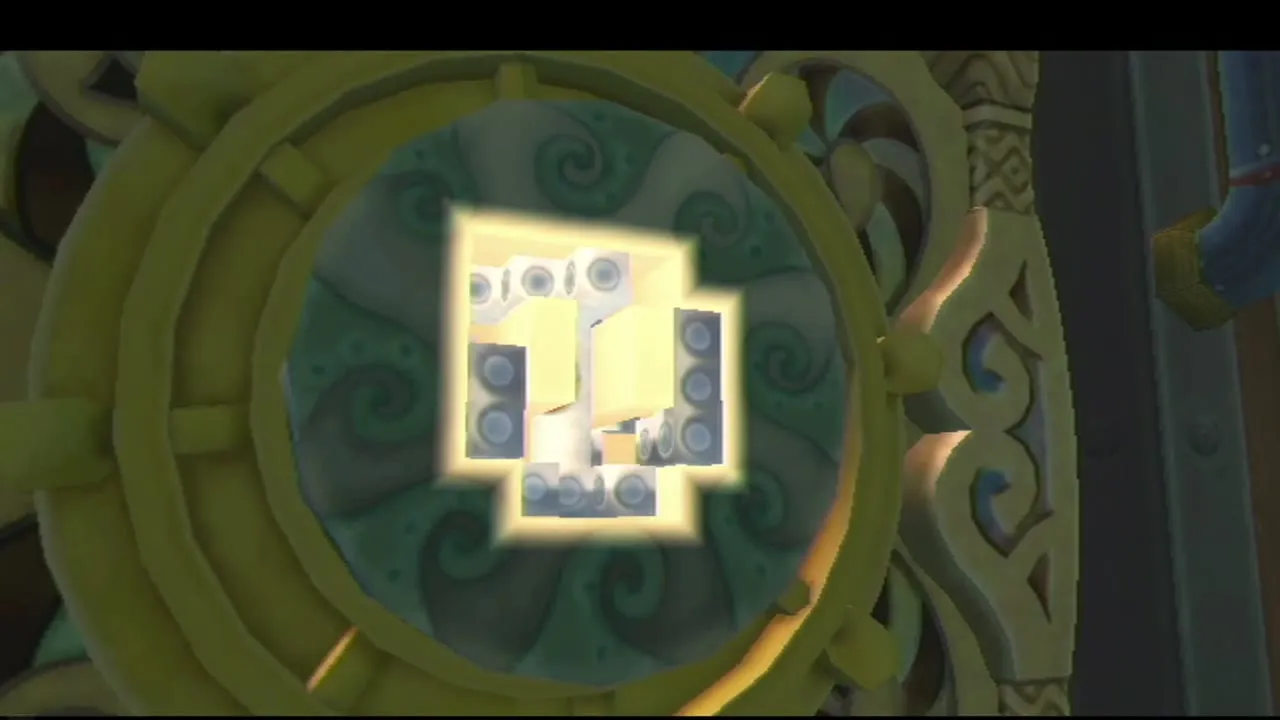
Cut through the tentacles
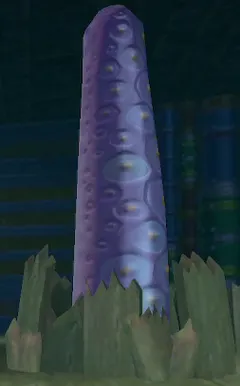
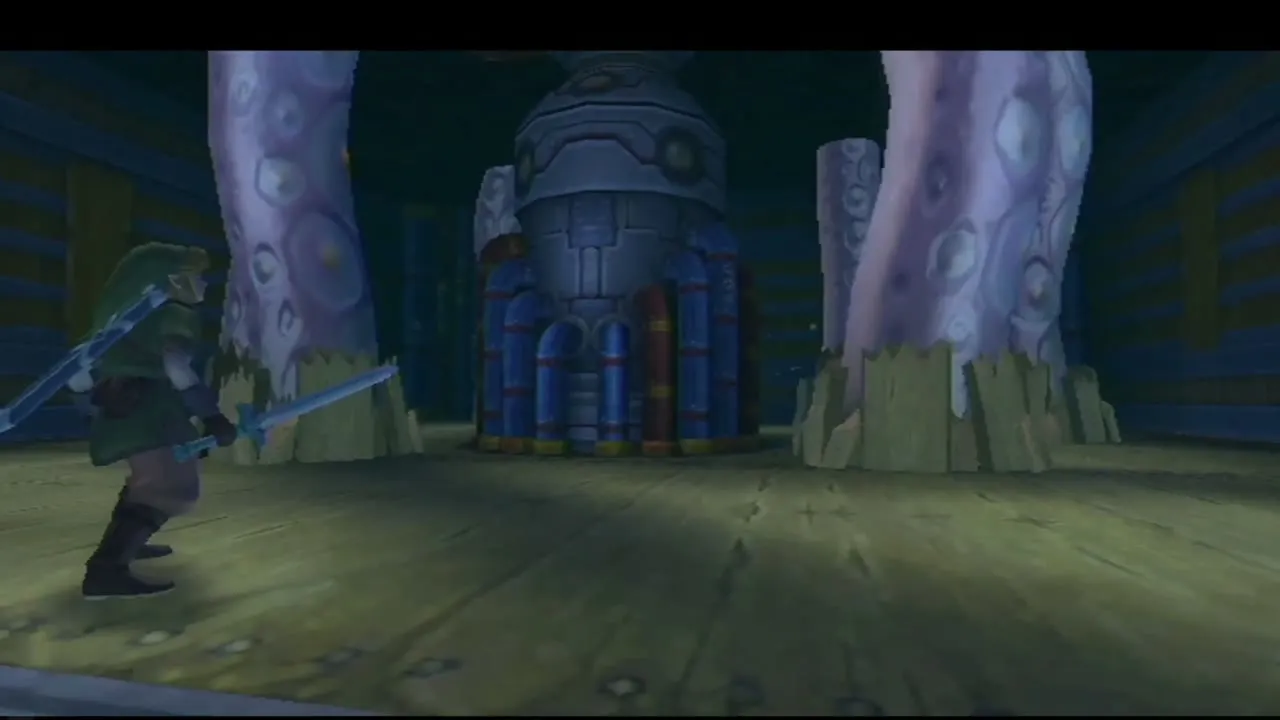
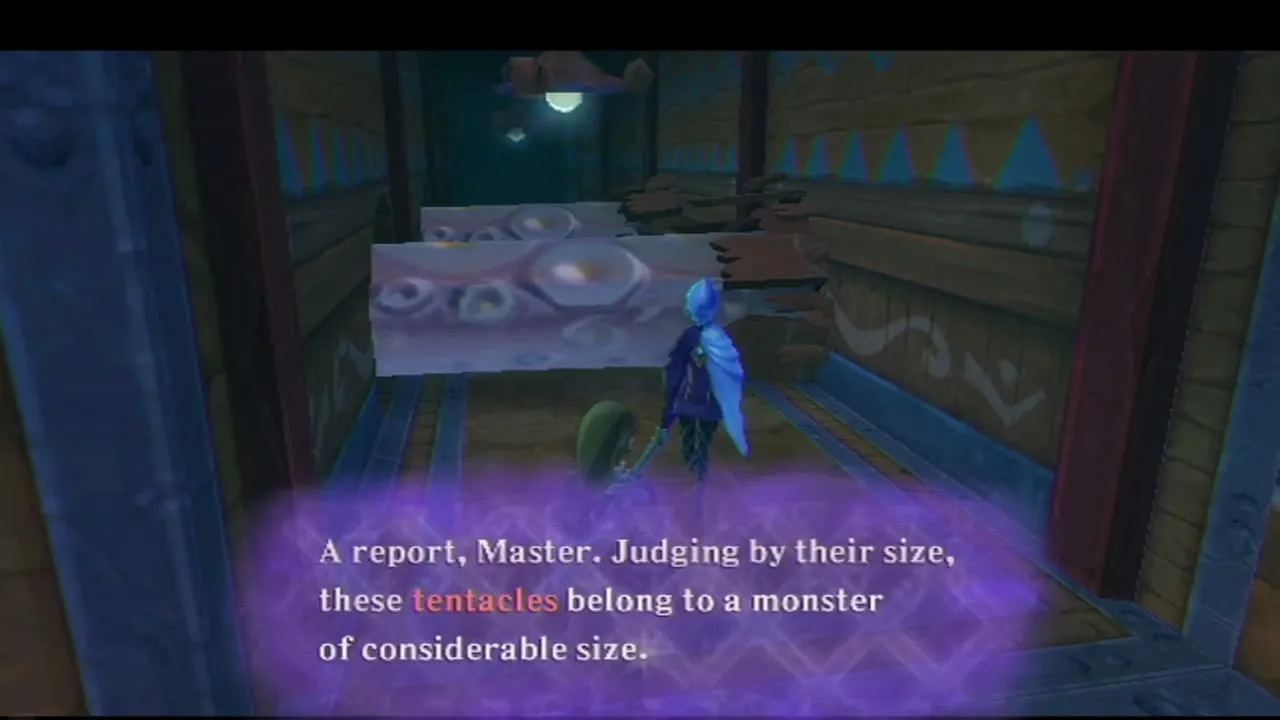
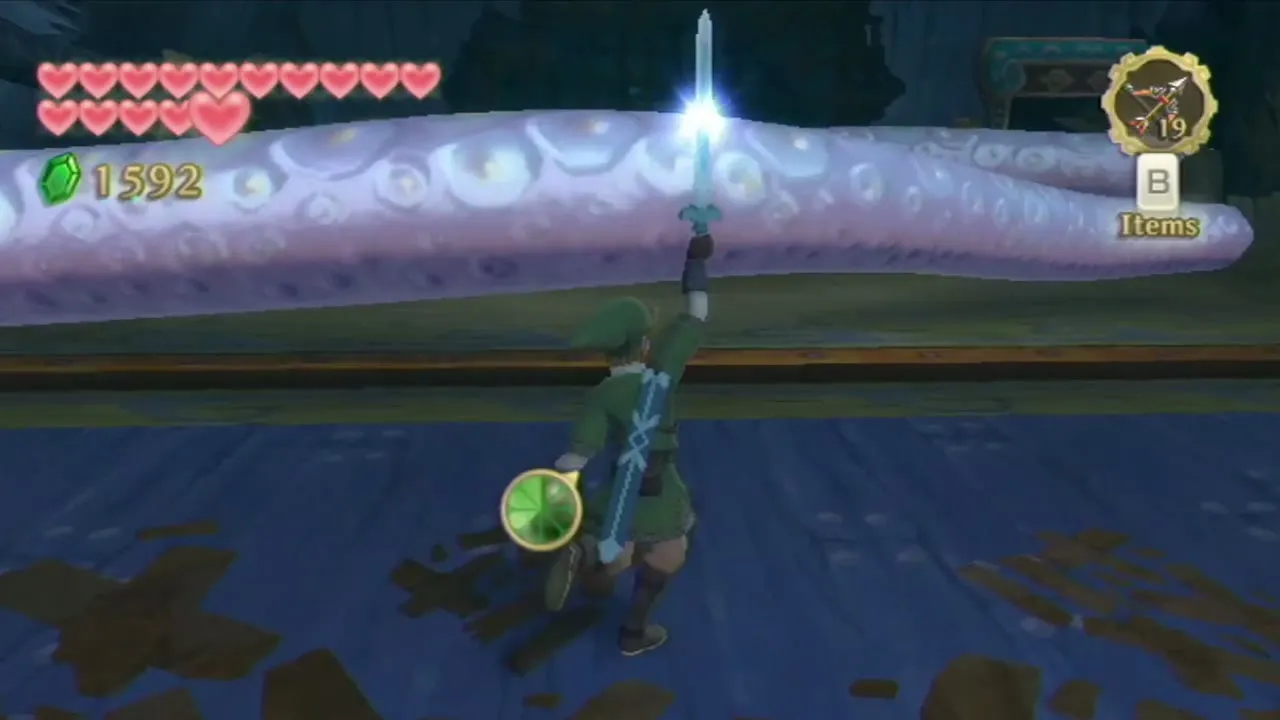
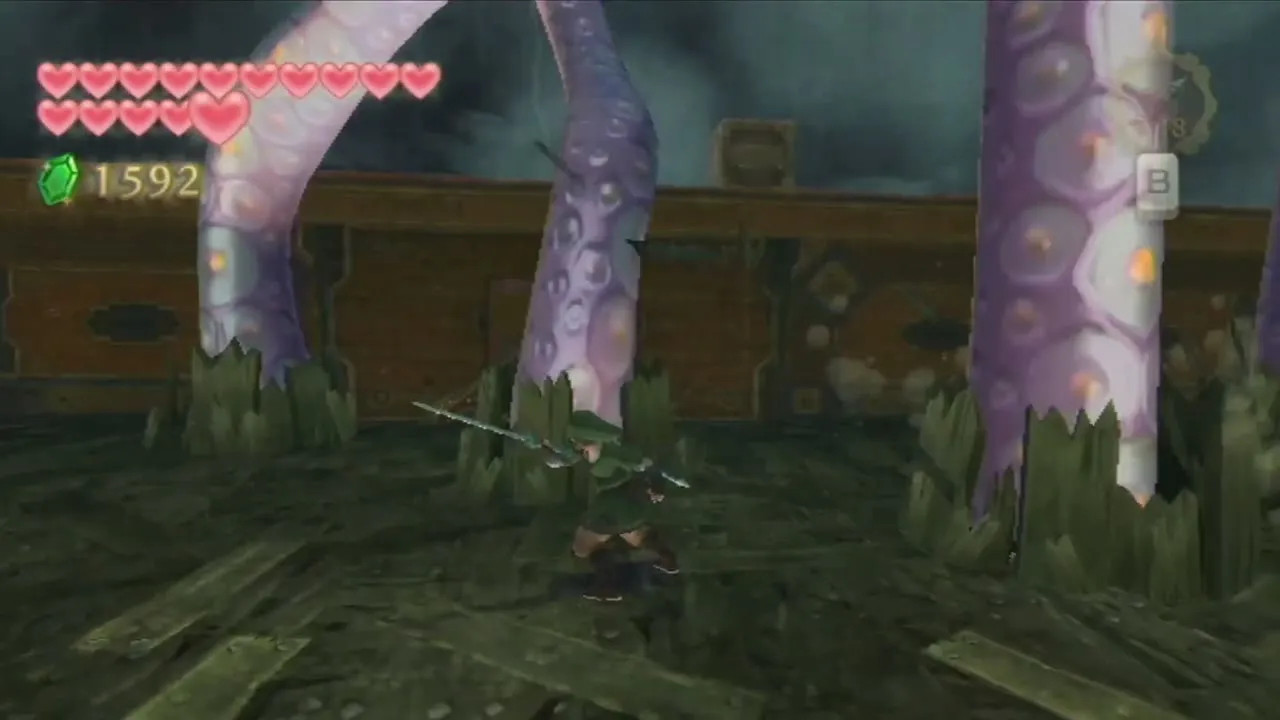
Fi warns that a monster of colossal size is attacking the ship and advises that you drive it back with sacred power. Walk down the hall and tentacles burst up through the floor. Raise your sword for a Skyward Strike and swing it sideways to cut every tentacle that blocks the way, because normal sword swings do nothing. If one grabs you, shake the Wii Remote to break free. Dodge the rolling barrels, move slowly up the stairs as the water rises, and step out the door at the top onto the deck.
Tentalus boss fight
Phase 1: tentacles and the eye
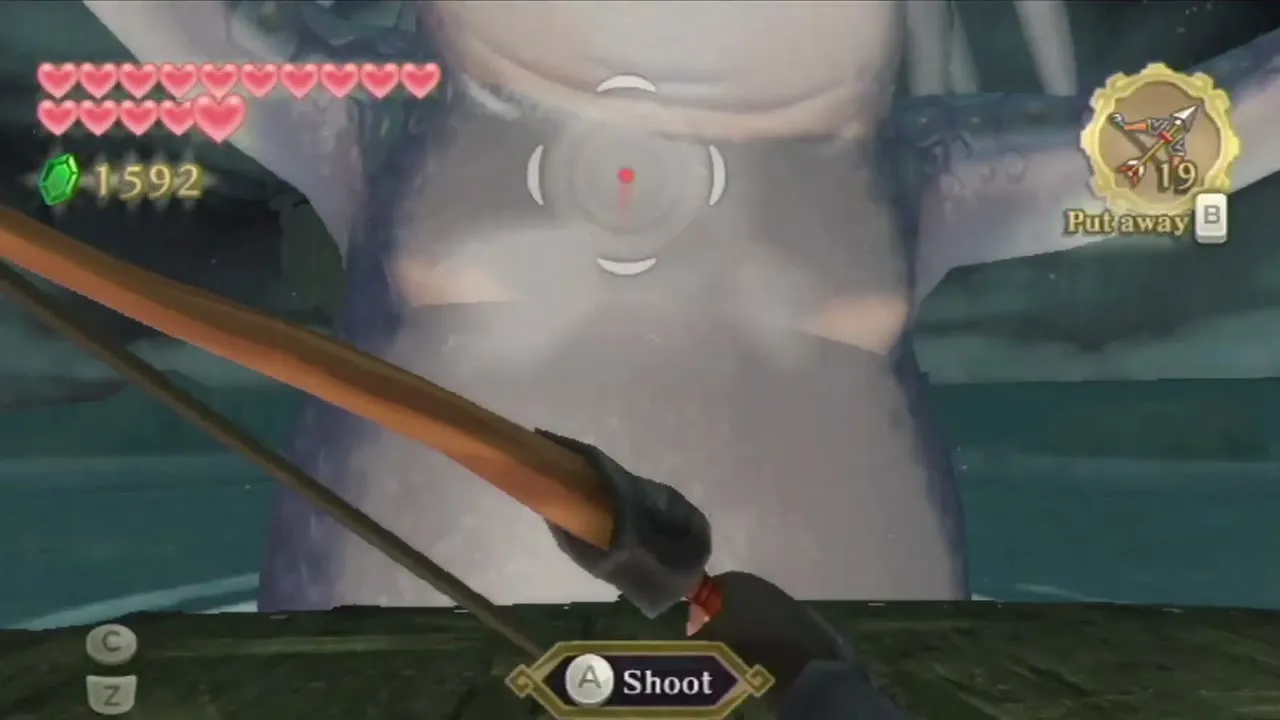
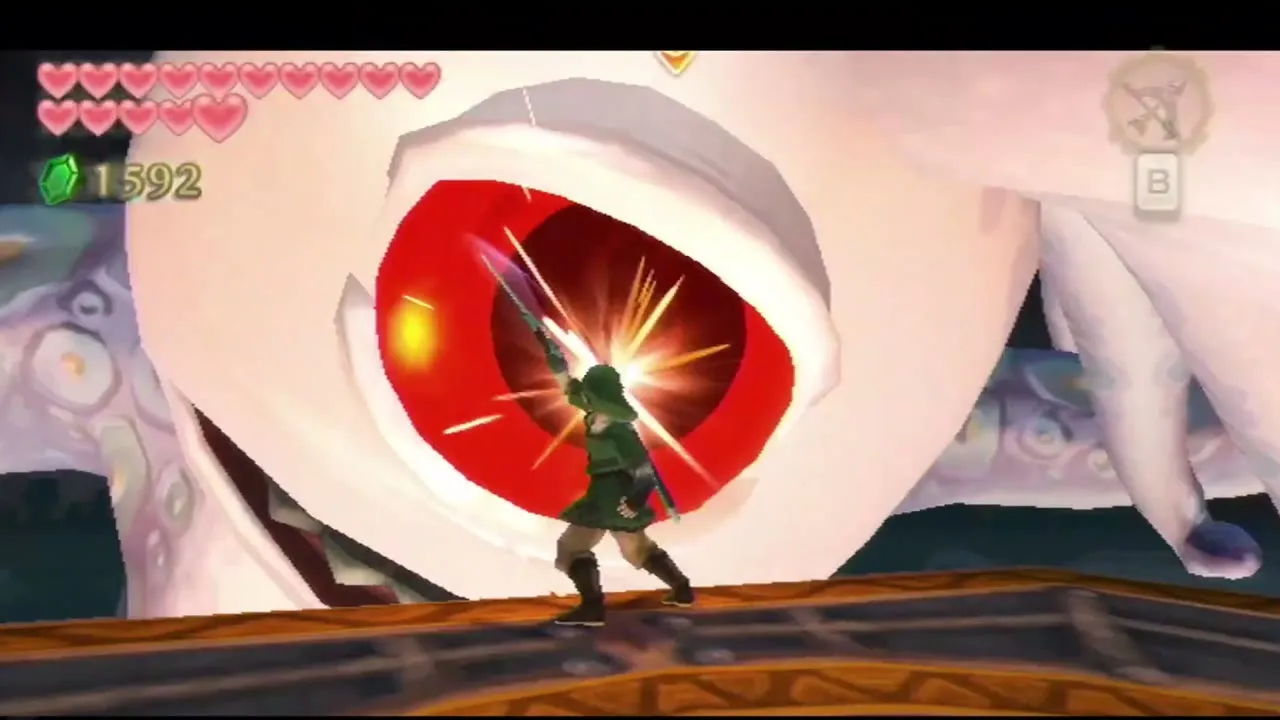
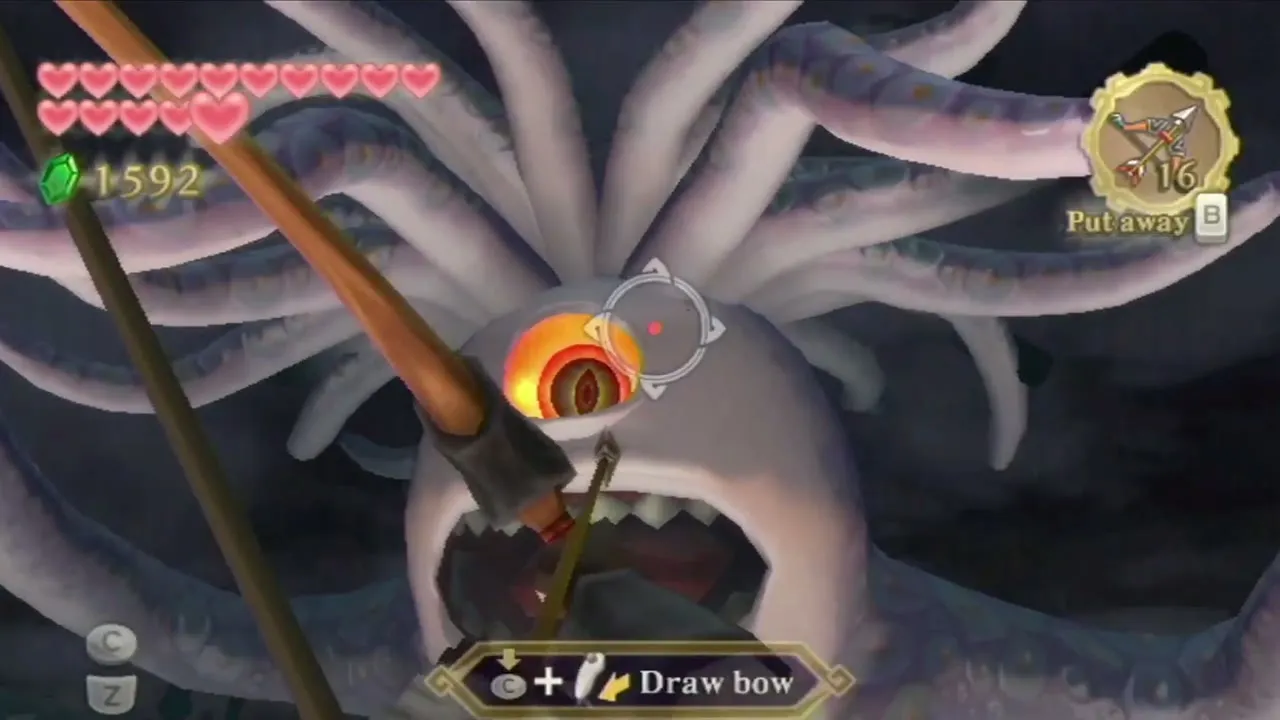
Tentalus attacks the ship with tentacles that rise from the water. Run around the deck and cut each one with a sideways Skyward Strike, which reaches them at a distance. When water splashes hard on one side, its head is about to surface. Draw the Bow and shoot the glowing eye as quickly as you can, without waiting for the aiming ring to settle. The head crashes onto the deck, so run in and slash the eye until it recovers, then back away from the slam. Each round the tentacles come faster and in greater numbers.

Phase 2: the upper deck
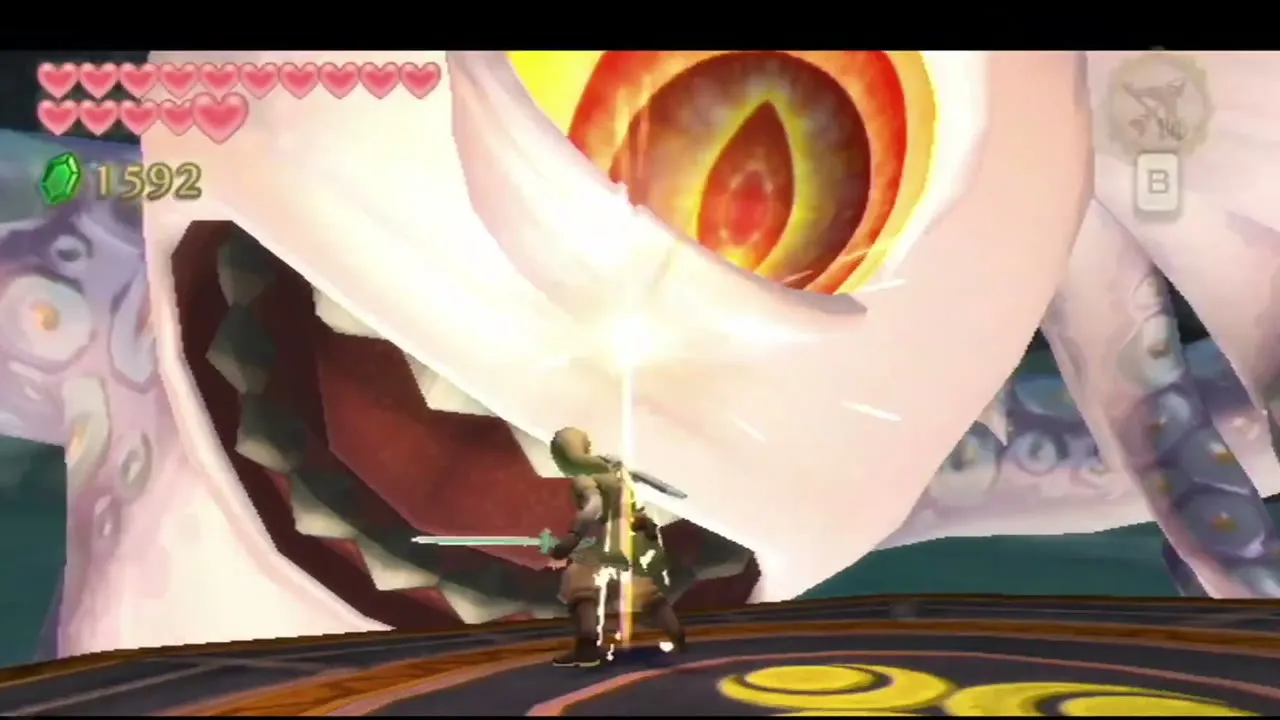
The deck breaks apart under you and a huge crate drops. Climb it, dodge the barrels that roll toward you, and reach the upper level. The eye rises again and you repeat the routine: arrow first, then sword. Now it lashes out with toothed snake-like tentacles. Repel the toothed tentacles with quick sword slashes, shoot the eye again and finish it with the sword. Repeat until Tentalus is beaten.
Heart Container and Nayru’s Flame
Collect the Heart Container
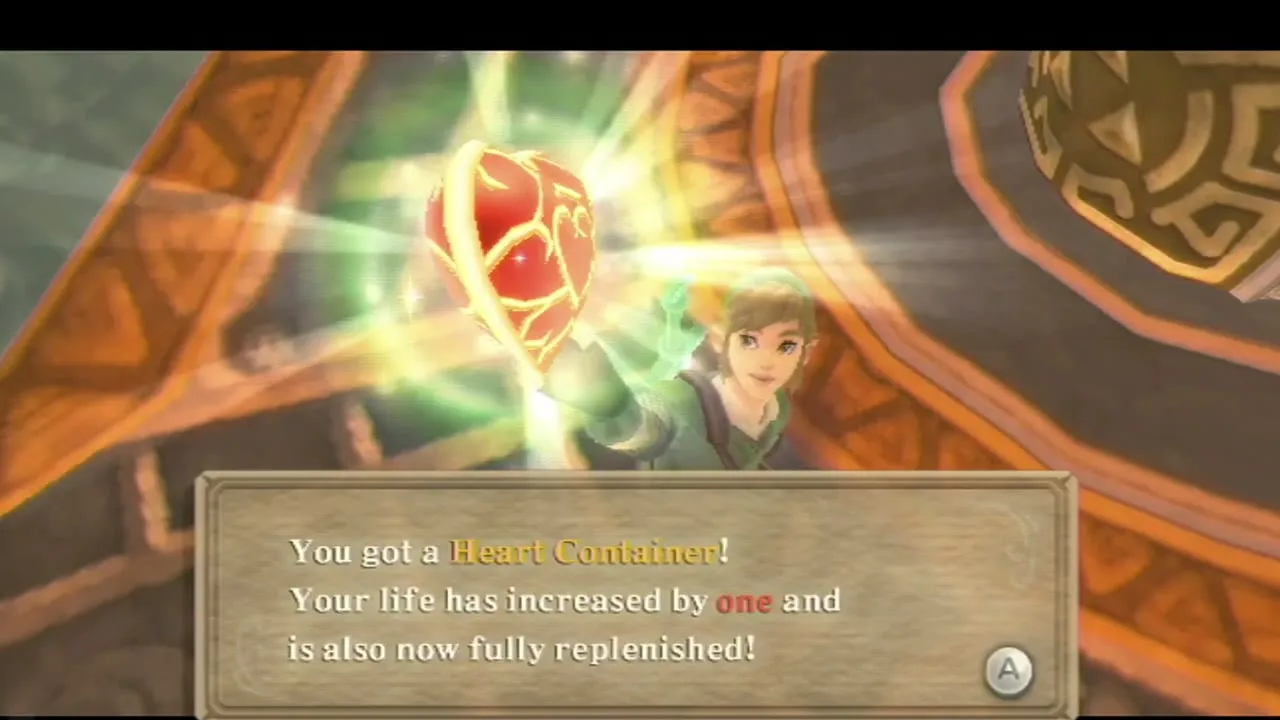
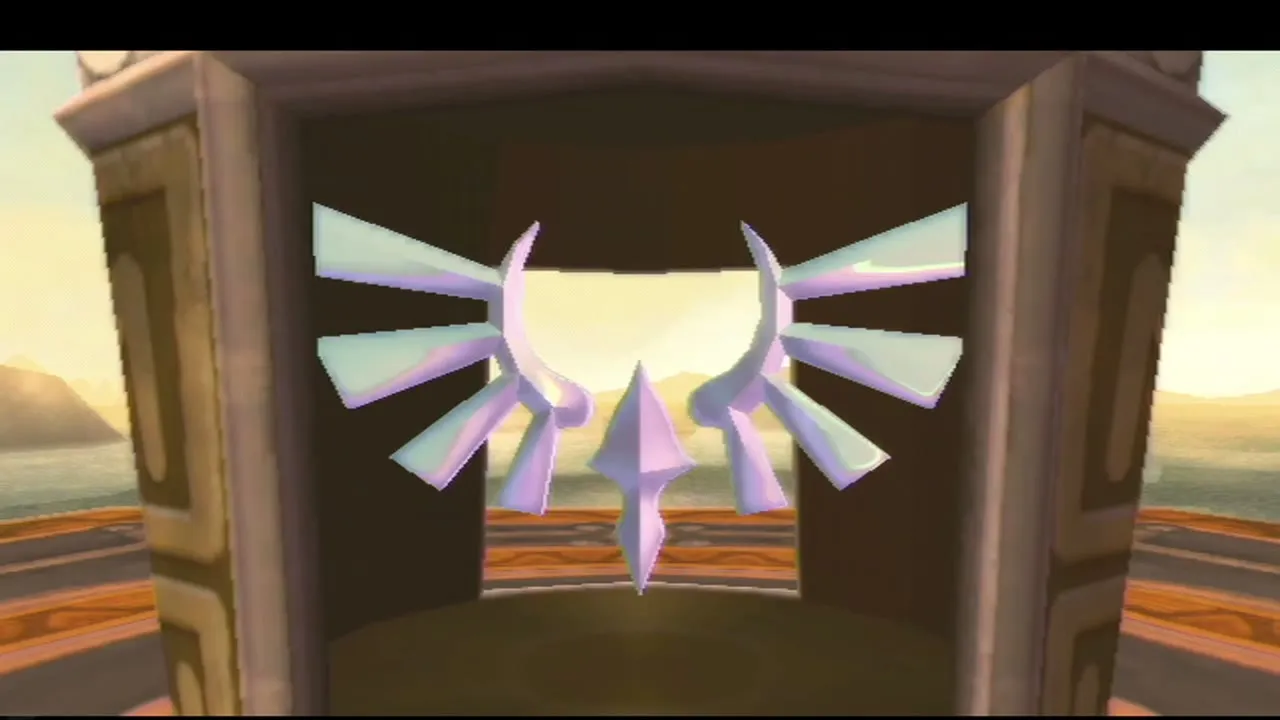
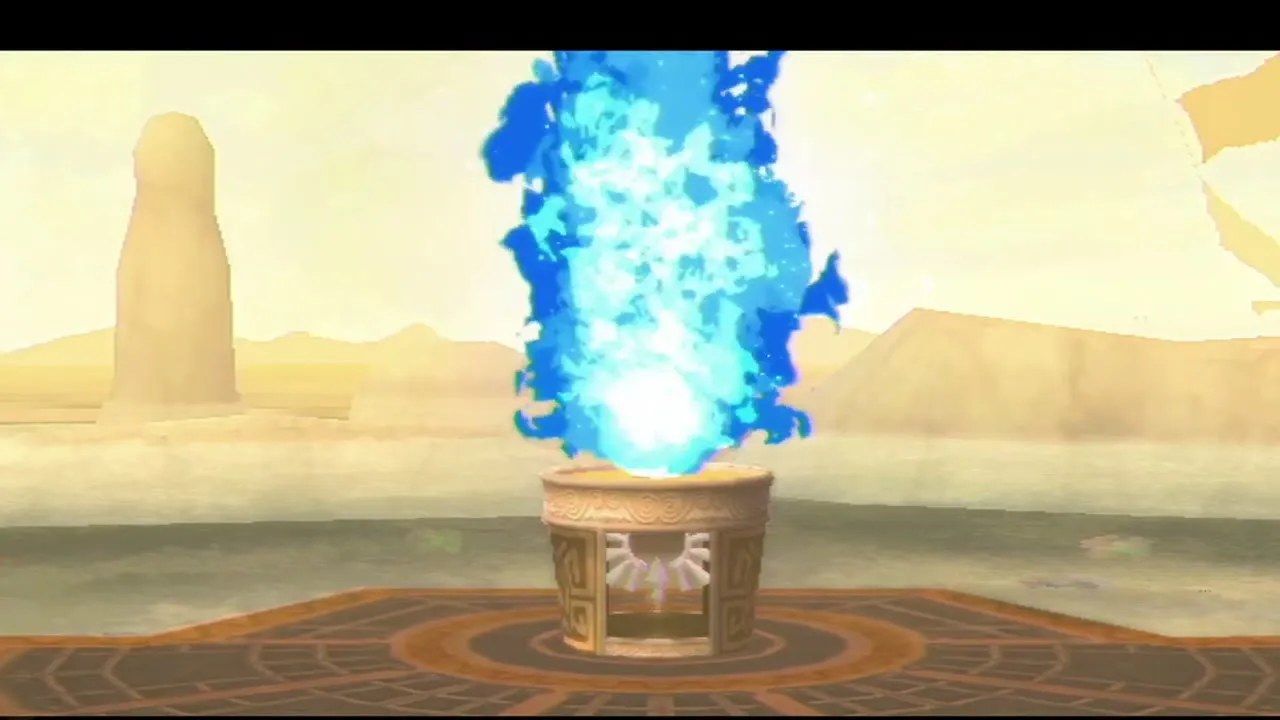
Walk onto the golden platform and take the Heart Container for one more heart. A stone shrine stands in the middle with the Goddess emblem inside it. Raise the Goddess Longsword and strike the emblem with a Skyward Strike, and Nayru’s Flame blazes up from the brazier beside you.

Goddess White Sword and dowsing
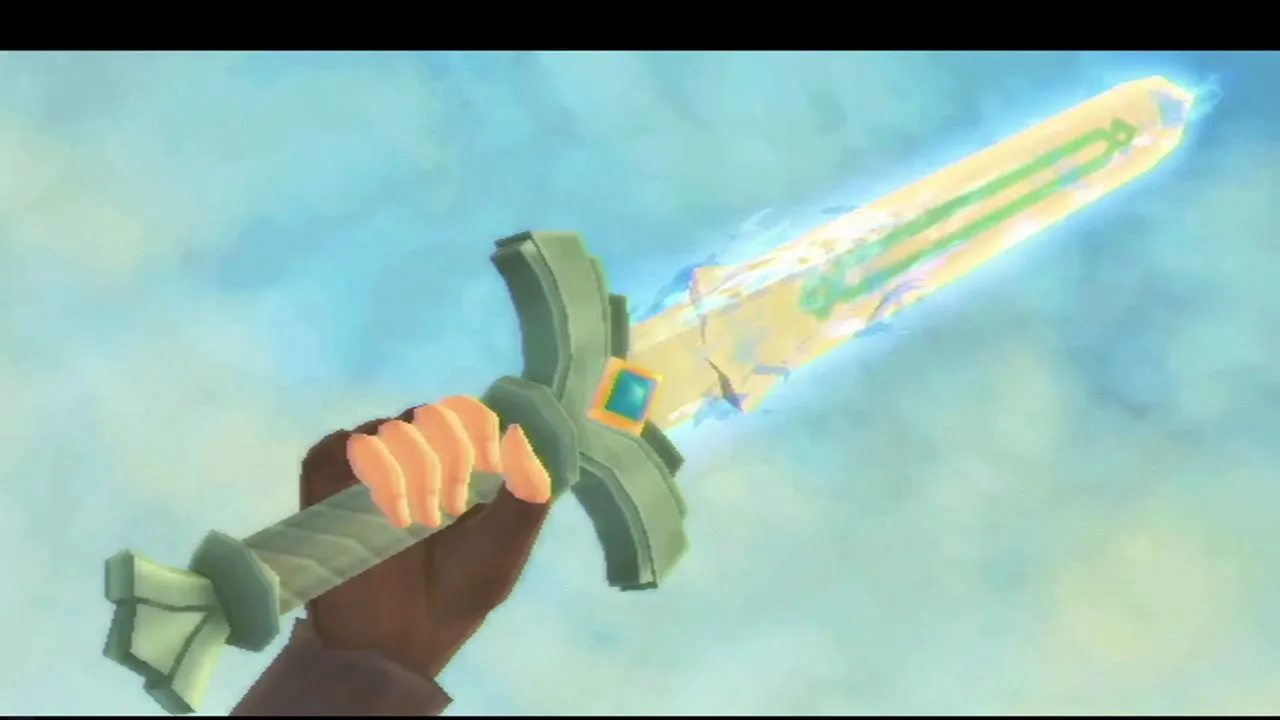
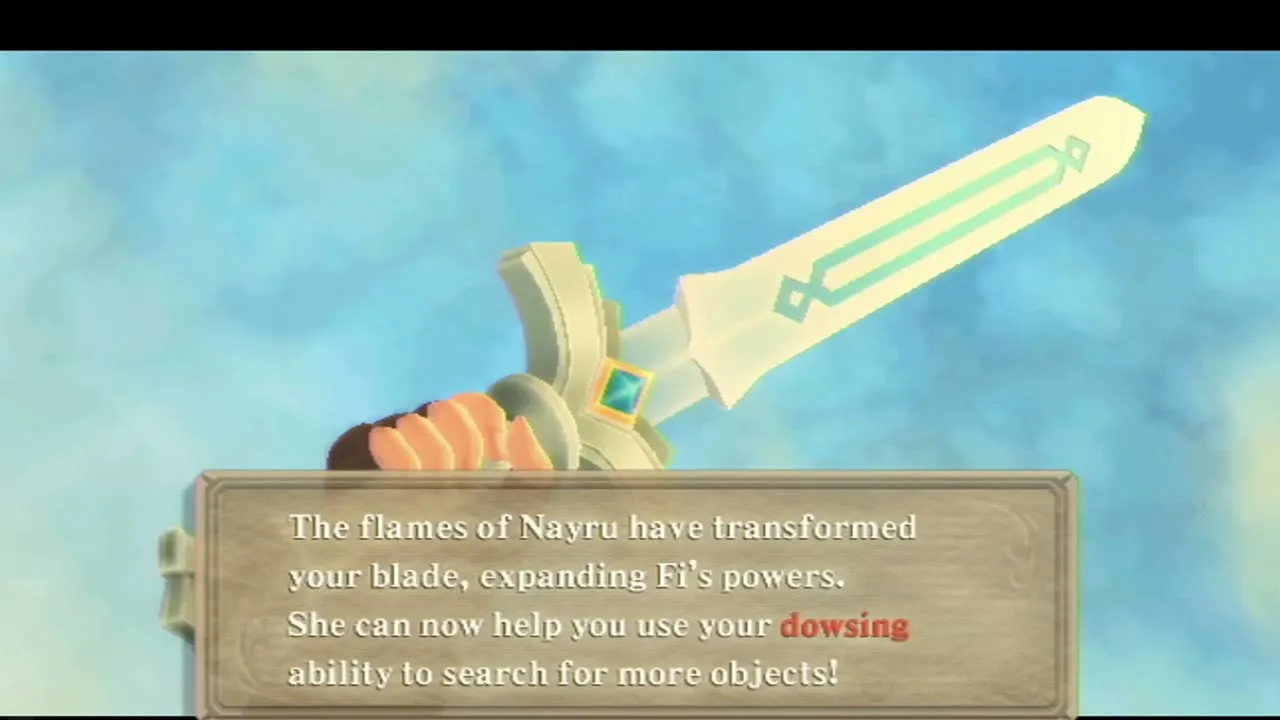
The flame turns your blade into the Goddess White Sword, and Fi can now dowse for more than story objects. You can add targets such as treasure, Gratitude Crystals, Goddess Cubes and Rupees to the dowsing list, and each one switches on after you speak to a particular person in Skyloft. The new Goddess Cube targets make the Goddess Cubes list far easier to finish.
Leave the ship
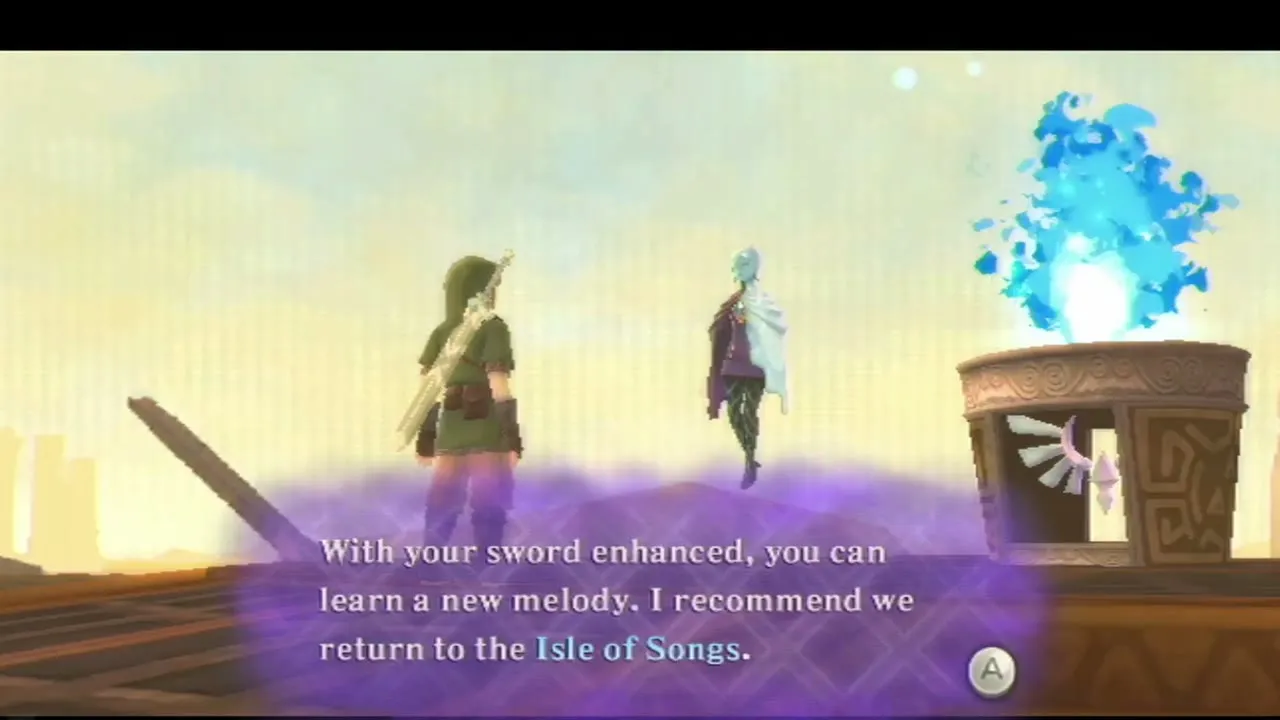
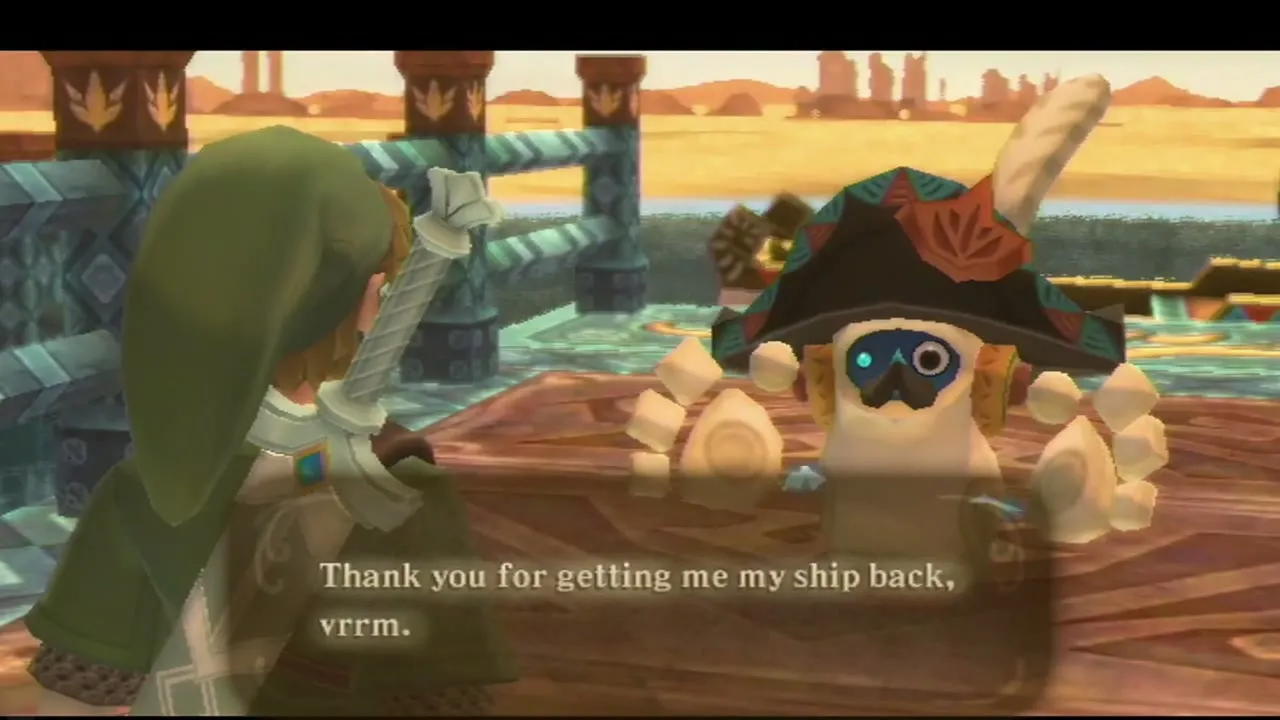
Fi tells you to return to the Isle of Songs, where the sword’s new power lets you learn Din’s Power. Skipper thanks you for getting his ship back. When you are ready, dowse or step to the sand and answer yes when the game asks whether to return to the sky.
Optional: what the Bow opens
Pumpkin Pull and the Rickety Coaster
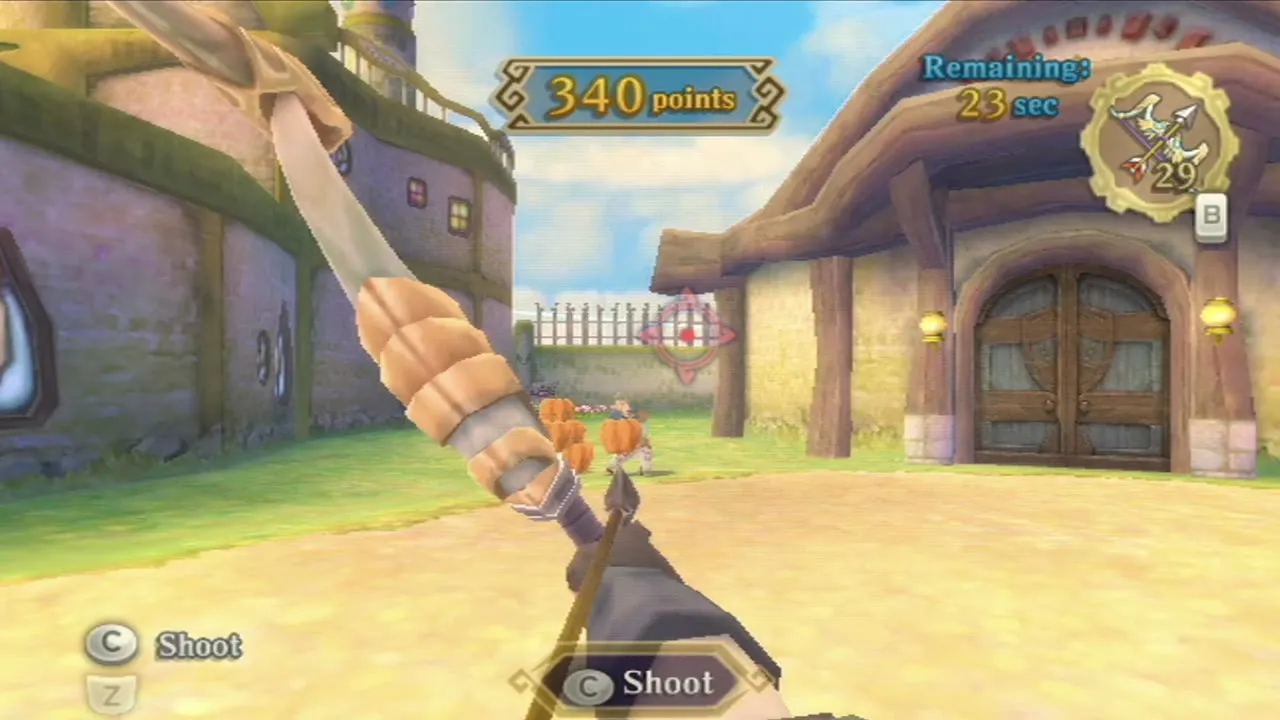
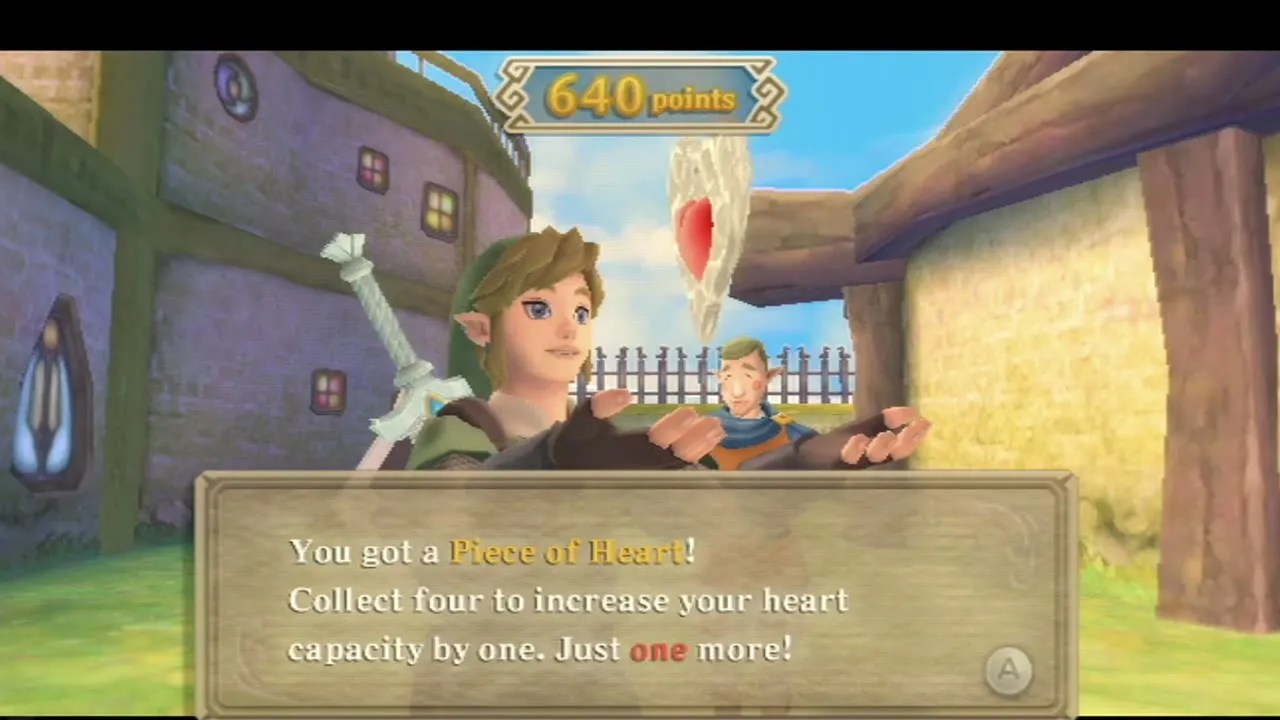
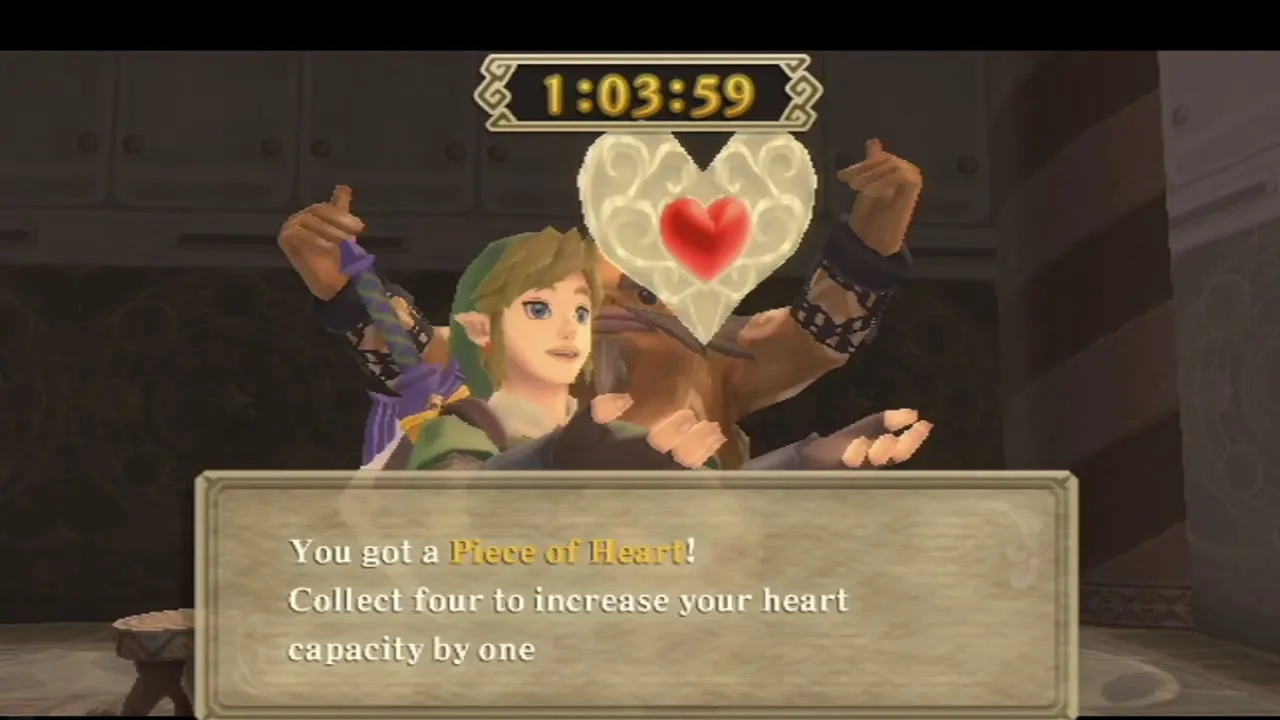
The Bow lets you play Pumpkin Pull in the Sparring Hall with Fledge, who is also the Gratitude Crystal giver for the I Want to Be Strong quest and opens the game once that quest is finished; a score of 600 or more wins a Piece of Heart, and the details are on the mini-games page. At the Lanayru Shipyard, Gortram runs the Rickety Coaster for 20 Rupees: finish the Heart Stopping course in under 1:05 for another Piece of Heart. Neither is needed to finish the dungeon.

Chapter checklist
| Collectible | Type | Where |
|---|---|---|
 Small Key (first) | Key | Chest behind the chained door by the first Bird Statue, opened by the gem lock sequence bottom, top, bottom, right |
 Bow | Item | Chest after the Scervo mini-boss |
 Piece of Heart | Piece of Heart | Chest on the back deck, reached by zip line and Clawshot targets |
 Dungeon Map | Map | Chest in the large room below the sunlit northwest room, after you shoot the Timeshift Stone through the ceiling |
 2 Silver Rupees and 3 random treasures | Rupees, treasure | Five chests in the nook reached with the Whip, in the engine area |
| Small Key (captain’s cabin) | Key | Given by a robot in the brig after you free the crew |
 Squid Carving | Key item | Chest in the Beamos room beyond the captain’s cabin corridor |
 Heart Container | Heart Container | Golden platform after Tentalus |
| Nayru’s Flame, Goddess White Sword | Sacred Flame, sword | Emblem shrine on the platform after Tentalus |
| Goddess Wall | Rupees, hearts, arrows | South side of the deck, under Blessed Butterflies |
 Goddess Cubes | Cube | None inside the Sandship; the cubes of the Sand Sea are listed on the Goddess Cubes page |
| Bird Statues | Save point | Entrance, the stairs room beyond the entrance, and the corridor before the control room |
With the second Sacred Flame in hand, head back to the sky and the Isle of Songs for Din’s Power, then carry on with the Din’s Silent Realm and Volcano Summit walkthrough.
