





















Skyward Sword 100% Completion Walkthrough18 chapters
- Skyview TempleSmall keys, the Beetle, the Golden Carving door, the Ghirahim boss fight, the Heart Container and the Ruby Tablet.
- Earth TempleGet the Bomb Bag from Ledd, carry the Dragon Sculpture, beat Scaldera and collect the Amber Tablet.
- Lanayru Mining FacilityTimeshift Stones, Gust Bellows, Small Key, Armos, Ancient Circuit, Moldarach and the Goddess’s Harp.
- Ancient CisternBoth Small Keys, the Whip, the Blessed Idol, the Koloktos boss fight, Farore’s Flame and the Goddess Longsword.
- SandshipThe Timeshift Stone, Scervo and the Bow, both generators, Squid Carving, Tentalus and Nayru’s Flame.
- Fire SanctuaryAll three small keys, the Mogma Mitts, the Mysterious Crystals, Ghirahim’s second fight and the Master Sword.
- Skyloft Silent Realm and Sky KeepThe Skyloft Silent Realm and its 15 Sacred Tears, the Stone of Trials, every Sky Keep room and all three Triforces.
- Skyloft and the Goddess SwordFind your Loftwing, win the Wing Ceremony, draw the sword and take your first dive.
- Sealed Grounds, Faron Woods and the Deep WoodsThe Sealed Grounds, the missing Kikwi, the Slingshot, the Deep Woods and the way into Skyview Temple.
- Eldin Volcano and the Key PiecesPlace the Ruby Tablet, run Skyloft errands, earn the Digging Mitts and find all five Earth Temple key pieces.
- Lanayru Mine and Lanayru DesertLanayru Mine, Timeshift Stones, the Hook Beetle, the Temple of Time and how to set the three power generator dials.
- The Goddess’s Harp, The Imprisoned and the Isle of SongsBallad of the Goddess, The Imprisoned, the Light Tower, the Isle of Songs and Farore’s Courage.
- Farore’s Silent Realm and Lake FloriaAll 15 Tears of Farore, the Water Dragon’s Scale and Sacred Water.
- Nayru’s Silent Realm and the Lanayru Sand SeaNayru’s Wisdom, Nayru’s Silent Realm and the Clawshots, Golo’s key, Skipper’s boat, the Shipyard.
- Din’s Silent Realm and Volcano SummitDin’s Power, the Fireshield Earrings, frog statues, the Water Basin and the Scrapper escort.
- True Master Sword, Levias and BilocyteSkyward Sword walkthrough for the True Master Sword, the second Imprisoned fight, the Spiral Charge.
- Song of the HeroEscape Eldin, beat the third Imprisoned, win the Tadtone song in Faron Woods and heal Lanayru’s Thunder Dragon.
- The Horde, Ghirahim and DemiseClear the last side quests, beat the Horde, Ghirahim’s third fight and Demise, then unlock Hero Mode.
| Covers | The Lanayru Mining Facility in Lanayru Desert (the third dungeon), the Moldarach boss fight, and the Temple of Time scene that follows |
|---|---|
| You need | The Hook Beetle, the Bomb Bag, the Slingshot and the Goddess Sword; all three remote power nodes switched on and the desert generator turned so the Facility gate is open |
| Rewards | Gust Bellows, 1 Small Key (used up), Dungeon Map, Ancient Circuit, Heart Container, the Goddess’s Harp; 2 Bird Statues; Red Rupee chests and several treasure chests |
The Lanayru Mining Facility is a ruined machine hall buried in the desert, and you fight through it with the help of Timeshift Stones that turn rooms back into their working past. You pick up a Small Key, then the Gust Bellows, then the Dungeon Map, and finally the Ancient Circuit that opens the boss door. Moldarach waits behind it, and once the sand drains from the arena you collect the Heart Container and ride a cart to the Temple of Time, where Zelda hands you the Goddess’s Harp.

Table of Contents
How to enter the Lanayru Mining Facility
Open the gate in the desert
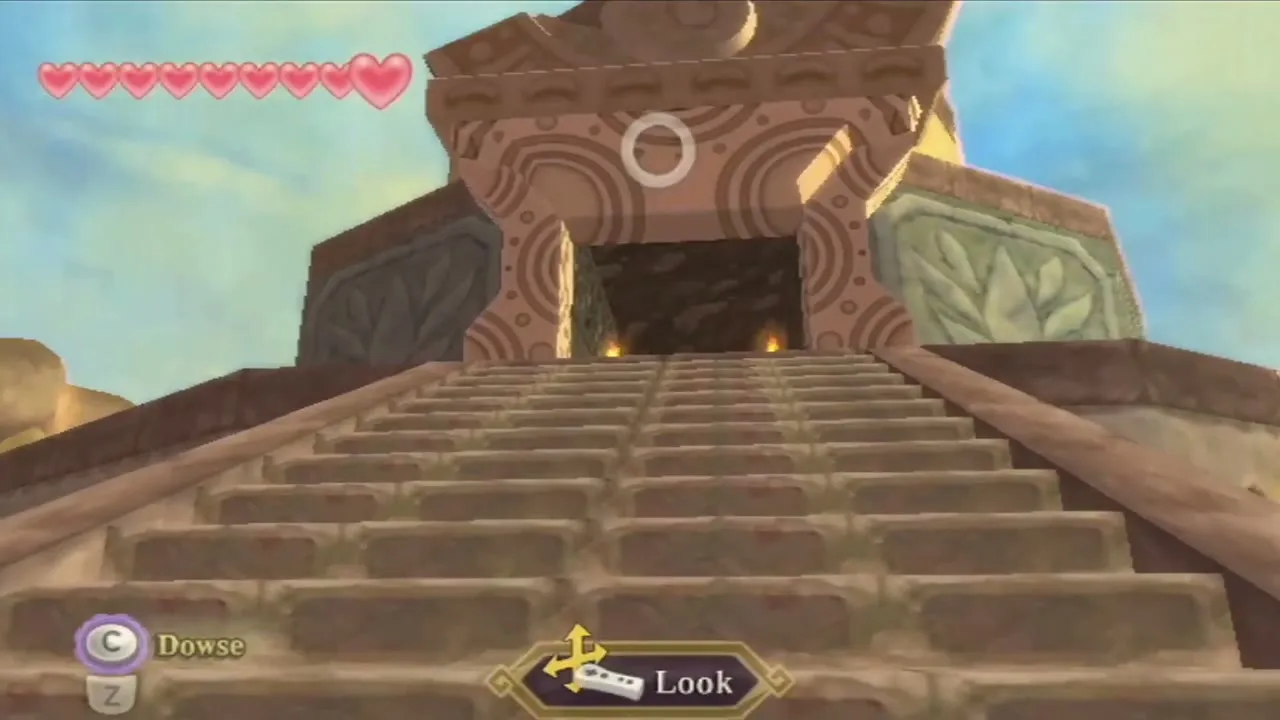
Once the generator in the desert has been turned to match the symbols on the three remote power nodes, the great round door in front of the Facility rolls aside. Step through the opening into the Facility’s entry hall. This dungeon has no Boss Key: its boss door asks for the Ancient Circuit, a machine part that you will find in the second half.


Entry hall and the first Small Key
Bird Statue, Arachas and bomb statues
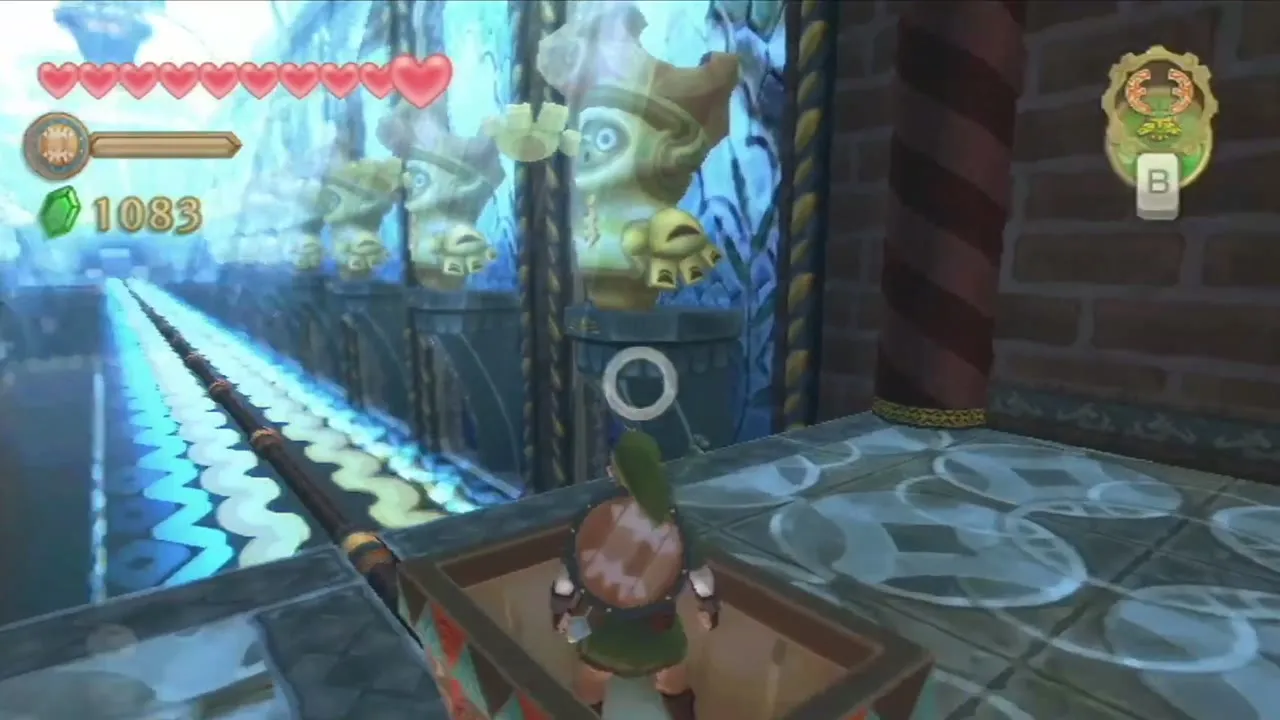
Save at the Bird Statue just inside the hall, then deal with the Arachas on the floor. One sword stroke removes each of them, but they nip at your ankles if you ignore them. Stone statues along the east and west walls each hold a bowl, and a bomb knocks the Rupees out of it. Use the Beetle to carry a Bomb Flower from a nearby pillar and drop it on a statue you cannot otherwise reach.

Levers and the northern pits
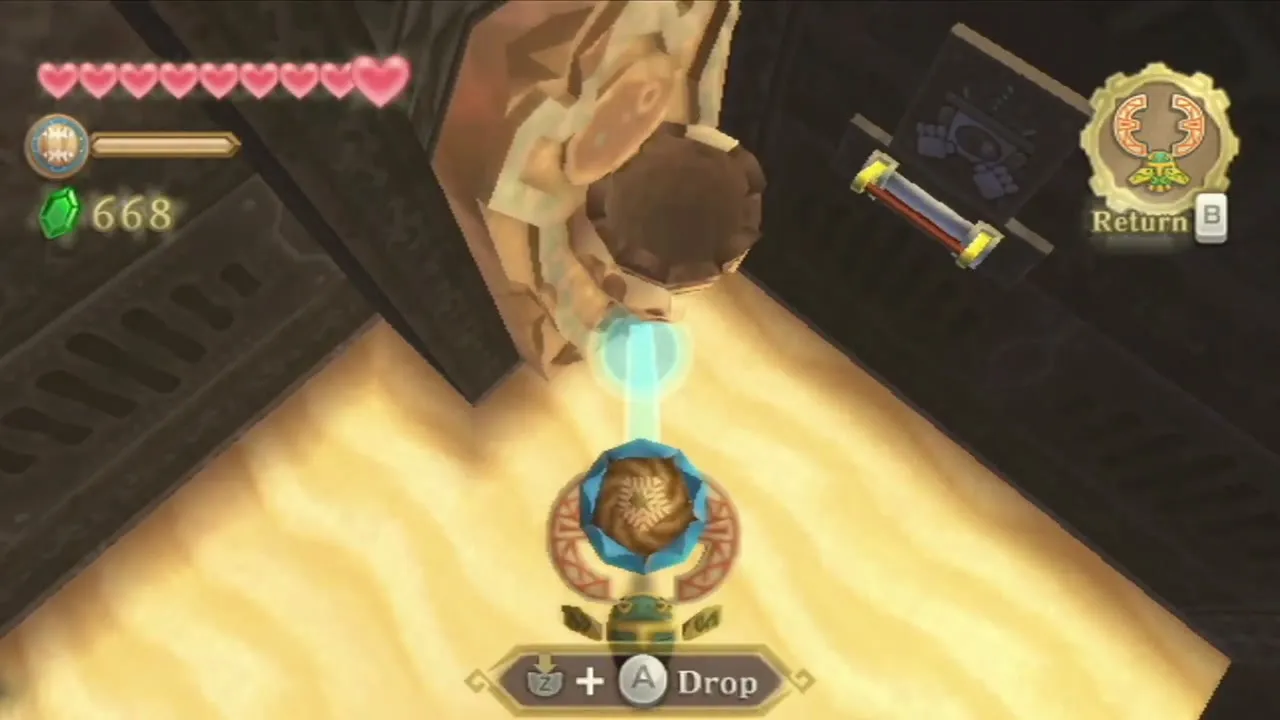
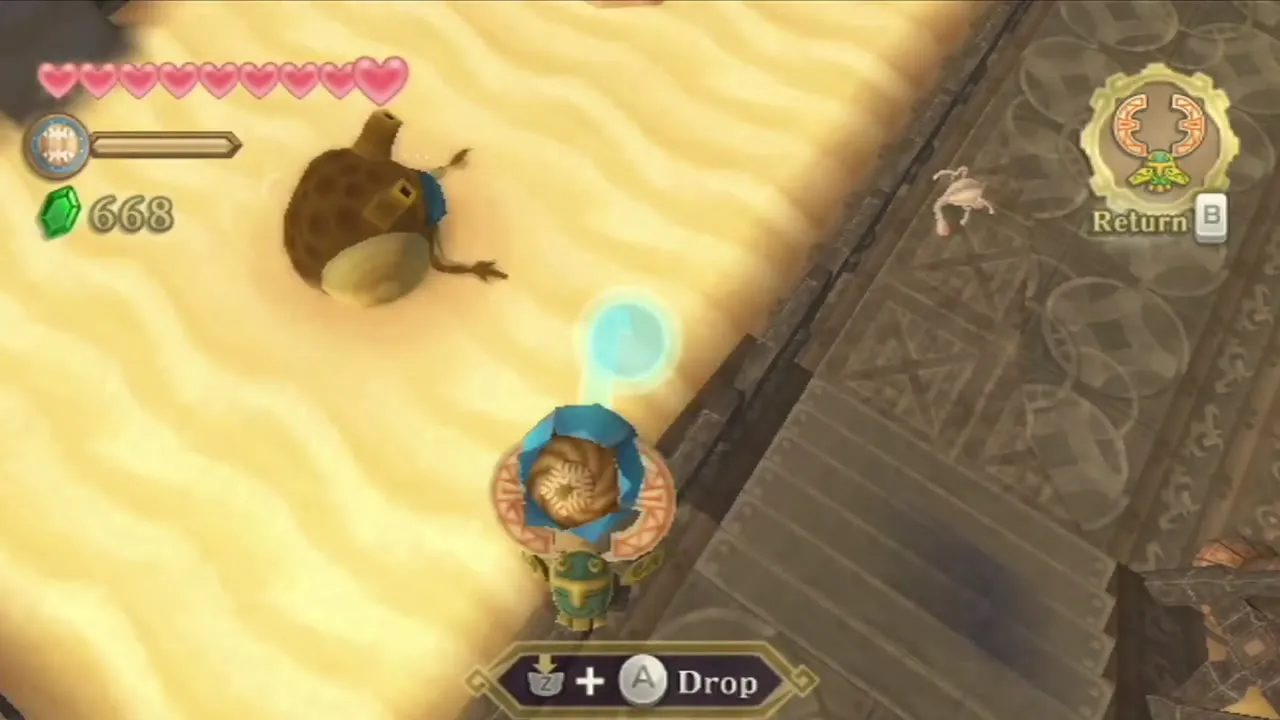
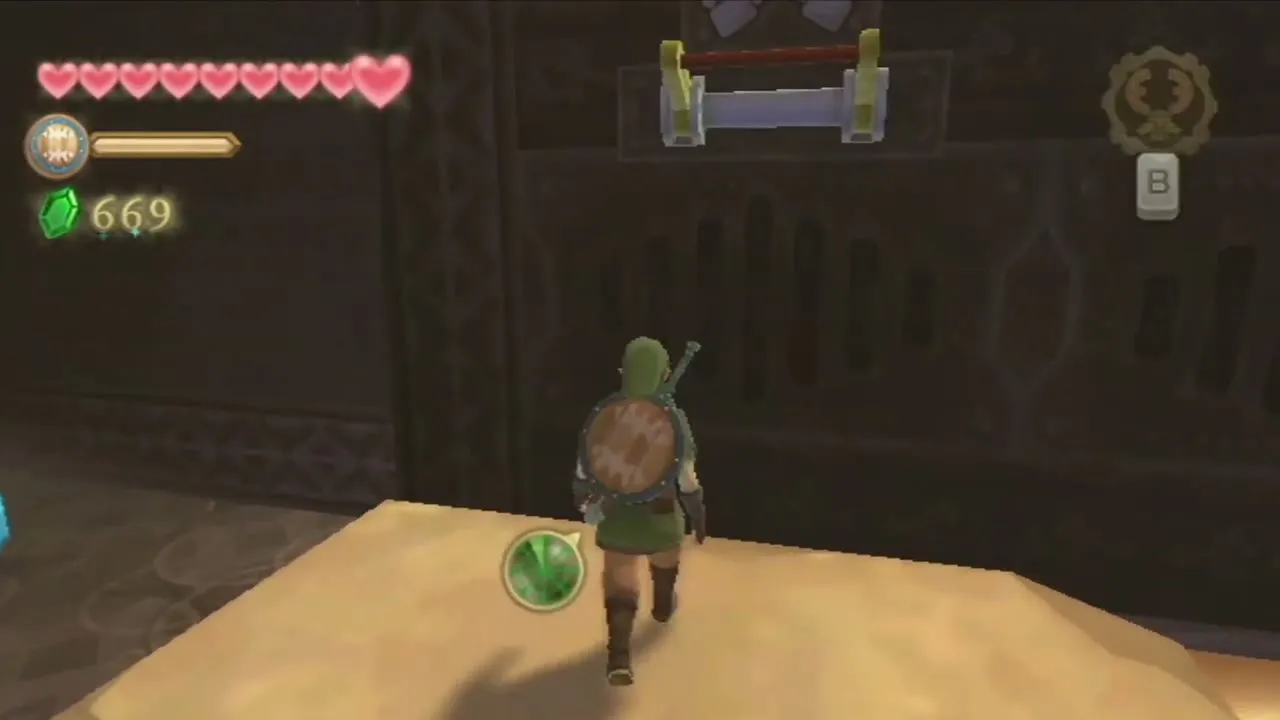
The north half of the hall is two sand pits, each guarded by an Electro Spume that dies when you drop a bomb on it with the Beetle. Once a pit is cleared, jump up at the switch on the far wall and grab it to open a door, then cross back. A lever in the corner lifts a cage and uncovers a chest with a Red Rupee. After that, take the door on the north side.
Small Key chest
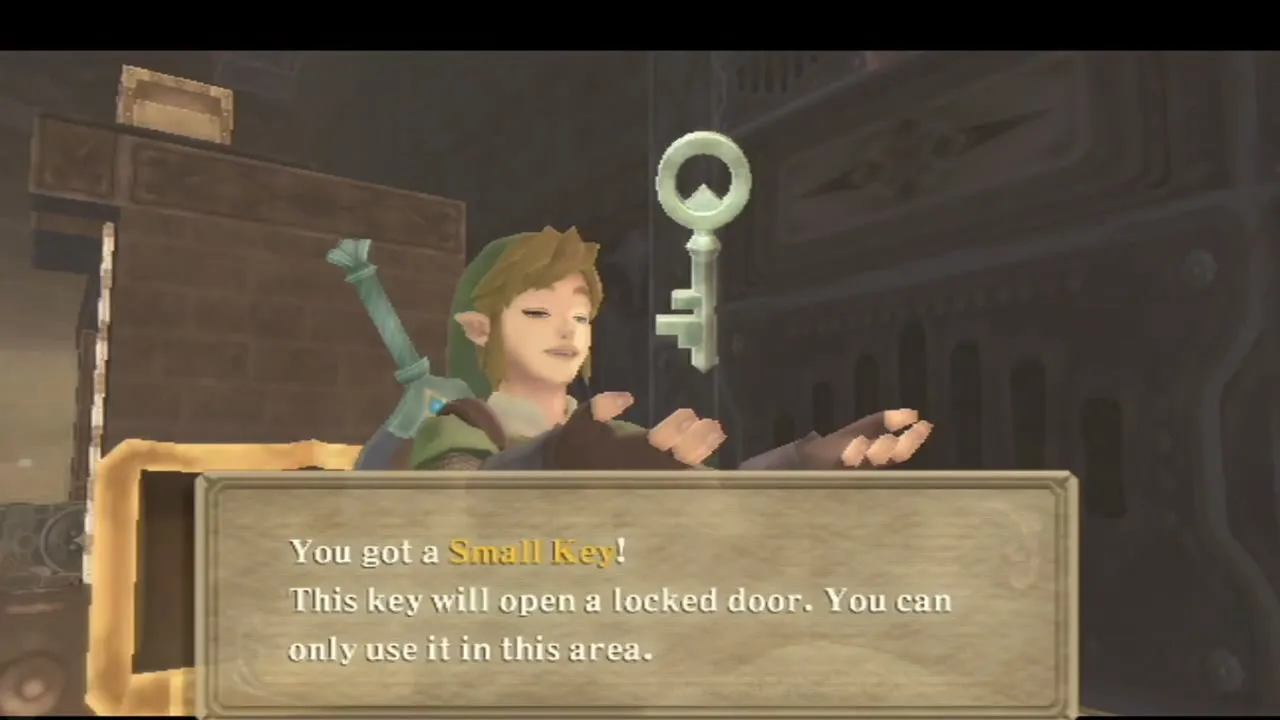
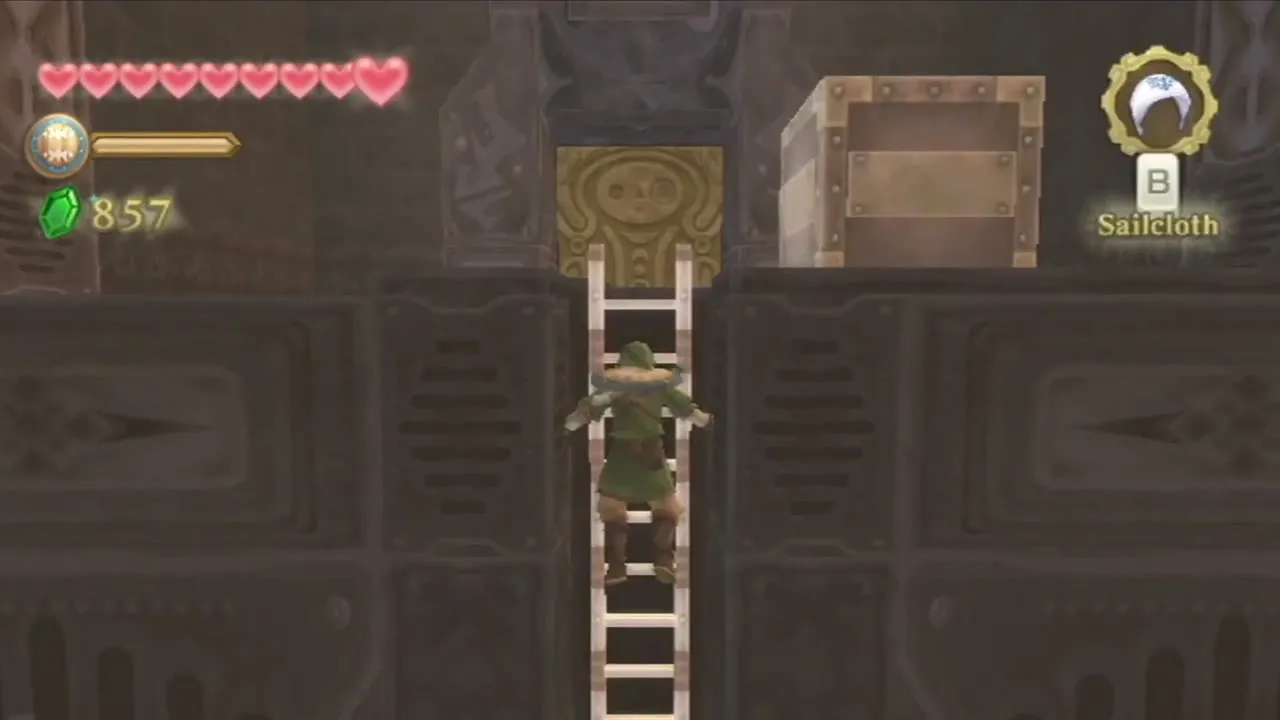
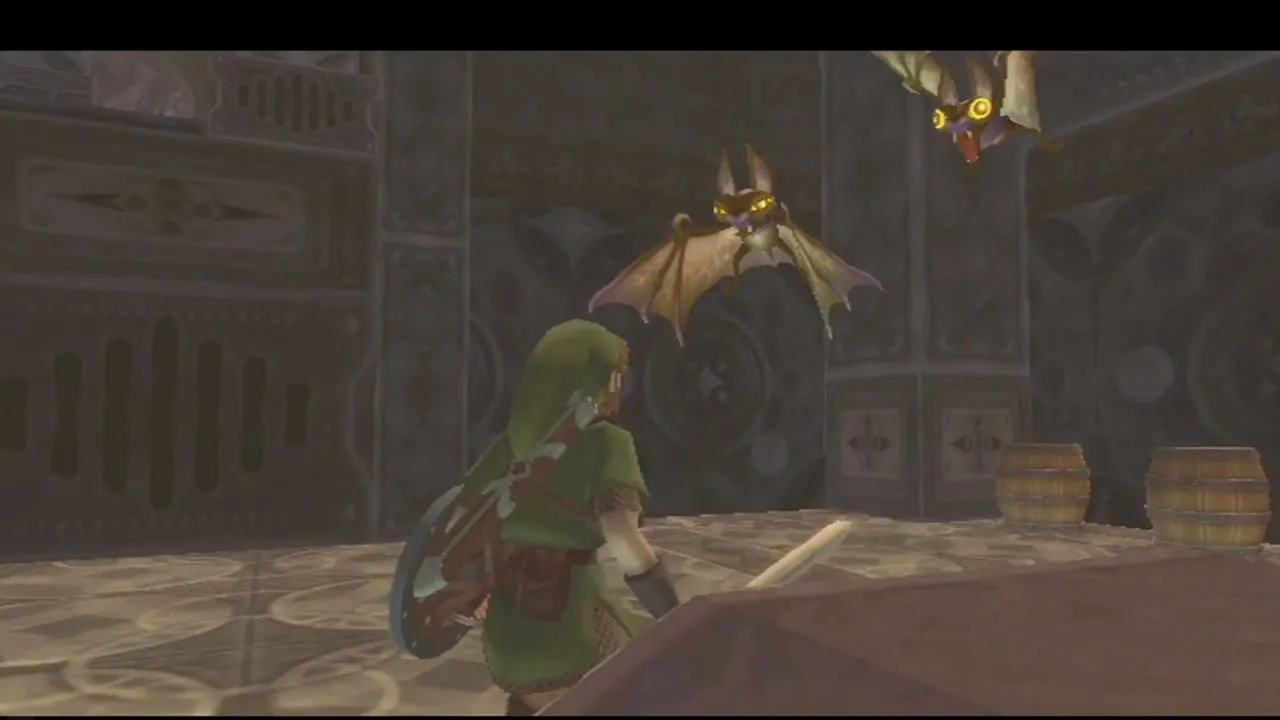
Past the door, use the Beetle to carry a Bomb Flower to the wooden crates that block the way and drop it on them, then dash-jump to the ledge and climb the ladder. At the top, Thunder Keese flap around you; their electric charge comes and goes, so strike them while they are not sparking. The chest at the top holds the Small Key. Drop back down, return to the previous room and open the locked door with the key.
Timeshift Stones and the Beamos room

How Timeshift Stones work
A Timeshift Stone is a glowing crystal. Hit it with your sword, a Slingshot pellet, a Beetle or a bomb and the area around it changes: machines whirr back to life, dust vanishes and conveyor belts or platforms start moving. Hit it a second time and everything reverts. Many puzzles in this dungeon rely on you switching a stone on at the right moment and keeping it on.

Froaks, the weight switch and the first stone
The room beyond the locked door brings the Froaks, spiked balls that bounce when hit and explode if they strike something. Knock one into a wall so the blast goes away from you, finish the Arachas, then climb the ledges. A wooden box blocks the top of a ladder; fly a bomb over with the Beetle and blow it open, then climb up and stand on the heavy switch there. It lowers the bars around a Timeshift Stone. Stay on the switch and hit the stone with the Beetle.
Beamos and the conveyor belts
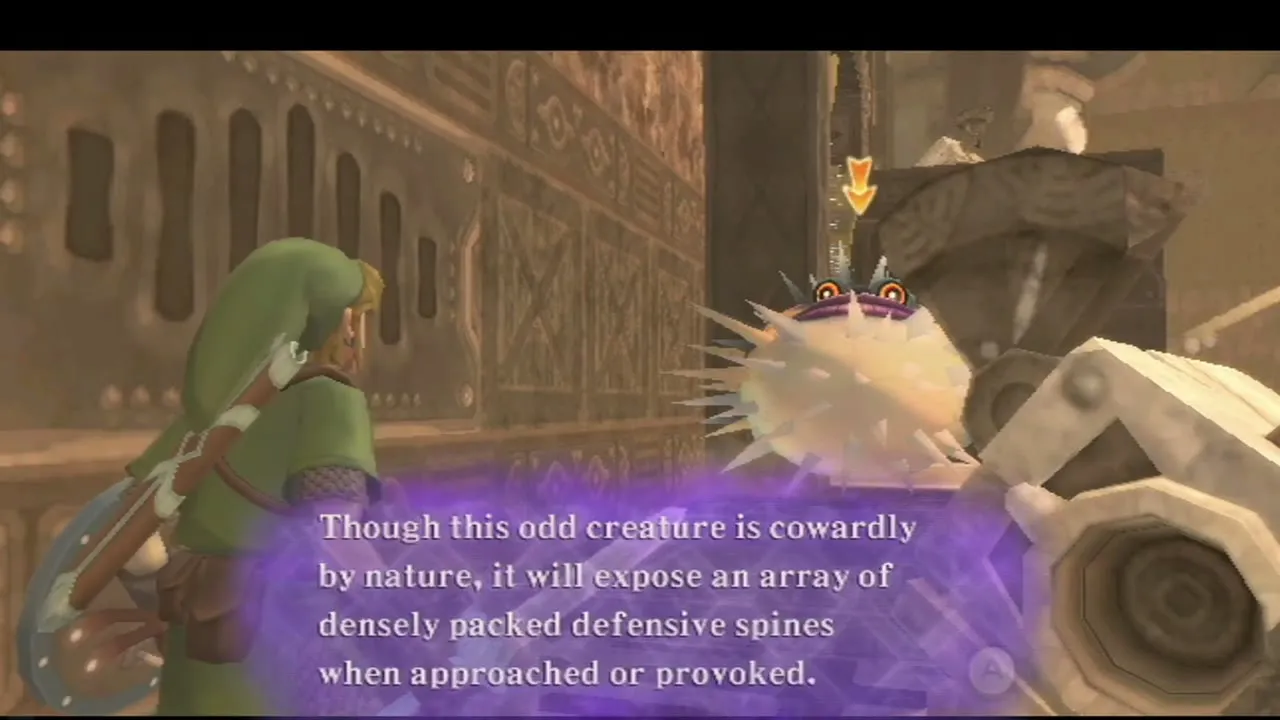
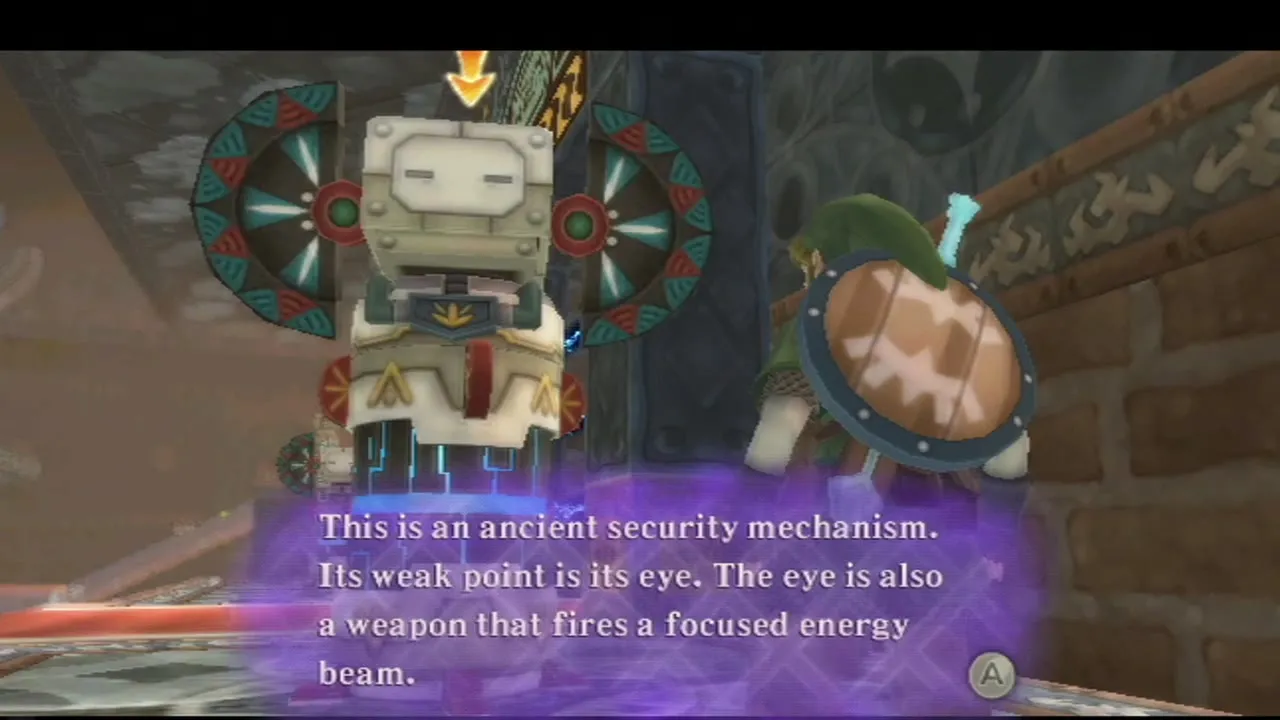
The room now shows its past, and tall Beamos statues rise from the floor. Creep up, slash across to make the head drop, then thrust into the eye, because they fire the instant they see you. A pair of fast conveyor belts runs below, and rocks fall along them. Run against the flow, picking up Stamina Fruit as you go, and take the ladder on the left to a chest with a Red Rupee. Upstairs, race up the belt with the fruit, destroy the last Beamos and pull the lever on the wall to open the door on the far side of the room.

How to get the Gust Bellows
Cross the east room
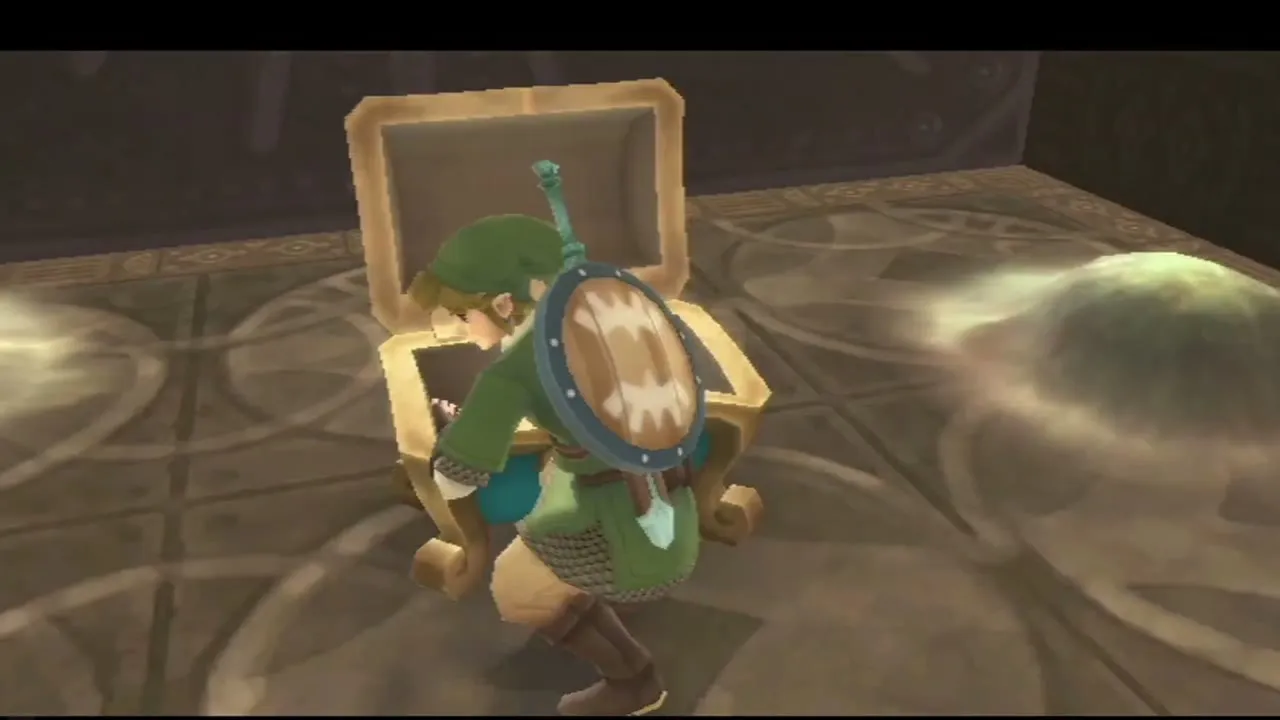
The next room is bigger, with spikes covering the ground. Drop down on the right and take the ladder to the platforms. Rocks block the way in places, so either whack a Froak into them or throw bombs. Cross the ledges toward the north end of the room, defeat the Froak that blocks the steps and open the big chest at the top. Inside is the Gust Bellows.
Using the Gust Bellows
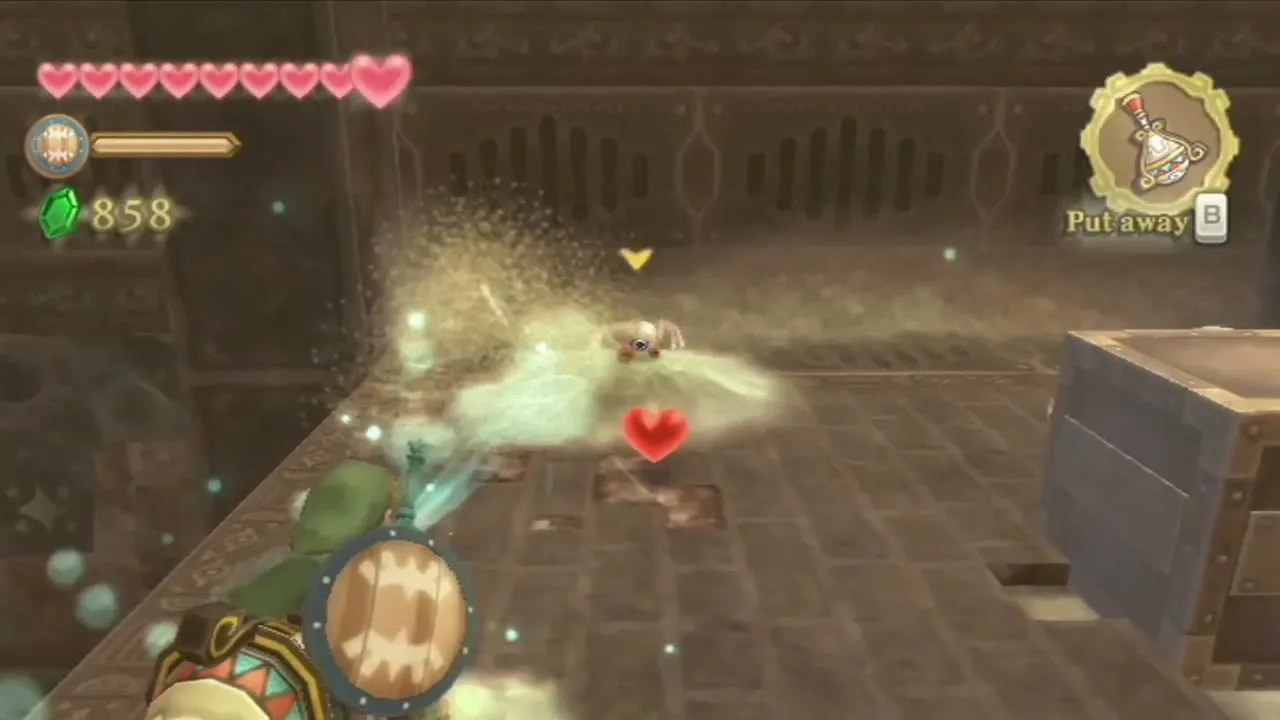
Open the item wheel, select the Gust Bellows and aim it at what you want to move, then blow with A. A steady gust clears dust and sand, spins pinwheels, stuns enemies, and pushes Froaks and Arachas around. If the pointer drifts off-centre, press + to centre it again. Hold your blast on a rail machine and it will slide a platform along its track.


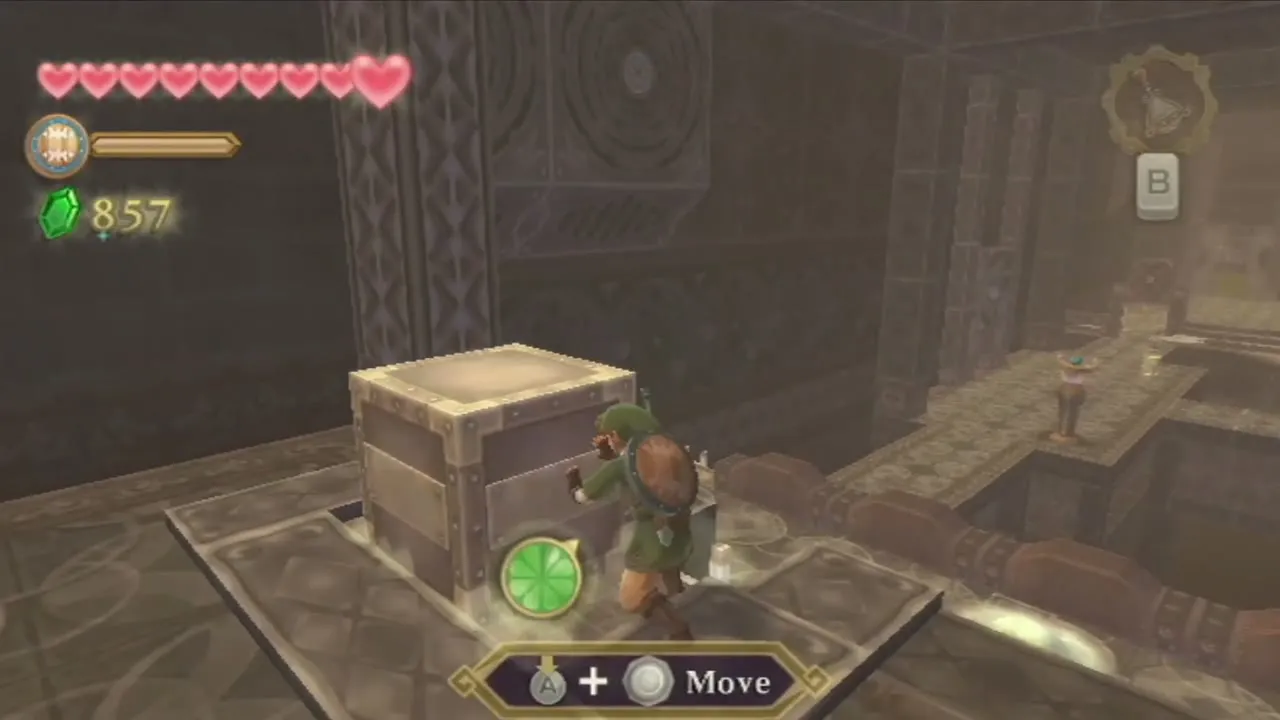
Drop down to the platform below and open the chest to the right for a treasure. Then jump to the southern platform, blow the Arachas off the ledge and bomb the pile of rocks that blocks it. Push the steel box at the end of the ledge off the edge to build a shortcut for later, then climb the ladder and clear the sand piles to reach the next door.
West rooms, rail platforms and the Monster Horn
The dust room and the floor switch
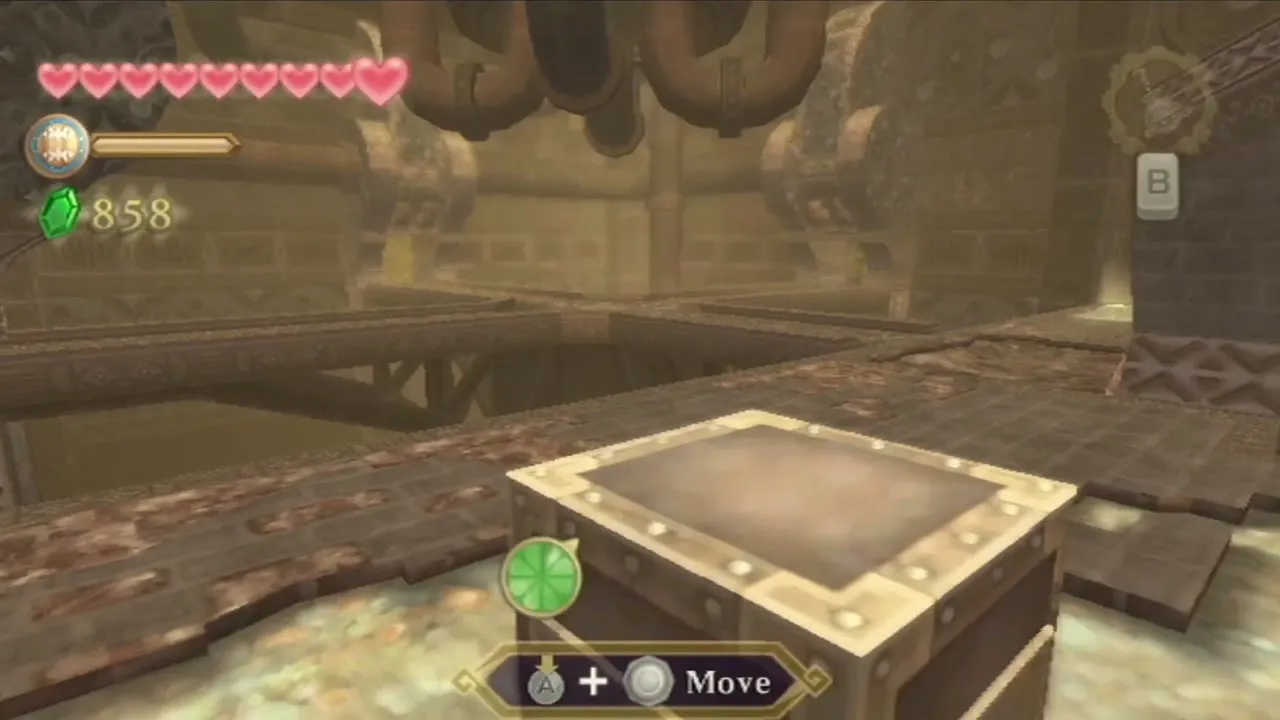
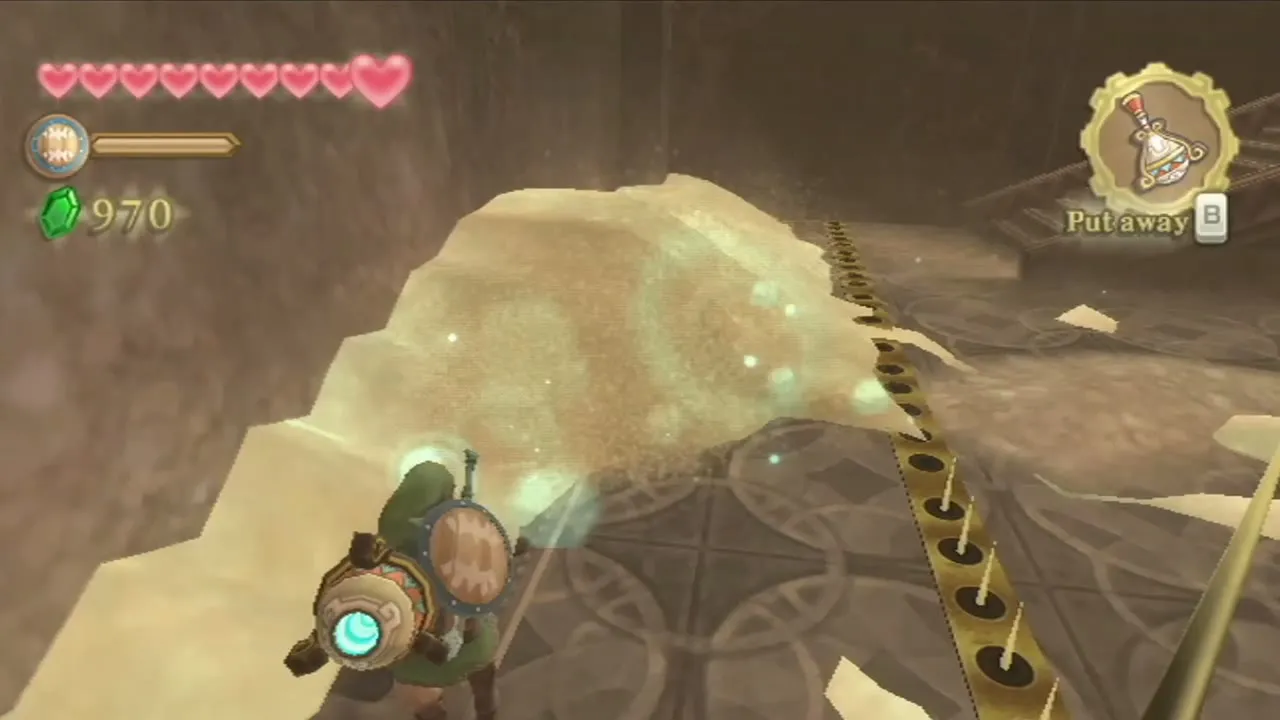
In the great room beyond, blow the dust piles away to uncover a floor switch. It will not stay down by itself, so clear the dust from a nearby box and push the box onto the switch. The west door then opens. Blow away dust piles with the Bellows anywhere you see them; they hide Rupees and treasure.

Sand platforms and the second stone
Fight the Arachas and Froaks in the sand room and cross the sand platforms to the south-east corner. Blow away the dust to reveal another Timeshift Stone and hit it. The room reverts to its working state and a rail platform appears. Hop onto the nearby platform and blow on the machine to slide it along the rail, then blow on the pinwheel above the barred door to open it.
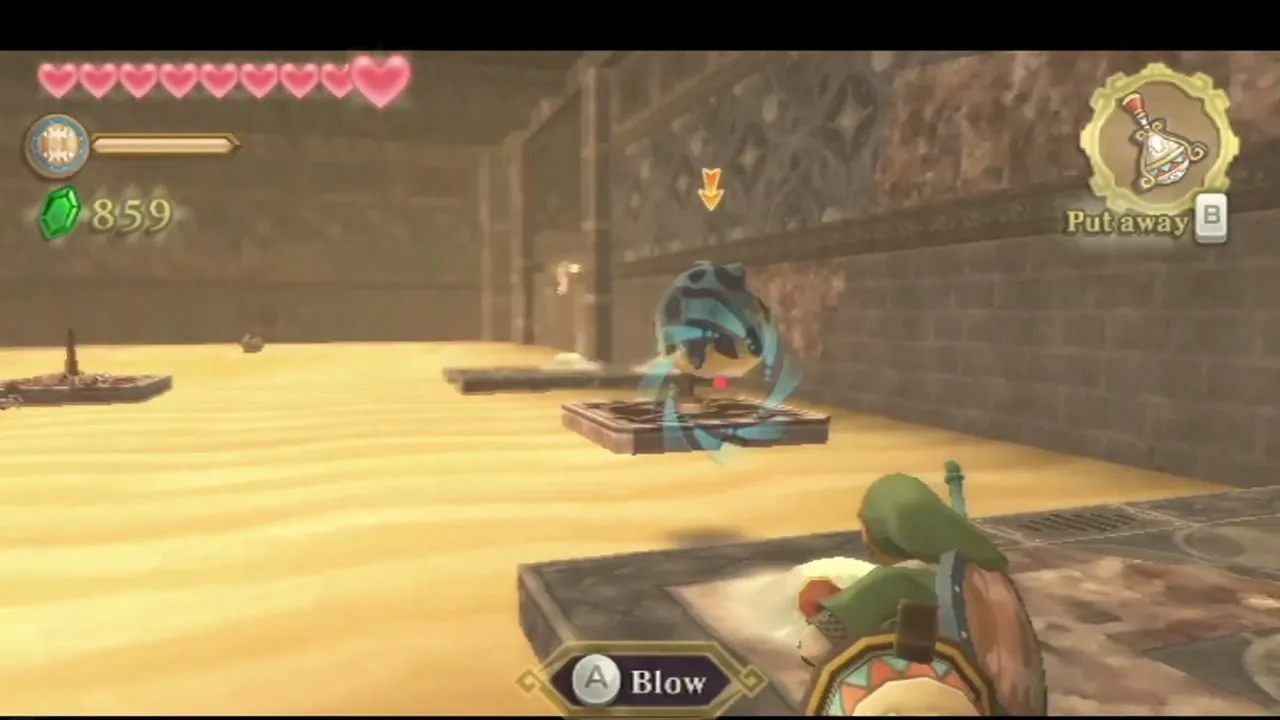

Sentrobe
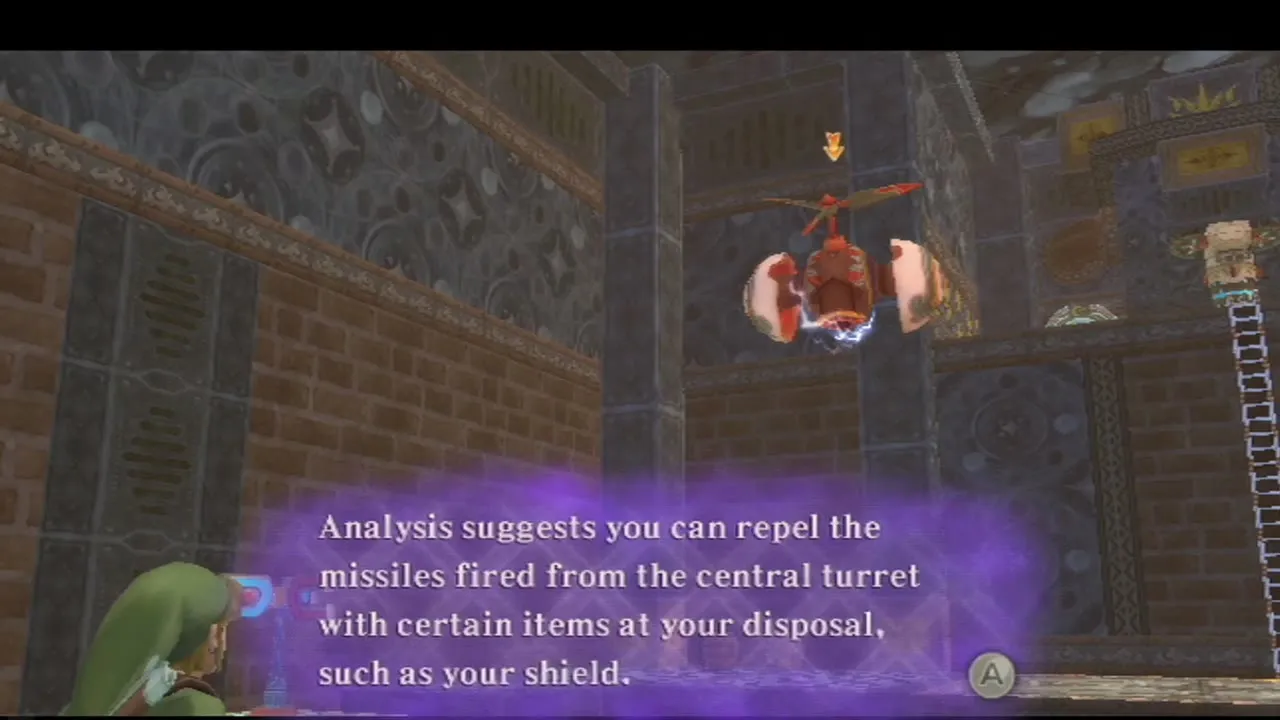
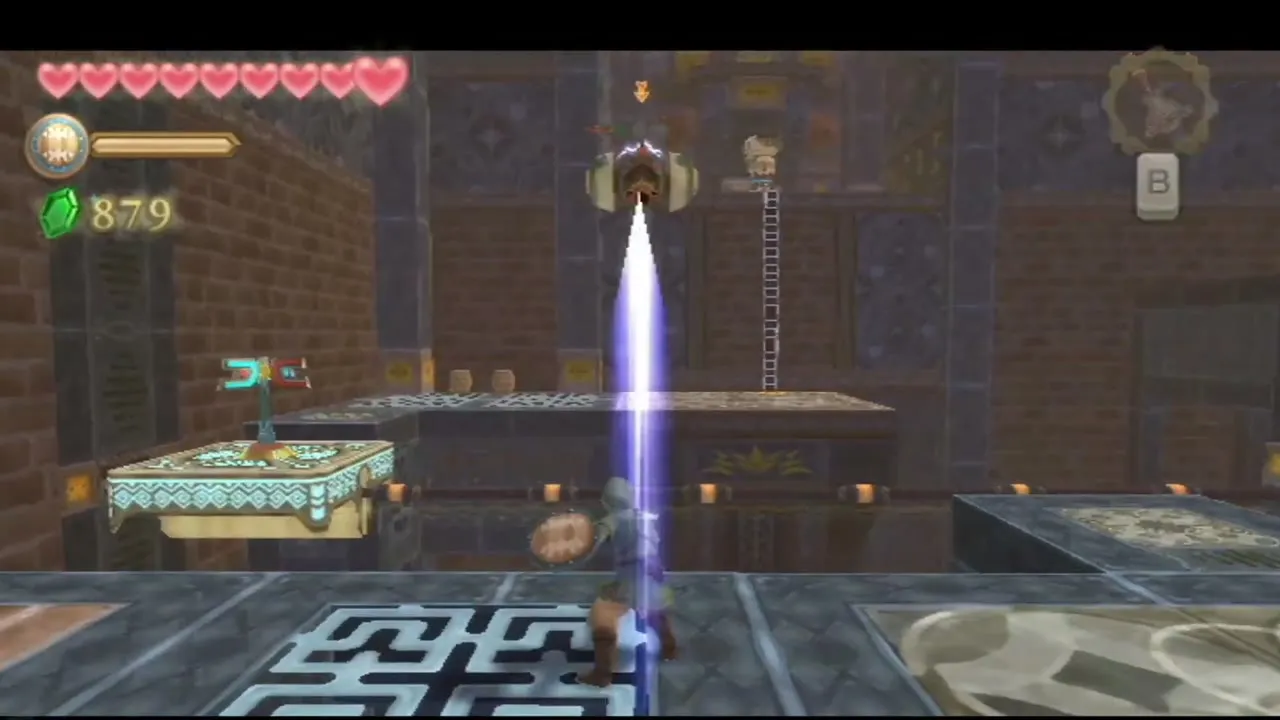
Beyond the door a Sentrobe wakes. It fires missiles at you, so bash them back with the shield (shake the Nunchuk) and it releases two Sentrobe Bombs. Slash each bomb in the direction its opening points, horizontally or vertically, and finish by deflecting one more missile into the machine. Afterward, blow the turning machine on the west wall to drag a platform to you, jump on and keep blowing it along its rail to a chest holding a Monster Horn.
Staldra and the first Armos
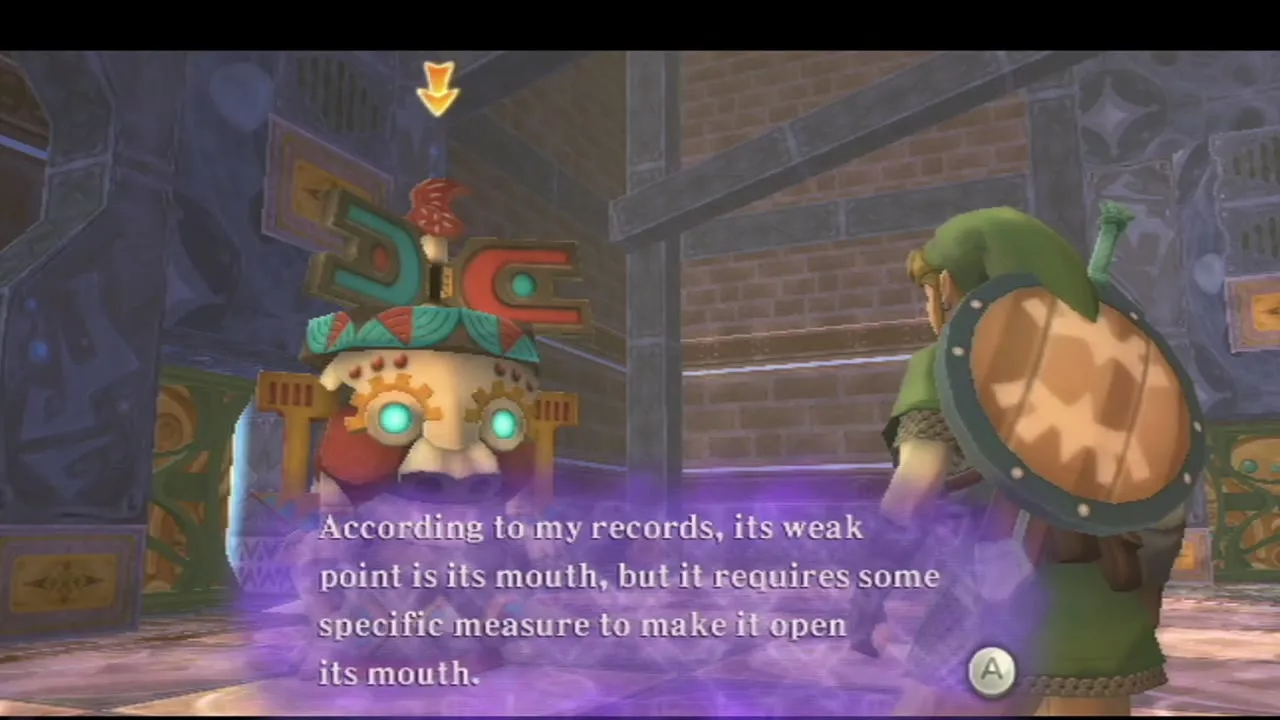
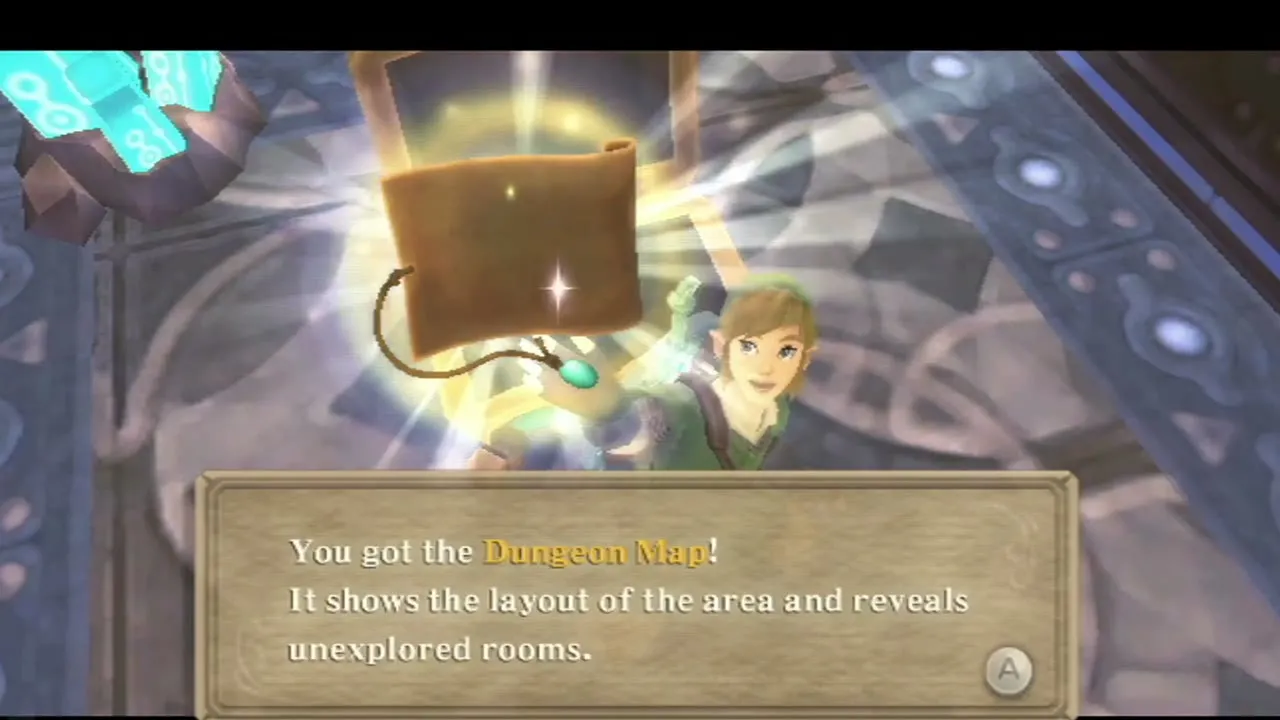
Follow the rail west, climb the corner stairs, defeat the Beamos and blow the corner pinwheel to open the next door. A Staldra attacks in the next room. Clear the sand from the metal box, push it across the sand to the higher platform and climb. Behind a gate you find another Timeshift Stone; hit it with the Slingshot to wake an Armos. Blow into its spinning top until its mouth opens and reveals a crystal, then slash the crystal. Repeat, using a thrust the second time. Jump to the higher platform and open the chest for the Dungeon Map, then take the east door back to the main room.
Shortcuts, crawlspaces and minecarts
The east gate and the crawlspaces
Step on the floor switch east of the main room to open a shortcut gate. Follow the safe route marked on your map across the quicksand, destroying the Electro Spume on the way. Blow the dust off the west wall to open a crawlspace; the chest at the end holds a treasure. In the second dust mound, crawl through the maze by going left, right, straight, right, left, right, right, left. Drop into the spiky dust room, clear the dust to find the safe path, and open the chest in the north-west corner for a Red Rupee. A floor switch south of the north staircase unlocks the door back to the main room.

Minecart rides
The main room has three carts on rails, each covered in dust. Blow a cart clean to reveal a Timeshift Stone on it, hit the stone and follow the cart along its track as it carries on. Hide behind it from Beamos lasers and kill any Beamos that sit on the rail. On the first ride a Sentrobe also wakes up; beat it and blow its pinwheel to open the gate. On the second ride a Beamos appears to the right, so jump off and cut it down. When the rail ends, strike the stone twice to send the cart back the way it came, and get off by the opened door that leads east.


Bomb statues and the three crystals
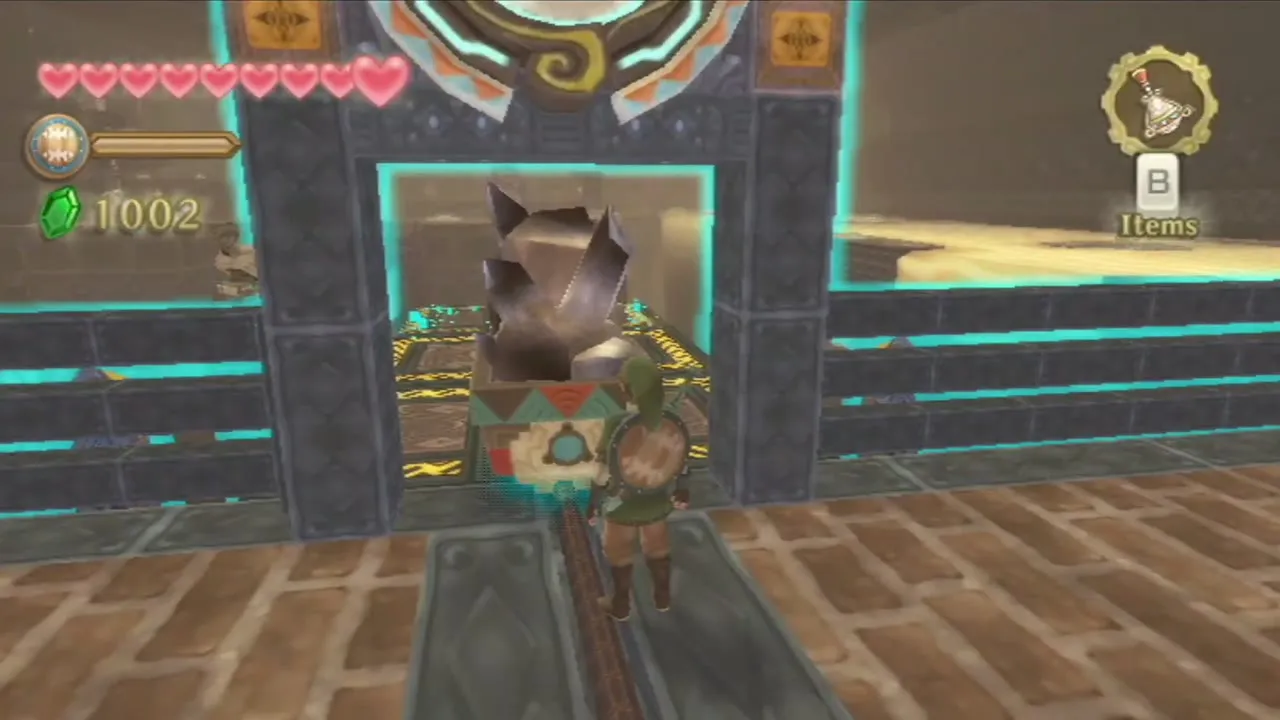
In the east room, dodge the wind gusts, climb the wall and clear the Thunder Keese. Bomb the two statues on your right, cross the fallen stone and blow the sand pile to find the third Timeshift Stone here. Defeat the Beamos, dash across the moving platforms and pull the lever. Blow the machine to ride across, bomb two more statues to reveal a clue to an upcoming puzzle (the order of the switches), and push the steel block on the northern platform to rebuild the stairs. In the north-east corner, bomb the three statues against the east wall to uncover three diamond switches. Hit them in this order: the one nearest the north end, then the south one, then the middle. The northern gate opens.
Armos room and Ancient Circuit
Equip the Gust Bellows before you walk in. Two Armos are each trapped inside a ring on the floor, so you fight them one at a time. Blow into each top, slash the crystal in the mouth and move on to the other. A chest in the room holds the Ancient Circuit, the part that opens the boss door.

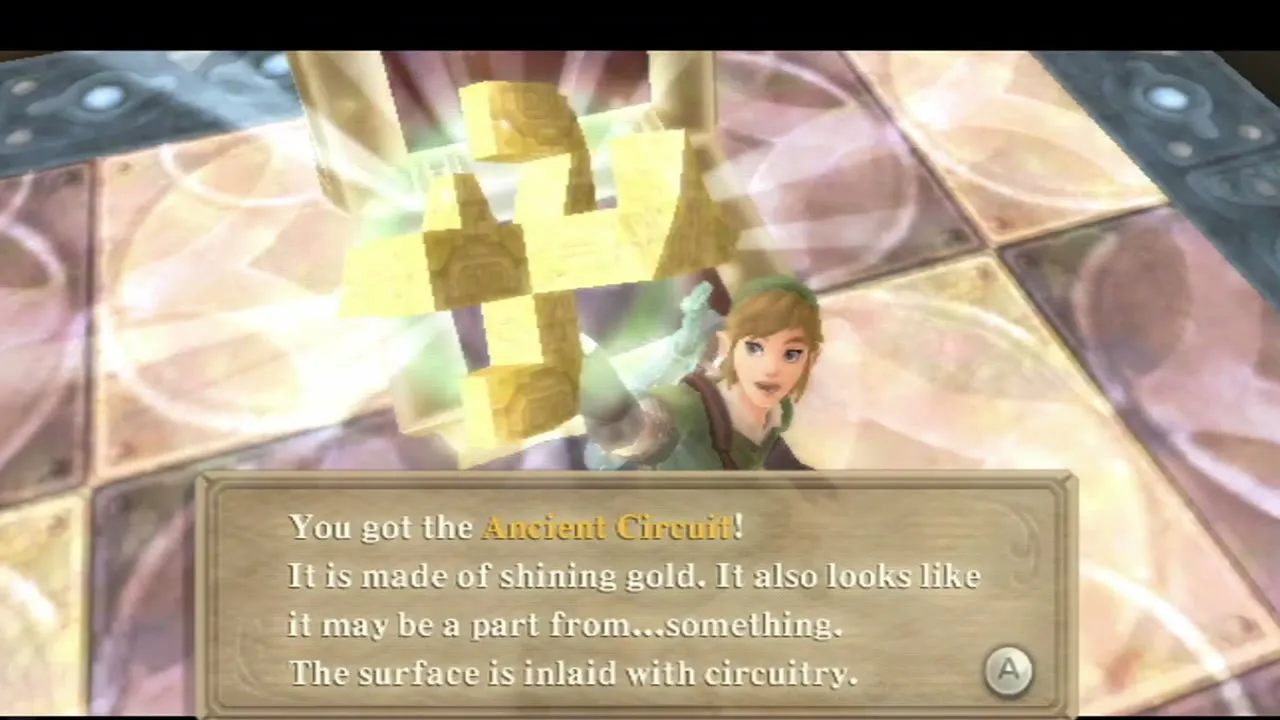

Return to the main room
Turn left, drop down, cut down a Beamos and cross the moving platform to the door that just opened. Wind along the wall pushes you back; walk in place while it blows, then run when it stops. This brings you back to the main room. The last Timeshift Stone is on the final cart. Hit it with the sword. No new platforms appear this time, so jump onto the rail platform and follow the cart with the Gust Bellows.

Insert the Ancient Circuit at the boss door
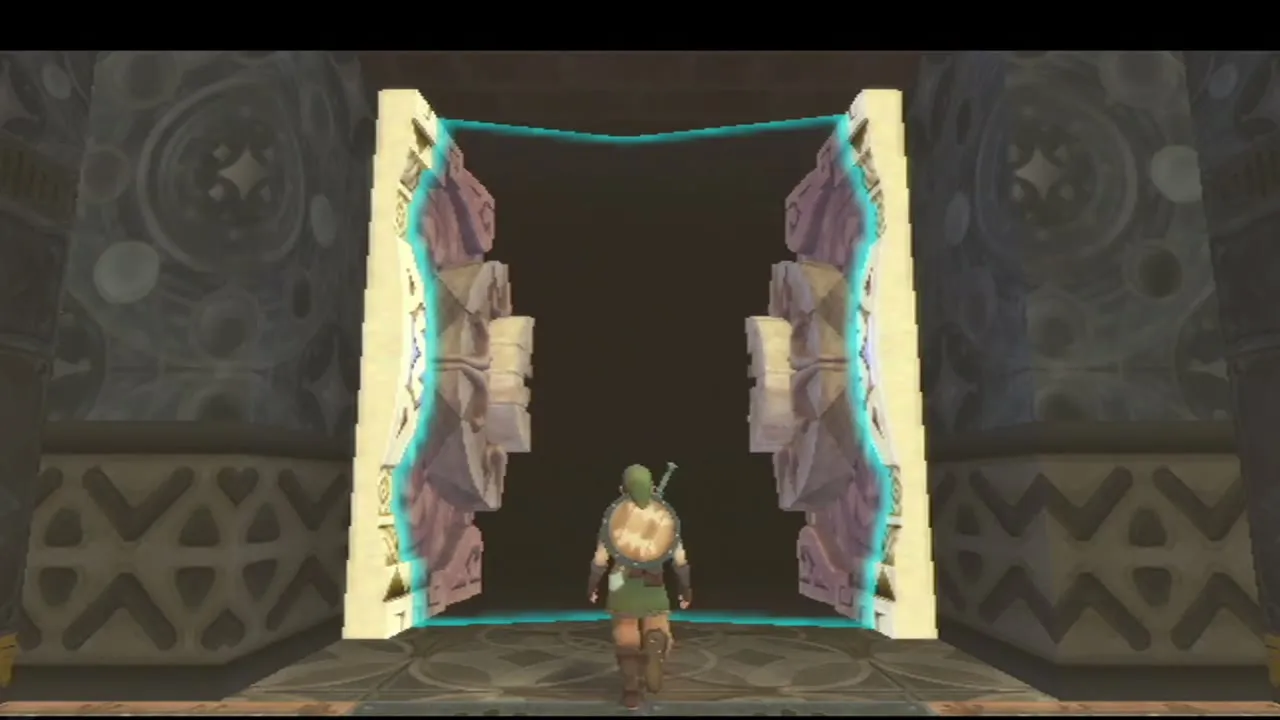
Save at the Bird Statue in the north-west corner and smash the barrels beside it for hearts. Line the Ancient Circuit up with the lock on the boss door and it slots into place, and the big doors open. There is no Boss Key in this dungeon.
Moldarach boss fight
Phase 1: the claws
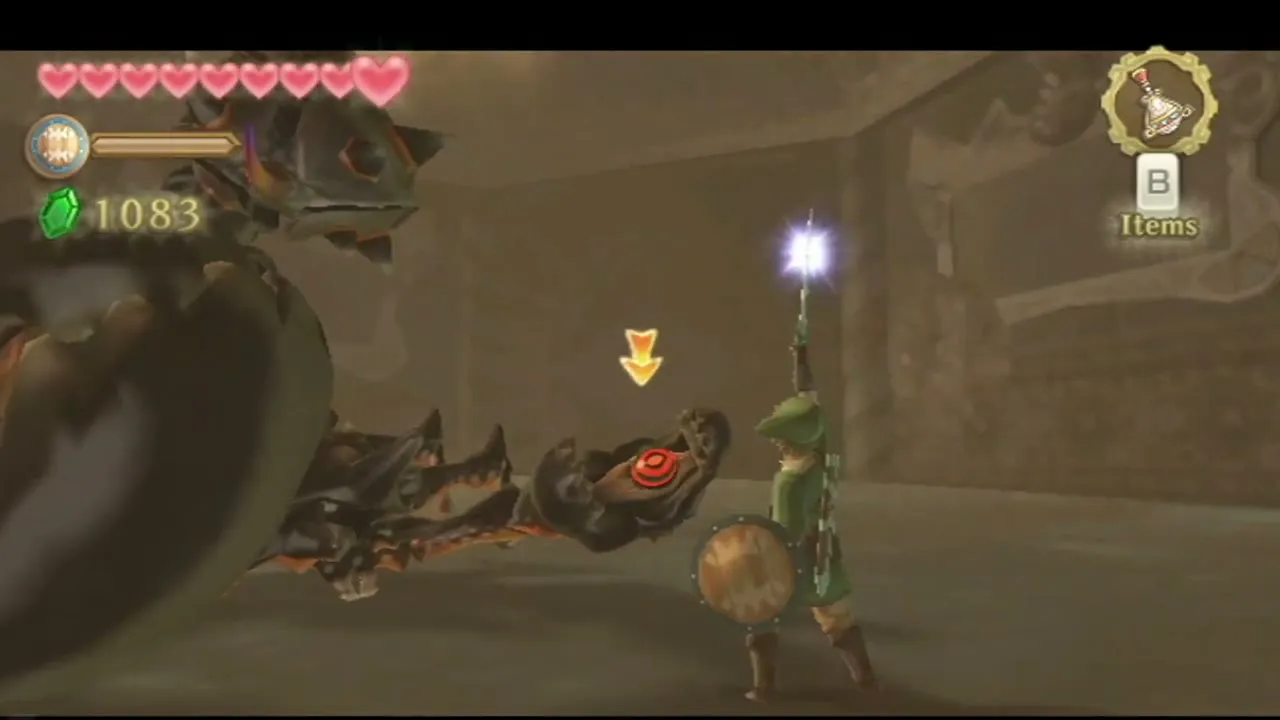
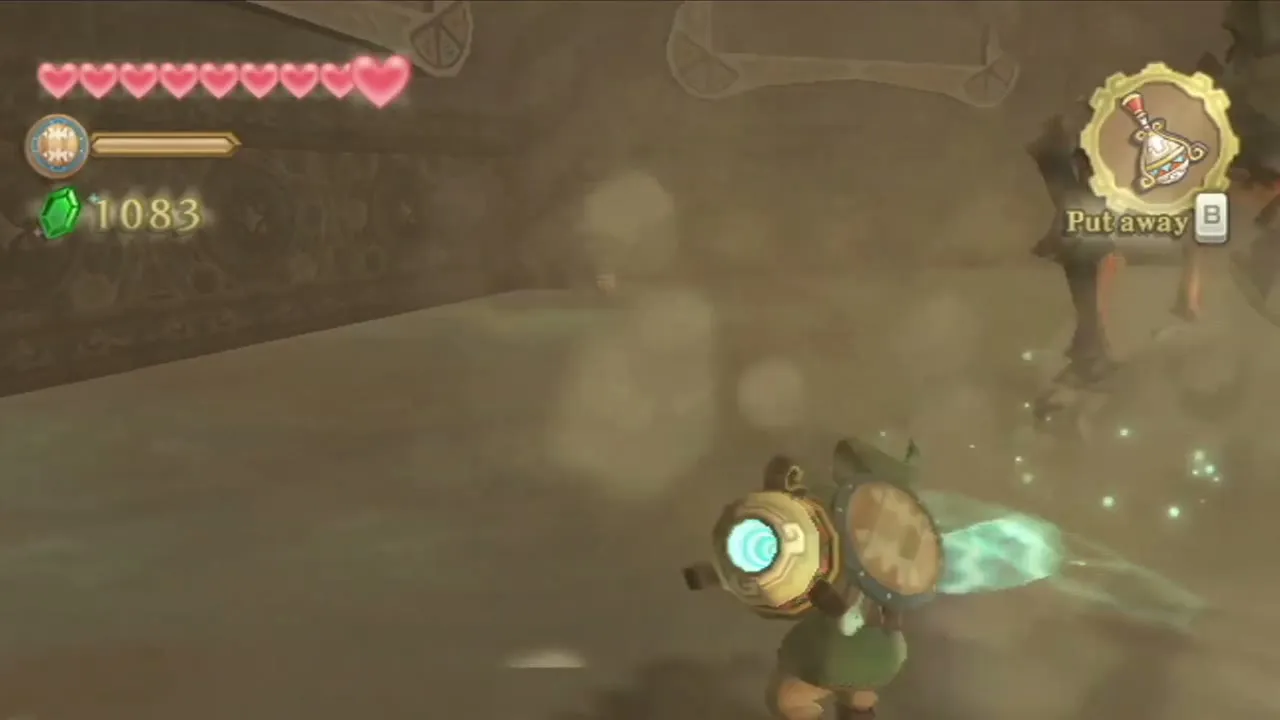
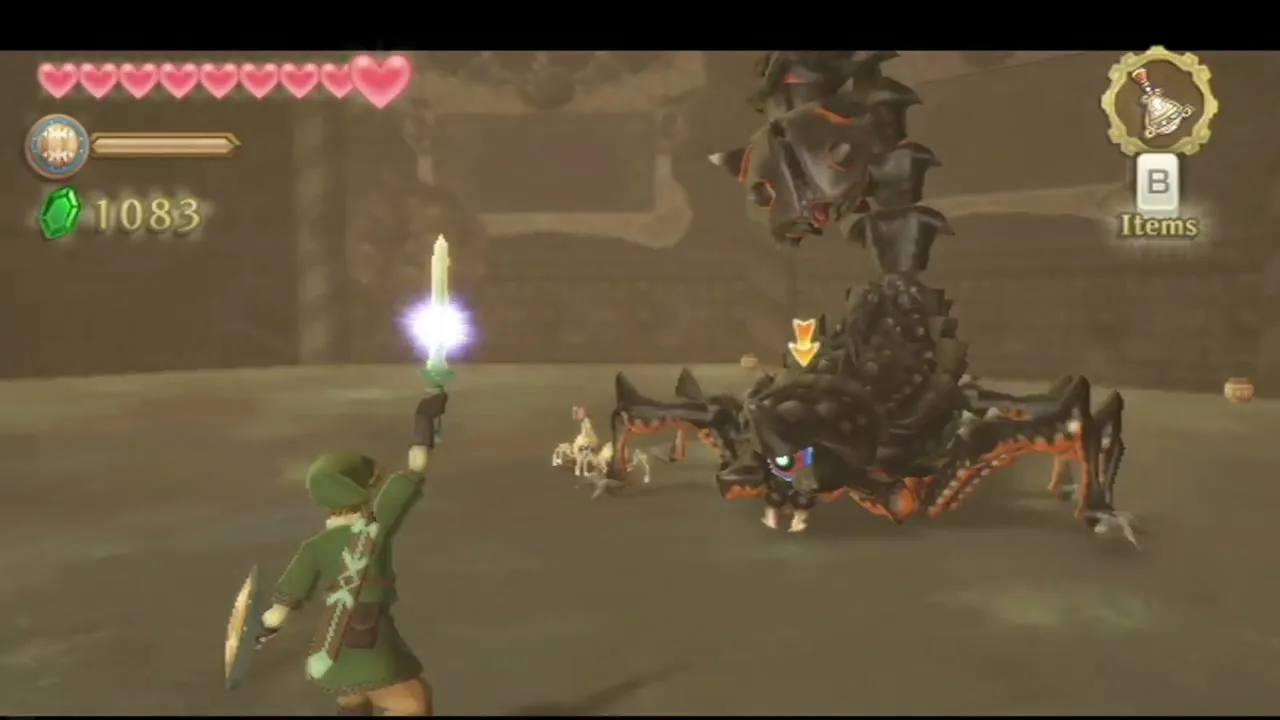
Moldarach bursts out of the sand as a giant scorpion. Each claw has a weak eye that you must hit with a slash in the opposite direction to the way the claw is guarding, and the claws change direction as they swing, so keep moving and re-aim. When the eyes turn red, a pincer strike is coming, so back off. If a claw grabs you, shake the Wii Remote to break free. After enough hits the claws drop off and an eye appears on the body; thrust straight into it. Moldarach then burrows under the sand.
Phase 2: the buried body
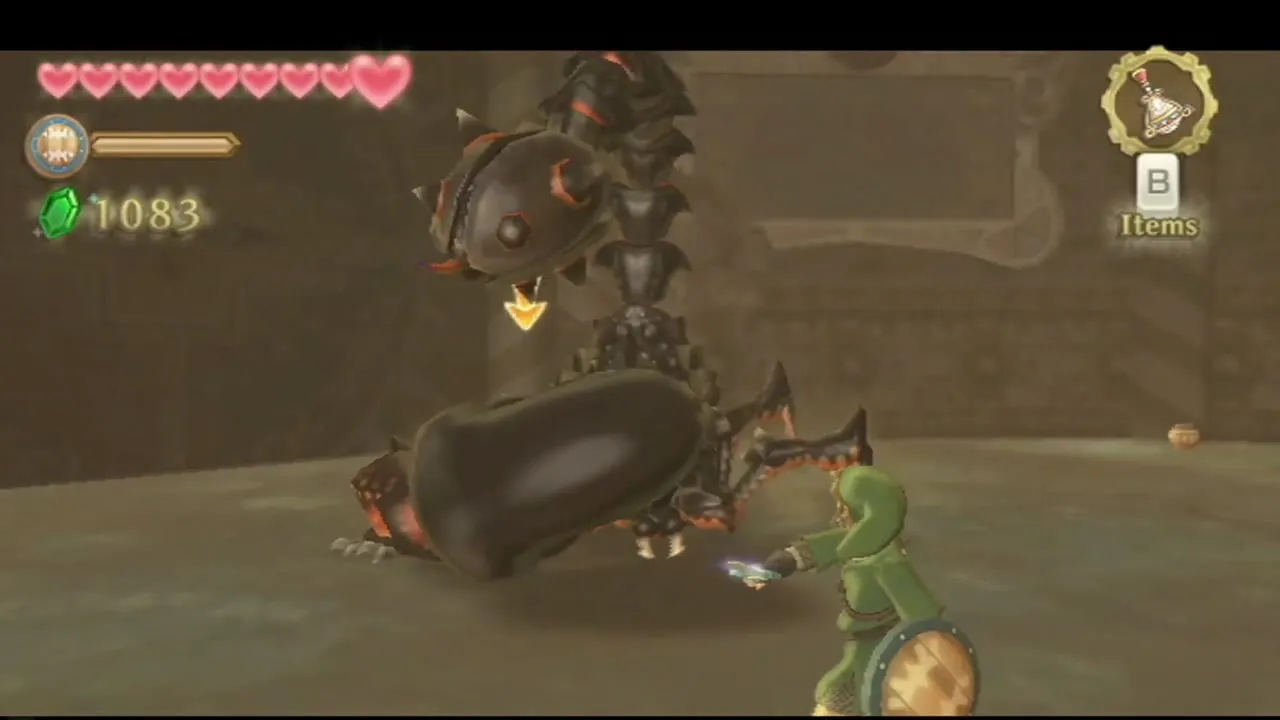
Quickly equip the Gust Bellows and blow the sand away until Moldarach comes back up. Once it surfaces, hit it with a few more direct sword strokes until it falls, thrusting at its eye when it turns red as it charges its stinger.
Heart Container
After the fight, hearts drop and the sand drains from the room and the Heart Container appears. Take it for a new heart and a full refill. Then leave through the door.

Temple of Time and the Goddess’s Harp
Minecart to the Temple of Time
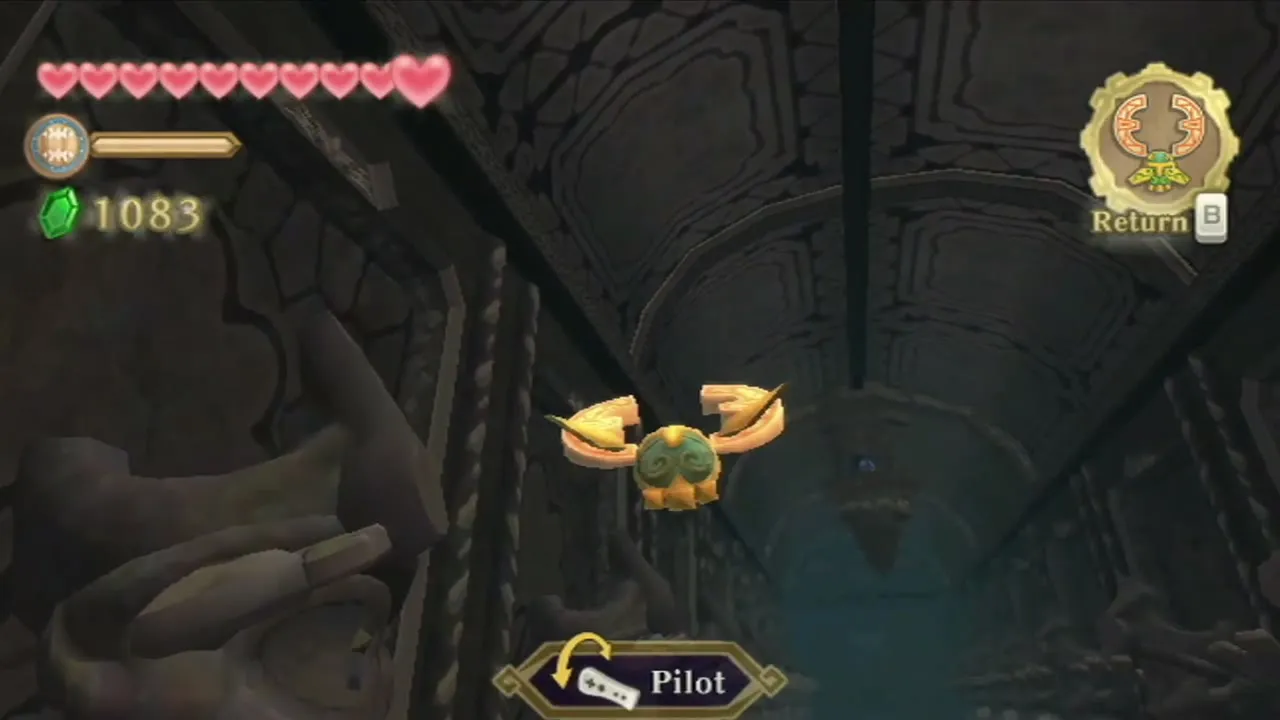
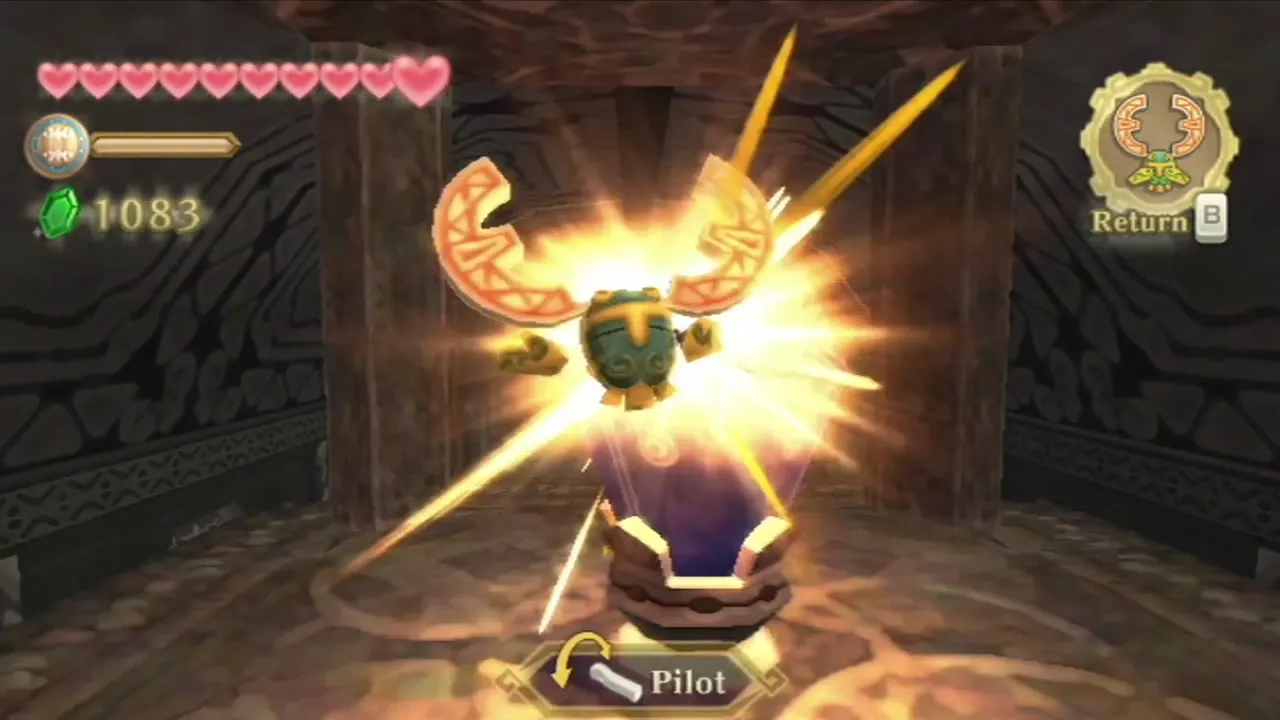
Beyond the door, fly the Beetle up and strike the Timeshift Stone near the ceiling. A minecart appears on the rail; get in and ride it across the room. Climb the stairs at the end of the hallway to reach the Temple of Time.
Zelda, Impa and the Goddess’s Harp
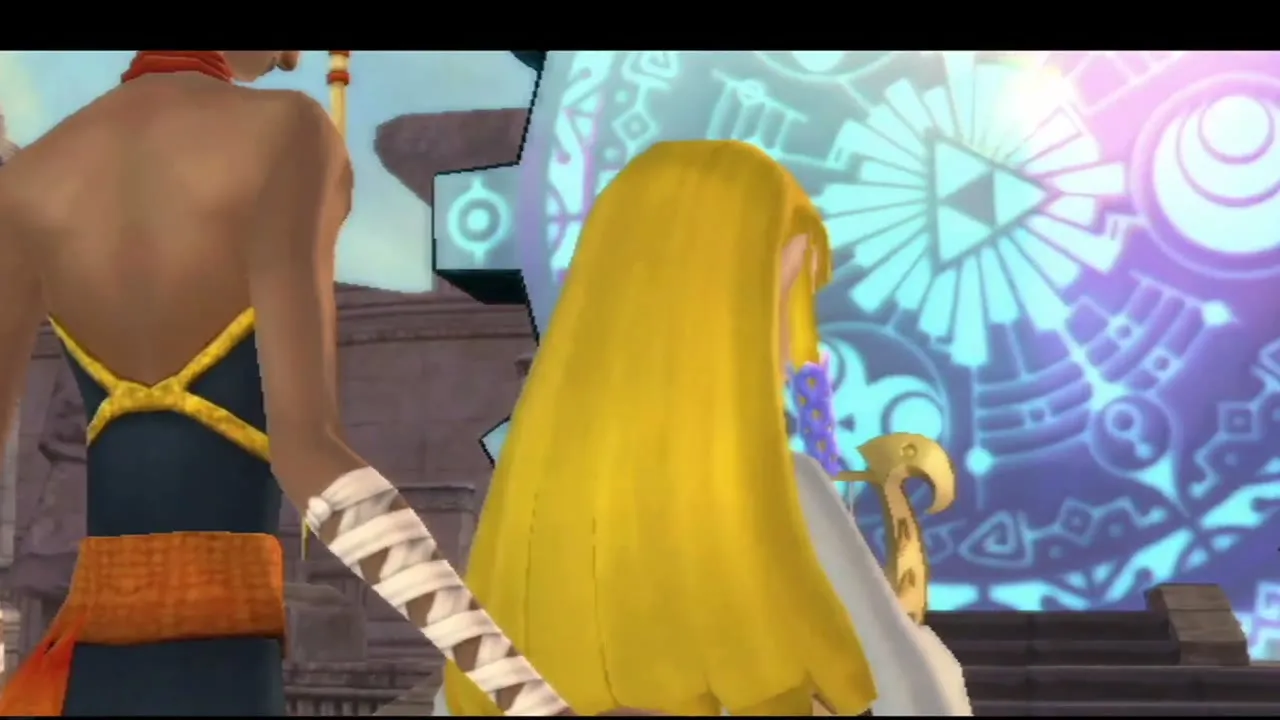
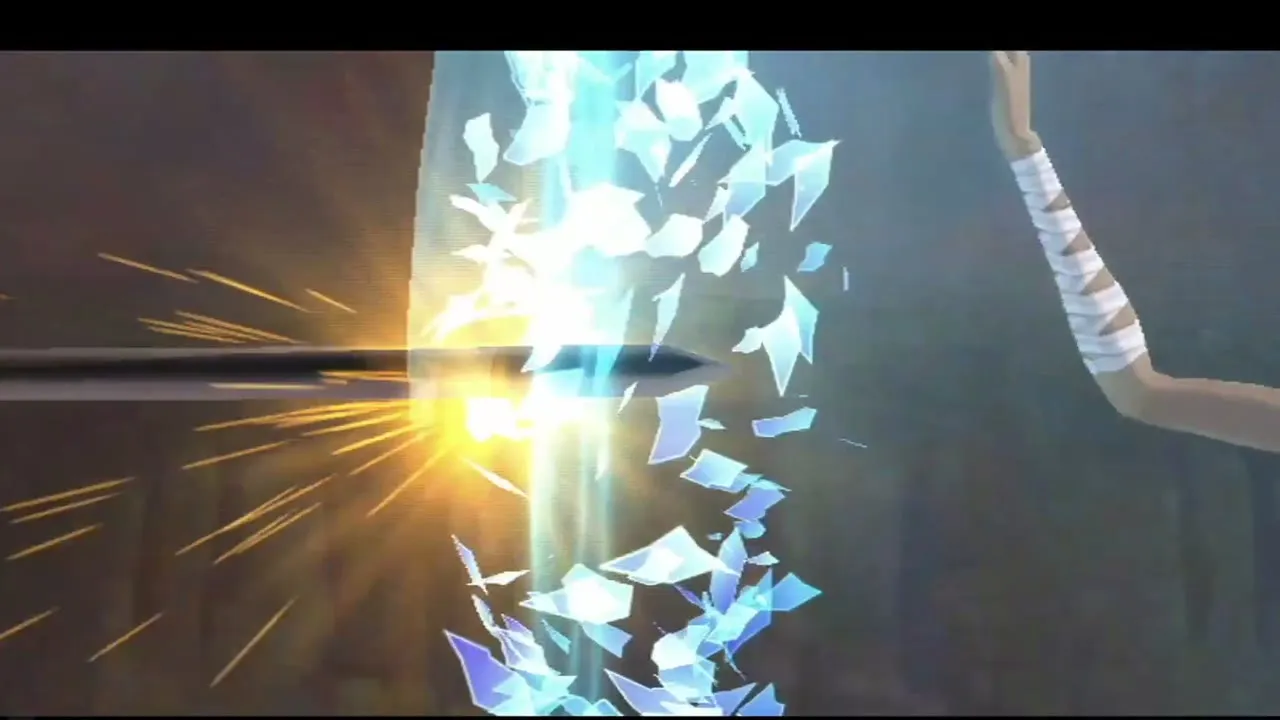
Zelda is inside the temple, with Impa guarding her. Ghirahim arrives and attacks. Zelda entrusts the Goddess’s Harp to you, then she and Impa escape through the Gate of Time, destroying it behind them. Impa tells you to seek out the old woman in the Sealed Grounds, and the Harp is how you will play the songs the Goddess left behind.

Missed collectibles and what comes next
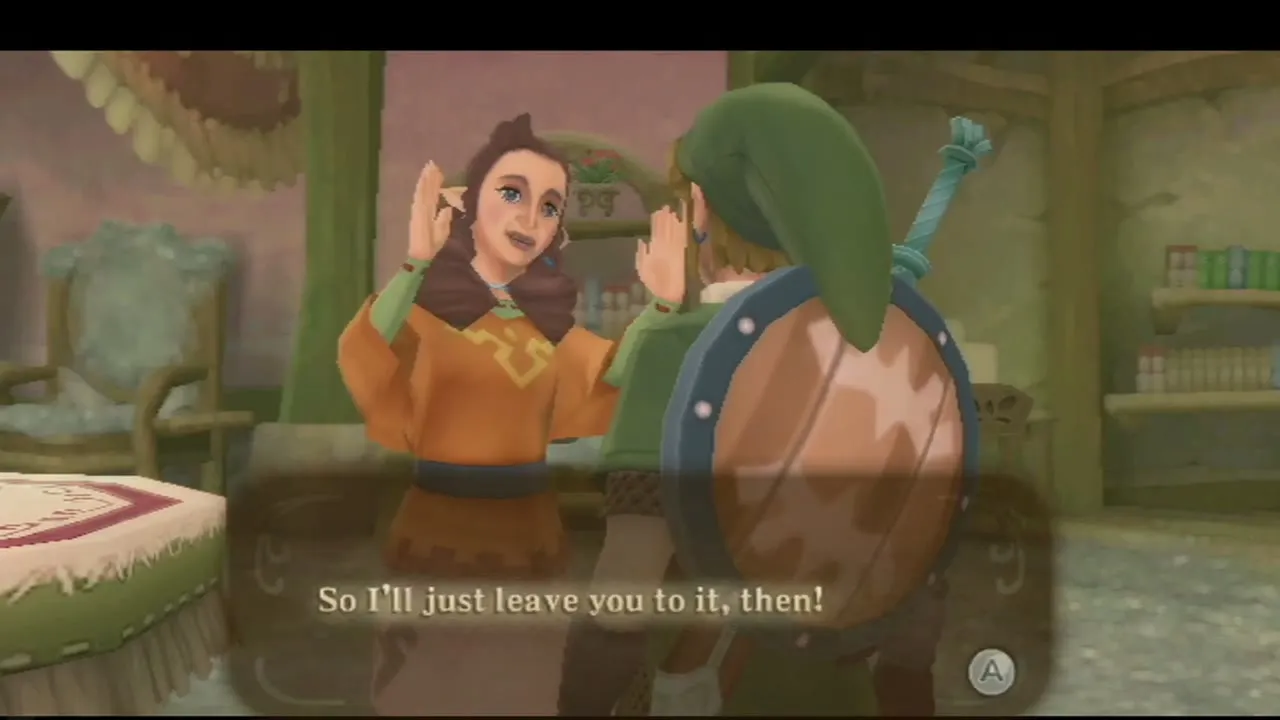
The Gust Bellows opens a few errands. In Skyloft it unlocks the Gratitude Crystal quest to clean Mallara’s house (see the Gratitude Crystals page). Fledge’s potion quest also becomes available. The Goddess Cube in the desert southwest of the Facility needs the Clawshots to reach, which you get from Nayru’s Silent Realm; the Goddess Cubes page lists it. This dungeon has no Piece of Heart and no Goddess Cube of its own.


Chapter checklist
| Collectible | Type | Where |
|---|---|---|
| Bird Statue (entrance) | Save point | Inside the entry hall of the Lanayru Mining Facility |
 Red Rupee | Chest | Cage chest in the entry hall, opened by the second lever |
 Small Key | Key | Chest at the top of the ladder in the Thunder Keese room |
| Red Rupee | Chest | Chest on the ladder side of the Beamos conveyor room |
 Gust Bellows | Dungeon item | Big chest at the north end of the east room |
| Treasure | Chest | Chest on the platform below and to the right of the Gust Bellows chest |
 Monster Horn | Treasure | Chest at the end of the west-wall rail in the Sentrobe room |
 Dungeon Map | Map | Chest on the higher platform beyond the first Armos |
| Treasure | Chest | Chest at the end of the first crawlspace |
| Red Rupee | Chest | North-west corner of the spiky dust room |
| Ancient Circuit | Key item | Chest in the two-Armos room |
| Bird Statue (boss door) | Save point | North-west corner of the main room, before the boss door |
 Heart Container | Heart Container | Boss room after Moldarach |
 Goddess’s Harp | Item | Zelda, Temple of Time |
With the Harp in hand, head back to the Sealed Grounds to meet the old woman in the next chapter, The Goddess’s Harp, The Imprisoned and the Isle of Songs.
