





















Skyward Sword 100% Completion Walkthrough18 chapters
- Skyview TempleSmall keys, the Beetle, the Golden Carving door, the Ghirahim boss fight, the Heart Container and the Ruby Tablet.
- Earth TempleGet the Bomb Bag from Ledd, carry the Dragon Sculpture, beat Scaldera and collect the Amber Tablet.
- Lanayru Mining FacilityTimeshift Stones, Gust Bellows, Small Key, Armos, Ancient Circuit, Moldarach and the Goddess’s Harp.
- Ancient CisternBoth Small Keys, the Whip, the Blessed Idol, the Koloktos boss fight, Farore’s Flame and the Goddess Longsword.
- SandshipThe Timeshift Stone, Scervo and the Bow, both generators, Squid Carving, Tentalus and Nayru’s Flame.
- Fire SanctuaryAll three small keys, the Mogma Mitts, the Mysterious Crystals, Ghirahim’s second fight and the Master Sword.
- Skyloft Silent Realm and Sky KeepThe Skyloft Silent Realm and its 15 Sacred Tears, the Stone of Trials, every Sky Keep room and all three Triforces.
- Skyloft and the Goddess SwordFind your Loftwing, win the Wing Ceremony, draw the sword and take your first dive.
- Sealed Grounds, Faron Woods and the Deep WoodsThe Sealed Grounds, the missing Kikwi, the Slingshot, the Deep Woods and the way into Skyview Temple.
- Eldin Volcano and the Key PiecesPlace the Ruby Tablet, run Skyloft errands, earn the Digging Mitts and find all five Earth Temple key pieces.
- Lanayru Mine and Lanayru DesertLanayru Mine, Timeshift Stones, the Hook Beetle, the Temple of Time and how to set the three power generator dials.
- The Goddess’s Harp, The Imprisoned and the Isle of SongsBallad of the Goddess, The Imprisoned, the Light Tower, the Isle of Songs and Farore’s Courage.
- Farore’s Silent Realm and Lake FloriaAll 15 Tears of Farore, the Water Dragon’s Scale and Sacred Water.
- Nayru’s Silent Realm and the Lanayru Sand SeaNayru’s Wisdom, Nayru’s Silent Realm and the Clawshots, Golo’s key, Skipper’s boat, the Shipyard.
- Din’s Silent Realm and Volcano SummitDin’s Power, the Fireshield Earrings, frog statues, the Water Basin and the Scrapper escort.
- True Master Sword, Levias and BilocyteSkyward Sword walkthrough for the True Master Sword, the second Imprisoned fight, the Spiral Charge.
- Song of the HeroEscape Eldin, beat the third Imprisoned, win the Tadtone song in Faron Woods and heal Lanayru’s Thunder Dragon.
- The Horde, Ghirahim and DemiseClear the last side quests, beat the Horde, Ghirahim’s third fight and Demise, then unlock Hero Mode.
| Covers | Skyloft, the Knight Academy and Sparring Hall, the Waterfall Cave, the Wing Ceremony race, the Statue of the Goddess, the Bazaar and the first flight to the column of light |
|---|---|
| You need | Nothing. This is the start of the game, so you have no sword, shield or songs yet. |
| Rewards | Practice Sword, Sailcloth, Goddess Sword (with Fi and the Skyward Strike), Emerald Tablet, Adventure Pouch, Empty Bottle, Heart Potion, the Wooden Shield, several Rupees and a Jelly Blob. No Pieces of Heart, Goddess Cubes or Gratitude Crystals are available yet. |
The opening chapter teaches you to run, fly and fight, then hands you the sword that drives the rest of the game. You search Skyloft for your missing Loftwing, win the Wing Ceremony race for the Sailcloth, follow Fi into the Statue of the Goddess to draw the Goddess Sword and the Emerald Tablet, stock up in the Bazaar and finally dive through the clouds toward the Surface.
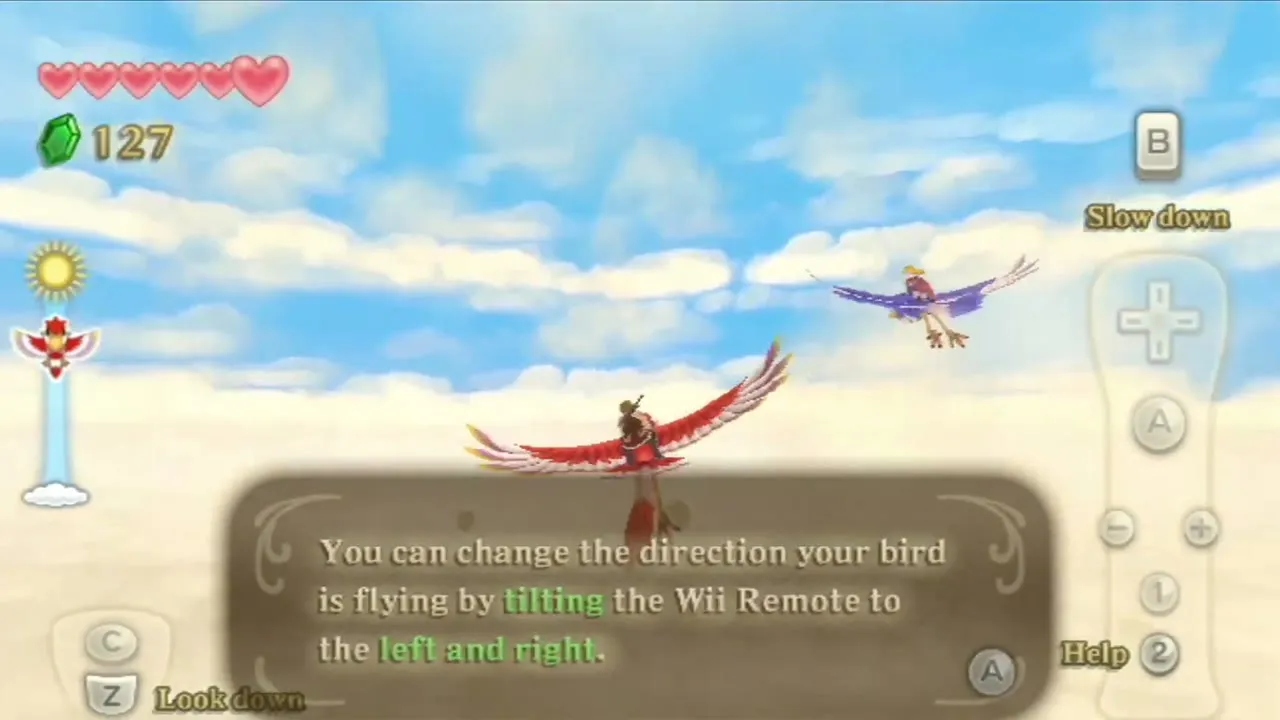

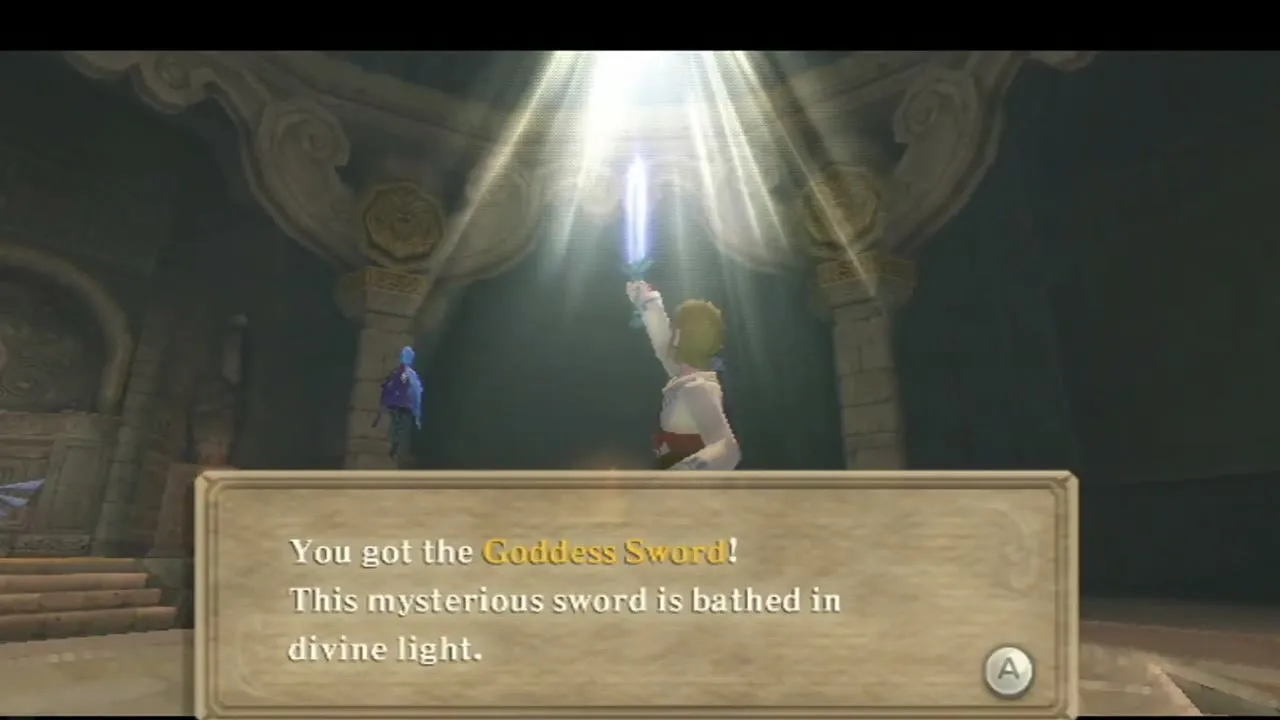
Table of Contents
Waking up in Skyloft
Blue Rupee in Link’s room
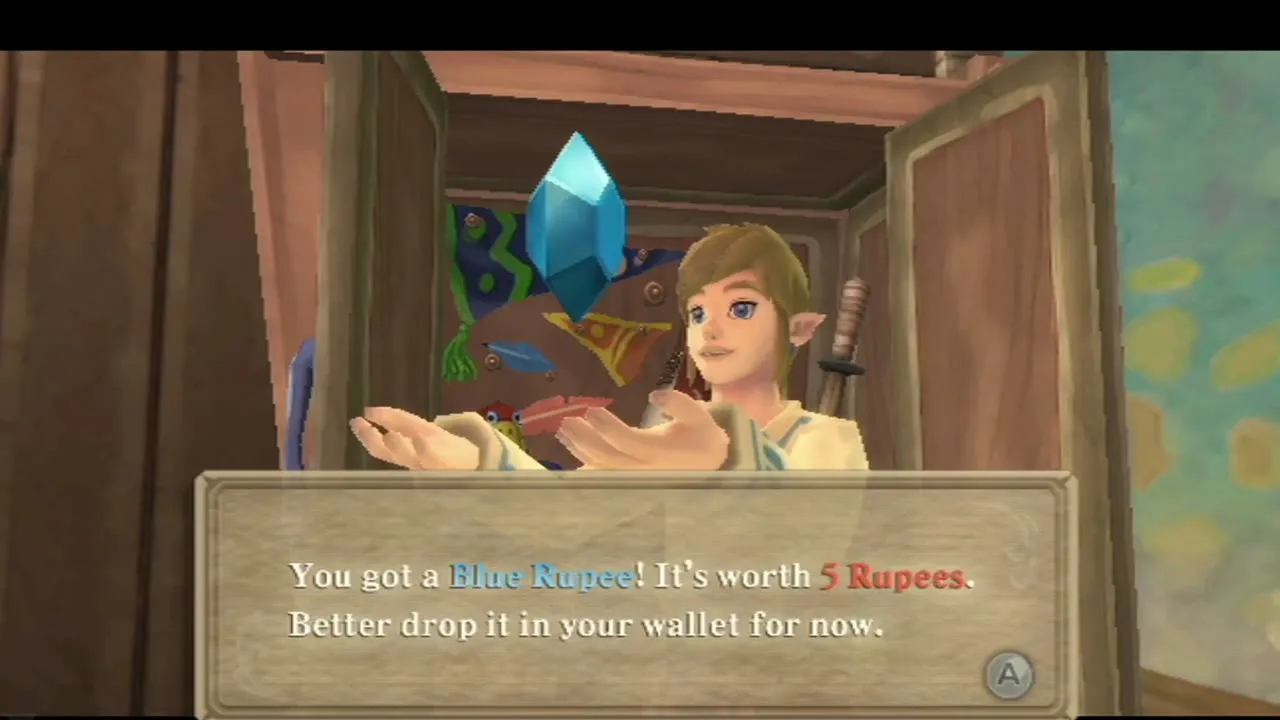
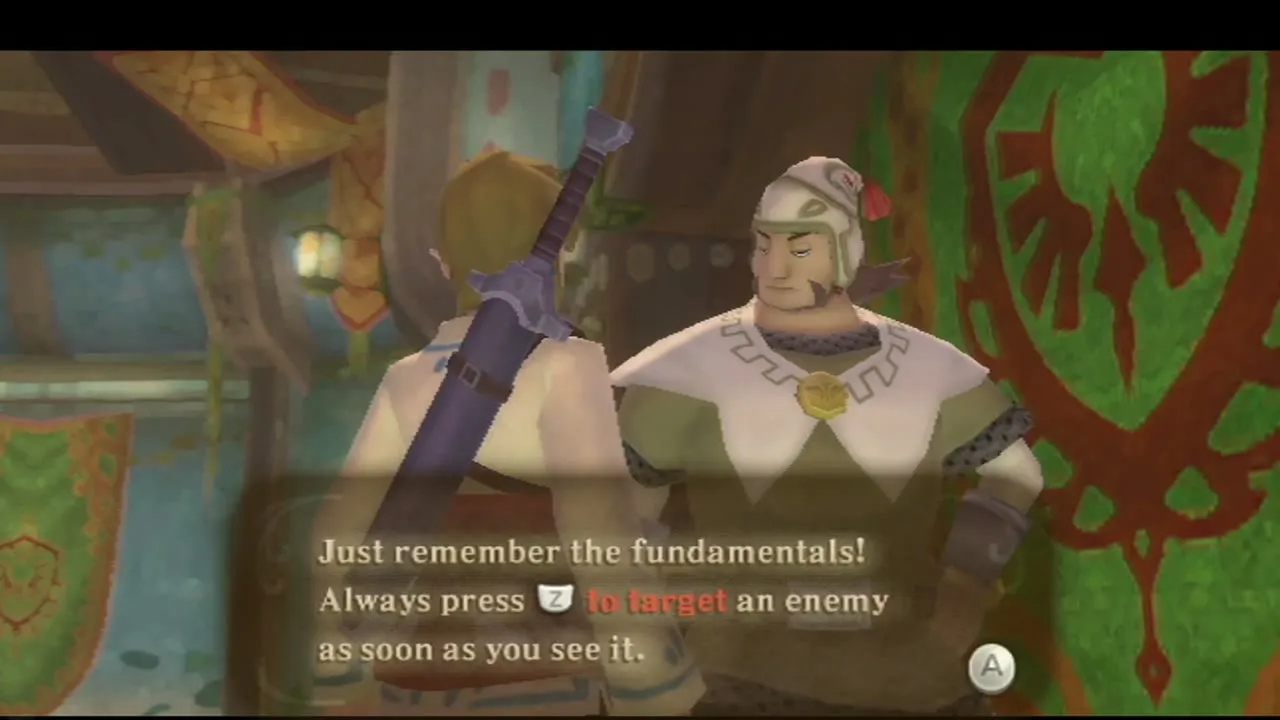
Read Zelda’s letter, then open the cabinet dresser near the door for a Blue Rupee worth 5 Rupees. Outside the Knight Academy, you are walked through the basics: target with Z, dash with A while the stamina gauge lasts, and climb crates when you are shown the prompt.

Knight Academy errands
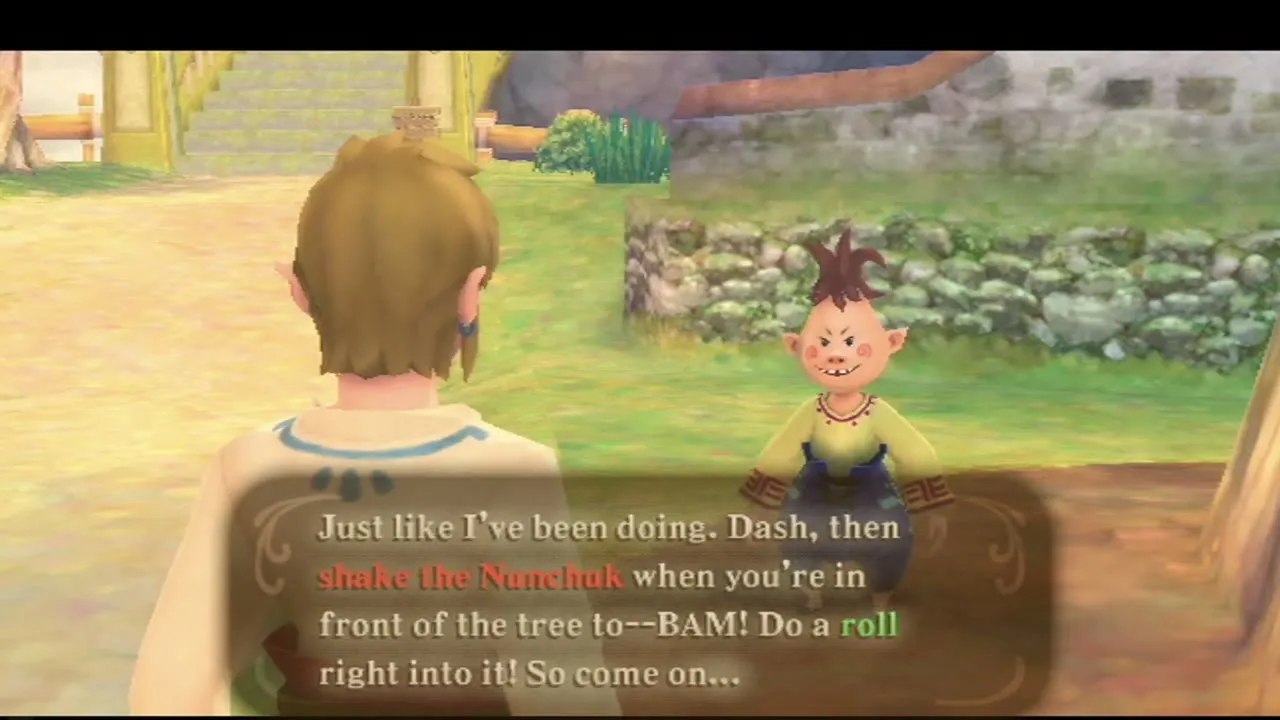
Around the Knight Academy, Fledge asks you to carry a barrel to Henya, the lunch lady, and pays you with a Red Rupee, and you can bring Headmaster Gaepora’s pet Remlit, Mia, down from a rooftop. Gully asks you to roll into a tree; doing so drops a Blue Rupee, and trees can also shake loose a Sky Stag Beetle. You cannot catch bugs until you buy a Bug Net from Beedle’s Airshop in a later chapter (see bugs and treasures).



When you go looking for your Loftwing, Pipit points out the Waterfall Cave on your map. Groose and his gang are said to have hidden your bird out there.

Practice Sword and the Sparring Hall
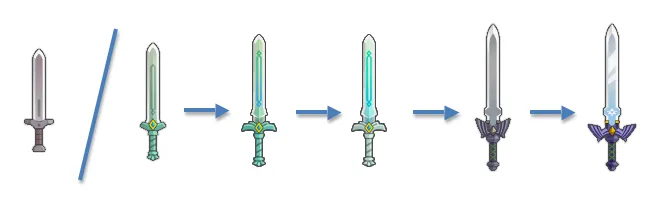
How to get the Practice Sword
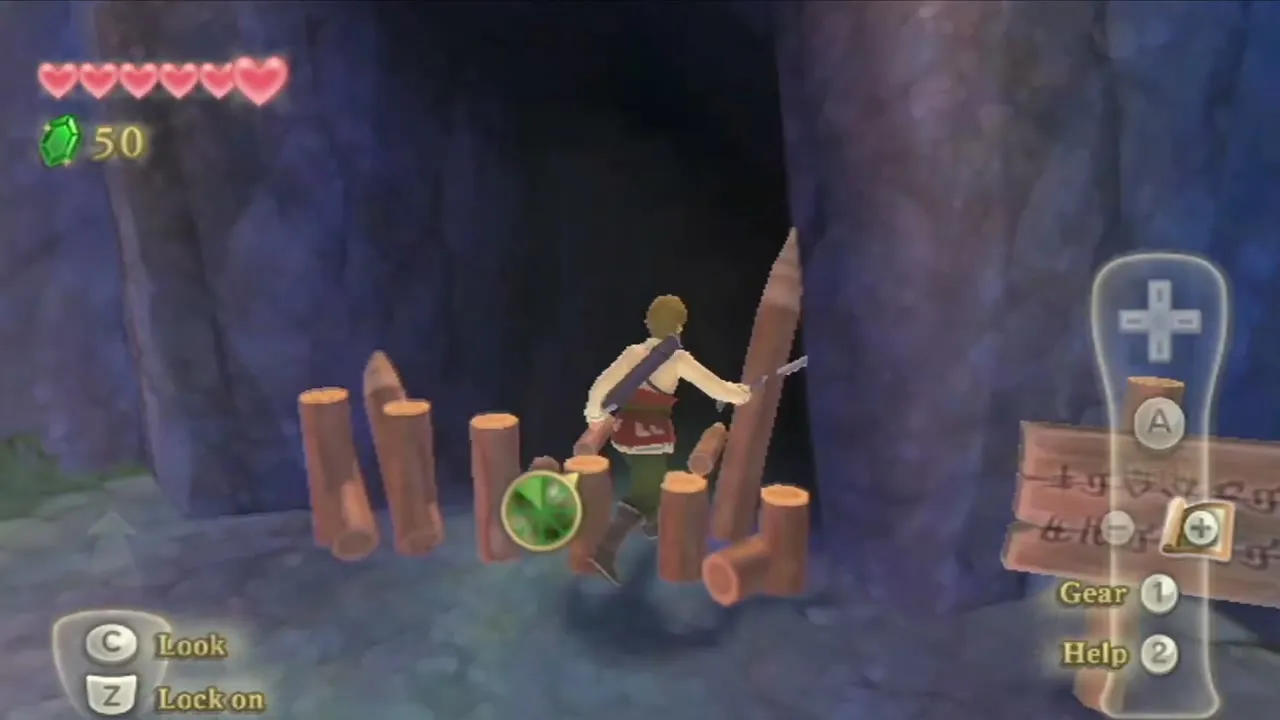
Go to the Sparring Hall and open the chest in the back room for the Practice Sword. Eagus gives you sword lessons: slash the training logs by swinging the Wii Remote in the direction each log’s mark shows, sideways or up and down, and keep your Nunchuk hand still.


The talking stone
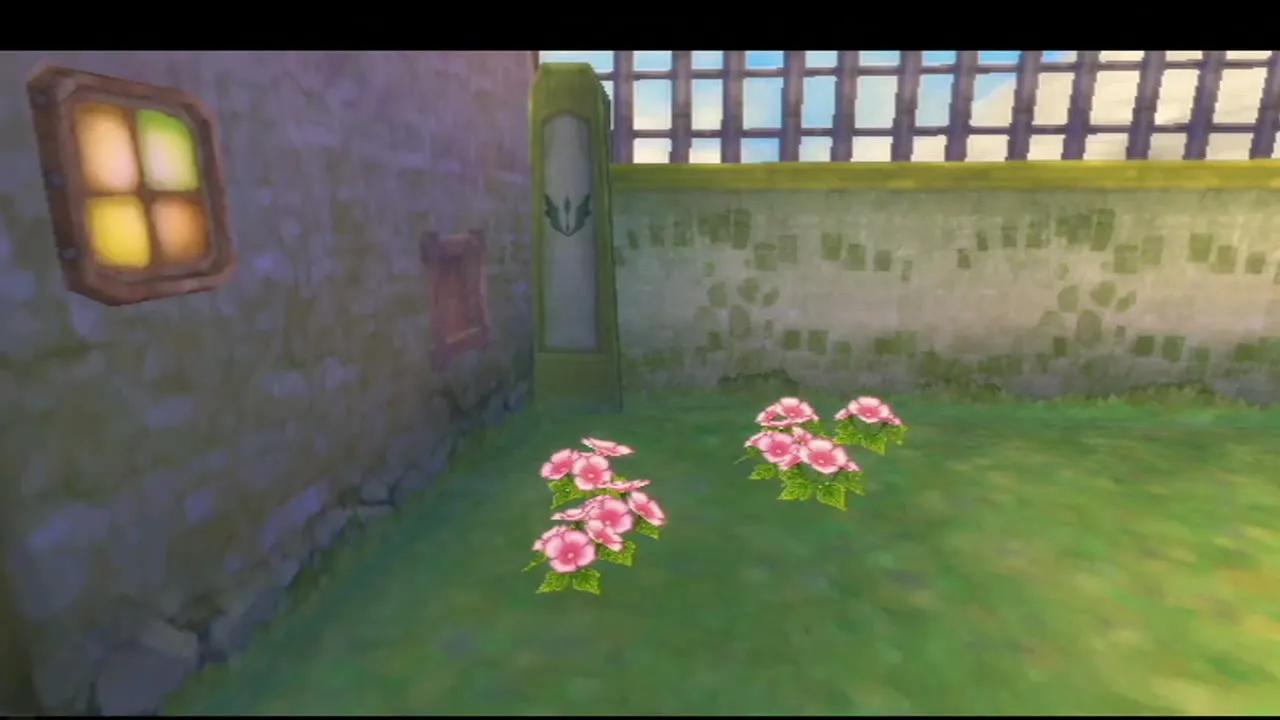
Leave through the back door into the garden. Nothing here needs doing right now; Gossip Stones only appear in this game when you play the Goddess’s Harp near Blessed Butterflies, which comes much later, so just move on.

Waterfall Cave Loftwing search
Reaching the waterfall
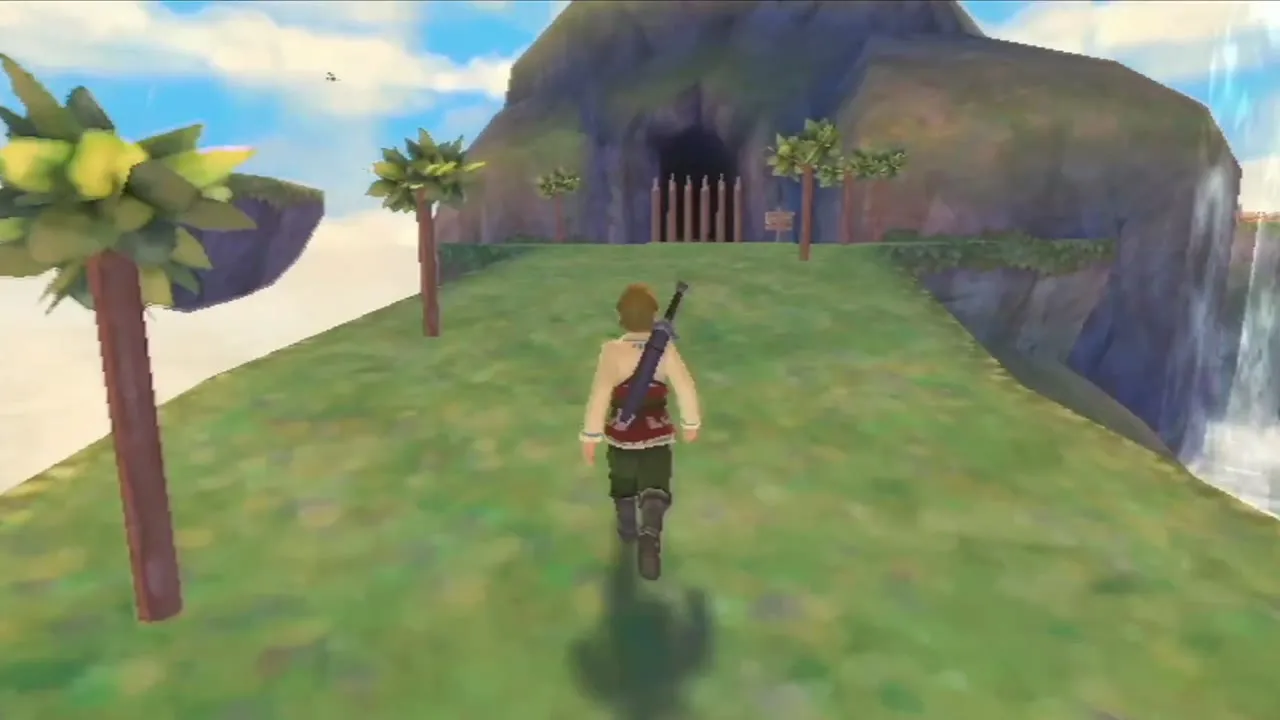
Follow the marked path out to the Waterfall Cave and go inside.

Rupees and enemies in the cave
Keese and Chuchus live in the cave, so fight with the sword and keep an eye on your hearts. After you have cleared the enemies, crawl through the small hole hidden in a patch of grass to find two Red Rupees worth 20 each.


Freeing your Loftwing
Past the cave, your crimson Loftwing is trapped behind planks held by ropes. Cut the ropes with your sword and it is free. Zelda joins you, tells you about the voice she keeps hearing and the land below the clouds, and then you jump off the cliff to learn to fly.


Flying your Loftwing
How to call and steer your Loftwing
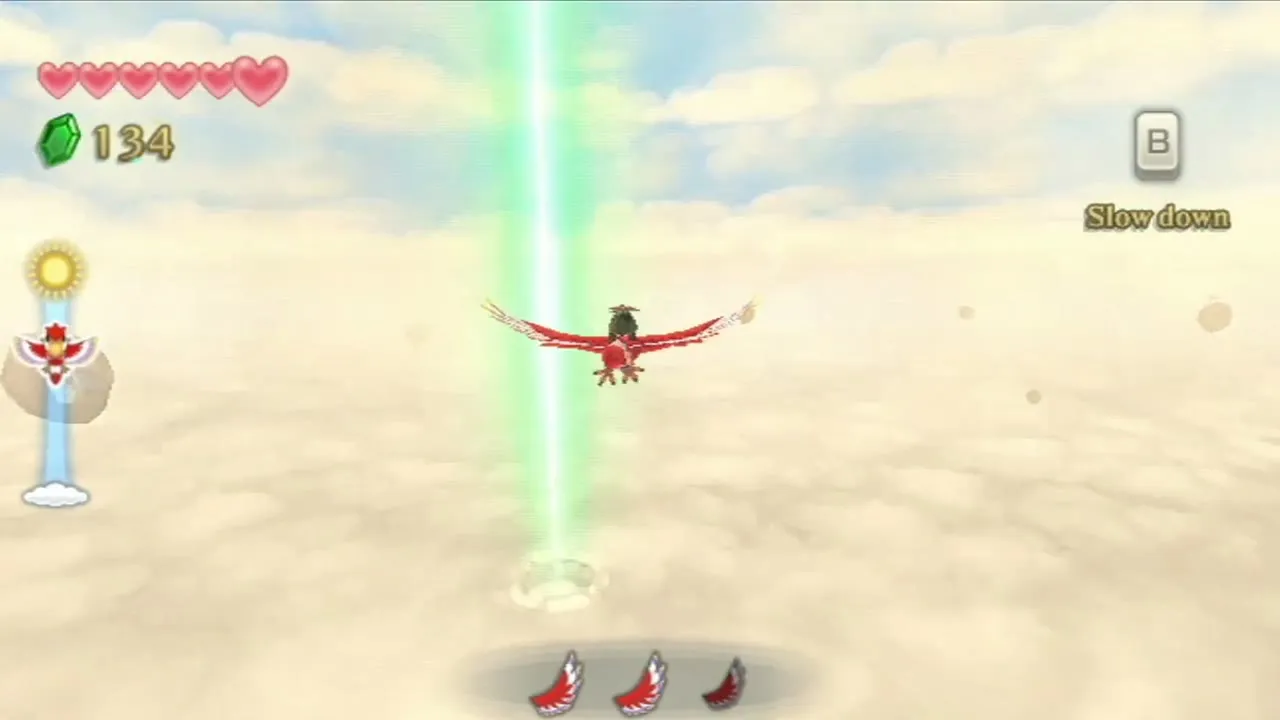
Jump off a wooden platform or any cliff and press down on the D-pad while you fall to whistle for your Loftwing; it catches you in mid-air. Once you are riding, tilt the Wii Remote left or right to turn and up or down to climb or dive, and flap by waving the Wii Remote up and down or holding A to keep your height. Press A to dash, which spends one feather from the gauge, and press B to slow down. Feathers refill on their own after a short wait. Press down on the D-pad to hop off and skydive. A short practice flight follows.


Wing Ceremony race walkthrough
Before the race
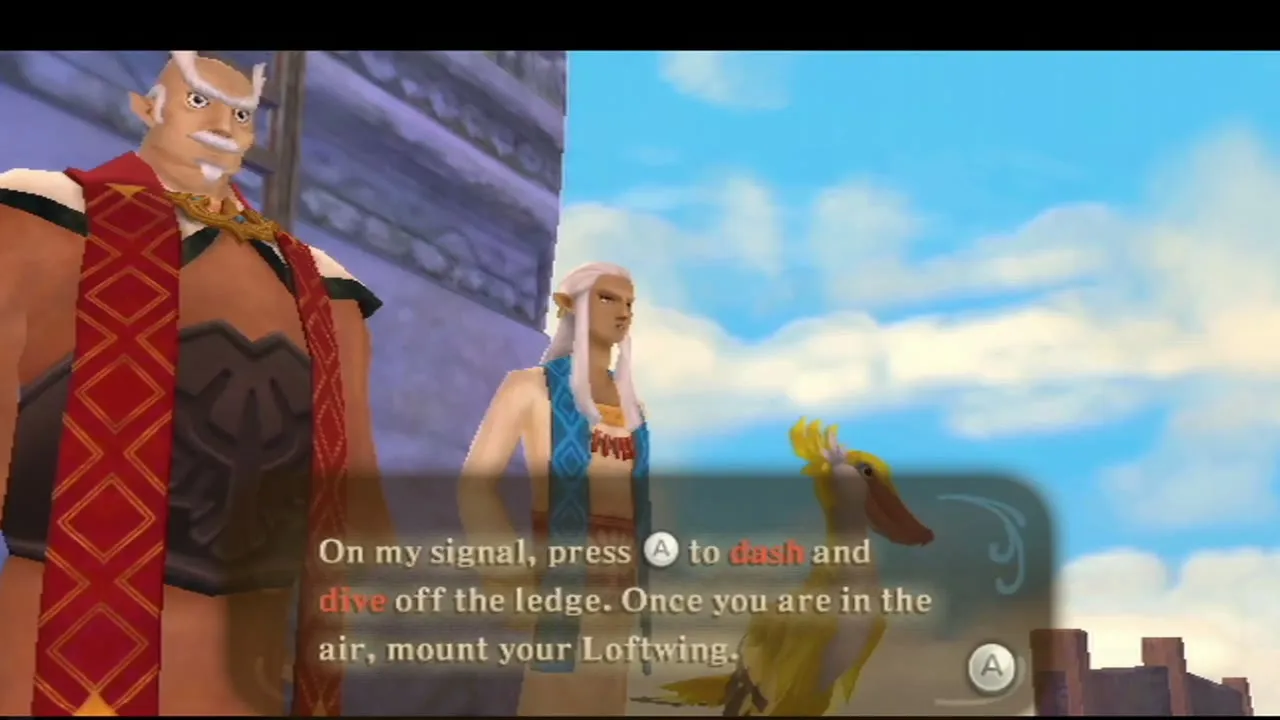
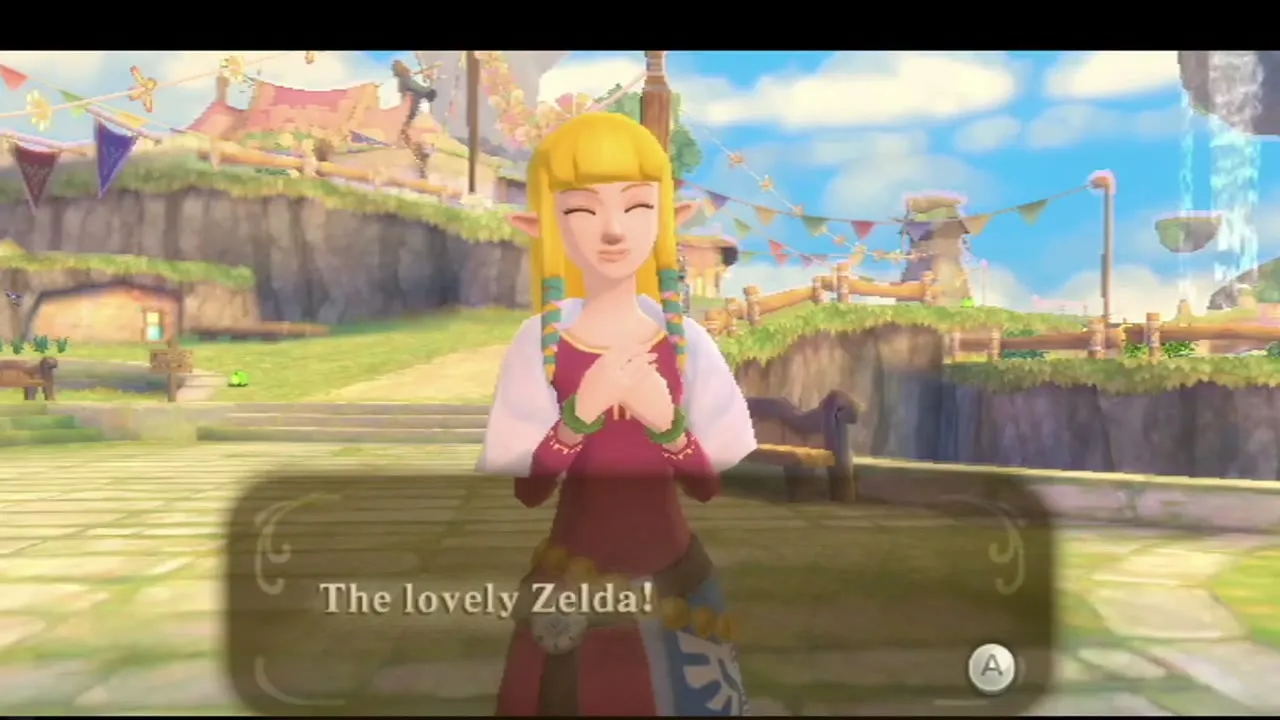
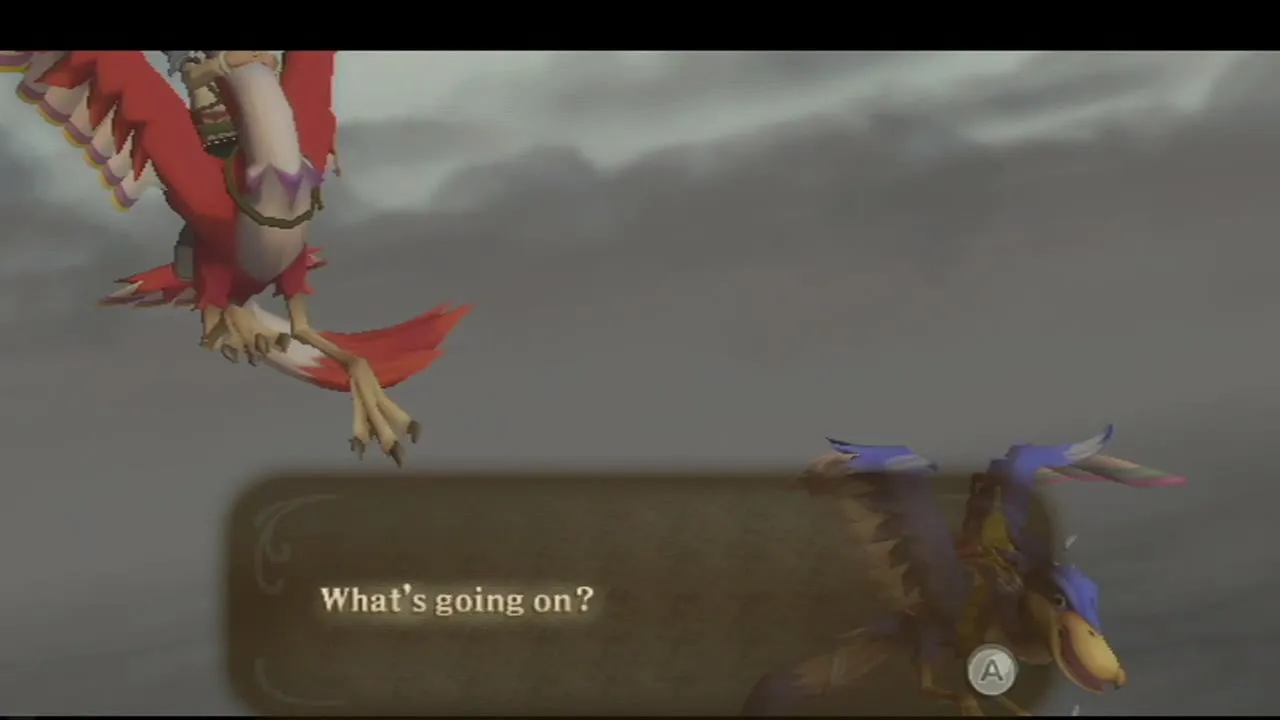
Before the ceremony, Groose boasts to you and his gang. Instructor Owlan explains the rules: a golden Loftwing carries a Bird Statuette, and whoever catches it and claims the statuette is this year’s champion. Headmaster Gaepora also warns Groose to fly fairly. Zelda plays the Goddess Hylia, and the champion takes part in the ceremony with her and receives a gift from her.

Winning the Wing Ceremony
On the signal, dash off the pier, dive and call your Loftwing with down on the D-pad. Chase the golden Loftwing, fly above it rather than straight at it, and use dives and A dashes to close the gap. Groose’s gang, Cawlin and Strich, push you away from the bird and throw things at you so that Groose can win, so avoid the projectiles and stay out of their way. Come near the golden bird a second time and grab the statuette. If you miss, keep trying until the Bird Statuette is yours.


How to get the Sailcloth
When you hold up the Bird Statuette, Zelda cries out and jumps off the pier, and you catch her. At the ceremony on the Statue of the Goddess she plays the Goddess’s Harp, you kneel, and she gives you the Sailcloth, which lets you glide from high places without taking fall damage. To finish the ritual you are meant to dive off the statue and land inside the circle on the ground below; Zelda ends up pushing you off, so press B to open the Sailcloth and aim for the circle.
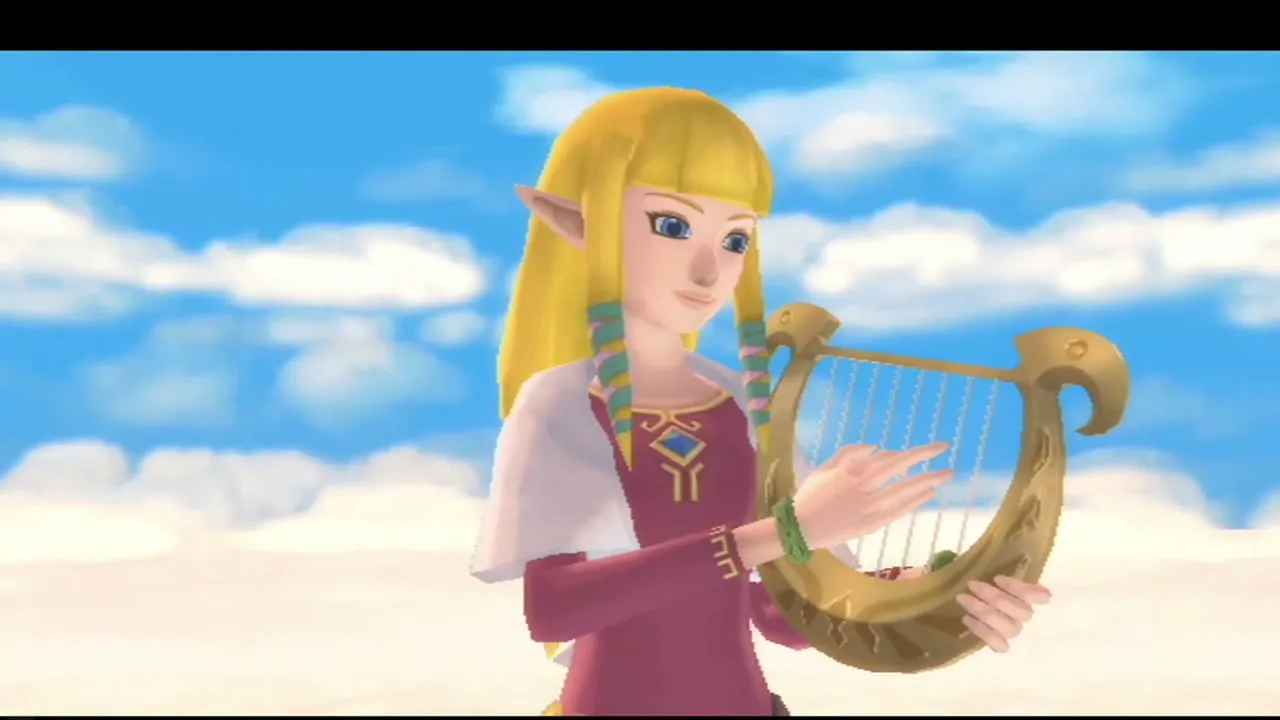

Afterwards you and Zelda fly out together. A dark tornado attacks, and Zelda is swept away.


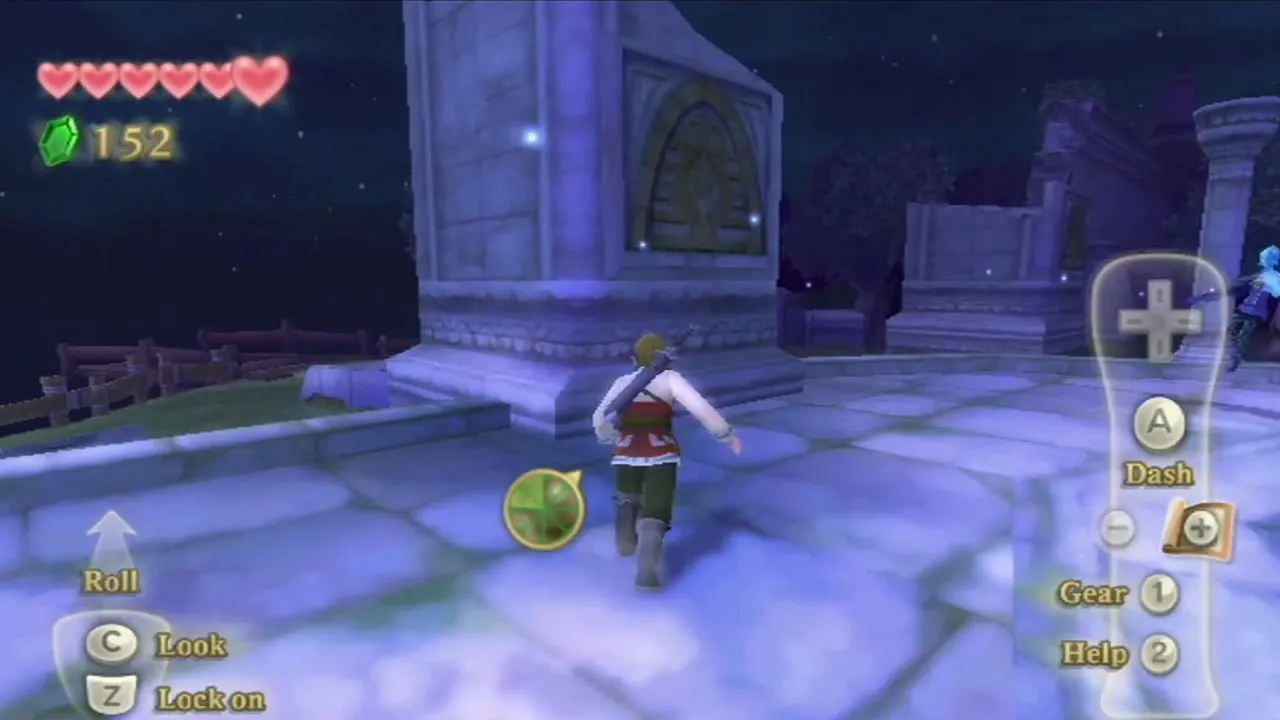
Night in Skyloft and the Statue of the Goddess
Climbing to the Statue
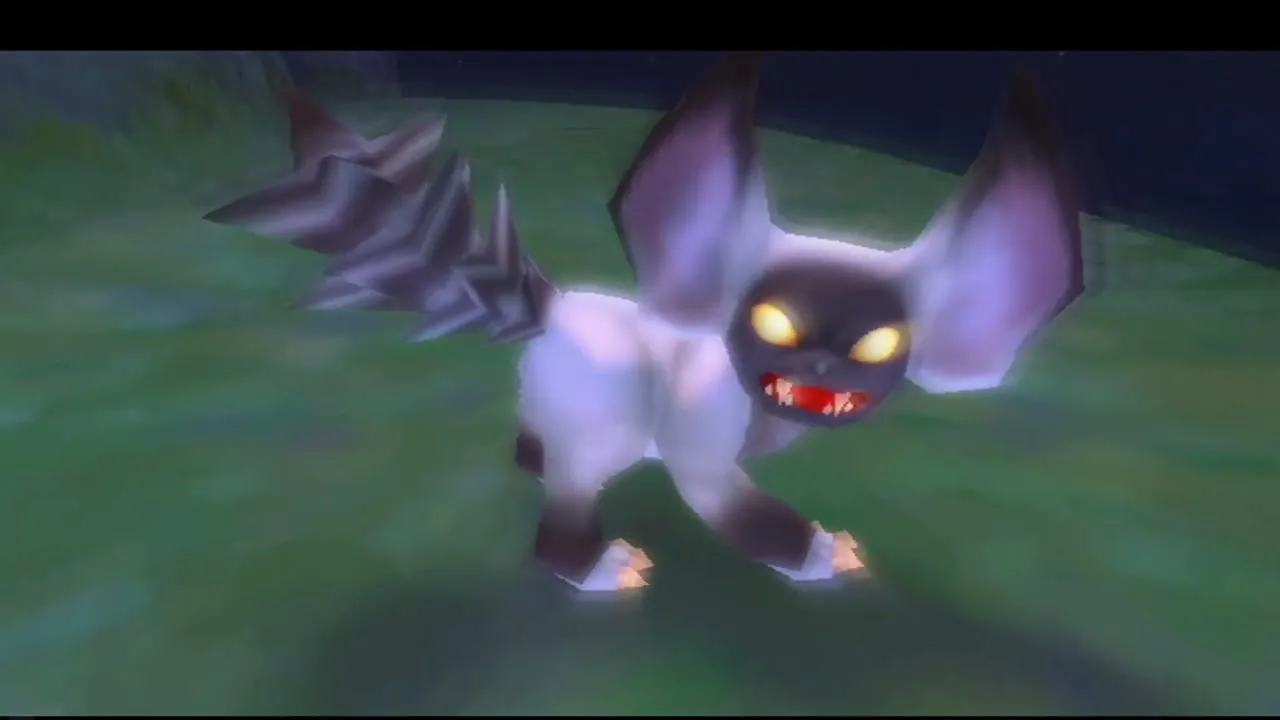
You wake in the Knight Academy at night. Fi appears outside your room and guides you to the Statue of the Goddess. Fight the Keese and other night creatures on the way, and Chuchus on the way may drop a Jelly Blob, a common treasure used to upgrade shields at the Scrap Shop.


How to get the Goddess Sword
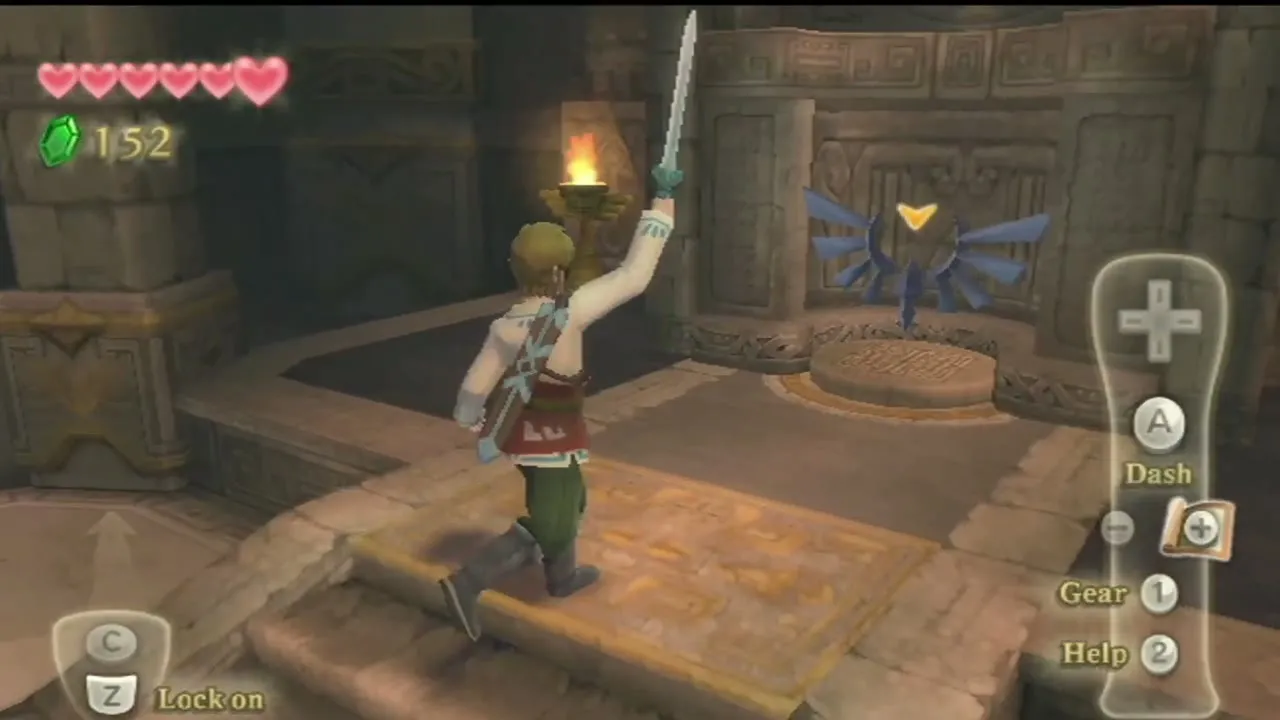
Inside the Chamber of the Sword, Fi introduces herself and encourages you to take the sword. Grab it in the pedestal and pull, and the Goddess Sword is yours. Gaepora arrives and explains your destiny.

Skyward Strike and the Emerald Tablet
Headmaster Gaepora hands you the Emerald Tablet, and Fi teaches the Skyward Strike: raise the Wii Remote so the sword points up until it glows, then swing it toward the target. Fire one at the crest on the wall to raise the altar, then place the tablet on it. A pillar of green light rises through a break in the clouds, and Fi becomes your companion inside the sword.


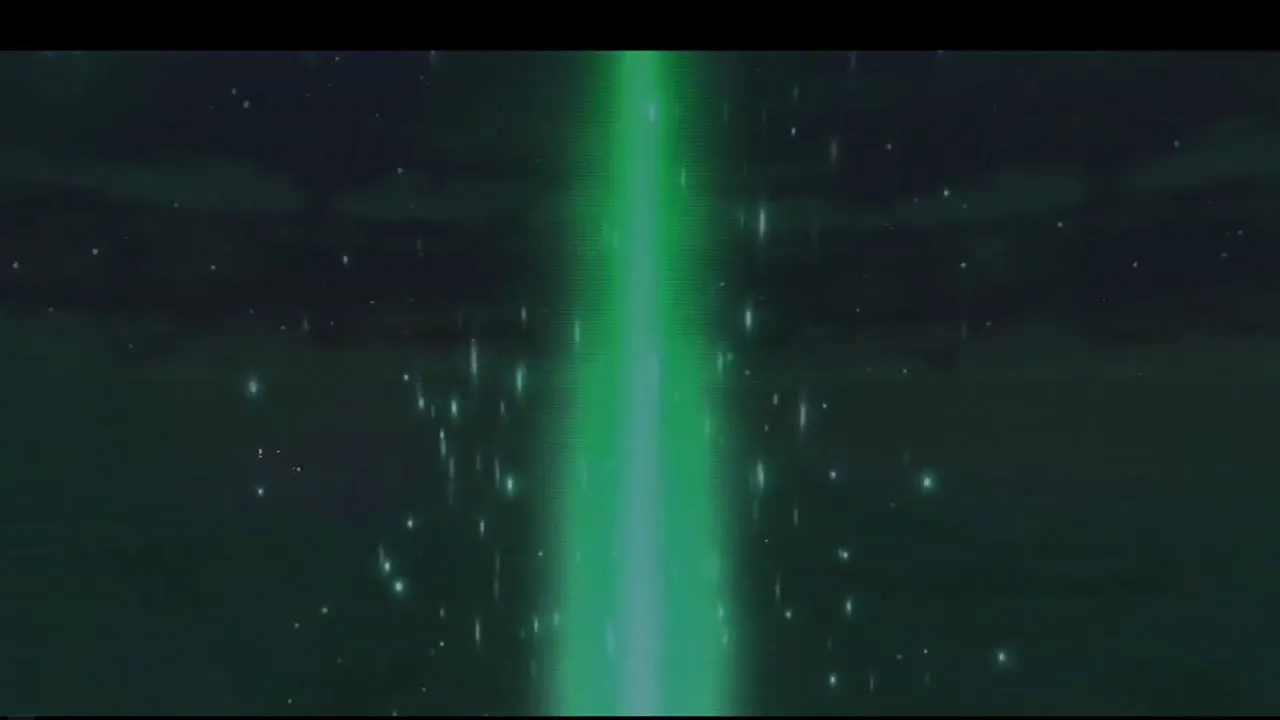
Skyloft shops before the first descent
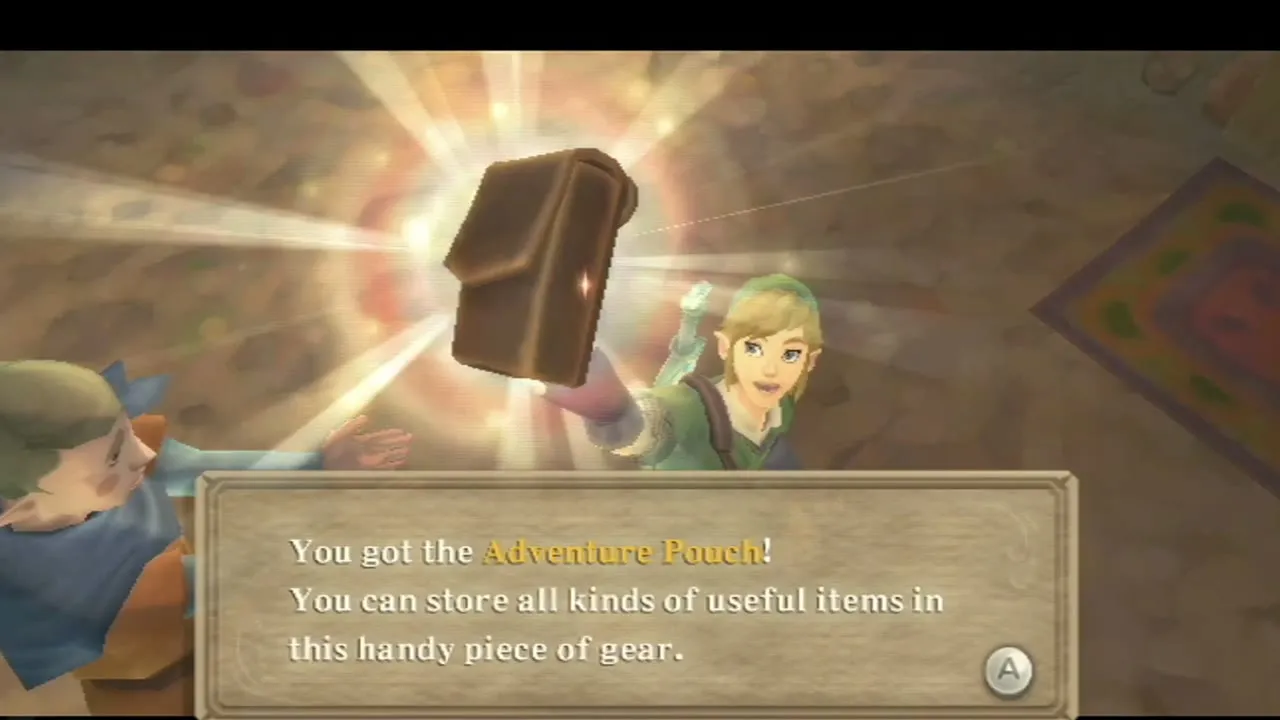
Adventure Pouch and the green uniform
Gaepora gives you a green knight’s uniform. Then head to the Knight Academy, where Fledge gives you the Adventure Pouch. It holds four items at first, carries your shield, potions and bottle, and can be expanded later (see items and equipment upgrades). Instructor Owlan outside the Academy now hands you a Wooden Shield; it burns easily, so treat it as a stopgap.


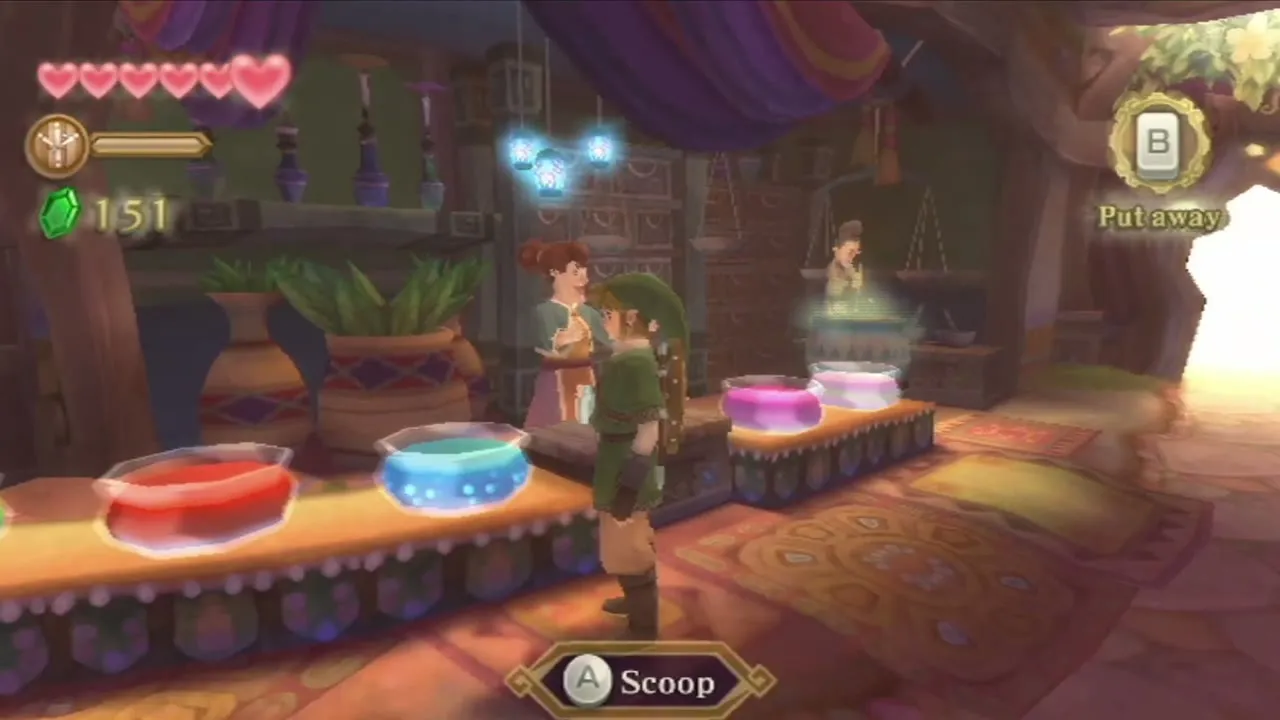
Free Empty Bottle at the Bazaar
Fi suggests buying potions before you leave. Enter the Bazaar and talk to Luv at the Potion Shop; she gives you an Empty Bottle for free. This is the first of five bottles in the game (see bottle locations).
Buying a Heart Potion
Buy a Heart Potion for 20 Rupees. It goes into your Adventure Pouch and restores eight hearts when you drink it. The Gear Shop also sells a Wooden Shield for 50 Rupees, but you only need one, so skip it if you already have the one from Owlan.


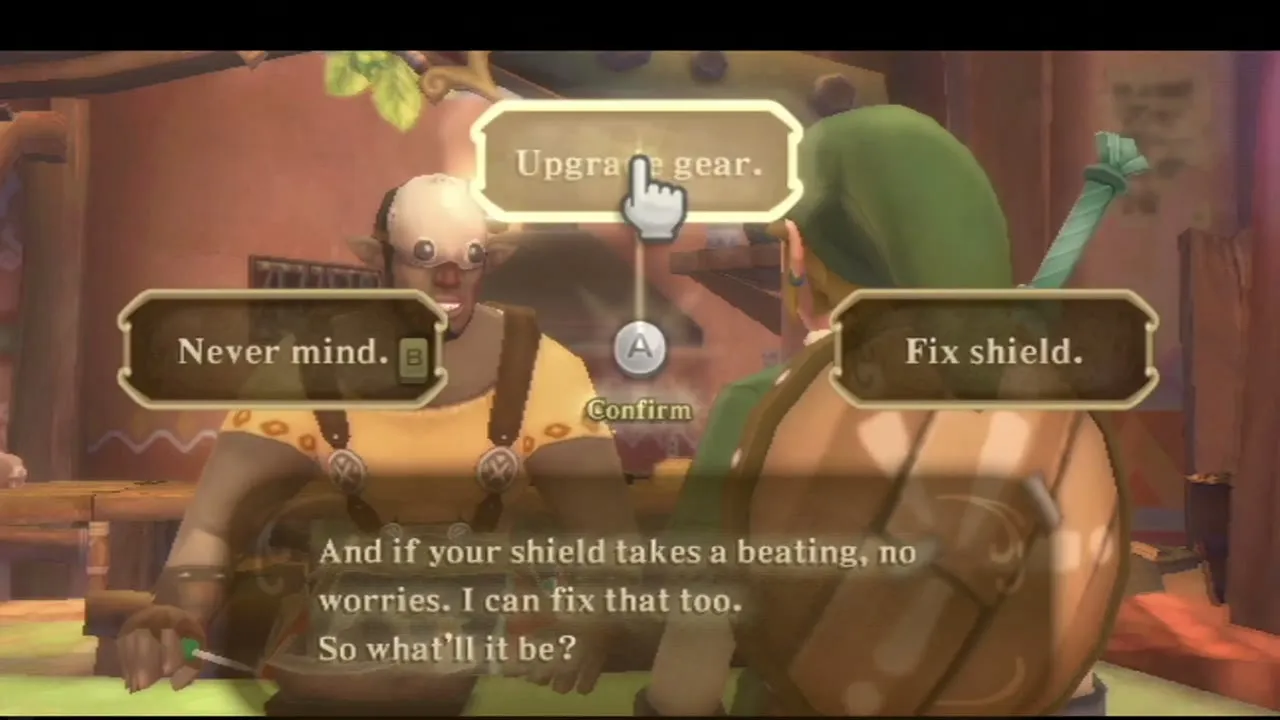
Scrap Shop
Gondo’s Scrap Shop in the Bazaar upgrades your gear. You have little to upgrade yet, but keep every Jelly Blob and other treasure you collect, because many upgrades ask for them.

The first dive below the clouds
Flying to the column of light
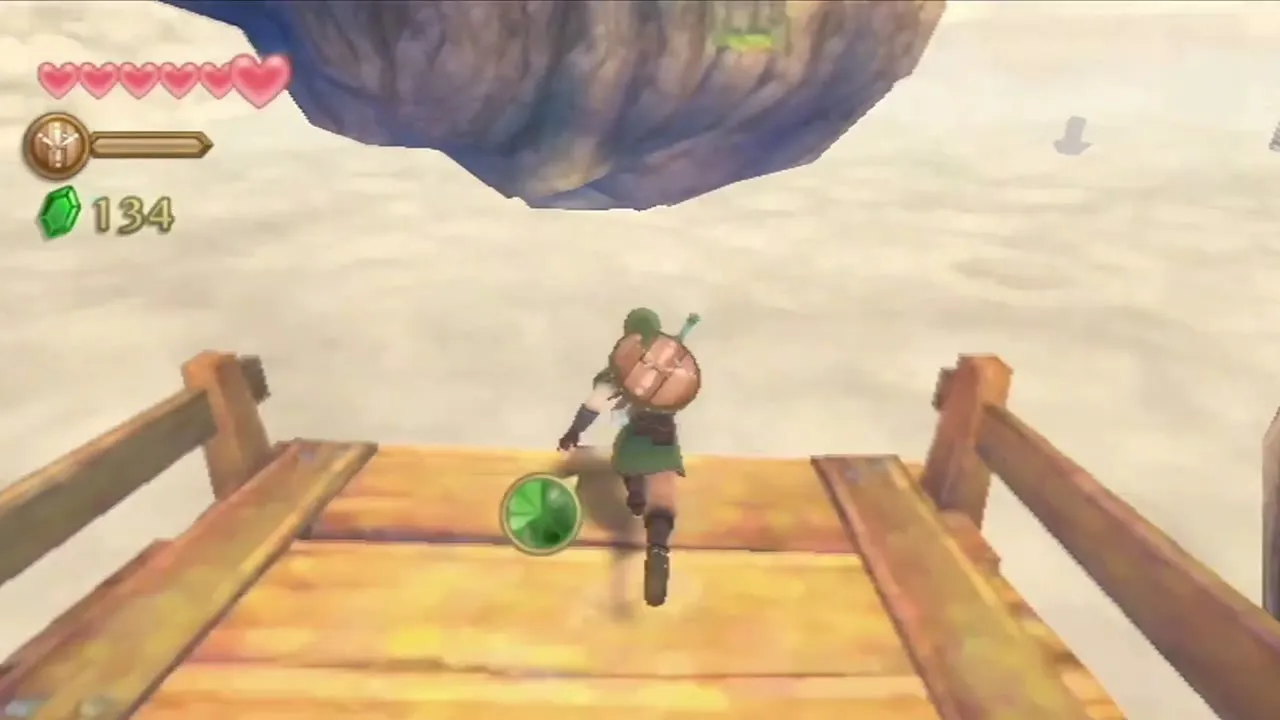
Fi points out a column of light to the southwest. Walk to a wooden platform, jump off, call your Loftwing and fly toward the glowing marker, checking the sky map as you go. You do not need to visit any other island yet.
Diving through the clouds
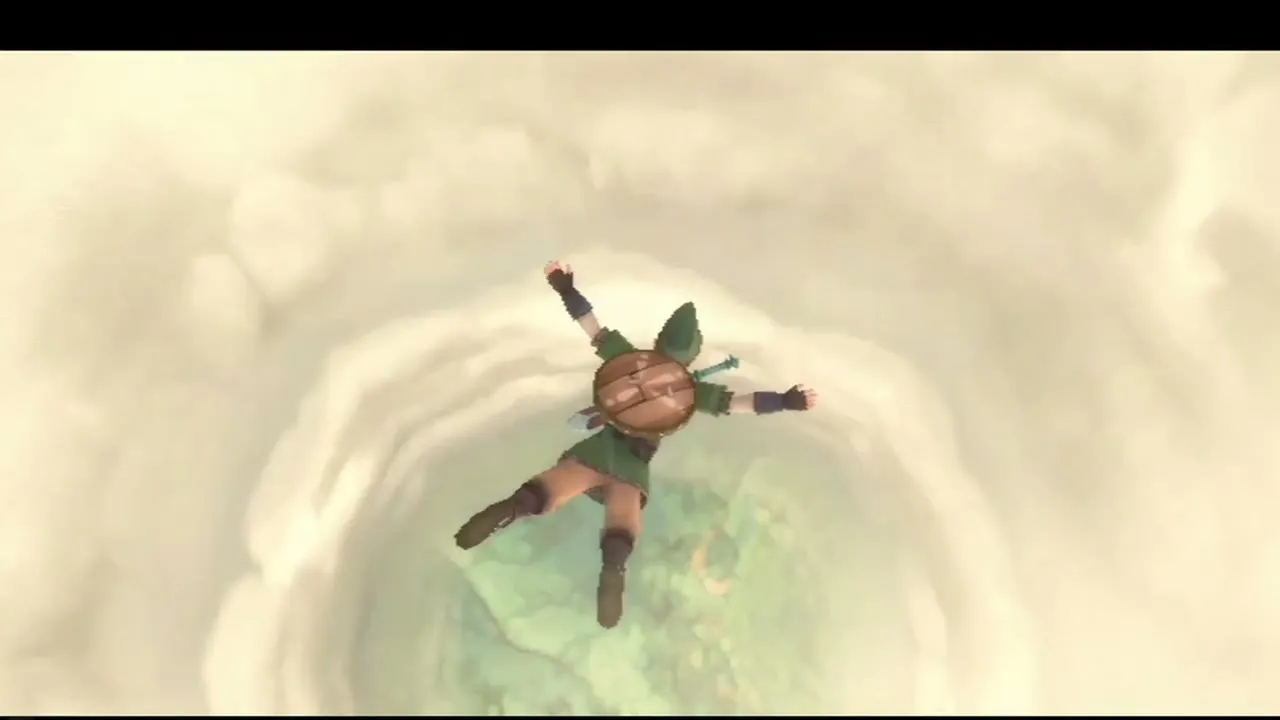
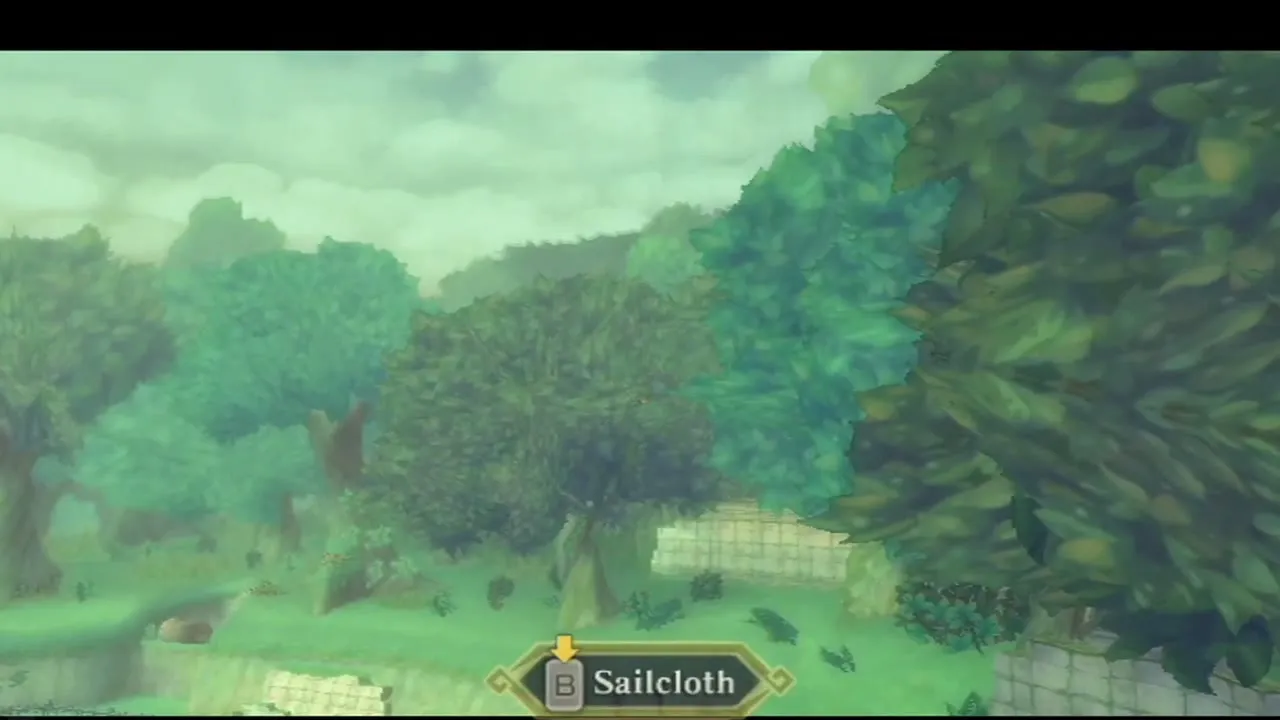
Fly to the break in the clouds at the column and dive through it. Open the Sailcloth with B for a safe landing on the Surface, where the next chapter begins in the Sealed Grounds.

Chapter checklist
| Collectible | Type | Where |
|---|---|---|
 Blue Rupee | Rupee | Cabinet dresser near the door in Link’s room |
 Red Rupee | Rupee | Fledge, for carrying a barrel to Henya |
| Blue Rupee | Rupee | Tree you roll into after Gully’s lesson |
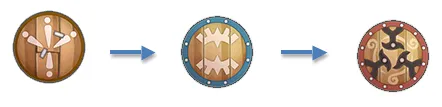 Wooden Shield | Shield | Instructor Owlan outside the Knight Academy, after you draw the Goddess Sword |
| Practice Sword | Weapon | Chest in the Sparring Hall back room |
| Two Red Rupees | Rupees | Hidden hole in a patch of grass inside the Waterfall Cave |
| Bird Statuette | Prize | Catch it in the Wing Ceremony race |
 Sailcloth | Item | Zelda, at the Wing Ceremony on the Statue of the Goddess |
 Jelly Blob | Treasure | A Chuchu may drop one on the way to the Statue of the Goddess at night |
| Goddess Sword and Fi | Sword | Pedestal in the Statue of the Goddess |
| Emerald Tablet | Quest item | Gaepora, in the Statue of the Goddess |
 Adventure Pouch | Item | Fledge, in the Knight Academy |
 Empty Bottle | Bottle | Luv, Bazaar potion shop |
 Heart Potion | Potion | Bought for 20 Rupees at Luv’s Potion Shop |
With the sword in hand and the column of light behind you, continue to Sealed Grounds, Faron Woods and the Deep Woods.

