Skyward Sword 100% Completion Walkthrough18 chapters
- Skyview TempleSmall keys, the Beetle, the Golden Carving door, the Ghirahim boss fight, the Heart Container and the Ruby Tablet.
- Earth TempleGet the Bomb Bag from Ledd, carry the Dragon Sculpture, beat Scaldera and collect the Amber Tablet.
- Lanayru Mining FacilityTimeshift Stones, Gust Bellows, Small Key, Armos, Ancient Circuit, Moldarach and the Goddess’s Harp.
- Ancient CisternBoth Small Keys, the Whip, the Blessed Idol, the Koloktos boss fight, Farore’s Flame and the Goddess Longsword.
- SandshipThe Timeshift Stone, Scervo and the Bow, both generators, Squid Carving, Tentalus and Nayru’s Flame.
- Fire SanctuaryAll three small keys, the Mogma Mitts, the Mysterious Crystals, Ghirahim’s second fight and the Master Sword.
- Skyloft Silent Realm and Sky KeepThe Skyloft Silent Realm and its 15 Sacred Tears, the Stone of Trials, every Sky Keep room and all three Triforces.
- Skyloft and the Goddess SwordFind your Loftwing, win the Wing Ceremony, draw the sword and take your first dive.
- Sealed Grounds, Faron Woods and the Deep WoodsThe Sealed Grounds, the missing Kikwi, the Slingshot, the Deep Woods and the way into Skyview Temple.
- Eldin Volcano and the Key PiecesPlace the Ruby Tablet, run Skyloft errands, earn the Digging Mitts and find all five Earth Temple key pieces.
- Lanayru Mine and Lanayru DesertLanayru Mine, Timeshift Stones, the Hook Beetle, the Temple of Time and how to set the three power generator dials.
- The Goddess’s Harp, The Imprisoned and the Isle of SongsBallad of the Goddess, The Imprisoned, the Light Tower, the Isle of Songs and Farore’s Courage.
- Farore’s Silent Realm and Lake FloriaAll 15 Tears of Farore, the Water Dragon’s Scale and Sacred Water.
- Nayru’s Silent Realm and the Lanayru Sand SeaNayru’s Wisdom, Nayru’s Silent Realm and the Clawshots, Golo’s key, Skipper’s boat, the Shipyard.
- Din’s Silent Realm and Volcano SummitDin’s Power, the Fireshield Earrings, frog statues, the Water Basin and the Scrapper escort.
- True Master Sword, Levias and BilocyteSkyward Sword walkthrough for the True Master Sword, the second Imprisoned fight, the Spiral Charge.
- Song of the HeroEscape Eldin, beat the third Imprisoned, win the Tadtone song in Faron Woods and heal Lanayru’s Thunder Dragon.
- The Horde, Ghirahim and DemiseClear the last side quests, beat the Horde, Ghirahim’s third fight and Demise, then unlock Hero Mode.
| Covers | Two Goddess Chests in the Thunderhead, the Skyloft trial gate, the Goddess’s Silent Realm in Skyloft, the Stone of Trials and its bird statue, and the Sky Keep dungeon beneath the Statue of the Goddess |
|---|---|
| You need | The complete Song of the Hero, the Goddess’s Harp, the True Master Sword, Clawshots, Beetle, Bow, Whip, Gust Bellows, Bomb Bag and Mogma Mitts; a shield and a few potions are worth carrying |
| Rewards | Spirit Vessel (for the trial), Stone of Trials, Dungeon Map, 1 Small Key, 1 Silver Rupee, Triforce of Power, Triforce of Courage, Triforce of Wisdom; Empty Bottle (the fifth and last) and Small Quiver from Goddess Chests; hearts from a Goddess Wall. No Heart Container, Piece of Heart or Gratitude Crystal in this chapter |
With the Song of the Hero complete, the last stretch of the main quest is a trial and a puzzle dungeon. You open the final Silent Realm on Skyloft, gather 15 Sacred Tears there, carry the Stone of Trials to a bird statue to uncover Sky Keep, rearrange its eight rooms until you have won the three pieces of the Triforce, and then make a wish at the Statue of the Goddess.


Table of Contents
Thunderhead Goddess Chests: Empty Bottle and Small Quiver
Where the Triforce lies
Levias’s lesson ends with Fi pointing you to the Trial Gate on Skyloft, which the completed Song of the Hero can open. That gate is your next stop, but two chests in the Thunderhead are worth collecting first, since you are already up here.
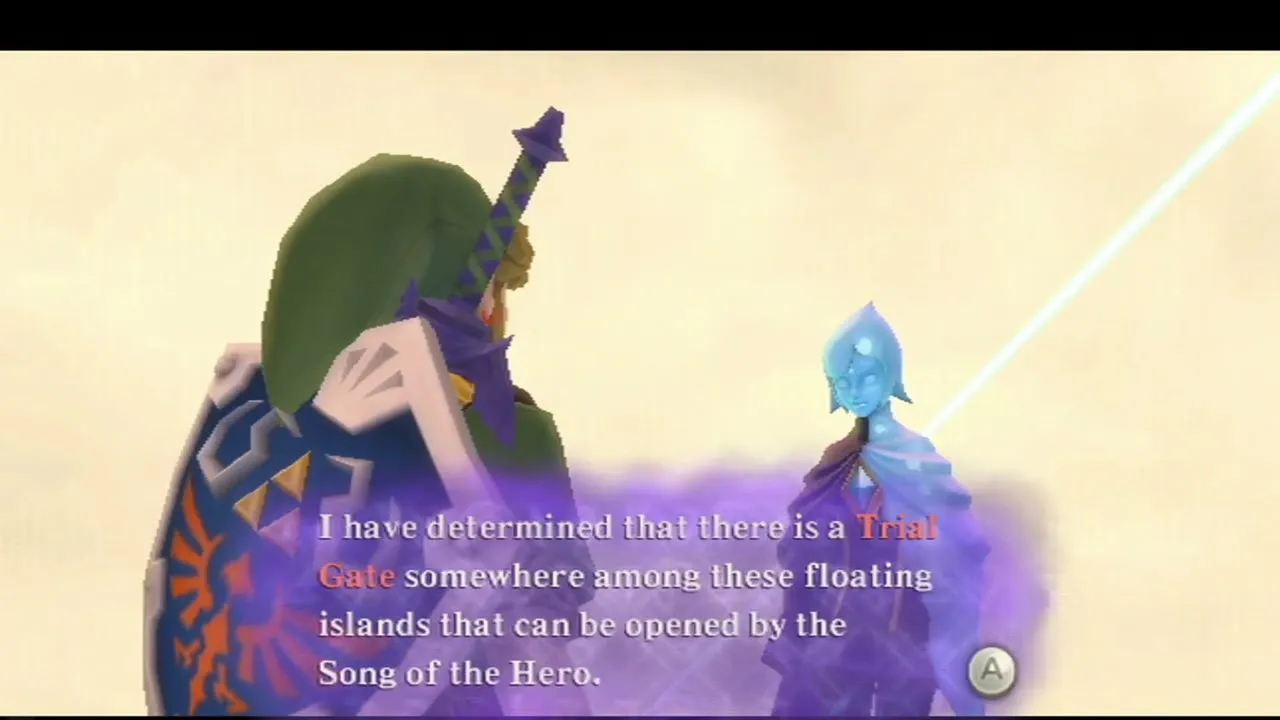

Open the chests with Goddess Cubes 26 and 27
Both chests sit on the island south-west of the Isle of Songs, and each stays locked until you have struck its Goddess Cube with a Skyward Strike. Cube 26 stands on a platform in the south-east of Volcano Summit near Eldin’s lair, and Cube 27 stands in Lanayru Gorge close to the Life Tree. If you skipped either one, the Goddess Cubes page gives the exact spots; the chests wait for you whenever you return.
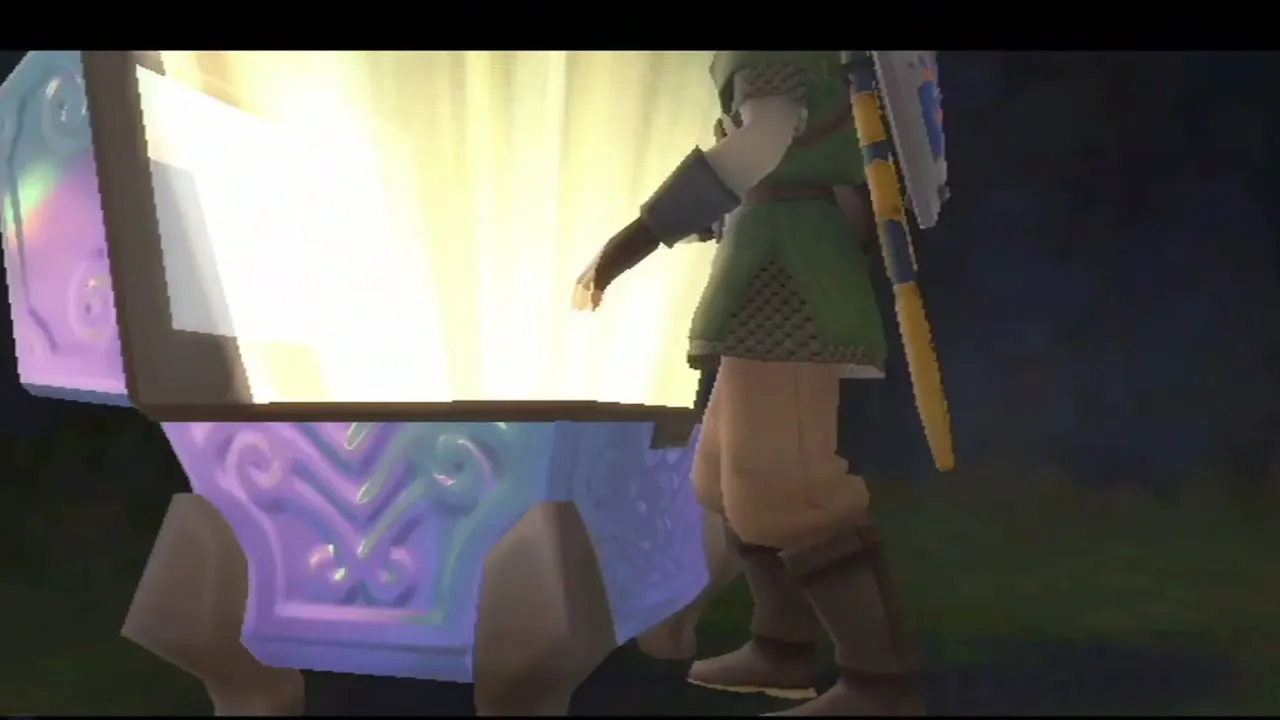

Empty Bottle: the fifth bottle
Land on the island and look for patches of soft soil. Dig into one with the Mogma Mitts and follow the tunnel maze underground. A Moldorm may crawl through it, but you can leave it alone. Leave by the exit in the north-west corner, climb the vines up to the fenced garden and open the chest for an Empty Bottle.
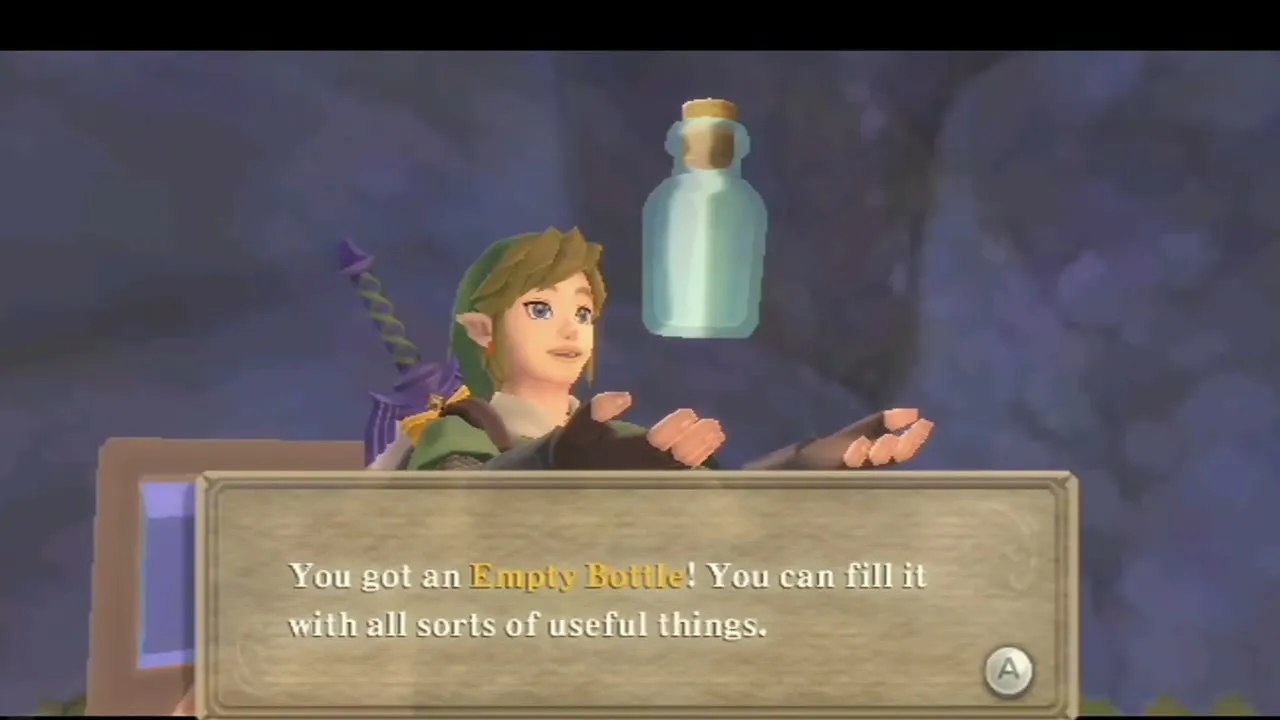
This is the fifth and last bottle in the game, so your collection is complete. If your Adventure Pouch has no free slot, the game sends the bottle to the Item Check instead; you can pull it out from there at any time. The Bottle Locations page lists all five.
Small Quiver
Go back underground and take the other tunnel exit, which leads to a second grassy spot with another chest. It holds the Small Quiver, which lets you carry 5 extra arrows. The quiver only works while it sits in your pouch.

Skyloft trial gate
Optional: Beedle’s last pouch slot
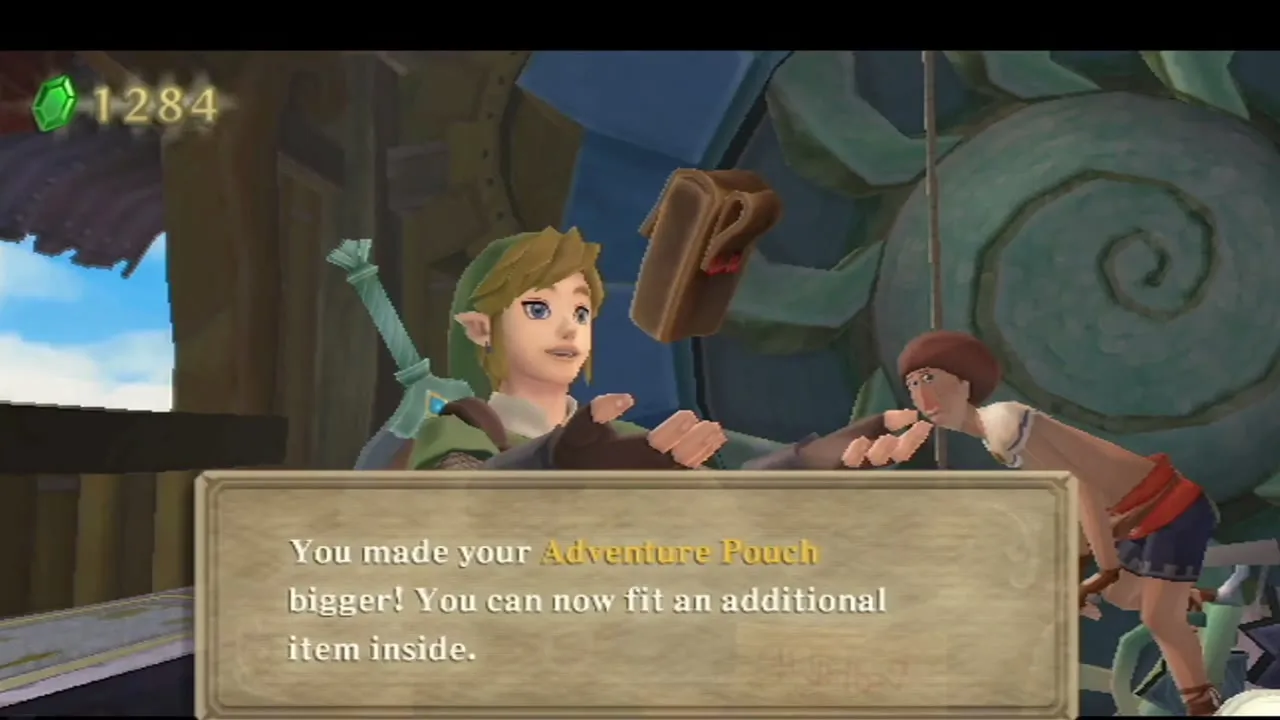
Before the trial, you may want to stop at Beedle’s Airshop on Skyloft. His final Adventure Pouch expansion costs 1,200 Rupees, so check that your wallet can hold that much. It adds one more slot for shields, potions and medals. Nothing in this chapter requires it.
Play the harp on the glowing mark
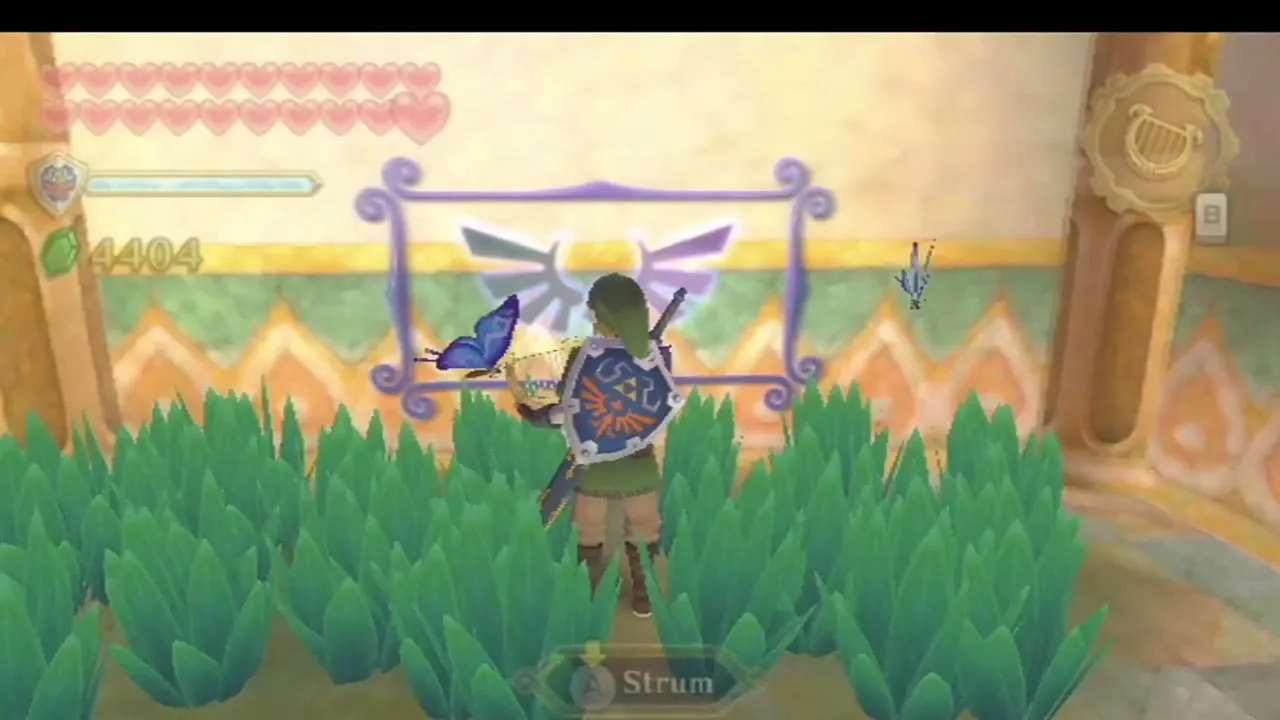
Fly back to Skyloft by diving off an island edge and whistling for your Loftwing. A ring of Blessed Butterflies has gathered in the Plaza in the middle of the island, near the Light Tower, and a glowing mark is carved into the stone there. Take out the Goddess’s Harp, follow the rings Fi draws over the mark, and strum in time with each one to play the Song of the Hero.

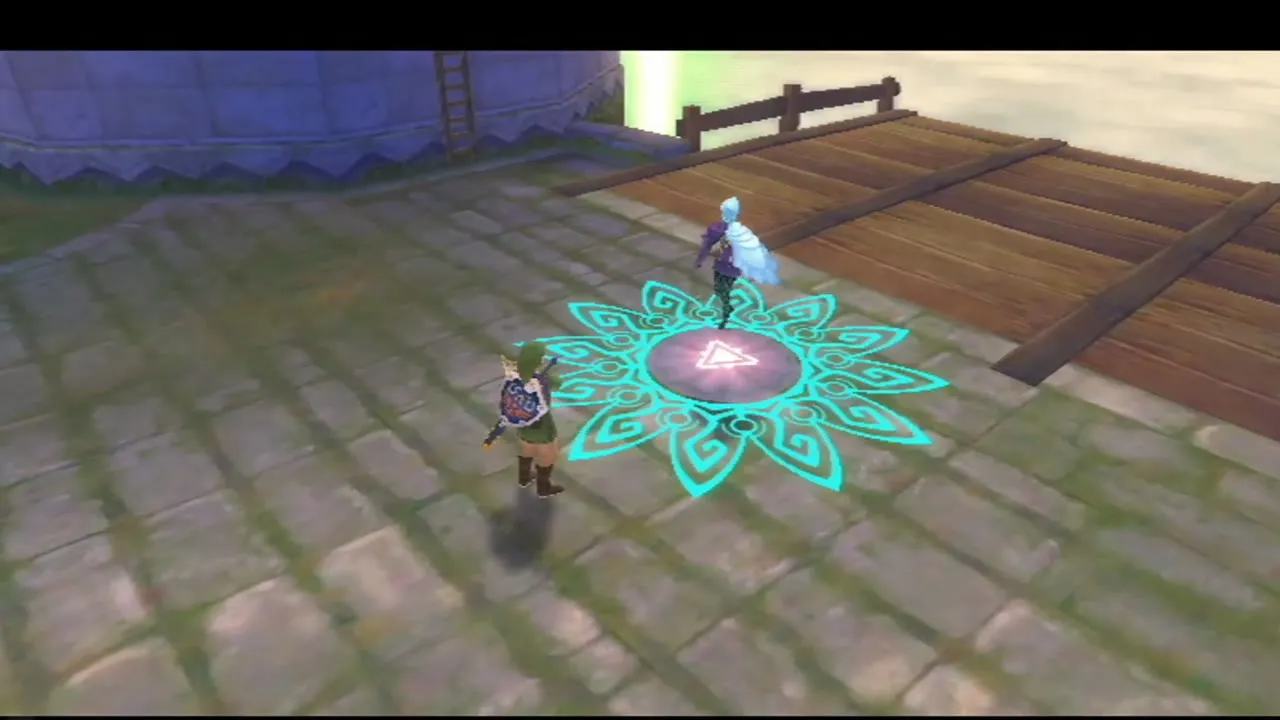
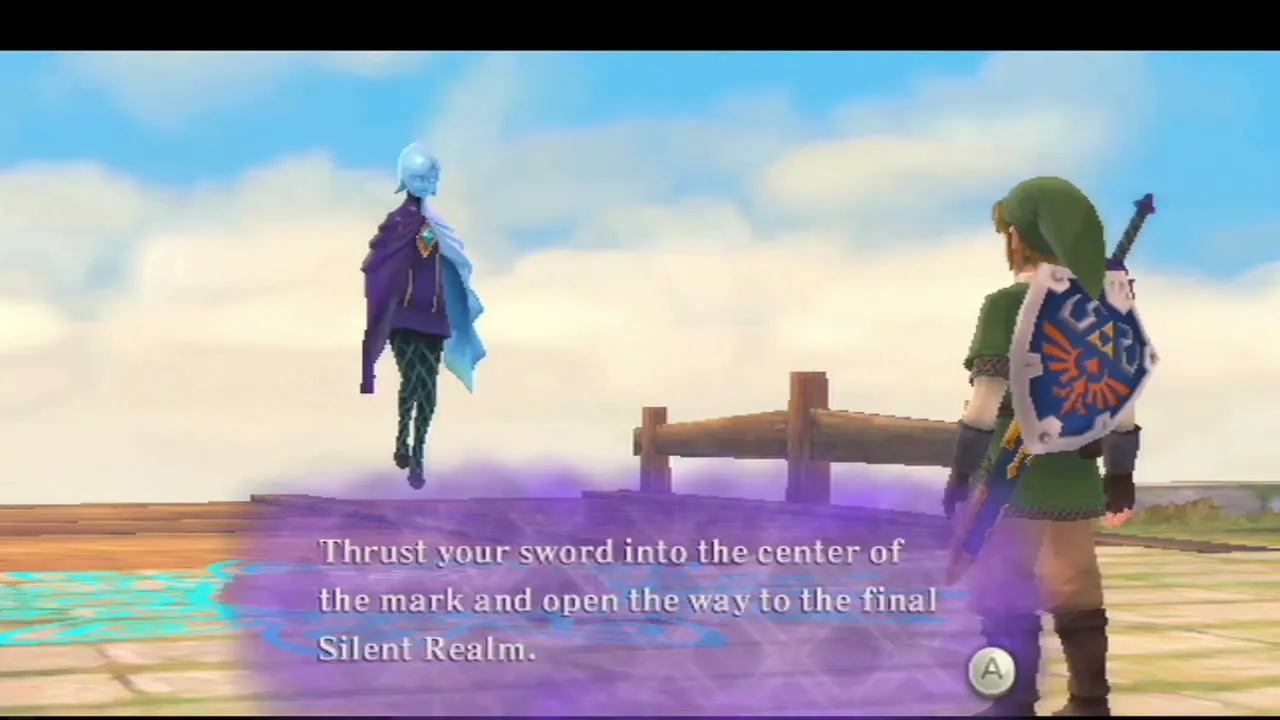
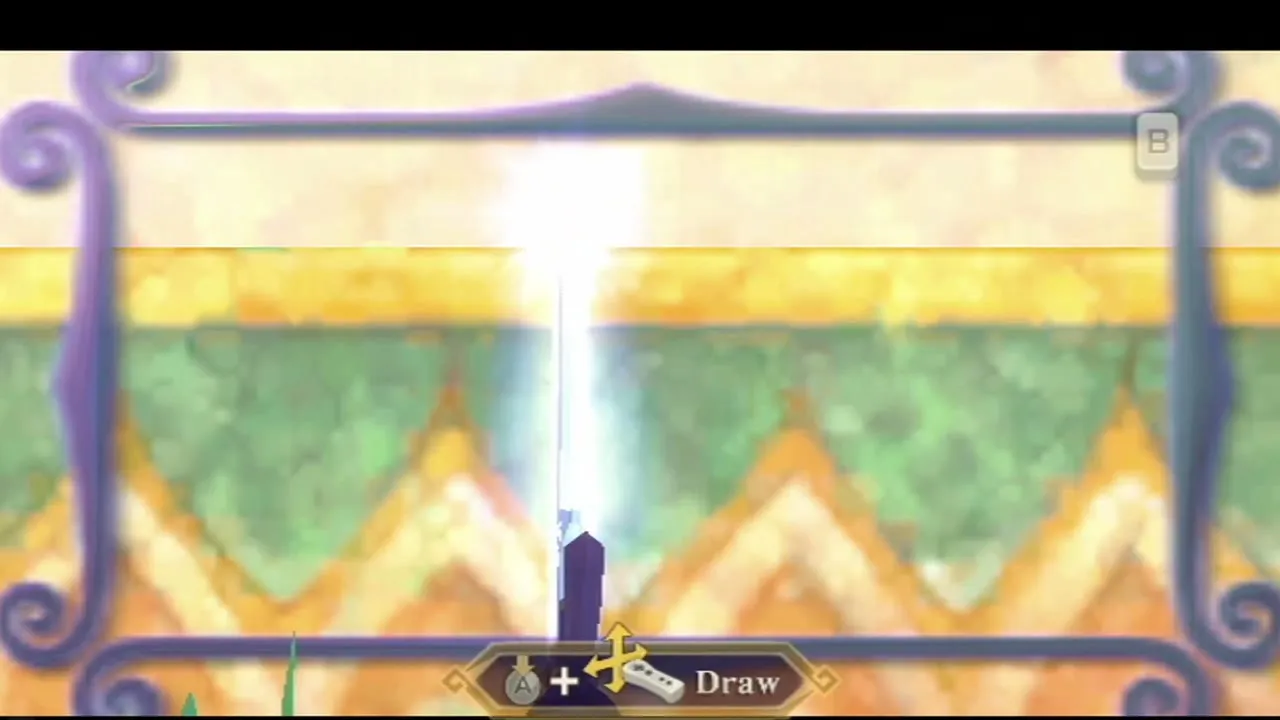
Fi tells you to thrust your sword into the center of the mark. Point the sword down and thrust the Wii Remote forward, and you step into the Goddess’s Silent Realm.

Skyloft Silent Realm: 15 Sacred Tears
How the realm works
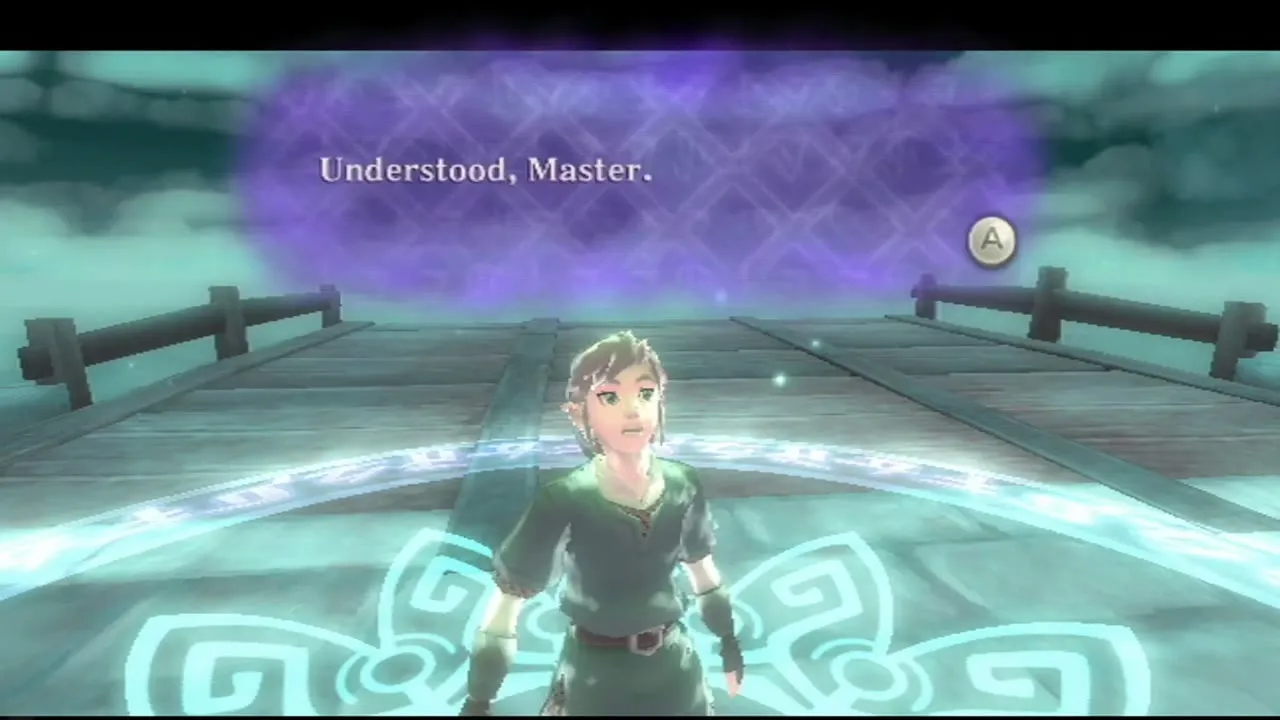
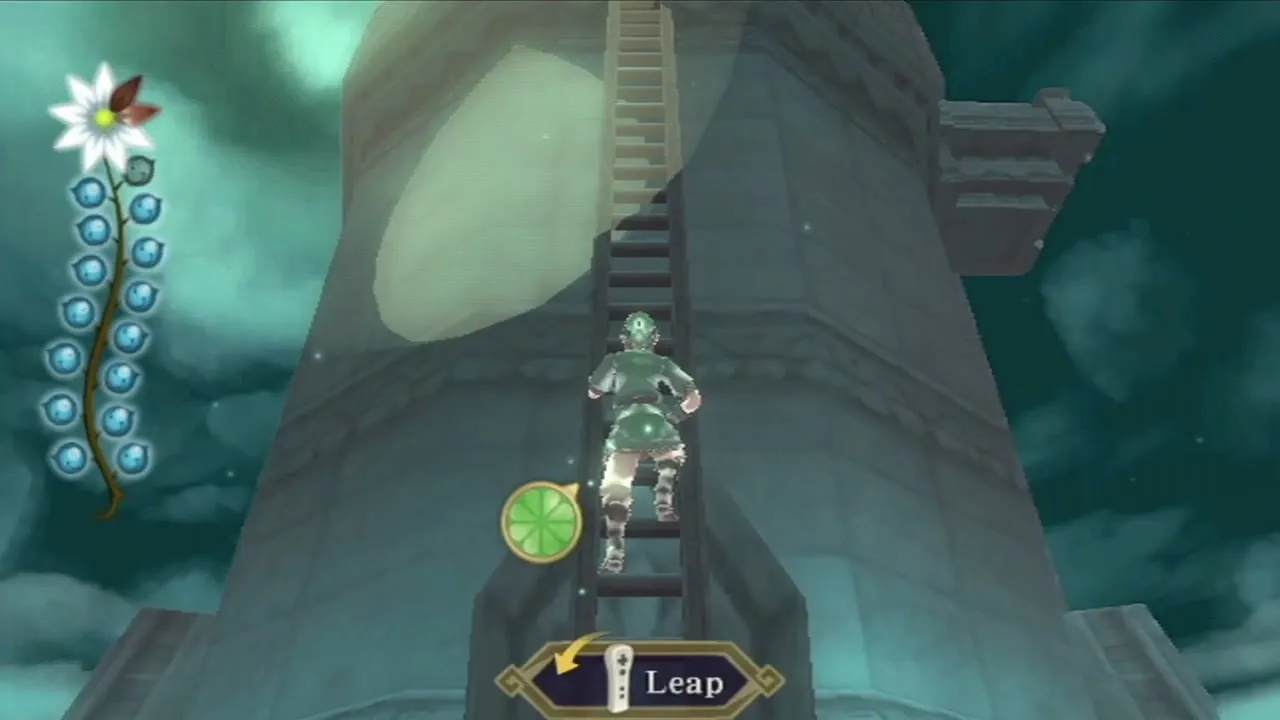
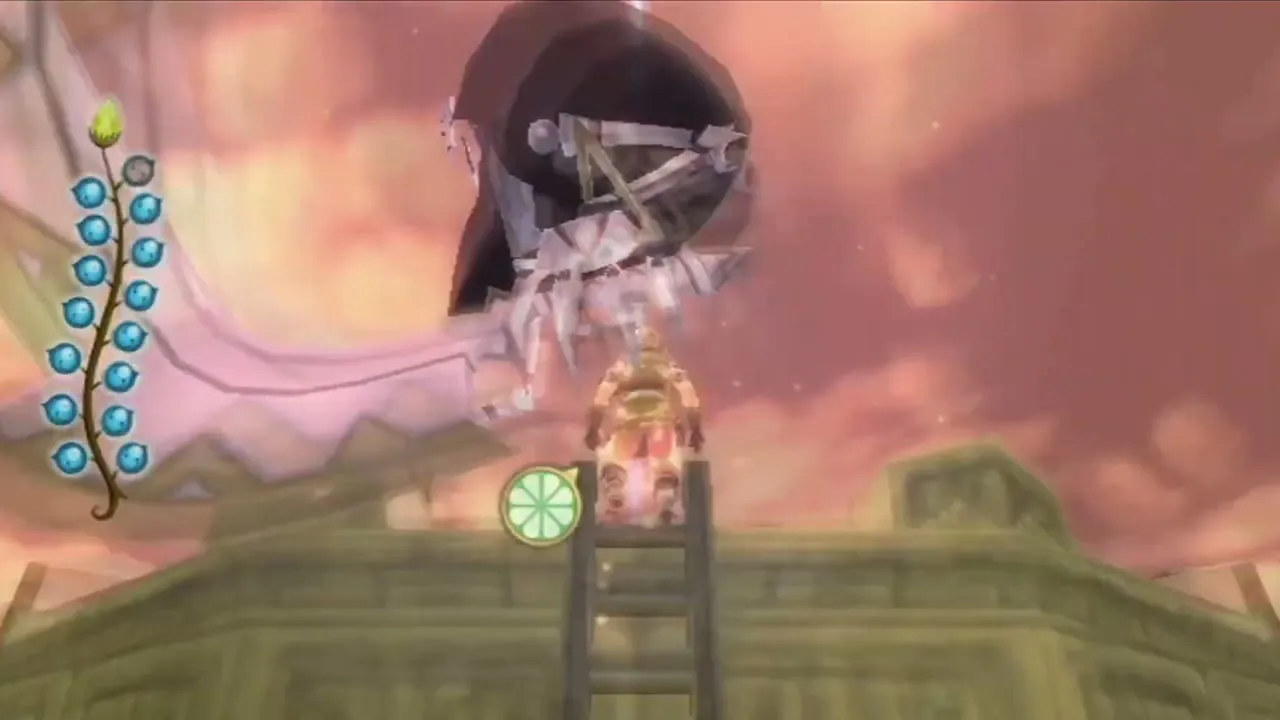
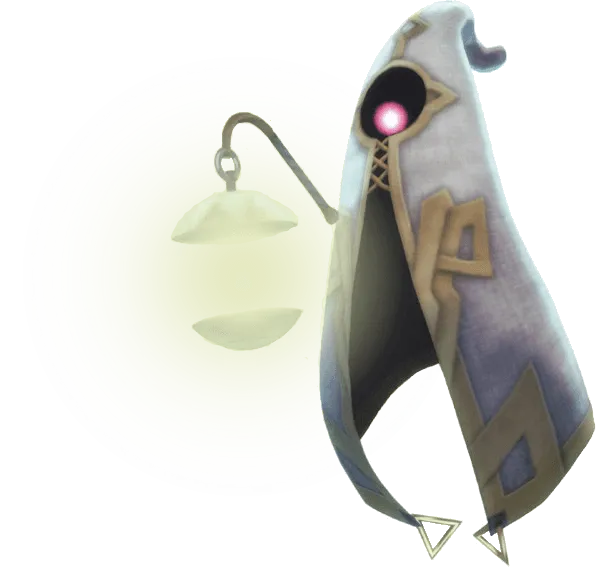
Fi hands you the Spirit Vessel again and tells you that she cannot come along. You begin inside a protective circle; the moment you step out of it, the Guardians that patrol the realm wake and chase you. Each Sacred Tear stops them for 90 seconds, and the petals of the Spirit Vessel show the time left. When the petals run out, the Guardians wake again, so grab the next tear before that happens.

A single hit from a Guardian ends the attempt and sends you back to the start, though the map remembers the tears you have already taken. Watchers carry lanterns, and being caught in their light also wakes the Guardians. The same goes for Waking Water, the red pools that cover parts of the ground: wading through them sets the Guardians off, so jump over or around them.
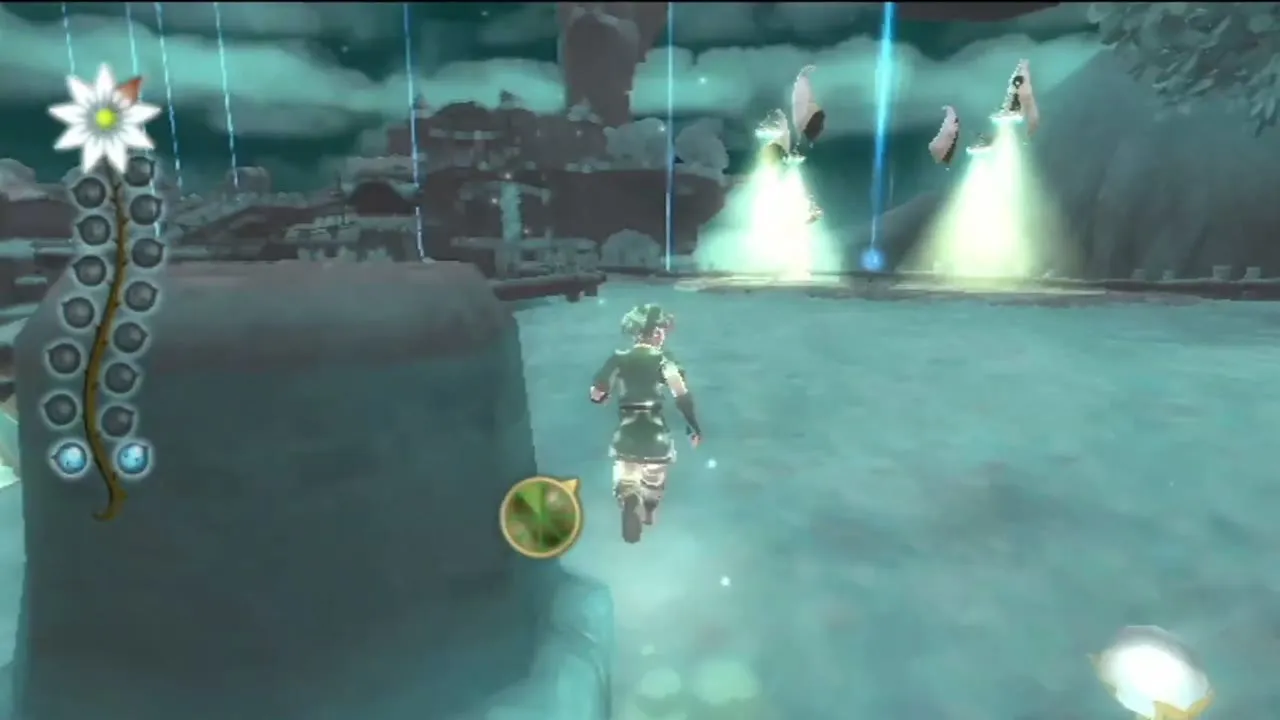

What is different about this realm
The earlier realms in Faron, Lanayru and Eldin are open wilderness. This one is a ghostly copy of Skyloft itself, so you will be running through the Bazaar, past the Knight Academy, across the bridges and over the lake. The tears here have no special names, just Sacred Tears, and there are 15 of them to find. The paths are tight, which makes Watchers harder to dodge than in the earlier realms. Treat the tear positions below as a guide to the neighbourhood of each tear, and look around the landmark named. The reward is the Stone of Trials rather than a new tool.
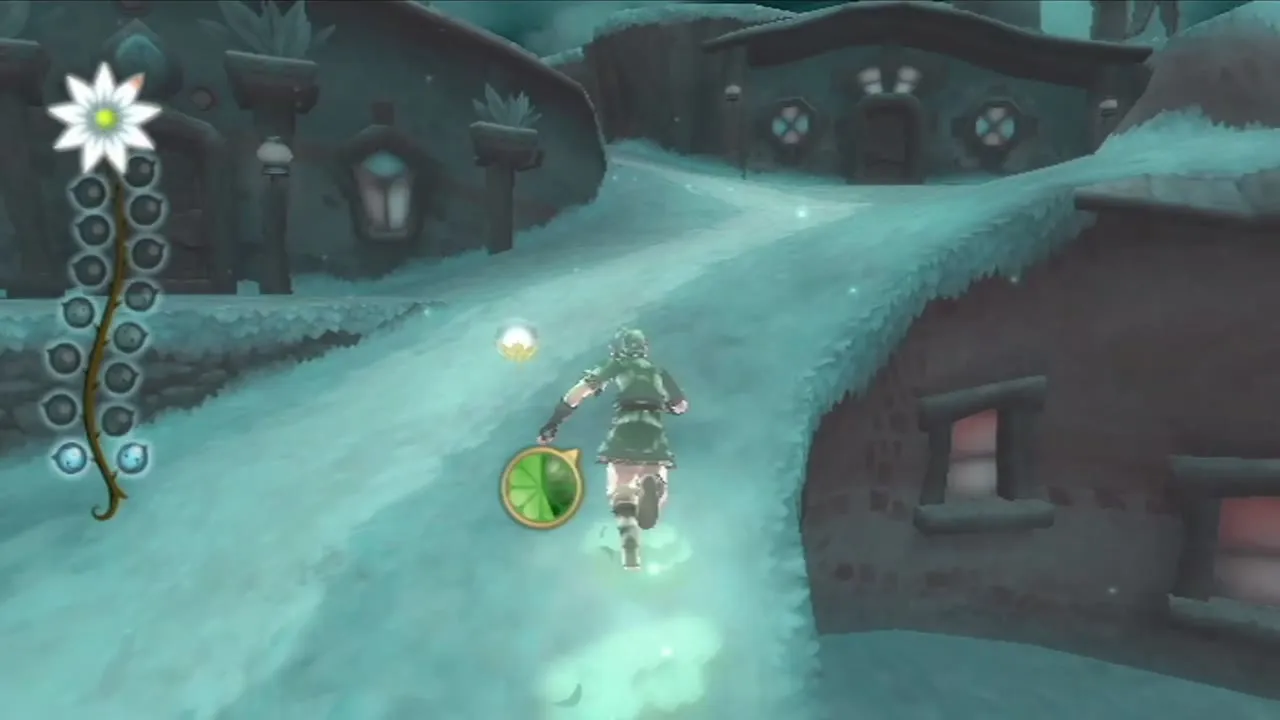

Tears 1 to 4: around the Bazaar
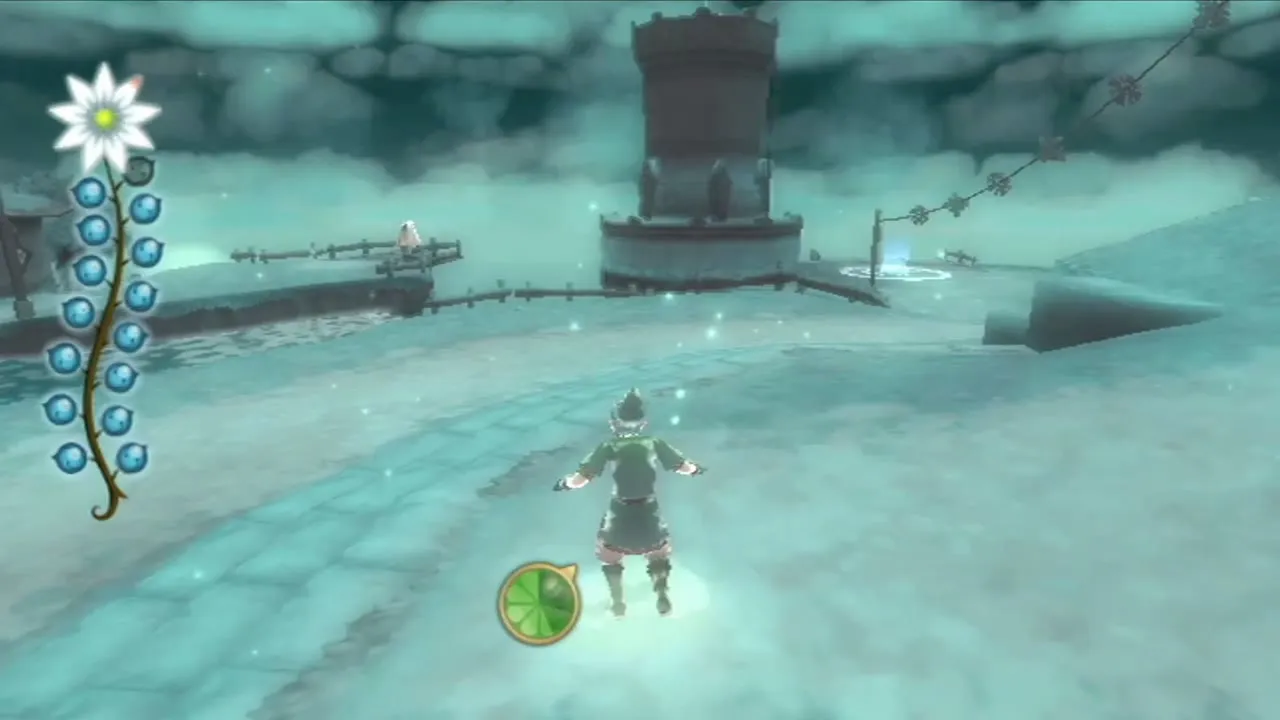
The first Sacred Tear floats straight ahead of the starting circle, a little to the north. Head north again and climb the stairs to a wooden ledge south-west of the Bazaar where a Watcher is on patrol. Wait for it to walk toward the buildings, then run onto the left-hand platform and take the tear that rests beside a Guardian.
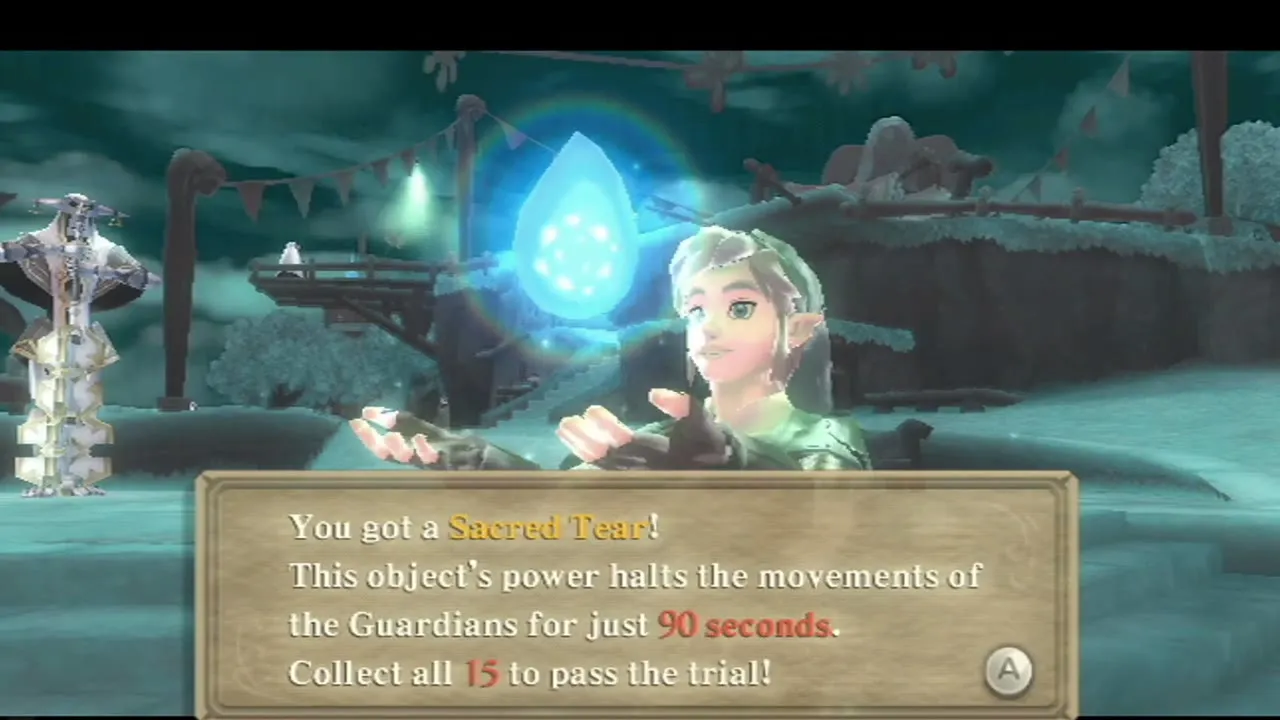
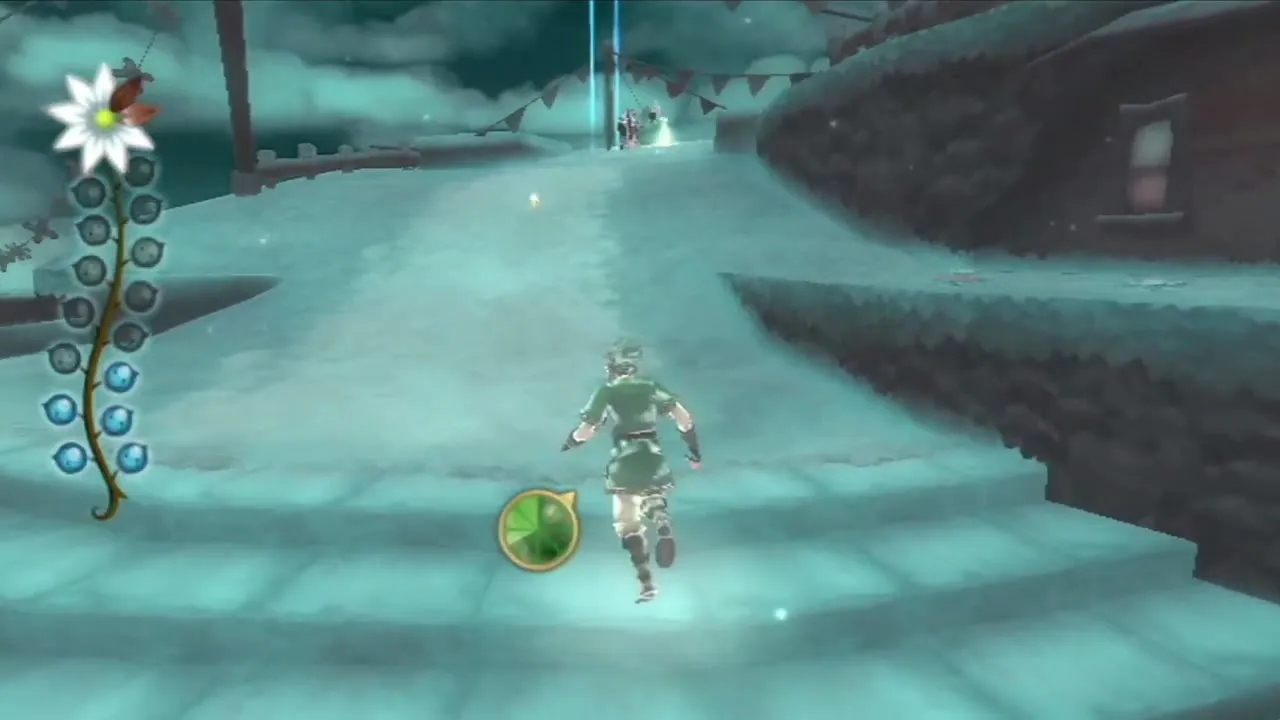
Tear 3 is east of that one, also near a Guardian. Let the Watcher drift toward the platform you just left, then dash east. Tear 4 sits near a tree on the east side of the Bazaar.

Tears 5 to 7: stairs and Knight Academy
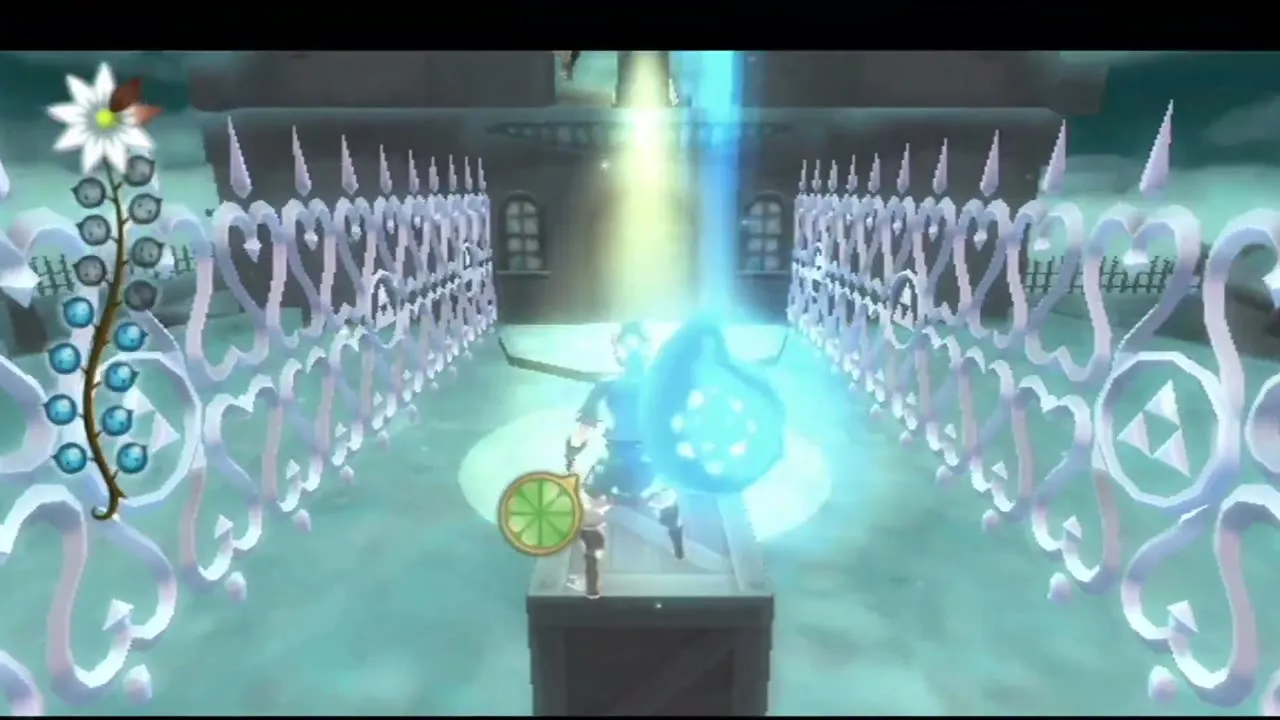
Tear 5 waits at the top of the long staircase north of the Bazaar. Tear 6 hovers in front of the Academy’s upper entrance, and you must climb a box to reach it: pull the box into place while the Watcher’s patrol is facing away, then jump up on it. The seventh tear is on the Academy roof; climb the south side, avoid the Watcher and take it near a Guardian.
Tears 8 to 11: bridges and lake
Tear 8 floats halfway along a wooden bridge patrolled by Watchers, on a single plank to the left. Wait until it turns away before you step out. Cross back over the main bridge and head east into the open area for tear 9.
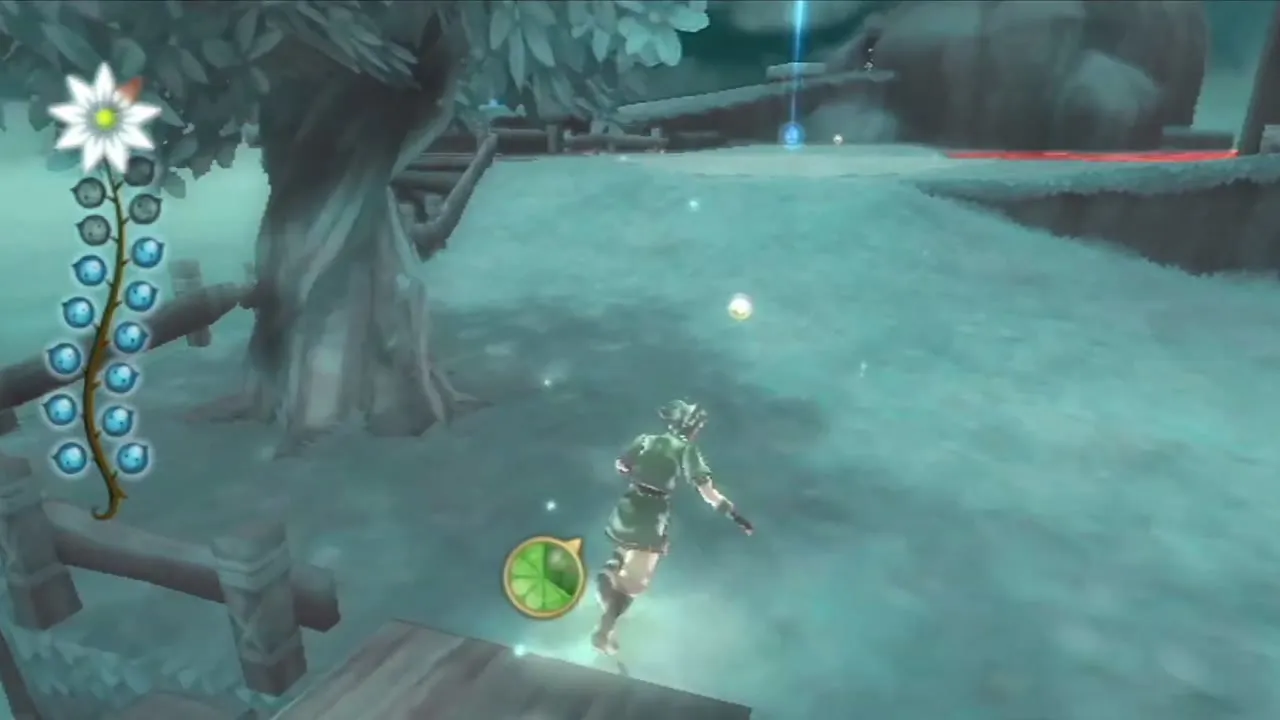
For tear 10, cross four rock platforms toward the Waterfall Cave with Waking Water below, so leap carefully. Tear 11 is on the bridge to the eastern residential area; a Watcher walks the middle of the span, so wait until it moves off.

Tears 12 to 15: pumpkin patch, graveyard and Light Tower
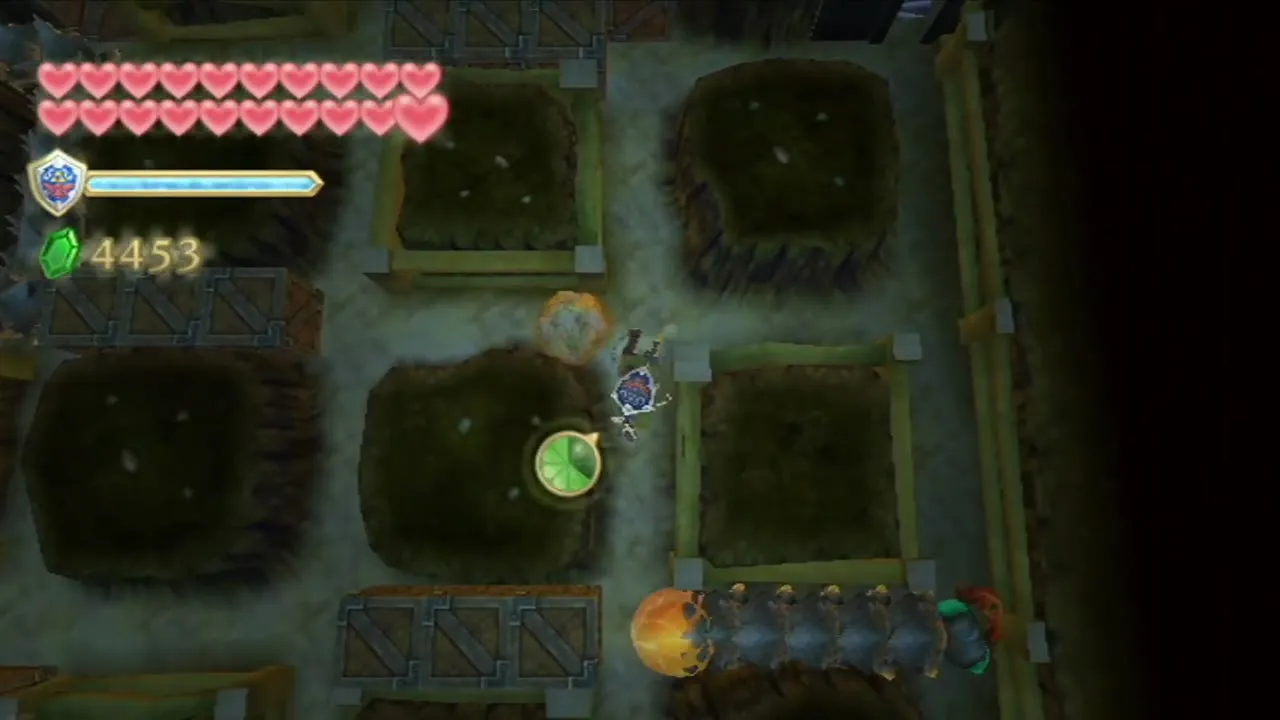
Tear 12 lies in the pumpkin patch north of the residential area and is watched by four Watchers. Study their patrol lines before you commit. Tear 13 is south of it, down an alley that sometimes floods with Waking Water; check that the path is dry, then take the tear beside the Guardian.
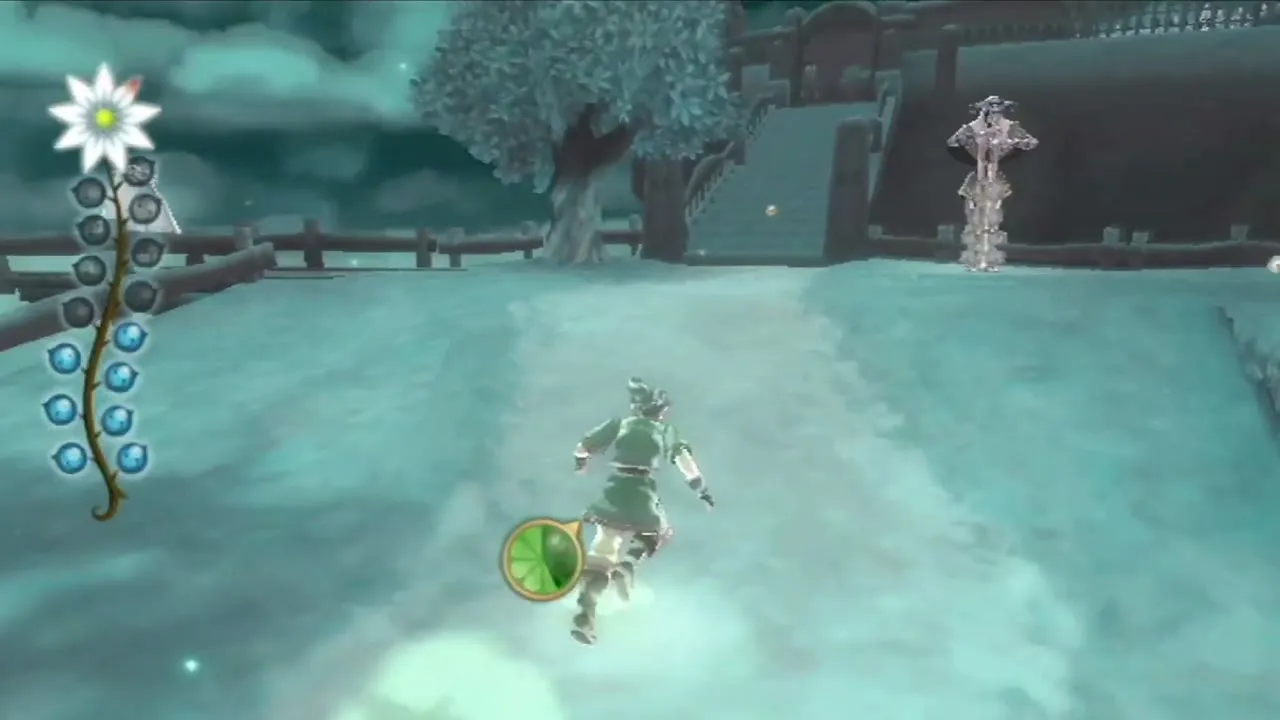
Tear 14 is at the south end of the graveyard, close to a tombstone, with a Watcher on the hill near the entrance. The last tear sits on top of the Light Tower: climb up once the Watcher has fully passed. The order given here is a workable loop; you can take the tears in any order that suits the patrols.

Leave the realm and get the Stone of Trials
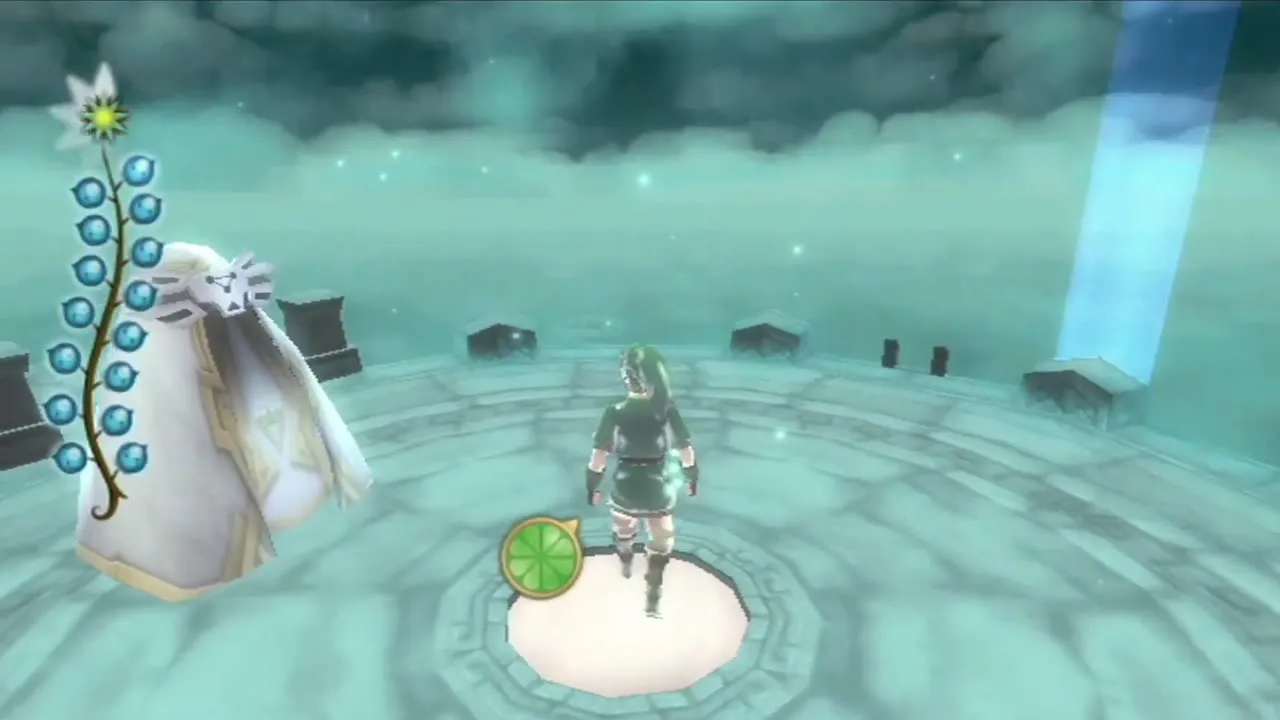
After the last tear Fi warns that the trial is not over until you leave, so stay careful. Make your way back to the circle of light where you began. When you step into the circle, you receive the Stone of Trials, one of a pair that opens the way to the Triforce.


Stone of Trials and the bird statue
Place the Stone in the statue’s eye
Fi says that a matching mark must exist somewhere on Skyloft. It does: a bird statue stands near the entrance to the Waterfall Cave with a Stone already set in one eye and the other eye empty. Cross the platforms over the lake, turn left and examine the statue to push your stone into the empty socket.

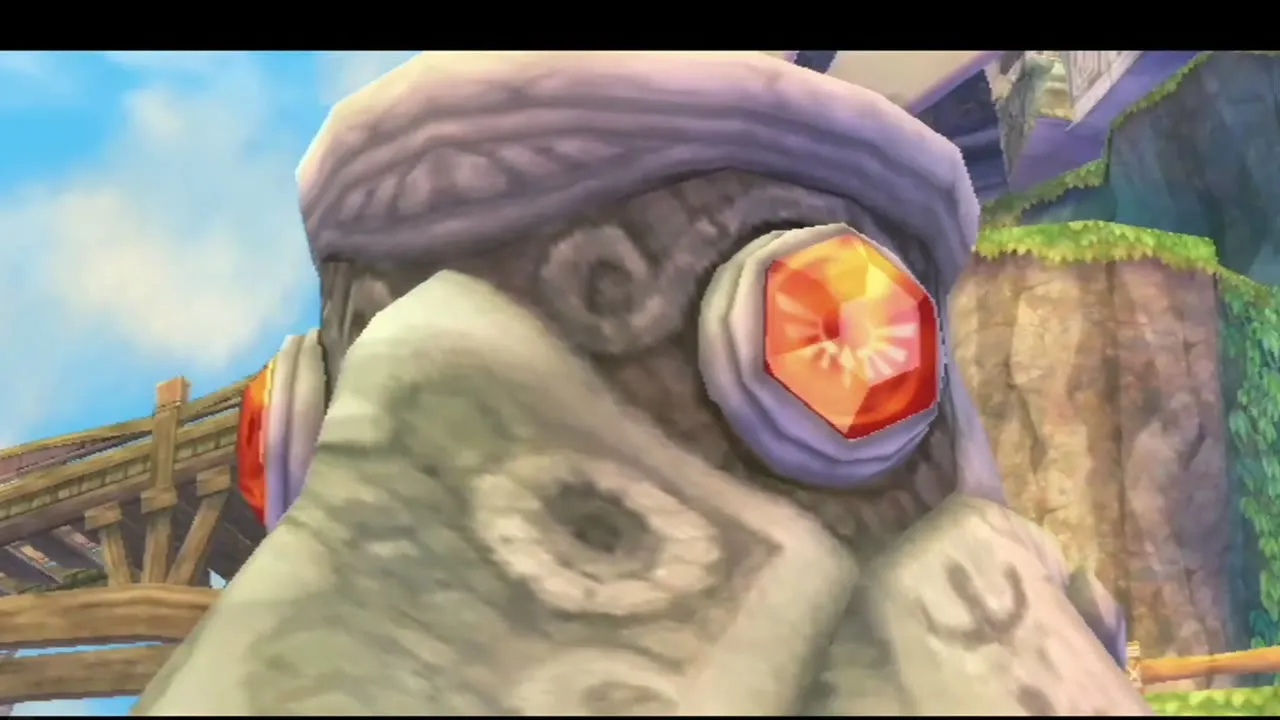
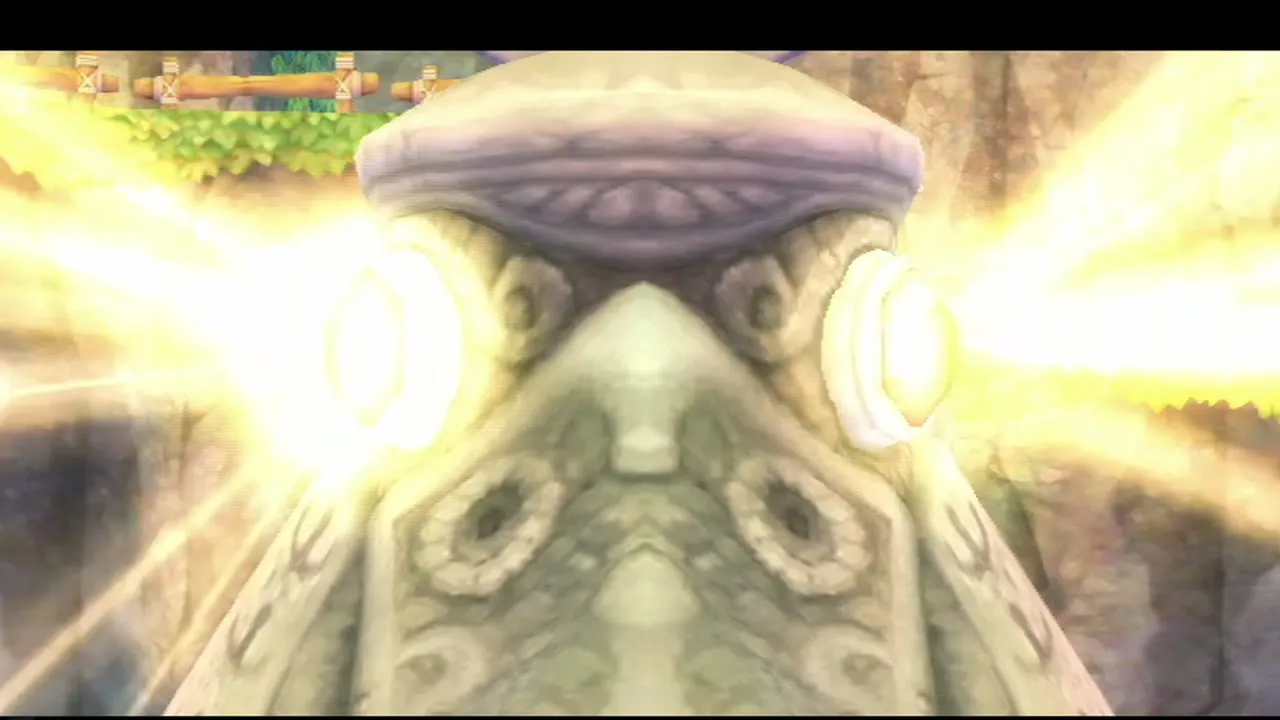
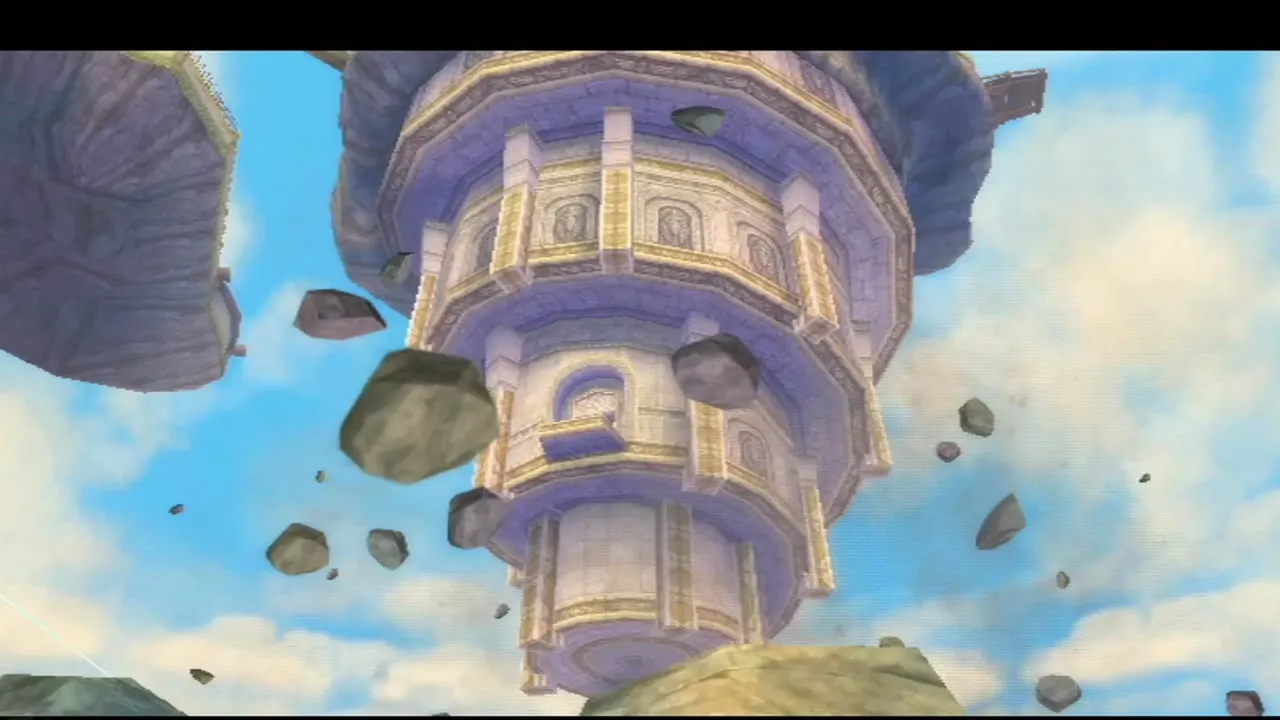
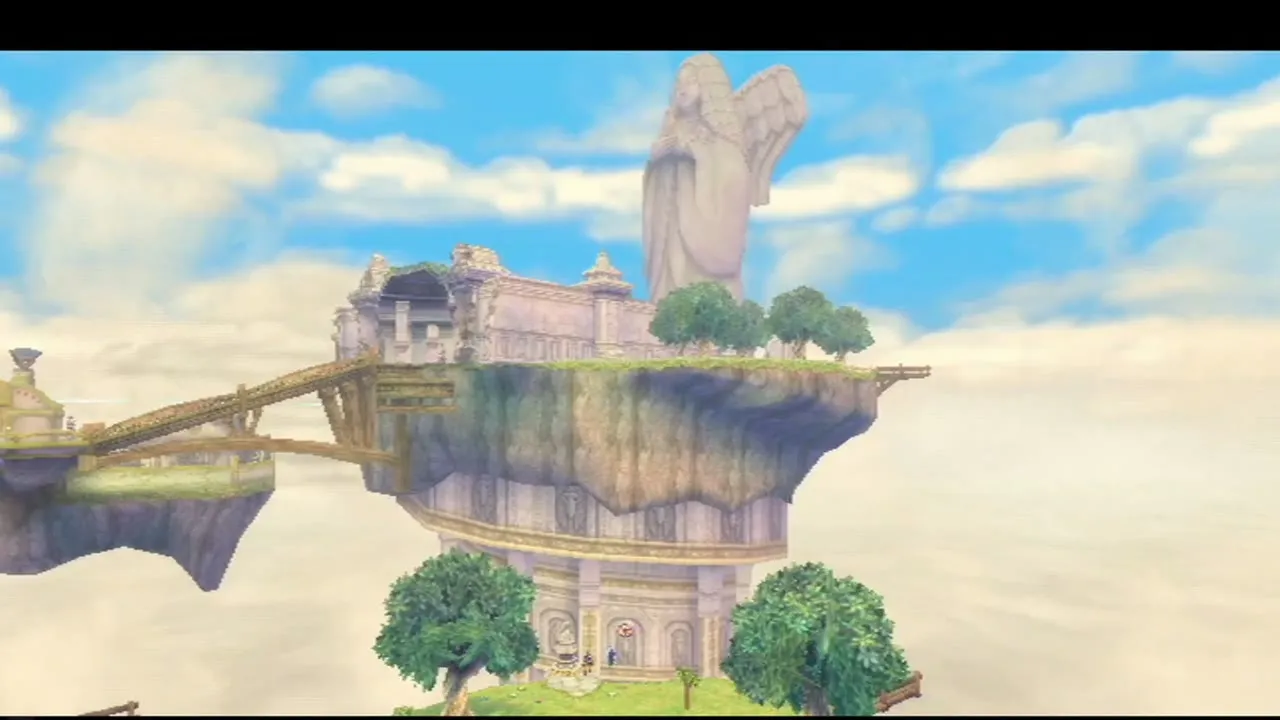
The statue fires, and chunks of rock fall from the underside of the island where the Statue of the Goddess stands, exposing a tower of carved stone. Round targets then drift out into the air around it. Aim the Clawshots at each target and zip across from one to the next until you land at the doorway of Sky Keep.
Before you go in
Top up your hearts, potions and arrows first. Sky Keep has no boss and no Heart Container, but the rooms are long and full of enemies. After you make your wish at the end, the island with the keep drops to the Sealed Grounds and the dungeon can never be entered again, so finish every Sky Keep chest and treasure before that moment.
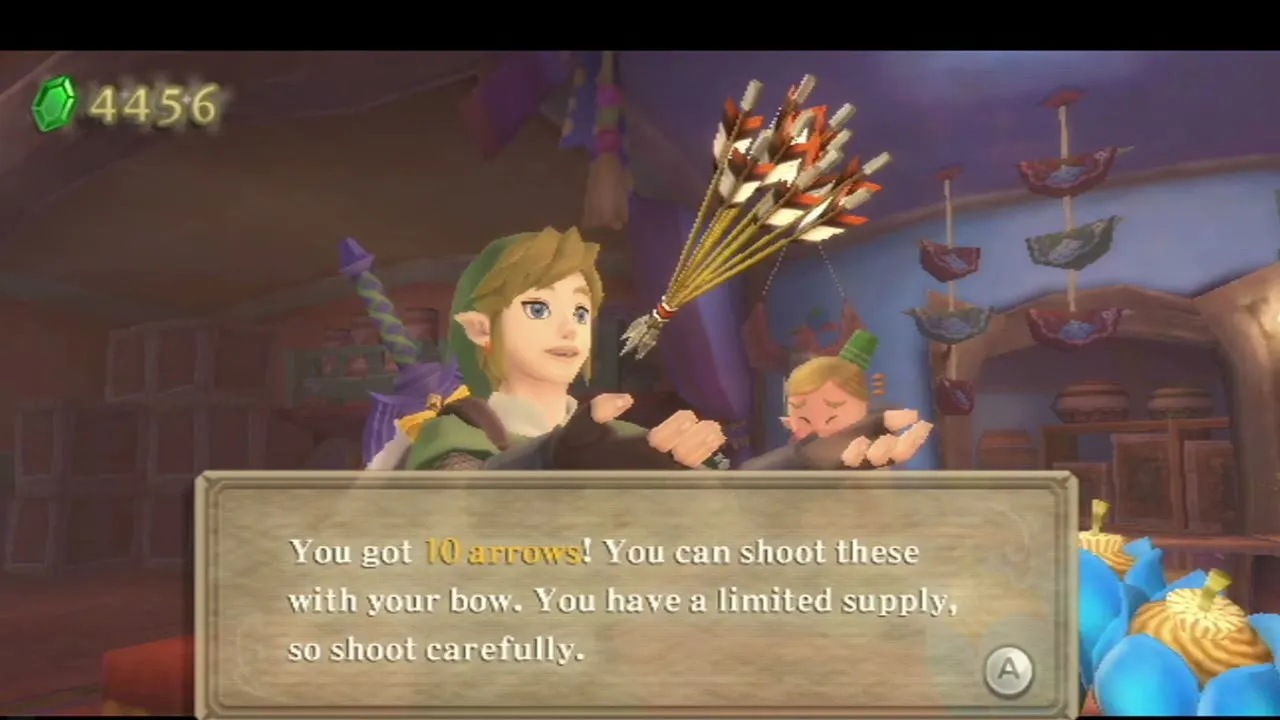
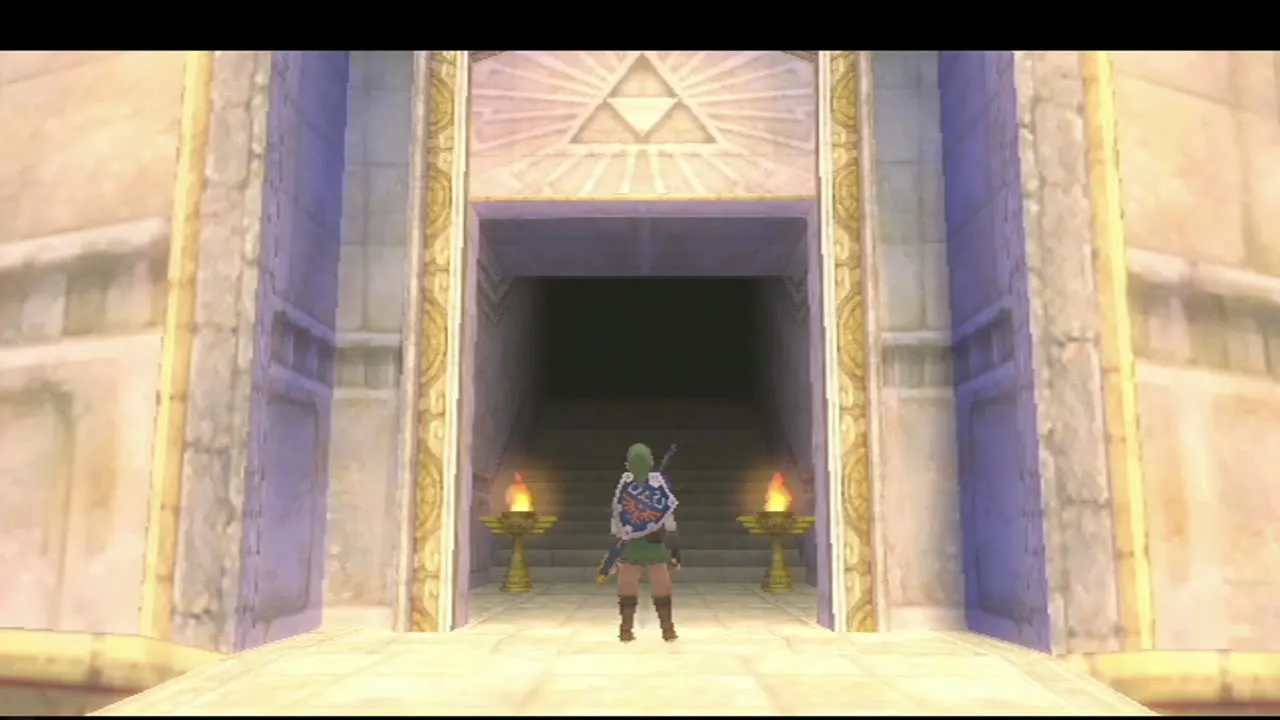
Sky Keep entrance and Dungeon Map
How the keep is built
Sky Keep is the only main dungeon in the series without a main boss. It is made of eight rooms. Six are themed after the earlier dungeons: Skyview Temple, Lanayru Mining Facility, Earth Temple, Ancient Cistern, Sandship and Fire Sanctuary. One room is the entrance, and the eighth holds the mini-boss Dreadfuse, who guards the only Small Key. The Ancient Cistern, Fire Sanctuary and Sandship rooms each hold one Triforce piece.

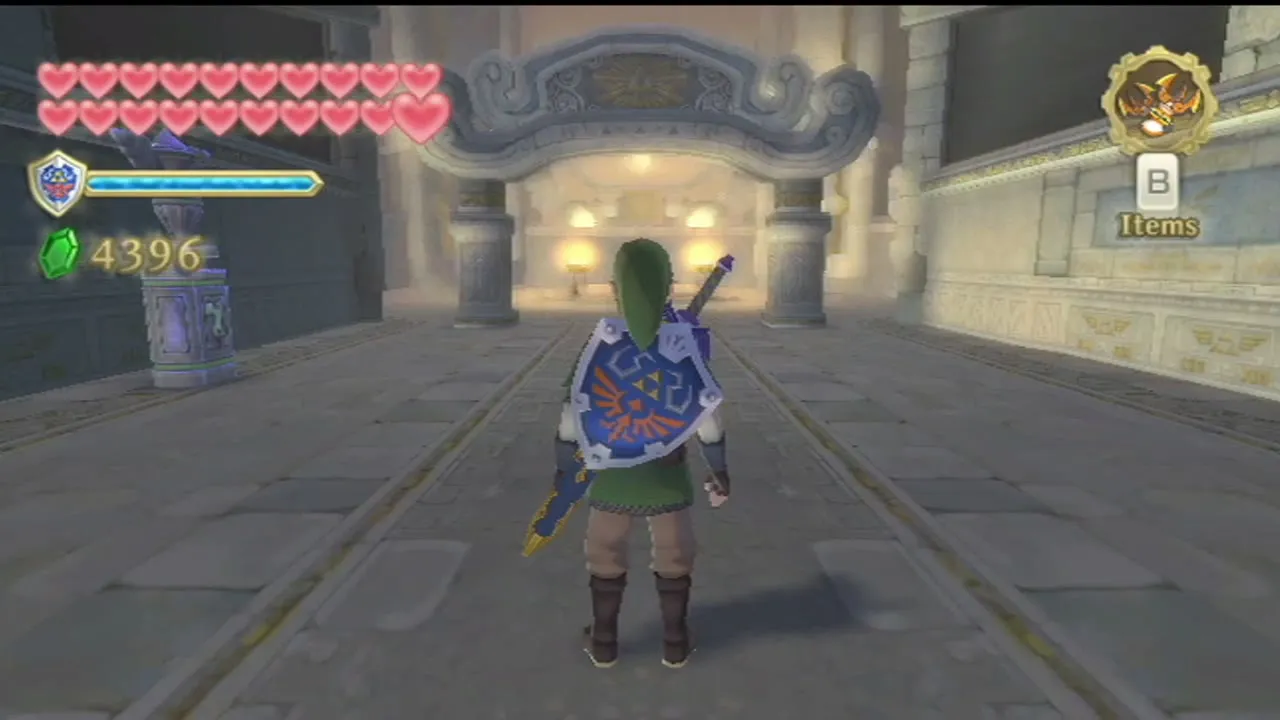
Entrance hall
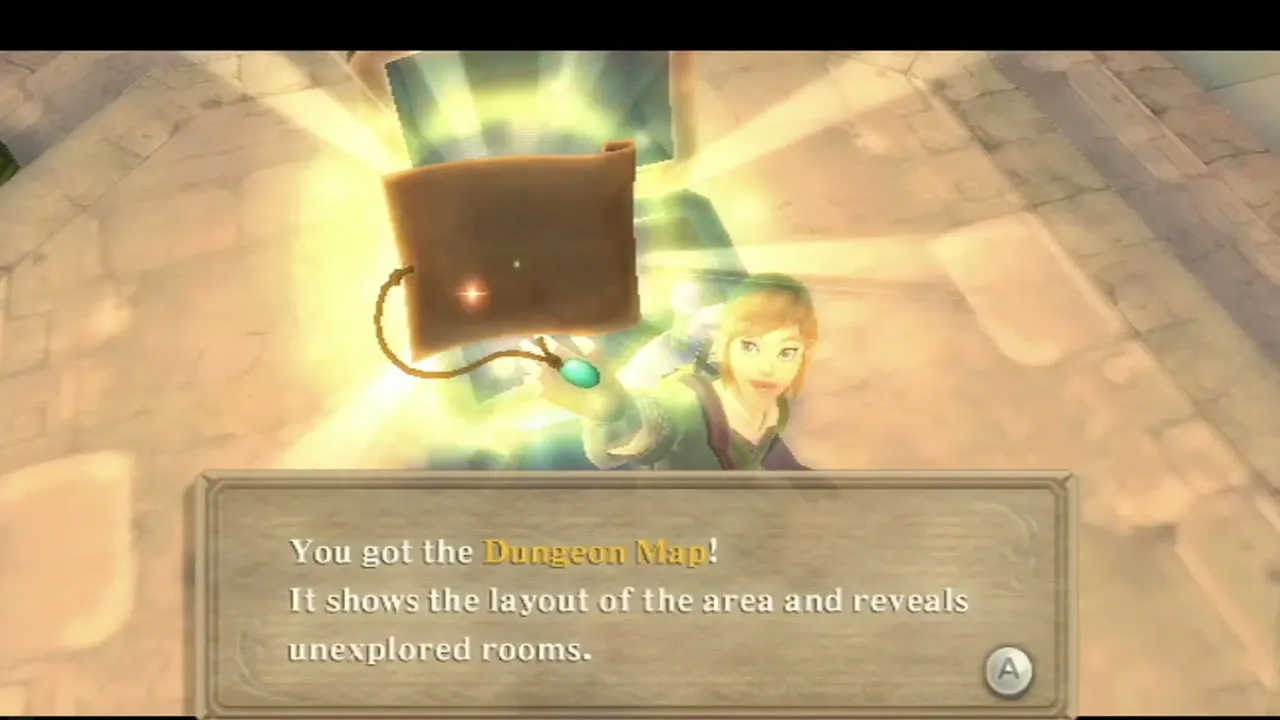
Walk in and light the Bird Statue in the entrance hall to save. Open the chest straight ahead for the Dungeon Map. Fi then marks the three sources of sacred power on it; they all radiate from the Triforce.

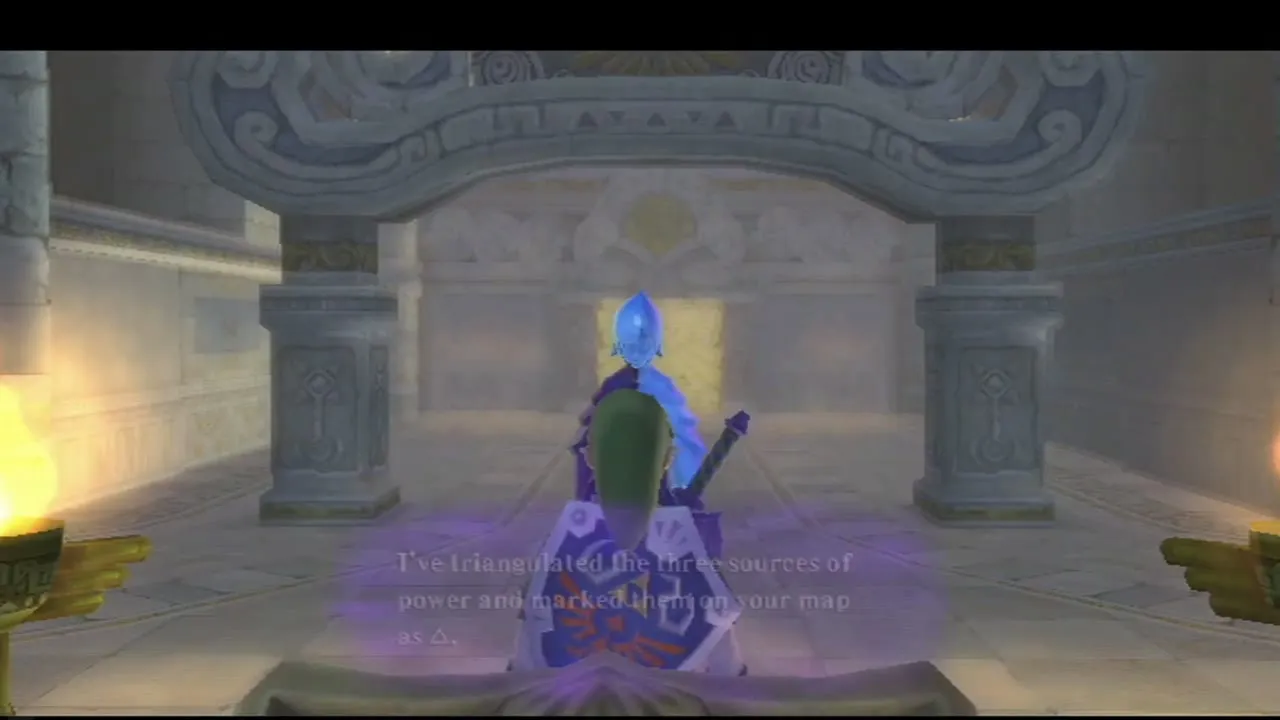
The sliding-room terminals
The rooms are tiles on a three-by-three grid with one gap, and stone terminals let you slide them. Walk up to a terminal, point at a room, grab it and drag it into the empty slot. The map screen shows which doors line up, and a room is only reachable where its doorways meet its neighbour’s. Tiles that hide a Triforce carry a colored triangle on the terminal: green for Courage, red for Power and blue for Wisdom.
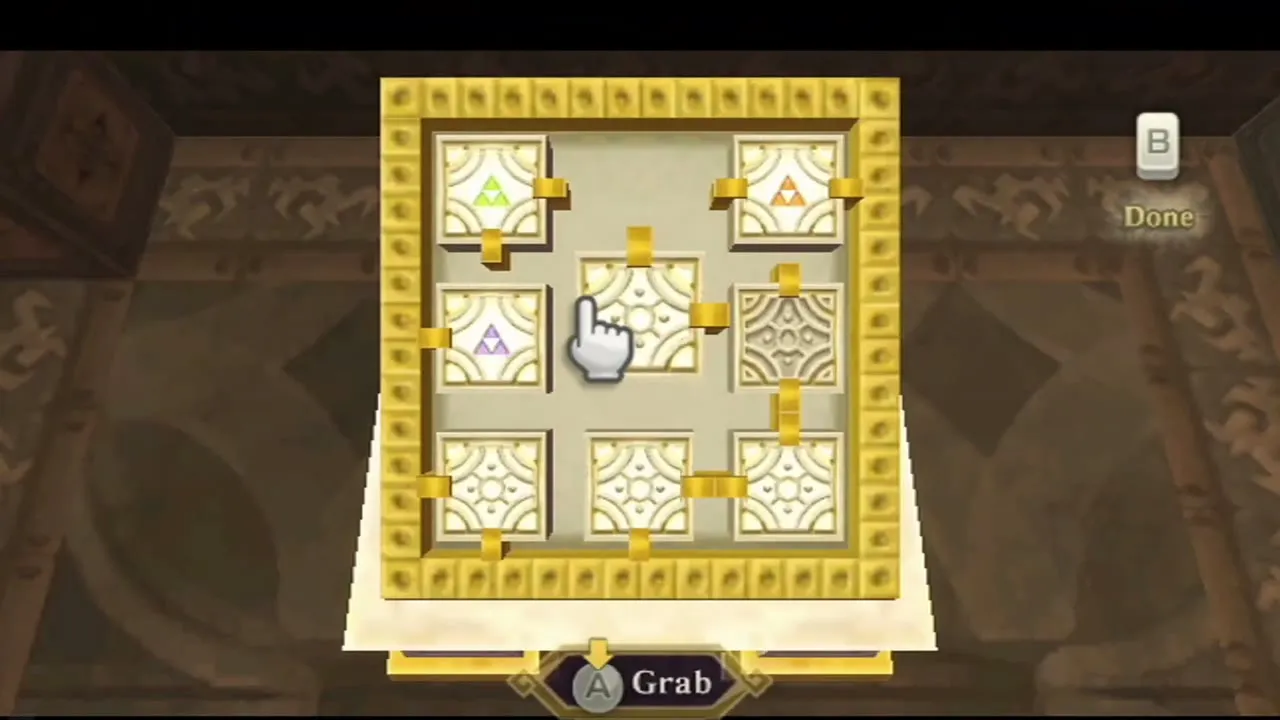
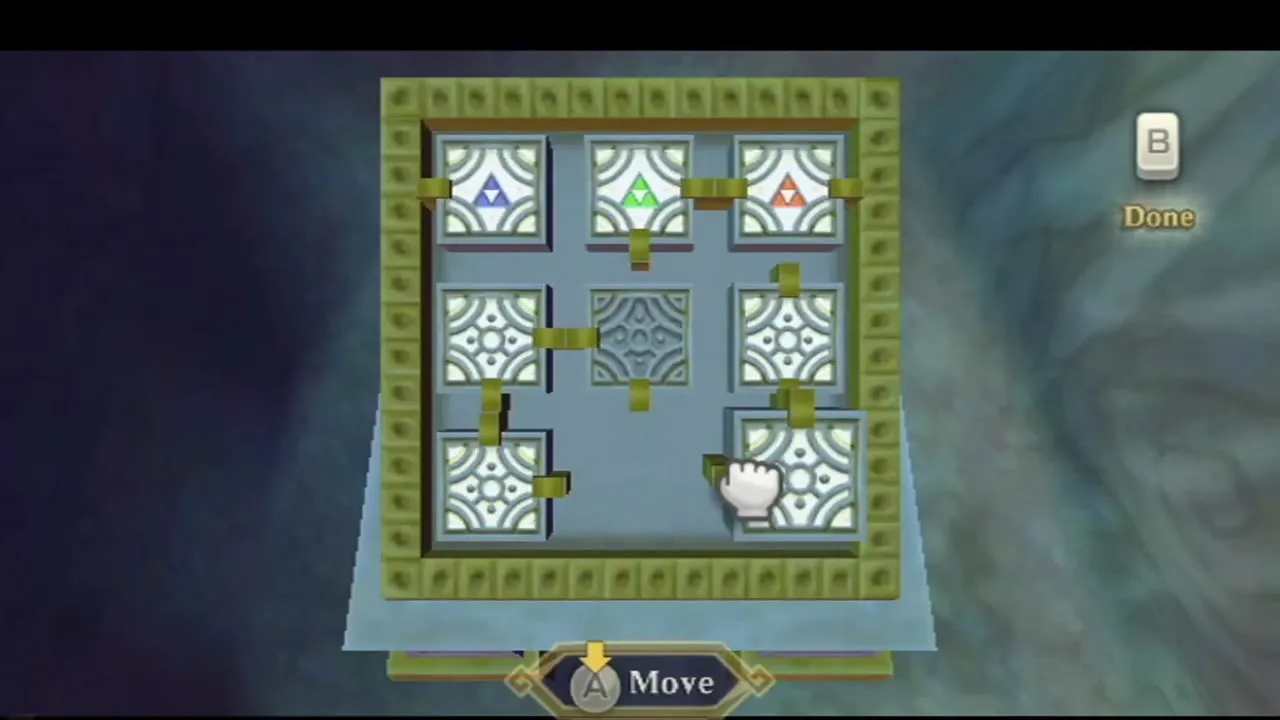
You can tackle the rooms in any order the layout allows. This walkthrough goes Forest room, Factory room, Earth room, Dreadfuse, then the three Triforce rooms in the order Power, Courage, Wisdom. The Power room needs no key, so it is a fair one to take before Courage.
At the first terminal, drag the middle room of the right-hand column down into the bottom-right slot, then slide the middle room of the center row to the right. That opens the east door, which leads to the Skyview Temple room.
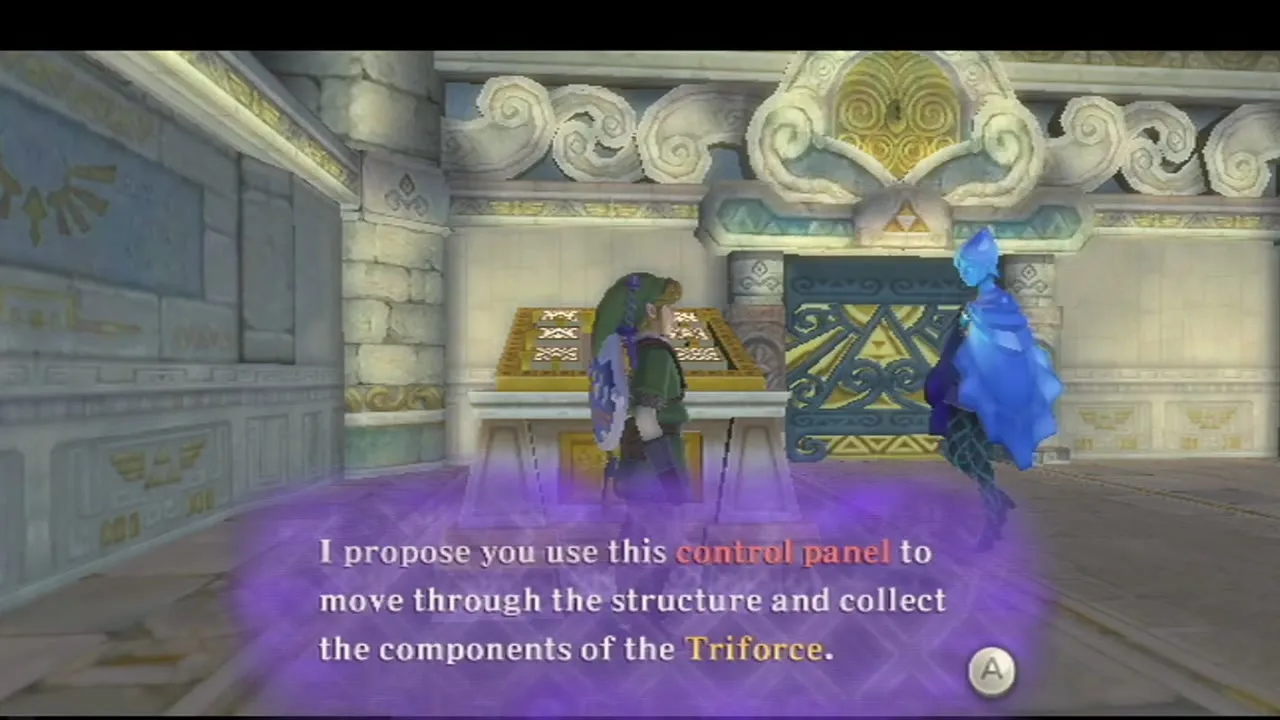
Skyview Temple room: trees, Pyrups and the Goddess Wall
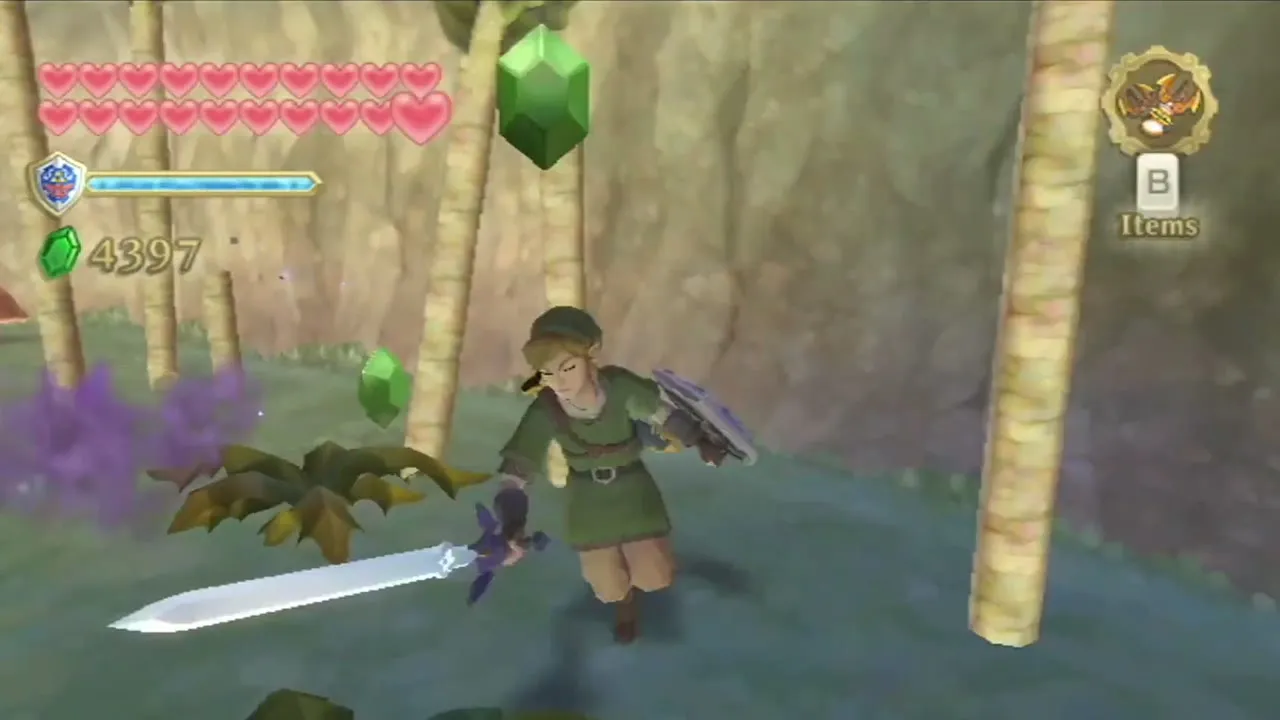
Rope, vines and the Furnix
Turn right, chop through the trees and beat the Deku Baba, then follow the passage to a bar you can grab with the Whip. Cut the hanging rope with the Beetle so it drops within reach, then swing from the Whip bar across the chasm and jump onto the rope. A Skulltula guards the vines beyond; defeat it, then use the Clawshots to latch onto the vines, the rotating pillar’s vines and the next target in turn.

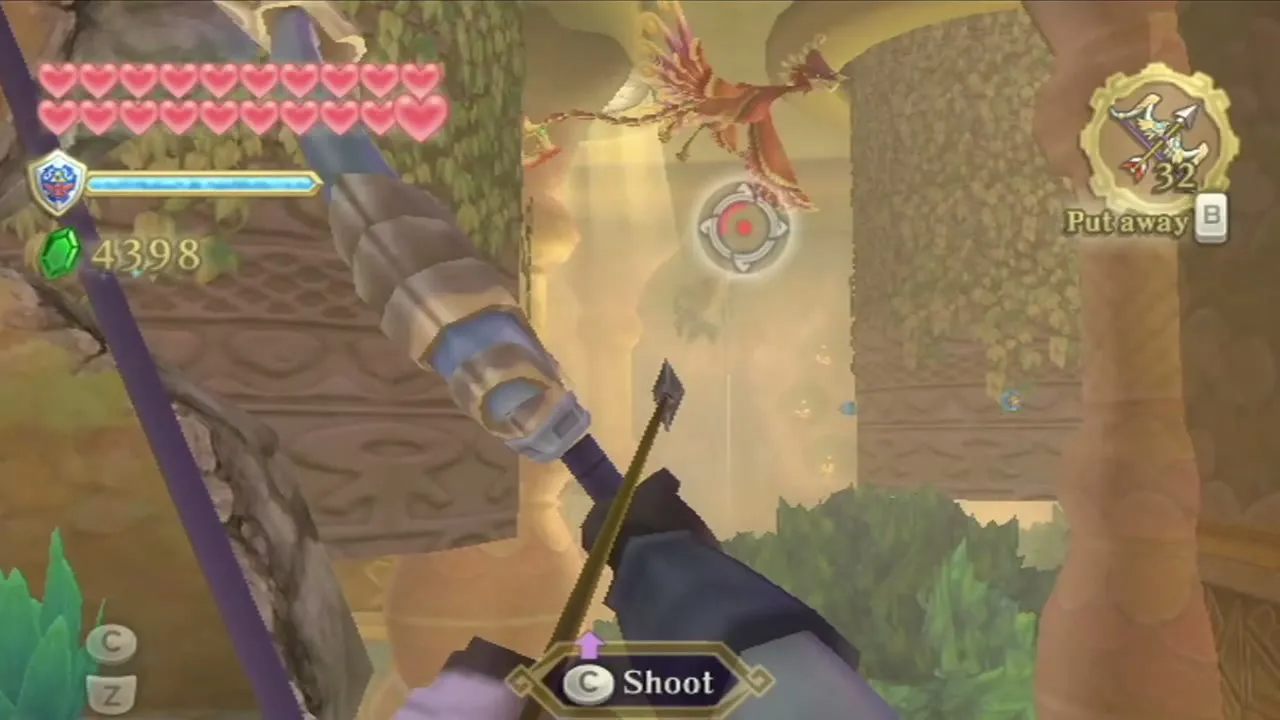
A Furnix flies about this area. Pull it down by whipping its tail, or shoot it with the Bow, and finish it with your sword.
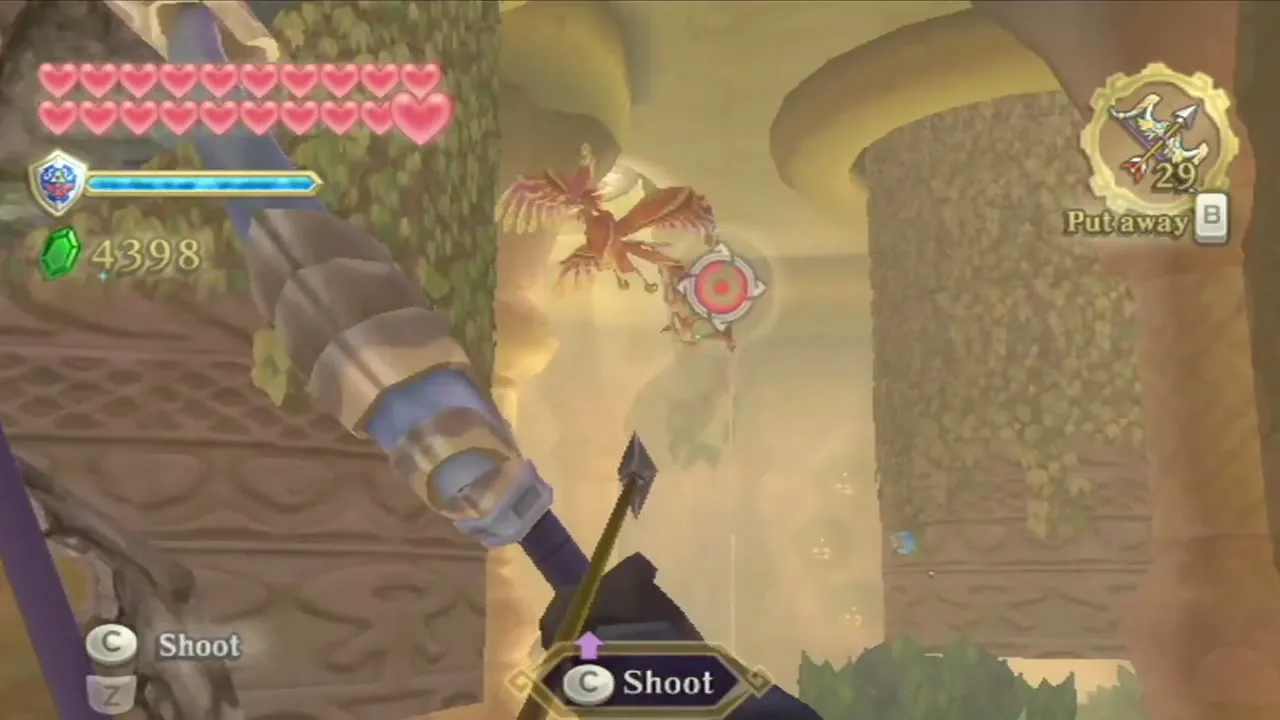
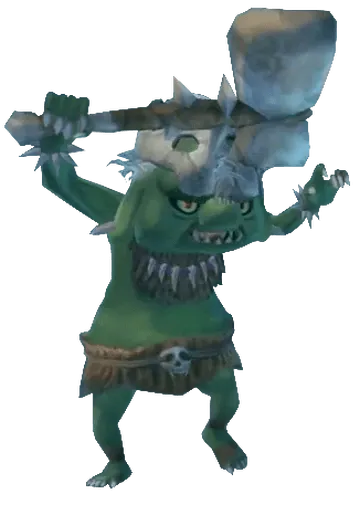
Pyrup wall
Three Pyrups block the way and breathe fire at close range, so stay back. Send the Beetle to lift a Bomb from the rotating pillars and drop it on them. A Bomb dropped in the middle hole takes out all three at once.

Gust Bellows platform and Bird Statue
Cross the rope and use the Gust Bellows to blow the hanging platform toward the next one, then jump across. A Bird Statue stands beyond; save there and pull the lever to open a shortcut gate back to the start.


Goddess Wall for hearts
A Goddess Wall stands near the Bird Statue. Play the harp, raise a charged Skyward Strike and draw the shape on the wall to be paid in Rupees. Then leave through the north door.
Lanayru Mining Facility room: Timeshift Orbs
Carry the orb through the gates
Pick up the Timeshift Orb in the hallway. It is a Timeshift Stone you can carry, and it turns everything near it back to the past. Take it through the fenced doorway and set it down past the gate, then defeat the Sentrobe and Technoblin.
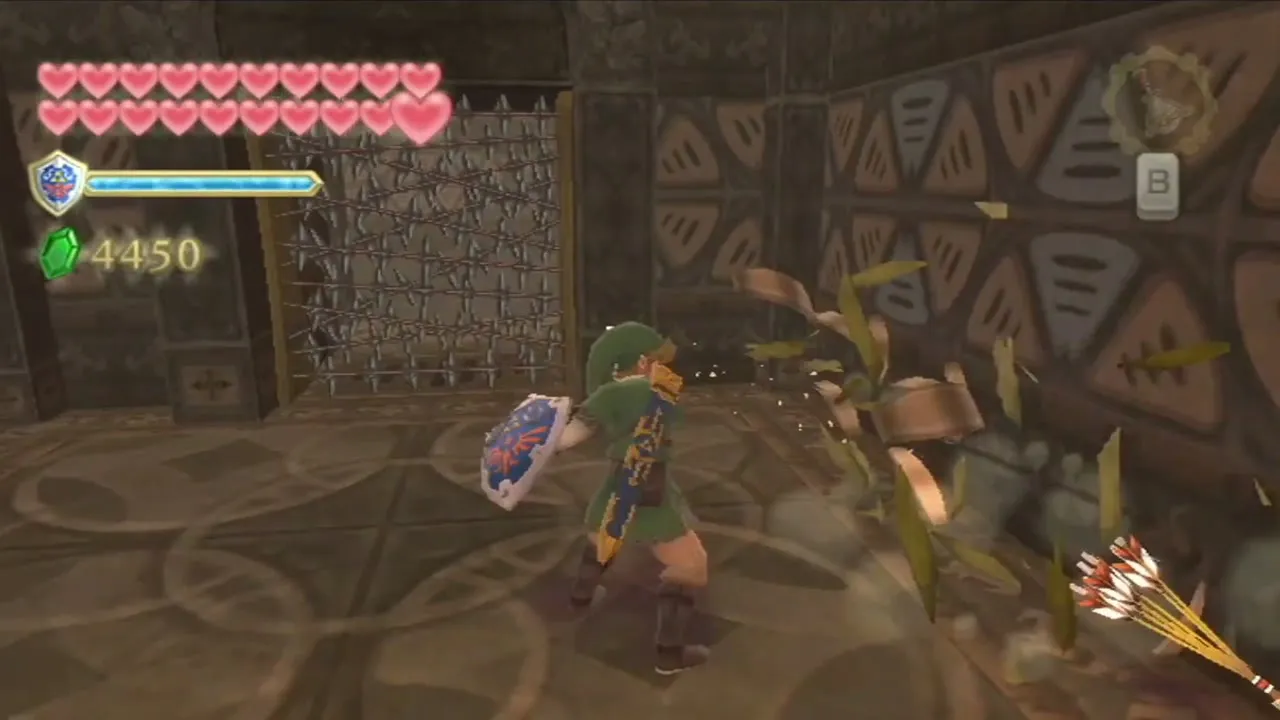
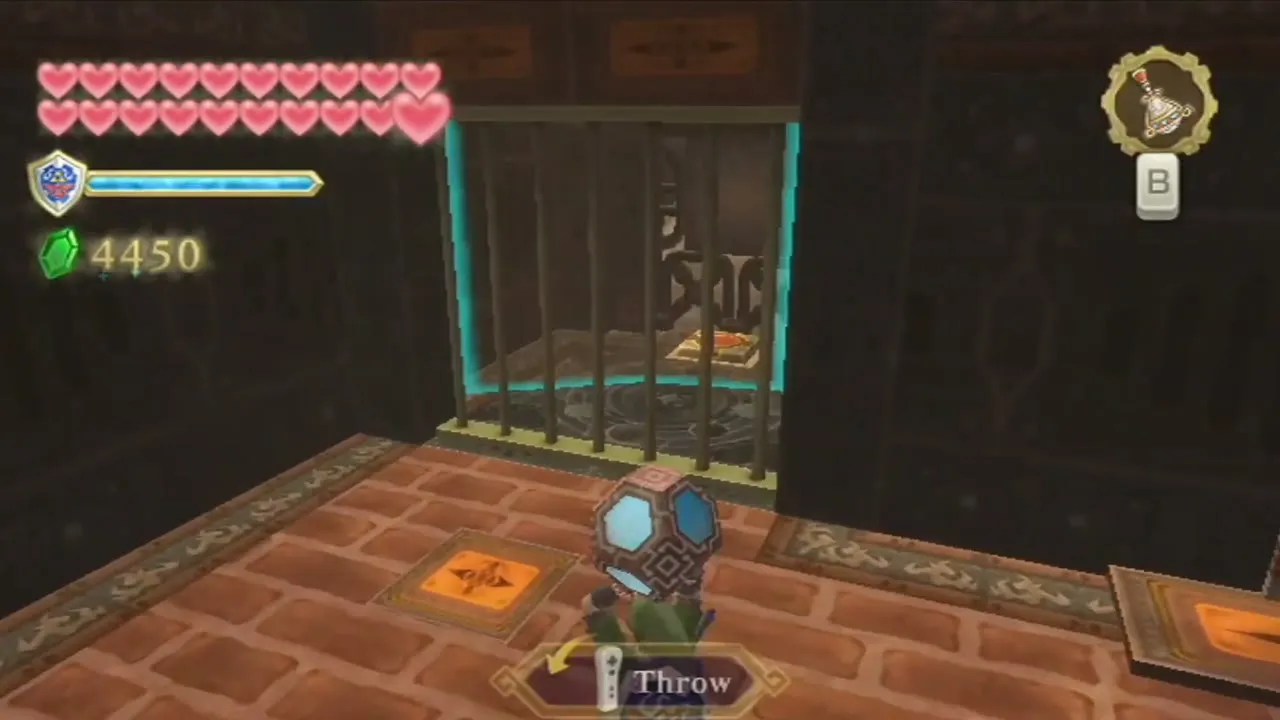
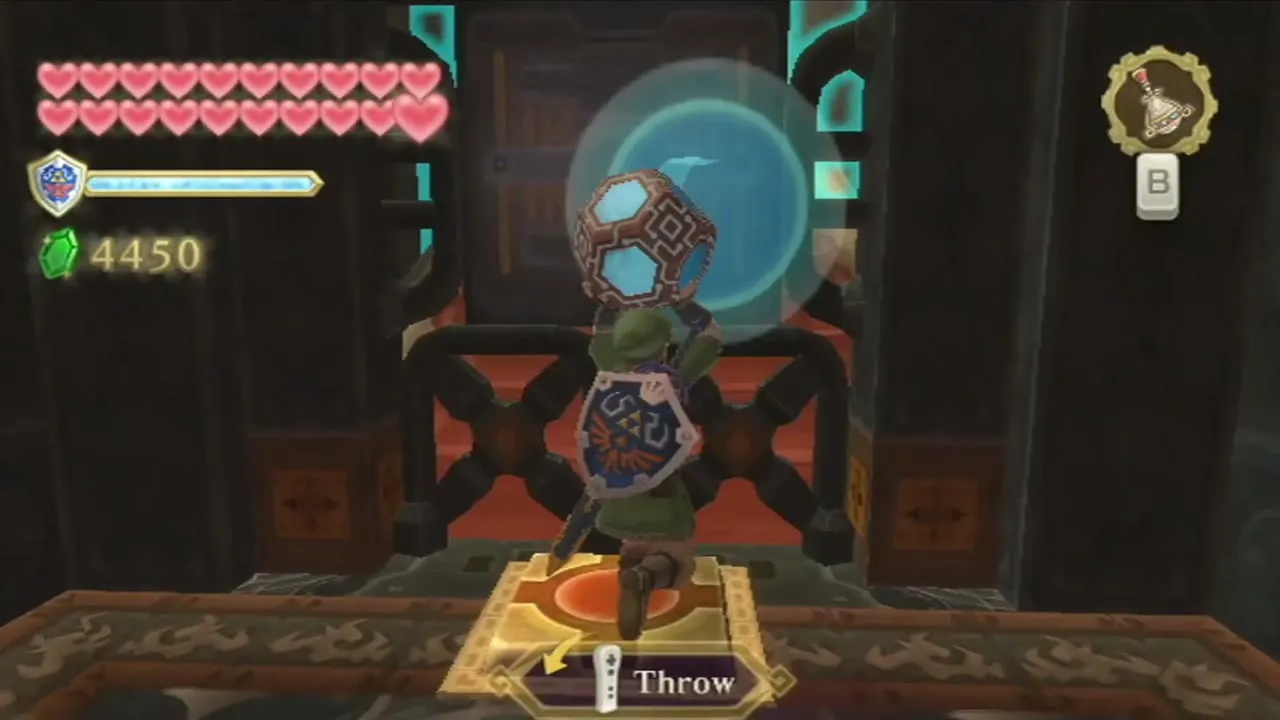
Climb the ladder, hit the wall switch and step on the floor switch. Toss the orb through the open gate so it lands on a conveyor, follow it up the stairs and set it on the platform of the next track. Use the Gust Bellows on the pinwheel to start the platform moving over the gap, and walk beside it, stepping on a foot switch and hitting a wall switch, so it keeps going.

Five eye switches
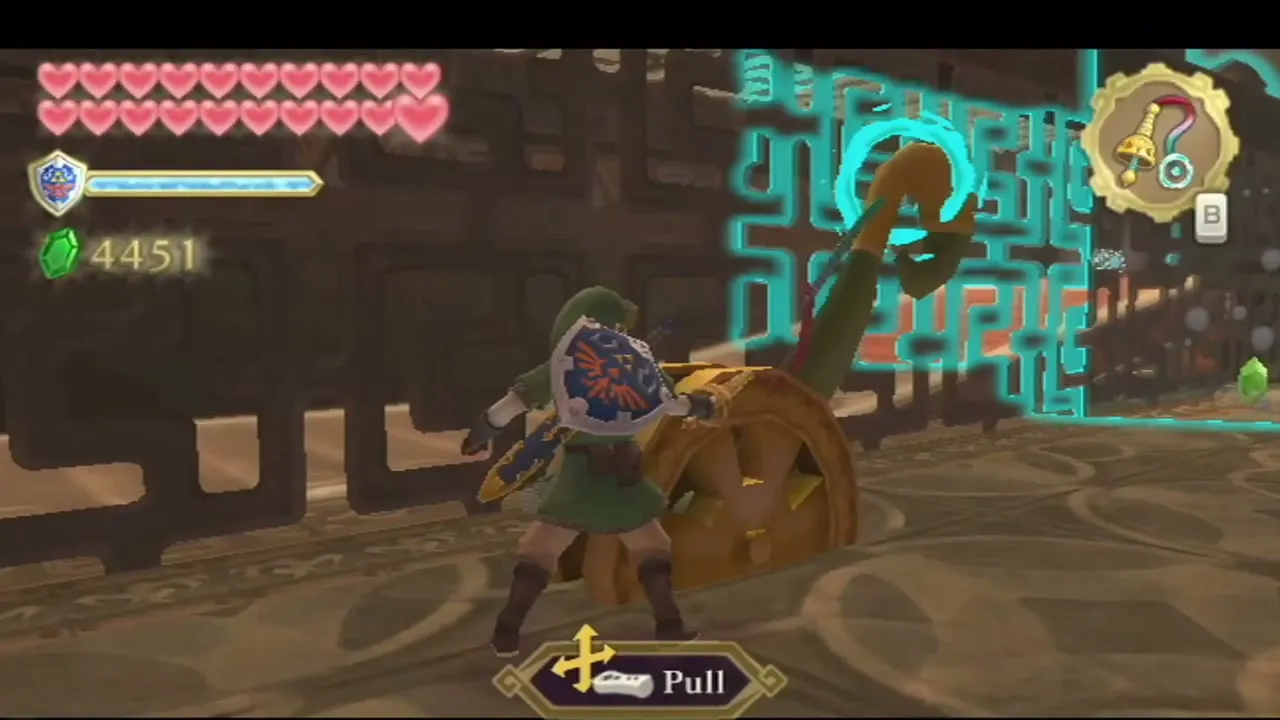
Carry the orb to the next chamber and put it on a second conveyor. Shoot the Beamos from a distance. Five eye switches hang above the belt, and the orb wakes each as it passes in front. Whip the lever in the middle to reverse the belt, then shoot or strike all five to open the gate and reveal the second terminal.
Second terminal
At the terminal, make these seven moves, naming each room by its slot on the grid: top-middle to the middle, top-left to top-middle, left to top-left, bottom-left to left, bottom to bottom-left, middle to bottom, then left to the middle. Return south to the Skyview Temple room and go through its west door into the Earth Temple room.


Earth Temple room: bombs, digging and Moldorms
Chuchu, Bomb Flowers and the first tunnel
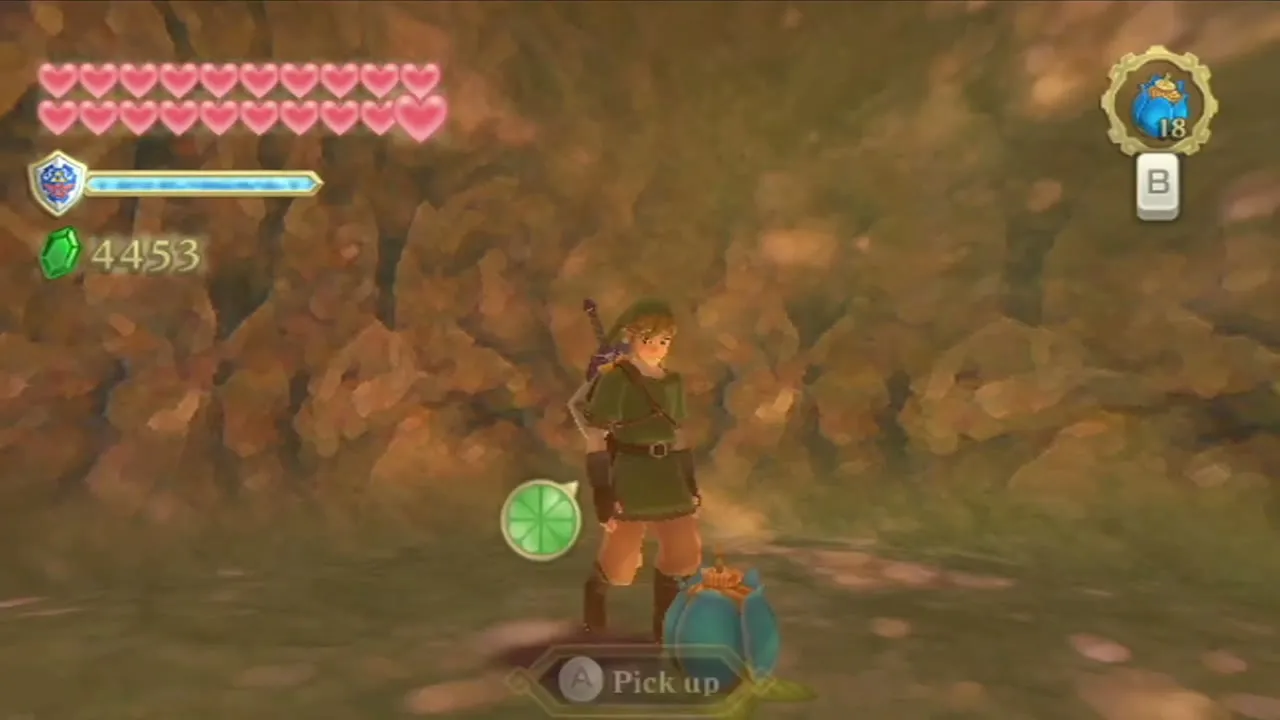
Beat the Red Chuchu and crawl through the hole in the wall. Take the left path, because a boulder blocks the right. Collect Bomb Flowers here, roll a bomb through the gap to blow up the boulder, crawl through and deal with the next Chuchu. Dig the soft soil with the Mogma Mitts to enter a tunnel under the floor and hit the switch there, which lifts a gate above ground.


The three diamond switches
Fight the Dark Lizalfos, then go west. Three diamond switches are hidden in this cave, each covered by a statue holding a basket or by brush. Toss a bomb into a basket statue to uncover the first. Roll another down the lava-lined path into a second statue, which opens a door to the next switch. Clear trees and bamboo with a bomb or a Skyward Strike, then drop a bomb into the third statue with the Beetle to expose the last switch.
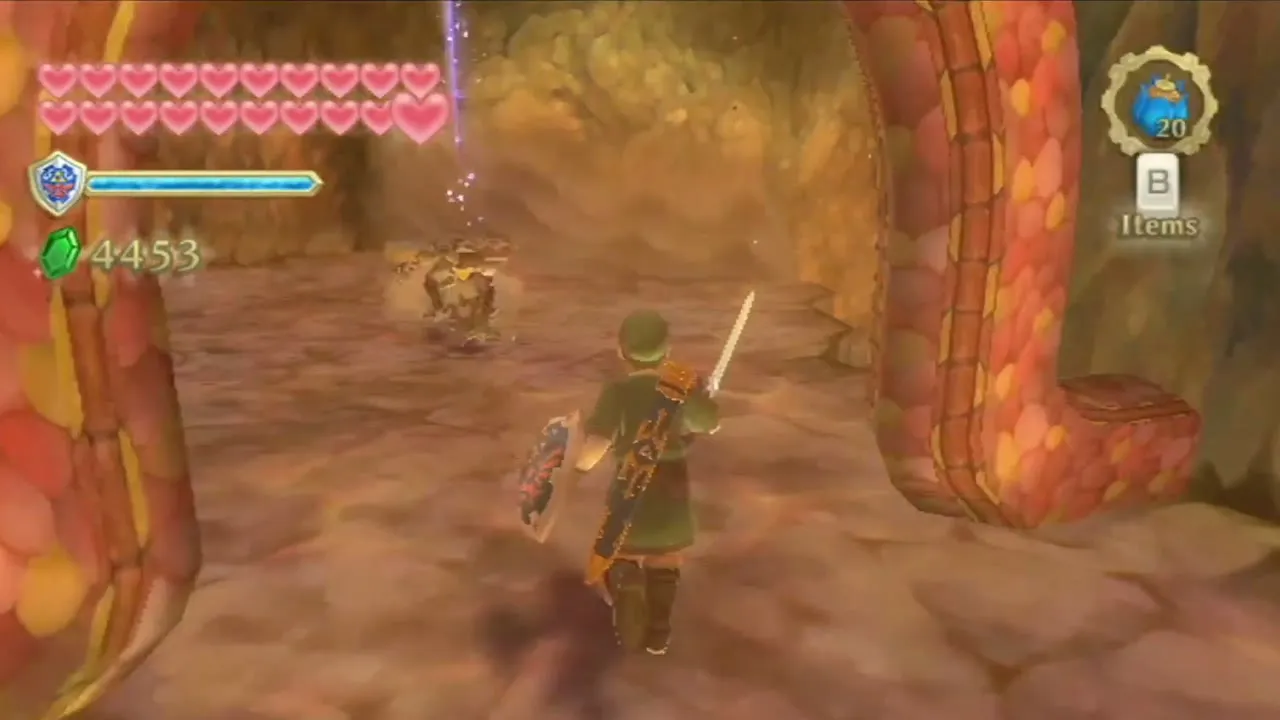


Strike the switches to open the nearby gate. Do not hit them until all three are uncovered, and use the Beetle for any switch over the lava. If the gate stays shut, the order is wrong; one that works is the north-west switch, then the south-west one, then the north-east one. Dig the next soil spot, grab the Bomb Flower inside and use it to break the hard-to-reach boulders. Hit the blue switch beyond them to move the gate back, and return to the surface.

Moldorm maze
Dig the next soil patch to enter a maze with two Moldorms. Fight them one at a time and use your sword on the tail, then crawl out of the exit. Back above ground, pull the lever to open the gates and go north to the Dreadfuse room. A terminal here can wait.

Dreadfuse mini-boss and the Small Key
Dreadfuse fight
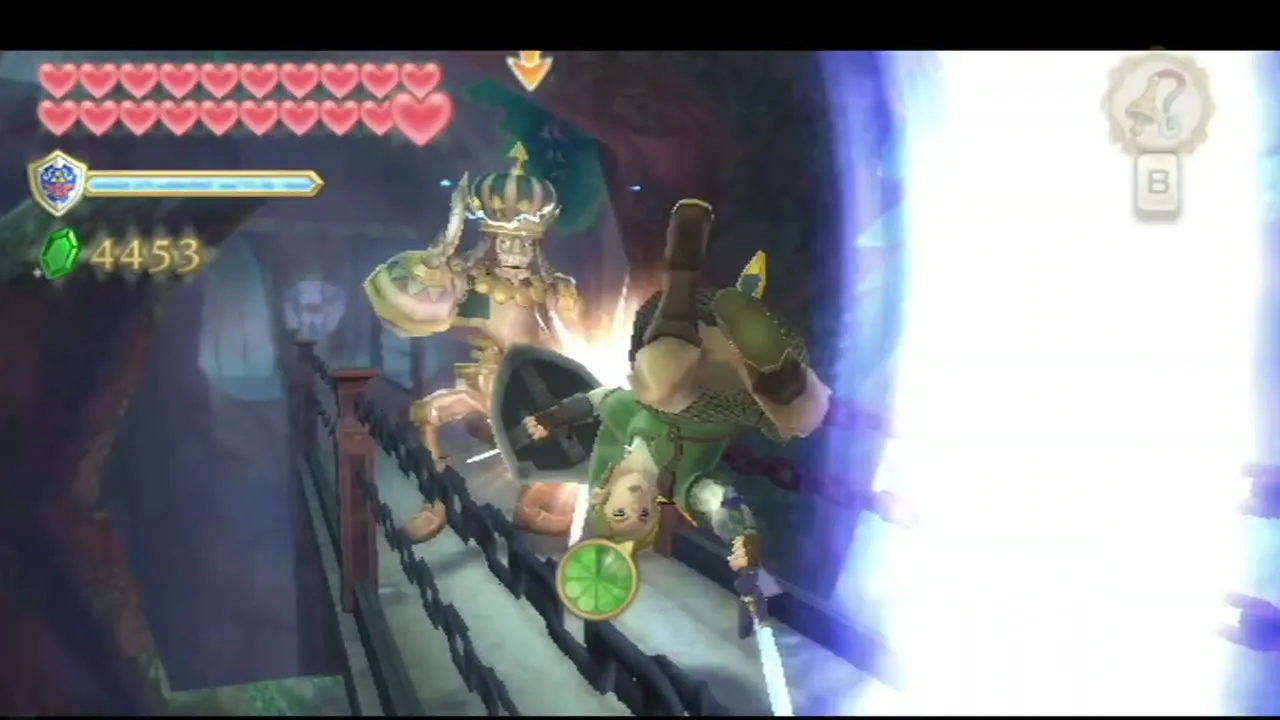
Dreadfuse fights on a long plank over a drop, much as Scervo did in the Sandship. Thrust at him when his guard is down, and answer his sword swings with a shield bash from the Nunchuk. Each hit pushes him toward the end of the plank.


He loses his sword the first time you drive him to the edge, and he loses his other sword and his left arm the second time, leaving only a hook, so wait for the attack, bash it aside and keep pushing. The third time at the edge finishes him.

Small Key chest
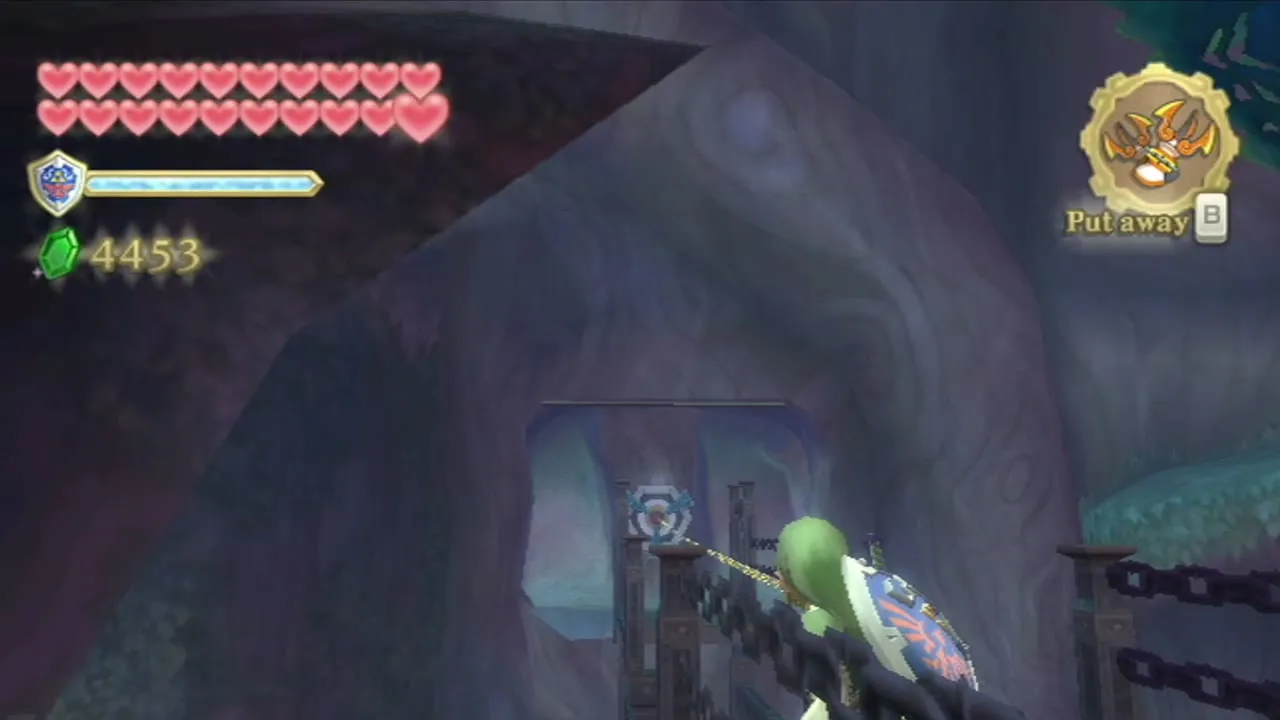
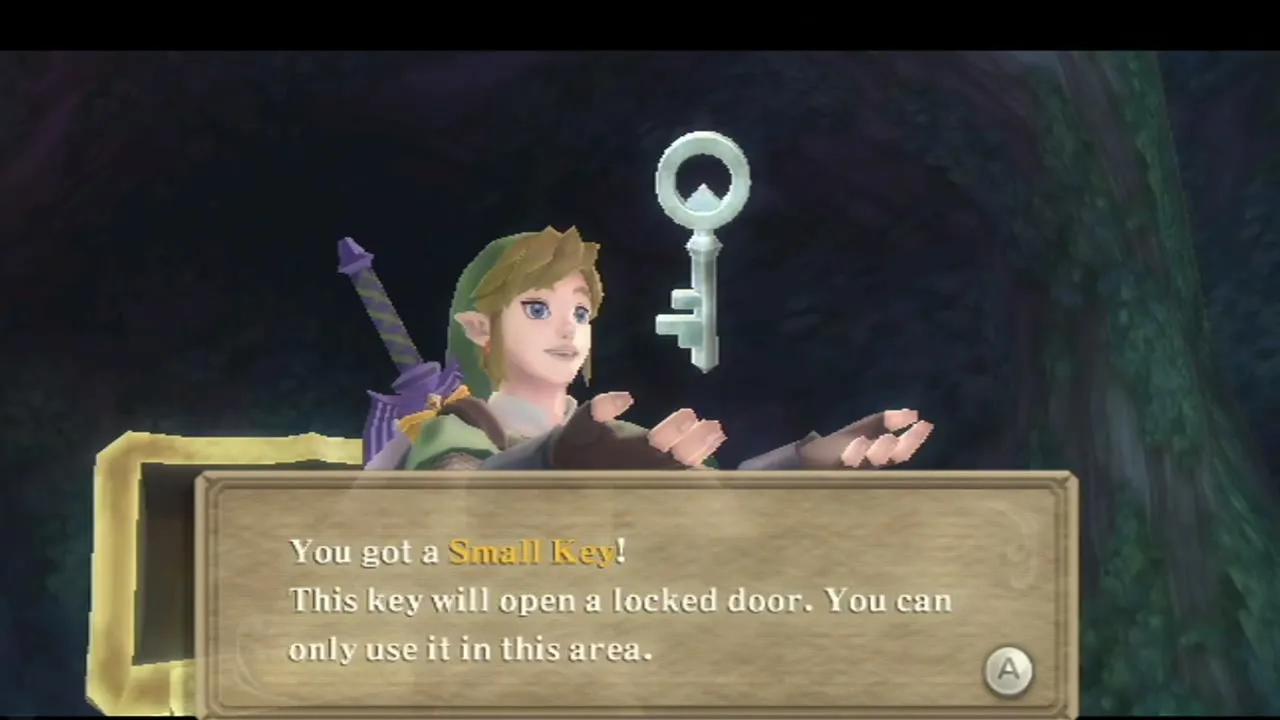
Use the Clawshots on the target to cross the gap he was guarding, and open the chest for the Small Key. This is the only Small Key in Sky Keep, and it opens the door to the Triforce of Courage room. Another terminal waits in this part of the keep.
Triforce of Power: Fire Sanctuary room
Move the red room next to the Dreadfuse room
At the terminal, shuffle the outer rooms counter-clockwise, then slide single rooms until the red-marked room sits directly west of the Dreadfuse room. Go through the west door.
Lava rivers and water plants
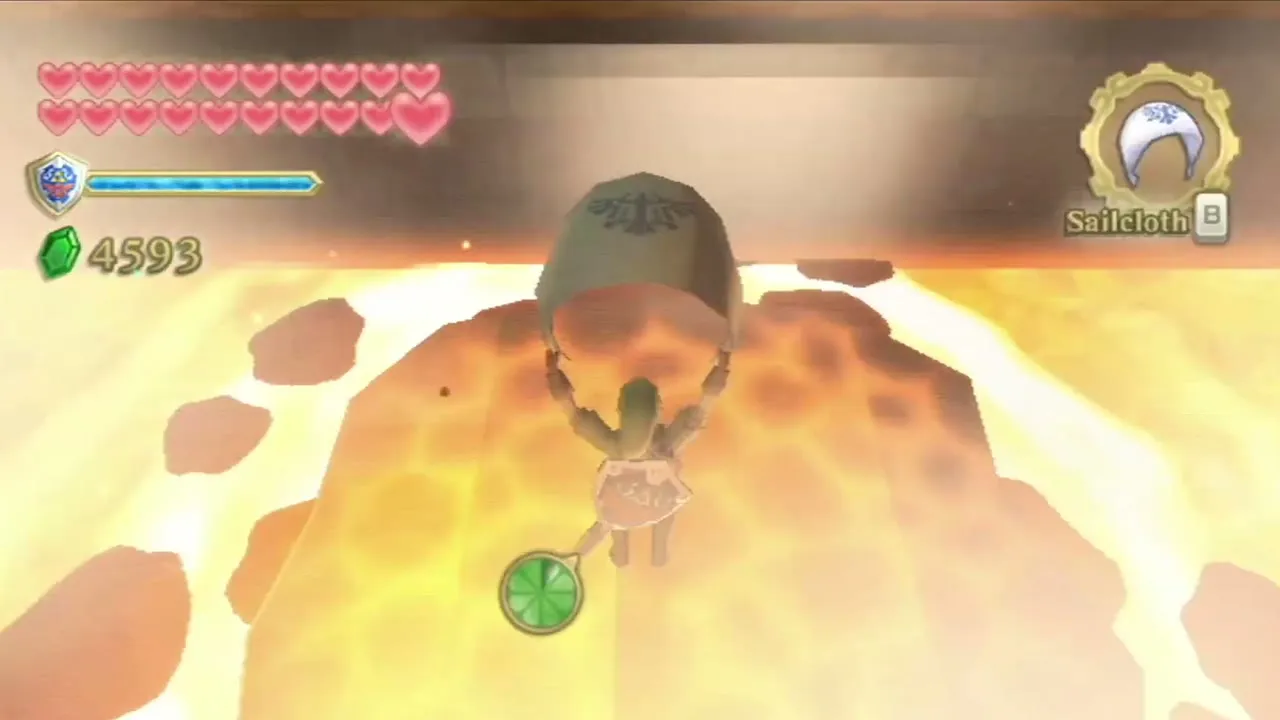
Lava rivers run through the room. Strike a hanging water plant with the Beetle, a Slingshot shot or an arrow, and it falls into the lava and becomes a floating platform that you can ride down the river. Kill the Fire Keese that fly in at every stage first, because they knock you off.


Some lava flows are fed by statues with a pink diamond switch behind a short fence. Send the Beetle at the switch to stop the flow before you drop a plant, otherwise the platform collapses. Spend a moment to look for the Silver Rupee in an archway above the lava: send the Beetle to collect it.

Mark of Din
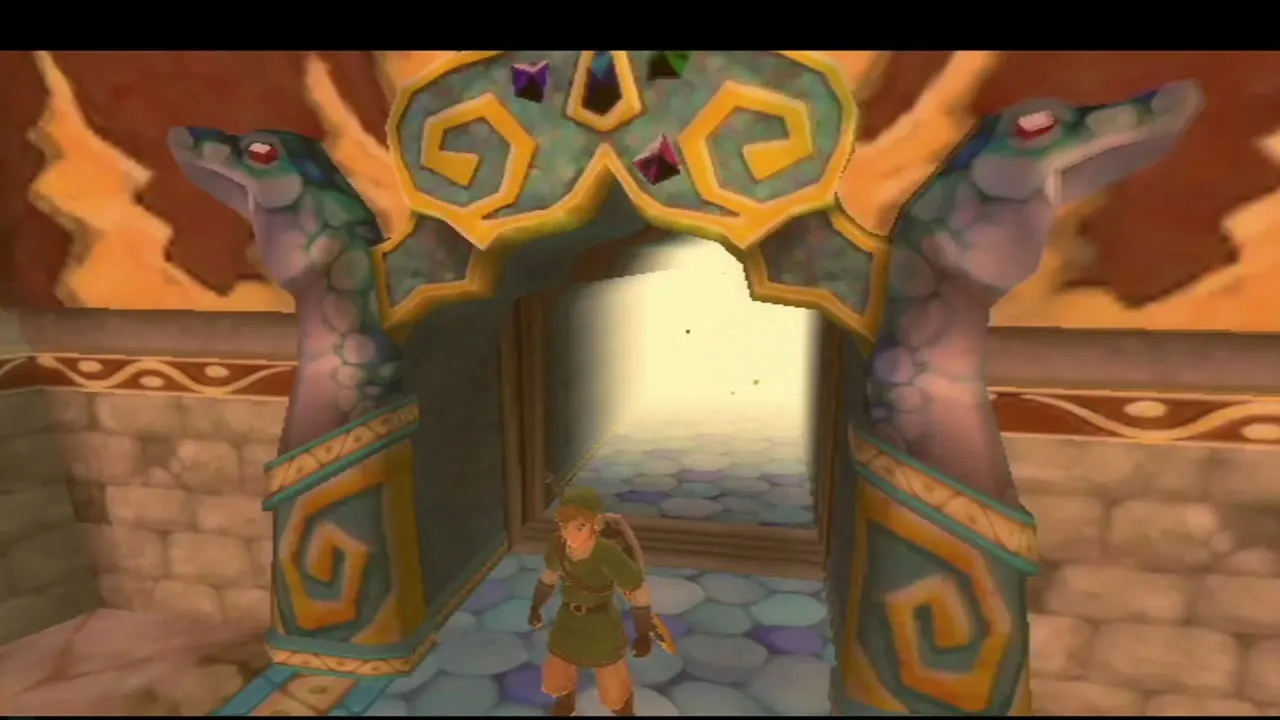
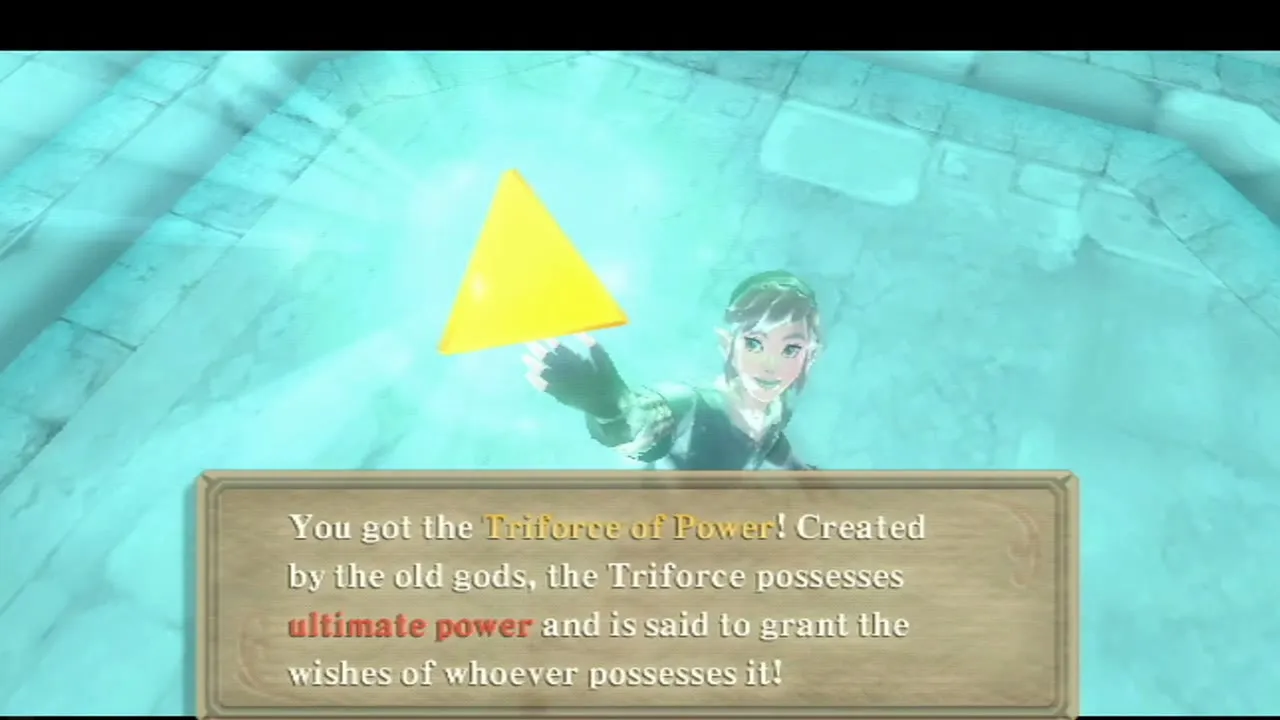
Near the end, Spumes in the lava block the path. Shoot them or block their fire with your shield and let the lava lift your platform. Clawshot to the target at the end of the river and pull the lever to open the gate to the mark, and thrust your sword into the red mark on the floor. A shining space opens around you with the Triforce of Power waiting in it; take it and you return to the keep.

Climb the vines to the right and go back to the Dreadfuse room.
Triforce of Courage: Ancient Cistern room
Moblins, archers and the Stalmaster
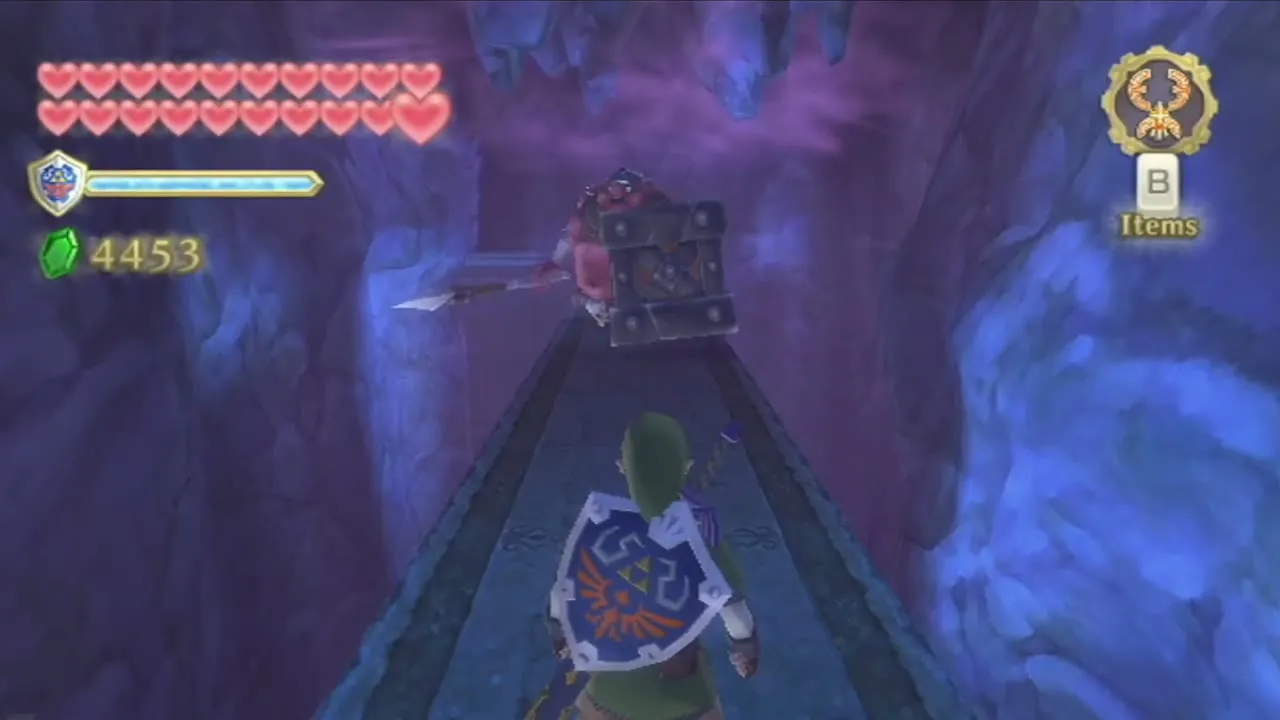
Shuffle the rooms until the green-marked room lies directly west of the Dreadfuse room. Go through, unlock the door with your Small Key and meet the two Metal Shield Moblins. Shoot the first one with the Bow, or get behind it and strike its back; the second falls the same way.
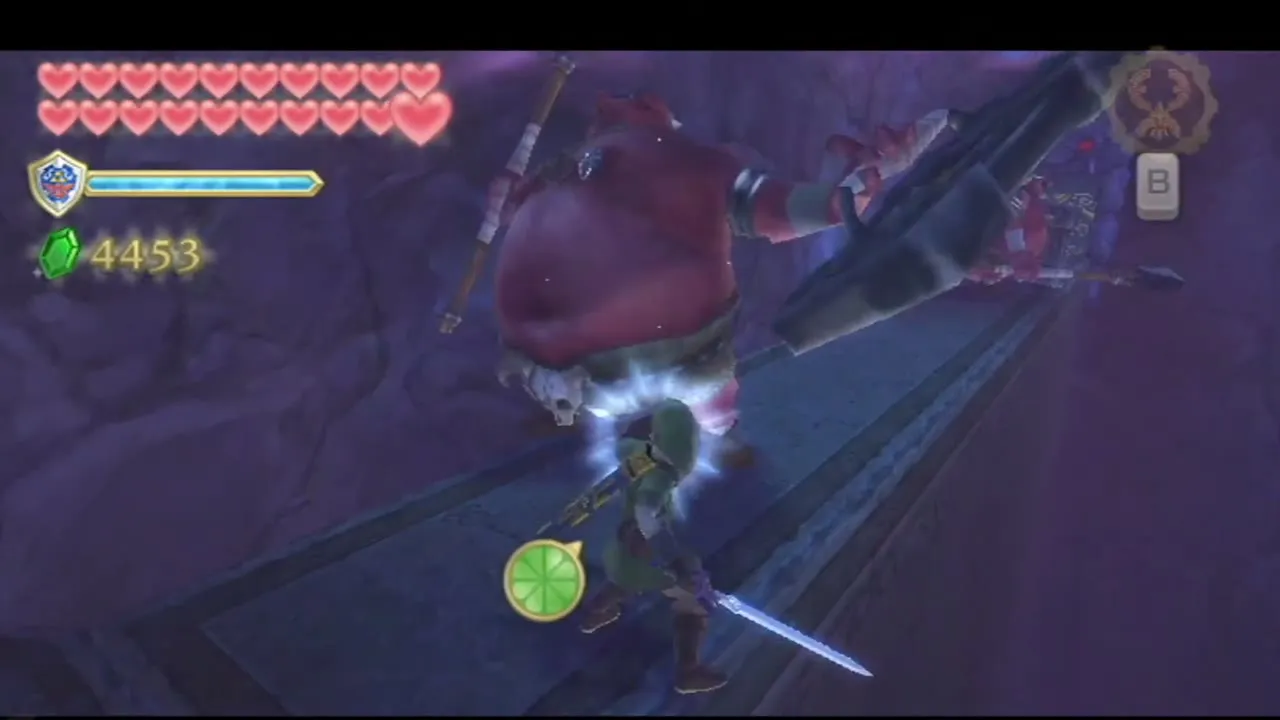
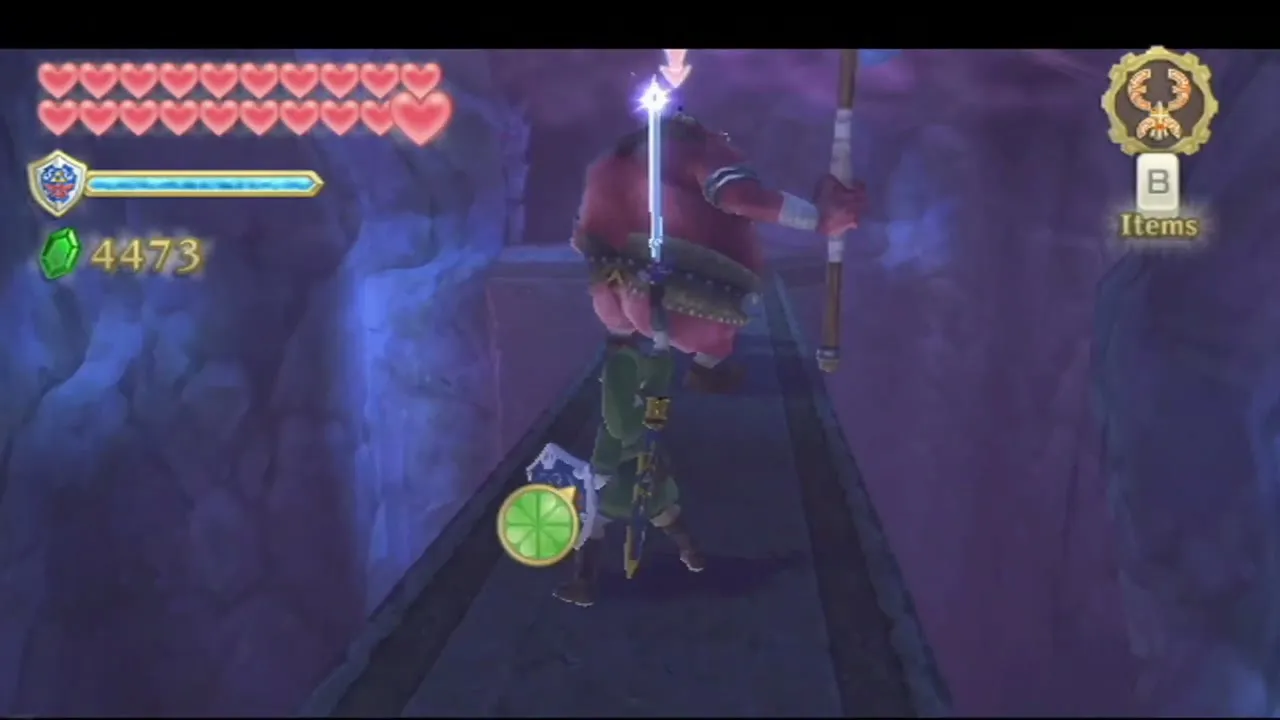
Next is a room of Bokoblin Archers, with Stalfos joining the fight. Hold up your shield, shoot the archers from the shelter of the alcove and advance when they are thinned out. Bokoblins here can drop treasure, such as an Ornamental Skull. If your hearts run low, send the Beetle through the eyes of the skull statue in the wall to find recovery hearts.
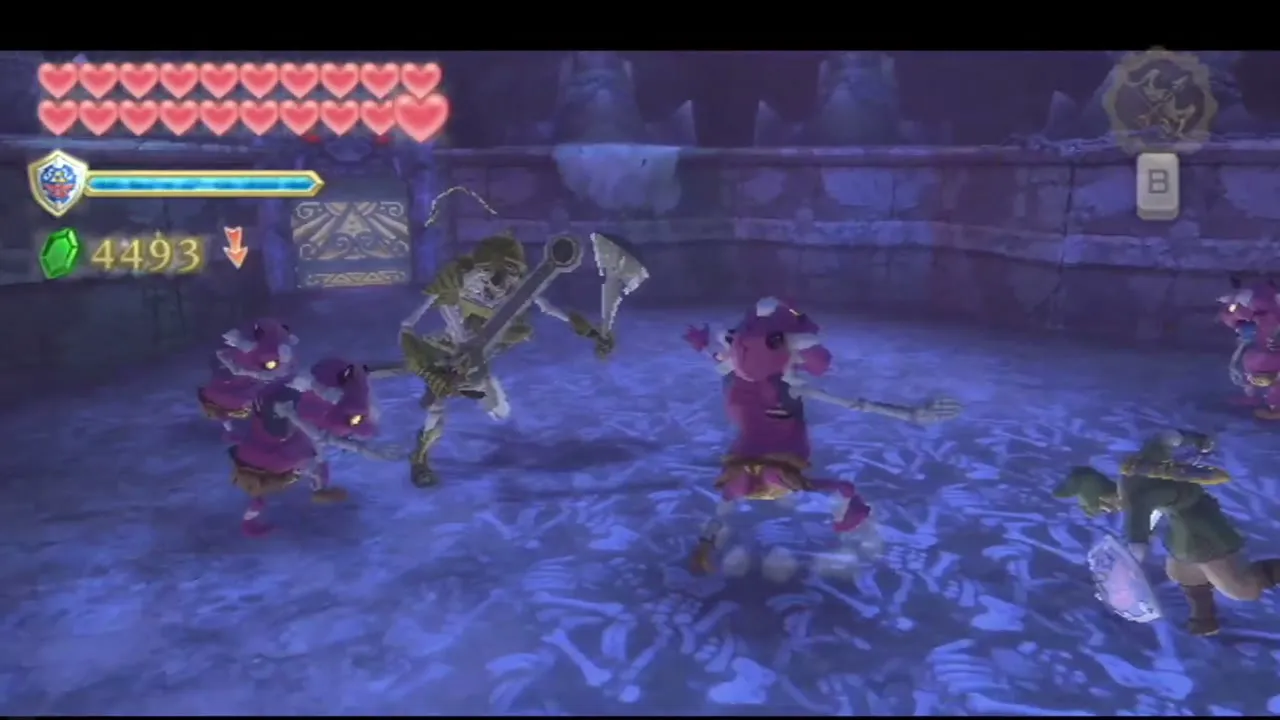
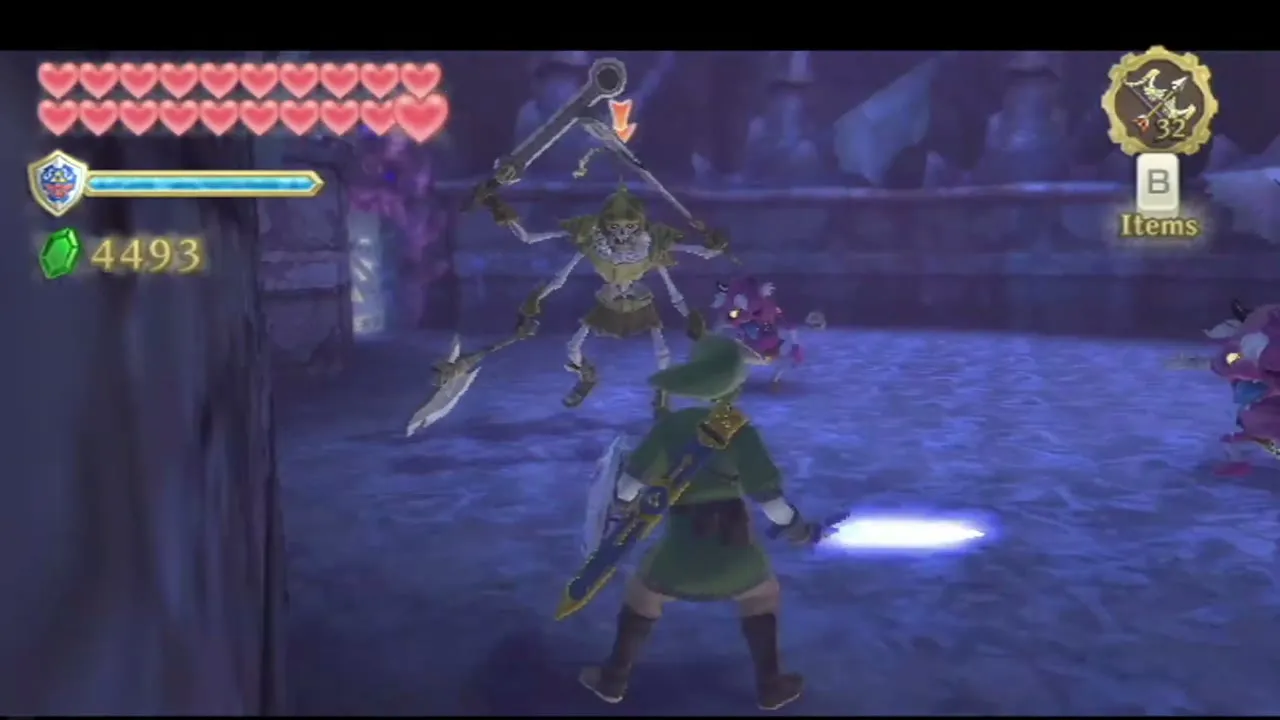
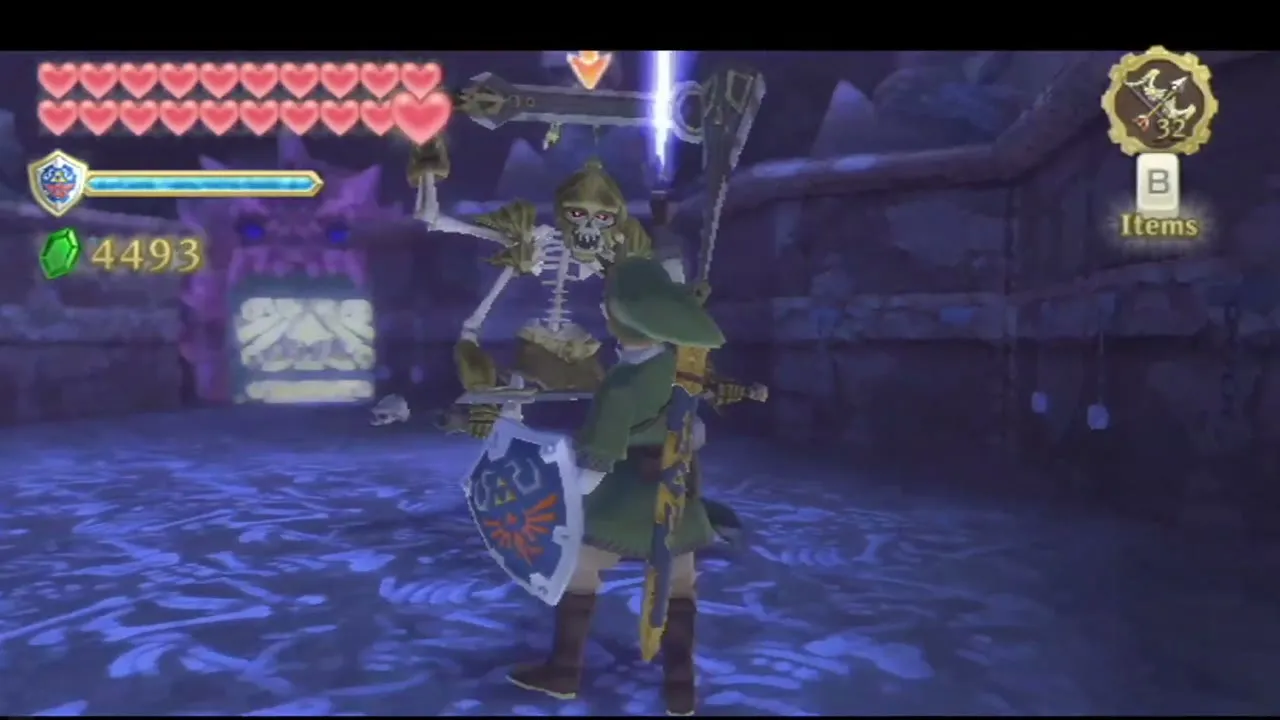
The last fight is against Cursed Bokoblins and a Stalmaster. They come at you together: finish off the Cursed Bokoblins when you get an opening, and attack the Stalmaster as you would a Stalfos. It grows two extra arms and swords partway through, so back off to dodge its flurries.

Mark of Farore
Thrust the sword into the green mark. The Triforce of Courage waits in the shining space beyond. Pull the nearby wall switch for a shortcut back to the entrance, then return to the Dreadfuse room.

Triforce of Wisdom: Sandship room
Move the blue room into reach
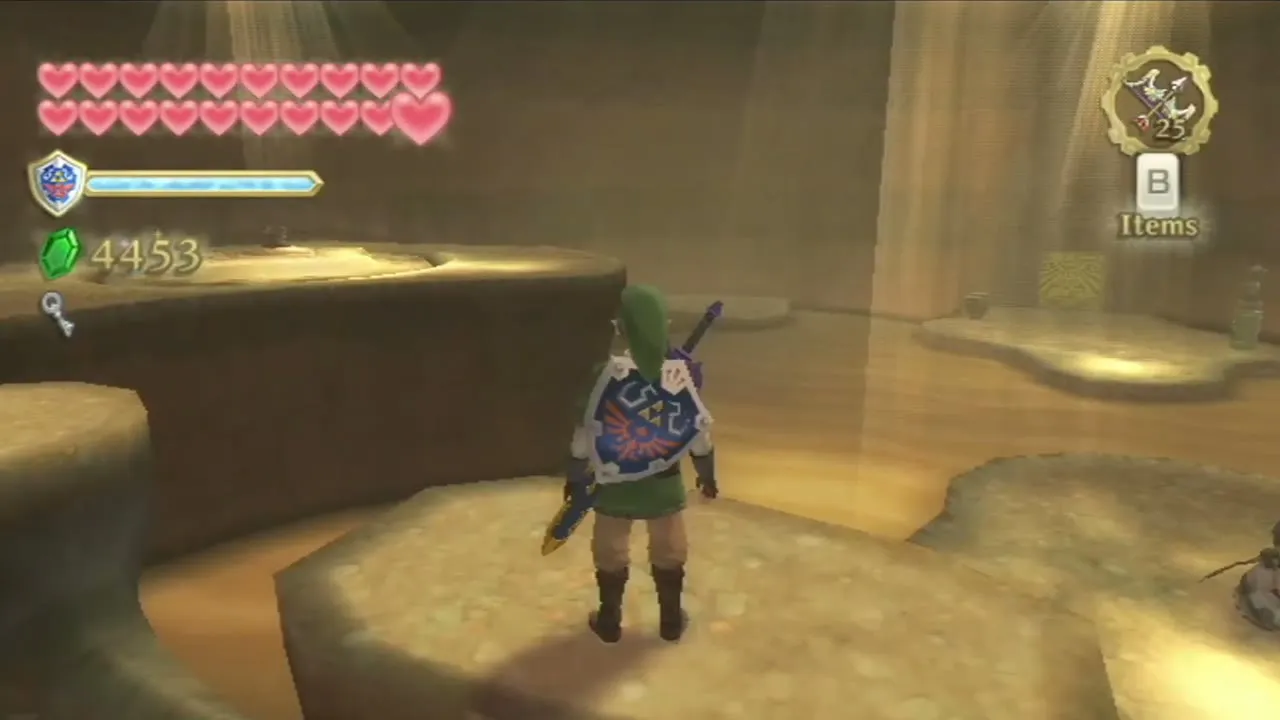
The blue-marked room takes the most shuffling. Go back to the terminal in the Dreadfuse room and shuffle the rooms until the blue-marked room sits next to one you can walk into, then use the map to plan the route there; the shortcuts you opened earlier save time. A Bird Statue stands on a platform across the sinksand in the Sandship room.
Carry the orb through the sand
Another Timeshift Orb is here. The way to the mark is closed off, and the orb is the key. Pick it up from the platform nearby, defeat the Electro Spume and clear the Technoblins and Sentrobe, then carry it to the north end and set it down. The past version of the room brings up pillars and opens a cage, and you can cross to a window.
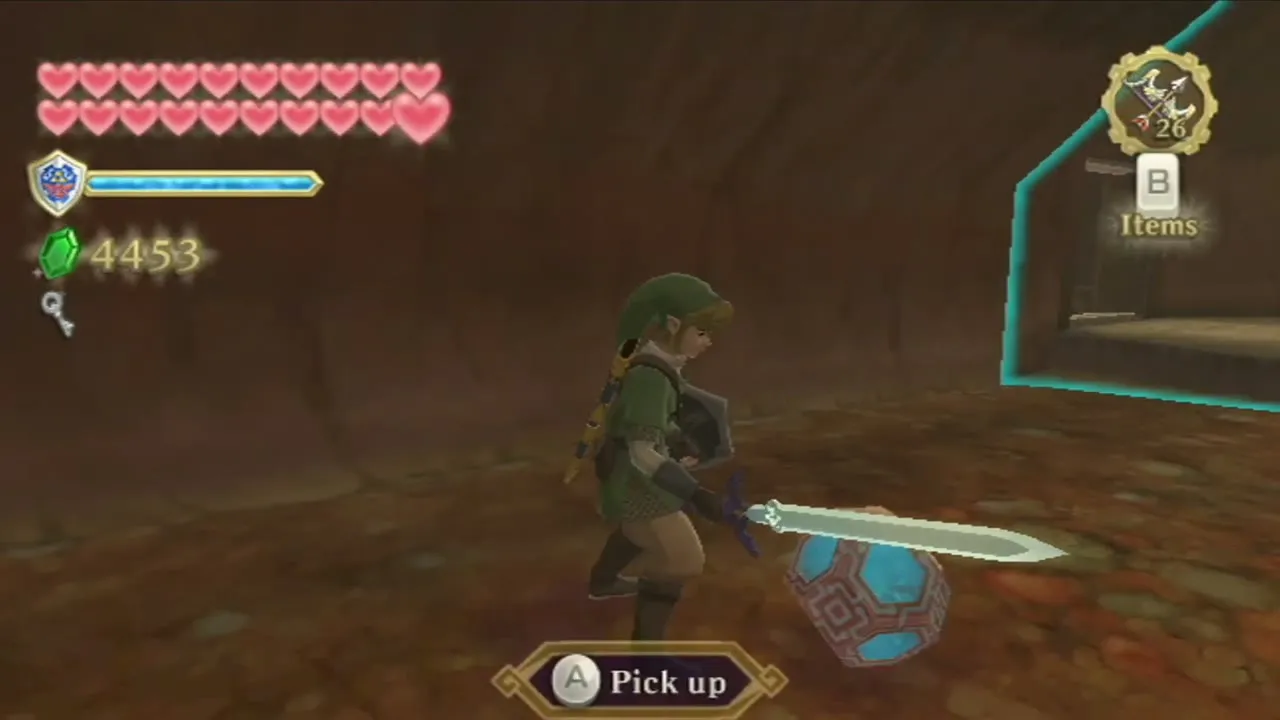

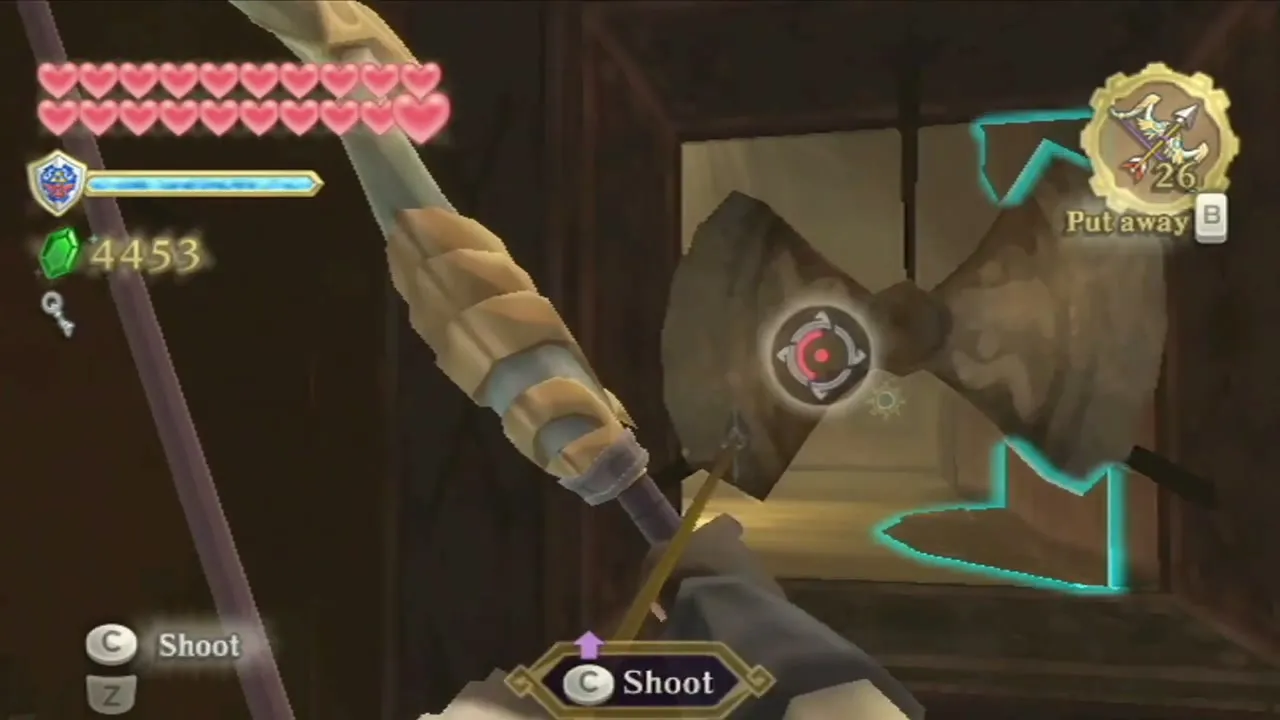
Shoot the blue eye switch through the window to open a gate, then go back for the orb and carry it through. Beat the Deku Babas. Near the fan, keep the orb away from it, stand on the floor switch and shoot the eye target through the gaps in the blades to open the next gate.
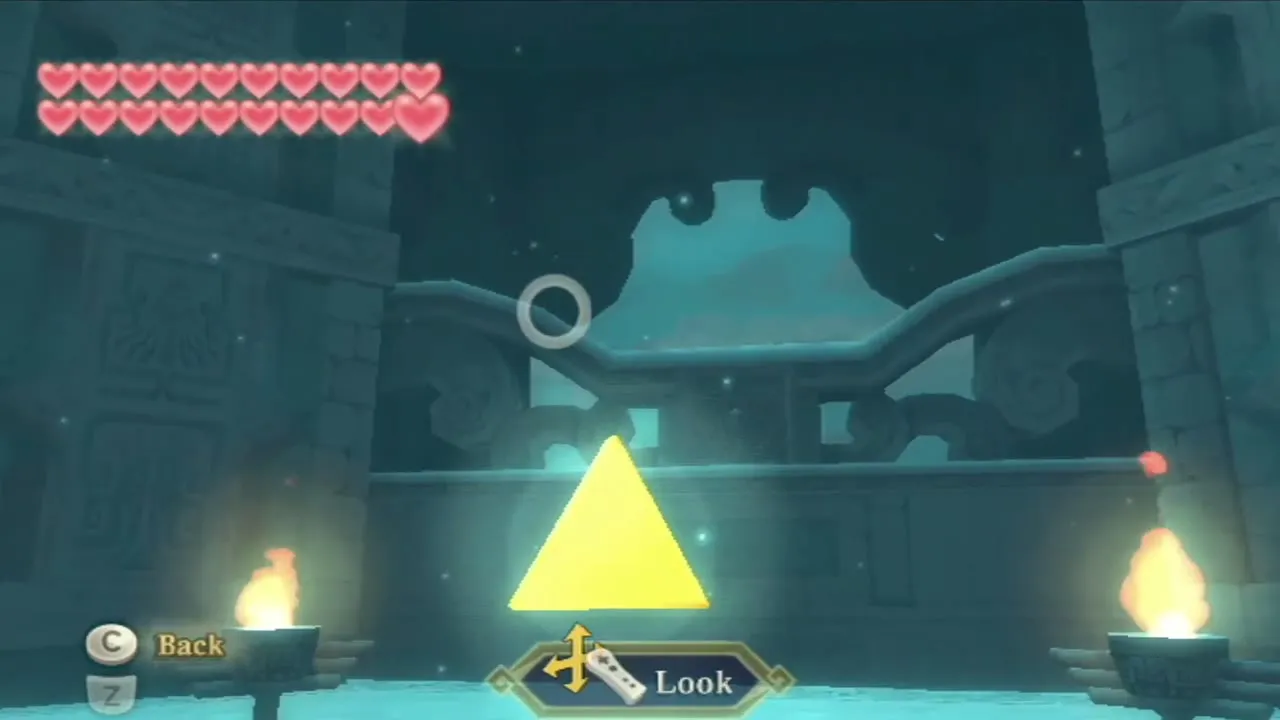
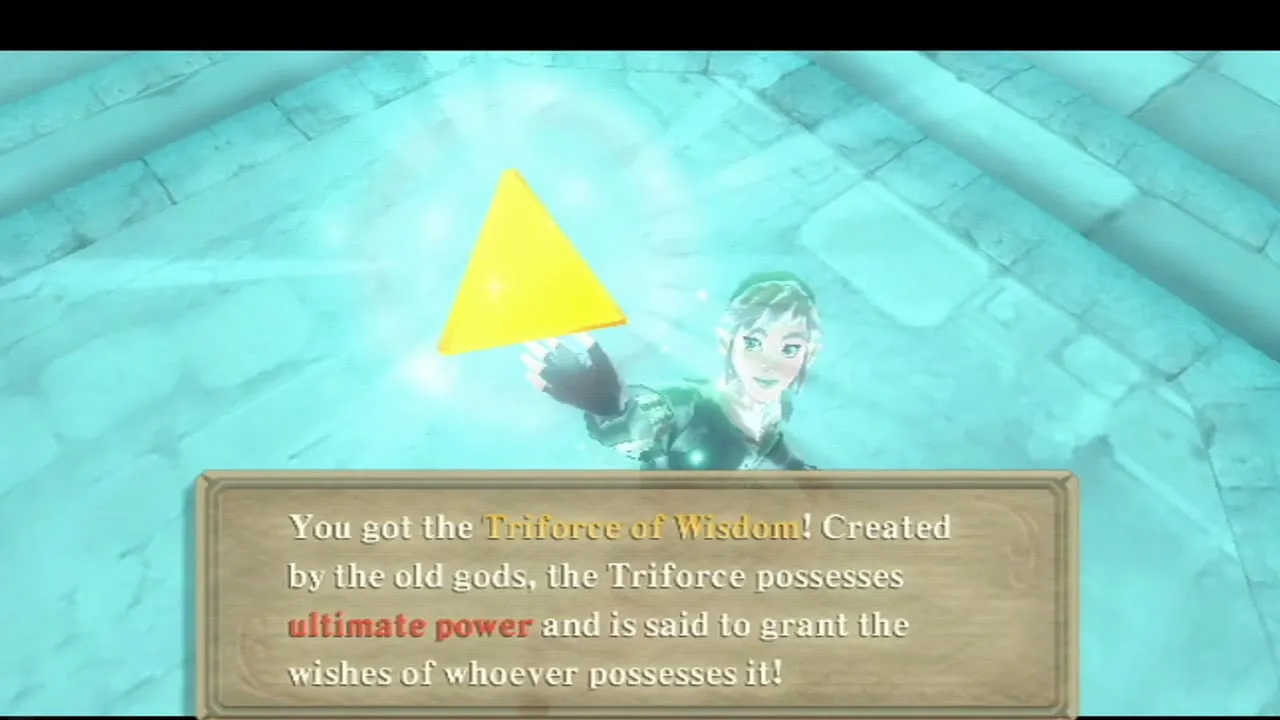
Take the orb east and leave it where two pillars rise. Dash back across the sand to where you started, jump onto the pillars and Clawshot to the target above. With the gate open, thrust your sword into the mark and take the Triforce of Wisdom.
The wish at the Statue of the Goddess
Complete the Triforce
When you hold the third piece, the golden Triforce forms and Link is carried to the altar on the Statue of the Goddess. Fi says that a prayer is needed at this moment, and Link closes his eyes and wishes for the destruction of Demise. The Triforce glows on the statue.
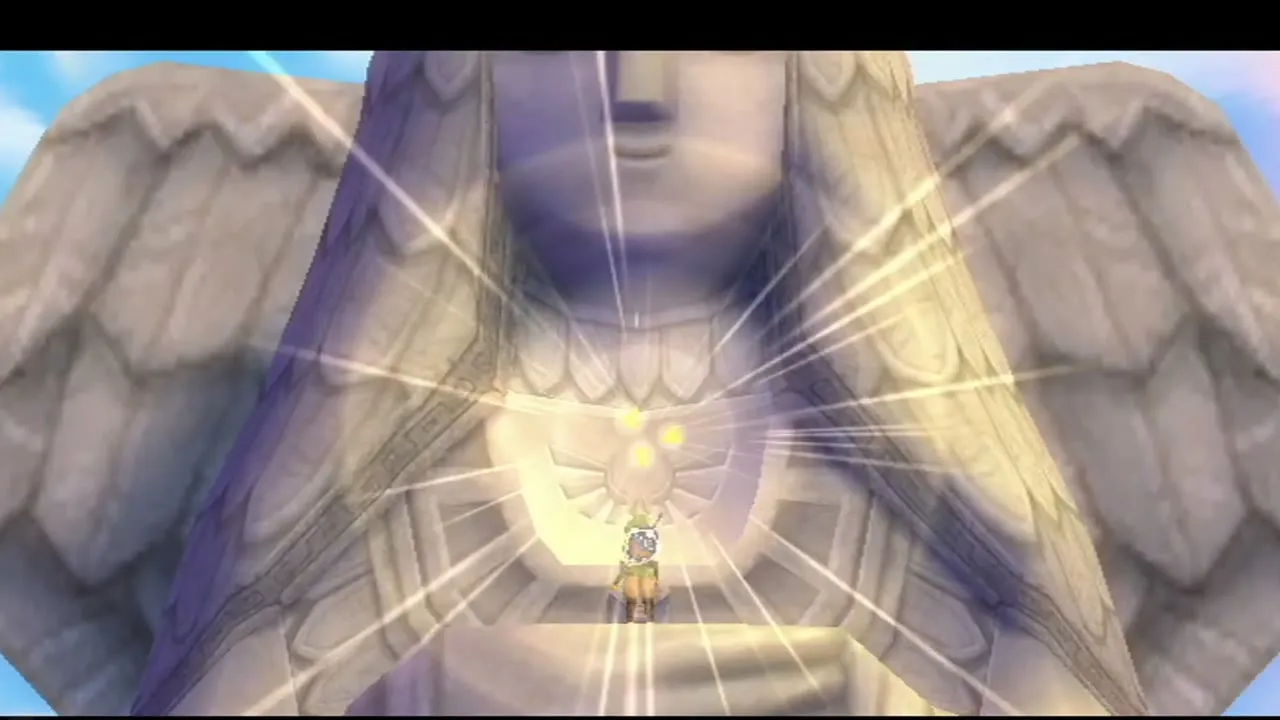

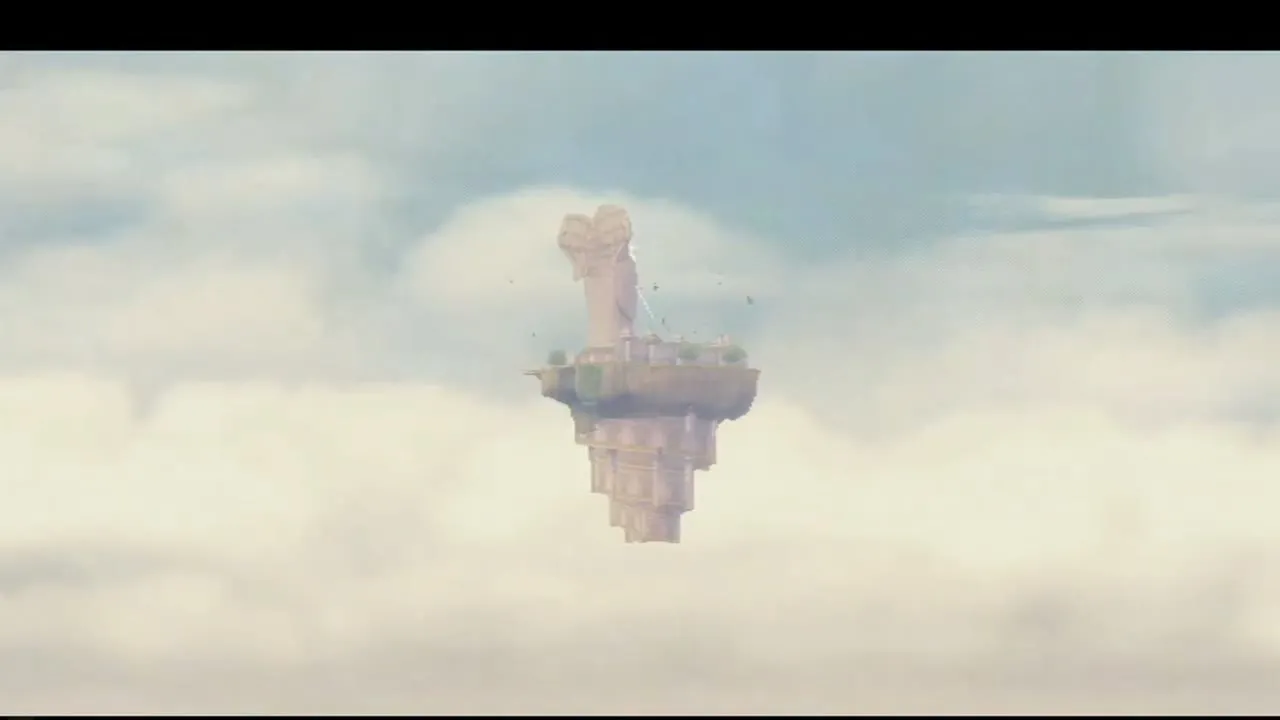
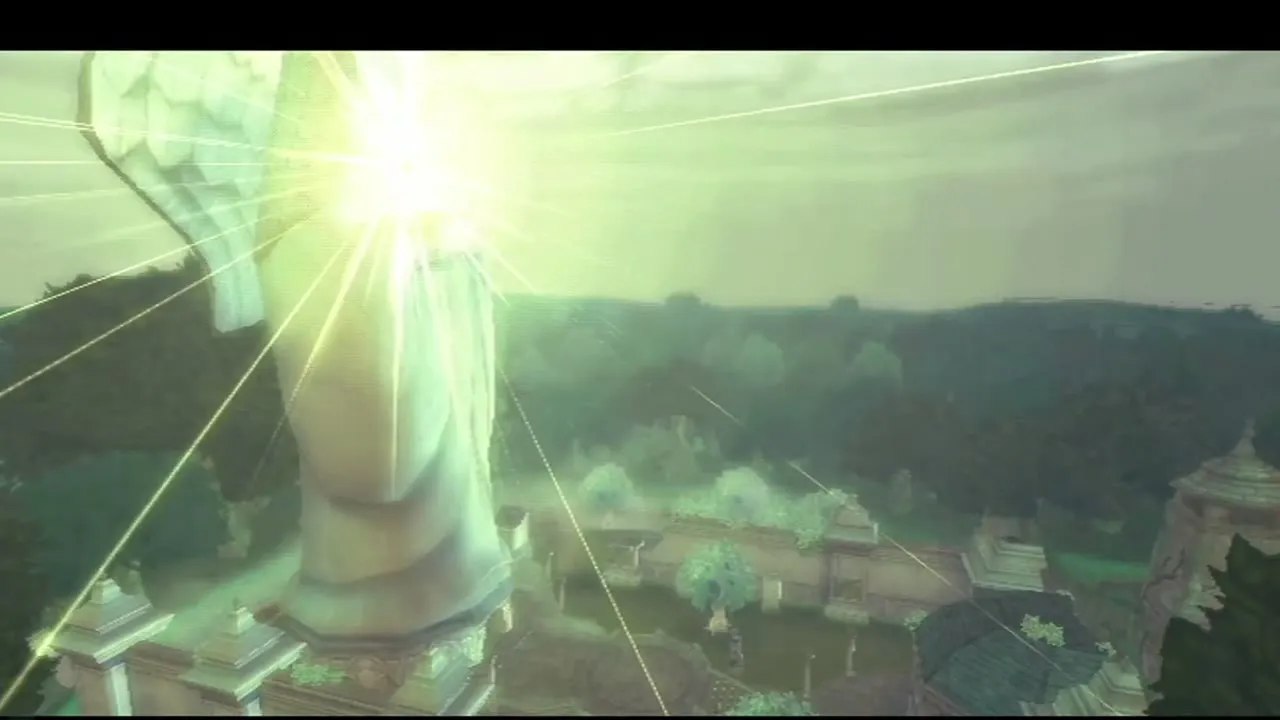
The wish breaks the island loose. The Statue of the Goddess and Sky Keep fall from Skyloft and land in the Sealed Grounds, where they crush The Imprisoned. Fi confirms that the Isle of the Goddess has returned to the surface. Sky Keep is gone for good, but you can still reach Skyloft and the rest of the sky before the final battle.

Chapter checklist
| Collectible | Type | Where |
|---|---|---|
| Empty Bottle (bottle 5) | Bottle | Goddess Chest 26 on the Thunderhead island south-west of the Isle of Songs; Cube 26 at Volcano Summit |
 Small Quiver | Pouch item | Goddess Chest 27 on the same island; Cube 27 in Lanayru Gorge |
 Adventure Pouch slot (optional) | Shop | Beedle’s Airshop, 1,200 Rupees |
| Spirit Vessel | Item | Given by Fi at the start of the Skyloft Silent Realm |
 15 Sacred Tears | Trial | Spread across Skyloft’s ghost version |
| Stone of Trials | Key item | Reward at the end of the Silent Realm; goes into the bird statue near the Waterfall Cave |
 Dungeon Map | Map | Chest in the Sky Keep entrance hall |
| Hearts and bombs | Goddess Wall | Wall beside the Bird Statue in the Skyview Temple room |
 Small Key | Key | Chest beyond Dreadfuse, reached by Clawshots |
 Silver Rupee | Rupees | Above the lava in the Fire Sanctuary room, collected with the Beetle |
 Ornamental Skull | Treasure | Possible Bokoblin drop in the Ancient Cistern room |
 Triforce of Power | Triforce | Fire Sanctuary room, Mark of Din |
| Triforce of Courage | Triforce | Ancient Cistern room, Mark of Farore |
| Triforce of Wisdom | Triforce | Sandship room |
The Triforce is whole and the way to the final fight is open: continue with The Horde, Ghirahim and Demise.