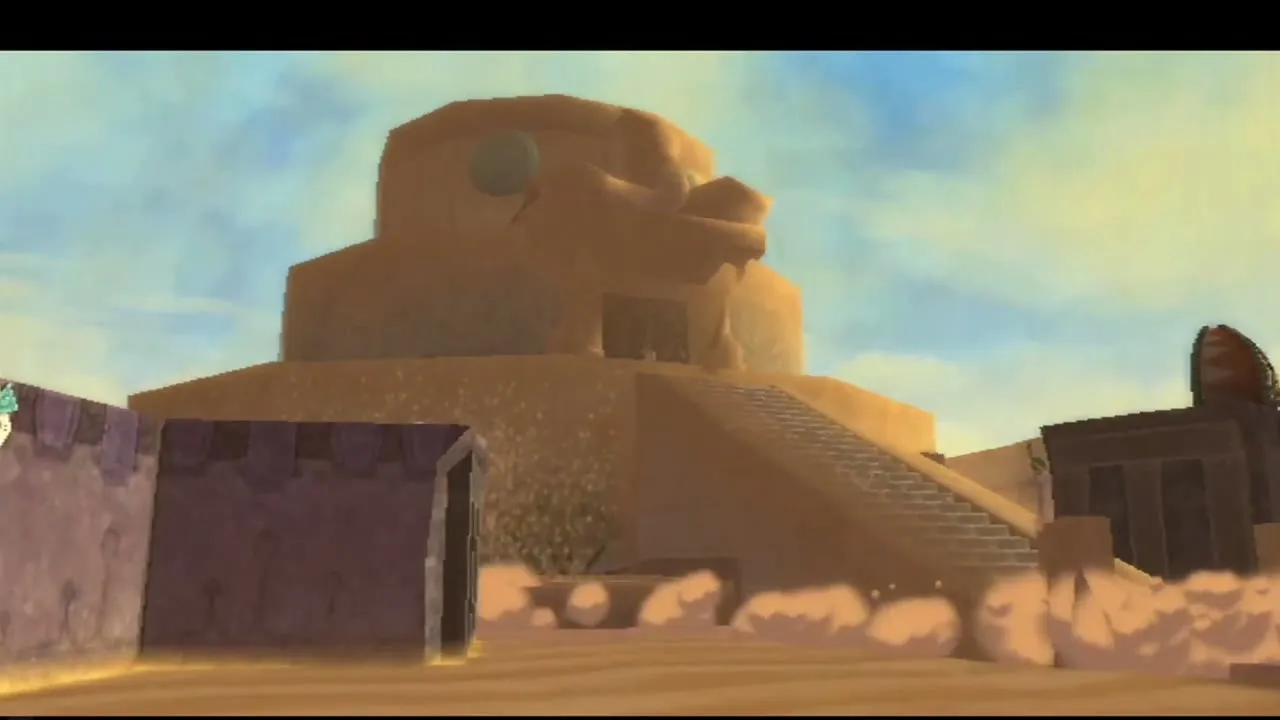
Skyward Sword 100% Completion Walkthrough18 chapters
- Skyview TempleSmall keys, the Beetle, the Golden Carving door, the Ghirahim boss fight, the Heart Container and the Ruby Tablet.
- Earth TempleGet the Bomb Bag from Ledd, carry the Dragon Sculpture, beat Scaldera and collect the Amber Tablet.
- Lanayru Mining FacilityTimeshift Stones, Gust Bellows, Small Key, Armos, Ancient Circuit, Moldarach and the Goddess’s Harp.
- Ancient CisternBoth Small Keys, the Whip, the Blessed Idol, the Koloktos boss fight, Farore’s Flame and the Goddess Longsword.
- SandshipThe Timeshift Stone, Scervo and the Bow, both generators, Squid Carving, Tentalus and Nayru’s Flame.
- Fire SanctuaryAll three small keys, the Mogma Mitts, the Mysterious Crystals, Ghirahim’s second fight and the Master Sword.
- Skyloft Silent Realm and Sky KeepThe Skyloft Silent Realm and its 15 Sacred Tears, the Stone of Trials, every Sky Keep room and all three Triforces.
- Skyloft and the Goddess SwordFind your Loftwing, win the Wing Ceremony, draw the sword and take your first dive.
- Sealed Grounds, Faron Woods and the Deep WoodsThe Sealed Grounds, the missing Kikwi, the Slingshot, the Deep Woods and the way into Skyview Temple.
- Eldin Volcano and the Key PiecesPlace the Ruby Tablet, run Skyloft errands, earn the Digging Mitts and find all five Earth Temple key pieces.
- Lanayru Mine and Lanayru DesertLanayru Mine, Timeshift Stones, the Hook Beetle, the Temple of Time and how to set the three power generator dials.
- The Goddess’s Harp, The Imprisoned and the Isle of SongsBallad of the Goddess, The Imprisoned, the Light Tower, the Isle of Songs and Farore’s Courage.
- Farore’s Silent Realm and Lake FloriaAll 15 Tears of Farore, the Water Dragon’s Scale and Sacred Water.
- Nayru’s Silent Realm and the Lanayru Sand SeaNayru’s Wisdom, Nayru’s Silent Realm and the Clawshots, Golo’s key, Skipper’s boat, the Shipyard.
- Din’s Silent Realm and Volcano SummitDin’s Power, the Fireshield Earrings, frog statues, the Water Basin and the Scrapper escort.
- True Master Sword, Levias and BilocyteSkyward Sword walkthrough for the True Master Sword, the second Imprisoned fight, the Spiral Charge.
- Song of the HeroEscape Eldin, beat the third Imprisoned, win the Tadtone song in Faron Woods and heal Lanayru’s Thunder Dragon.
- The Horde, Ghirahim and DemiseClear the last side quests, beat the Horde, Ghirahim’s third fight and Demise, then unlock Hero Mode.
| Covers | The Earth Spring and Amber Tablet, optional Skyloft and Sky errands, Lanayru Mine, Lanayru Desert, Desert Gorge, the Temple of Time and the generator that raises the Lanayru Mining Facility |
|---|---|
| You need | Goddess Sword, Beetle, Slingshot, Bomb Bag with Bombs, the Amber Tablet from the Earth Temple. A Bug Net helps but is optional. |
| Rewards | Amber Tablet, the Hook Beetle (free Beetle upgrade), 3 Goddess Cubes (Lanayru Mine, southern desert, Temple of Time), 1 Piece of Heart (northeast desert), Ancient Flowers, Tumbleweeds, Lanayru Ants, Gerudo Dragonflies and a Sand Cicada. Optional Sky errands add a Small Seed Satchel, a Treasure Medal, a Gold Rupee, an Adventure Pouch slot, an Extra Wallet and a Small Bomb Bag. |
This chapter takes you from the end of the Earth Temple to the door of the Lanayru Mining Facility. You collect the Amber Tablet, fly to the third light in the clouds, cross Lanayru Mine by minecart, and use Timeshift Stones to bring the desert back to life for a short while. You rescue a robot who upgrades your Beetle into the Hook Beetle, find the blocked Temple of Time, then wake three remote power nodes and set the dials on the generator so the Mining Facility rises out of the sand.
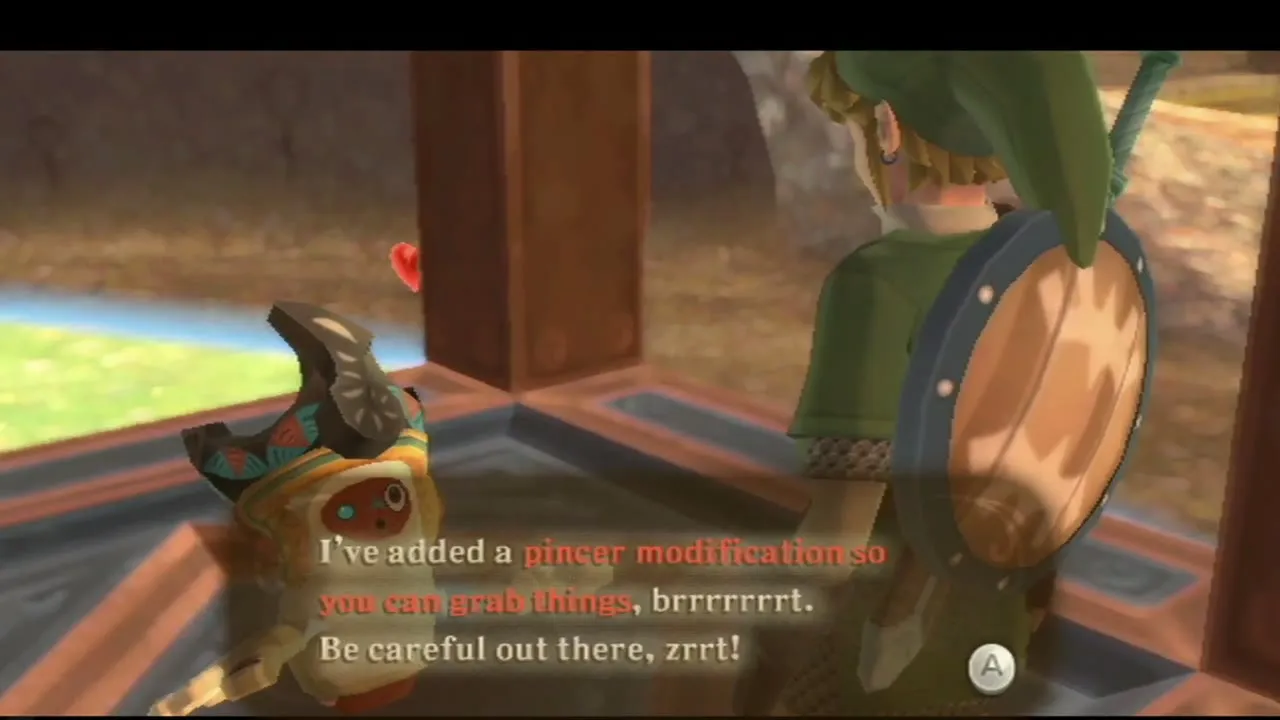
Table of Contents
Earth Spring and the Amber Tablet
Reach the Earth Spring
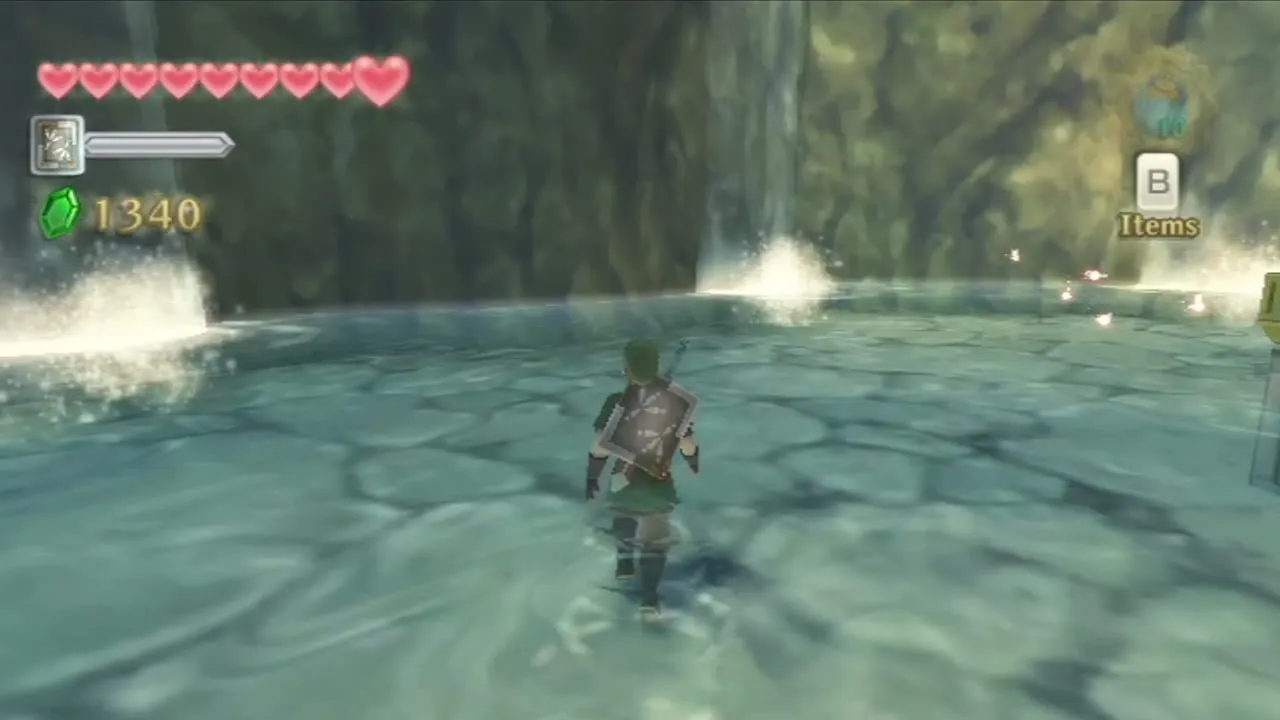
After Scaldera falls and you take the Heart Container, walk on to the Earth Spring beyond the chamber, where Zelda has just been. Nothing is needed here but your sword.
Take the Amber Tablet
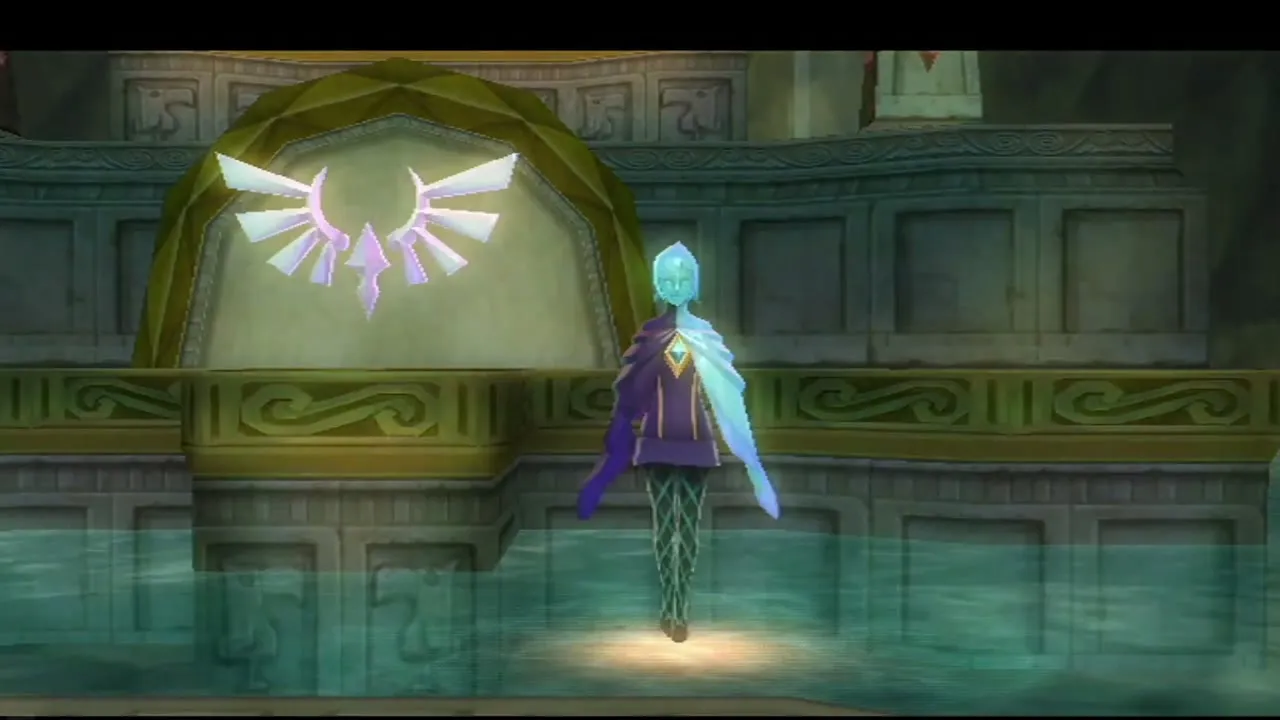
Raise the Goddess Sword and strike the Goddess Crest at the spring with a Skyward Strike. Fi translates the message from the goddess, and you receive the Amber Tablet. Fi reasons that Zelda has gone on to Lanayru and advises you to return to Skyloft, where the tablet opens a new column of light. Leave the temple and choose the option that takes you to the sky.
Optional: Skyloft and Sky errands before Lanayru

Place the tablet in the Statue of the Goddess
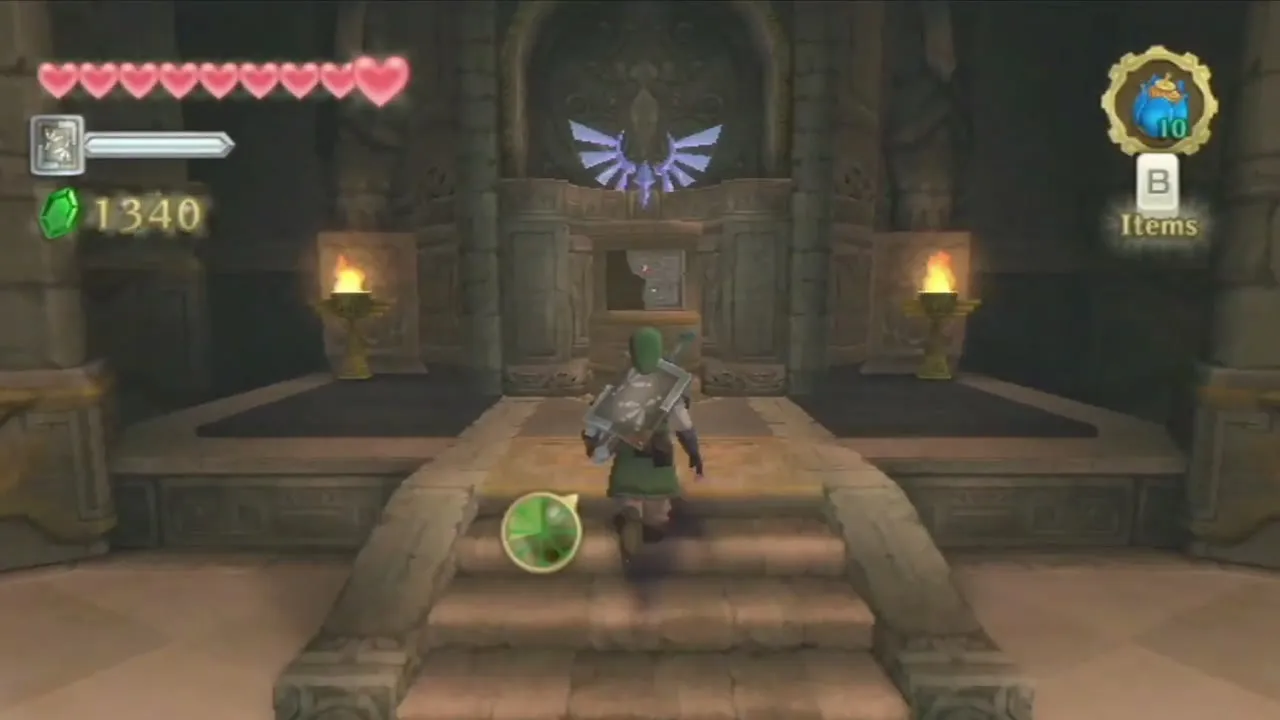
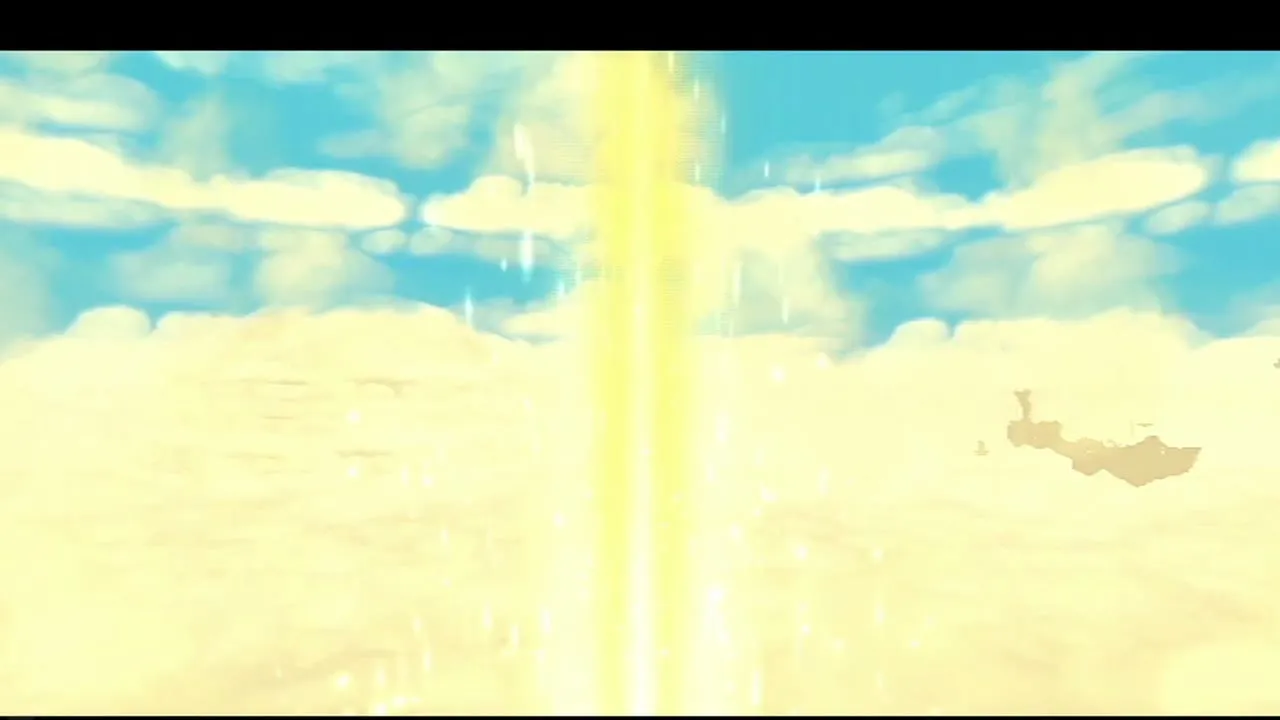
Land in Skyloft, climb to the Statue of the Goddess and set the Amber Tablet in the empty slot beside the other two tablets. Fi reports a third opening in the cloud barrier, a yellow column of light to the southwest of Skyloft. Nothing forces you to dive into it yet, and now is the best time to clear the errands that the Eldin chapters left waiting.
Open the Goddess Chests from Eldin
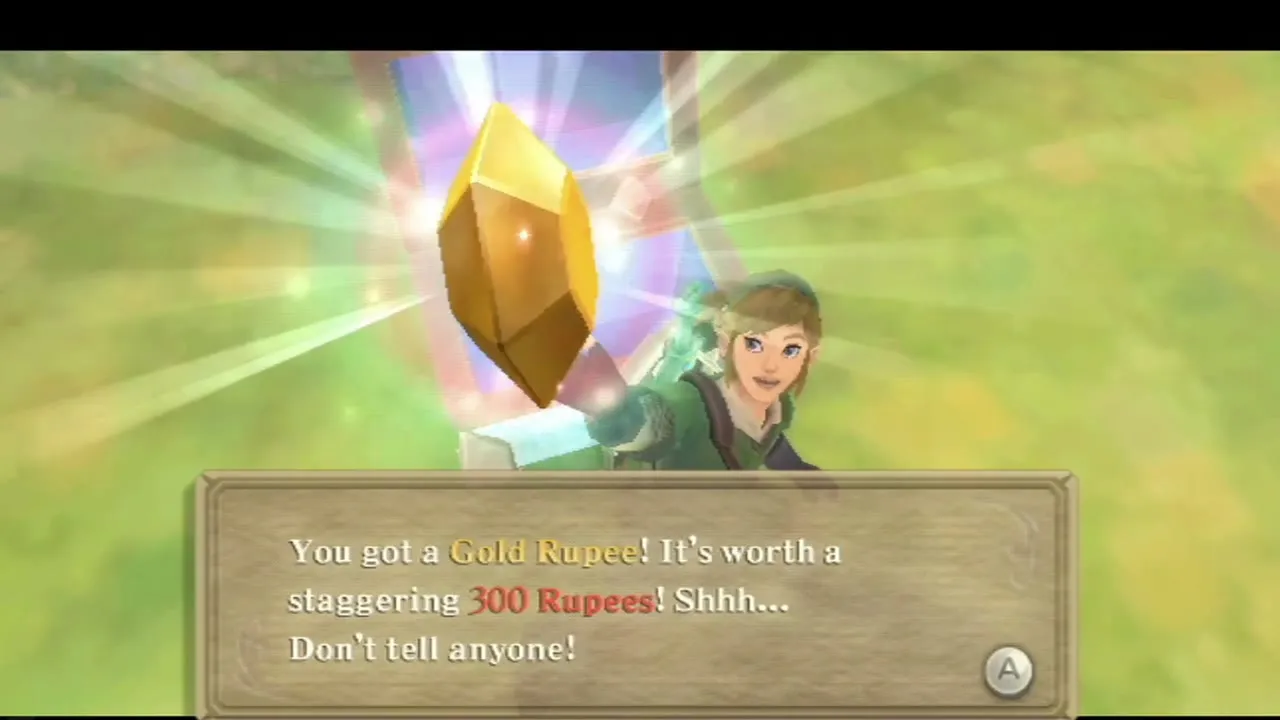
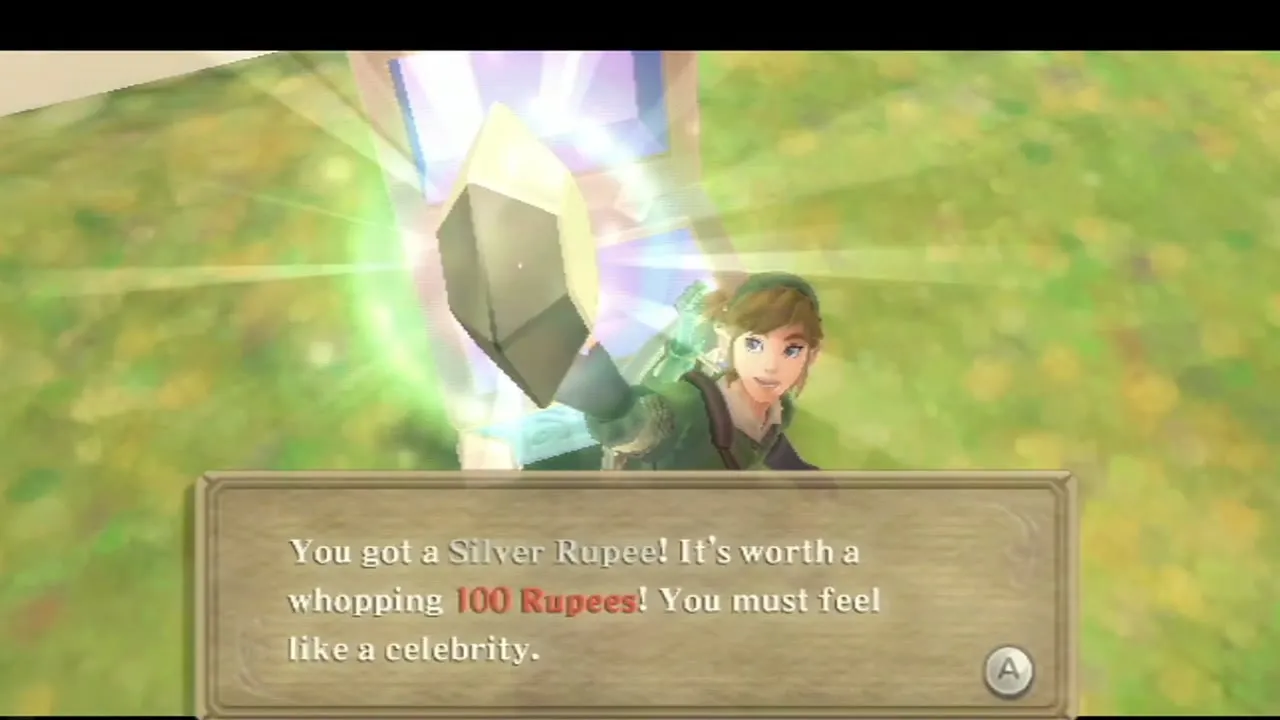
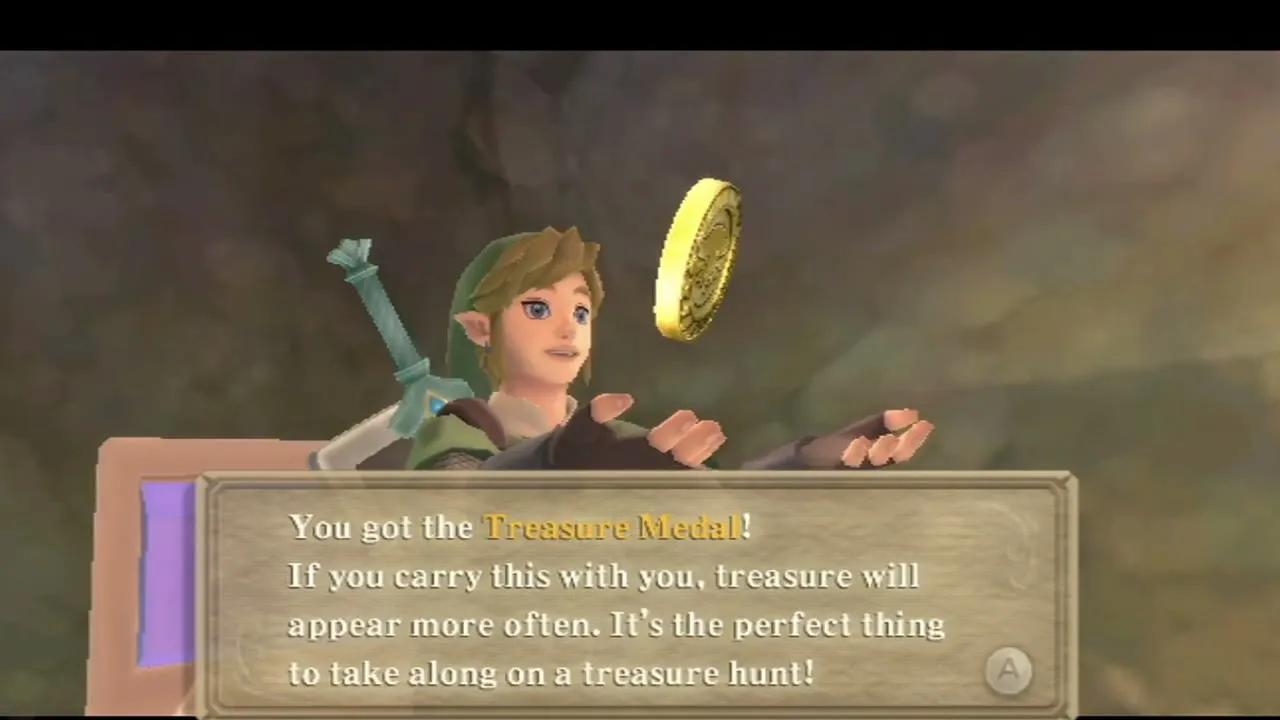
Each Goddess Cube you struck in Eldin Volcano unlocked a Goddess Chest somewhere in the Sky. Open the Sky map, find the glowing chest markers Fi has placed, and fly to them one by one: dive off the edge of Skyloft, whistle for your Loftwing, and glide to each island. The chests from Eldin hold a Small Seed Satchel, a Silver Rupee, two Gold Rupees (Isle of Songs and Bamboo Island), a Treasure Medal and a Piece of Heart in a small shed west of Kukiel’s house in Skyloft. Equip the Treasure Medal in your Adventure Pouch if you want treasure to turn up more often; every medal takes a slot. The Goddess Cubes page lists which island each chest sits on.

Play Clean Cut on Bamboo Island
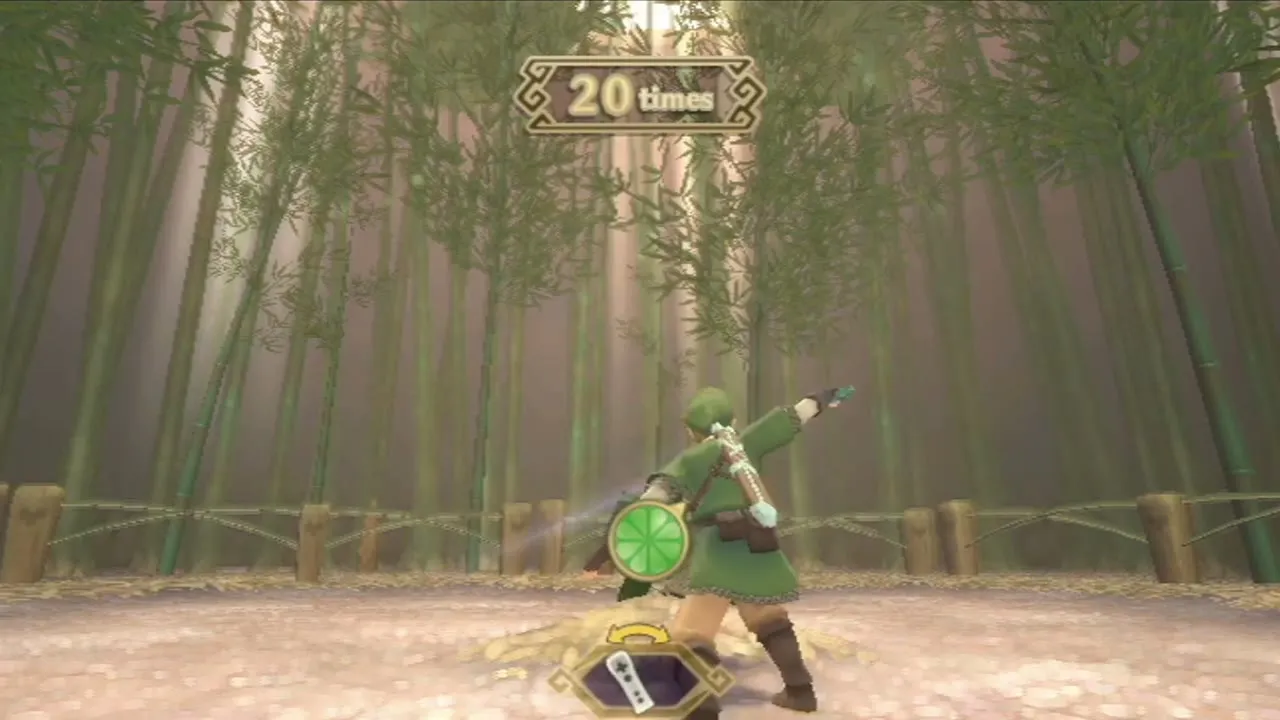
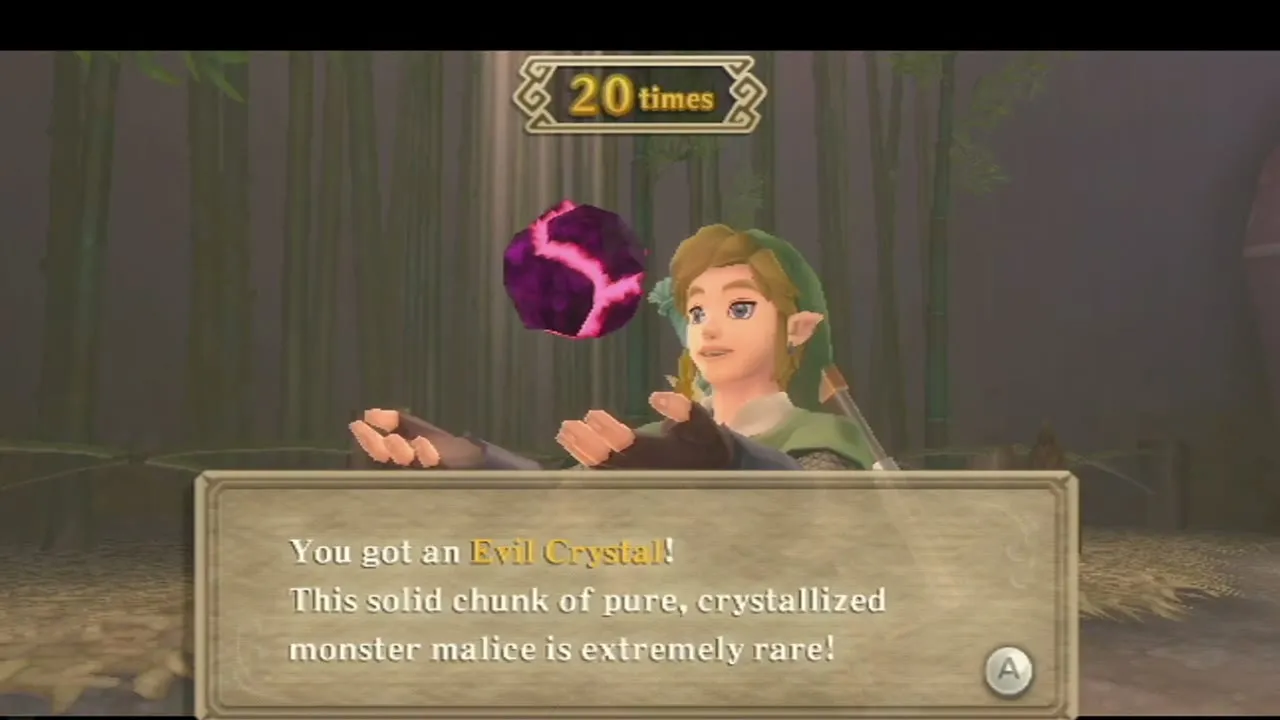
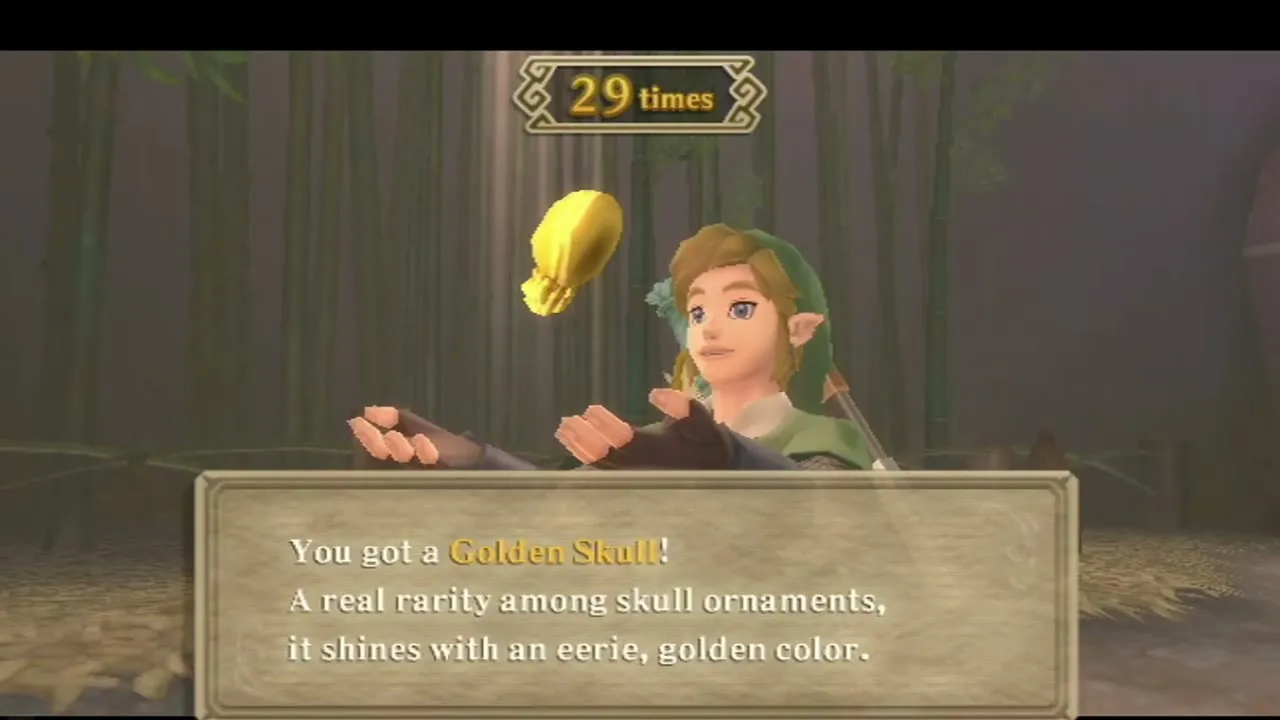
Peater runs a bamboo-cutting game on Bamboo Island. He charges 10 Rupees a try and counts how many cuts you land before the time is up. Fifteen to nineteen cuts pays 30 Rupees, twenty to twenty-seven earns a treasure such as an Evil Crystal or a Monster Horn, and twenty-eight or more can pay out a rare treasure. Keep your swings flat and level so the stalk stays centred; a spin attack counts as two hits. Details are on the mini-games page.
Pumpkin Landing: the chandelier and the pumpkin carry
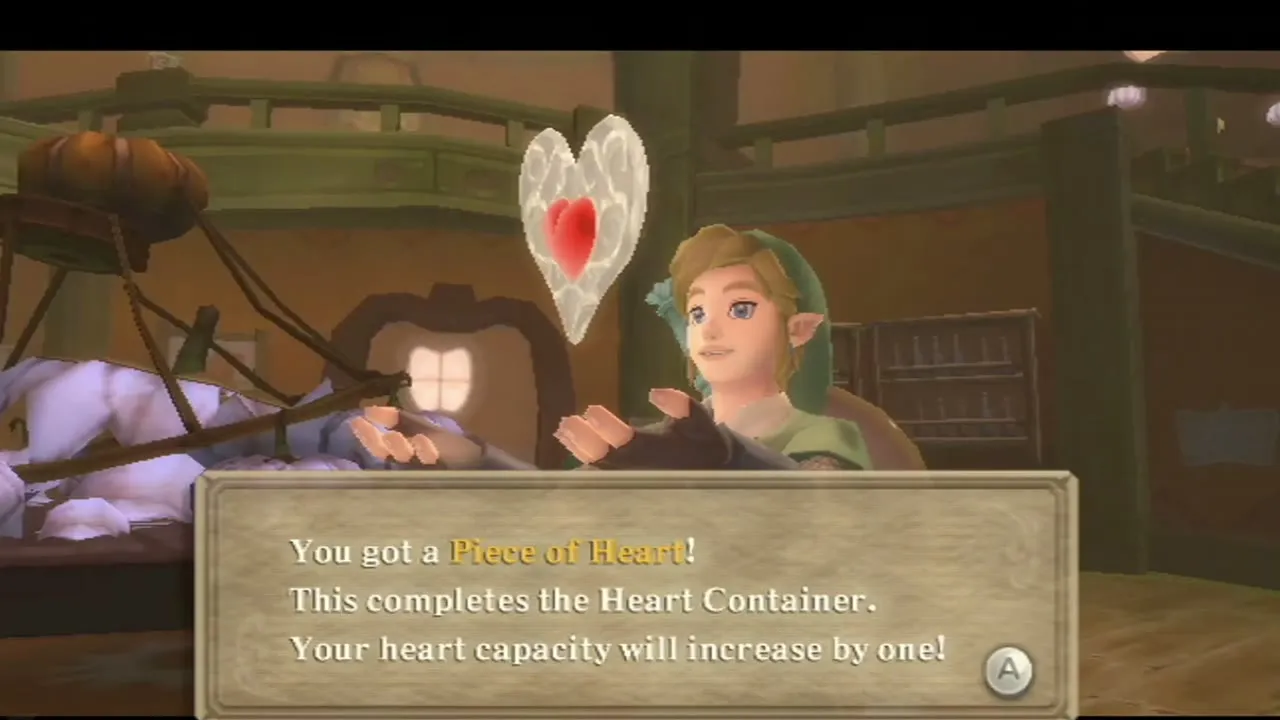
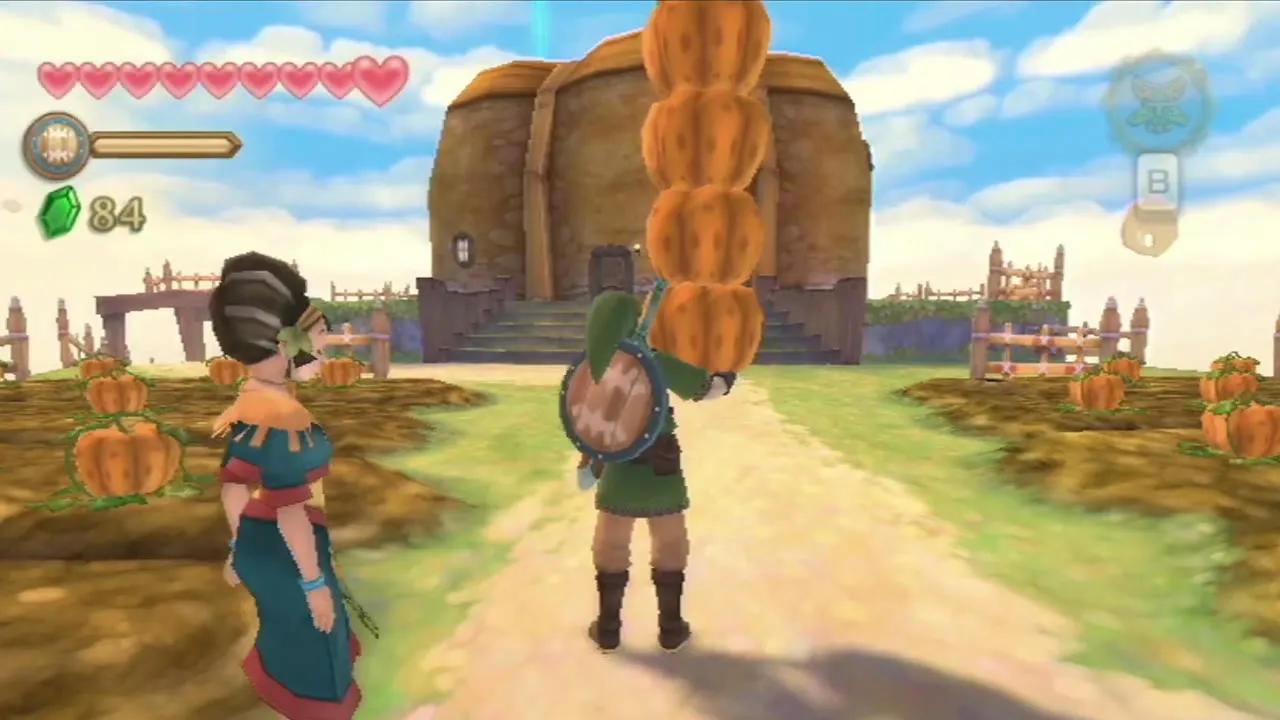
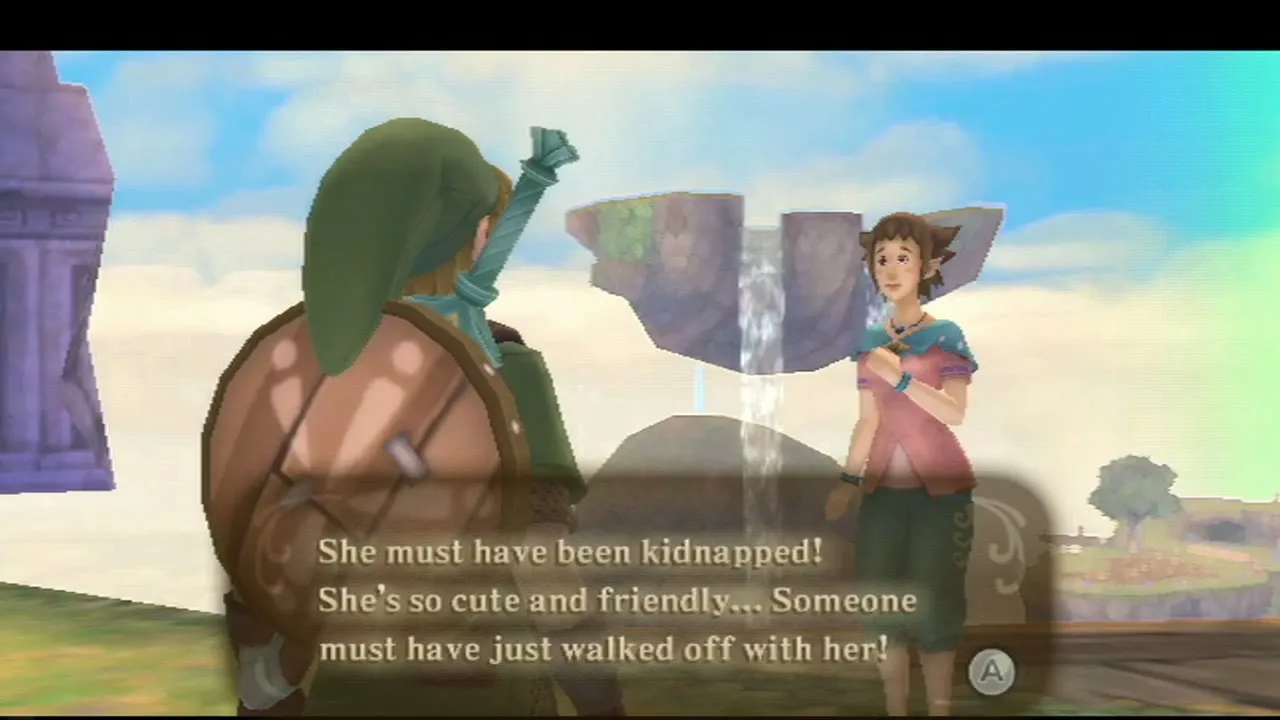
Fly to Pumpkin Landing, the farm island with the barrel-shaped house. Go upstairs in the Lumpy Pumpkin and roll into the balcony railing twice; the chandelier drops and gives you rupees and a Piece of Heart. Pumm then sets you three chores. The first is to carry a bottle of Hot Pumpkin Soup to Knight Commander Eagus in the Sparring Hall before it cools. The second is to help Kina carry the pumpkins into the shed, lifting each one and walking it carefully without dropping it. The third needs the Goddess’s Harp, so Pumm’s own Piece of Heart waits until after the Lanayru Mining Facility.

Shopping at the Bazaar and Beedle’s Airshop
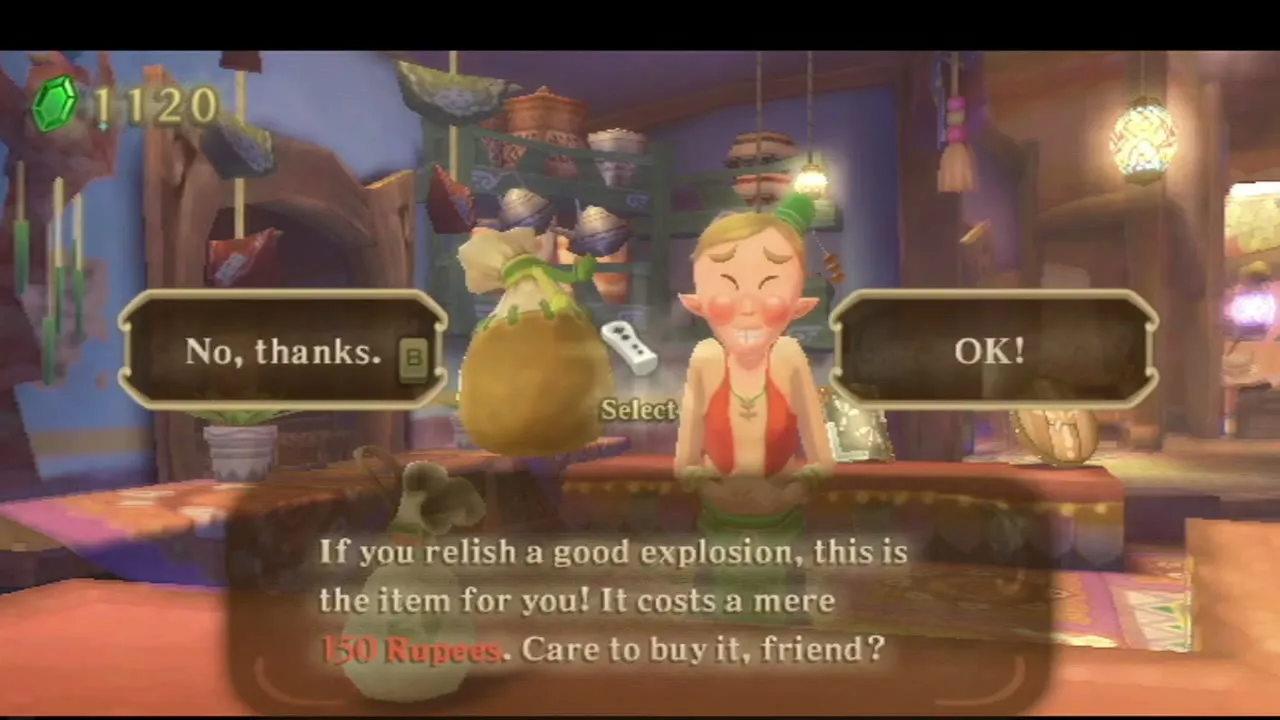
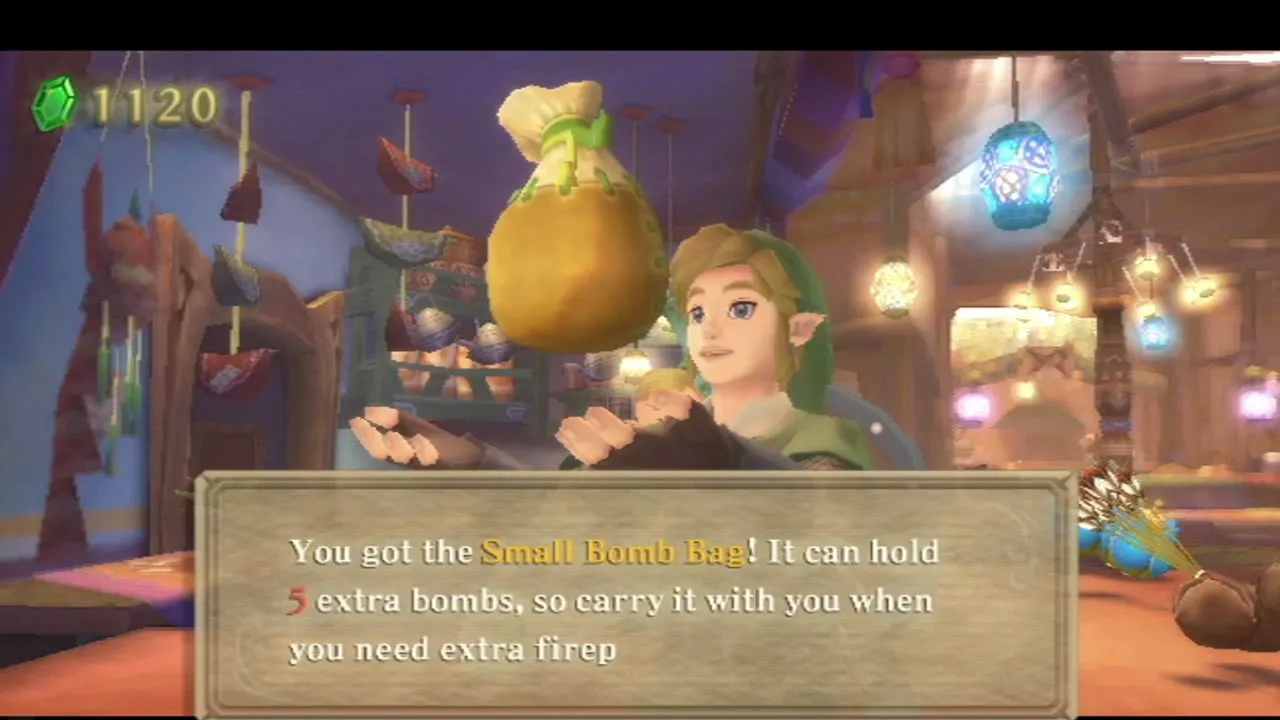
With the Bomb Bag from the Earth Temple you can buy a Small Bomb Bag from the Gear Shop in the Bazaar for 150 Rupees; it lets you carry five extra bombs. Gondo at the Scrap Shop can then enlarge a bomb bag for Rupees and materials, which the upgrades page lists. Bombs are used all through Lanayru, so stock up.
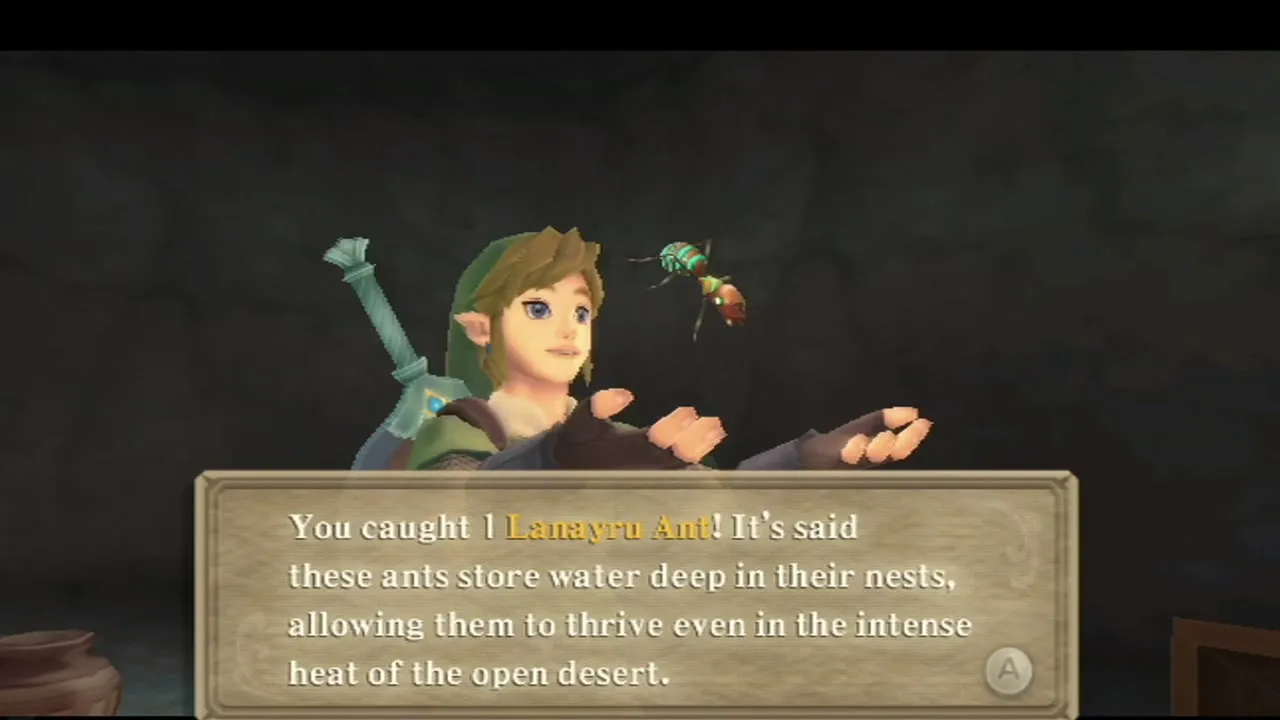
Beedle’s Airshop, drifting in the Sky, sells three things worth buying now. An Adventure Pouch slot costs 300 Rupees, an Extra Wallet costs 100 Rupees and adds 300 to your carrying limit, and the Bug Net costs 50 Rupees. Buy the Bug Net: Lanayru’s Lanayru Ants, Gerudo Dragonflies and Sand Cicadas, plus the Tumbleweeds blowing across the desert, all need it.

Gratitude Crystal quests
Skyloft’s Gratitude Crystal quests start with Find Kukiel, which Wryna gives you near the Goddess Statue and which unlocks the rest. Each finished quest pays five or more crystals (Find Orielle pays ten), and you hand the crystals to Batreaux for wallets and a Piece of Heart. The Gratitude Crystals page lists every quest, when it opens and its payout. None is needed to continue, so fly down once your errands are done.
Lanayru Mine
Land in the mine and strike the Goddess Cube
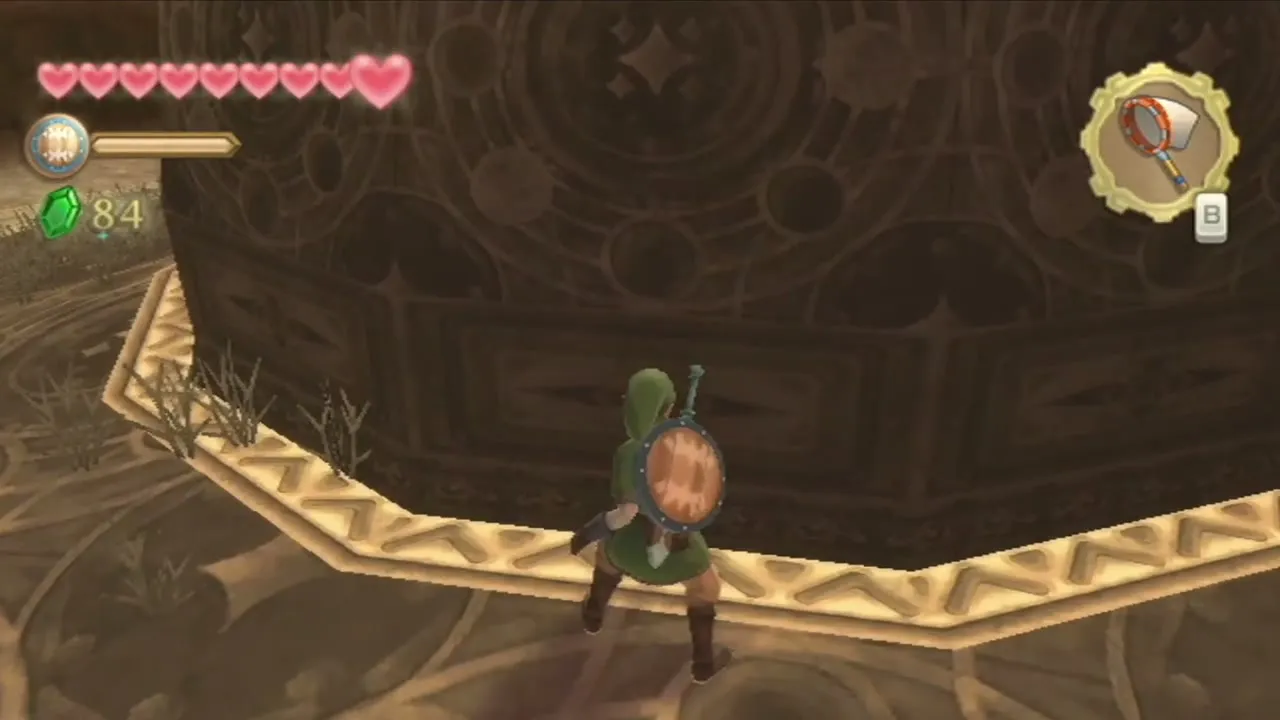
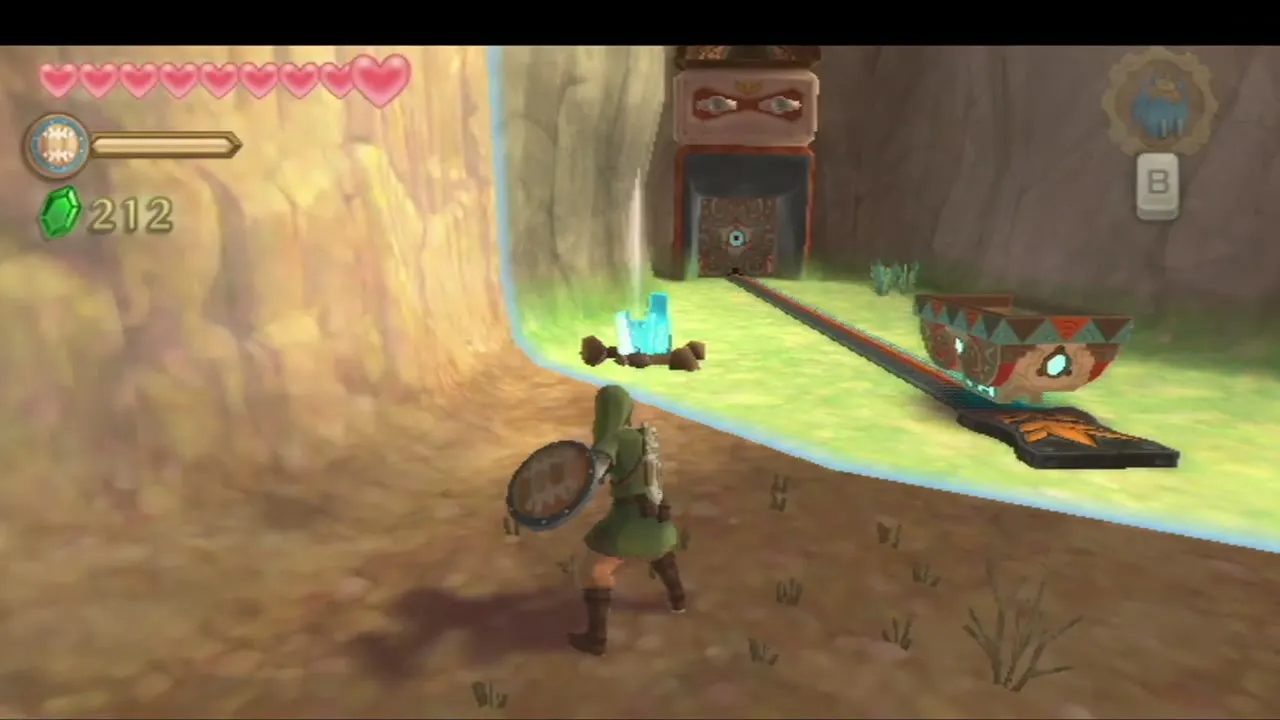
Dive into the cloud opening southwest of Skyloft and you land inside Lanayru Mine. Before you walk in, drop off the ledge and run behind the structure on the lower level to find a glowing Goddess Cube. Raise the Goddess Sword overhead to charge a Skyward Strike and strike it. It opens a Goddess Chest on a small island southeast of Beedle’s Island that holds a Silver Rupee behind a bombable wall; fly there next time you return to Skyloft.

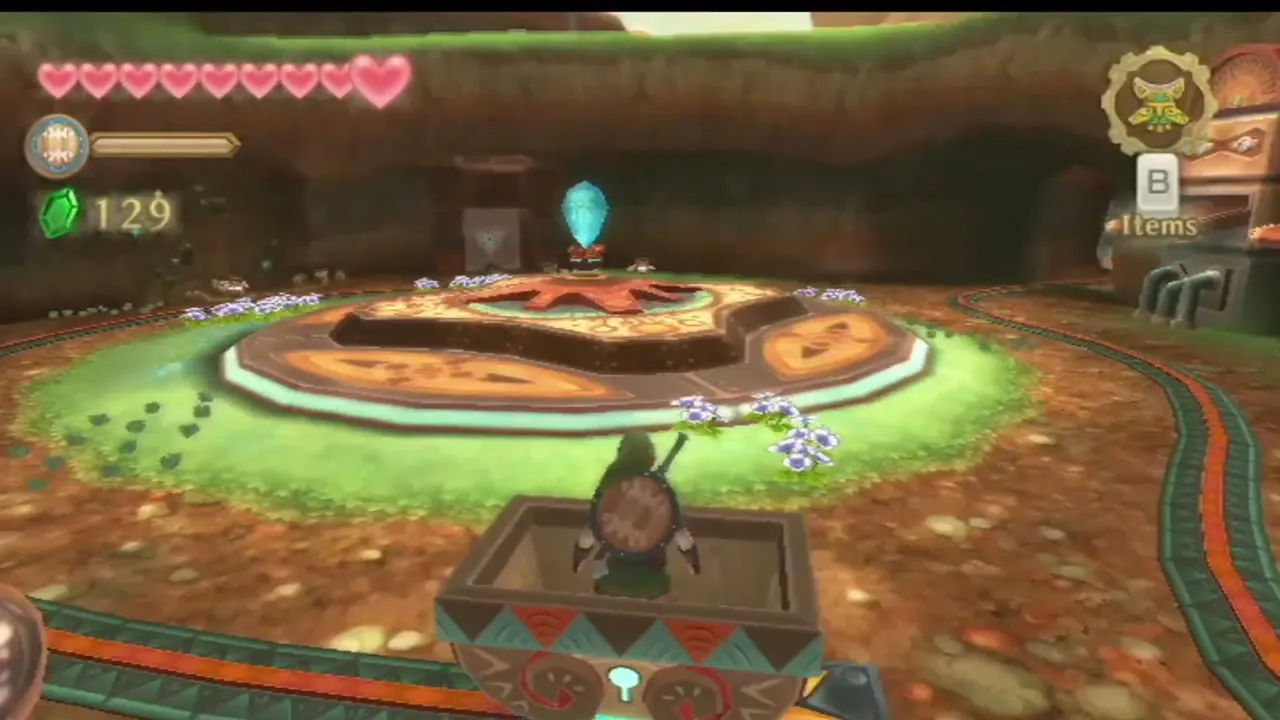
Push the cart and wake the first Timeshift Stone
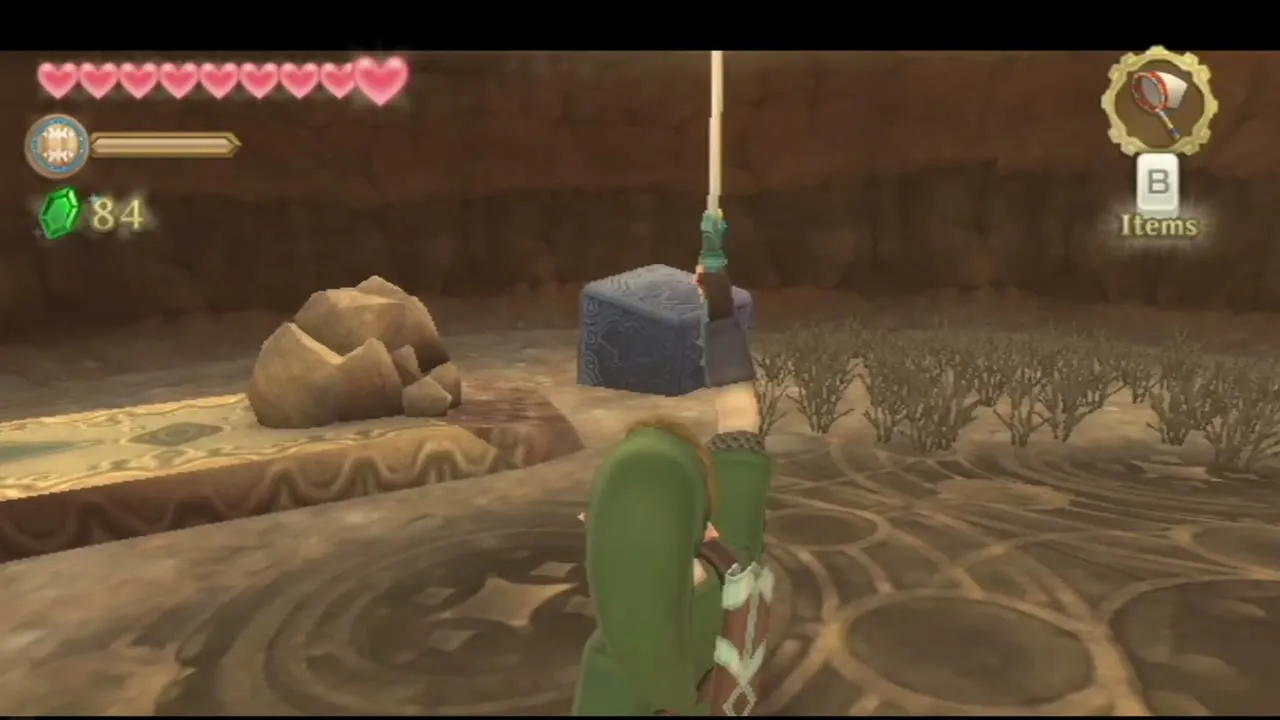
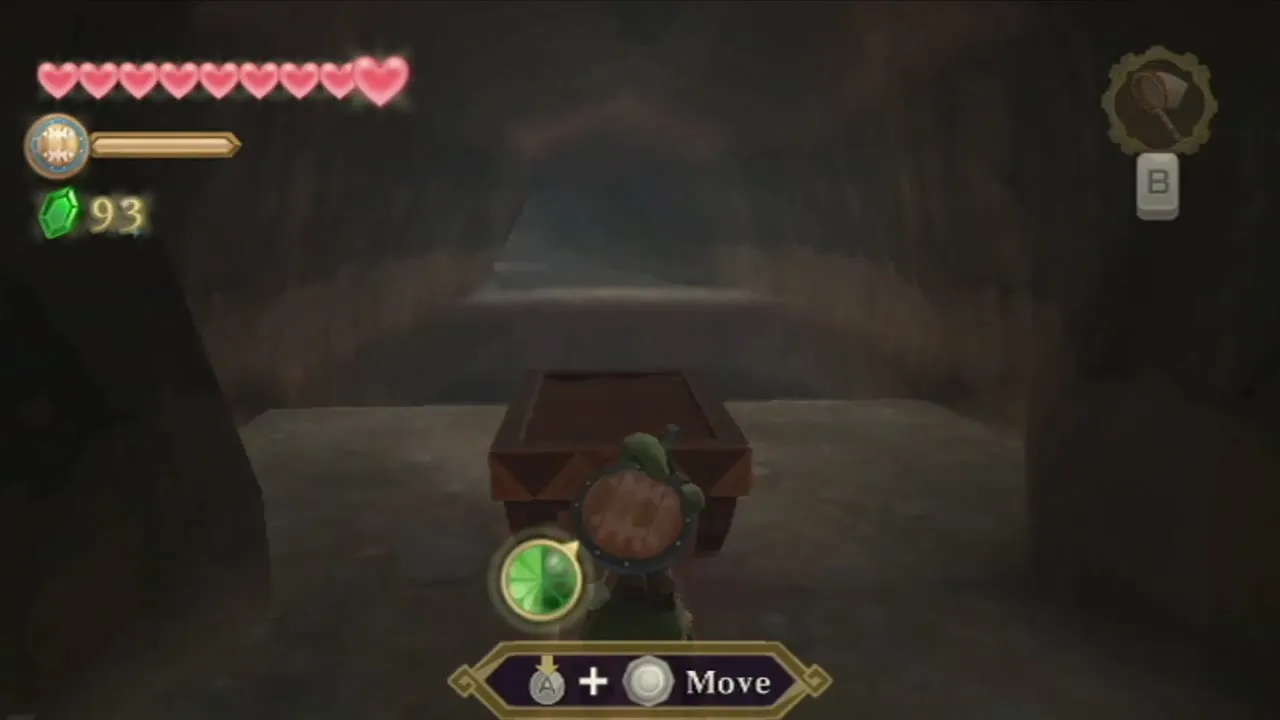
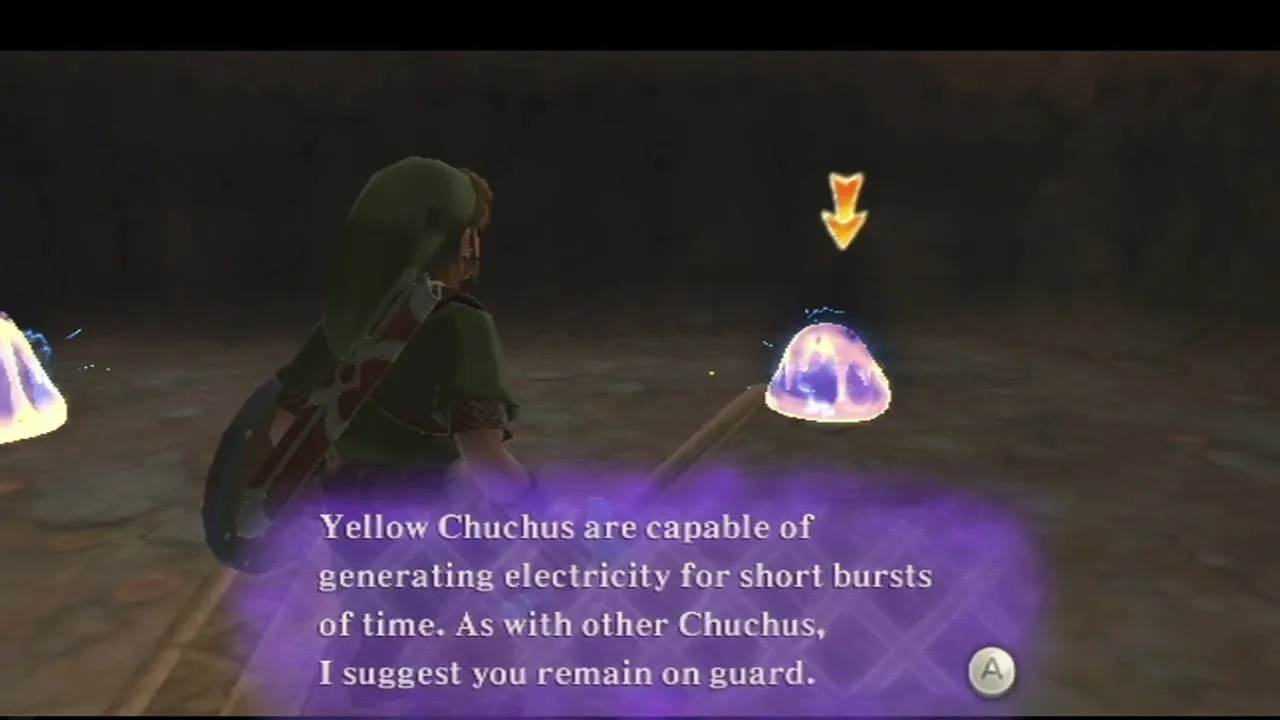
Light the bird statue near the entrance and head north. At the end of the track, push the minecart until it falls onto the rails below. Drop down, push the cart against the far wall and climb it to reach the ledge. Yellow Chuchus here are electrified, so strike them only when they stop glowing.
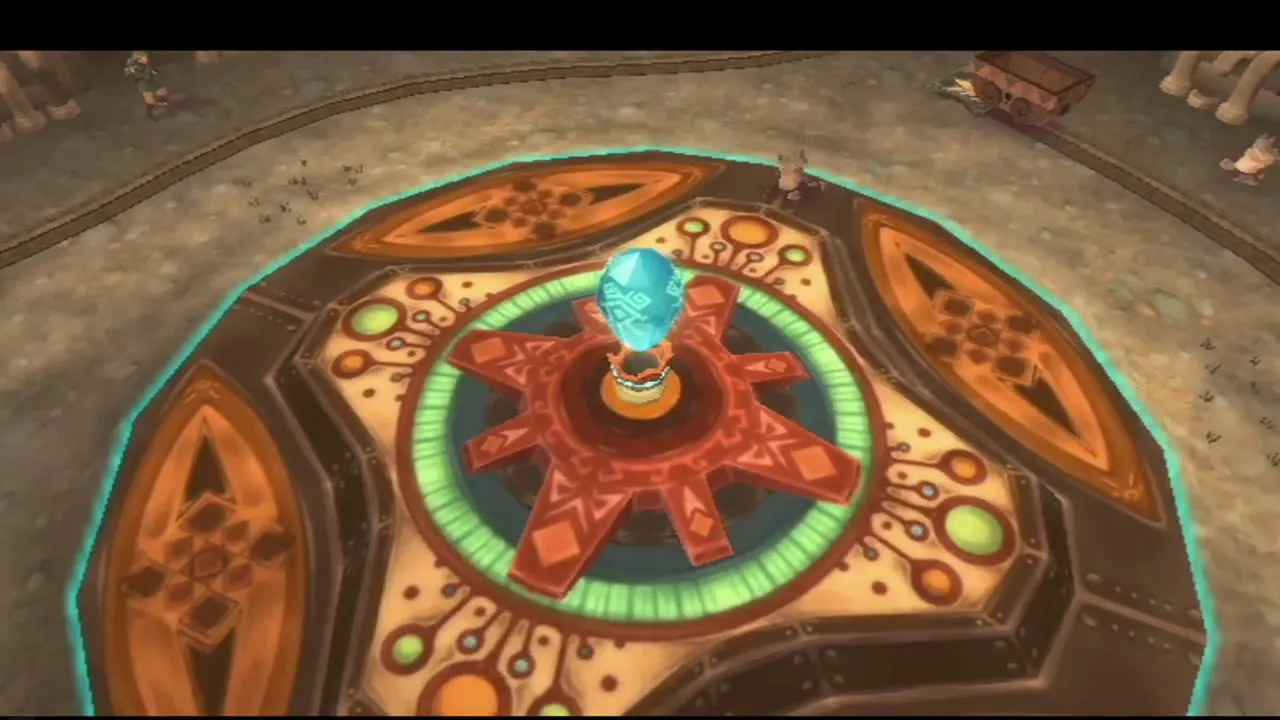
In the centre of the next room sits a large blue crystal, a Timeshift Stone. Hit it with your sword. The area around it slips back to how it looked many years ago, so the broken minecarts run again and the old mining robots come back to life. A Timeshift Stone only affects the area around it, so stay inside its range when you want the past version of a room.
Ride the minecarts
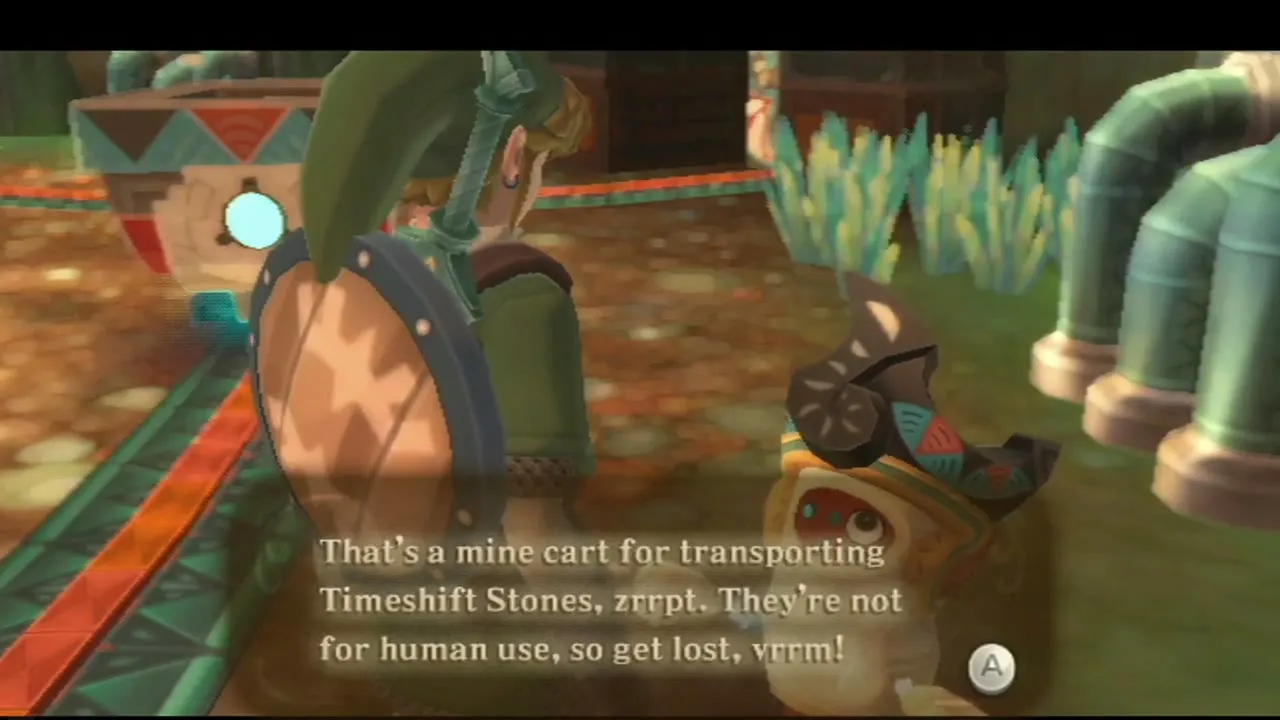
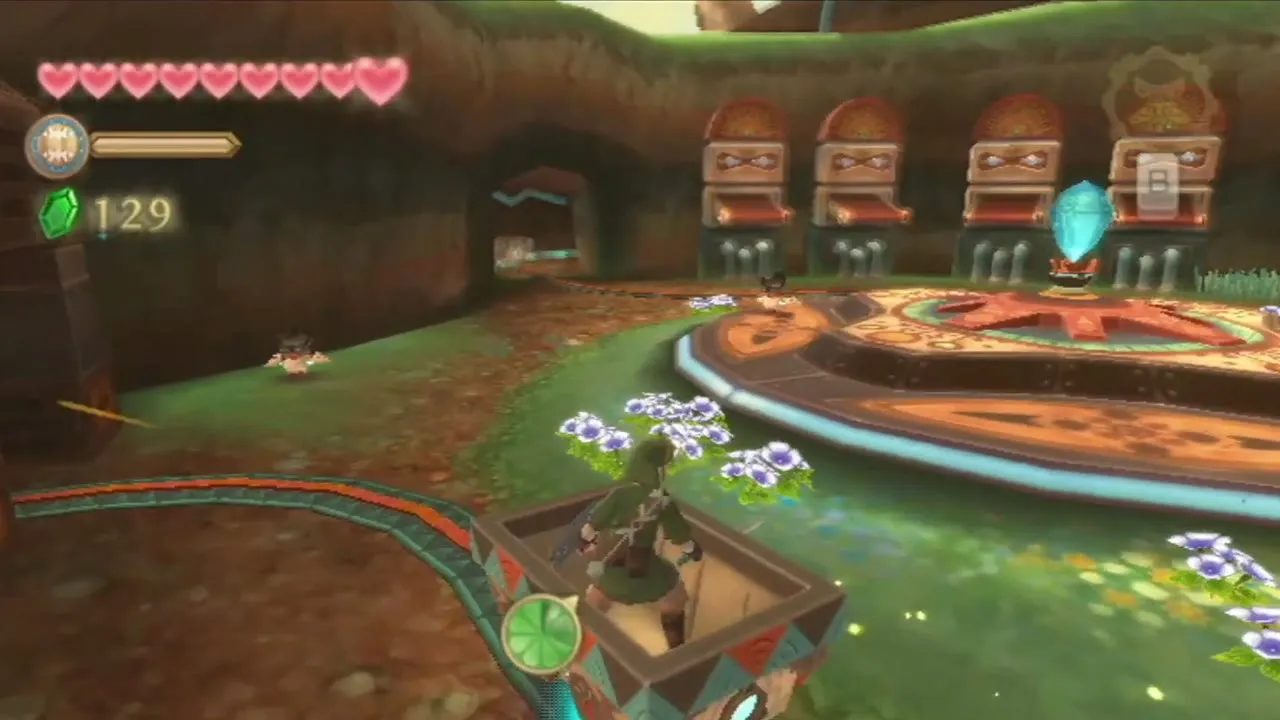
Step into the cart and ride it to the northern room, where a chest holds a Red Rupee. A mining robot there says carts are not for human use; ignore him and ride back. A cart that sits outside the stone’s range is stuck in the present, so drag it into range first, then ride on to the southern area.
Collect the Ancient Flower
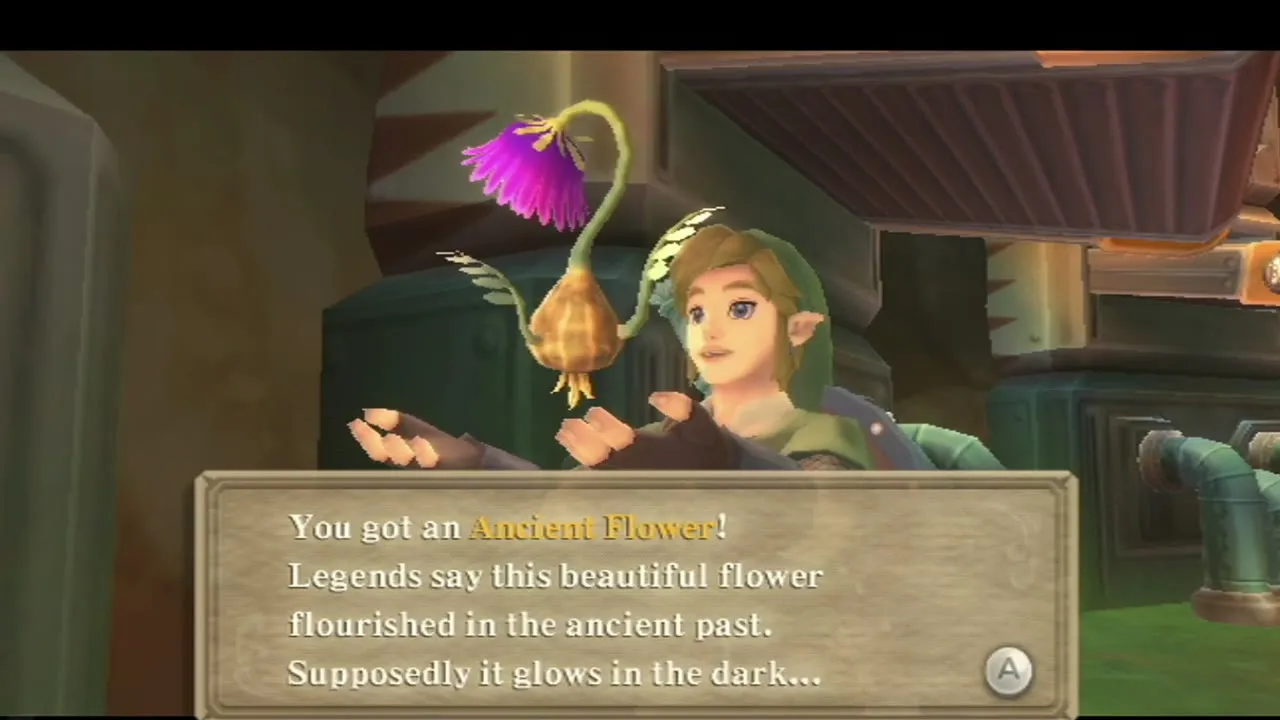
In the corner of the southern area lies an Ancient Flower, a treasure used in Beetle upgrades. Bomb the pile of rocks to reveal a second Timeshift Stone and hit it, then throw a bomb into the bowl held by the nearby statue so that it falls and opens the way on.
Cross the quicksand and the Electro Spume room
Beyond the statues you cross a stretch of sinksand. Start with full stamina, dash across and avoid stopping; blowing up a statue’s bowl with a bomb drops sand that makes firm footing. A crawlspace behind one of the statues holds a chest with a Red Rupee. In the large room after it, Electro Spumes float around electrified. Stun one with a Slingshot shot, then bomb it, or simply keep away from them. Hop across the sand ledges, resting to refill your stamina before each jump.
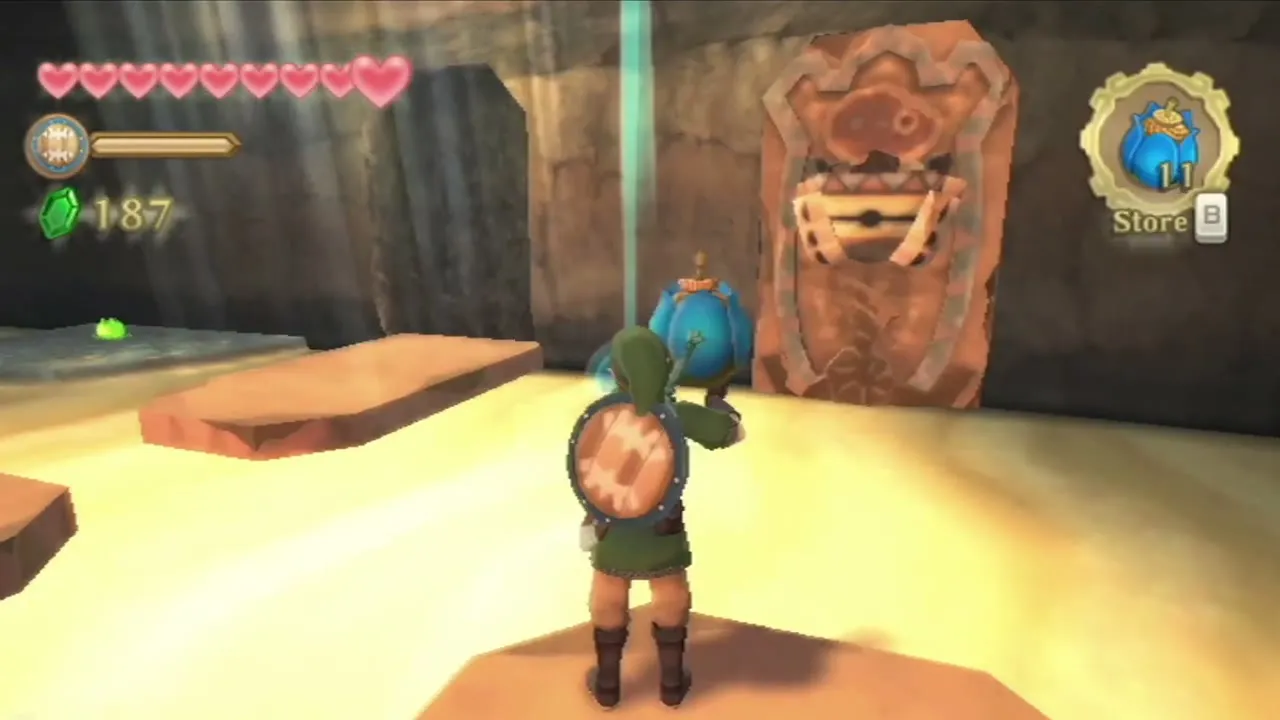
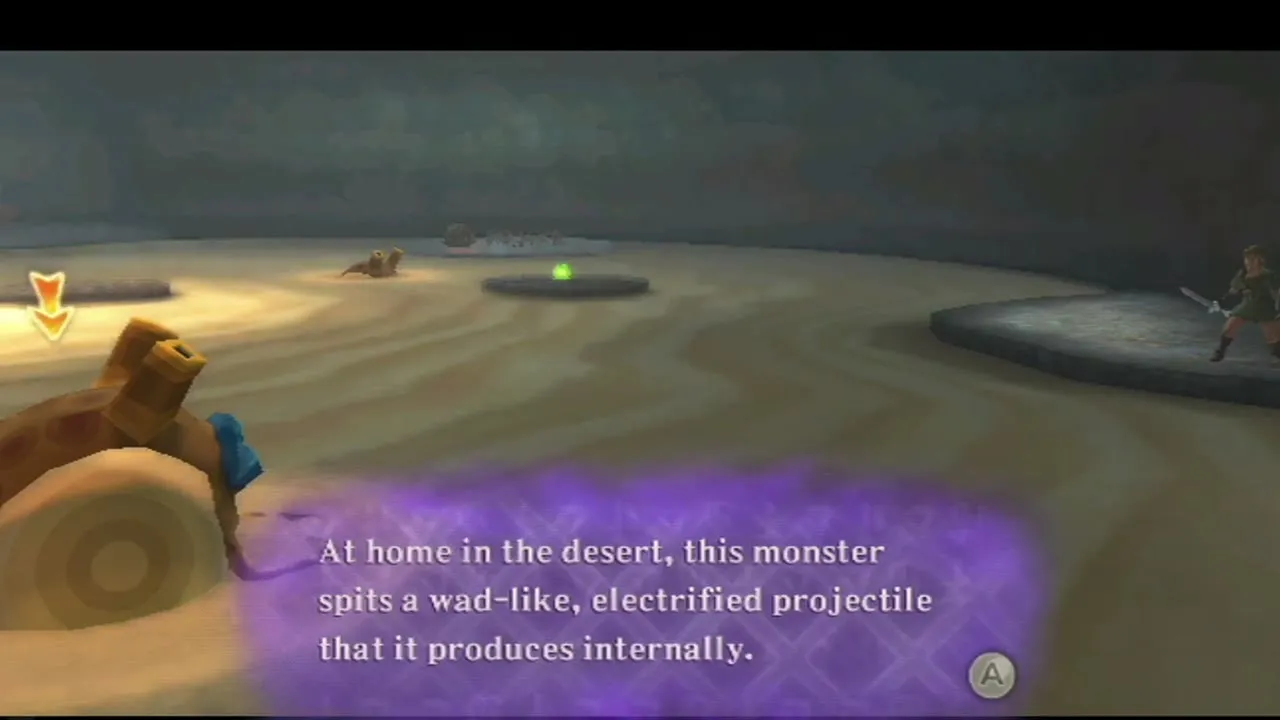
At the north end, climb into the cart and push or pull it up the slope as far as it goes, roll a bomb to uncover another Timeshift Stone and hit it with the Beetle. Head through the west doorway into a long alley of sinksand with a lone Bomb Flower; roll bombs along it to break the rocks. In the far room, a Timeshift Stone sits under one of the broken rocks; send the Beetle at it and a grass path opens. A chest at the end holds a random rare treasure.
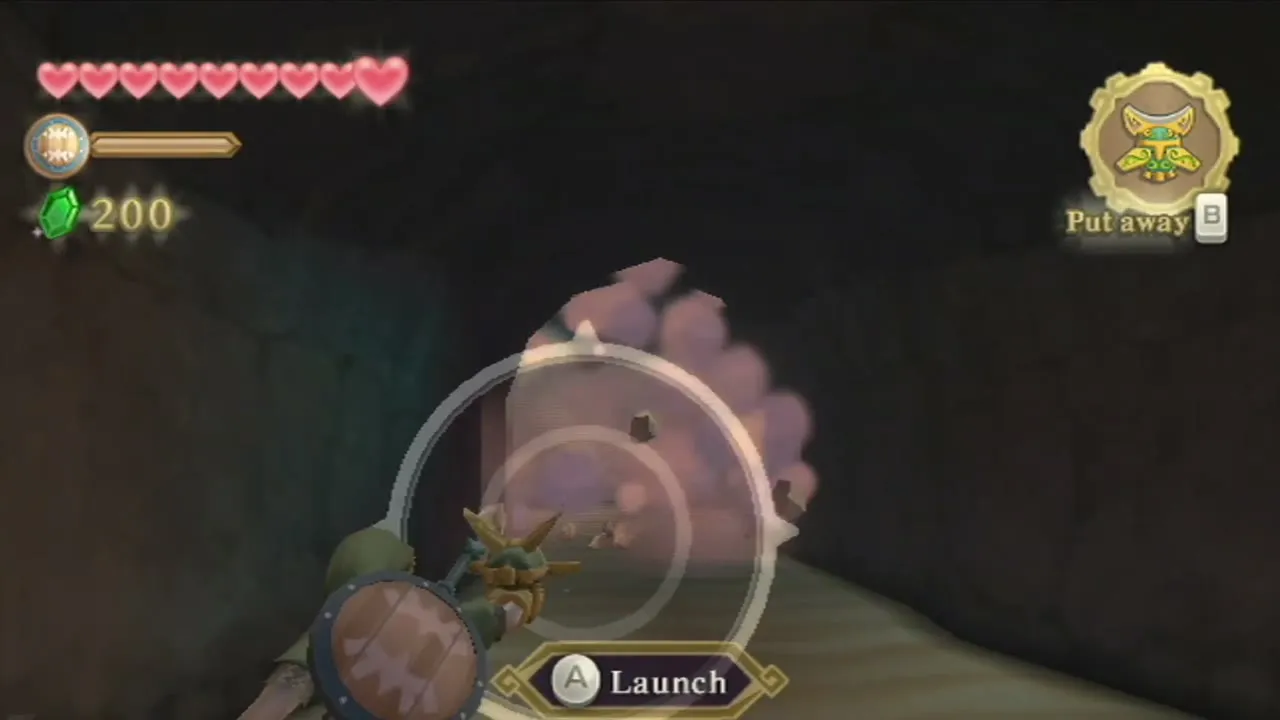
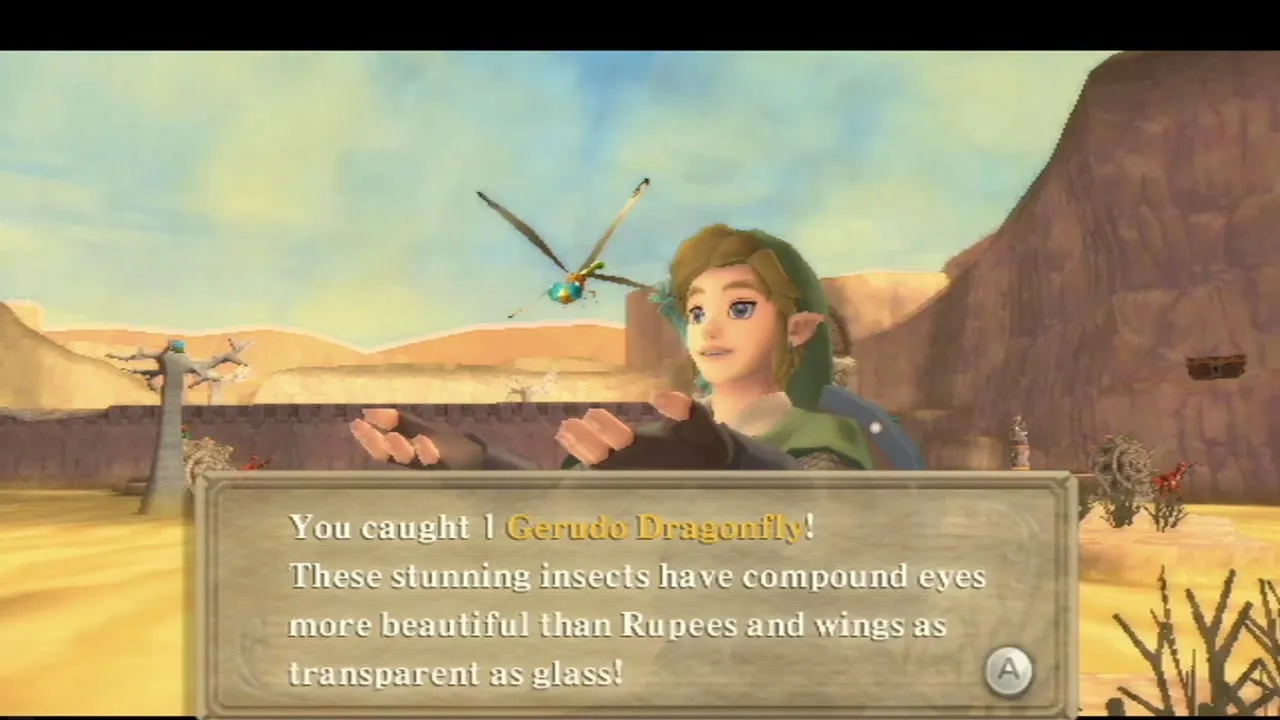
You can catch Lanayru Ants and a Gerudo Dragonfly with the Bug Net as you go, and slash the Deku Babas that hang or jump out in the past version of some rooms. When you are ready, board the active minecart at ground level and ride north out of the mine.
Lanayru Desert: the Hook Beetle
Arrive in the desert
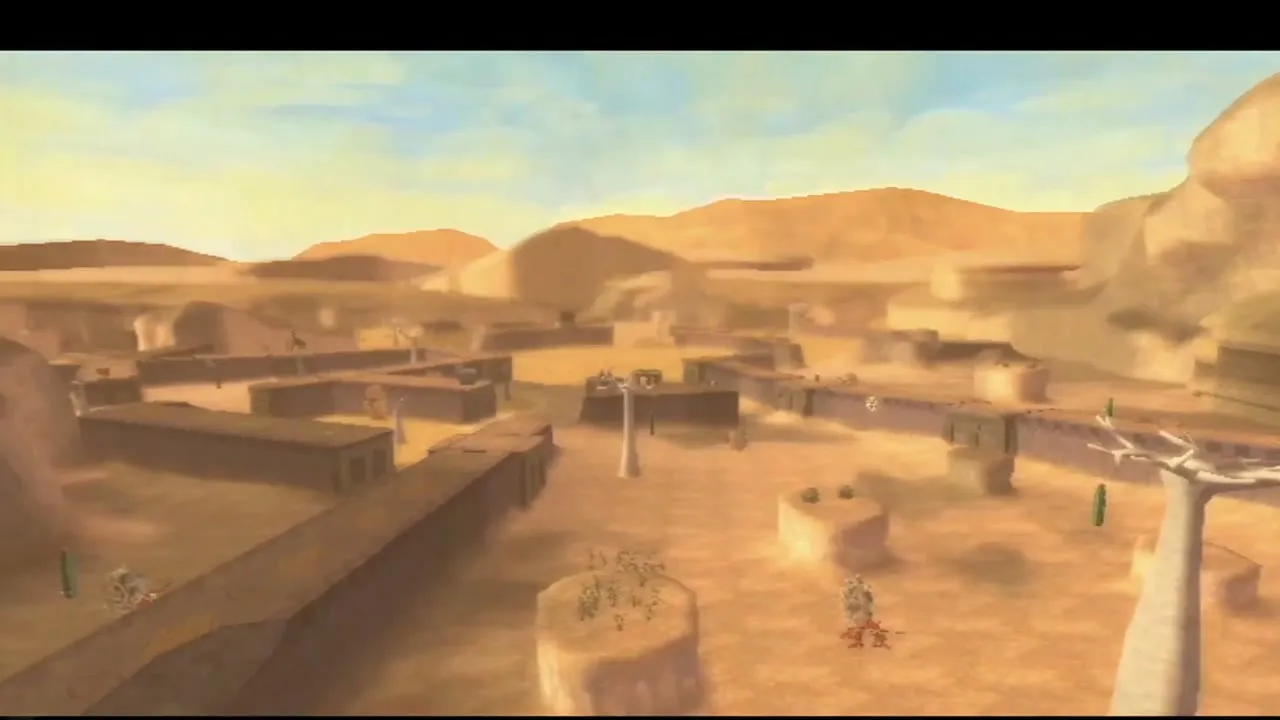
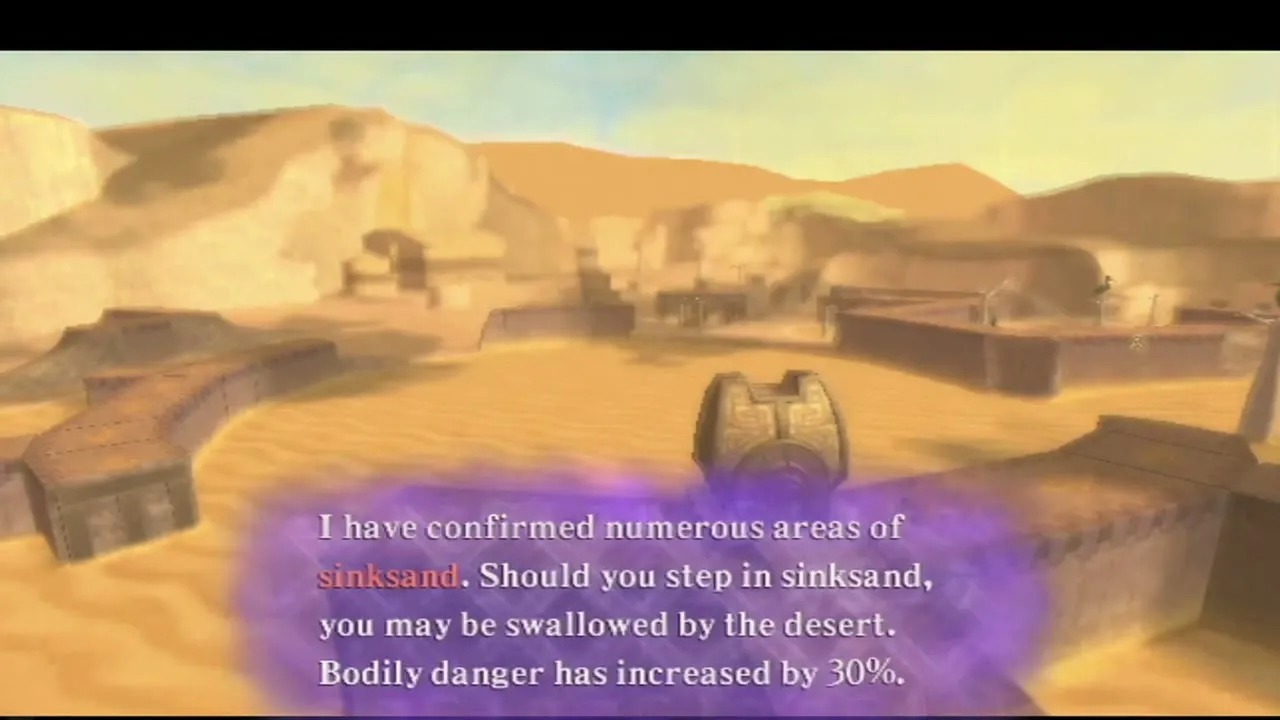
The cart drops you at the Lanayru Desert, and Fi warns that sinksand will swallow you if you stand in it. Save at the bird statue by the exit. For now, hop from flat rock to flat rock and cut bushes to refill hearts; later a robot will give your map the safe paths hidden under the sand.
Find the first desert Timeshift Stone
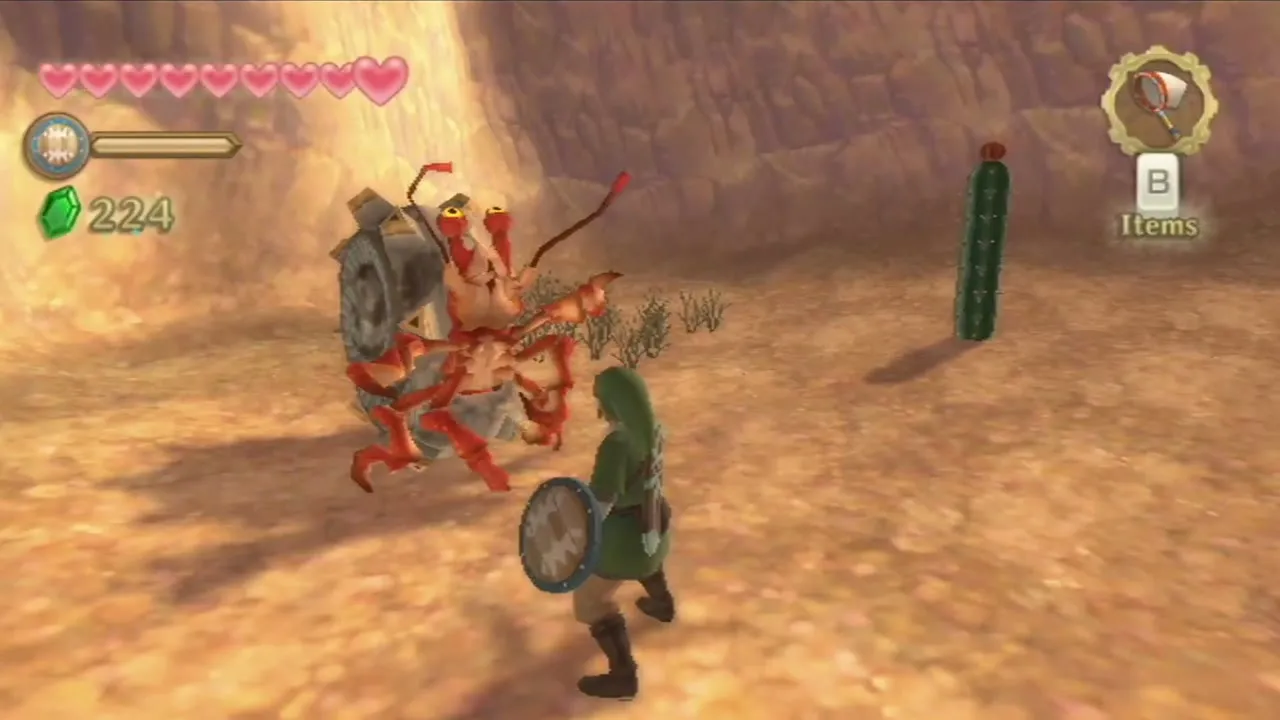
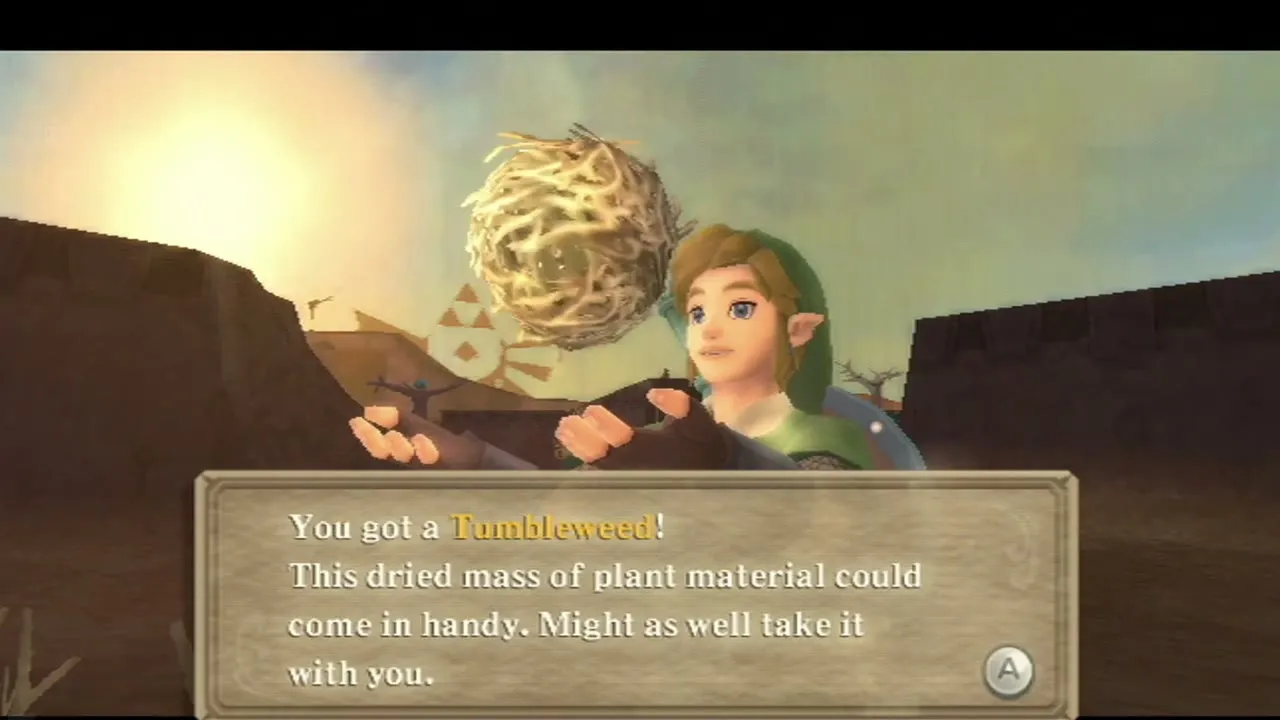
Bomb the two boulders near the start; one hides a Timeshift Stone. Hit it and vines grow to climb, which leads to another Ancient Flower. Catch Tumbleweeds with the Bug Net when they roll past, because they are a treasure used in upgrades. Avoid Ampilus: they curl into an electrified shell and roll at you; sword them while they are stunned.

Free the robot and get the Hook Beetle
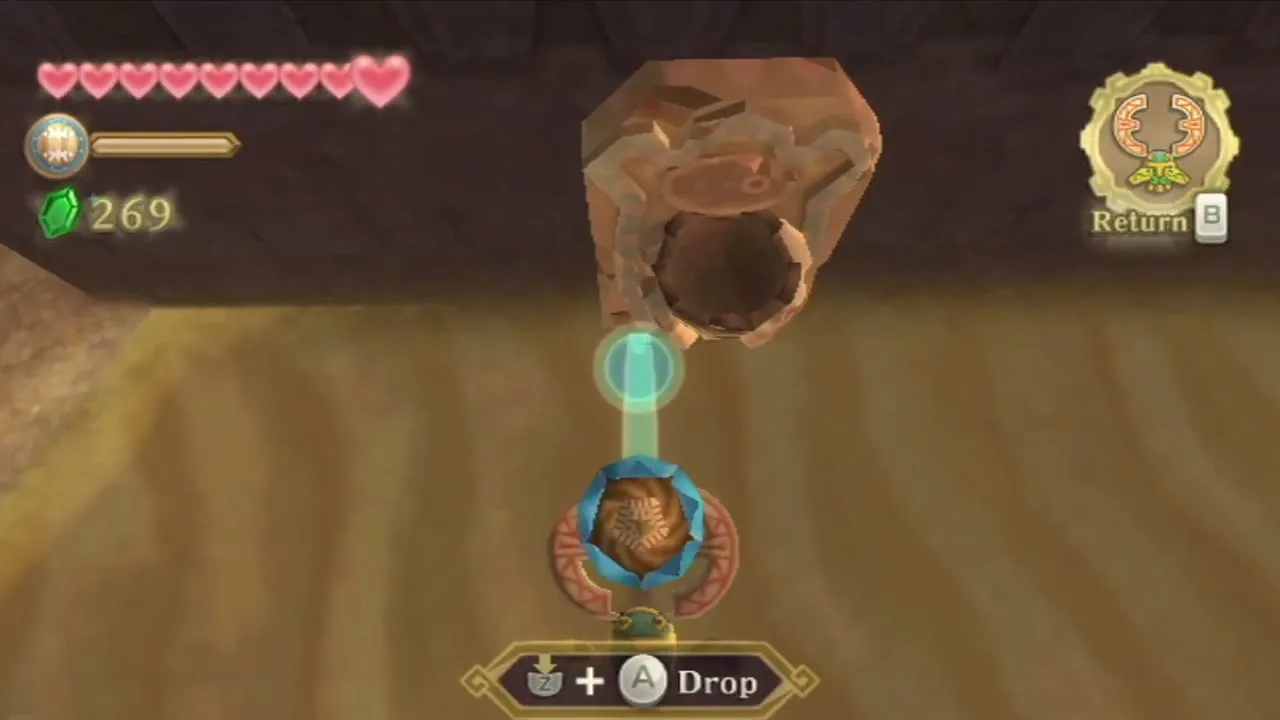
Take the ramp to the left to a higher chest, then look north for a cage with a boulder inside that has a hole in its top. Throw two bombs through the hole: the first shatters the boulder and the second sets off the Timeshift Stone hidden beneath. The cage’s past version appears and two Technoblins spring from the old bones. Stay out of the stones’ range, stun them with a Slingshot shot, then rush in and slash. Beat both and the gates open. The freed robot notices your Beetle is an old Lanayru model and fits it with a pincer. This is the Hook Beetle: it can pick up bombs, Bomb Flowers and other objects, carry them and drop them where you want.
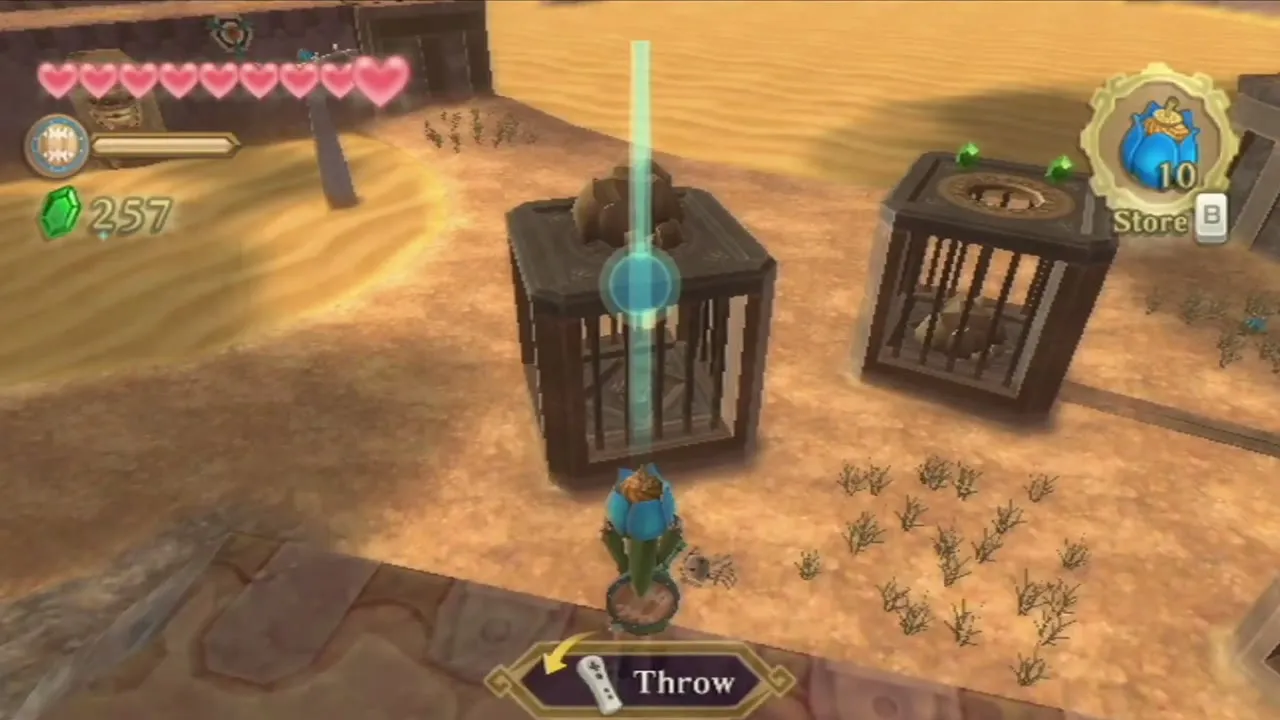
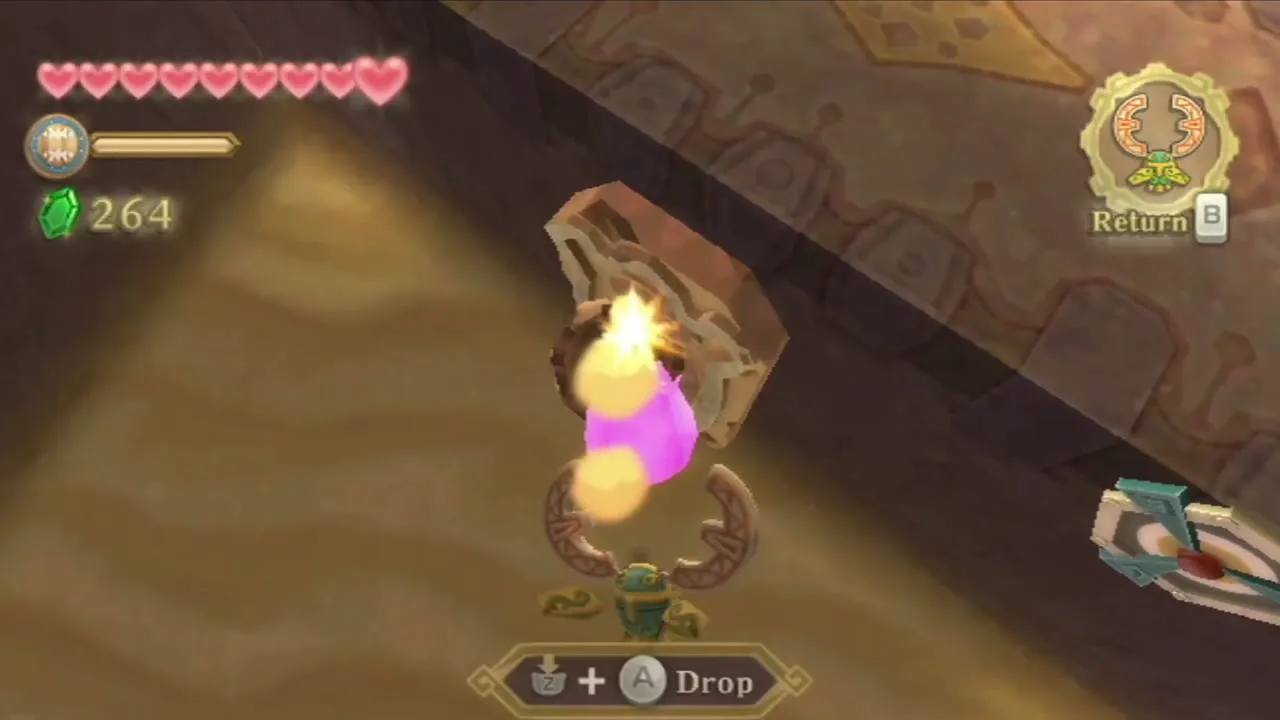
Practice at once. Steer the Beetle by tilting the Wii Remote, fly it into a Bomb Flower or a loose bomb and drop it on a target. Use it to set bombs in bomb holders and statue bowls, drop bombs on crates and Hrok, and to hit far-off switches and Timeshift Stones.

Cross the sinksand to the southern cube
Head southwest, dropping bombs into bomb holders and the bomb-bearing tree to clear a path across the sinksand. In the big quicksand field, use the Hook Beetle to drop a bomb on an Ampilus, stun it, then ride its shell to the next island; do it again for the second Ampilus. This takes you to a Goddess Cube on the south side. Strike it with a Skyward Strike. The chest it opens is a Heart Medal on an island south of Skyloft.

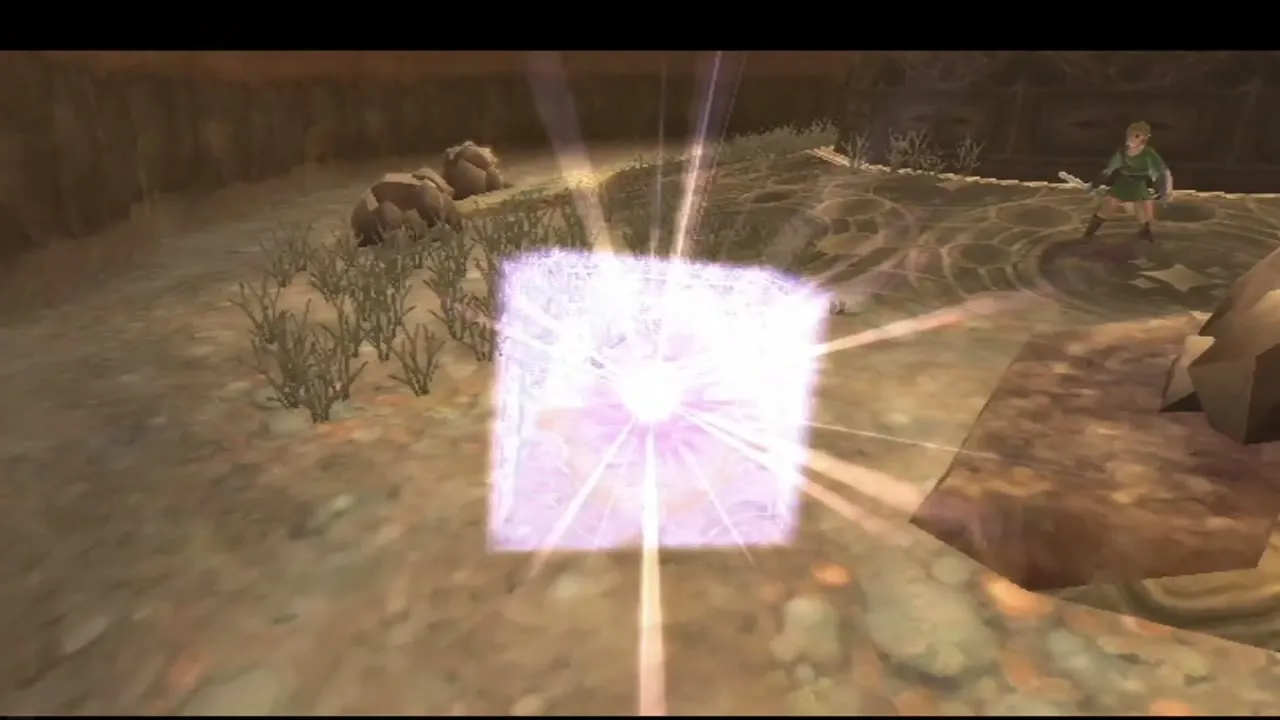
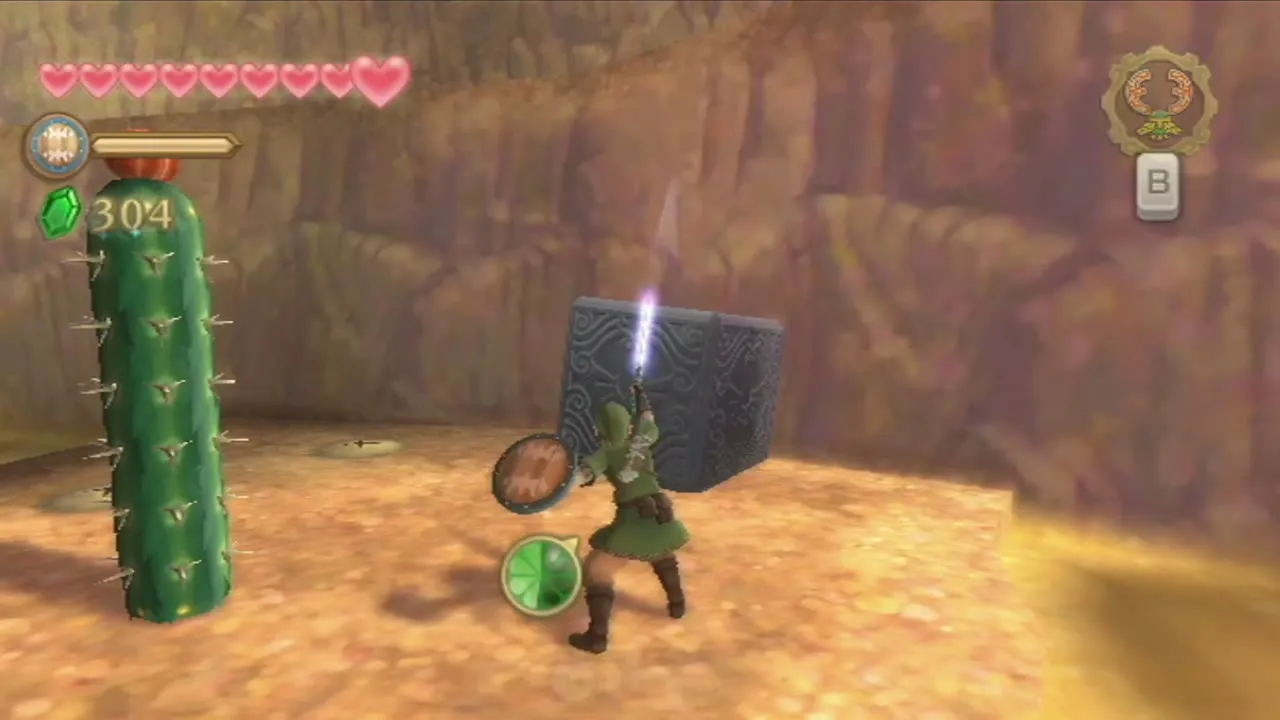
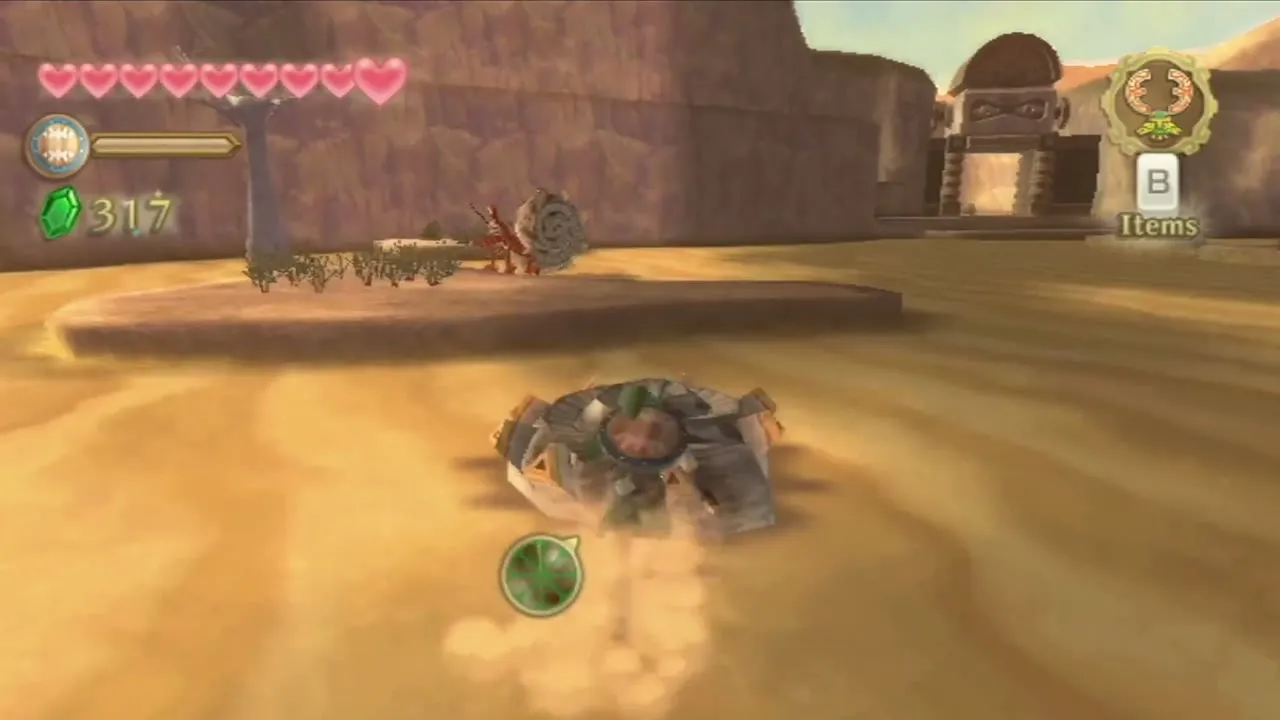
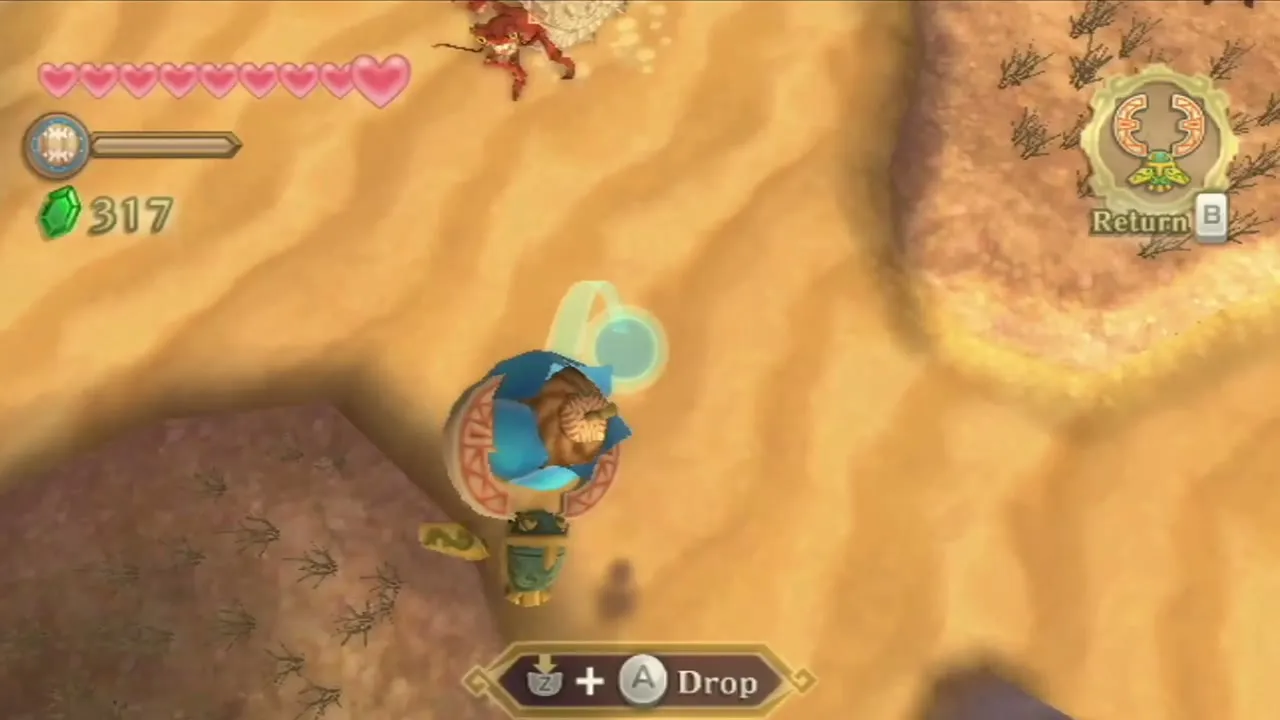
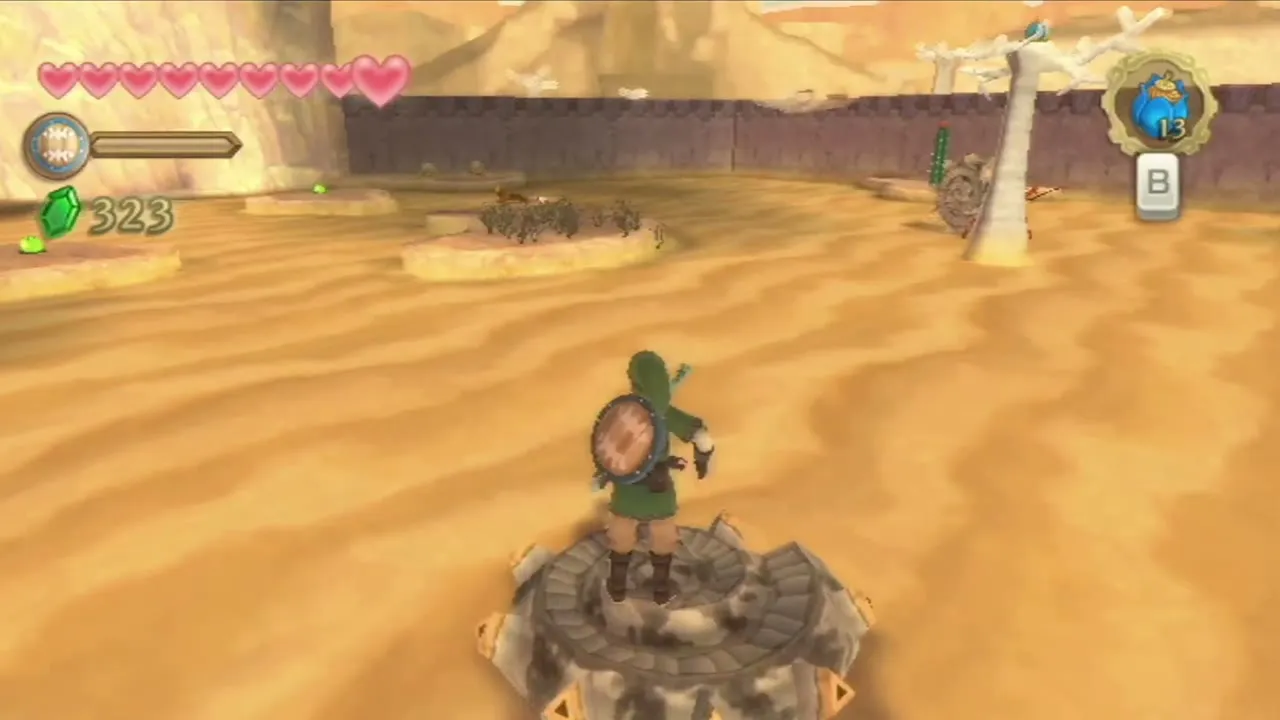
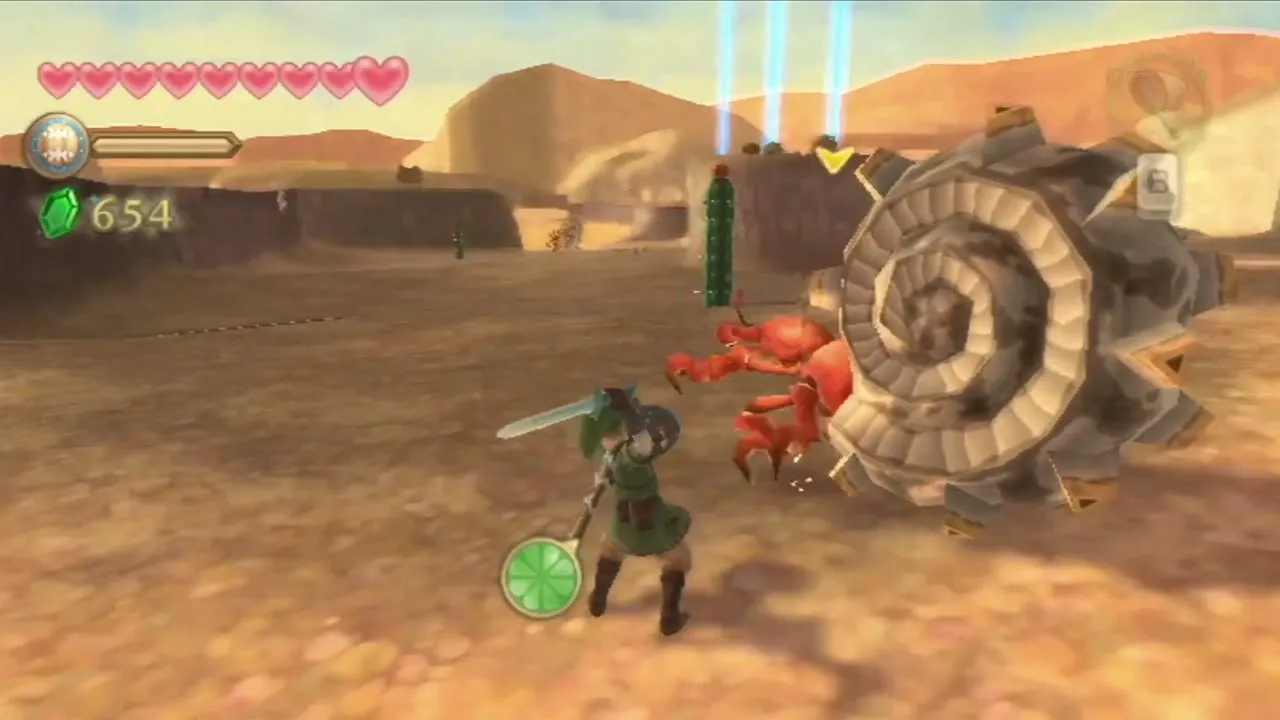
After the strike, use another Ampilus shell to get back to the bird statue and light it. A fresh Ampilus replaces each one you defeat on the sand.
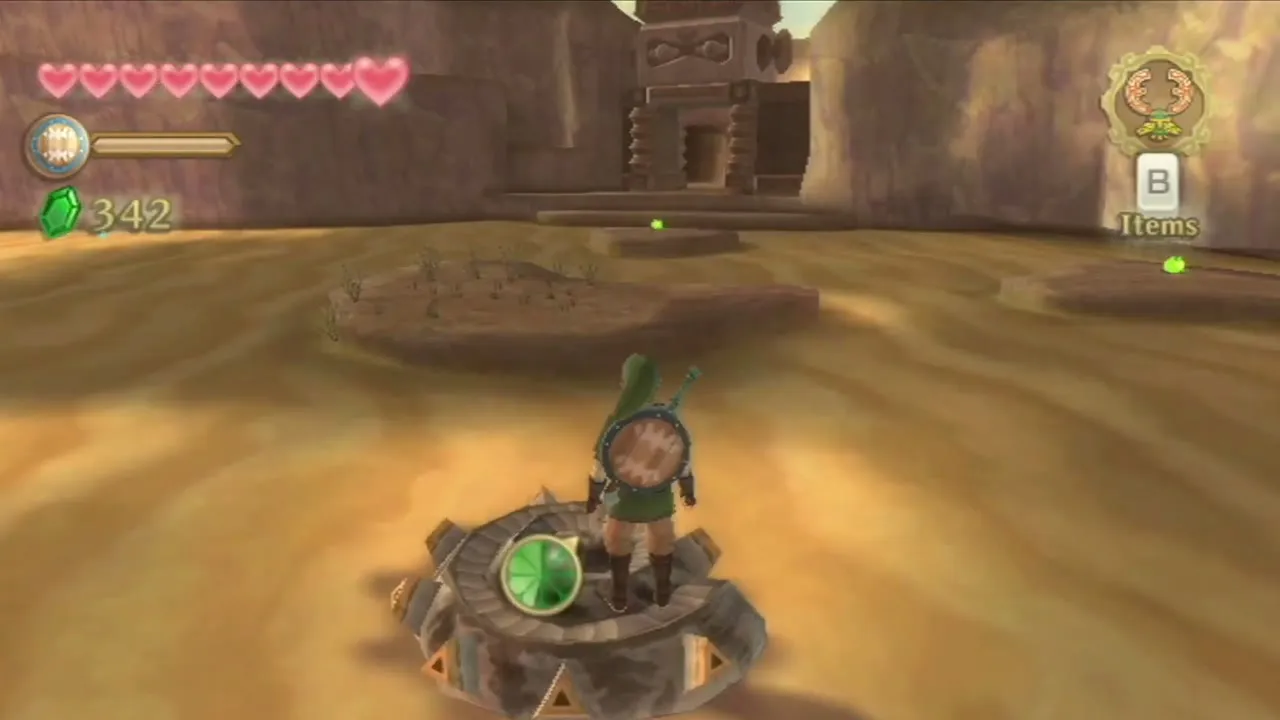
Desert Gorge and the Temple of Time
Ride the sand waterfall
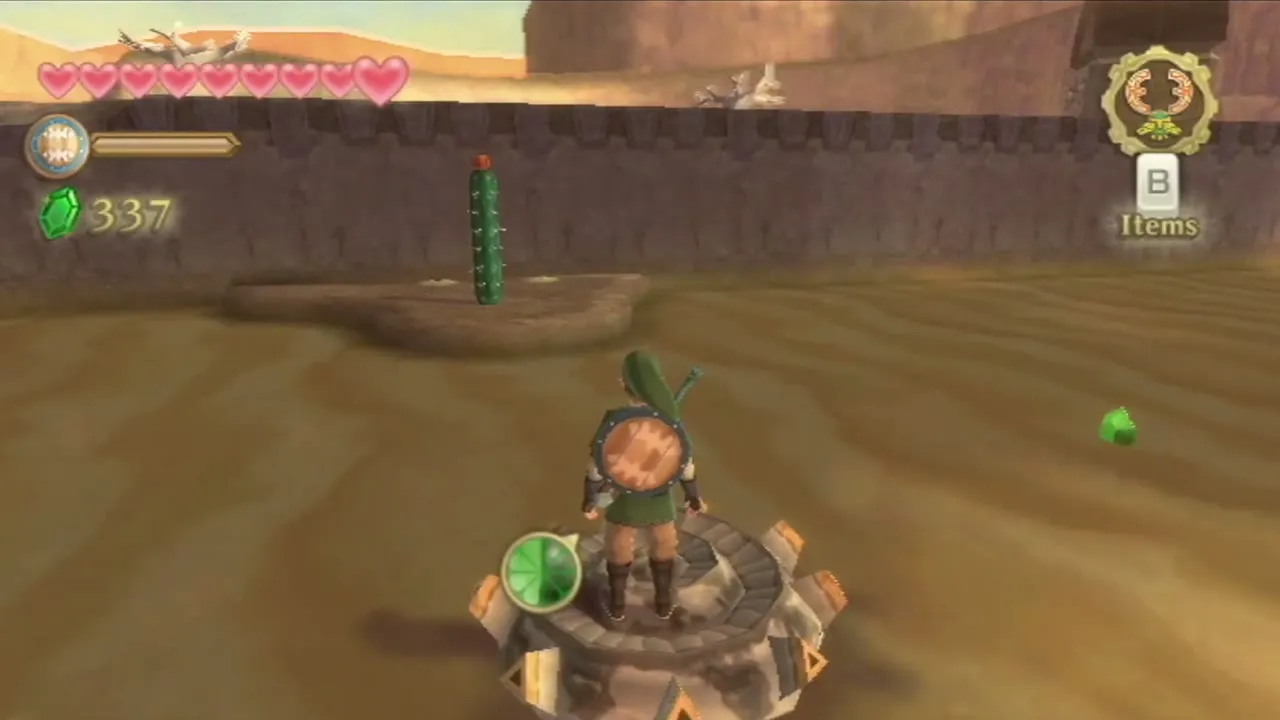
Carry the bomb from the cactus to another Ampilus with the Hook Beetle, ride its shell to the next flat rock, then work northeast to the arch and enter the tunnel. The canyon country beyond is Desert Gorge.
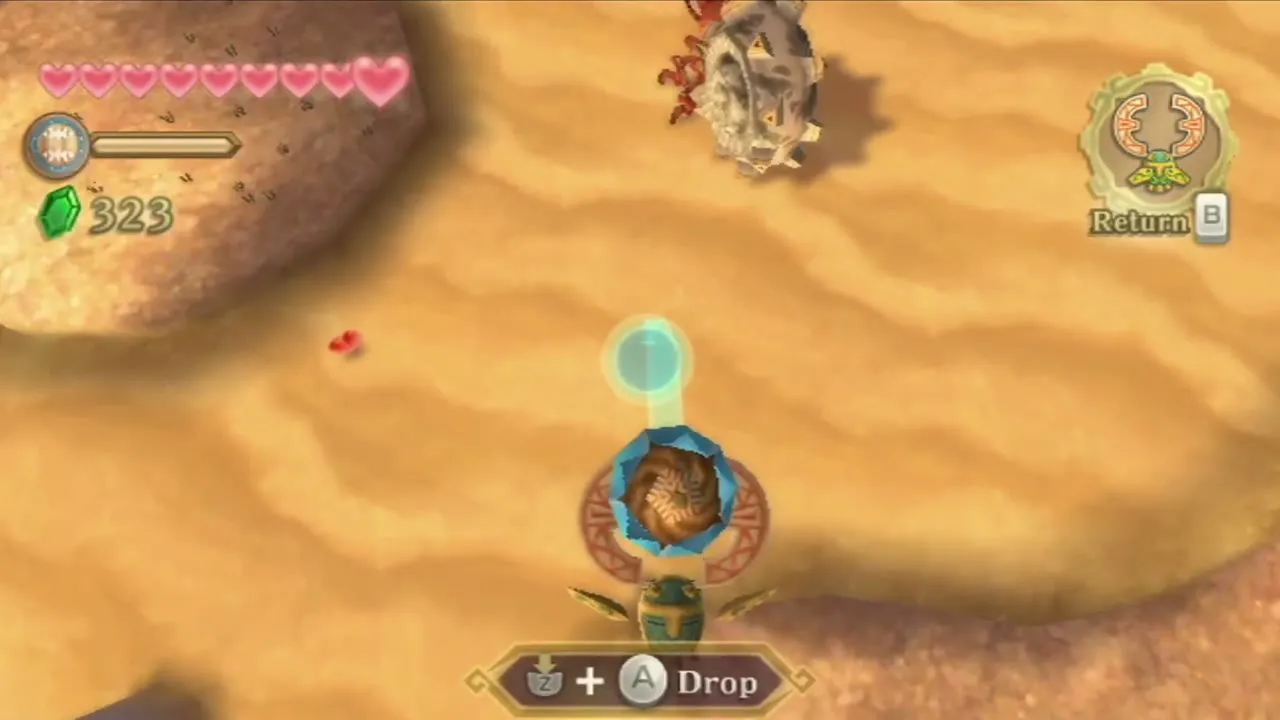
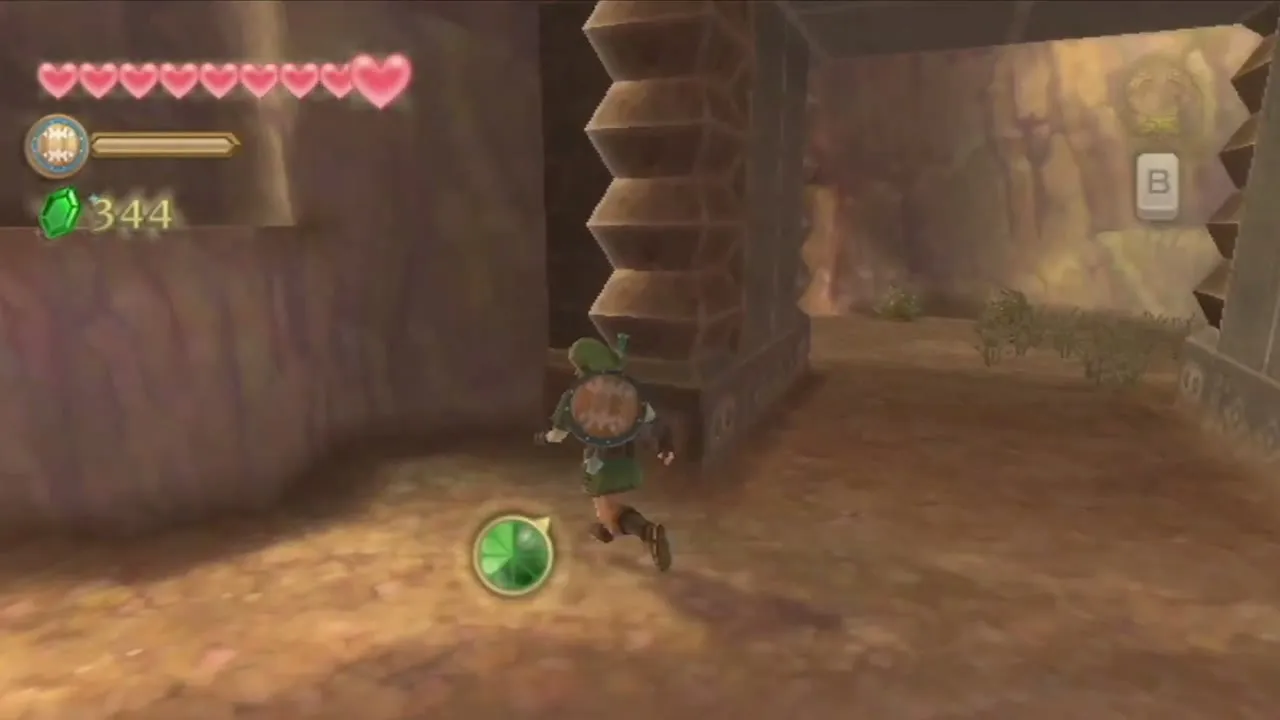
Wake the gorge carts
Light the bird statue and look around for a Timeshift Stone on a summit; hit it with the Beetle. Then take the cart on the left to the middle platform, where the Beetle can slip into a crack in the big boulder to hit a crystal that makes the bars vanish. Gerudo Dragonflies flutter around here.
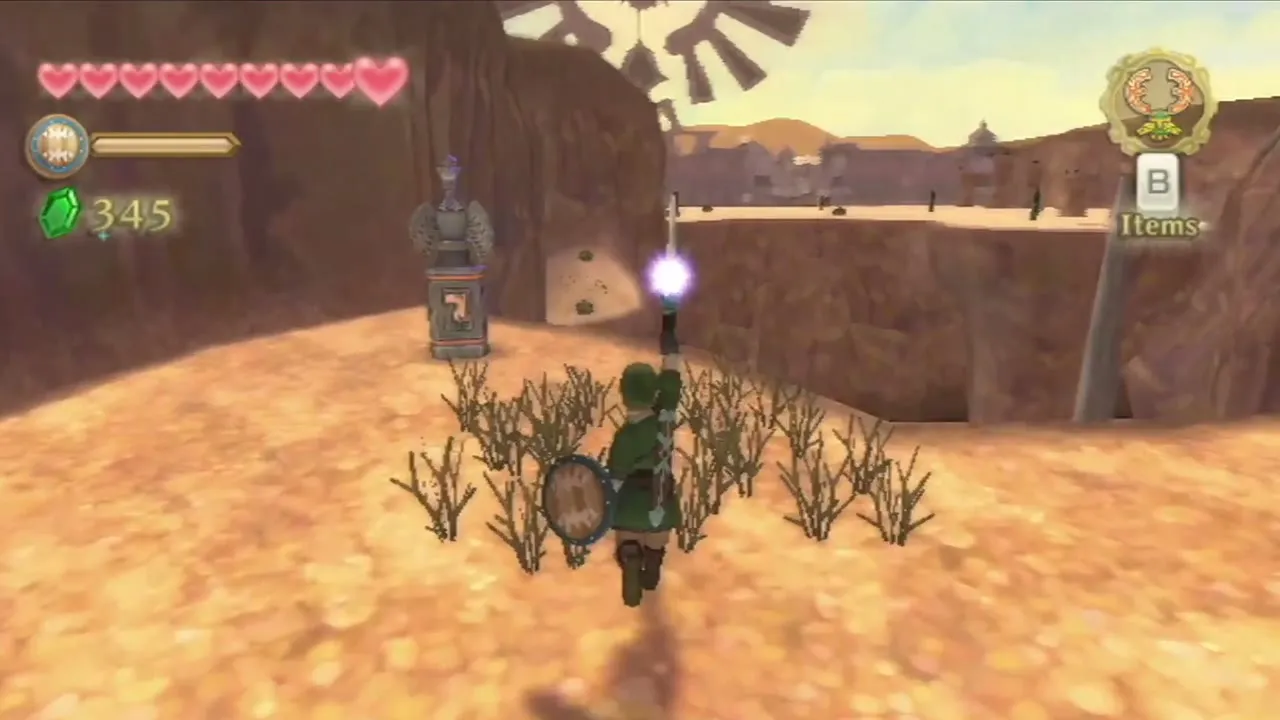
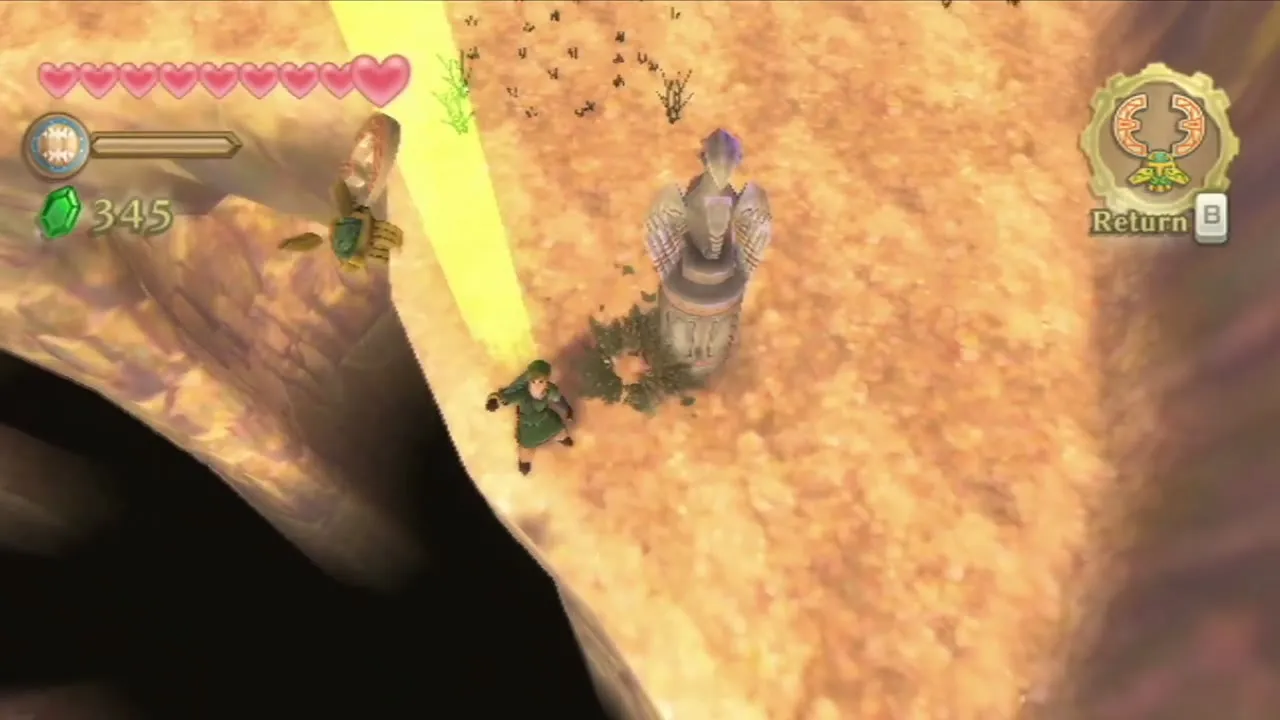
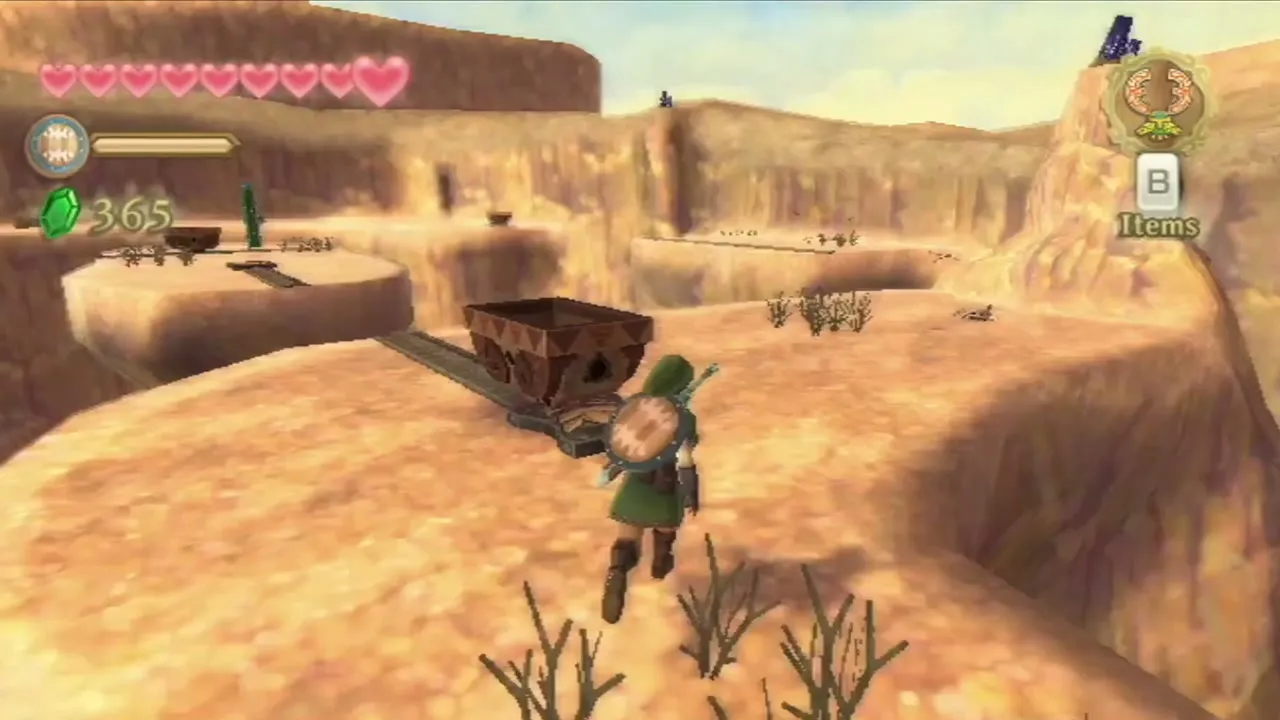
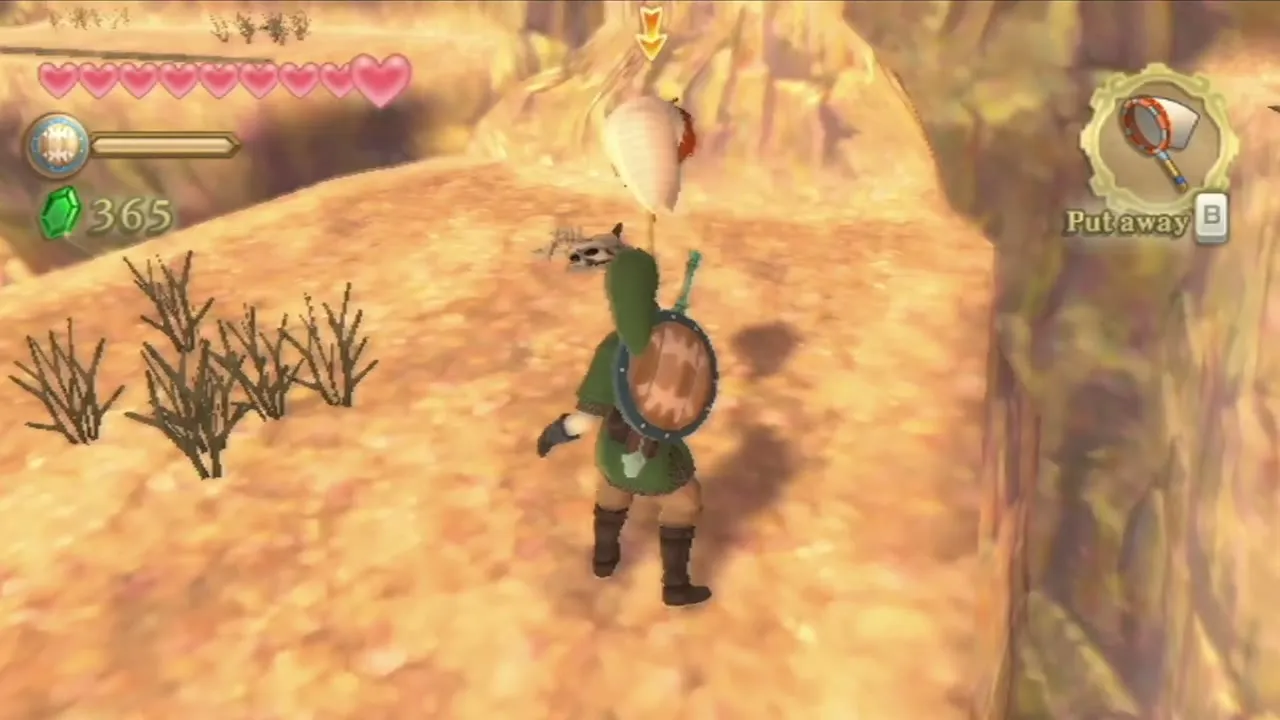
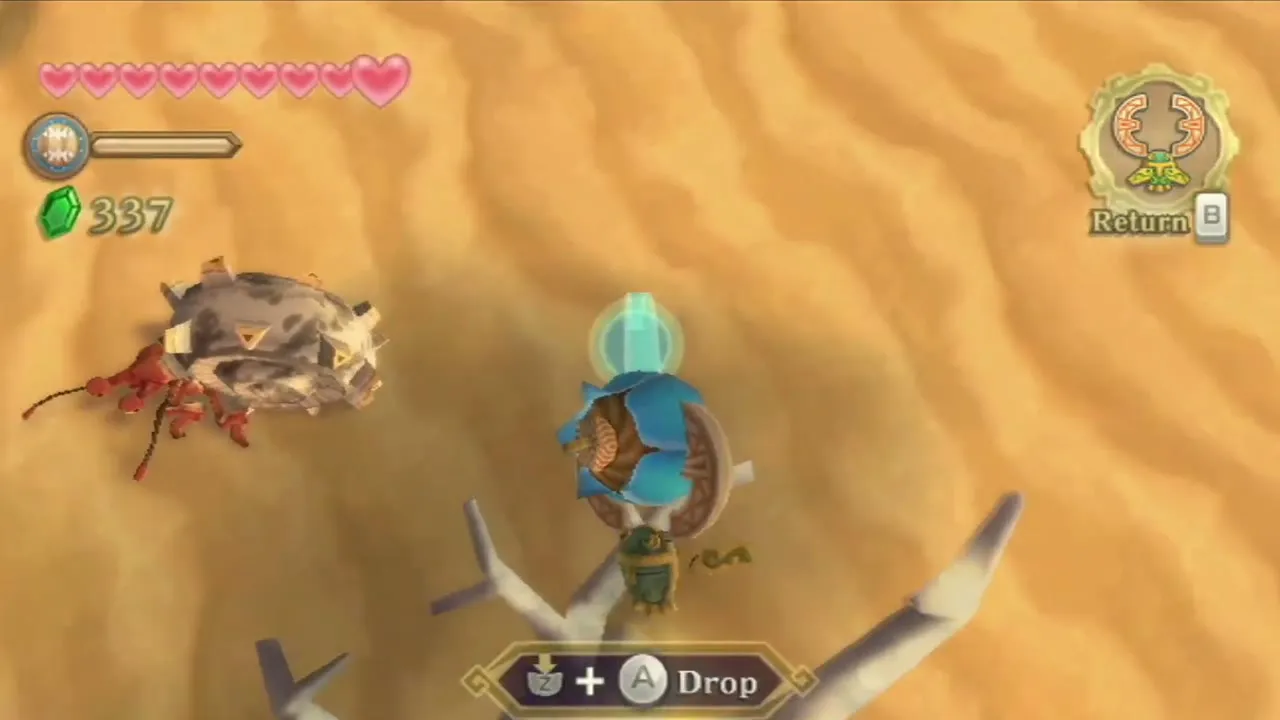
Send the Hook Beetle after the bomb growing on a cactus, fly it to the top of the tree trunk and drop the bomb on the Timeshift Stone inside it. The small area around the tree comes back to life. Climb into the cart and beware the Deku Baba, then ride on to the west.
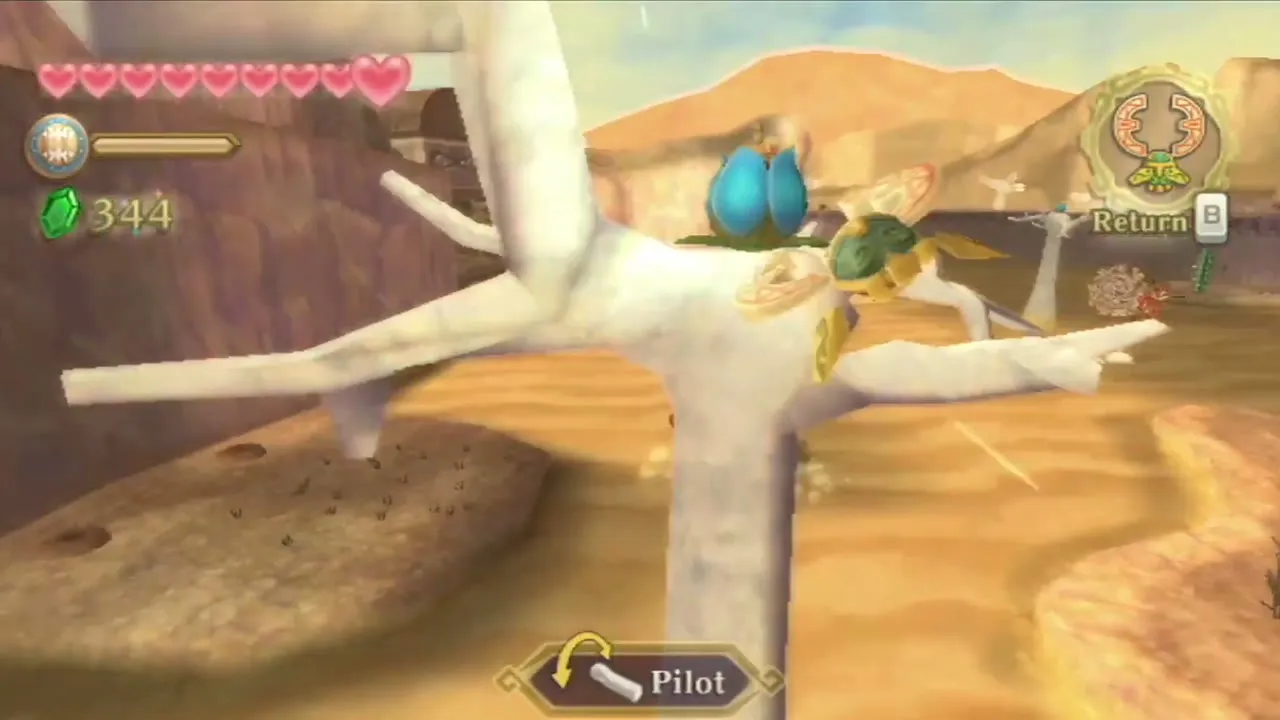
The blocked Temple of Time
Ride the cart west towards the Temple of Time. The entrance is blocked for now. Gorko the Goron stands nearby, excited that he found the temple and saw two people from Skyloft vanish through a portal that exploded behind them.
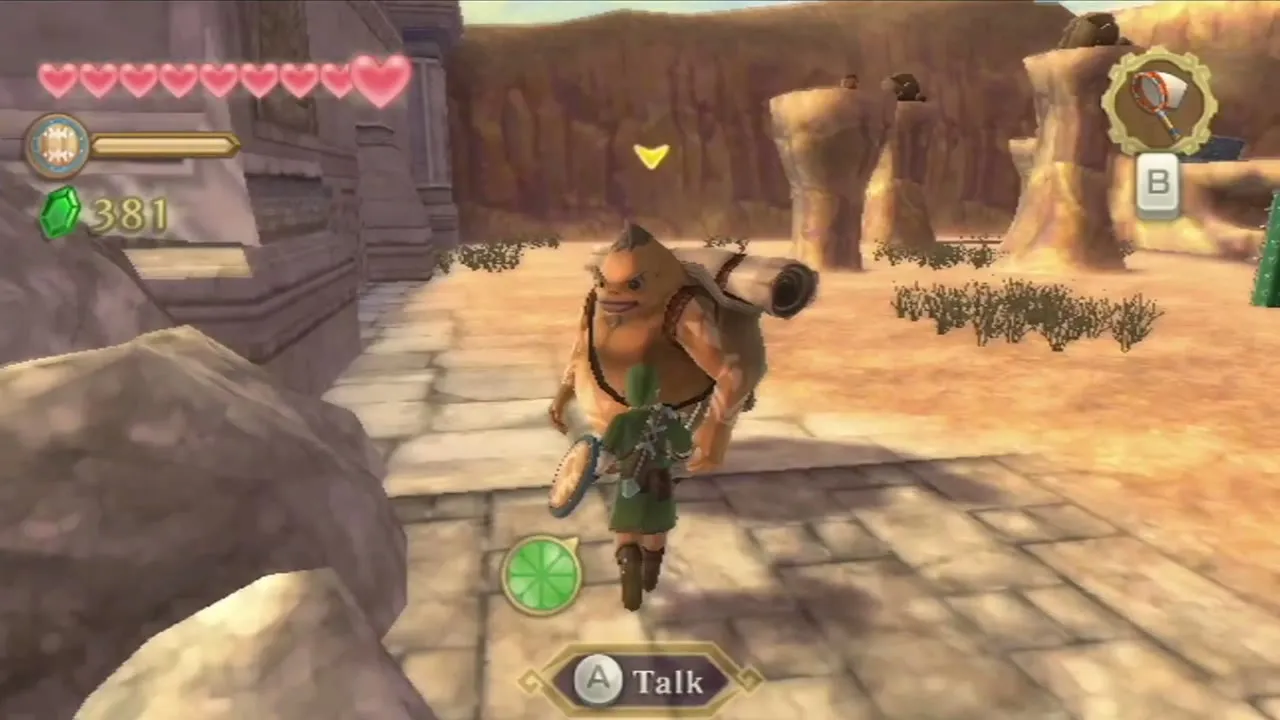
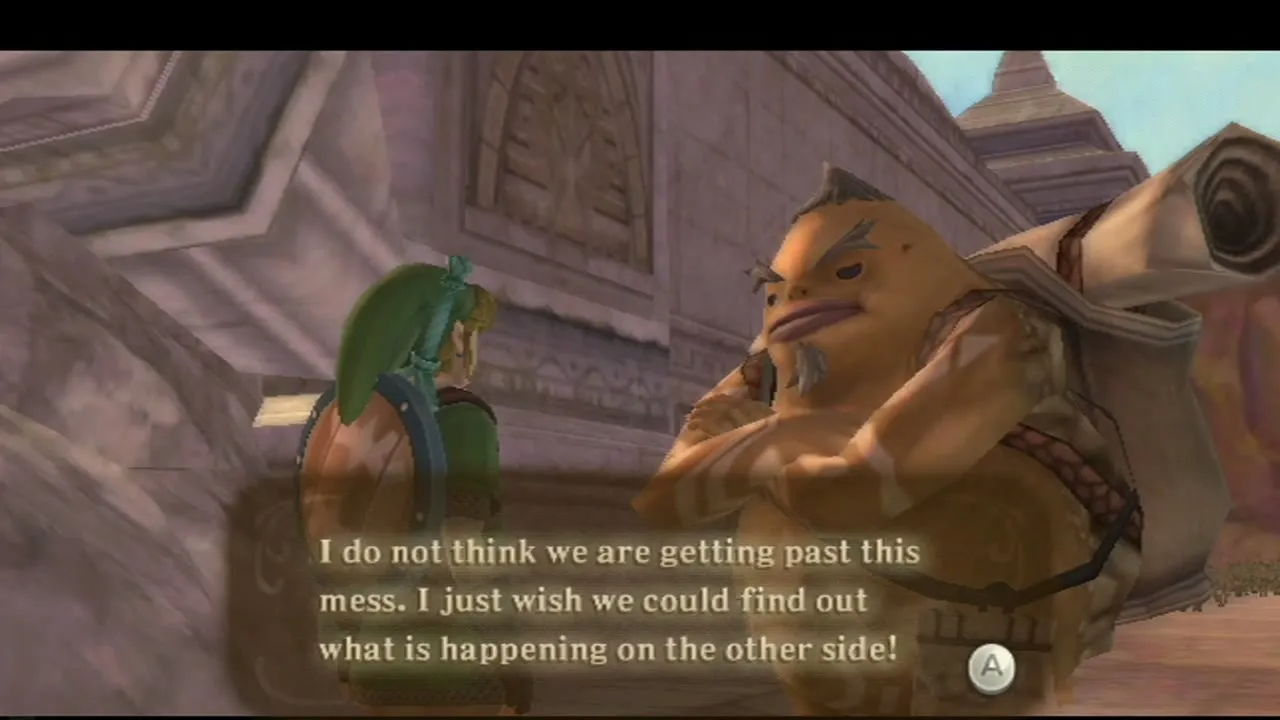
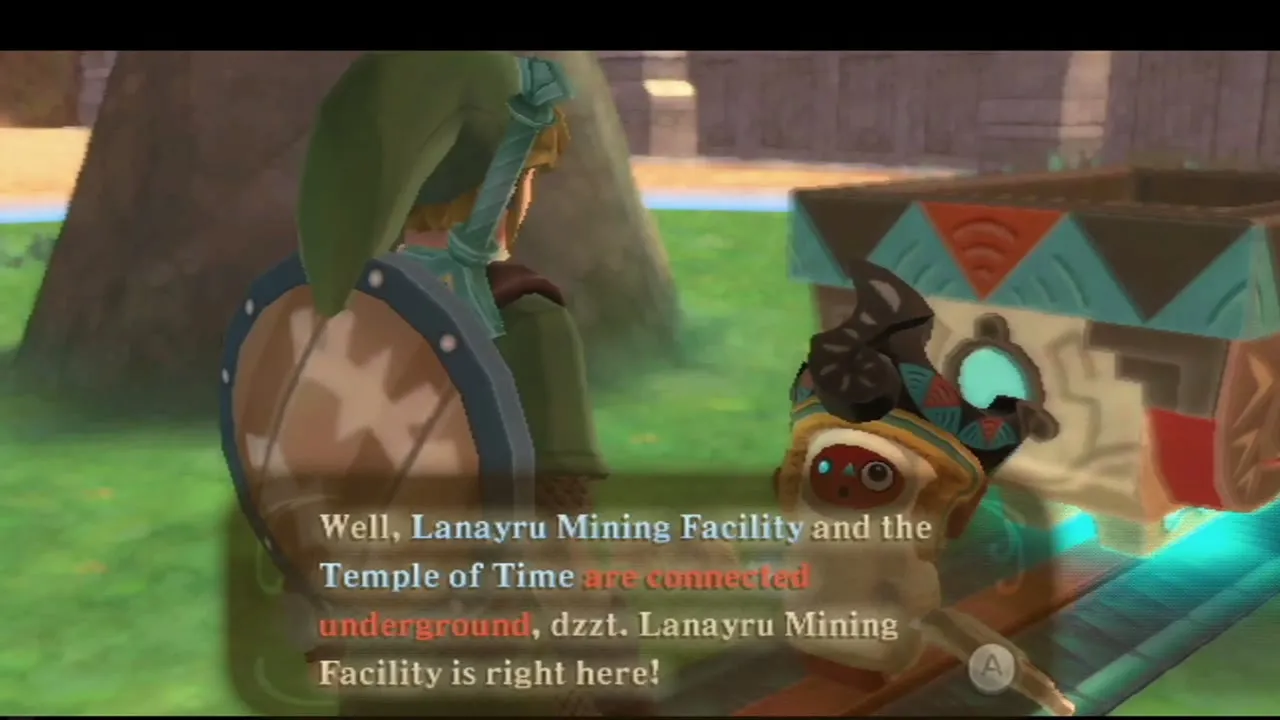
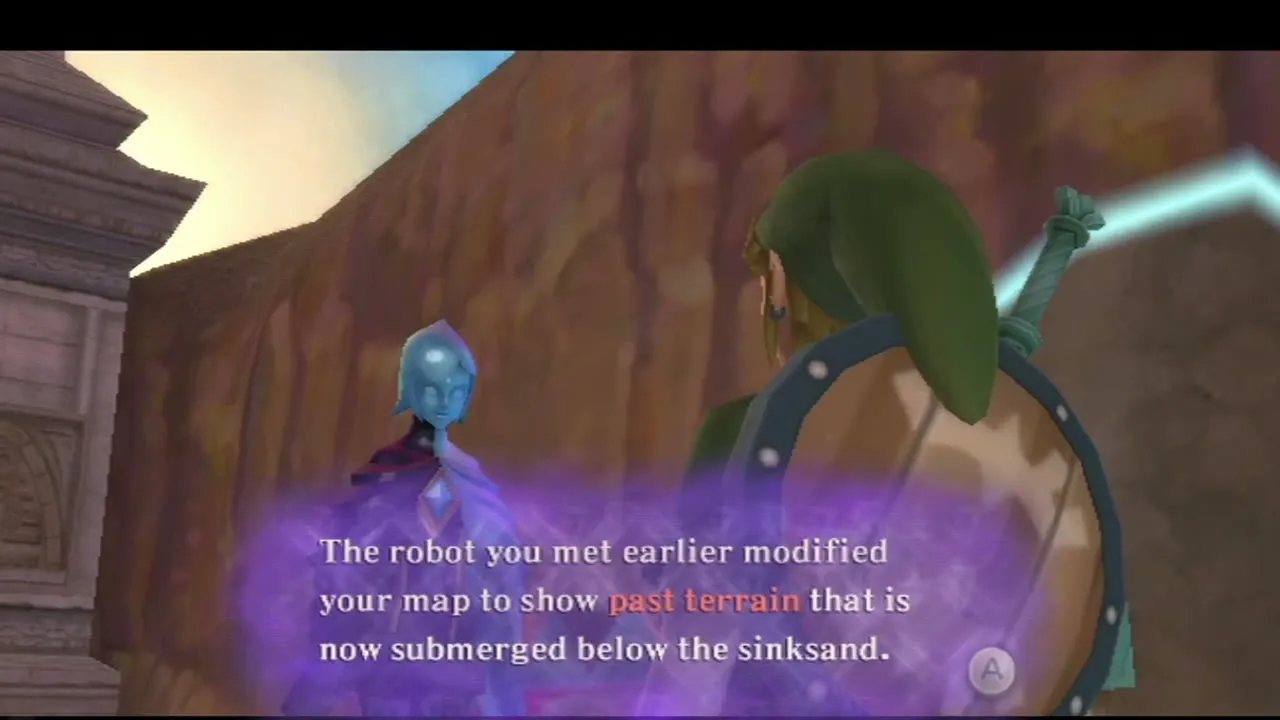
Use the Hook Beetle to carry the bomb from a cactus to the rocks on a summit, which reveals another Timeshift Stone. Hit it with the Beetle, then speak to the robot near the cart. It explains that the Temple of Time holds the Gate of Time and that an underground tunnel links it to the Lanayru Mining Facility, marks the tunnel on your map, and changes your map to show the old terrain. The old paths lie buried under the sinksand, and you do not sink while standing on them.
Hit the Goddess Cube from the minecart
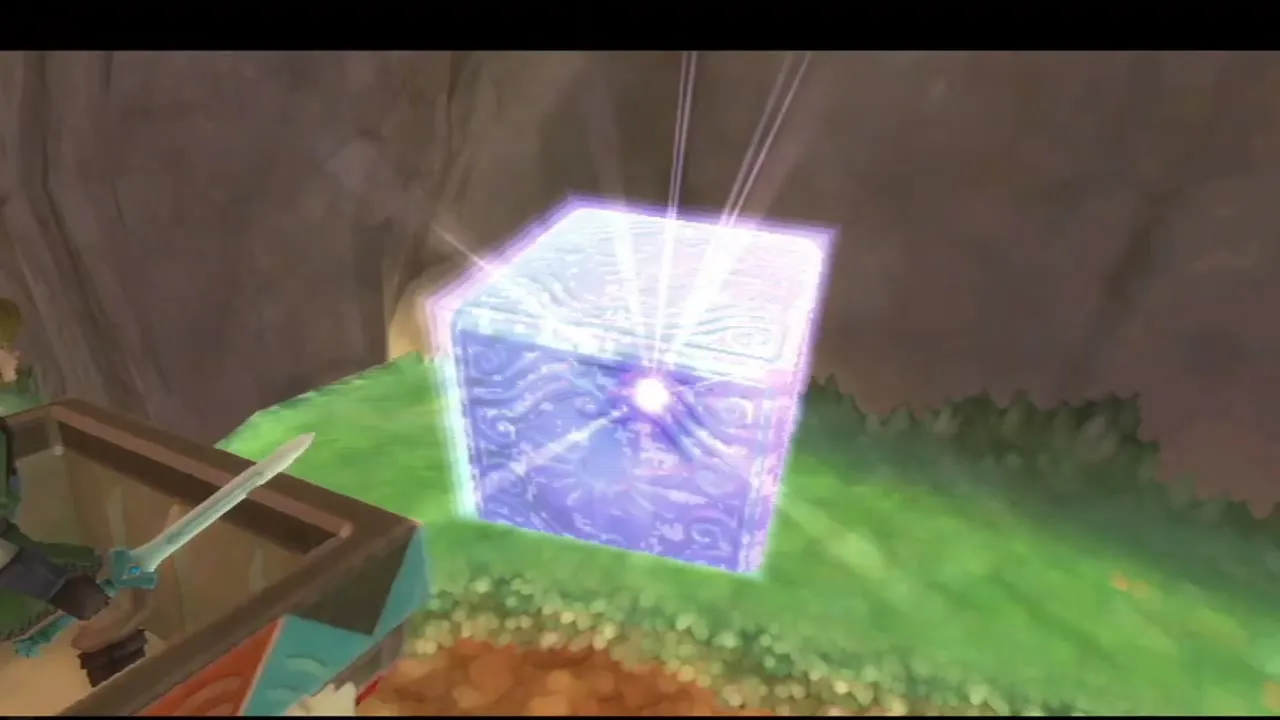
A third Goddess Cube sits along the eastern minecart route by the Temple of Time. Look east, send the Beetle at the Timeshift Stone in the cave and push the cart through the gap. Board the cart, charge a Skyward Strike by raising the sword straight away and release it as you pass the cube. If you miss, climb into the cart and try again. The chest it opens in the Sky is a Piece of Heart on Beedle’s Island, but you need the Hook Beetle to get it.
Along the track, hit the Timeshift Stone with the Beetle to get another Ancient Flower, push the cart into the activated area and ride on. At the end of the track, power the next cart by hitting the higher pillar’s Timeshift Stone with the Beetle. You can catch more Gerudo Dragonflies here. A tunnel brings you back to the open desert.
Lanayru Desert: the three power nodes
The generator and dowsing
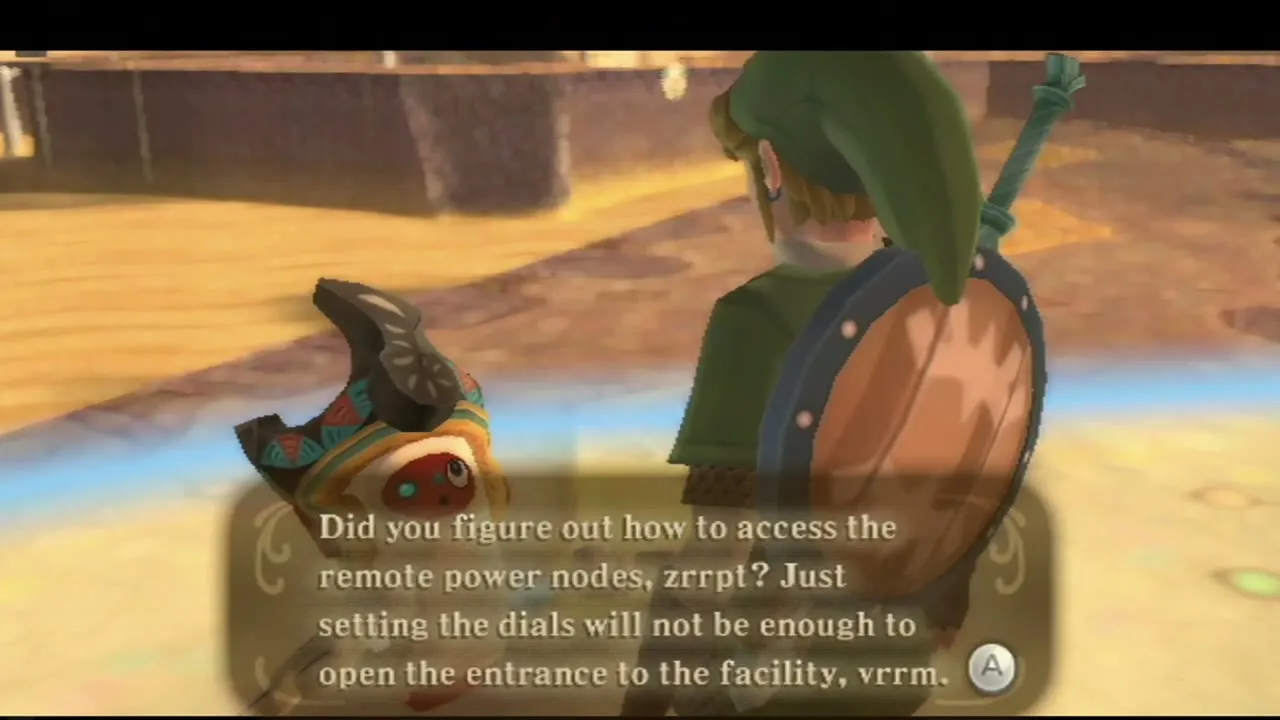
Follow the marked route to the main generator in the northern desert. Drop a bomb between the two rocks near it to reveal a Timeshift Stone and hit it. Beat the Technoblins that appear. A robot beside the big machine explains that the Mining Facility opens only when three remote power nodes are activated and the three dials on this generator are set correctly. Fi adds the node locations to your dowsing: hold C and sweep the Wii Remote until Fi’s guidance reads strongest. Hrok birds drop rocks from above; they are slow, so just dodge. You can place beacons on the map to mark the paths over the sinksand.
Node 1: the thunder node in the far north
Walk north to the bird statue, drop down and go to the northernmost building. Bomb the cracked wall to enter and stay to the right along the sinksand path to the central platform. Bomb the rocks to expose a Timeshift Stone and hit it: the sand drains, the Ampilus turn into eggs and Technoblins appear. Clear the lower area and open the chests.
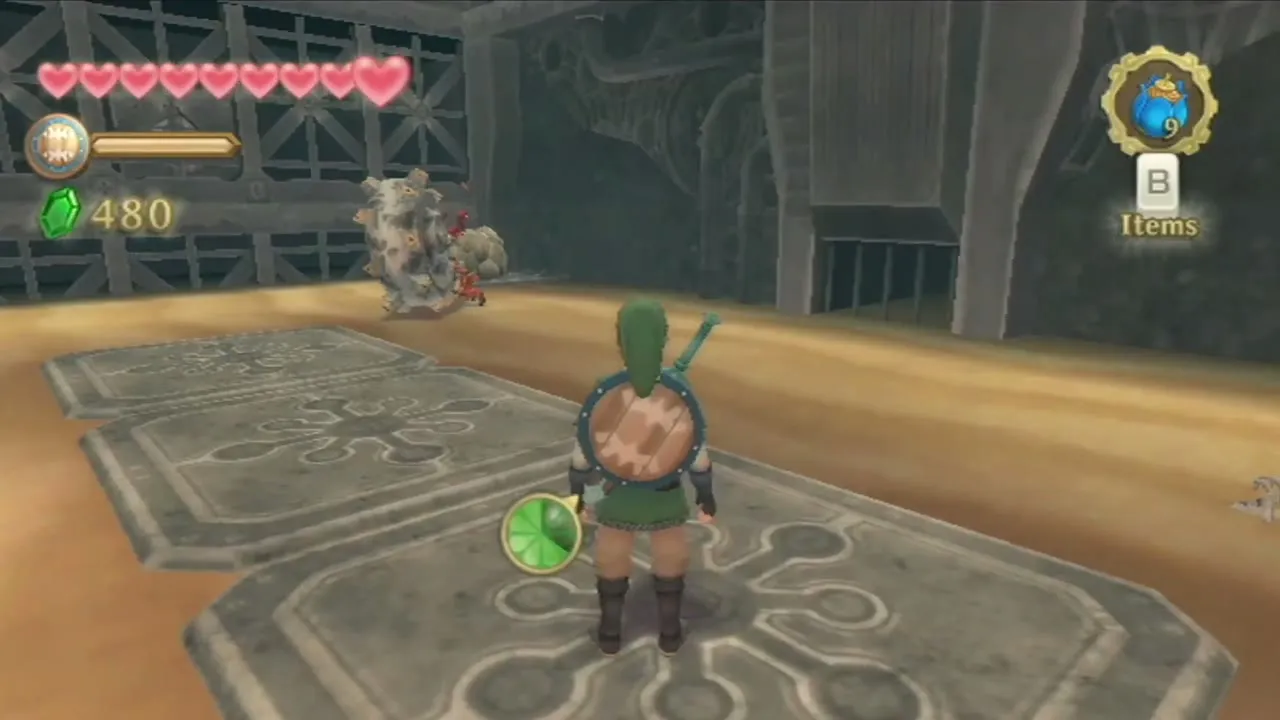
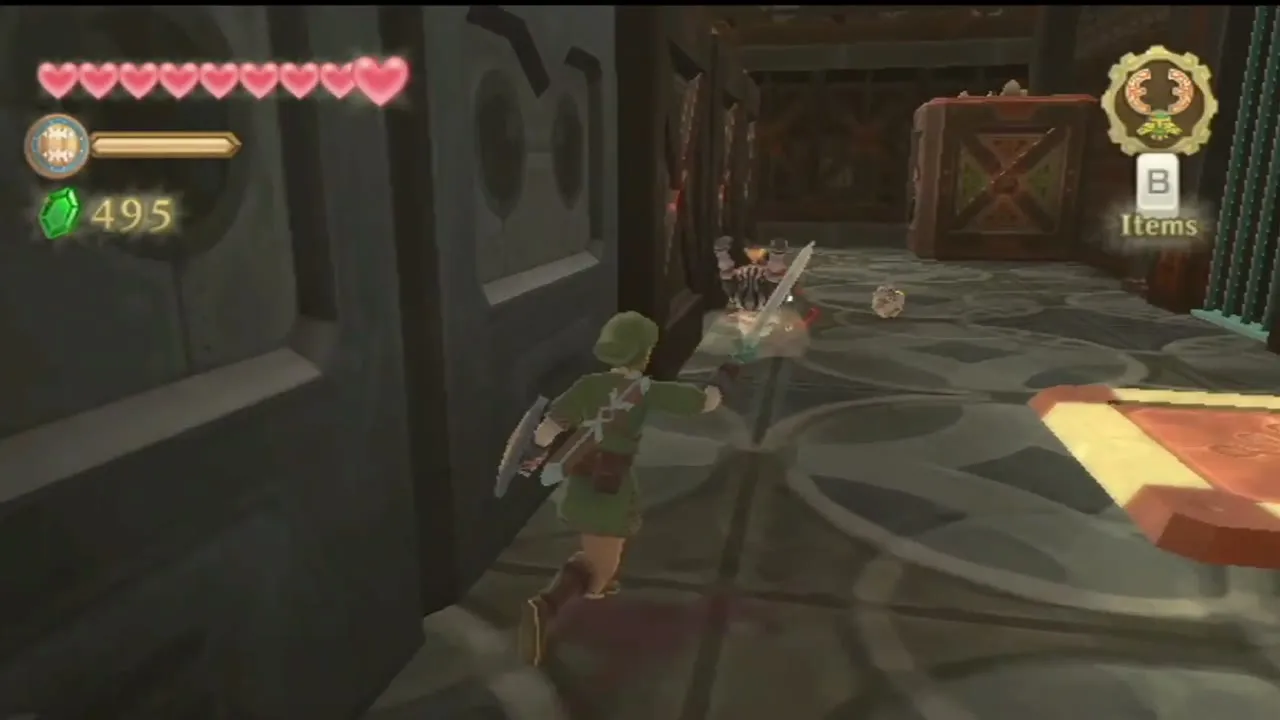
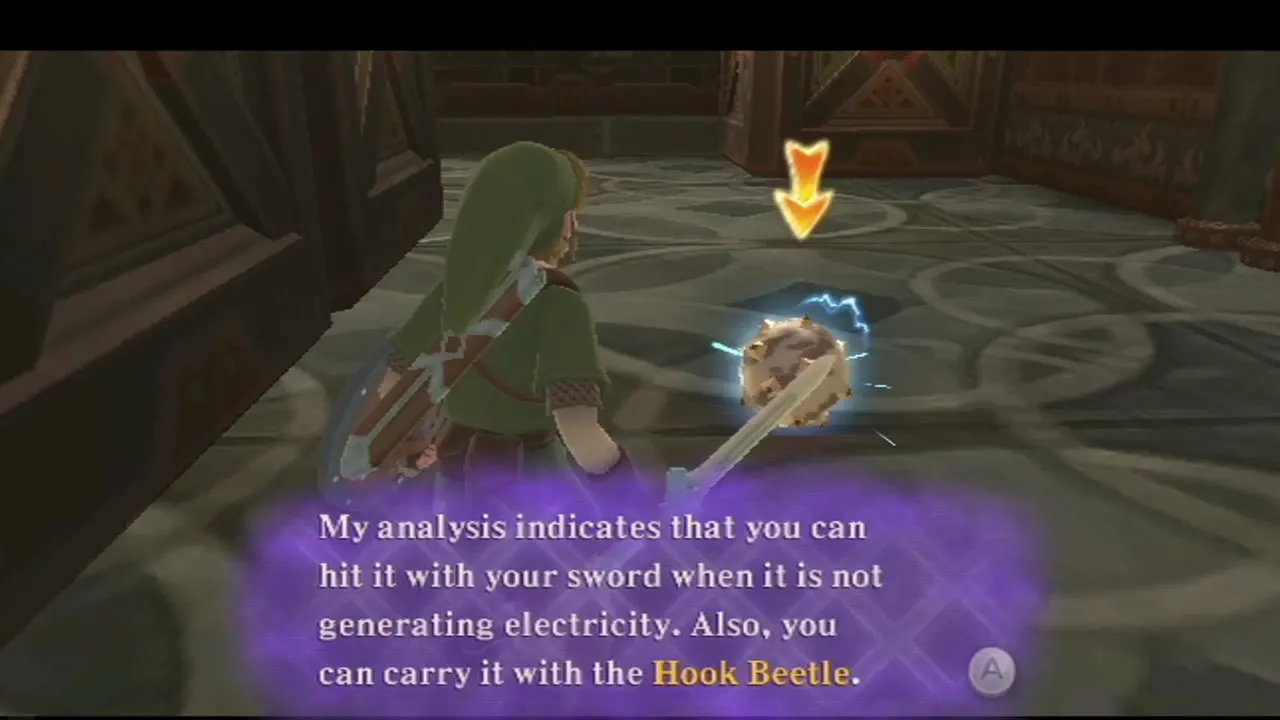
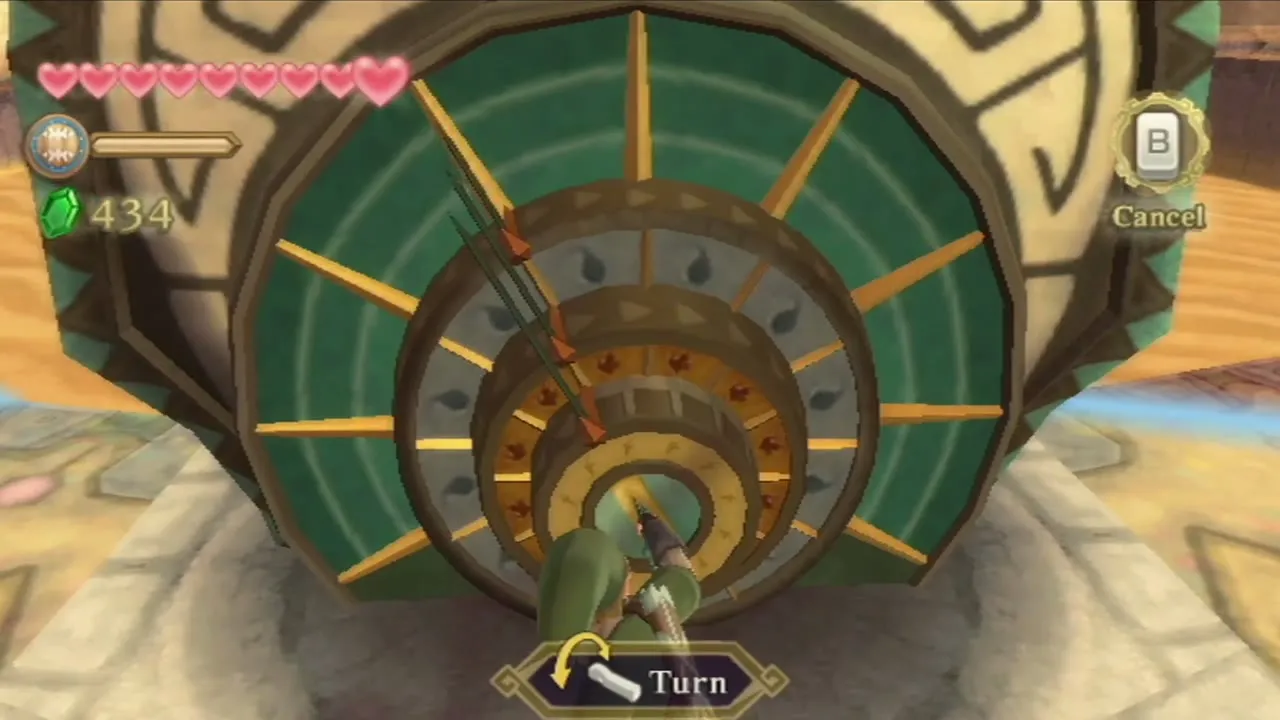
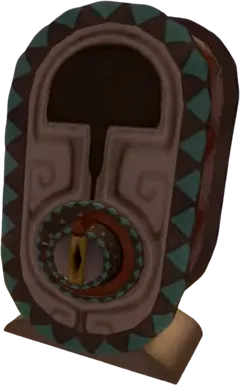
Use the Hook Beetle to carry an Ampilus egg to the pressure switch at the north end to open the way, then knock an egg into the hole with your sword to raise the bars. In the back room, thrust the Goddess Sword into the generator mechanism, turn it to the left and push it in. The thunder node is on.
Node 2: the fire node in the southeast
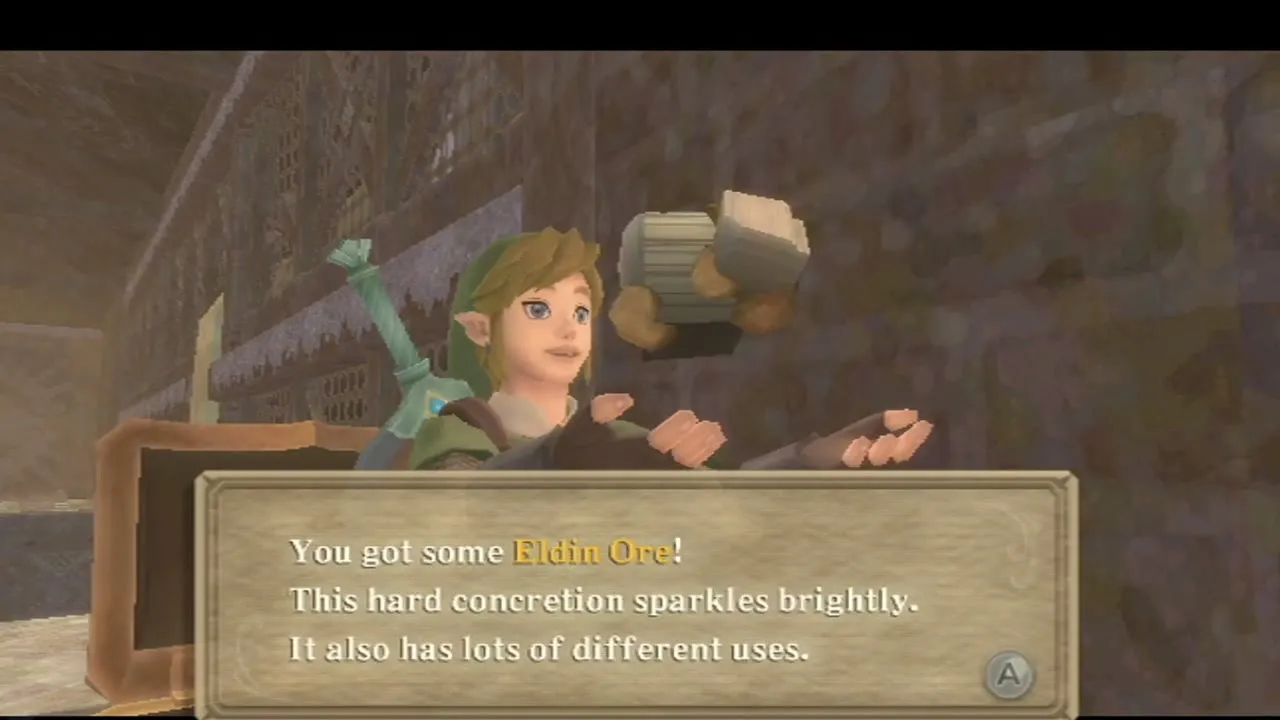
Go south, using the Hook Beetle to knock a Hrok out of the air with a Bomb Flower, and follow the submerged paths south and east to solid ground near the Stone Cache bird statue. Enter the door of the building. Ride an Ampilus shell to the far end, climb the western ledges, bomb the boulder to uncover a Timeshift Stone and push the block there to make a shortcut. The Eldin Ore chest is on the corner ledges. Activate the stone with the Hook Beetle, carry an egg to the north orange platform, open the gate, and knock an egg into the hole.
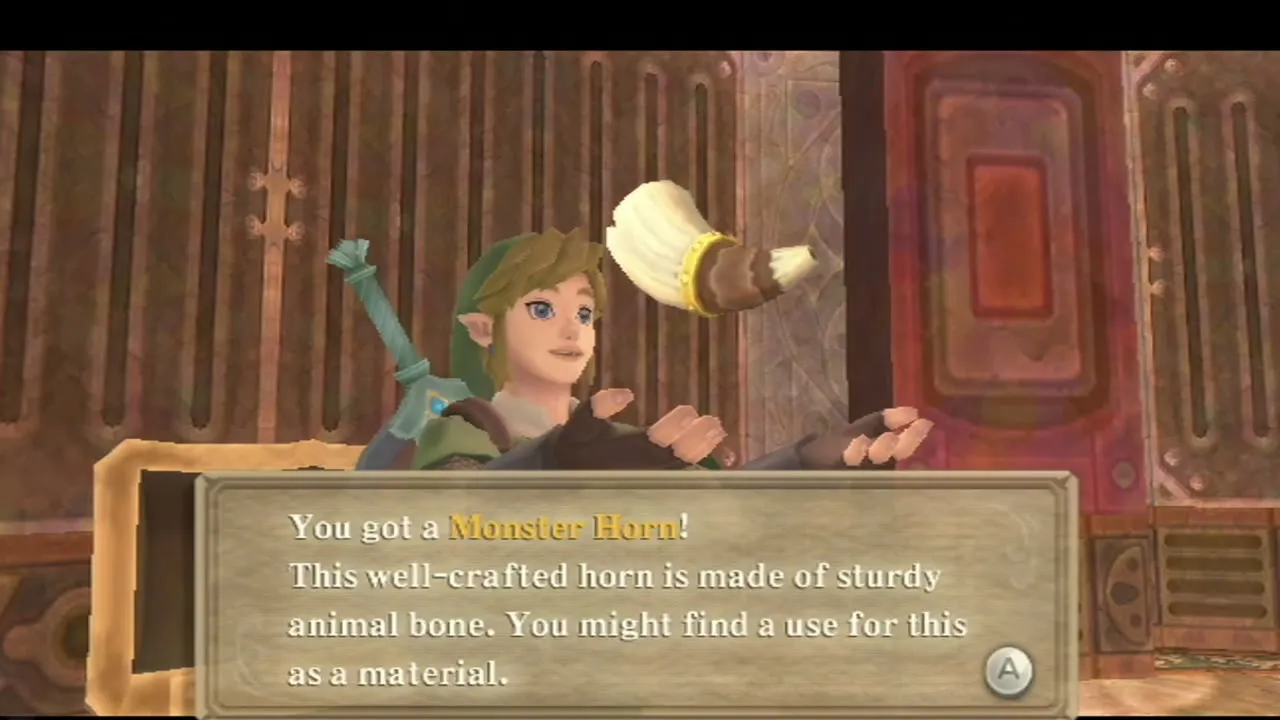
The next room holds the node. Thrust the Goddess Sword in, turn left and push. Two chests here hold a Monster Horn and Rupees; take both. Outside, pull the lever on the western wall to open a gate that makes a shortcut across the south of the desert.
Node 3: the water node in the west
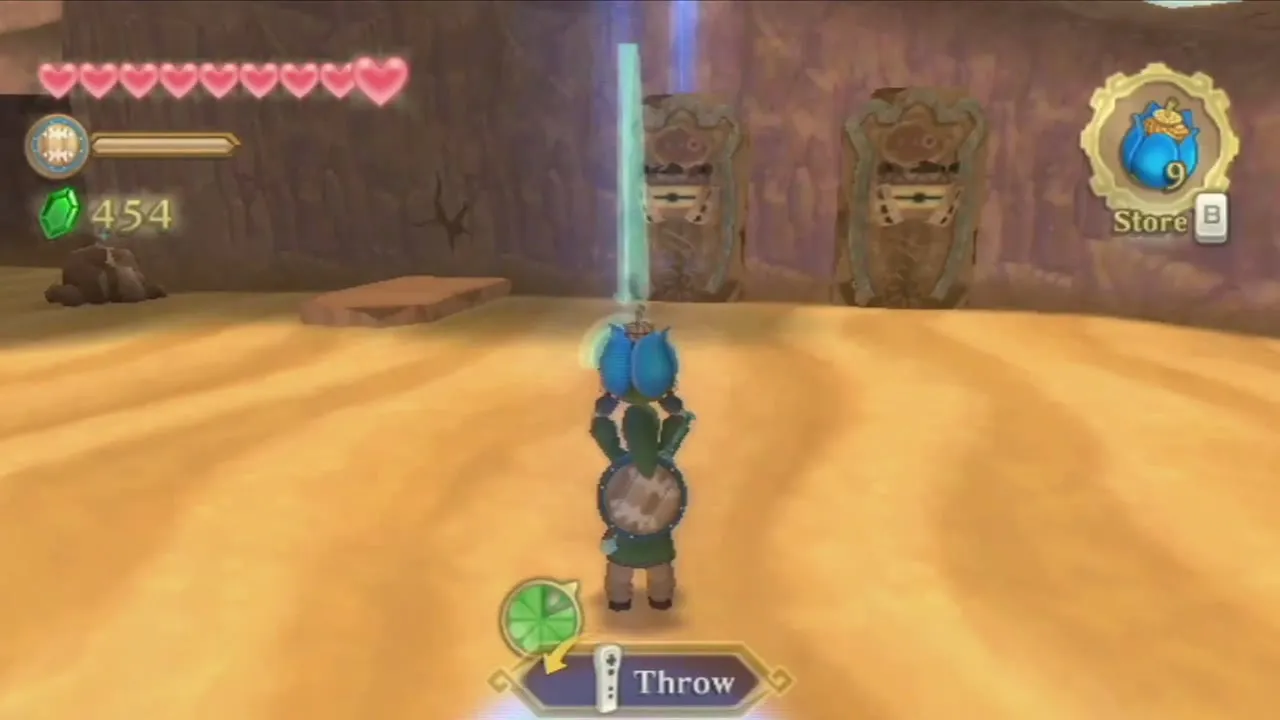
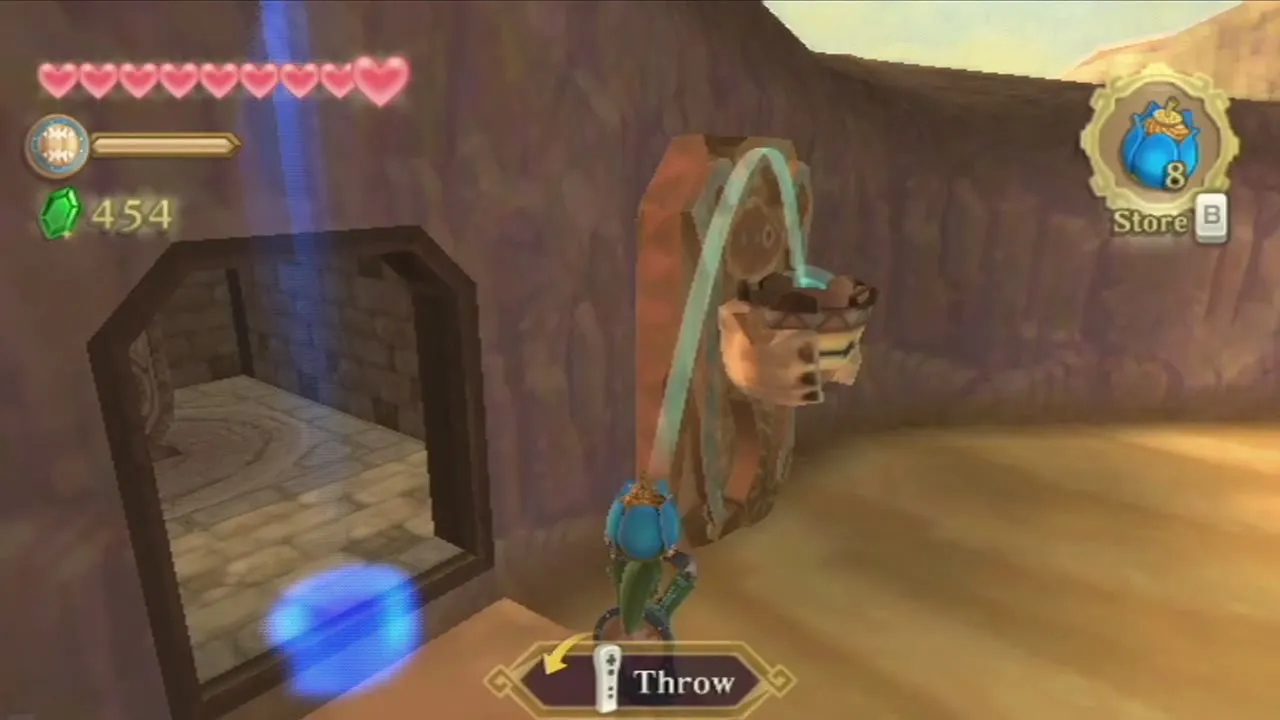
Go to the large sinksand pit and follow the outer submerged ledges clockwise until the path crumbles. Use a Bomb Flower and the Hook Beetle to drop the Hrok. Follow the western path to two statues holding bowls beside a cracked wall. Bomb the crack, hit the Timeshift Stone it reveals, then bomb the bowls. The middle bowl hides the last node. Thrust, turn left and push it in as before. Fi tells you that all three remote power nodes are active.

Optional: Piece of Heart in the northeast
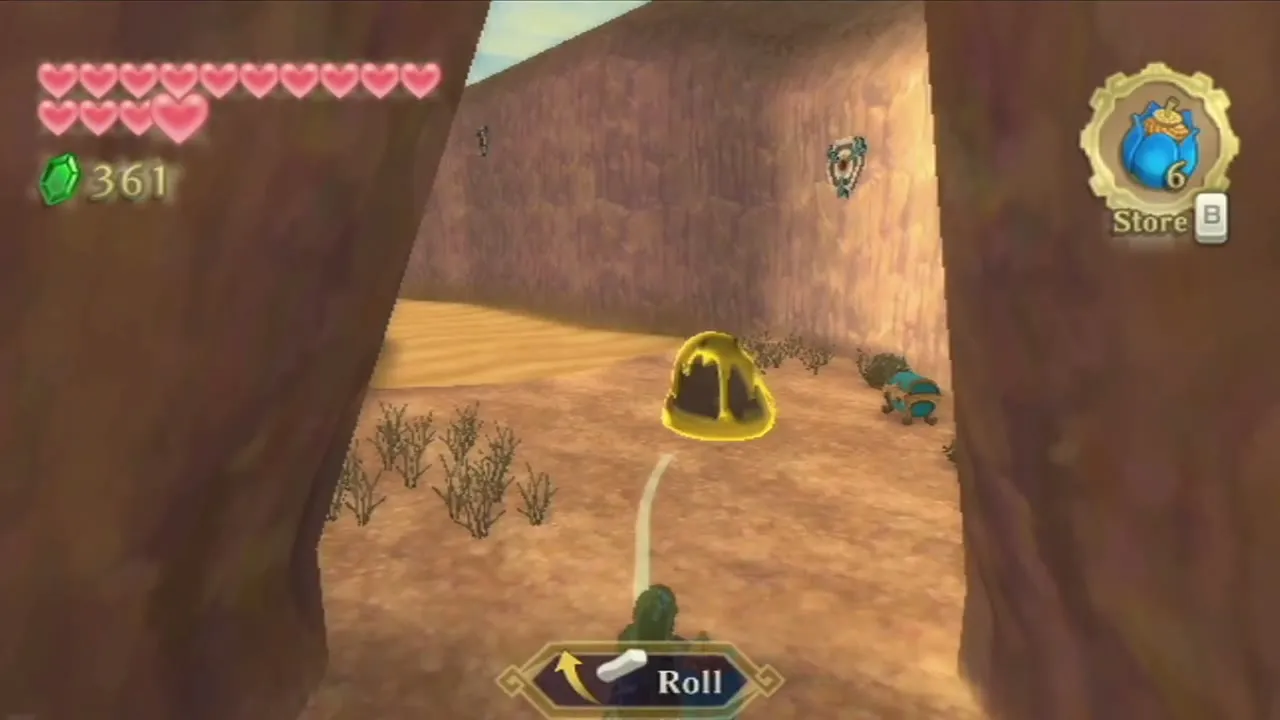
At the northeast corner of the desert, follow the buried path east until it meets solid ground. Bomb the cracked wall and walk the tunnel, beating the Yellow Chuchus; the chest at the end holds a Piece of Heart. See the Piece of Heart page for the rest.
Set the three dials
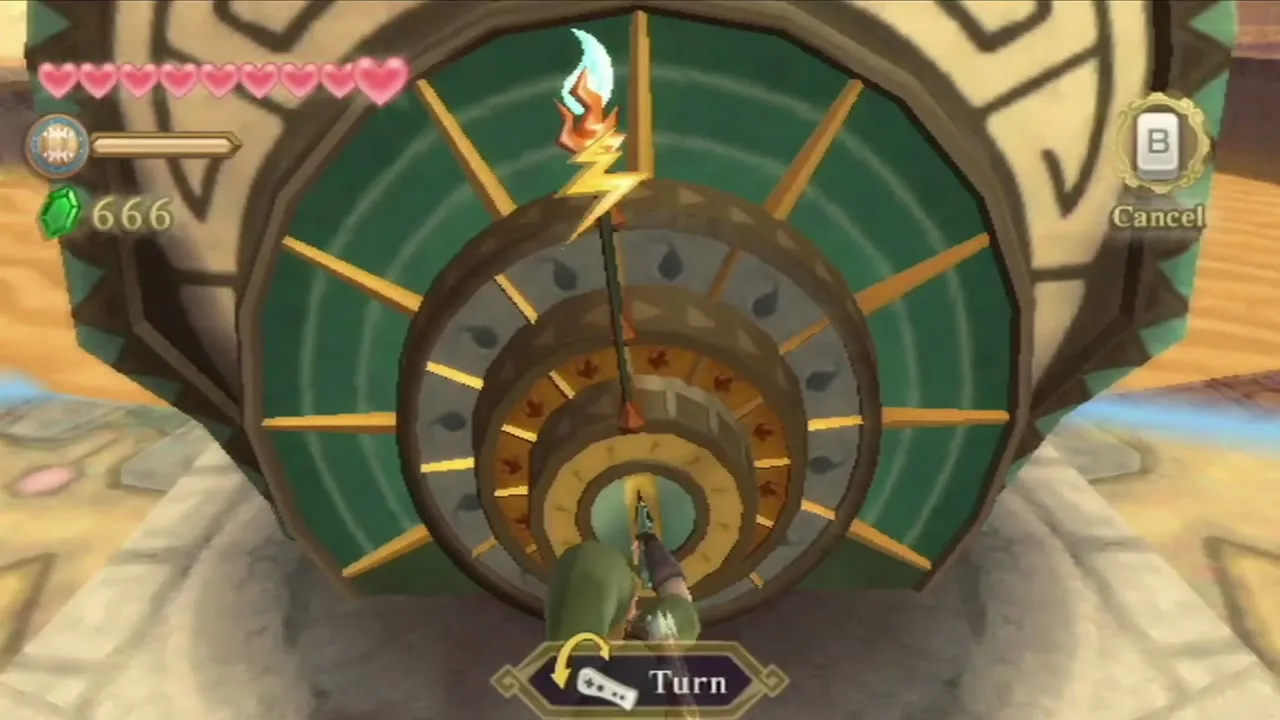
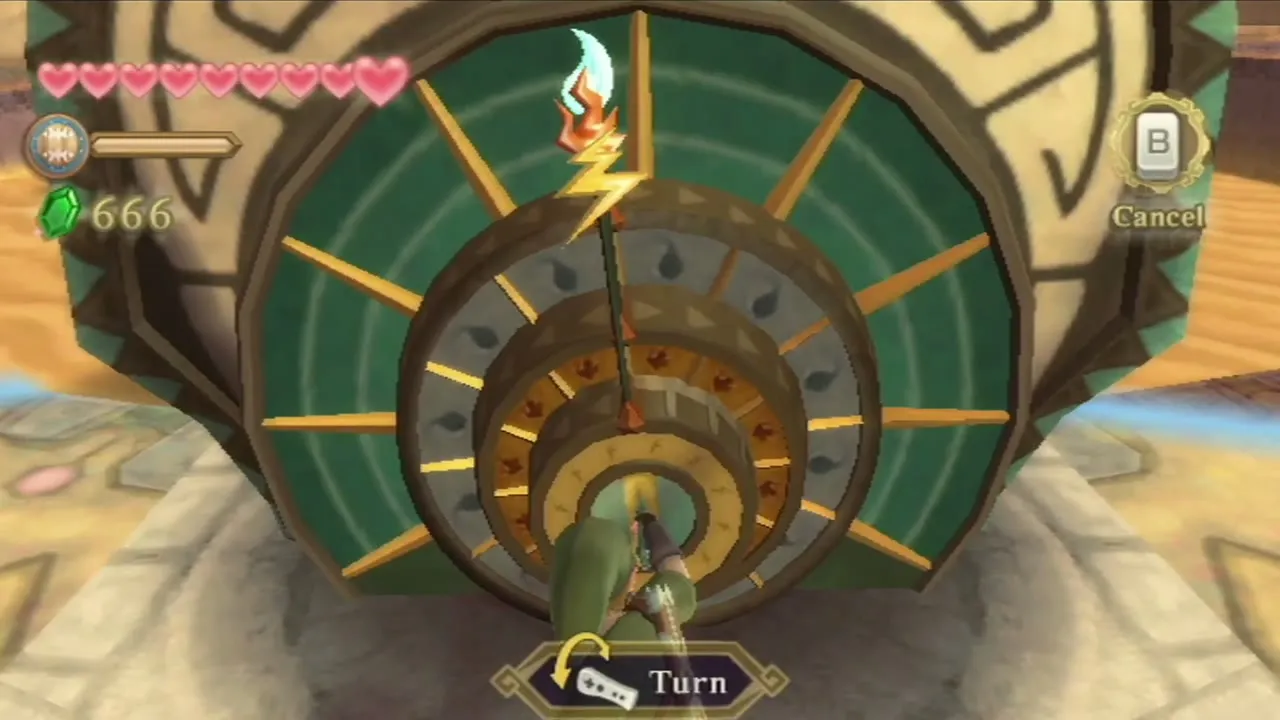
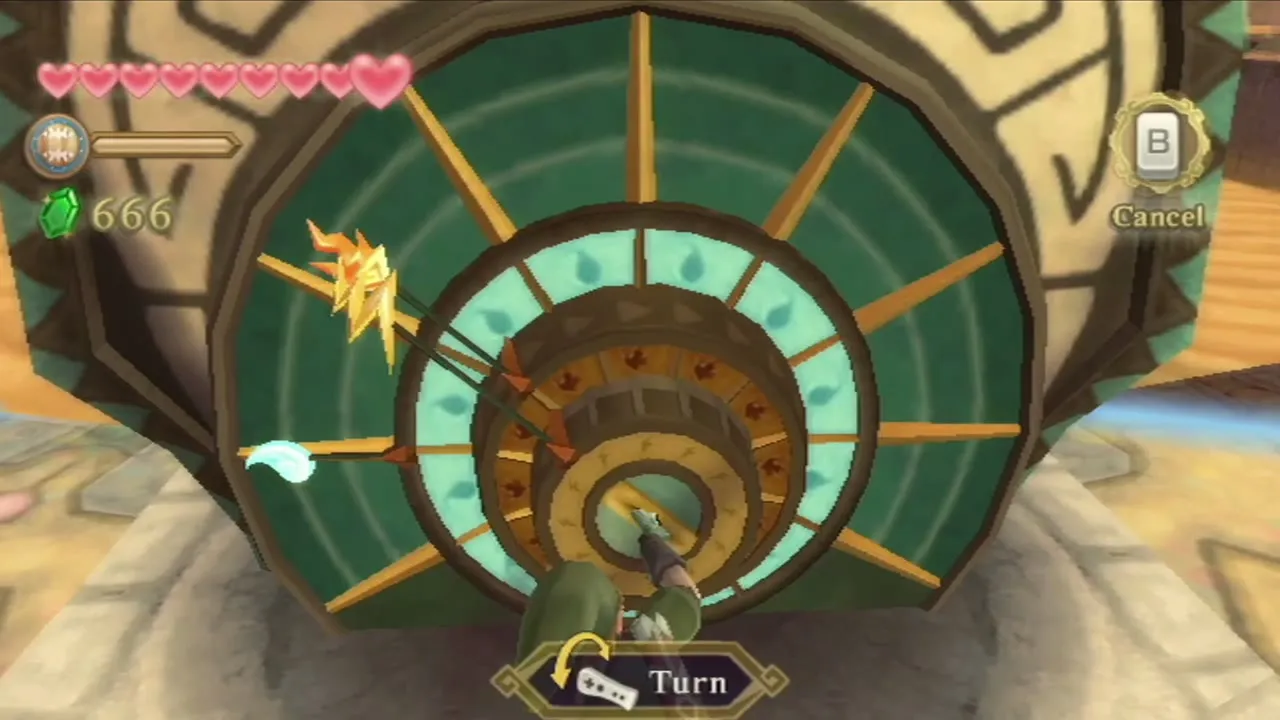
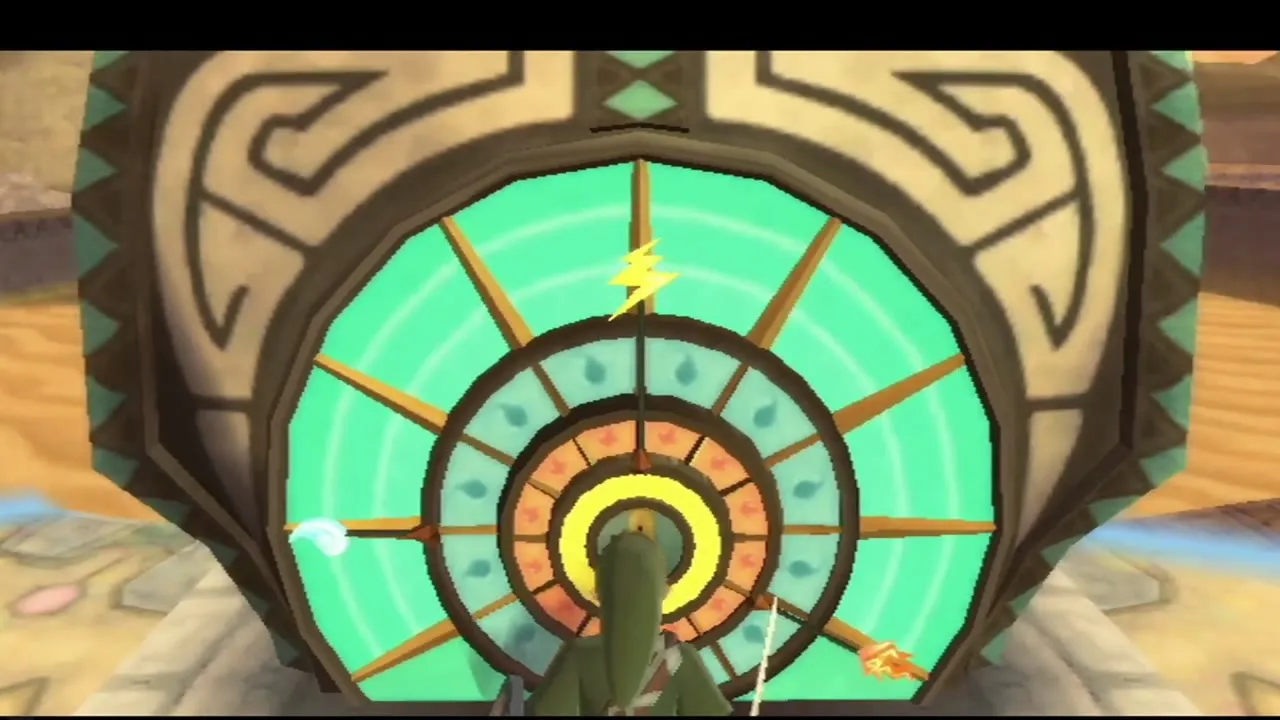
Return to the main generator over the submerged paths. Hit the nearest Timeshift Stone to power it up, then use the symbols on the map to match each dial to the node you woke. Each dial points the way you found its node. Set the dials one at a time: thrust the Goddess Sword into the dial’s gap, turn the Wii Remote to the position and push the sword in. First the water dial, turned to the west (left). Second, the fire dial, turned to the south-east (lower right). Third, the thunder dial, turned straight up to the north. The generator hums and the Lanayru Mining Facility rises out of the sand. Climb the stairs to enter it in the next chapter.
Chapter checklist
| Collectible | Type | Where |
|---|---|---|
| Amber Tablet | Story item | Winged statue at the spring after the Earth Temple |
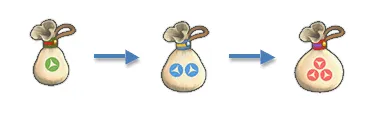 Small Seed Satchel, Silver Rupee, Gold Rupee, Treasure Medal | Goddess Chest contents | Sky chests opened by the Eldin cubes |
| Piece of Heart | Piece of Heart | Pumpkin Landing chandelier, upstairs in the Lumpy Pumpkin |
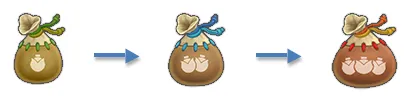 Small Bomb Bag | Pouch item | Bazaar Gear Shop, 150 Rupees |
 Adventure Pouch slot, Extra Wallet, Bug Net | Upgrades and tools | Beedle’s Airshop, 300, 100 and 50 Rupees |
| Goddess Cube (Silver Rupee chest) | Goddess Cube | Behind the structure where you land in Lanayru Mine |
 Ancient Flowers, Lanayru Ants, Gerudo Dragonflies | Treasures and bugs | Lanayru Mine, desert, Desert Gorge and Temple of Time area |
| Hook Beetle | Item upgrade | Robot freed from the cage in the desert |
| Goddess Cube (Heart Medal chest) | Goddess Cube | South side of the big sinksand field, reached by Ampilus shells |
| Goddess Cube (Piece of Heart chest on Beedle’s Island) | Goddess Cube | Eastern minecart route by the Temple of Time |
 Tumbleweeds | Treasure | Blowing across the desert, caught with the Bug Net |
| Piece of Heart | Piece of Heart | Chest at the end of the cracked-wall tunnel, northeast desert |
 Eldin Ore, Monster Horn | Treasure chests | Treasure chests in the node buildings; the treasure type varies |
 Sand Cicada | Bug | Ruins near the power node buildings |
| Goddess Cube and Life Medal chest (southwest of the Mining Facility); Goddess Cube in the northeast desert | Later | Need the Clawshots (the northeast cube also needs a Bomb Bag): see the Goddess Cubes page |
The generator has raised the Mining Facility, so continue to the Lanayru Mining Facility walkthrough for the Gust Bellows, Moldarach and the Goddess’s Harp.