





















Skyward Sword 100% Completion Walkthrough18 chapters
- Skyview TempleSmall keys, the Beetle, the Golden Carving door, the Ghirahim boss fight, the Heart Container and the Ruby Tablet.
- Earth TempleGet the Bomb Bag from Ledd, carry the Dragon Sculpture, beat Scaldera and collect the Amber Tablet.
- Lanayru Mining FacilityTimeshift Stones, Gust Bellows, Small Key, Armos, Ancient Circuit, Moldarach and the Goddess’s Harp.
- Ancient CisternBoth Small Keys, the Whip, the Blessed Idol, the Koloktos boss fight, Farore’s Flame and the Goddess Longsword.
- SandshipThe Timeshift Stone, Scervo and the Bow, both generators, Squid Carving, Tentalus and Nayru’s Flame.
- Fire SanctuaryAll three small keys, the Mogma Mitts, the Mysterious Crystals, Ghirahim’s second fight and the Master Sword.
- Skyloft Silent Realm and Sky KeepThe Skyloft Silent Realm and its 15 Sacred Tears, the Stone of Trials, every Sky Keep room and all three Triforces.
- Skyloft and the Goddess SwordFind your Loftwing, win the Wing Ceremony, draw the sword and take your first dive.
- Sealed Grounds, Faron Woods and the Deep WoodsThe Sealed Grounds, the missing Kikwi, the Slingshot, the Deep Woods and the way into Skyview Temple.
- Eldin Volcano and the Key PiecesPlace the Ruby Tablet, run Skyloft errands, earn the Digging Mitts and find all five Earth Temple key pieces.
- Lanayru Mine and Lanayru DesertLanayru Mine, Timeshift Stones, the Hook Beetle, the Temple of Time and how to set the three power generator dials.
- The Goddess’s Harp, The Imprisoned and the Isle of SongsBallad of the Goddess, The Imprisoned, the Light Tower, the Isle of Songs and Farore’s Courage.
- Farore’s Silent Realm and Lake FloriaAll 15 Tears of Farore, the Water Dragon’s Scale and Sacred Water.
- Nayru’s Silent Realm and the Lanayru Sand SeaNayru’s Wisdom, Nayru’s Silent Realm and the Clawshots, Golo’s key, Skipper’s boat, the Shipyard.
- Din’s Silent Realm and Volcano SummitDin’s Power, the Fireshield Earrings, frog statues, the Water Basin and the Scrapper escort.
- True Master Sword, Levias and BilocyteSkyward Sword walkthrough for the True Master Sword, the second Imprisoned fight, the Spiral Charge.
- Song of the HeroEscape Eldin, beat the third Imprisoned, win the Tadtone song in Faron Woods and heal Lanayru’s Thunder Dragon.
- The Horde, Ghirahim and DemiseClear the last side quests, beat the Horde, Ghirahim’s third fight and Demise, then unlock Hero Mode.
| Covers | Sealed Grounds, Sealed Temple, Faron Woods, Great Tree area, Deep Woods and the front door of Skyview Temple |
|---|---|
| You need | Goddess Sword with the Skyward Strike, Sailcloth, Adventure Pouch and an Empty Bottle from Skyloft. Nothing else. |
| Rewards | Slingshot, a bottle of Revitalizing Potion (second bottle), Amber Relics, Hornet Larvae, Woodland Rhino Beetles, a Red Rupee chest, 7 bird statues, 2 Goddess Cubes (a Pouch expansion chest and a Piece of Heart chest in the sky) and 1 optional Piece of Heart |
This chapter takes Link from his first landing on the surface to the locked door of Skyview Temple. You descend into the Sealed Grounds, learn to dowse, collect a potion from the Old Woman’s chest, find the four missing Kikwi for their elder Bucha, and earn the Slingshot. With it you cross the Deep Woods, strike two Goddess Cubes and shoot the crystal over the temple door.

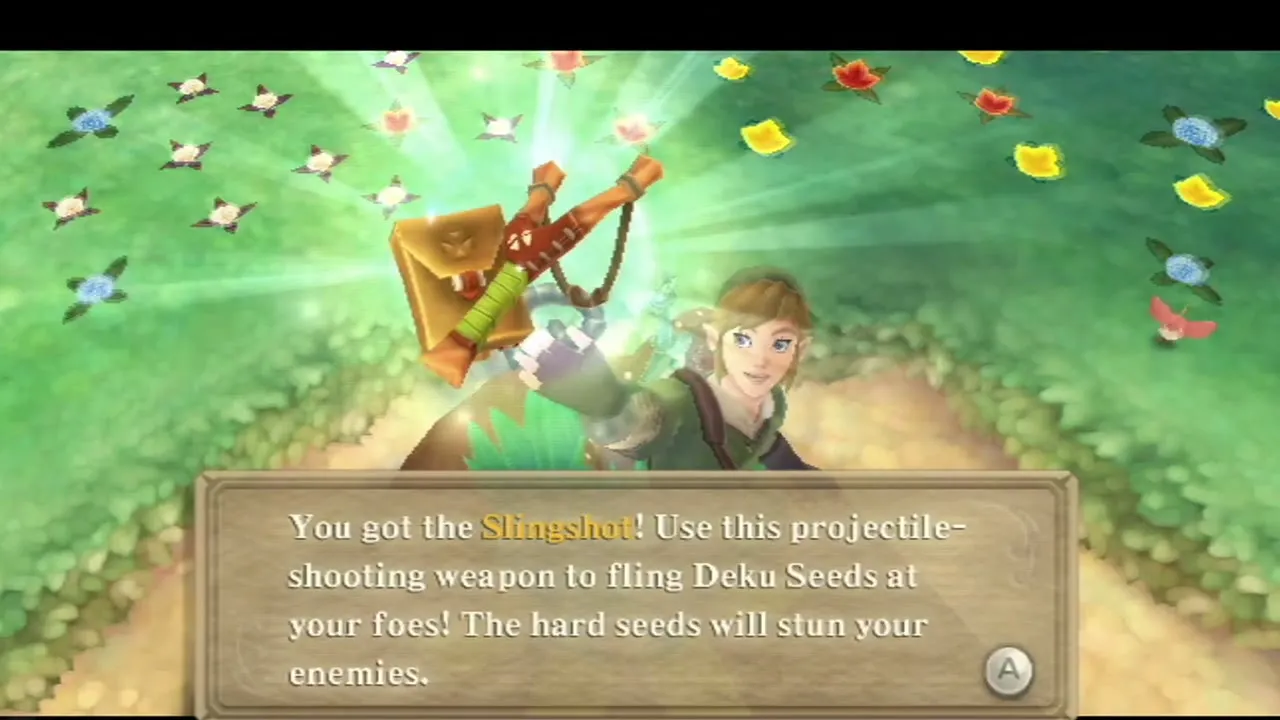
Table of Contents
Sealed Grounds: landing and the pit
How to get past the pit
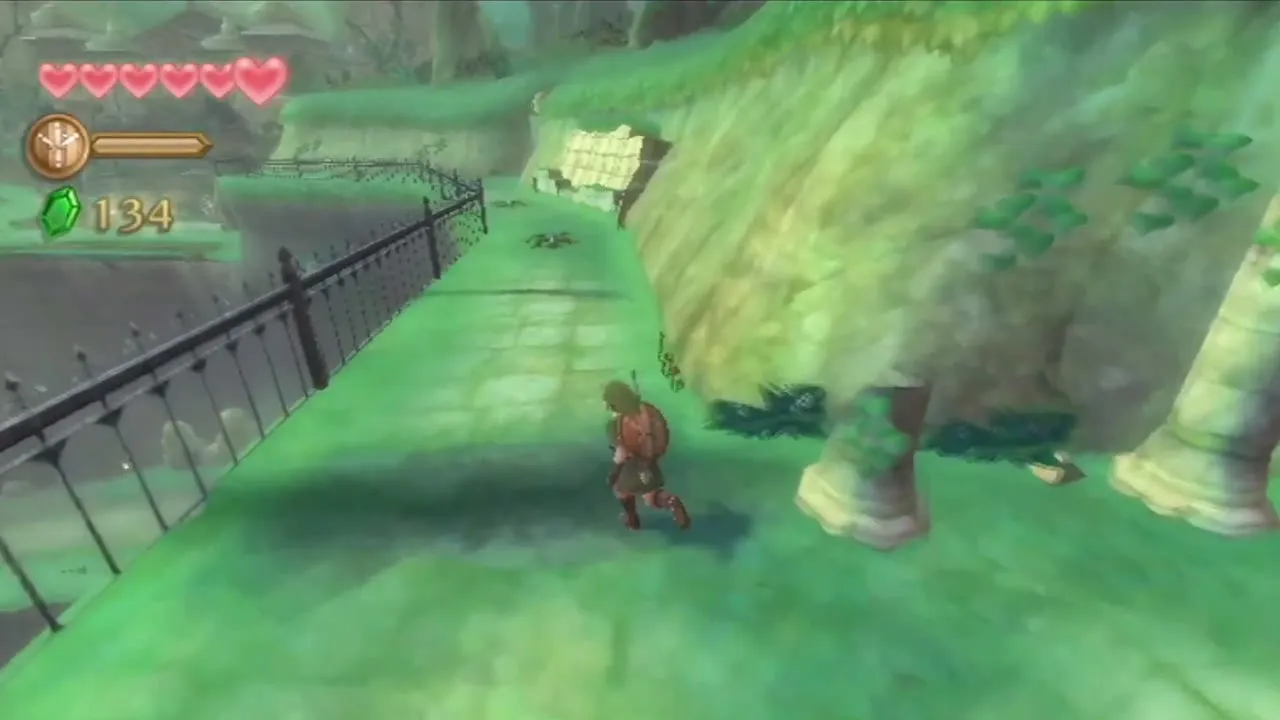
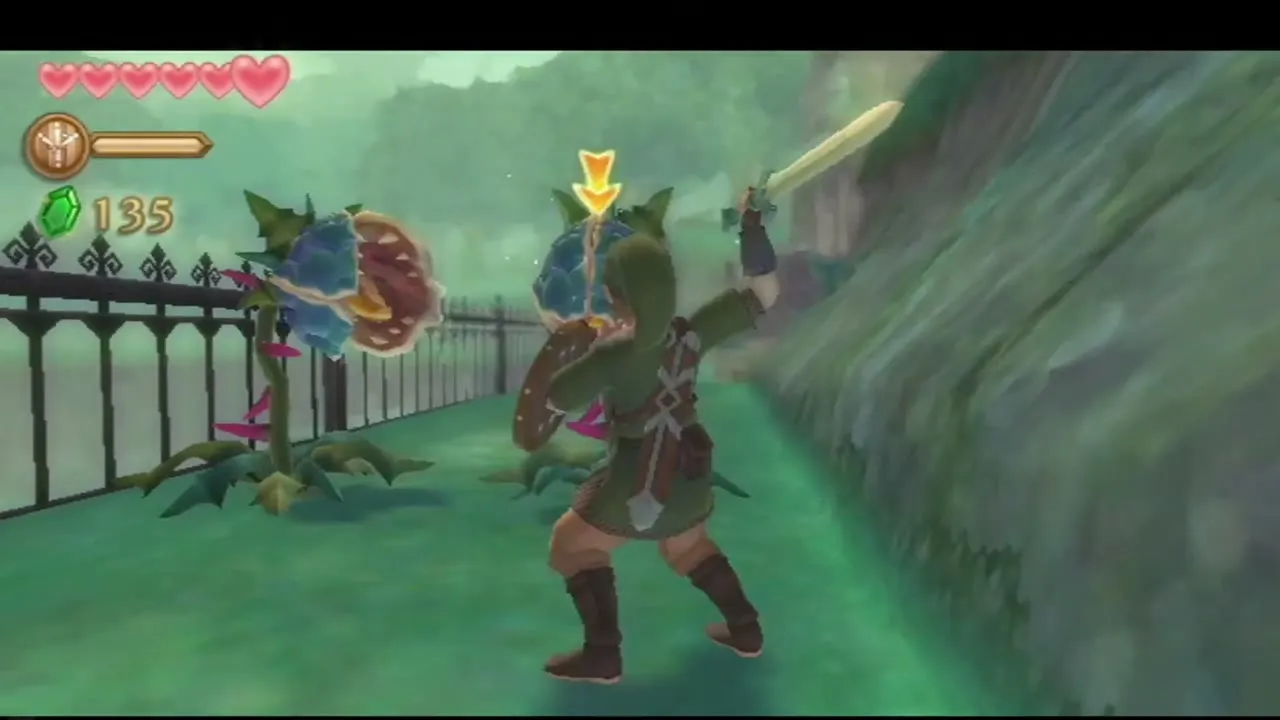
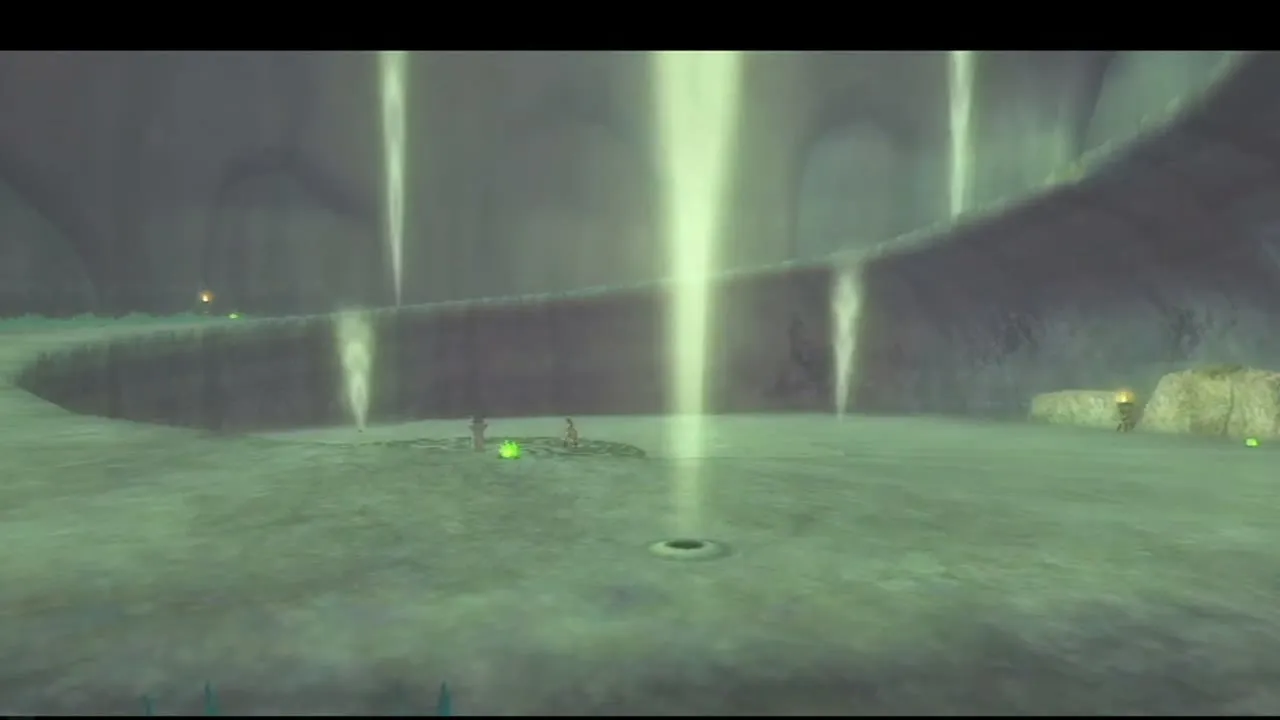
Open the Sailcloth, glide down onto the grass and follow the fenced path uphill. Face each Deku Baba with your shield up and cut at its head from the side the mouth splits, then walk on. Where the path ends, drop down into the spiral-shaped pit, but do not fall all the way: press B as you fall to open the Sailcloth and float onto the carved circle at the bottom.

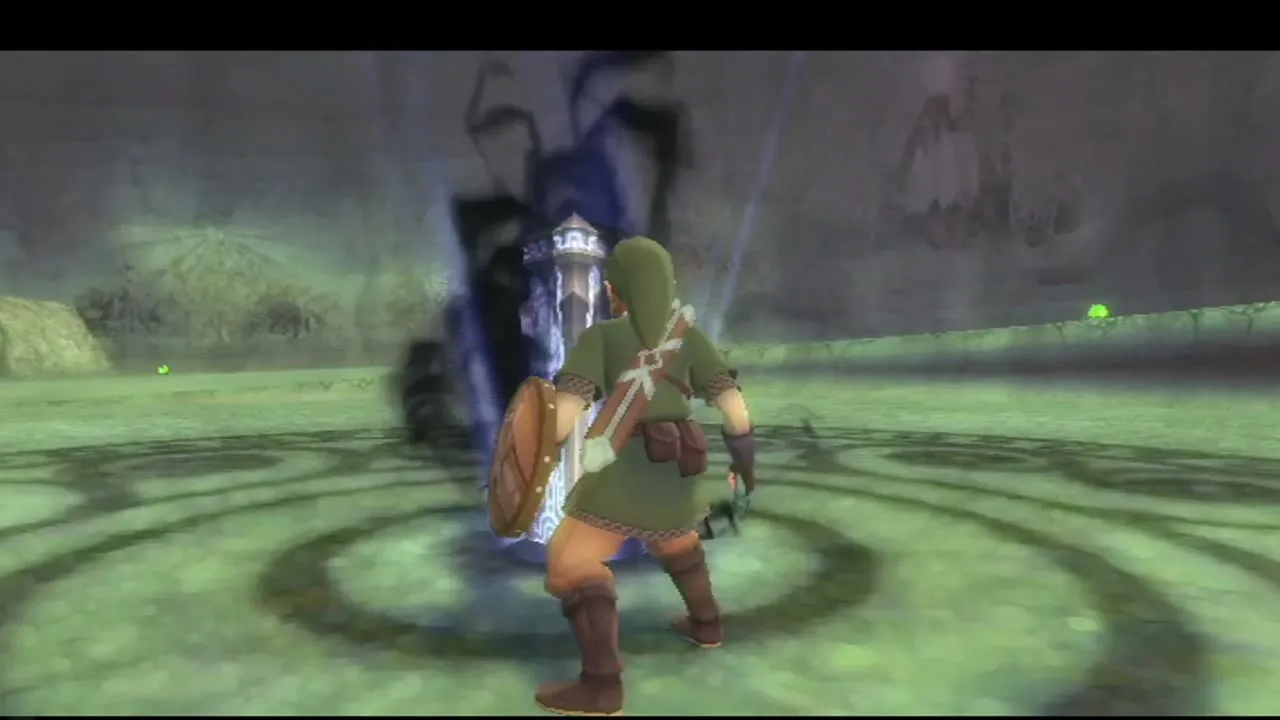
A stone pillar stands in the middle of that circle, smoking. A voice tells you to raise your sword to the sky, so raise the Wii Remote until the sword glows and swing down at the pillar to fire a Skyward Strike. The smoke stops, and green vapor starts rising from vents in the ground around the pit.

Dowsing to the Sealed Temple
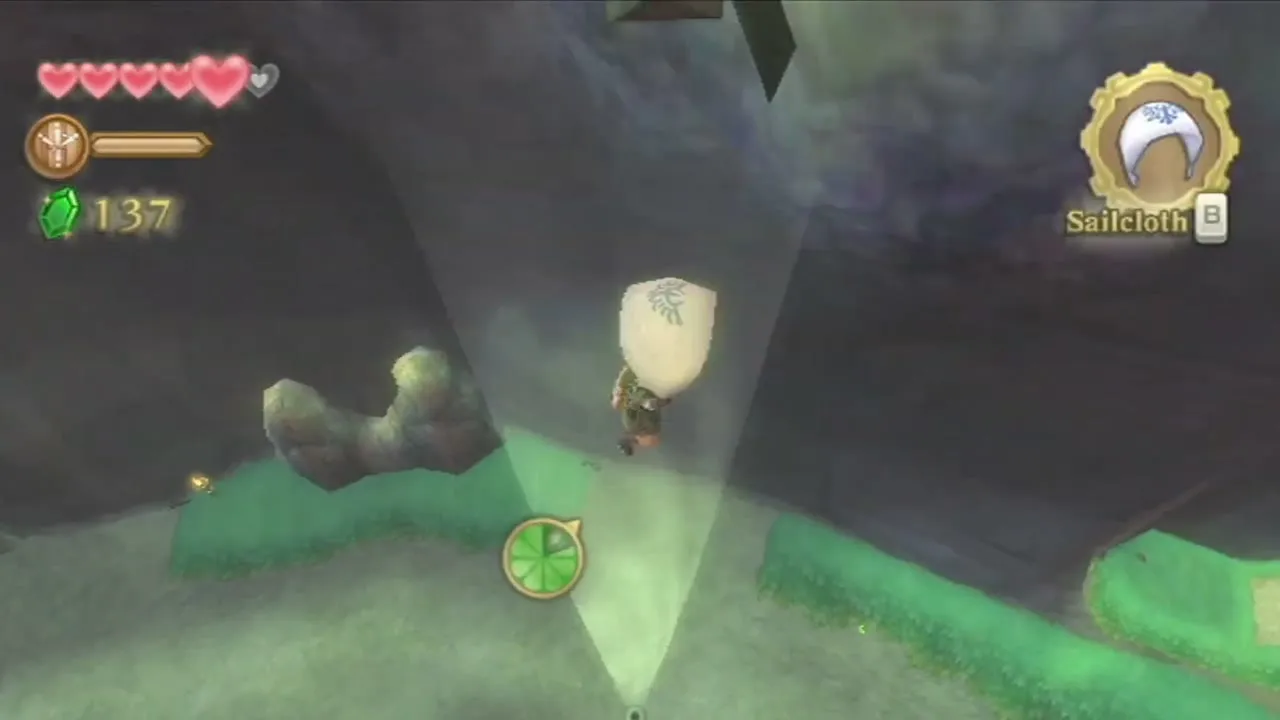
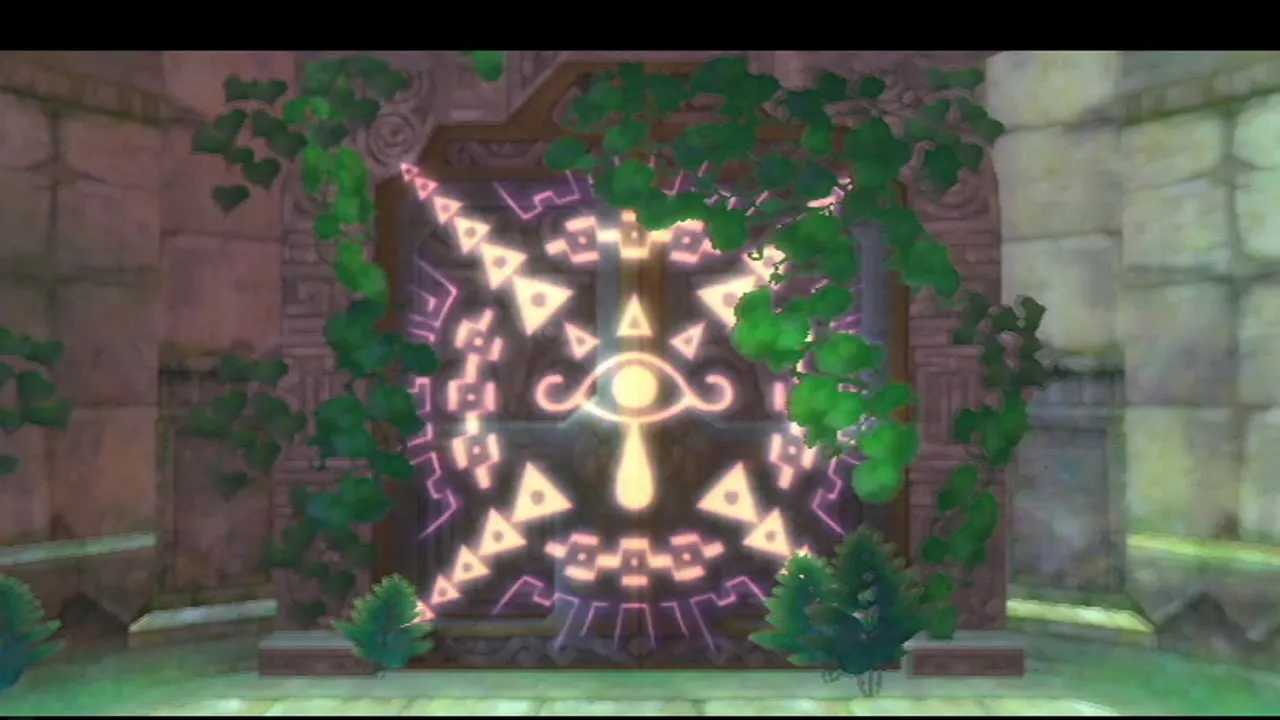
Fi now teaches Dowsing. Hold C, point at the menu that opens and pick Zelda as your target, then aim the sword around you; it hums and brightens as you face the right way. Her signal comes from the sealed temple. Follow the glow across the grass, step onto the updrafts to be carried up out of the pit, and keep going to the carved stone door of the Sealed Temple, which now opens.
Sealed Temple and the Old Woman
The Old Woman and your first beacon
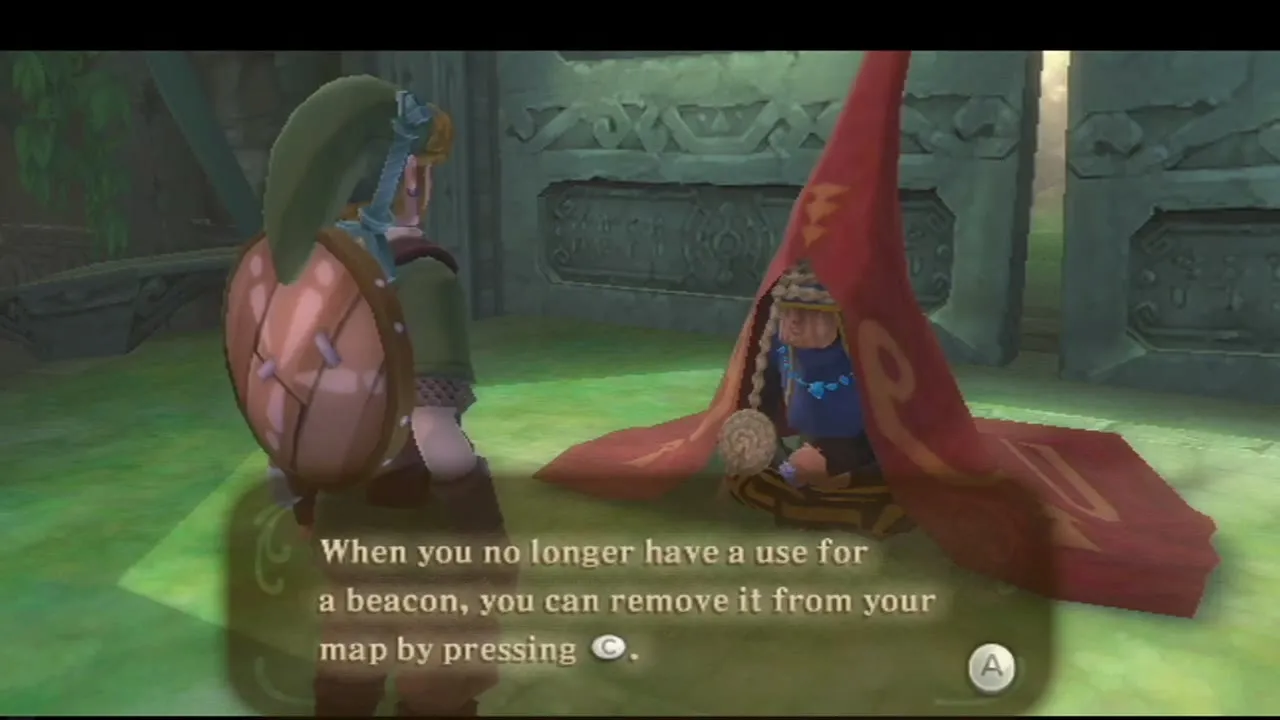
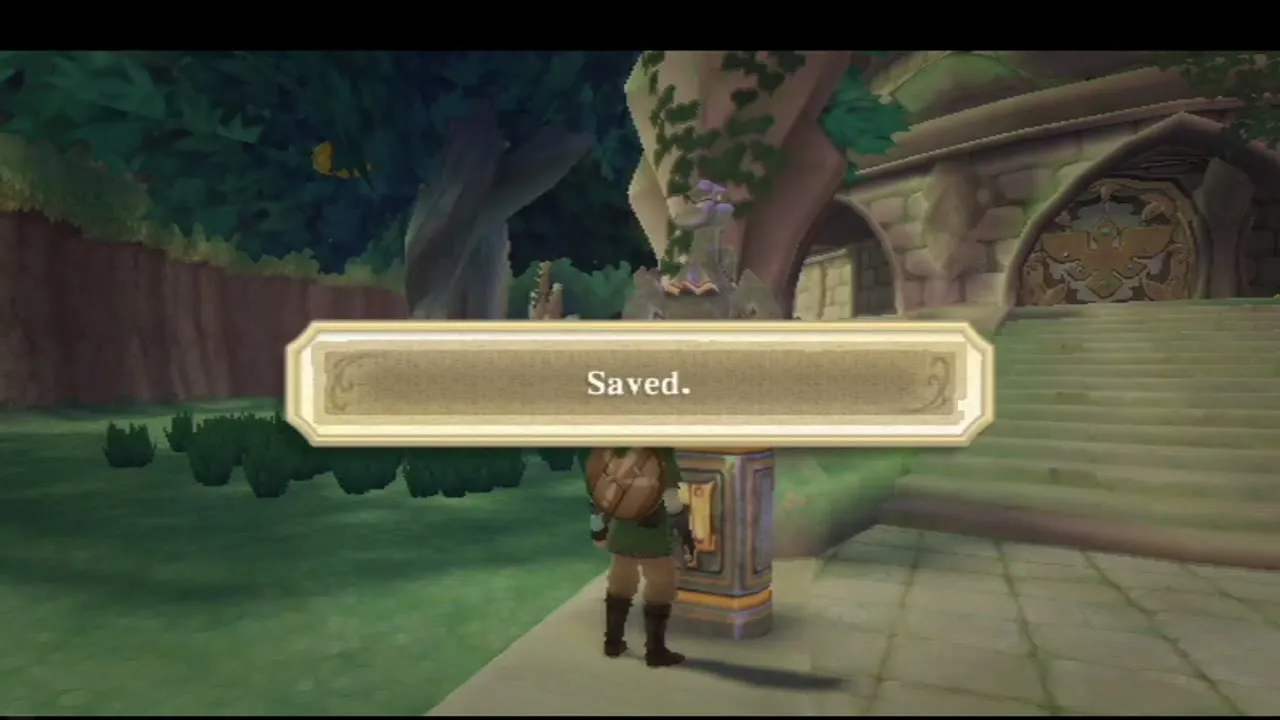
Inside, a bird statue stands beside the door; examine it to save. Climb the steps to the Old Woman under the red canopy and listen to what she says about Zelda. She also teaches you to place a map beacon: when the map opens, point at the spot you want and press A to plant a beacon, and a column of light will mark the way from now on. You can remove the beacon later from the map.


Sealed Temple chest: Revitalizing Potion
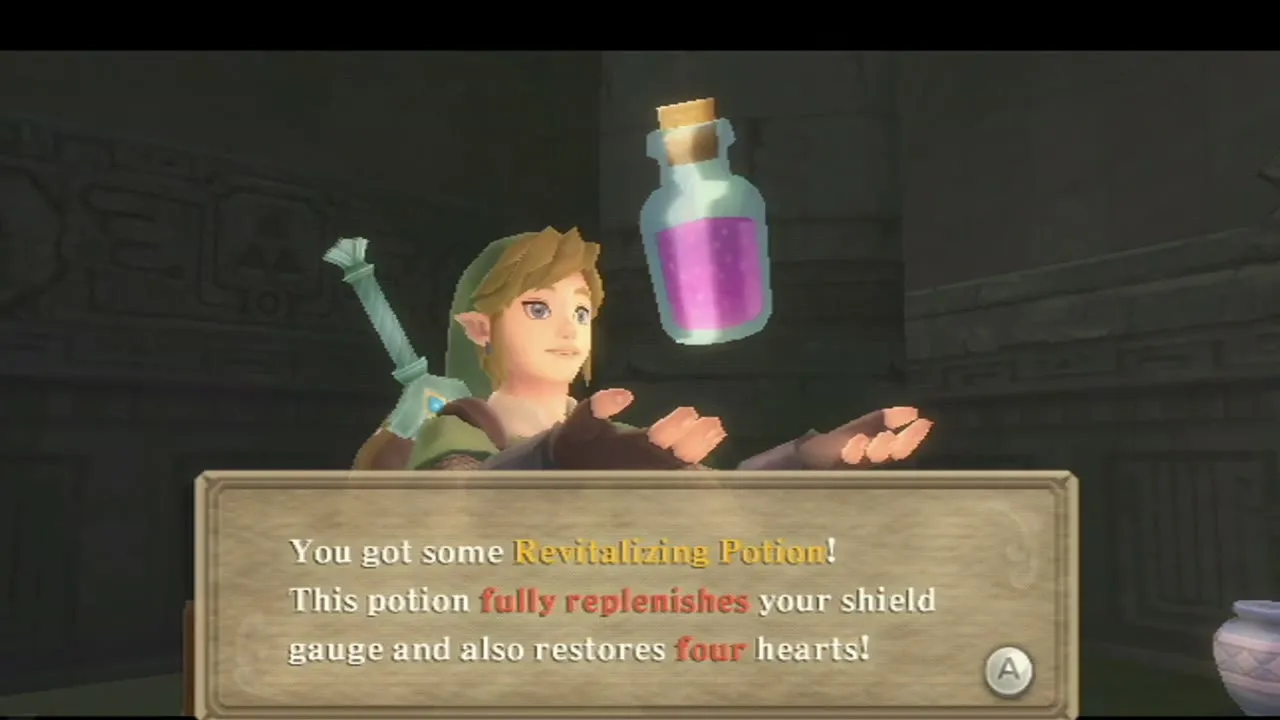
Before you leave, open the treasure chest in the lower corner of the room, to the side of the Old Woman’s steps. It holds a second Empty Bottle already filled with Revitalizing Potion, which refills the shield gauge and restores four hearts, so keep it for a hard fight. If you walk out without it, come back whenever you like; the chest waits. The bottle page lists all five bottles.

Gorko and the Faron path
Gorko and the bird statue
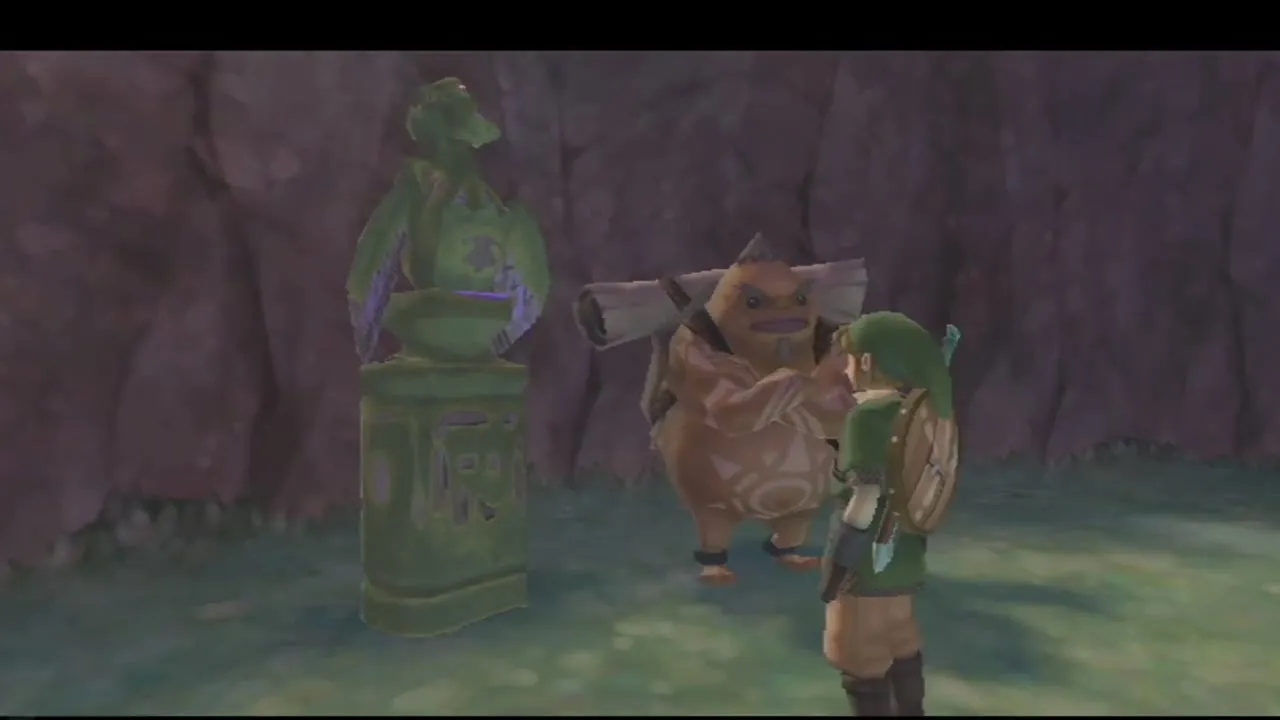
Leave by the front doors, climb the long stairs and look for the blue beacon in the distance. Follow the path down to a sandy clearing where a group of Bokoblins is cornering a Goron. Hit the club swingers from one side to make them block, then cut them down from the other, or shield-bash them to stun them. The Goron is Gorko, a researcher who is delighted to find someone who likes ancient places, and who will talk about the Isle of the Goddess in the sky for as long as you let him.


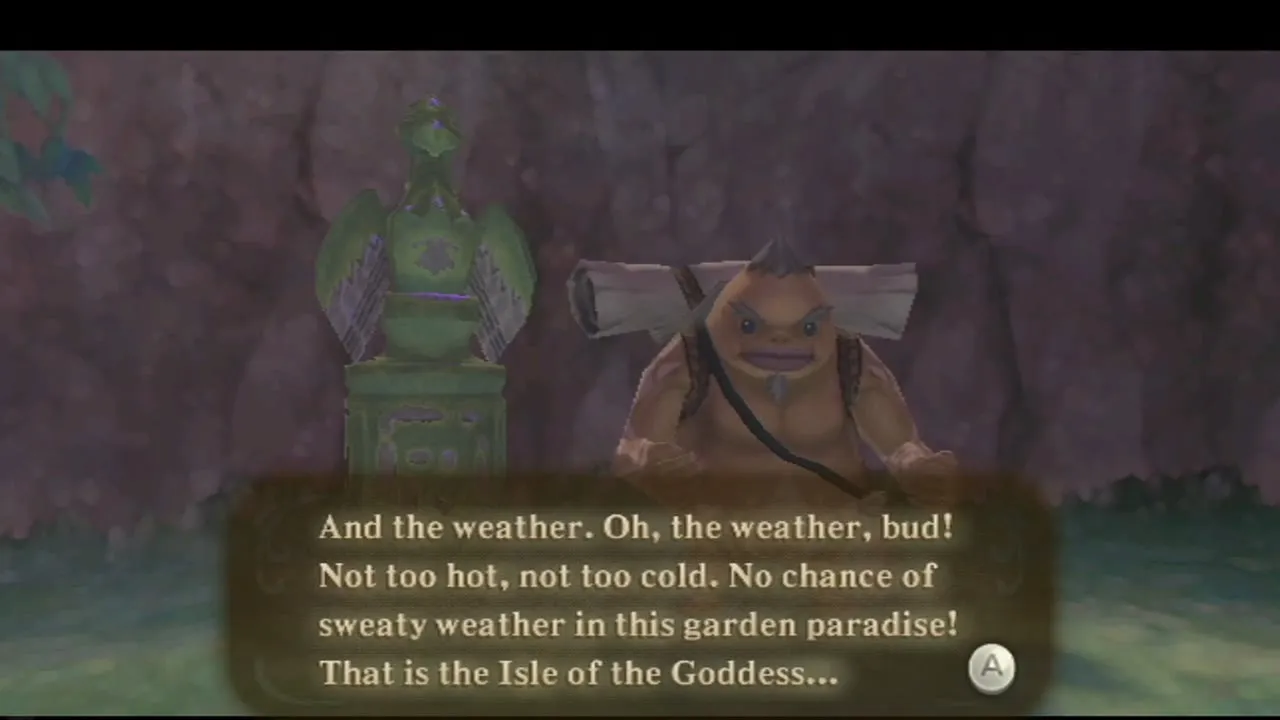
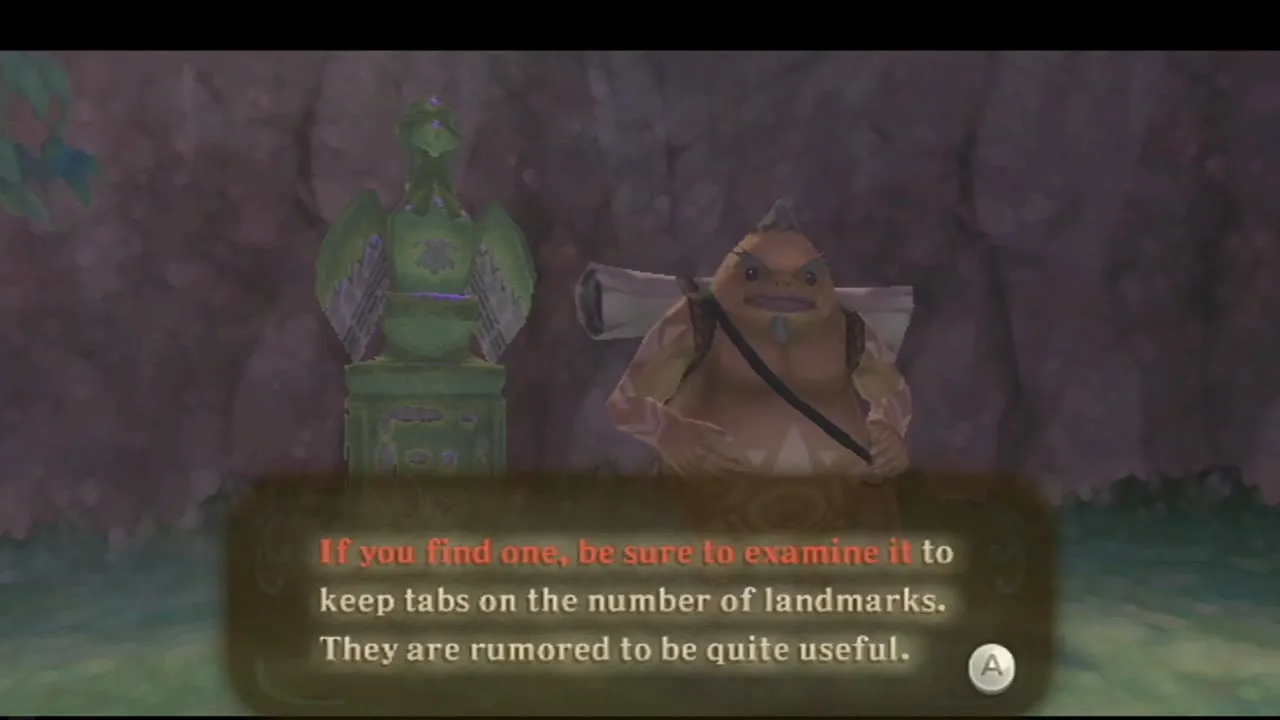
Walk up to the bird statue beside him to light it. Statue stops are your save points, and every statue also lets you choose To the sky and fly home, which you can do at any time. Examine every bird statue you pass, whether you need to save or not. Roll into the wall beside the statue where bugs crawl, and Woodland Rhino Beetles drop down for you to pick up. Gorko also keeps a Goddess Wall nearby that you cannot draw on yet; the Harp songs page explains how Goddess Walls work.

The way to Faron Woods
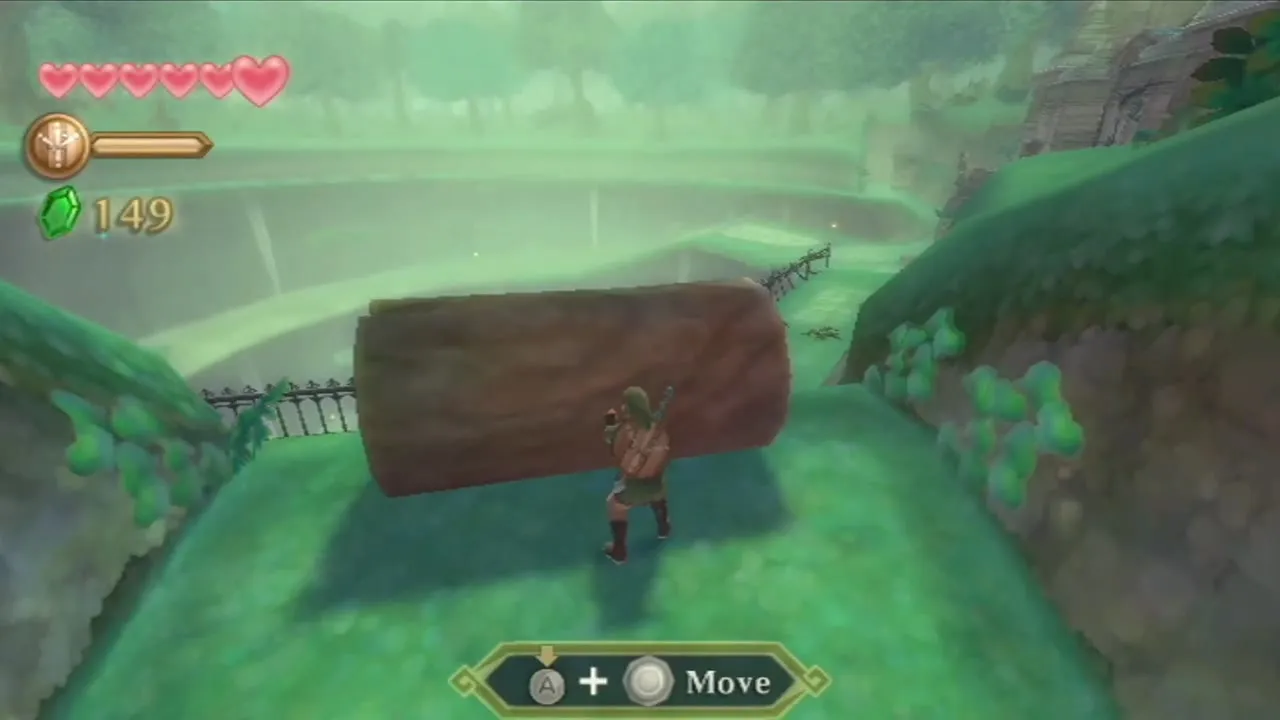
Follow the beacon through the stone gate and push the log you find until it is flush with the wall, which turns it into a step. Keep going to the edge of the Sealed Grounds. You come out onto a stone path overlooking Faron Woods.


Faron Woods and the missing Kikwi
Machi, the first Kikwi
Fi suspects Zelda is near and tells you to keep dowsing for her. Swing across the first gap on the hanging vine, cut down any young trees that block the way, and swing across the next gap. Beat the Red Bokoblins in the clearing, then dowse again; the target leads up a slope into a field of mushrooms and bushes.

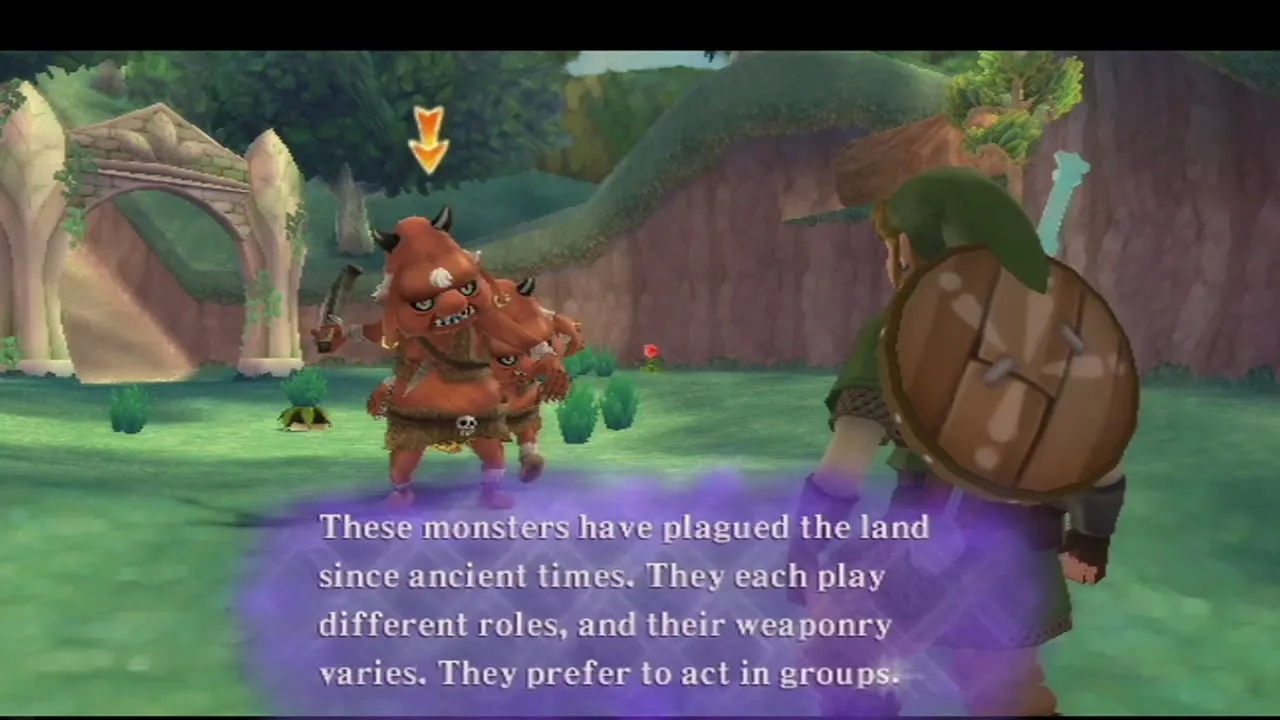
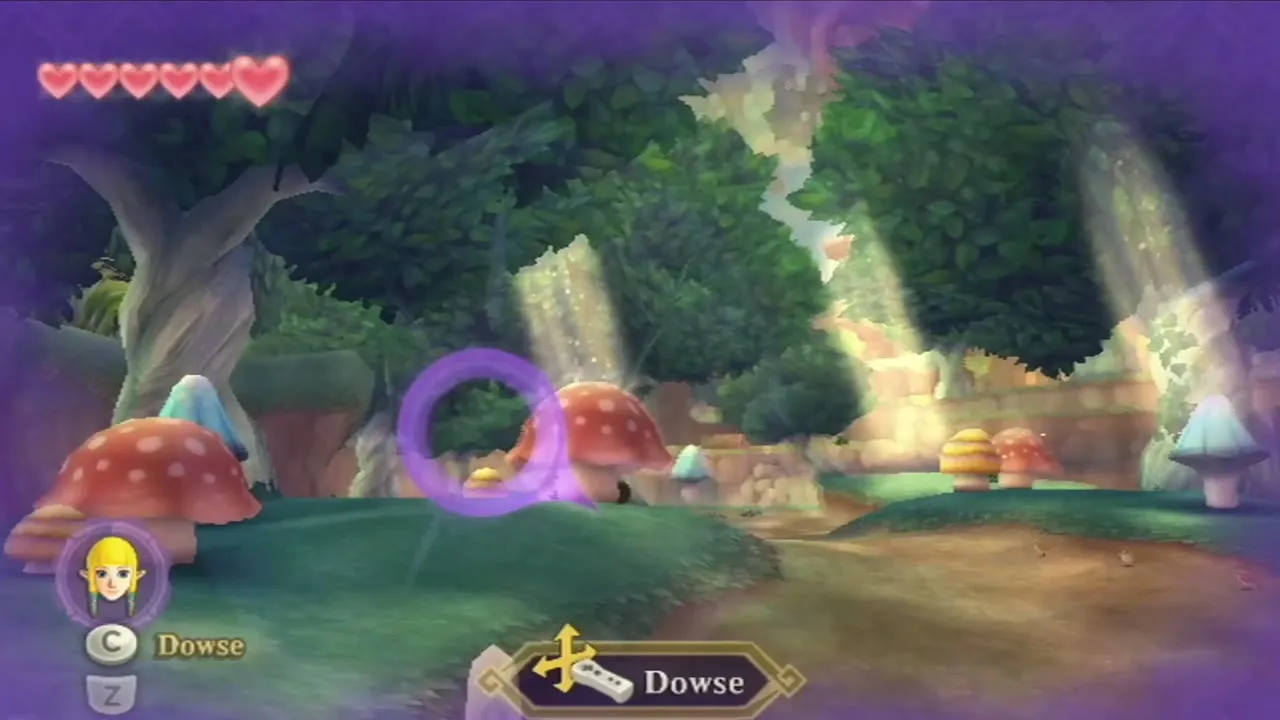
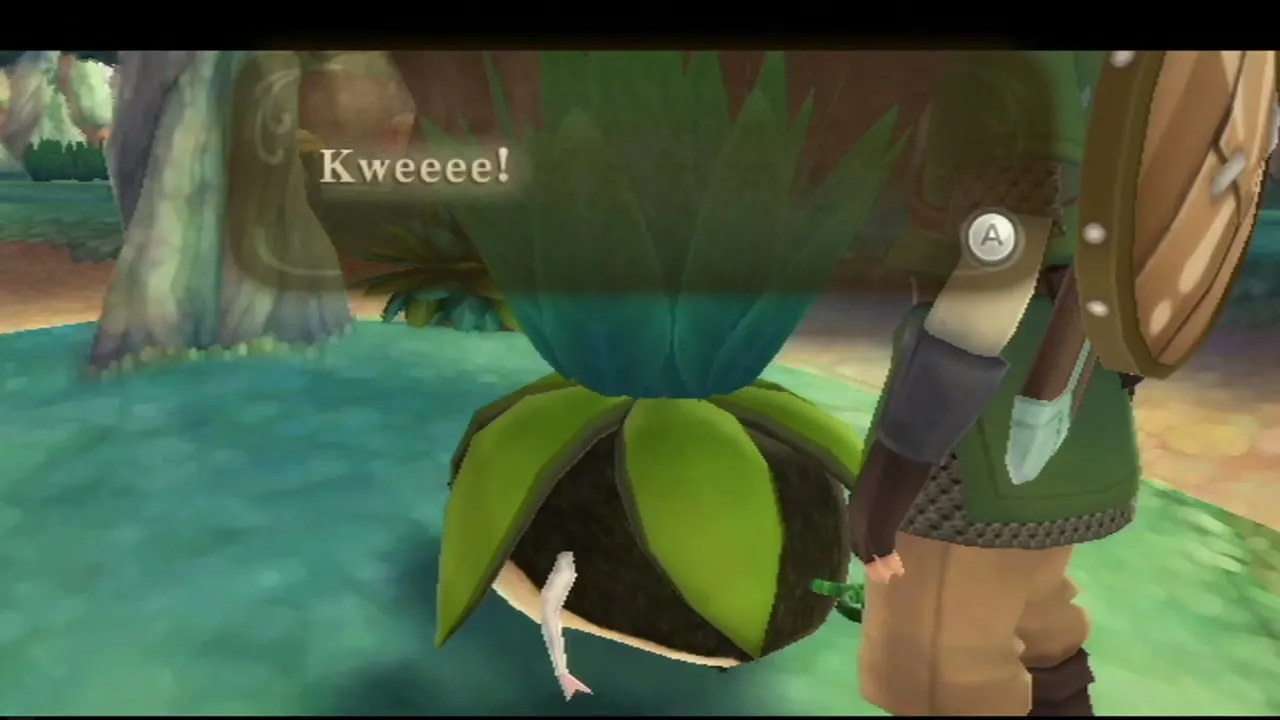
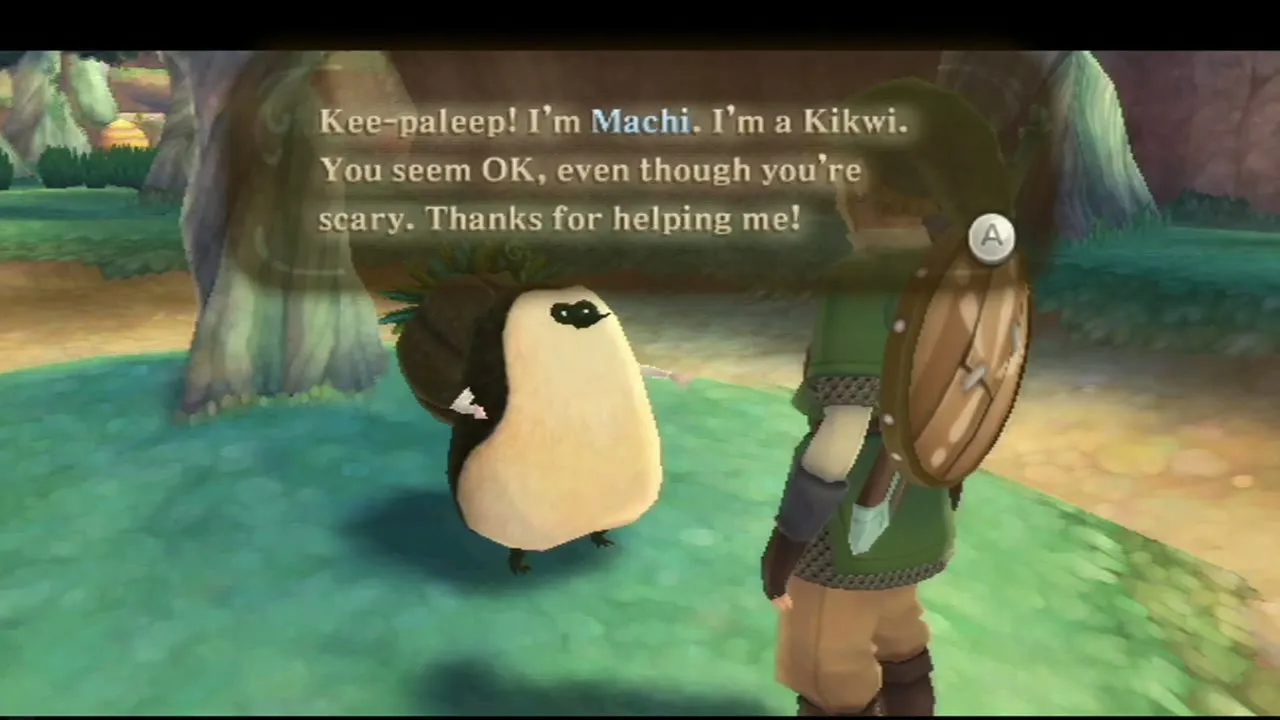
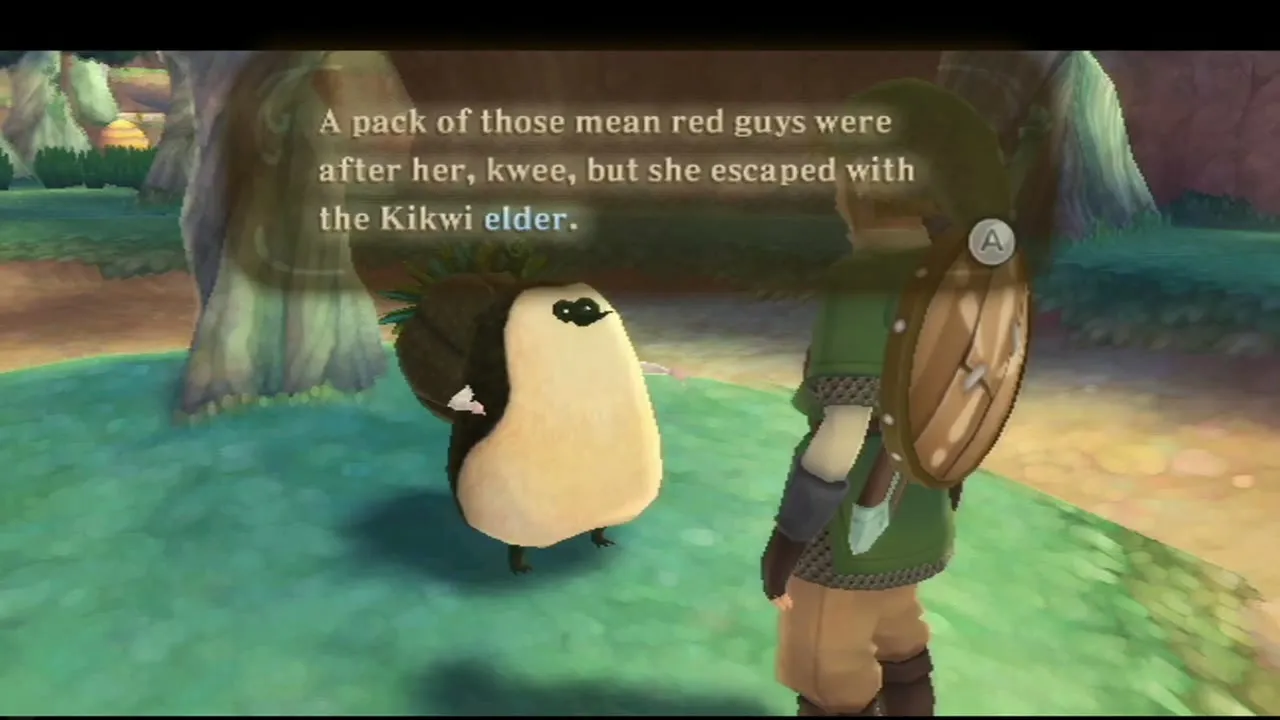
A Kikwi, a small round forest creature, is hiding there, chased by Red Bokoblins. Slash the mushrooms around it until it bolts, then chase it from one hiding place to the next, saving at the bird statue on the way if you like. It finally stops to talk. This is Machi, and she tells you that Zelda escaped the Bokoblins with the Kikwi Elder. Follow the Dowsing trail to find them.
Dowsing leads you on past a sandy slope to a waterfall pond near the “In the Woods” bird statue, where you can collect an Amber Relic. It is a common treasure that you will spend on equipment upgrades. Nearby, push the big log down off its ledge; this makes a shortcut back to the statue, and a second Amber Relic lies underneath it. See the bugs and treasures page for what they buy.


Bucha, the Kikwi Elder
Right of the waterfall, cut the trees that block the way, then cut the rope that ties a vine to the ground so it swings you across to the Kikwi gathering, and talk to the elder Bucha. He is worried about his Kikwi: three are missing, and Fi will add each one to your Dowsing targets. Machi is safe, so you need to find Oolo, Lopsa and Erla.

Oolo, beside the brick wall
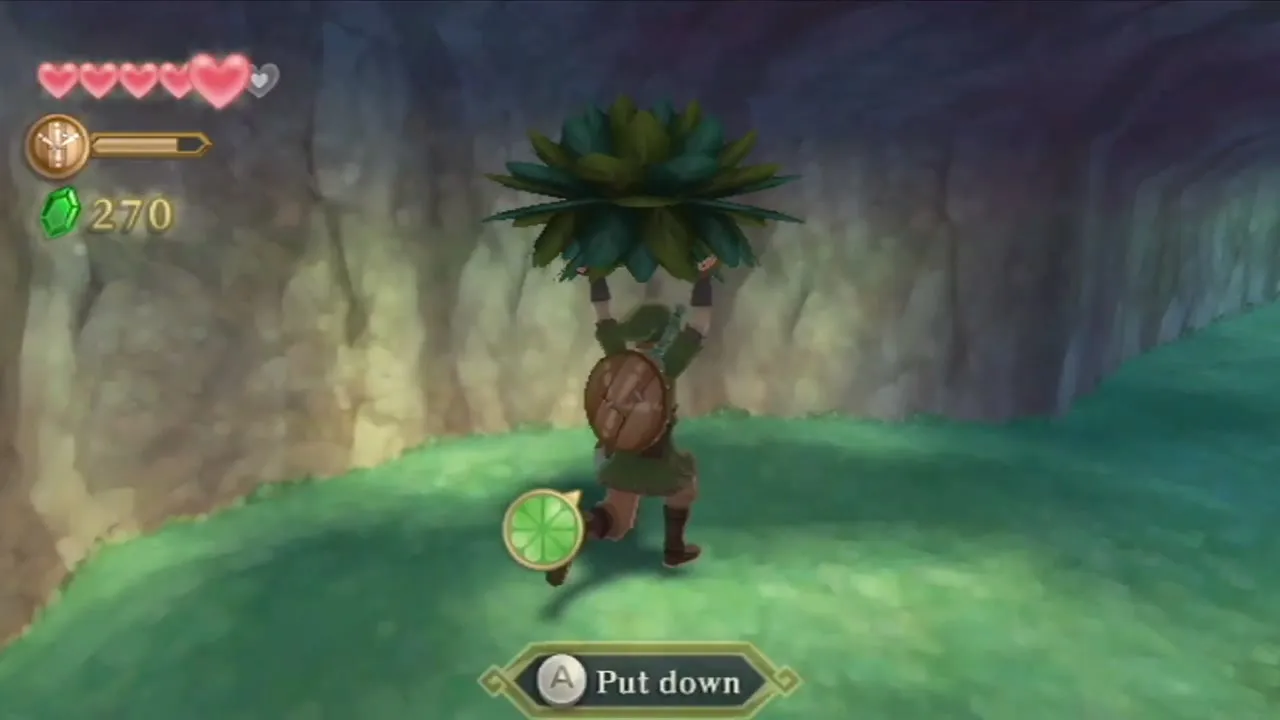
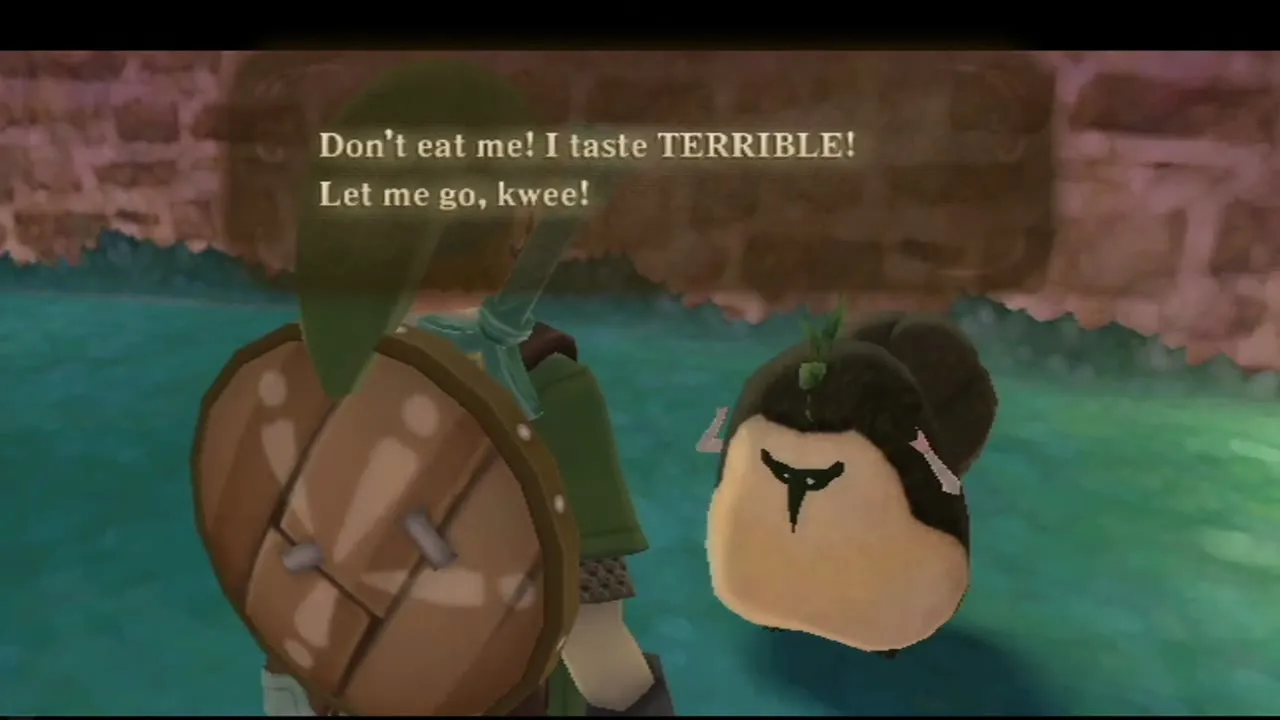
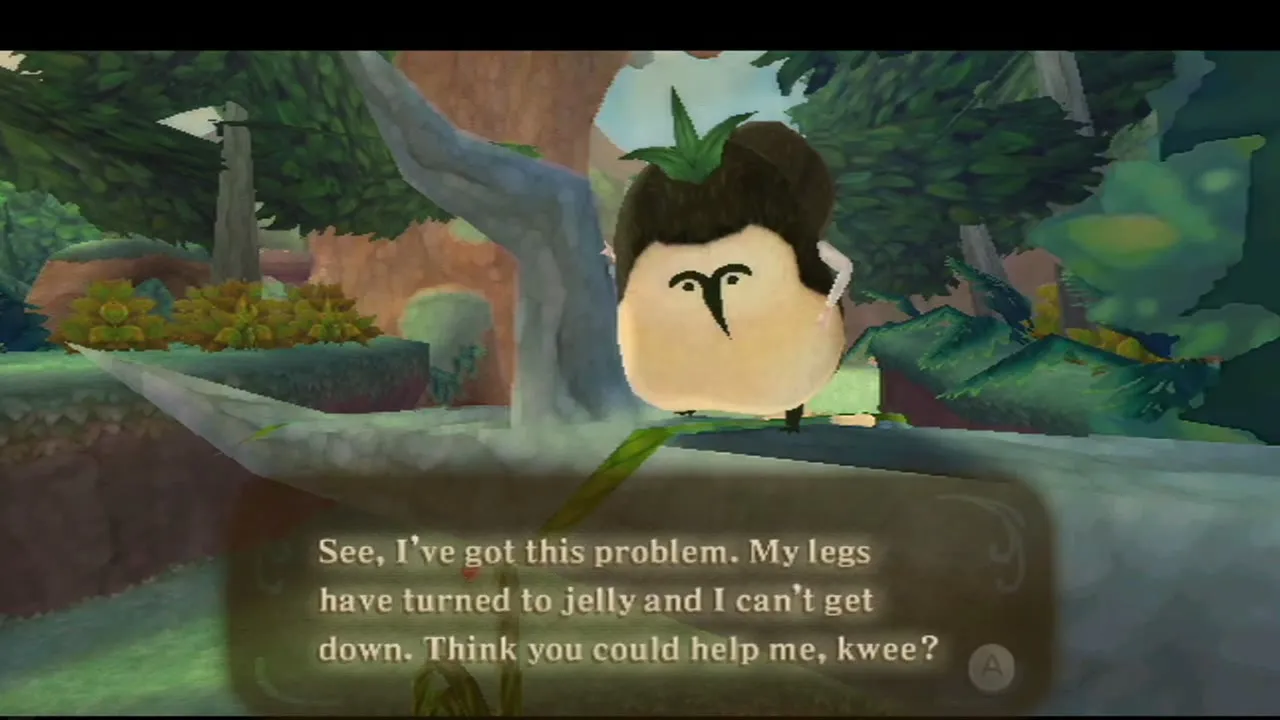
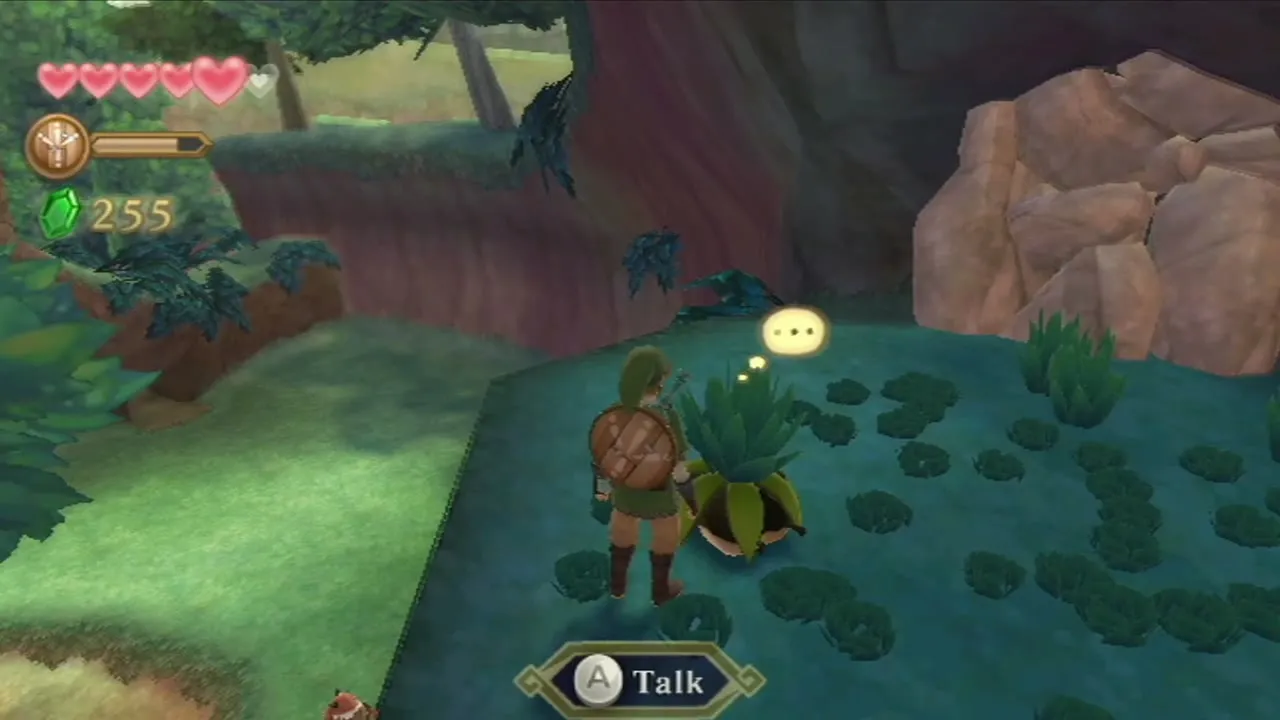
Switch Dowsing to the Kikwi target and follow it. Oolo is hiding in a bush at the bottom of a hole next to a large tree, past a section of low brick wall; drop down and pick him up to talk to him. This Kikwi matters later: in a Skyloft side quest Instructor Owlan asks you to dowse him out again, so remember where he sits. The side quests page has that errand.
Lopsa, in the tree
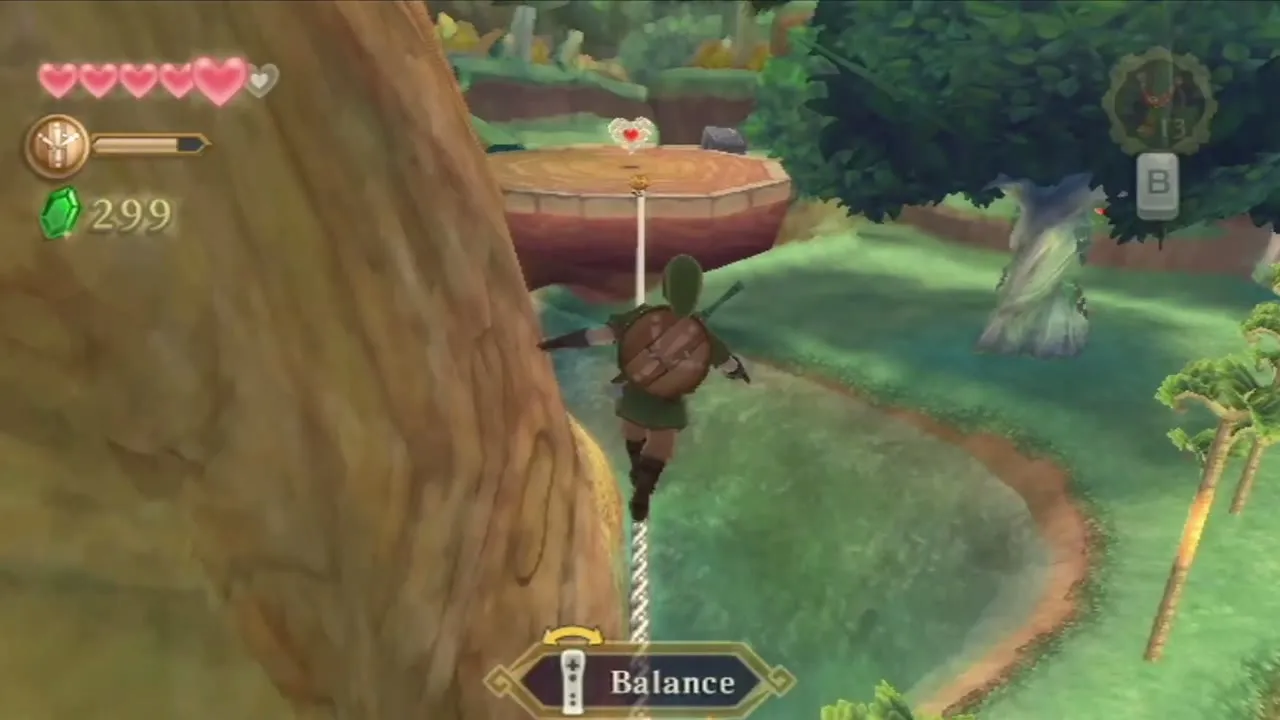
Go back toward the large tree, crawl through the tunnel at its base and climb the vines to a ledge with a tightrope. Tilt the Wii Remote to keep your balance and walk across, getting close to the spiky Myu hanging underneath to shake them off. At the far end a Red Bokoblin Leader calls for backup with a horn, so deal with the leader first and then the rest. Lopsa is stuck in a tree above the clearing: roll into the trunk to shake him down.


Erla, on the high ledge
Swing on the rope that hangs from Lopsa’s tree to the higher platform, then push the log off the edge there. Climb the large root and the vines above it to the highest ledge, ignoring or spinning at the Guay birds that dive at you. Cut the grass on that ledge and Erla pops out of hiding.

Optional: Piece of Heart on the tightrope
On the way between Erla and Oolo, the sloped root forks. Take the left branch and cross the tightrope to the platform on the far side to find a Piece of Heart. It needs no item, so grab it now; the Piece of Heart page lists all 24.

How to get the Slingshot
Return to Bucha
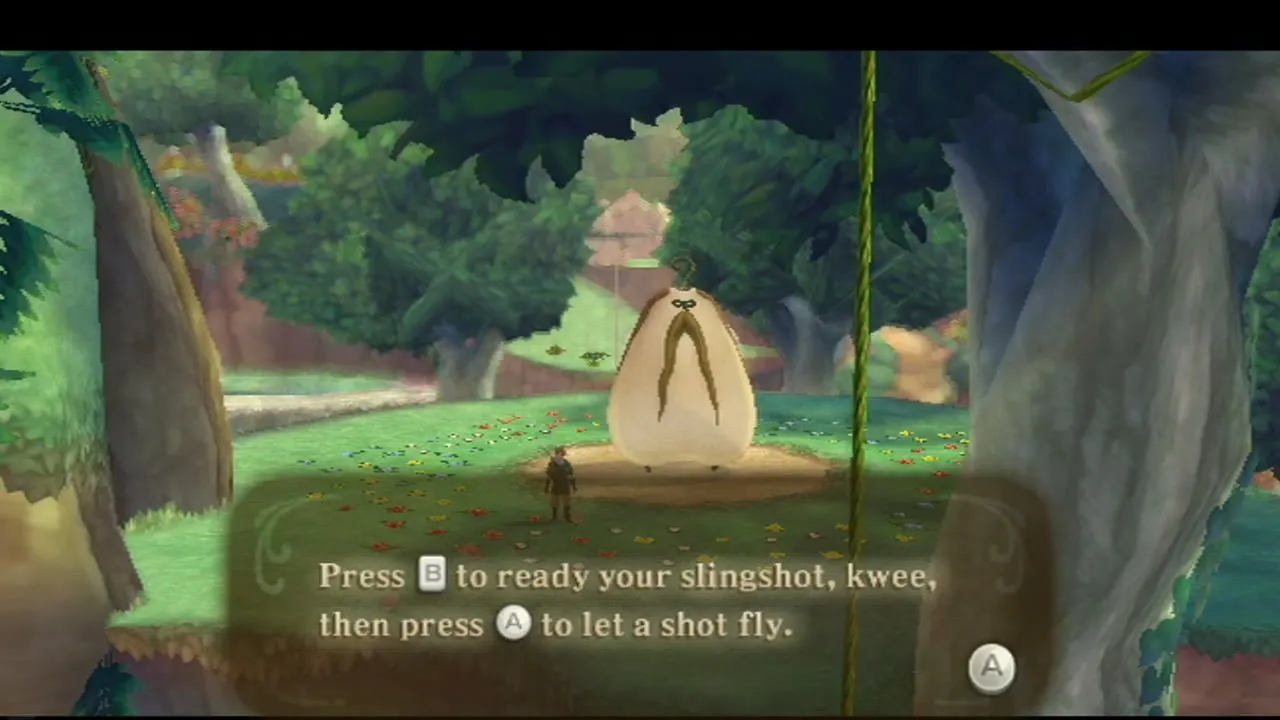
Head back to Bucha by the vine and report that Lopsa, Erla and Oolo are safe. He tells you Zelda went to the temple deeper in the woods, and he gives you the Slingshot.

Using the Slingshot
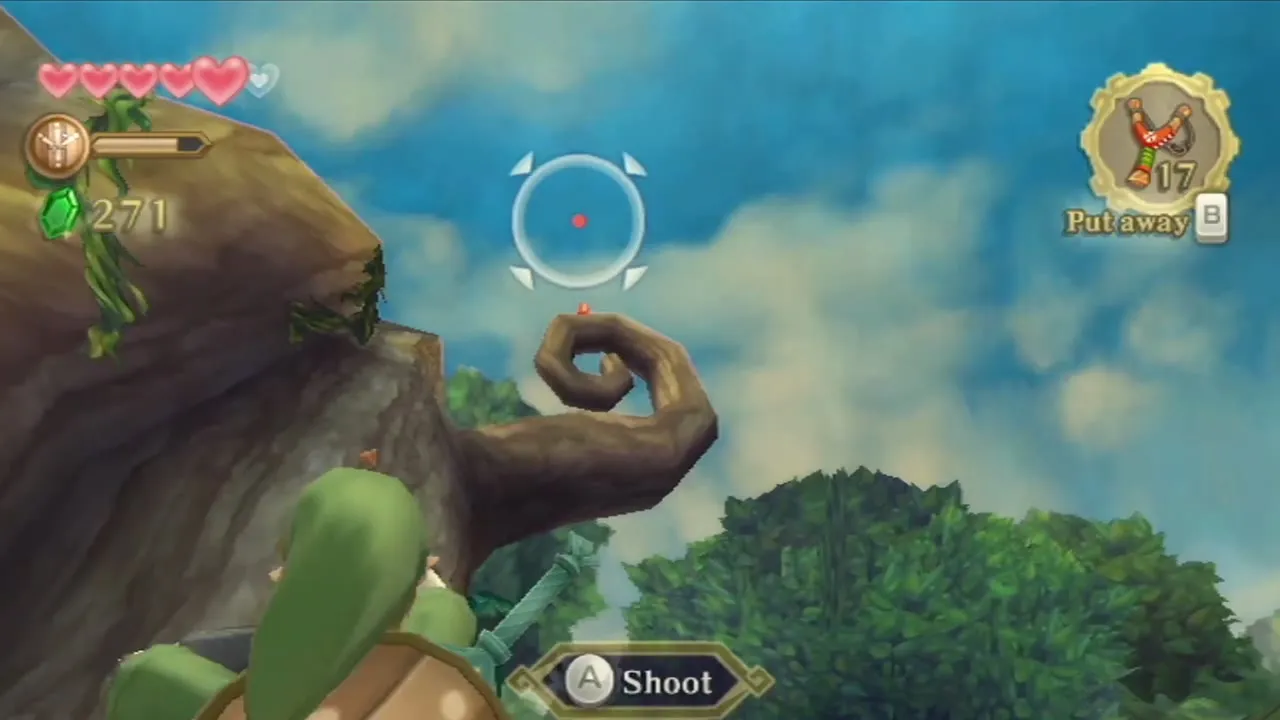
Equip the Slingshot with B, aim by pointing at the screen and press A to fire a Deku Seed. Press + to center the cursor if it drifts. Seeds stun enemies, cut ropes, hit switches and knock down hornet nests. Seeds drop from grass and enemies, so you can restock as you go. The upgrades page covers its later upgrades.

To the Deep Woods
Viewing Platform to the tunnel
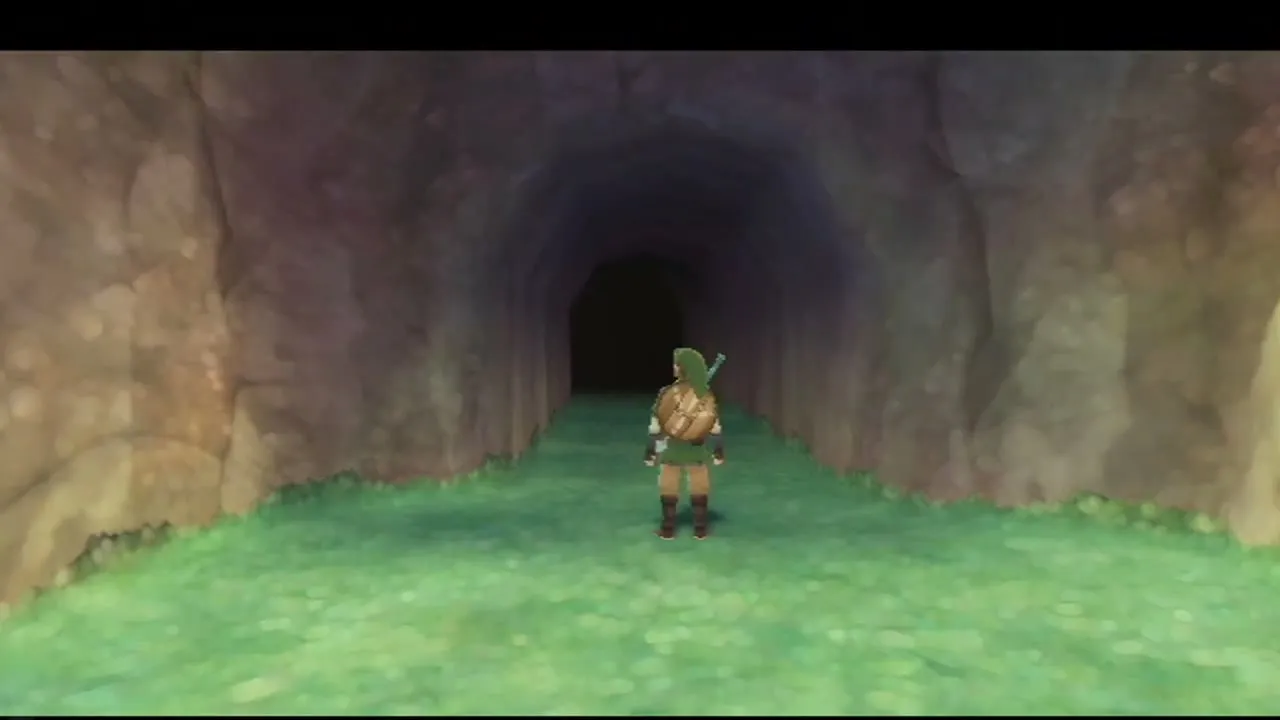
Shoot the curled-up vine near Bucha so it unrolls, jump onto it and swing to the next ledge. Follow the path northeast, past the Viewing Platform bird statue, where you should save. Behind it, shoot the rolled-up vine by the tunnel, climb it and swing to the platform with the arch, and walk through the dark tunnel. It opens into the Deep Woods.
Deep Woods
Hornet nest, Hornet Larvae and the Woodland Rhino Beetle
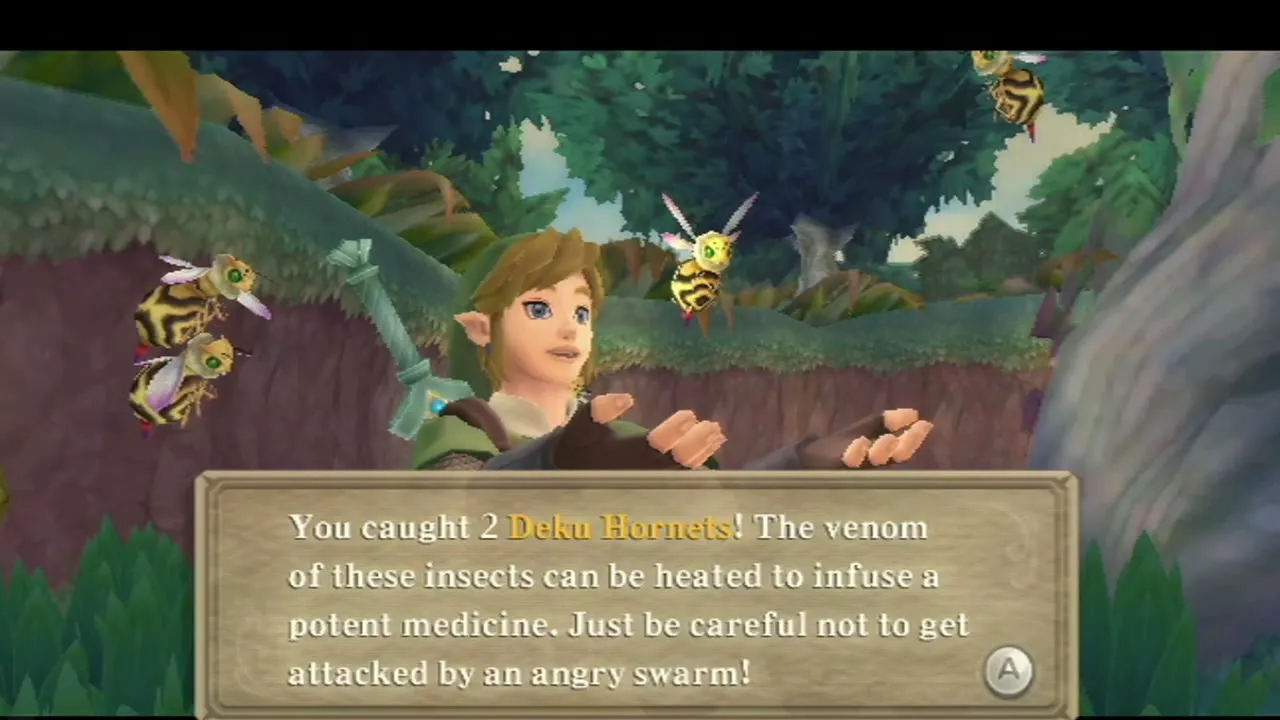
Fi fills in the area on your map as you enter, and a horn-carrying Red Bokoblin and its friends attack in the clearing. Past them, a hornet nest hangs near a large tree. Shoot it from a distance to collect Hornet Larvae, a treasure for Scrap Shop upgrades, and net the hornets if you want them for potions. Woodland Rhino Beetles also cling to trees here; roll into the trunk to knock one down, then pick it up. Beetles go into potion upgrades.


Tightropes and the second bird statue
The rest of the path is a series of balance ropes over gaps. Tilt the Wii Remote to stay upright, and when a Myu, a Bokoblin or a hornet nest threatens the rope, stop and use the Slingshot before you step out. After the crossings you reach a bird statue; save there.


Quadro Baba and Gorko
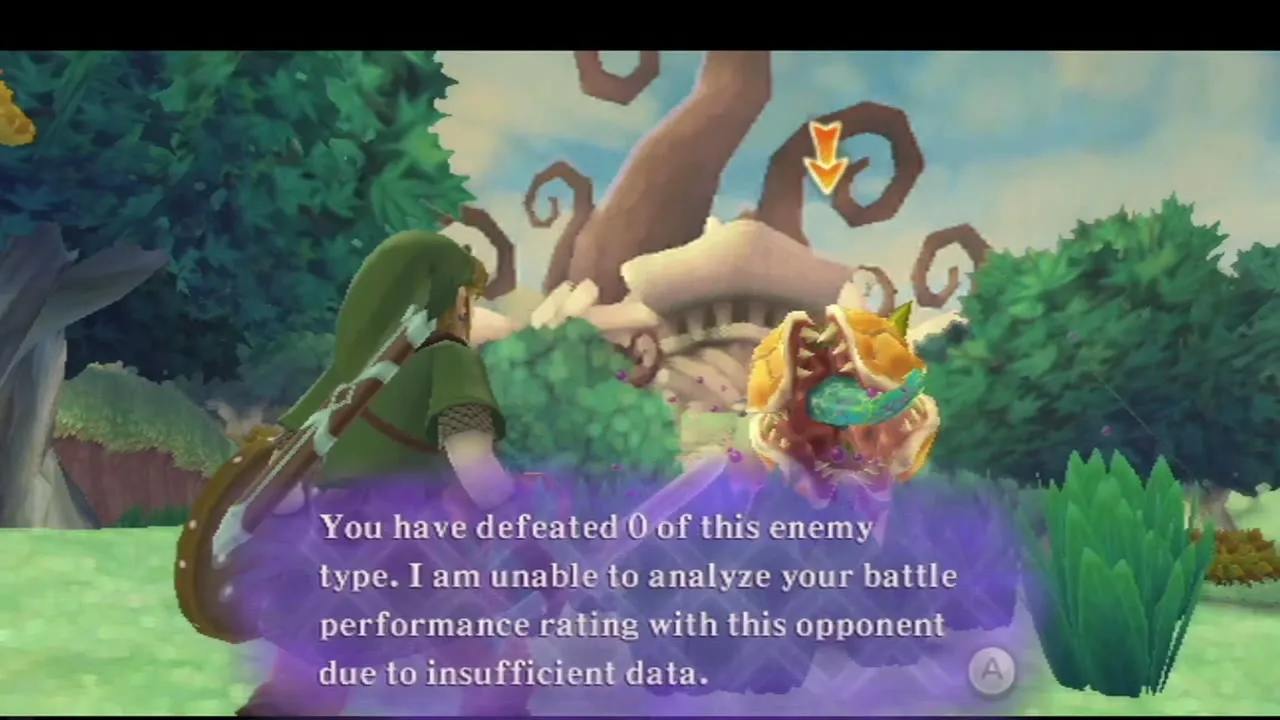
Beyond the statue a Quadro Baba guards the clearing. Slash its heads in the direction its mouth opens, or stagger it with a shield bash. A chest on the higher platform nearby holds a Red Rupee. Past the plant, Gorko is there again, puzzling over a strange carved block. It is a Goddess Cube, and he urges you to hit it.


Goddess Cube in the Deep Woods
Stand in front of the cube, raise the sword and send a Skyward Strike into it. The cube flashes and a Goddess Chest appears in the sky. This first cube opens a chest on the roof of the Lumpy Pumpkin on Pumpkin Landing, and the chest holds an Adventure Pouch expansion. See the Goddess Cubes page for the other 26.


Outside Skyview Temple
How to open the Skyview Temple door
Walk up the stone steps toward the temple. Fi warns that many monsters wait inside and advises you to carry a shield. Stand in front of the door, aim above it and shoot the crystal switch over the doorway with the Slingshot. The door swings open.


Save at the bird statue by the stairs before you go in. A second Goddess Cube stands near the temple entrance (the Goddess Cubes page gives its exact spot). Hit it with a Skyward Strike as well; its chest sits on a small island south of Skyloft and holds a Piece of Heart.
Optional: Back in Skyloft before the temple
Open the two Goddess Chests
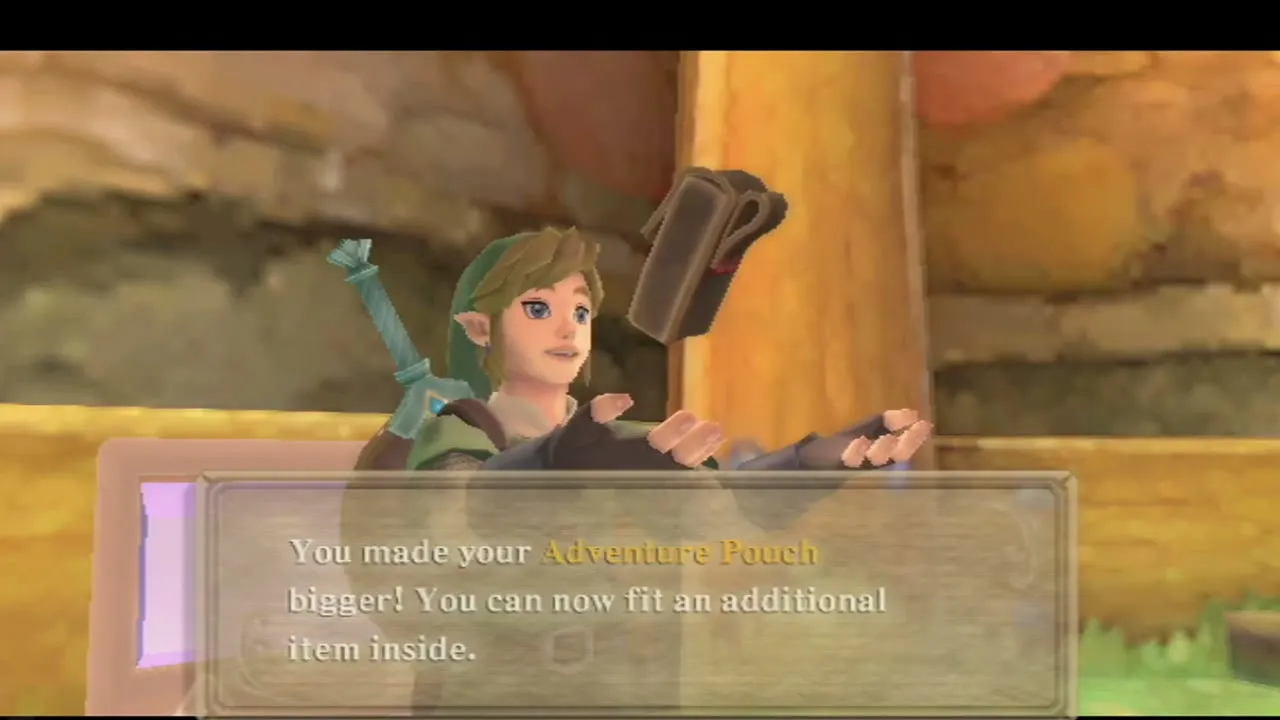
Use a bird statue to fly home, then dive off the Skyloft platform and whistle for your Loftwing. Fly to Pumpkin Landing for the Pouch expansion chest, and to the small island south of Skyloft for the Piece of Heart. The Skyloft and sky page shows every island.

Shield, seeds and Beedle’s Airshop
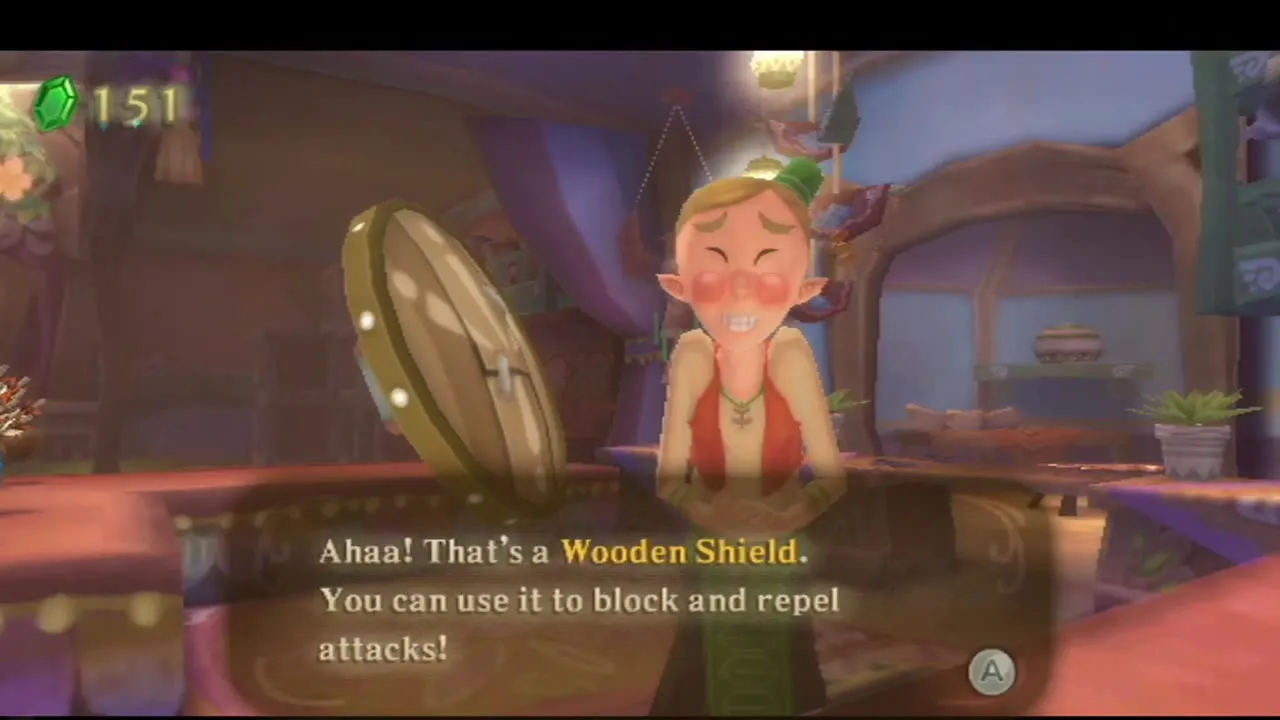
Rupin’s Gear Shop sells the Small Seed Satchel for 100 Rupees, which raises the number of seeds you can carry, and Beedle’s Airshop in the sky over Skyloft sells the Bug Net (50 Rupees), an Extra Wallet and Pouch expansions. Buy a shield if you do not have one: the Wooden Shield costs 50 Rupees at the Gear Shop, and fire burns it away, so keep potions handy. The Iron Shield appears in the Gear Shop after Skyview Temple.


Chapter checklist
| Collectible | Type | Where |
|---|---|---|
| Revitalizing Potion in a bottle | Bottle | Treasure chest in the Sealed Temple |
| Slingshot | Item | Bucha the Kikwi Elder, after finding Machi, Oolo, Lopsa and Erla |
 Amber Relics | Treasure | Waterfall pond near the “In the Woods” bird statue, and under the big log you push down |
 Hornet Larvae | Treasure | Hornet nest in the Deep Woods |
 Woodland Rhino Beetle | Bug | Wall beside Gorko’s bird statue, and trees in Faron Woods and the Deep Woods |
| Piece of Heart | Piece of Heart | Platform at the end of the left tightrope on the Great Tree root path, Faron Woods |
 Goddess Cube 1 | Goddess Cube | Deep Woods, beside Gorko. Opens the Pumpkin Landing chest with an Adventure Pouch expansion |
| Goddess Cube 2 | Goddess Cube | Near the Skyview Temple entrance. Opens the chest on the island south of Skyloft with a Piece of Heart |
 Red Rupee | Rupee | Chest on the higher platform past the Quadro Baba in the Deep Woods |
| Bird statues | Save points | Sealed Grounds, Behind the Temple (Gorko), Faron Woods Entry, In the Woods, Viewing Platform, Deep Woods, Forest Temple |
| Gorko’s Goddess Wall | Later | Needs the Goddess’s Harp; the first correct drawing earns a Piece of Heart |
| Oolo the Kikwi | Later | Needed again in the Owlan side quest |
With the door open, the temple is next: continue with the Skyview Temple walkthrough and bring the Slingshot and a shield.

