





















Skyward Sword 100% Completion Walkthrough18 chapters
- Skyview TempleSmall keys, the Beetle, the Golden Carving door, the Ghirahim boss fight, the Heart Container and the Ruby Tablet.
- Earth TempleGet the Bomb Bag from Ledd, carry the Dragon Sculpture, beat Scaldera and collect the Amber Tablet.
- Lanayru Mining FacilityTimeshift Stones, Gust Bellows, Small Key, Armos, Ancient Circuit, Moldarach and the Goddess’s Harp.
- Ancient CisternBoth Small Keys, the Whip, the Blessed Idol, the Koloktos boss fight, Farore’s Flame and the Goddess Longsword.
- SandshipThe Timeshift Stone, Scervo and the Bow, both generators, Squid Carving, Tentalus and Nayru’s Flame.
- Fire SanctuaryAll three small keys, the Mogma Mitts, the Mysterious Crystals, Ghirahim’s second fight and the Master Sword.
- Skyloft Silent Realm and Sky KeepThe Skyloft Silent Realm and its 15 Sacred Tears, the Stone of Trials, every Sky Keep room and all three Triforces.
- Skyloft and the Goddess SwordFind your Loftwing, win the Wing Ceremony, draw the sword and take your first dive.
- Sealed Grounds, Faron Woods and the Deep WoodsThe Sealed Grounds, the missing Kikwi, the Slingshot, the Deep Woods and the way into Skyview Temple.
- Eldin Volcano and the Key PiecesPlace the Ruby Tablet, run Skyloft errands, earn the Digging Mitts and find all five Earth Temple key pieces.
- Lanayru Mine and Lanayru DesertLanayru Mine, Timeshift Stones, the Hook Beetle, the Temple of Time and how to set the three power generator dials.
- The Goddess’s Harp, The Imprisoned and the Isle of SongsBallad of the Goddess, The Imprisoned, the Light Tower, the Isle of Songs and Farore’s Courage.
- Farore’s Silent Realm and Lake FloriaAll 15 Tears of Farore, the Water Dragon’s Scale and Sacred Water.
- Nayru’s Silent Realm and the Lanayru Sand SeaNayru’s Wisdom, Nayru’s Silent Realm and the Clawshots, Golo’s key, Skipper’s boat, the Shipyard.
- Din’s Silent Realm and Volcano SummitDin’s Power, the Fireshield Earrings, frog statues, the Water Basin and the Scrapper escort.
- True Master Sword, Levias and BilocyteSkyward Sword walkthrough for the True Master Sword, the second Imprisoned fight, the Spiral Charge.
- Song of the HeroEscape Eldin, beat the third Imprisoned, win the Tadtone song in Faron Woods and heal Lanayru’s Thunder Dragon.
- The Horde, Ghirahim and DemiseClear the last side quests, beat the Horde, Ghirahim’s third fight and Demise, then unlock Hero Mode.
| Covers | Skyloft errands after Skyview Temple, Eldin Volcano from Volcano Entry to the Earth Temple door, the Mogma tunnels, Thrill Digger |
|---|---|
| You need | Goddess Sword, Slingshot, Beetle, Sailcloth, Ruby Tablet from Skyview Temple; about 100 Rupees for an Iron Shield |
| Rewards | Digging Mitts, 5 key pieces, Piece of Heart, Bug Net, Extra Wallet, Adventure Pouch slot, a bottle from Parrow, 15 Gratitude Crystals, Goddess Cubes 4 to 9 |
With the Ruby Tablet in the Statue of the Goddess, a new opening appears in the clouds above Eldin Volcano. Before you dive, Skyloft has a pile of easy errands: two chests, a Piece of Heart, the Bug Net and the first Gratitude Crystal quests. In Eldin you light your way with bomb flowers, earn the Digging Mitts from a Mogma and then dig up the five pieces of the key that opens the Earth Temple.


Table of Contents
Skyloft errands before Eldin
Place the Ruby Tablet
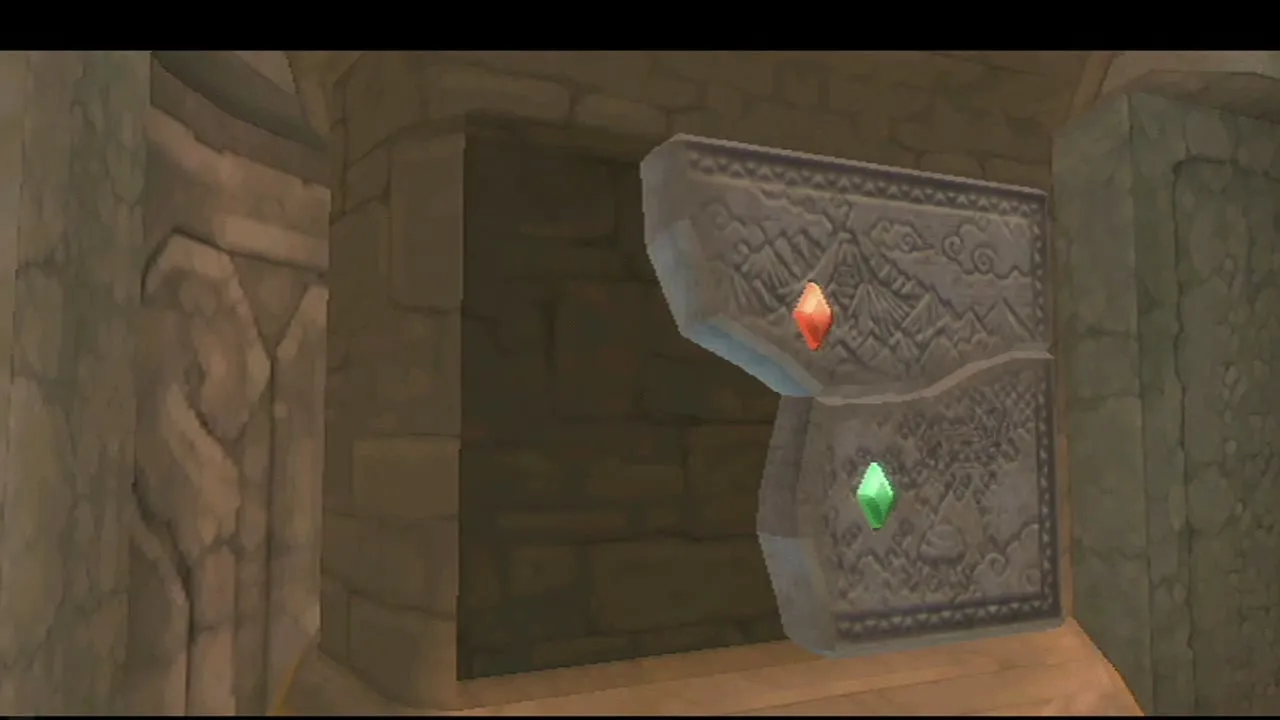
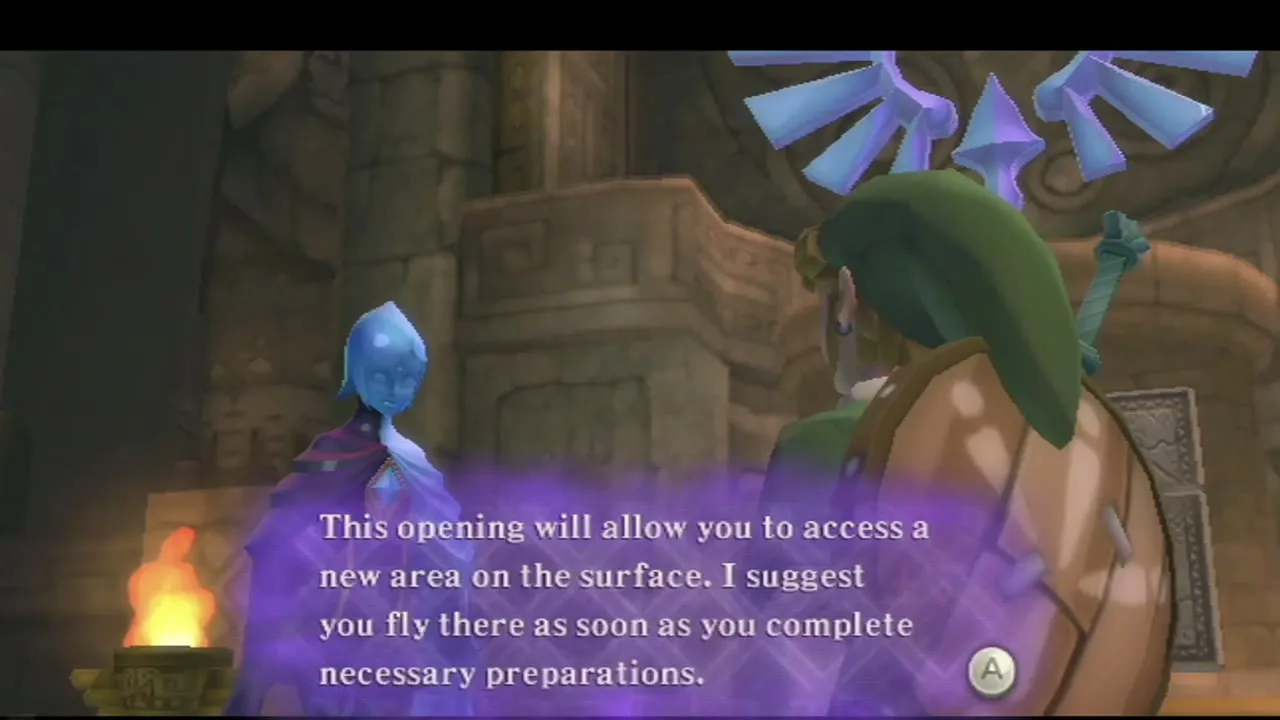
Skyview Spring ends with Fi telling you to carry the tablet to the altar in Skyloft. Fly home, climb the stairs to the Statue of the Goddess and step inside. Slot the Ruby Tablet into the wall beside the green Emerald Tablet; Fi then reports a second opening in the cloud barrier and marks it on your map.
Pumpkin Landing chests and the chandelier Piece of Heart
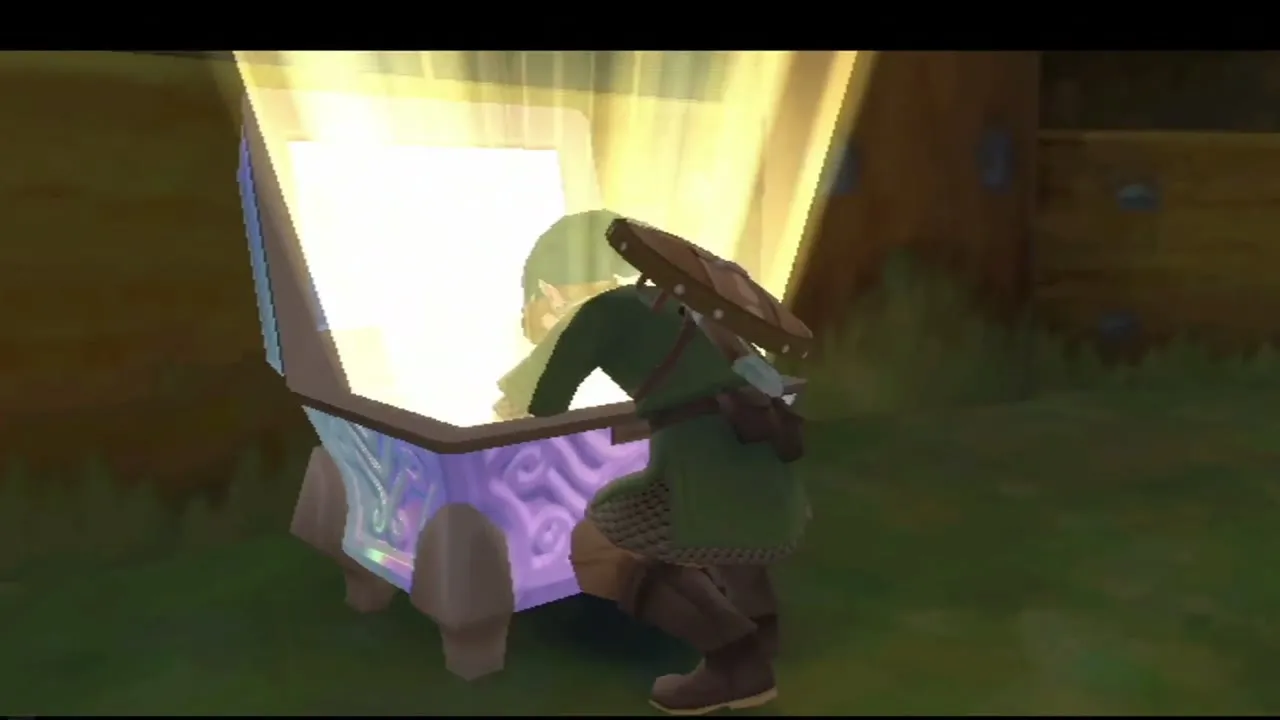
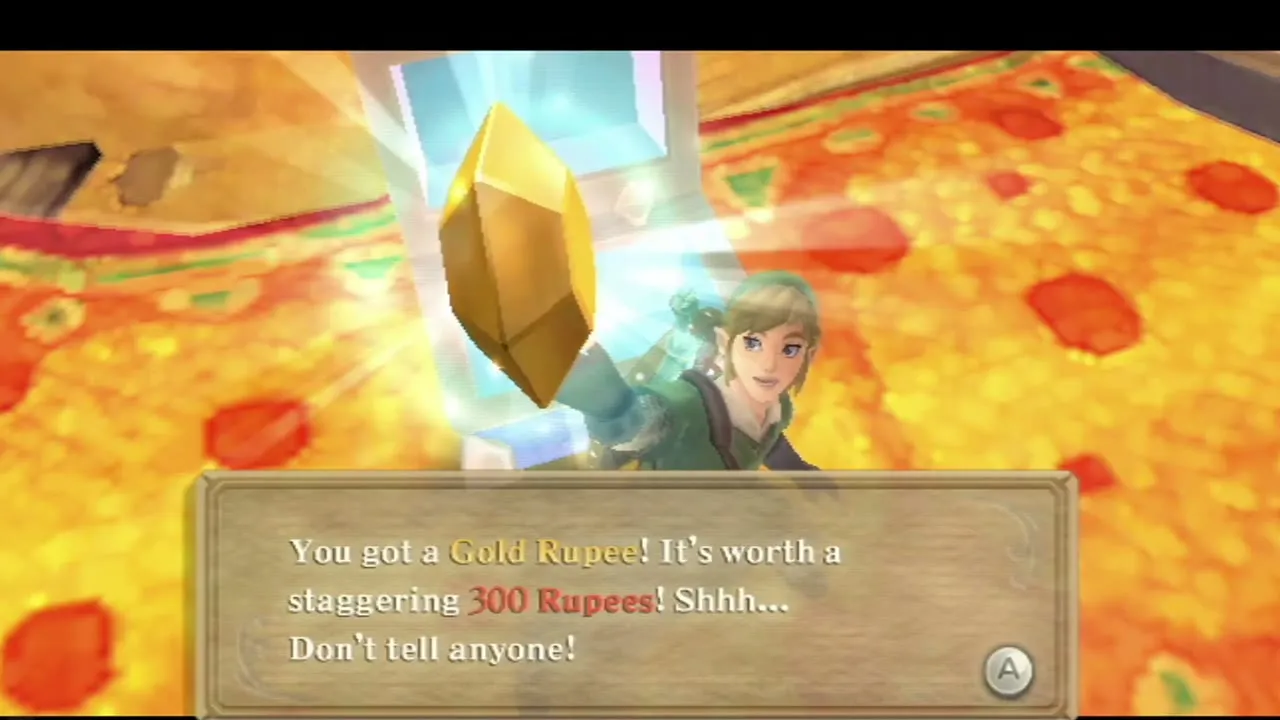
Fly to Pumpkin Landing, the farm island with the Lumpy Pumpkin bar. The Goddess Chest on the roof of the Lumpy Pumpkin was opened by the Deep Woods cube you struck on the way to Skyview Temple. It holds an Adventure Pouch expansion, so you can now carry one more item. The cube beside Skyview Spring opens a second chest on this island, above the bar doorway, with a Gold Rupee (300 Rupees).

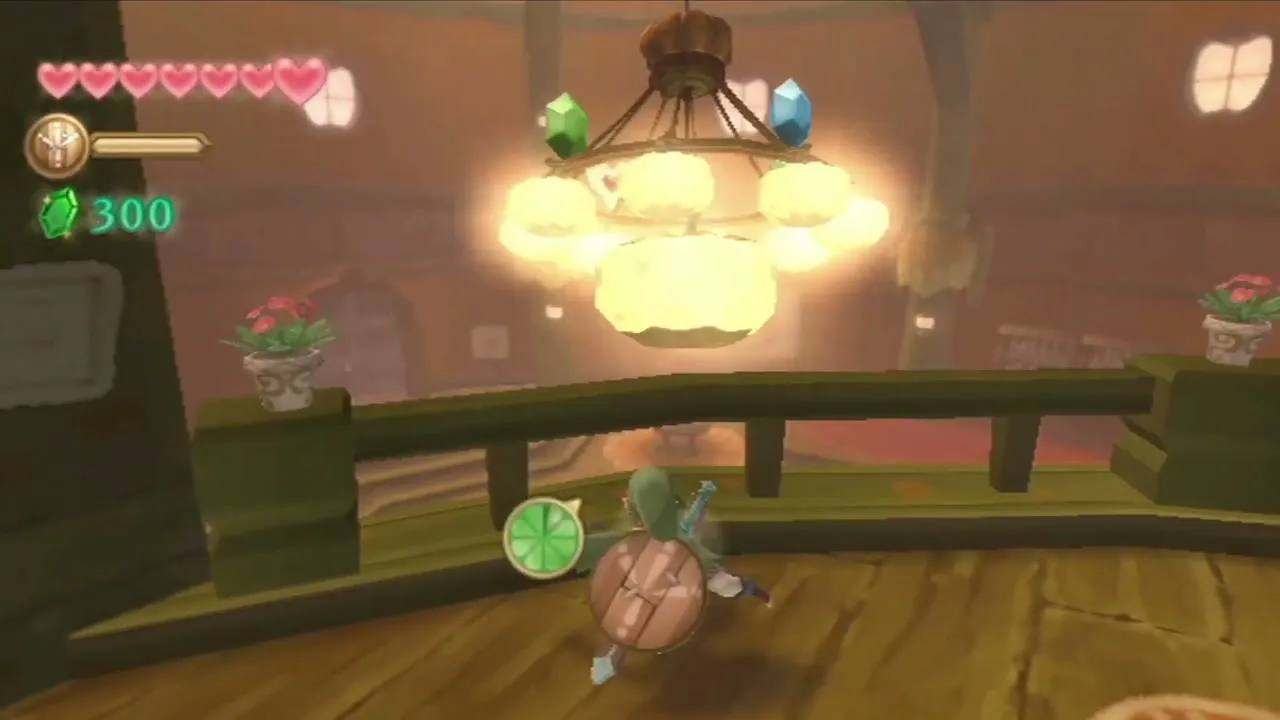
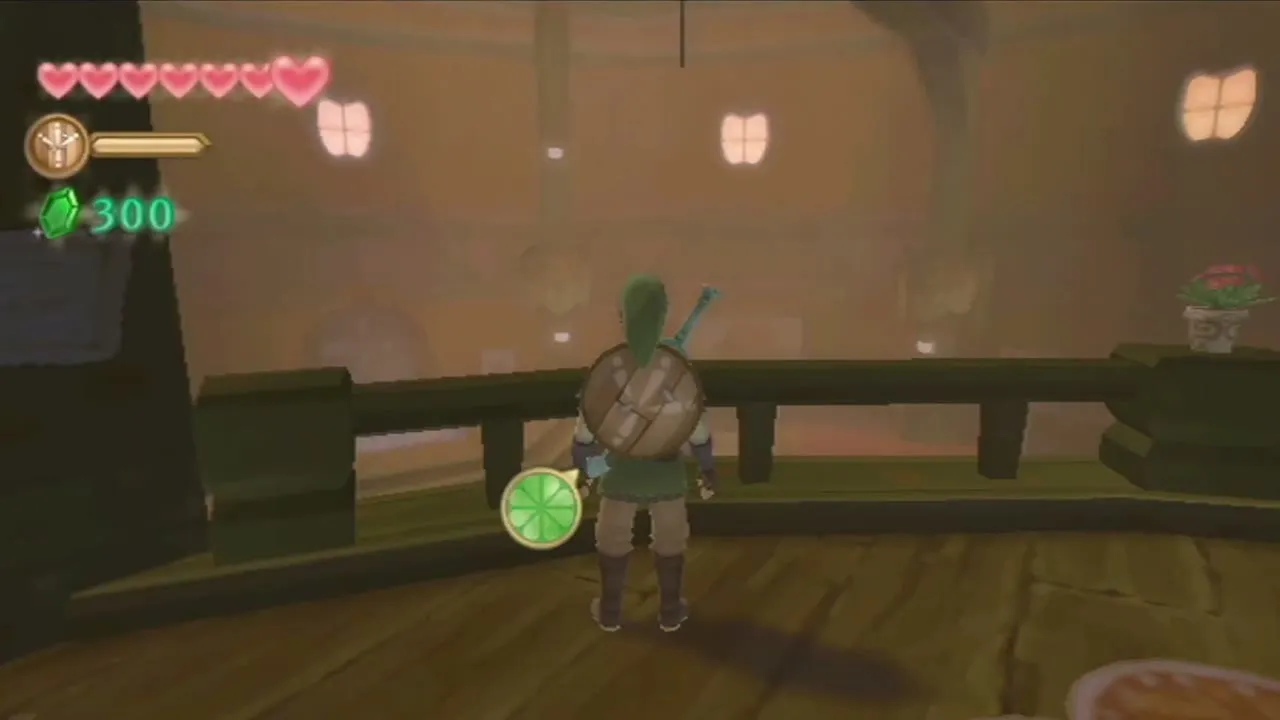
Inside the Lumpy Pumpkin, go upstairs and roll into the balcony railing twice. The shaking drops the chandelier, which spills Rupees and a Piece of Heart. Pumm, the owner, is furious and orders you to pay it off by delivering a bottle of his Hot Pumpkin Soup.

You need an Empty Bottle for the soup, so visit Luv’s Potion Shop in the Bazaar first if you have not collected your free bottle. Take the filled bottle to Knight Commander Eagus at the Sparring Hall before it cools, which gives you about five minutes. The delivery is only the first step of Pumm’s quest. The rest needs the Goddess’s Harp, so leave it until the Piece of Heart list says you can finish it.


How to get the Bug Net
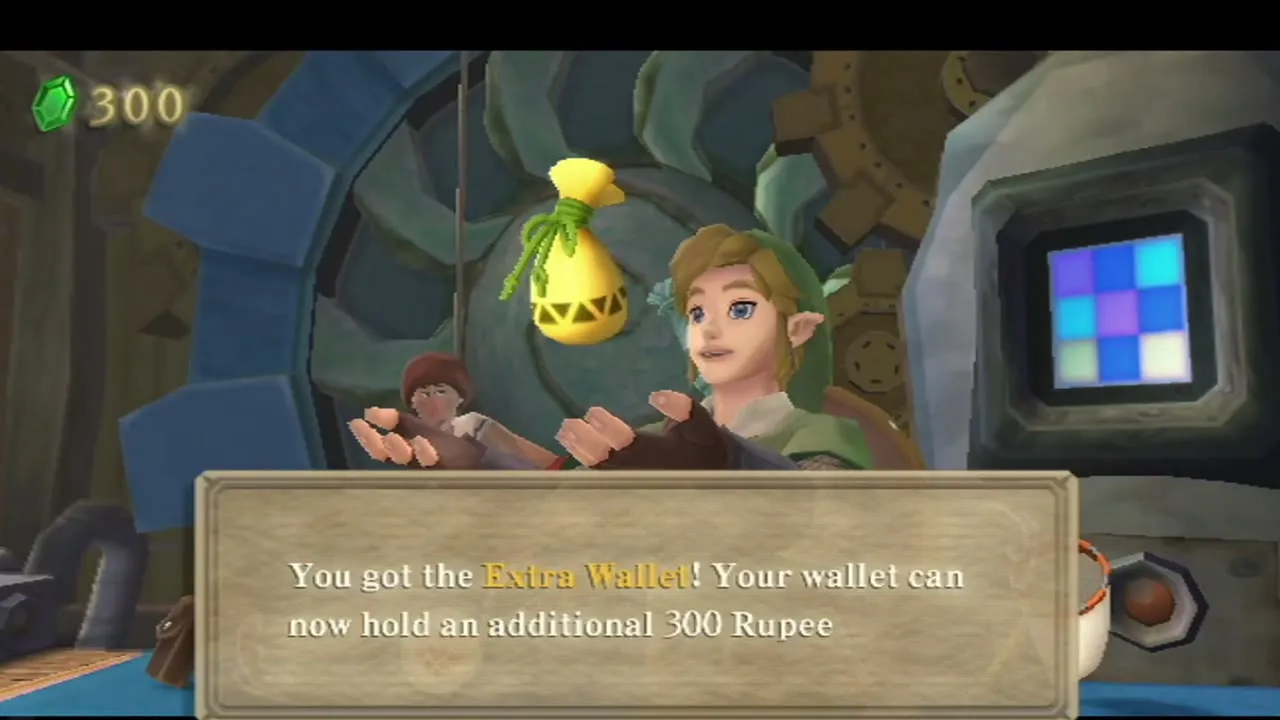
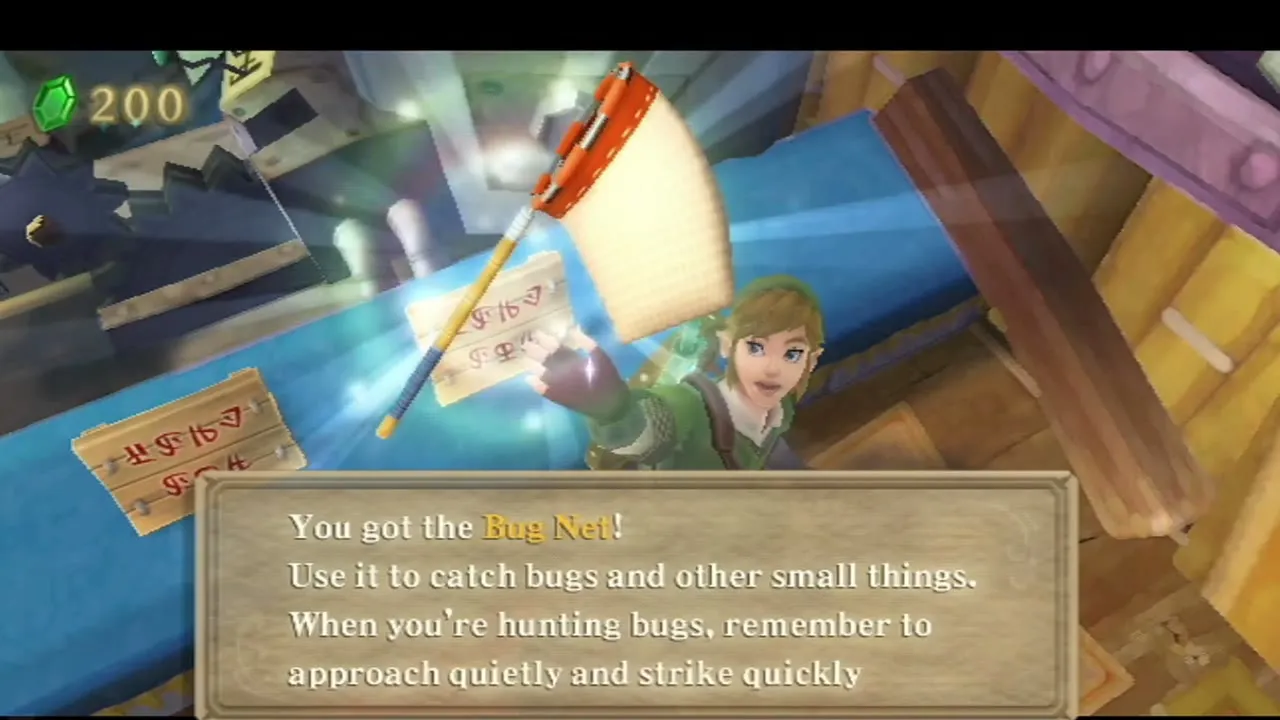
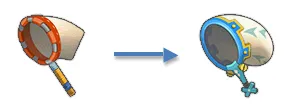
Beedle’s Airshop floats in the sky near Skyloft; hit its bell with the Slingshot. The Bug Net costs 50 Rupees and is worth buying now, because Eldin has bugs you can sell or use in potions. The Extra Wallet costs 100 Rupees and raises your limit by 300. The shop also sells further Adventure Pouch slots, but save your money for the upgrades in the next section until your wallet fills up.

Shields, the Scrap Shop and Heart Potions
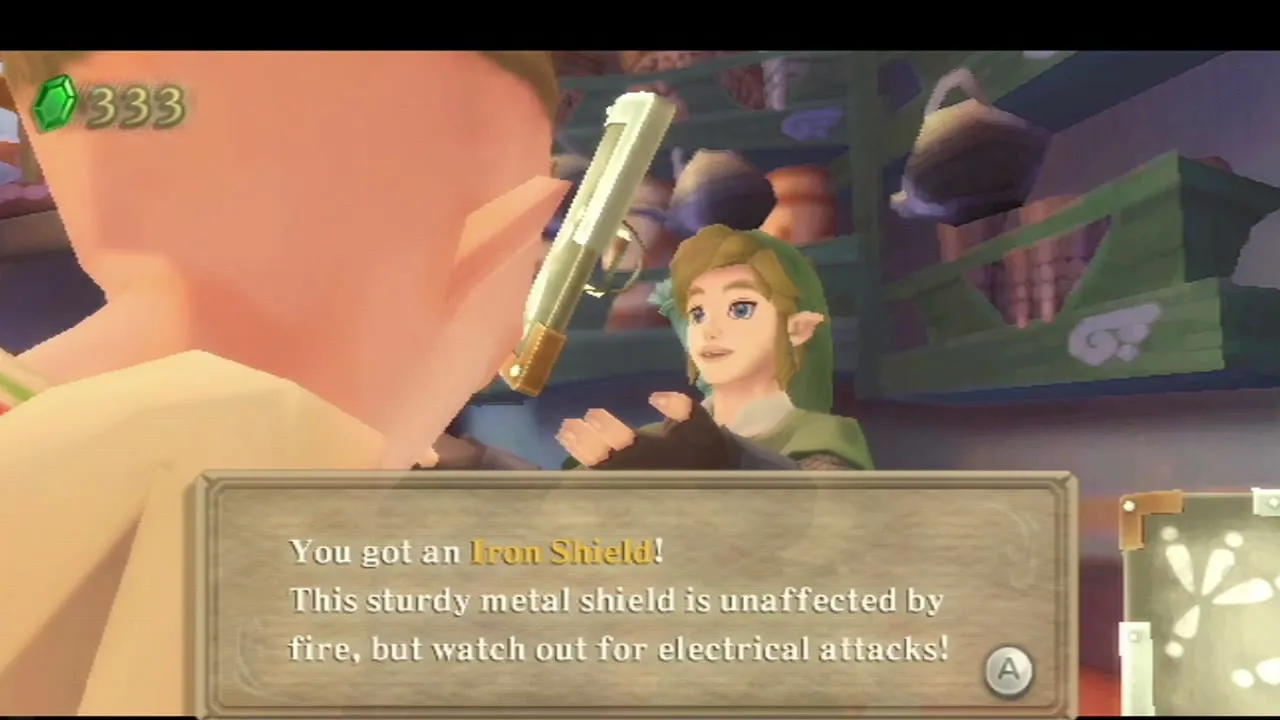
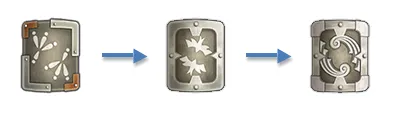
Rupin’s Gear Shop sells the Iron Shield for 100 Rupees once Skyview Temple is done. Buy it before Eldin, because wooden shields burn in the lava heat and Red Chuchus and Fire Keese set you alight.

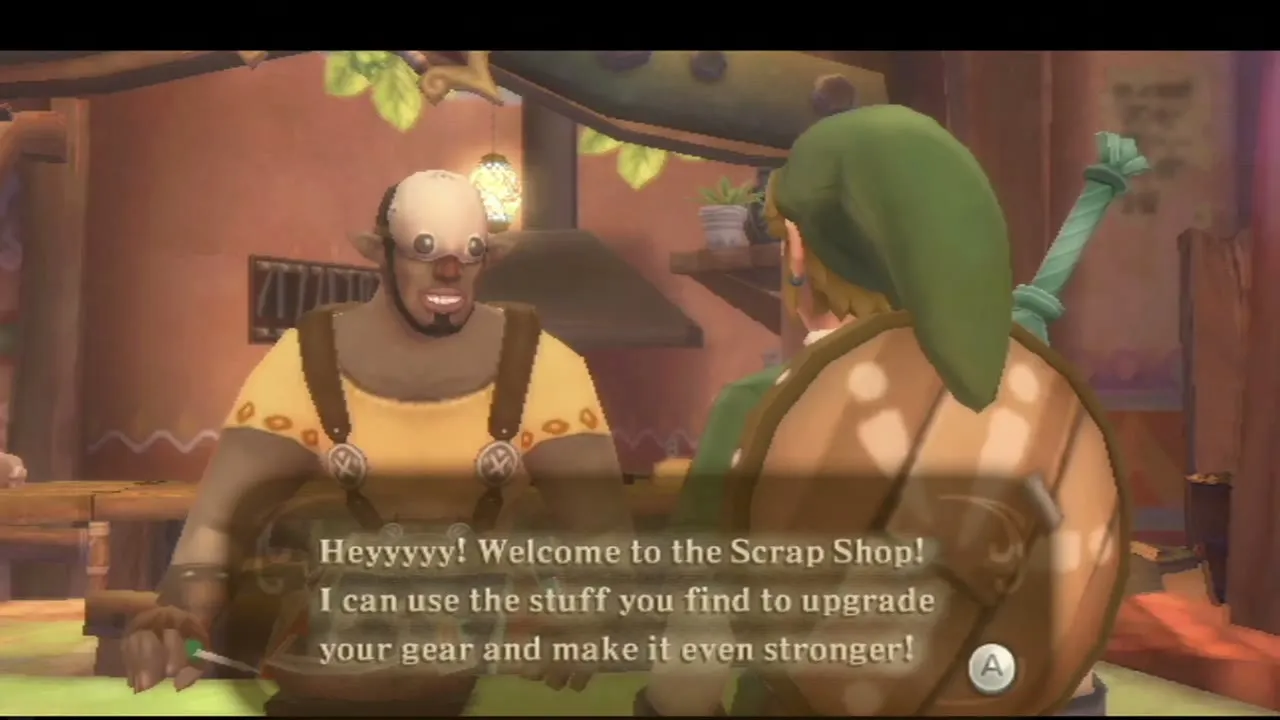
Gondo’s Scrap Shop turns spare treasures into stronger gear. The Wooden Shield becomes the Banded Shield for 30 Rupees, 2 Amber Relics, 1 Monster Claw and 1 Jelly Blob. The Slingshot becomes the Scattershot for 50 Rupees, 2 Dusk Relics, 2 Amber Relics and 3 Jelly Blobs. You will not have every material yet, so check the upgrade list as you collect them.

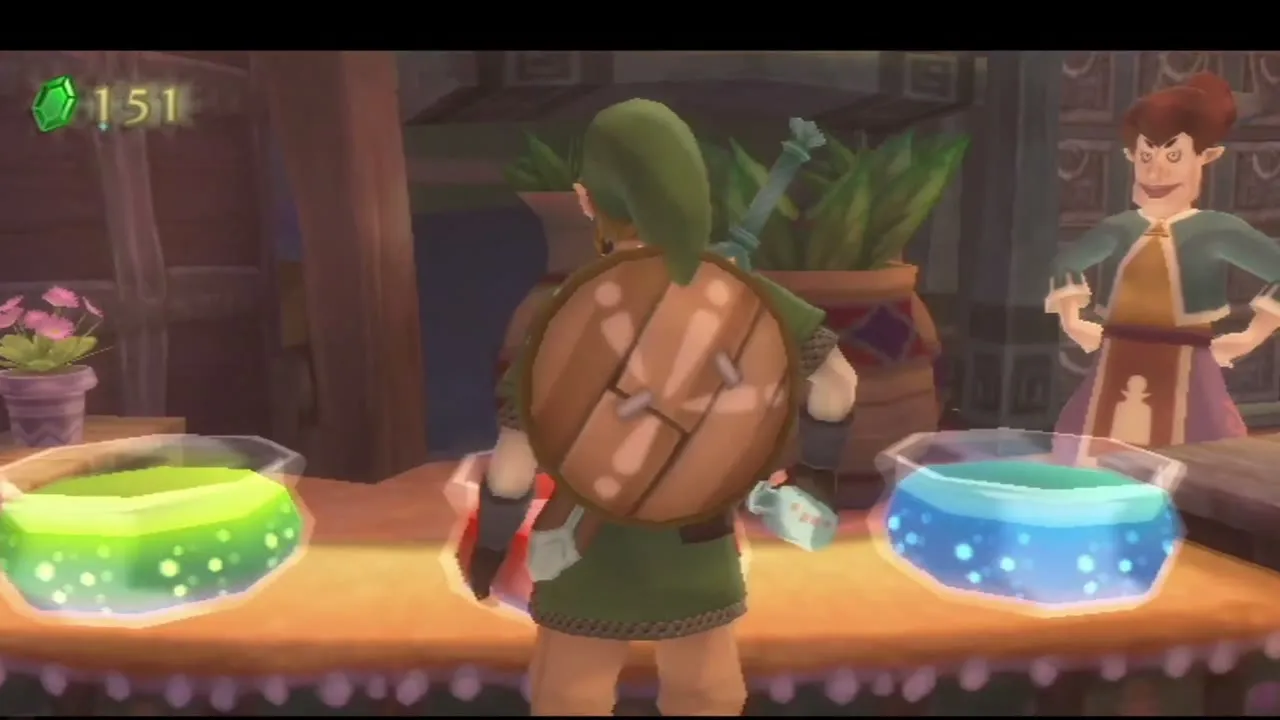
At Luv’s Potion Shop a Heart Potion costs 20 Rupees and refills eight hearts. Fill a bottle before you leave, since Eldin’s fire damage adds up quickly.
Find Kukiel and meet Batreaux
Wryna, standing near the Statue of the Goddess, asks you to find her missing daughter Kukiel. This starts every Gratitude Crystal quest in the game. Ask around Skyloft, then fly to the Lumpy Pumpkin on Pumpkin Landing, where an old man called Rusta, at one of the tables, tells you what he saw: a monster hitting a gravestone near the big tree at night.
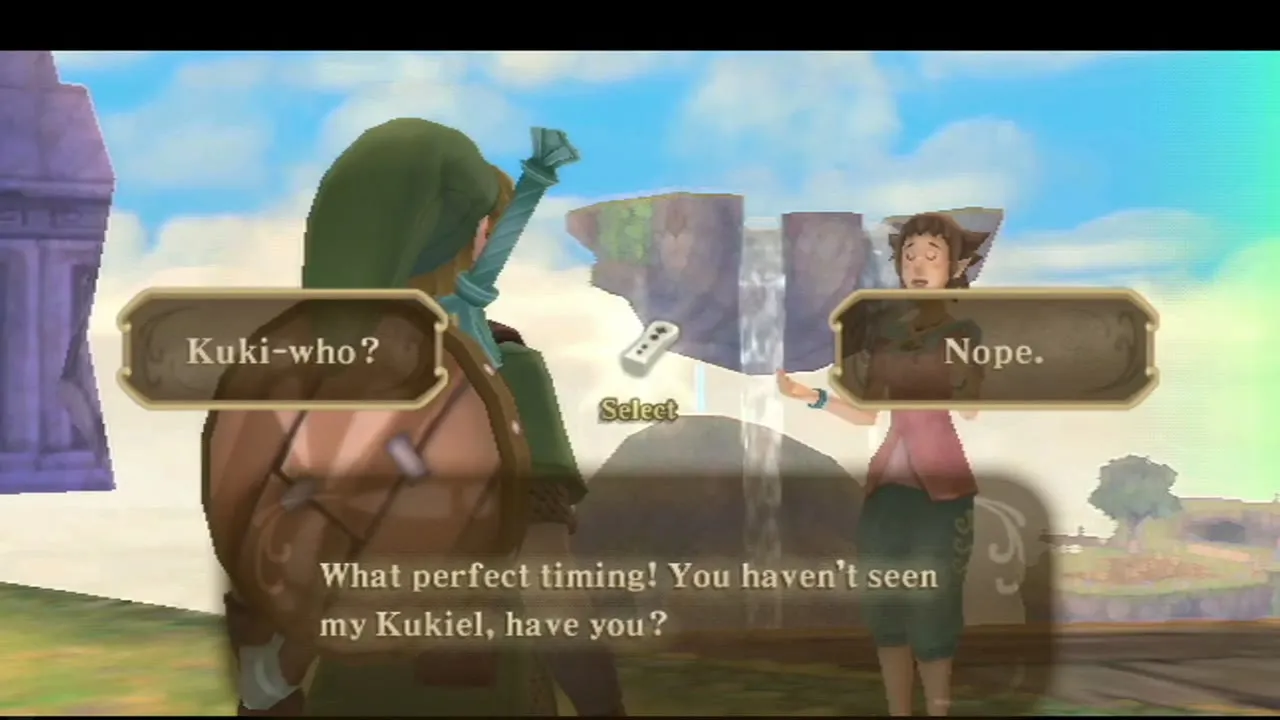

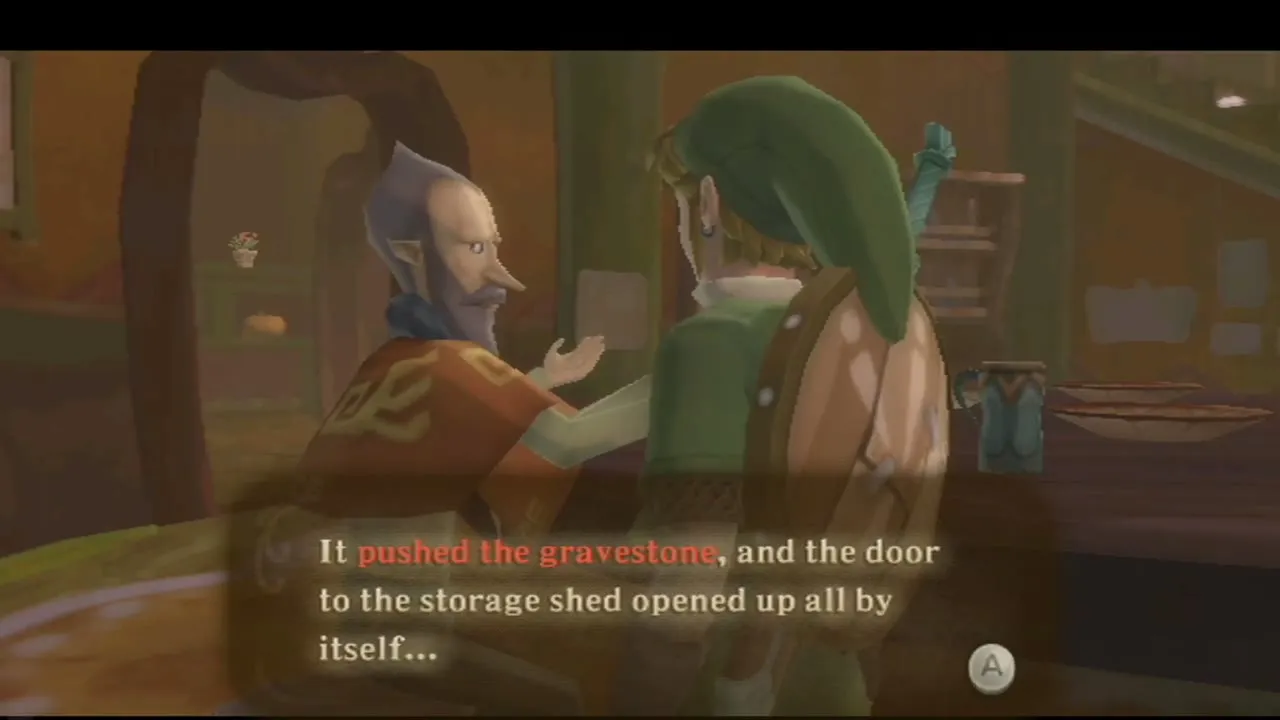
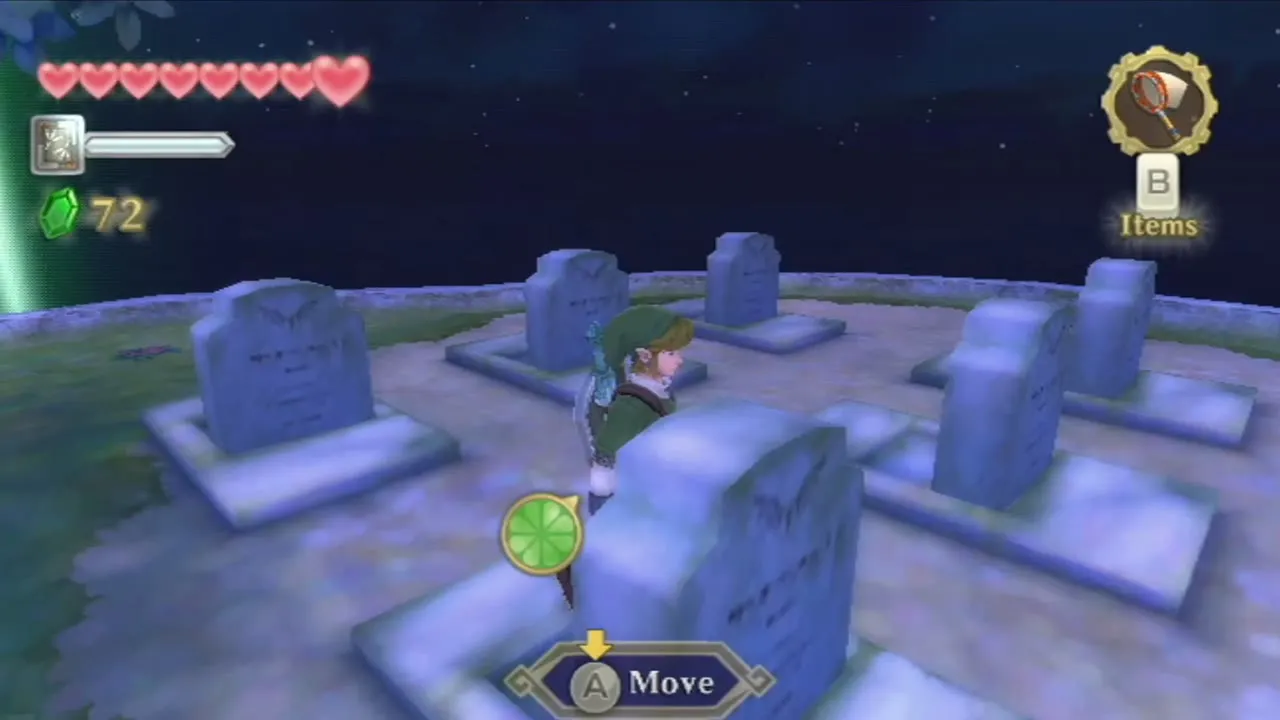
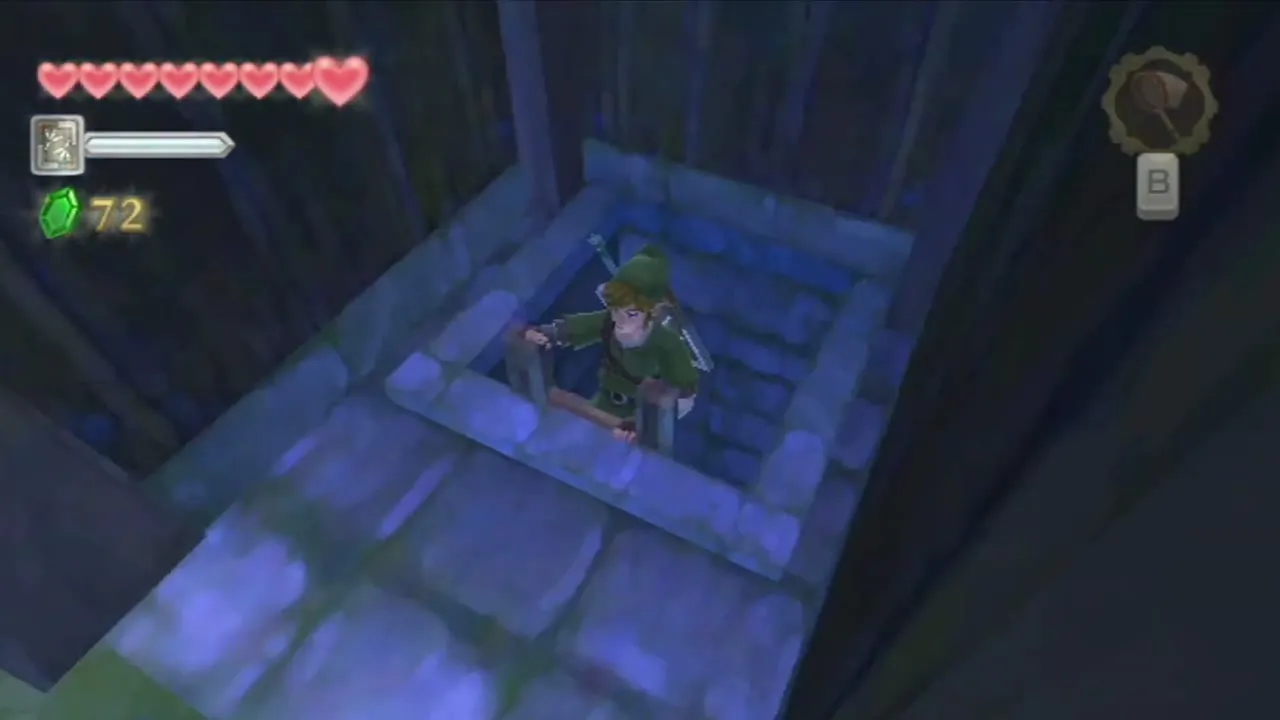
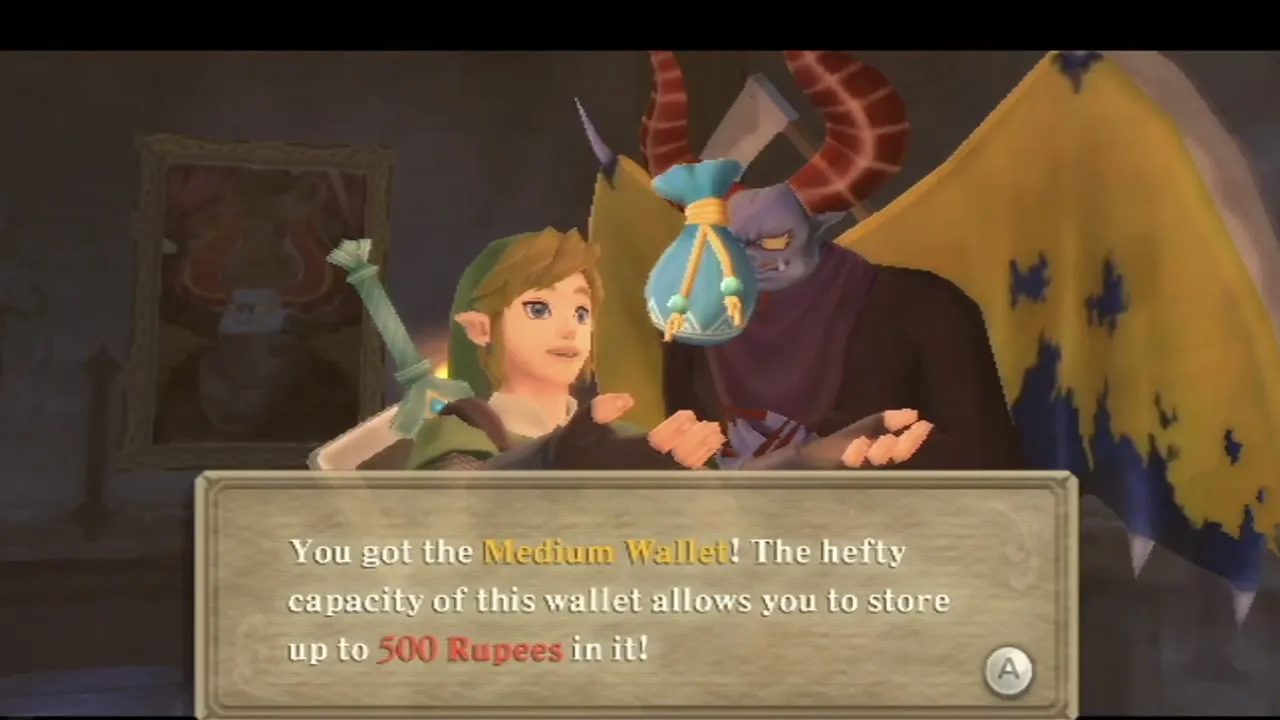
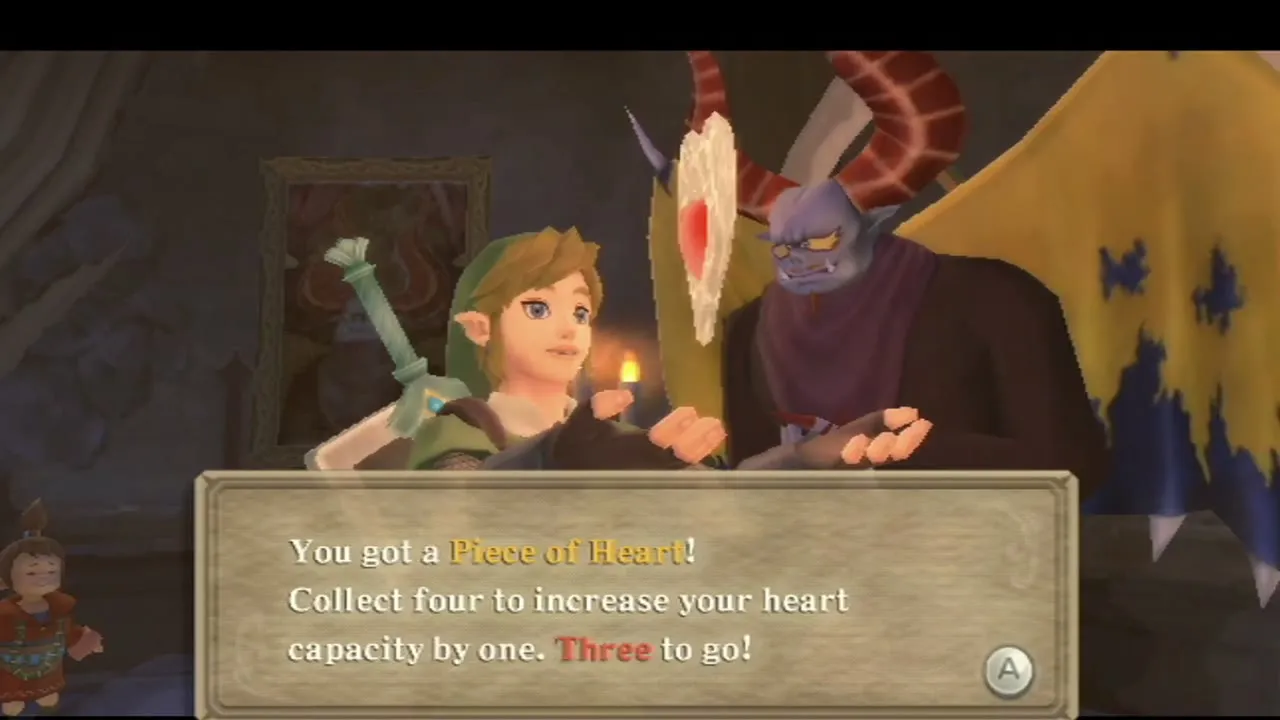
Sleep at Link’s bed until night, then go to the cemetery. Push the gravestone nearest the big tree (hit it with your sword or roll into it if it does not light up) and the door of a storage shed swings open; stairs inside lead down to Batreaux and Kukiel. There Batreaux, a winged demon, waits with Kukiel and means her no harm. He wants to become human and asks you to bring him Gratitude Crystals, which you earn by helping the people of Skyloft.

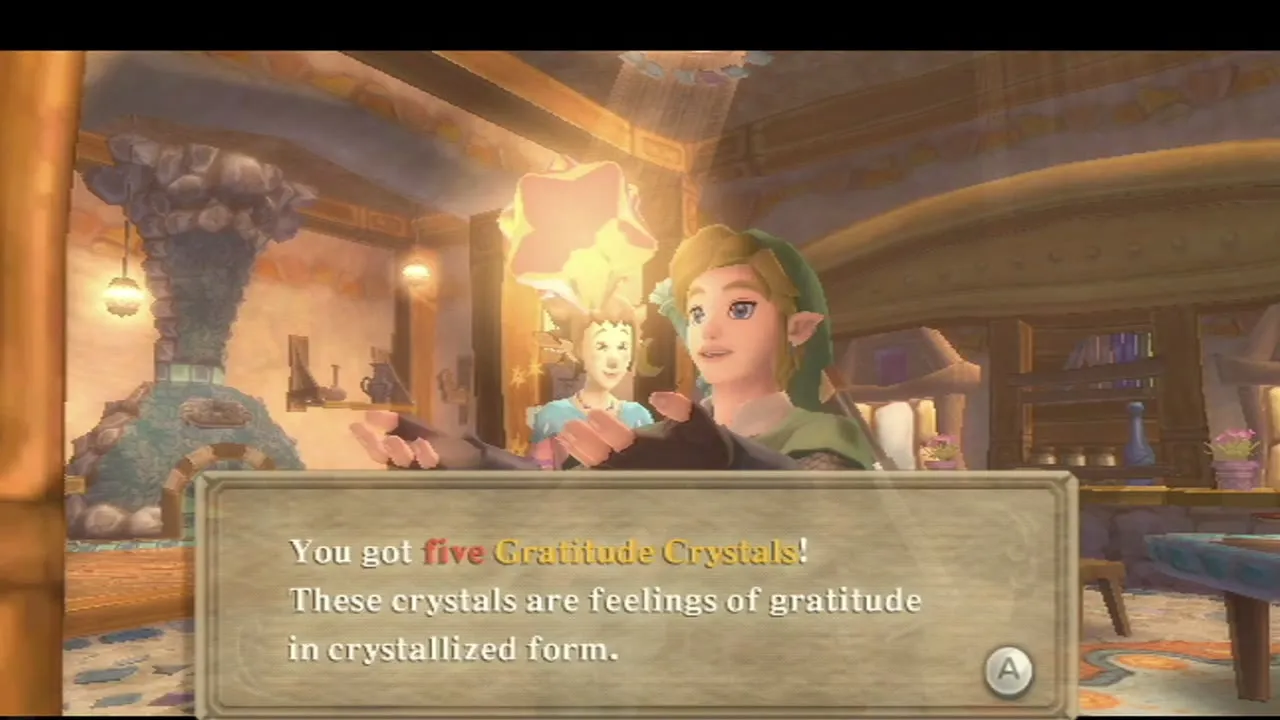
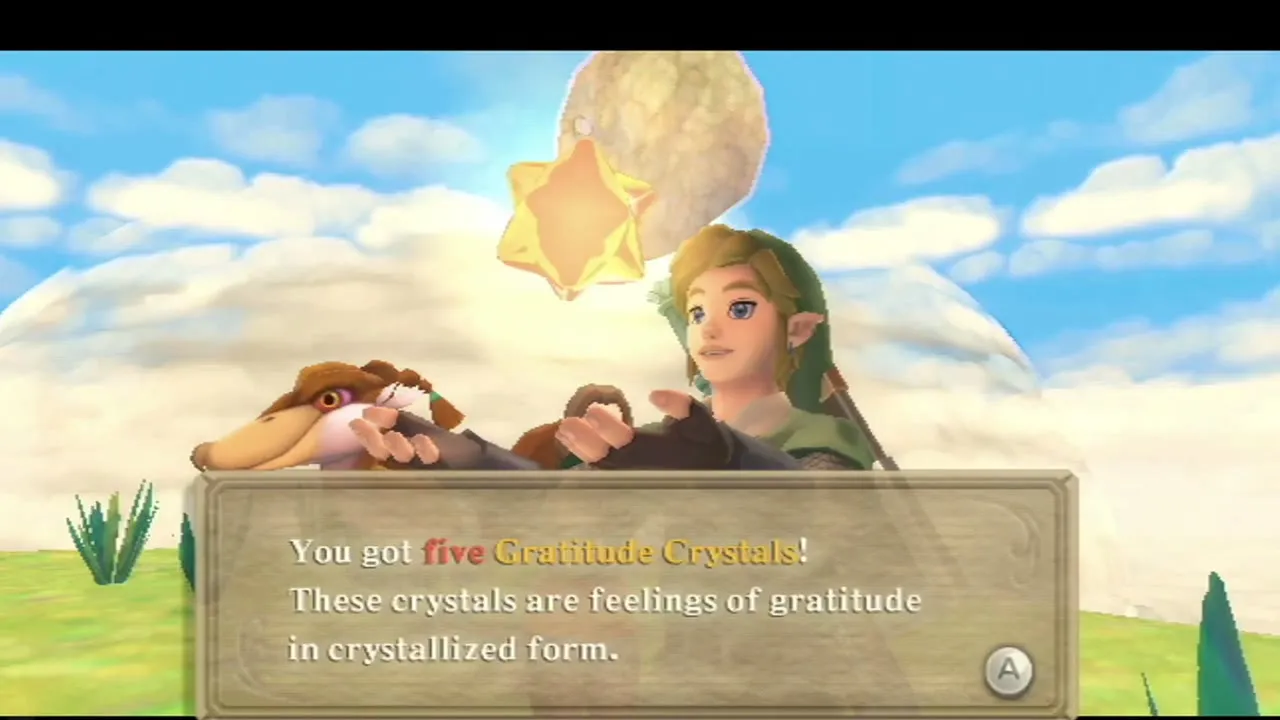
Go back to Wryna in the morning and she pays you five Gratitude Crystals. Batreaux hands out rewards as your total grows, and his full list of rewards is on the Gratitude Crystals page.
Find Orielle and the Mushroom Spores
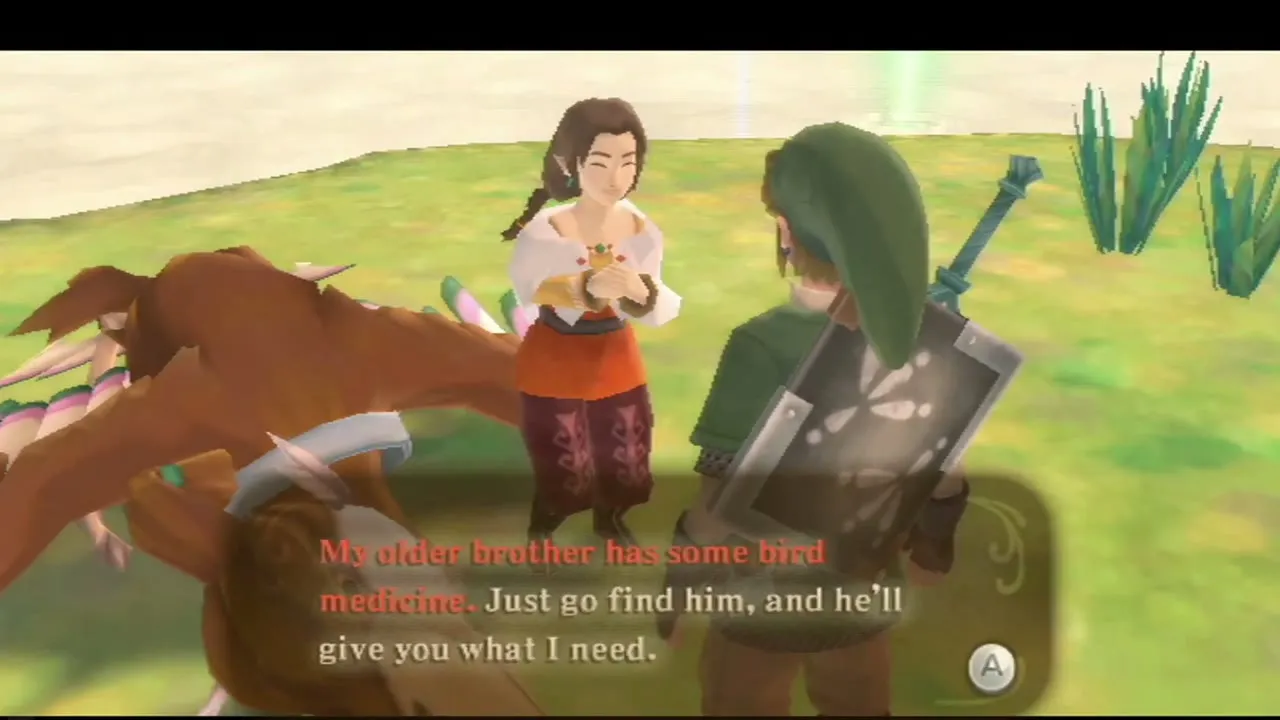
Parrow, in the Skyloft plaza, is worried about his younger sister Orielle. Fly to the small grassy island in the Sky where she is stranded and find her with her injured Loftwing. She needs Mushroom Spores to heal it.

Speak to Parrow, who gives you the spores in a bottle that you keep. The quest earns you one of the five bottles in the game. Carry the spores to Orielle on her island. She pays five Gratitude Crystals, and Parrow adds five more when you speak to him again. With the five from Kukiel, that brings you to fifteen crystals.
The Piece of Heart on the southern island
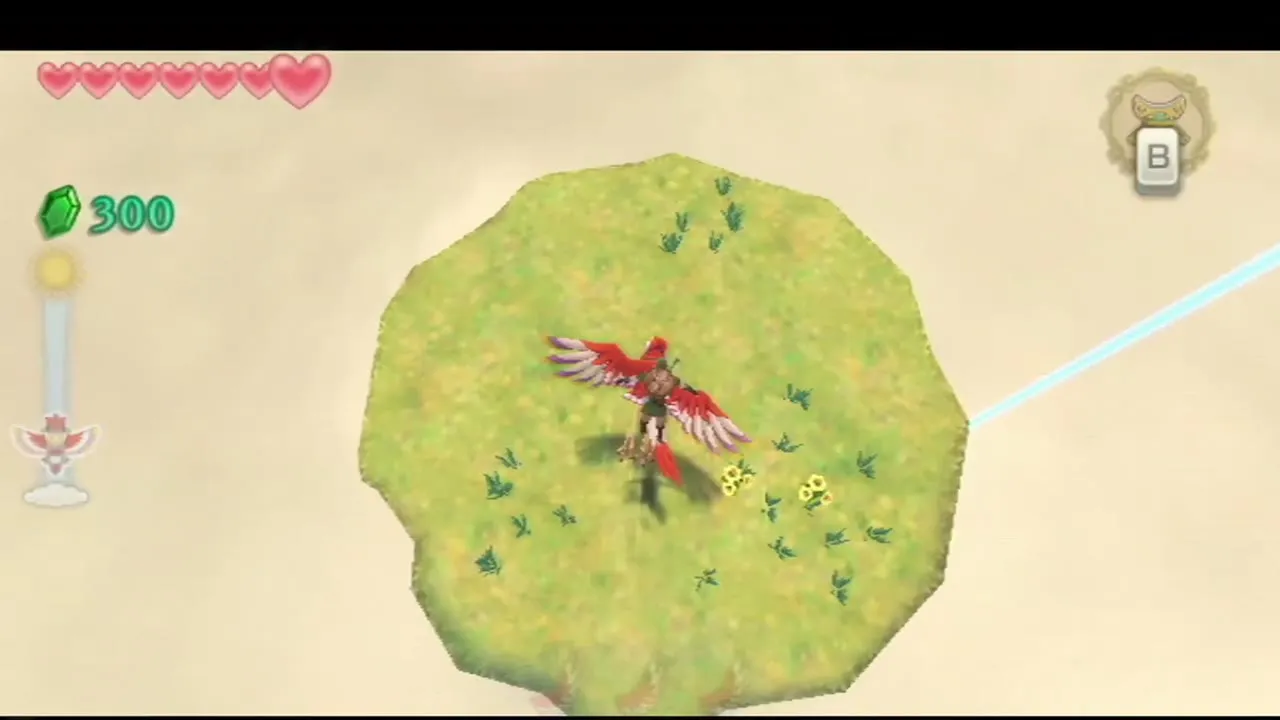
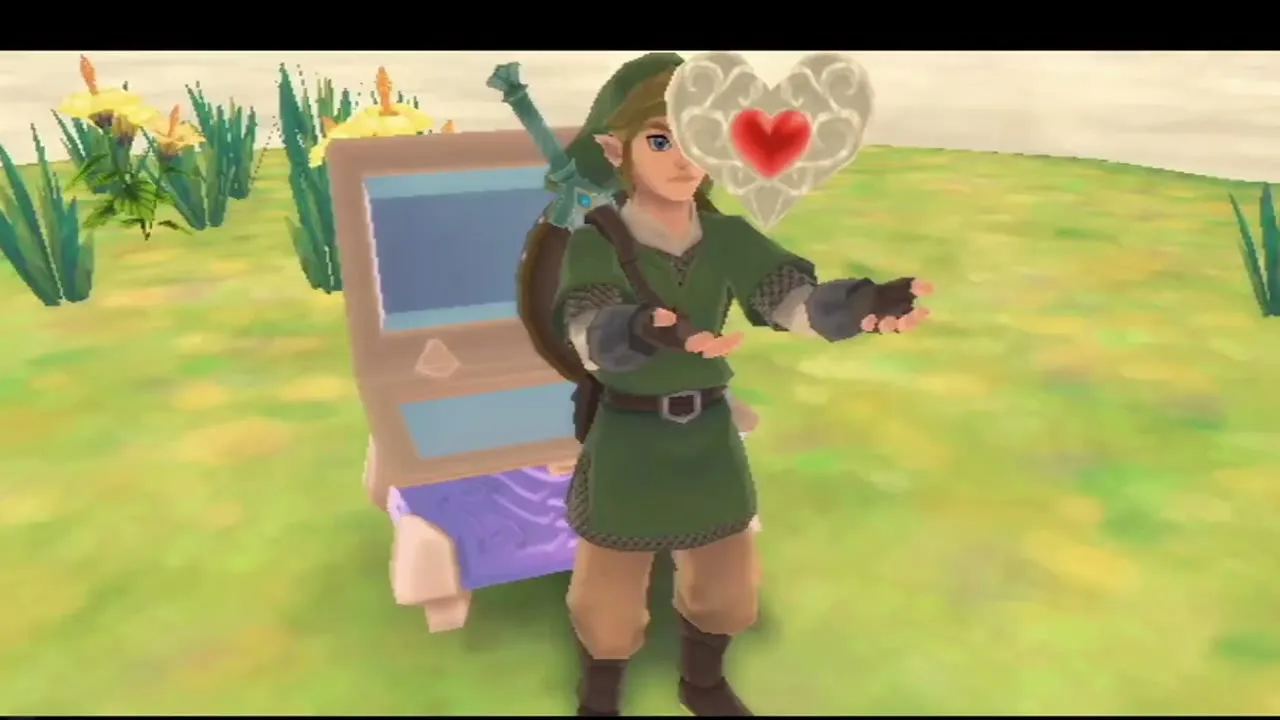
The cube beside the Skyview Temple entrance opens a Goddess Chest on a small grassy island just south of Skyloft. Land your Loftwing there and open it for another Piece of Heart. See the Goddess Cubes page for the other chests as they unlock.

Volcano Entry to the first Mogma
How to reach Eldin Volcano
Call your Loftwing by diving off the edge of Skyloft and whistling, then fly to the opening Fi marked. Dive through it to land at Volcano Entry. Fi warns you about the heat and tells you that flames can be put out with a roll or a spin attack. Equip the Iron Shield now and watch the Bird Statue here, which saves your game and lets you return to the sky.

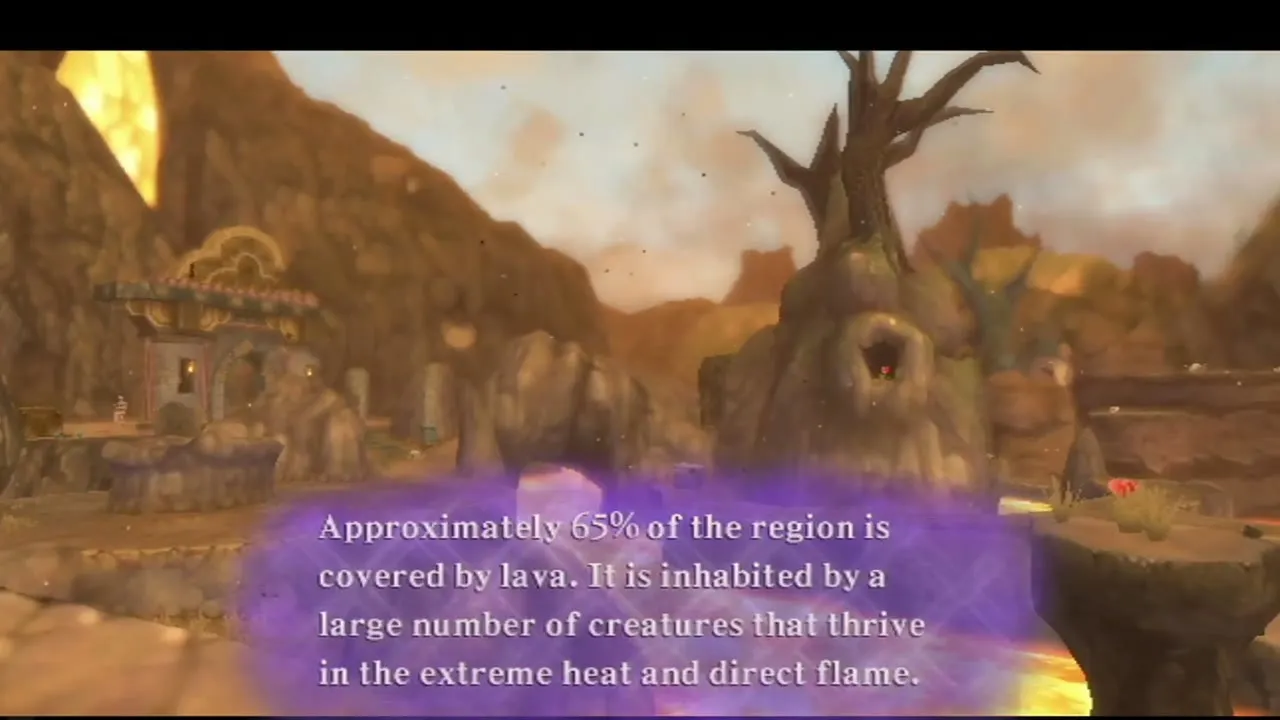
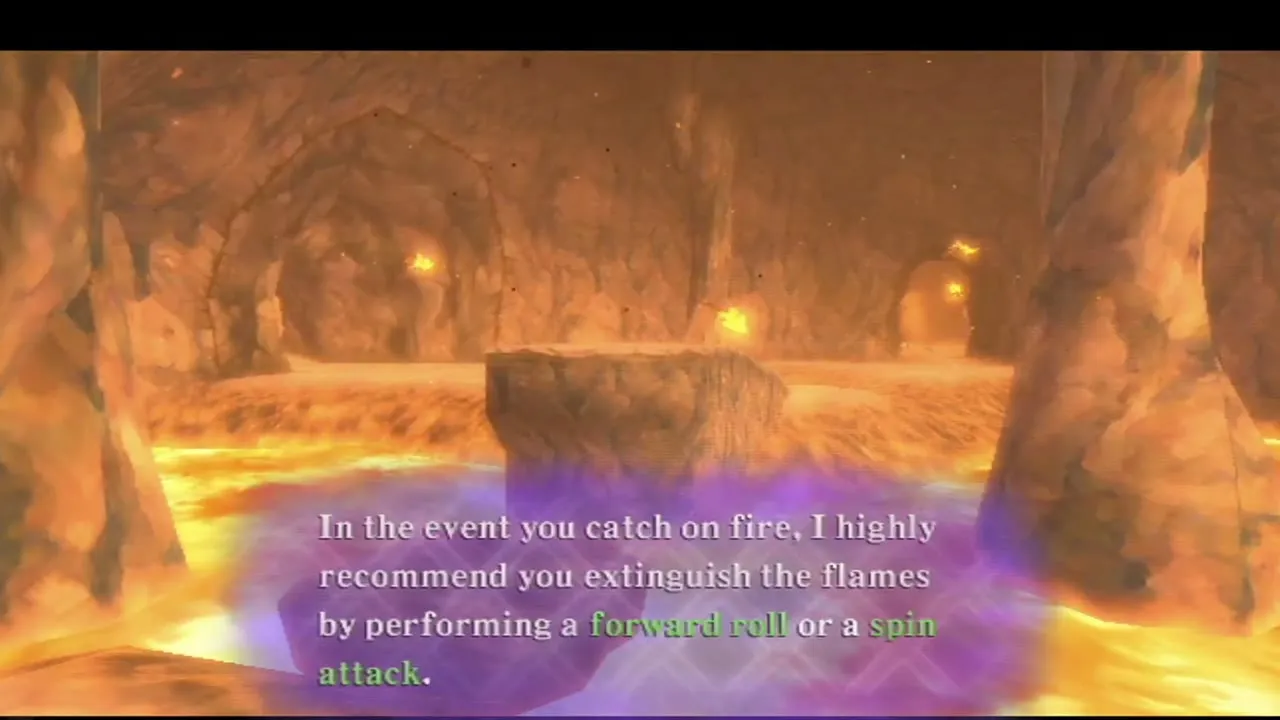
Fight the Red Chuchus that come at you and hit them until they fall. Drop off the ledge to the left to find the first Goddess Cube of Eldin. Raise your sword to charge a Skyward Strike and let it fly at the cube. Cube 4’s chest, on an island northwest of Fun Fun Island, holds the Small Seed Satchel.

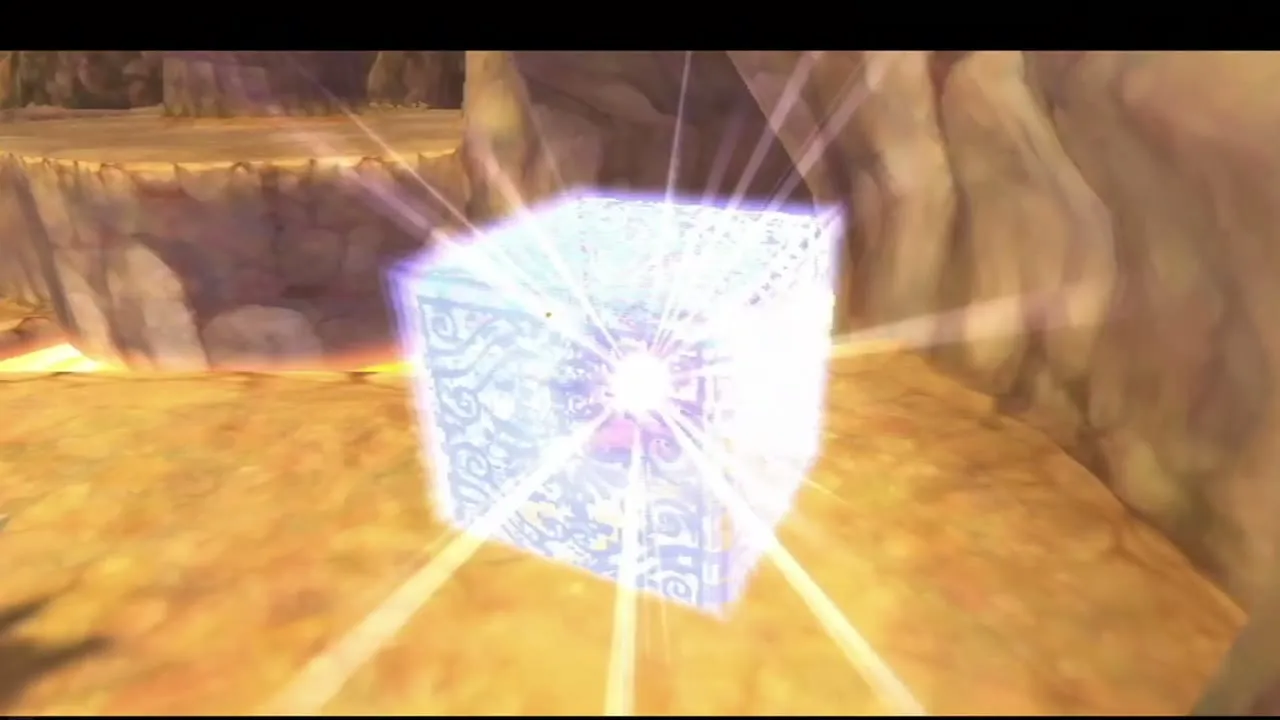
Go along the path to meet two Mogmas, who have not seen your friend and point you up the mountain, and fight the Fire Keese on the way. Cross the land bridge where the lava rises and falls. Run when it drops, and do not stop in the middle.
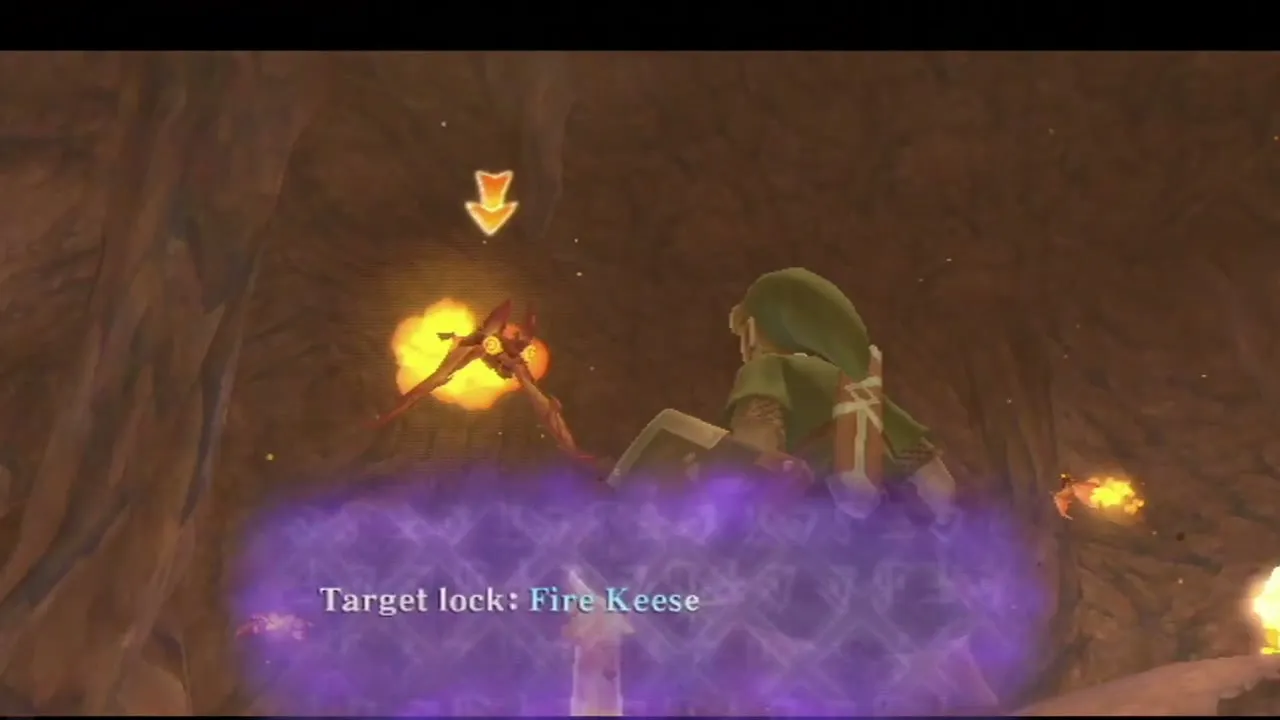


Bomb flowers, Fire Keese and the first fork
Mogmas show you bomb flowers, which you do not need a Bomb Bag to use. Pick one up with A and throw it, or roll it along the ground. Roll one into small gaps and openings to blow away the rock piles that block the way, and roll one into the small hole near the huts for a Blue Rupee.

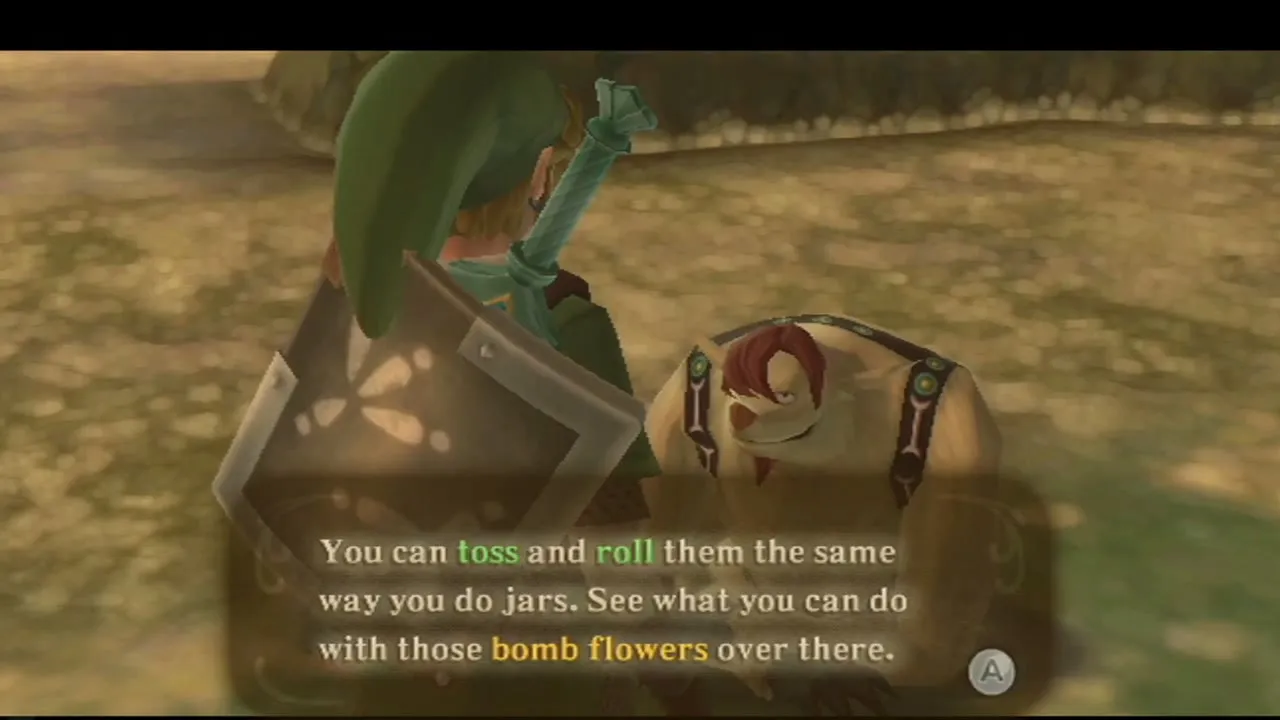
Around the huts you can catch Volcanic Ladybugs with the Bug Net. Keep a few, because they go into Bertie’s potion upgrades; see Bugs and Treasures. Then follow the revealed passage past more Fire Keese to the fork, where a second Bird Statue (Volcano East) saves your game.

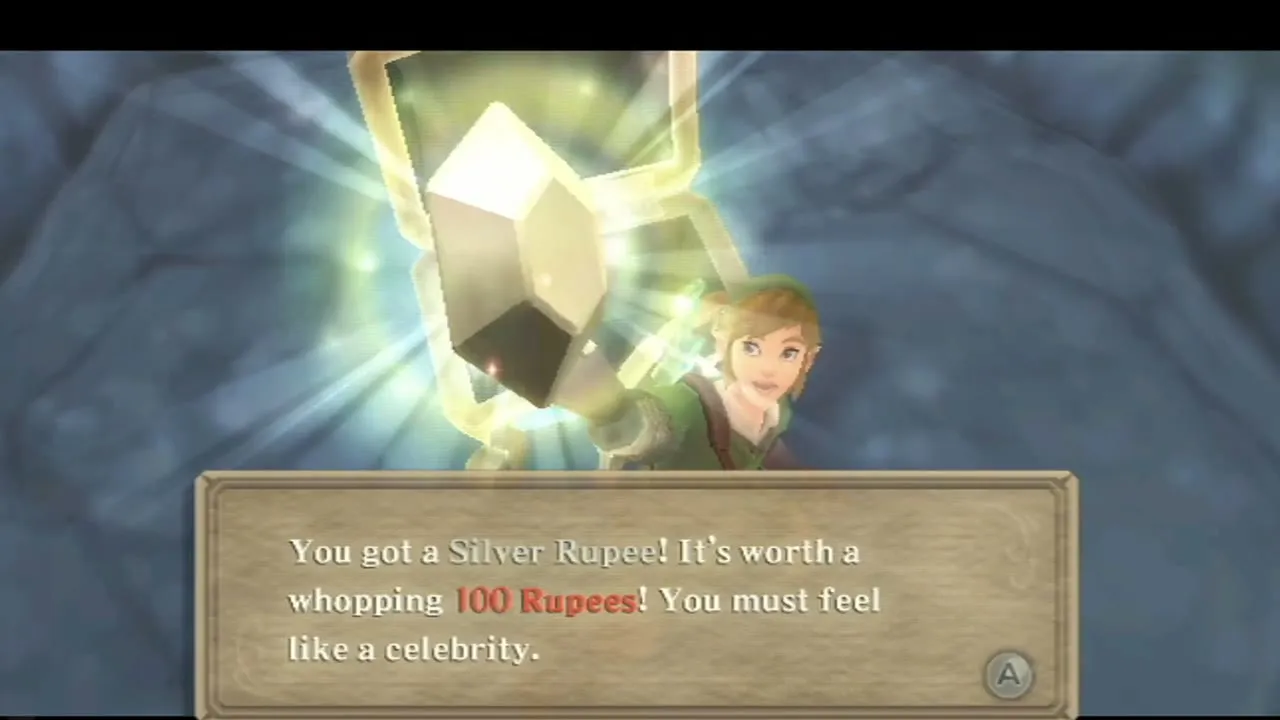
Go north from the statue to the intersection and take the branch to the second Goddess Cube, which you strike with a Skyward Strike, then return to the fork. Its chest, on an island northwest of Beedle’s Island, holds a Silver Rupee (100 Rupees).
Pyrups and the Bokoblin Leader
Drop down past the Mogma and fight the Pyrup, a lava creature that you beat with bombs. Roll a bomb flower into the hole it comes from, or throw one into the opening on top of the shell where another Pyrup hides. Keep a safe distance, because their flames hurt.
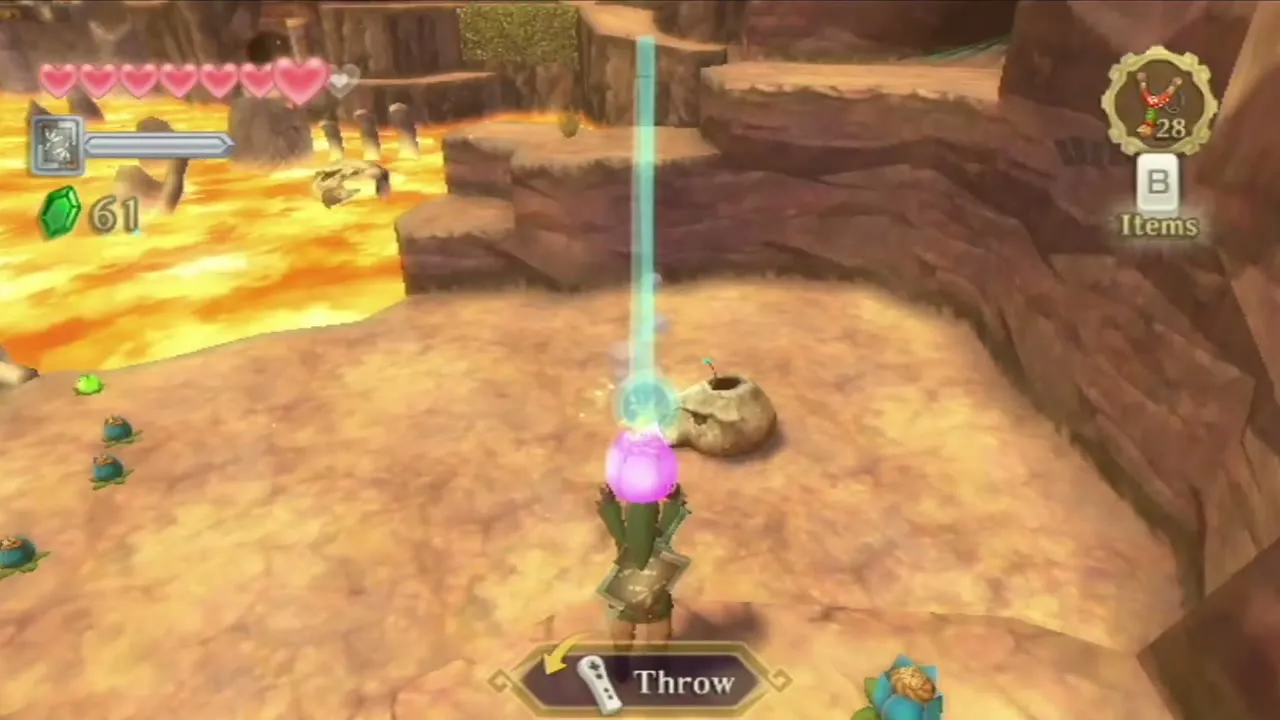
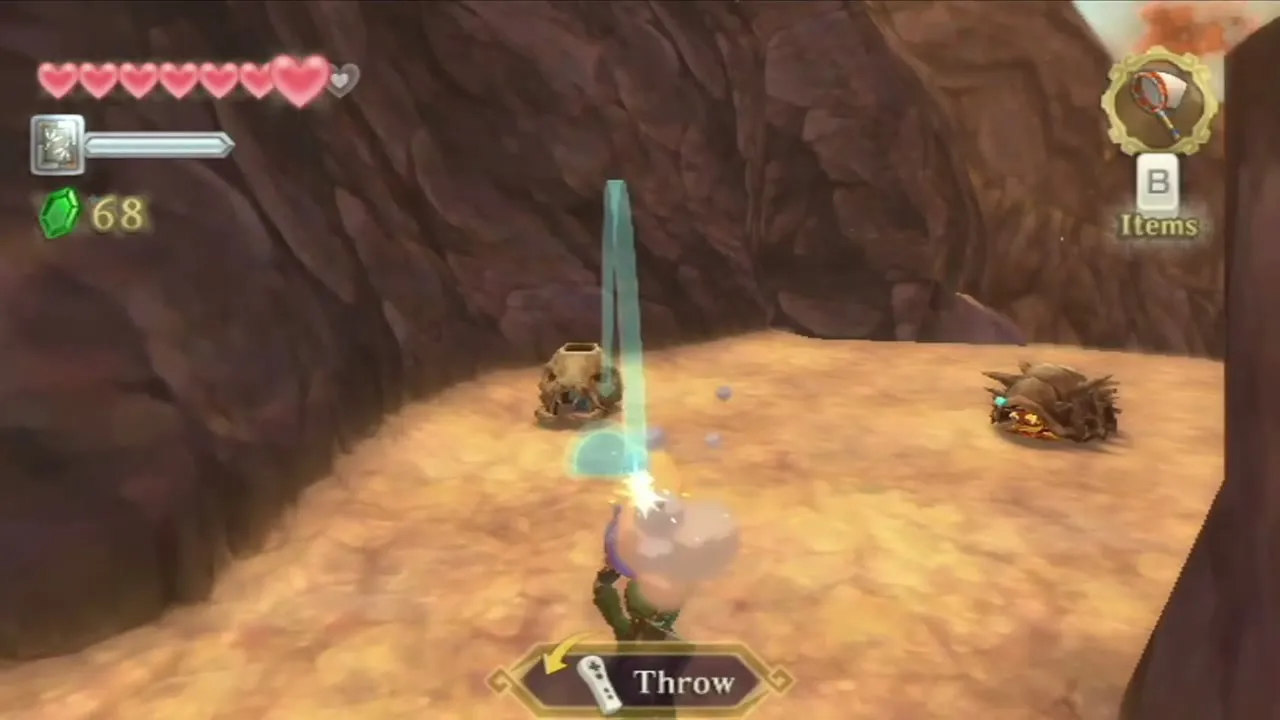
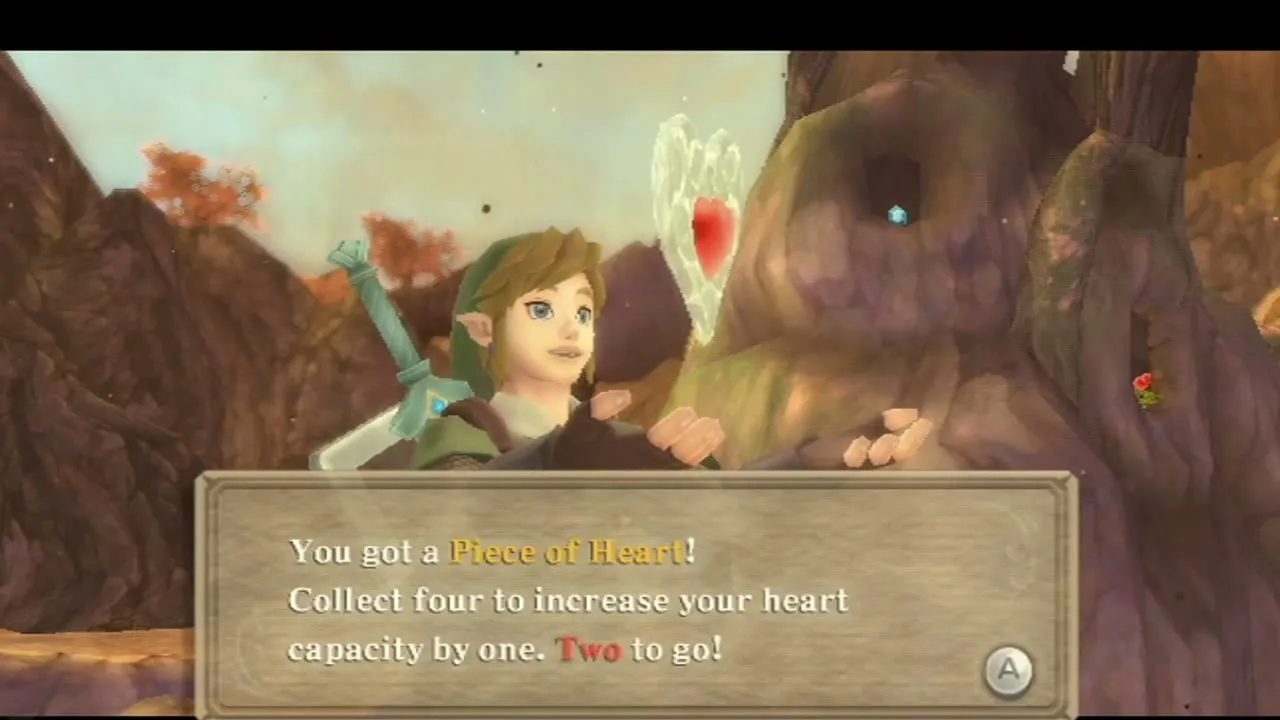
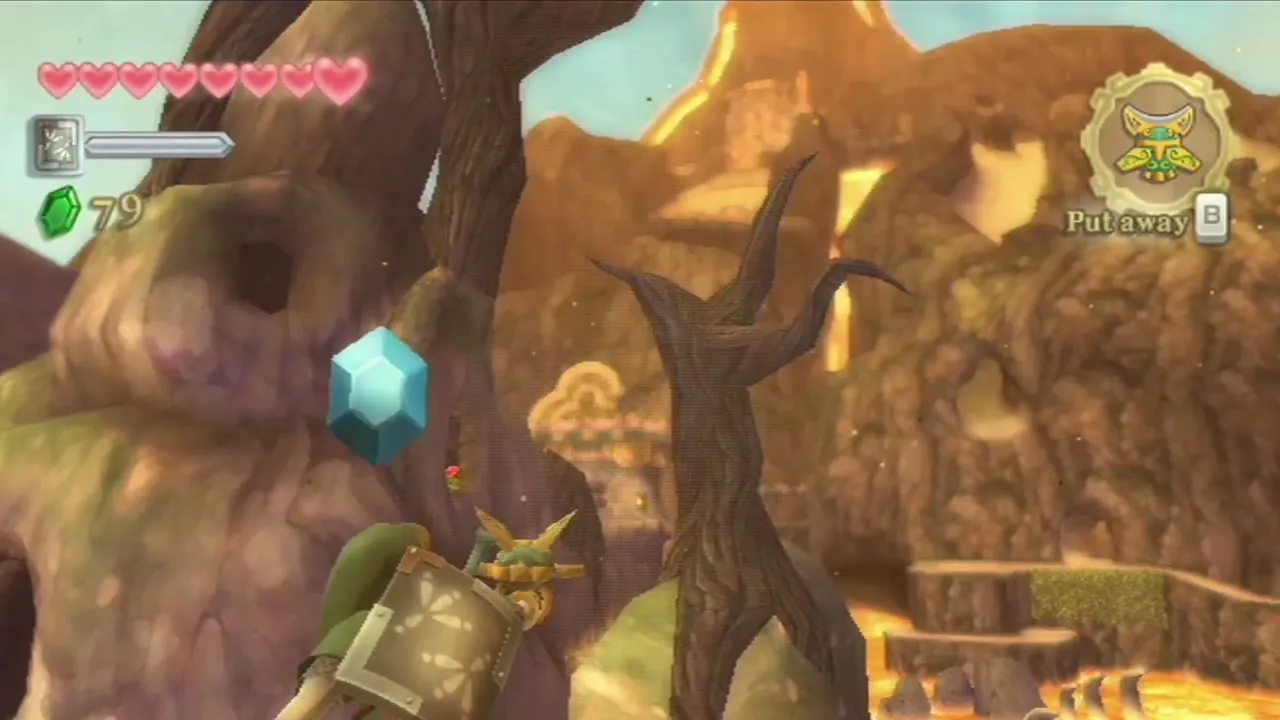
Before you reach the bone bridge, climb the rocks around to a high cliff ledge among the dead trees. Two Pyrups guard it, so bomb them first, then take the Piece of Heart. It is your first Piece of Heart in Eldin and needs no extra item.
The lava plug and the sinking bridge
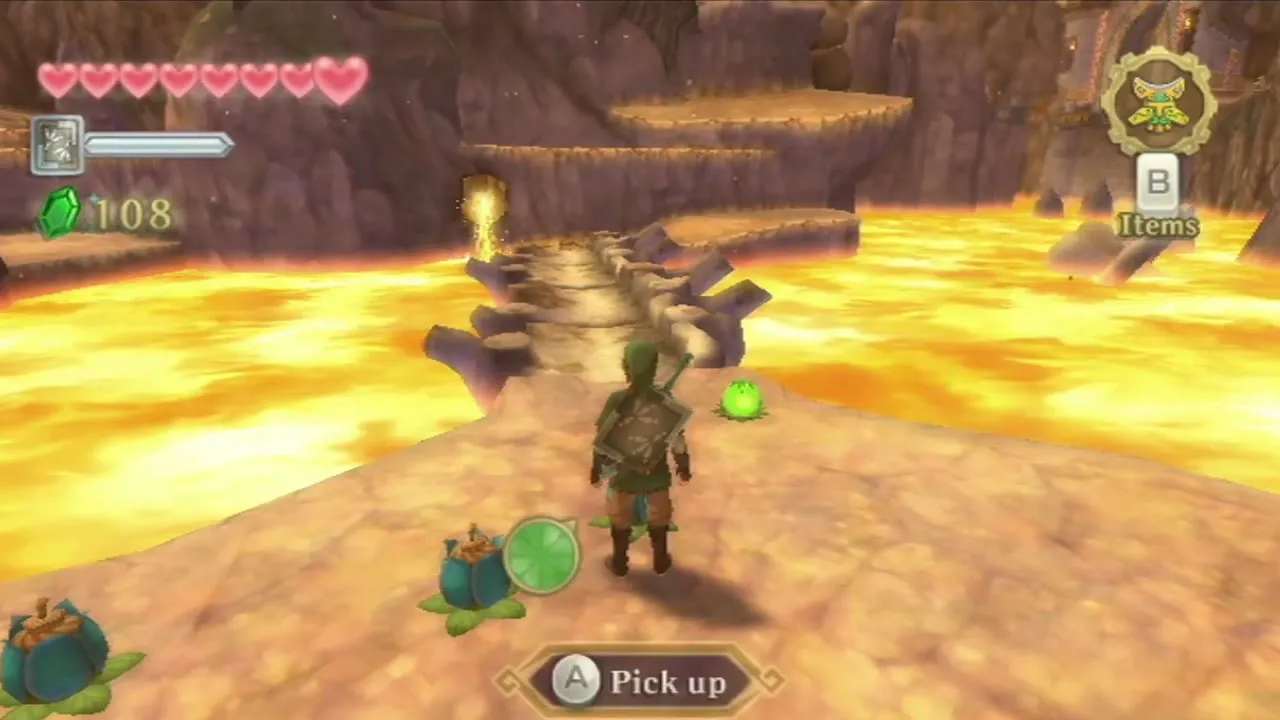
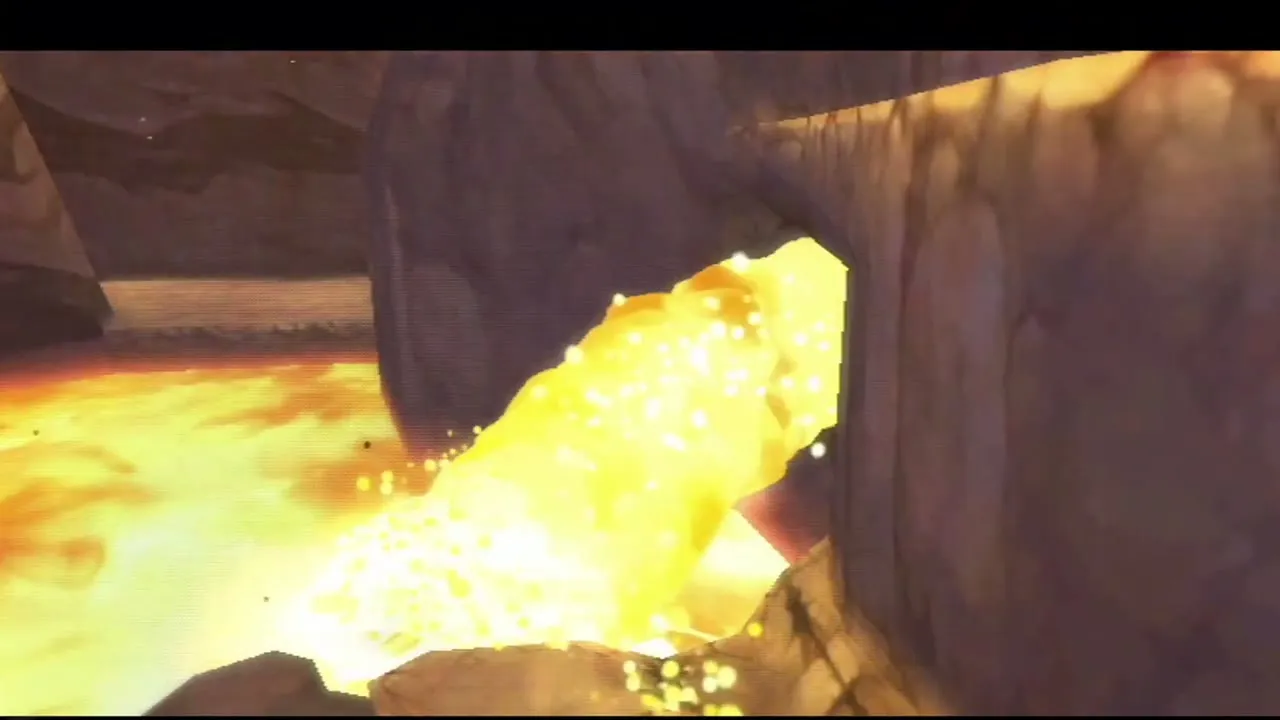
Cross the sinking bone bridge quickly. A Mogma on the far side explains that a boulder holds back the lava. Cross back, pick up a bomb flower from the far side and roll it along the bridge to the plug. The explosion drains the lava and opens the path.

Climb to the upper ledge and ride an air gust to the higher ledge, then jump into the hole and use your Sailcloth to steer to the ledges inside. A chest on one ledge holds a treasure. Another ledge holds a Goddess Cube, which you strike for the third cube of this chapter. Its chest, on the Isle of Songs in the Thunderhead, holds a Gold Rupee, so collect it once you can reach that island.

The Digging Mitts and the Mogma tunnels
How to get the Digging Mitts
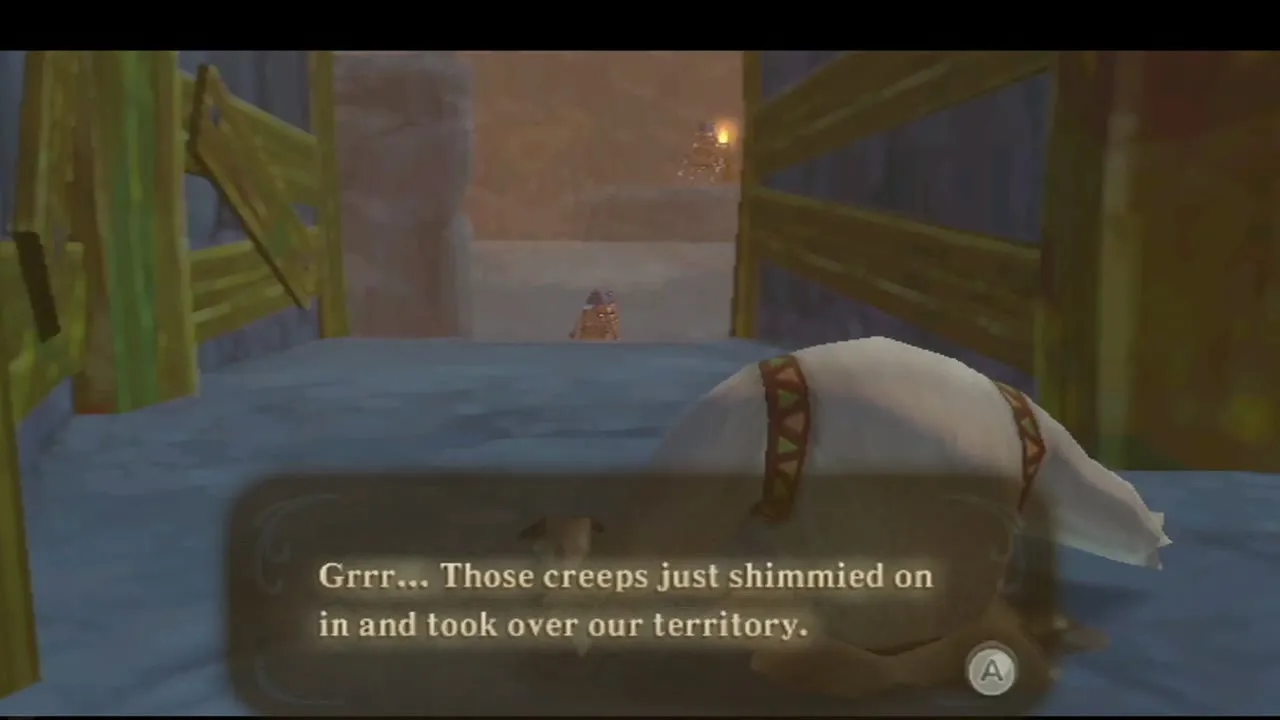
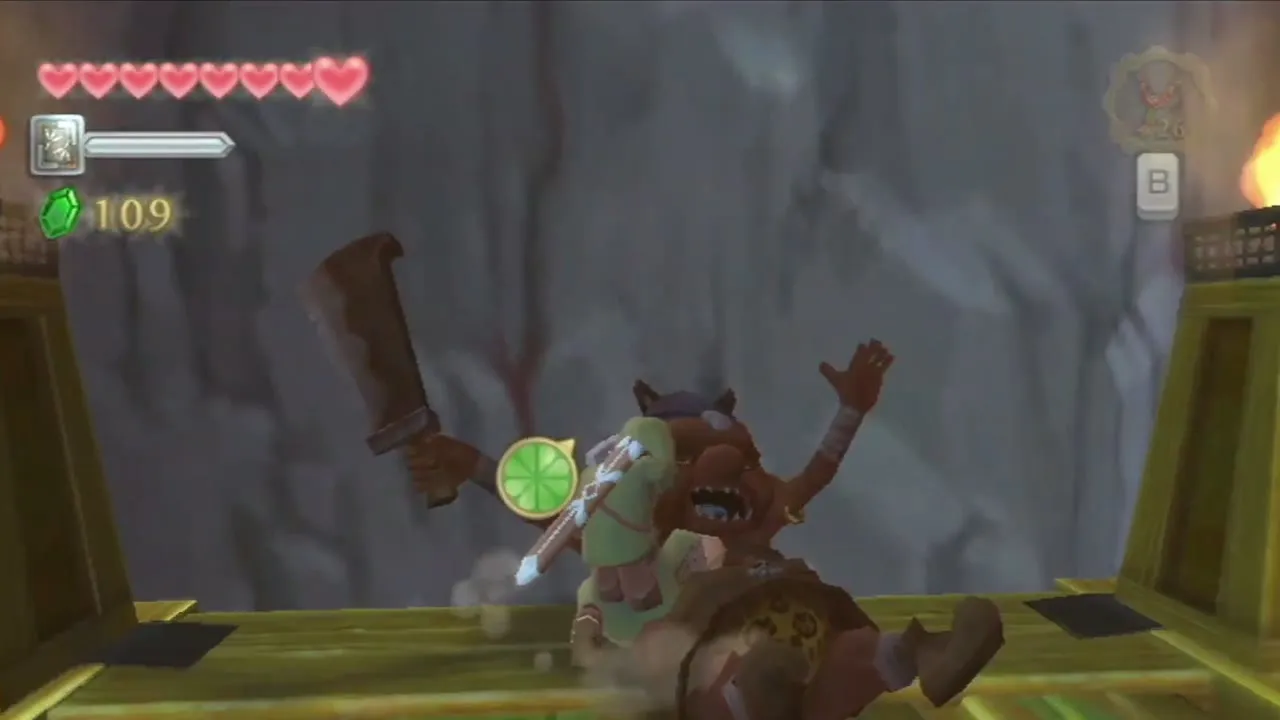
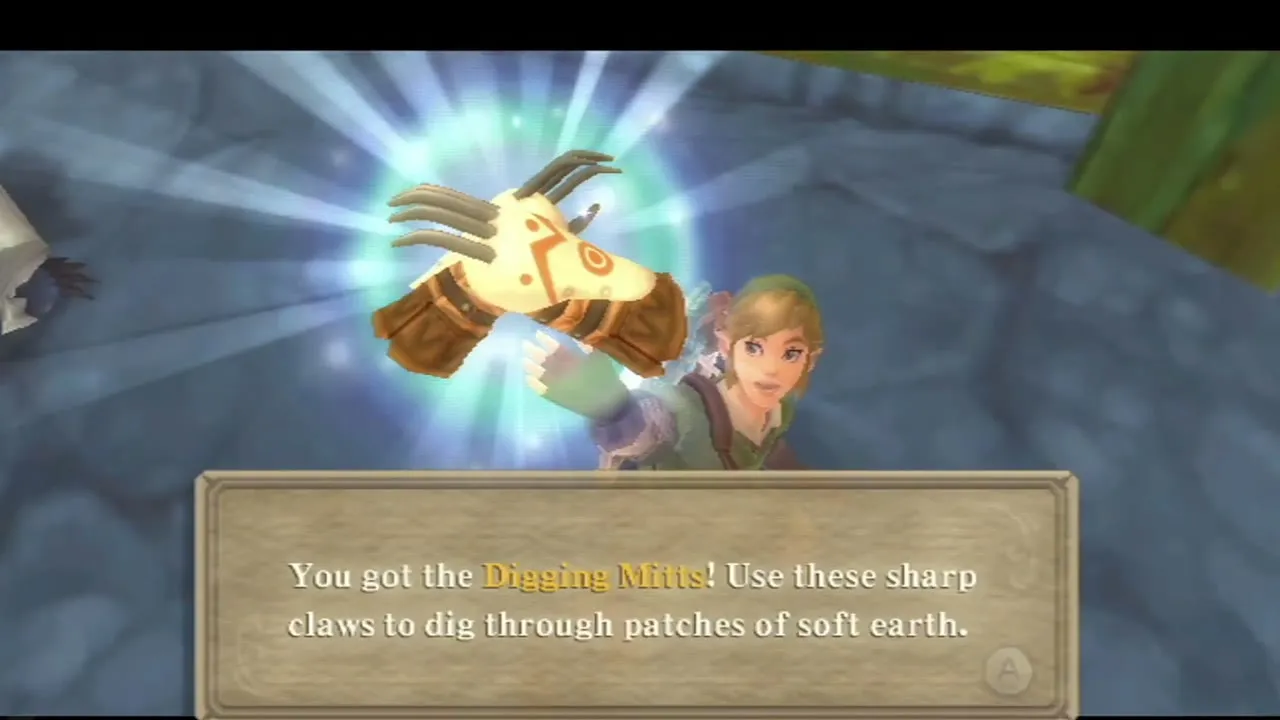
Further on, a Mogma complains that red creatures have overrun his tunnel. Defeat the Bokoblins, including the Bokoblin Leader on the wooden platform, who keeps summoning more. Then return to the Mogma. He gives you the Digging Mitts, which let you dig soft earth when you walk onto a patch of loose soil and press the button shown.
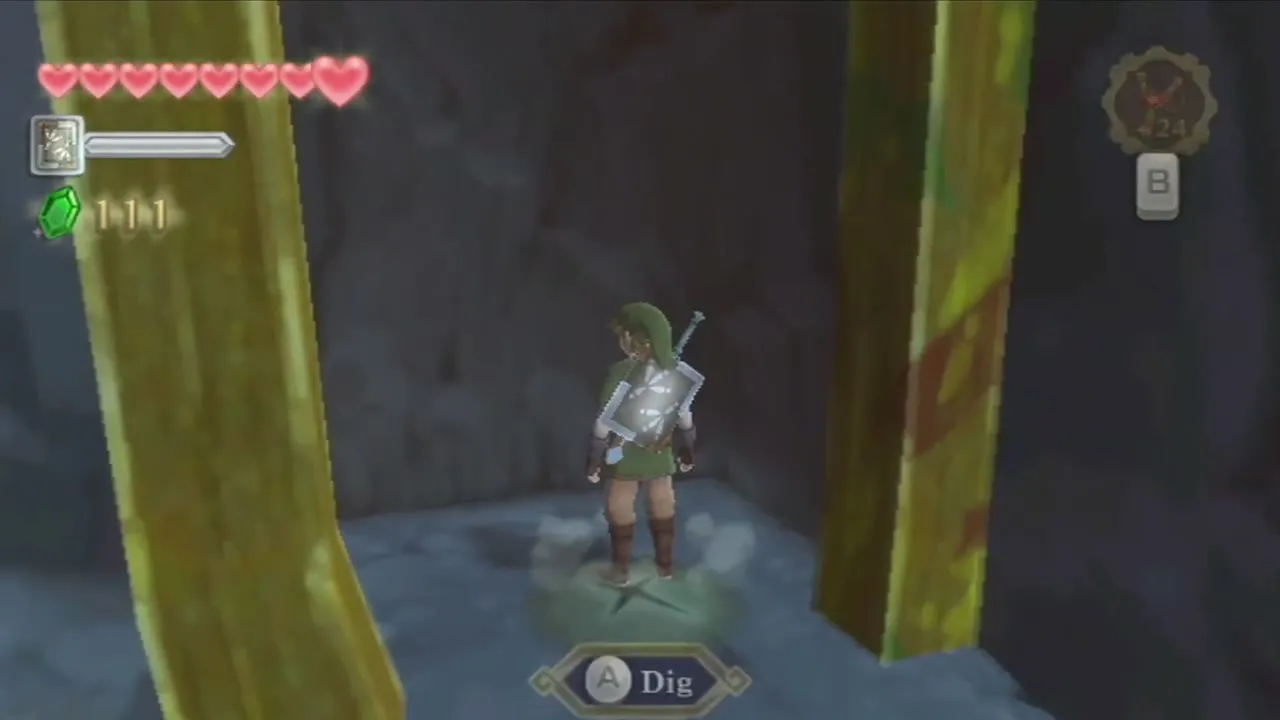
A nearby crossed mark on the ground is a dig spot. Dig it and a gust of wind lifts you to the second level of the cavern. Use the mitts again whenever you see this mark, since sand slides, treasures and shortcuts hide under it.

Sand slides, the Eldin Ore chest and the exit
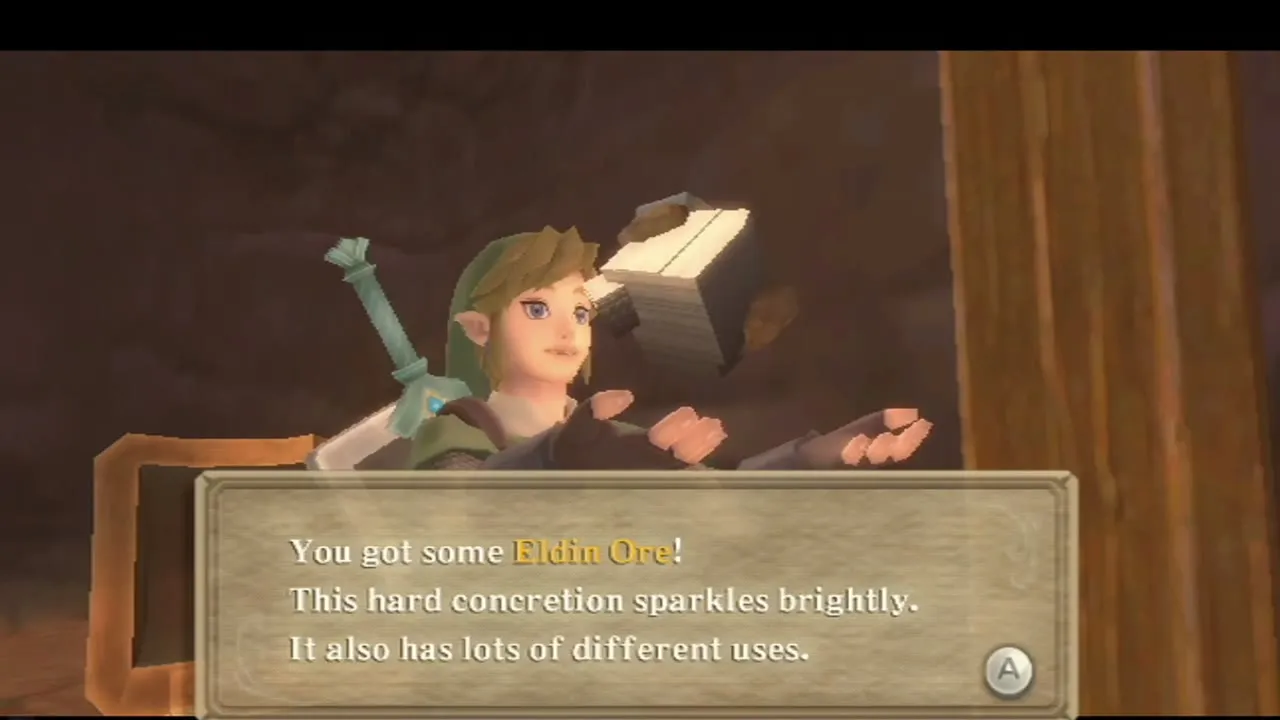
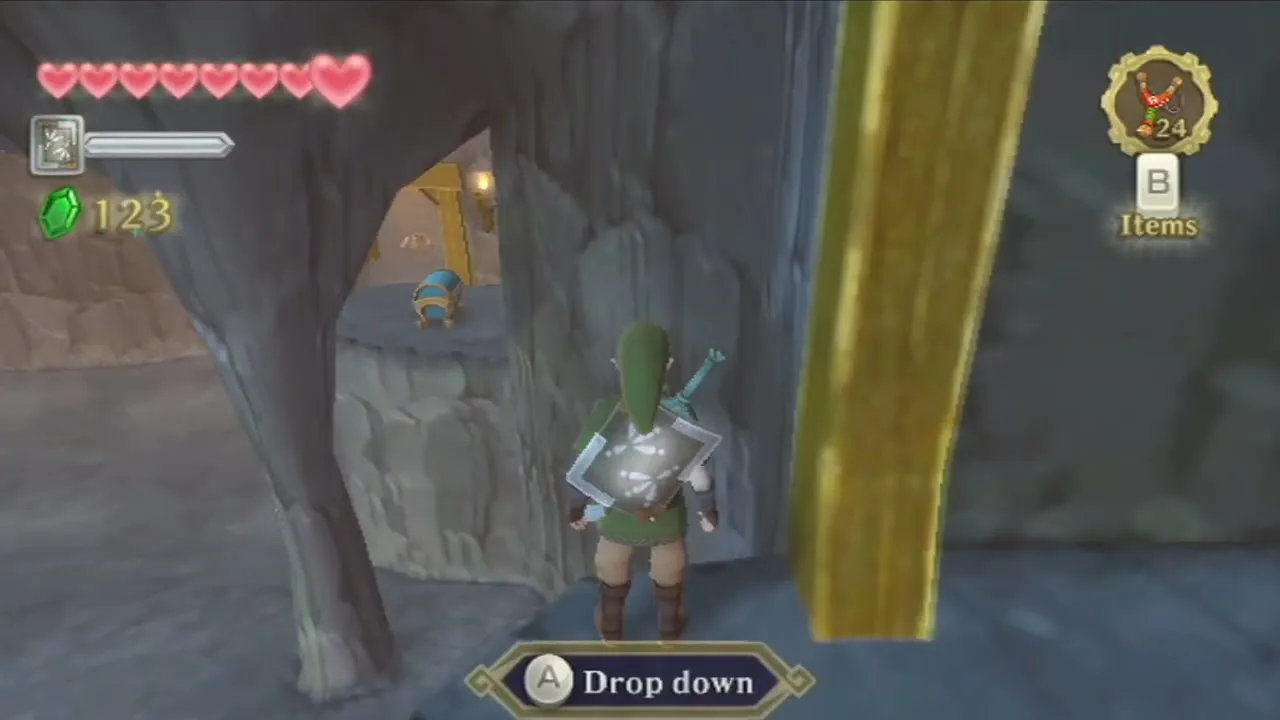
On the left path, dig the soil spots and take the middle one of three sand slides. It ends at a chest with Eldin Ore, a crafting material for Scrap Shop upgrades. On the right path, pass the Pyrups and bomb flowers, kill the Pyrup at the northeast and dig the soft spot that makes a gust to lift you out of the cavern. Bombing a cracked wall in the Pyrup room uncovers a chest with a Silver Rupee.
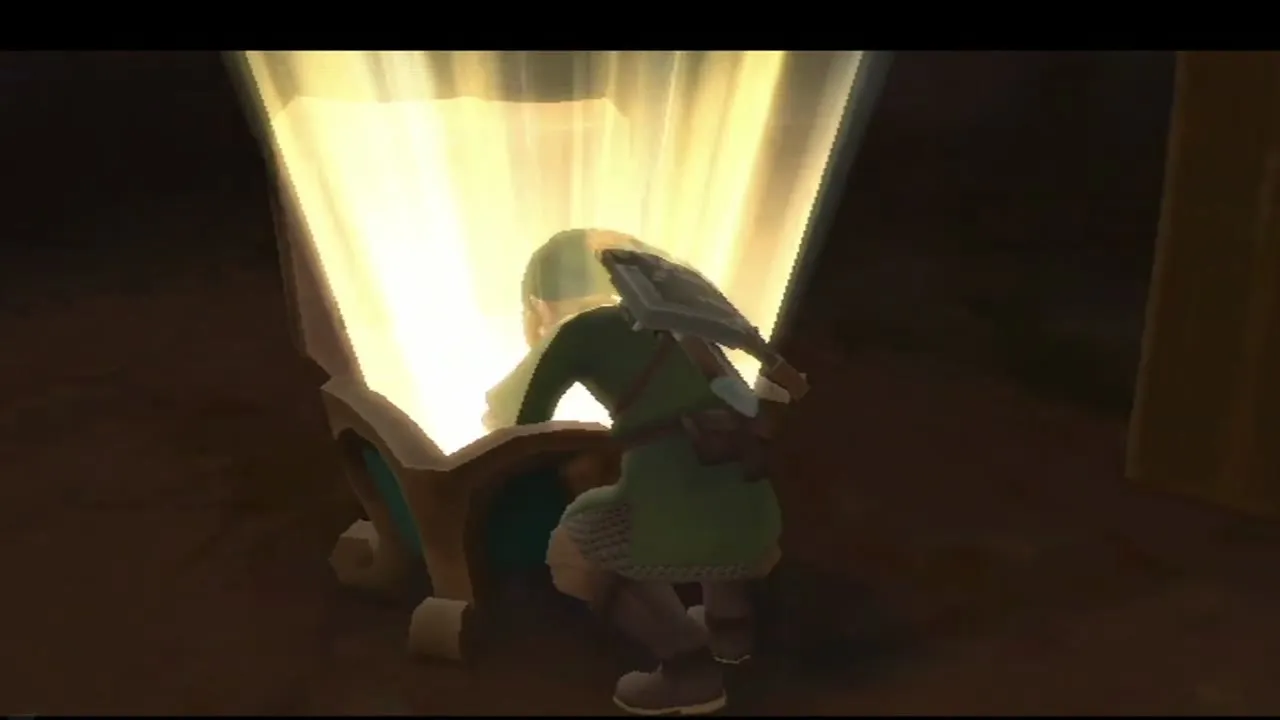

Outside, a Mogma lets you blast a boulder with a bomb for a shortcut. Save at the next Bird Statue, Volcano Ascent.

The steep hill to the temple
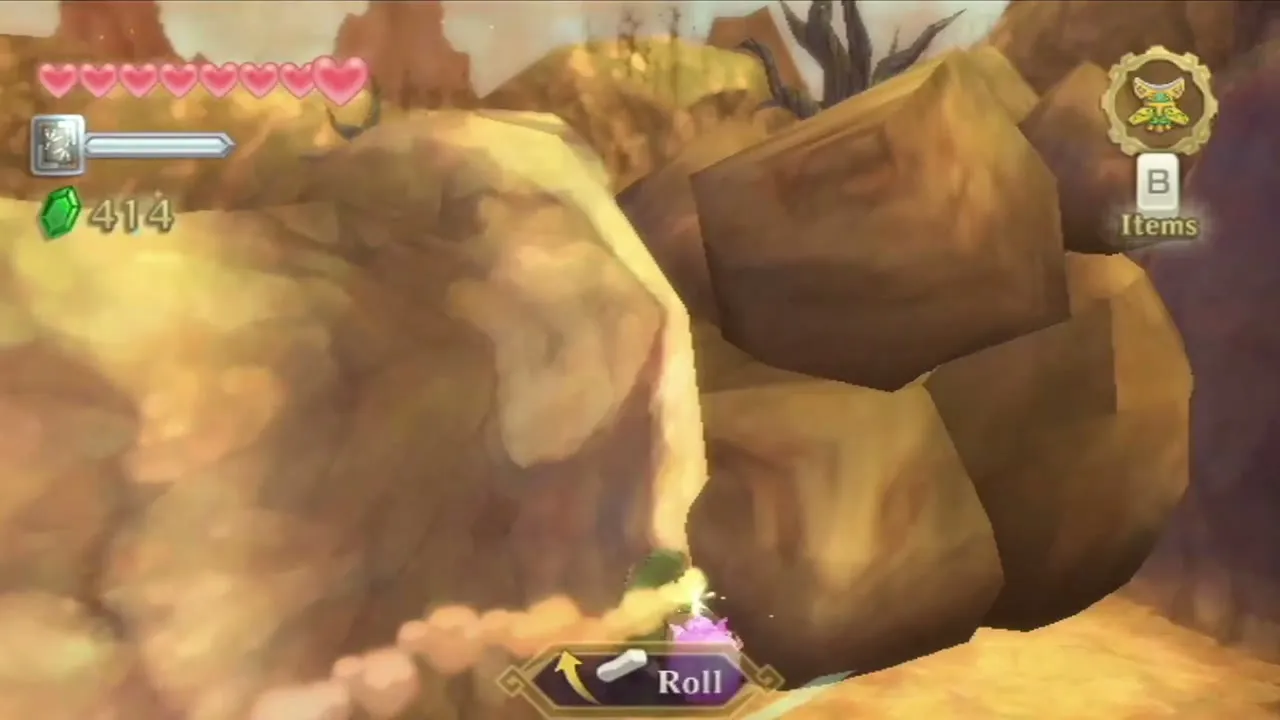
Climb the steep hill one ledge at a time. Bokoblins roll boulders down, so stop at each ledge. Shoot the rock-throwers with the Slingshot while they hold a rock overhead so that they drop it on themselves. A bomb thrown at the watchtower leader topples the tower and makes a bridge.
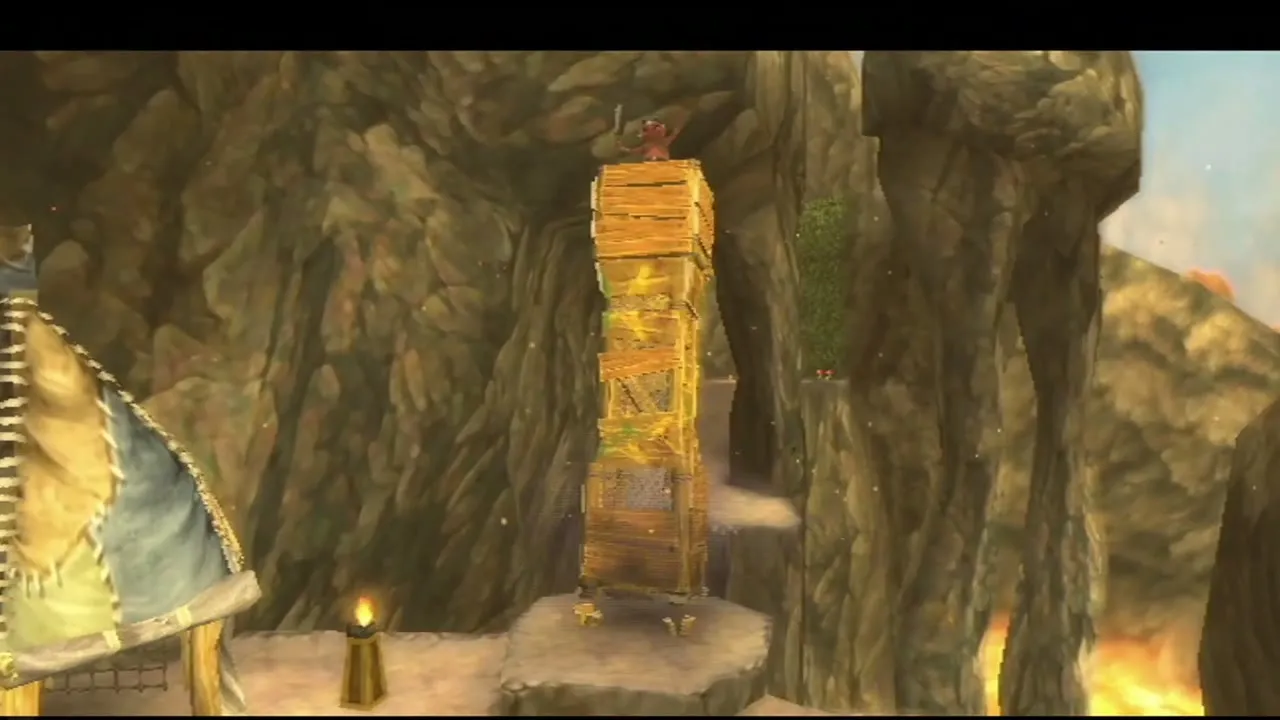
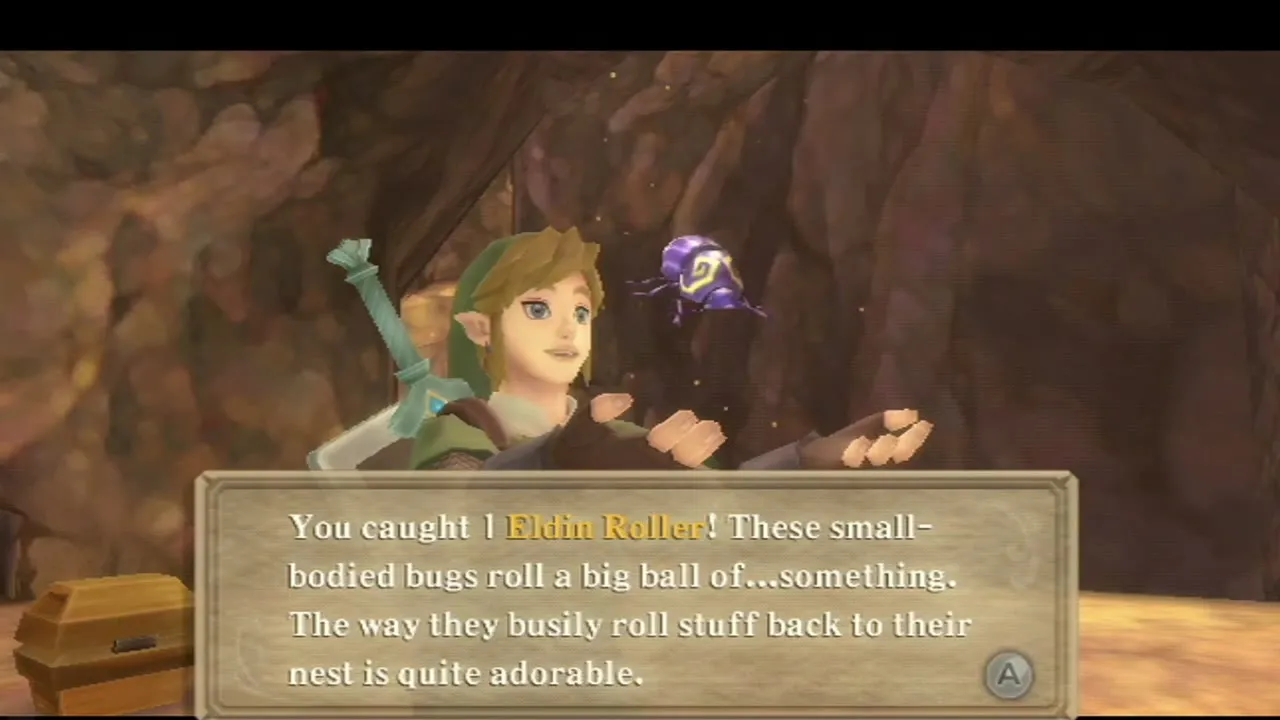
Along the way you can catch Eldin Rollers, a bug found around the Mogma huts, and pick up Amber Relics from the dig spots in the sand caves. These are common materials for Scrap Shop upgrades.
Thrill Digger
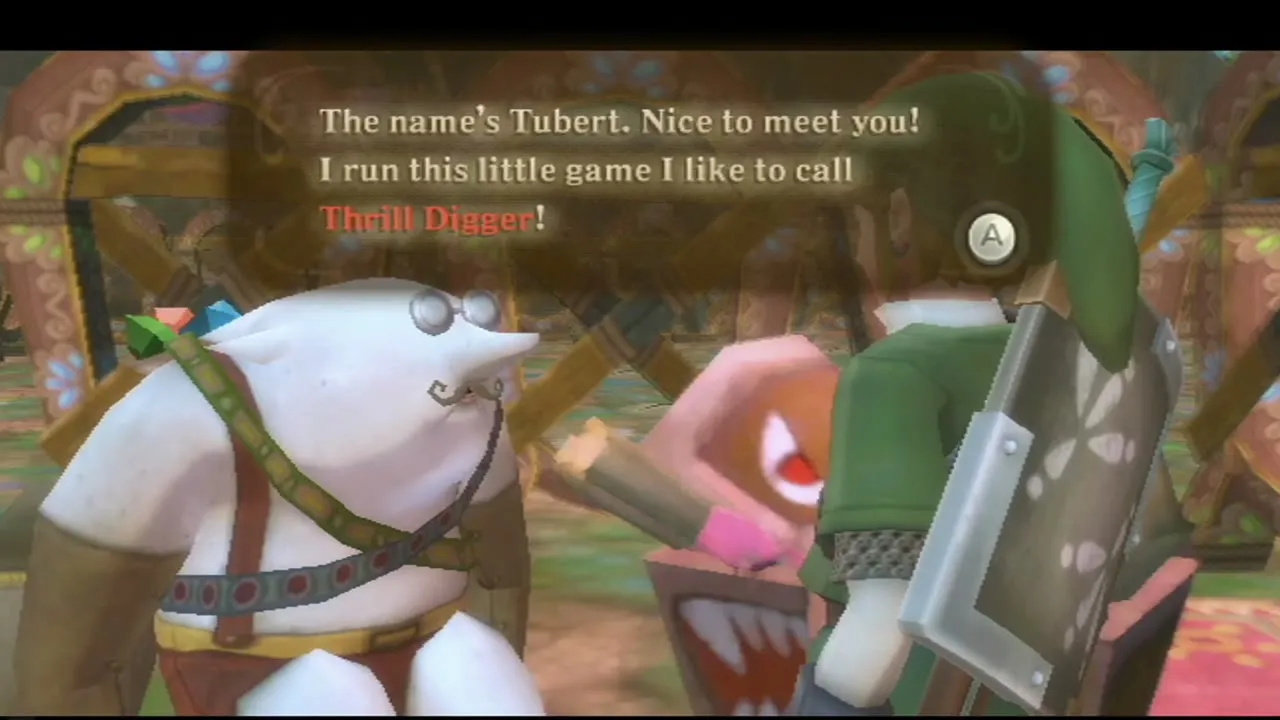
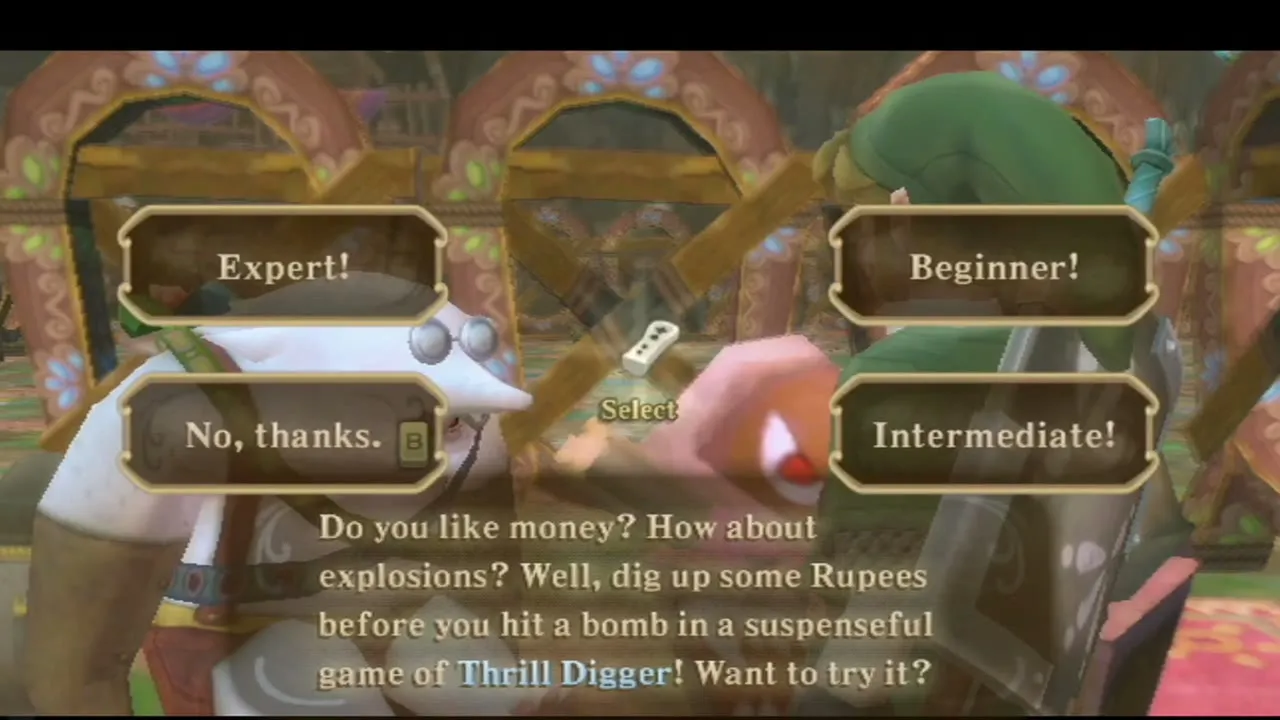
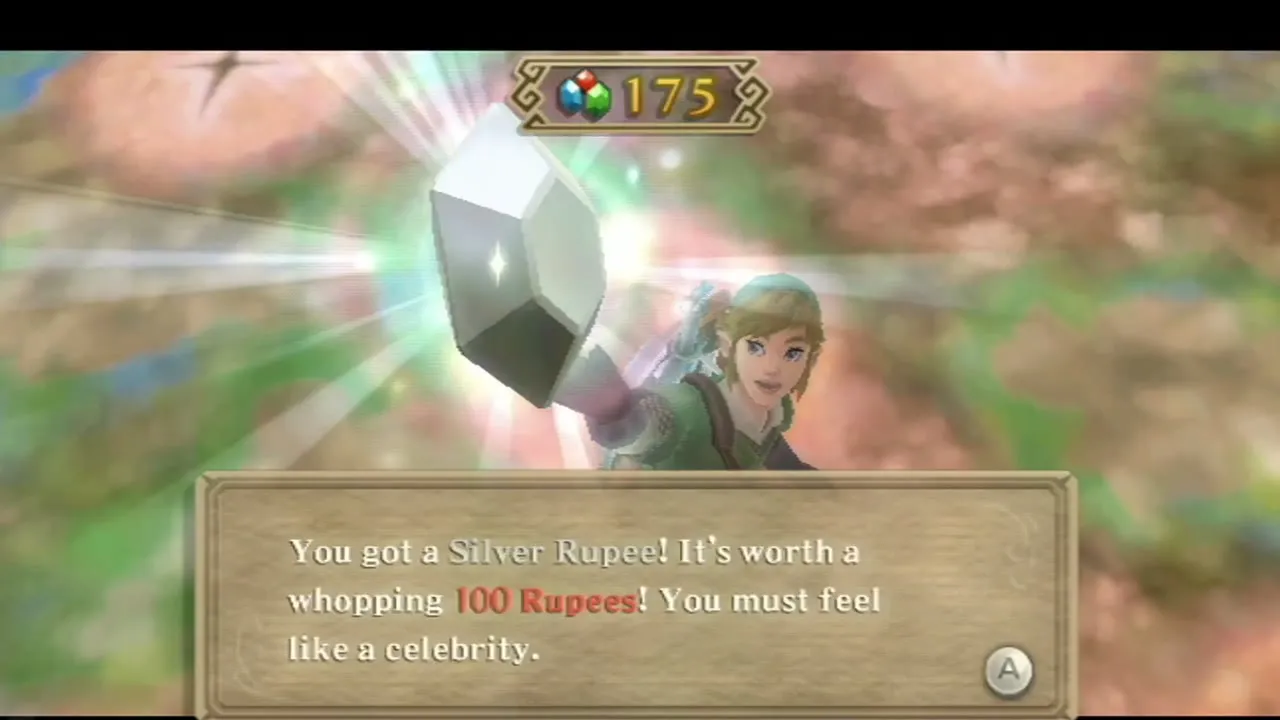
Tubert’s Thrill Digger game is in a cave near the Bokoblin camp on the first slope; bomb the boulder or cracked wall that blocks the entrance. It is optional. You pay 30, 50 or 70 Rupees for the Beginner, Intermediate or Expert board, then dig for Rupees while avoiding the bombs, which end the round and cost you a heart. A Rupoor takes Rupees from your total. Clear every Rupee on a board without hitting a bomb to win a rare treasure. The Mini-Games page has the full prize list.
The five Earth Temple key pieces
Earth Temple door and how dowsing finds the pieces
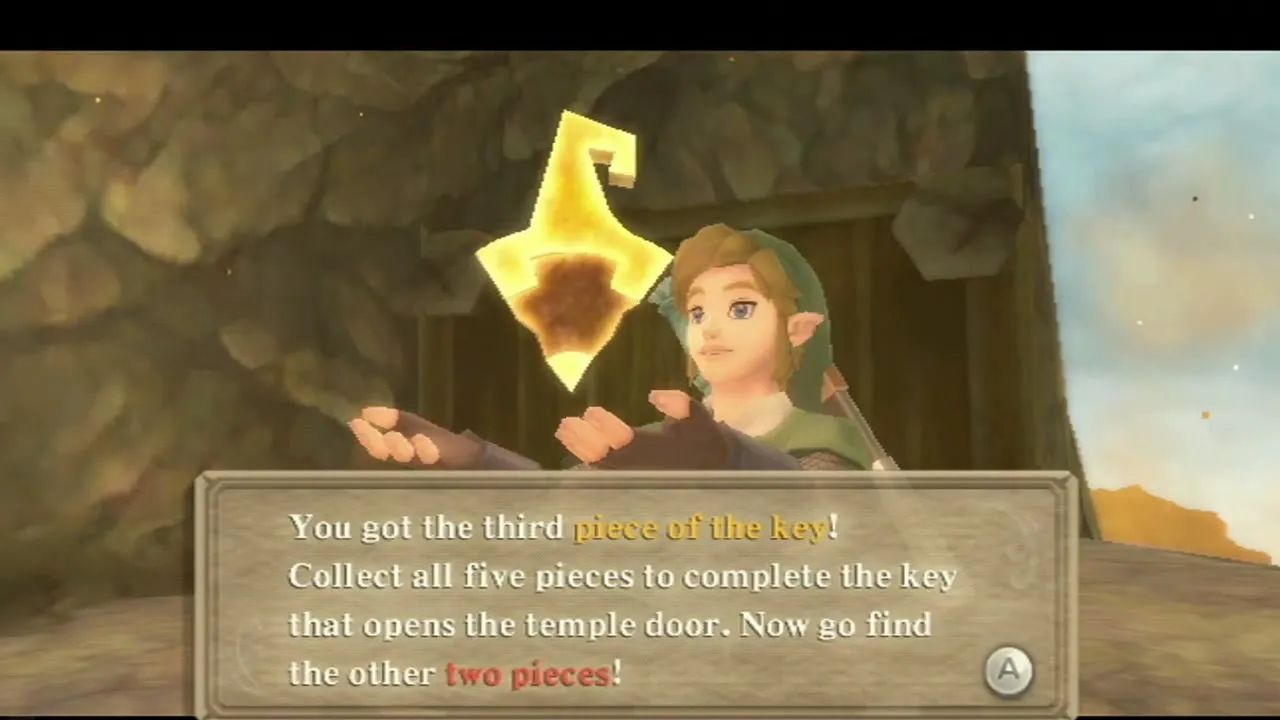
At the top of the climb stands the Earth Temple door, the Temple Entrance Bird Statue beside it. The key that opens the door was broken into five pieces and buried across the volcano. Press C to start Dowsing and ask Fi to track the pieces. The needle points to each one, and you must dig it up. The in-game message numbers the pieces in the order you pick them up, so the order below is only a suggestion.


First key piece: beside the door
Dig the soil on the left side of the temple entrance. The first piece of the key is a few feet under the surface.
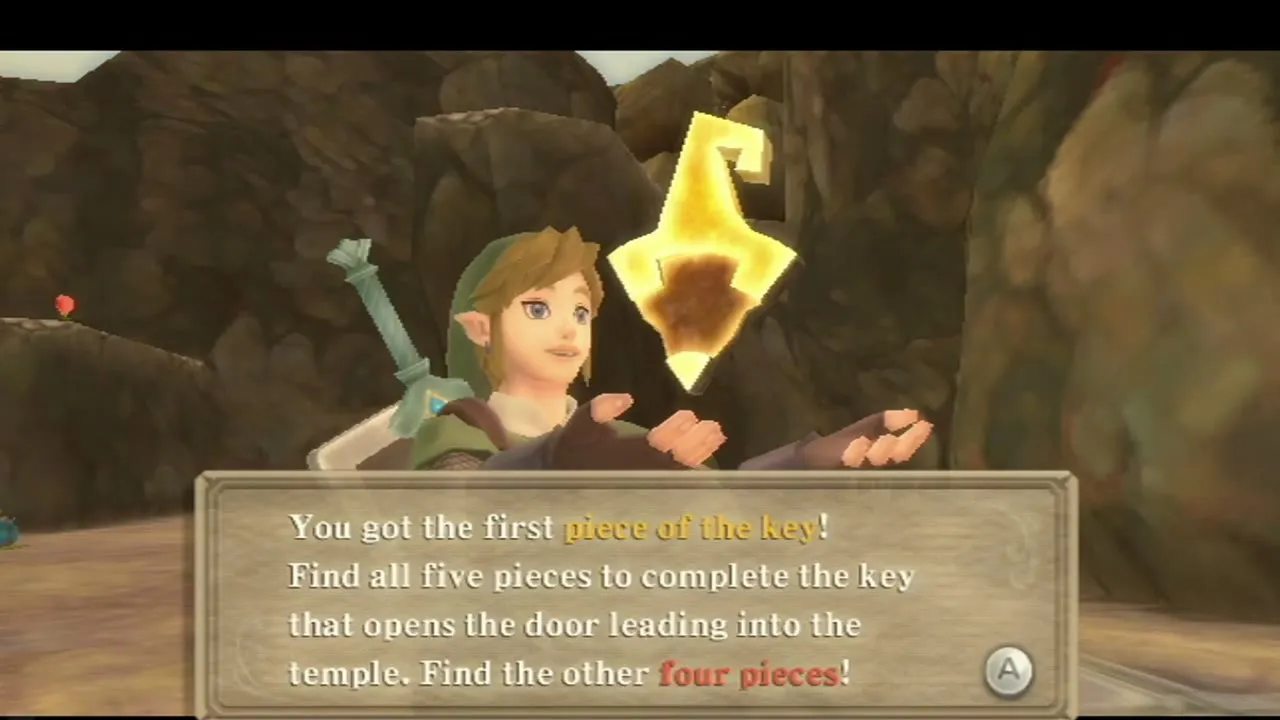
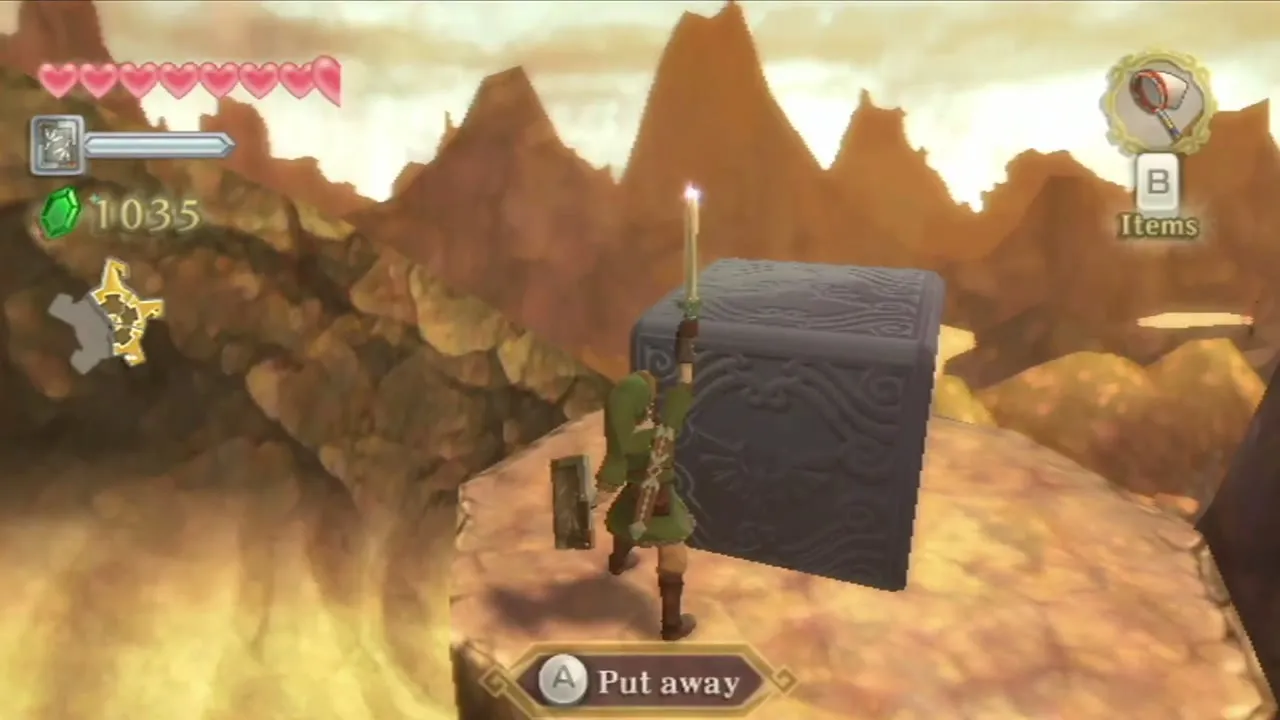
Nearby, dig up the air spurt west of the entrance and bomb the rock blockade above it with a bomb flower. Ride the spurt up and strike the Goddess Cube there. Its chest, on Bamboo Island, holds a Gold Rupee.
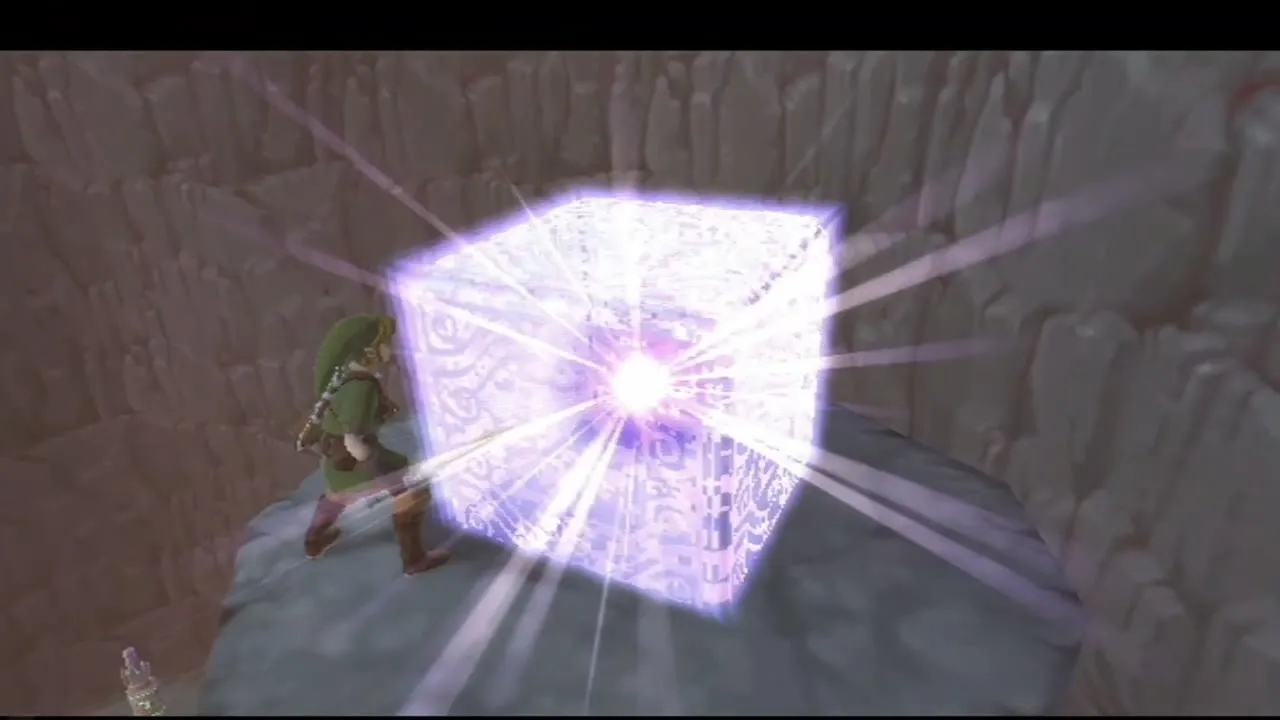
Second key piece: the fallen watchtower
Follow the line of bomb flowers to a hill and toss one down the slope into the watchtower at the bottom. It collapses. Dig where it stood to find the second piece of the key.
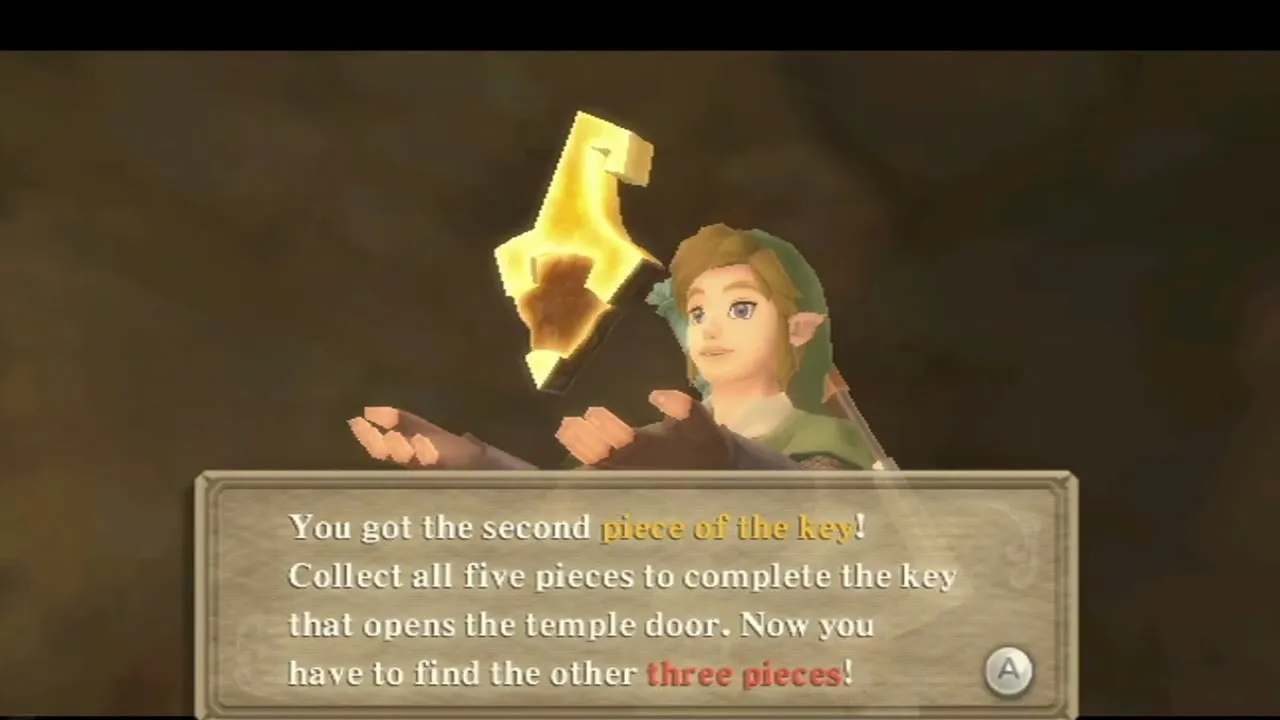
Third key piece: the boulder on the slope
Dowse near the two bomb flowers outside the temple. The needle points to a boulder on the hillside. Roll a bomb at the boulder to break it, then dig on the ledge where it sat. The third piece is there.
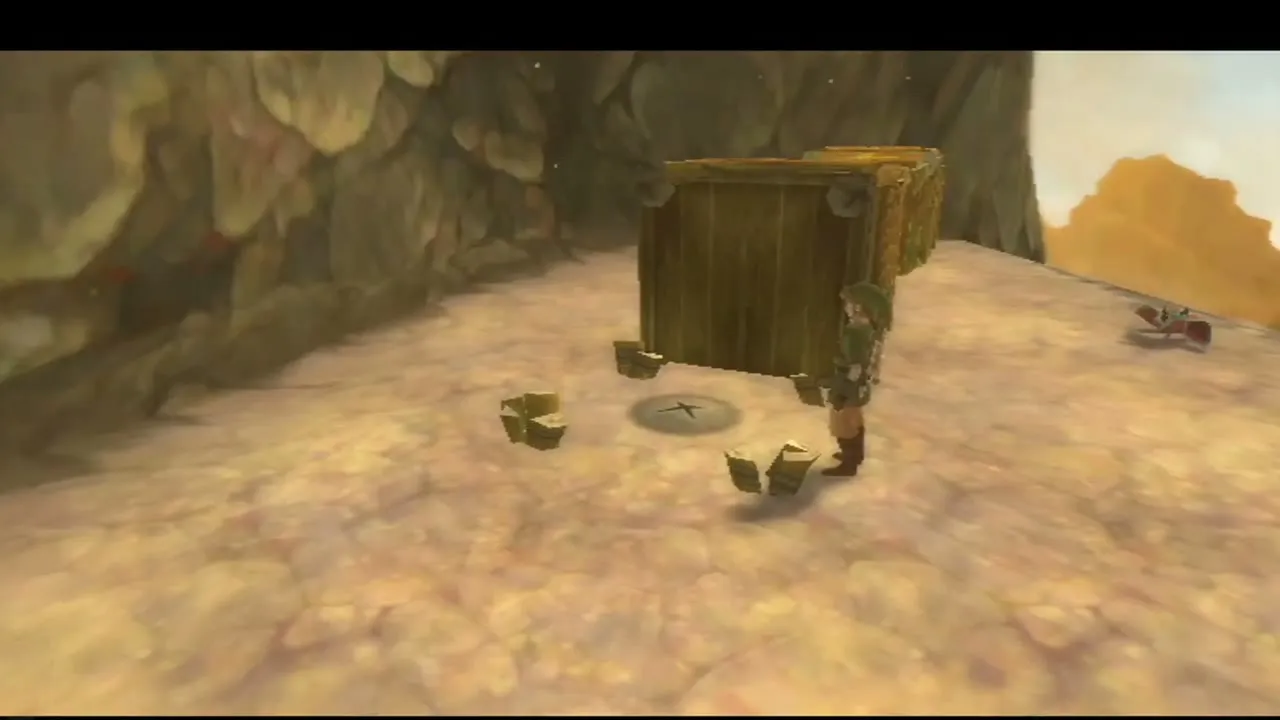
Fourth key piece: ledges, geysers and the second cube
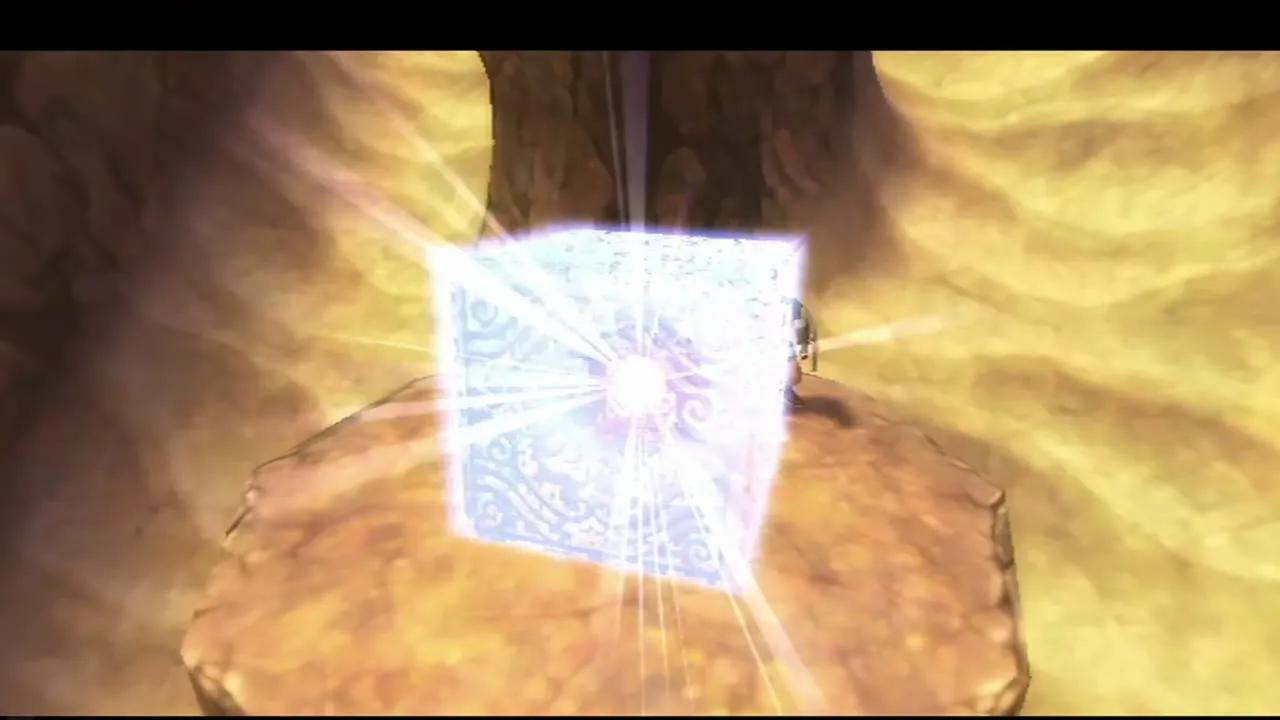
Turn right from the temple door and fight the Bokoblins, then knock down the tower leader. Walk past the Bokoblin huts east of the entrance and follow the path downhill to its end to find the Goddess Cube. Its chest, on a small island southeast of Beedle’s Island, holds a Treasure Medal.
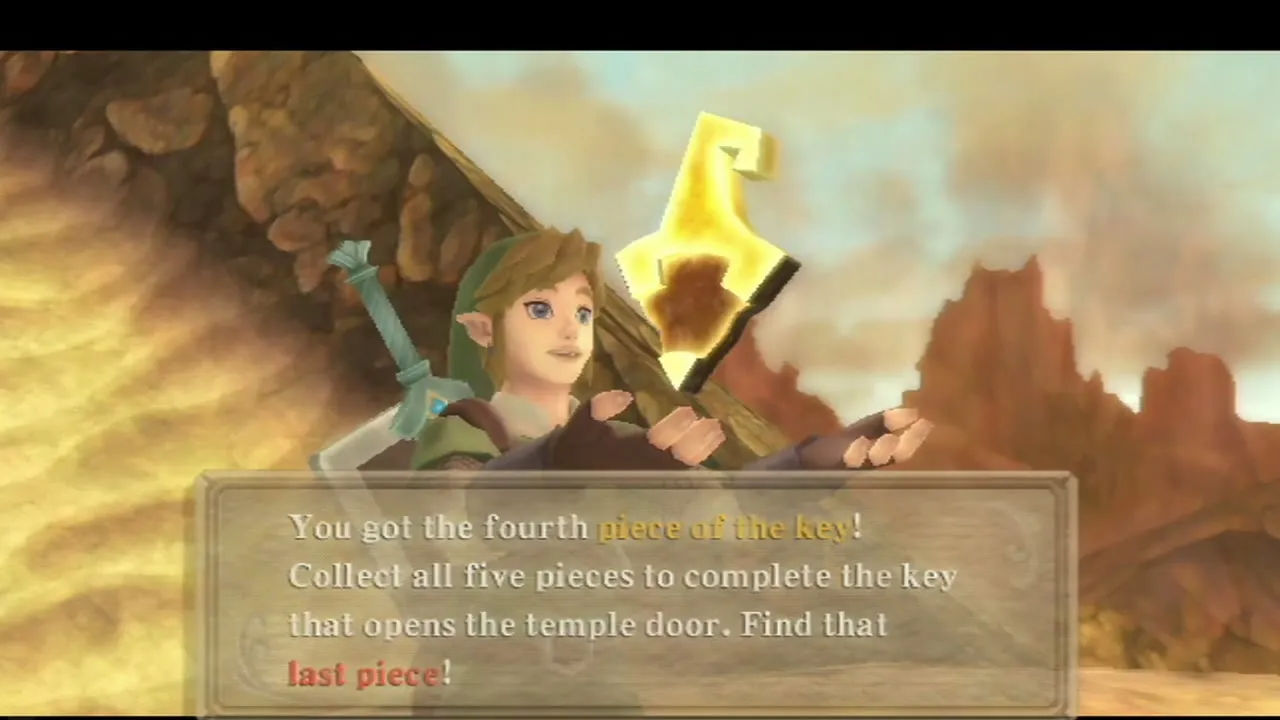
Cross the fallen tower, sidle along the narrow ledge and climb the vines. Hit the floor switch to extend a bridge. Use the air geysers and the slide, timing the second geyser so that it lifts you to the higher ledge. Dowse again and dig for the fourth piece.
Fifth key piece: the lava cavern and the last cube
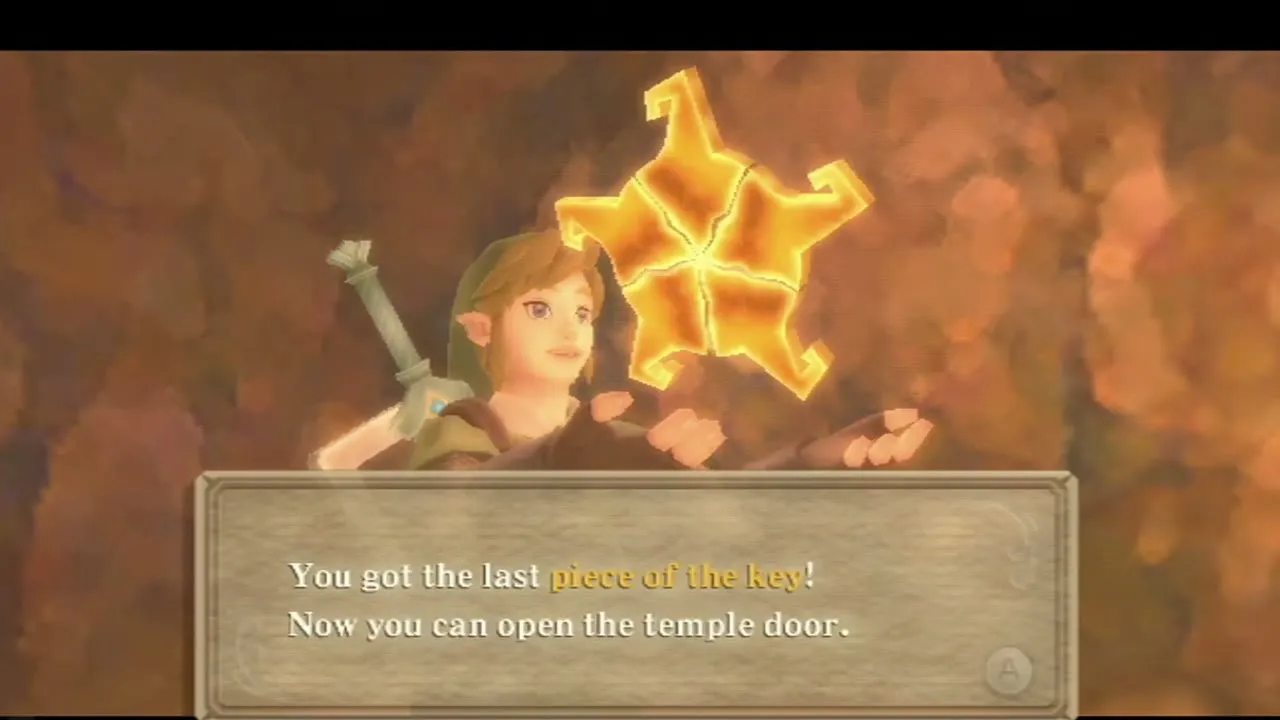
Ride the sand slide down and toss a bomb flower at the boulder holding back the lava around the cavern. Roll a second bomb along the sand to the boulder at the far end, then dig inside the cavern. The last piece is there.
 On the slide, take the first air vent on the left and jump forward to the ledge for the last cube of this chapter. Its chest holds a Piece of Heart, but it sits in a small shed west of Kukiel’s house in Skyloft that you can only reach with the Water Dragon’s Scale. You collect it in the Farore’s Silent Realm chapter.
Open the Earth Temple
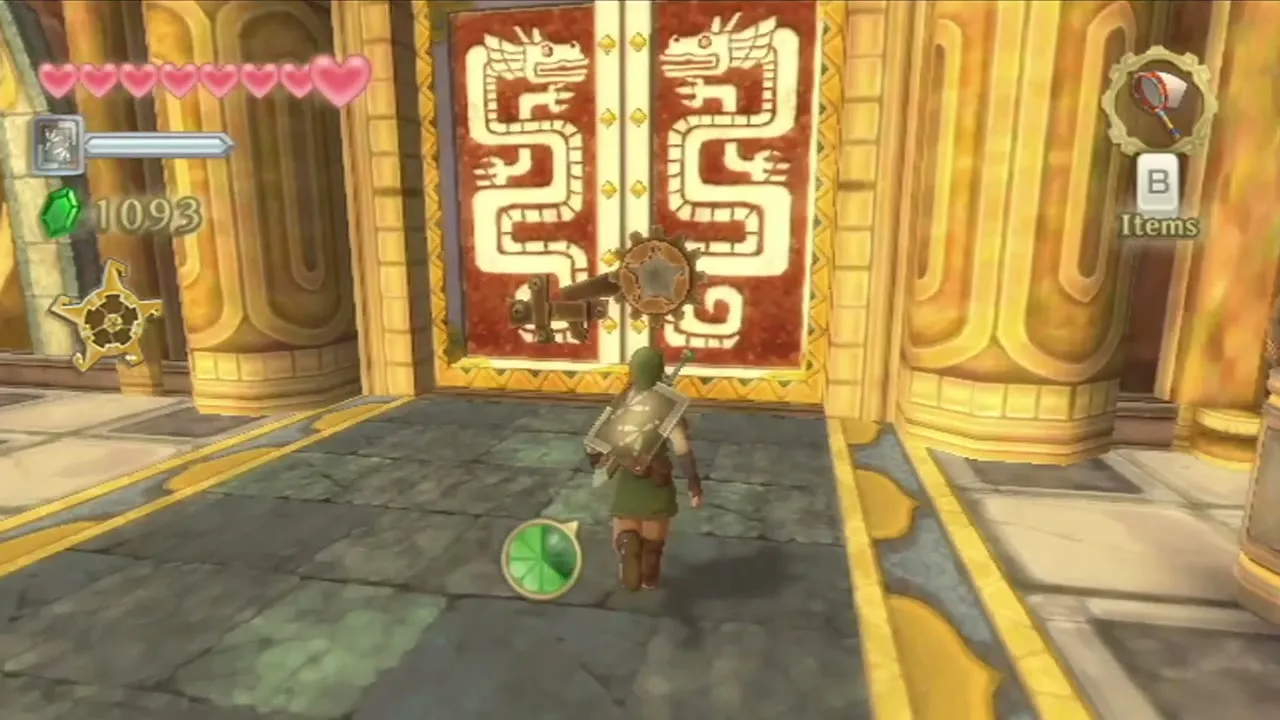
With all five pieces, return to the Temple Entrance statue and walk up to the great door. The pieces join into a key that opens the way in. Save at the statue, check your hearts and bottles, and go in. Earth Temple is next.
Chapter checklist
| Collectible | Type | Where |
|---|---|---|
 Adventure Pouch slot | Goddess Chest | Pumpkin Landing (Deep Woods cube) |
 Gold Rupee | Goddess Chest | Pumpkin Landing, verandah above the Lumpy Pumpkin door (Skyview Spring cube) |
 Piece of Heart | Heart Piece | Lumpy Pumpkin chandelier: roll into the balcony railing twice |
| Piece of Heart | Goddess Chest | Small island south of Skyloft (cube by the Skyview Temple entrance) |
 Bug Net | Shop item | Beedle’s Airshop, 50 Rupees |
 Extra Wallet | Shop item | Beedle’s Airshop, 100 Rupees |
 Iron Shield | Shield | Rupin’s Gear Shop, 100 Rupees |
 Hot Pumpkin Soup, Heart Potion | Potion | Lumpy Pumpkin (soup delivery); Luv’s Potion Shop (20 Rupees) |
 5 Gratitude Crystals | Side quest | Find Kukiel: Wryna, after you meet Batreaux in the cemetery |
| 5 + 5 Gratitude Crystals, bottle | Side quest | Find Orielle: Parrow and Orielle’s island; Parrow gives the spores in a bottle that you keep |
| Goddess Cube 4 | Goddess Cube | Left ledge below Volcano Entry; chest holds the Small Seed Satchel |
| Goddess Cube 5 | Goddess Cube | Near the intersection north of the Volcano East Bird Statue; chest holds a Silver Rupee |
| Goddess Cube 6 | Goddess Cube | Inside the cave after the lava plug (Sailcloth dive); chest holds a Gold Rupee on the Isle of Songs |
| Piece of Heart | Heart Piece | Eldin Volcano cliff ledge behind two Pyrups |
 Digging Mitts | Item | A Mogma in the second cavern, after the Bokoblin Leader |
| Eldin Ore | Treasure chest | End of the middle sand slide on the left path |
 Silver Rupee | Rupee | Bombed crack in the wall of the Pyrup room |
 Volcanic Ladybug, Eldin Roller | Bug | Around the Mogma huts near the first fork and the climb |
 Amber Relic | Treasure | Sand cave dig spots on the climb |
 Blue Bird Feather | Mini-game prize | Rare treasure prize at Thrill Digger for clearing a board |
| Key pieces 1 to 5 | Quest item | Left of the door; fallen watchtower; boulder slope; ledge and geysers; lava cavern |
| Goddess Cube 7 | Goddess Cube | West of the temple entrance, above the air spurt; chest on Bamboo Island holds a Gold Rupee |
| Goddess Cube 8 | Goddess Cube | Behind the Bokoblin huts beside the temple; chest holds a Treasure Medal |
| Goddess Cube 9 | Goddess Cube | Ledge ahead of the first left air vent on the sand slide; chest holds a Piece of Heart, picked up later with the Water Dragon’s Scale |
| Bird Statues | Save point | Volcano Entry, Volcano East, Volcano Ascent, Temple Entrance |
Open the door and enter the Earth Temple, where a Mogma named Ledd waits with your next item.
