





















Skyward Sword 100% Completion Walkthrough18 chapters
- Skyview TempleSmall keys, the Beetle, the Golden Carving door, the Ghirahim boss fight, the Heart Container and the Ruby Tablet.
- Earth TempleGet the Bomb Bag from Ledd, carry the Dragon Sculpture, beat Scaldera and collect the Amber Tablet.
- Lanayru Mining FacilityTimeshift Stones, Gust Bellows, Small Key, Armos, Ancient Circuit, Moldarach and the Goddess’s Harp.
- Ancient CisternBoth Small Keys, the Whip, the Blessed Idol, the Koloktos boss fight, Farore’s Flame and the Goddess Longsword.
- SandshipThe Timeshift Stone, Scervo and the Bow, both generators, Squid Carving, Tentalus and Nayru’s Flame.
- Fire SanctuaryAll three small keys, the Mogma Mitts, the Mysterious Crystals, Ghirahim’s second fight and the Master Sword.
- Skyloft Silent Realm and Sky KeepThe Skyloft Silent Realm and its 15 Sacred Tears, the Stone of Trials, every Sky Keep room and all three Triforces.
- Skyloft and the Goddess SwordFind your Loftwing, win the Wing Ceremony, draw the sword and take your first dive.
- Sealed Grounds, Faron Woods and the Deep WoodsThe Sealed Grounds, the missing Kikwi, the Slingshot, the Deep Woods and the way into Skyview Temple.
- Eldin Volcano and the Key PiecesPlace the Ruby Tablet, run Skyloft errands, earn the Digging Mitts and find all five Earth Temple key pieces.
- Lanayru Mine and Lanayru DesertLanayru Mine, Timeshift Stones, the Hook Beetle, the Temple of Time and how to set the three power generator dials.
- The Goddess’s Harp, The Imprisoned and the Isle of SongsBallad of the Goddess, The Imprisoned, the Light Tower, the Isle of Songs and Farore’s Courage.
- Farore’s Silent Realm and Lake FloriaAll 15 Tears of Farore, the Water Dragon’s Scale and Sacred Water.
- Nayru’s Silent Realm and the Lanayru Sand SeaNayru’s Wisdom, Nayru’s Silent Realm and the Clawshots, Golo’s key, Skipper’s boat, the Shipyard.
- Din’s Silent Realm and Volcano SummitDin’s Power, the Fireshield Earrings, frog statues, the Water Basin and the Scrapper escort.
- True Master Sword, Levias and BilocyteSkyward Sword walkthrough for the True Master Sword, the second Imprisoned fight, the Spiral Charge.
- Song of the HeroEscape Eldin, beat the third Imprisoned, win the Tadtone song in Faron Woods and heal Lanayru’s Thunder Dragon.
- The Horde, Ghirahim and DemiseClear the last side quests, beat the Horde, Ghirahim’s third fight and Demise, then unlock Hero Mode.
| Covers | Farore’s Silent Realm at the Viewing Platform, the Great Tree and Yerbal, the Lake Floria gate, Lake Floria and the Water Dragon, a second trip through Skyview Temple and Skyview Spring, and the way to the Ancient Cistern |
|---|---|
| You need | Farore’s Courage and the Goddess’s Harp, Slingshot, Beetle, Bomb Bag, Gust Bellows, Digging Mitts, an Empty Bottle, and plenty of hearts and potions for the second Skyview Temple visit |
| Rewards | Spirit Vessel, 15 Tears of Farore, Water Dragon’s Scale, Sacred Water, Gold Rupee, Goddess Plume, 2 Silver Rupees, a random rare treasure, Dusk Relics, 1 Piece of Heart in Faron Woods, Goddess Cubes 13, 15 and 16 (cube 14 comes later), bird statues Viewing Platform, Great Tree Top, Lake Floria, Floria Waterfall and Forest Temple |
This chapter sends you back to Faron Woods with the song Farore’s Courage. You open the first Silent Realm and gather its 15 Tears of Farore to win the Water Dragon’s Scale, use the scale to swim into the Great Tree and learn about the Lake Floria gate from the hermit Yerbal, then swim to the Water Dragon Faron. She is wounded, so you fetch Sacred Water from Skyview Spring (a second run through Skyview Temple, ending with three Stalfos) and pour it into her basin. Her reward is a path to the Ancient Cistern.
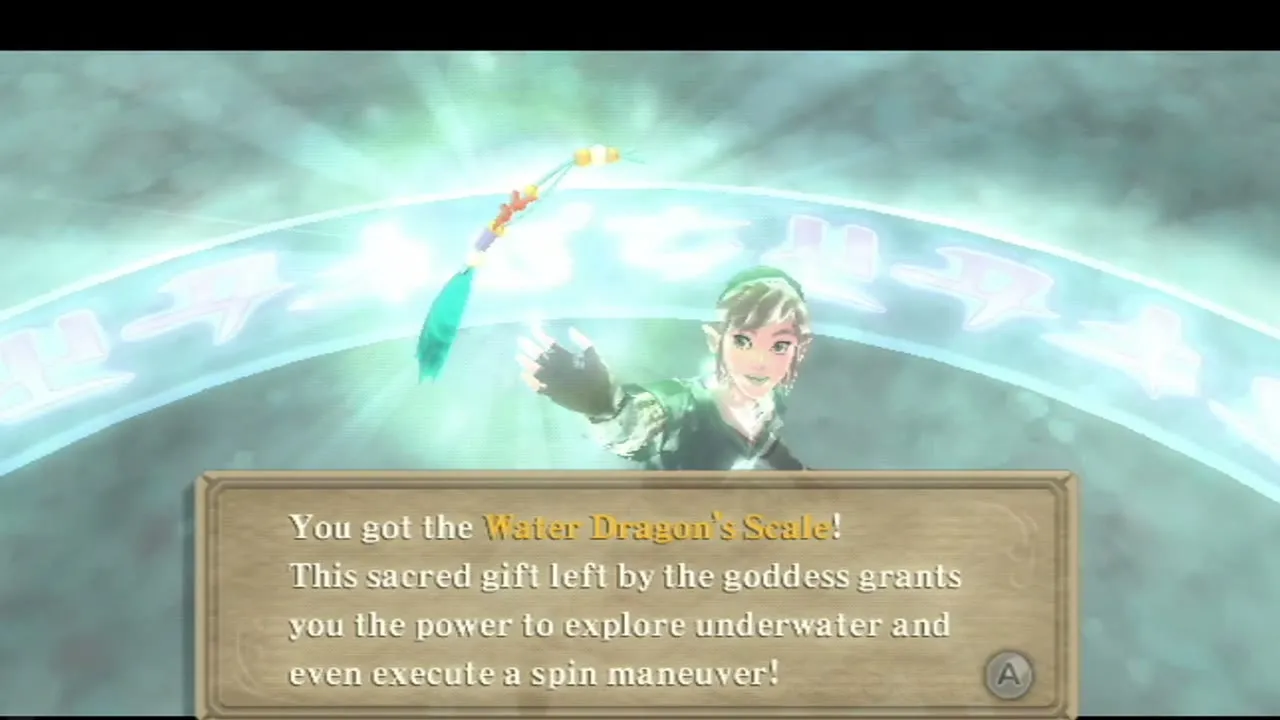
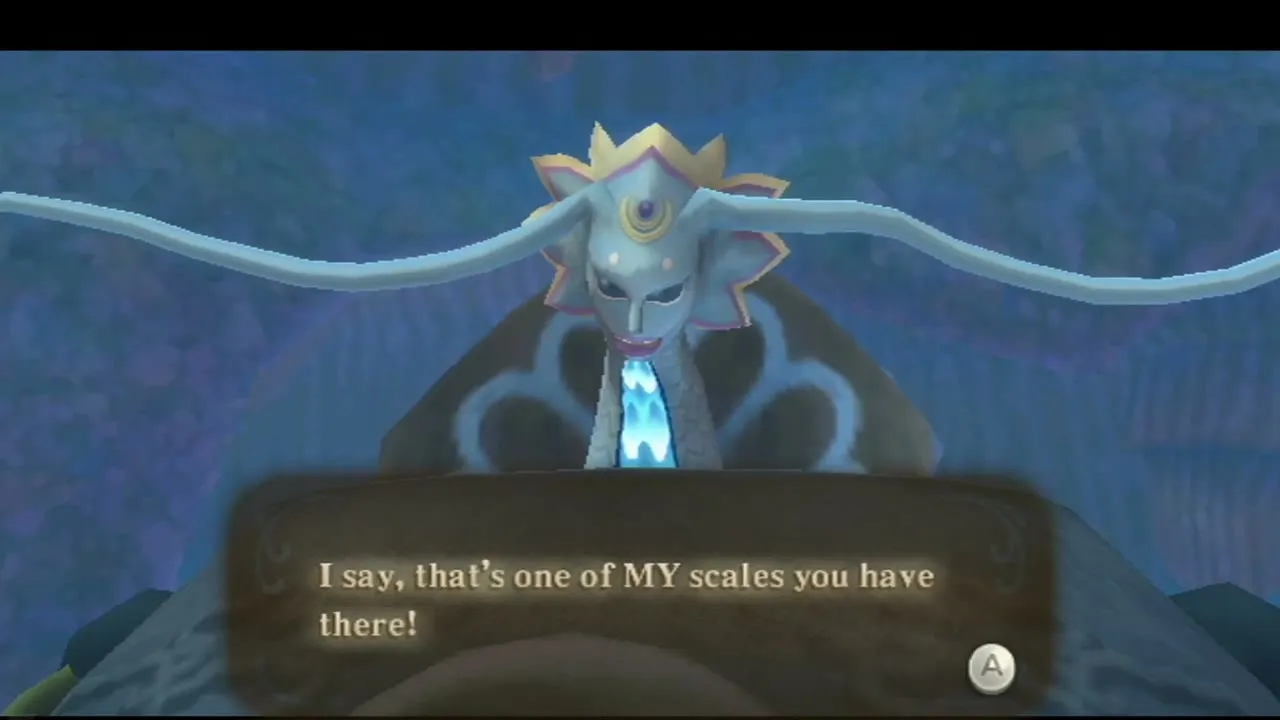
Table of Contents
Farore’s Silent Realm trial gate
How to find the Faron trial gate
Fly down to Faron Woods and choose the Viewing Platform on the descent map, then land beside the Viewing Platform bird statue. Fi suggests you dowse for the source of the sacred power, so open Dowsing and follow the pulse to a sparkling patch of ground a short walk away, surrounded by Blessed Butterflies. Fi confirms that the mark is a Trial Gate.

How to open the Trial Gate
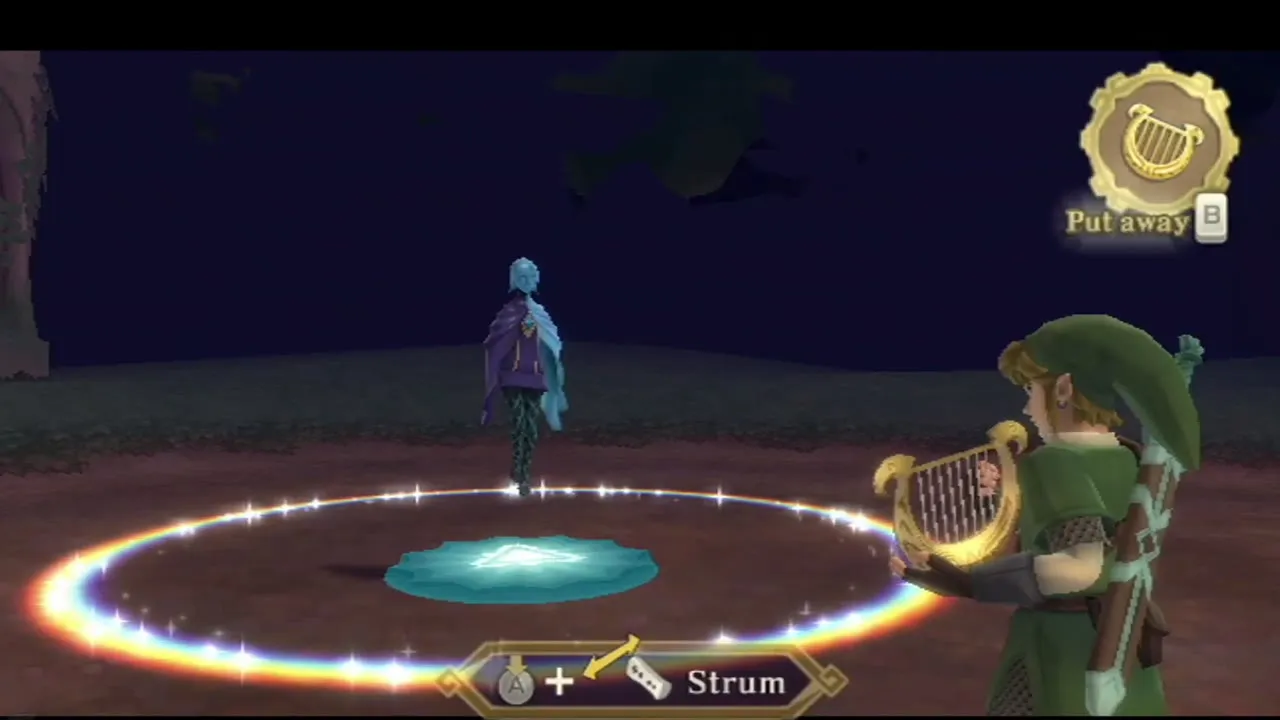
Take out the Goddess’s Harp (see the Harp songs page) and strum along with the pulsing ring around the glowing circle: strum each time the ring closes on the circle. A flower-shaped mark spreads across the ground. Stand in the middle of it, hold the Wii Remote with the sword raised and thrust the blade straight down into the glow. You are taken into Farore’s Silent Realm.

Farore’s Silent Realm: all 15 Tears of Farore
The rules of the trial
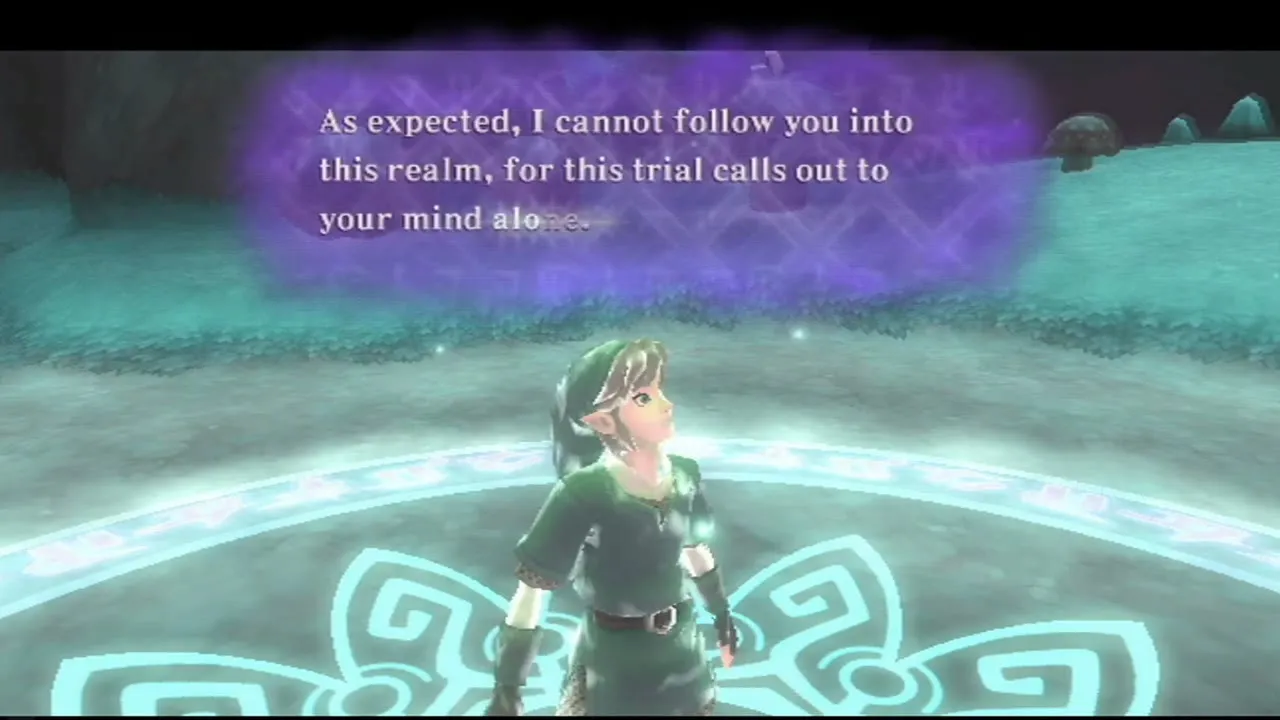
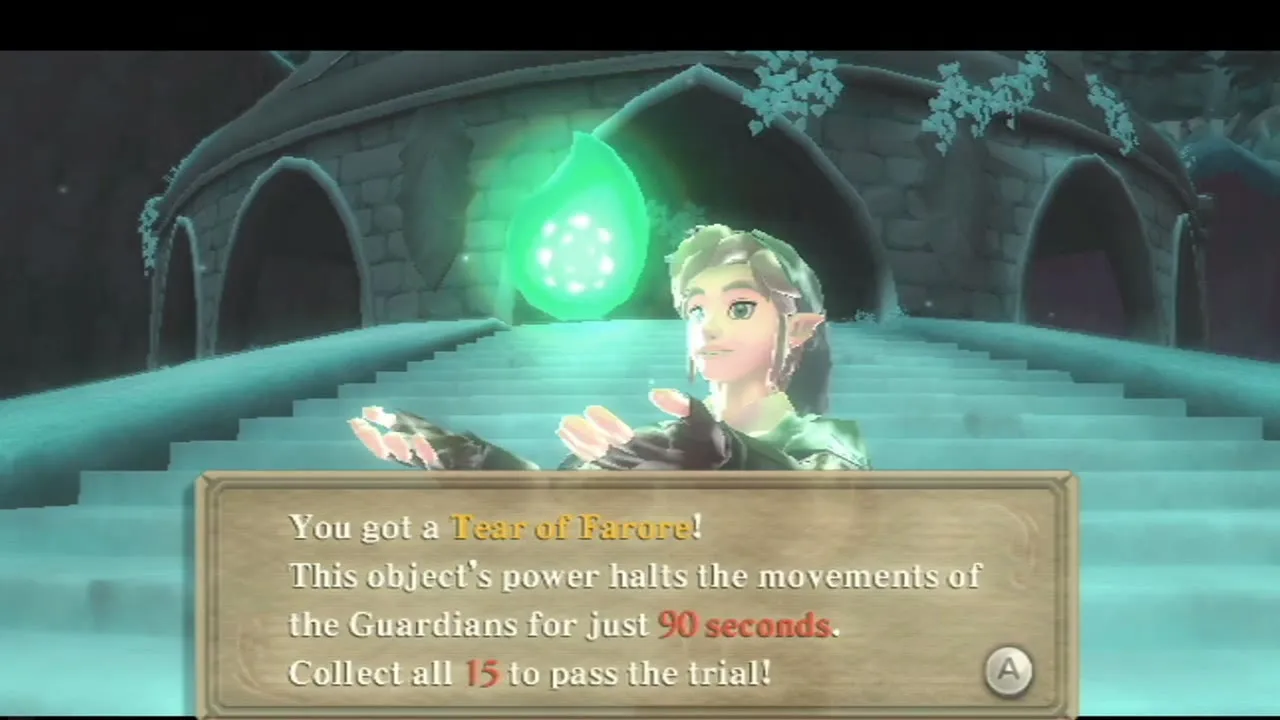
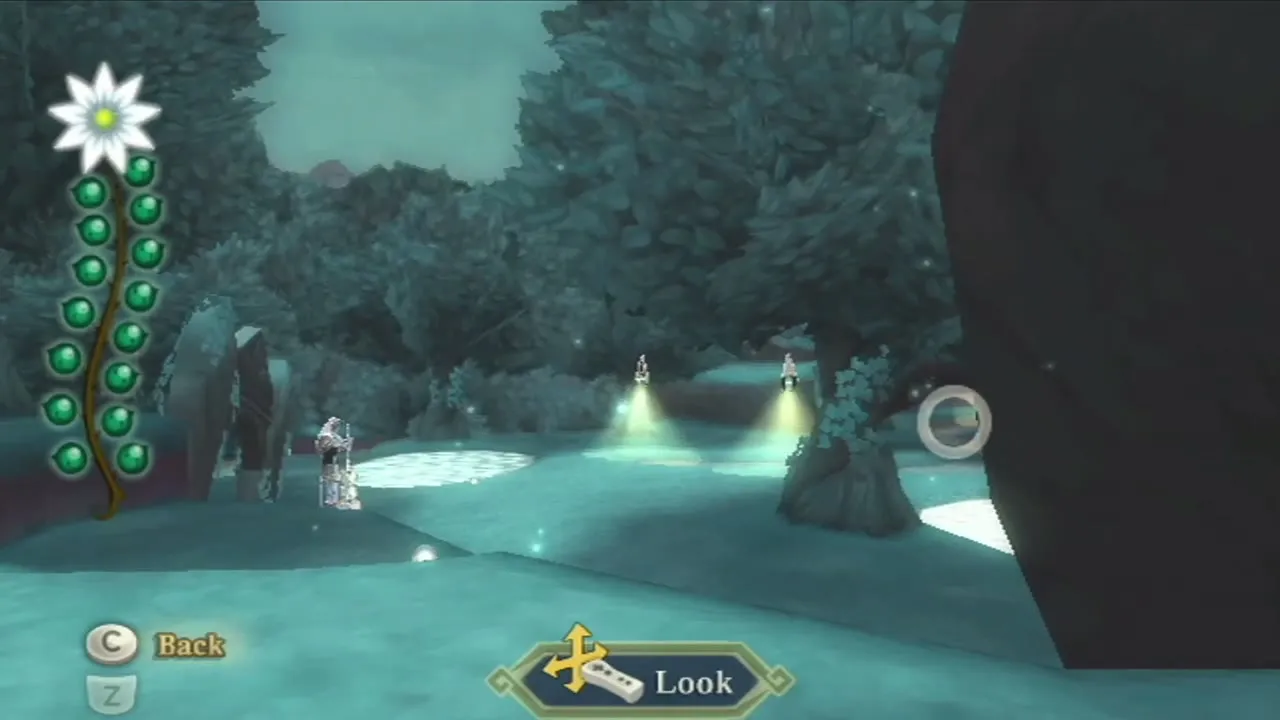
Fi cannot follow you, so you are alone. She hands you the Spirit Vessel, a plant that stands for your spirit, and explains the trial: scattered around the area are 15 Tears of Farore, and you must collect them all and walk back into the light circle where you started. Earth Guardians chase you while you are away from it, and a single hit from one ends the attempt and sends you back to the start of the realm. Each tear you pick up freezes every Guardian for 90 seconds, and the flower on the screen shows how long is left.


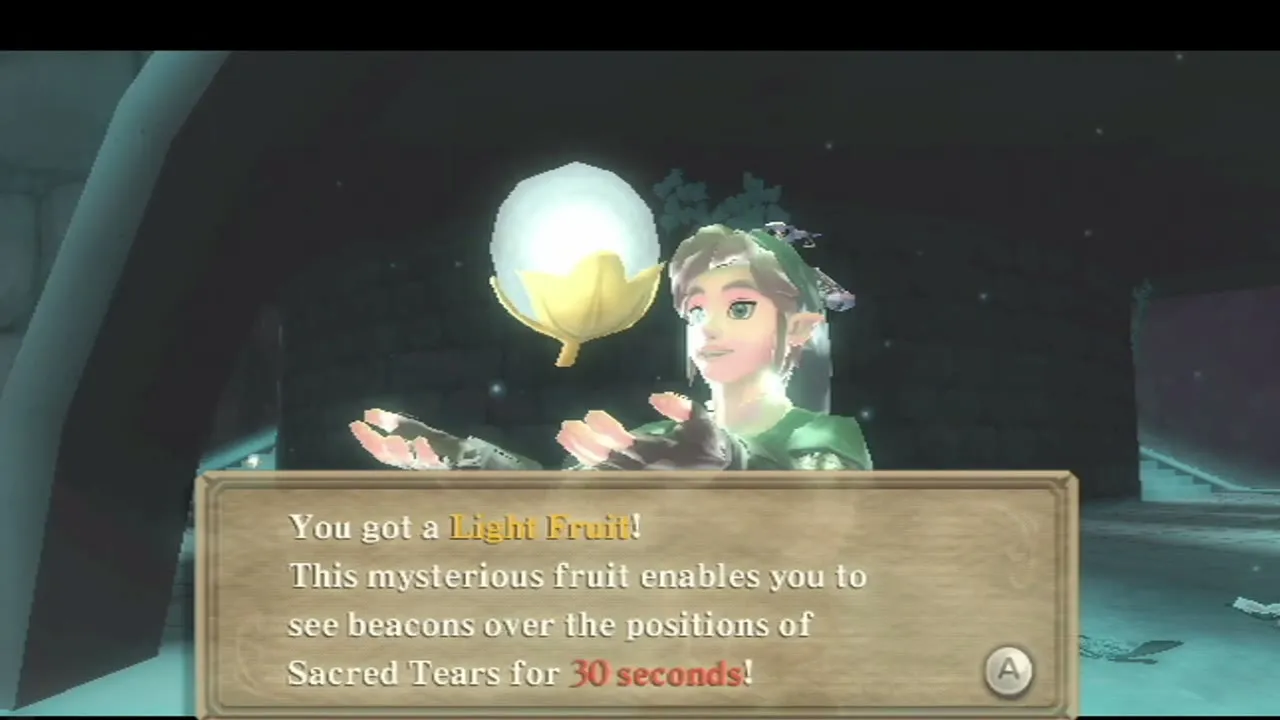
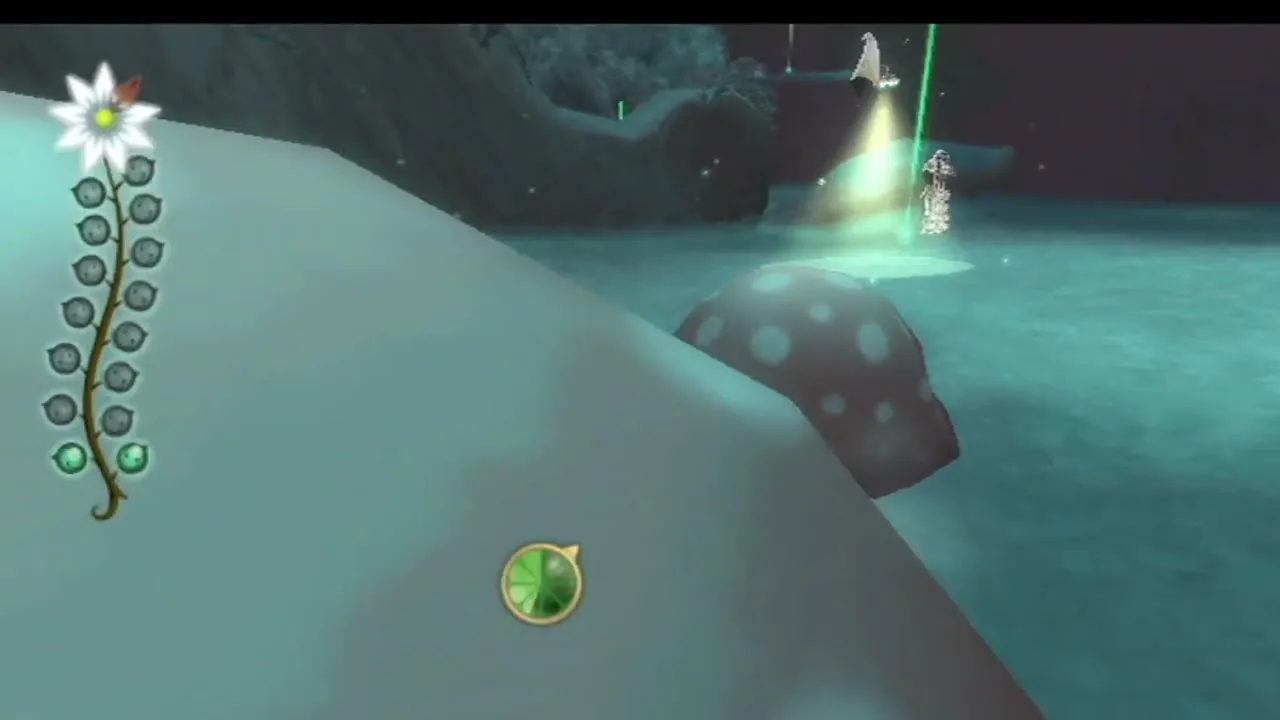
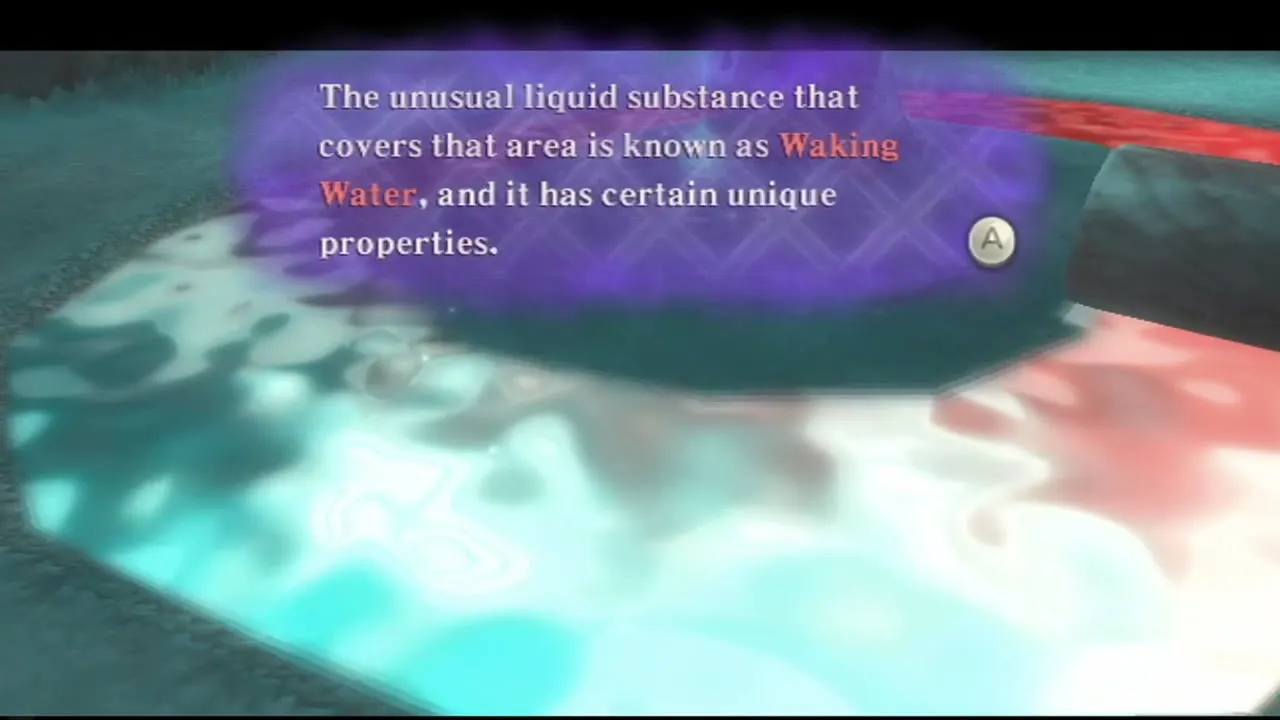
Two things wake the Guardians early. The first is Waking Water, the colourful liquid that covers some paths and ponds: touching it ends your 90 seconds at once. The second is a Watcher, a figure with a lantern: if its light falls on you, the Guardians wake. Light Fruit lying around the realm is your friend, because picking one up makes beacons appear over the tears near you for 30 seconds. Run rather than fight, because you cannot hurt a Guardian.
Tears 1 to 4: the Viewing Platform and the western ledge
Tear 1 lies at the foot of the steps up to the Viewing Platform, and you collect it first to start the clock. Take tear 2 from the top of the platform. Tear 3 is west of the platform, just before a slope that leads up to vines; keep out of the Watcher’s light. Tear 4 is up that slope to the north-west, on a ledge you reach by climbing the wall vines.

Tears 5 to 10: islands of Waking Water and the tightrope
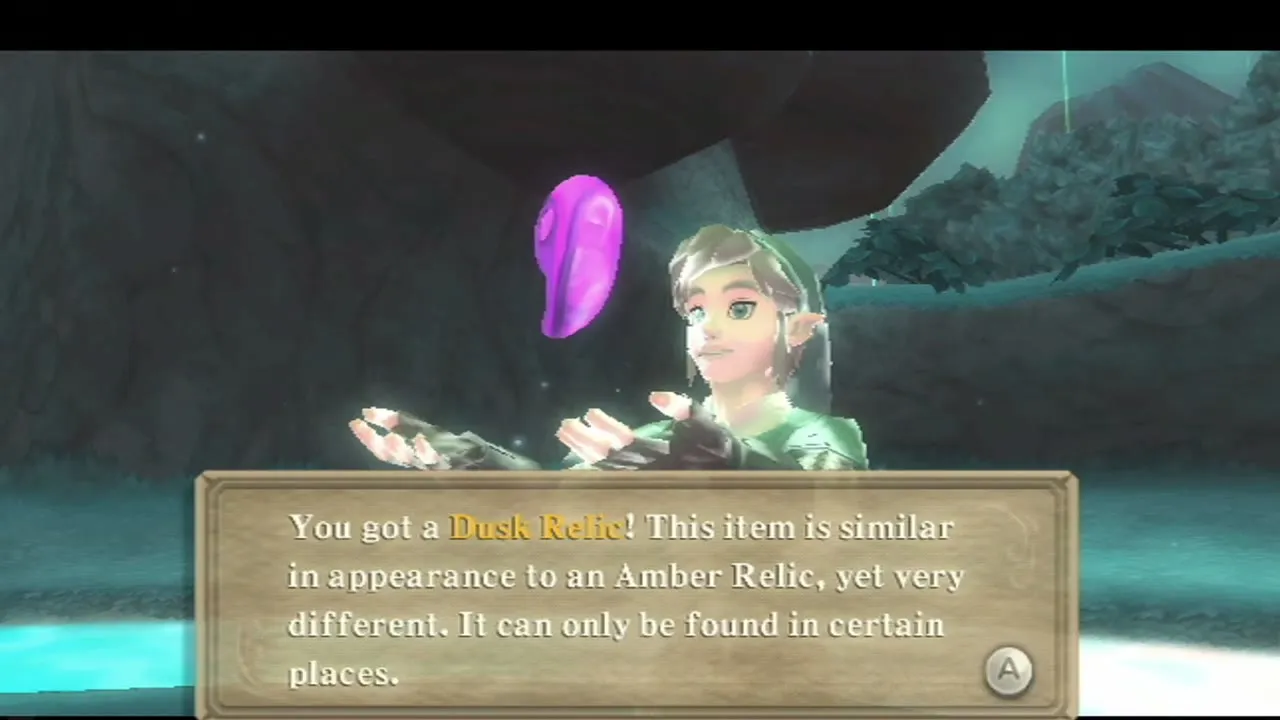
Hop down carefully and cross the fallen log into a circle of Waking Water. Tear 5 sits on the island inside the Waking Water circle, so step only on the dry stone; a Dusk Relic lies on the same island. Cross back over the log: tear 6 lies towards the gap near an Earth Guardian. Tear 7 is beyond that gap, so crawl through it, go south and climb the ledges, watching for a Watcher; a Dusk Relic can be found near it.
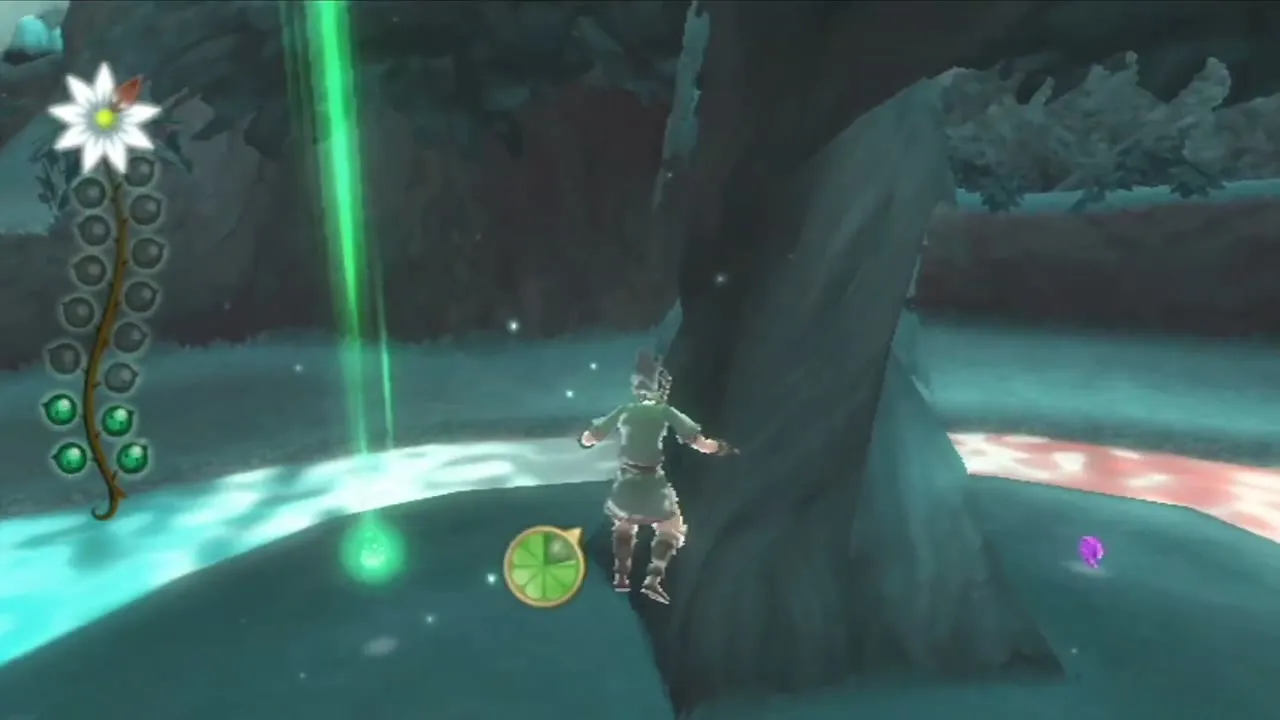
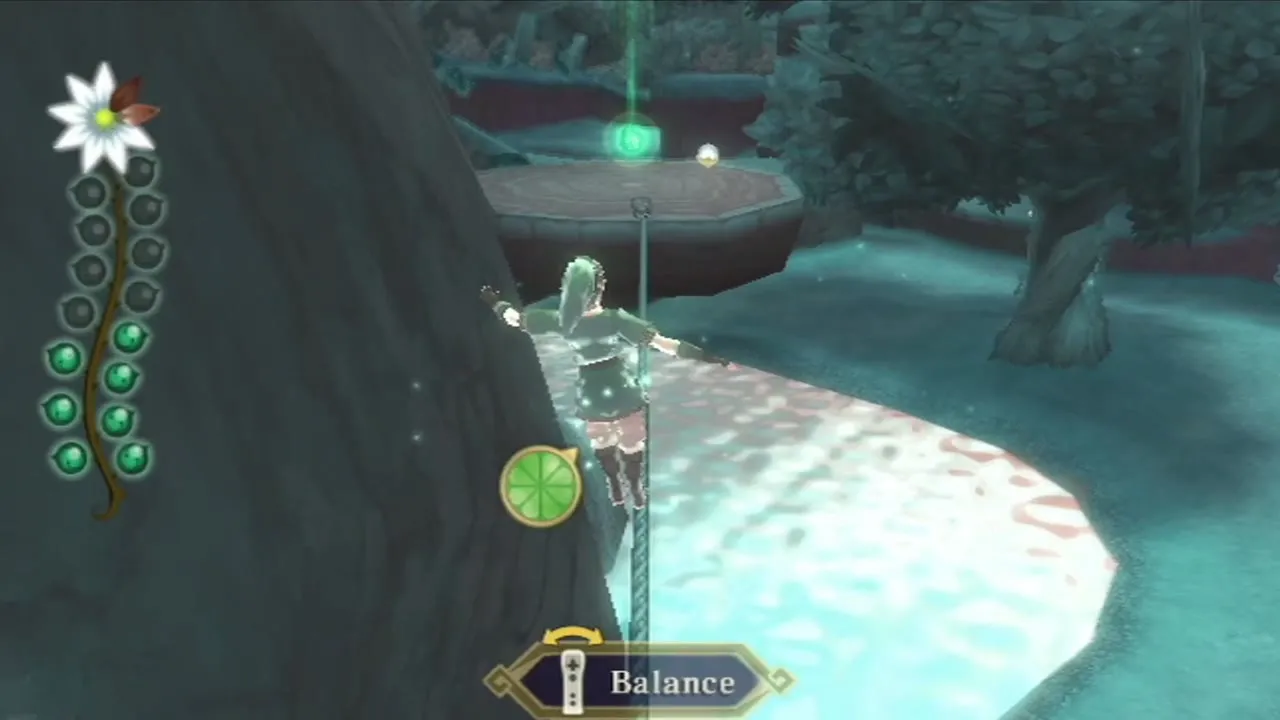
Tear 8 is at the far end of a tightrope: follow the narrow path to the rope and tilt the Wii Remote to balance across it. Walk back, hop down and go south to drop onto a ledge for tear 9. Tear 10 is west of there, inside a ring of Waking Water that rises and falls: wait until the water has fully receded, grab the tear and run out at once. Wait for the lanterns of any Watchers to turn away before you commit to a dash.


Tears 11 to 15: the eastern wall and the last ledges
Tear 11 is to the south-east; stay near the wall to avoid the Watchers. Tear 12 is on the east side: go north along the east wall and climb the ledges to the top, where it sits in front of a Guardian. Tear 13 is at the base of a slope to the south-west, so run up the slope at full speed.

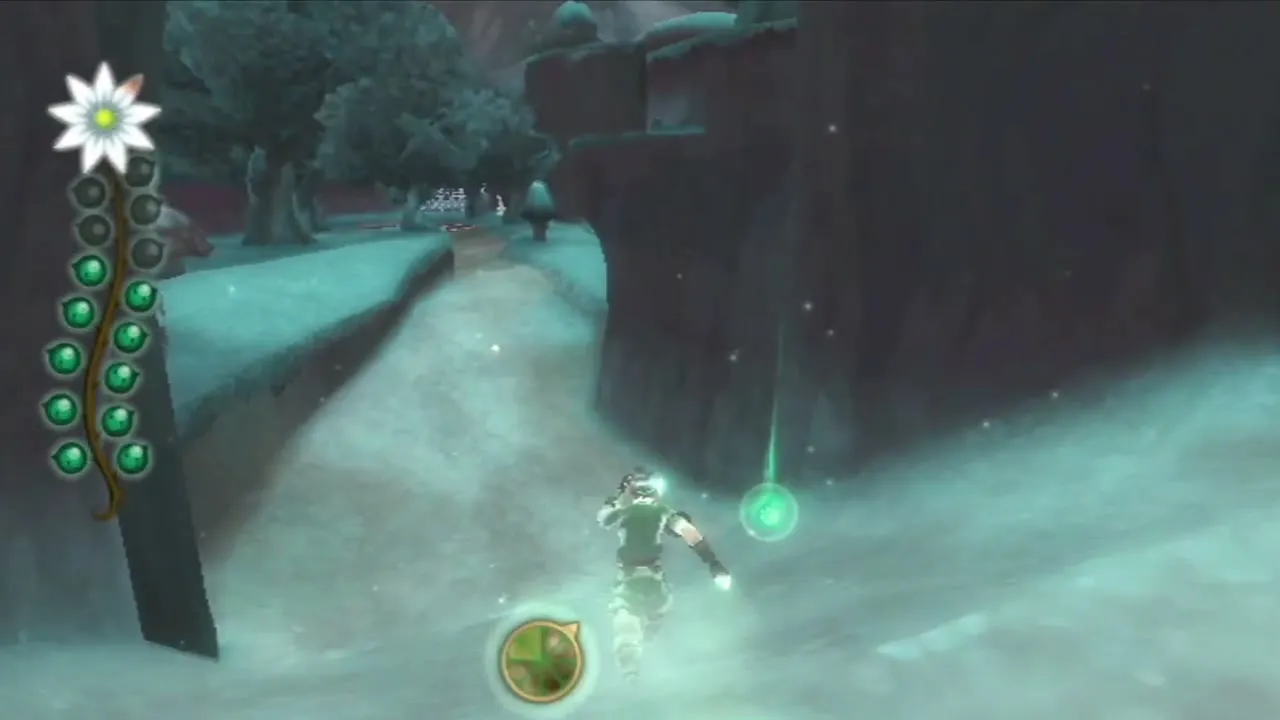

Tear 14 is in the south-east, in a grassy corner that also holds a Dusk Relic, and tear 15 lies north-west through a stone archway, up a set of climbable ledges. After the last tear, walk back to the glowing circle where you started. Push the log near the start off its ledge to open a shortcut, jump down and head straight for the circle, keeping clear of Watchers and Waking Water on the way.
Dusk Relics in the realm
Dusk Relics are treasures found mostly inside Silent Realms, and later Scrap Shop upgrades such as the Scattershot and the Divine and Goddess Shields need them. One lies on the island by tear 5 and another in the grassy corner by tear 14, with more scattered through the realm. Collect them carefully, and do not step on Waking Water or into a Watcher’s beam while you do. Pick up as many as you see; the bugs and treasures page lists what they pay for.

How to get the Water Dragon’s Scale
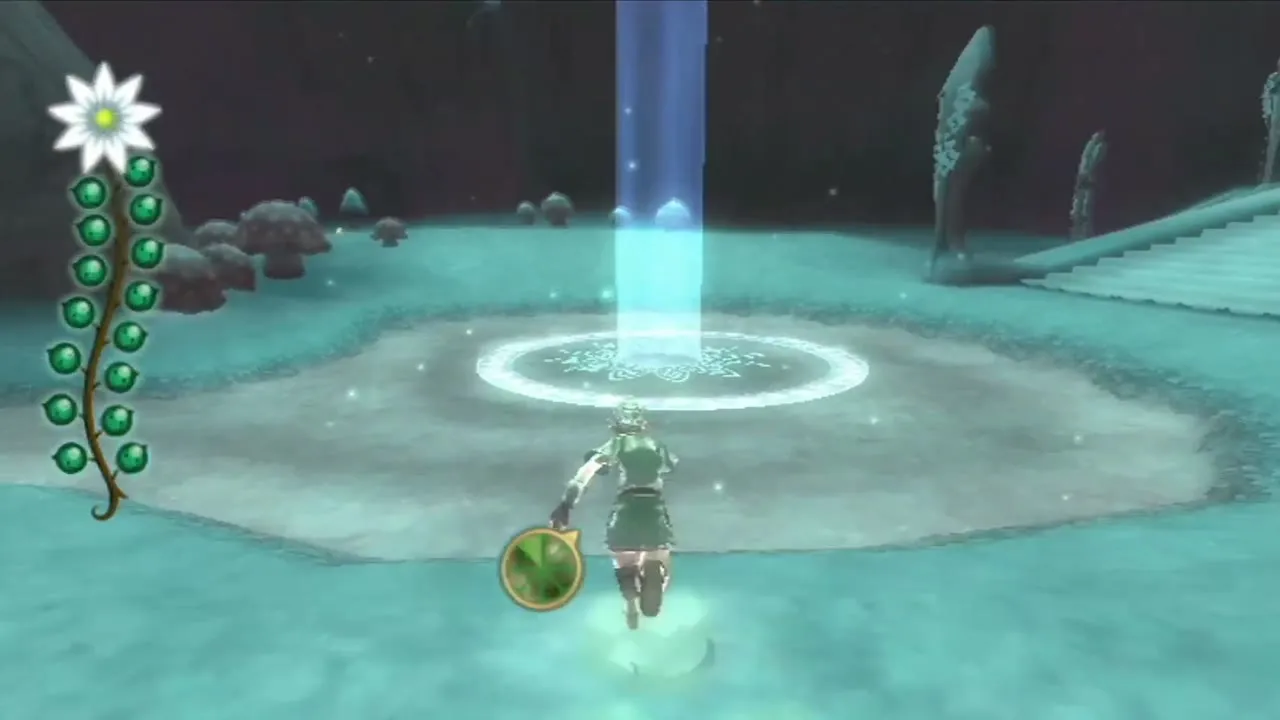
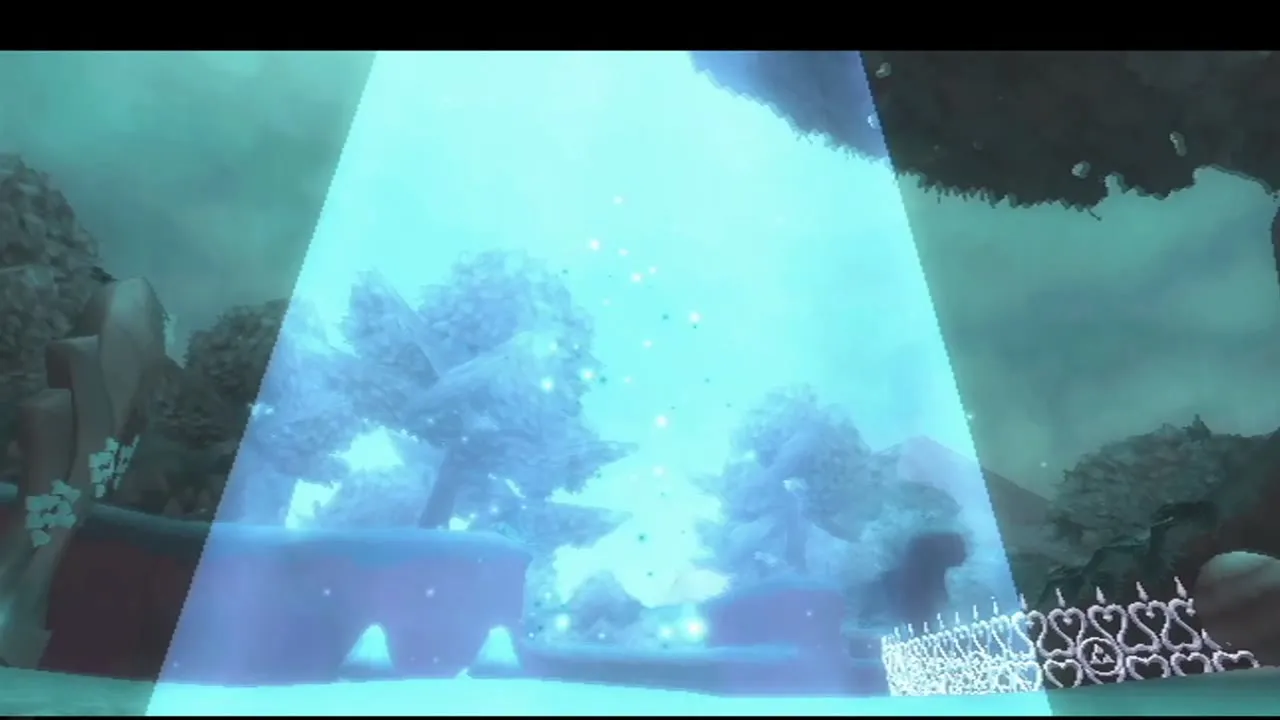
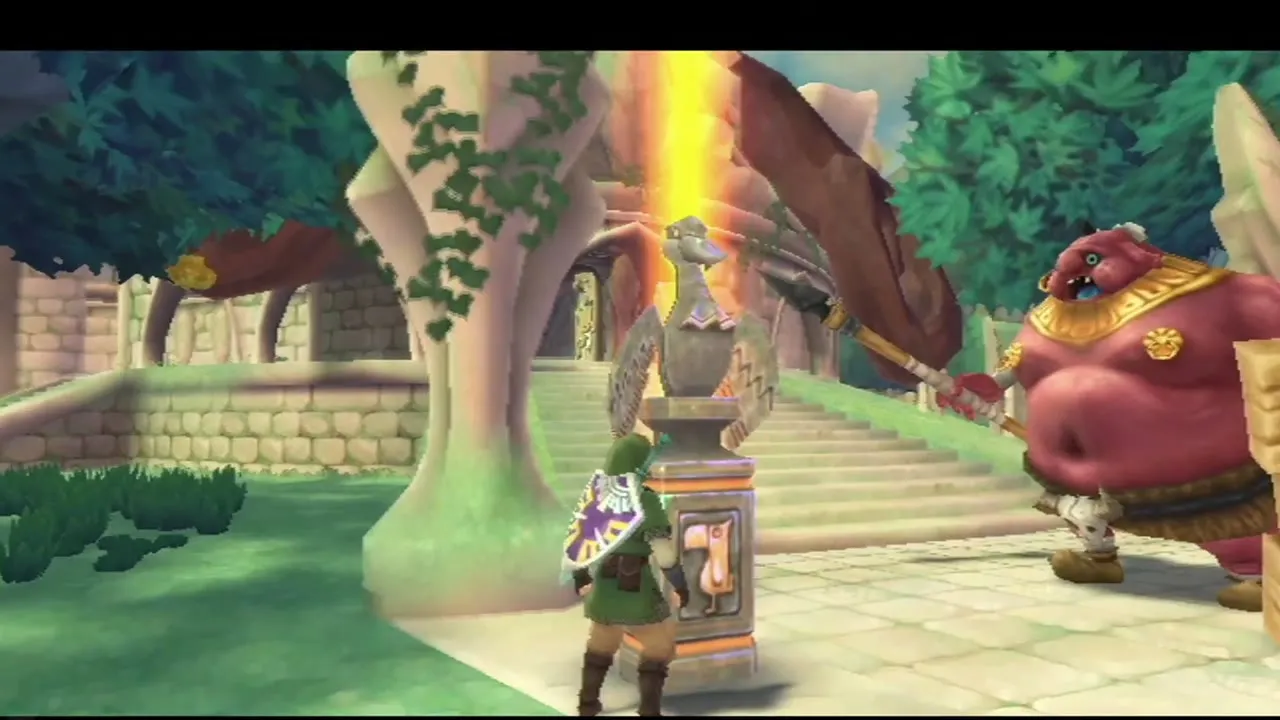
Walk back into the light circle where you started and the trial ends. You come out in the Viewing Platform clearing, and the goddess’s gift floats down to you: the Water Dragon’s Scale. It lets you swim and dive underwater, and it adds a spin that breaks things in the water and stuns enemies. Fi adds that the first Sacred Flame lies somewhere in these woods. The Silent Realms page lists every realm and reward.
The Great Tree and Yerbal
Swim into the Great Tree
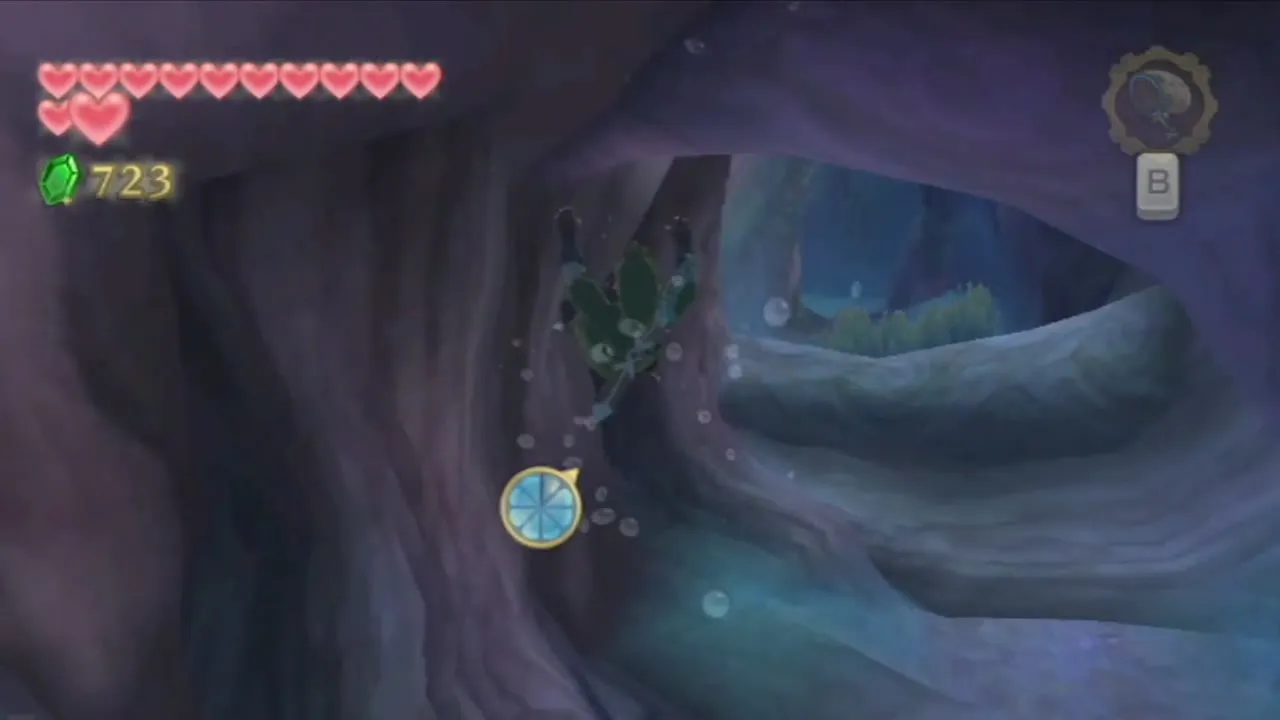
Talk to Bucha, the Kikwi elder, and he points out that the scale lets you reach places that were closed before. Head for the pond below his platform, jump in and swim down. A tunnel full of roots leads into the trunk of the Great Tree, with air bubbles on the way to refill your oxygen. Surface inside the tree.

Cross the inside of the Great Tree
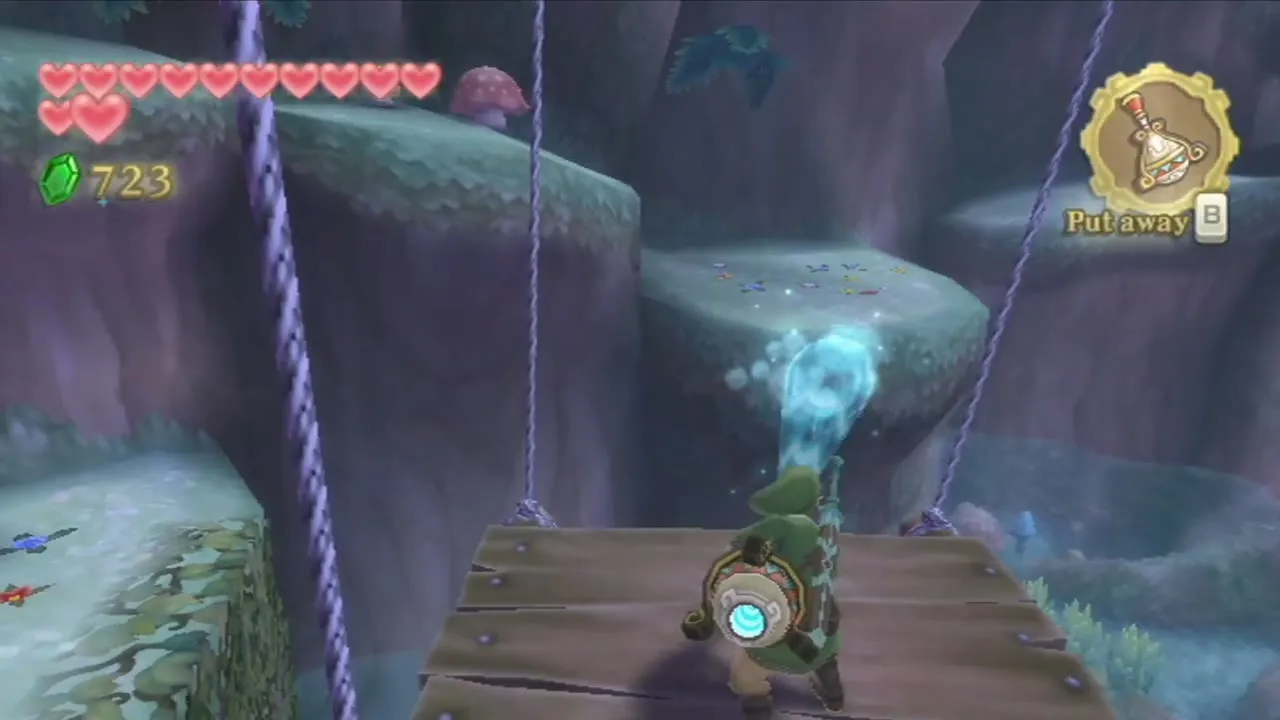
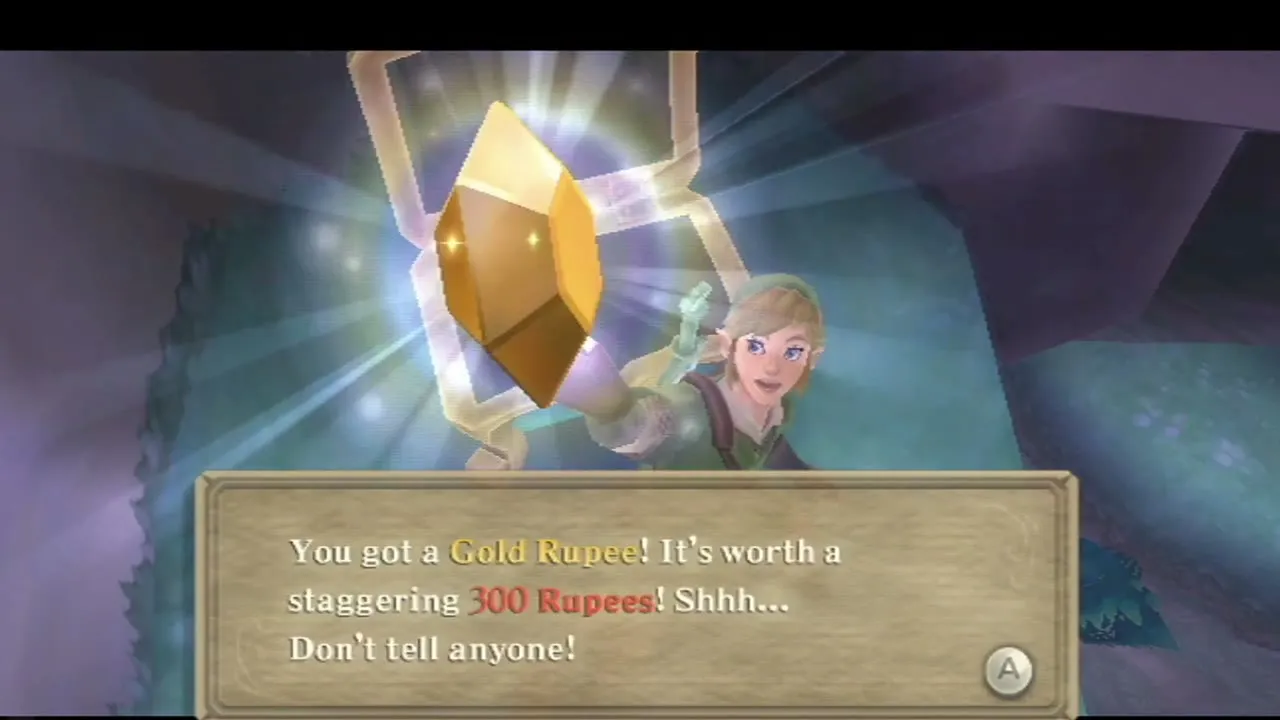
The inside of the tree is a climb up wooden platforms, with Bokoblins, Quadro Babas and Keese in your way, so cut them down before you jump. Near the top, swing the hanging platforms with the Gust Bellows to reach the branch where a Quadro Baba sits, and open the chest there for a Gold Rupee worth 300. Then leave by the exit near the canopy.

Climb the outside of the tree to Yerbal
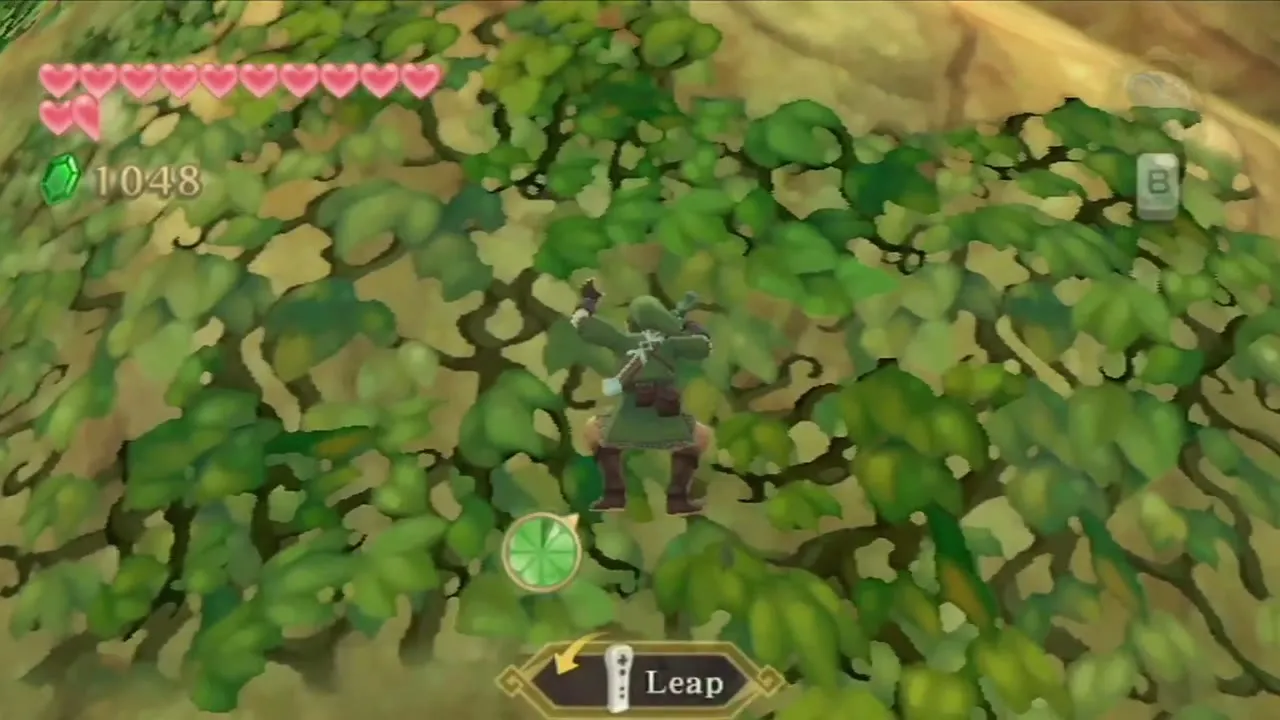
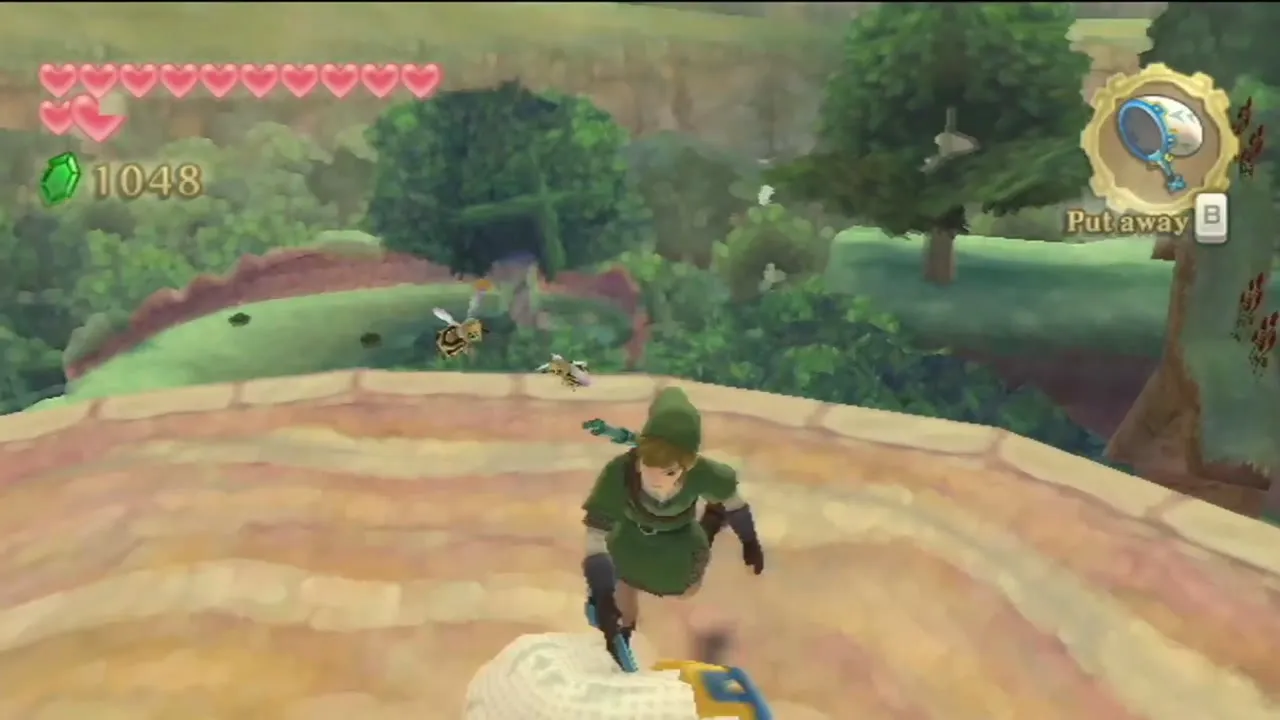
Walk around the trunk and shoot the Walltulas on the bark with the Slingshot before you climb the vines. Cut and bat away Bokoblins as you climb, and catch a Woodland Rhino Beetle on the bark with the Bug Net if you want a bug for later potions. A Bokoblin on the path can drop an Ornamental Skull. Climb the vine wall, roll up the grassy slope and follow Fi’s hint to look up at the hollow tree.

Yerbal, the Kikwi hermit
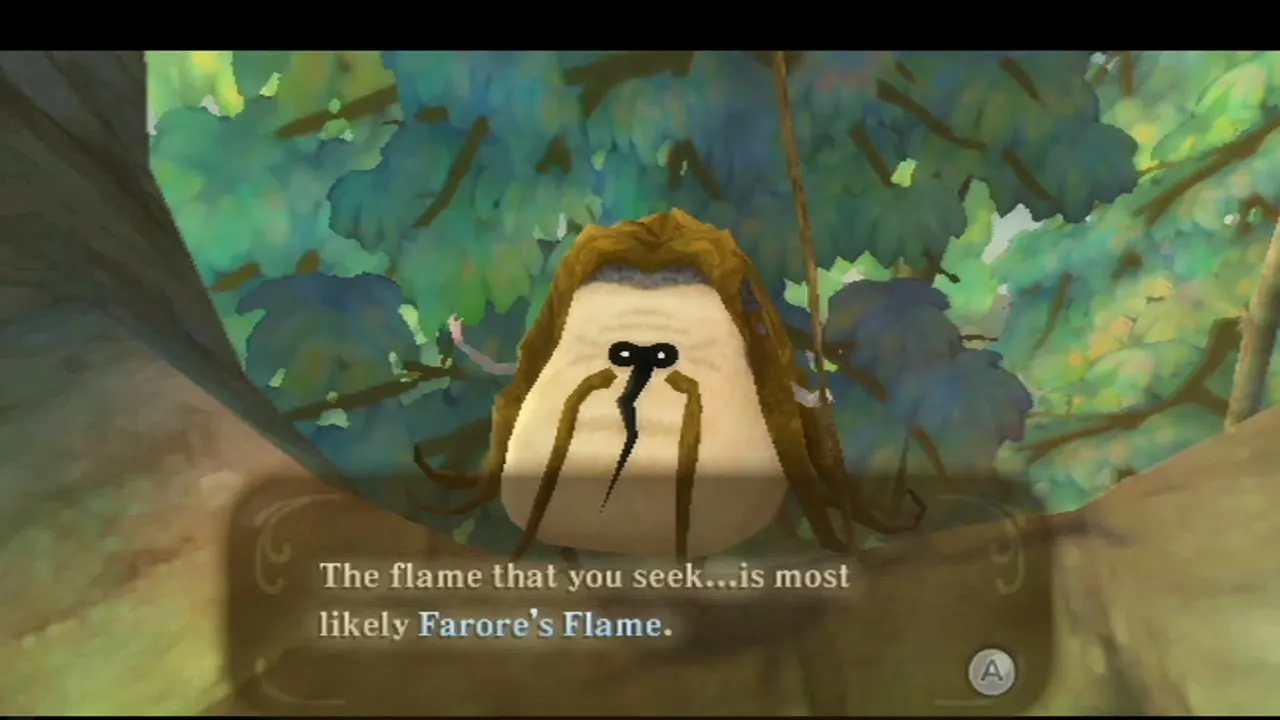
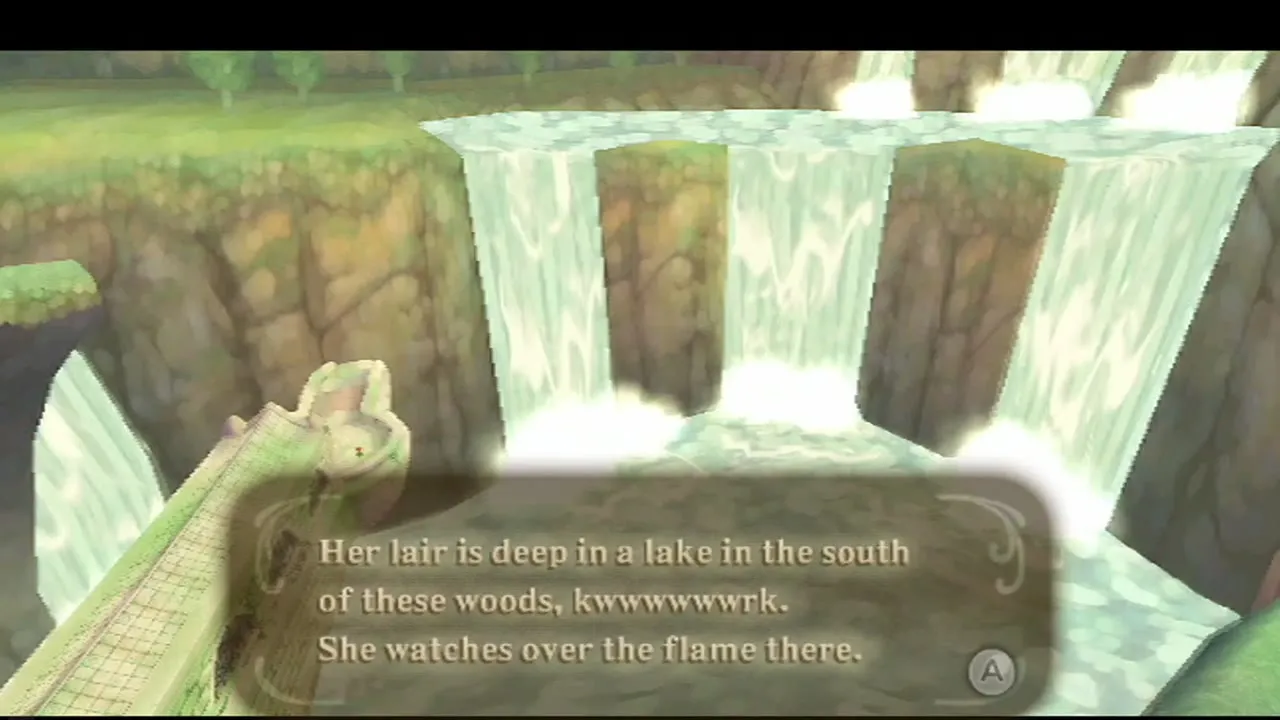
Shoot the target on the hollow tree and the hermit Yerbal appears on a root. Tell him you are searching for the flame. He explains that Farore’s Flame is in the care of the Water Dragon, who lives in a lake in the south of the woods, and that the gate to her home is sealed against the unworthy. The gate opens only when you complete the symbol on its doors, and Yerbal gives you a map marker for it.
A bird statue named Great Tree Top stands in the canopy, at the exit before the climb, so save there.

Goddess Cubes 13, 14 and 15 around the tree
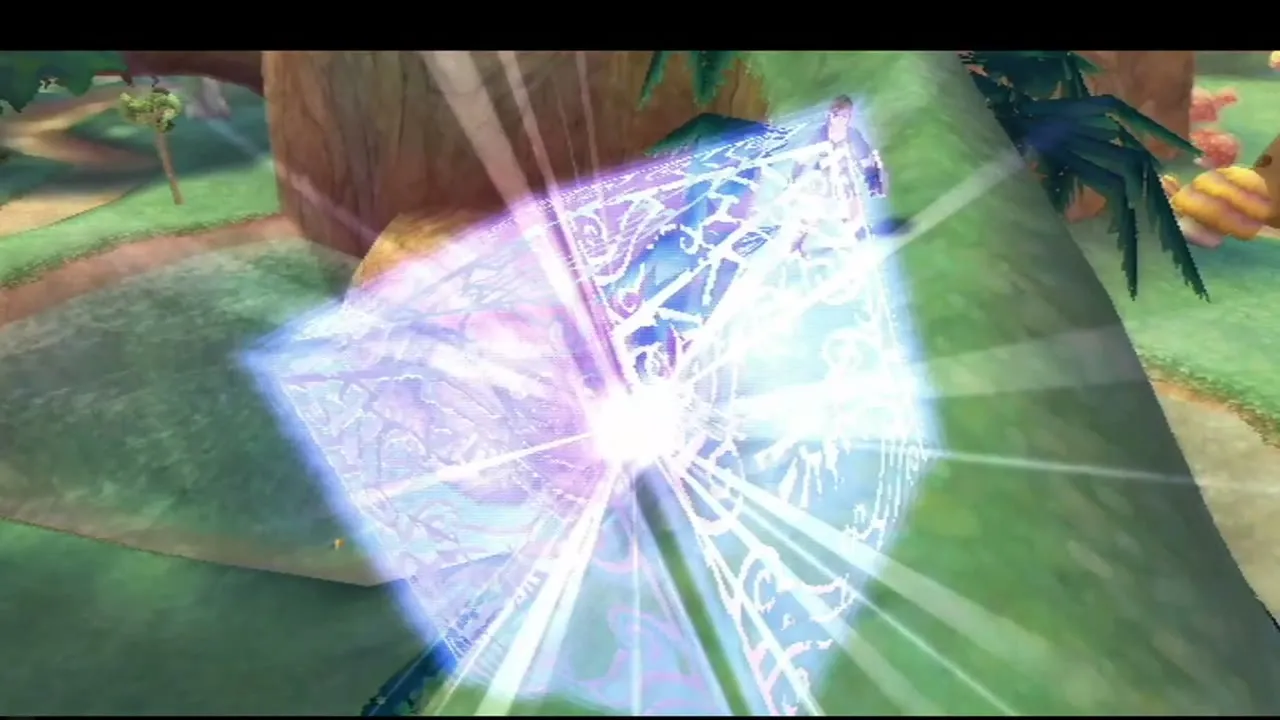
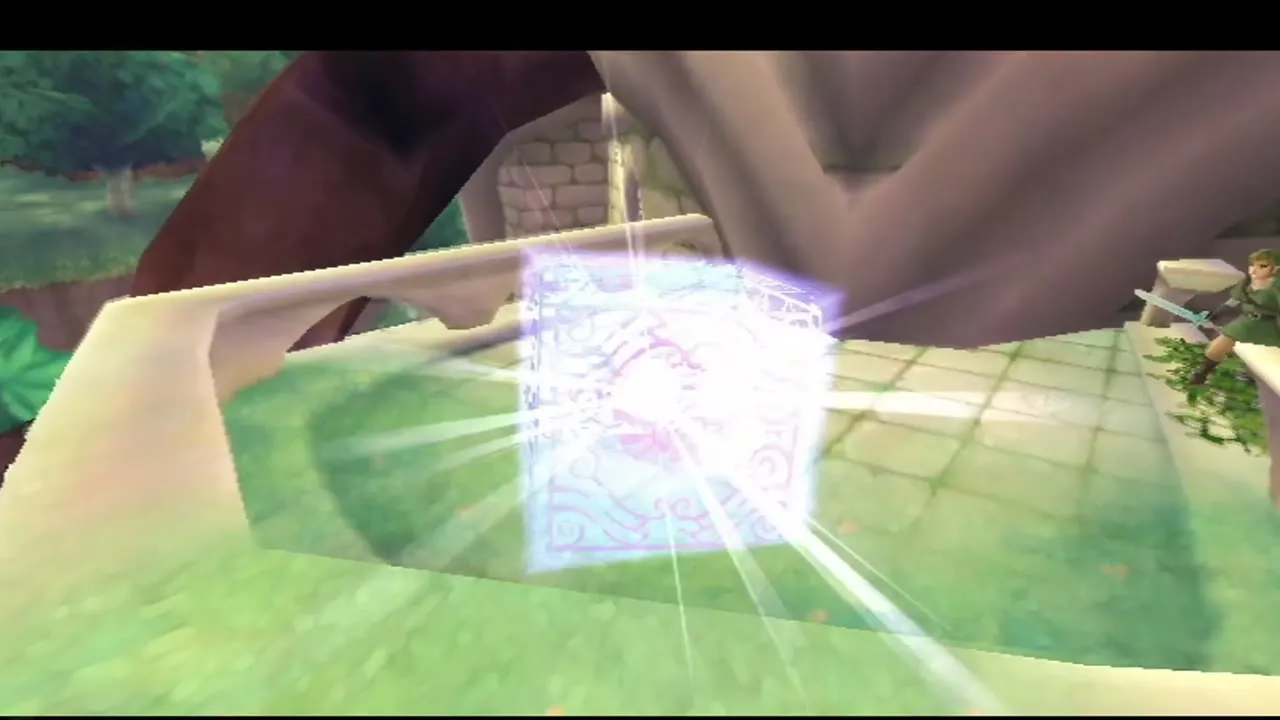
Three cubes sit around the tree, and you hit each with a Skyward Strike. Cube 13 is at the Great Tree, and its chest, on Skyloft south of the Knight Academy, holds a Silver Rupee. Cube 15 is on the east side of the tree, reached from the top, and its chest, on an island north-east of the Isle of Songs, holds a Rupee Medal (kill the Walltulas on the vines and climb up). Cube 14 is on the south-east side of the tree and needs the Water Dragon’s Scale, though the Clawshots make it easier, so you may leave it for later; its chest, on the upper ledge of the crater island south of Skyloft, holds a Piece of Heart. The Goddess Cubes page lists all 27.

Piece of Heart in the rock pile
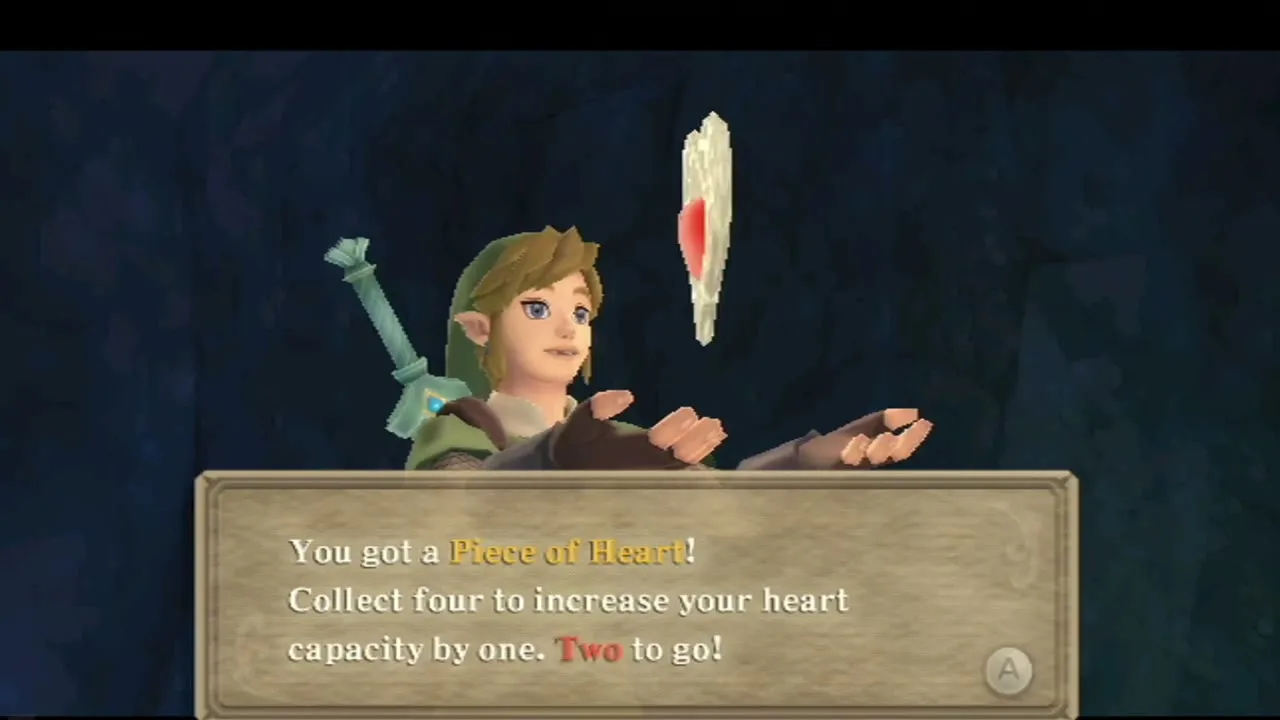
The Bomb Bag you won in the Earth Temple opens a Piece of Heart in Faron Woods. Warp to the In the Woods bird statue, follow the path downhill and throw a bomb at the pile of cracked rocks beside the mushrooms to open a small cave with the piece inside. The Piece of Heart page lists all 24.

The Lake Floria gate
How to open the Lake Floria gate
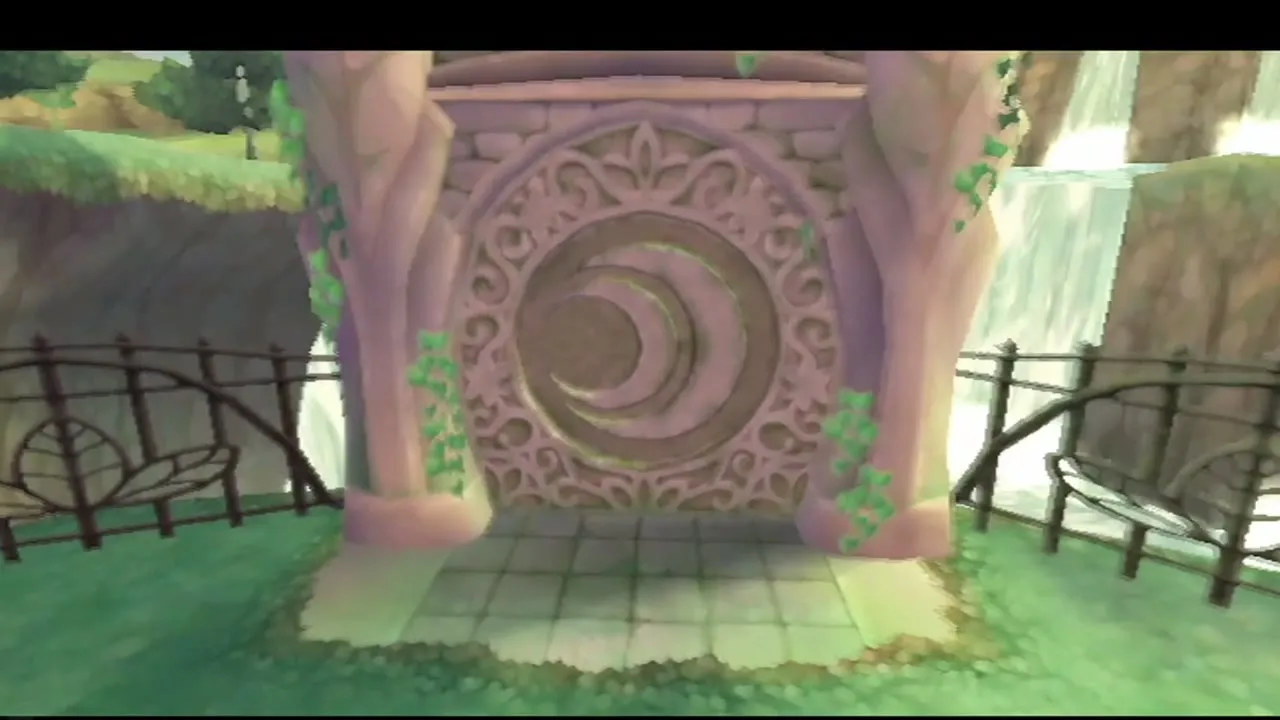
Fly to the sky from a bird statue, then choose In the Woods on the descent map. Run to the gate in the south of Faron Woods that Yerbal marked: its doors carry a symbol with a piece missing. Raise the sword until it glows, then use the Wii Remote to draw the missing part of the symbol on the doors. The gate swings open onto a short stone passage.


Dive into Lake Floria
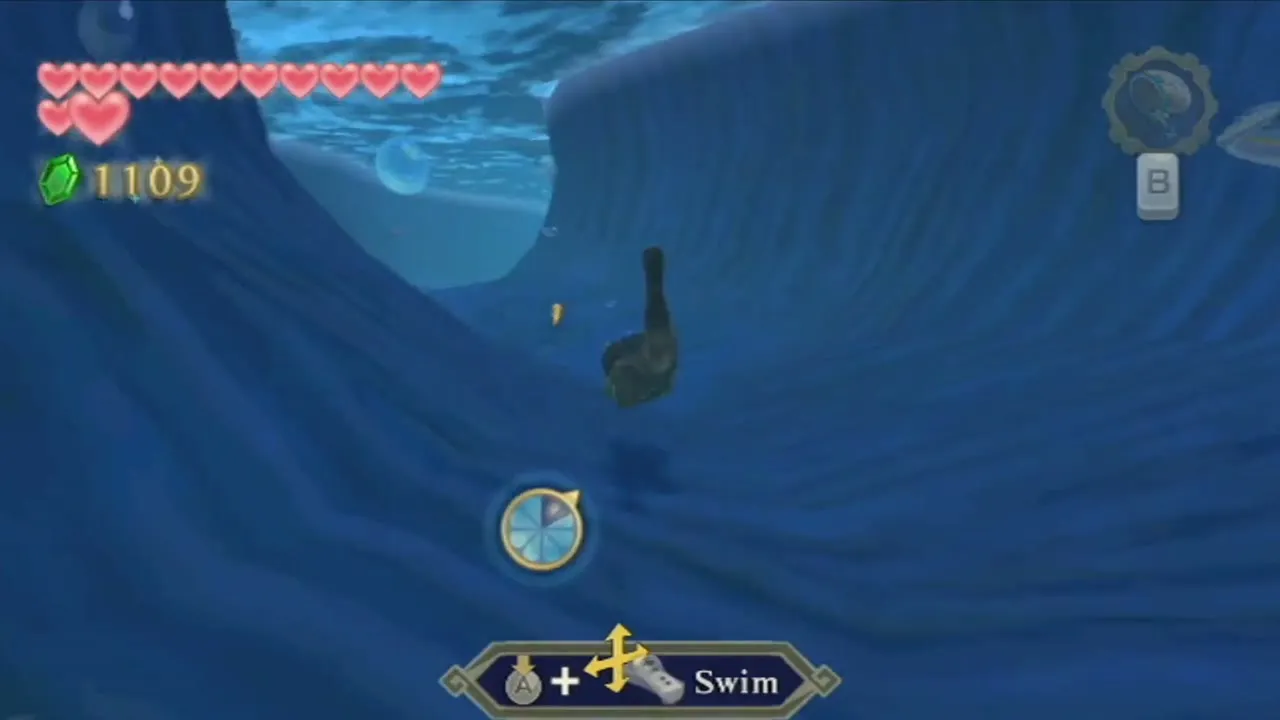
Follow the passage to the edge and drop into Lake Floria, a large lake that you now cross underwater. The Water Dragon’s Scale is all you need; swim with the Nunchuk stick and use the dash and spin moves it gives you.

Lake Floria and the Water Dragon Faron
Follow the Parella
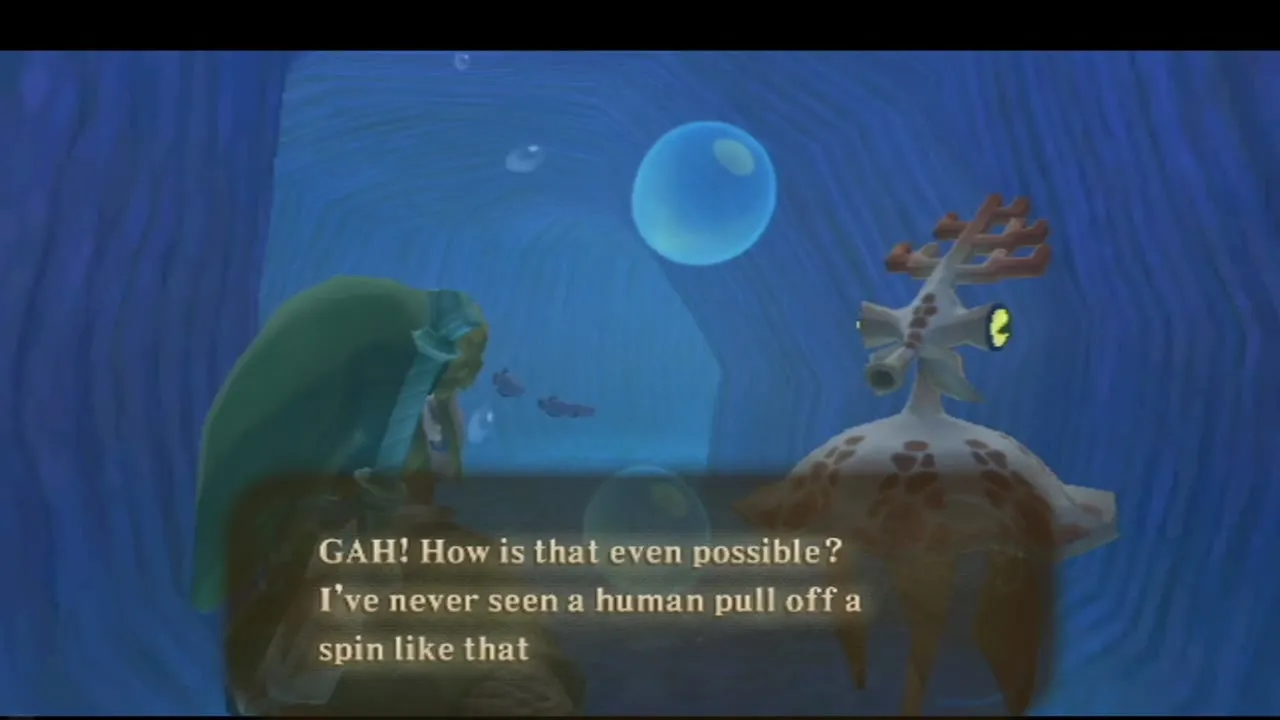
Almost at once you meet a Parella, a squid-like attendant of the Water Dragon (her name is Jellyf). She is rude and tells you to stop following her, until you pull off a spin to show her what the Water Dragon’s Scale lets you do. She then agrees to lead you to the dragon, who is wounded. Stay close and follow her down the tunnels.

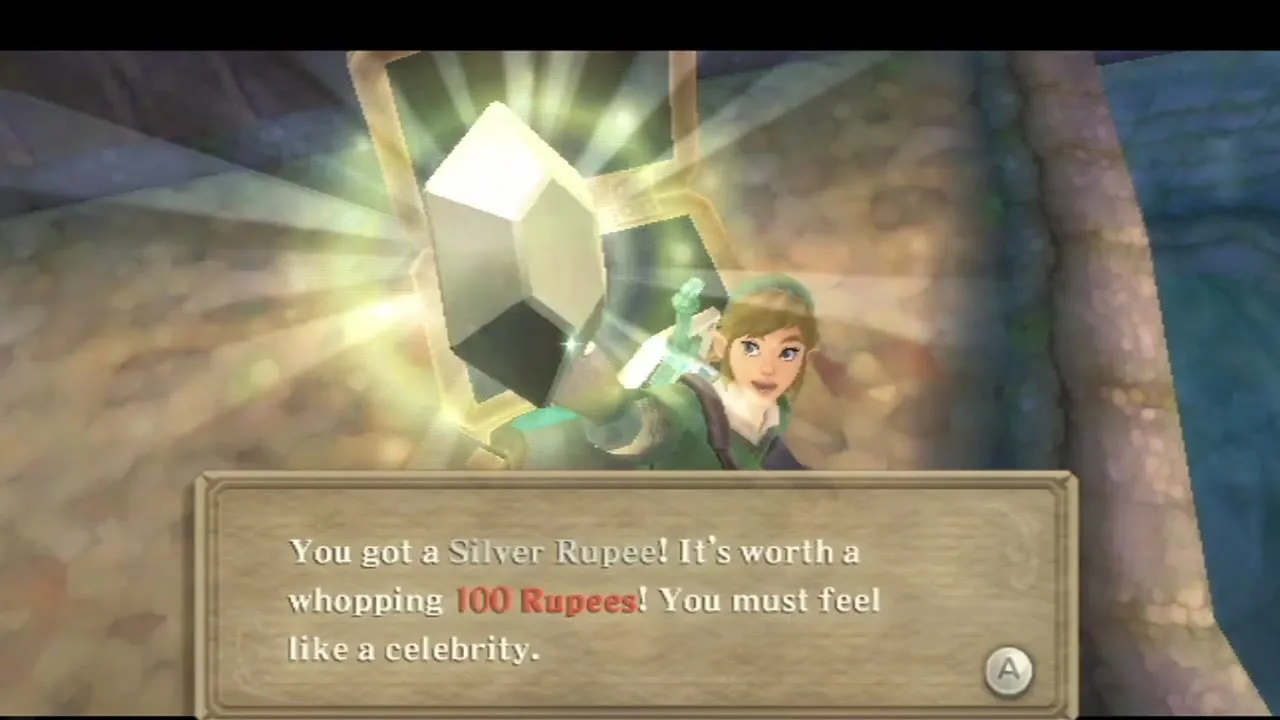
Wooden barriers and boulders block the way. Dash into them or spin to smash them. The Parella tells you which way to go, but keep an eye on the other fish: Froaks are pufferfish that explode on contact and Cranioc are hostile, so dash past them or hit them from a distance with a spin. In the open cave, lure a Froak into the large boulder in the middle so that it blows apart and reveals a Silver Rupee.


Goddess Cube 16, the bird statue and the Goddess Plume
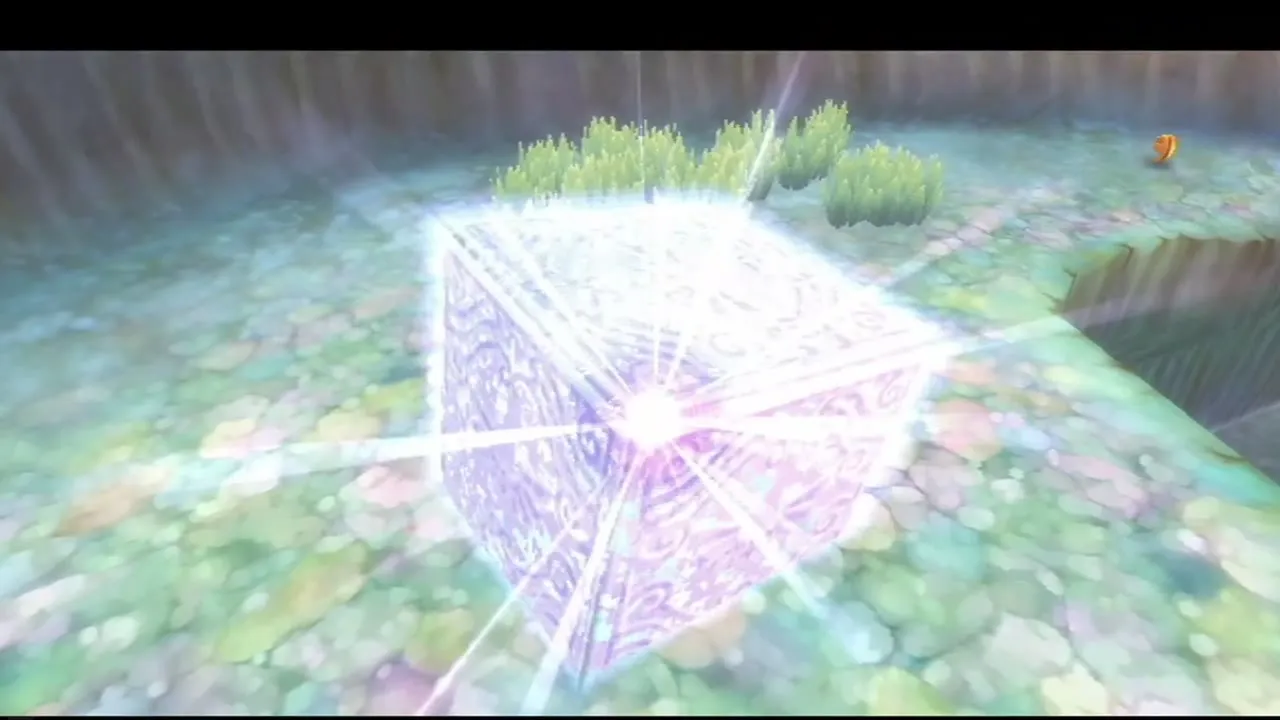
At one point the path is barred by a locked gate near the surface. Dash upward and spin to leap over it, then surface on dry ground and turn around: Goddess Cube 16 is there, and you can hit it with a Skyward Strike. Its chest is on the island in the north-east of Skyloft, up the vines by the waterfall, and holds a Gold Rupee; you need the Clawshots to reach it, so come back later. A bird statue called Lake Floria stands nearby, and a chest just past it holds a Goddess Plume, a rare treasure. Save here before you go on.


Meet Faron
Follow the Parella through the last barrier, stun the Cranioc with a spin and hit it again to finish it, then swim to the final chamber. Inside is the Water Dragon, who introduces herself as Faron, warden of the woods. She was hurt by a Demon Lord who attacked her, and the sacred water that heals her has lost its strength. Agree to help her, and Fi studies the water in the basin so that she can help you dowse for more.
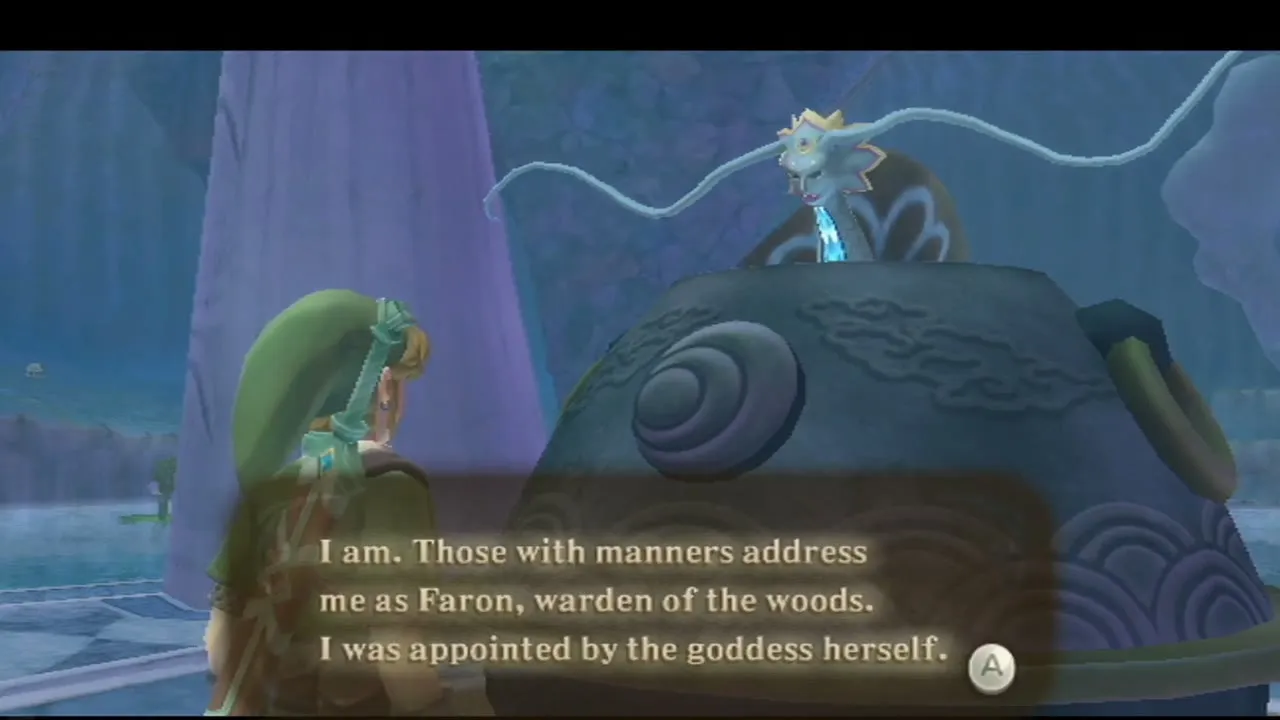
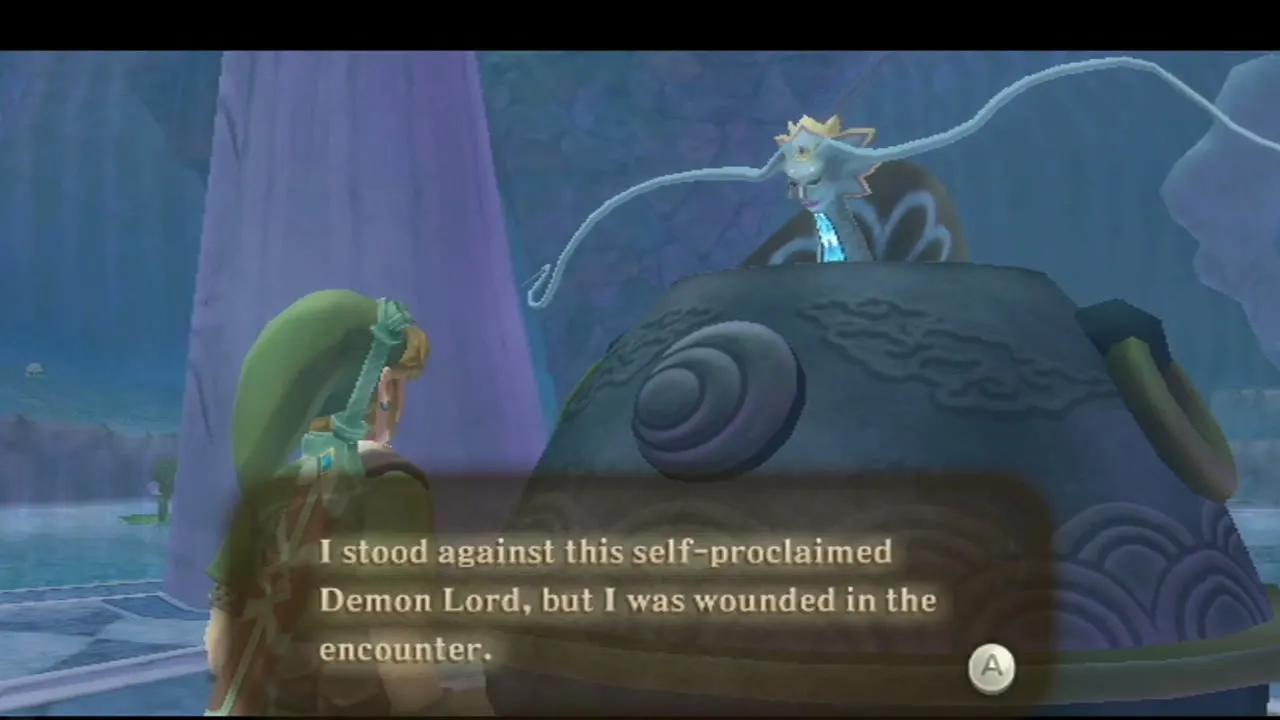
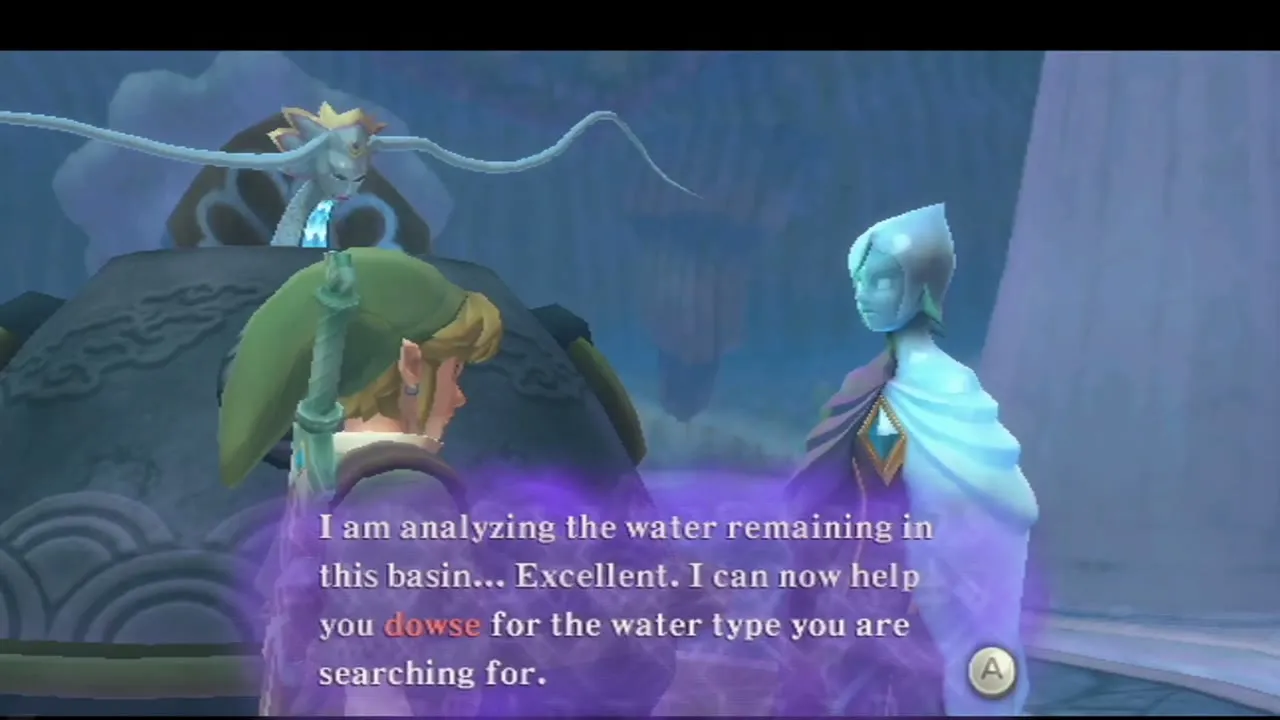
 Before you leave, look for two spots near the basin. A jumping spin over the ledge on the left lifts you onto higher ground with a chest that holds a Silver Rupee, and another chest along the east edge holds a random rare treasure. Both can be used or sold. Then leave the chamber and use the Lake Floria bird statue to get back out.

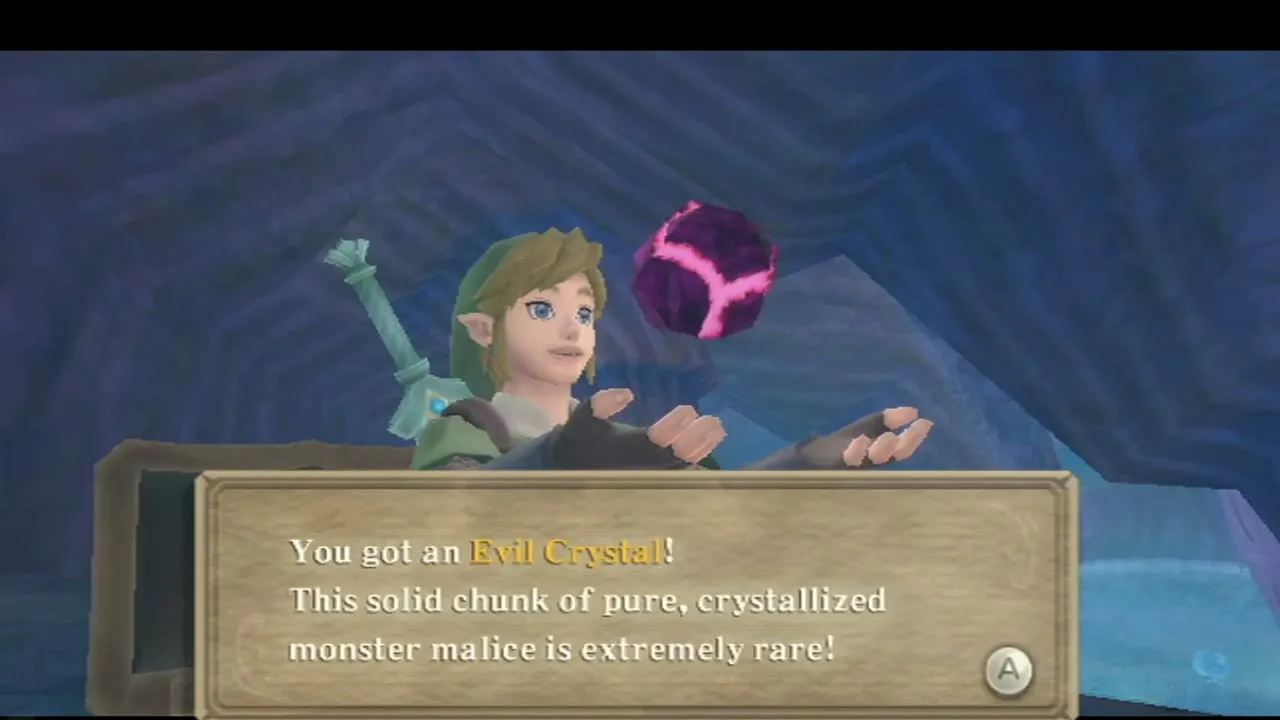
Getting the Sacred Water from Skyview Spring
Dowse for the Sacred Water
Open the item wheel, choose Dowse and pick Sacred Water as the target. The dowsing signal pulls you toward the Skyview Temple in the Deep Woods. Have an Empty Bottle ready: you cannot carry the water without one.
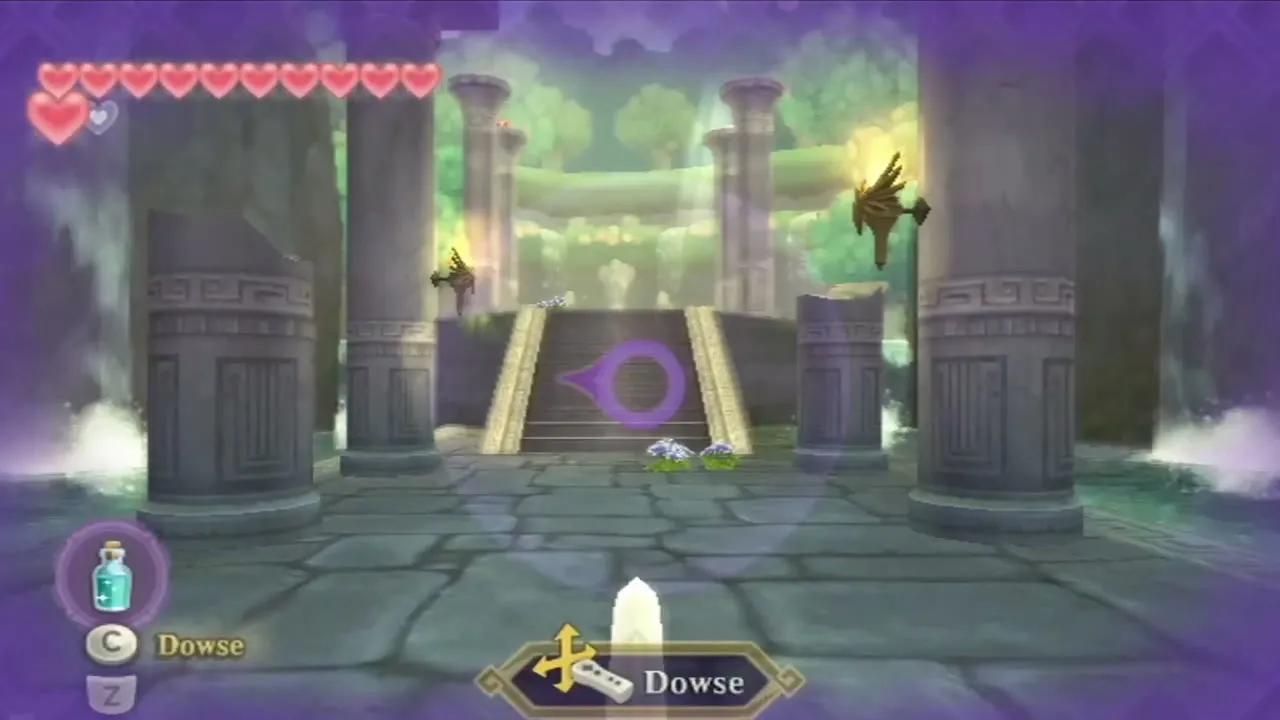
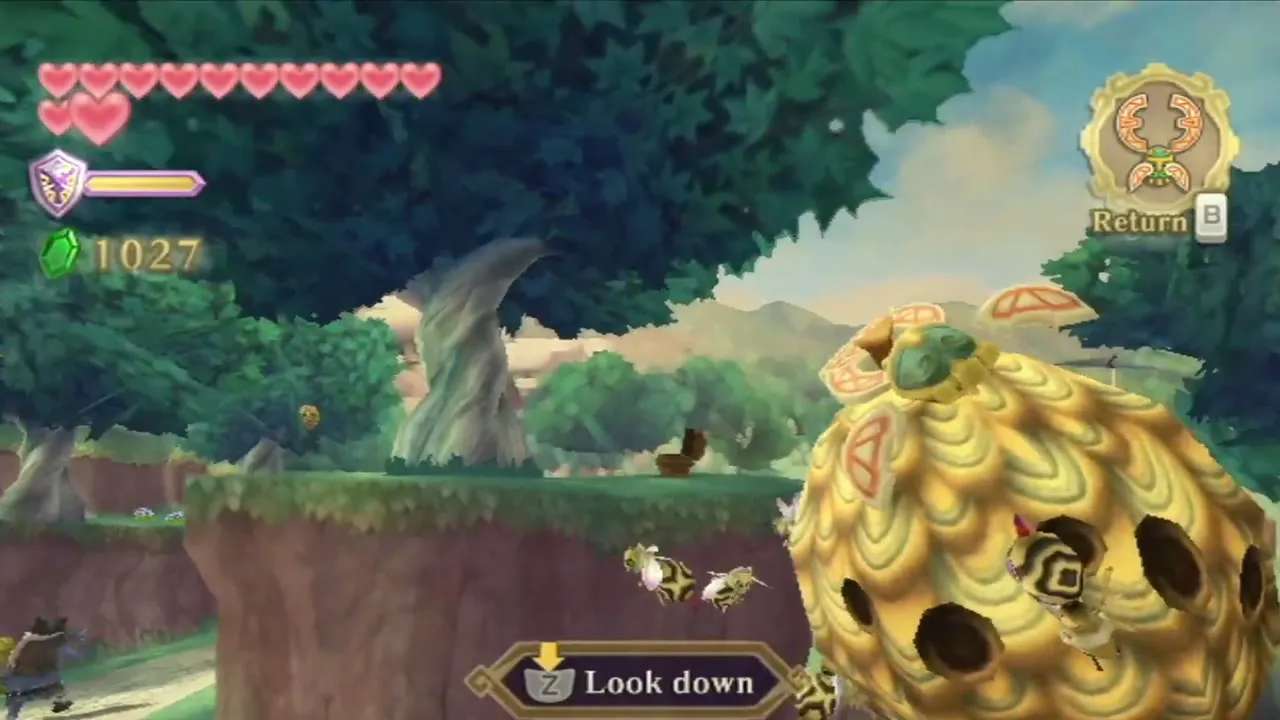
Follow the signal through Faron Woods and into the Deep Woods, fighting Bokoblins on the way; you can also shoot down the hornet nests there for Hornet Larvae. Save at the Forest Temple bird statue outside the temple doors.

Skyview Temple again
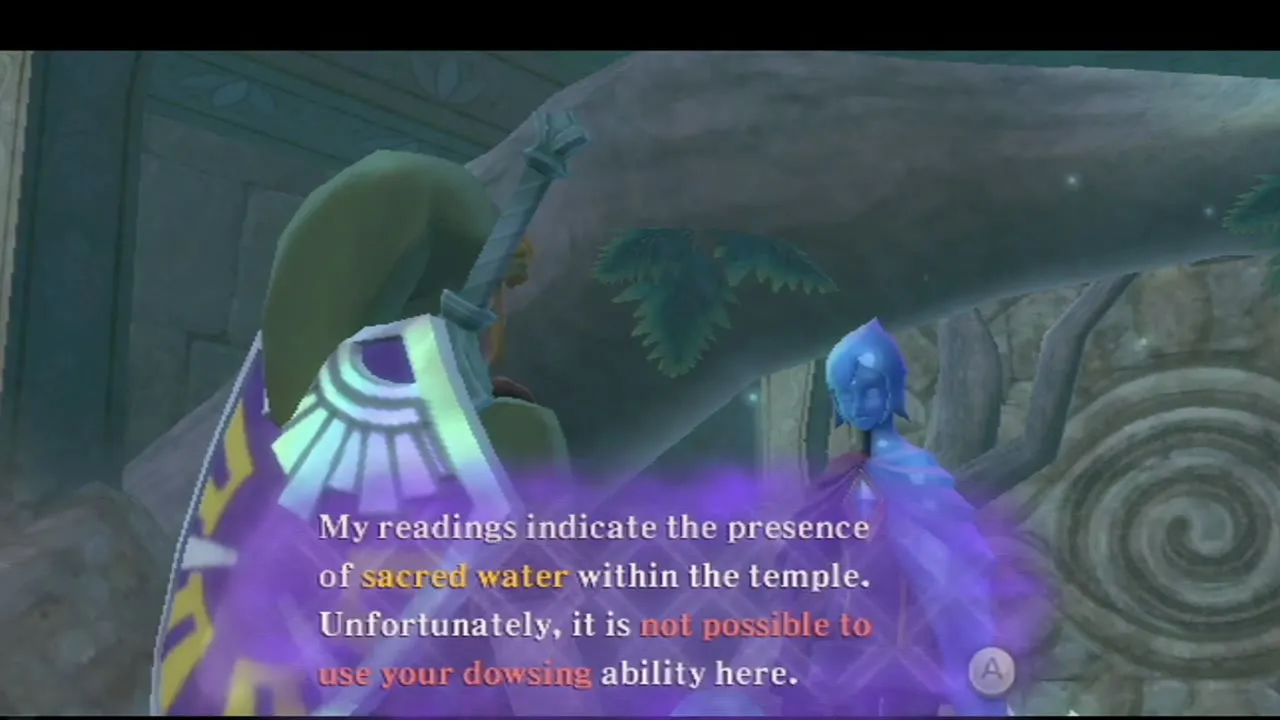
The temple is as you left it, apart from tougher monsters: Green Bokoblin Archers, Quadro Babas, Froaks and more Keese. Fi warns that the sacred water lies in the deepest part. Follow the main route through the temple, the same way as in the Skyview Temple walkthrough, but you no longer need the Golden Carving.

A door in the first hall is sealed again, so you must find a Small Key again. Swim through the hole in the left wall, climb the vines and dig in the patch of soft soil with the Digging Mitts to find the key.
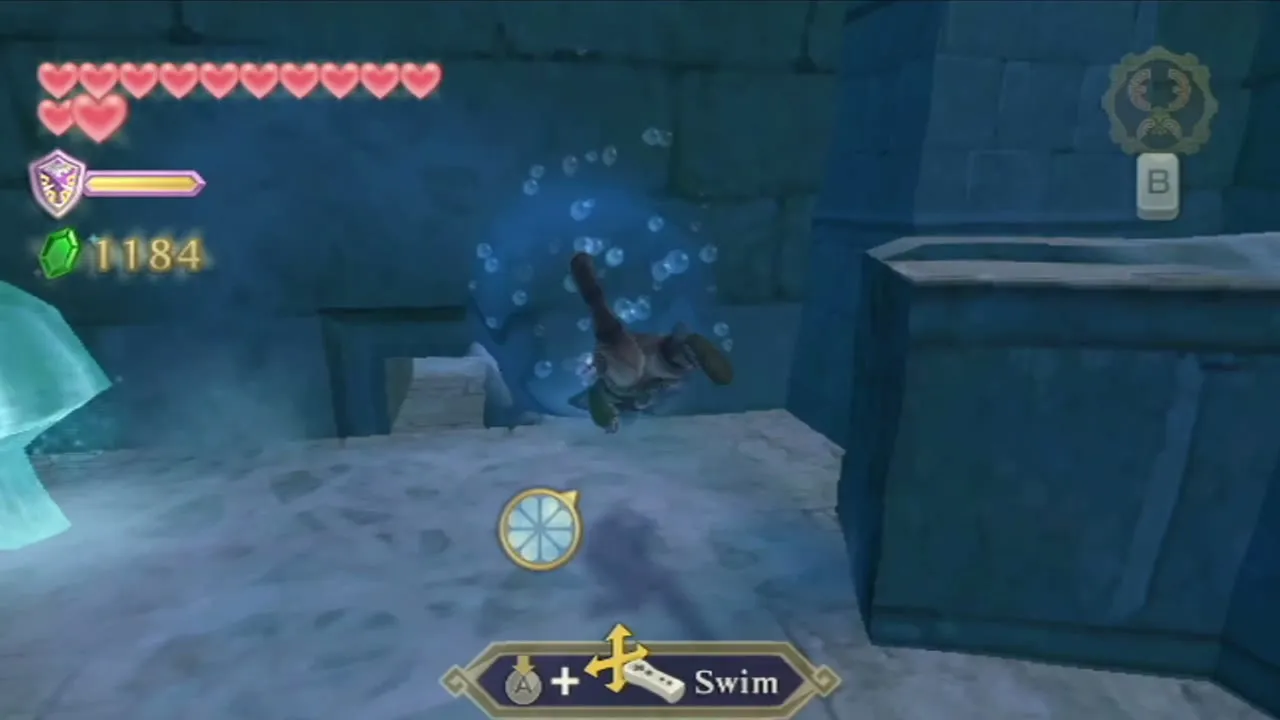

Use the key on the locked north door in the main room, defeat the Staldra beyond, and go on to the tightrope room. Two Green Bokoblin Archers stand on the far end. Hide behind the right-hand pillar, fly the Beetle to the Bomb Flower, carry it over and drop it on them. Cross the tightrope, talk to the last Mogma and save at the bird statue by the boss door.



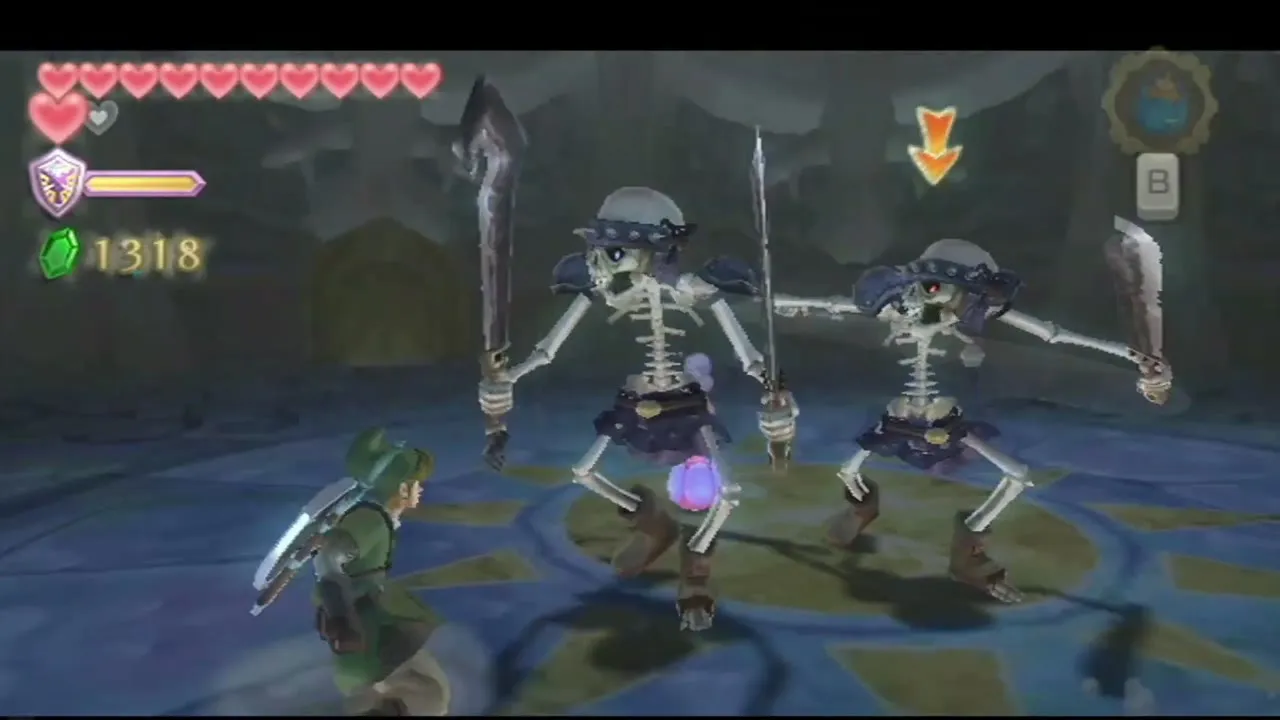
Three Stalfos mini-boss
The old boss arena now holds three Stalfos at once. Do not stand in the middle, because the three swing from different sides. Keep to the edge, use a shield bash to push one back, and throw a bomb at it so its arms fall off and it is open to your sword. Hearts drop from the fallen Stalfos and from the pots, so pick them up as the fight goes on.

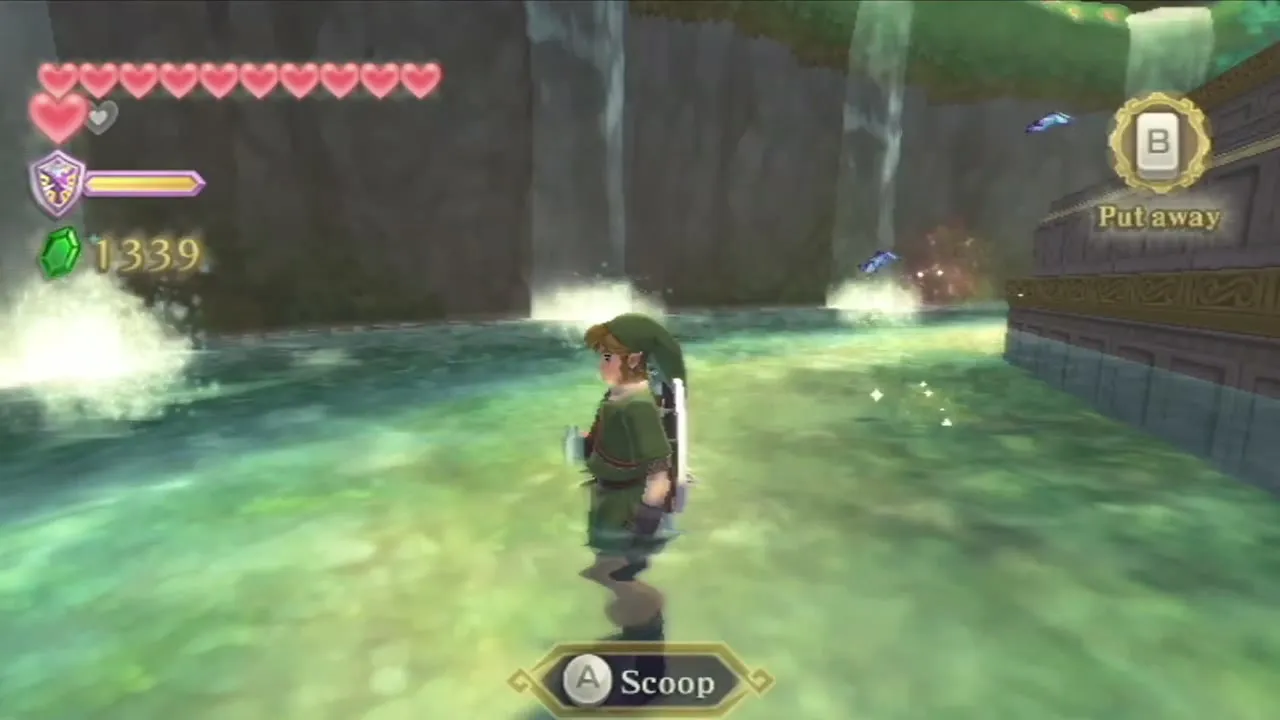
Scoop the Sacred Water
When the last Stalfos is down, go through the door to Skyview Spring. Fi detects sacred water close by. Walk up to the far end of the spring and dowse for it. Scoop with the bottle at the spot where the dowsing mark sits, because ordinary water from the pool will not do.

Heal Faron and open Floria Waterfall
Return to the Water Dragon
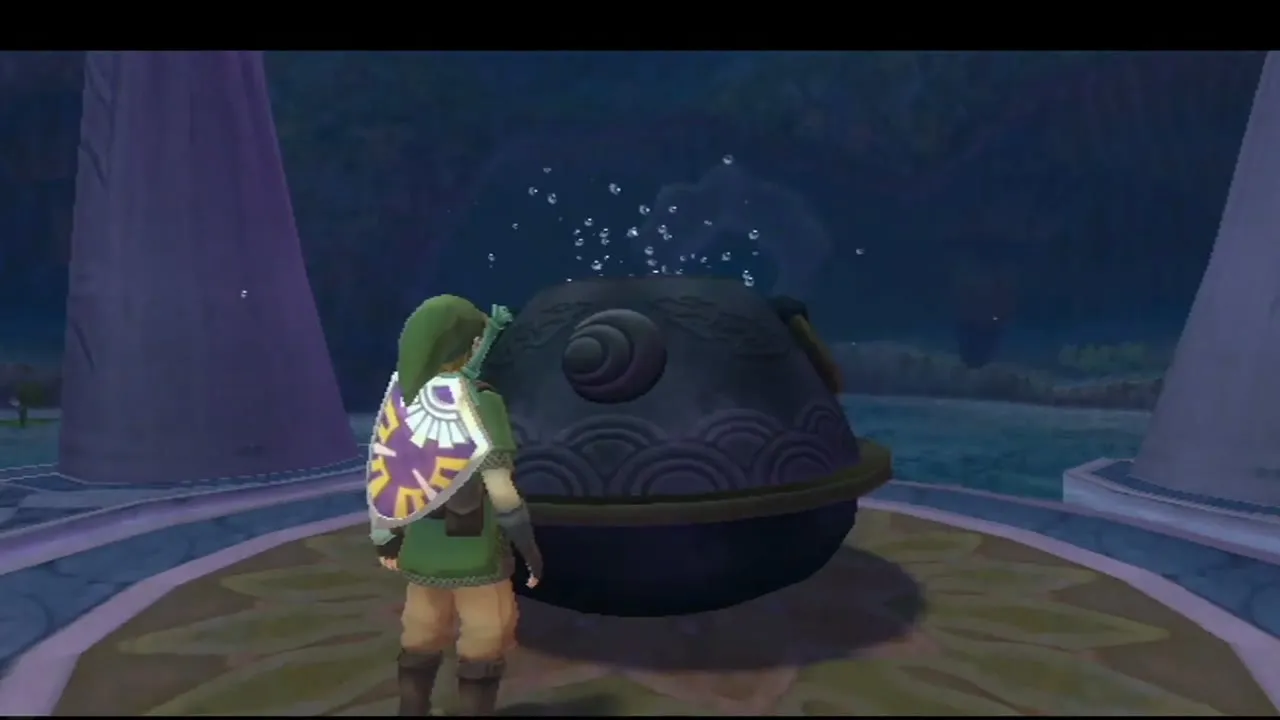
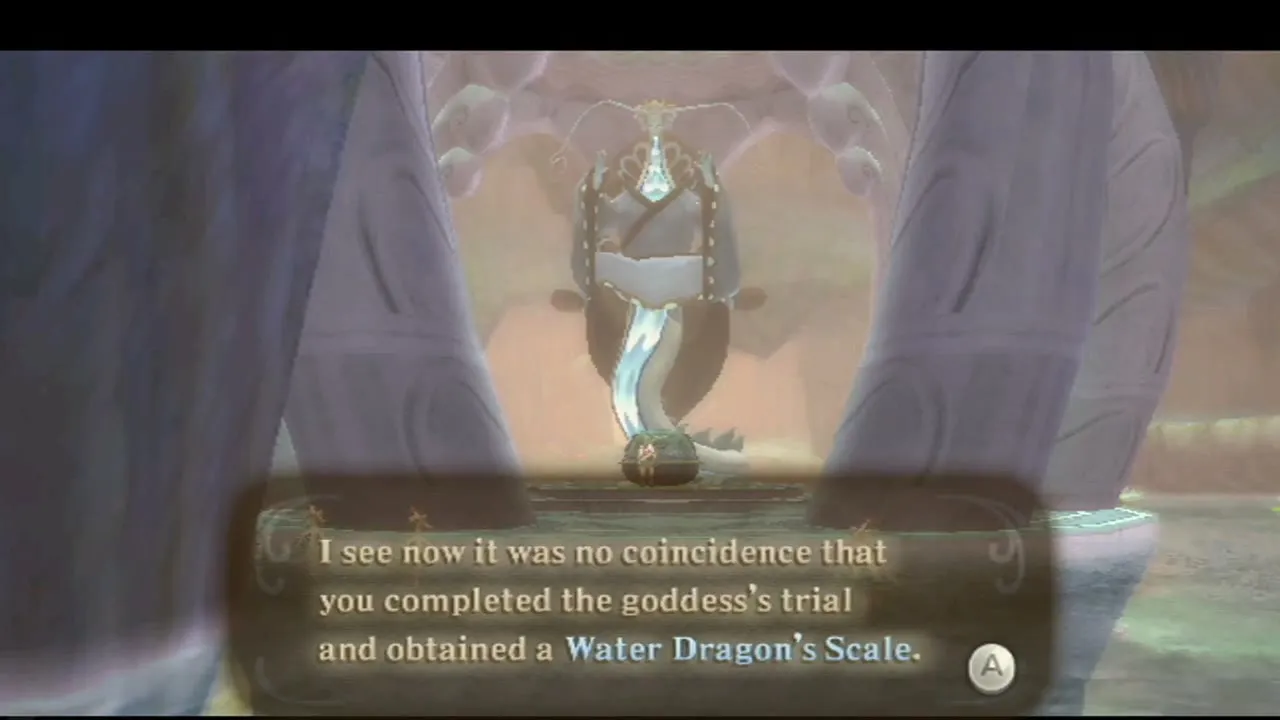
A light carries you out of the spring to the Deep Woods bird statue. Choose To the sky, then on the descent map pick Floria Waterfall. Dive into Lake Floria again, swim back through the tunnels you cleared and reach the Water Dragon’s basin. Hold the bottle over the basin and pour. Faron is healed, and she says it is no accident that you passed the goddess’s trial and carry her scale.
The path to the Ancient Cistern
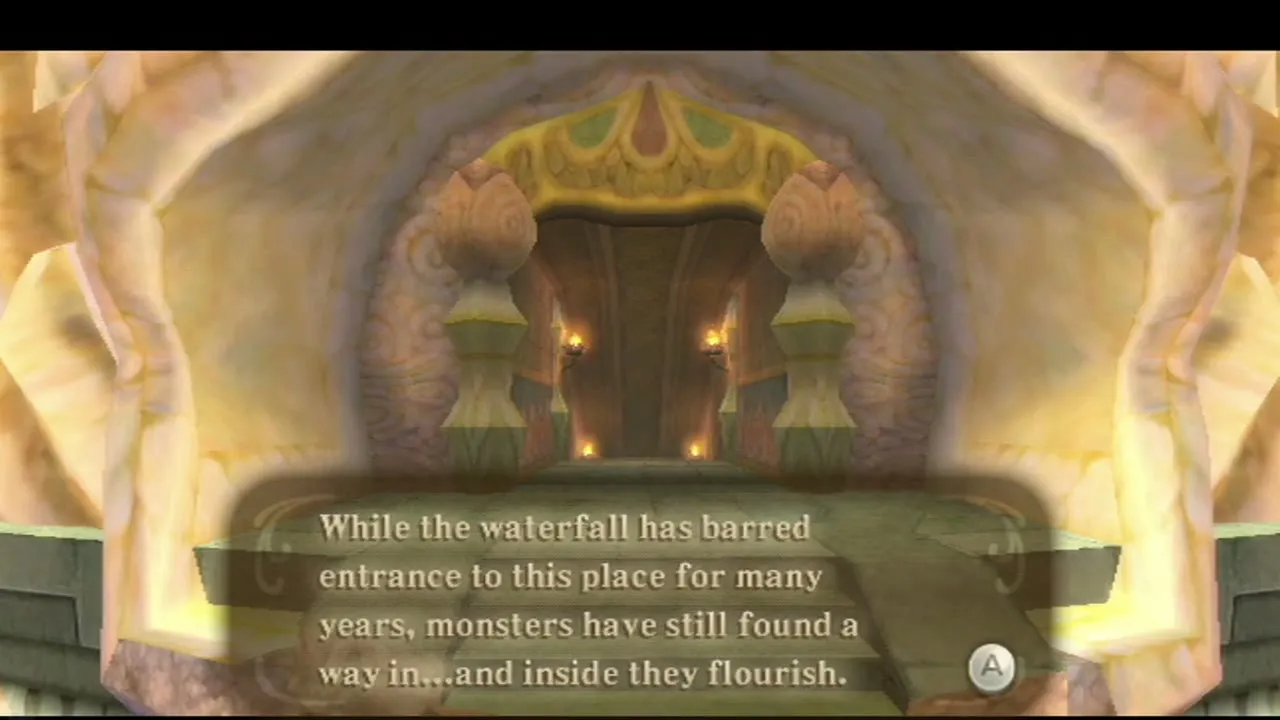
As thanks, Faron carries you out to the Floria Waterfall. She holds back the water over a carved gate in the cliff, which has been shut for many years, and tells you that the sacred flame is inside. Monsters have flooded the place, but she is sure that you can deal with them. You land at the gate, and the Ancient Cistern begins beyond it. The Ancient Cistern walkthrough takes you through it.

Optional errands in the sky and Skyloft
If you want to pick up the rewards of the cubes you hit, call your Loftwing by diving off an island and whistling, then fly to the islands named above: Skyloft south of the Knight Academy for the Silver Rupee and north-east of the Isle of Songs for the Rupee Medal. The Gold Rupee on the north-east island of Skyloft and the Piece of Heart on the crater island need the Clawshots, so they wait for the Nayru chapter. A Skyloft chest in the shed west of Kukiel’s house needs the Water Dragon’s Scale to swim a tunnel, but its cube is in Eldin, so it belongs to a later Eldin chapter.


What the scale and these places open up later
Cube 22 above the Skyview Temple entrance needs the Clawshots, so leave it for the Nayru chapter, and Cube 23 beside the Ancient Cistern entrance comes in the next chapter.
Chapter checklist
| Collectible | Type | Where |
|---|---|---|
| Spirit Vessel | Item | Given by Fi when you enter Farore’s Silent Realm |
 15 Tears of Farore | Silent Realm | Scattered through Farore’s Silent Realm; each freezes the Guardians for 90 seconds |
 Dusk Relics | Treasure | Several in Farore’s Silent Realm, best taken after the last tear |
 Water Dragon’s Scale | Item | Reward for completing Farore’s Silent Realm |
 Gold Rupee | Rupees (300) | Chest at the top of the inside of the Great Tree |
 Woodland Rhino Beetle | Bug | On the tree bark beside the vines, caught with the Bug Net |
 Ornamental Skull | Treasure | Dropped by a Bokoblin on the path round the Great Tree |
| Piece of Heart | Piece of Heart | Bombed rock pile on the path from the In the Woods statue |
| Goddess Cube 13 | Goddess Cube | The Great Tree; opens a Silver Rupee chest south of the Knight Academy |
| Goddess Cube 14 | Goddess Cube | South-east side of the Great Tree, needs the Water Dragon’s Scale and is easier with the Clawshots (later); opens a Piece of Heart chest on the crater island south of Skyloft |
| Goddess Cube 15 | Goddess Cube | East side of the Great Tree, reached from the top; opens a Rupee Medal chest north-east of the Isle of Songs |
| Goddess Cube 16 | Goddess Cube | On dry ground in Lake Floria; opens a Gold Rupee chest on the north-east island of Skyloft (Clawshots) |
| Silver Rupee | Rupees (100) | Boulder in the middle of the open cave in Lake Floria |
| Goddess Plume | Treasure | Chest beside the Lake Floria bird statue |
| Silver Rupee | Rupees (100) | Chest on the high ledge near the Water Dragon’s basin |
 Random rare treasure | Treasure | Chest along the east edge of the basin room |
 Hornet Larvae | Treasure | Hornet nests in the Deep Woods on the way to Skyview Temple |
 Small Key | Key | Soft-soil spot reached through a hole in the left wall of the Skyview Temple, with vines to climb |
| Sacred Water | Bottle item | Far end of Skyview Spring, found by dowsing |
| Bird statues | Save points | Viewing Platform, Great Tree Top, Lake Floria, Floria Waterfall and the Forest Temple statue outside Skyview Temple |
With Faron healed and the waterfall stilled, continue with the Ancient Cistern walkthrough to win the Whip and the first Sacred Flame.

