Skyward Sword 100% Completion Walkthrough18 chapters
- Skyview TempleSmall keys, the Beetle, the Golden Carving door, the Ghirahim boss fight, the Heart Container and the Ruby Tablet.
- Earth TempleGet the Bomb Bag from Ledd, carry the Dragon Sculpture, beat Scaldera and collect the Amber Tablet.
- Lanayru Mining FacilityTimeshift Stones, Gust Bellows, Small Key, Armos, Ancient Circuit, Moldarach and the Goddess’s Harp.
- Ancient CisternBoth Small Keys, the Whip, the Blessed Idol, the Koloktos boss fight, Farore’s Flame and the Goddess Longsword.
- SandshipThe Timeshift Stone, Scervo and the Bow, both generators, Squid Carving, Tentalus and Nayru’s Flame.
- Fire SanctuaryAll three small keys, the Mogma Mitts, the Mysterious Crystals, Ghirahim’s second fight and the Master Sword.
- Skyloft Silent Realm and Sky KeepThe Skyloft Silent Realm and its 15 Sacred Tears, the Stone of Trials, every Sky Keep room and all three Triforces.
- Skyloft and the Goddess SwordFind your Loftwing, win the Wing Ceremony, draw the sword and take your first dive.
- Sealed Grounds, Faron Woods and the Deep WoodsThe Sealed Grounds, the missing Kikwi, the Slingshot, the Deep Woods and the way into Skyview Temple.
- Eldin Volcano and the Key PiecesPlace the Ruby Tablet, run Skyloft errands, earn the Digging Mitts and find all five Earth Temple key pieces.
- Lanayru Mine and Lanayru DesertLanayru Mine, Timeshift Stones, the Hook Beetle, the Temple of Time and how to set the three power generator dials.
- The Goddess’s Harp, The Imprisoned and the Isle of SongsBallad of the Goddess, The Imprisoned, the Light Tower, the Isle of Songs and Farore’s Courage.
- Farore’s Silent Realm and Lake FloriaAll 15 Tears of Farore, the Water Dragon’s Scale and Sacred Water.
- Nayru’s Silent Realm and the Lanayru Sand SeaNayru’s Wisdom, Nayru’s Silent Realm and the Clawshots, Golo’s key, Skipper’s boat, the Shipyard.
- Din’s Silent Realm and Volcano SummitDin’s Power, the Fireshield Earrings, frog statues, the Water Basin and the Scrapper escort.
- True Master Sword, Levias and BilocyteSkyward Sword walkthrough for the True Master Sword, the second Imprisoned fight, the Spiral Charge.
- Song of the HeroEscape Eldin, beat the third Imprisoned, win the Tadtone song in Faron Woods and heal Lanayru’s Thunder Dragon.
- The Horde, Ghirahim and DemiseClear the last side quests, beat the Horde, Ghirahim’s third fight and Demise, then unlock Hero Mode.
| Covers | Optional Skyloft and Sky errands after the Sandship, the Isle of Songs, Din’s Silent Realm in Eldin Volcano, Volcano Summit, Floria Waterfall and the Scrapper escort up to the Fire Sanctuary door |
|---|---|
| You need | Goddess White Sword (Nayru’s Flame from the Sandship), Goddess’s Harp, Clawshots, Gust Bellows, Bow, Bug Net, an empty Bottle and the Water Dragon’s Scale for the swim at Floria Waterfall |
| Rewards | Din’s Power (song); the Fireshield Earrings; 2 Pieces of Heart (Batreaux and Pumm); Potion Medal and Life Medal; Medium Wallet; Iron Bow upgrade; 10 Gratitude Crystals from two quests plus loose night crystals; Heart Potion+; Goddess Cube dowsing; a Sky Stag Beetle, Eldin Roller, Blessed Butterfly and Volcanic Ladybug; Dusk Relic, Jelly Blob, Ornamental Skull, Eldin Ore, Lizard Tail and Amber Relic; 2 Goddess Cubes |
This chapter takes you from the end of the Sandship to the door of the Fire Sanctuary. You spend an optional stretch on Skyloft and in the Sky, learn Din’s Power on the Isle of Songs, pass Din’s Silent Realm to earn the Fireshield Earrings, and climb to Volcano Summit, where flame walls guarded by stone frogs bar the way. Two small frogs drink from your Bottle; the third needs the Water Basin from Lake Floria, which the robot Scrapper carries while you guard him all the way up the volcano.
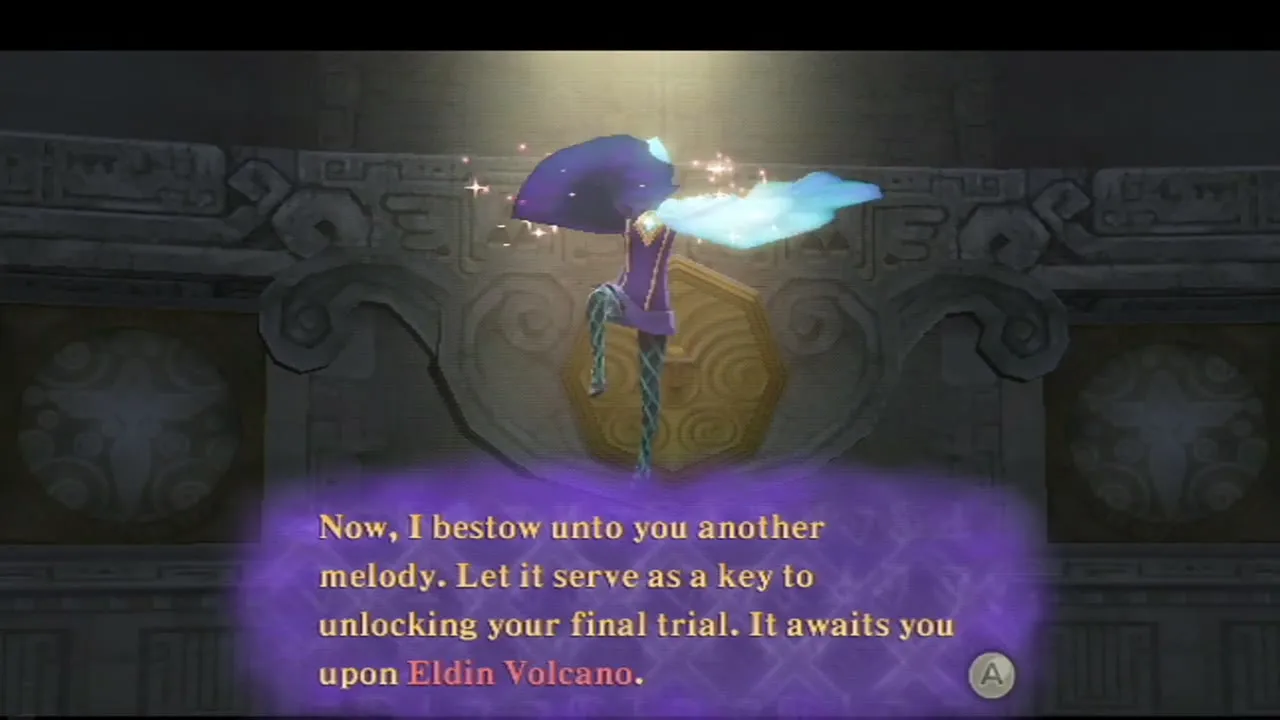

Table of Contents
Skyloft and Sky errands after the Sandship
Upgrade your gear at Gondo’s Scrap Shop
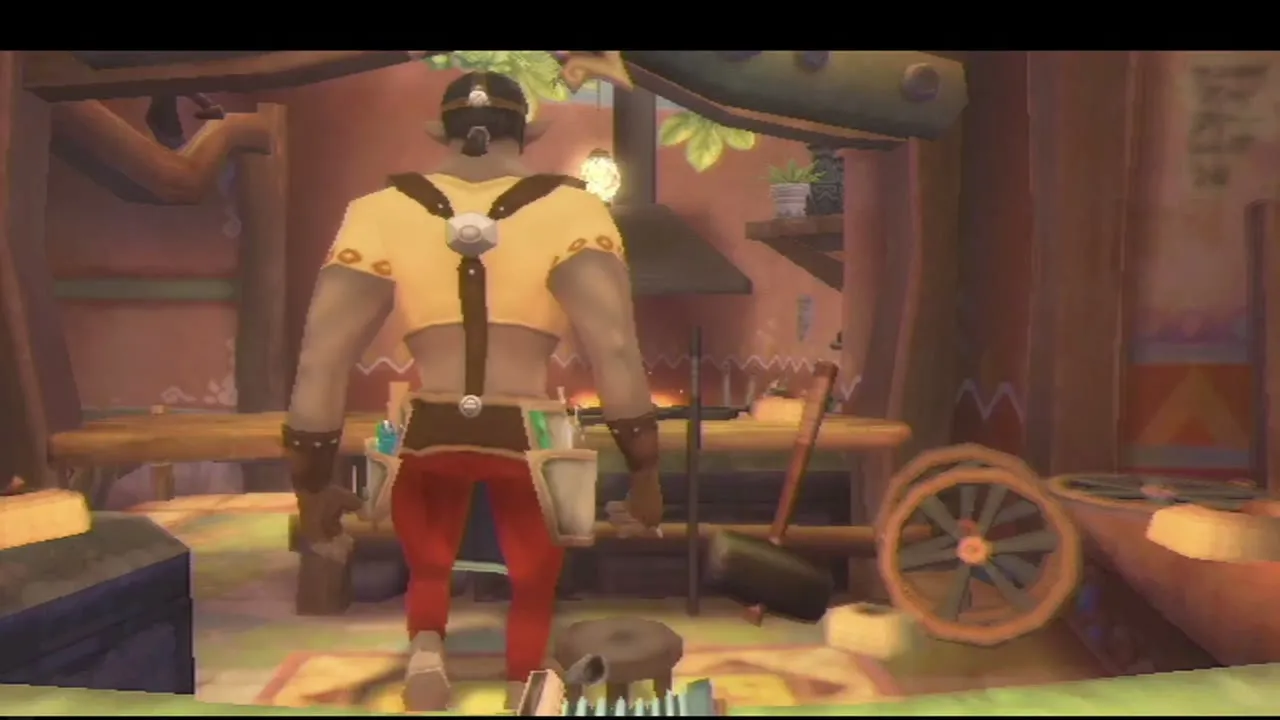
With the White Sword in hand and plenty of treasure in your pouch, visit Gondo in the Bazaar and choose Upgrade. The Bow becomes the Iron Bow for 50 Rupees plus 3 Tumbleweeds, 1 Evil Crystal, 3 Monster Claws and 2 Eldin Ore. It hits harder and is worth owning before the Fire Sanctuary. Wait while the smith works at his bench, then take your bow back.
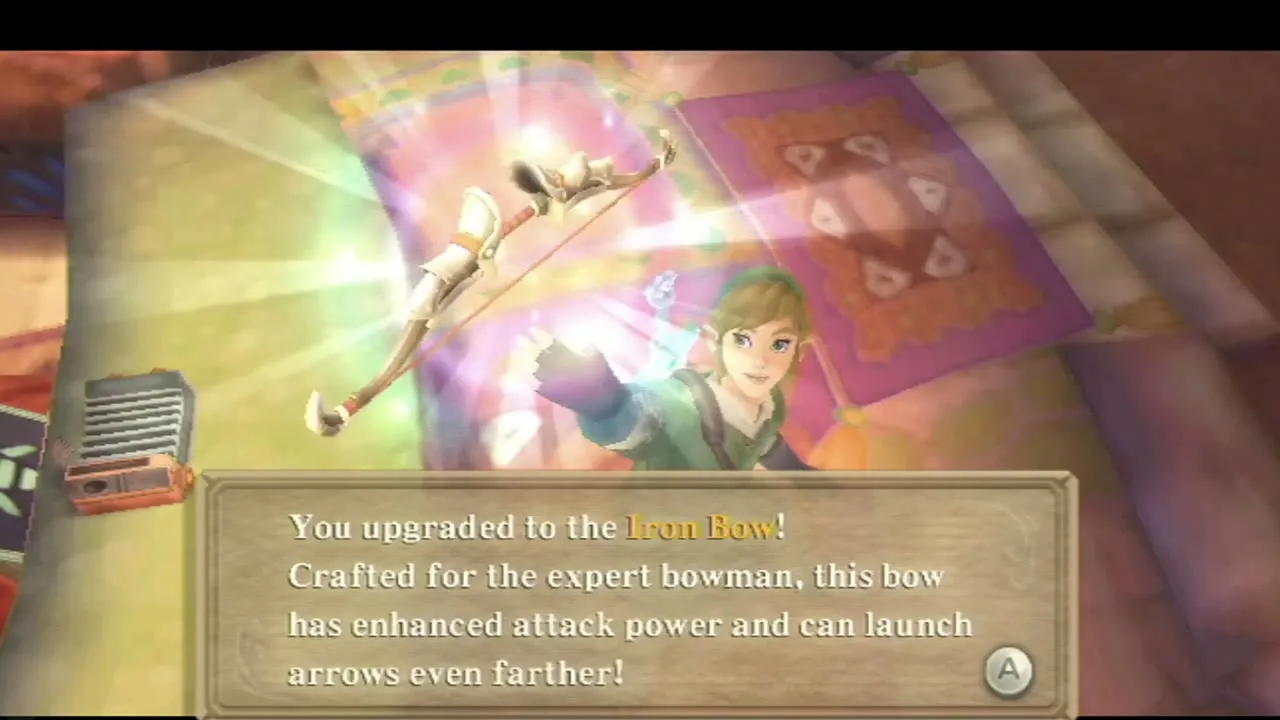
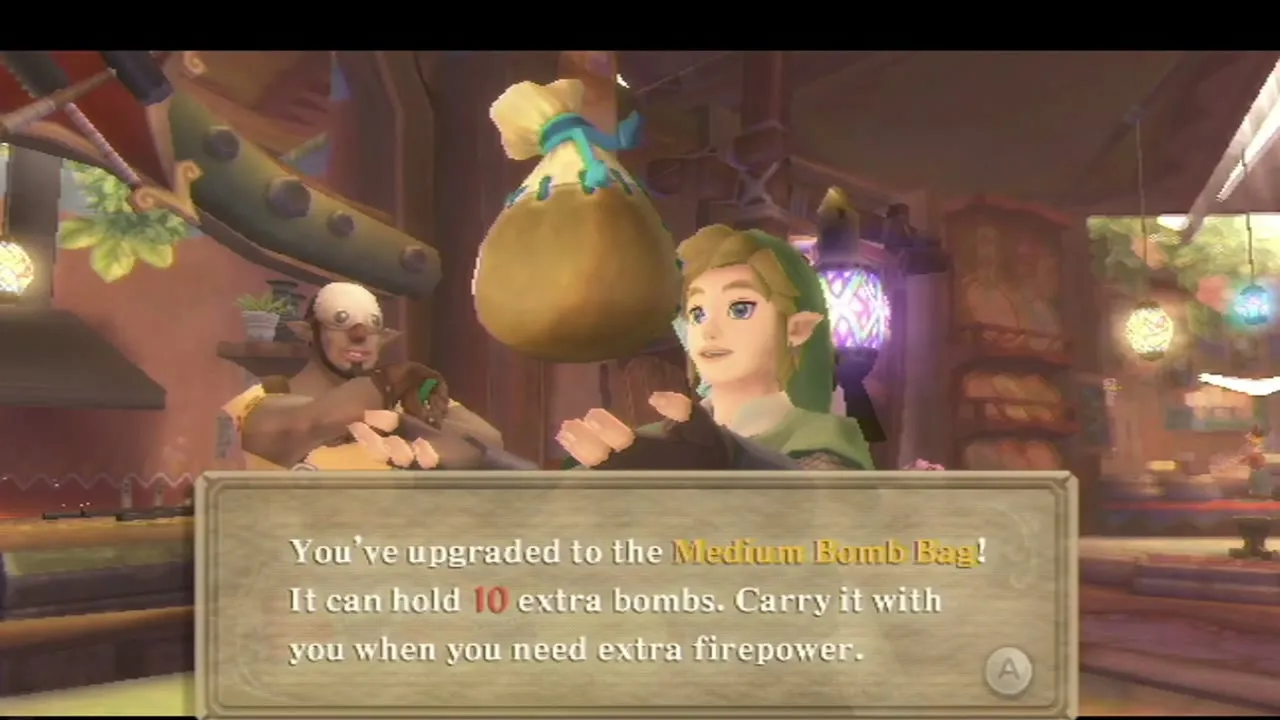
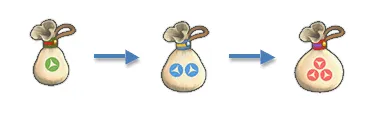
The same menu offers a Quick Beetle (the Hook Beetle with extra speed), a Big Bug Net, bigger Seed Satchels and Bomb Bags, and a larger Quiver. Each costs 50 to 100 Rupees and a handful of bugs and treasures, so buy what your stock allows and come back for the rest. The upgrades page lists every recipe.

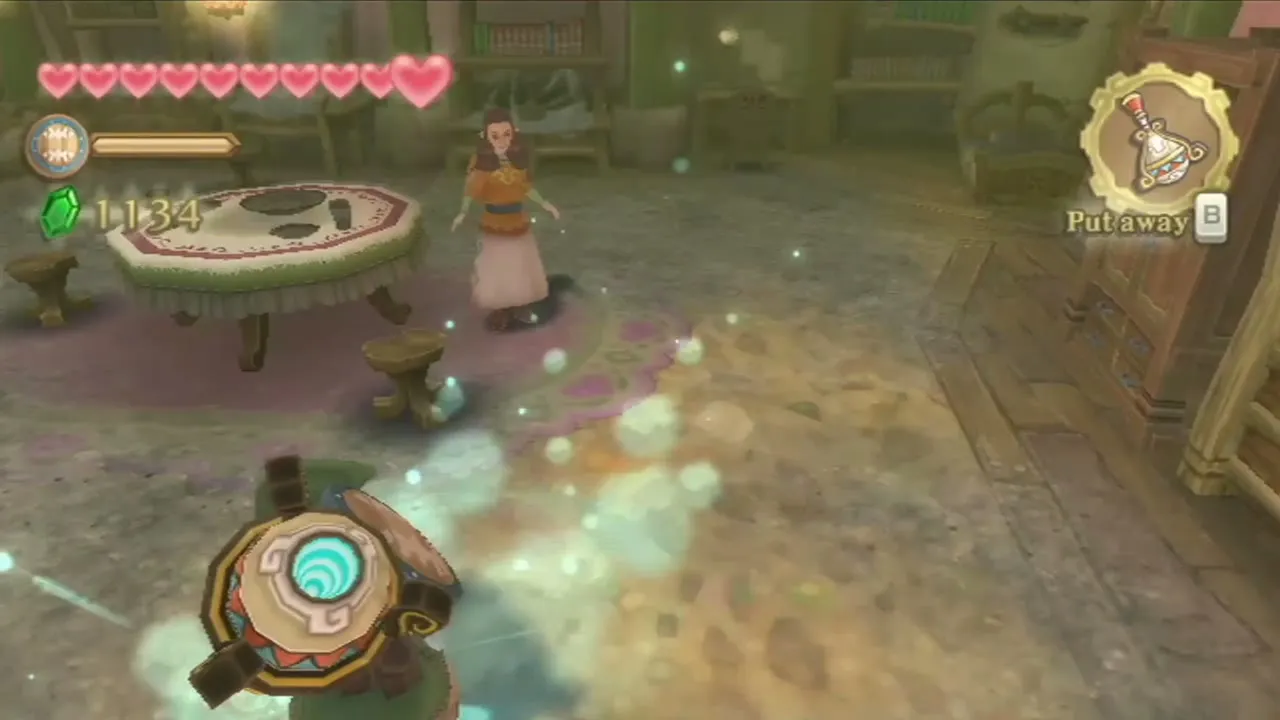
Infuse a Heart Potion+
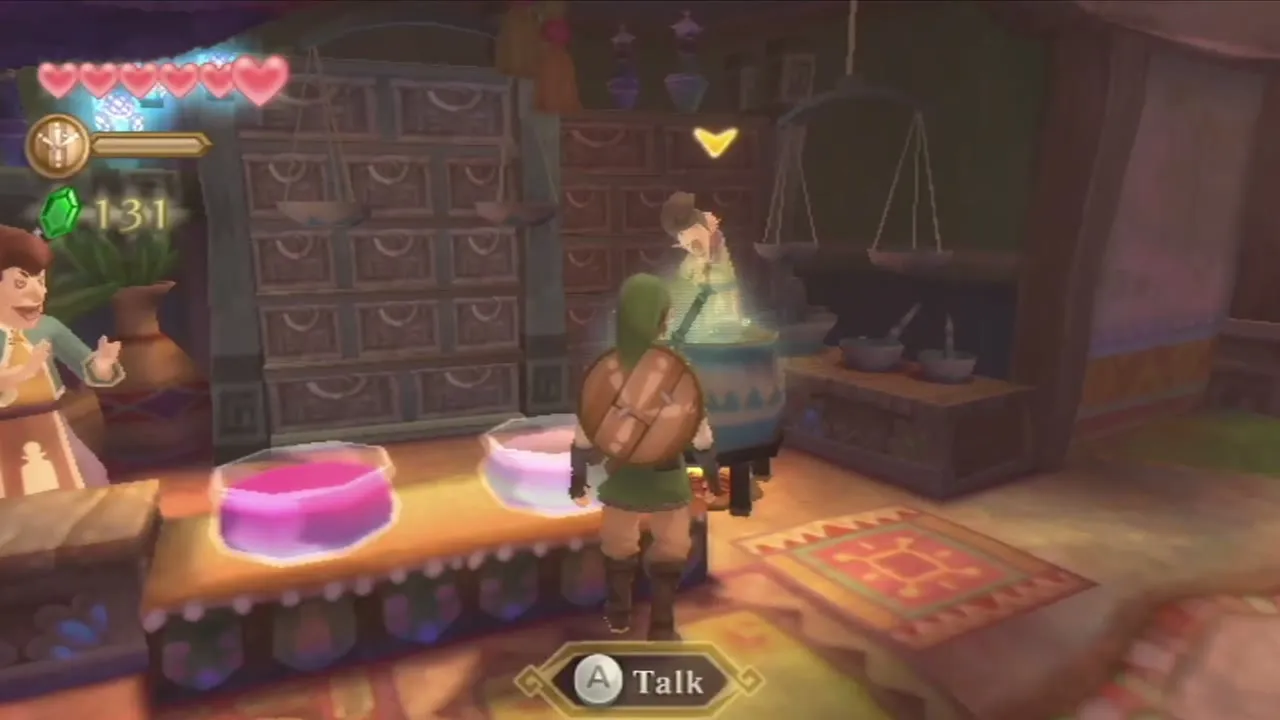
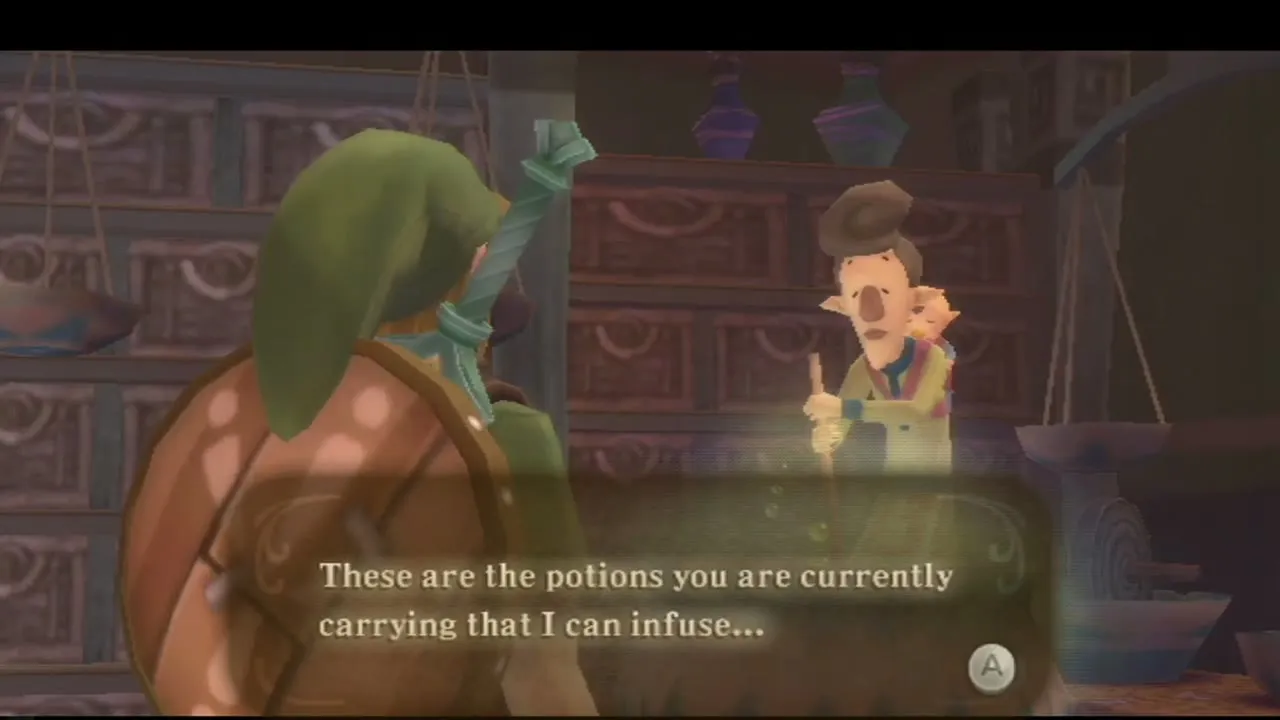
Next to Luv’s Potion Shop is the Infusion Shop, where her husband Bertie upgrades potions. Speak to him and choose Sure, pick a Heart Potion and pay 20 Rupees with 3 Blessed Butterflies, 1 Woodland Rhino Beetle and 1 Volcanic Ladybug. The result is a Heart Potion+ that restores every heart in one go, which is exactly what you want before a dungeon boss.
Catch a Sky Stag Beetle
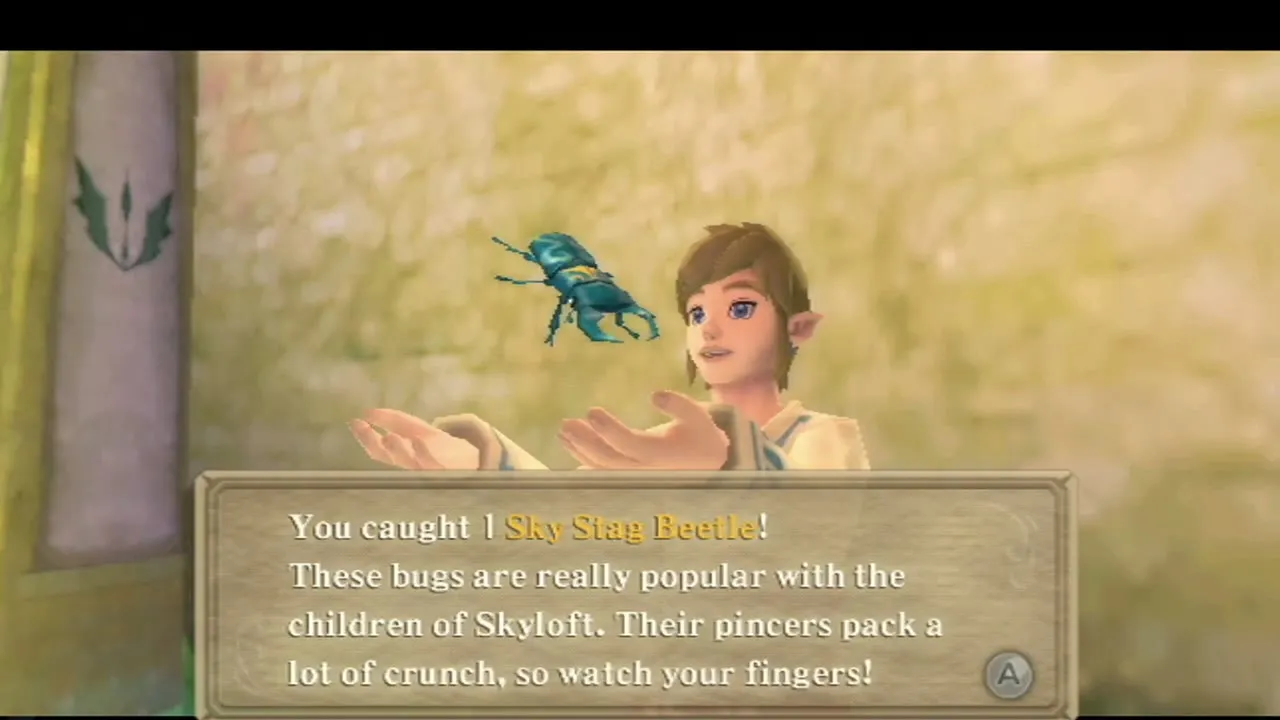
Take the Bug Net around Skyloft and swing it at the bugs you spot on the trees and in the grass. A Sky Stag Beetle is one of the bugs you can catch here at any time of day. Bugs feed the potion upgrades, and the Bugs and Treasures page lists every species.
Collect Gratitude Crystals at night
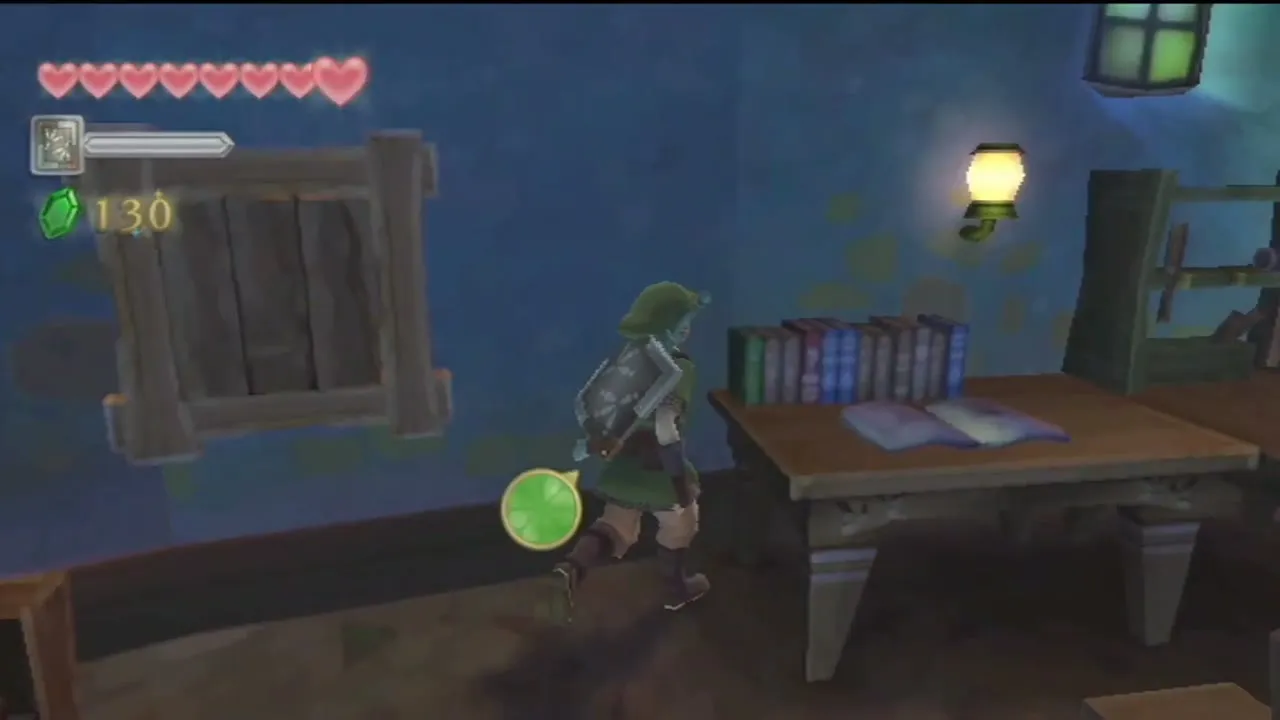
Sleep in your bed until night and walk around the Academy: loose Gratitude Crystals only show up after dark. One sits on the desk in your own dorm room and another in a plant vase near the second-floor door of the Academy. You can find the rest with dowsing once you have spoken to Batreaux (see below), which saves a lot of wandering.

Deliver Cawlin’s letter
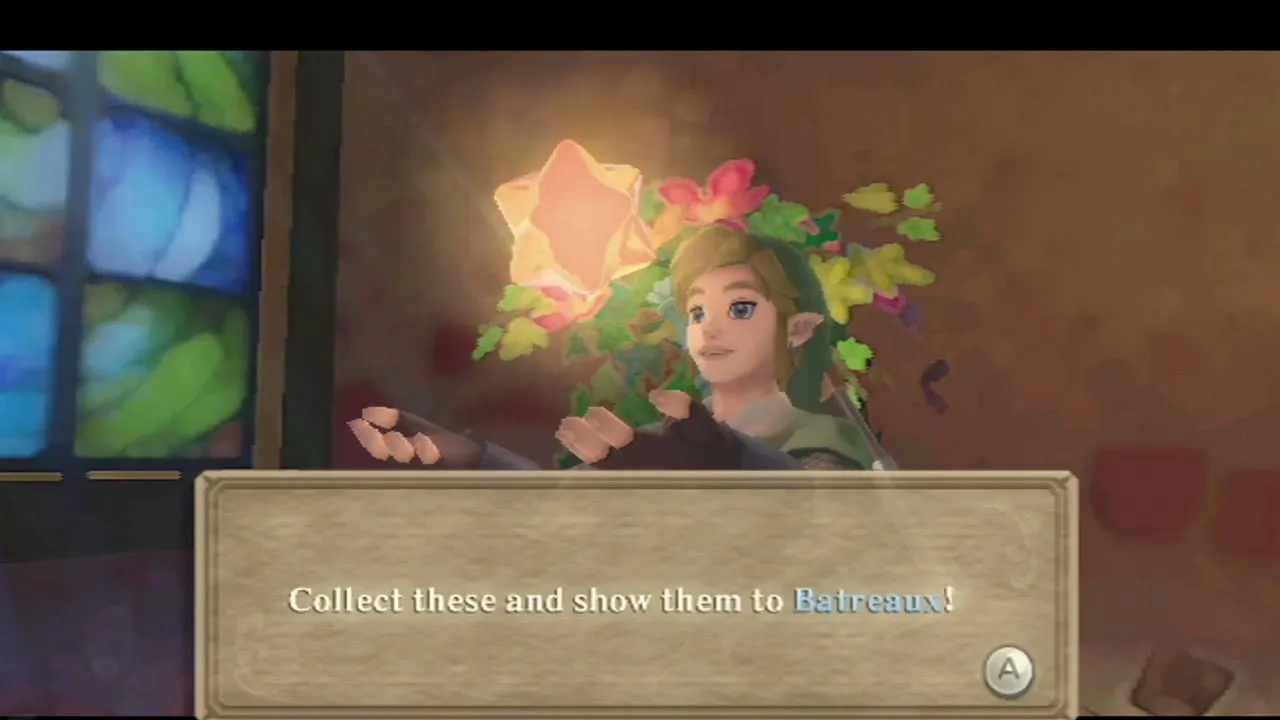
This quest opens after your first fight with The Imprisoned. Cawlin gives you a love letter in the daytime, meant for Karane. Decide who gets it: the choice is yours, and either way ends the quest.

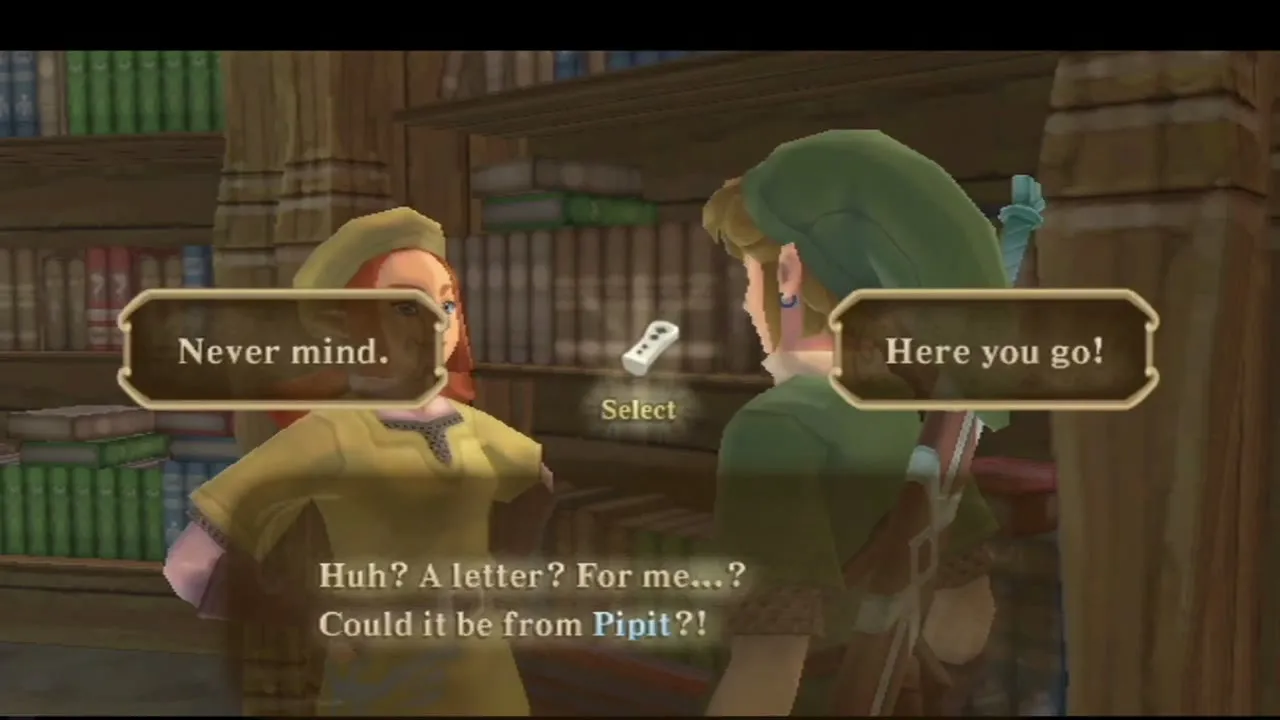
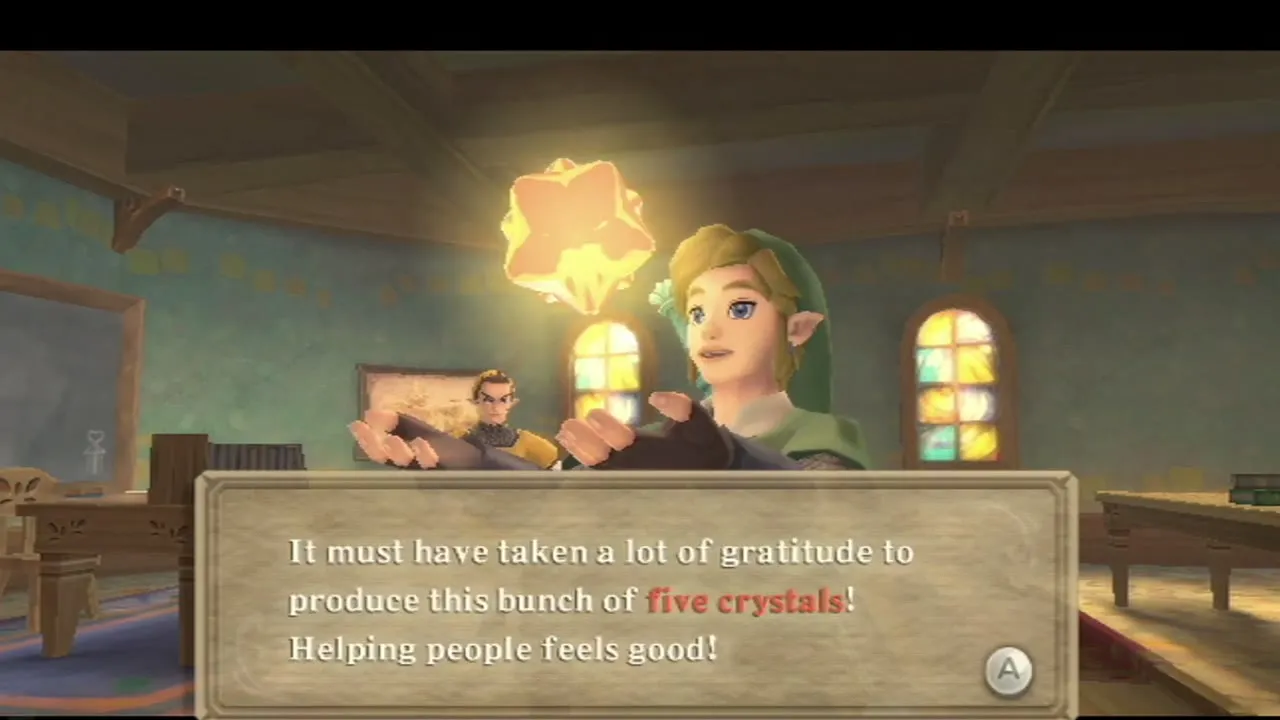
Take it to Karane at the Knight Academy and then tell Pipit about it, and he thanks you with the crystals. Sleep until night and pass it through the restroom door instead, and the ghostly hand takes it; find her in Groose’s room afterwards and she pays you. Whichever route you pick, you collect 5 Gratitude Crystals. The Side Quests page lists the other crystal quests.
Clean Mallara’s house with the Gust Bellows
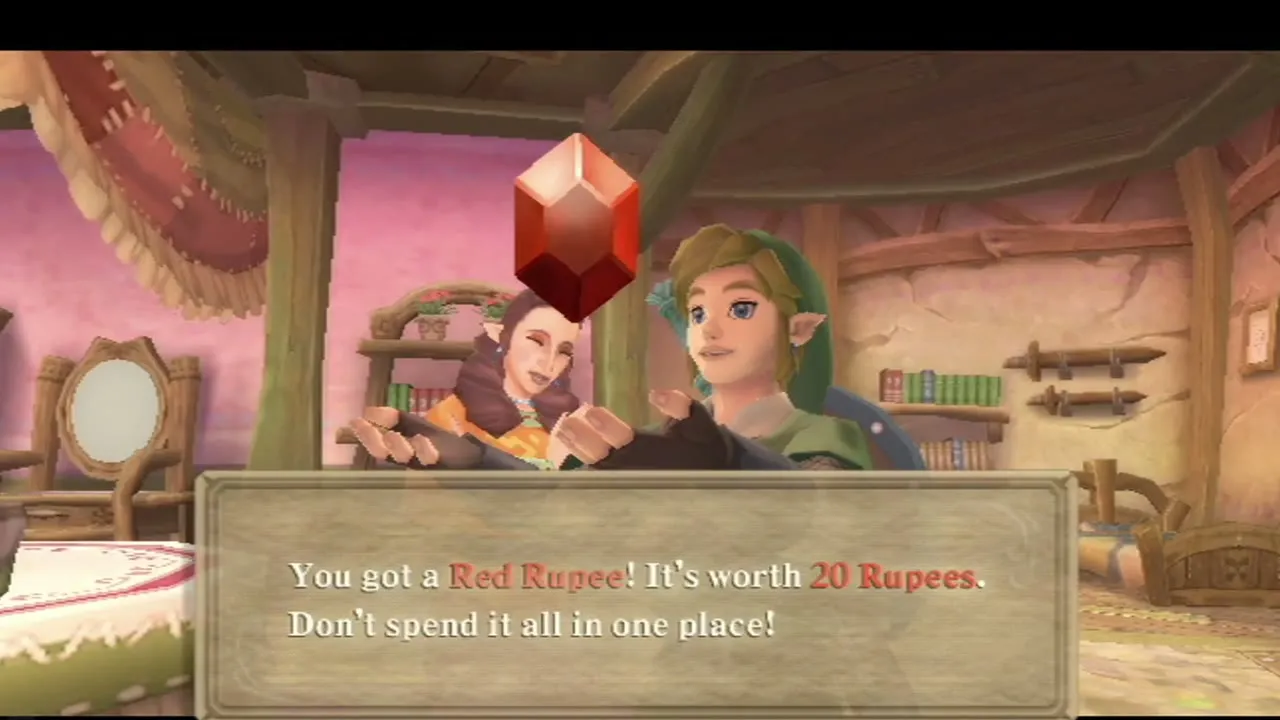
Mallara, Pipit’s mother, wants her dusty house cleaned and will pay you for it. Take out the Gust Bellows, point at each patch of dust and cobweb and press A to blow, working through every room. When the last speck is gone, talk to her to collect 5 Gratitude Crystals and 20 Rupees. If you tell her you are done before the house is clean, she is disappointed and ends the job, though you can clean again later for 20 Rupees.

Visit Batreaux
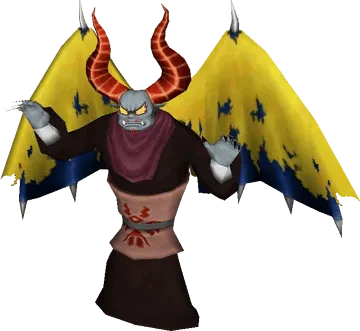
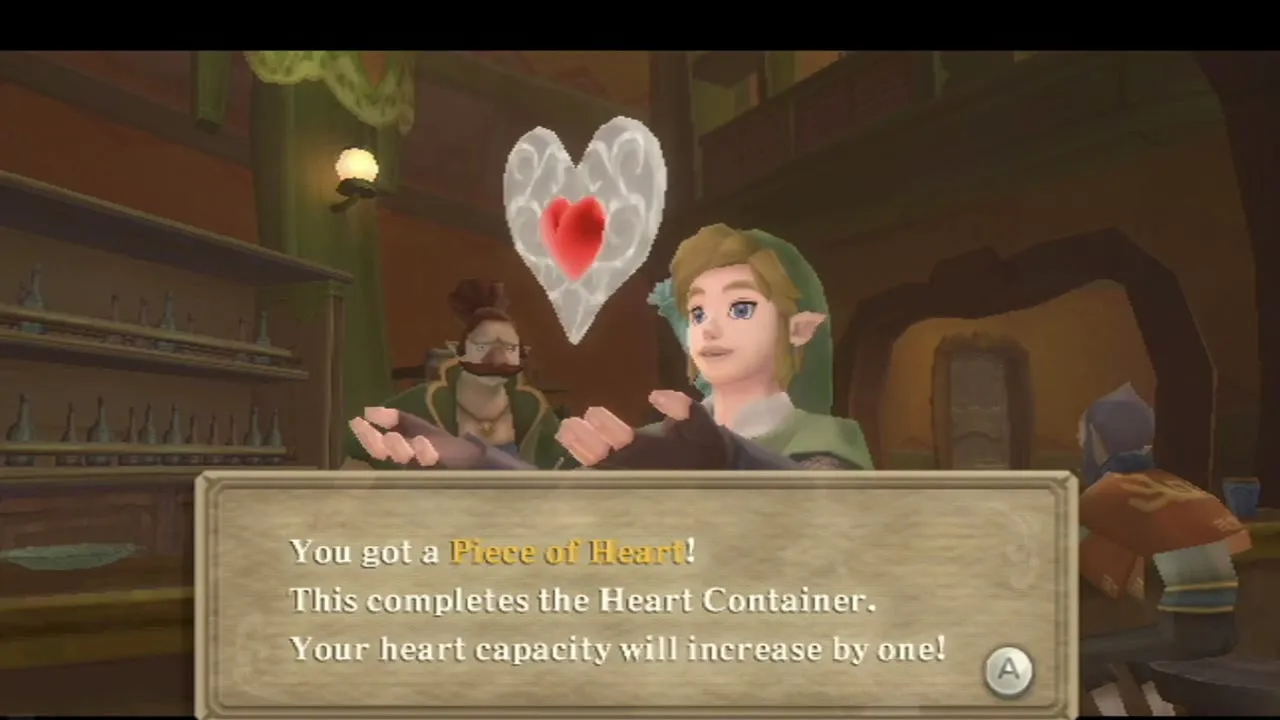
Go to the Graveyard at night and enter the house below it, where the demon Batreaux lives. Hand him crystals to earn rewards: 5 crystals buy a Medium Wallet, which raises your Rupee limit to 500, and 10 crystals give you a Piece of Heart. His bigger prizes (a Big Wallet and Cursed Medal at 30, a Gold Rupee at 40, and so on) are listed on the Gratitude Crystals page.
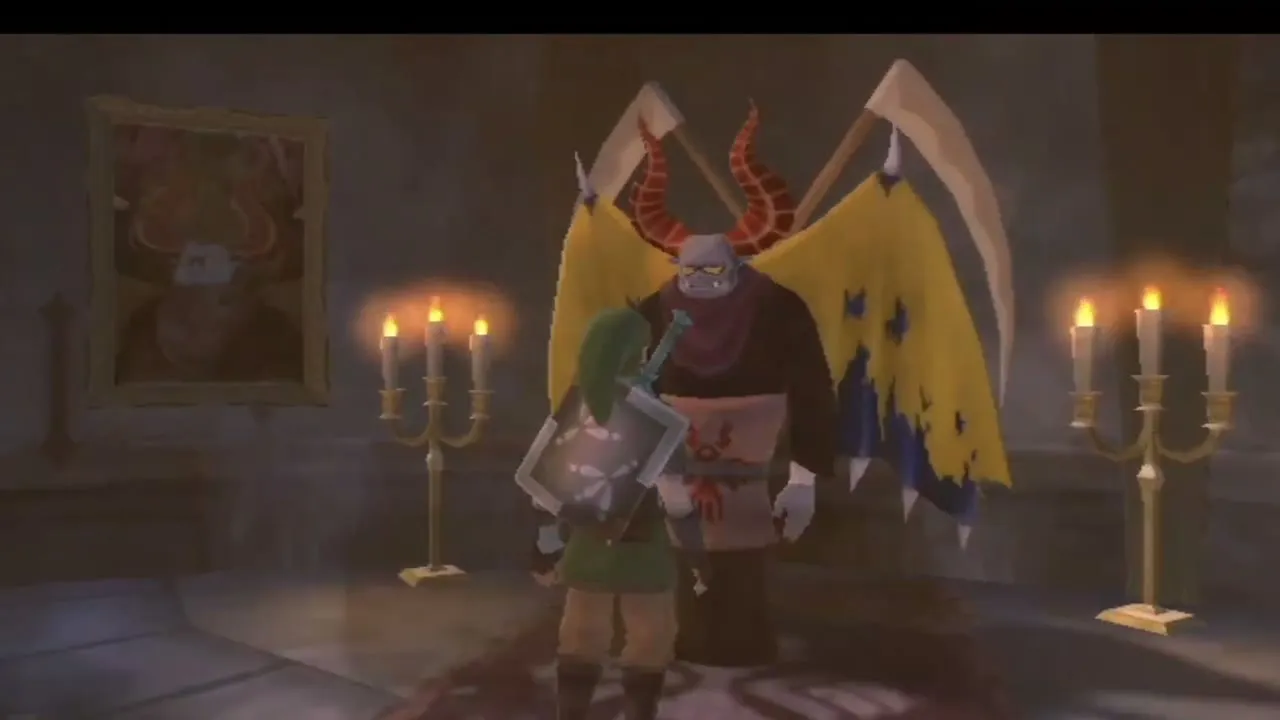

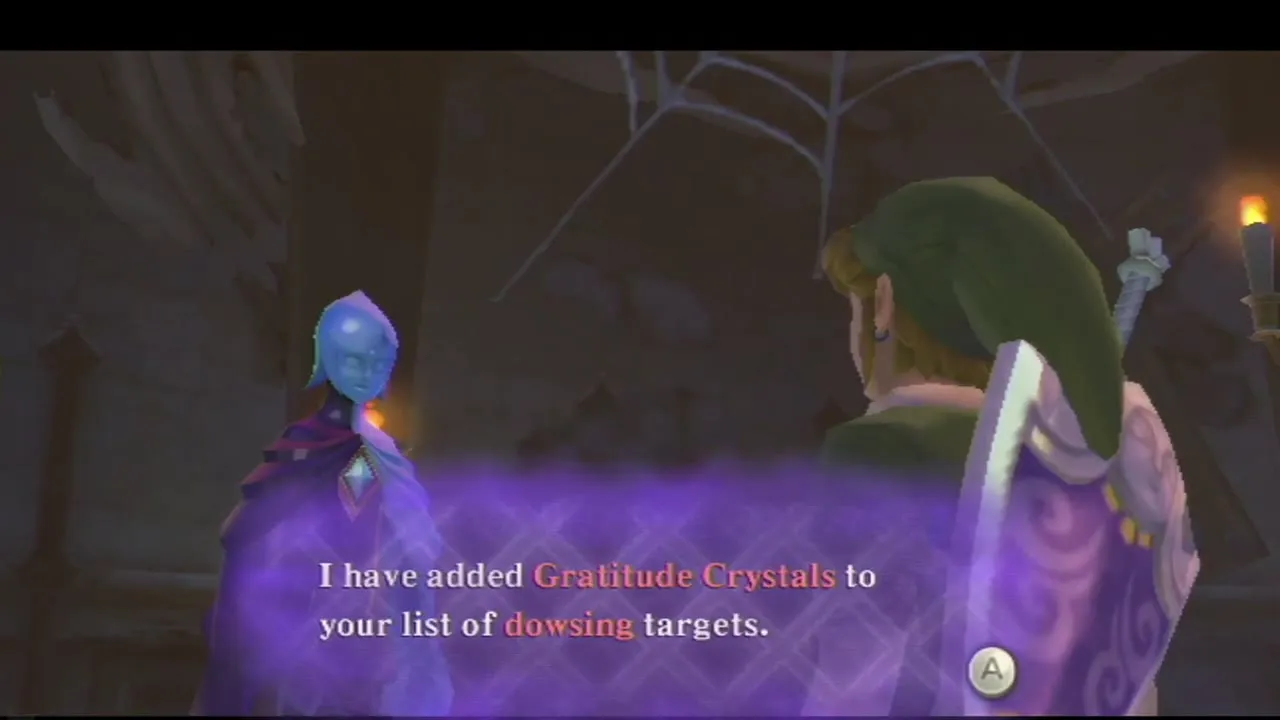
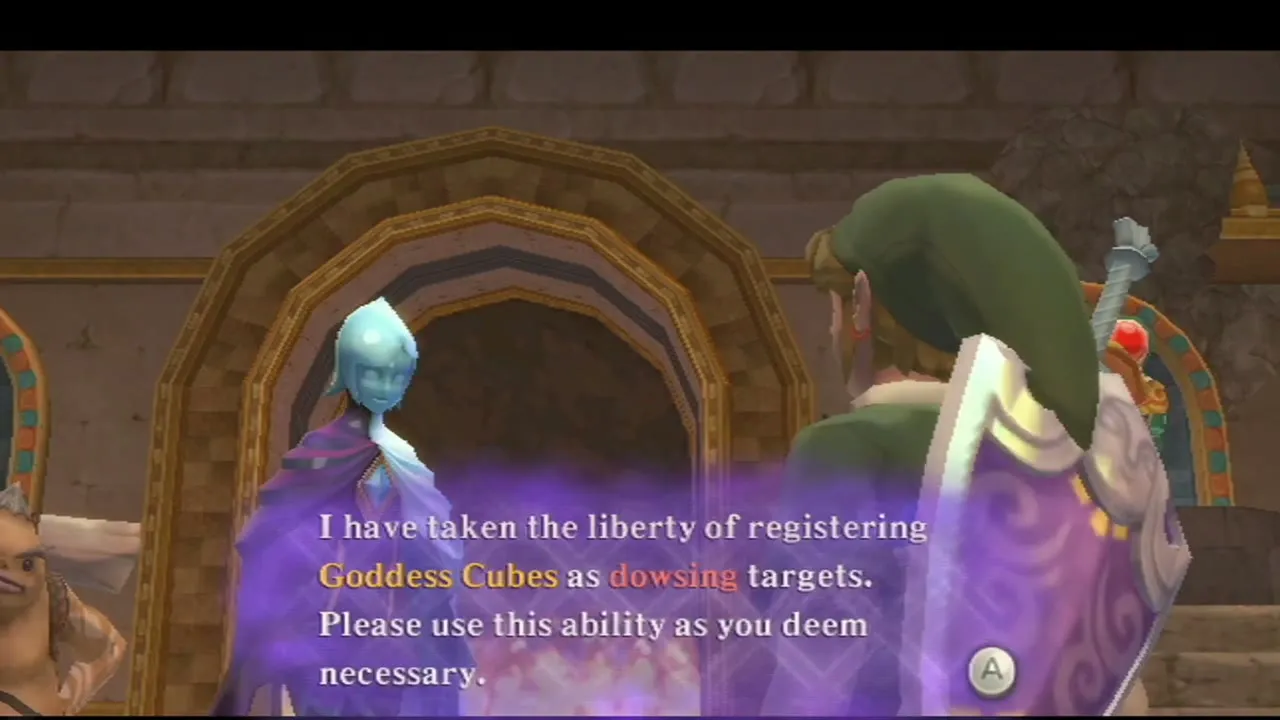
Once you have spoken to him with the White Sword, Fi adds Gratitude Crystals to your dowsing targets. Pick the crystal icon in the dowsing wheel, press C and follow the pulse to loose crystals without searching every corner of Skyloft. Fi can dowse for treasure after Gondo’s upgrade menu, and Gorko unlocks dowsing for Goddess Cubes when you meet him in the Eldin region.
Open the Potion Medal and Life Medal chests
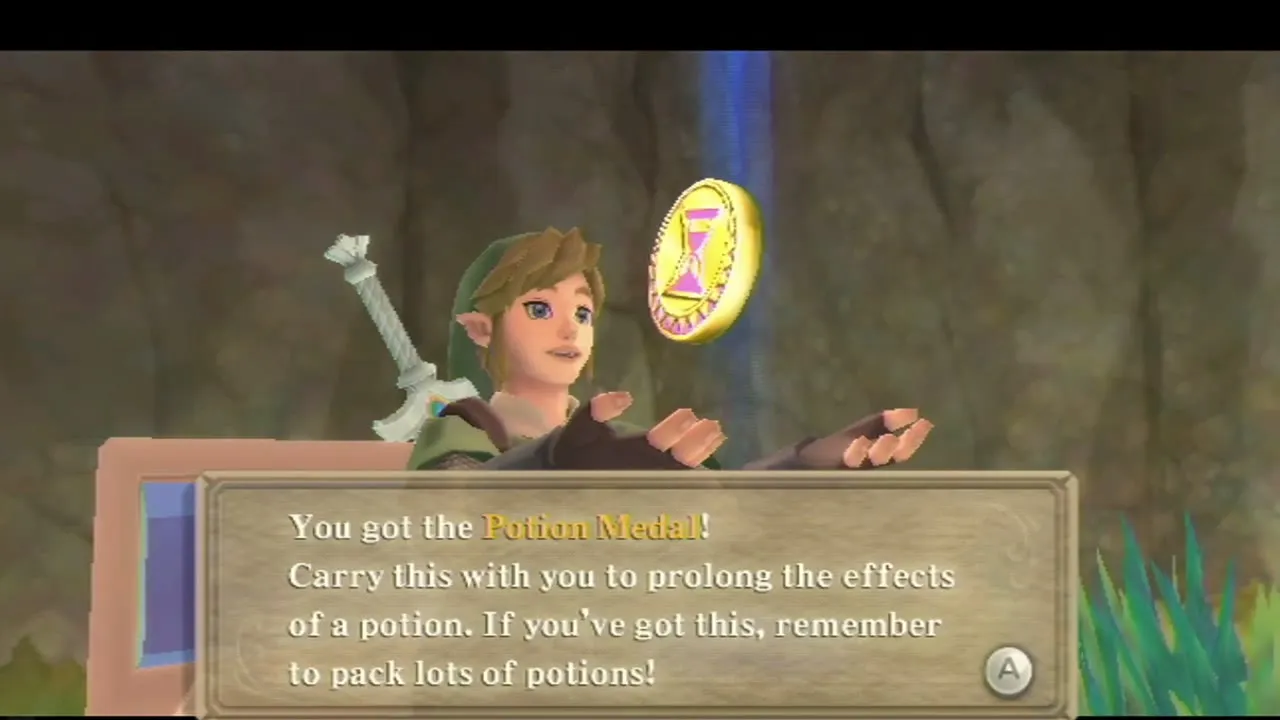
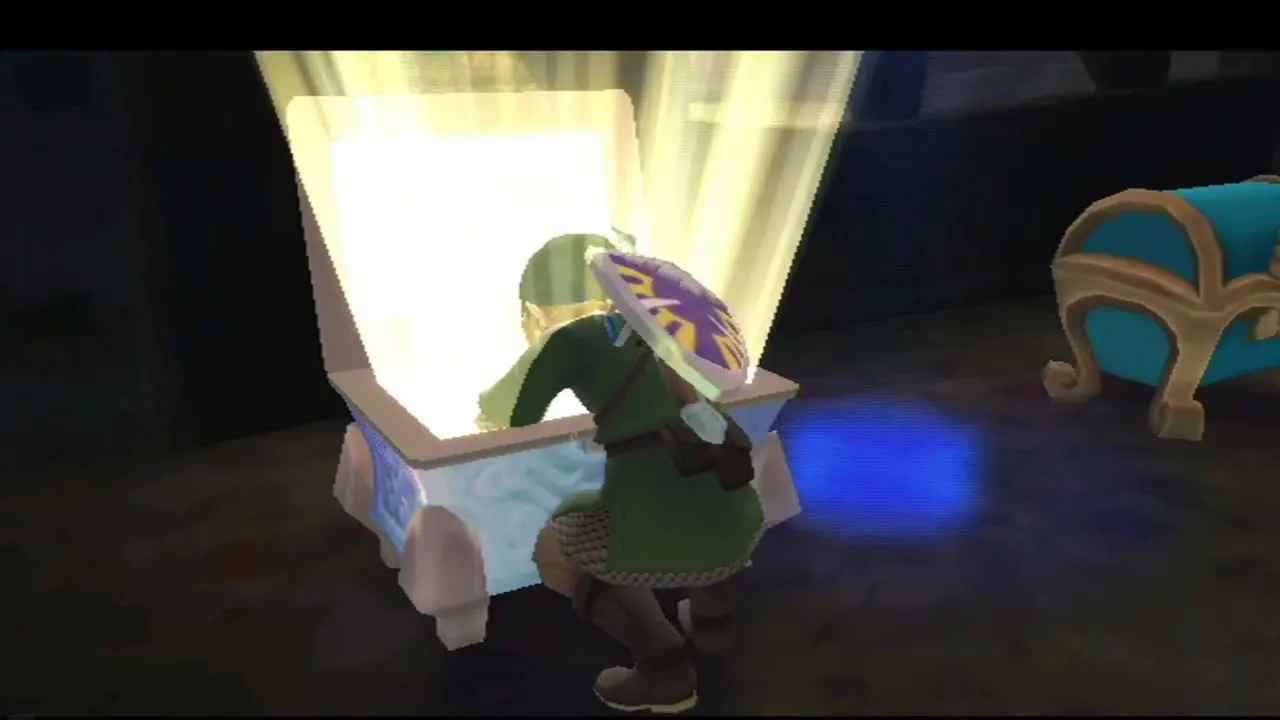
Open the Sky map, dive off Skyloft, whistle for your Loftwing and fly to the split island north-west of Fun Fun Island. The first chest holds the Potion Medal, which makes potion effects last longer. It opens once you have struck the Goddess Cube at Skipper’s Retreat in the Sand Sea.

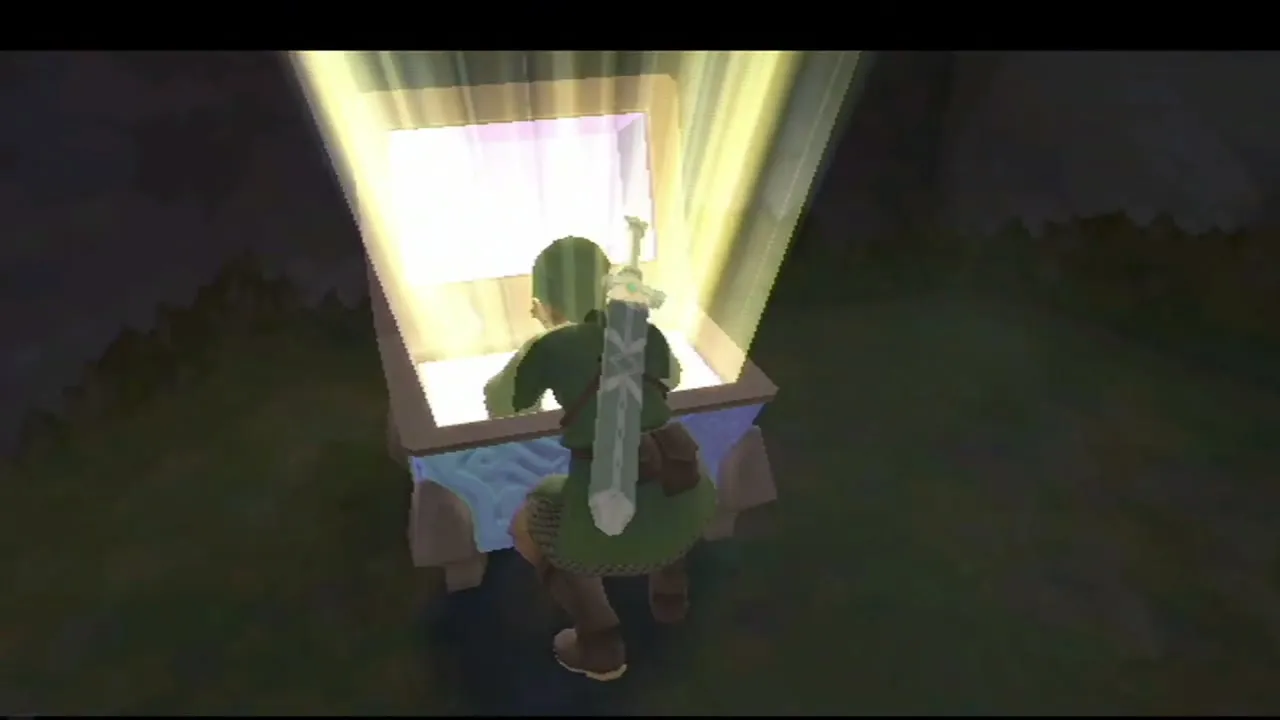
A second chest on the same island holds the Life Medal, which raises your maximum health by one heart while it is in your Adventure Pouch. Its cube is the one south-west of the Lanayru Mining Facility. If your pouch is full, the game sends the medal to the Item Check; visit the Item Check in the Bazaar later and swap something out to equip it.

Play the harp at the Lumpy Pumpkin
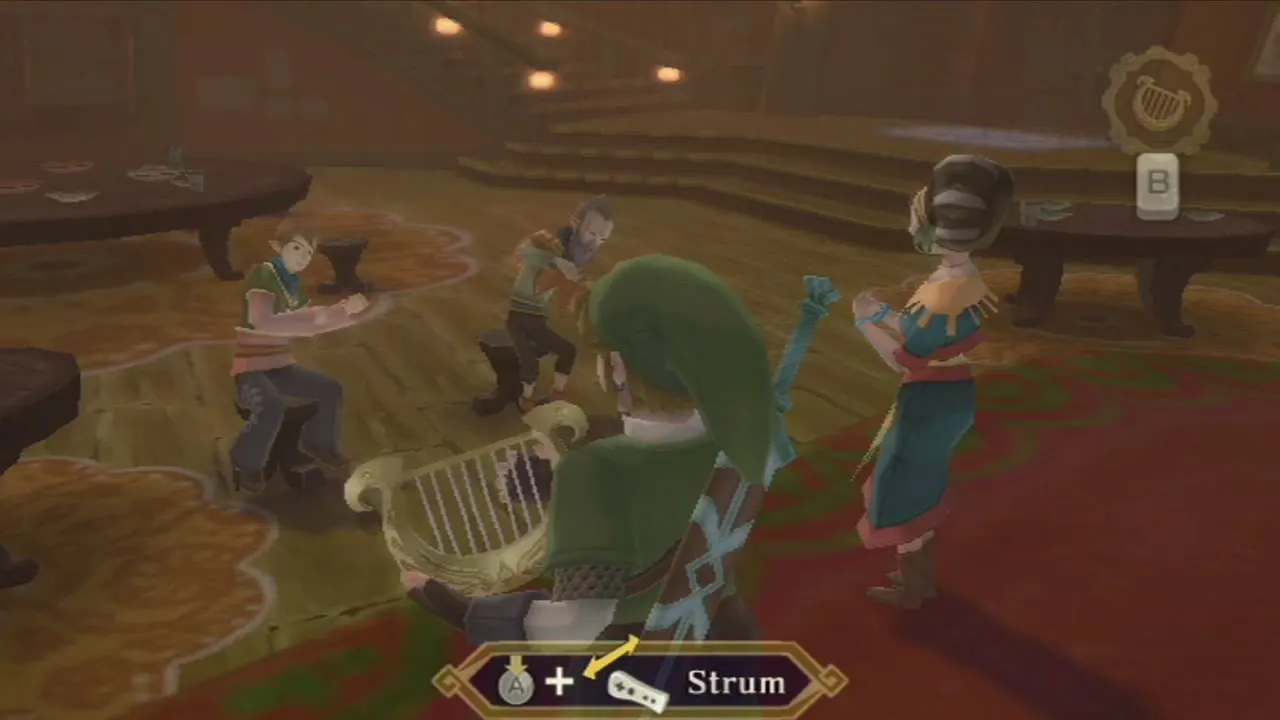
Once you have finished the soup and pumpkin jobs at Pumpkin Landing, speak to Pumm at the Lumpy Pumpkin and come back at night for a duet with Kina. Take out the Goddess’s Harp and strum with the Wii Remote, copying the tempo of a customer who is waving an arm, then improvise freely when the crowd goes quiet. Pumm then hands over another Piece of Heart. If you have not done the earlier jobs, the Piece of Heart page lists the order.
Other chests you can open now
Any other Goddess Chest whose cube you have struck is worth a flight now, such as the Eldin chests with the Small Seed Satchel, the Rupees and the Treasure Medal. The chest in the small shed west of Kukiel’s house on Skyloft holds a Piece of Heart and needs the Water Dragon’s Scale. The cubes you find on Volcano Summit later in this chapter open chests that you cannot reach yet; the Goddess Cubes page lists all of them.

Din’s Power at the Isle of Songs
Fly back into the Thunderhead
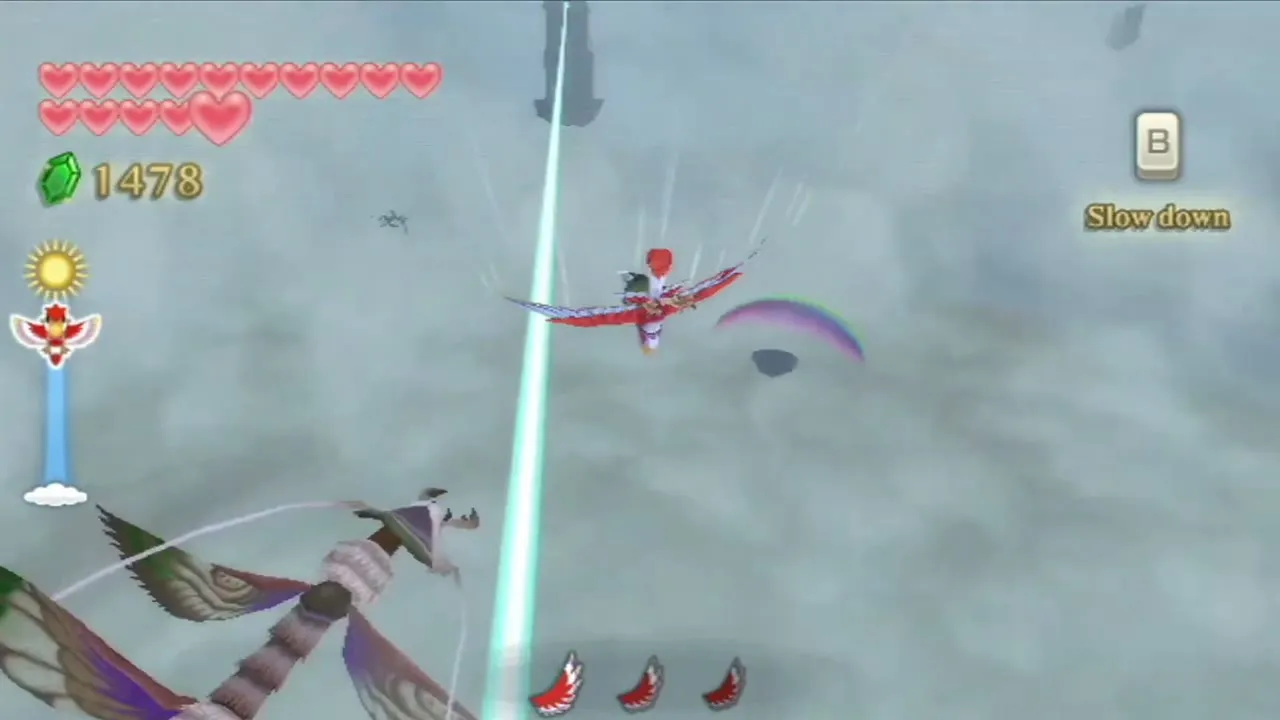
Fi suggests a trip to the Isle of Songs now that the sword has grown stronger. Call your Loftwing, fly into the Thunderhead and follow the light beams through the storm, dodging the flying enemies that lunge at you. When the stone bridge appears, land on it and walk into the tower. The Isle of Songs chapter describes the island if you need a refresher.
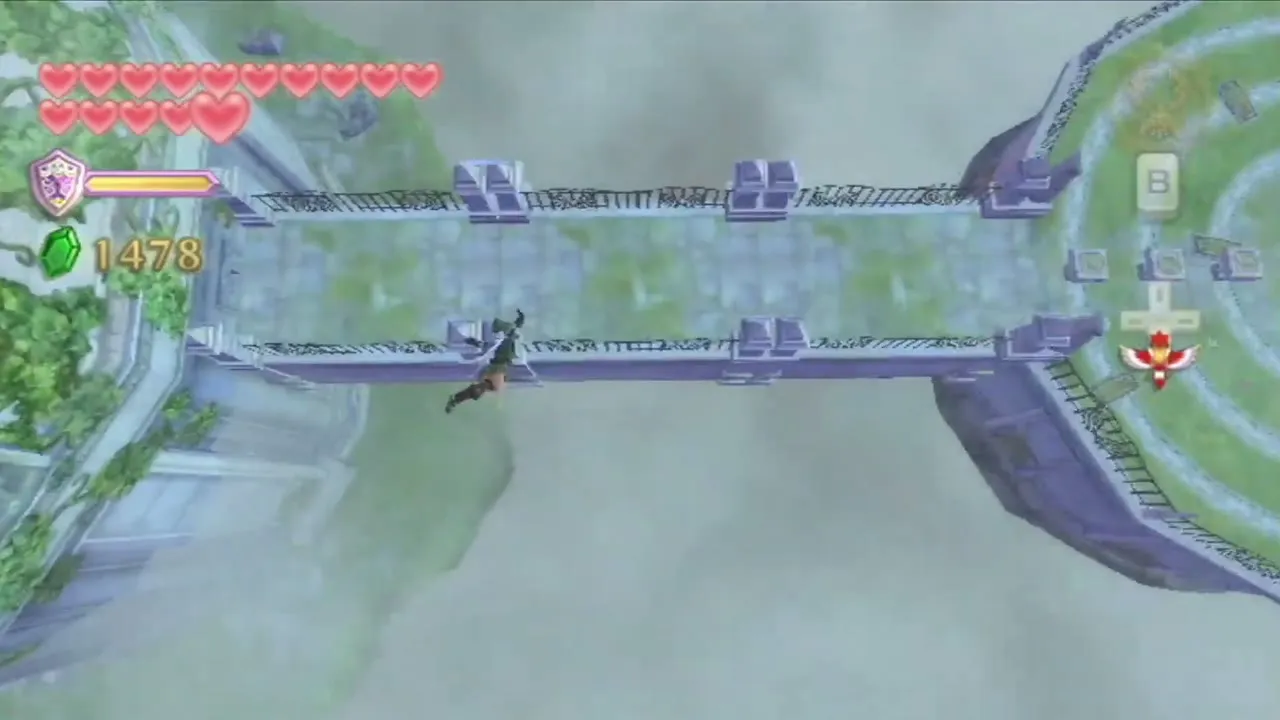

Strike the crest and learn Din’s Power
Step onto the circle on the floor and use a Skyward Strike on the crest in the wall: raise the Wii Remote to point the sword at the sky until it glows, then slash down at the crest. The goddess tells you that the last sacred flame still eludes you and that you must claim another sacred gift by passing a trial. She sings a new melody; play it back on the harp and you learn Din’s Power. The harp songs page lists every melody.

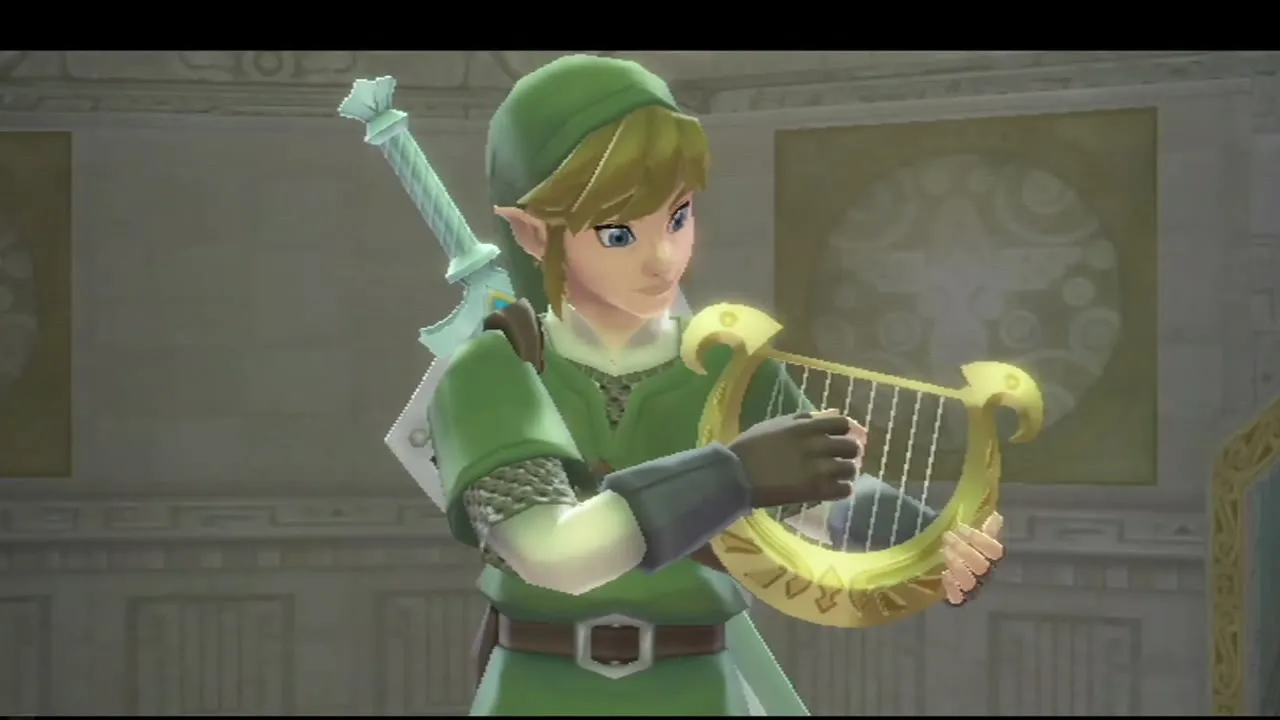
Fi recommends heading to Eldin Volcano to find the trial gate. Save at the Bird Statue in the tower if you like, then fly back out to the Sky.

Din’s Silent Realm
Find the trial gate in Eldin Volcano
Open the map, choose Eldin Volcano and land at the Volcano Ascent Bird Statue. Press C to dowse for the trial gate and follow the pulse across the canyon and into the caves. Bokoblins and fire creatures roam the paths and narrow wooden bridges cross the lava, so keep your shield ready.
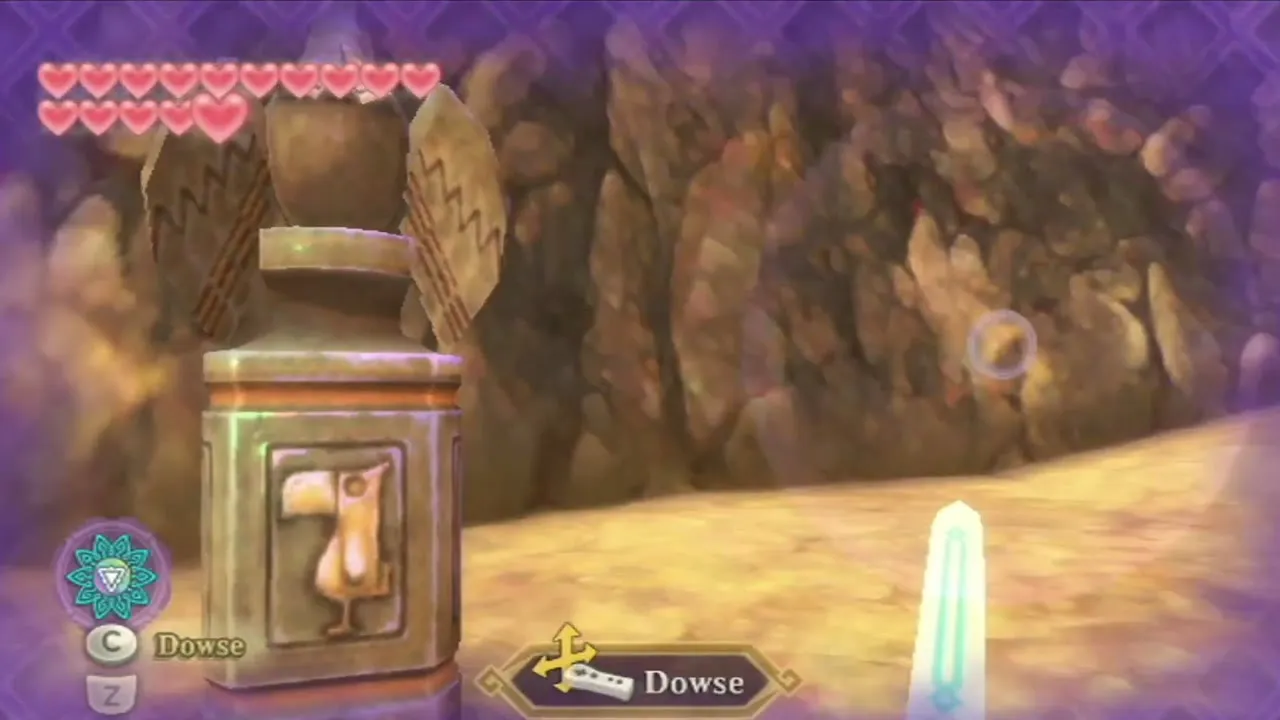

The gate is a glowing circle on the ground near where Blessed Butterflies flutter. Take out the Goddess’s Harp, stand beside the circle and play Din’s Power by strumming in time with the rings, as Fi sings along. When the gate lights up, thrust your sword into it to be carried into the trial.


How the trial works
Fi cannot follow you: you face the realm alone and defenseless. The Spirit Vessel that you receive at the start is a plant that fills up whenever you pick up a Tear of Din. Fifteen tears are scattered across a lava landscape. Each one halts the Guardians for 90 seconds, and the flower on the vessel shows how much of that time is left. When the time runs out, when a Watcher spots you, or when you step in Waking Water, the Guardians wake and chase you.
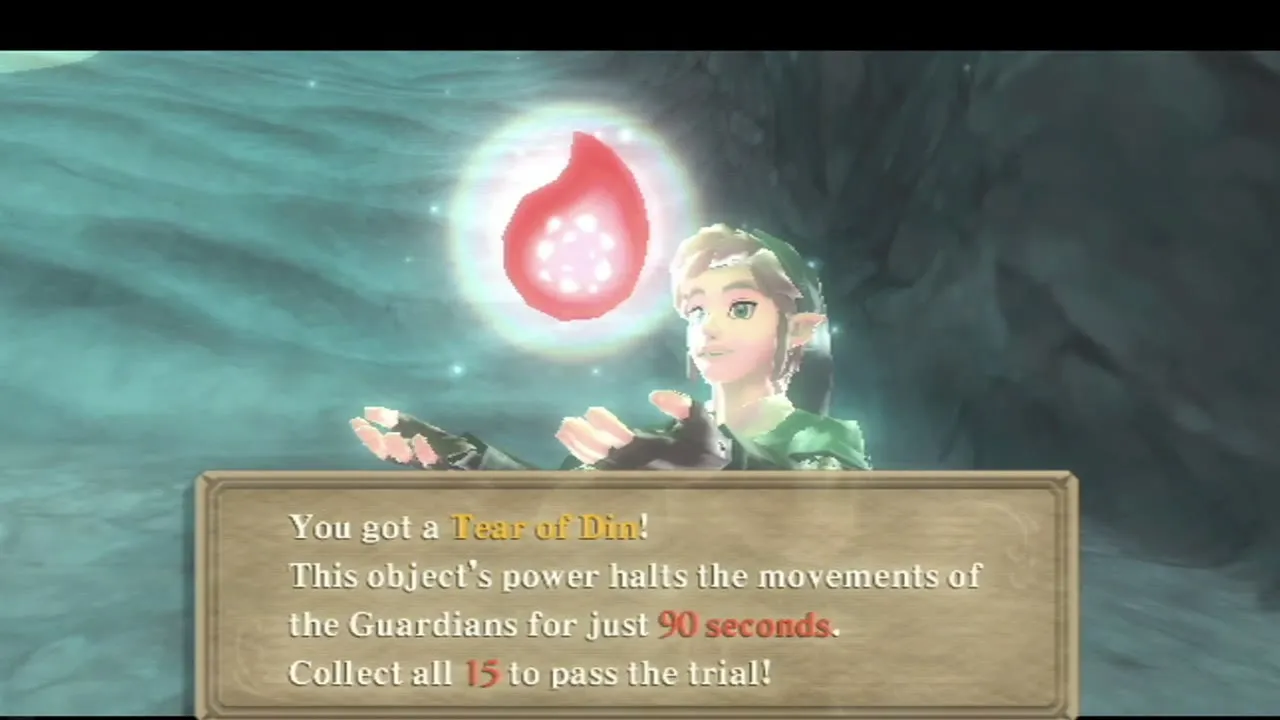
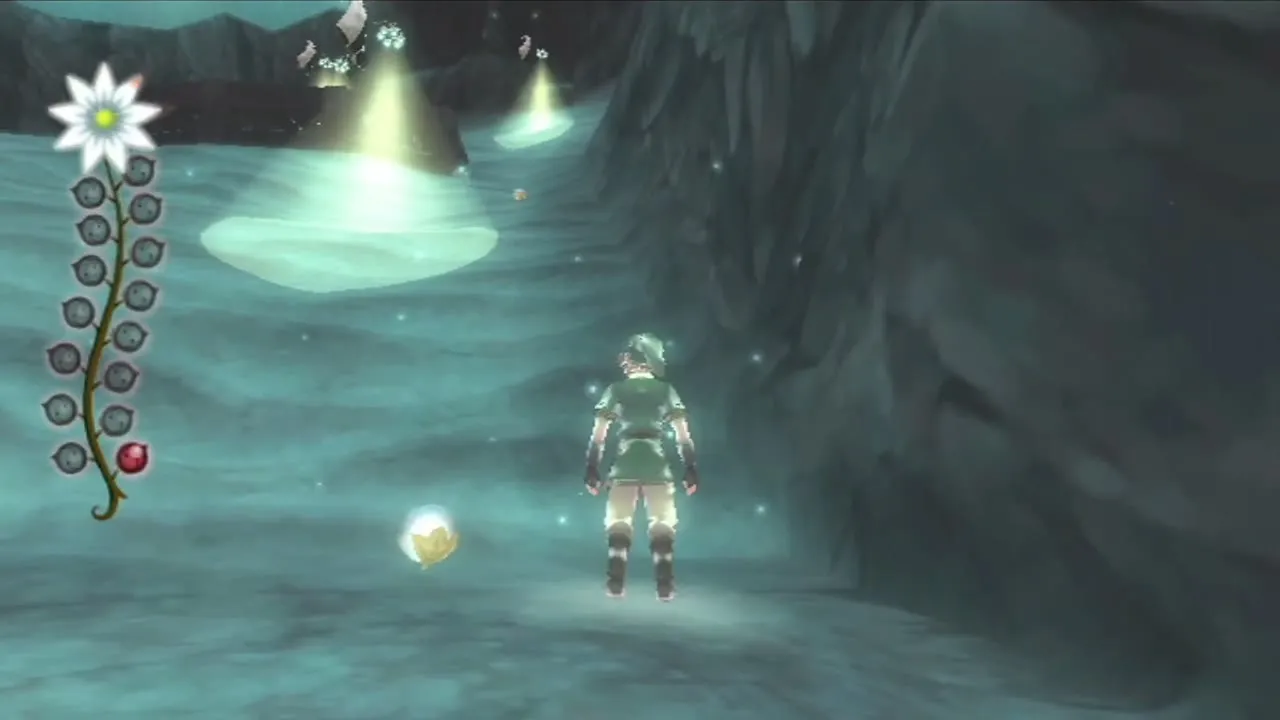
Each failed attempt teaches you the route. A Light Fruit shows the positions of the remaining tears with beacons for 30 seconds, which is the quickest way to spot them.
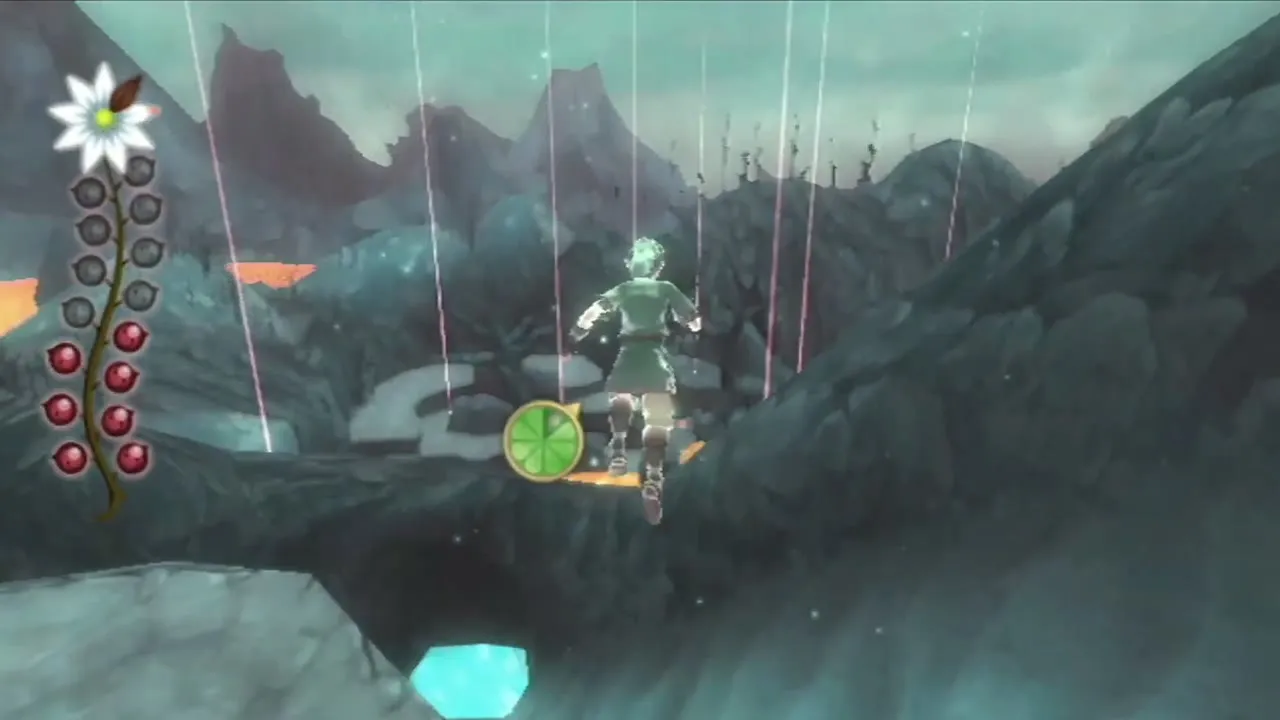
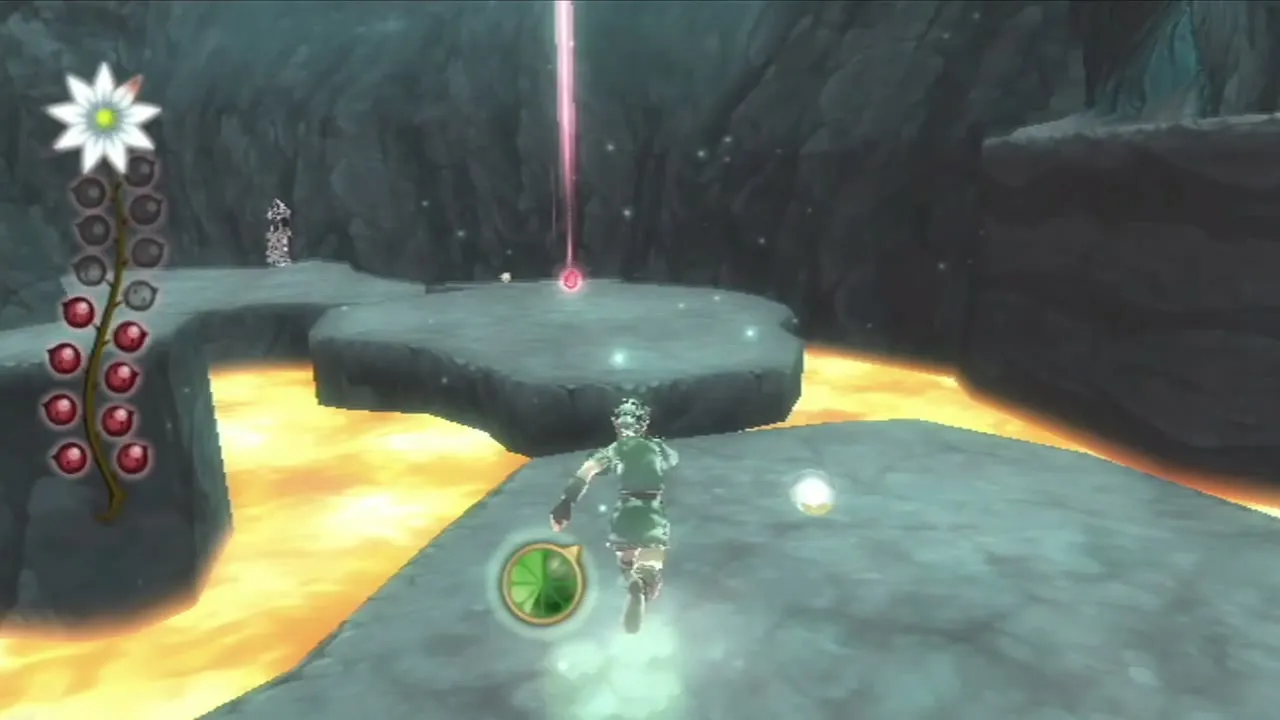
 Dusk Relics lie in crevices and hard-to-reach corners of the realm. Pick them up while the Guardians are frozen: they are the only collectible in a Silent Realm, and the Divine Shield, Scattershot and Quiver upgrades need them.
Take the Fireshield Earrings
With the fifteenth Tear in the vessel, walk back to the starting circle without being spotted by the Watchers or stepping in Waking Water; a flame spirit reminds you that the trial lasts until you leave. Stand on the circle and the goddess hands you the Fireshield Earrings, the third sacred gift. Back in the cave, Fi says the earrings will let you travel safely through extreme heat. They also snuff out fire that catches your clothes, but they do not protect you from lava or direct fire attacks. See the Silent Realms page for the other trials.


Volcano Summit
Climb to the crater
Leave the cave and keep climbing through the lava caves. Fi announces that you are near the crater at the peak and that the earrings allow long stays in this heat. The title card Volcano Summit appears, and she puts the chance of finding the last sacred flame here at 90 percent.
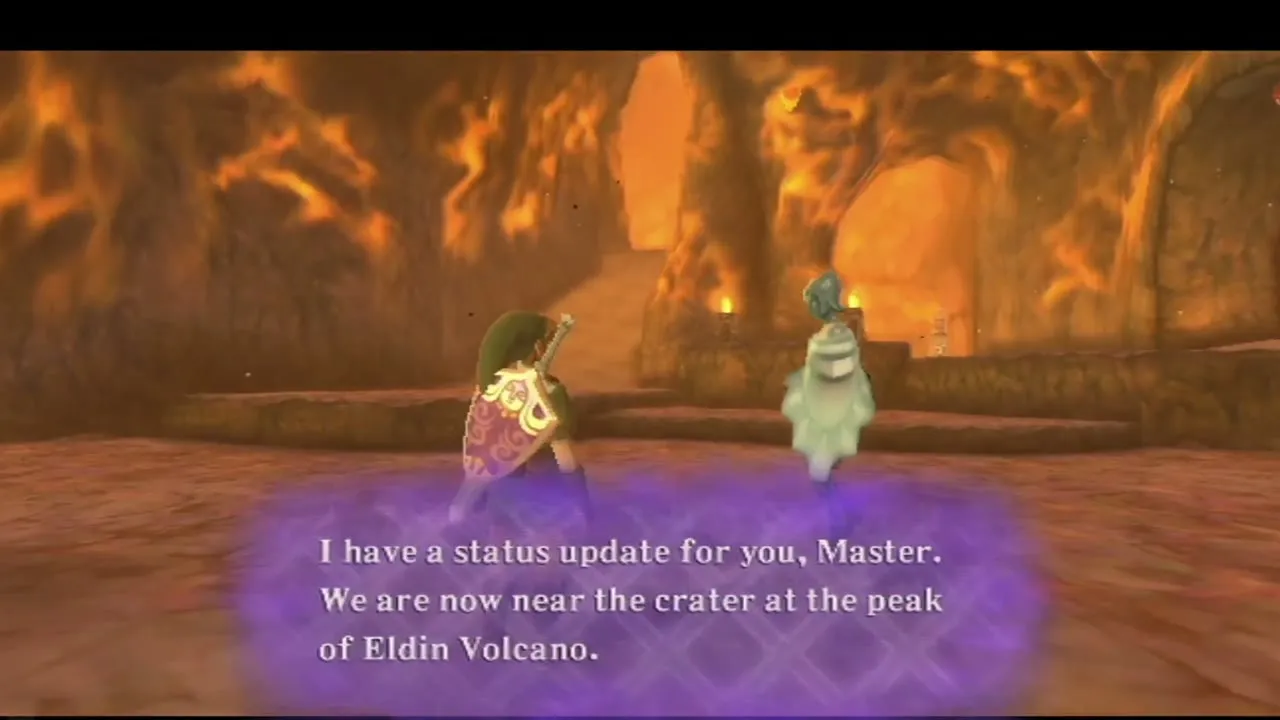

Chuchus and Fire Keese attack in the lava caves. If a Chuchu sticks to you, shake the Wii Remote to break free, then cut it down; it leaves a Jelly Blob, a treasure that Gondo’s upgrades use. Shoot Fire Keese with the Slingshot or Bow before they swoop.
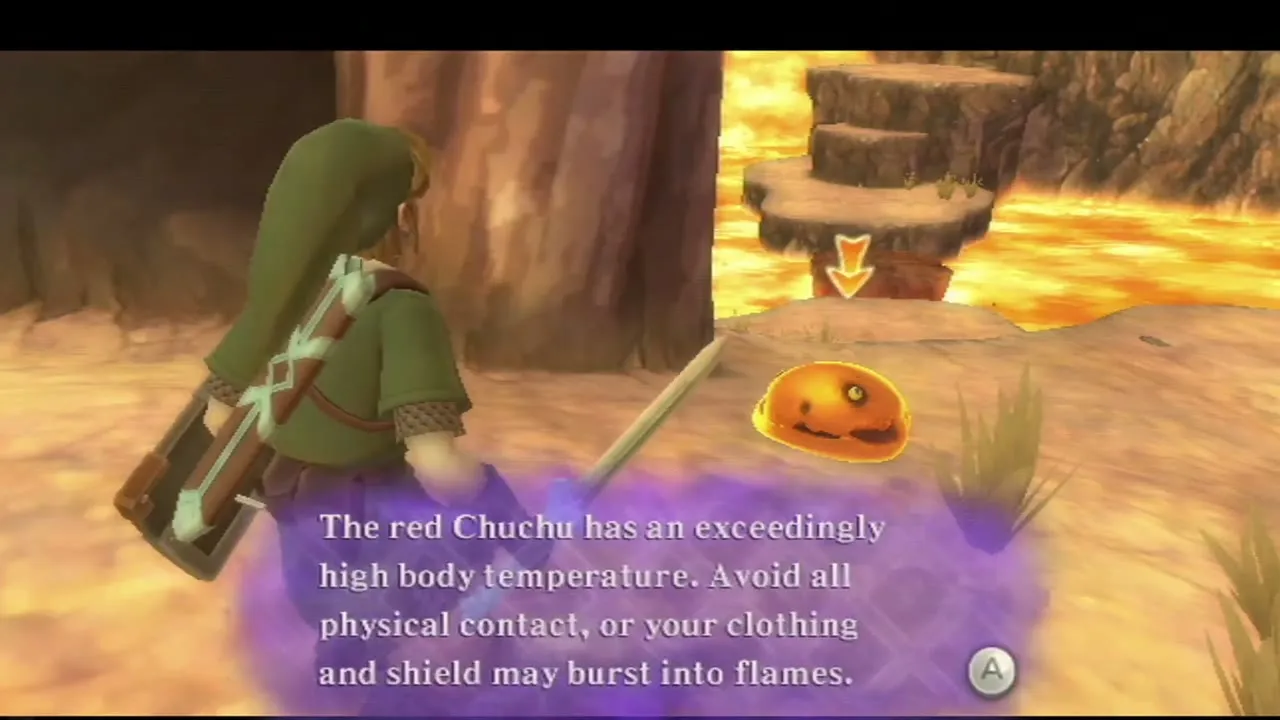
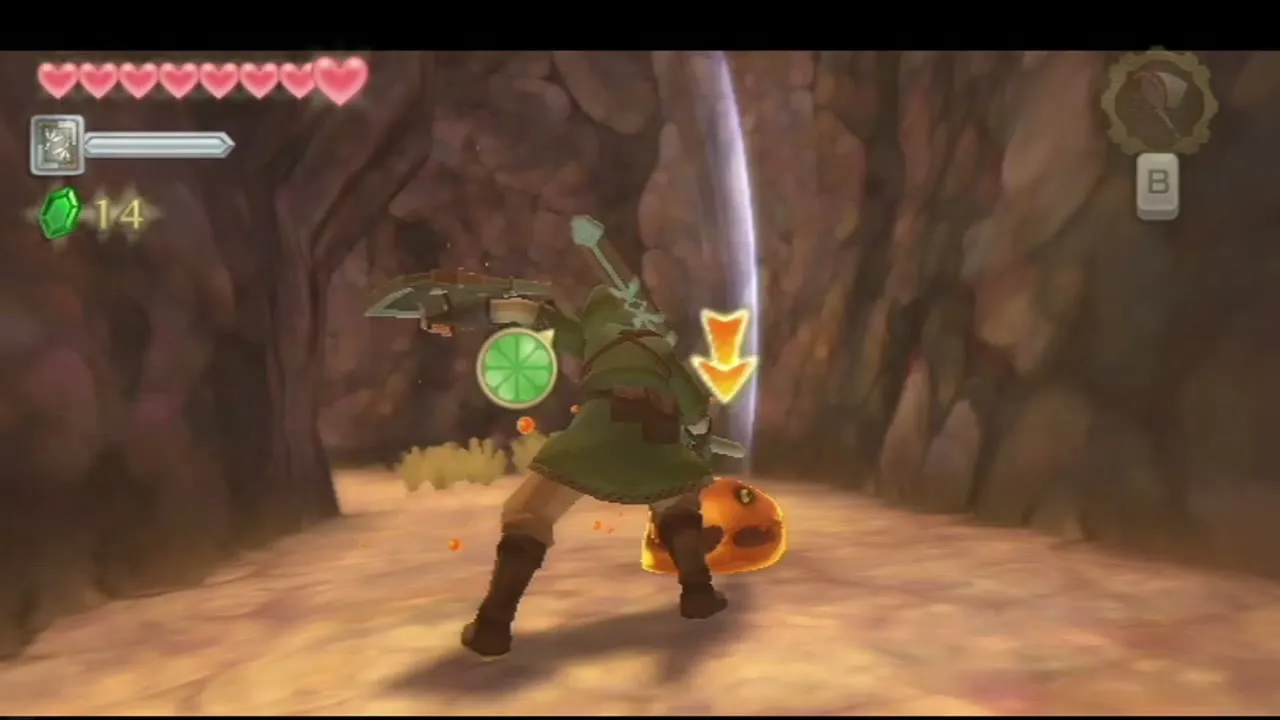
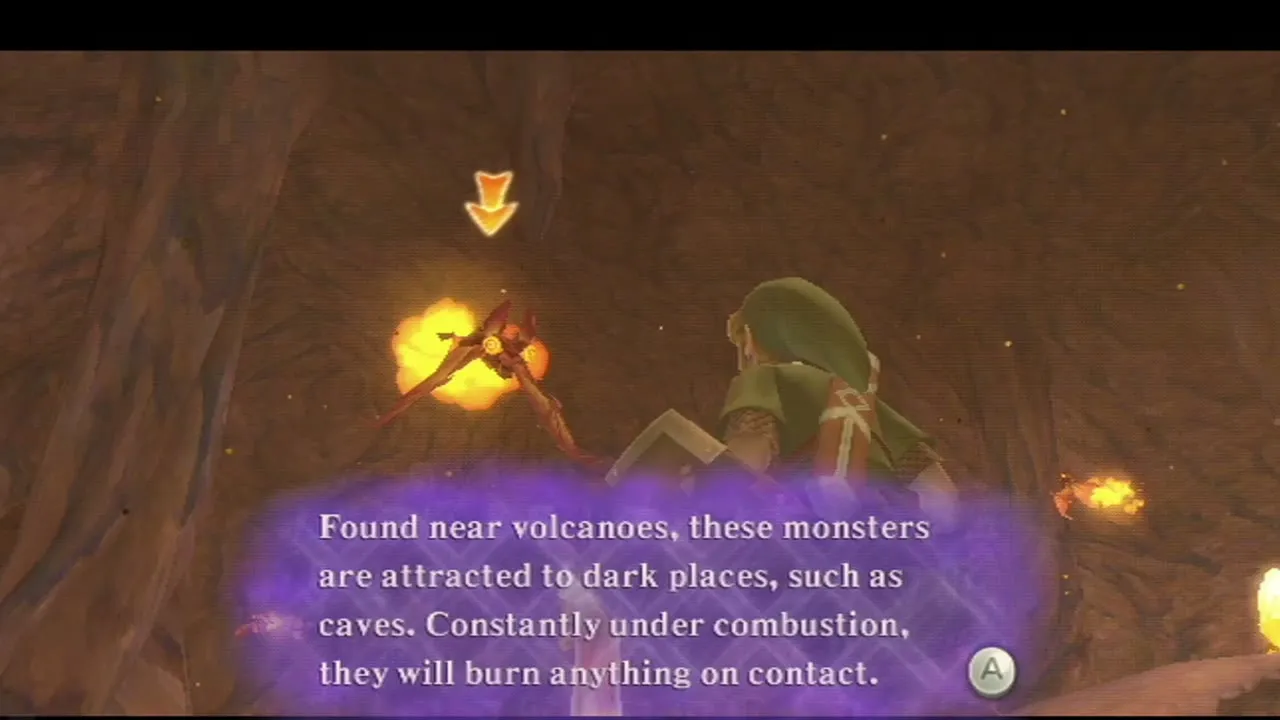
Fill your Bottle at the pool
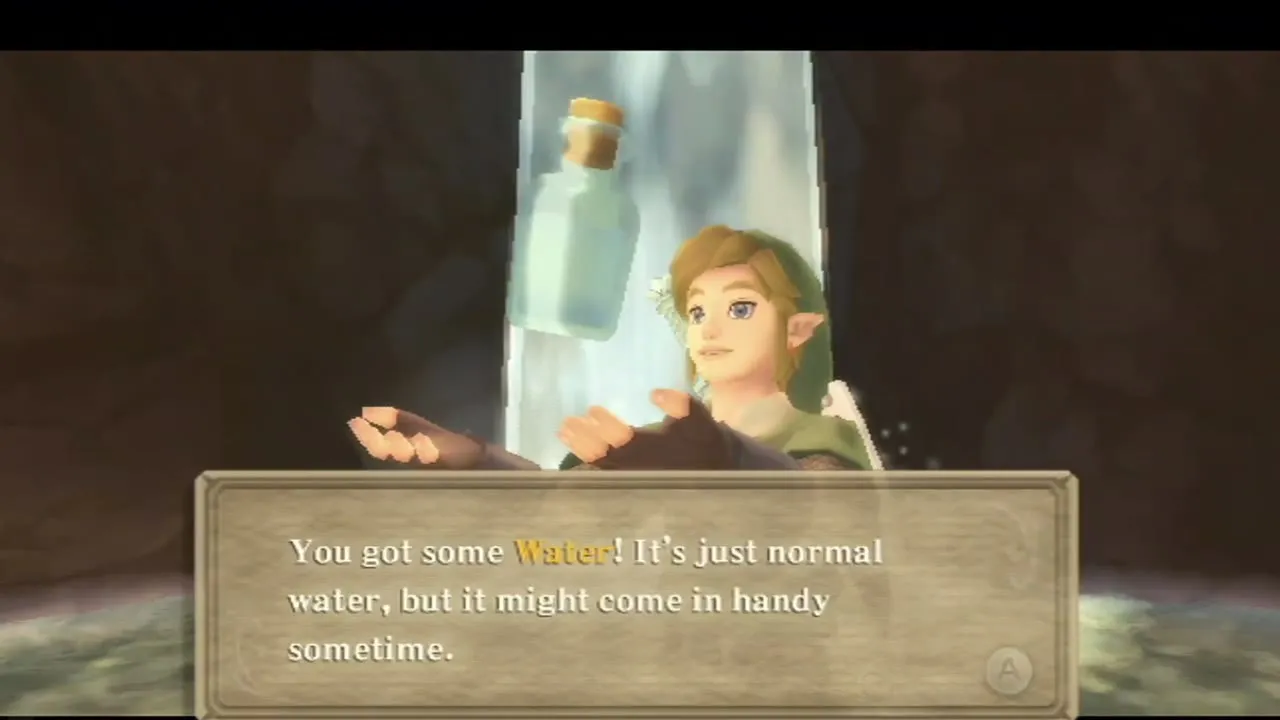
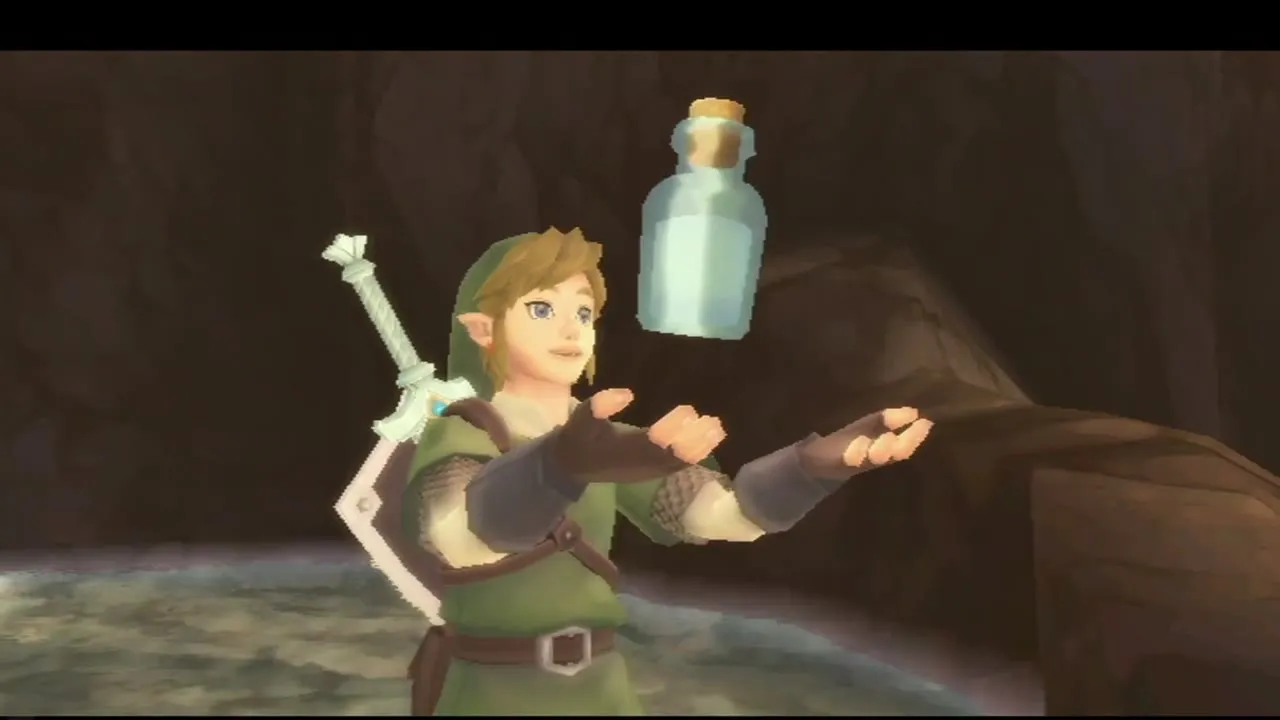
In the open air outside the cave is the Volcano Summit Pool. Equip an empty Bottle and scoop some Water. A Volcanic Ladybug crawls around the same cave, so swing the Bug Net before you leave. Gorko, the Goron researcher, stands in front of a wall of flames and says he came here because someone spotted Goddess Cubes, but the fire blocks the way.
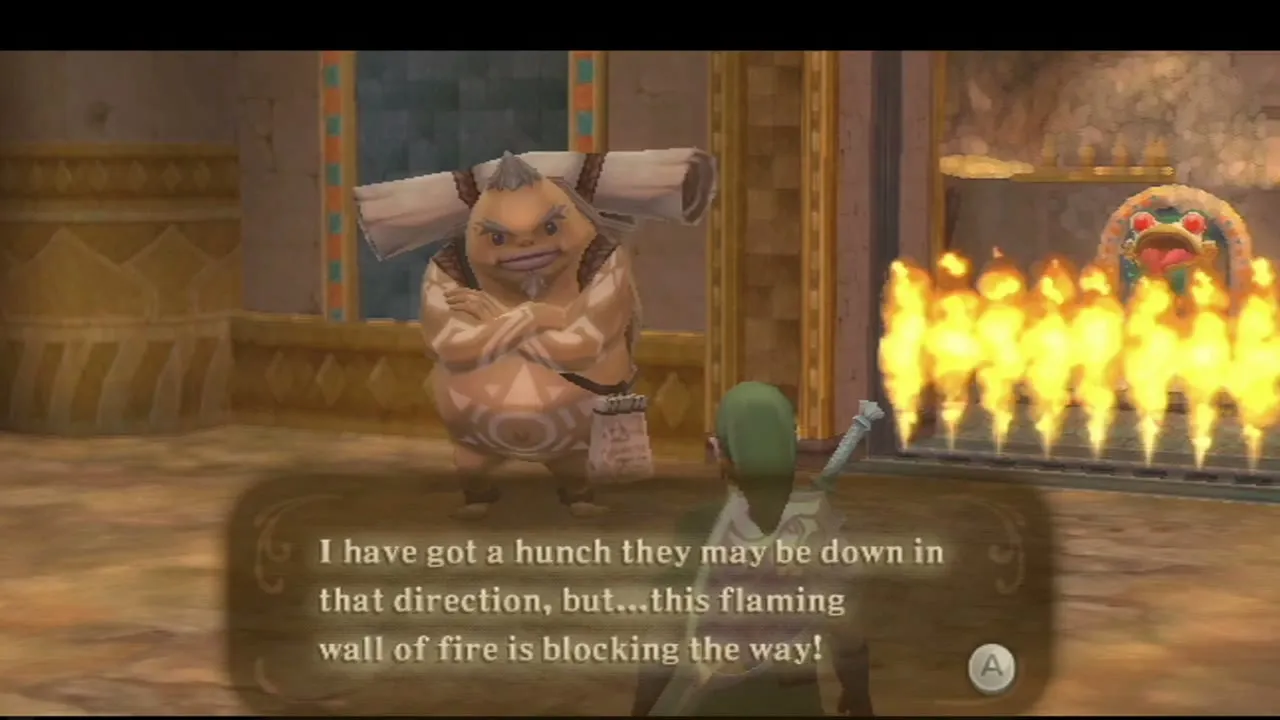
Quench the first frog statue
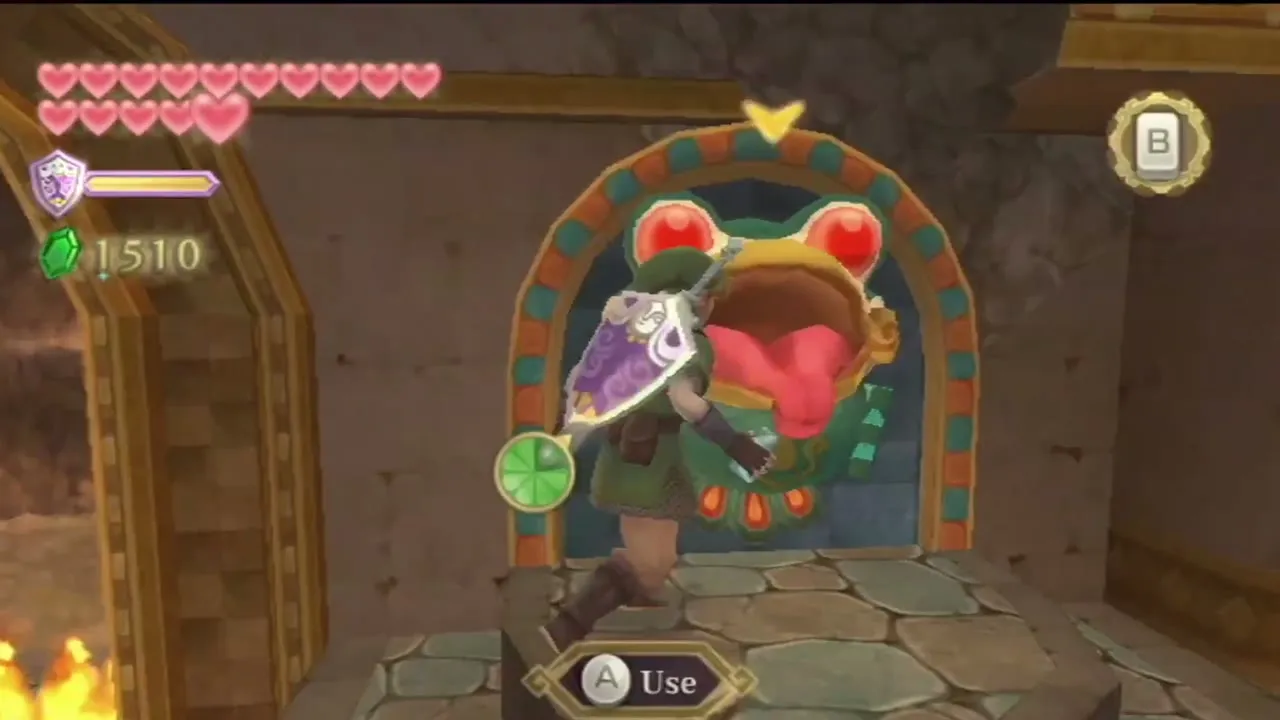
A stone slab beside the flames hints that the frog statue wants water. Climb the steps to the stone frog and use the Water Bottle on its open mouth. The flames die at once, and Gorko cheers that you can now pass. Refill the Bottle at the pool whenever you need more.
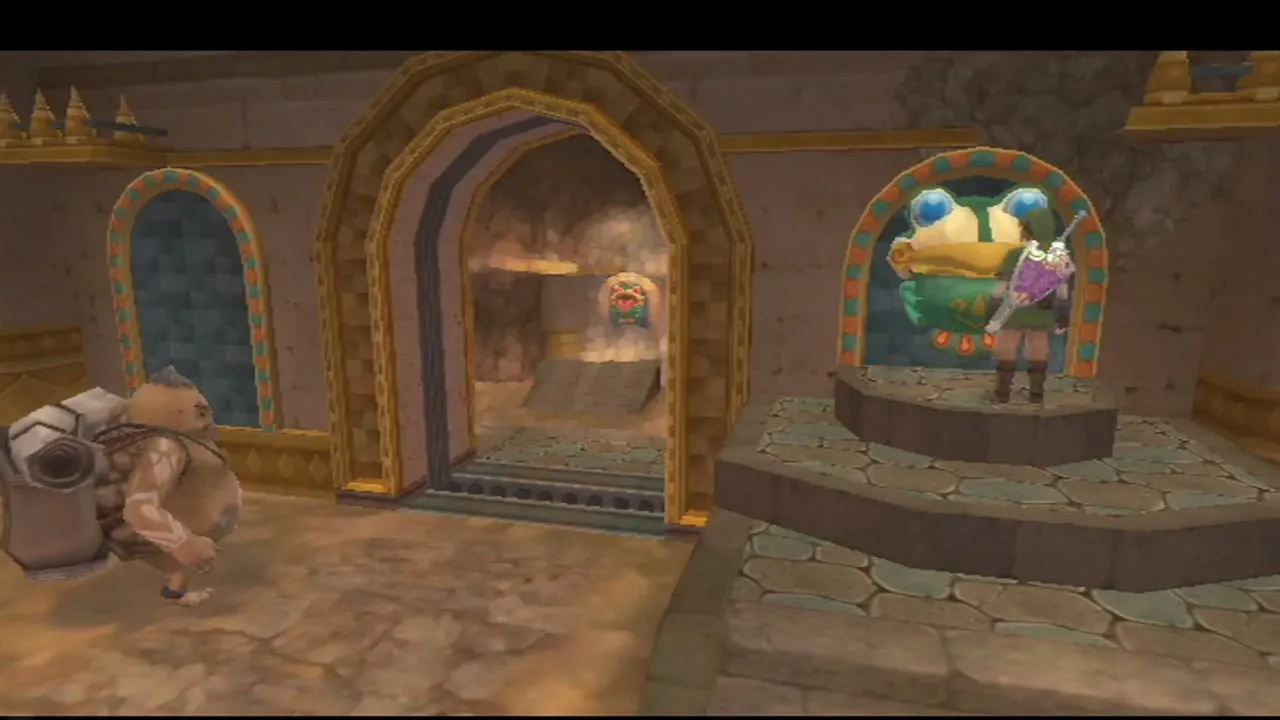

Once Gorko has unlocked it, you can dowse for Goddess Cubes: select the cube icon on the dowsing wheel and press C whenever you want to track down the cubes here.


Quench the second frog statue
The next chamber has soil patches and a second frog that you cannot reach on foot. Scoop another Bottle of water at the little waterfall, then use the Clawshots on the vines at the western side to reach the platform above the frog and pour the water down onto its tongue. Gorko congratulates you on the progress.
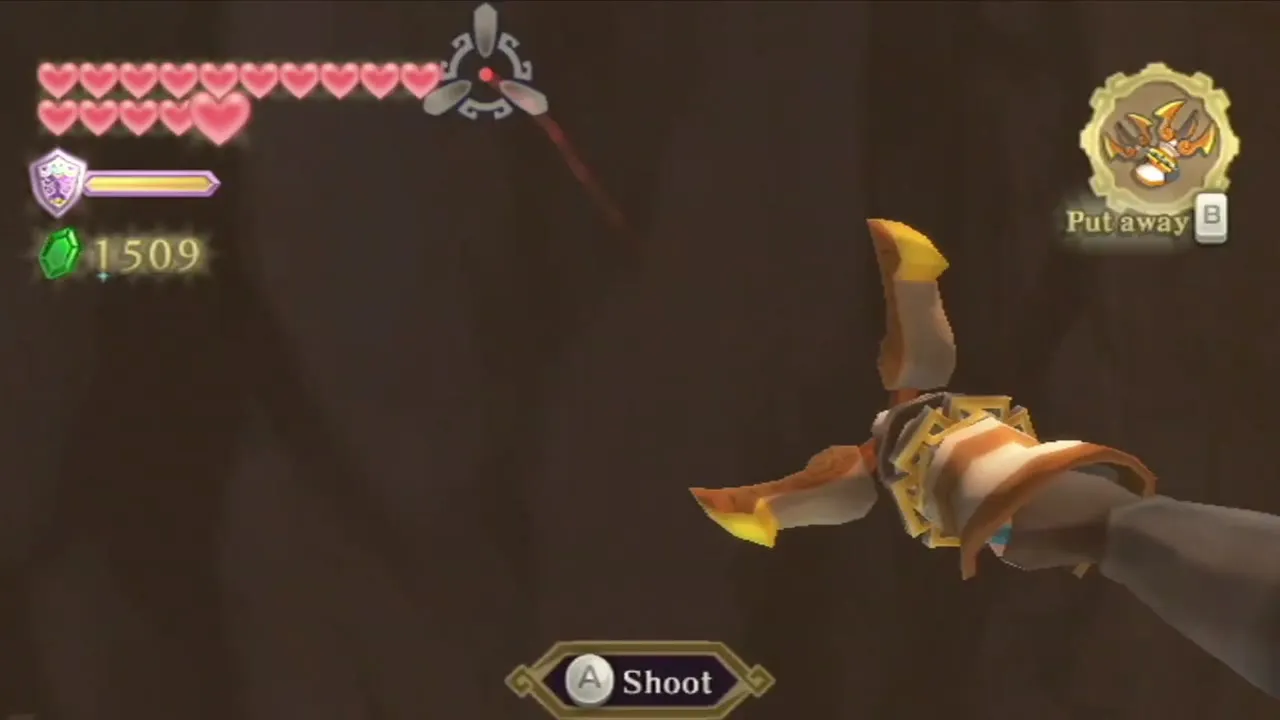
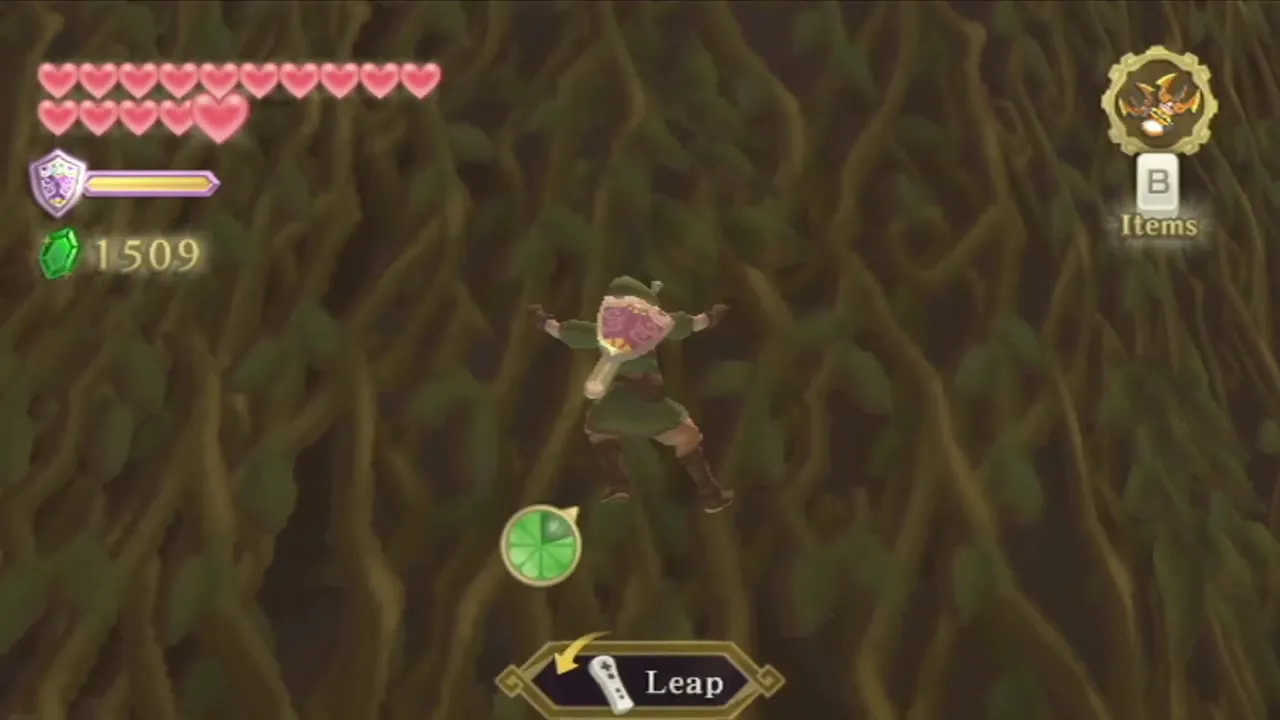
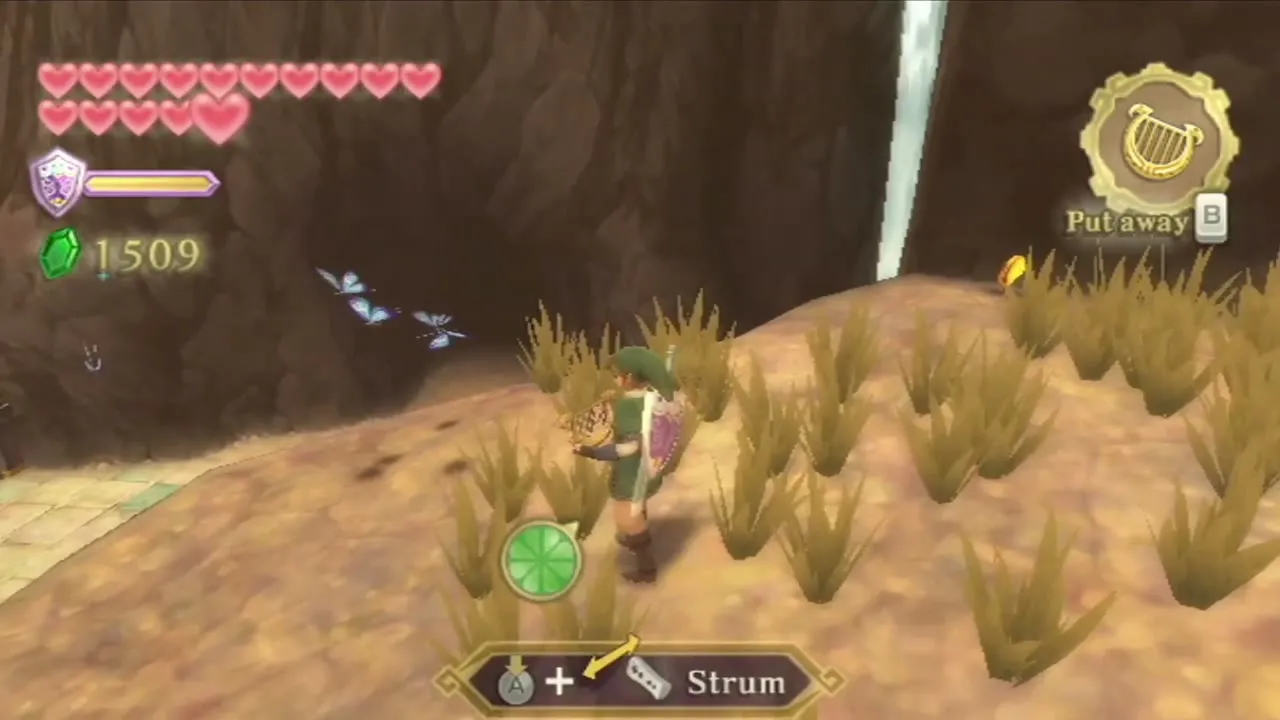
Swing the Bug Net at the Eldin Roller and the Blessed Butterflies that you find around here. Playing the harp near the butterflies also calls a Gossip Stone that drops a random treasure and mentions a Piece of Heart near the soil patch in front of it. You need the Mogma Mitts from the Fire Sanctuary to dig there, so leave it for the next chapter.
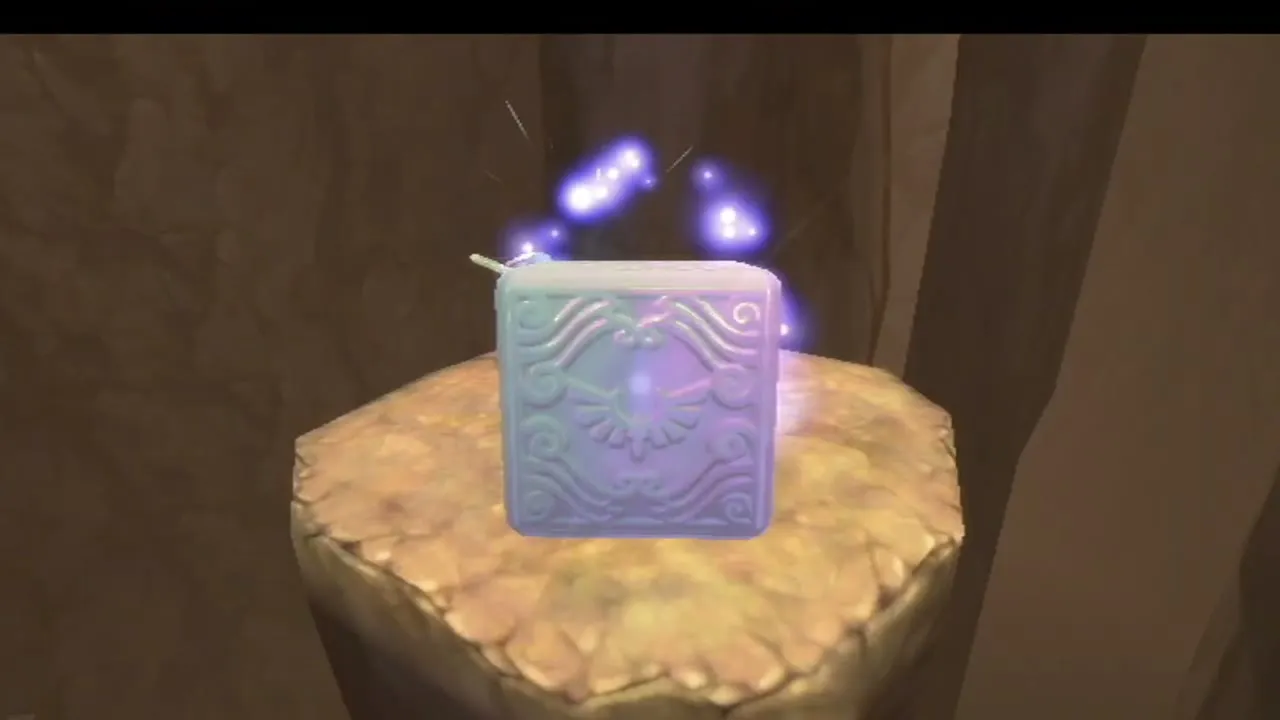
Two Goddess Cubes are within reach here. Near the pool and waterfall, jump off the northern ledge and skydive to the platform that holds a cube, then Clawshot back up. The other cube sits on a ledge by the Fire Sanctuary door; climb out of the window of the western tower and Clawshot between the two vine-covered spires. Strike each with a charged Skyward Strike. The first opens a chest at Bug Rock in the Thunderhead that holds a Piece of Heart, though the island is not open yet, and the second opens the Small Bomb Bag chest on top of the Isle of Songs tower.

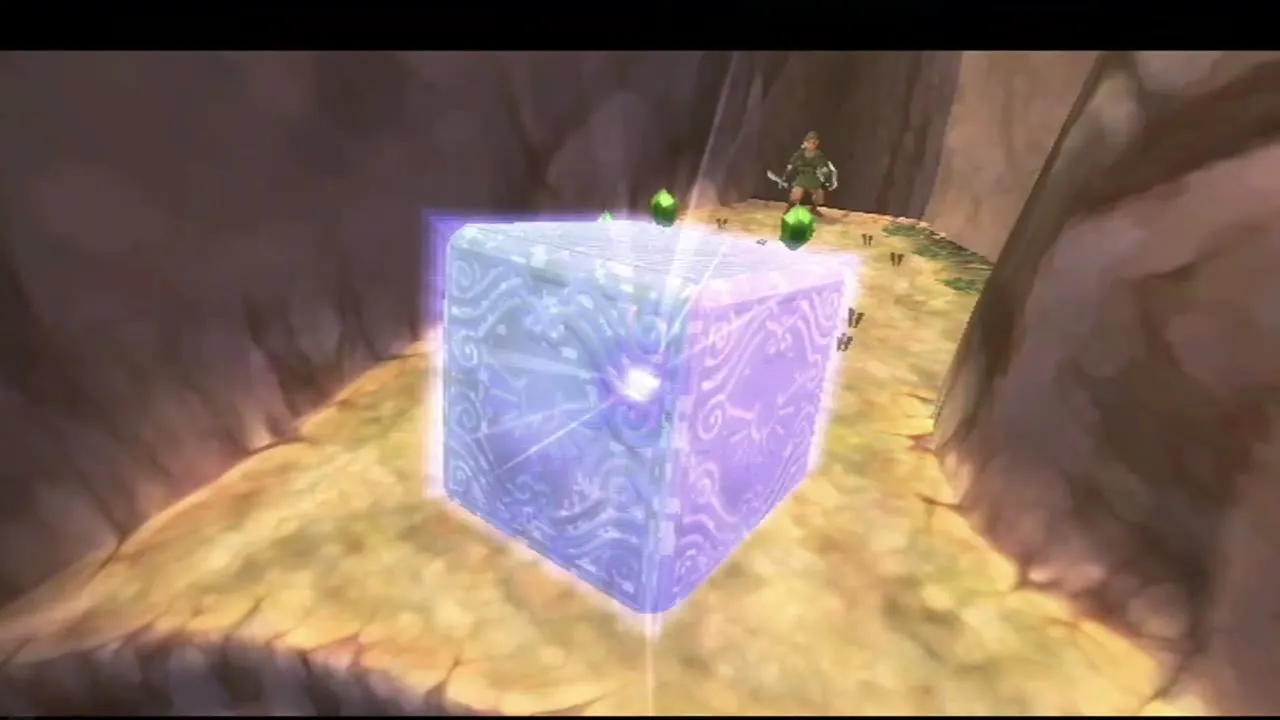
The big frog at the Fire Sanctuary door
The third chamber is an open pit crossed by a bridge. The Fire Sanctuary door sits at its north end behind a wall of flames, guarded by a much bigger stone frog. Gorko says the frog needs far more water than a Bottle can hold and wonders where anybody could find that much. Fi agrees that nothing nearby holds enough water and suggests looking for a big container.

The Inside the Volcano Bird Statue stands beside the entrance, and you can sit on the bench in the eastern tower to restore your hearts. The only container big enough is the basin where the Water Dragon Faron was healing at Lake Floria. Save at the statue, then choose To the sky.
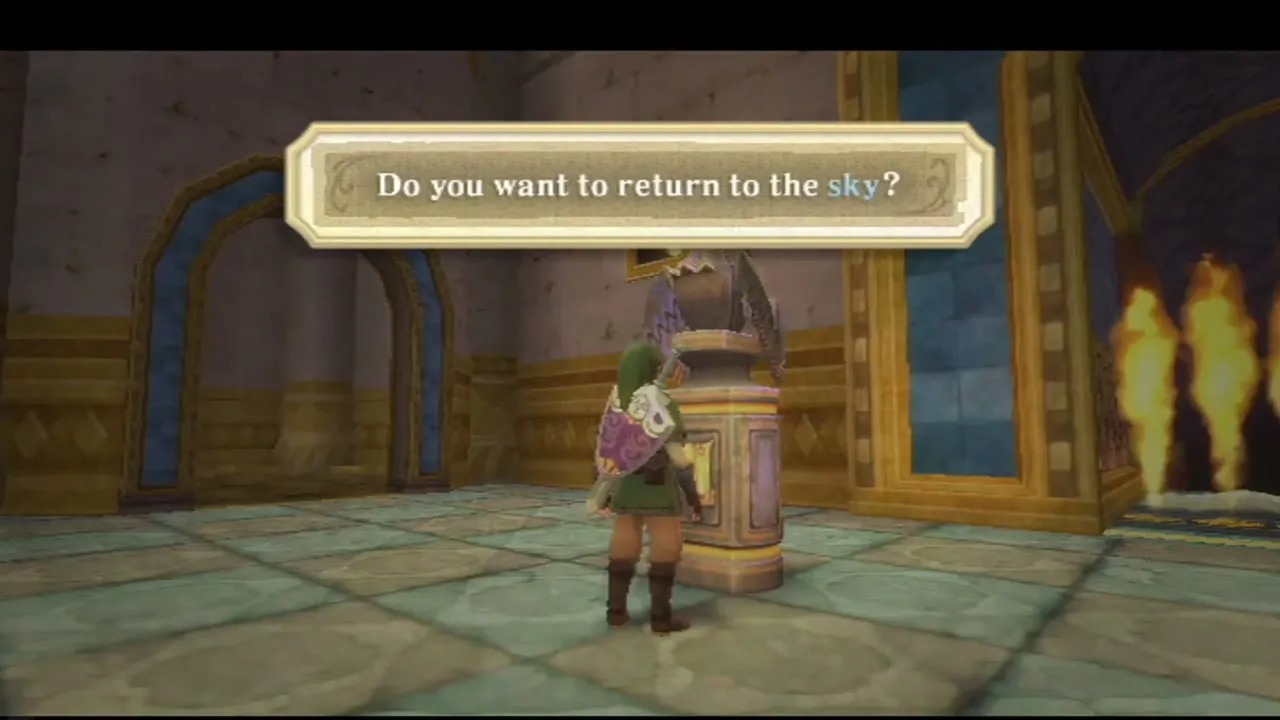

Borrow the Water Basin at Floria Waterfall
Dive to Floria Waterfall
Open the Sky map and choose Floria Waterfall in Faron Woods. After landing, cross the meadow and go into the cave with the water tunnel. Swim through it with the Water Dragon’s Scale, which you earned in Farore’s Silent Realm (the Farore’s Silent Realm and Lake Floria chapter covers it).

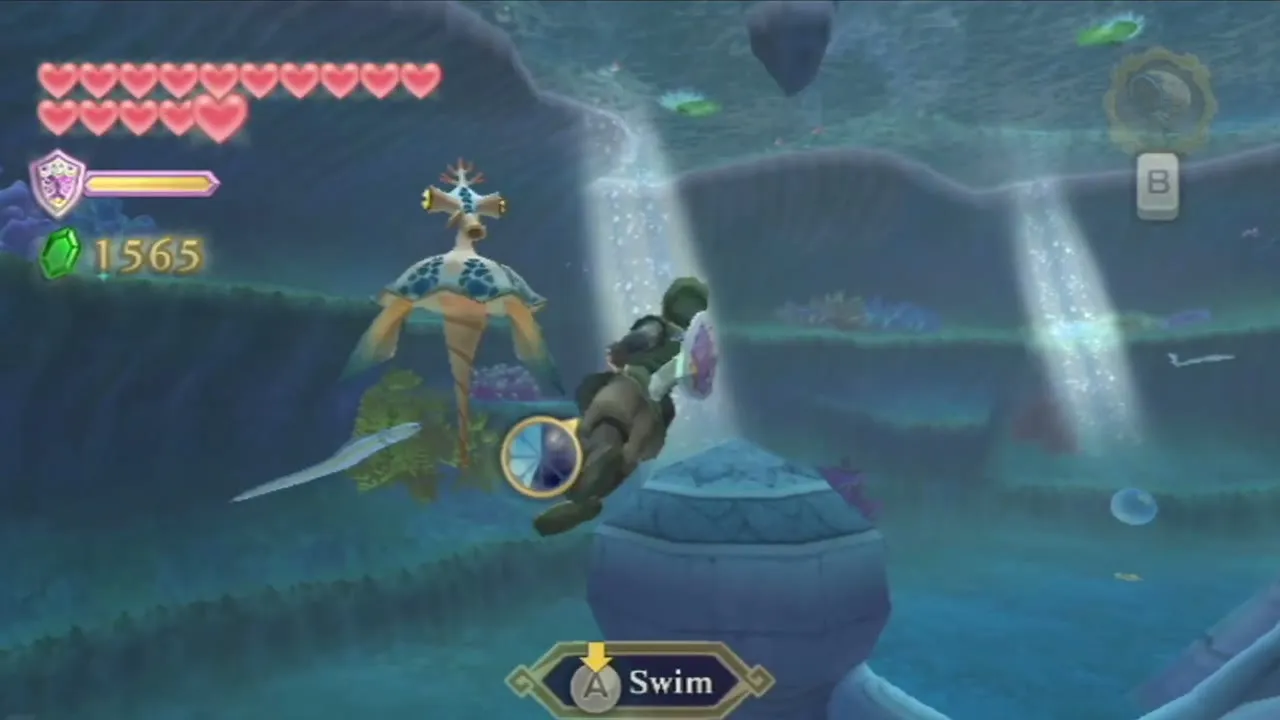
Ask Faron for the basin
At the end of the tunnel the Water Dragon Faron rests by the basin of sacred water. Fi points out that the basin holds a large quantity of water, enough to put out the flames. Talk to Faron and ask to borrow it. Fully recovered from Ghirahim’s attack, the dragon agrees.
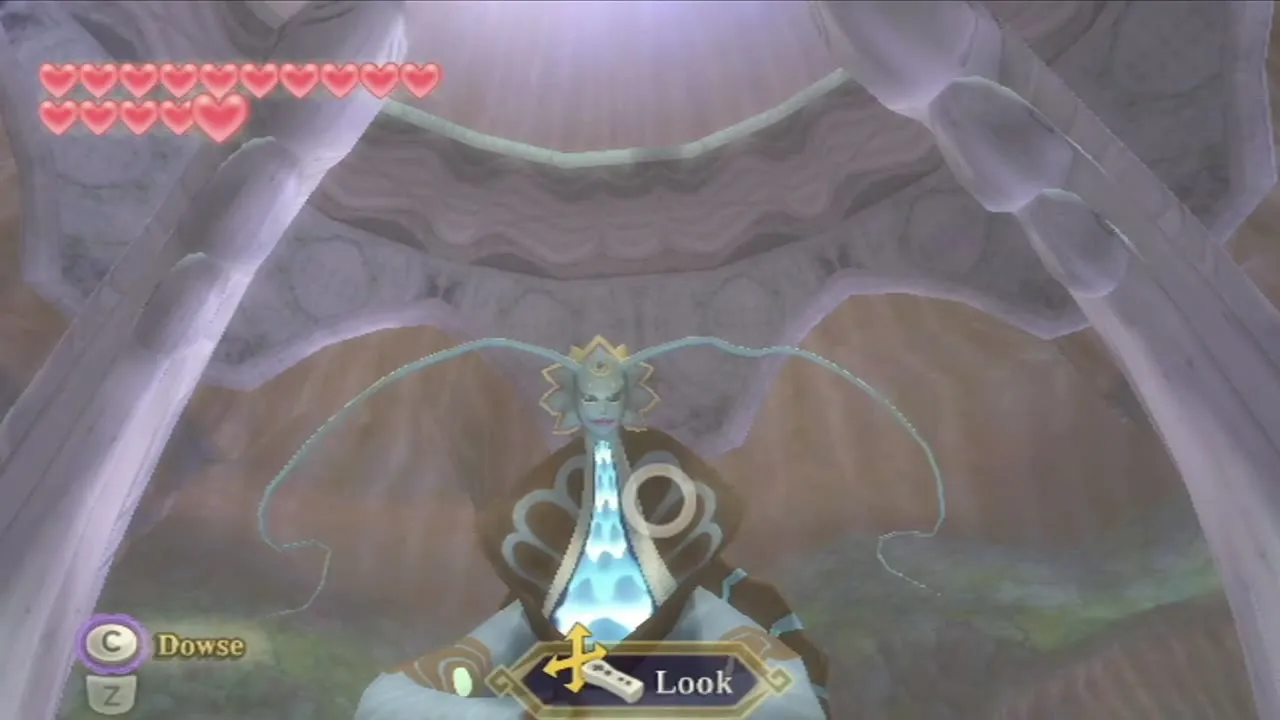

The basin is too heavy for Link, so Fi calls the robot Scrapper, who descends through a shaft of light, remarks that the cargo is heavy but within his limits and takes the basin. Fi tells you to return to the Sky and set a course for the volcano. Use the Bird Statue near the water to go back up.


Fly Scrapper to Eldin
In the Sky, call your Loftwing and fly towards the light pillar above Eldin Volcano. Scrapper follows you with the basin. When you reach the break in the clouds, he rushes down to the entrance, announces that this is the volcano and then refuses to carry the basin any farther. Dive after him to the lava canyon at the foot of the mountain.

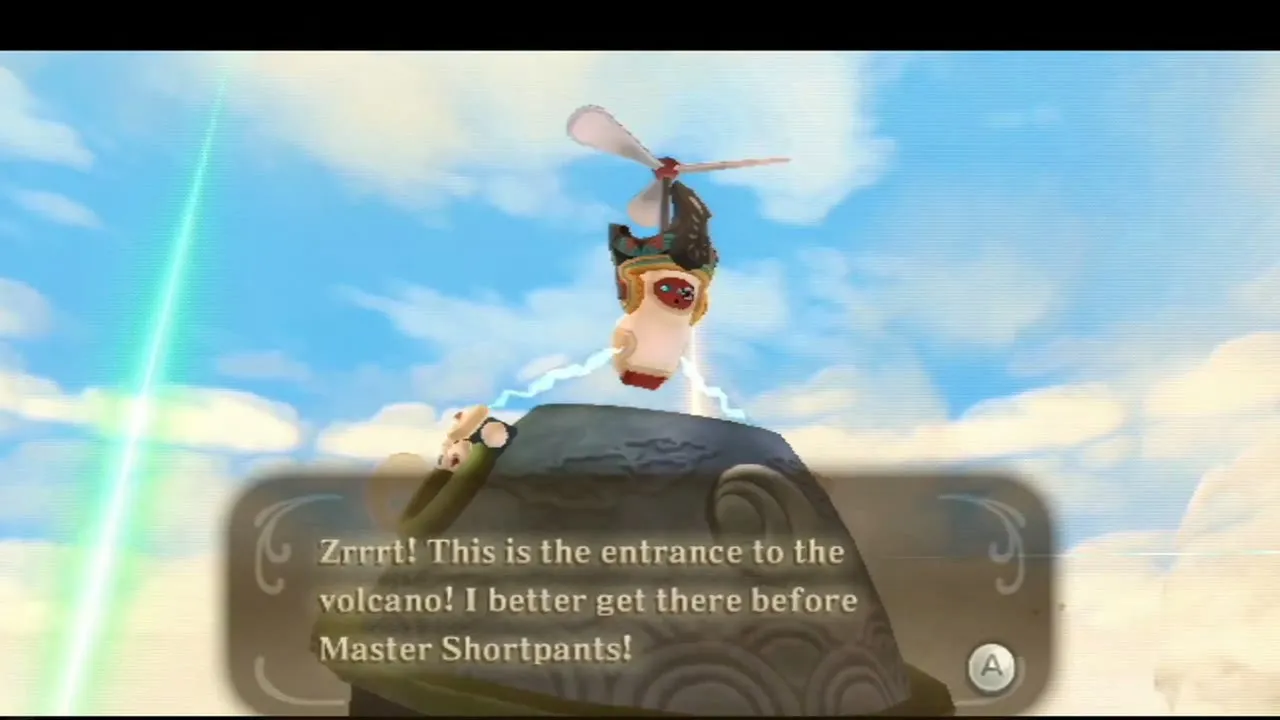
Protect the robot up the volcano
How the escort works
Scrapper proposes a game of “protect the robot”: he walks behind you and you must stop every monster from touching him. The volcano is crowded with Bokoblin archers, Red Bokoblins, Moblins with wooden shields and Fire Keese. If Scrapper takes too much damage he breaks down and you have to redo the escort from the beginning.
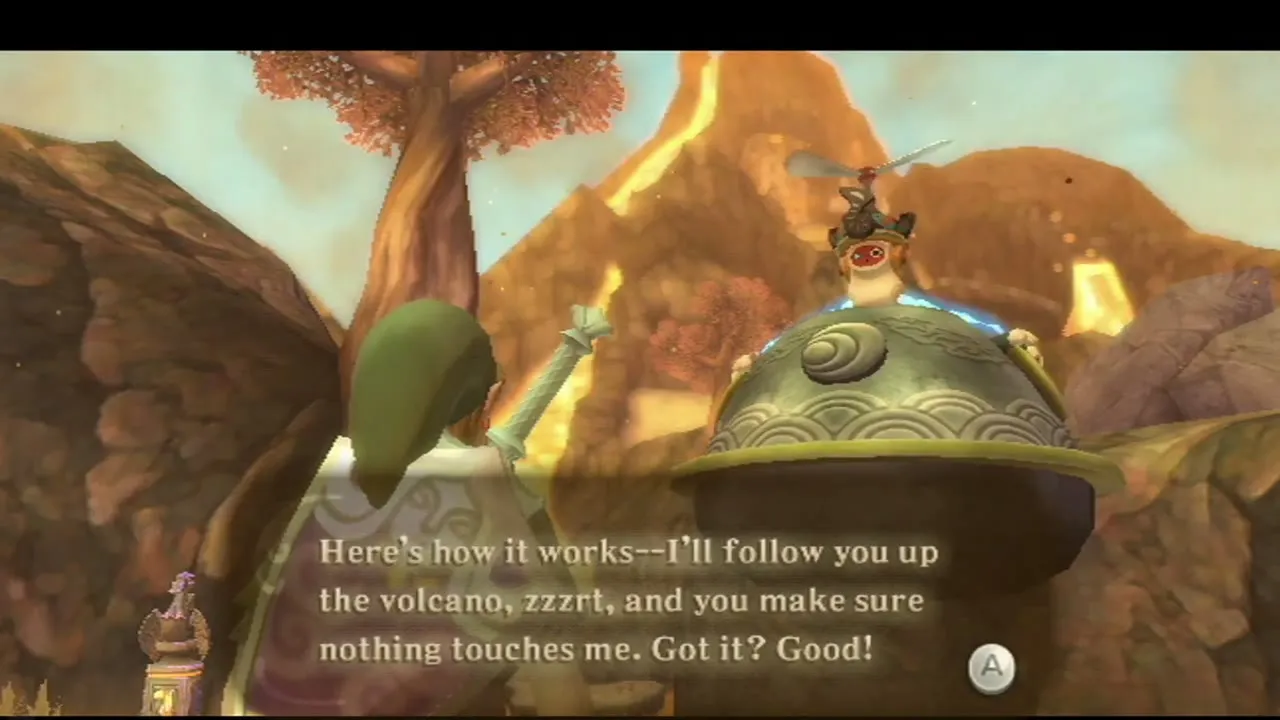
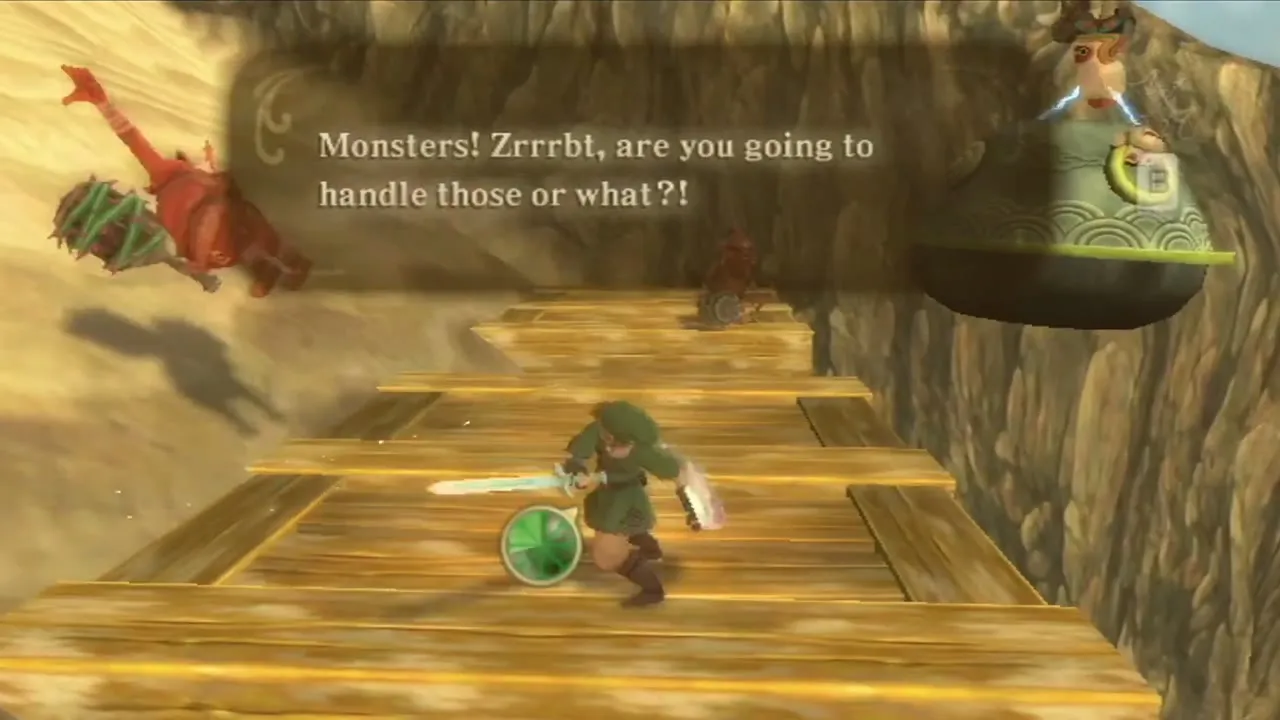
Run ahead and clear each group before he reaches it, and stop when he cries “wait for me” so he can catch up. Shoot archers with the Bow before they target him. When he shouts that he is in trouble, turn back and kill whatever is chasing him.
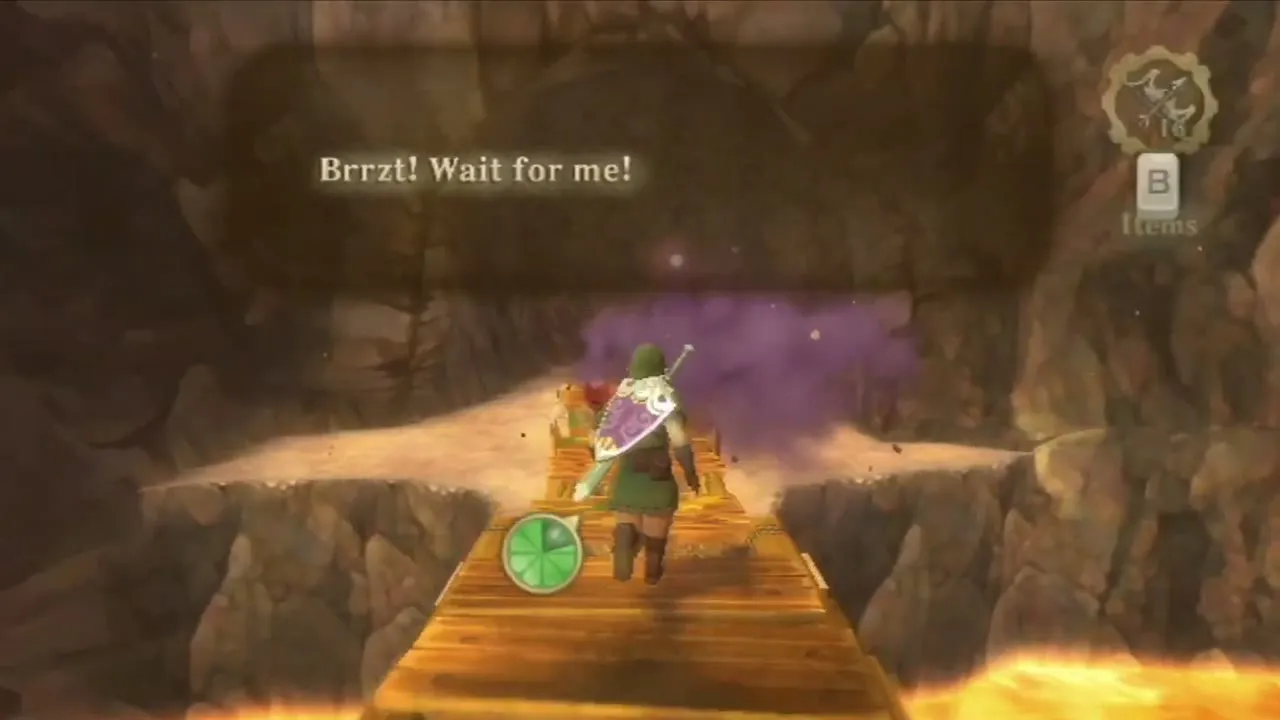
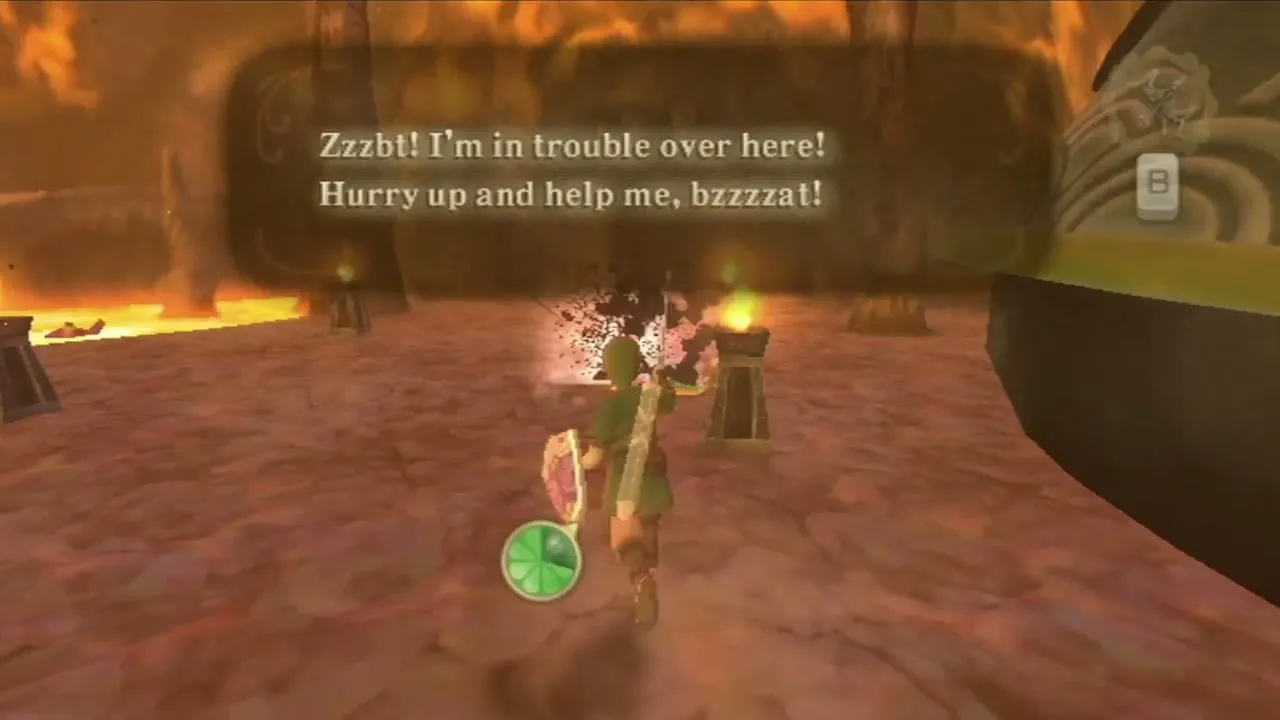
The route to the summit
The way up runs through the lava canyon at the base, along sand paths with Clawshot targets and wooden gates, and through a village of wooden huts that Bokoblins have taken over. Pick up the treasures on the way: you can find an Ornamental Skull, Eldin Ore or an Amber Relic, and Lizalfos drop a Lizard Tail.
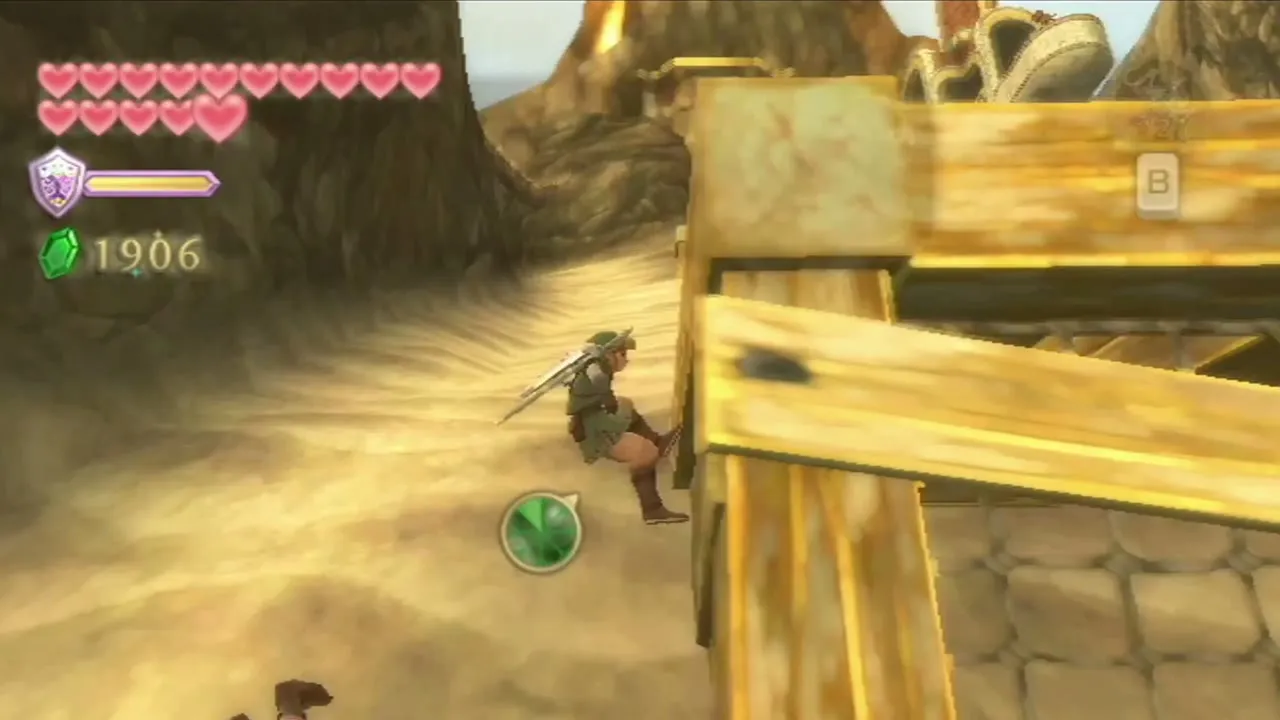
Later Moblins with wooden shields block the passes. Attack them from the side or behind, and keep them away from the robot. Scrapper complains loudly about monsters in every room, but he only breaks down if they actually hit him.
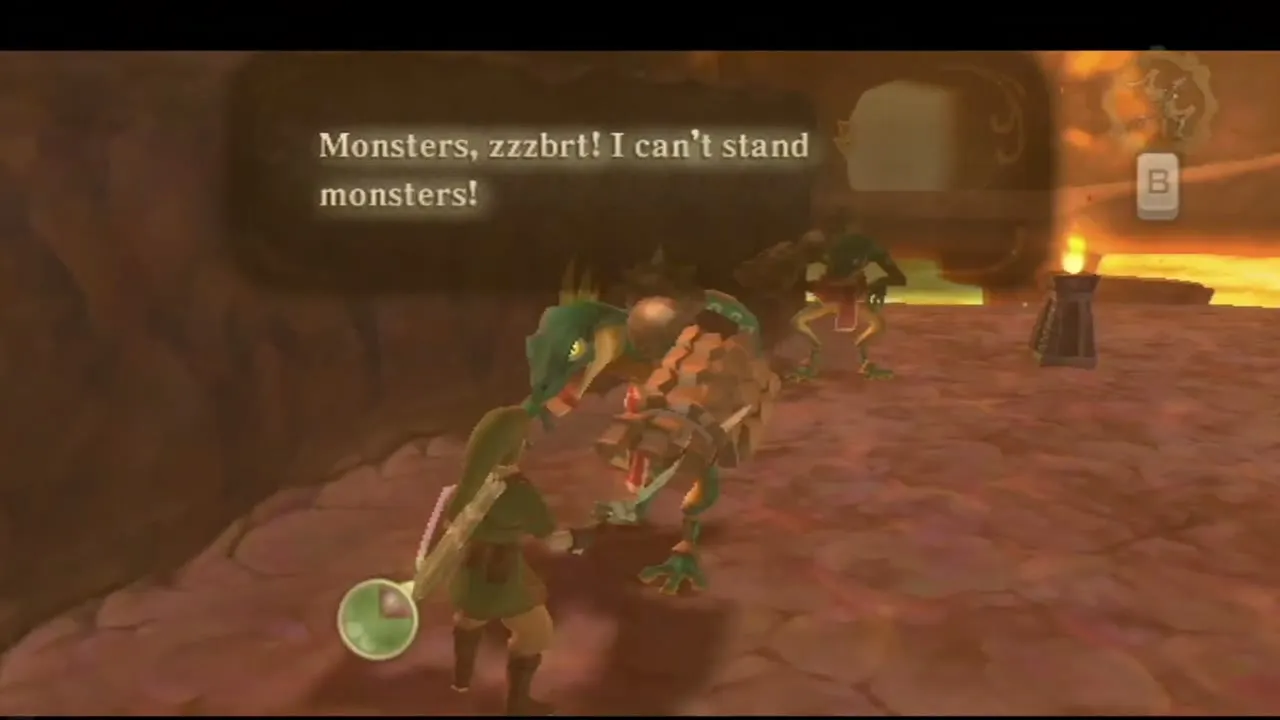


Pour the basin into the big frog
When the route reaches the crater, Scrapper walks up to the big frog and drops the basin over its mouth with a crash. The flames in front of the Fire Sanctuary vanish, and Gorko steps aside. Fi confirms that the fire has been fully extinguished and recommends that you proceed.
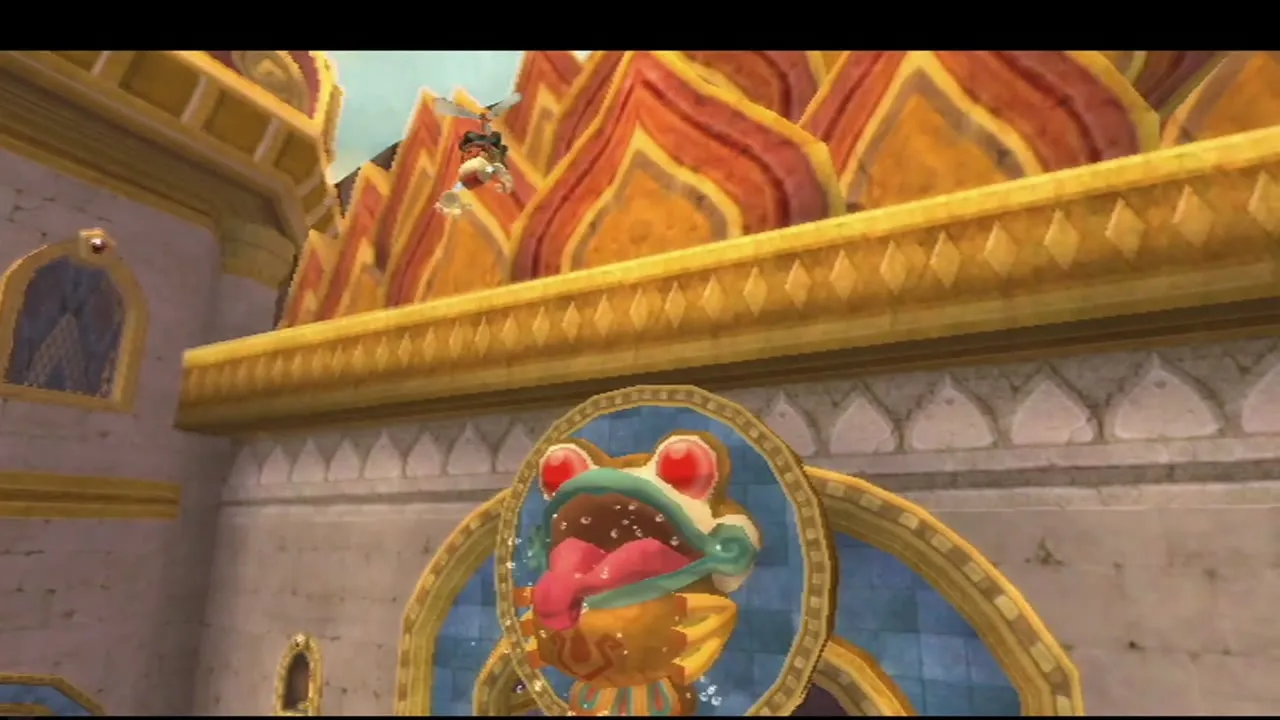
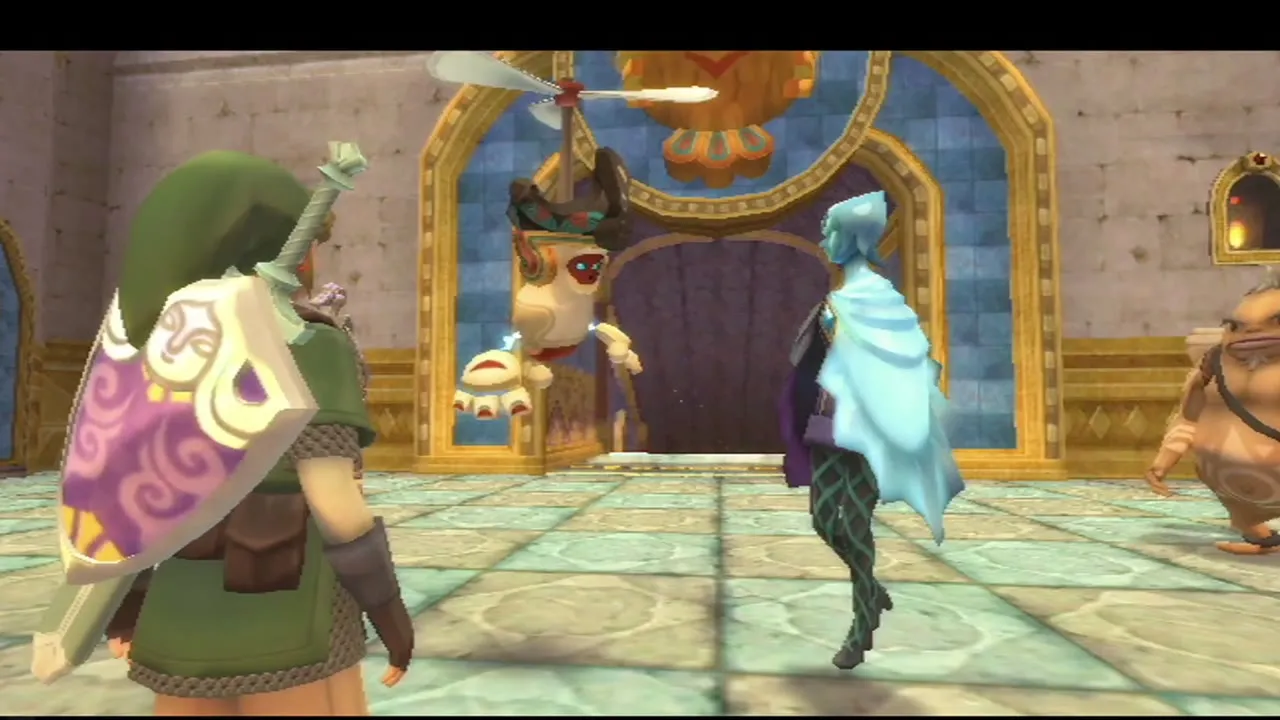
Save at the Inside the Volcano Bird Statue, refill your Bottles and put a Heart Potion+ in the pouch before you go through the opened door.

Chapter checklist
| Collectible | Type | Where |
|---|---|---|
 Iron Bow | Upgrade | Gondo’s Scrap Shop, 50 Rupees plus materials |
| Heart Potion+ | Potion | Potion Shop, 20 Rupees plus bugs |
 Sky Stag Beetle | Bug | Trees on Skyloft |
 Loose Gratitude Crystals | Gratitude Crystal | Skyloft at night (dorm room, Academy vase) |
| 5 Gratitude Crystals | Side quest | Cawlin, Deliver a Letter |
| 5 Gratitude Crystals, 20 Rupees | Side quest | Mallara, Clean My House |
 Medium Wallet | Reward | Batreaux, 5 crystals |
 Piece of Heart | Piece of Heart | Batreaux, 10 crystals |
| Potion Medal | Medal | Goddess Chest, island north-west of Fun Fun Island |
 Life Medal | Medal | Goddess Chest on the same island |
| Piece of Heart | Piece of Heart | Pumm, Lumpy Pumpkin harp duet |
 Din’s Power | Song | Isle of Songs, tower crest |
| Fireshield Earrings | Item | End of Din’s Silent Realm |
| Dusk Relic | Treasure | Din’s Silent Realm |
 Jelly Blob | Treasure | Chuchu, Volcano Summit |
| Water (Bottle) | Bottle contents | Volcano Summit Pool and waterfall |
 Volcanic Ladybug | Bug | Volcano Summit cave near the pool |
 Eldin Roller, Blessed Butterfly | Bugs | Second chamber of Volcano Summit |
| Goddess Cube 24 (Bug Rock chest, Piece of Heart) | Goddess Cube | Pool and waterfall area, reached by skydiving |
| Goddess Cube 25 (Small Bomb Bag chest) | Goddess Cube | Ledge beside the Fire Sanctuary door |
 Ornamental Skull, Eldin Ore, Lizard Tail, Amber Relic | Treasures | Drops and chests on the escort route up the volcano |
| Piece of Heart (Gossip Stone cave) | Later | Needs Mogma Mitts, Fire Sanctuary chapter |
With the flames out and the door open, the Fire Sanctuary is next: read the Fire Sanctuary walkthrough.