100% Completion Walkthrough21 chapters
- Great PlateauAll 4 Shrines, the Paraglider and Korok Seeds
- Kakariko Village and Dueling PeaksSeek Out Impa, Shrines and Korok Seeds
- Hateno VillageHateno Tower, the Ancient Tech Lab, Link’s House and Shrines
- Zora’s DomainReach Zora’s Domain, Vah Ruta, Lanayru Shrines and Korok Seeds
- Faron and Lurelin VillageLurelin Village, Faron Tower, Shrines and Korok Seeds
- Korok Forest and Master SwordHow to Get the Master Sword, Lost Woods, Shrines and Korok Seeds
- Hebra MountainsHebra Tower, Snowfield Stable, Shrines and Korok Seeds
- Rito Village and Vah MedohVah Medoh, Tabantha Tower, Shrines and Korok Seeds
- Gerudo HighlandsGerudo Tower, Gerudo Summit, Shrines and Korok Seeds
- Gerudo TownForbidden City Entry, the Thunder Helm, Desert Shrines and Korok Seeds
- Vah Naboris and Gerudo DesertThunderblight Ganon and the Gerudo Desert Shrines
- Lake HyliaLake Tower, Farosh, Lake Shrines and Korok Seeds
- Akkala and Tarrey TownTarrey Town, Akkala Tower, Shrines and Korok Seeds
- Death Mountain and Goron CityGoron City, Vah Rudania, Eldin Shrines and Korok Seeds
- RidgelandRidgeland Tower, Shrines, Memories and Korok Seeds
- Central HyruleCentral Tower, Captured Memories, Shrines and Korok Seeds
- Hyrule Castlethe Hylian Shield, Saas Ko’sah Shrine, Zelda’s Diary and Memories
- Calamity GanonLast Side Quests, Destroy Ganon and the Final Boss
- All Hinox, Talus and Molduga LocationsEvery Hinox, Stone Talus and Molduga, for Kilton’s Medals of Honor
- Trial of the Sword and EX TreasuresThe Trial of the Sword and every EX Treasure location (DLC Pack 1)
- Champions’ BalladOne-Hit Obliterator, Champion Trials and the Final Trial
| Region | Faron |
|---|---|
| Shrines | 8: Shai Utoh Shrine, Qukah Nata Shrine, Shoda Sah Shrine, Yah Rin Shrine, Kah Yah Shrine, Shrine Key, Tawa Jinn Shrine, Korgu Chideh Shrine |
| Sheikah Tower | Faron Tower |
| Korok seeds | 57 |
| Towns and stables | Lurelin Village, Lakeside Stable |
This chapter of the 100% walkthrough covers the Faron region in a route that collects everything along the way: 8 shrines, 57 Korok seeds and the Sheikah Tower, plus the quests, chests and minibosses you meet. Positions are map coordinates (x grows east, z grows south).
Cotera’s Great Fairy Fountain: Selling Gems and Upgrading Armor
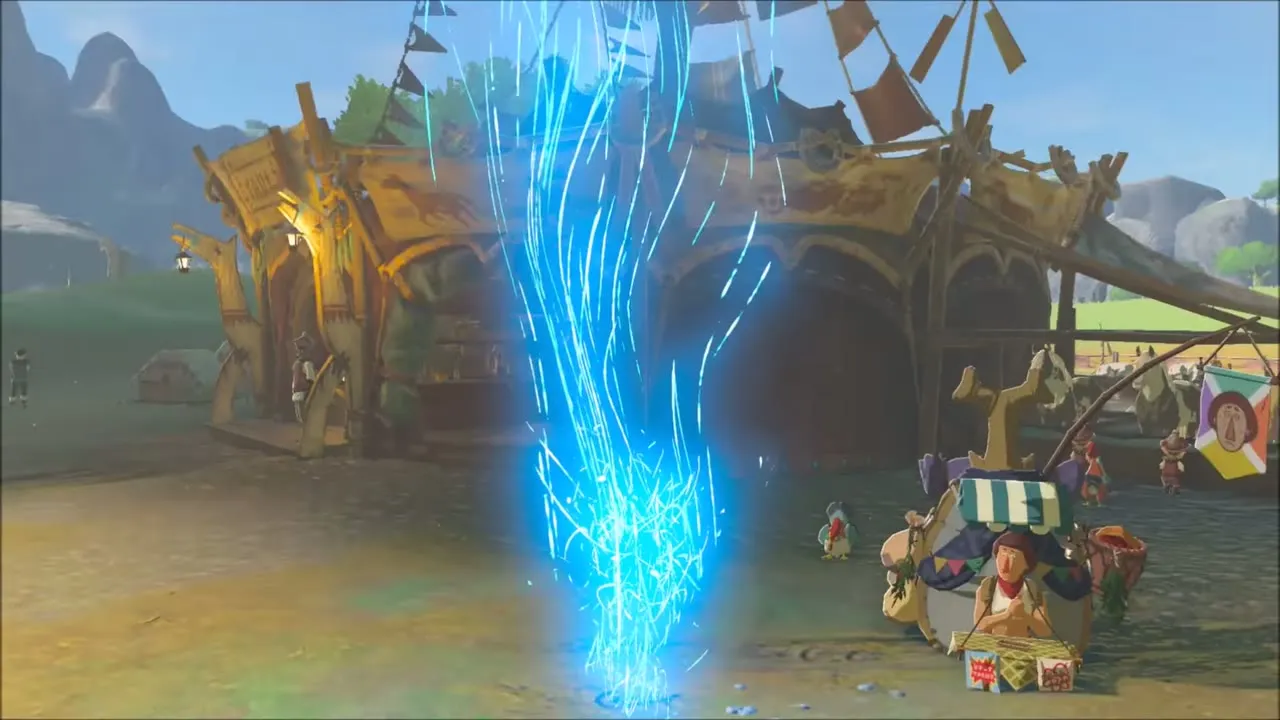
Before heading south, stop at a travelling merchant’s stall and turn spare gems into rupees. Beedle buys Opals, Rubies and similar finds; he offered about 120 rupees for two Opals, which makes his stall a quick way to clear a crowded pouch of ore before the long stretches ahead.


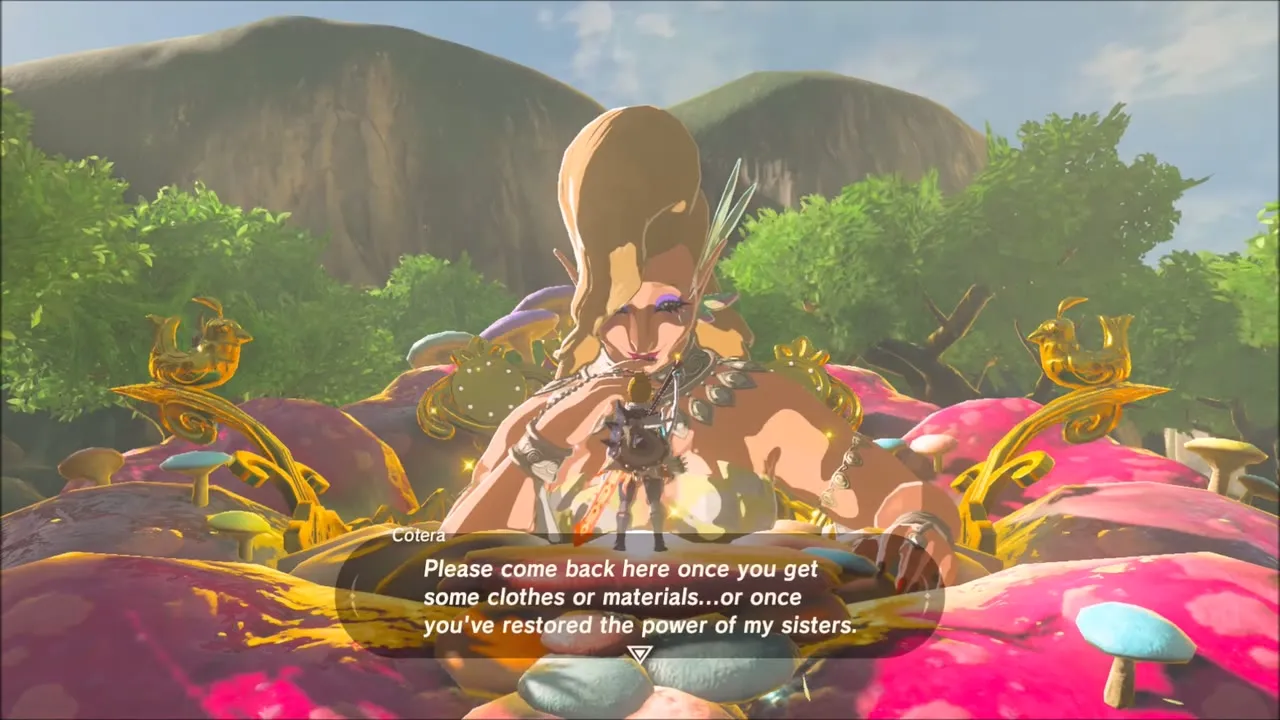
Warp to Ta’loh Naeg Shrine in the hills above Kakariko Village and walk to Cotera’s fountain at (1976, 846). The Great Fairy blooms out of her flower, greets you and takes your armor and materials for an upgrade. She asks you to return whenever you have gathered more cloth or gems, and the other fairies raise the upgrade level once they are awake; the cost table is on the Great Fairies page.


Shai Yota Shrine Warp Point and the Horon Lagoon Shoreline
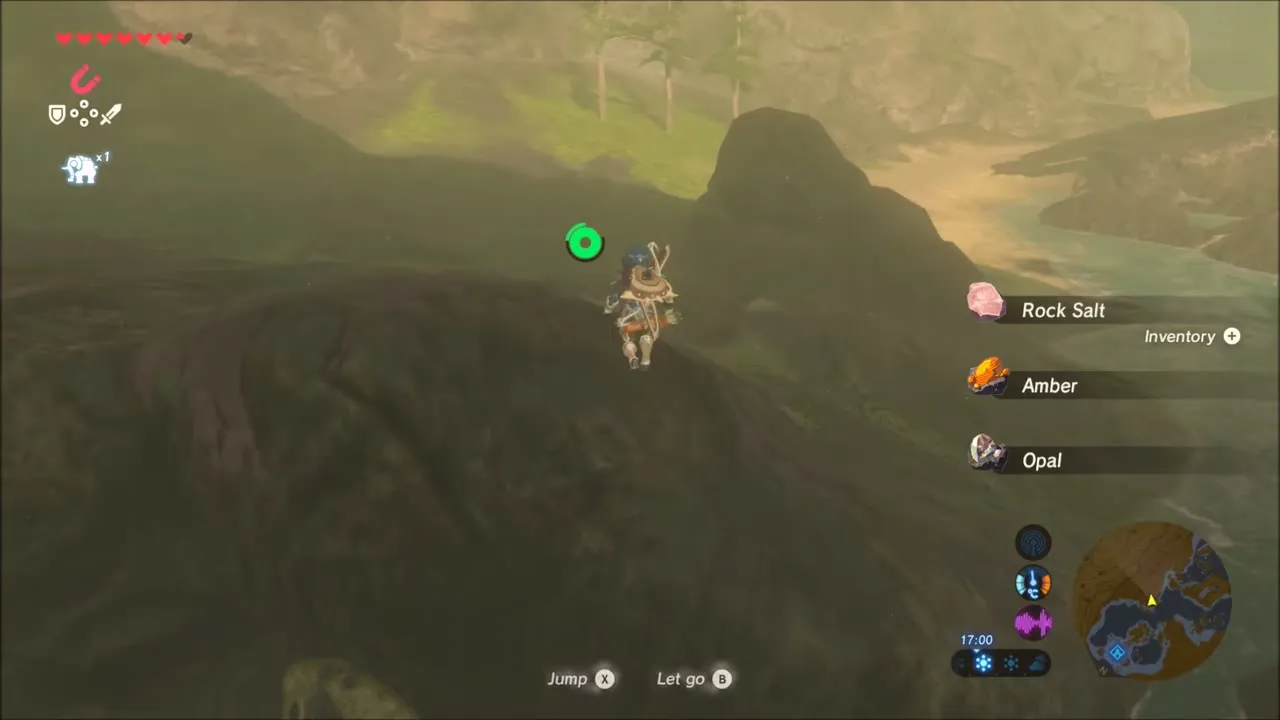
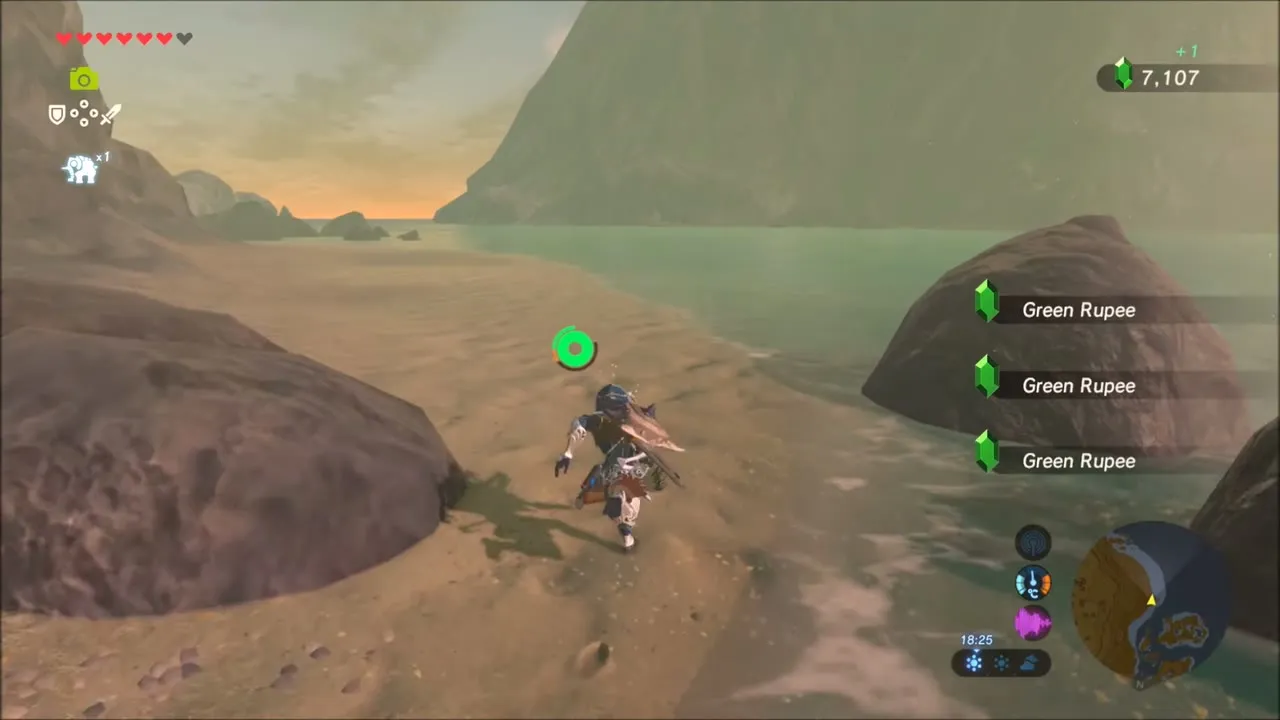
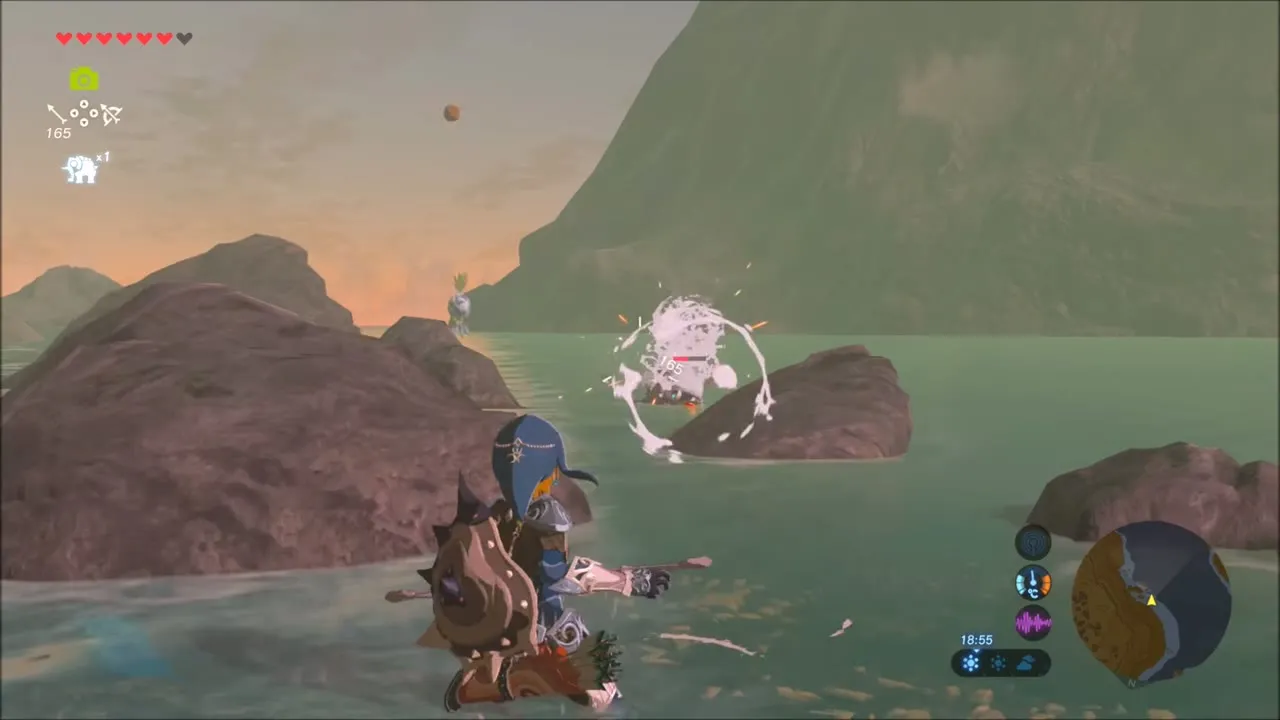
Teleport to the Shai Yota Shrine warp point on the rocky shore of Horon Lagoon and work along the water’s edge. Ore deposits on the rocks give Amber, Opal and Rock Salt, a few Green Rupees lie on the beach, and Lizalfos splash around in the shallows: they drop Lizalfos Horns, Talons and Tails, and a Boko Club floats by in the surf. Swim and glide from rock to rock as the light fades.


Silver Rupee chest on a small islet
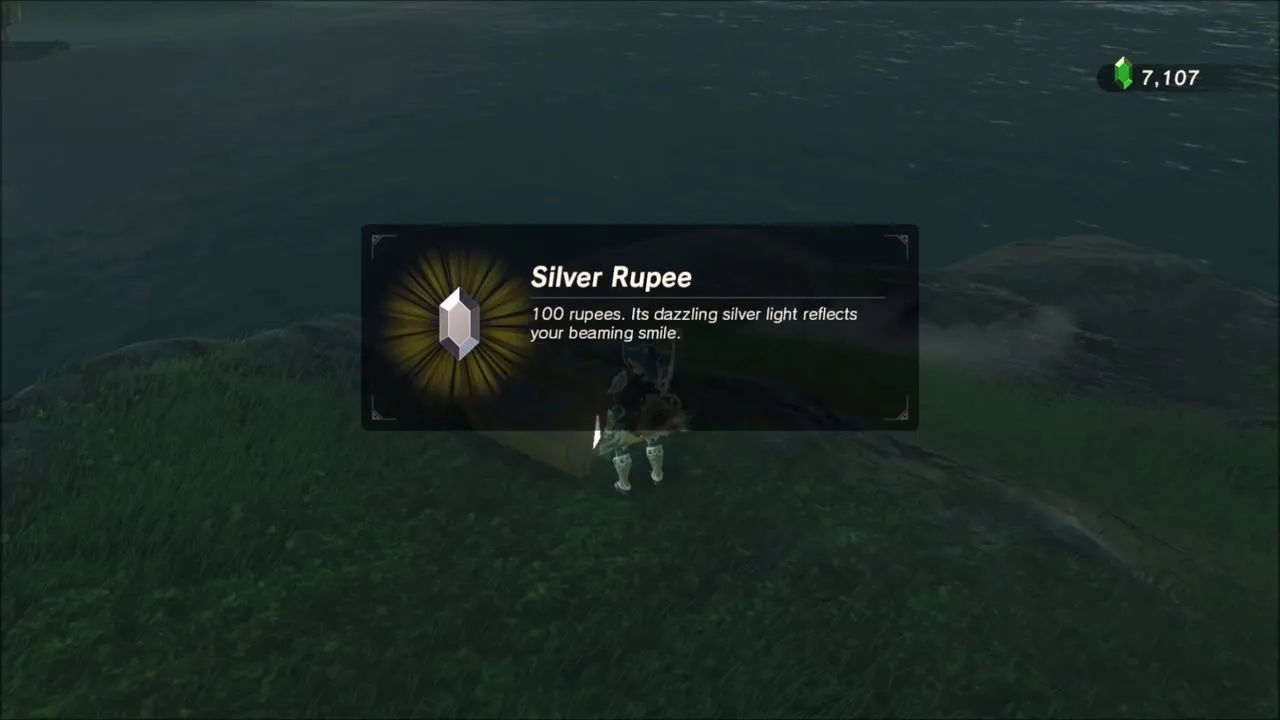
Out on the water, a metal chest sits on a grassy islet. Stand on the island, switch to Magnesis and pull the chest toward you; opening it gives a Silver Rupee (100 rupees).

Stone Talus (Junior) on the Dueling Peaks: How to Beat It
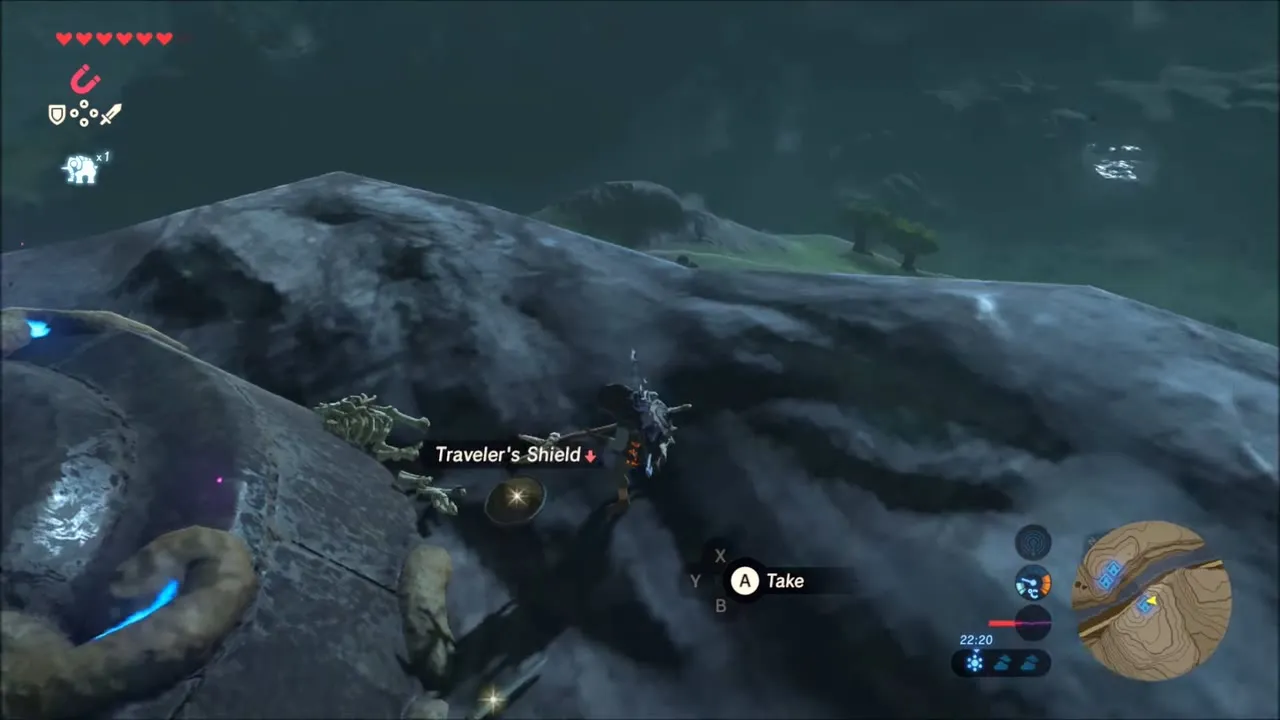
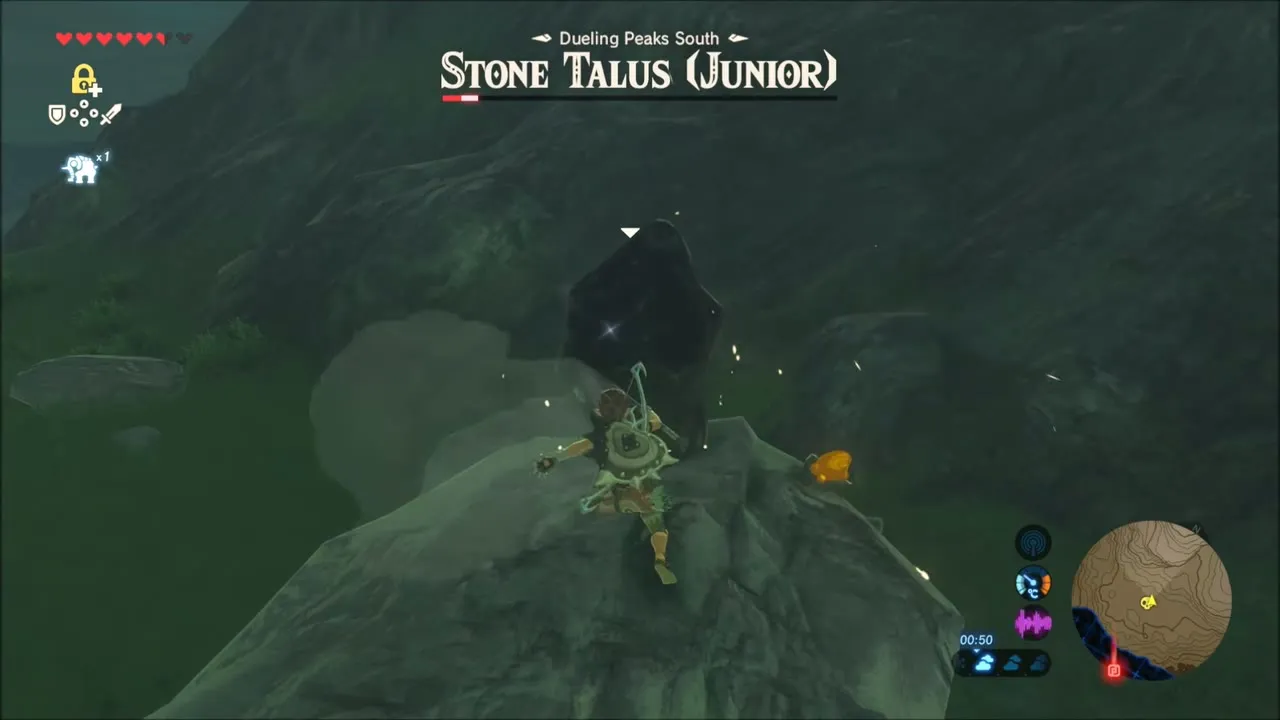
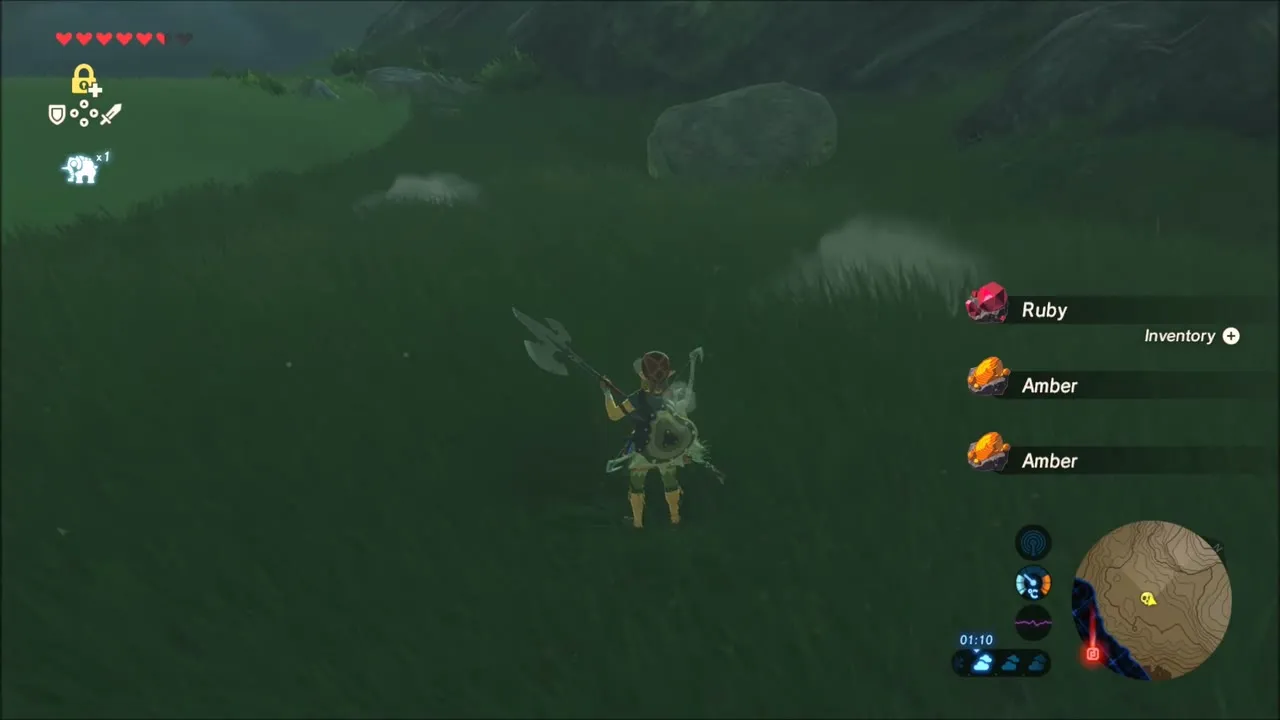
Warp to a Sheikah travel platform on the Dueling Peaks and pick up the Traveler’s Shield lying on the rocks nearby. The map labels a sleeping rock giant just south of Shee Vaneer Shrine as “Stone Talus (Junior)”. Climb onto its back and keep hitting the ore growing there (a Thunderblade works well); when it collapses it leaves a Ruby and Amber. The Stone Talus page lists its other locations.


Korok Seeds Between the Dueling Peaks and Faron
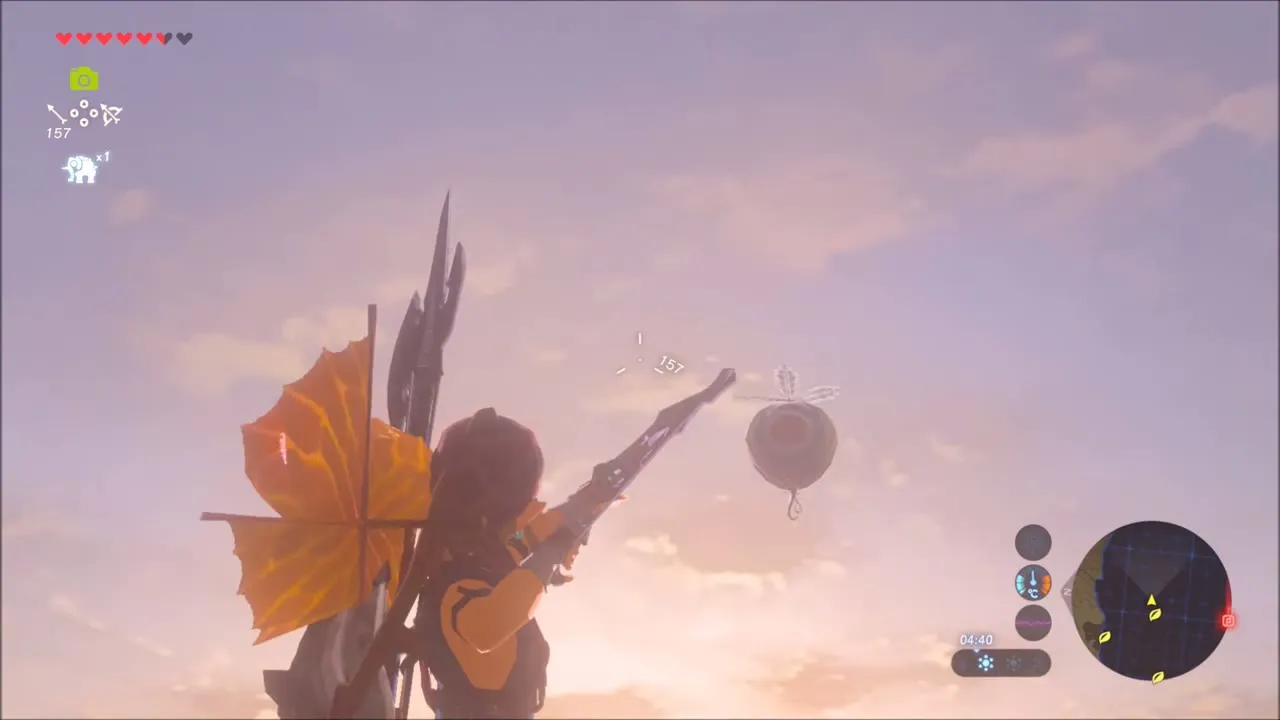
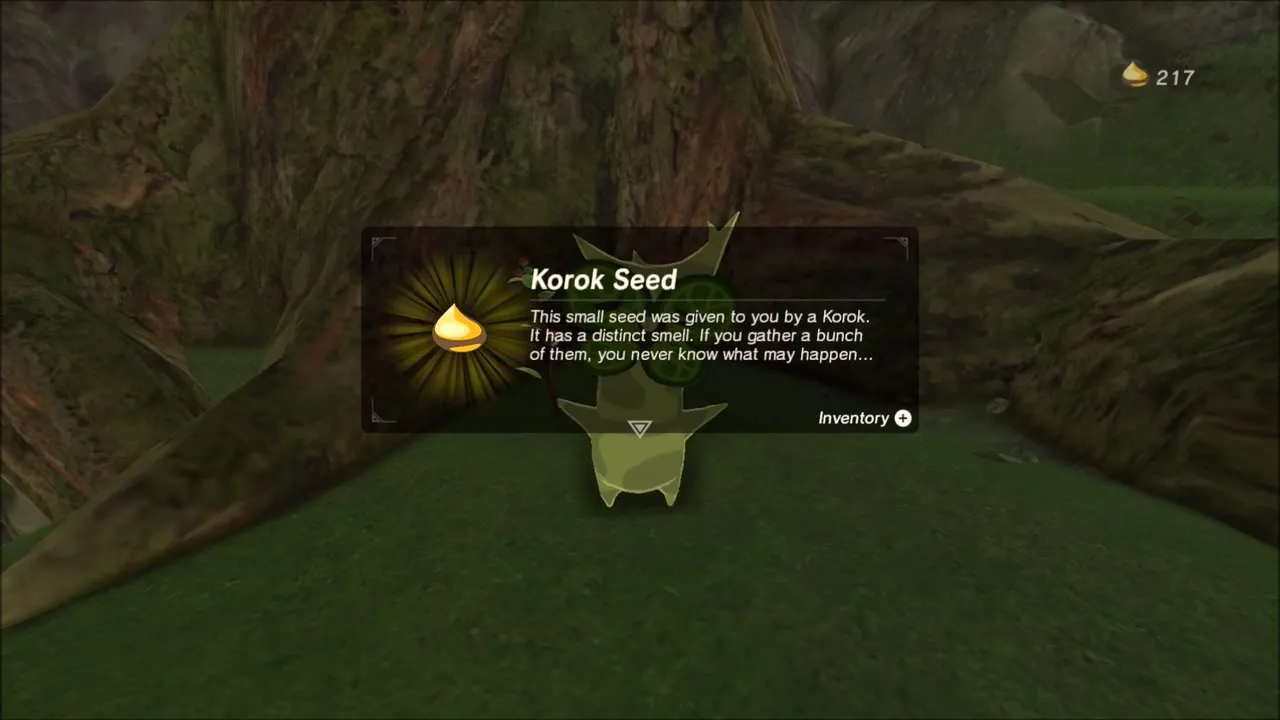
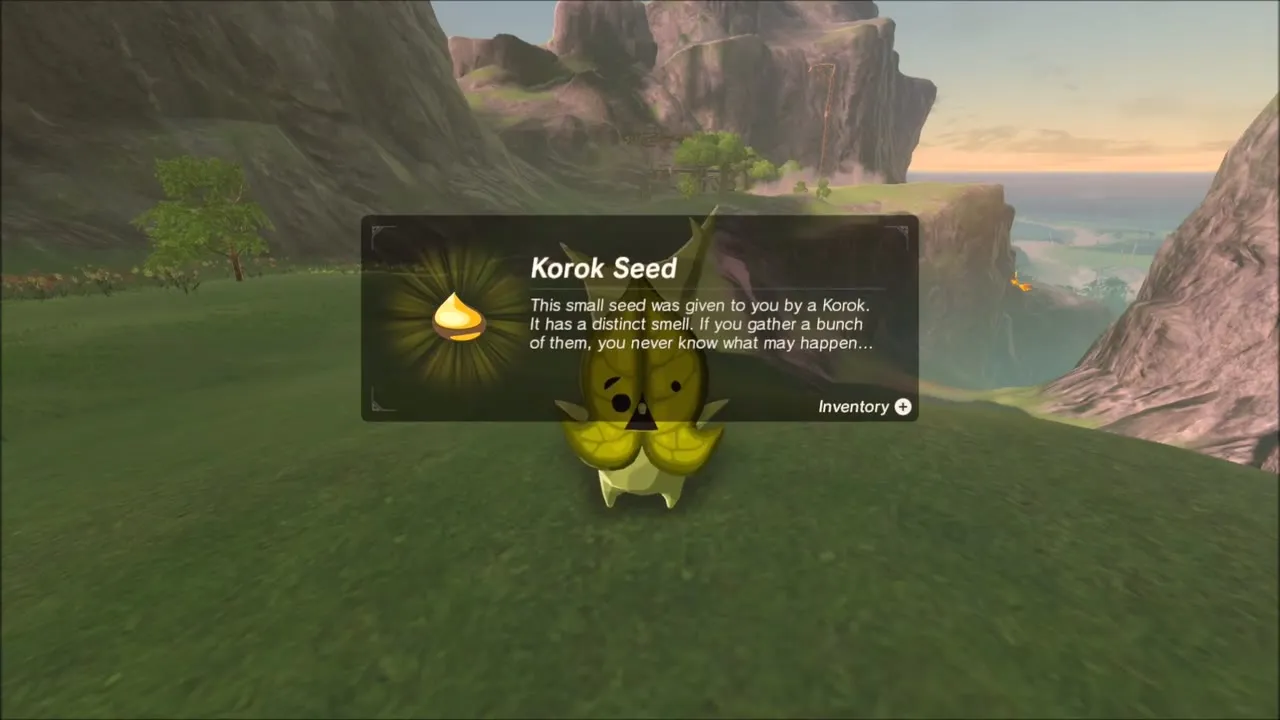
From here the route is a long ridge-hopping run west and south, climbing grassy slopes and gliding down between peaks, and it yields about ten Korok seeds. Early on, balloons drift above a ridge: shoot them down with the bow and a Korok appears.

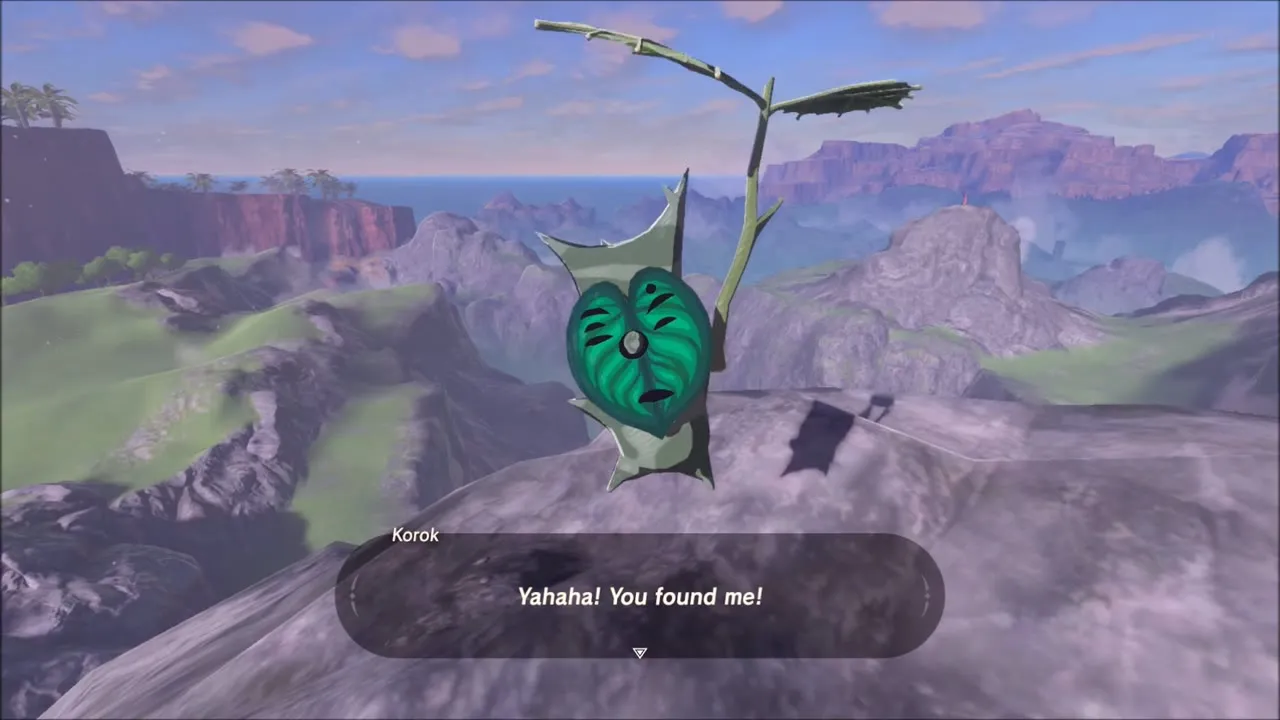
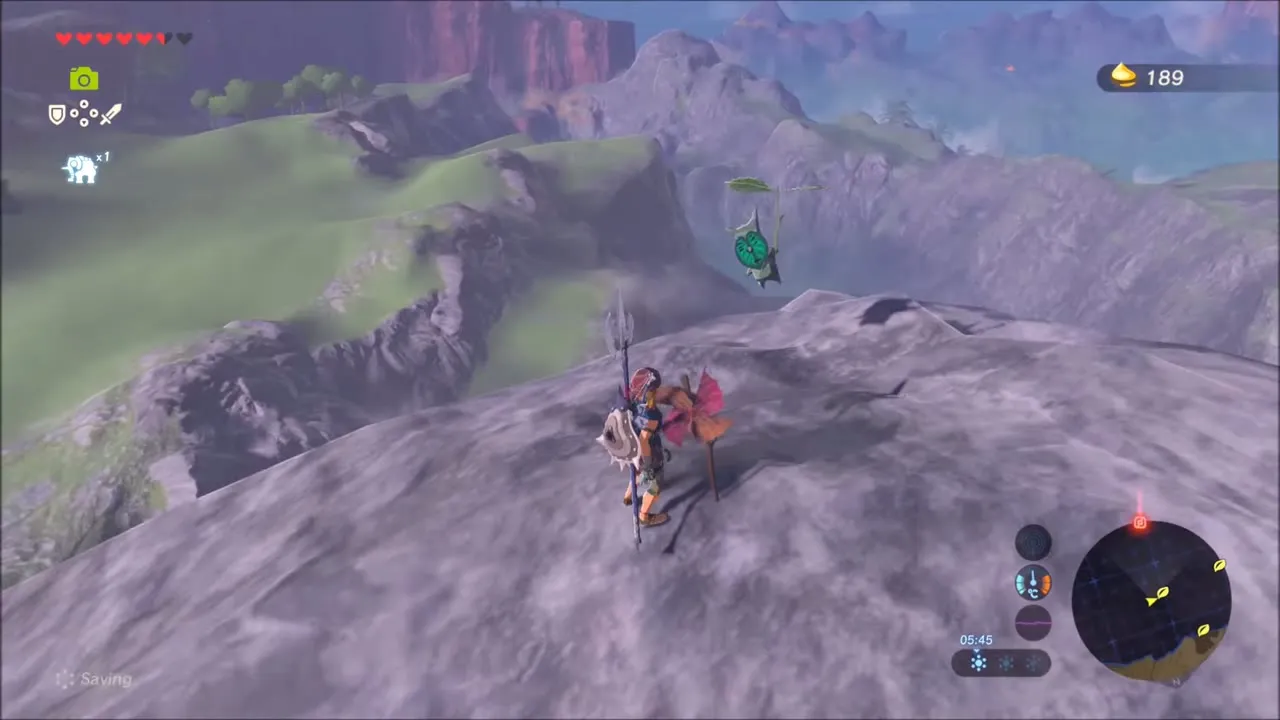
A tall bare grey peak holds one of the simplest seeds. Climb to the summit, where a cut stump sits on top, and the Korok appears beside it.
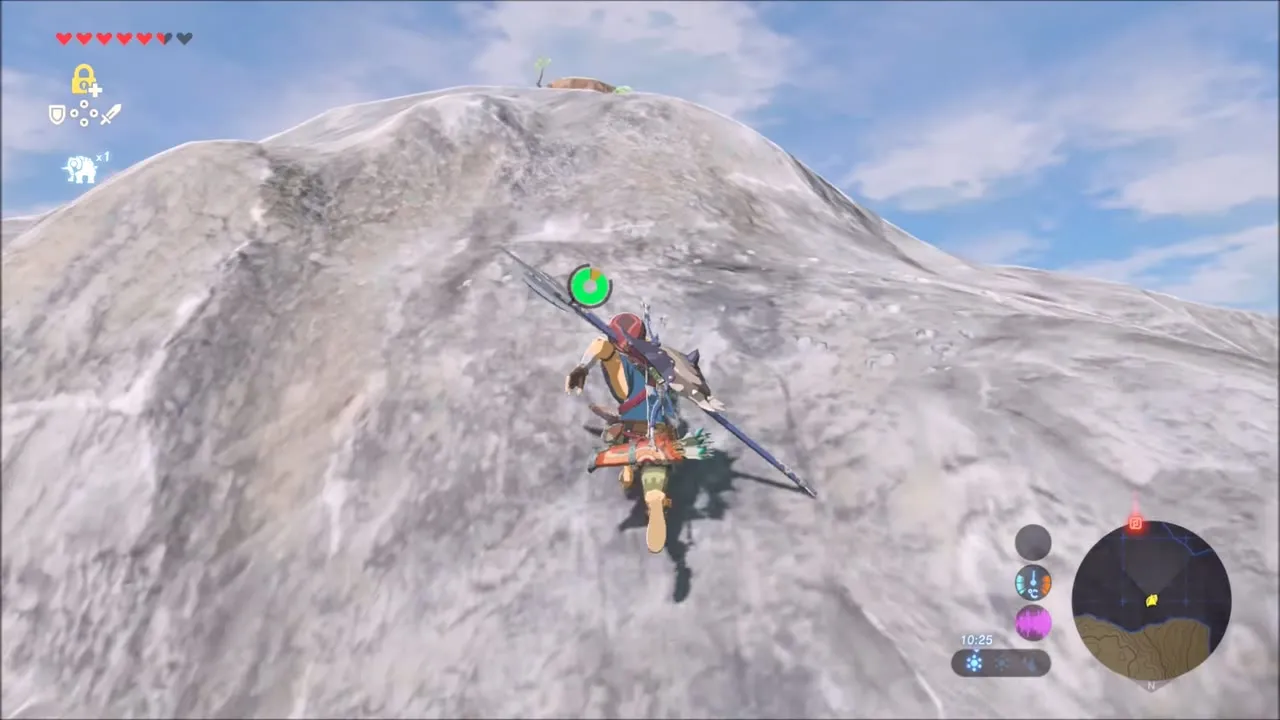


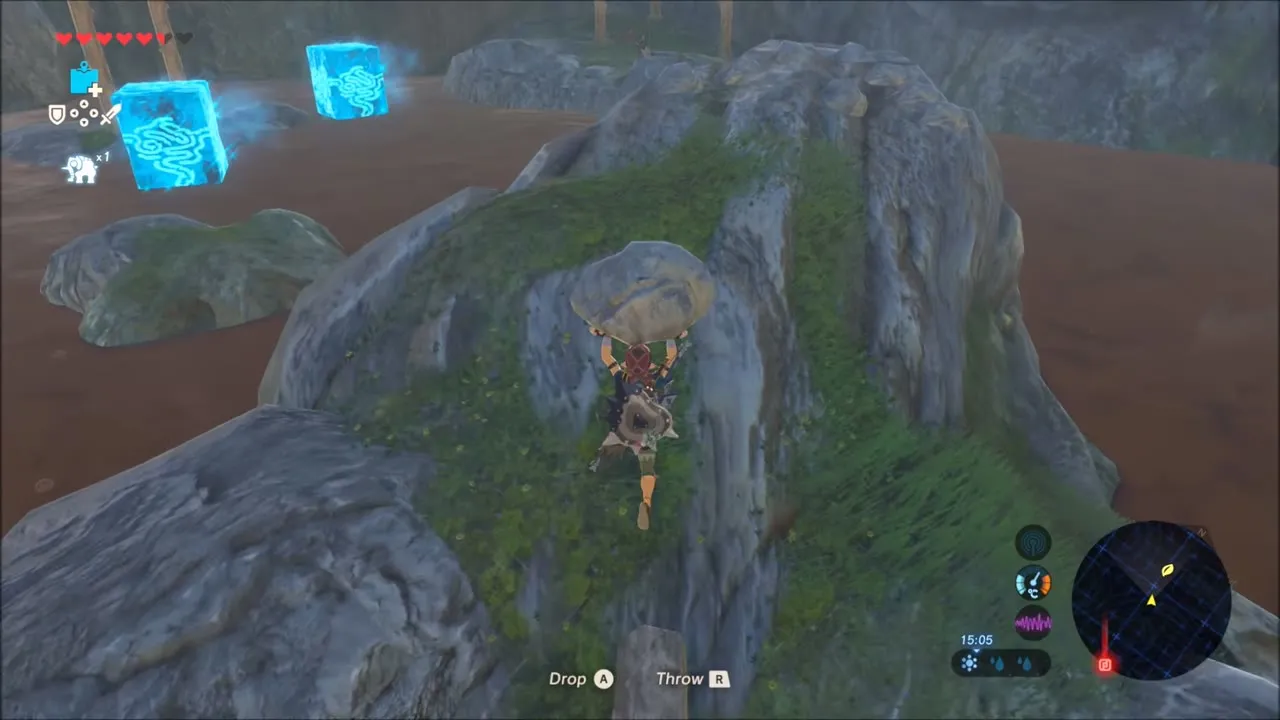
Farther on, another set of floating balloons guards a seed: shoot every one. In a rocky dry hollow a Korok hides on top of a rock spire; carry a loose boulder up the spire and set it on the top to make the Korok appear.

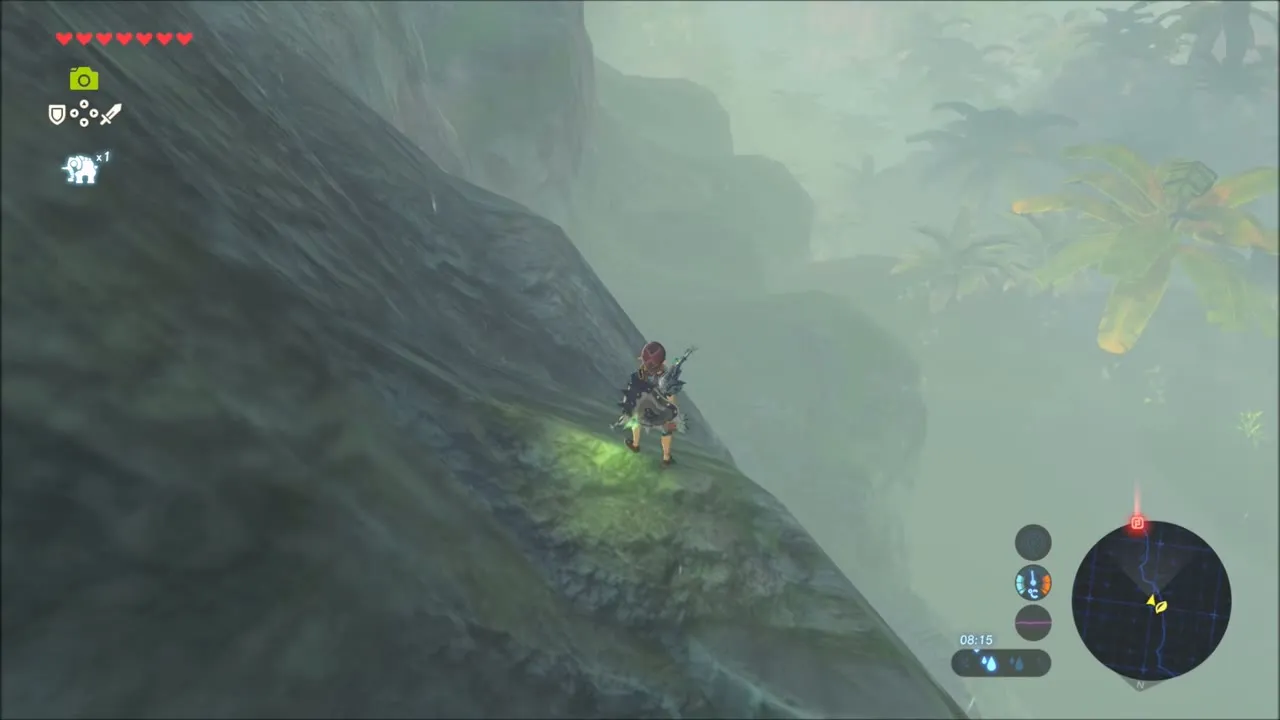
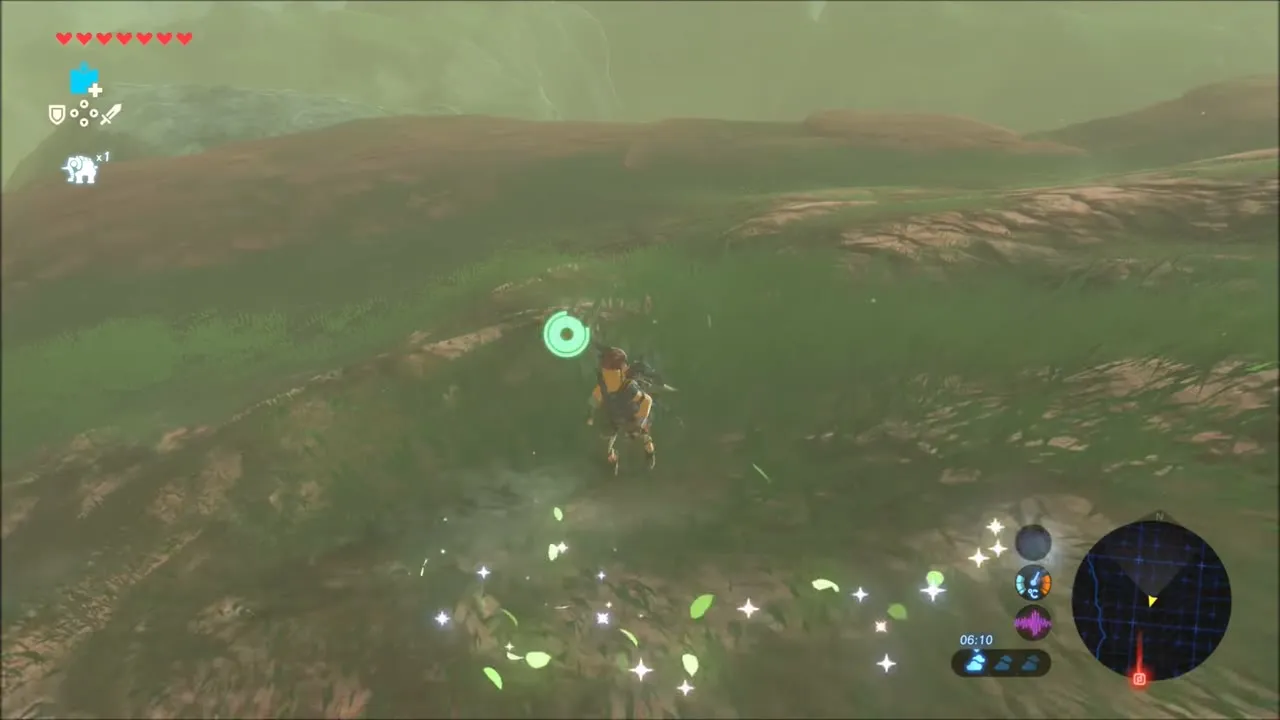
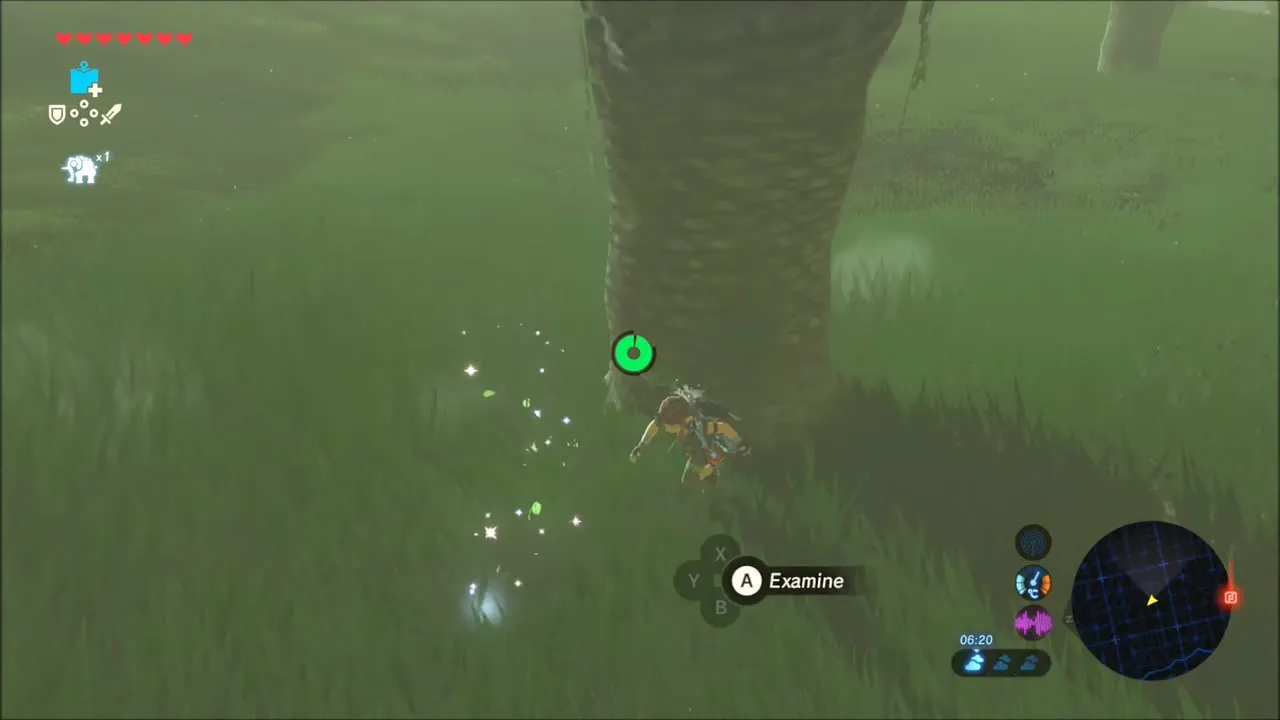
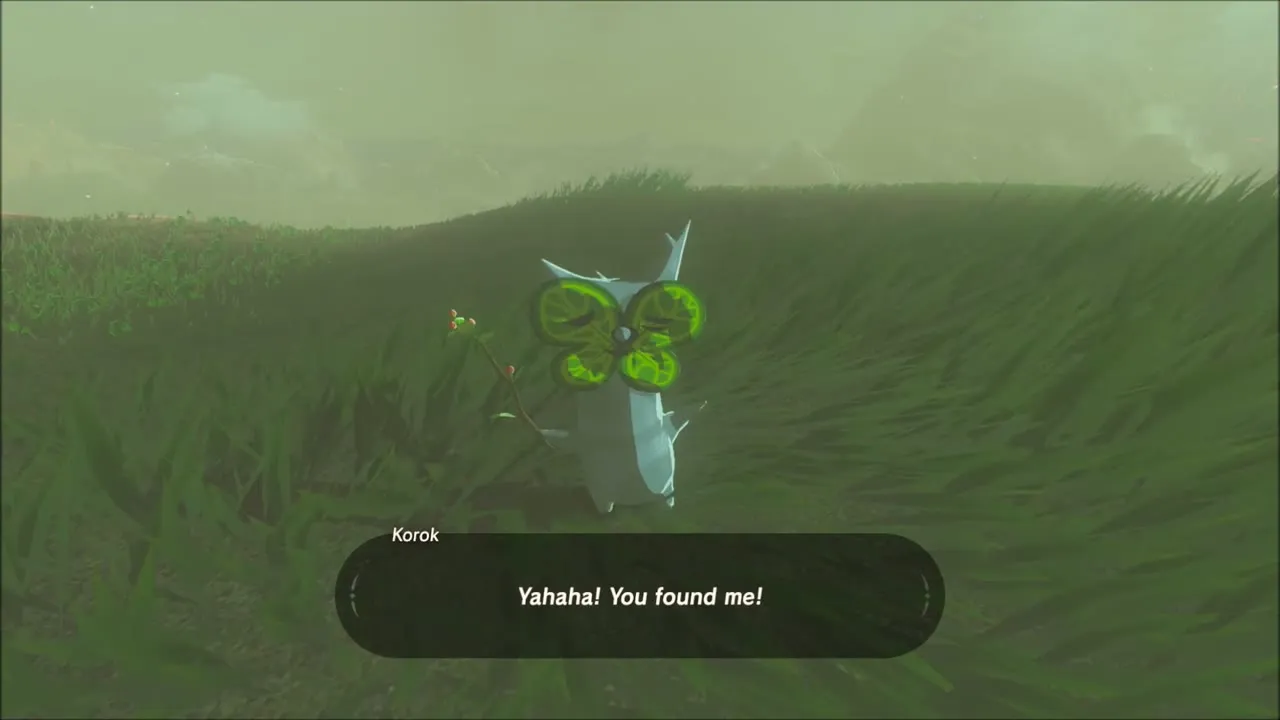
Later, scale a steep cliff face to find a Korok on a ledge. On a grassy slope with palm trees, a trail of glittering sparkles leads to the foot of a tree where the next Korok waits in the grass.

Hinox Fights on the Way to Faron Tower
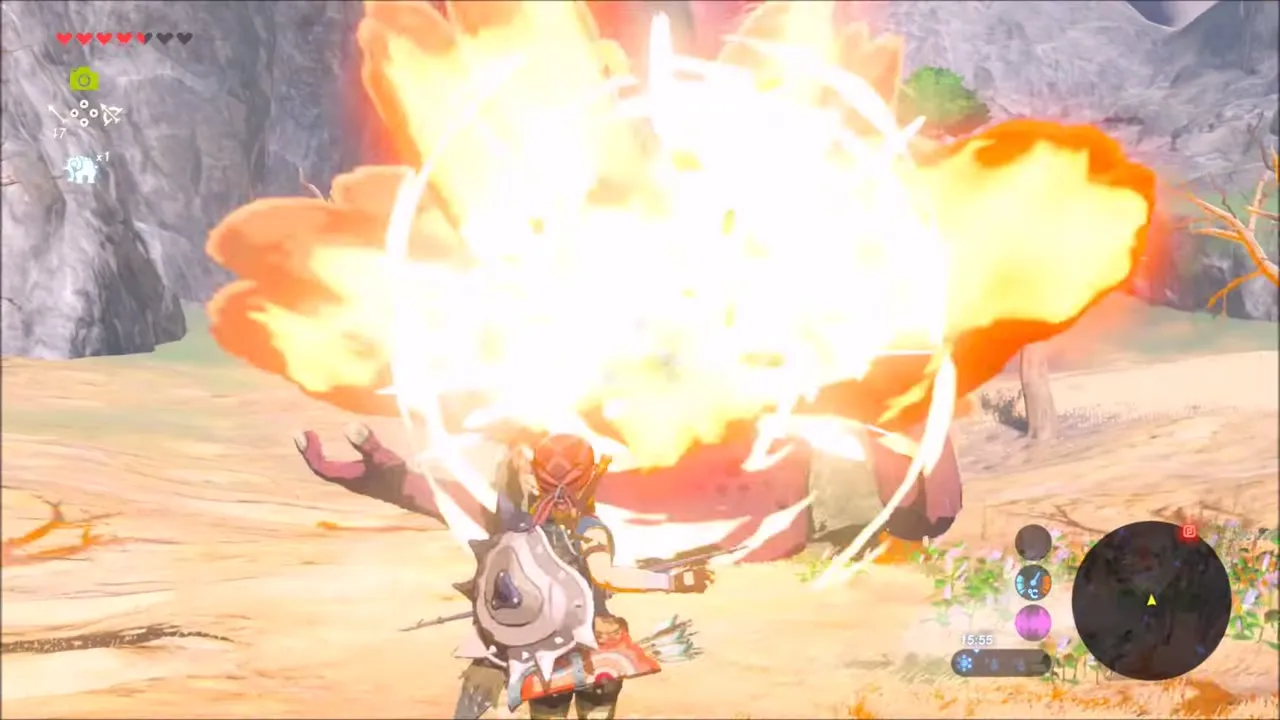
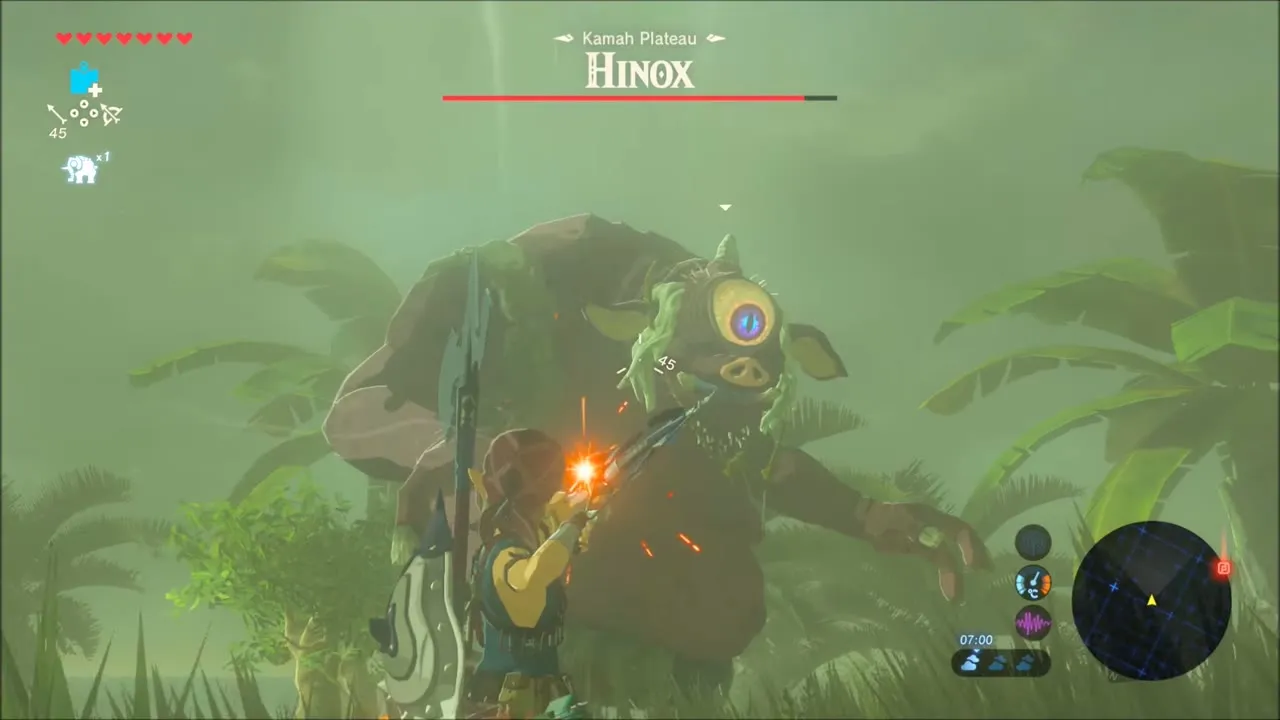
Two Hinox stand in the way. The first sleeps on a dry plain of bare trees: shoot it from range and set off a bomb against it. The second, on Kamah Plateau at (1436, 2989), is fought in the grass among palms; stay near its legs, dodge the club and burn it with fire attacks.


Faron Tower: Location and Map
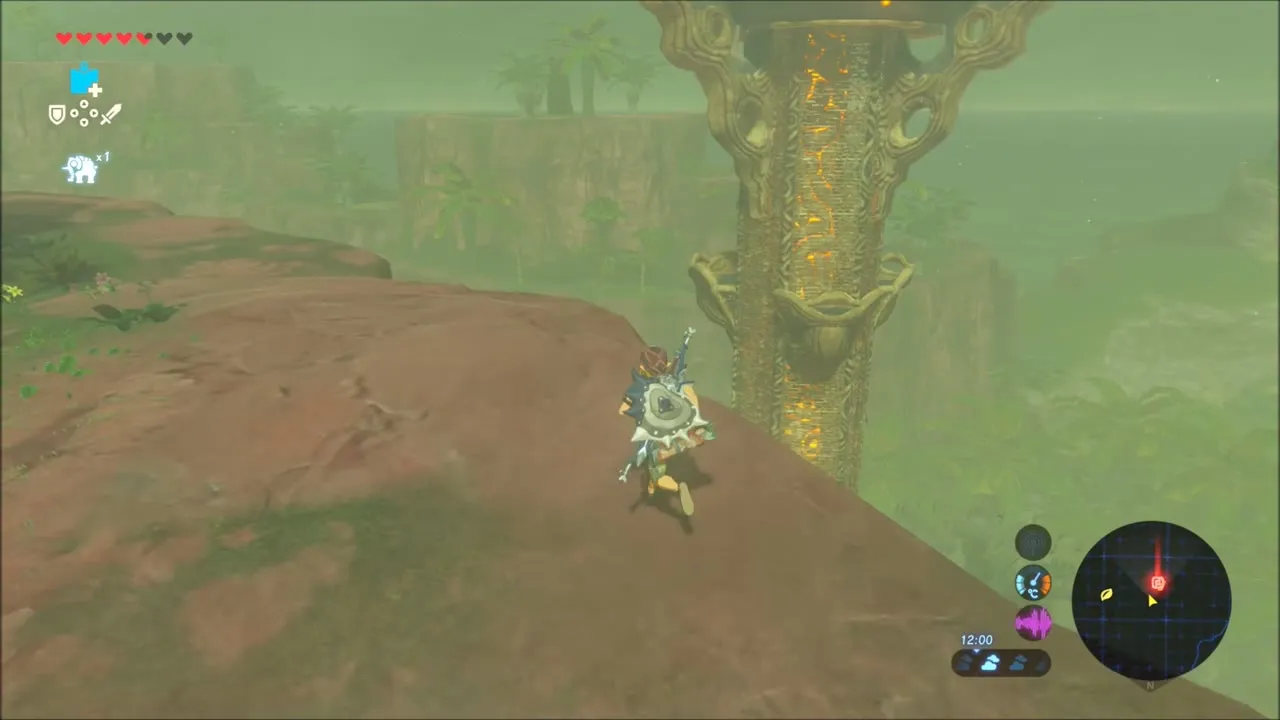
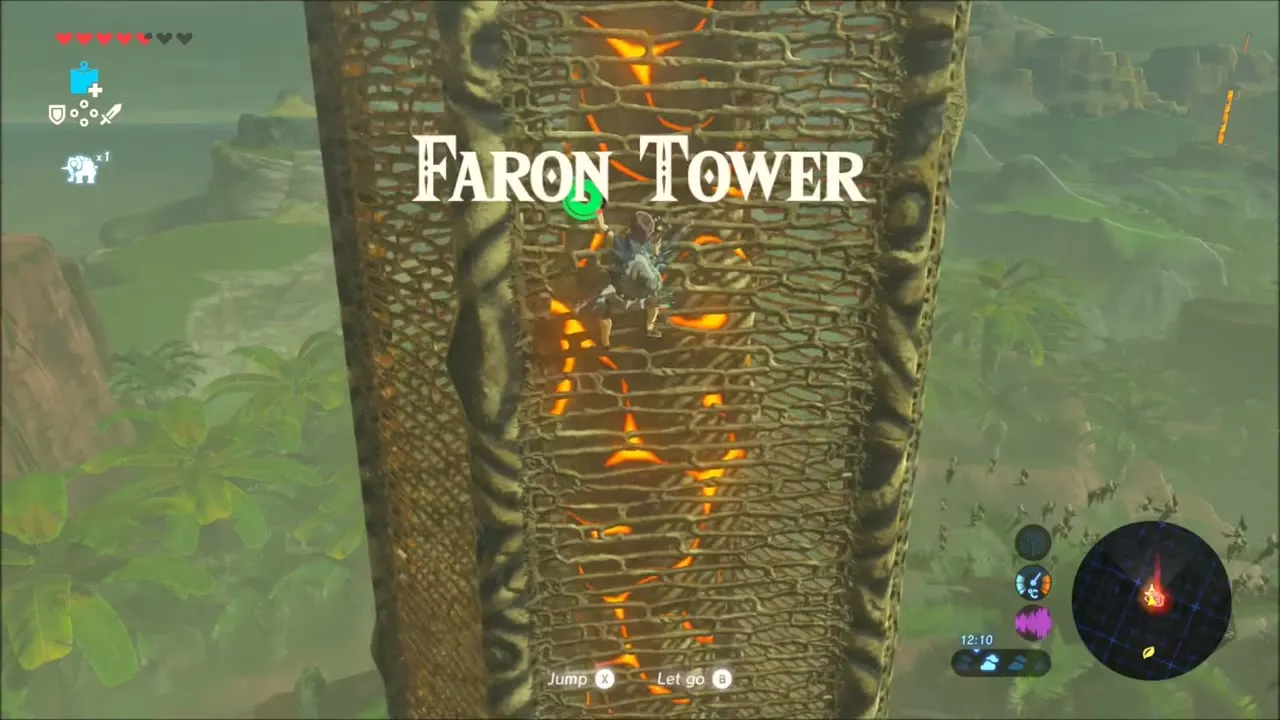
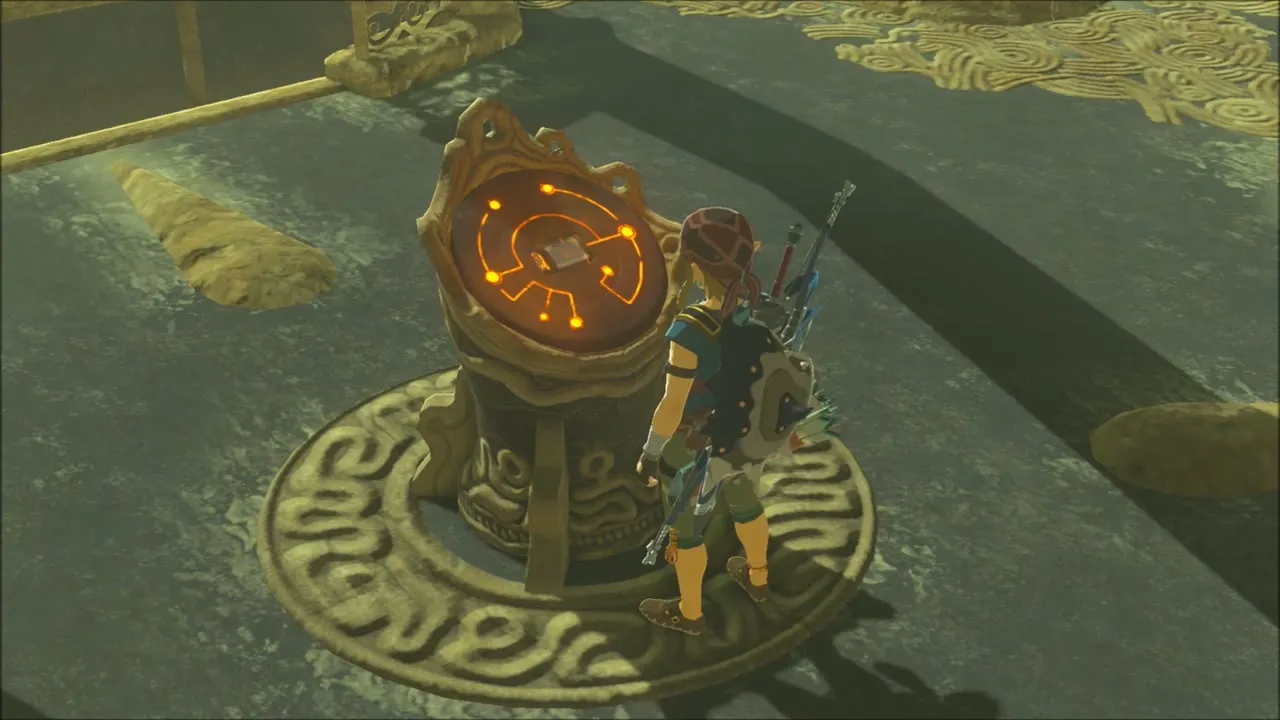
Climb the red rock below Faron Tower (1331, 3274, height 291), scale the glowing tower wall and step inside; the Sheikah terminal at the top adds the Faron region map.

Bronas Forest and Sarjon Woods: Chests and Korok Seeds
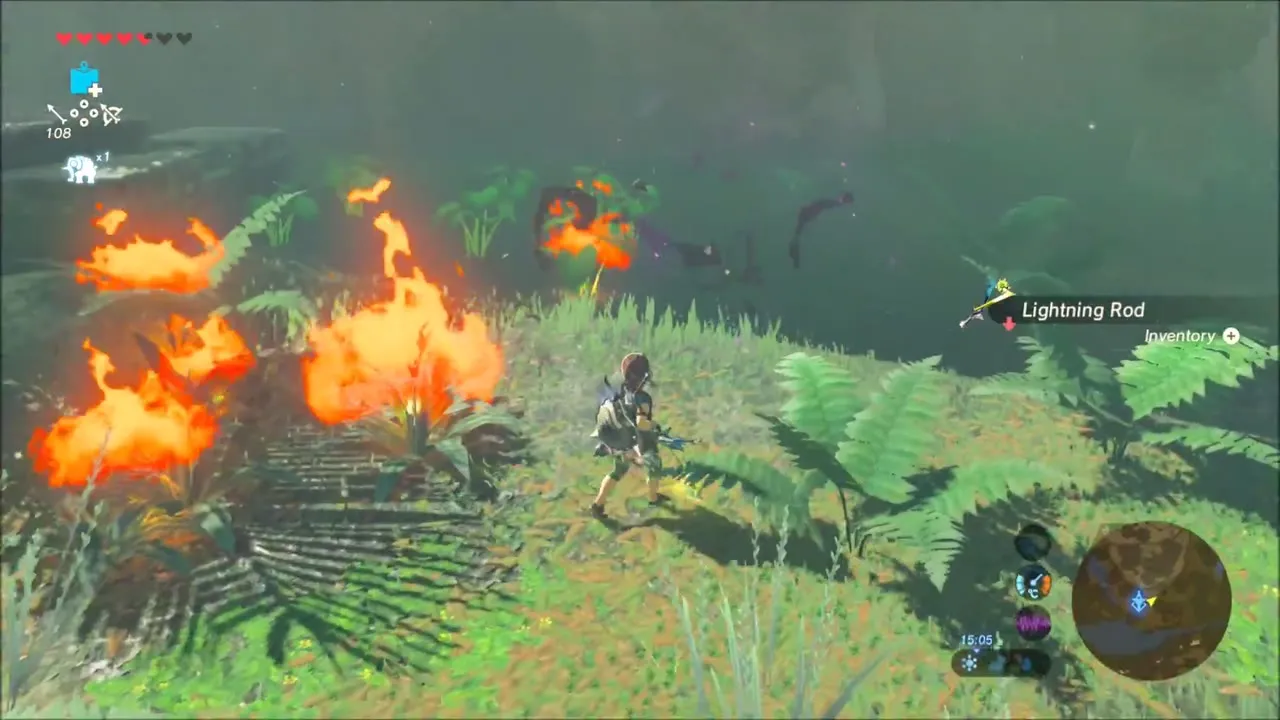
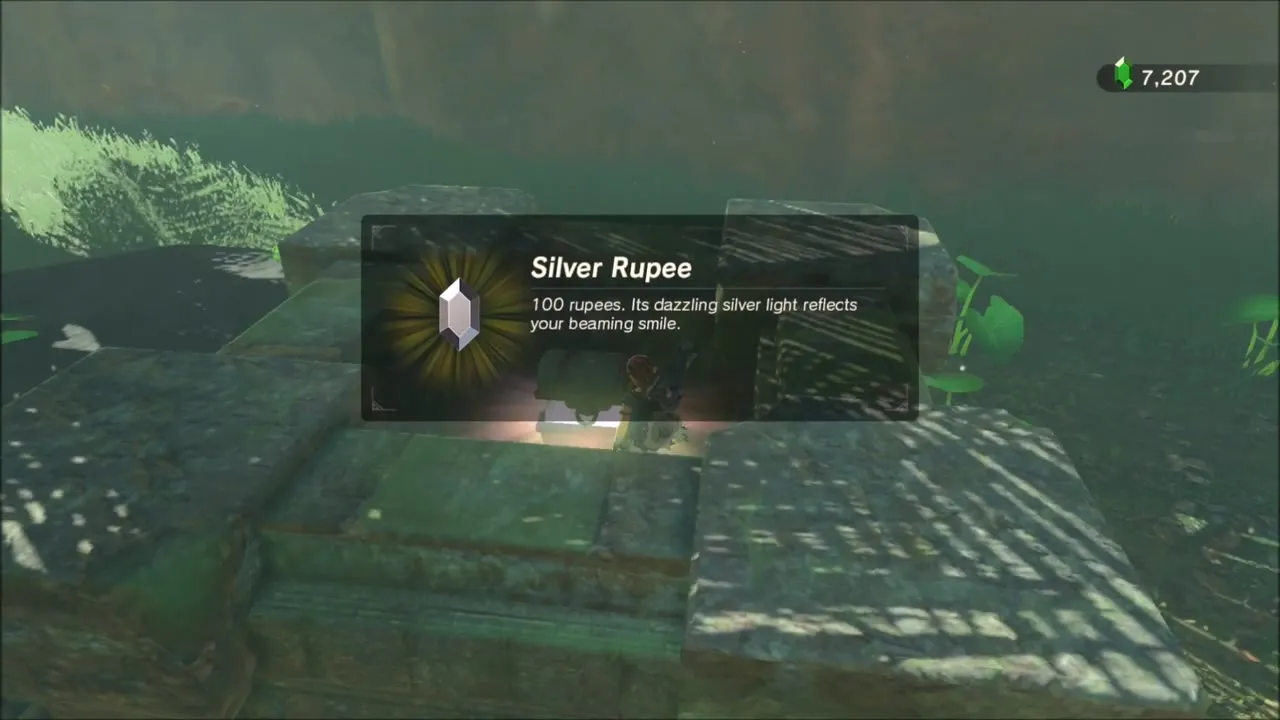
Back on the ground in the jungle ruins, fire burns the brush off a corner and a metal slab in the middle of the ruin can be locked in place with Stasis so you can step up onto it; a box on top of the ruins gives a Silver Rupee.


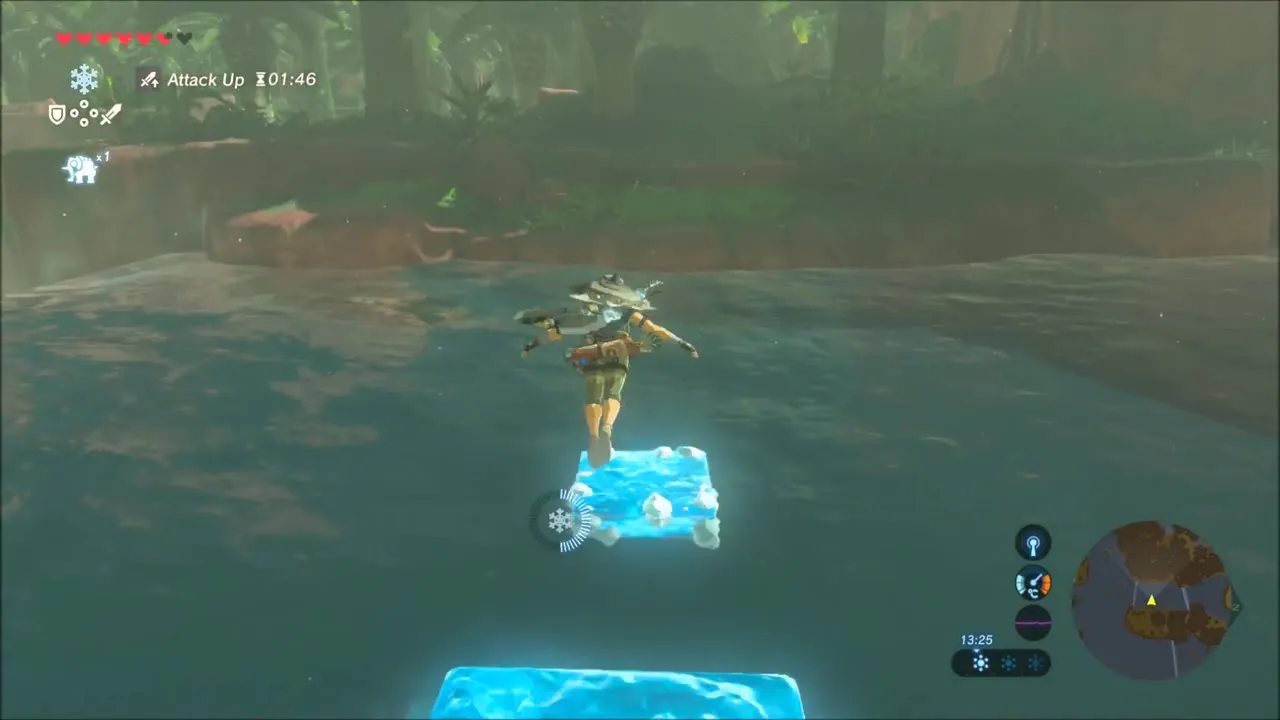
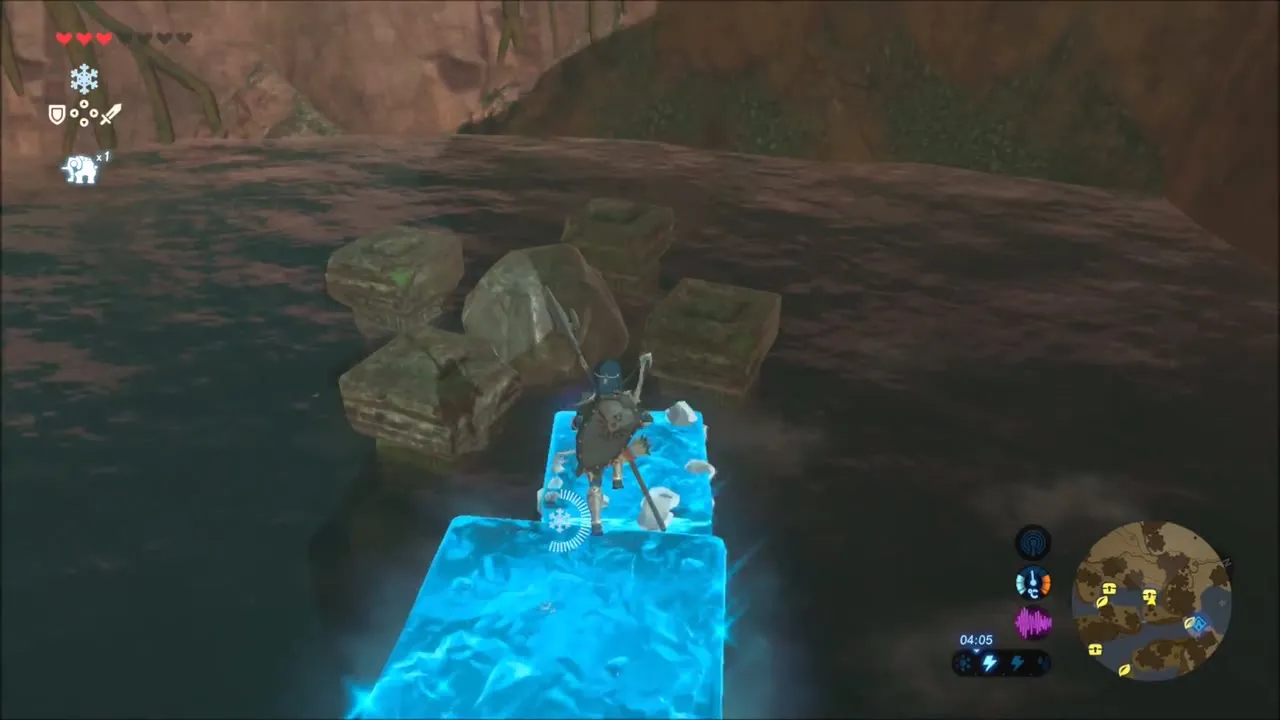
A little farther on, pools beside a waterfall hide chests. Freeze the water with Cryonis to make stepping stones and use Magnesis to drag each chest to shore: one holds an Opal and one a Purple Rupee (50 rupees).

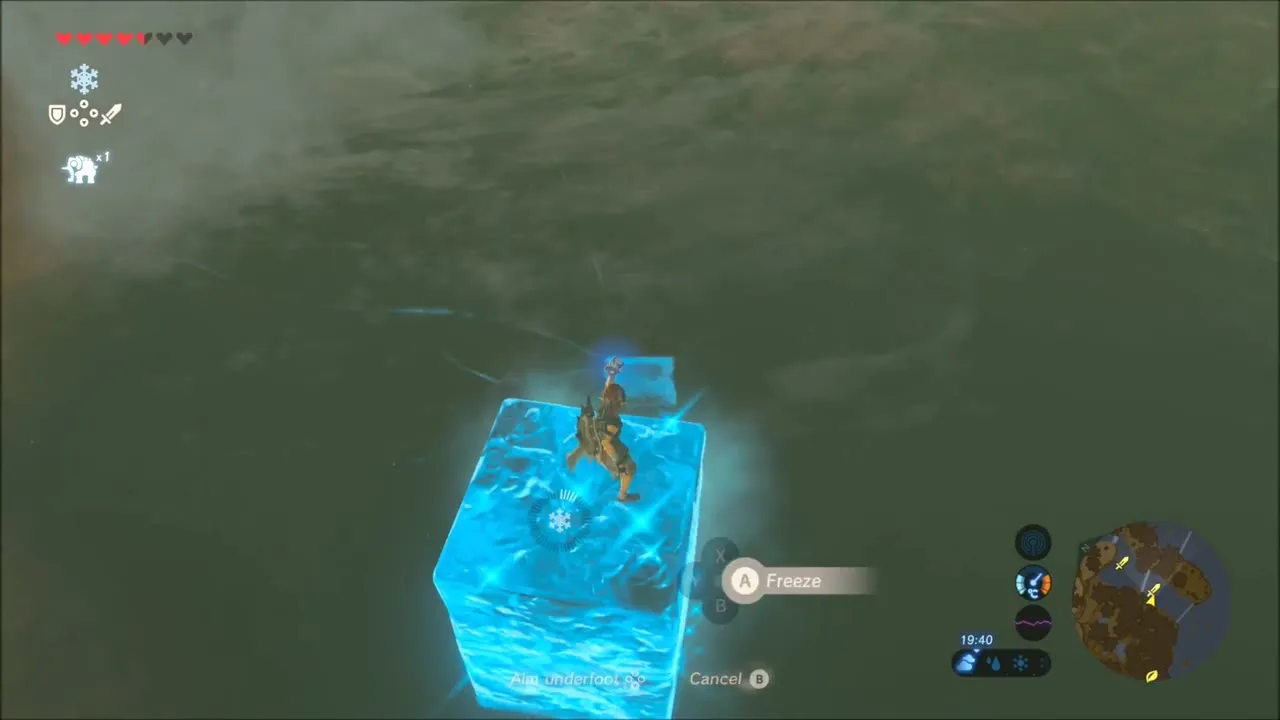
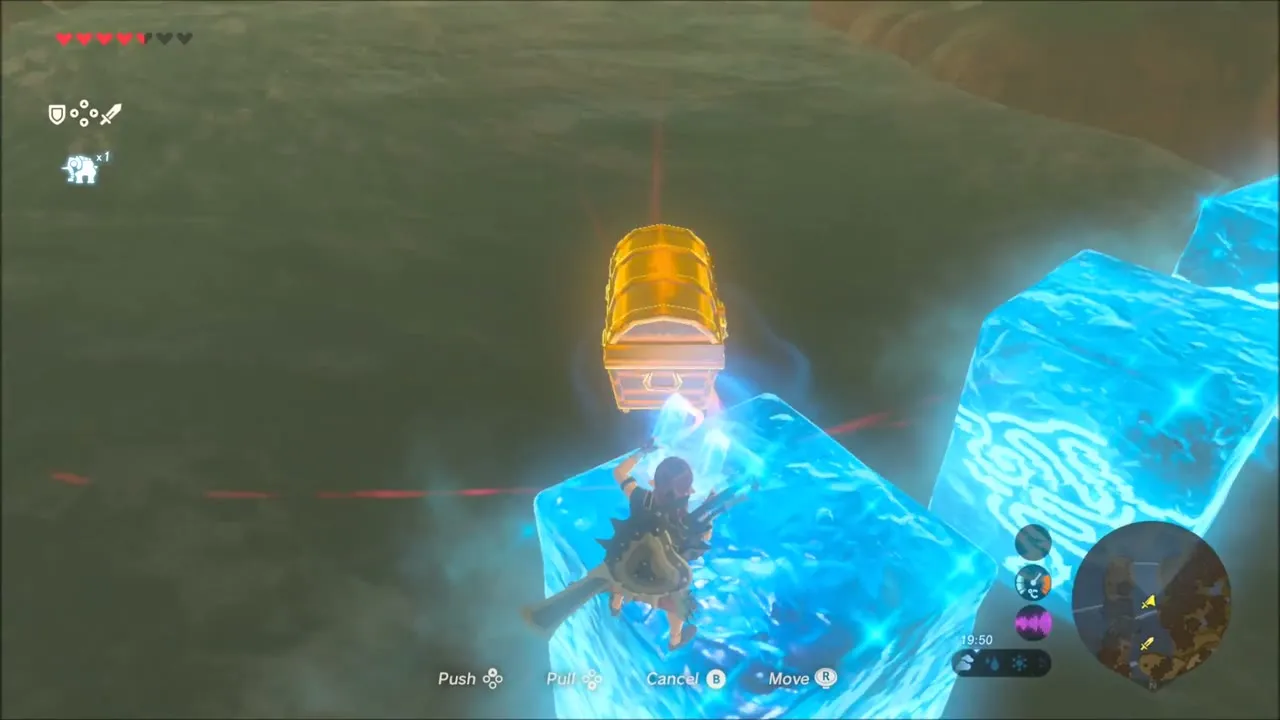
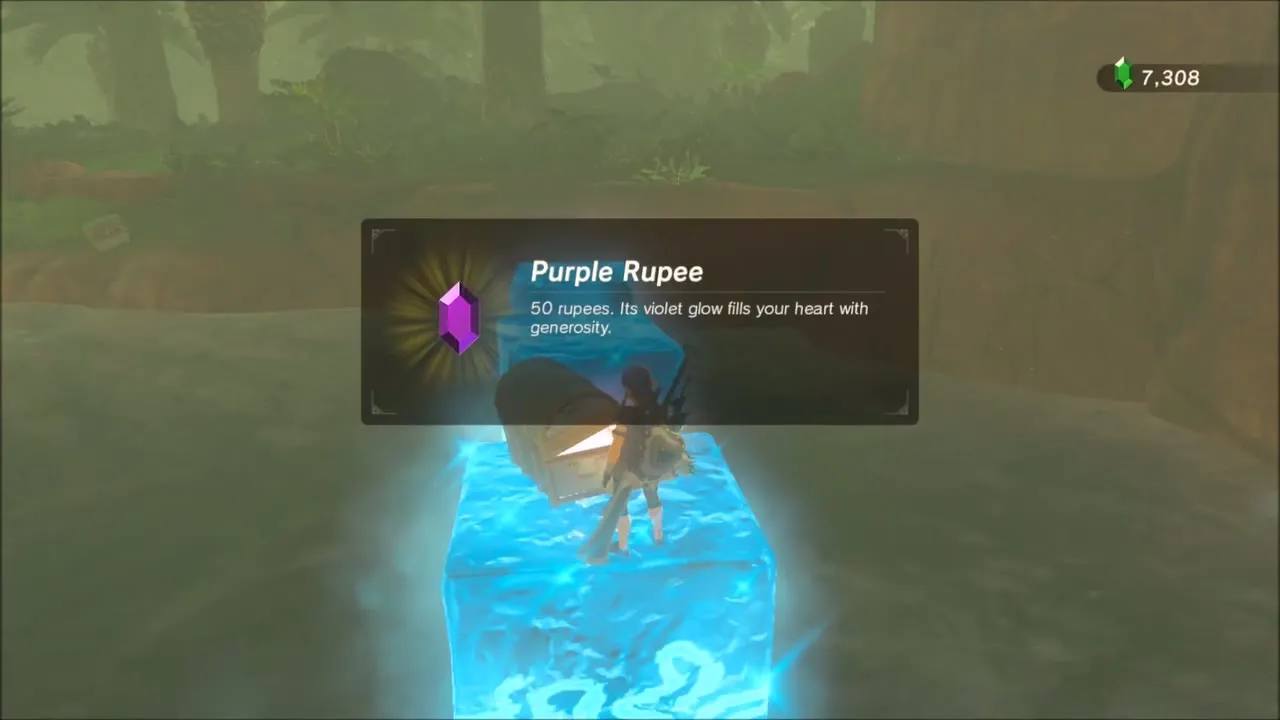
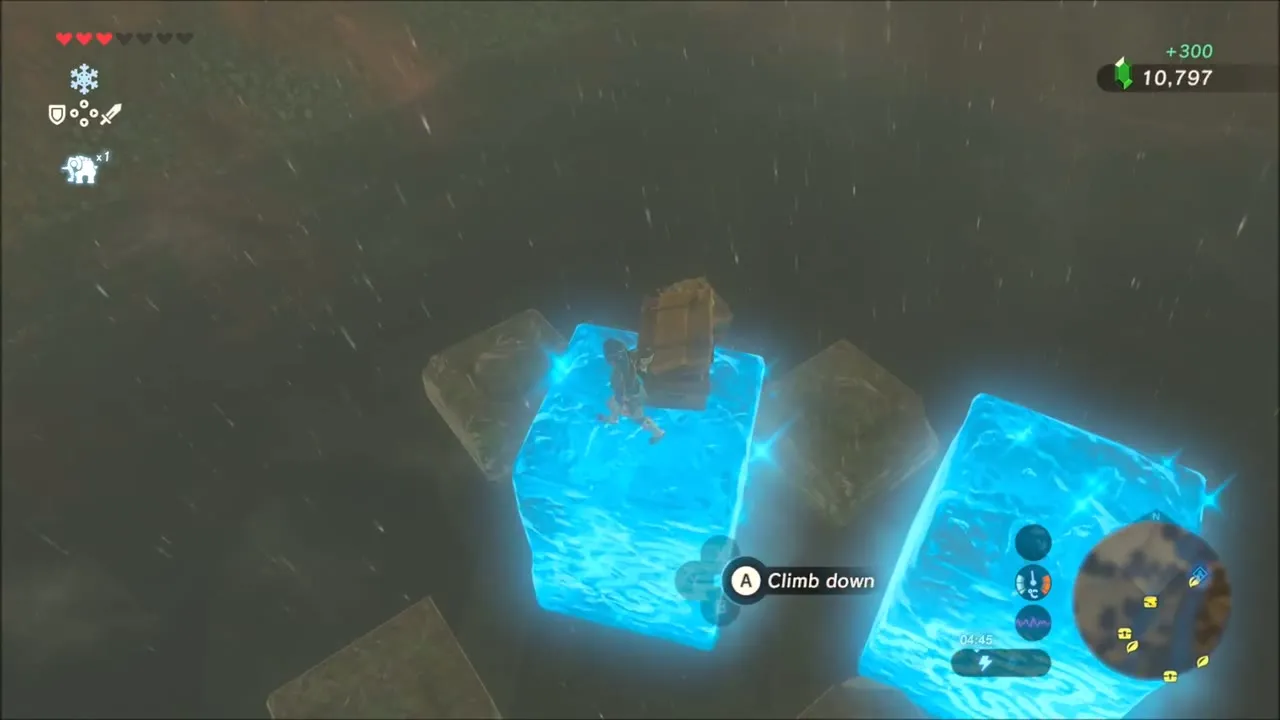
A second pond has chests sitting on submerged stone blocks. Build ice platforms on the surface, pull each chest to a block you can reach and open it: you get another Purple Rupee and another Opal.



Stone Talus at Lake Floria
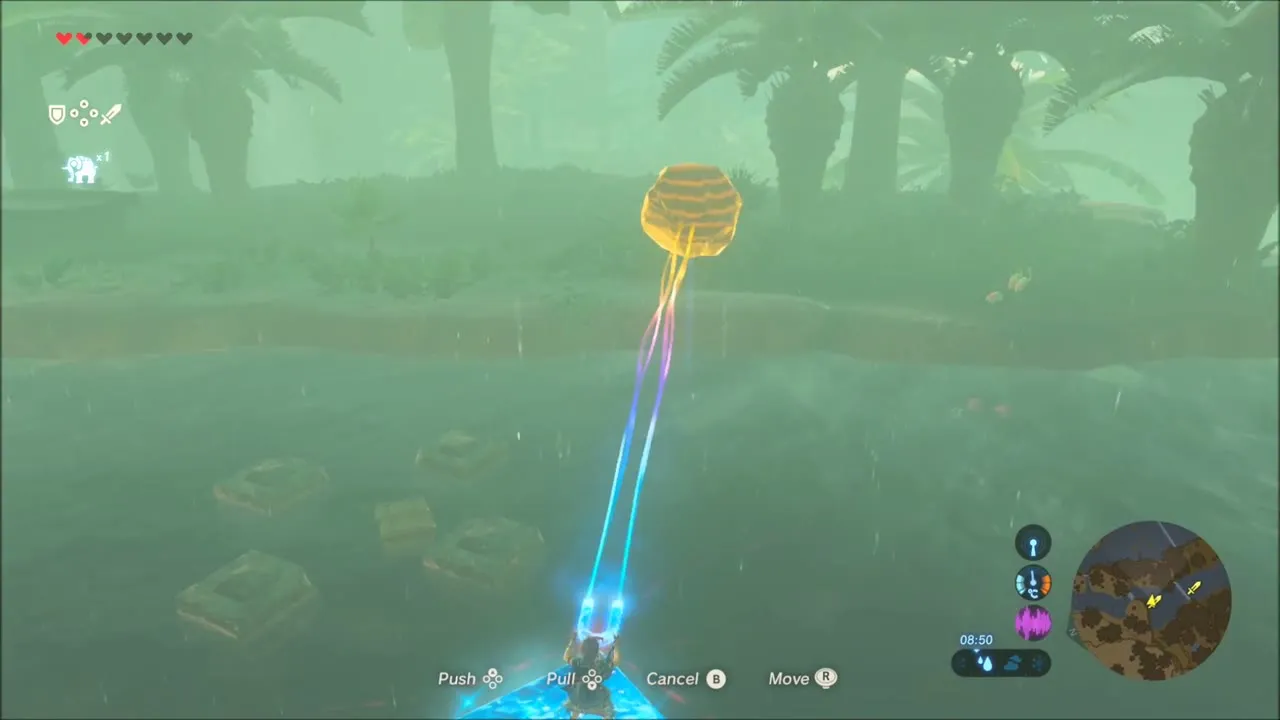
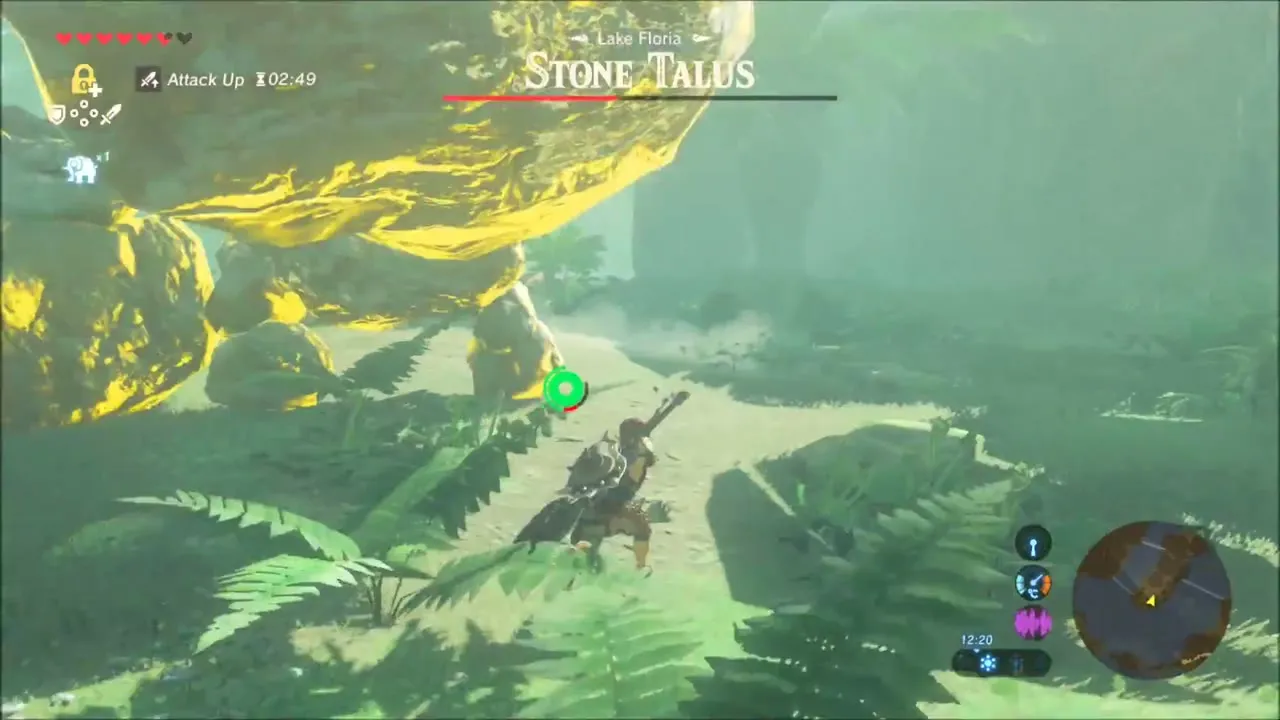
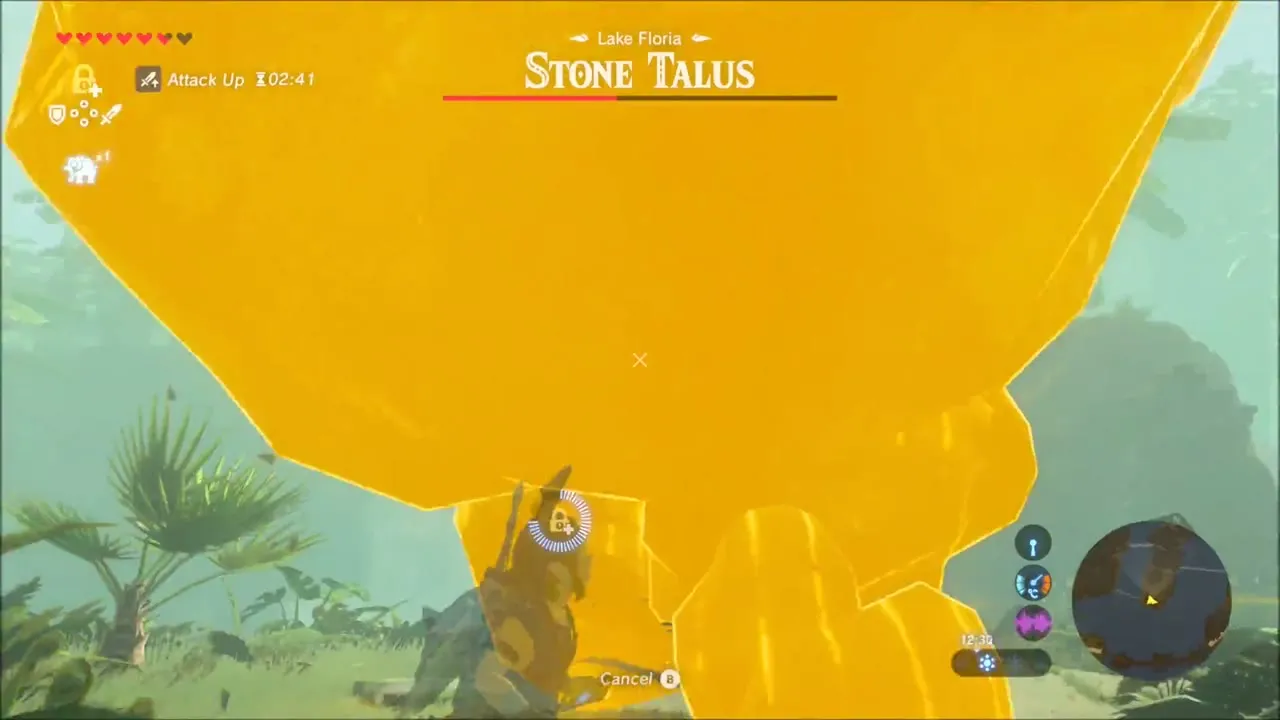
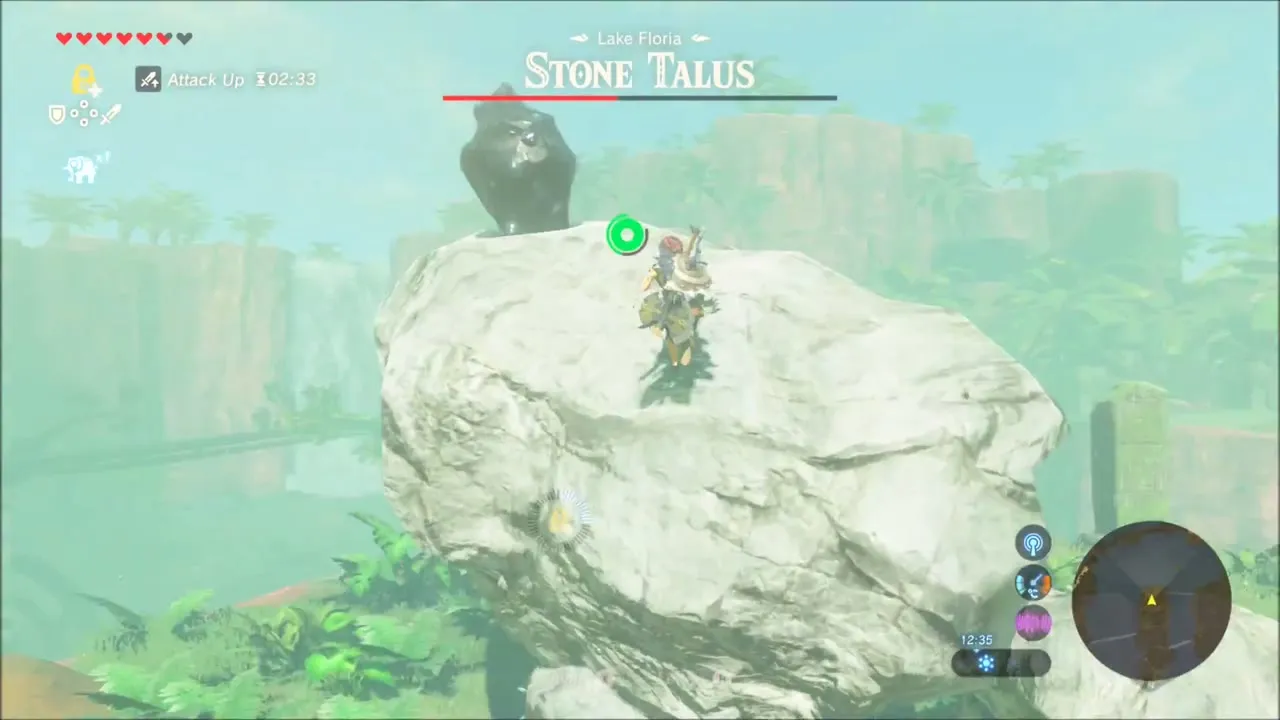
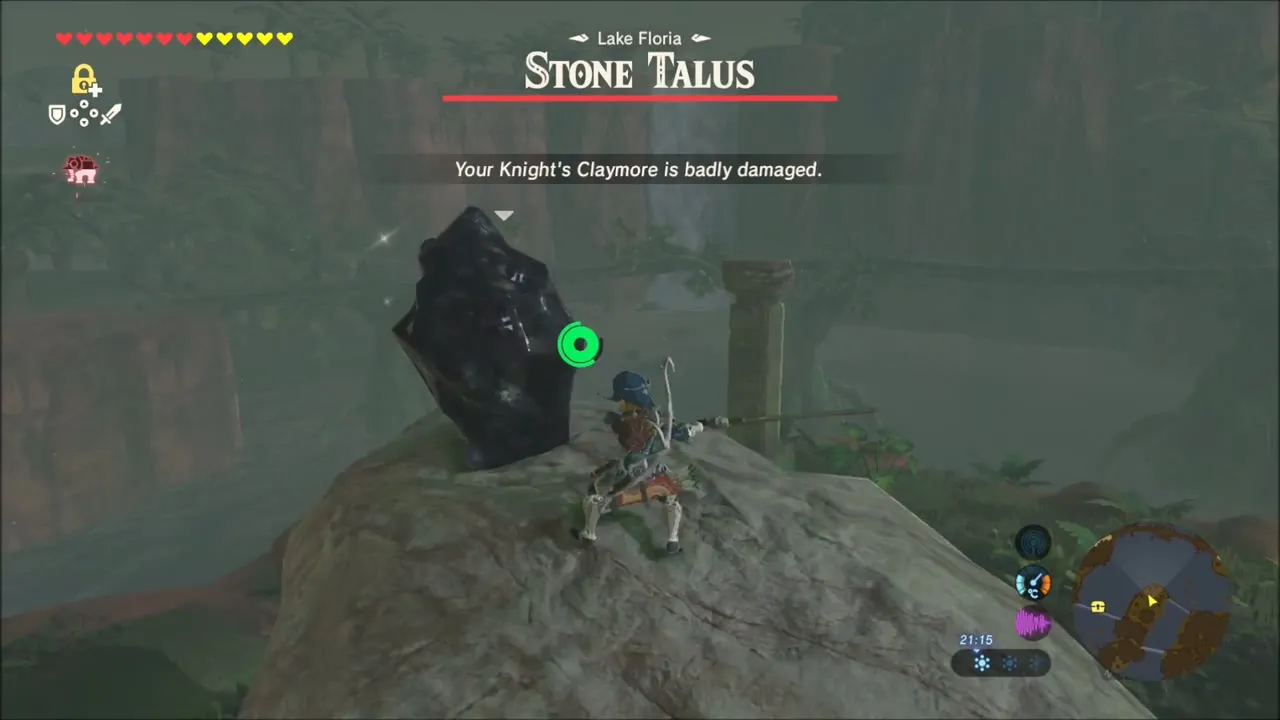
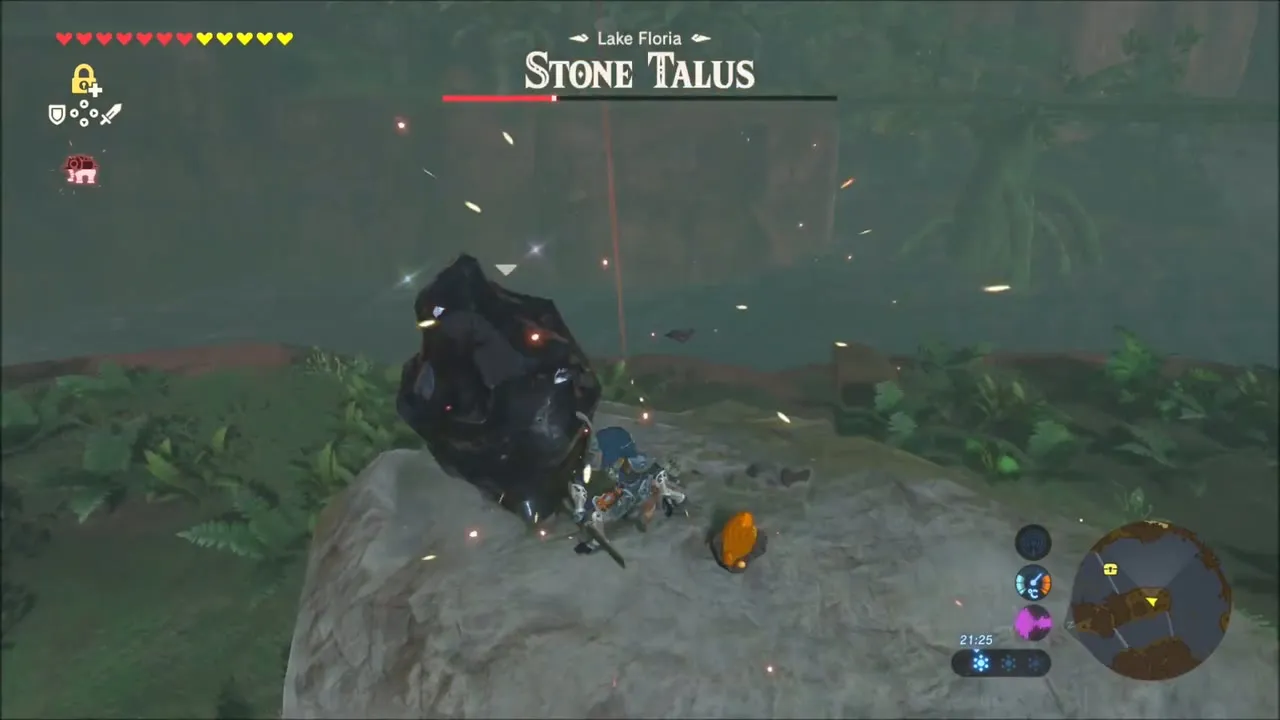
A Stone Talus waits beside Lake Floria. Use Magnesis and Stasis to deal with it, break the ore on its back and gather the Amber and Opal it leaves behind. A Cryonis ice pillar then lets you cross the water.


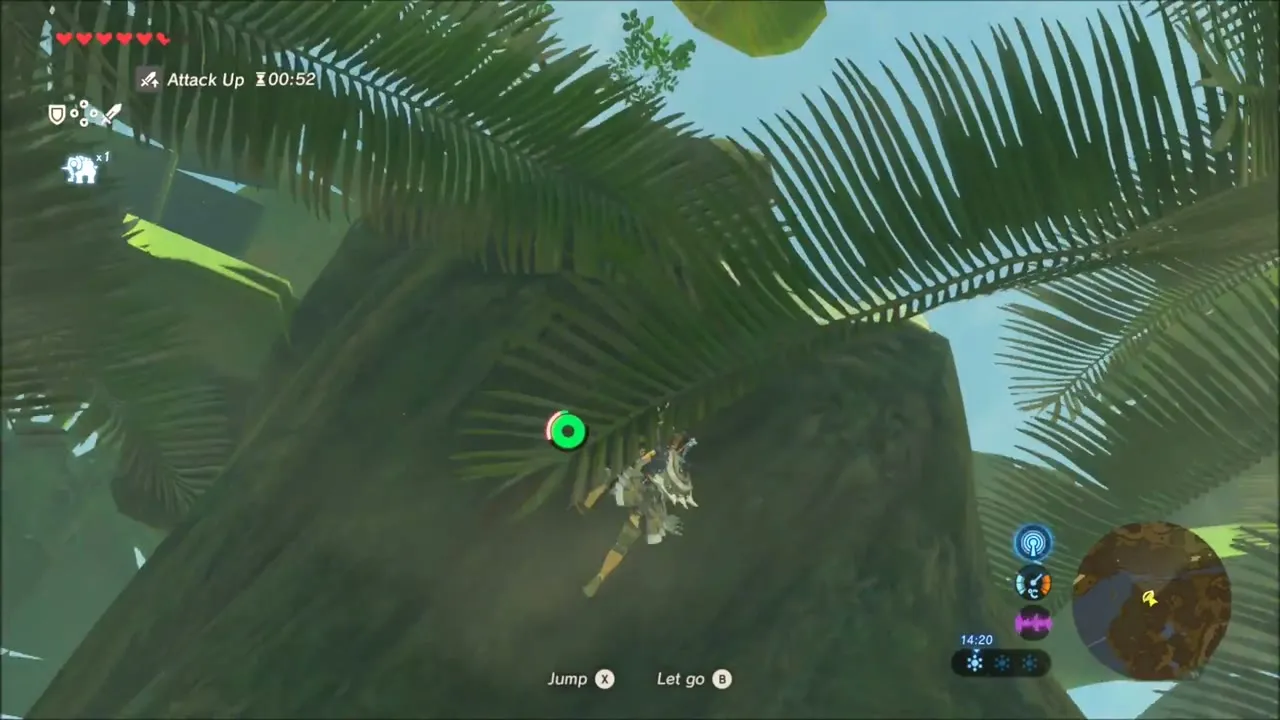
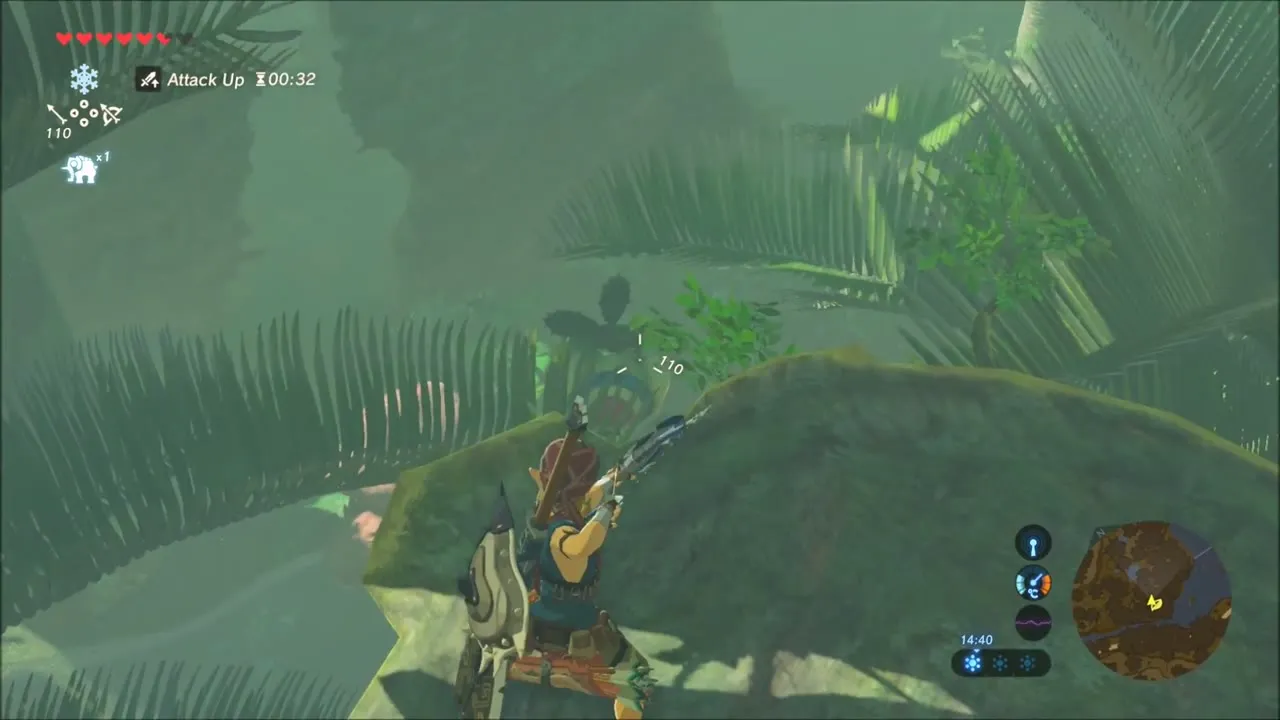
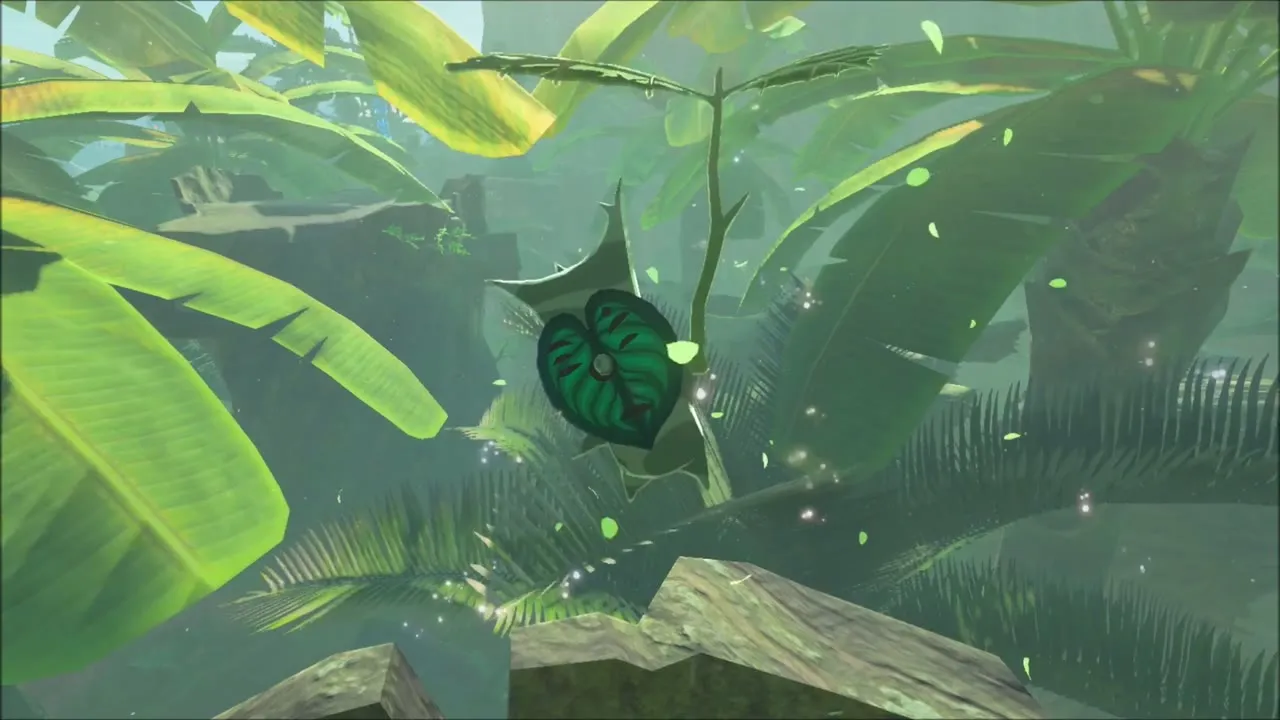
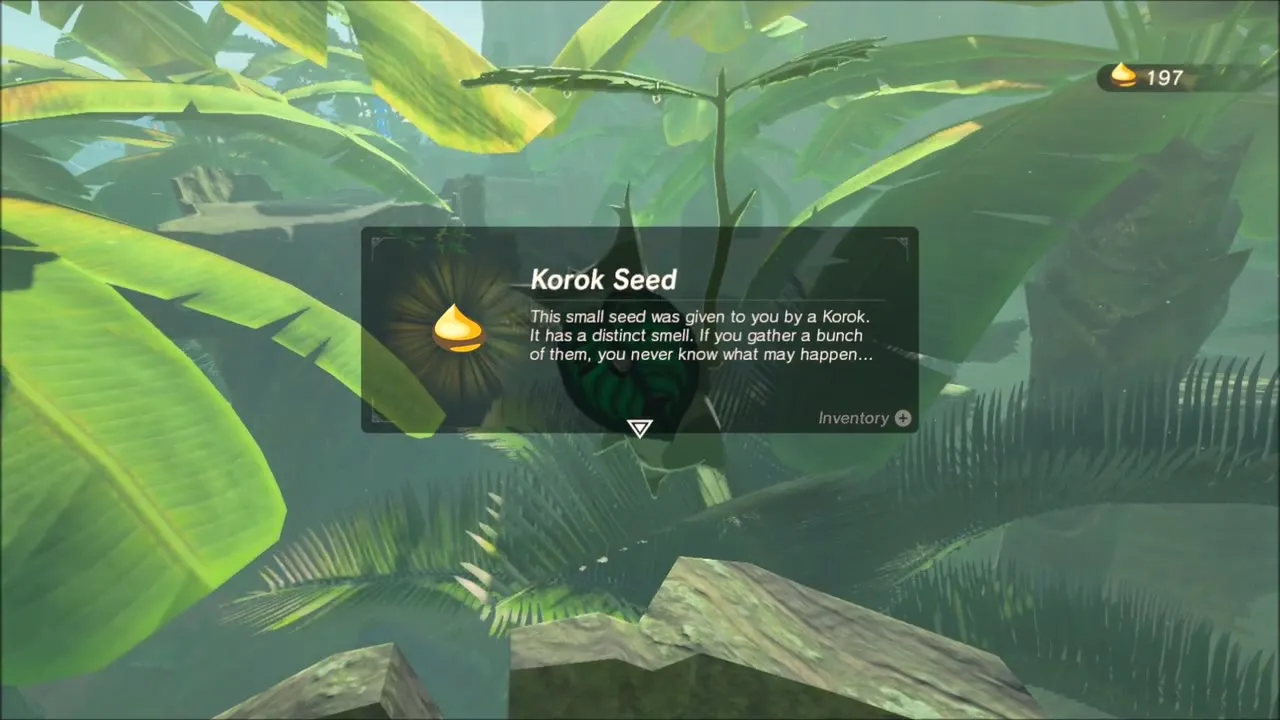
Climb the leafy tree beyond the lake to the crown: a Korok sits there among the banana leaves.
Sarjon Bridge: Fire Arrows and Korok Seeds
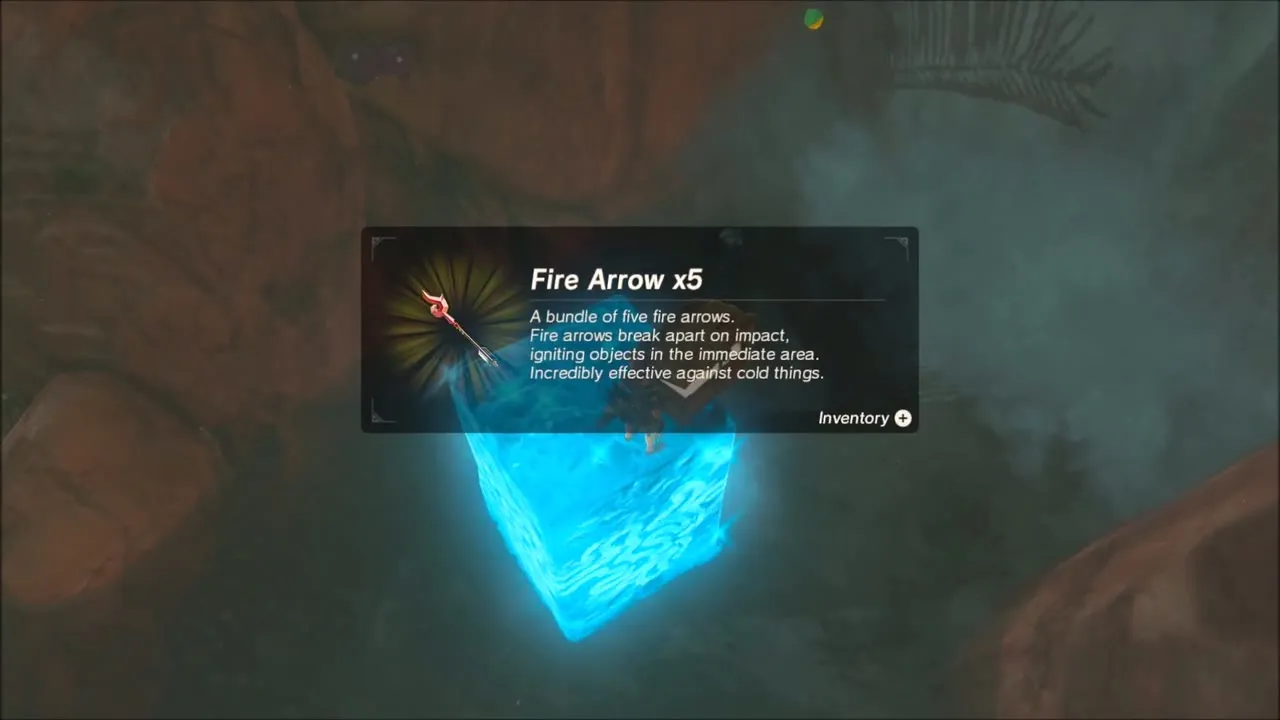
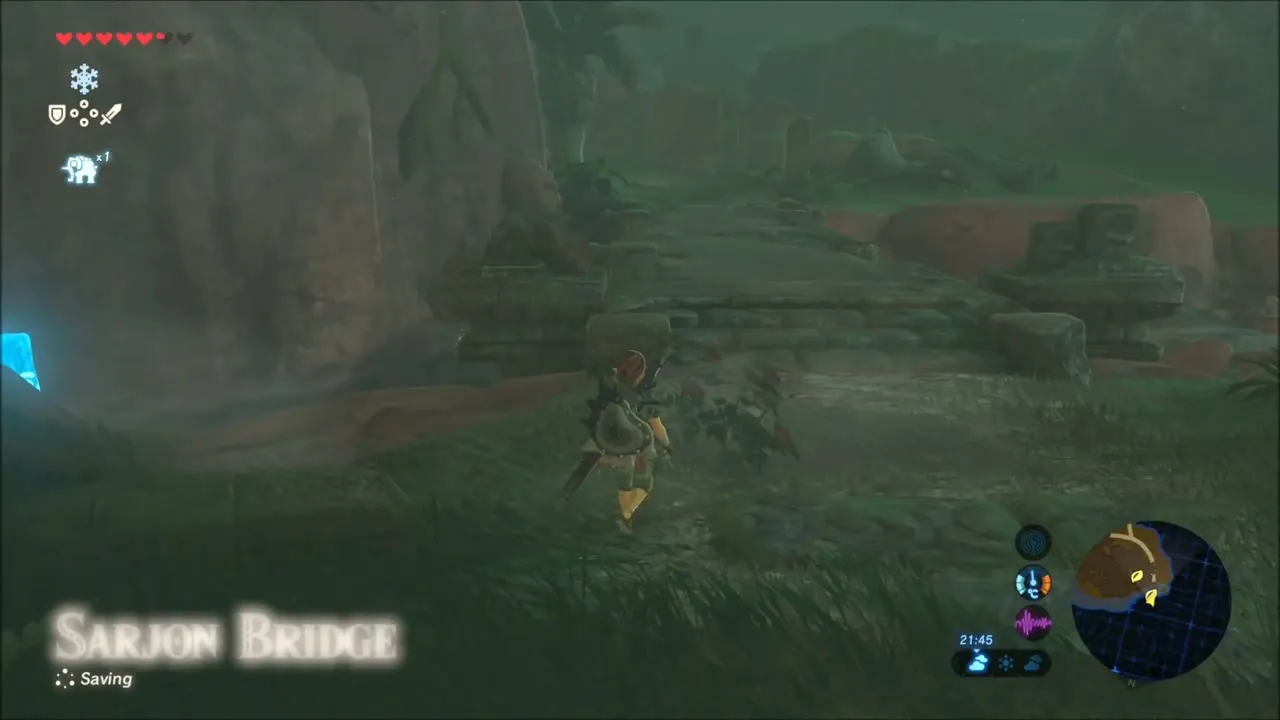
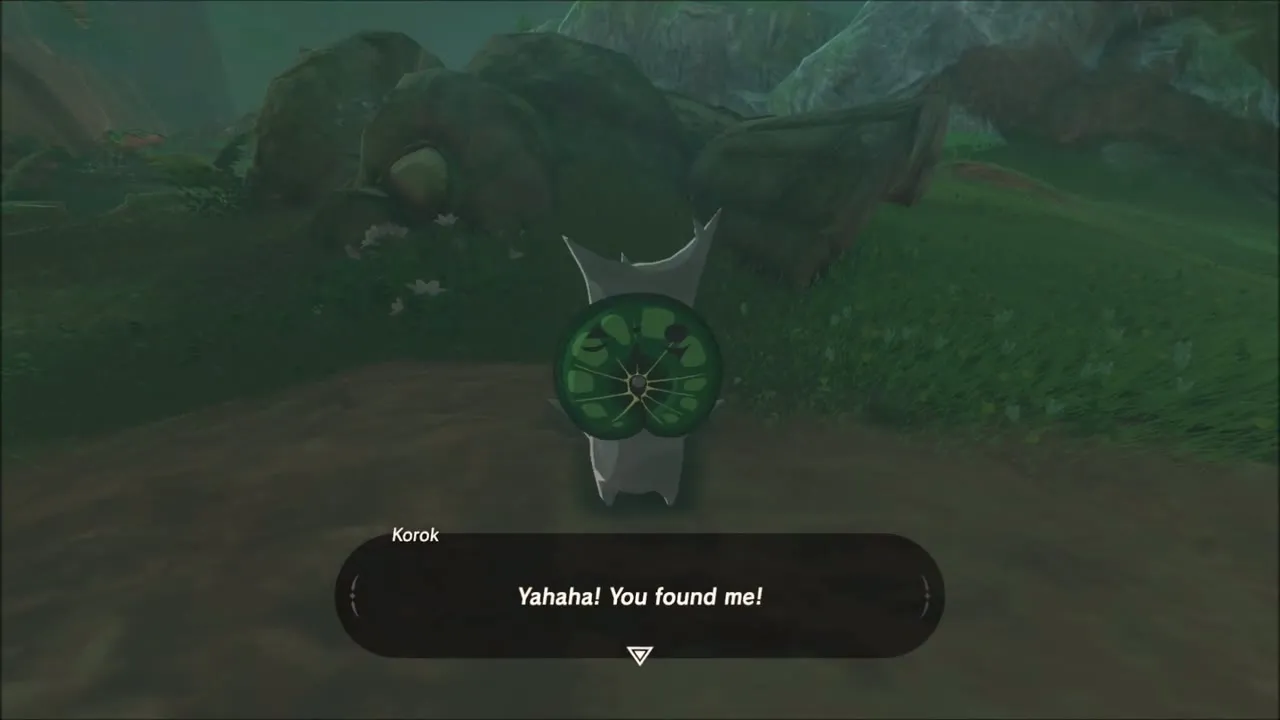
Under the ruins near Sarjon Bridge (1026, 3236), a chest is sunk in a water-filled pocket. Freeze the water with Cryonis, pull the chest out with Magnesis and open it for Fire Arrows (x5) and Amber. Beyond the bridge two seeds sit close together: one Korok stands in a clearing at ground level, the other hides high in a palm that you climb.


Beedle’s Stall and the Mighty Banana Grove
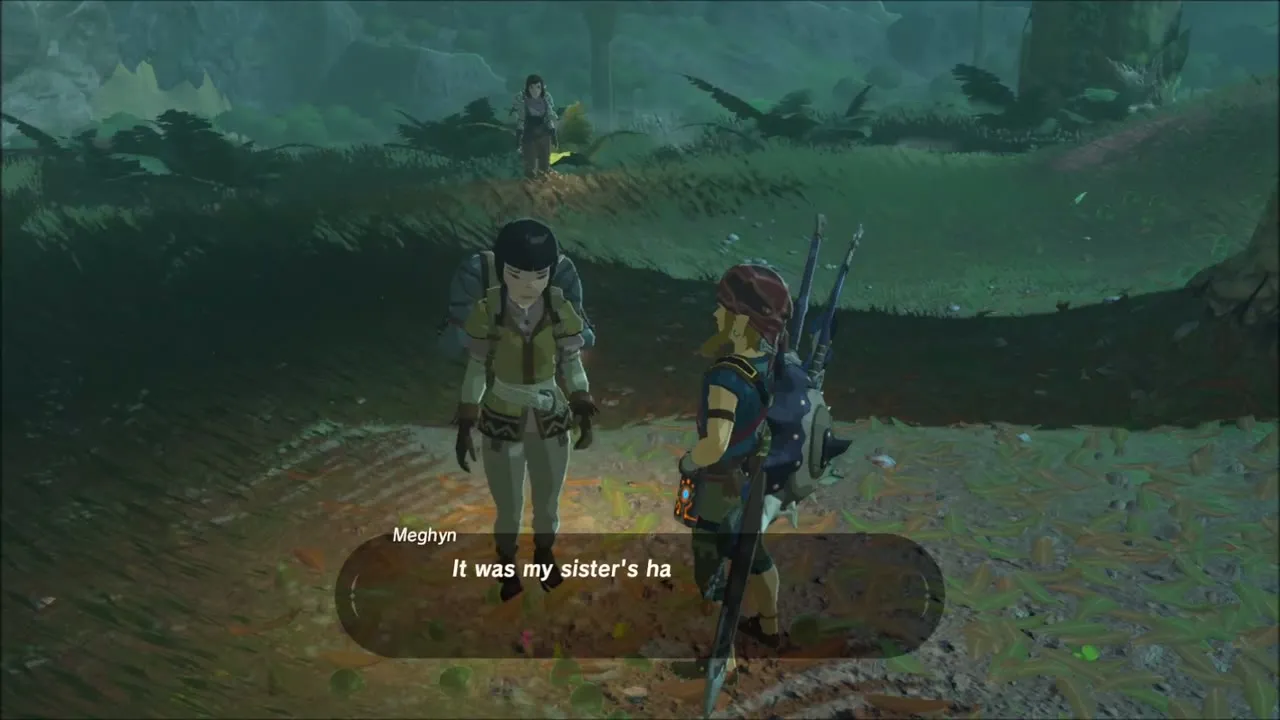
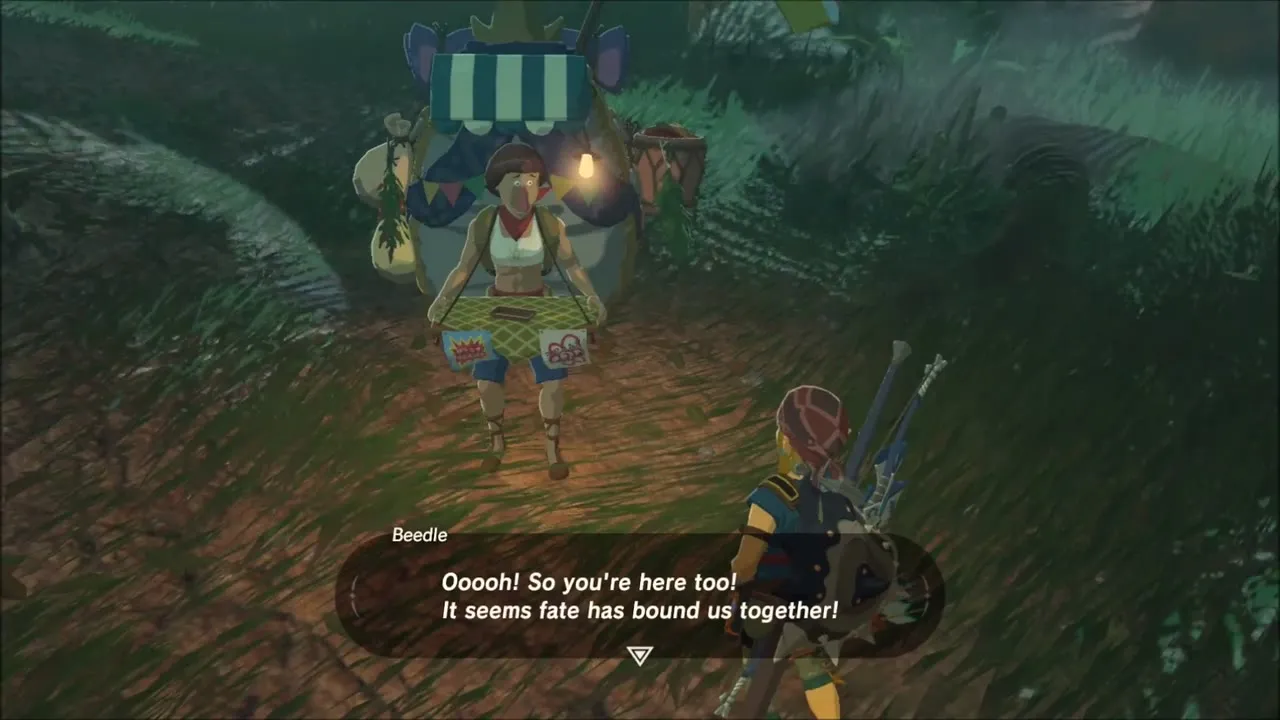
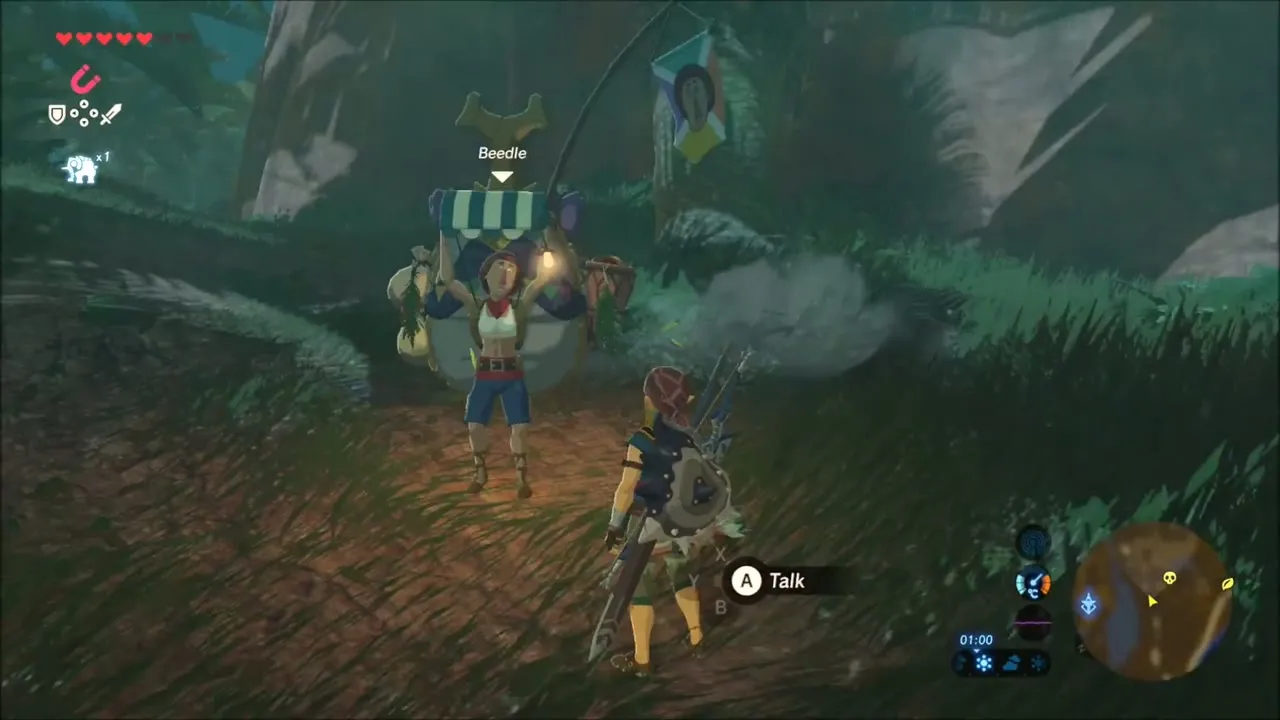
After dark a traveller named Meghyn stops you on the path, and a little later Beedle appears again with his stall: sell Opals and Rubies to him and buy a bundle of five arrows for 30 rupees.
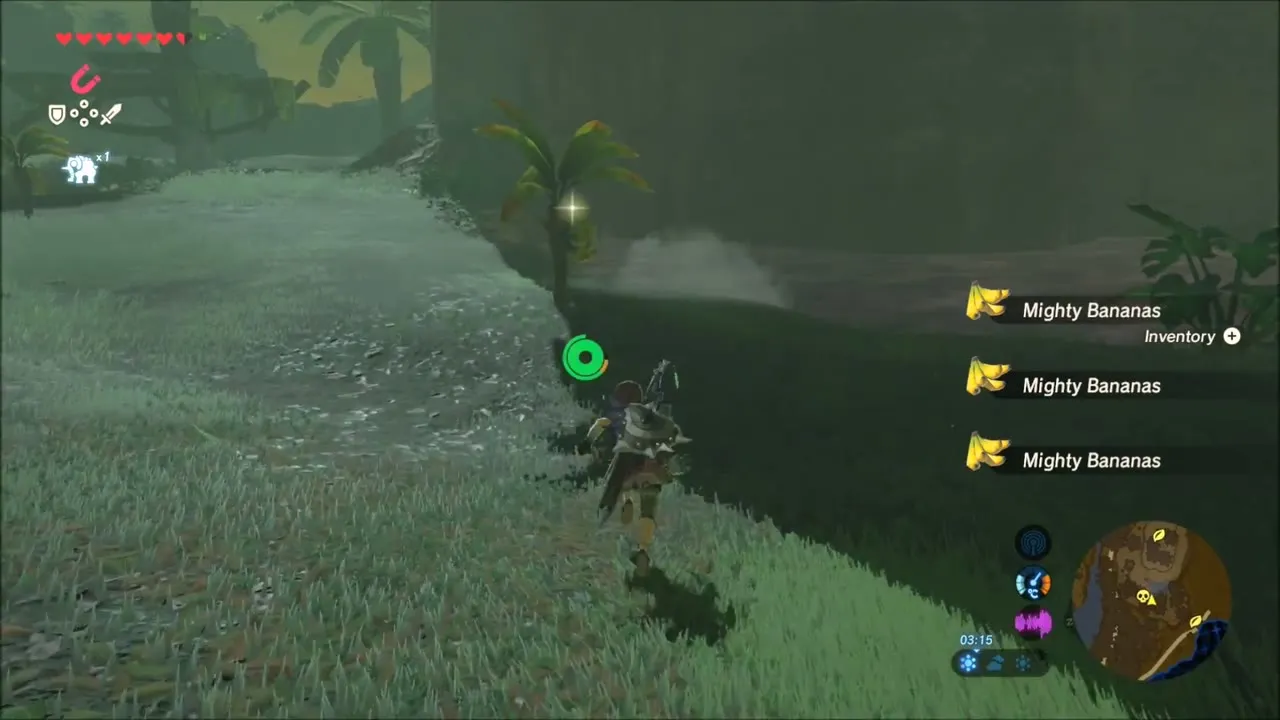
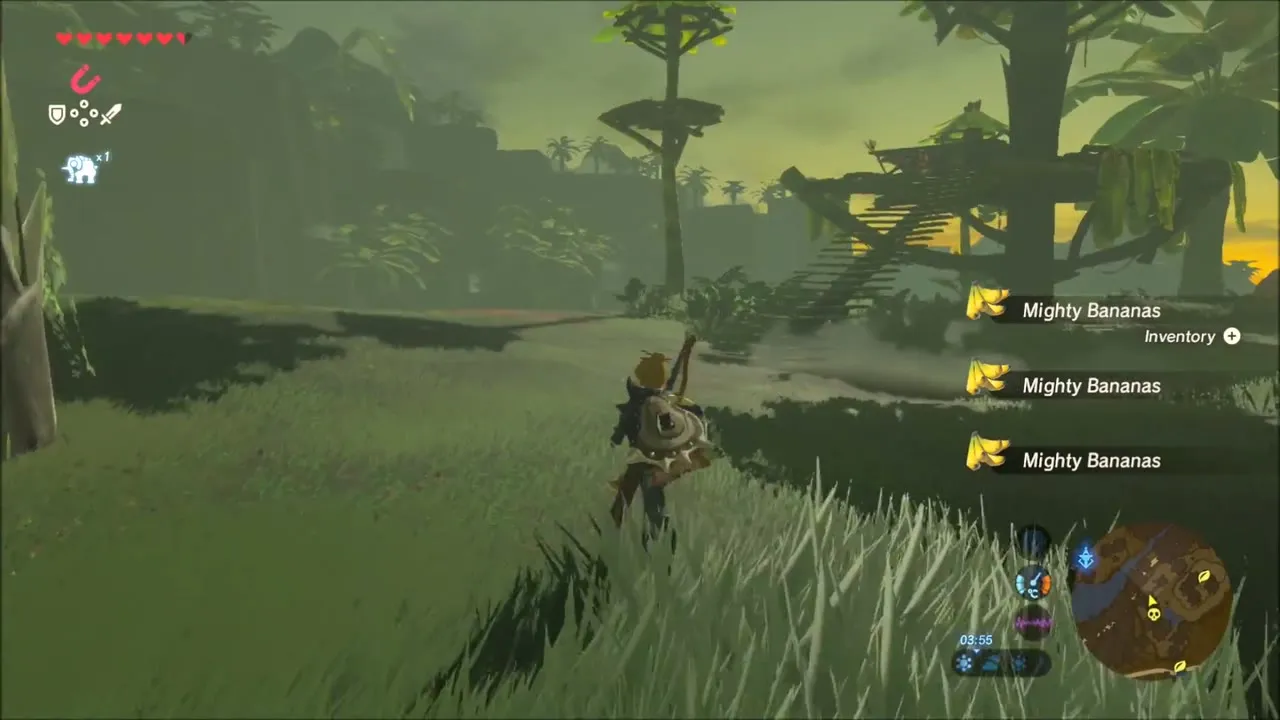
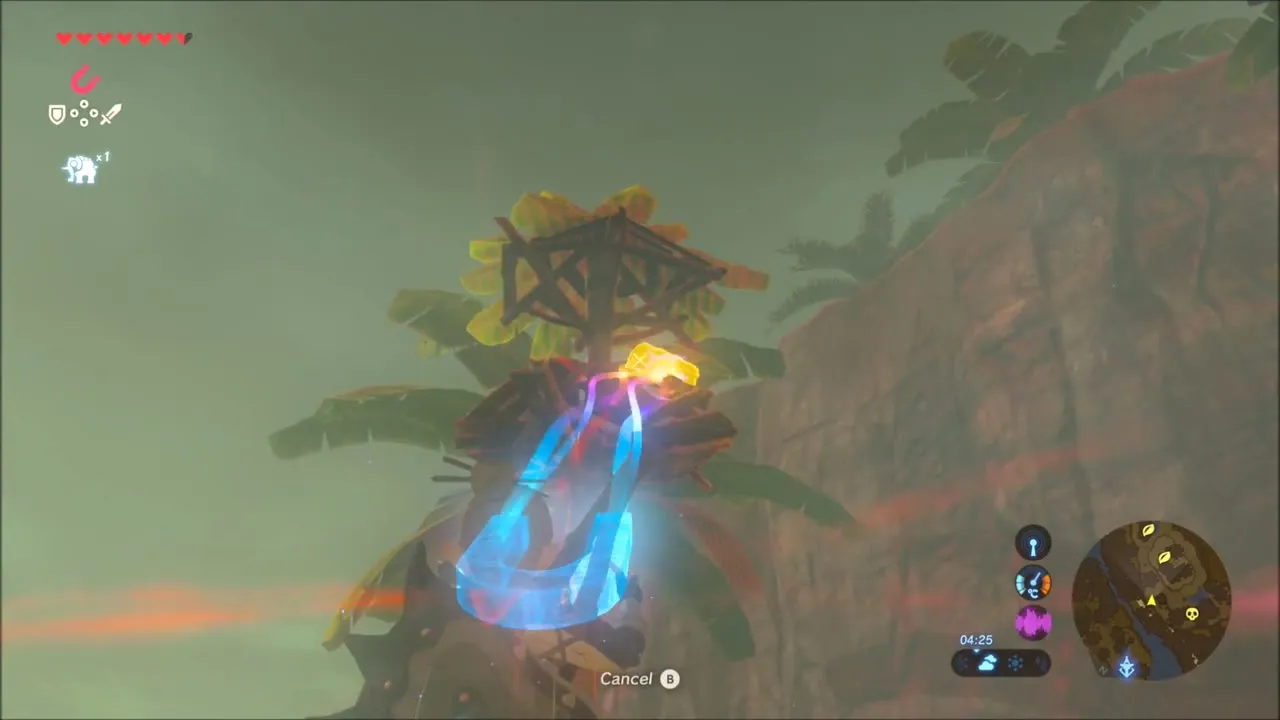
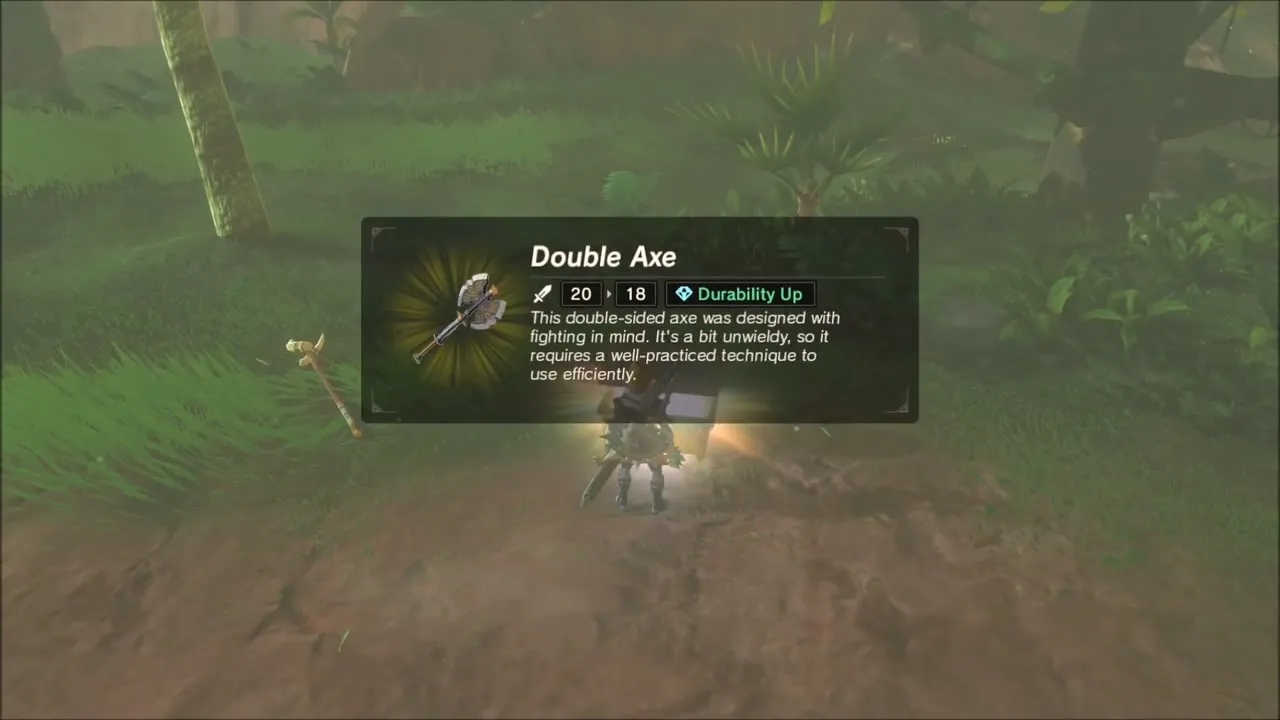
The next stretch is full of Mighty Bananas, picked from the trees. At a treehouse with a metal chest, use Magnesis to pull the chest into reach: it holds a Double Axe, and another chest a short way off holds arrows. Drop an old weapon first if your weapon slots are full.
Korok Seeds on the Faron Coast
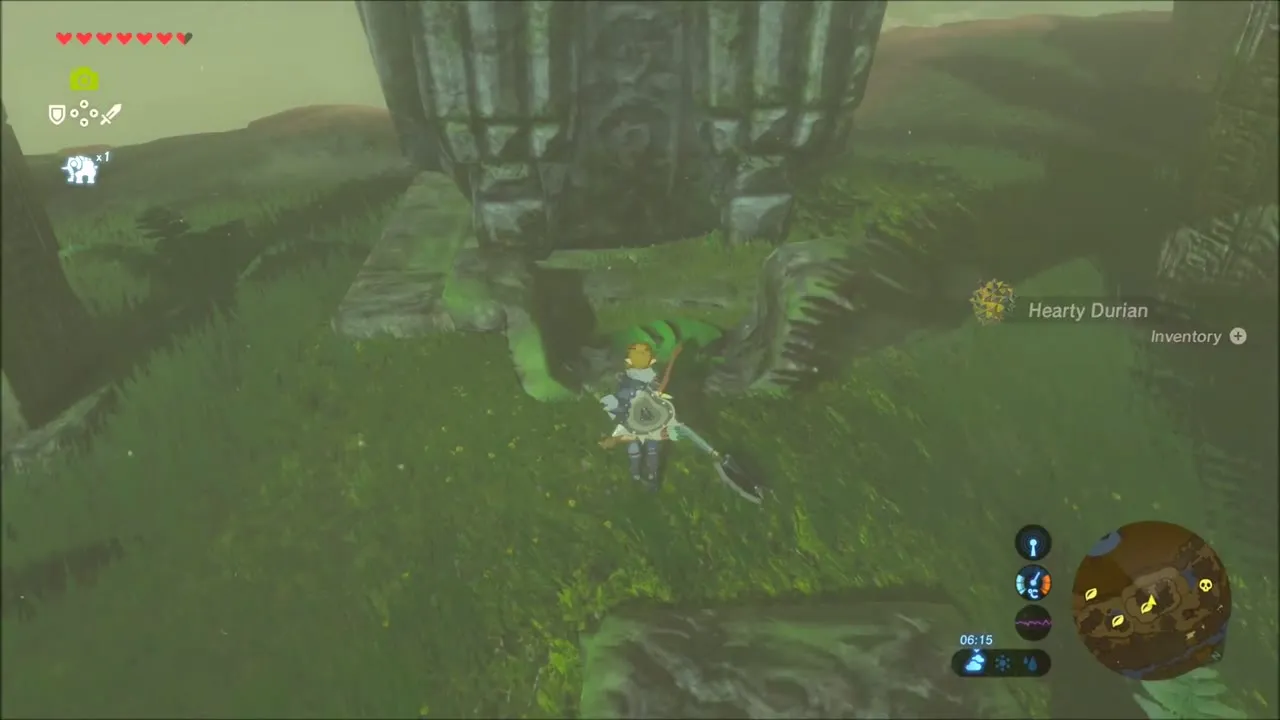
Beside a ruined stone pillar, a Korok appears at the foot of the wall as you approach. Another bursts out on a rock by the shoreline farther along.

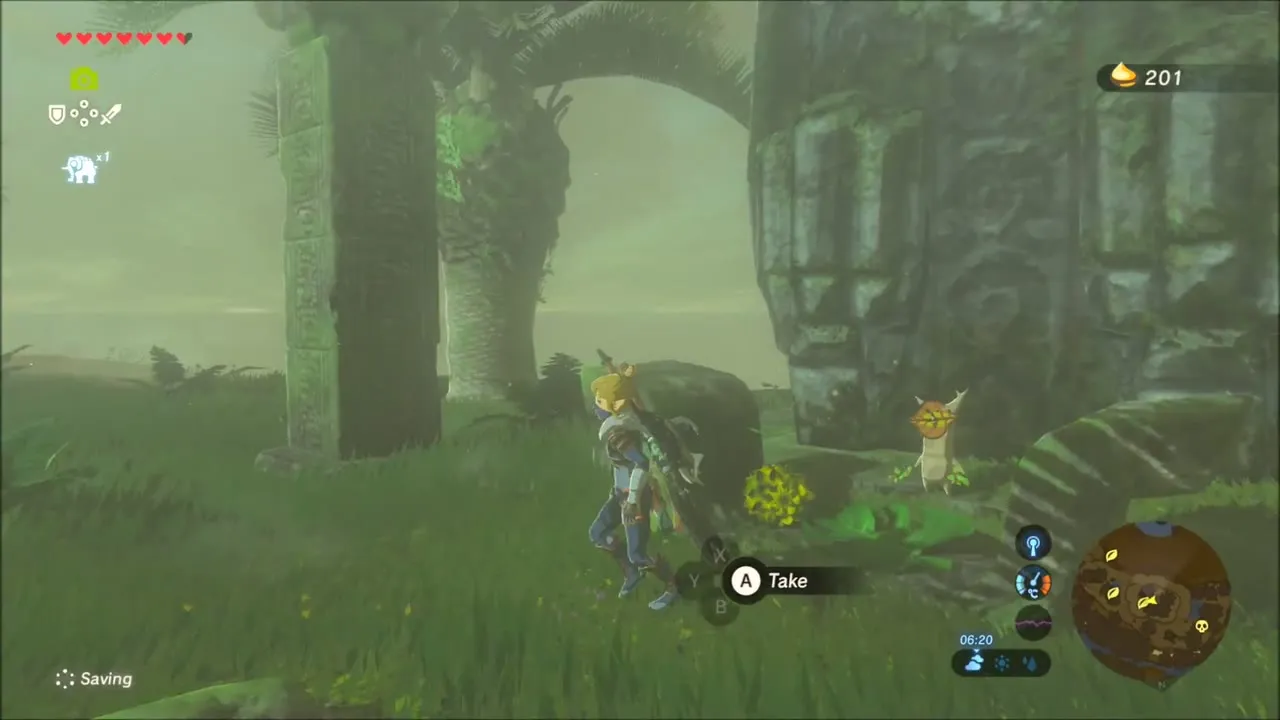
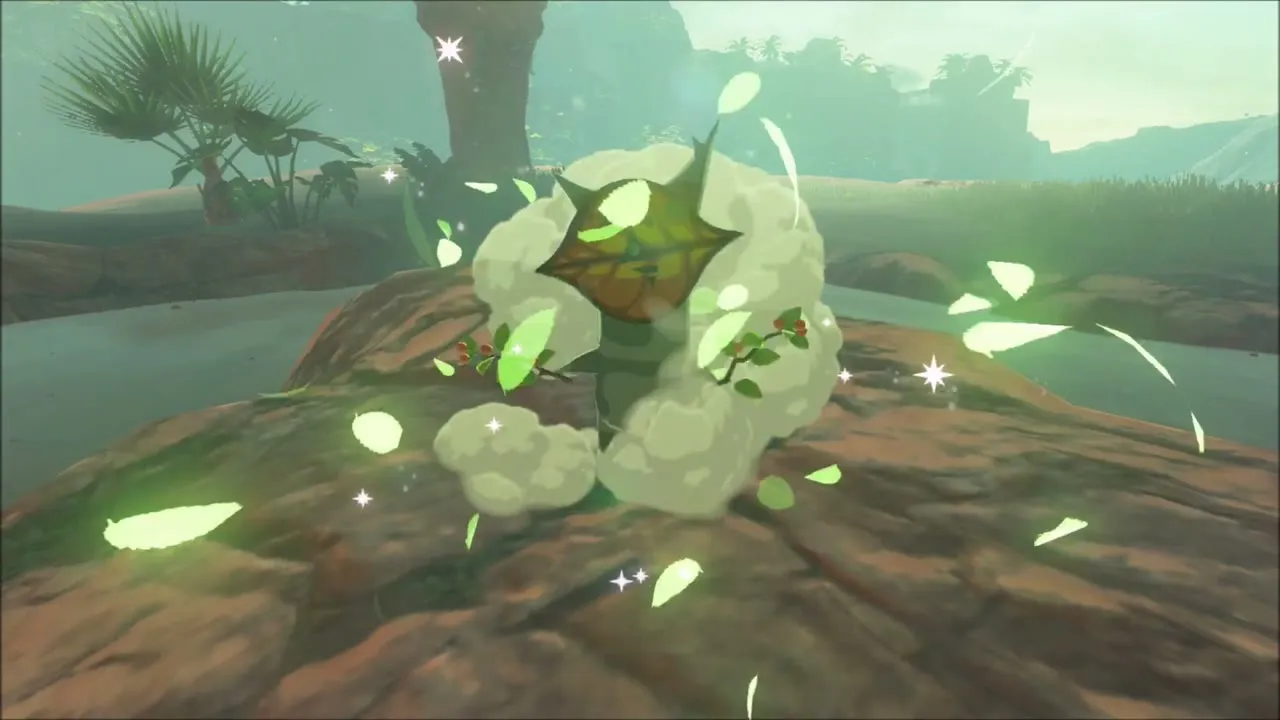

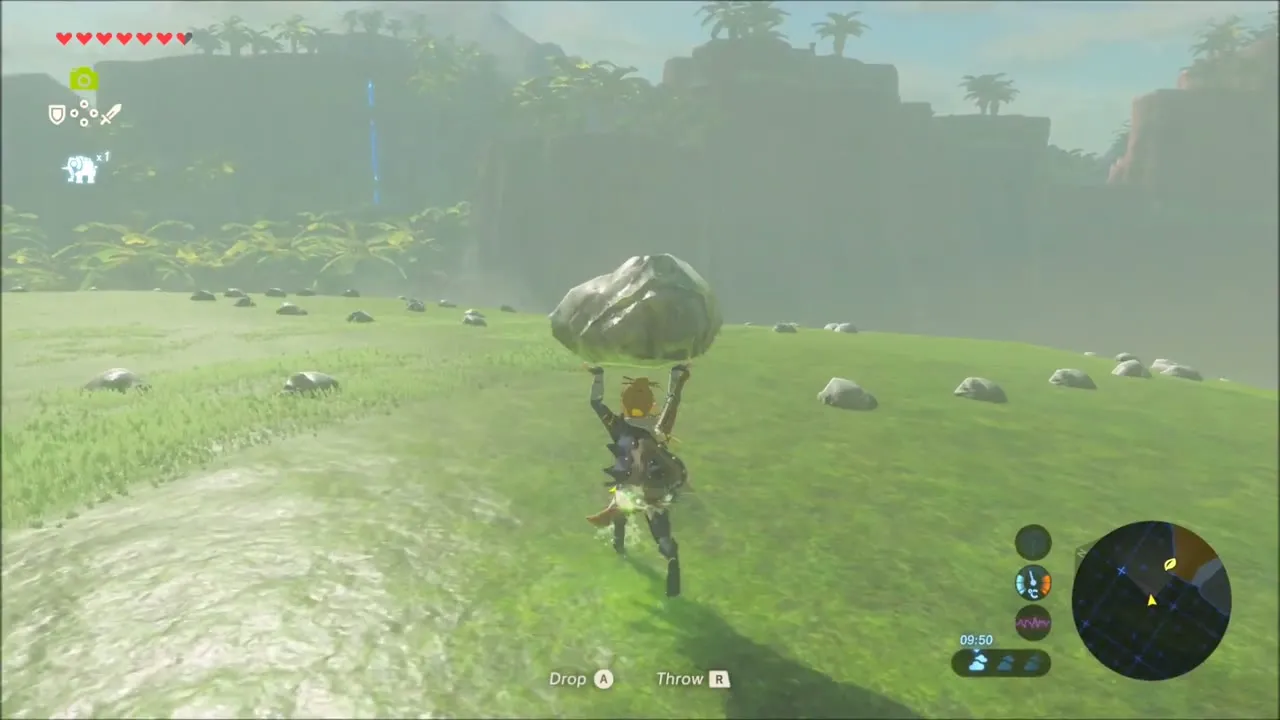
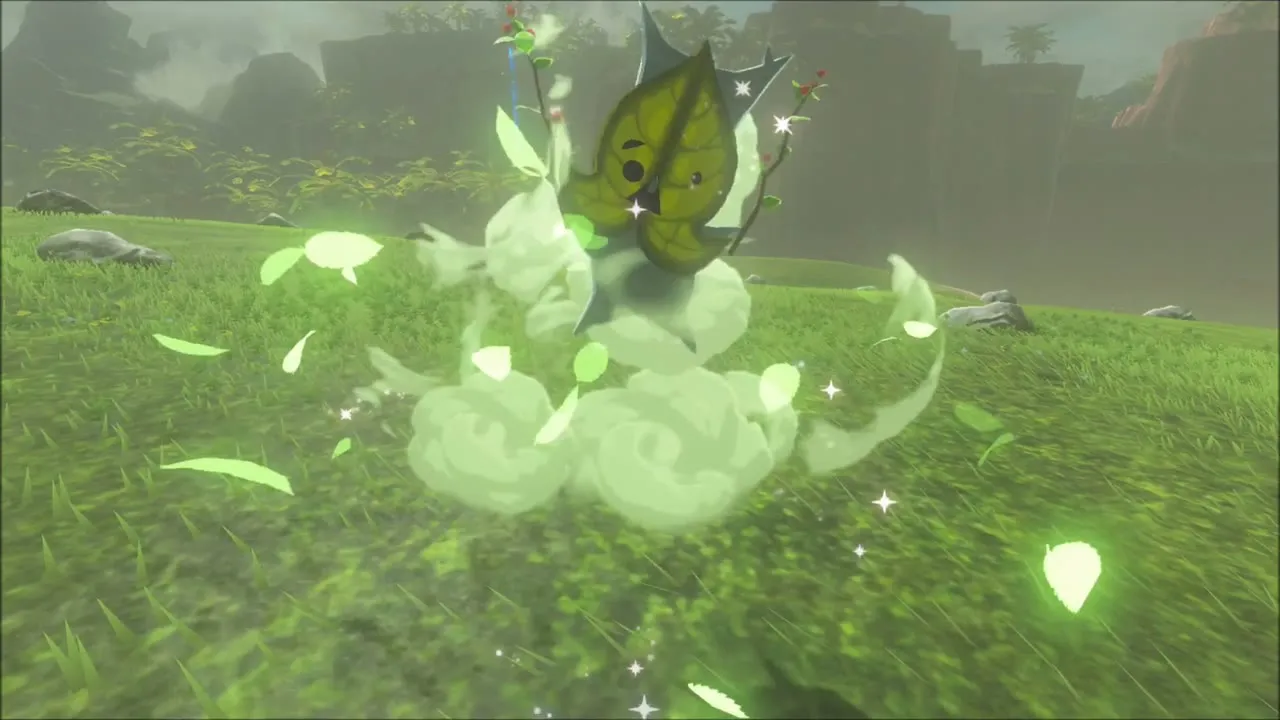
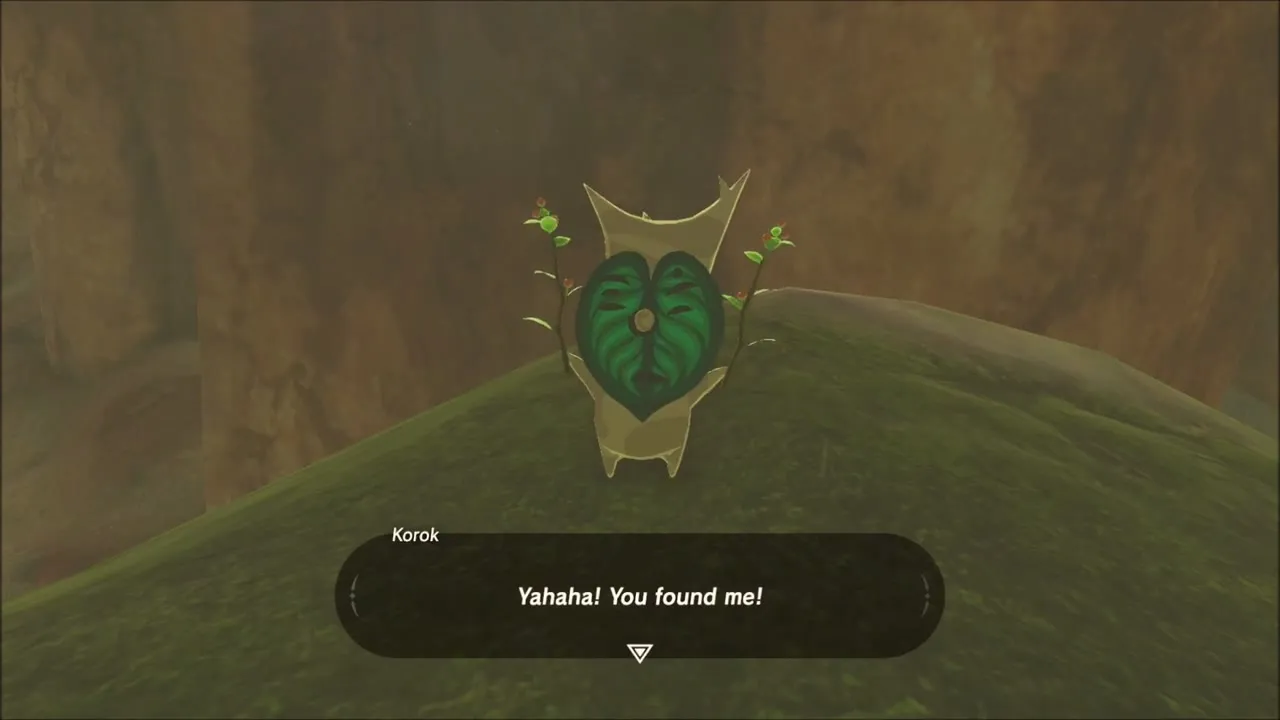
On the grassy hills toward the coast, two seeds involve stones. Pick up a rock from the scatter on the slope and set it down in the middle of the grass to make a Korok appear, and a Korok on a mound in the red canyon shows up after you carry a boulder to it.


Martha’s Landing: Stone Talus on the Beach
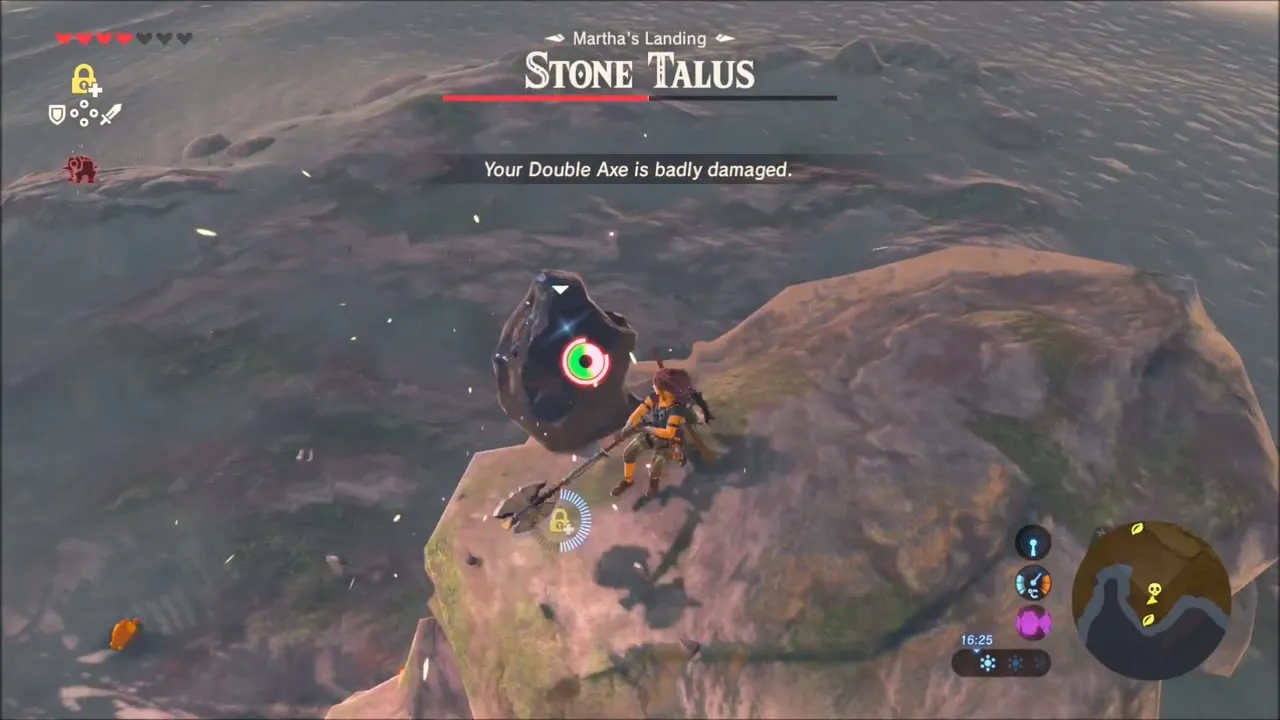
On the beach at Martha’s Landing a Stone Talus rises from the sand. Dodge its fists, climb the rock and break the ore on its back; it drops three Amber.


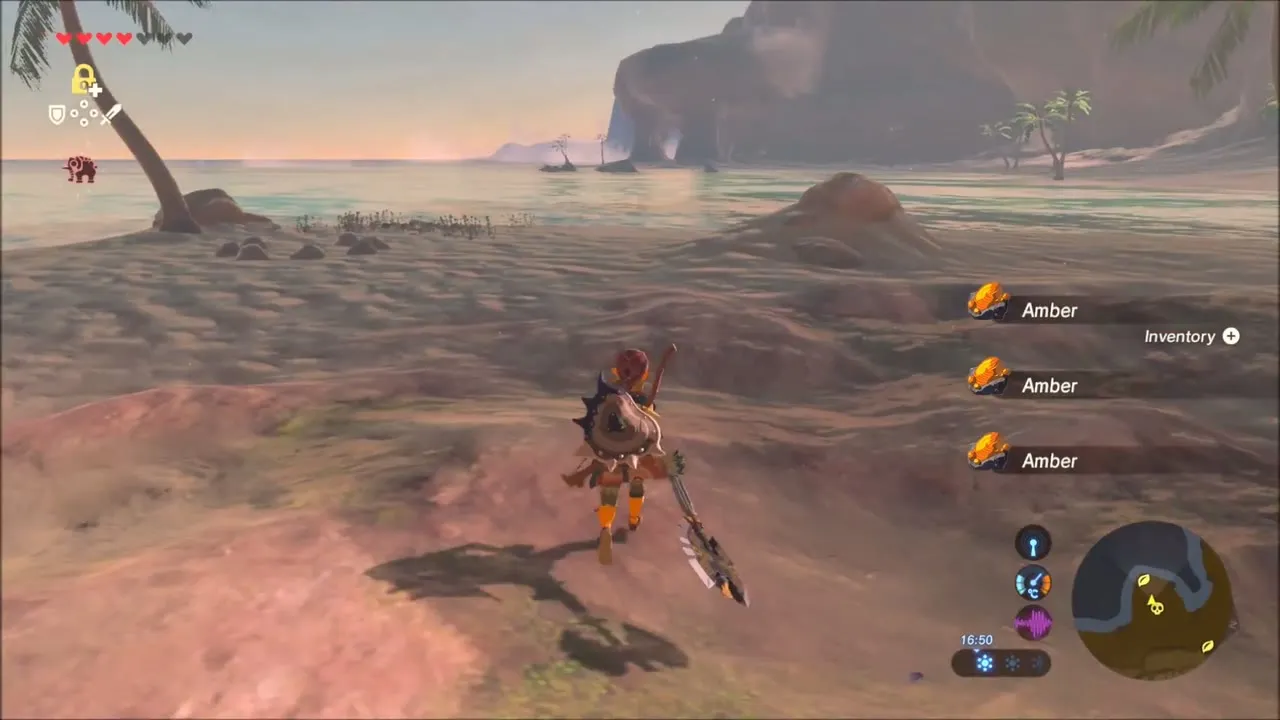
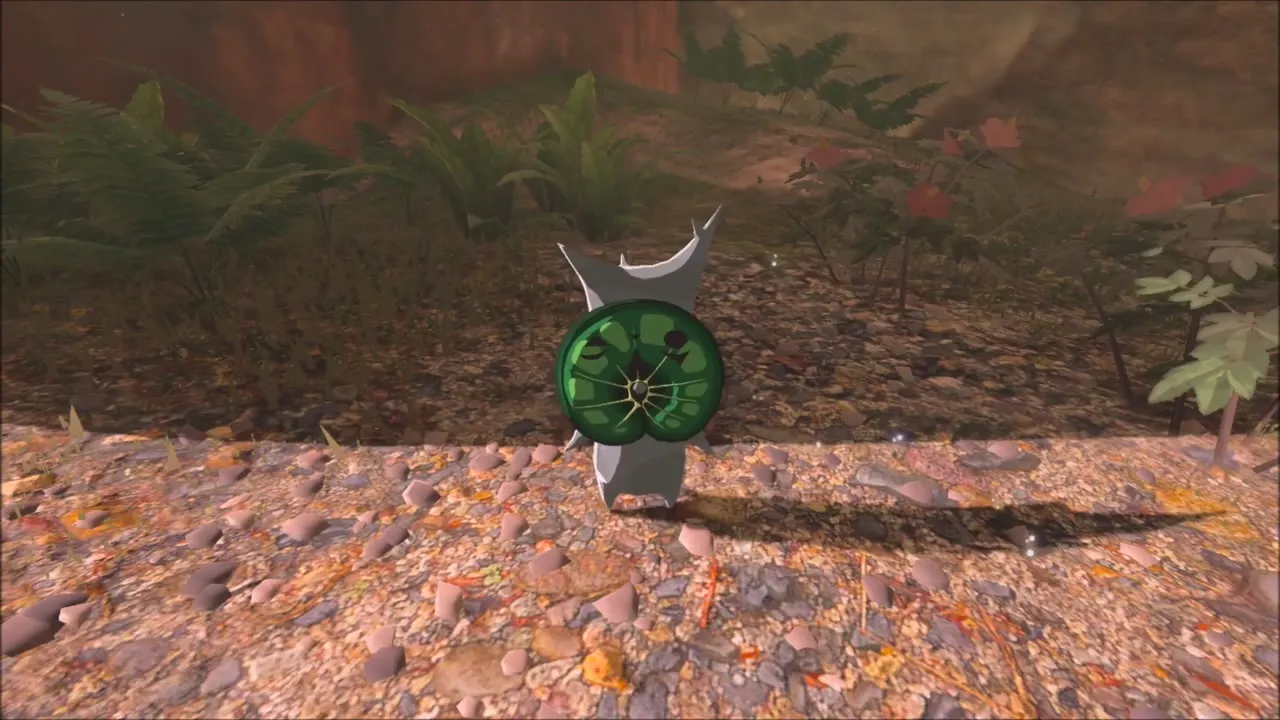
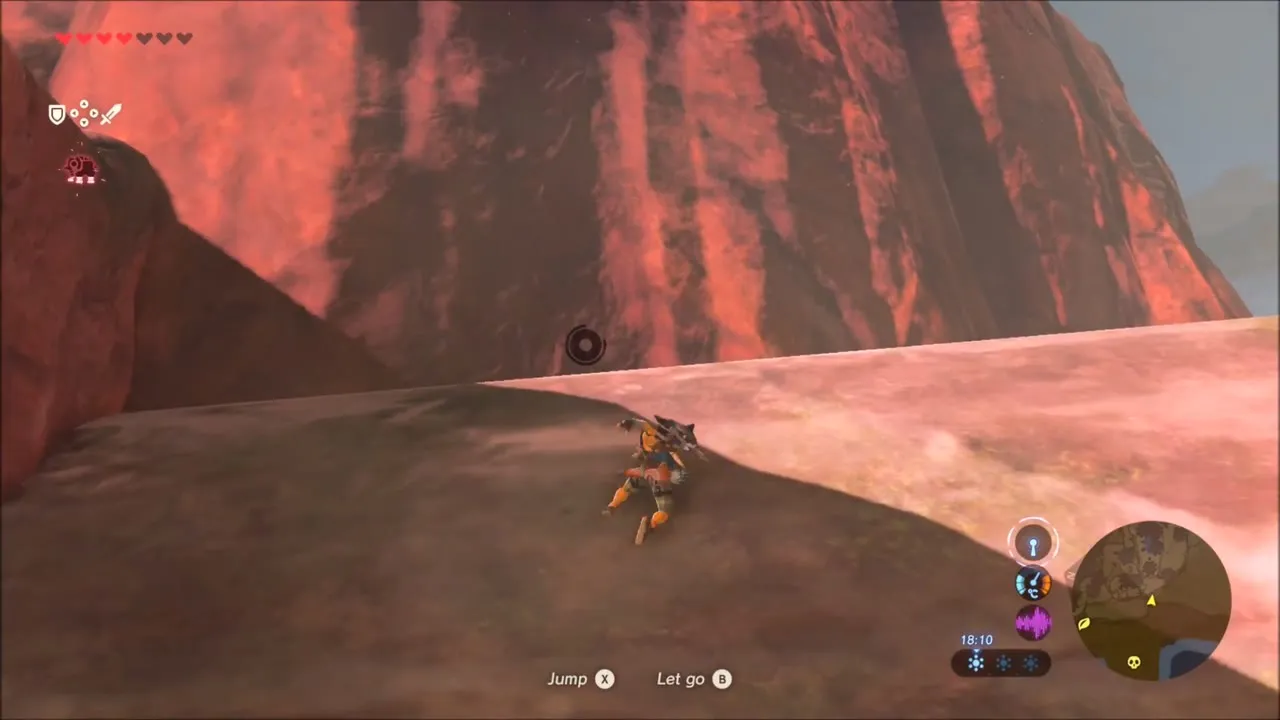
Walk the sand toward the red cliffs: one Korok stands in the open like a spiky plant on the beach, and another waits at the foot of the cliff, reached after a long climb up the rock face. Both give a seed.


Shai Utoh Shrine: Halt the Tilt (Lakeside Stable)
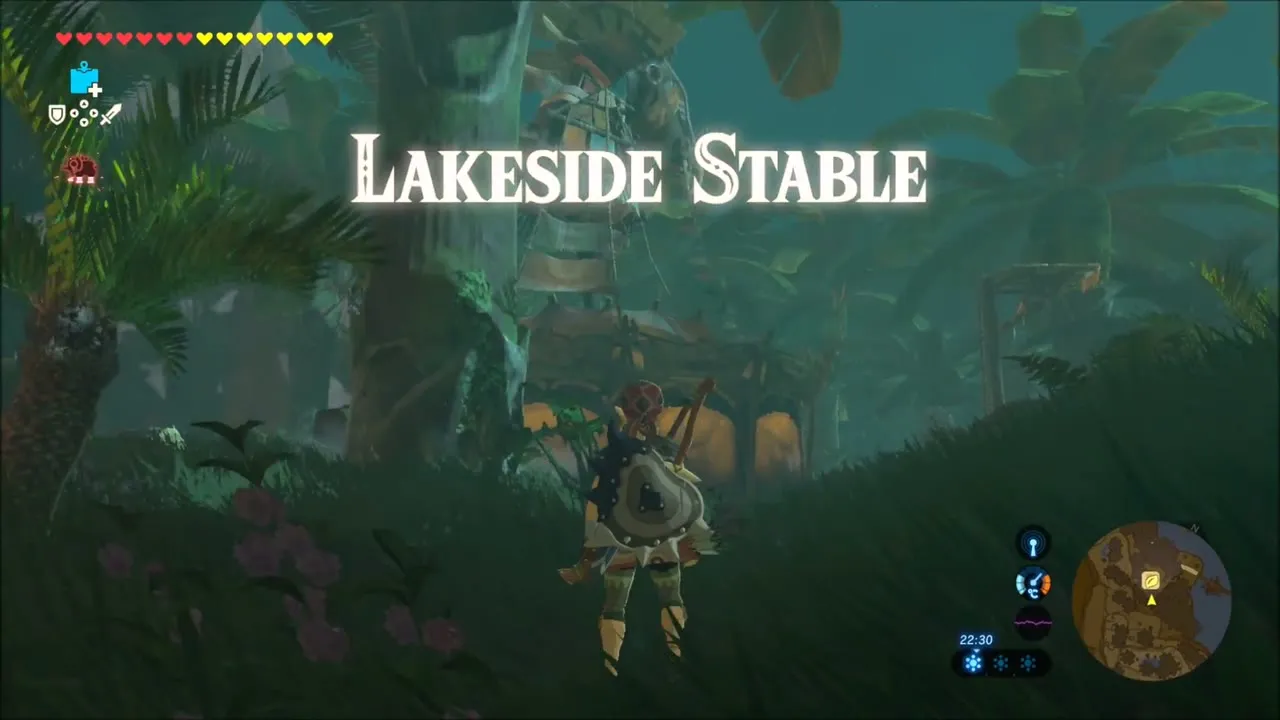
Head for Shai Utoh Shrine (1586, 3614), in the cave behind Lakeside Stable (1552, 3538) under Ubota Point. Bomb the cracked rock wall to open the way in; the trial is “Halt the Tilt”.

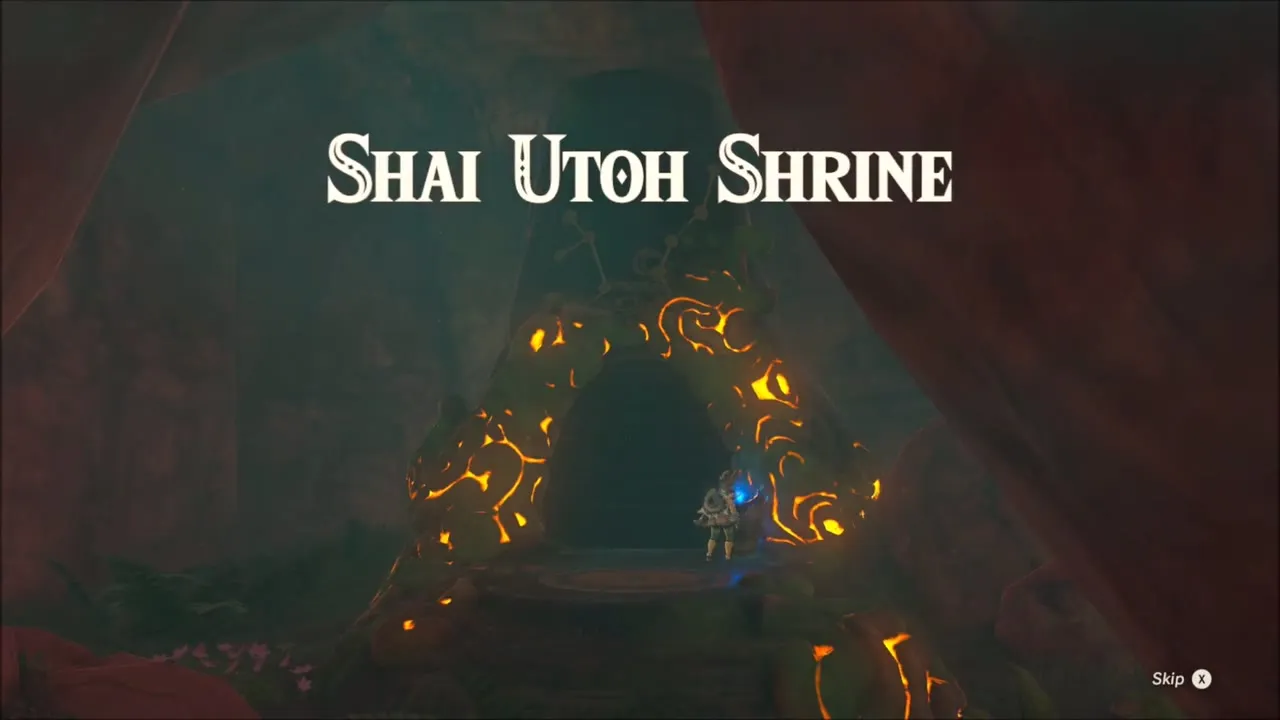

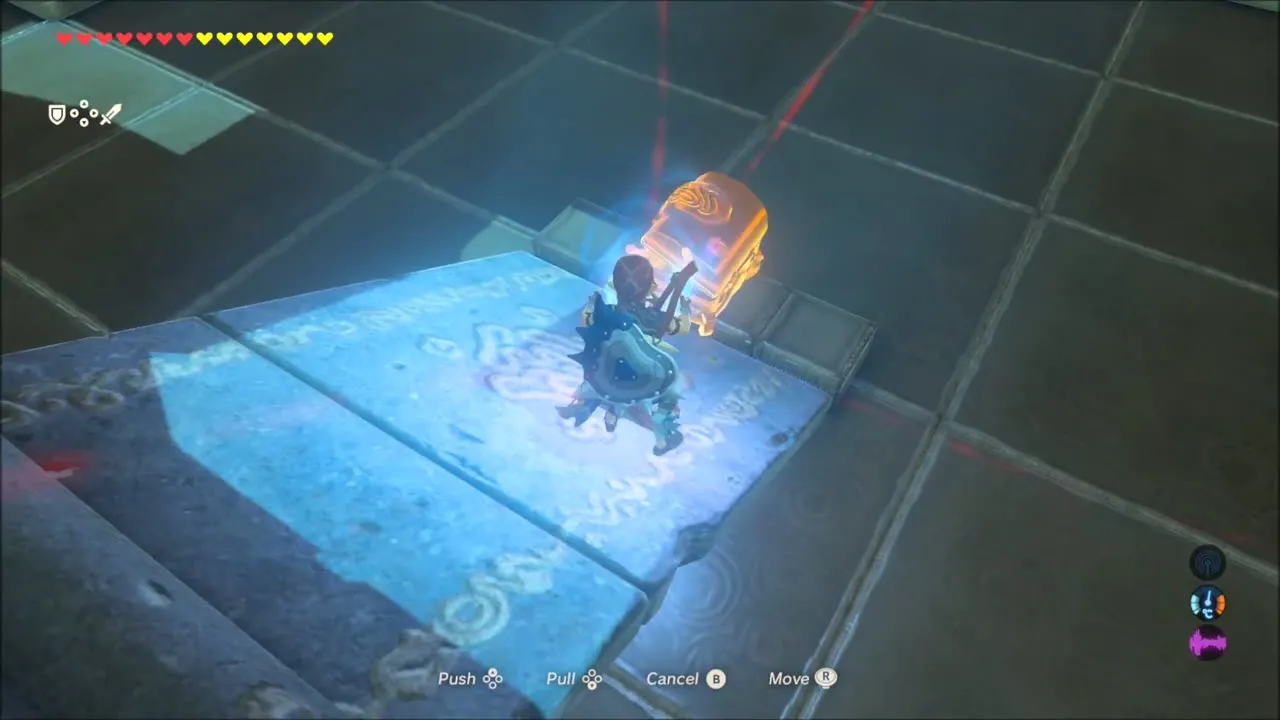
Inside, Stasis holds each seesaw platform steady while you climb. The first chest holds a Soldier’s Broadsword (tier set by difficulty scaling) and a second chest, reached by gliding down from the second-to-last platform, holds an Ancient Core. Use Magnesis to pull the opened chest onto the final seesaw as ballast, then walk to the monk for the Spirit Orb.



Lakeside Stable: Korok Seed and the Thunder Magnet Quest
Korok seed on the horse-head tower
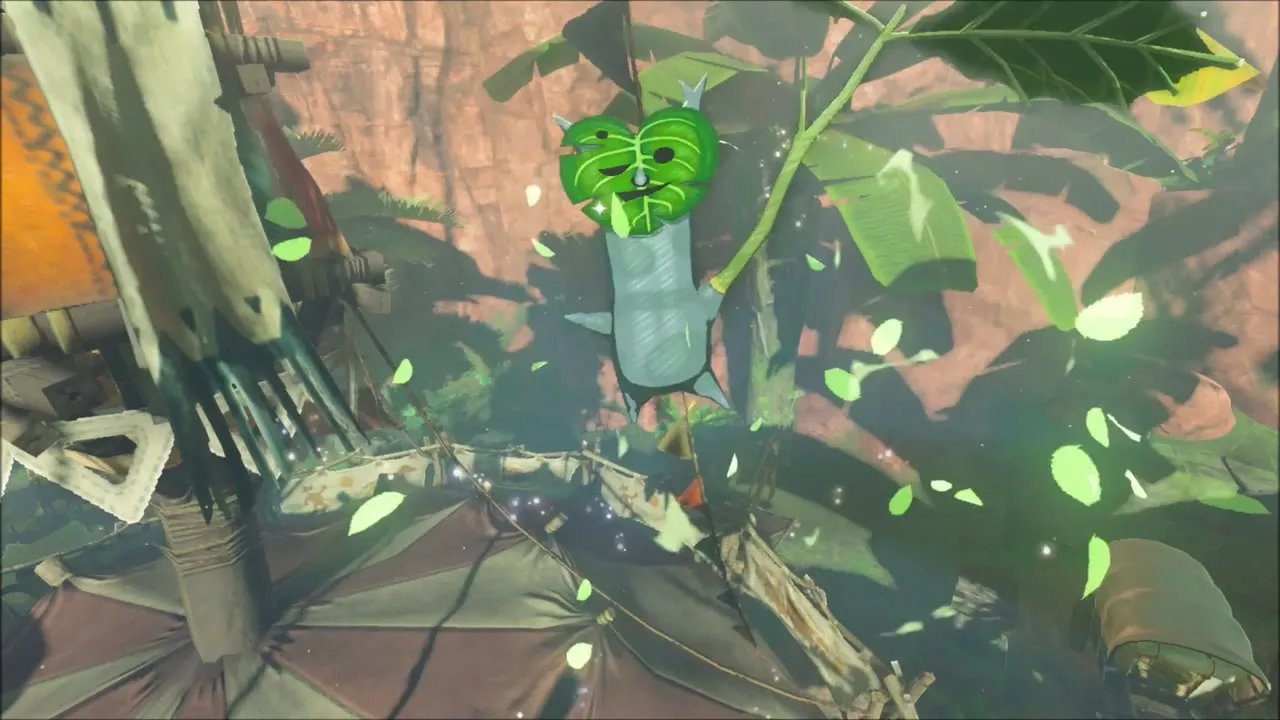
The tall horse-head tower in front of Lakeside Stable hides a Korok seed. Stand on the wooden platform beside it and hit the horse head’s open mouth with something that bursts into flame; once the fire goes off, the Korok shakes loose from the leaves next to the tower and hands over its seed. On the map this is the seed at (1552, 3529), right on top of the stable.


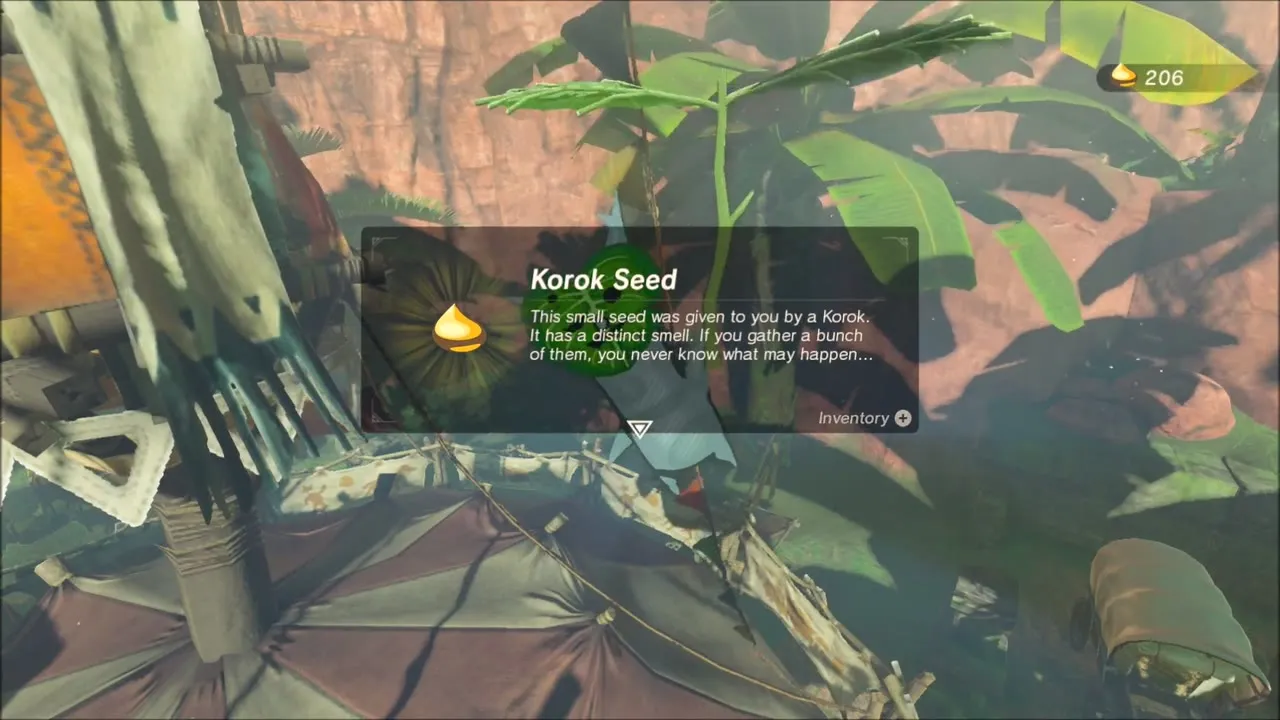
Selling gems to Beedle
Beedle, the traveling merchant, has set up beside the stable with his huge backpack. He buys gemstones, so this is a good place to sell off spare Opal and similar ore.
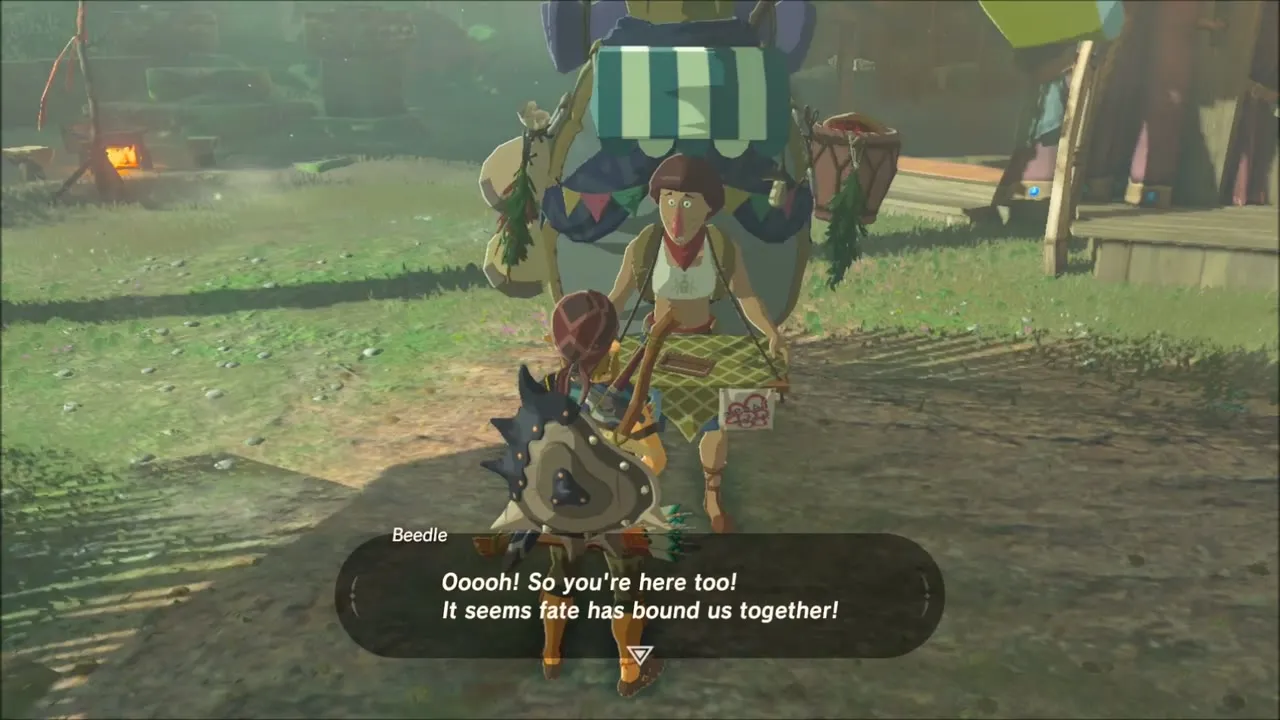
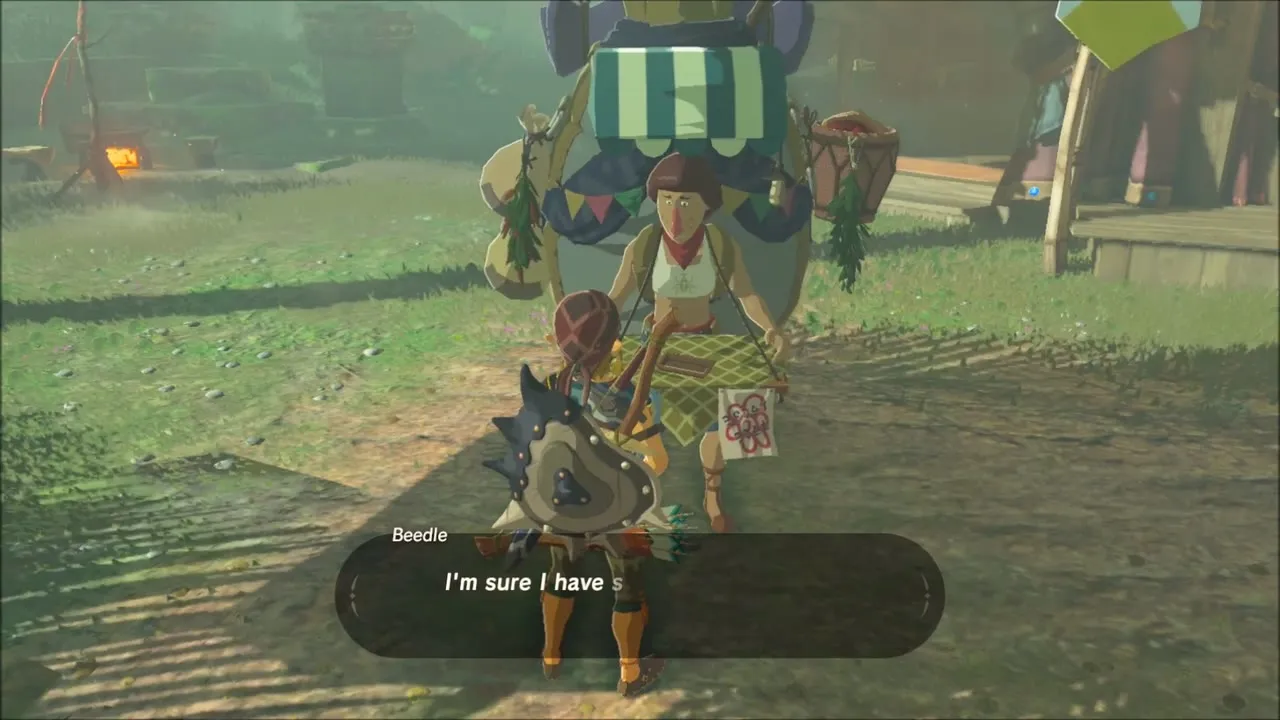
Thunder Magnet: remove the axe from the stable roof
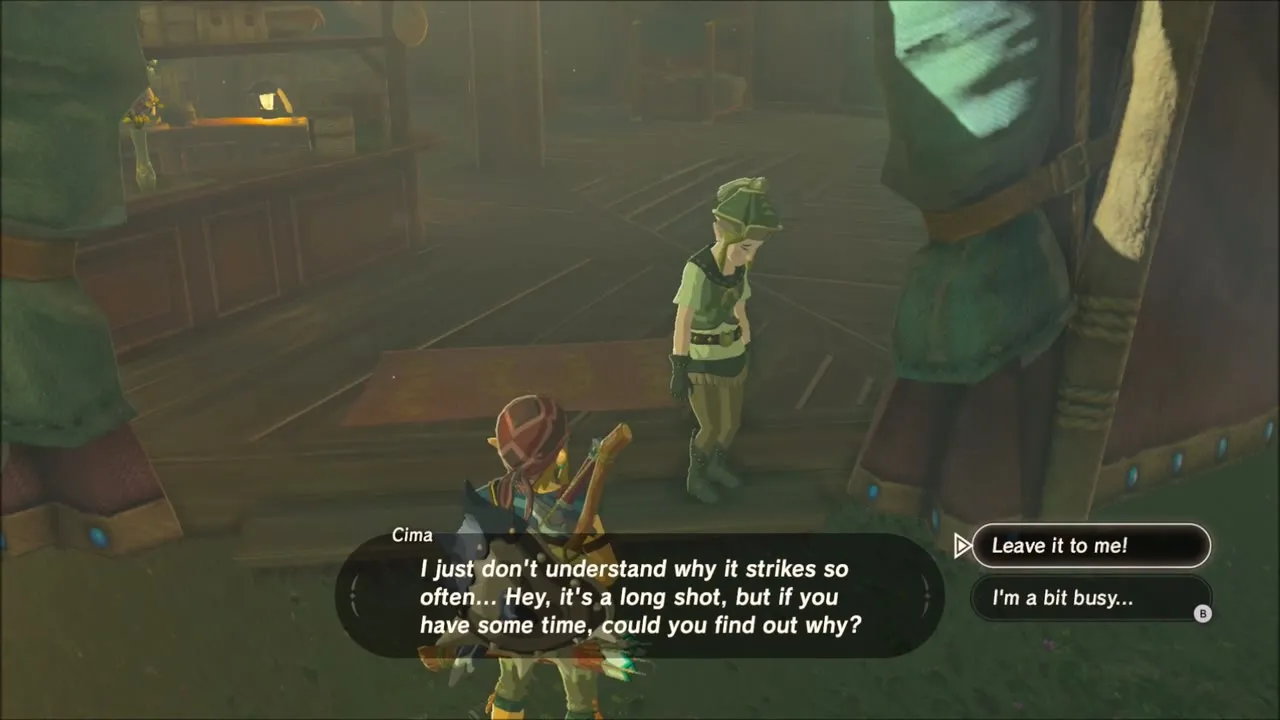
Talk to Cima, who stands near the stalls and frets that lightning keeps hitting the stable, and agree to find out why. The culprit is the Woodcutter’s Axe lodged in the horse head. Climb the front tower and up onto the head, pick up the axe, then bring it down to Cima for the Rubber Helm, a piece of armor that resists electricity. The full walkthrough is on the Thunder Magnet page.
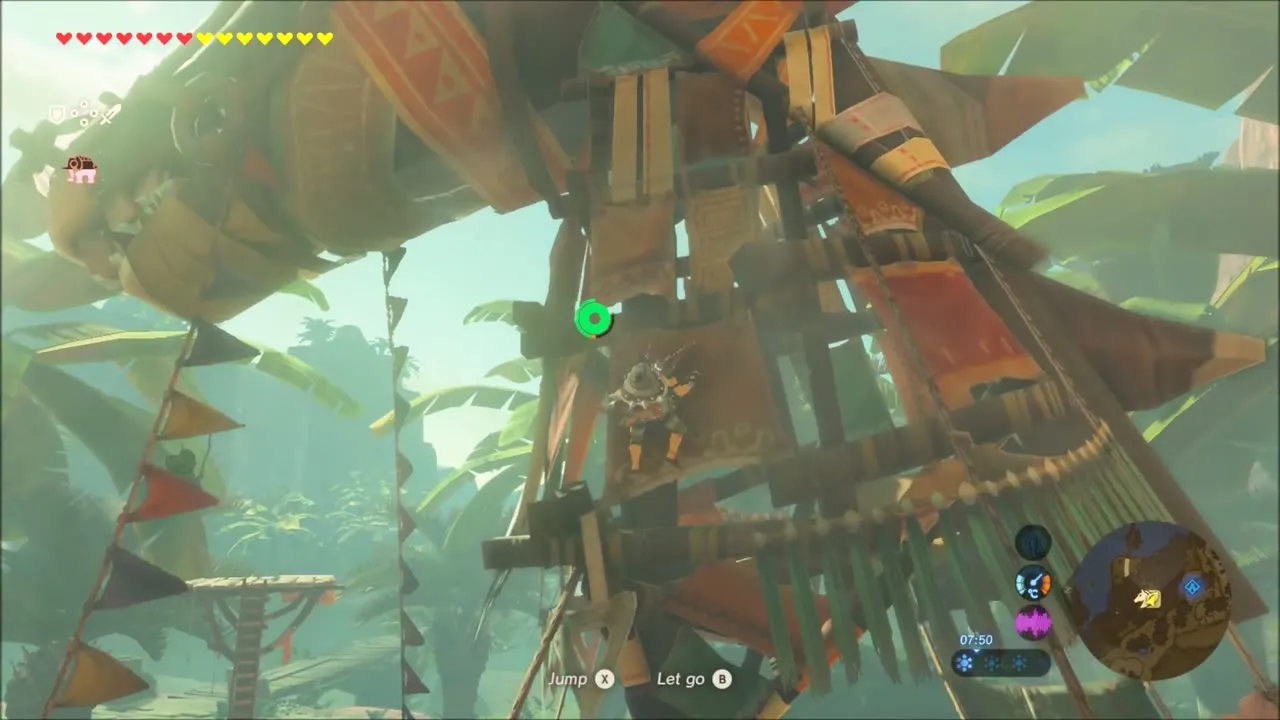


Cooking with Mighty Bananas
Mighty Bananas grow all over this stretch of the coast. Pick a handful and cook them in a campfire pot near the stable to make attack-boosting dishes before the long trek over Ubota Point.

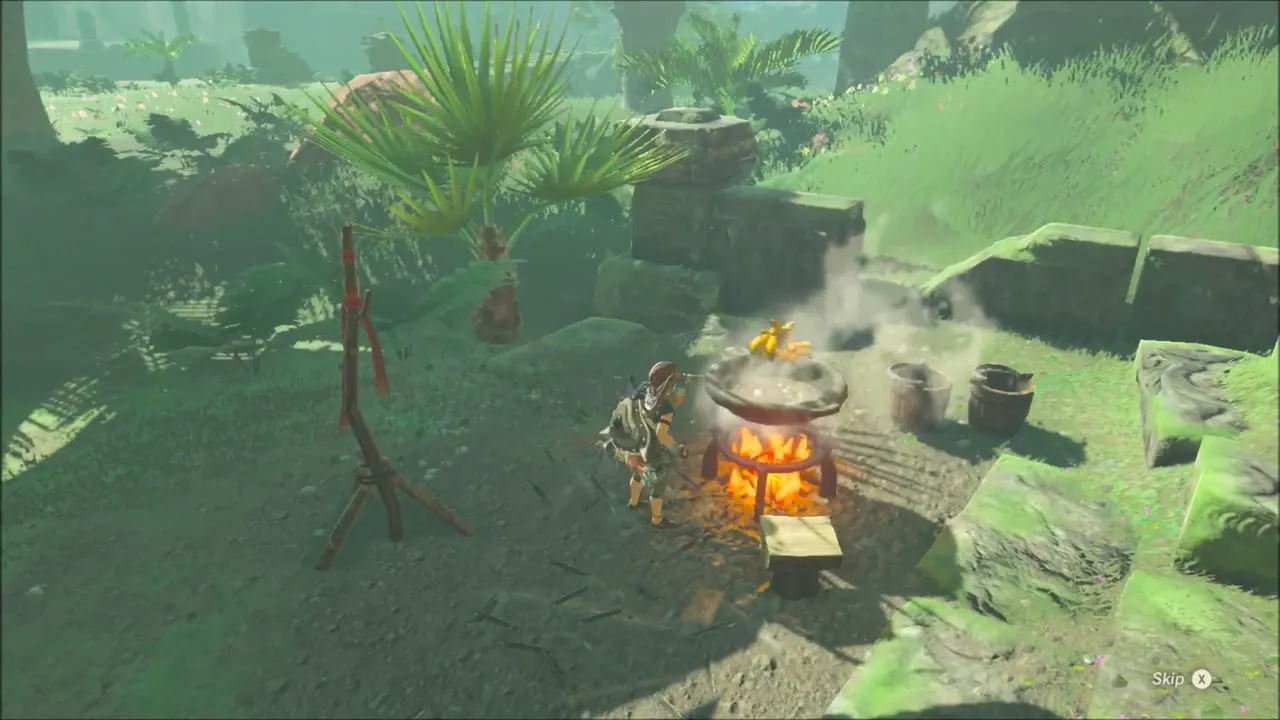

Ubota Point: Korok Seeds, Chests and Rassla Lake
Korok seeds on the Ubota Point plateau
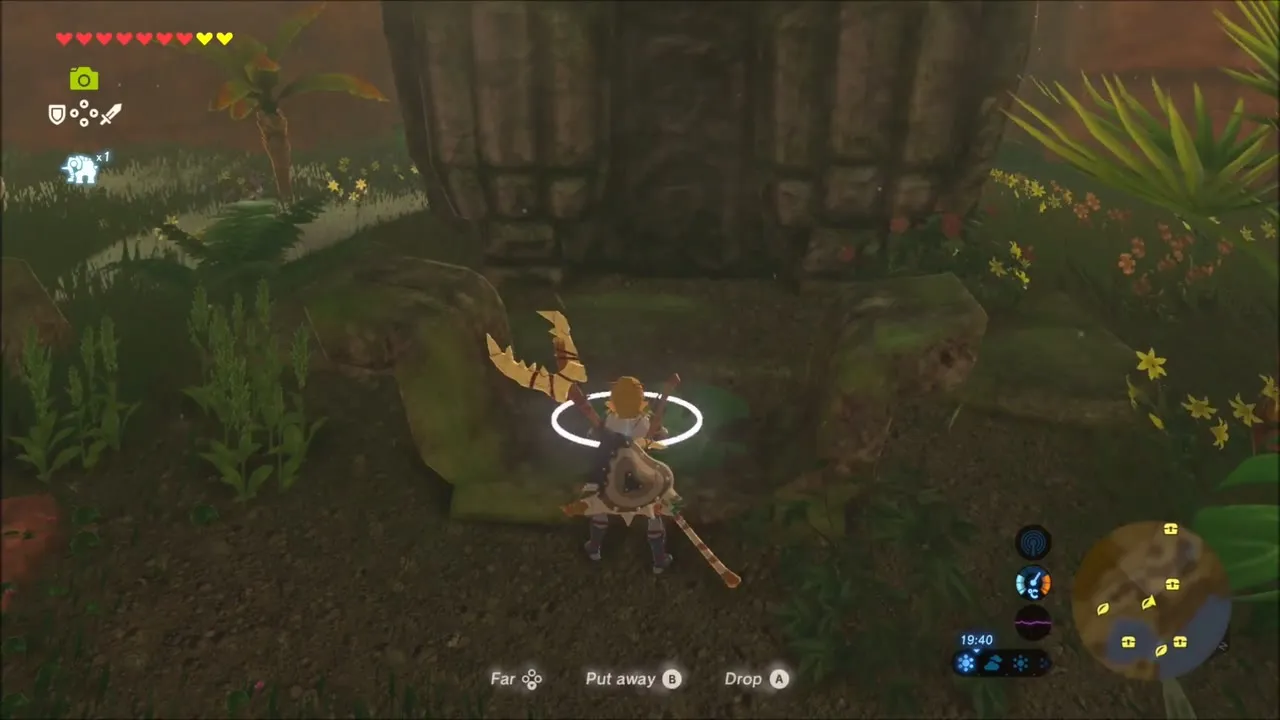
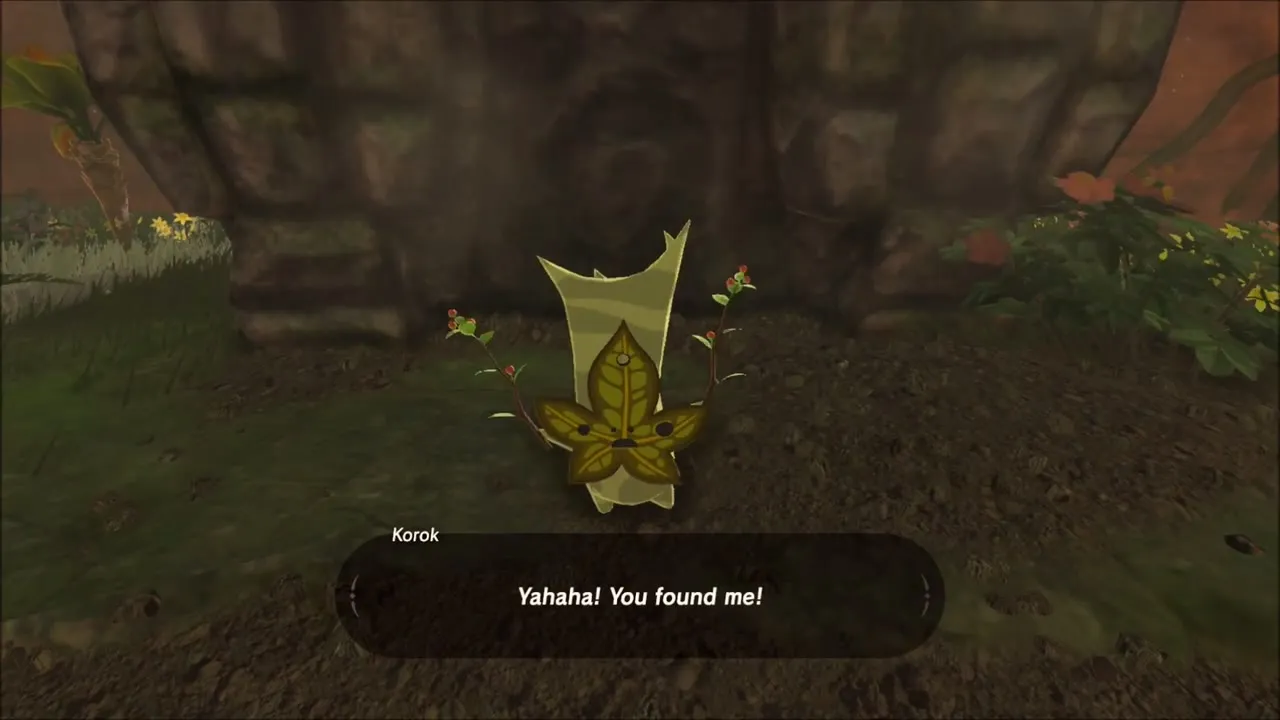
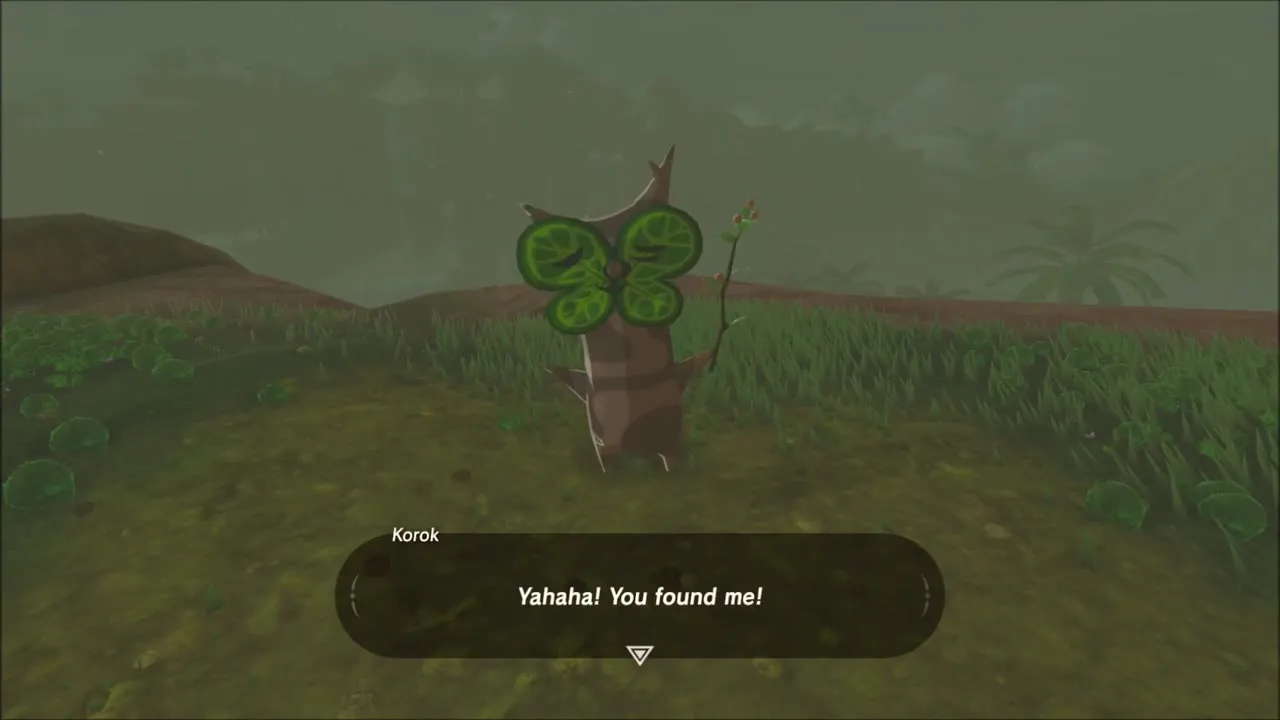
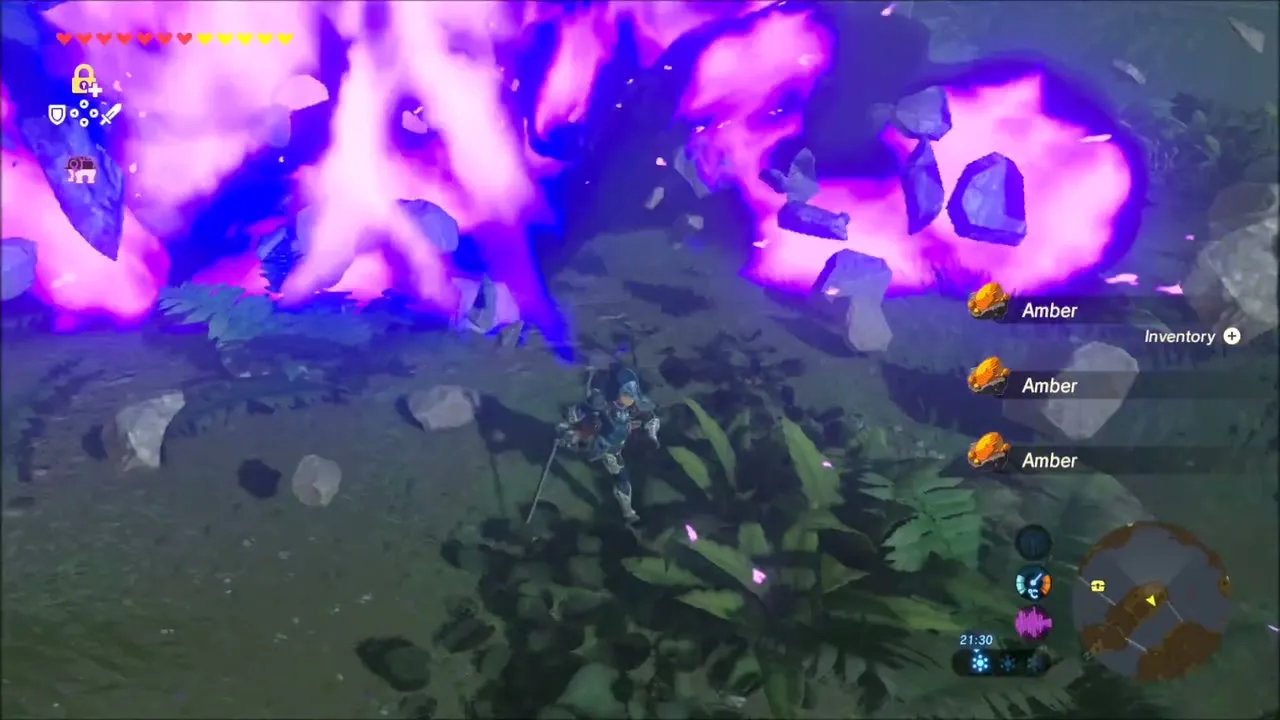
Work along the Ubota Point plateau, where Bokoblins and Lizalfos patrol the grass and a few chests sit near the cliff edge. Among the ruined stone pillars there is a Korok at the foot of the stonework, so walk up and speak to it for its seed. Farther along the plateau, a chest beside some barrels holds a Soldier’s Claymore, and a Korok hides on the hillside right next to it. Lift the loose boulder lying in the grass and the Korok pops out.



Rassla Lake: chest on the water
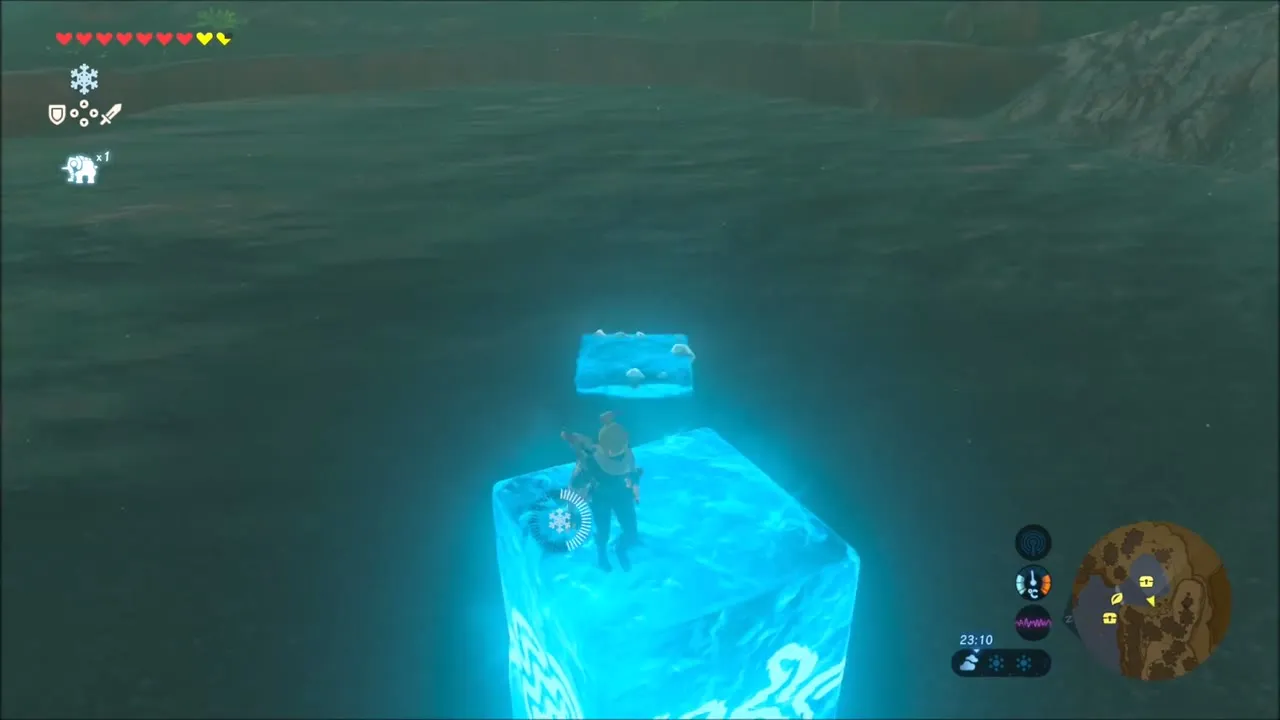
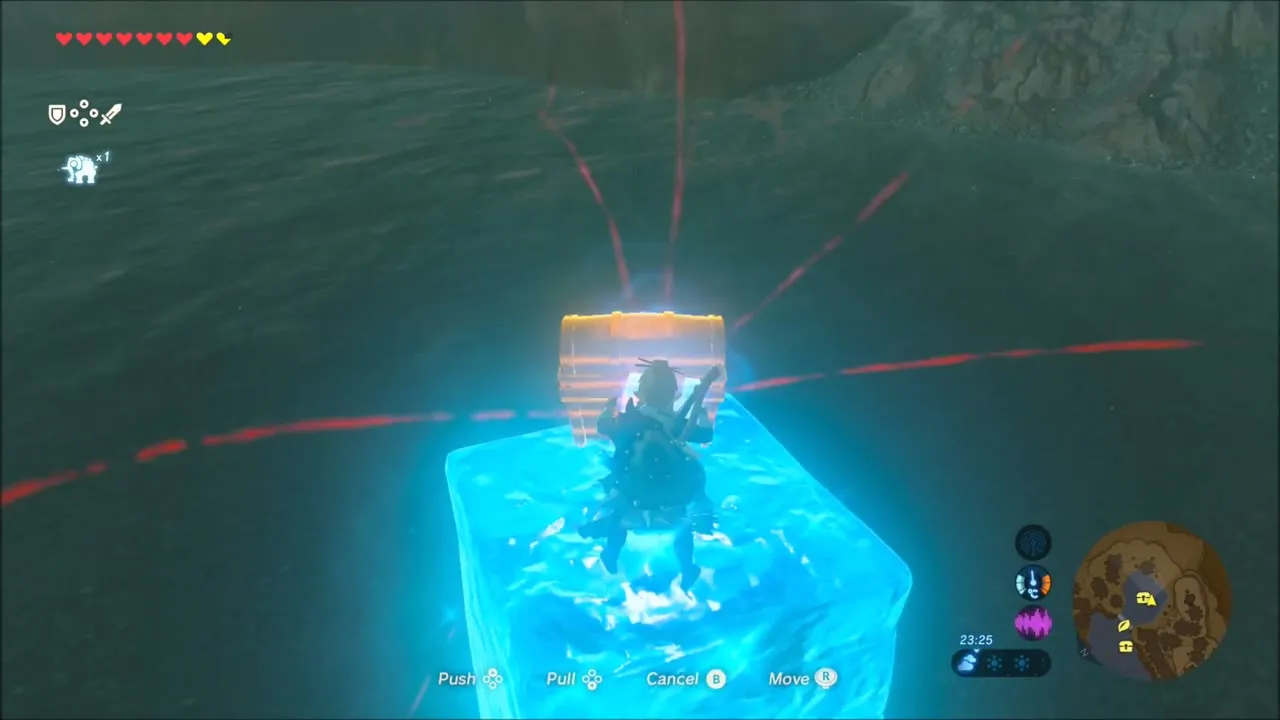
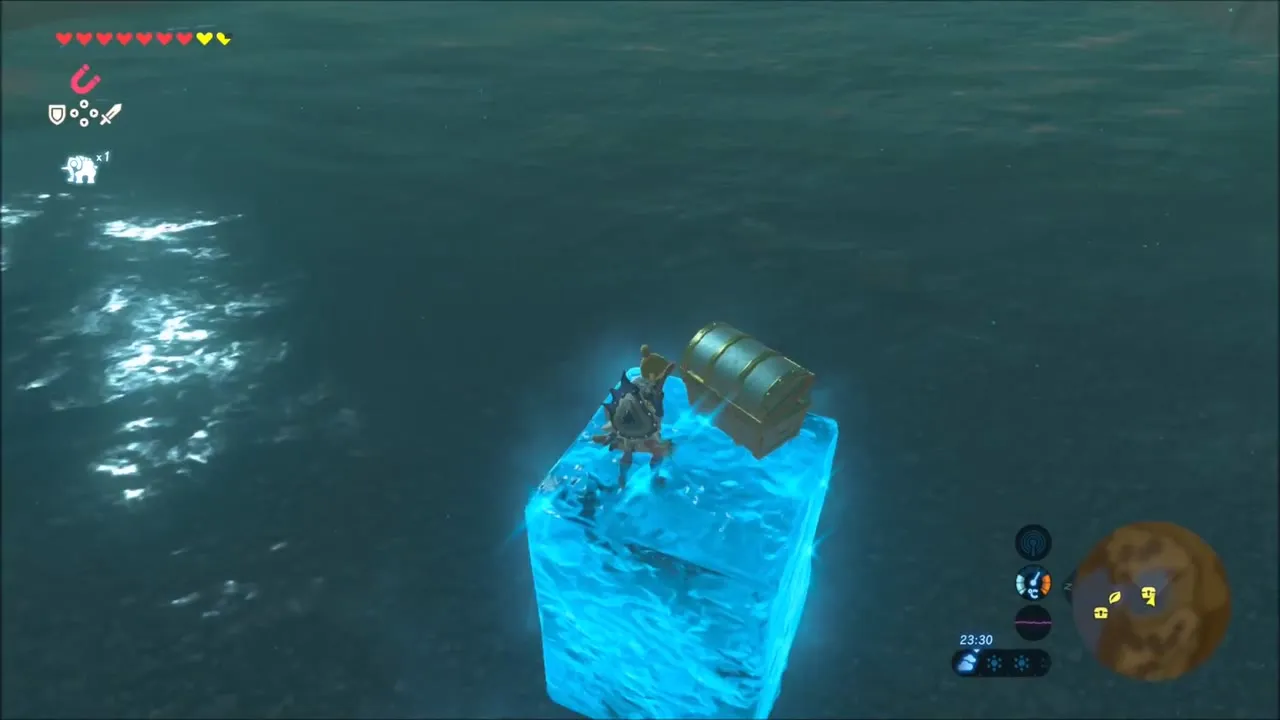
Out on the water near Rassla Lake, a chest sits in the lake. Swim close, raise a Cryonis block under it and climb the ice to open the chest from above.
Korok seed in the stone circle south of Rassla Lake
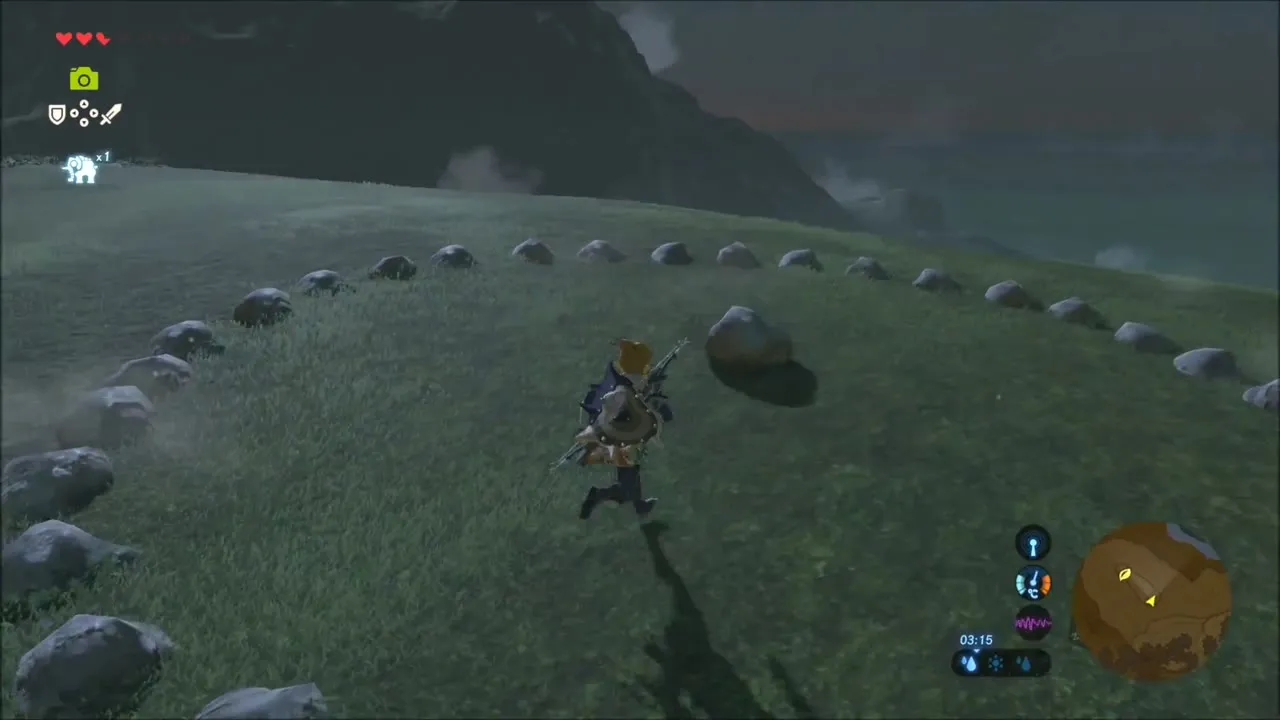
On the open grass between Rassla Lake and Aris Beach, a ring of small stones lies on the ground. Pick up a loose rock from the pile beside it, carry it into the middle of the circle and put it down, and the Korok appears.


South Coast: Rock Arch Korok and the Sea Camp
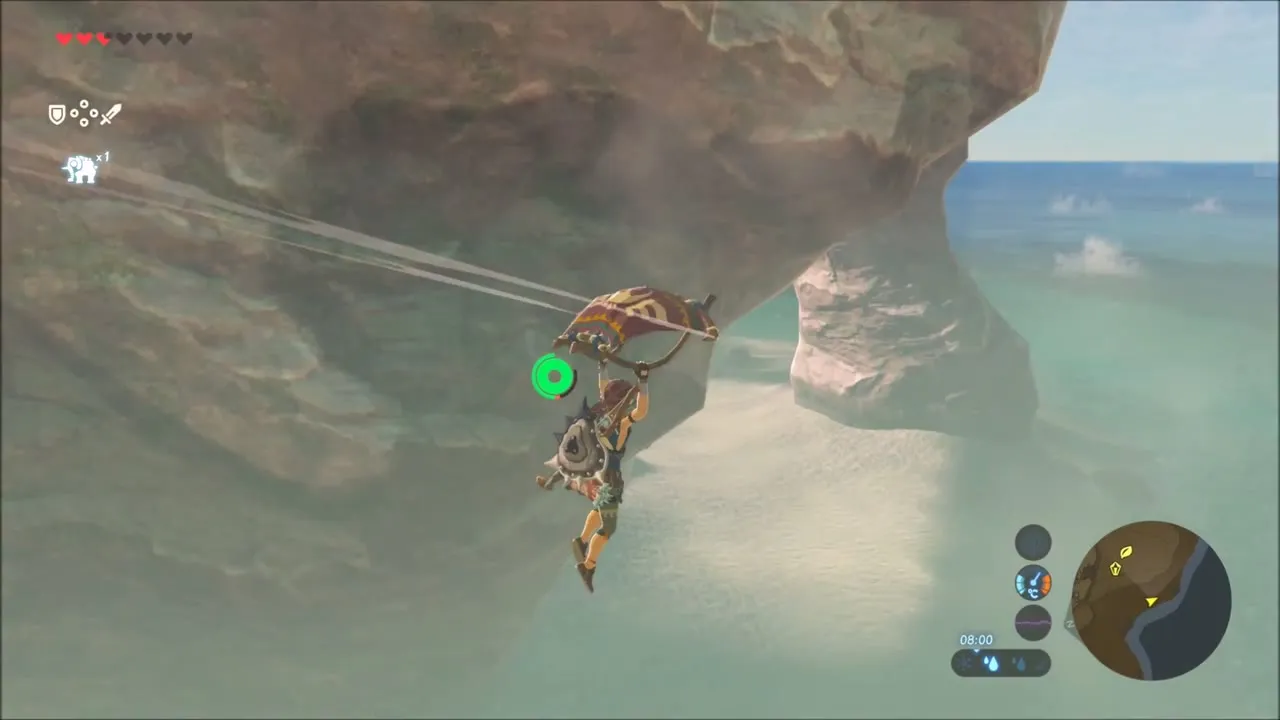
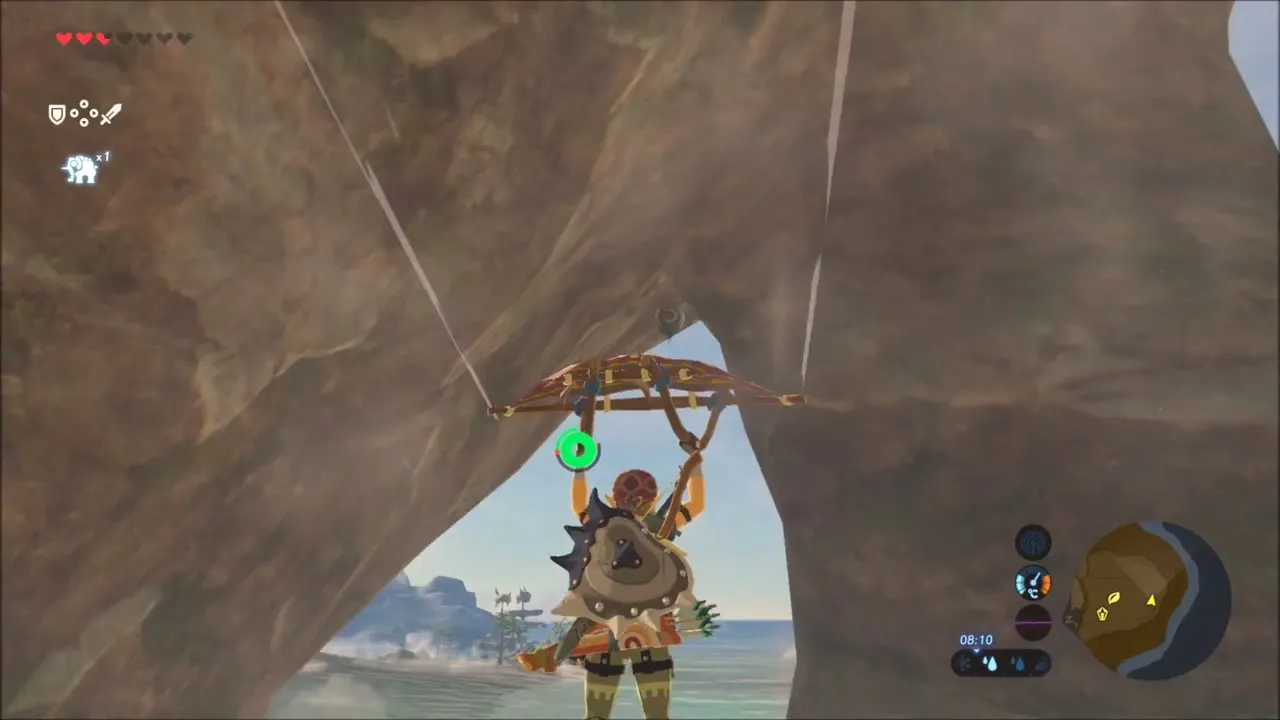
Korok seed under the rock arch
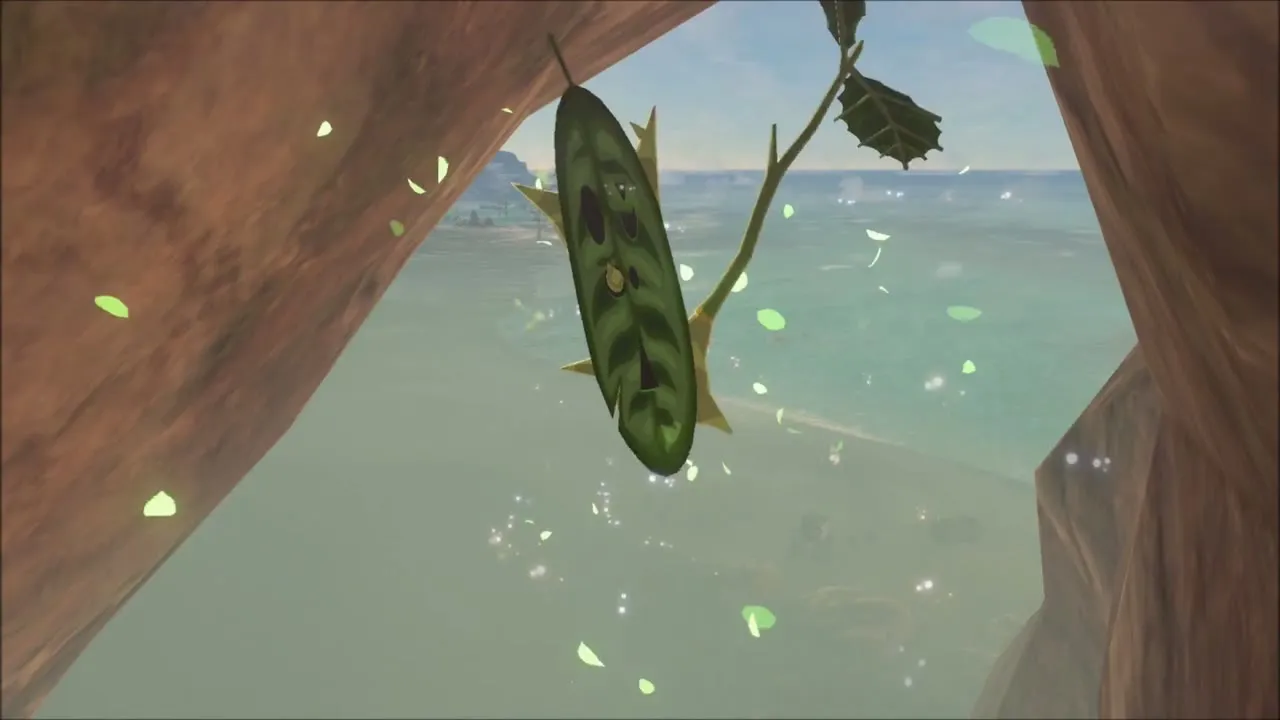
Follow the cliff to the south coast and glide down toward the natural stone arch over the sand. A Korok hangs from the underside of the arch, so get in beneath it to claim the seed. The rock face beside the arch also holds ore that breaks open with bomb arrows and drops gems.

Raiding the Bokoblin boardwalk camp
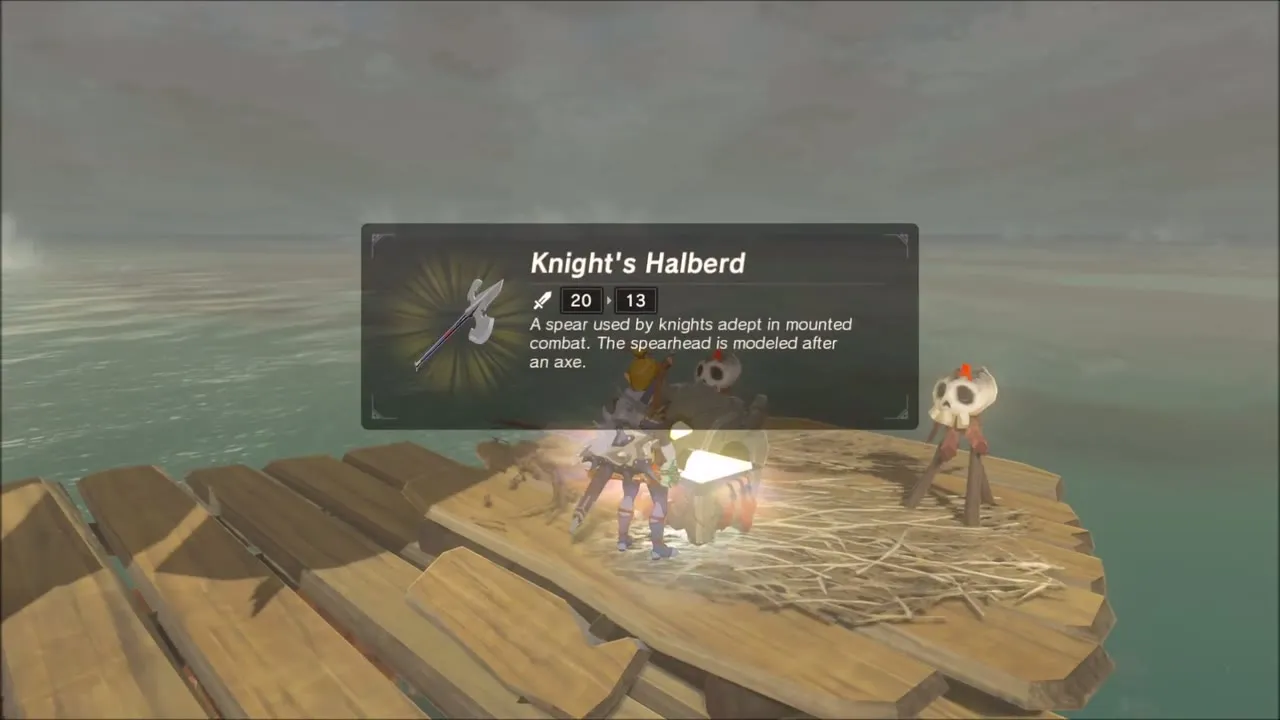
Offshore from the beach, a Bokoblin camp is built from wooden rafts and boardwalks over the shallows. Sneak and fight your way across the planks: a chest in the camp pays out a Silver Rupee, and the chest on the raft where the monsters sleep holds a Knight’s Halberd. Other chests sit out on the water, so raise Cryonis blocks beneath them to reach them. One holds a Soldier’s Broadsword and another a Soldier’s Claymore.
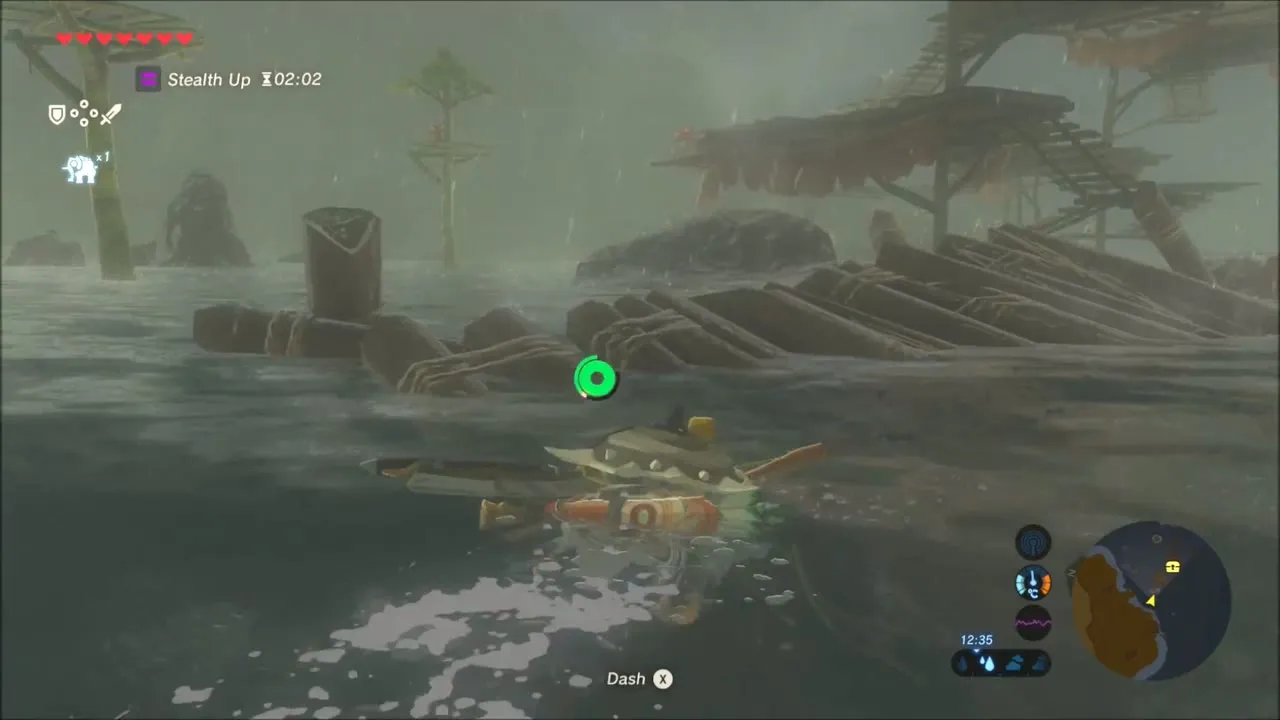
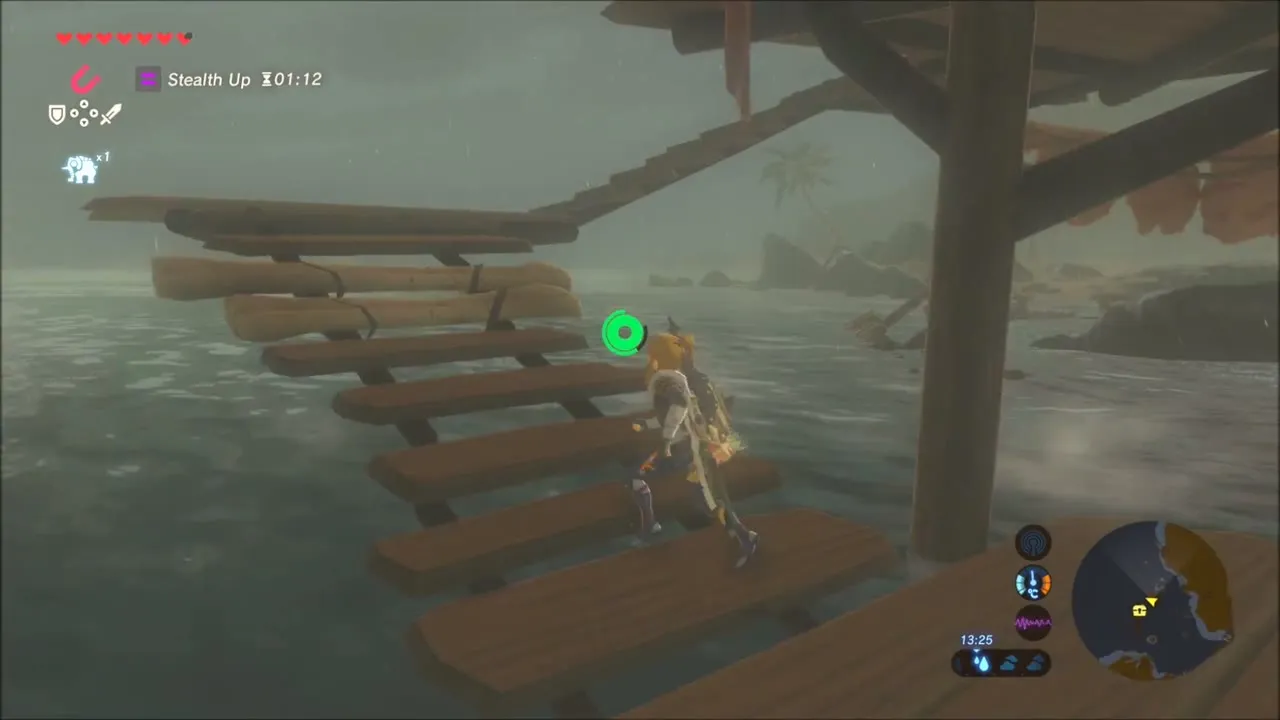
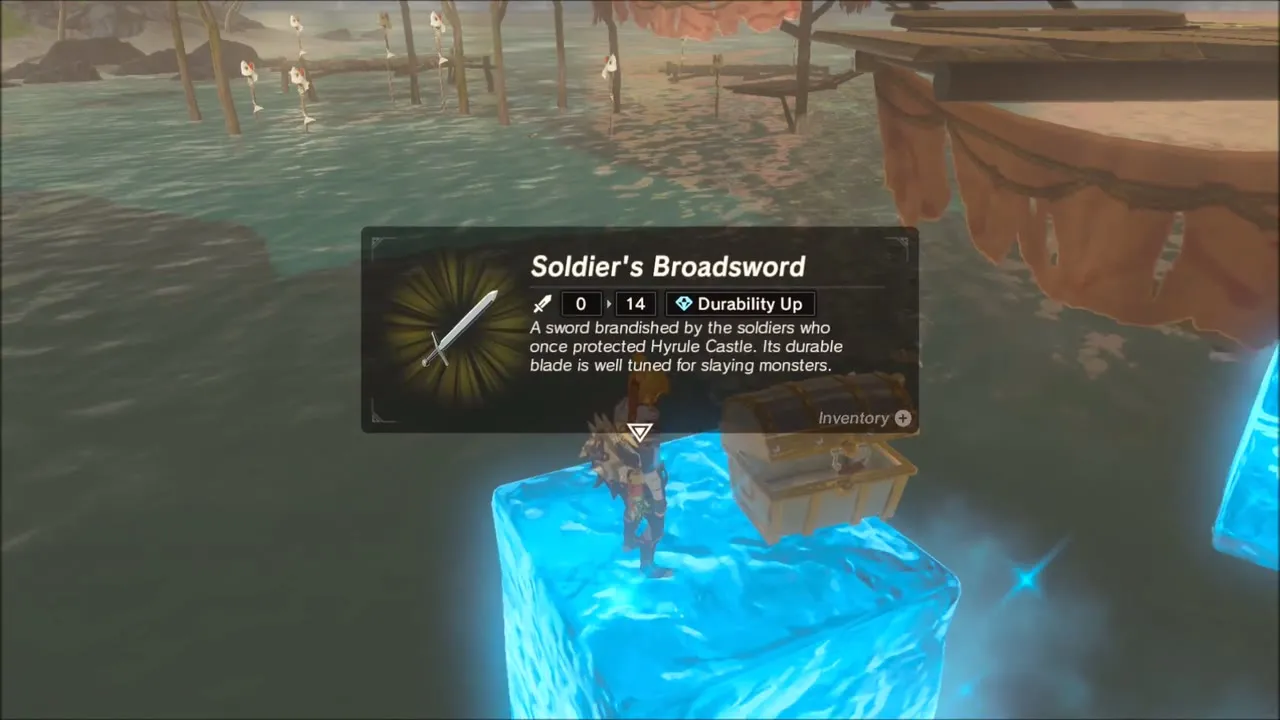
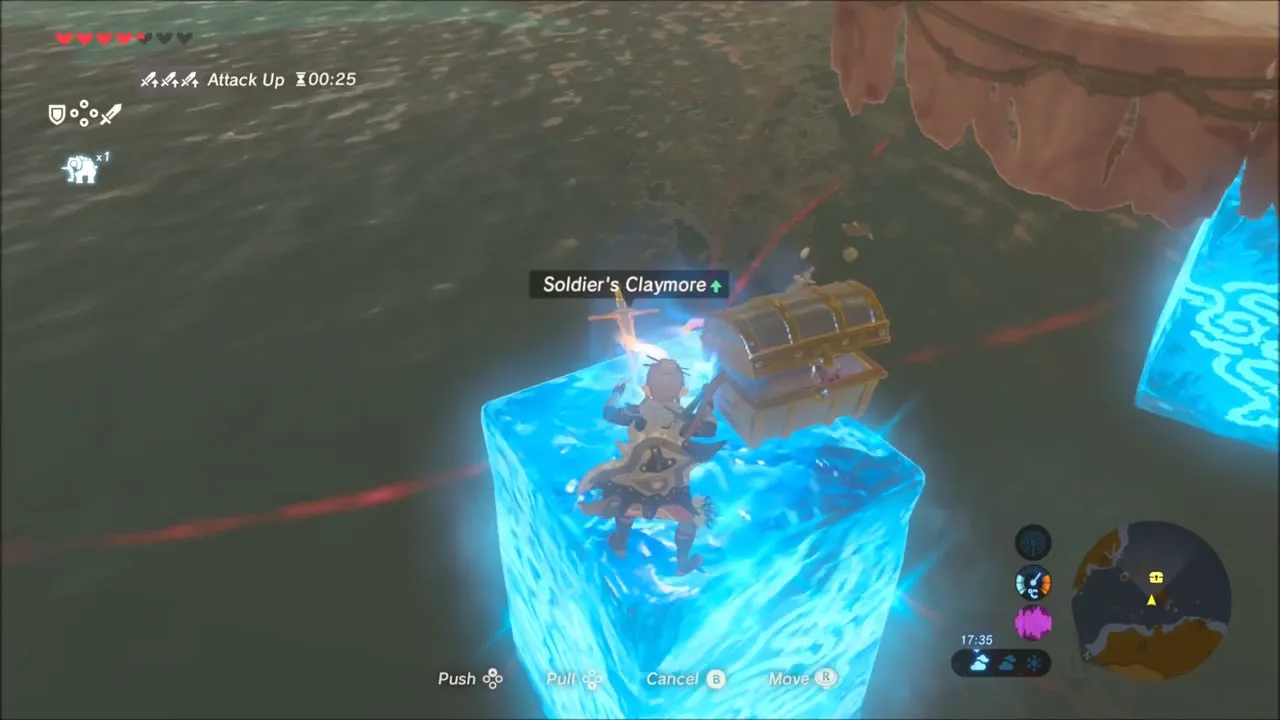
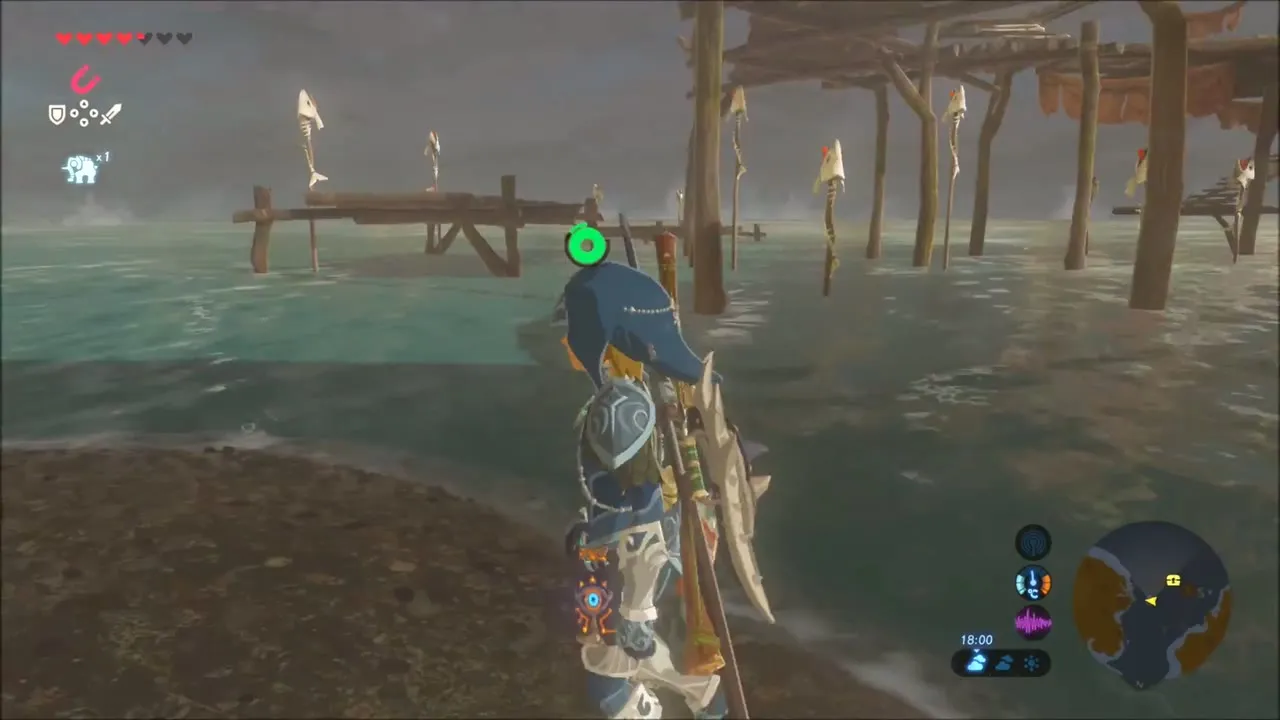
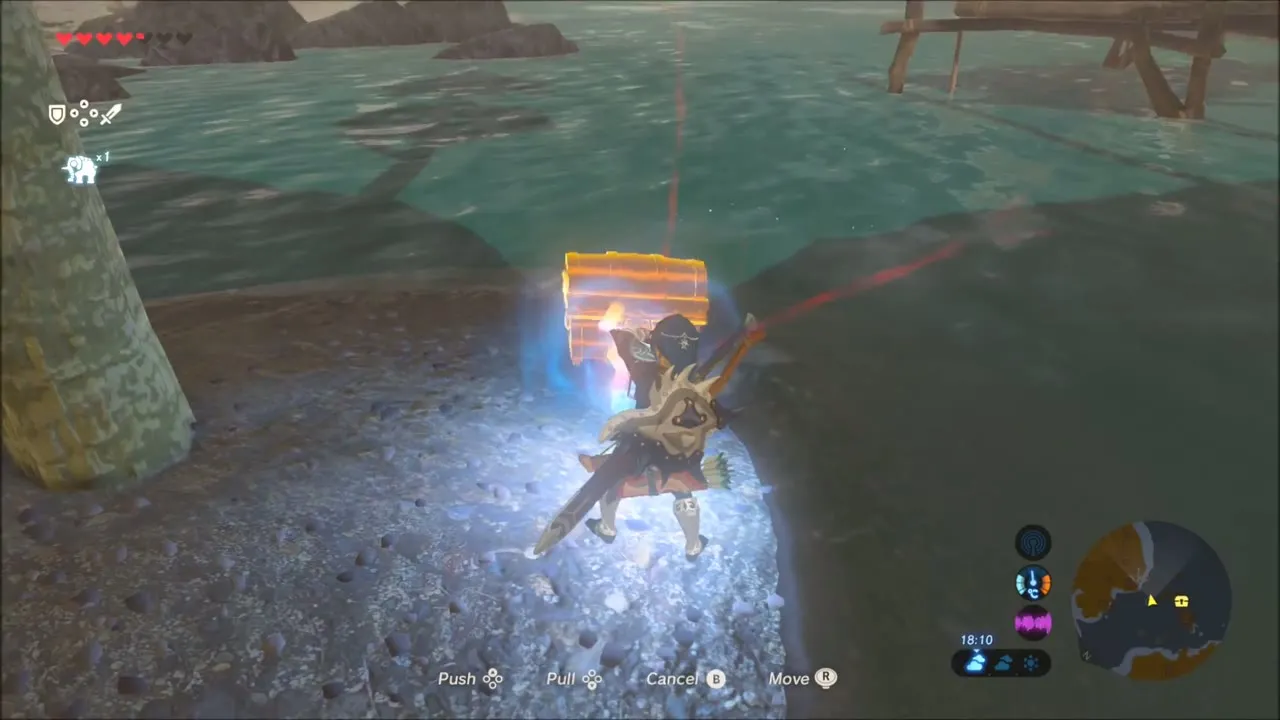
Afterward, follow the shore: a last chest sits on a small spit of land at the water’s edge.

Lake Floria and Floria Bridge: Sunken Chests and Korok Seeds
Sunken chests in Lake Floria
Swim out beneath Floria Bridge in Zora armor. The lake is full of chests on rocks and in the shallows, so keep Magnesis and Cryonis ready. Raise Cryonis blocks to reach chests on rocky outcrops and crates, and use Magnesis to haul the metal ones to the surface. The chests here give Opal and Topaz among other loot, so keep a few inventory slots free.
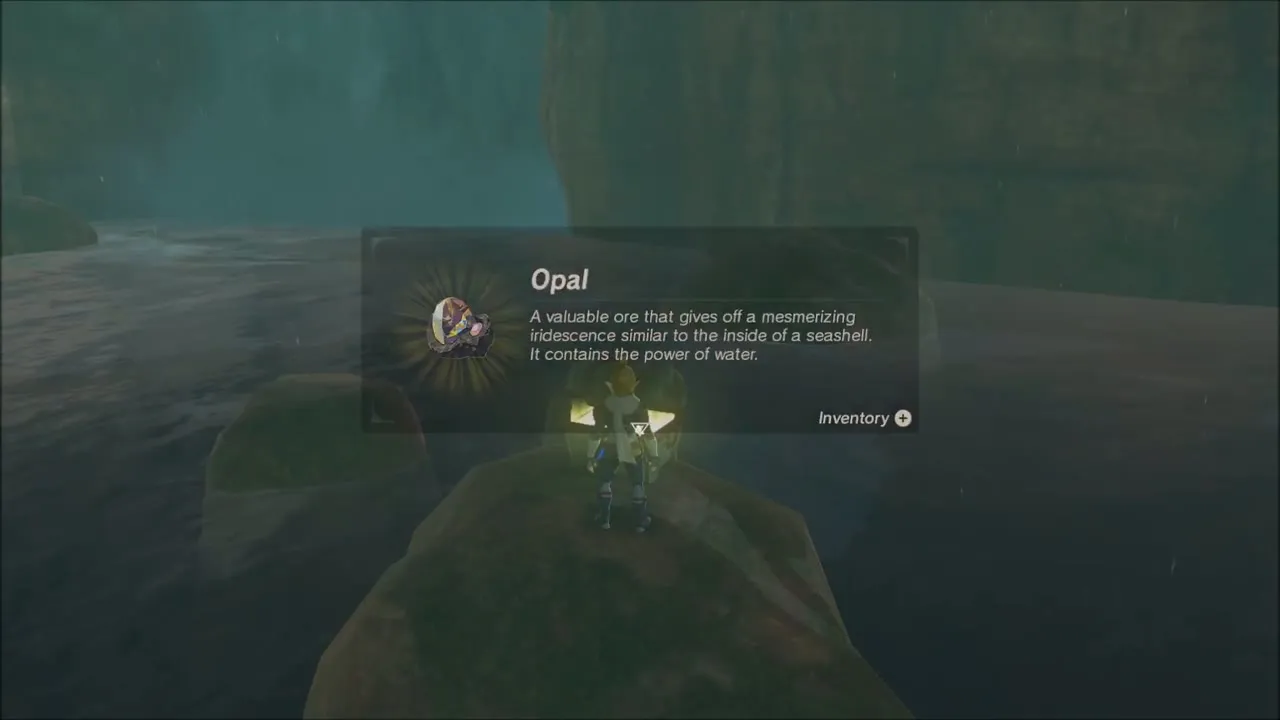

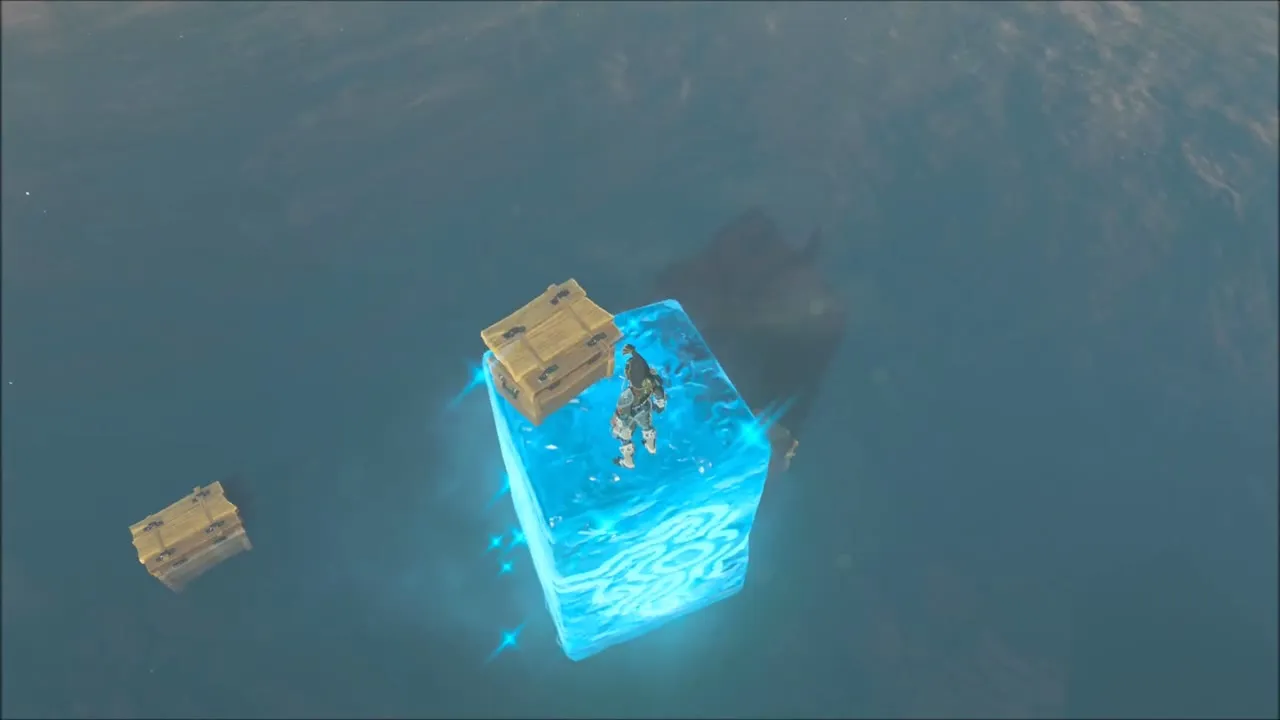
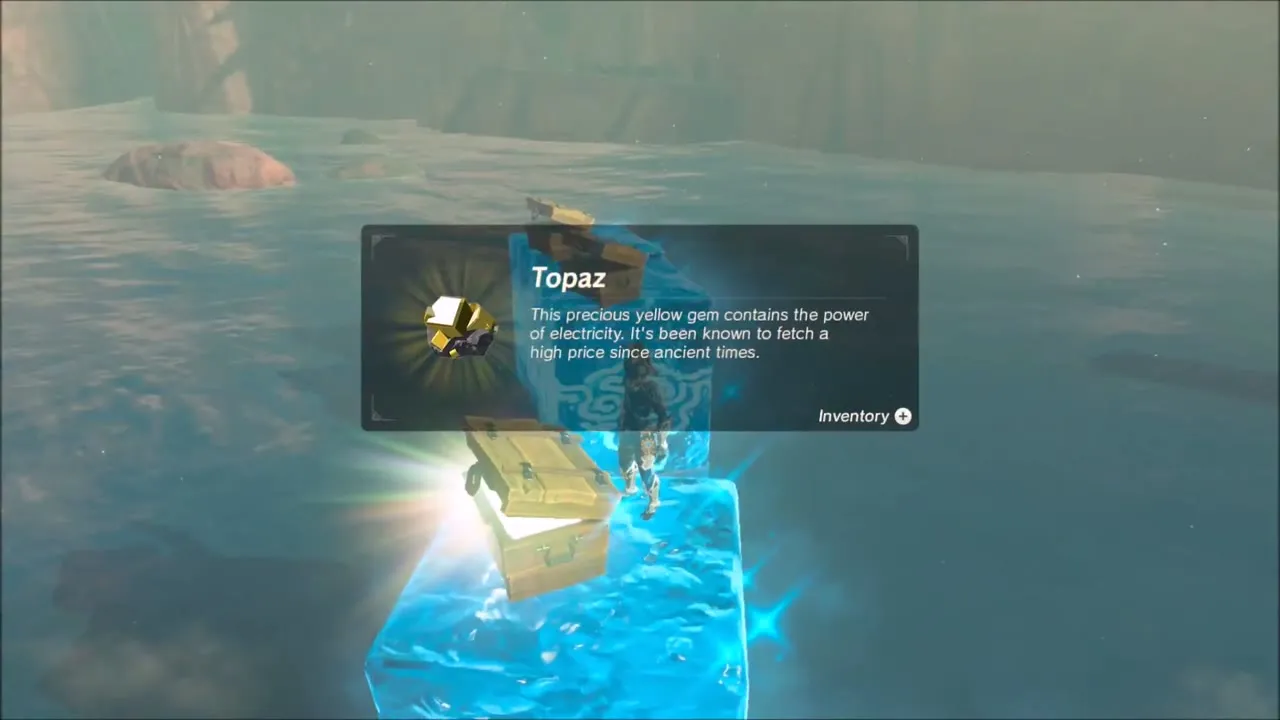
A Korok also waits on the rocks beside the lake. Stack Cryonis ice blocks up to it and speak to it for the seed.


Korok seeds near Floria Bridge
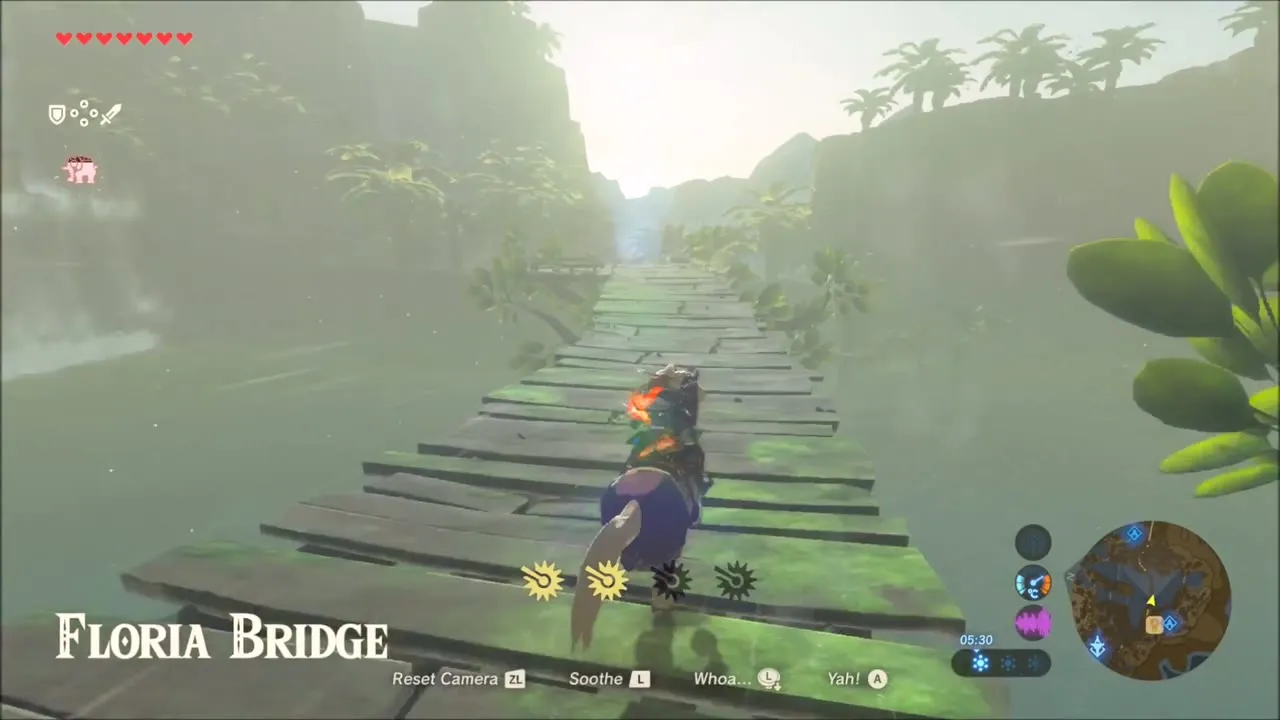
From the wooden walkway beside the falls, round green pods float in the air in front of the waterfall. Stand on the planks and shoot them with your bow; once they are down the Korok seed is released. A little farther along, a Korok sits among crumbled stonework: climb the palm trunk up to the ruins and take the seed.
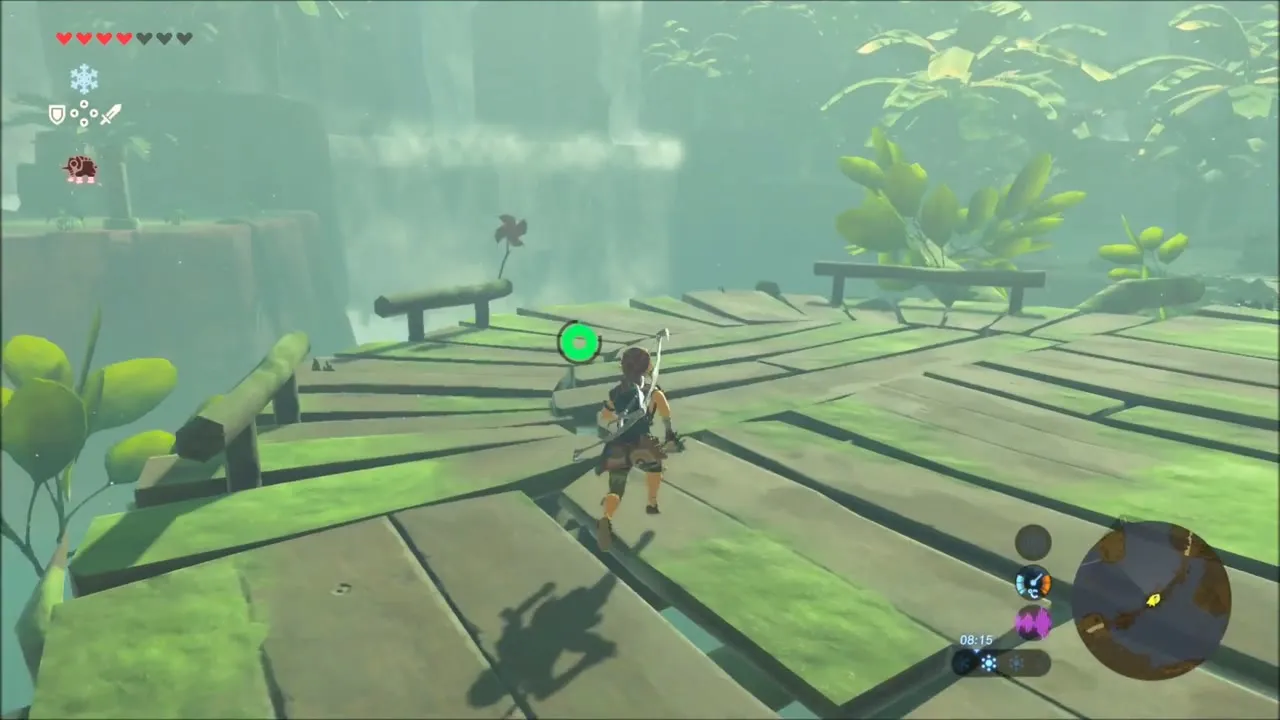


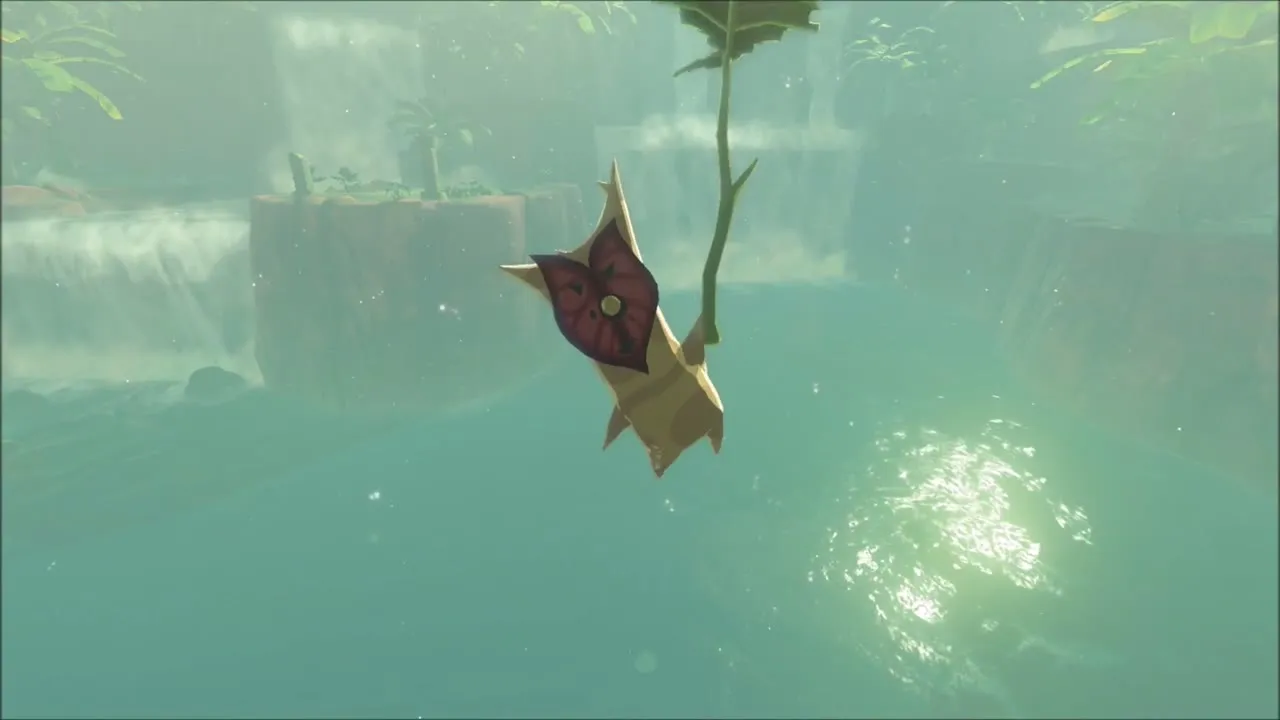
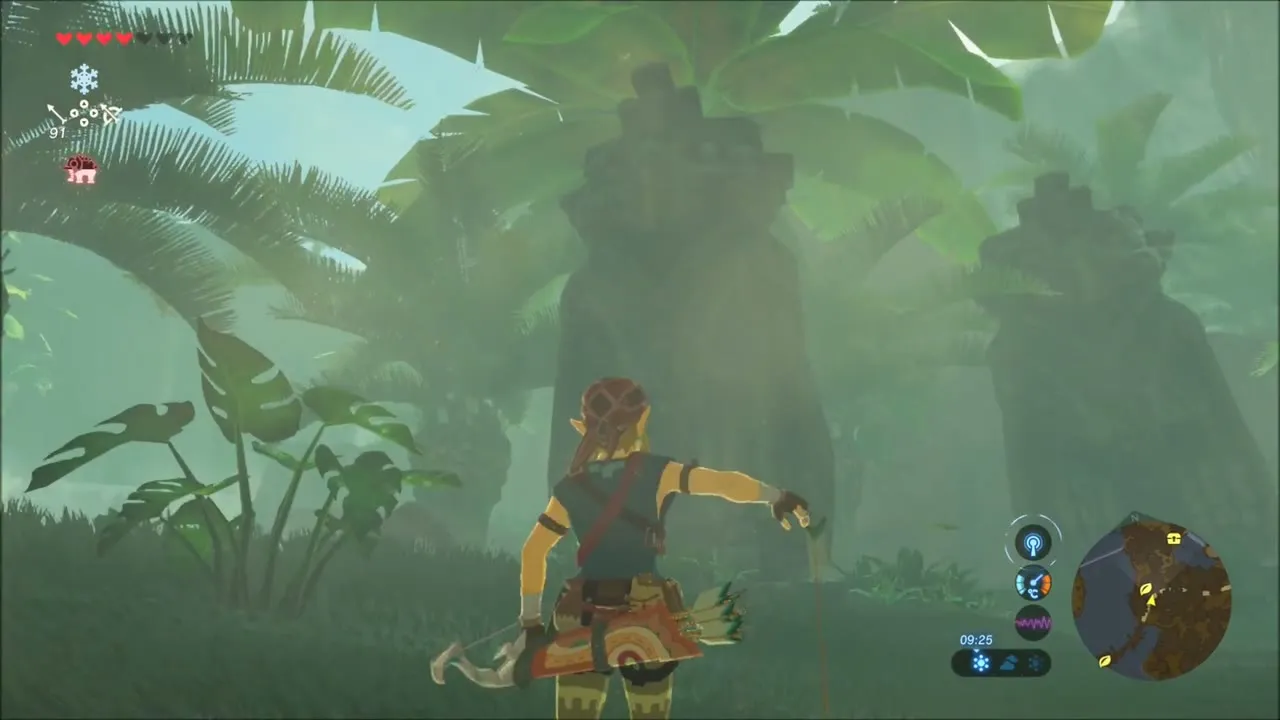
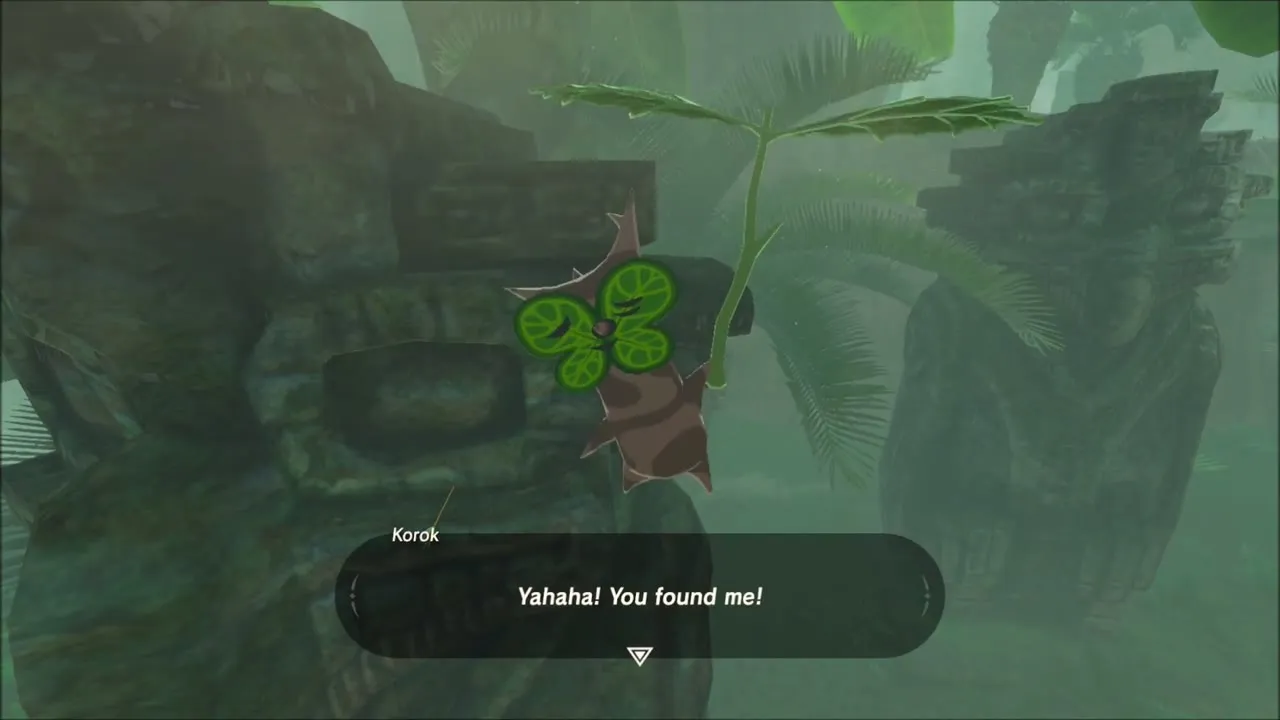
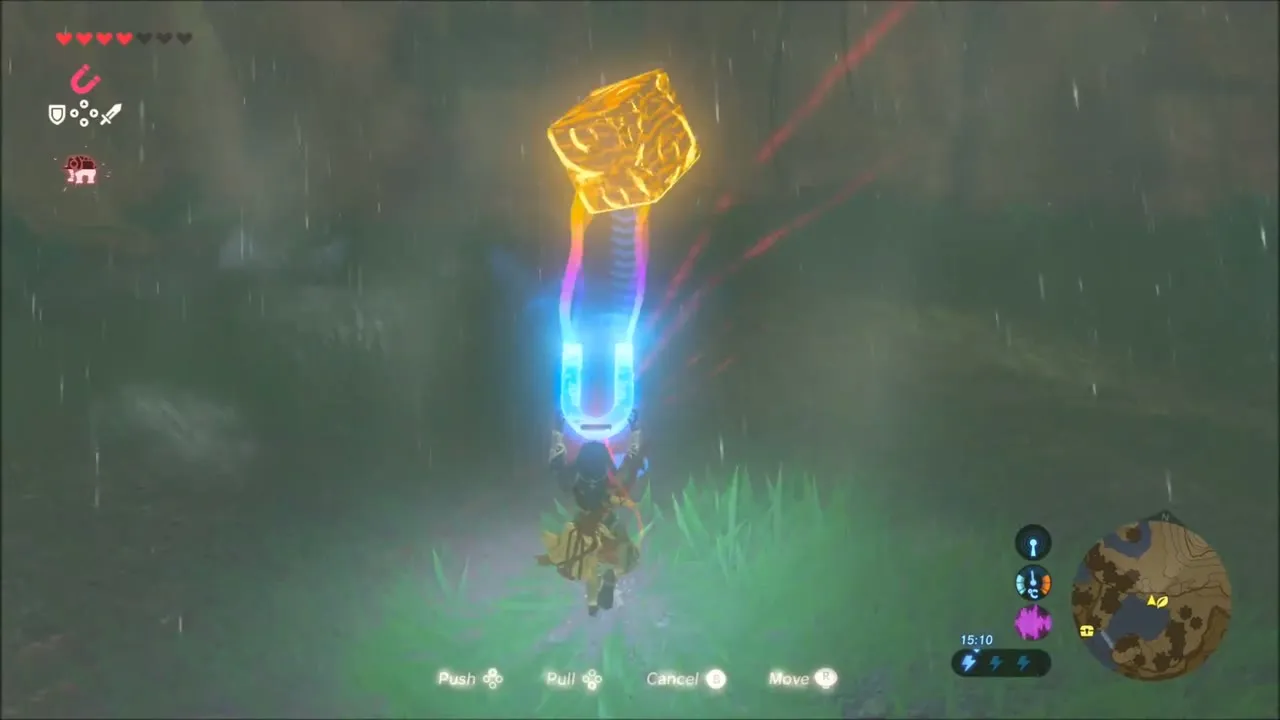
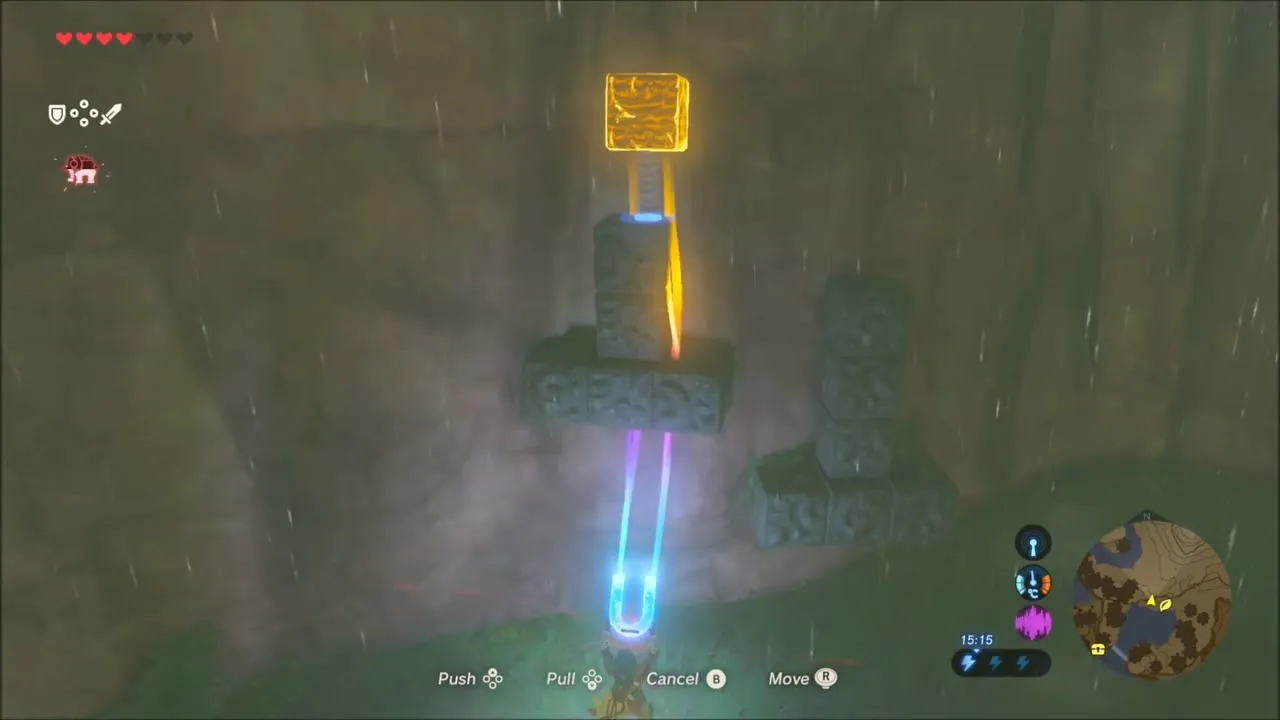
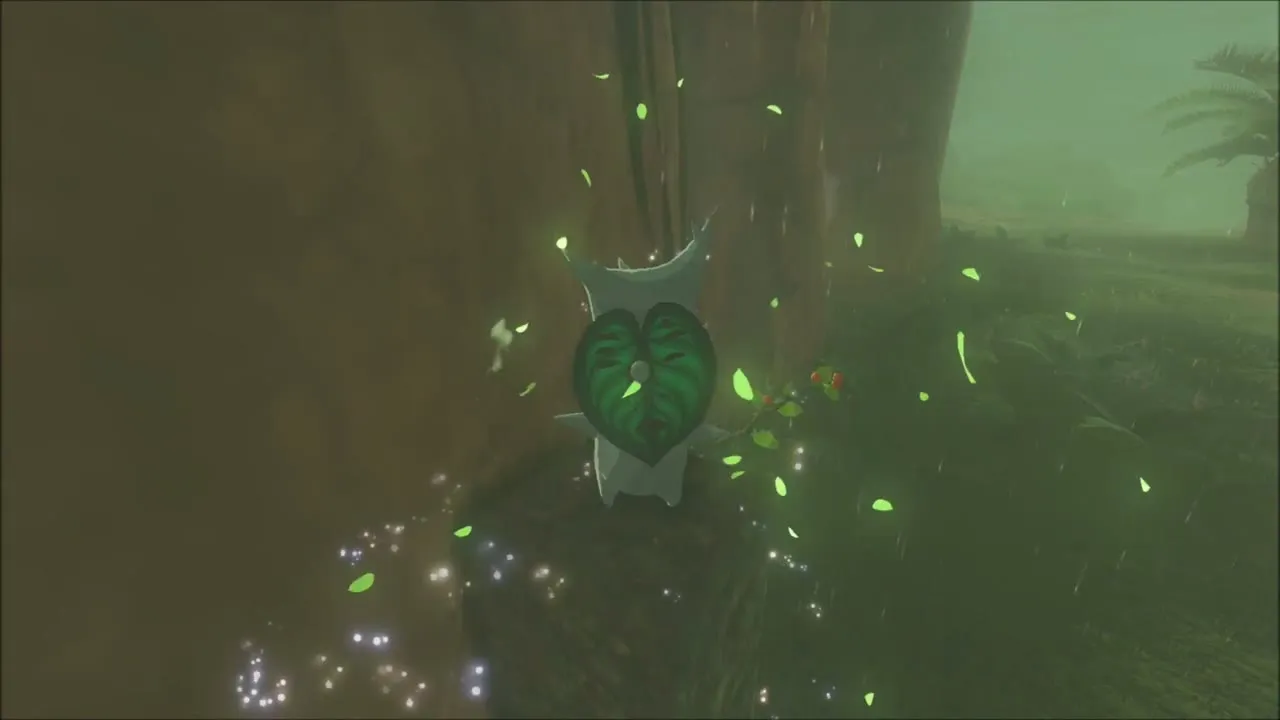
Beside Calora Lake, a metal block stands above a stone post. Use Magnesis on the block and move it into place, and the Korok comes out.
A Song of Storms and Qukah Nata Shrine
Meet Kass at Calora Lake
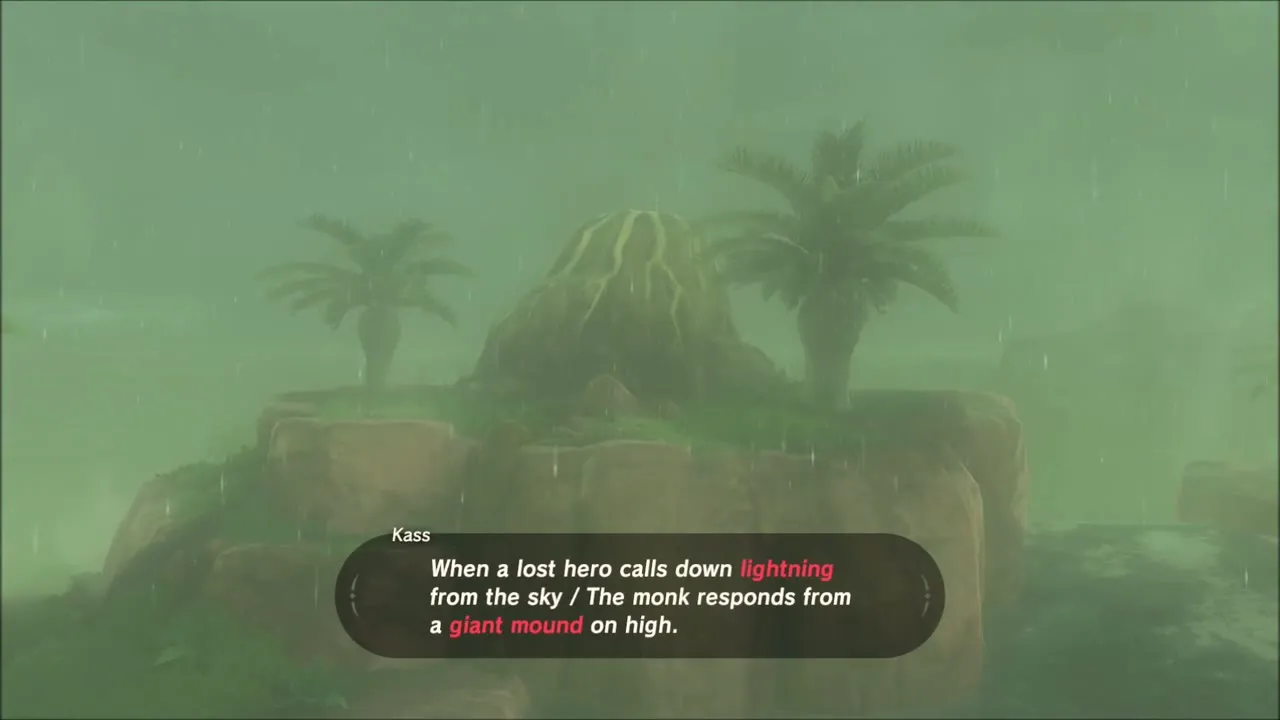
Head to Calora Lake and talk to Kass. His song speaks of a lost hero who calls down lightning from the sky, and the shrine quest A Song of Storms begins. The mound it points to is the large rock pile on the hill south of the lake.



Qukah Nata Shrine: lightning on the mound
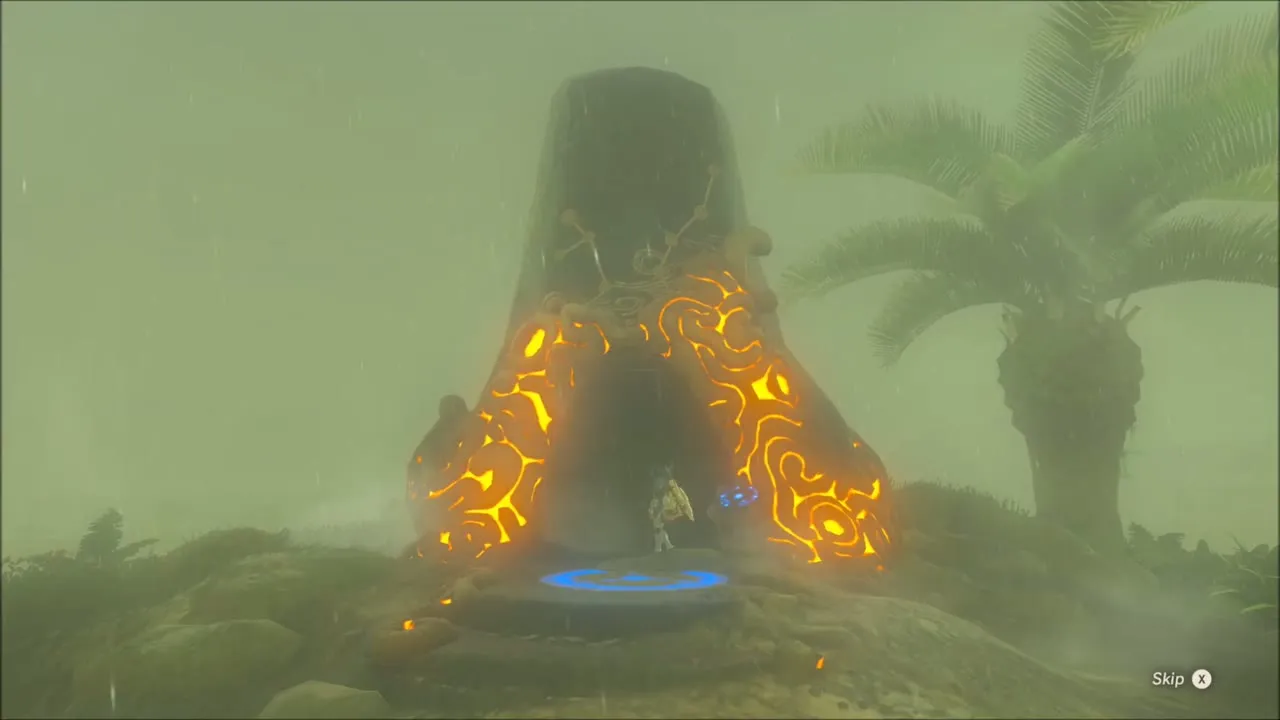
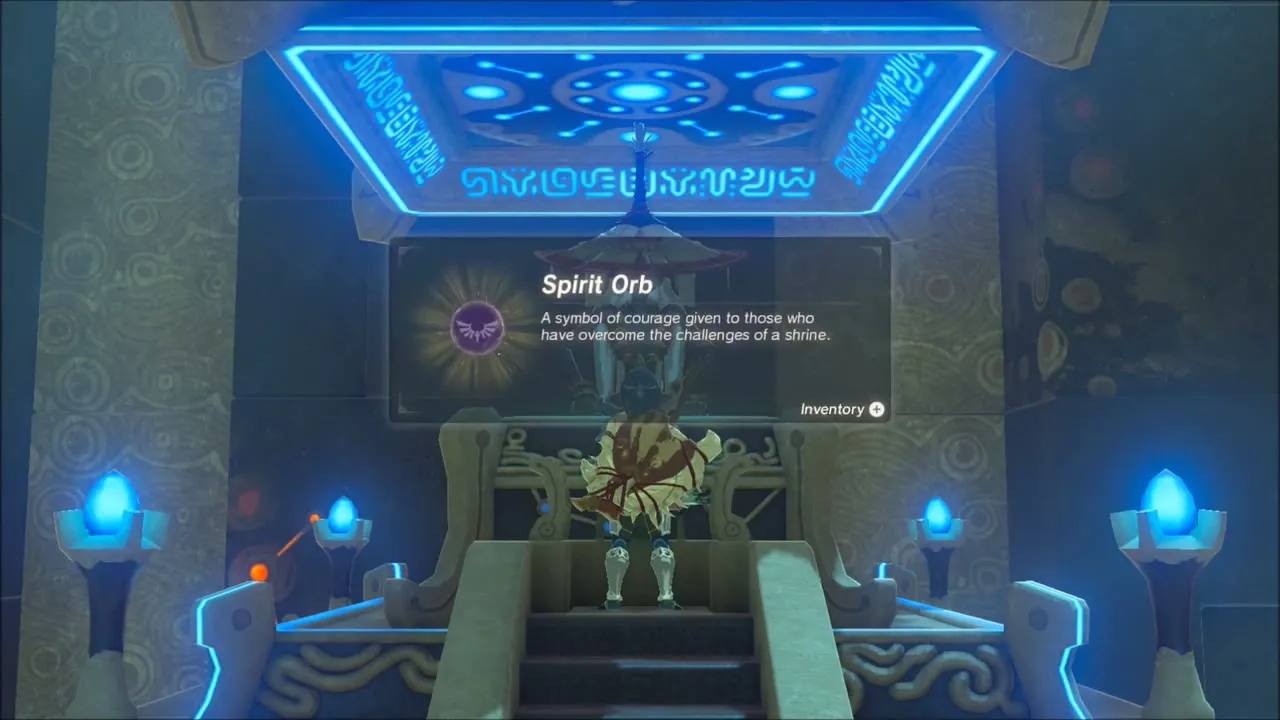
Climb to the top of the mound in the storm and put a metal weapon on it, then glide off before the next bolt falls. Lightning strikes the metal and the rocks burst apart to reveal the shrine entrance at (2008, 3285). Inside, Qukah Nata’s Blessing is a blessing shrine with no trial: walk to the monk and take the Spirit Orb. The chest holds Rubber Tights. See the Qukah Nata Shrine page for the details.


North of Riola Spring: Korok Seeds, a Lynel and Pond Chests
Korok seeds in the northern woods and rocky slopes
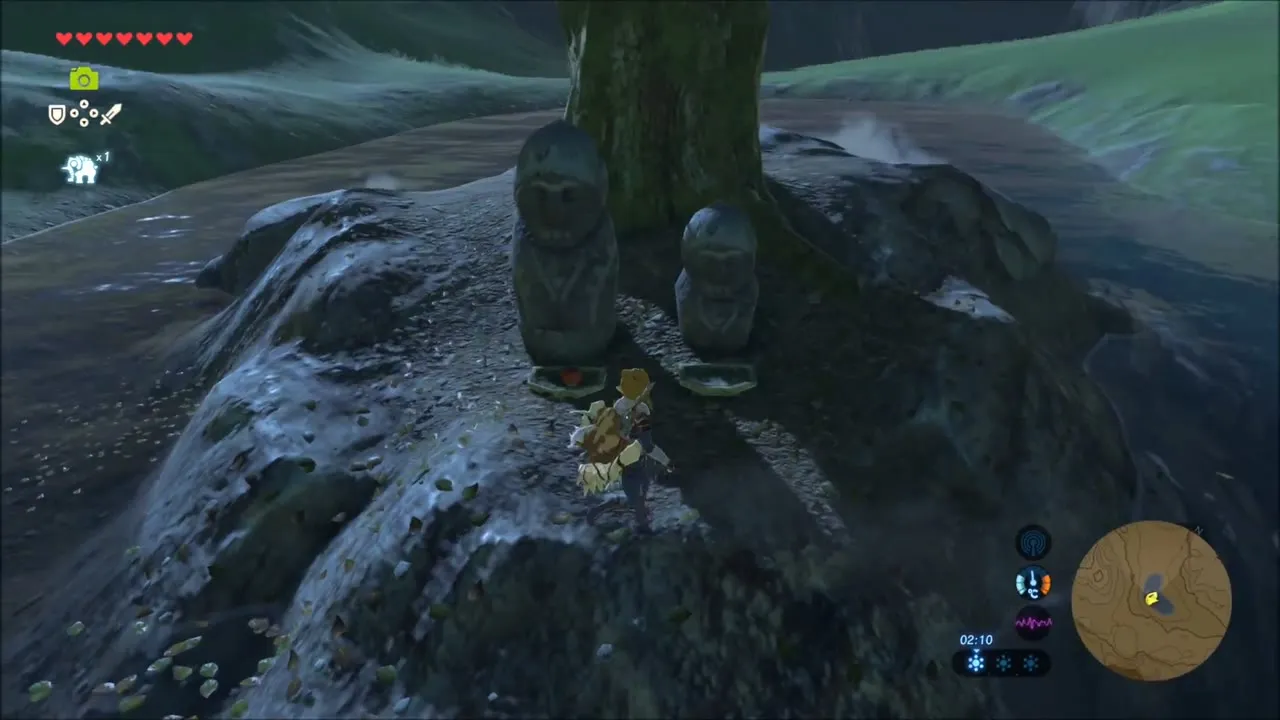
Leave Calora Lake and head north through the woods toward the foot of the slopes. A Korok stands among the flowers in the trees near the edge of the forest. On the rocky outcrop farther up, two stone faces stand beside a tree with a small dish in front of them: place an Apple on the dish and the Korok beside the statues shows itself.


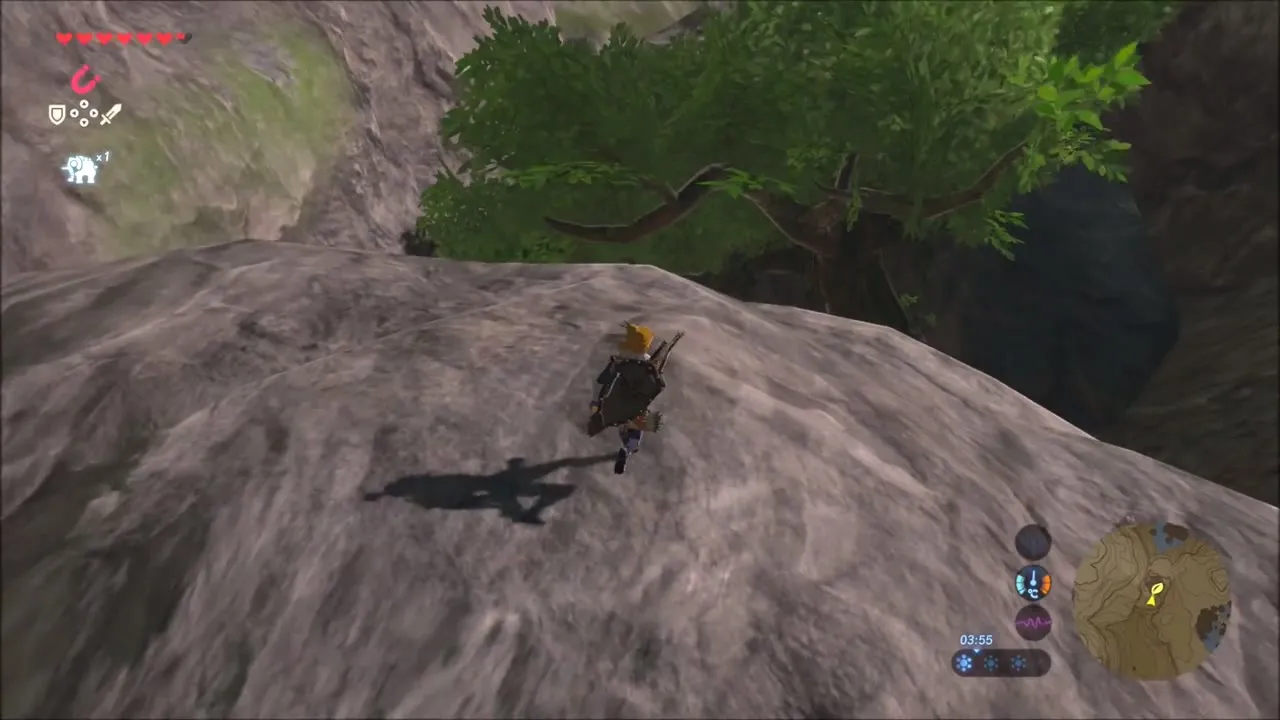
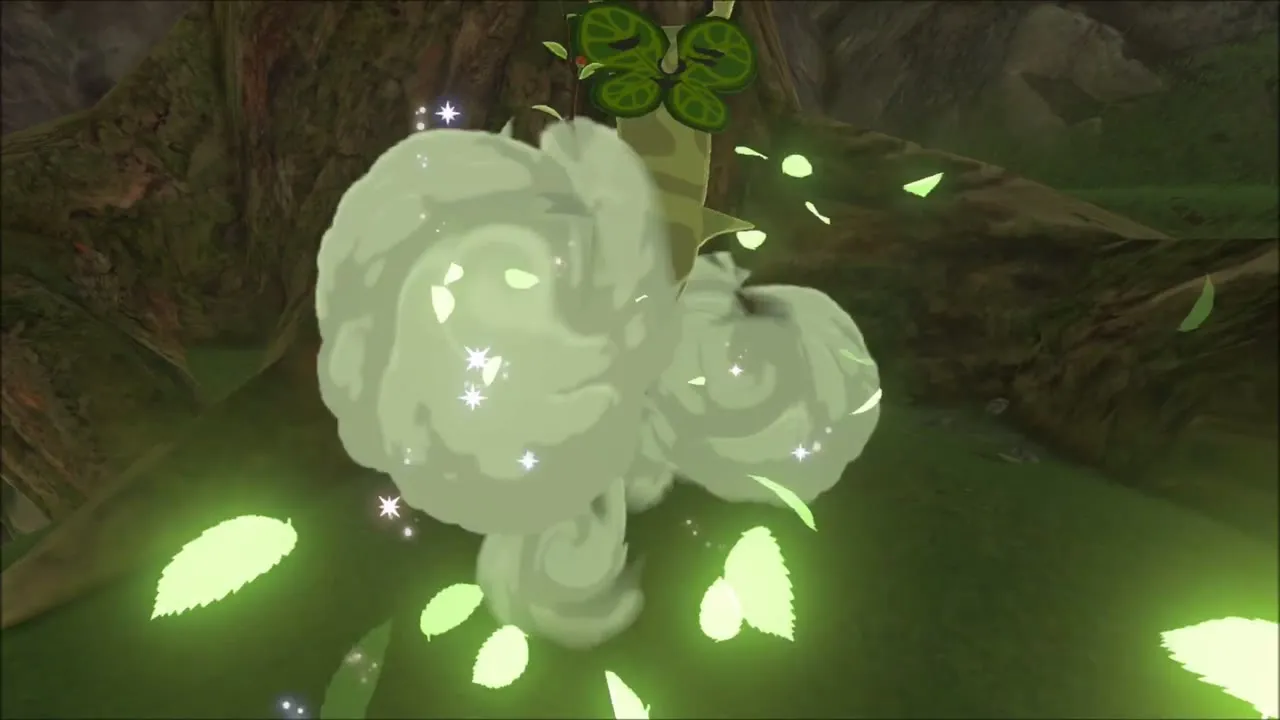
Climb the rock slope beyond the statues. At the top, in a small grassy hollow under a tree, another Korok is waiting.
Mountain ridge, pool and peak Koroks
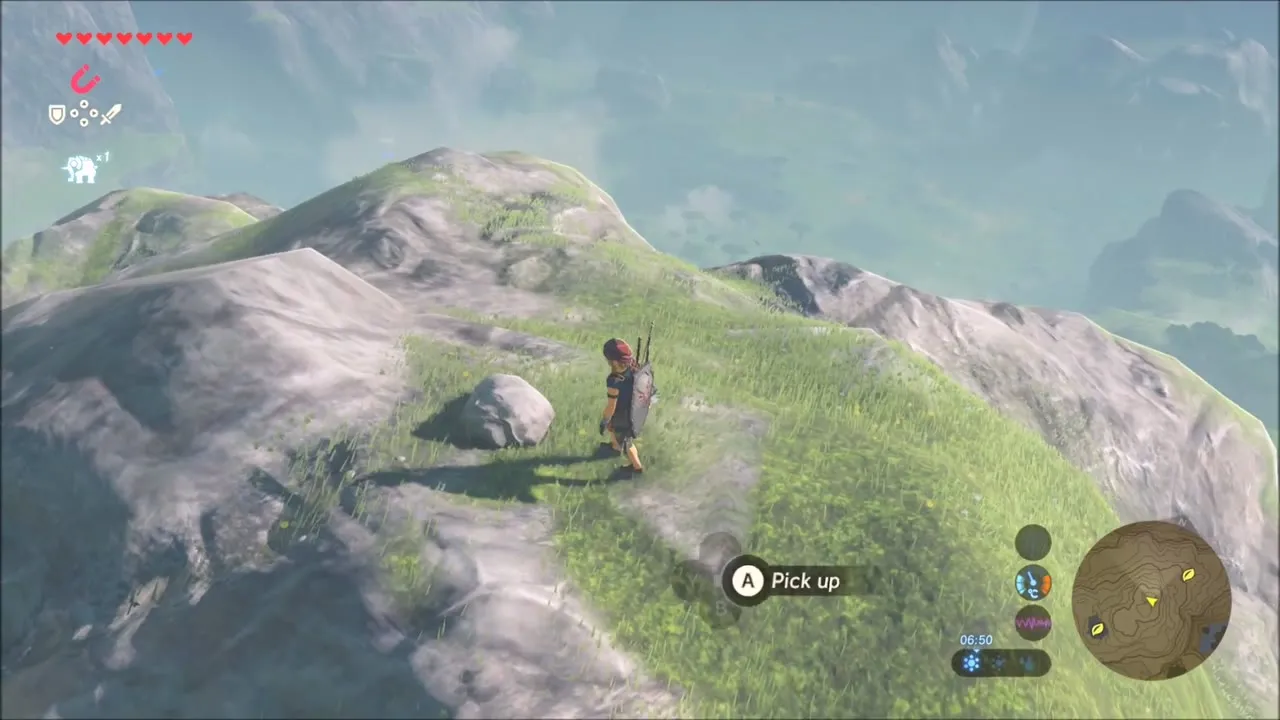
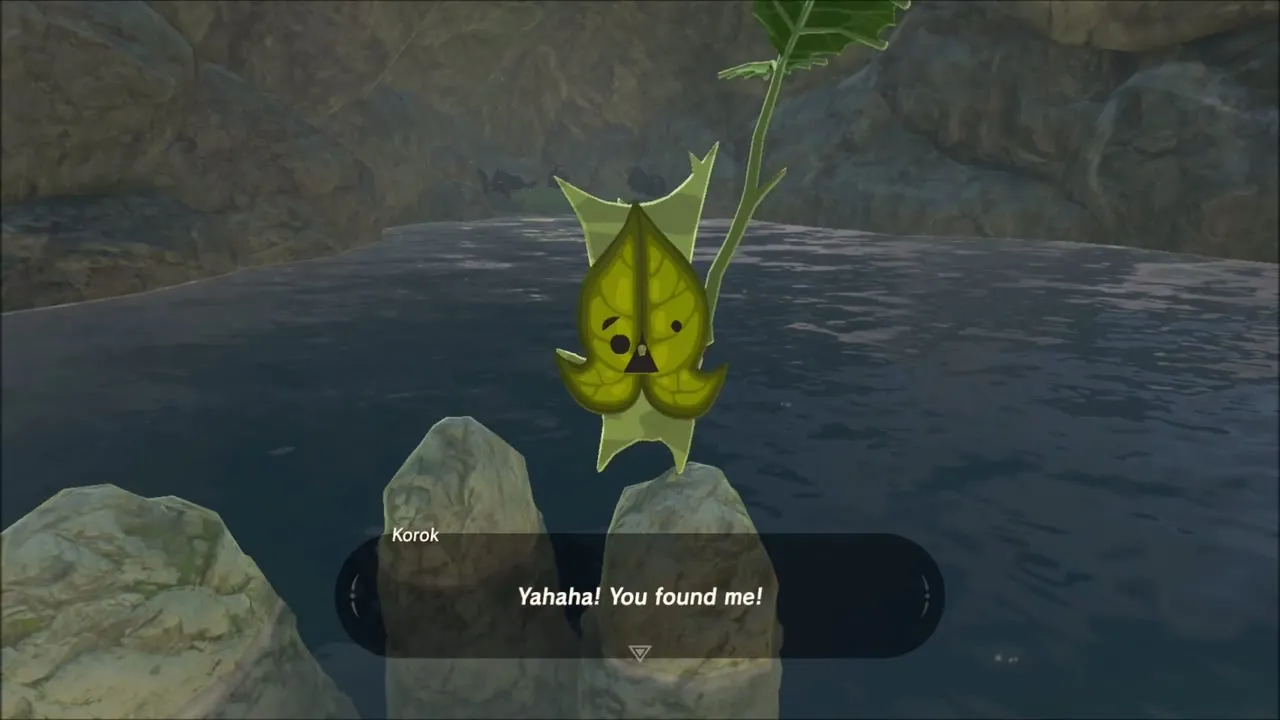
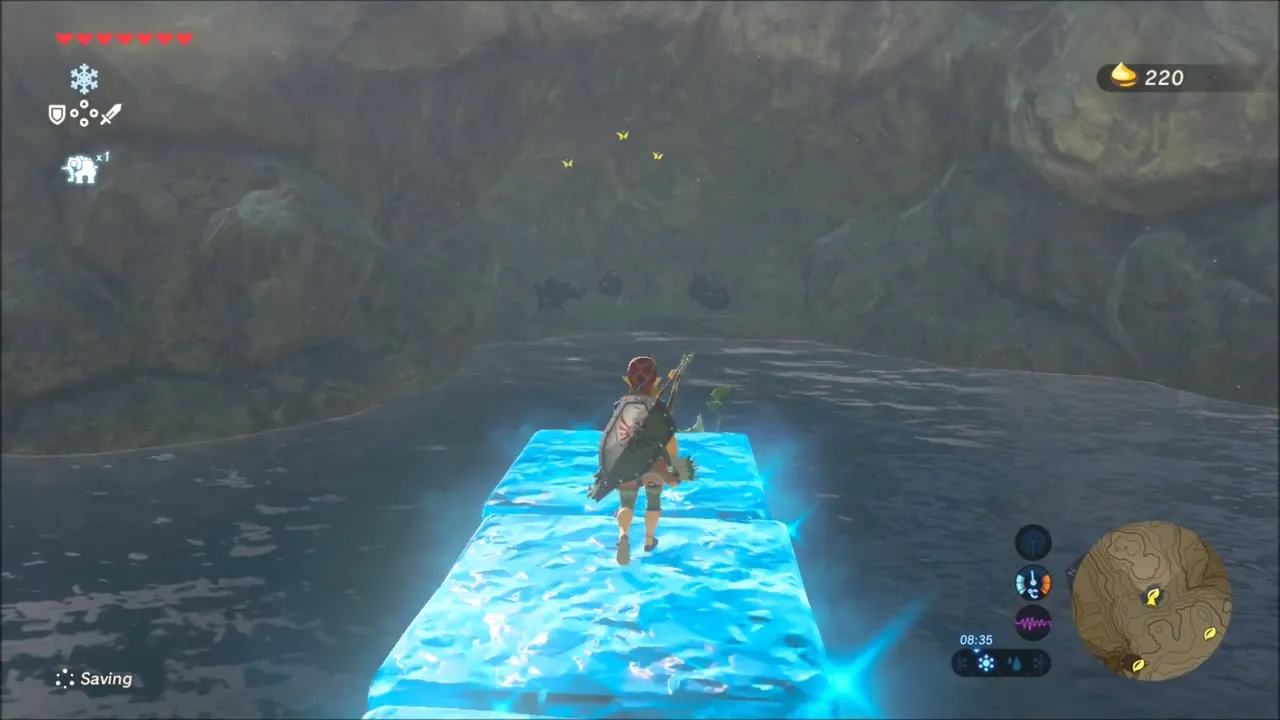
Keep climbing the mountainside. Along the grassy ridge you find a lone rock sitting in the grass: pick it up and the Korok comes out. Farther along, a small pool among the peaks holds a Korok perched on a pair of rocks. Raise Cryonis blocks across the pool to reach it.
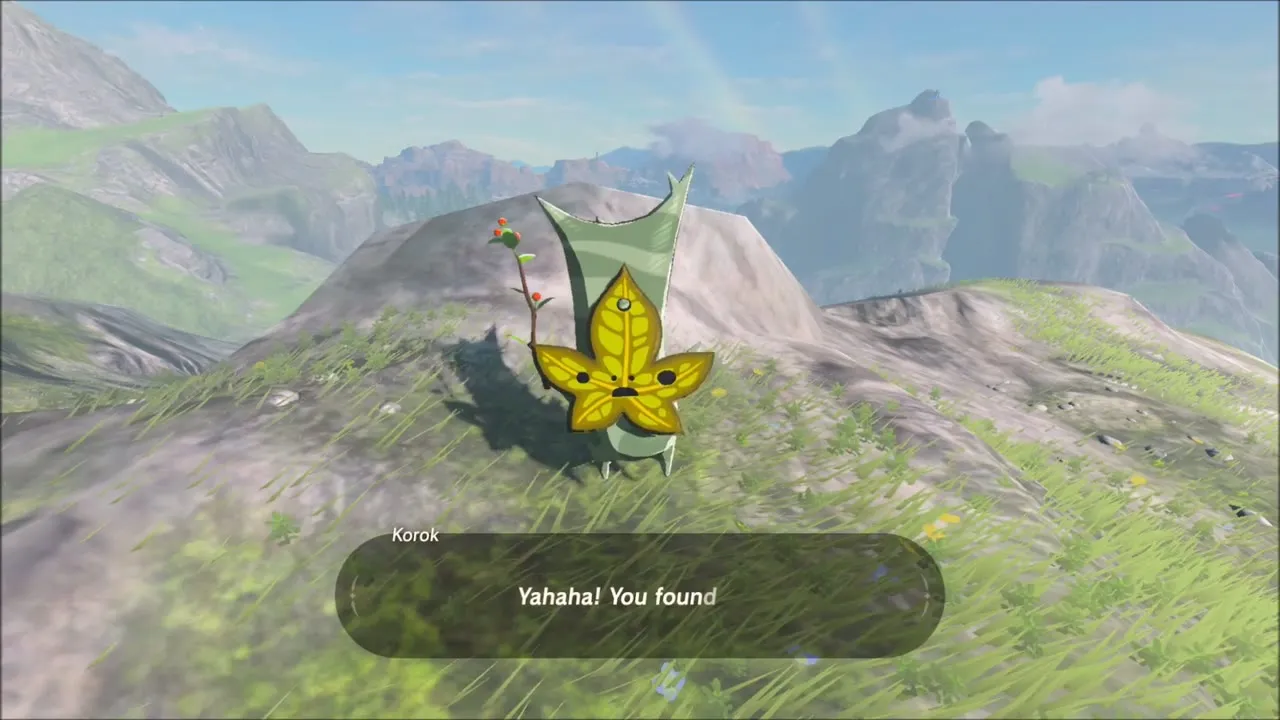

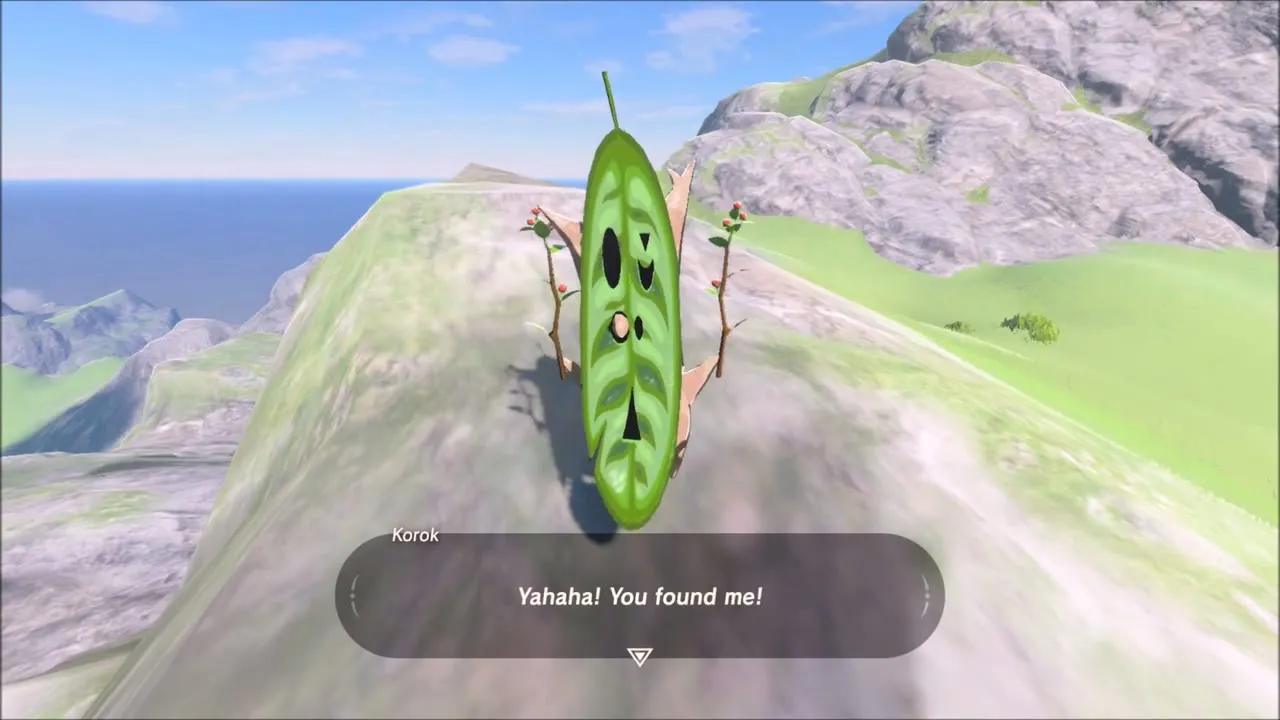
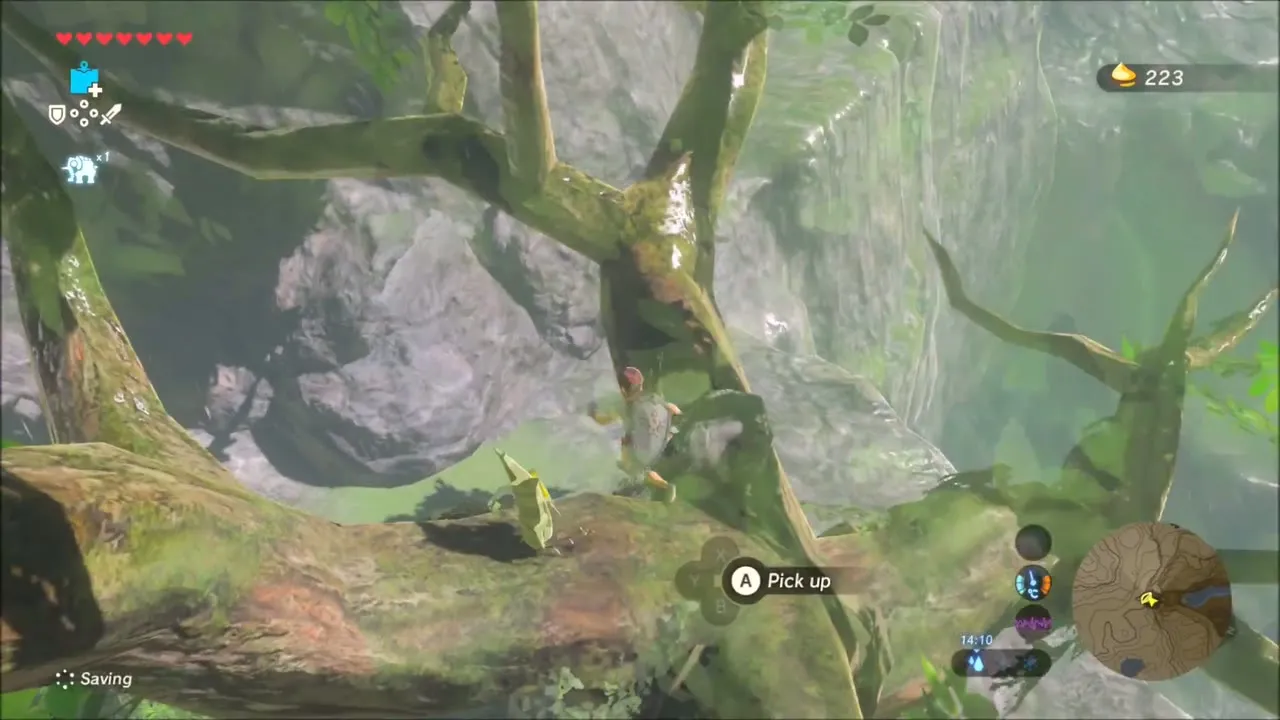
Glide on to the high green ridge. A Korok stands right at the top of one peak, and another waits on a narrow grey pinnacle a short climb away. Farther down, climb a great tree and pick up the stone lying among its branches to uncover one more Korok.


Korok seed on the red rock dome
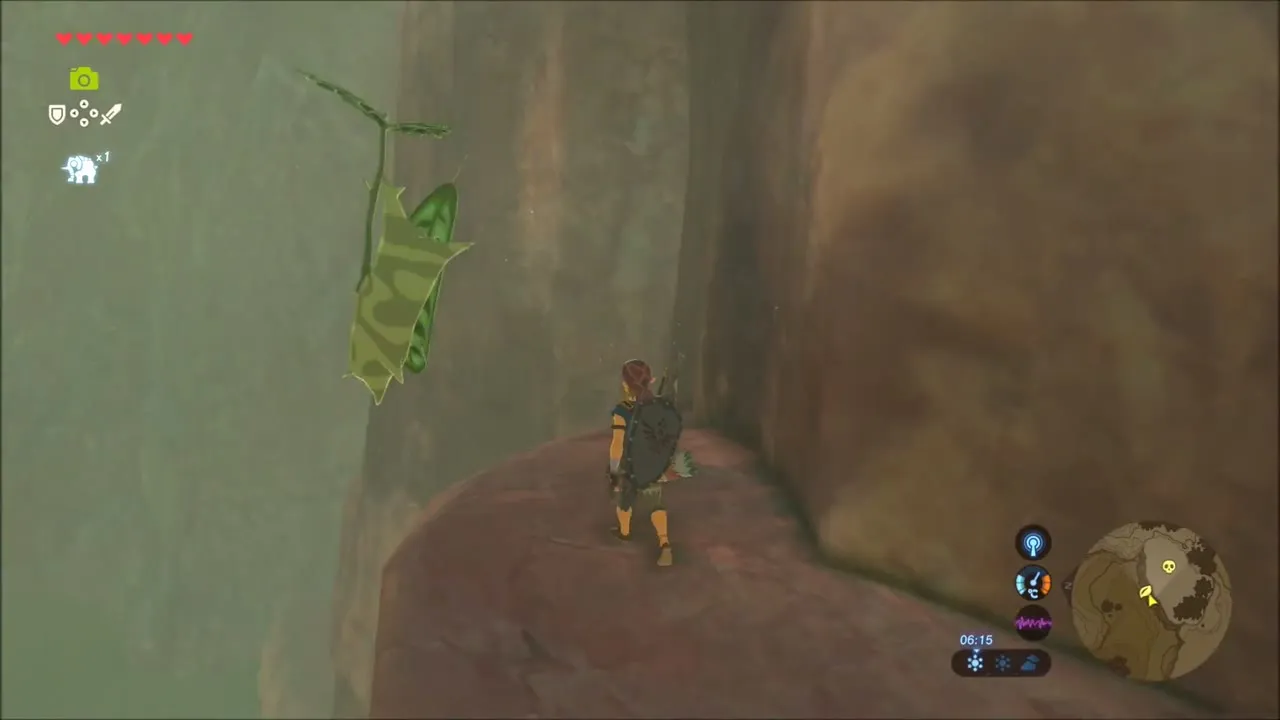
Next is a dome of red rock, with a golden glimmer at its top. Climb the dome to reach the Korok that hangs from a leaf beside the cliff and take the seed.


Lynel on the grassland
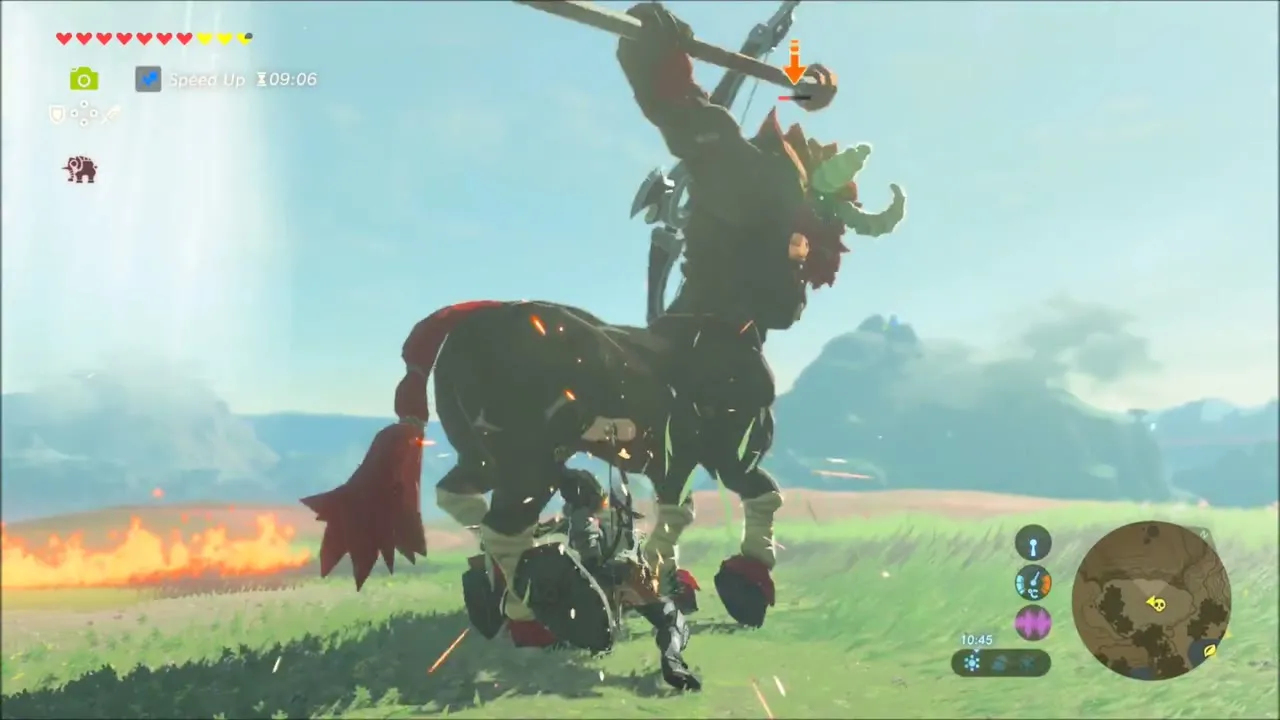
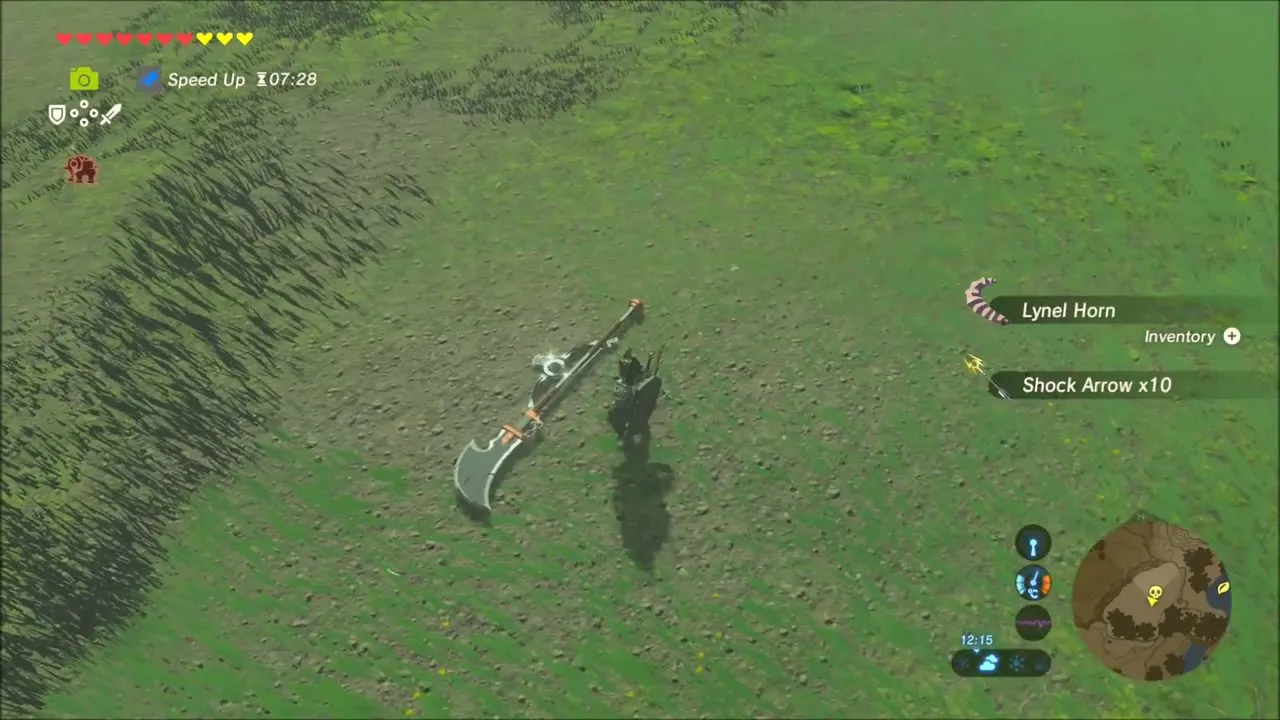
On the open grass near Riola Spring, a Lynel wanders the plain. Keep your distance, shoot it with arrows and dodge its charges. Defeat it for Lynel parts and a Mighty Lynel Bow.


Pond ruin: chests and a Korok seed
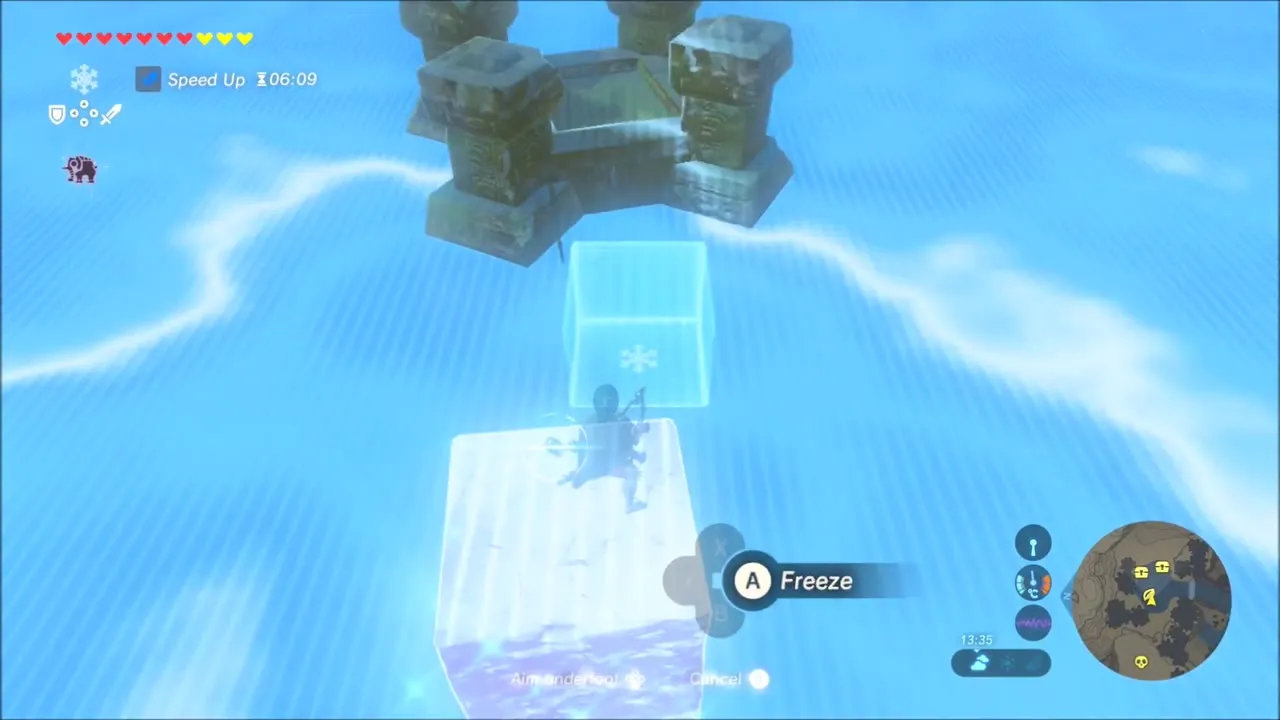
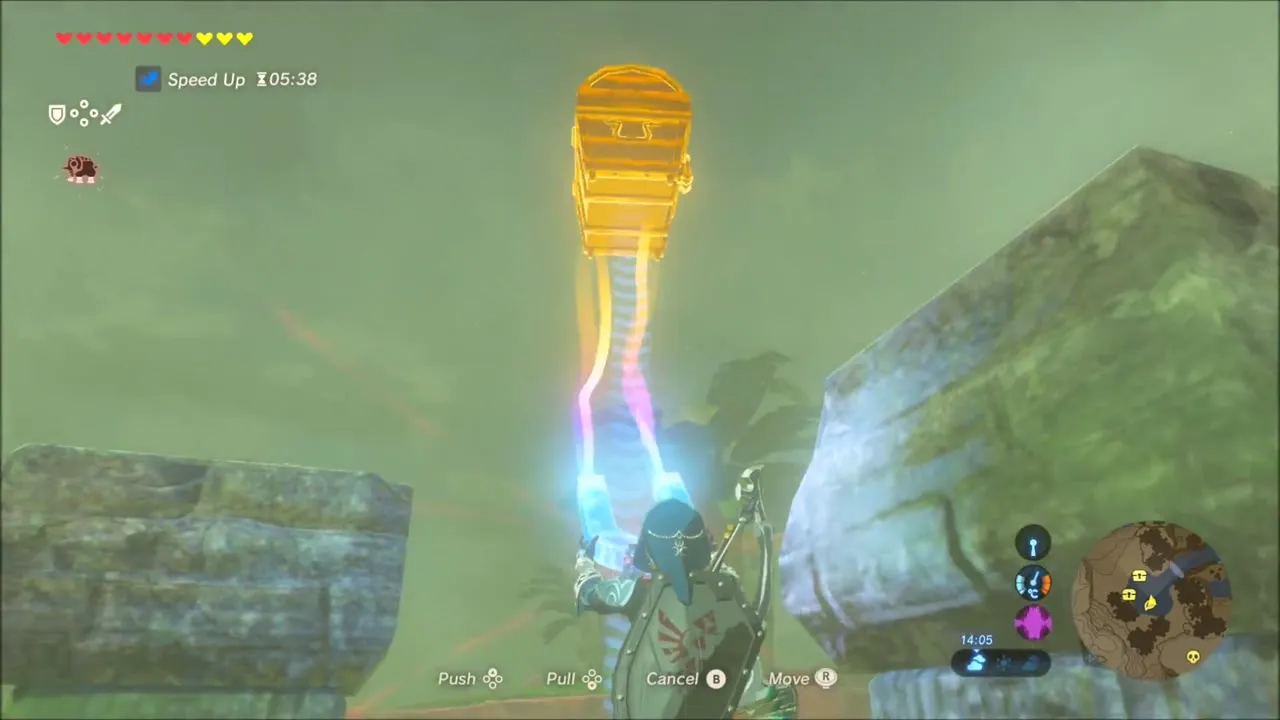
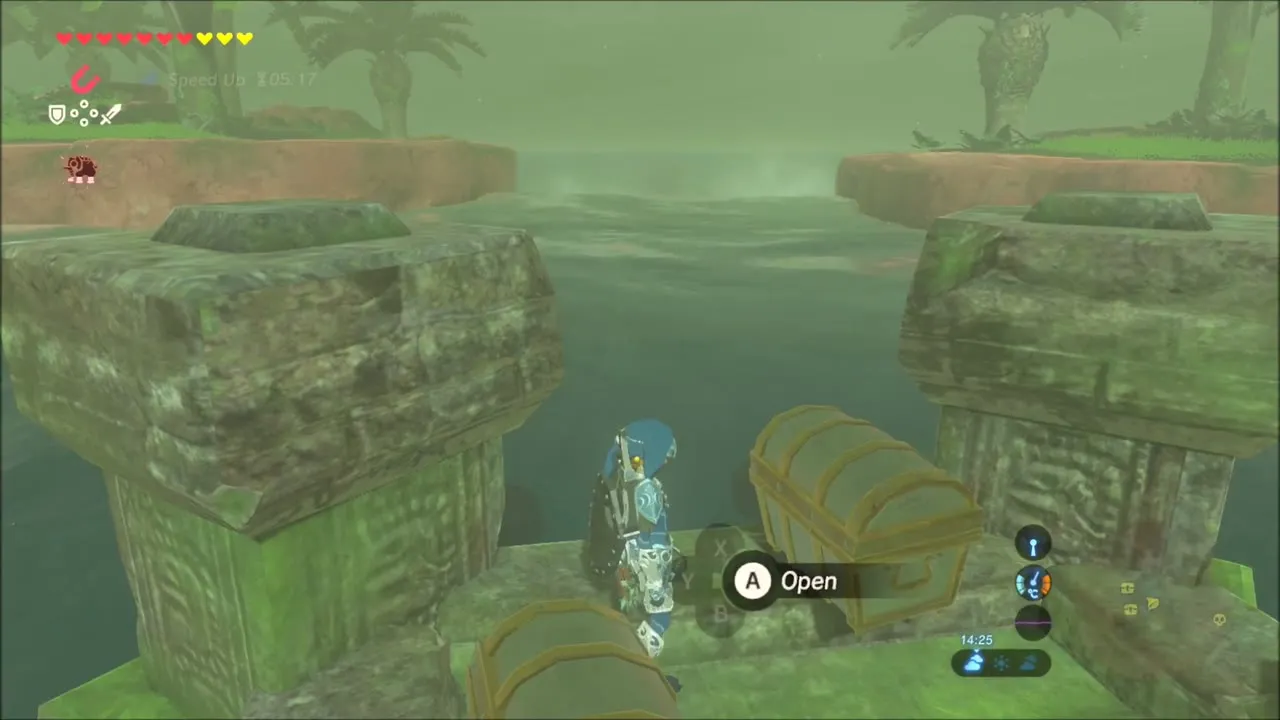
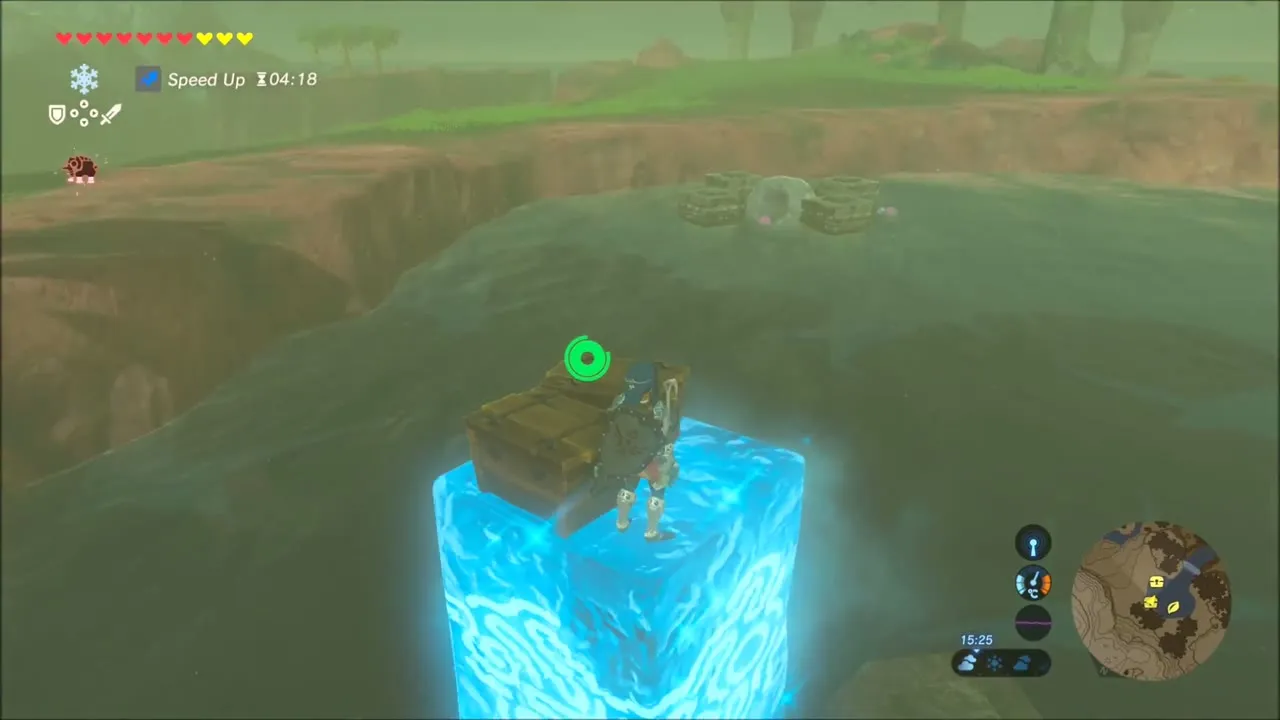
Farther on, a pond holds a small ruin of stone blocks and a Korok. Wear Zora gear, raise Cryonis steps to reach the ruin and take the Korok seed. Use Magnesis around the ruin to pull out its metal chests, with arrows and a Purple Rupee among their contents, and raise Cryonis blocks under the rest.
Korok seed in the tree by the cliff
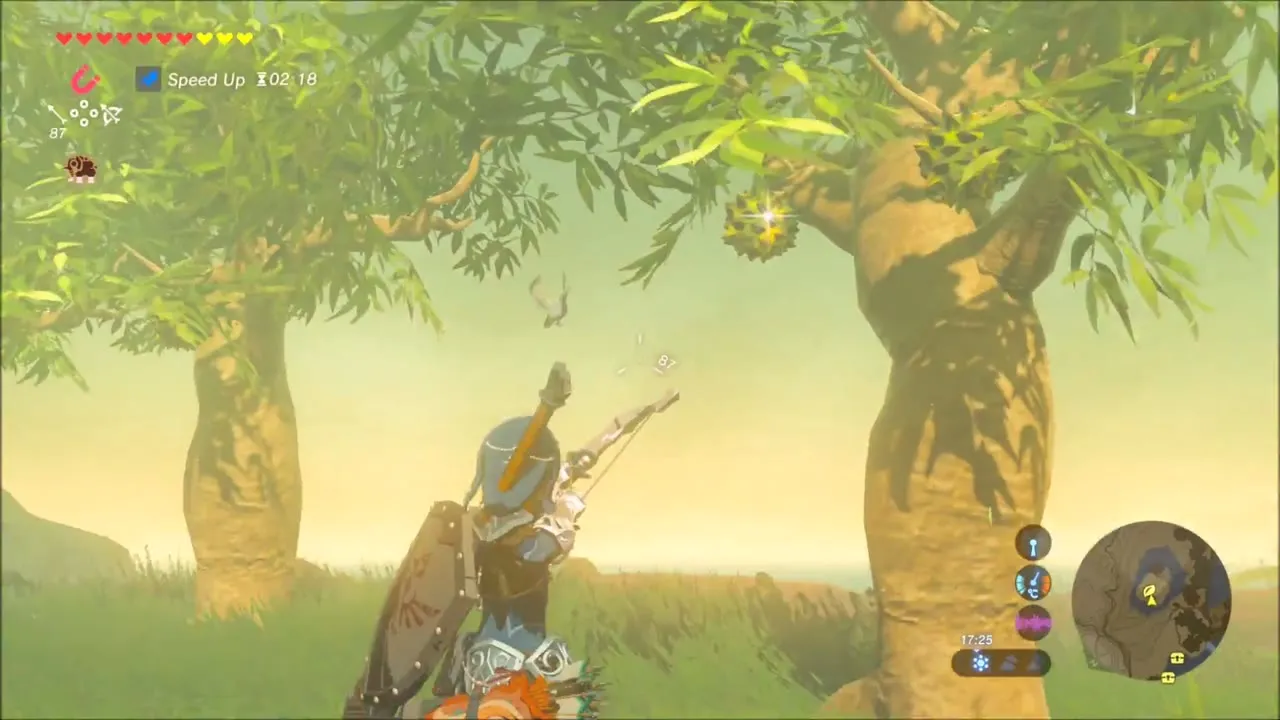
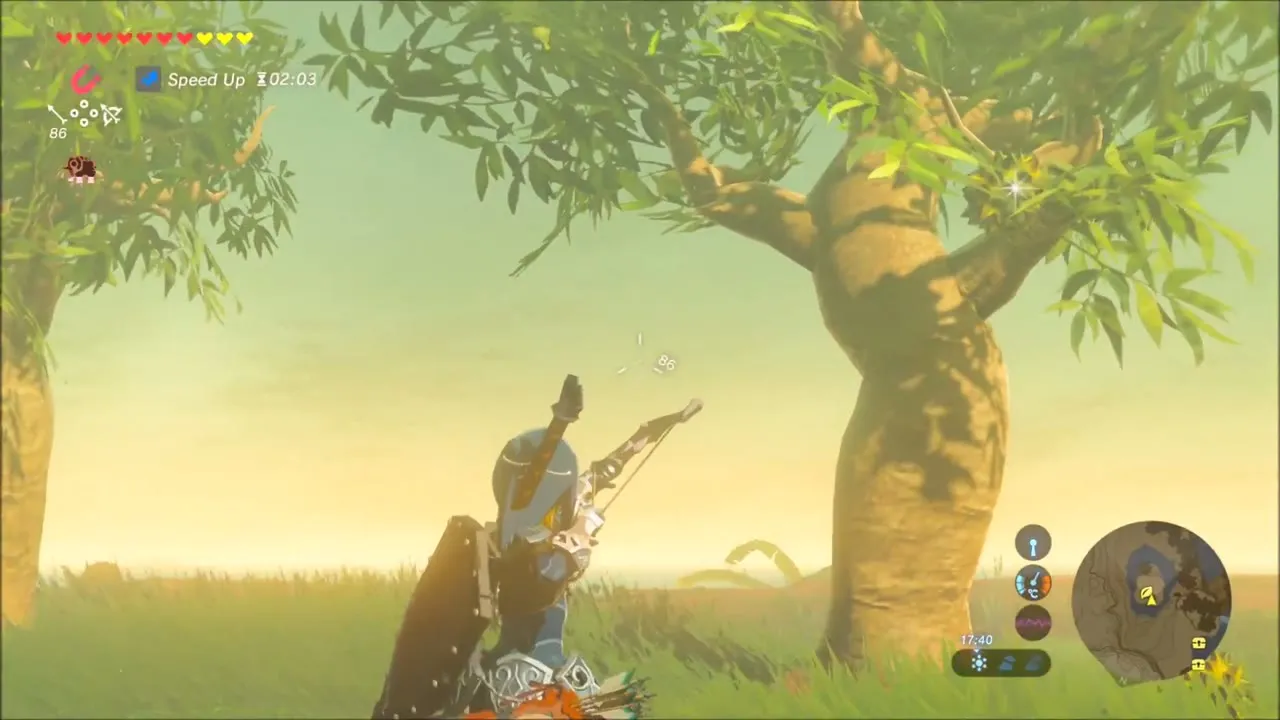
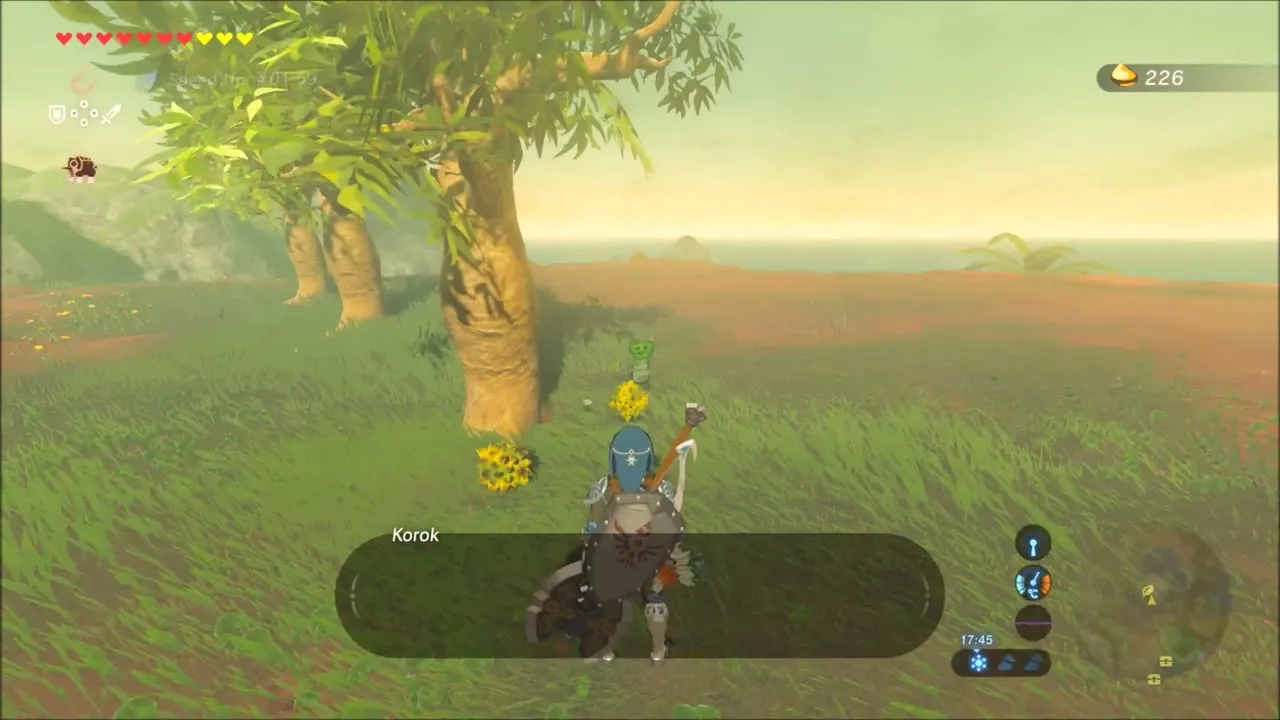
Back on dry ground near a cliff edge, two big trees stand side by side. Shoot the round yellow pod hanging in the branches and the Korok drops into the grass below.

Shoda Sah Shrine: Impeccable Timing
Reaching the shrine
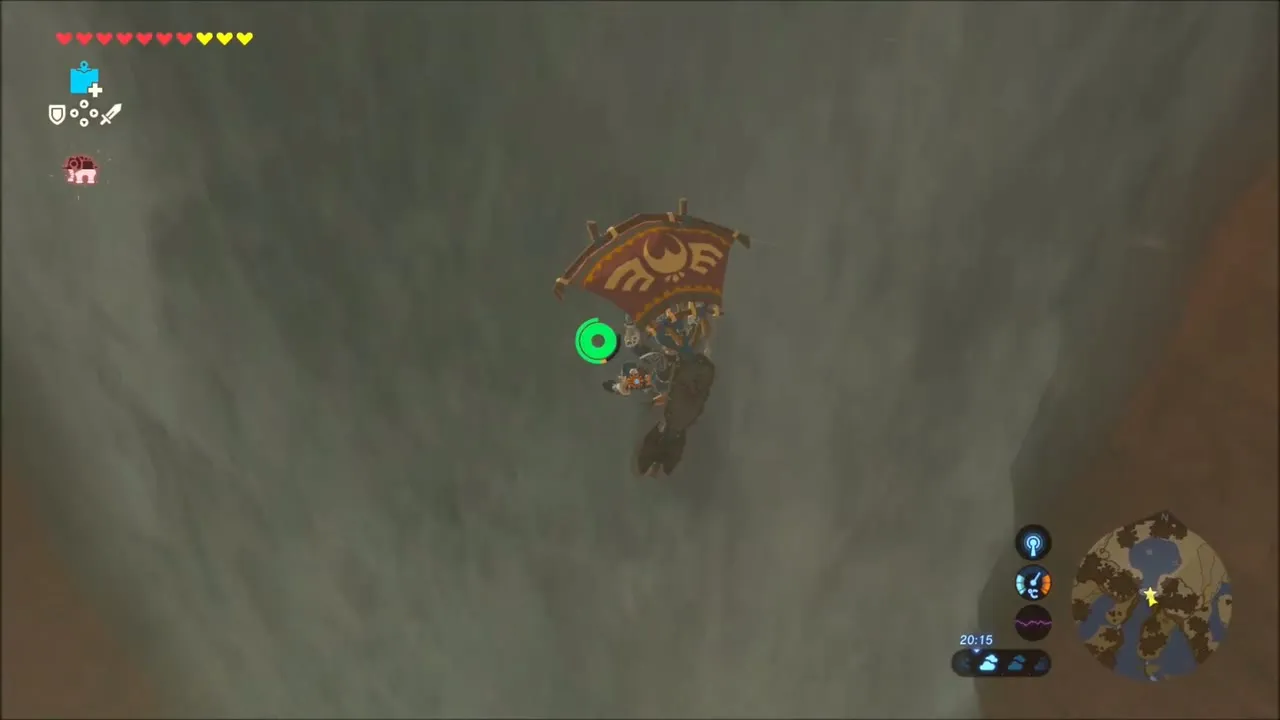
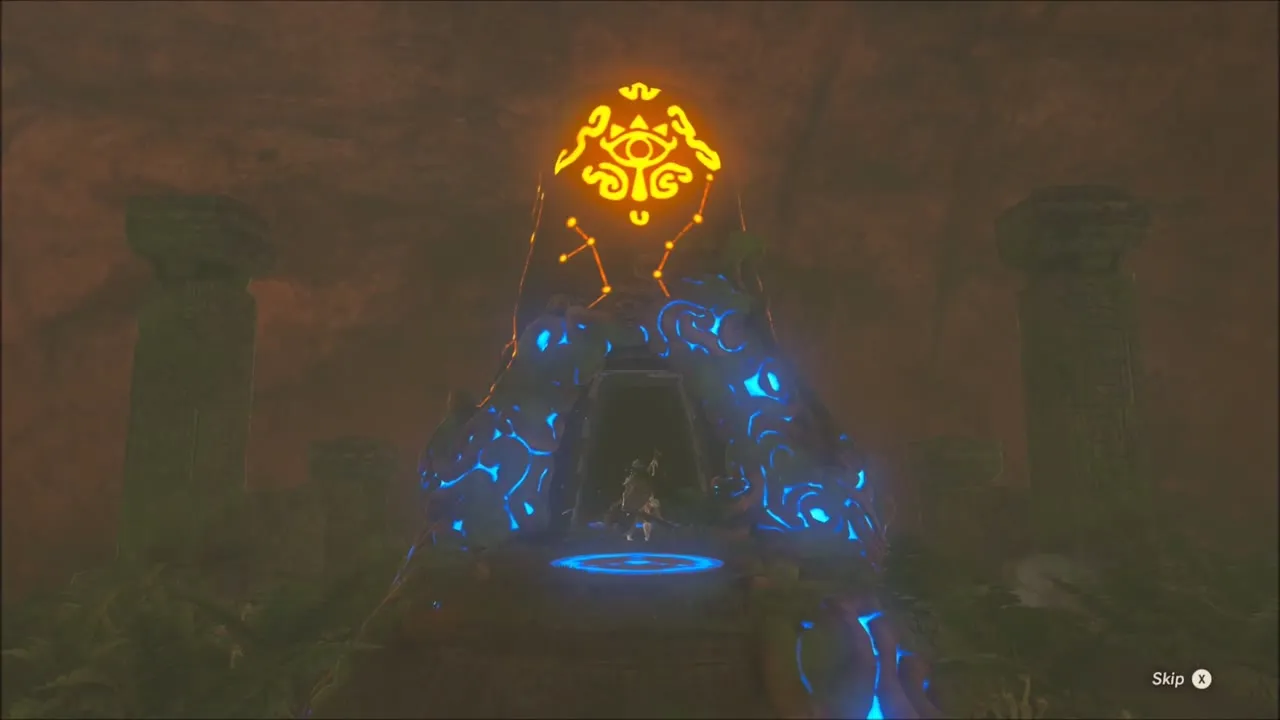
Finish at Riola Spring. Shoda Sah Shrine sits behind the waterfall at (1790, 2993), and you reach its entrance from the east side by a hidden walkway.


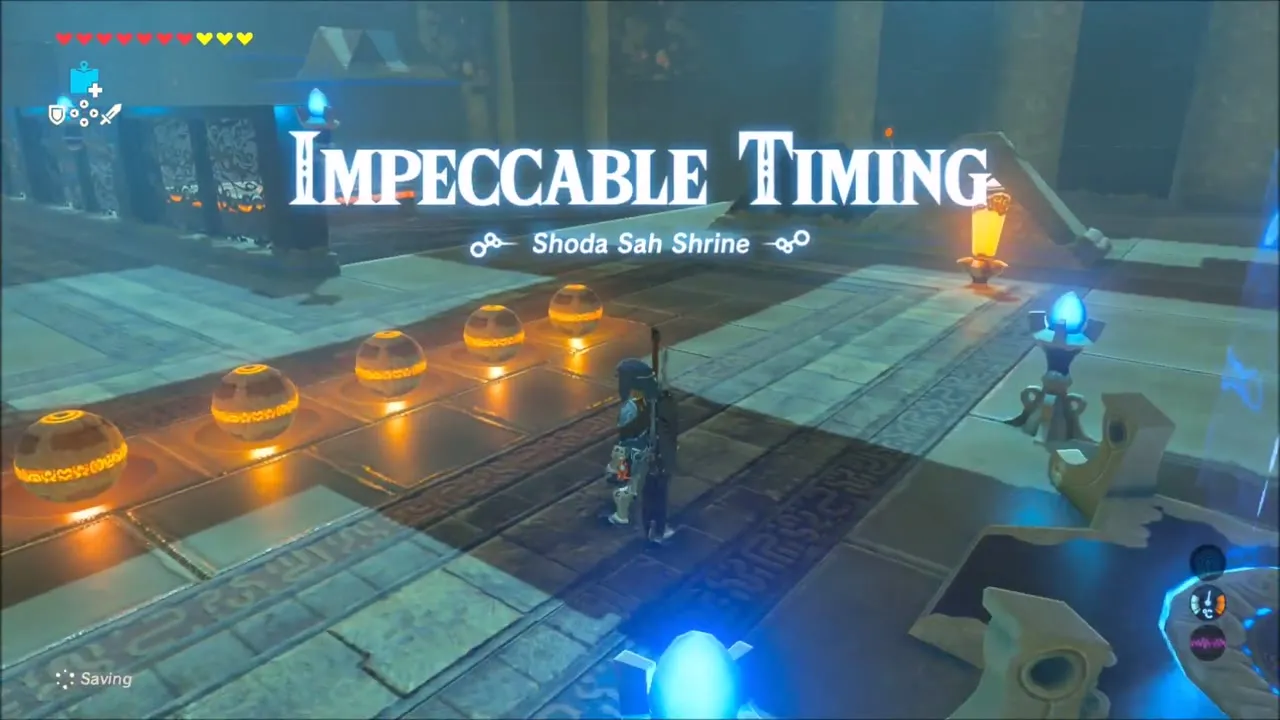
Shoda Sah: Impeccable Timing
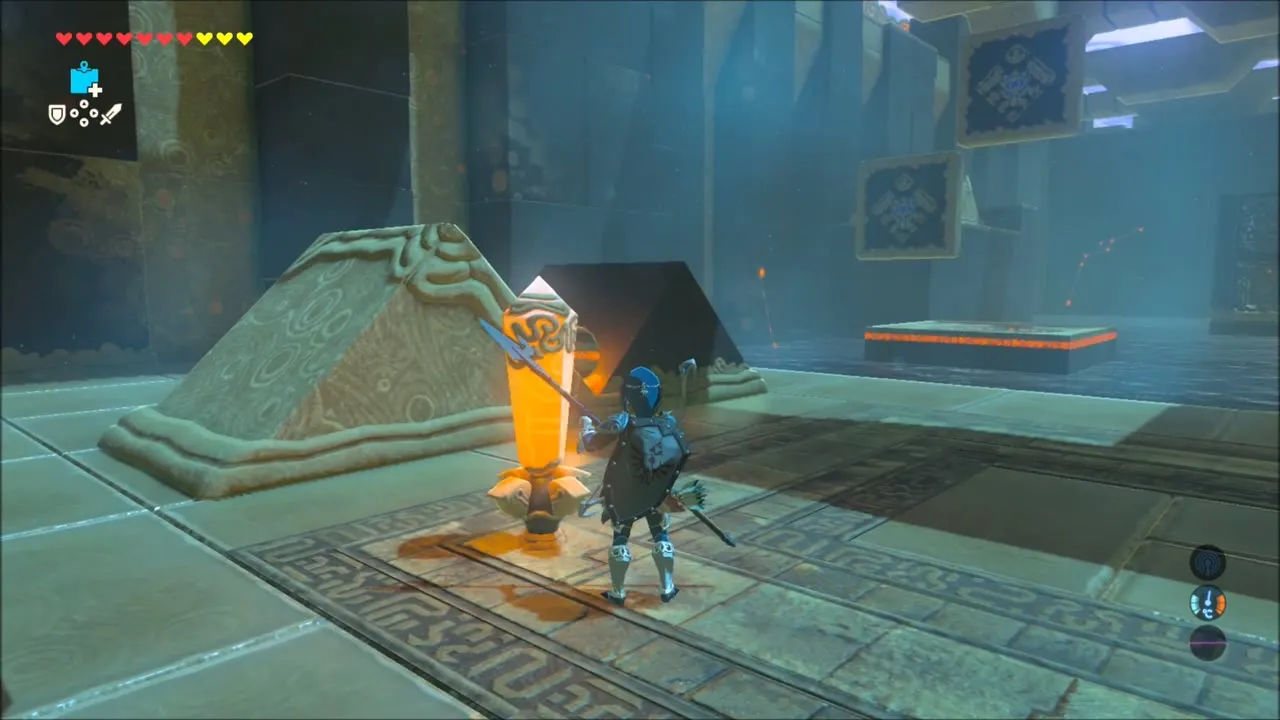
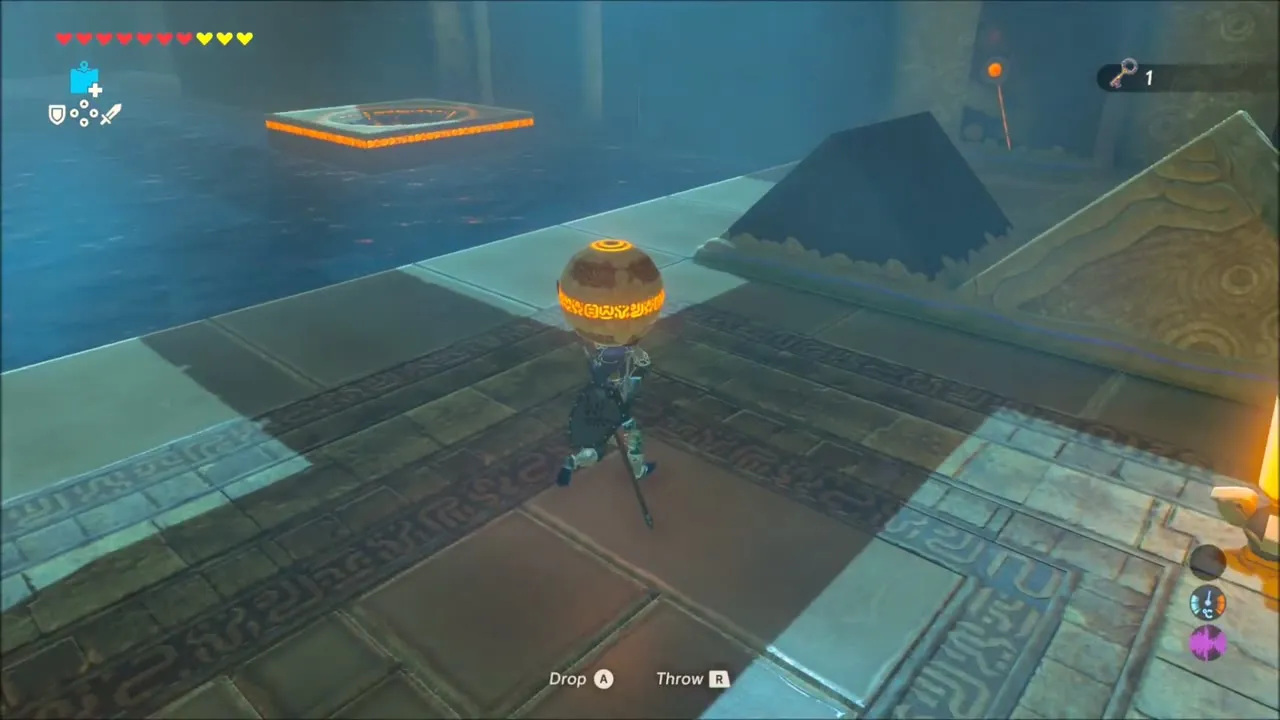
The Impeccable Timing trial uses metal balls and a lantern that acts as a switch. Pick up a ball, put it in the launcher and hit the lantern at the right moment so that the ball lands in the slot on the moving platform. The right-hand slot gives a chest of Ice Arrows; the left gives the Small Key. Open the door and collect the Spirit Orb from the monk. See Shoda Sah Shrine for the full solution.

Sunken Chests Around Floria Falls: Cryonis and Magnesis Salvage
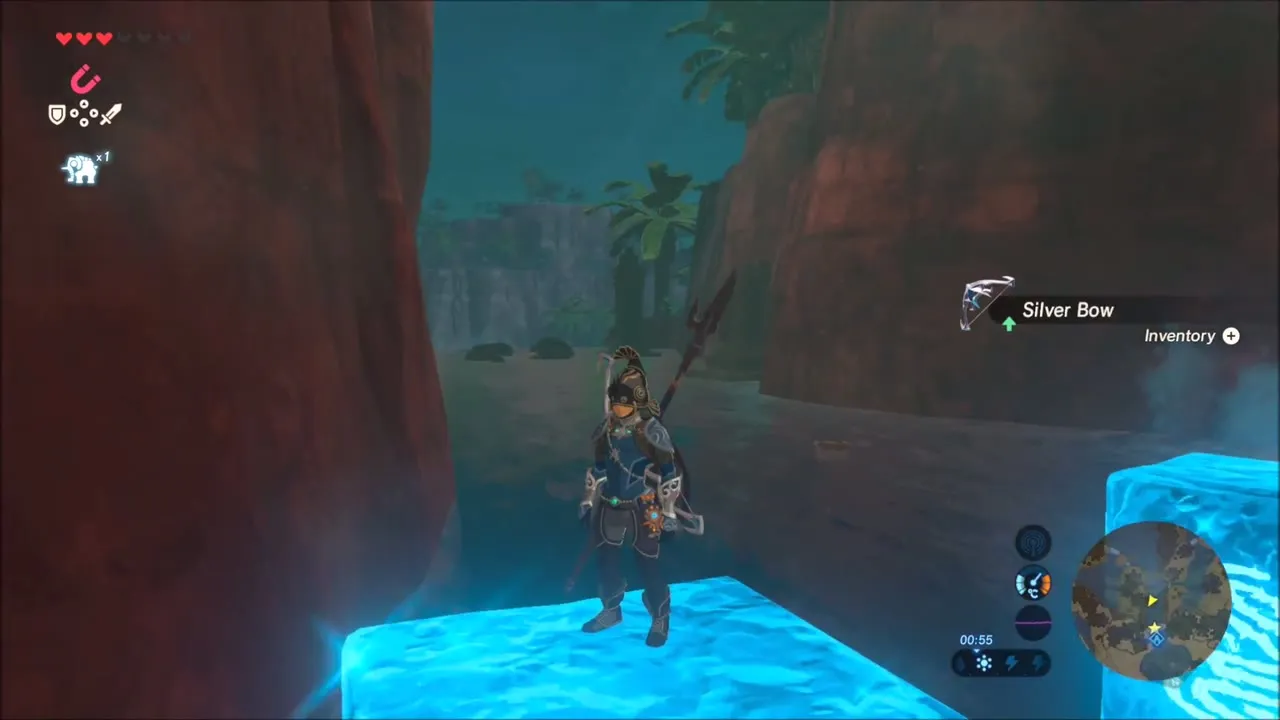
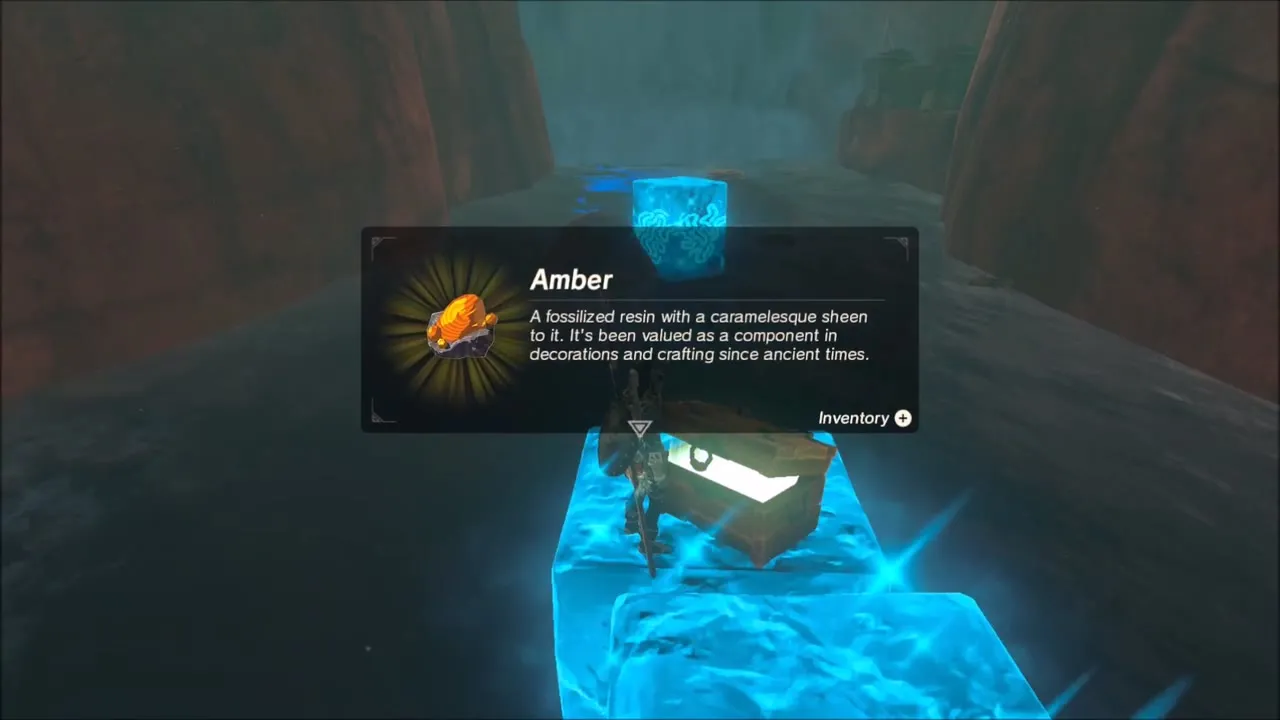
The northwest corner of Faron is a maze of flooded river gorges between Corta Lake, Rodai Lake and Floria Falls, and a lot of loot lies on the bottom of it. The method is the same everywhere: swim or glide to a stump or ledge, point Magnesis at the dark shape under the surface, drag the chest up, then raise a Cryonis block under it so you can open it on solid footing. The first gorge gives you chests of Amber and a Silver Bow; keep chaining blocks to cross open water and shatter a block when it is in your way.


Korok seed on the stump above the waterfall
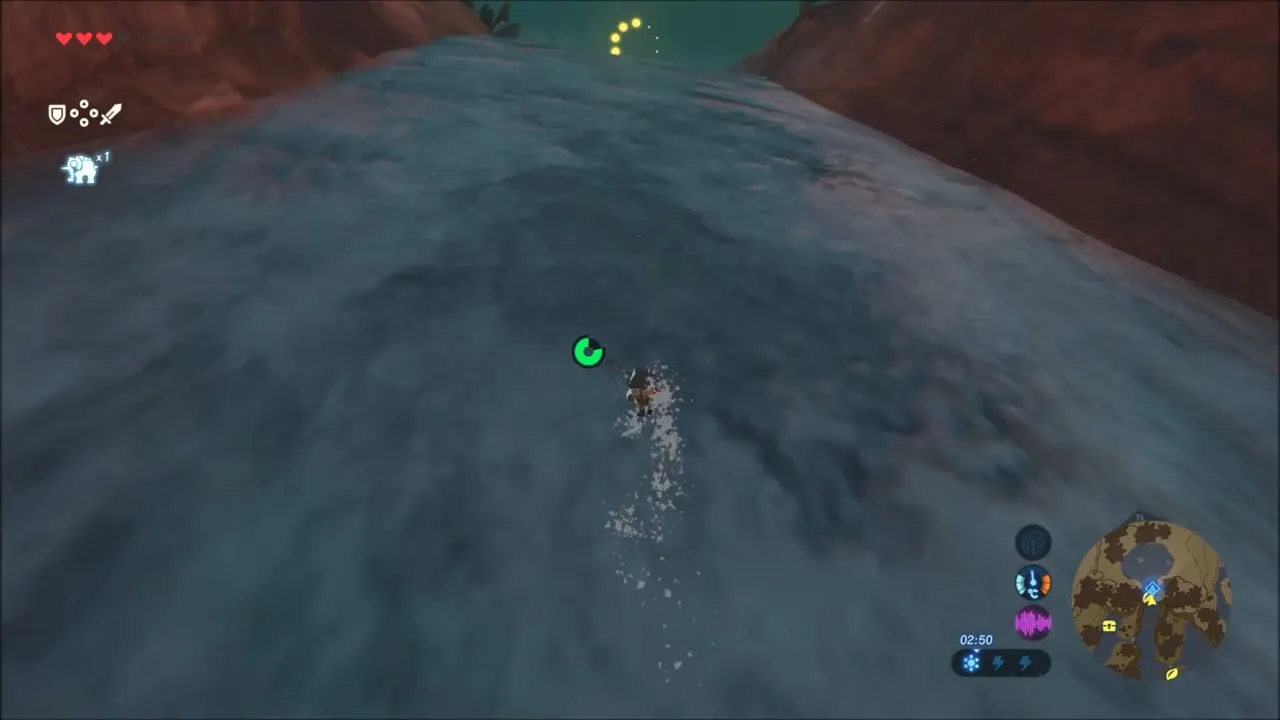
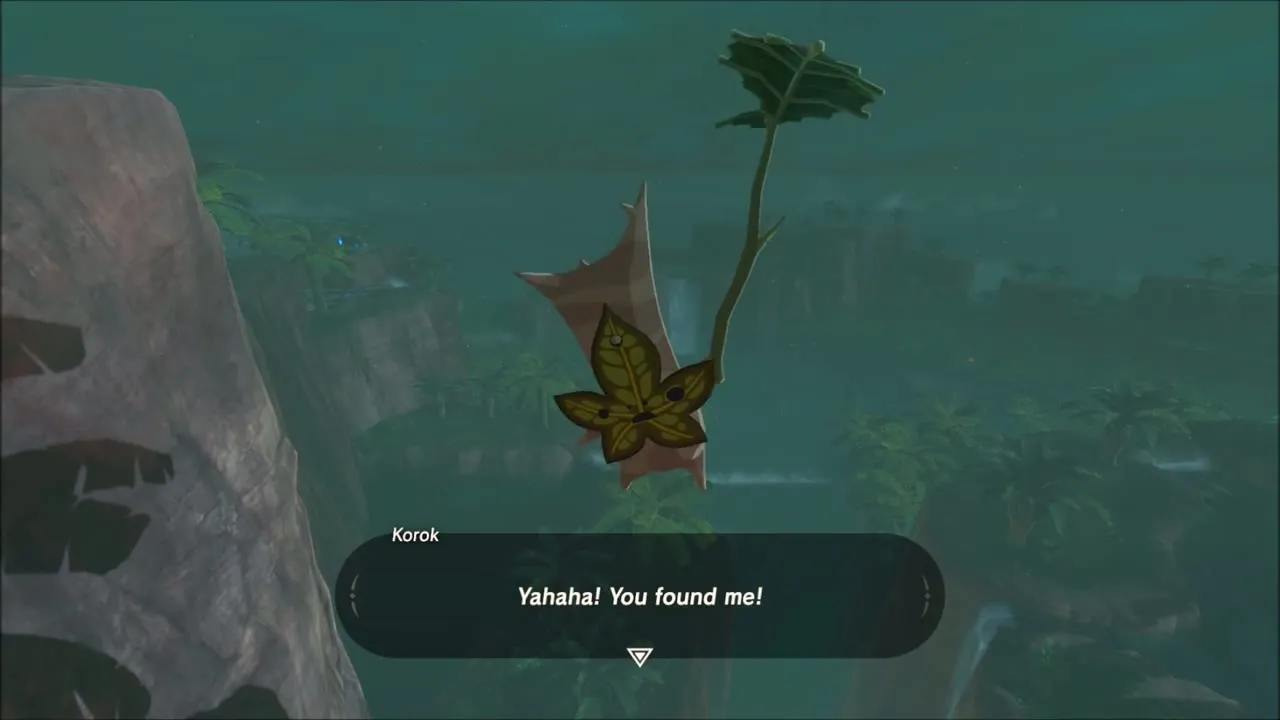
One of the round rocks with a cut stump on top is worth a stop. Climb onto it, then swim out into the current that runs toward the waterfall. A ring of glowing motes hangs over the water right at the lip of the fall; swim into it and the Korok drops its seed.


More chests along the stream
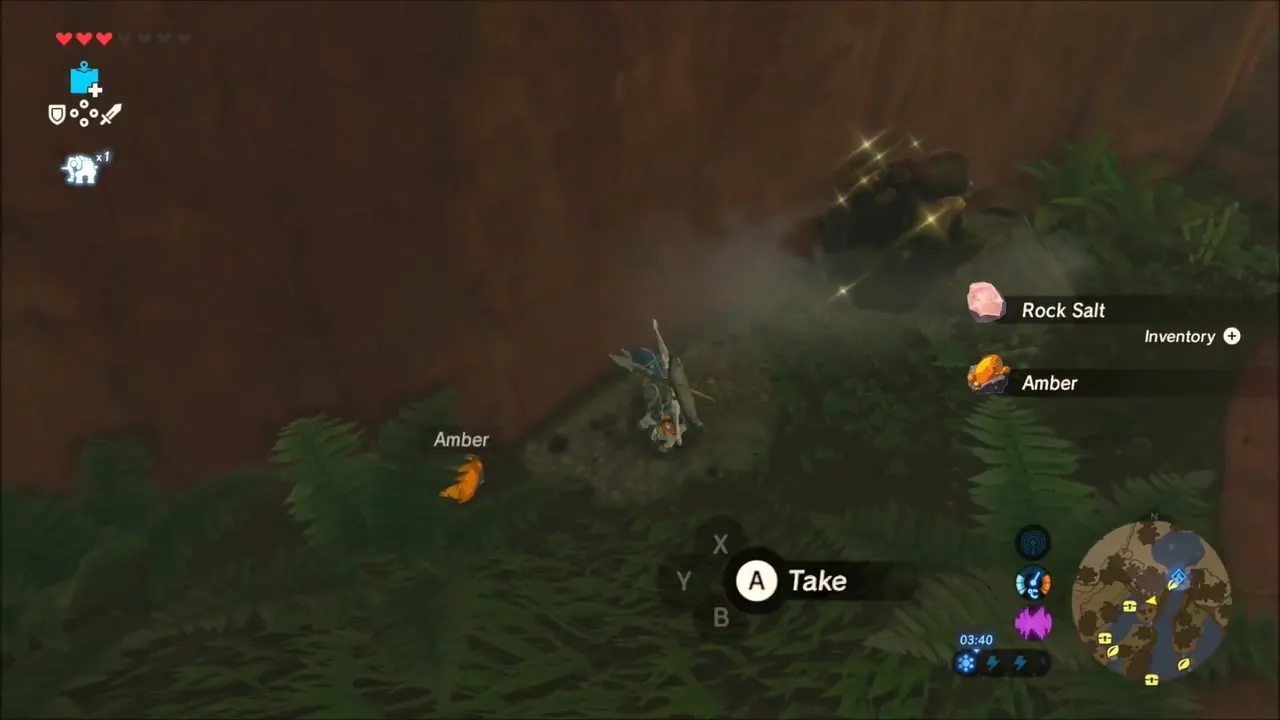
Keep working along the water. Every pool hides a chest or two, and the jungle by the stream has Amber and Rock Salt lying on the ground. Raise Cryonis blocks as stepping stones across the wider stretches and pull each chest up before you move on.

Hinox on Kanah Plateau
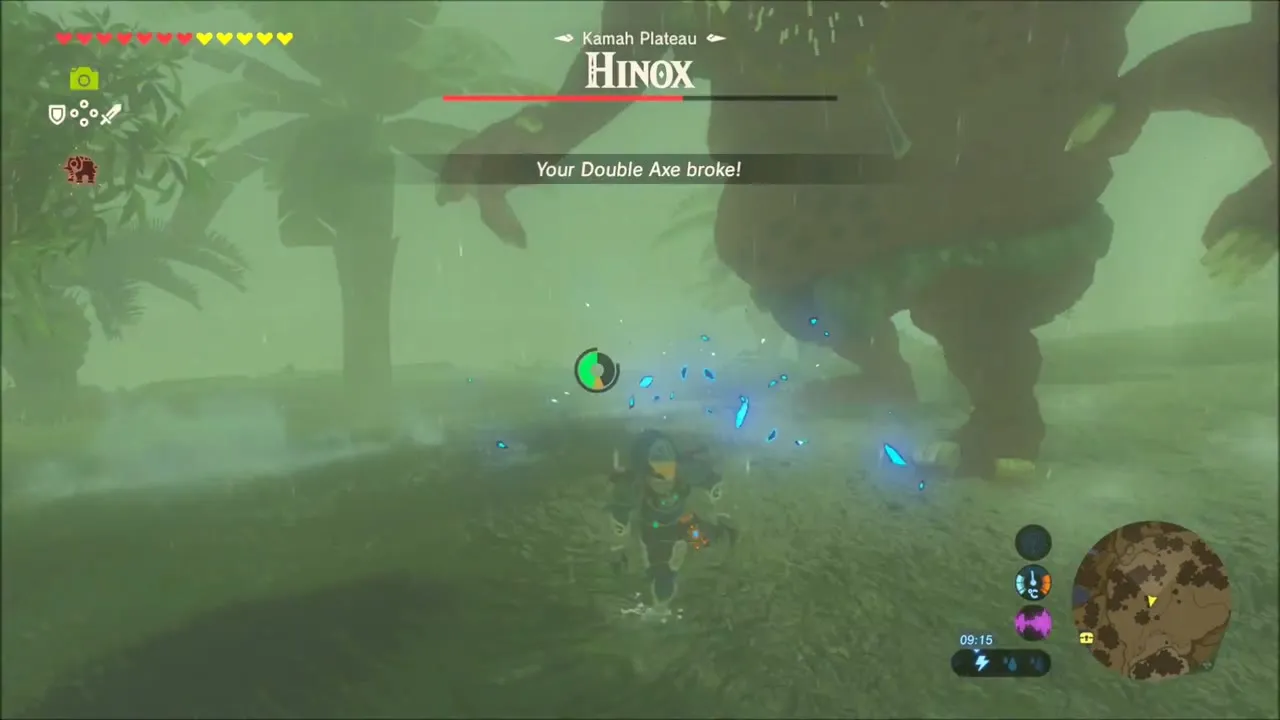
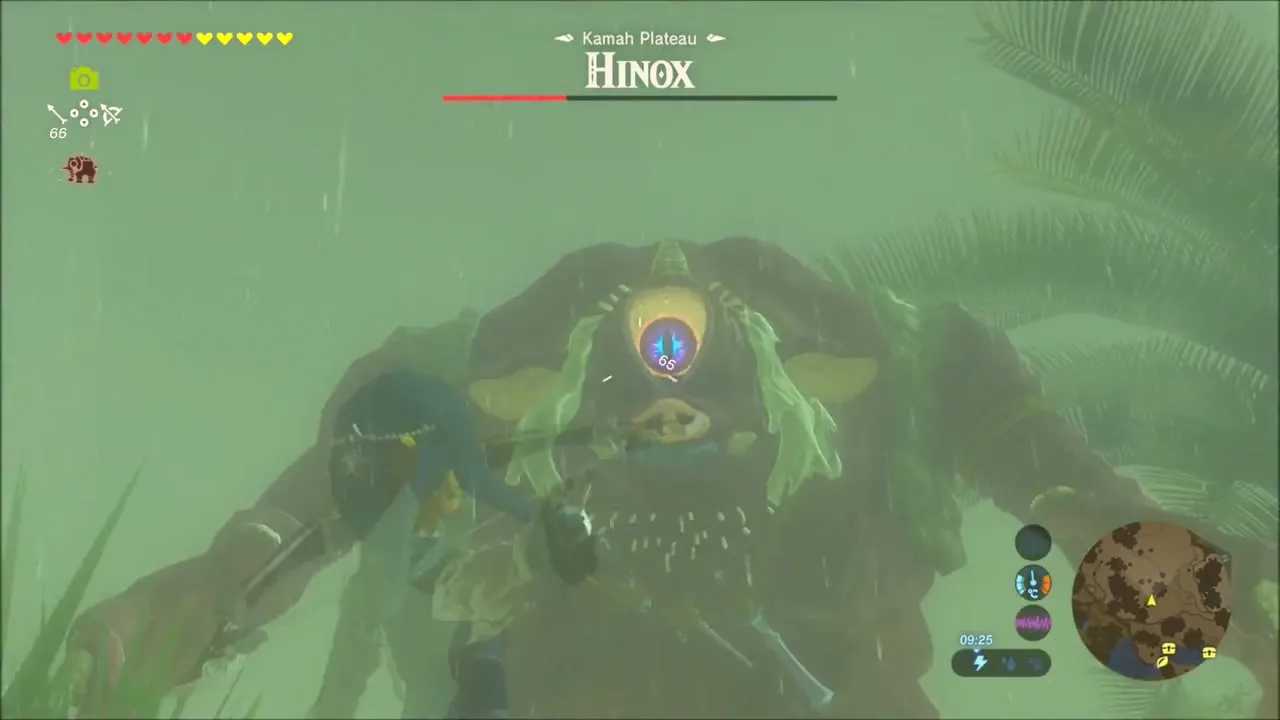
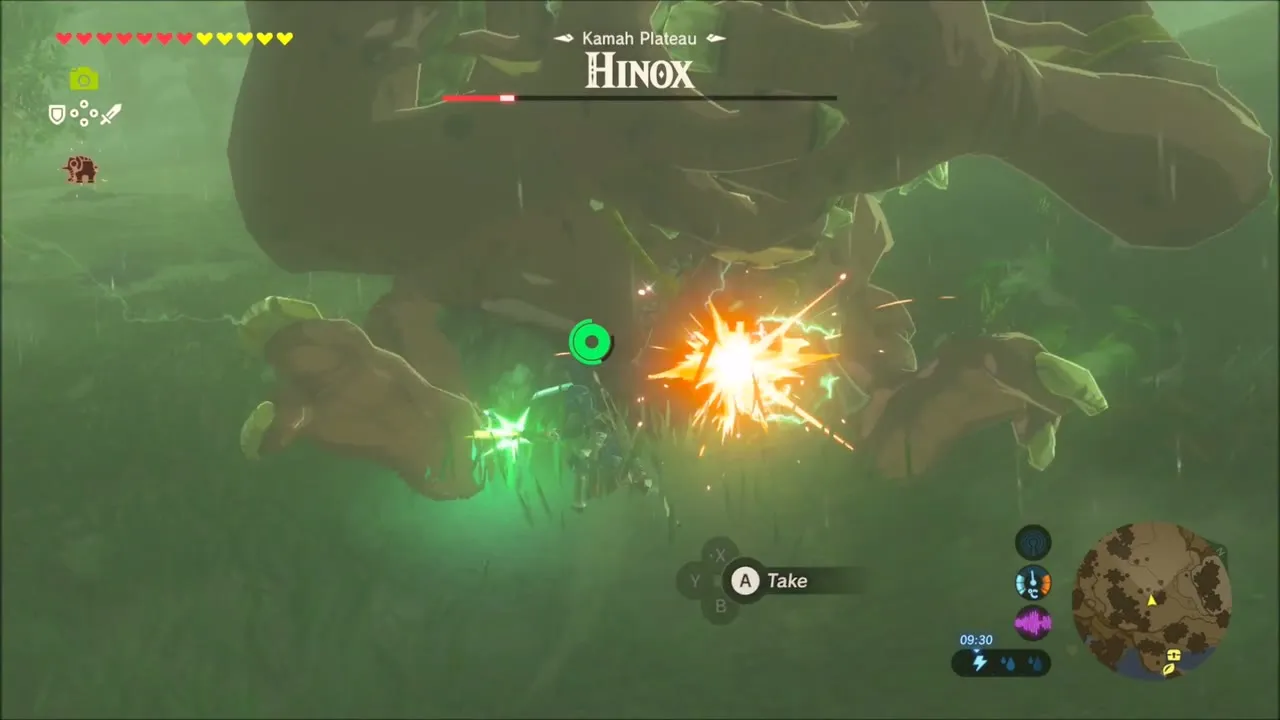
A Hinox wanders the jungle floor on Kanah Plateau, and its title card appears when you get close. Shoot its eye with arrows to topple it, run in for hits while it is down, and repeat until its health bar is empty. It leaves Hinox Toenails and Hinox Guts behind.

Korok seed beside the waterfall
Just past the Hinox, climb to a cliff ledge beside a waterfall. A metal slab sits in the rock next to the falling water. Grab it with Magnesis and move it out of the way, and the Korok hiding there bursts out and hands over a seed.


Korok seed on top of the ruined pillar
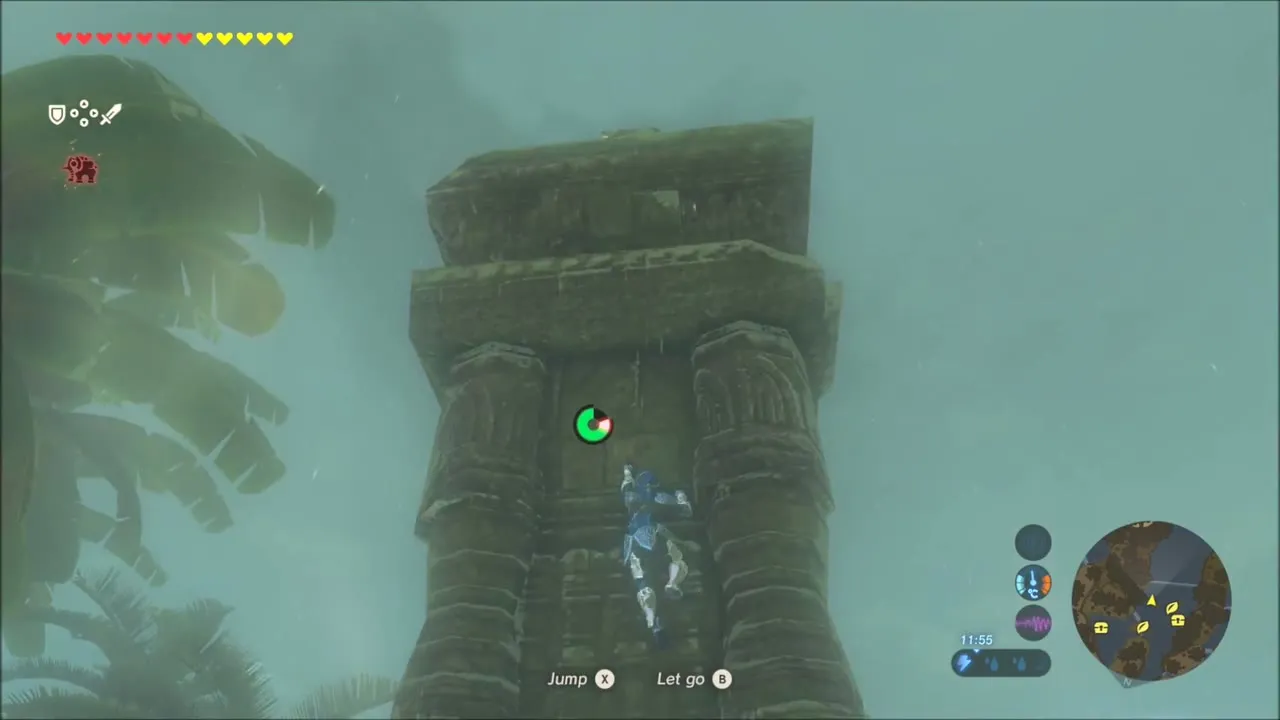
The flooded ruins south of the waterfall hold another seed. Climb the boulders in the water and cross to the tall, narrow stone pillar rising out of the lake. Scale it to the top, where a Korok is waiting on the flat cap, and take your reward.
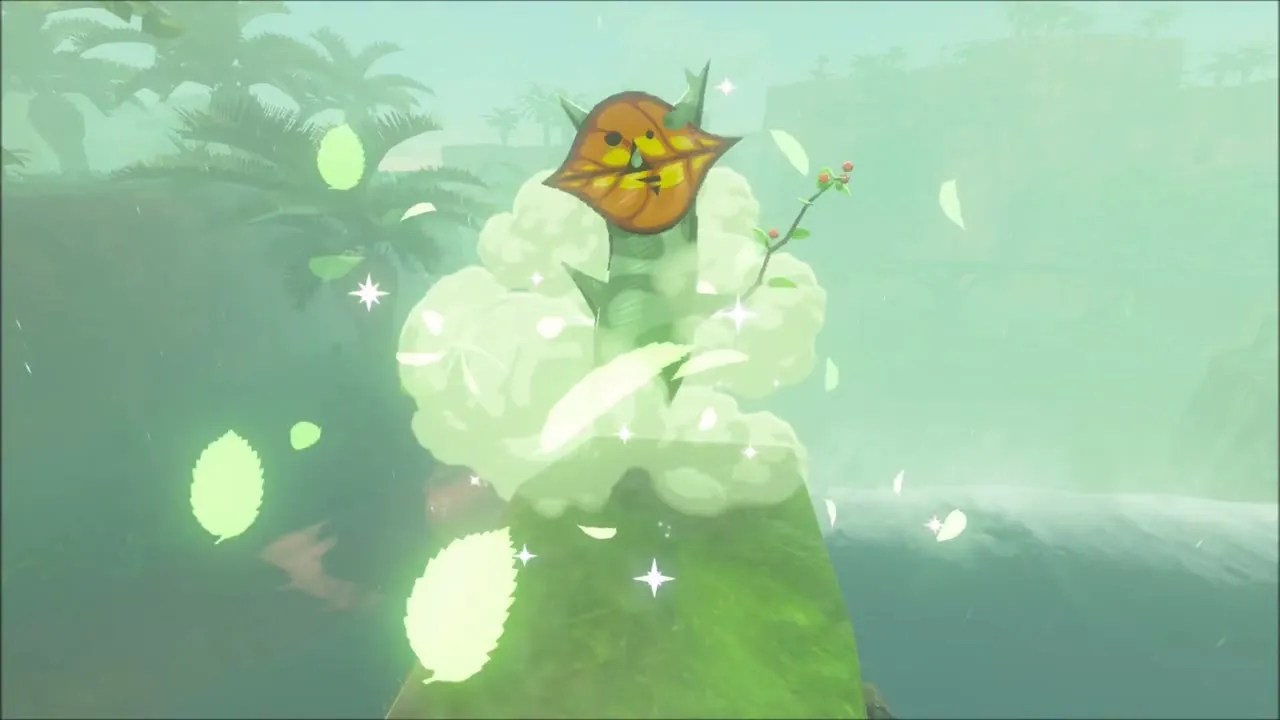
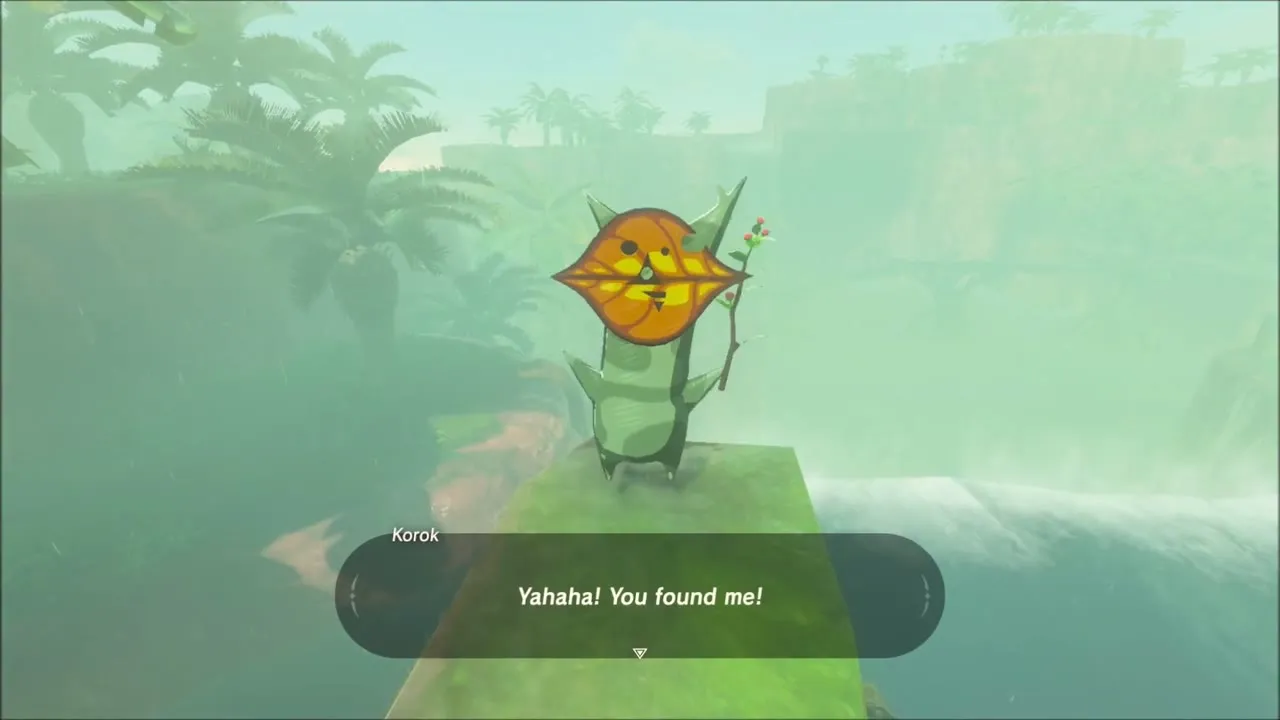
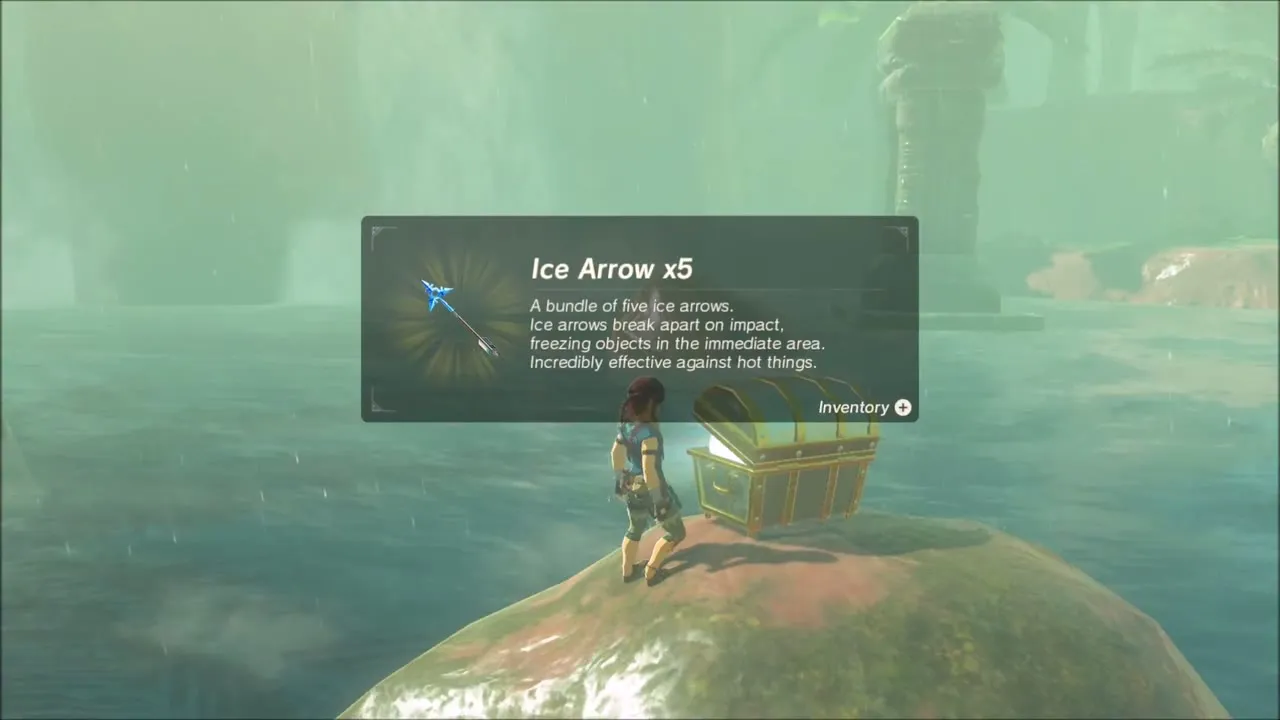
Lake Floria Chests: Ice Arrows, Shock Arrows and a Stone Talus
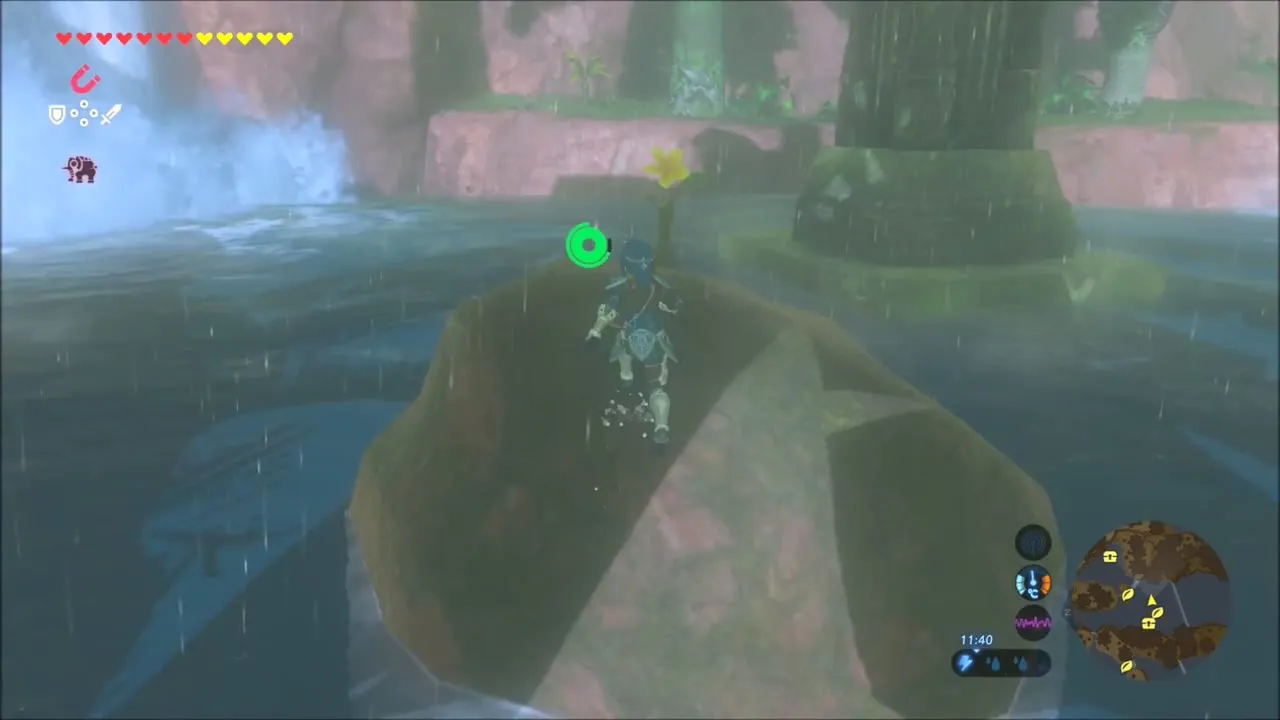
The flooded ruins keep paying out. A chest on a small rocky island holds five Ice Arrows, and Magnesis pulls several more chests out of the water as you paraglide from island to island. A Sapphire can be picked up from the ground near the ruins on the way.


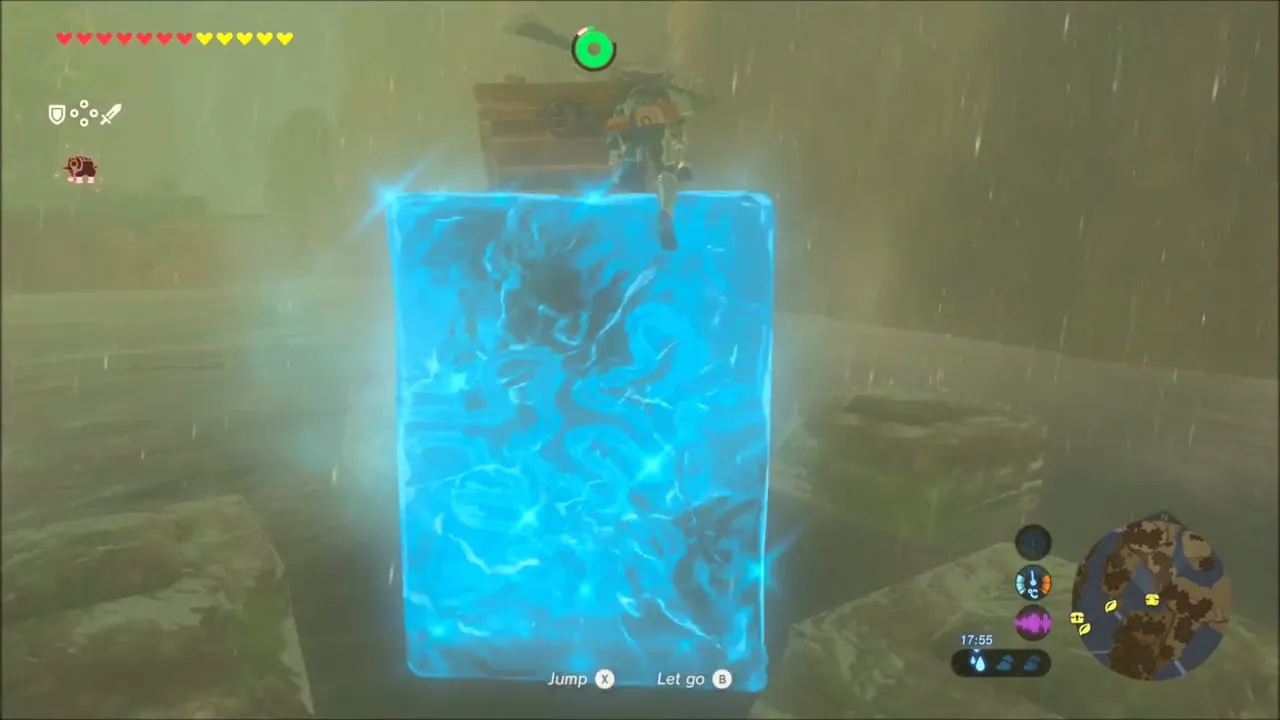
A little farther on, a chest rests on an ice block you raise yourself. It holds five Shock Arrows. More chests of arrows and rupees turn up around the same stretch of water if you follow the shoreline.


Up on the cliffs, glide down to a narrow ledge in the rock face. A Korok sits at the end of it, and you only have to reach it to collect a seed.
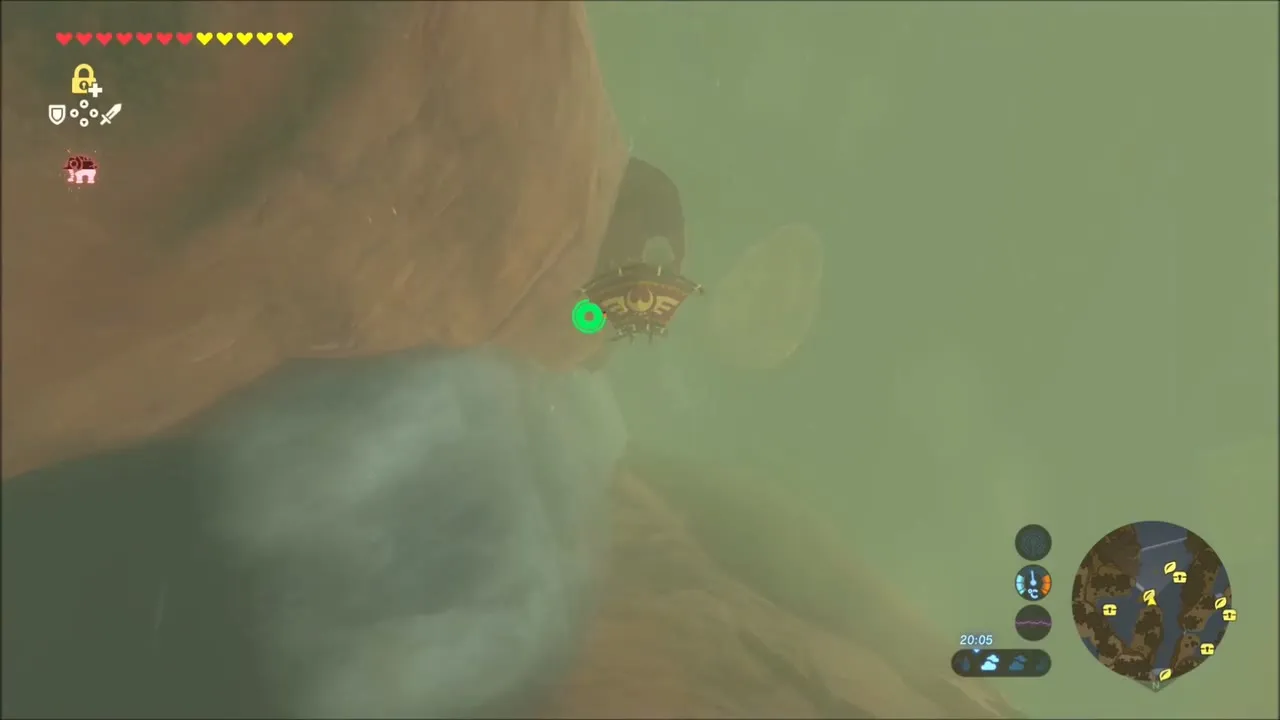

A Stone Talus rests on a pile of boulders beside Lake Floria, and its title card shows up as you climb the rocks. Go for the ore deposit on its back, and use the chests and ice blocks in the nearby shallows once it is down.

Campfire Cooking and Beedle’s Shop
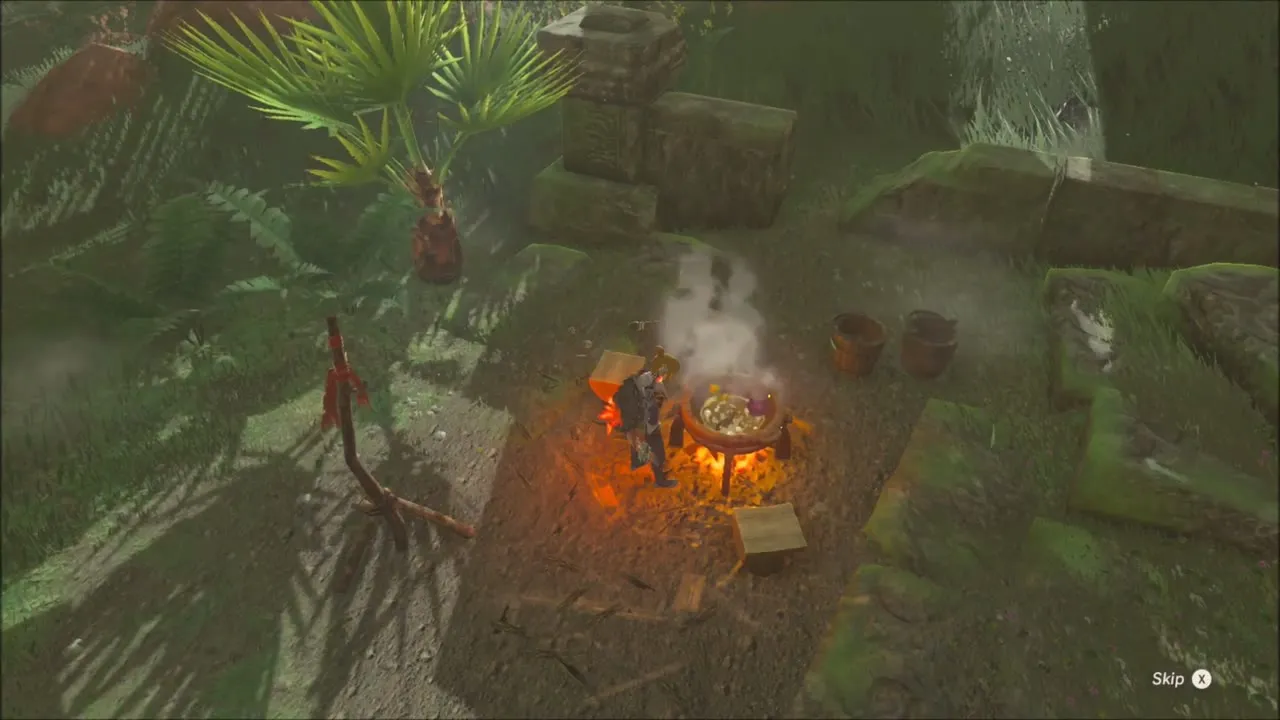
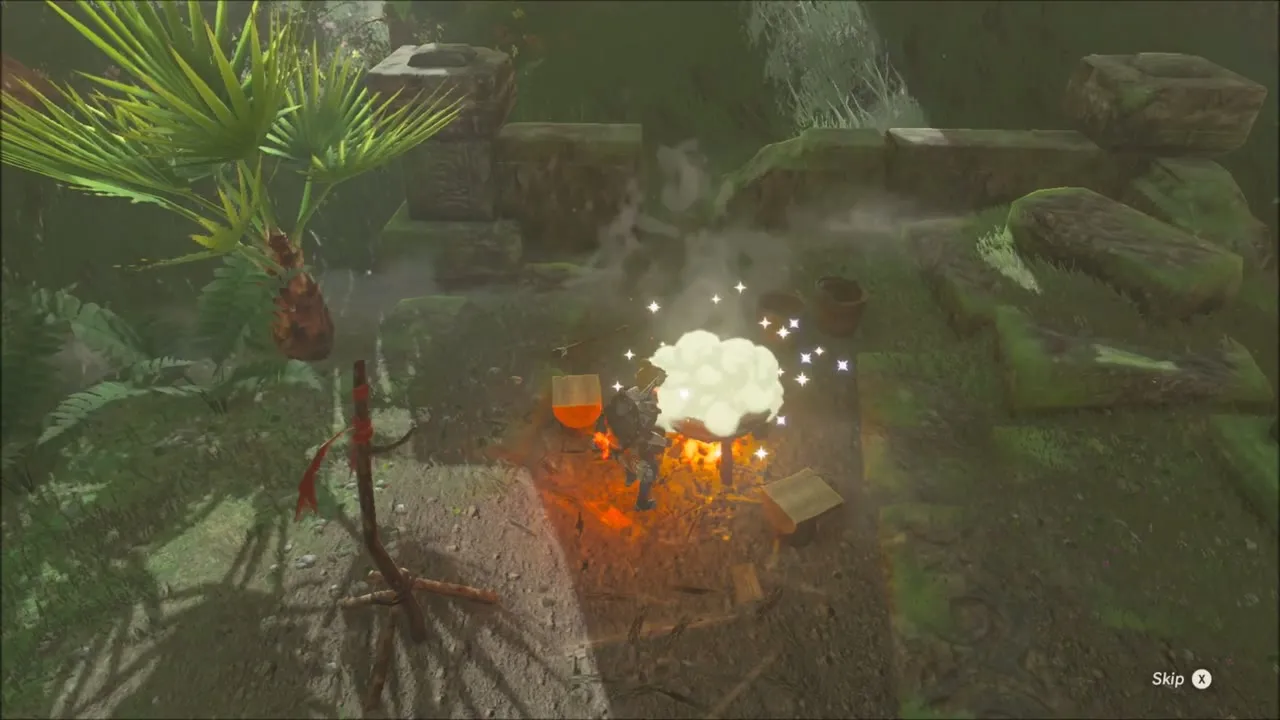
With the pack full of loot, stop at a campfire in the jungle and cook a few batches of meals from your spare fruit, mushrooms and fish. Then visit Beedle, who runs a shop in the stable next to Floria Bridge. He buys gems such as Opals and Sapphires, and he sells a Hasty Elixir.


A Gift of Nightshade: Wabbin and Perda
Ride east over Floria Bridge. A traveler on the road picks a fight in the grass; it is quick, and then you carry on toward Tuft Mountain until the flat ground turns to rolling hills.


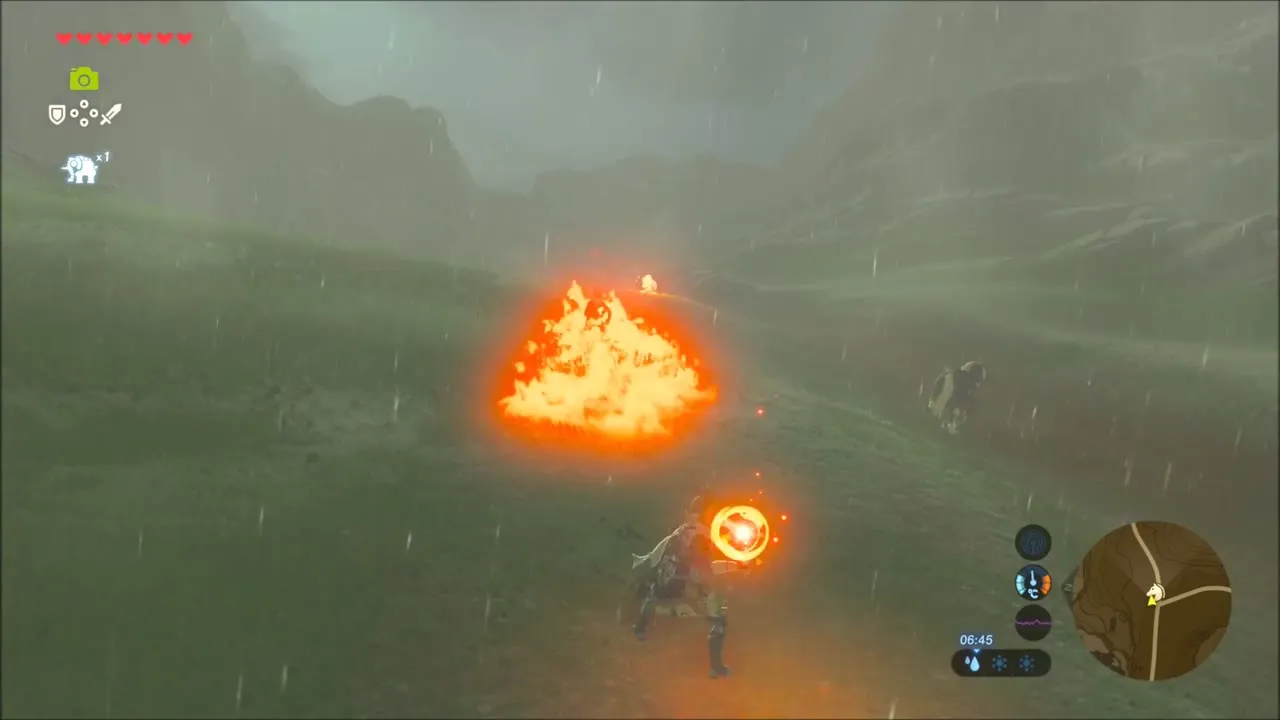
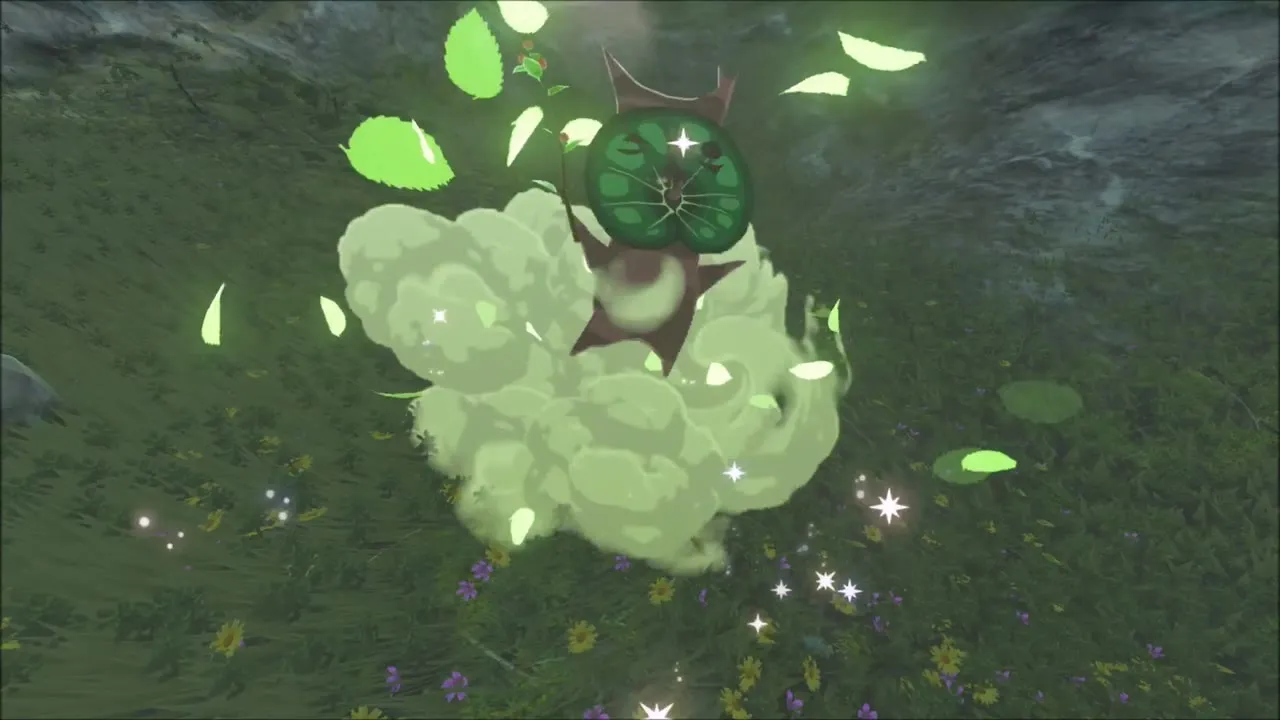
On a slope near the road, a ring of small stones lies in the grass, and one large rock sits at its edge. Pick up the rock and a Korok springs out from underneath, giving you a seed.



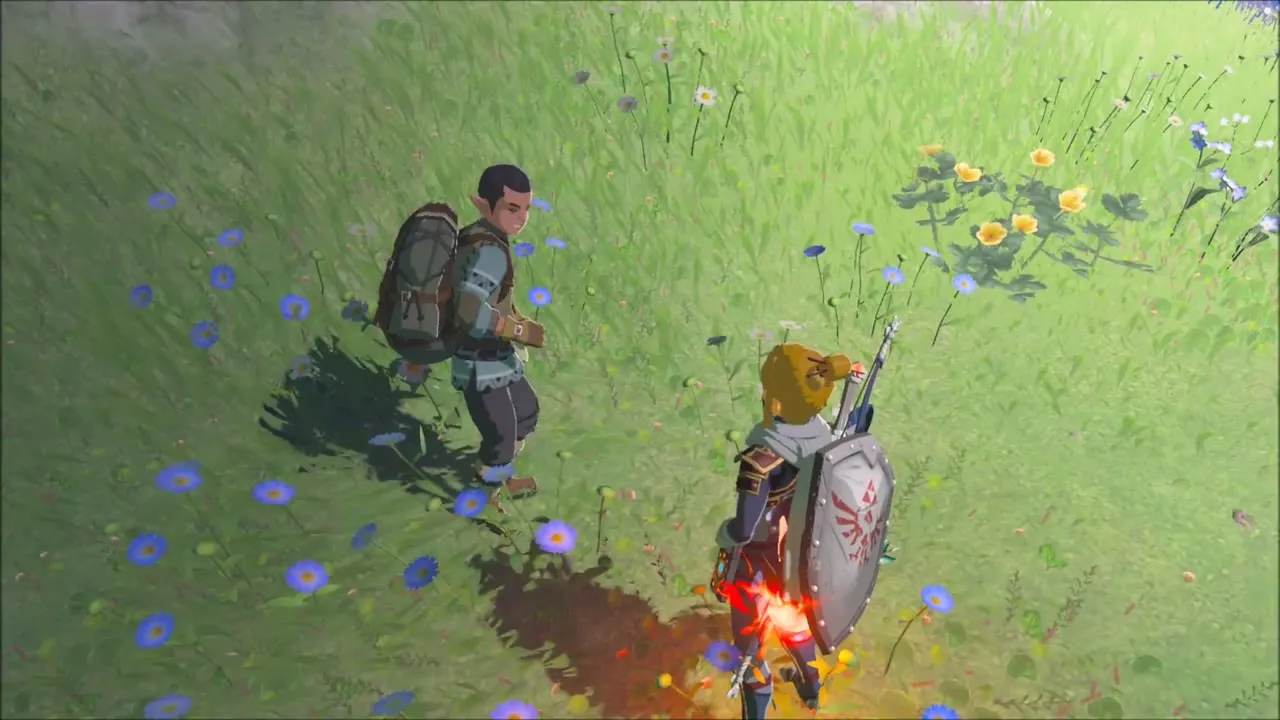
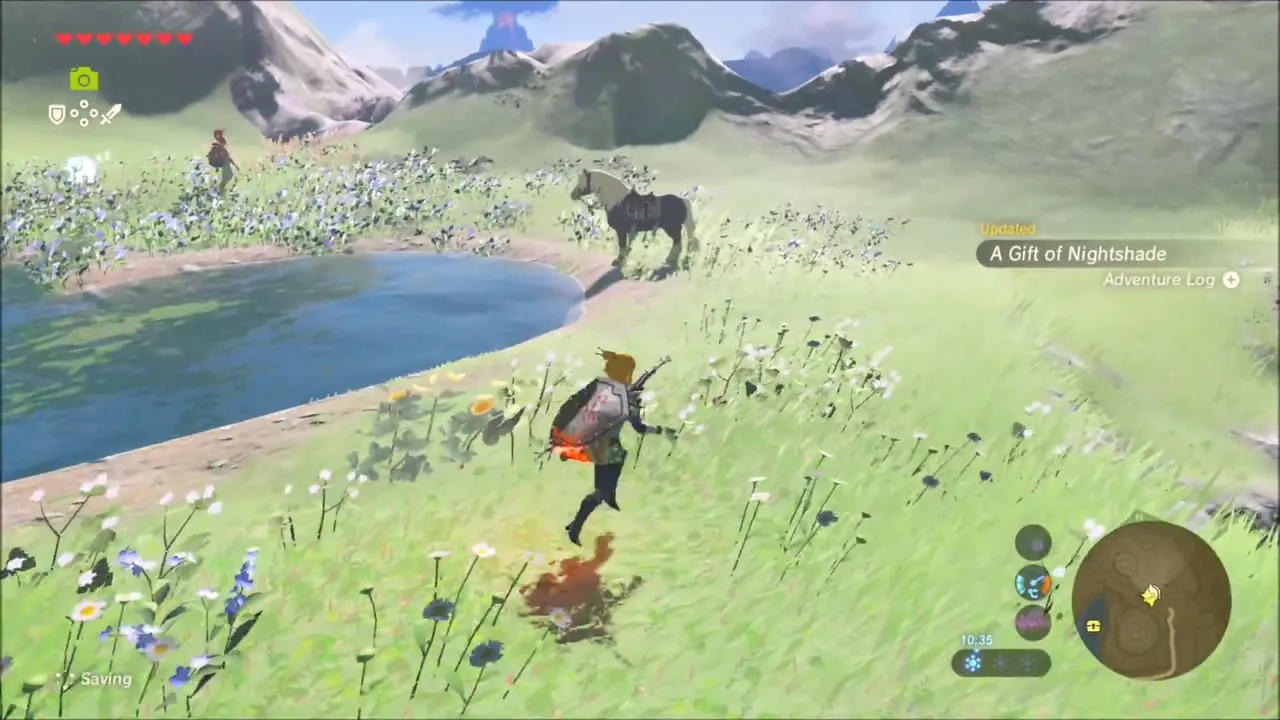
Climb to the pond in the hills and speak to Wabbin, a shy traveler. He wants to hand a Blue Nightshade to a girl, so give him the flower. He loses his nerve at once and begs you to deliver it, so walk around the pond to Perda and hand it over for him. Wabbin steps up, and A Gift of Nightshade is complete.


Korok seed on the grassy summit
From the pond, climb the white rock slope up to the grassy peak. A rock rests on the very top. Lift it, and the Korok underneath pops out and gives you a seed.
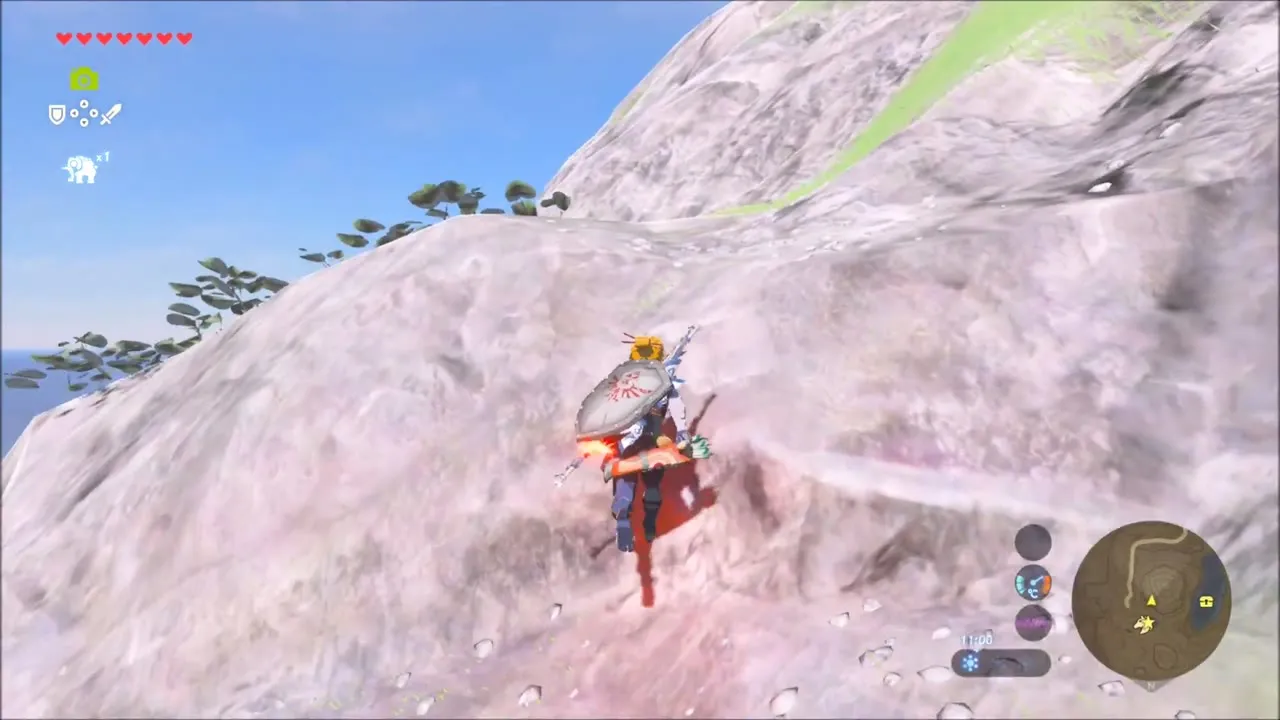
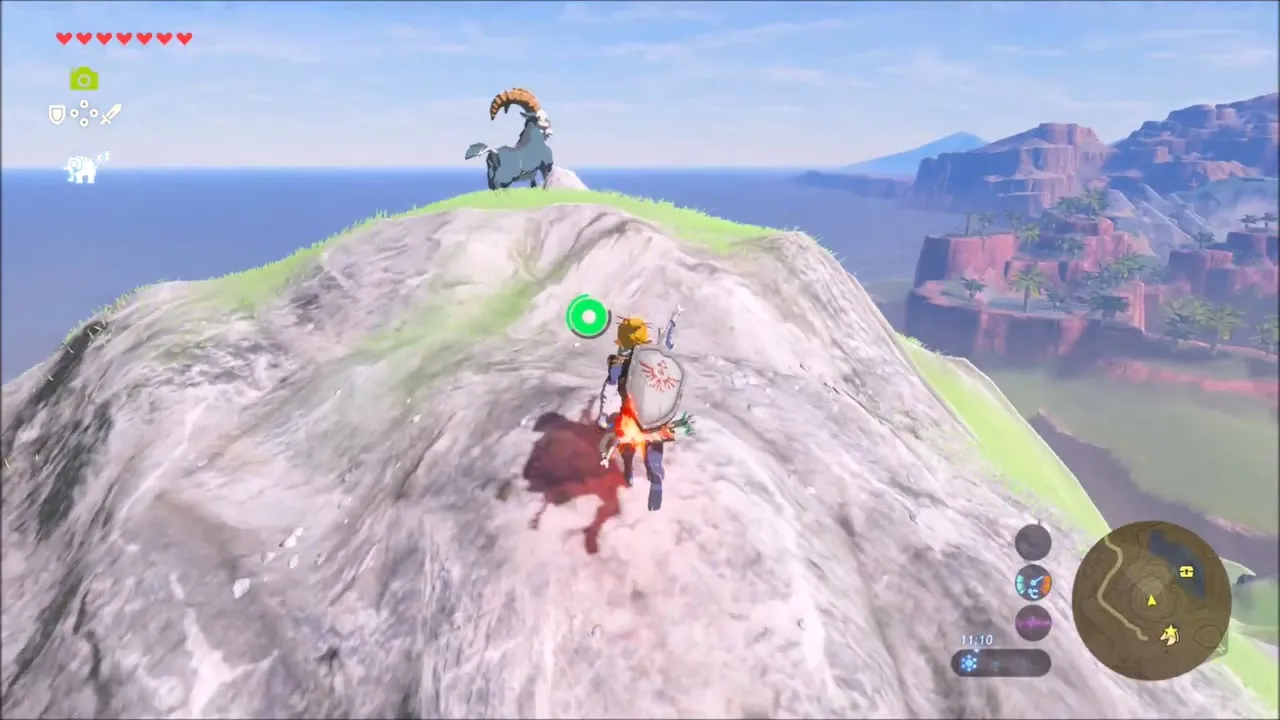


Korok Seed in the Red Leaves and the Bokoblin Camp Above Lurelin Village
Head down toward the coast along the cliff tops. On a grassy shelf at the edge of the cliff, a heap of red leaves lies in the grass. Burn it with a fire weapon or a Fire Rod, and the Korok that was hidden under it appears and gives you a seed.
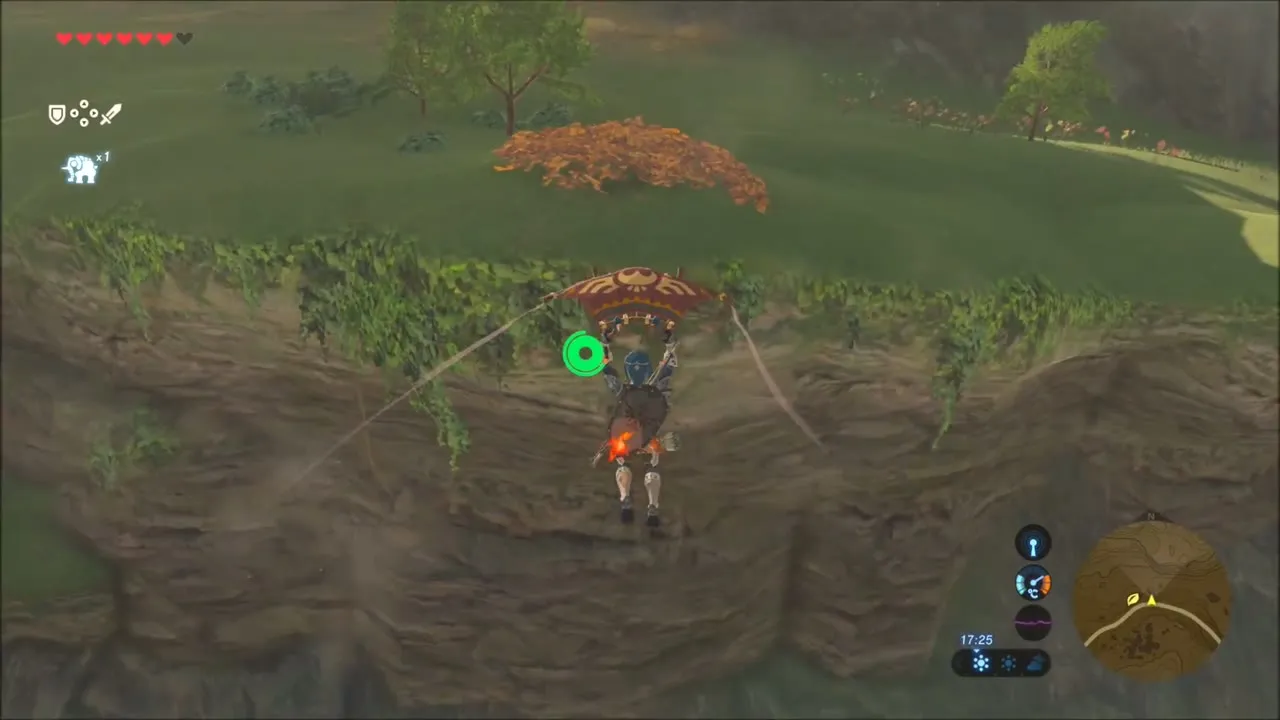
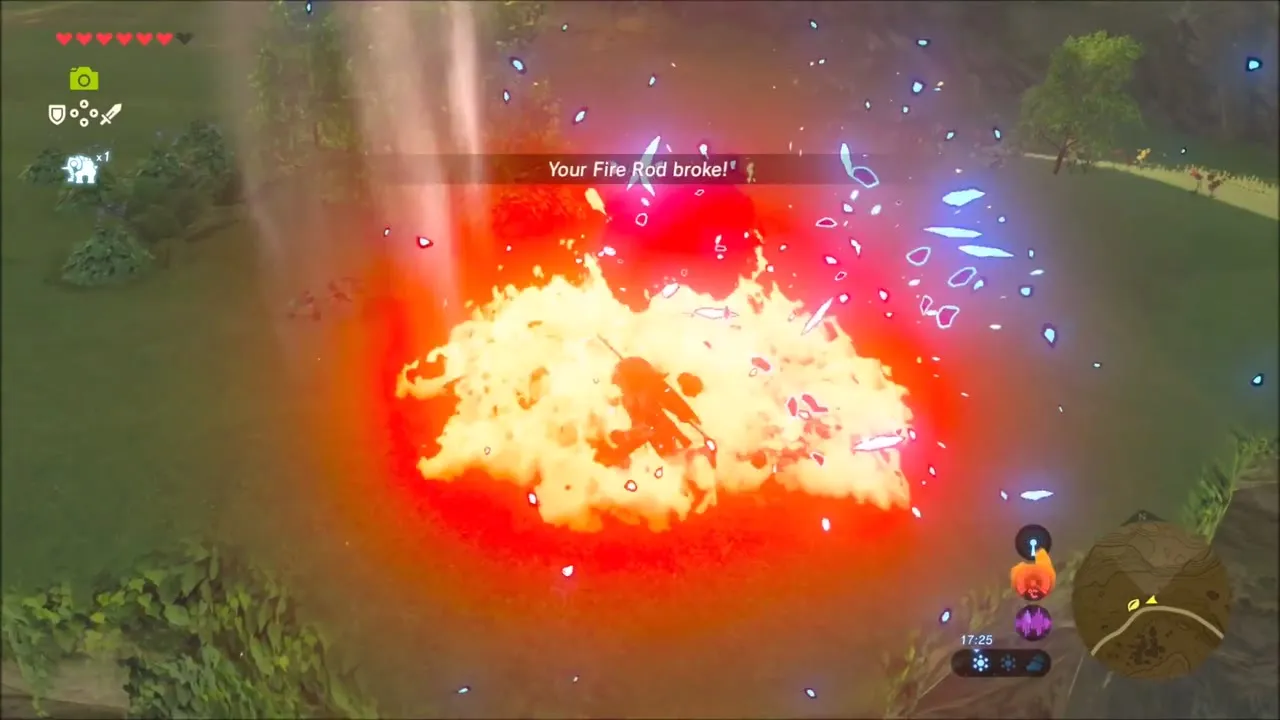
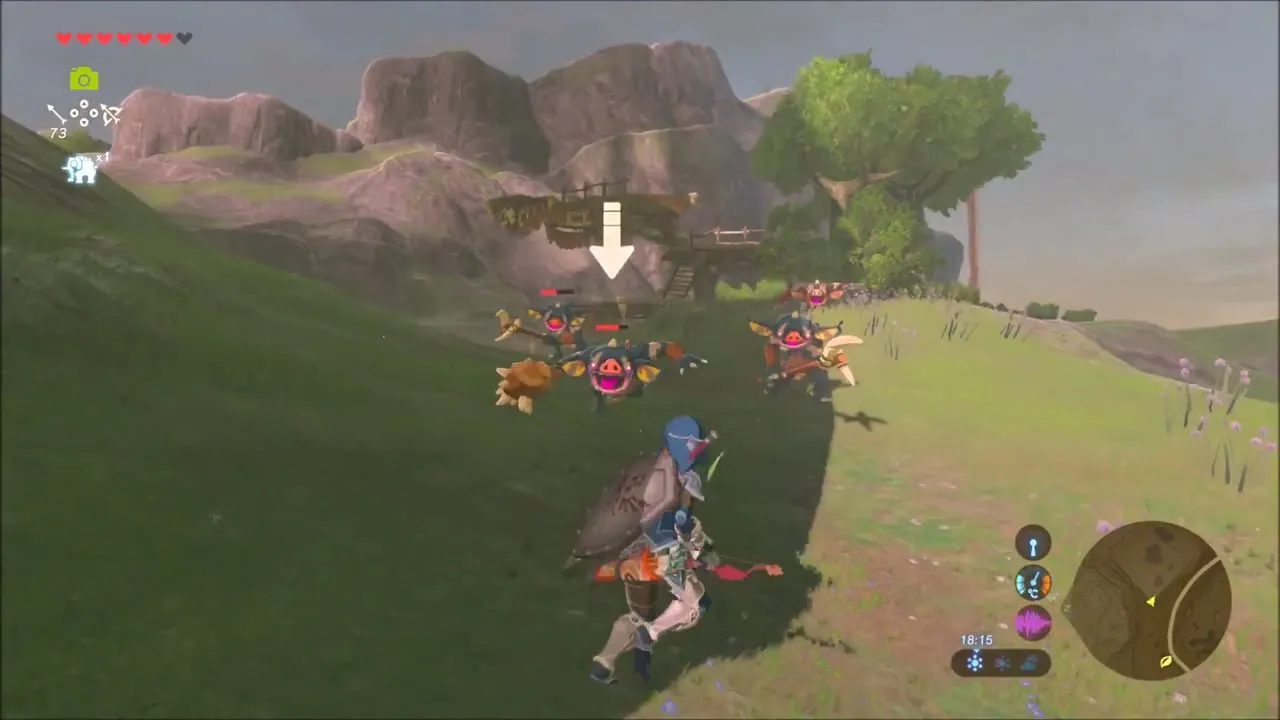
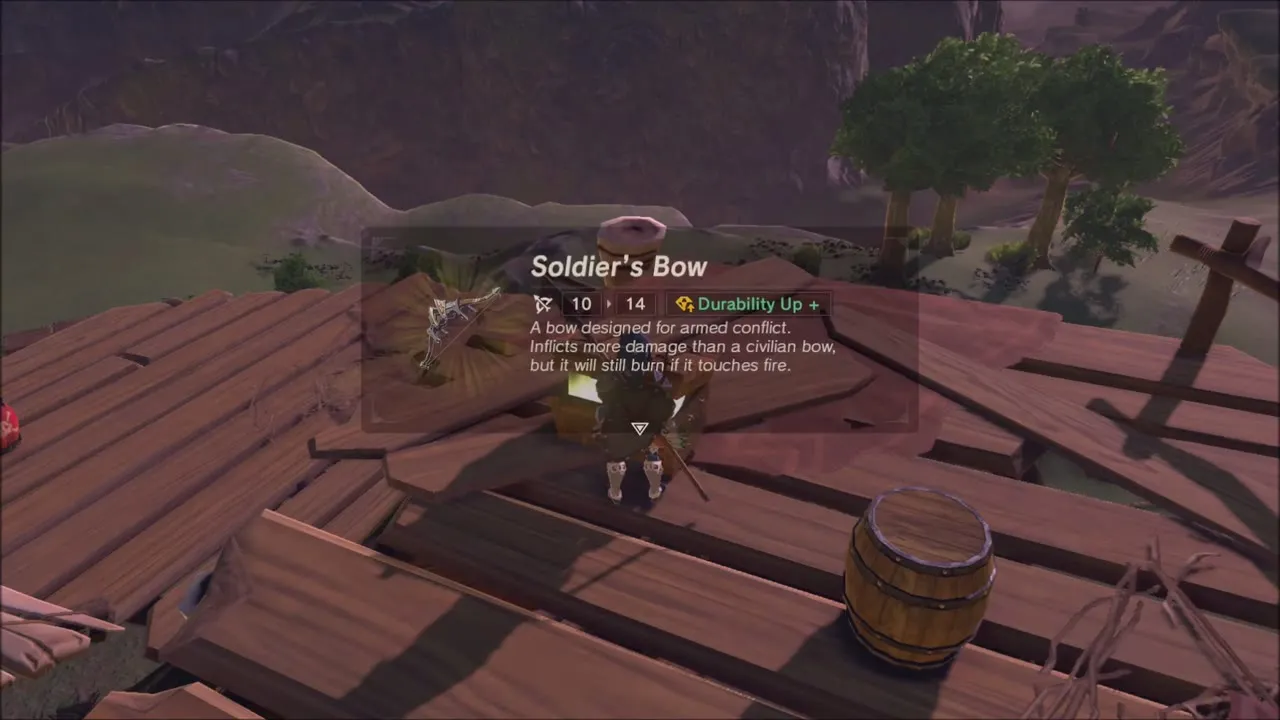
The way down runs past a Bokoblin camp built around wooden platforms and a watchtower. Clear the Bokoblins on the ground first, then climb the ladder and work across the planks to the chest on the upper deck. It holds a Soldier’s Bow (tier set by difficulty scaling).


Yah Rin Shrine: A Weighty Decision
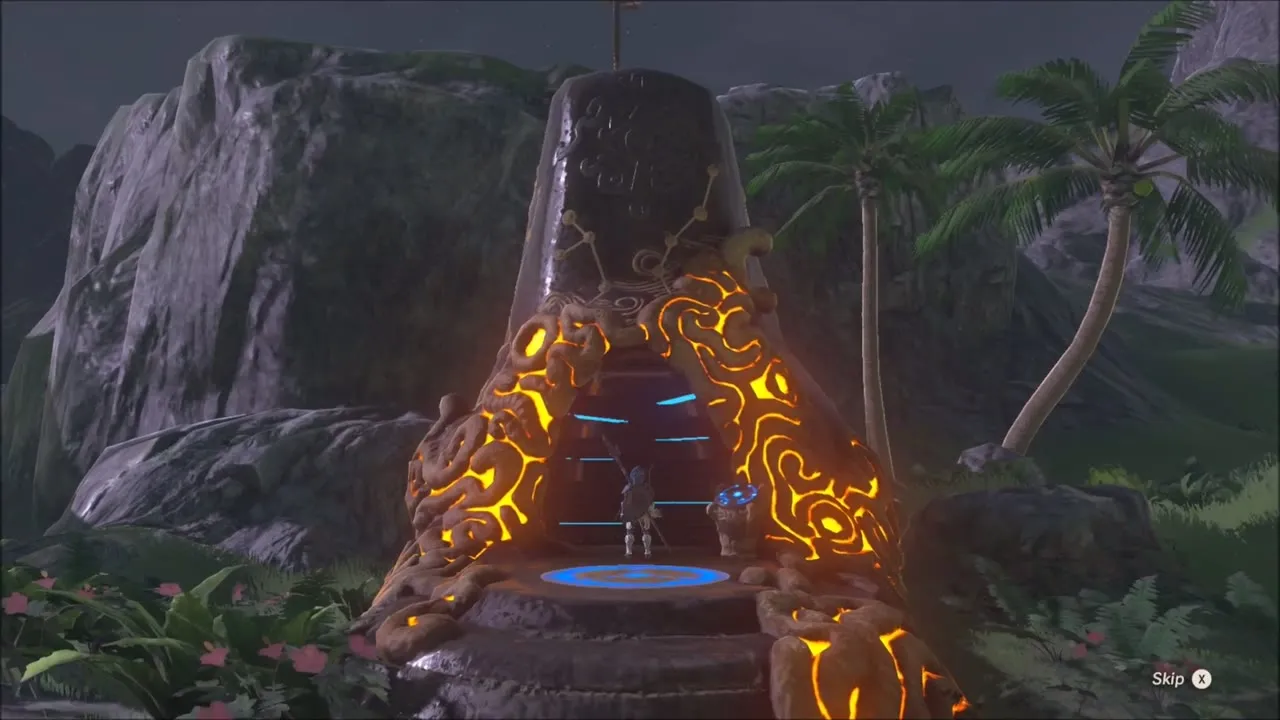
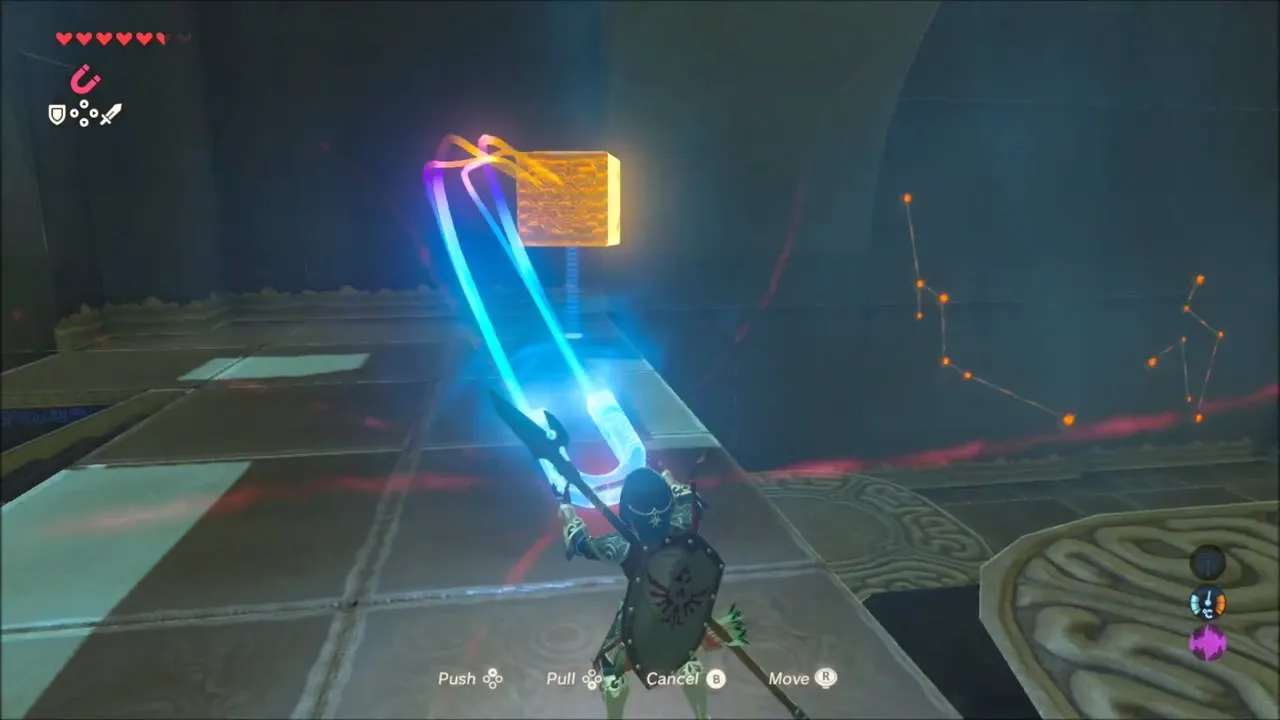
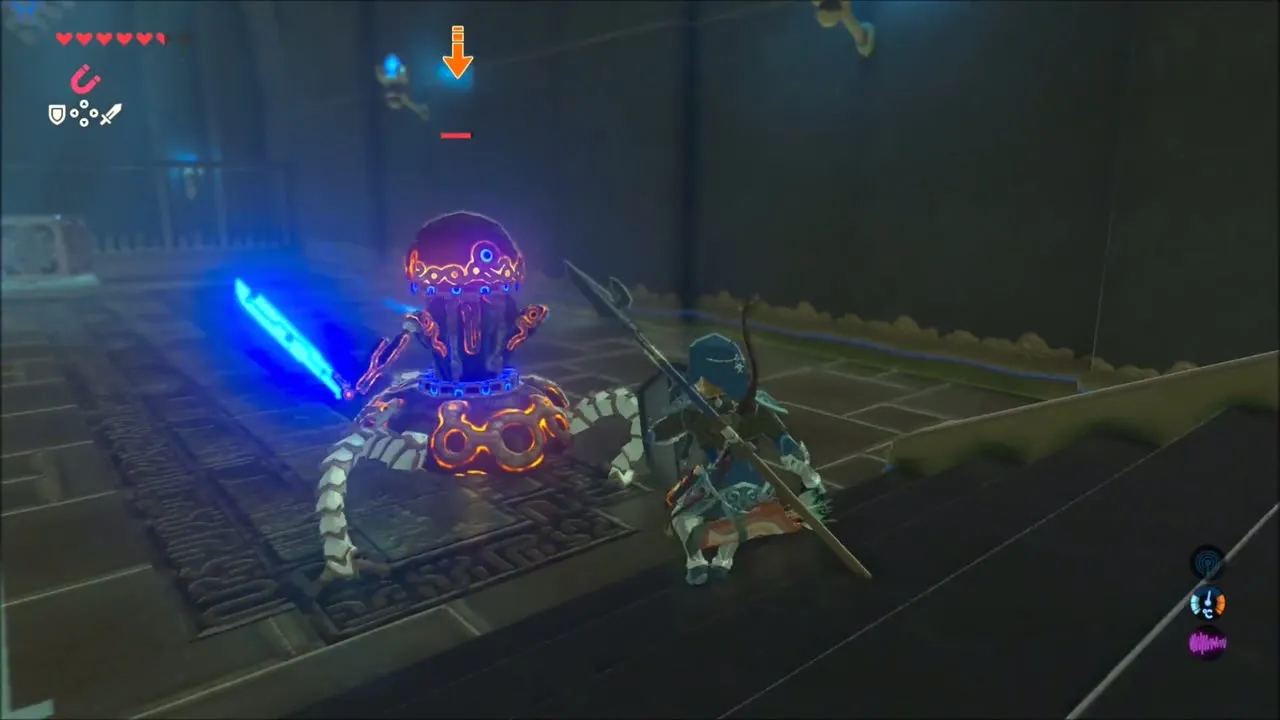
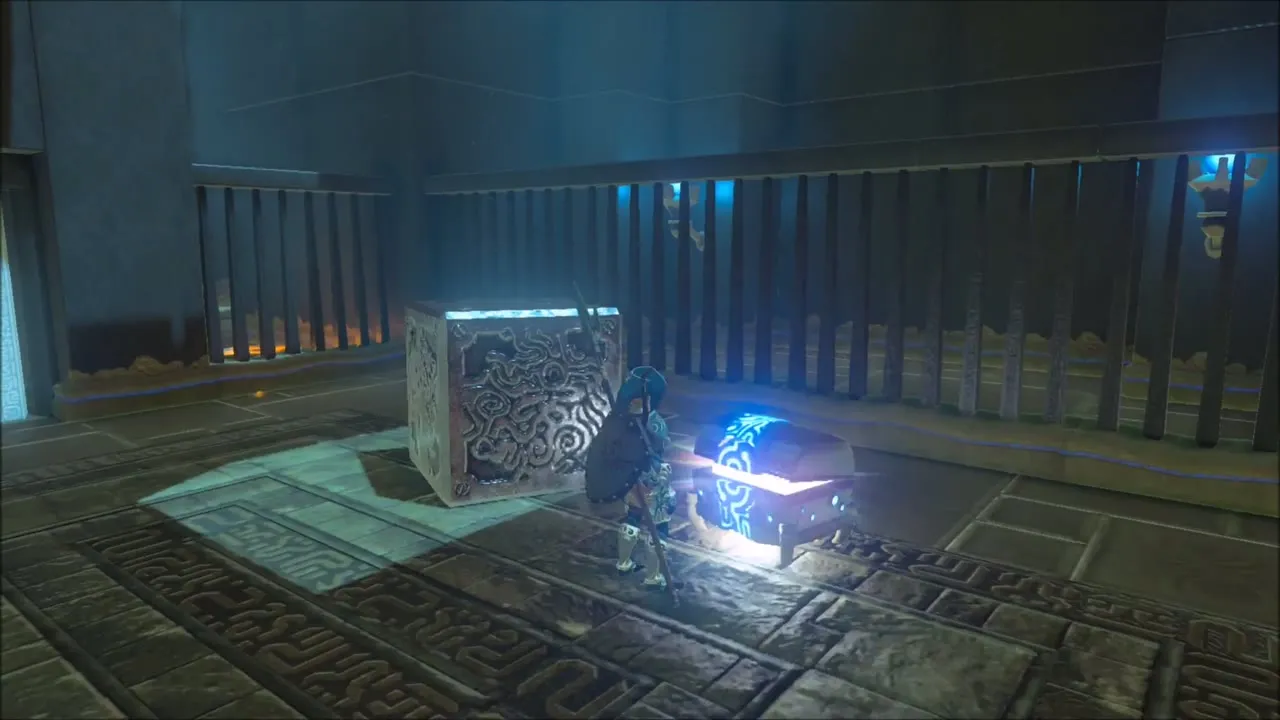
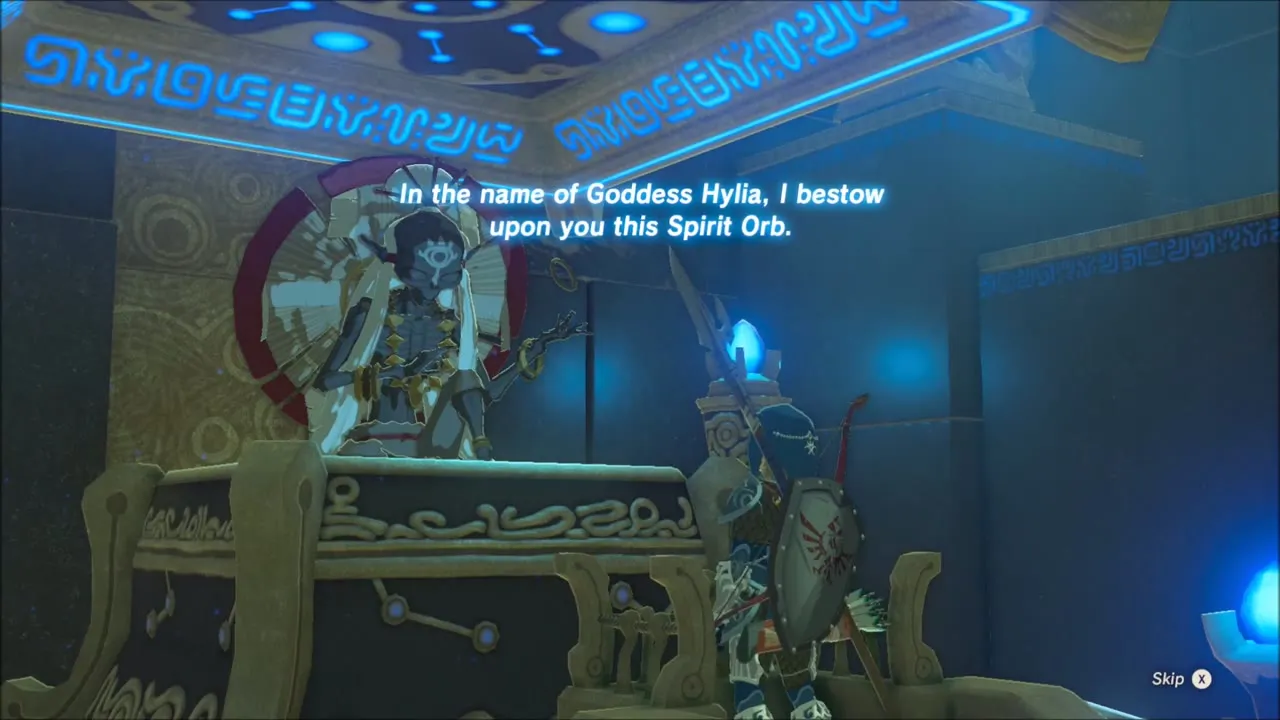
The hill just north of Lurelin Village holds Yah Rin Shrine (trial “A Weighty Decision”, x 2834, z 3312, height 166). It is a puzzle built on weighted scales. Use Magnesis to move the metal block onto the opposite platform and your side rises; take the block with you, deal with the damaged Guardian Scout, and use the block as a step to the chest behind the fence, which holds a Knight’s Broadsword (tier set by difficulty scaling). Then lift the block over the lower fence to the floor switch to open the door. The scale platforms on the left and right use the same block, and the chest you reach by climbing them holds an Opal. Yah Rin gives you a Spirit Orb at the altar.
Korok Seeds Along the Eastern Coast
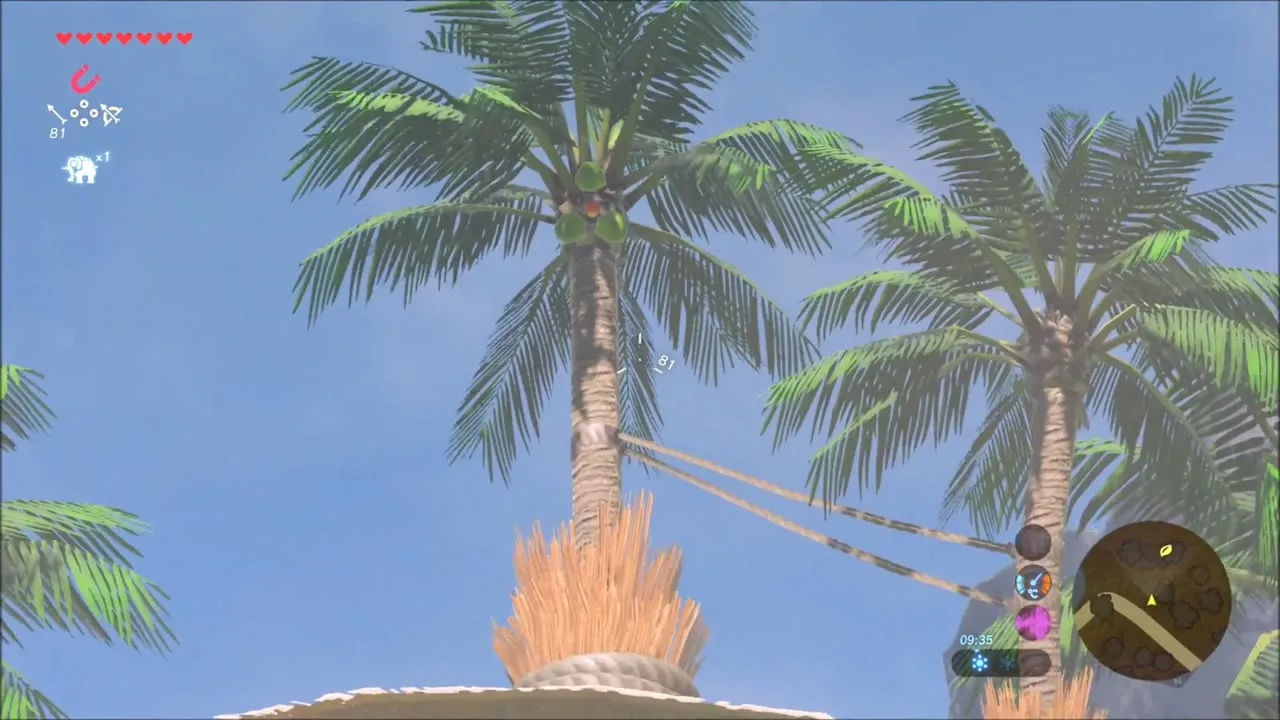
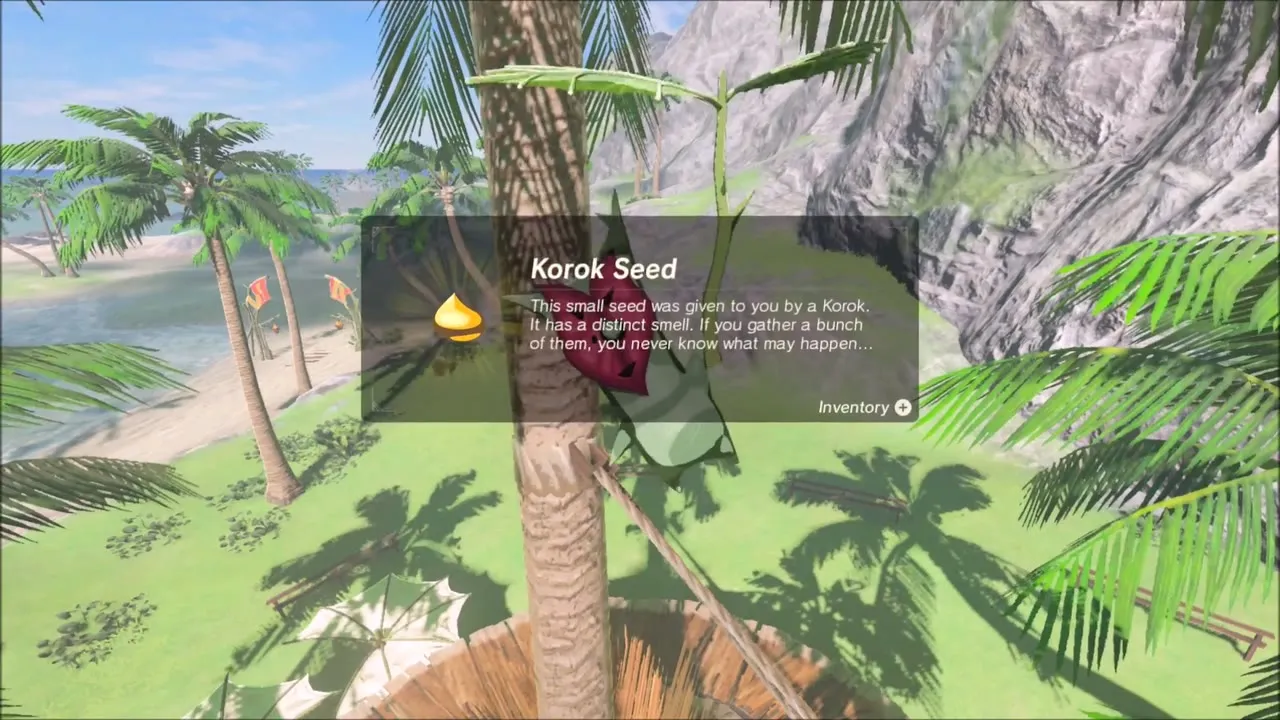
From the hill above Lurelin Village, set off east along the coast. On one stretch of beach, look up at the crown of a palm tree, where a cluster of fruit hangs. Shoot the fruit with an arrow, and a Korok drops out of the tree with a seed.

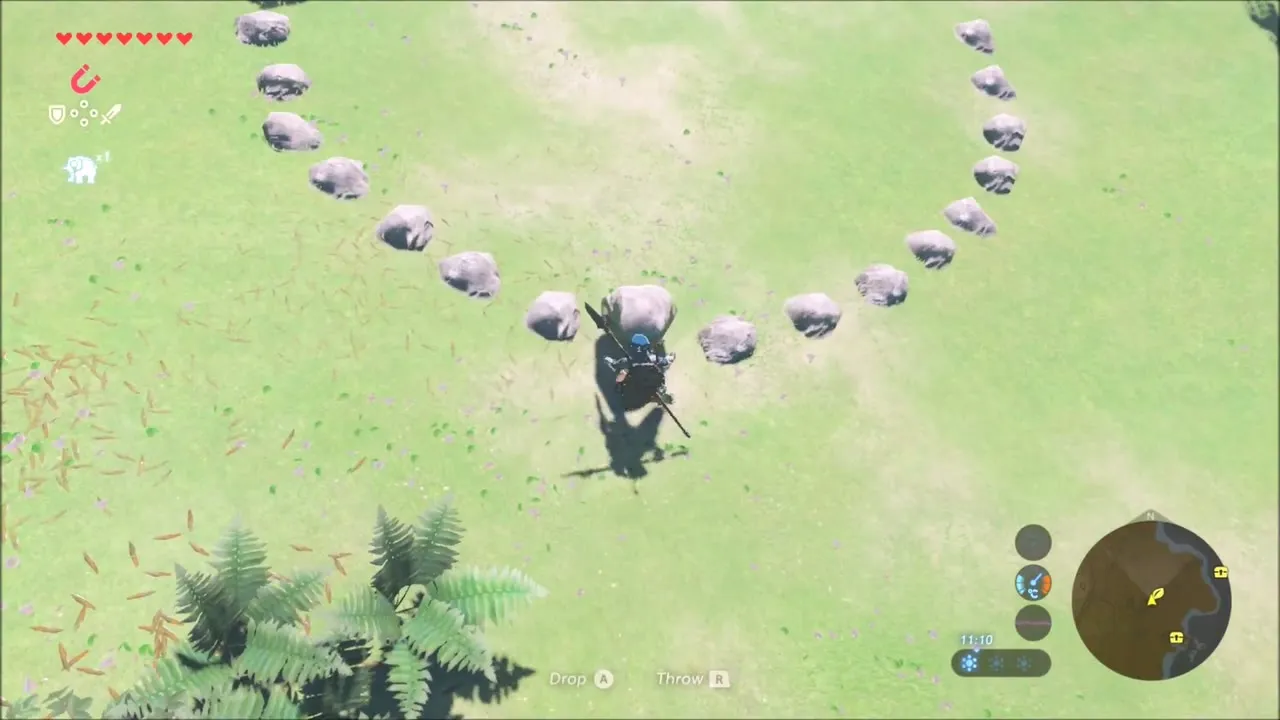
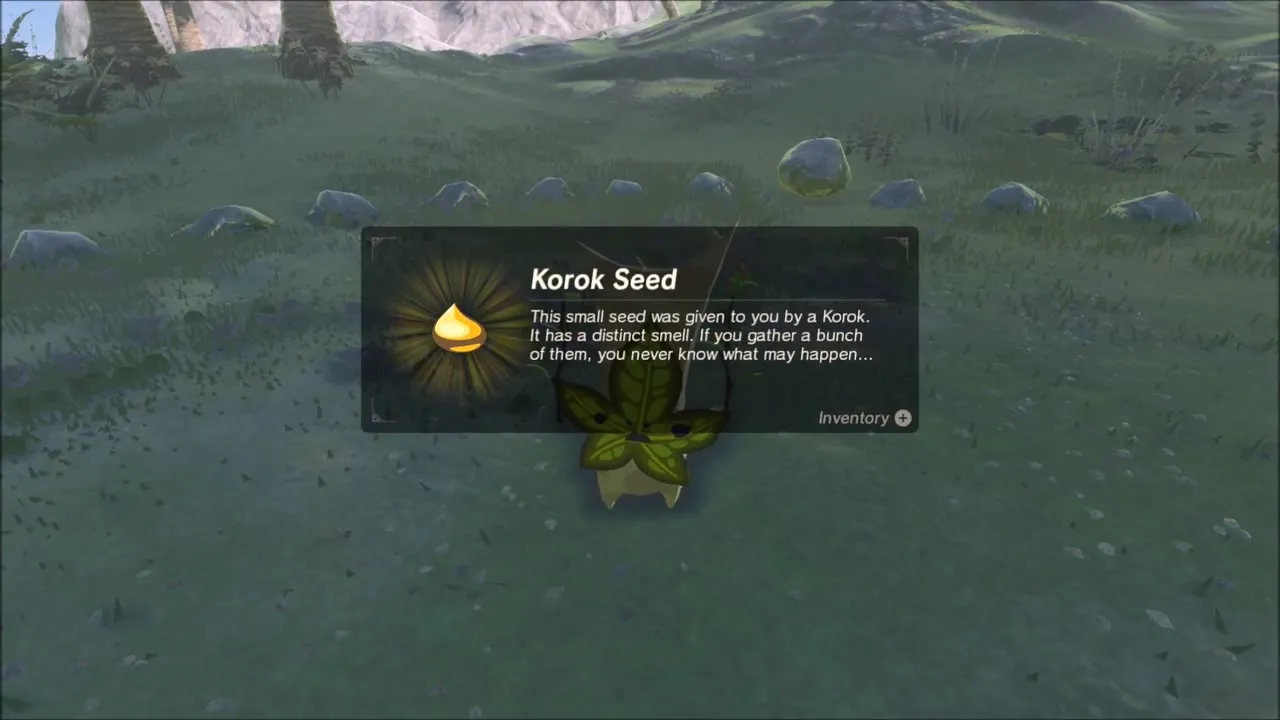
A little farther along, a big ring of small stones lies on a green hillside. Pick up a boulder from the grass, carry it into the ring and set it down in the middle. A Korok pops out and gives you a seed.


Sunken Treasure: Rozel’s Raft and the Three Rocks
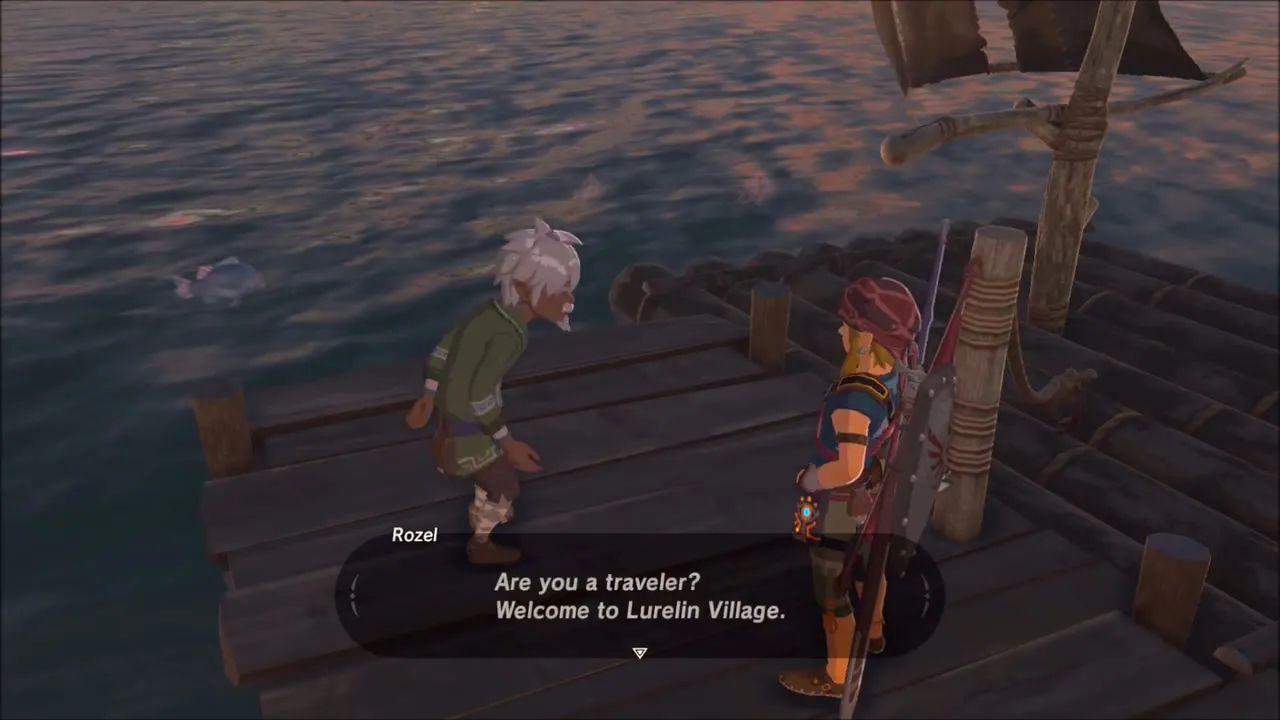
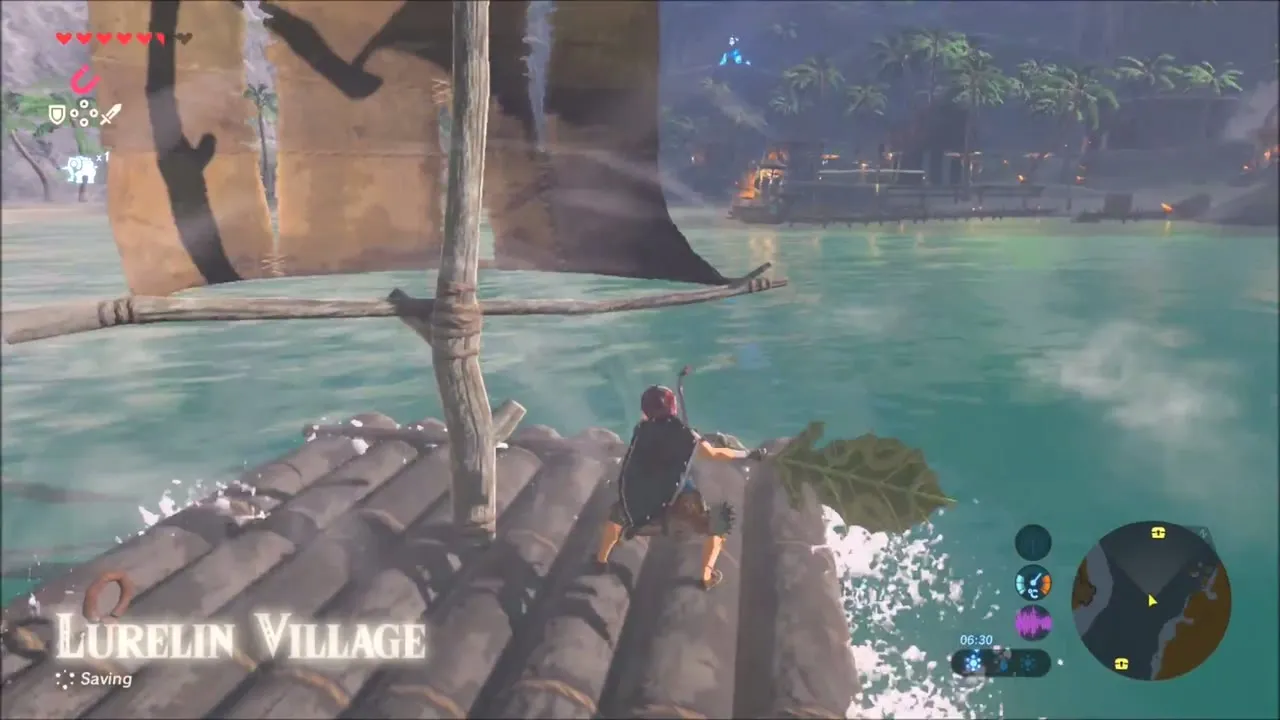
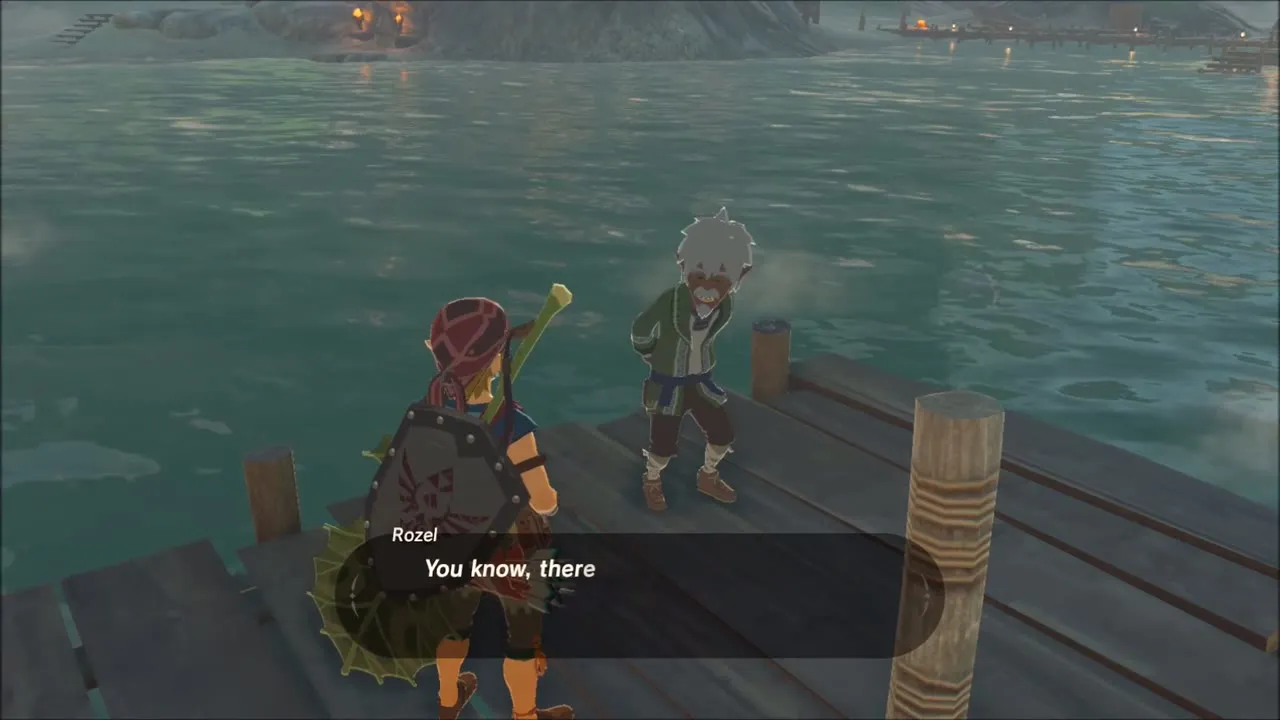
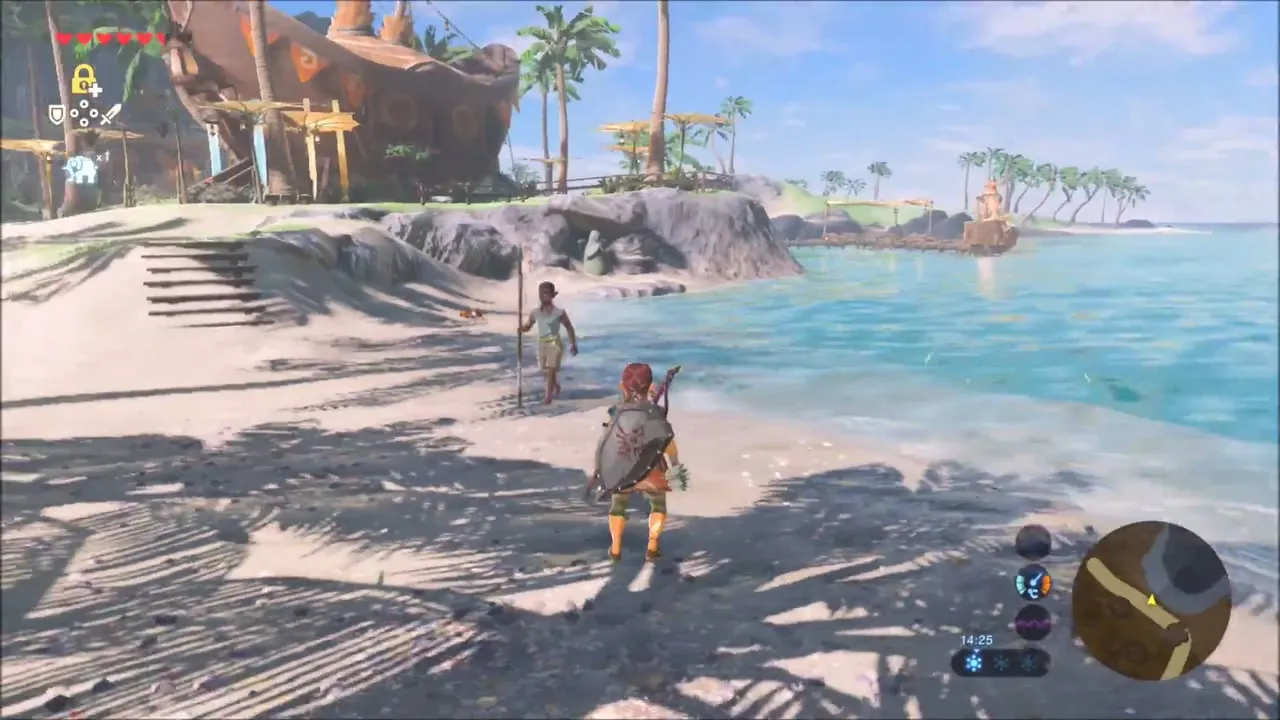
Ride the beach into Lurelin Village, picking up the arrows and weapons lying around on the way. On the dock, speak to Rozel; his talk of treasure buried at the center of three rocks in the sea starts Sunken Treasure. Grab a Korok Leaf from the shore and use it as a fan to drive his raft.

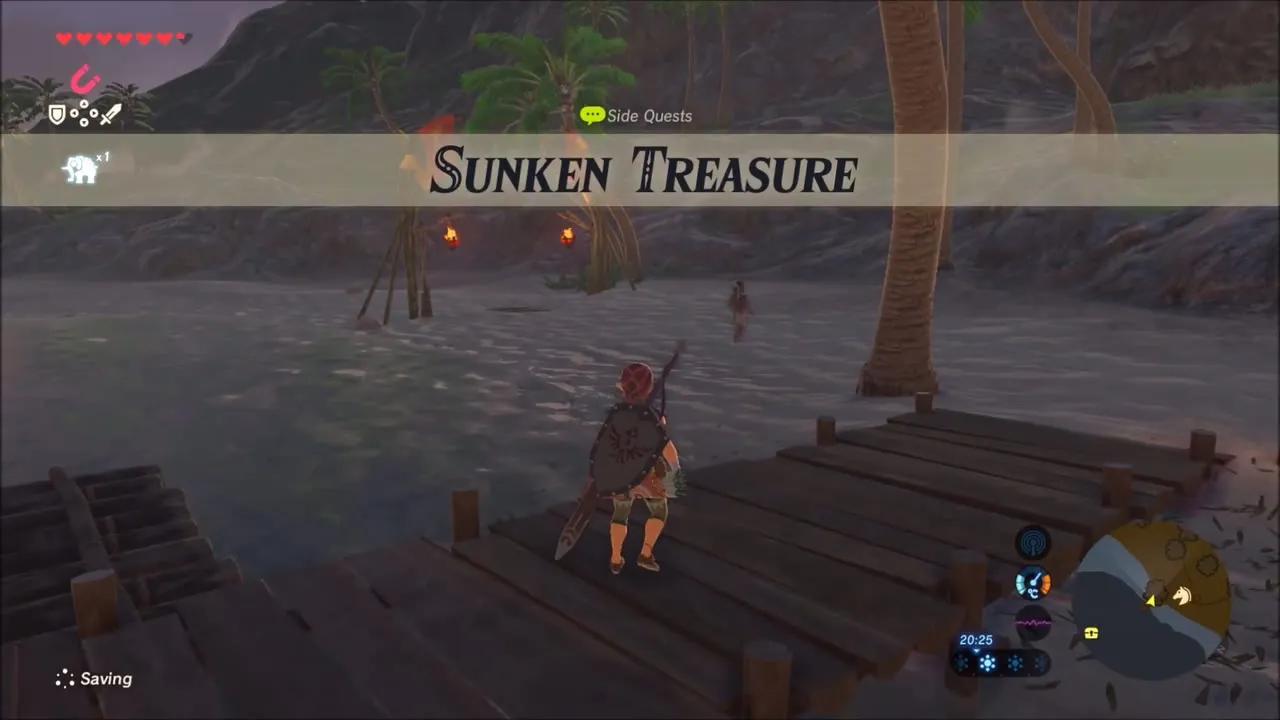
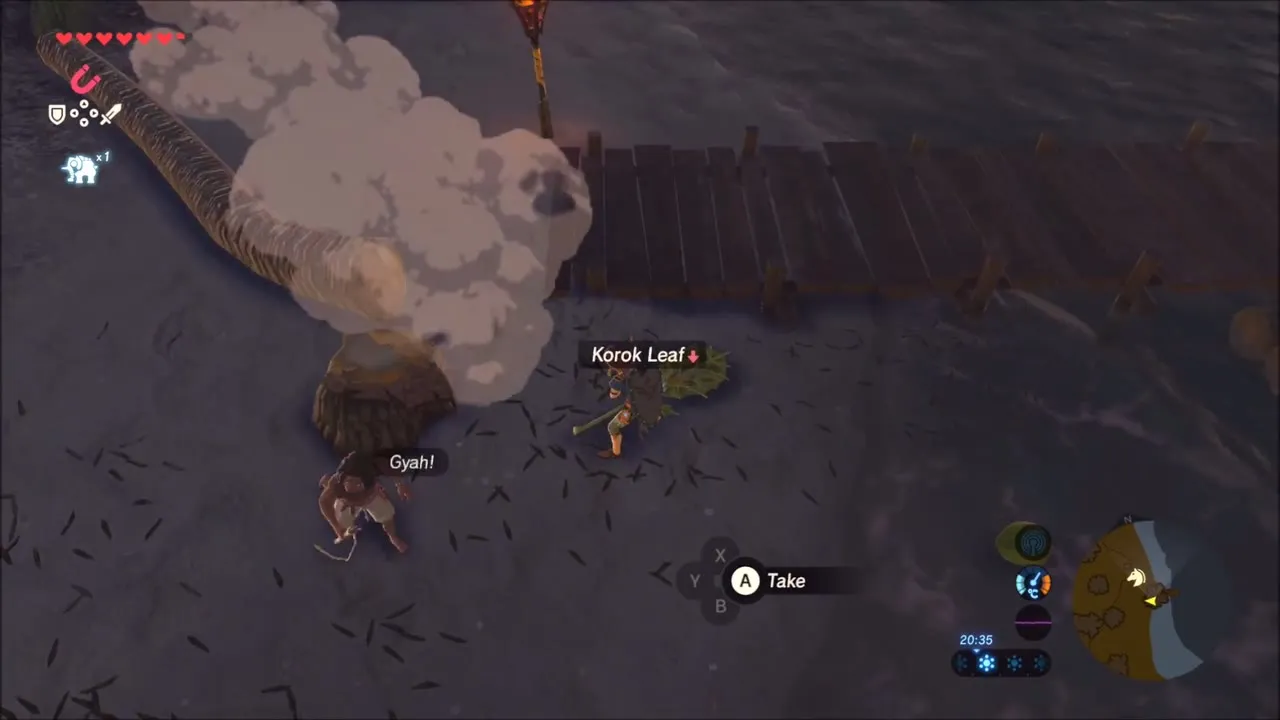
Sail the raft out to sea and gather the chests lying on the seabed on the way: stop above each pale shape, drag it up with Magnesis and open it on the raft. Amber, Purple Rupees, Fire Arrows and more come up this way. The treasure itself lies at the center of the three rocks, and its chests hold two Topazes, a Sapphire and a Thunderblade.
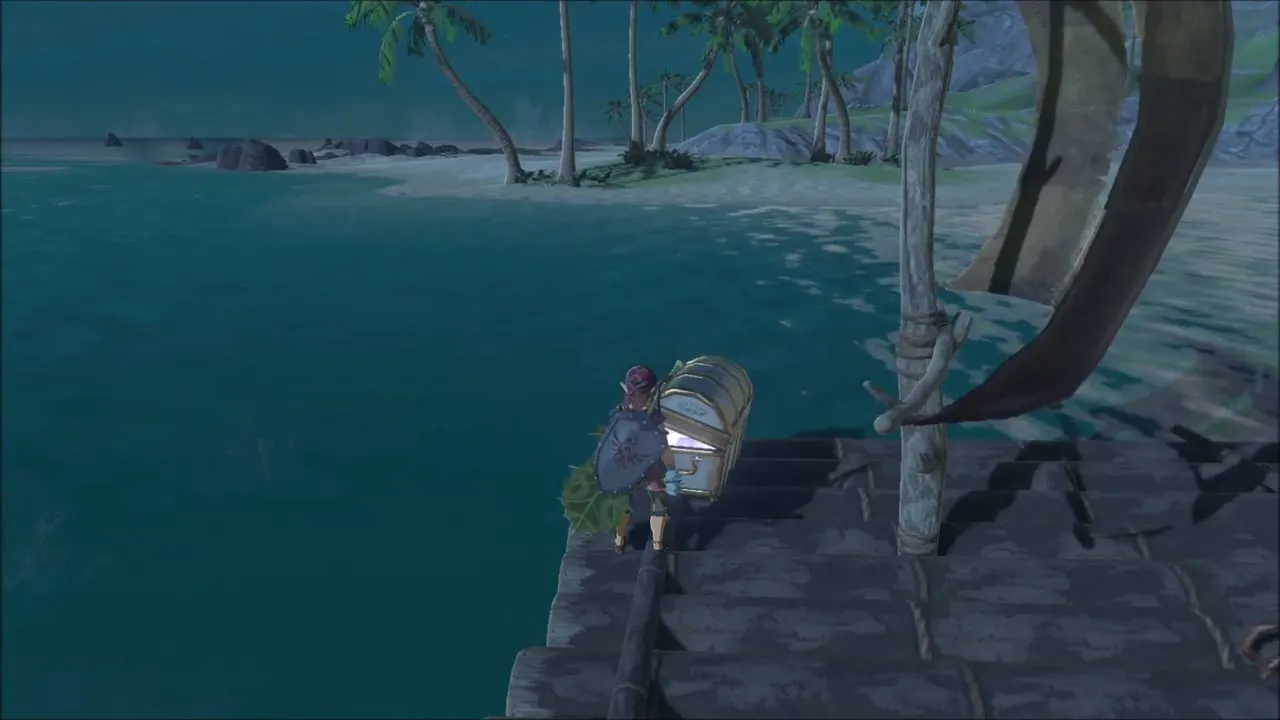


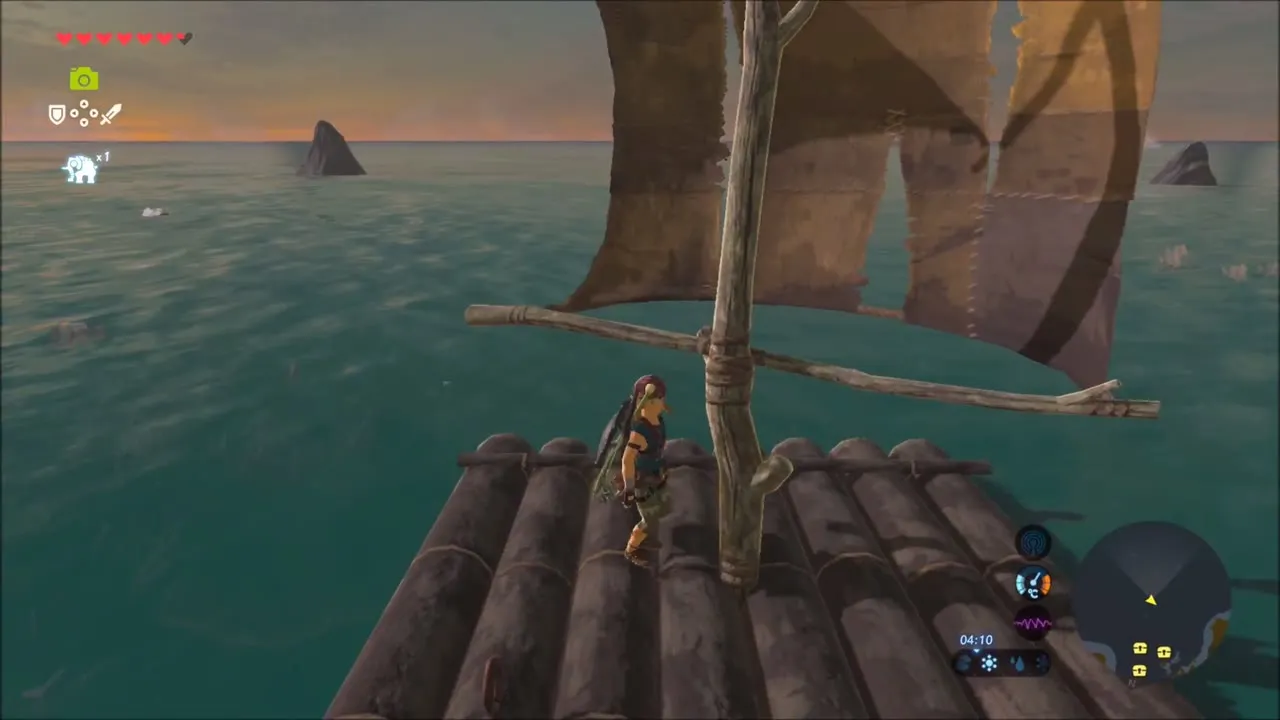
Sail back to Lurelin Village and talk to Rozel again to finish the quest.


What’s for Dinner, Take Back the Sea and a Stamina Vessel
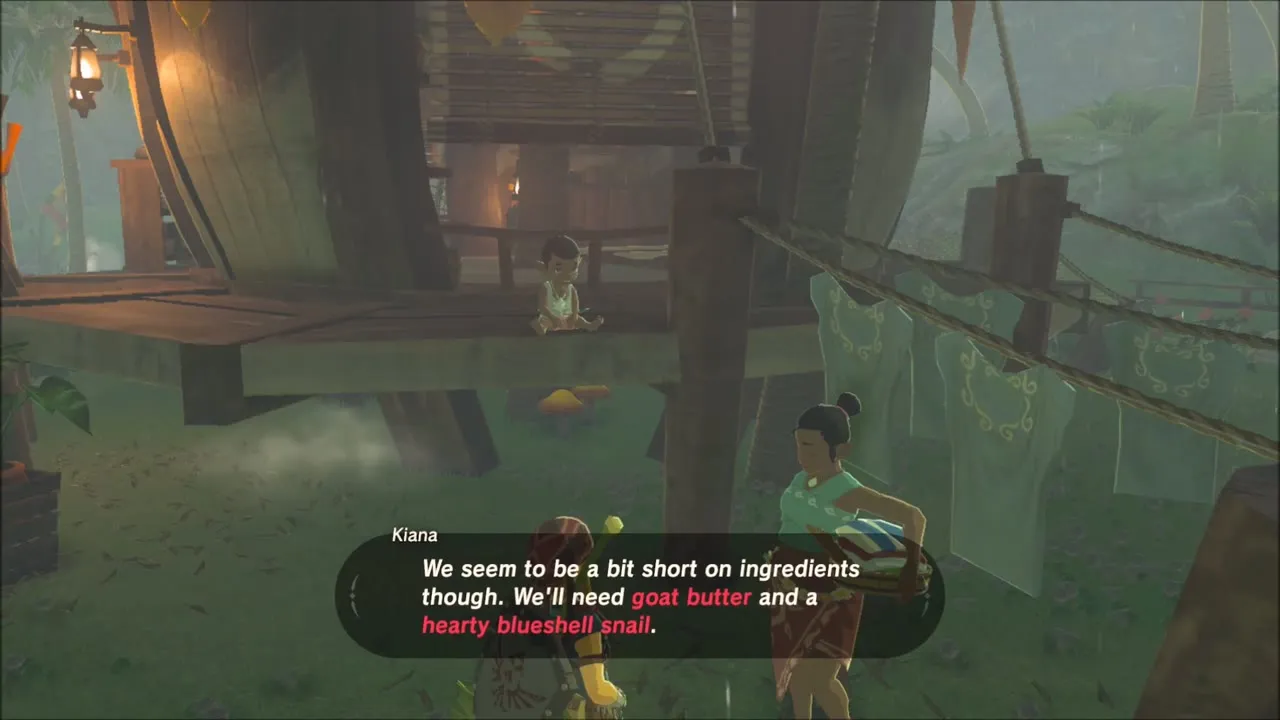
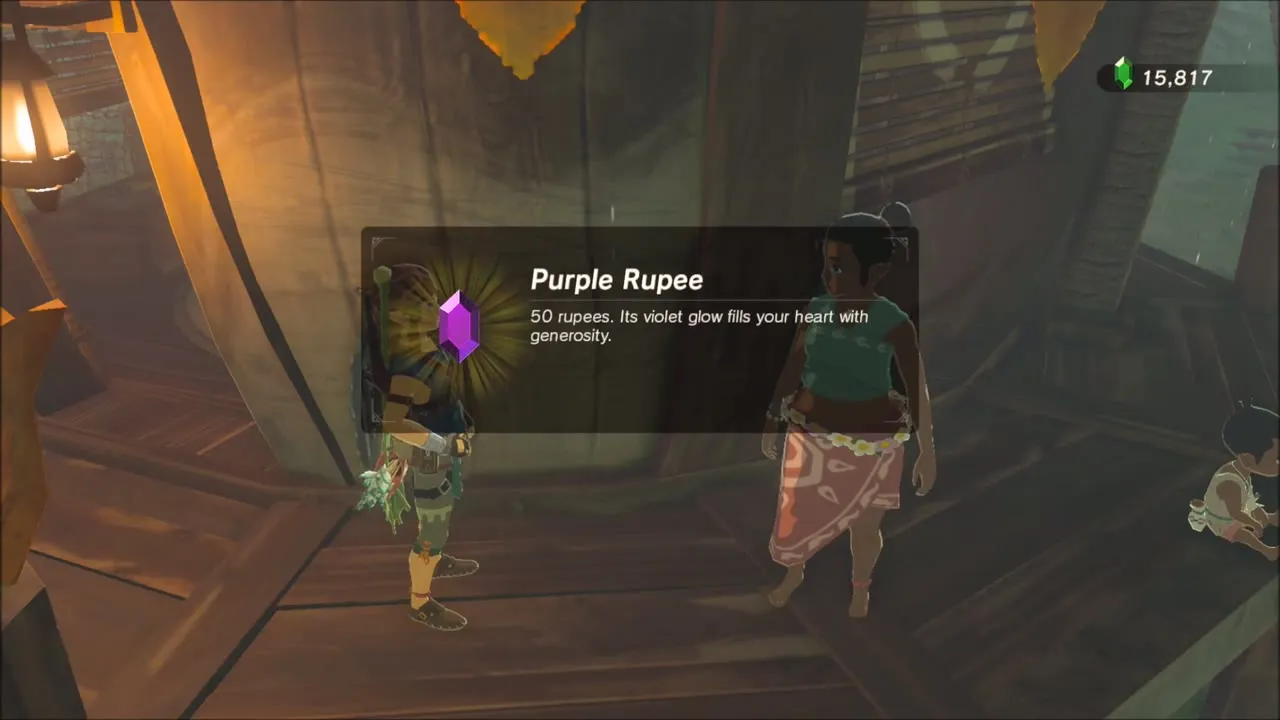
In the village, Kiana is looking for ingredients for a seafood dinner. What’s for Dinner asks for Goat Butter and Hearty Blueshell Snails. Hand them over to receive 50 rupees and a Seafood Paella.


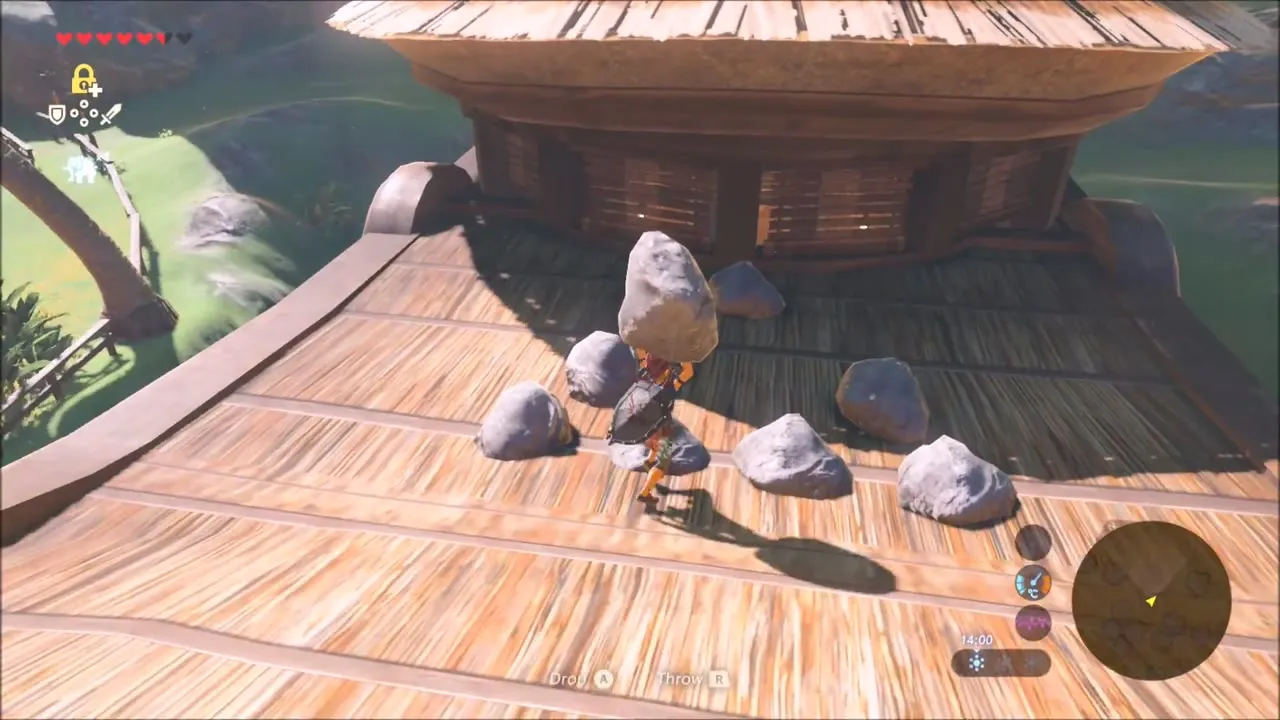
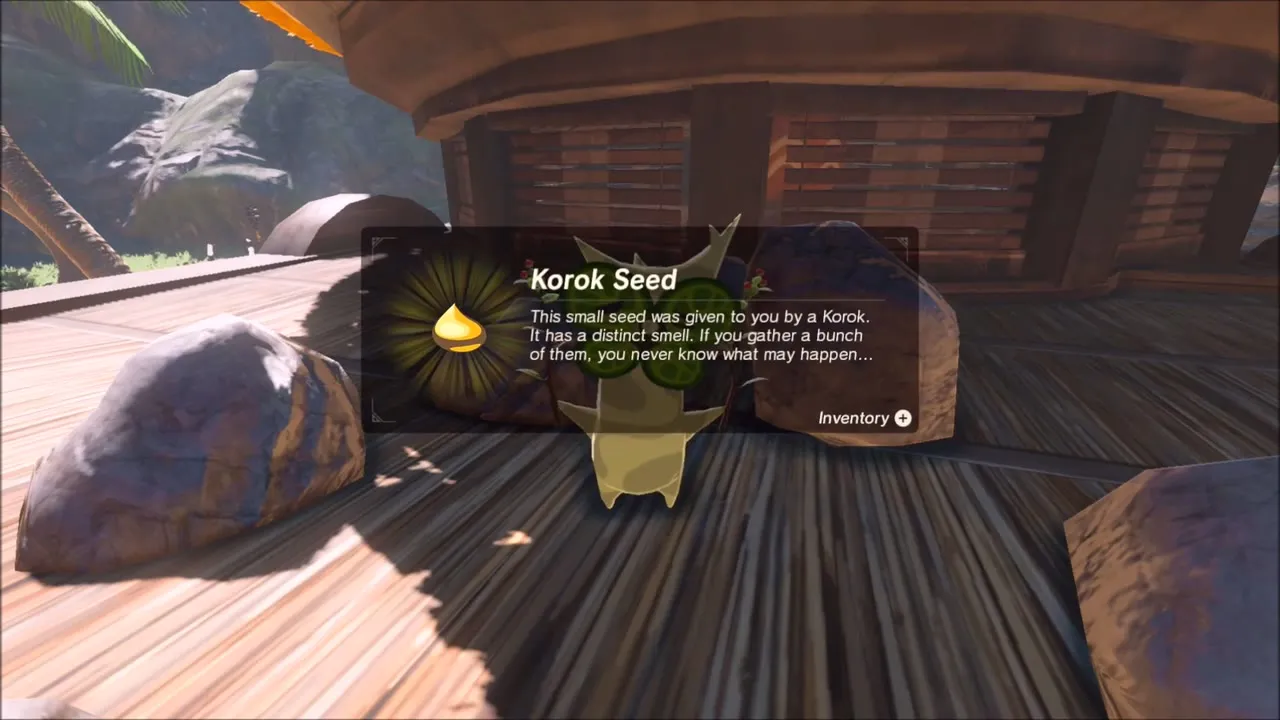
One Korok seed sits on a village hut. Climb to the thatched roof of the round hut, bringing a boulder with you, and set it down among the ring of small stones lying on the roof. The Korok appears and gives you a seed.


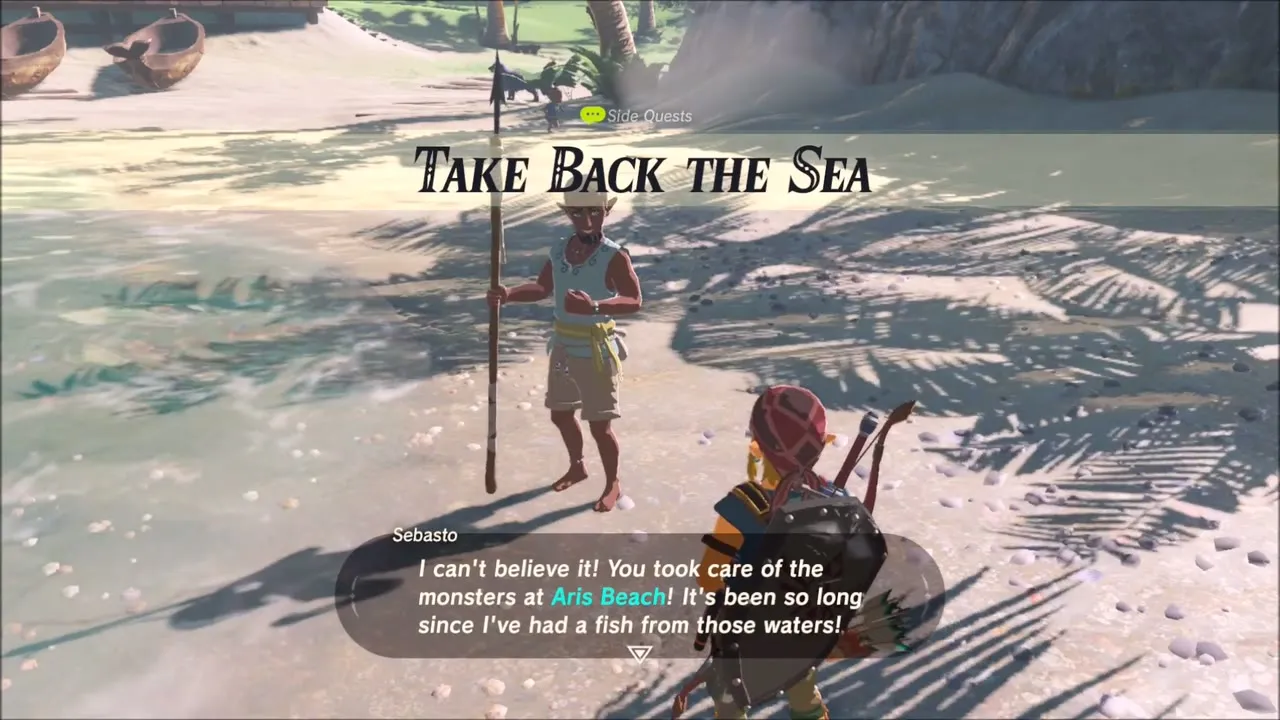
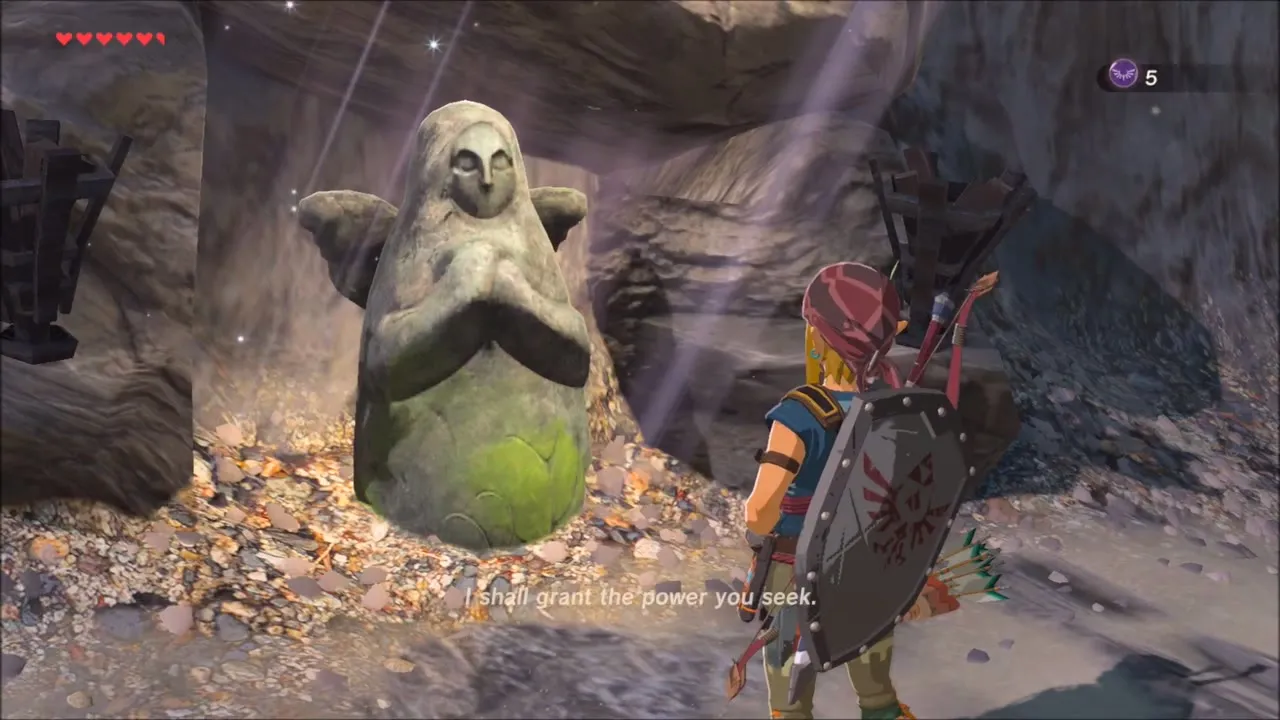
Go down to the beach and talk to Sebasto. You have already cleared the monsters at Aris Beach, so he thanks you and gives you 100 rupees to finish Take Back the Sea. A small cave on the beach holds a Goddess Statue; pray to it and trade your Spirit Orbs for a Stamina Vessel.

Korok Seeds and Chests off the Lurelin Coast
Head east along the shore. On a pinkish rock in the shallows, a Korok is sitting in plain sight; walk up to it and it hands over a seed.

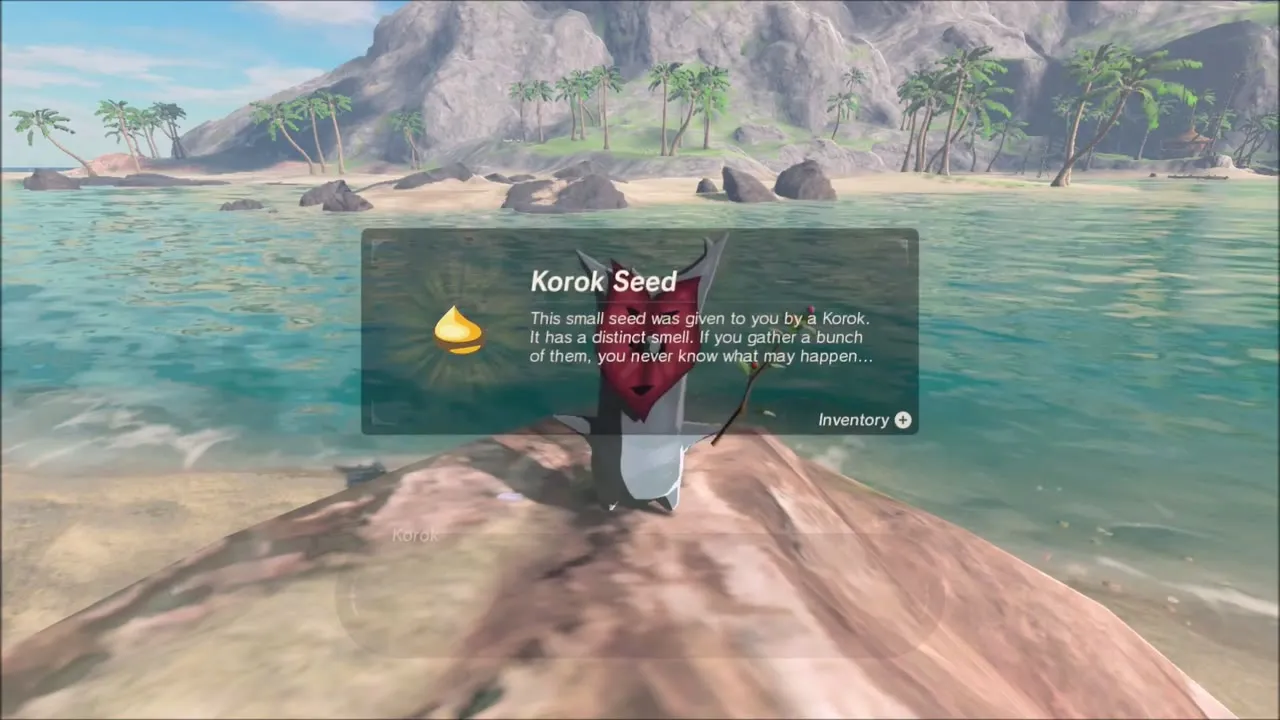
Swim out among the sea rocks, using Magnesis to drag up the chests lying under the water as you go. Further out, a lone Korok flower sticks up from the open sea: glide off a dark rock toward it, and it gives you a seed.
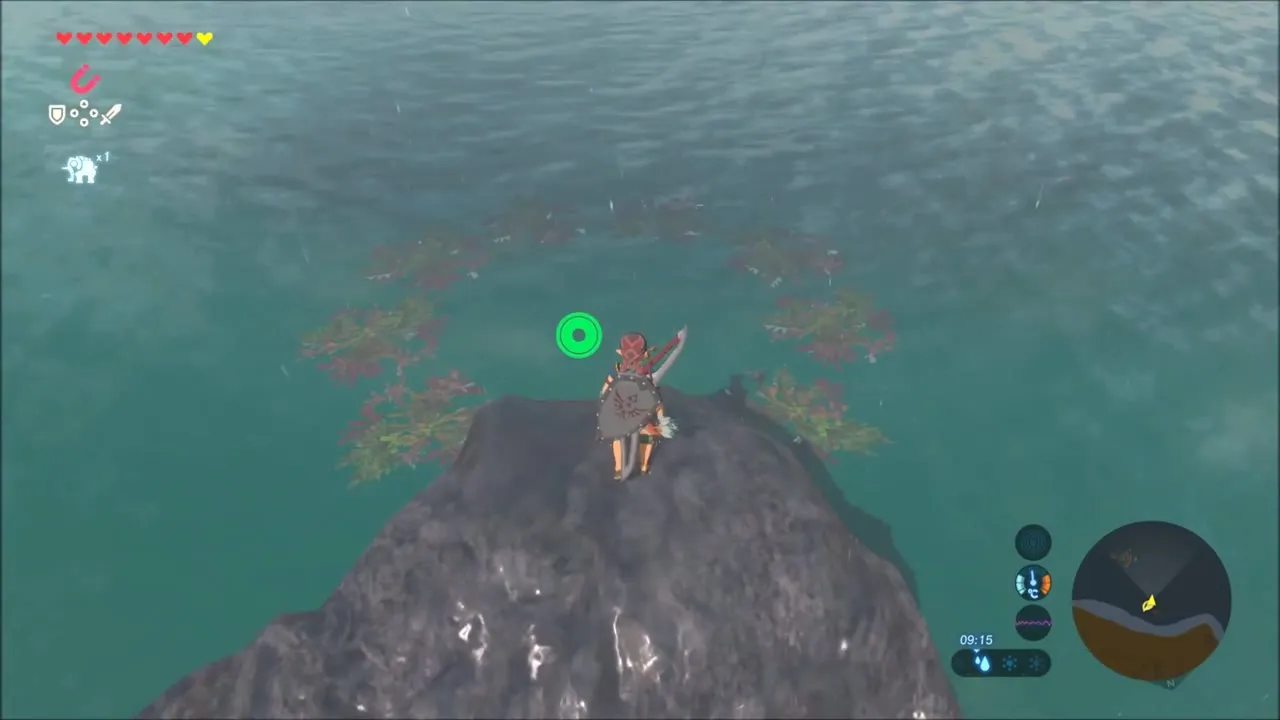
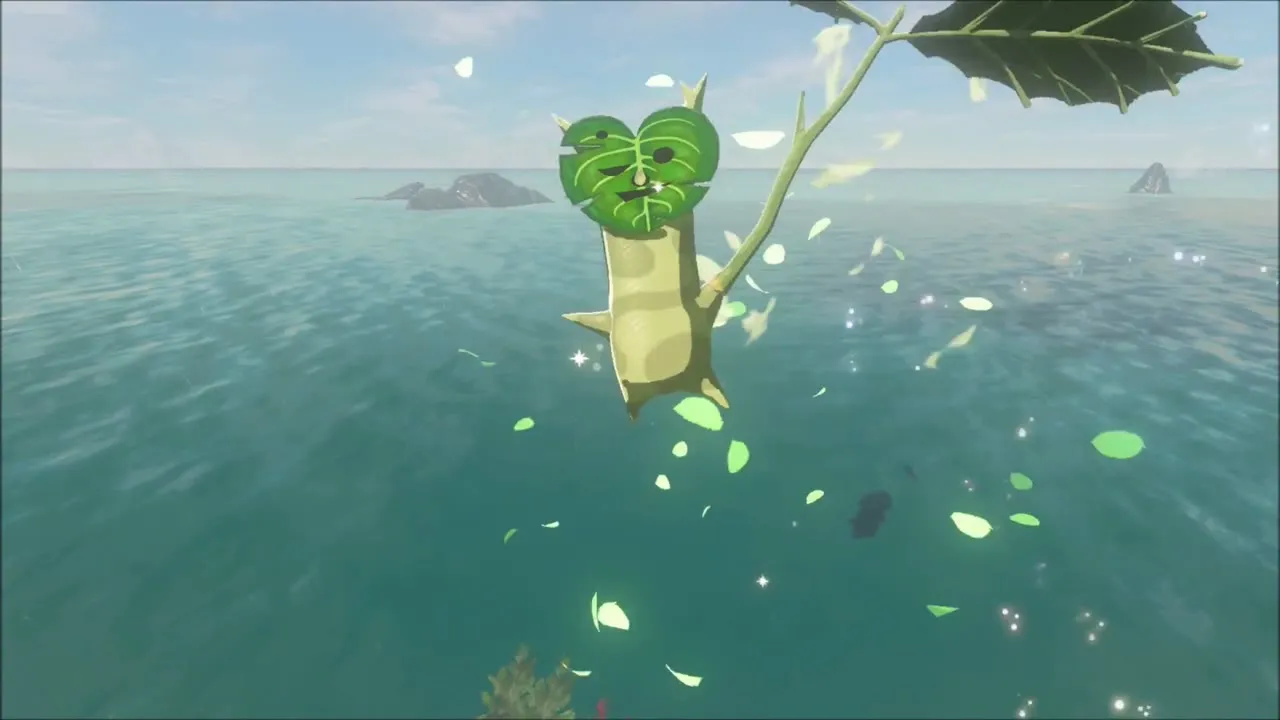
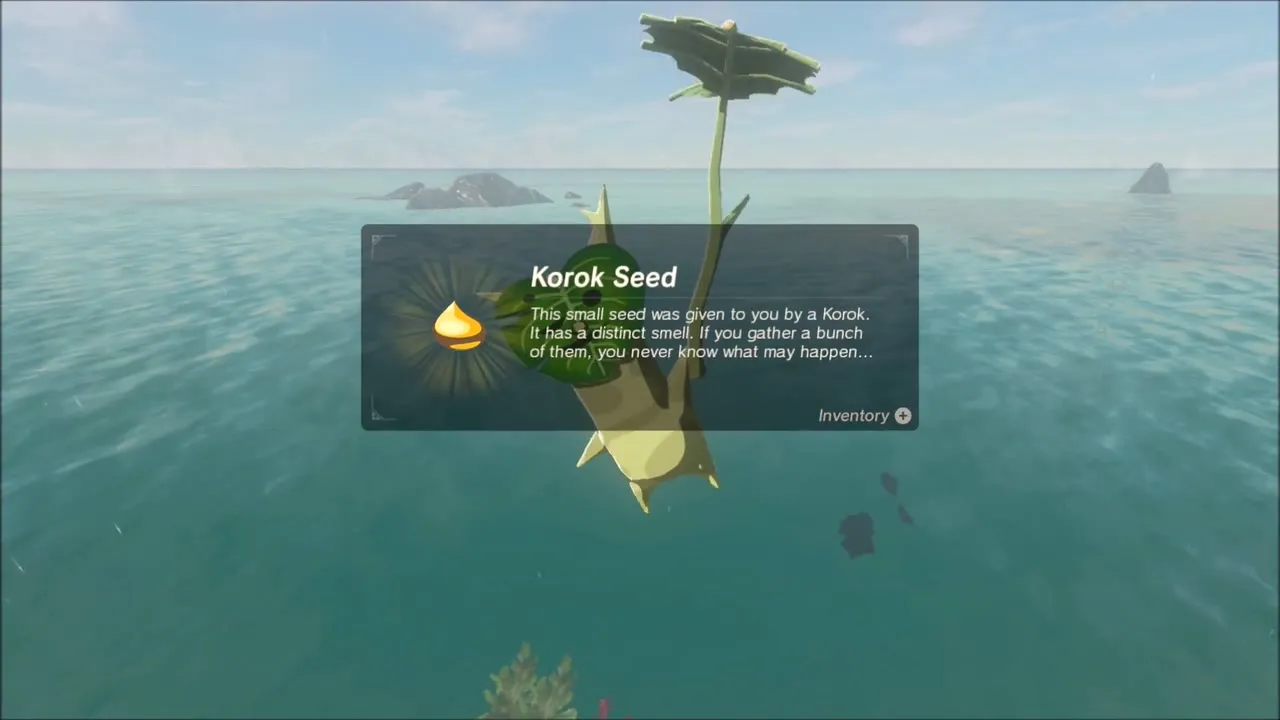
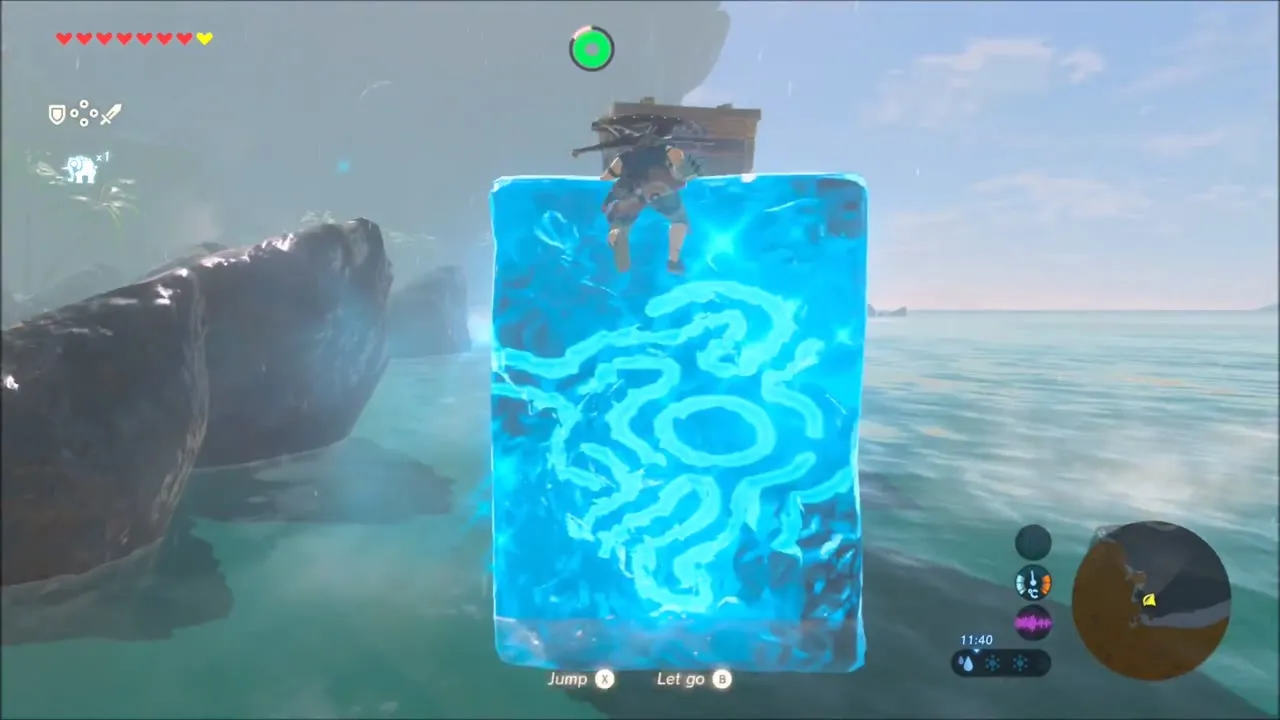
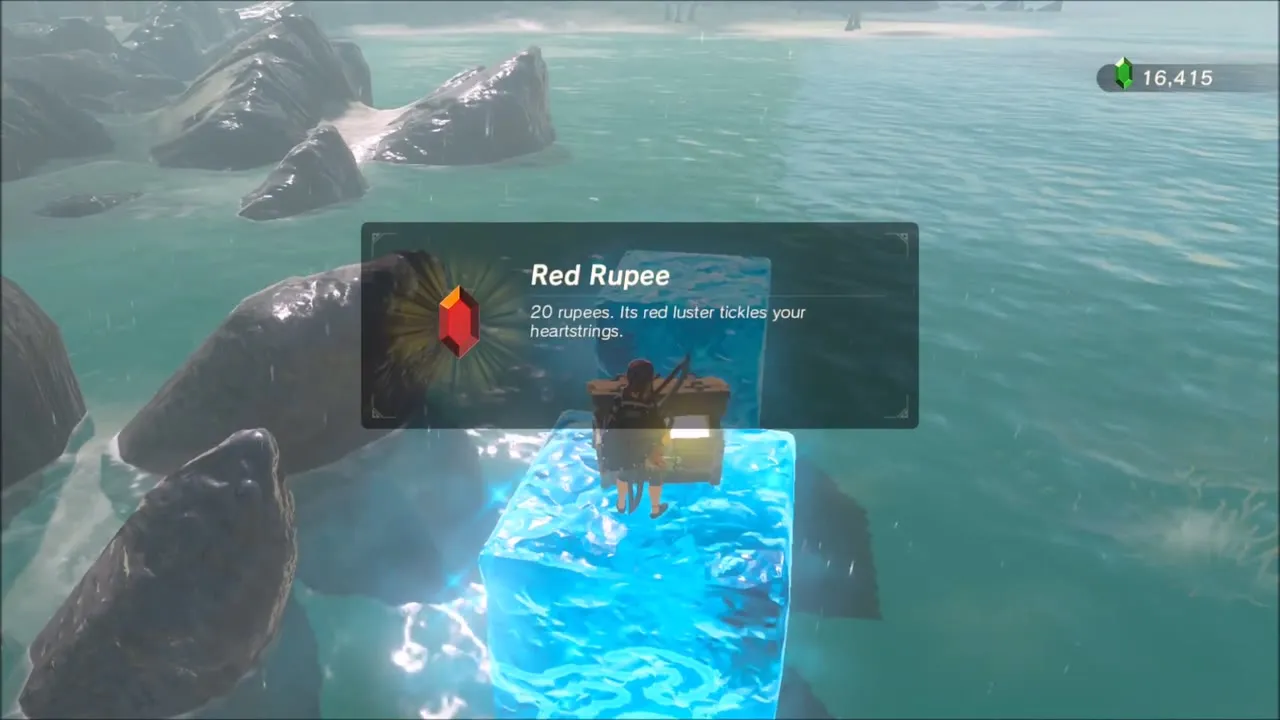
Another seed is hidden among the rocks farther along. Stand on a rock and raise a Cryonis block on the water in front of you, and the Korok appears beside the ice. A chest on one of the nearby blocks holds a Red Rupee.


Gama Cove: Stone Talus and the Mossy Sinkhole
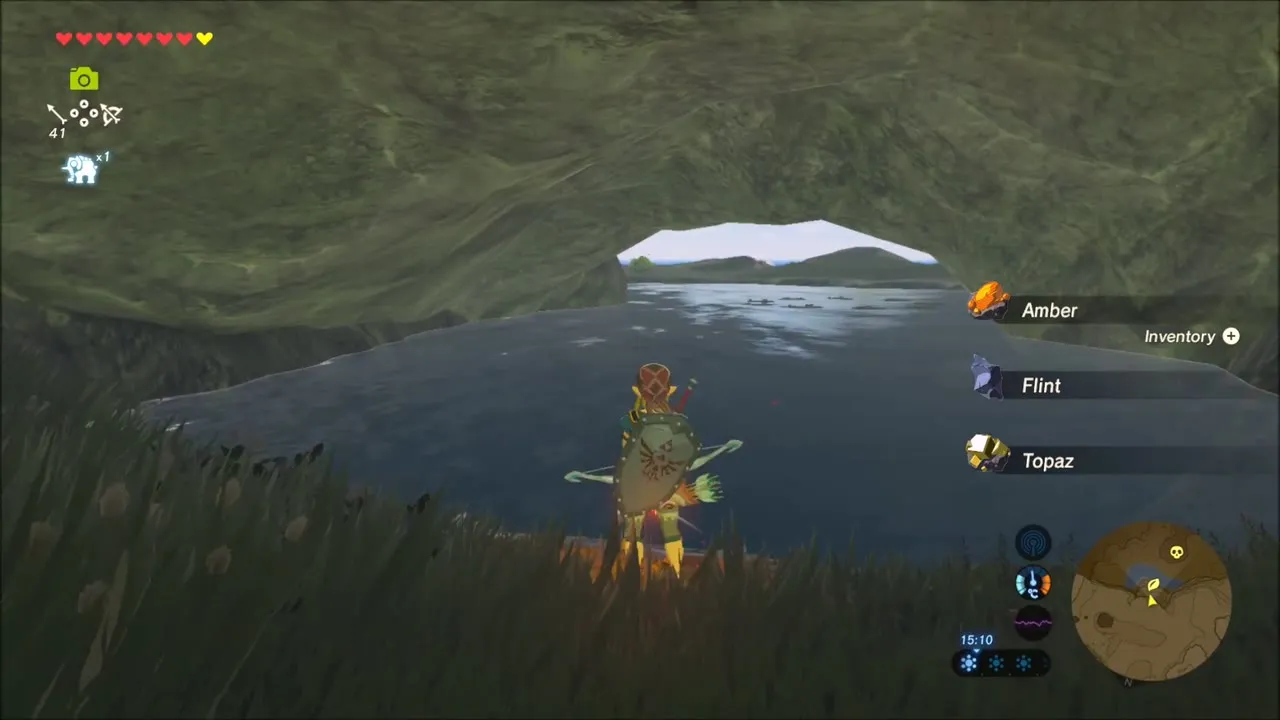
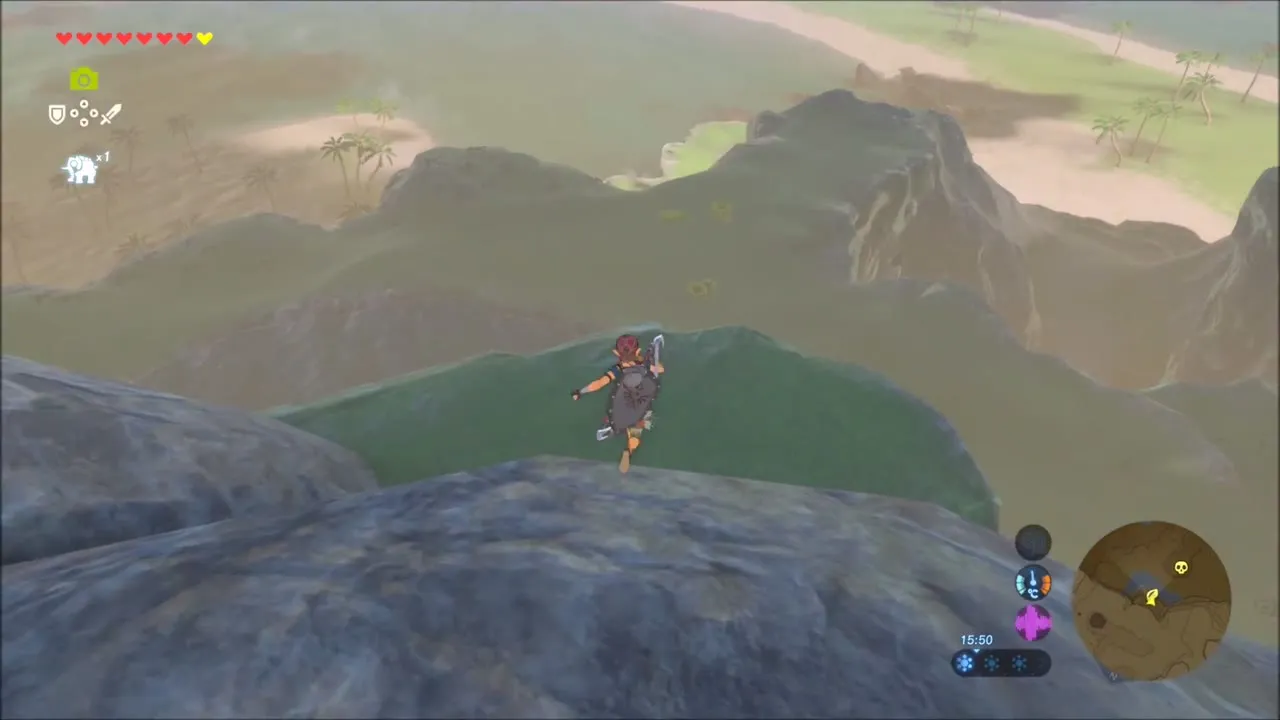
Along the cliffs at Gama Cove, hit the dark ore deposit in the rock to collect Amber, Flint and Topaz. Then climb to the cliff top and cross to a round, mossy dome. Drop through the hole in it and you land in a small pool inside the rock, where a Korok is waiting with a seed.


The sandy floor of Gama Cove is home to a Stone Talus. It rolls and punches, so keep your distance, move around it and hit the ore on its back until it falls apart.


A Fragmented Monument: Monument Shards at Palmorae Ruins and Soka Point
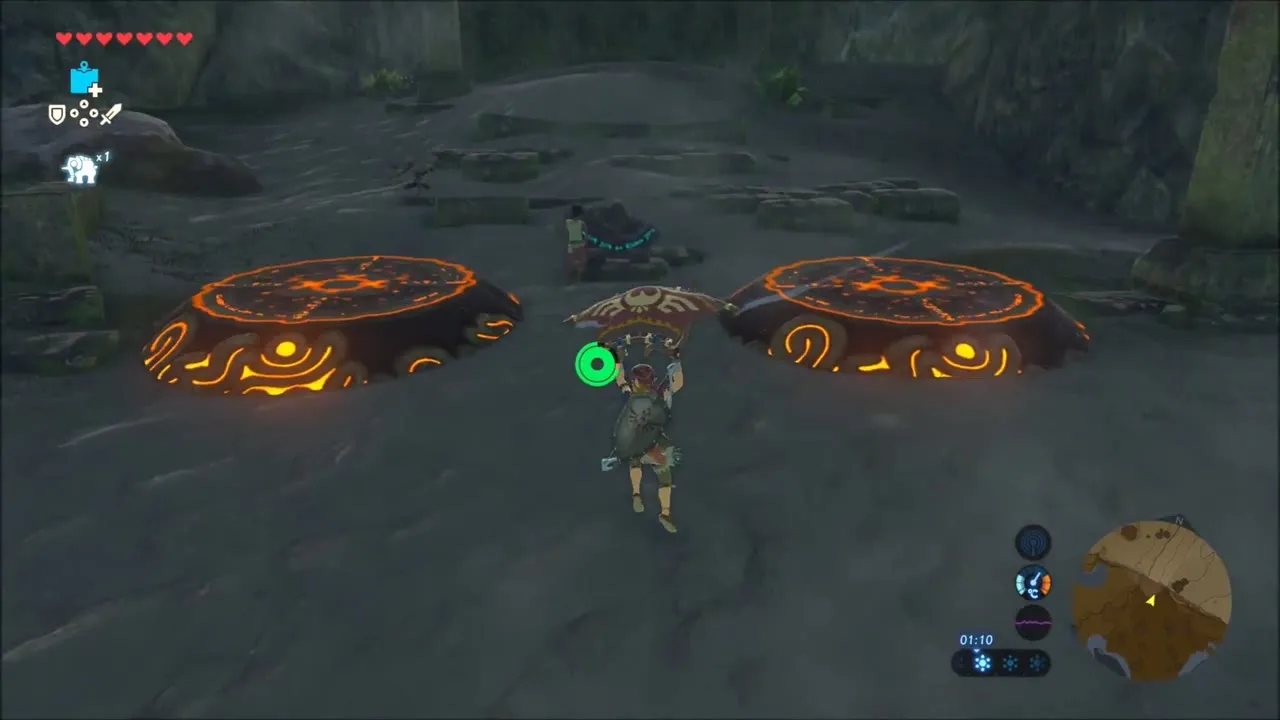
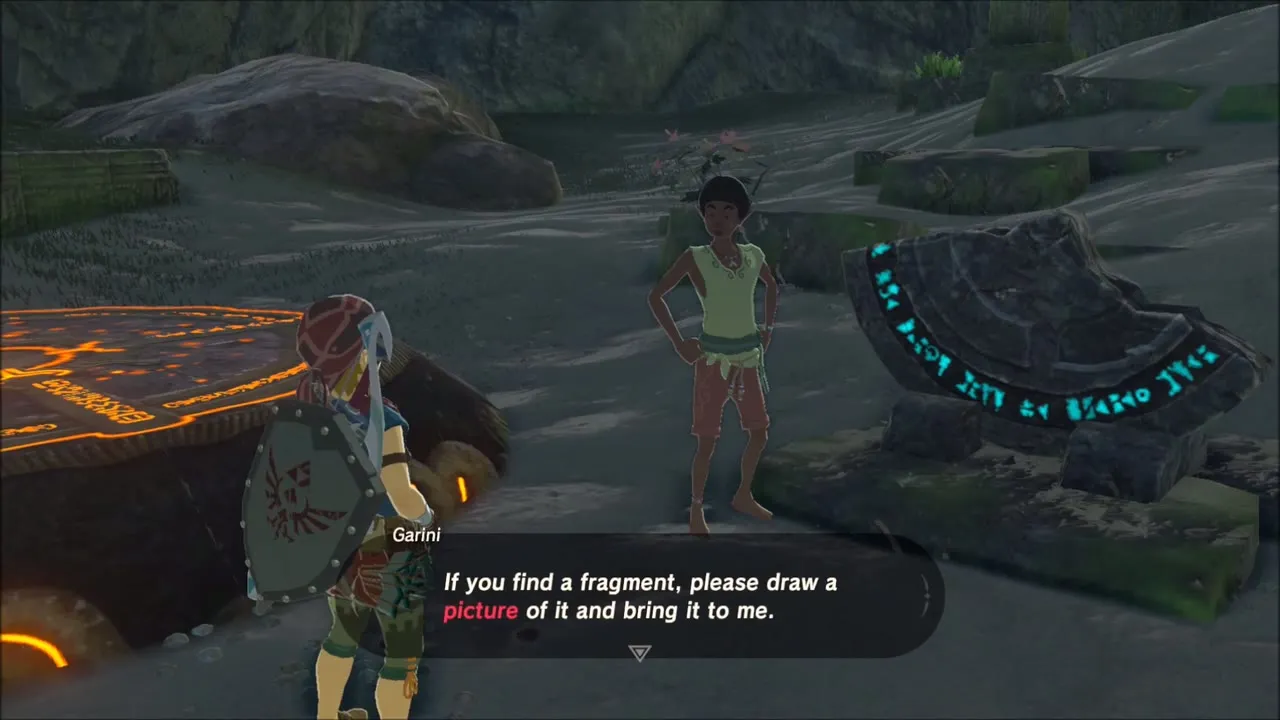
The shrine quest A Fragmented Monument starts at Palmorae Ruins on the south-east coast, where Garini studies a round inscription between two glowing orange platforms. He wants the missing pieces of the monument photographed. You need the Camera rune on your slate, because you complete the quest by taking a picture of each of the three Monument Shards.


Photograph the three Monument Shards
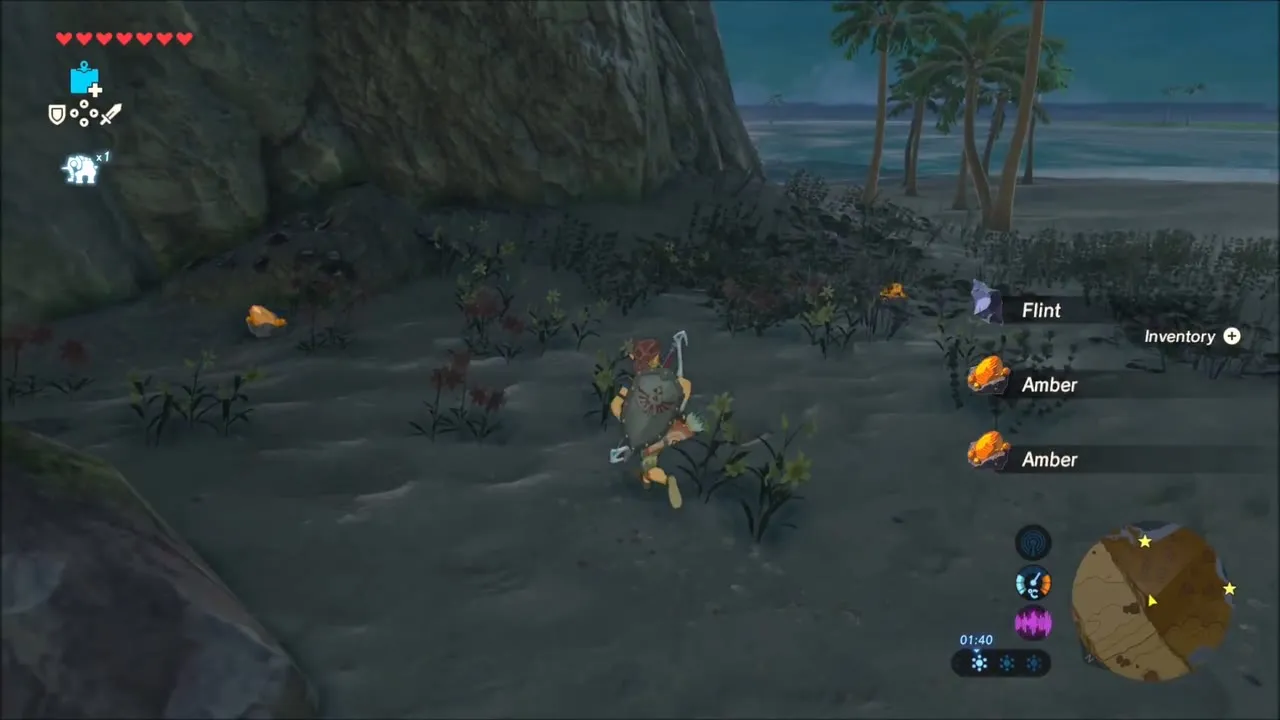
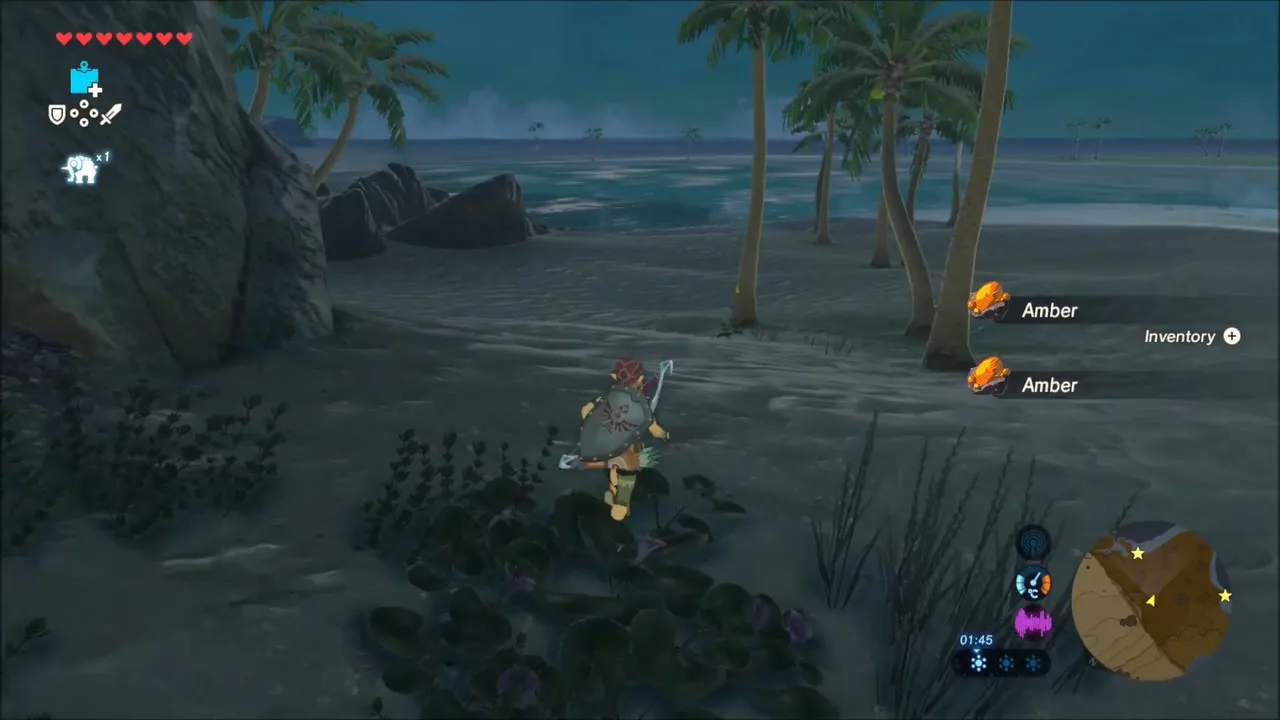
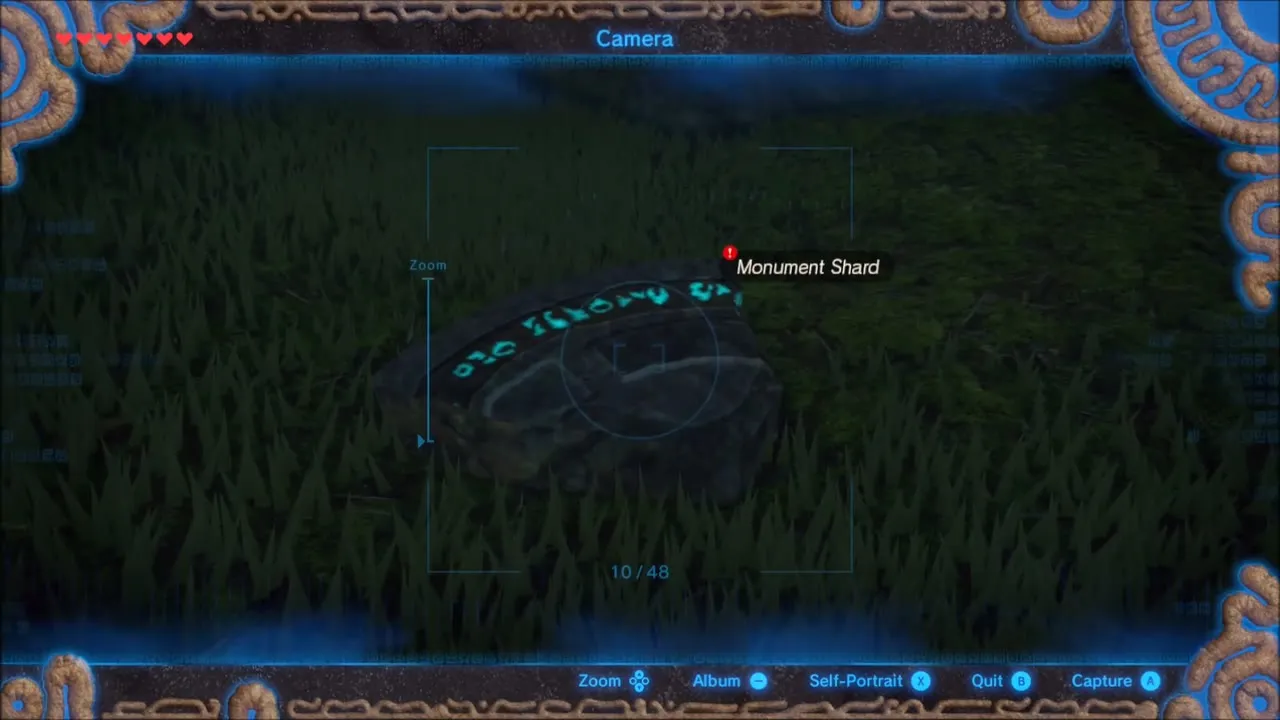
The first shard lies in the grass just beside the ruins, a dark stone with glowing blue lettering. Open the Camera rune, line it up until the label “Monument Shard” appears and take the shot. On this stretch of beach you can also pick up Amber and a Rugged Rhino Beetle.

Follow the shore back toward Lurelin Village for the second shard, which sits in the shallows among rocks. Wade out and photograph it.
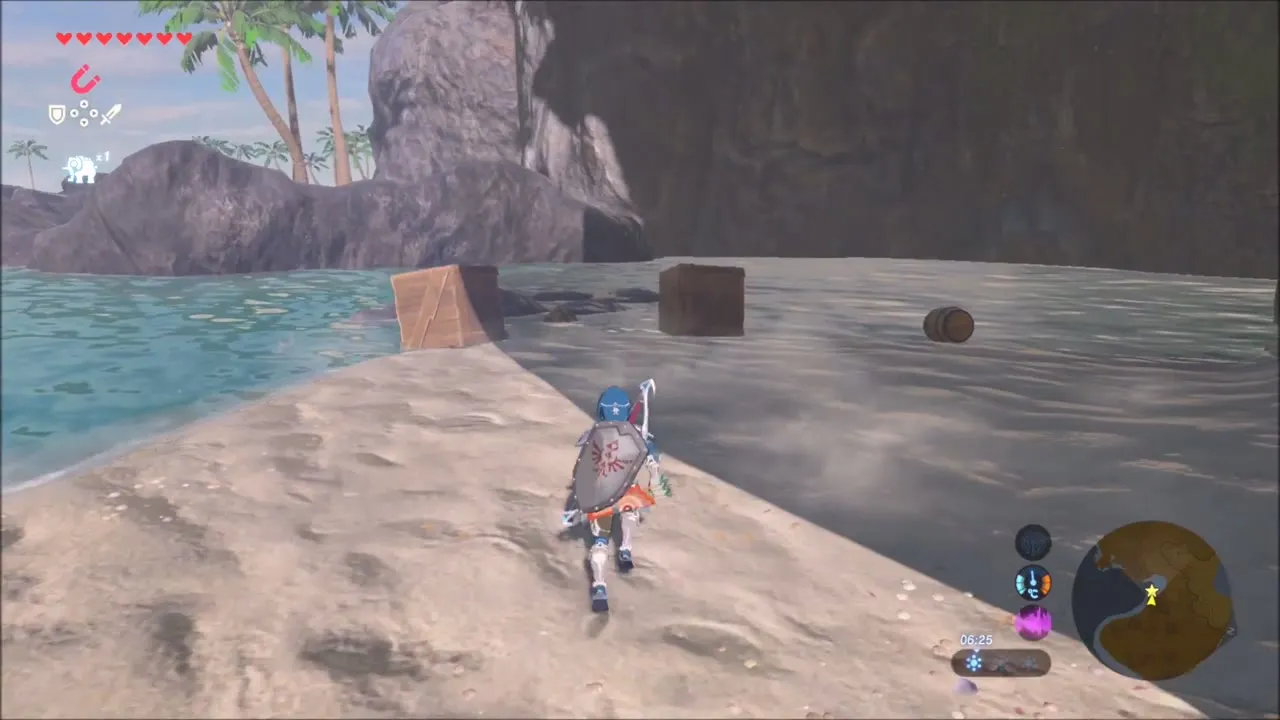
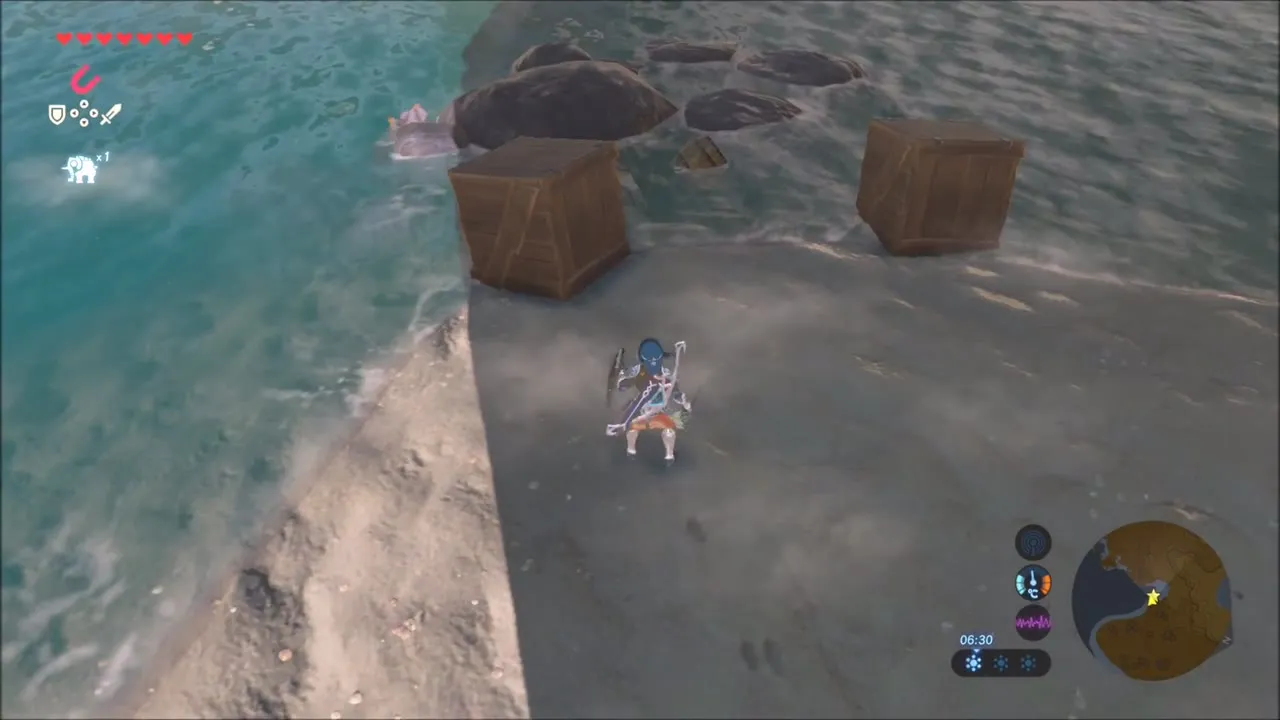

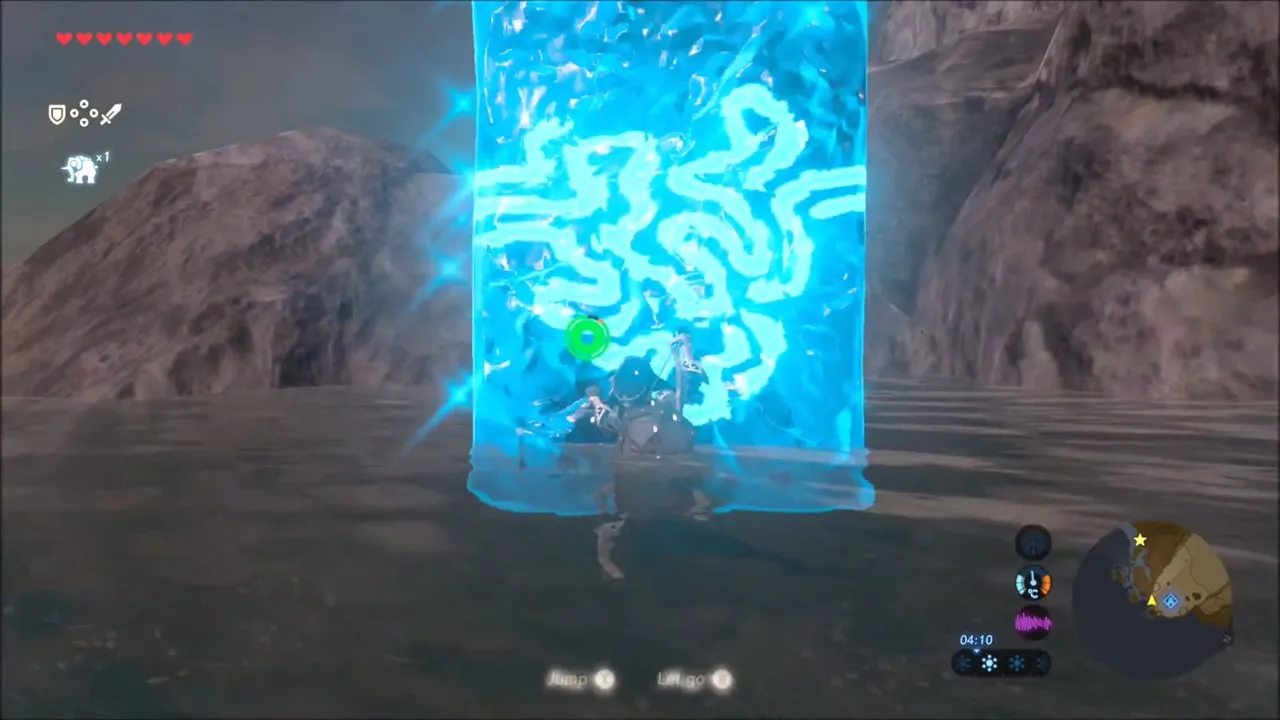
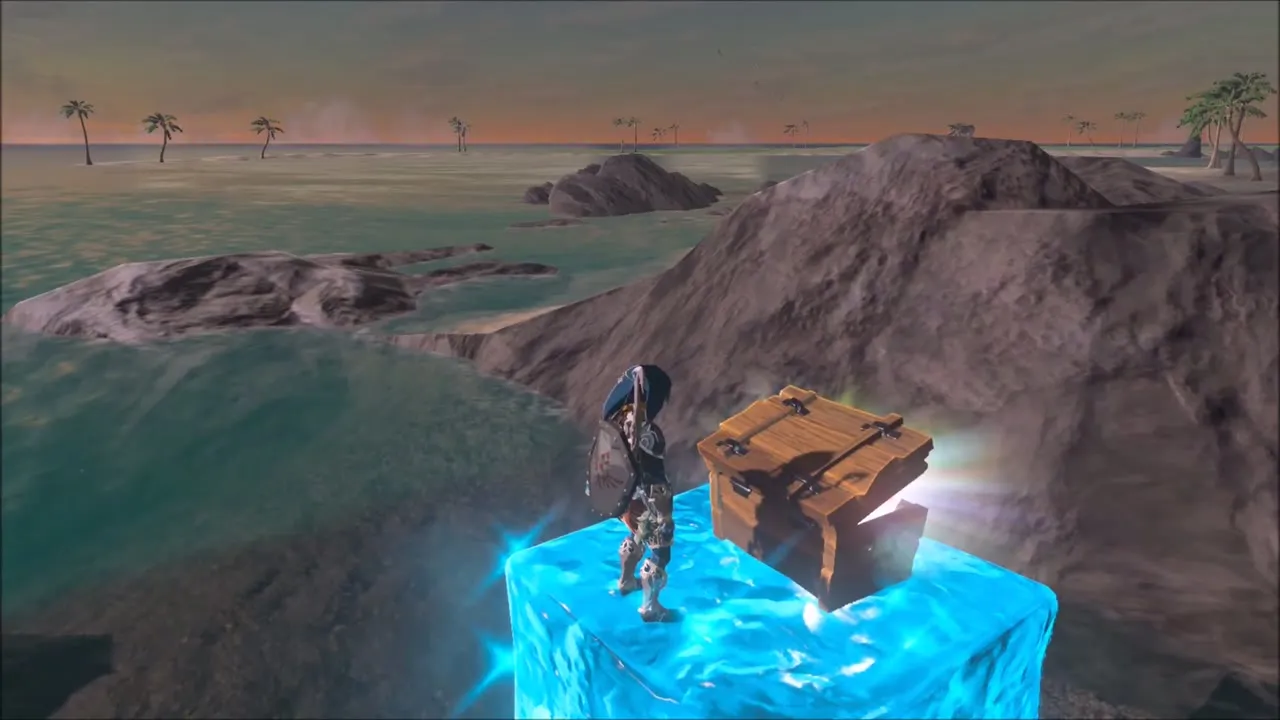
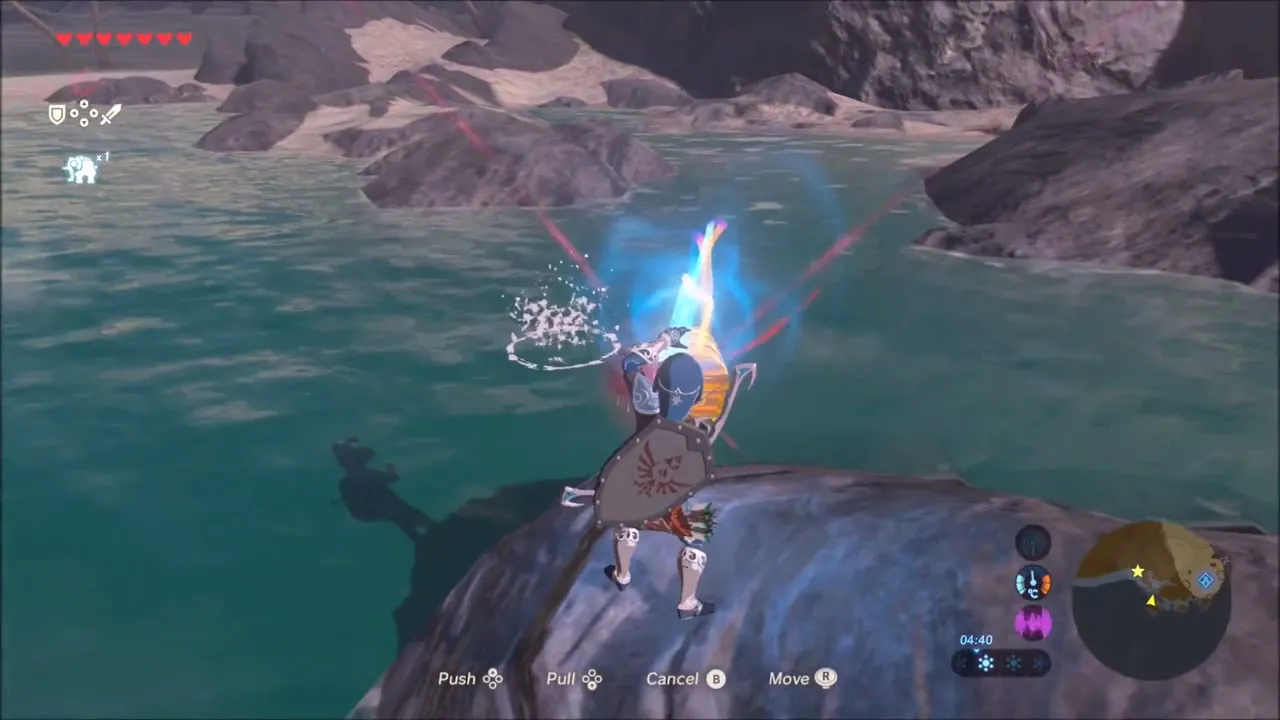
The sea around the rocks hides several chests. Switch to Magnesis to drag metal chests out of the water, and use Cryonis to raise an ice block that lifts you onto a rock where one is sitting.

Lurelin Village pier
Lurelin Village’s name card appears as you reach the beach. A vendor on the wooden pier buys gems and other materials, so sell any spare ones, such as Opal, here before heading back out to the water.

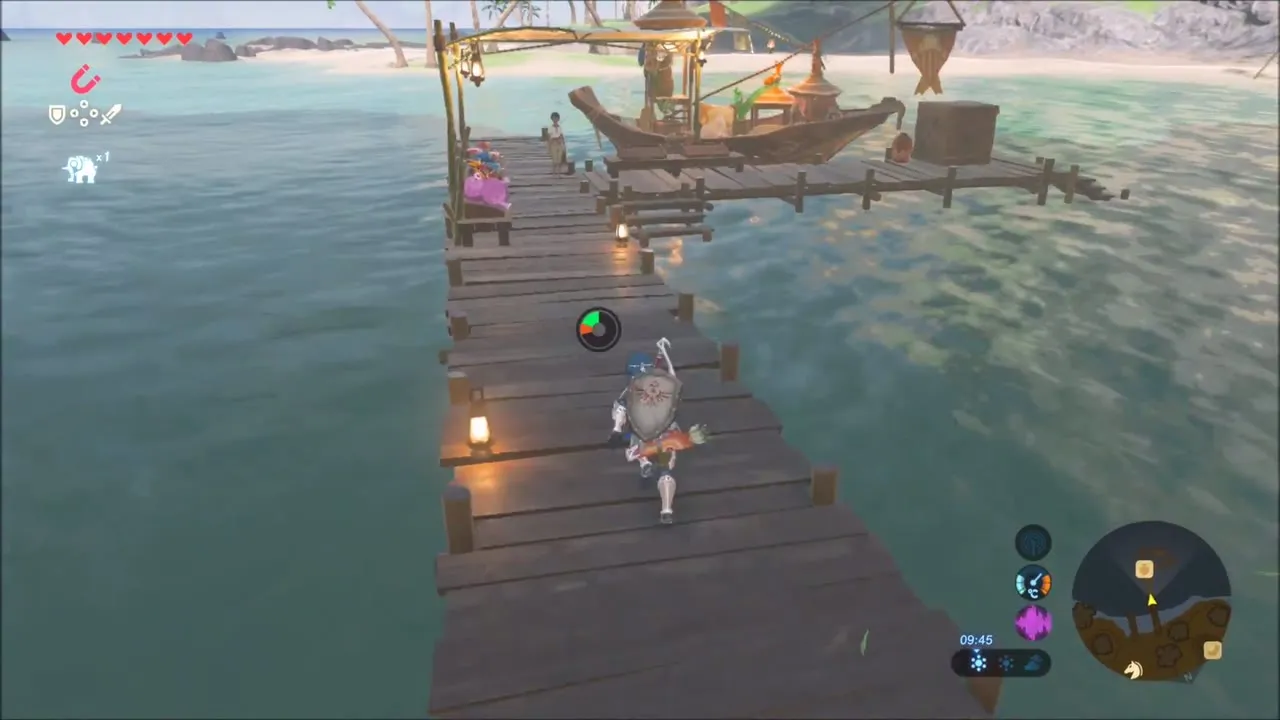

Back in the shallows, Magnesis pulls another chest out of the sea and onto a rock, and Cryonis builds a way onto a wrecked raft that holds one more. Several more chests lie along the same coast.


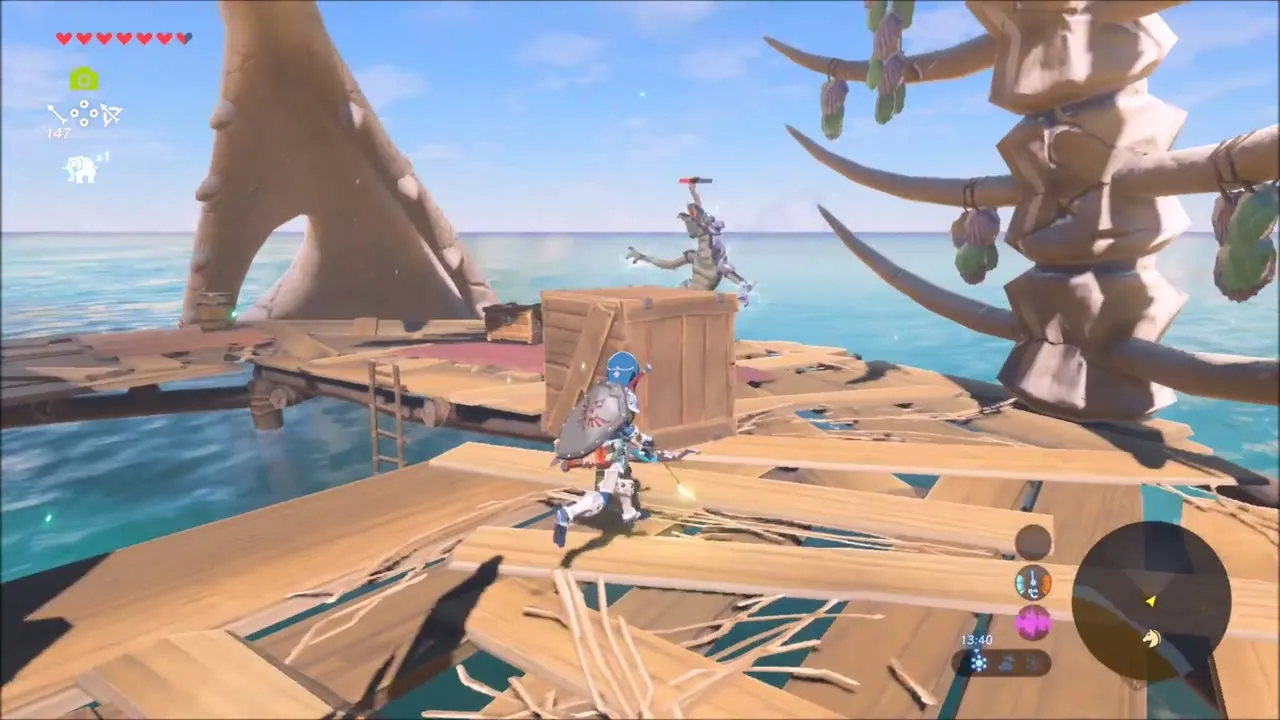
The last shard is toward Soka Point, further along the same beach. Take its picture with the Camera rune, then check the chest sitting in the sand on the walk back.
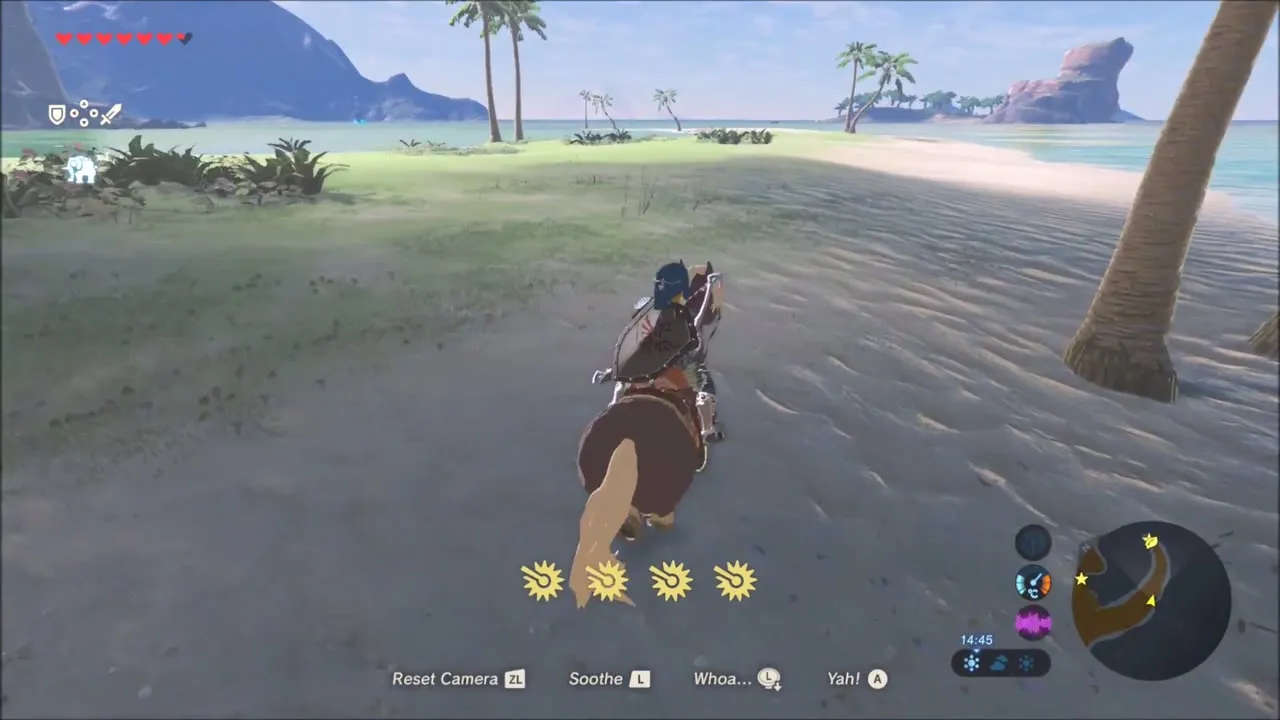

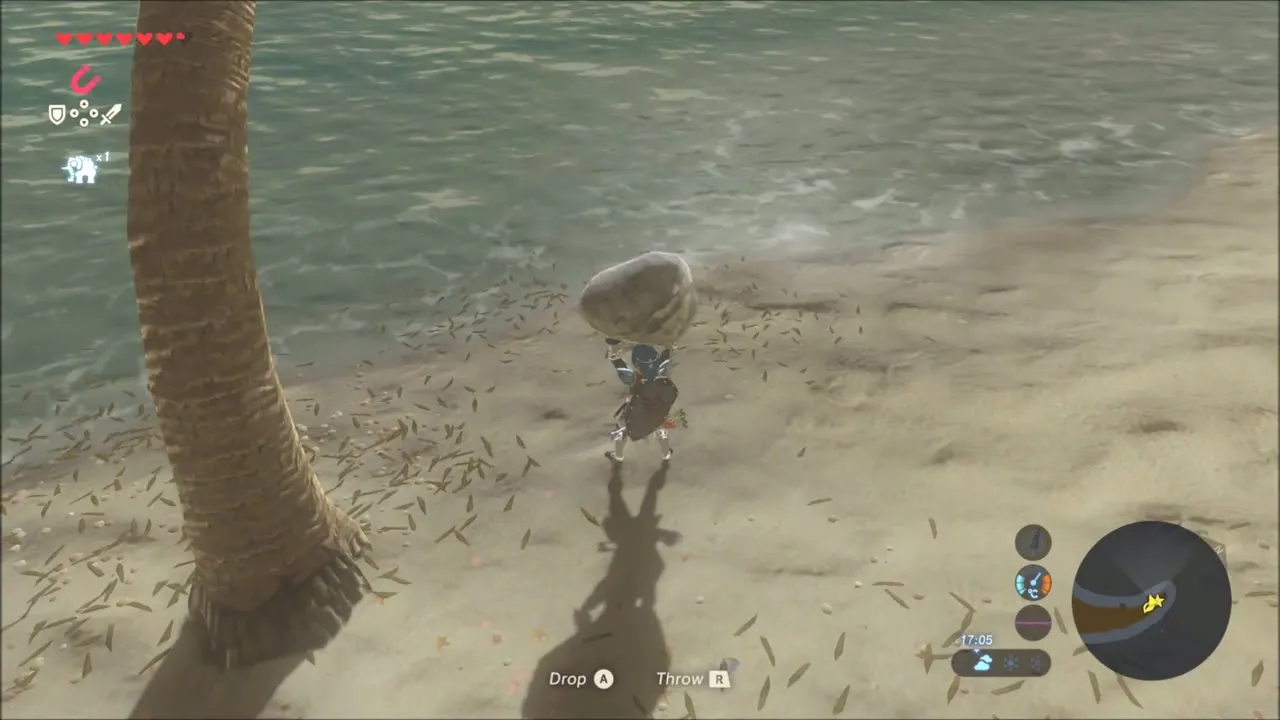
Korok seed on the sand spit: on a thin strip of sand with a palm tree, pick up the lone rock lying on the beach. A Korok jumps out from under it and hands over a seed.

Show Garini and kneel
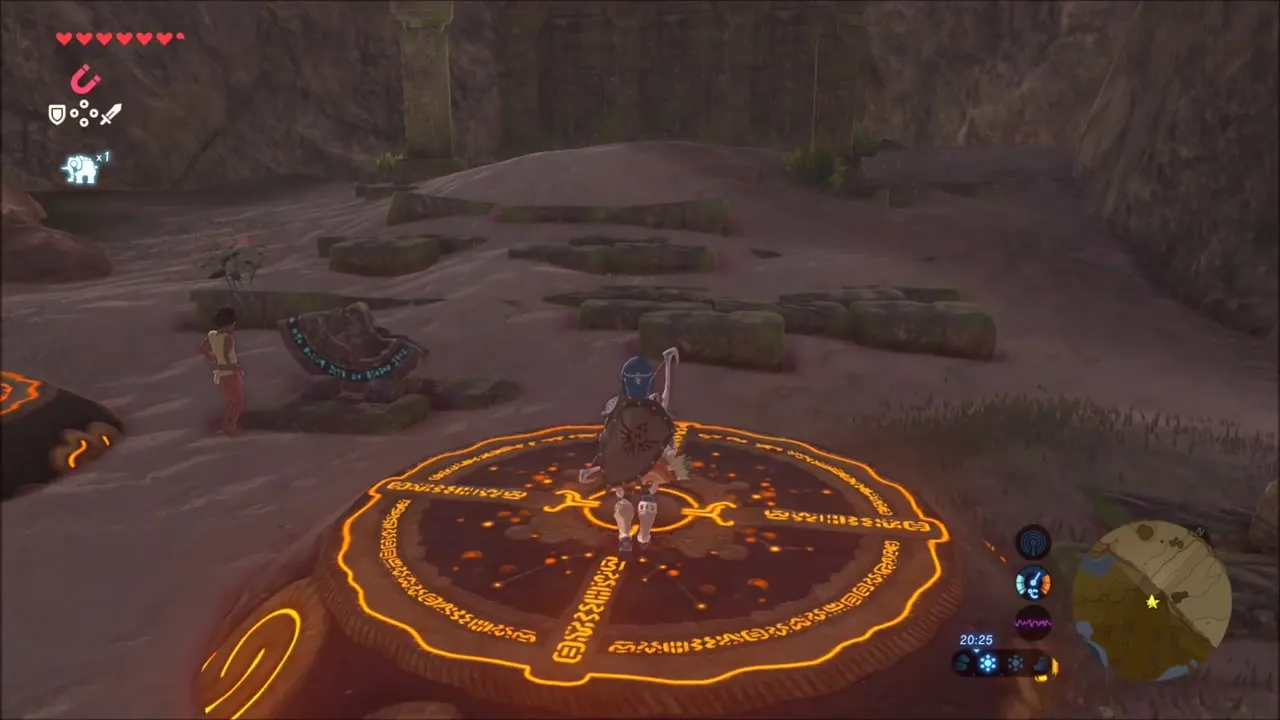
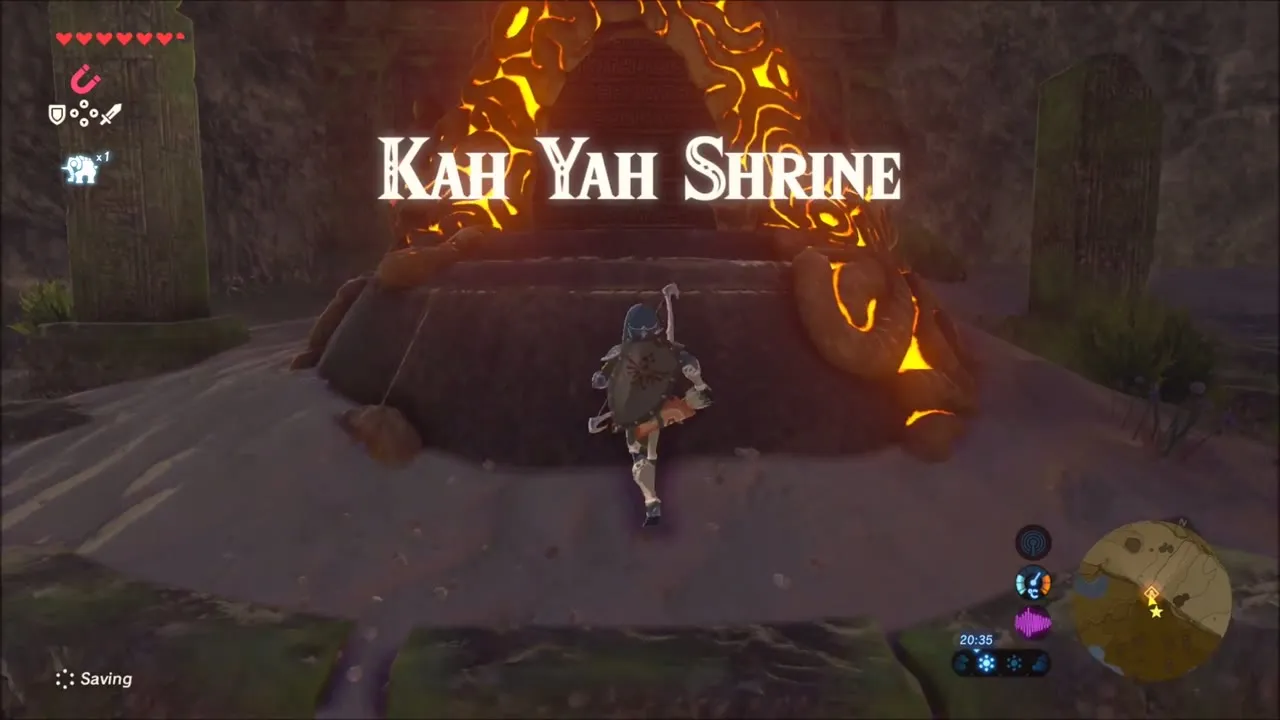
Return to Garini and show him the three photos. Together they read: when the two find their place and kneel in reverence, the shrine will reveal itself. Walk onto either orange platform and crouch. Dust billows and Kah Yah Shrine rises from the sand.


Kah Yah Shrine: Quick Thinking Trial
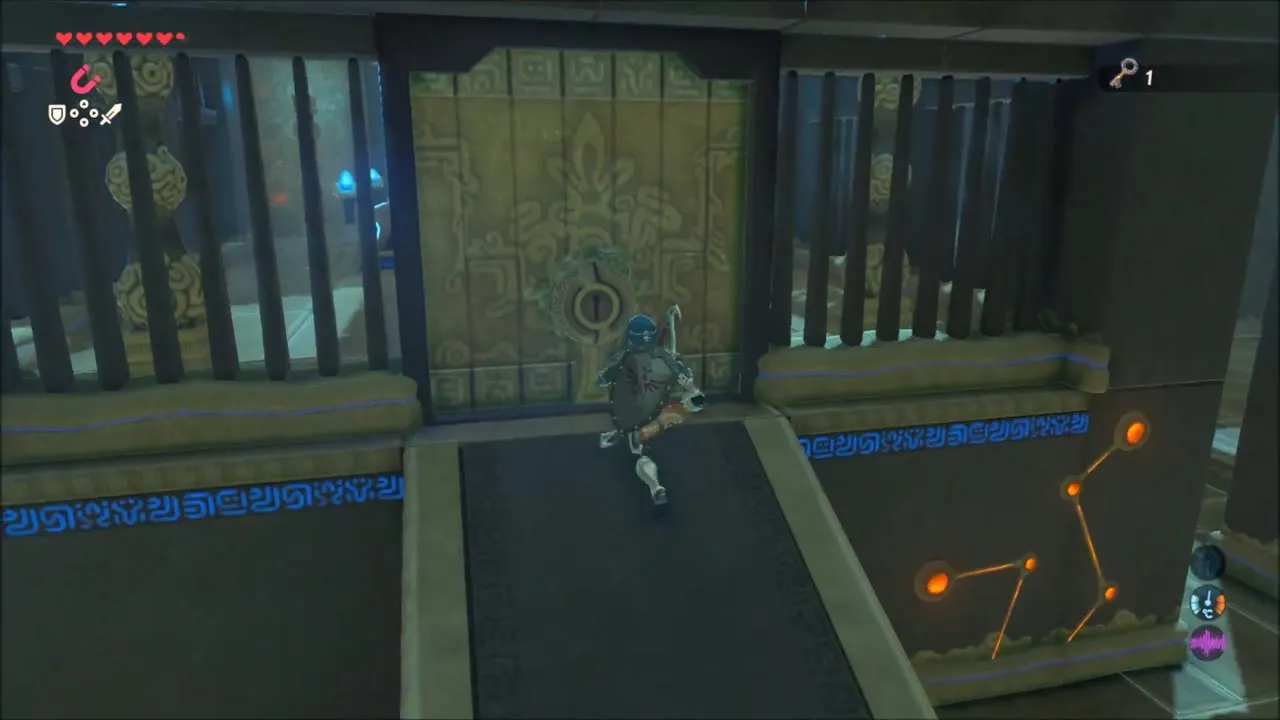
Kah Yah Shrine (3437, 3317) is a barrel and sliding-platform puzzle. Put a barrel on the moving platform, ride it past the orange crystal, shoot the crystal to open the gate, then carry a barrel to the switch at the end. That gate leads to a chest with a Knight’s Claymore (tier set by difficulty scaling). Repeat the ride on the left lane, keeping low under the grates, and set a barrel on the last switch.
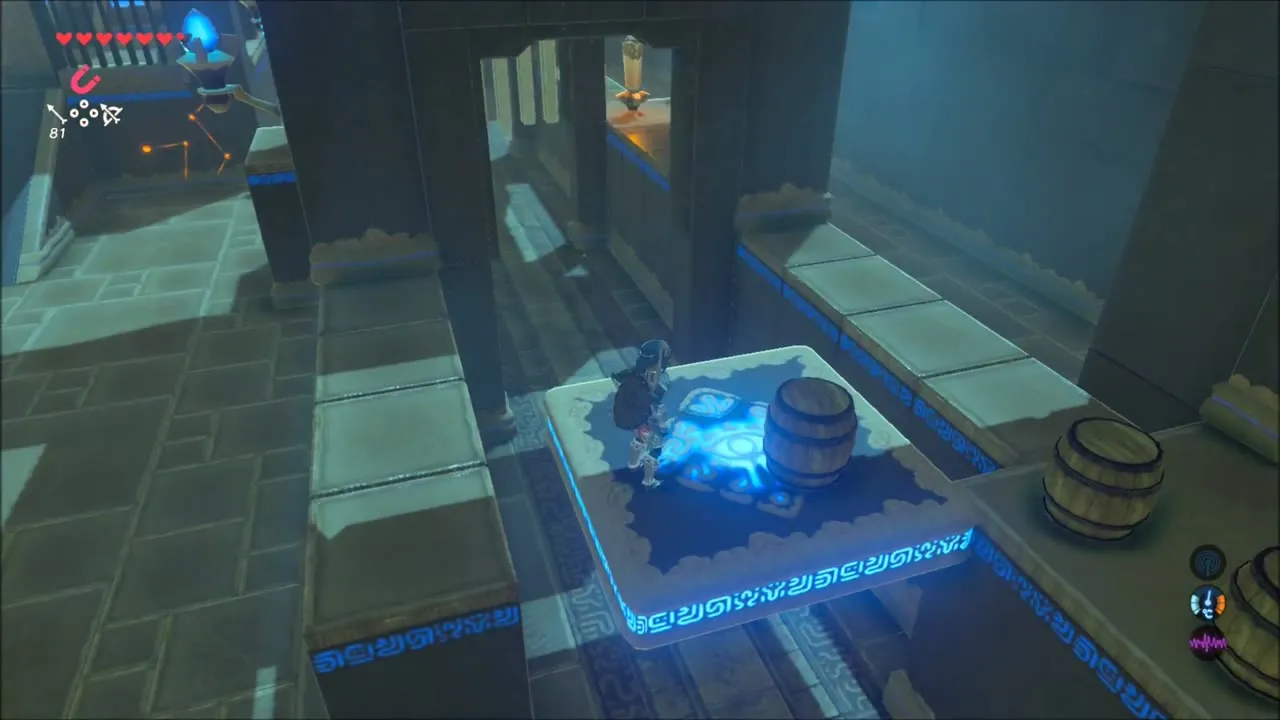


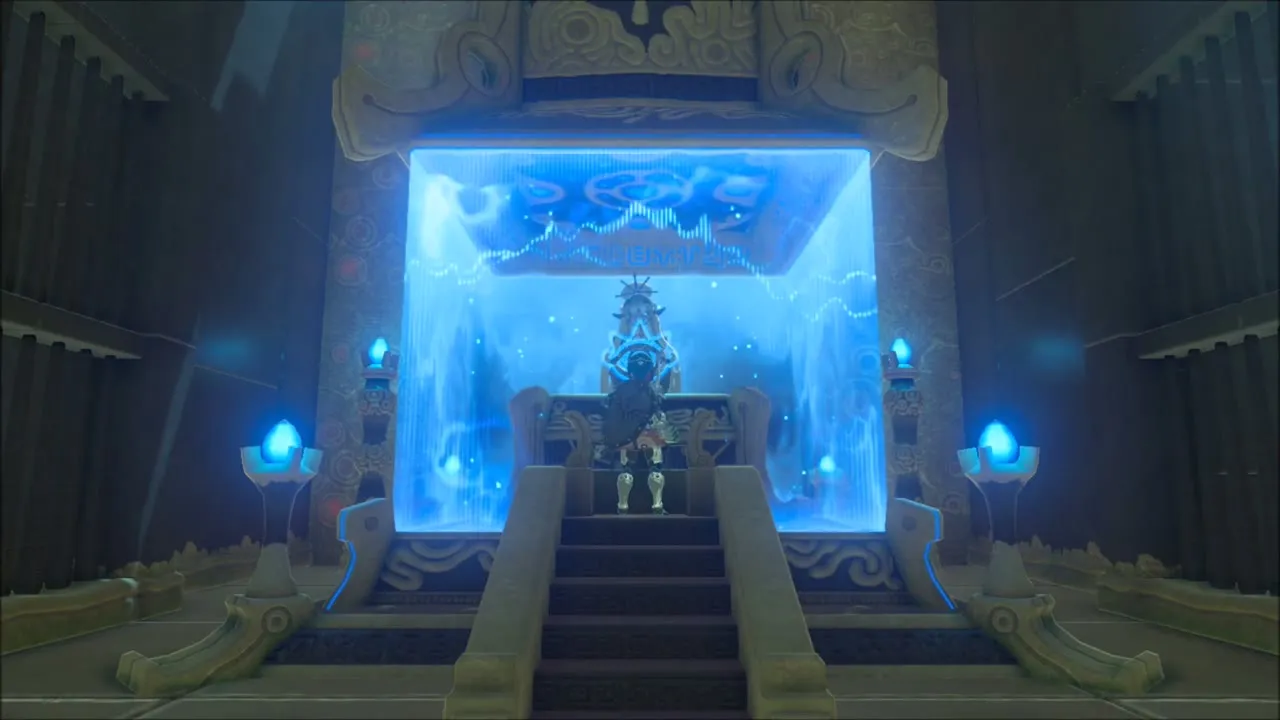
The left-hand chest holds a Small Key. Use it on the middle door, where Monk Kah Yah gives you a Spirit Orb.


Korok Seeds on the Way to Taran Pass
Leave Palmorae Ruins on horseback and ride north-west toward the Mount Taran area. You also pass a Korok in the marsh woods near Keya Pond, which gives you a seed.
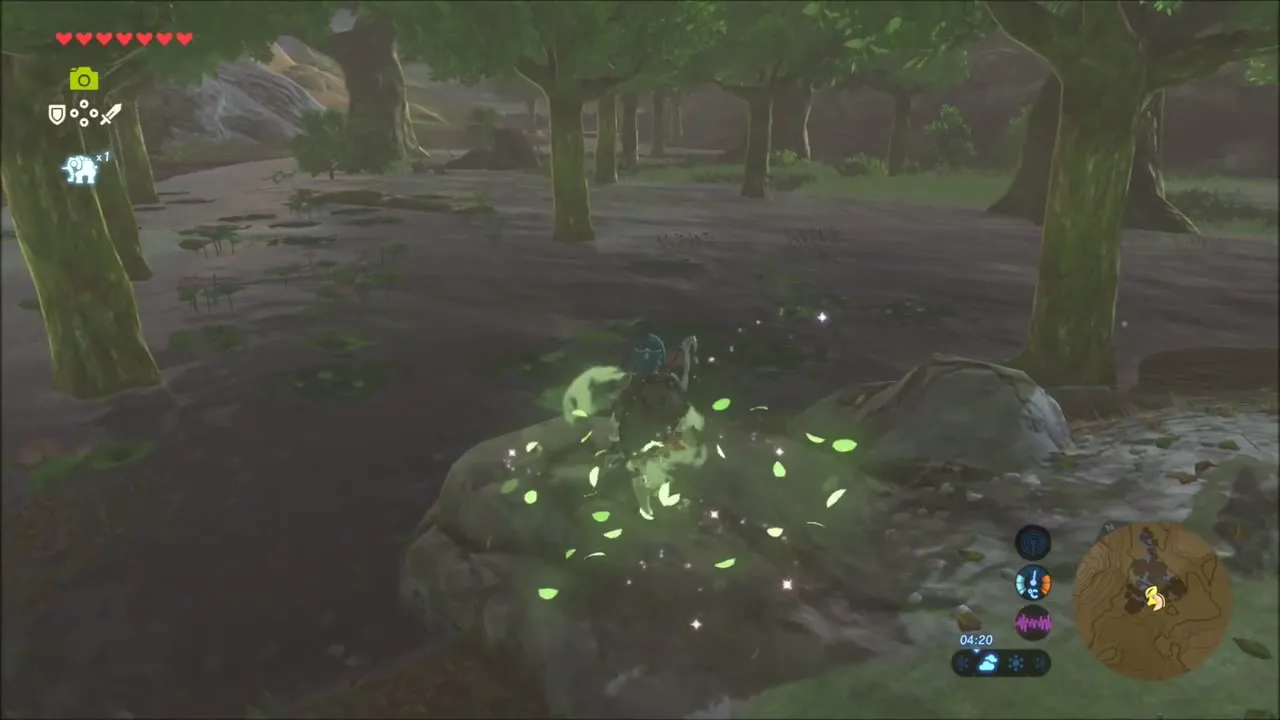
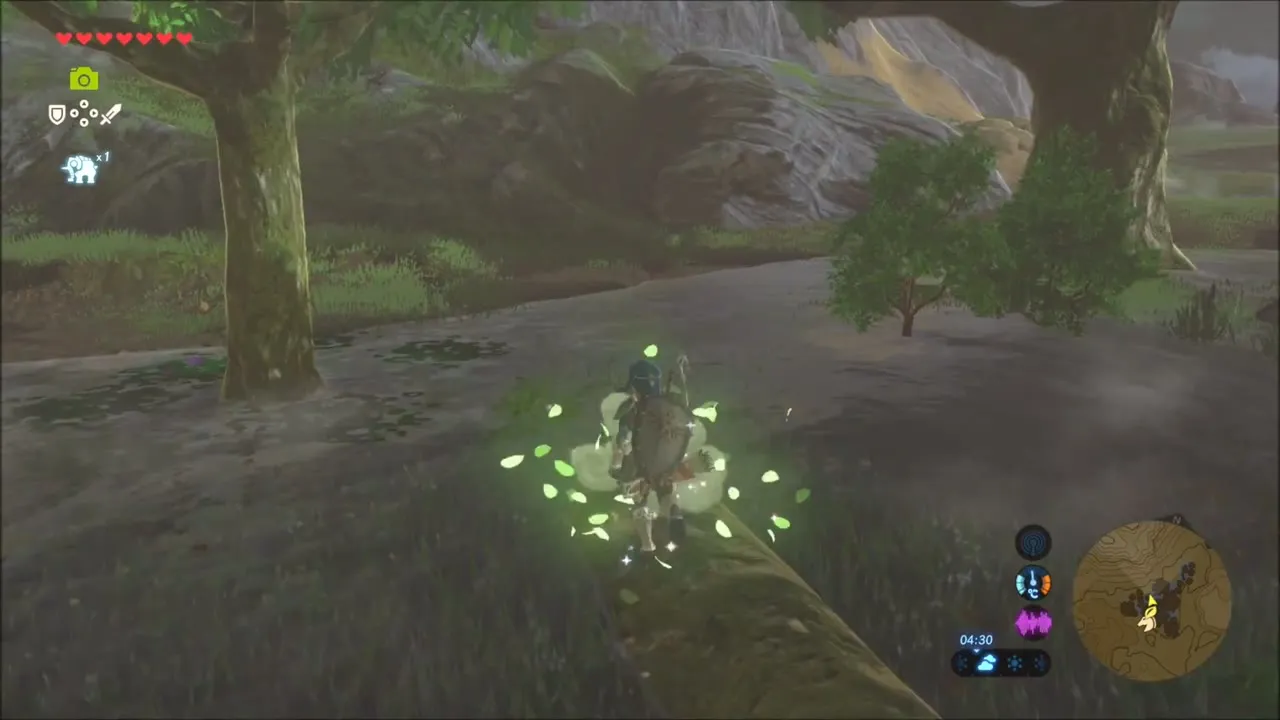
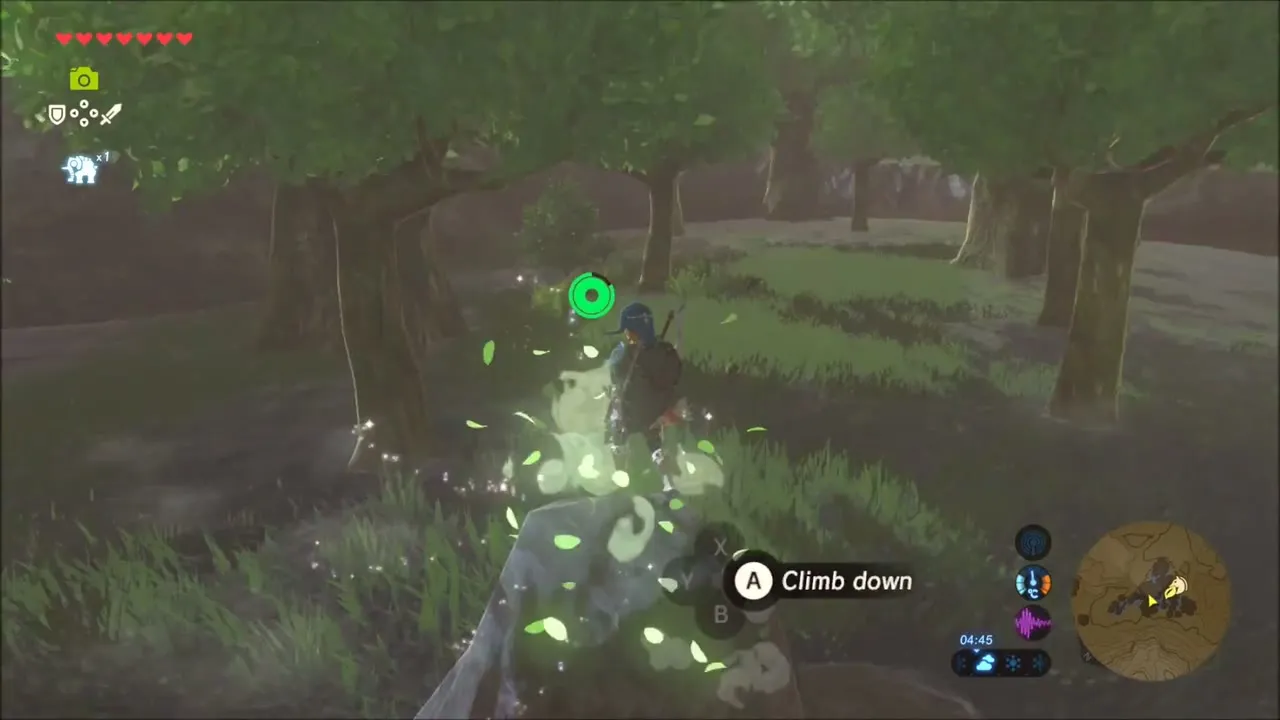
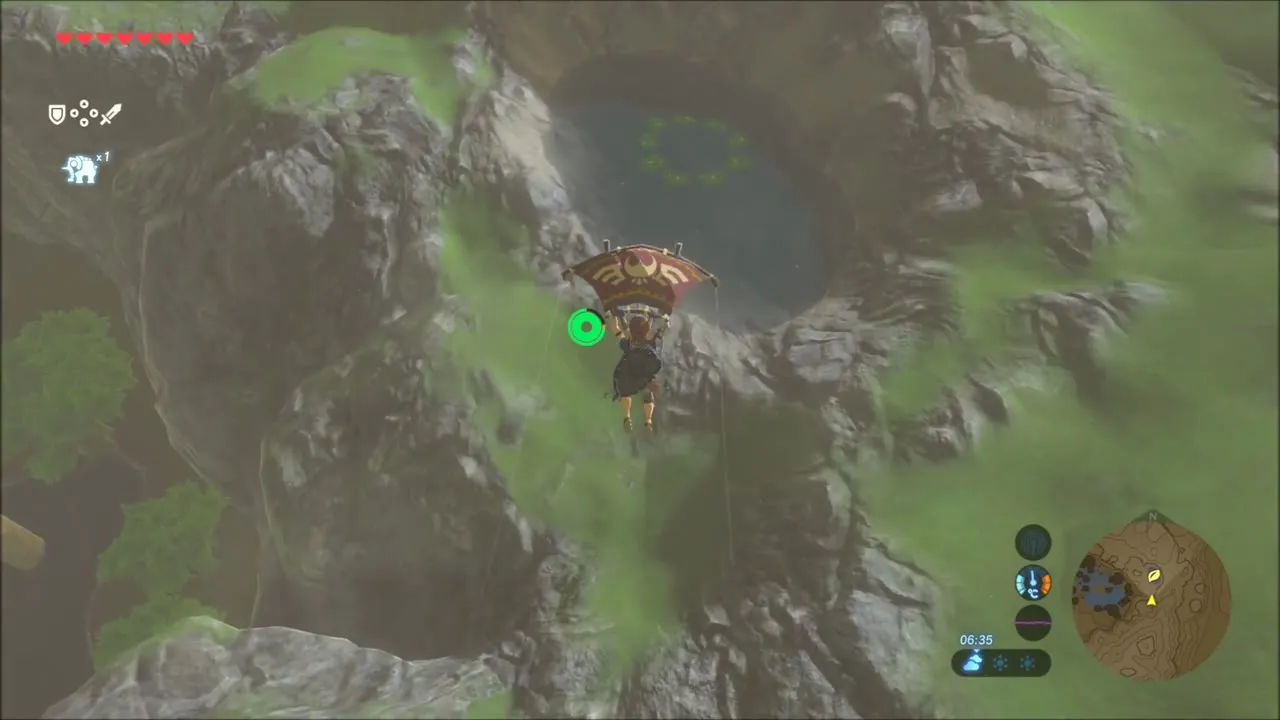
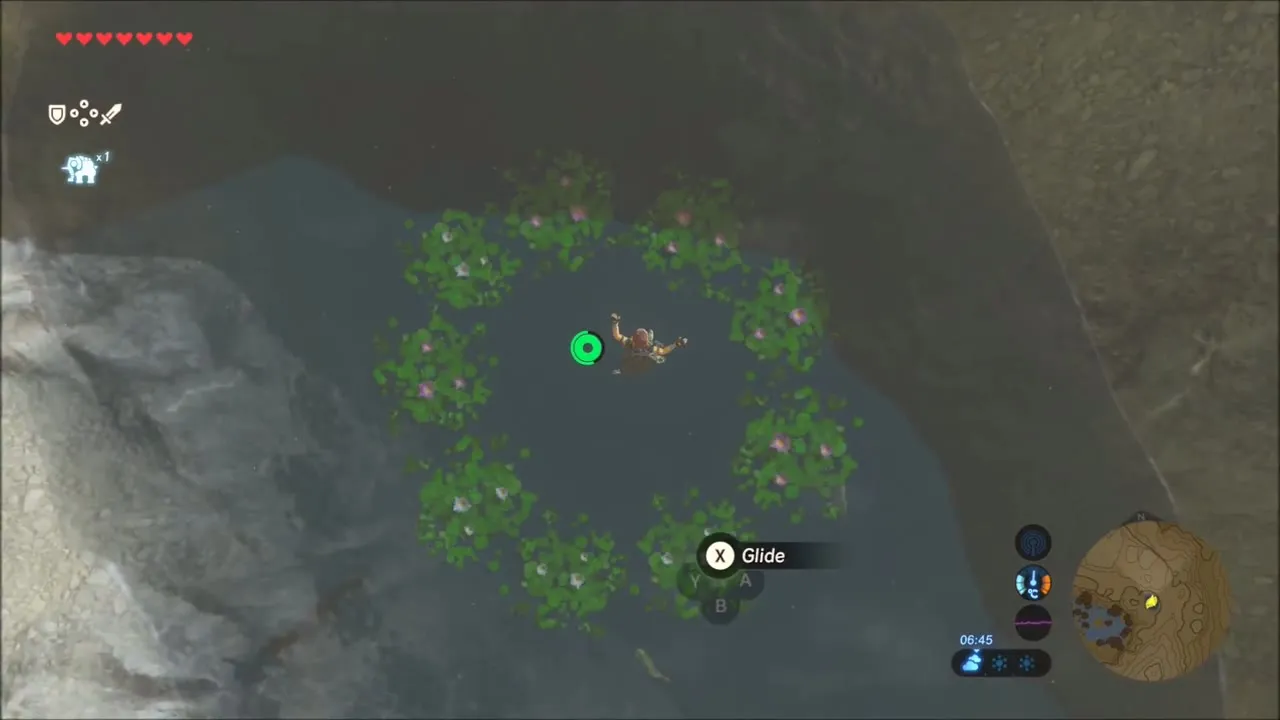
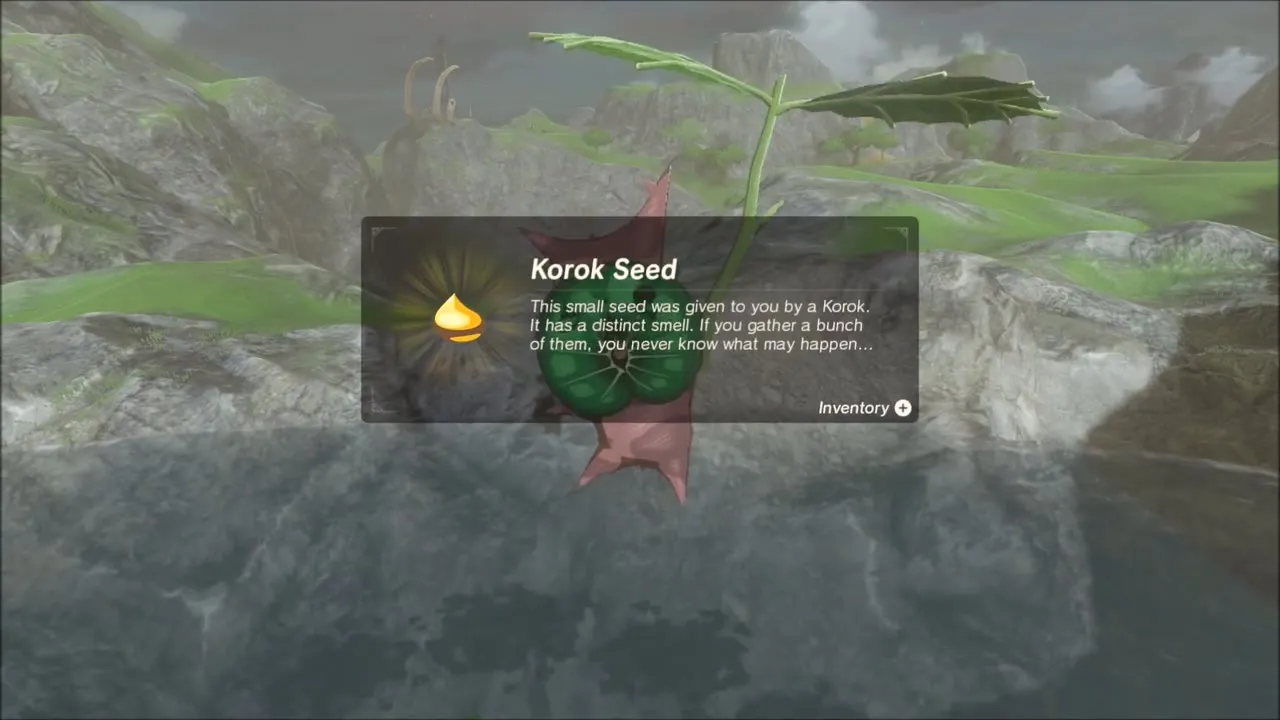
Korok seed in the mountain hollow: climb the steep grey slope, then glide down into a bowl in the rock where a ring of green plants surrounds the middle. Land inside the ring and the Korok at its centre says it was found.

The Three Giant Brothers: Hinox Orbs and Tawa Jinn Shrine
The tablet at Taran Pass starts The Three Giant Brothers: beat three Hinox, take the orb each one wears, and put all three on the pedestals at the pass. The Oldest Kin, the Black Hinox, sleeps in the Rabella Wetlands. Hit him with fire and arrows until he topples. The chest under him holds a Gold Rupee that Magnesis pulls free, and his toenails and meat drop as materials.

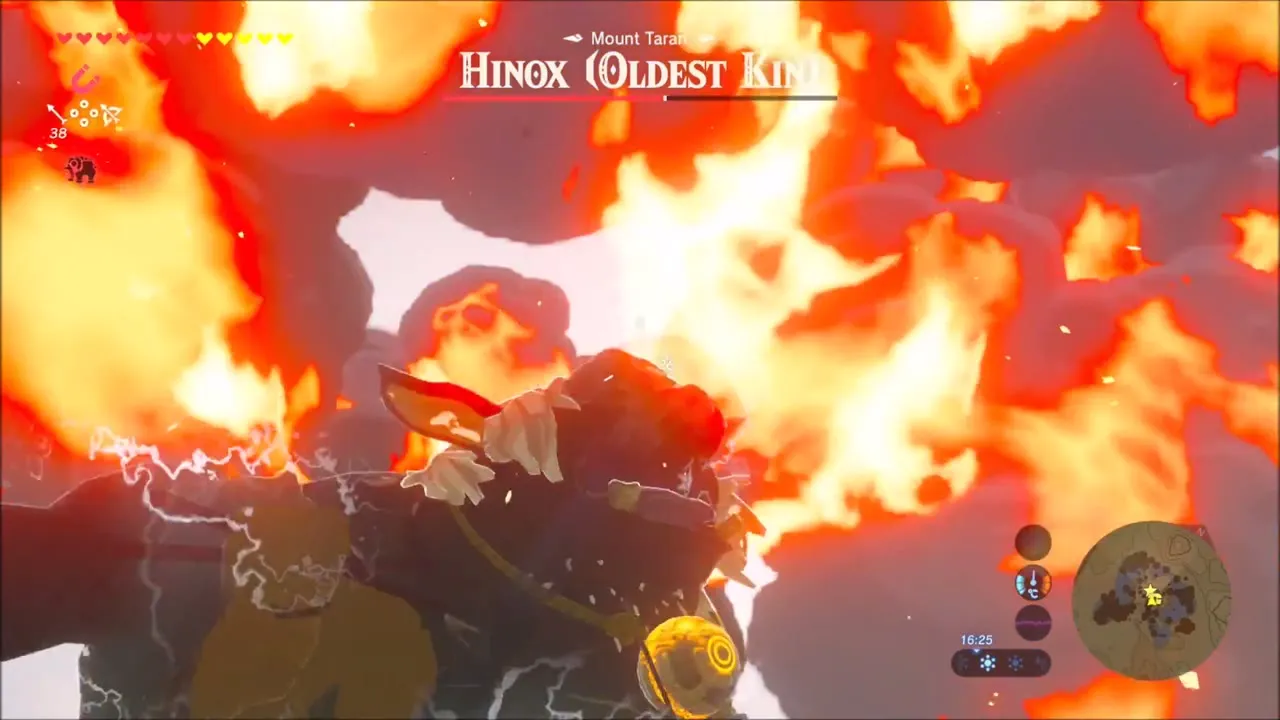

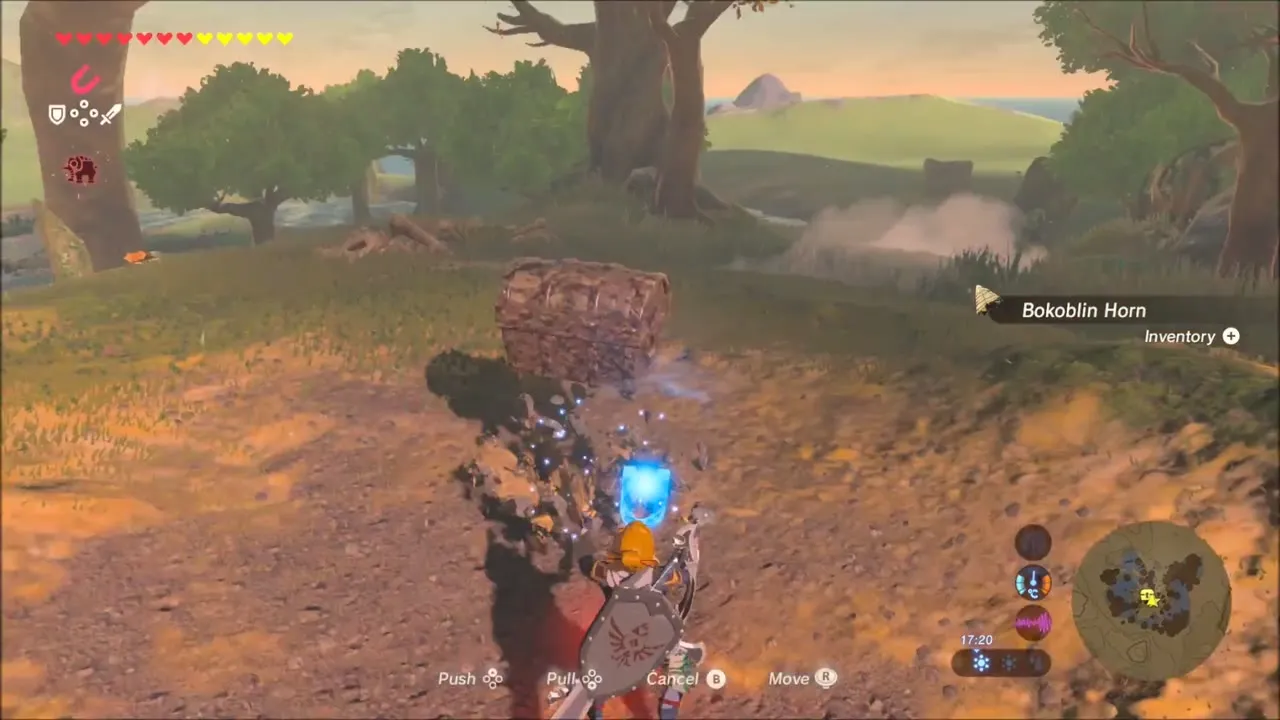

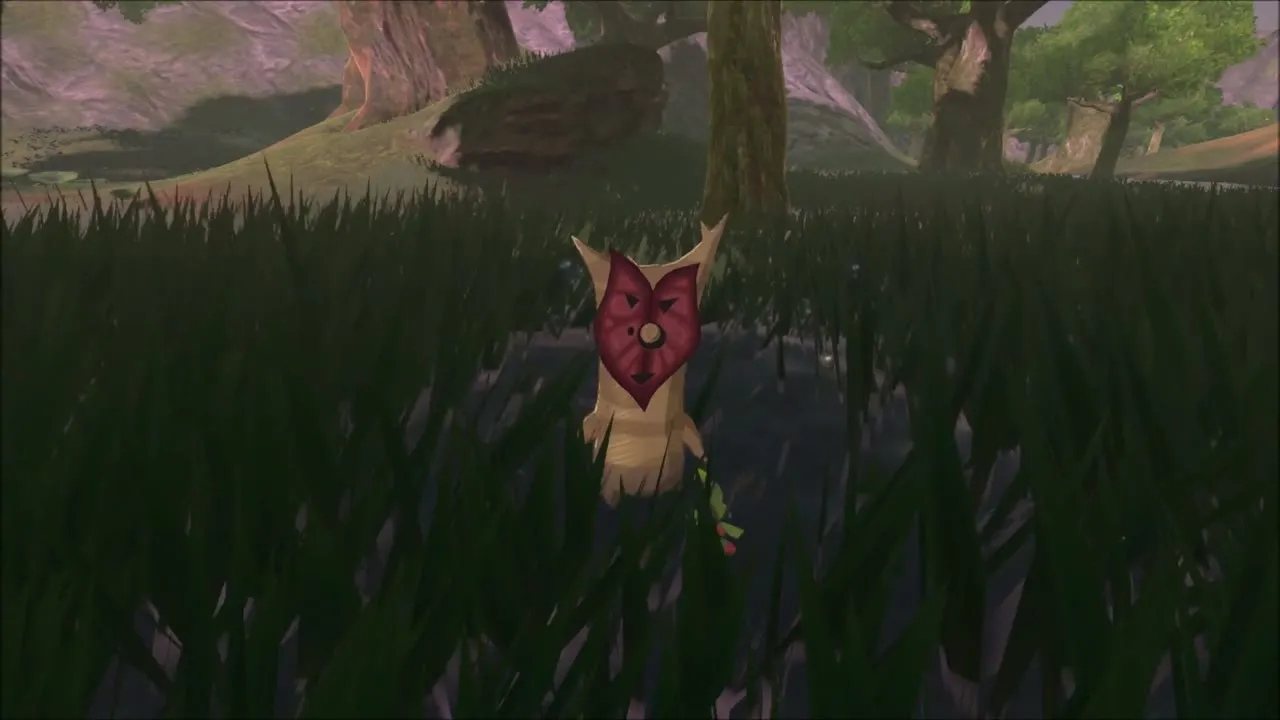
Pick up the orb and carry it over the water to the first pedestal at the pass, where the stone lights up when the orb sits on it. In the dark marsh grass on the way you also find a Korok and its seed.
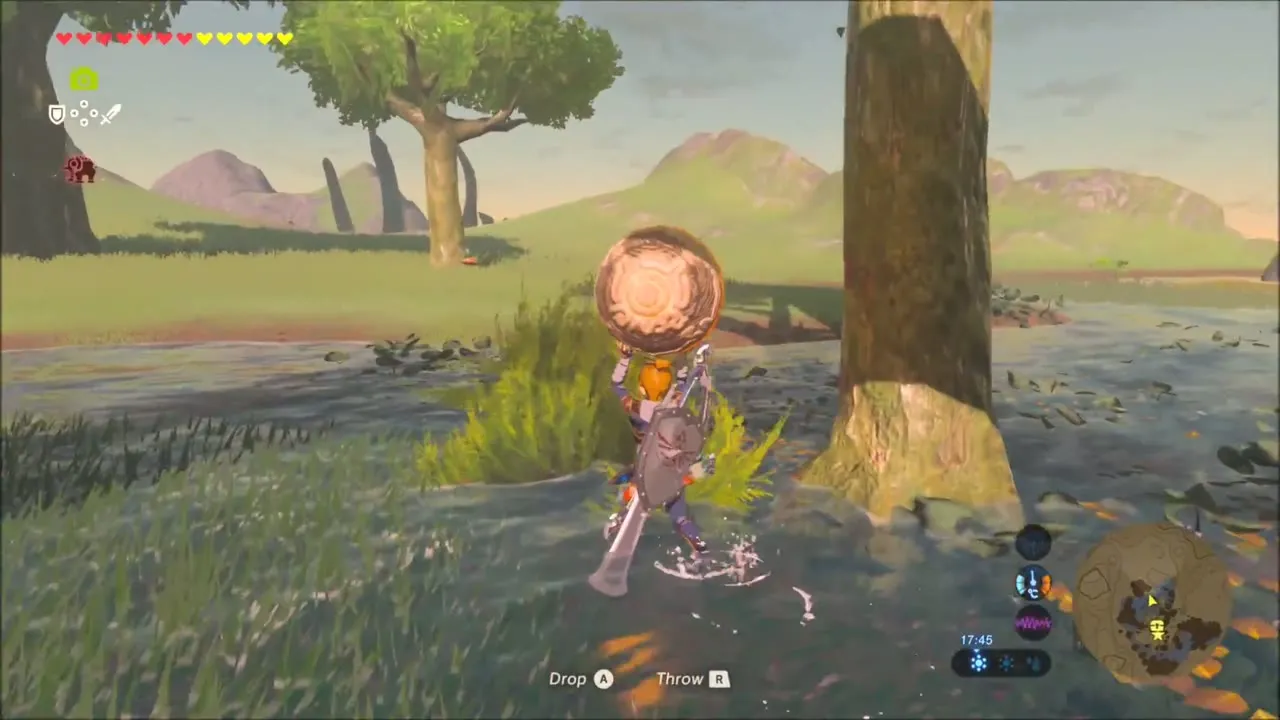
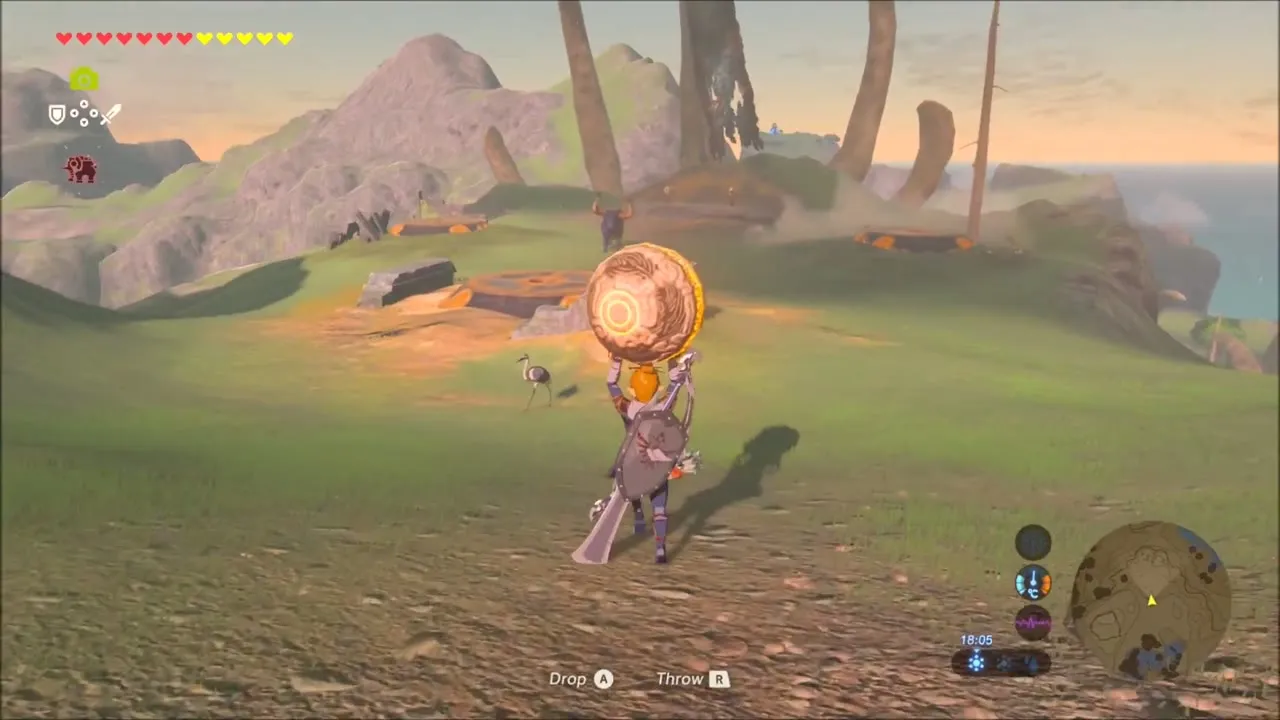

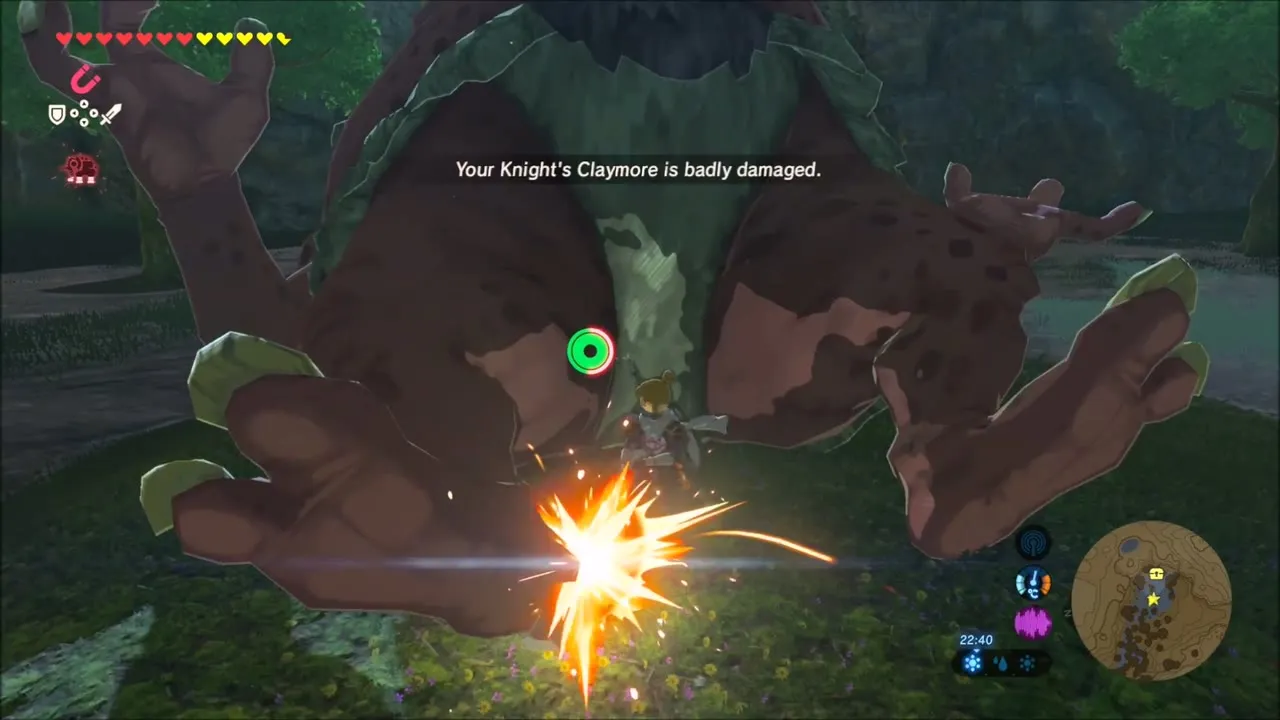
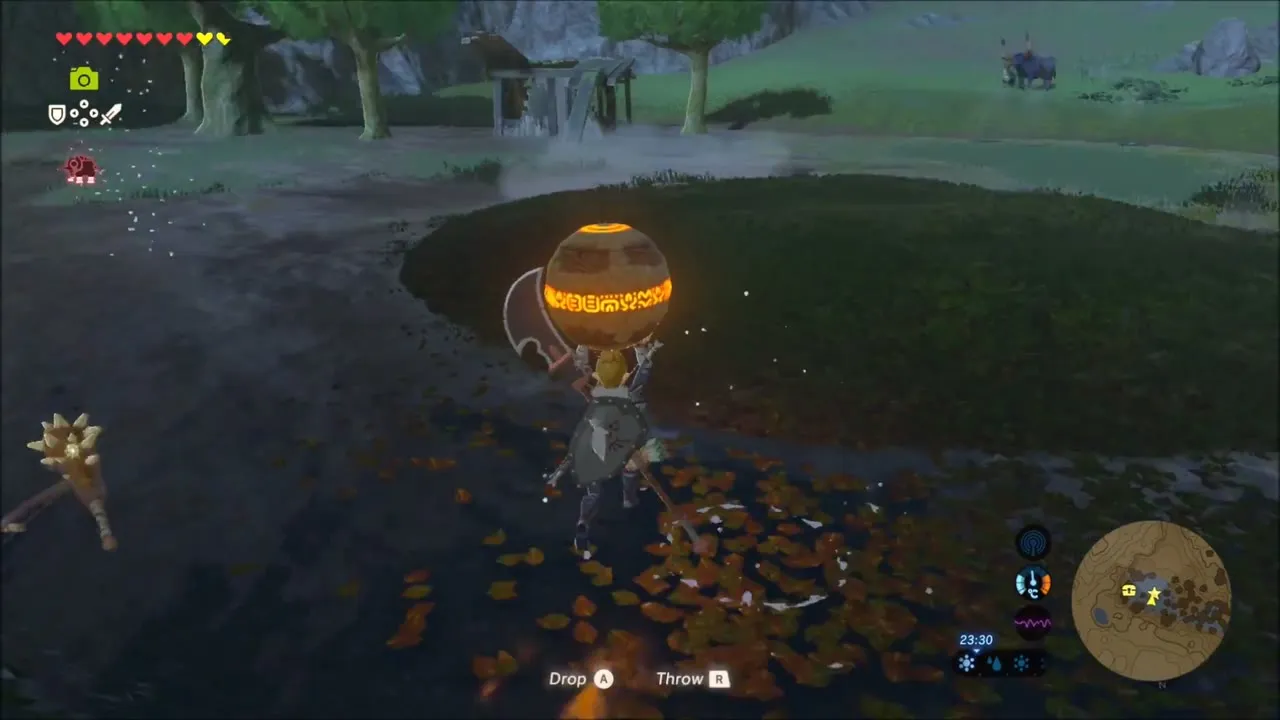
The Youngest Kin is the plain Hinox in the water on Hanu Pond’s island. Fight him in the shallows, then carry his orb to the second pedestal.


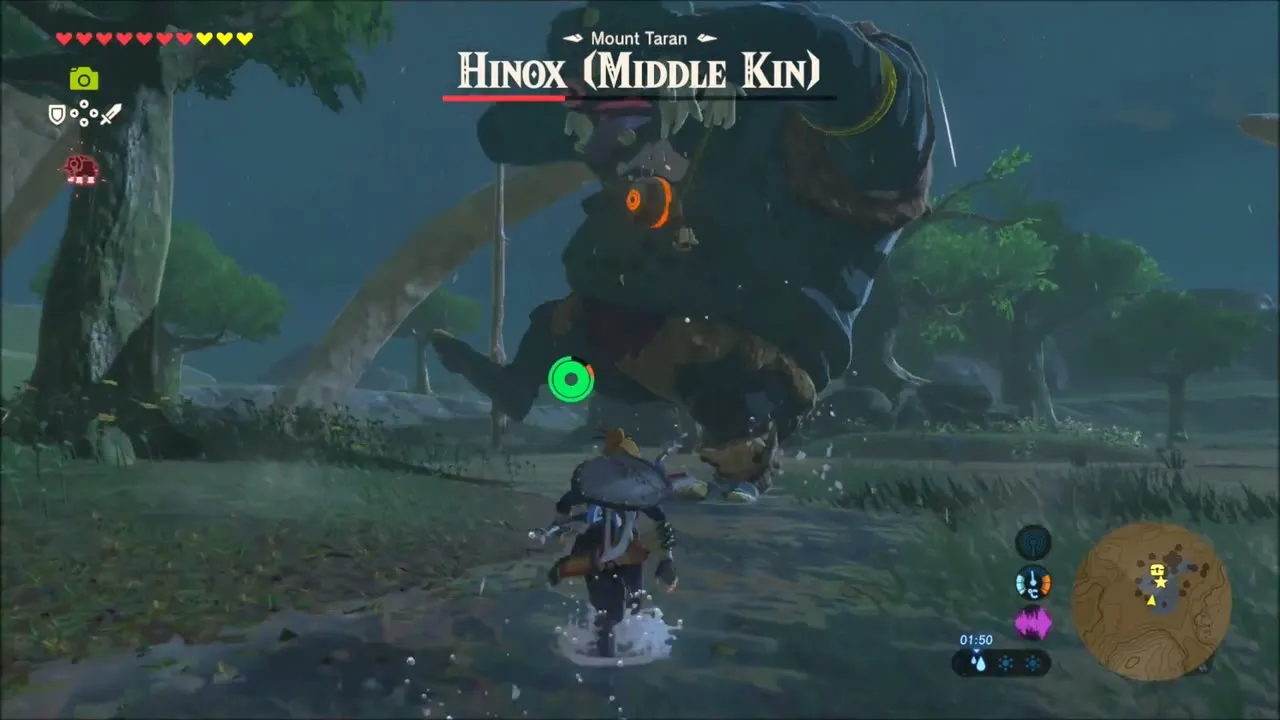
The Middle Kin is the Blue Hinox in Uten Marsh. Defeat him and take his orb; a chest with Ice Arrows sits by the tree. Take the orb to the last pedestal.



With all three orbs placed, Tawa Jinn Shrine rises from the ground at (2637, 2834). Inside, a chest holds a Great Thunderblade, and Monk Tawa Jinn gives you a Spirit Orb. See Tawa Jinn Shrine.
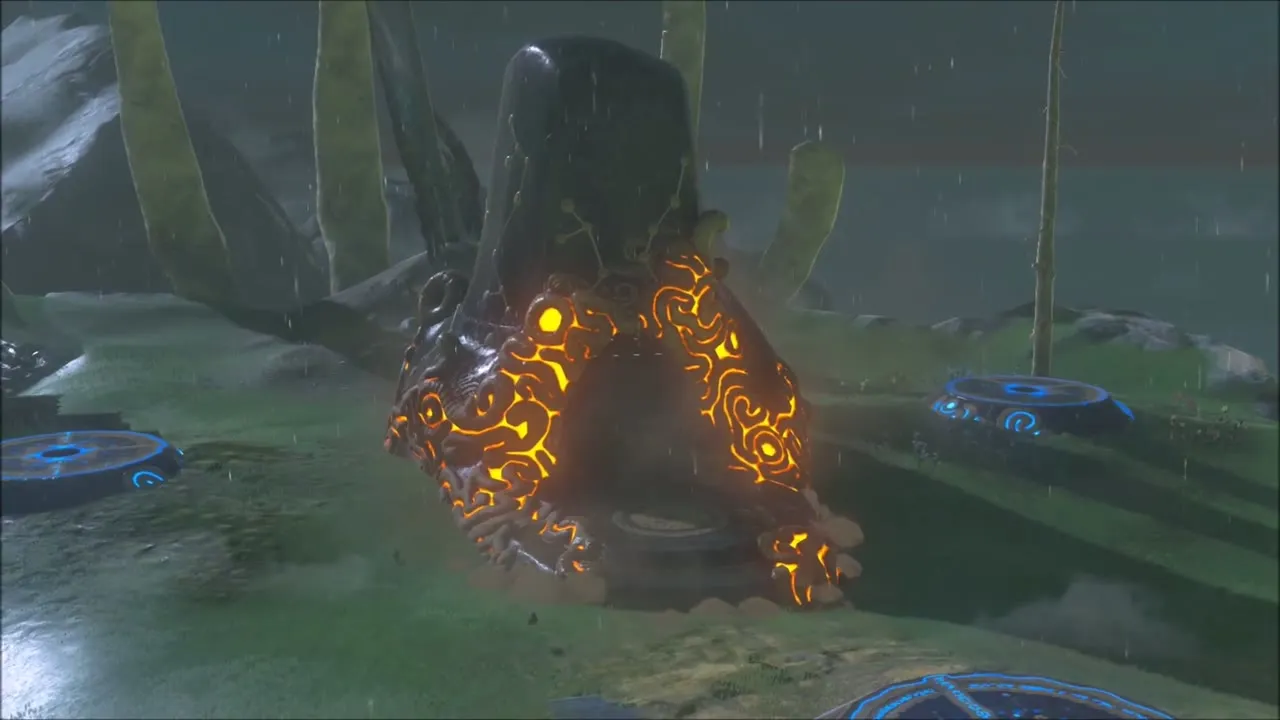


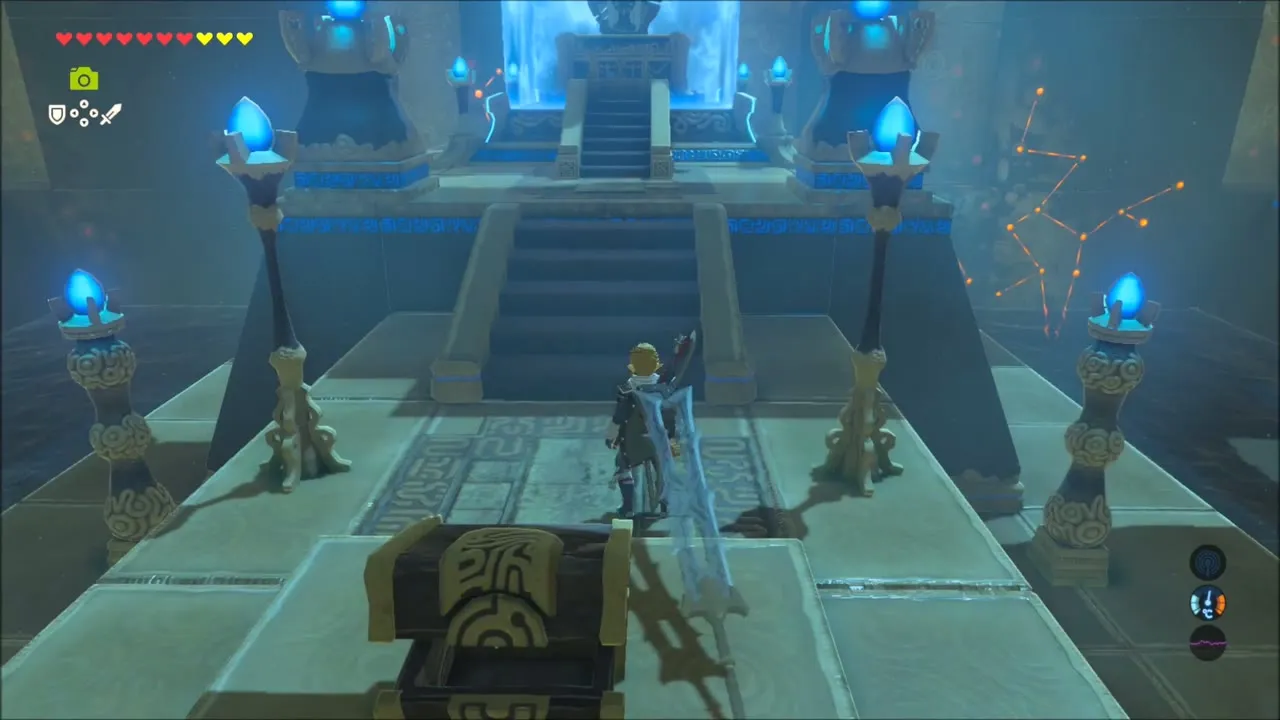

Stranded on Eventide Island: Orbs and Korgu Chideh Shrine
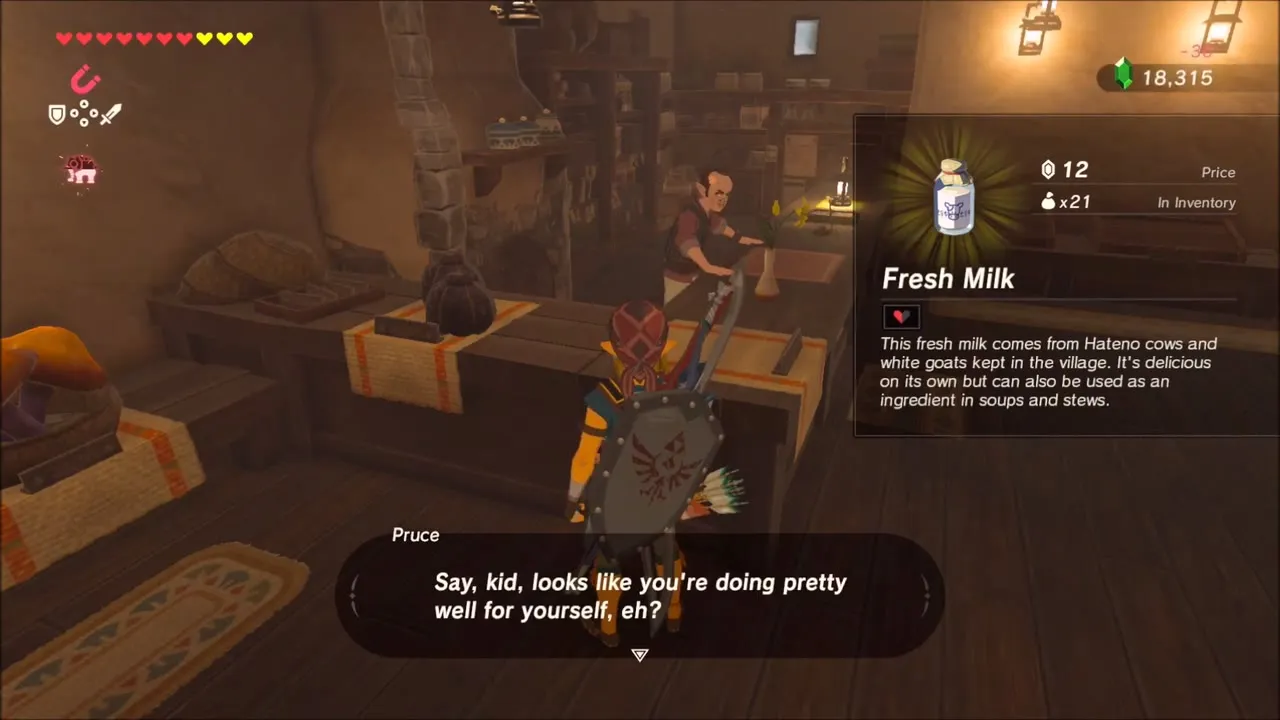
Before heading out, stop at a shop (Fresh Milk is on offer there), sort your gear and cook some food. Then warp to Muwo Jeem Shrine on Cape Cales, the launch point for the island, with a stamina elixir or extra stamina ready for the glide.

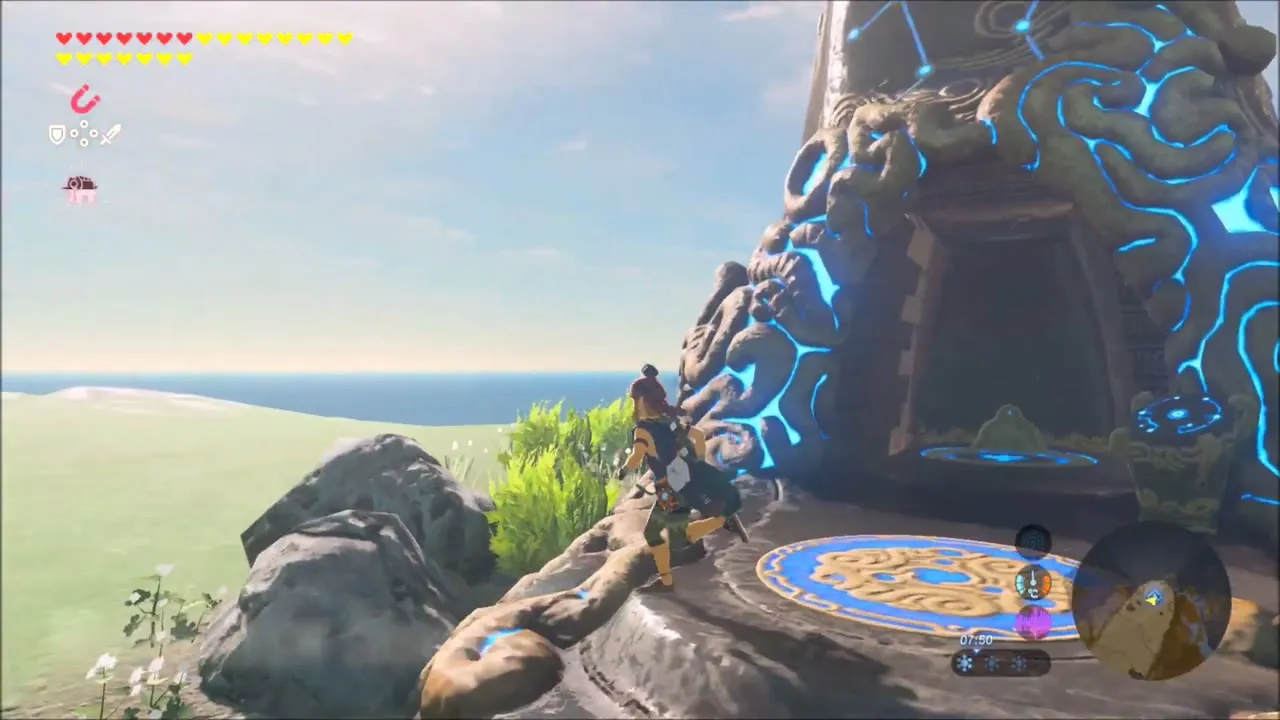
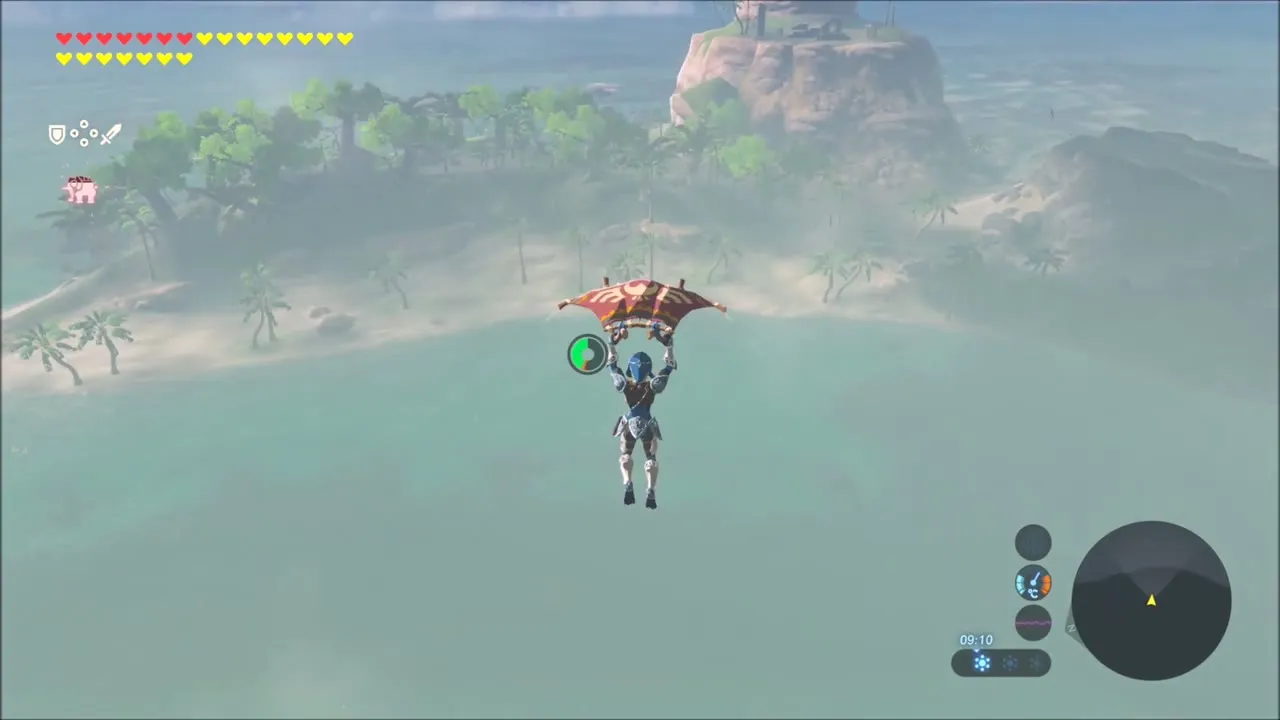
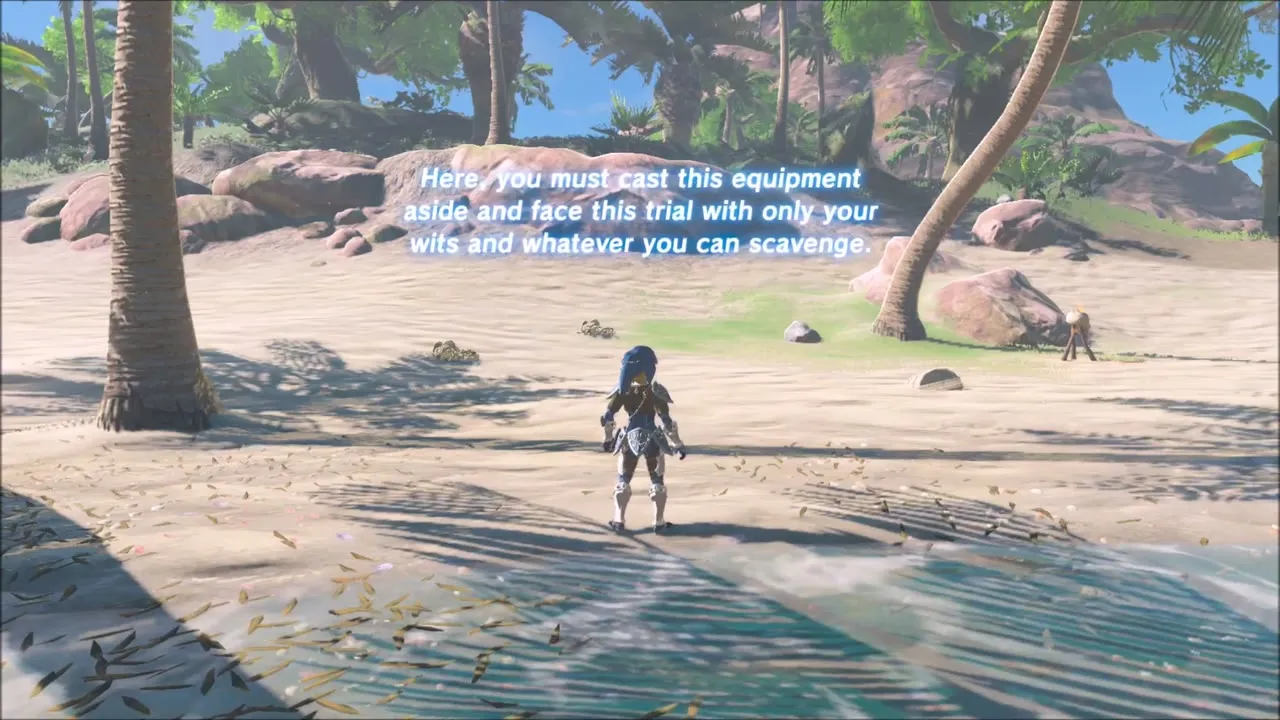
Glide south from the shrine over the sea to Eventide Island. On the beach a voice tells you to cast aside your equipment and face the trial with only your wits and whatever you can scavenge. This begins Stranded on Eventide: you lose your normal gear until it ends.


Scavenge as you go. Chests sit on rocks and beaches around the shore, and Magnesis, Cryonis and bombs open the awkward ones; one of them holds a Soldier’s Broadsword (tier set by difficulty scaling). Bokoblins also drop Boko weapons you can pick up.
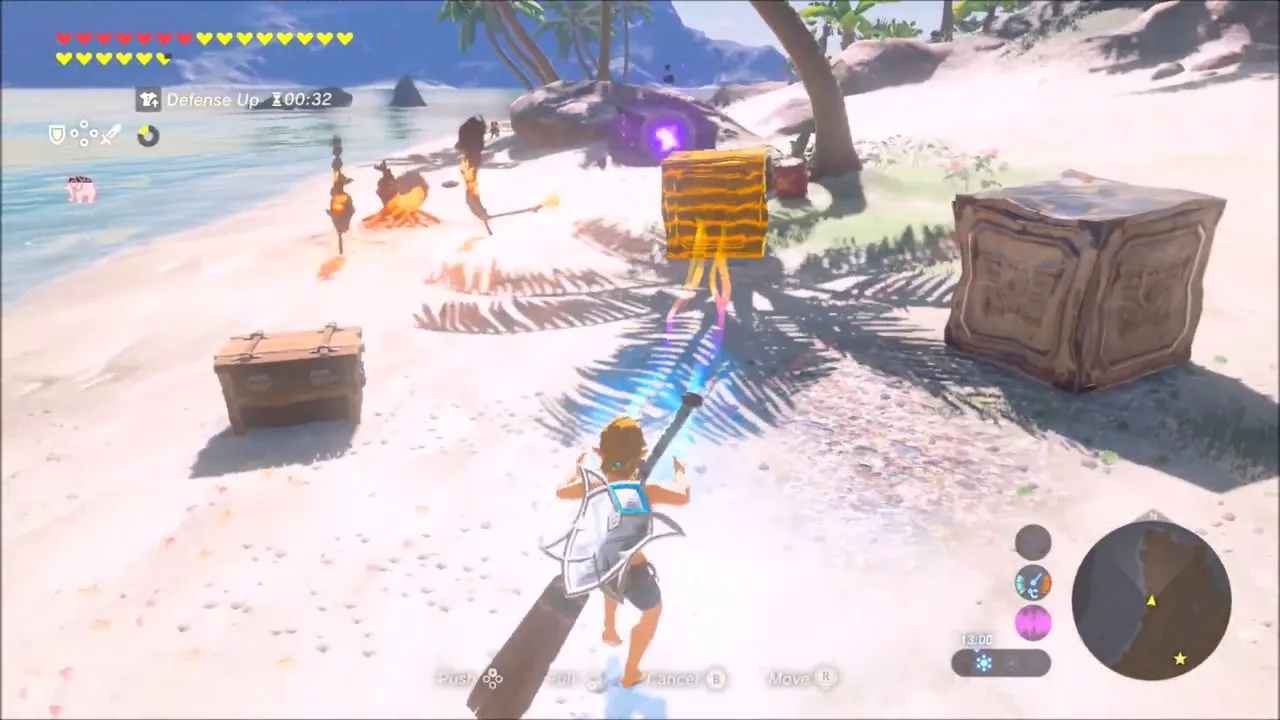
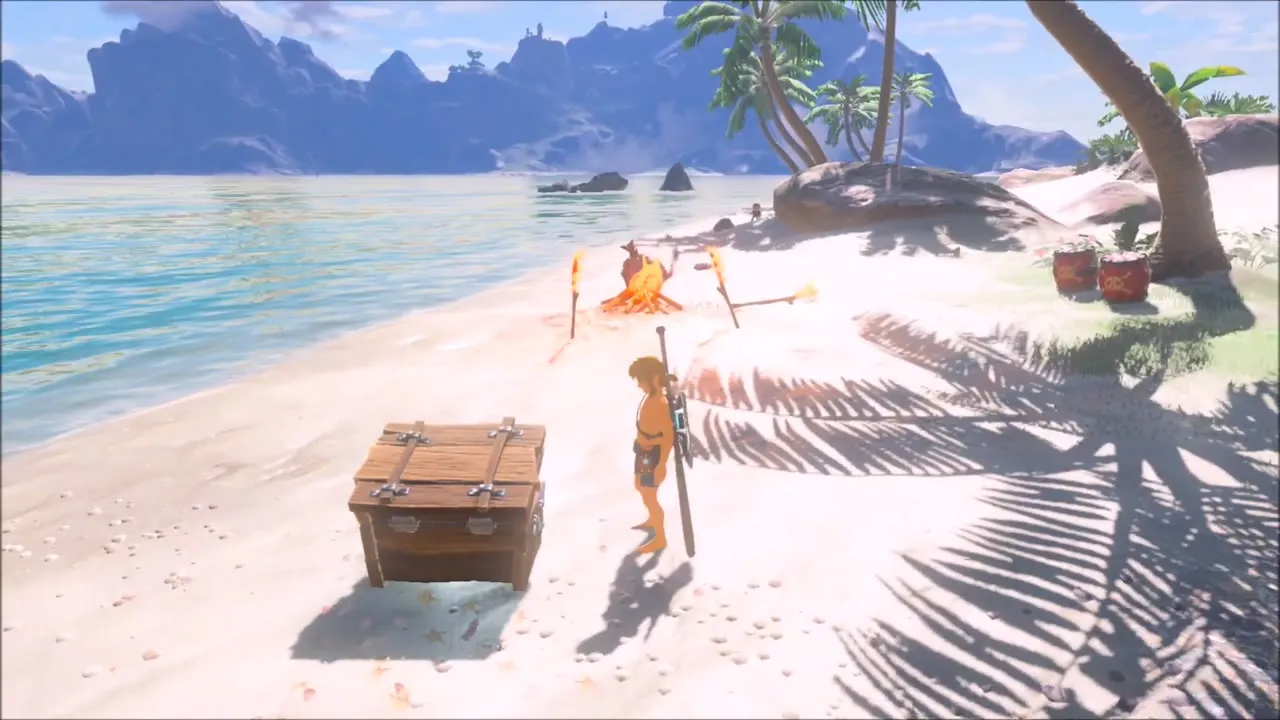
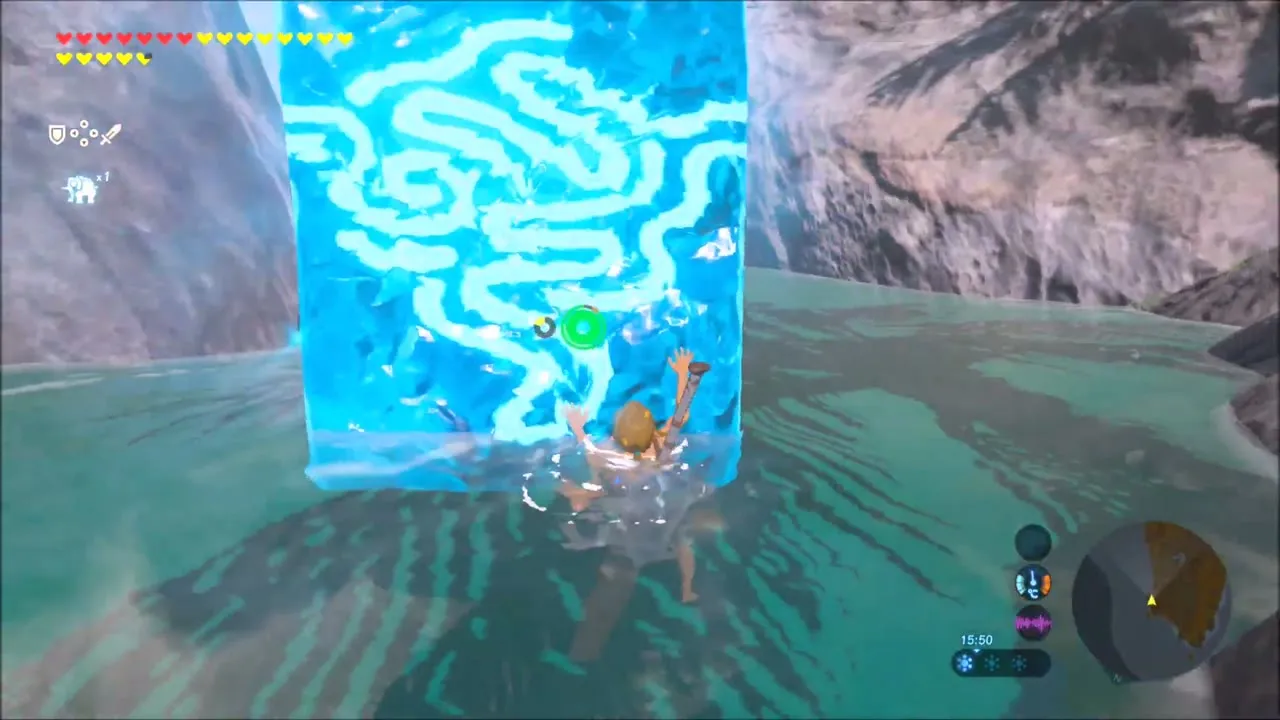
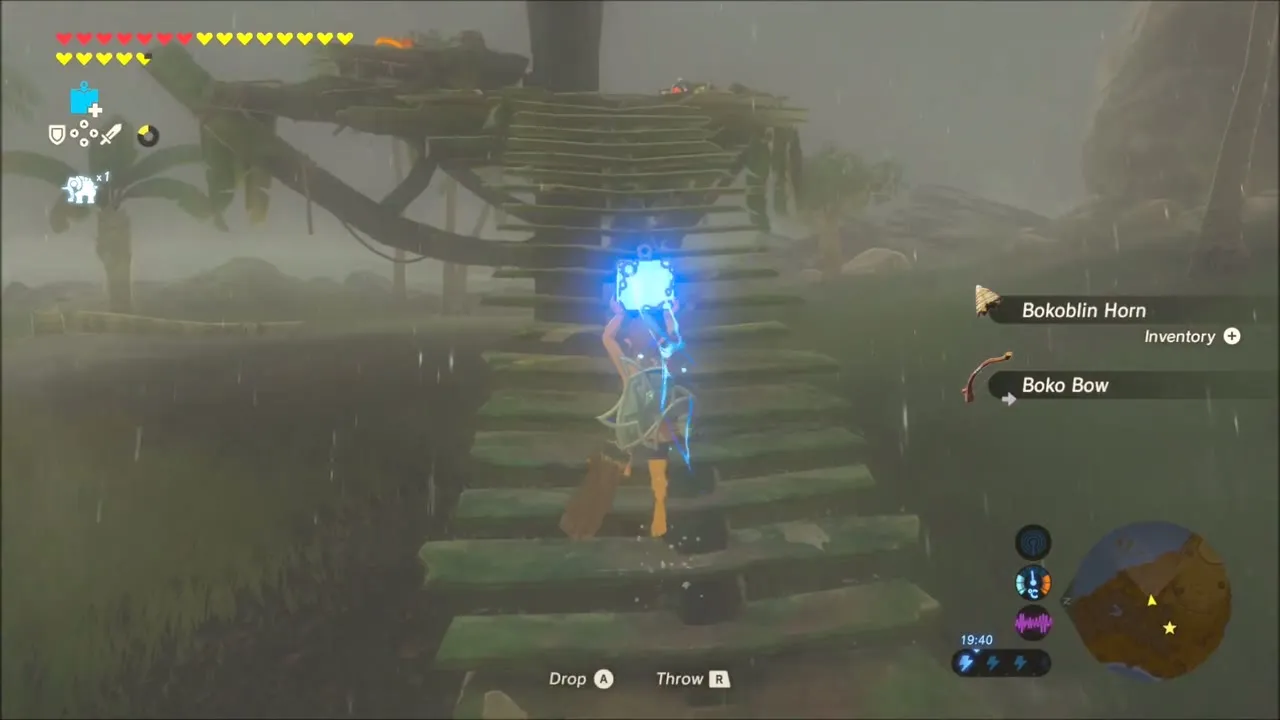
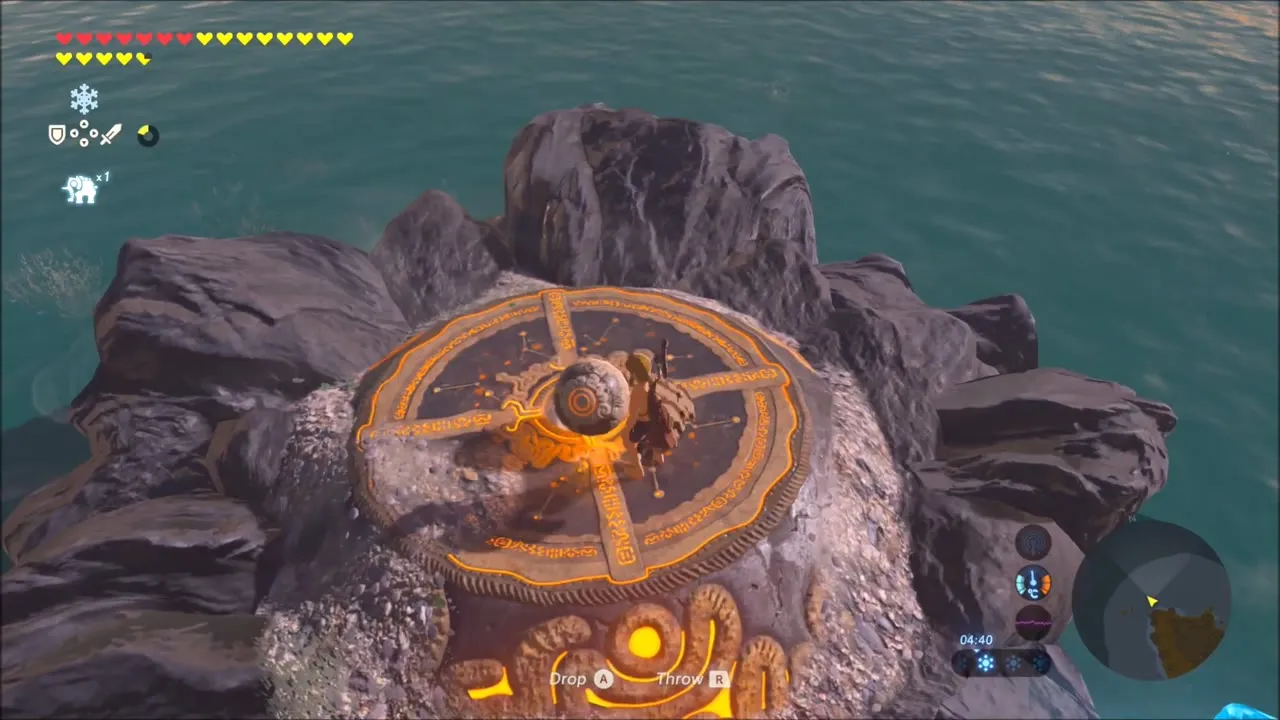
The first orb is on a wooden platform on the island’s edge. Lift it, carry it along the beach, and when water cuts the way, freeze a Cryonis block to cross. Set the orb on the pedestal on a small rocky islet.
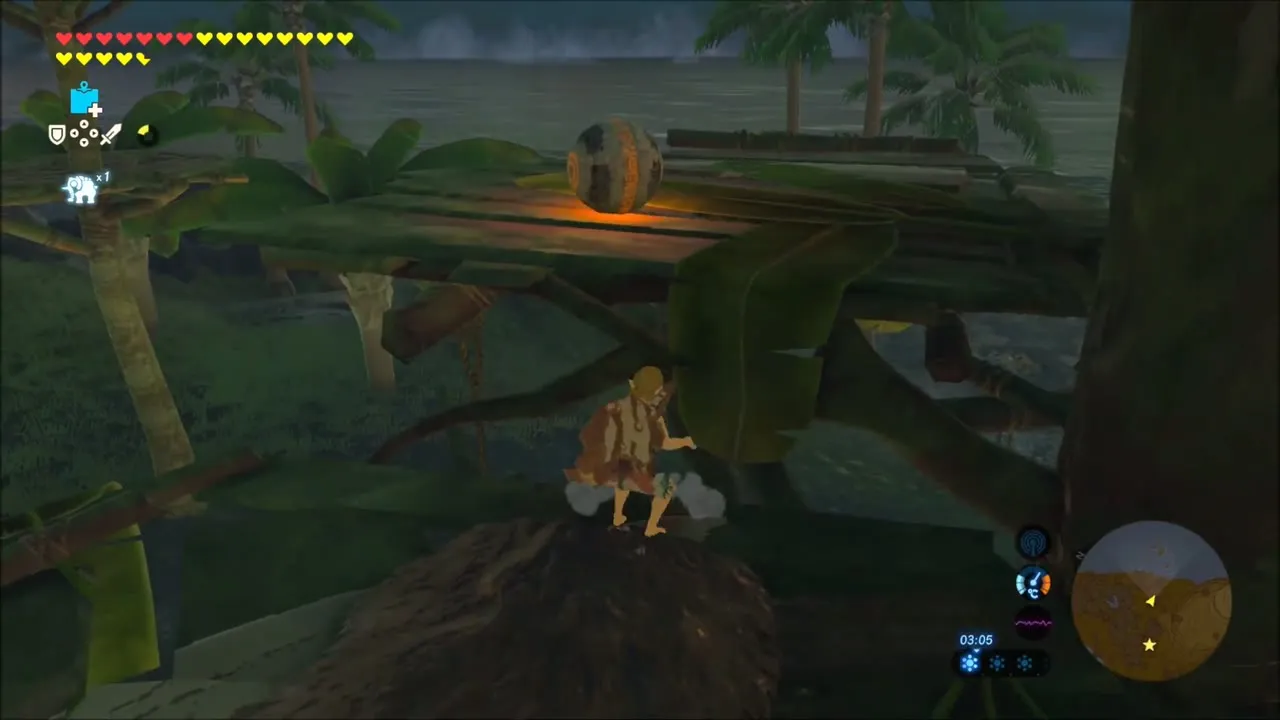

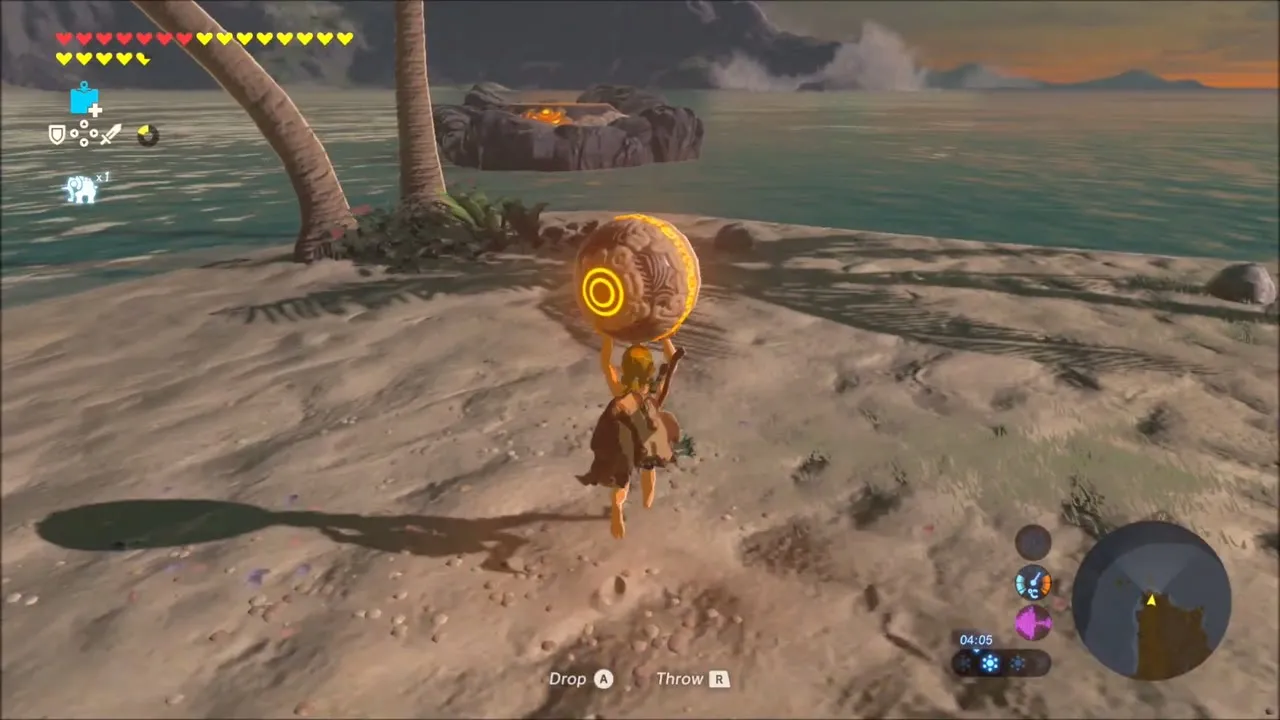

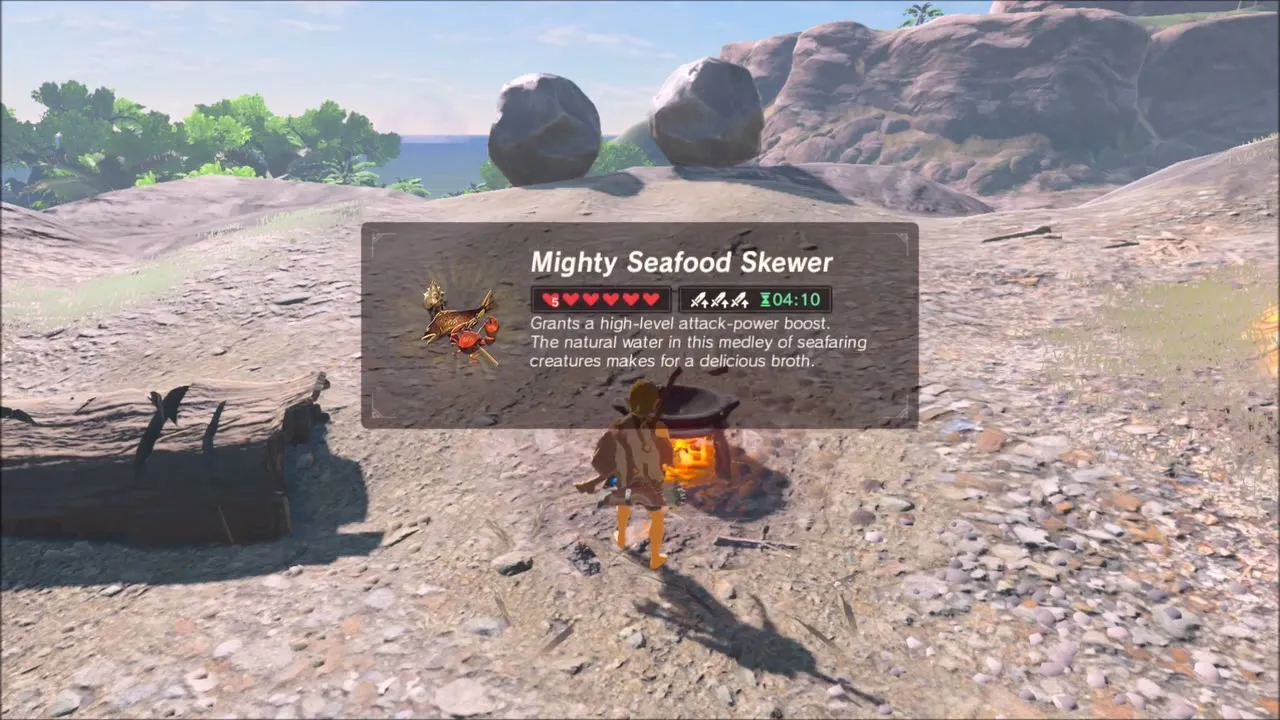
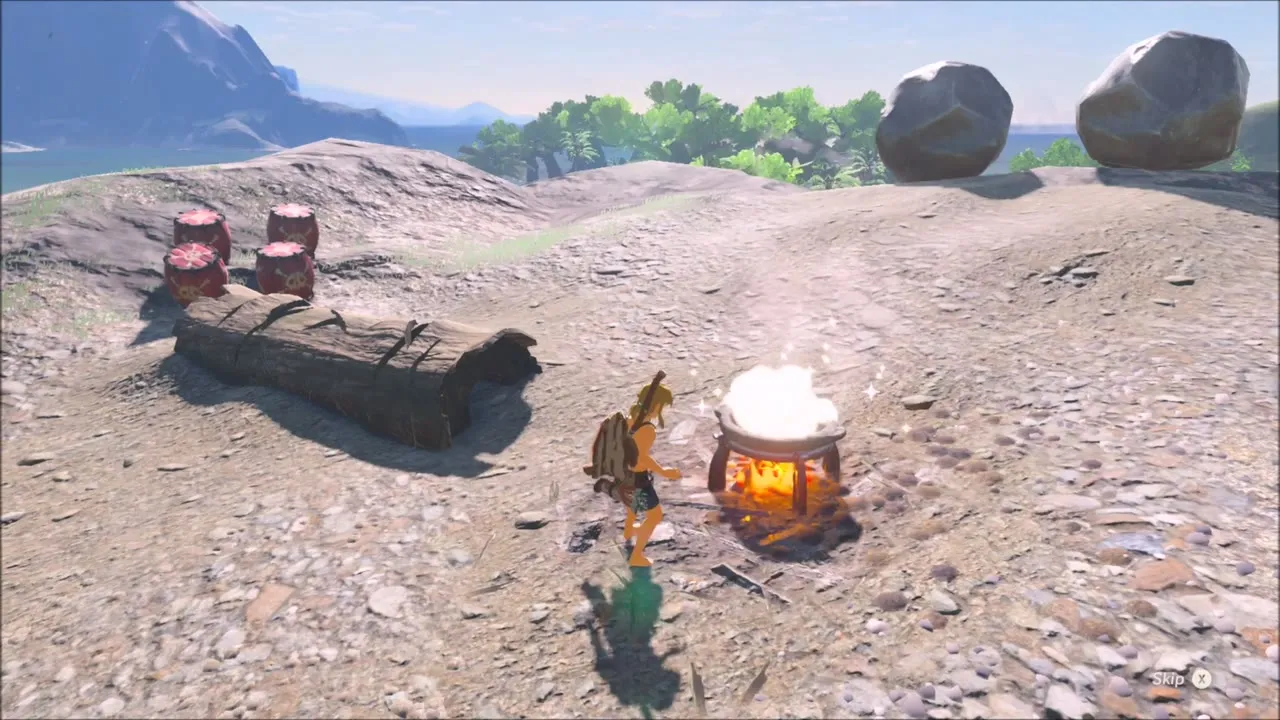
Cook on the island to refill hearts: with a fire pot and the fruit, meat and fish you collect, you can make dishes such as Energizing Simmered Fruit.

The second orb is in a Bokoblin camp of wooden lookout towers around a stone arch. Explosive barrels and remote bombs clear the Bokoblins. The pedestal is covered by a stone slab: hit it with Stasis, then launch the slab away with a heavy swing. Carry the orb to it.
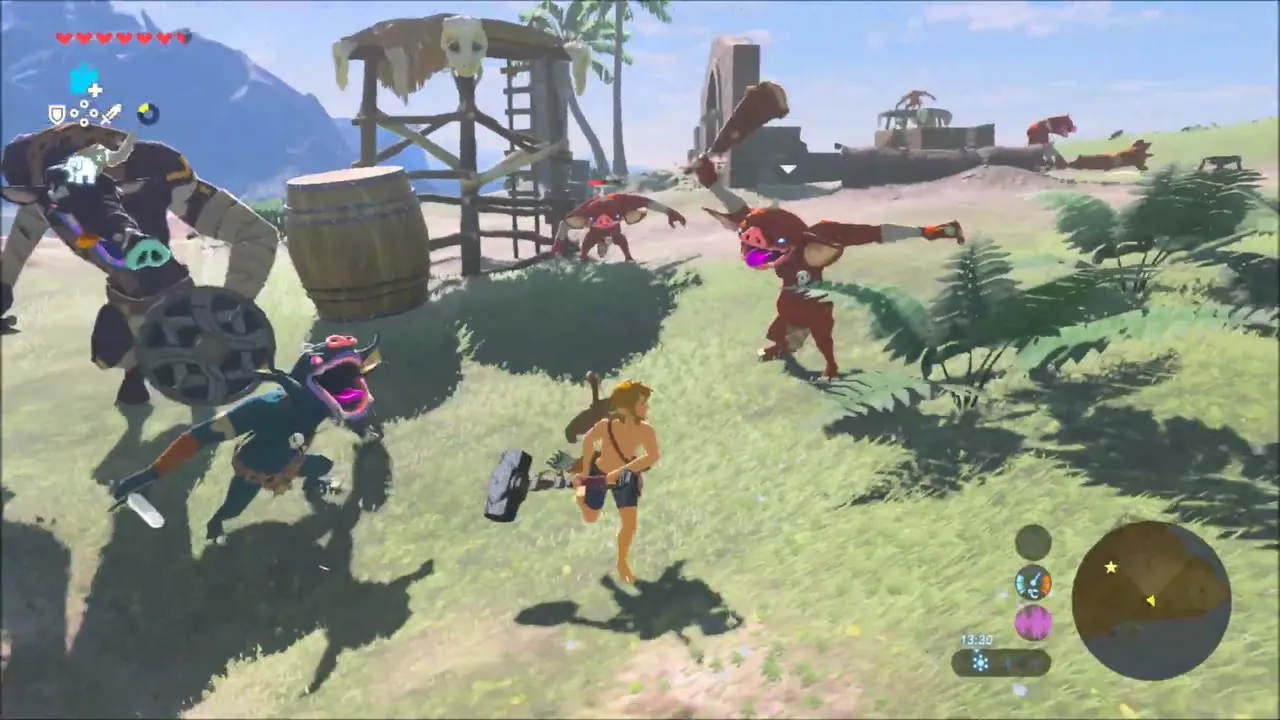

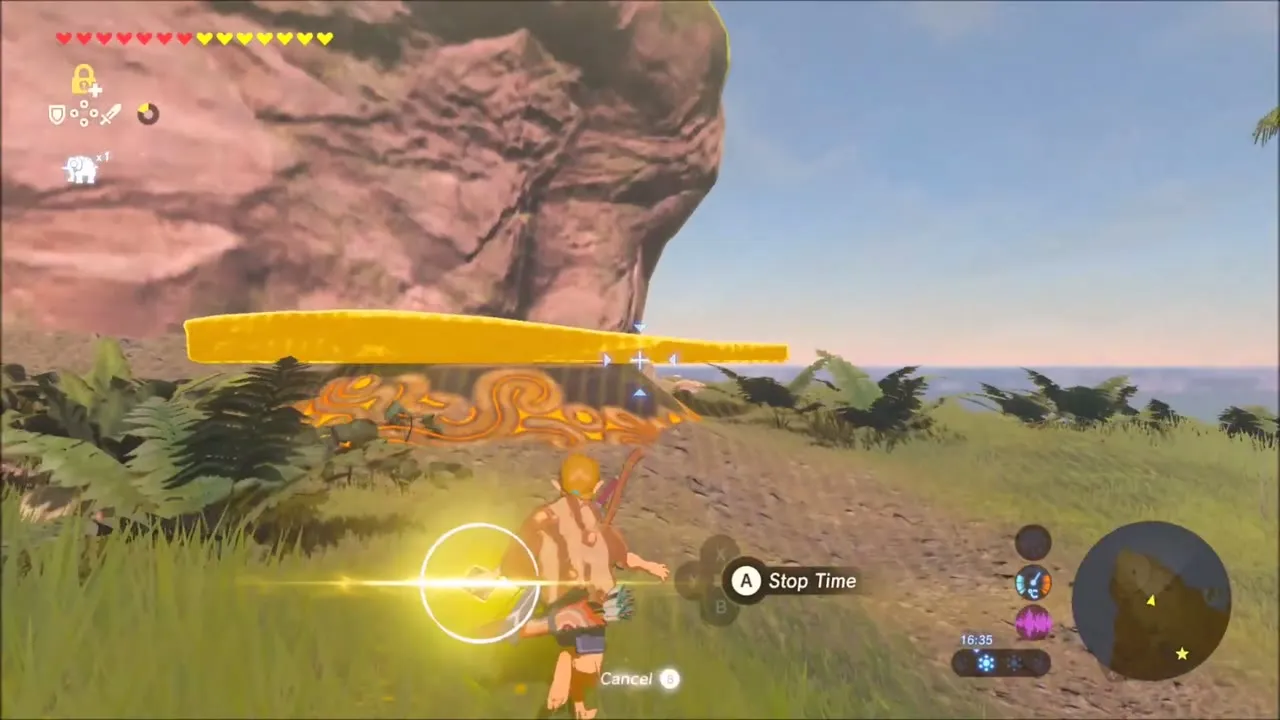

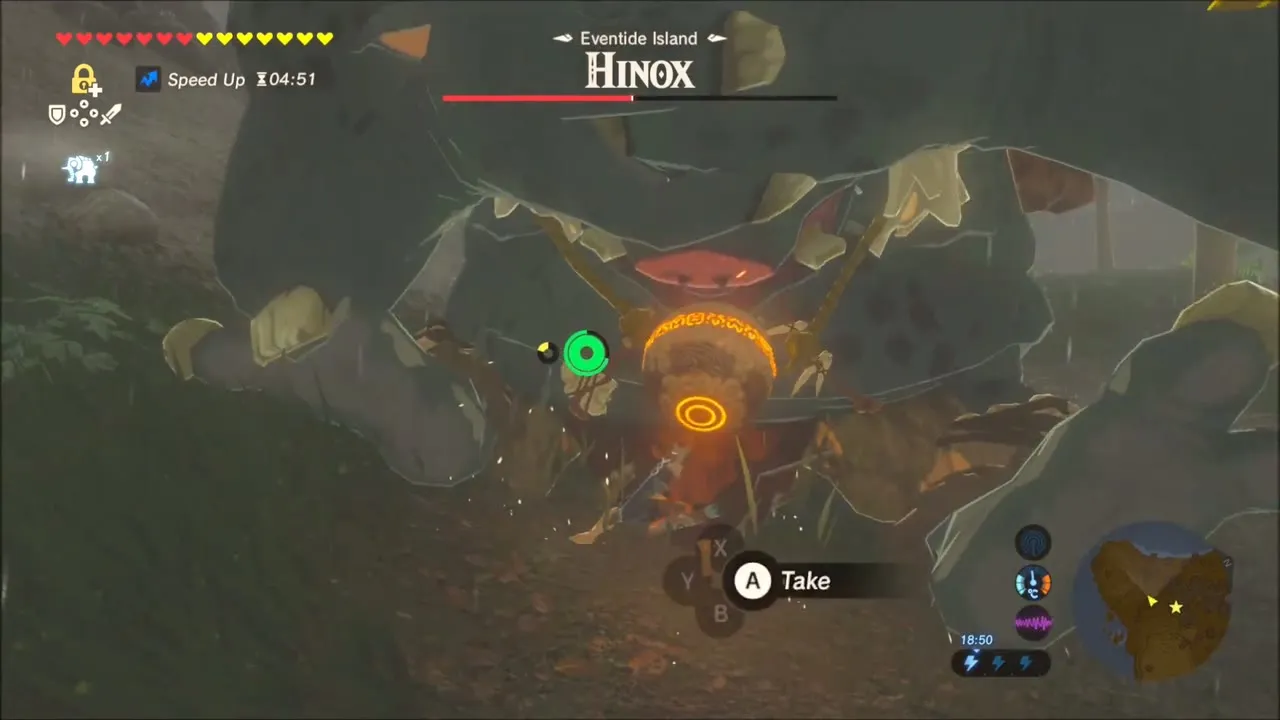
The third orb hangs on a Hinox that roams the hillside. Wear it down with whatever you scavenged, take the orb from its neck, and carry it to the pedestal. Once the third orb sits on it, Korgu Chideh Shrine rises from the ground.


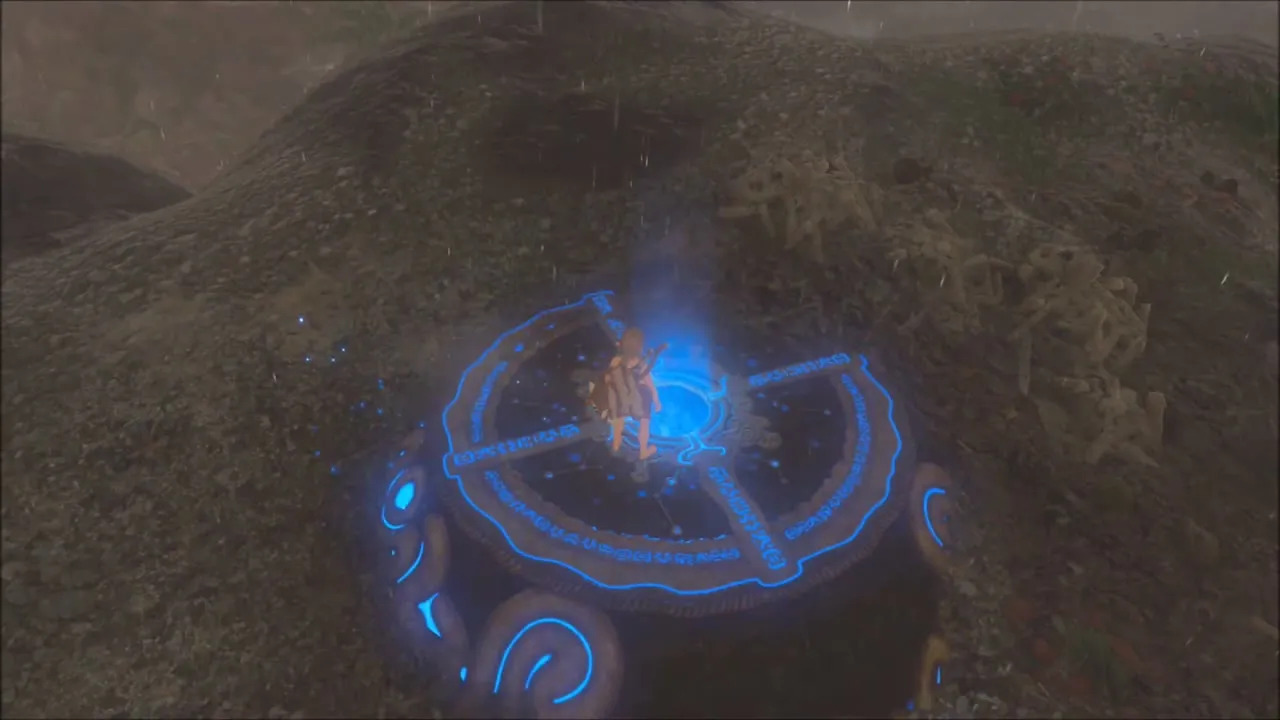
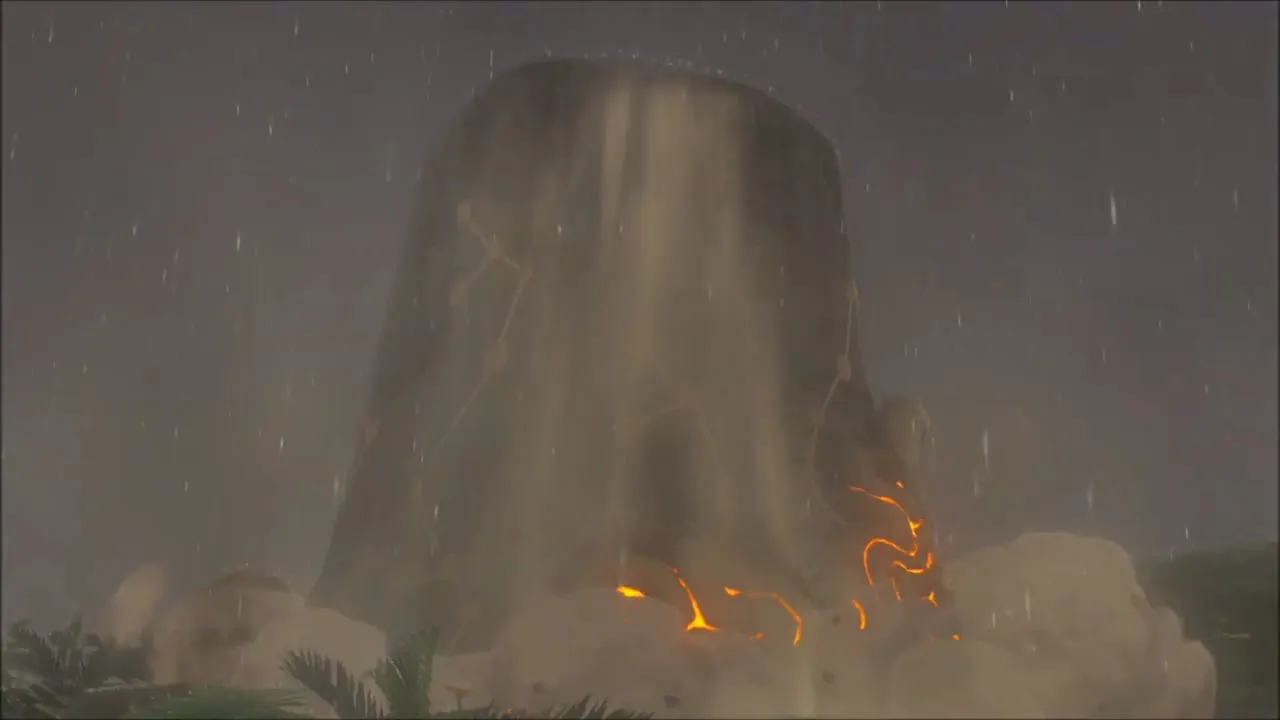
Climb the pink rocks of Koholit Rock to Korgu Chideh Shrine (4737, 3772). Walk in, receive the Spirit Orb from the monk, and open the chest for a Gold Rupee. Your gear is returned when you leave.