100% Completion Walkthrough21 chapters
- Great PlateauAll 4 Shrines, the Paraglider and Korok Seeds
- Kakariko Village and Dueling PeaksSeek Out Impa, Shrines and Korok Seeds
- Hateno VillageHateno Tower, the Ancient Tech Lab, Link’s House and Shrines
- Zora’s DomainReach Zora’s Domain, Vah Ruta, Lanayru Shrines and Korok Seeds
- Faron and Lurelin VillageLurelin Village, Faron Tower, Shrines and Korok Seeds
- Korok Forest and Master SwordHow to Get the Master Sword, Lost Woods, Shrines and Korok Seeds
- Hebra MountainsHebra Tower, Snowfield Stable, Shrines and Korok Seeds
- Rito Village and Vah MedohVah Medoh, Tabantha Tower, Shrines and Korok Seeds
- Gerudo HighlandsGerudo Tower, Gerudo Summit, Shrines and Korok Seeds
- Gerudo TownForbidden City Entry, the Thunder Helm, Desert Shrines and Korok Seeds
- Vah Naboris and Gerudo DesertThunderblight Ganon and the Gerudo Desert Shrines
- Lake HyliaLake Tower, Farosh, Lake Shrines and Korok Seeds
- Akkala and Tarrey TownTarrey Town, Akkala Tower, Shrines and Korok Seeds
- Death Mountain and Goron CityGoron City, Vah Rudania, Eldin Shrines and Korok Seeds
- RidgelandRidgeland Tower, Shrines, Memories and Korok Seeds
- Central HyruleCentral Tower, Captured Memories, Shrines and Korok Seeds
- Hyrule Castlethe Hylian Shield, Saas Ko’sah Shrine, Zelda’s Diary and Memories
- Calamity GanonLast Side Quests, Destroy Ganon and the Final Boss
- All Hinox, Talus and Molduga LocationsEvery Hinox, Stone Talus and Molduga, for Kilton’s Medals of Honor
- Trial of the Sword and EX TreasuresThe Trial of the Sword and every EX Treasure location (DLC Pack 1)
- Champions’ BalladOne-Hit Obliterator, Champion Trials and the Final Trial
| Region | Gerudo Wasteland |
|---|---|
| Shrines | 5: Jee Noh Shrine, Kay Noh Shrine, Dako Tah Shrine, Korsh O’hu Shrine, Daqo Chisay Shrine |
| Sheikah Tower | Wasteland Tower |
| Korok seeds | 36 |
| Memories | Memory 4 |
| Towns and stables | Gerudo Town, Gerudo Canyon Stable |
This chapter of the 100% walkthrough covers the Gerudo Wasteland region in a route that collects everything along the way: 5 shrines, 36 Korok seeds, the Sheikah Tower and 1 memory, plus the quests, chests and minibosses you meet. Positions are map coordinates (x grows east, z grows south).
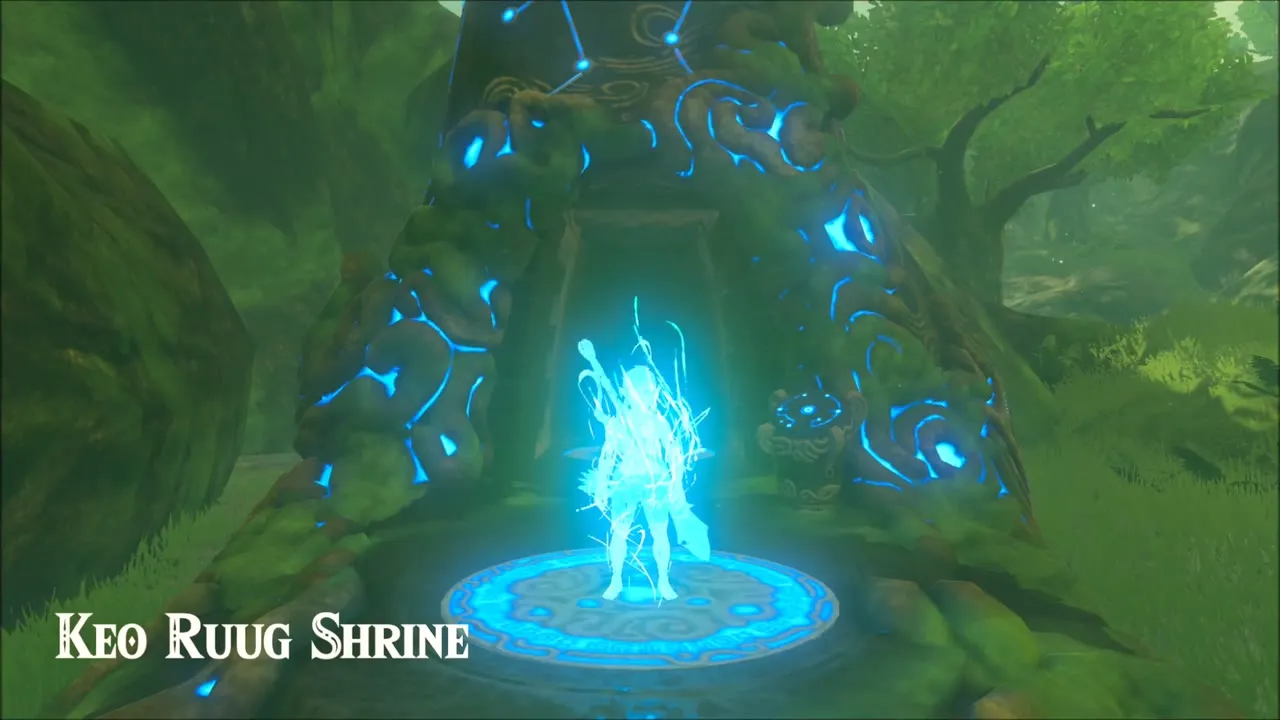
Korok Forest Errands: Keo Ruug Shrine, Hestu and the Korok Shops
You begin on a shrine warp pad at the edge of the desert, with a tower rising in the haze far behind the cliffs. Before heading deeper into the sand, open the map and jump to Keo Ruug Shrine (x 471, z -2168), which sits in Korok Forest at the foot of the Great Deku Tree. It is a convenient place to restock.

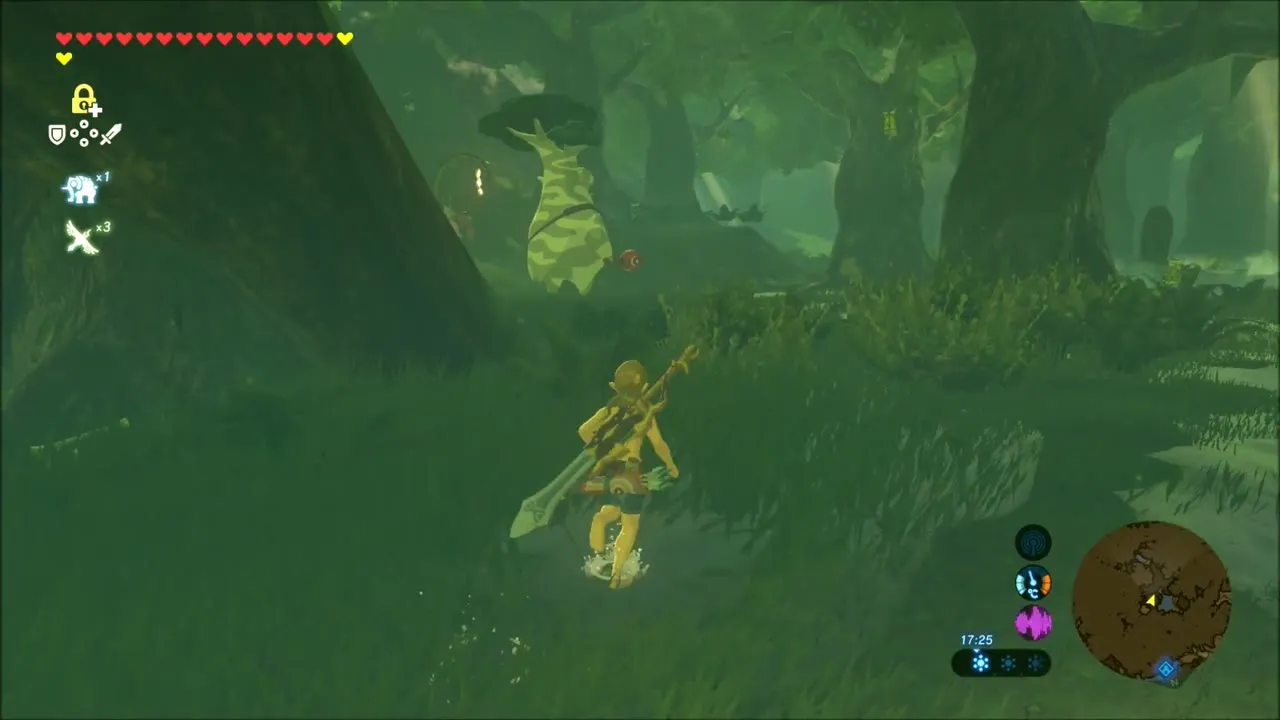
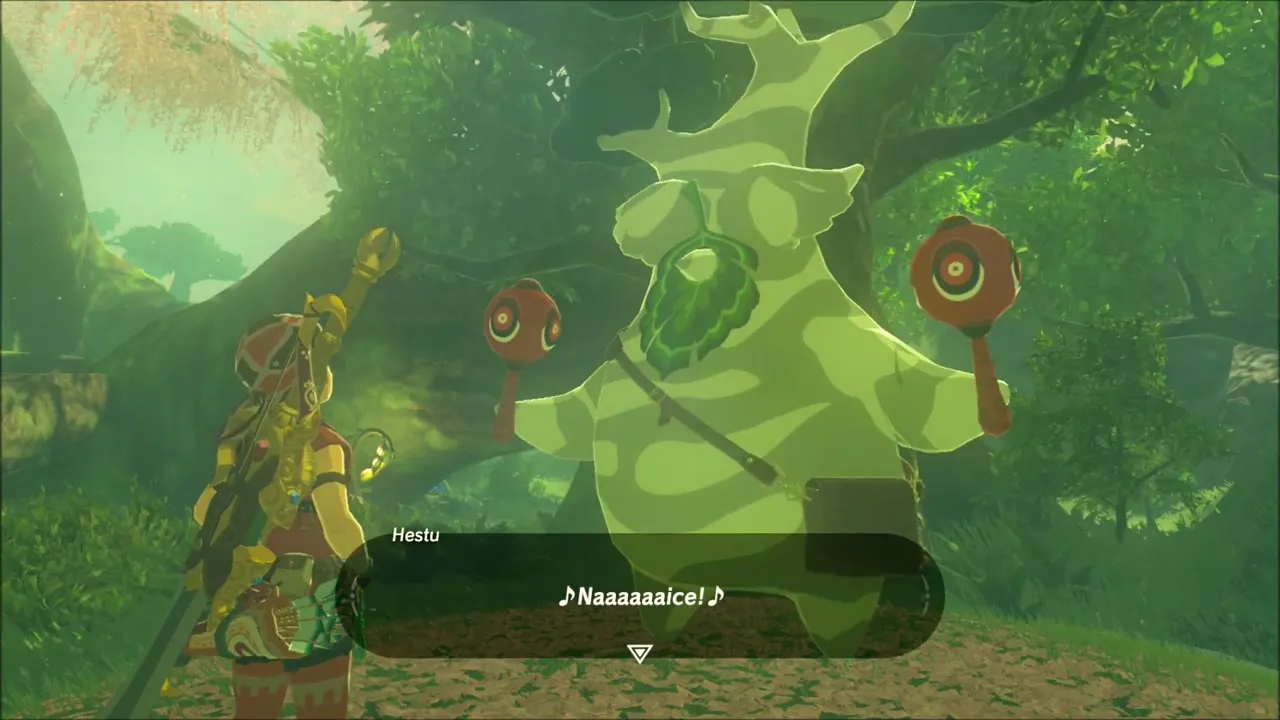
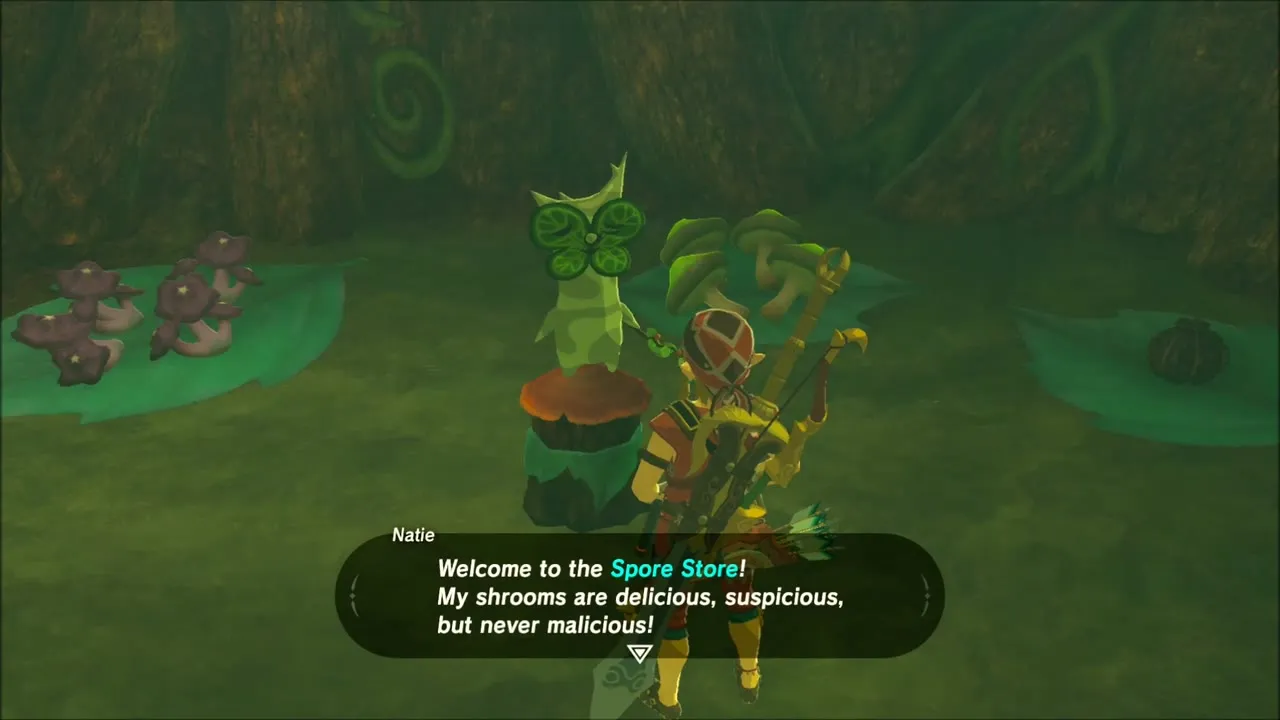
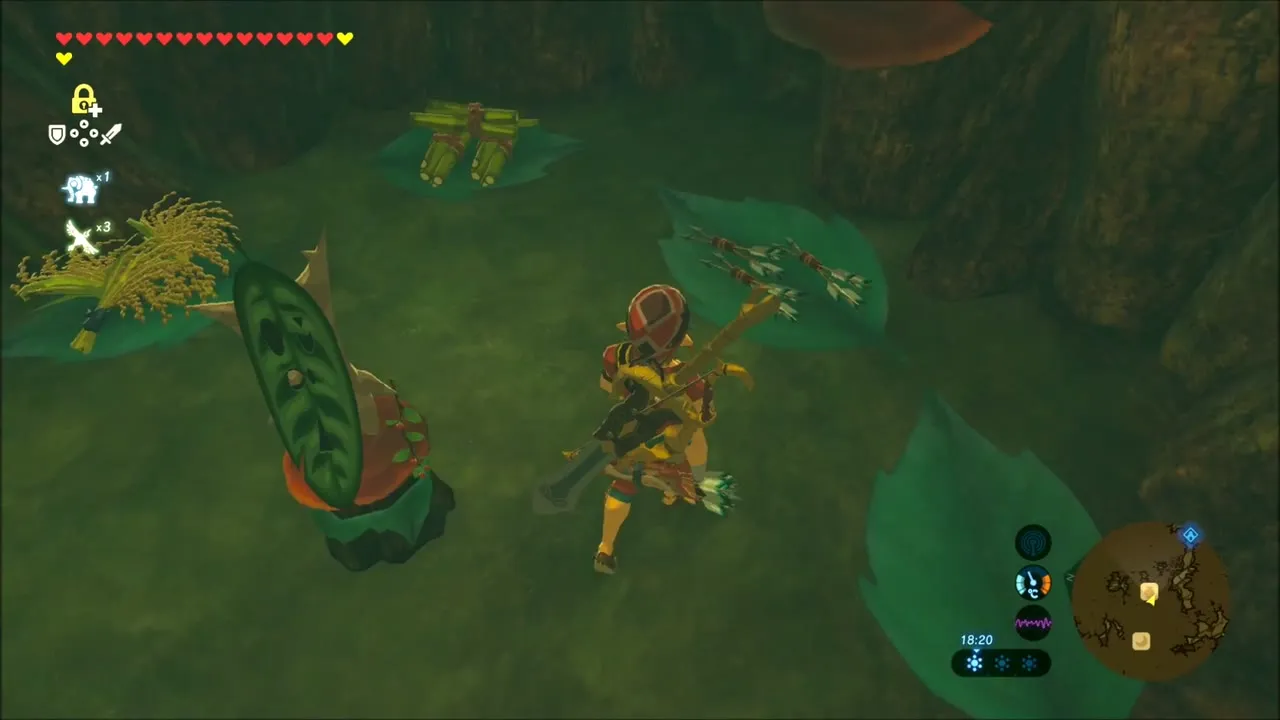
In the forest, look in on Hestu and then visit the Korok merchants. Sell spare materials such as amber, luminous stones and Lynel Guts, and use the proceeds to buy Stamella Shrooms and a bundle of arrows. A full stack of ordinary arrows pays off later, when you start taking on tougher enemies from a distance.
Dueling Peaks Stable, Hateno Dye Shop and a Great Fairy Fountain
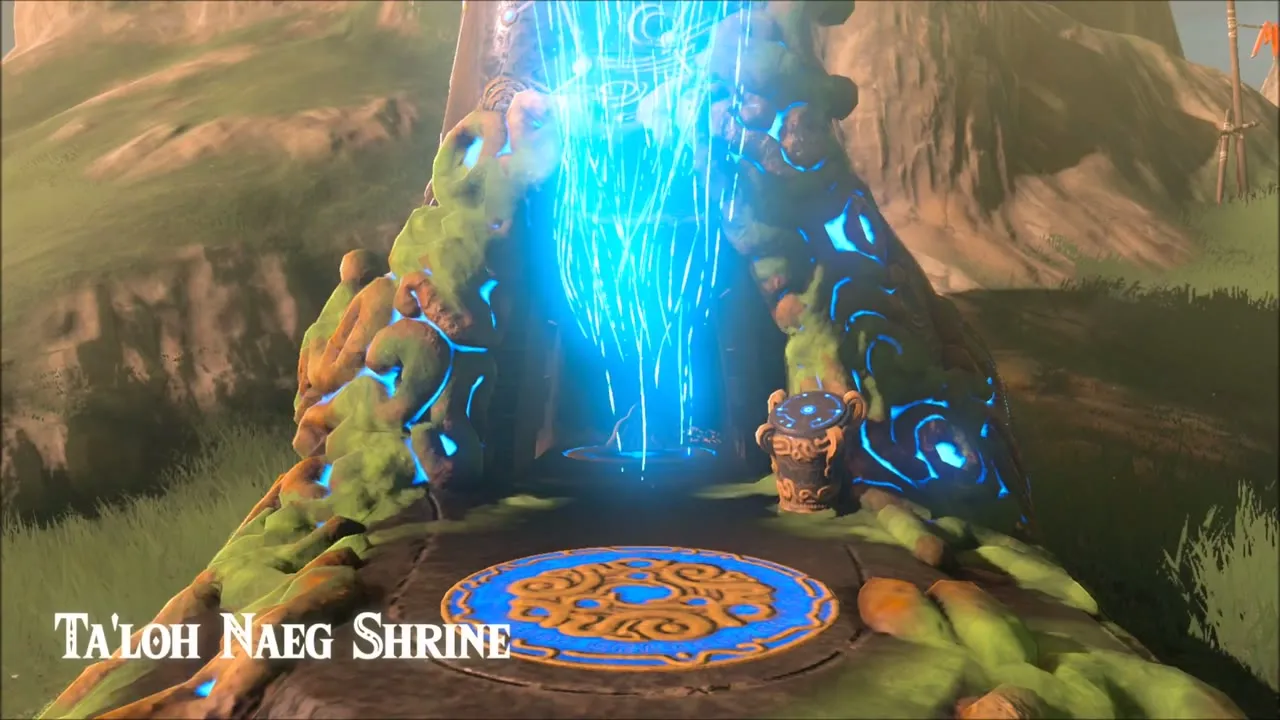
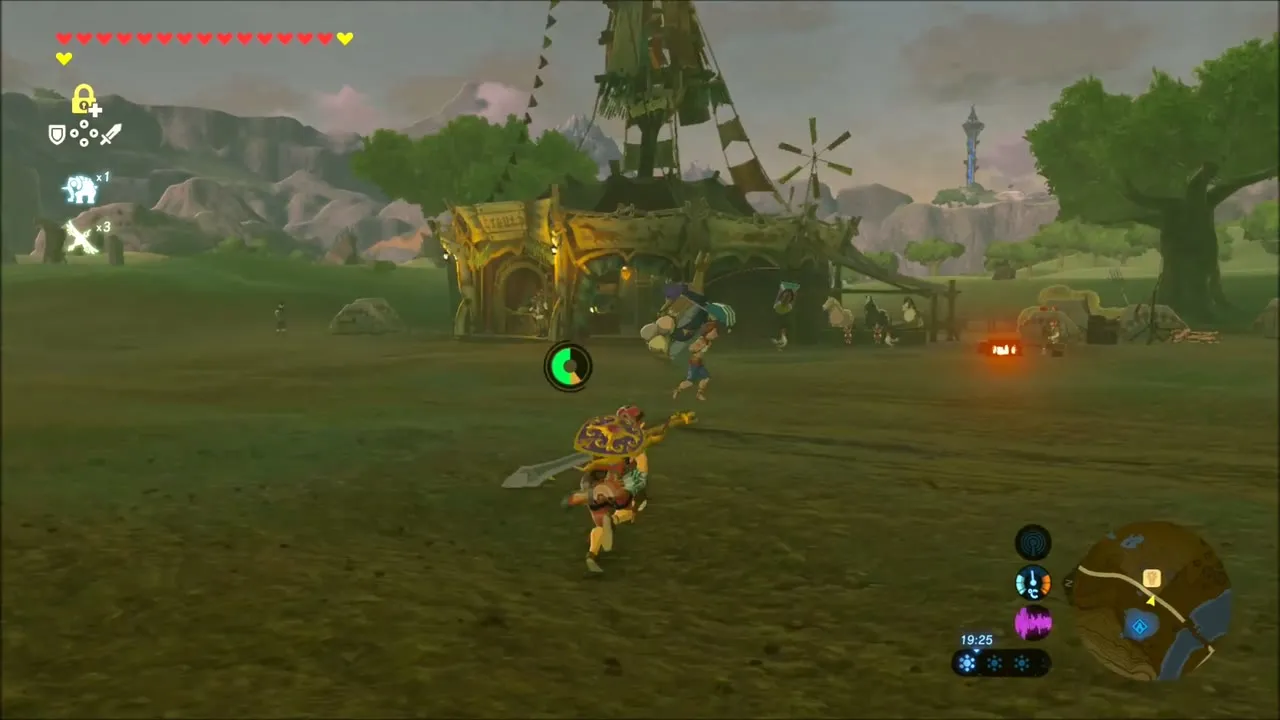
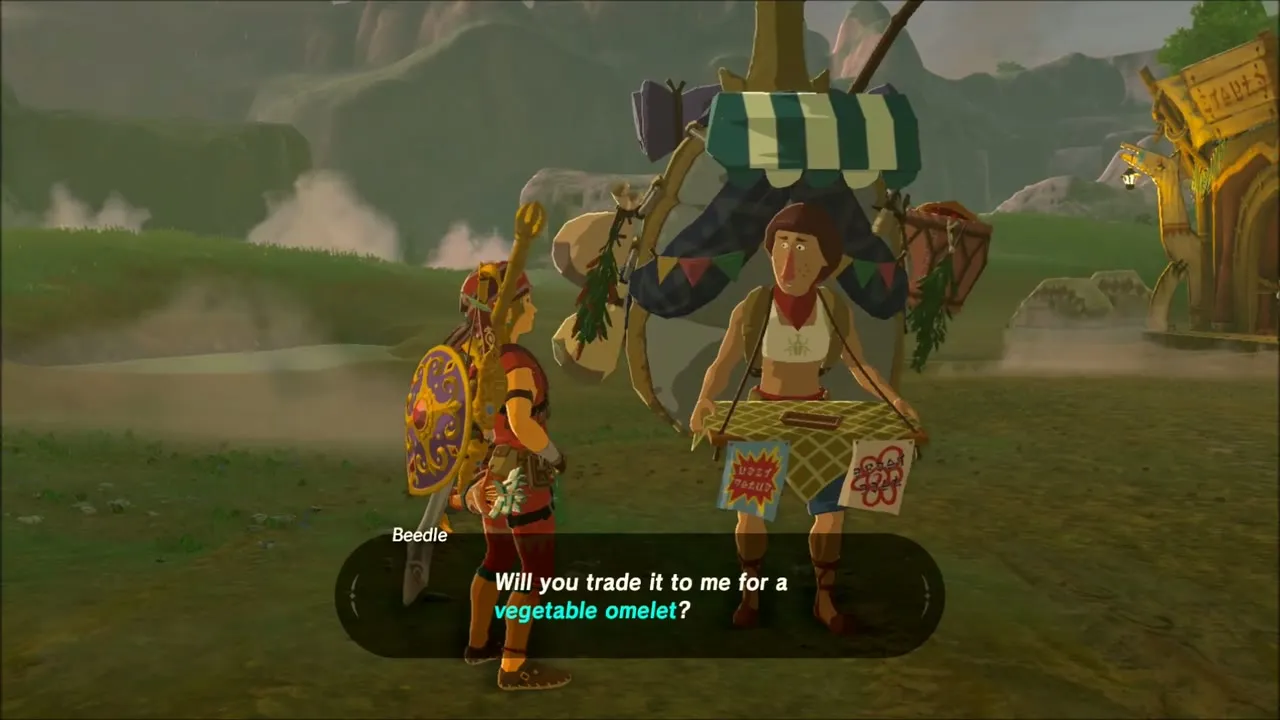
Next, warp to Ta’loh Naeg Shrine and walk to Dueling Peaks Stable. The travelling merchant Beedle is set up just outside, so stop to see what he has on offer before you carry on to Hateno Village.
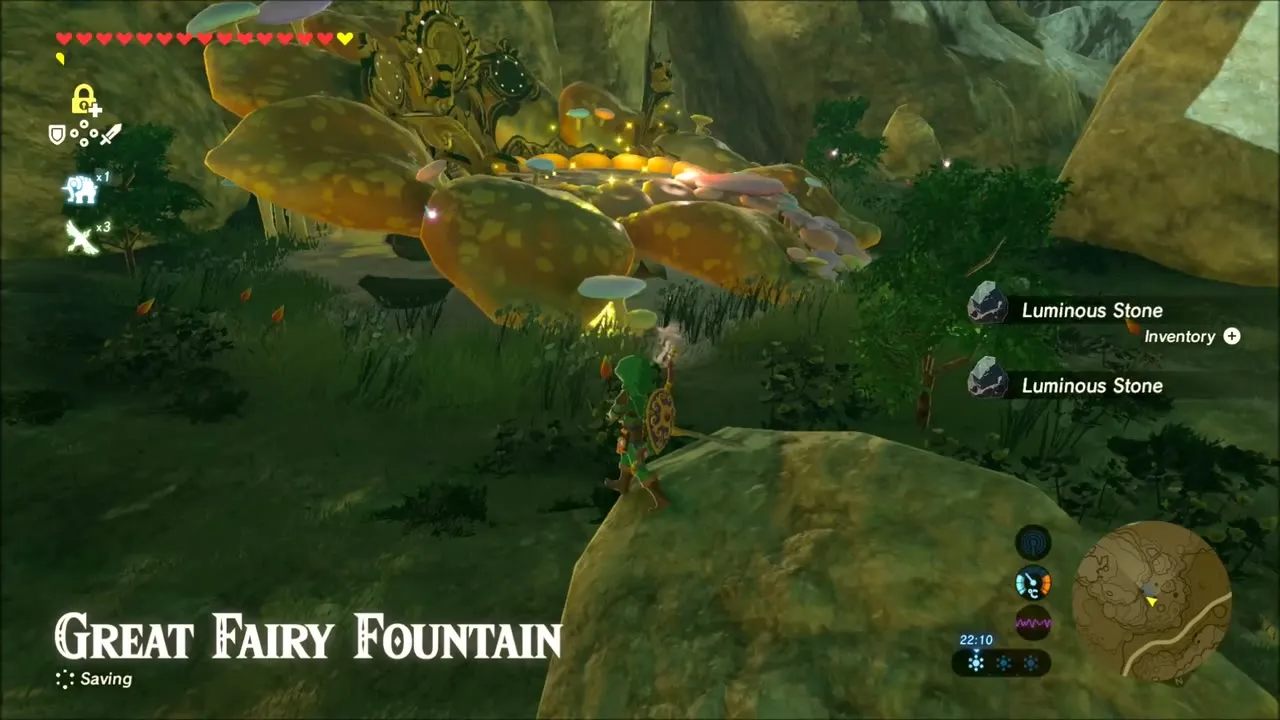
The village dye shop will recolour a piece of armor if you hand over five ingredients to use in the dye. It is purely cosmetic, so spend your spare materials on whatever colour you like. When you leave in the evening, paraglide off the nearby heights and make for a Great Fairy Fountain.


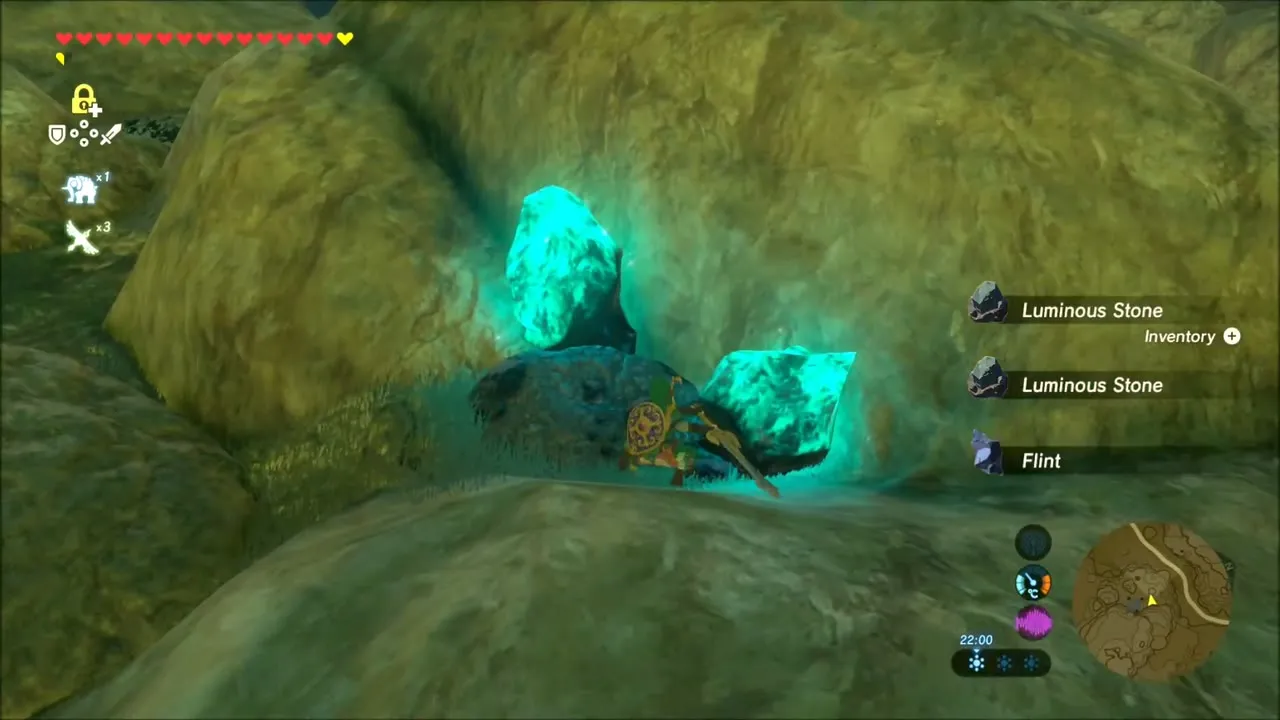
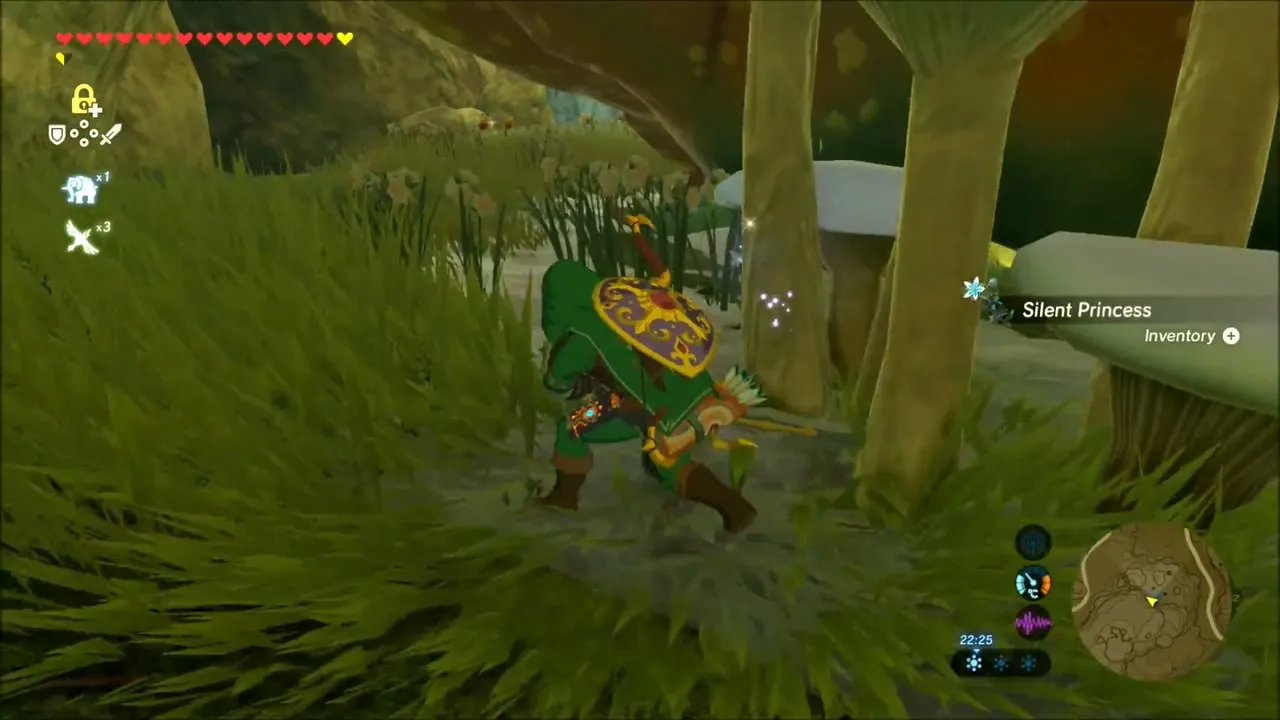
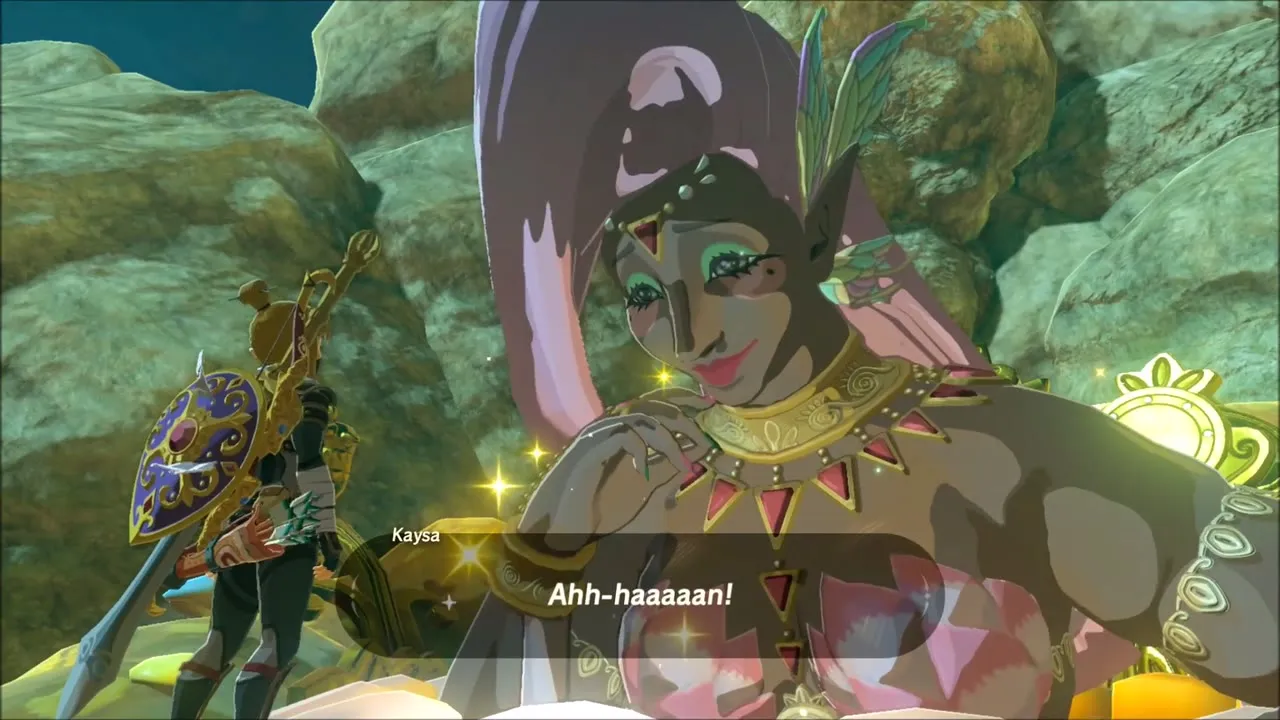
Around the fountain, collect the luminous stones, flint, Silent Princess and fairy that you find lying about, then speak to the Great Fairy about strengthening your armor. She will only upgrade a piece when you carry everything it needs: the Snowquill Tunic, for example, was still short on Red Chuchu Jelly and Warm Safflina. Costs for every upgrade are on the Great Fairies page.

Warping to Joloo Nah Shrine and Entering Gerudo Canyon
Back on the map, drop a few stamps to mark seeds and chests you plan to check, then warp to Joloo Nah Shrine (x -2004, z 1675, in the Gerudo Highlands). From the shrine, glide off the cliffs and make your way down into the dry canyon that leads south toward the desert.
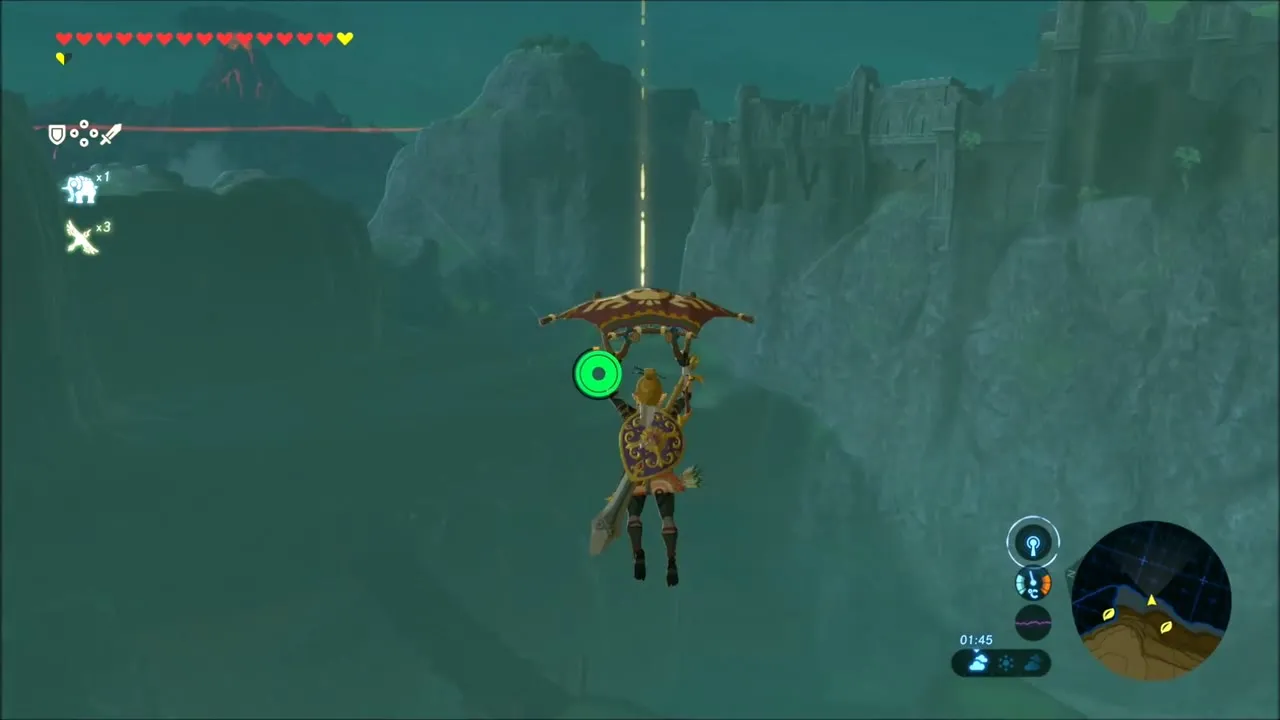

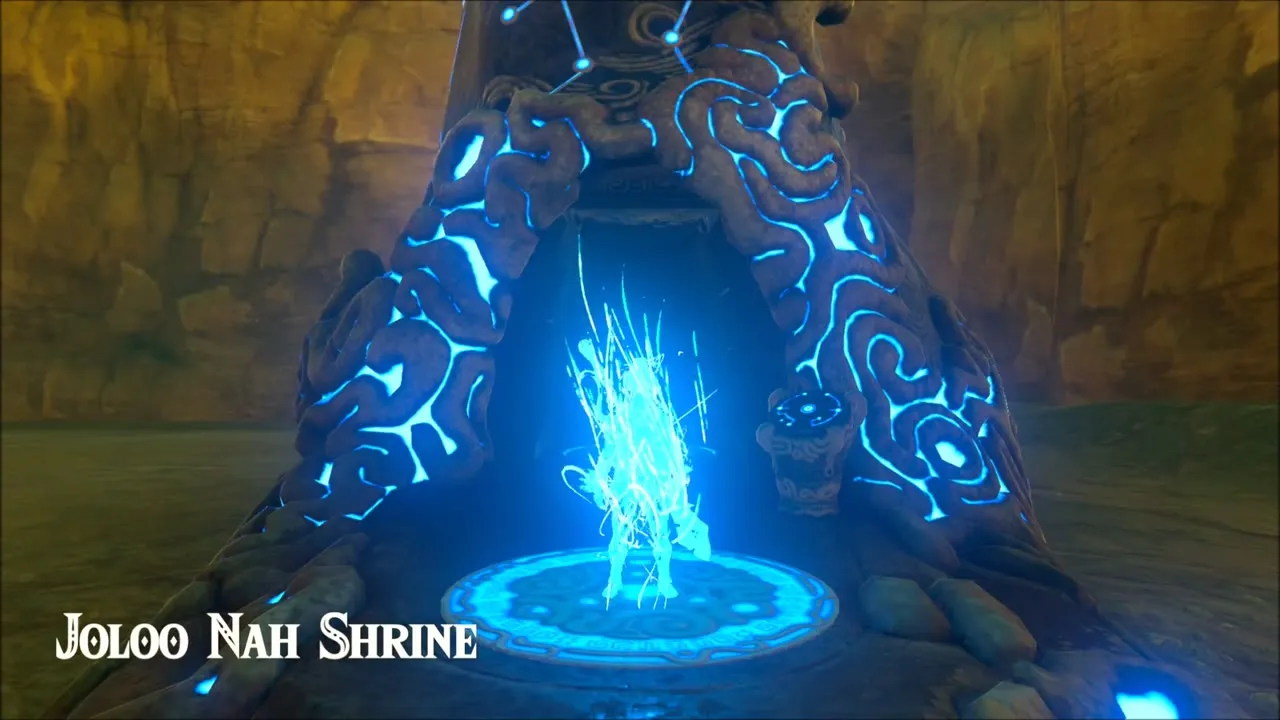

Stalfos in the canyon
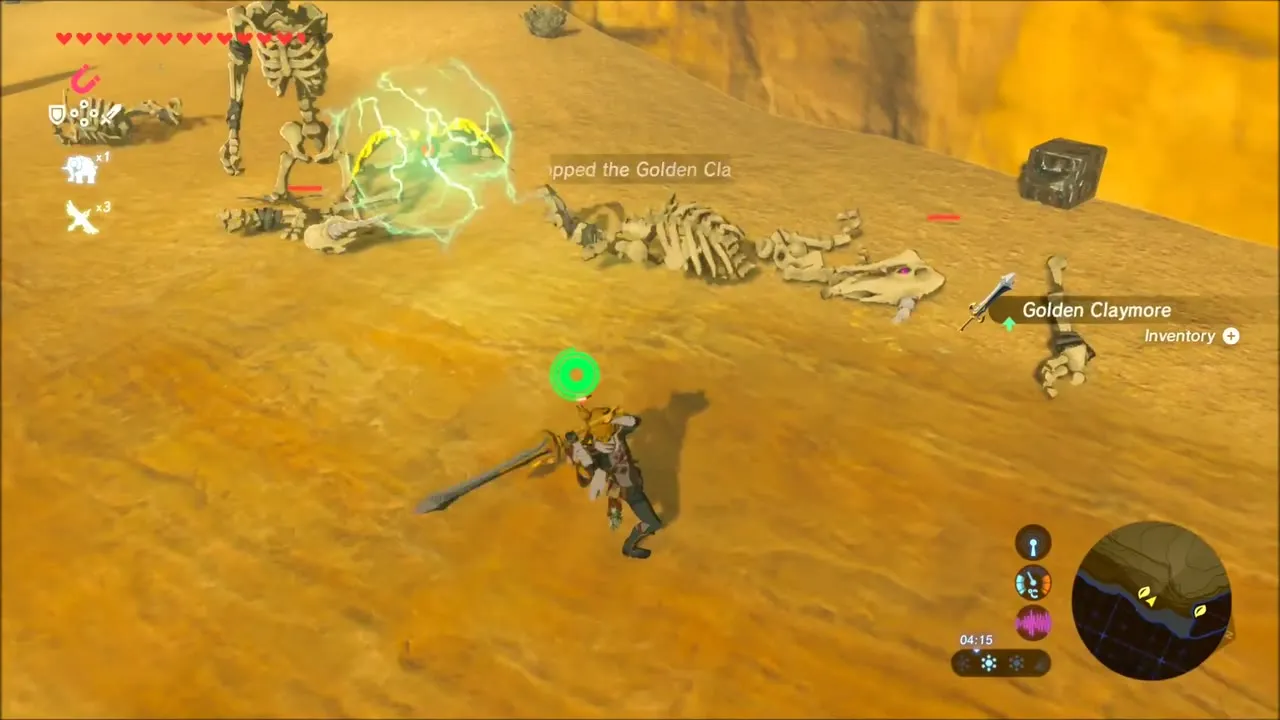
Climb the sandstone ledges and follow the canyon floor. A pack of Stalfos rises out of the dirt on the way, and a Golden Claymore turns up in the loot, so fight them and keep what you need. Continue along the canyon wall.

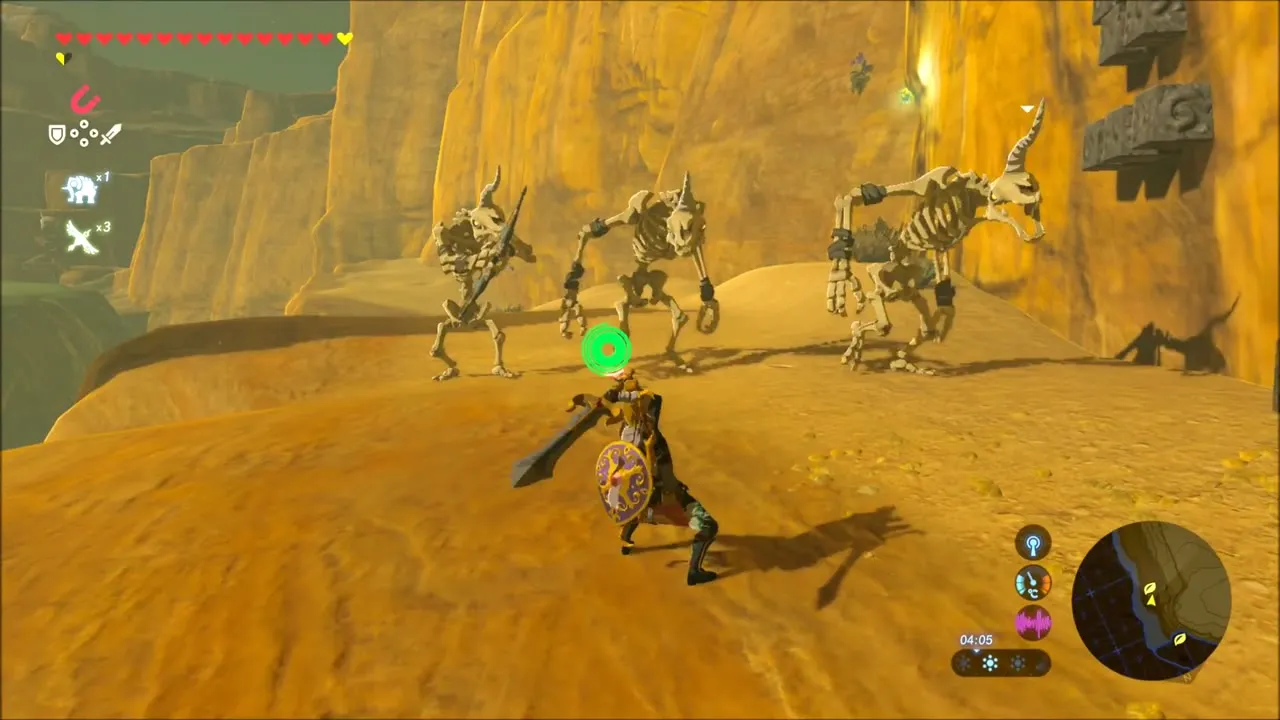
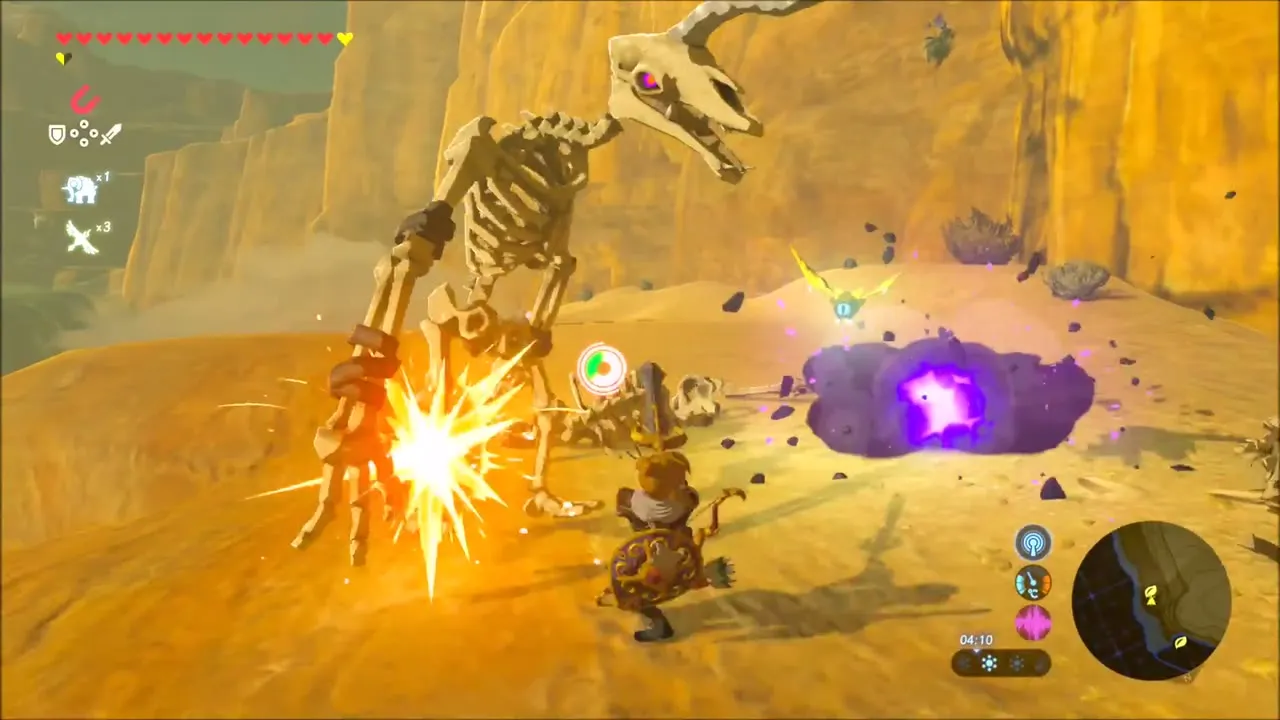
Wooden scaffolds and chests near Gerudo Canyon Stable
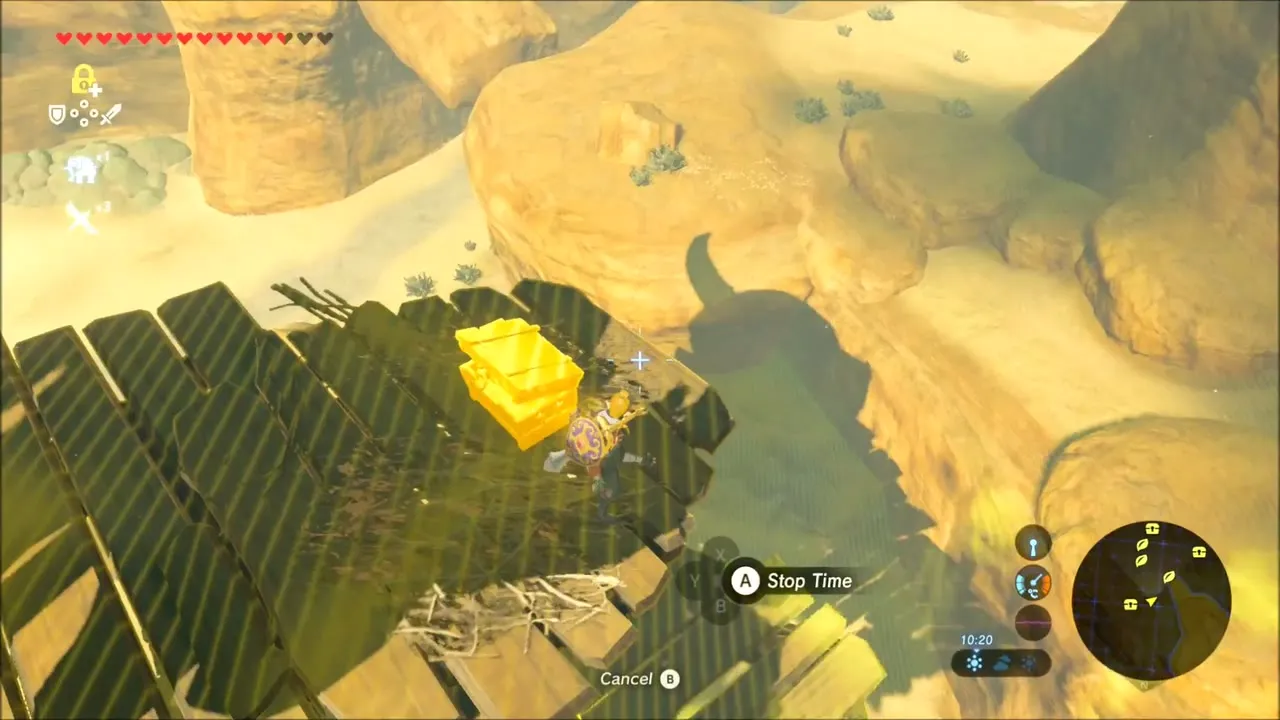
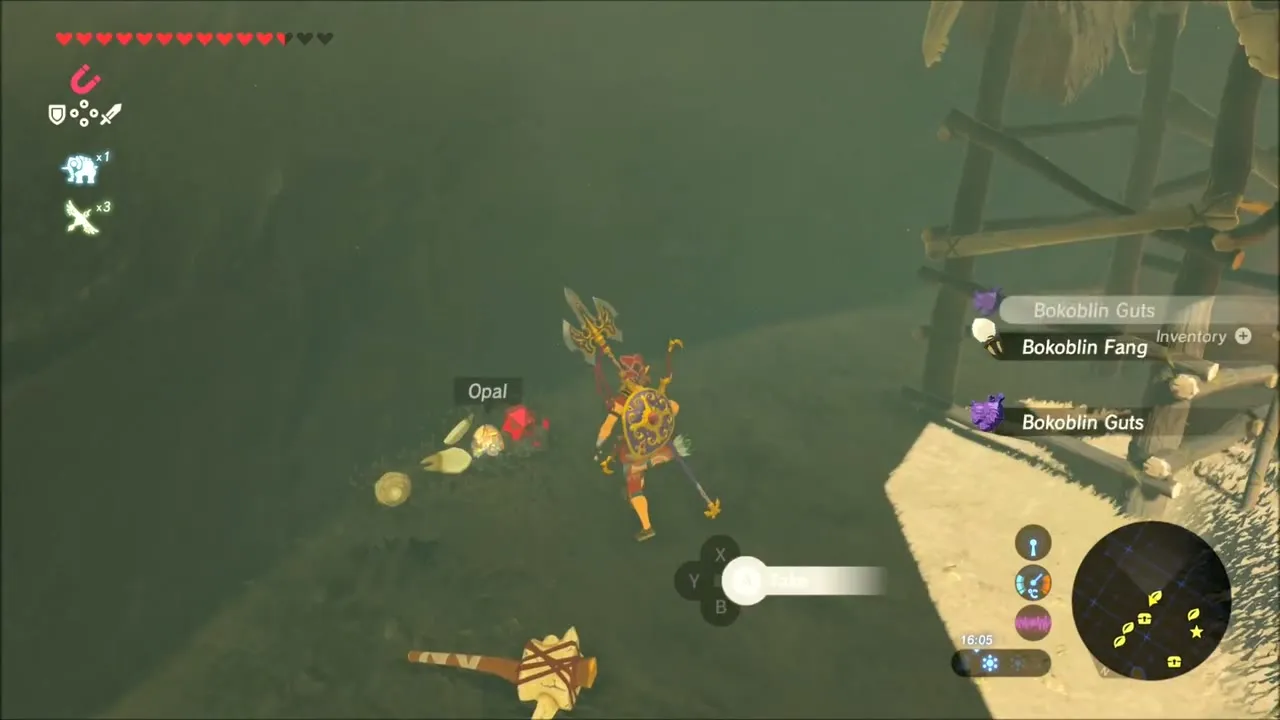
Farther south, wooden scaffolds are built onto the canyon walls, some with Bokoblins on them. Clear them and loot the area: a chest on a wooden platform can be held in place with Stasis so you can reach it, and an opal turns up along the route. You pass the sign for Gerudo Canyon Stable shortly after.
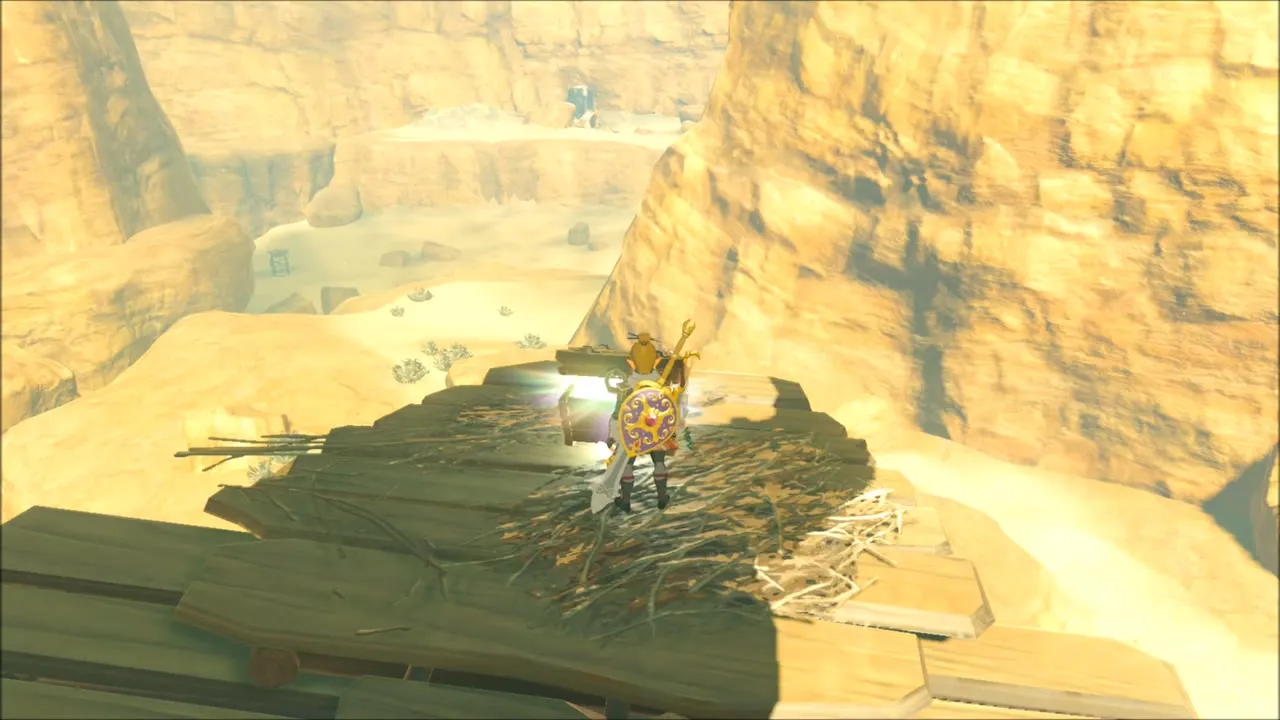

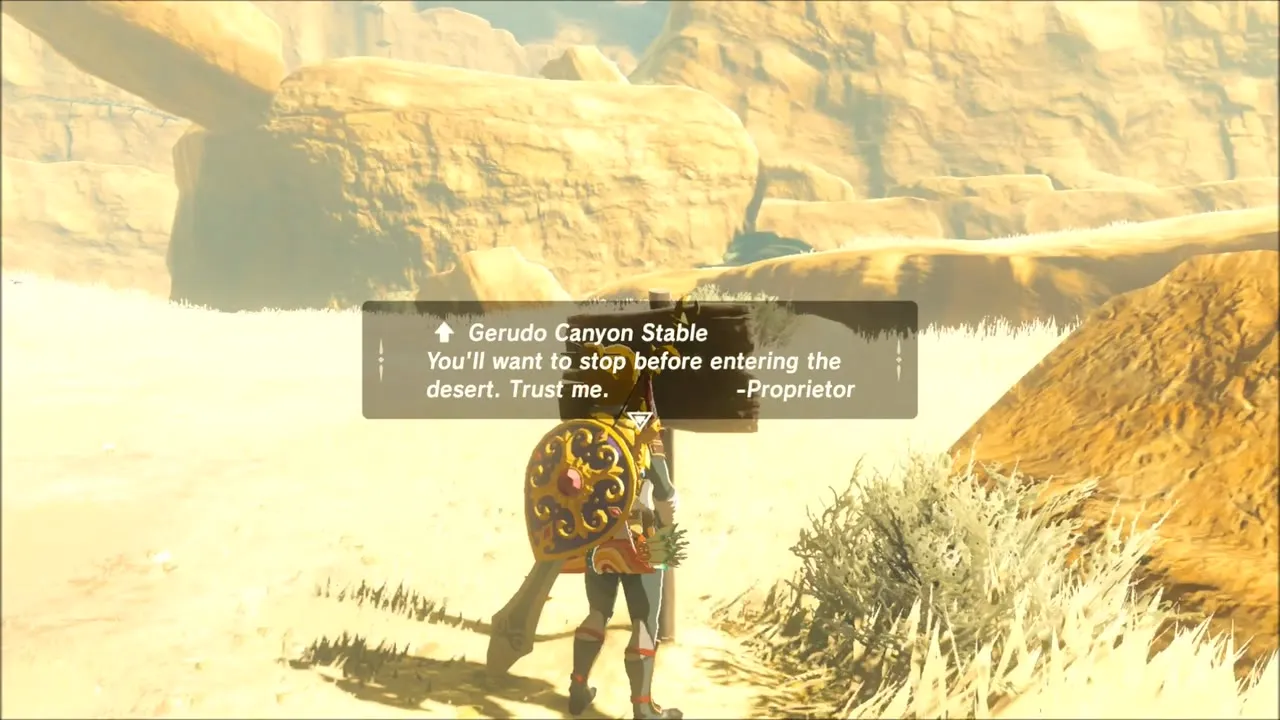
Just beyond the stable sign, a chest hidden in the grass beside a rock gives you a purple rupee (50 rupees).
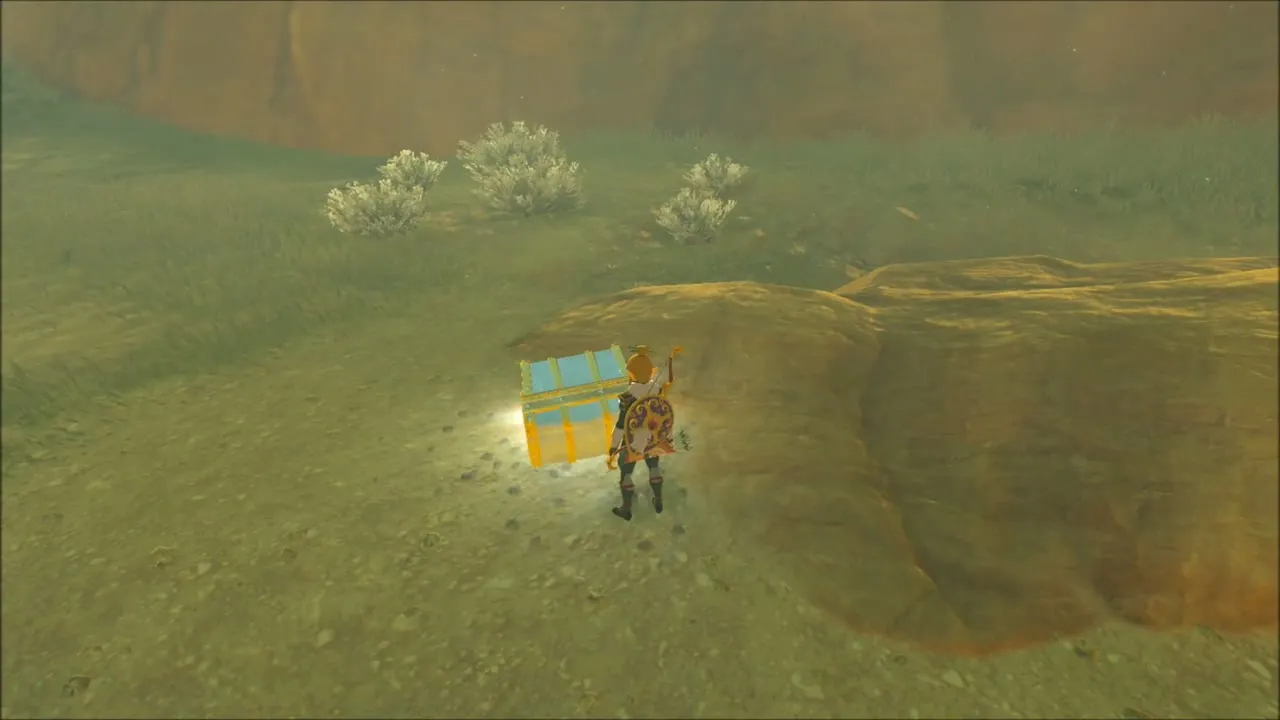

Korok Seeds in Gerudo Canyon
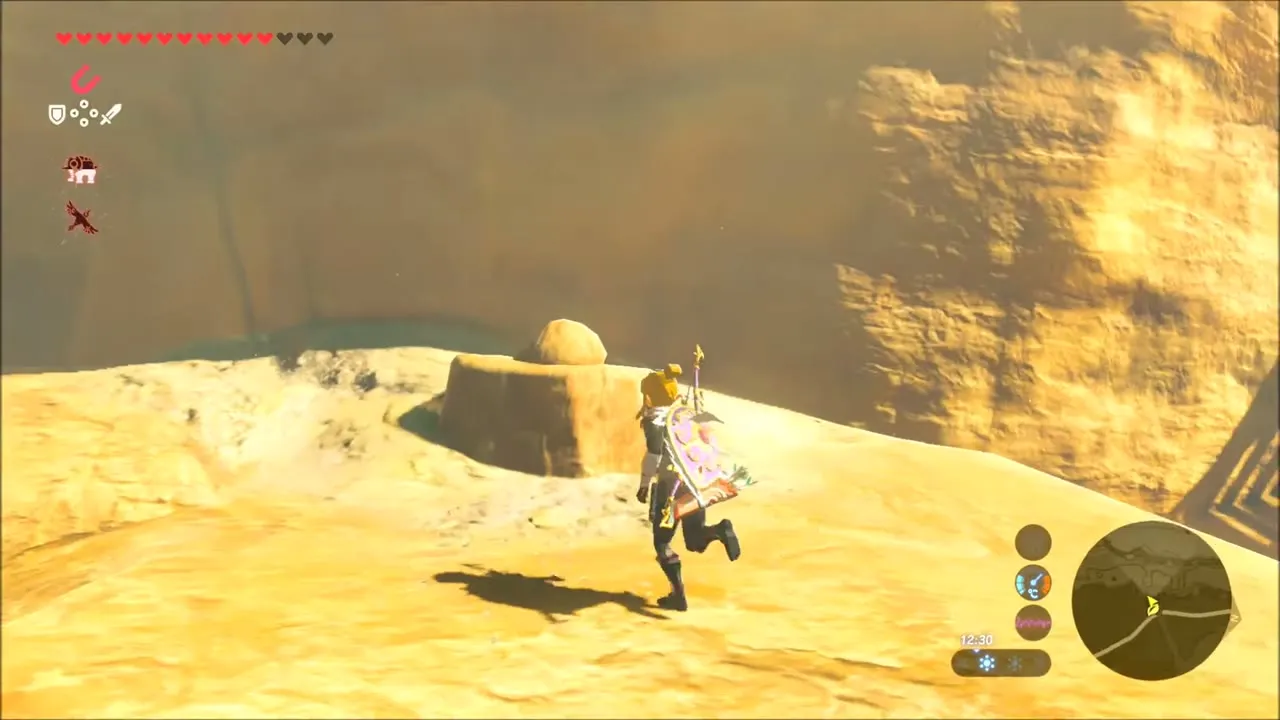
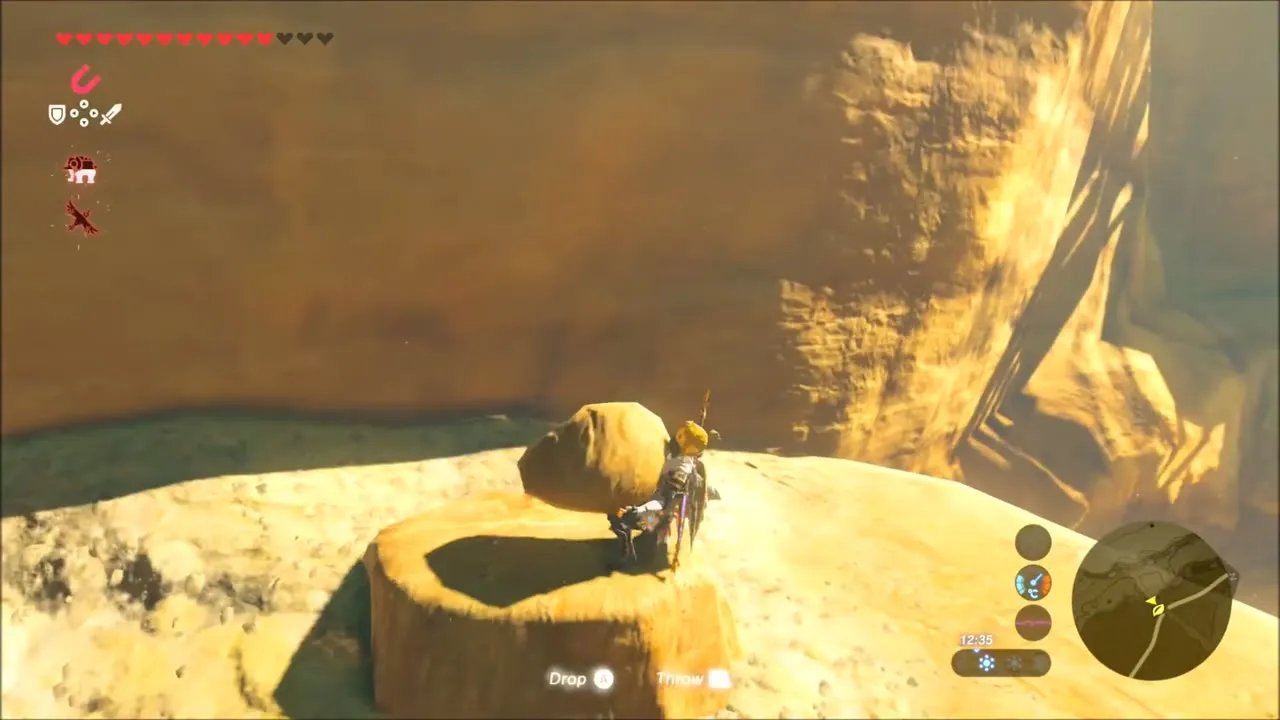
Climb the rock slope above the grass to a ledge where a round boulder is chained beside a stone ring. Pull the boulder with Magnesis over the ring and set it down, and a Korok flower sprouts and drops a Korok Seed.
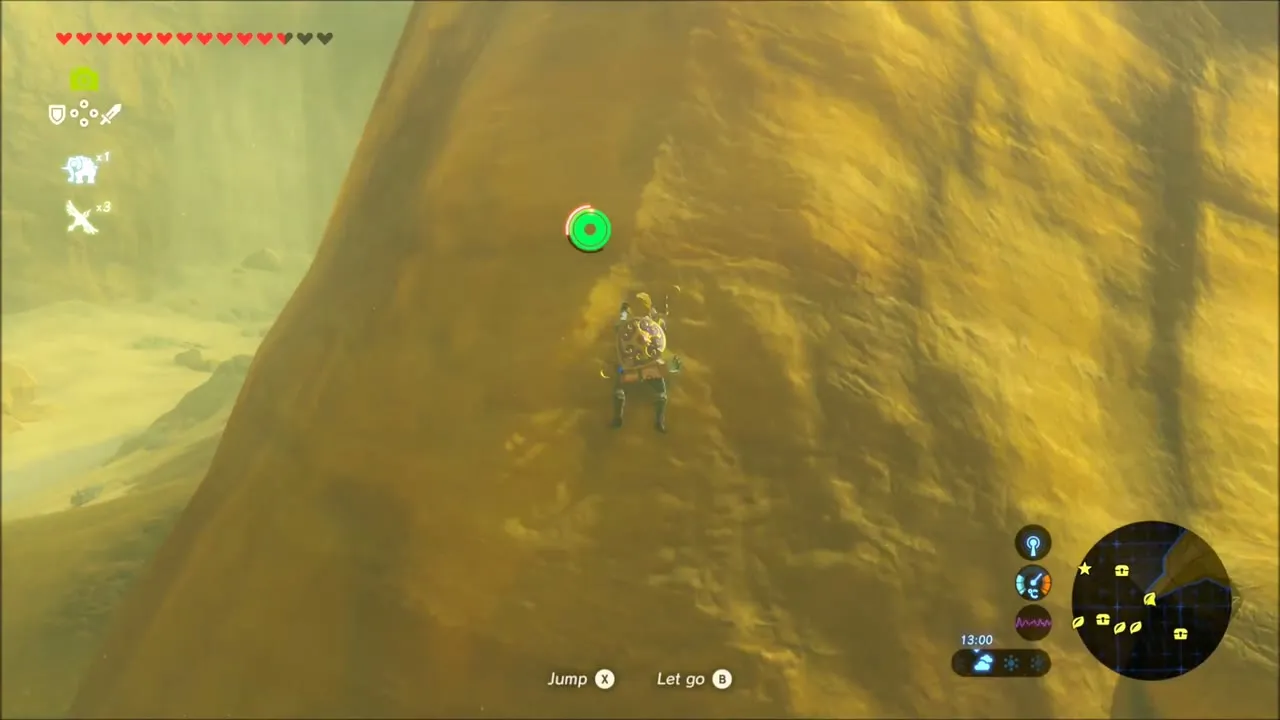
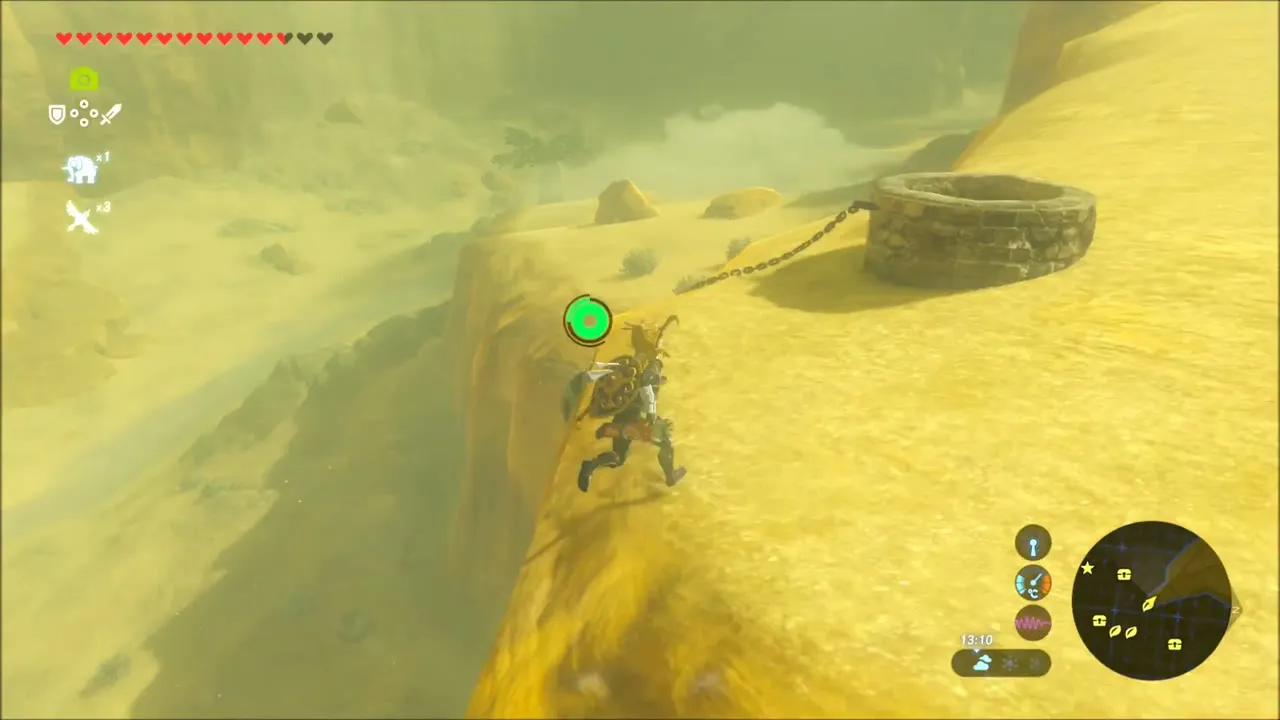

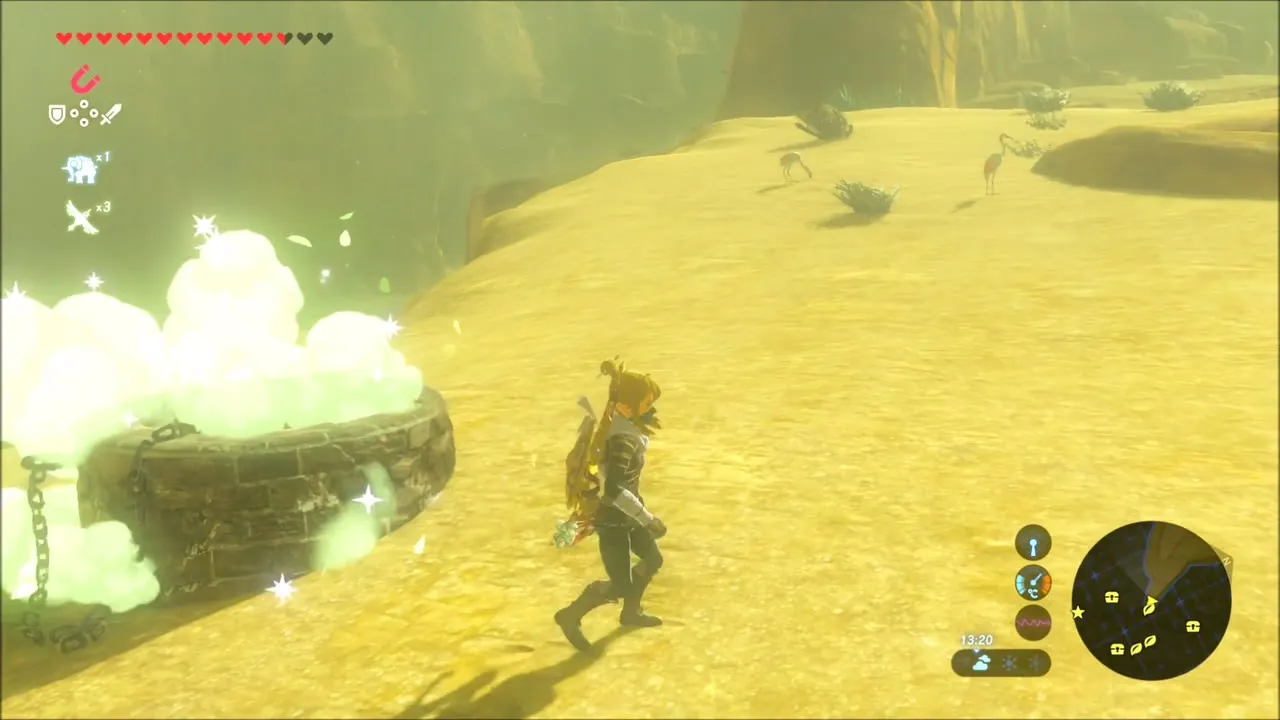
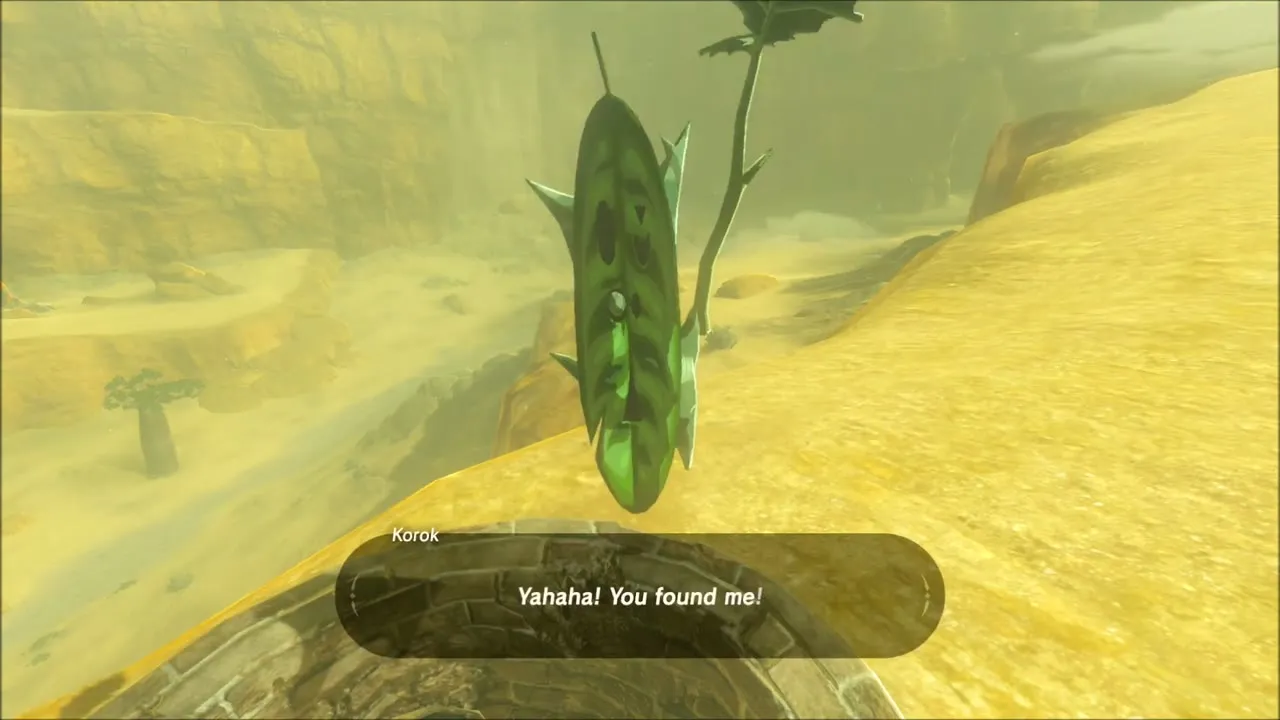
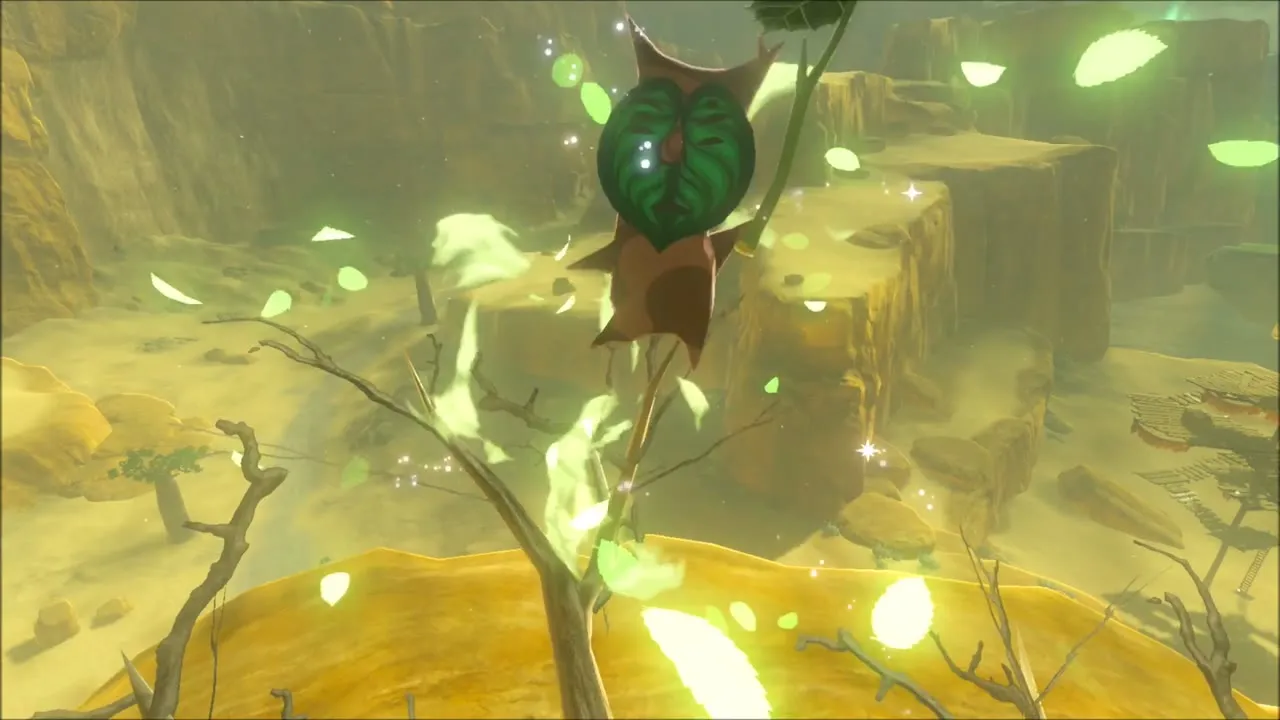
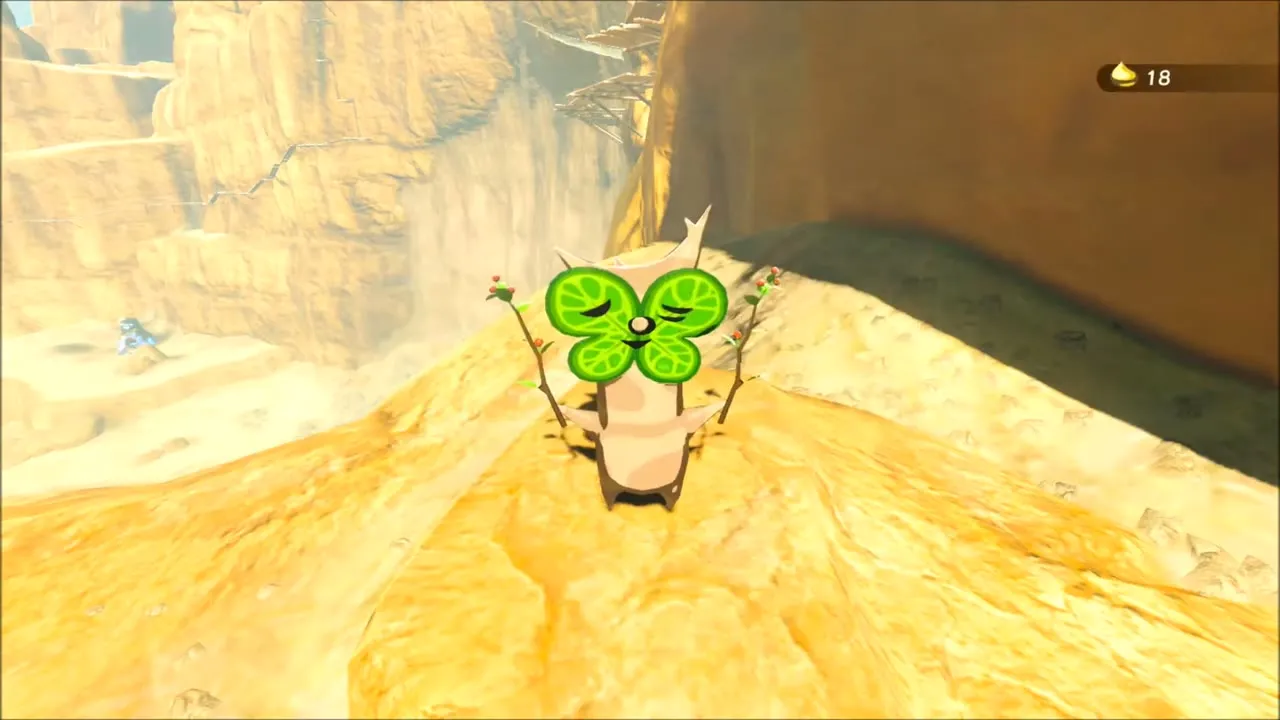
Farther along, climb the canyon wall to another ledge, where a Korok is sitting among the leaves. Walk up to it for a second Korok Seed.


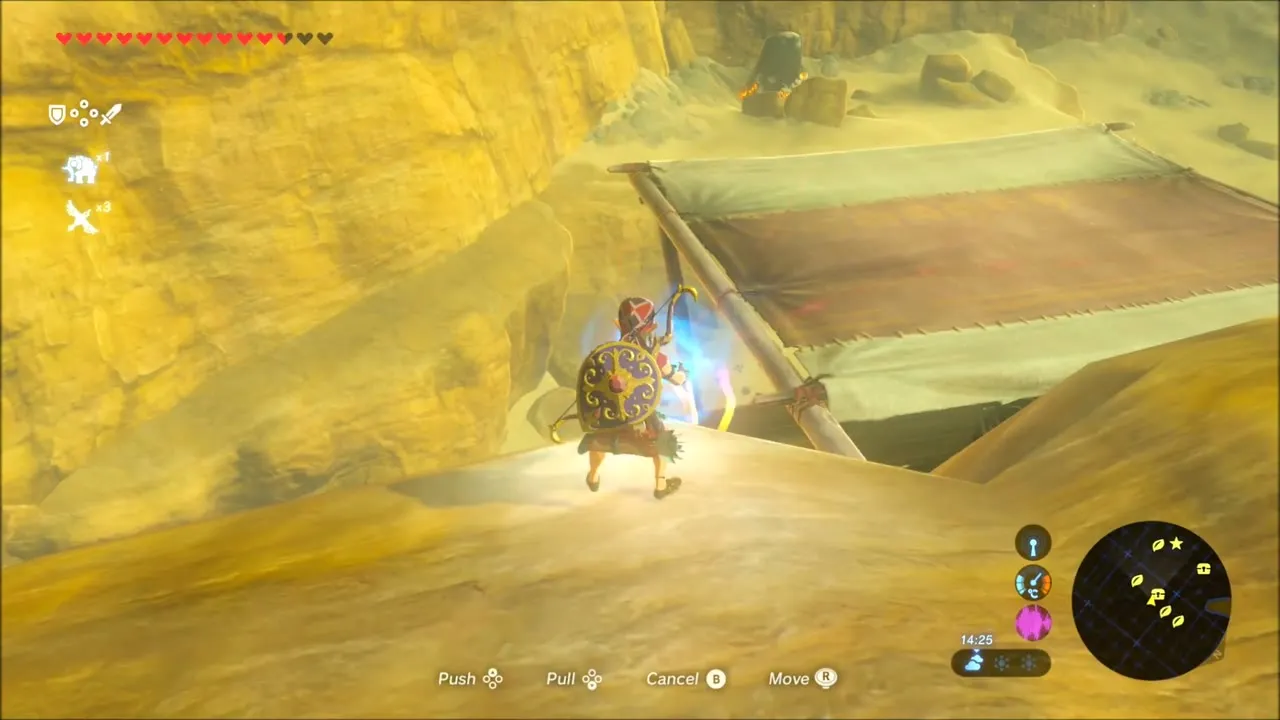
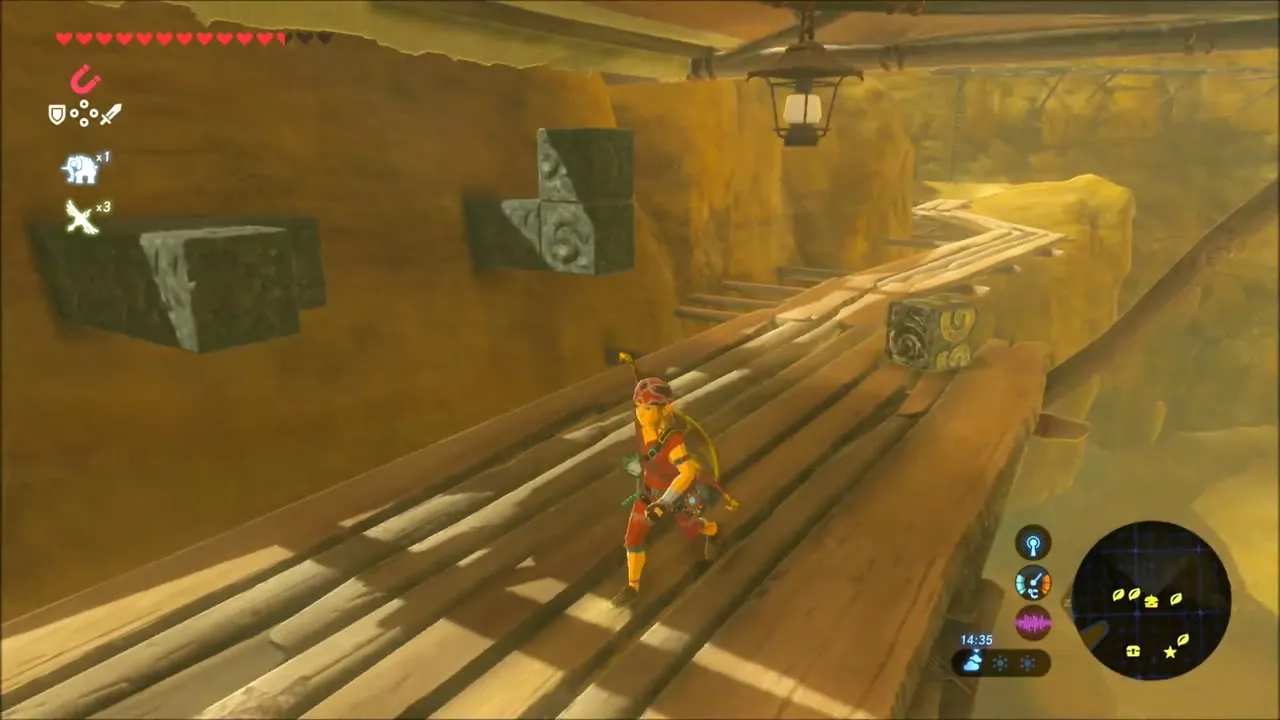
Beyond that, a scaffold ledge has a metal crate you can drag with Magnesis, and a camp below it has an opal on the ground. Pick up the loot and follow the canyon down toward the next shrine.

Jee Noh Shrine: On the Move Trial
Jee Noh Shrine (x -1793, z 2422, height 126) is carved into the rock at the mouth of the valley where the Gerudo Desert begins. Its trial is called On the Move, and everything in it runs on conveyor belts.


Freezing the balls on the belts
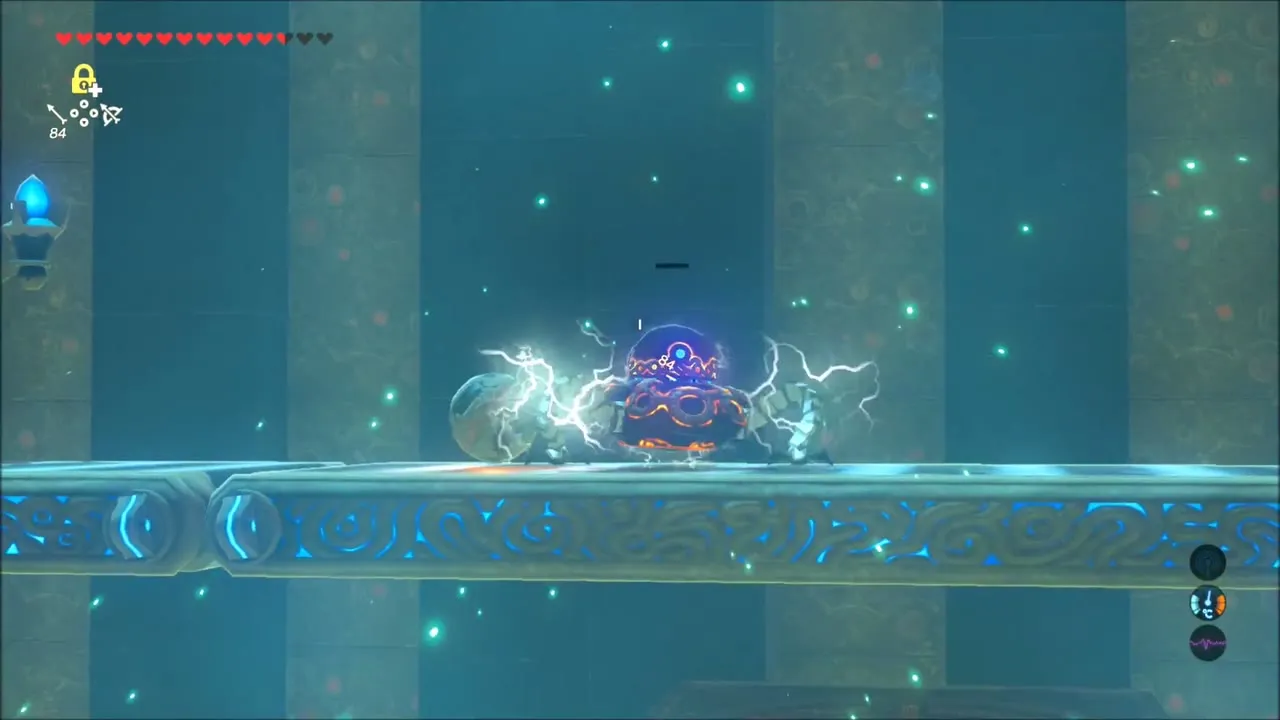
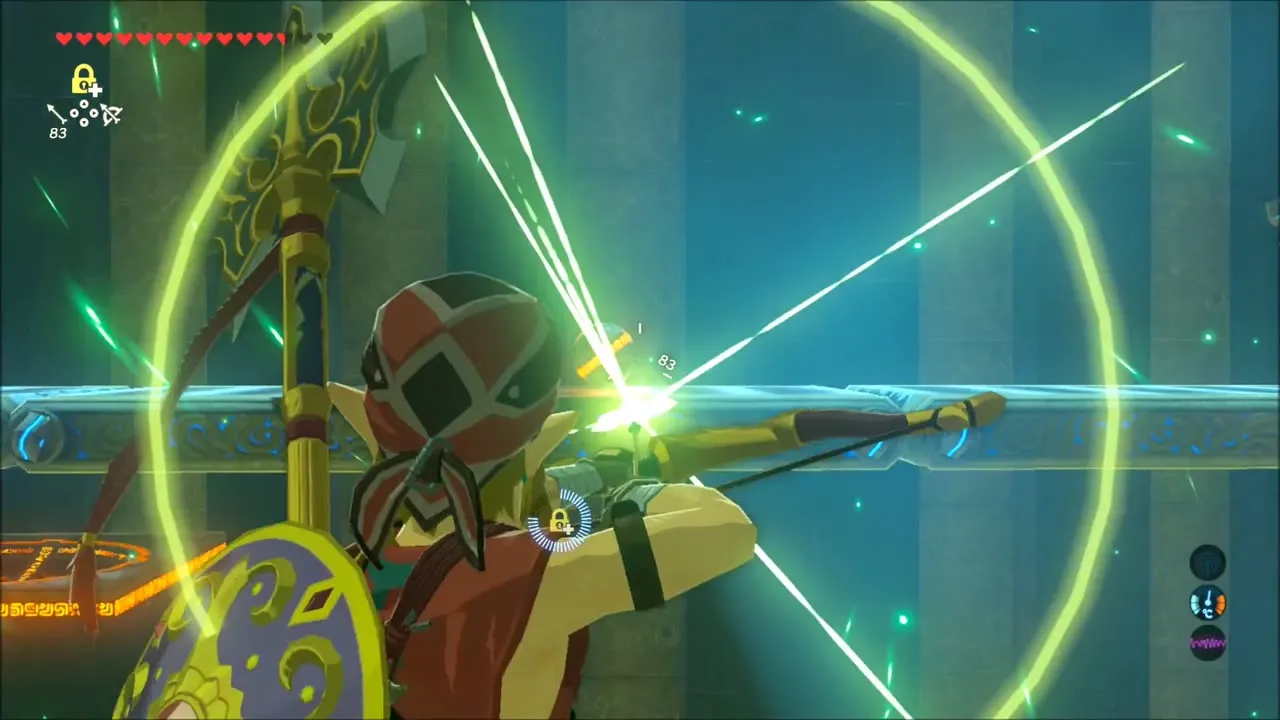
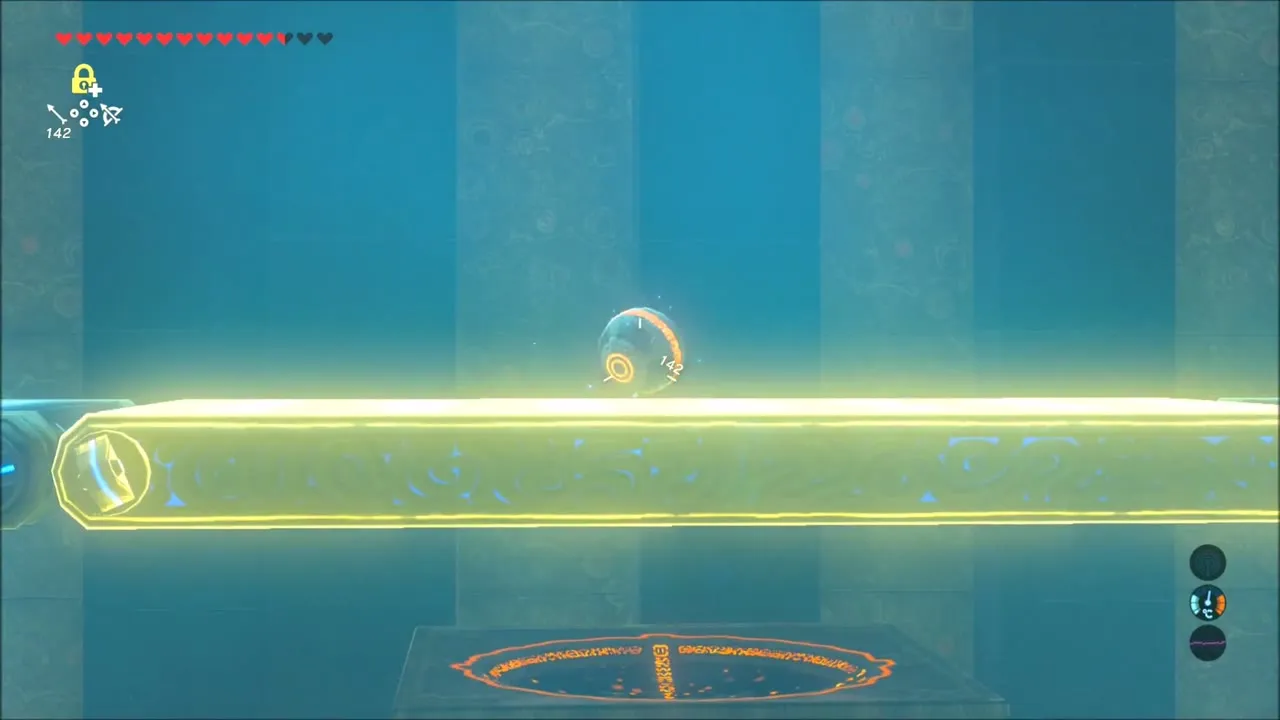
In the first rooms, a ball rides a conveyor belt past a socket it cannot fall into. Stop it with Stasis when it is level with the socket, then shoot it so it drops in and opens the door. The second belt is slower and has a Guardian Scout on each side, so deal with them or keep moving before you line up the shot.

Crossing the laser belts
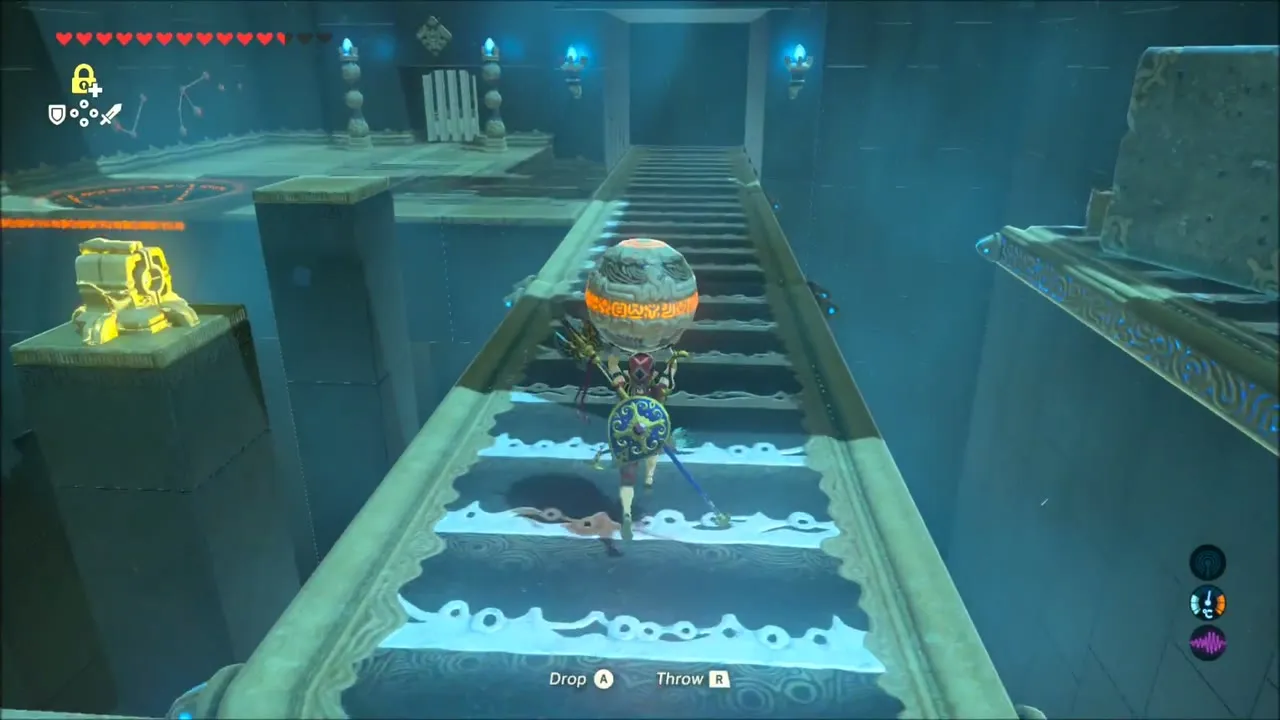
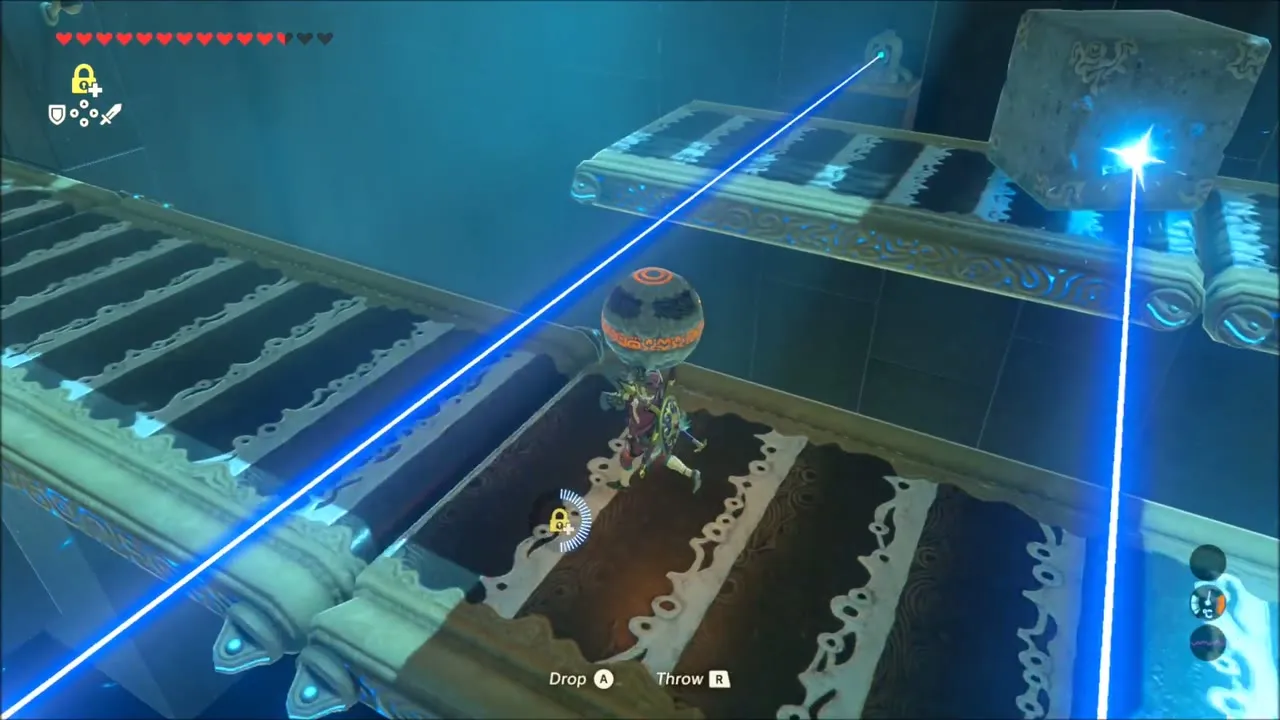
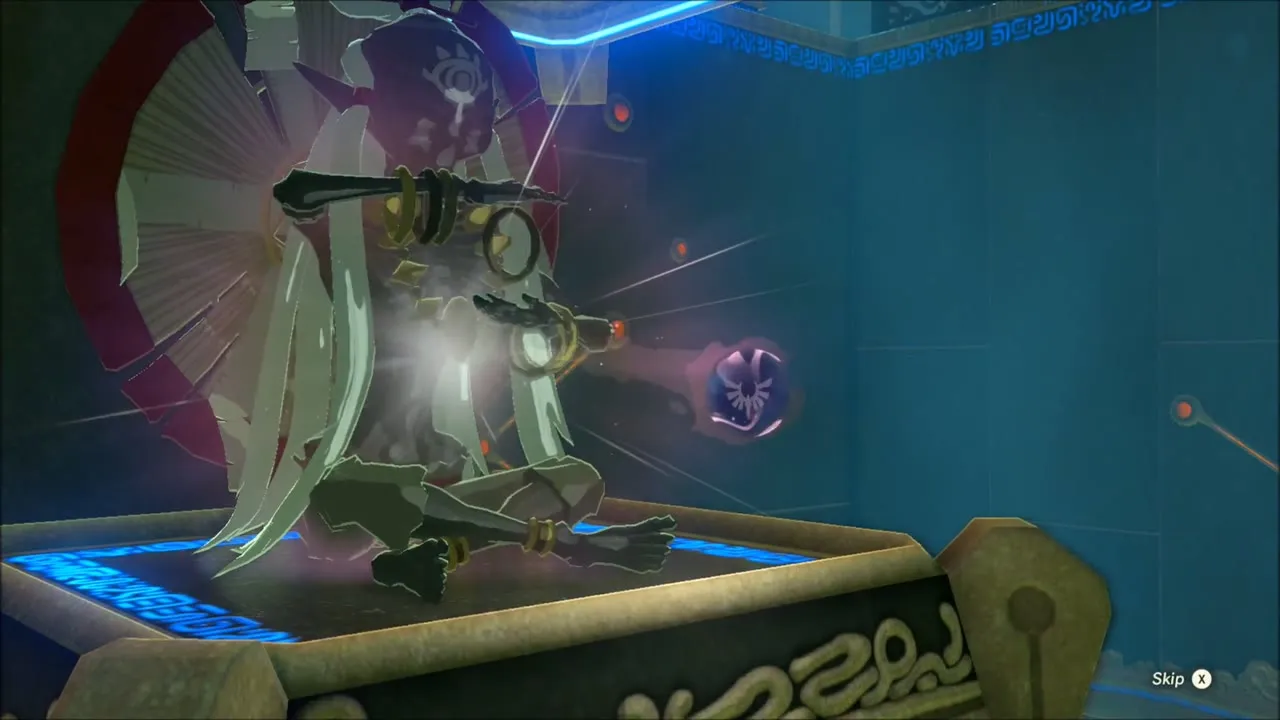
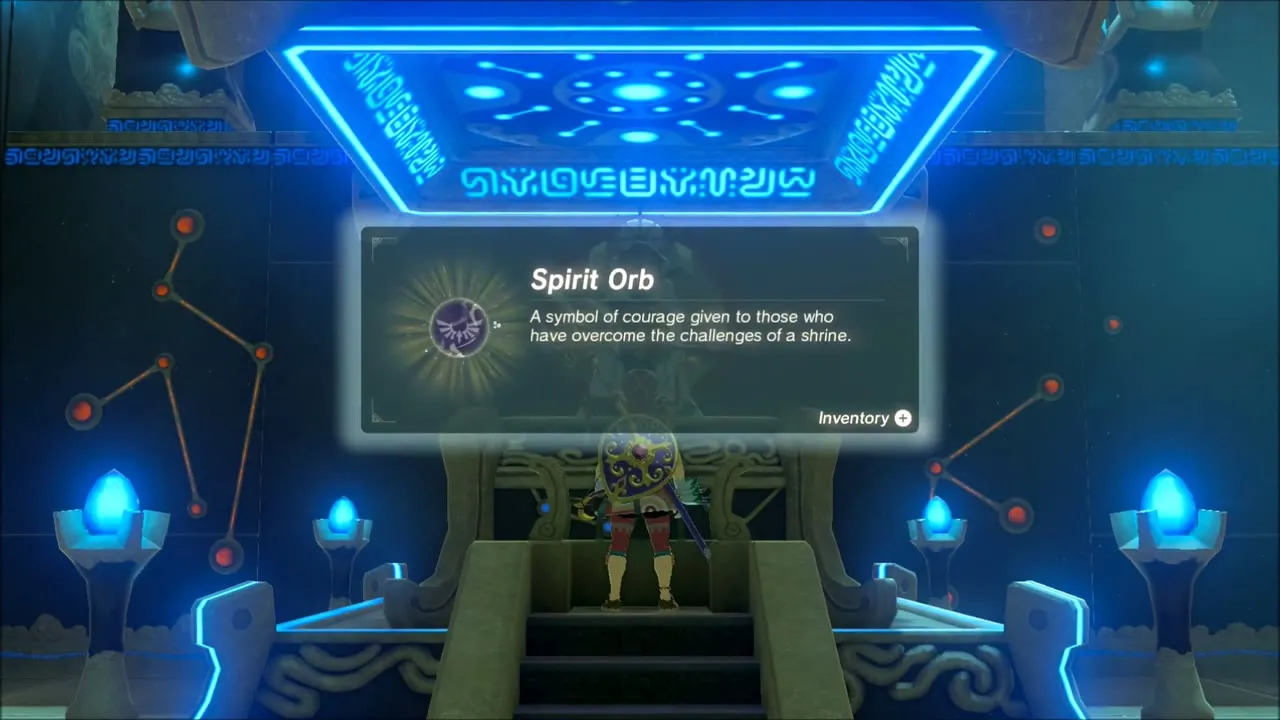
The last room has two belts under laser beams and a socket on the far side. Take the nearby sphere, use the large stones and crates as cover, and freeze a platform or an emitter with Stasis to get across. From the far side, turn around and pull the metal chest over with Magnesis, which holds an opal. Put the sphere in the socket, then speak to the monk Jee Noh for a Spirit Orb.
Korok Seeds on the Road Toward the Wasteland Tower
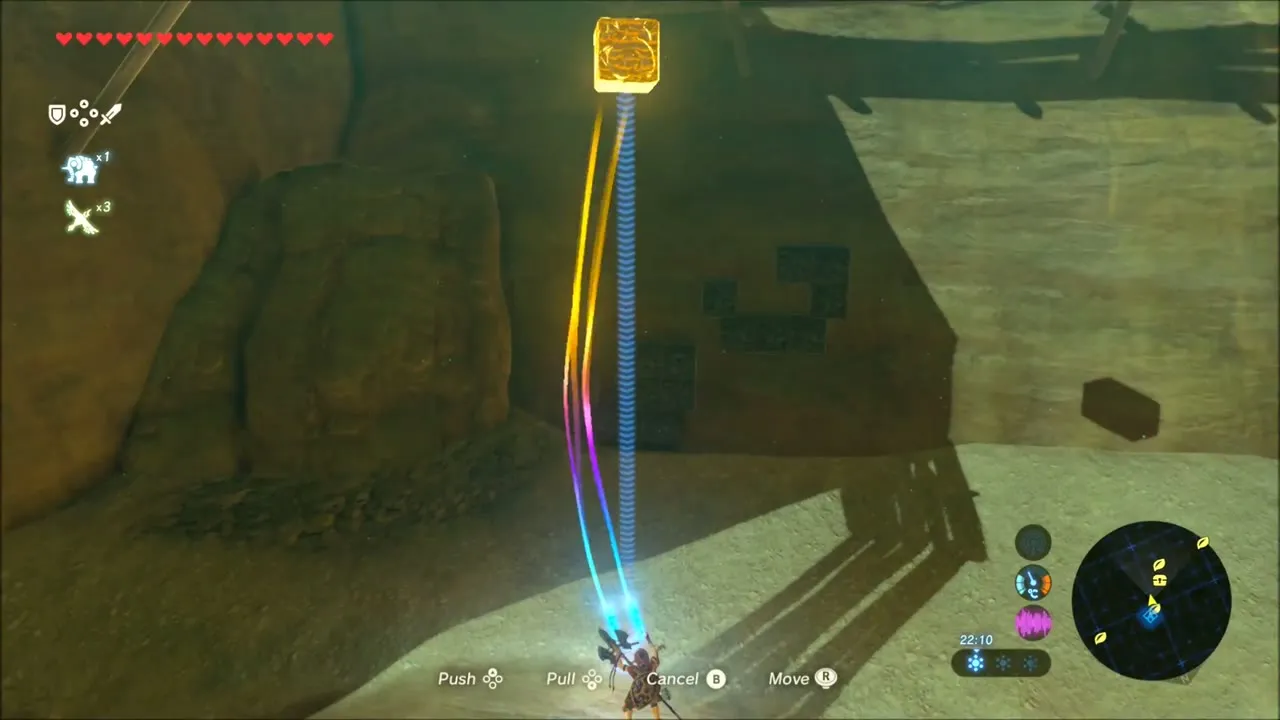
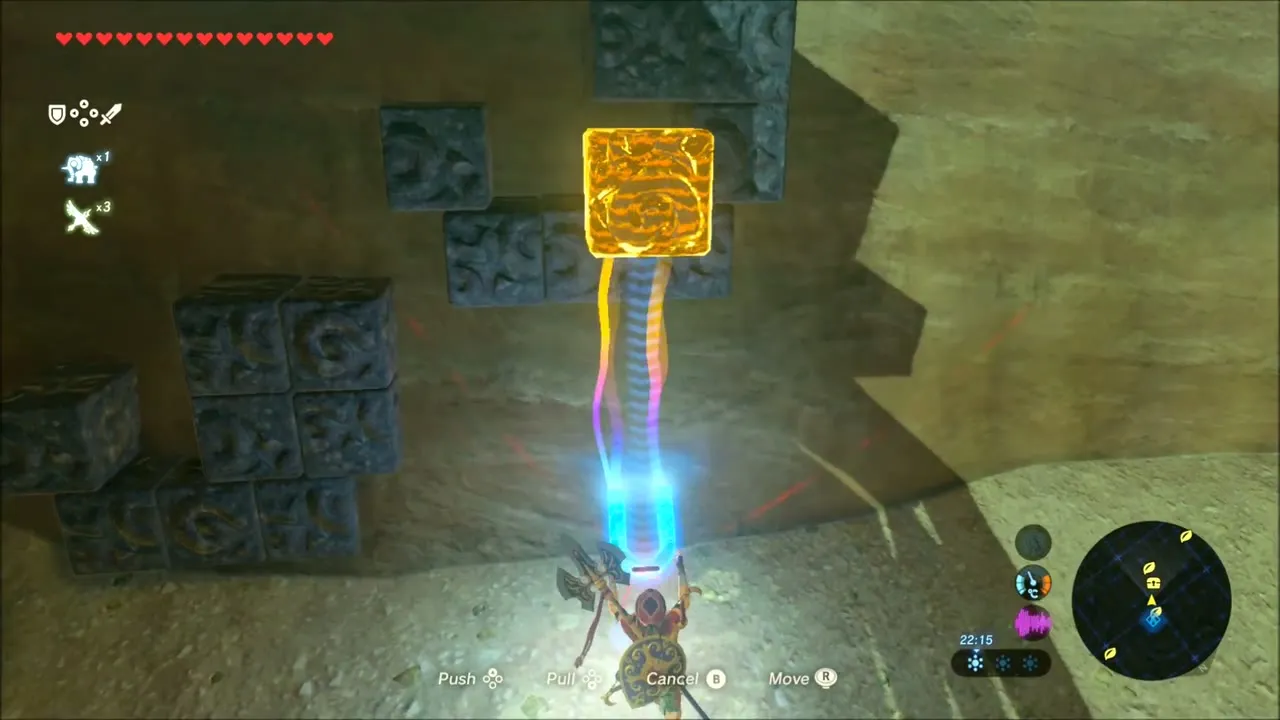
Back outside, put down another map pin and head west. A Korok seed here is hidden behind a wall of carved stone blocks with a gap in it: use Magnesis to lift a metal block from the ground up into the gap, and the seed pops out.

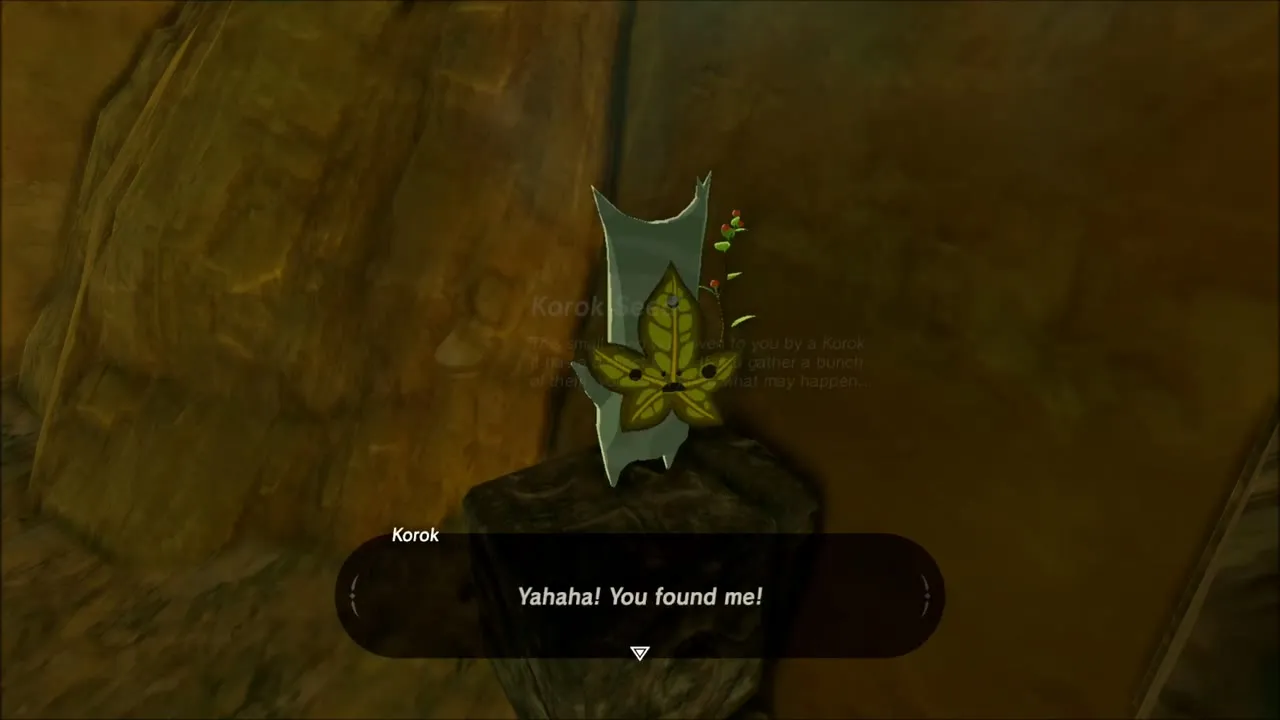
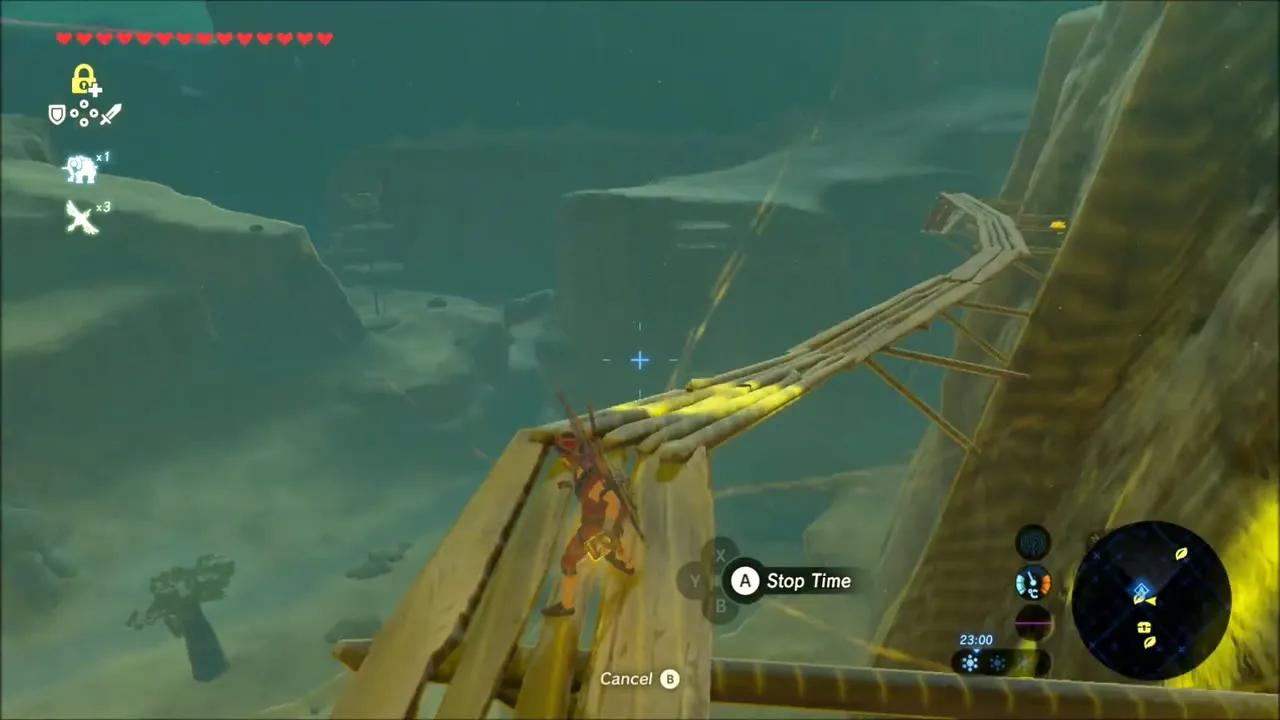
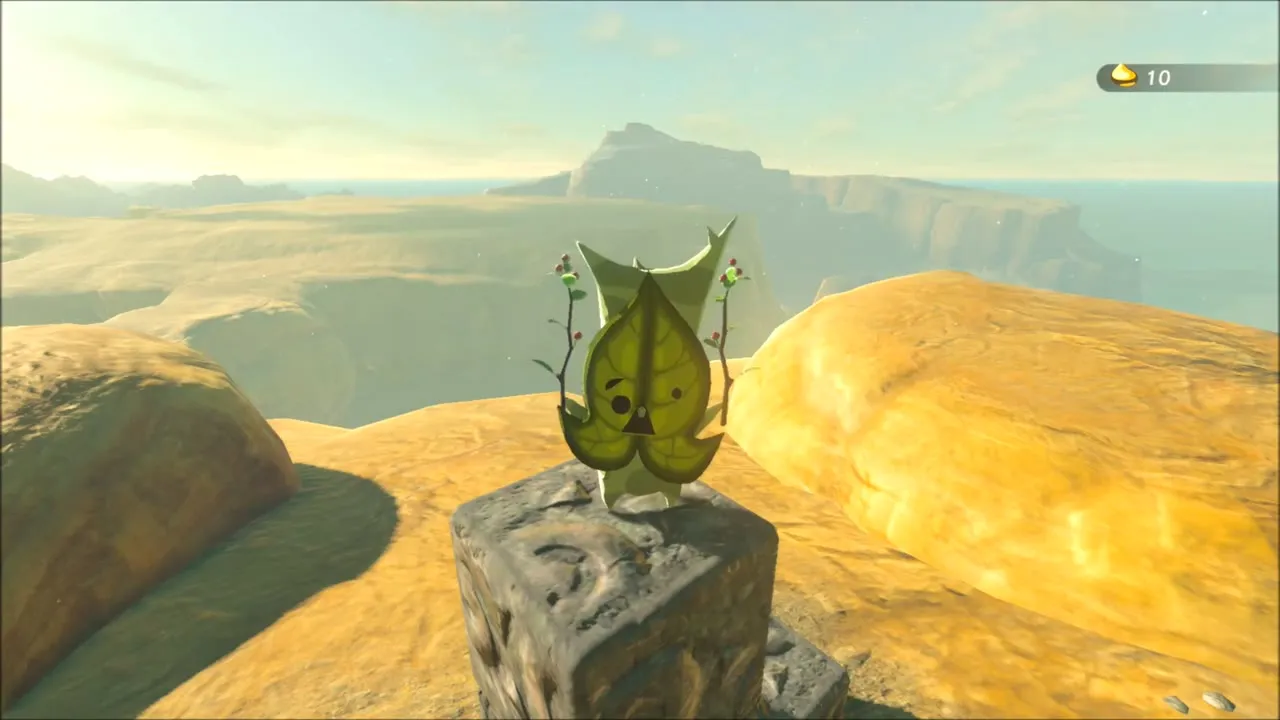
Follow the cliff on a wooden walkway above the sand, climbing the rock beyond it. Another Korok Seed is hidden on the ledge past the walkway.

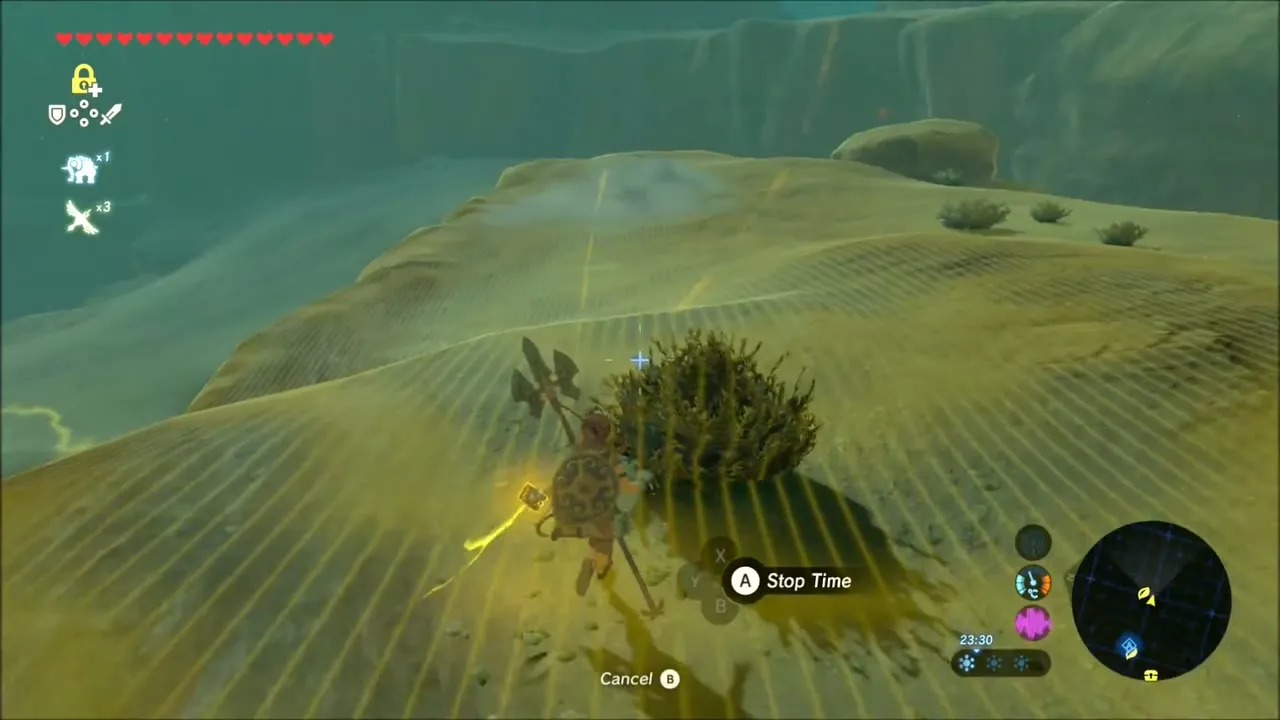

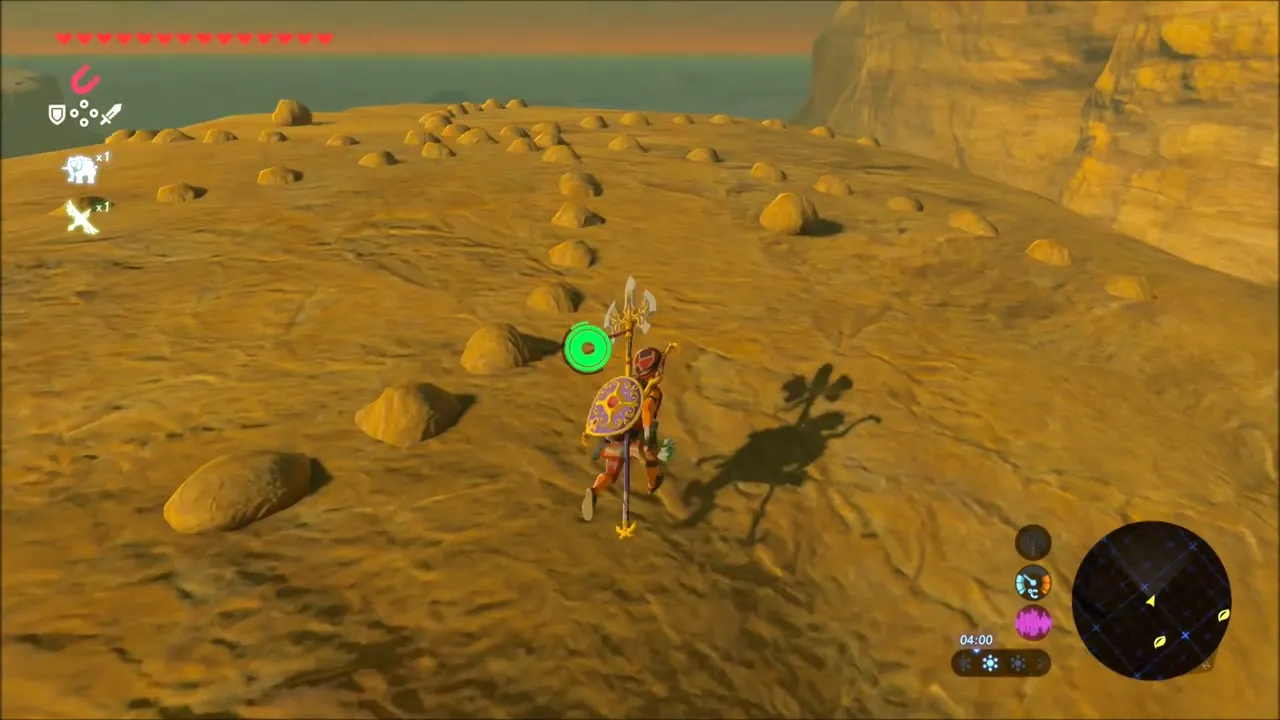
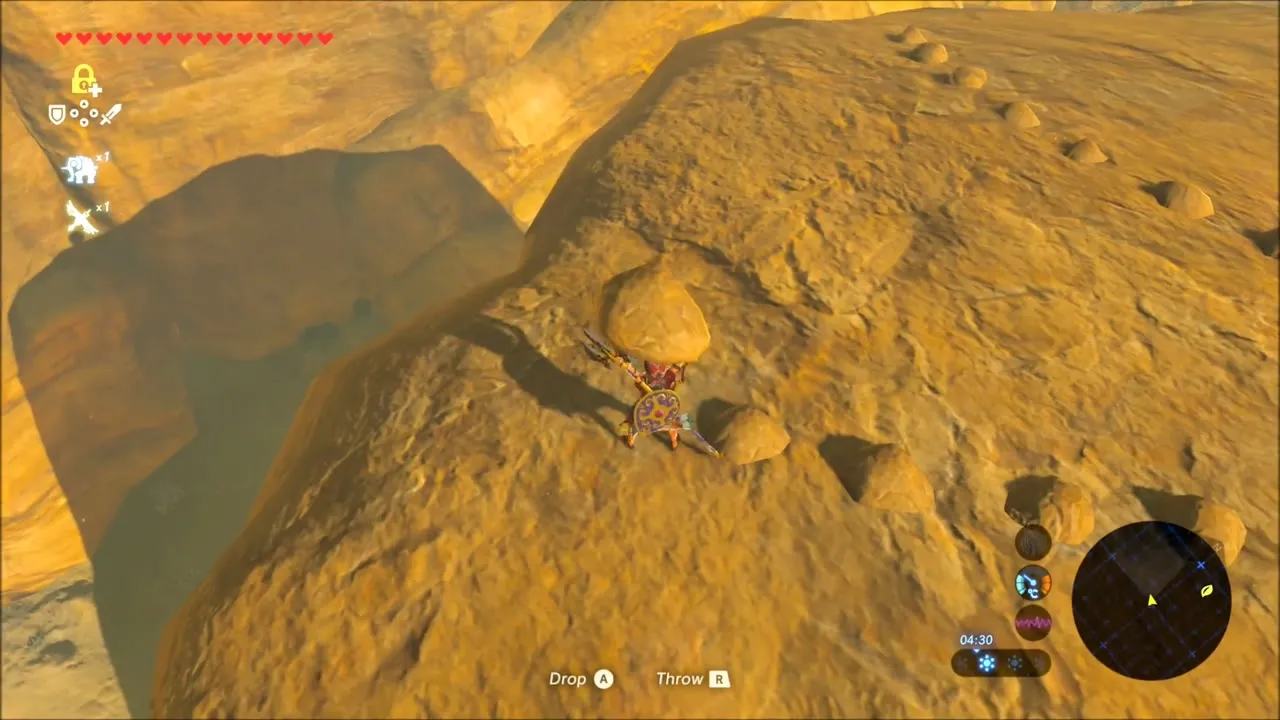
The next seed lies on a slope covered in small rocks arranged in a ring. Lift a loose rock, carry it up the slope and drop it where the ring has a gap.
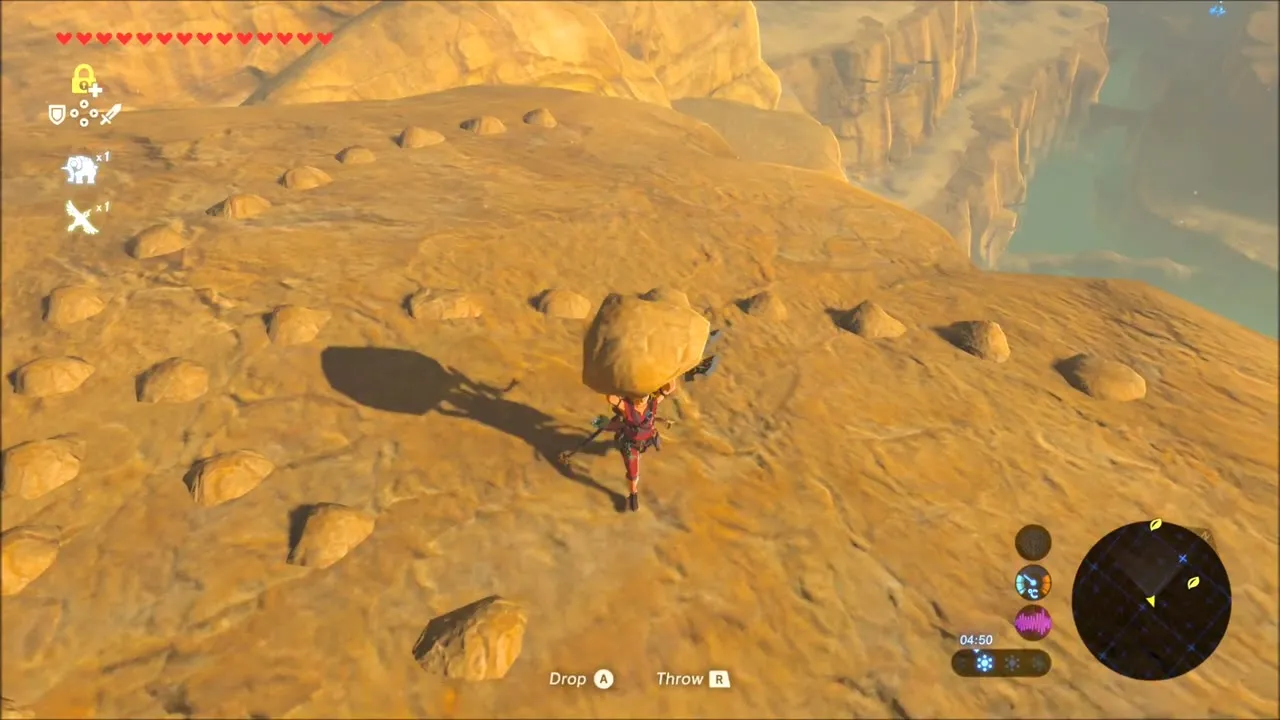
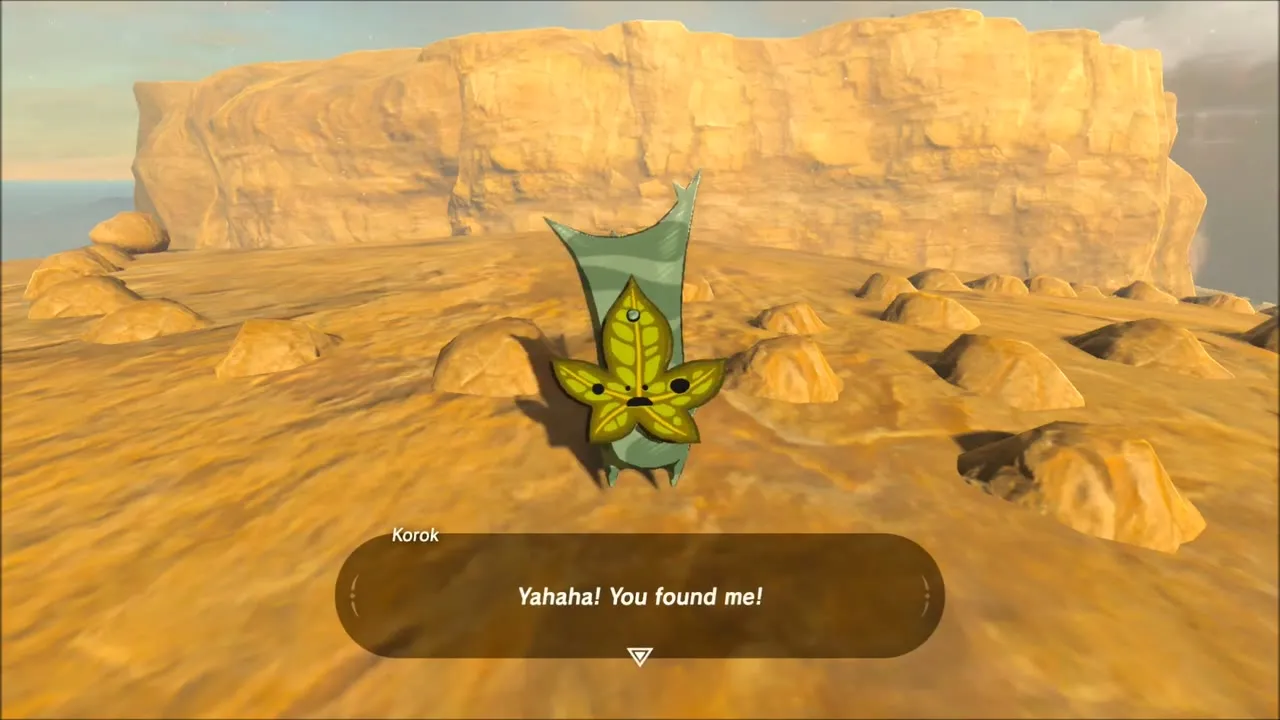
A bluff farther on has a row of carved stone blocks. Use Magnesis to slide a block into the row, and the seed appears.


Quicksand Chests and Cryonis Platforms
Further south the ground turns to quicksand. Use Cryonis to make ice blocks you can stand on and hop from rock to rock. A golden chest sits sunk in the sand: pull it onto a rock with Magnesis, then open it. A second chest nearby can be lifted out the same way.


How to Activate the Wasteland Tower
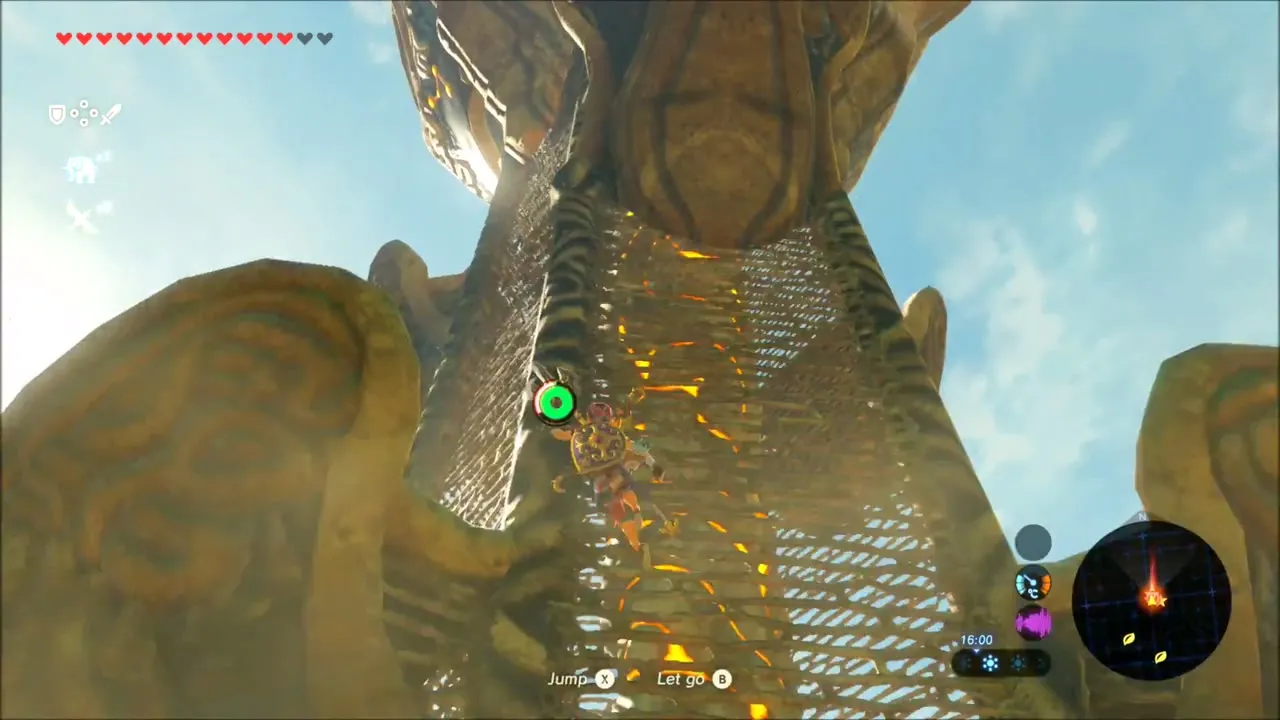
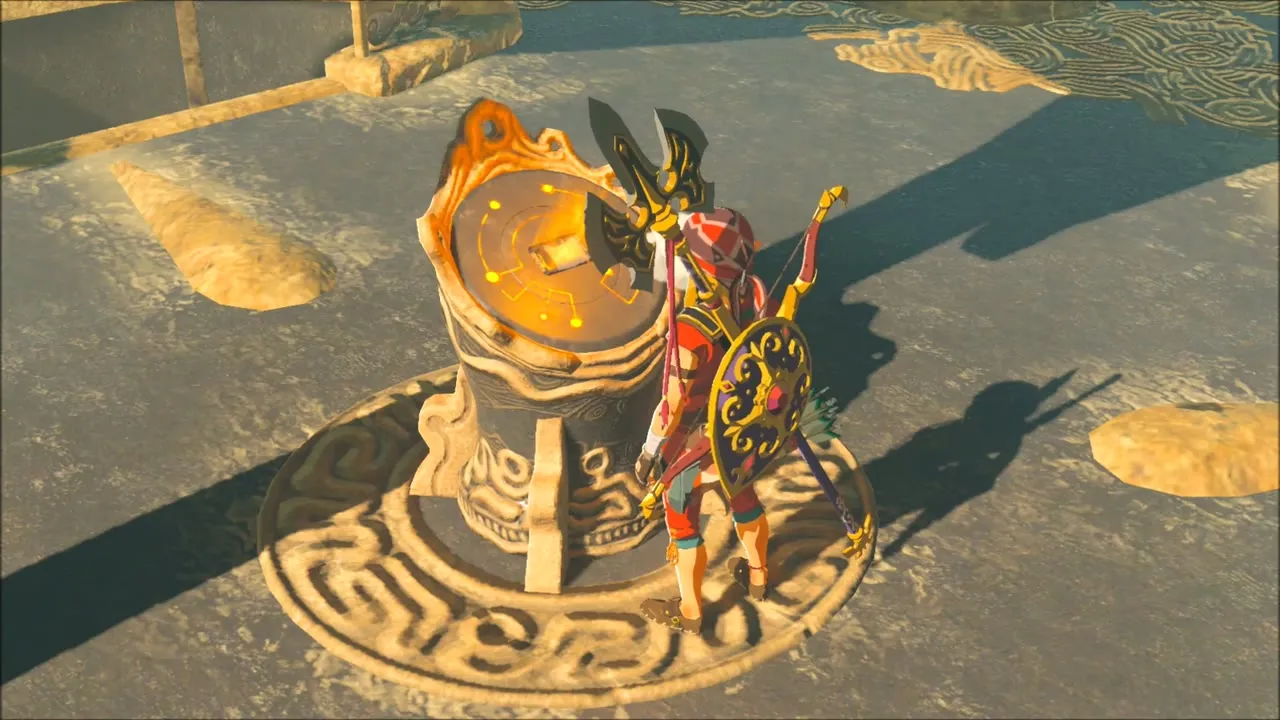
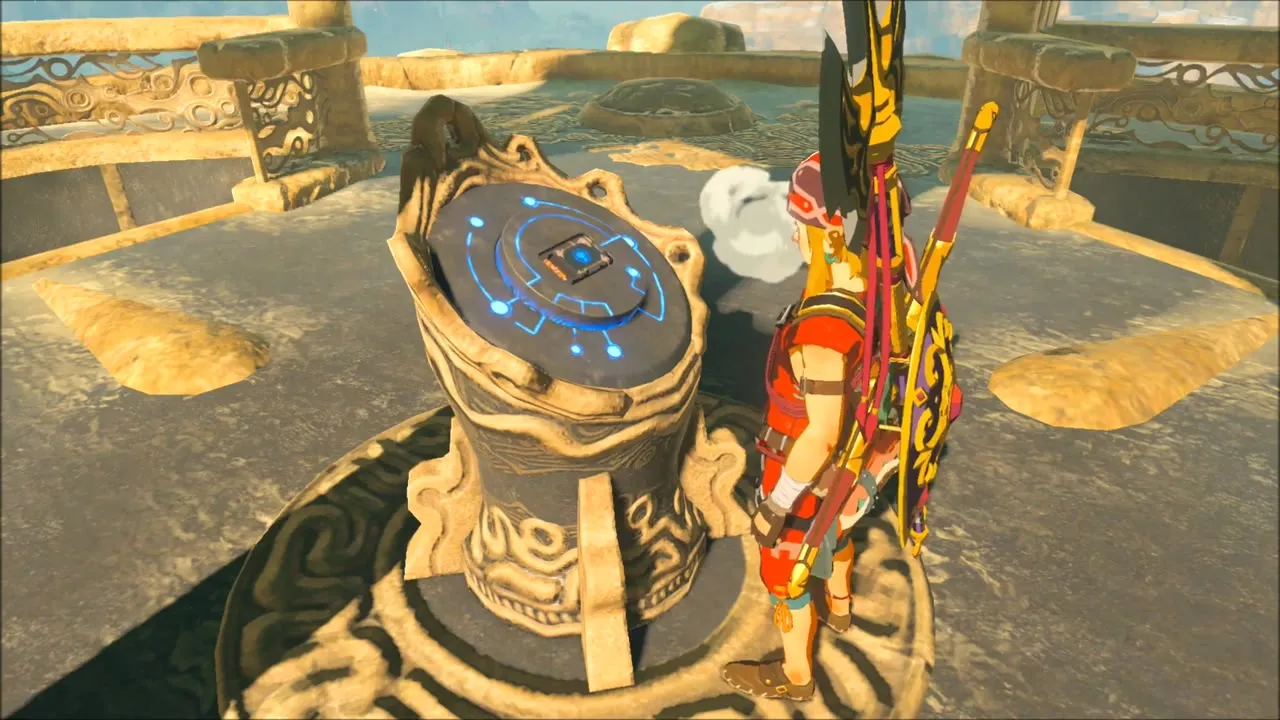
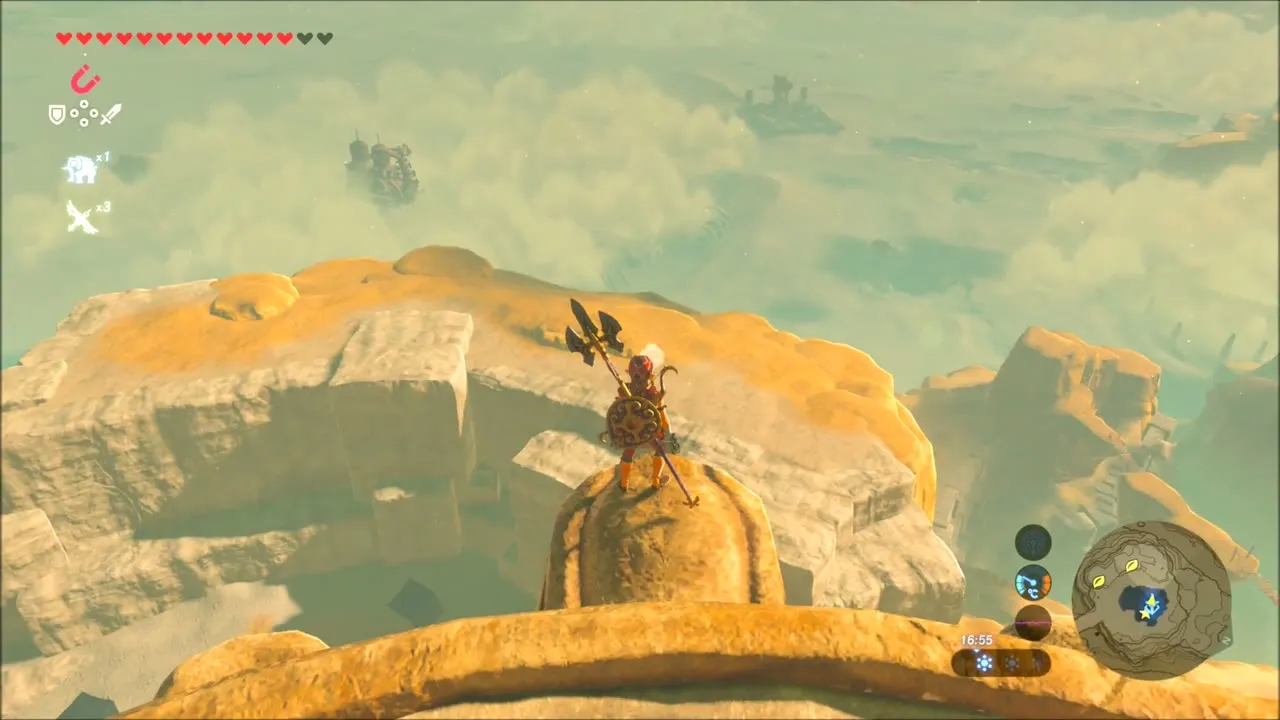
The Wasteland Tower (x -2307, z 2437) is the next landmark. Climb up inside the tower to the platform at the top and activate the terminal to add the Gerudo Wasteland to your map. The summit gives you a long view over the desert and the canyon you have just crossed.
From the Wasteland Tower to the Koukou Plateau
Leave the tower summit and glide out over the sand. Open the map and look at the region around you: Gerudo Canyon, Mount Nabooru and the Koukou Plateau all have seeds and shrines marked, so set a stamp on your next destination before moving on.

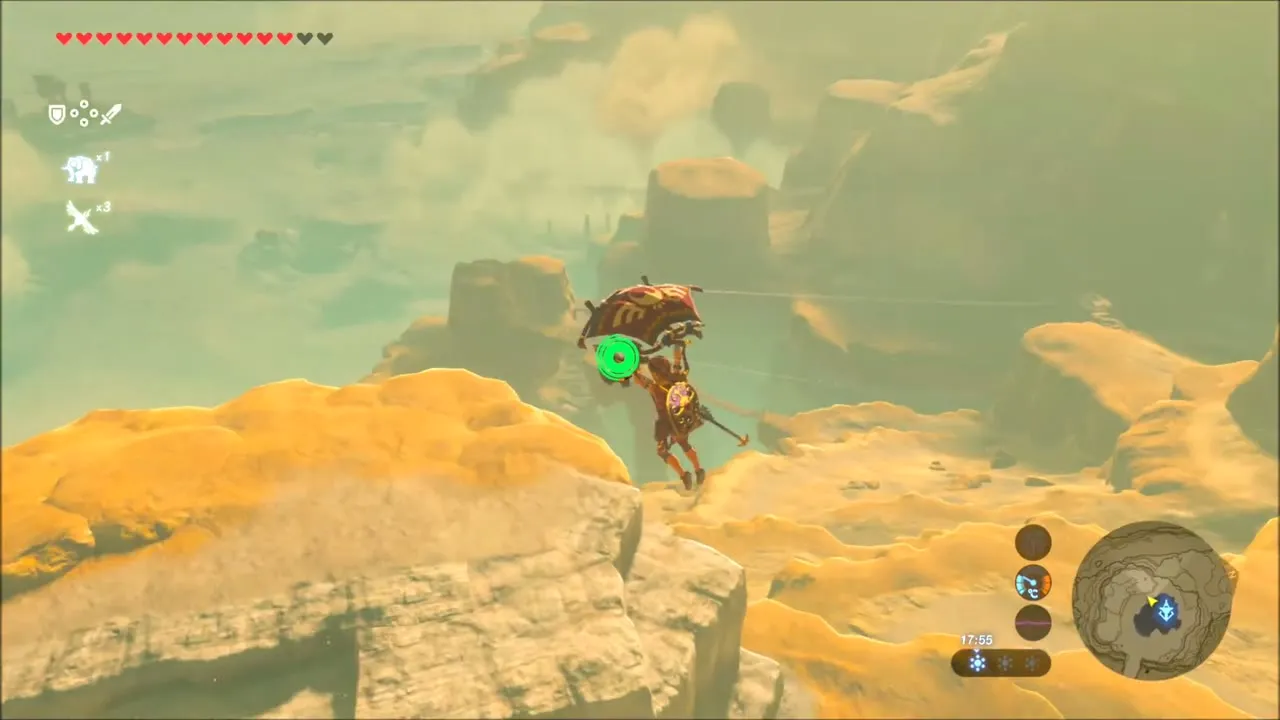
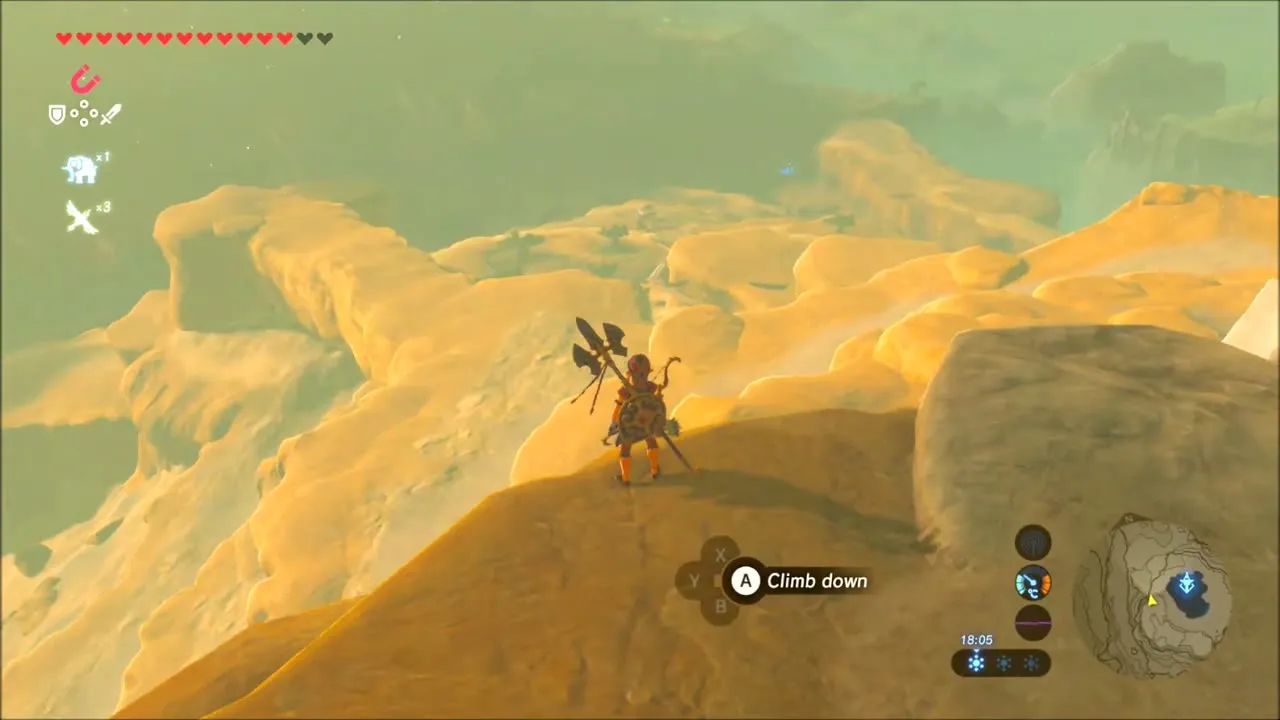
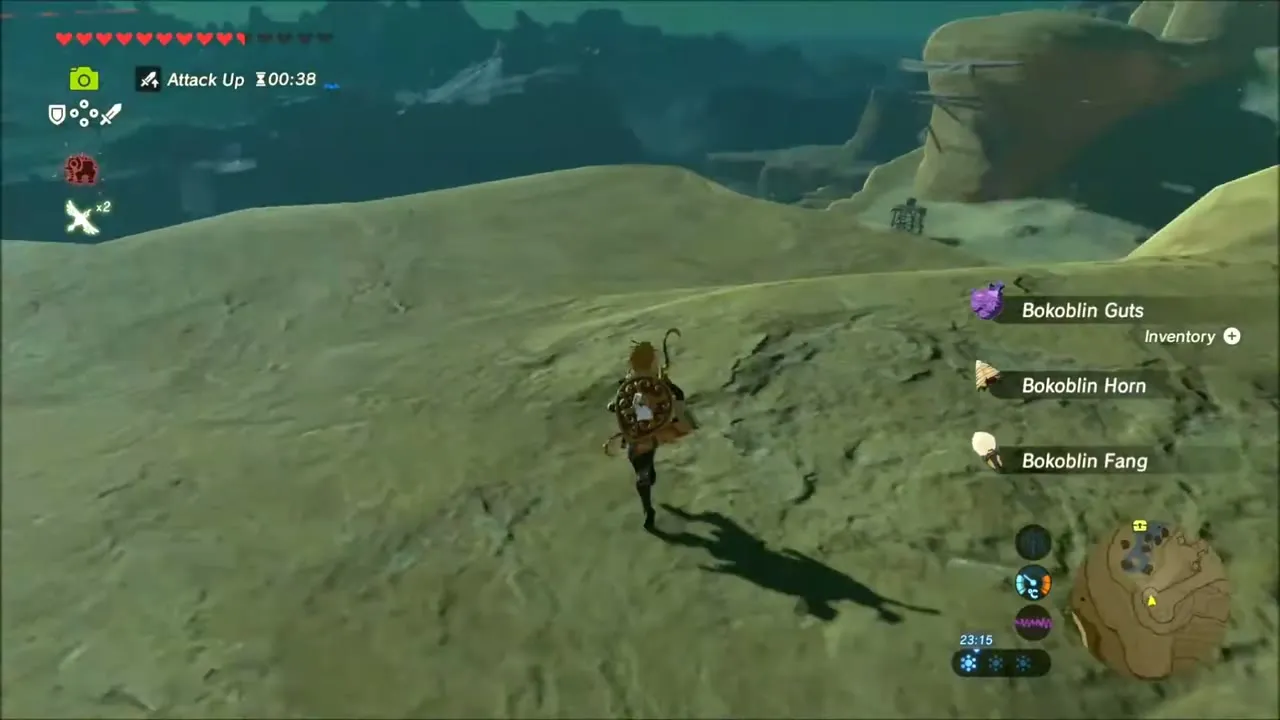
The dunes below are patrolled by Moblins and Bokoblins. Fight them from a distance with arrows, hold a Moblin still with Stasis, and collect the Moblin Fangs, Horns and Guts they drop.
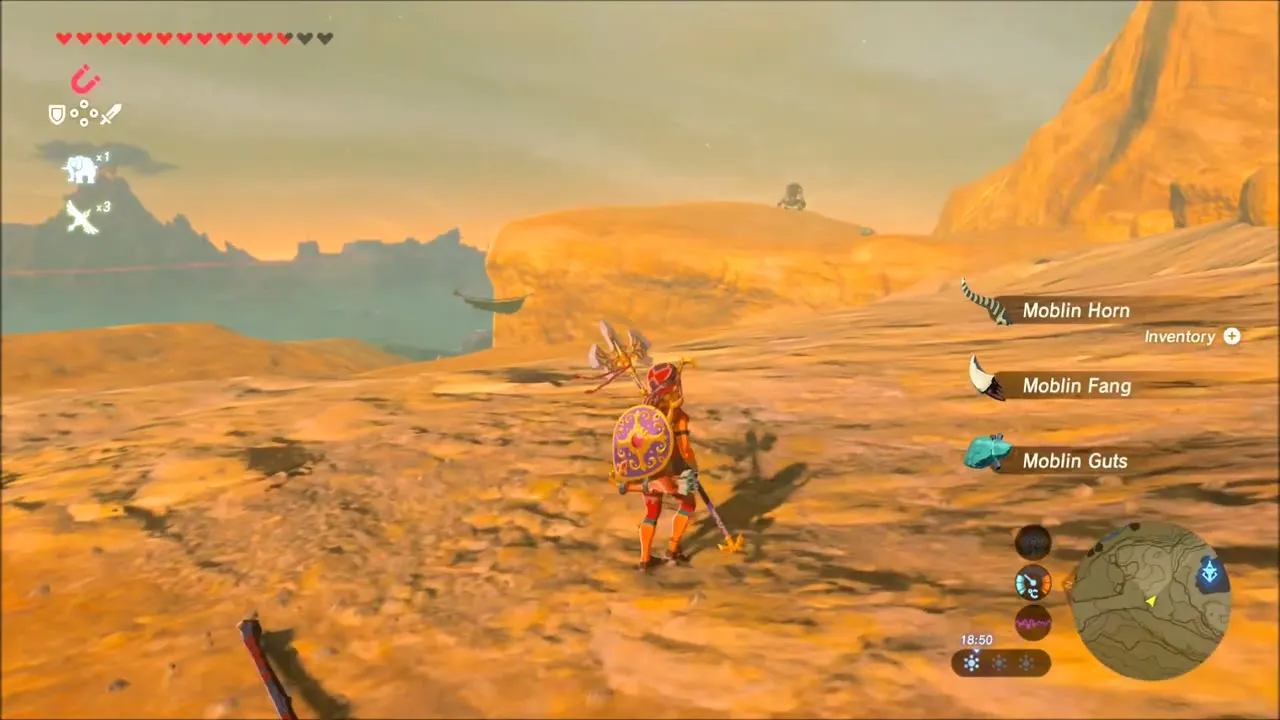

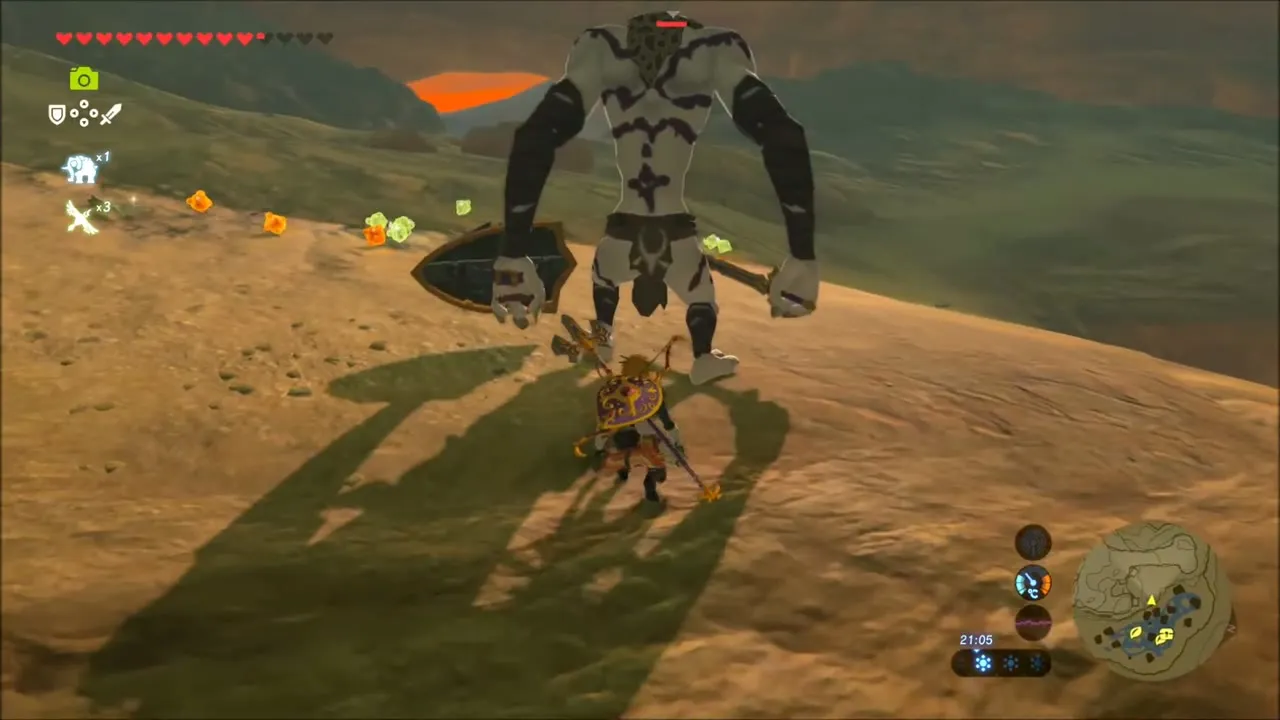
Before taking on the bigger monsters ahead, prepare. Equip the Stealth Mask, check which weapons you have left, and eat a meal that boosts your attack before the fight.
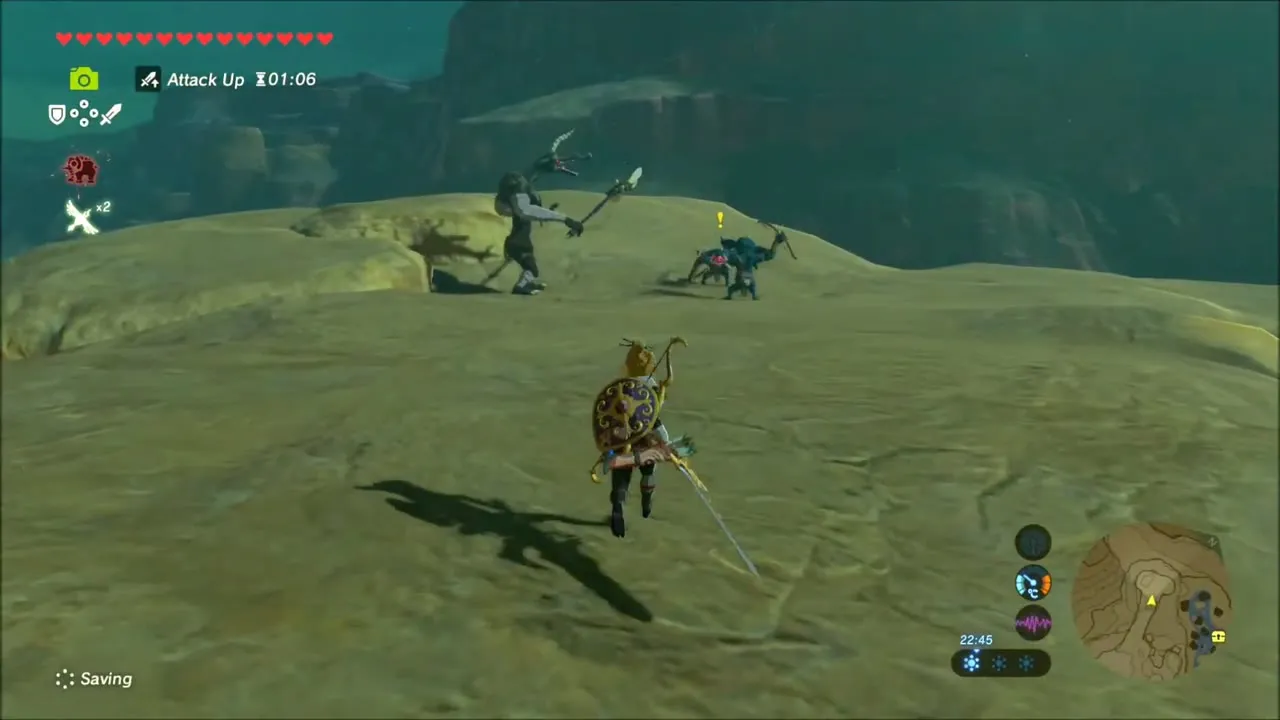
Korok Seeds Around the Canyon Grasslands
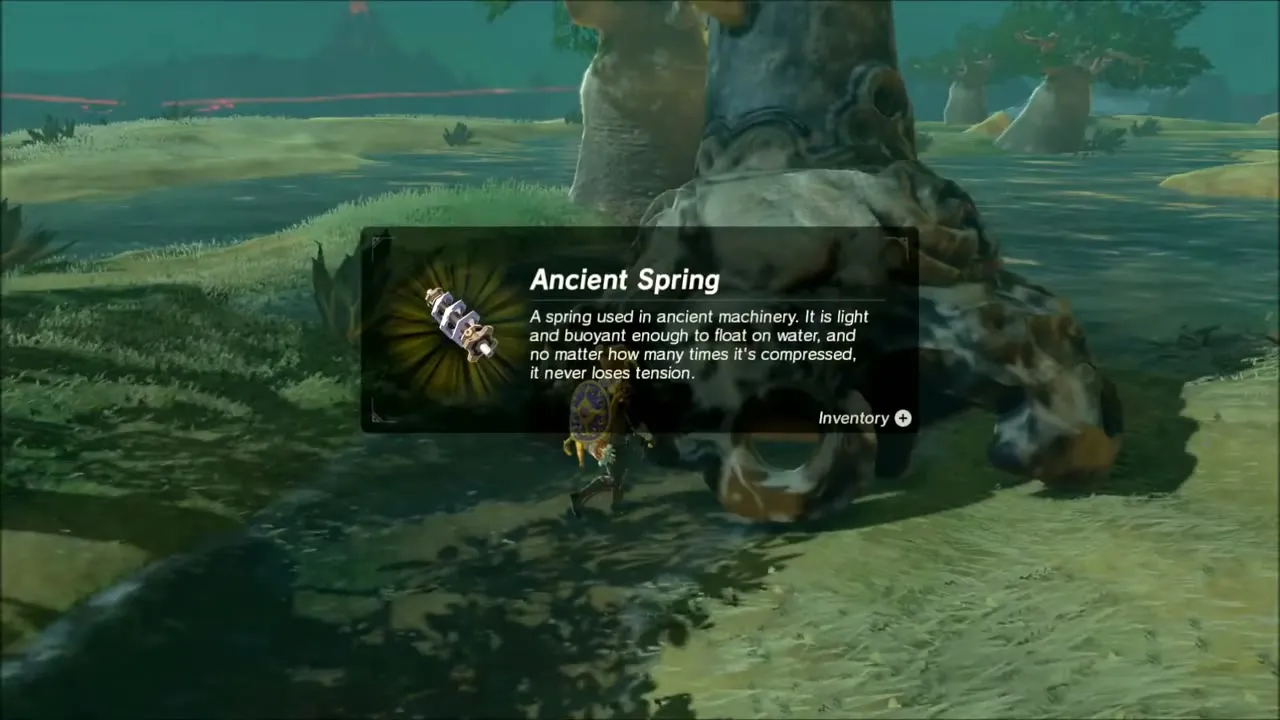
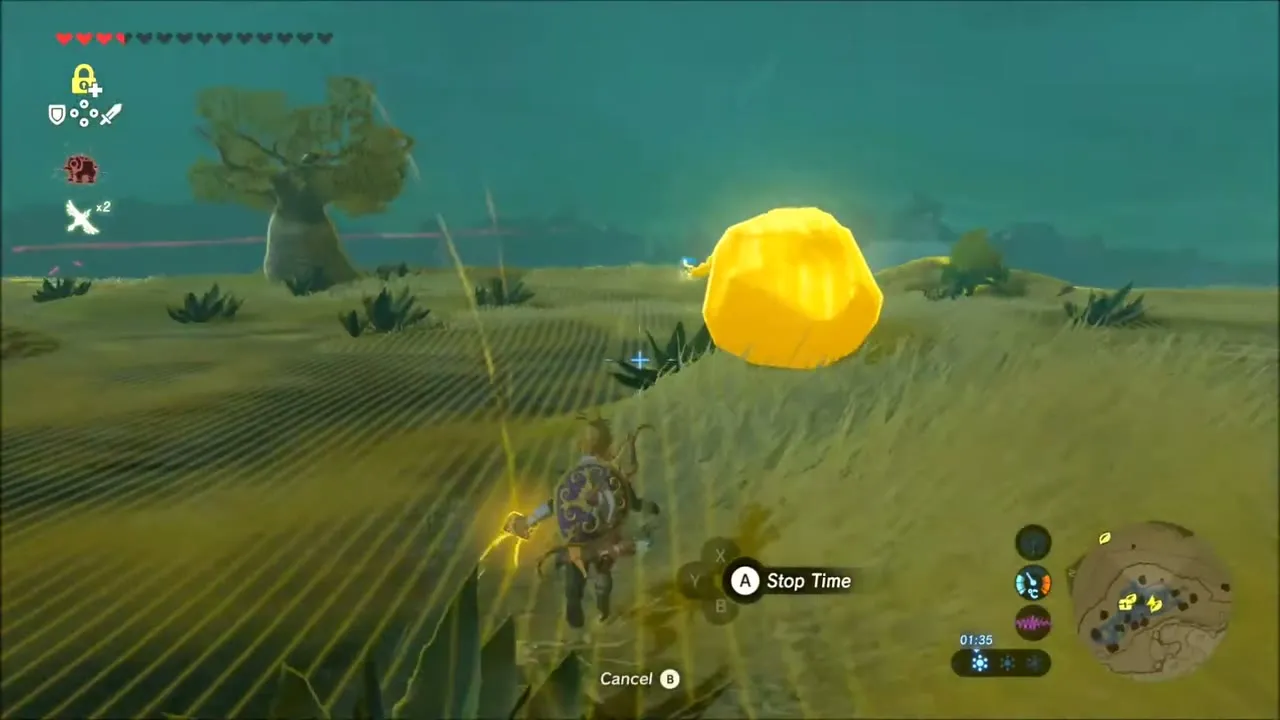
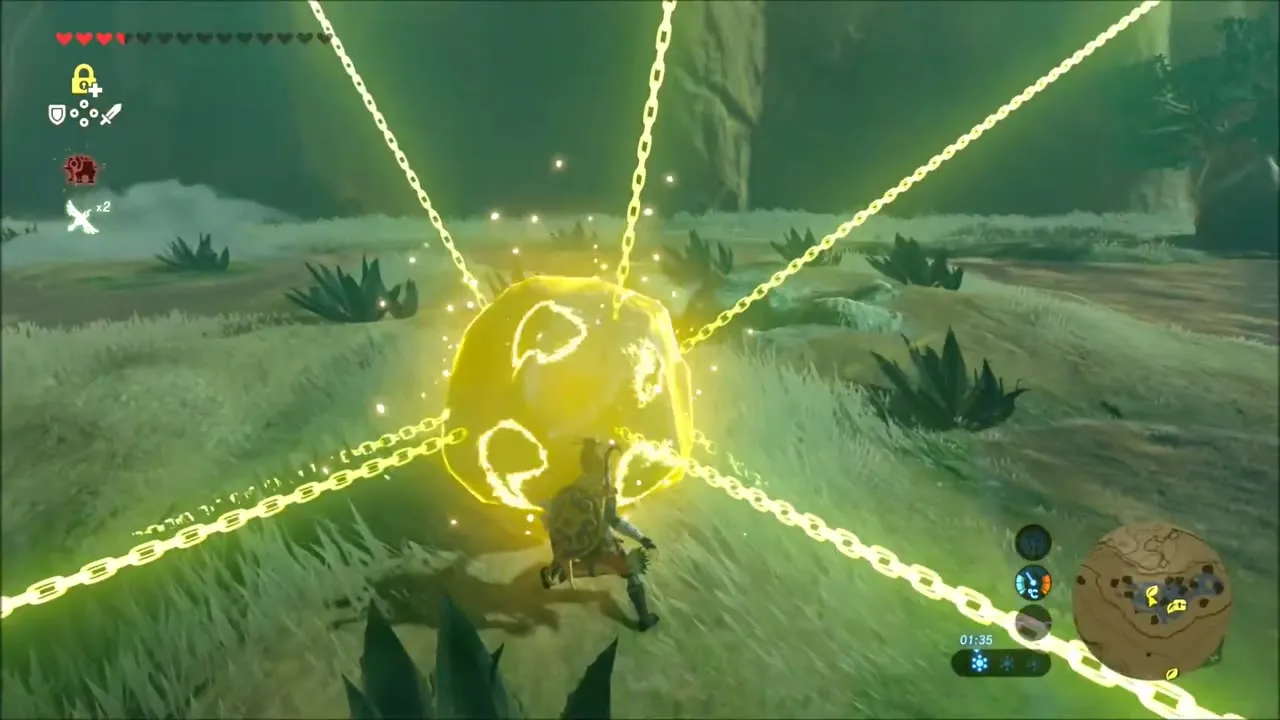
Head into the grassland, picking up an Ancient Spring from the wreckage on the way. Near a baobab tree, a boulder glows green when you target it with Stasis: stop it, strike it, and a Korok flower pops up beside it with a seed.
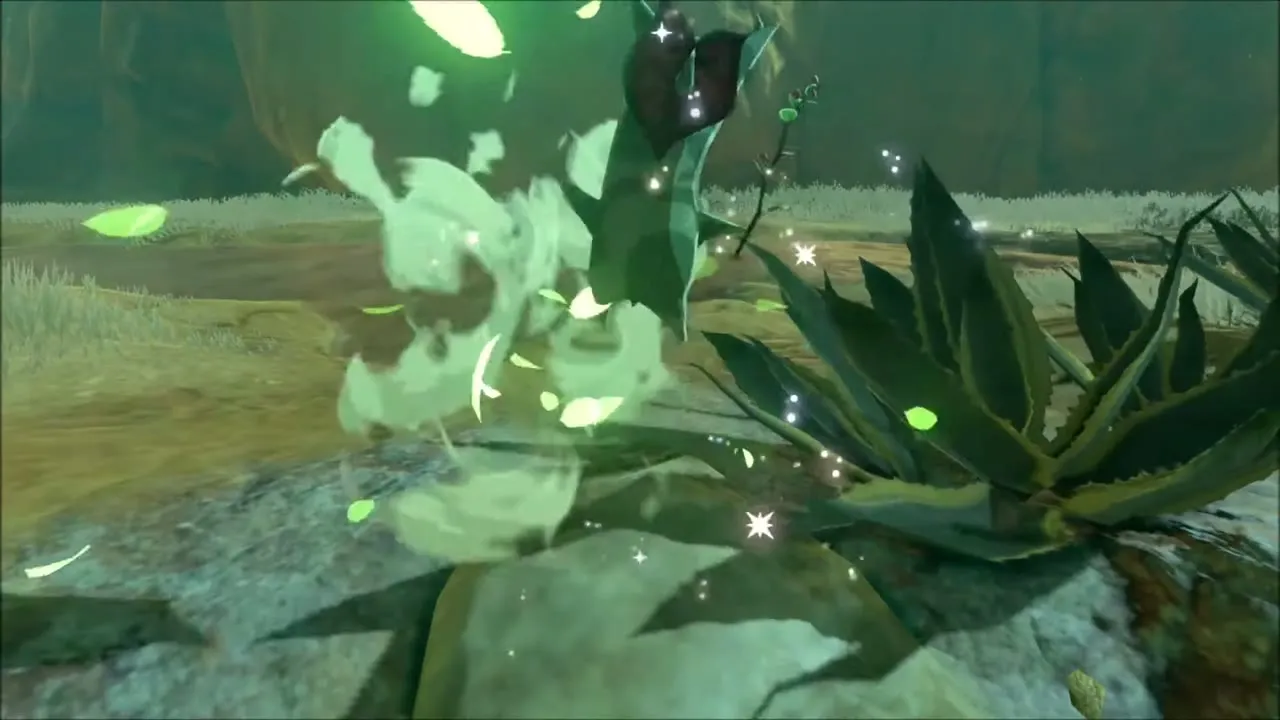
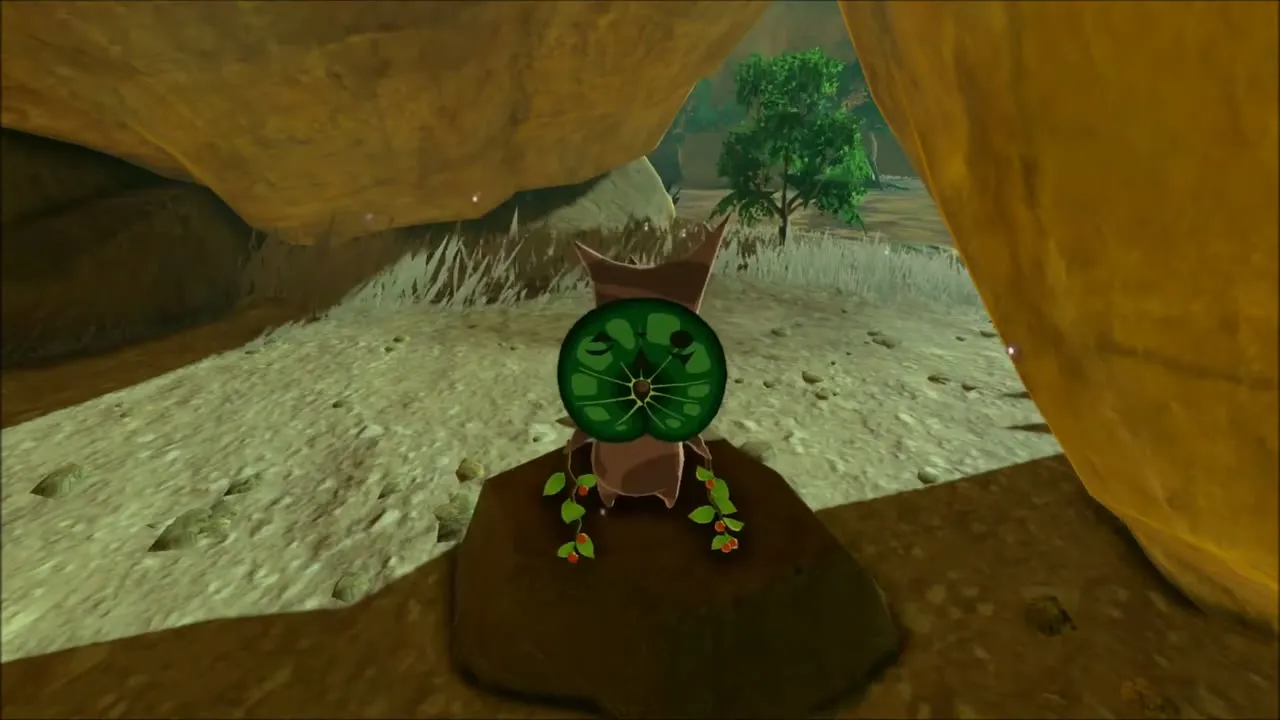
A little farther along, look under a rock overhang beside the trail for another Korok Seed. Then continue across the grass to a huge baobab tree, whose branches hide a third.


Stone Talus on the South Koukou Plateau
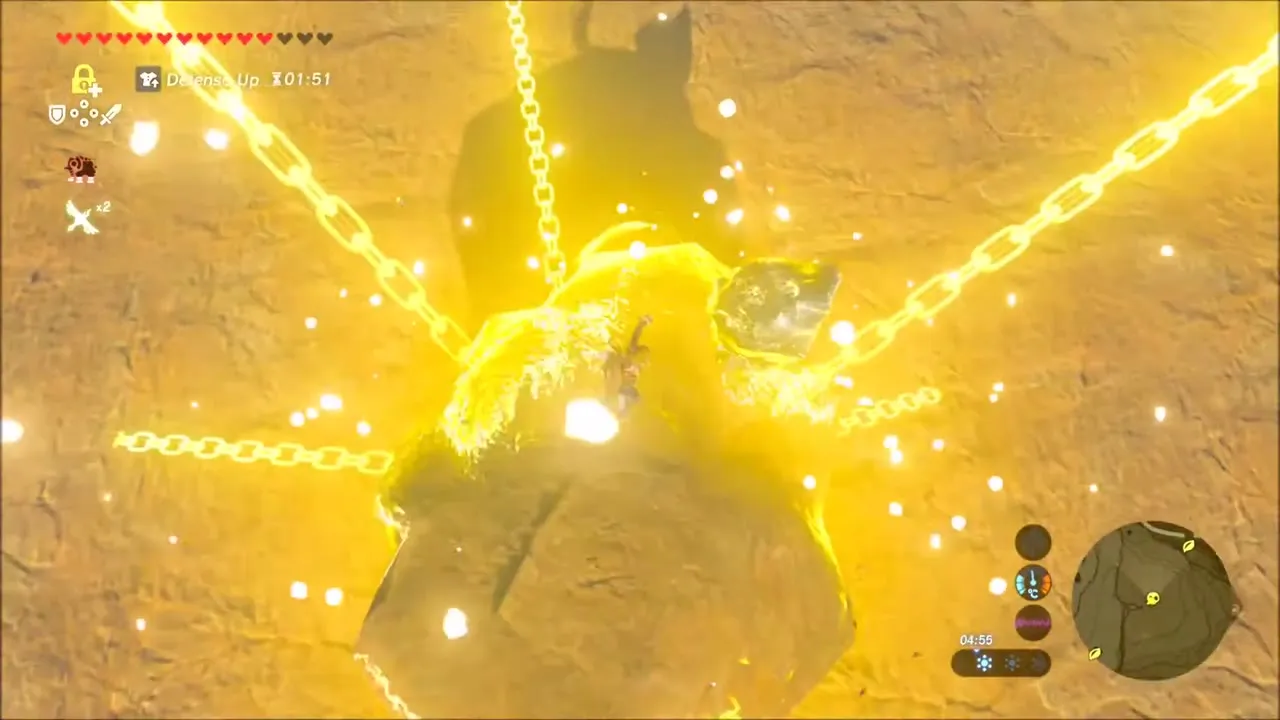
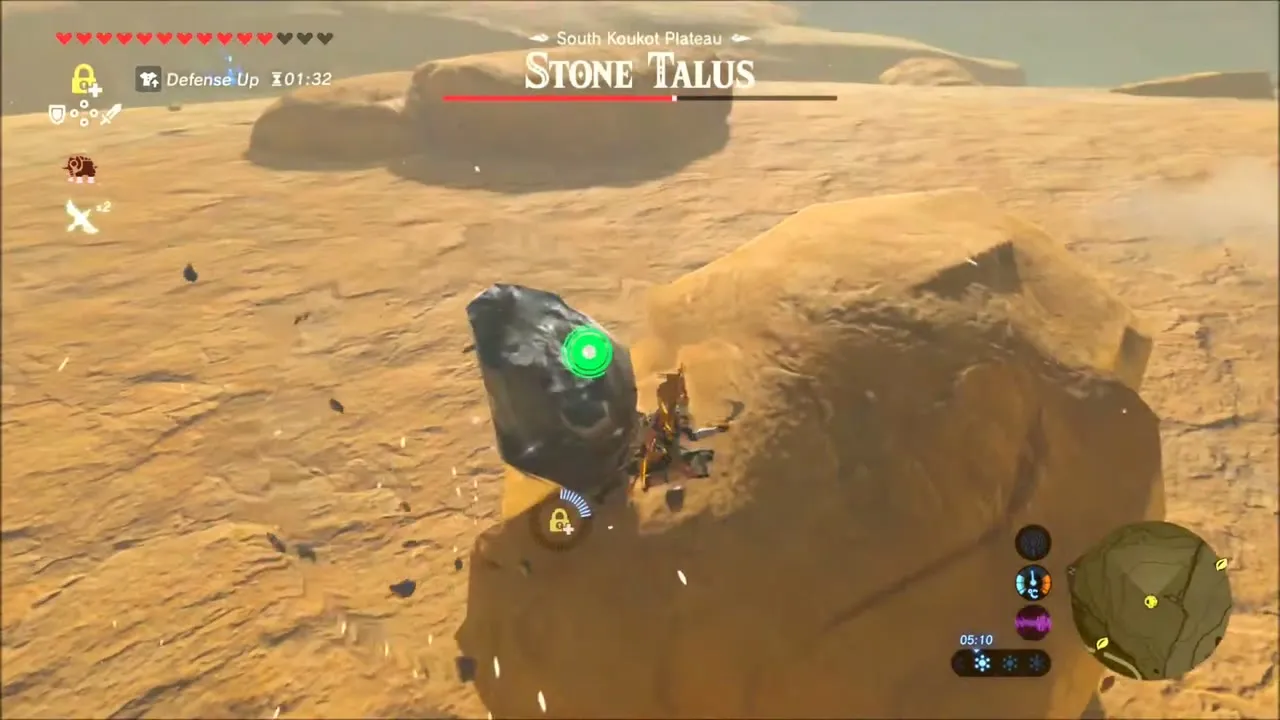
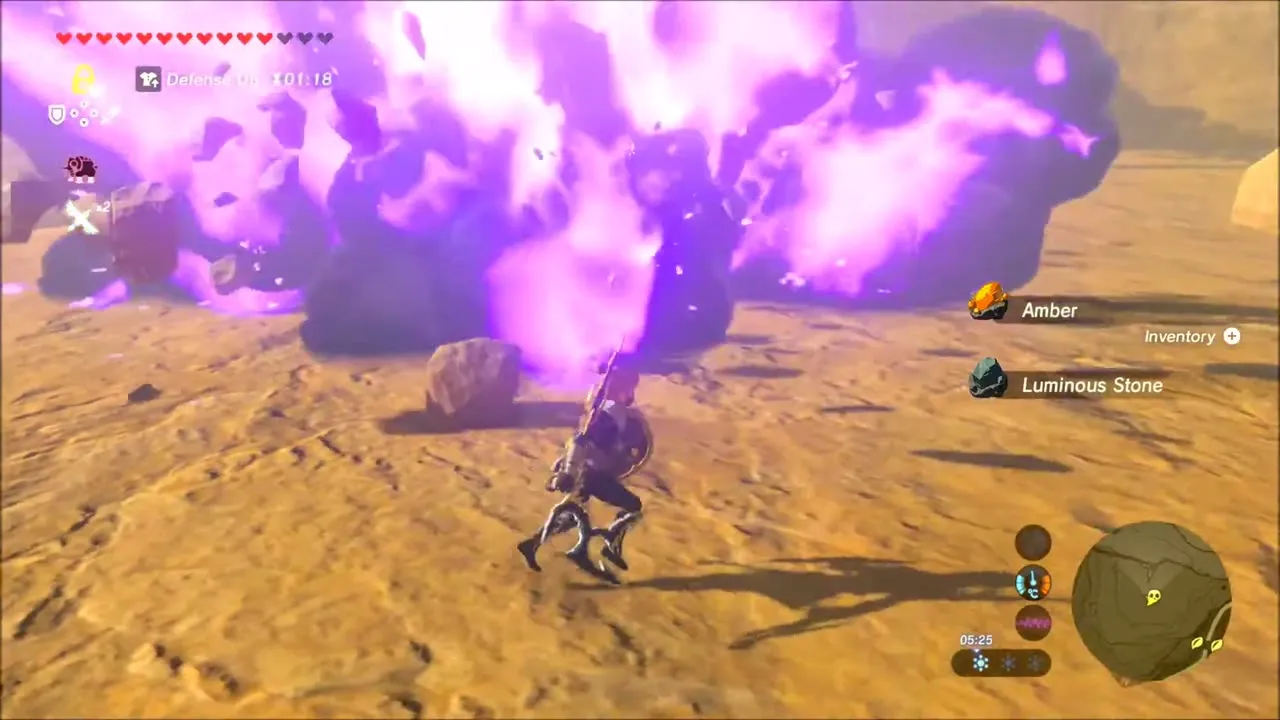
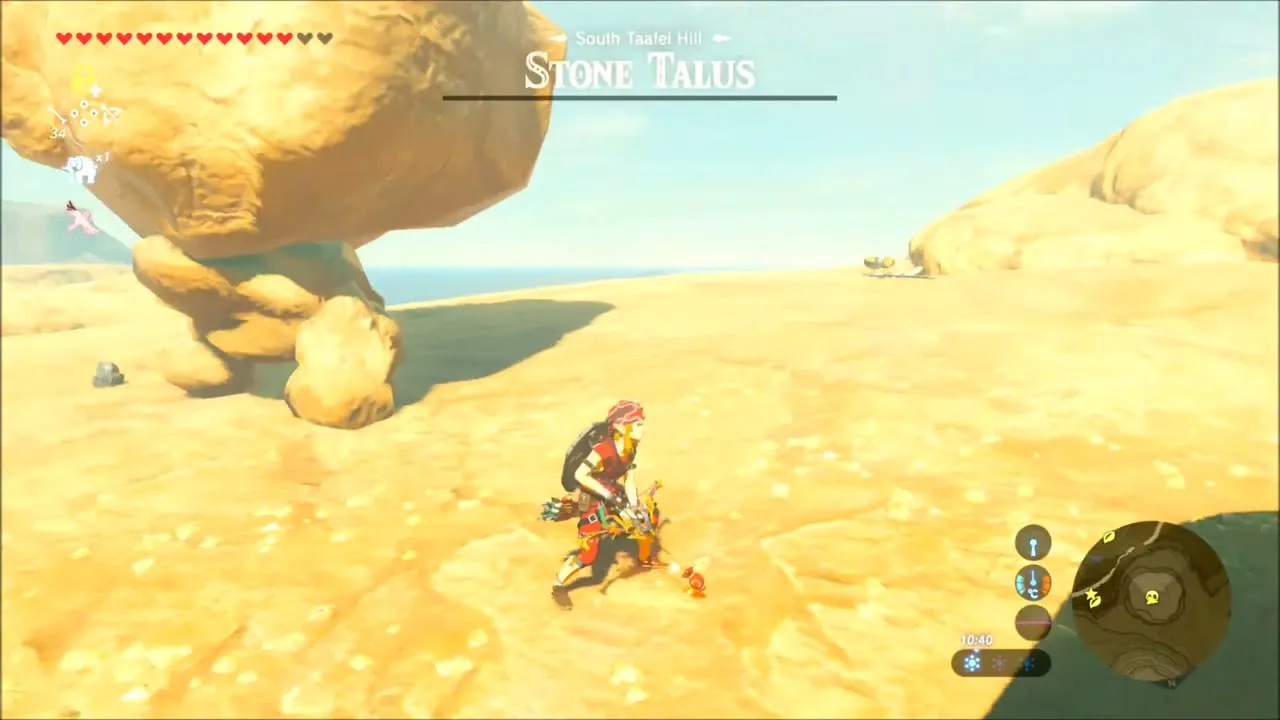
On the South Koukou Plateau a Stone Talus rises out of the rocks. Freeze it with Stasis, then climb up onto its back and strike the ore deposit growing there until it collapses. Your Moonlight Scimitar may break in the fight, so carry a spare. The Talus leaves amber and luminous stones behind.

Korok Seeds on the Canyon Walls and the Good-Sized Horse Quest
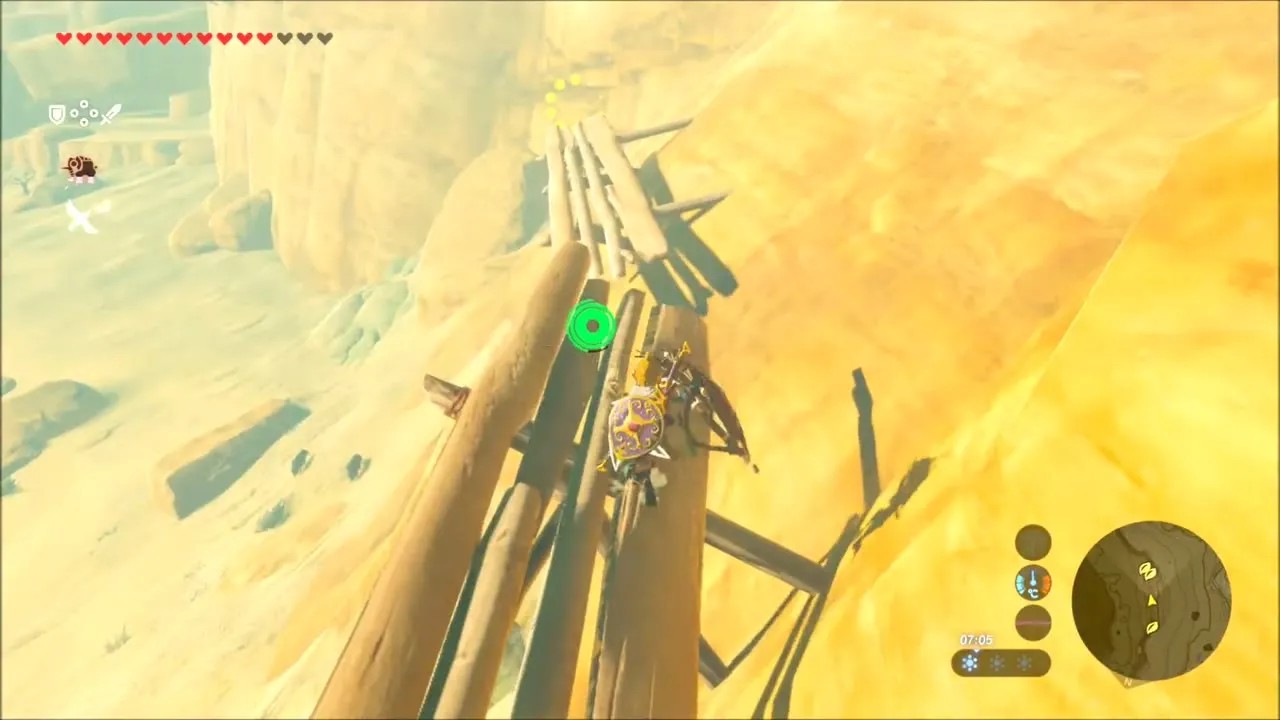
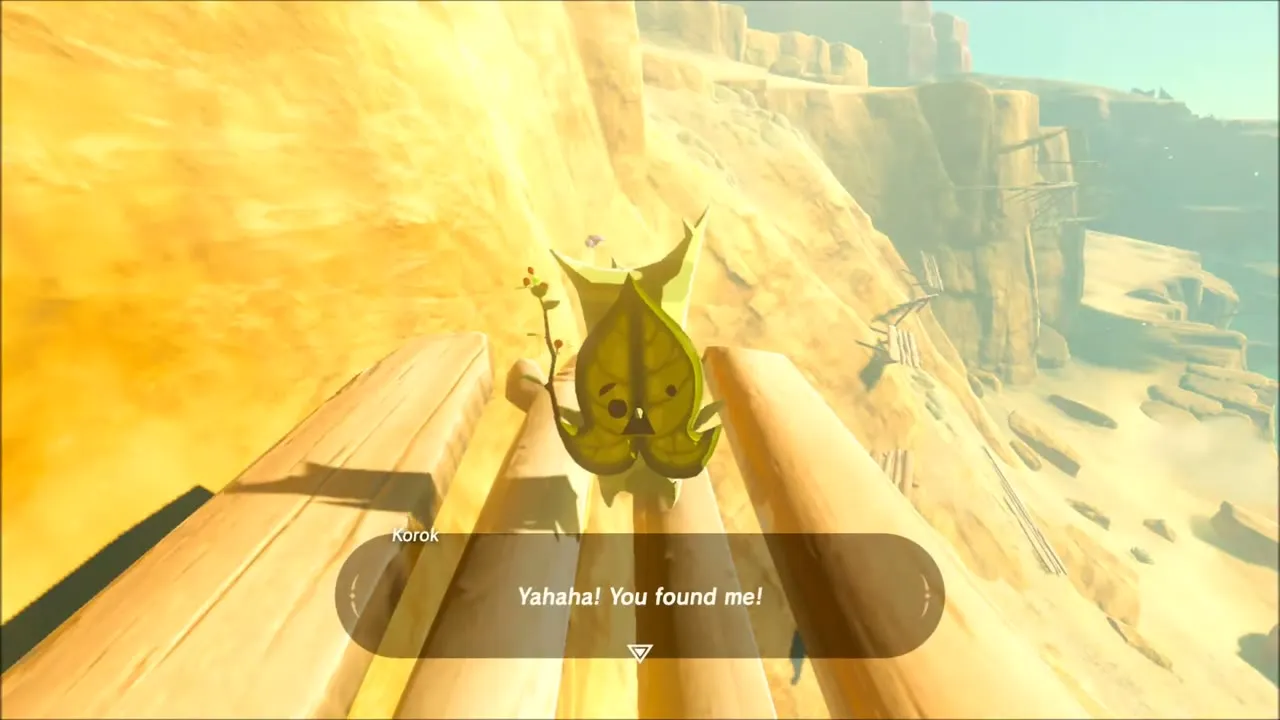
Mark the map with a stamp, then follow the canyon wall to a rickety scaffold of logs. Walk out along the logs to where a Korok is waiting, and it gives you a Korok Seed for finding it.

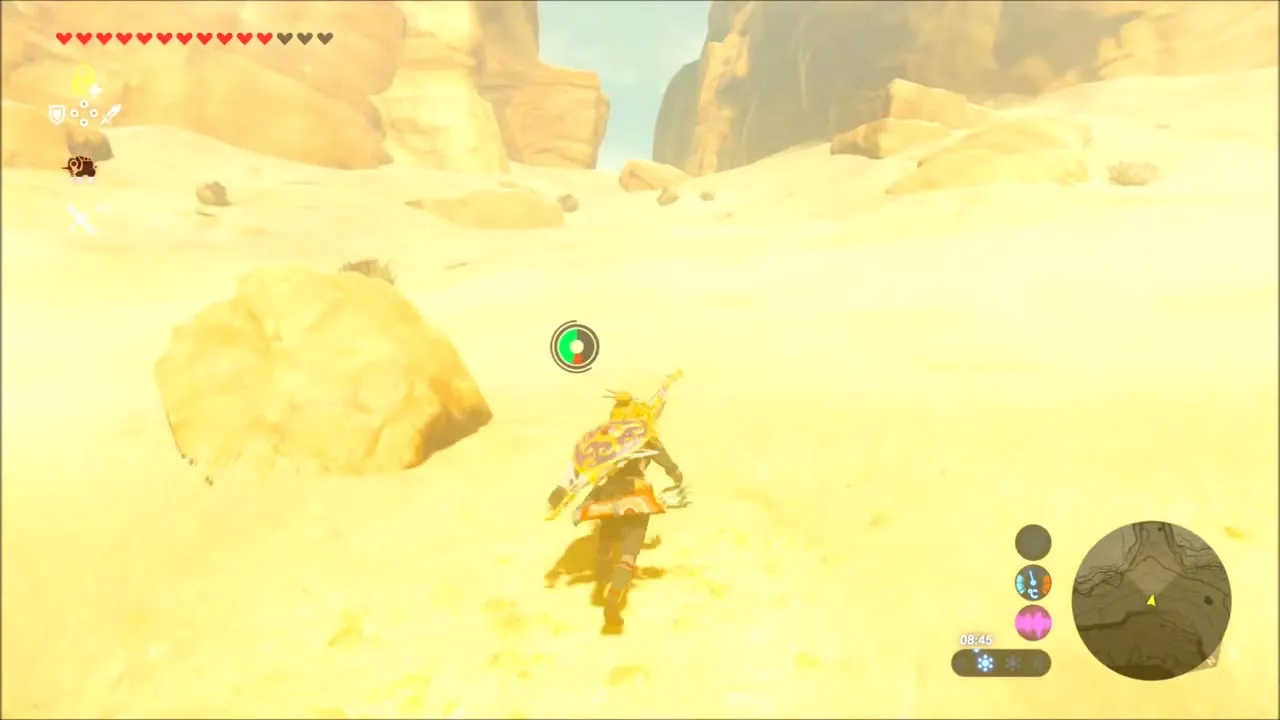
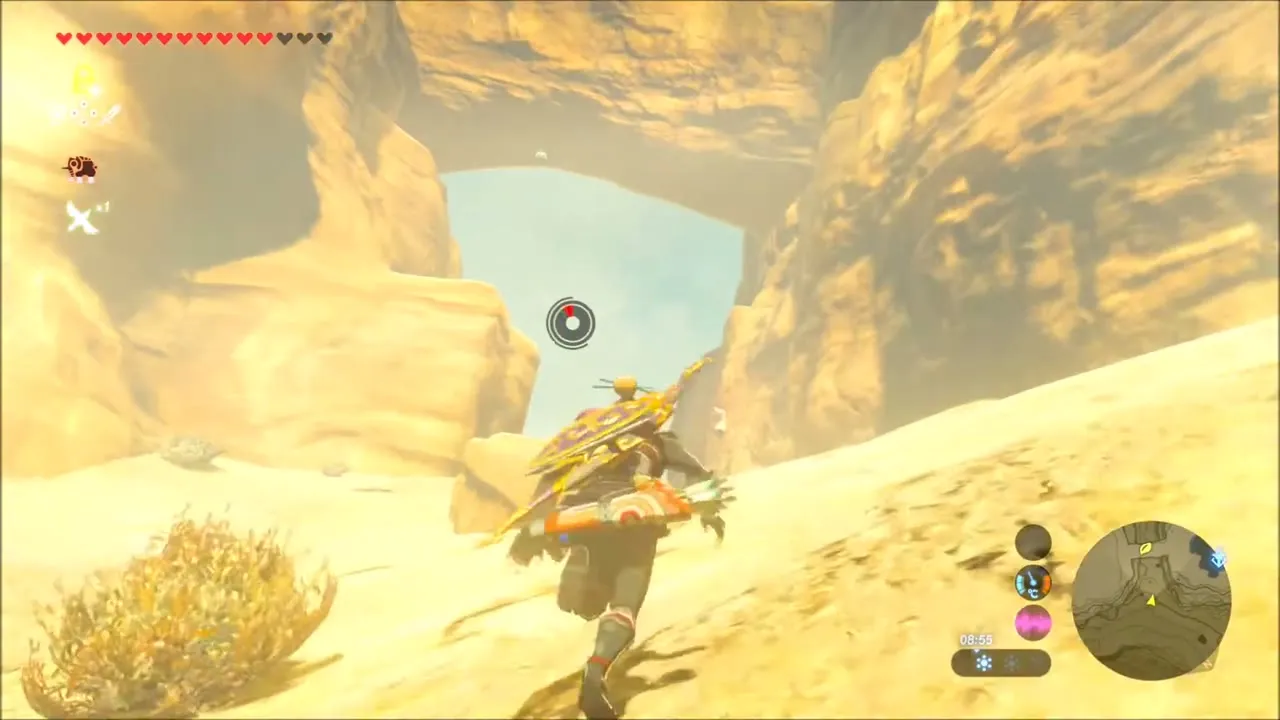
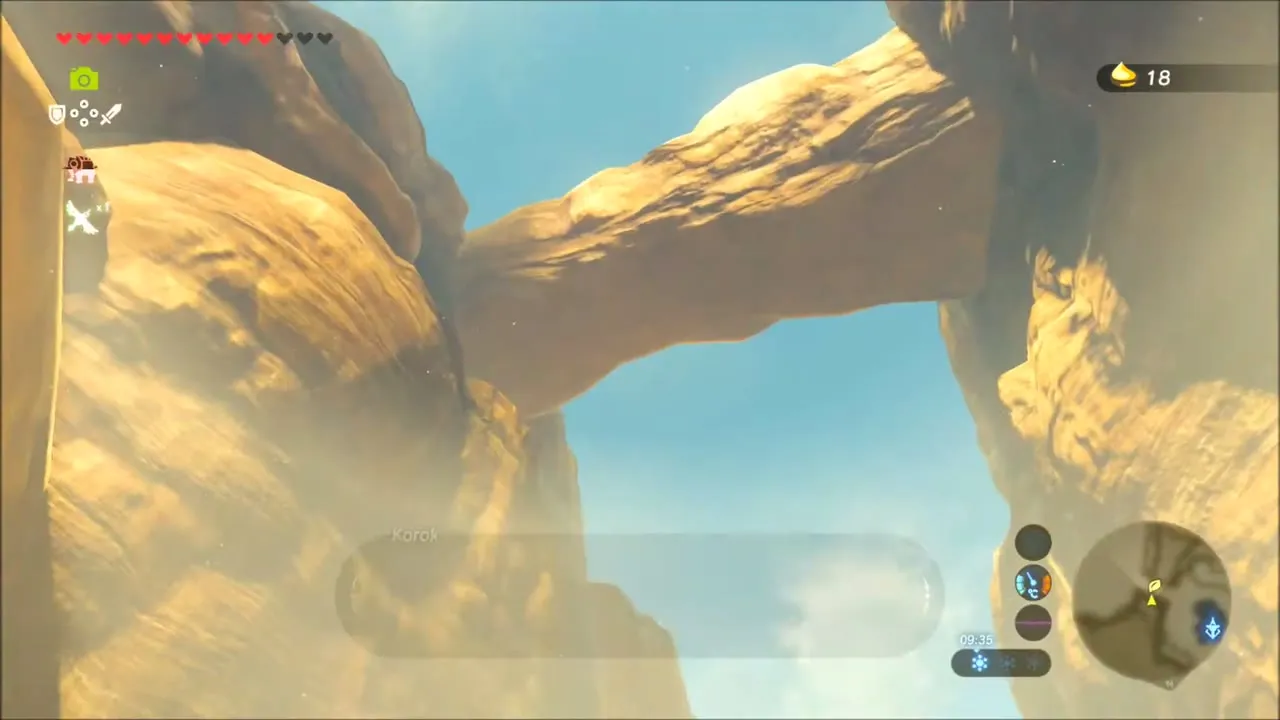
Ride across the sand to a big natural rock arch and carry on past it into the canyon beyond.
Zyle and the Good-Sized Horse
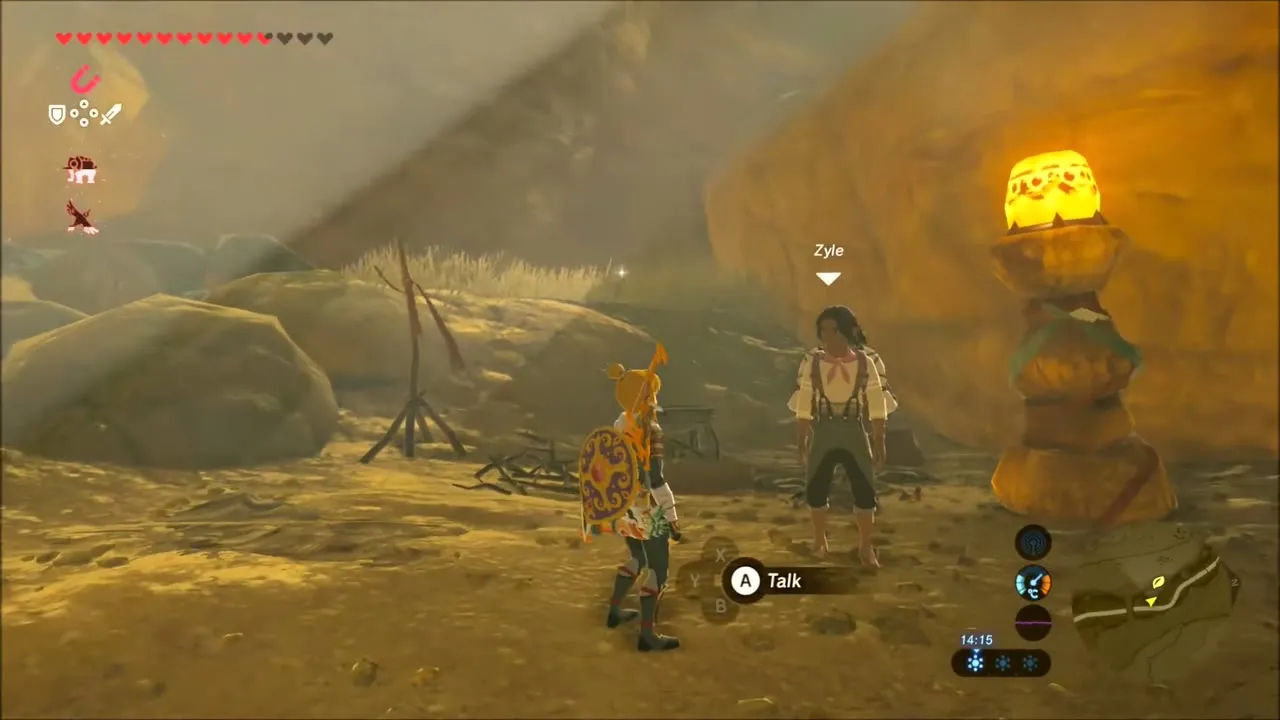
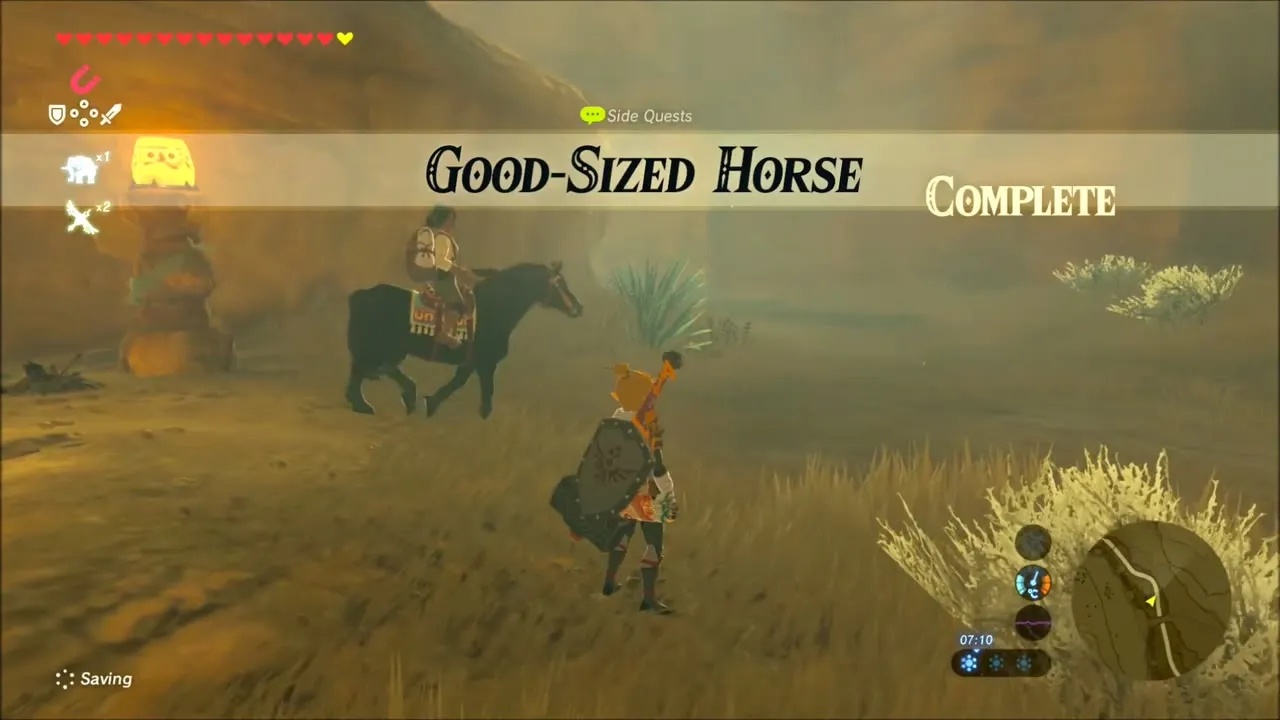
At a camp by the road you meet Zyle, who has lost his horse and offers 300 rupees for a good-sized one. This starts the Good-Sized Horse side quest. Bring him a horse from Gerudo Canyon Stable and he pays you with a Gold Rupee, at the cost of the horse.


Farther along, another Korok asks you to carry a loose boulder to where it waits. Pick the rock up, bring it over and set it down for the seed.
Royal Bow Chest and More Seeds Near the Wooden Lookouts
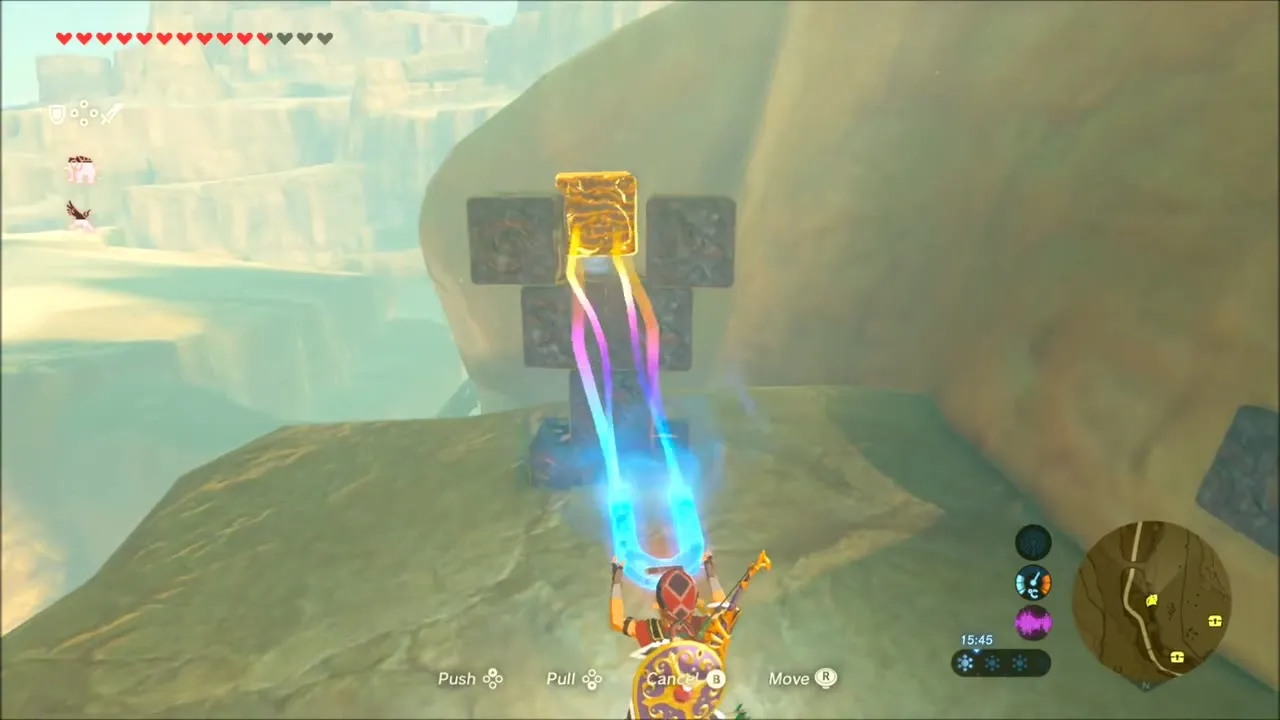
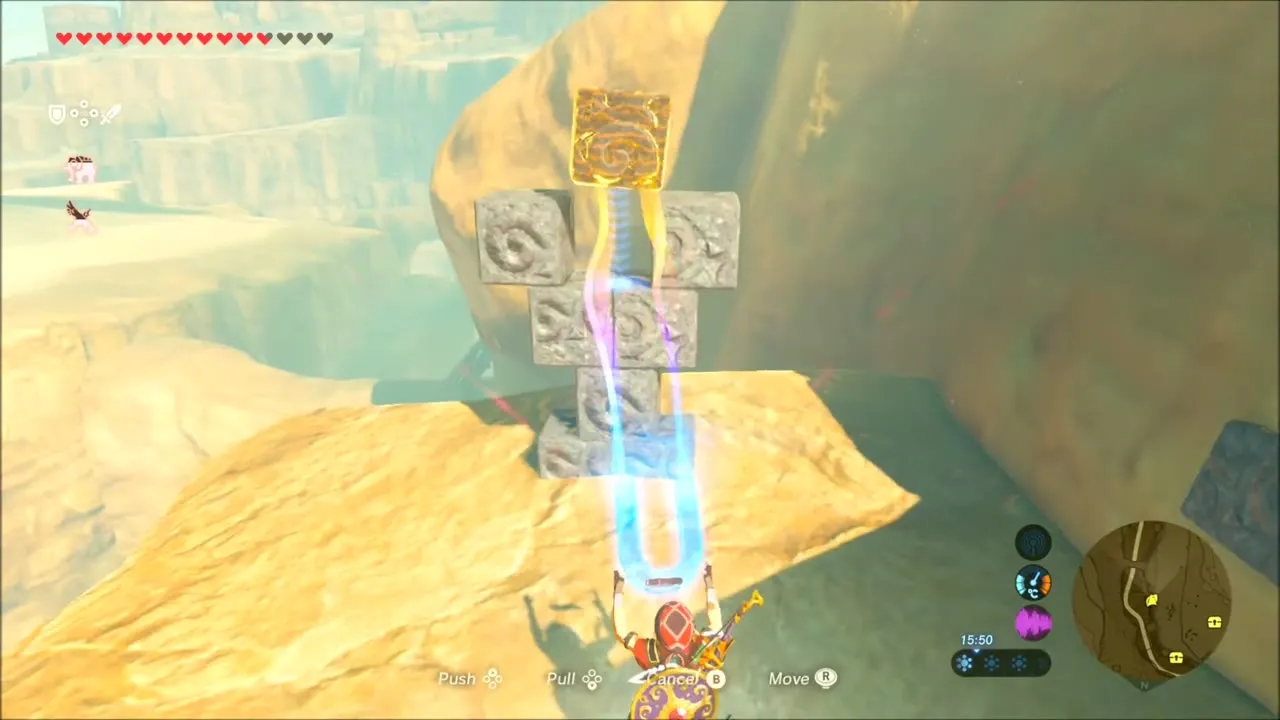
Another Korok puzzle sits on a cliff face: pull a metal block up with Magnesis and fit it into the gap in a column of stone blocks to release the seed.

Around the wooden lookout in the grass, a chest holds a Royal Bow, a good ranged weapon with a quick-shot ability.
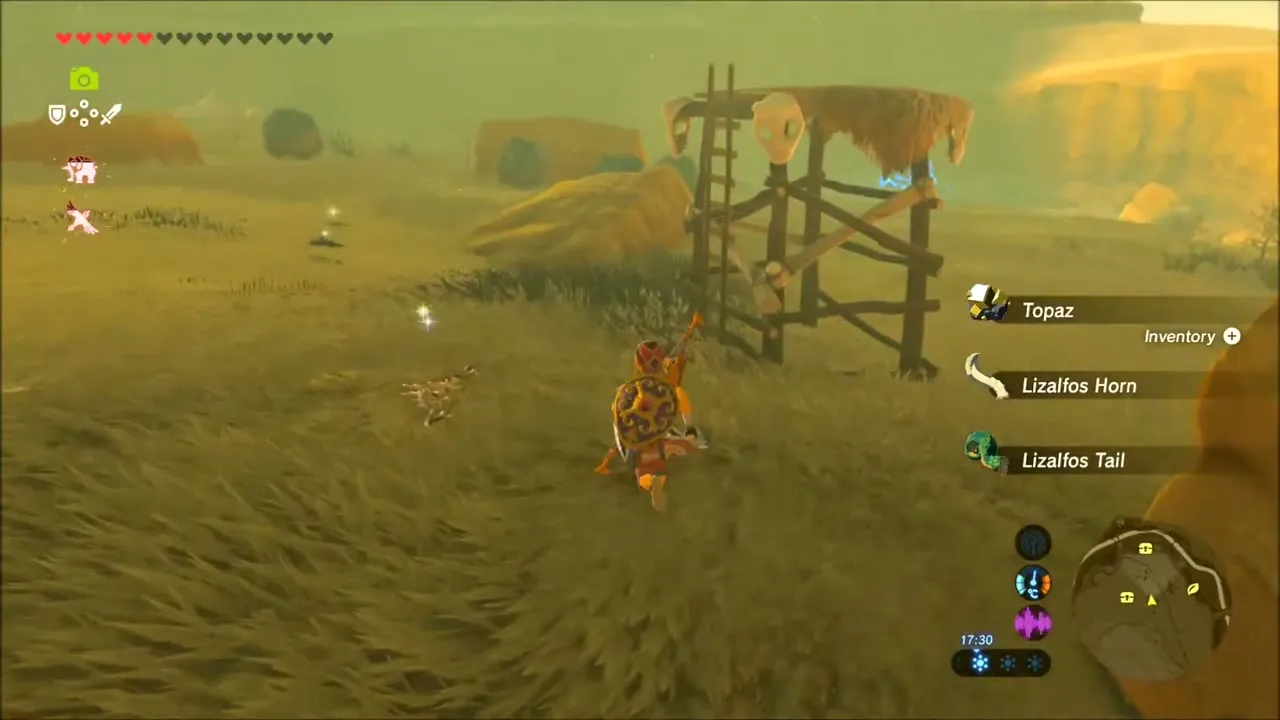
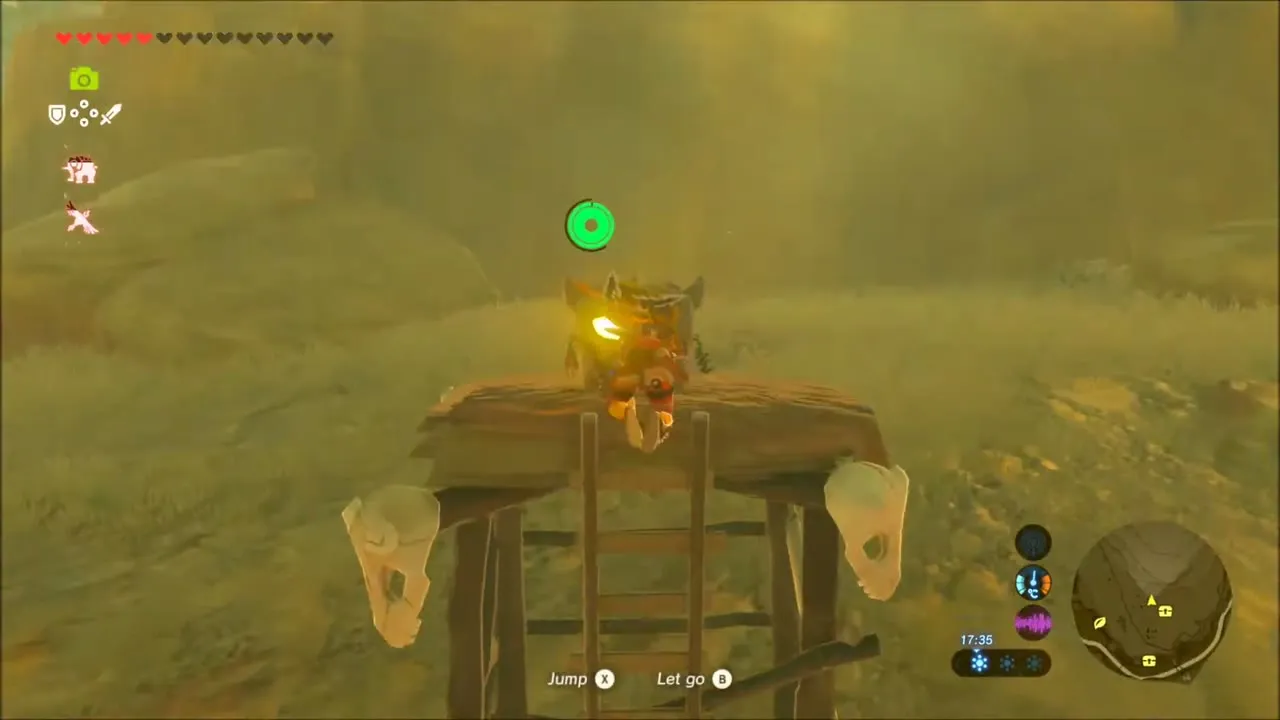

On the plank scaffolds above, pick up the topaz lying around and climb the wooden walkways up the cliff.
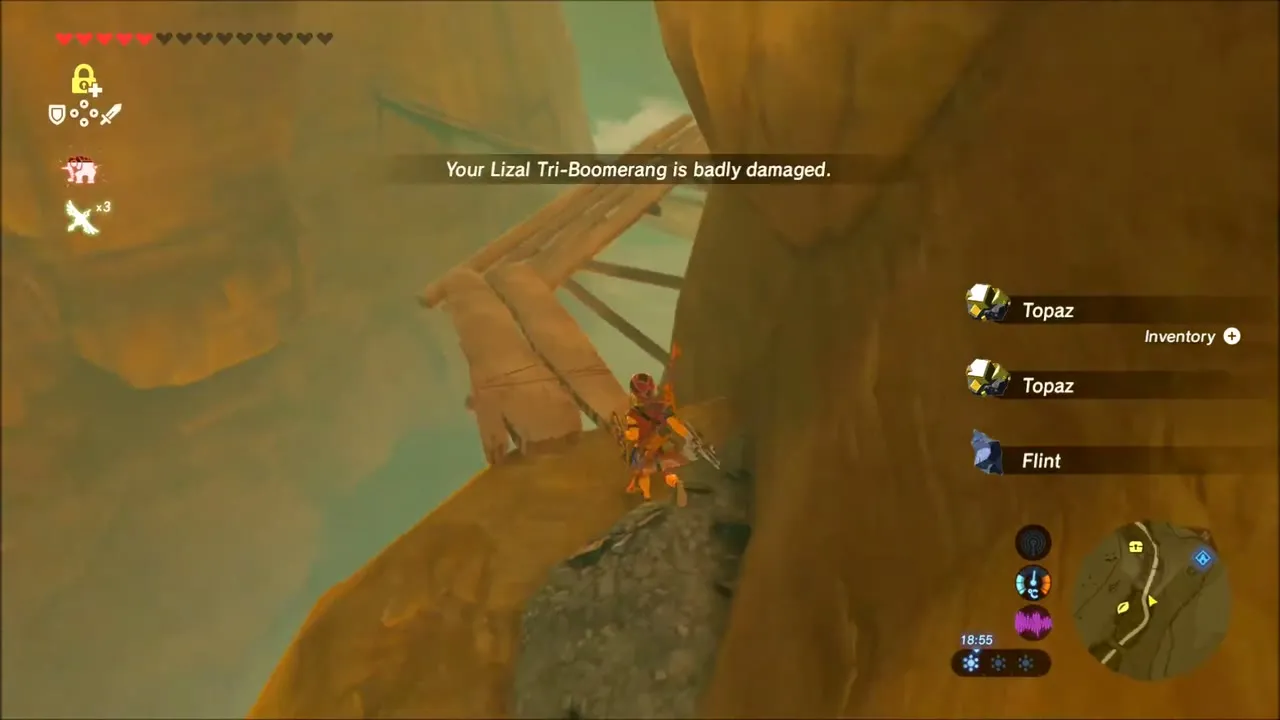
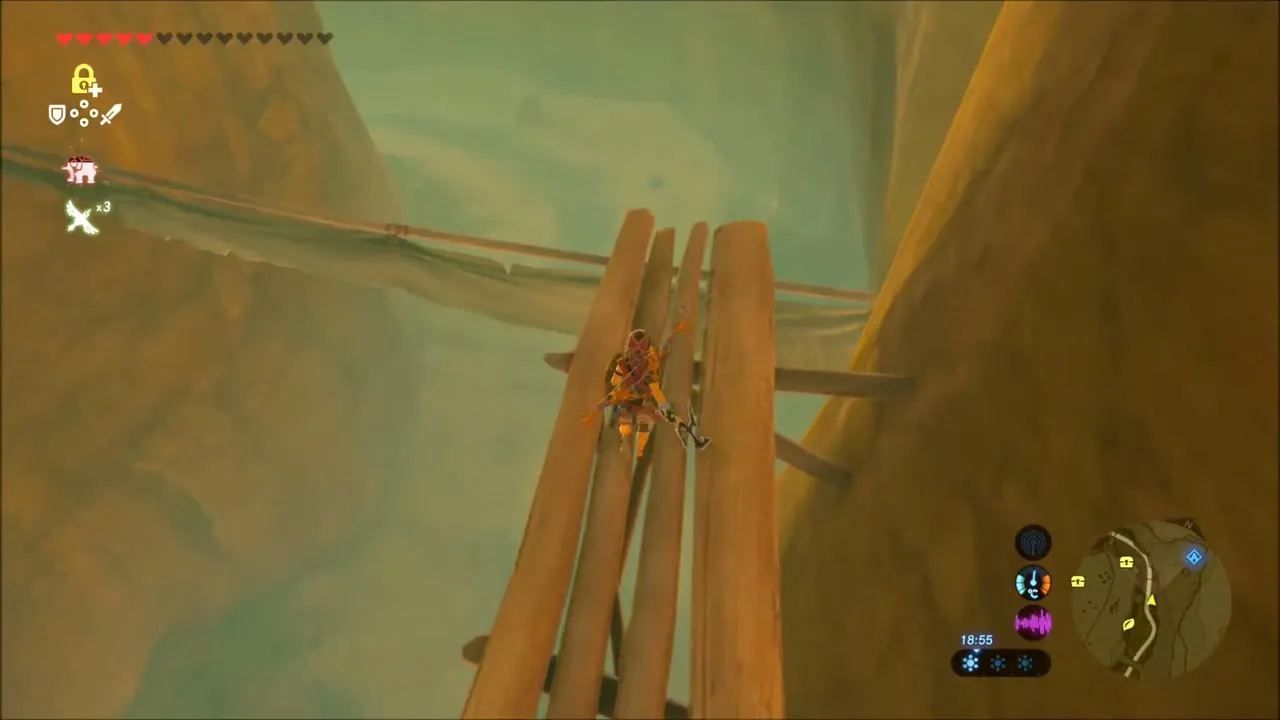

Korok Seeds on the Red Canyon Wall
Scale the rock wall to a ledge with a tree stump on it, where another Korok Seed is hidden.
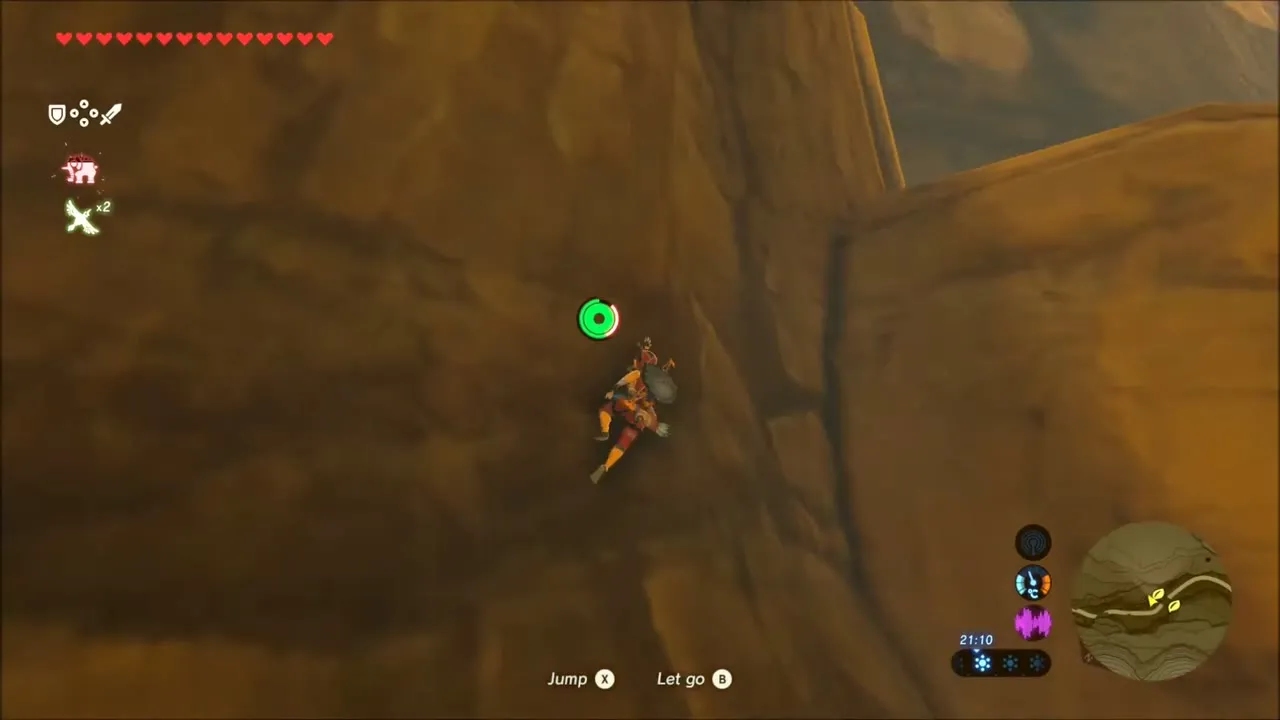

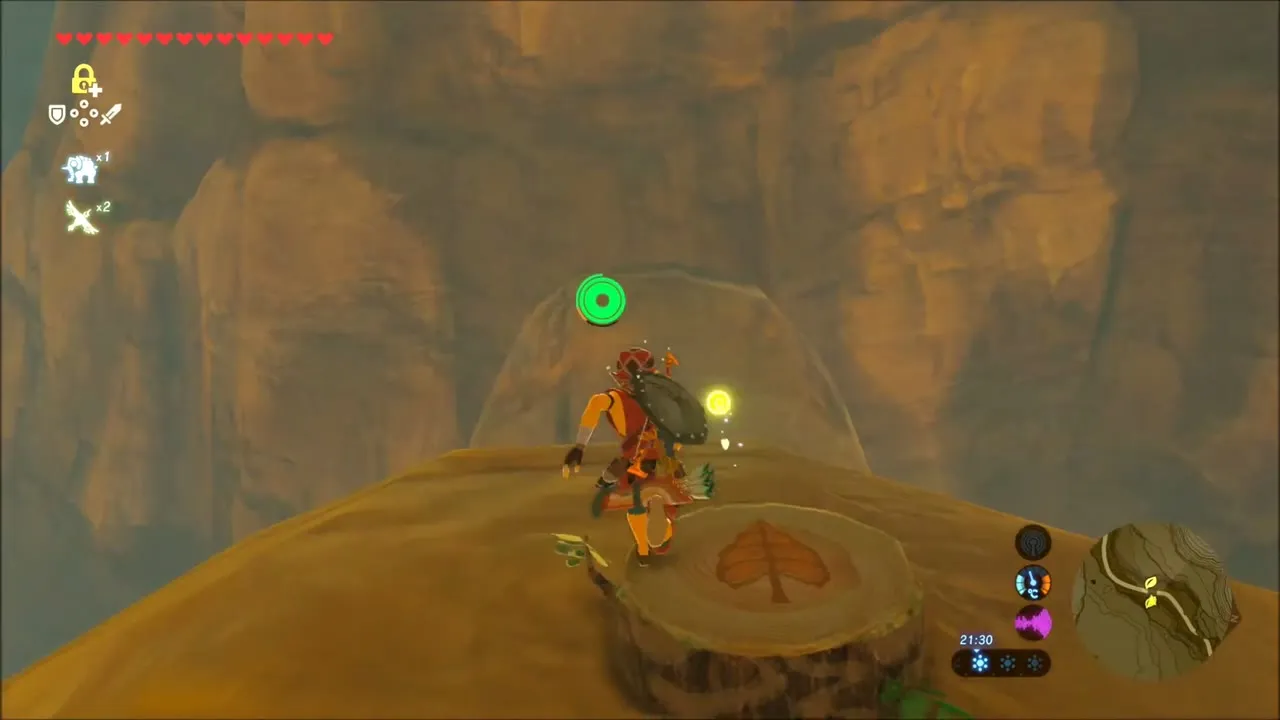
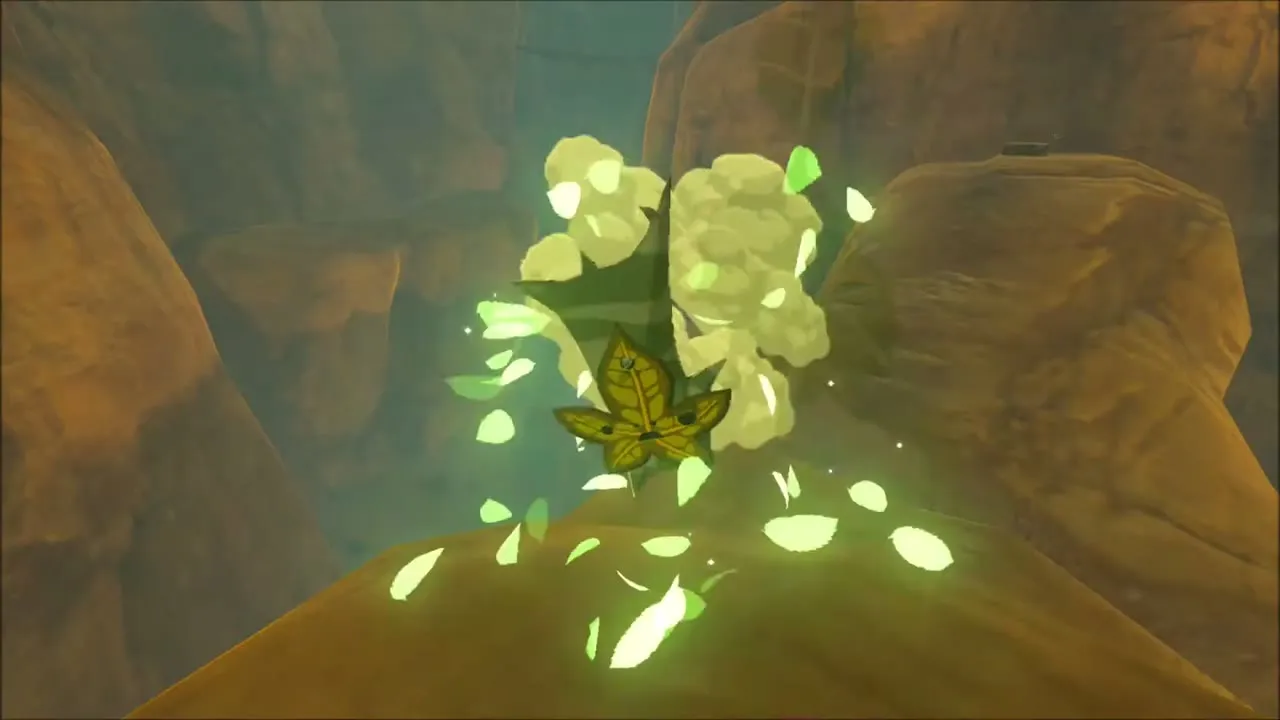
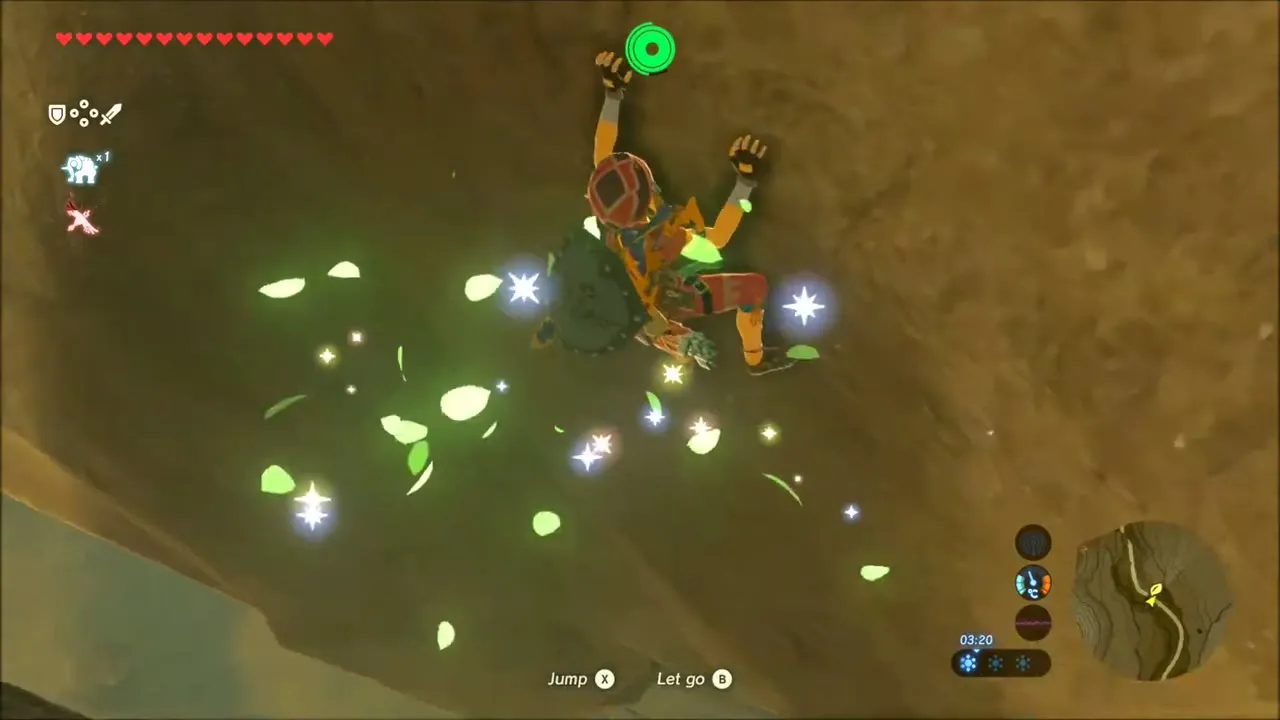
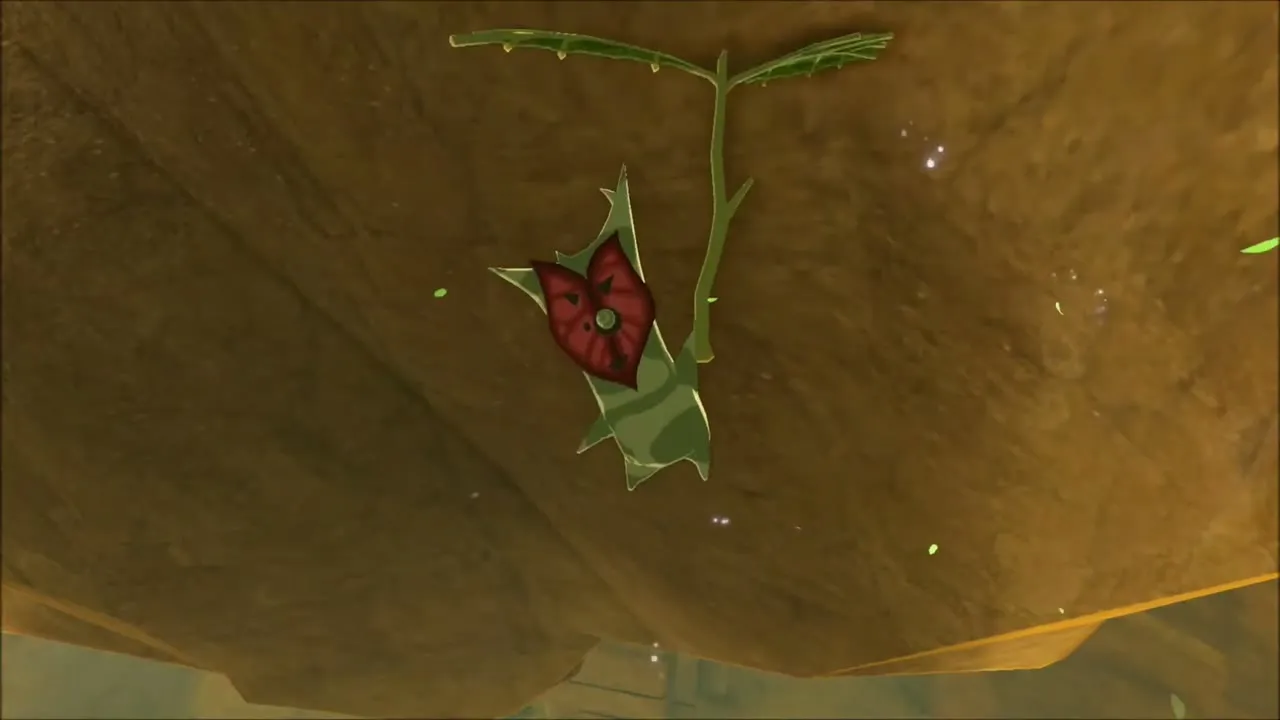
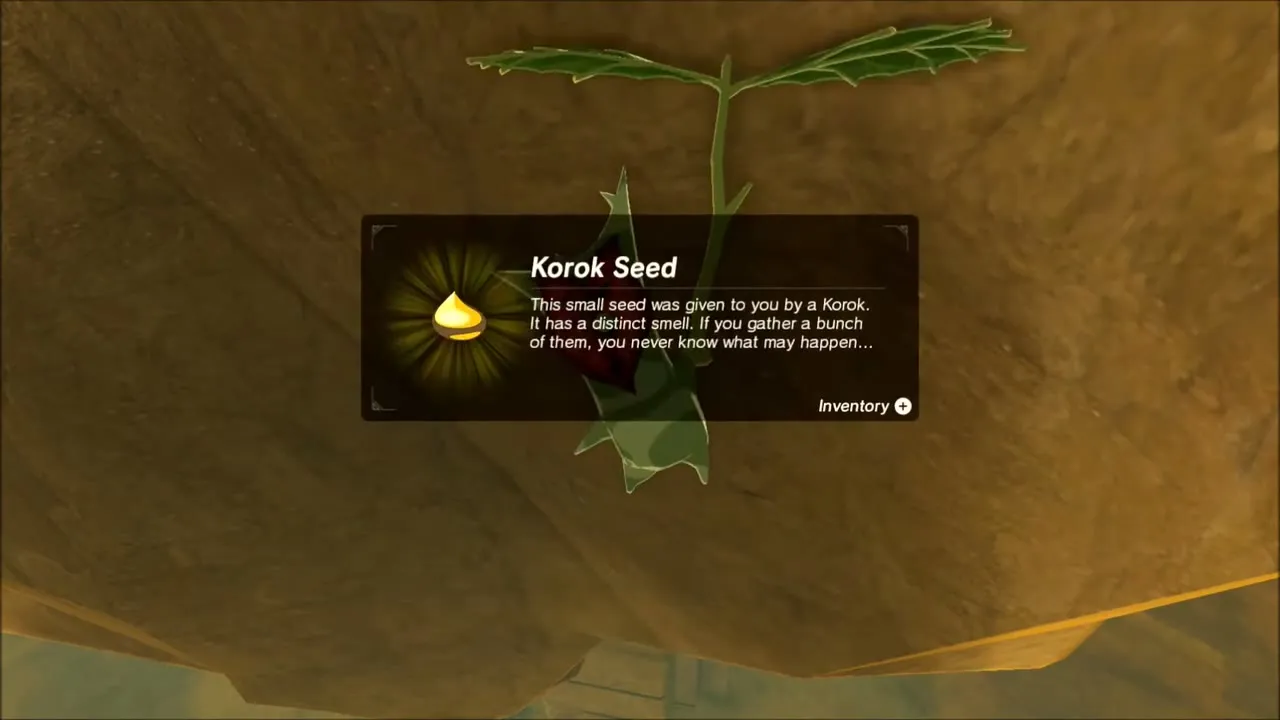
Keep climbing the wall: a long vertical climb ends in a burst of leaves where a seed is waiting. Another Korok is tucked behind the rock face higher up the same canyon.

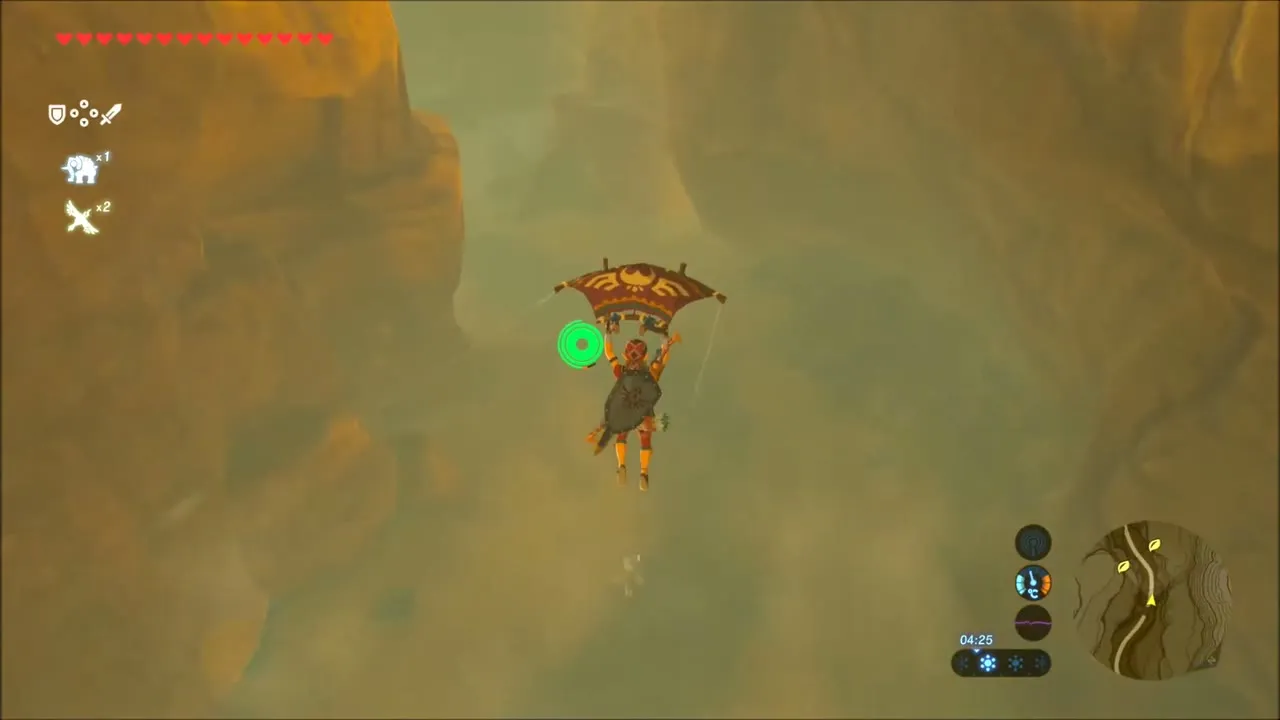
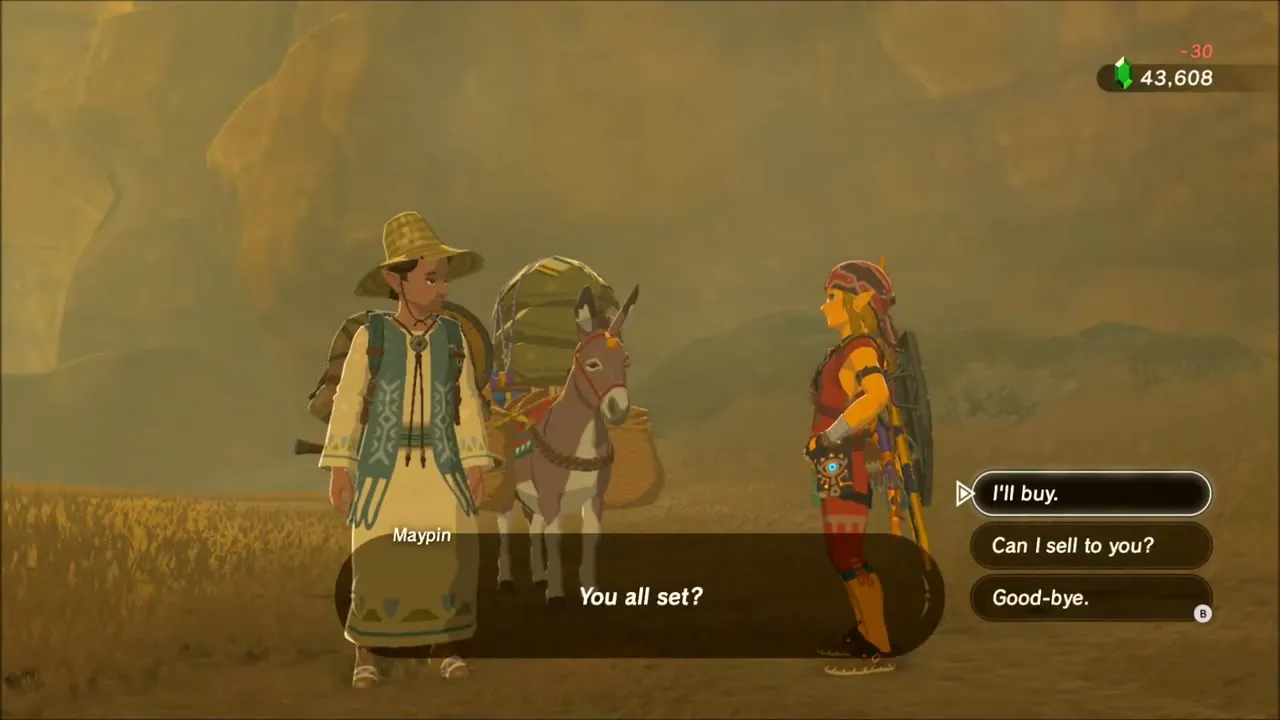
Before you leave, sell your stock of luminous stones to the merchant Maypin, since you now have plenty. Then glide down toward the sand and continue south.

Second Stone Talus and Rare Gems
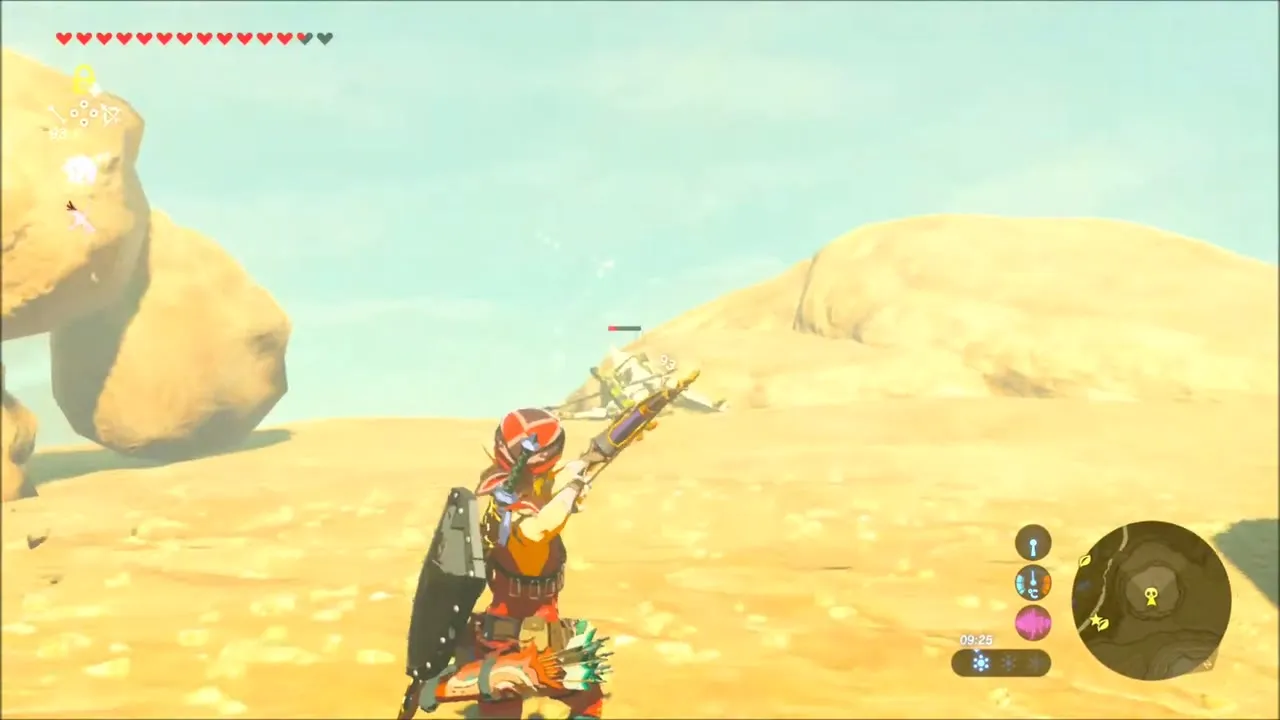
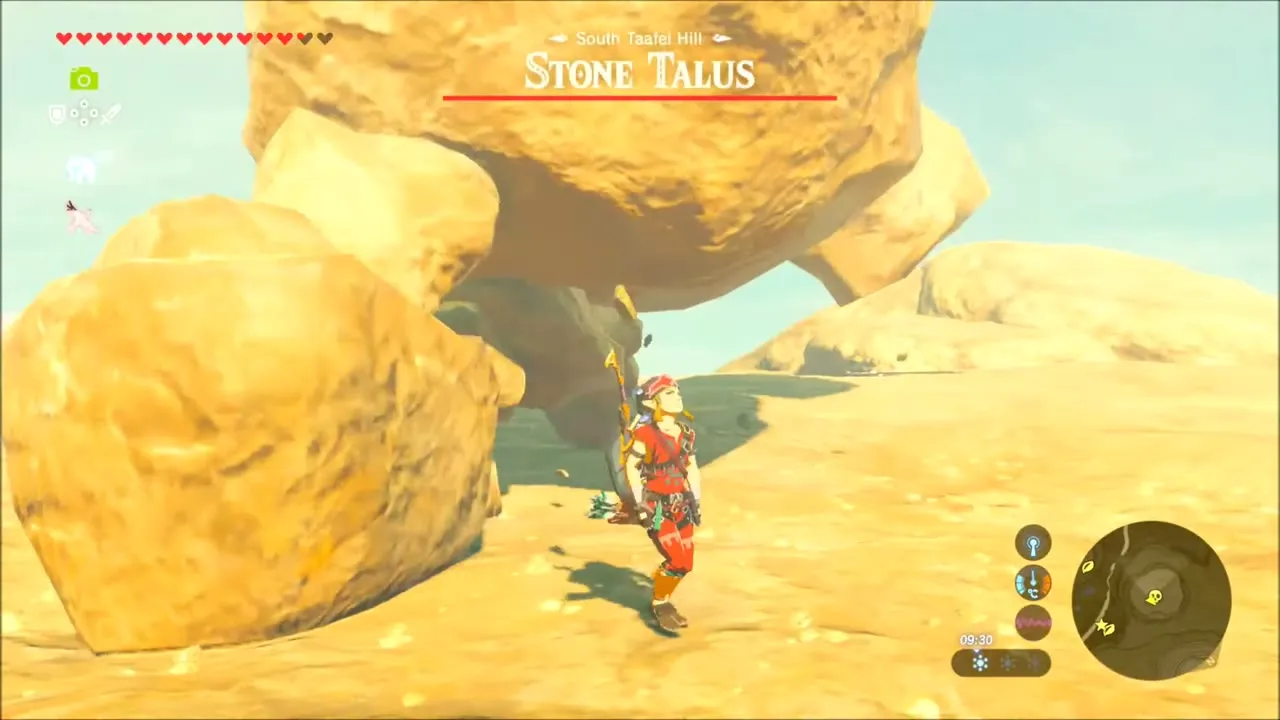
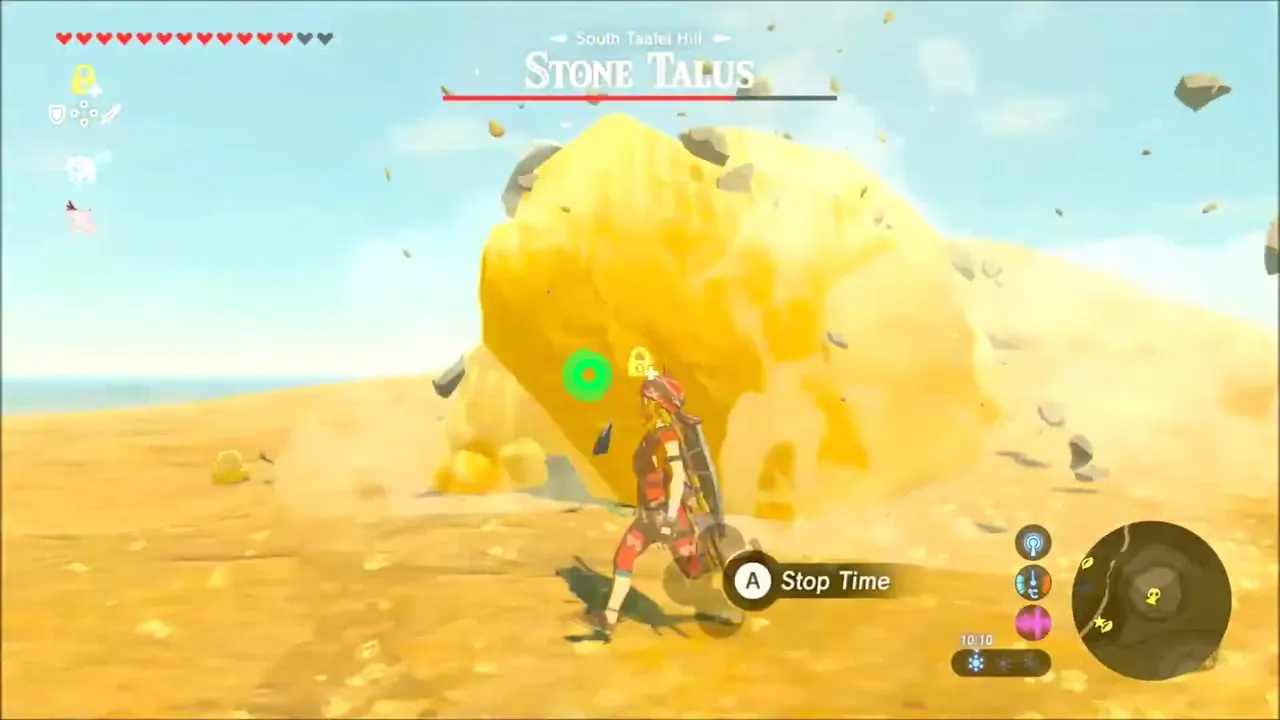
Take a photo of the next Stone Talus for your Compendium, then fight it the same way as the first: freeze it, climb on and strike the ore. This one leaves luminous stone, amber and an opal, along with a pile of ore at the spot where it fell.

Kay Noh Shrine: Power of Electricity Trial
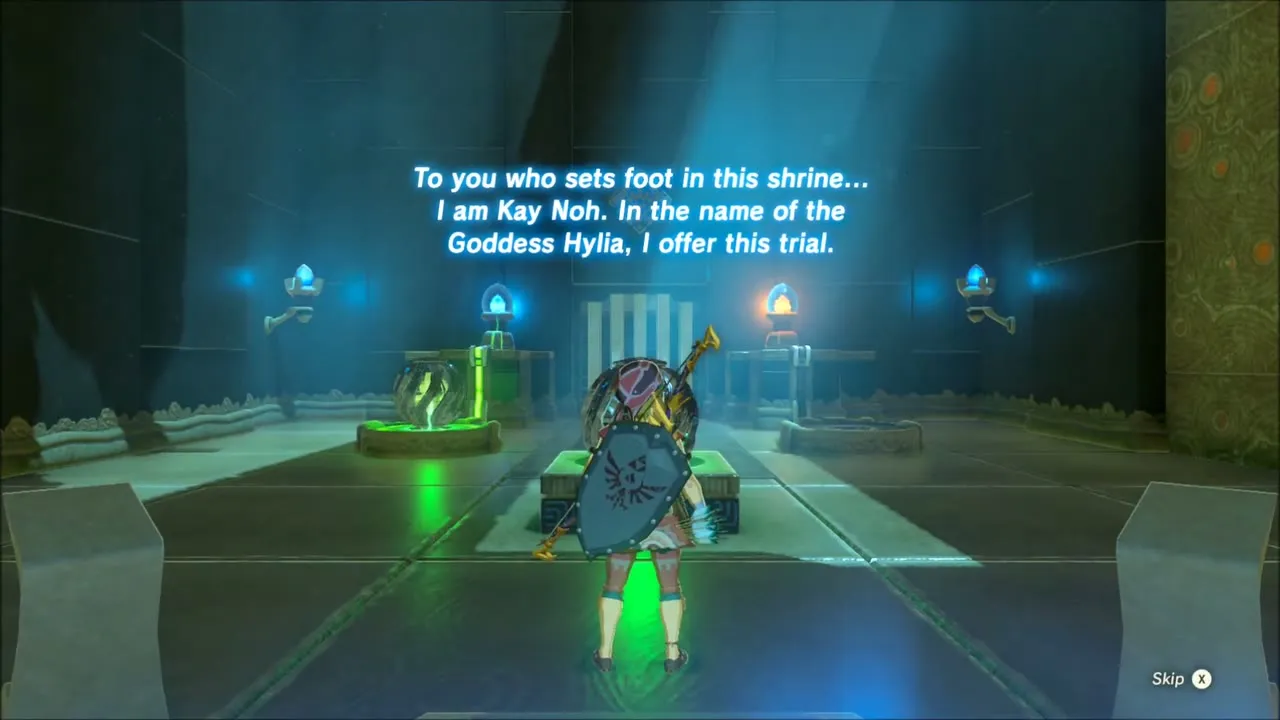
Kay Noh Shrine (x -2810, z 2300, height 185) is north-west of the Wasteland Tower, near Gerudo Canyon Stable. Its trial is Power of Electricity, and you will carry electric orbs between pedestals.

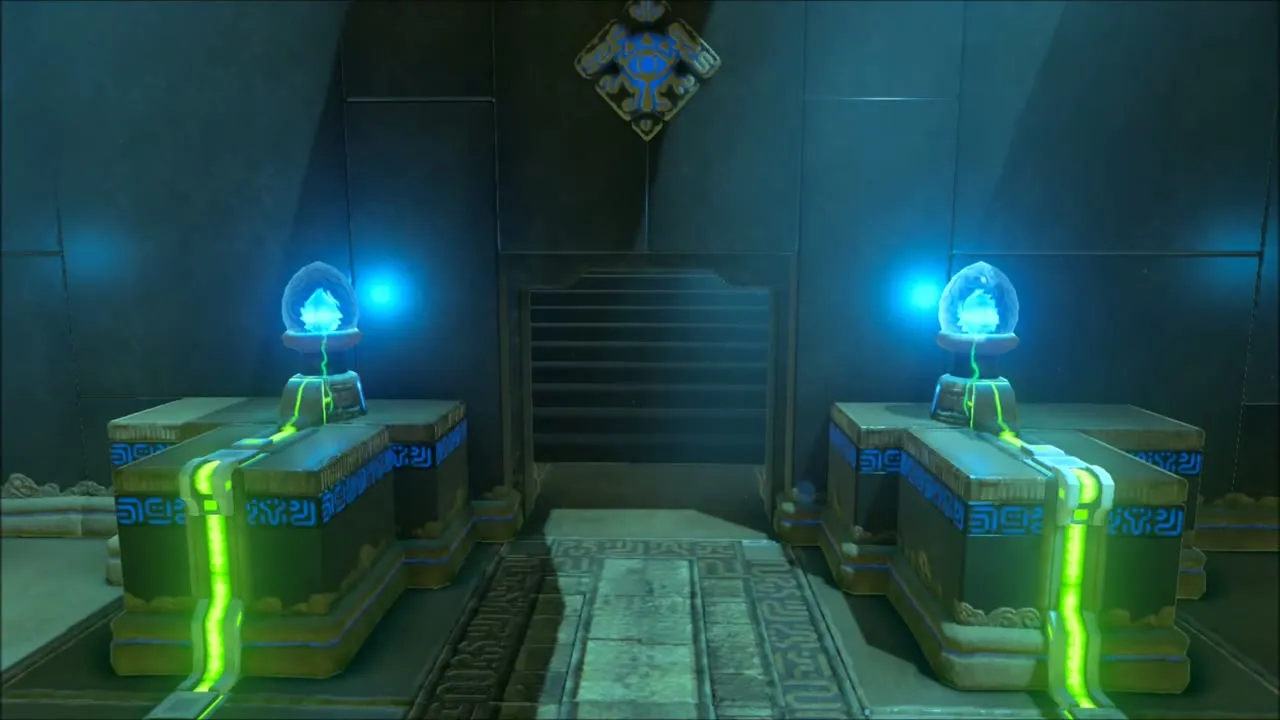
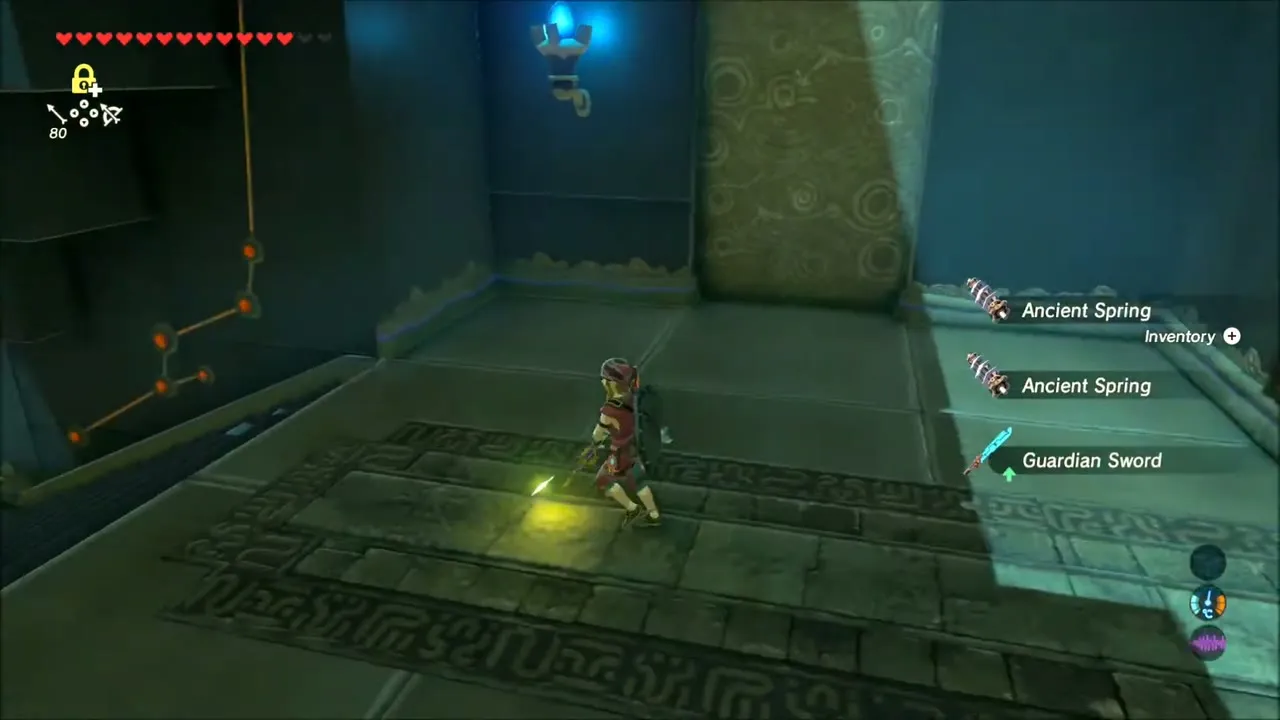
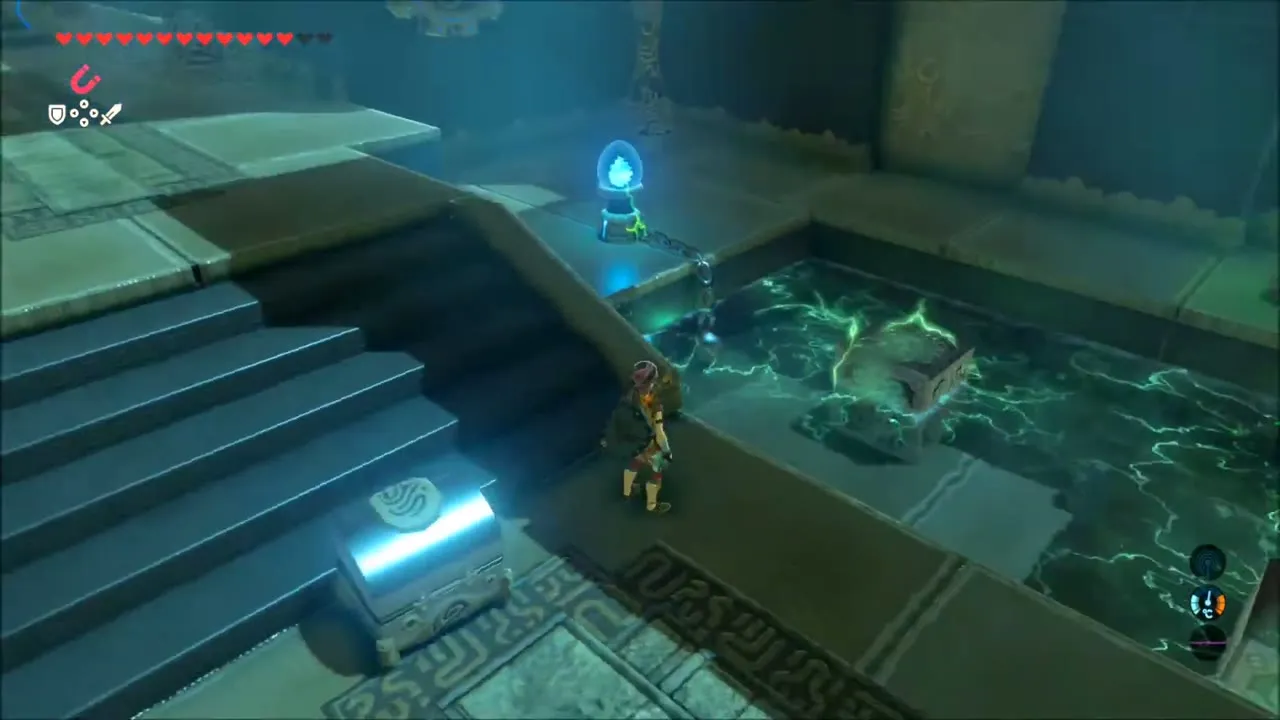
In the first room, pick up the electric ball in front of you and set it on the empty pedestal beside the other one. Go down the stairs on the right, defeat the Guardian Scout and take its Ancient Springs and Guardian Sword. Shoot the rope holding the second electric ball, carry it to the empty pedestal on the far left, and a conveyor belt starts moving, knocking a block aside to reveal a chest with a small key.
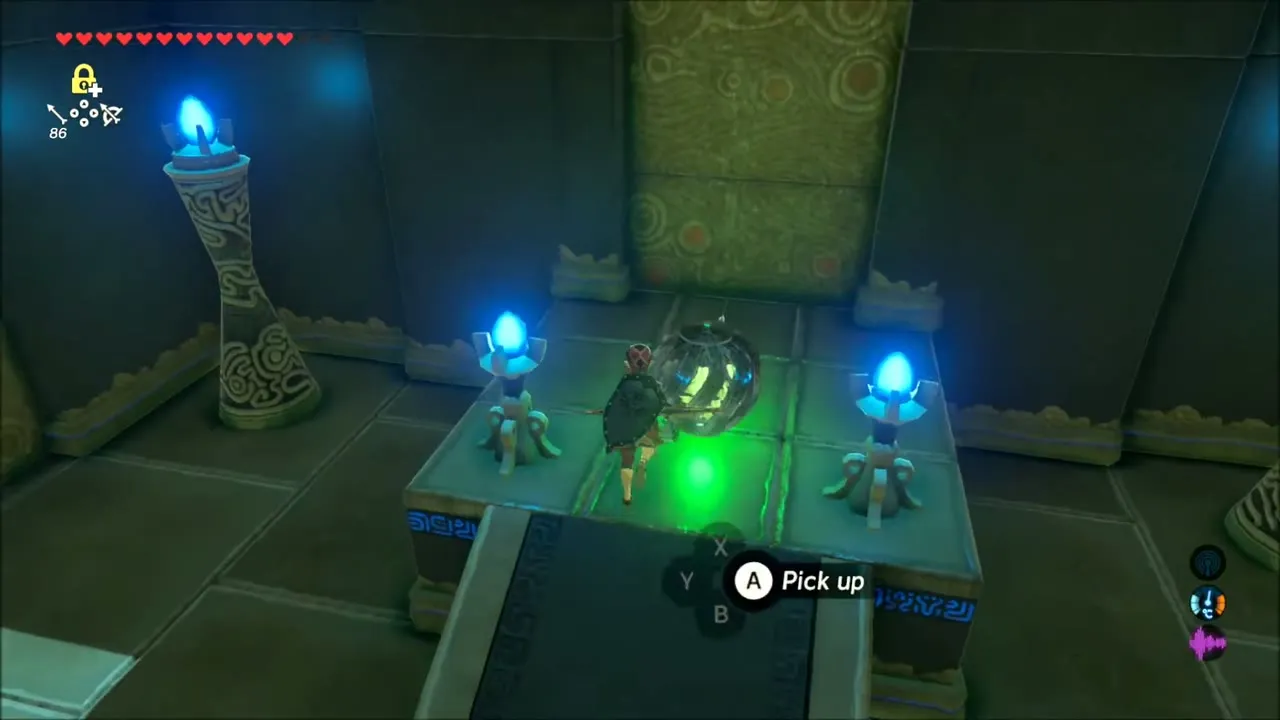
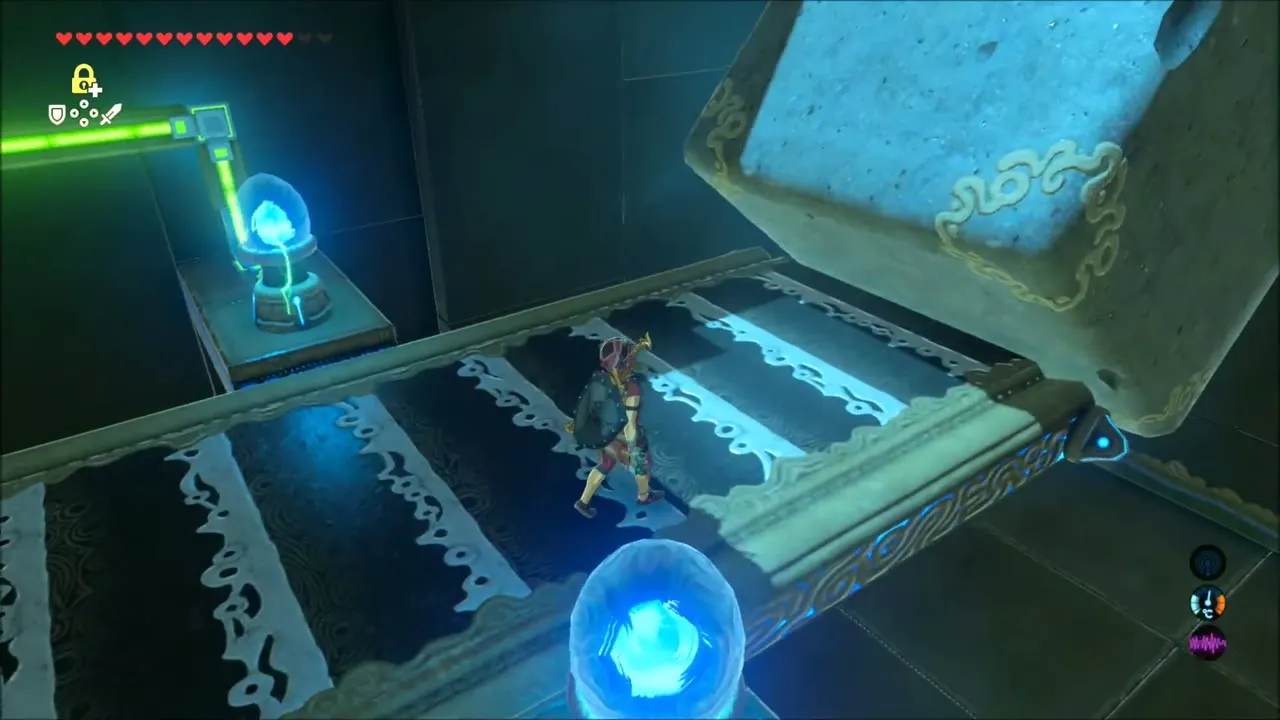
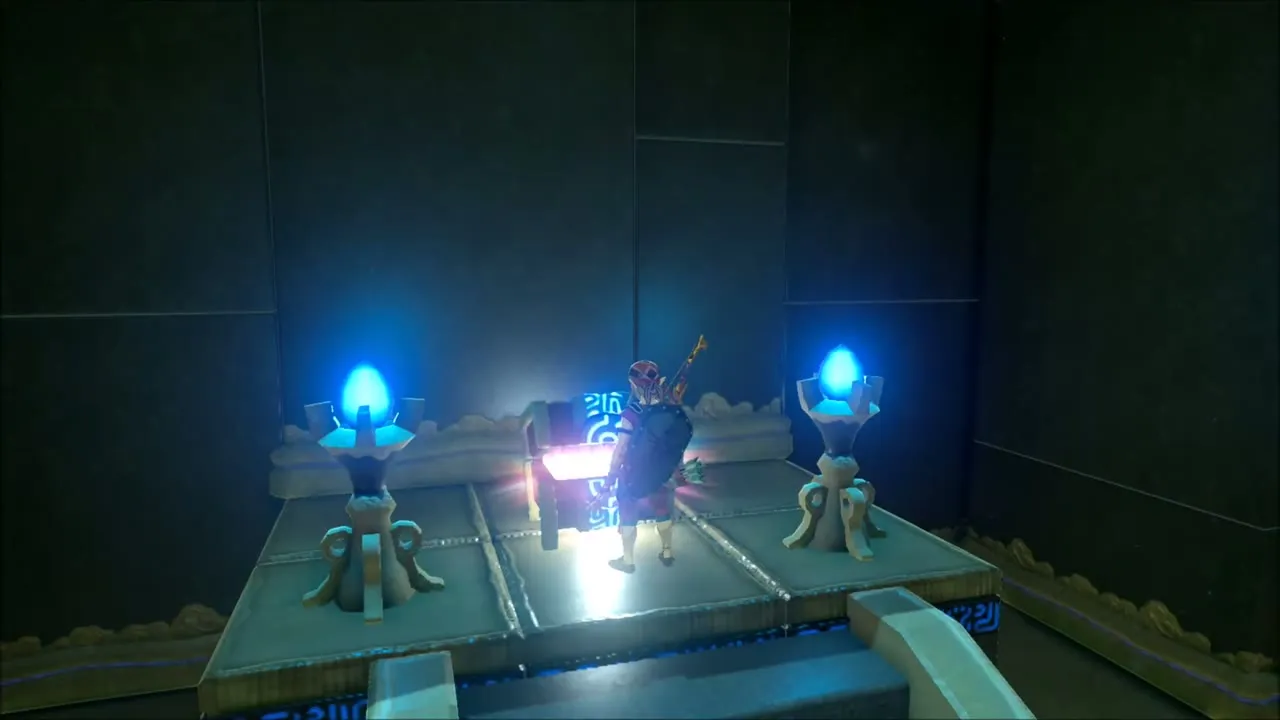
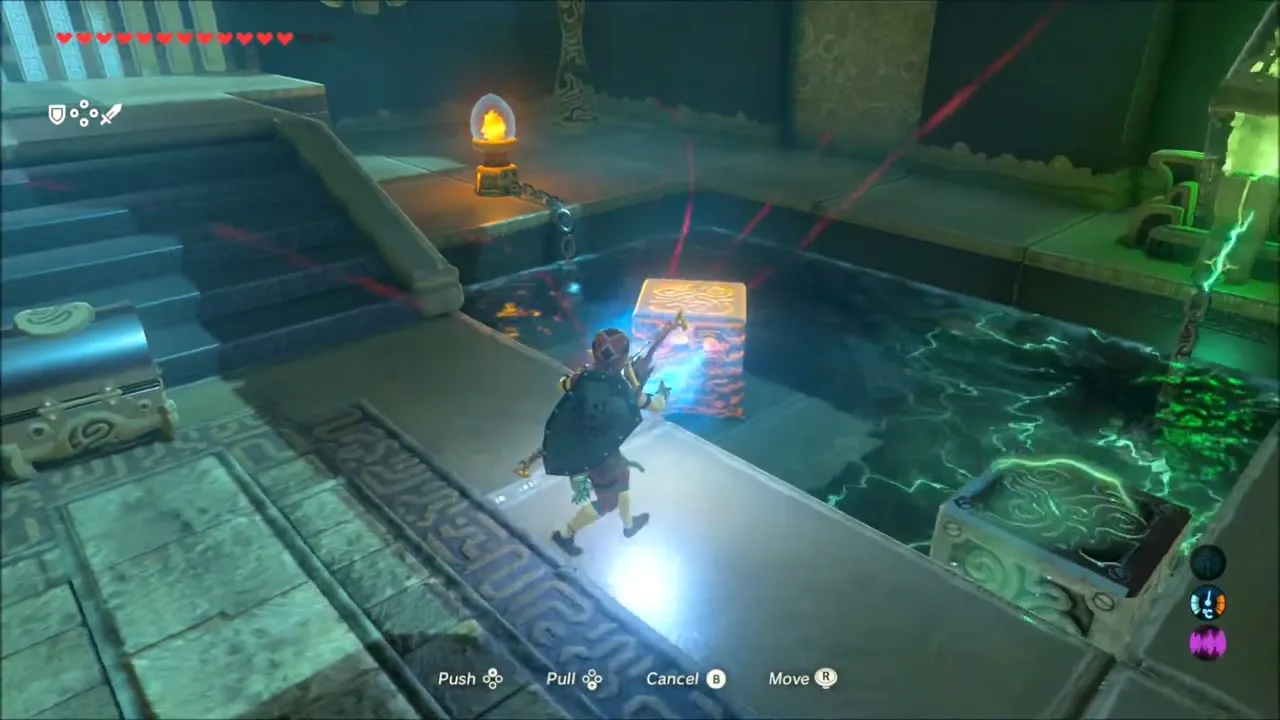
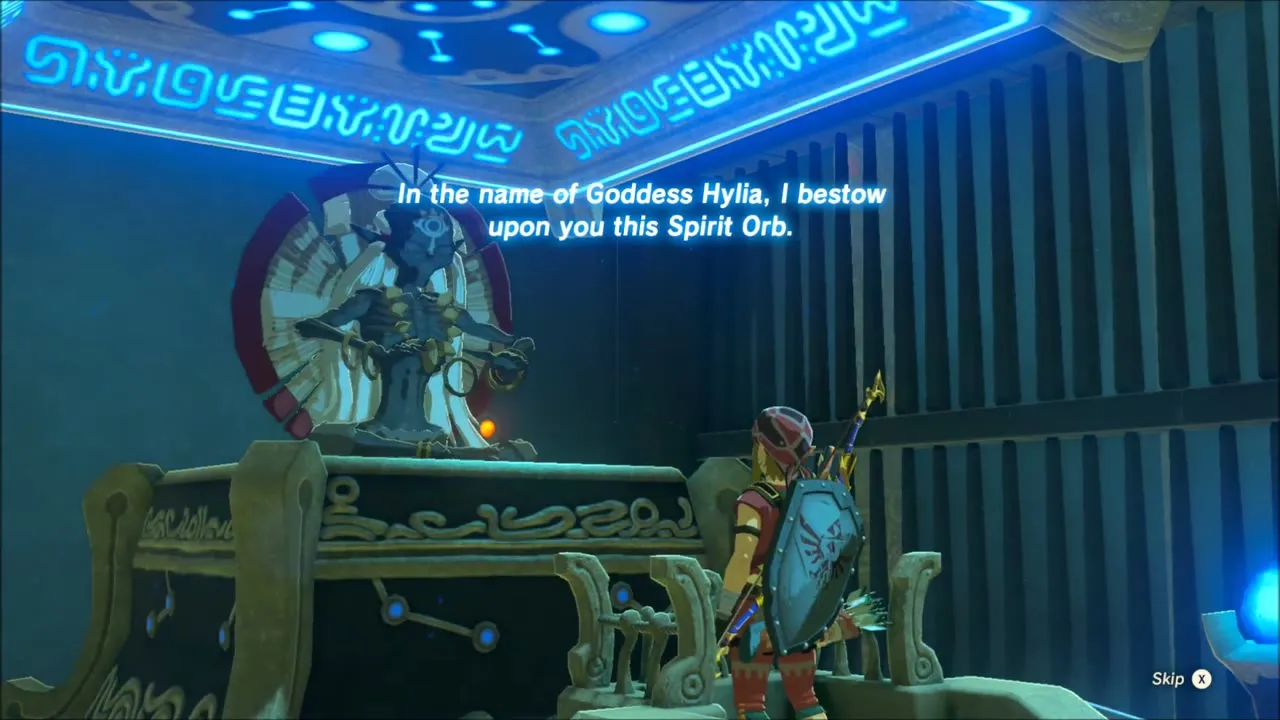
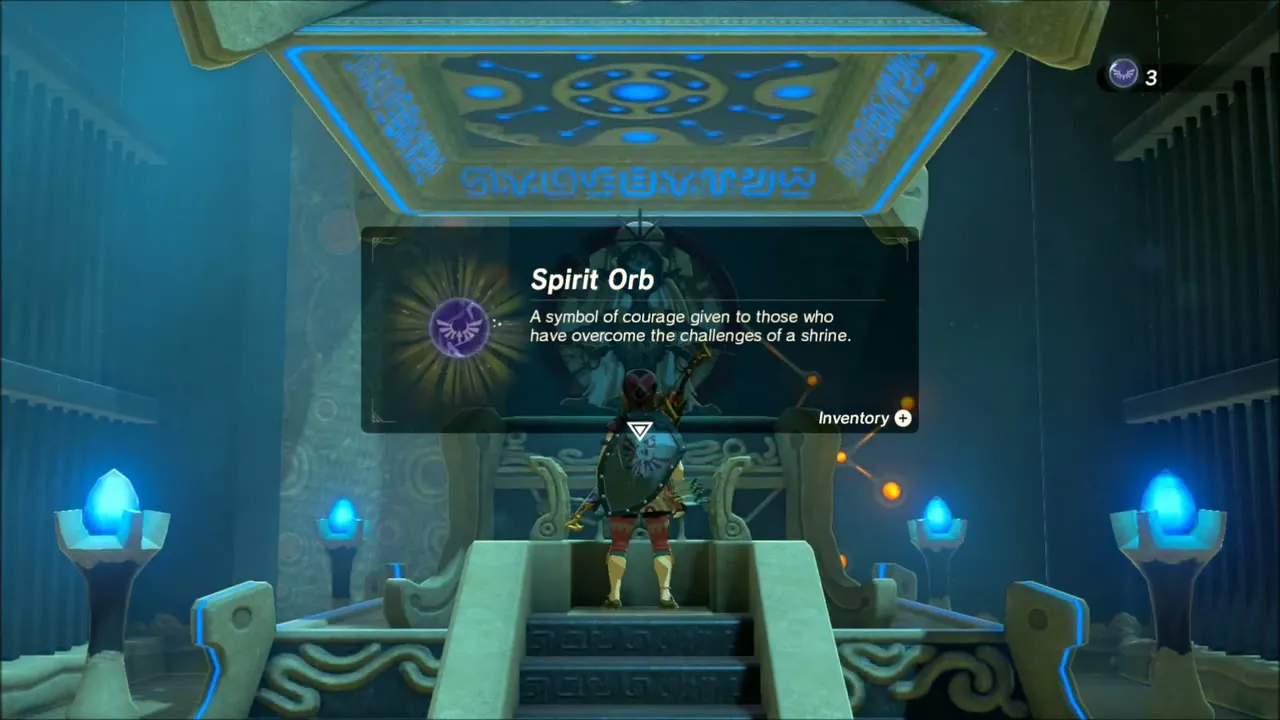
Use the key on the locked door. In the next room, two pools hold electric blocks, but the right pool is missing one. Use Magnesis to copy the layout of the left pool and current flows through to open the door. Look up above the stairs for a chest high on the wall and lower it with Magnesis for a scimitar. Speak to Kay Noh to receive your Spirit Orb.
Great Cliffs to Gerudo Canyon Stable: Blood Moon and Korok Seeds
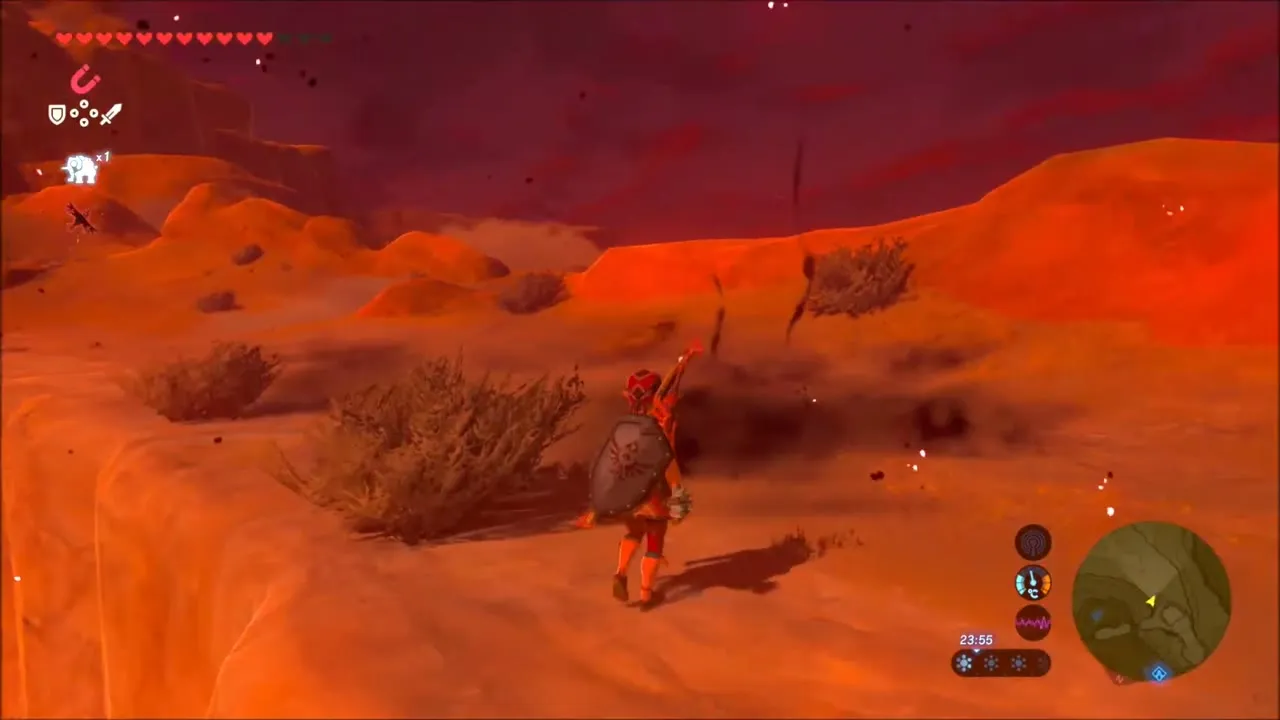
Leave the Great Cliffs and work your way south-east across the canyon walls toward Gerudo Canyon Stable. The route is a long chain of cliff climbs and ledges, and Moblins hold some of the ledges, so keep a weapon ready. As the night wears on, the sky turns red and the Blood Moon rises: every monster you cleared on the way respawns, including the Moblins around the rocks, so do not count on those areas staying empty.


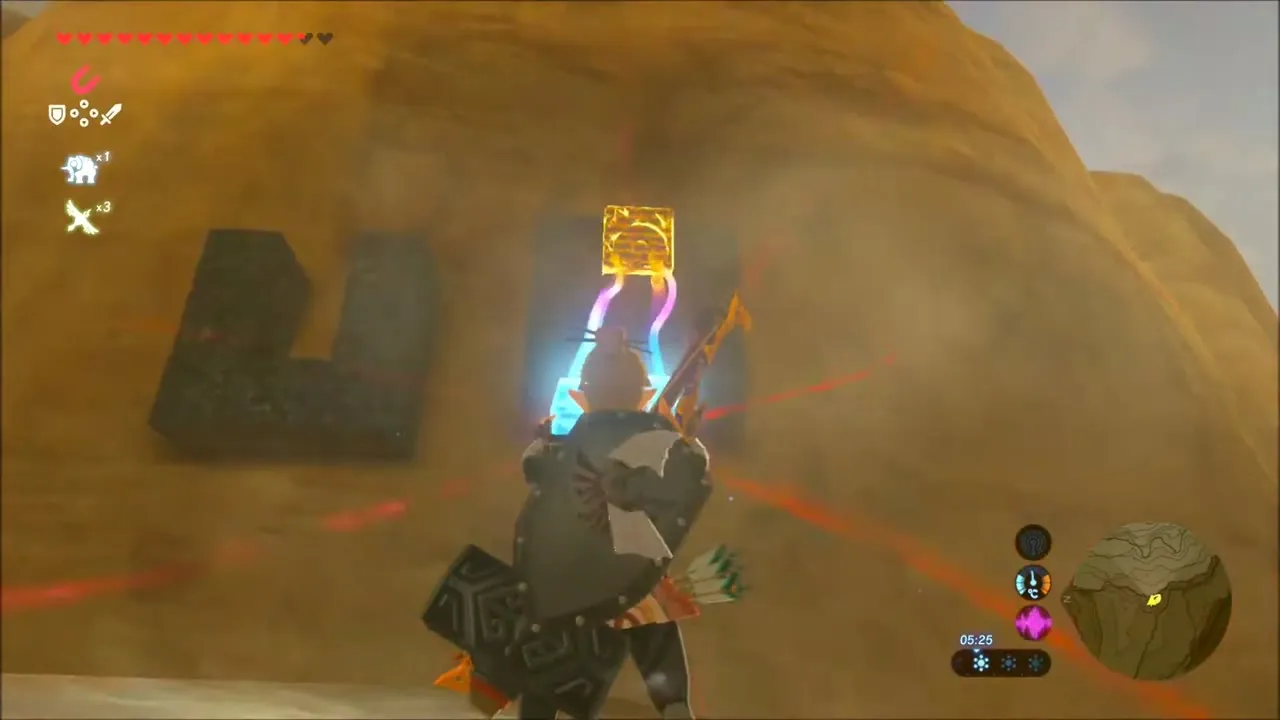
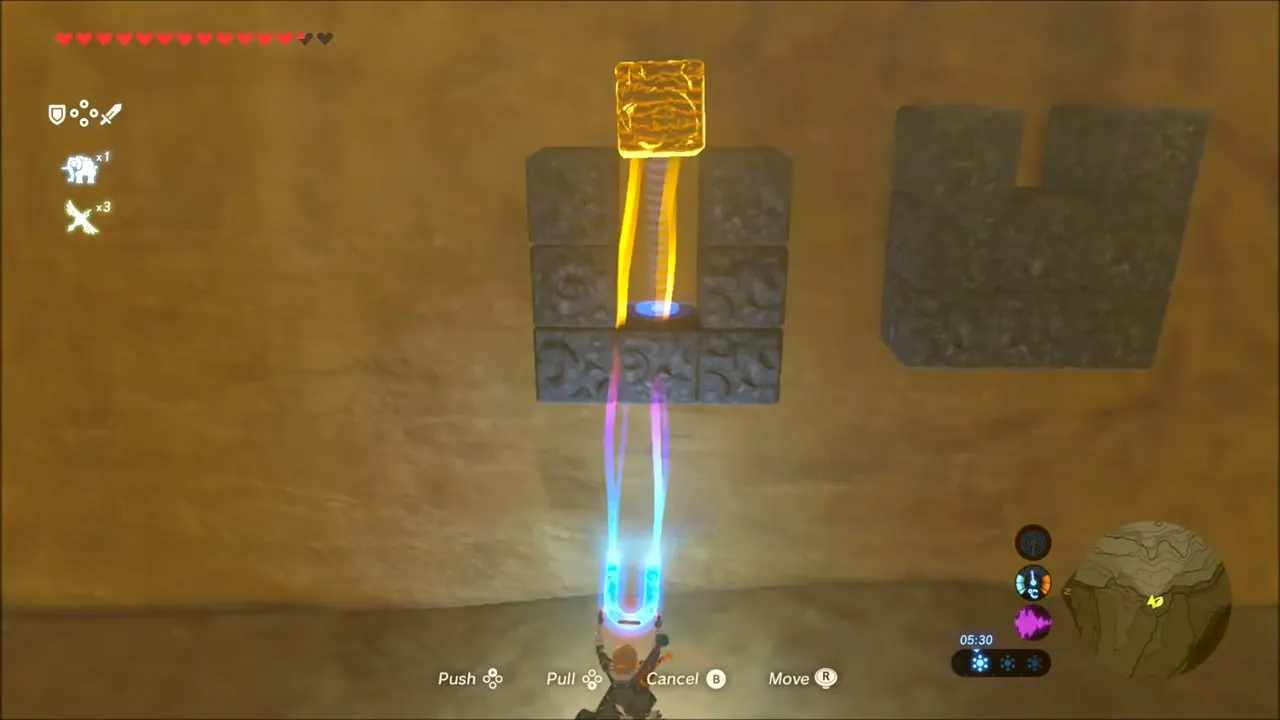
Korok seed on the canyon wall: Magnesis blocks
On the cliff face above the road to the stable, two dark stone blocks sit in the rock wall, each with a notch cut out of it. Stand below and use Magnesis to lift the loose metal block from the ground and slot it into the gap between the stones. Once the shape is complete, the Korok jumps out and gives you a seed.



Gerudo Canyon Stable: Rushroom Rush!, Missing in Action and Good-Sized Horse
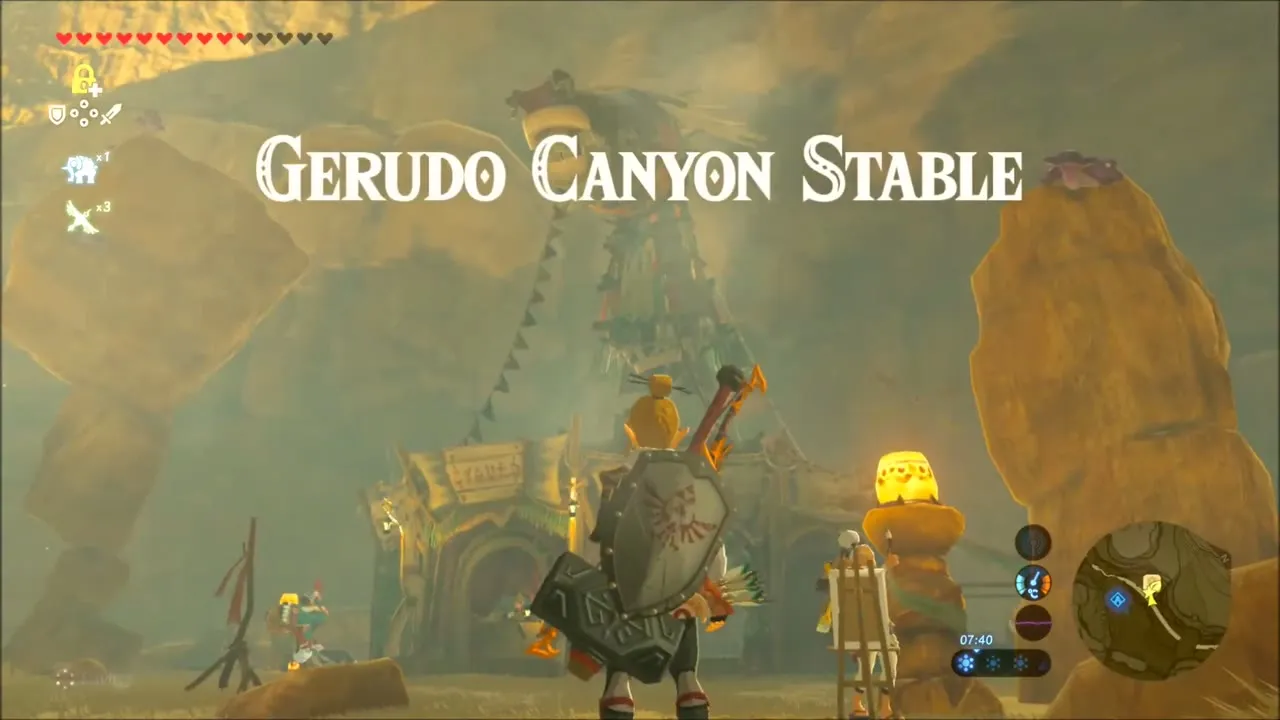
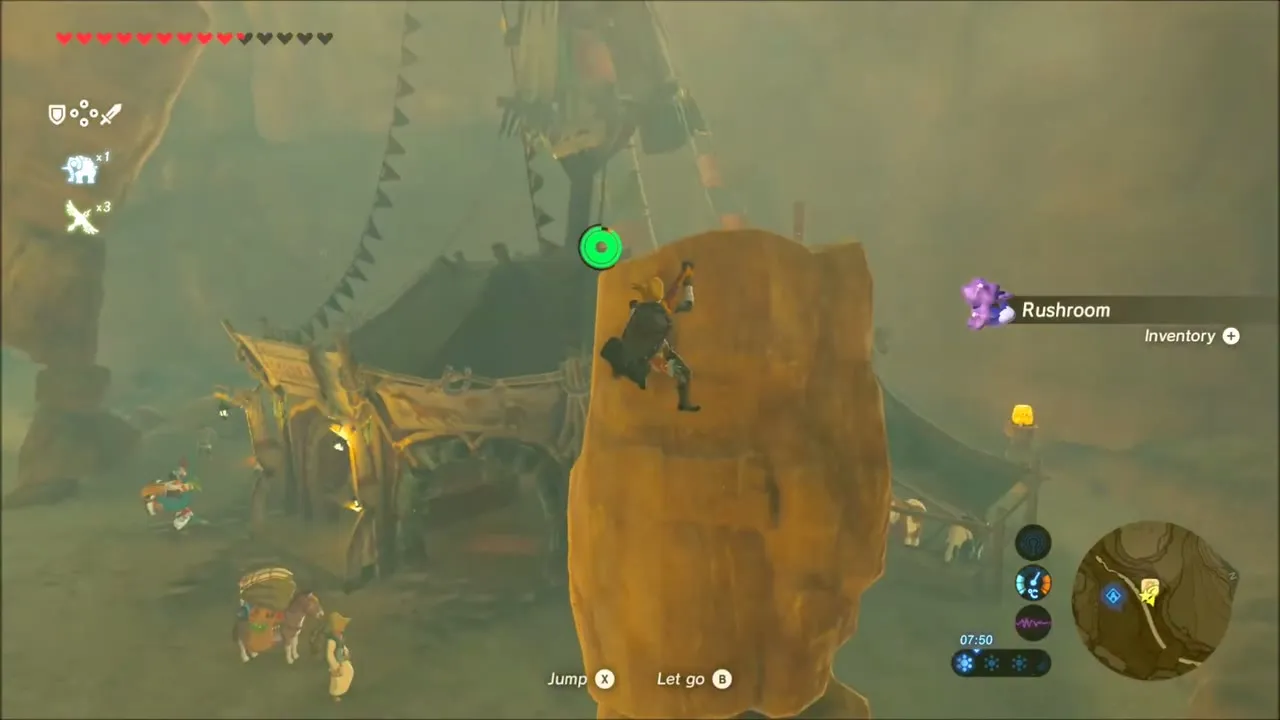
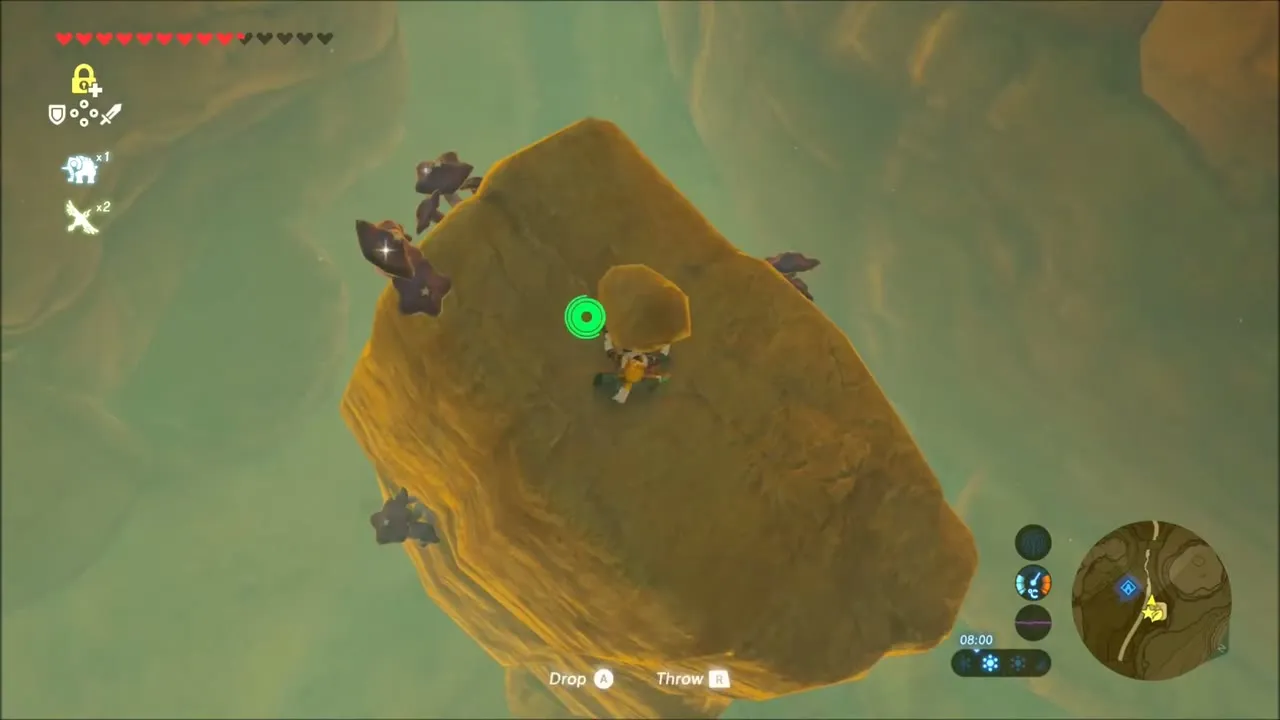
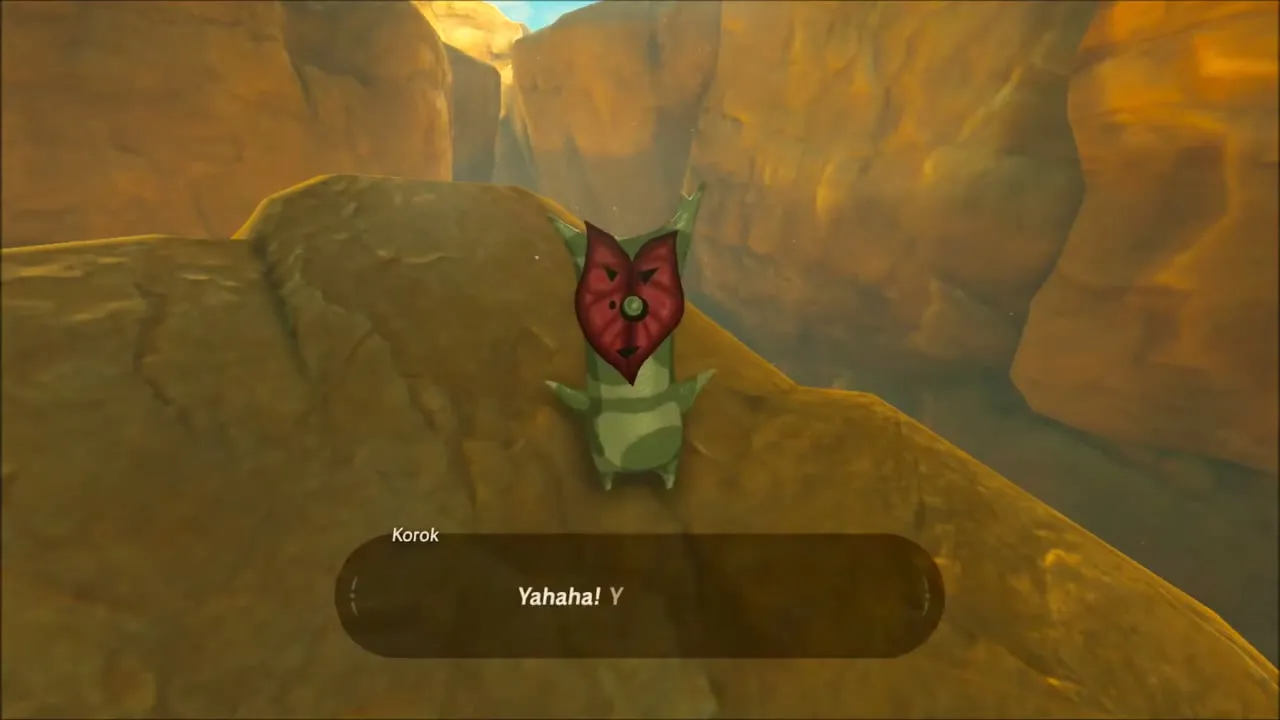
Gerudo Canyon Stable sits at the foot of the cliffs at (-2804, 2226). Before going in, climb the tall rock pillar beside the stable and cut a few Rushrooms from its sides, then stand on top and lift the small flat rock on the summit. A Korok is hiding underneath and pays out another seed, which matches the datamine position (-2815, 2248). Glide down to the stable when you are done.
Rushroom Rush! for a Diamond
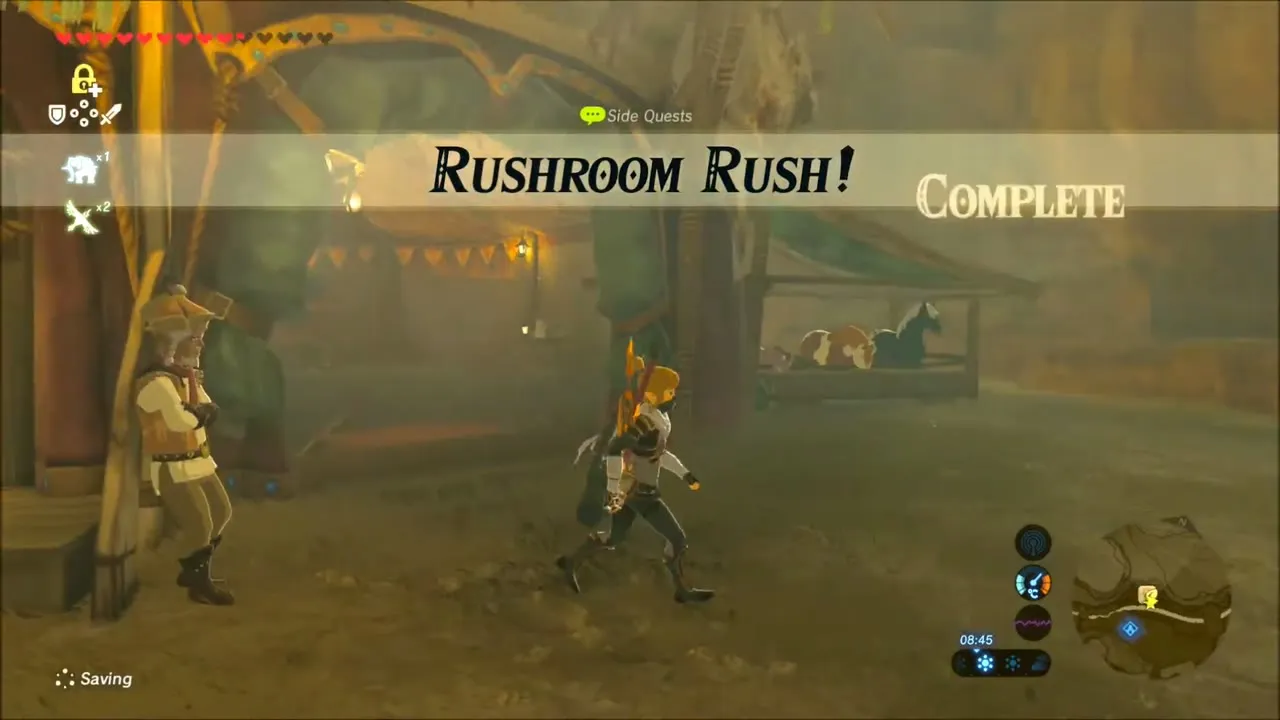
Pirou, the man leaning on the counter inside the stable, starts Rushroom Rush! Hand him 55 Rushrooms in one go, since he refuses to trade any other amount, and the quest completes. He then sends you behind the stable, where a glowing chest holds the Diamond. Pirou also says he will keep trading at the same rate whenever you bring another 55, so this is a repeatable source of Diamonds.



Missing in Action: Sesami’s lost friends
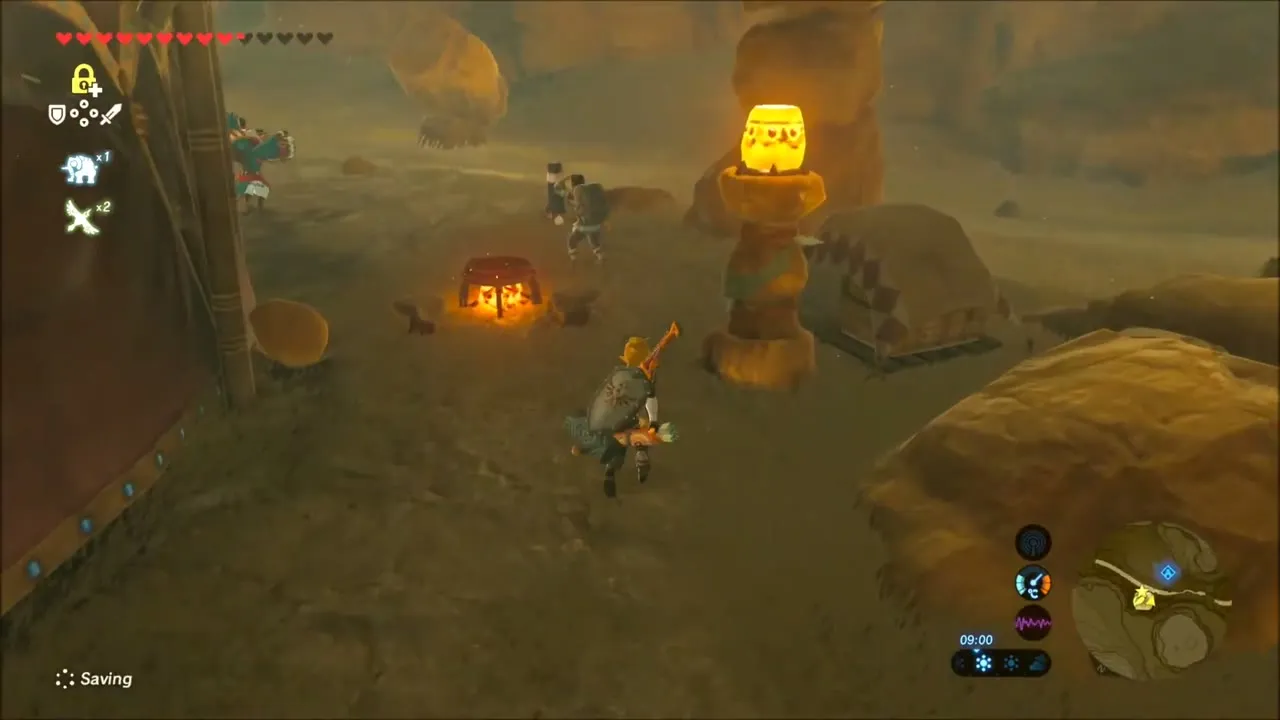
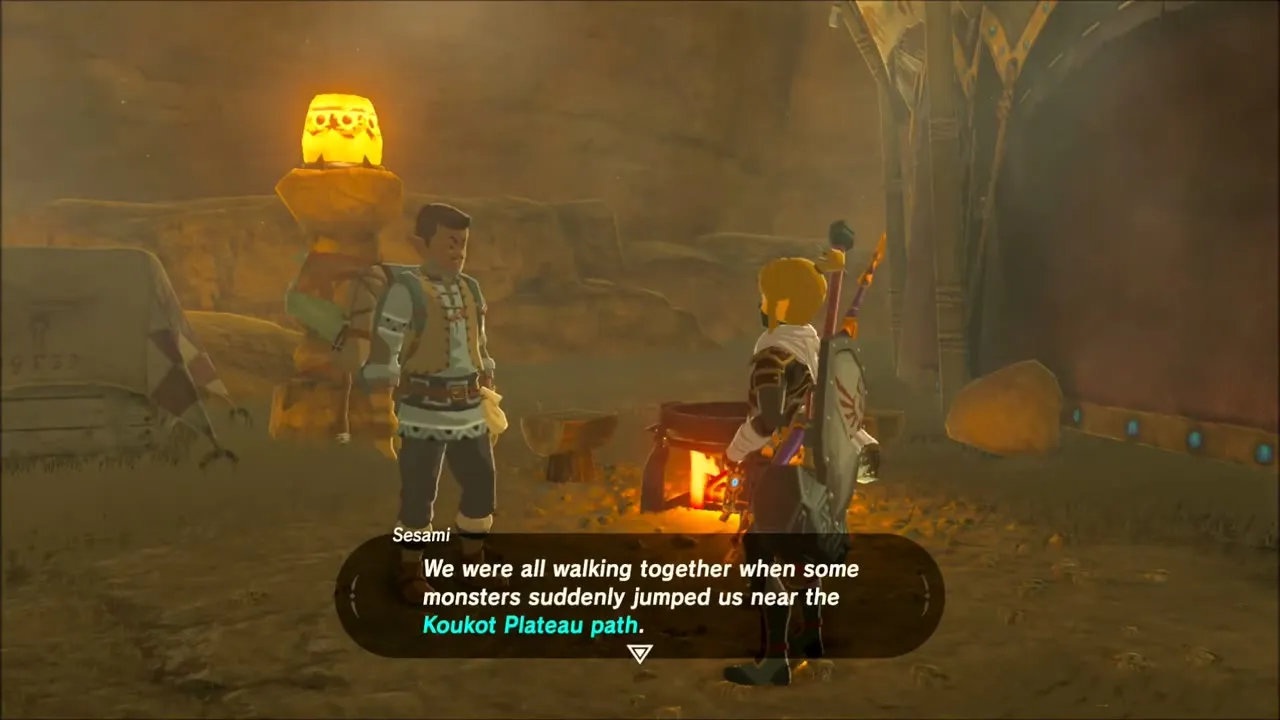
Sesami stands by the campfire next to the stable and asks if you have seen his friends, who vanished when the group ran from monsters on the road. That starts Missing in Action. Bring all four back to him afterward for a Gold Rupee.

Good-Sized Horse: sell a horse to Zyle
For Good-Sized Horse, ask the stable keeper, Piaffe, for one of your stabled horses and ride it north along the canyon road to Zyle, who is stuck on the road without a mount. Hand the horse over and the quest completes. The payment is a Gold Rupee, but the horse stays with Zyle, so use one you do not mind losing. Afterward return to the stable and take out whichever horse you actually want to keep; horses cannot be ridden once you enter the desert sand, so you will be on foot from here.

Kara Kara Bazaar: Blades of the Yiga Memory, Cryonis Chests and An Ice Guy
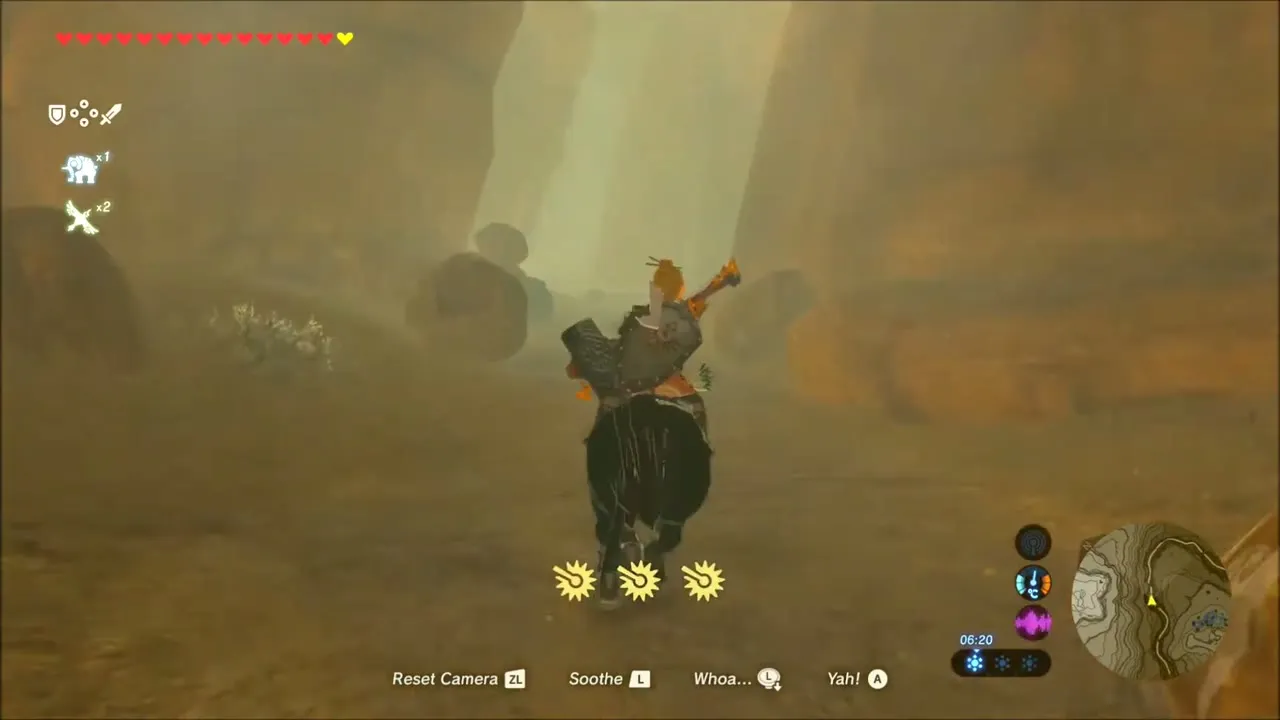
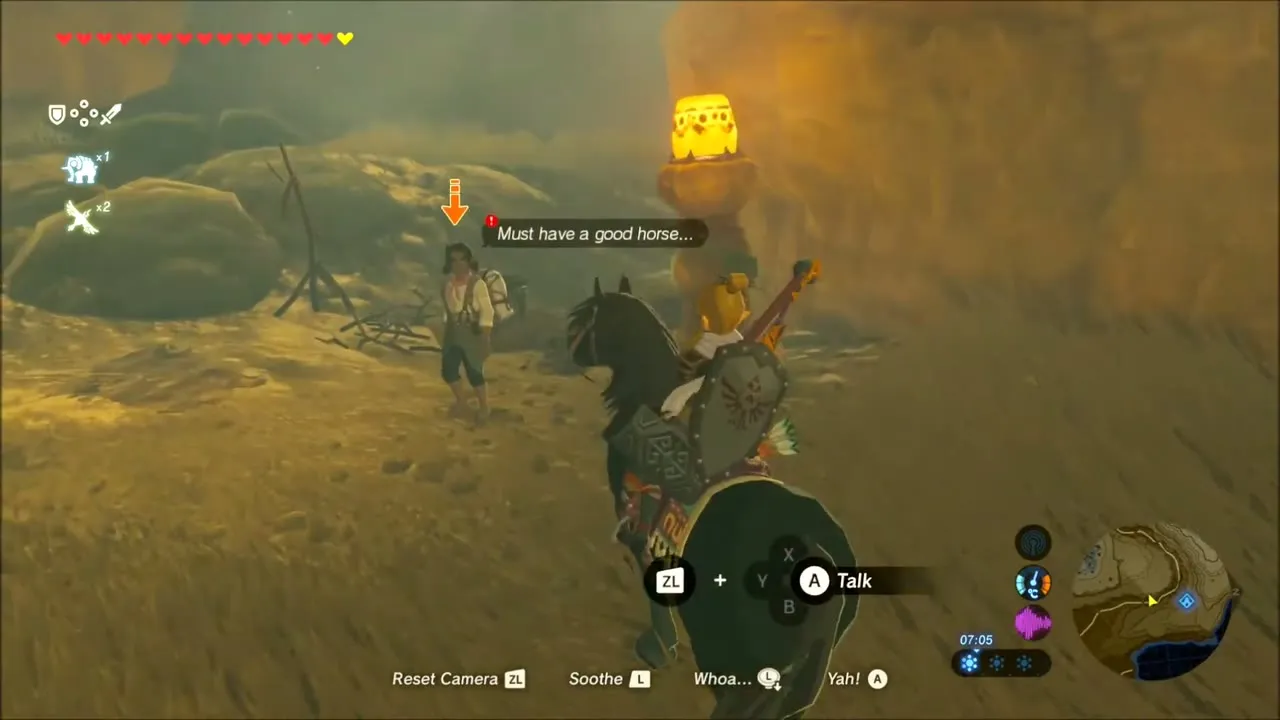
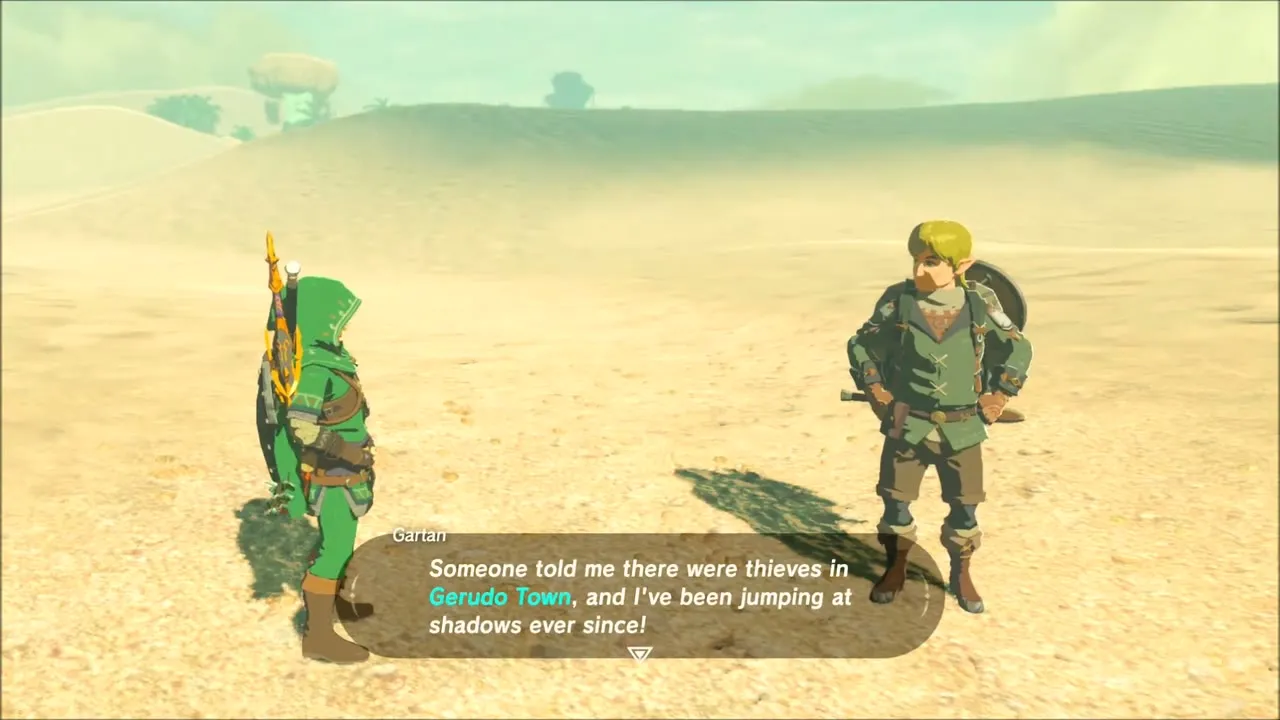
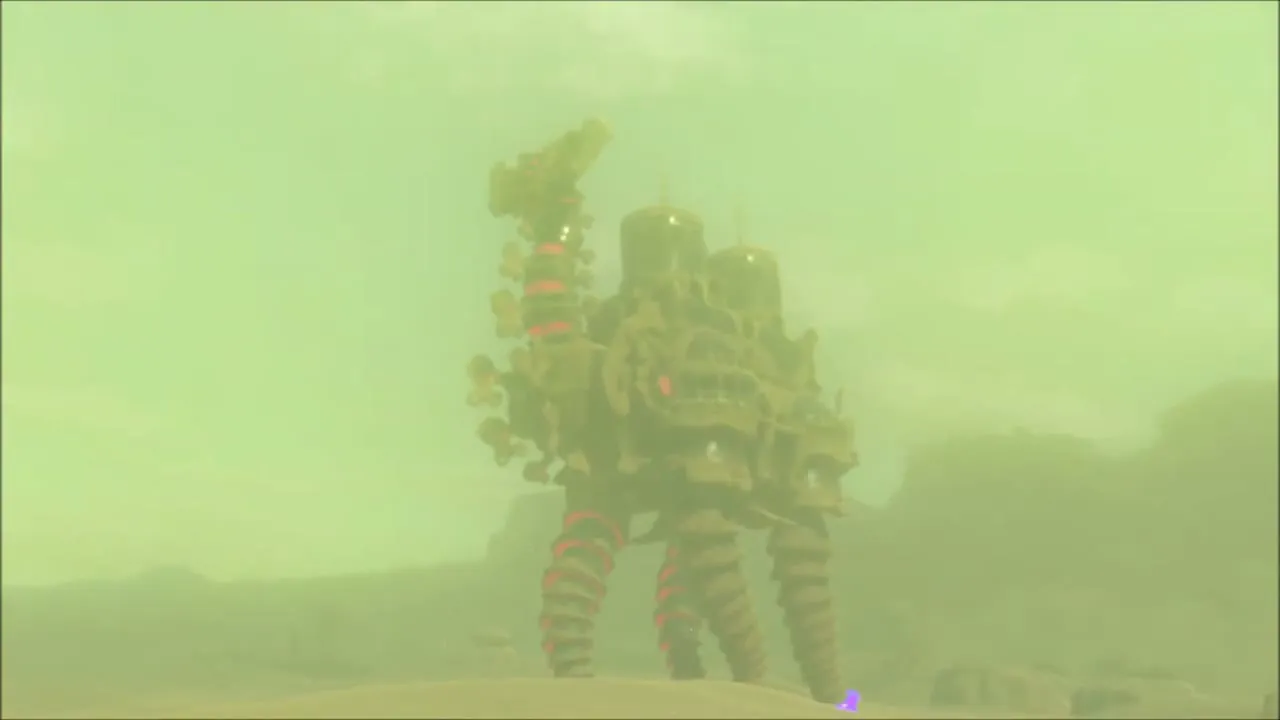
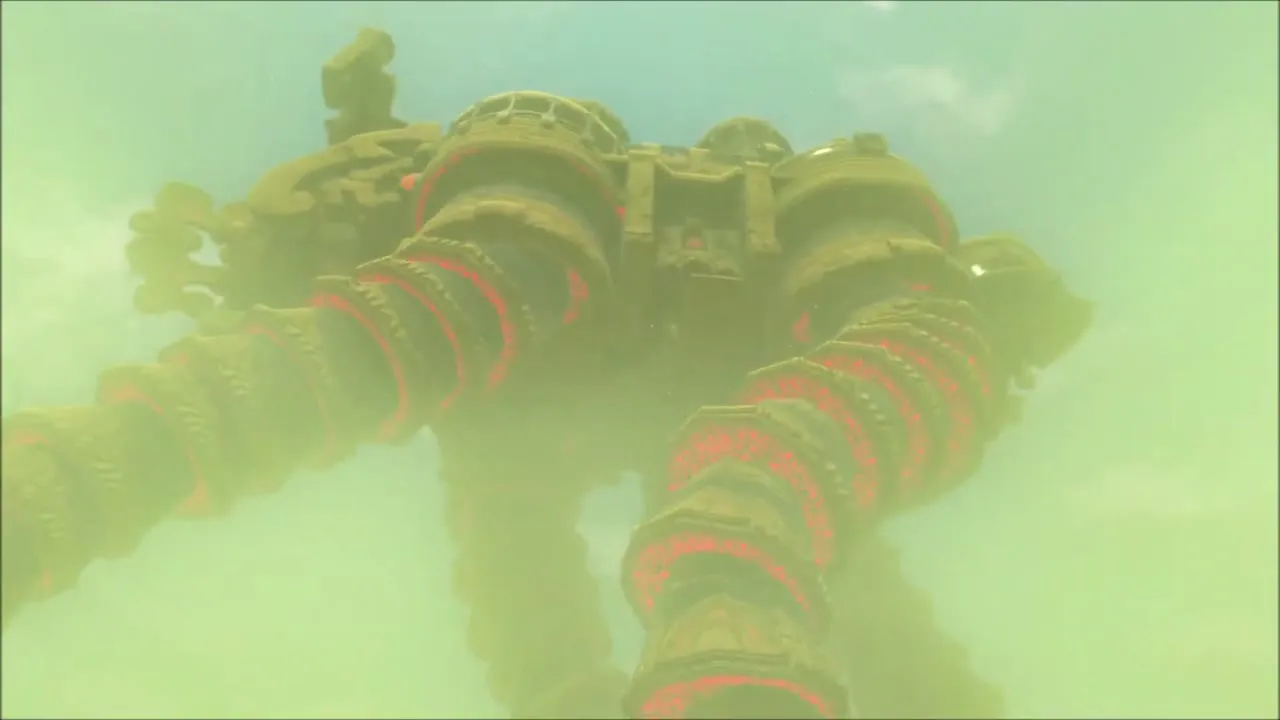
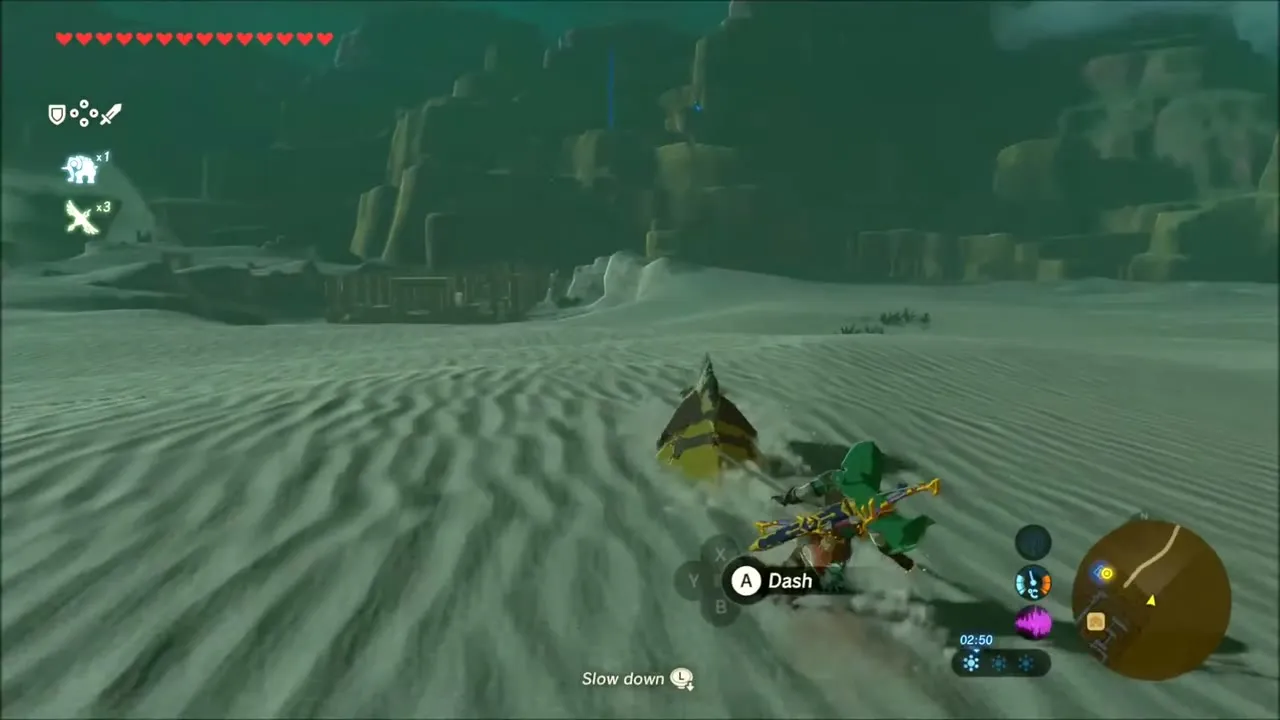
Head into the desert on foot or by sand seal. Along the way you pass a roaming merchant, Gartan, who sells arrows, apples, acorns and Restless Crickets, and in the thick of the sandstorm you can make out the huge silhouette of Divine Beast Vah Naboris with its violet glow, moving through the dust. Pack heat protection such as Frozen Porgy or a cooling elixir before going deeper.

Memory: Blades of the Yiga
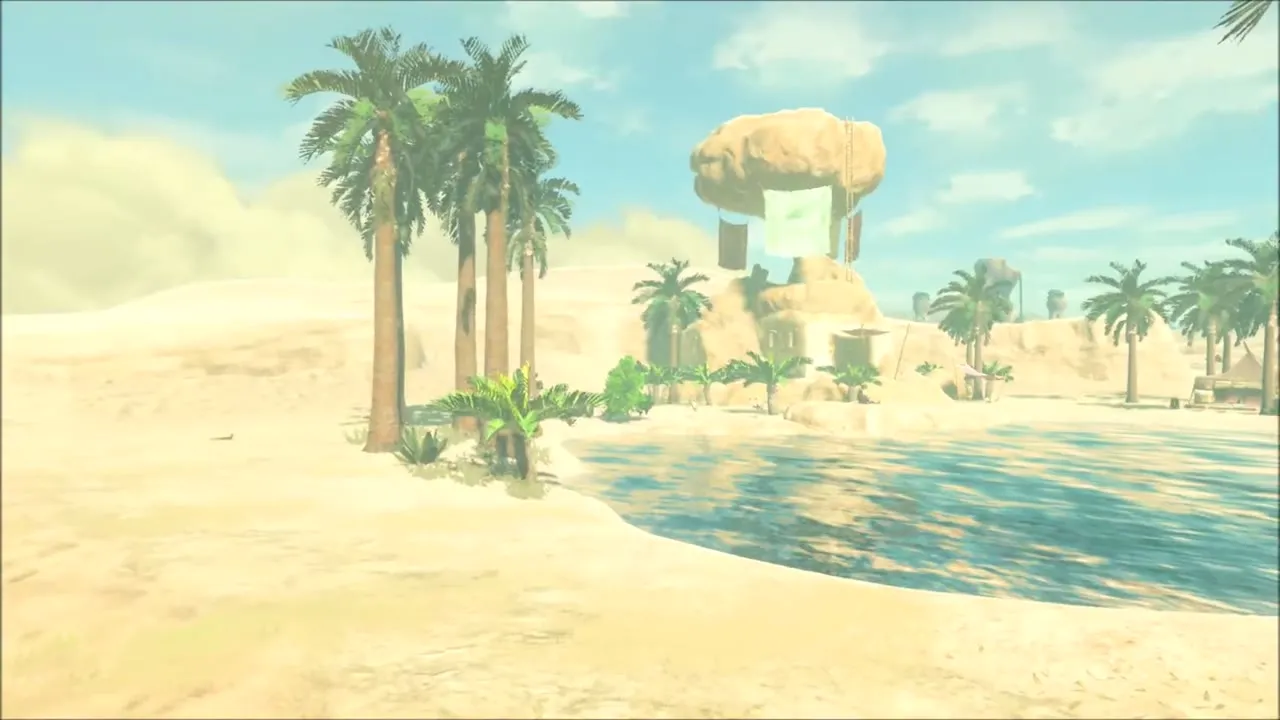
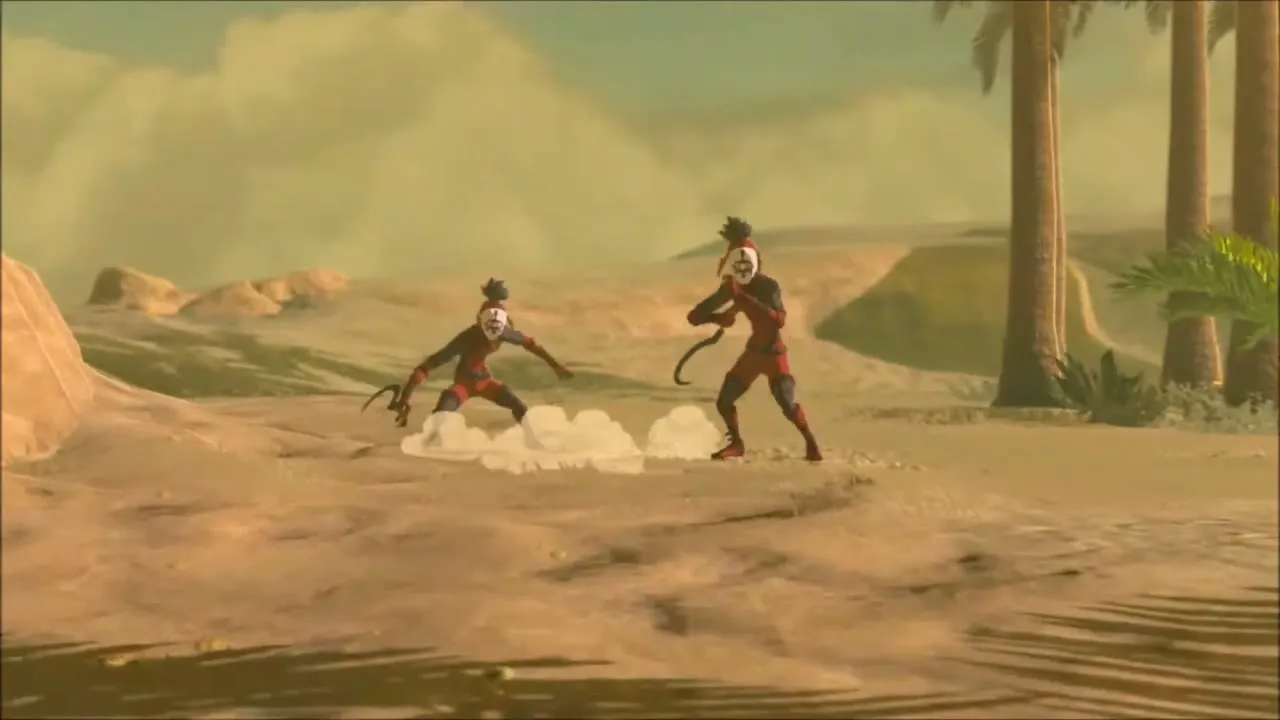
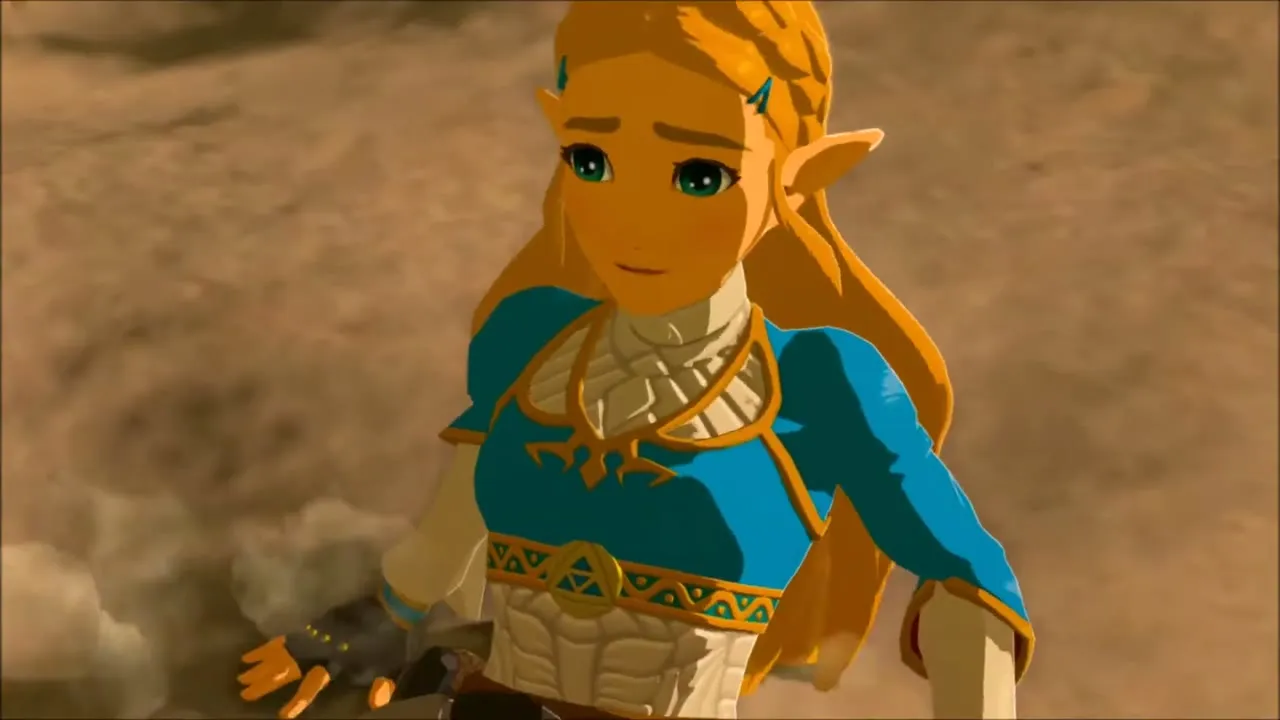
Walk to the water’s edge at Kara Kara Bazaar, the oasis settlement north of Gerudo Town at (-3238, 2558). Step on the glowing spot where your album photo was taken. The cutscene shows Zelda being led across the desert by a masked Yiga Clan member, and when it ends you have recovered Memory 7, Blades of the Yiga.

Oasis chests with Cryonis
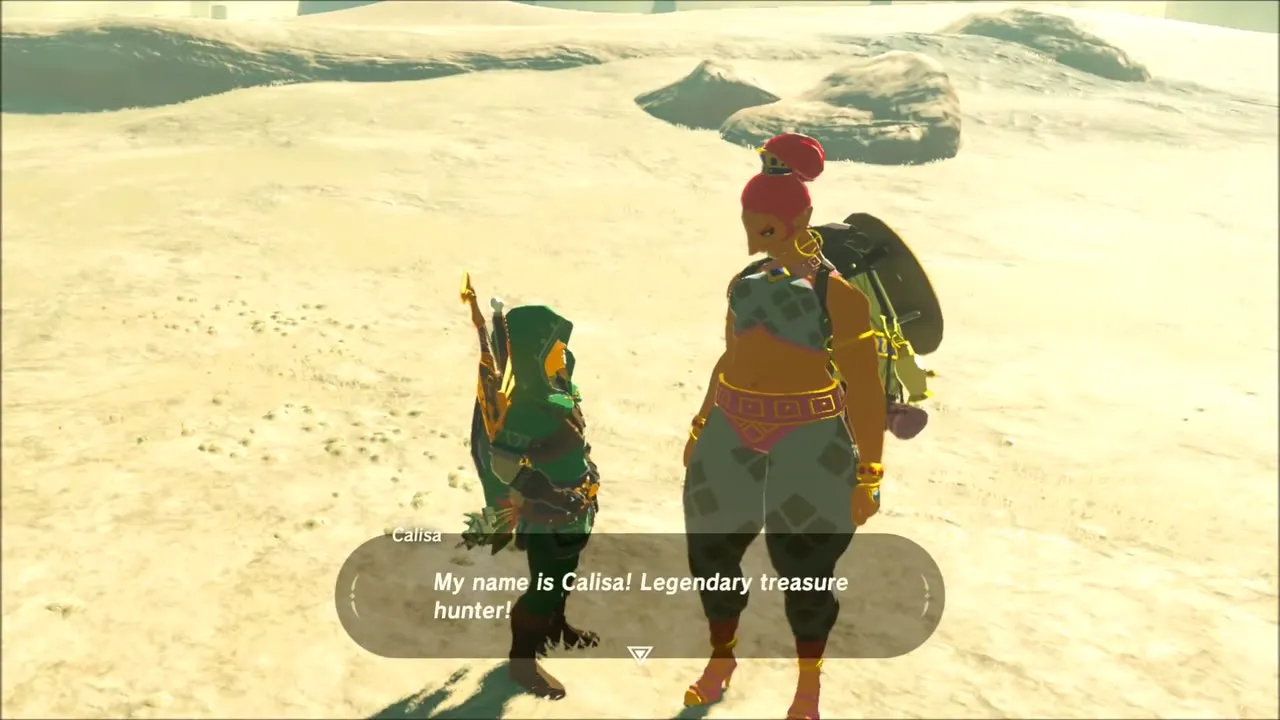
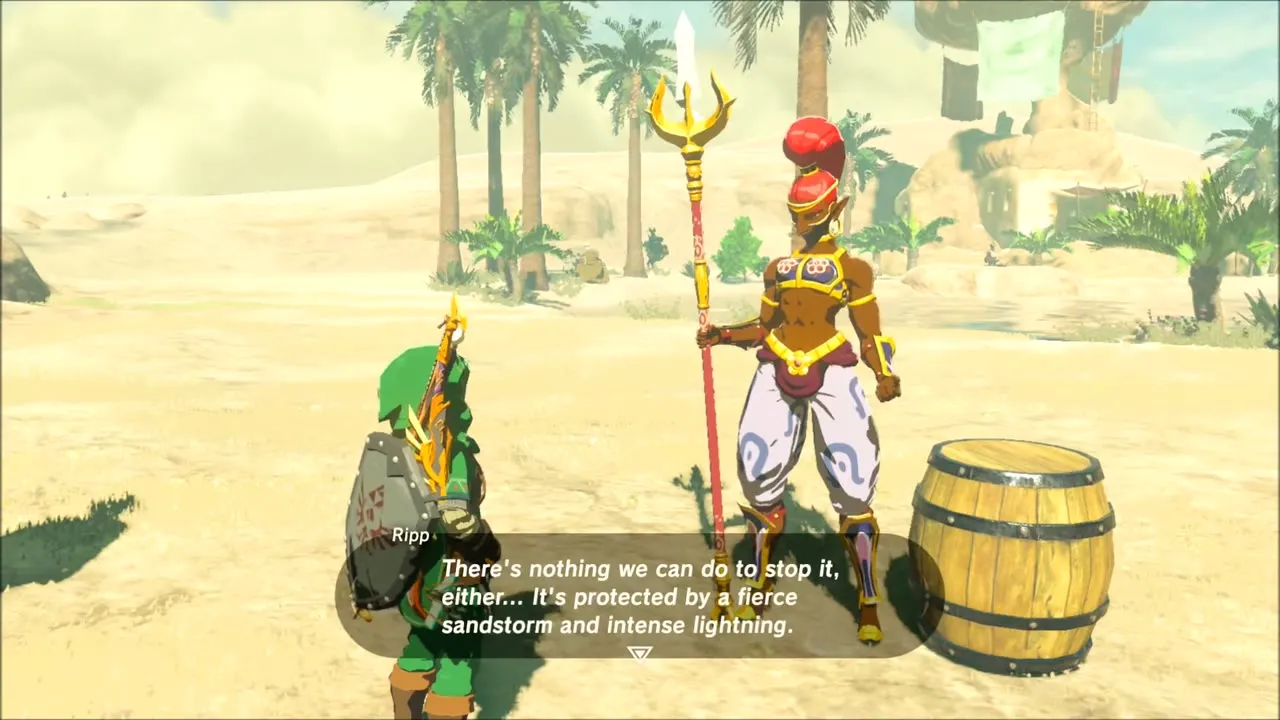
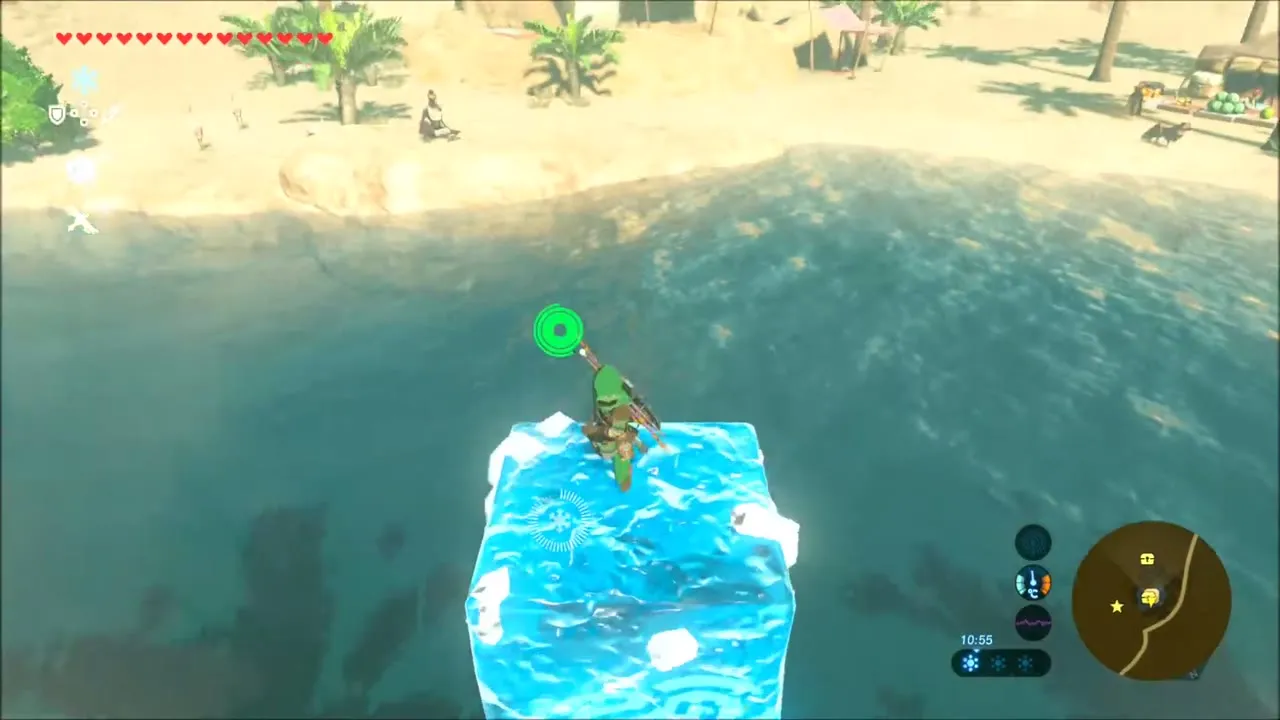
Talk to the Gerudo guard by the barrel and to Calisa, a treasure hunter who introduces herself nearby; the guard warns that the sandstorm and lightning around Gerudo Town are the Divine Beast’s doing. Then look at the pond: a chest sits on the bottom. Equip Cryonis, make an ice block underneath it, and push the block up so the chest rises out of the water. It holds a Silver Rupee (100 rupees).

An Ice Guy: Chilly Elixir for Guy
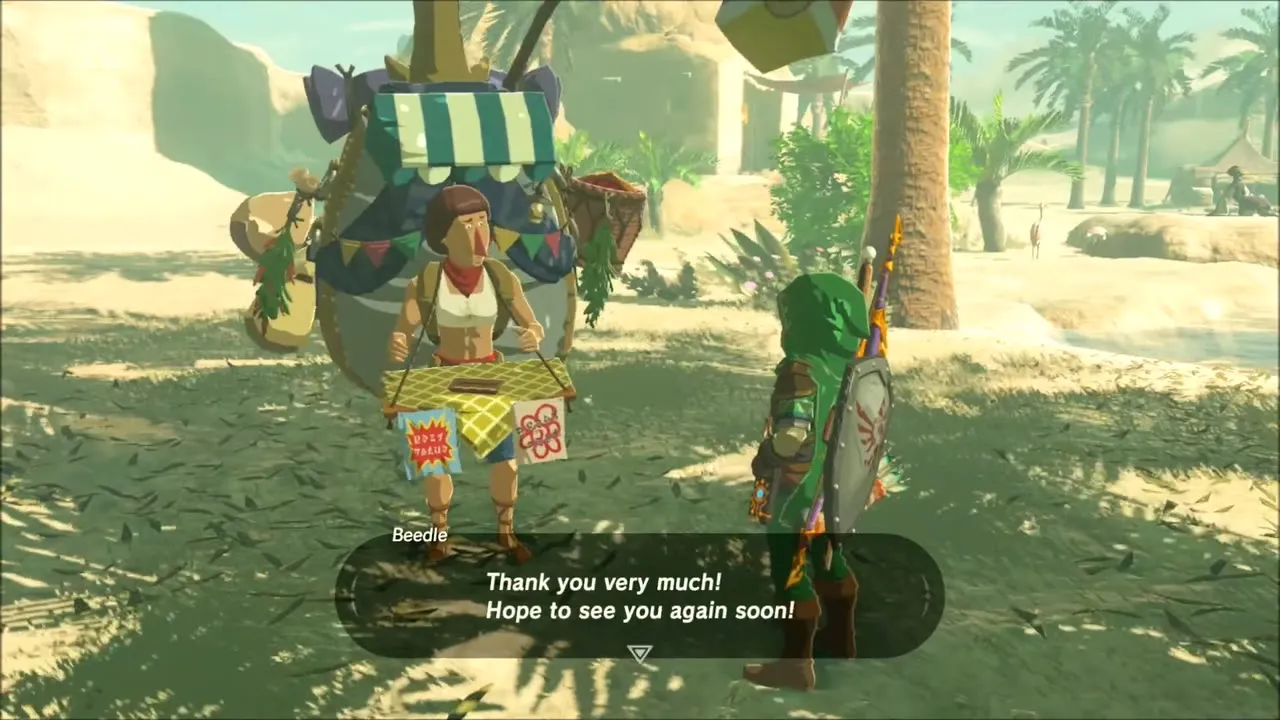
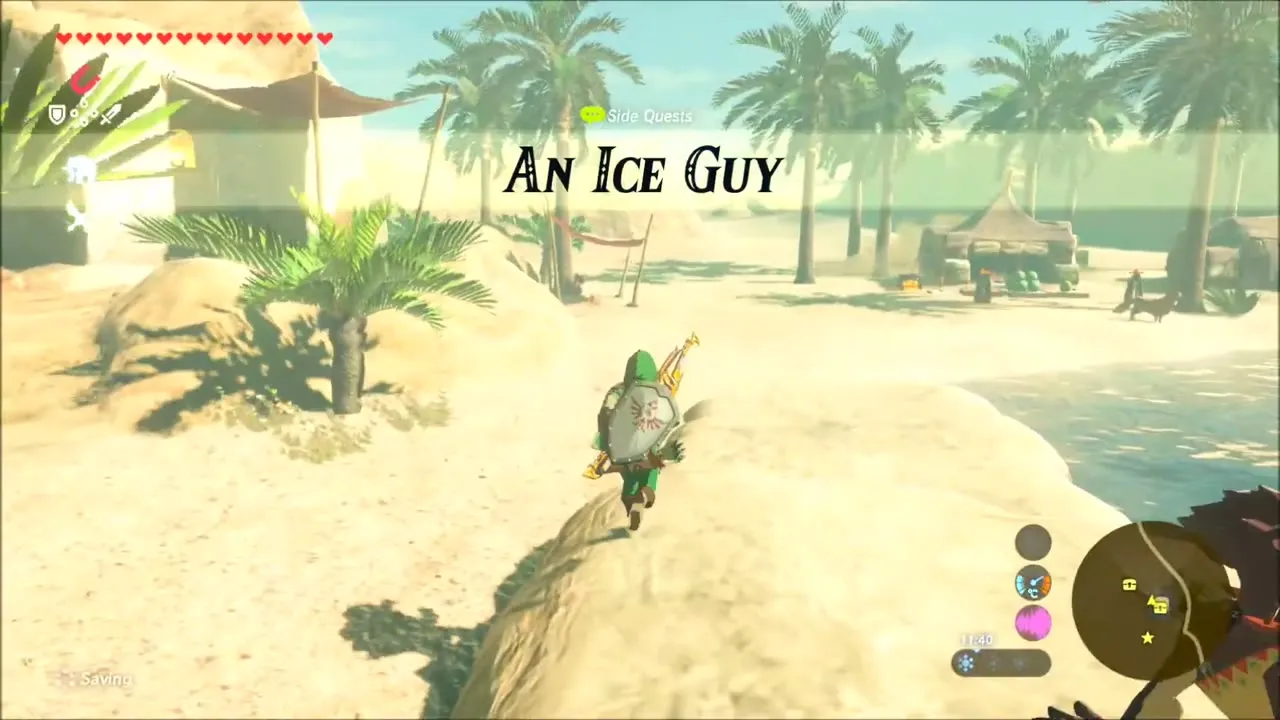
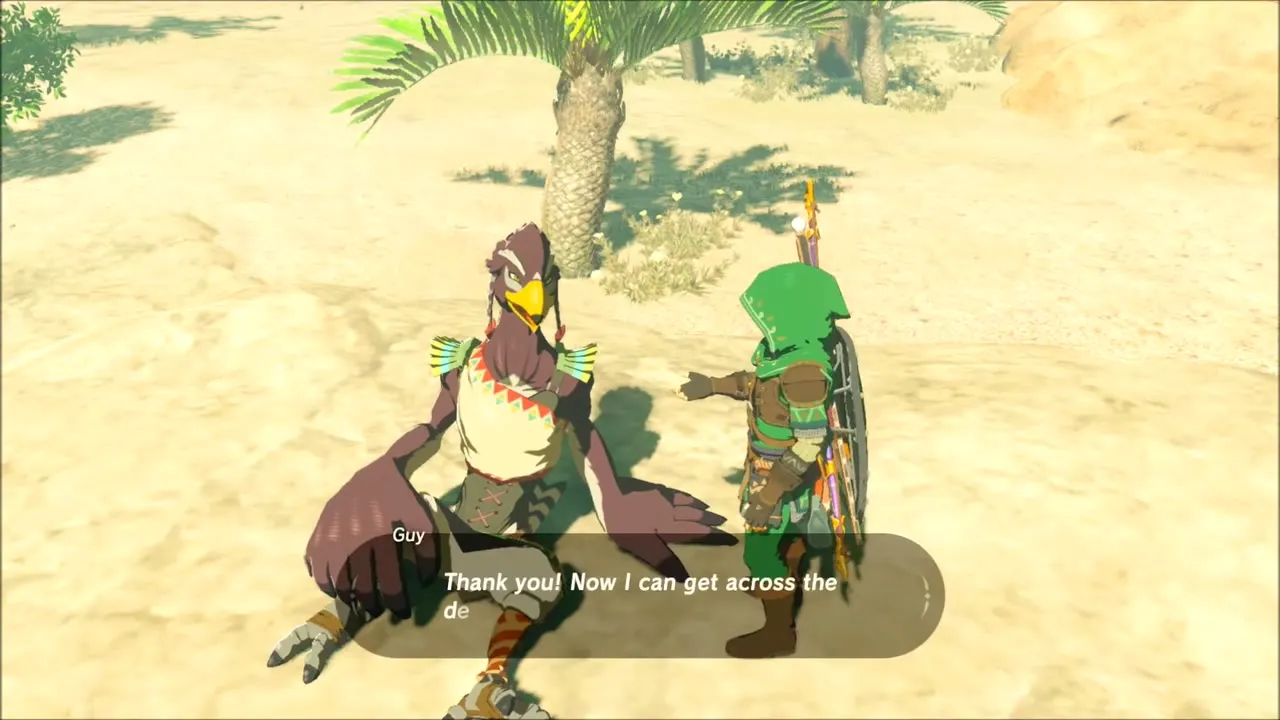
Beedle‘s wagon at the oasis sells Cold Darners (10 rupees each), the insect you need. Take it to a cooking pot, combine it with a monster part such as a Keese Wing, and brew a Chilly Elixir. Give it to Guy, the wilting Rito sitting on the rock by the lake, to finish An Ice Guy and collect a Purple Rupee (50 rupees). A second Purple Rupee chest sits against a rock near the oasis; raise yourself to it with a Cryonis block.


The Eye of the Sandstorm: Dako Tah Shrine (Electric Path)
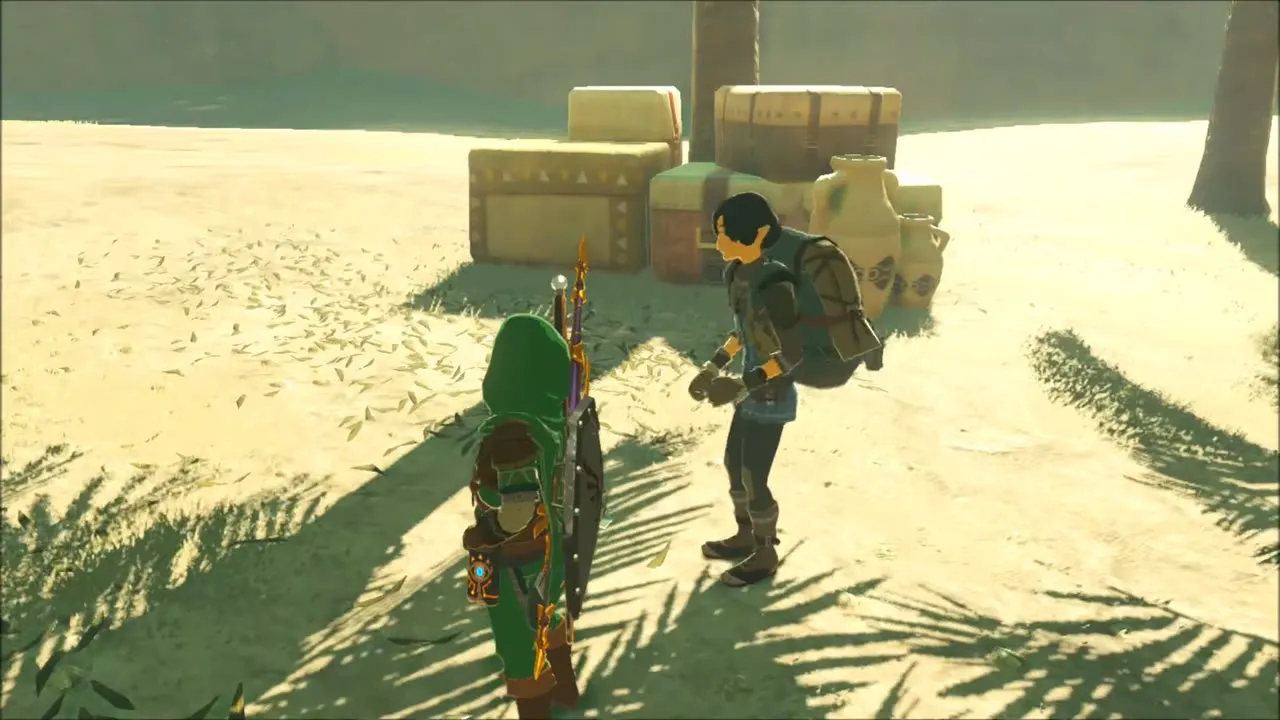
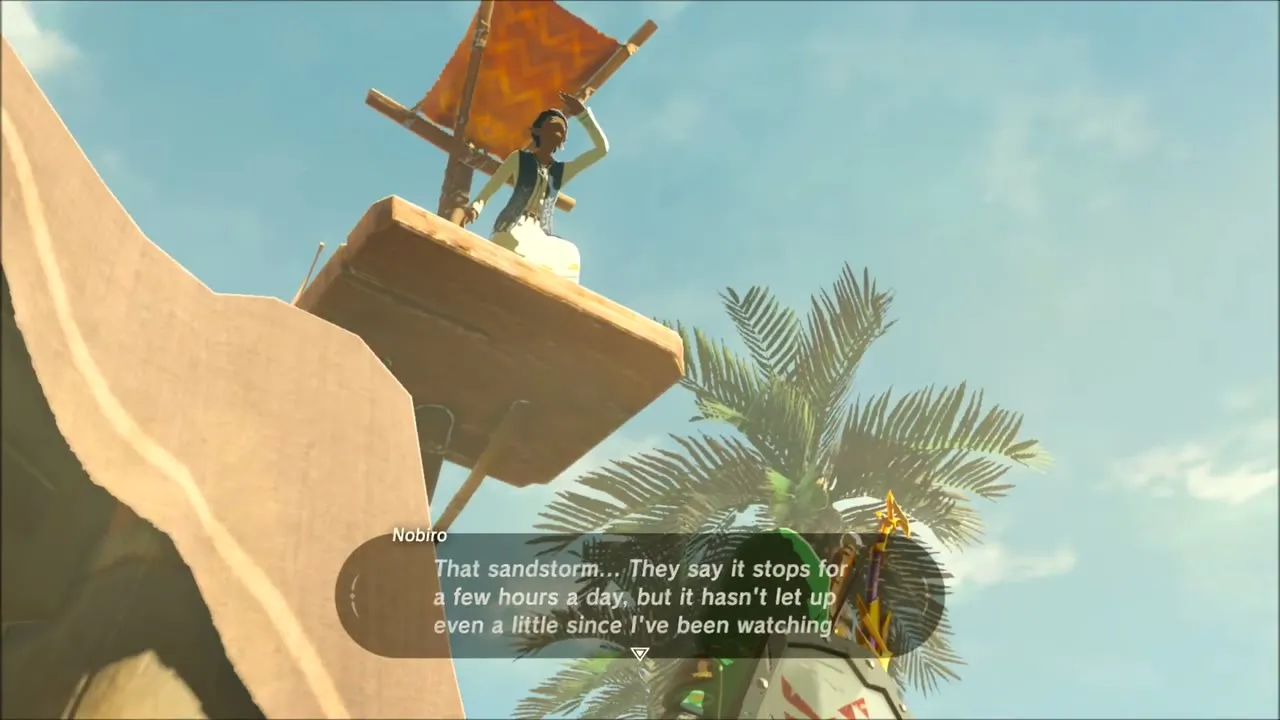
In the oasis camp, the traders who came with the Gerudo Town caravan complain that they cannot get in, and Nobiro, the lookout on the wooden platform above the tents, starts the shrine quest The Eye of the Sandstorm. The storm only clears for a few hours at night, so wait until dark, then head north into the Great Cliffs in the lull and look for the shrine in the middle of the swirling sand. Bring Magnesis, since the shrine is a Magnesis trial.

Crossing the storm and the Moblin camp
Eat something cooling before you walk out, because the heat and the dust drain you quickly. A few monsters roam the dunes in the storm, so keep your best weapon equipped and fight them on your terms, then keep heading toward the shrine.


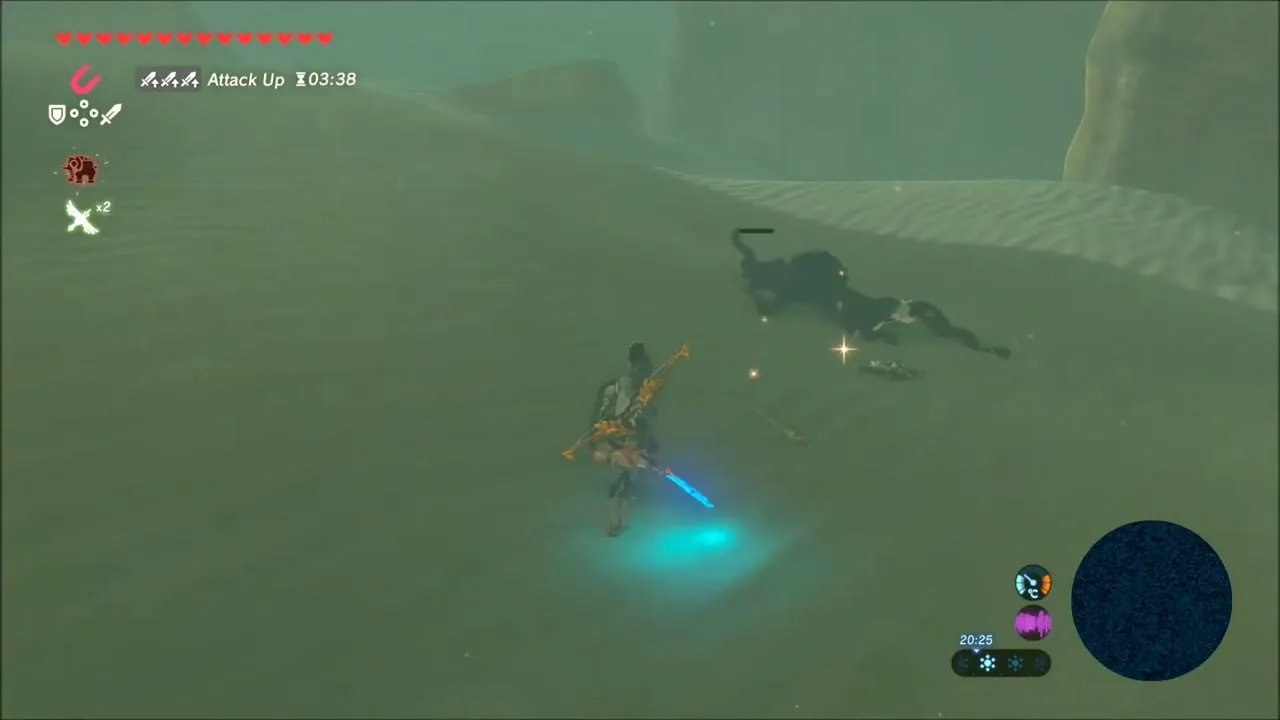
On the way a rough wooden camp stands in a hollow, built around a tall wooden tower. Climb the tower and open the chest at the top for a Gerudo Spear, which is a good, long-reach weapon. Make room in your weapon list before opening it; the chest will not open if your melee weapon slots are full.

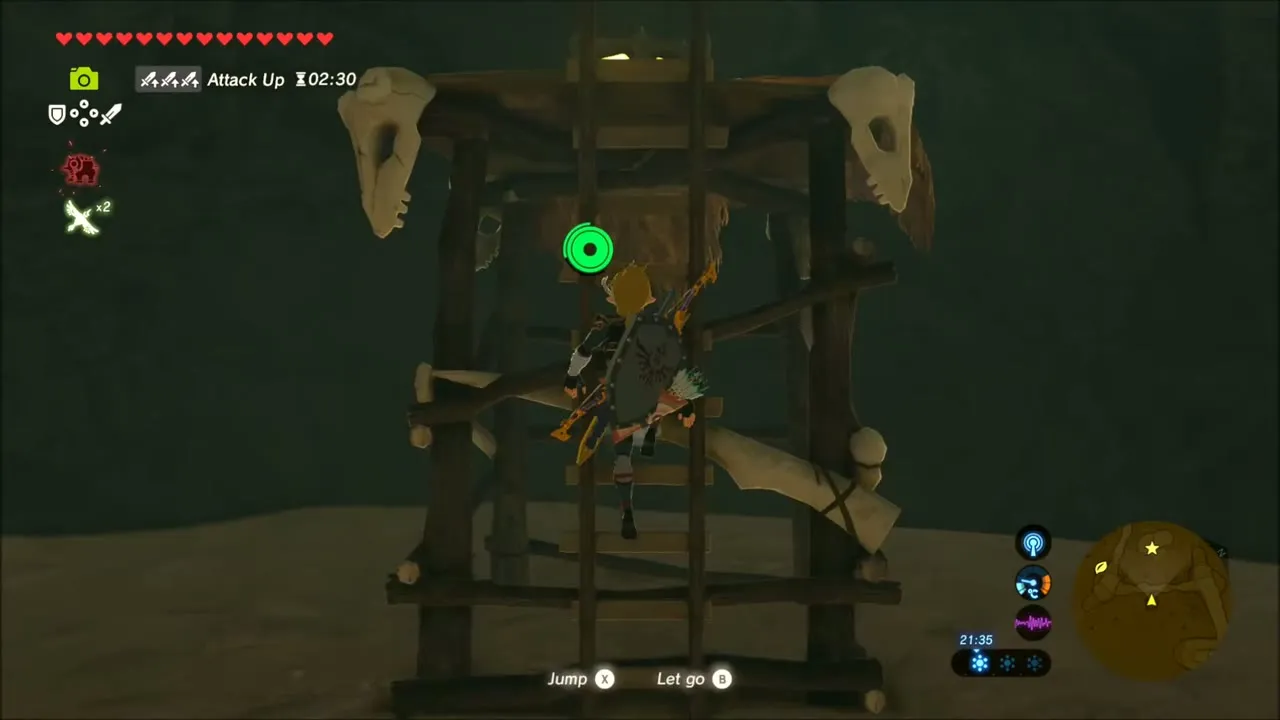
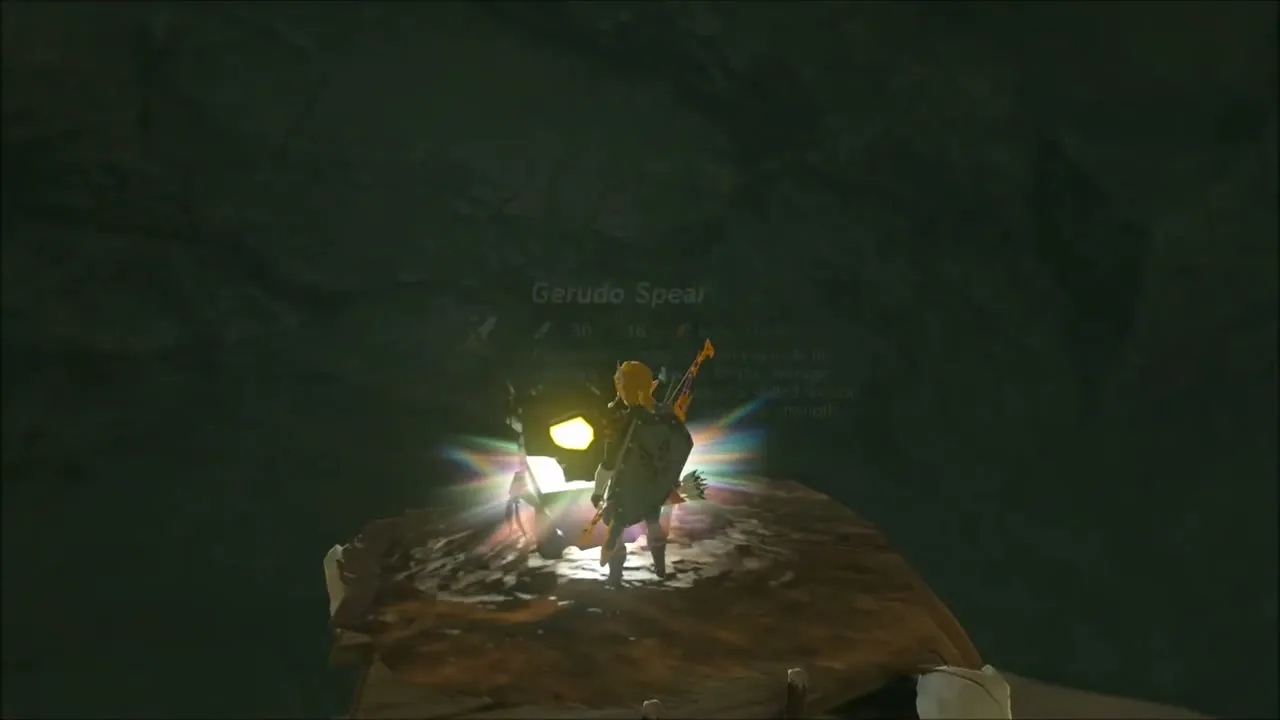
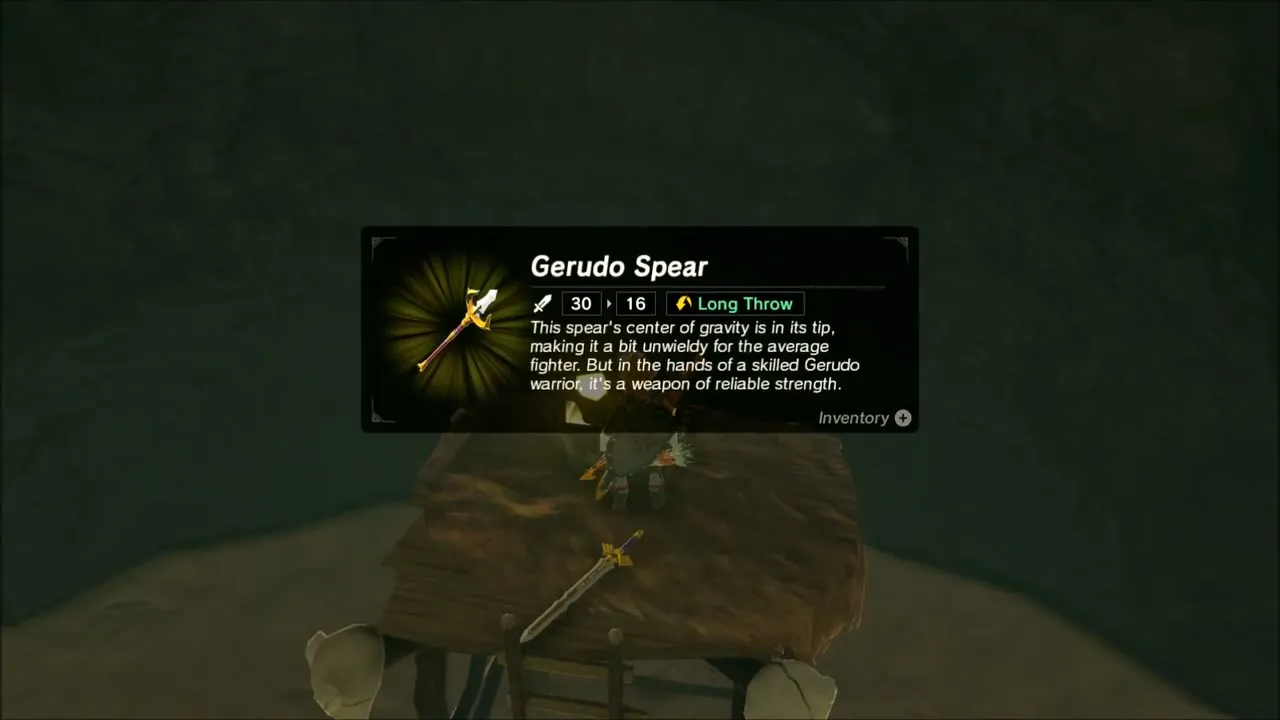
Dako Tah Shrine: Electric Path
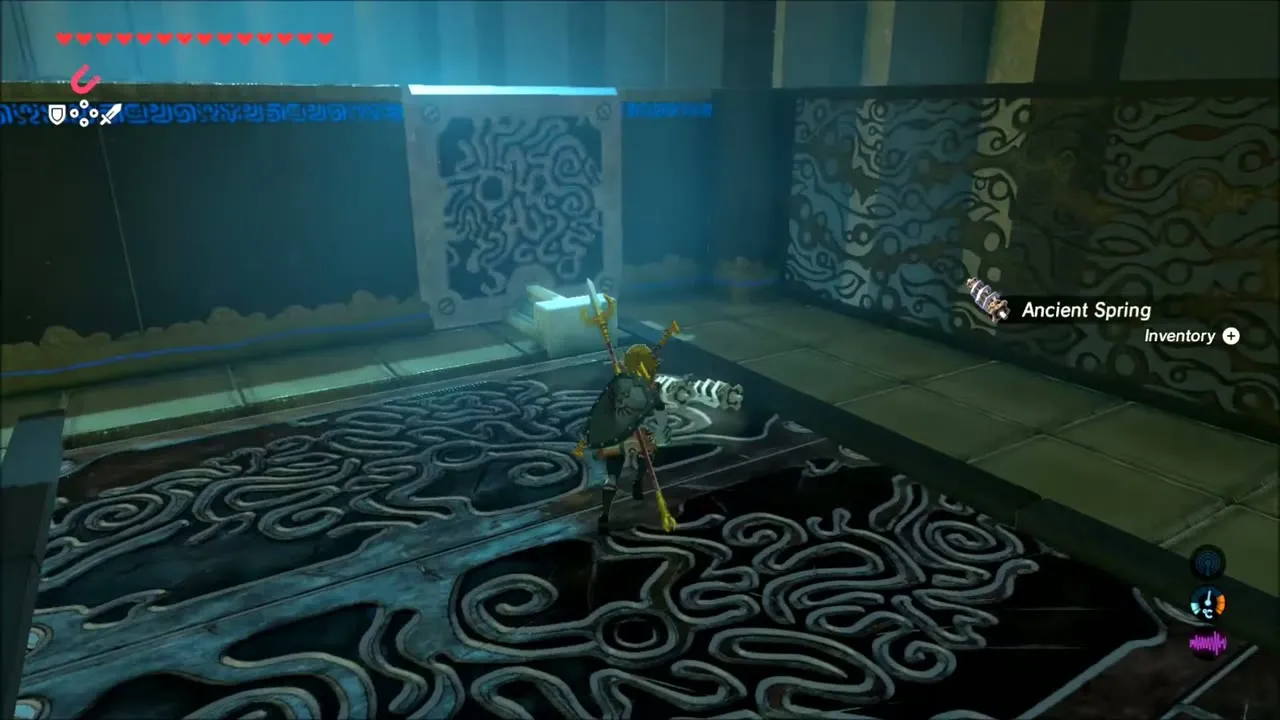
Dako Tah Shrine appears at (-3317, 2163), height 159, in the far north of the Great Cliffs; activate it to finish the quest step. Inside, the trial is built around an electric cage with a crystal that powers platforms. Lift it with Magnesis and carry it to each rail or node to run the platforms. Halfway up the first lift a chest holds a Moonlight Scimitar, and by the wooden ladder in the Guardian room you can collect an Ancient Core. Throw the cage at the small Guardians on the metal floor to shock them rather than stepping on it. The lower platform route has a Silver Rupee chest. See the Dako Tah Shrine page for the full solution.
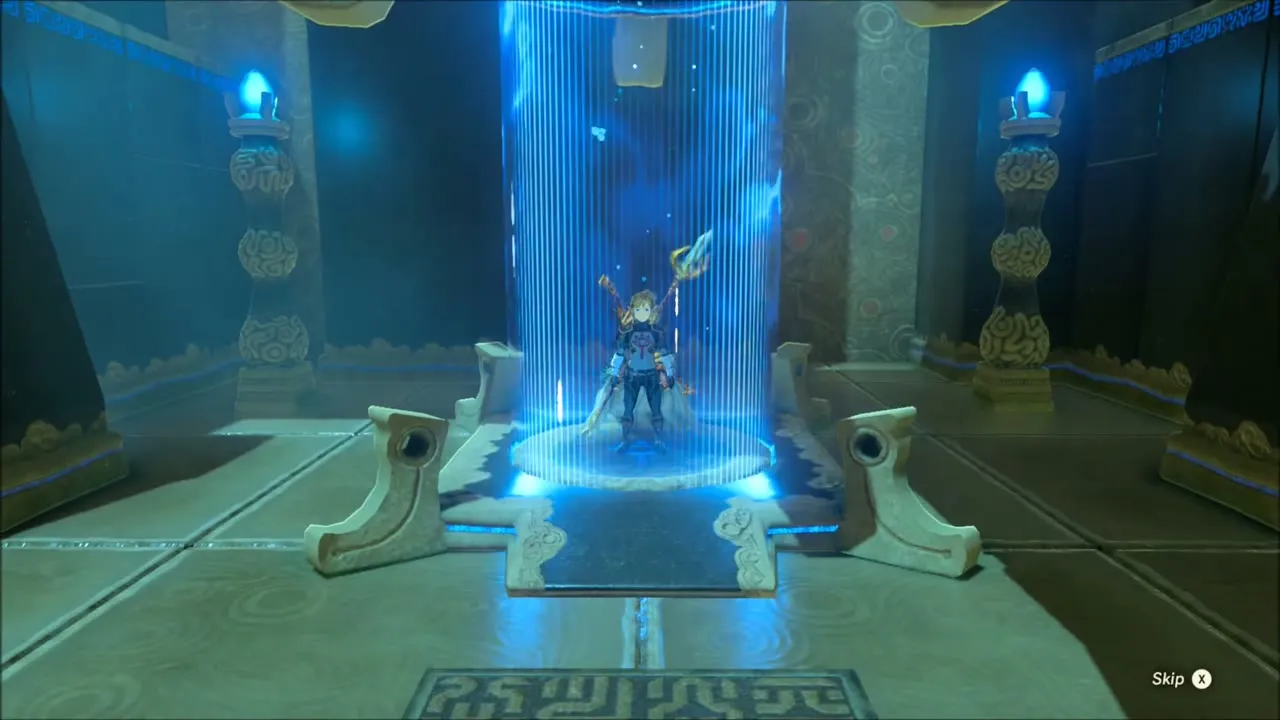
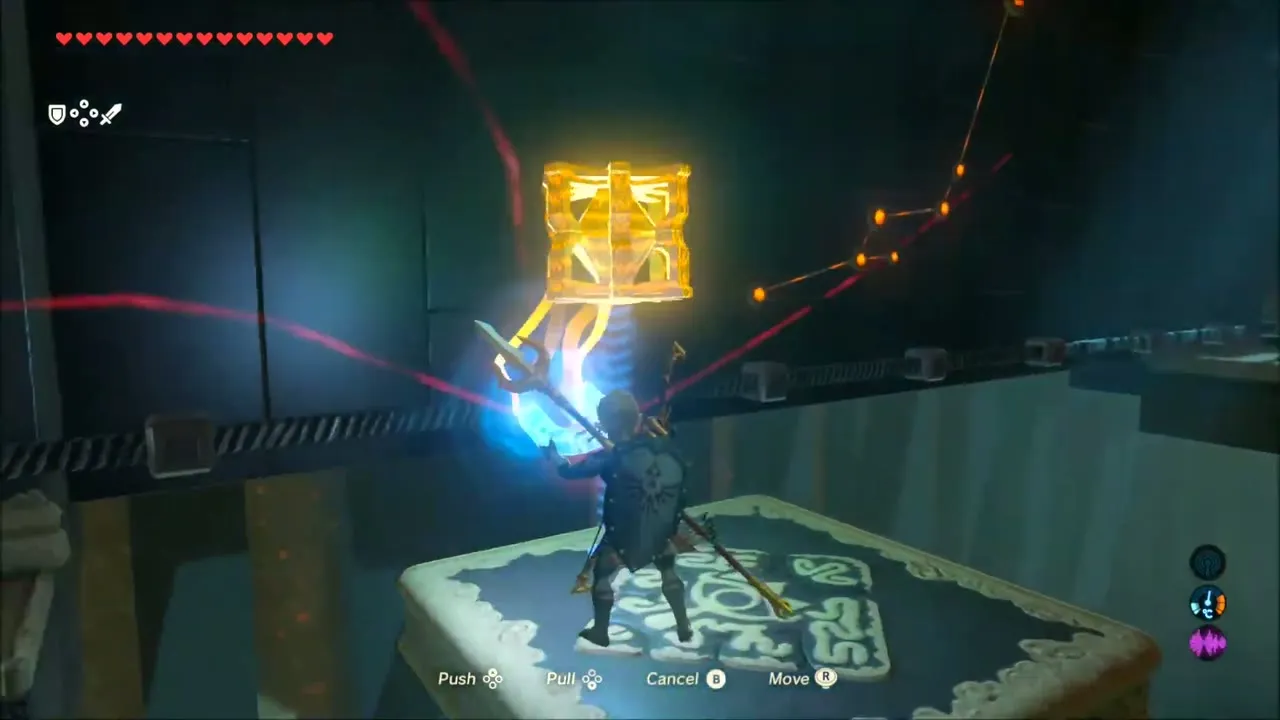

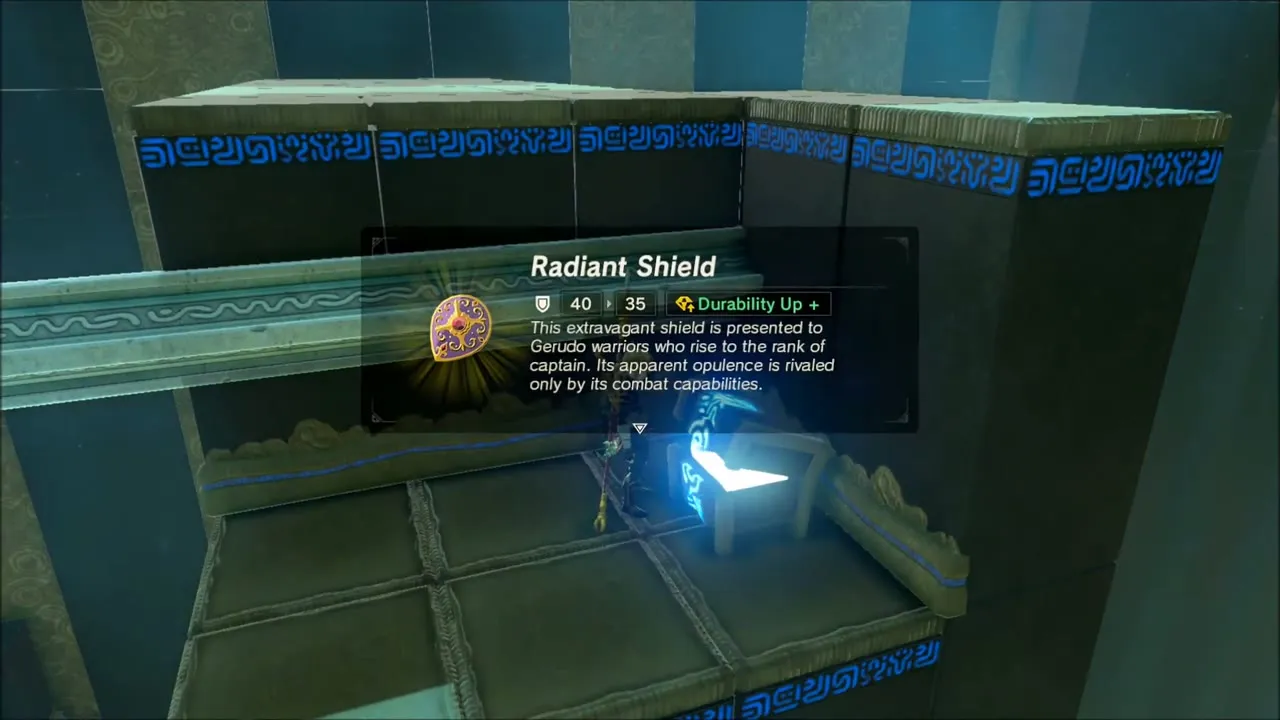
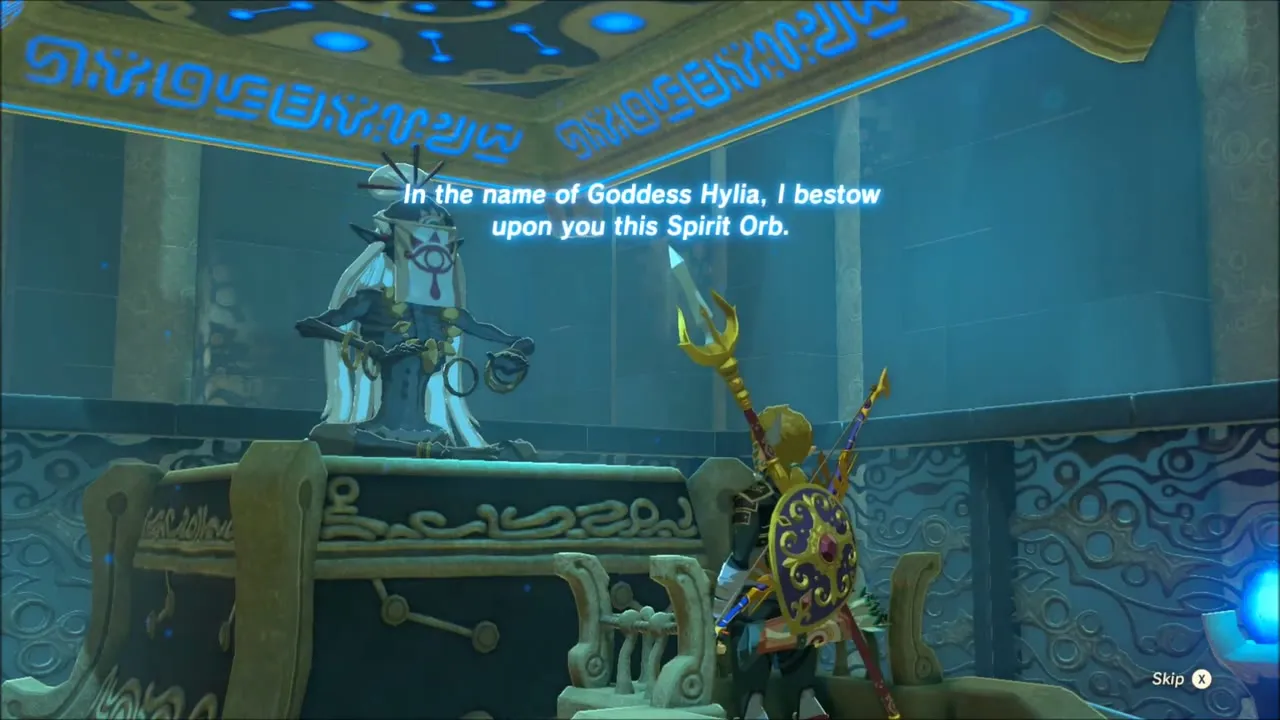
Near the throne, return the metal block along its rail to reveal a chest with a Radiant Shield, then power the last platform and ride up to the monk Dako Tah. He gives you a Spirit Orb for completing the trial, and with the shrine found The Eye of the Sandstorm is complete.

Great Cliffs Pillar Hopping: Ice Arrows and Korok Seeds
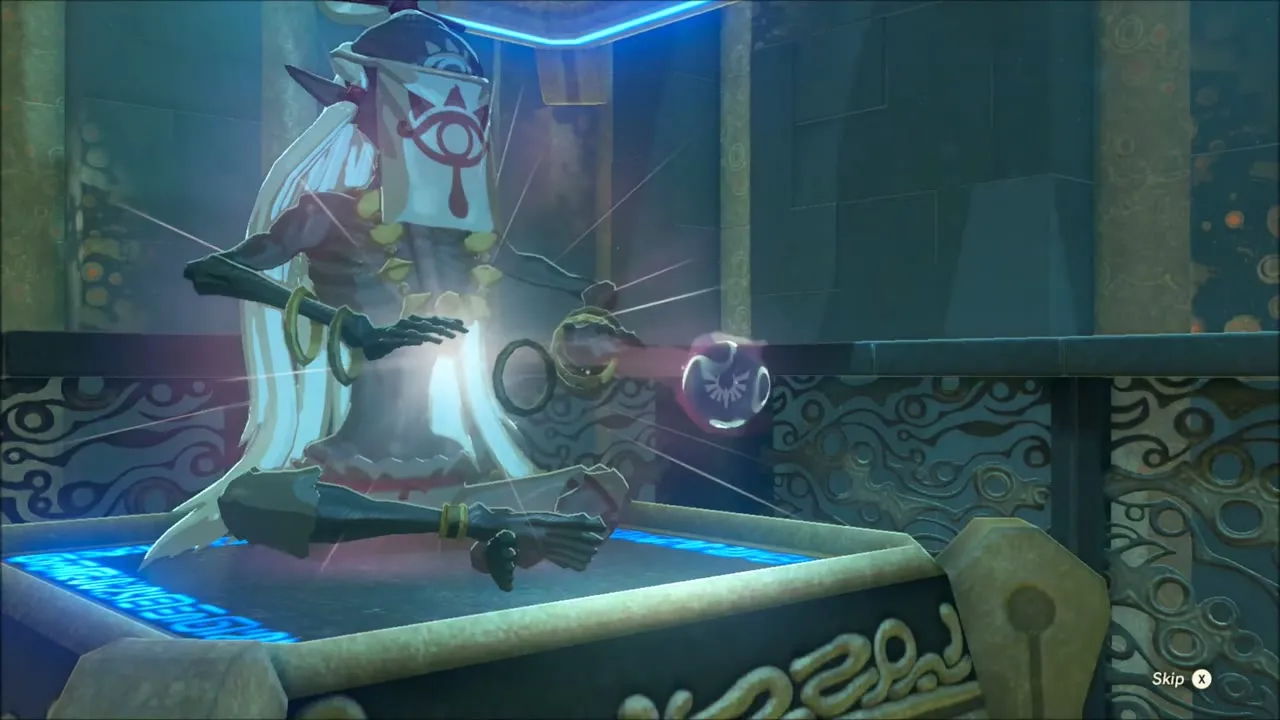
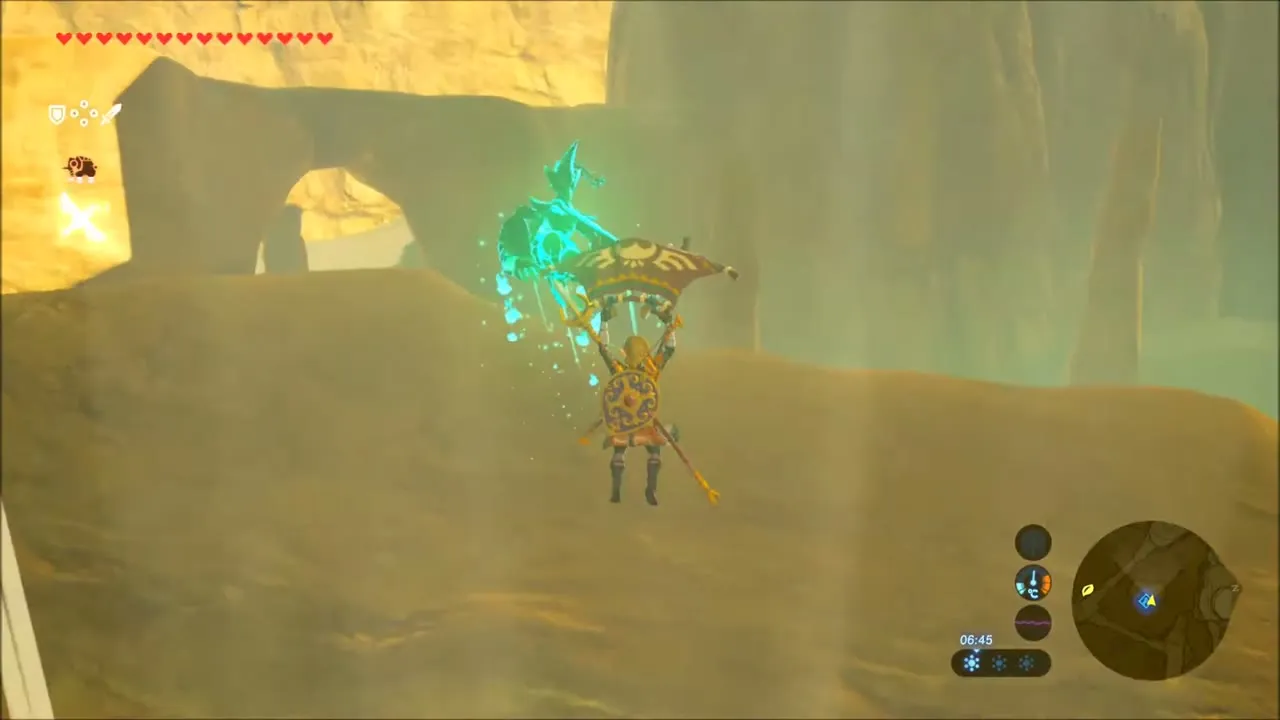
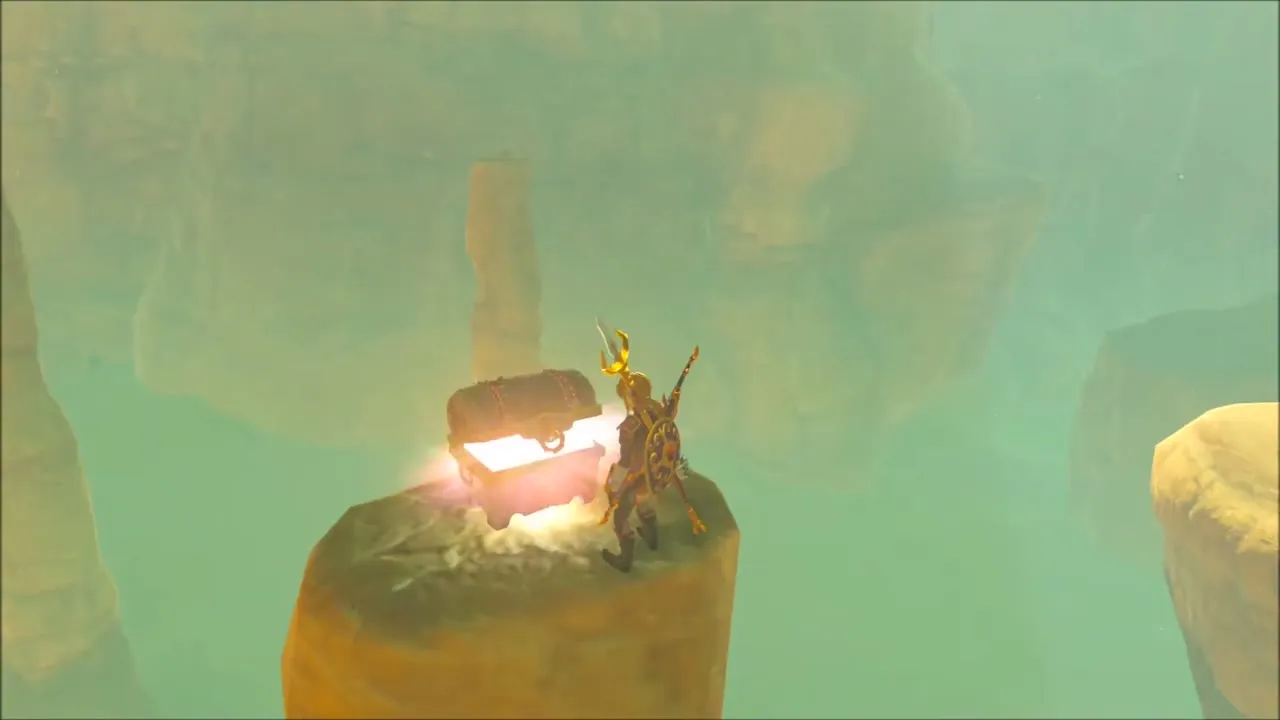
Start from the Dako Tah travel pad on the cliff edge and head out along the tops of the rock pillars. Many pillars are only a few jumps apart, so climb up, use Magnesis where a metal object blocks the way, and glide between them. One pillar carries a chest with Ice Arrows, so check each summit before you drop down.

Korok seed: stacked blocks on the pillar
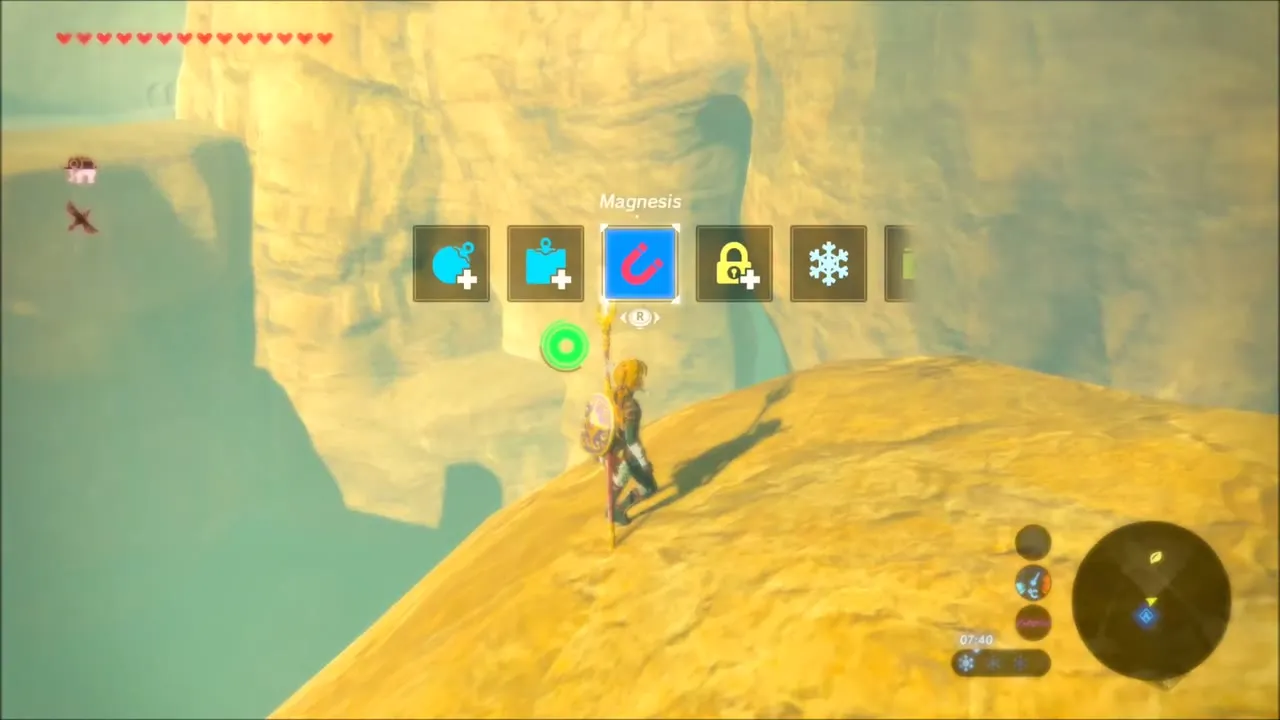
Along the ridge, a stack of grey stone blocks stands with a piece missing. Use Magnesis to lift the loose metal block from the ground and fit it into the gap in the stack. When the shape is complete the Korok appears on a stone block beside the pillar and gives you a seed.
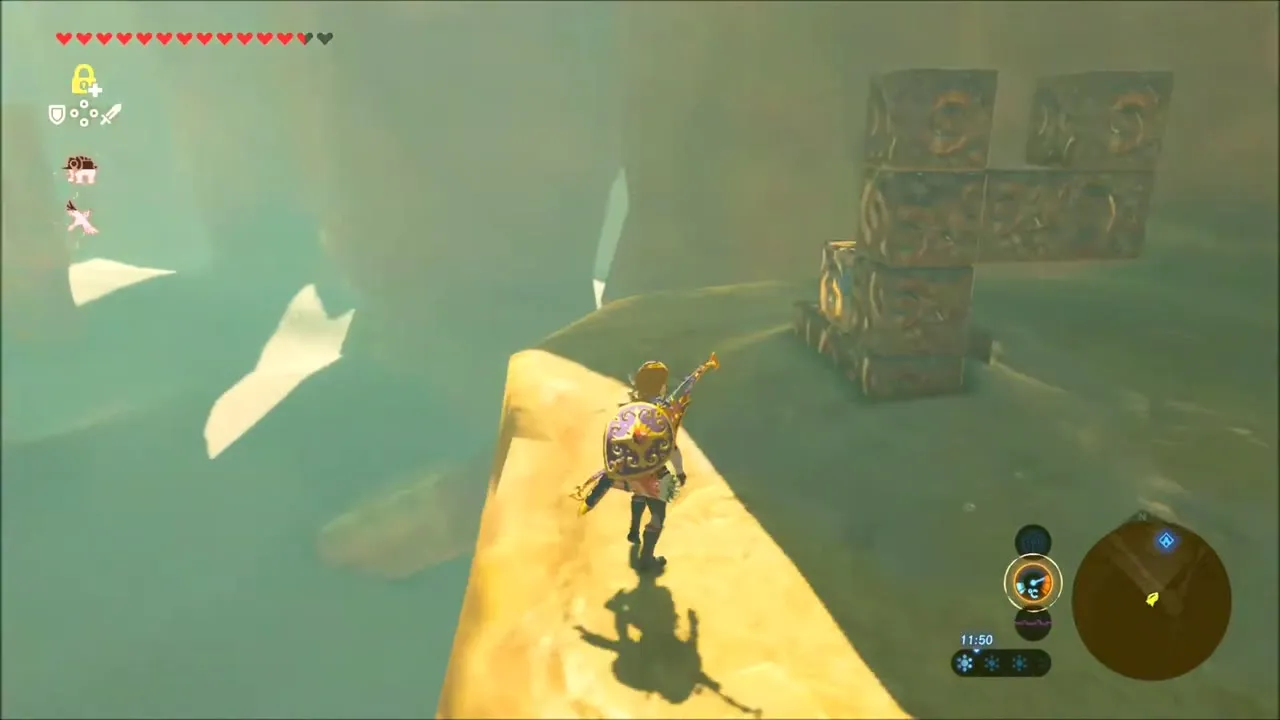

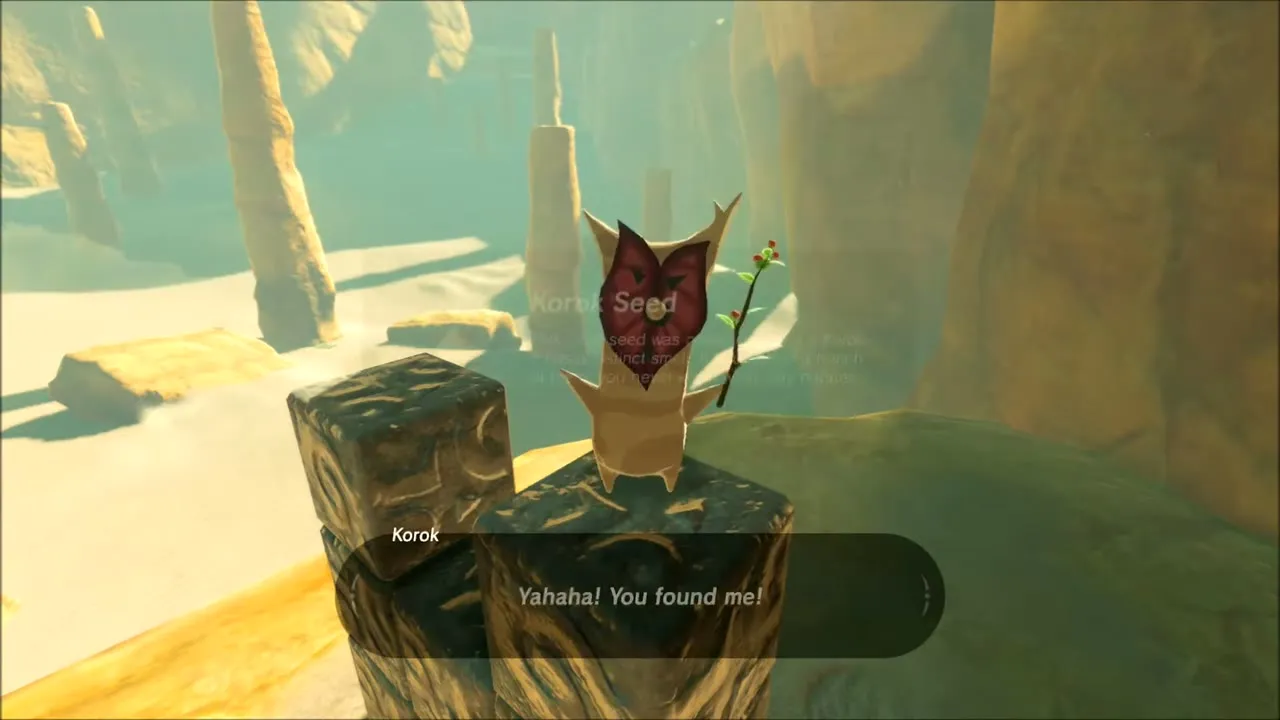
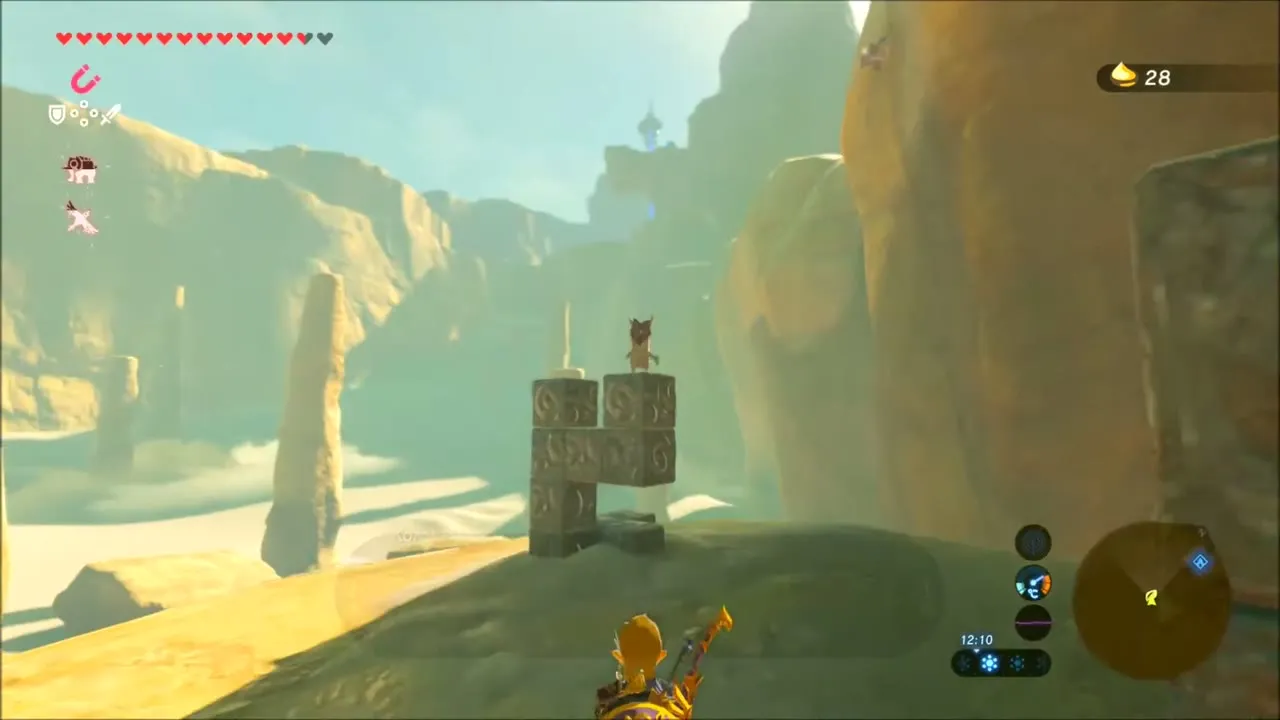
Amber from the rock walls and another block Korok
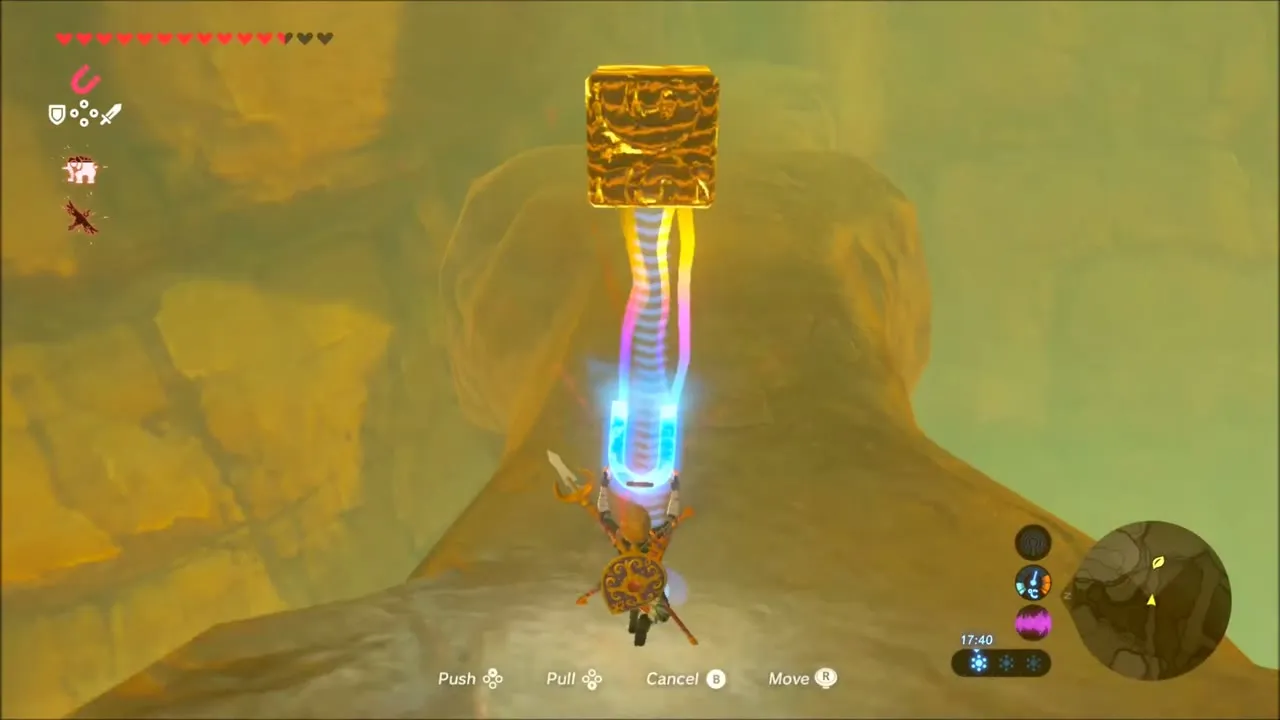
Keep working along the canyon floor. The Master Sword is nearly out of energy at this point, so switch to another weapon and smash the ore rocks along the wall for Amber and Rock Salt. Higher up, another metal block lies beneath a stone shape: lift it with Magnesis and drop it into the gap. This time the Korok appears next to the finished shape and hands over a seed.
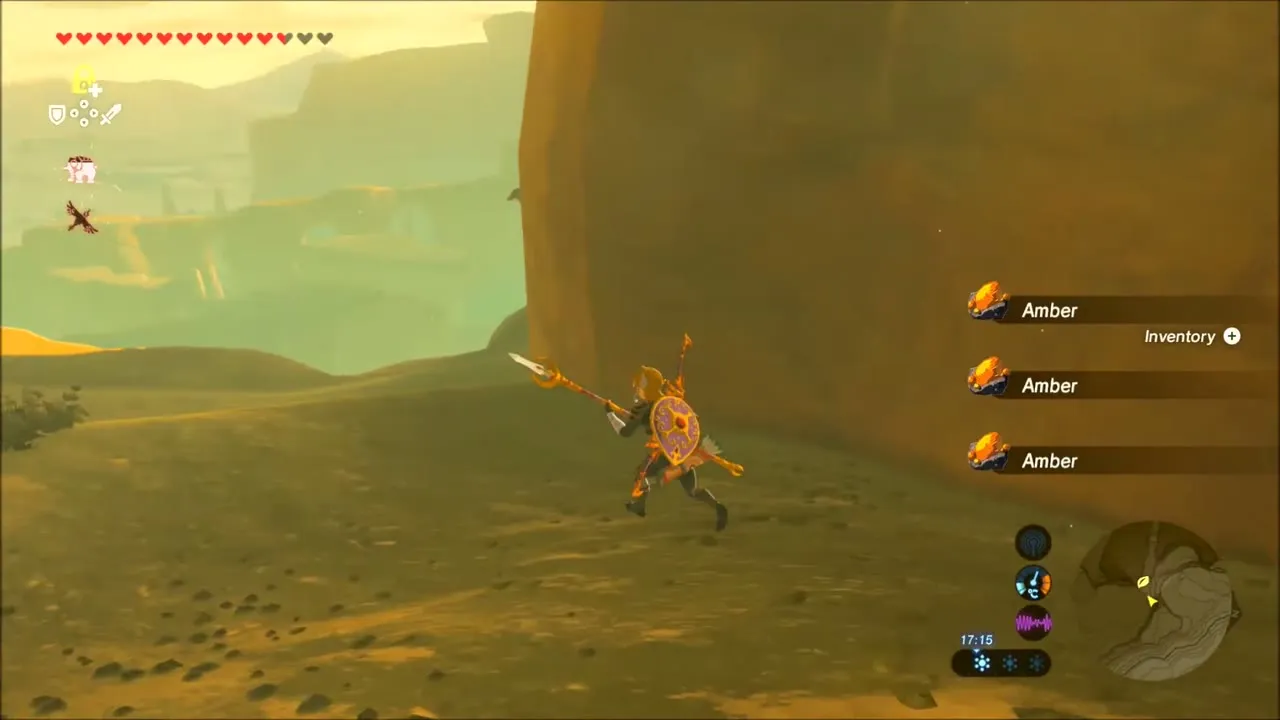


Black Moblin and the Diamond chest
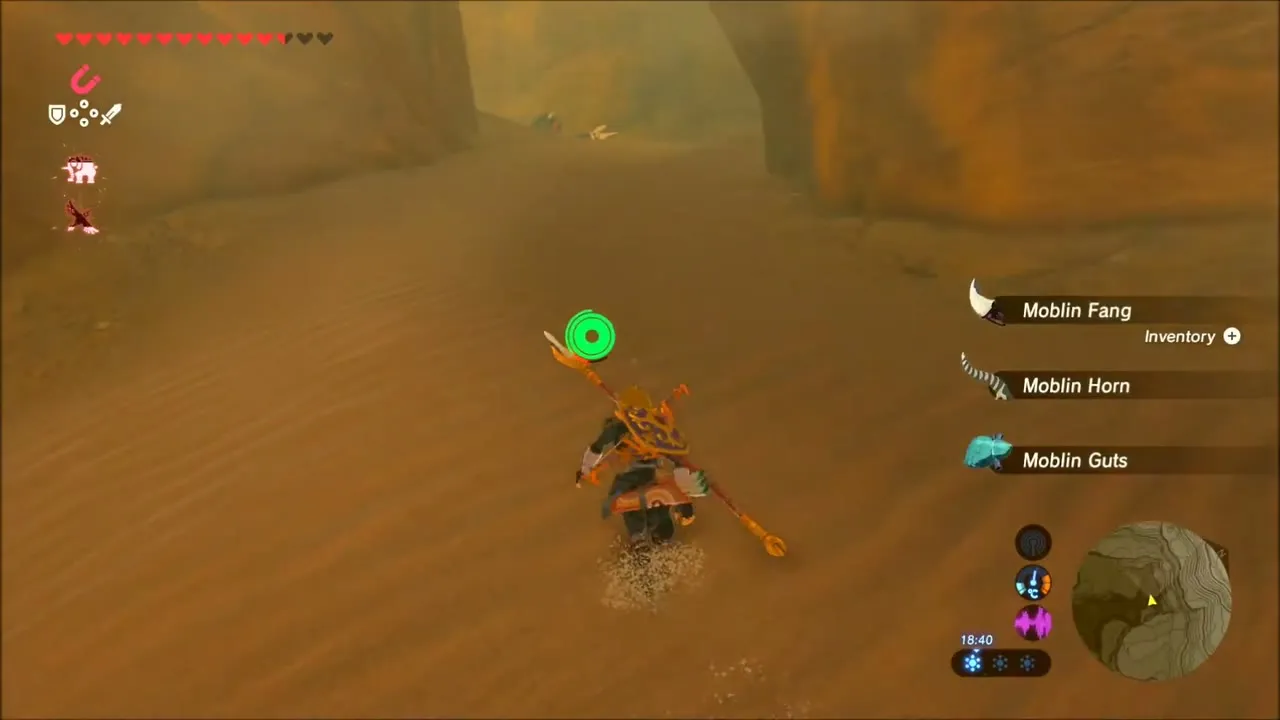
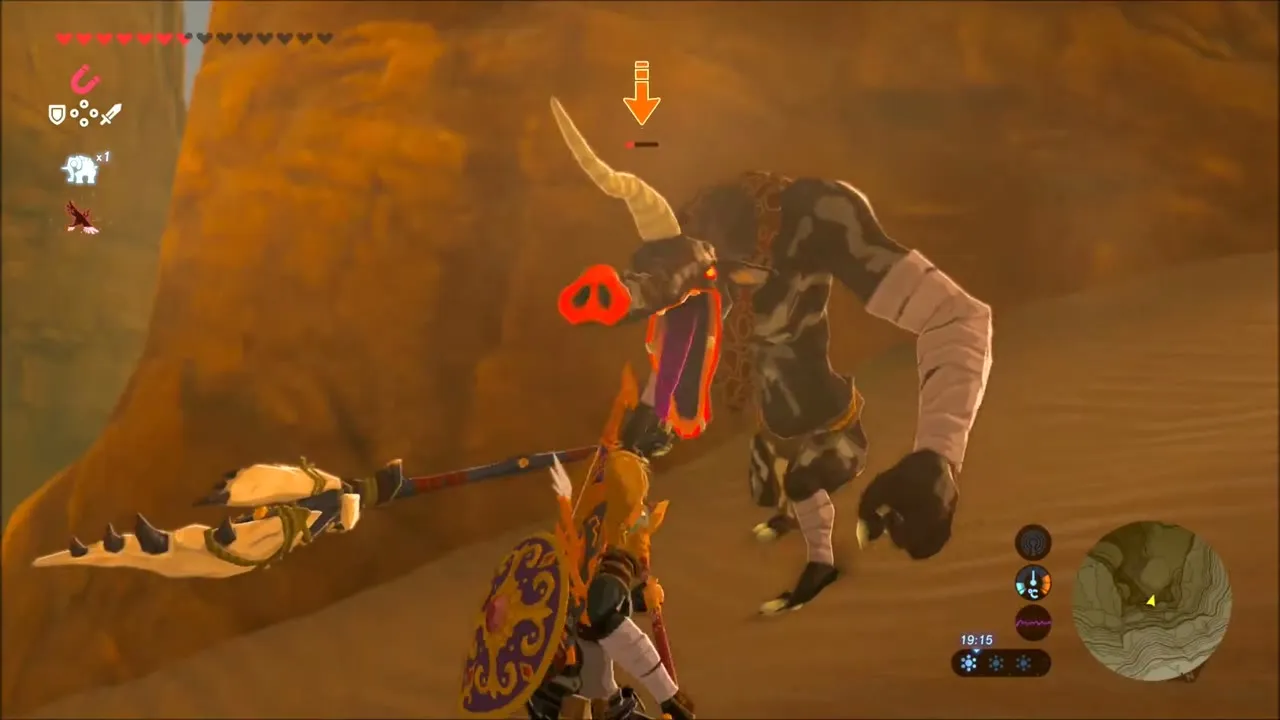
A Moblin guards the narrow gully ahead. Guard its charge, strike between its swings, and finish it for Moblin Fangs, Horns and Guts. Past its spot, use the Magnesis radar and pull a buried chest out of the sand. It holds a Diamond.


Korok seed on the giant skeleton
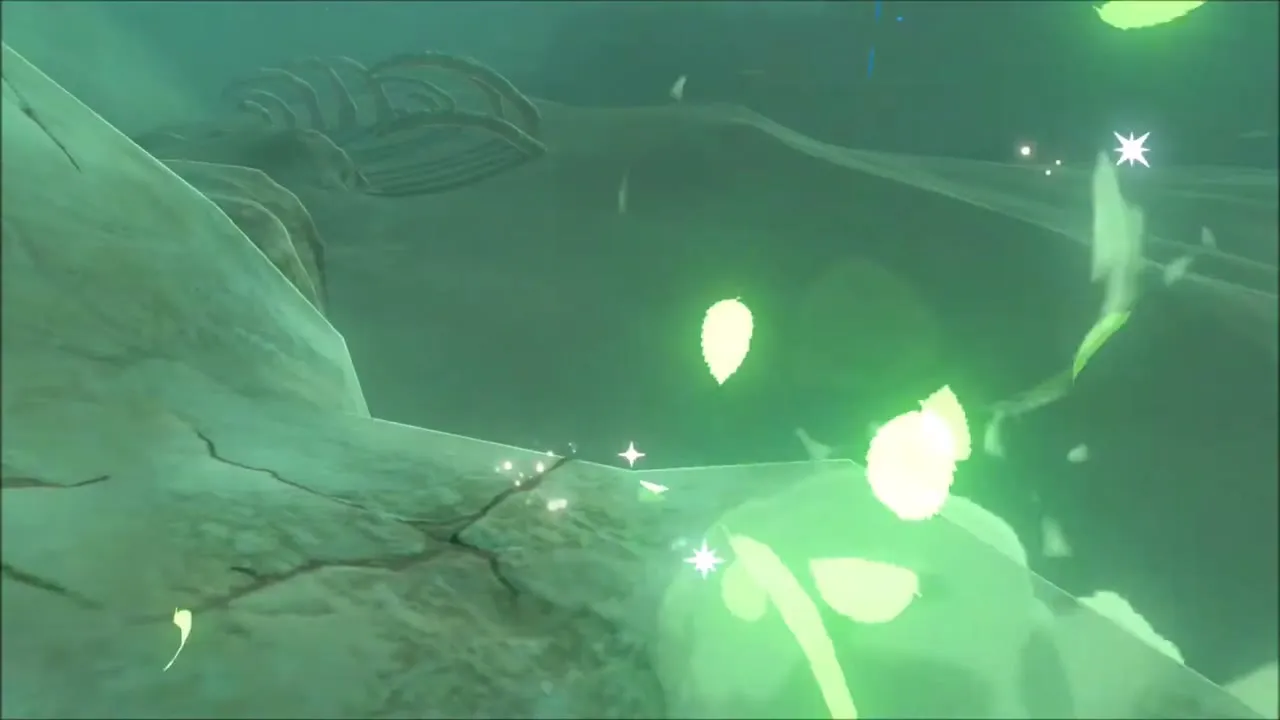
Out on the open sand, a huge ribcage of an ancient creature rises from the dunes. Climb up its curved bones, work your way along the top, and a Korok is waiting beside a small plant; leaves burst out when you reach the spot, and it hands you a seed.

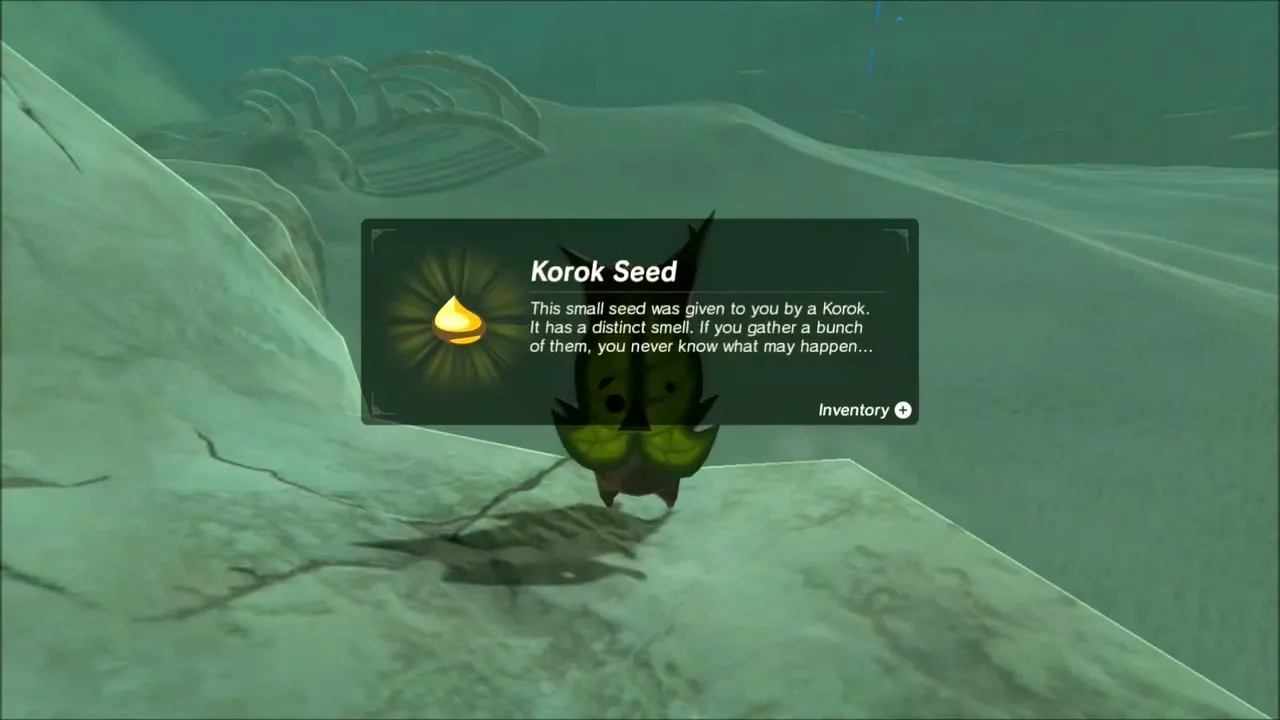
Buried chests in the sand
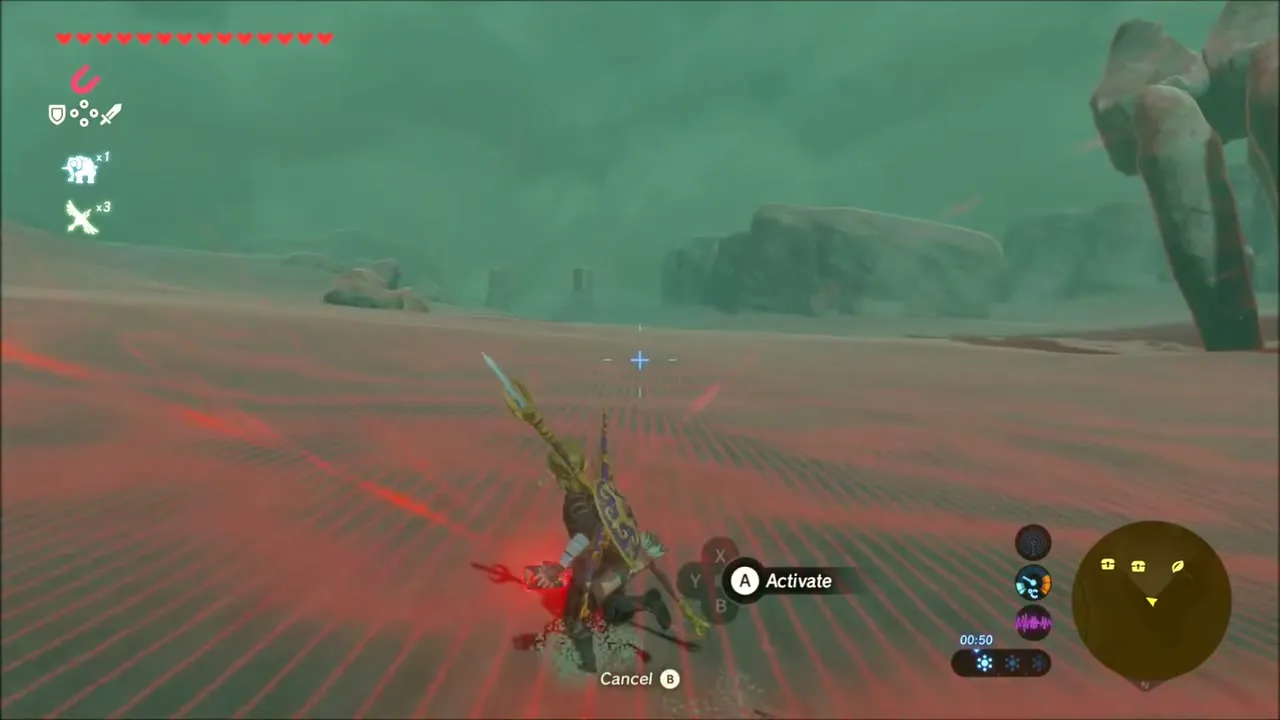
Several chests are buried in the dunes between the skeleton and the stone ruins. Keep Magnesis out and scan the sand: each chest rises out of the ground when you lift it, and together they hold gems and a Purple Rupee.


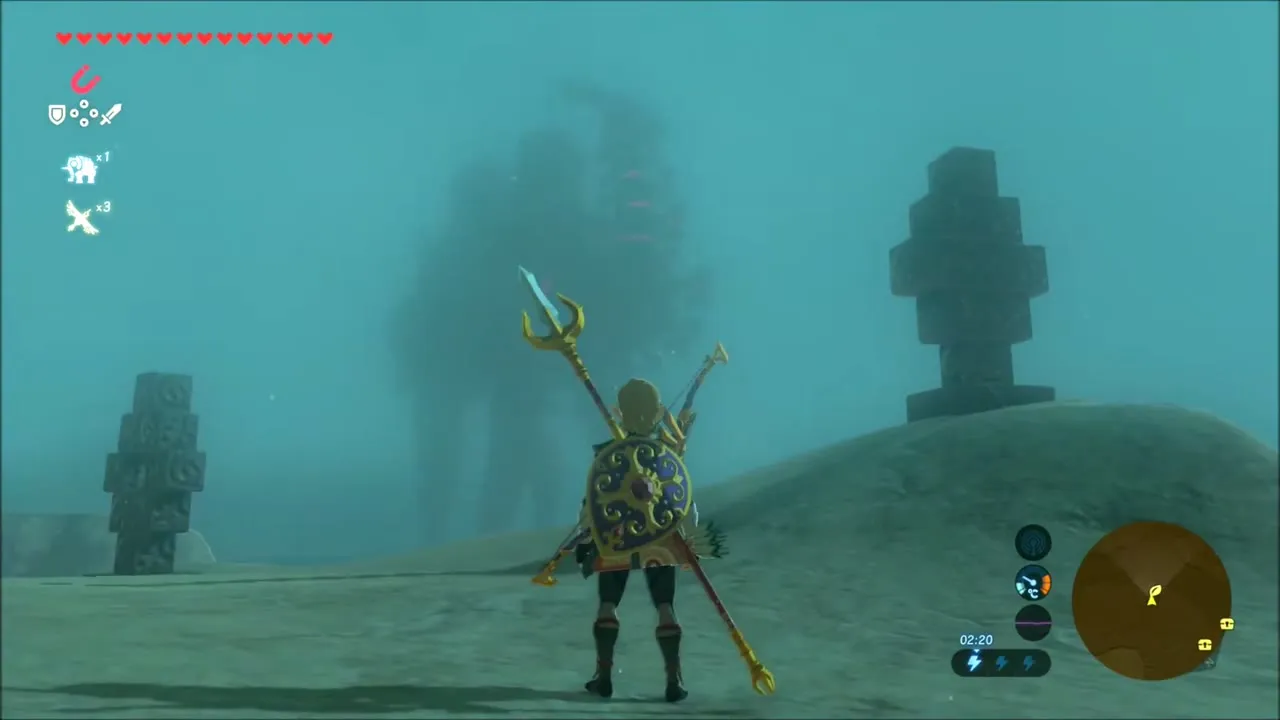
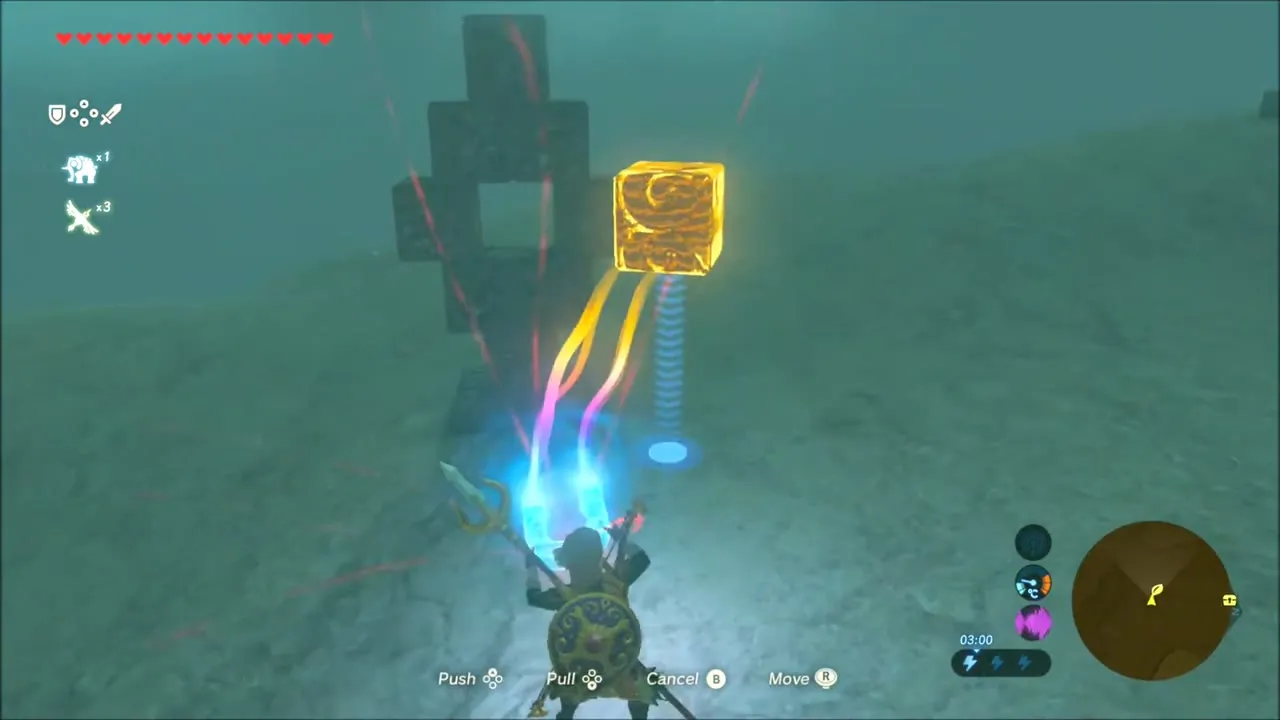
Among the stone totem pillars in the haze, a cross-shaped stone has an open slot in its side. Lift the metal cube lying nearby with Magnesis and set it into the slot. The Korok pops out and rewards you with a seed.


East Gerudo Ruins: Korok Seeds
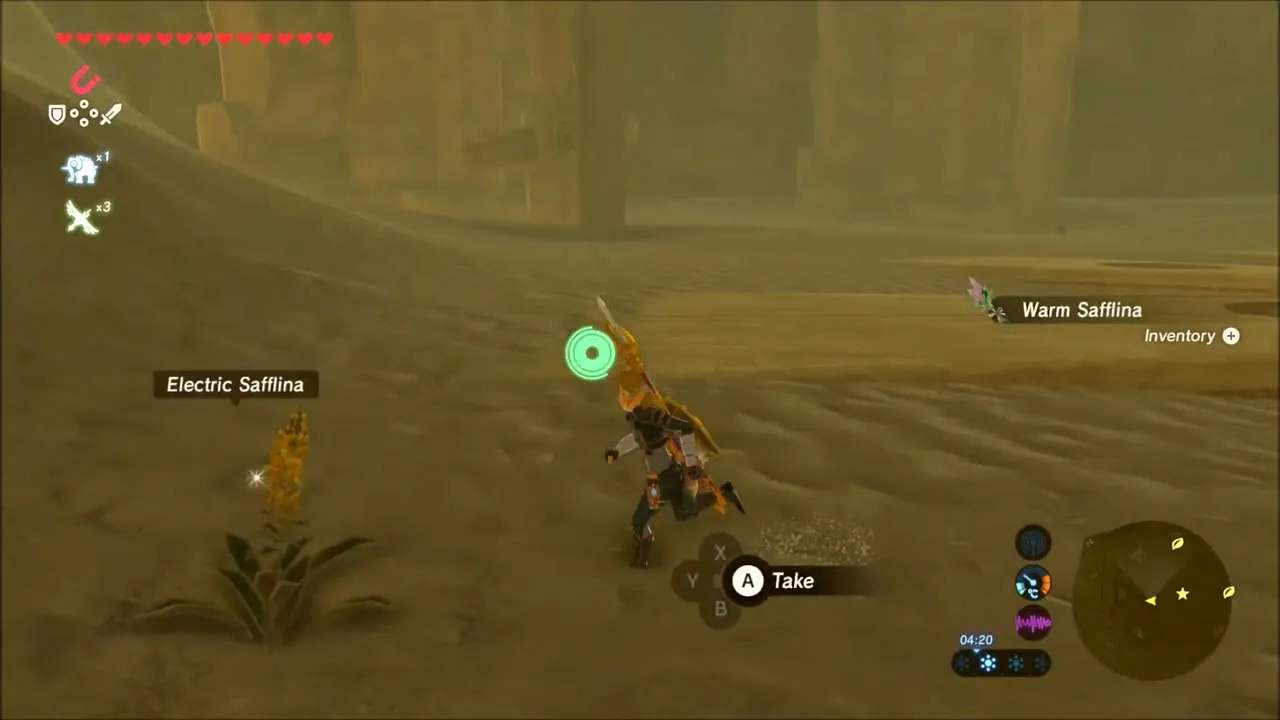
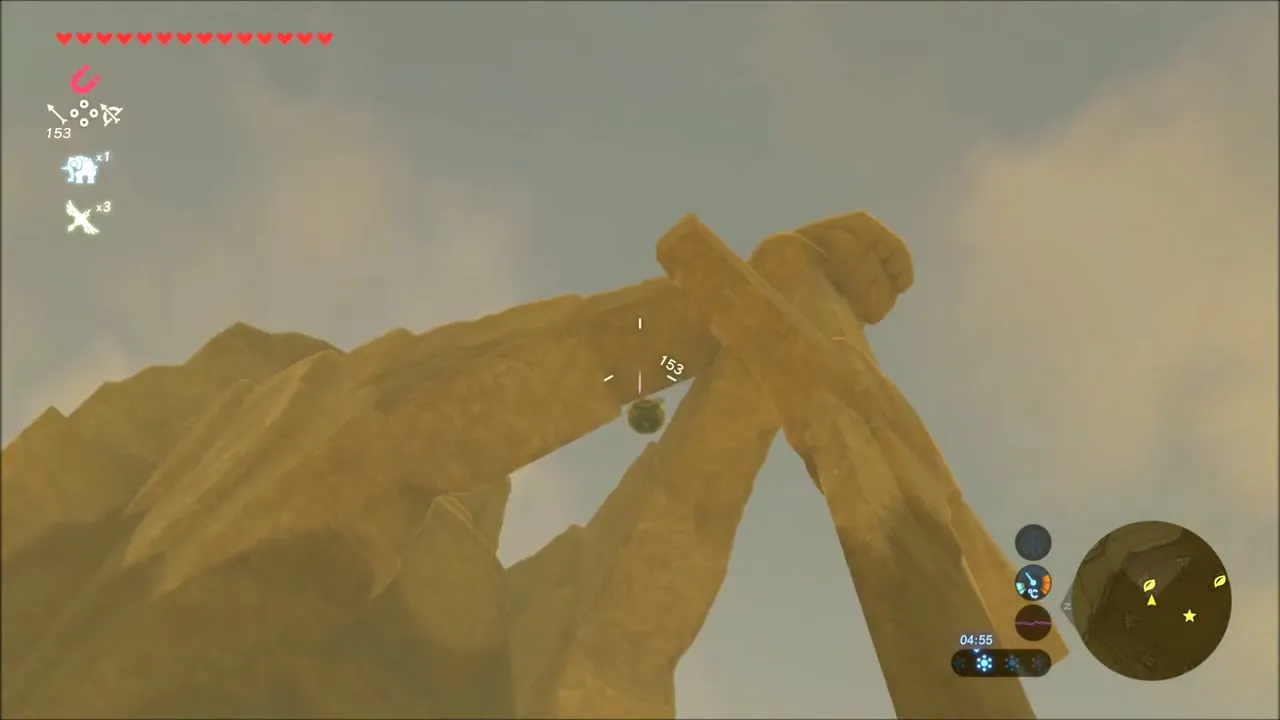
As you approach the East Gerudo Ruins at (-2691, 2890), pick up the Electric Safflina and Warm Safflina growing in the sand. On the way, look up at the pair of leaning rock slabs: a small round object is wedged between them. Shoot it with arrows until it breaks loose, and the Korok on the cliff face beside it gives you a seed. Bring spare bows, since the shots can wear one out.

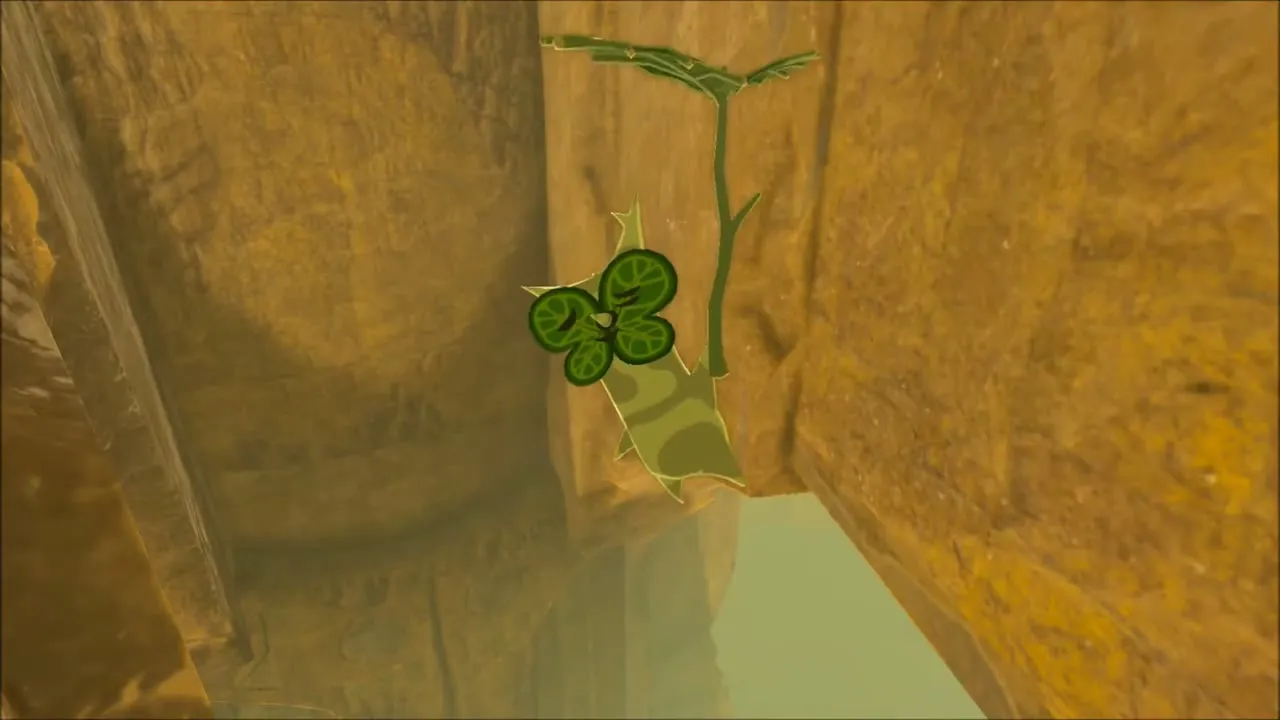
From the same ruins, climb the wooden scaffolding along the wall to reach the top of the broken structure and glide across to the highest ledge. The Korok is waiting on top of the ruin, with no puzzle to solve.
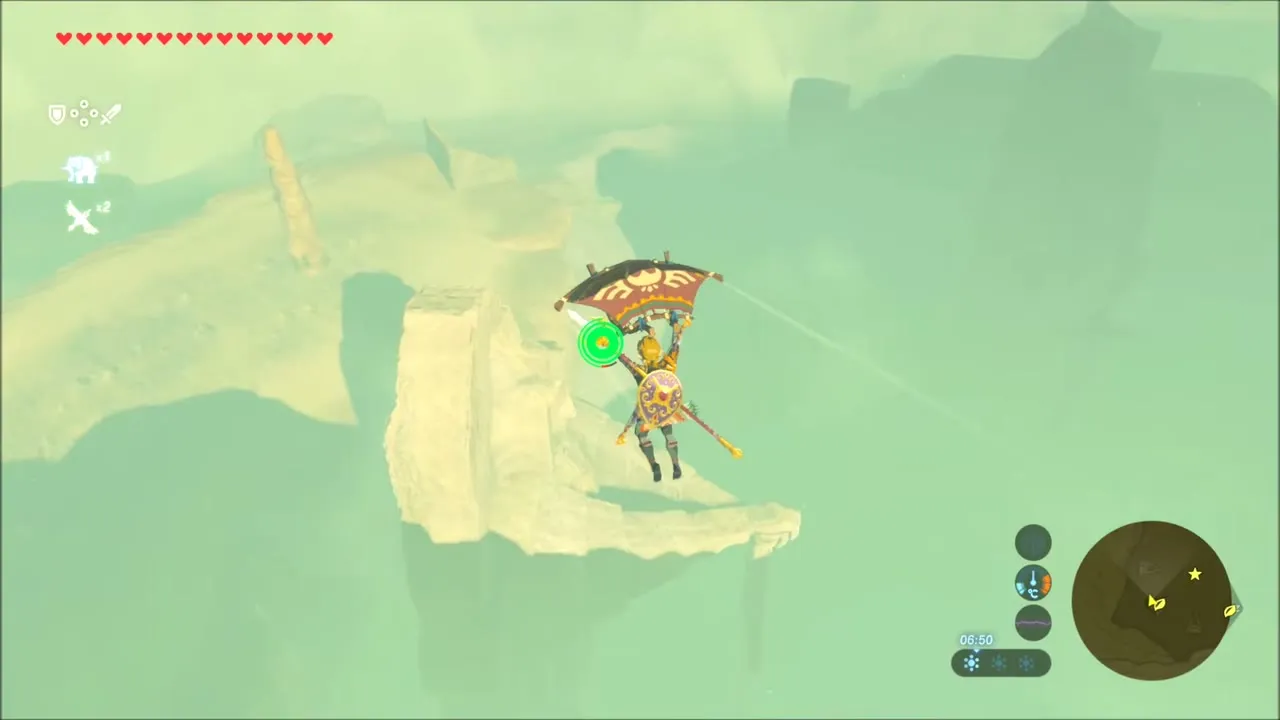


Korsh O’hu Shrine: The Seven Heroines Statues
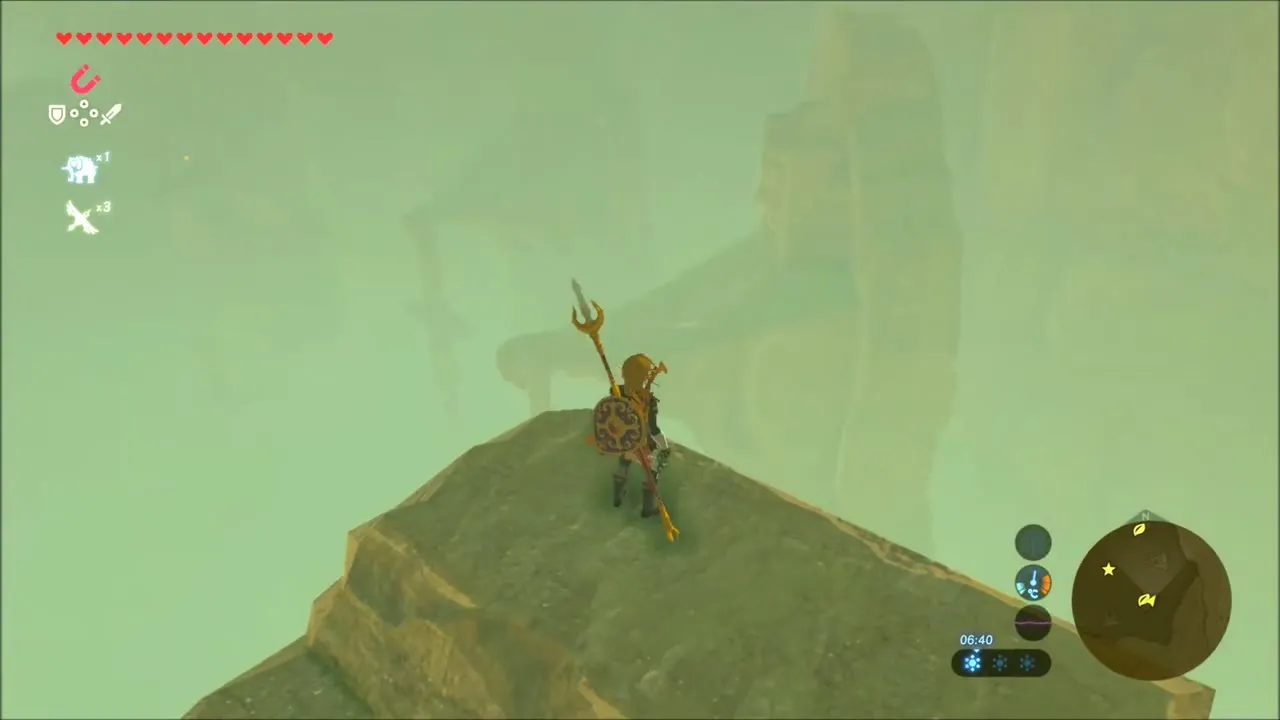
The coliseum ruins at (-2689, 2812), south-west of the Wasteland Tower, hold seven metal orbs and seven statues. Use Magnesis to carry each orb across the sand to the socket in front of the statue whose symbol matches it, lifting any that are stuck on top of the statues. See The Seven Heroines for the order.


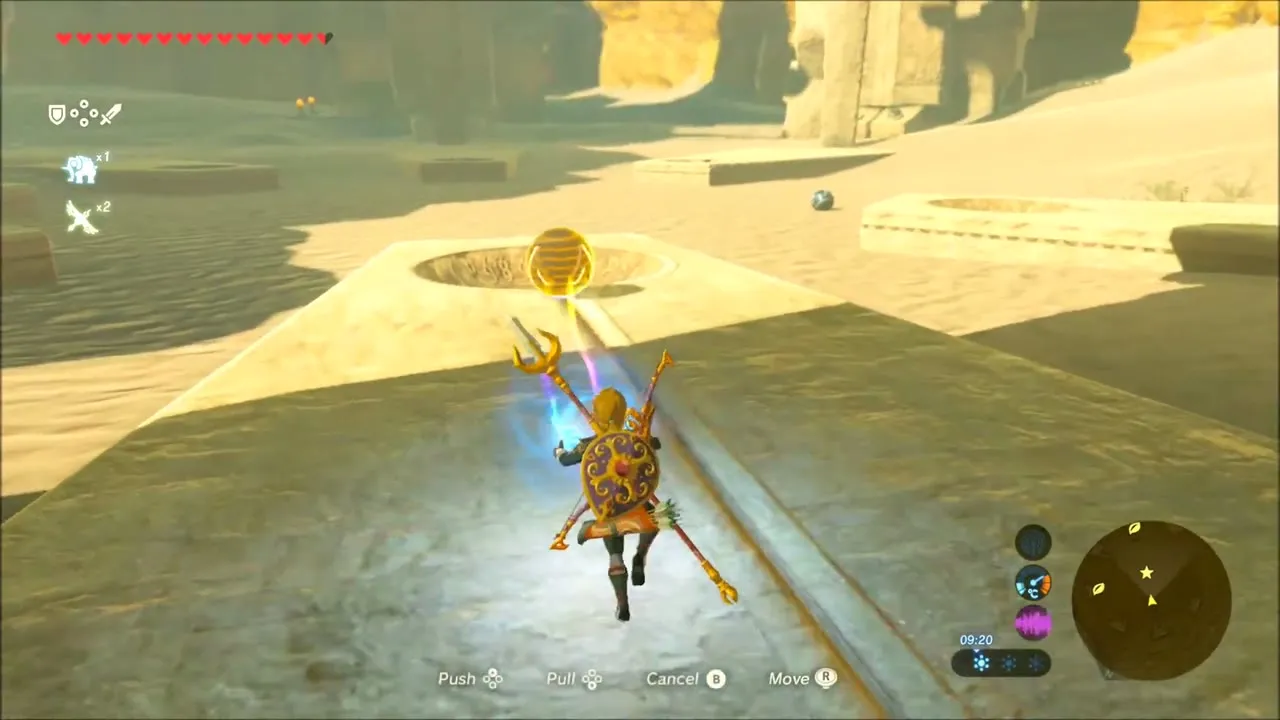
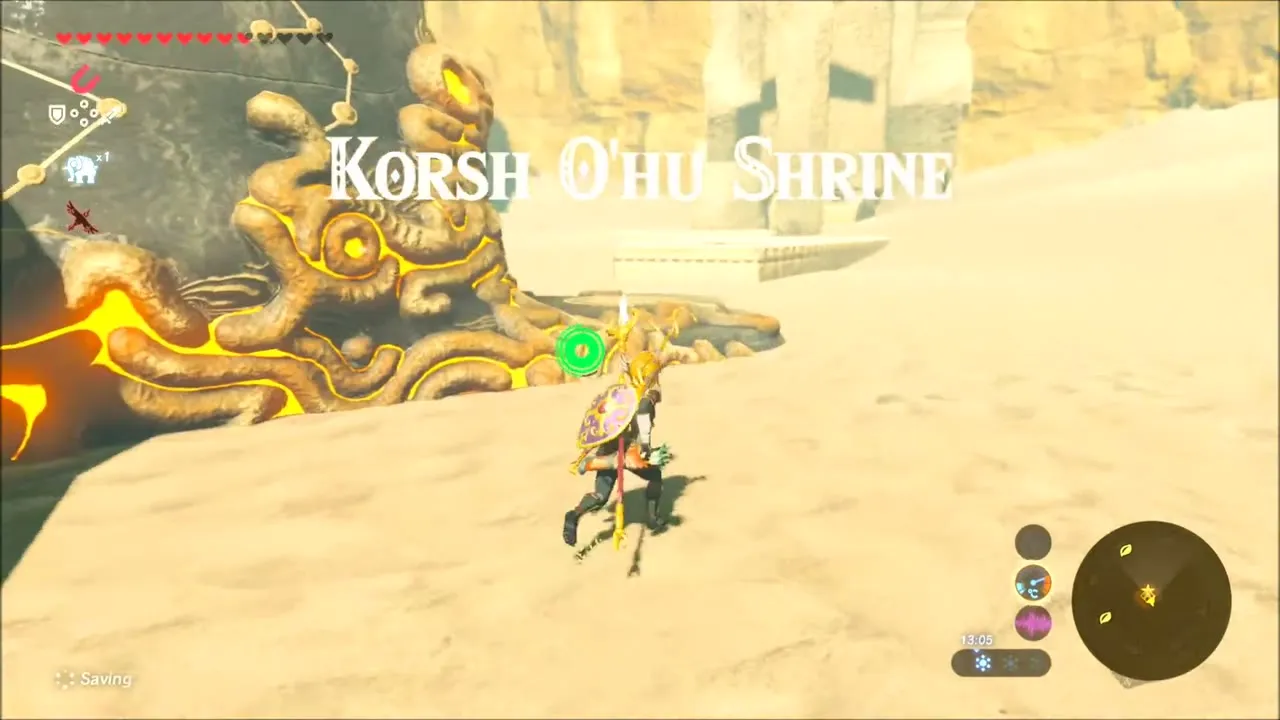
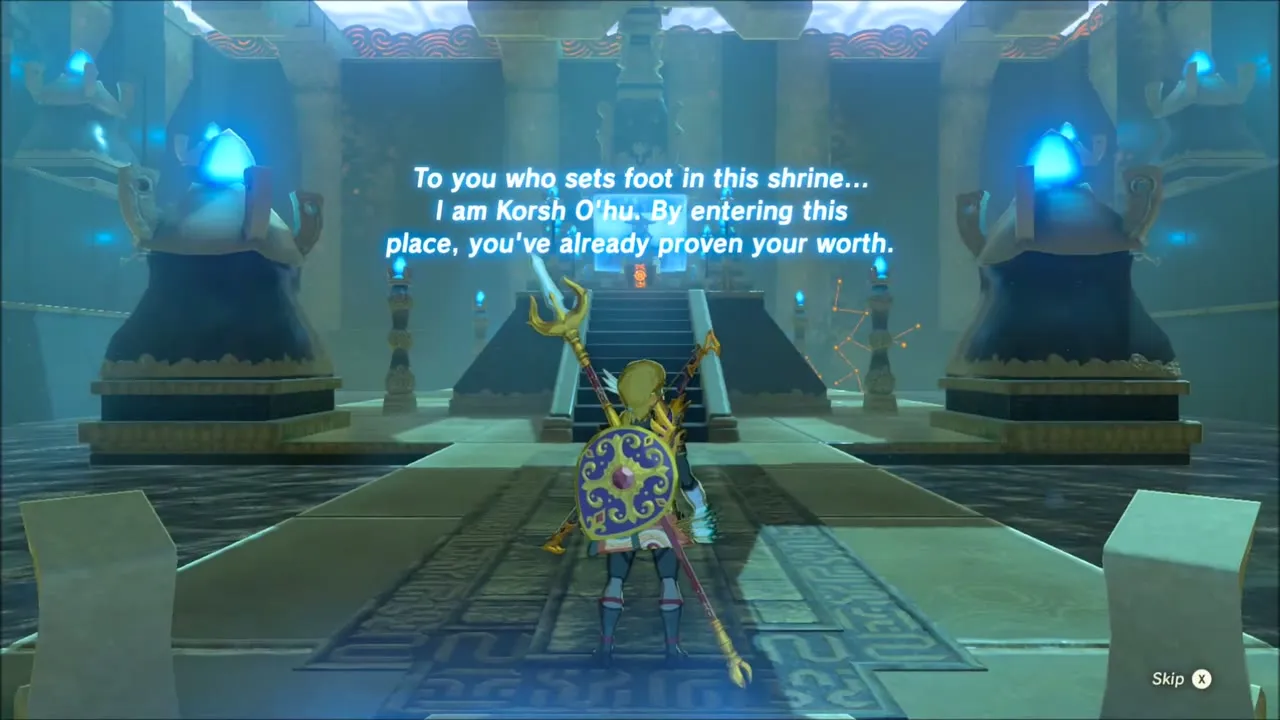
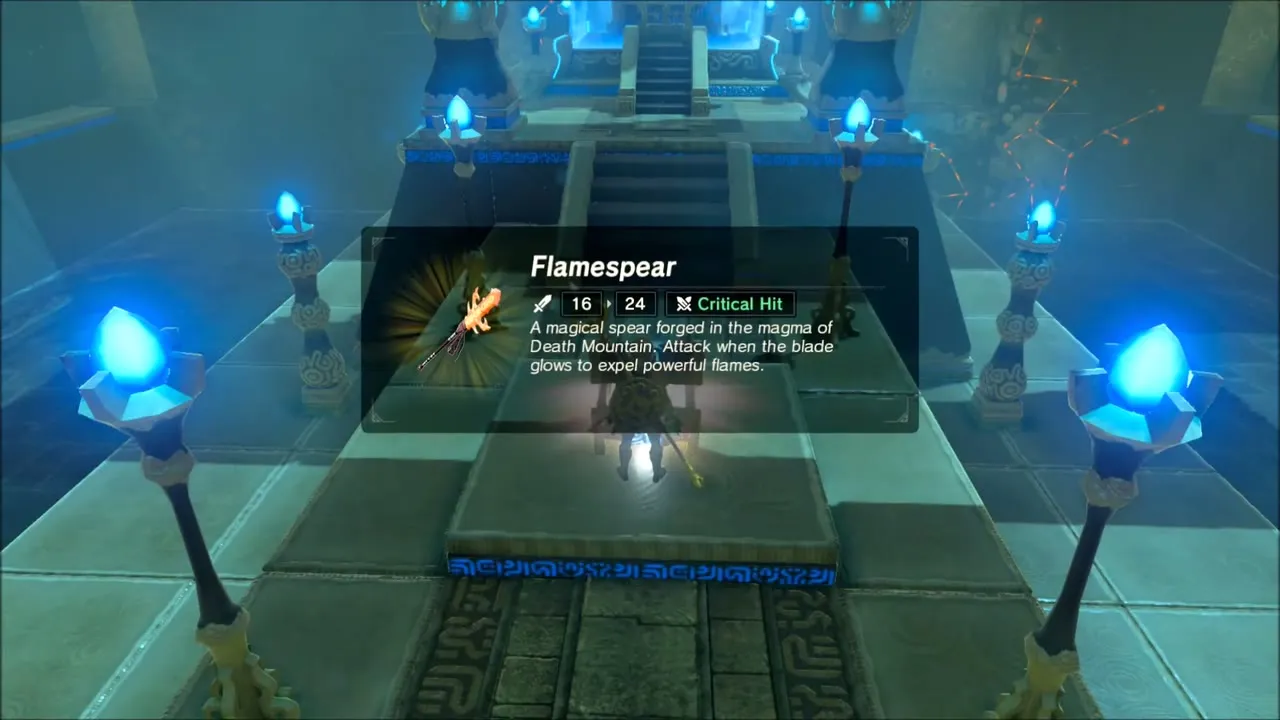
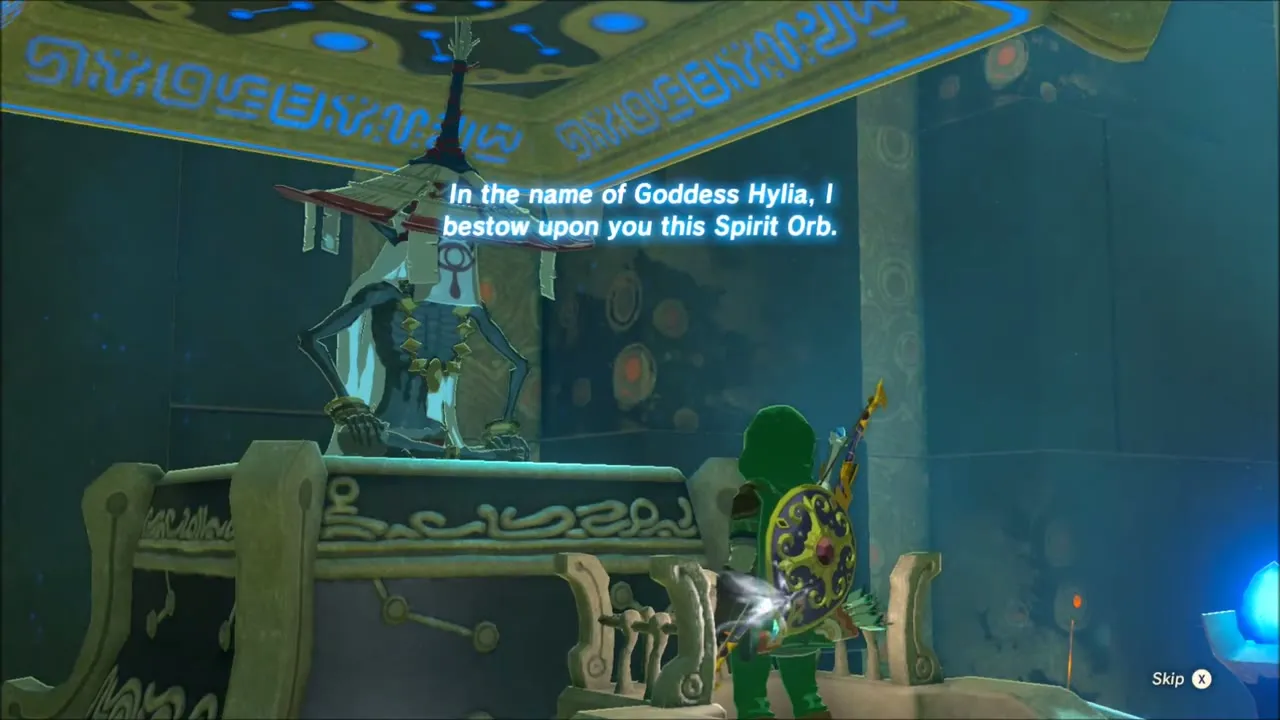
When the last orb is in place, the sand drains away and the shrine rises from the ground. Inside, the monk Korsh O’hu greets you and says that entering the shrine has already proven your worth, so there is no further trial. Open the chest for a Flamespear, then take the Spirit Orb from the monk. See Korsh O’hu Shrine for the symbols.

Bandit camp chests and a Korok in the dunes
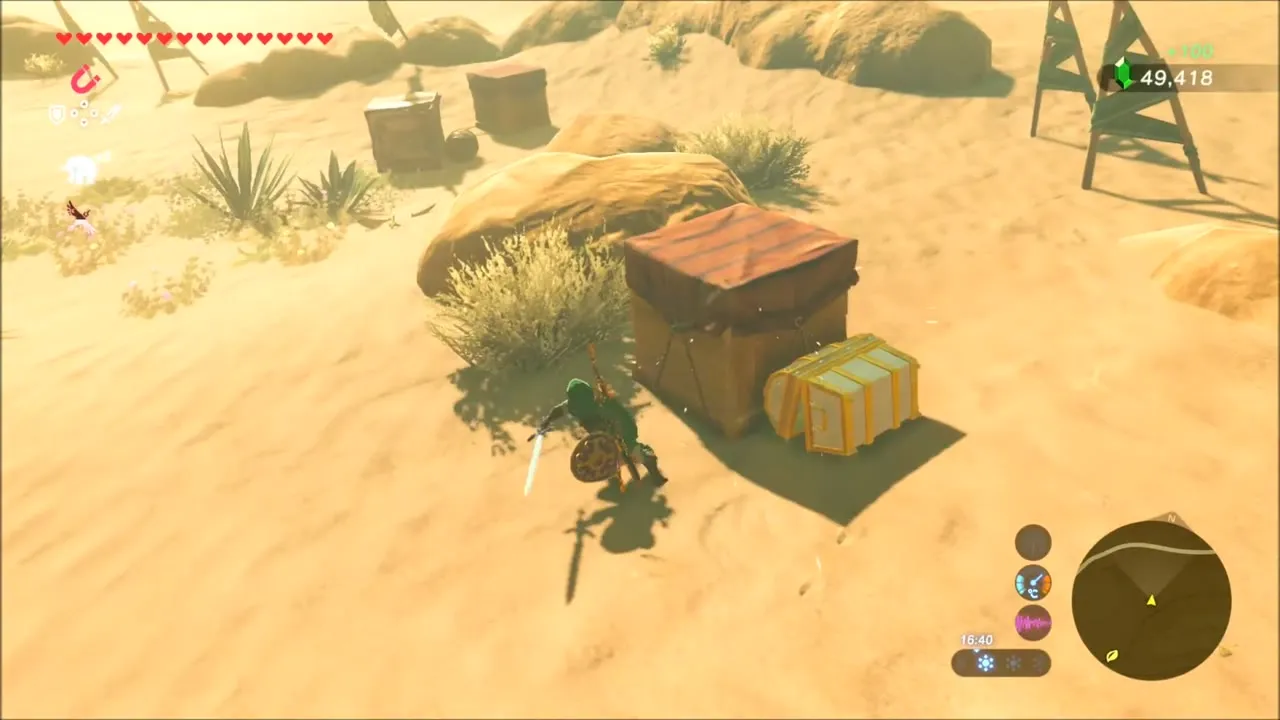
Back in the dunes, a ramshackle camp marked by banners and crates holds a few chests. Break the crates and clear out the Lizalfos, then open the chests for a Silver Rupee and a stack of arrows along with other loot.


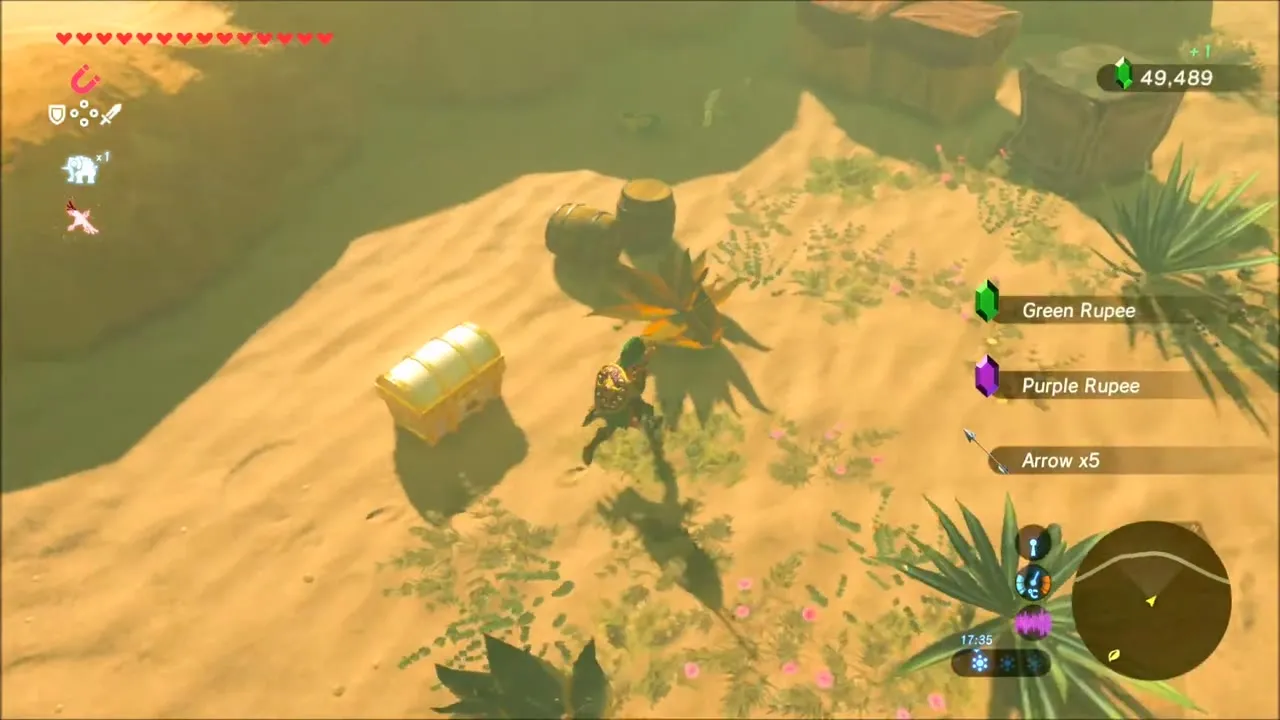
Farther on, a lone boulder topped with a tiny flower stands in the sand. Walk up and a Korok pops out from the rock, giving you a seed.
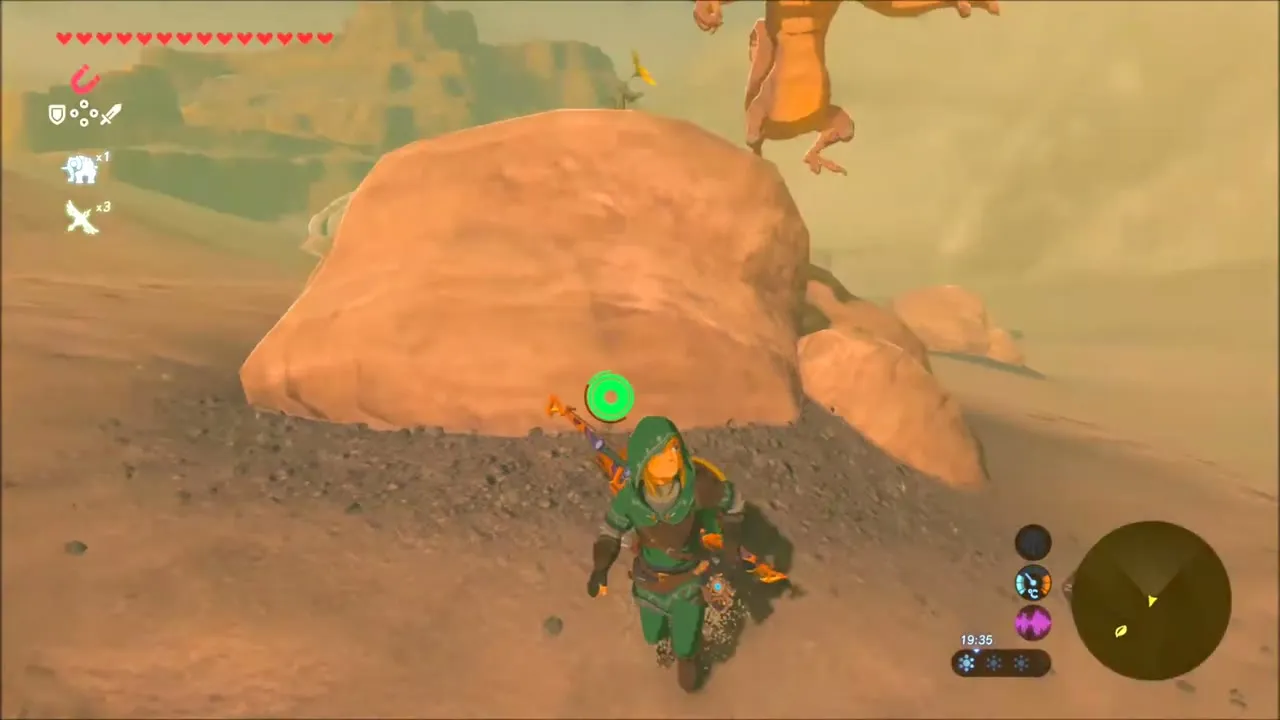
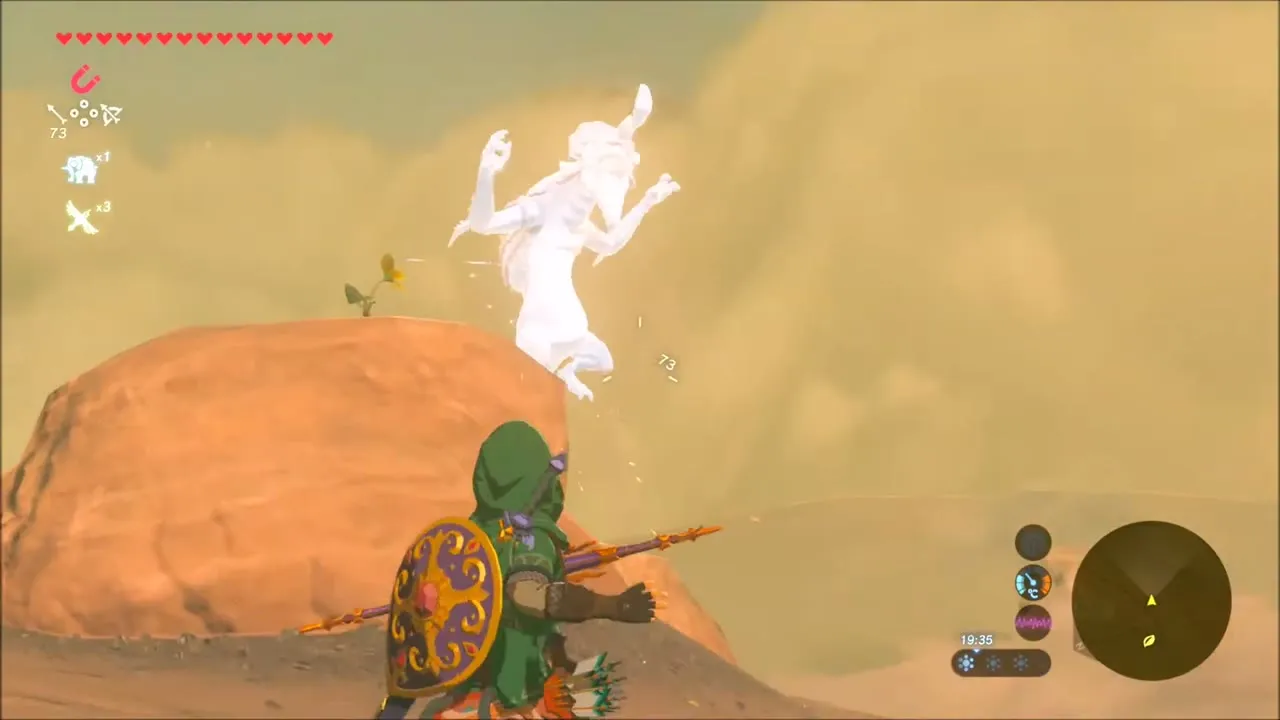
Gerudo Town Gate and Daqo Chisay Shrine (The Whole Picture)
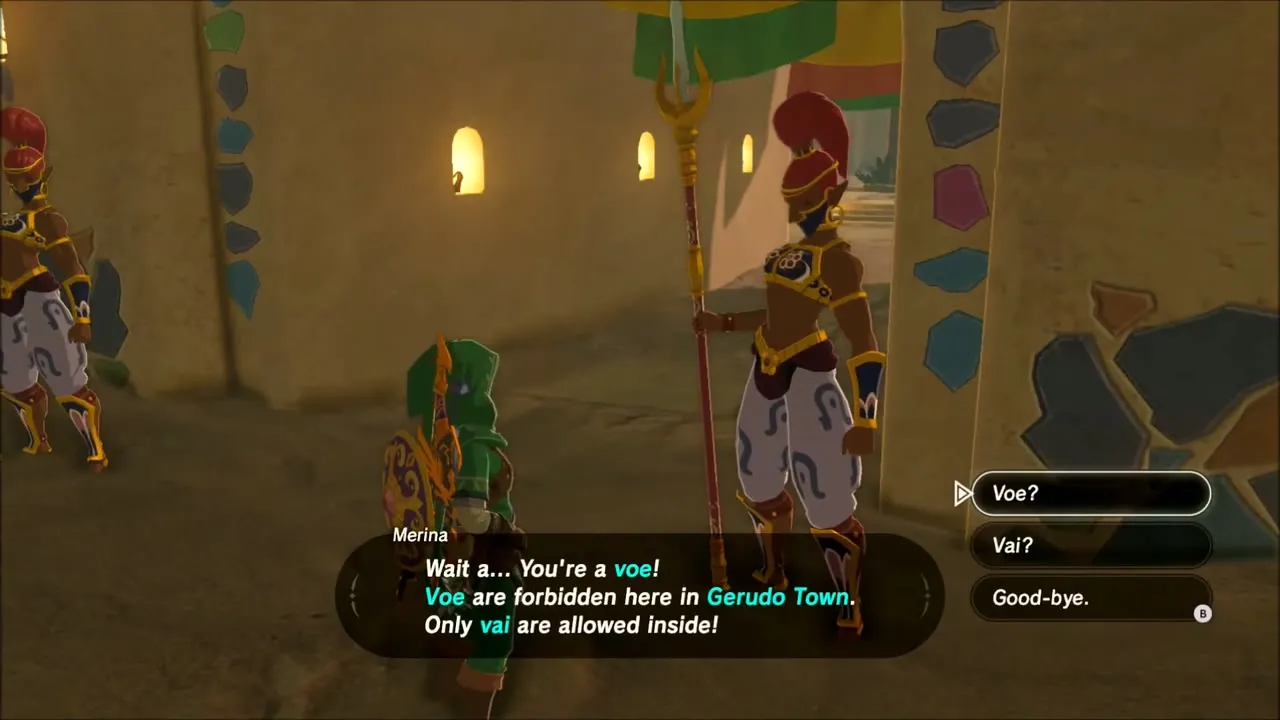
Cross the sand toward the gate of Gerudo Town at (-3835, 2915). When you arrive, the Gerudo guards refuse to let you in: voe, men, are forbidden, and only vai may enter. Since you cannot go in yet, look at the left of the gate, where a Sheikah shrine sits a short walk across the sand.

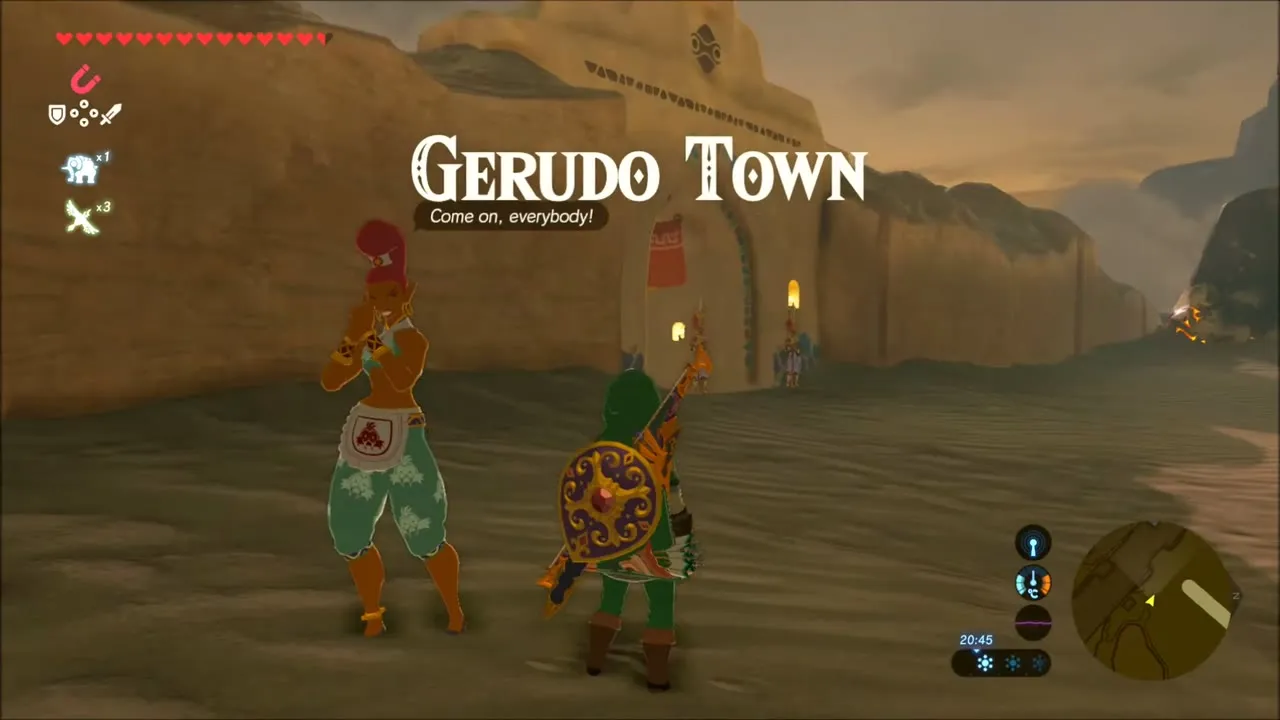

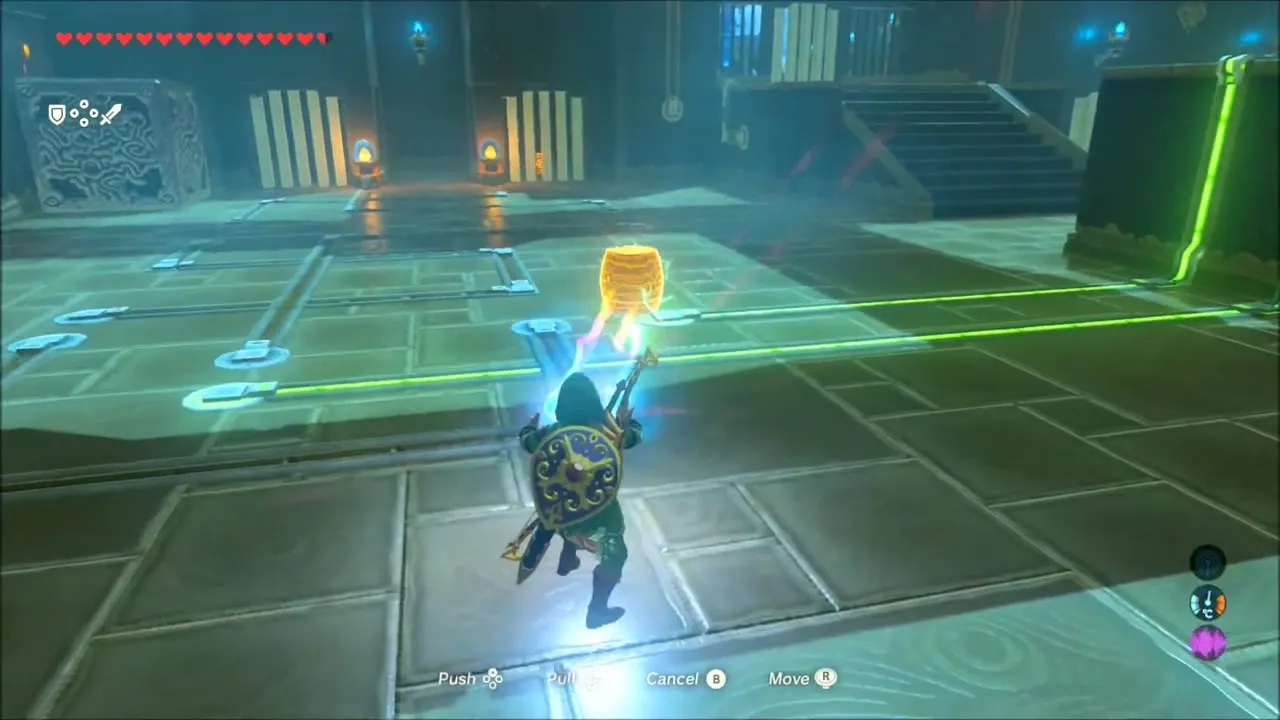
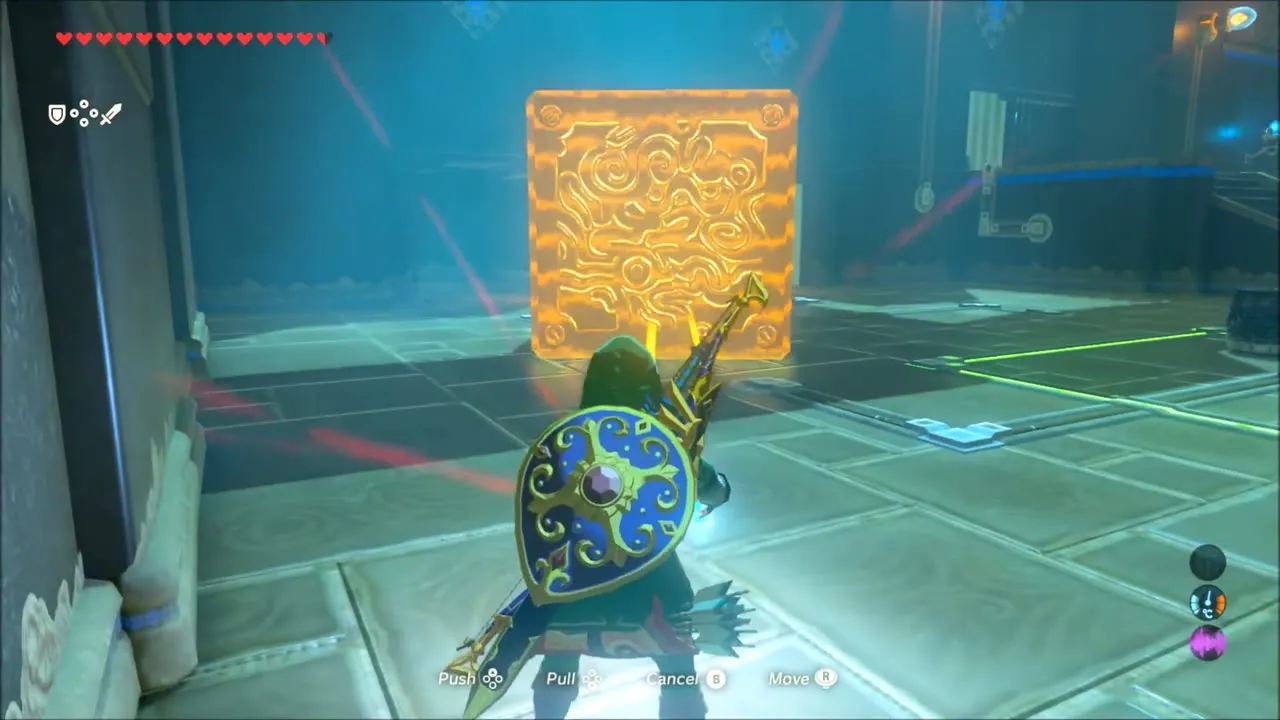
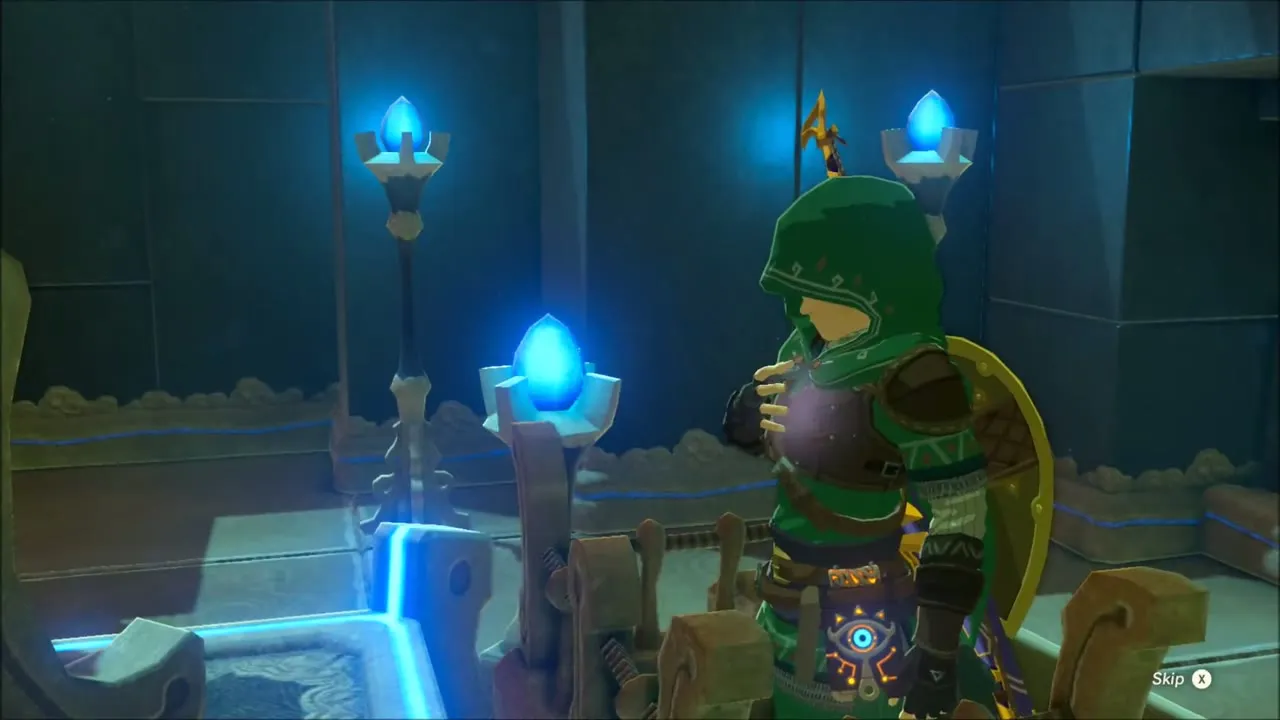
Daqo Chisay Shrine, at (-3816, 2819), height 163, is an electricity puzzle called The Whole Picture. Lines on the floor carry current from a pylon, and gaps in the lines need metal objects as bridges. Use Magnesis to move the metal barrels, large blocks and even the chest to close the gaps in order. The chest in the room that opens on the third circuit holds a Thunderblade, and the final circuit around the throne-room stairs opens the doors to the monk, who gives you a Spirit Orb. See the Daqo Chisay Shrine page for the full solution.


Forbidden City Entry: How to Get Into Gerudo Town as a Man
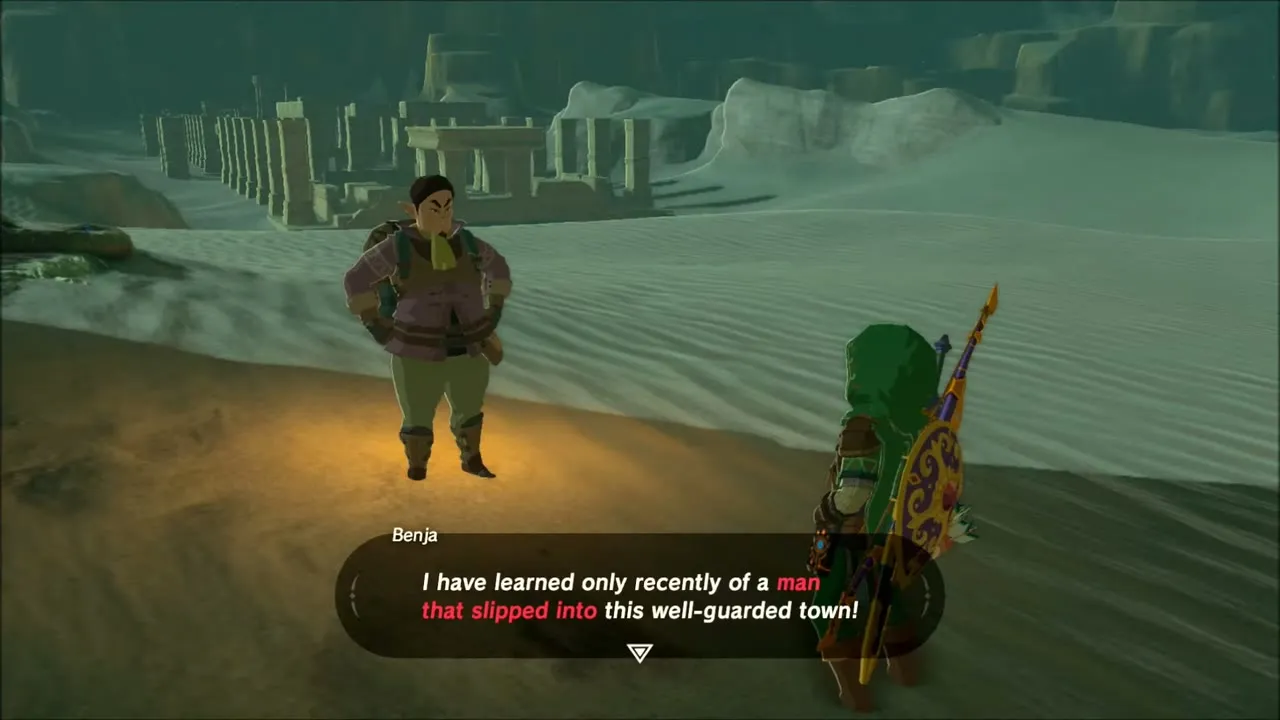
Gerudo Town turns men away at the gate, which is what starts the Forbidden City Entry quest and, with it, the Gerudo storyline of freeing Divine Beast Vah Naboris. Talk to Benja, who waits in the sand outside the entrance. He has heard that a man managed to slip into the well-guarded town, and his words send you looking for whoever helped that man.


Kara Kara Bazaar and Vilia’s Gerudo outfit
Surf across the dunes on your shield to Kara Kara Bazaar (x -3238, z 2558, height 129), the oasis camp east of the town. Ask the merchants around the fire and the stalls whether anyone has noticed a stranger; one of them admits that a certain trader stood out. Finish with the innkeeper, Shaillu, and pick the “Seen a sneaky guy?” option.
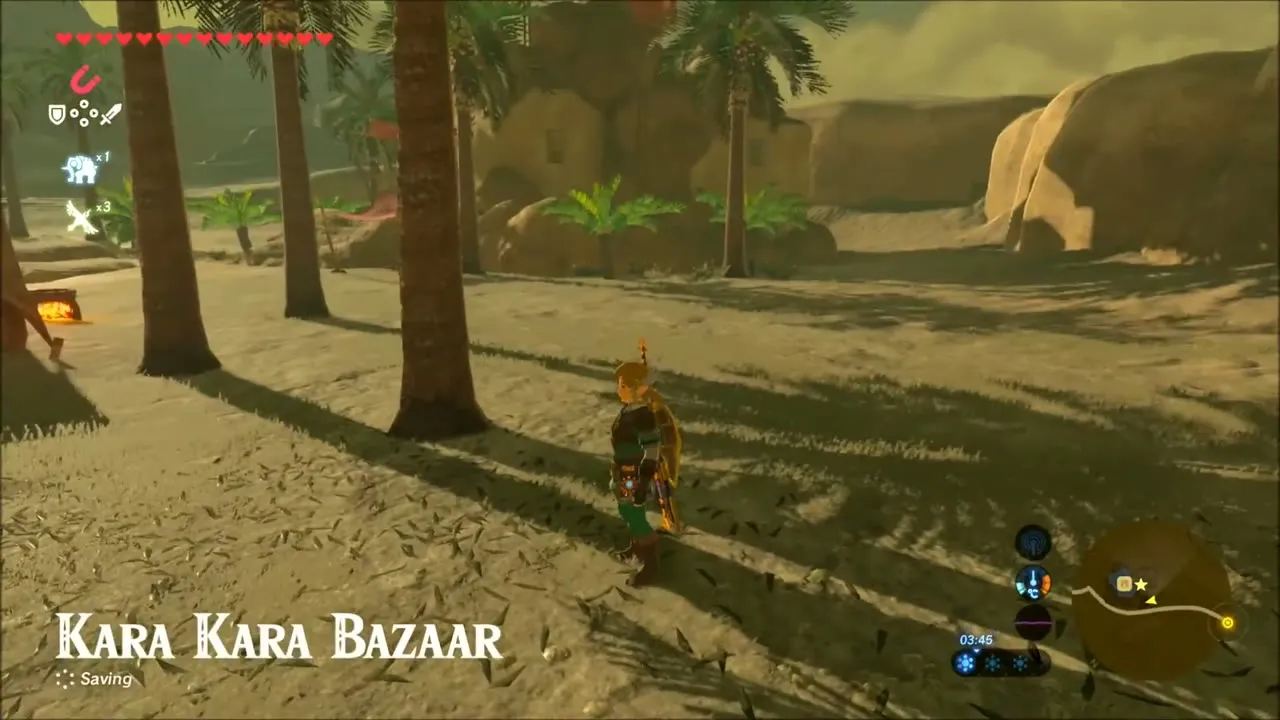
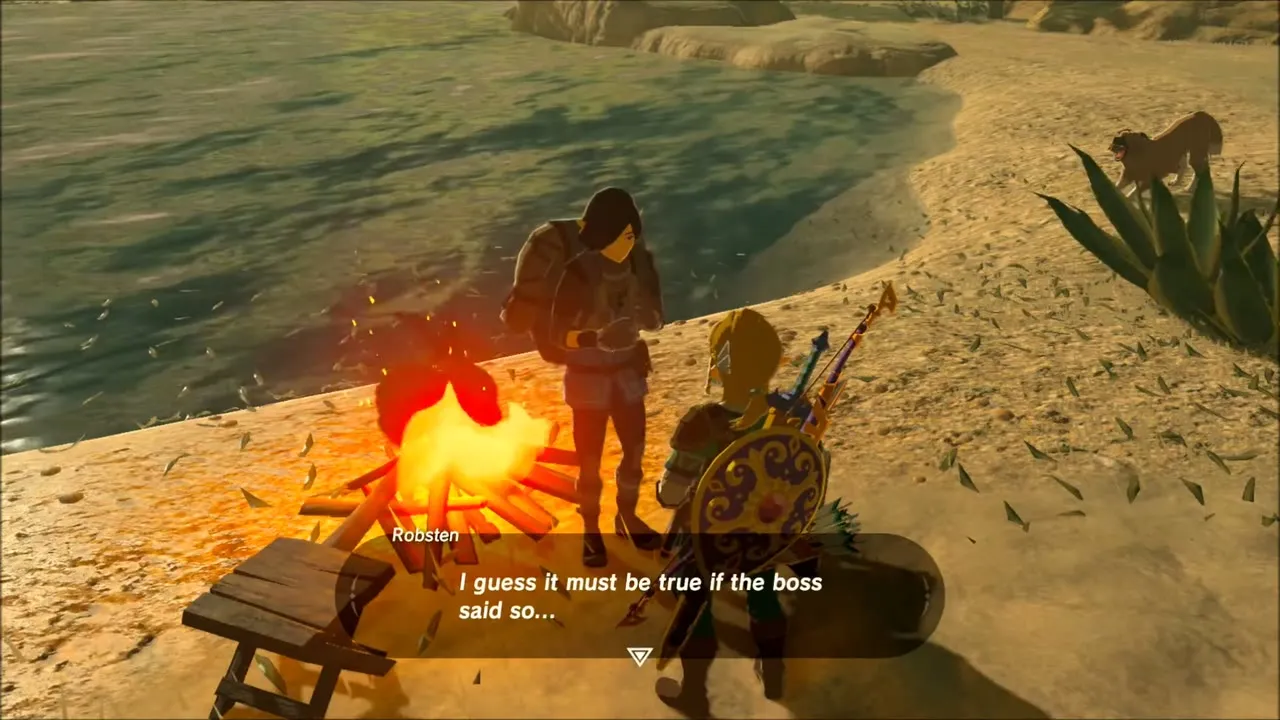


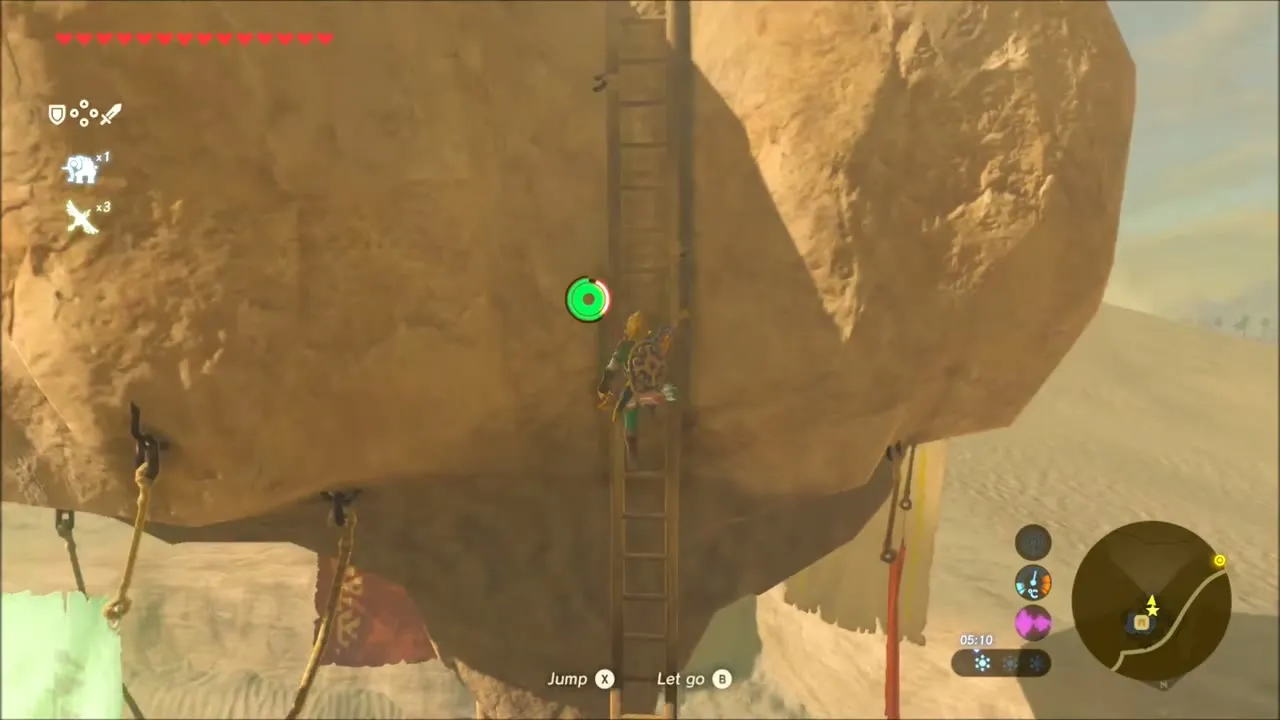
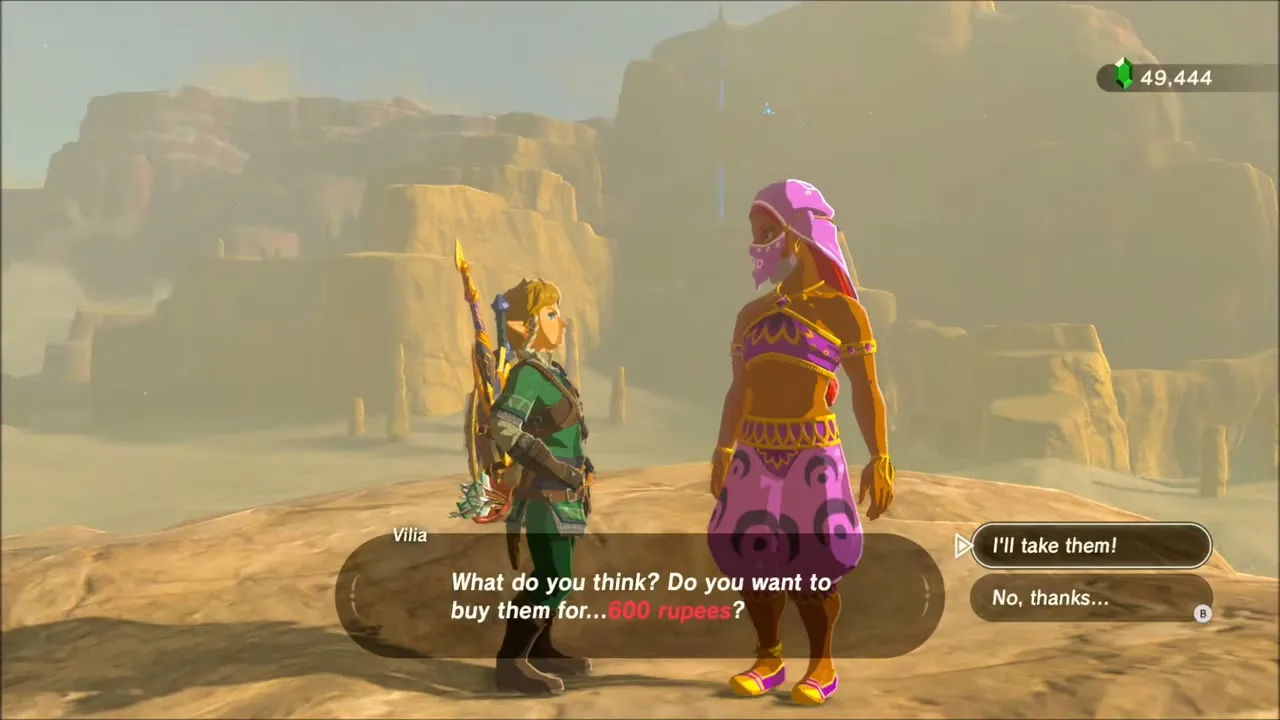
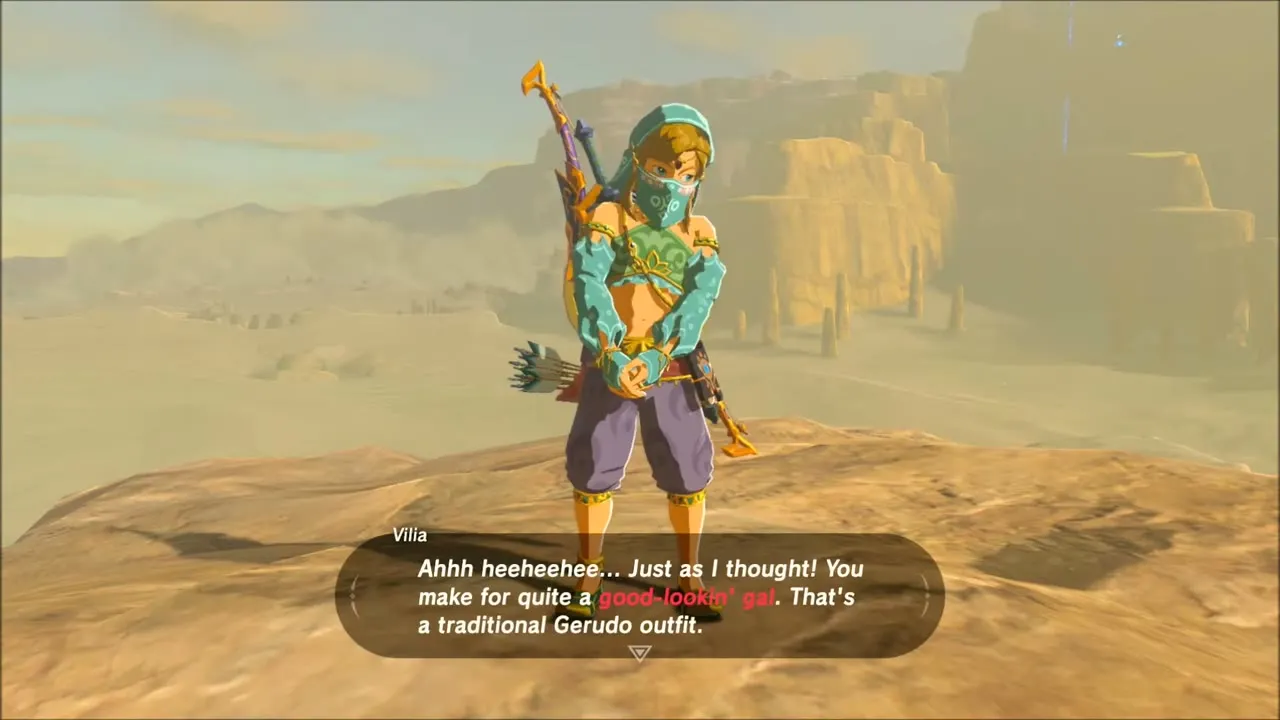
Climb the ladders beside the inn up to the rooftop ledge, where a woman named Vilia is waiting. Play along when she asks about the man who sneaked into town, and she offers to sell you a traditional Gerudo outfit for 600 Rupees. Buy the Gerudo Veil, Gerudo Top and Gerudo Sirwal (the Gerudo set) and put all three pieces on while she looks away. You now pass as a Gerudo woman.

The Eighth Heroine and The Forgotten Sword: Sand Boots and Snow Boots
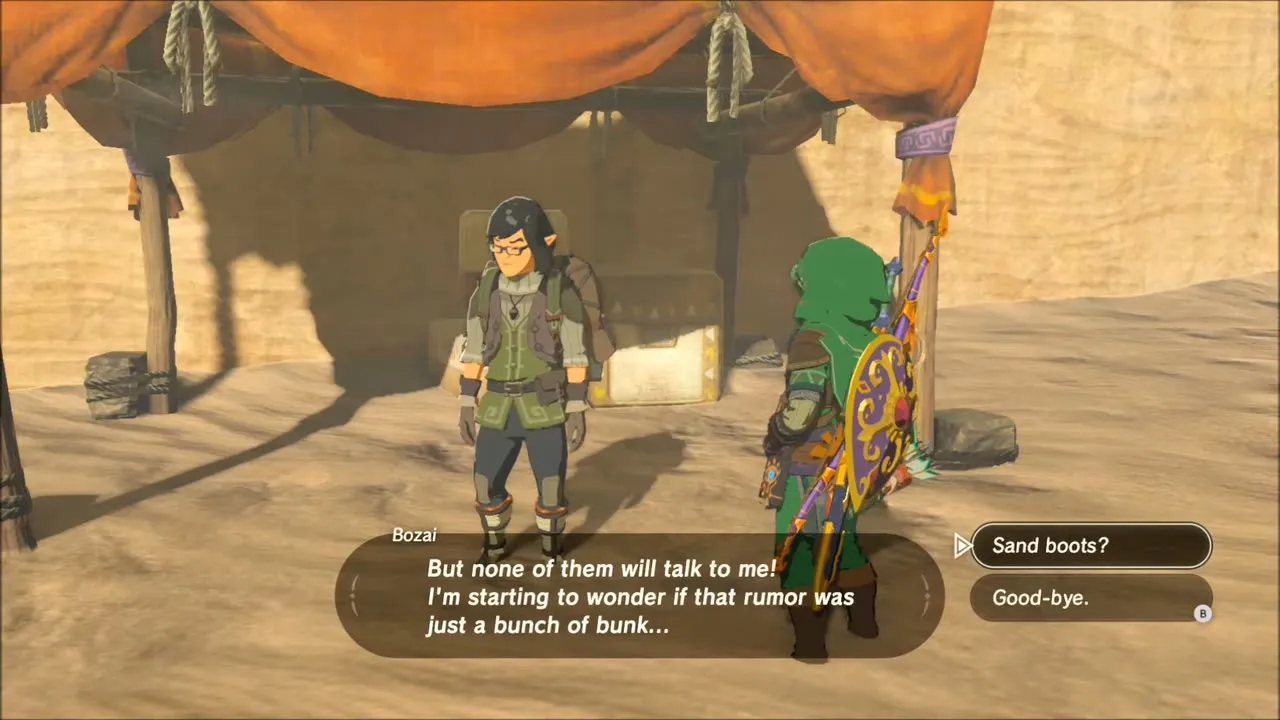
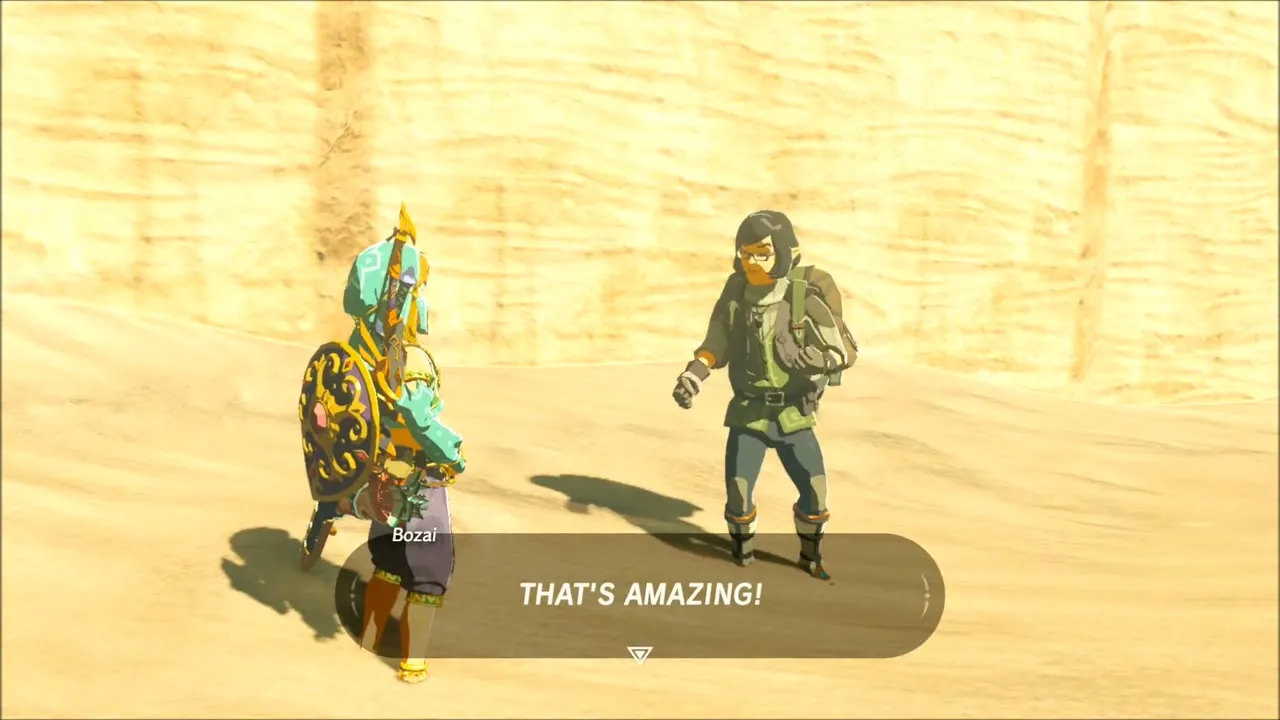
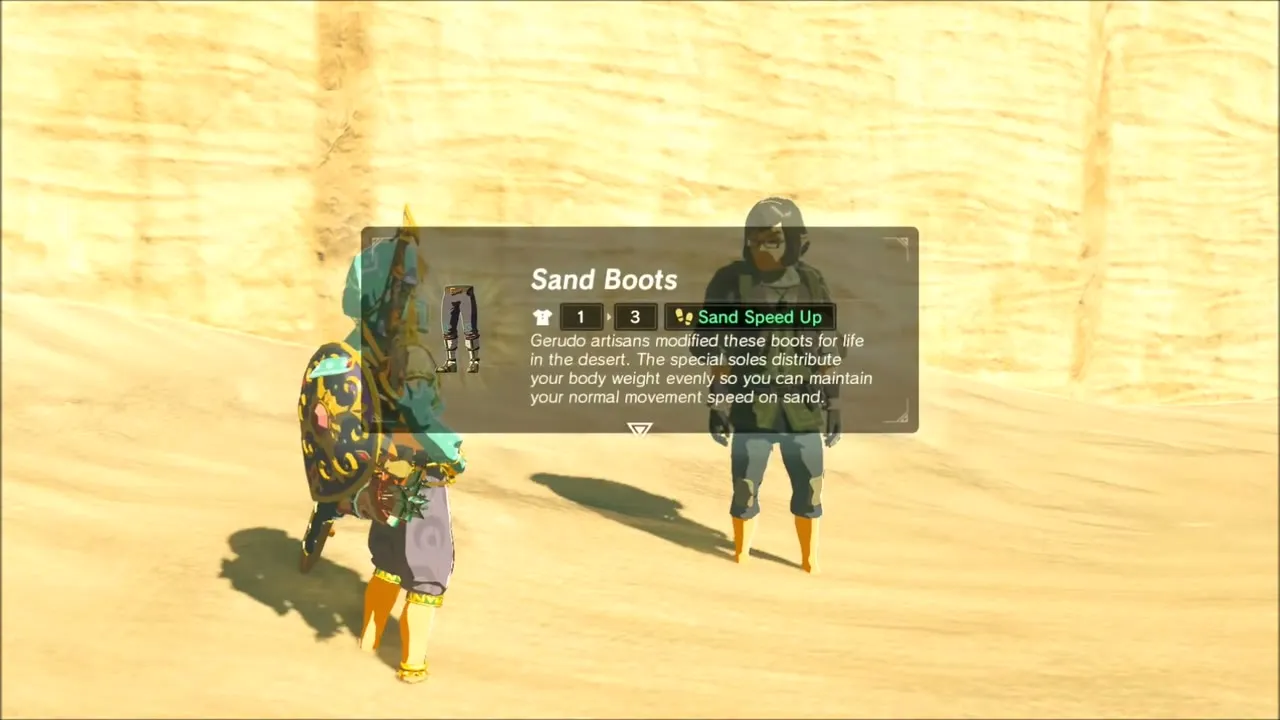
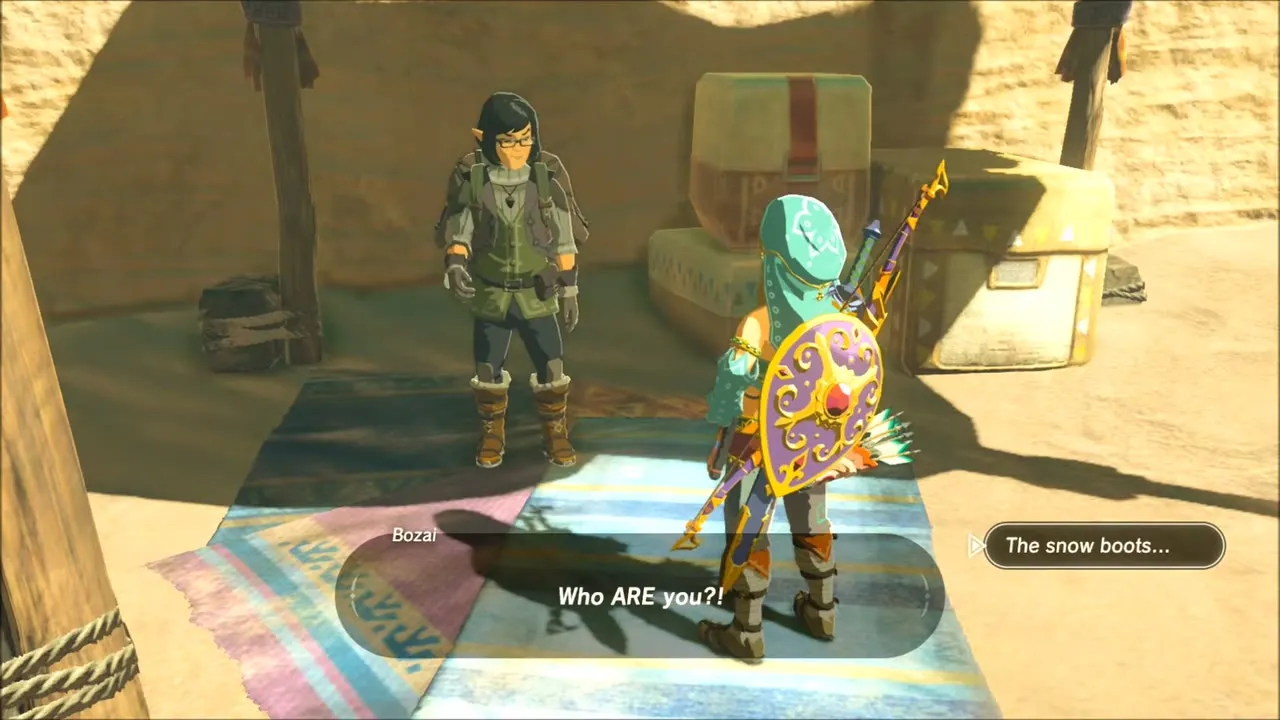
Travel back to Gerudo Town through Daqo Chisay Shrine at the town’s edge. Under a canopy just left of the entrance stands Bozai, who will only speak with you while you wear the Gerudo outfit. He starts The Eighth Heroine: he wants a photograph of the Statue of the Eighth Heroine in the Gerudo Highlands, and in return you get Sand Boots, which let you walk across sand at normal speed.


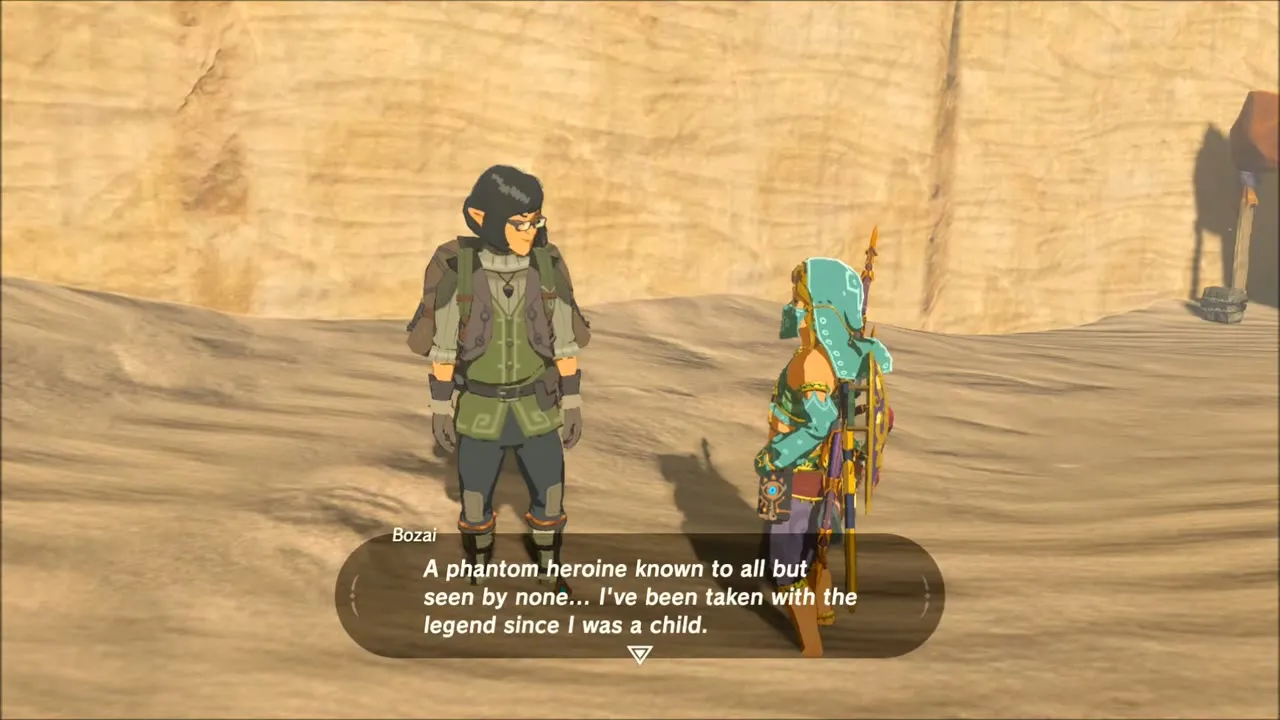
Open the inventory and change into cold-weather gear before you go, because the Highlands are snowbound. Cross the snow, then glide down into the deep canyon where the Statue of the Eighth Heroine stands. Open the Camera rune, frame the statue (including its torso) and take the picture. Climb back out and warp to Daqo Chisay Shrine.

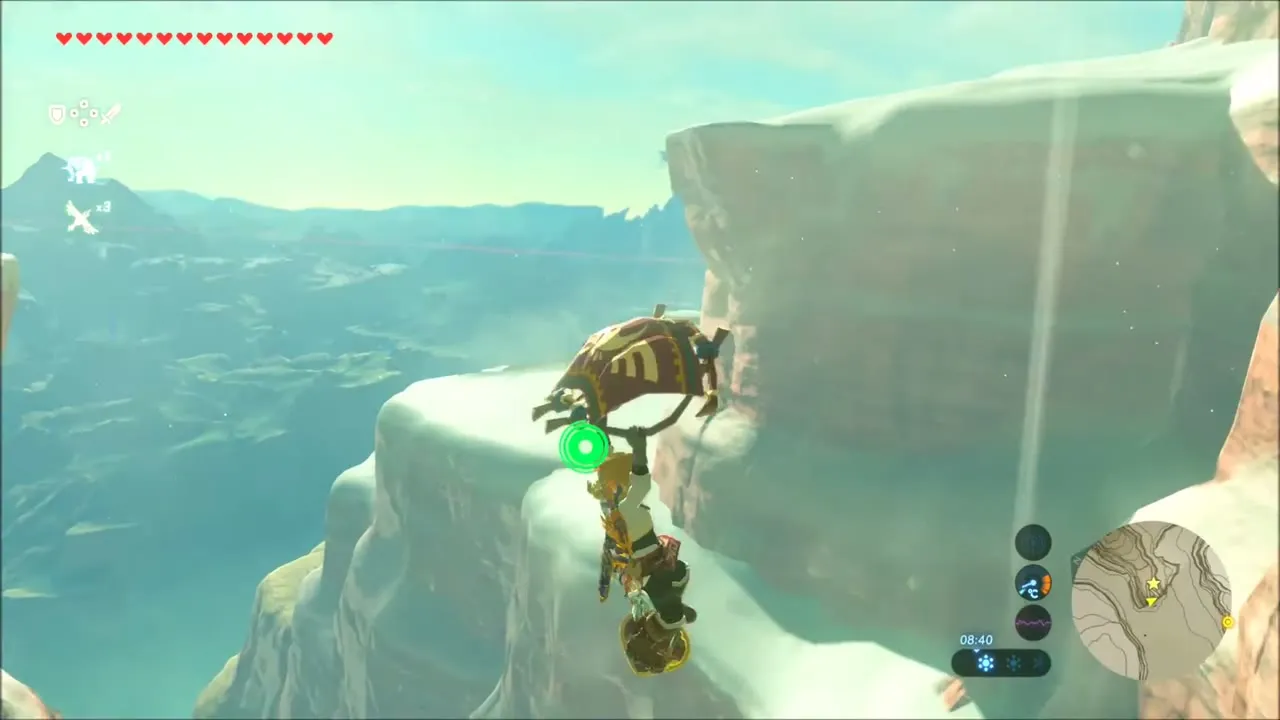
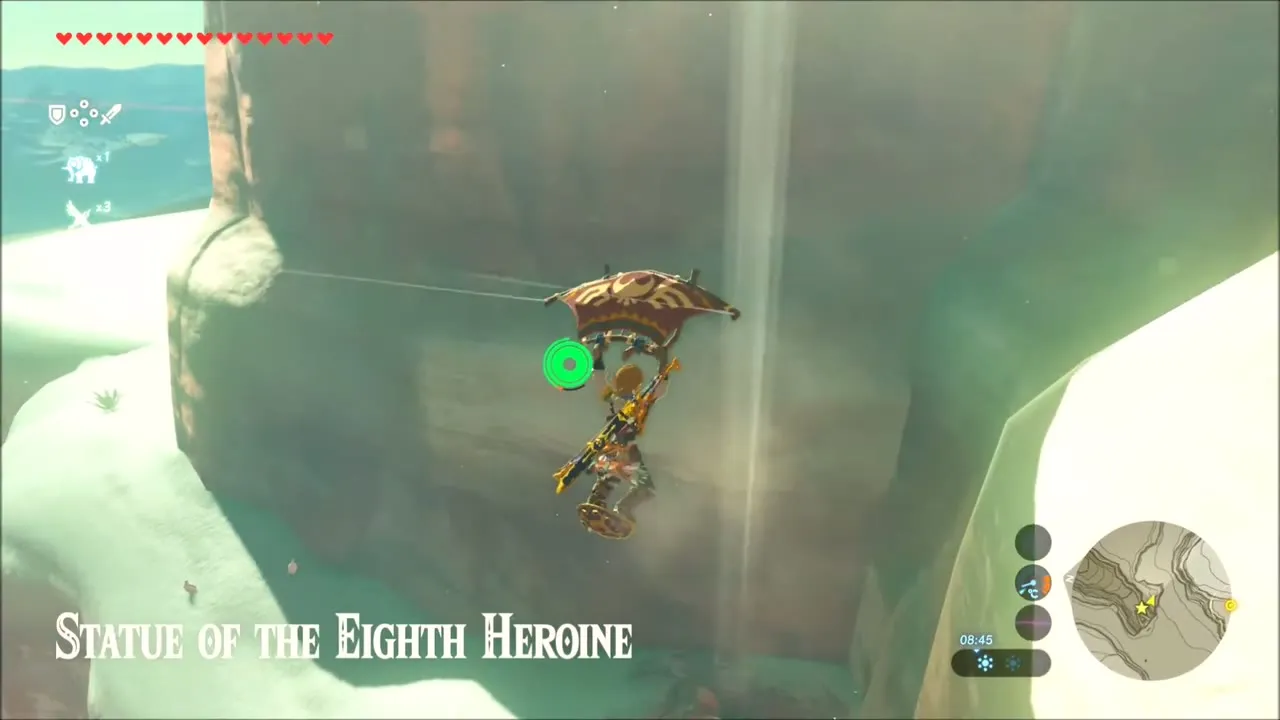

Walk over to Bozai, who is relieved that you made it back, and show him the picture. He hands over the Sand Boots and the quest is done.


The Forgotten Sword: photograph the giant sword
Put the Gerudo outfit on again, talk to Bozai and tell him you want Snow Boots. This begins The Forgotten Sword: if the Eighth Heroine had a statue, she must have owned a sword too, and he wants to see it. Dress for the cold again and set off for the Highlands.
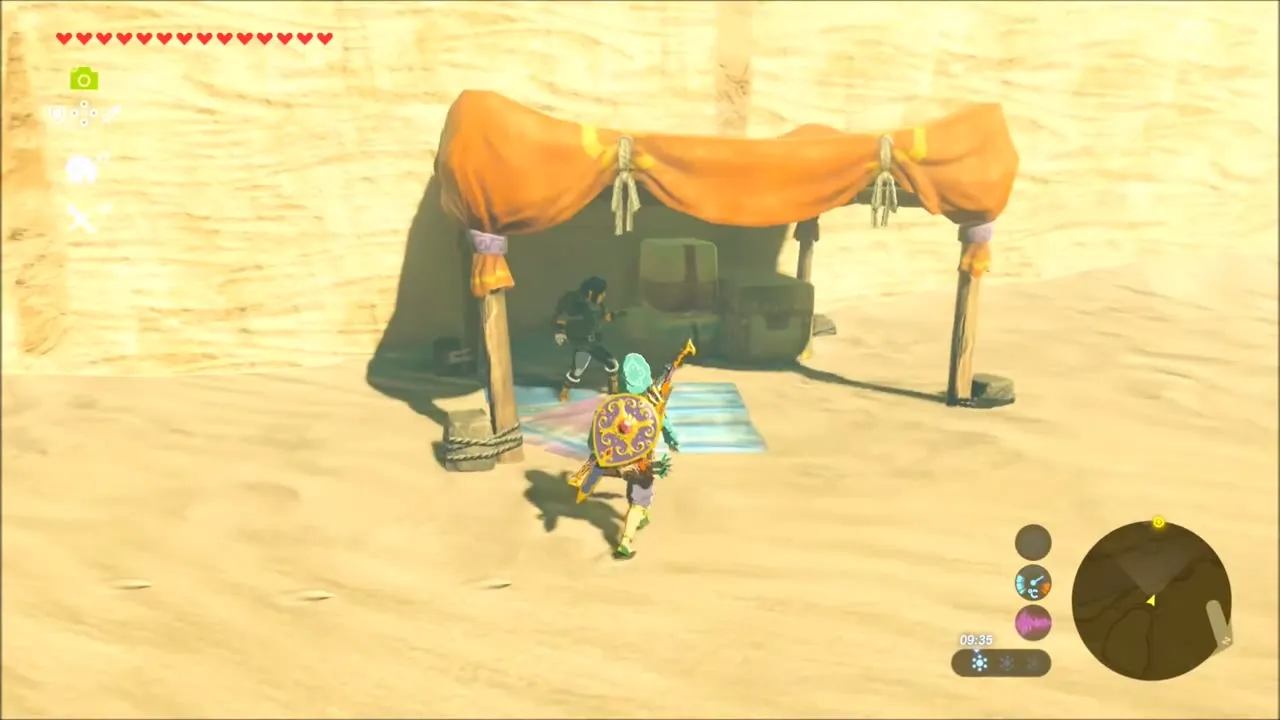


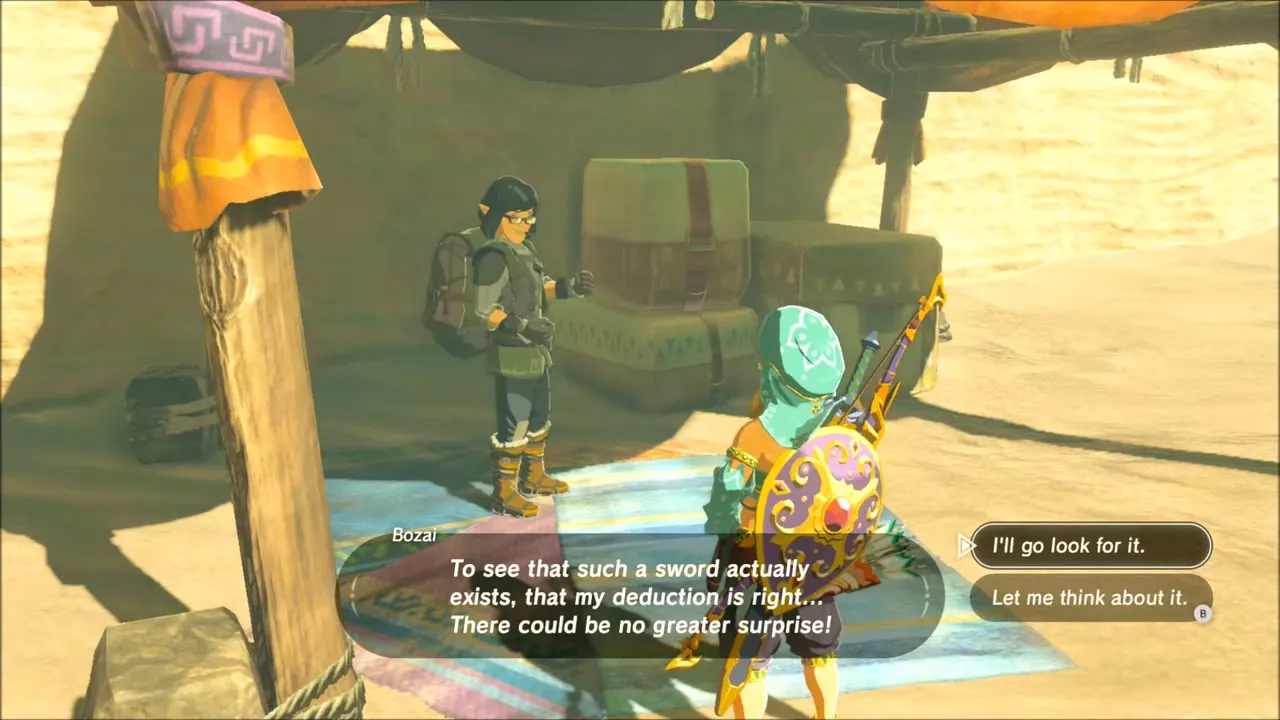
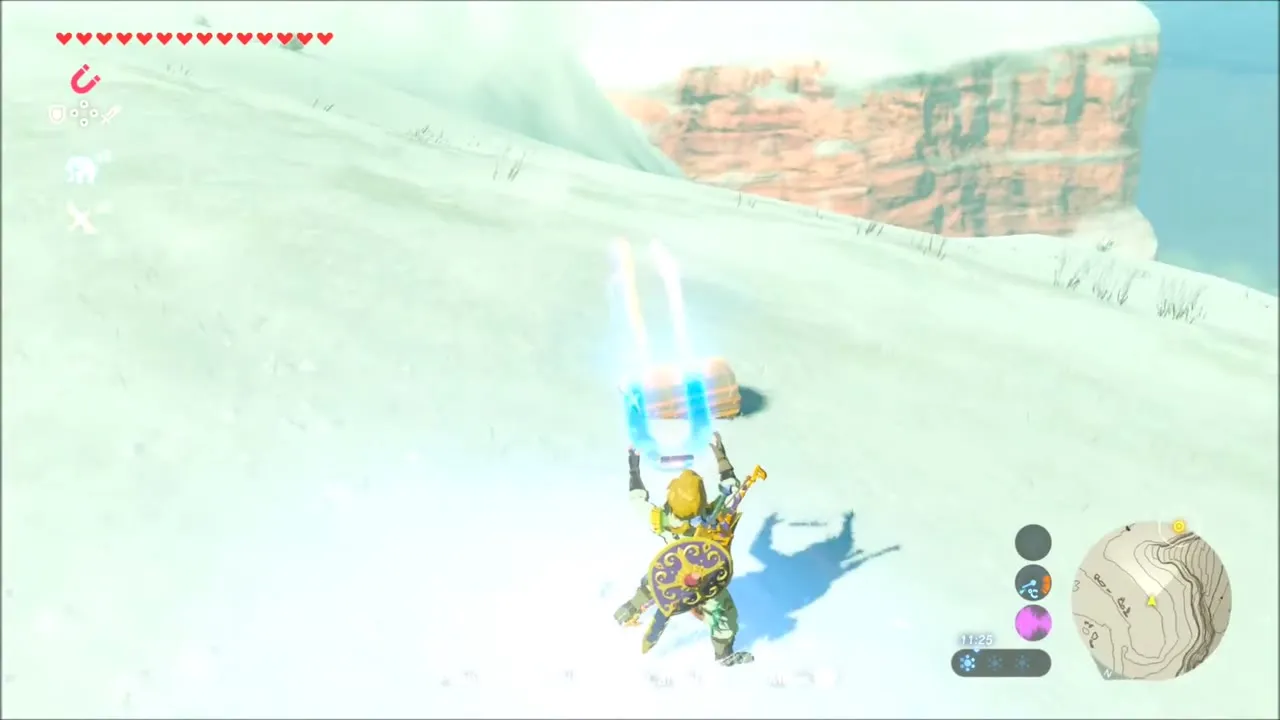
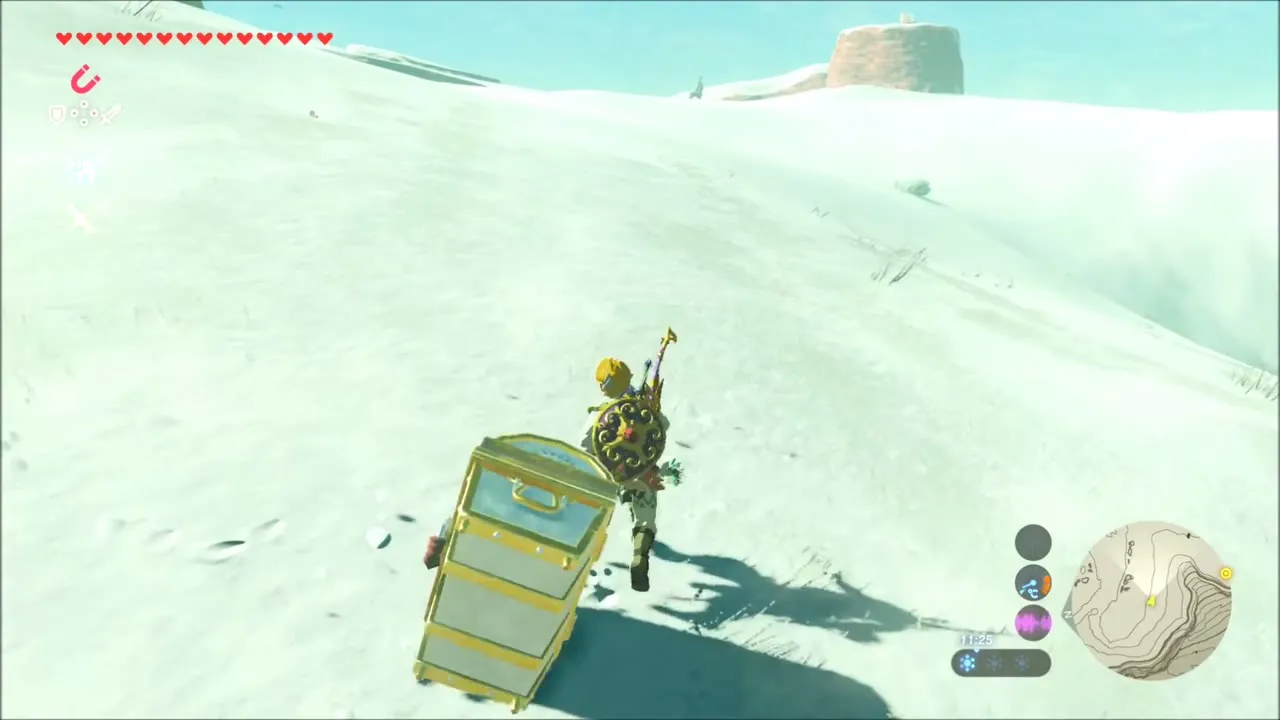
Climb the snowy slopes toward the summit. Two chests lie in the snow on the way; one of them holds a Ruby. Reach the huge sword stuck in the ground, raise the Camera, wait for the Forgotten Sword tag to appear in the frame and take the picture.


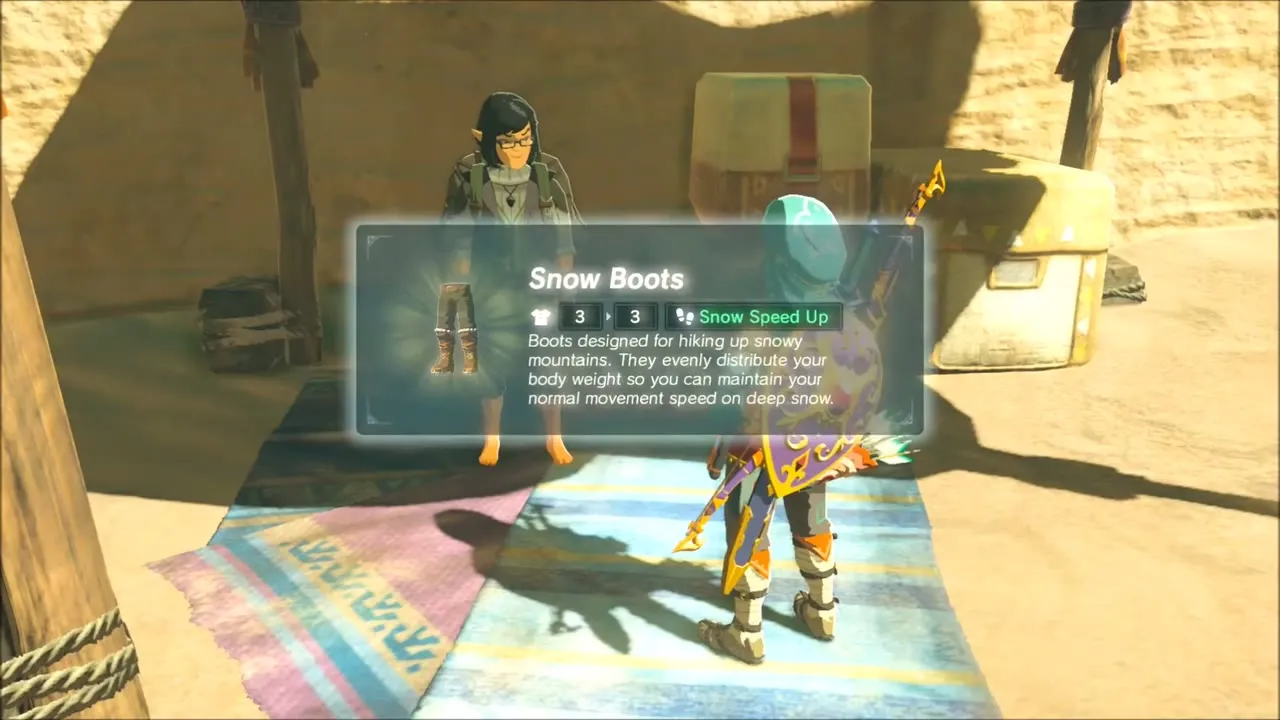
Return to Gerudo Town, change back into the Gerudo outfit and speak to Bozai. Without the outfit he does not recognise you and demands to know who you are. Show him the photo of the sword and he gives you the Snow Boots, which speed you up on snow.

Meeting Riju: the Thunder Helm Is Stolen
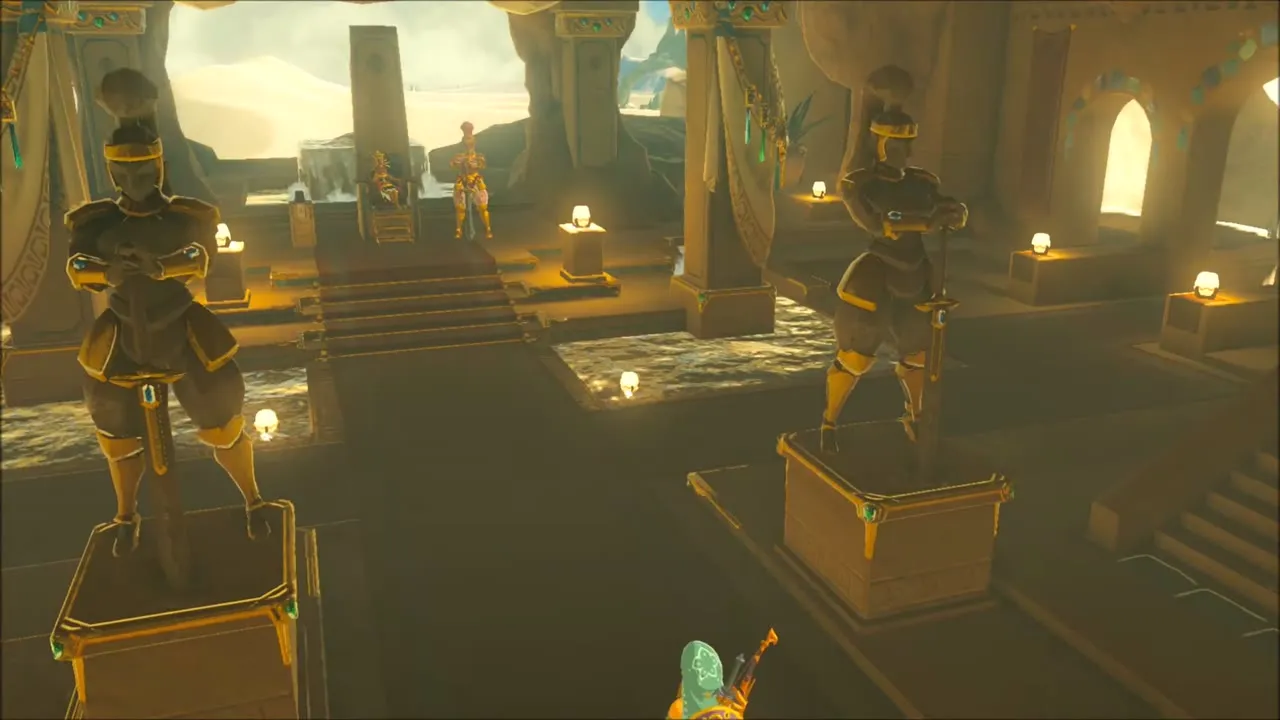
With the outfit on, walk through the gate, past the palms and market stalls, and into the throne room at the end of the main street. The Forbidden City Entry quest card shows as complete as soon as you are inside the town. Buliara, the guard beside the throne, presents you to Lady Riju, chief of the Gerudo.



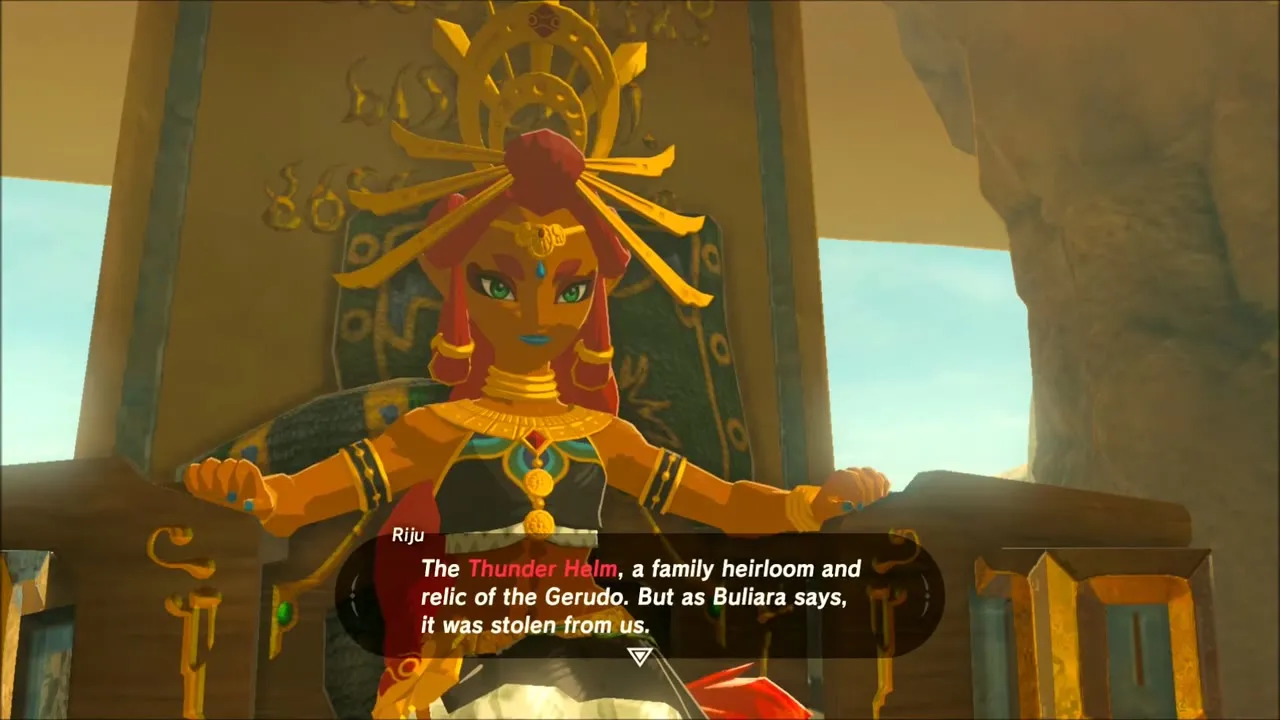
Riju tells you that her people have found no way to appease Divine Beast Vah Naboris on their own. She also explains that the Thunder Helm, a family heirloom and relic of the Gerudo, was stolen by the Yiga Clan. This opens the main quest to get the helm back from the Yiga Clan. Start by asking the Gerudo soldiers around the palace about the thieves: Liana tells you the Yiga are believed to descend from a Sheikah tribe that split away and turned to villainy.


Side quests in Gerudo Town
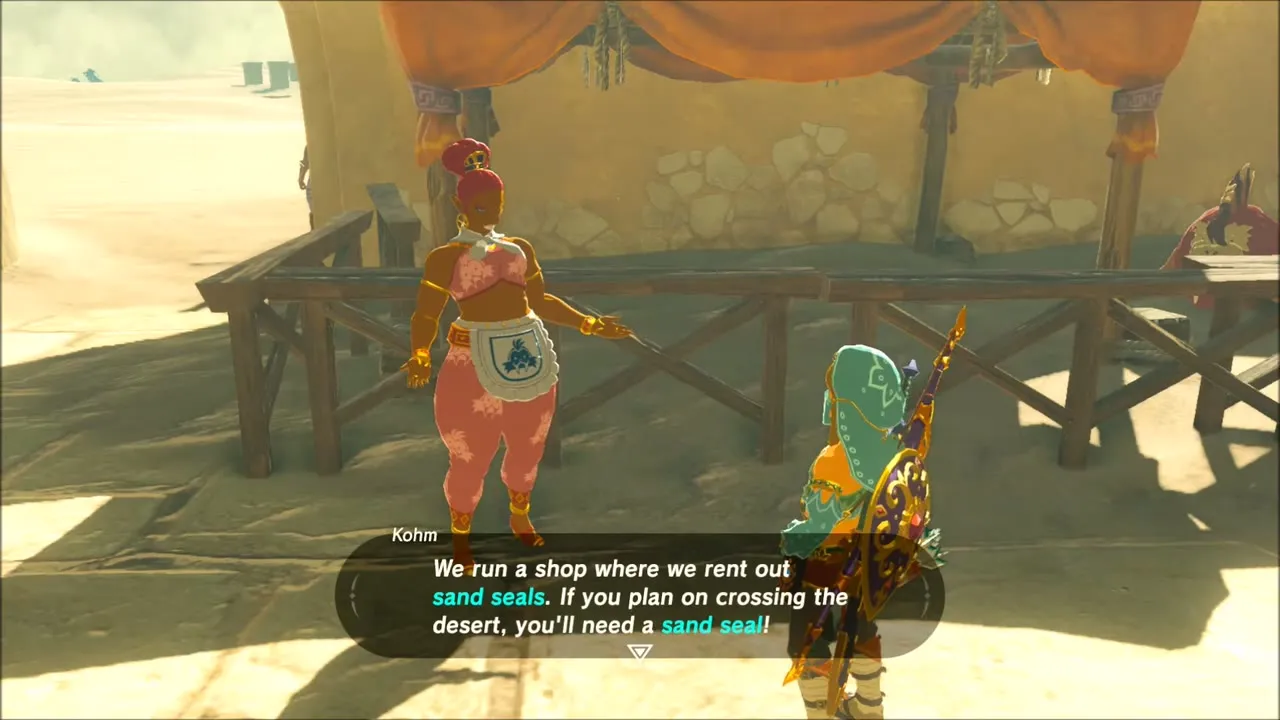
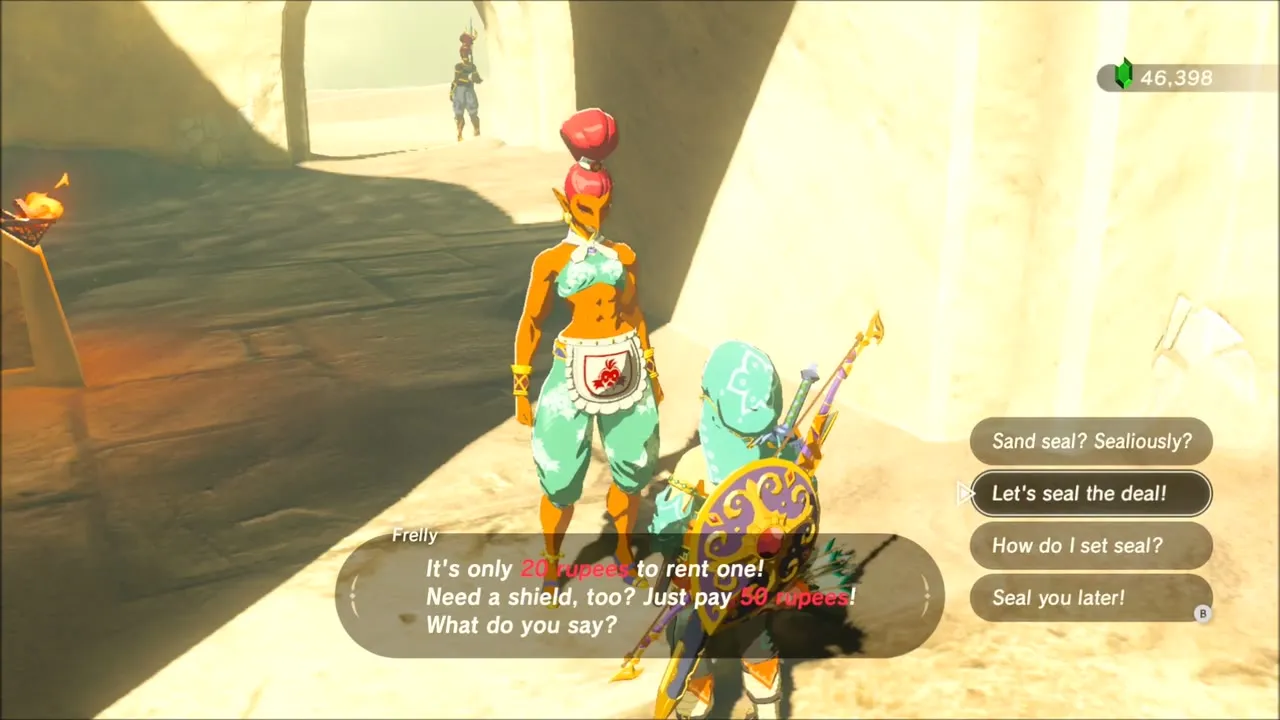
While you ask around, Malena starts Medicinal Molduga (she needs Molduga guts for her sick husband). Kohm runs a stall that rents sand seals, and a bartender named Furosa mentions that the drinks use ice from the icehouse, a location worth remembering. Nothing here has to be finished right away.

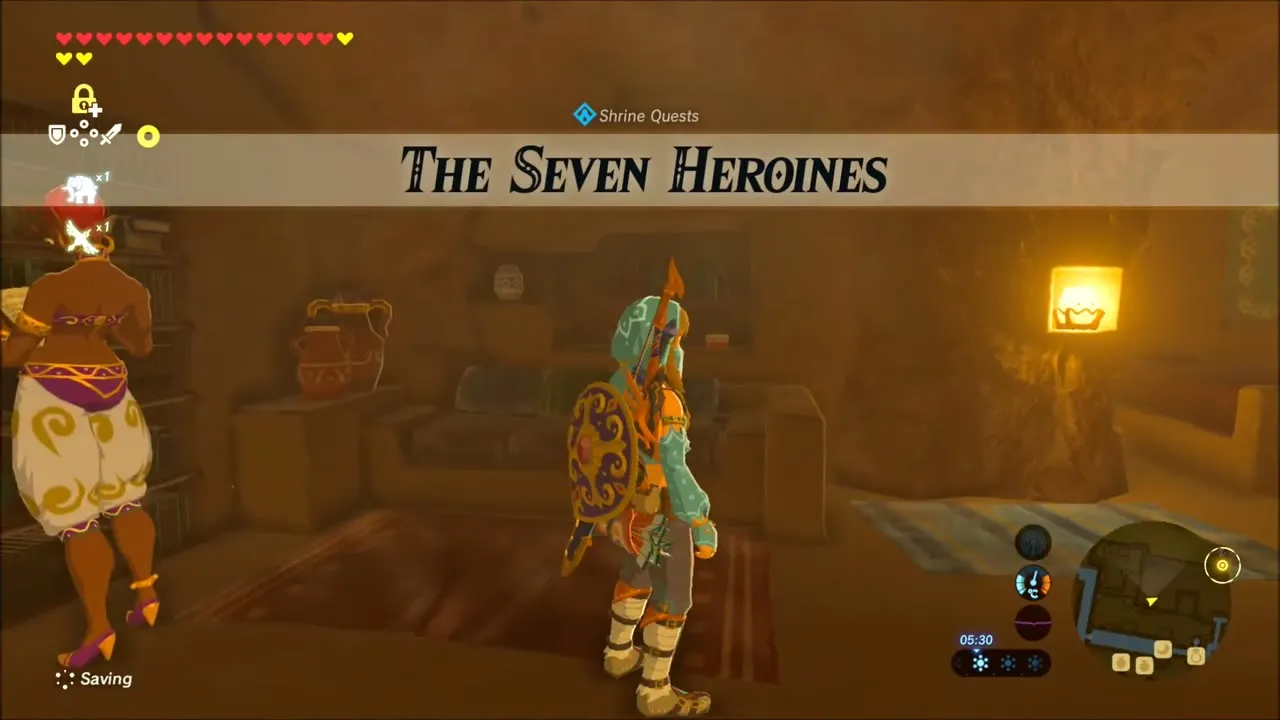
Rotana, a scholar who lives in a house in town, tells you about seven giant statues of the Gerudo heroines. Listen to her to start the shrine quest The Seven Heroines; its shrine is Korsh O’hu Shrine at the East Gerudo Ruins (x -2689, z 2812).


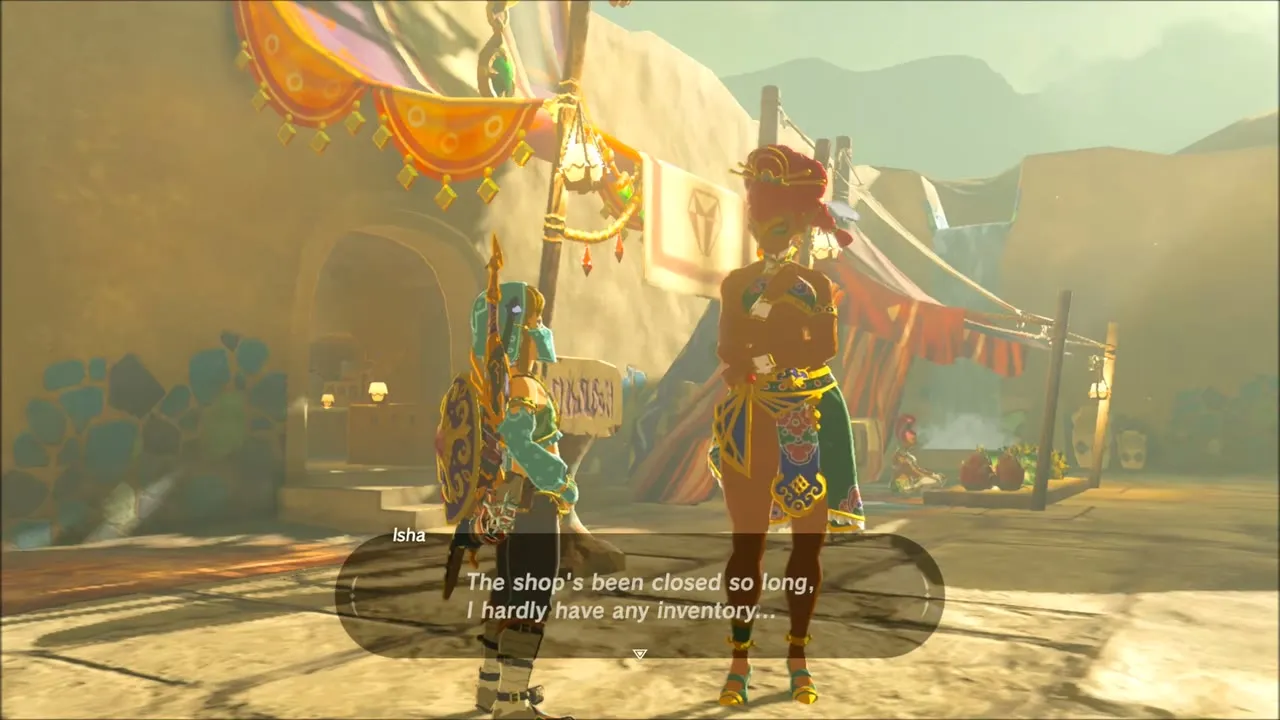
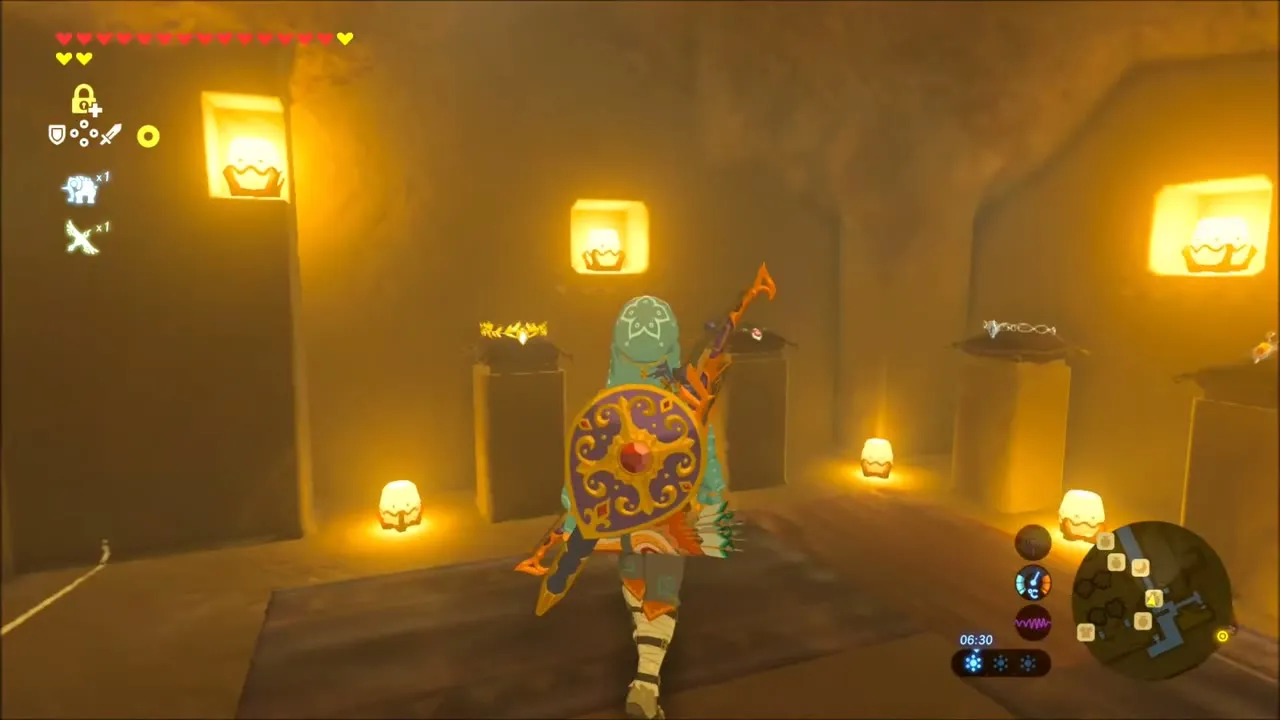
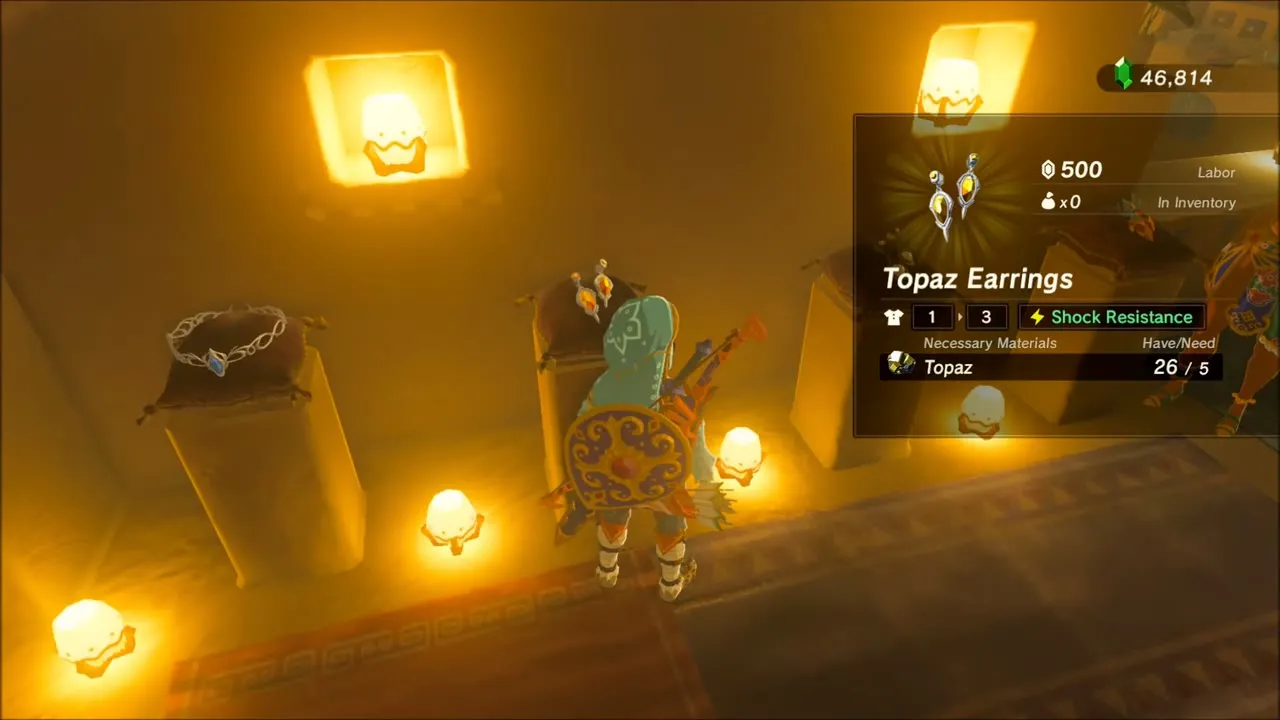
At the Starlight Memories jewelry stall, Isha explains that her shop has been closed so long she has almost no stock, and she starts Tools of the Trade. Bring her 10 Flint and she lets you choose one piece of jewelry for free. Here the pick is the Topaz Earrings, which give shock resistance; the alternatives are the Ruby Circlet and the Sapphire Circlet.

The Secret Club’s Secret and a Korok on the Town’s Cliffs
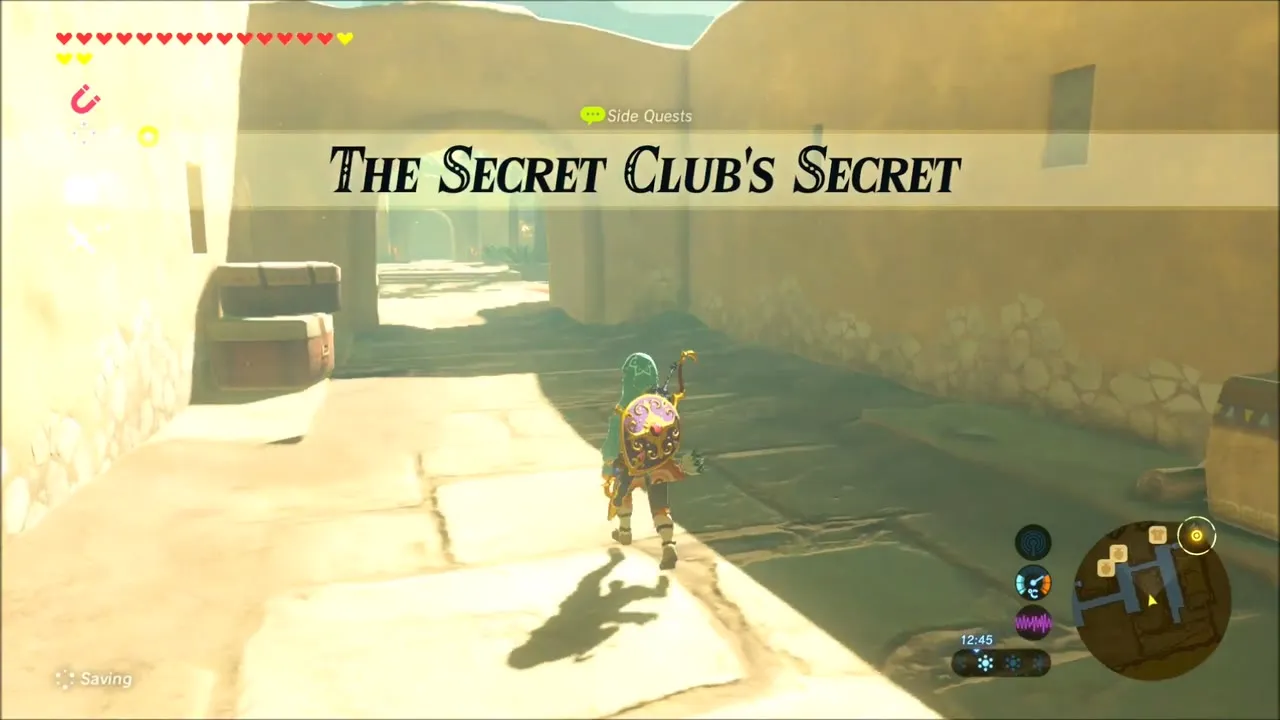
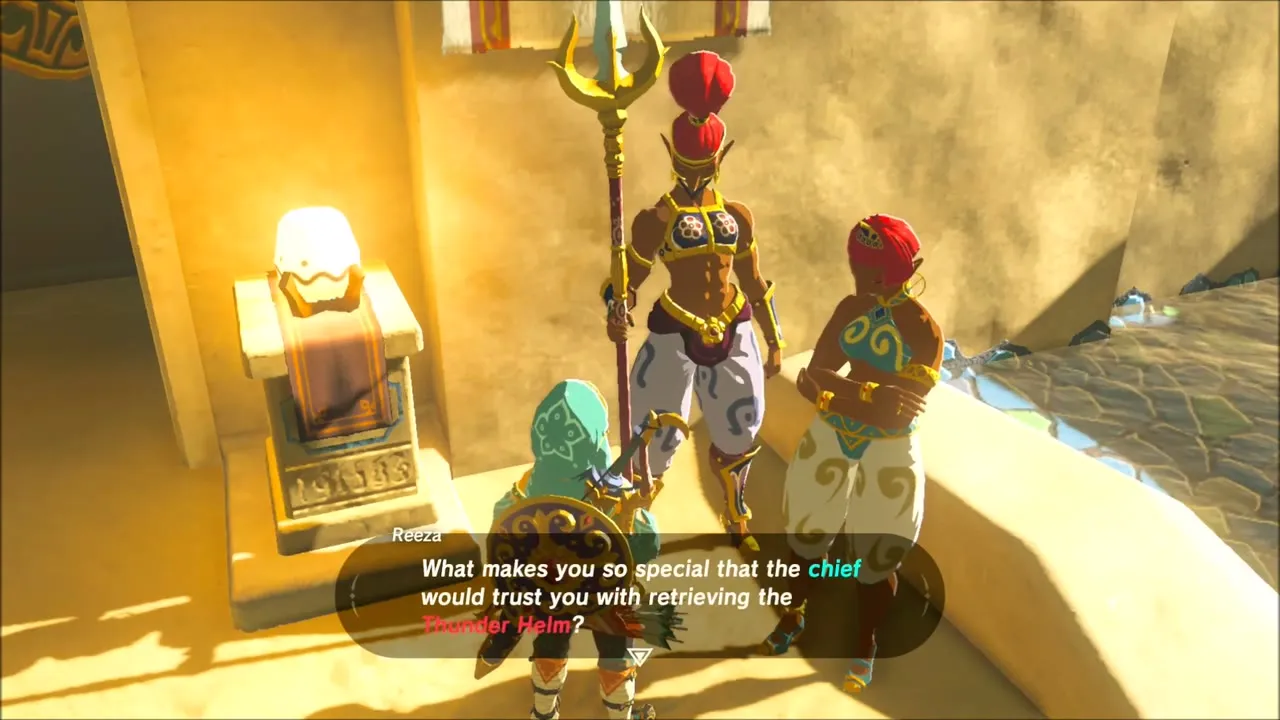
Stalls in town rent out sand seals, and in a quiet side street you will find a door with a woman, Greta, behind it. She tells you to go drink milk in the bar, which starts The Secret Club’s Secret; the password comes from the gossip around town. Elsewhere in the palace Reeza, a guard, asks what makes you special enough to be trusted with recovering the Thunder Helm.

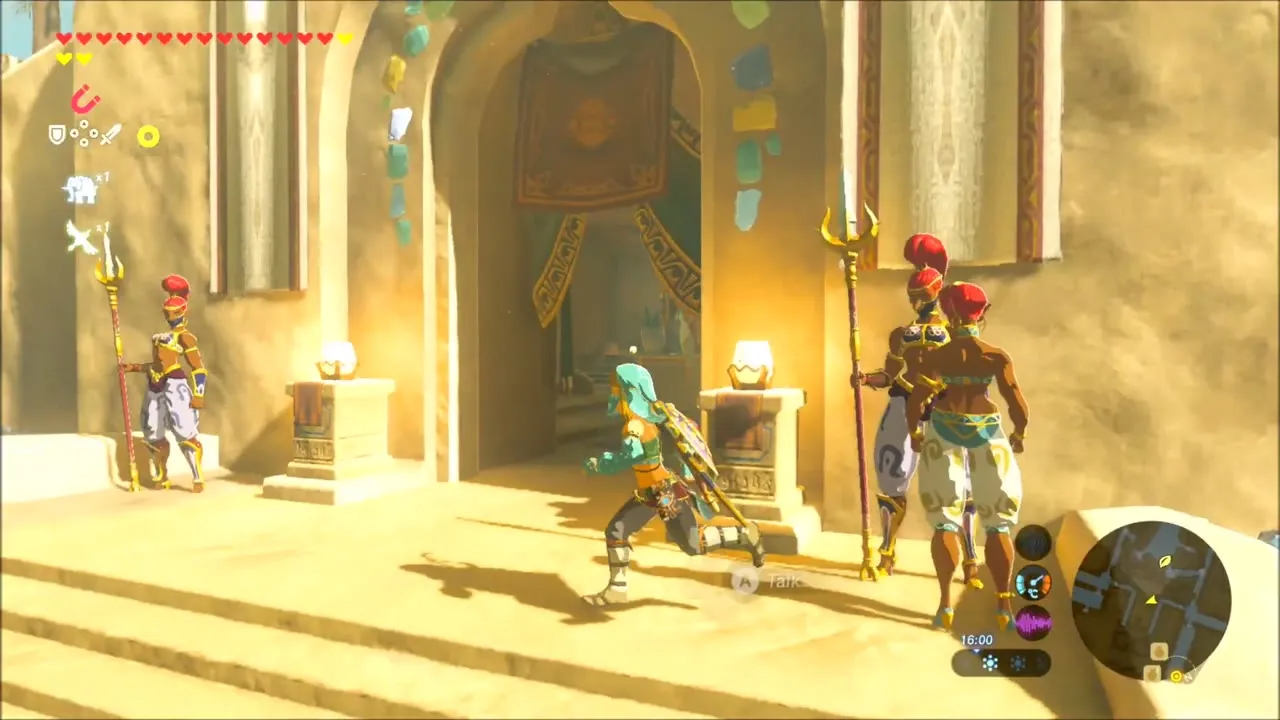
Korok seed on the rocks above Gerudo Town
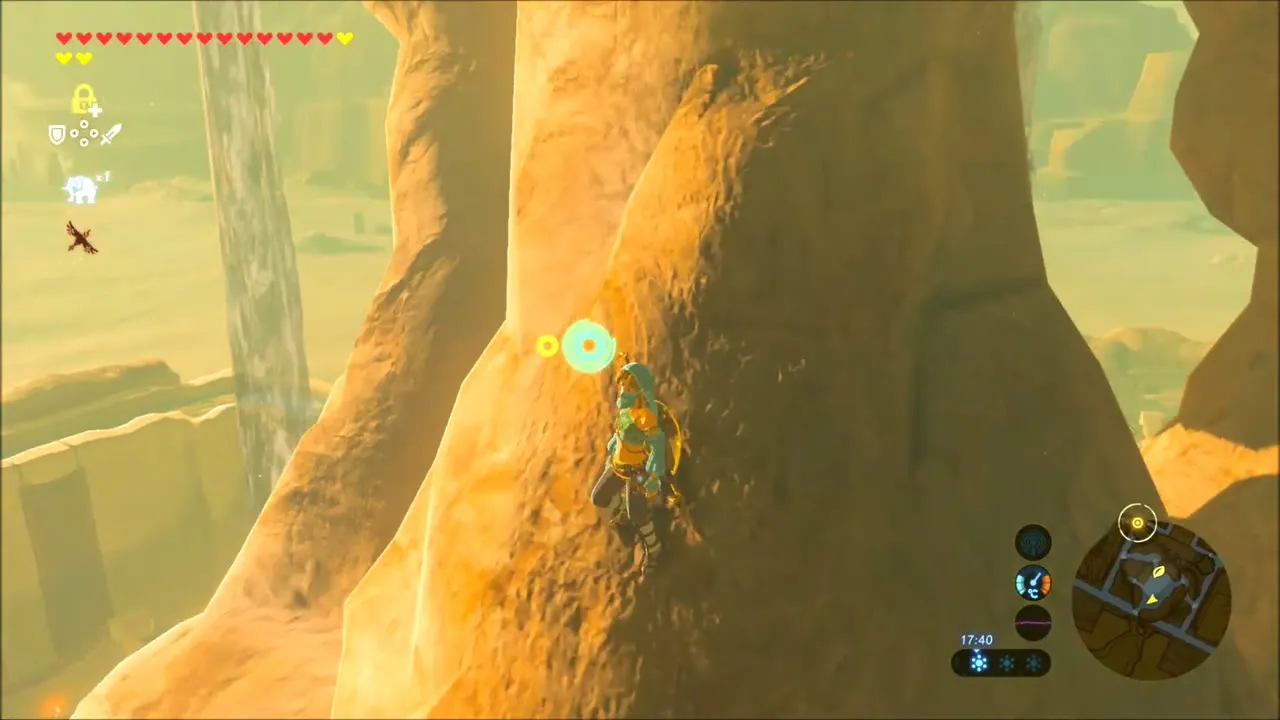
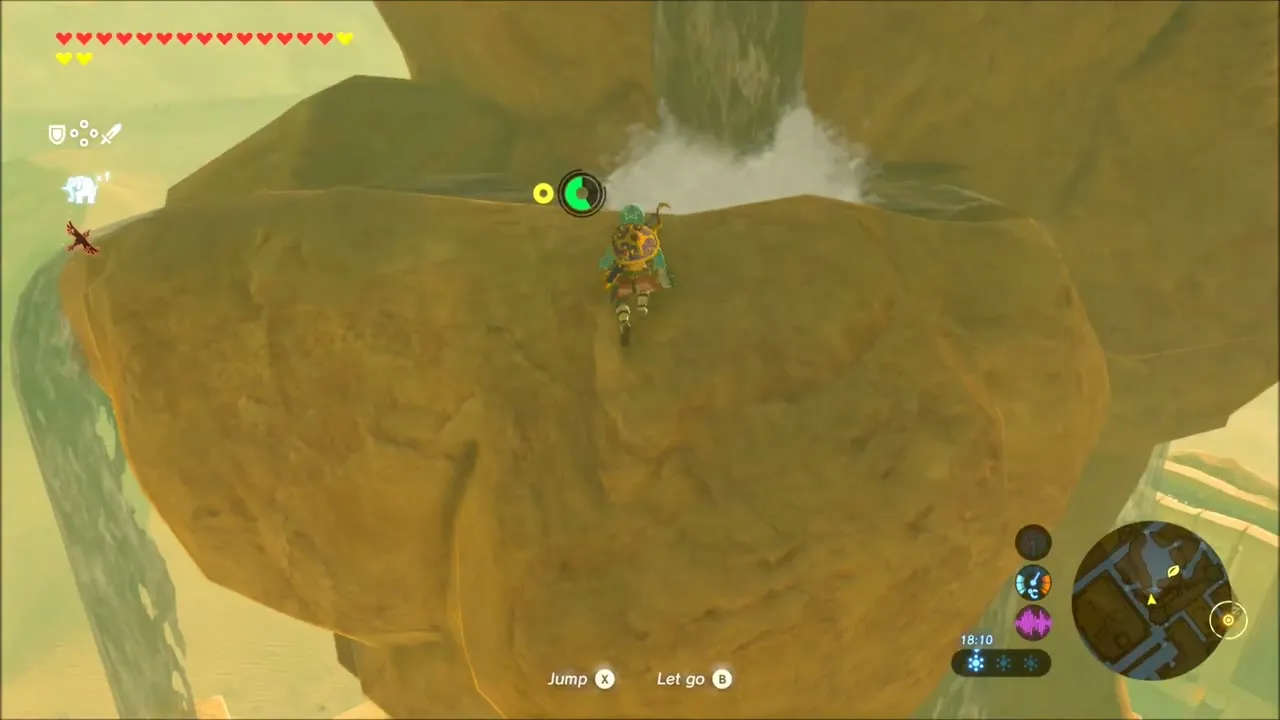
Leave the streets and scale the sandstone cliffs beside the waterfall that feeds the town. Pull yourself up onto the summit of the rock tower: reaching the top is the whole puzzle, and a Korok seed is waiting there. Glide back down into town afterwards.

Ruins North of Gerudo Town: Korok Seeds, Chests and the Northern Icehouse
Leave the town and cross the sand to the ruined stone arches. Lizalfos roam the dunes, so keep a bow ready. A chest lies buried in the sand here: use Magnesis to haul it out. More chests sit among the arches and fallen pillars. Your Master Sword may run out of energy during the fights, so switch to another weapon when it does.

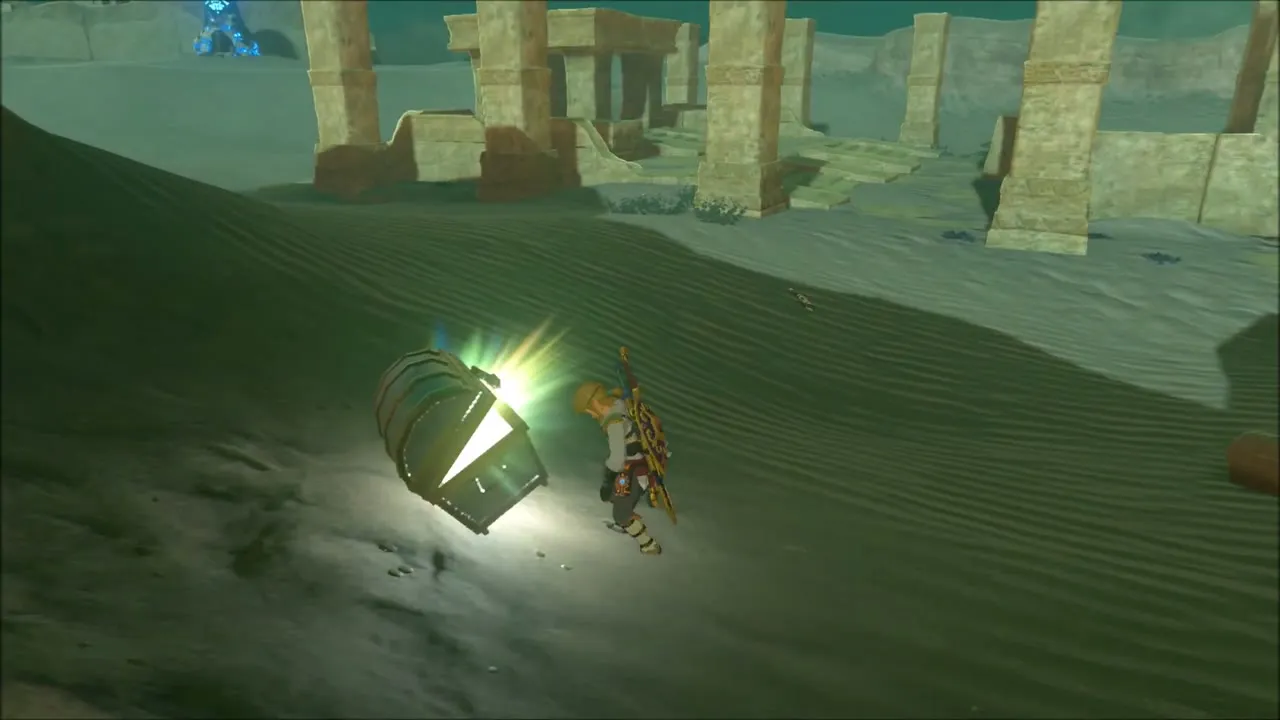

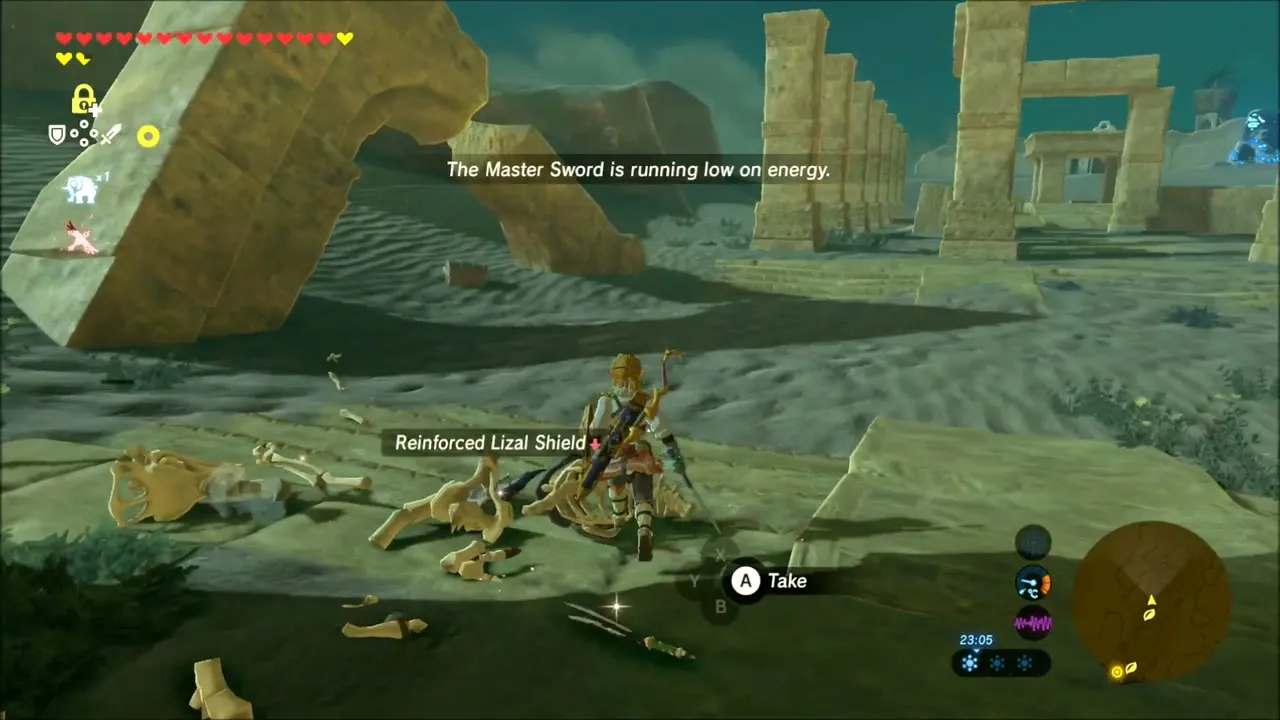
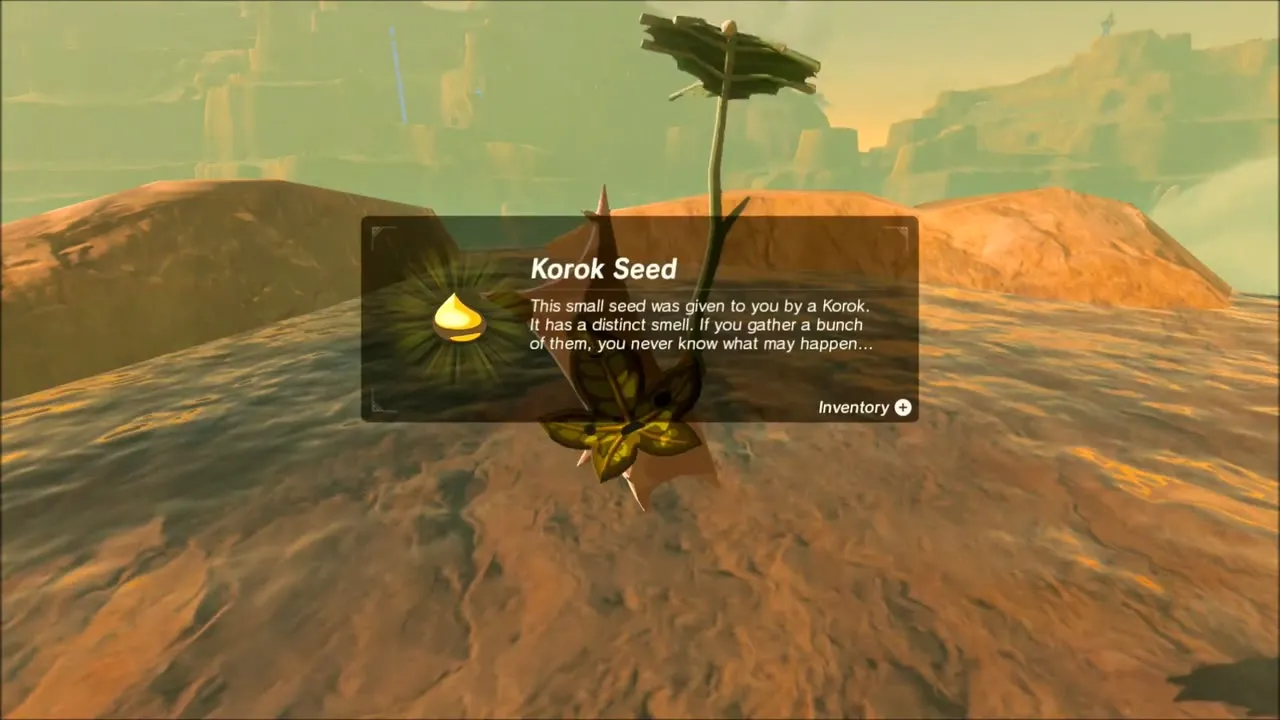
Korok seed on the ruined gateway: climb the stone pillars and cross the beams of the broken archways until you stand on top of a long stone lintel, where a Korok is waiting.
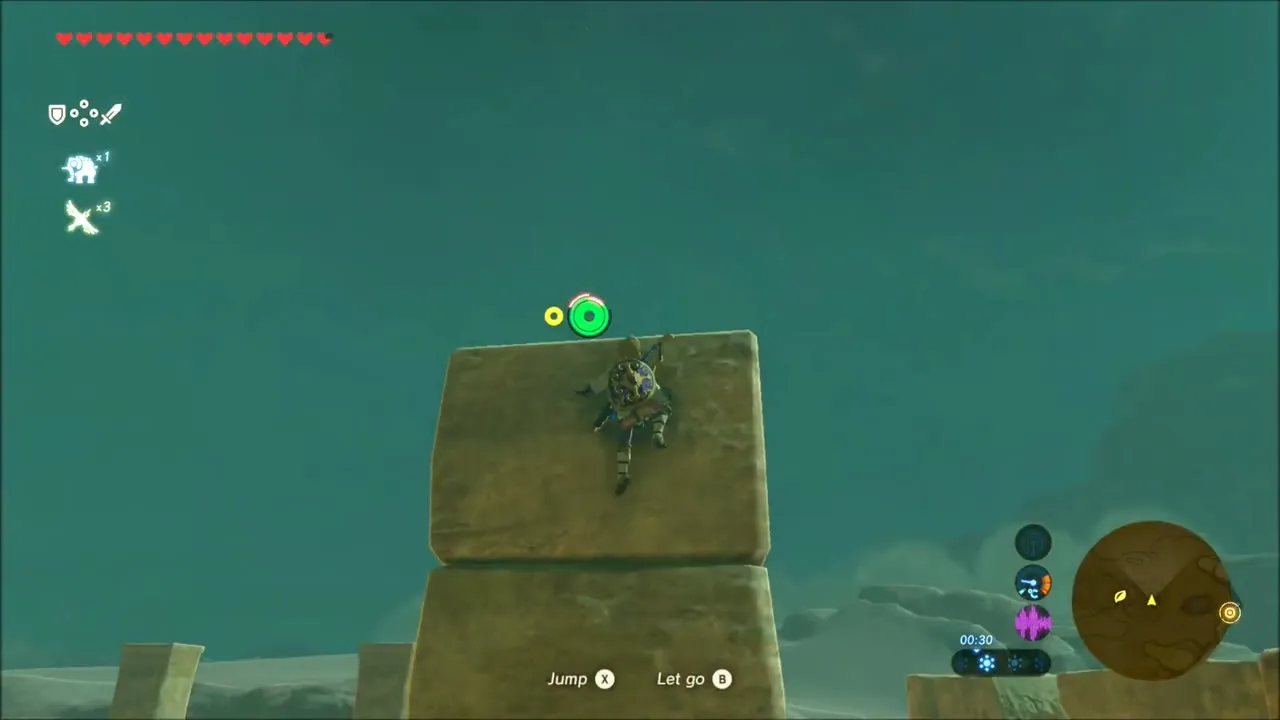
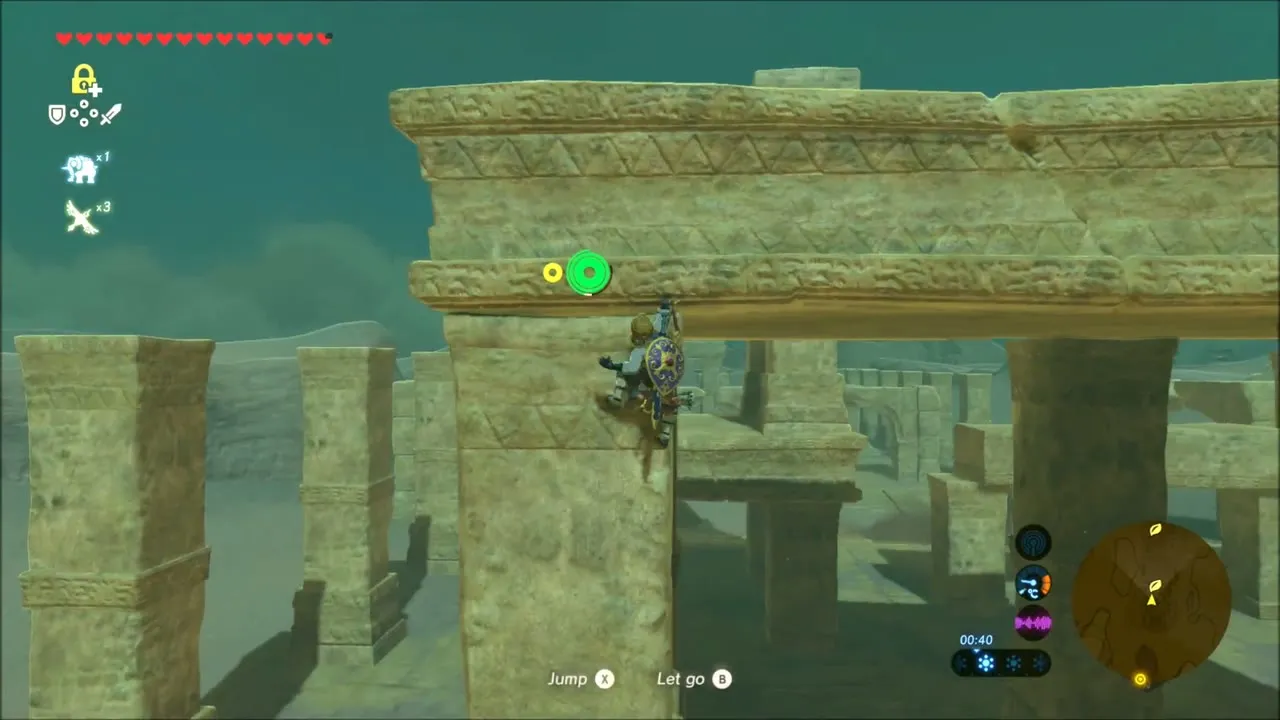

Continue north through the fallen pillars to the Northern Icehouse (x -3749, z 2289), the ice storage cave whose ice supplies the drinks in town. A Gerudo woman inside tells you it is an icehouse.
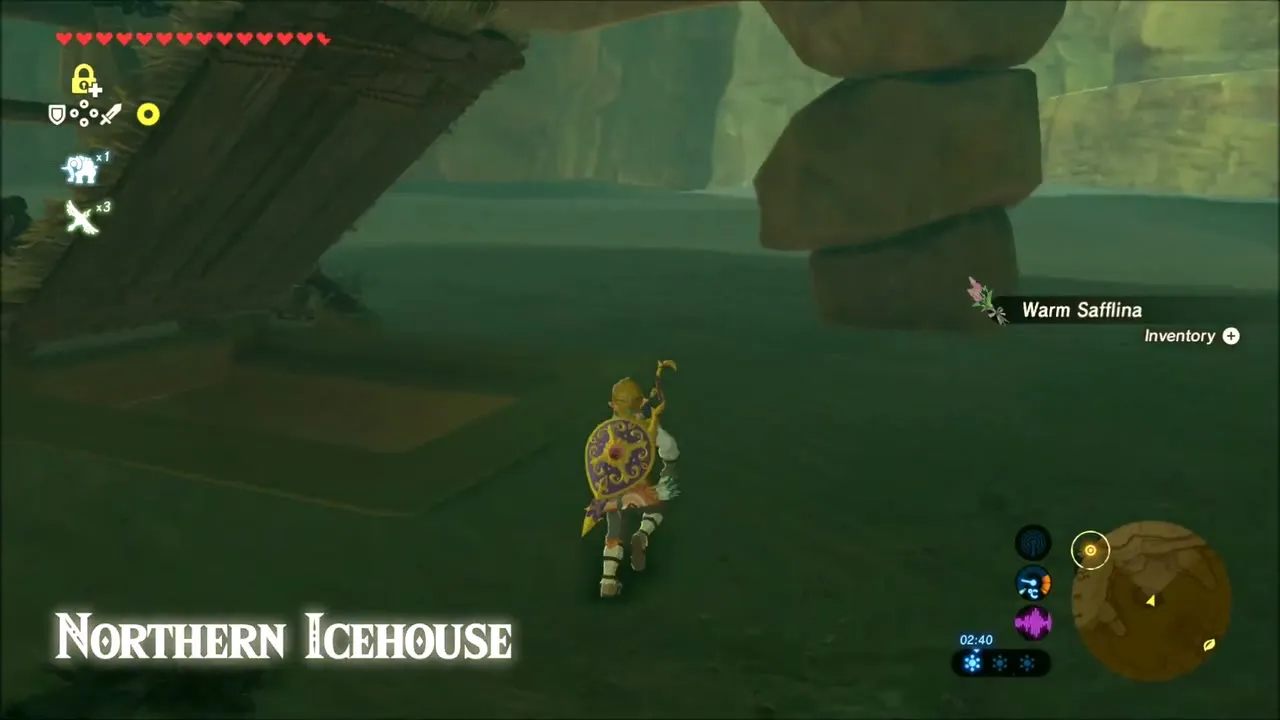
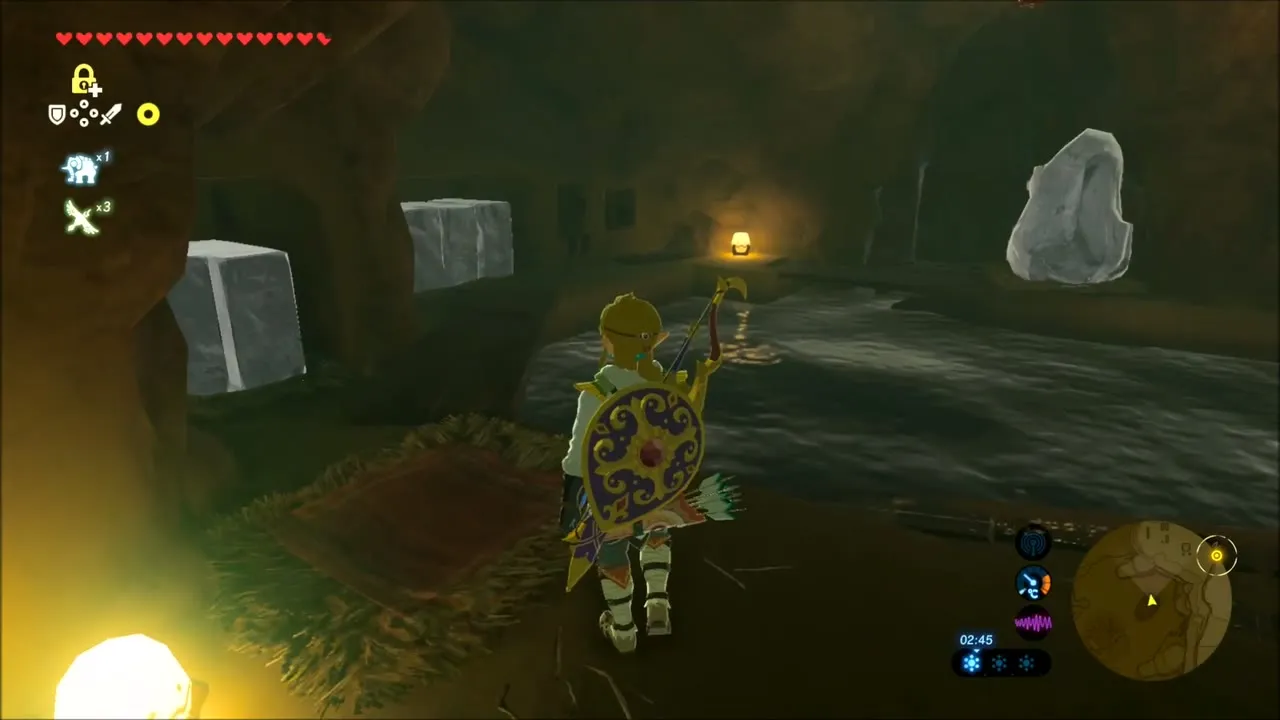
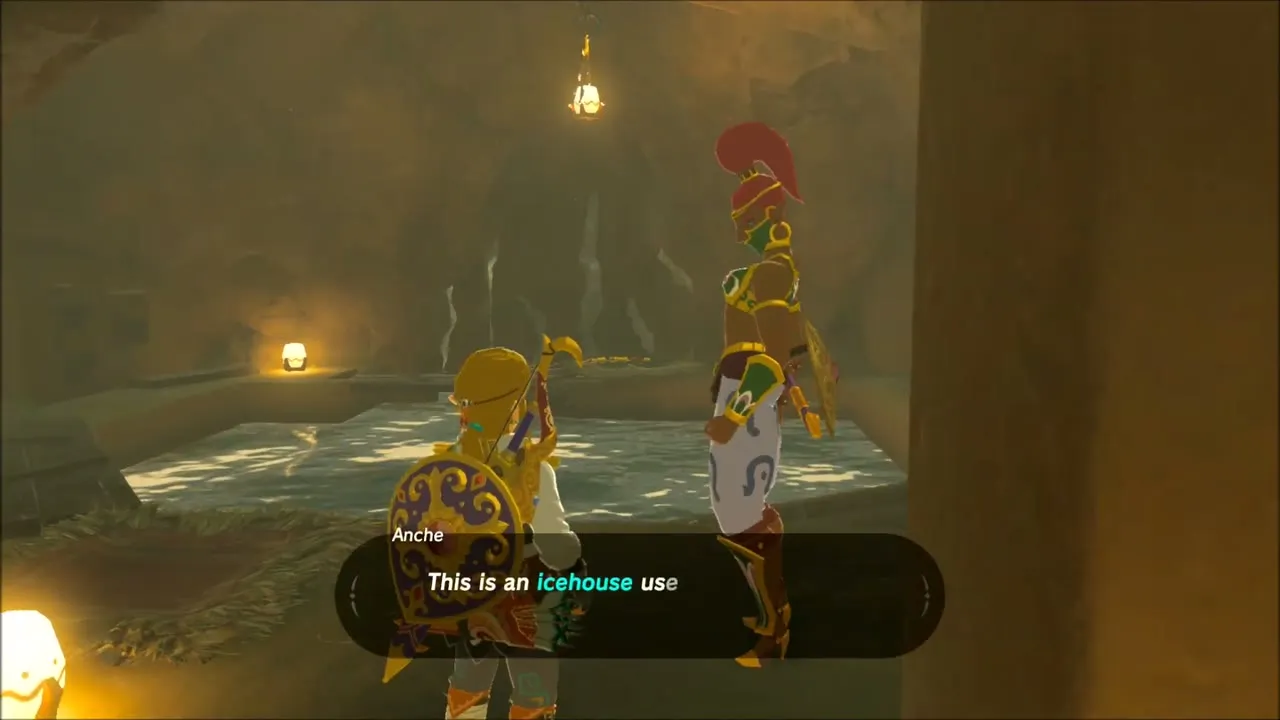
Beyond the icehouse the dunes hold more Lizalfos, and several chests are tucked under rock arches and half-buried in the sand; Magnesis helps with the buried ones, and one chest sits beside a crackling dome of electricity. Climb the tall rock pillars to look at their tops as you pass.
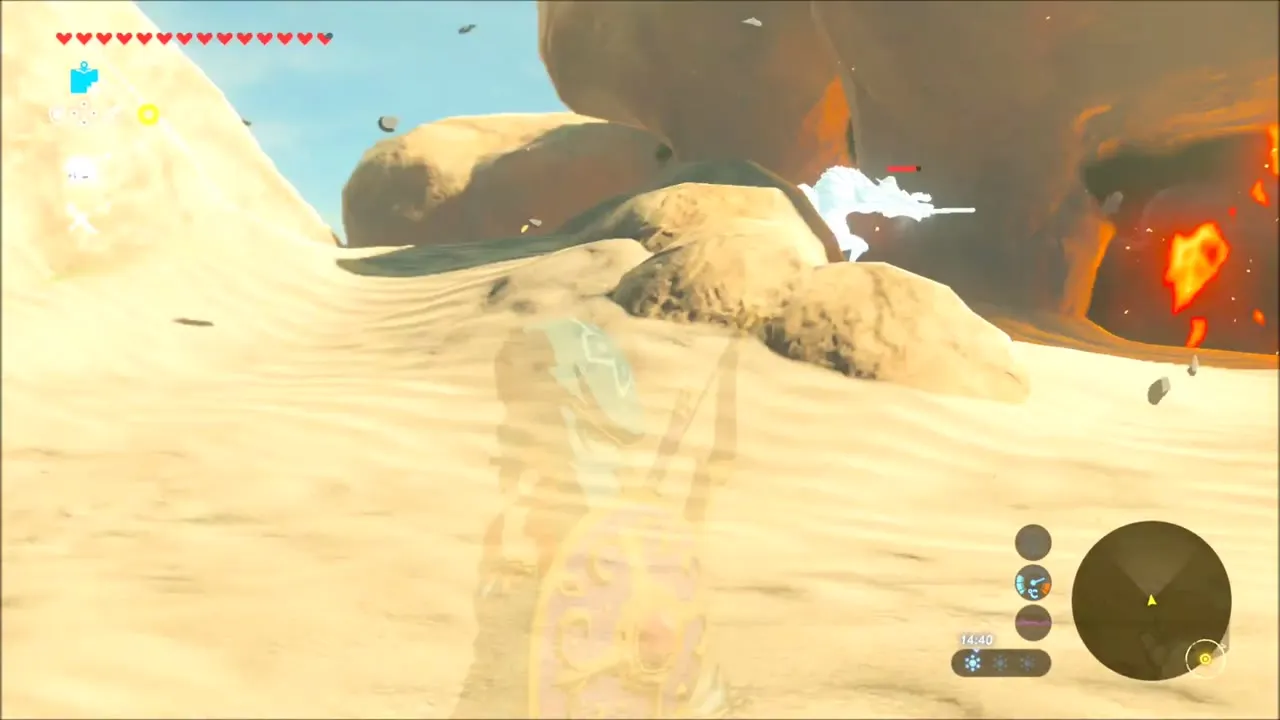
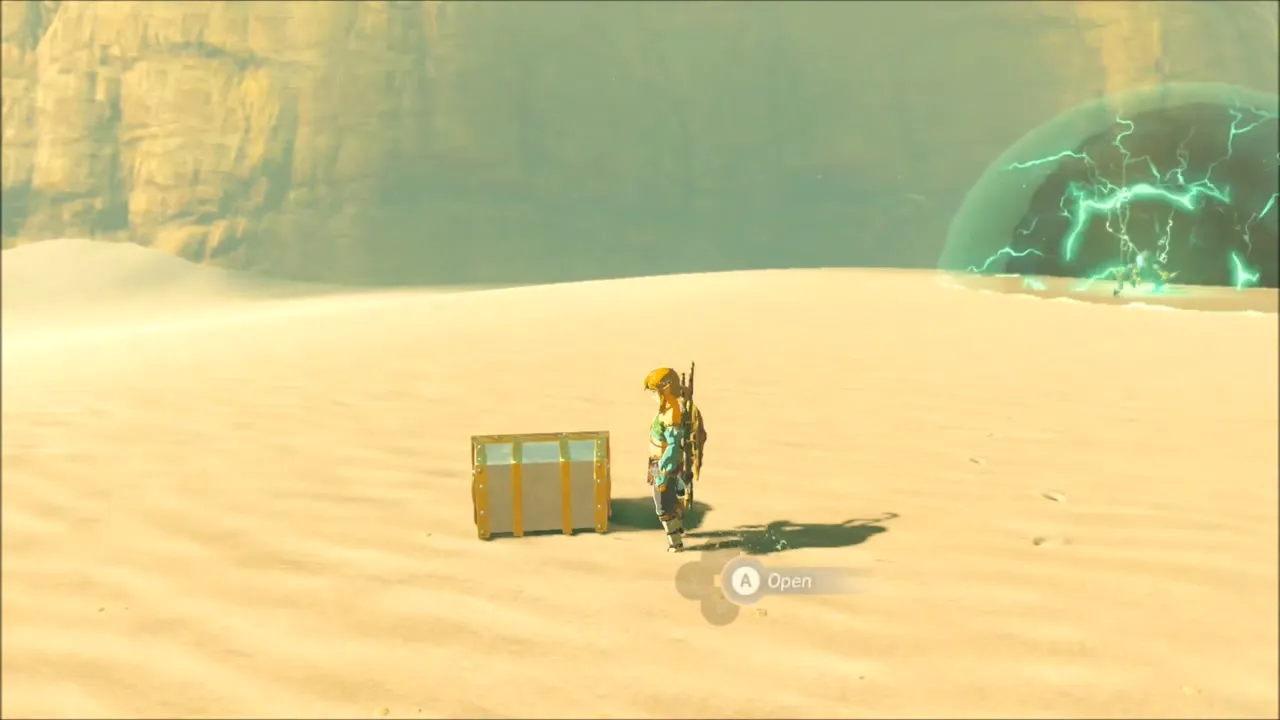
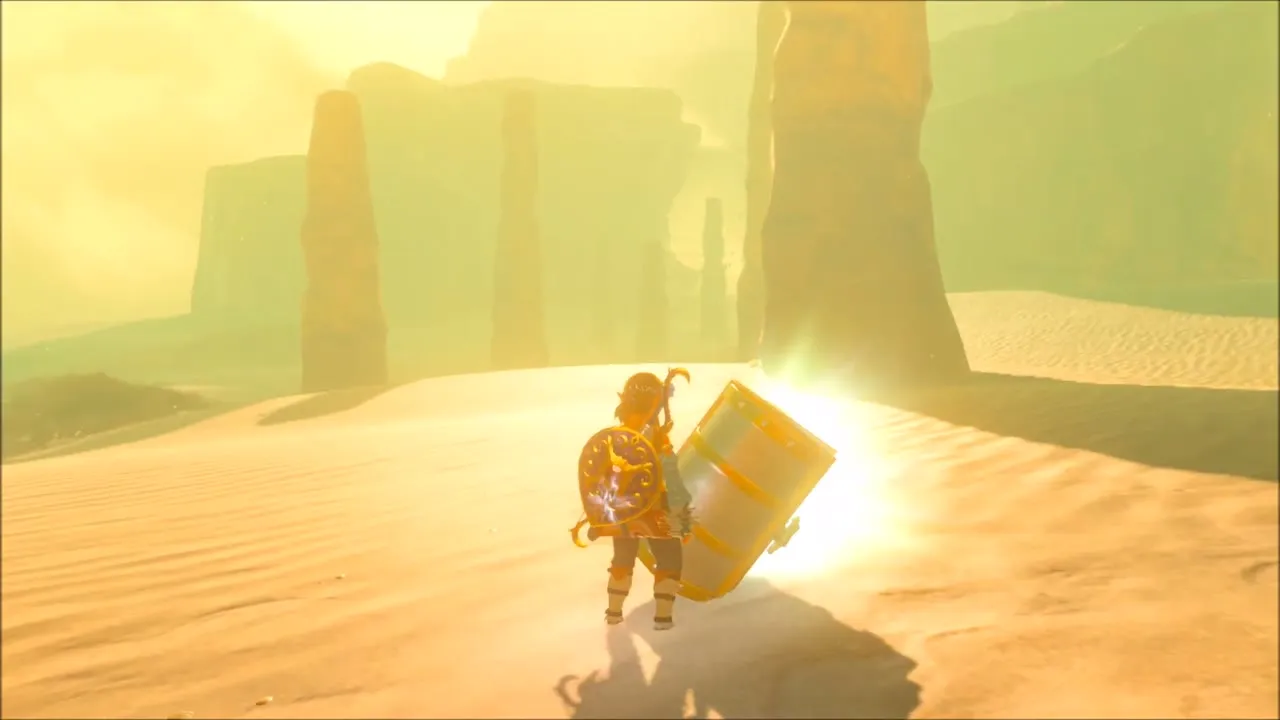
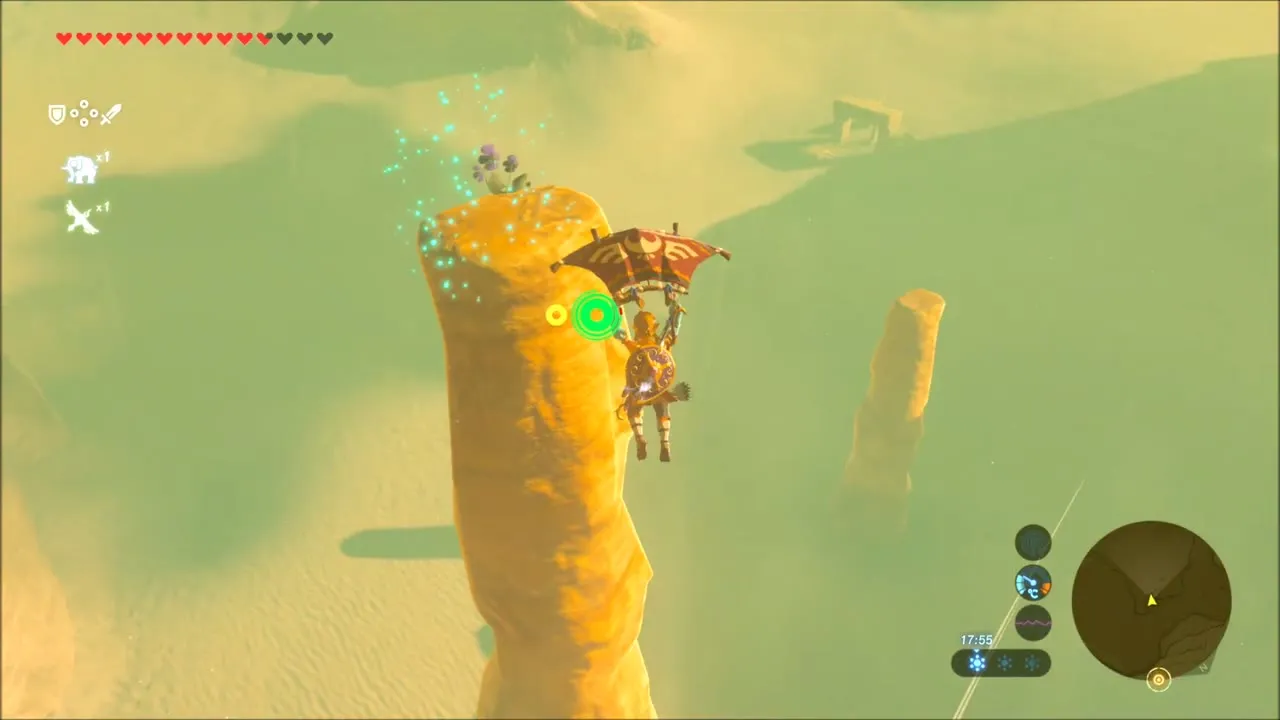
Korok seed on the red rock: scale the twisting red-orange ridge and follow it to its top, where a Korok waits on the high ledge.


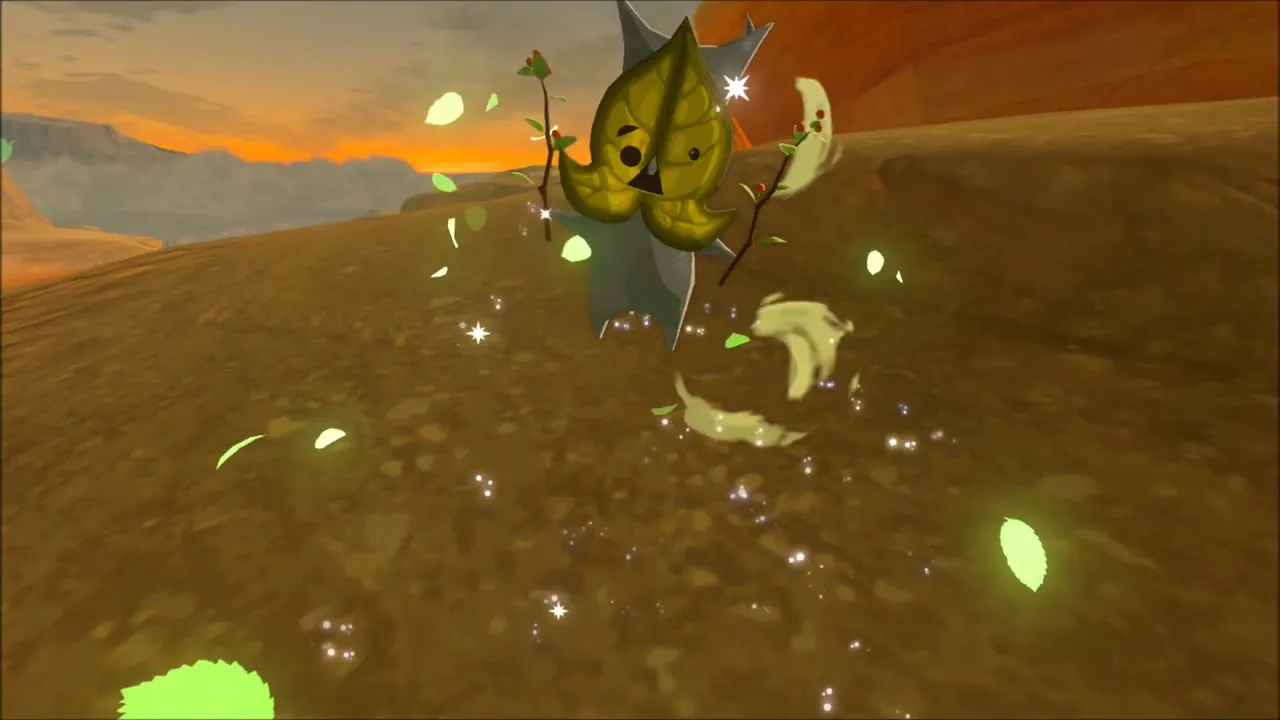
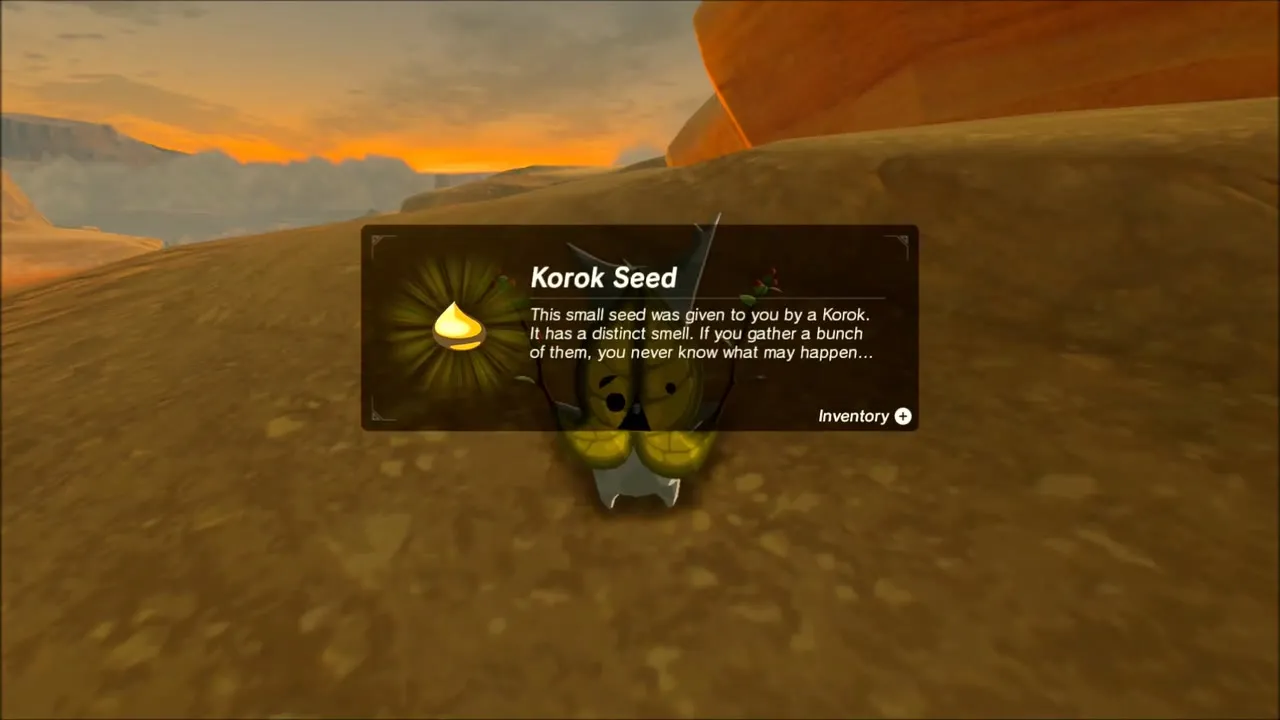
Yiga Clan Hideout: How to Find and Enter It
The Yiga Clan Hideout lies at x -3592, z 1381, height 454, in a canyon far north of the town. Approach through the canyon, where Yiga footsoldiers have set up a camp marked with Sheikah eyes. Fight them for rupees and weapons. Wear stealth gear and eat a Sneaky Mushroom Skewer before you go in, since the stealth bonus helps inside. Glide down into the canyon and into the cave: the quest step “Find the Yiga Clan hideout” is cleared when you arrive.

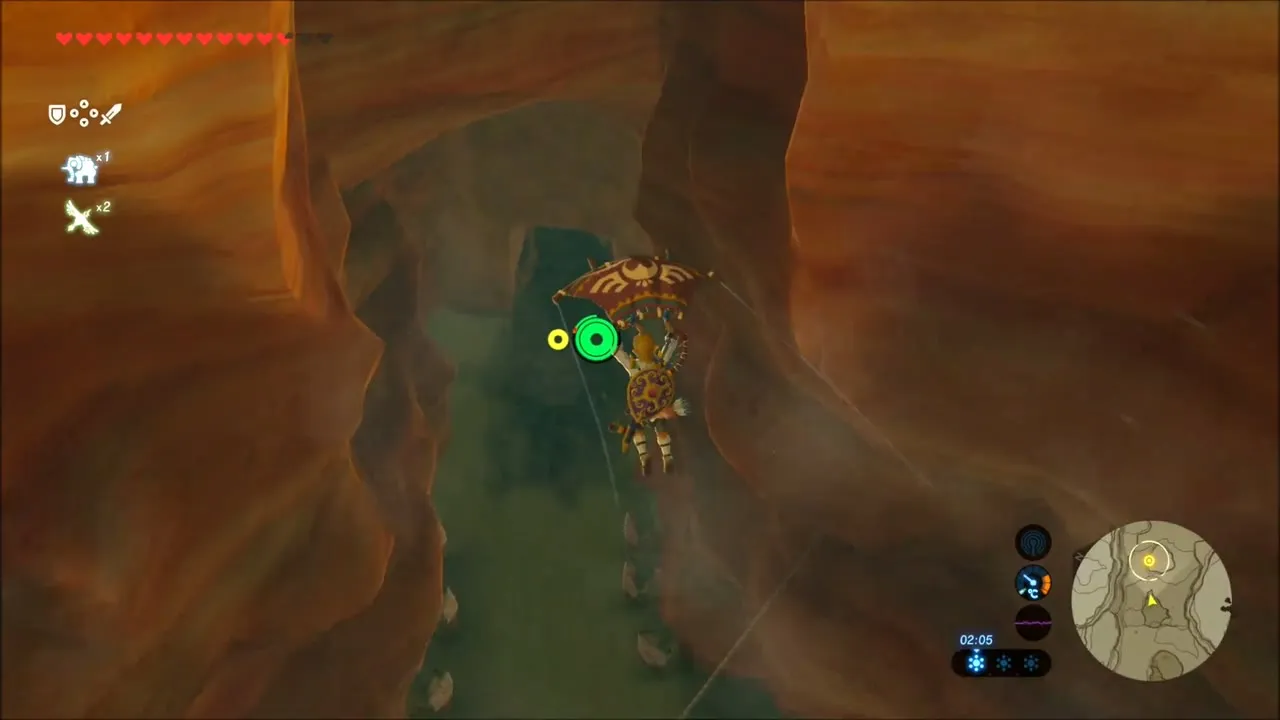
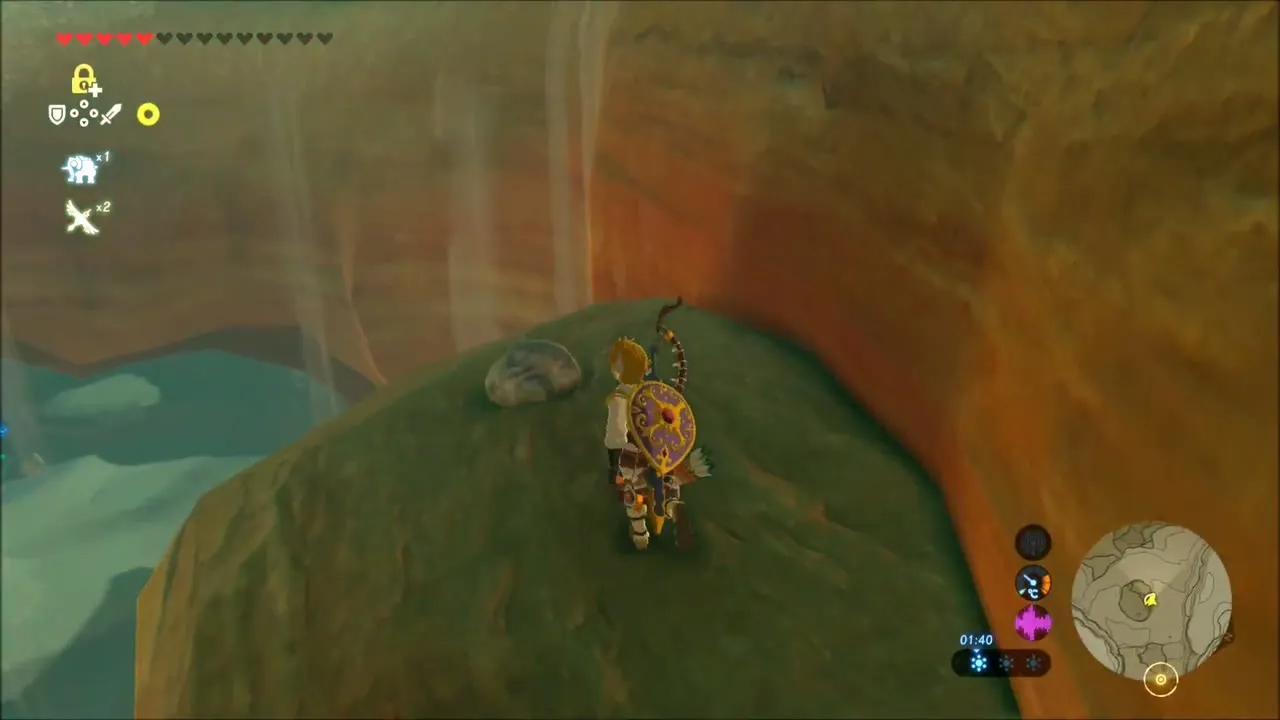
Korok seed under a boulder: on the rocky arch above the canyon, pick up the boulder at the edge. A Korok is hiding beneath it and hands over a seed.

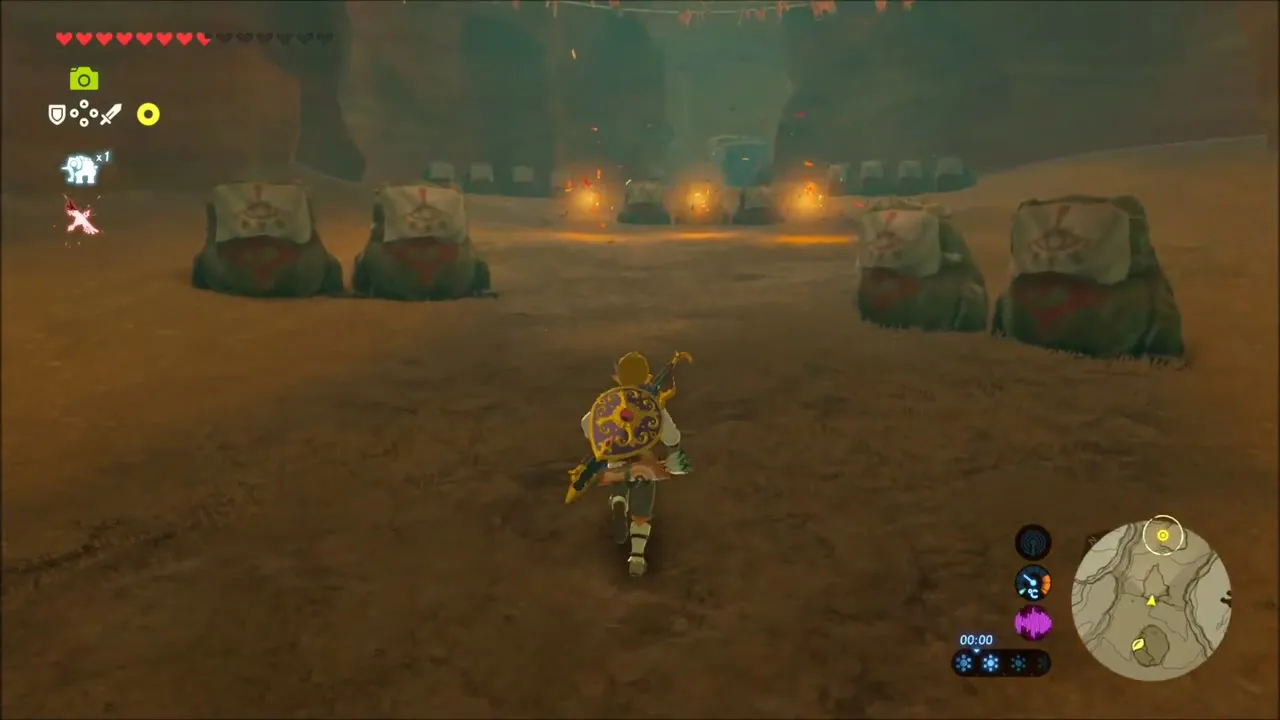
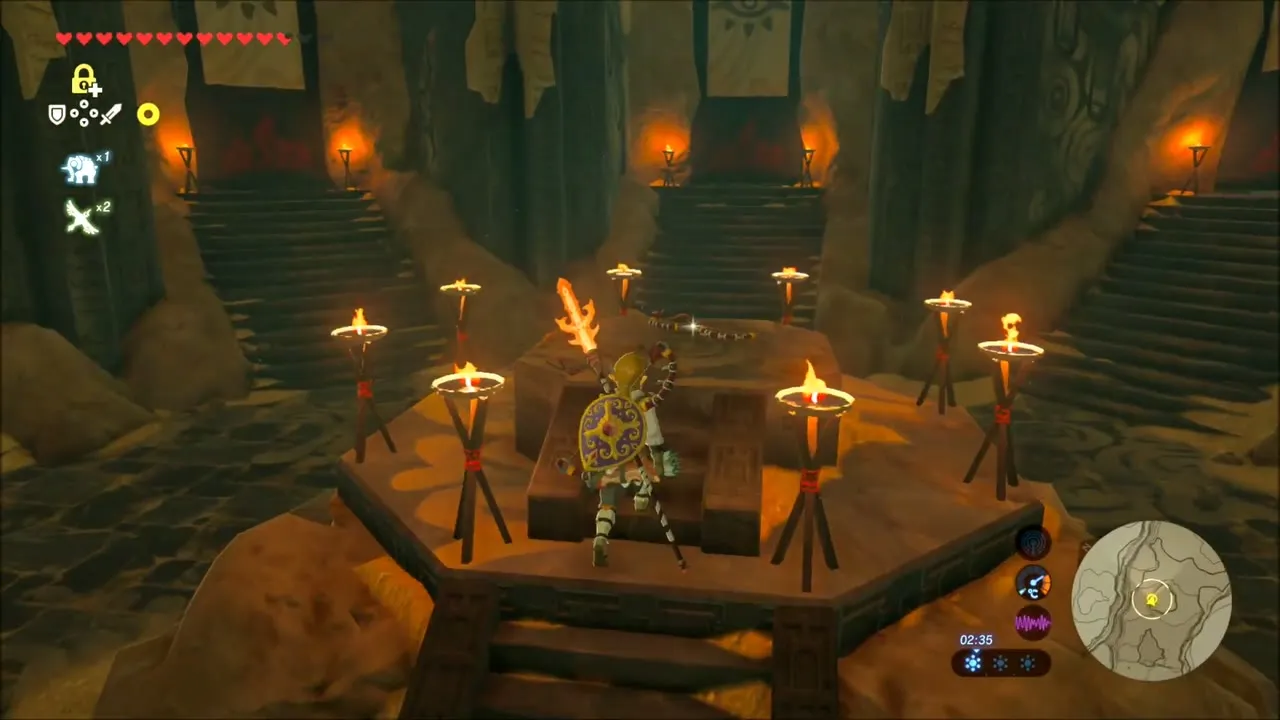
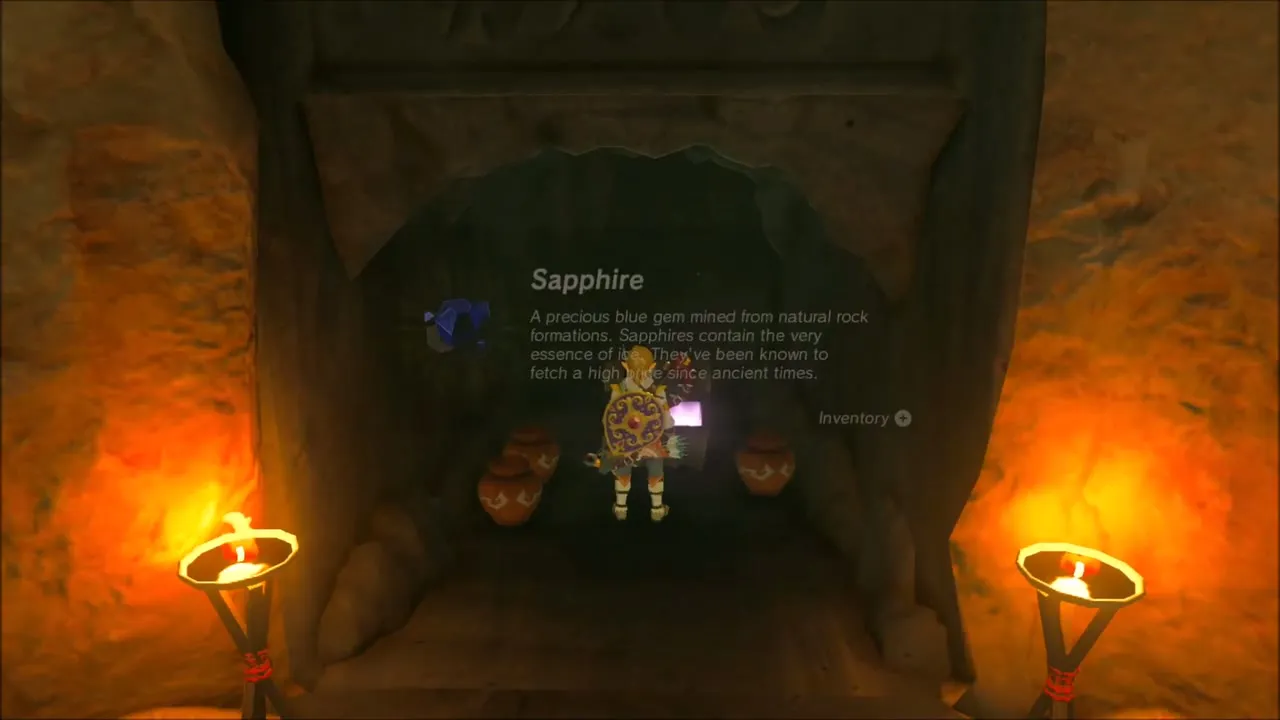
Inside, you reach a round hall with a raised dais, steps on every side and banners with Sheikah eyes. Light an arrow in a torch or brazier and shoot the banners one by one to reveal what is behind them. One banner shows a chest with a Sapphire, others hide Keese or boxes of food. The true path leads up the staircase.


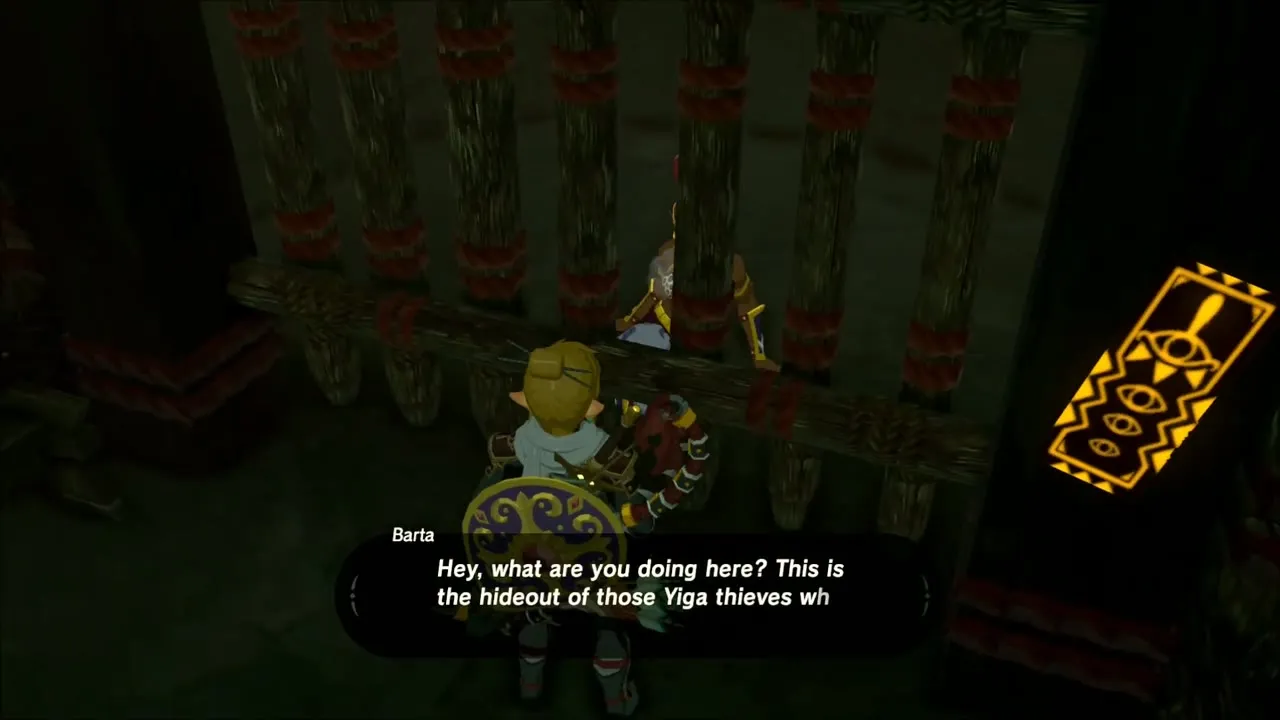
At the top of the stairs, Barta, the Gerudo guard who went missing, is locked in a cell and tells you this is the hideout of the thieves who stole the Thunder Helm. Collect Mighty Bananas from chests and crates nearby: Yiga Blademasters cannot resist them, so drop a banana on the ground and slip past while the guard goes to eat.


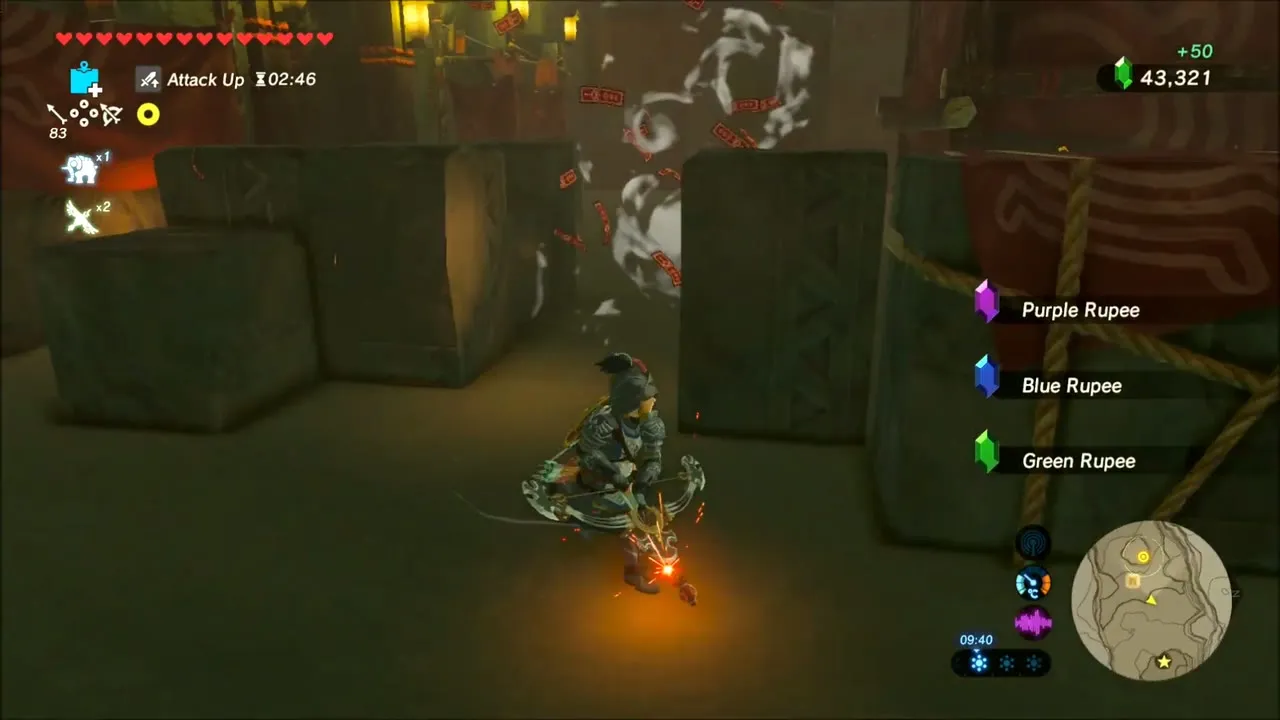
Work through the hideout room by room, sneaking behind crates and luring each Blademaster away with bananas. A chest holding a Topaz sits on a high ledge, and the climb continues along ropes and beams above the guards. Chests along the way give Purple, Blue and Green Rupees and more Mighty Bananas. In the last room use Magnesis: you can pull a few chests out of the sand and turn a fake metal wall, which opens the hideout onto the arena of the Yiga leader.



Master Kohga Boss Fight: Defeat the Yiga Leader
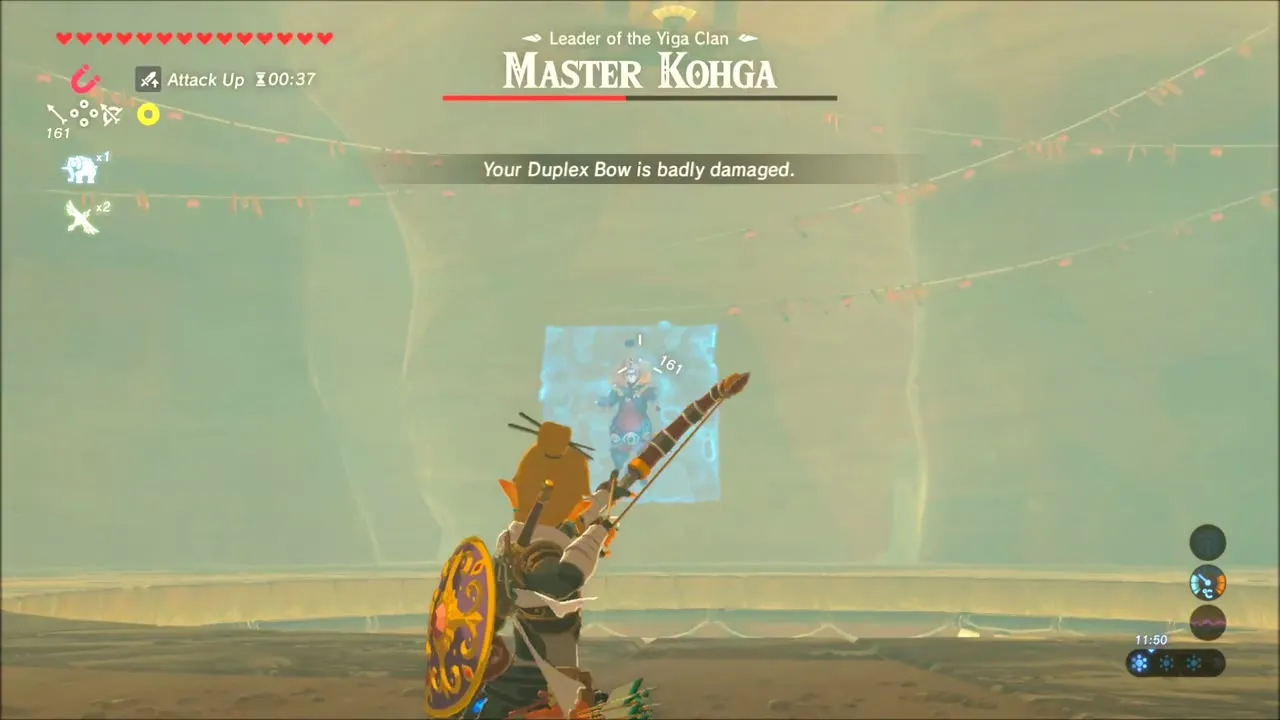
Step through the wall into a circular arena with a deep pit in the middle. Master Kohga, leader of the Yiga Clan, introduces himself and attacks. In the first phase he shields himself and summons stone spheres; shoot him with an arrow while he is summoning to stun him and make the stone fall on him, then slash him while he is down.

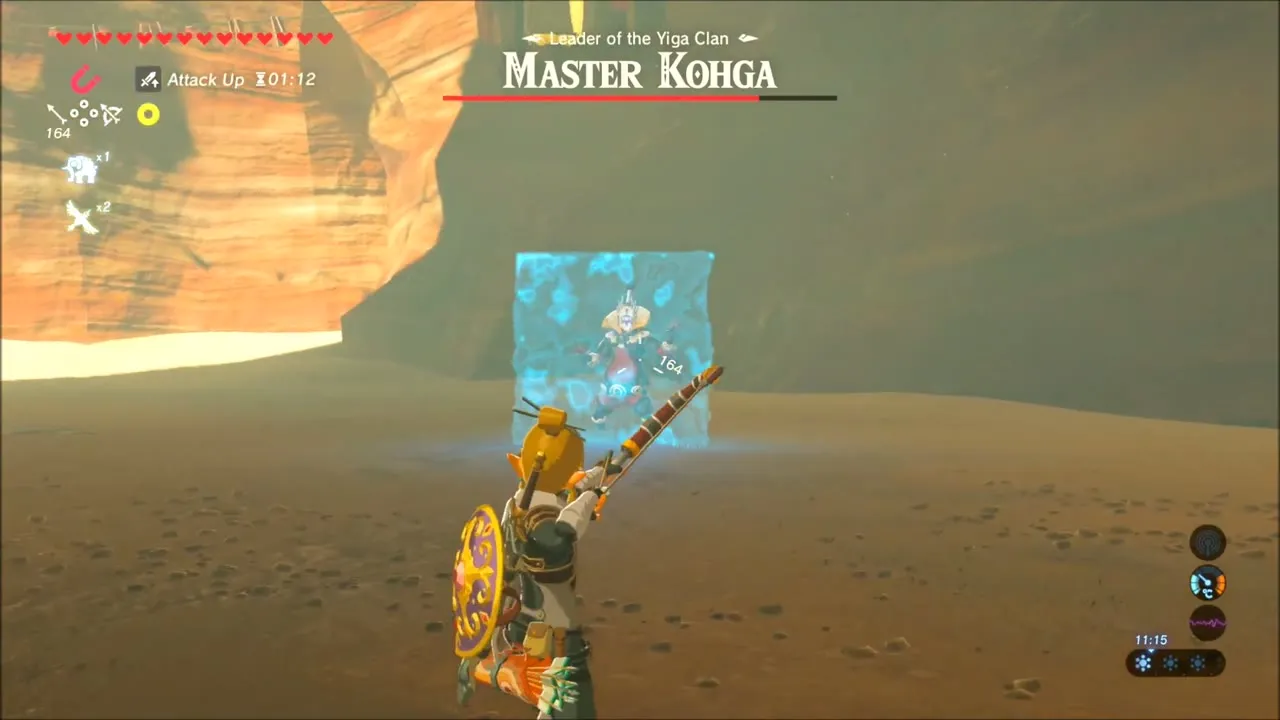

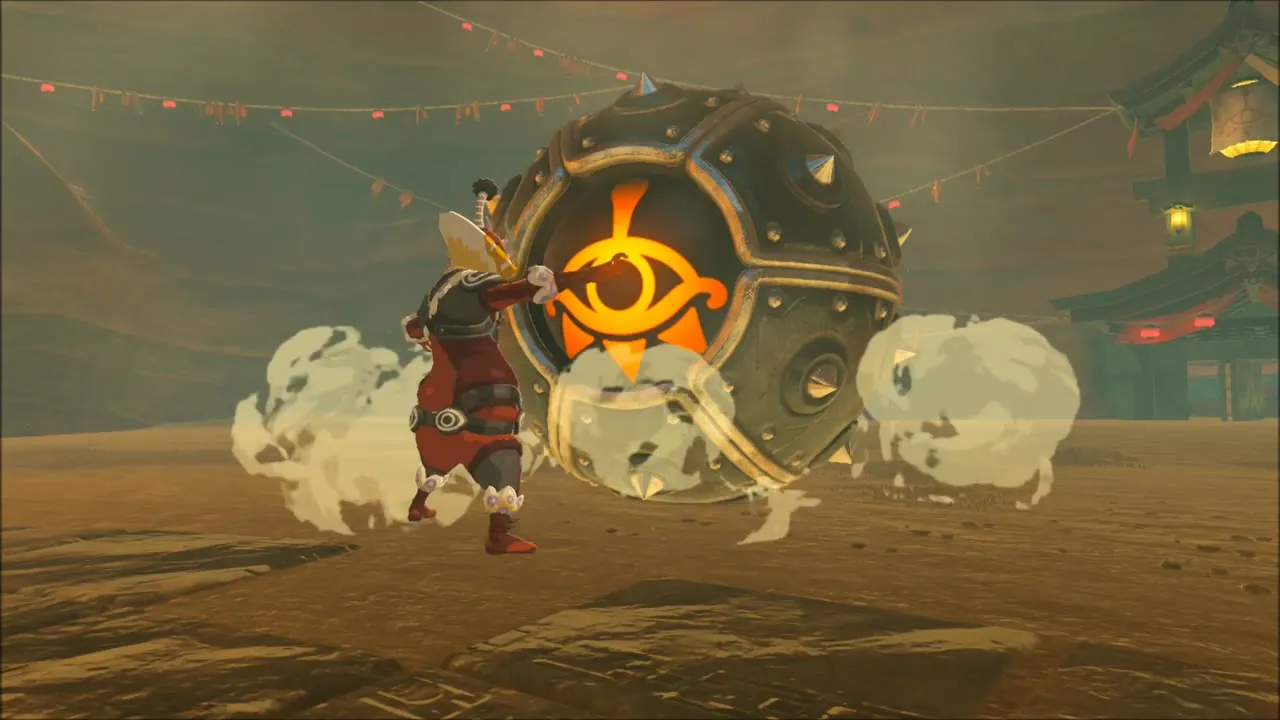
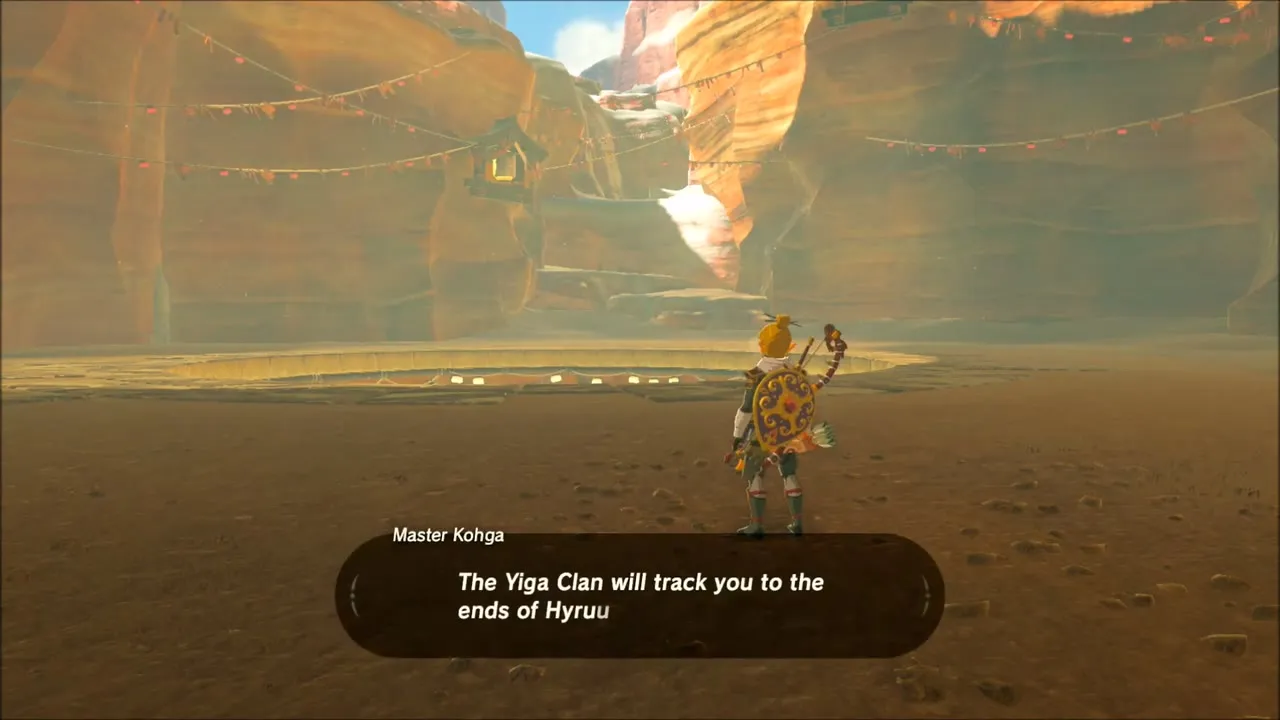
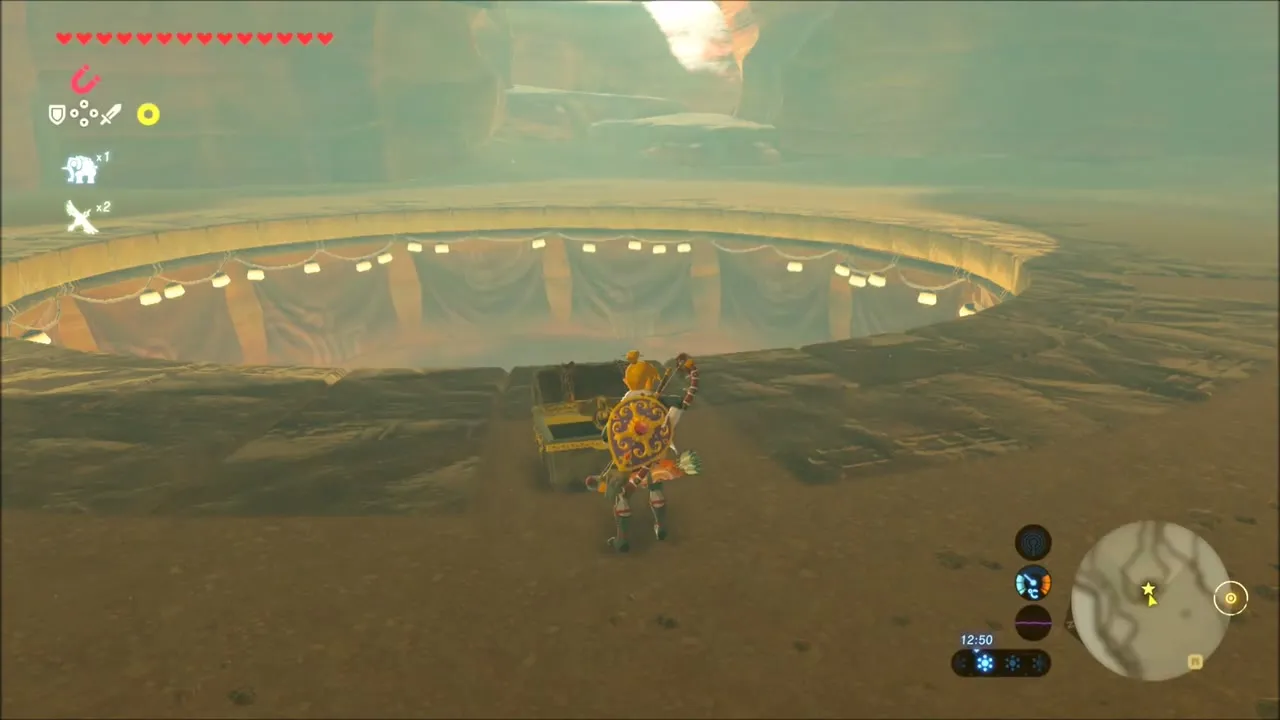
Next he teleports above the pit and swings two spheres around him. Time your arrow so that it stuns him while a sphere is over his head, or freeze him with Stasis, and he drops to the ground for a series of hits. In the last phase he summons a huge spiked sphere and steers it with his own Magnesis. Take control of it with your Magnesis and slam it into him. When he is beaten, he warns that the Yiga Clan will track you to the ends of Hyrule, and a chest is left at the edge of the pit.