100% Completion Walkthrough21 chapters
- Great PlateauAll 4 Shrines, the Paraglider and Korok Seeds
- Kakariko Village and Dueling PeaksSeek Out Impa, Shrines and Korok Seeds
- Hateno VillageHateno Tower, the Ancient Tech Lab, Link’s House and Shrines
- Zora’s DomainReach Zora’s Domain, Vah Ruta, Lanayru Shrines and Korok Seeds
- Faron and Lurelin VillageLurelin Village, Faron Tower, Shrines and Korok Seeds
- Korok Forest and Master SwordHow to Get the Master Sword, Lost Woods, Shrines and Korok Seeds
- Hebra MountainsHebra Tower, Snowfield Stable, Shrines and Korok Seeds
- Rito Village and Vah MedohVah Medoh, Tabantha Tower, Shrines and Korok Seeds
- Gerudo HighlandsGerudo Tower, Gerudo Summit, Shrines and Korok Seeds
- Gerudo TownForbidden City Entry, the Thunder Helm, Desert Shrines and Korok Seeds
- Vah Naboris and Gerudo DesertThunderblight Ganon and the Gerudo Desert Shrines
- Lake HyliaLake Tower, Farosh, Lake Shrines and Korok Seeds
- Akkala and Tarrey TownTarrey Town, Akkala Tower, Shrines and Korok Seeds
- Death Mountain and Goron CityGoron City, Vah Rudania, Eldin Shrines and Korok Seeds
- RidgelandRidgeland Tower, Shrines, Memories and Korok Seeds
- Central HyruleCentral Tower, Captured Memories, Shrines and Korok Seeds
- Hyrule Castlethe Hylian Shield, Saas Ko’sah Shrine, Zelda’s Diary and Memories
- Calamity GanonLast Side Quests, Destroy Ganon and the Final Boss
- All Hinox, Talus and Molduga LocationsEvery Hinox, Stone Talus and Molduga, for Kilton’s Medals of Honor
- Trial of the Sword and EX TreasuresThe Trial of the Sword and every EX Treasure location (DLC Pack 1)
- Champions’ BalladOne-Hit Obliterator, Champion Trials and the Final Trial
| Region | Tabantha |
|---|---|
| Shrines | 6: Akh Va’quot Shrine, Sha Warvo Shrine, Bareeda Naag Shrine, Voo Lota Shrine, Tena Ko’sah Shrine, Kah Okeo Shrine |
| Sheikah Tower | Tabantha Tower |
| Korok seeds | 37 |
| Memories | Memory 3 |
| Towns and stables | Rito Village, Rito Stable |
This chapter of the 100% walkthrough covers the Tabantha region in a route that collects everything along the way: 6 shrines, 37 Korok seeds, the Sheikah Tower and 1 memory, plus the quests, chests and minibosses you meet. Positions are map coordinates (x grows east, z grows south).
Preparing for the Cold: Selling Loot, Spicy Elixir and Arrows
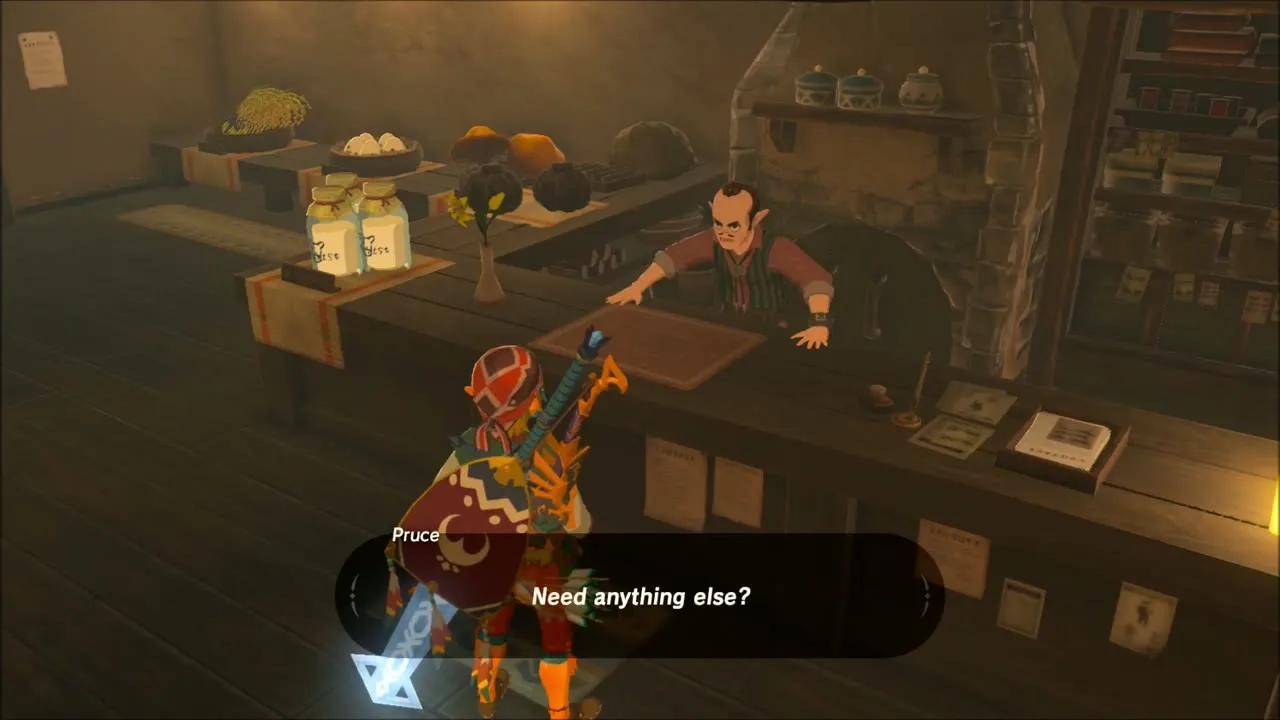
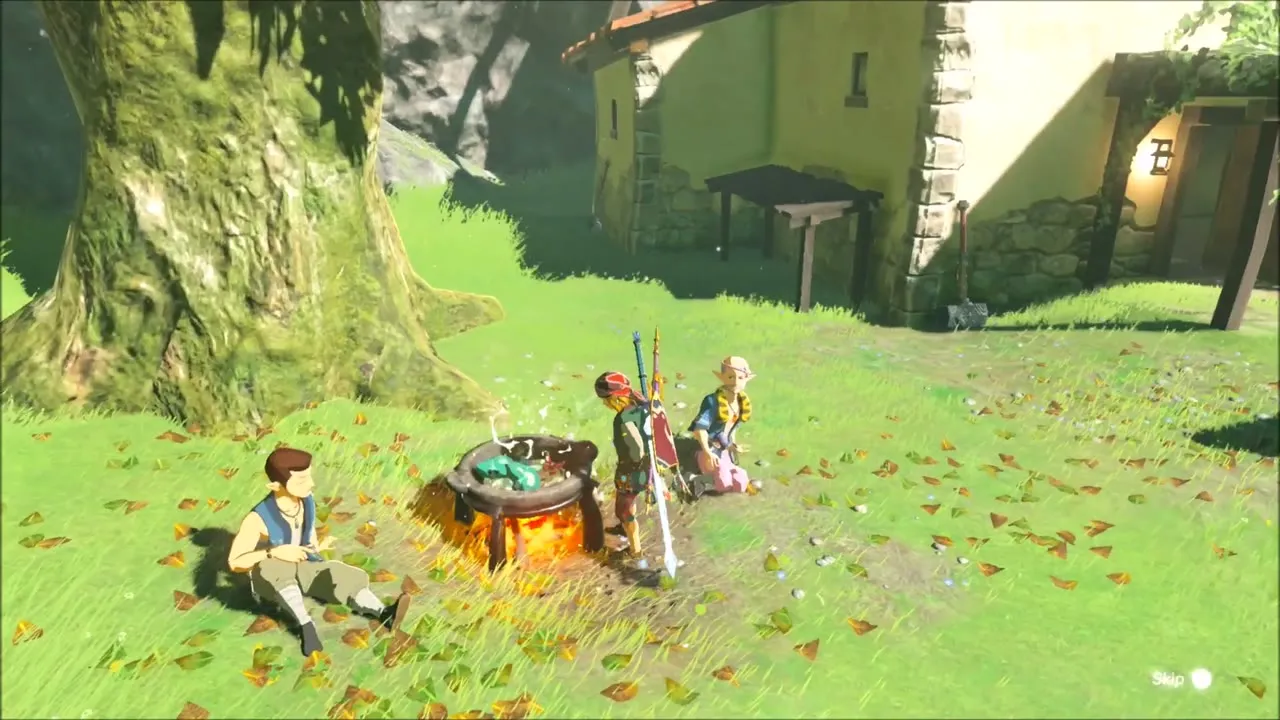
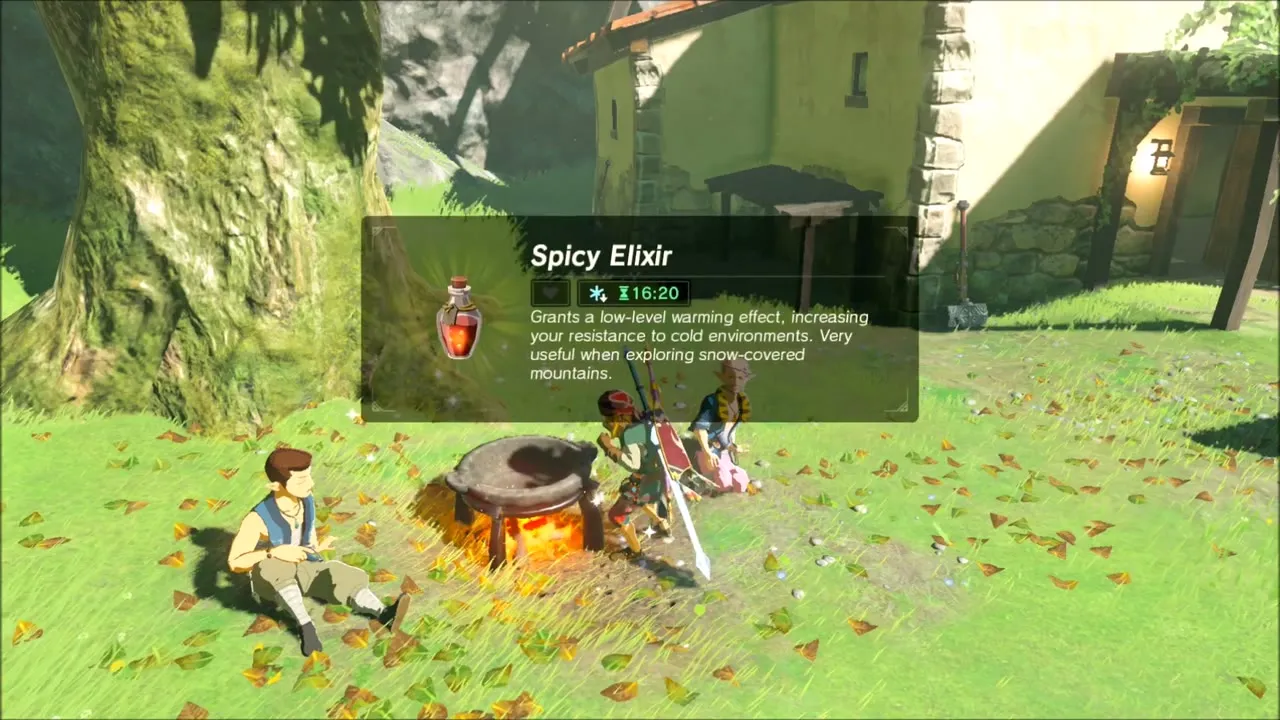
Before heading north, spend a few minutes in town. Sell spare materials such as Amber to a shopkeeper, and cook a Spicy Elixir from your ingredients. The elixir grants Cold Resistance for a few minutes and is what carries you across the snowfields that follow.
Buy arrows from Rola
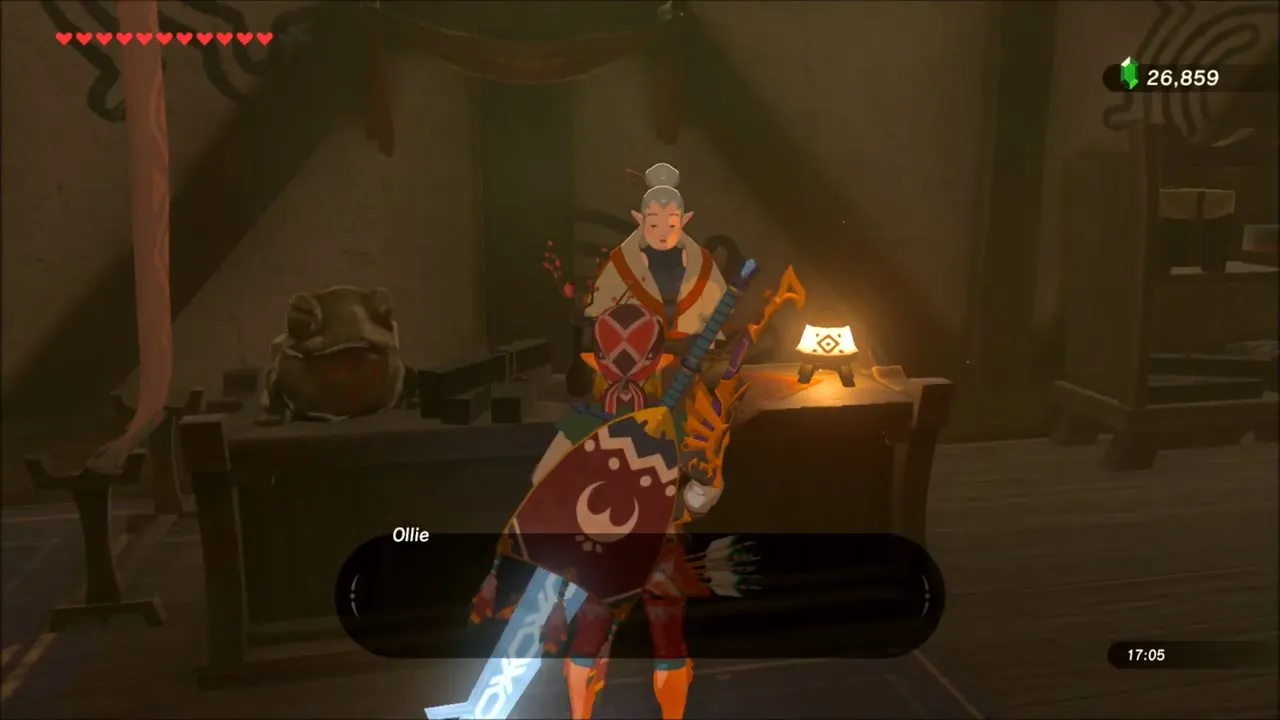
In Kakariko Village, visit Rola at the Curious Quiver and buy a stack of plain arrows (Arrows of Burning Heat starts at the same shop). You will need plenty of ammunition for the climb and for the Divine Beast attack later on.
Snowfield Stable to Sturnida Basin: Hebra Foothills Route
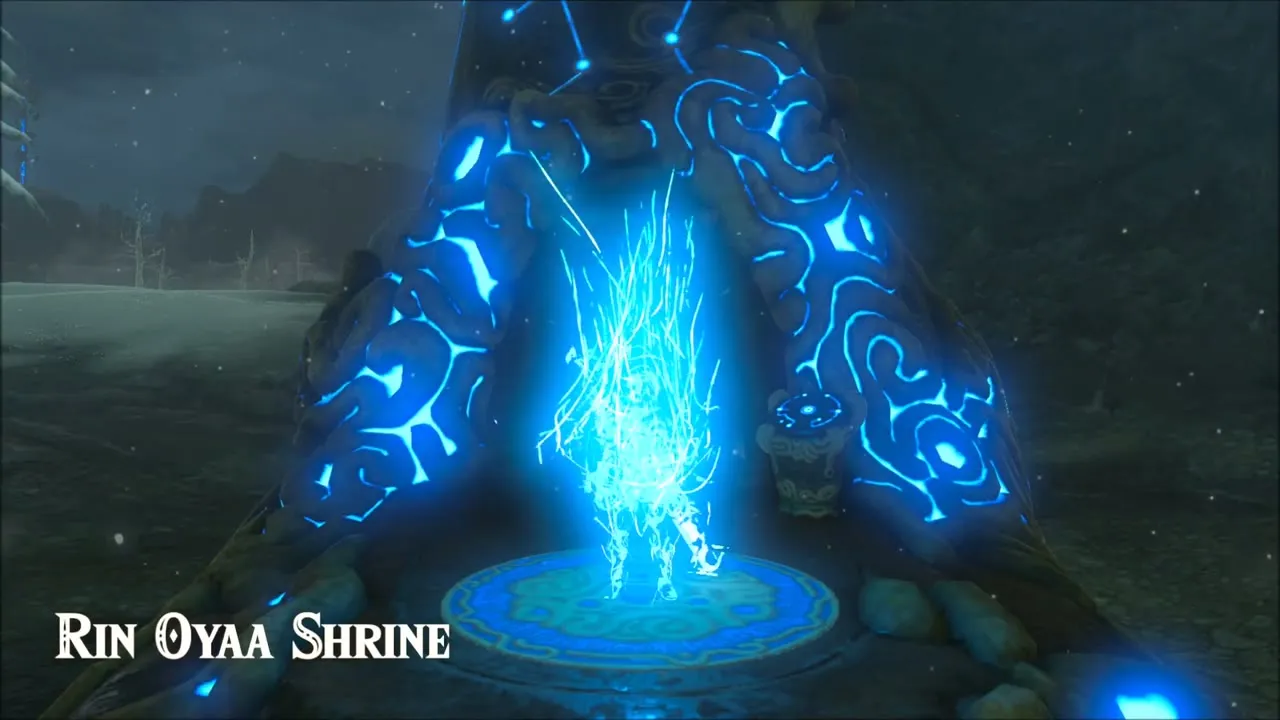
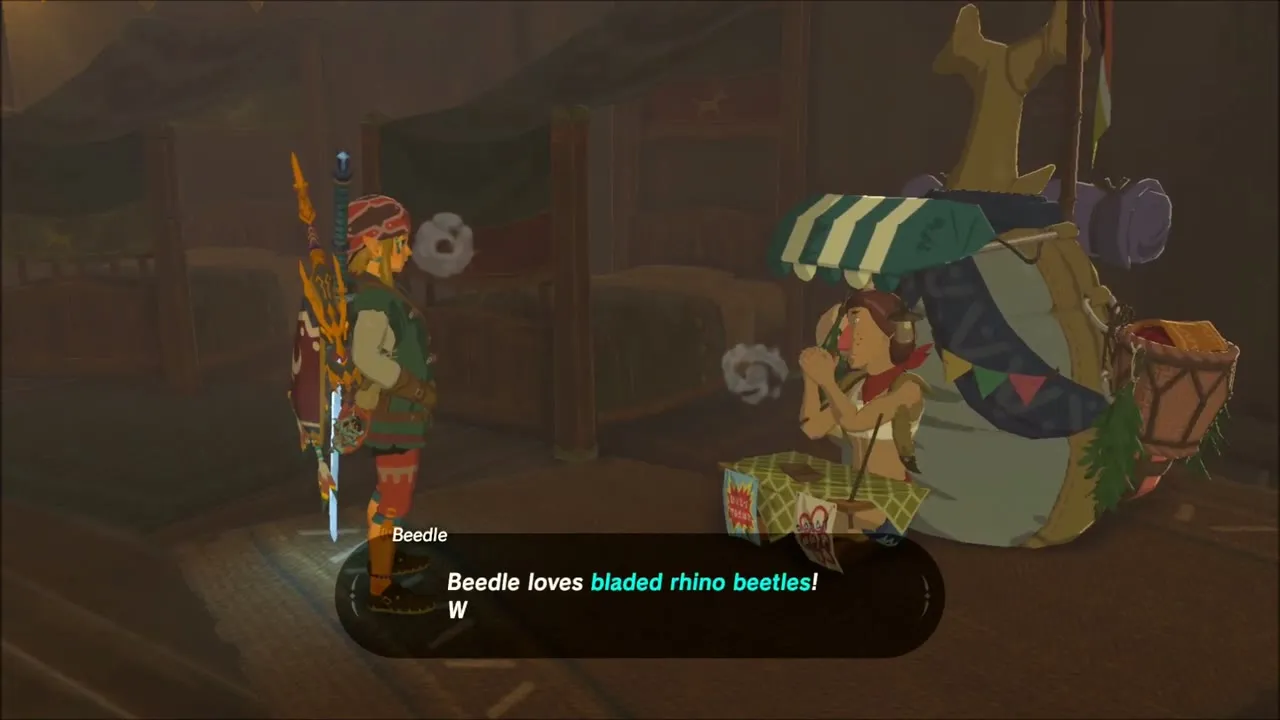
Open the map and fast travel to Rin Oyaa Shrine, which puts you beside Snowfield Stable. Beedle‘s pack is parked there; he sells arrows (20 for 120 rupees in one bundle, with a ten-pack and Summerwing Butterflies also in stock), so top up on arrows here as well.
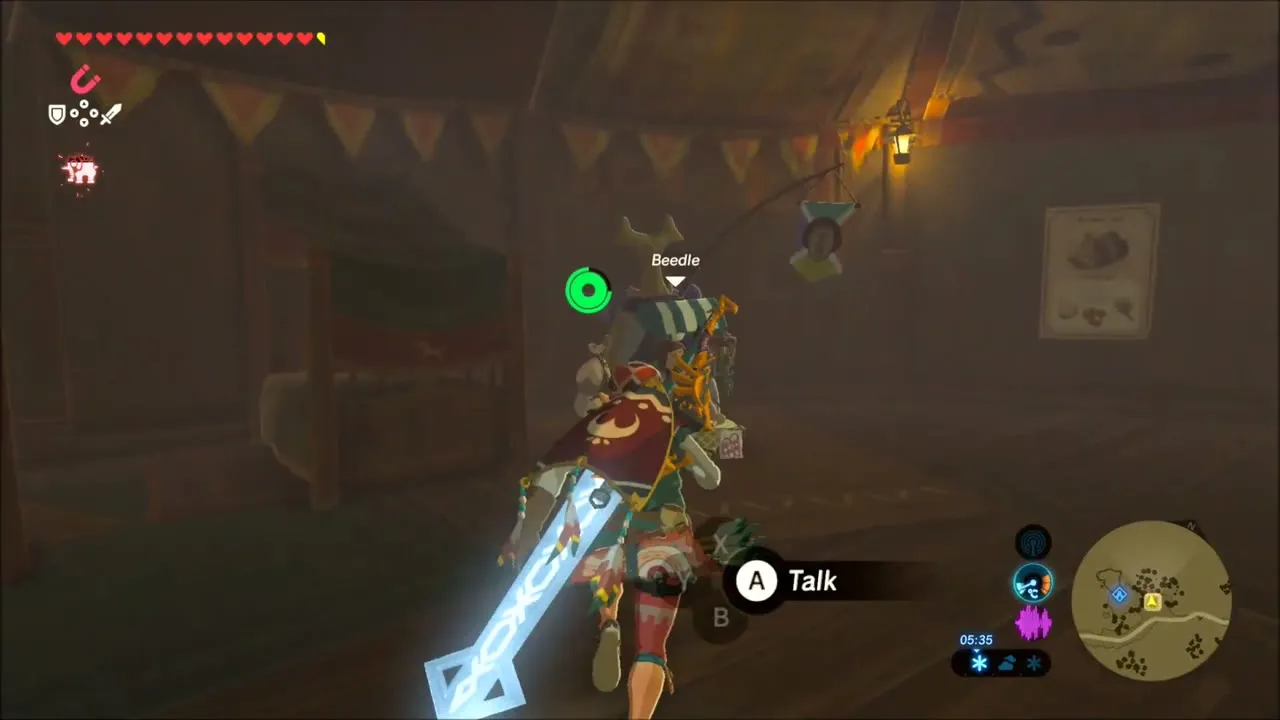
Stand at the cooking pot beside the stable, brew food and elixirs, then turn the map towards the far west of Hebra, around Lake Kilsie and Sturnida Basin. Keep a Spicy Elixir active: the Cold Resistance timer in the corner runs out quickly, so refresh it whenever it drops under a minute or two.
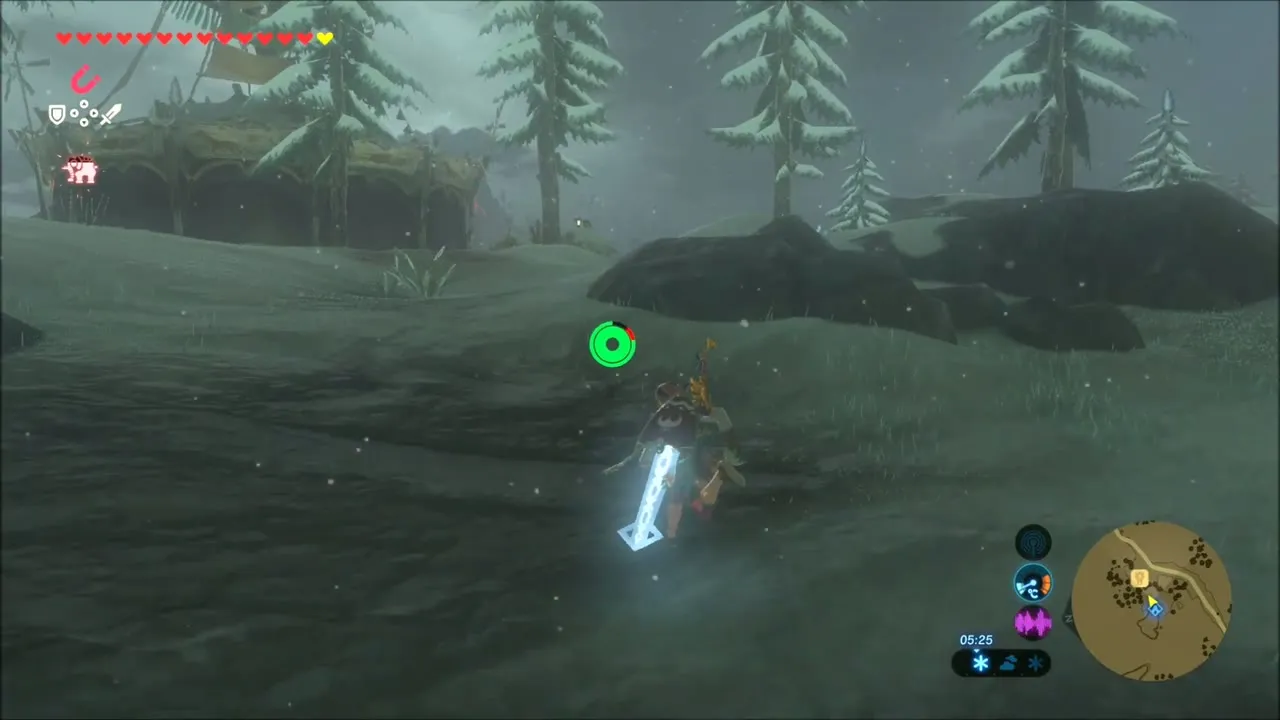
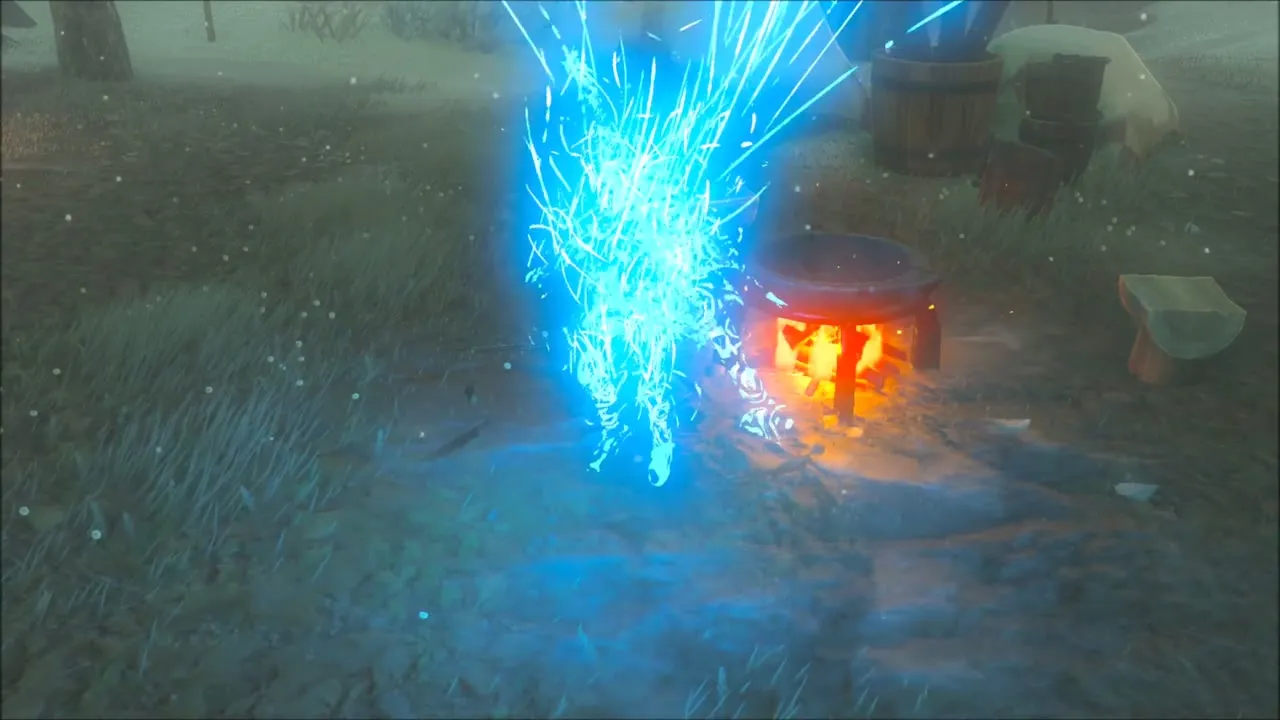
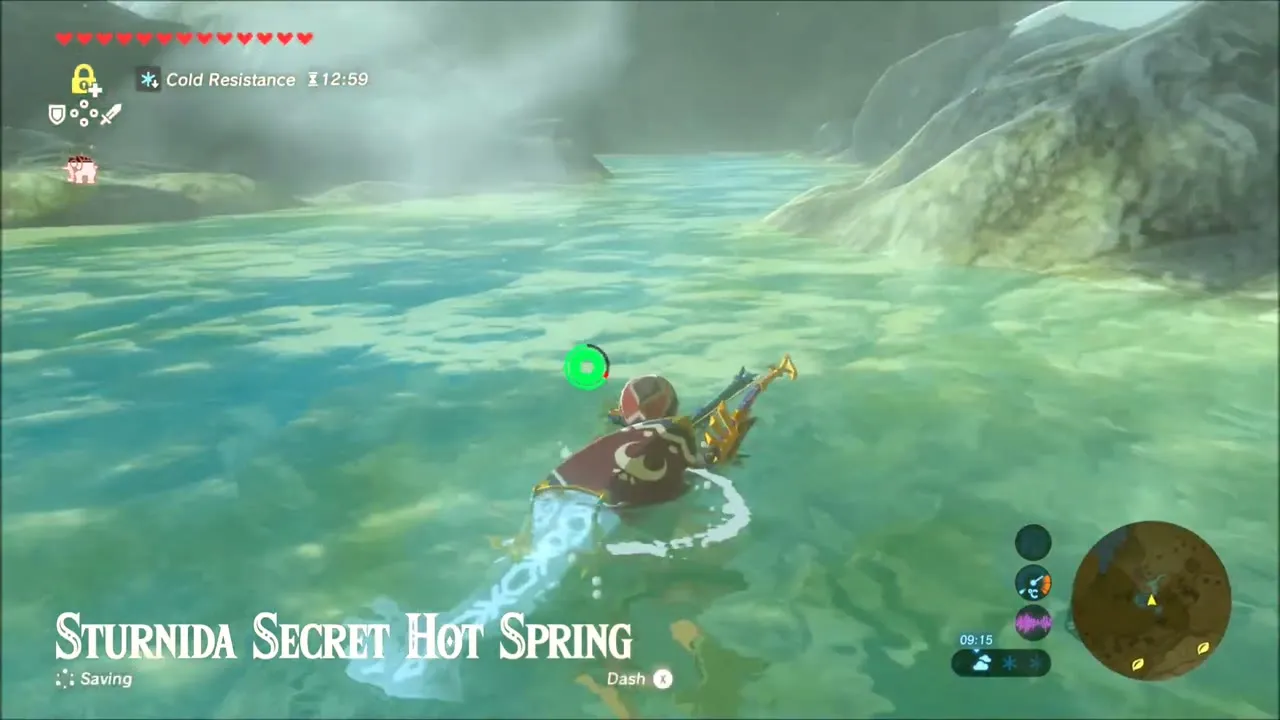
Sturnida Secret Hot Spring
As you cross the snow, glide down onto the warm pool of the Sturnida Secret Hot Spring at about (-4090, -2753). Chillshrooms grow in the snow around it, and the slopes beyond are steep and cold, so climb in short bursts.
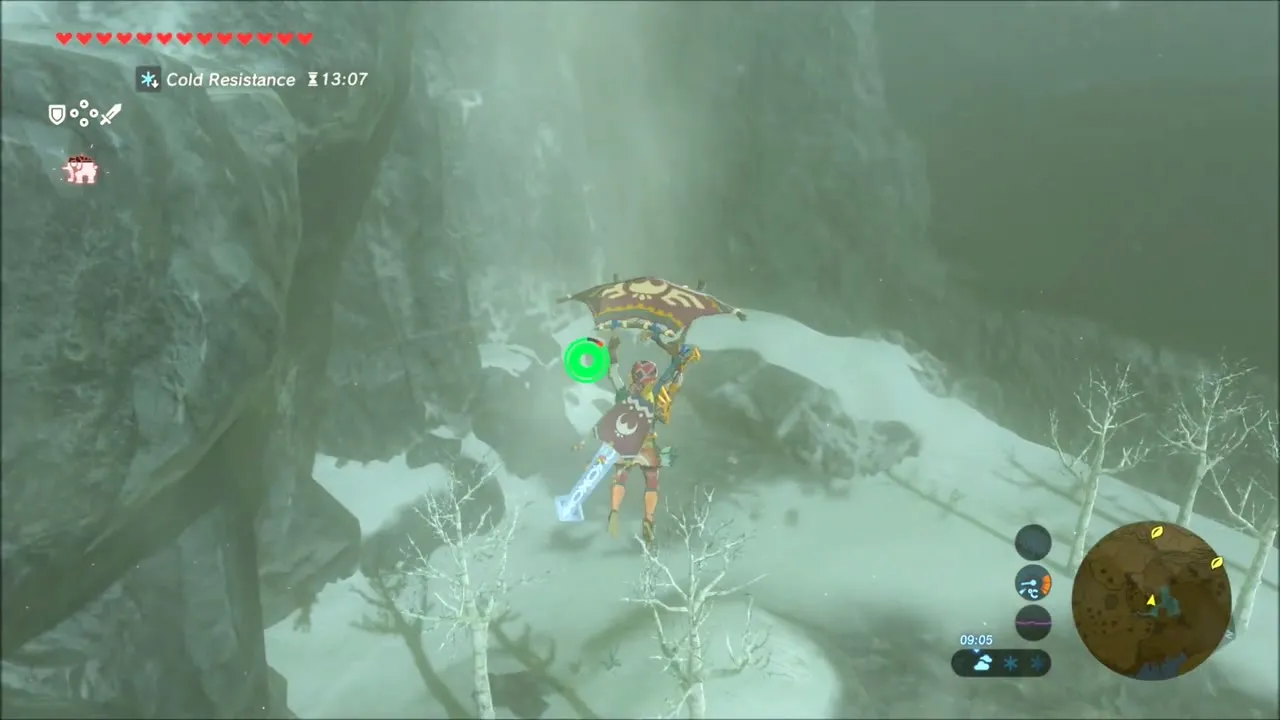
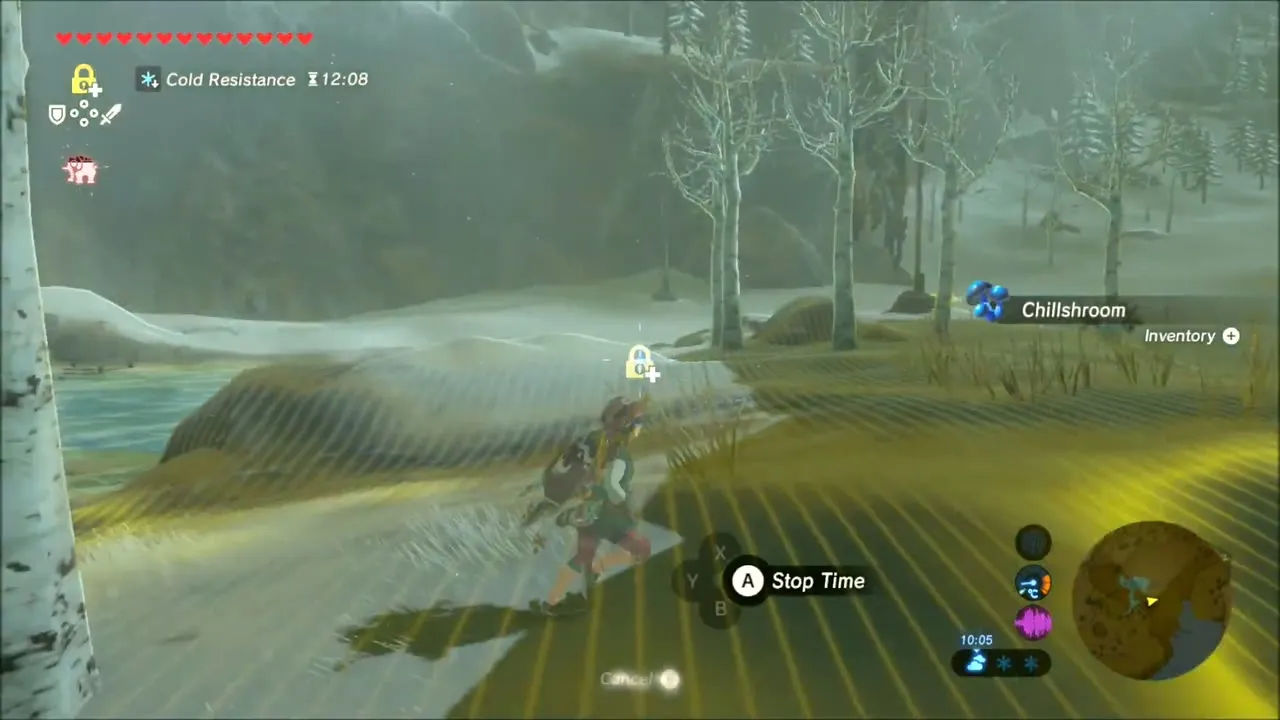
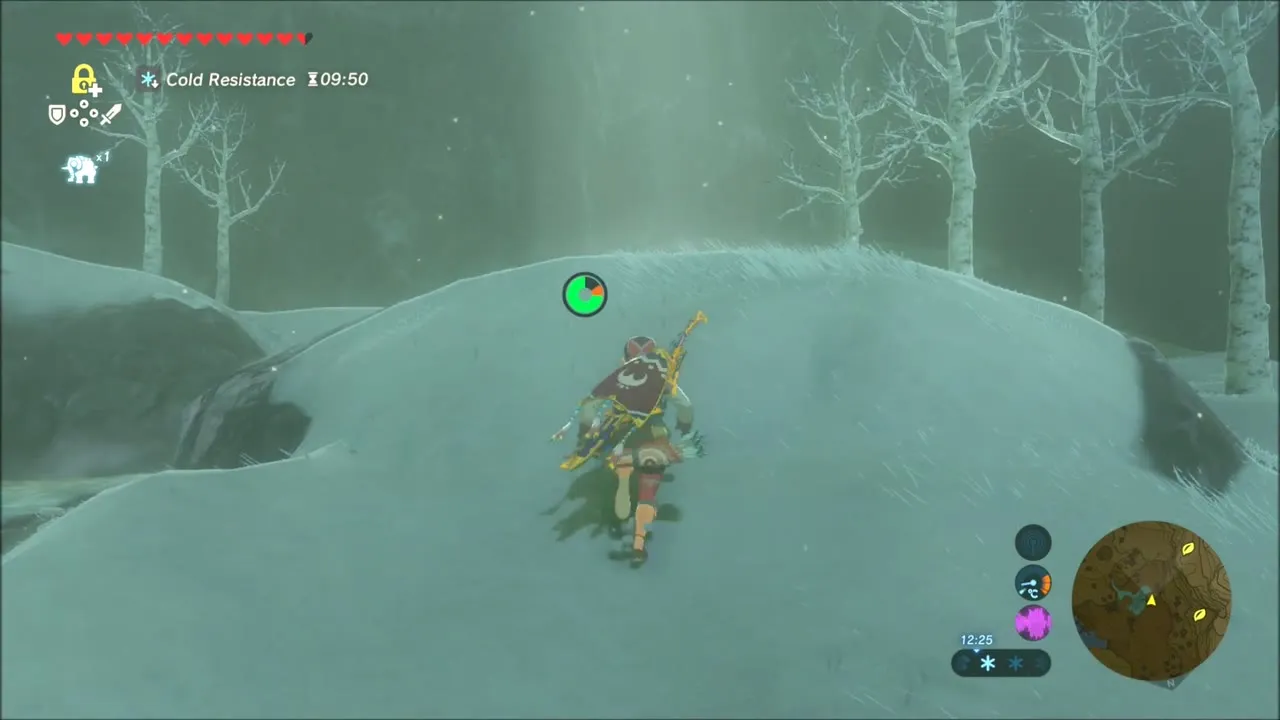
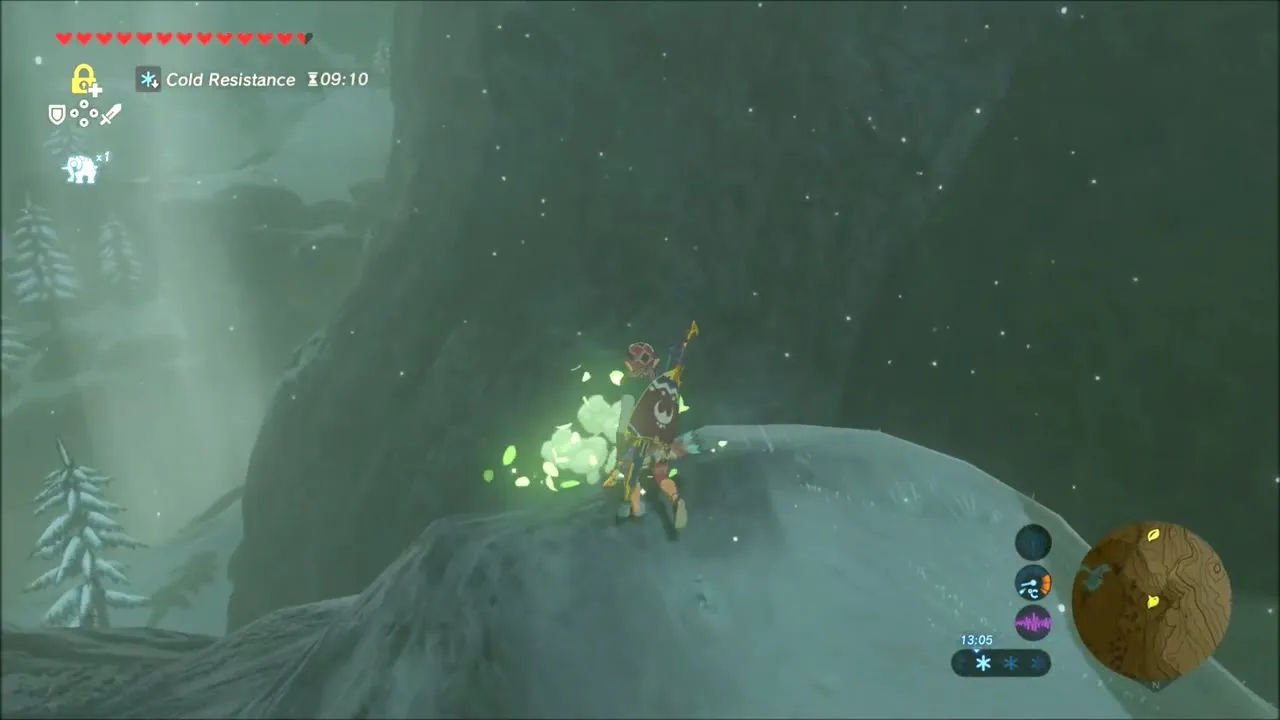
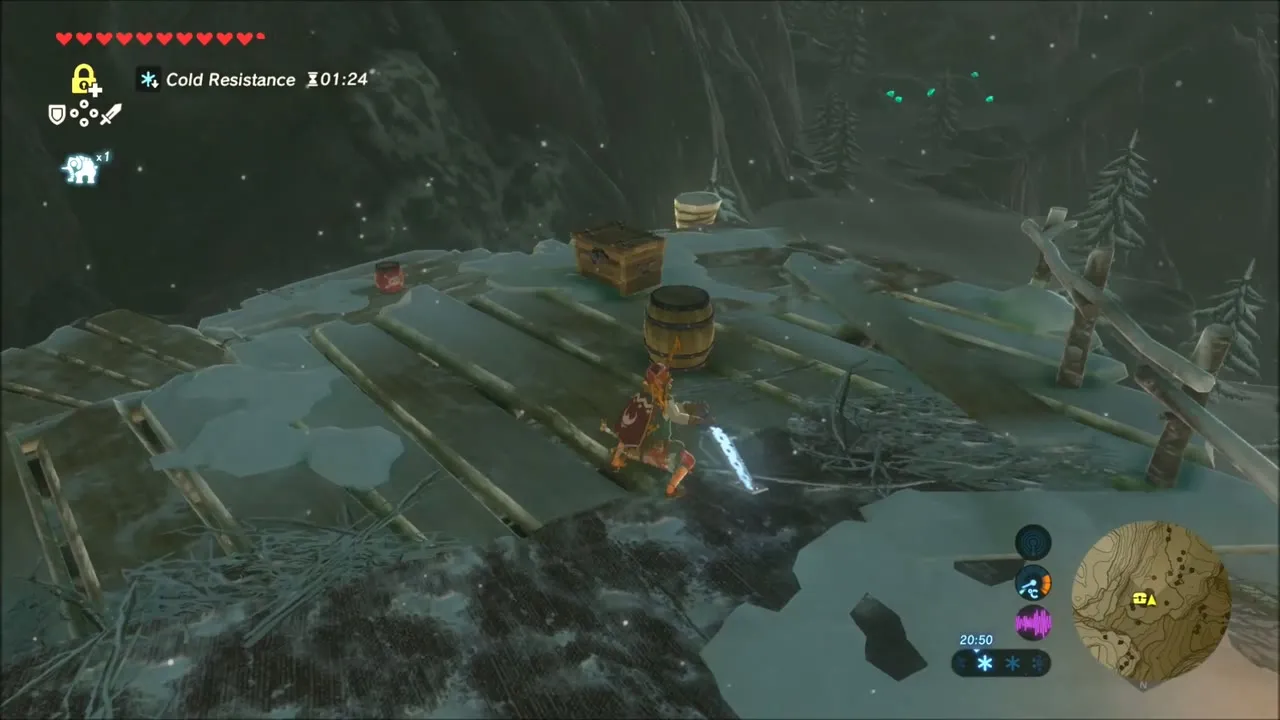
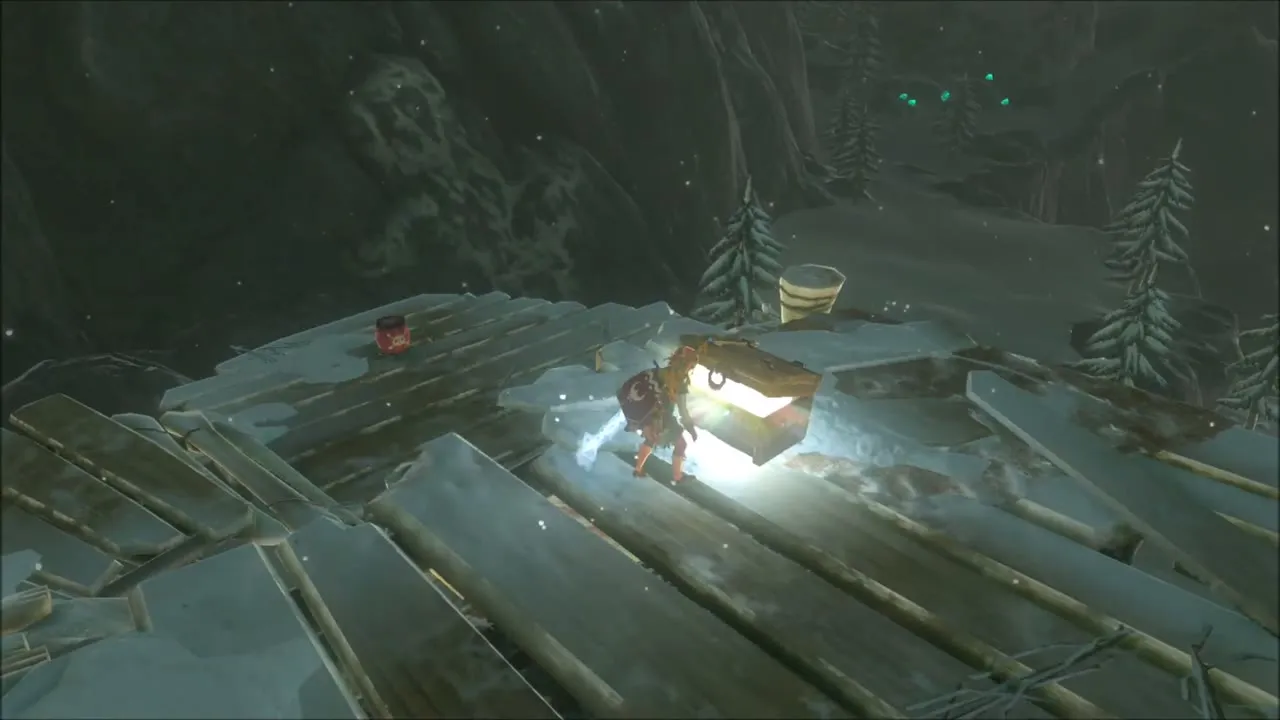
Beyond the spring, in the whiteout, you can collect a Korok seed on the snowy ridge. Further on, a chest sits on a ruined wooden walkway beside a lit brazier, which is also a handy place to warm up.
Frost Talus in the Hebra Snow
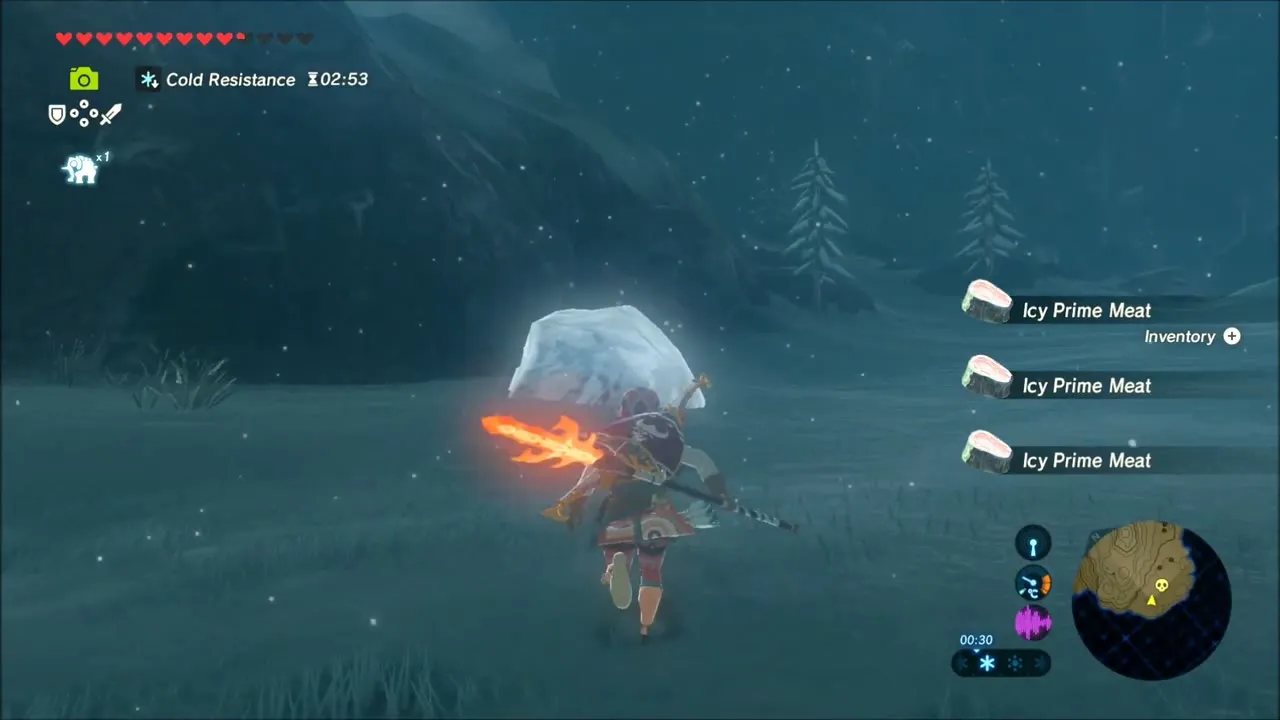
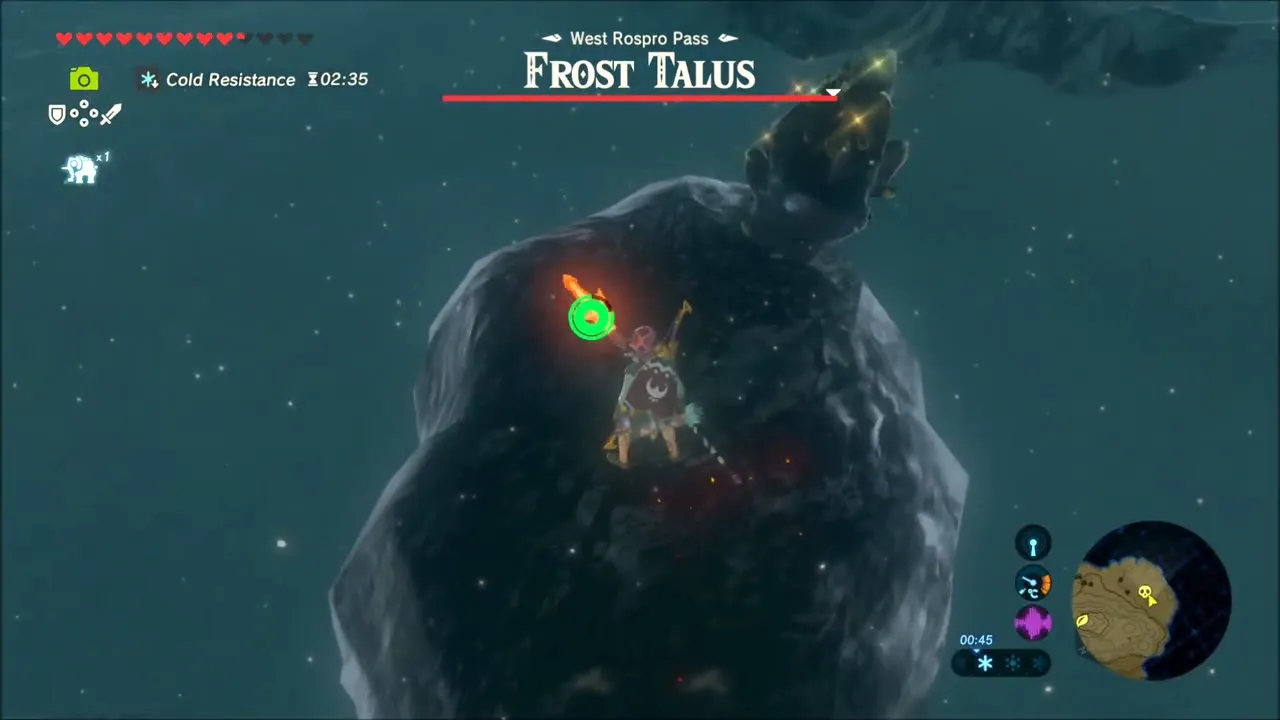
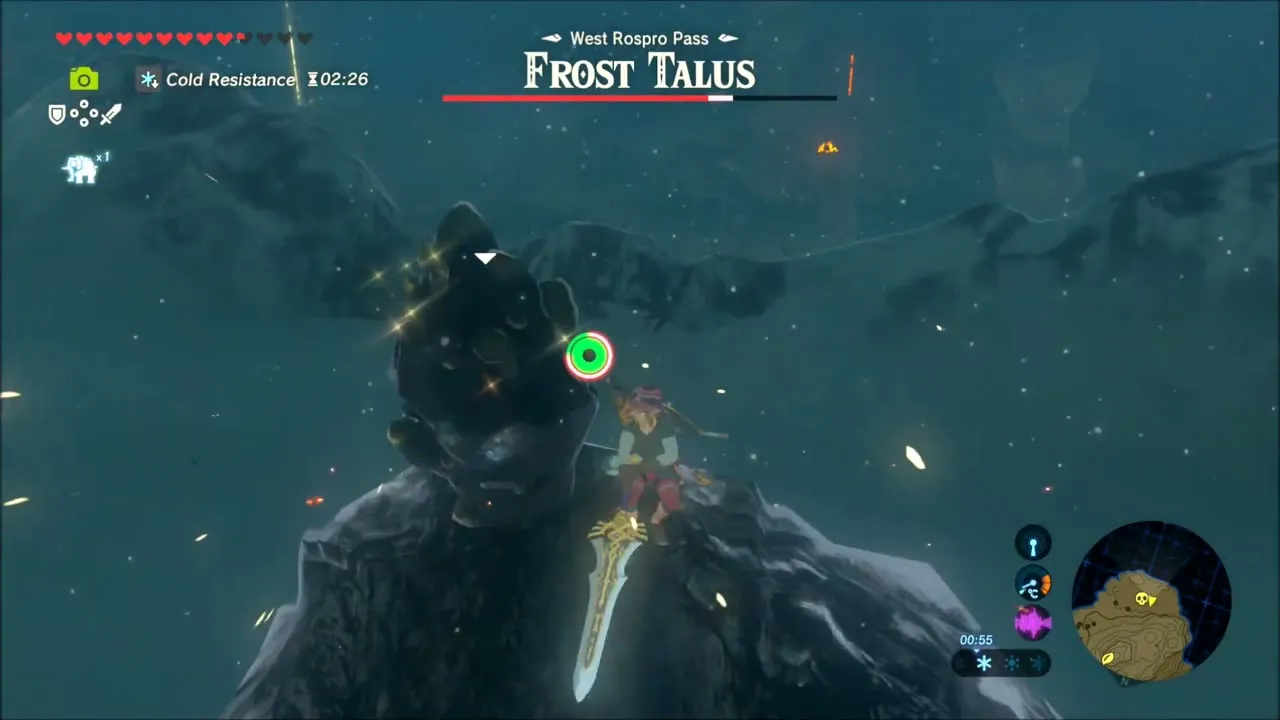
A Frost Talus rises out of the snowdrift further along. Keep your distance and use Fire Arrows, or hit it with a flame weapon, to knock off the ice on its back, then strike the glowing ore weak point on top. It drops Icy Prime Meat and Luminous Stones.

Korok Seeds and Chests Along the Snow Ridge
Farther along, a Korok seed is waiting on a snowy slope above the trail. A little later, a chest in a snowbound hollow holds a Silver Rupee (100 rupees).
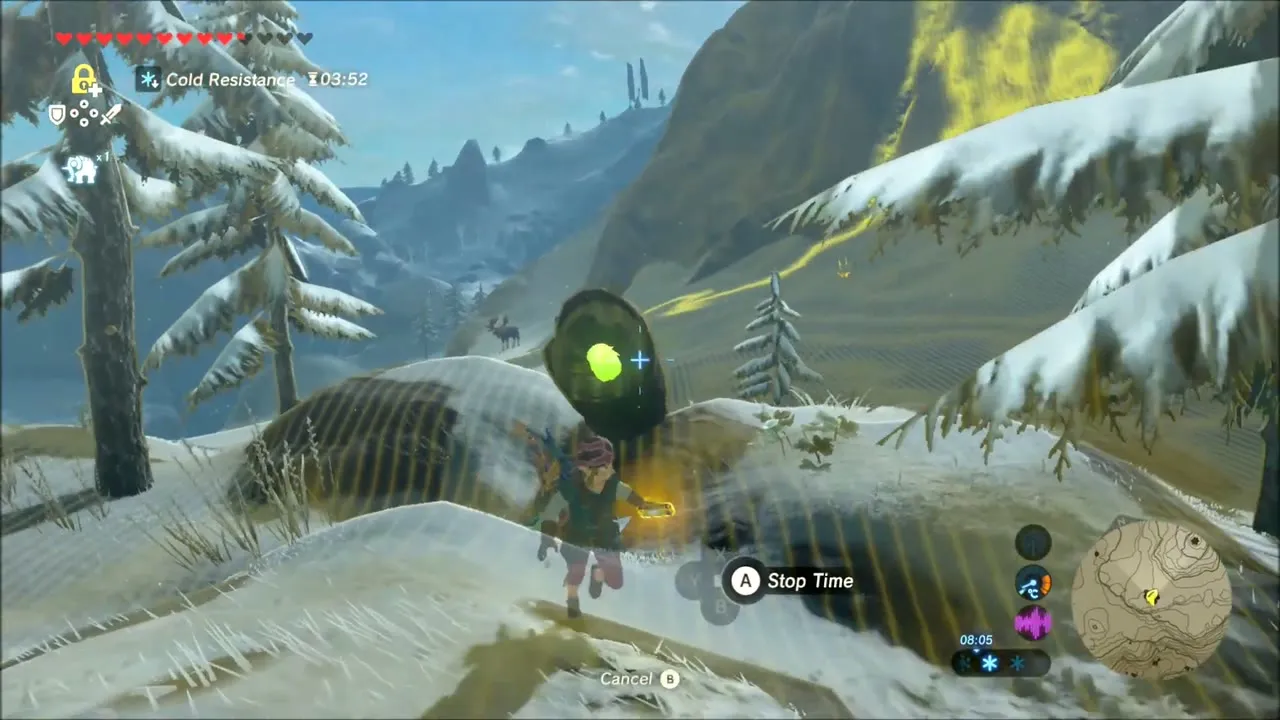
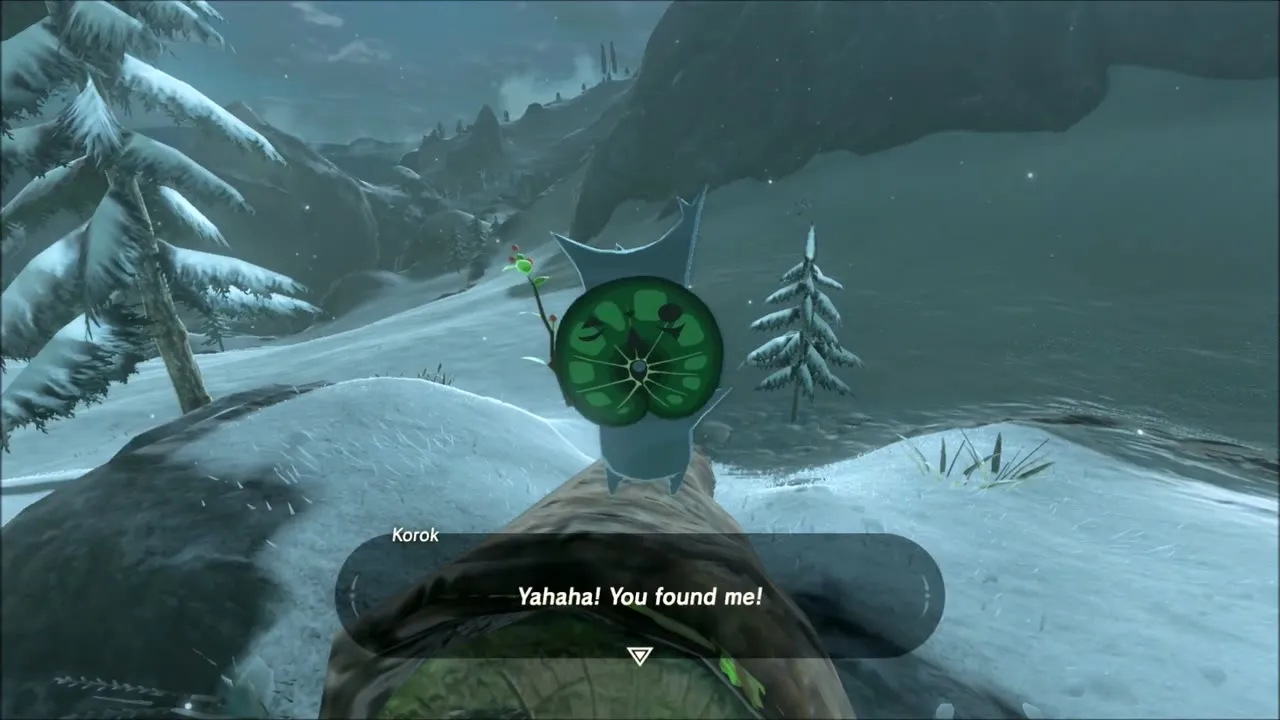
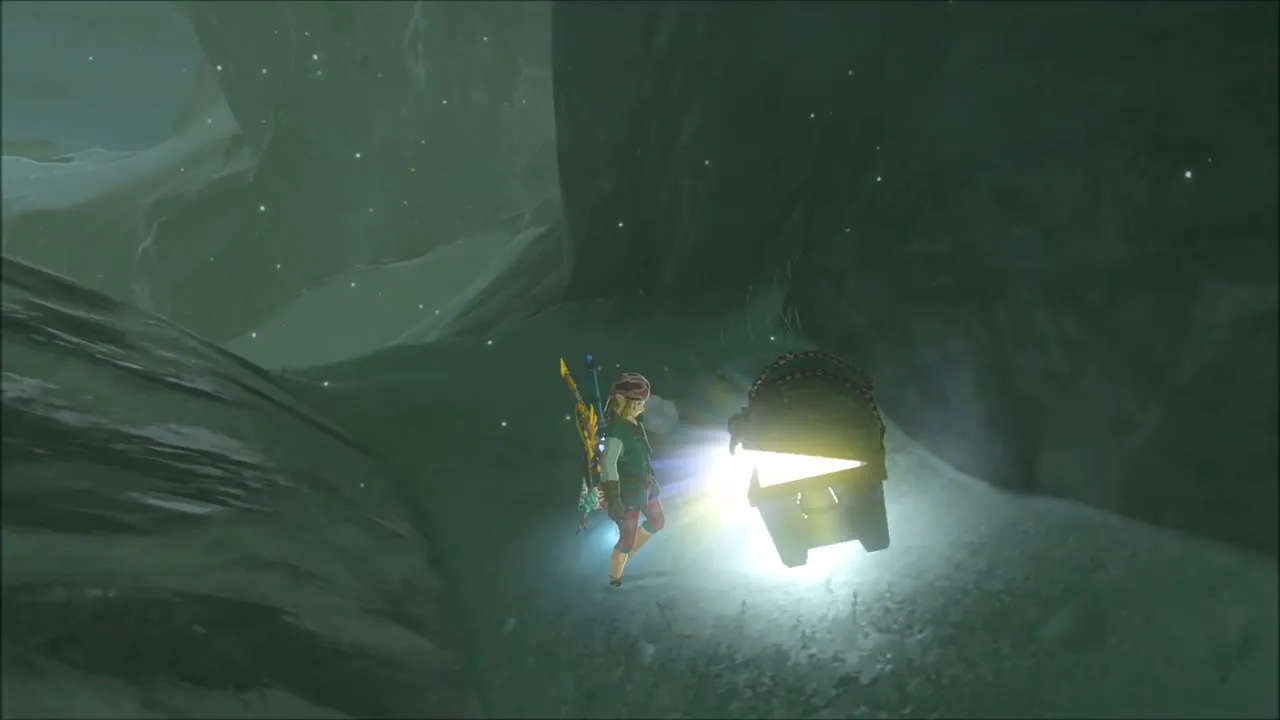
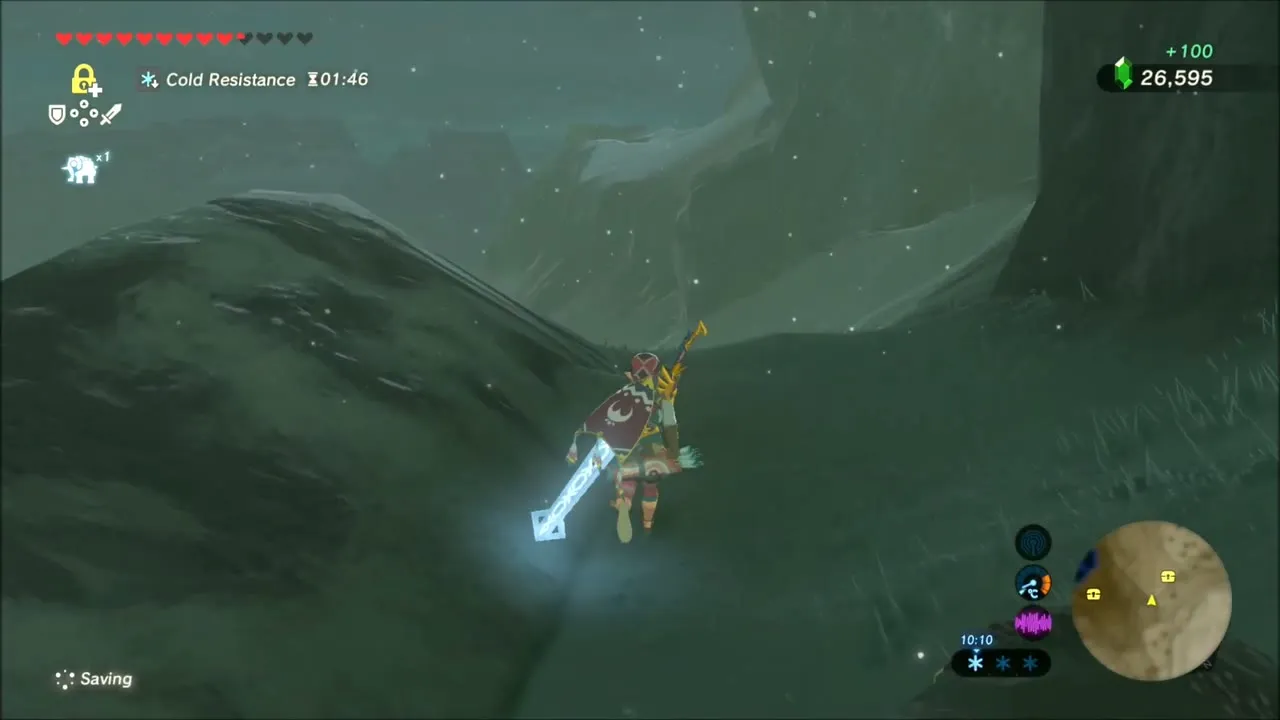
Light a torch at a campfire and use it to burn your way through the snowy brush, then glide down to the next chest on the slope. Refresh your Spicy Elixir before moving on.
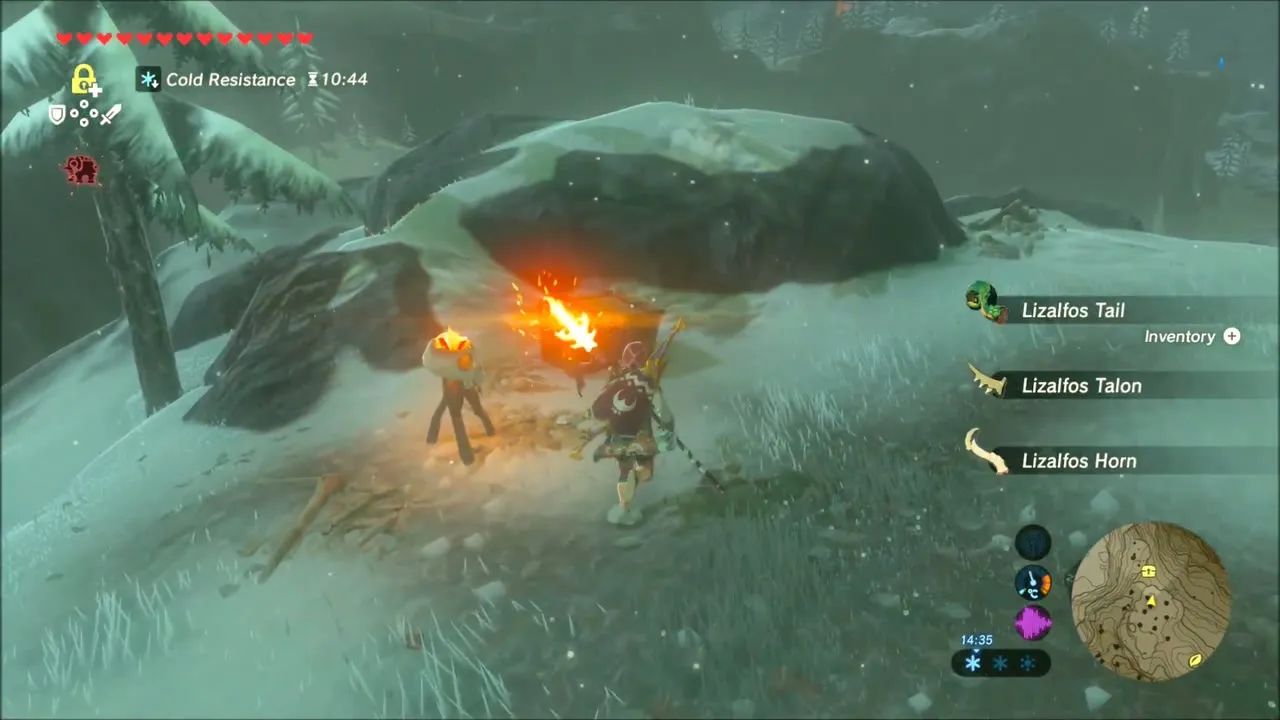
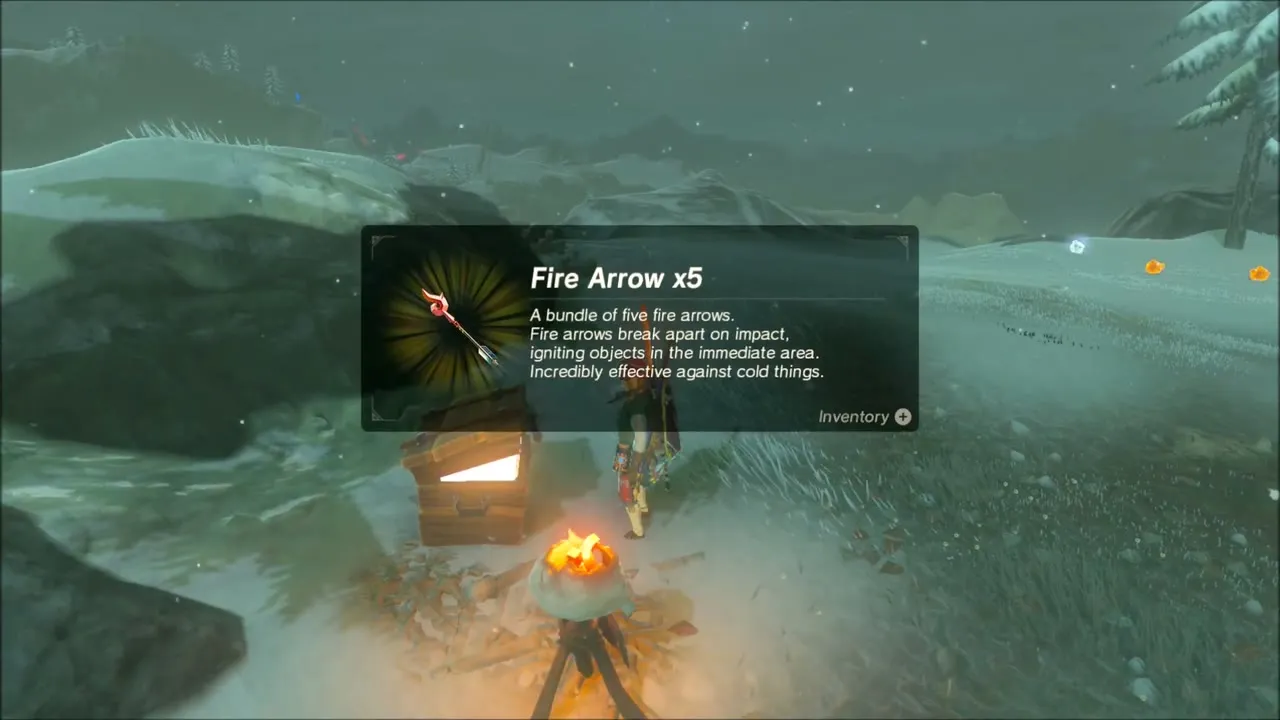
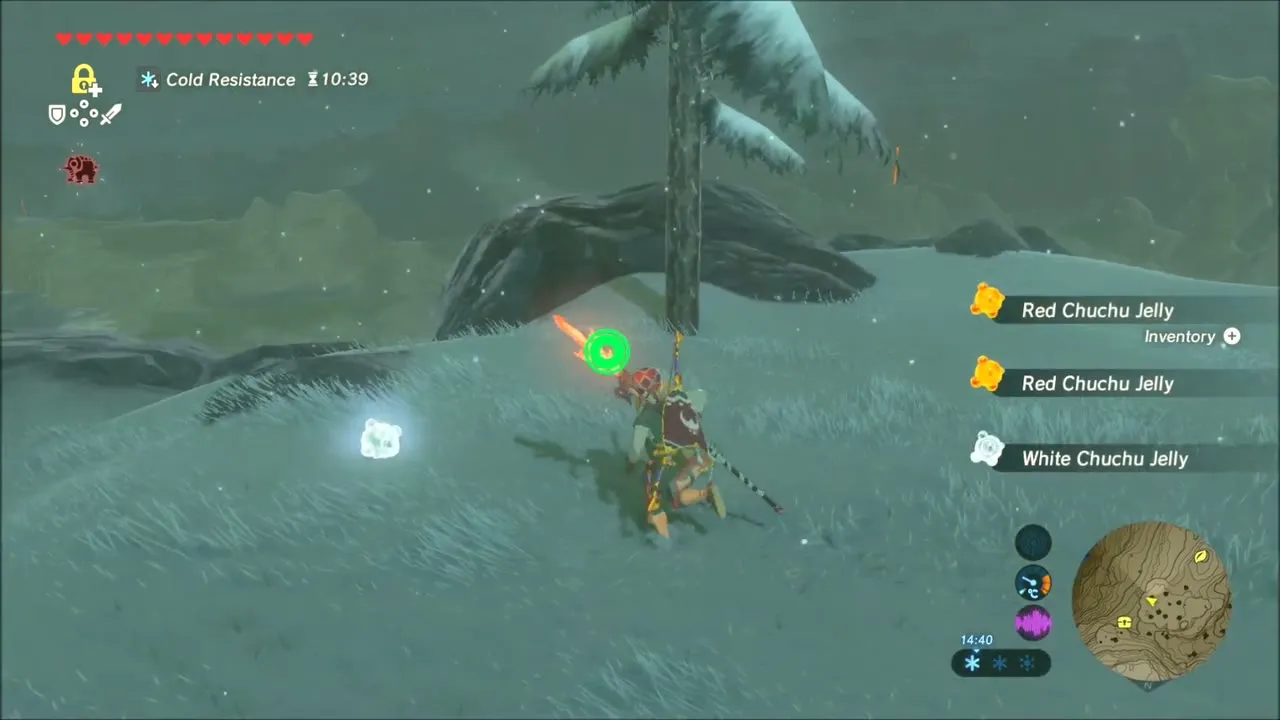
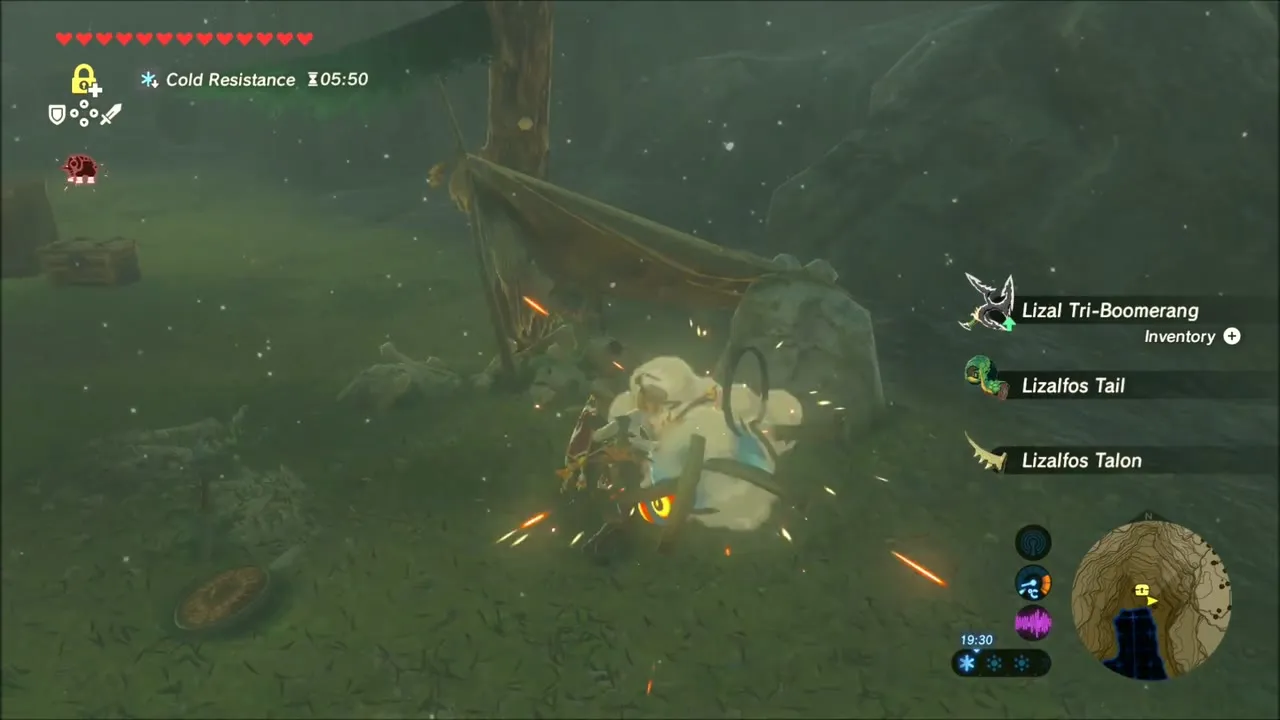
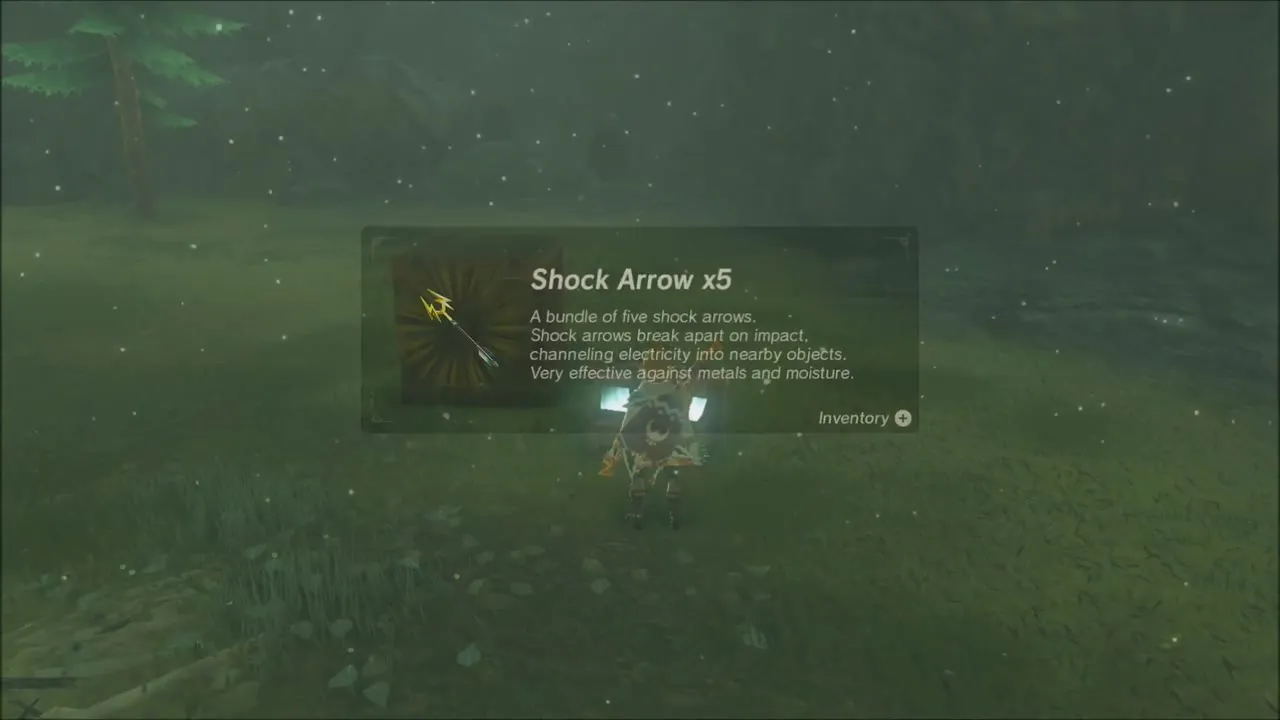
At a Bokoblin and Lizalfos camp in the forest pocket, clear the enemies for Lizal Tri-Boomerangs, horns and fangs. The chest in the camp holds Shock Arrow x5.
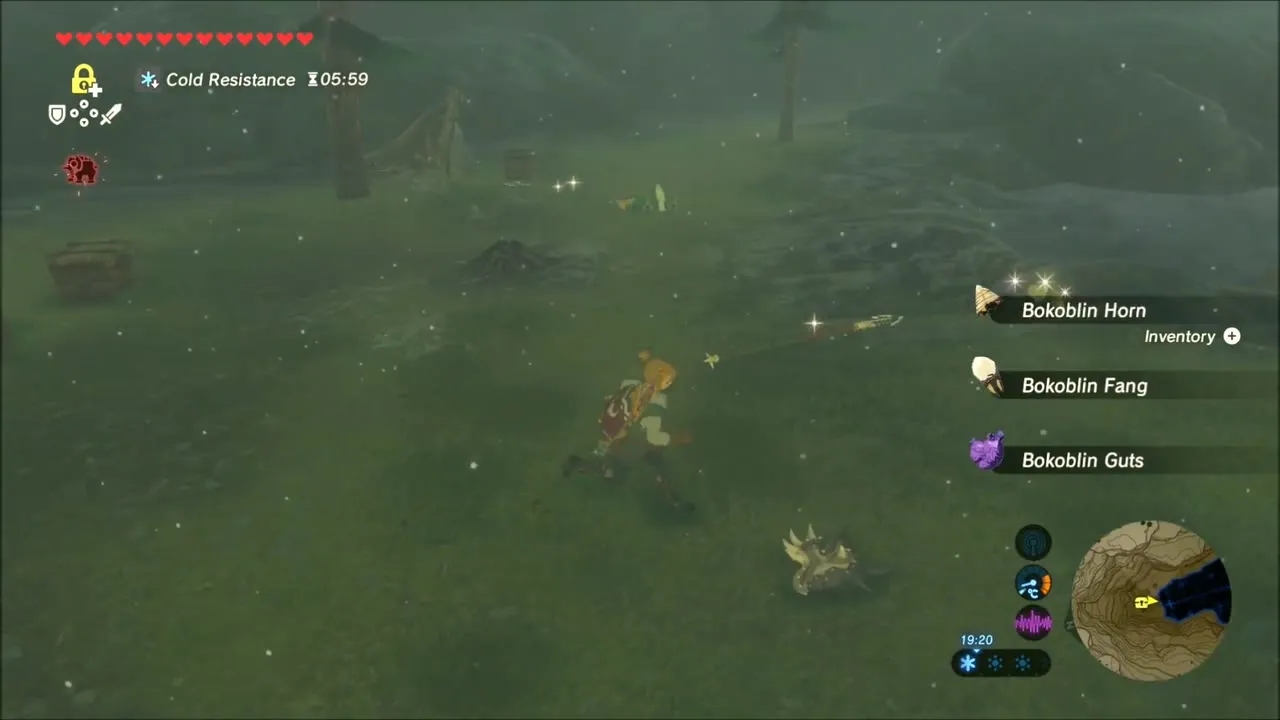
Korok seed beside the frozen lake
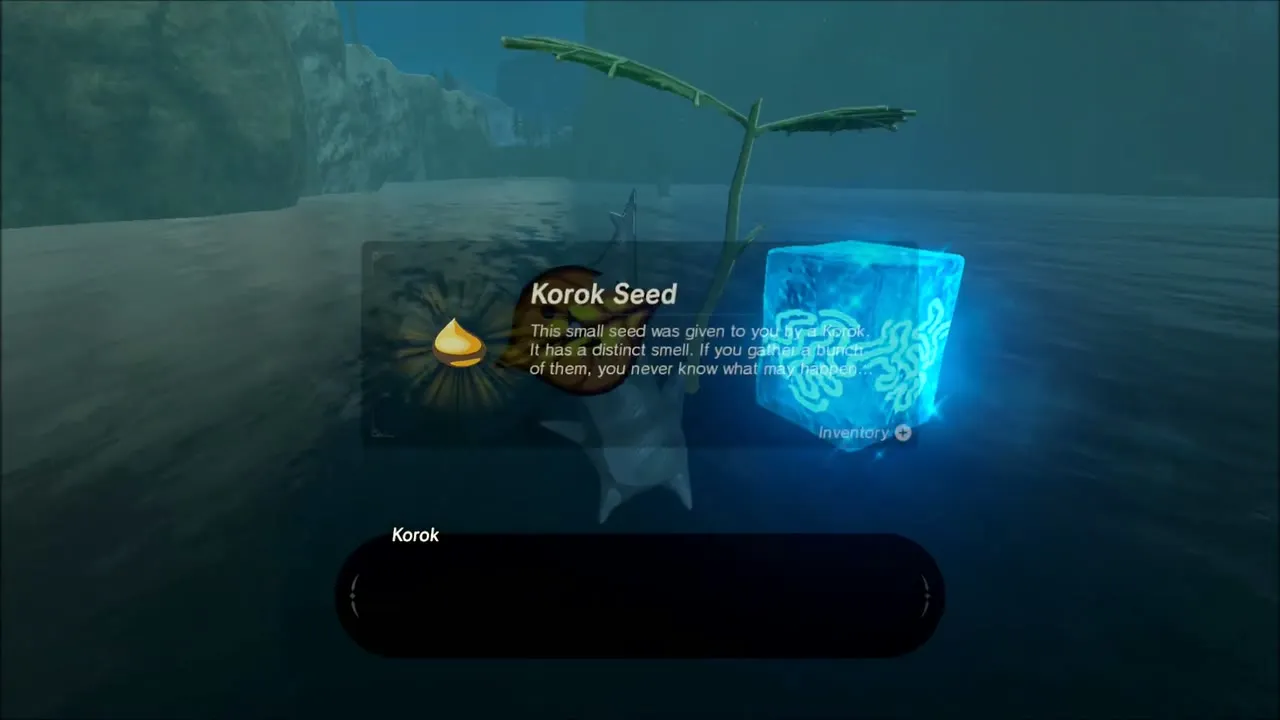
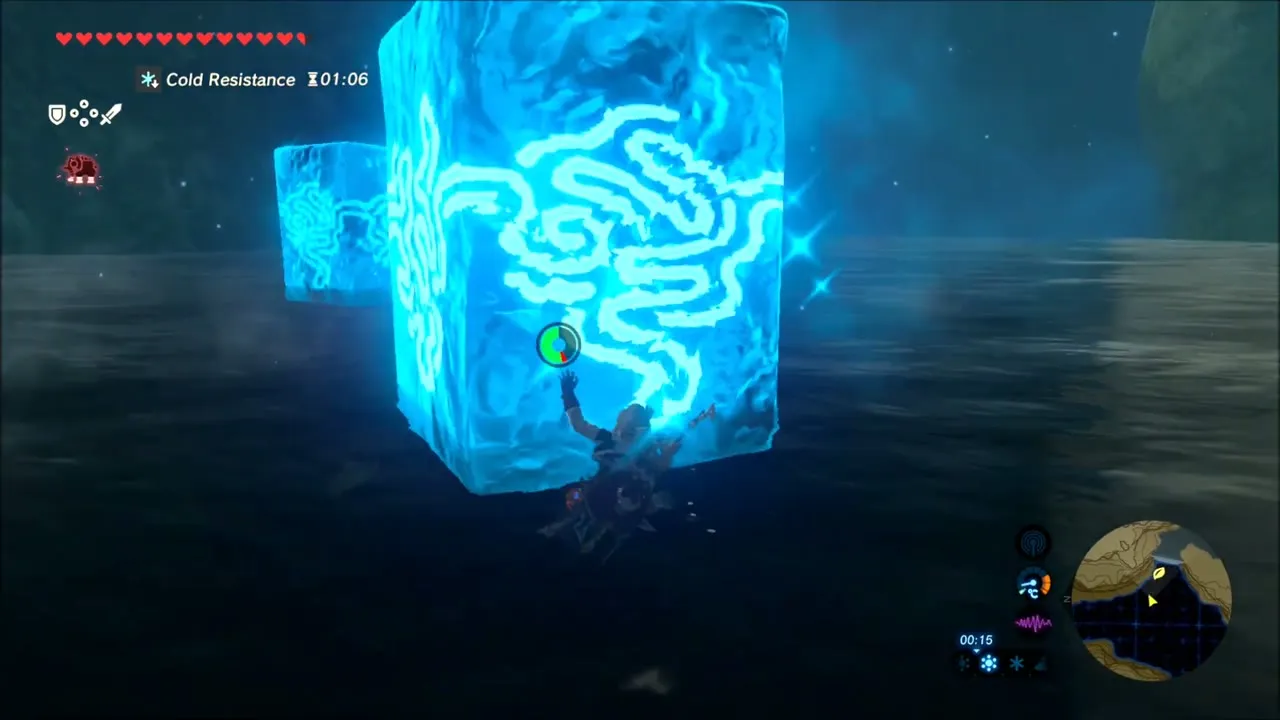
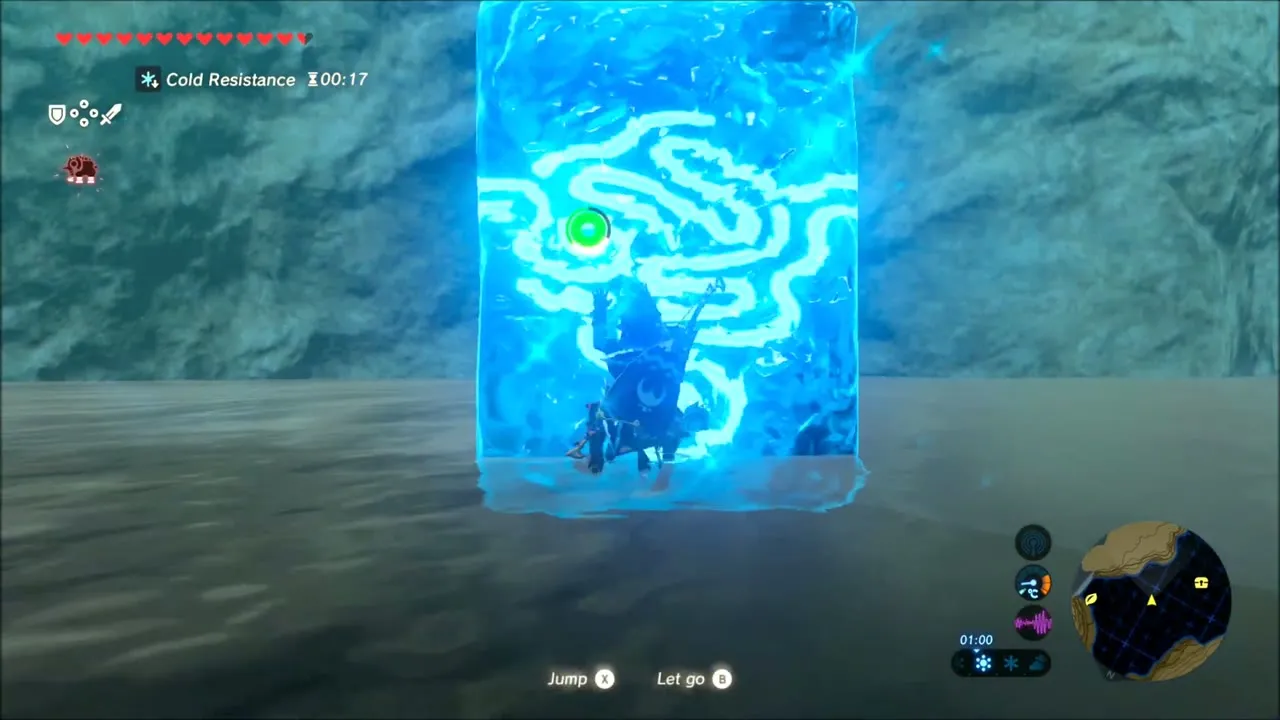
By a frozen shoreline a Korok is guarding a glowing cube: create a Cryonis ice block in the water, climb it to the top and use it to reach the Korok, who rewards you with a seed. Another Cryonis block gives you a step up the rock face if you need to keep climbing.
Falcon Bow Location: Chest on the Stone Pillar
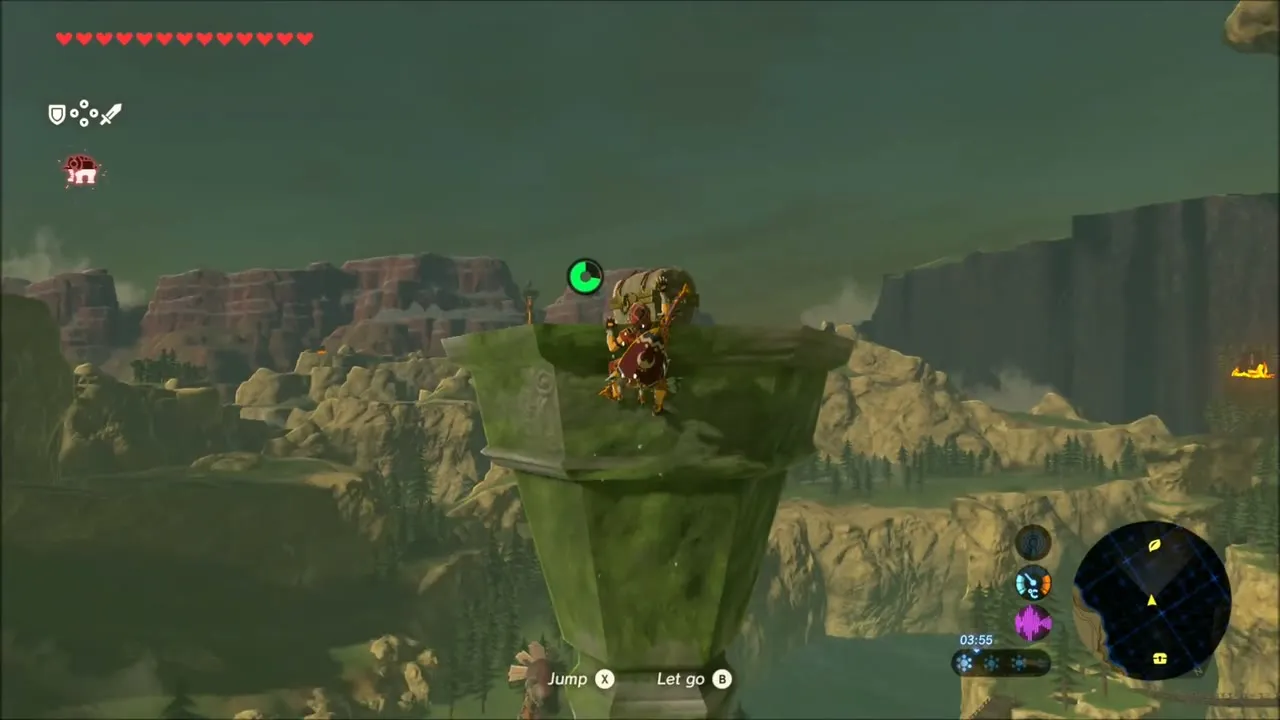
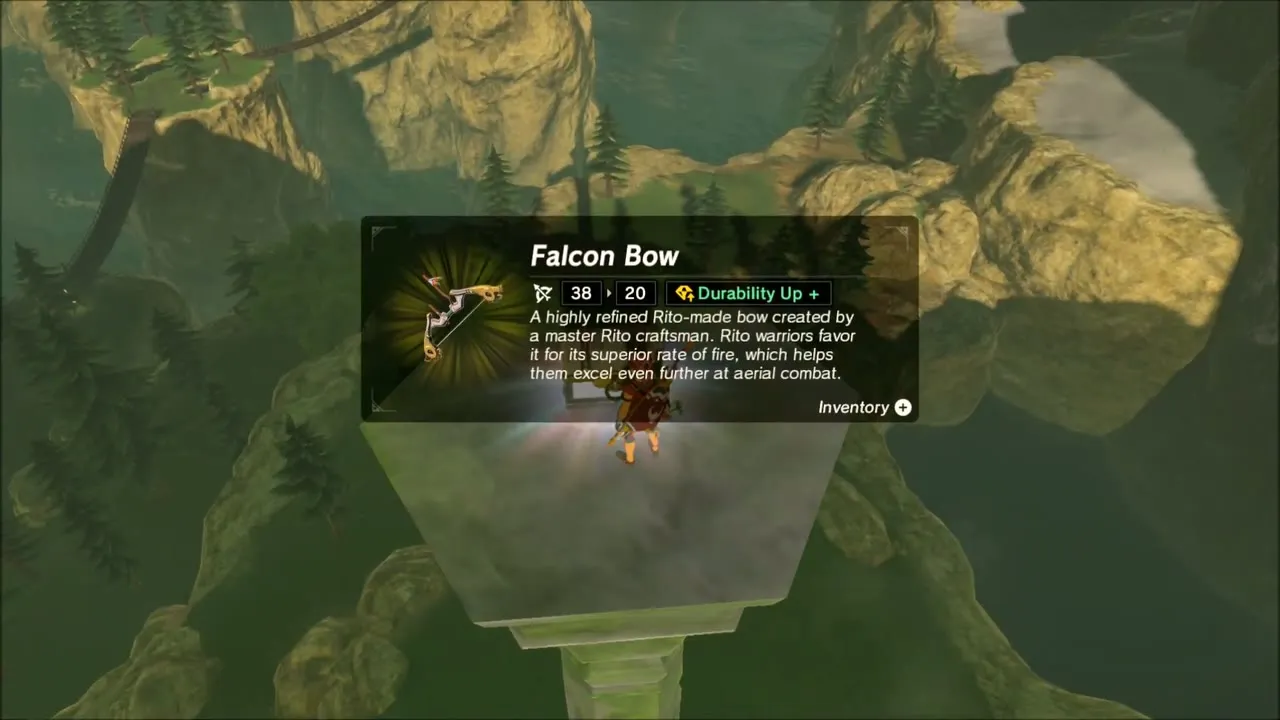
Climb the mossy stone pillar jutting over the valley and open the chest on top. It holds the Falcon Bow (a Rito bow), and you can glide off the pillar to get back down. Keep it for the Divine Beast attack.
Rito Stable and Curry for What Ails You
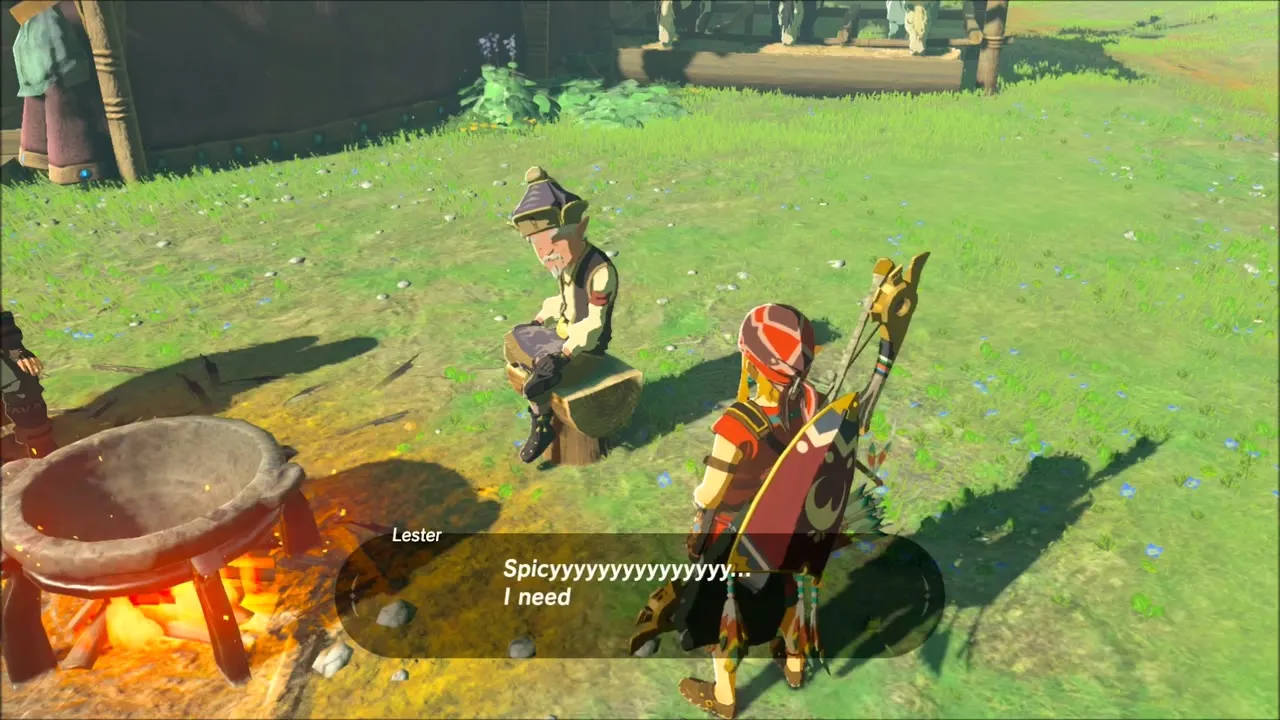
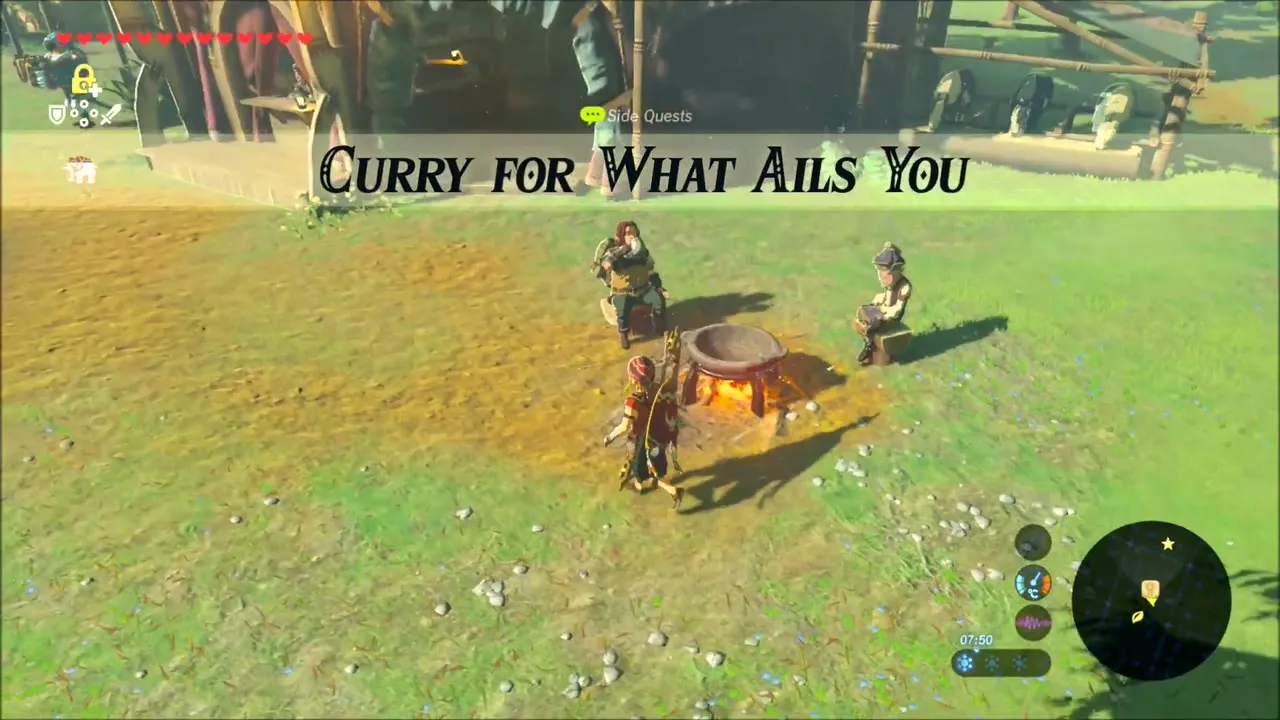
Follow the road down to Rito Stable at (-3256, -1758). Talk to Lester by the cooking pot to begin Curry for What Ails You; he wants one Goron Spice, sold in Goron City, and pays a Purple Rupee for it.

Climbing the Tabantha Highlands
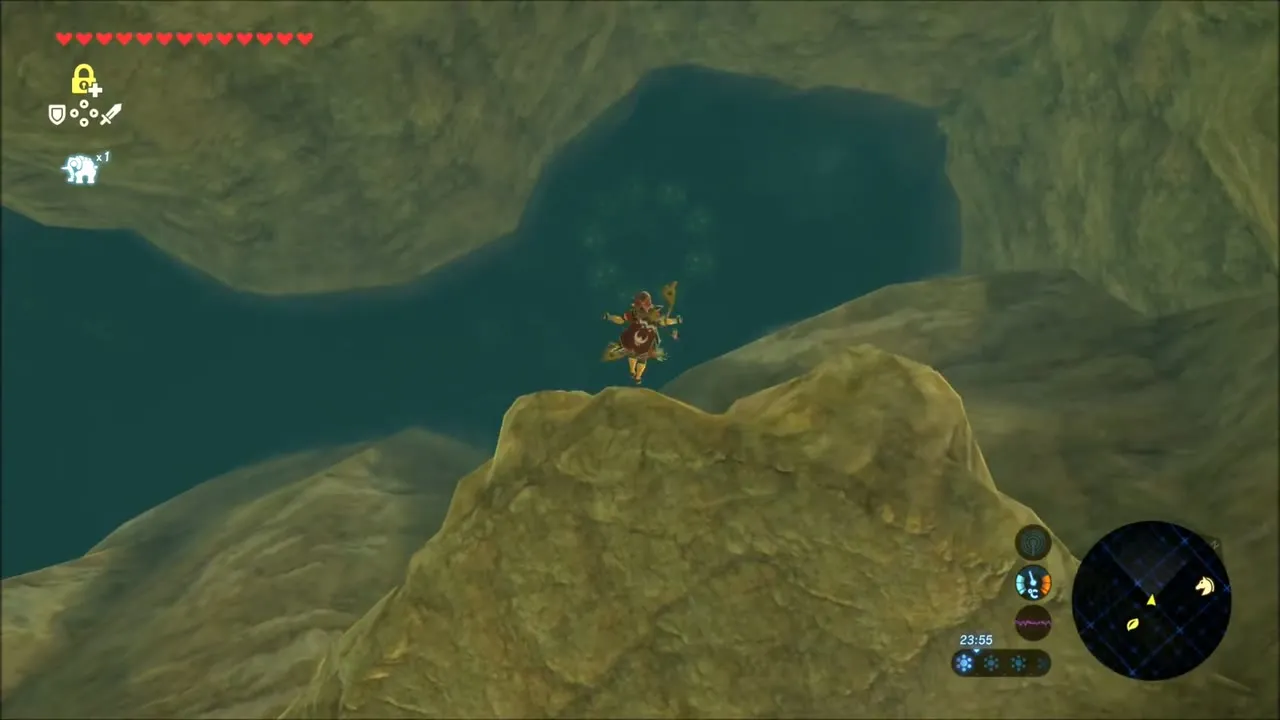
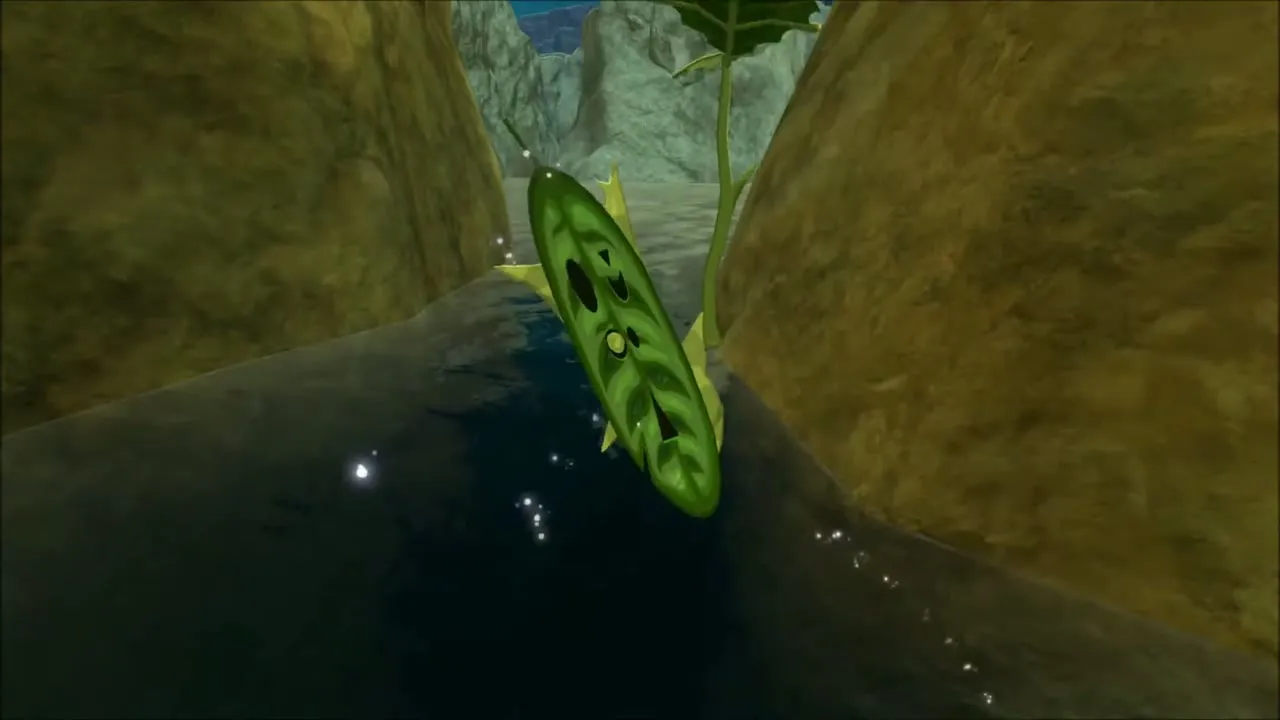
Get on your horse and ride west along the Tabantha cliffs, then leave the road and climb. A Korok is hiding in a narrow rock crevice (follow the leaf on the ground); you collect the seed after you reach it by climbing and gliding along the wall.
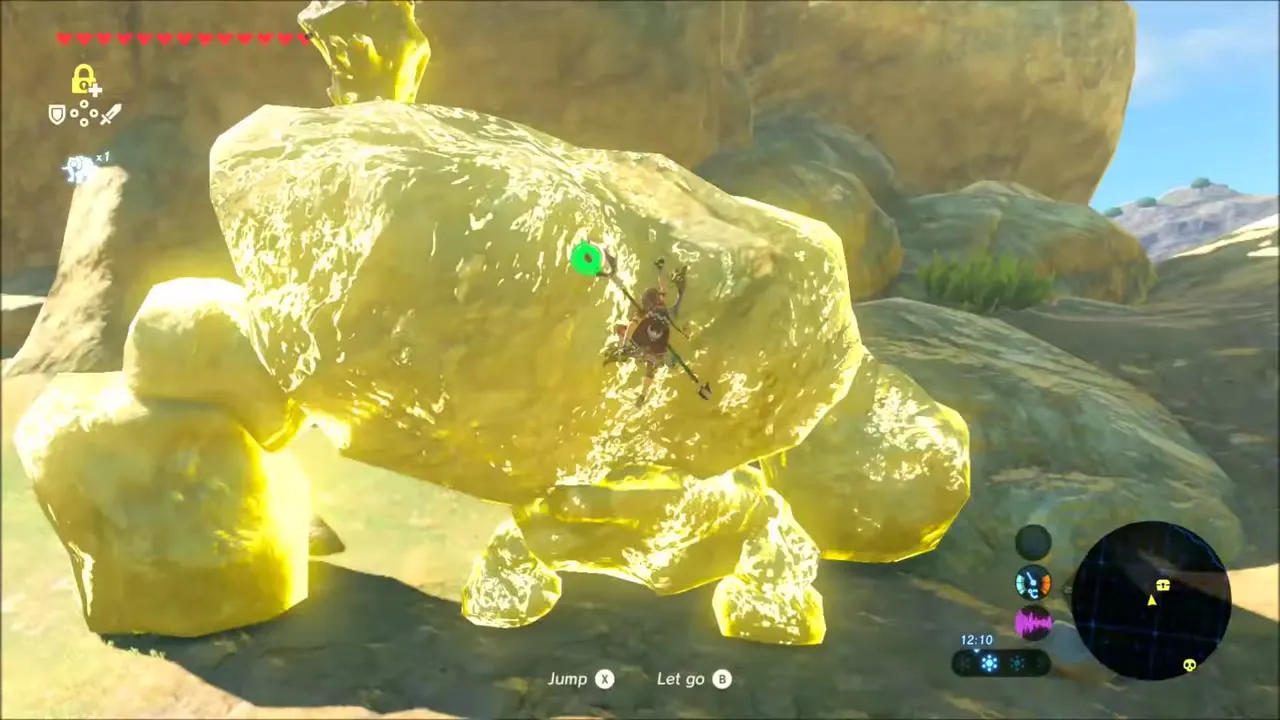
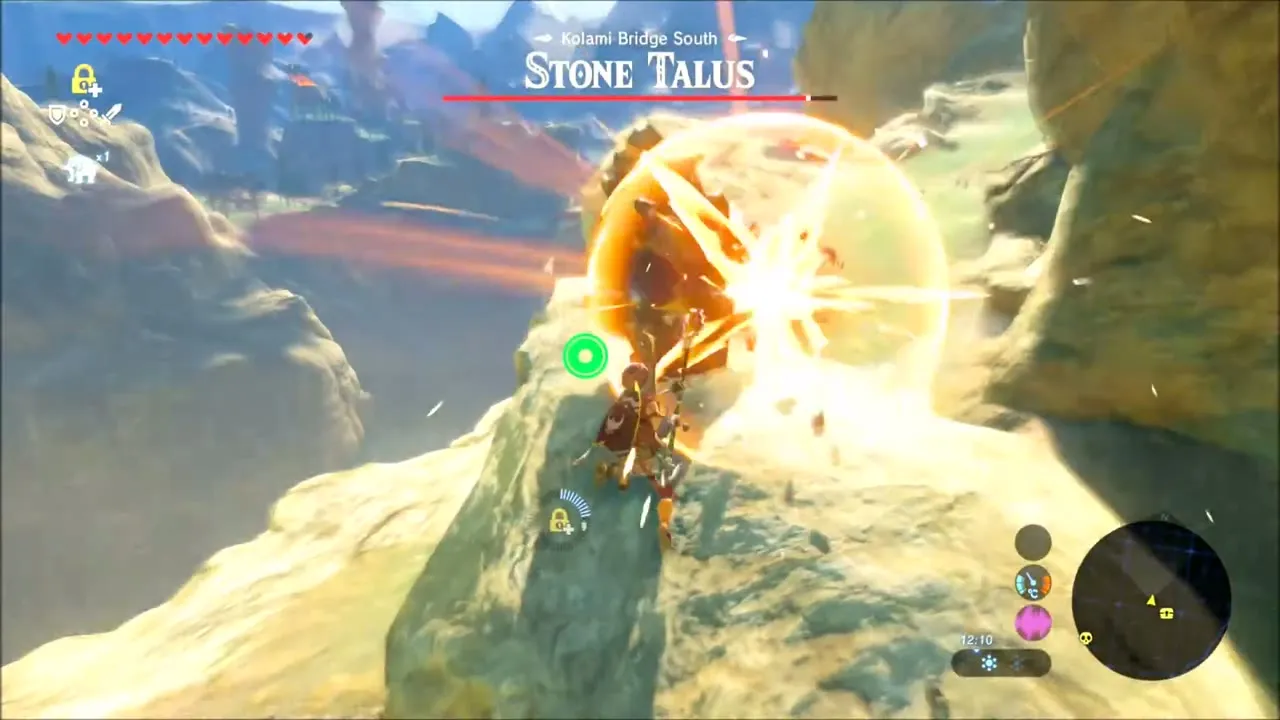
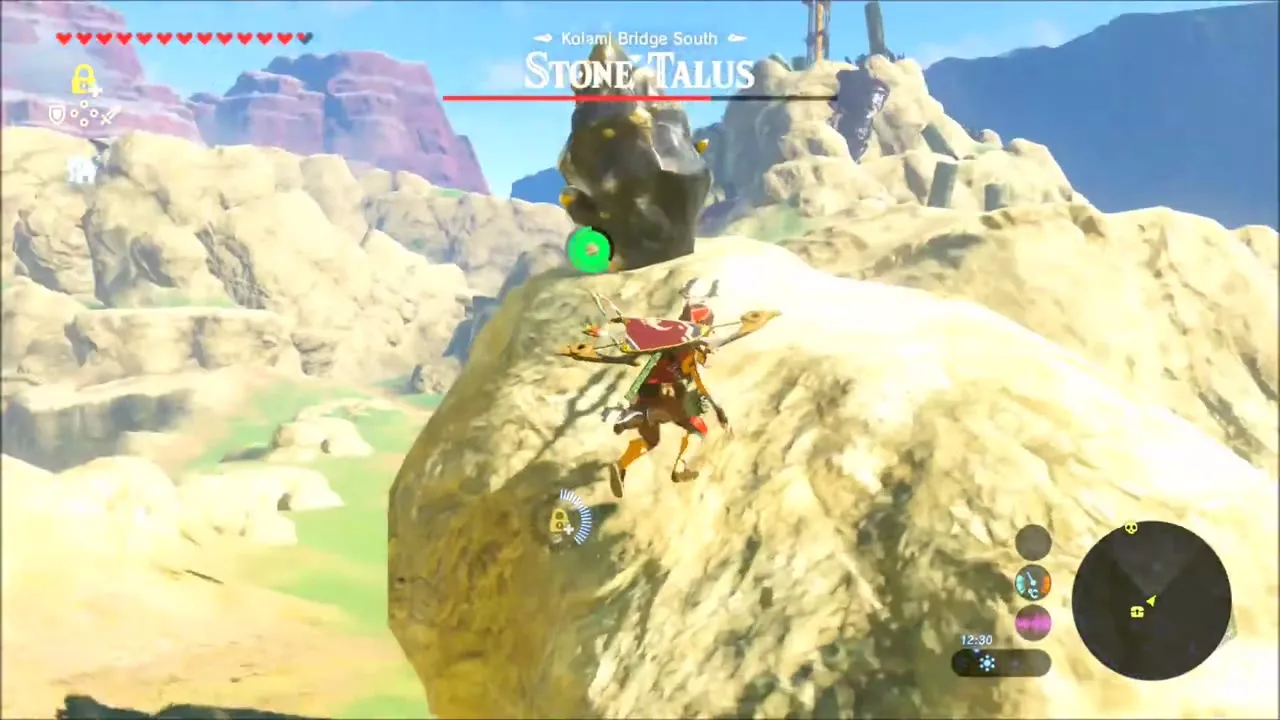
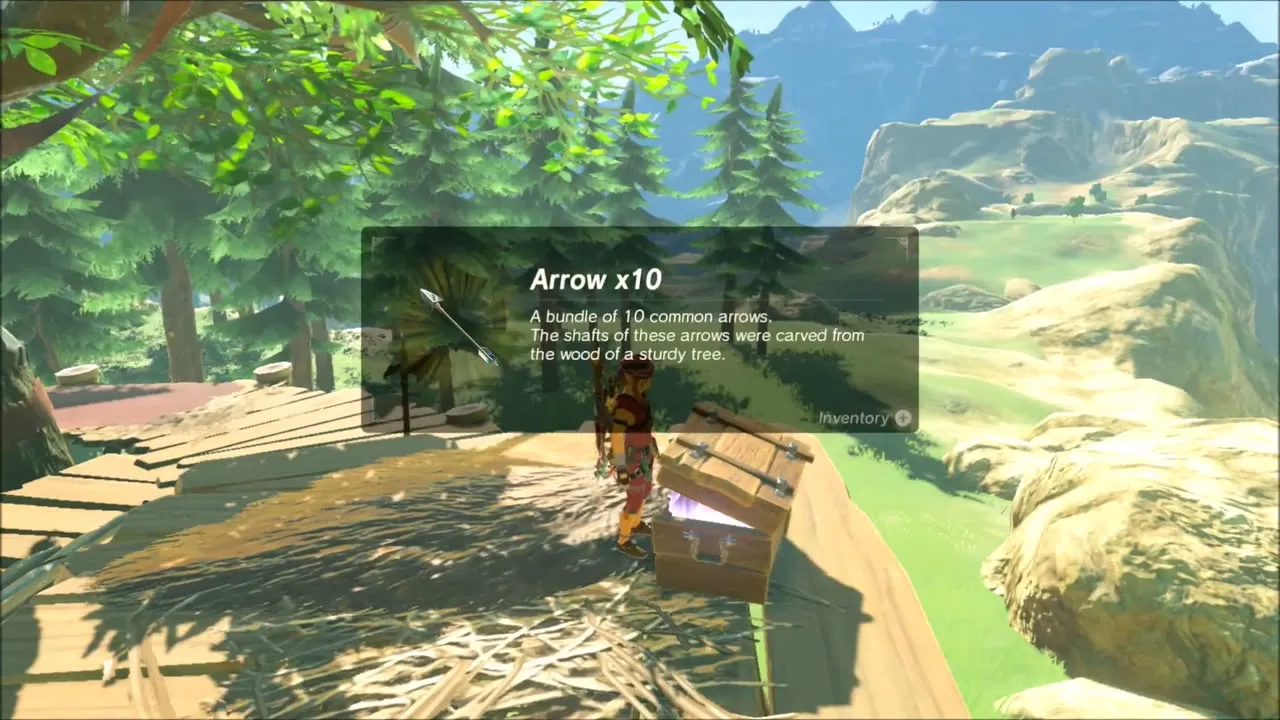
Kolomo Bridge South has a Stone Talus on the hillside. Climb onto its back and hit the glowing ore on top with a few strikes. Beyond it, a treehouse platform in a pine holds a chest with Arrow x10.
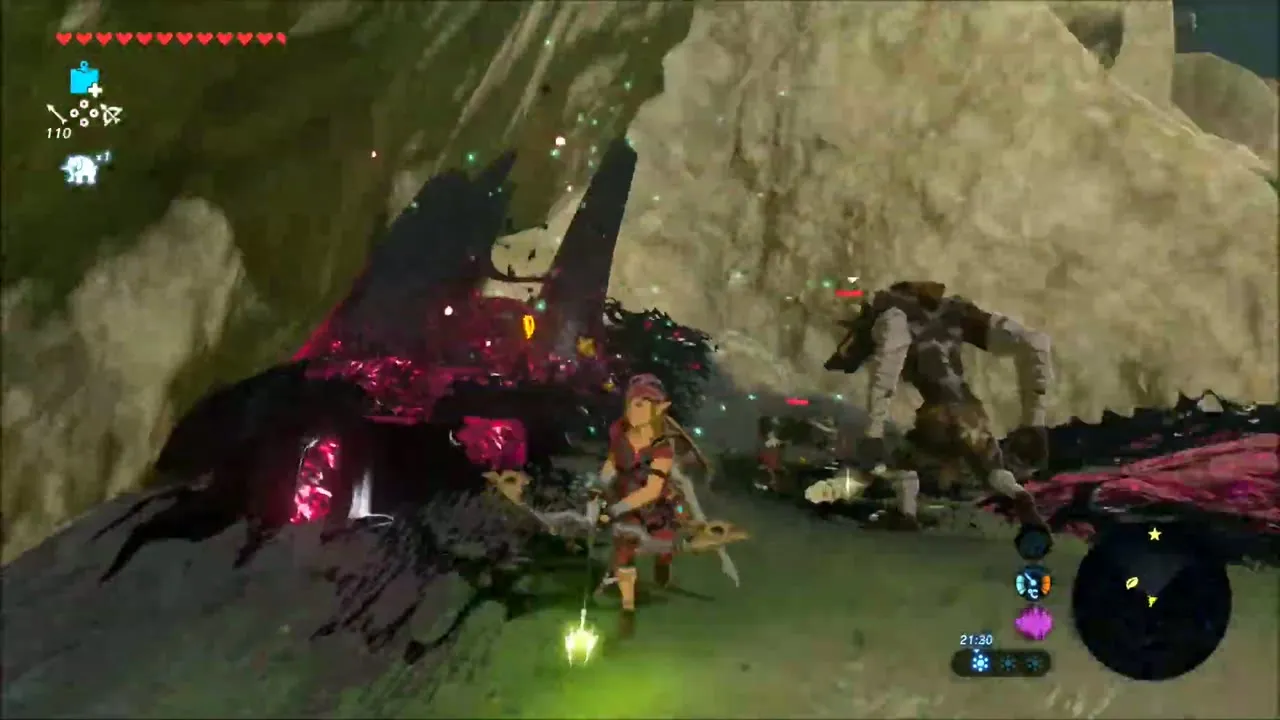
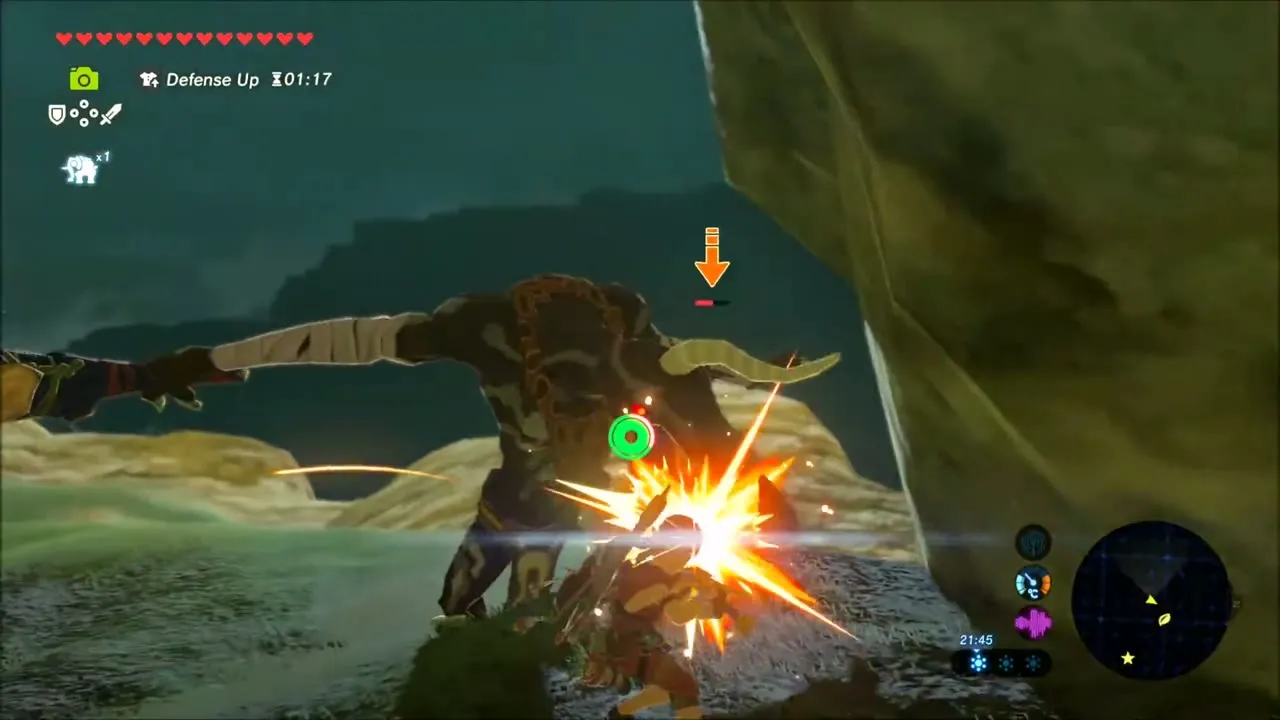
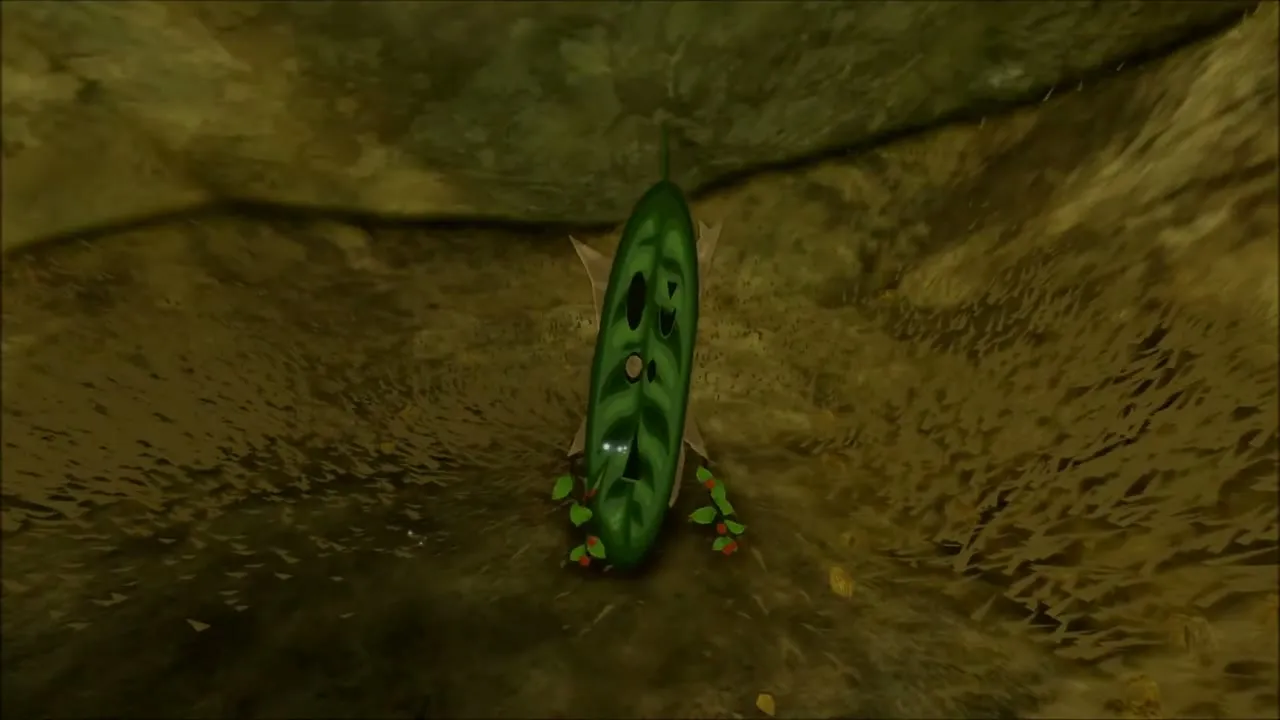
Keep following the cliffs toward Tabantha Tower. A leaf in a small cave marks another Korok. Along the way you will meet Moblins and Blight patches; deal with the Moblin guarding the route before you go on.
Tabantha Tower: How to Activate It
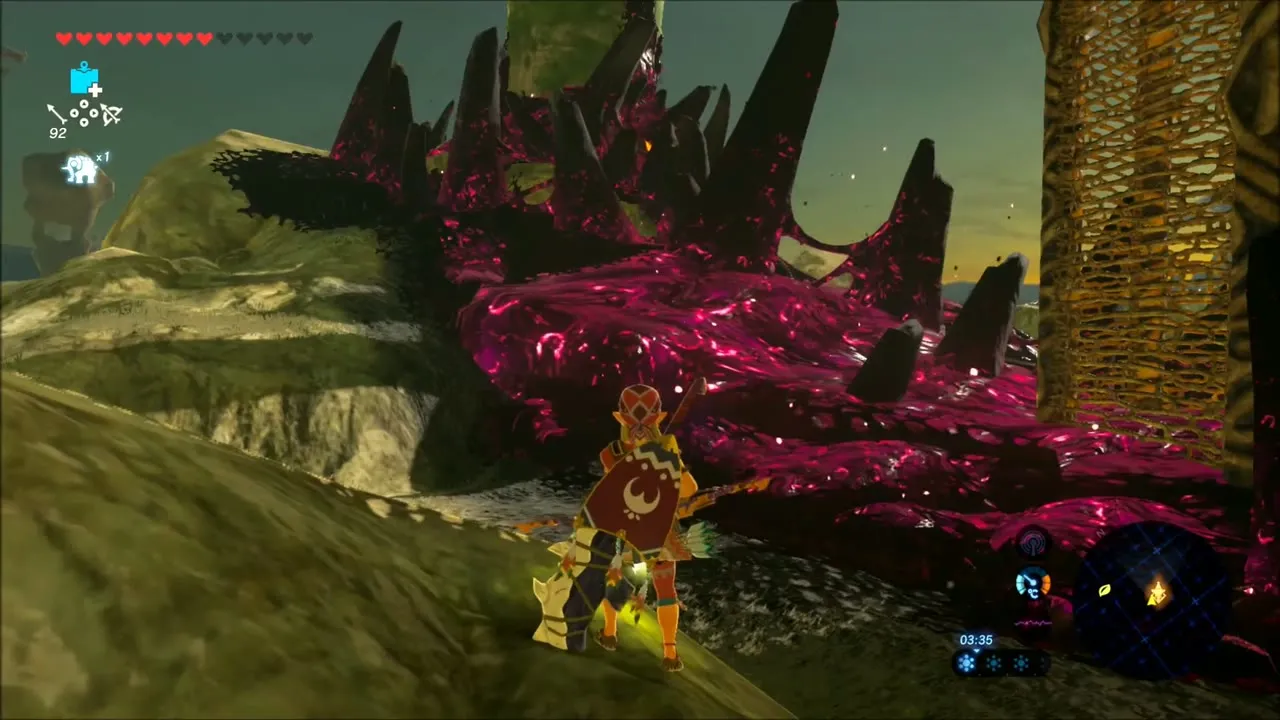
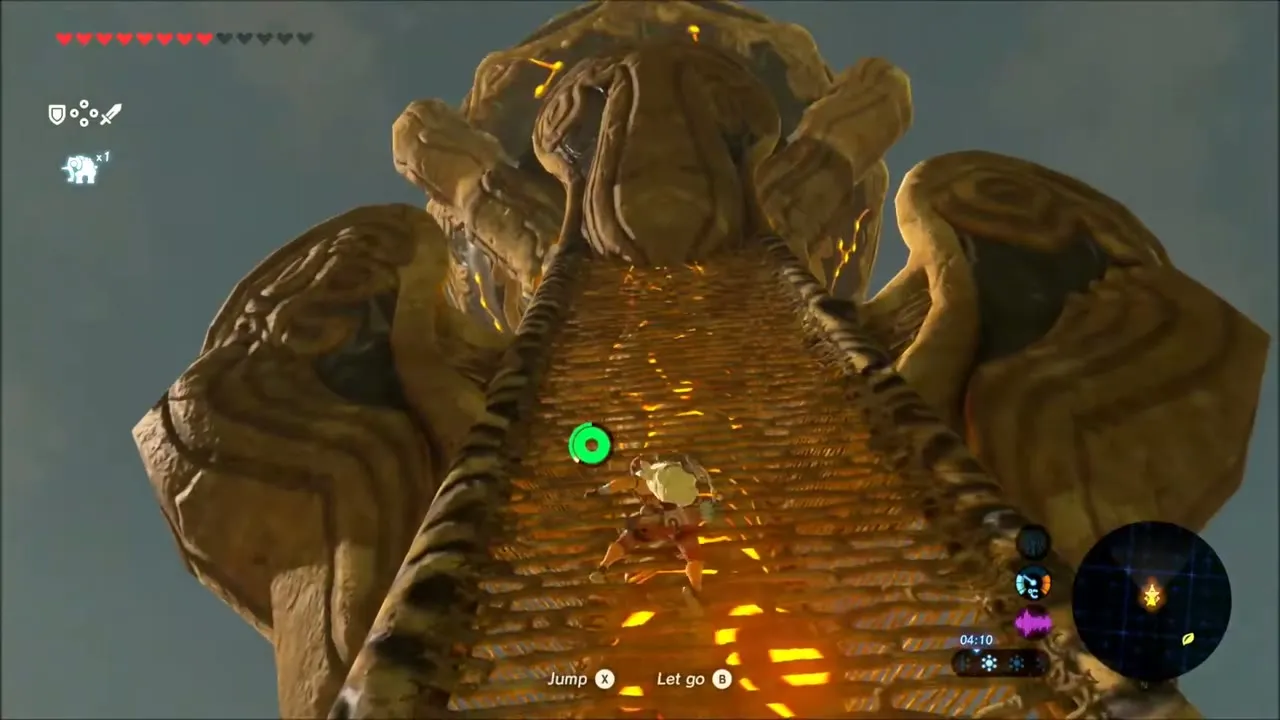
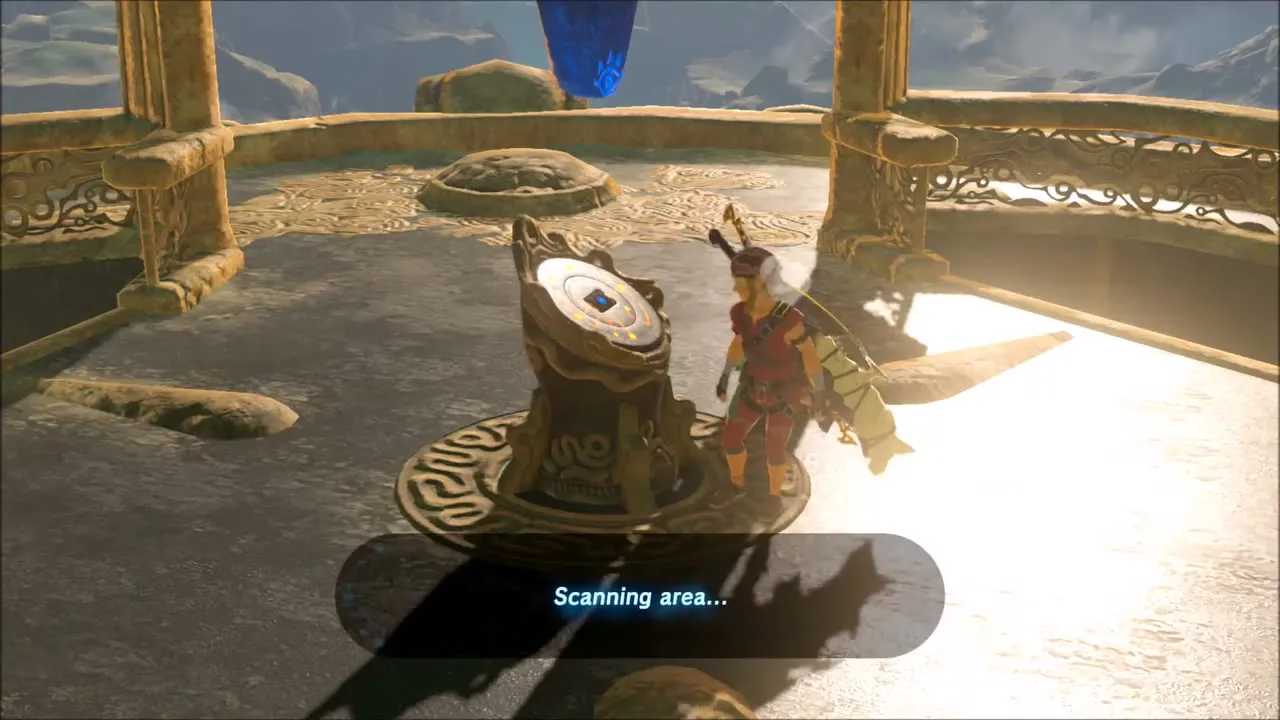
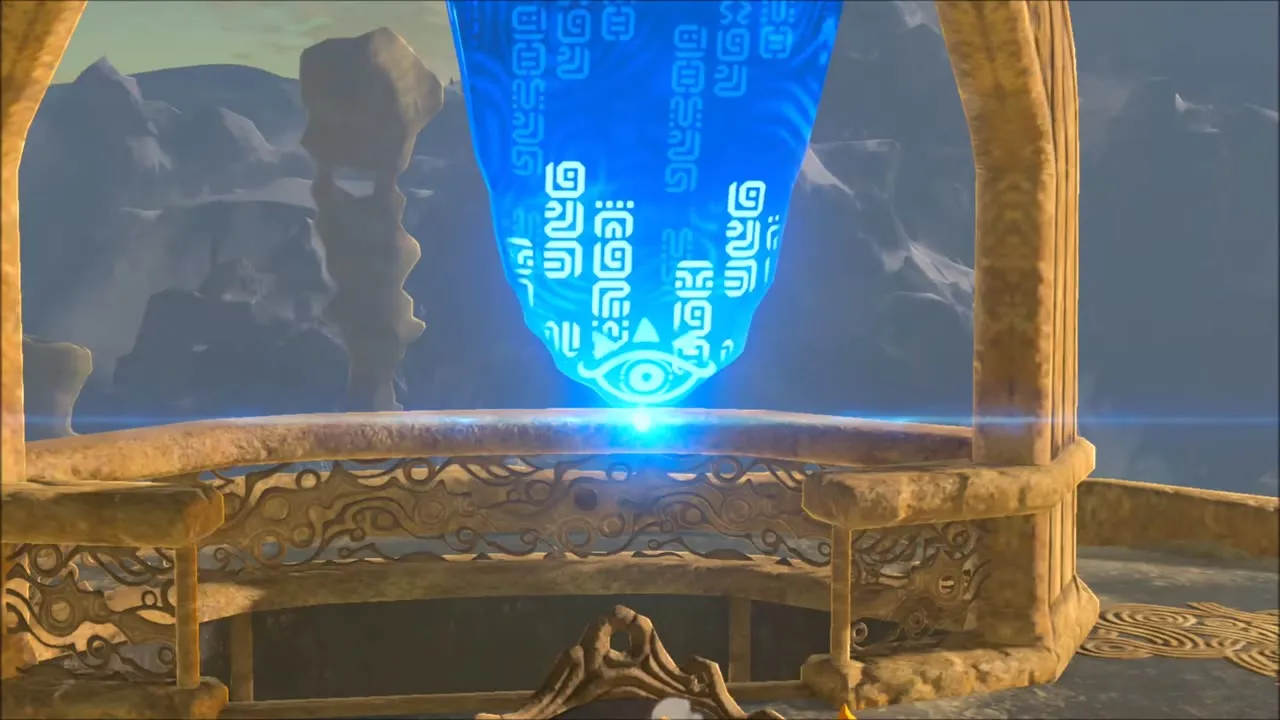
Tabantha Tower stands on Nero Hill at (-3614, -990). Malice goo covers the base, so approach from the cliff side and avoid touching the purple slime; once you climb the tower and reach the platform, place the Sheikah Slate on the terminal to scan the area. The Tabantha region map is added.
Kaysa Great Fairy Fountain
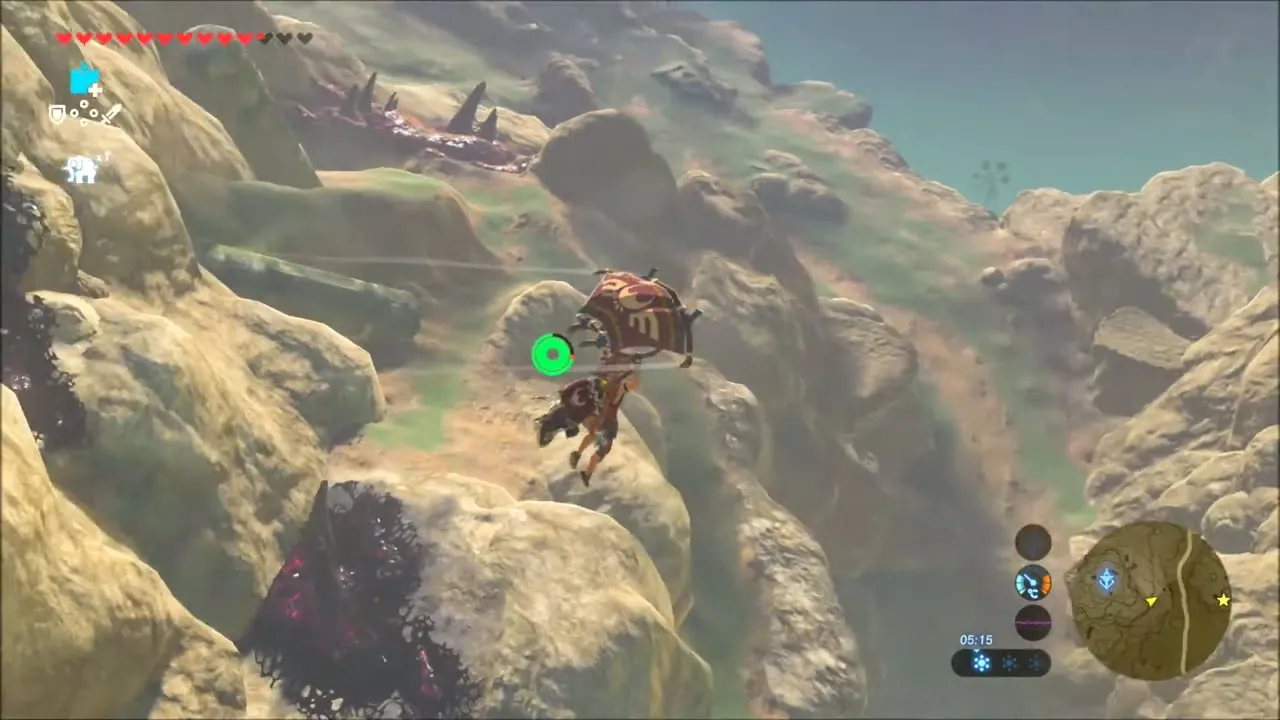
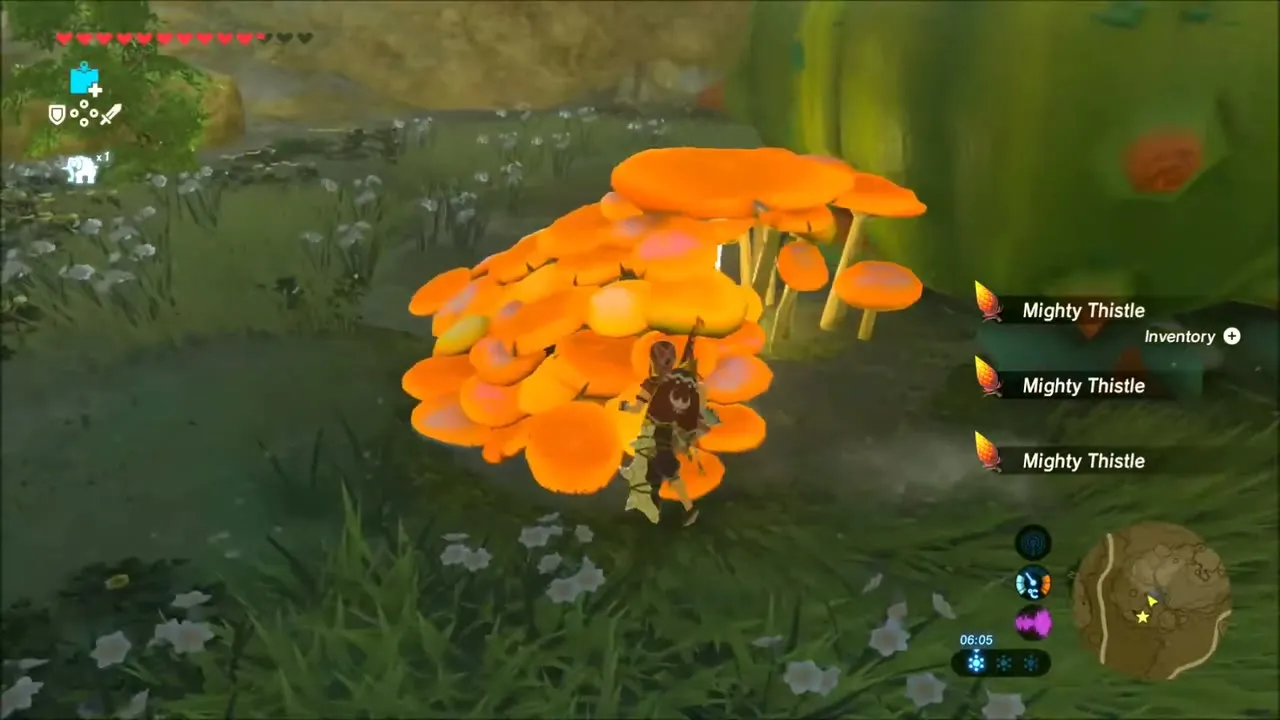
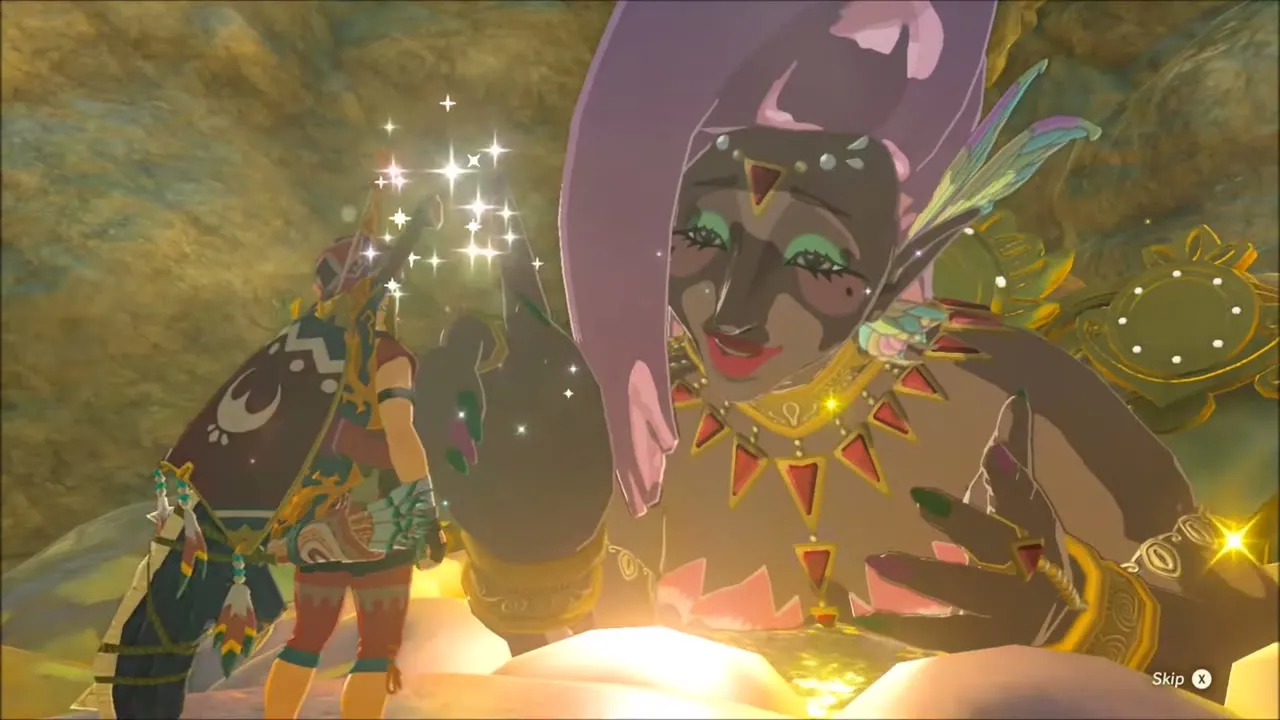
Jump from the tower toward Piper Ridge at about (-3540, -747) and glide down to the Great Fairy Fountain. Feed Kaysa Mighty Thistles picked beside it, then ask her to enhance armor; choose pieces to upgrade at the cost of the listed materials, including a Hylian Trousers, Soldier’s Helm, Champion’s Tunic, Rubber Tights, Zora Helm and Climber’s Bandanna.

Korok Seeds near Lake Strock
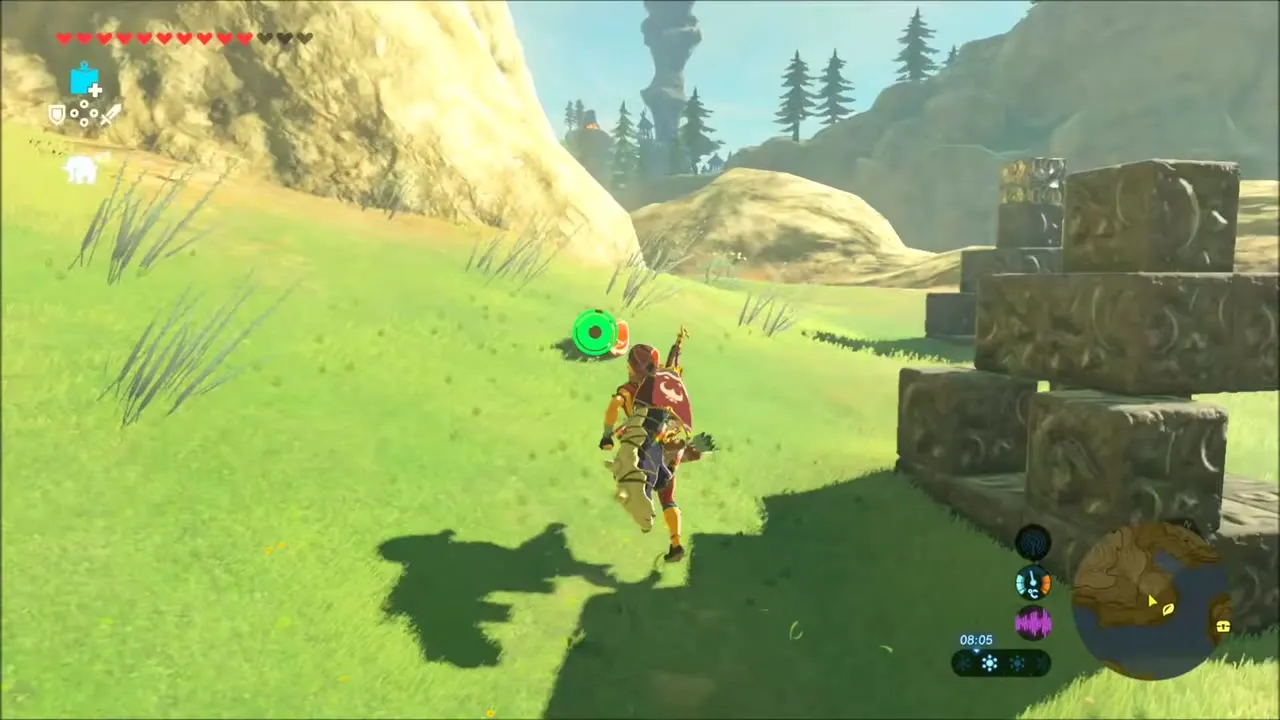
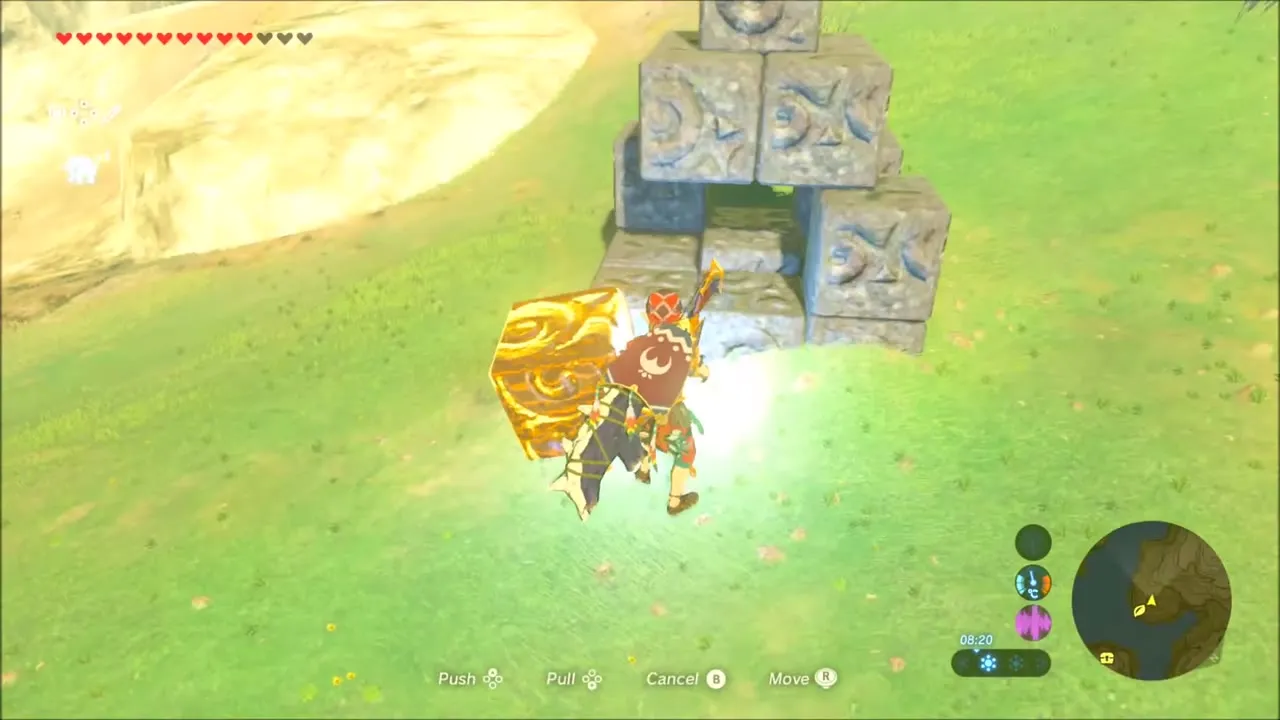
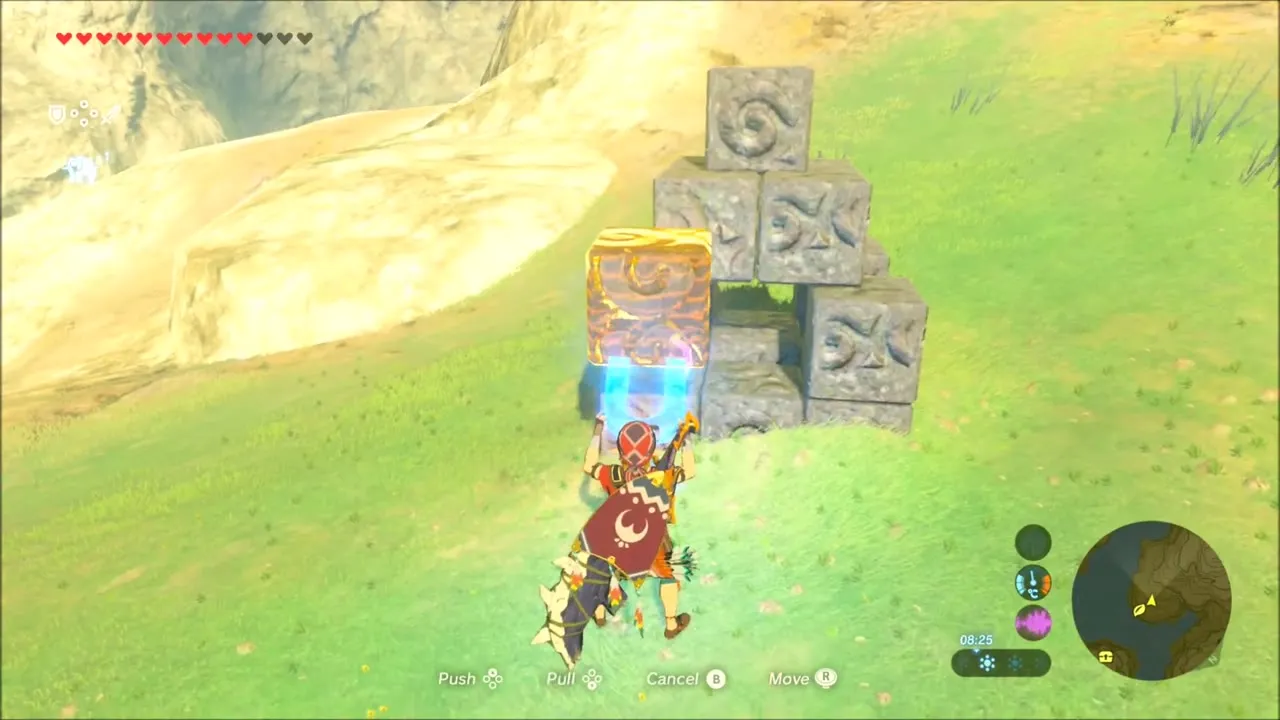
Gliding down from the fountain, you come to a pile of stone blocks with a loose metal block beside it. Use Magnesis to lift the metal block and set it on top of the pyramid; the Korok pops out and hands you a seed.
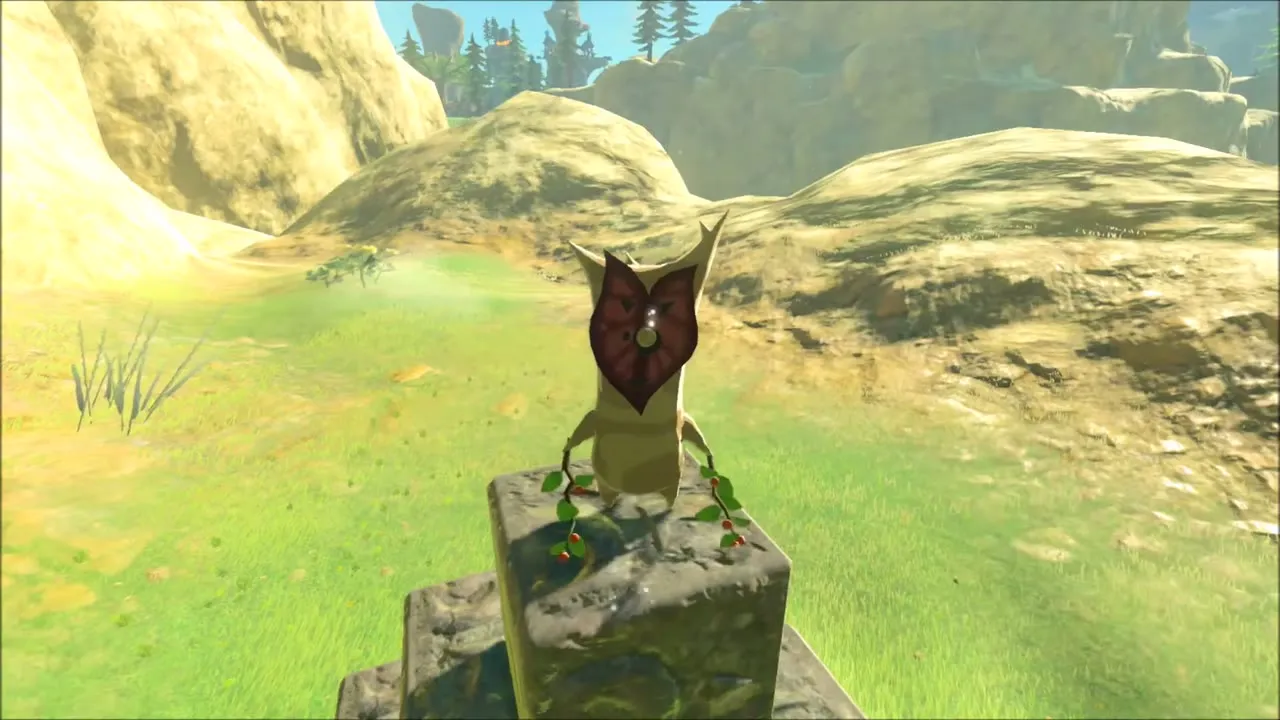
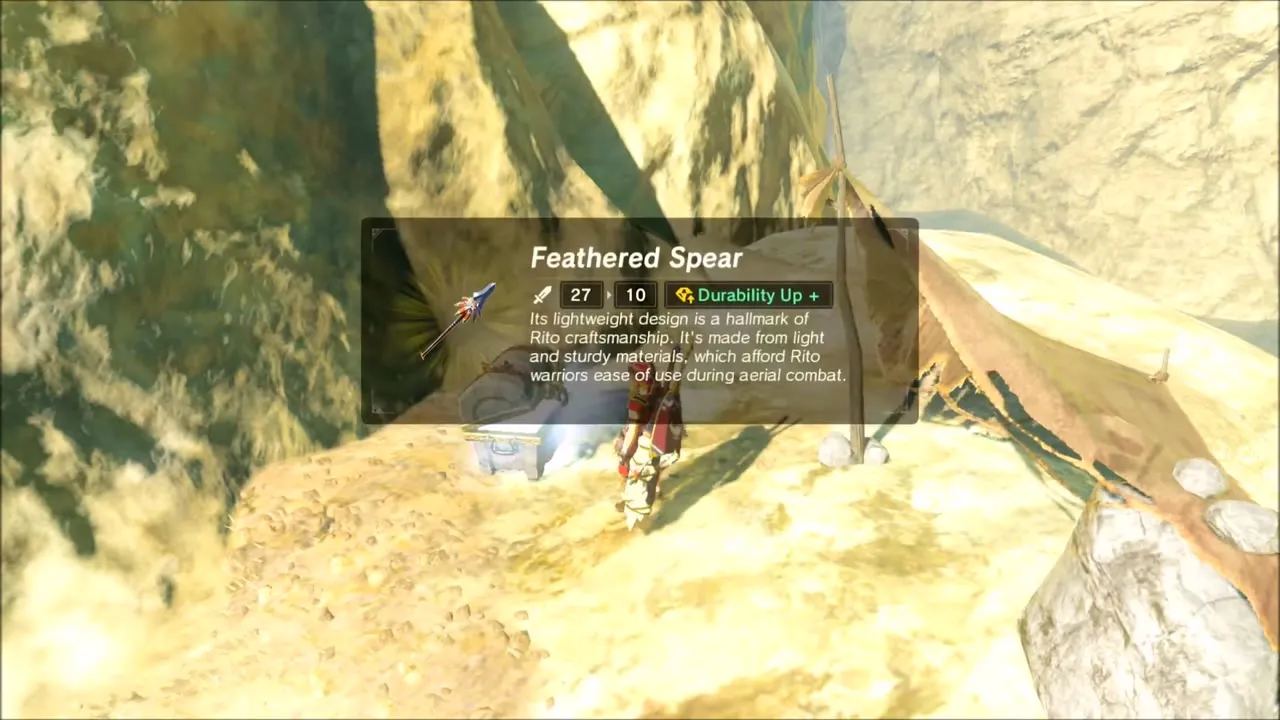
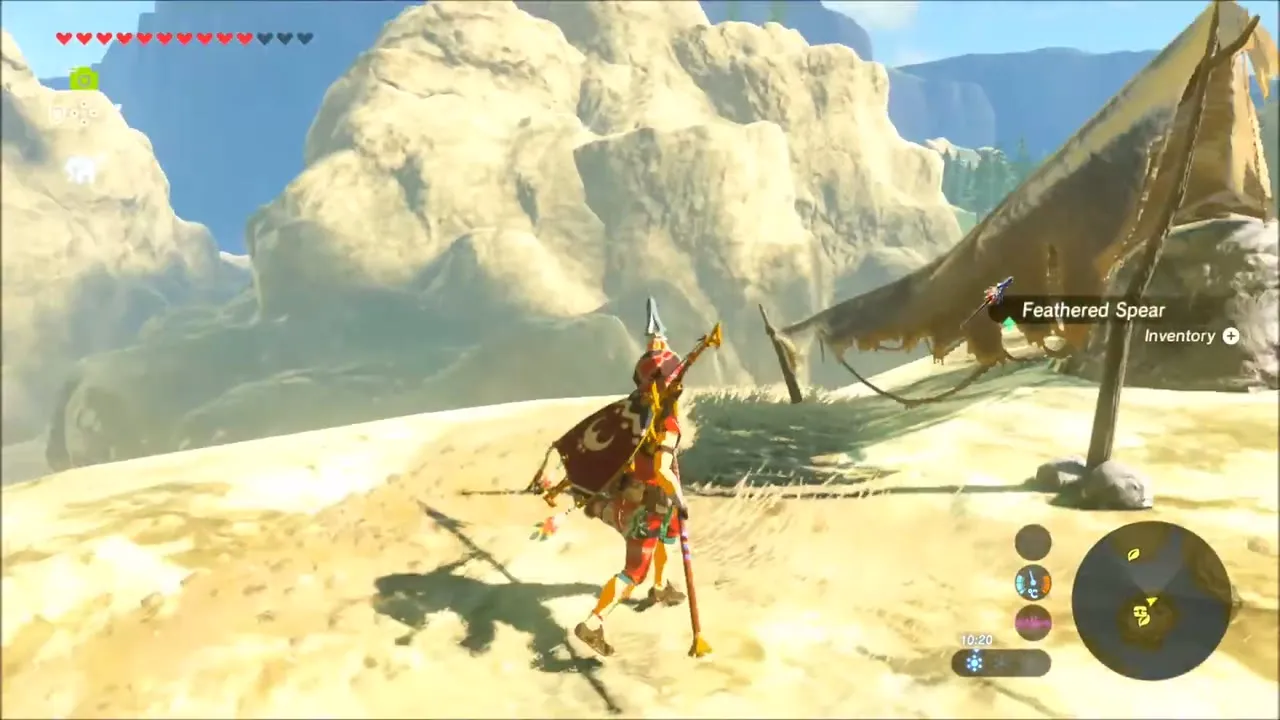
In a rocky ledge camp a chest holds a Feathered Spear, and another Korok seed is hidden on the slope just below it.
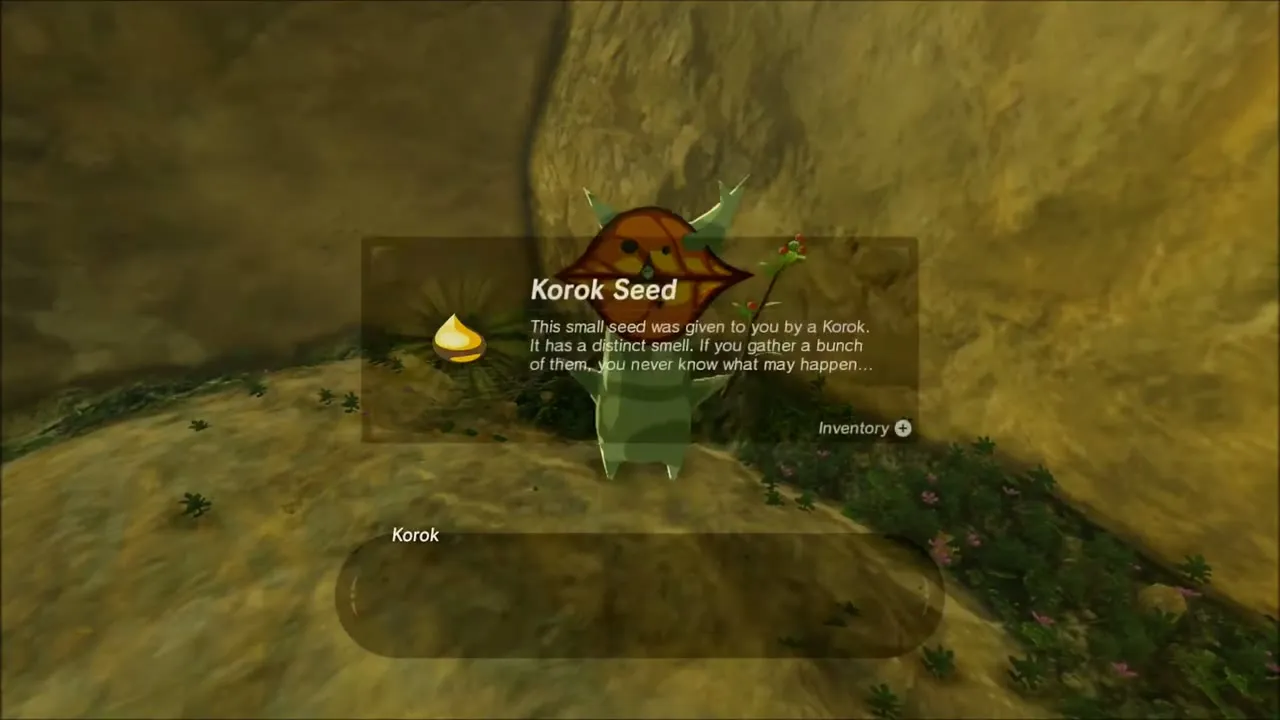
Lake Totori: Hinox Fight
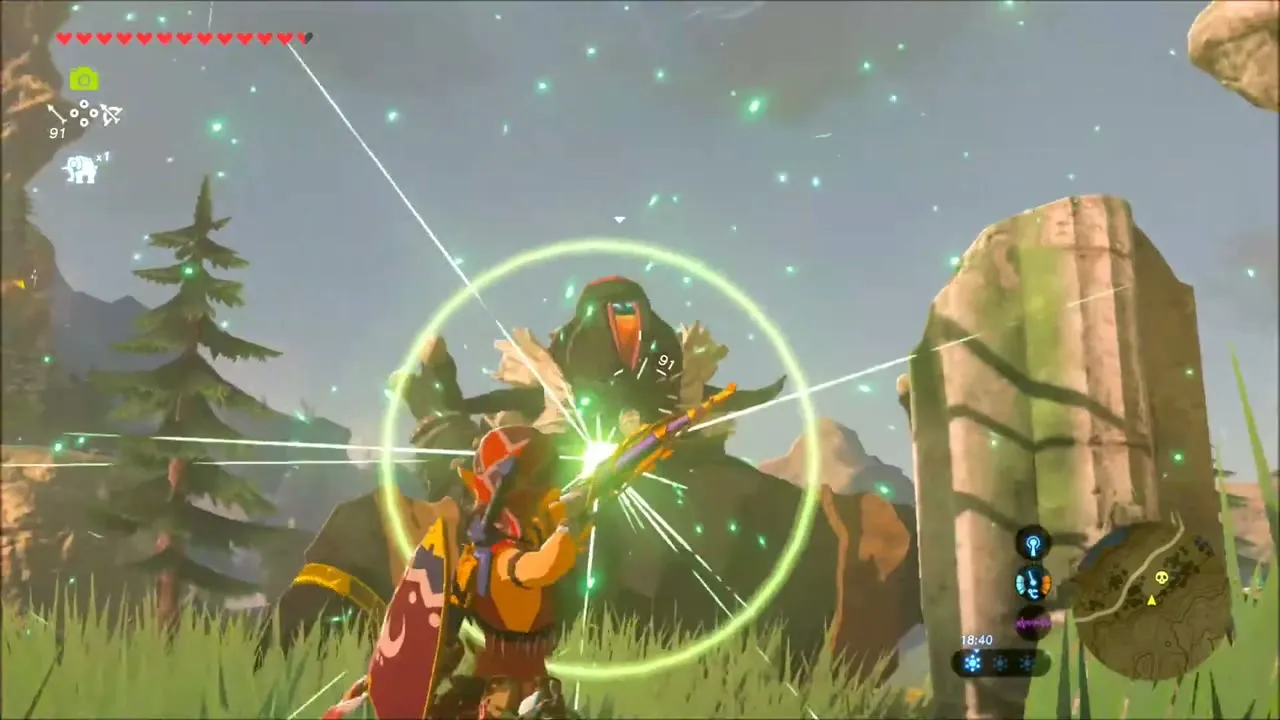
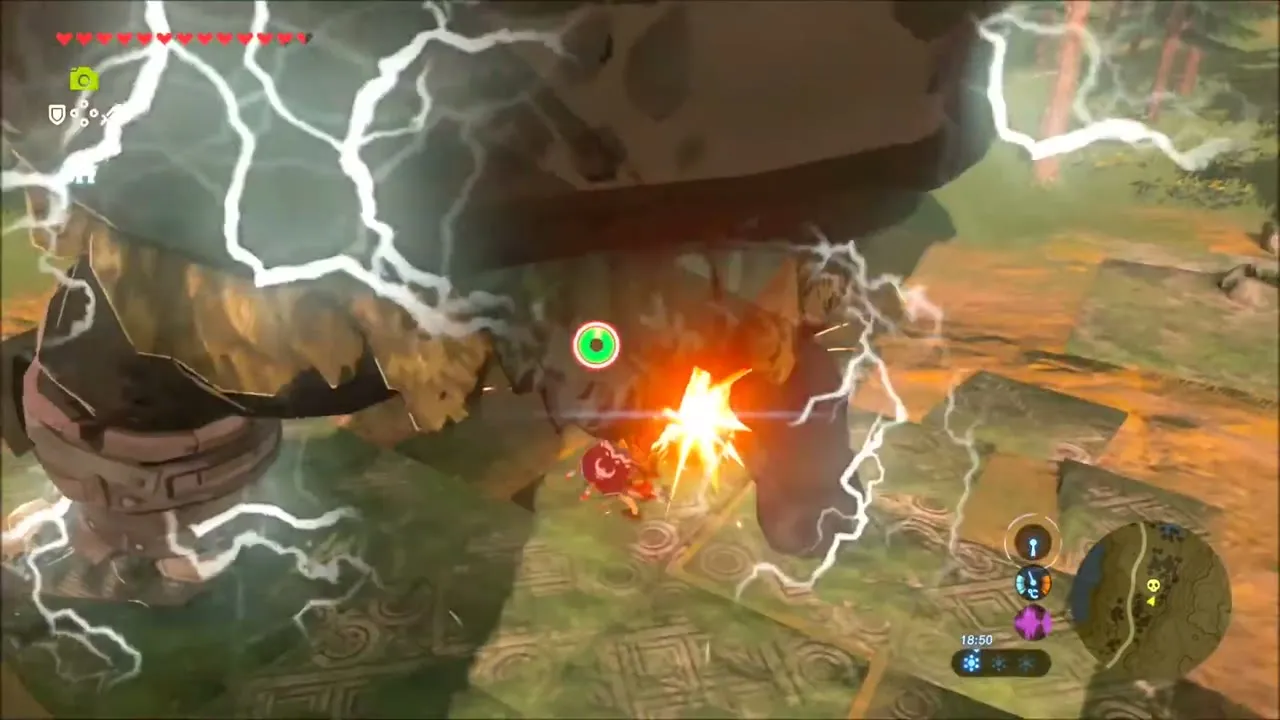
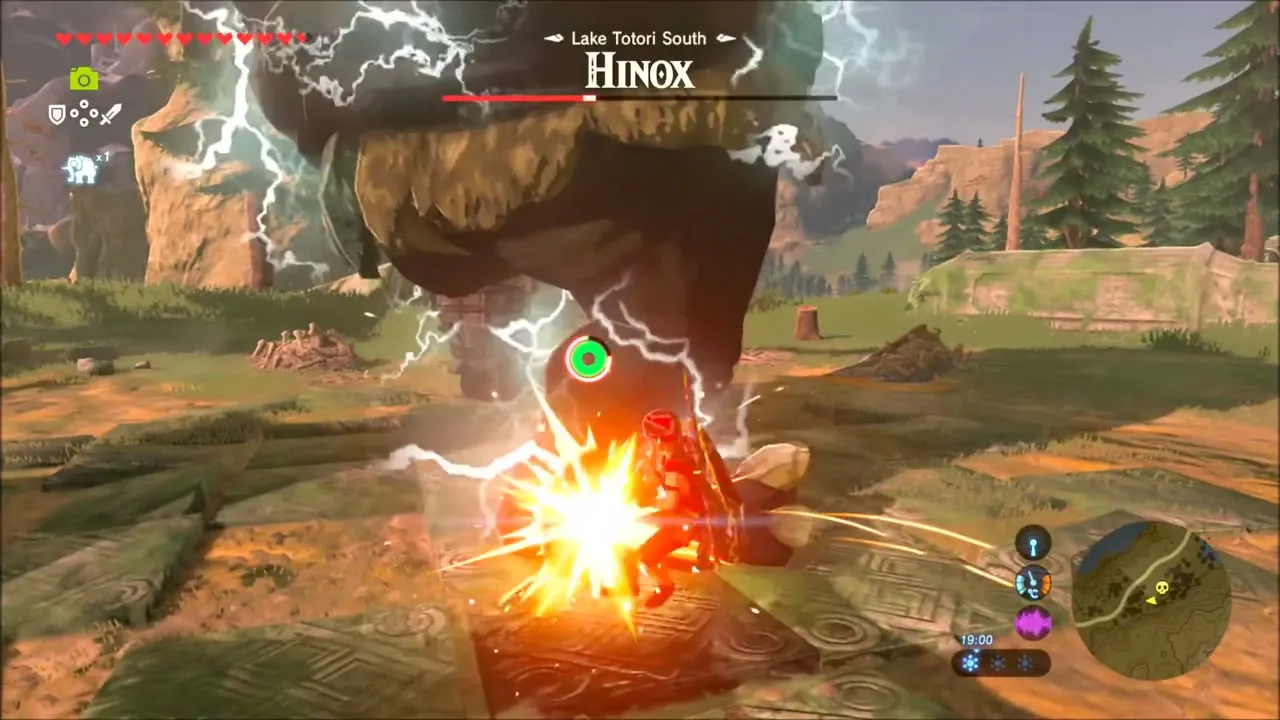
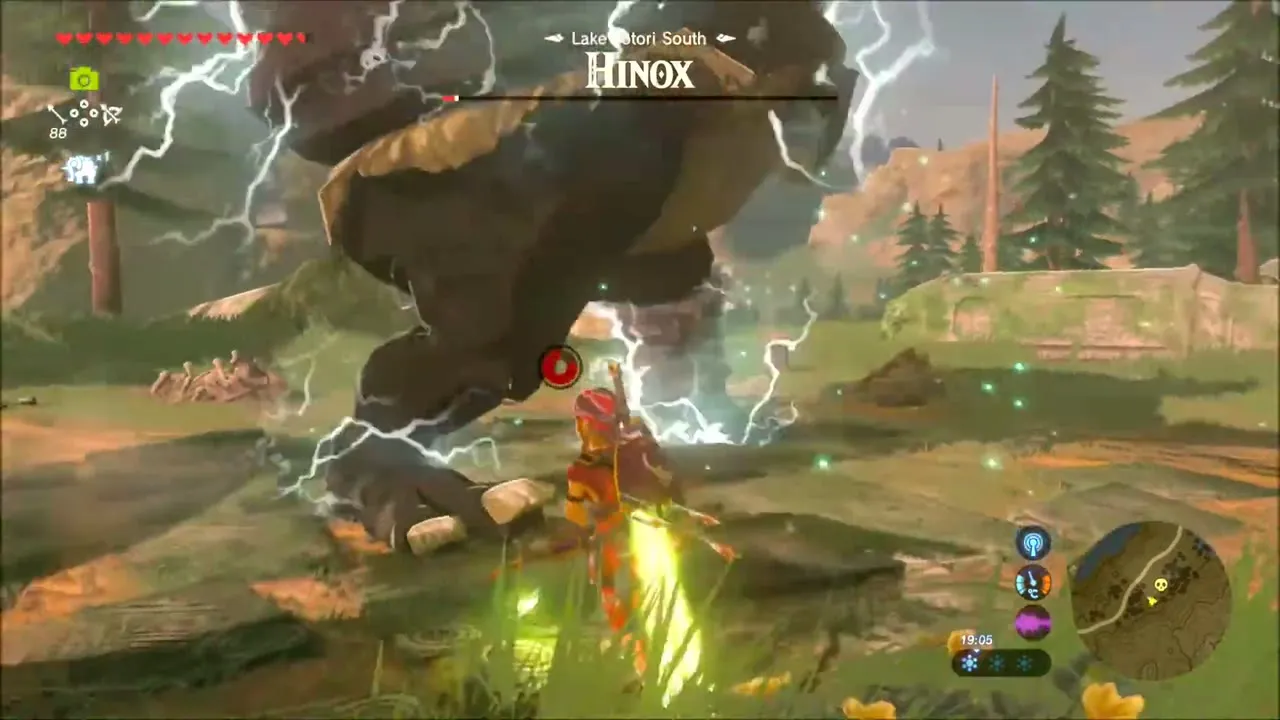
Down by Lake Totori South a Hinox sleeps in the ruins. Shoot its eye with arrows to stagger it, then hit it while it is down. It is the Black Hinox.
Arriving in Rito Village
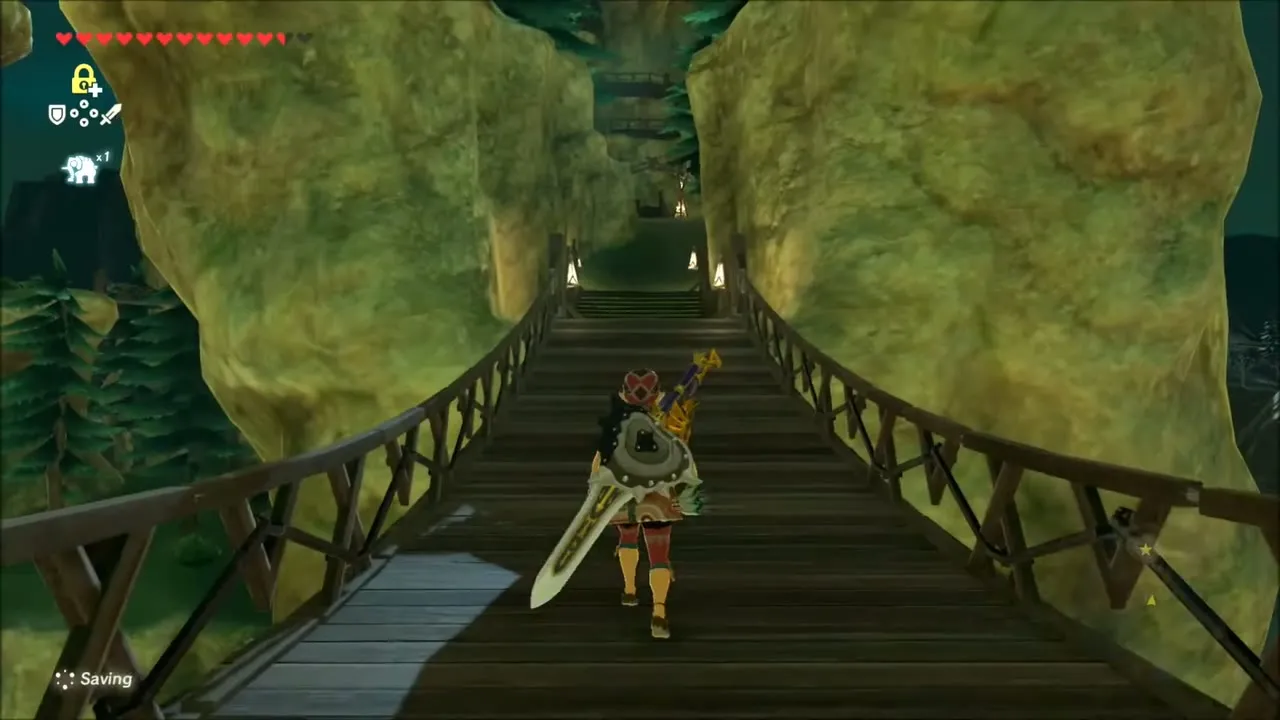
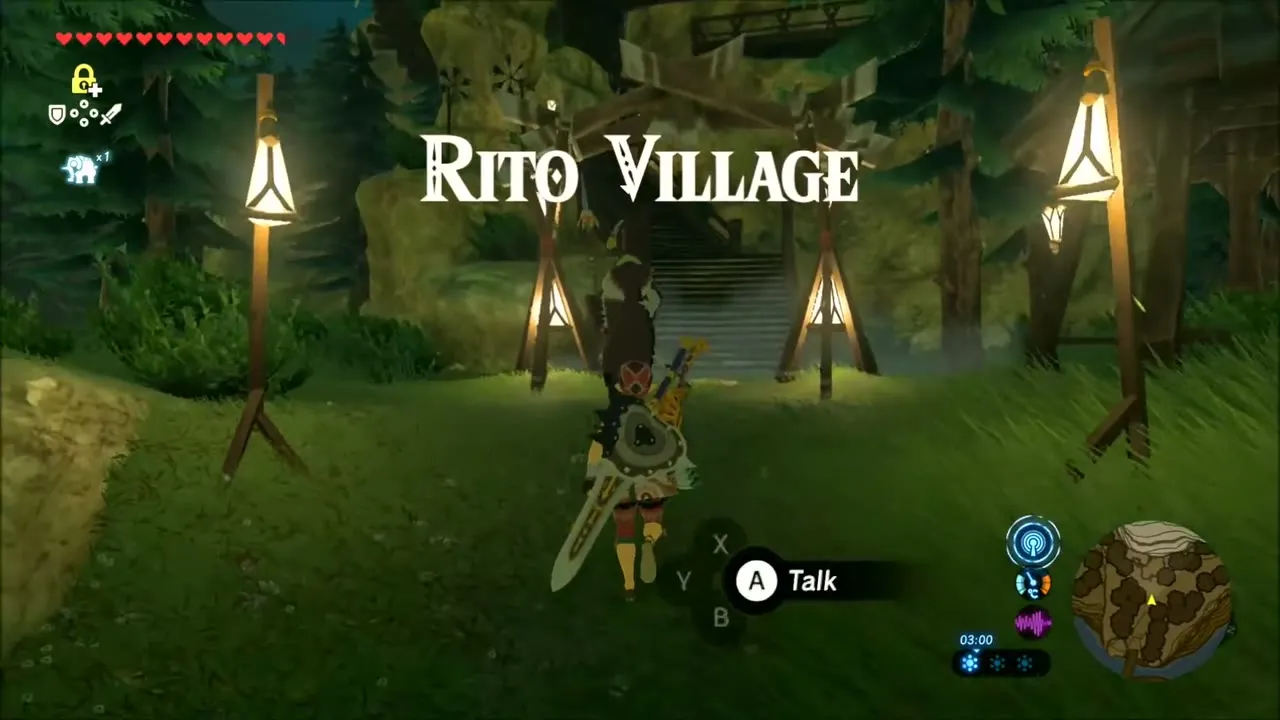
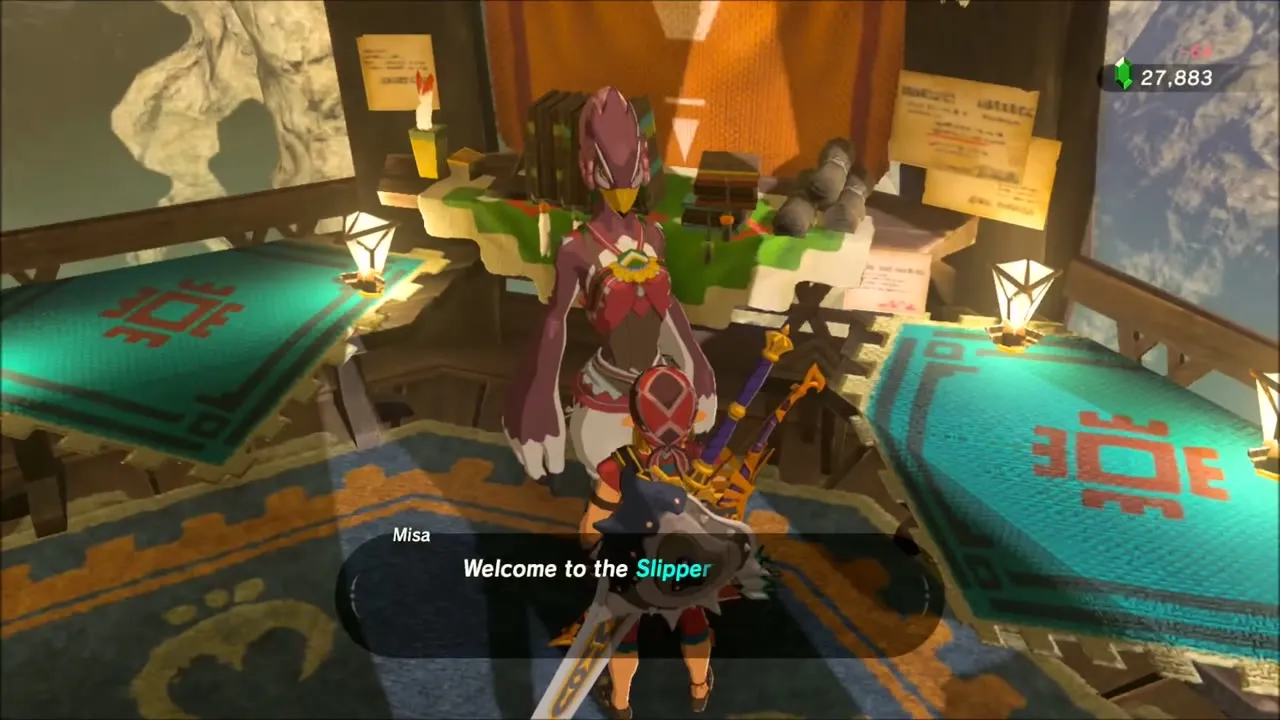
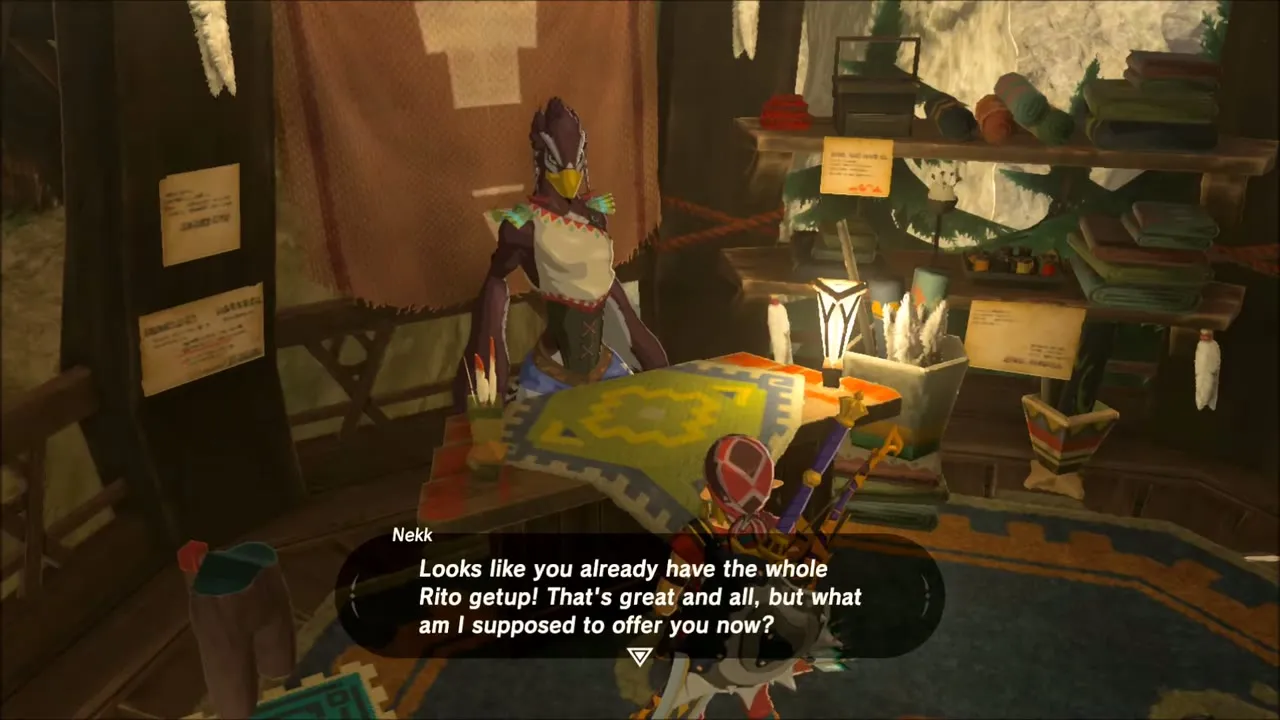
At nightfall cross the wooden bridge into Rito Village at (-3618, -1808). Walk the upper walkways to see the shops: Misa sells arrows and buys gems such as Sapphire, and Brazen Beak’s armor shop stocks the Snowquill Headdress, Tunic and Trousers (the set that stops you freezing).
Speak to Kaneli: Start of Vah Medoh
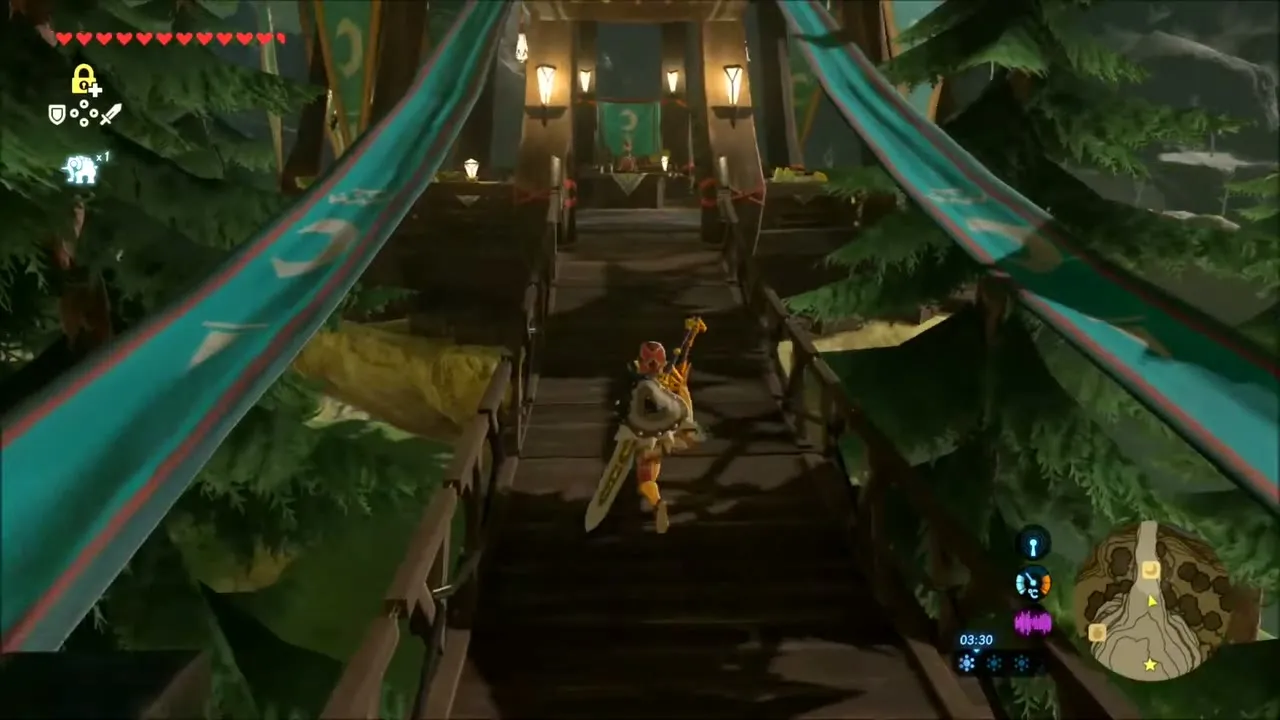
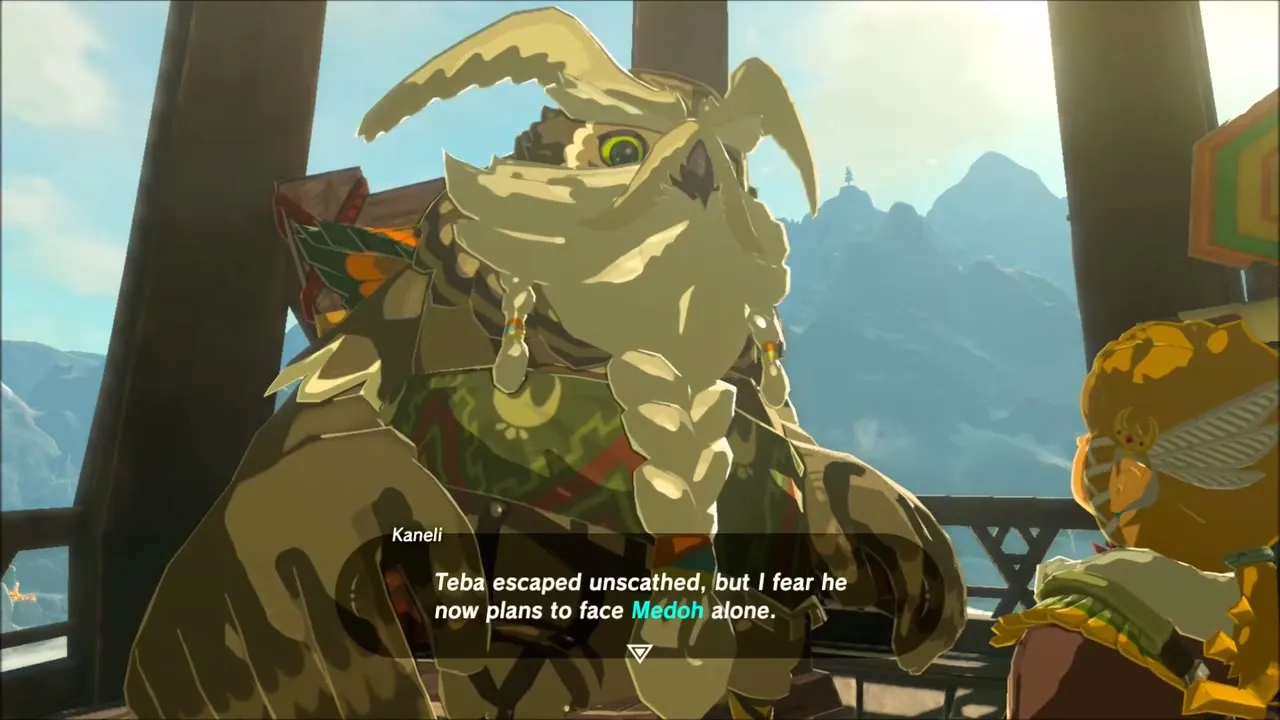
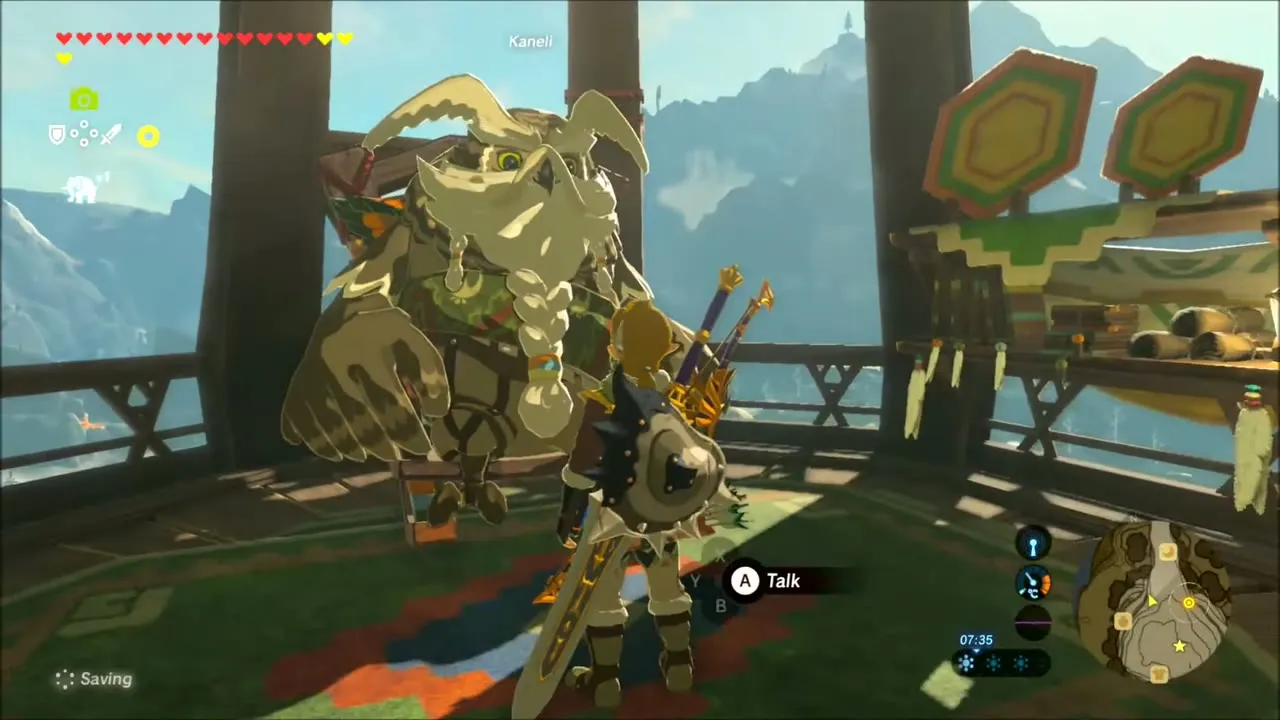
Climb to Kaneli, the village elder, at the top. He tells you that Teba escaped unharmed but plans to face Vah Medoh alone. This starts the main quest Divine Beast Vah Medoh; your task is to head to the Rito flight range and pass Teba’s archery test.
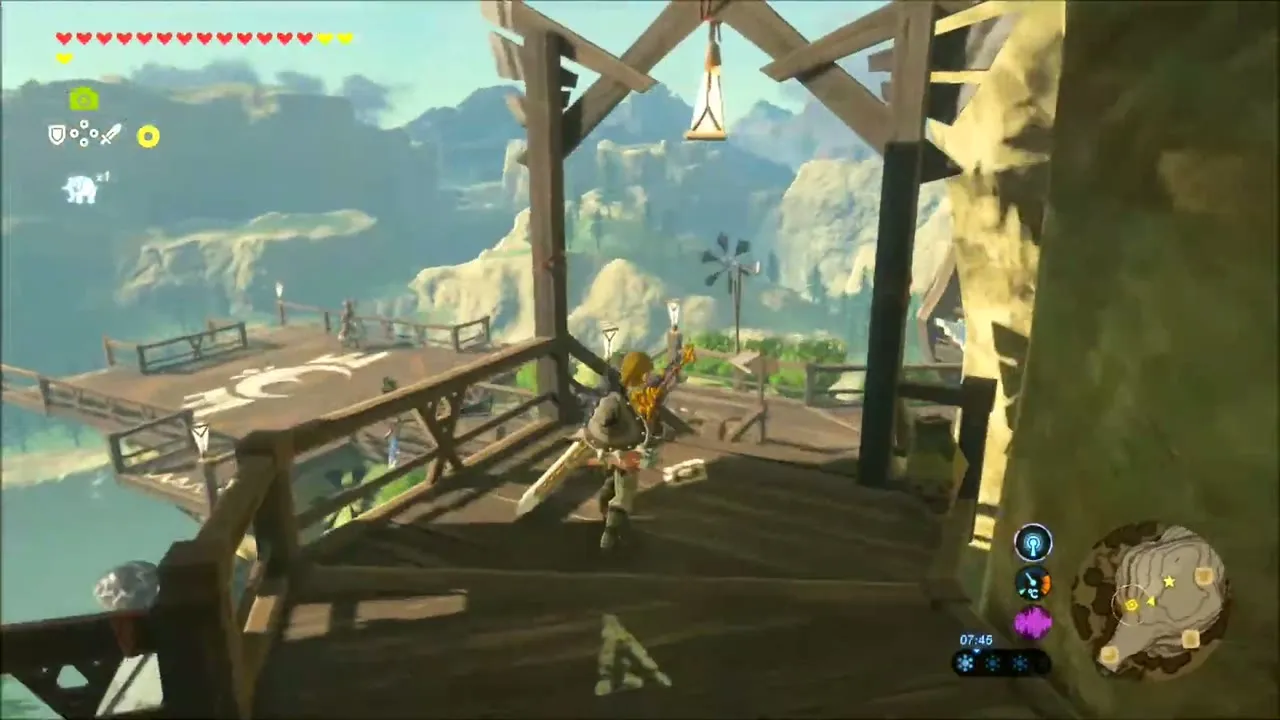
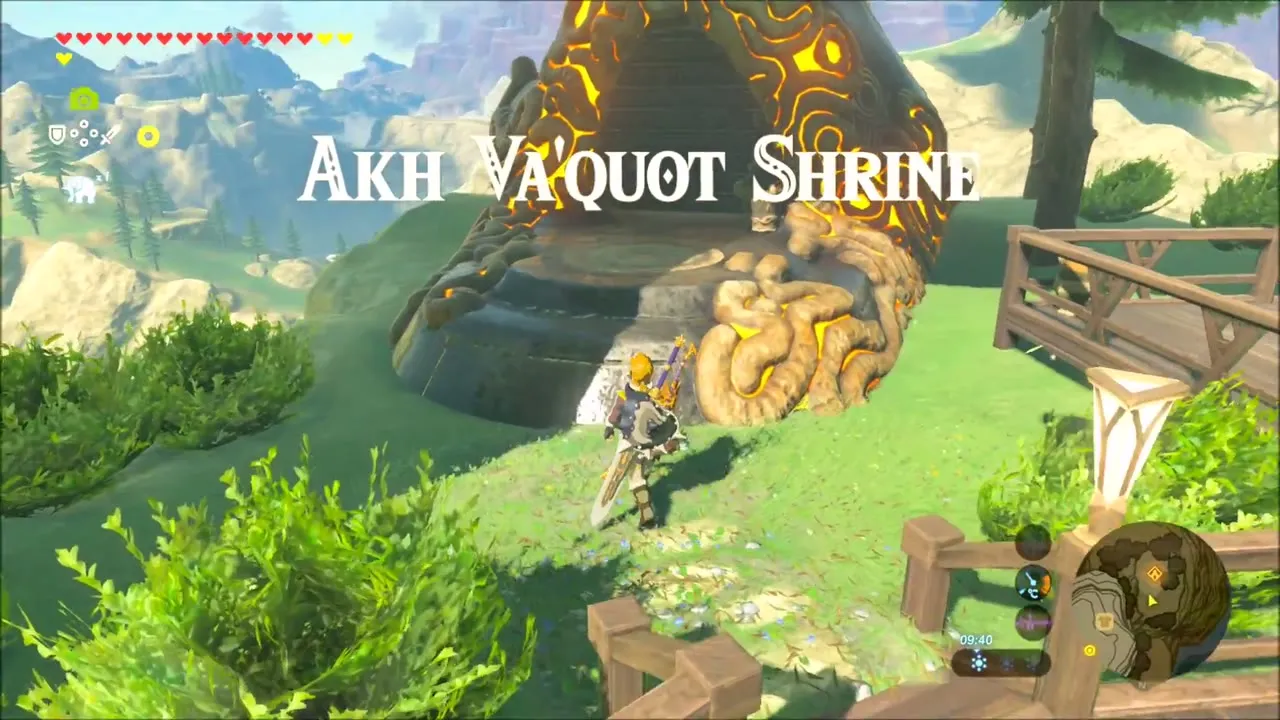
Akh Va’quot Shrine: Windmills Trial (Rito Village)
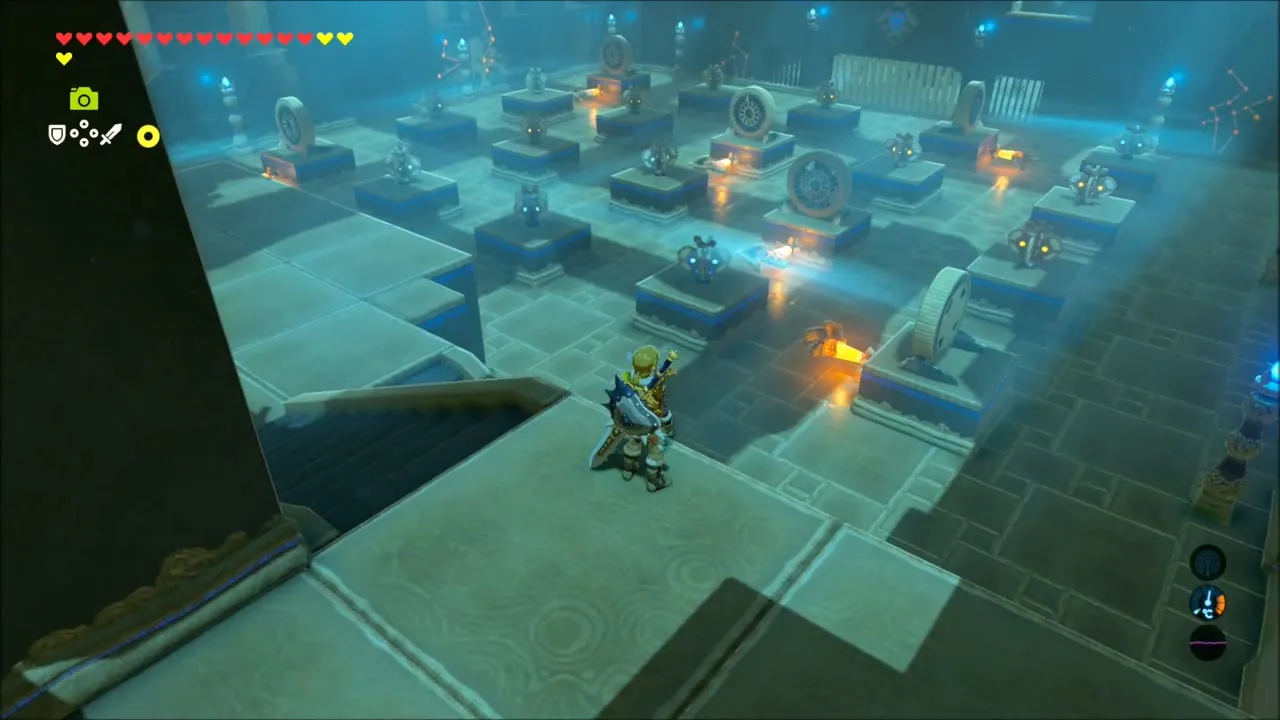
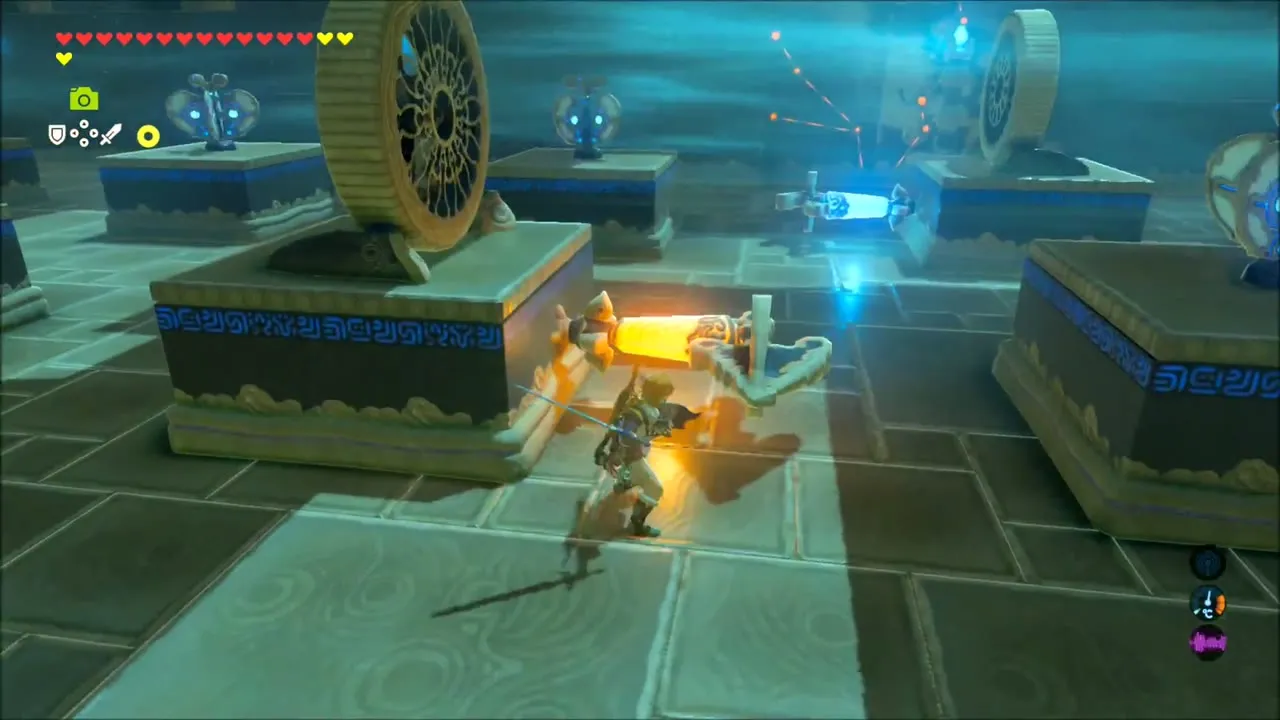
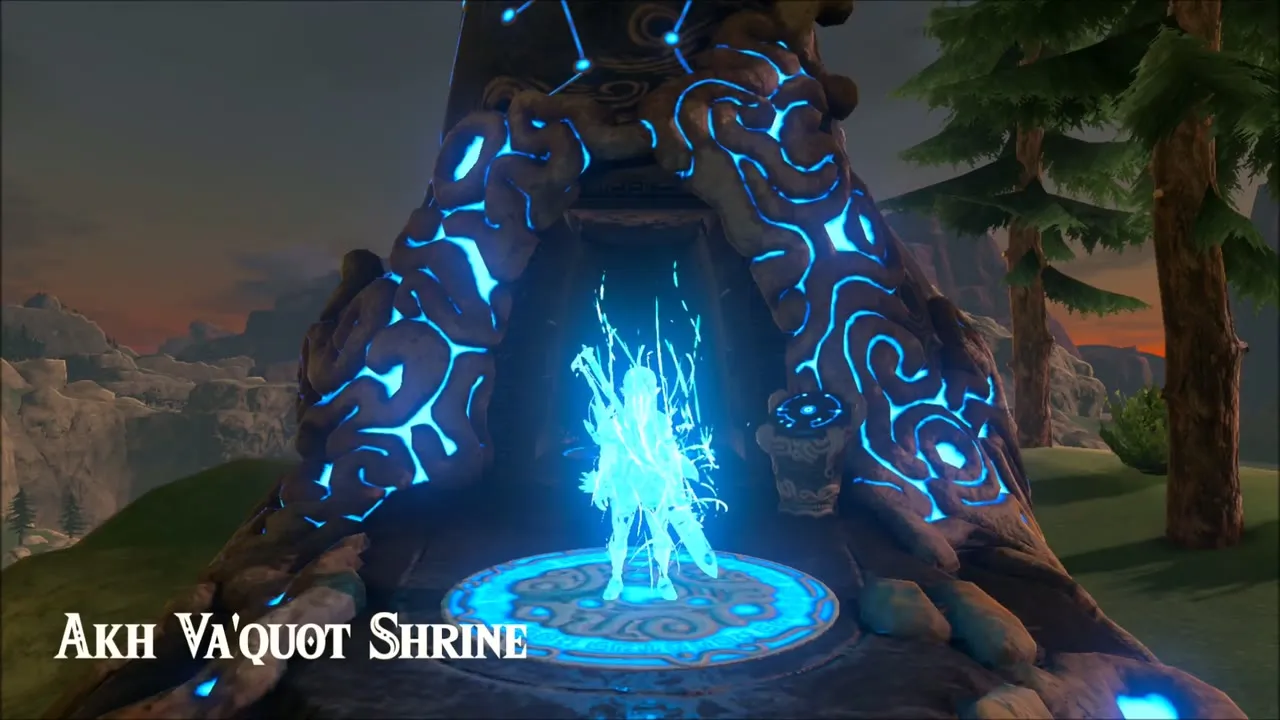
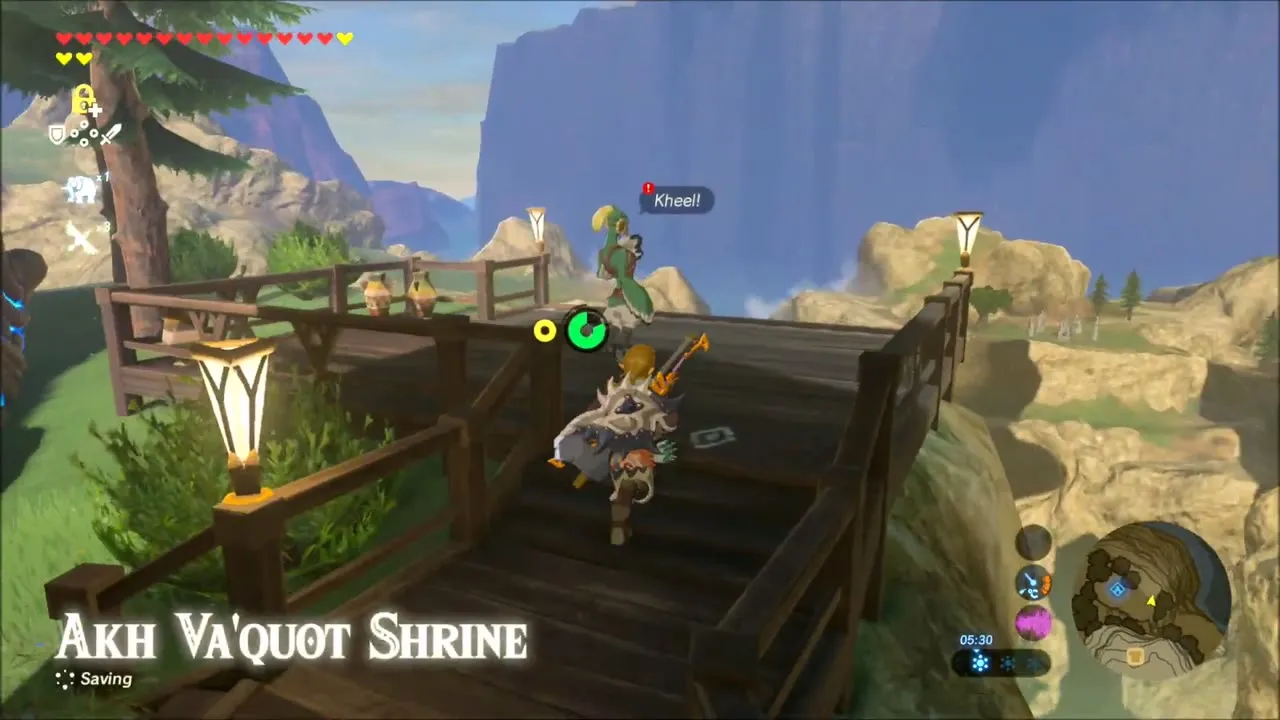
Rito Village’s own shrine, Akh Va’quot Shrine (x -3656, z -1758, height 335), stands on the terraces just below the village platform and doubles as the village’s warp point. Step in and you face the Windmills trial: a hall of wind turbines, each tied to an orange switch, with windmills set around the room. Shoot the switches with arrows until every turbine blows at a windmill and all of them are turning at the same time.
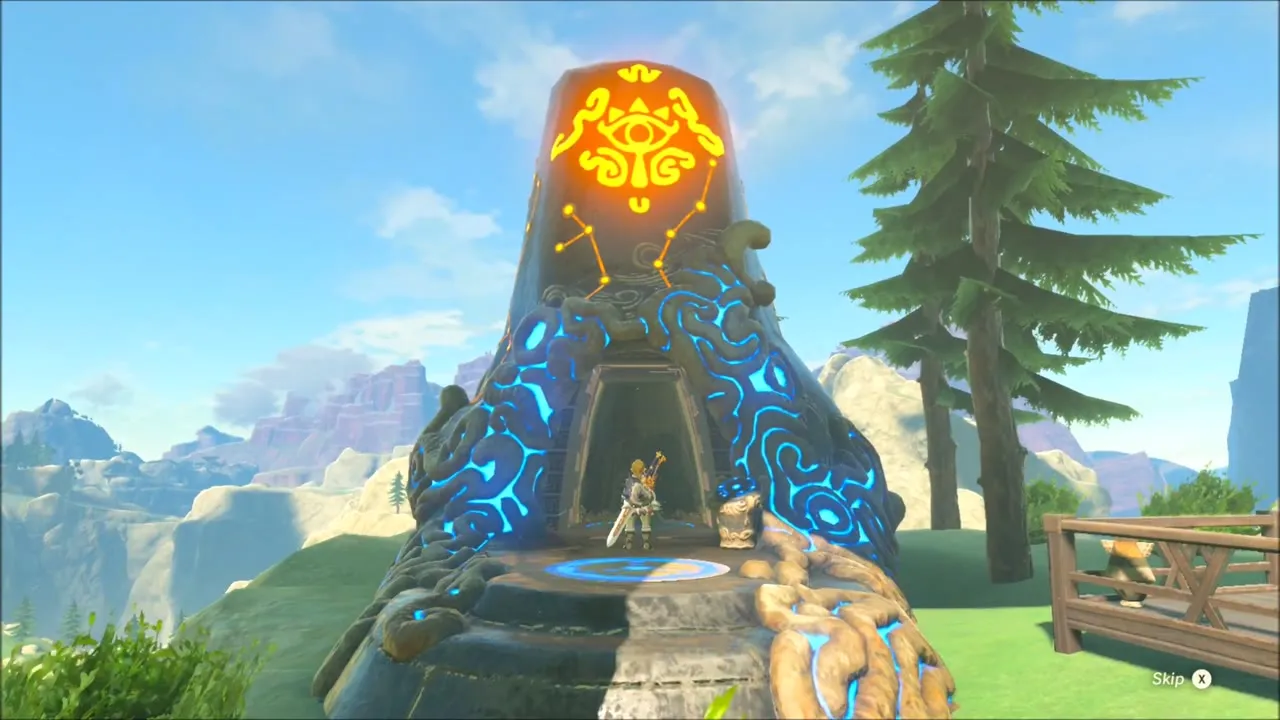
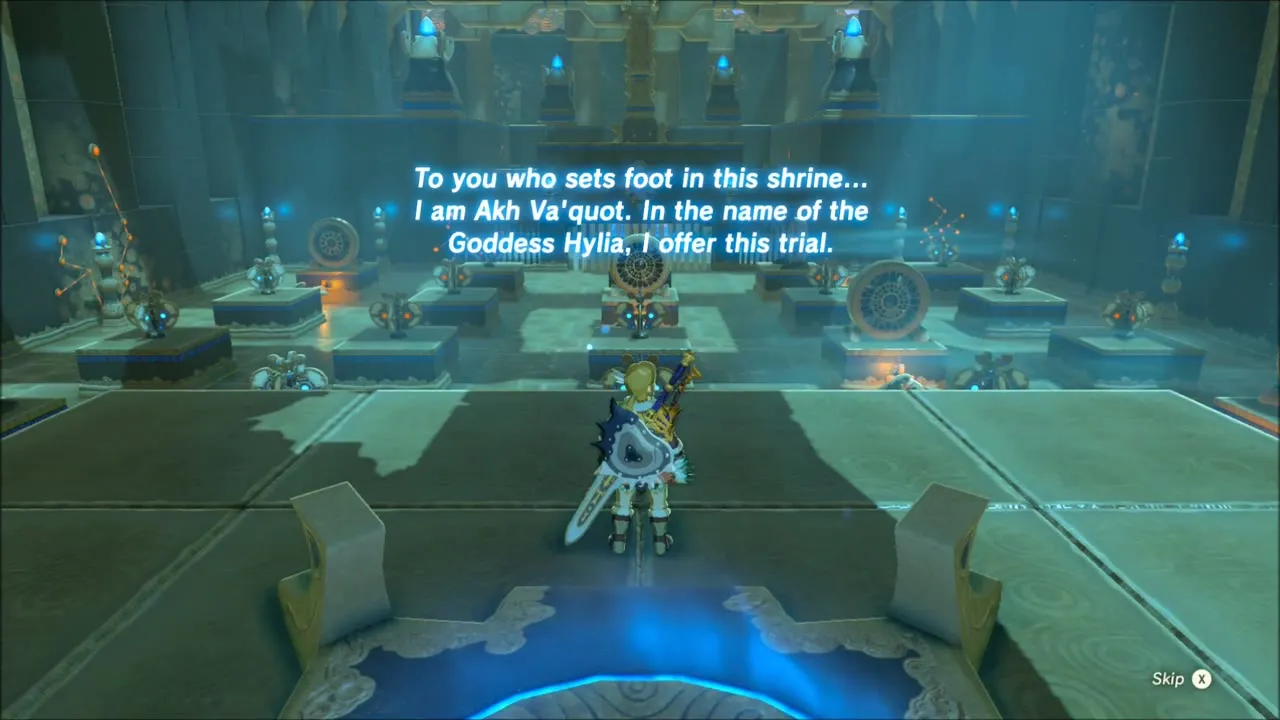

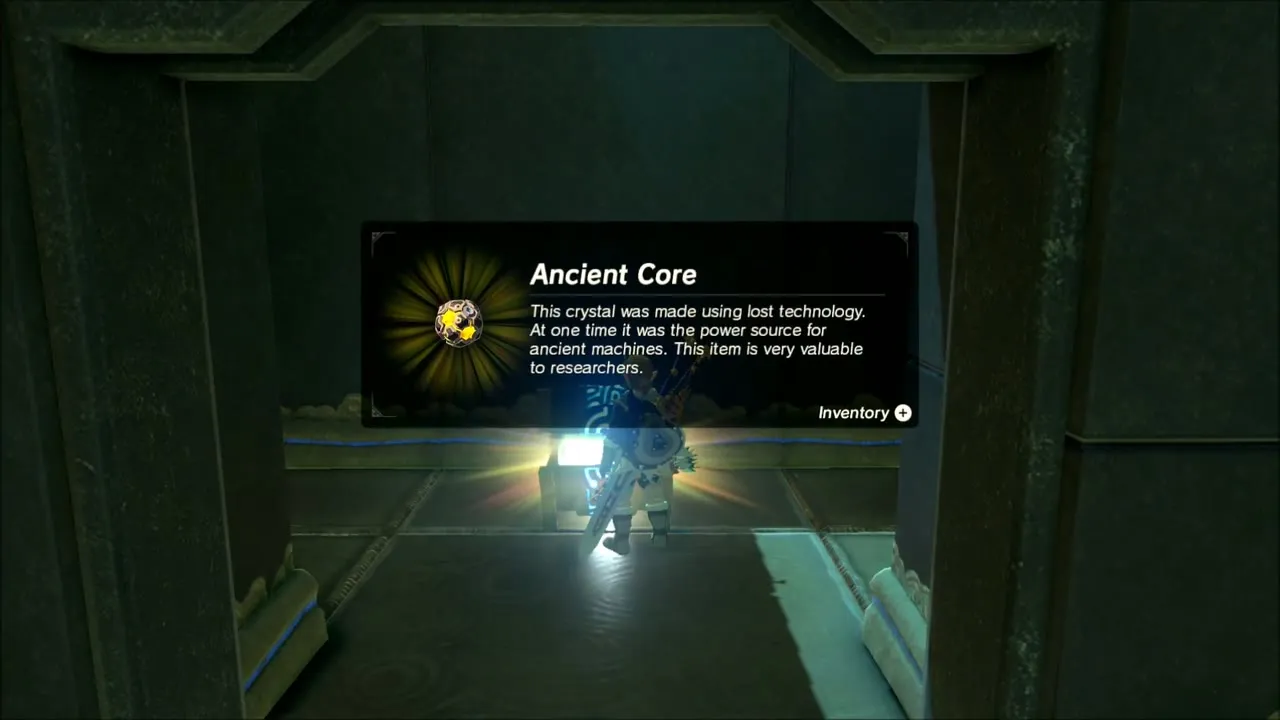
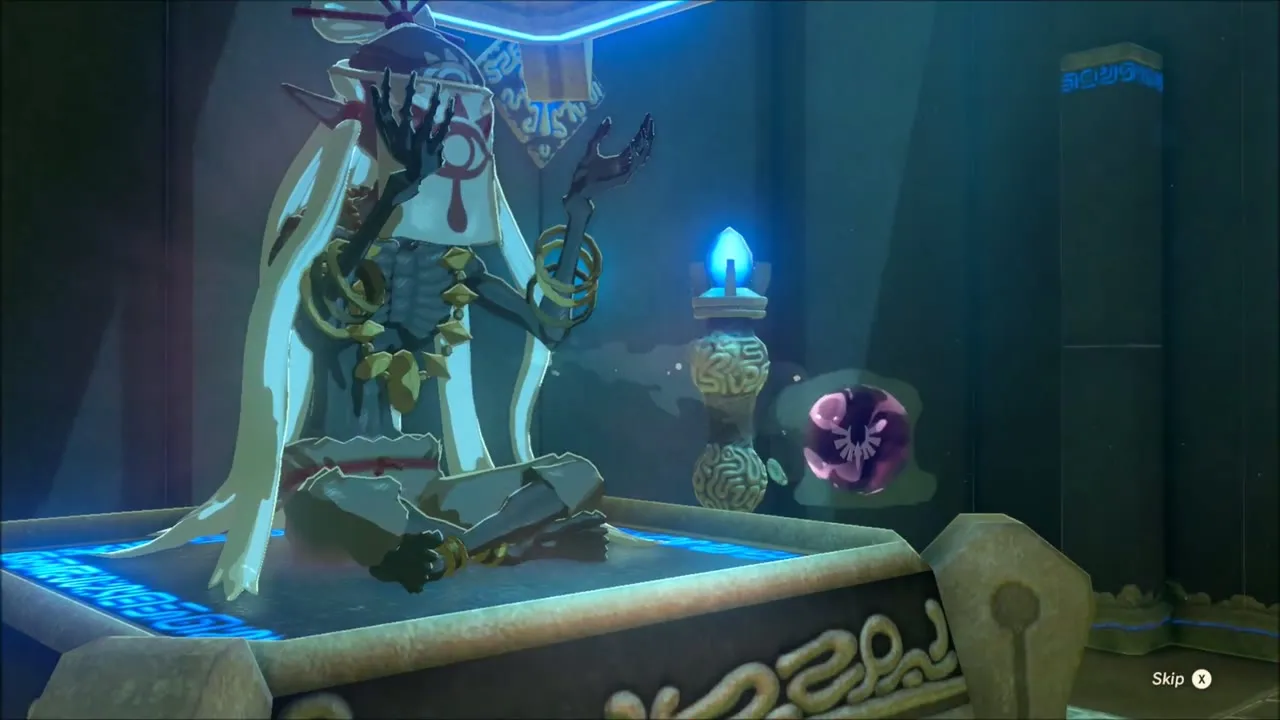
Take the side chest first. Near the entrance, one switch has a turbine under it that can be swung into line with a windmill, and doing so opens a small door with an Ancient Core inside. Then climb to the raised platform overlooking the main floor and work through the remaining switches until the last windmill turns. The gate opens and Monk Akh Va’quot gives you a Spirit Orb.
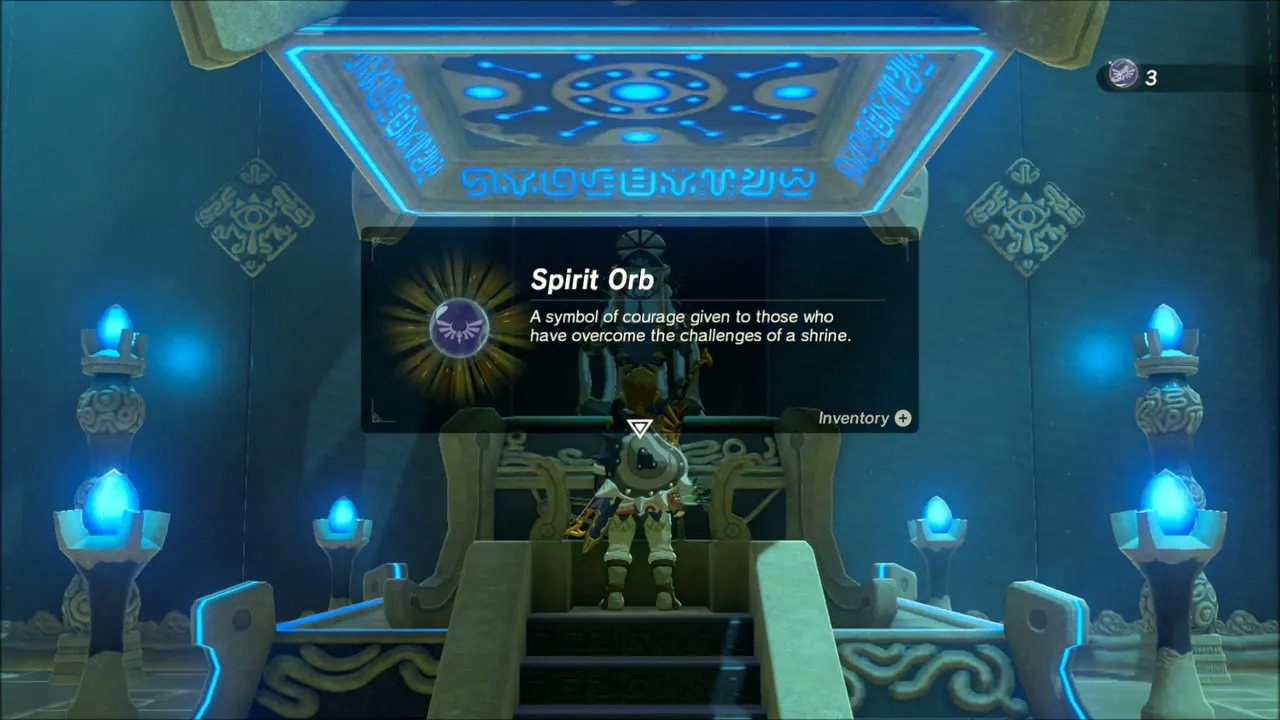
Rito Village: Talking to the Villagers and the Revali’s Flap Memory
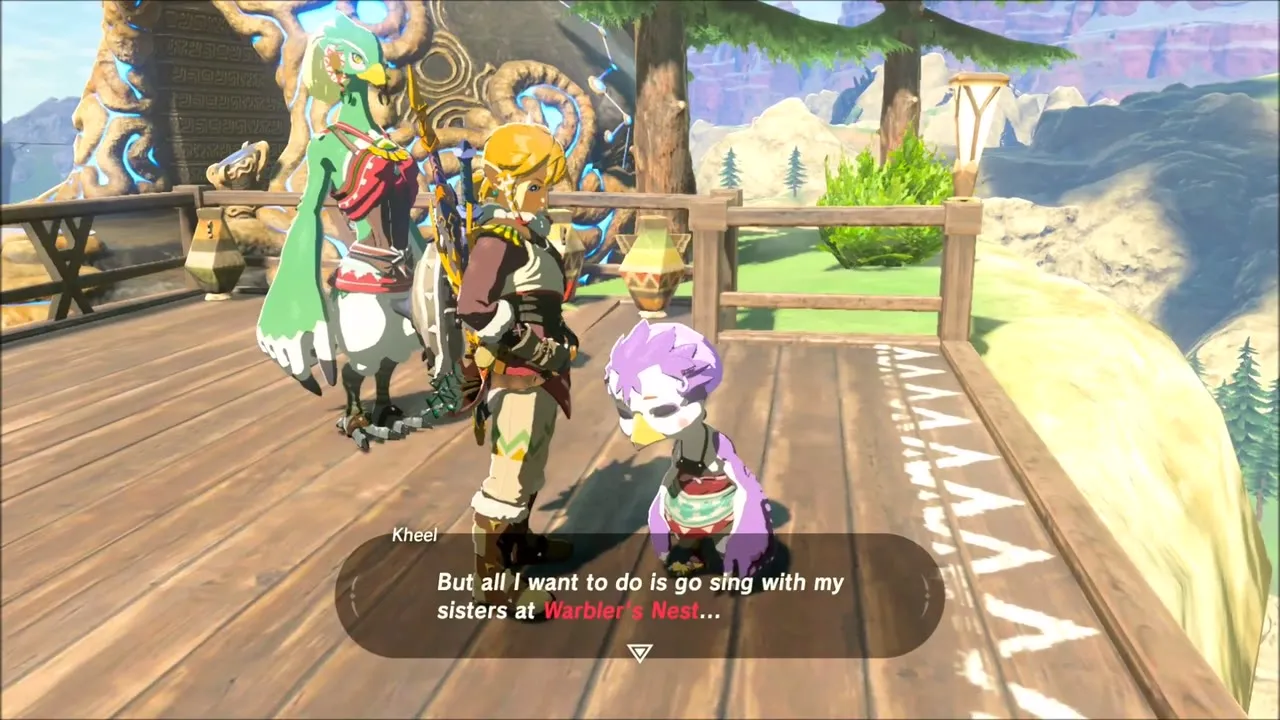
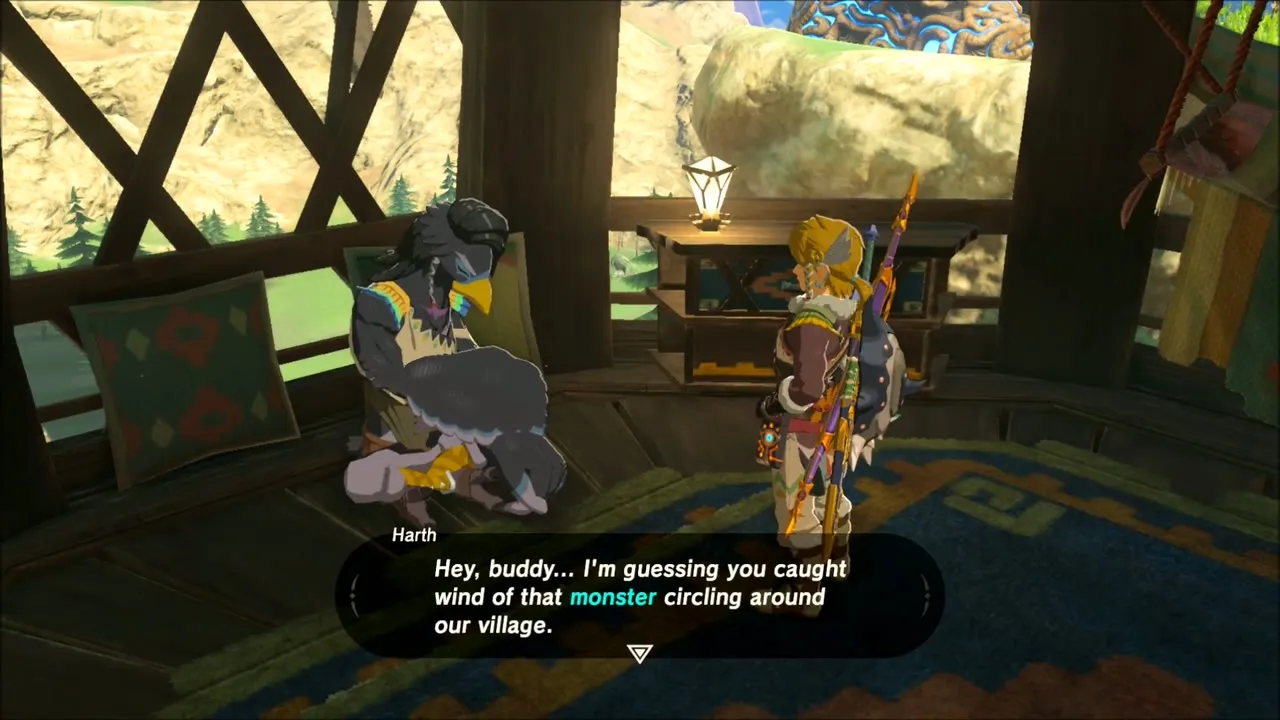
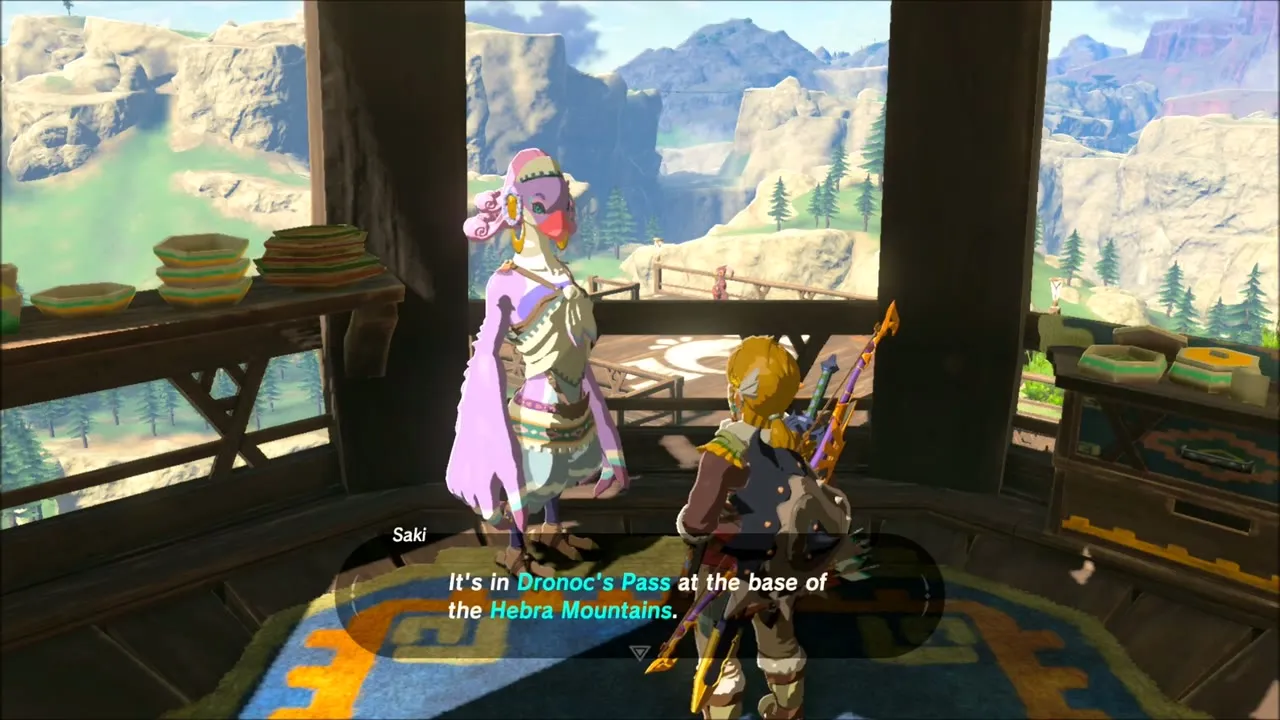
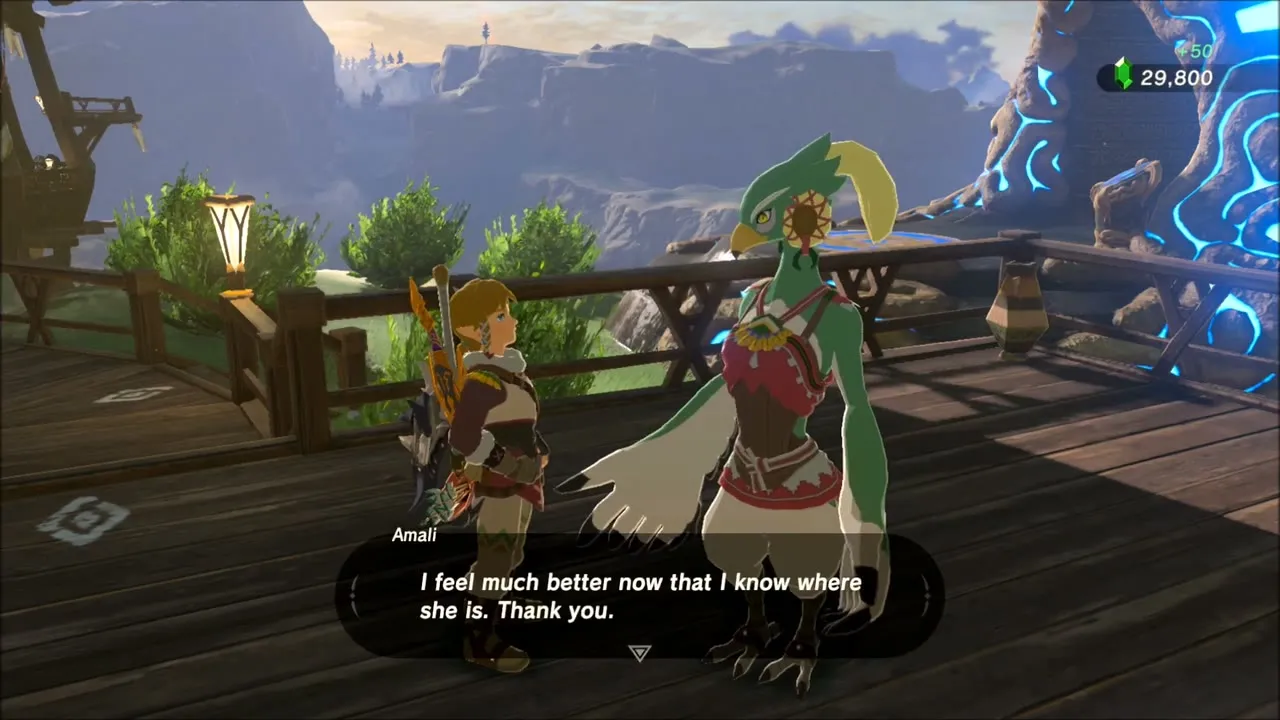
Back in the village, talk to people before you leave. Kheel is stuck inside because it is too dangerous outside the village, her mother Amali mentions that Kheel wants to see Warbler’s Nest, and Harth fills you in on Teba and on what the Divine Beast did to the village. Saki, Teba’s wife, cannot do much beyond telling you where her husband went: toward the Flight Range. Open the map here and pin that spot, which the datamine puts at (-3852, -2289).
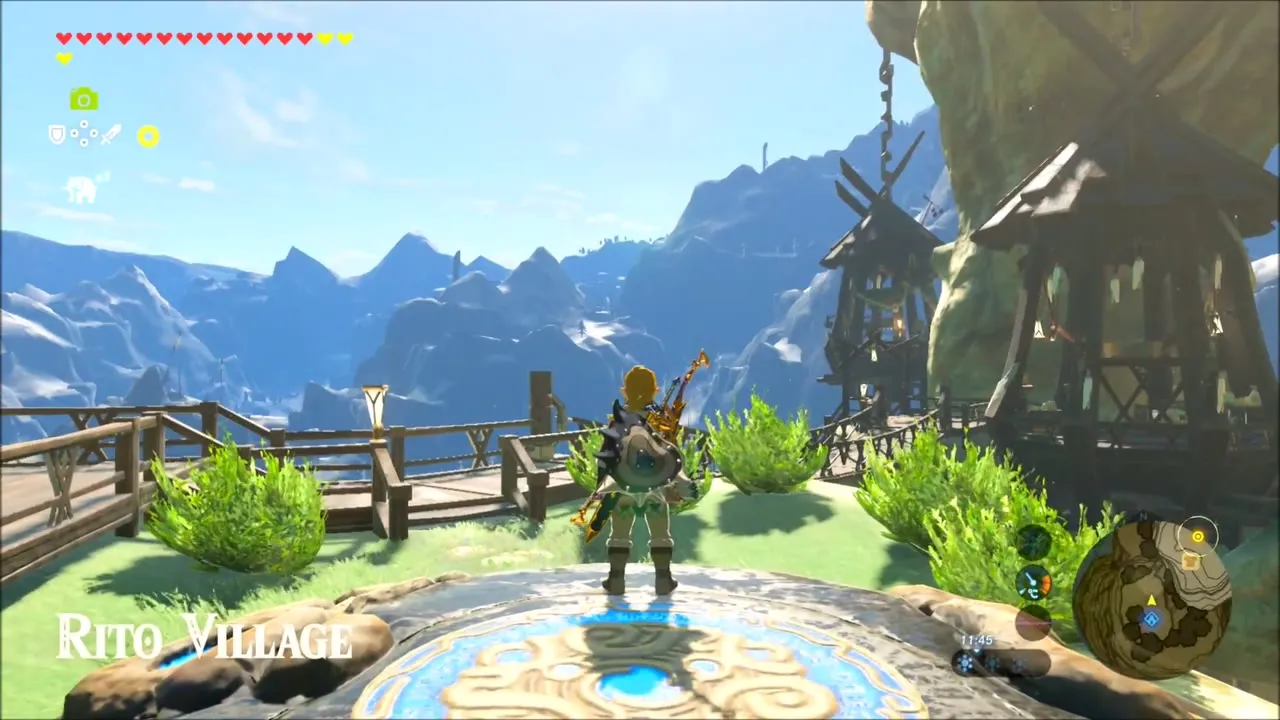
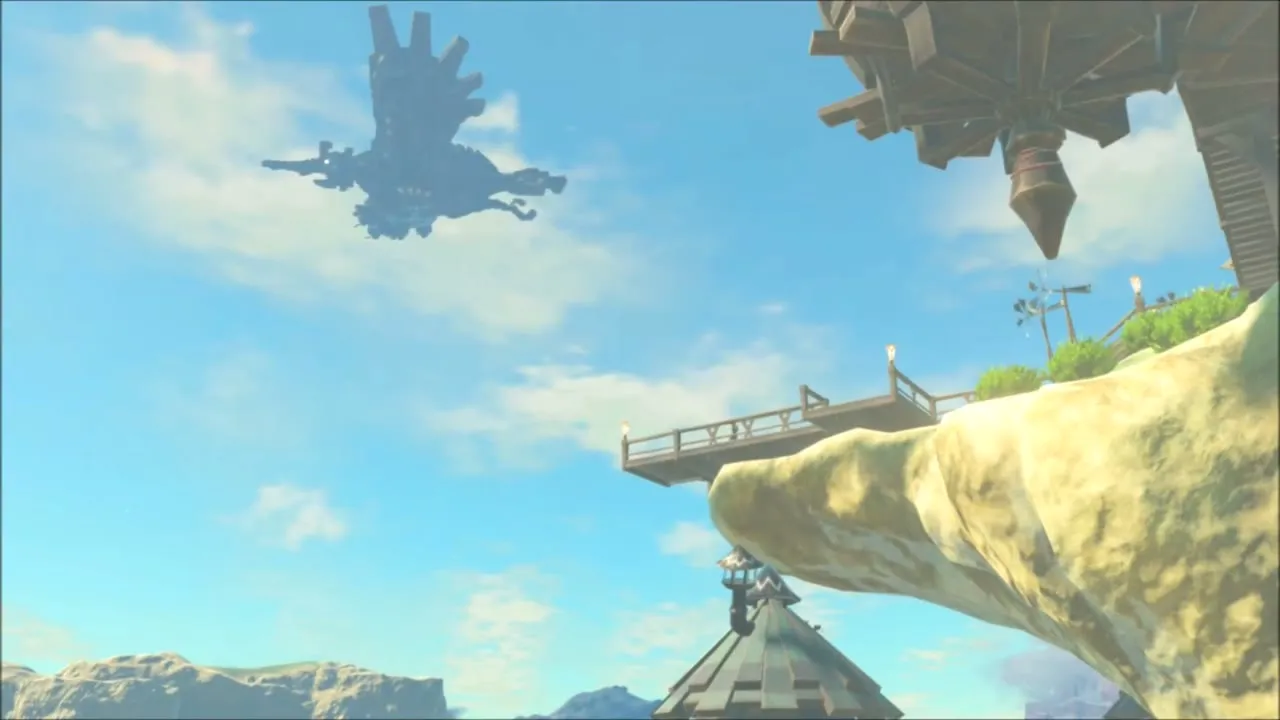
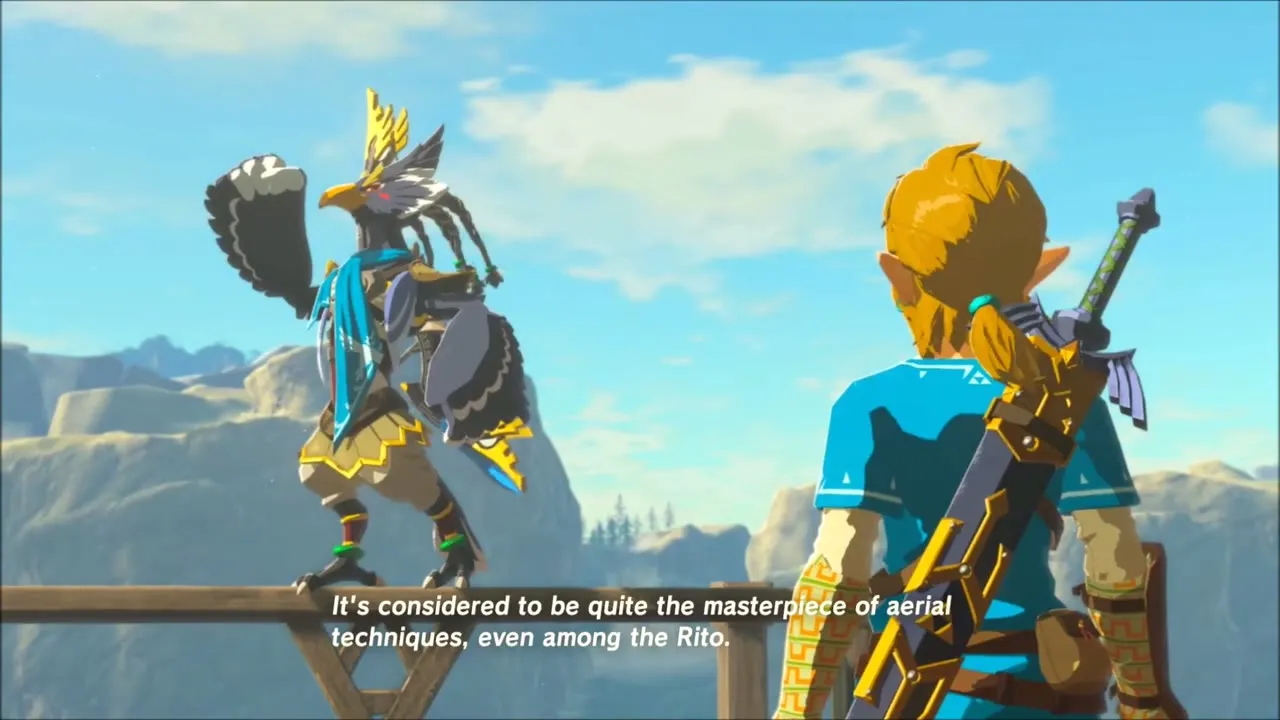
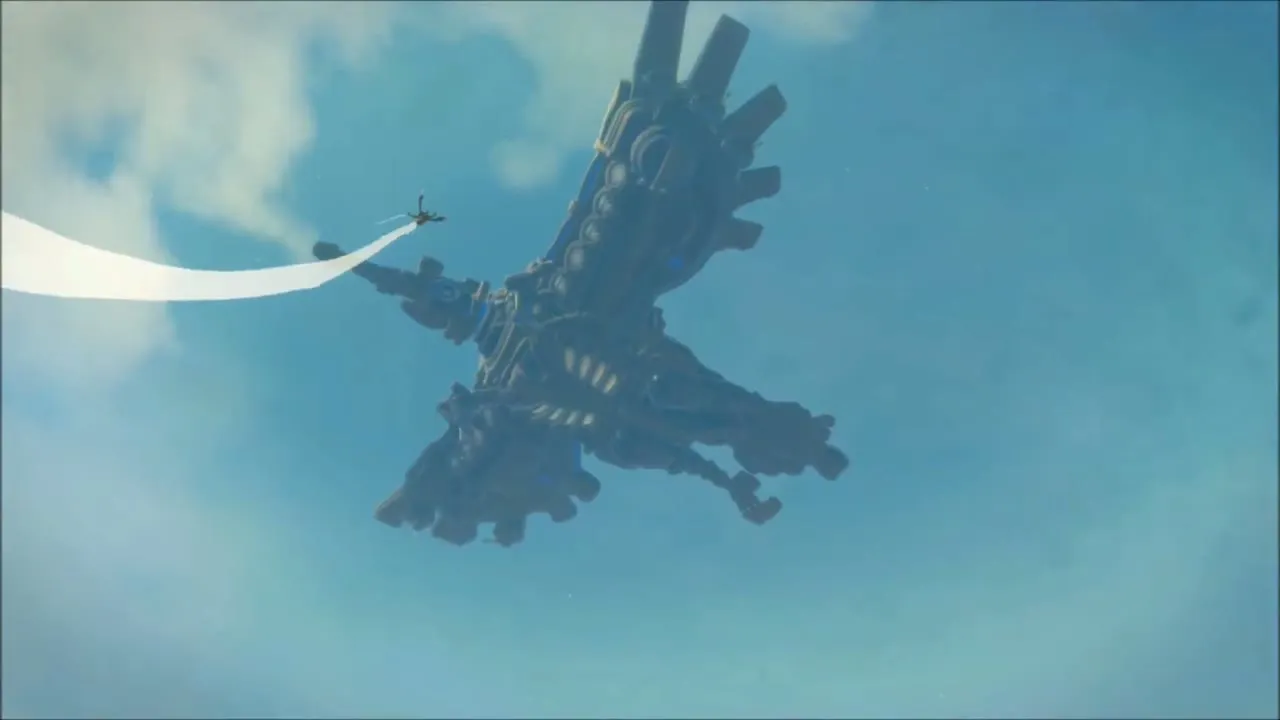
Walk out onto Revali‘s Landing, the take-off platform at the edge of the village, and look over the drop. This sets off the Revali’s Flap memory: Revali hovering in front of Vah Medoh as it soars overhead. When it ends, the Vah Medoh quest in your log updates and the way to the Flight Range is open.

Korok Seeds Near Rito Village and The Bird in the Mountains
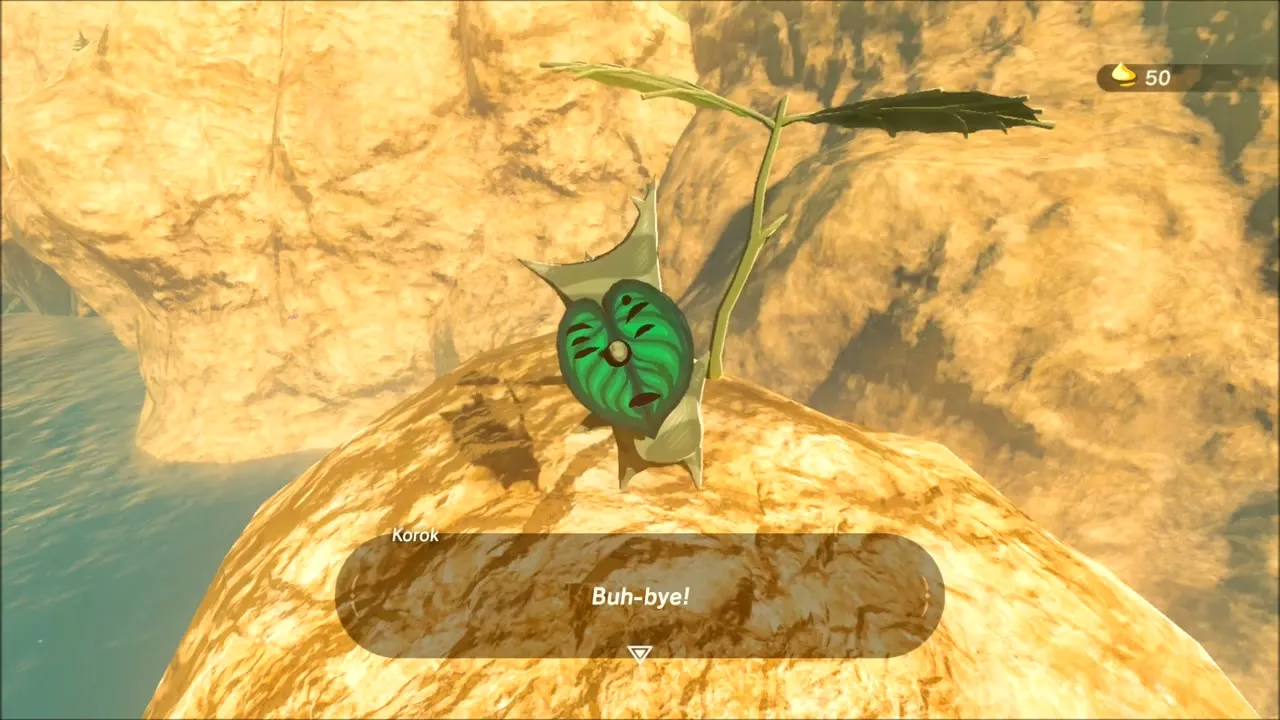
Glide off the village to the grassy-topped stone pillar a short flight away. One boulder sits on the flat top: lift it and the Korok is hiding there for a seed.
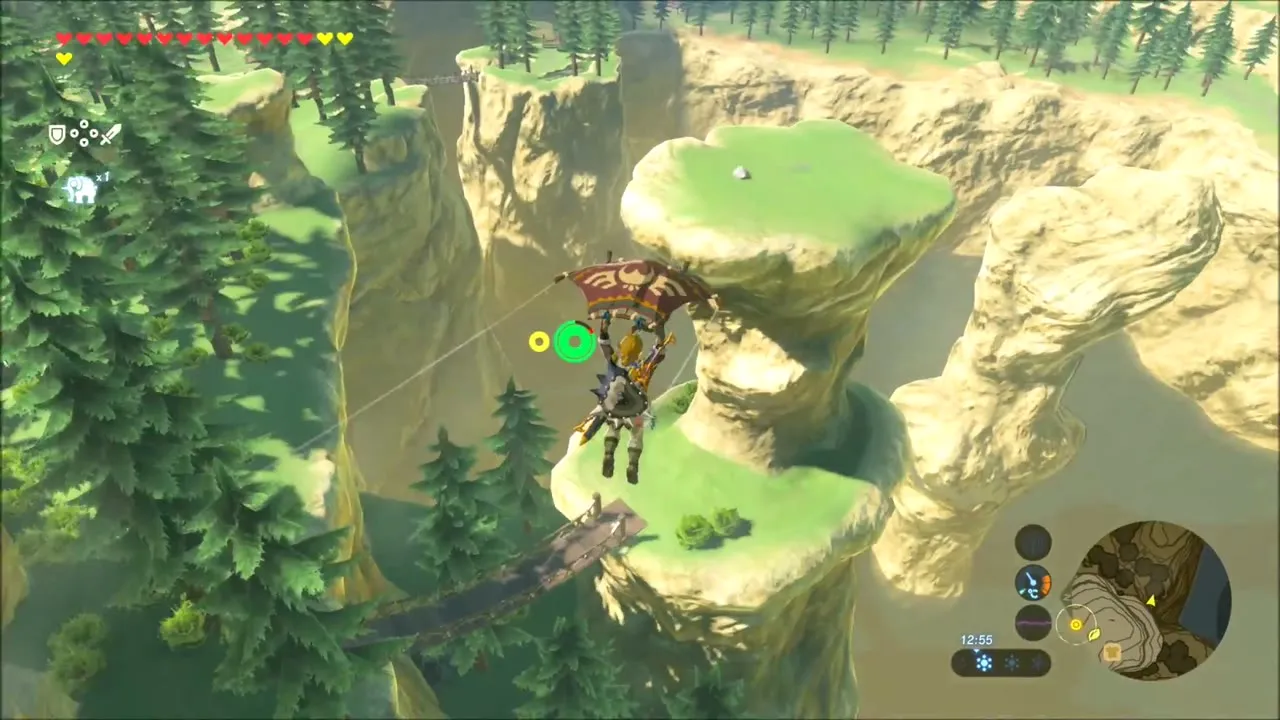
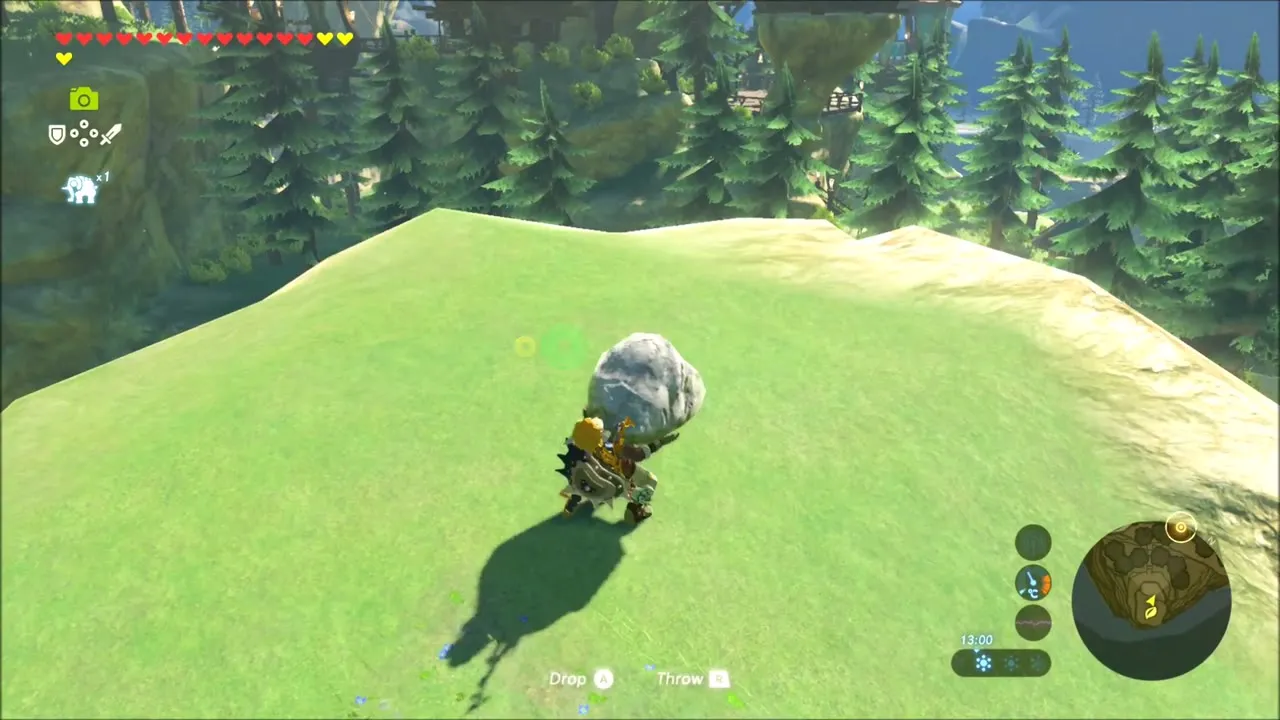
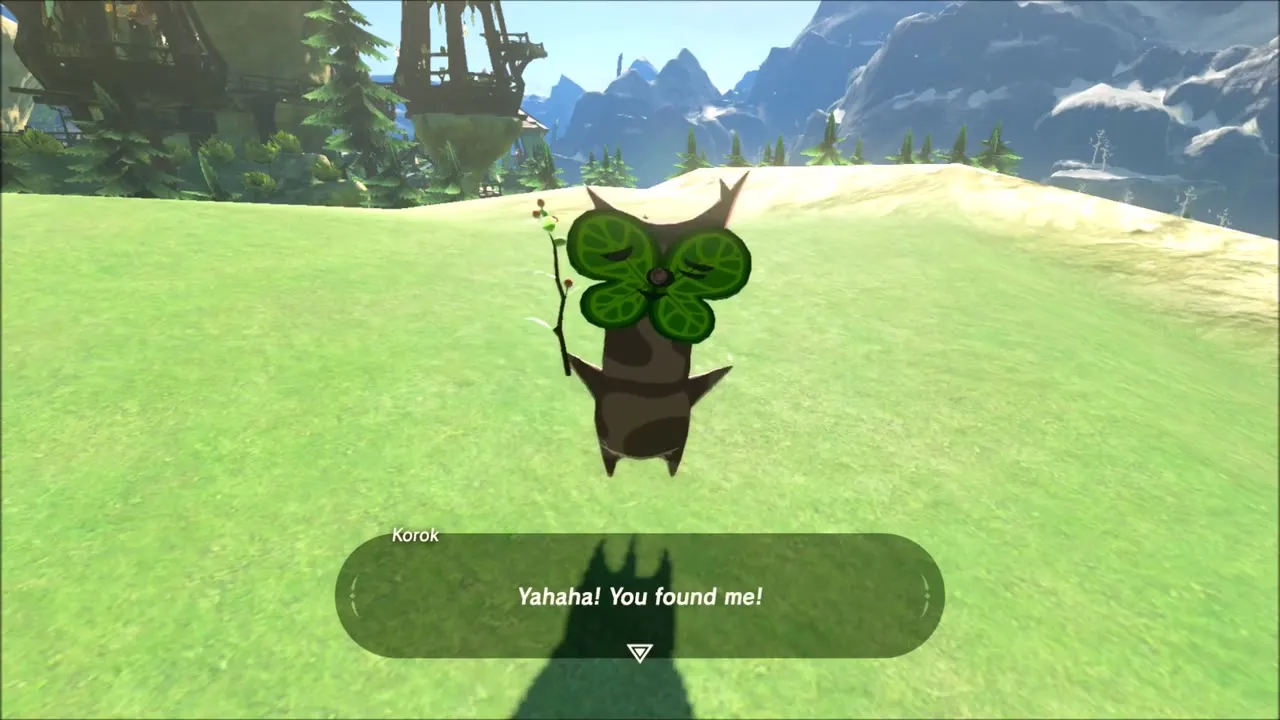
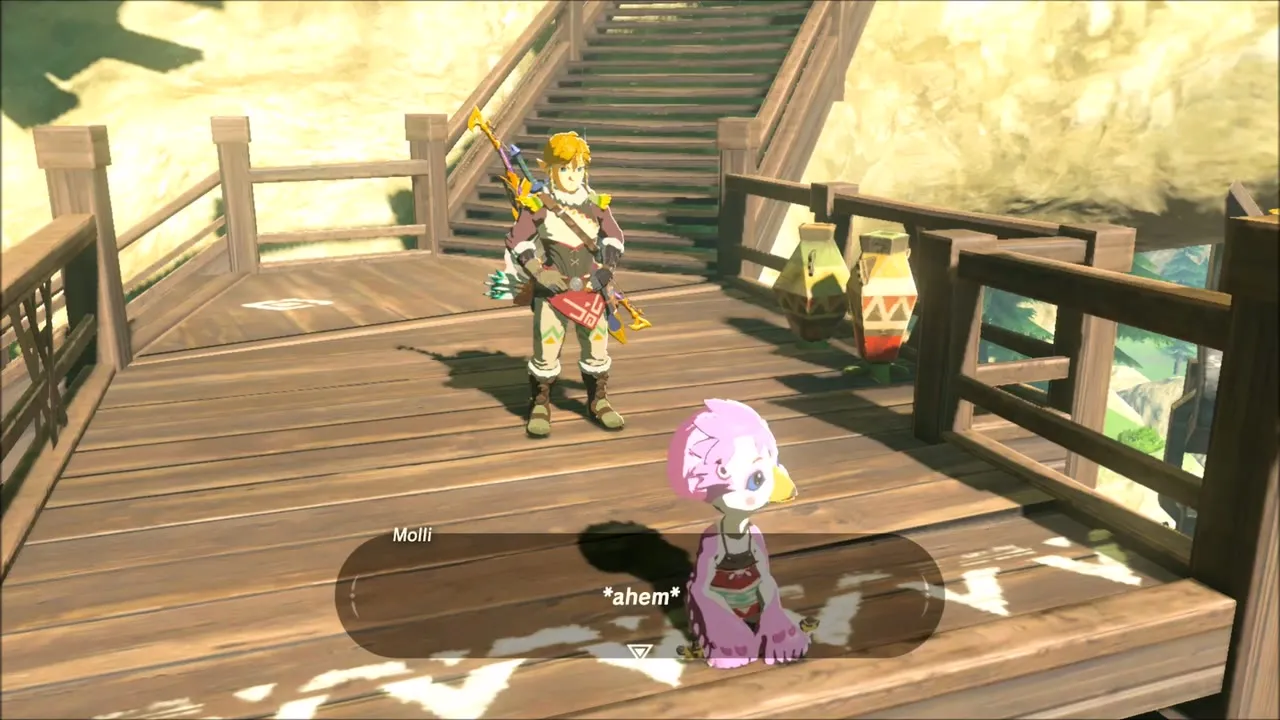
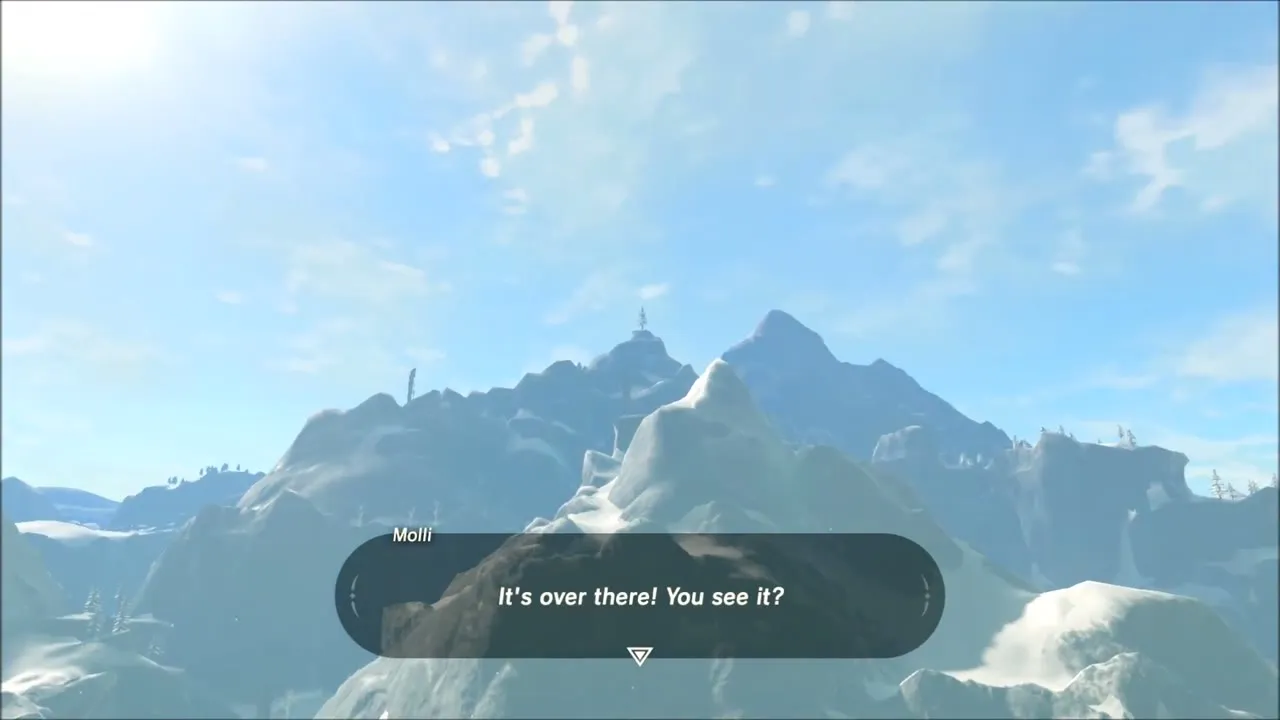
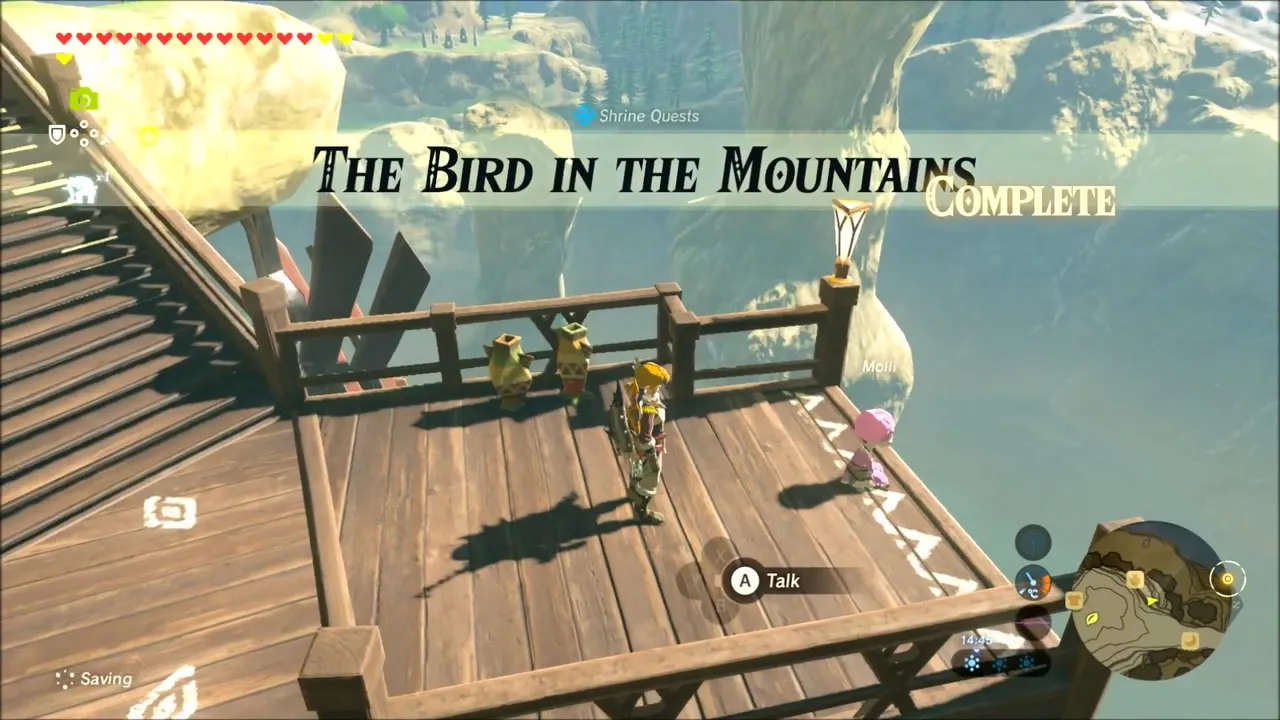
Take the wooden stairs down and speak to Molli on her balcony. She tells you about her grandfather and a white bird he saw from the mountains, and the story starts the shrine quest The Bird in the Mountains. Its answer lies in the Hebra range and needs cold protection, so for now just note that it is in your log.
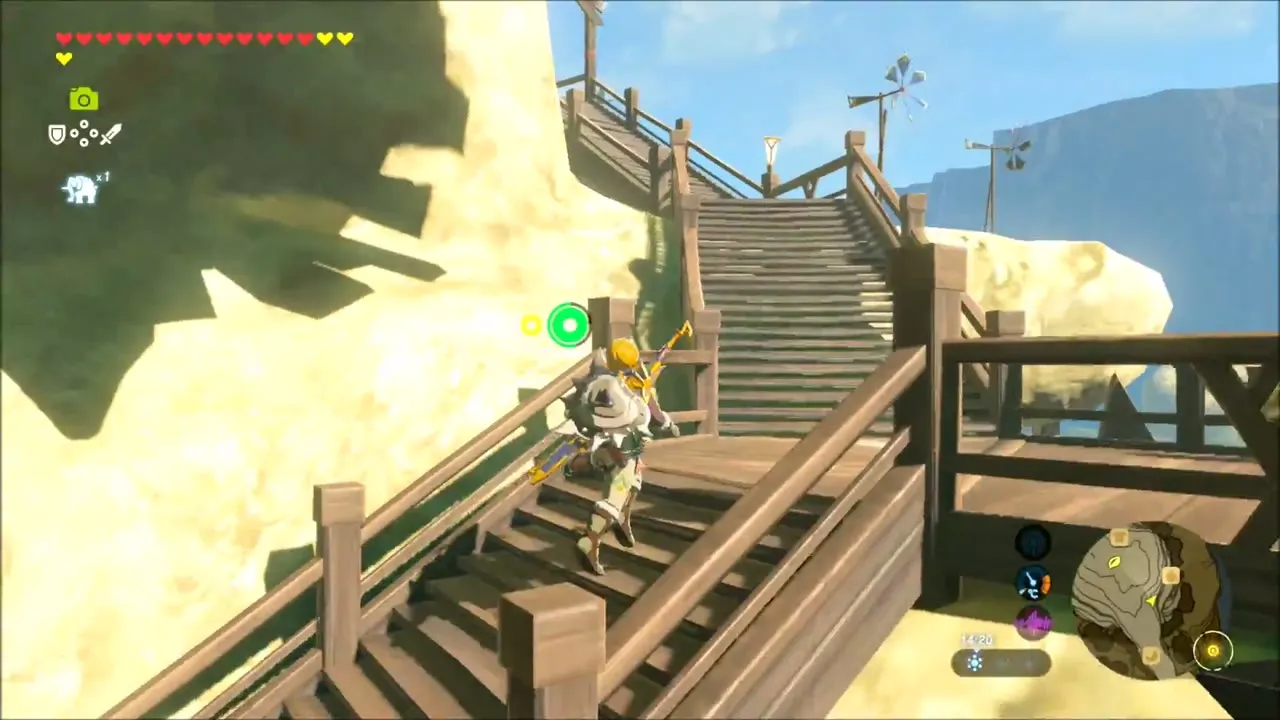
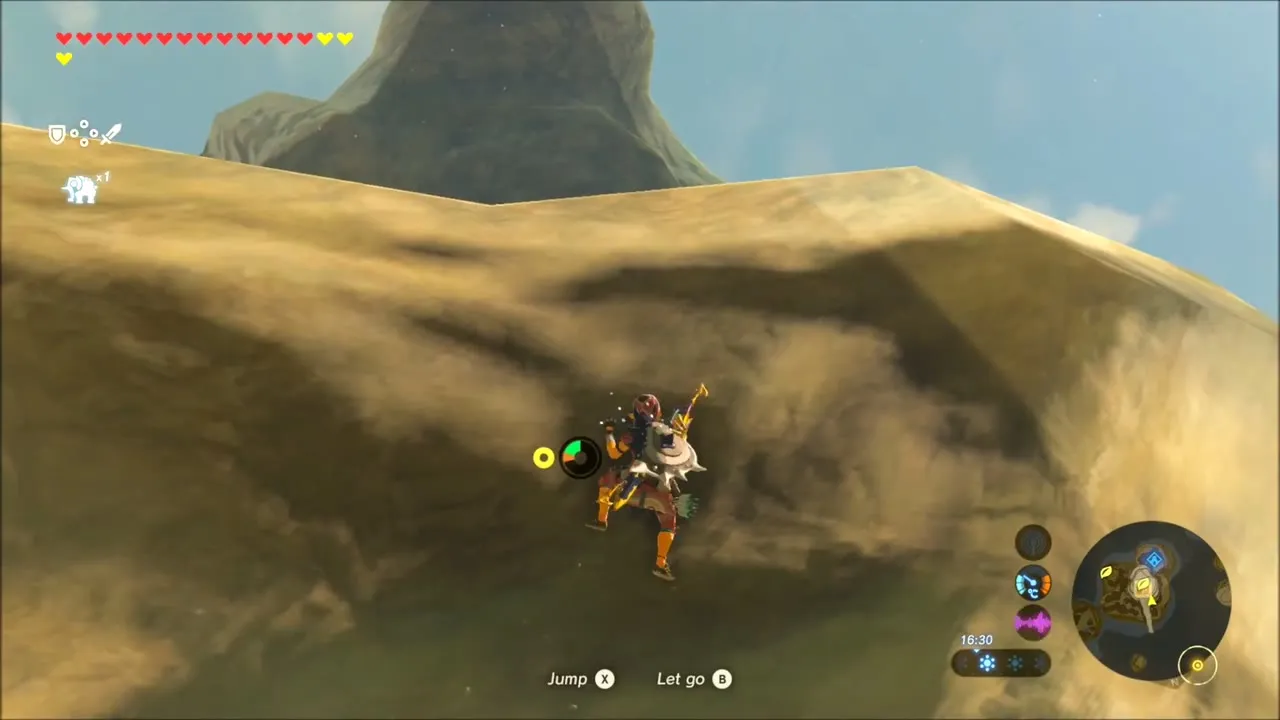
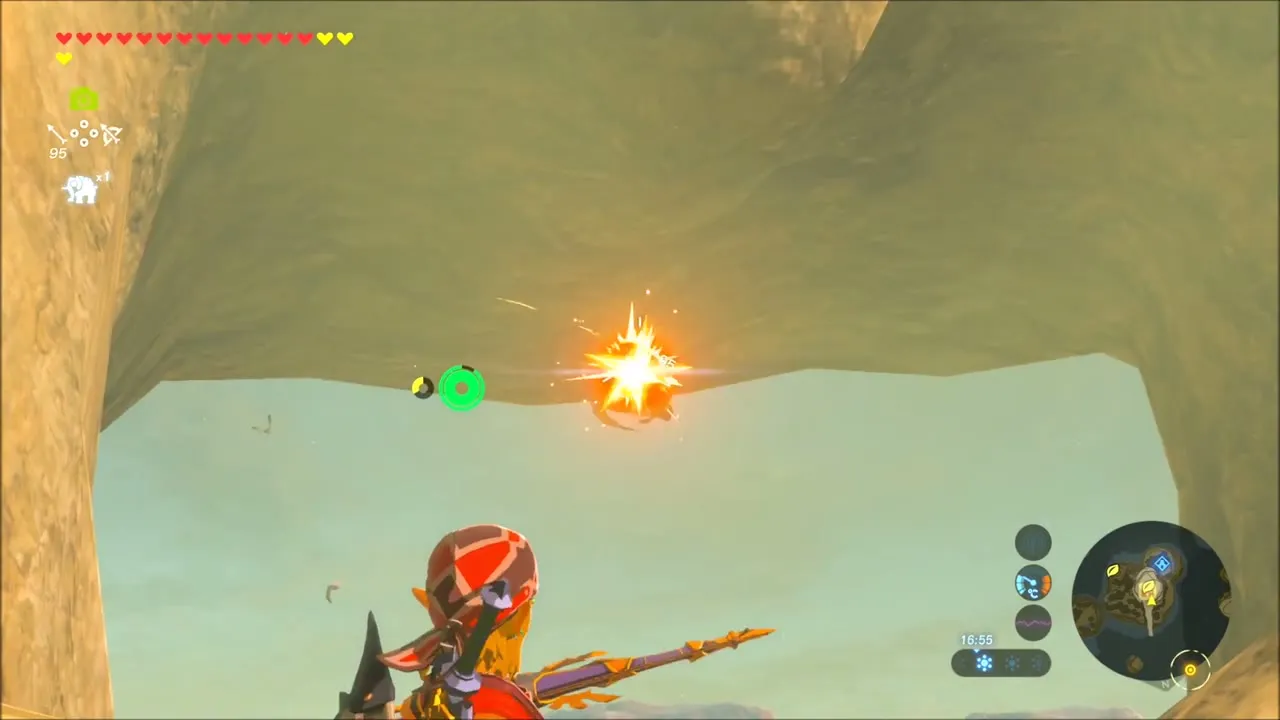
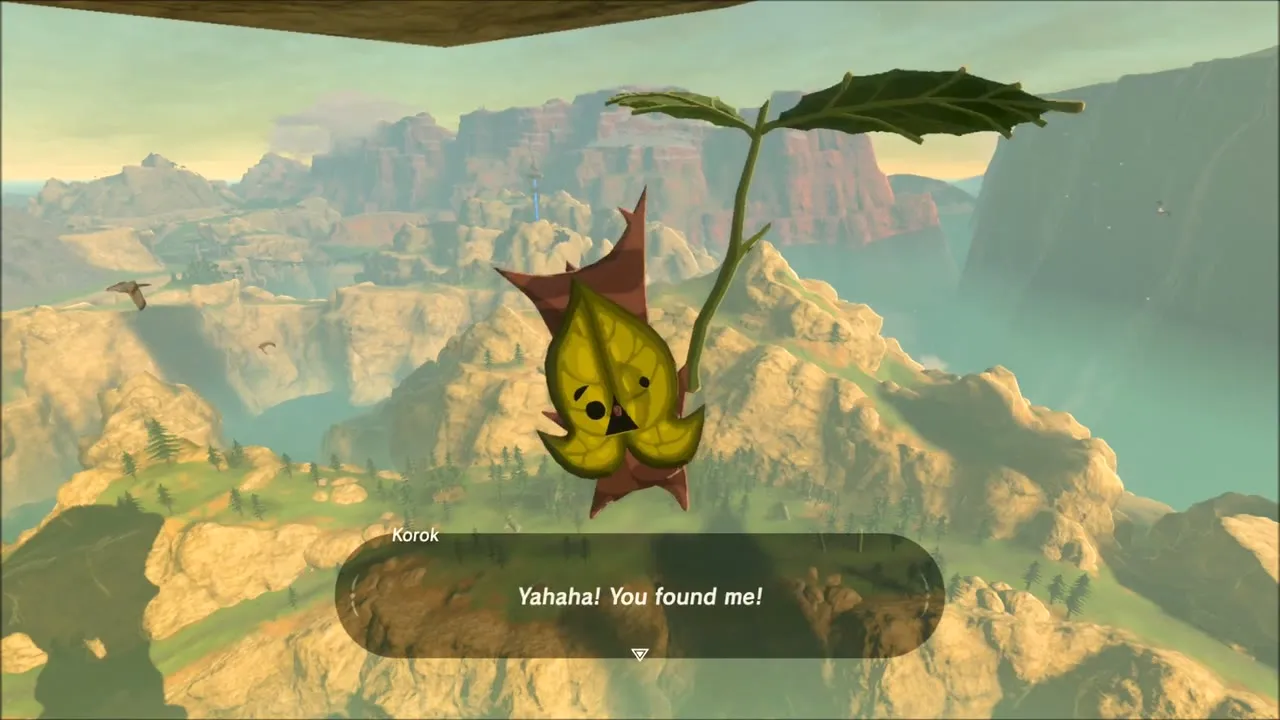
Next, climb the sandy rock face near the village. At the top a Korok hangs from the underside of a natural stone arch: take out your bow and shoot it down for another seed.
Road to the Flight Range: Snowquill Tunic, Shock Arrows and Meteor Rod
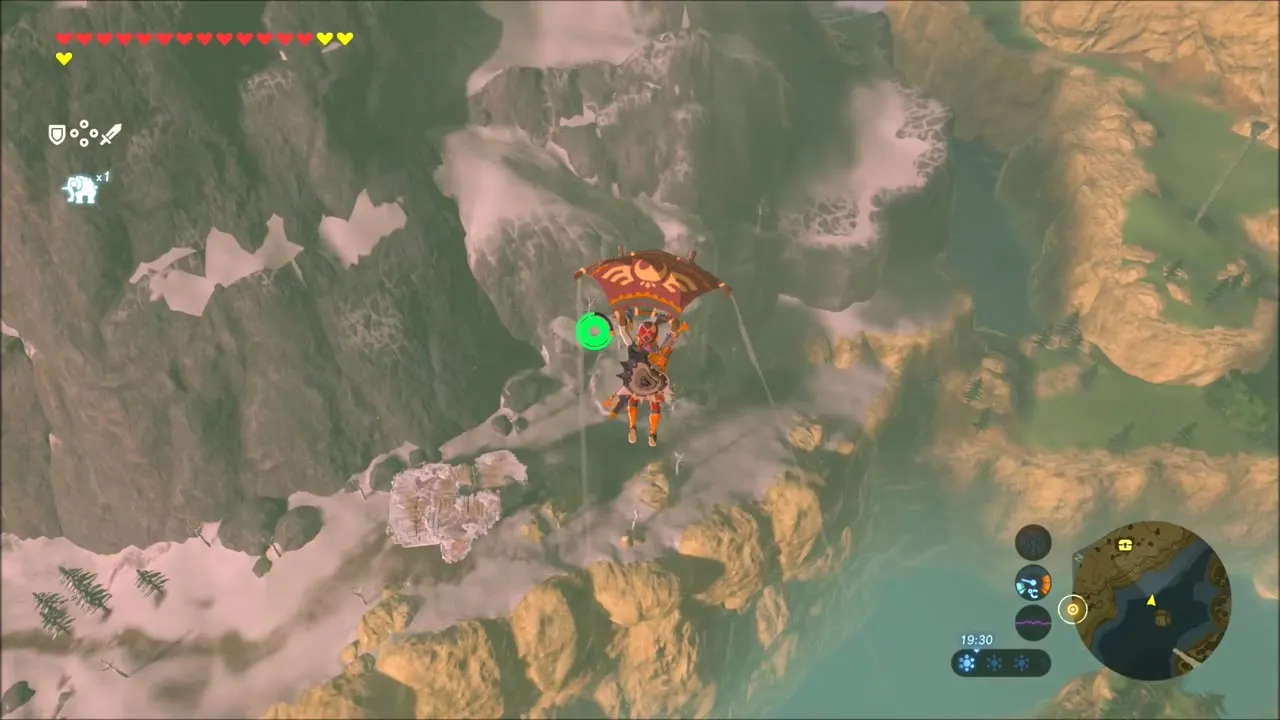
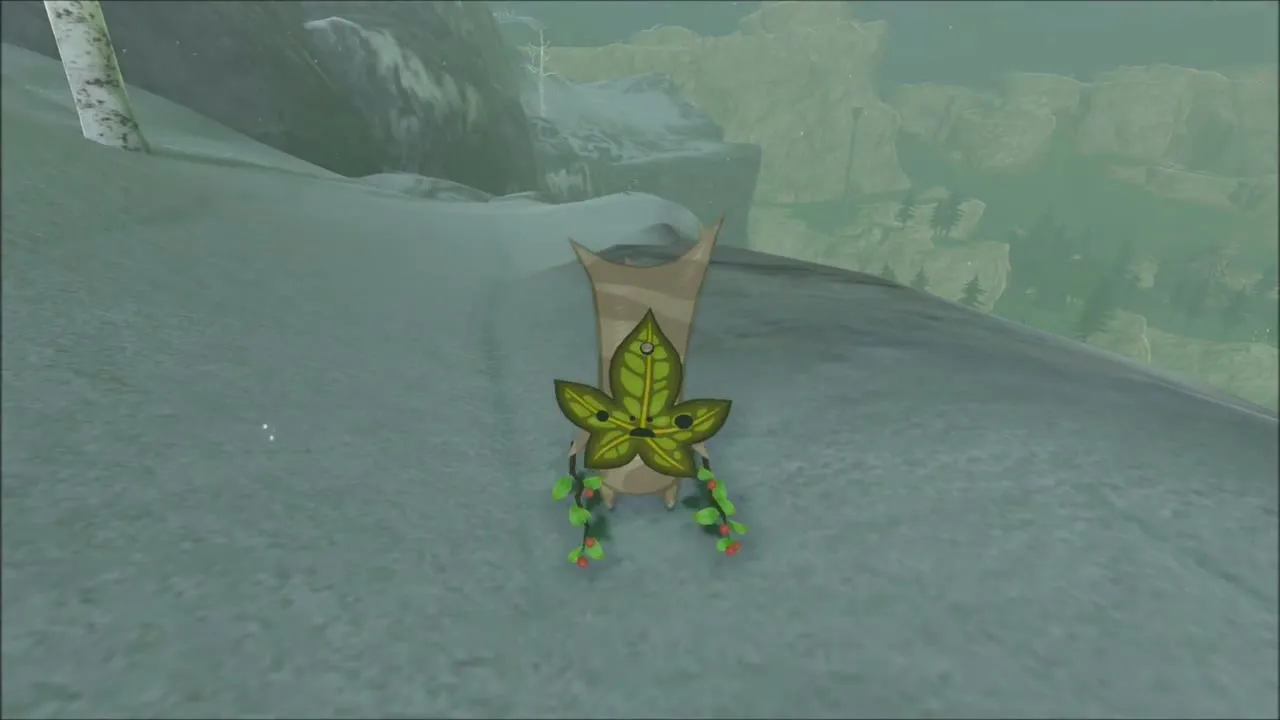
Launch from the peak and glide over the snowy ridges of the Hebra foothills. On a snow-covered ledge, lift the lone boulder at the edge to uncover a Korok and earn a seed. The slopes are freezing, so switch to the Snowquill Tunic (or another cold-resistant outfit) here, or you will start losing hearts to the cold.
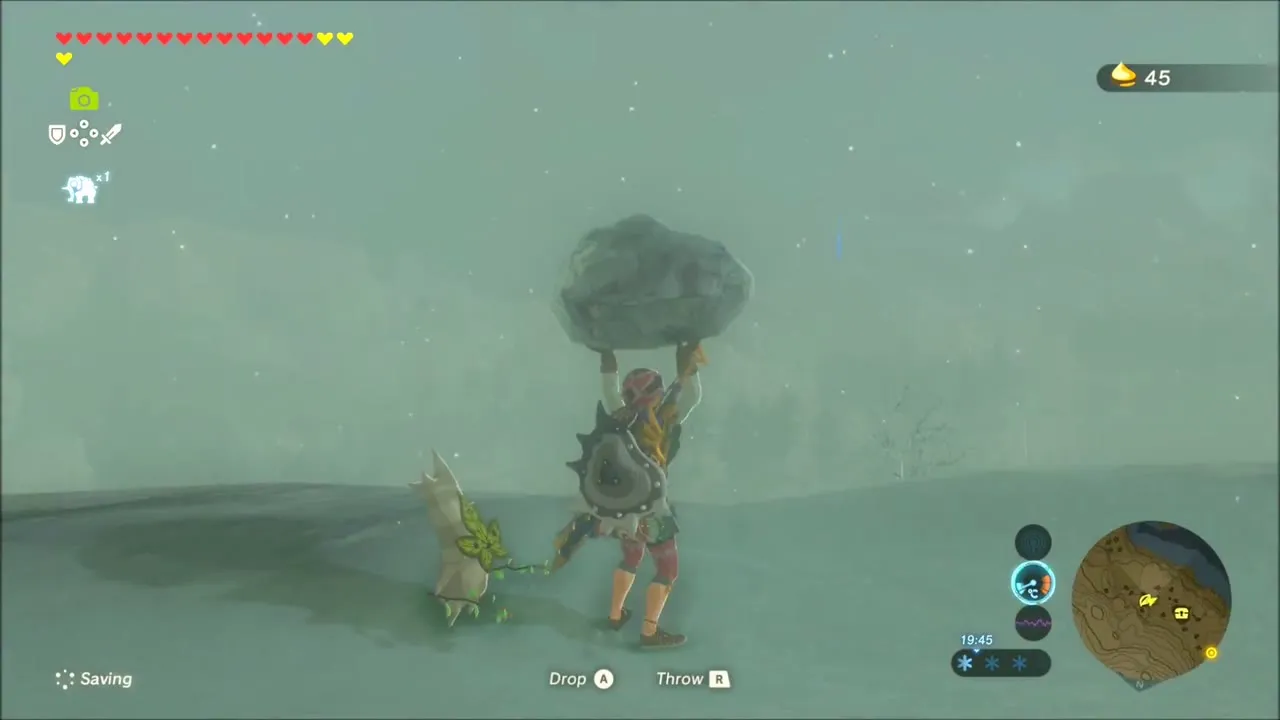
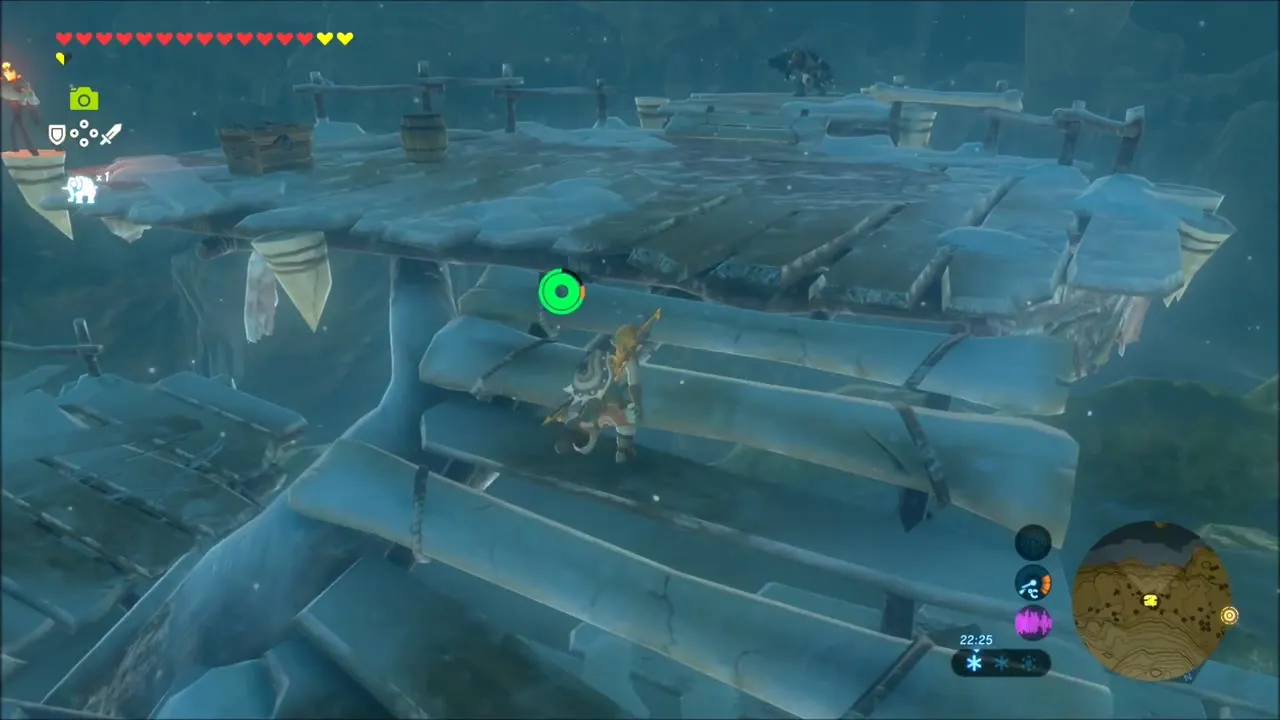
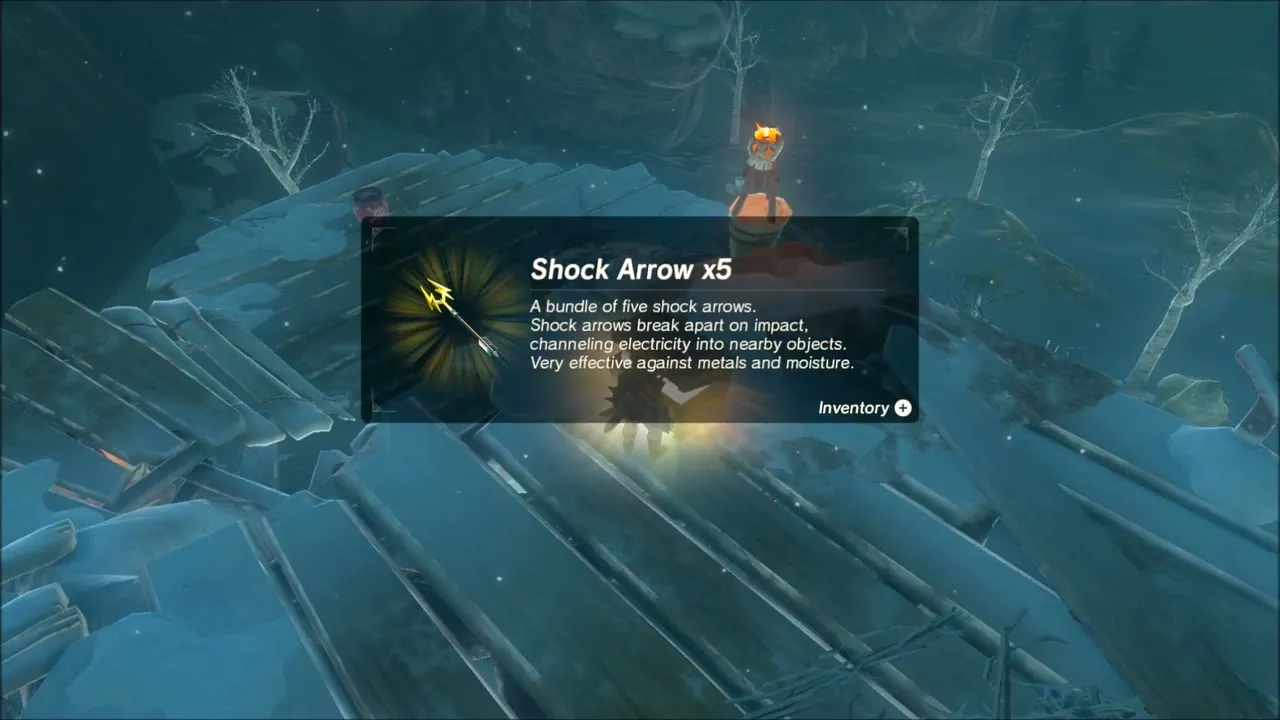
Follow the trail across the snow and past a wooden ruin. A chest on a wrecked wooden platform holds five Shock Arrows, and Ice Keese flap around the trail in the dark, so cut them down for their wings.

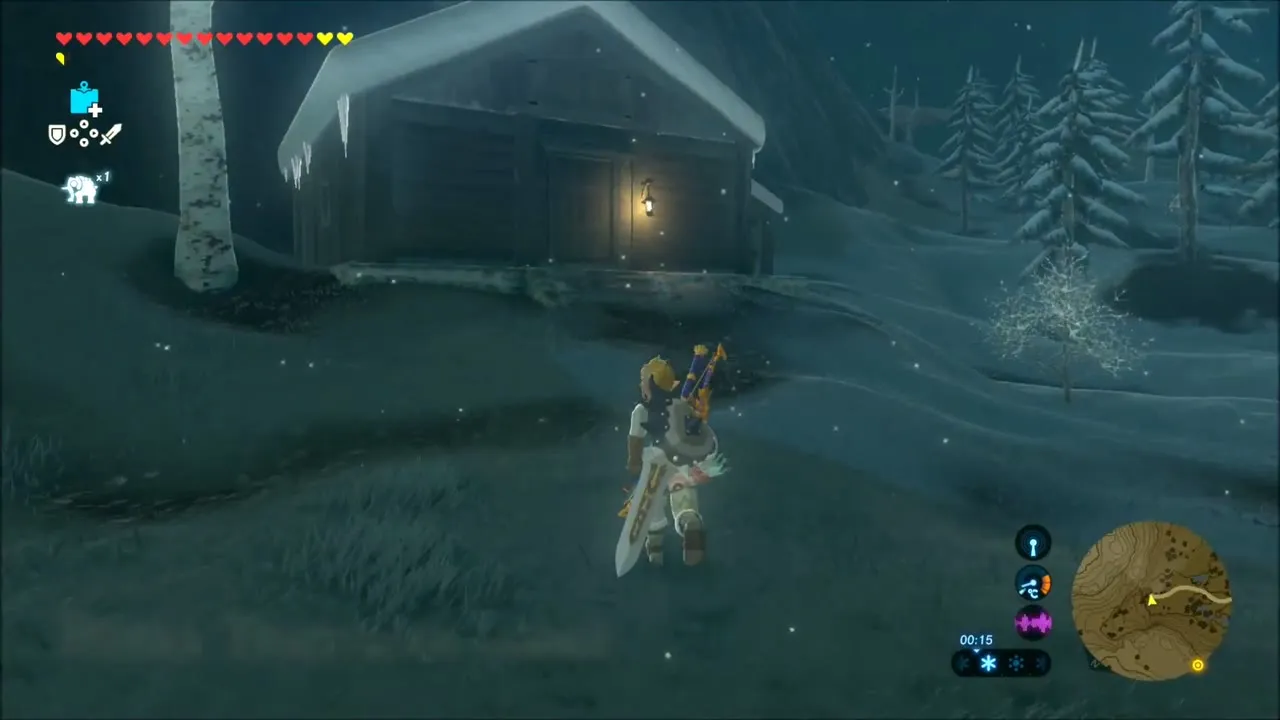
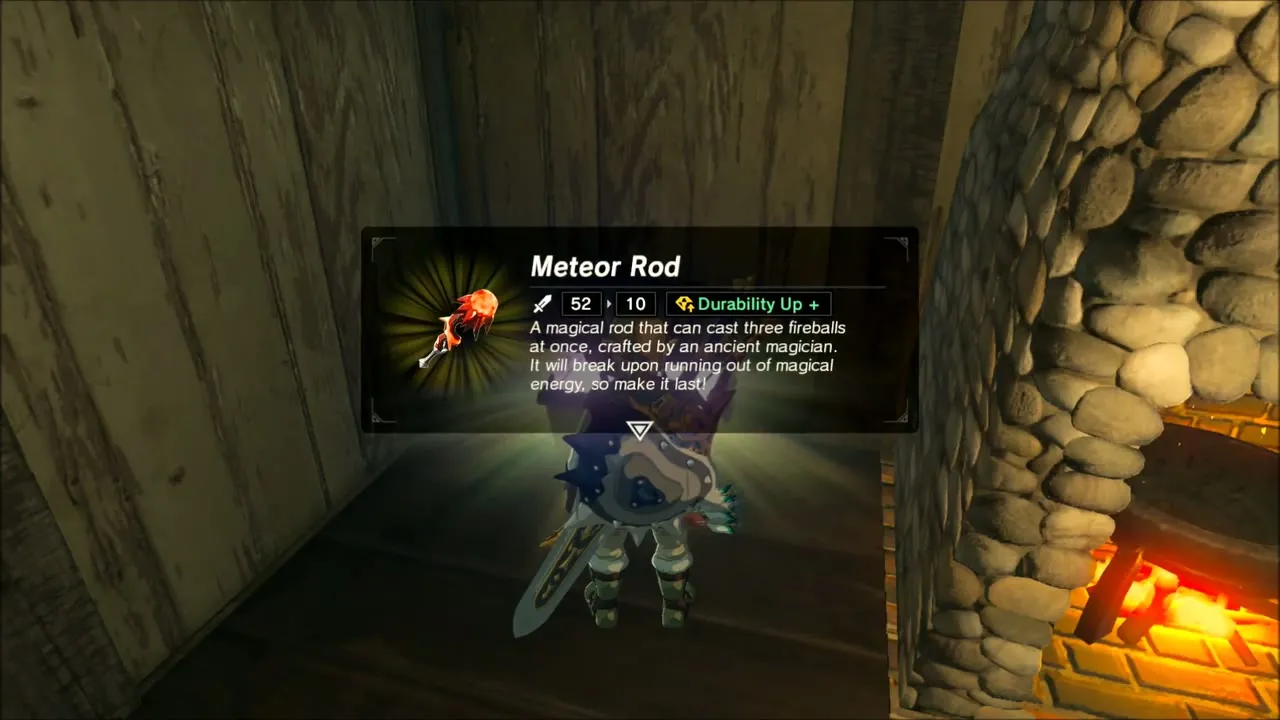
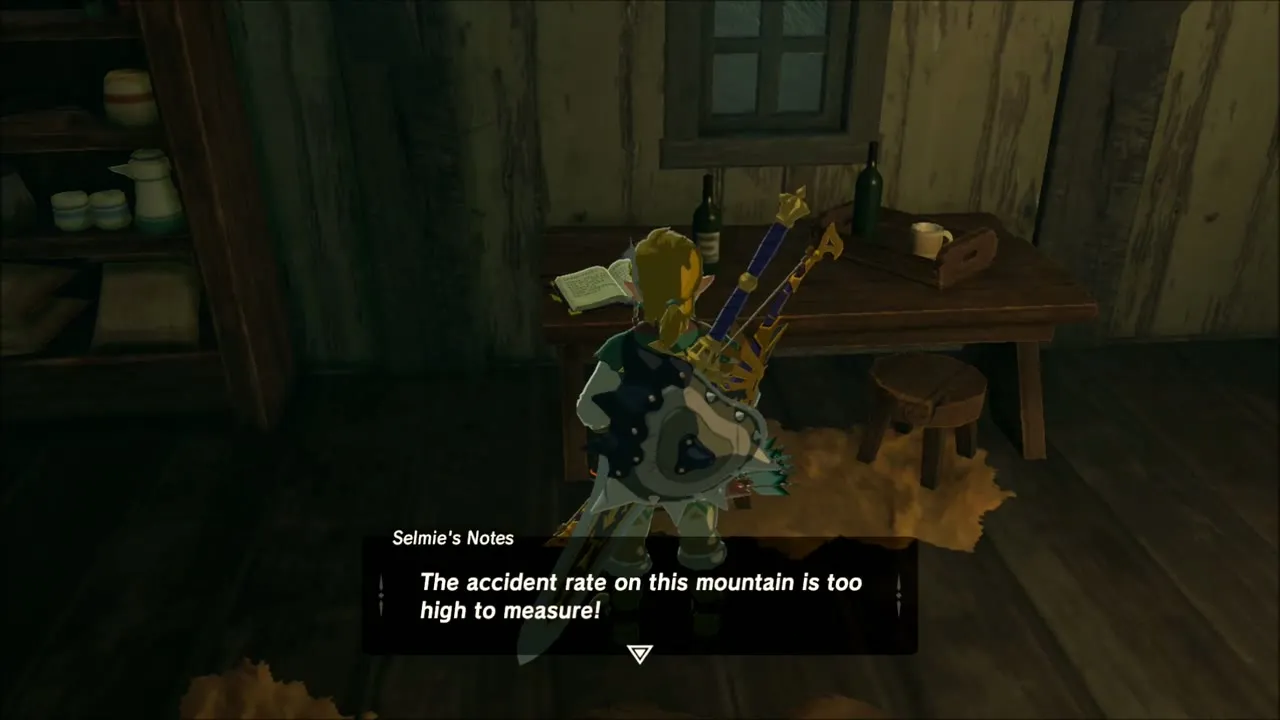
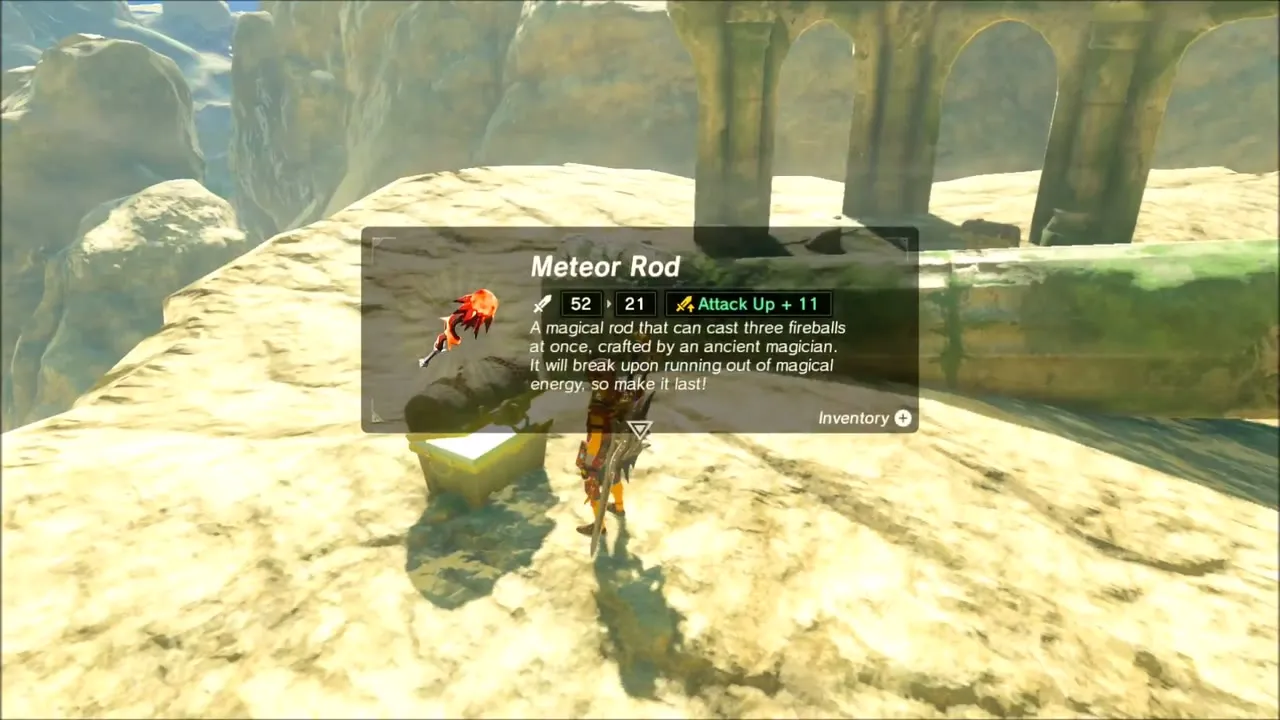
Farther along, a log cabin with a fireplace stands beside the trail. A chest inside holds a Meteor Rod, and the notes lying on the table are a mountaineer’s diary signed Selmie.
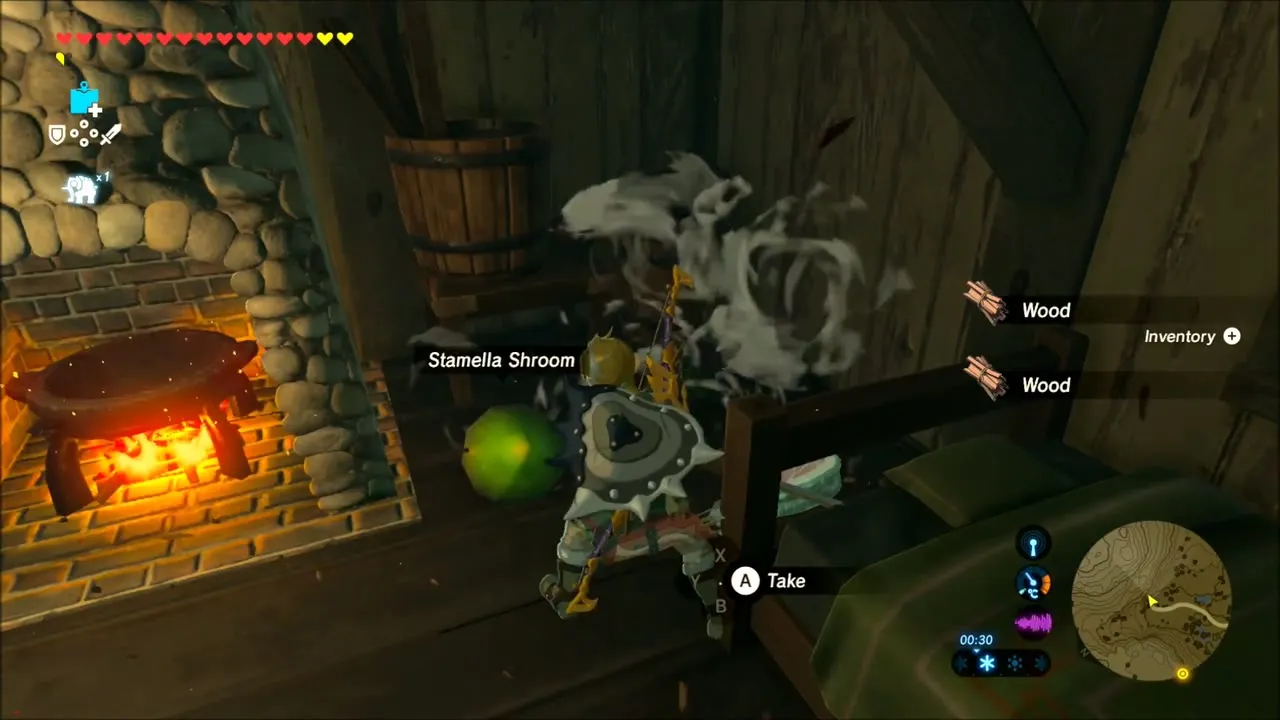
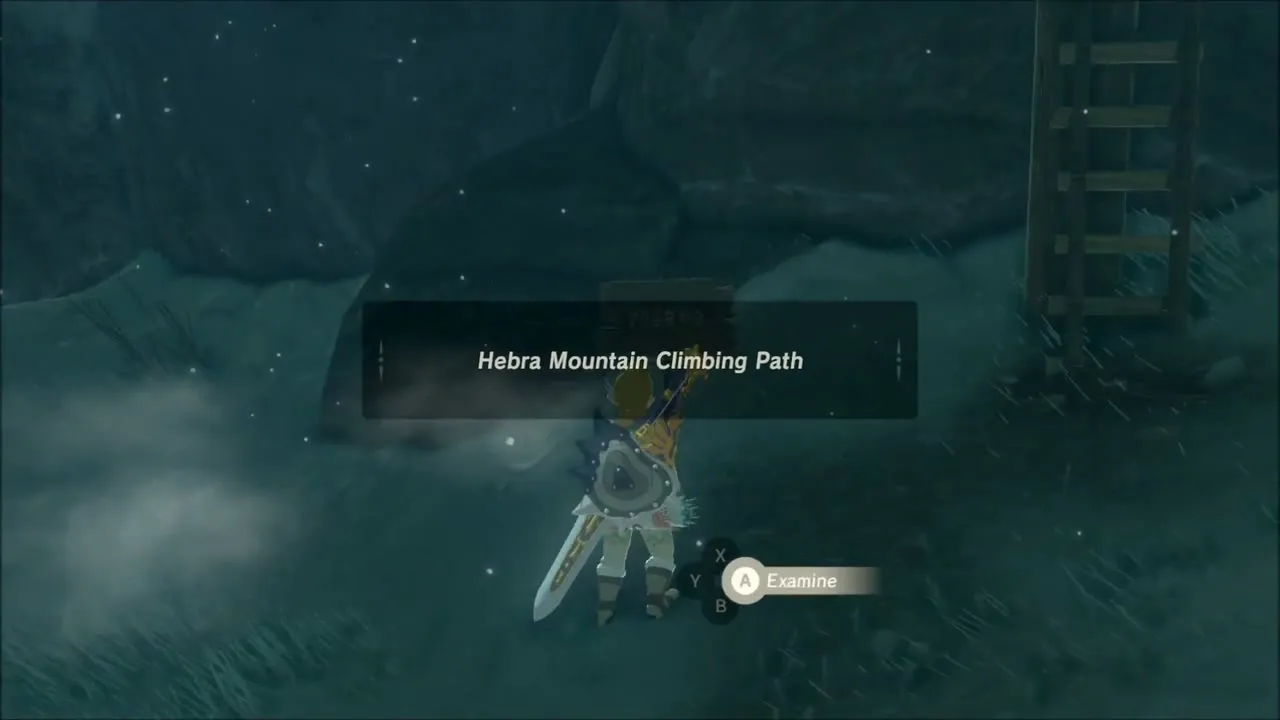
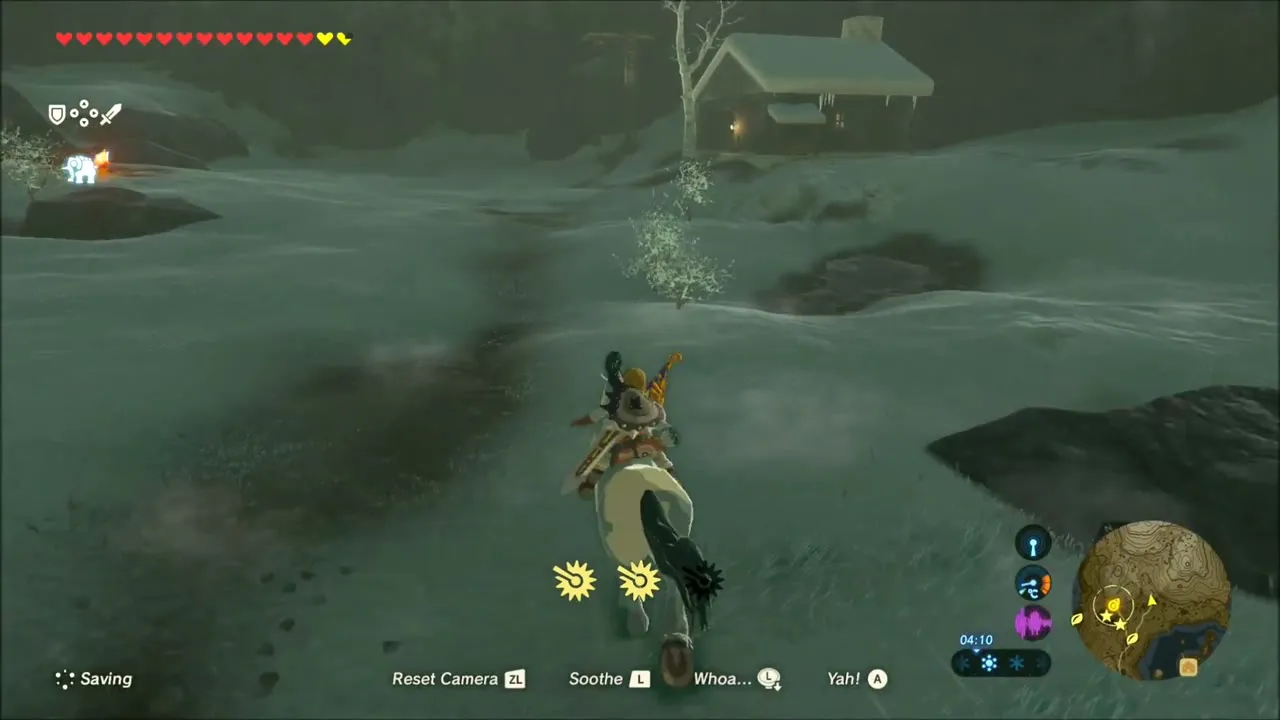
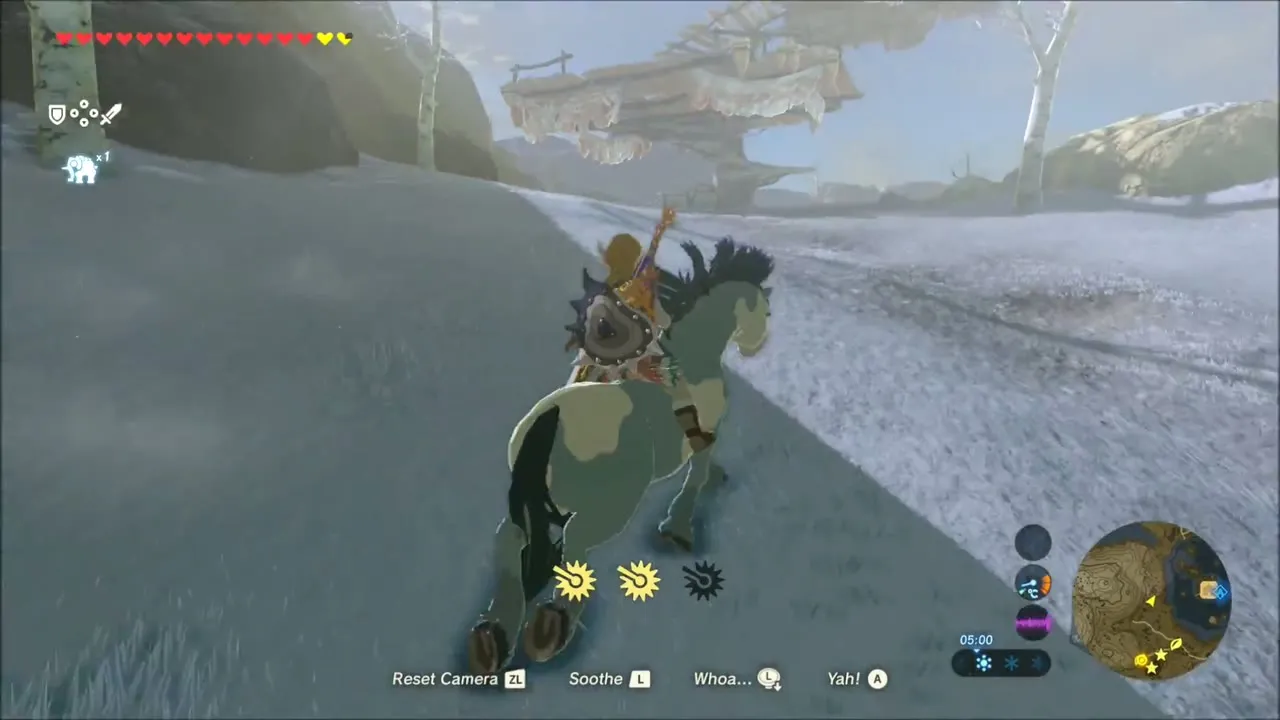
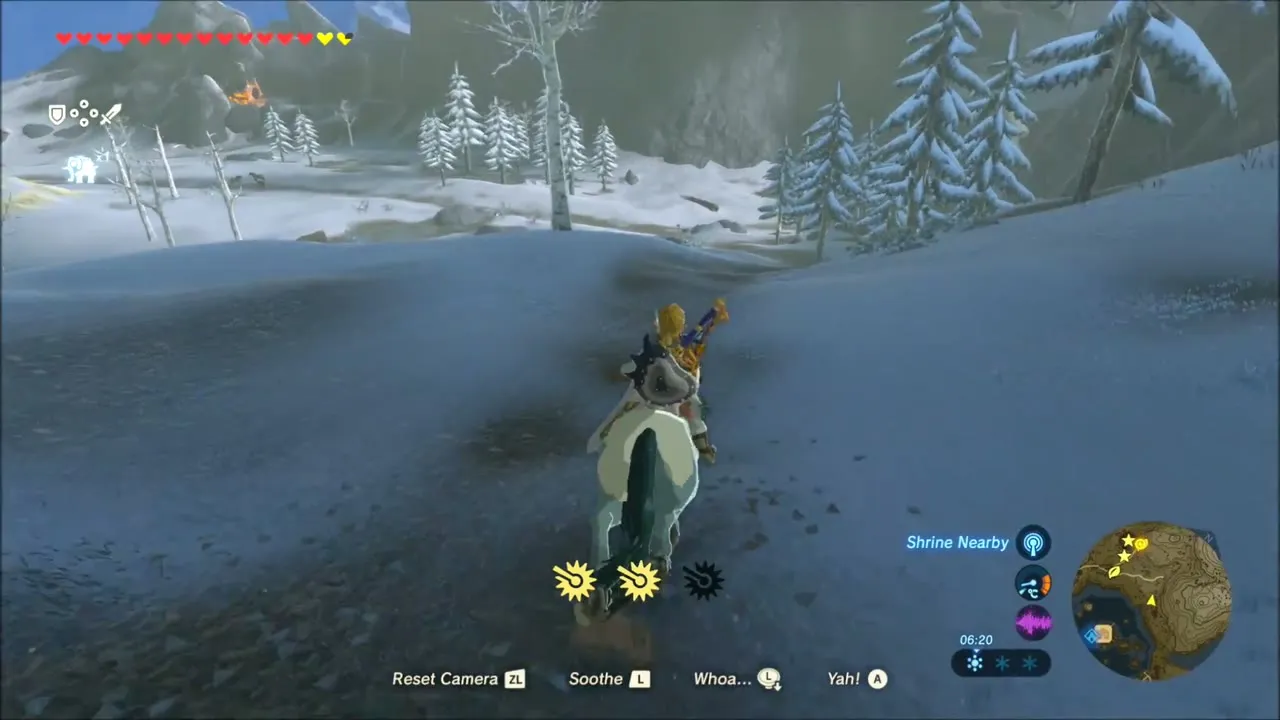
Mount a horse and follow the Hebra Mountain Climbing Path toward the Flight Range. Bokoblins patrol the route, so be ready to deal with them from the saddle. The road passes the shrine you want next, on the north side of Lake Totori.
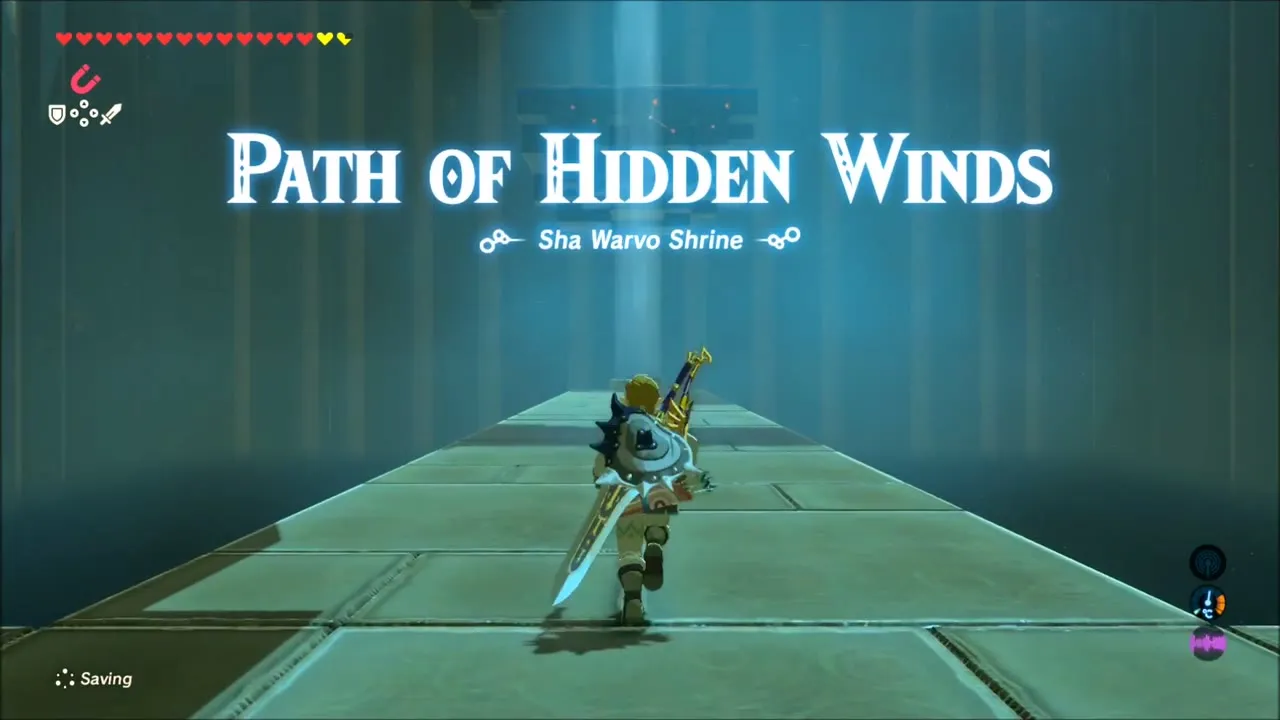
Sha Warvo Shrine: Path of Hidden Winds
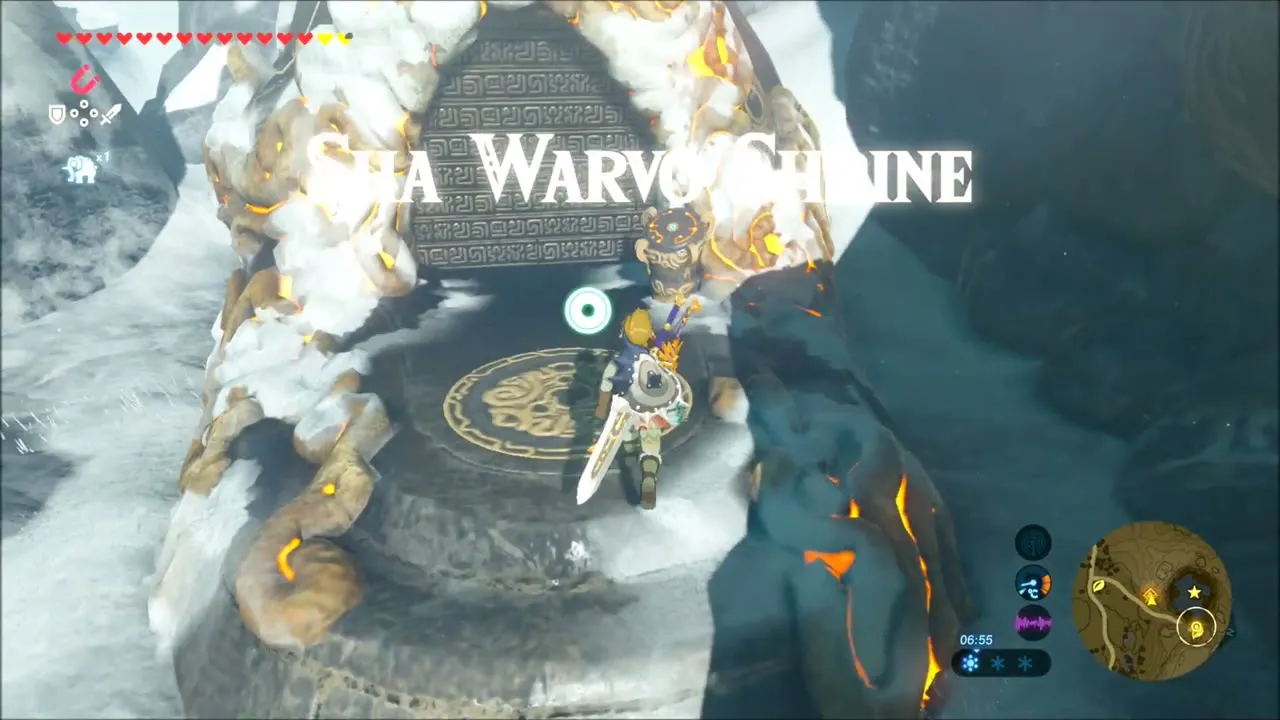
Sha Warvo Shrine (x -3822, z -2207, height 278) sits on the edge of the Flight Range. The trial is called Path of Hidden Winds: a bare hall ends in a pit with an updraft, and you have to paraglide from one gust to the next. Ride the first gust up, take the higher platform on the right, and bring down the Guardian Scout on the smaller platform to the left. The chest it guards holds a Purple Rupee.
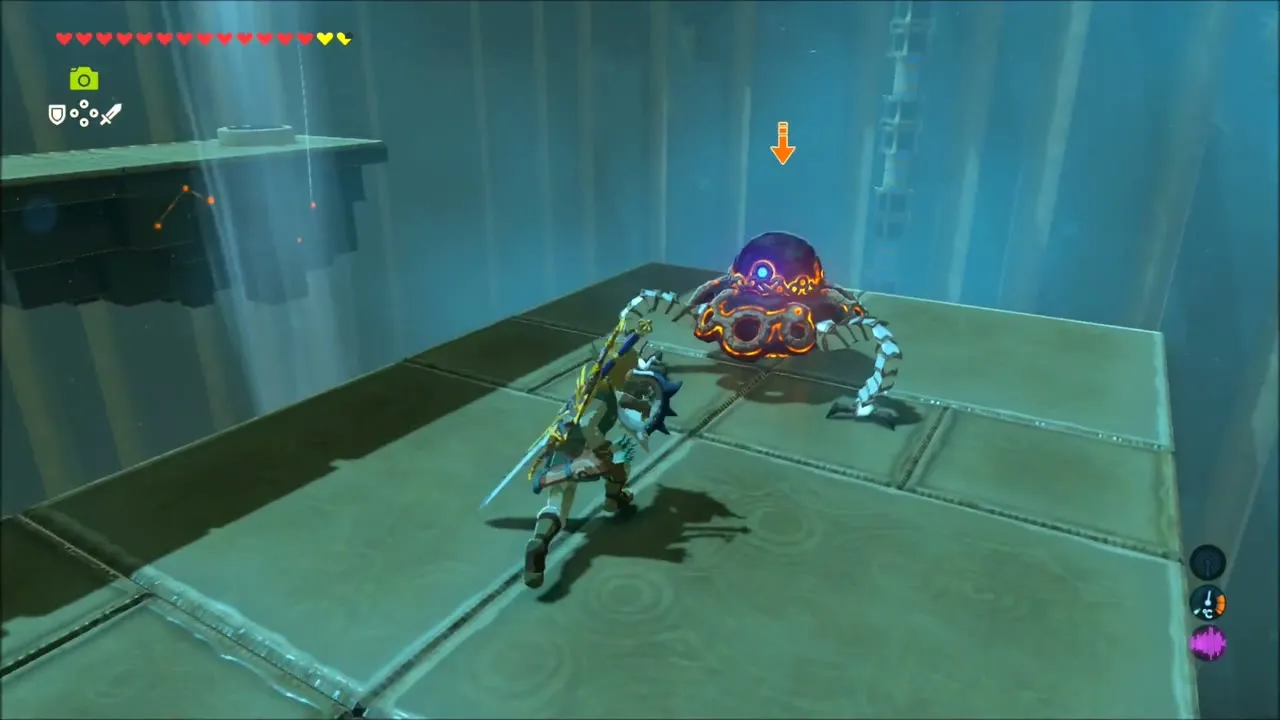
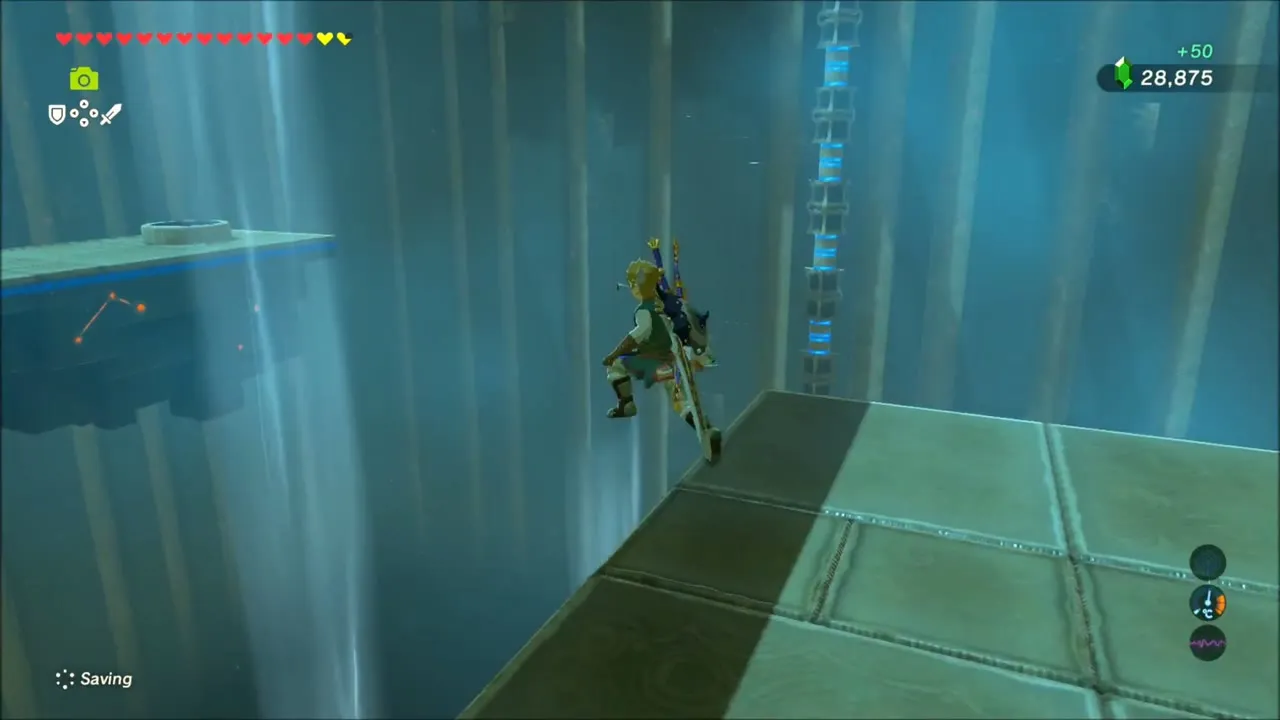
Wait for the small moving platform to swing in range, land on it and climb the ladder. The next gust does not quite reach the top, so glide around the pillar as you drop: there is a hidden opening on its back with a second gust inside that throws you onto the top. As you launch, look to the side for a tiny platform in the distance. The chest there holds a Knight’s Bow (tier set by difficulty scaling).
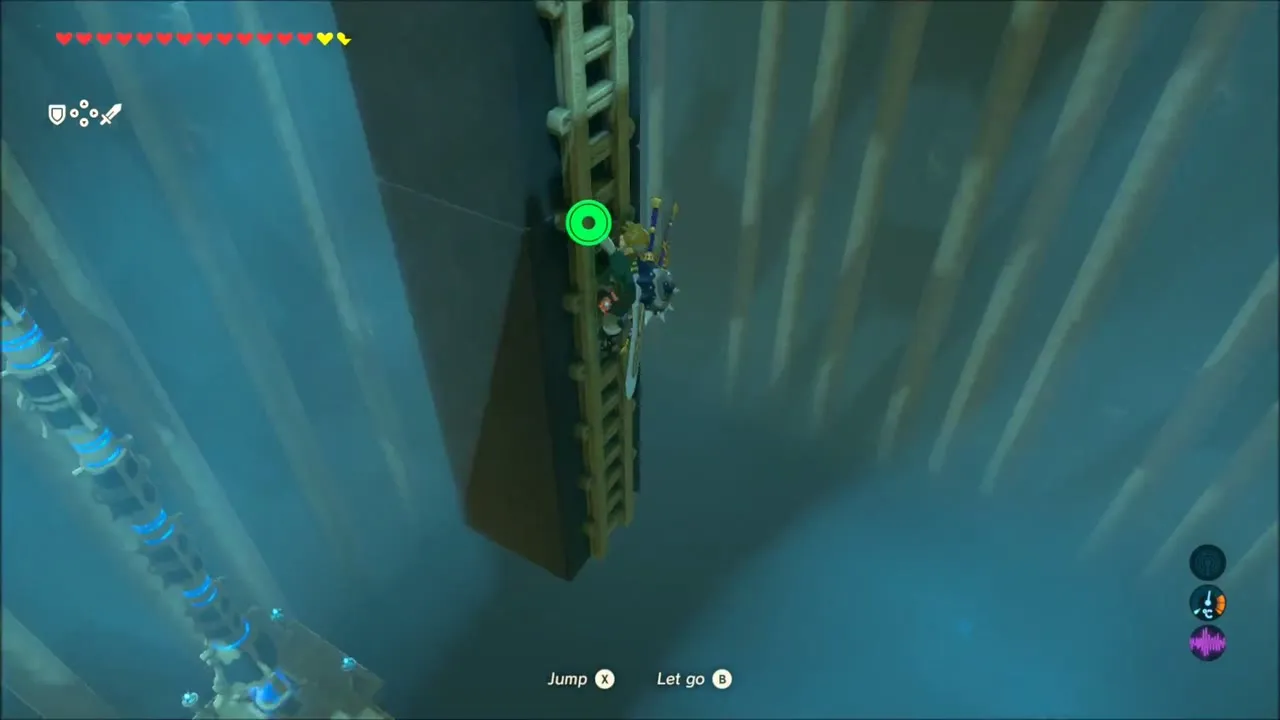

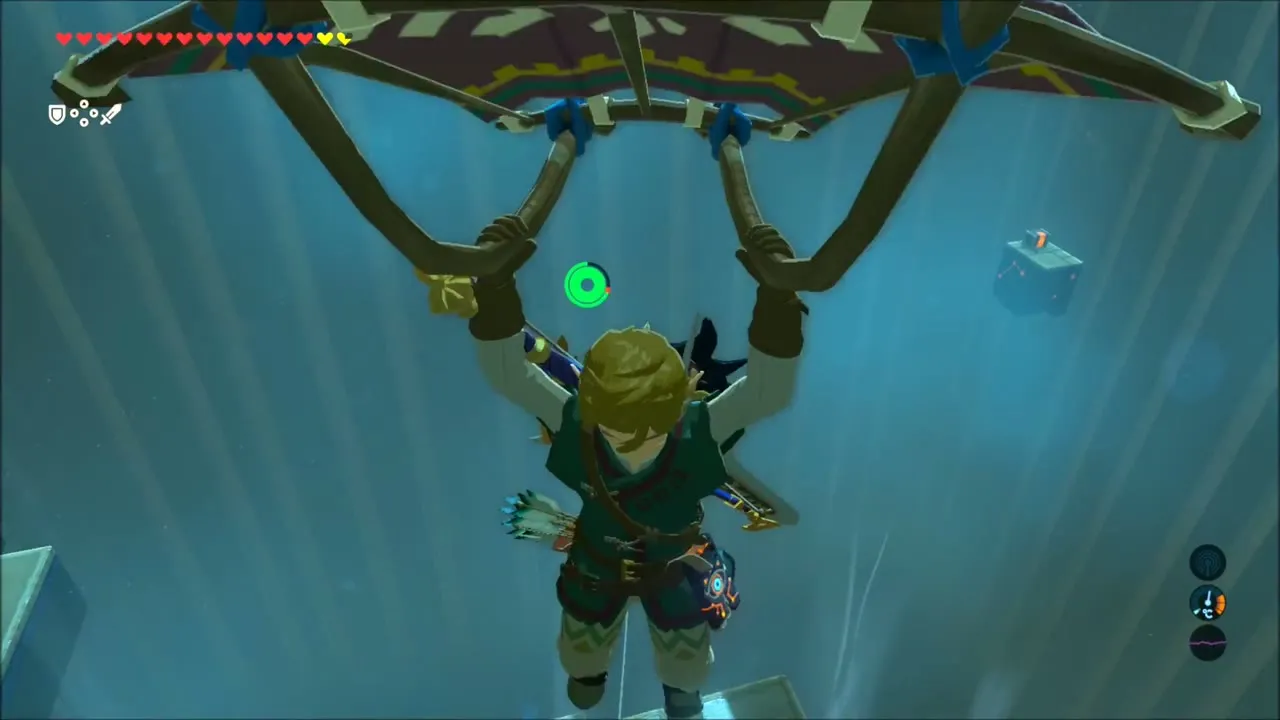
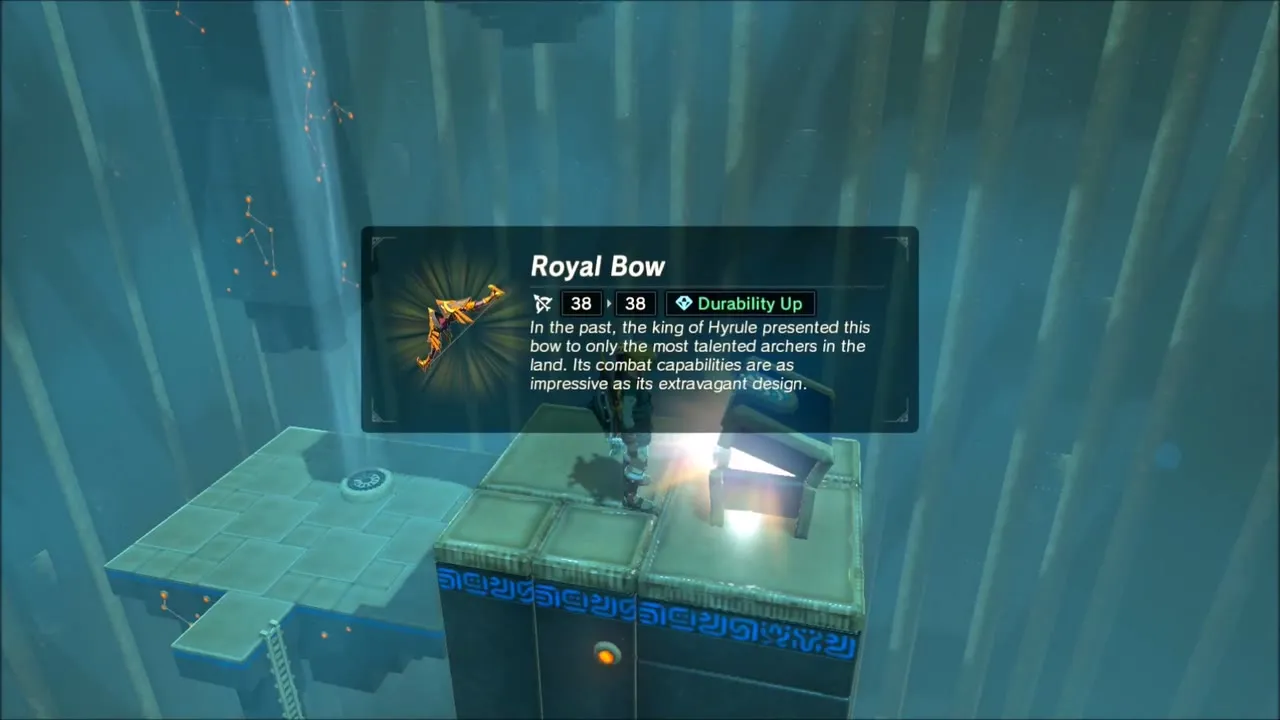
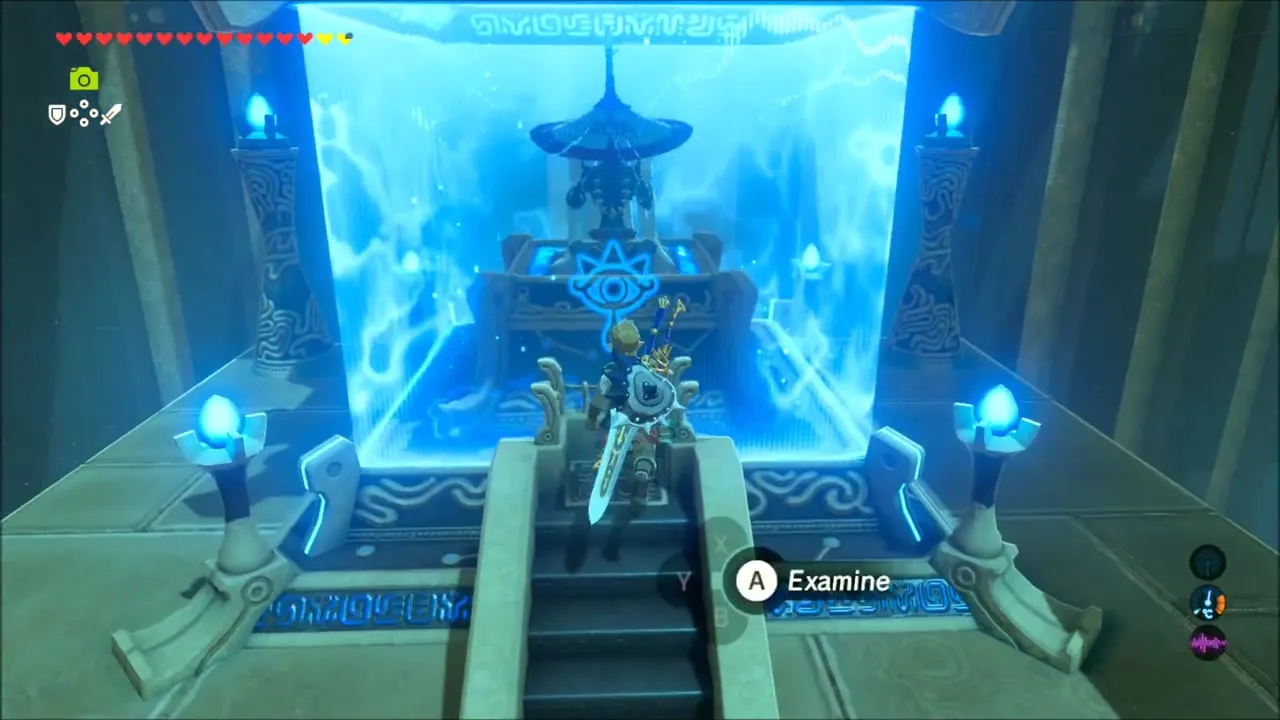
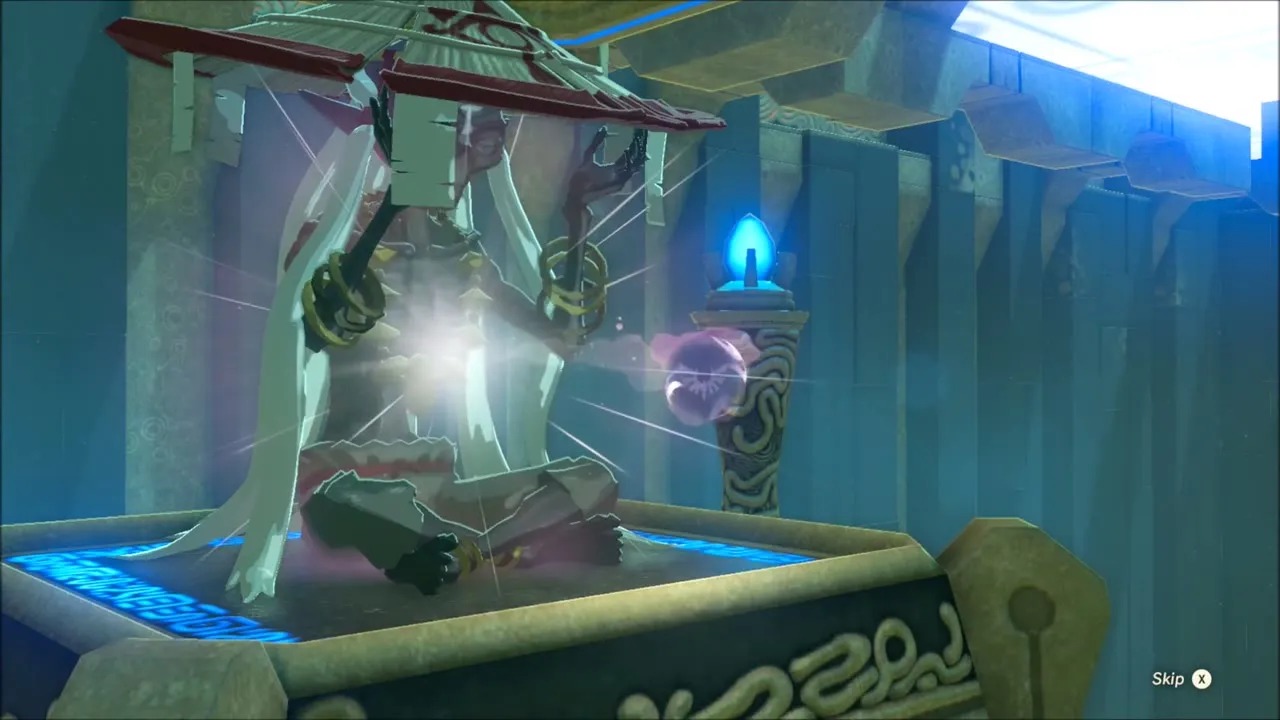
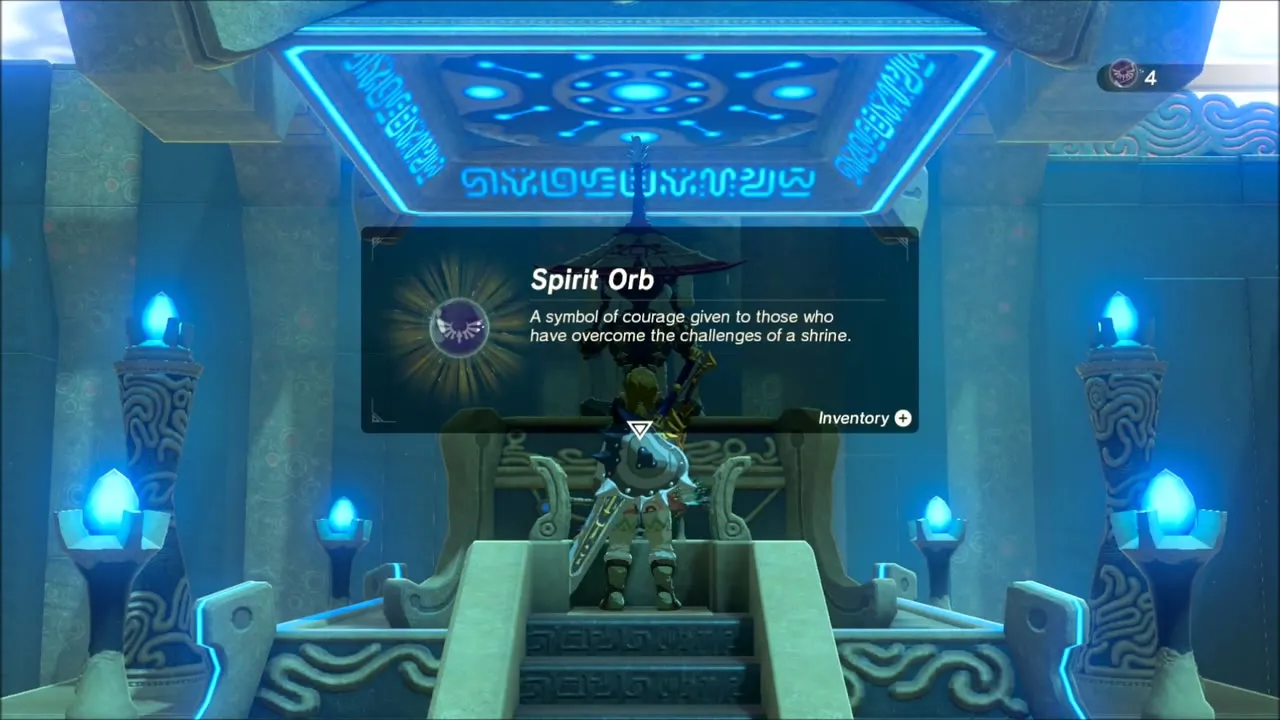
Finish by gliding up the central gust to Monk Sha Warvo, who hands over a Spirit Orb.

Korok Seeds on the Way to the Flight Range
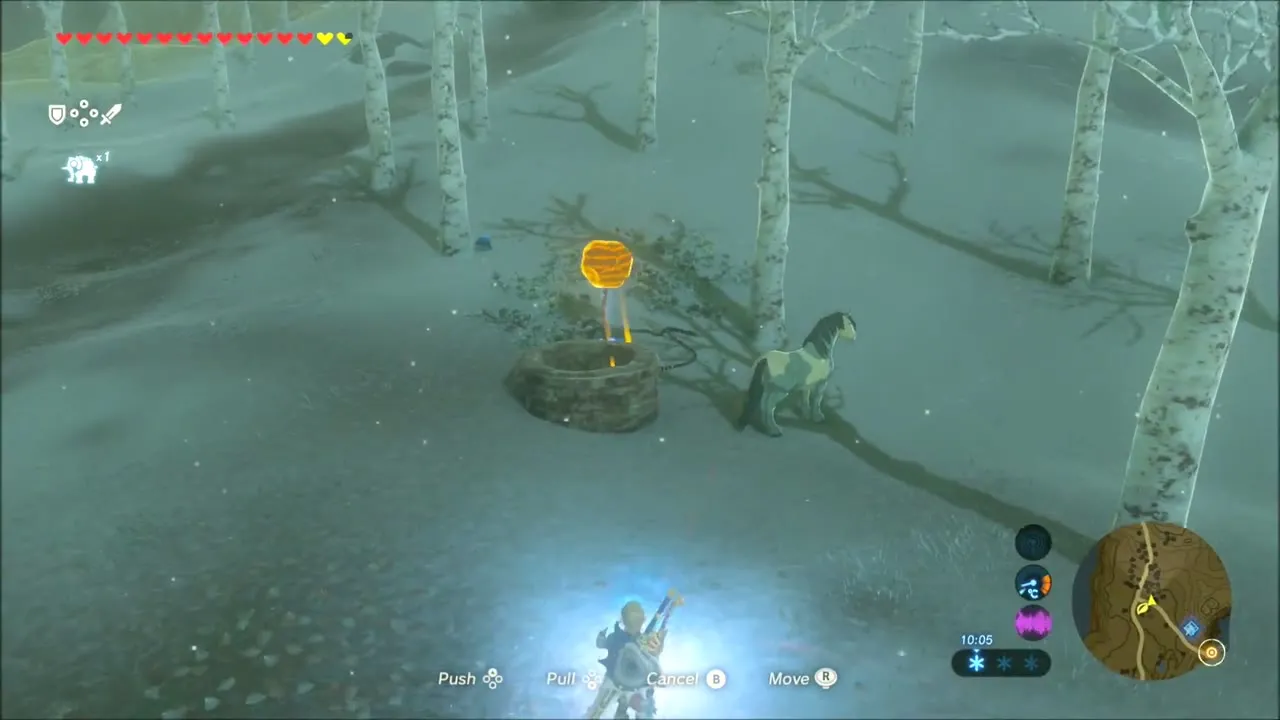
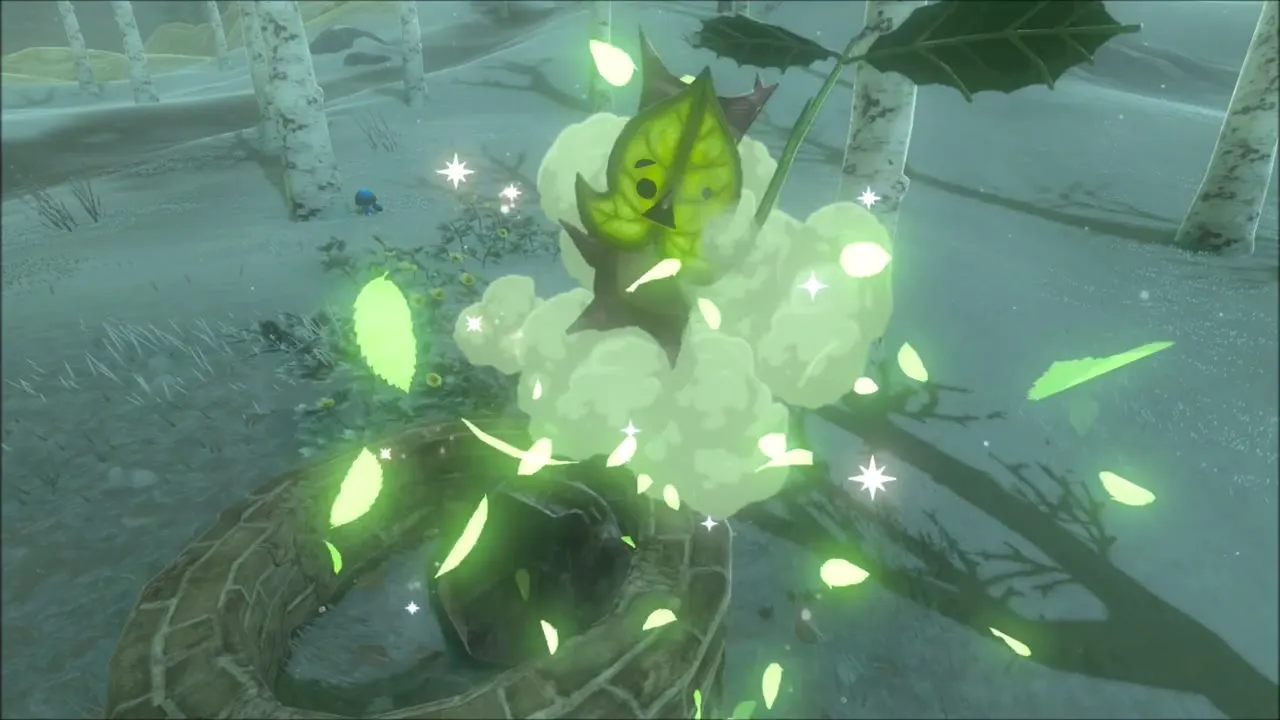
Ride on through the snow along the road below Dronoc’s Pass. A low circular stone ring sits beside the trail with a loose orange object next to it. Pick the object up with Magnesis and set it into the ring, and the Korok appears for a seed.
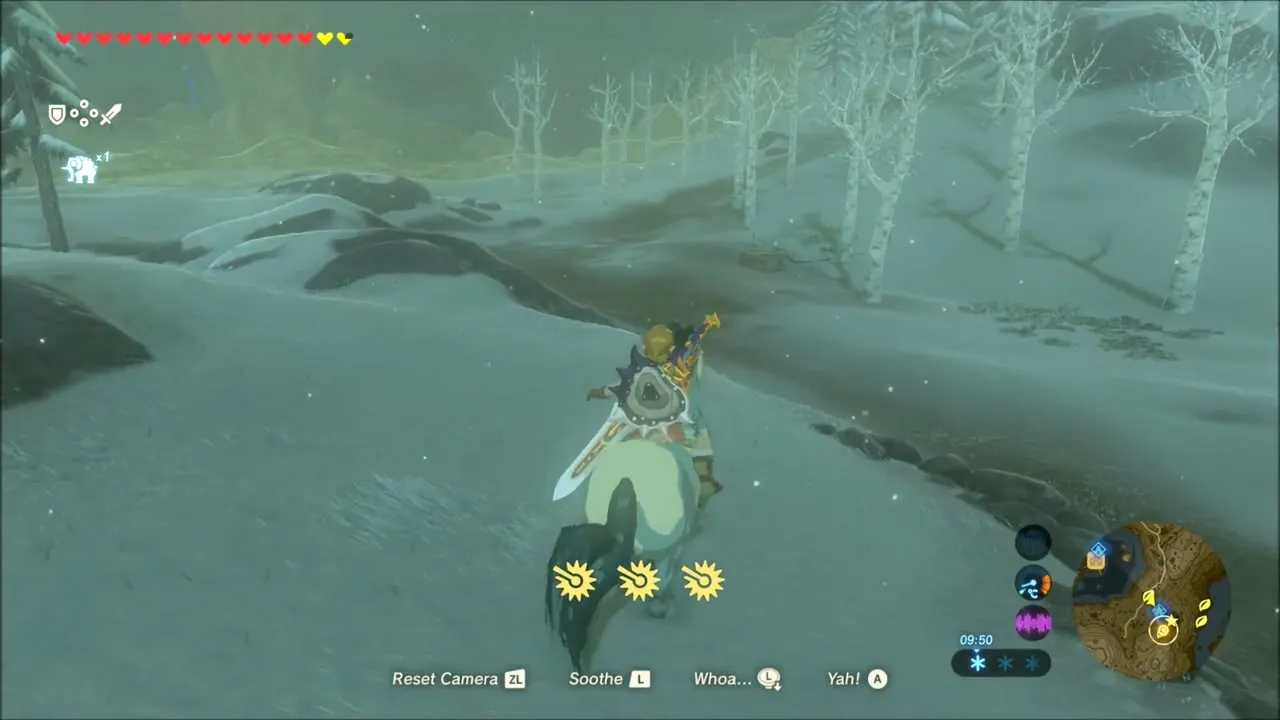
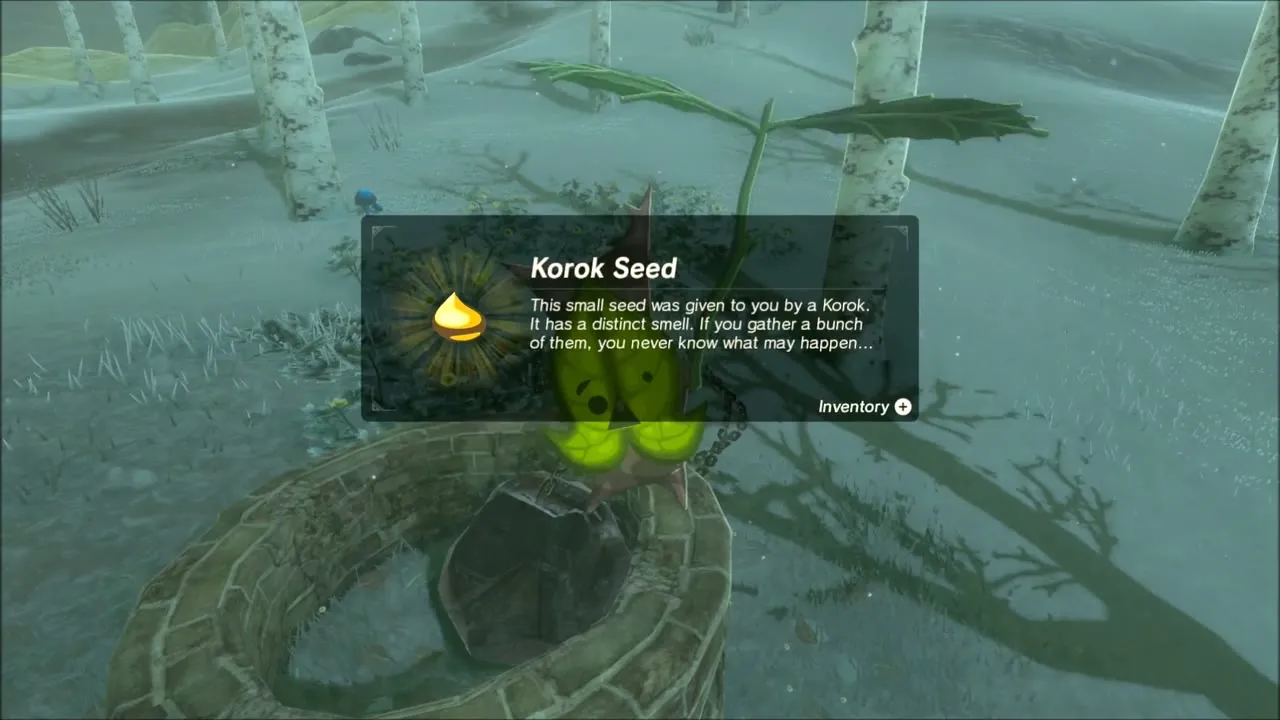
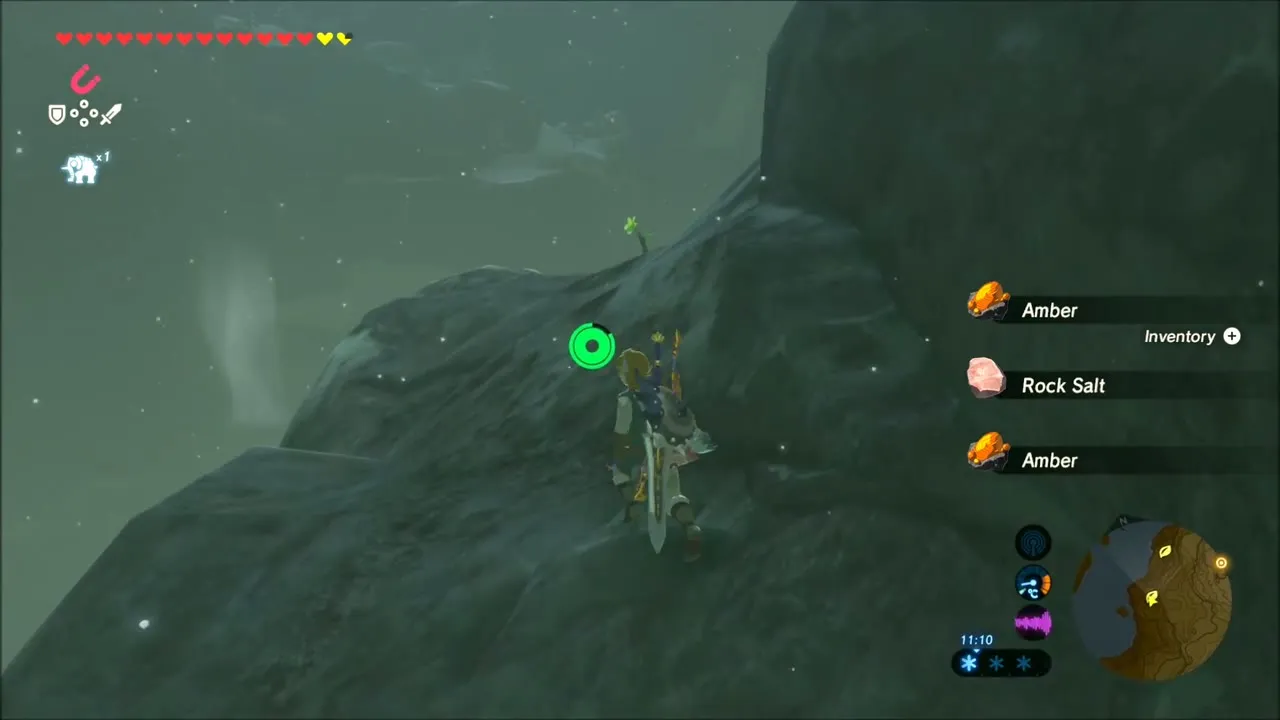
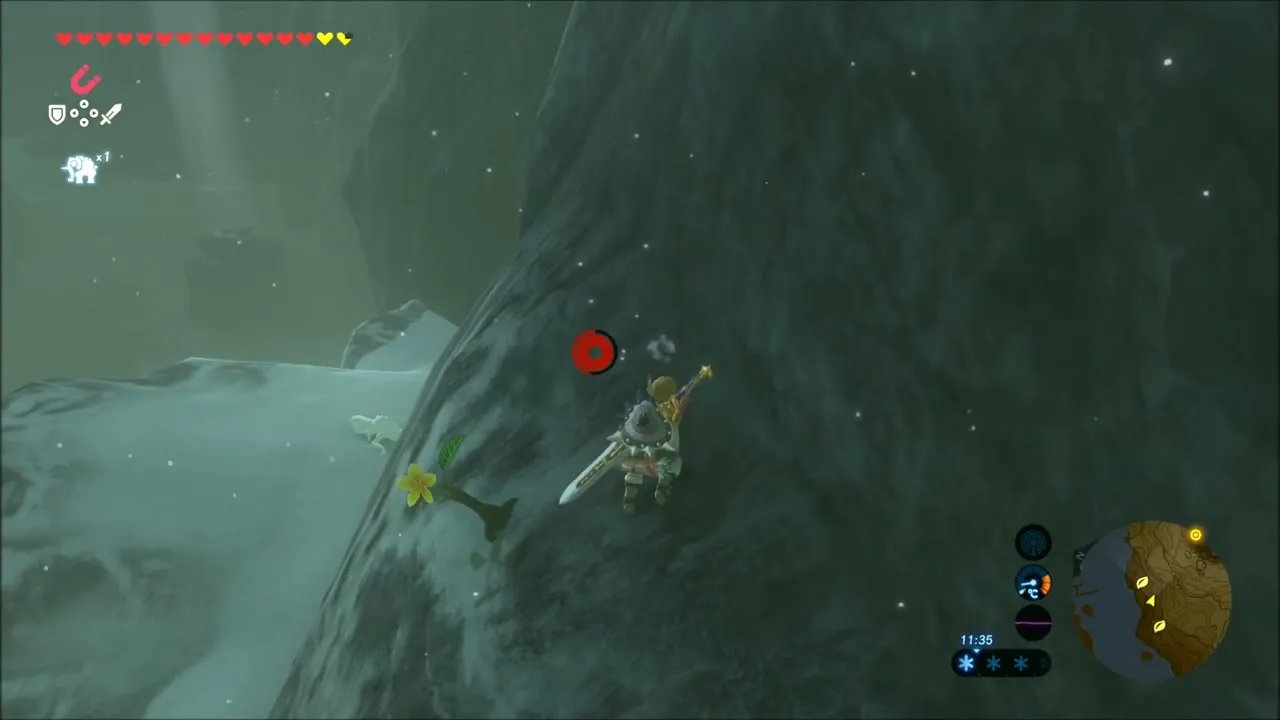
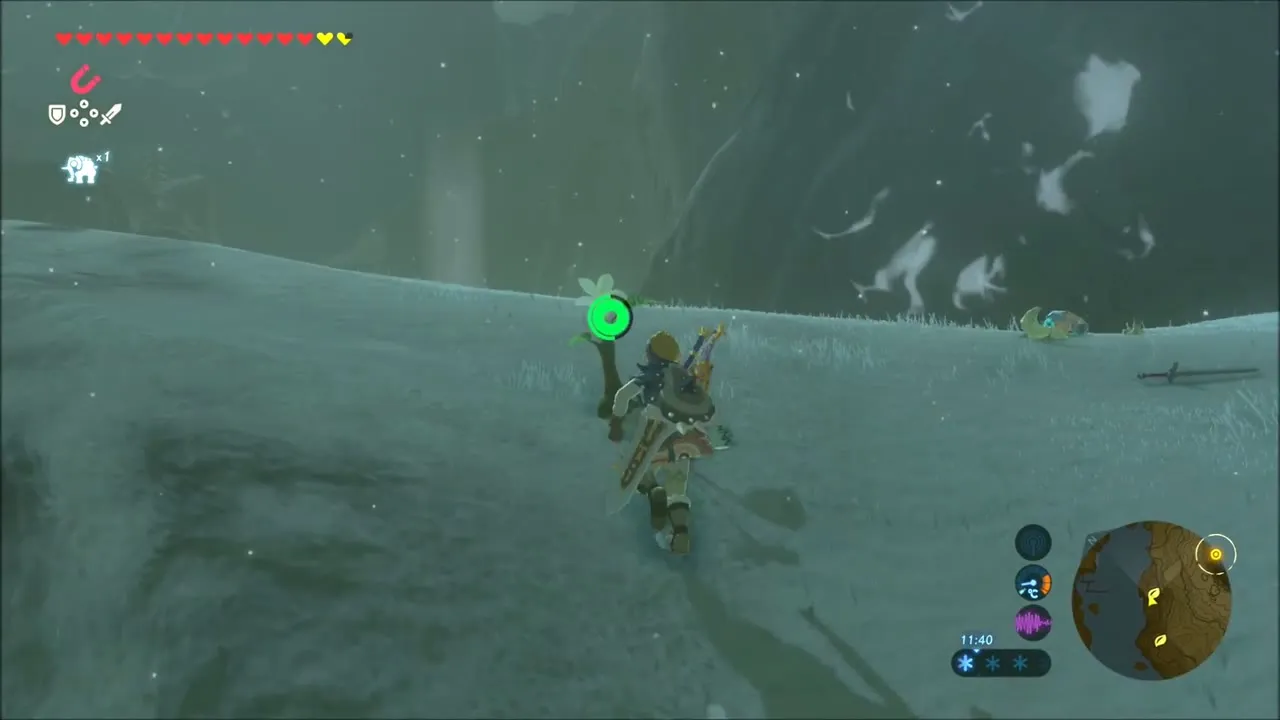
A little farther on, climb the steep snowy rock wall beside the road, where ore deposits drop amber and rock salt as you go. Near the top, a Korok is waiting on a ledge in plain sight: walk up to him for the seed.
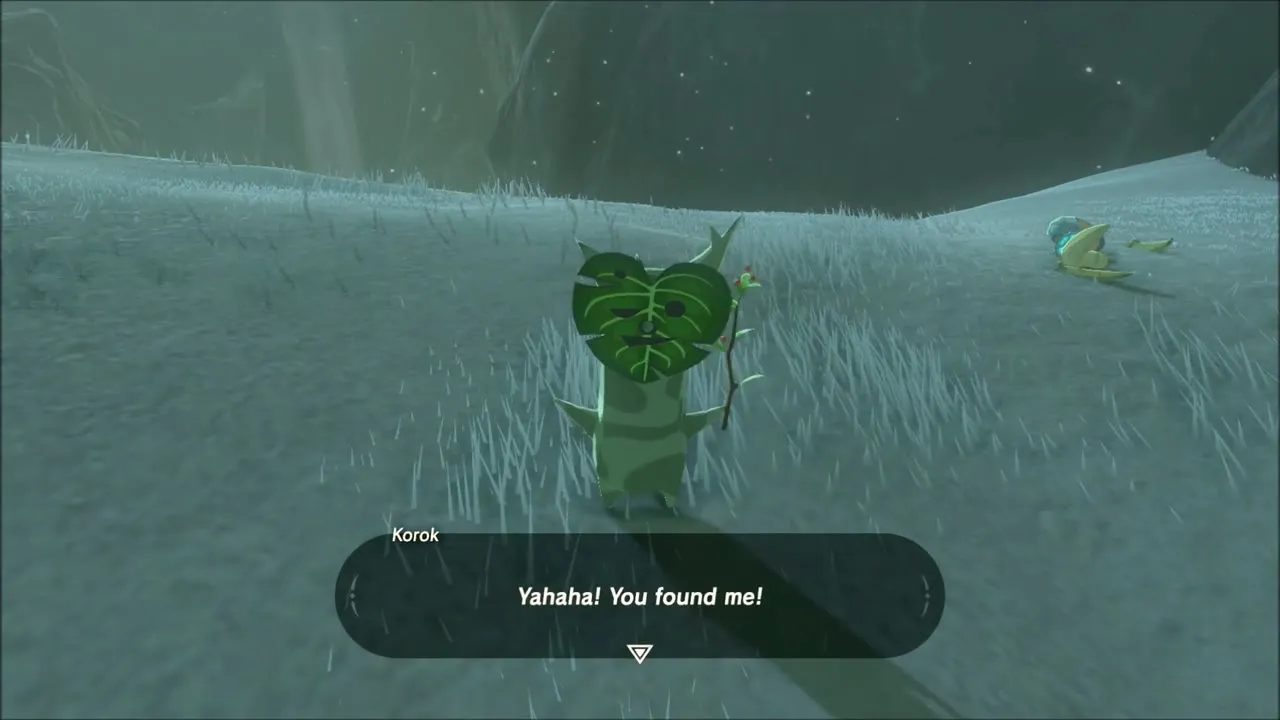
Flight Range: Teba’s Archery Test and the Falcon Bow
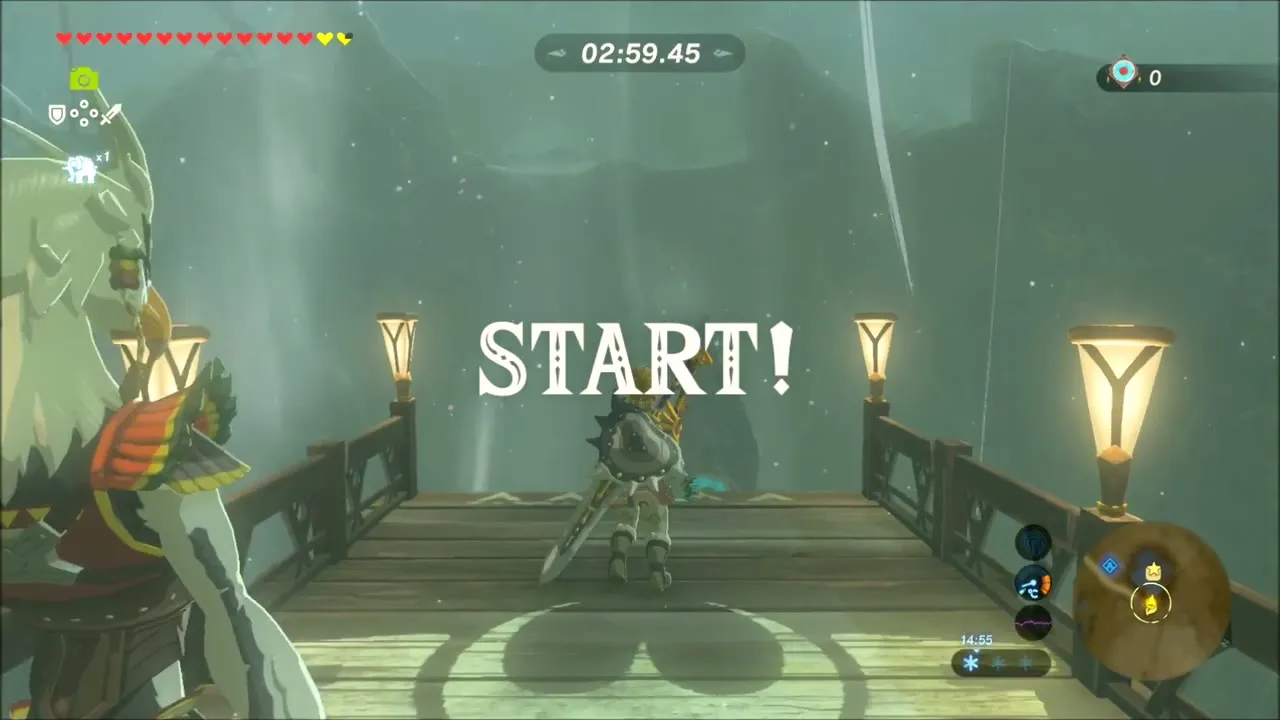
The Vah Medoh quest continues at the Flight Range, where Teba is waiting on the platform. He guesses that the Elder sent you to talk sense into him. He explains that only the Champions of old could enter the Divine Beasts and that the Rito train their aerial archery on the updraft in this ravine, then challenges you to prove you can shoot.

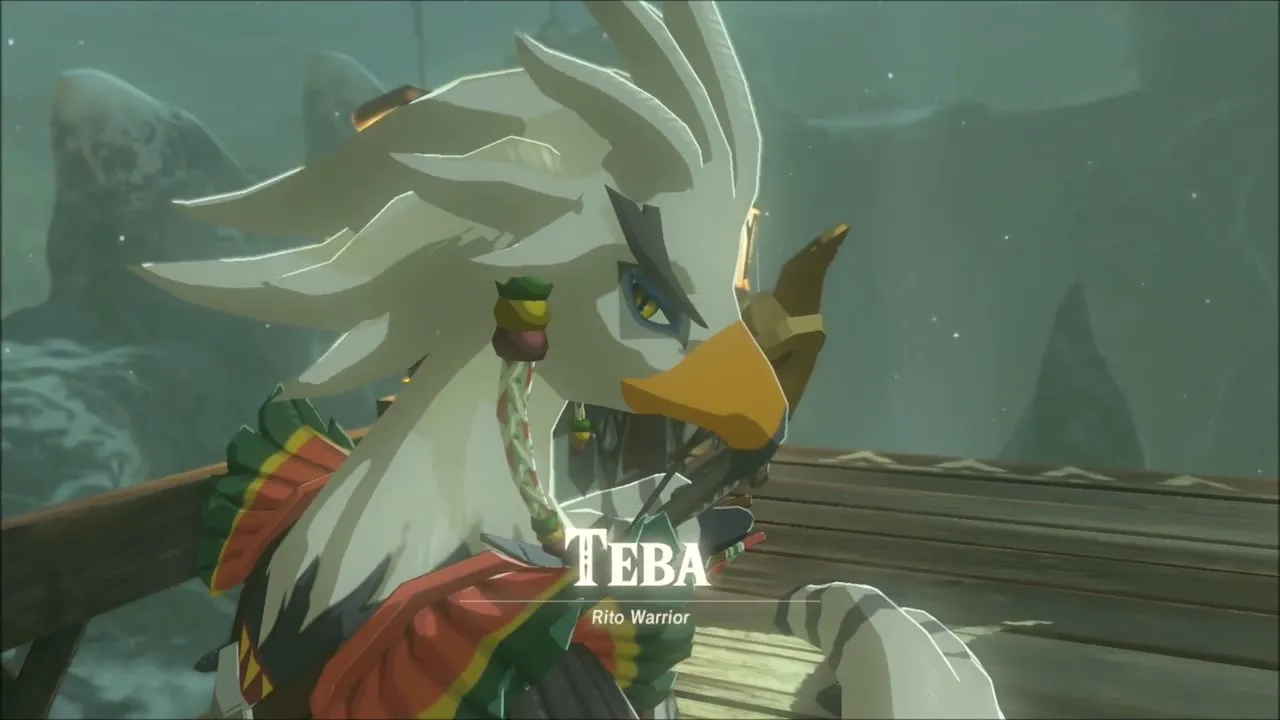
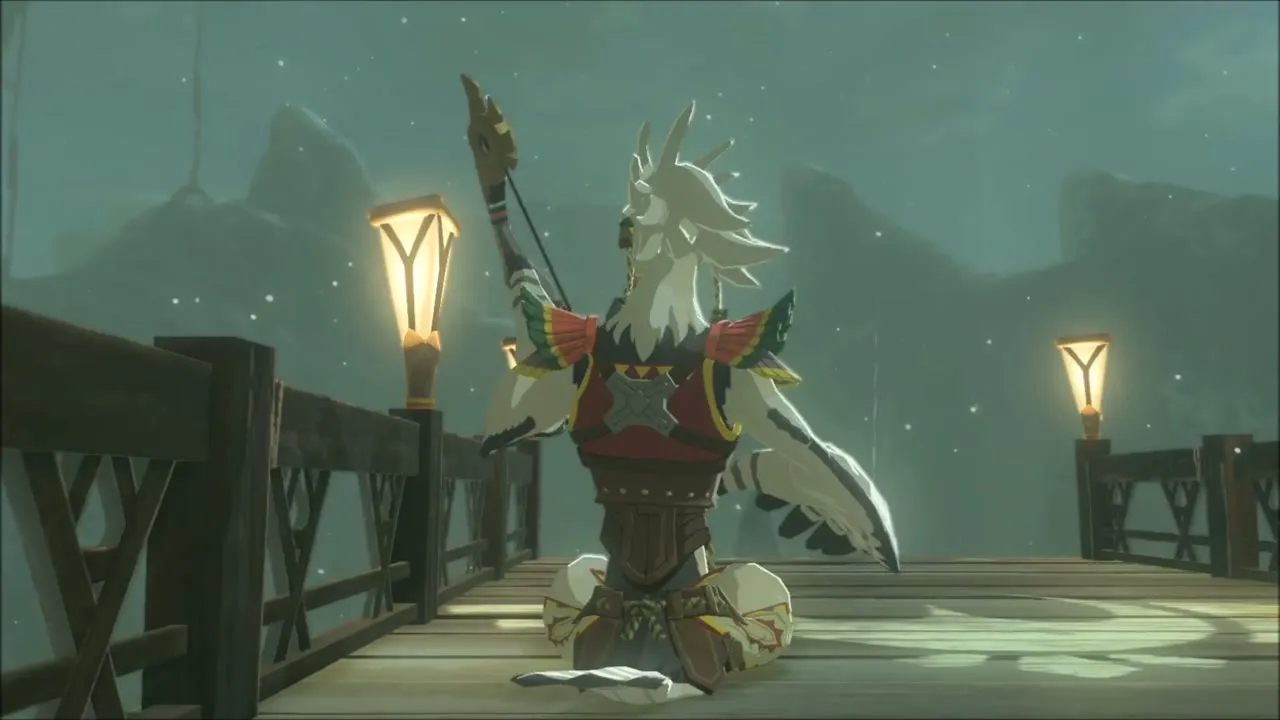
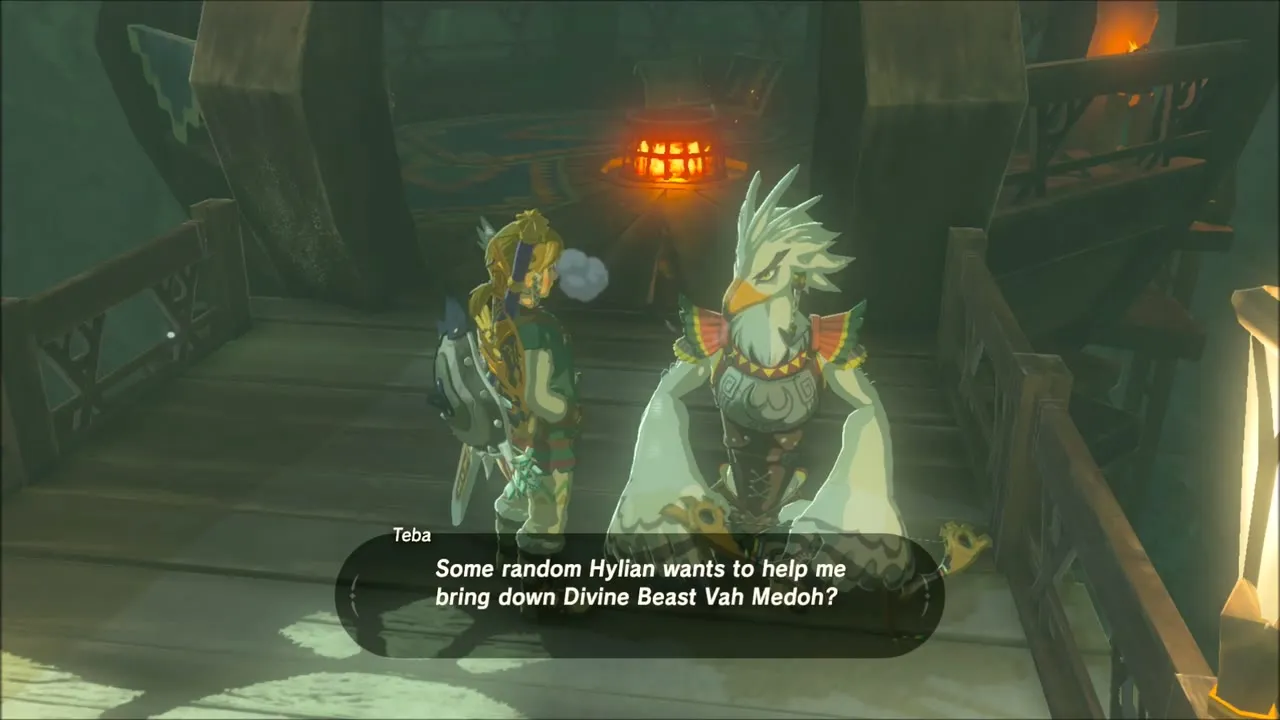
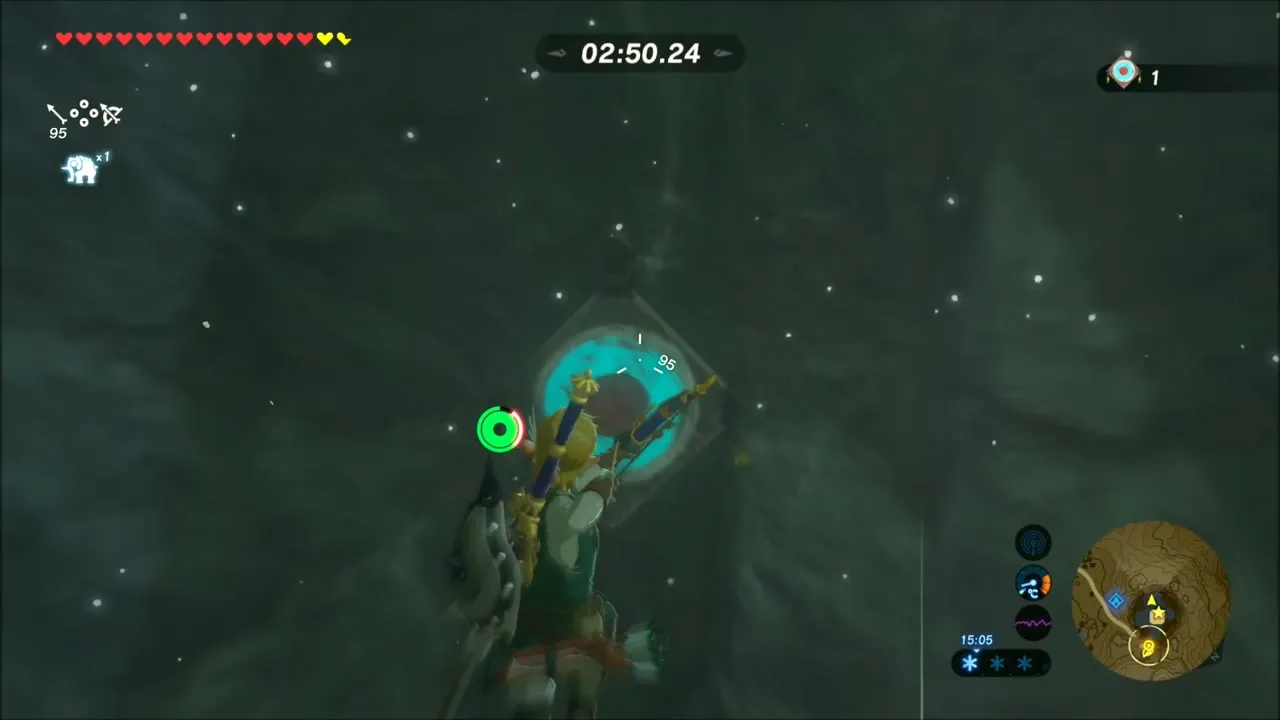
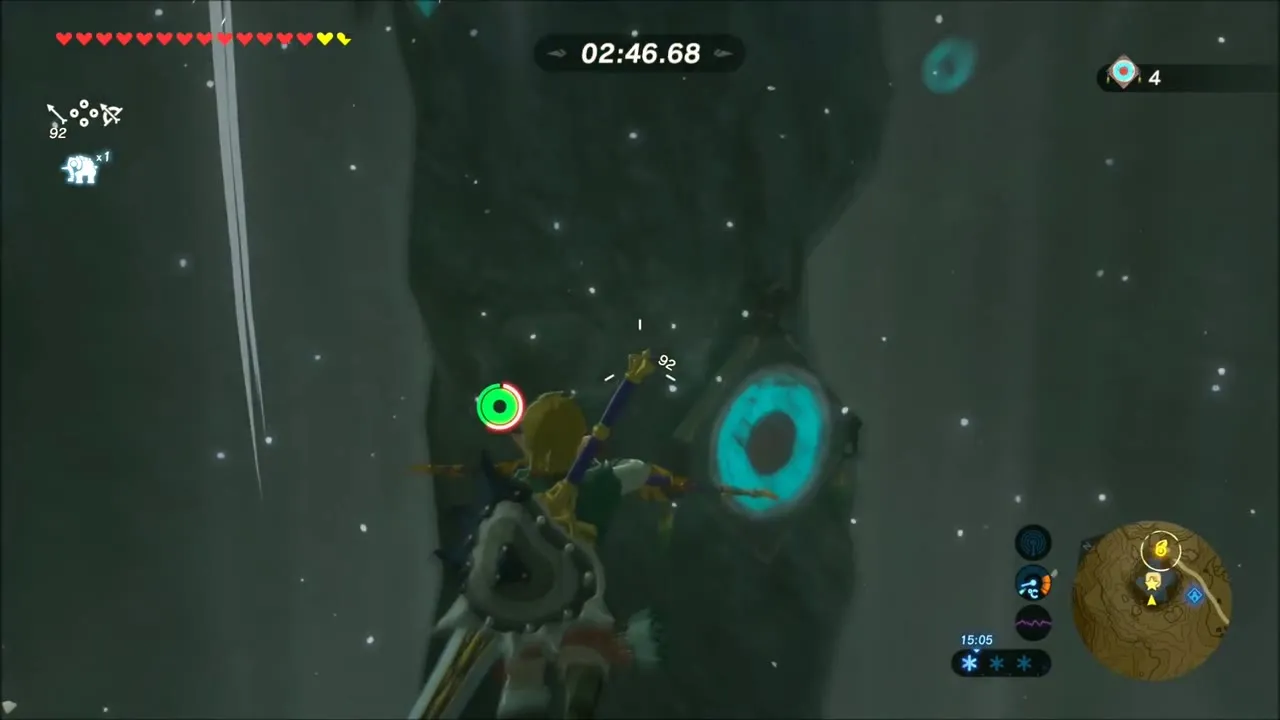
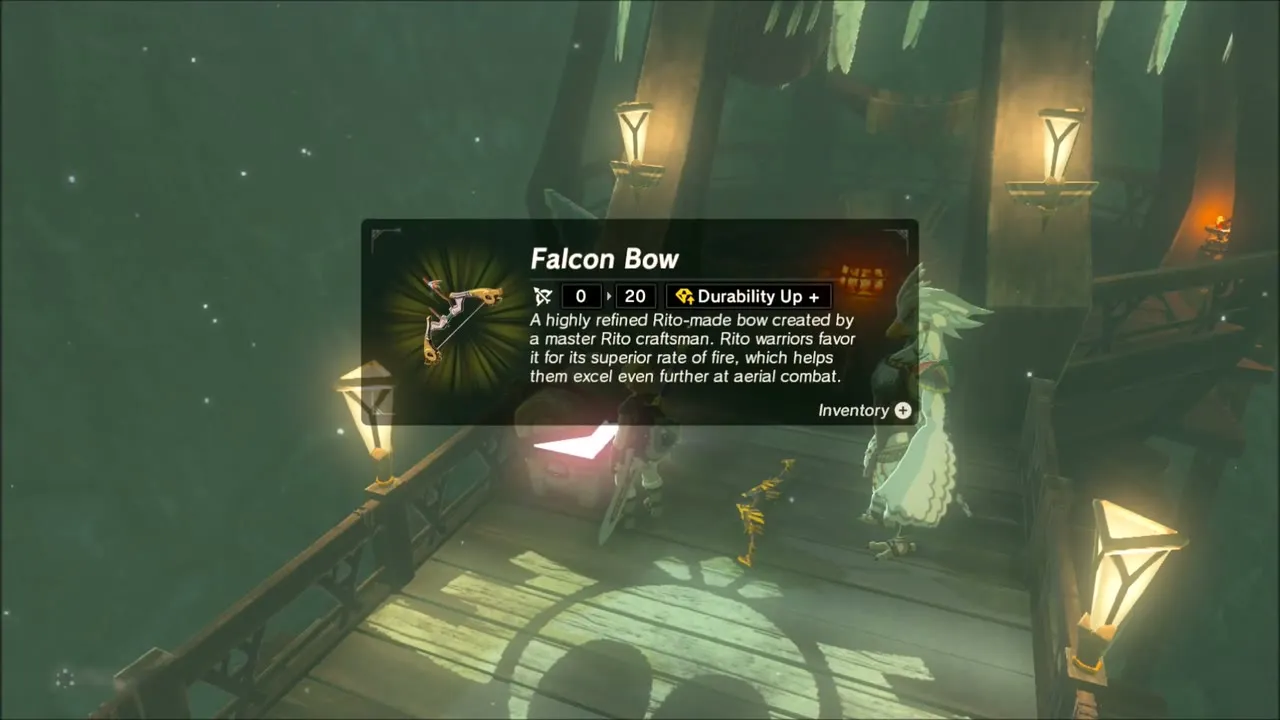
The test is to shoot the targets scattered around the ravine with your bow while gliding on the updrafts, against a countdown timer. Each hit refills your stamina, so you can keep gliding for the next one. Pass it, and the chest beside Teba holds the Falcon Bow, a Rito bow with a high rate of fire. Teba also hands you Bomb Arrows for the assault on the Divine Beast, so do not waste them.
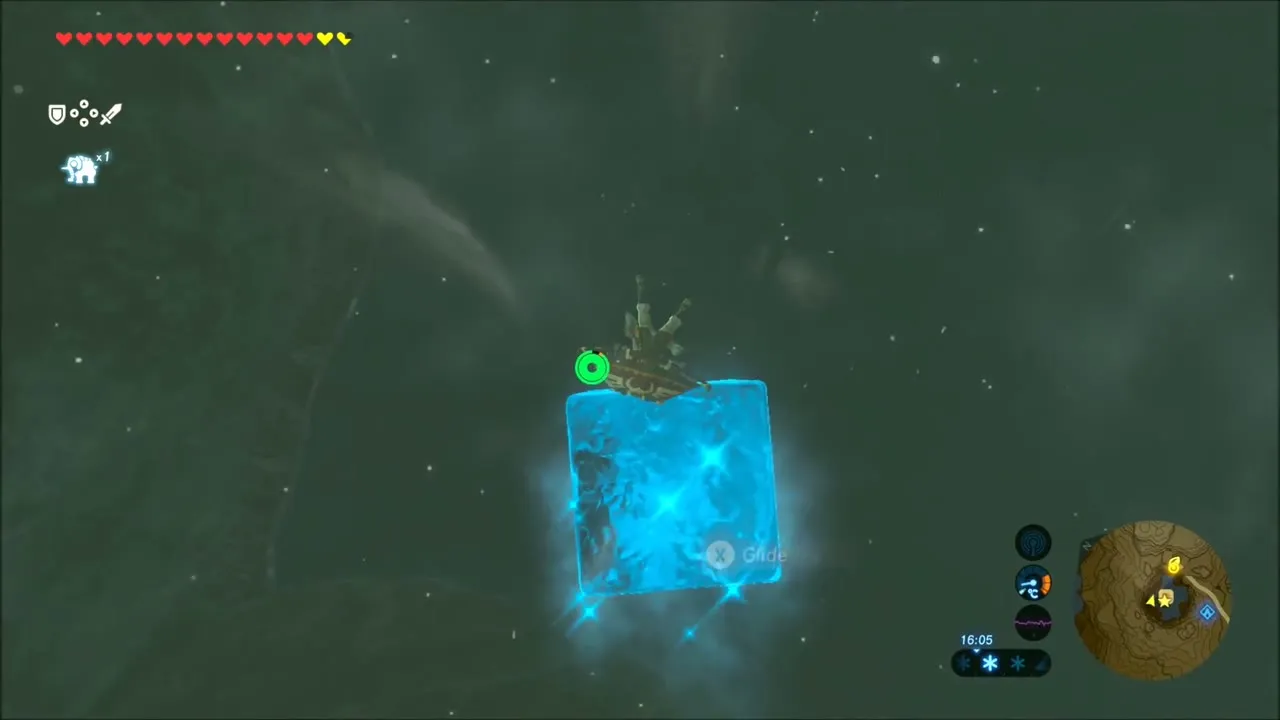
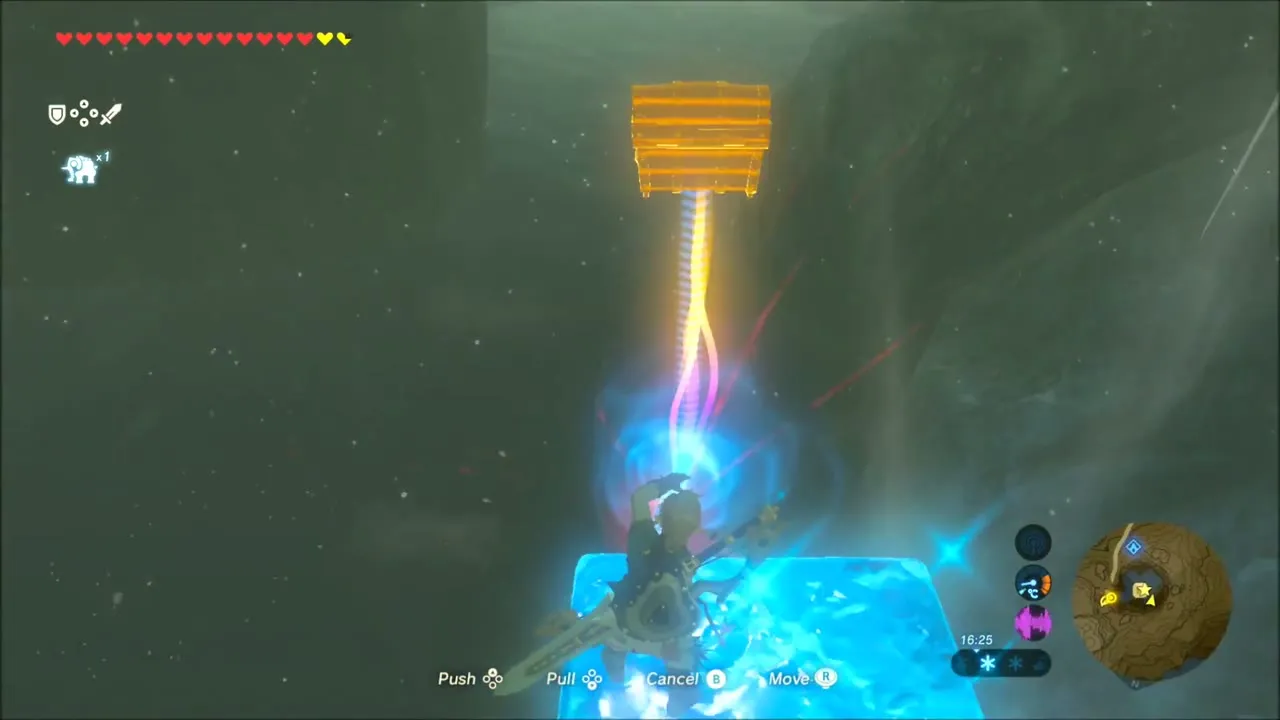
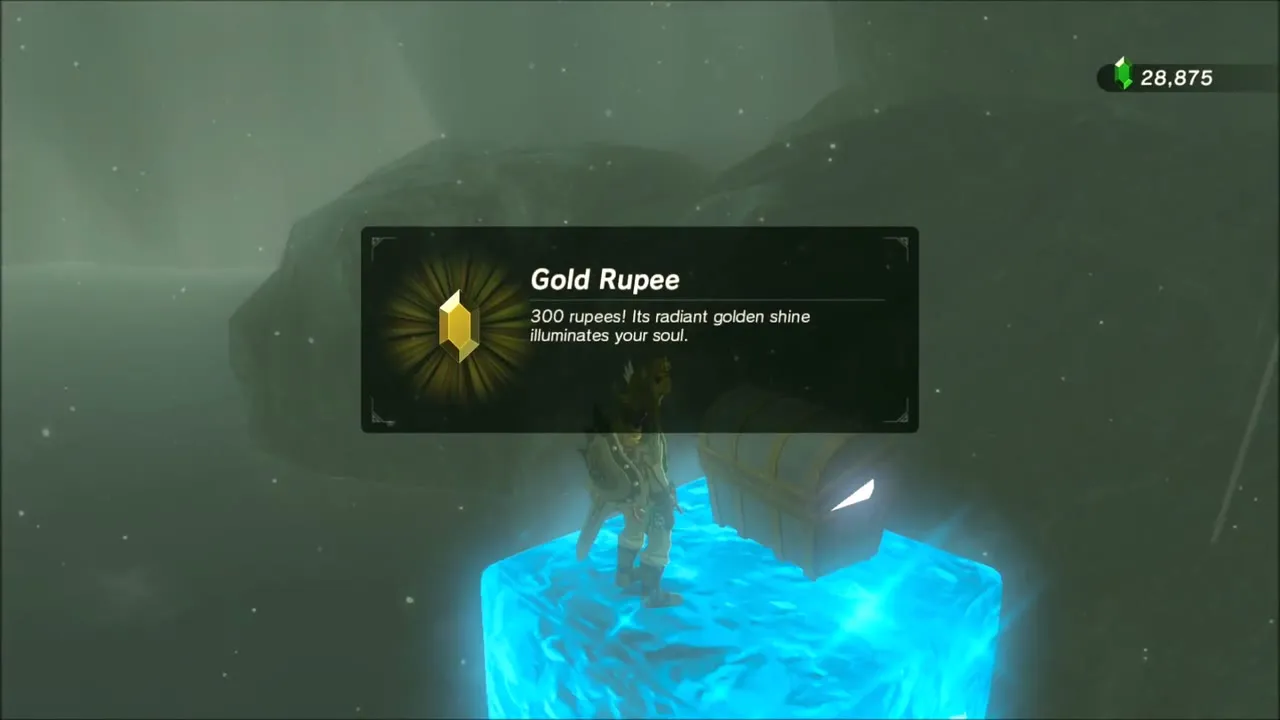
Before you accept the assault, glide down into the ravine below the platform. A metal chest sits out of reach: stand on a Cryonis block and pull the chest up with Magnesis. Inside is a Gold Rupee.
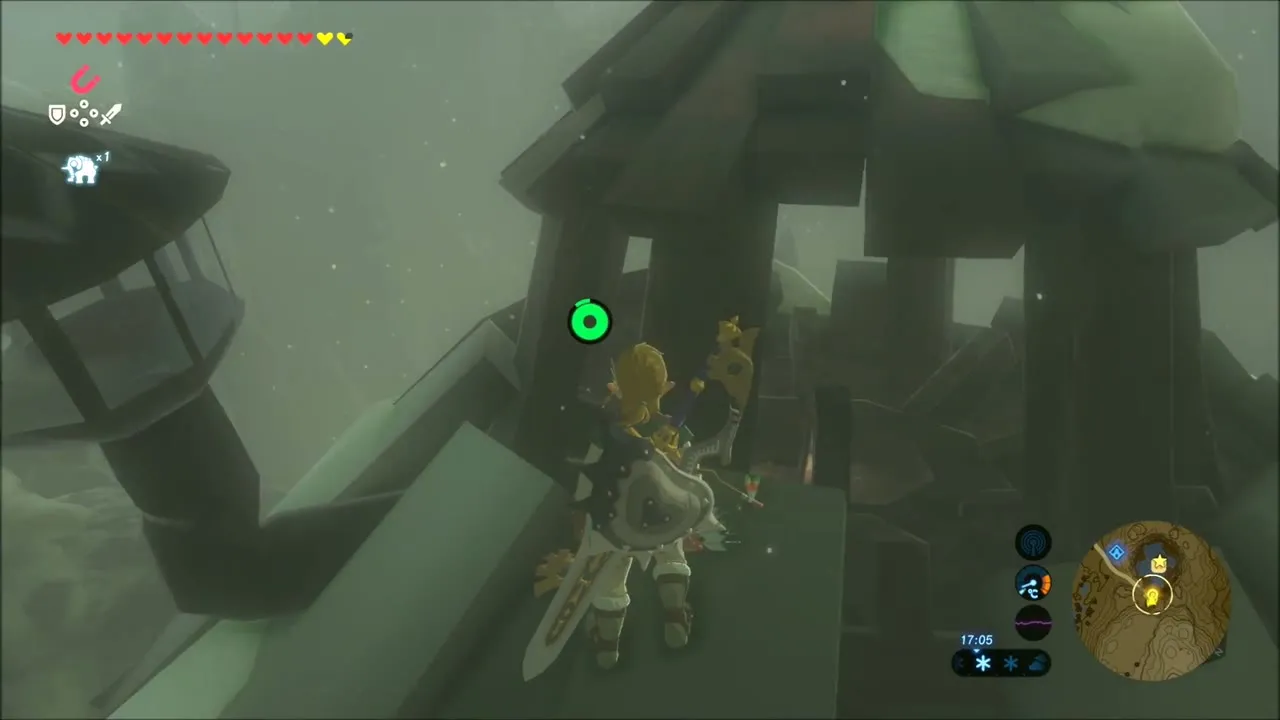
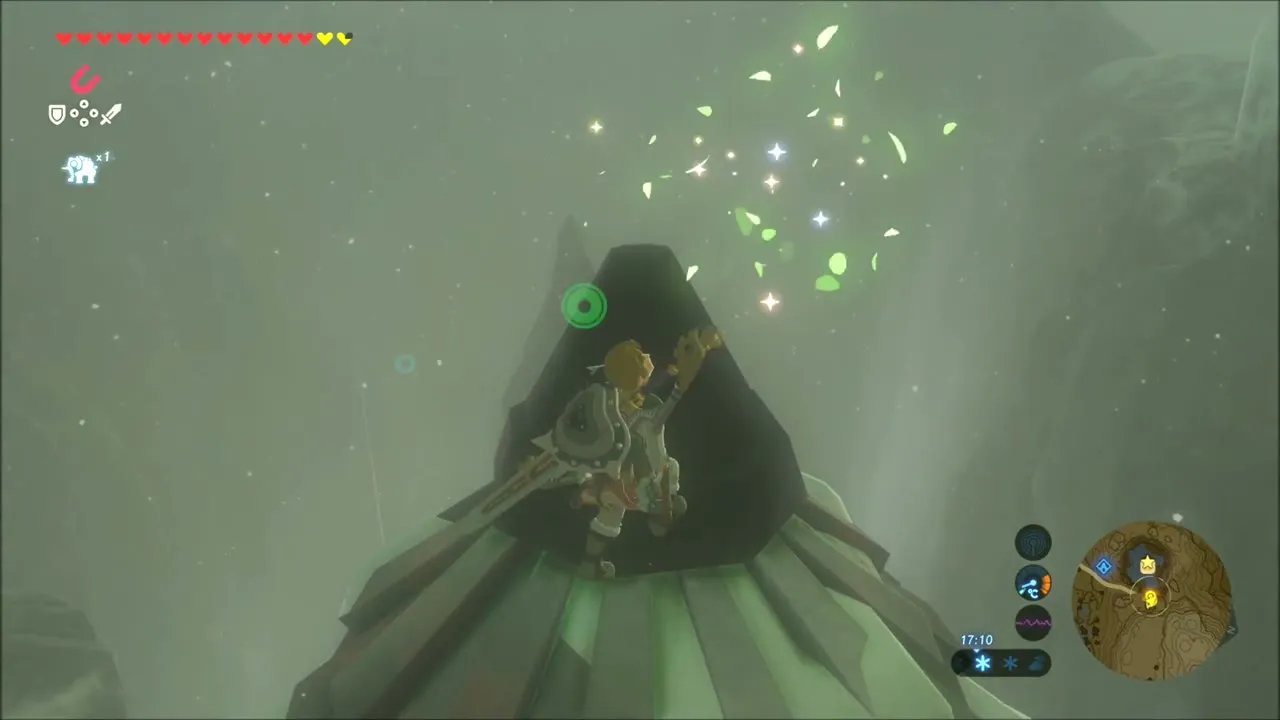
Climb the rock wall on the far side up to the green cone-shaped cap on top of a pillar and examine it. A Korok hangs at the very top, and finding him earns another seed.
Assault on Vah Medoh: Teba Carries You Up
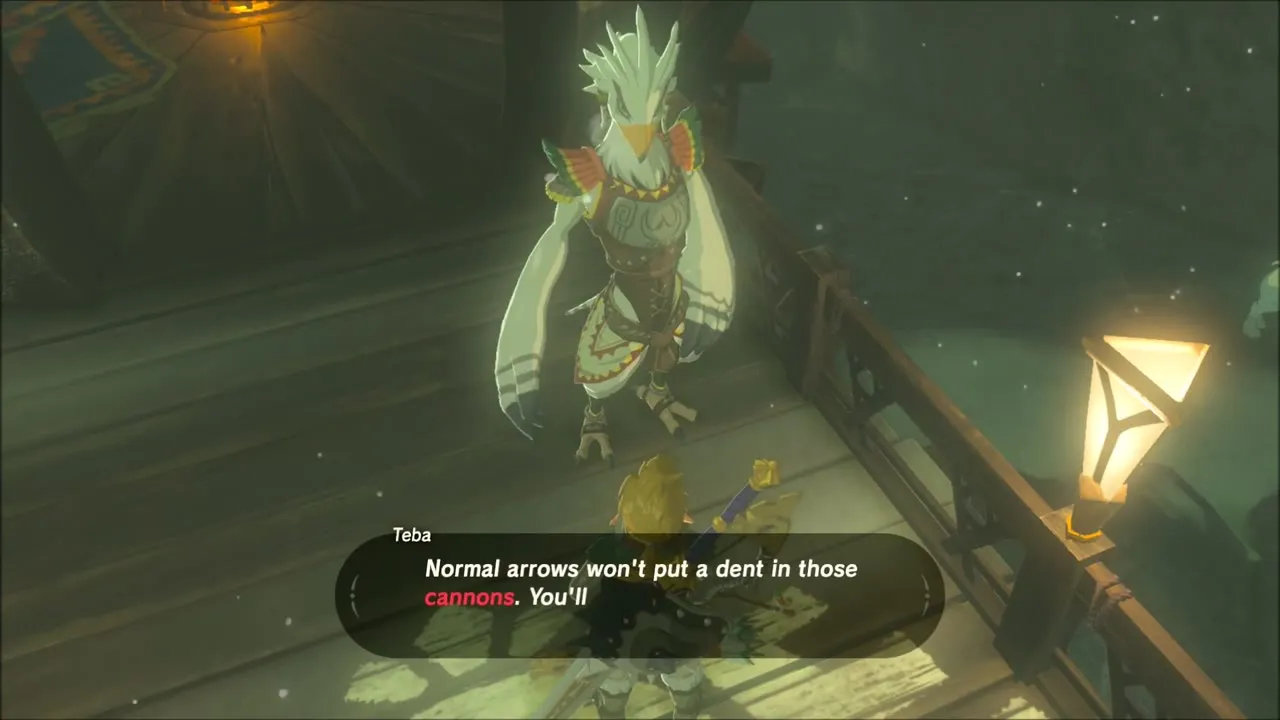
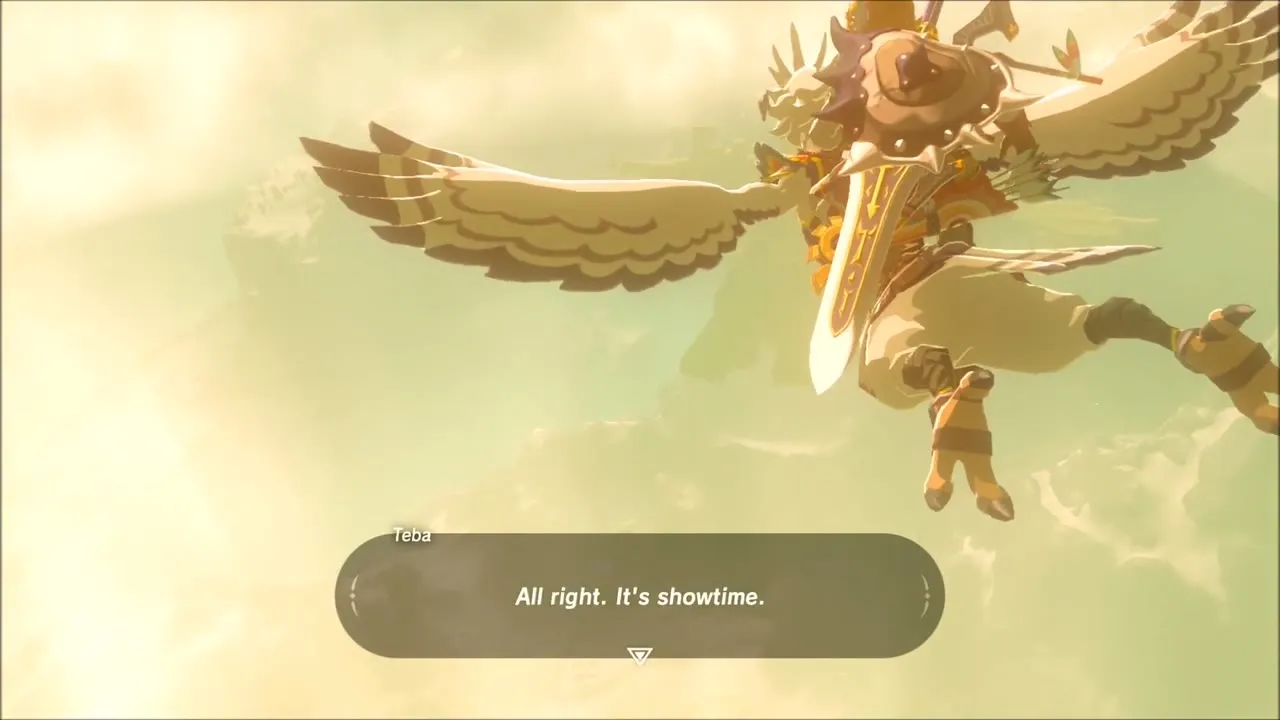
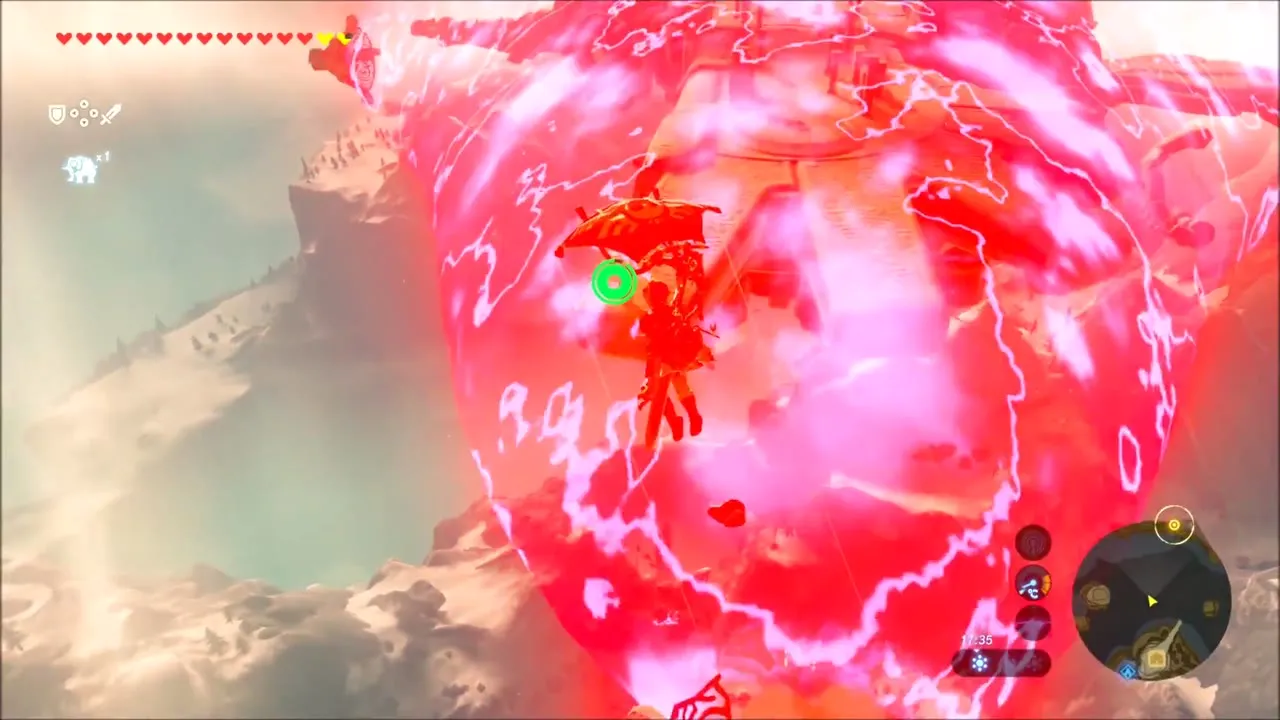
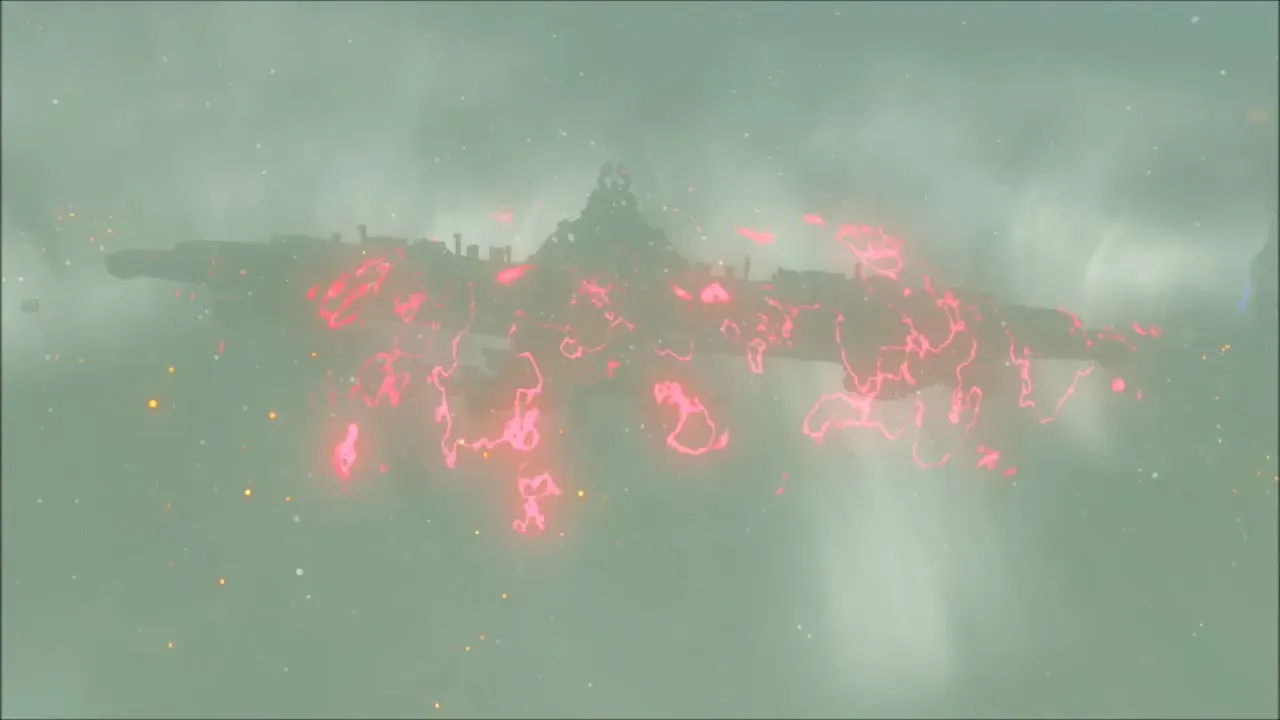
Back on the platform, tell Teba you are ready by choosing “Let’s go”. He takes you up toward Vah Medoh, and you glide off to shoot the beast’s cannons with Bomb Arrows while Teba runs interference. Two arrows take out each cannon, so stay close. Once they are down, Teba tells you that your first job inside is to find a map, and you enter the Divine Beast.
Inside Vah Medoh: Tail, Map and First Chests
Before heading deeper, look back at the chest wrapped in Malice near the tail. Shoot the eye on the Malice and open the chest for a Sapphire.
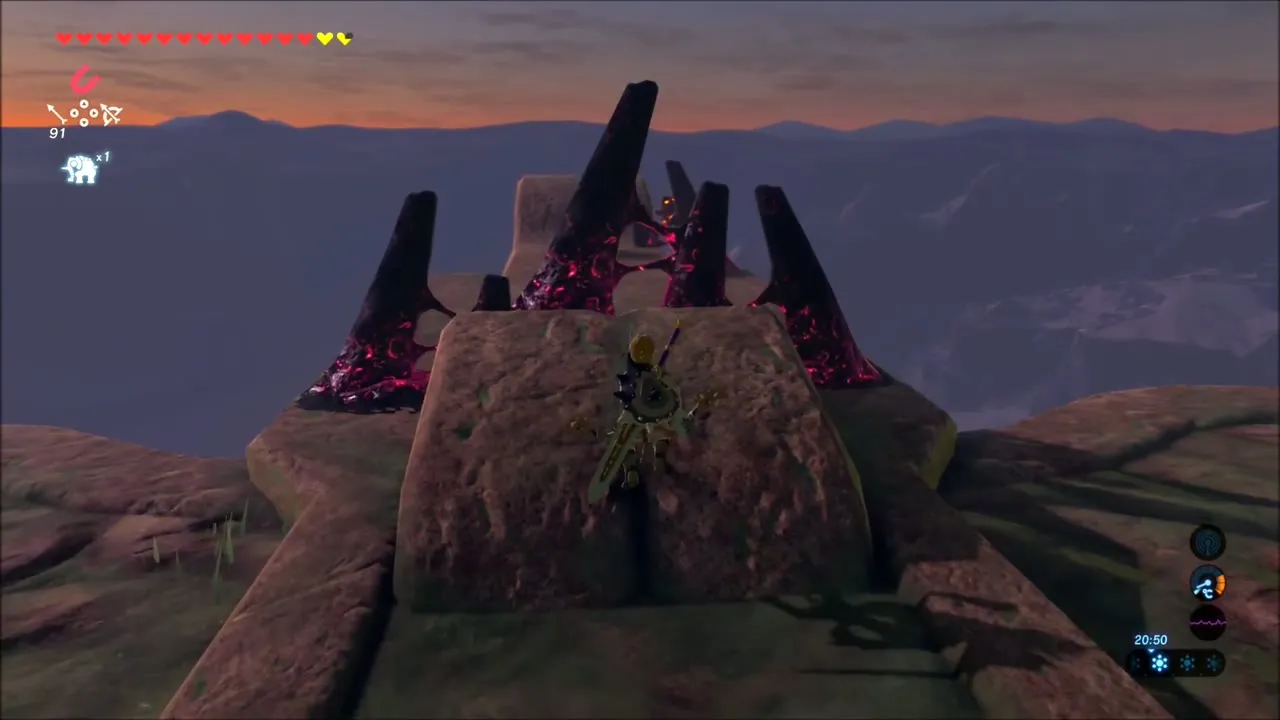
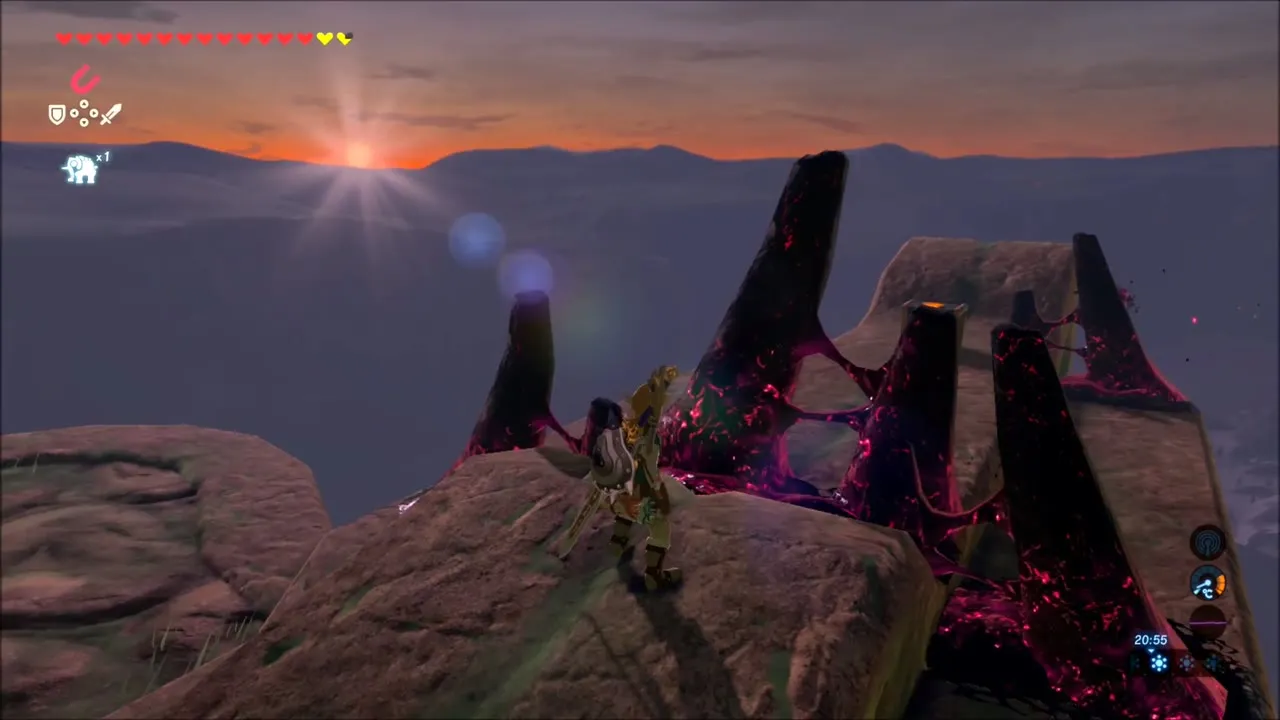
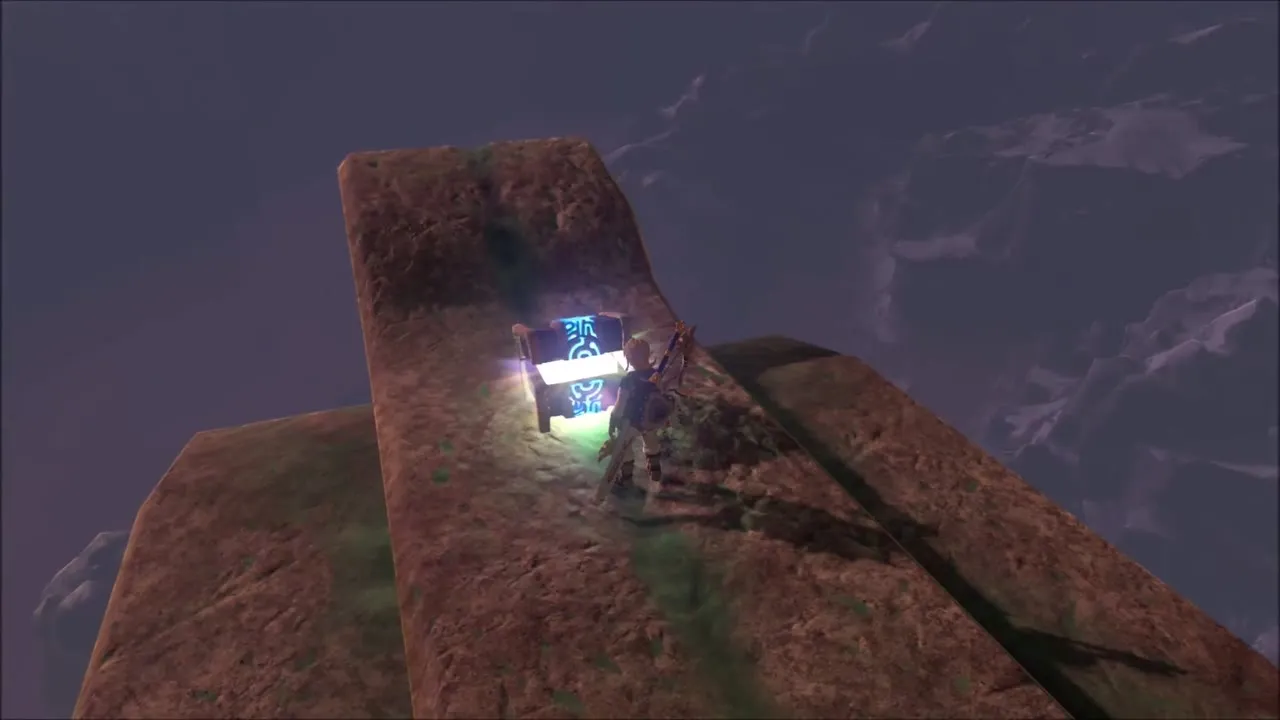
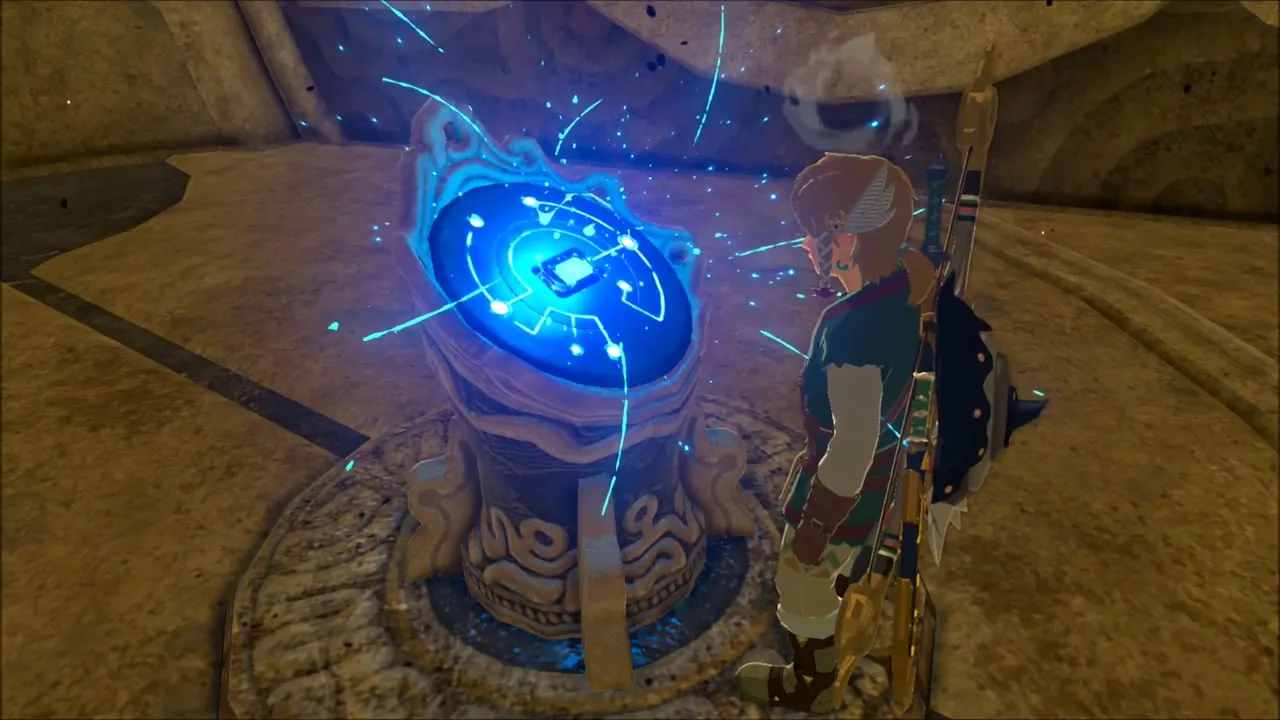
Inside, clear the Malice on the right, then cross the hall to the stone slabs. Move a metal slab with Magnesis and knock the stone slab into place with Stasis so you can climb a ladder to a chest with an Ancient Core. Beat the Guardian Scout, then use the terminal to get the map. The message “Divine Beast controls have been enabled” appears, and from now on you can tilt the beast.
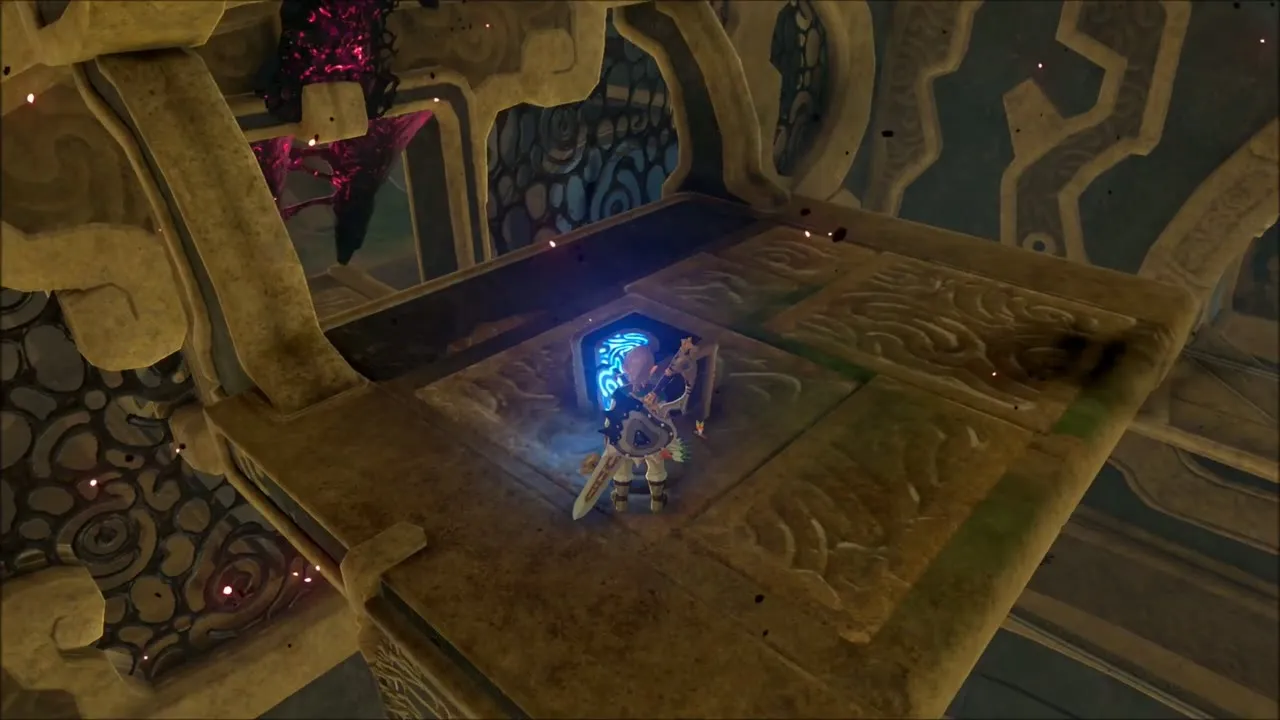

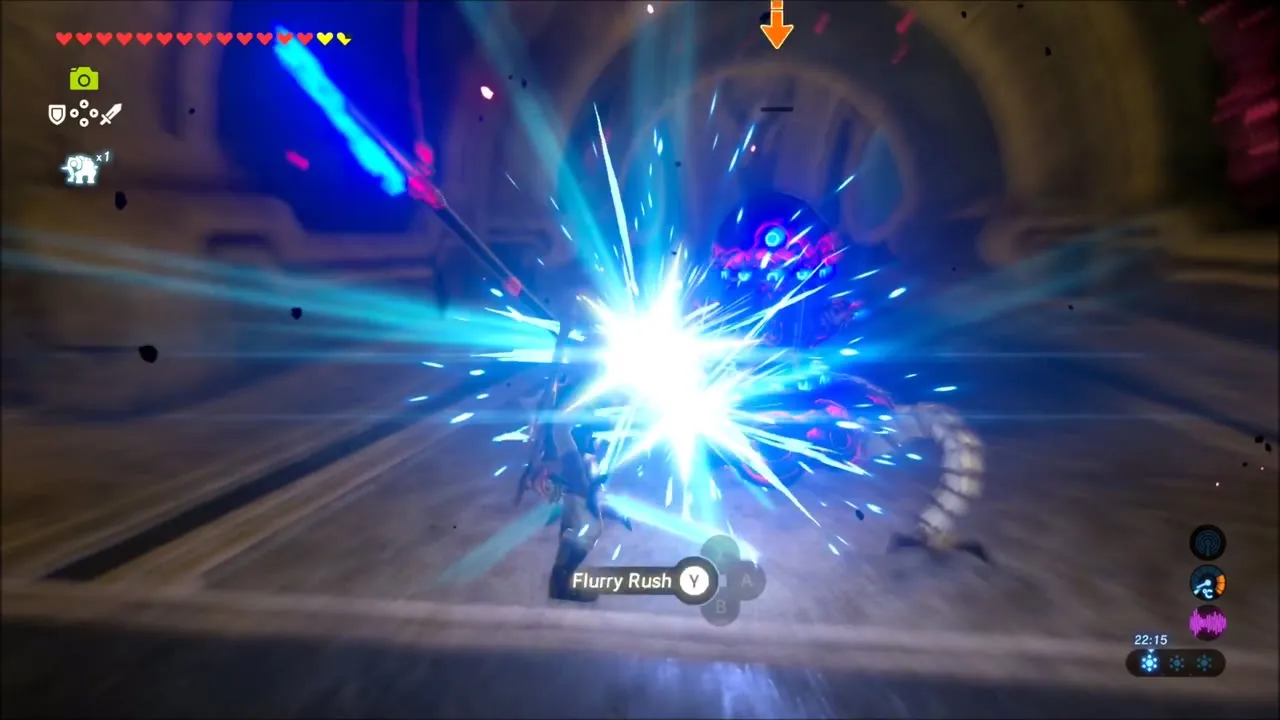
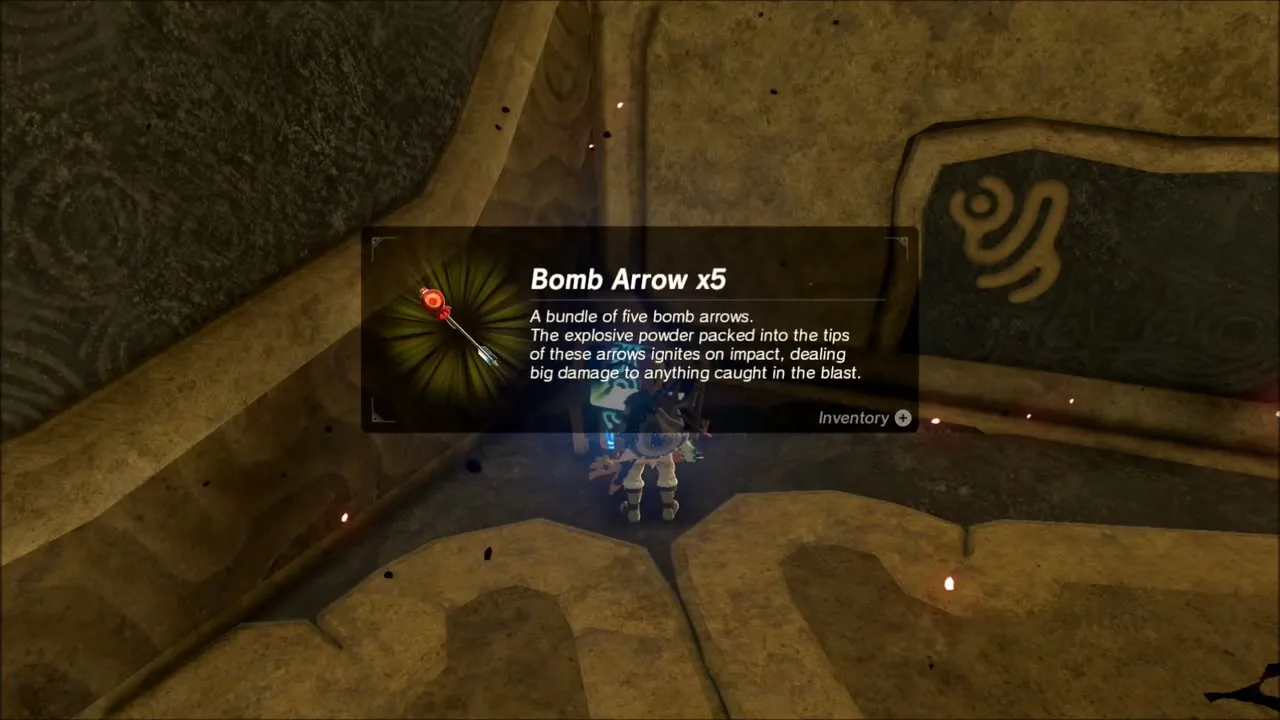
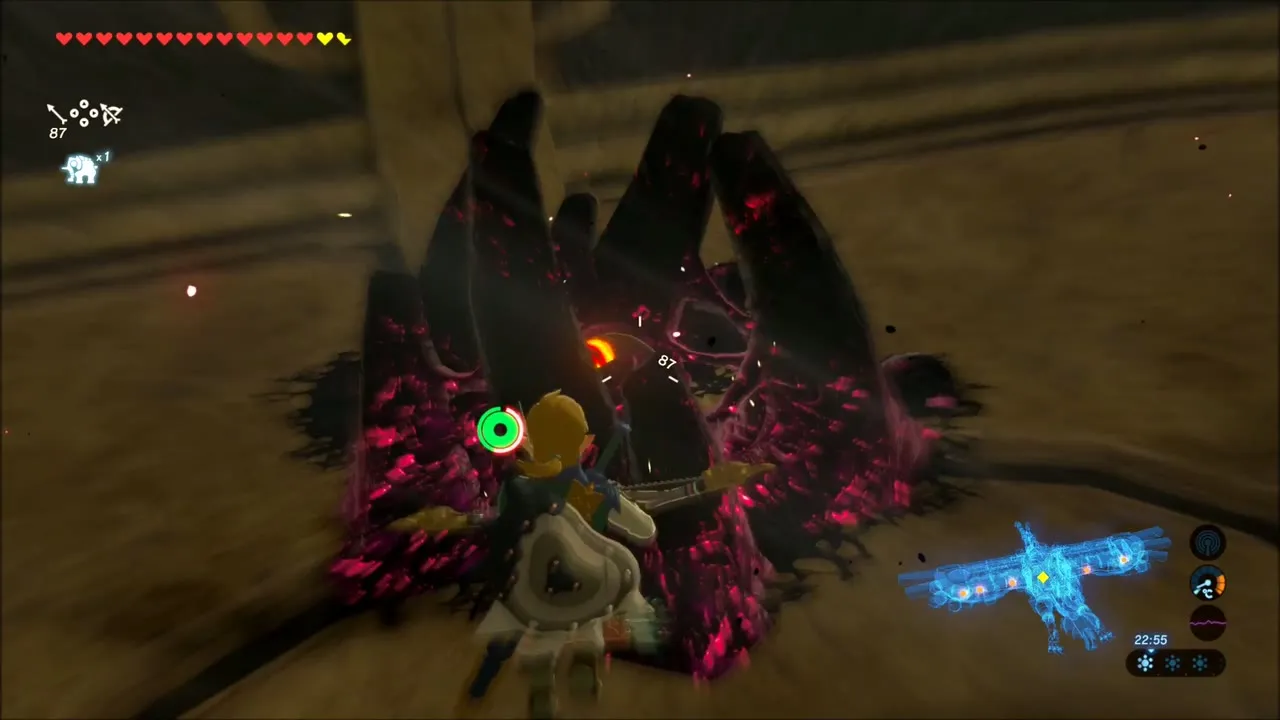
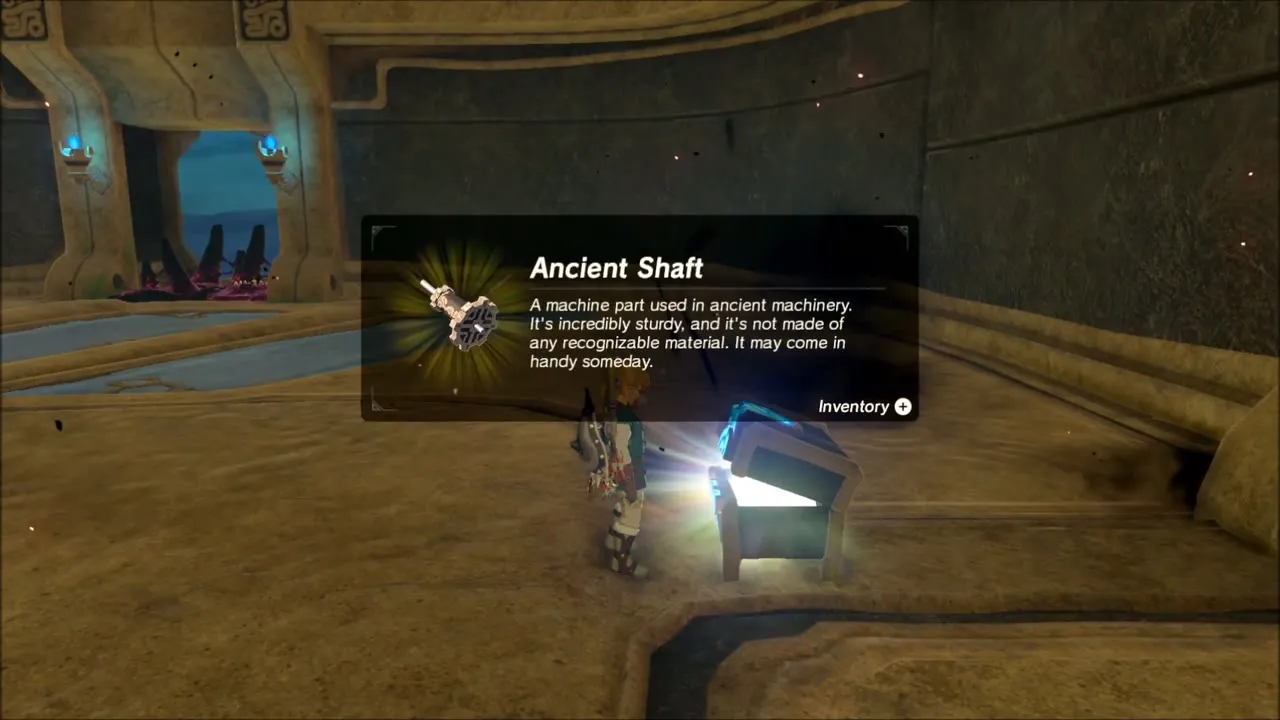
From the first slab, look down for an eye in a pool of Malice, then drop to a small balcony with a chest of five Bomb Arrows. Drop again to the lowest level for a chest under more Malice that holds an Ancient Shaft.
Tilting the Beast: The Five Terminals
Tilt the Divine Beast right and ride the middle slab into the right wing. Press the orange switch to run a fan and open the gate on the left, then tilt left and hold the second windmill with Magnesis so the large stone slides into its receptacle. That opens the first terminal. While tilted, glide on the gust to a chest with a Knight’s Bow (tier set by difficulty scaling), and kill the skull-spitting maw at the sealed door for Ice Arrows.
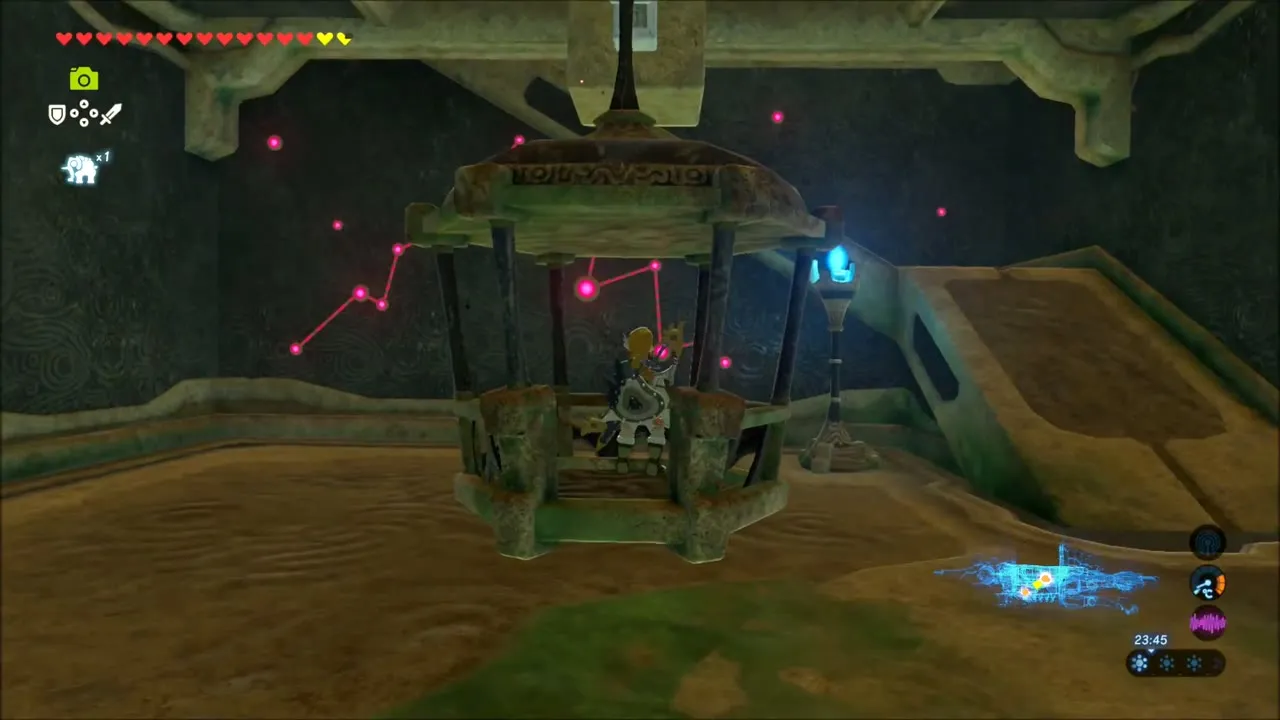
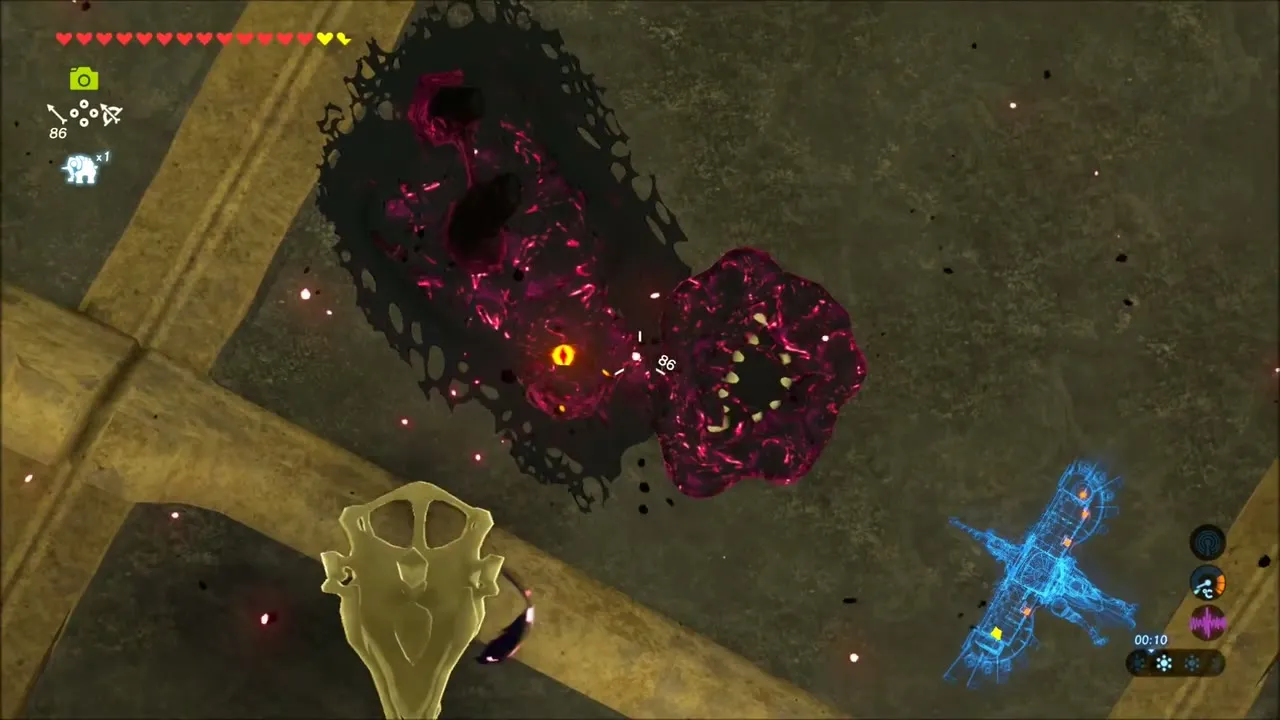
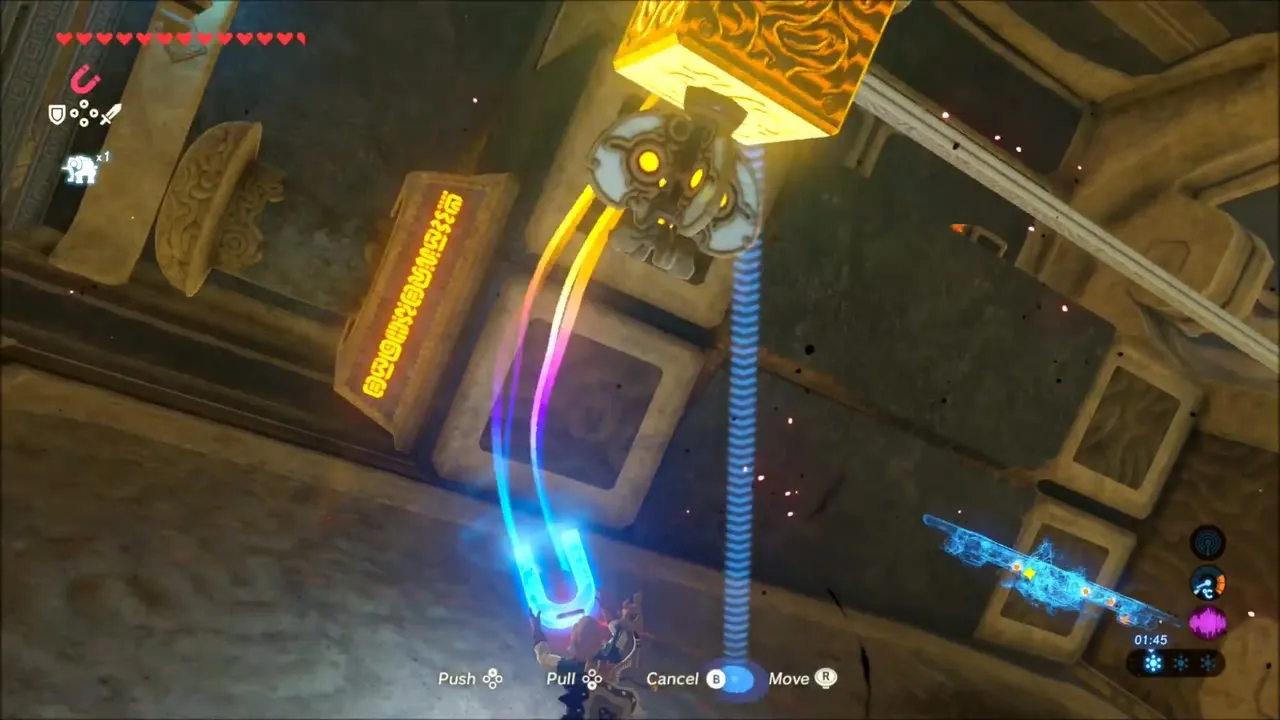
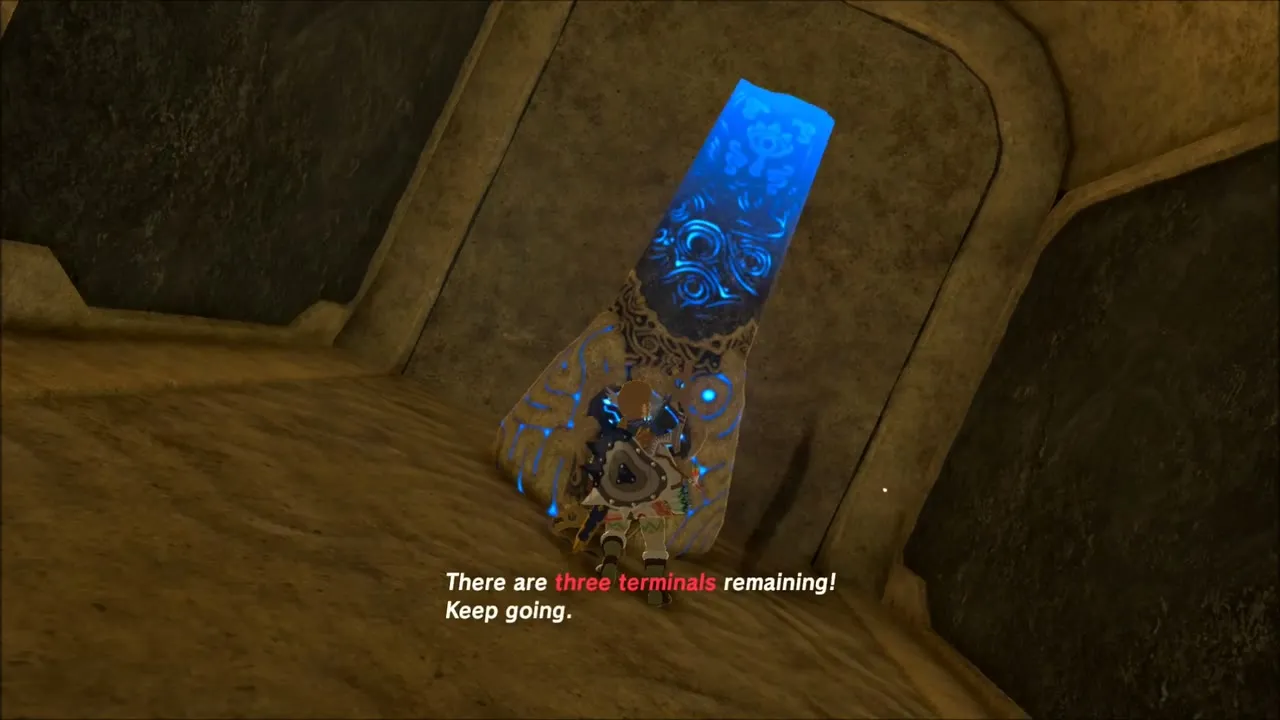
For the second terminal, shoot the Malice eye in the middle room and glide across to a chest with a Knight’s Claymore (tier set by difficulty scaling). Clear the central maw, tilt the beast back and glide to the terminal.
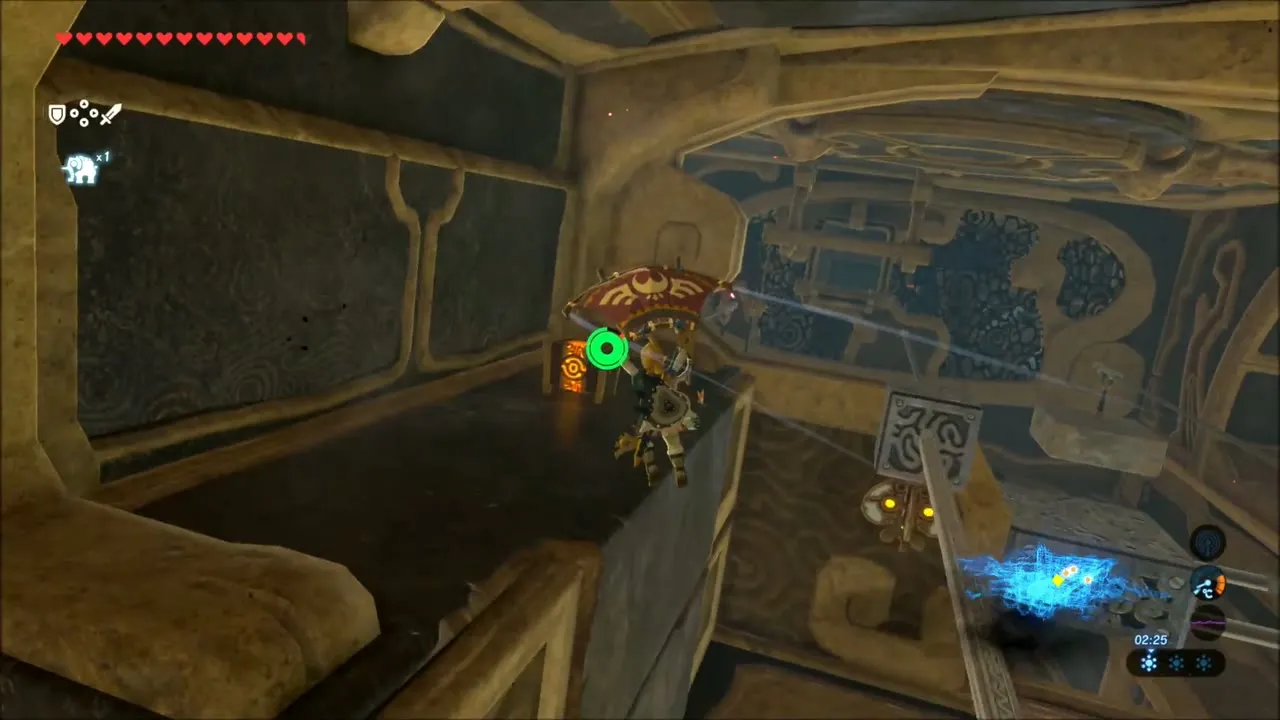
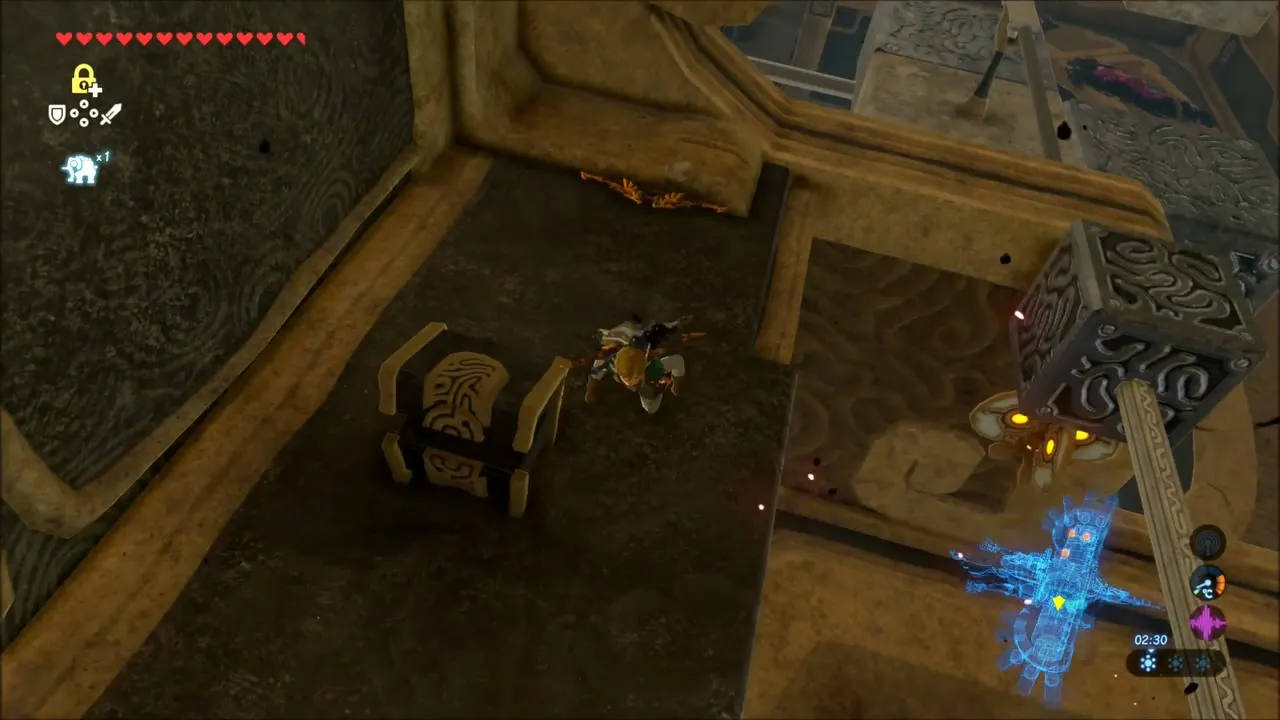
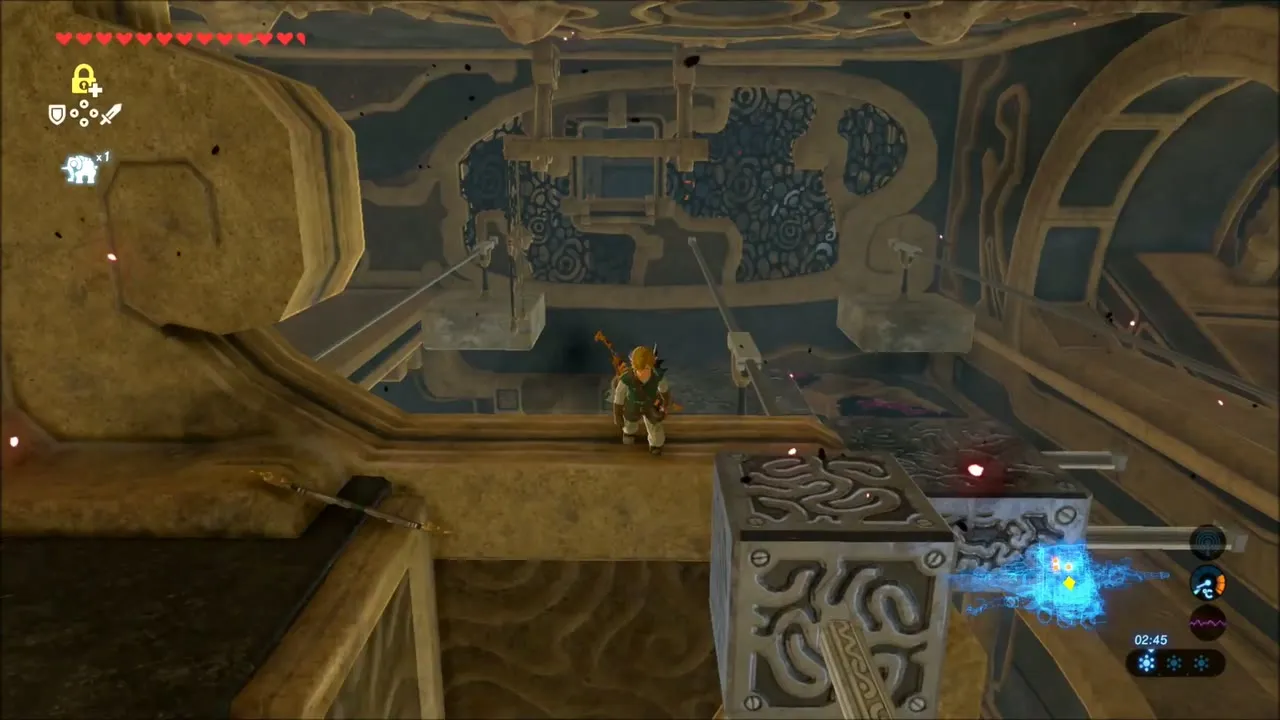
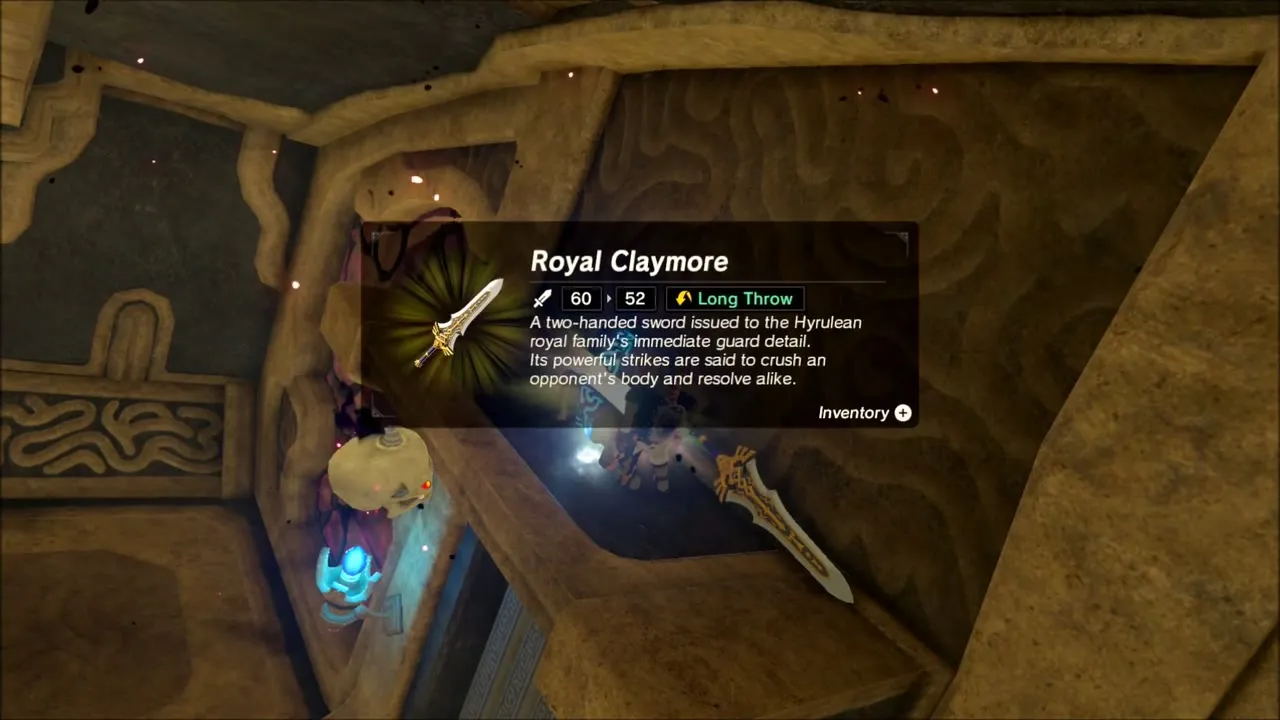
The third terminal sits behind a sealed gate with a window. While the beast leans left, drop a Remote Bomb through the hole to clear the stones, then use the switch to blow a bomb into the corner of the back wall, which exposes a large metal boulder. Tilt back, use Magnesis to bring the boulder to the receptacle and tilt again so it slams the switch and opens the terminal.
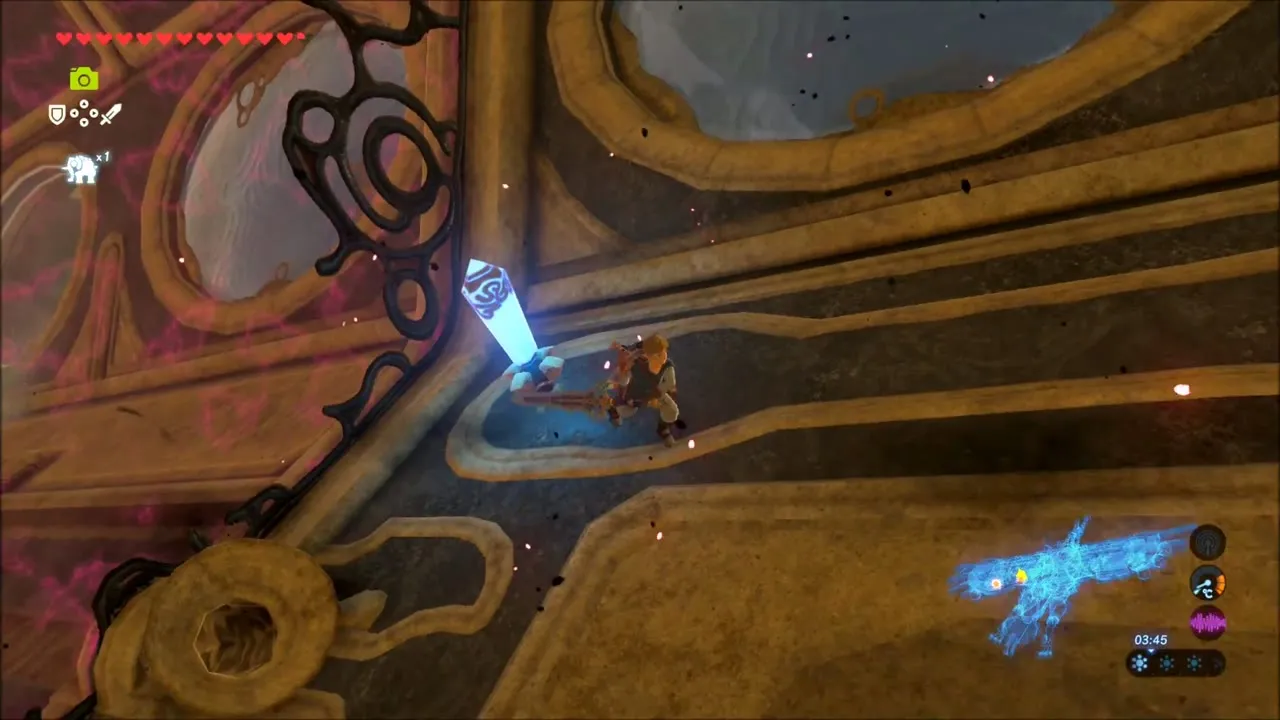
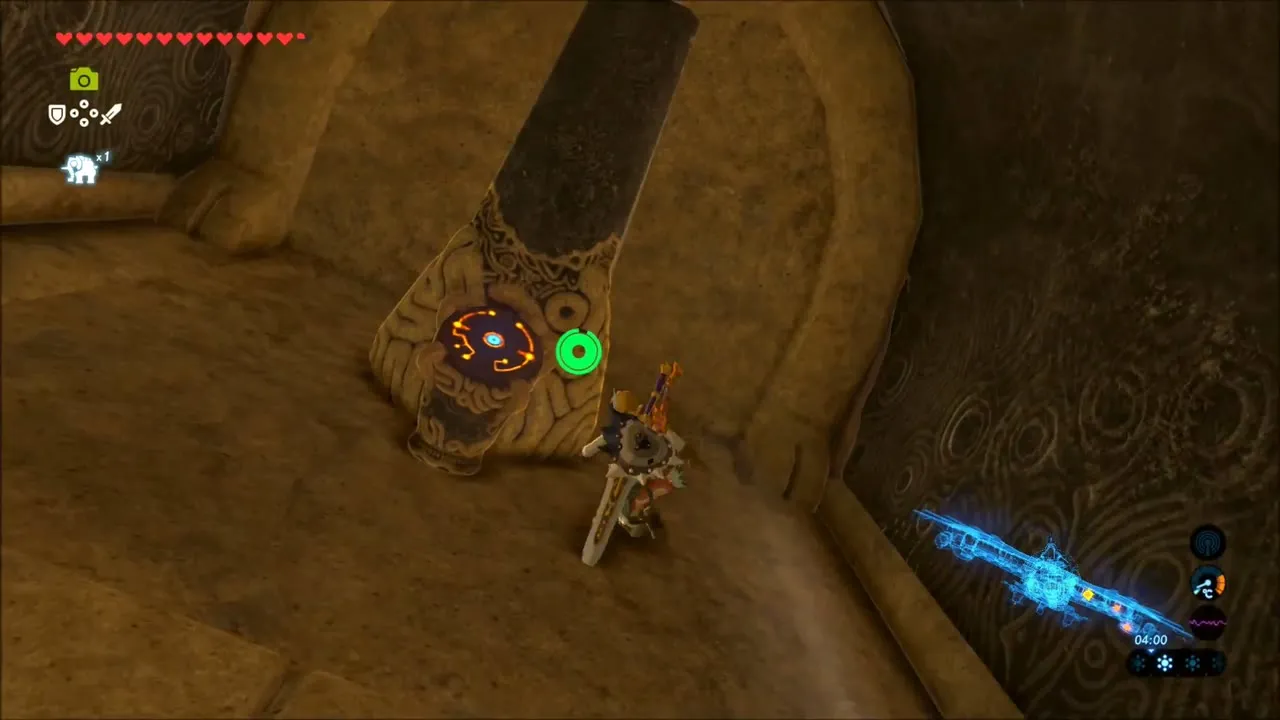
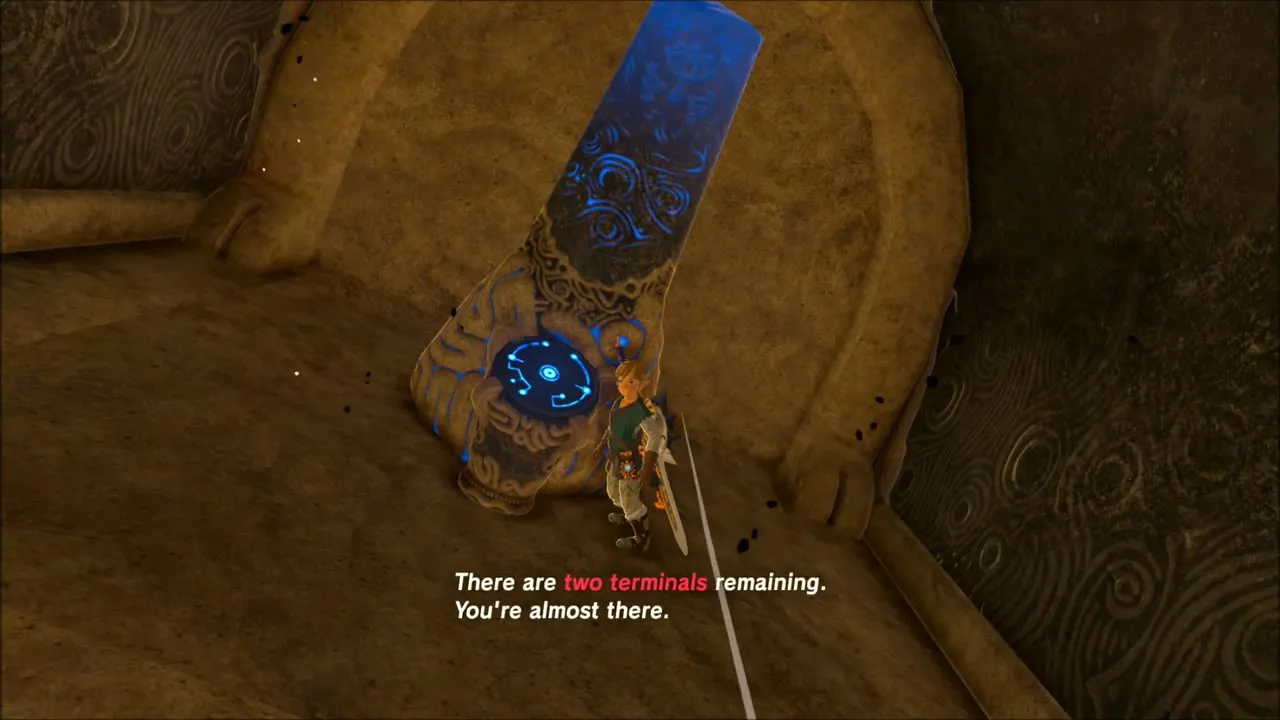
Level the beast for the last two terminals. For the fourth, go to the bottom floor and out the right door to find the eyes behind the blocked door and turbine, tilt left and glide across the wings to the terminal. For the fifth, ride the carousel on the rail under the wing, level the beast halfway to shoot the eye over the Malice gate, then tilt fully and climb the stairs. With all five terminals active, two turbines on the lower balcony lift you up to the roof.
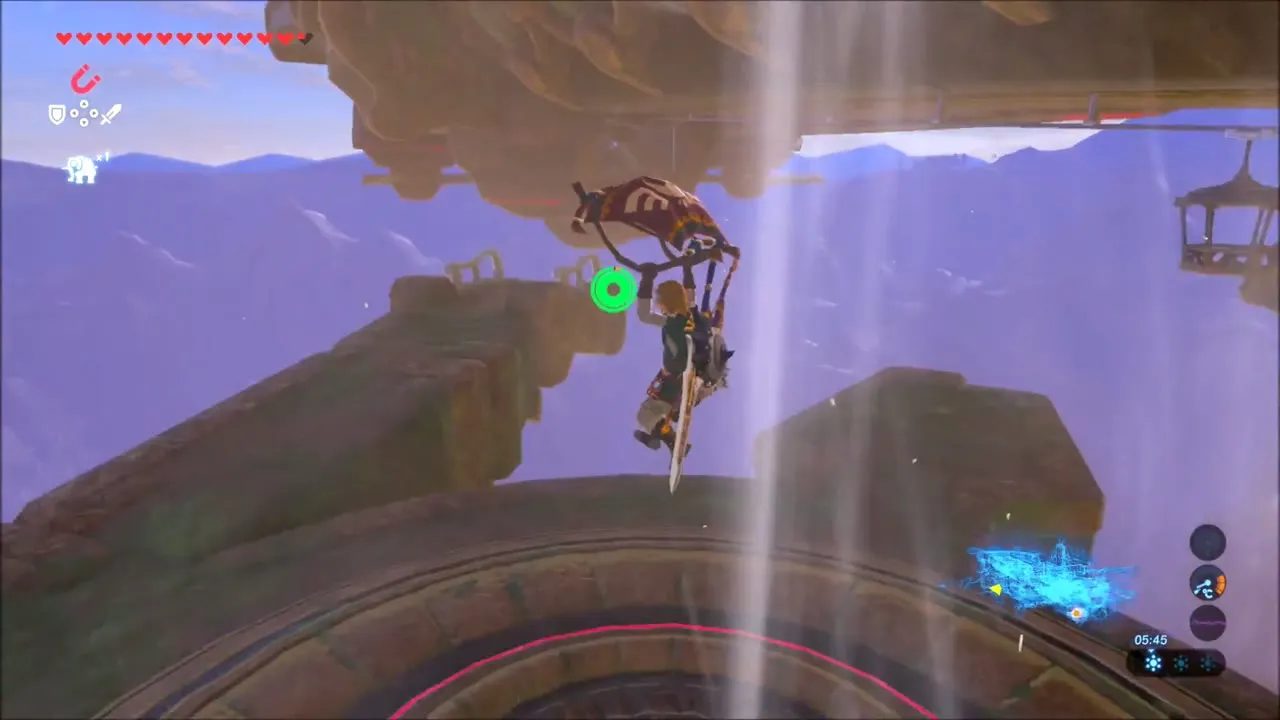
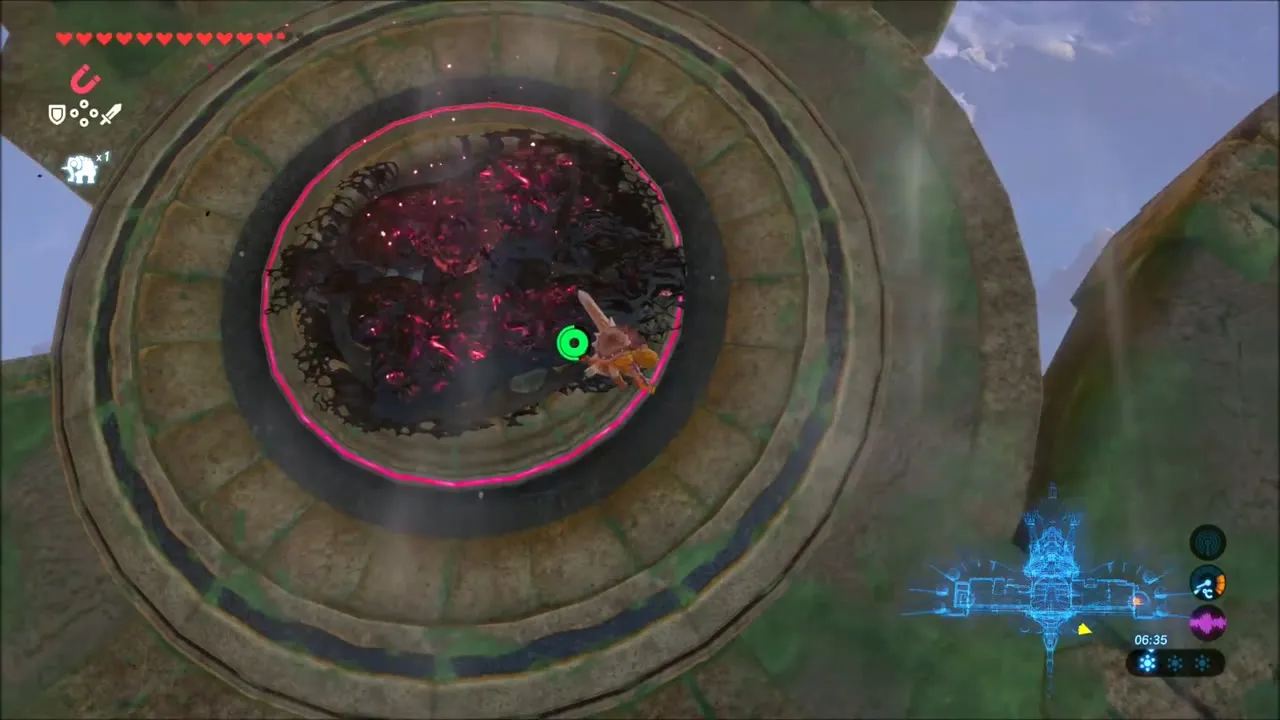
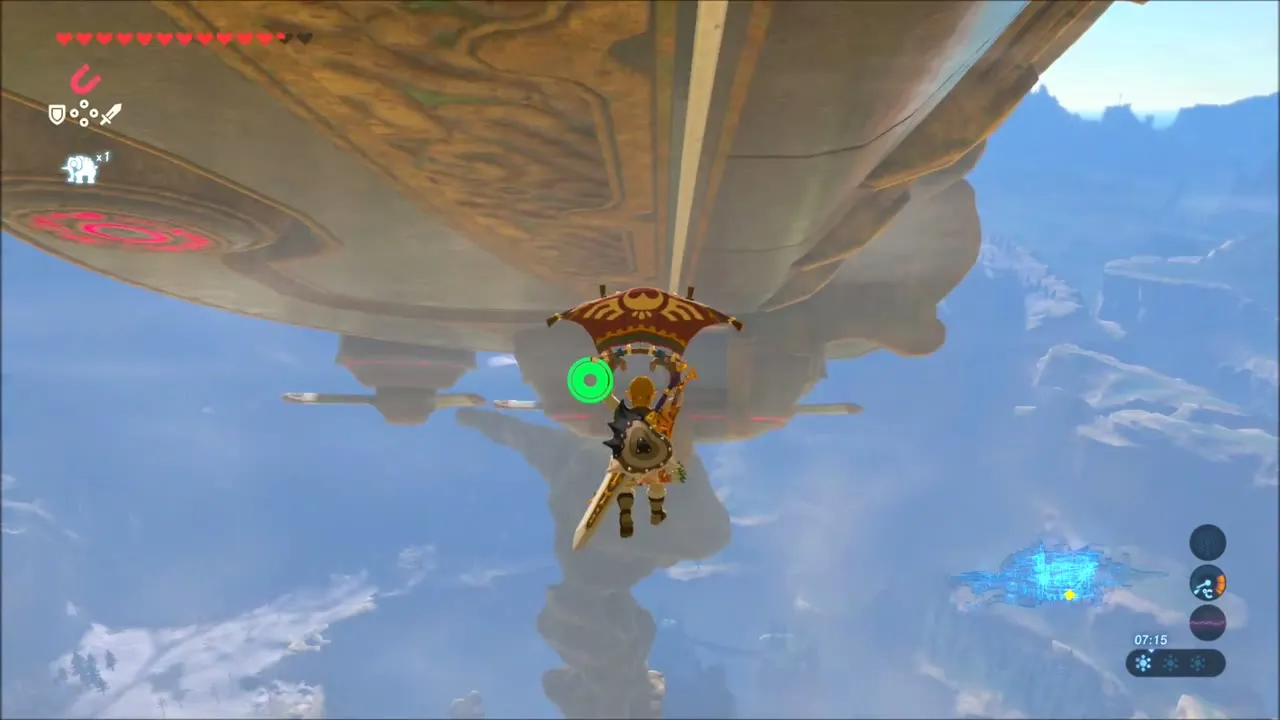
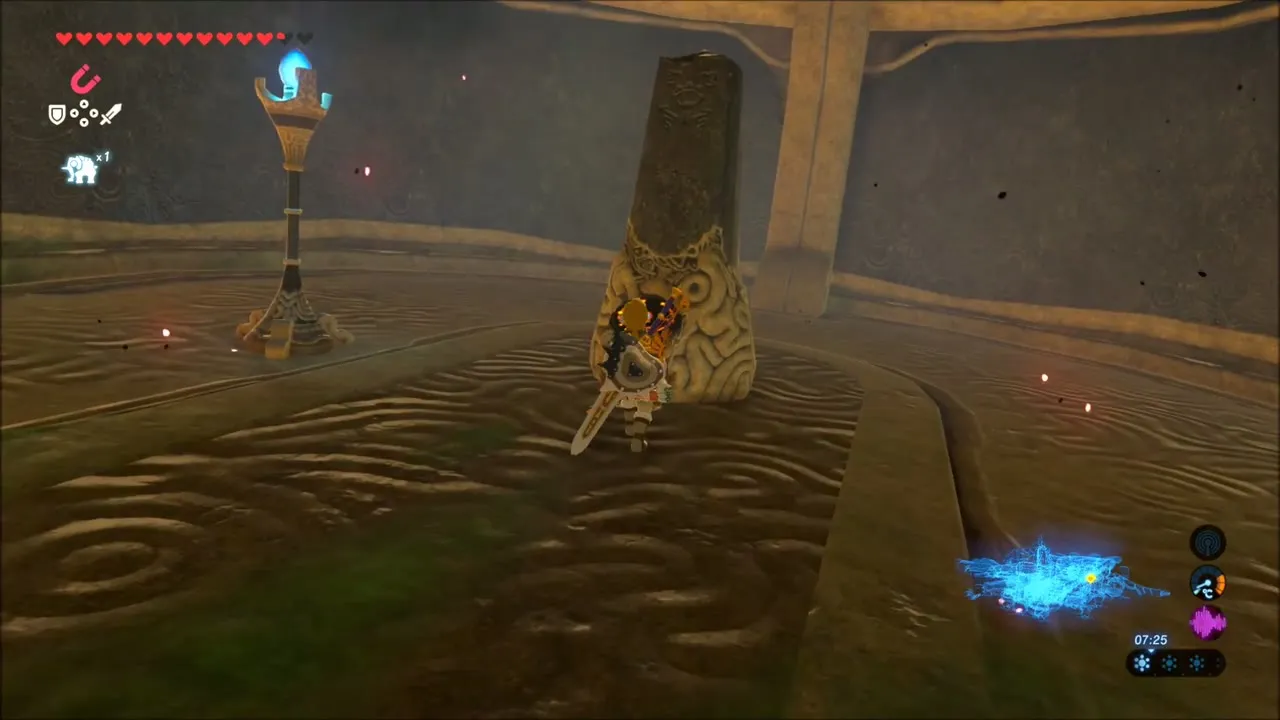
Before using the control unit, tilt the beast so the nose is higher and glide toward it to a chest holding a Giant Ancient Core.
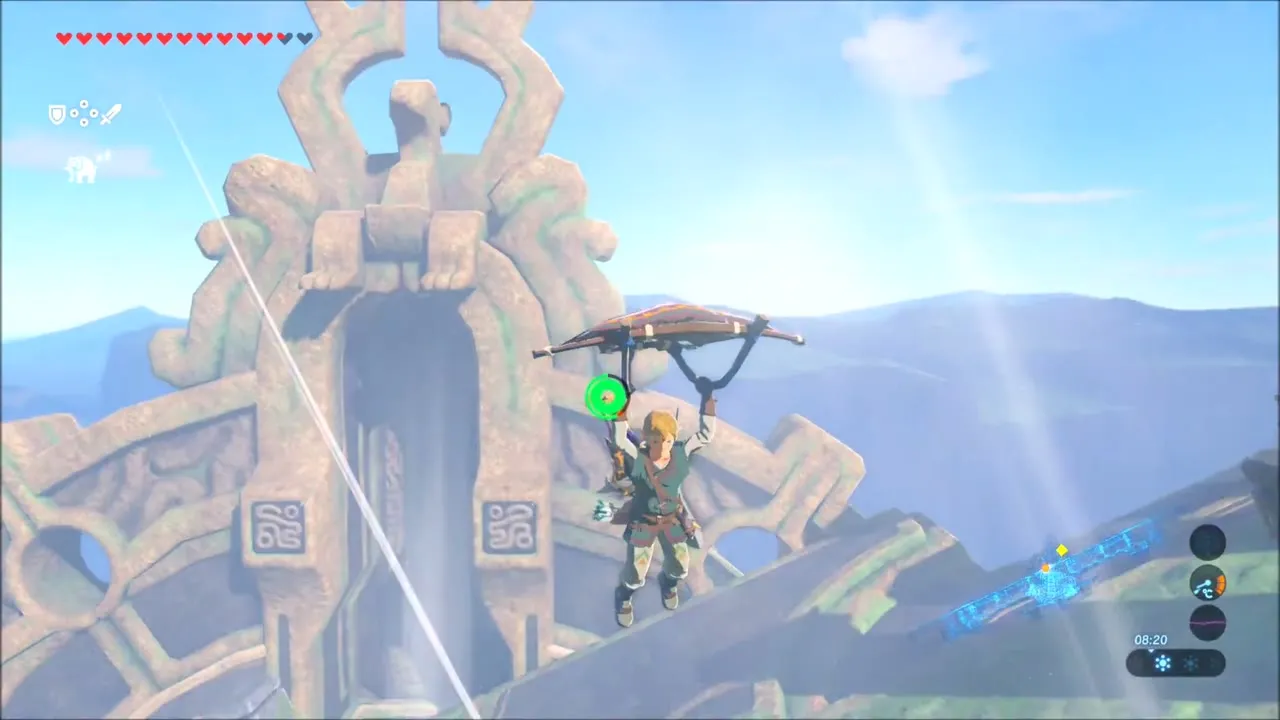
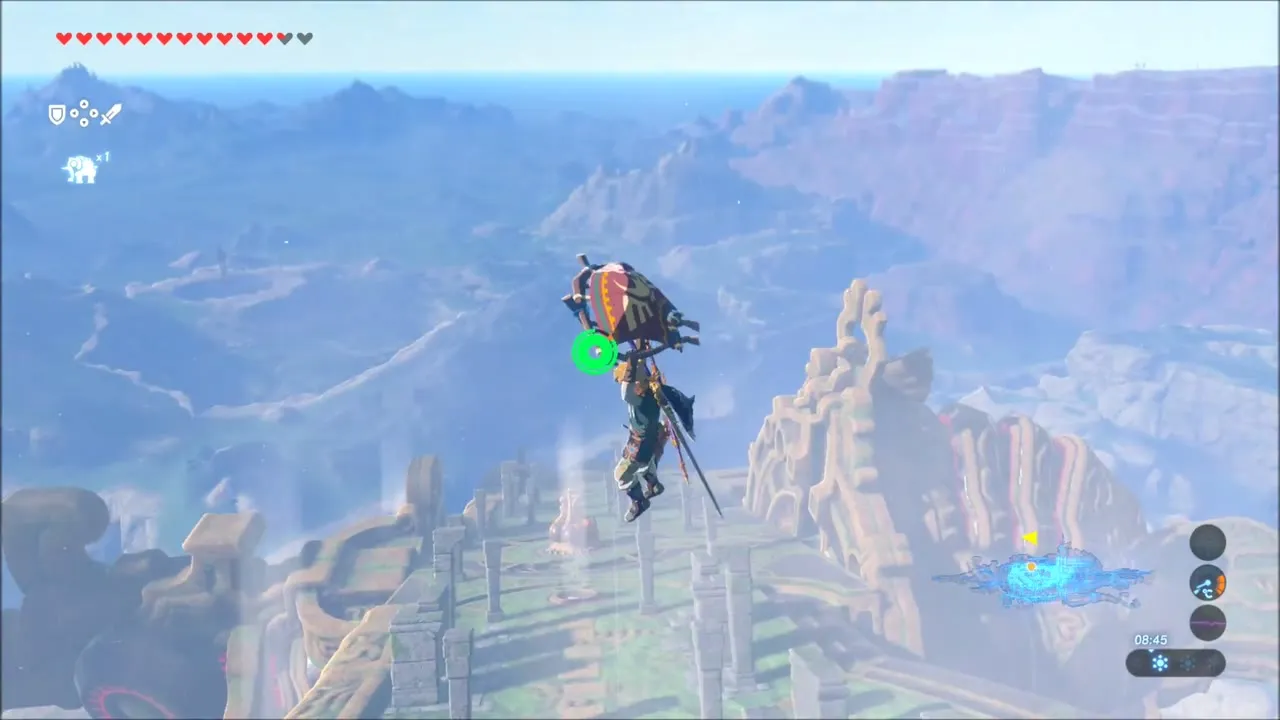
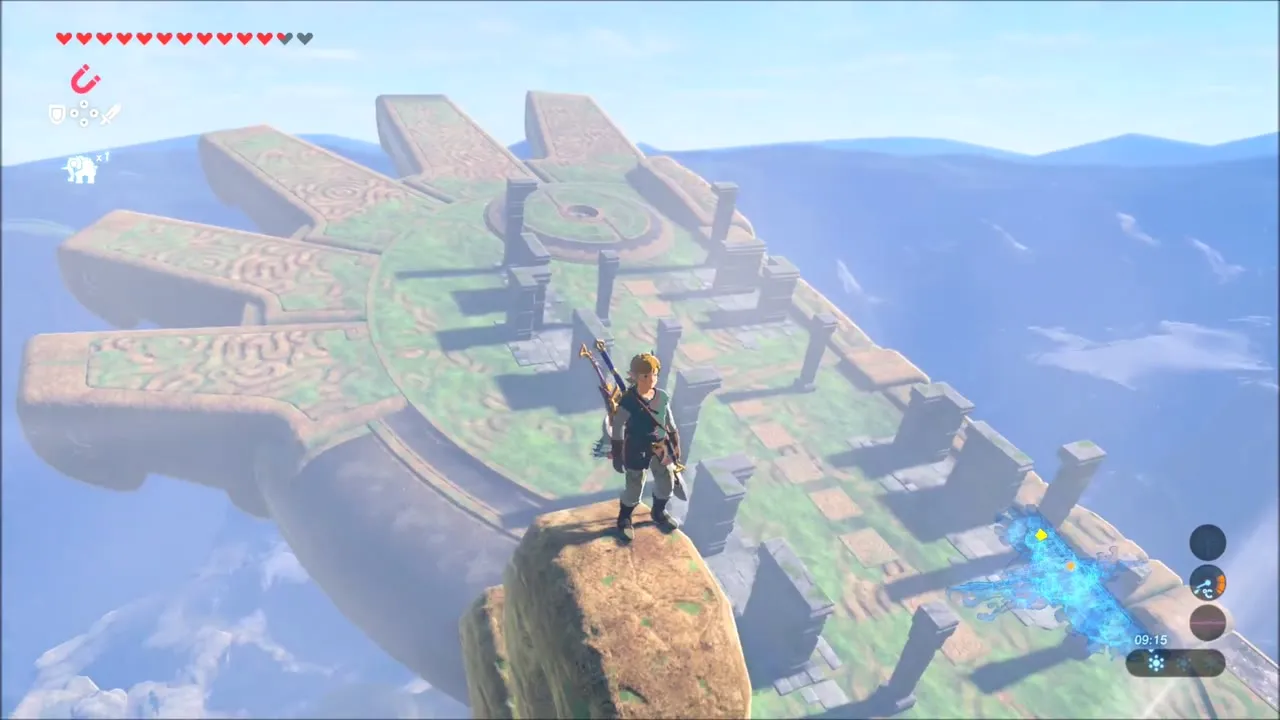
Windblight Ganon Boss Fight and Revali’s Gale
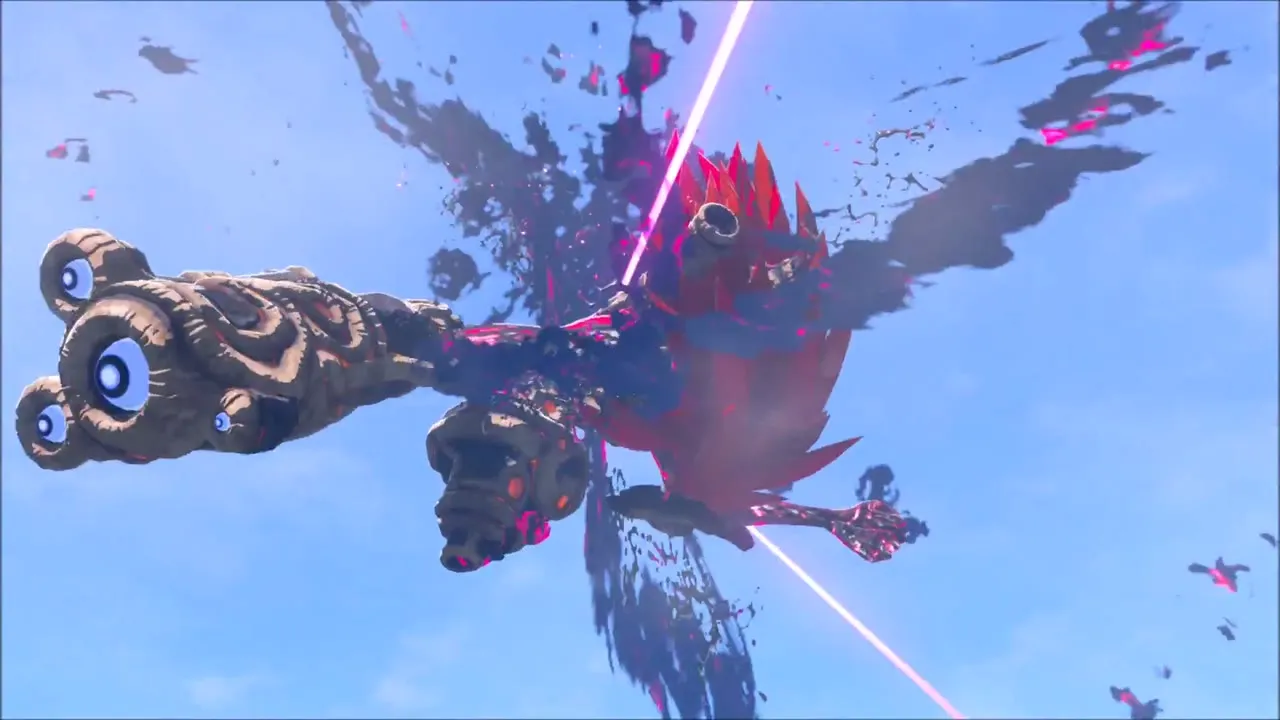
Use the control unit on the roof to start the fight against Windblight Ganon. He floats around the arena with a cannon arm and keeps his distance, mixing fast cannon bursts with large tornadoes. A meal that raises your defence helps. Use the turbines on the roof to get airborne and shoot his face for critical damage; when his health runs out, he is destroyed in a burst of Malice.
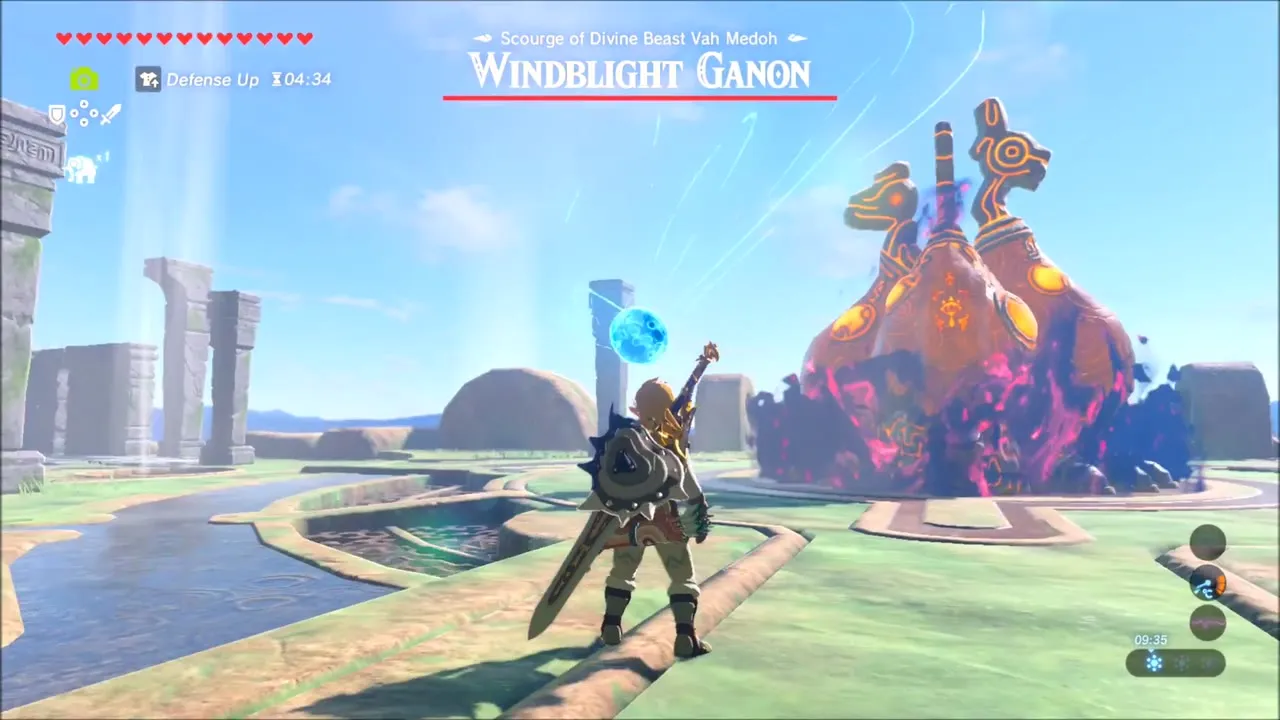
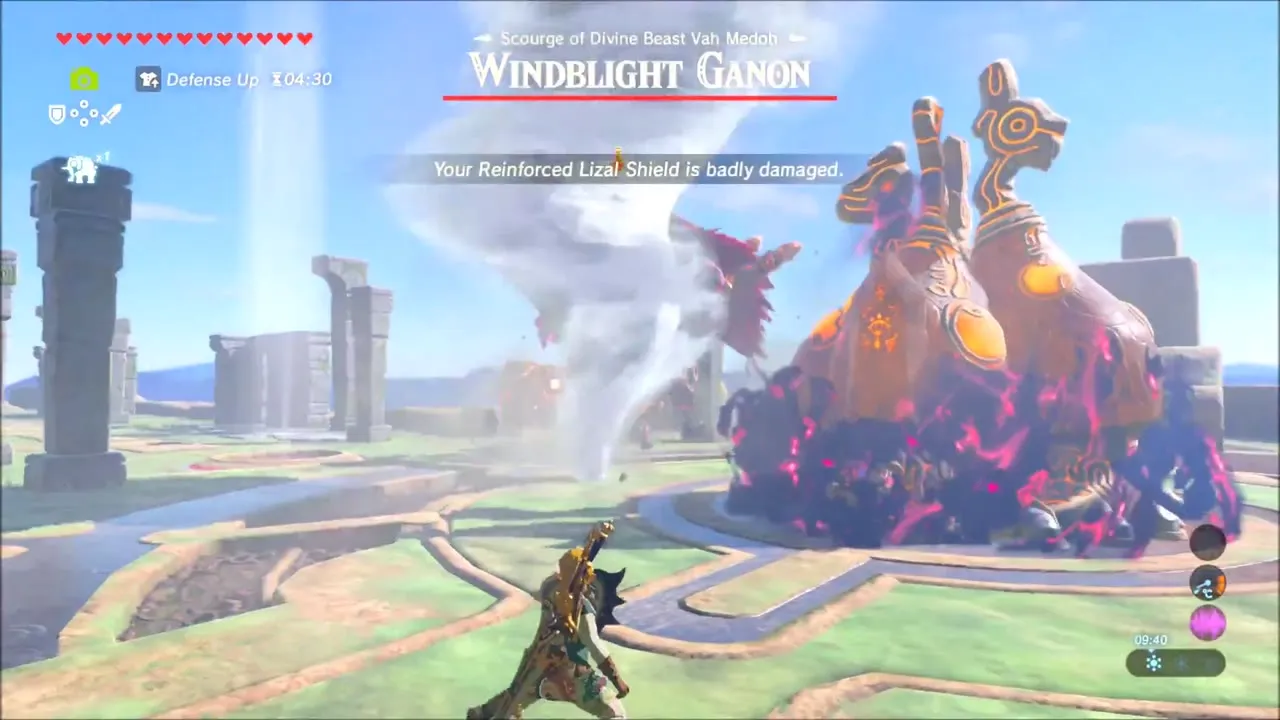
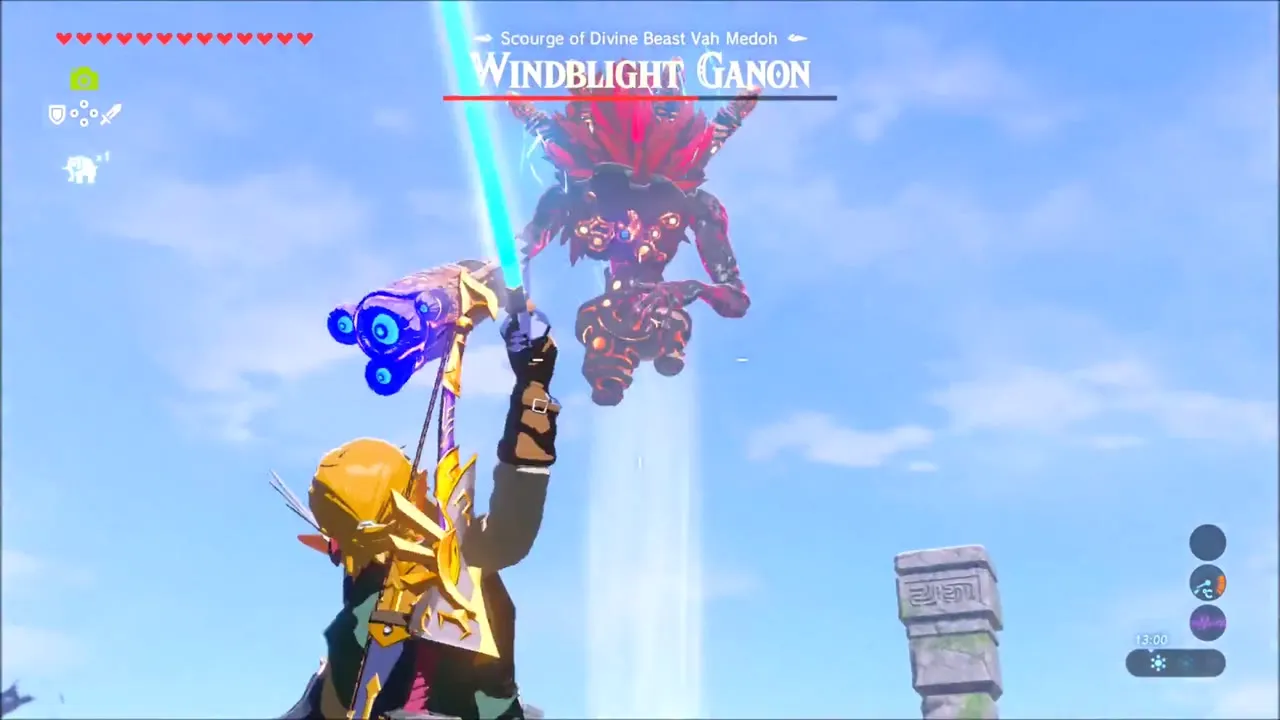

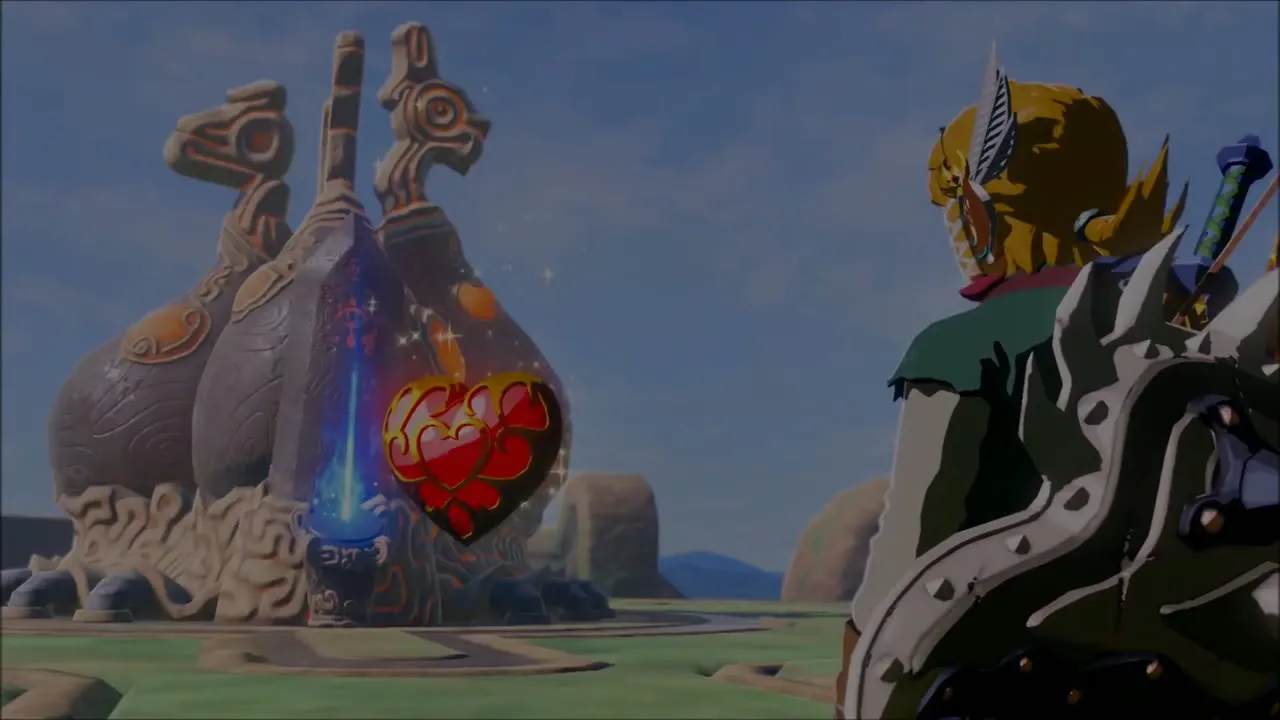
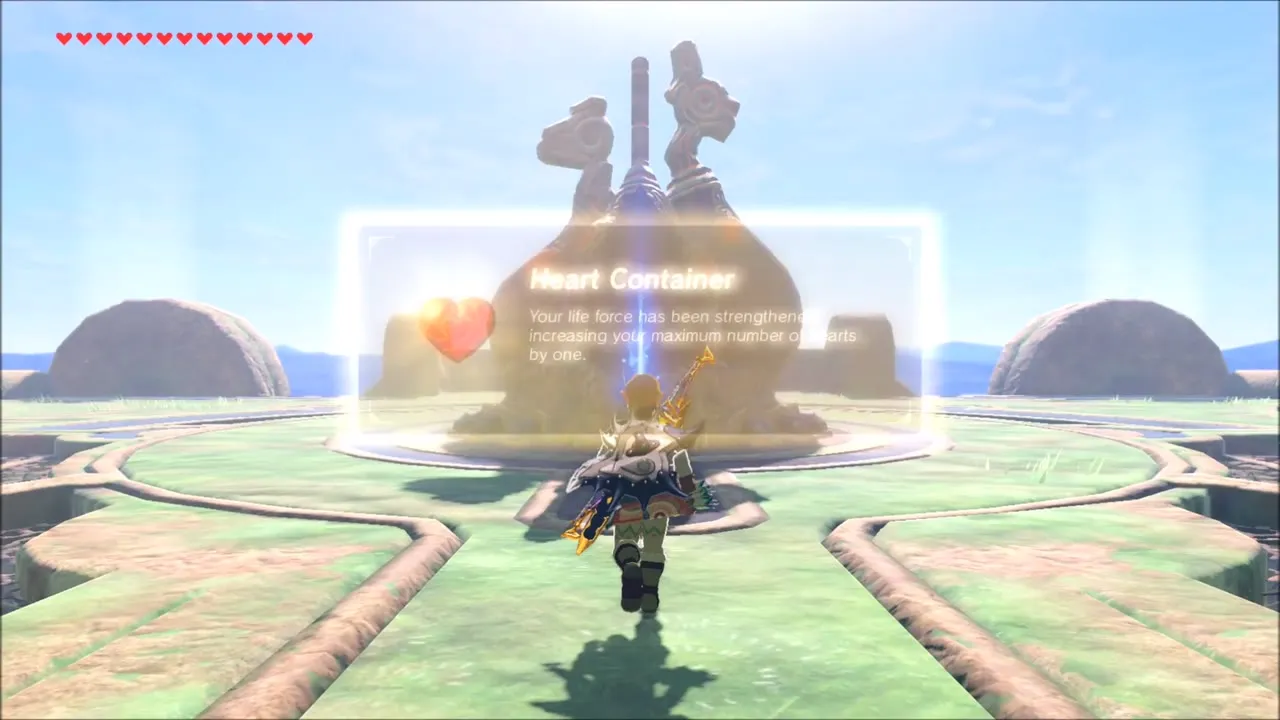
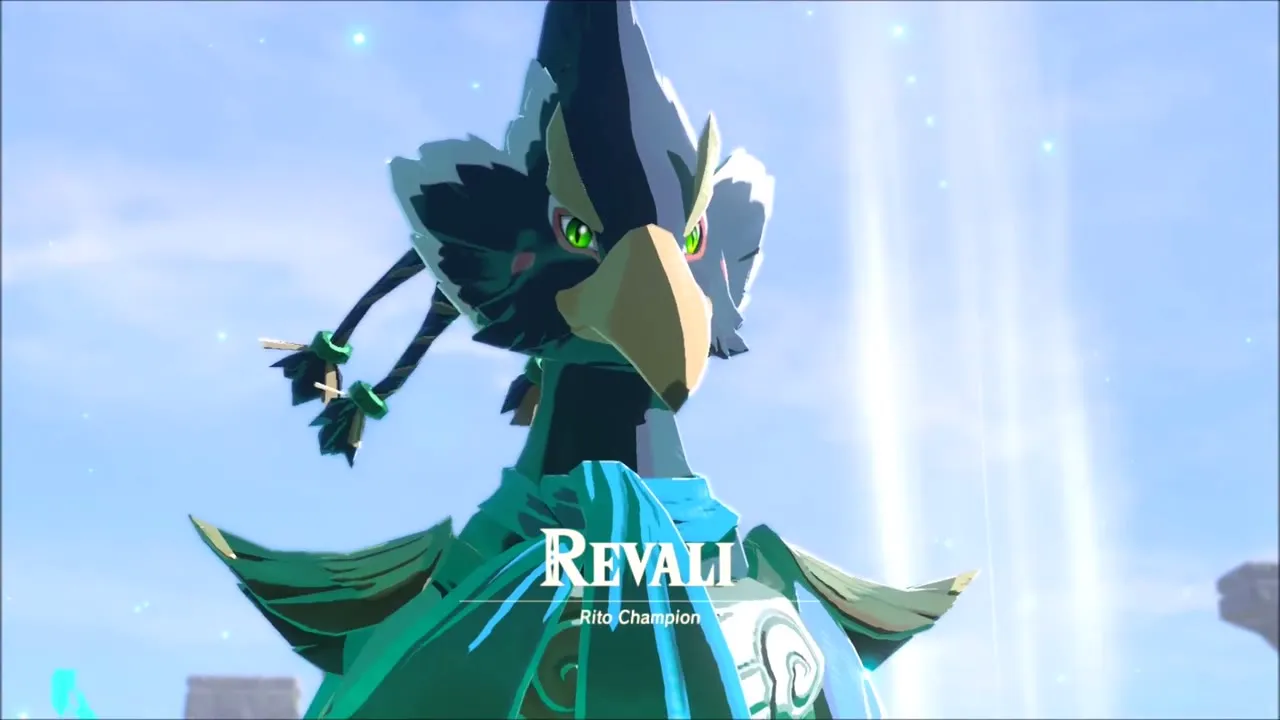
A Heart Container waits in the middle of the roof. Take it, and Revali‘s spirit appears to give you his power, Revali’s Gale: a gust that launches you into the air from the ground.
The freed Divine Beast then fires its cannon at Hyrule Castle, and you are returned to Rito Village. Elder Kaneli thanks you for conquering Vah Medoh. A chest beside him holds the Great Eagle Bow (attack 28), a bow that shoots several arrows at once and is best used in the air.
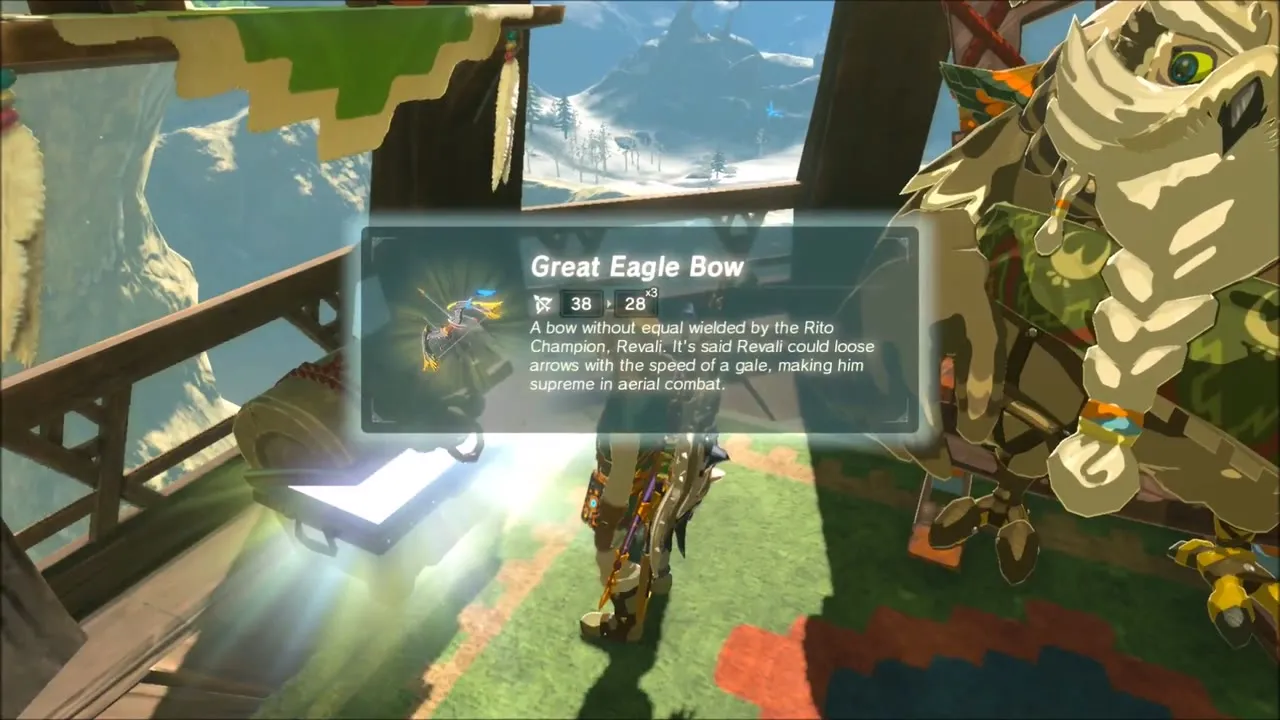
Side Trip: Hateno House and Back to Rito Village
Now is a good time to sort your gear. Fast travel to Hateno Village by way of Myahm Agana Shrine, walk to a house with weapon racks on its walls and hang bows and shields on the wall racks to free up inventory space, including the new Great Eagle Bow. When you are done, travel back to Akh Va’quot Shrine.
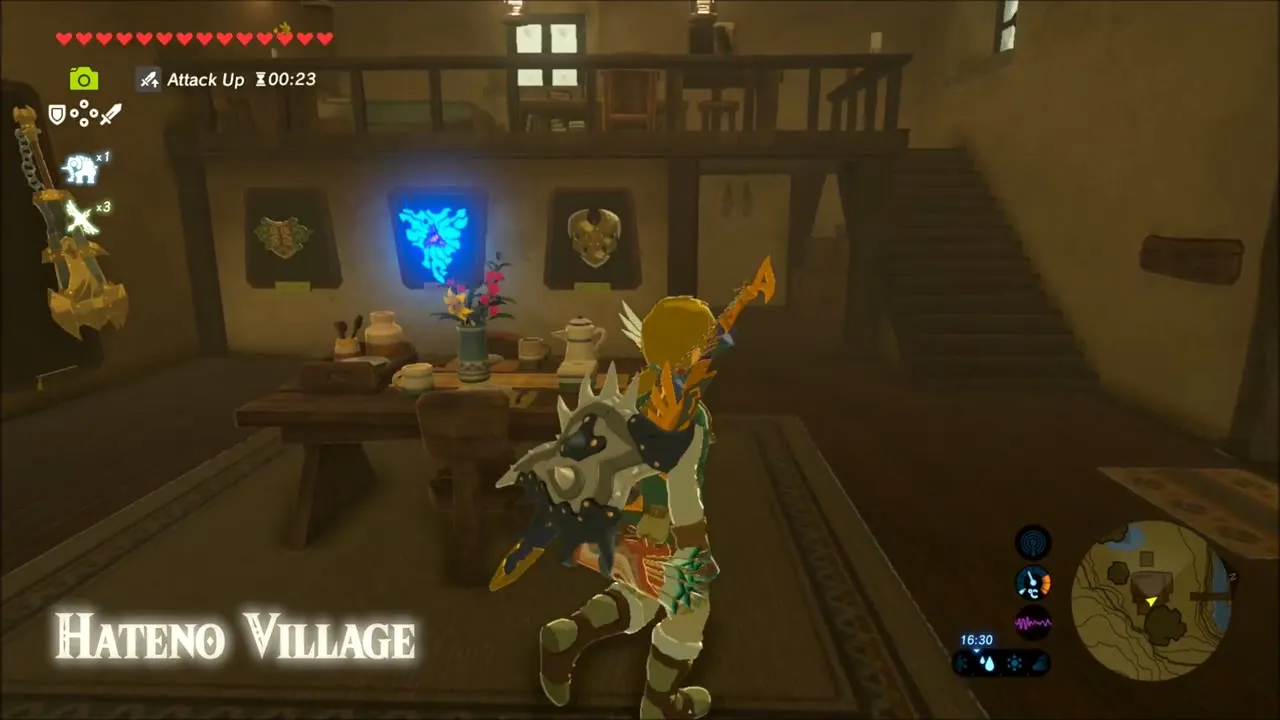
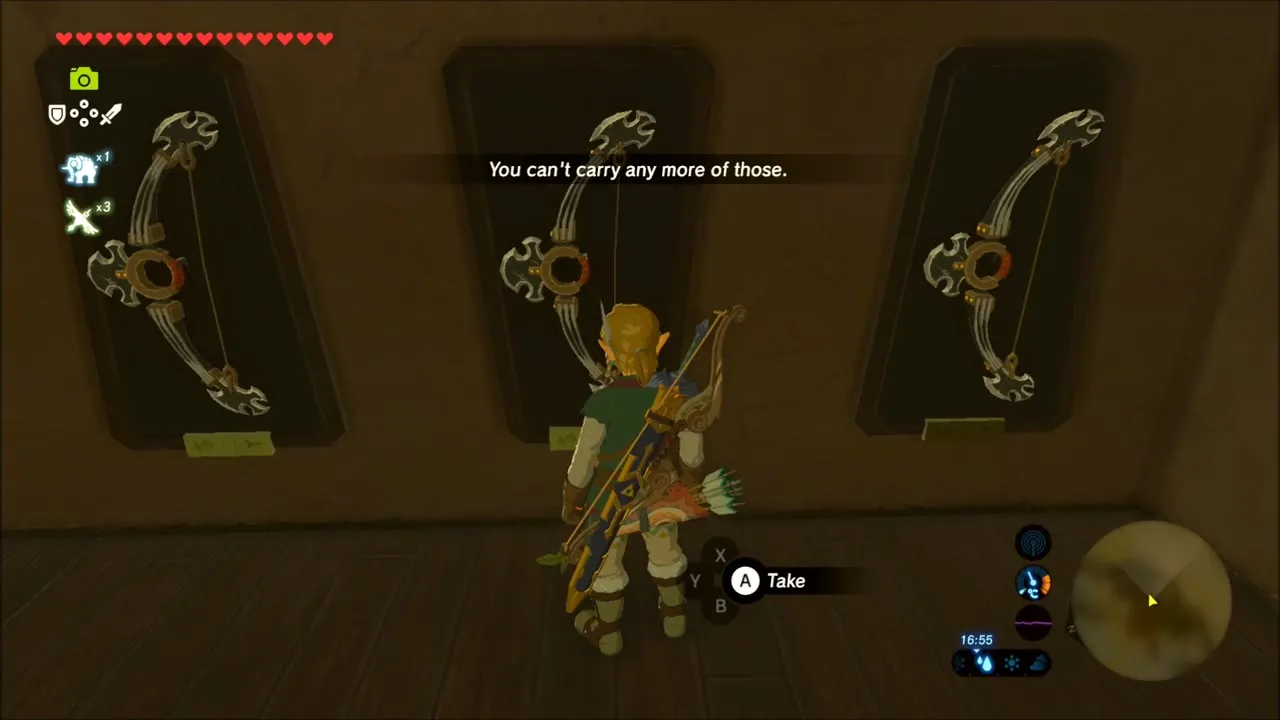

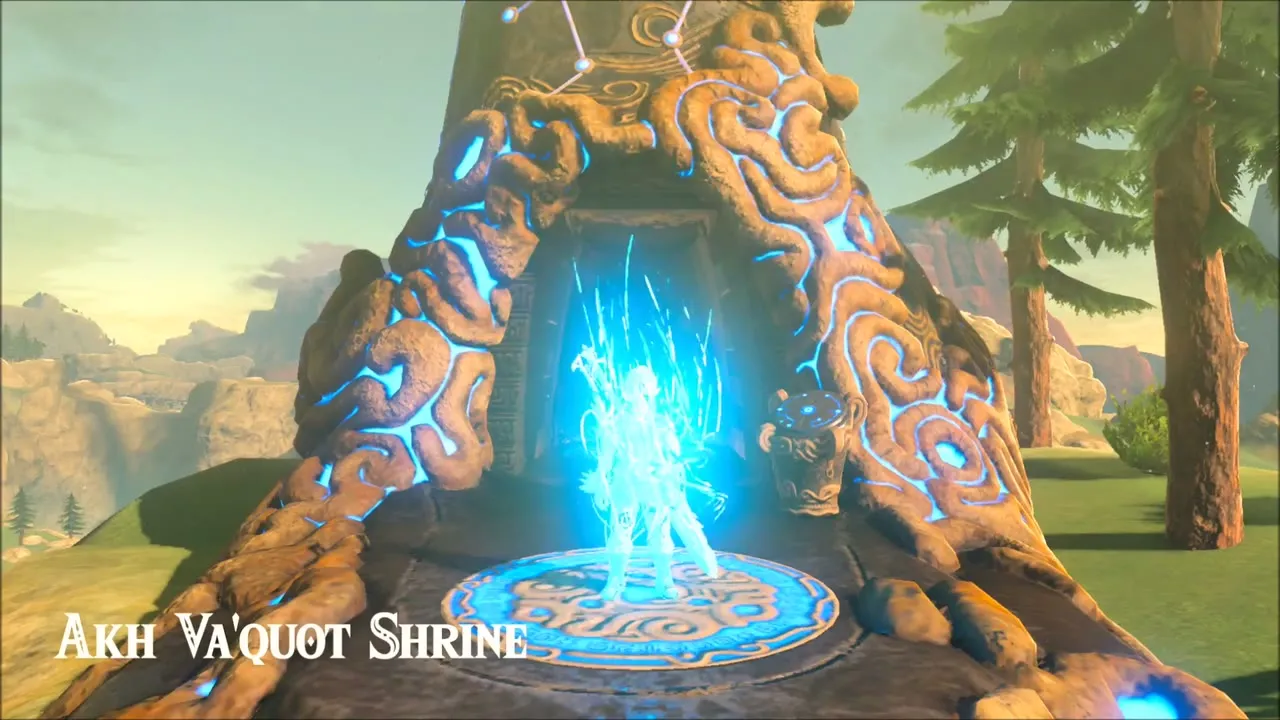
Rito Village Side Quests: Find Kheel and The Spark of Romance
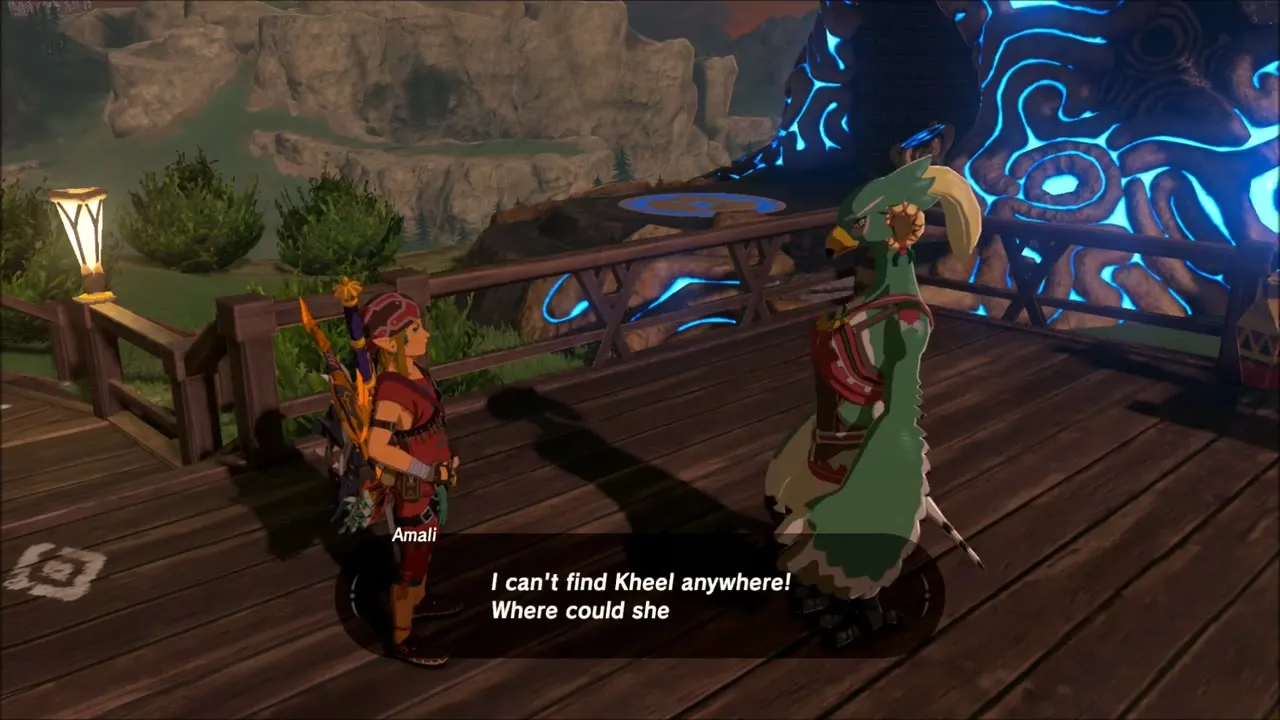
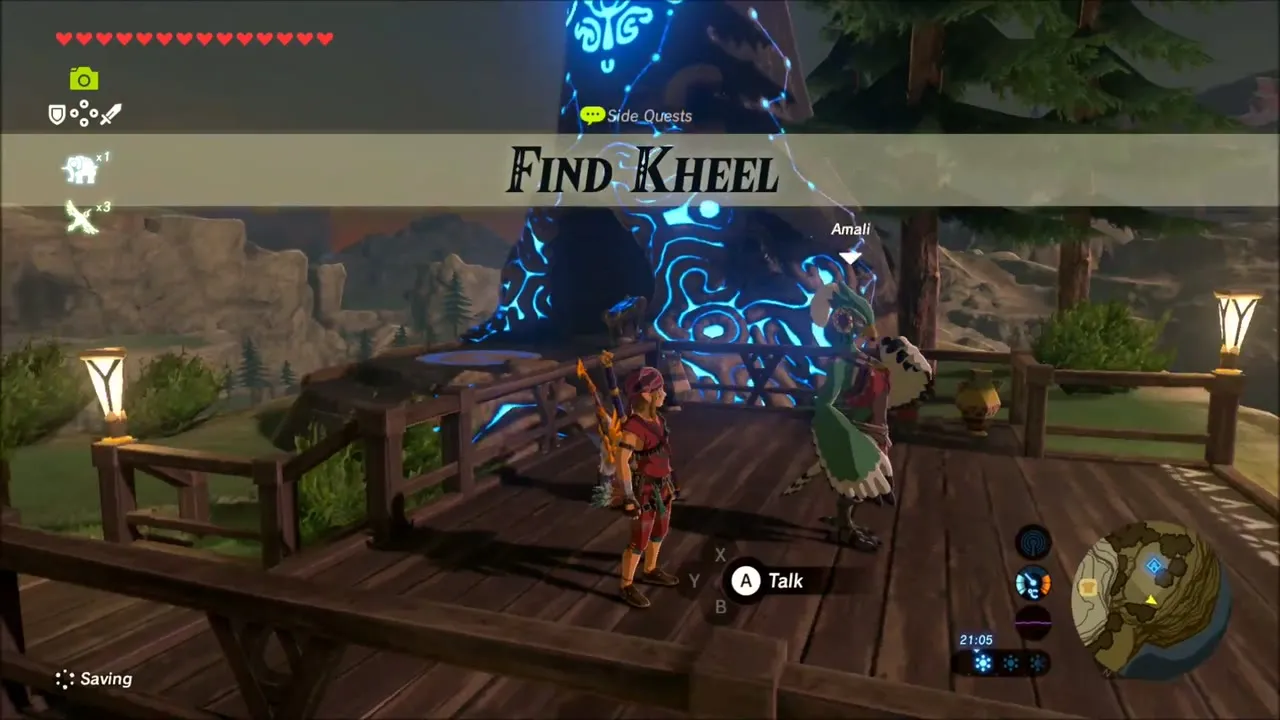
In the village, Amali is worried because she cannot find her daughter Kheel anywhere. This starts the side quest Find Kheel, which you finish later.
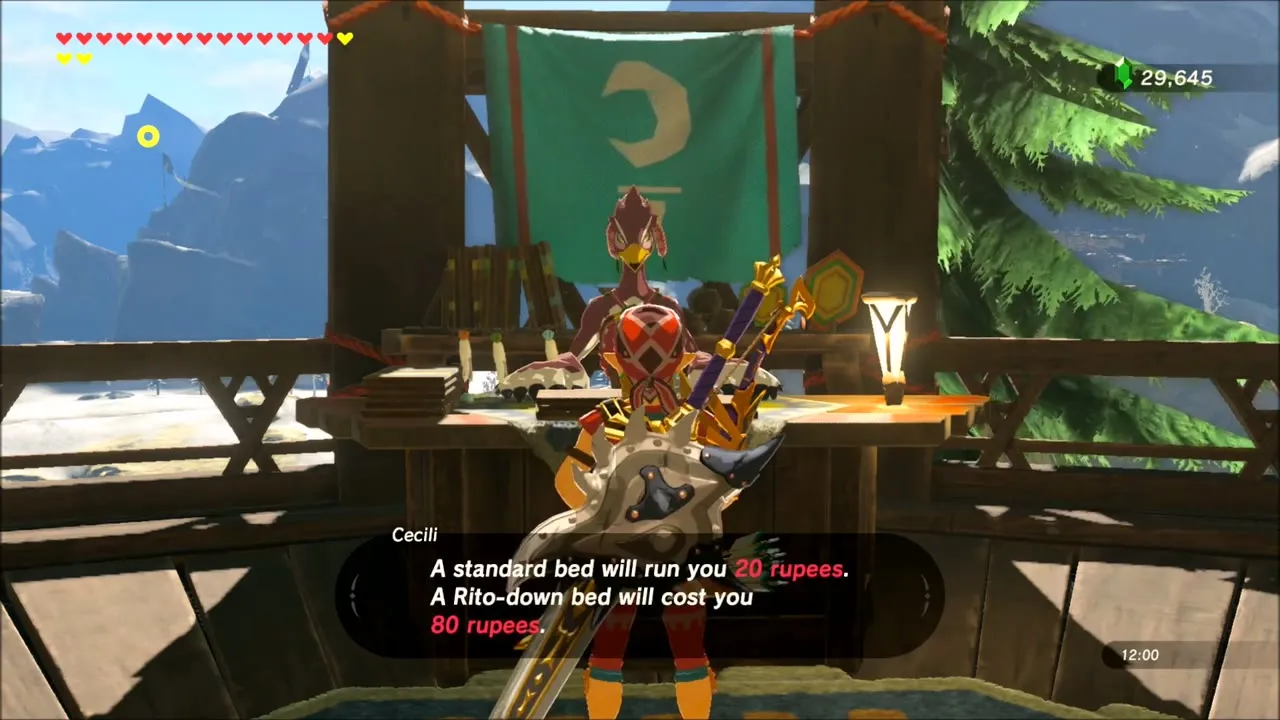
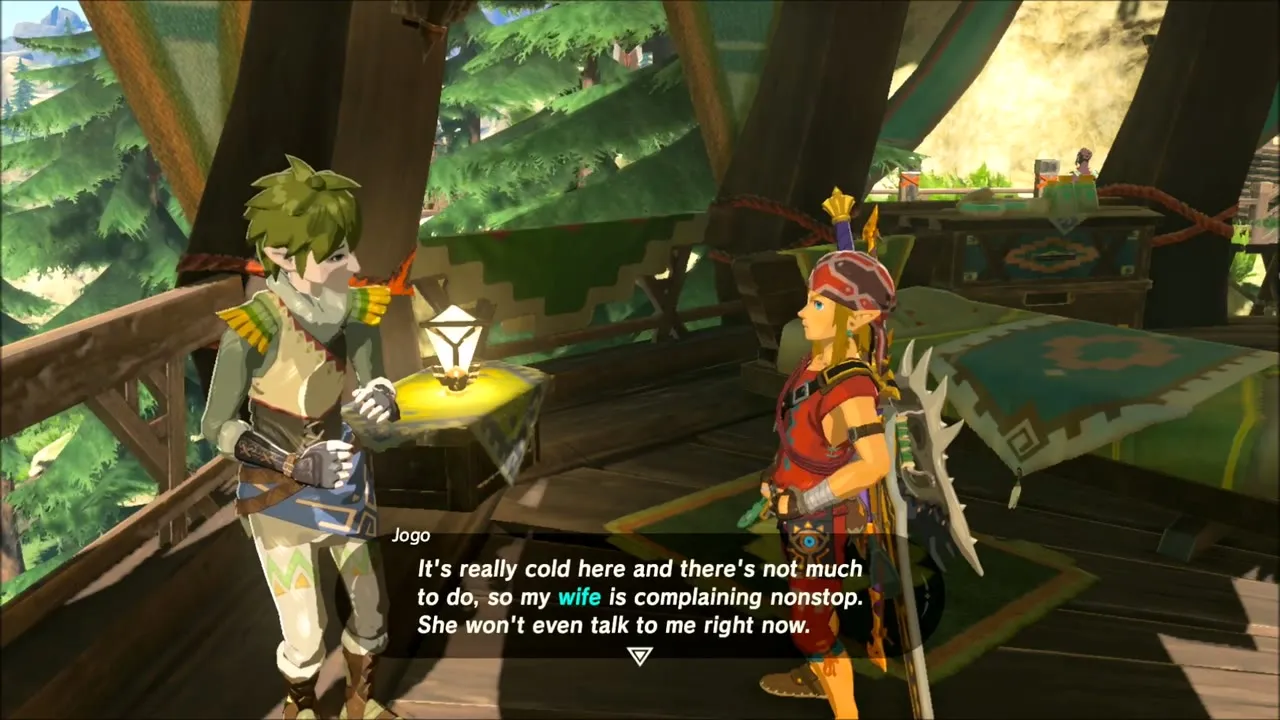
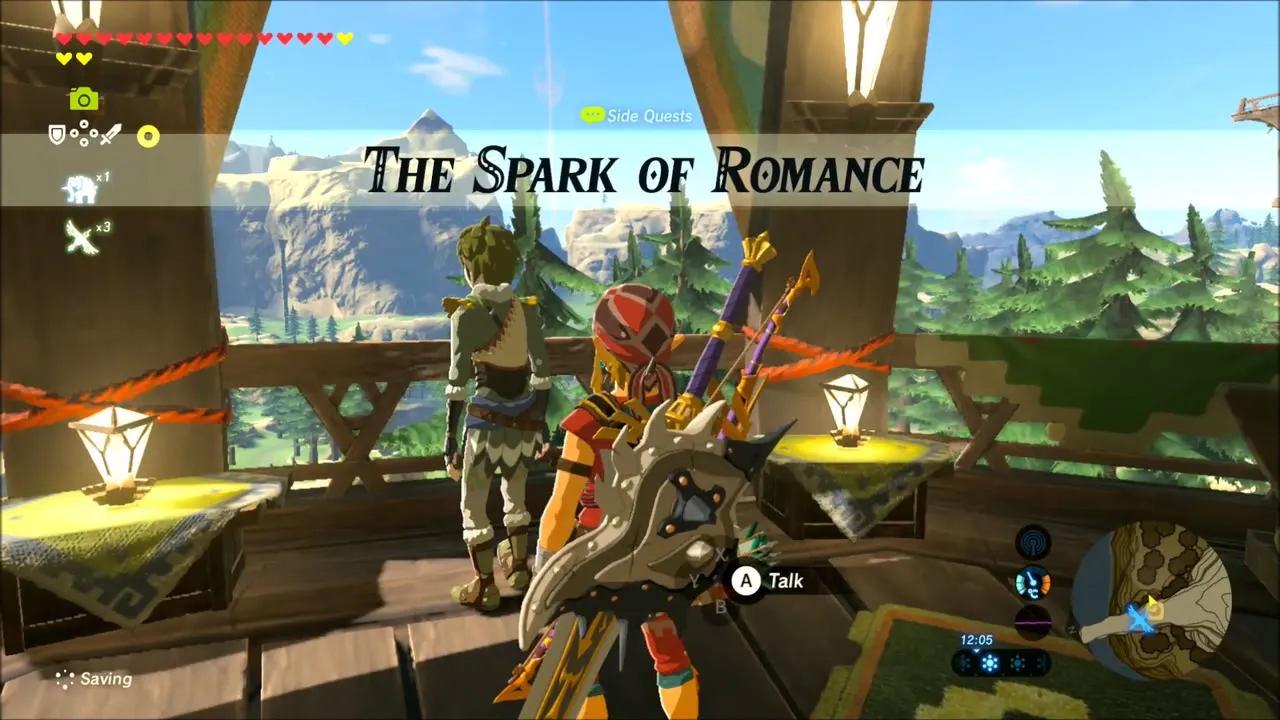
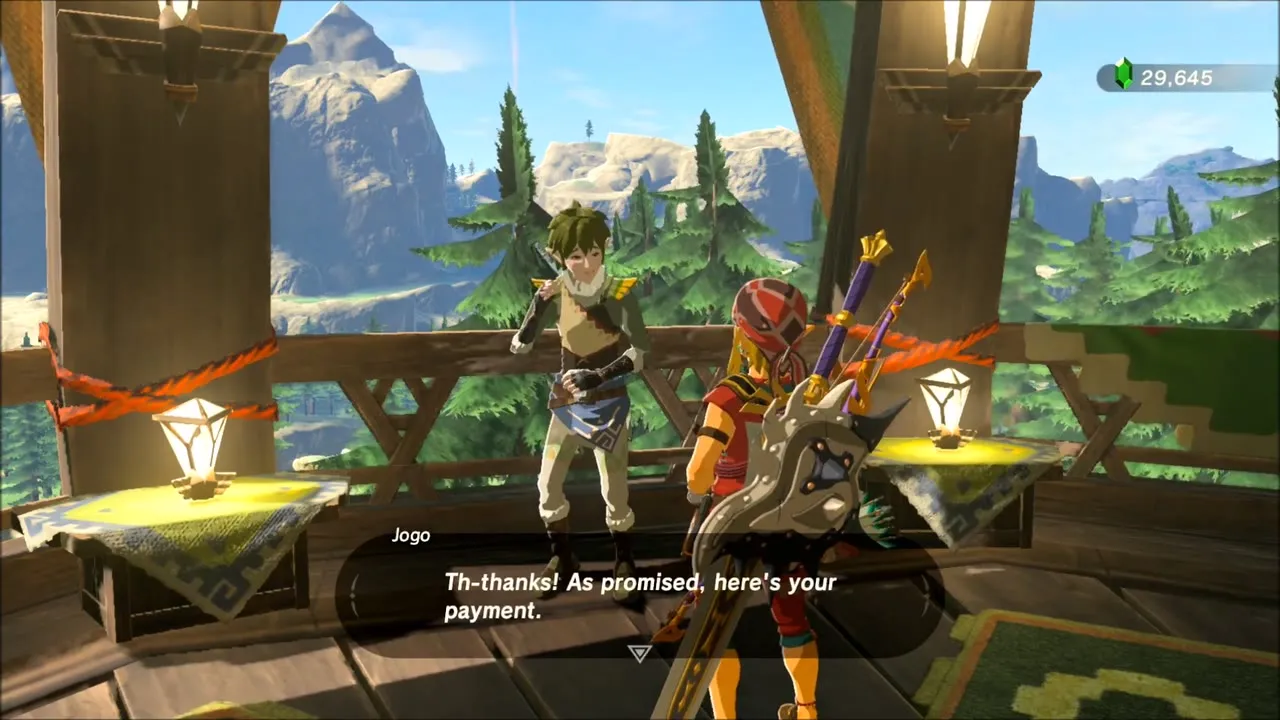
Walk up to the inn, where Cecili minds the desk (a standard bed costs 20 rupees and a Rito-down bed 80). Jogo, a Hylian honeymooning there, smells something and asks if you have any Flint. Hand him a piece to finish The Spark of Romance and collect a Silver Rupee (100 rupees); he buys more Flint later.
The Ancient Rito Song: Bedoli and Laissa
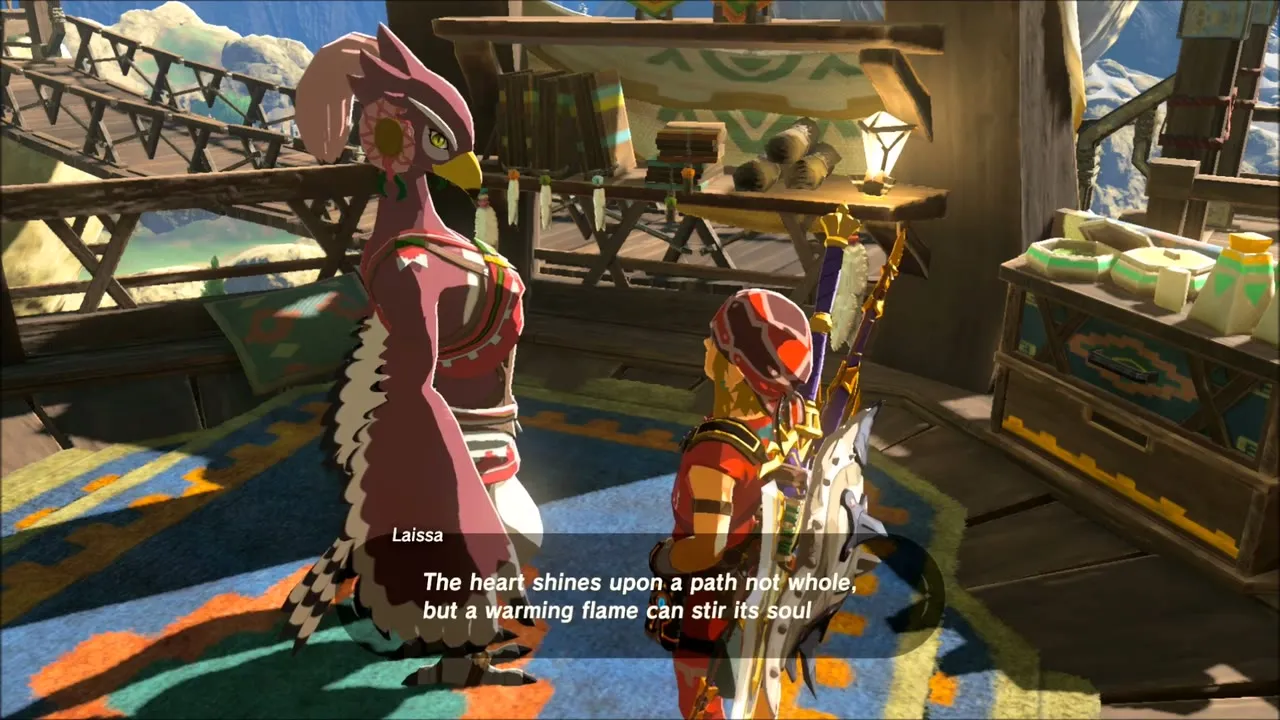
With Vah Medoh freed, you can start The Ancient Rito Song. Speak to Bedoli on the platform near the top of the village. She teaches you the first half of an old song and sends you to her sister Laissa for the rest.
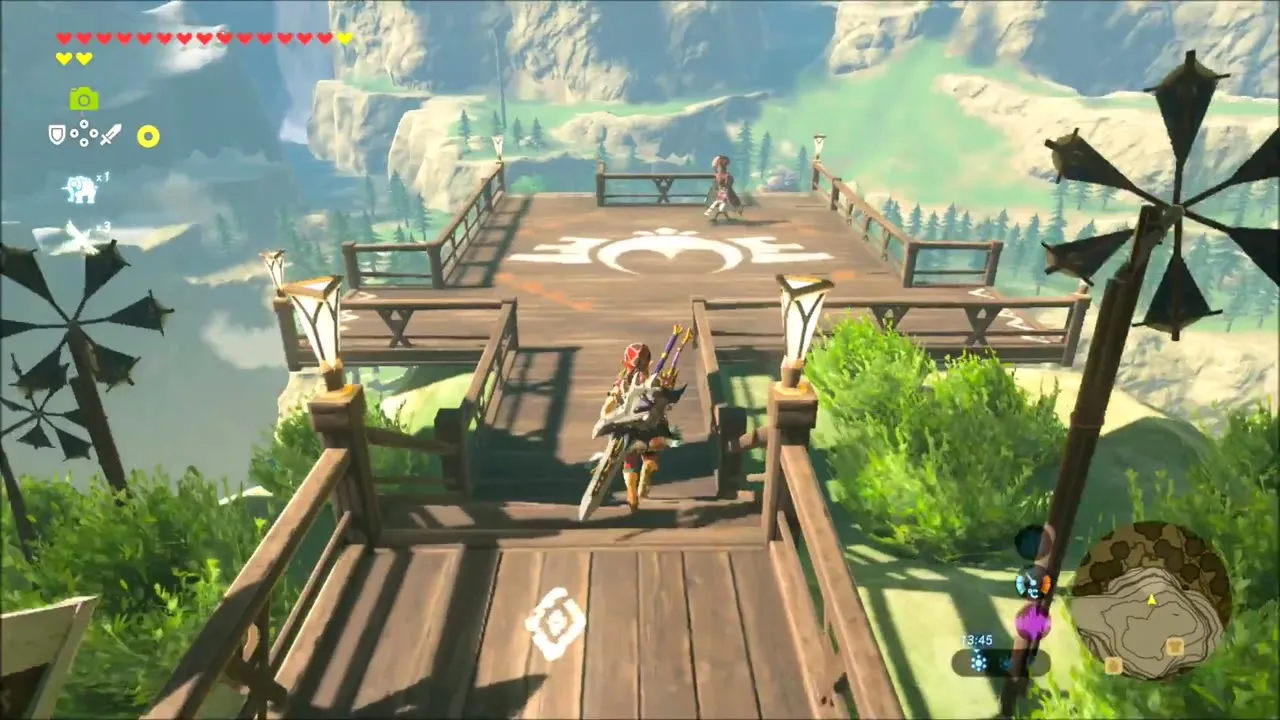
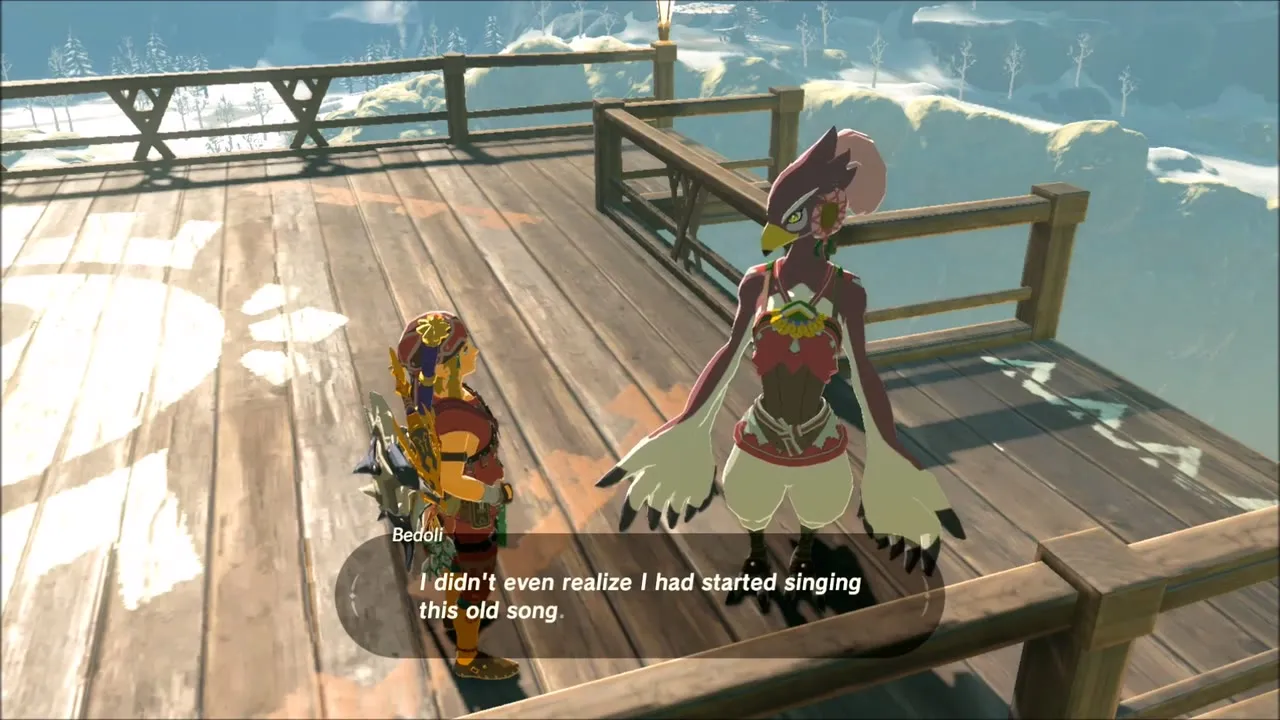
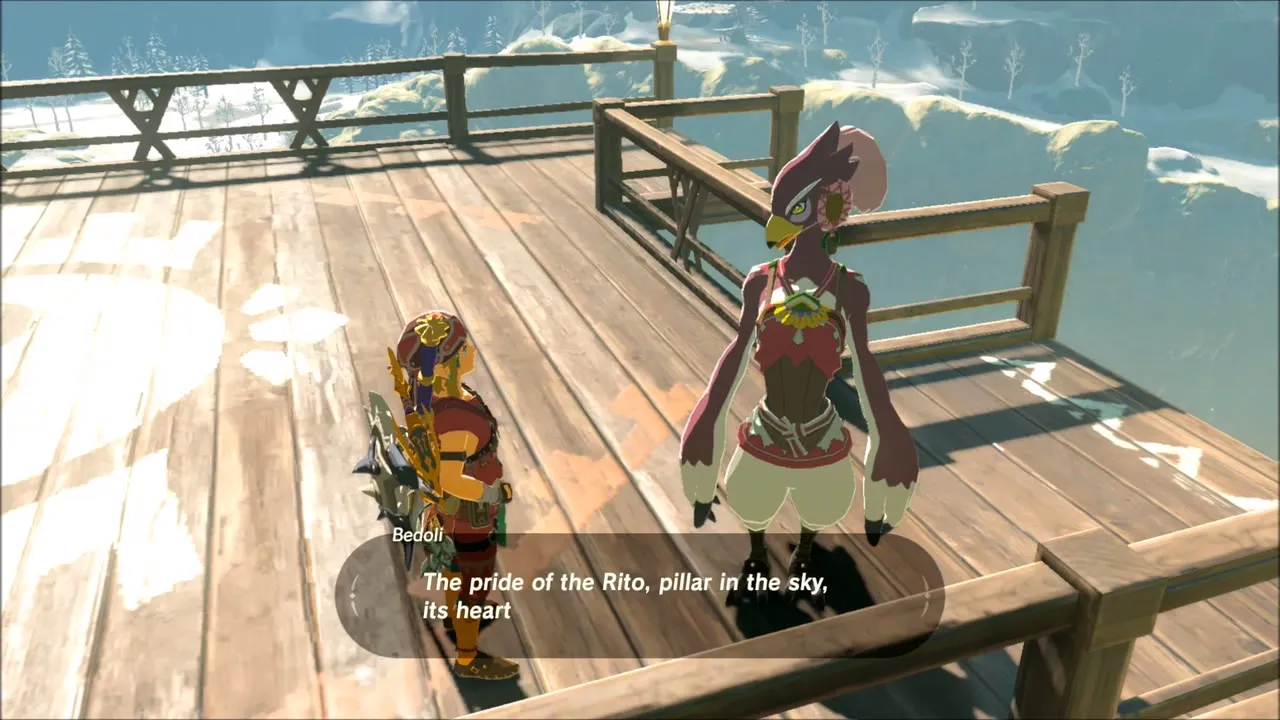
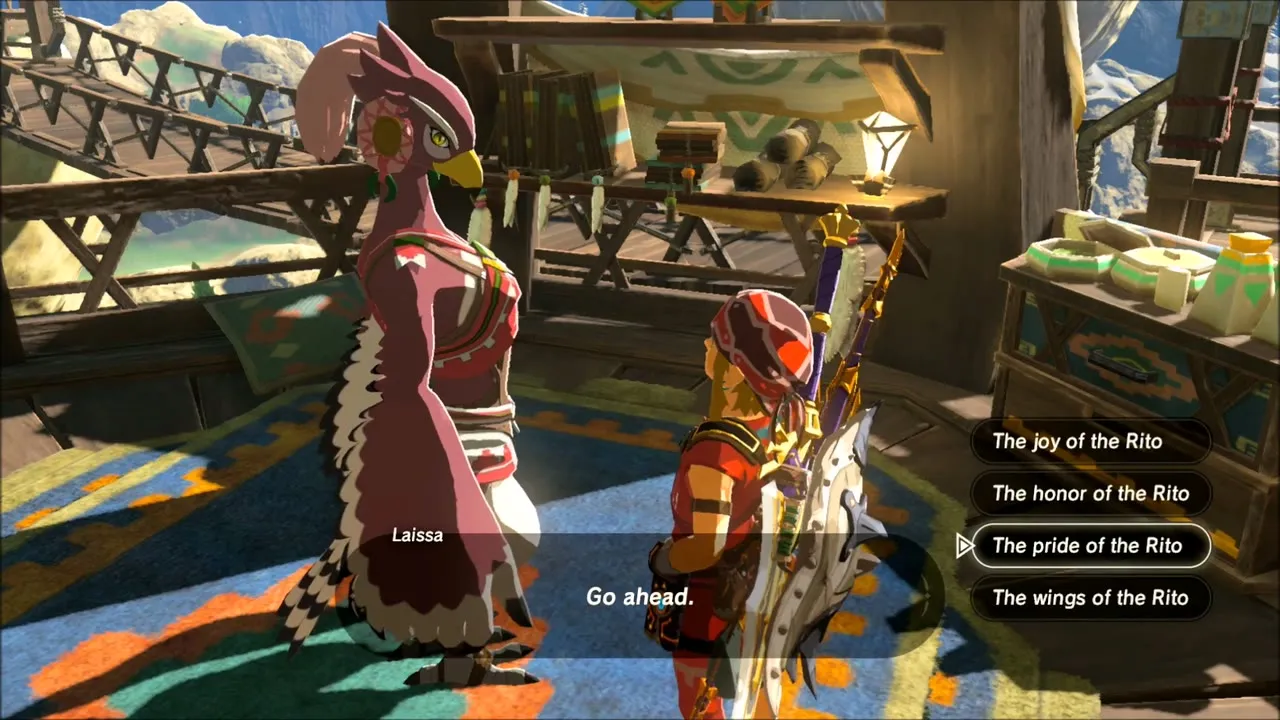
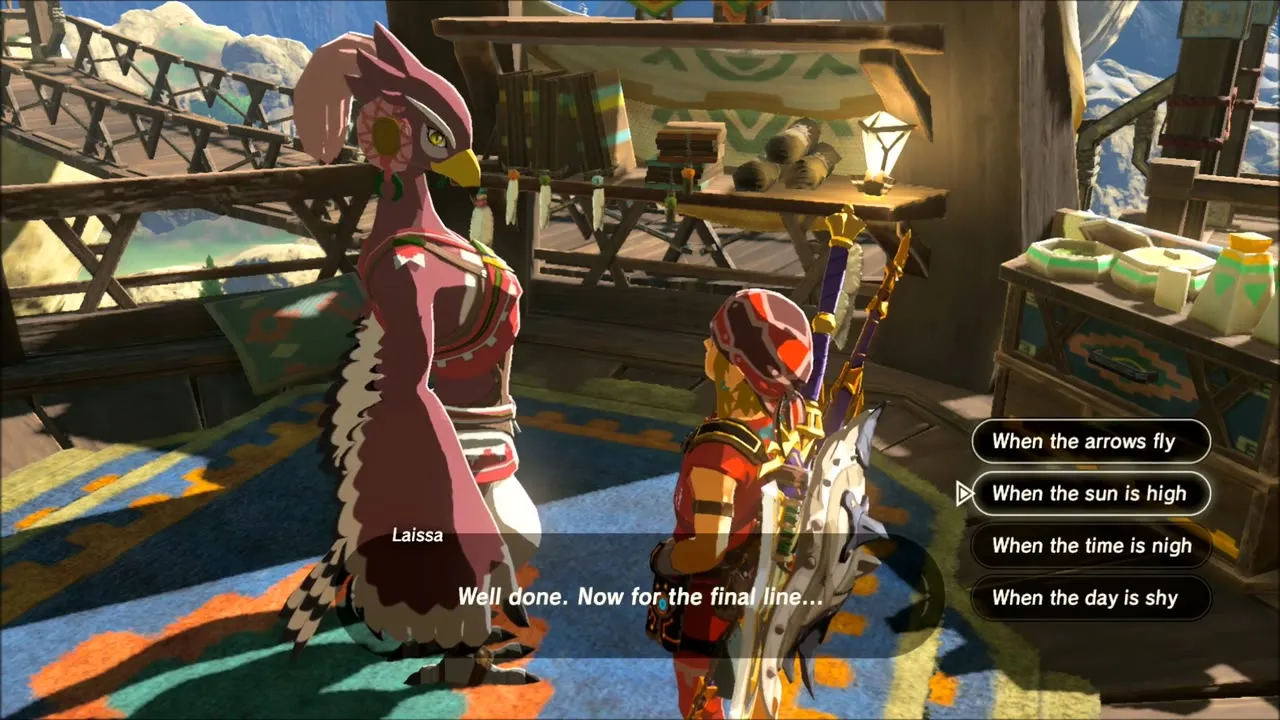
Find Laissa and recite the first half. When she asks, answer “the pride of the Rito” for the pillar and “when the sun is high” for its heart. She then teaches you the second half, which speaks of a path that is not whole and a warming flame, so you will need a fire source.
Korok Seeds Near Lake Totori
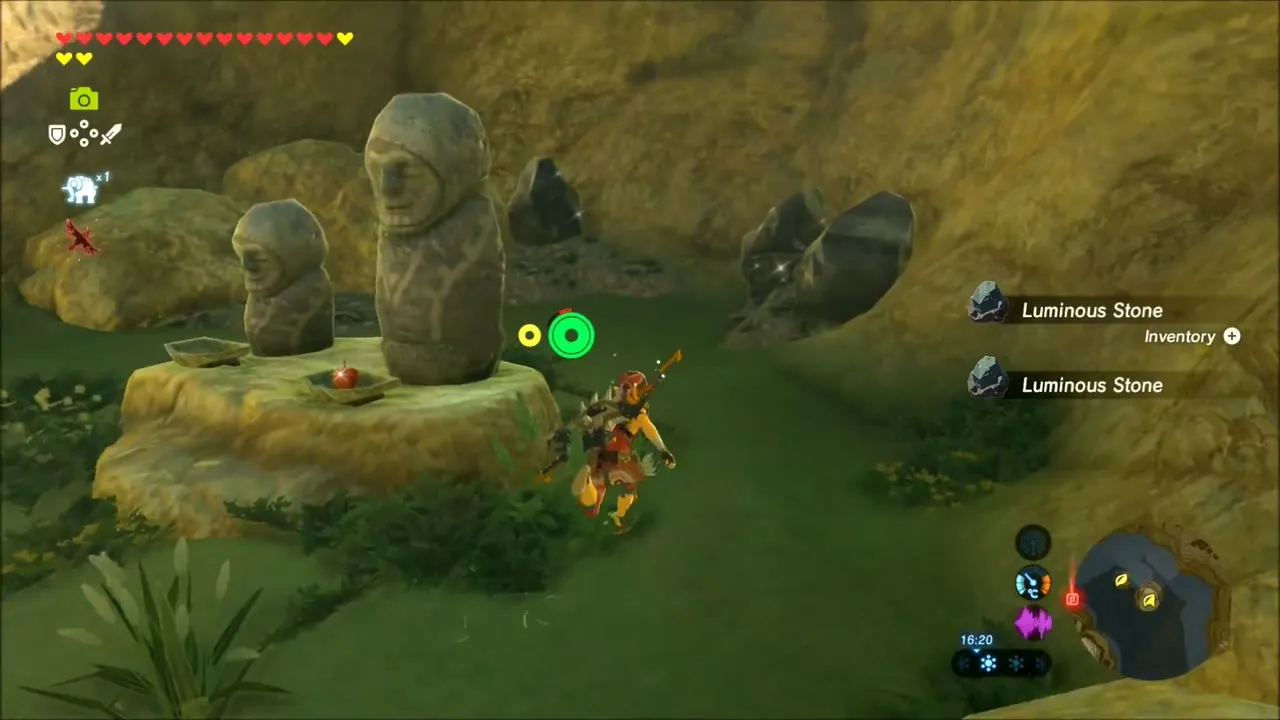
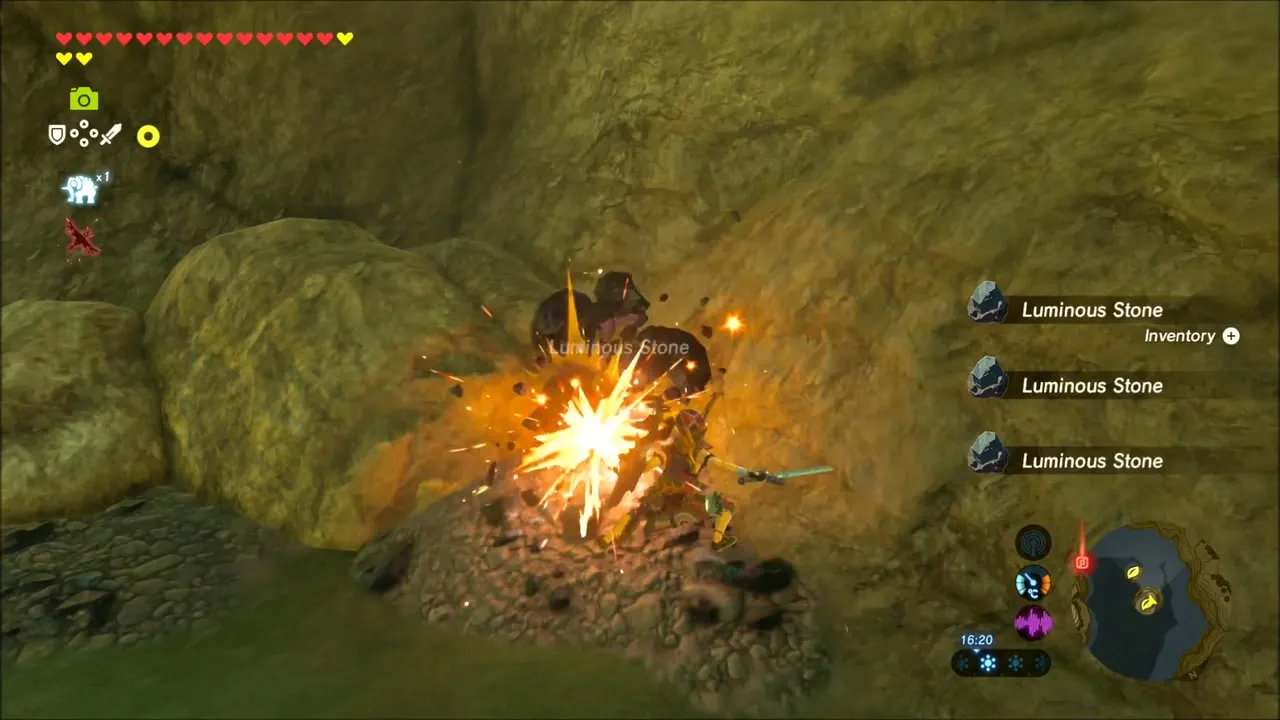
Glide from the village to a grassy ledge in the cliffs. A pair of small stone statues stands on a rock slab with an apple at the foot of one of them. Offer an apple at the statues and the Korok pops out for a seed. Breaking the rocks around the ledge also drops some Luminous Stone.
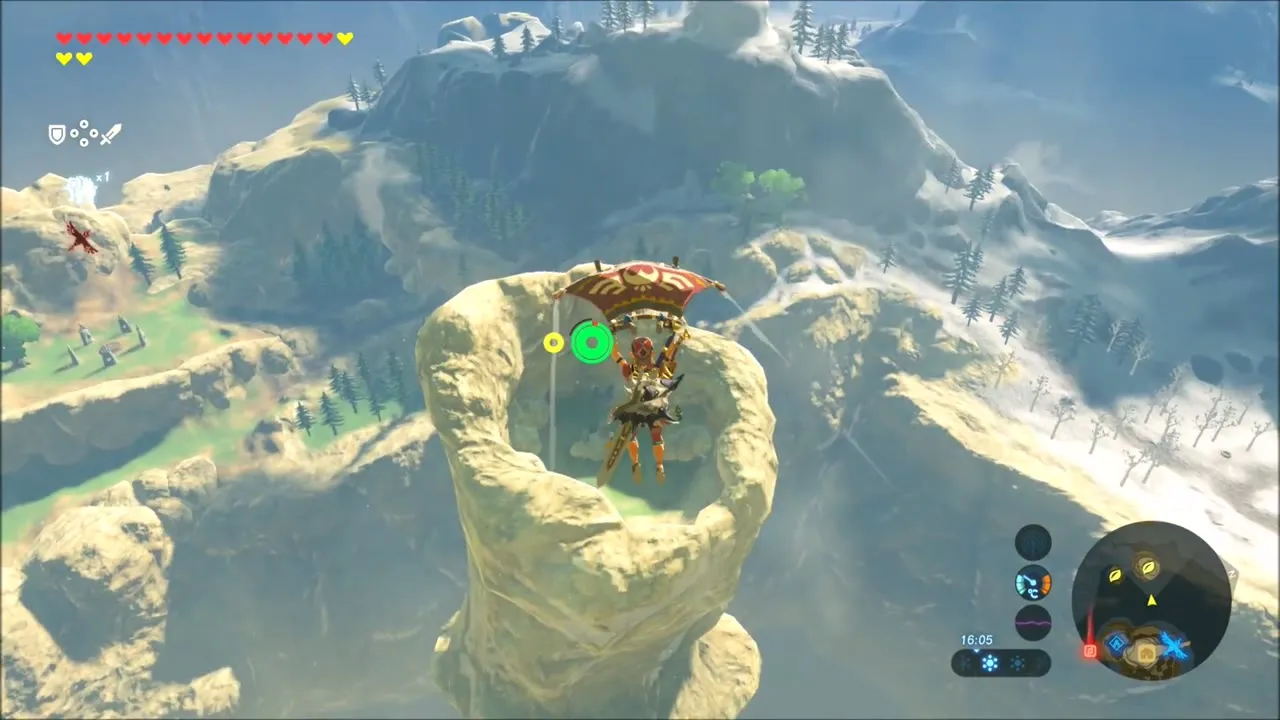
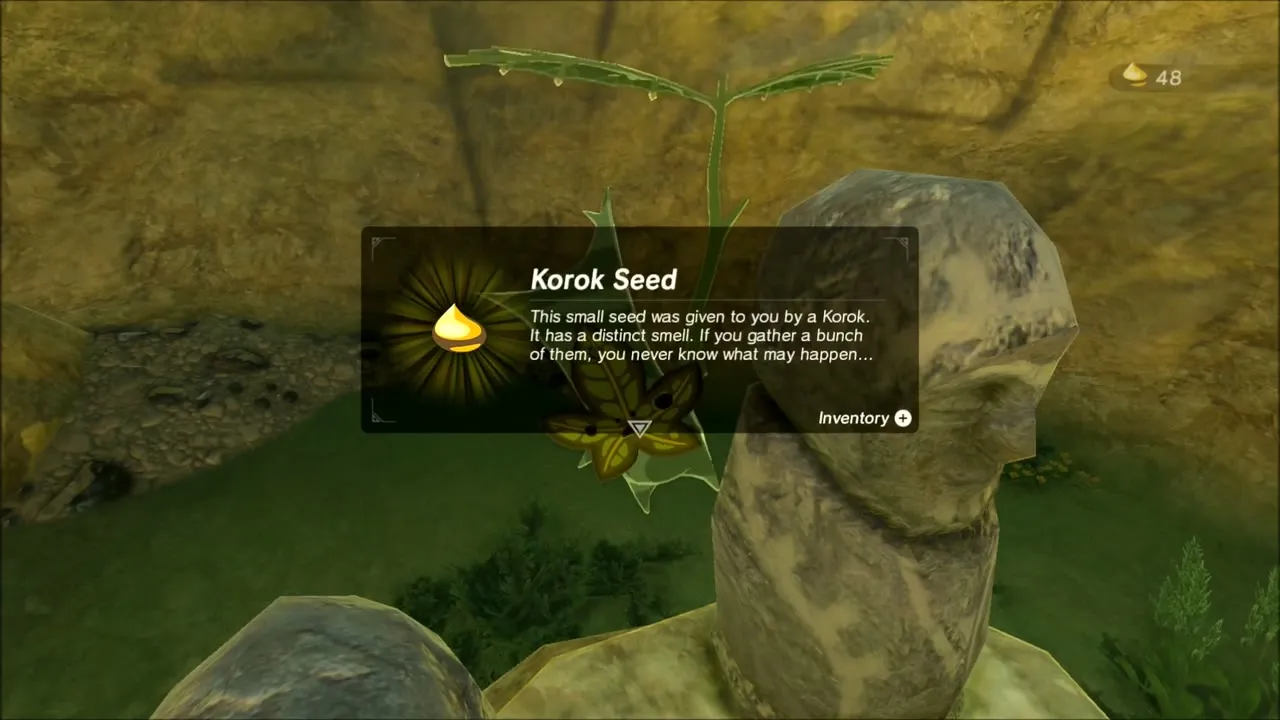
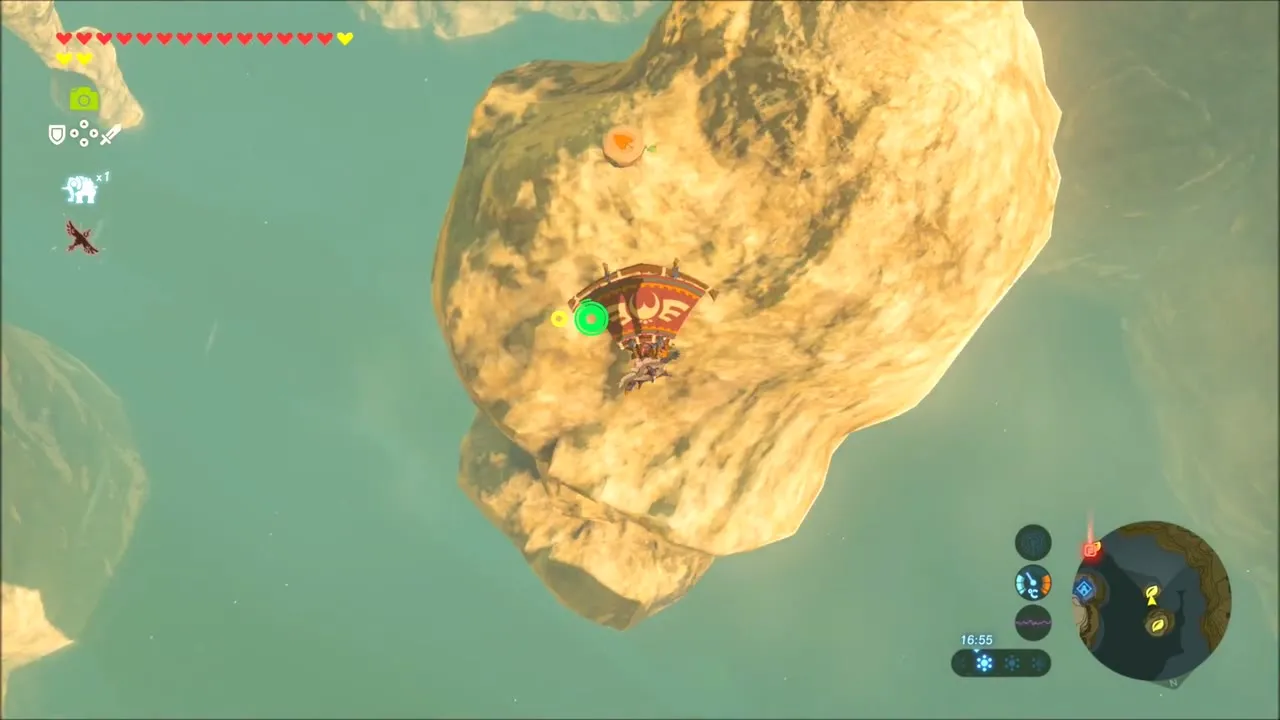
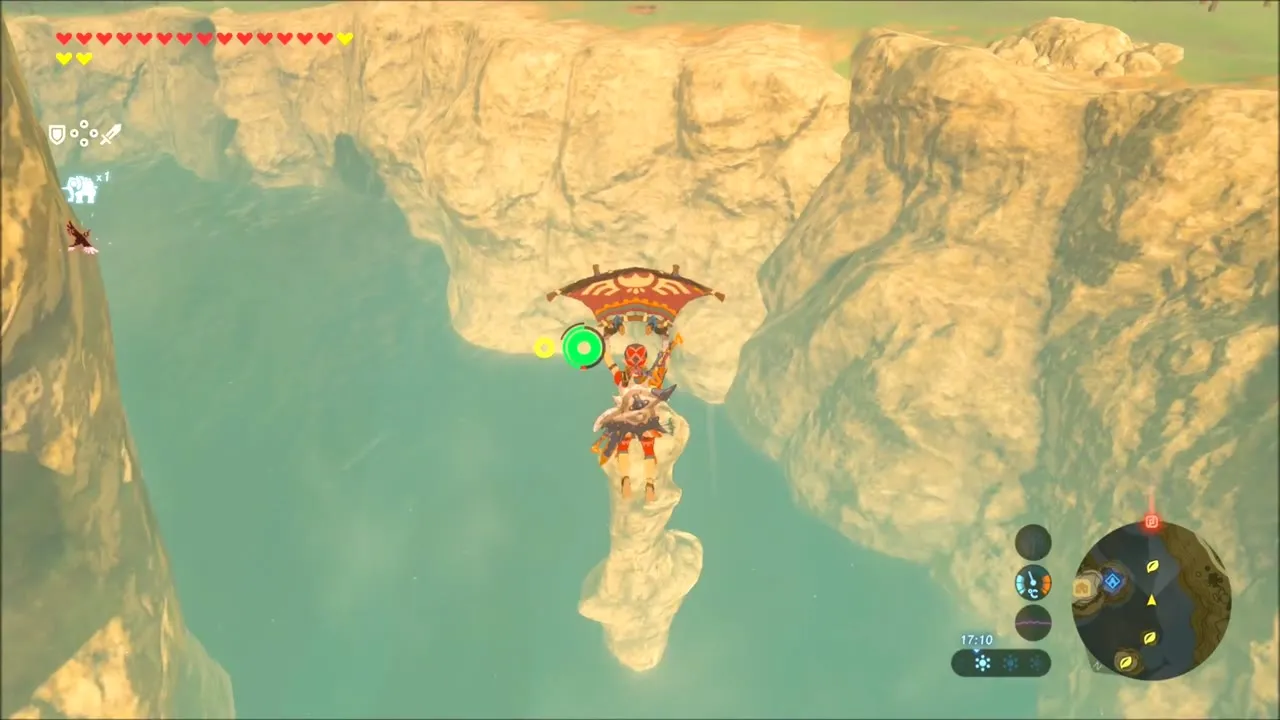
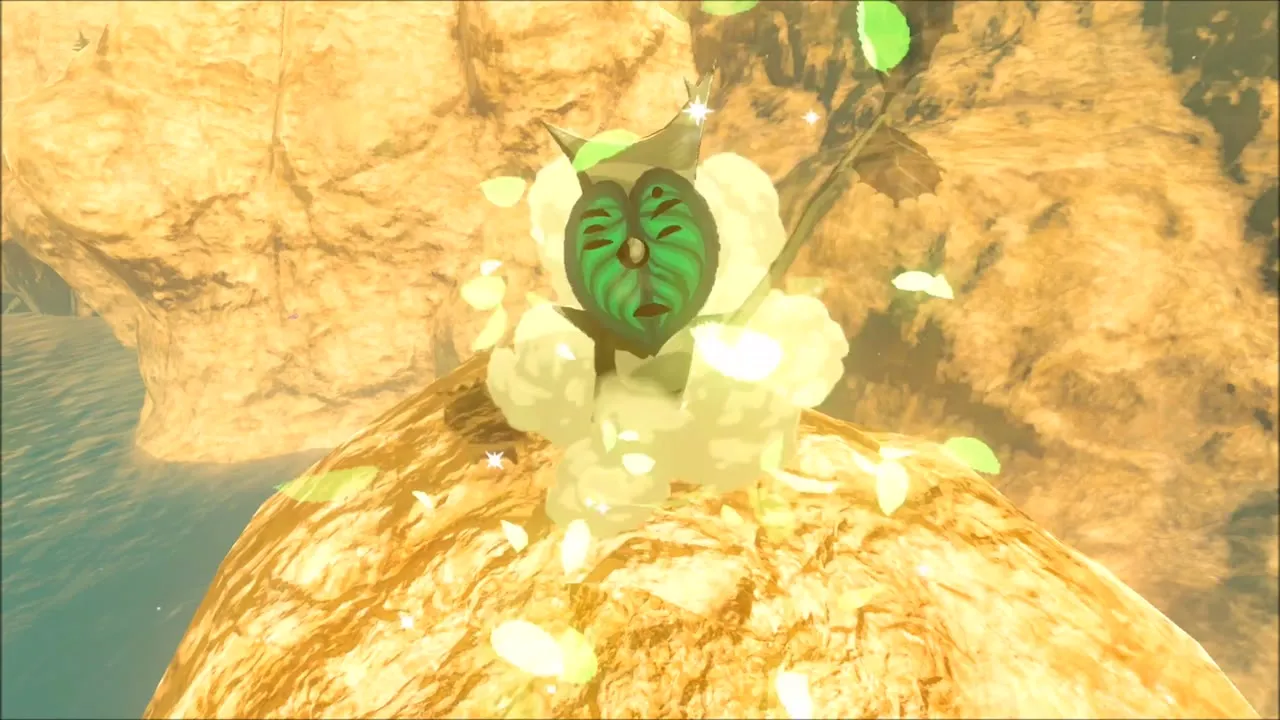
For the next seed, glide out over Lake Totori to the rocky islets in the water. The Korok sits on top of one of the rocks, and you only have to land on it to find him.
The Apple of My Eye: Juney’s Baked Apple
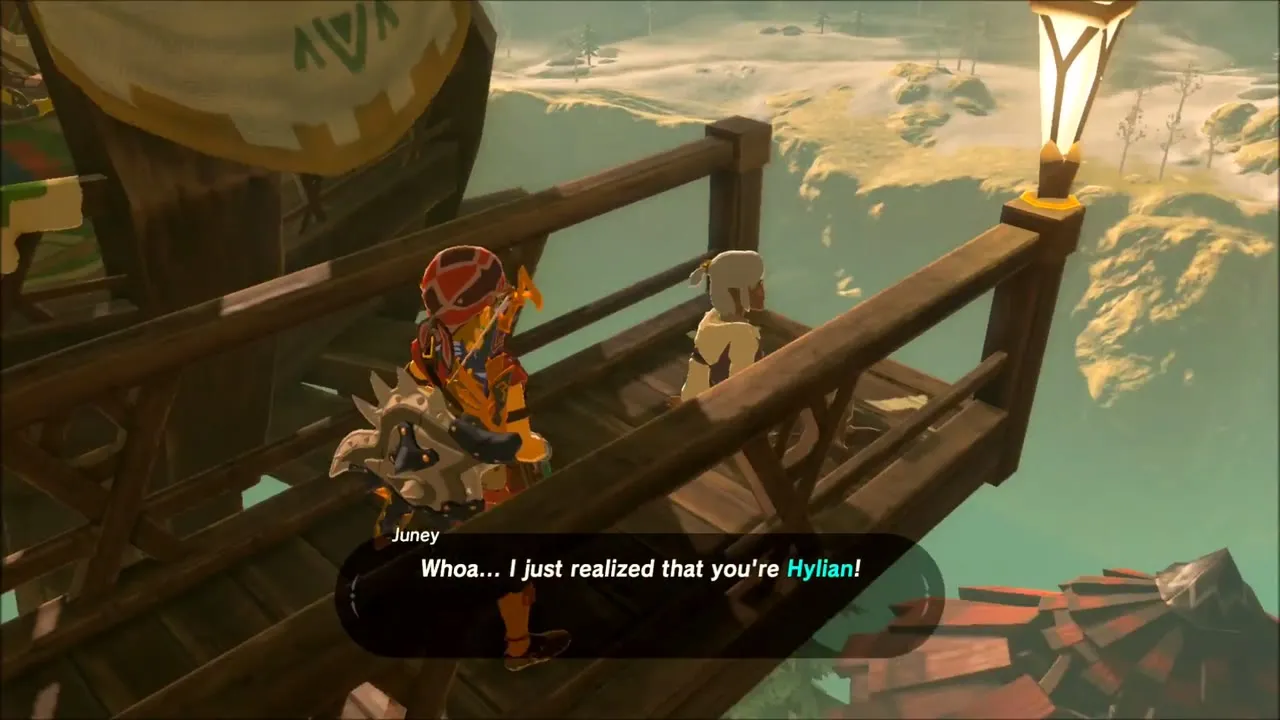
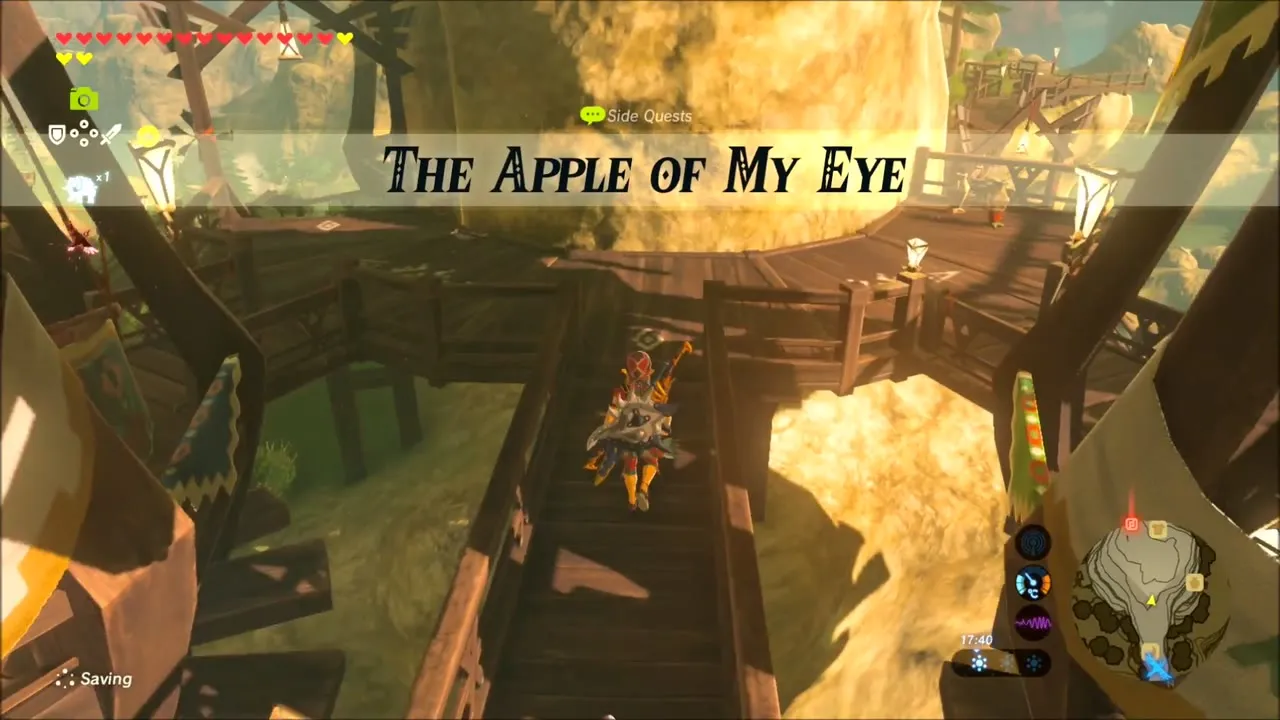
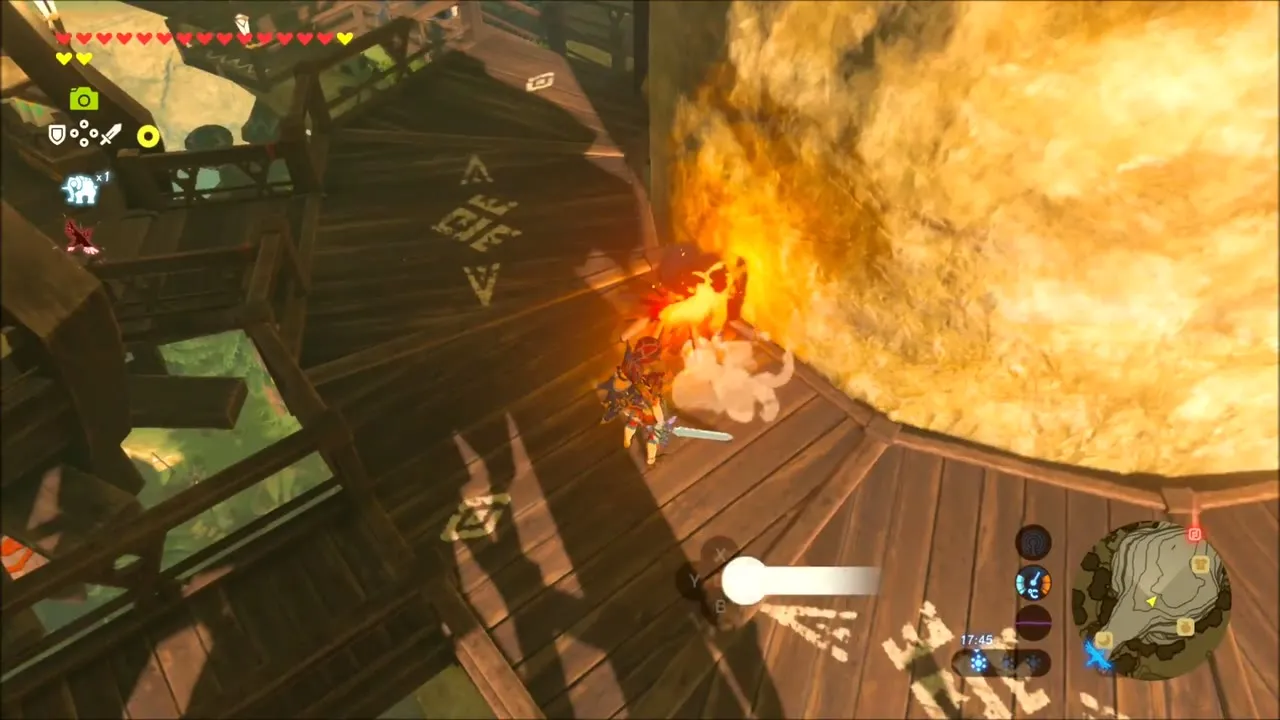
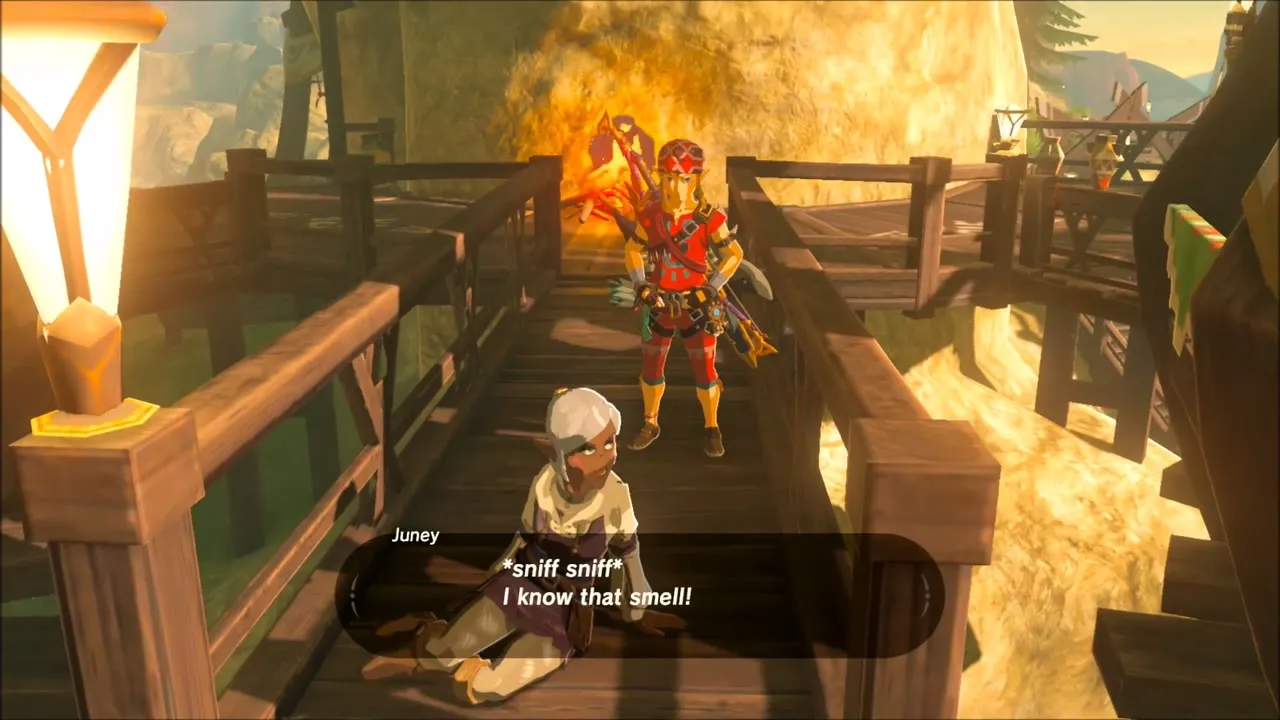
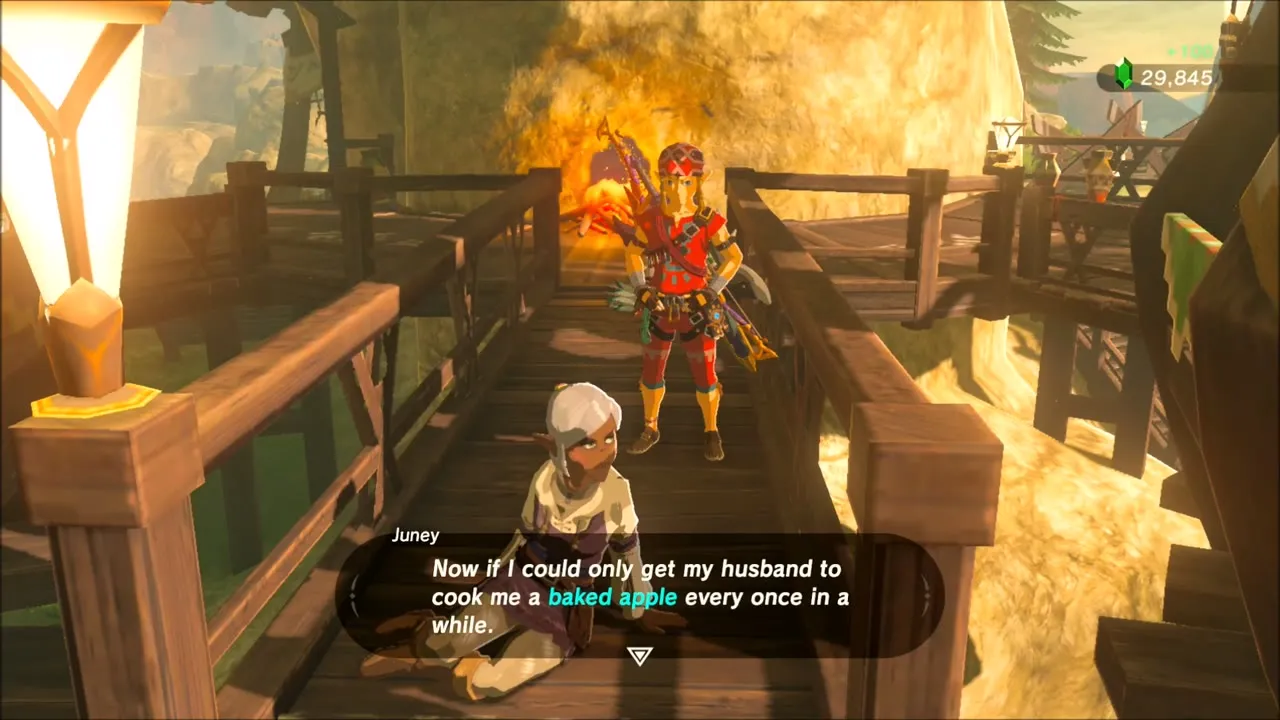
Back in the village, talk to Juney at the end of the long walkway in the upper village. She notices you are Hylian and asks what you are doing in Hyrule, which starts The Apple of My Eye. Bake an apple next to a campfire and bring it to her: she sniffs the air, recognizes the smell and pays you a Silver Rupee (100 rupees), and she buys more baked apples later.
Bareeda Naag Shrine: Cannon Trial
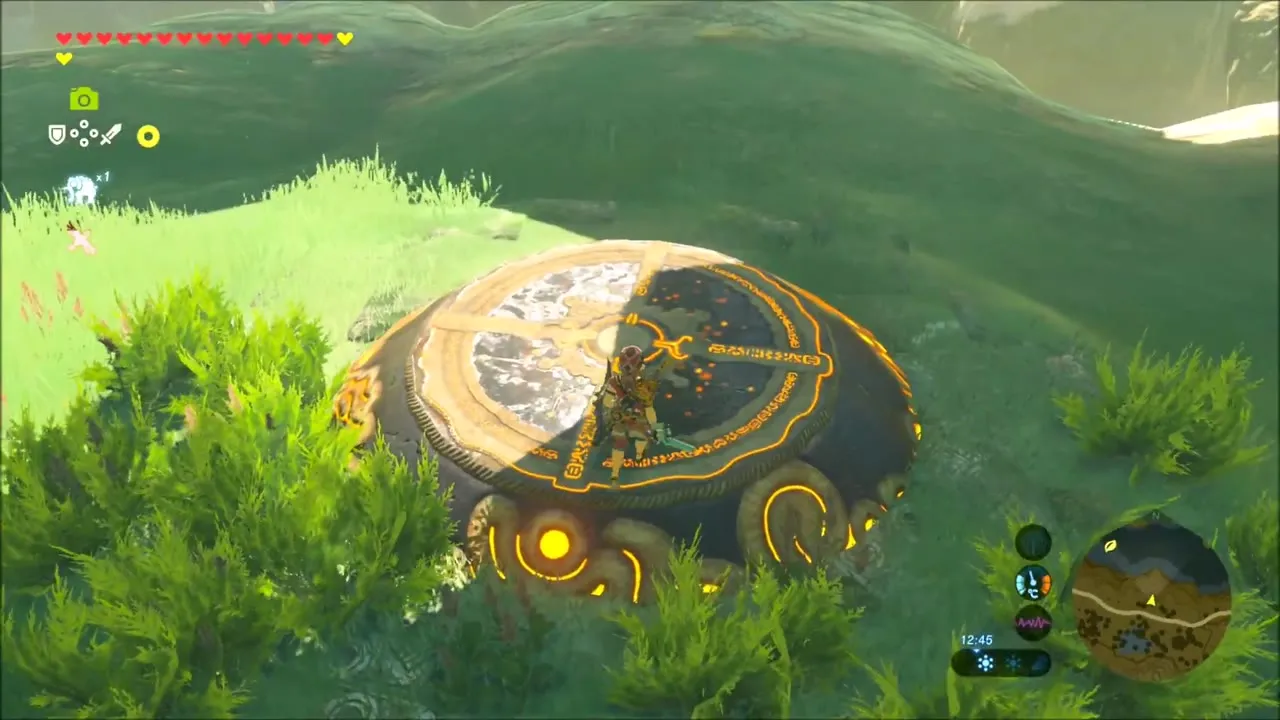
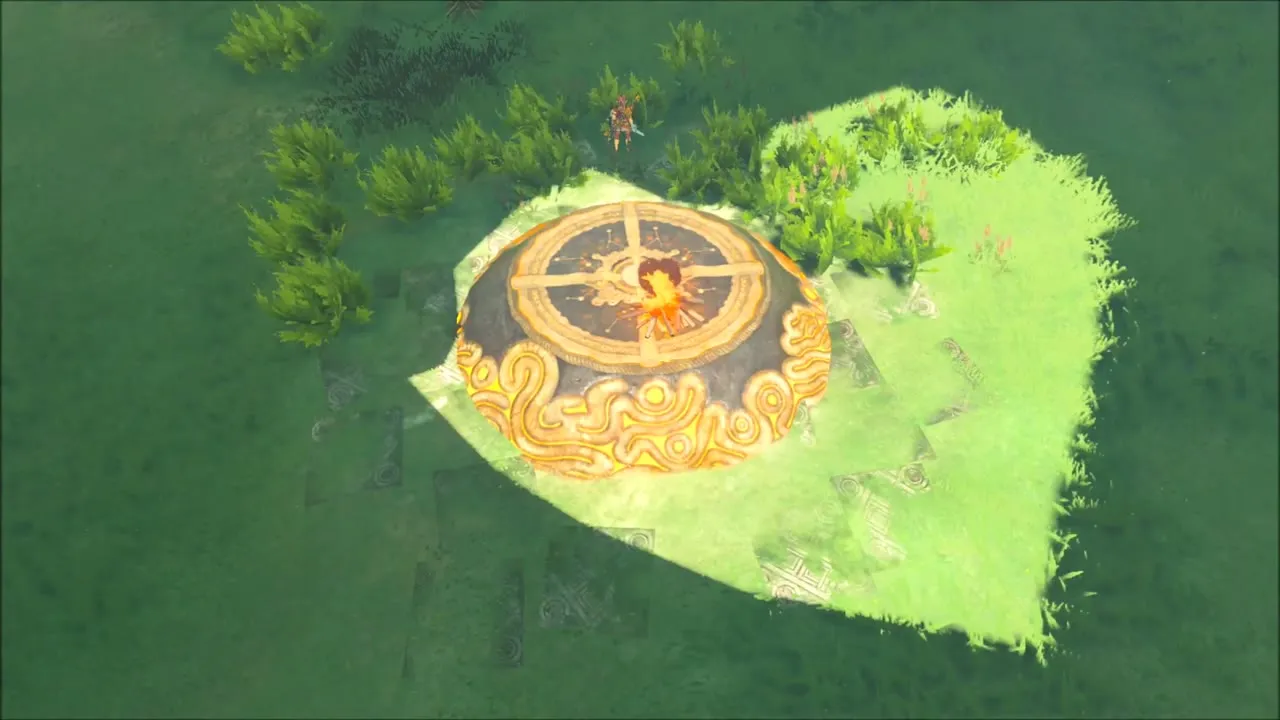
The last step of The Ancient Rito Song takes place on a pedestal south of the village. Glide south from Akh Va’quot Shrine to a heart-shaped patch of grass on a cliff, with a pedestal at its centre. Around half past noon, when the shadow of Vah Medoh reaches it, light a torch or a fire on the pedestal. The quest completes and Bareeda Naag Shrine (x -3609, z -1516, height 256) rises from the ground.
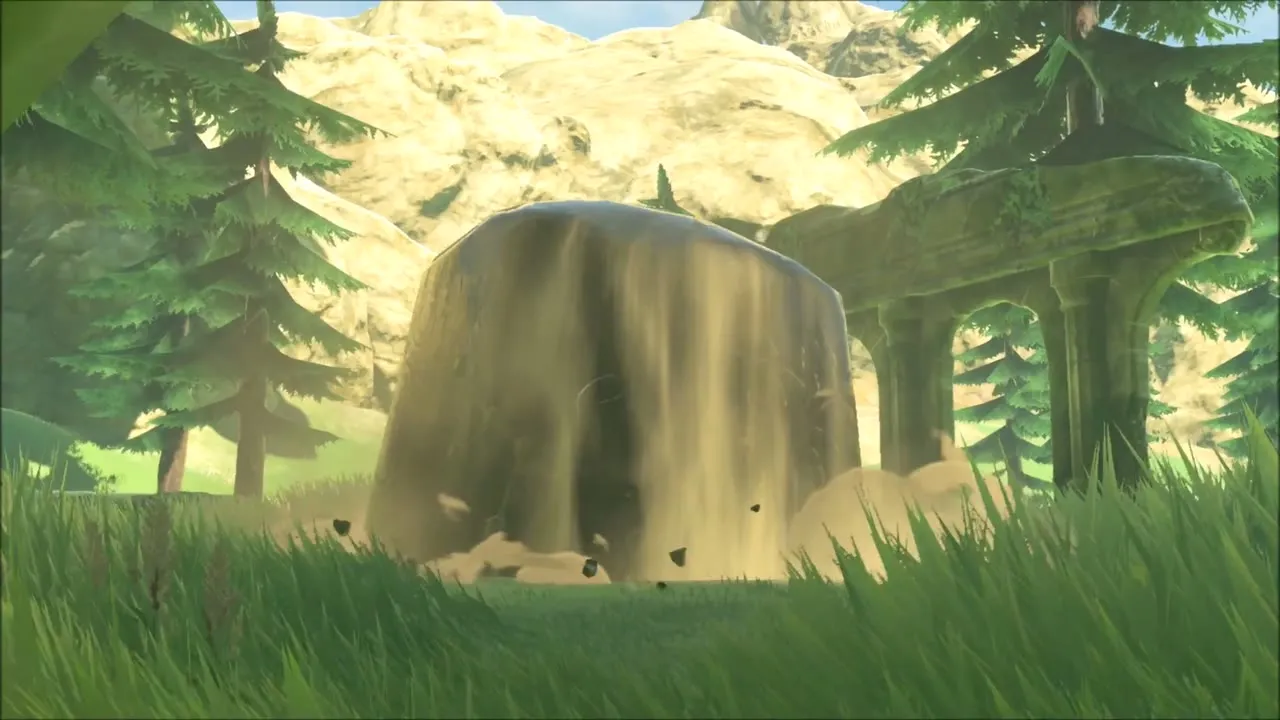
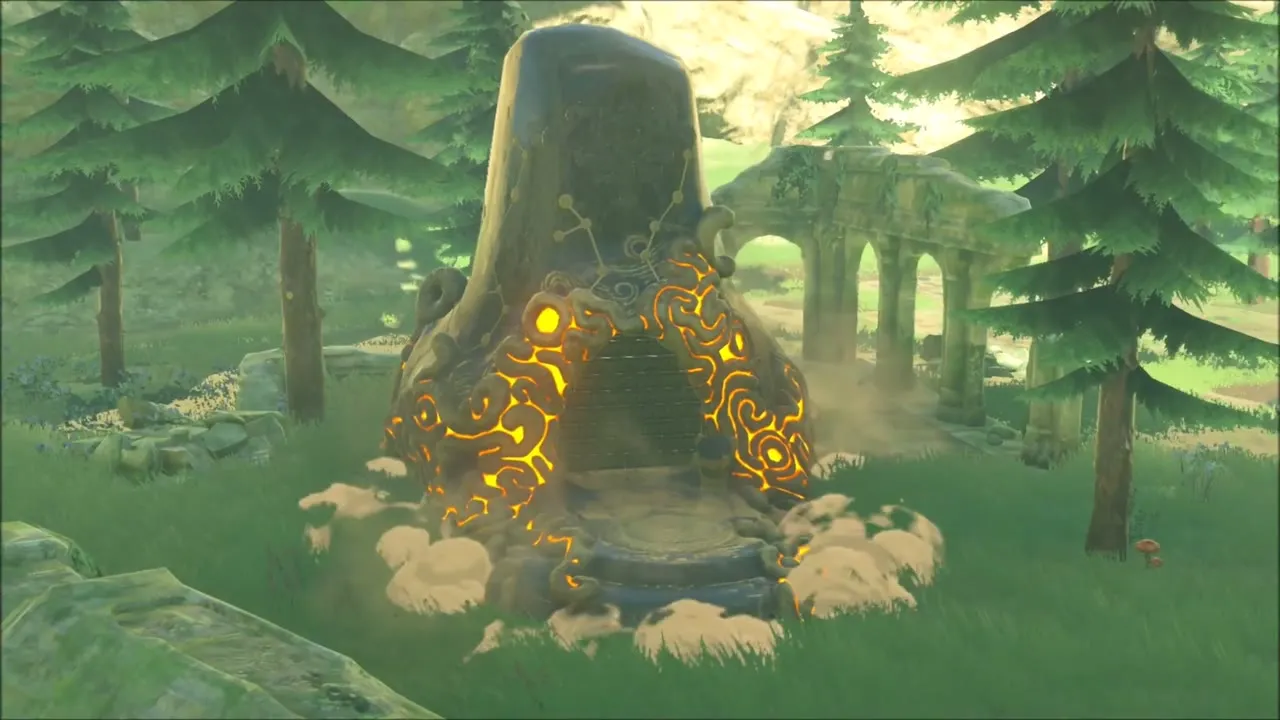
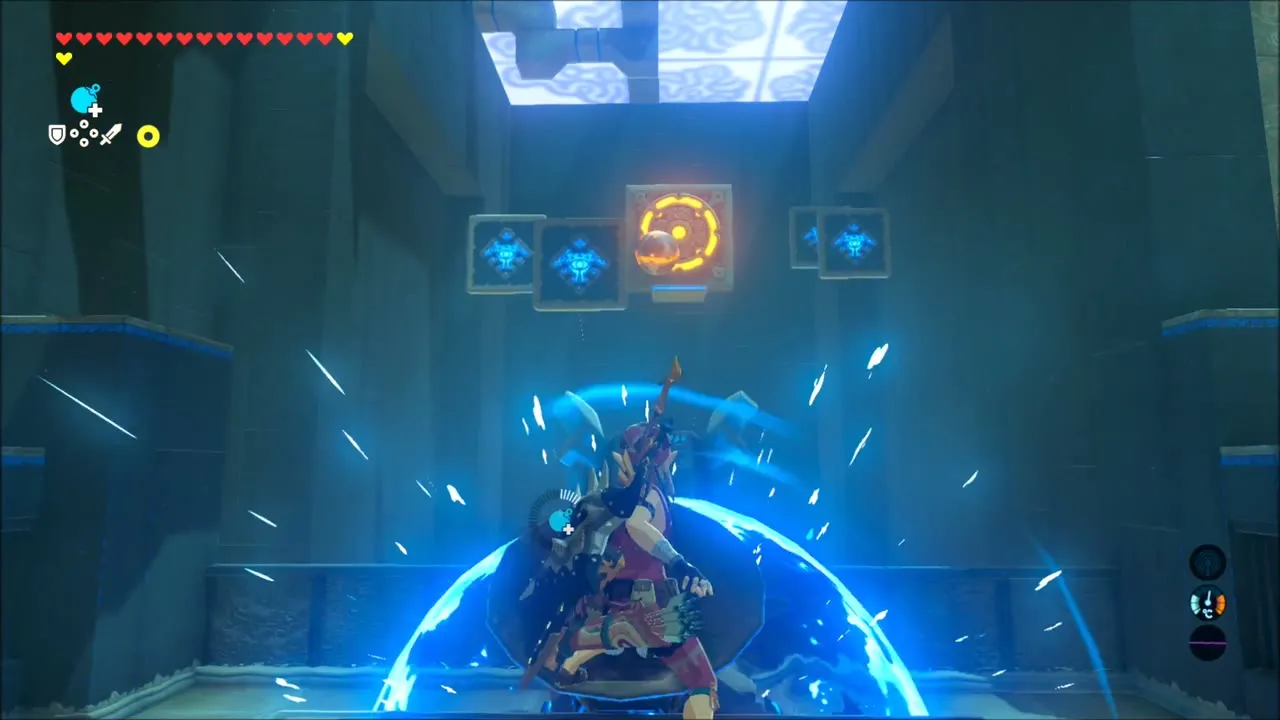
The trial is called Cannon and gives you a bomb cannon. Load a bomb into the cannon, aim it at the target and detonate it, timing each shot so the orb avoids the moving walls. A side chest behind cracked blocks near the entrance, which you blast open with a bomb, holds a Falcon Bow.
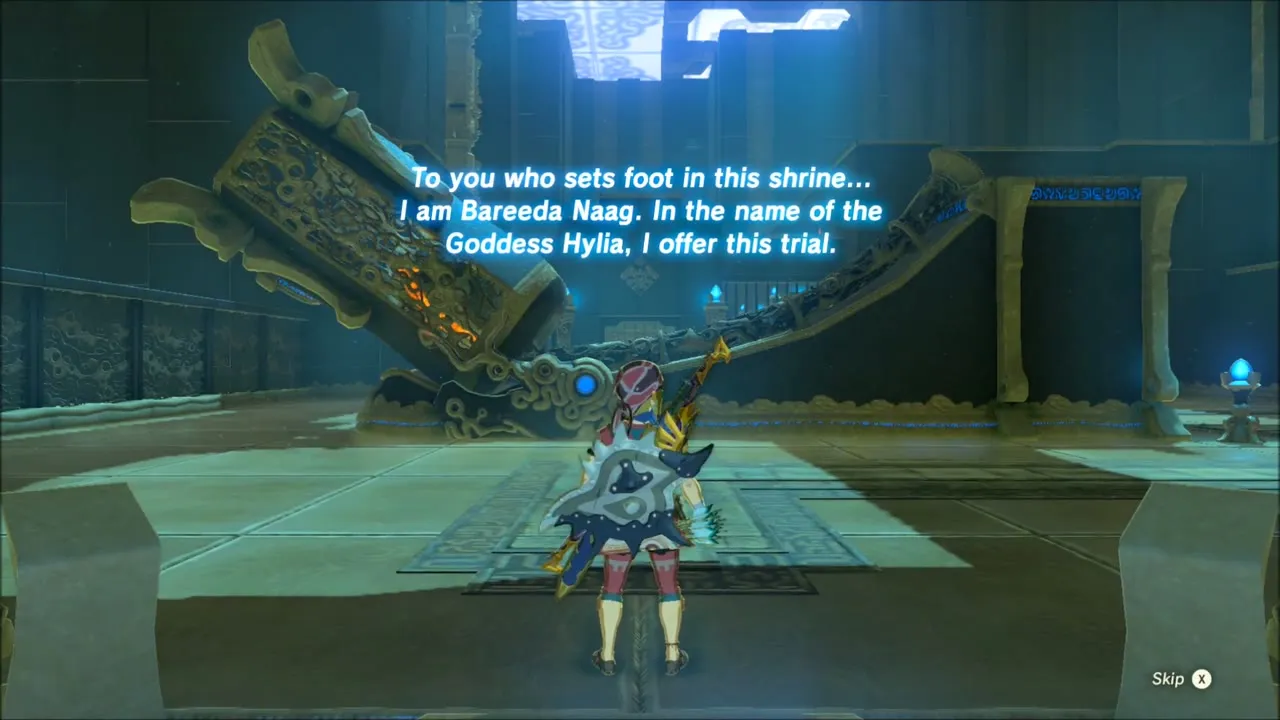
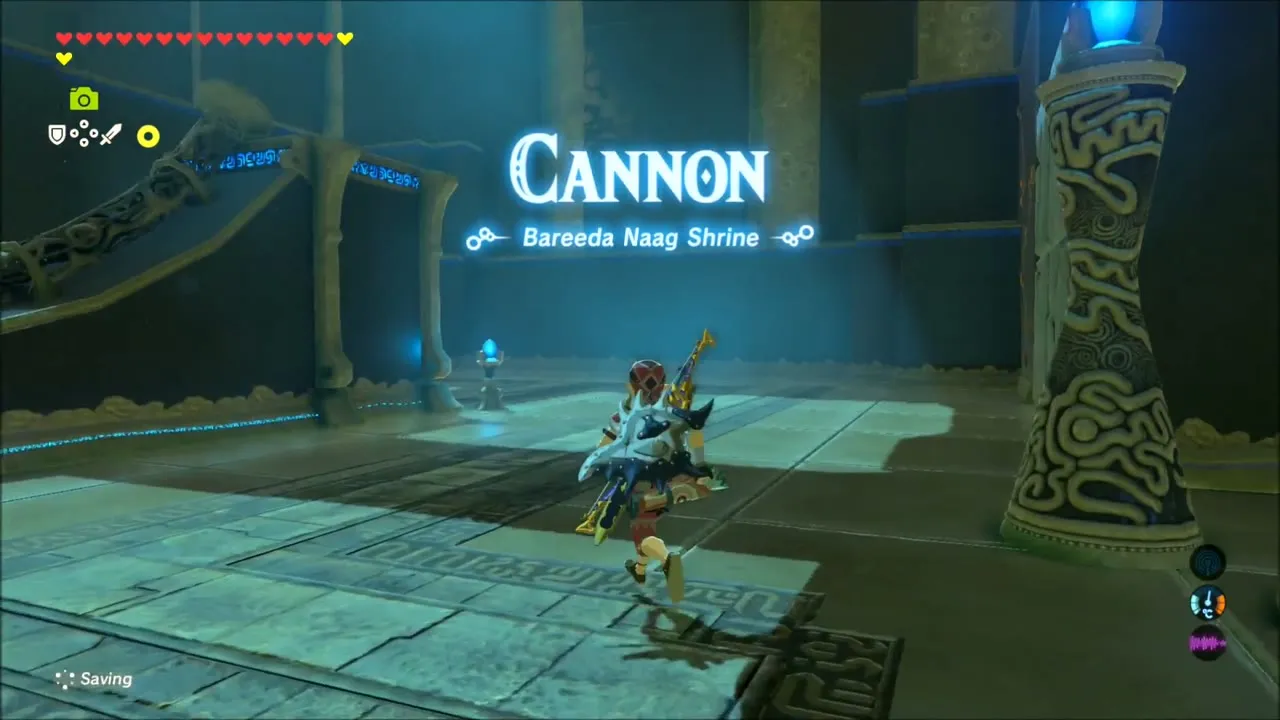
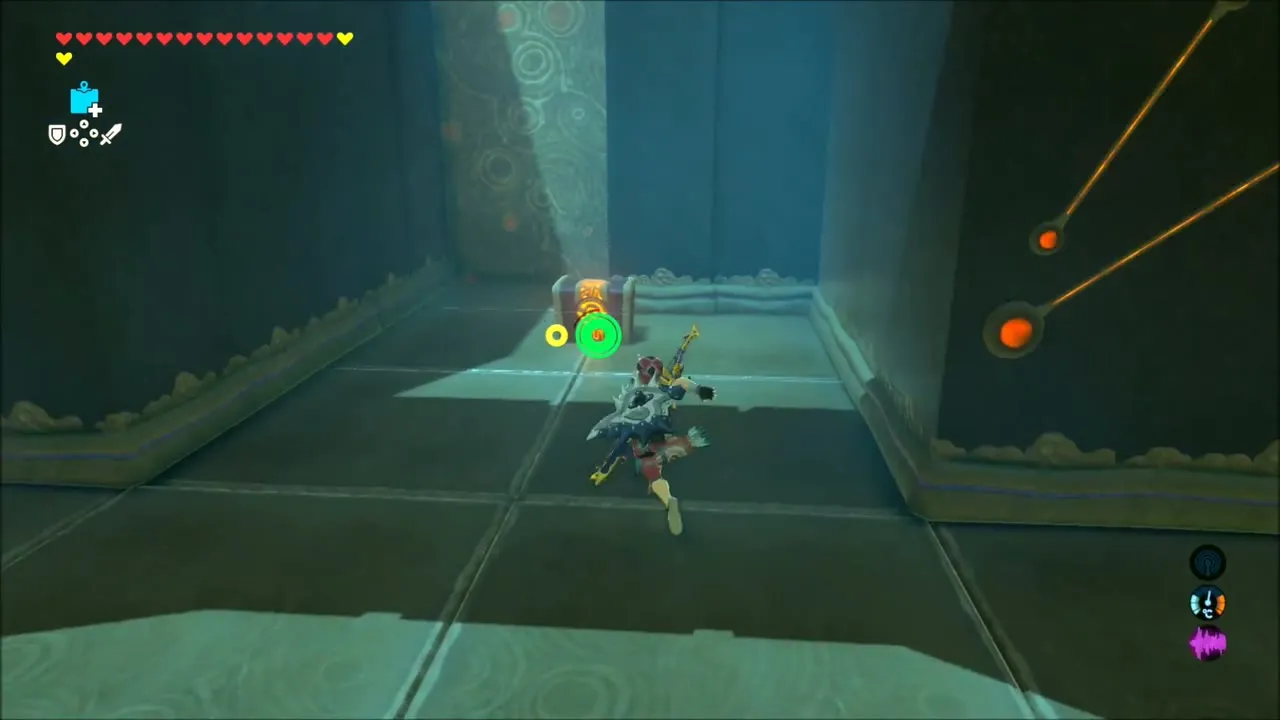

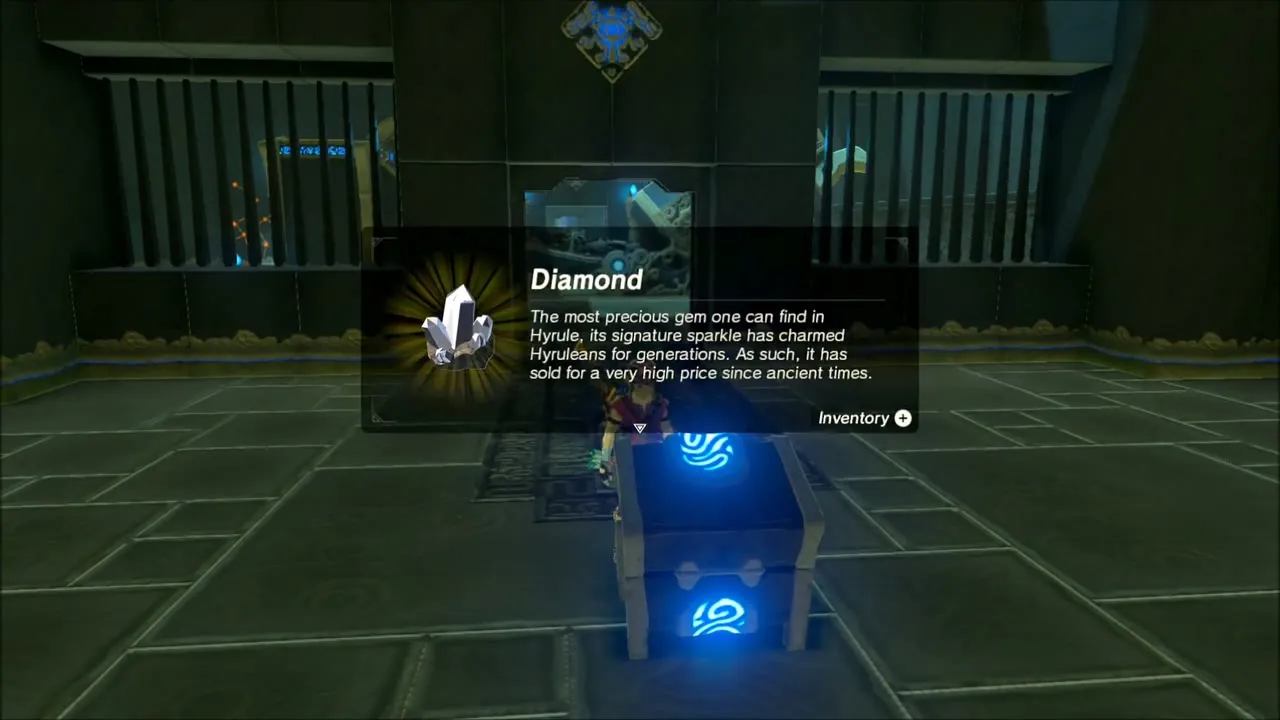
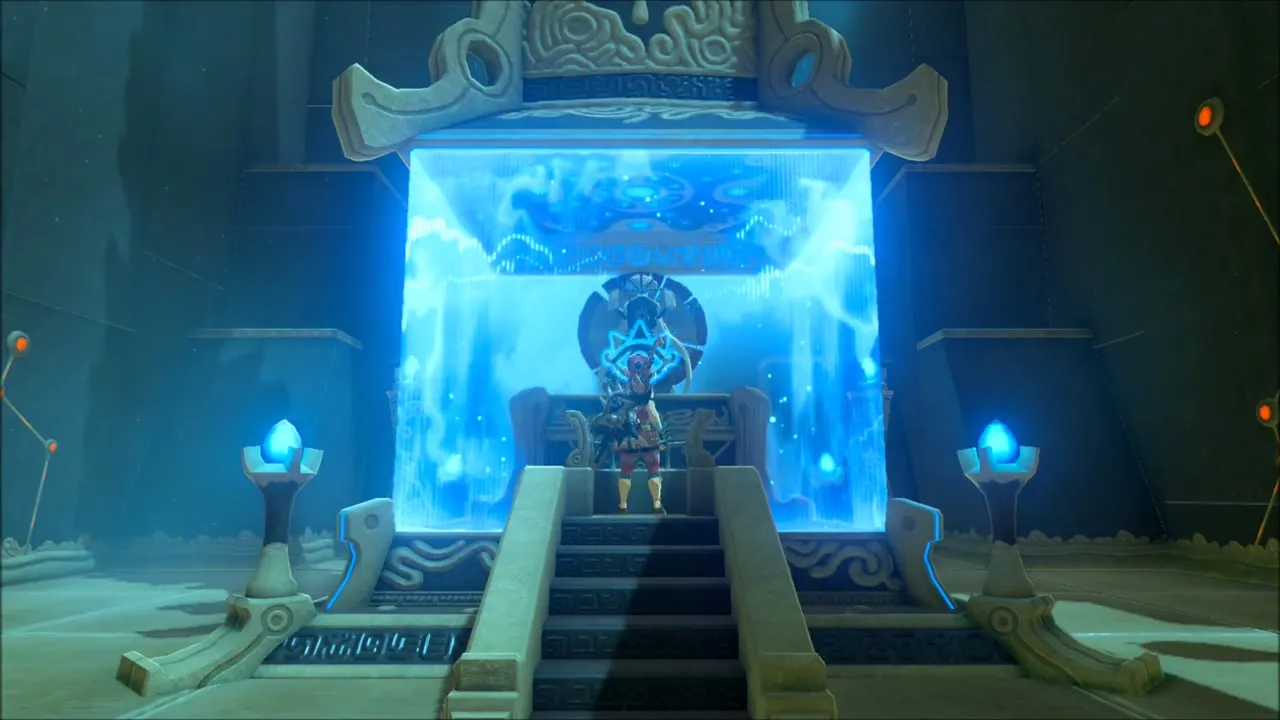
The second room has another cannon whose target is a moving switch. Hit it to raise a chest containing a Diamond, then go on to Monk Bareeda Naag, who gives you the Spirit Orb.
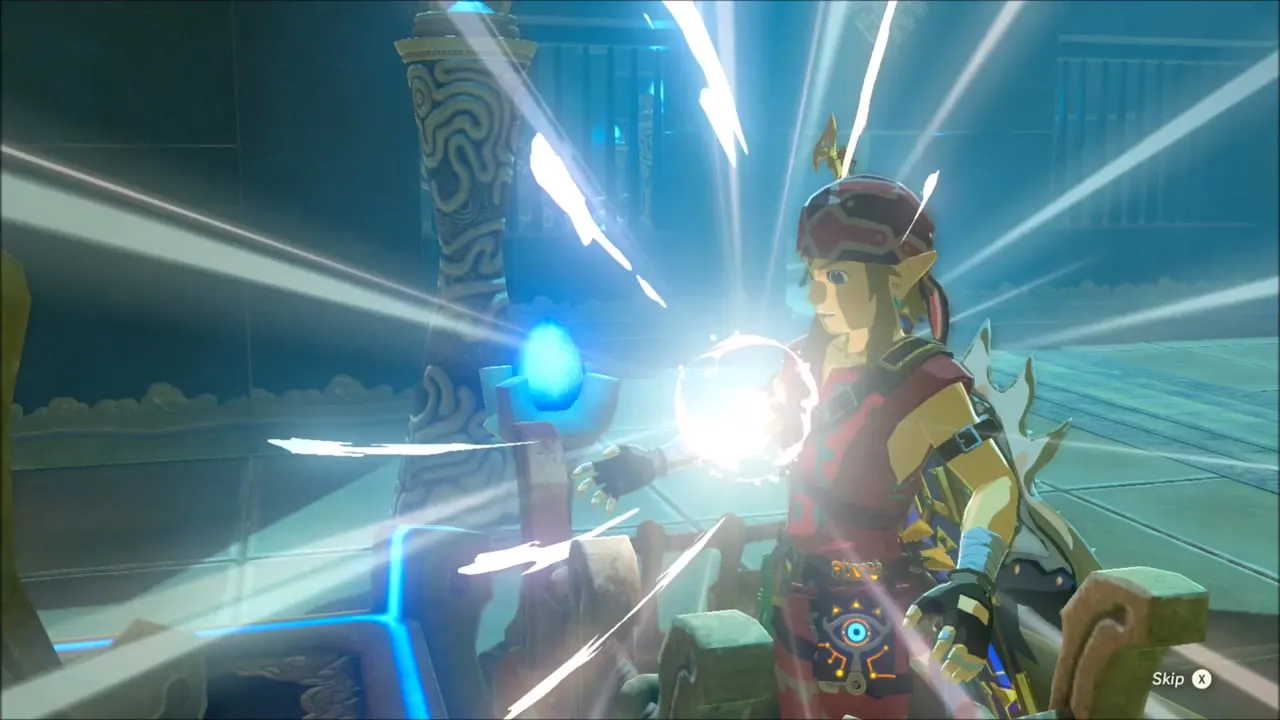
Tabantha Forest: Bokoblin Camp and a Ride Through the Snow
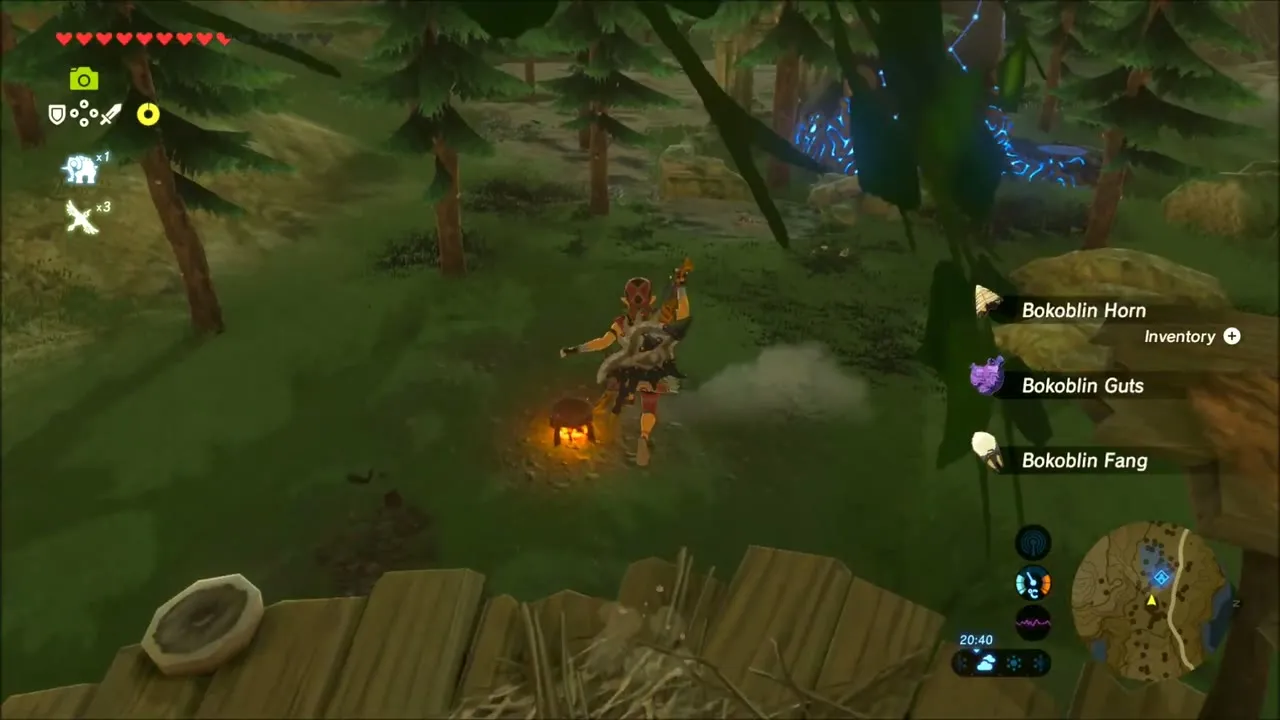
You begin in a pine forest in the Tabantha region. A bokoblin camp sits among the trees: take it out with arrows and your sword, using the fire at the camp to blow up the group, then pick up the Bokoblin Fangs, Horns and Guts they drop along with the arrows lying around. When the area is quiet, pass some time before moving on.
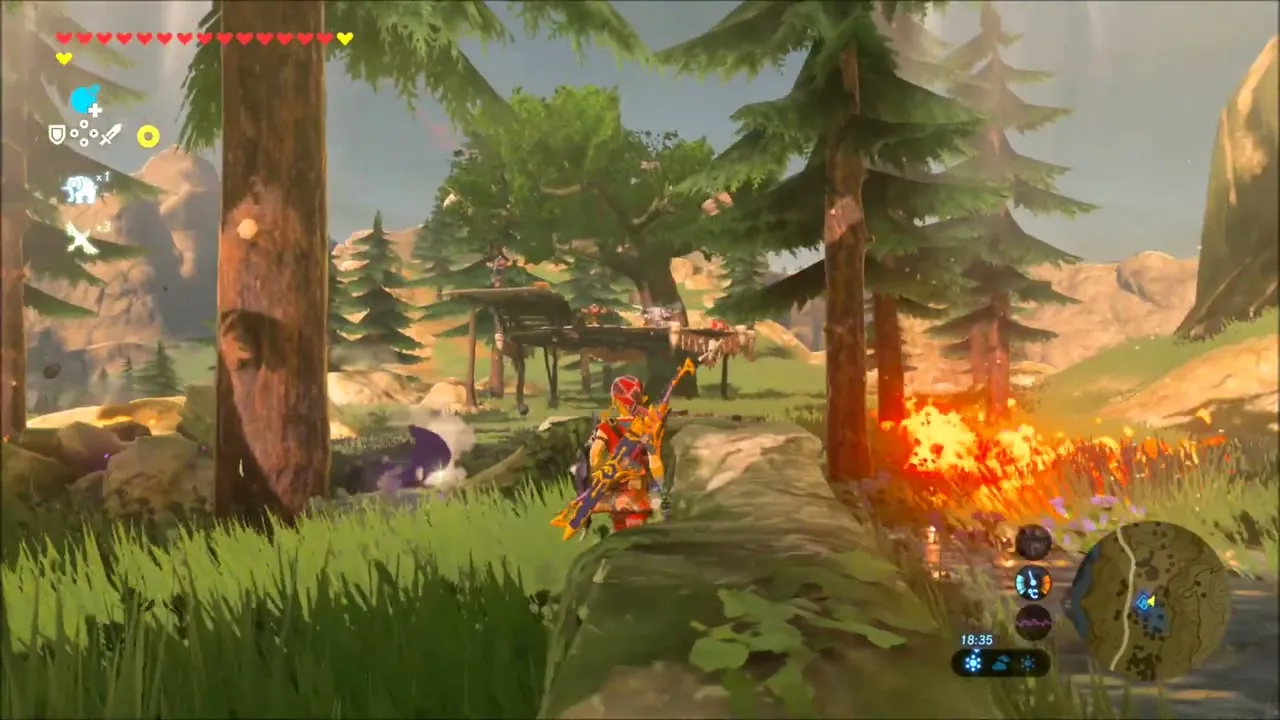
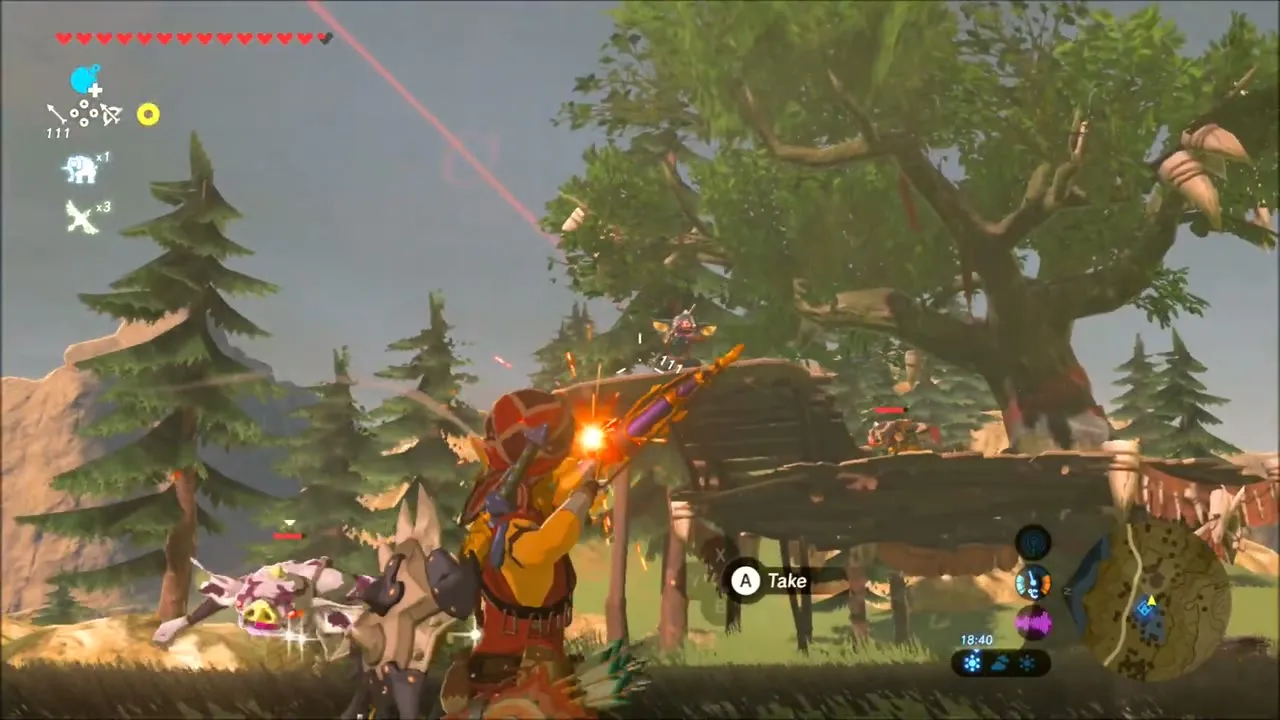
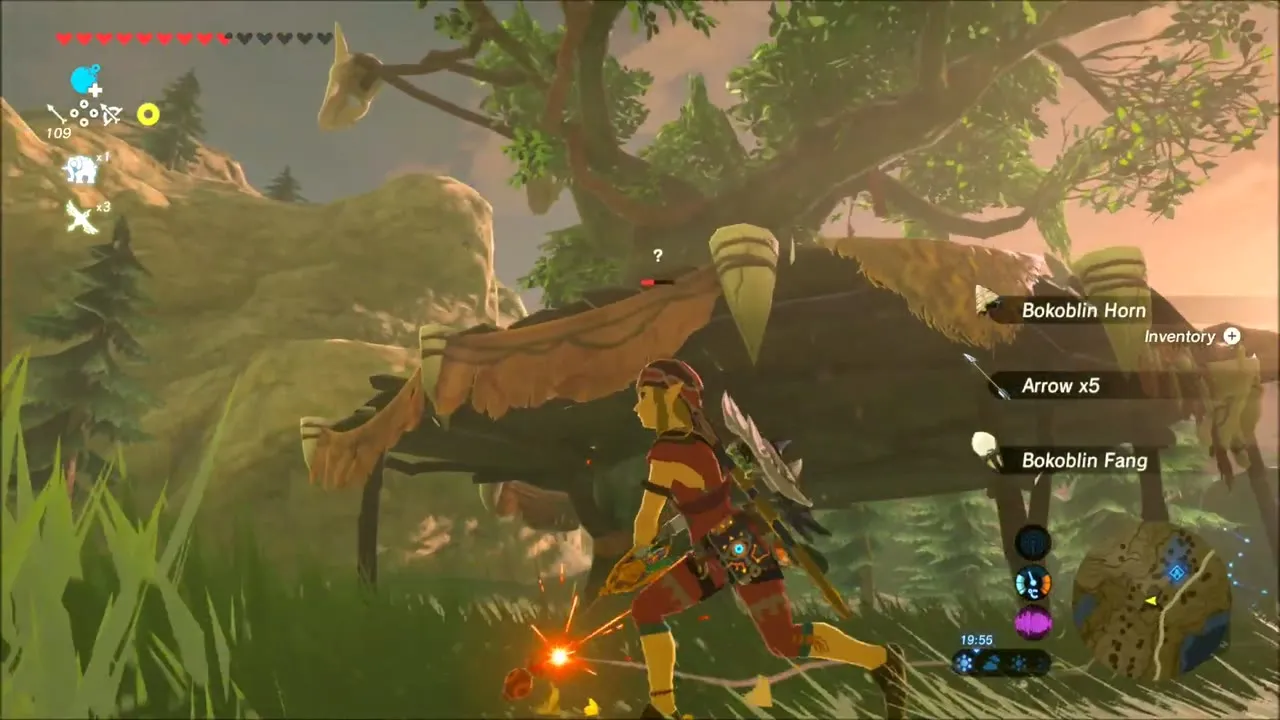
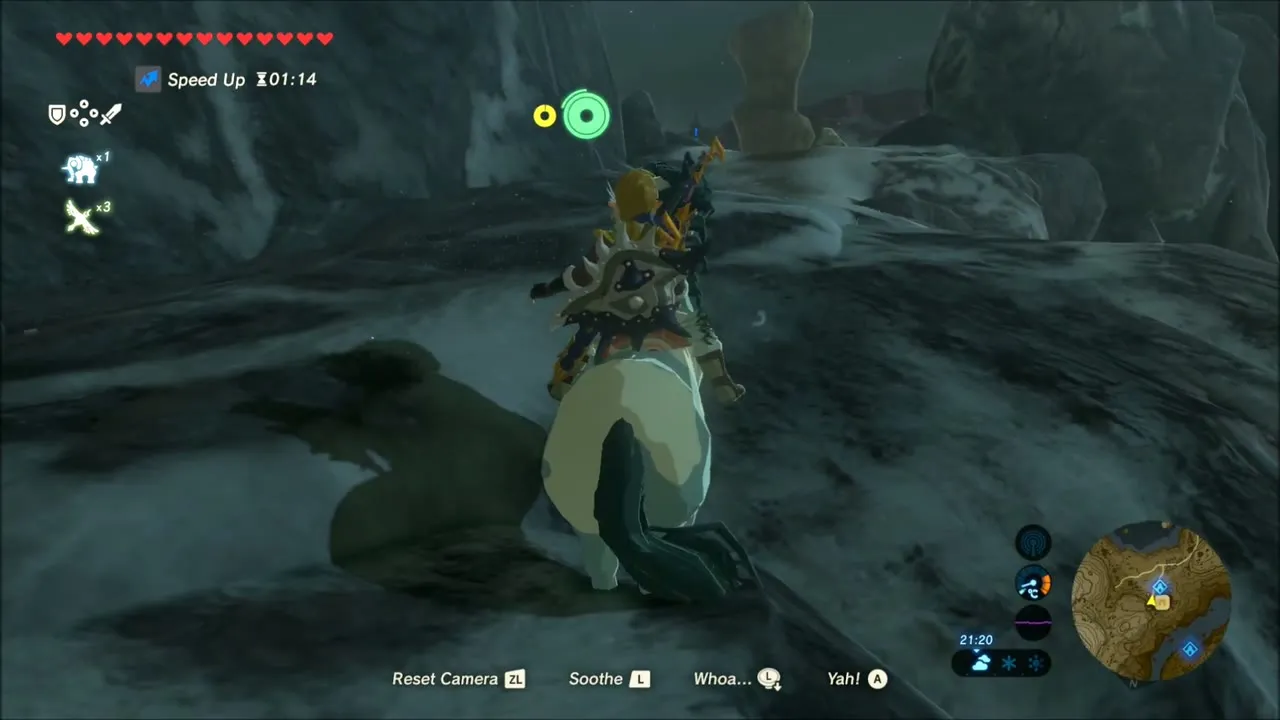
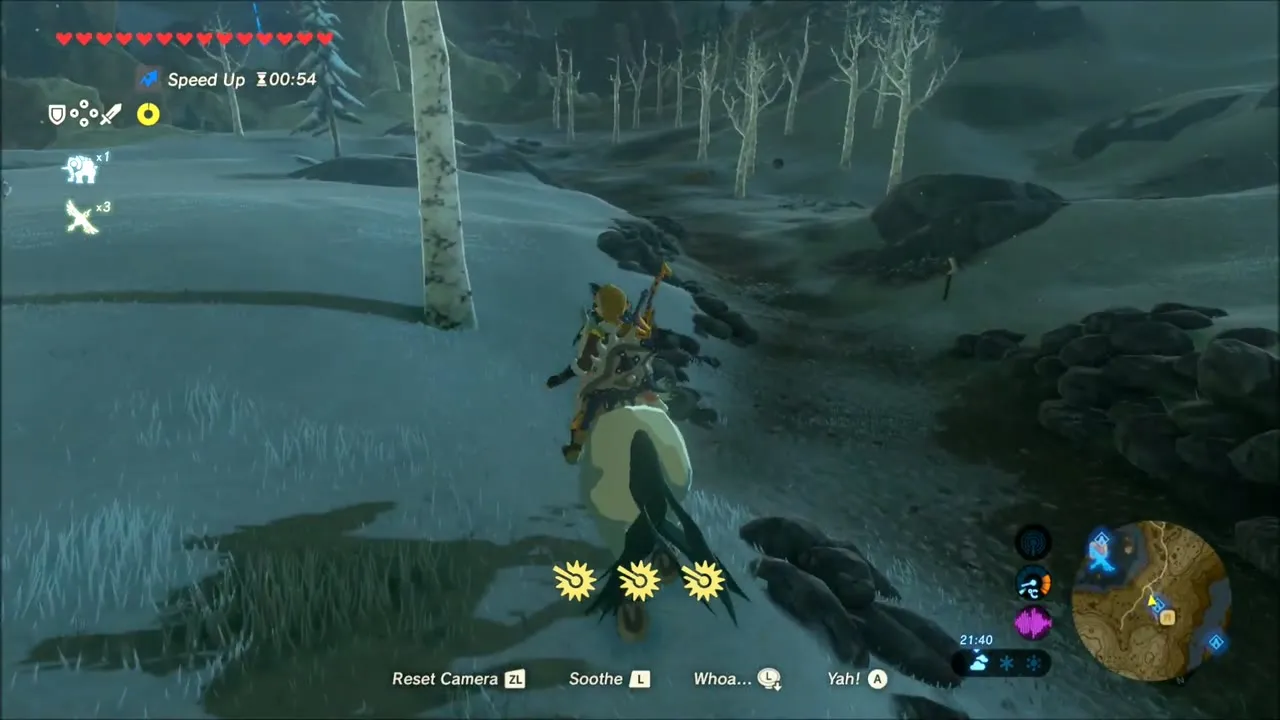
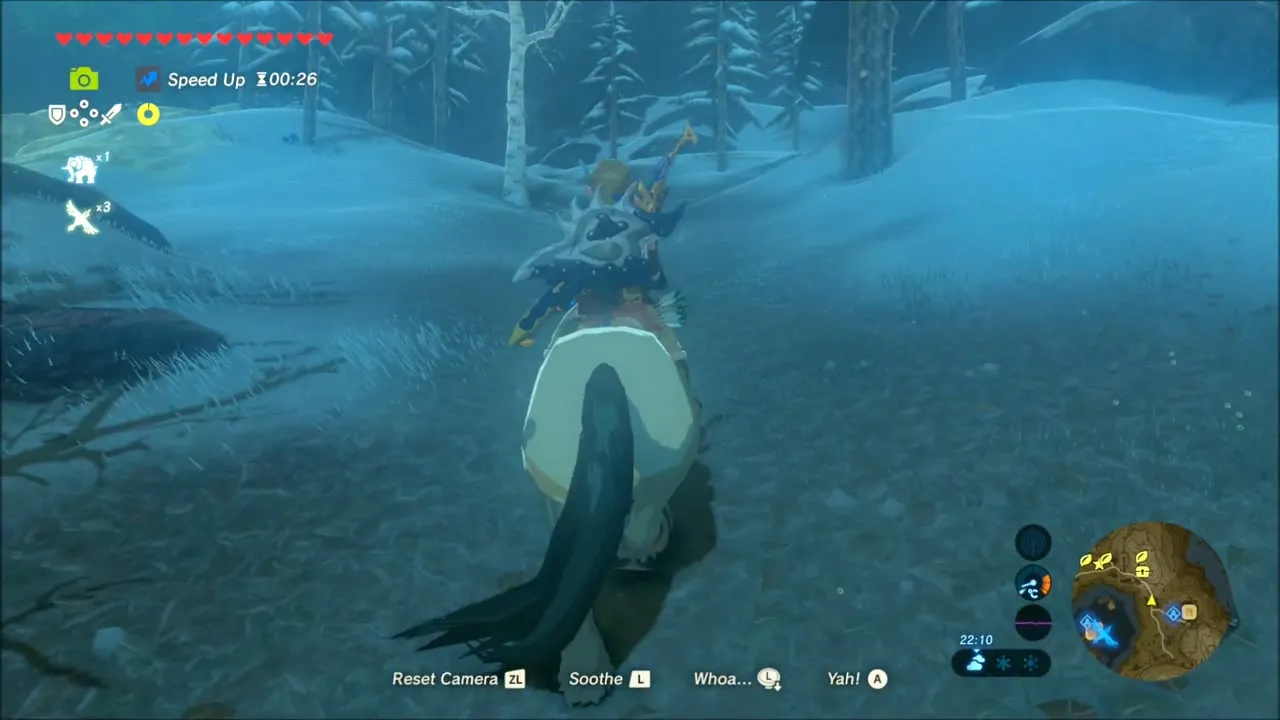
Before heading on, open your gear menu and put on the Snowquill set, which gives cold resistance for the colder ground ahead. Then mount your horse and ride toward the Tabantha foothills, dropping map stamps on the places you want to come back to. The trail climbs onto snowy ground.
Korok Seeds on the Way to Warbler’s Nest
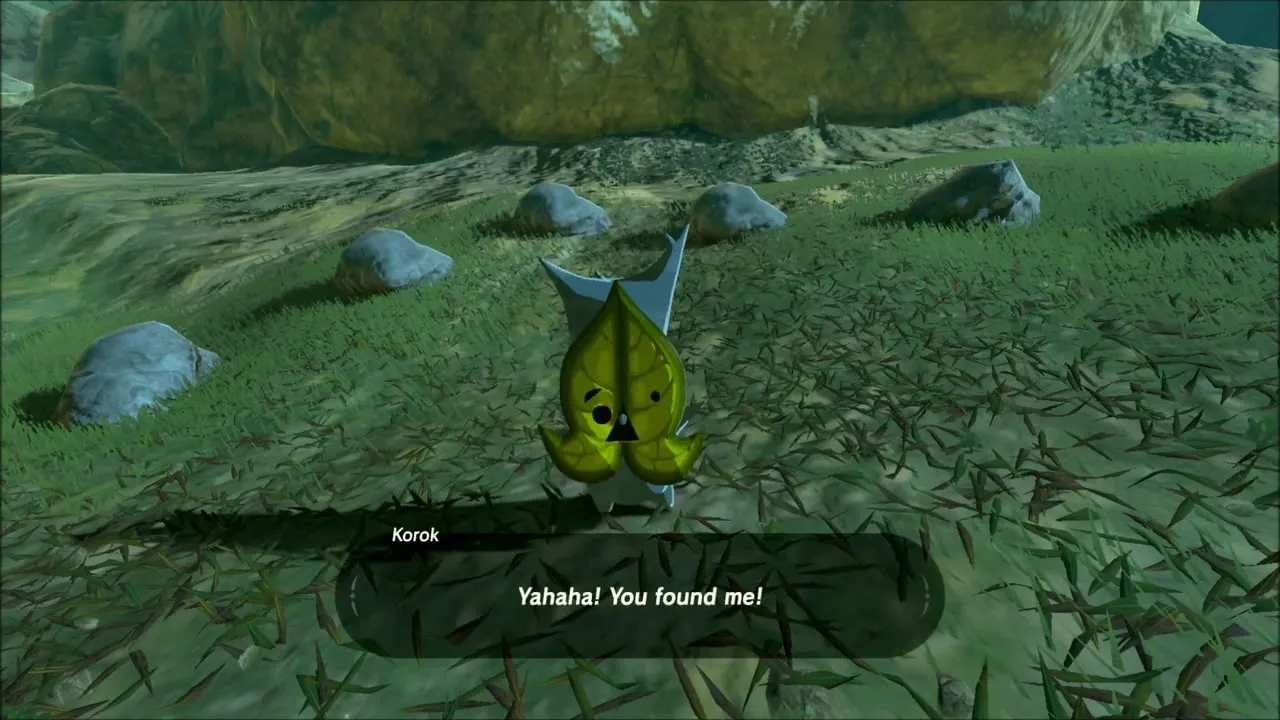
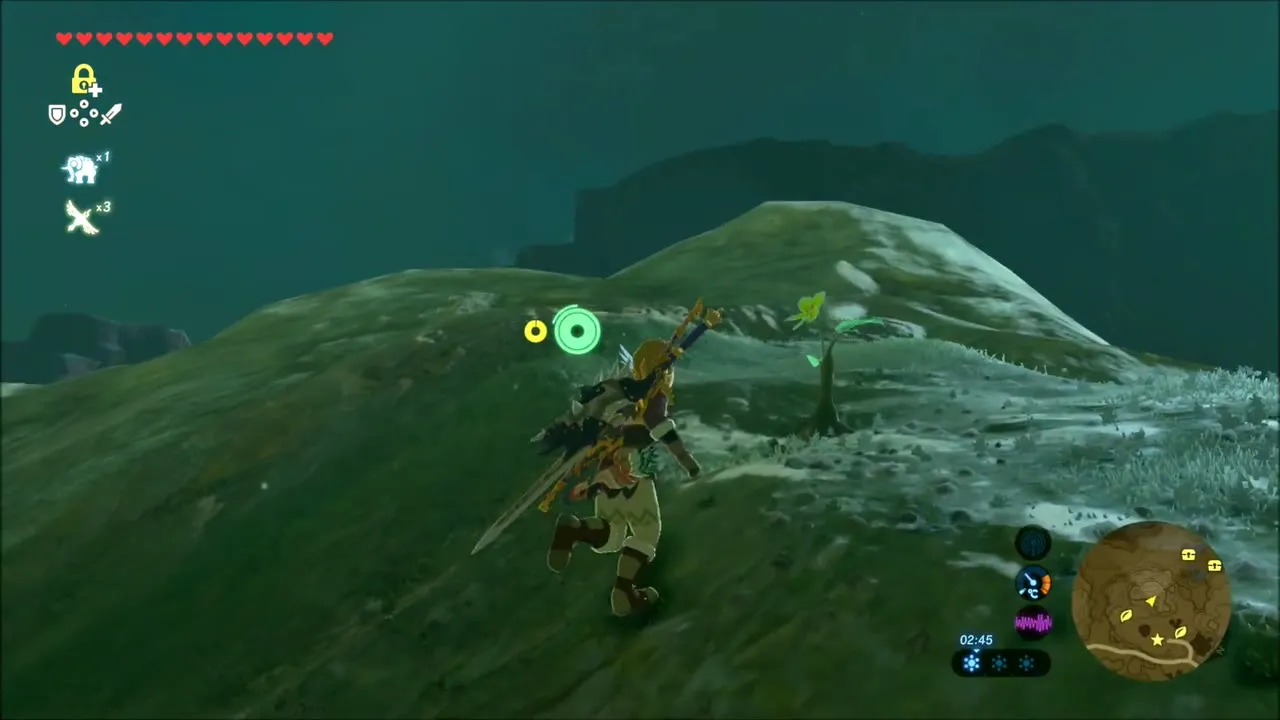
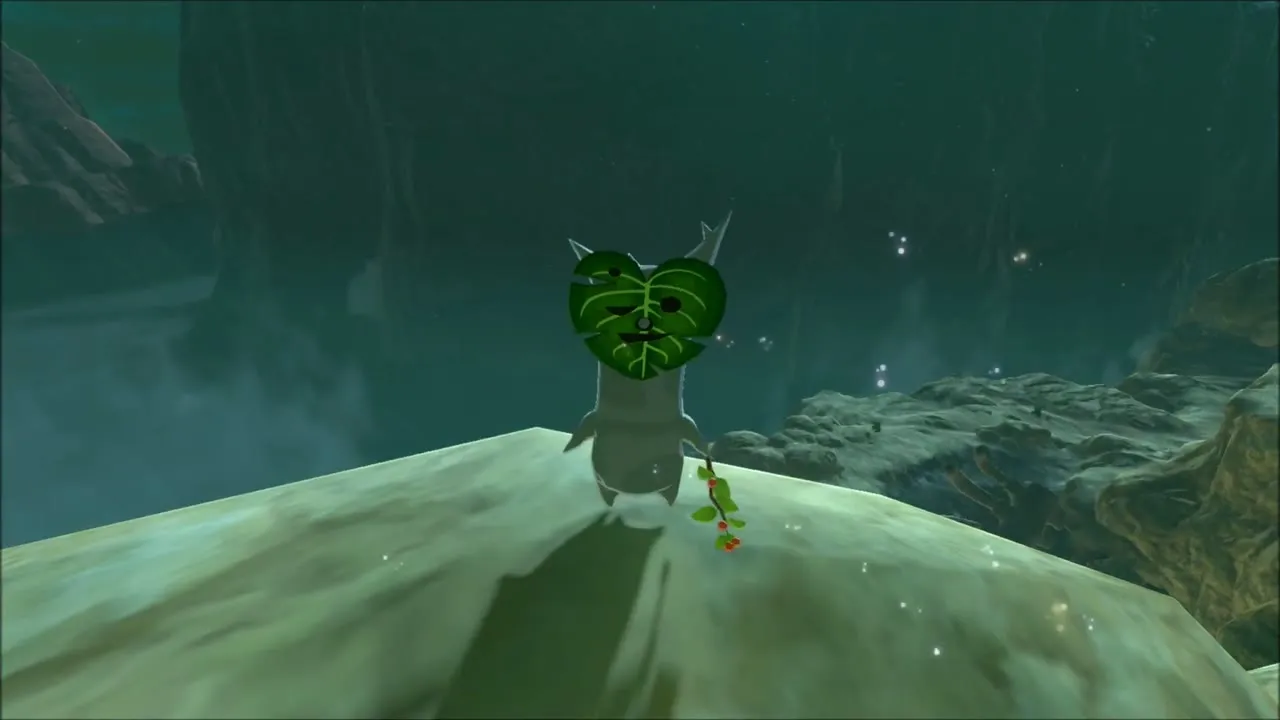
Two Korok seeds lie along the route west of Rito Village. The first is a Korok hiding in the grass beside a large boulder on a green slope, and the second sits on top of a rocky peak a little farther on: climb the outcrop and find the Korok at the summit. Hearty Truffles, Rushrooms and Spicy Peppers grow on these slopes if you need ingredients.
Find Kheel: Reaching Warbler’s Nest
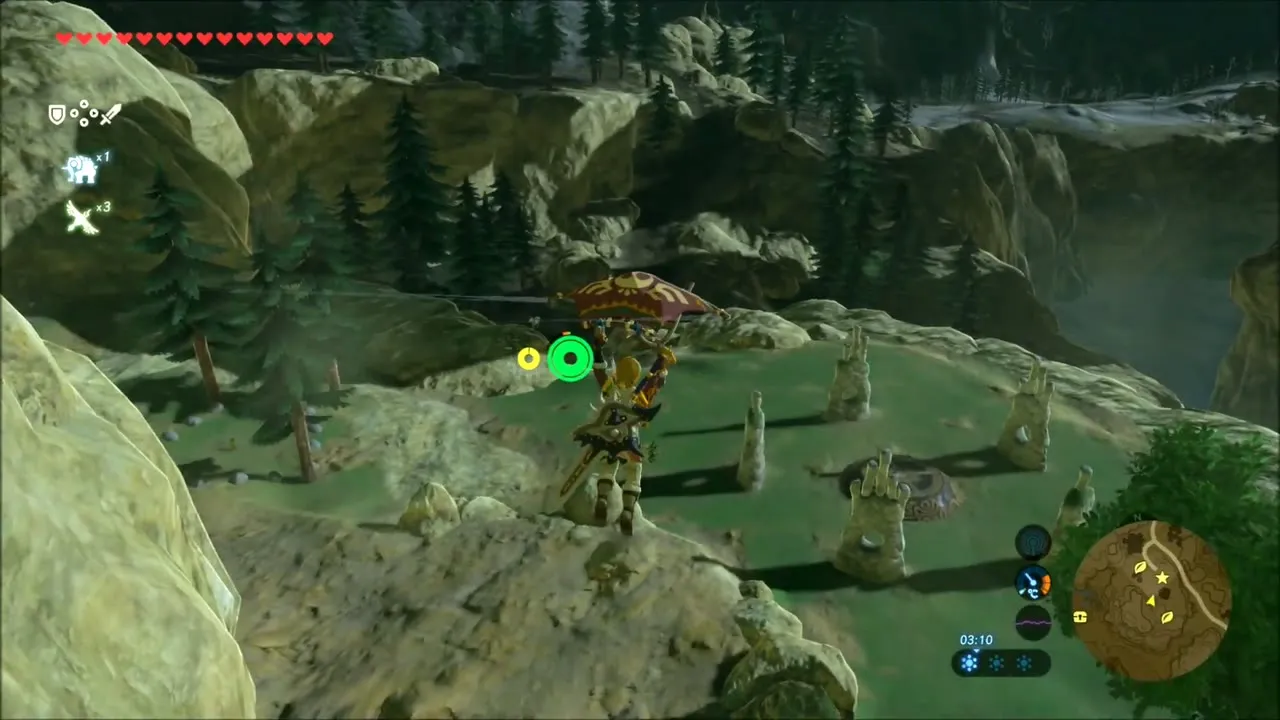
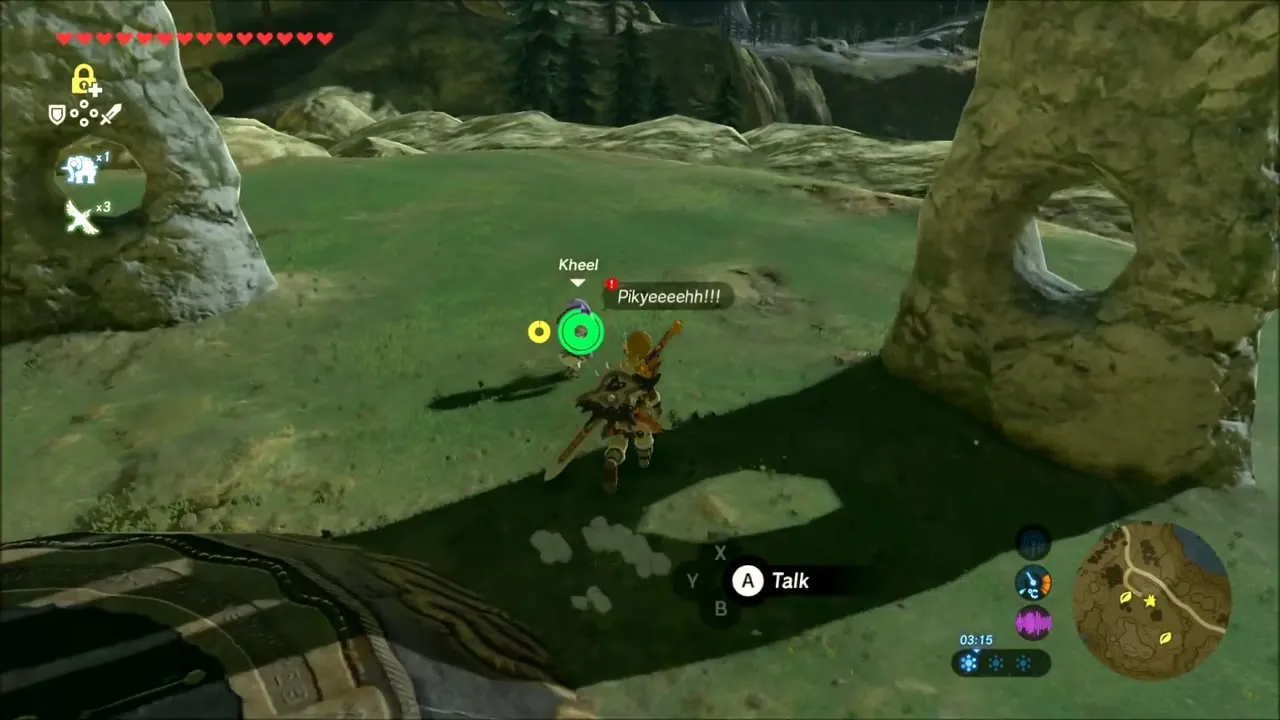
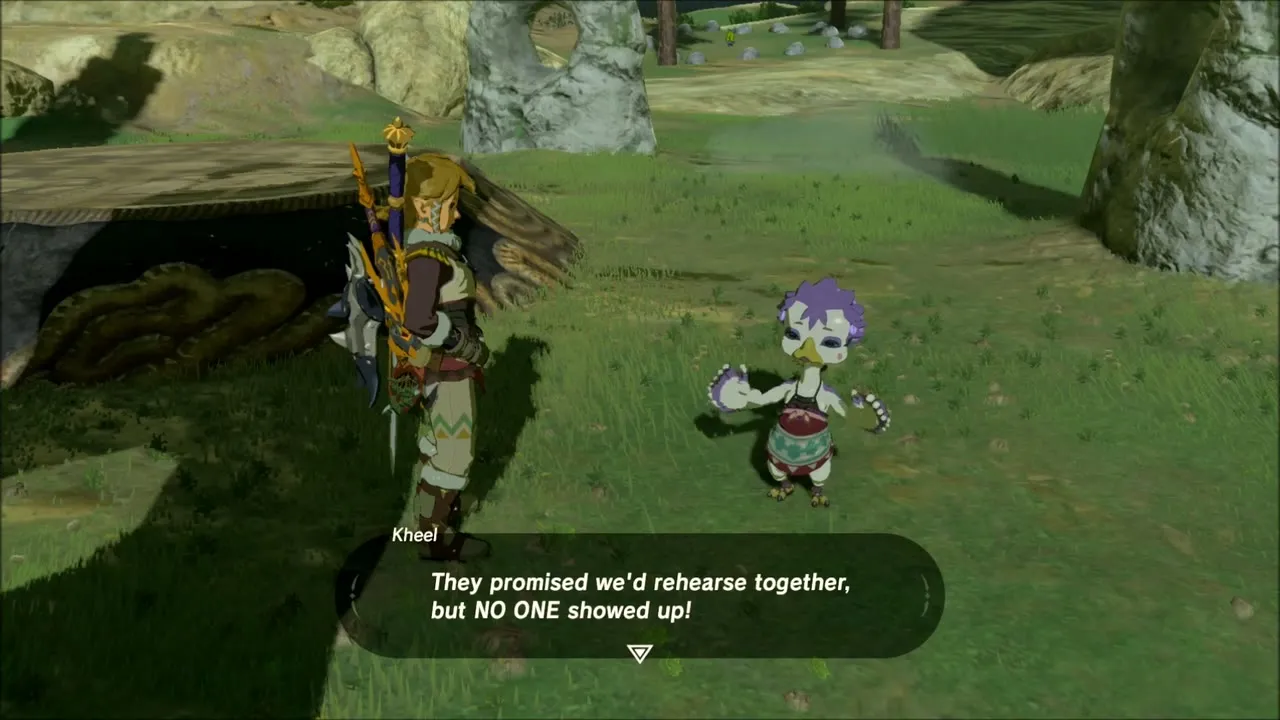
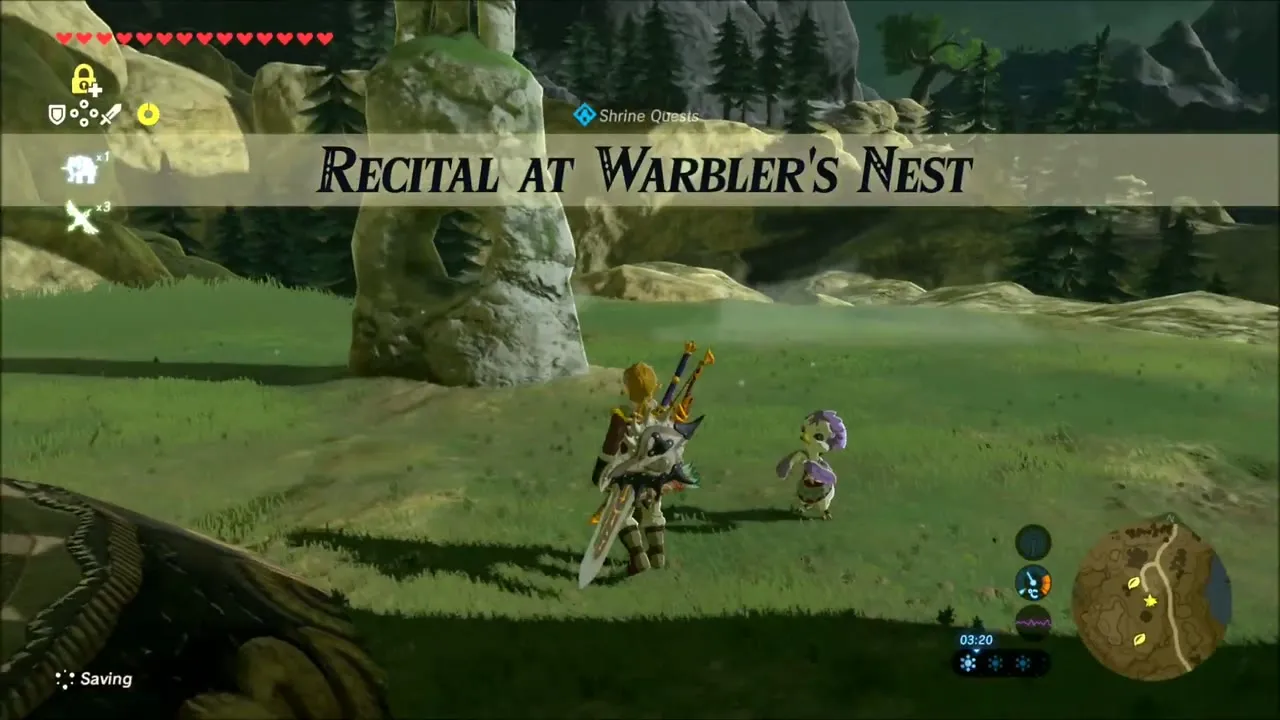
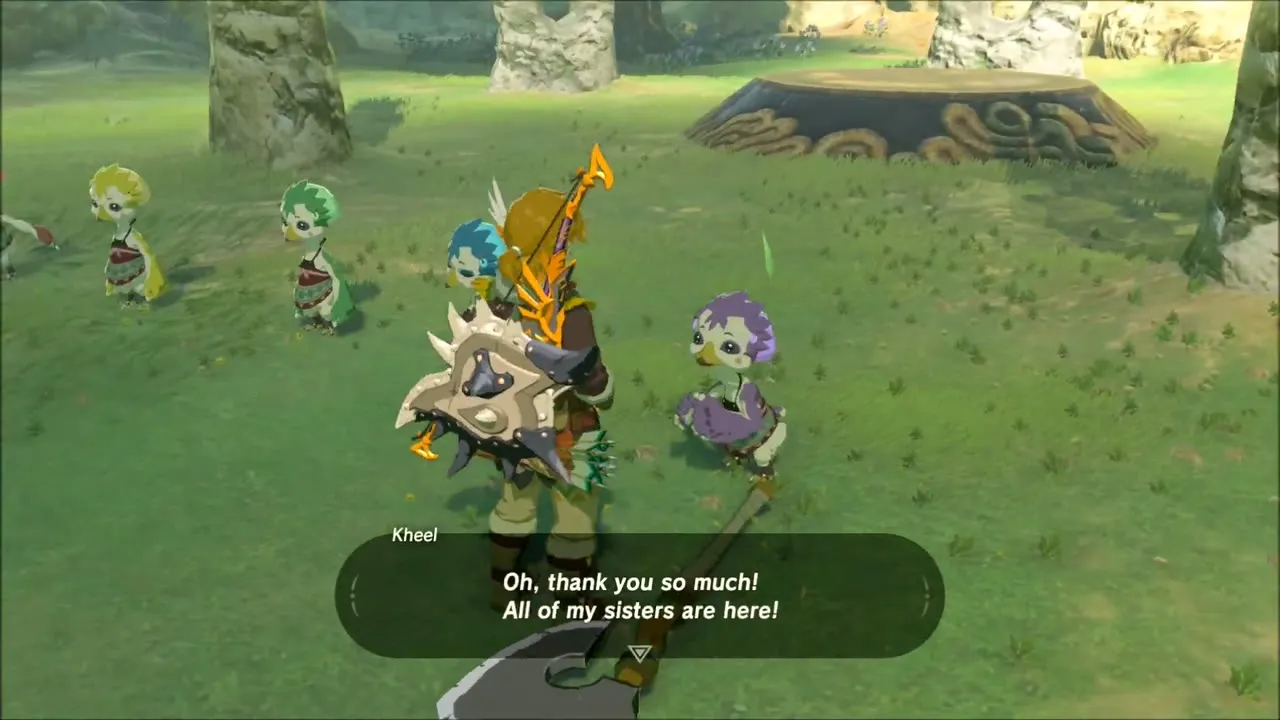
Jump from the cliff and paraglide west to Warbler’s Nest, the open meadow ringed with standing stone pillars at (-3987, -1752). A small purple Rito called Kheel stands among the stones. Talk to her to complete the first task of the side quest Find Kheel. She also asks for help and opens the shrine quest Recital at Warbler’s Nest, which you will finish in a moment.
Rito Village: Finish Find Kheel and Face the Frost Talus
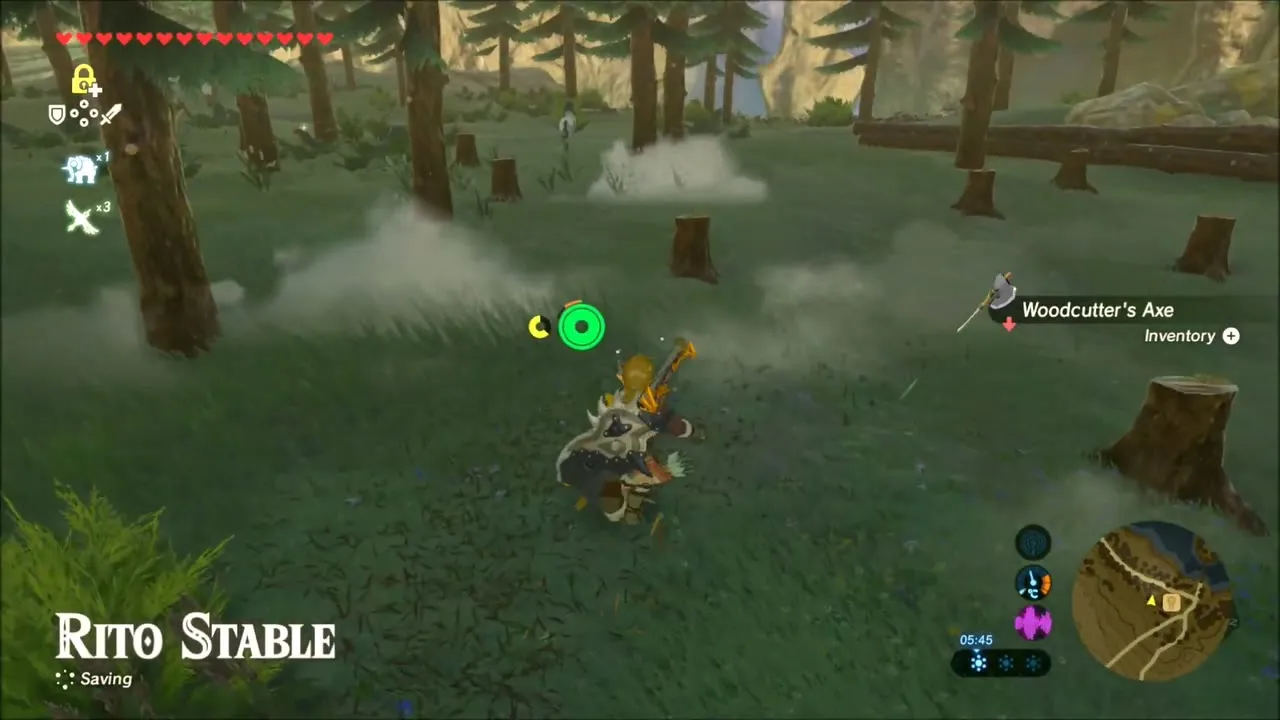
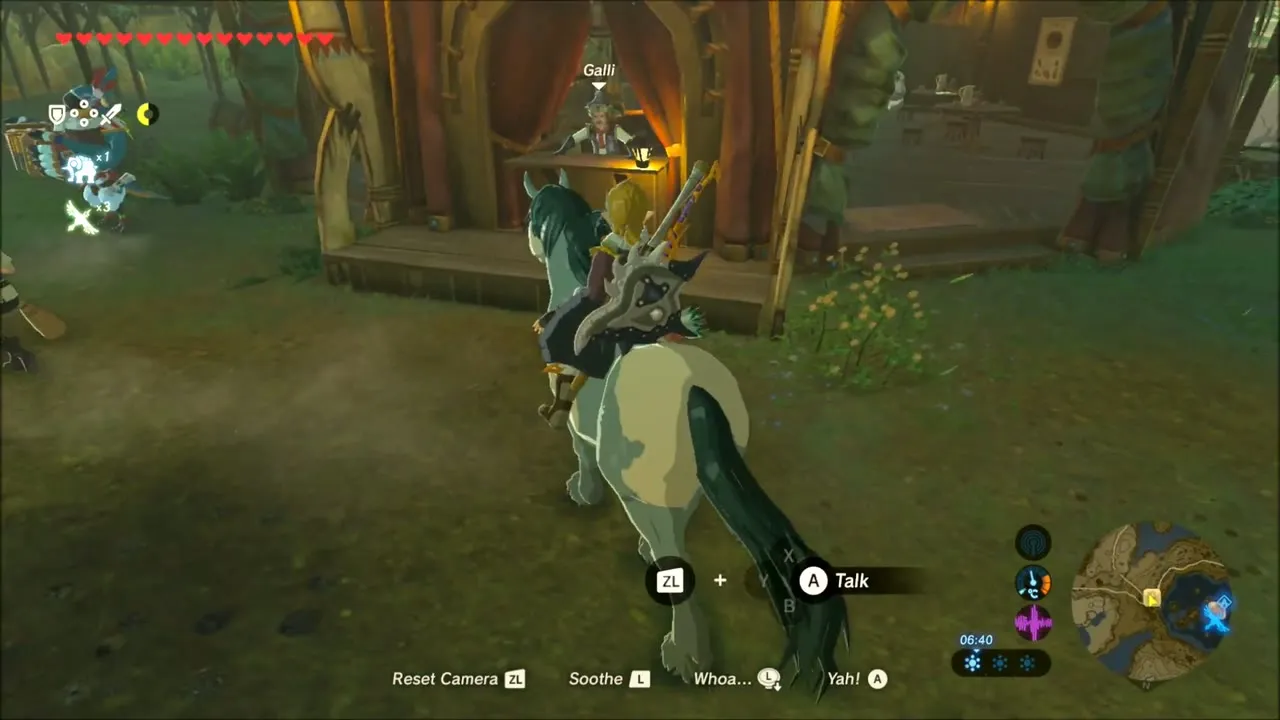
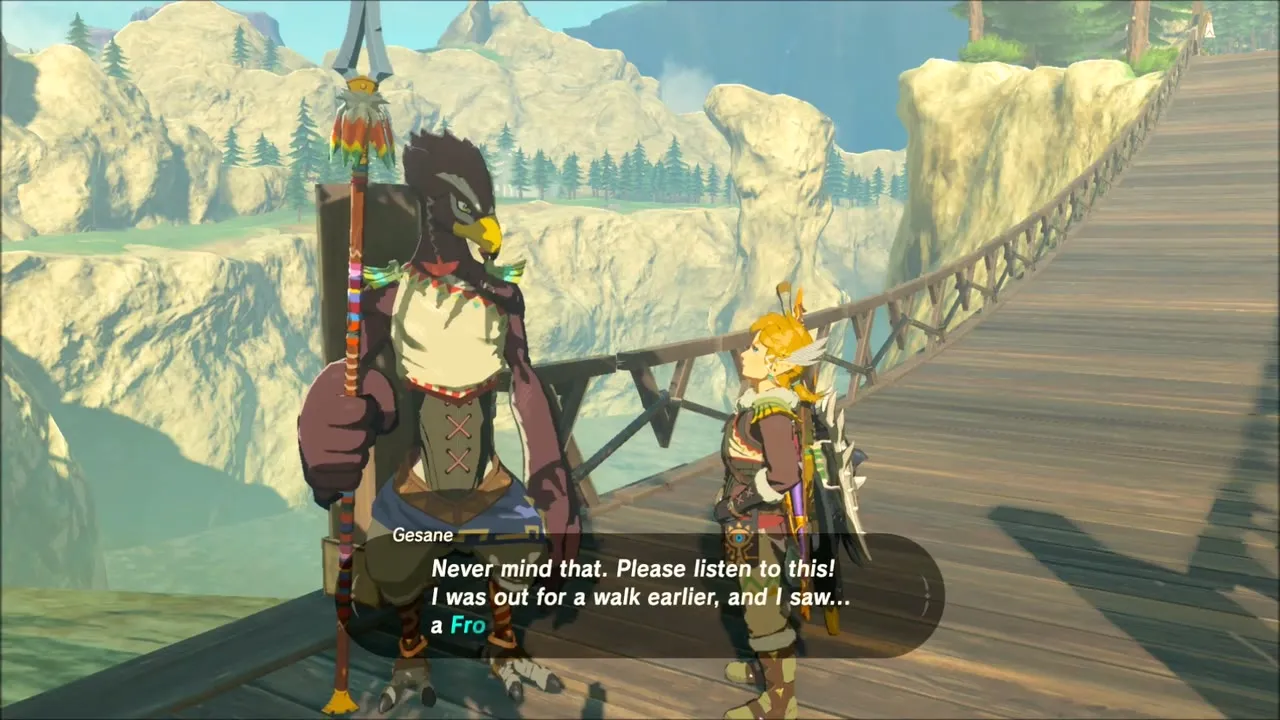
Ride on to Rito Stable, which is where the road to the village begins, and leave your horse with the stable keeper. A suspension bridge leads from the stable up to Rito Village, and a Rito guard named Gesane stands on it. Speak to him to advance Face the Frost Talus: he tells you about the enormous creature he saw while running an errand, and since you have already beaten the Frost Talus at Coldsnap Hollow, this is the quest’s last step. The reward is a Silver Rupee.
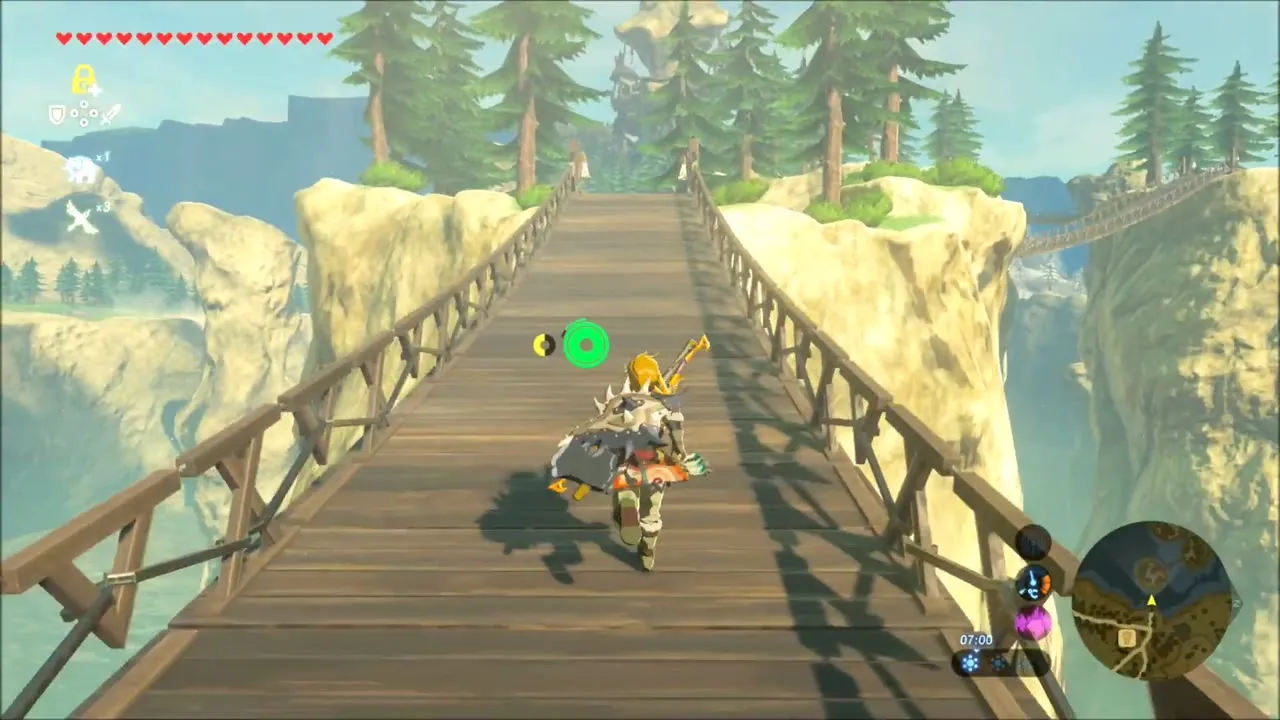
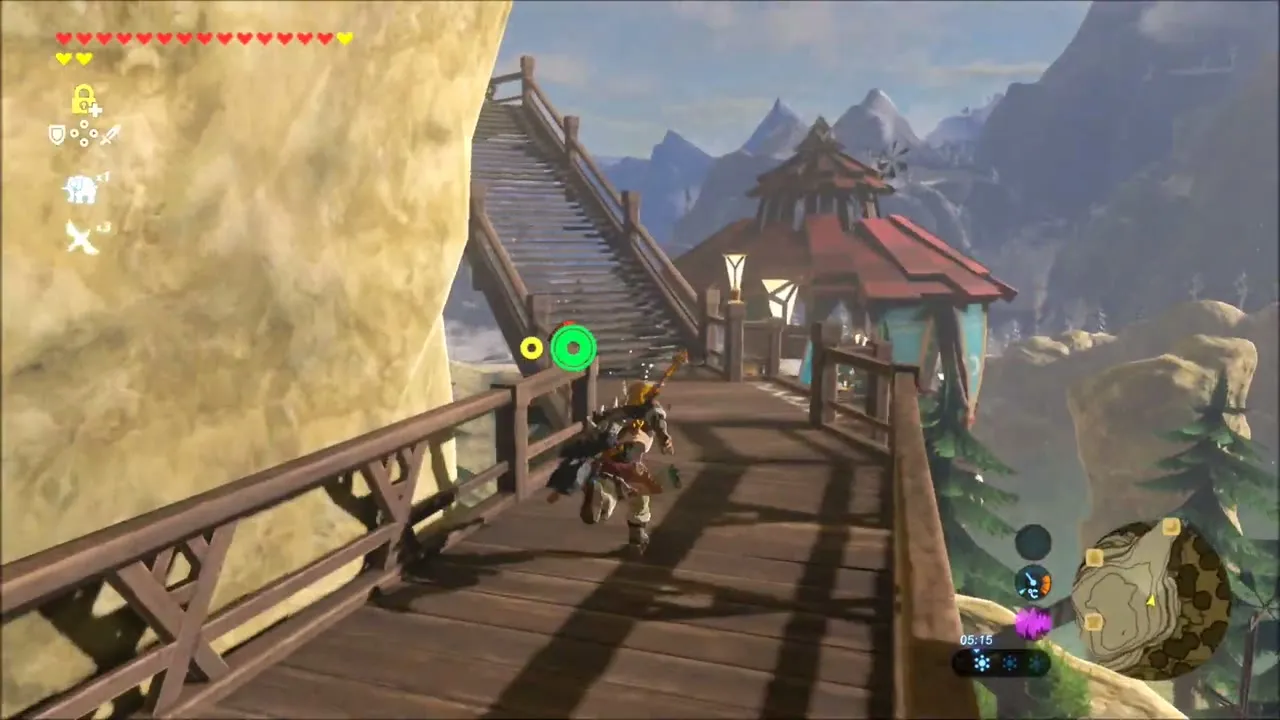
Carry on across the bridge into Rito Village and climb the walkways to the top level, where Amali waits near the Akh Va’quot Shrine. Tell her that Kheel is safe at Warbler’s Nest to finish Find Kheel; the reward is a Purple Rupee.

Recital at Warbler’s Nest: Salmon Meuniere Ingredients
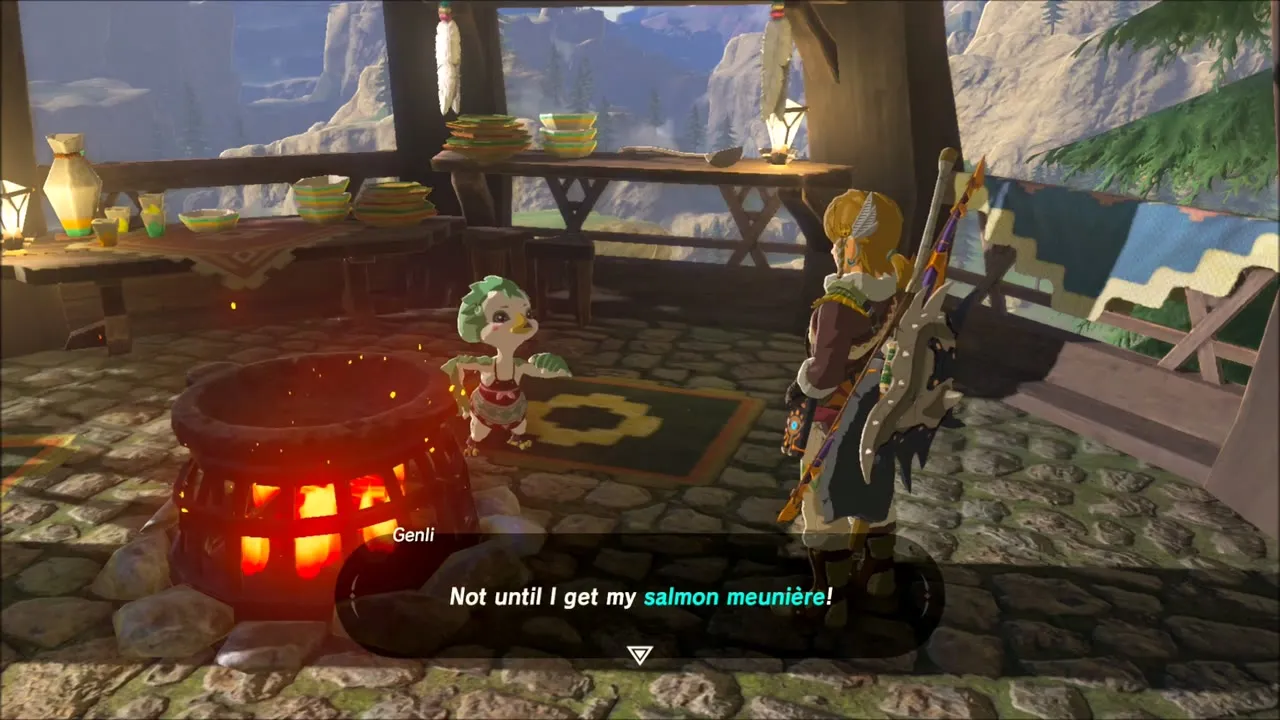
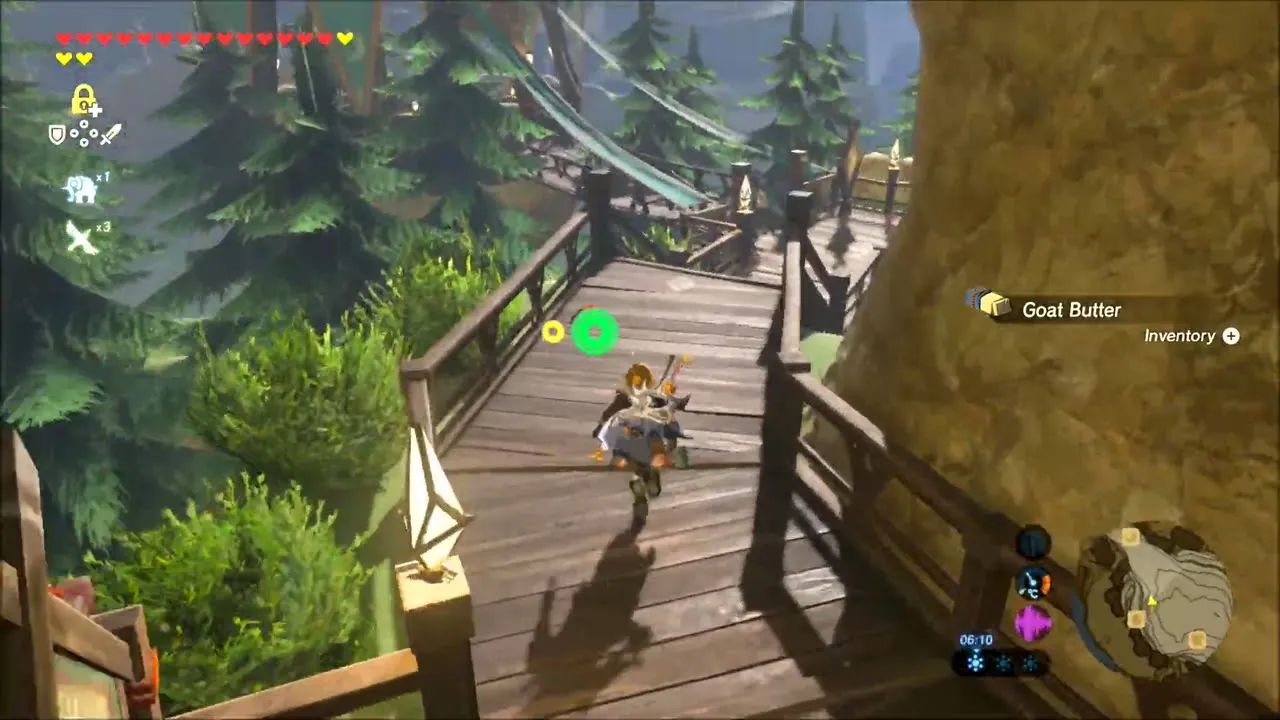
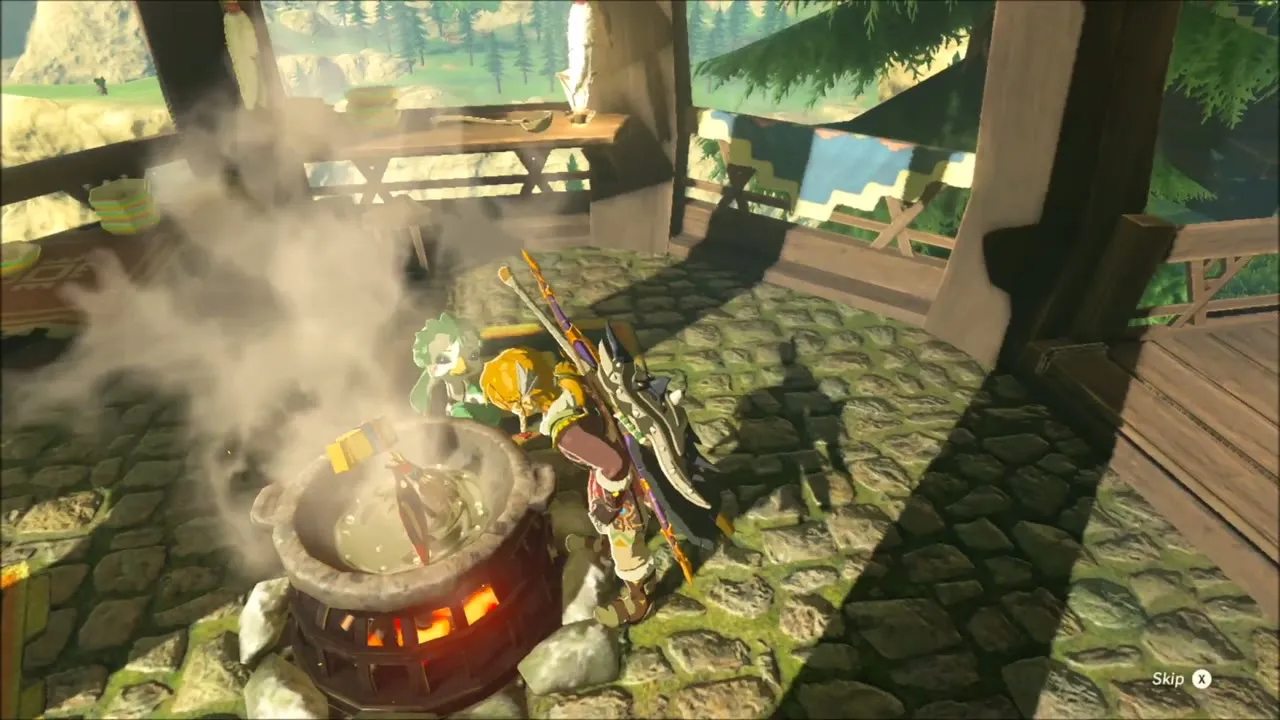
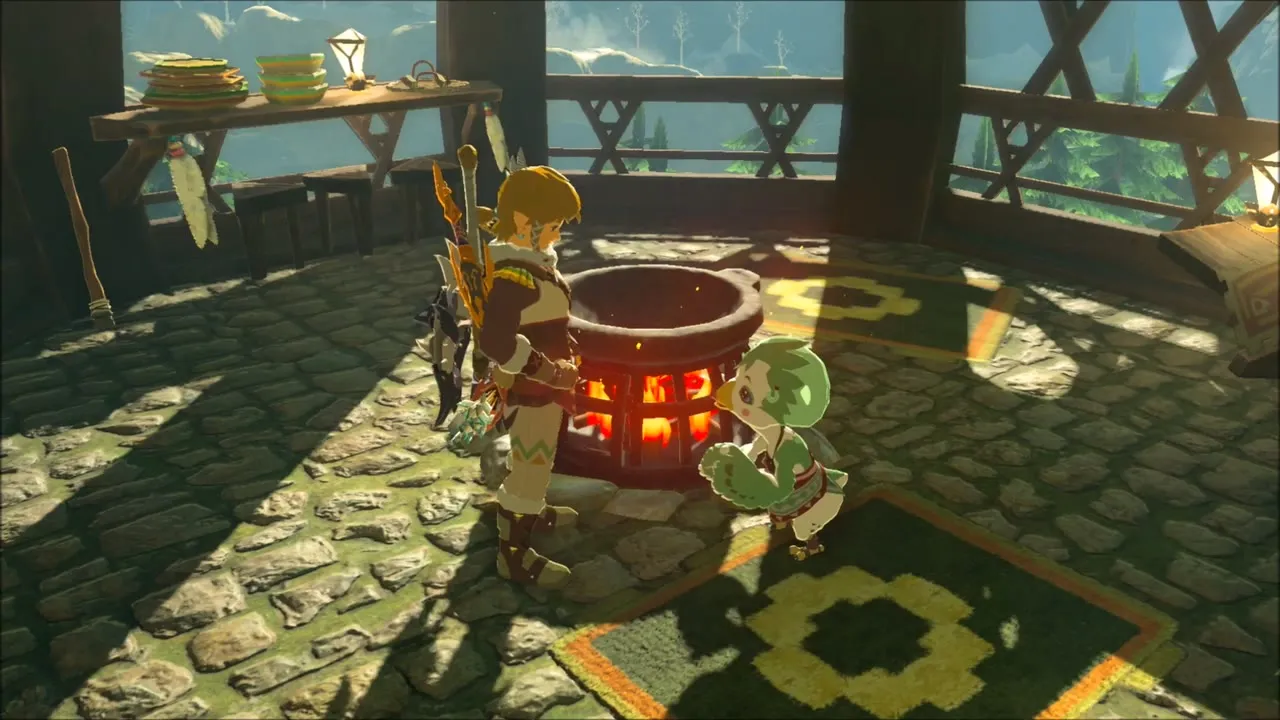
Kheel’s four sisters are the key to the recital. Genli, the small green Rito, is in the village kitchen beside the cooking pot. She will not leave until she has a plate of Salmon Meuniere and tells you her sisters went to find ingredients. Cree, the blue sister, is at the general store buying Goat Butter. Talk to her, take the butter and listen to where her sisters are.

Knotts, the yellow sister, stands in the pond on the island across the nearest bridge below the village, and she hands you a Hearty Salmon. Notts, the red sister, is singing on a rocky outcrop high above the armor shop. Climb or glide to the ledge to reach her, and she gives you Tabantha Wheat. She feels bad about leaving Kheel waiting, so you have now found all four sisters.
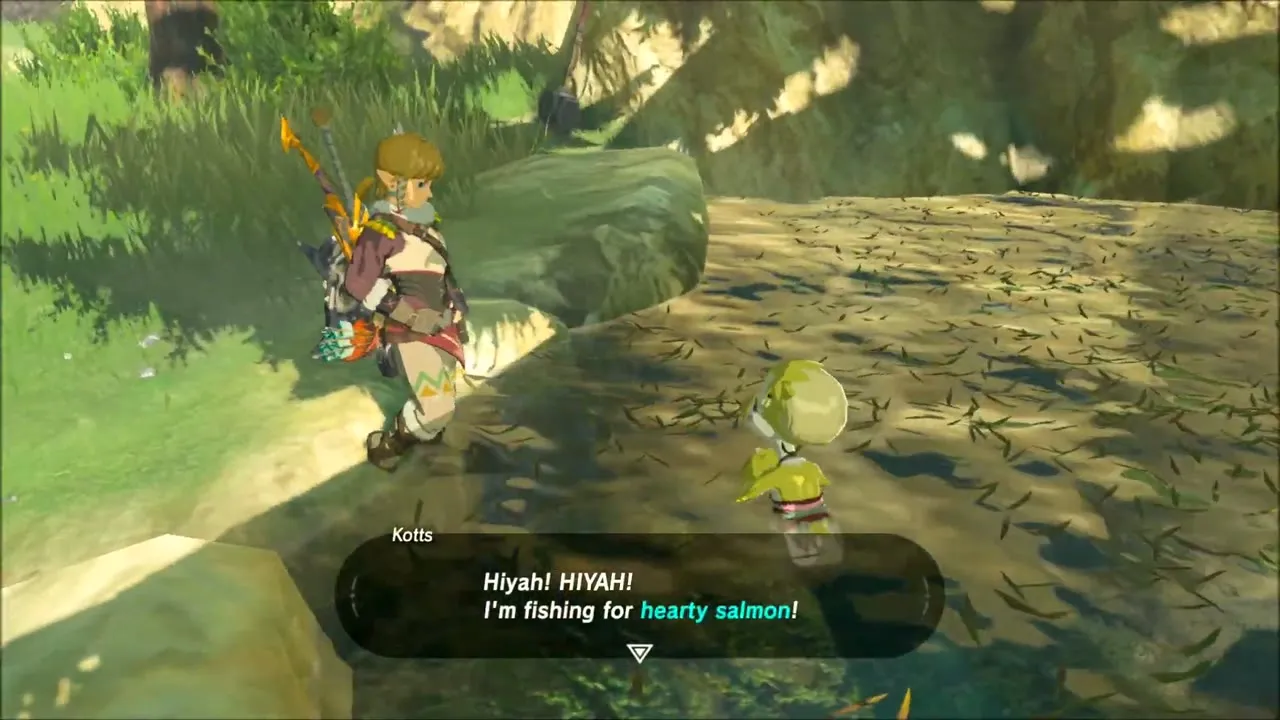
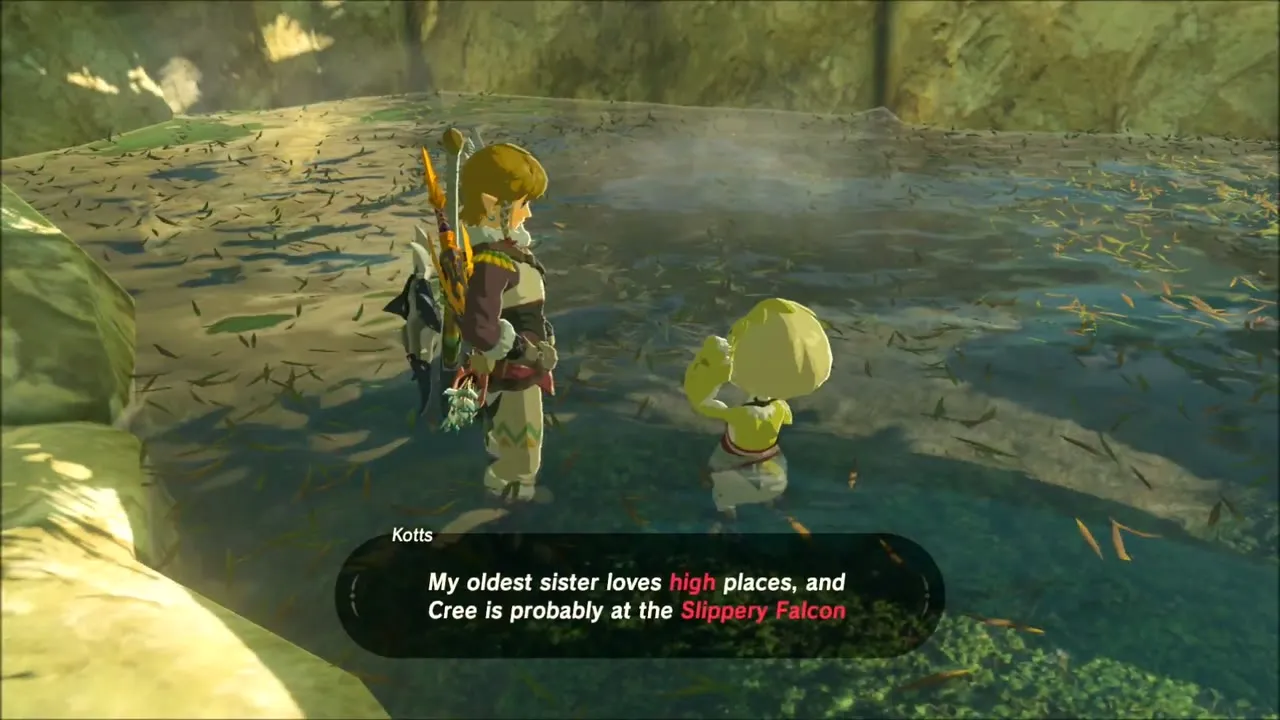
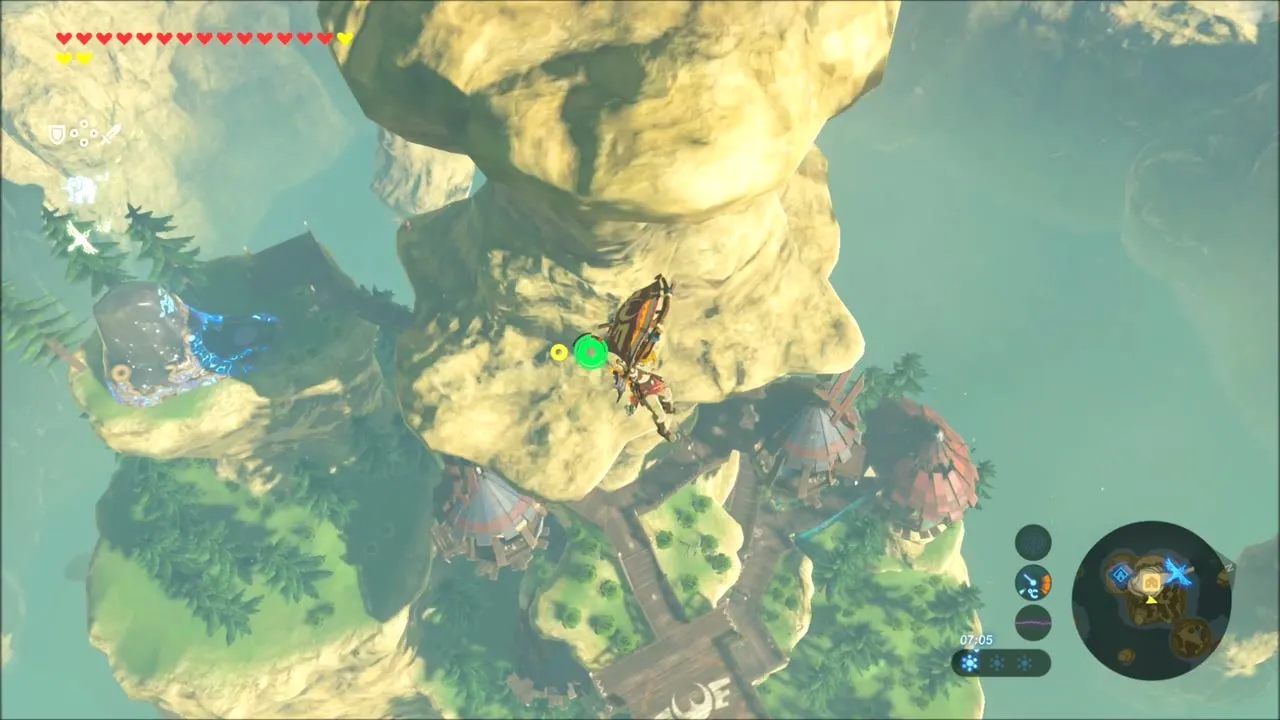
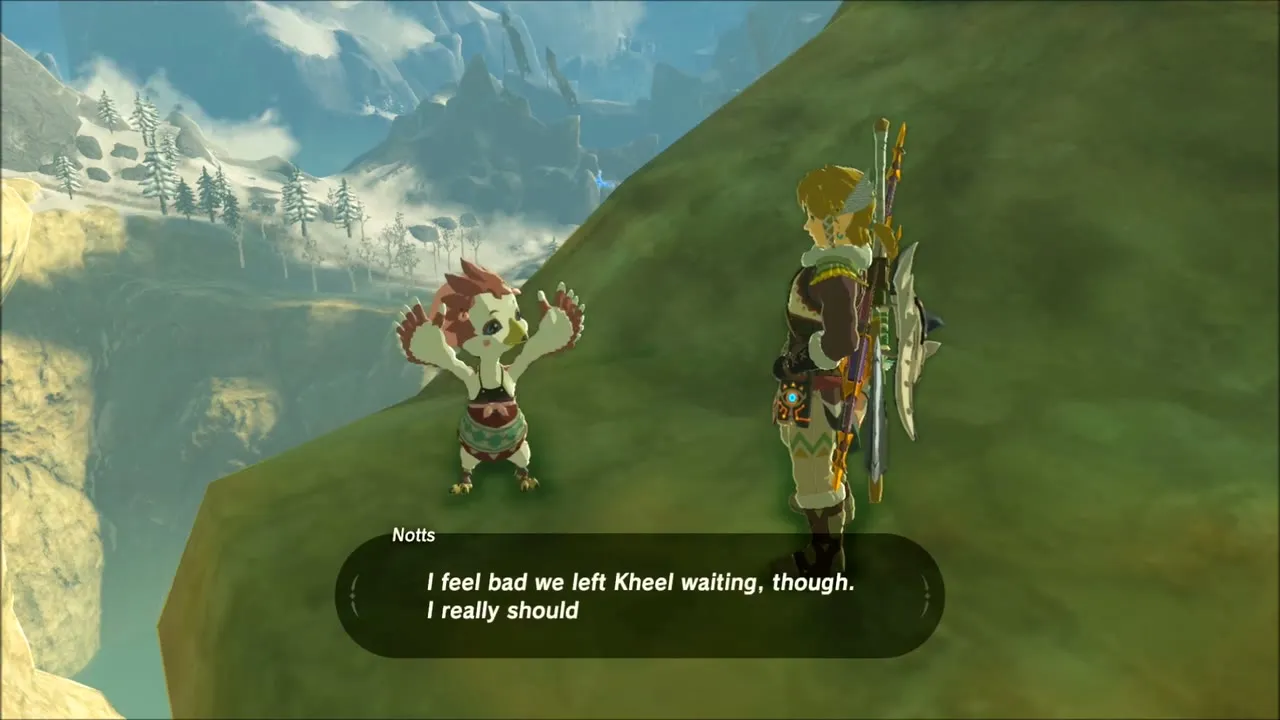
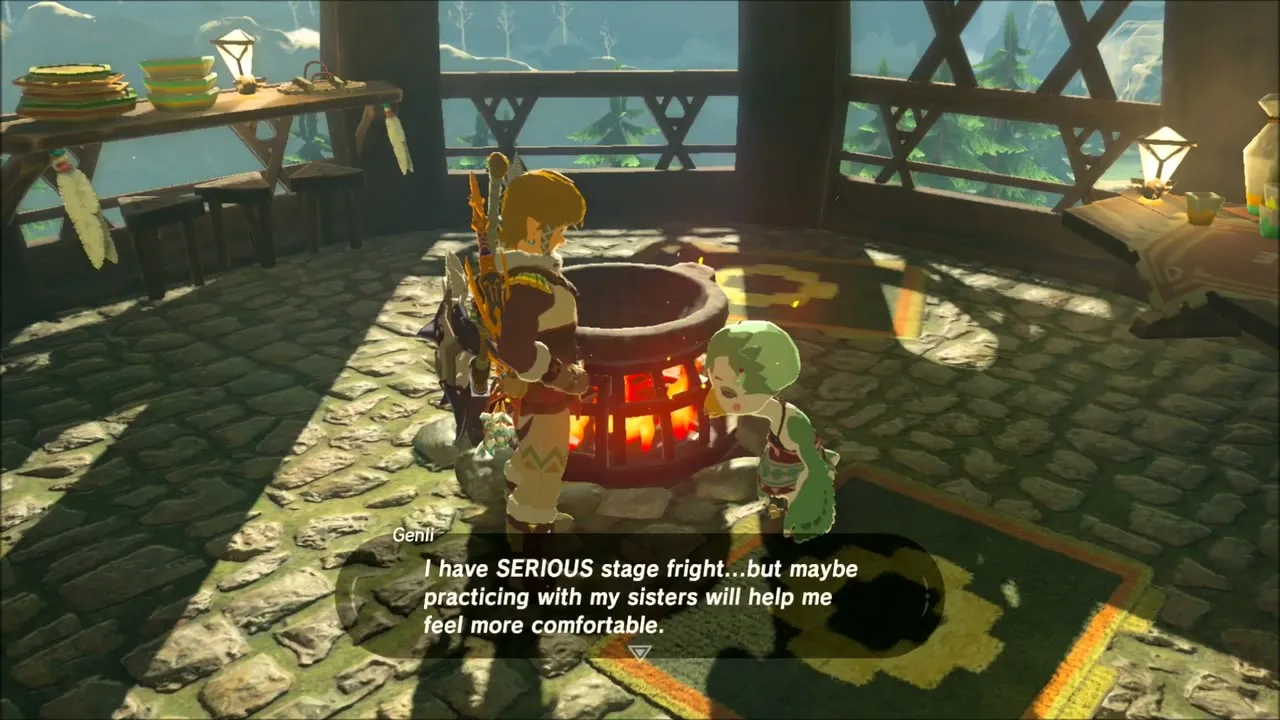
Return to the cooking pot in the kitchen. Put the Hearty Salmon, Goat Butter and Tabantha Wheat in together to cook Salmon Meuniere, and give the dish to Genli. She tells you she has serious stage fright and hopes practicing with her sisters will help.
Warbler’s Nest: Korok Leaf and the Stone Columns
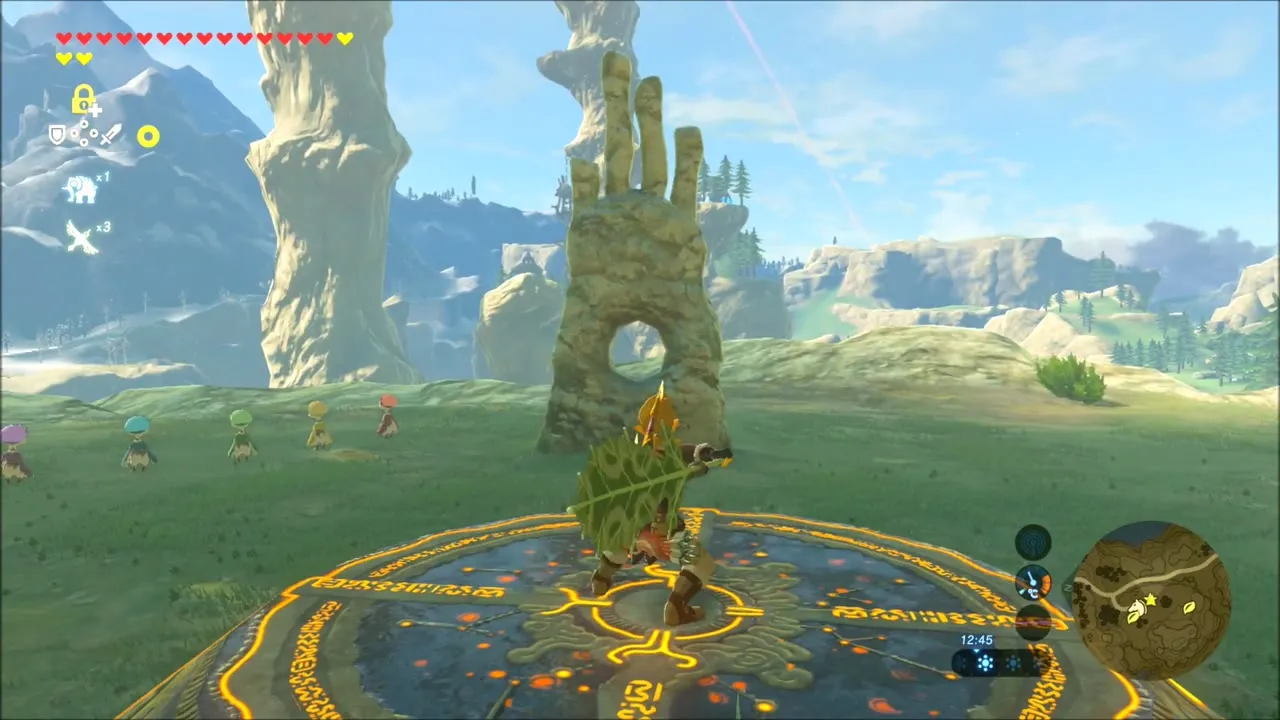
Leave the village by gliding down from the walkway, collect your horse again at the stable, and ride west to Warbler’s Nest. The sisters stand in a line in front of the stone pillars, and Kheel gives you a Korok Leaf. Each sister sings in a different color, and the order they sing in is the code. Number the sisters from the left (1) to the right (5): the tune runs 4 blue, 5 purple, 3 green, 1 red, 2 yellow.
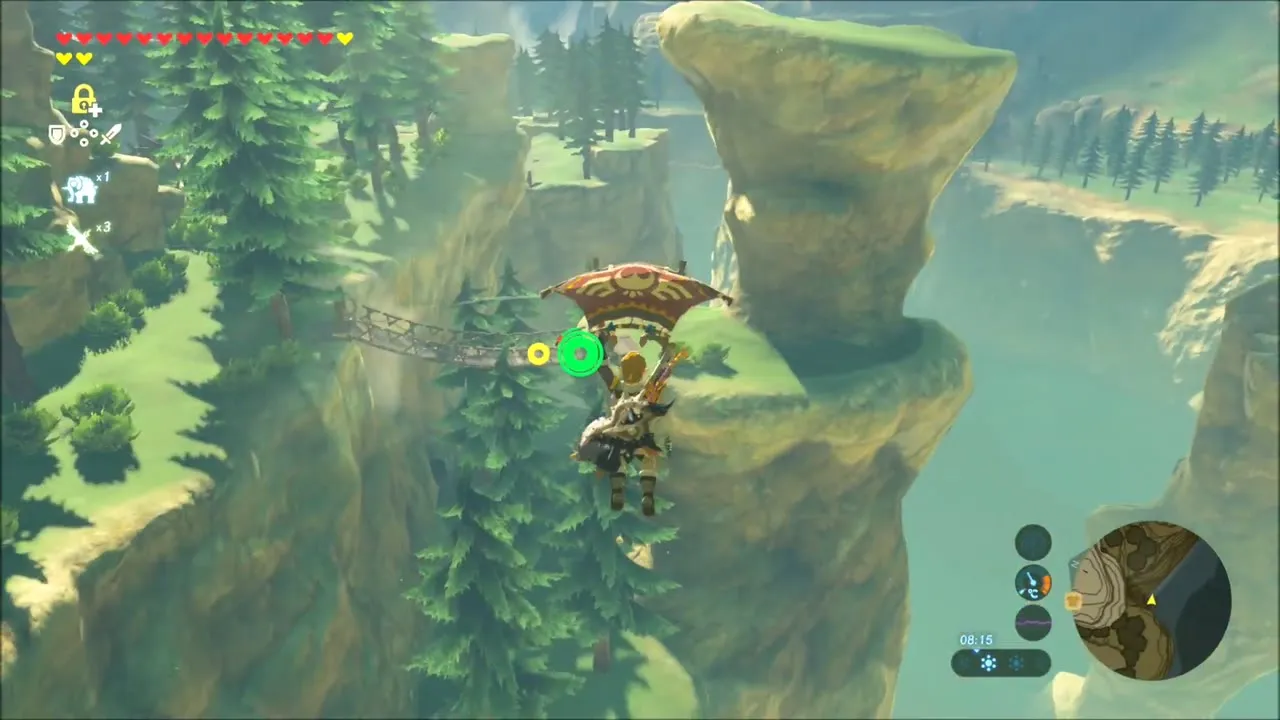
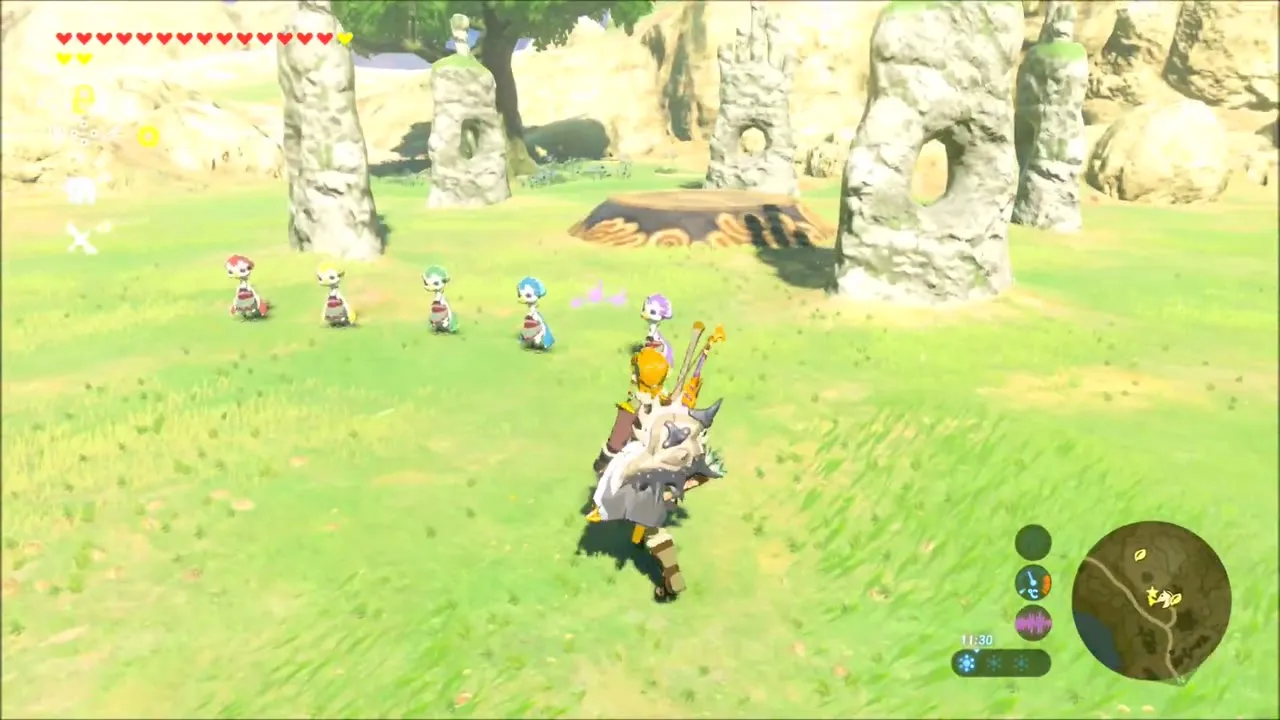

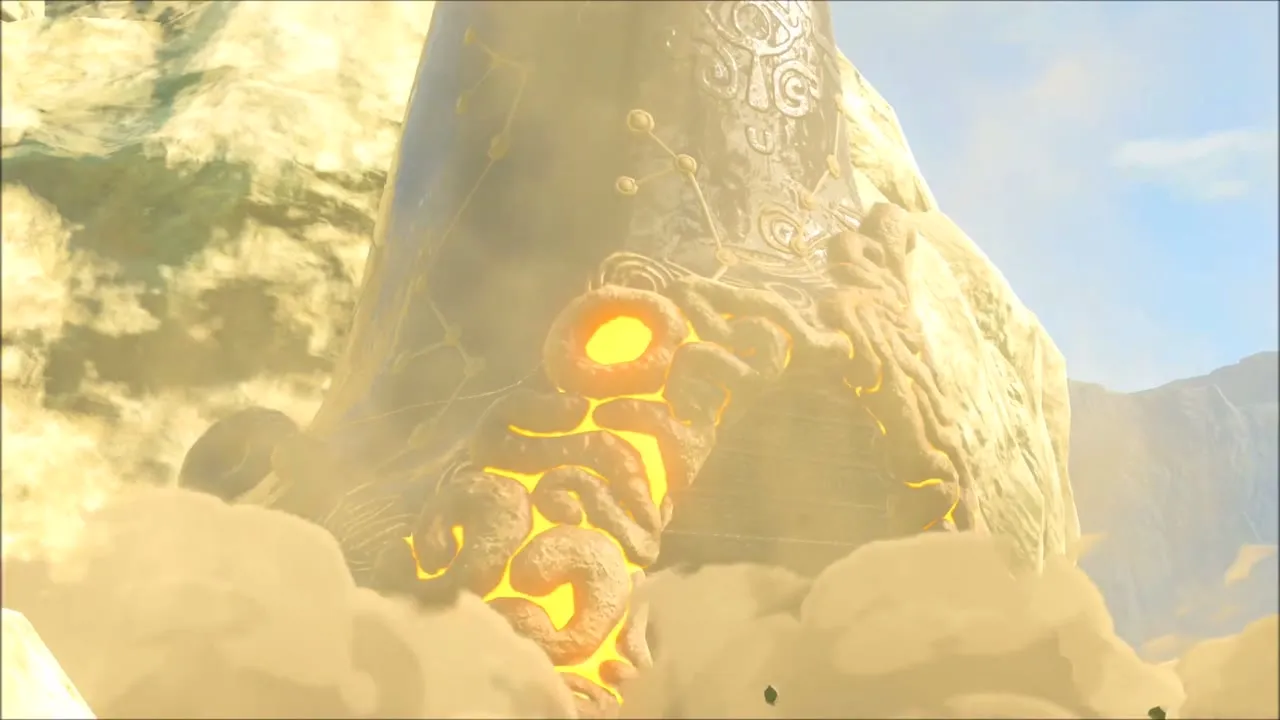
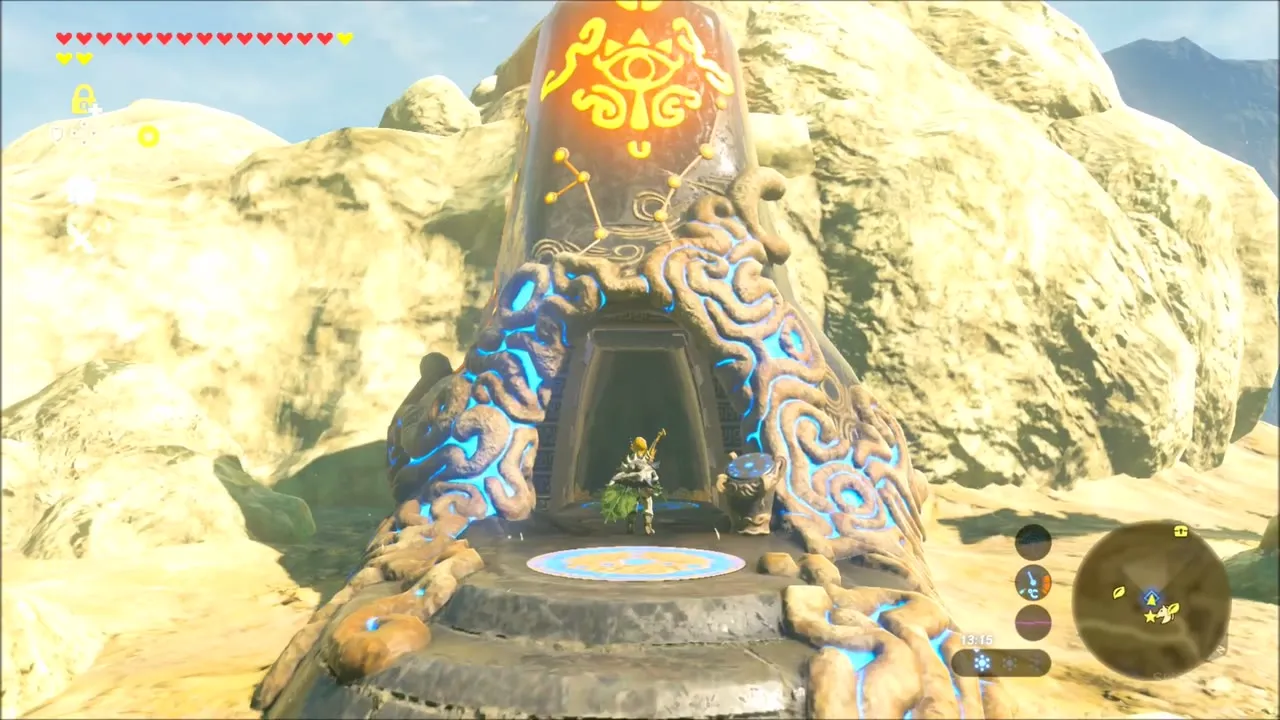
Stand on the circular shrine pedestal and look at the stone columns that have a hole through them. Each has a number of stone fingers on top. Fan each one with the Korok Leaf in the order 4, 5, 3, 1, 2. A mound rises nearby and the Voo Lota Shrine opens (-4015, -1722, height 284).
Voo Lota Shrine: The Winding Route
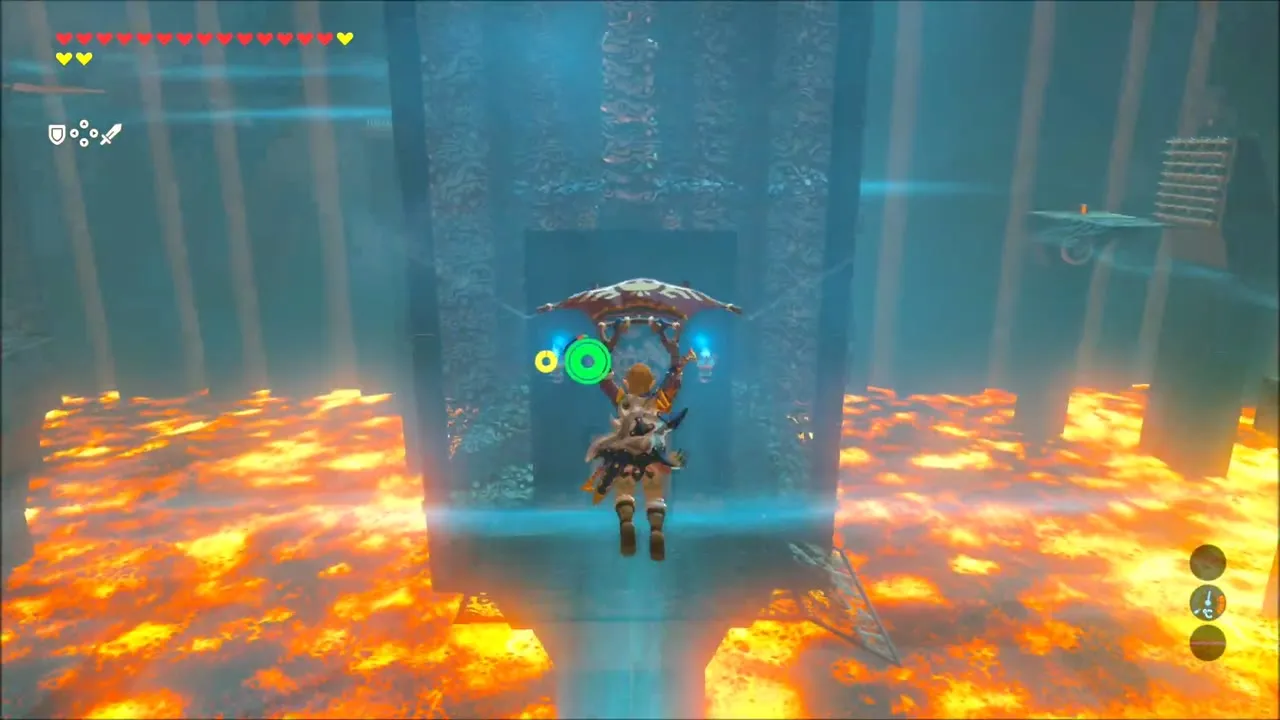
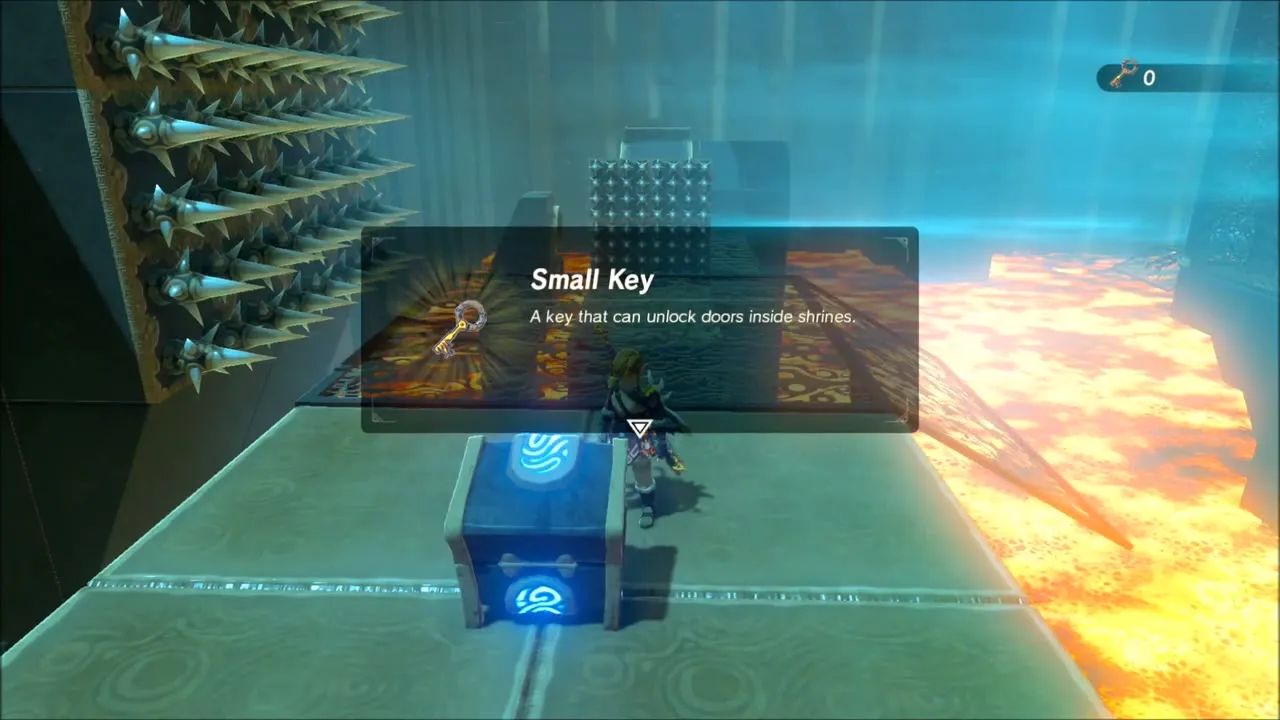
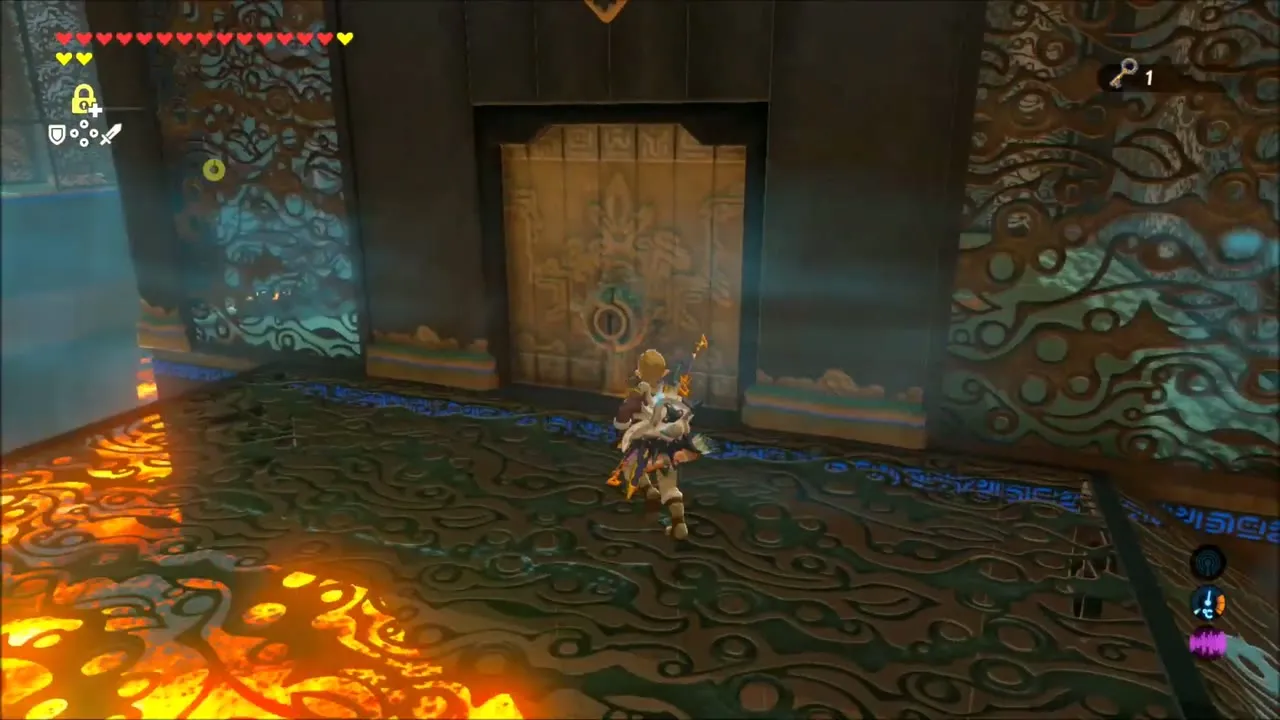
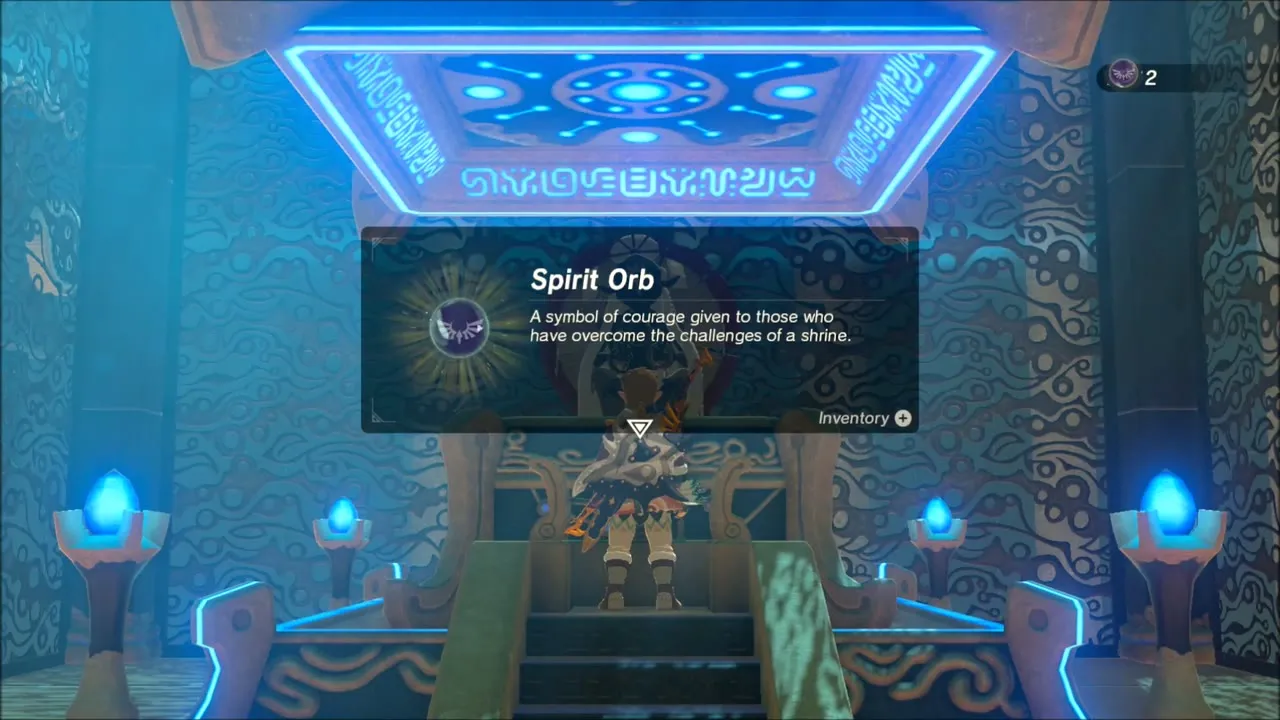
Inside, the trial is a vertical gliding course above lava. Strike the switch, glide between the platforms and use the updrafts to climb. A chest in the far corner holds the Small Key. Another chest sits on a platform that an air current keeps blowing you away from: freeze the fan below it with Stasis, land, and open it for a Flameblade (tier set by difficulty scaling). Glide back to the locked door, use the key and speak to the monk to collect a Spirit Orb.
Dragon Bone Mire: Gems, Chests and a Korok Seed
With the shrine done, open your map and head out to the huge skeleton at Dragon Bone Mire (-4174, -1715). The Stasis rune is useful on the loose bone and rock pieces around here. Several chests and ore deposits are tucked into the bone formations, and the haul includes a Diamond.
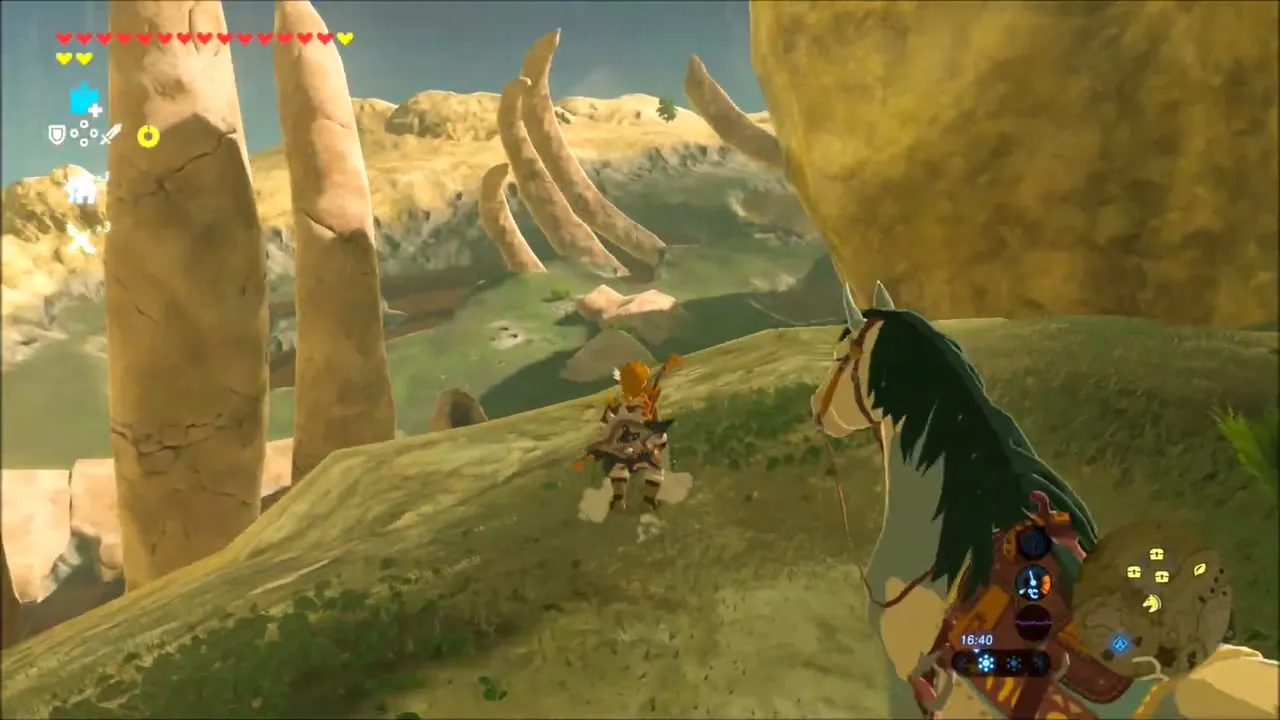
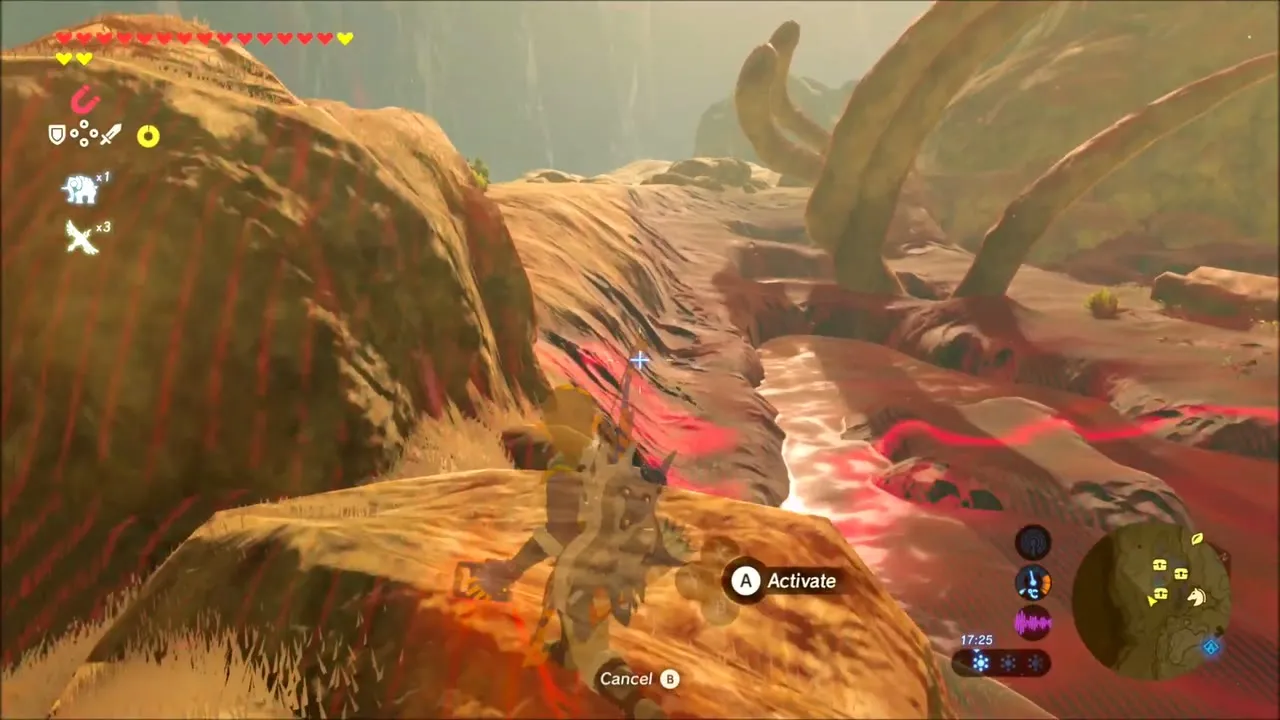
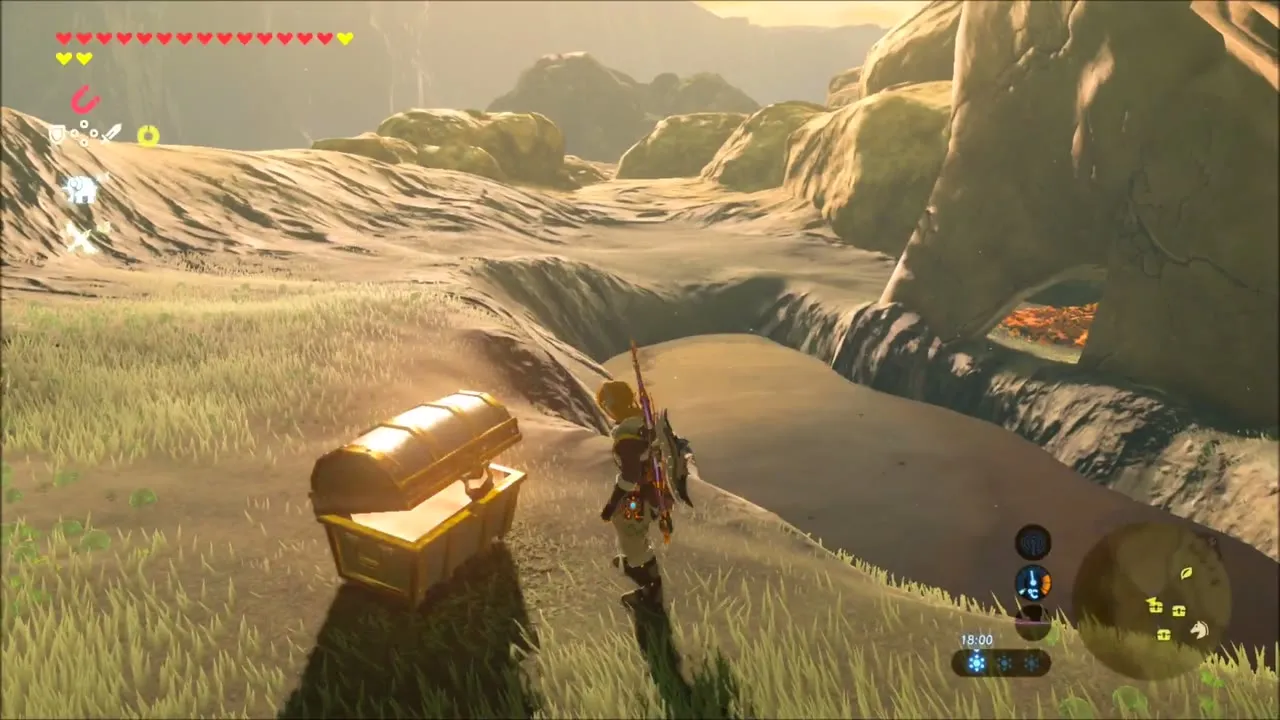
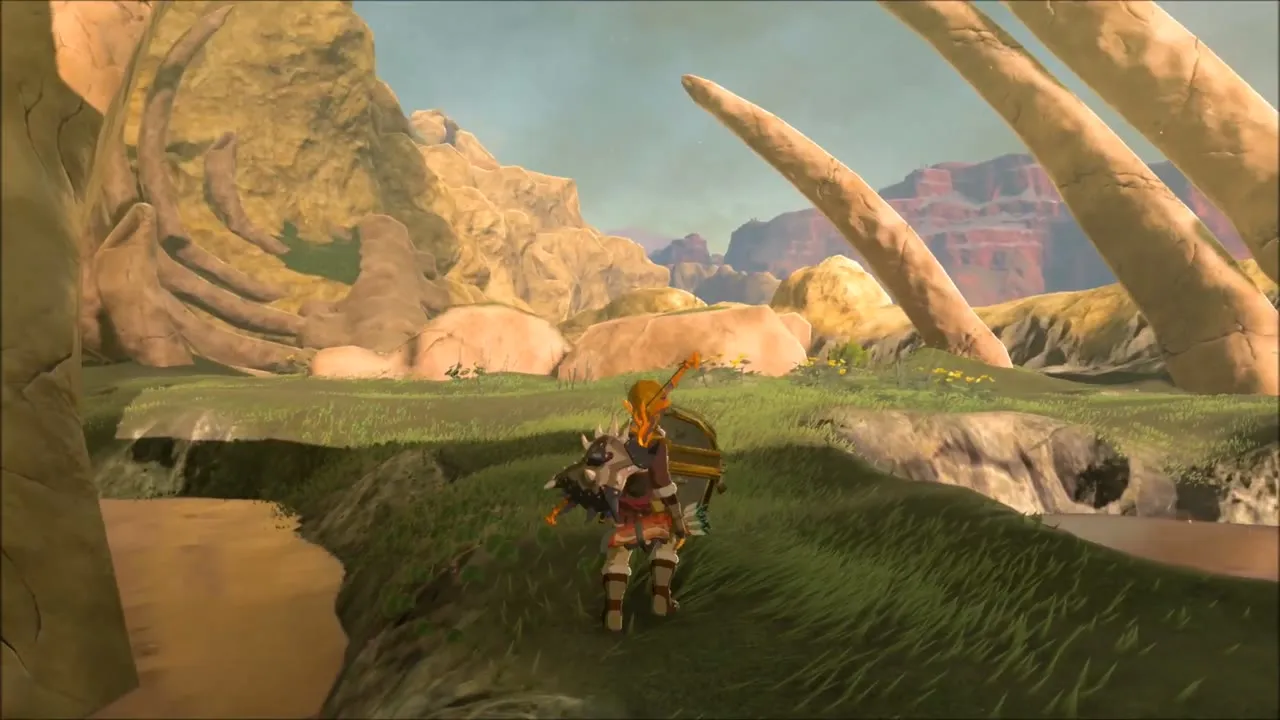
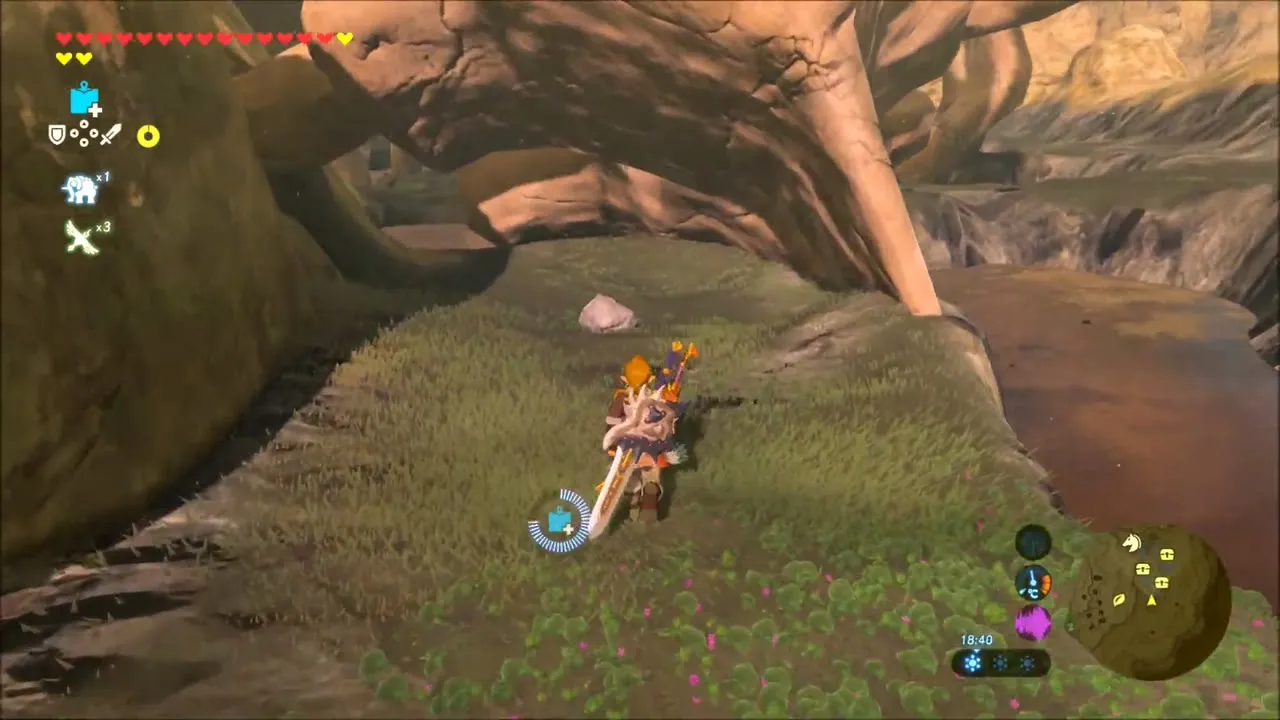
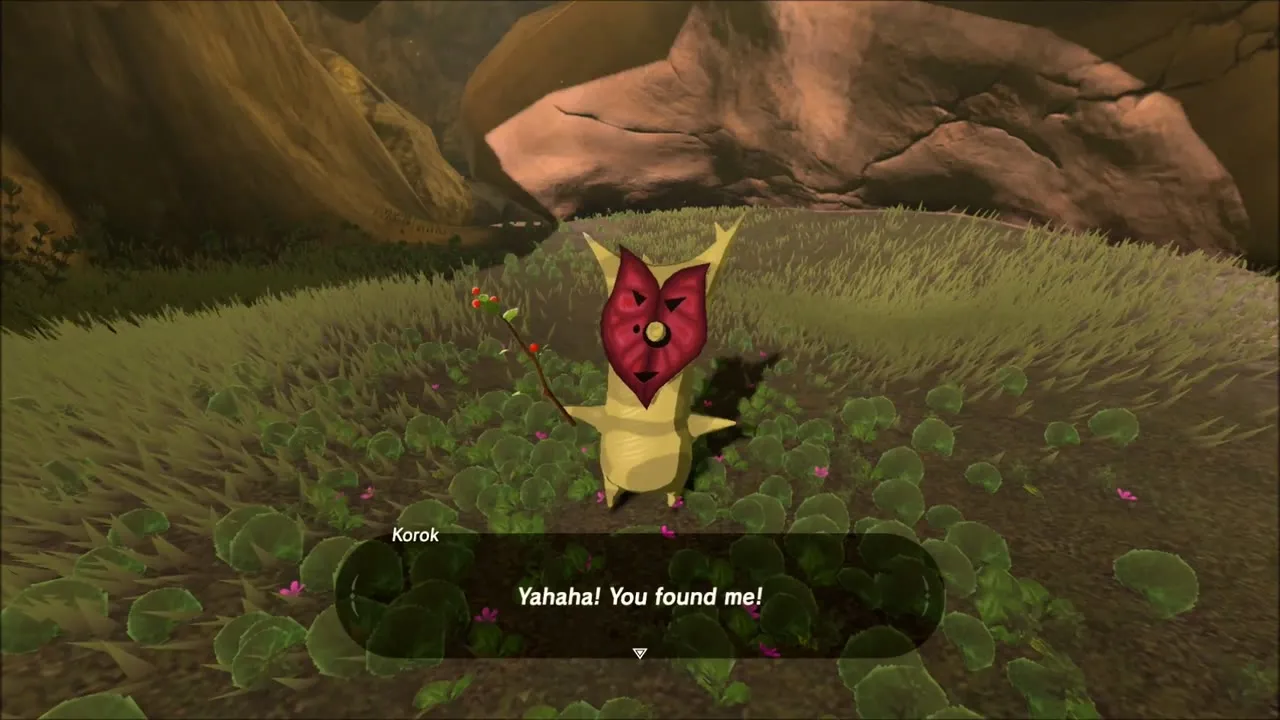
One Korok seed lies under a giant curved rib bone at the edge of the mire (-4226, -1747). Walk in beneath the bone arch, onto the grass, and the Korok shows itself.
Tabantha: Moblin Outpost and Snowfield
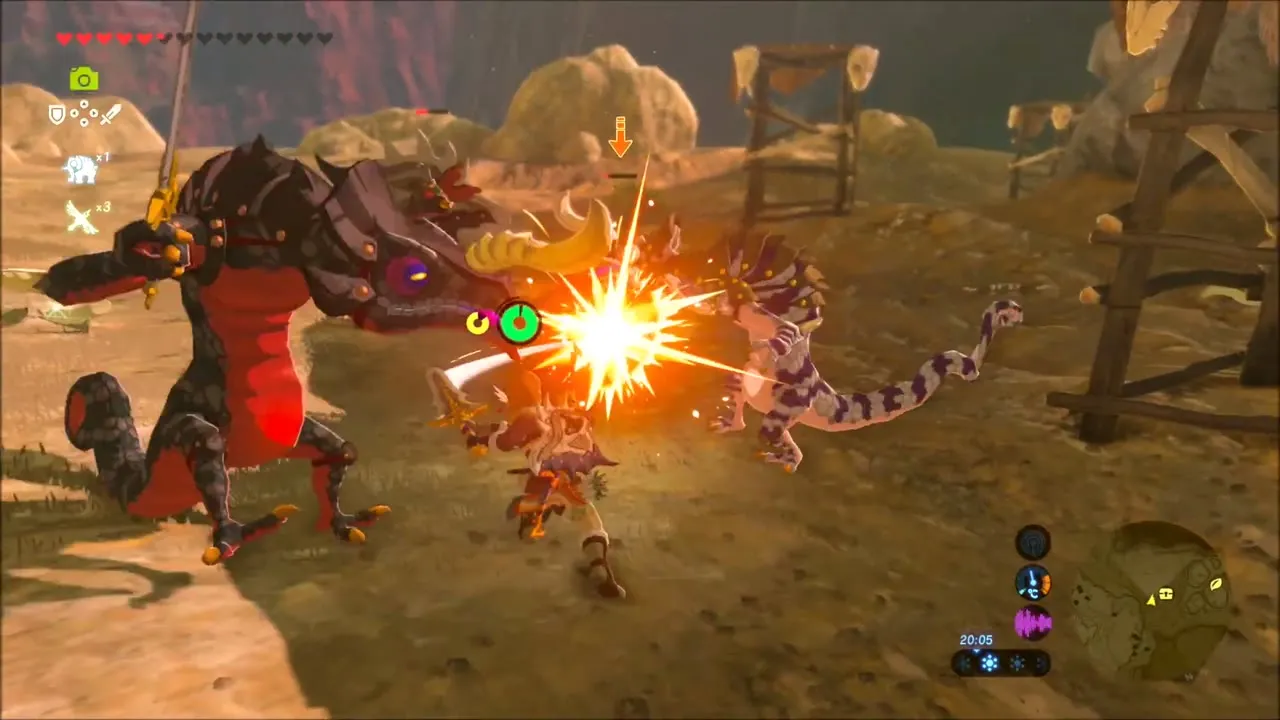
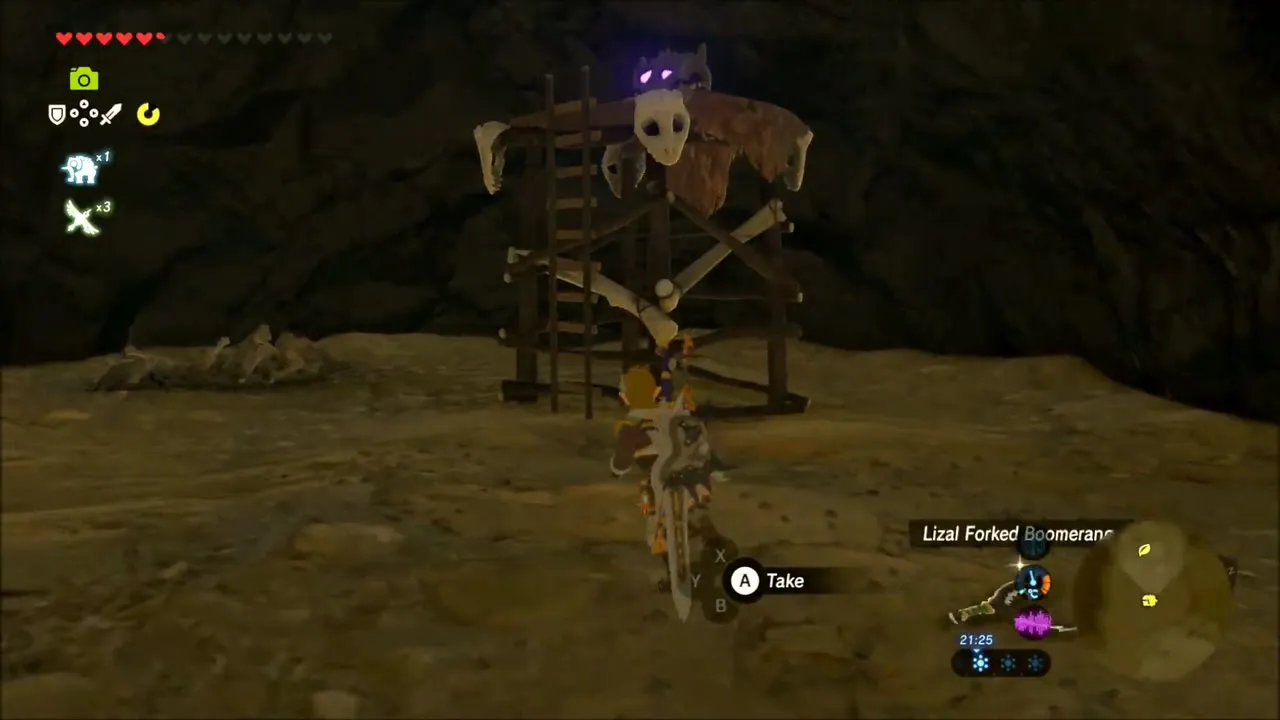
Ride on and take a photo of the animals you meet for the Hyrule Compendium if you like. A bokoblin camp with a skull-topped lookout stands in this stretch of dry hills, with arrow bundles and loot around it. Shoot or blow up the bokoblins and Moblins, then collect the Moblin Fangs and Guts and any chest you find.
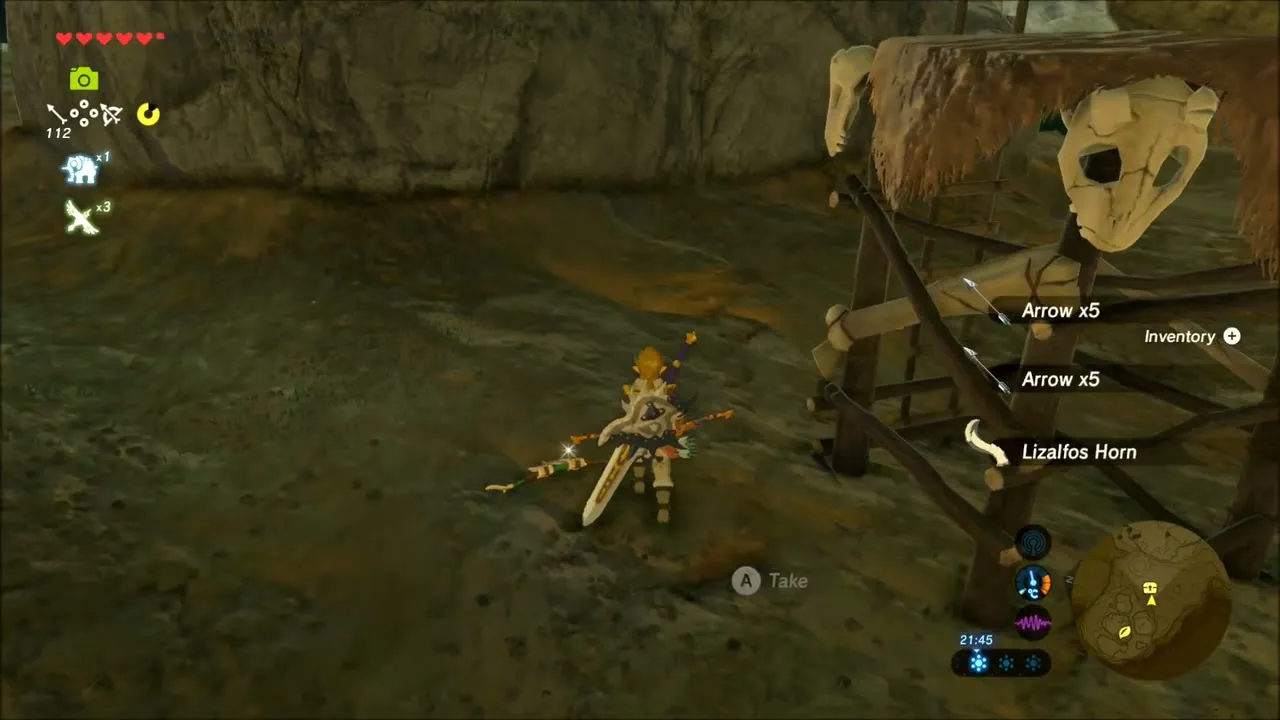
Farther on you climb into snowy rocks, and a Korok hides on a rocky peak up here. Climb to the top and speak to it to collect the seed. Keep the Snowquill set on in the snow.
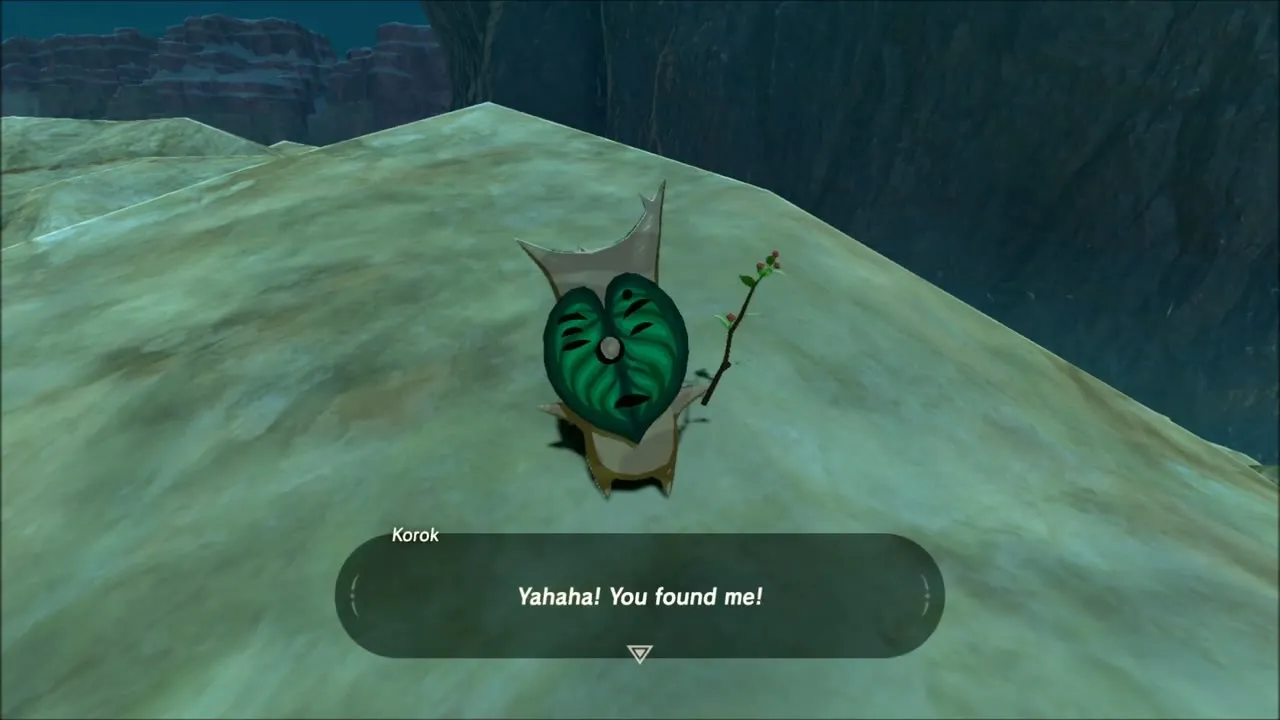
Cross the open snowfield and clear the next small camp for more Bokoblin Fangs, Horns and Guts, along with Ice Keese Wings from the creatures that attack in the snow. Another bokoblin watchtower stands at the end of the field with a chest beside it.
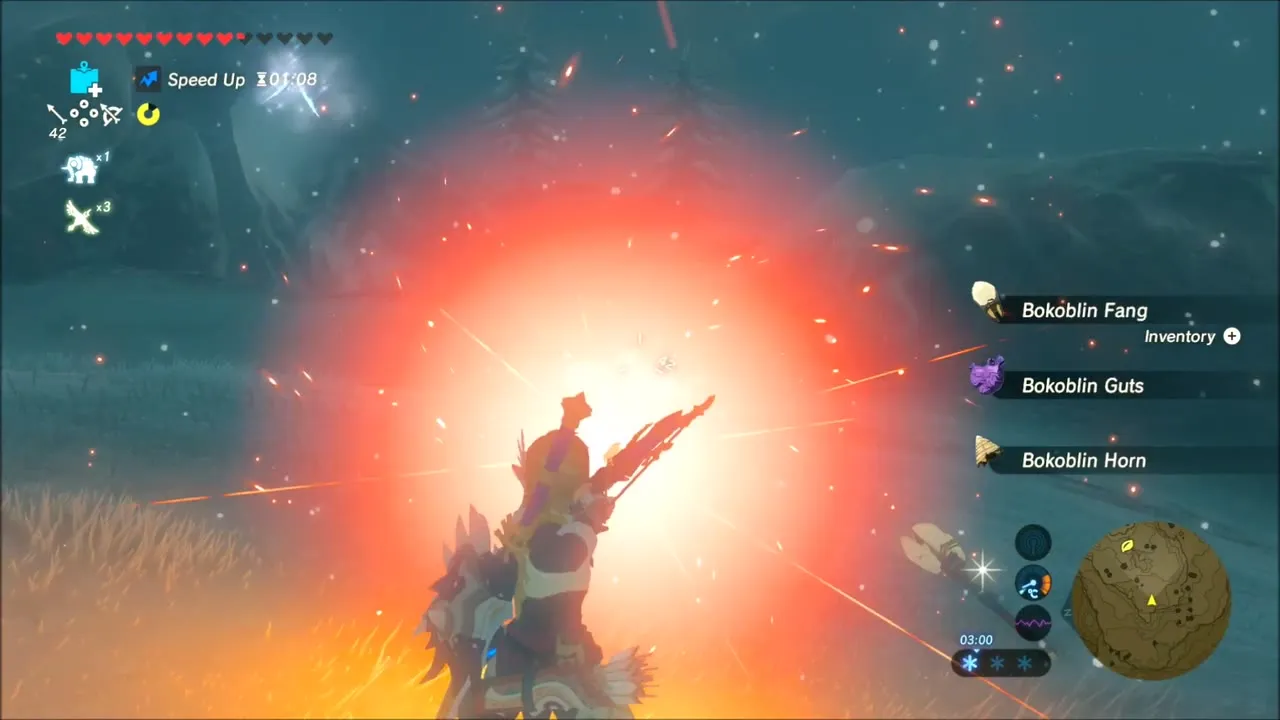
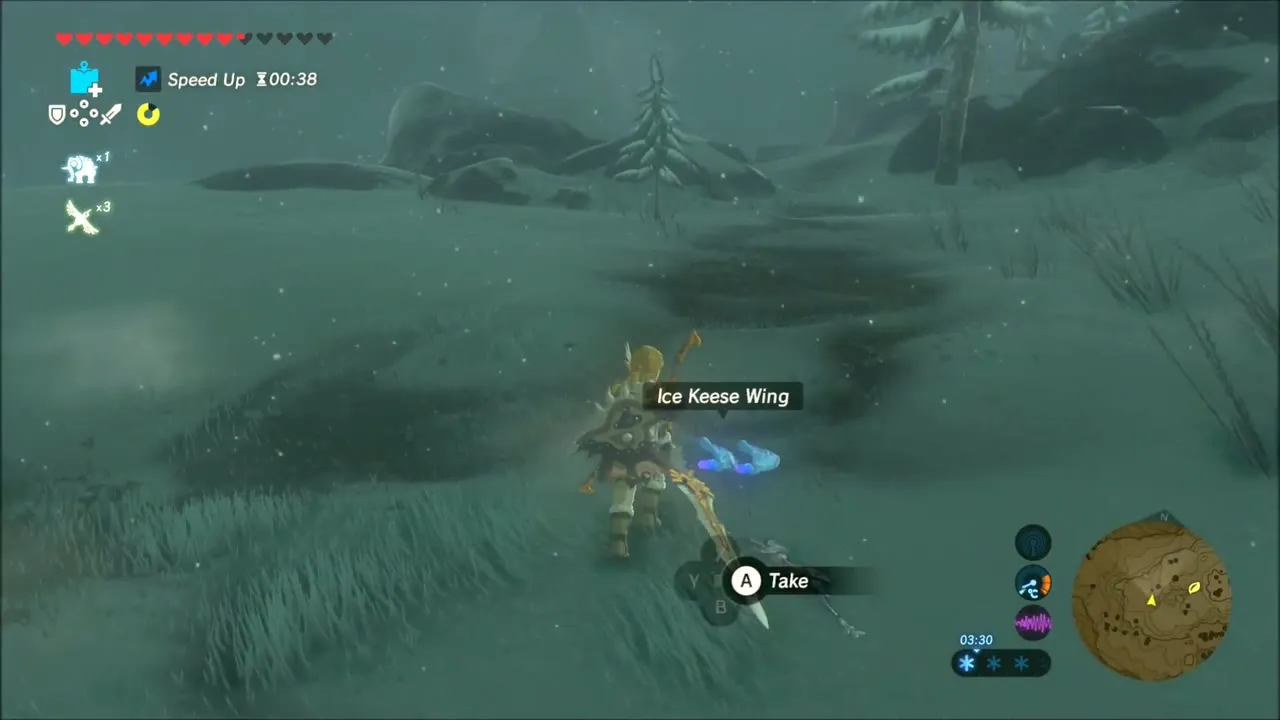
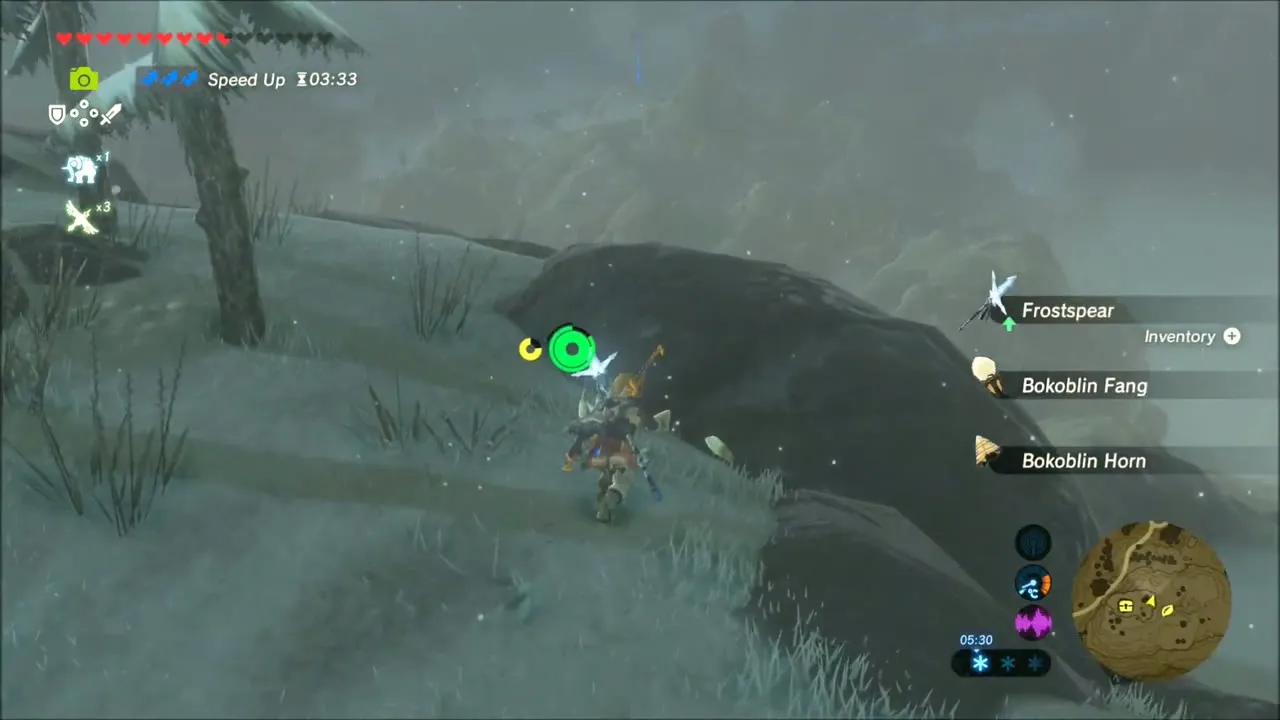
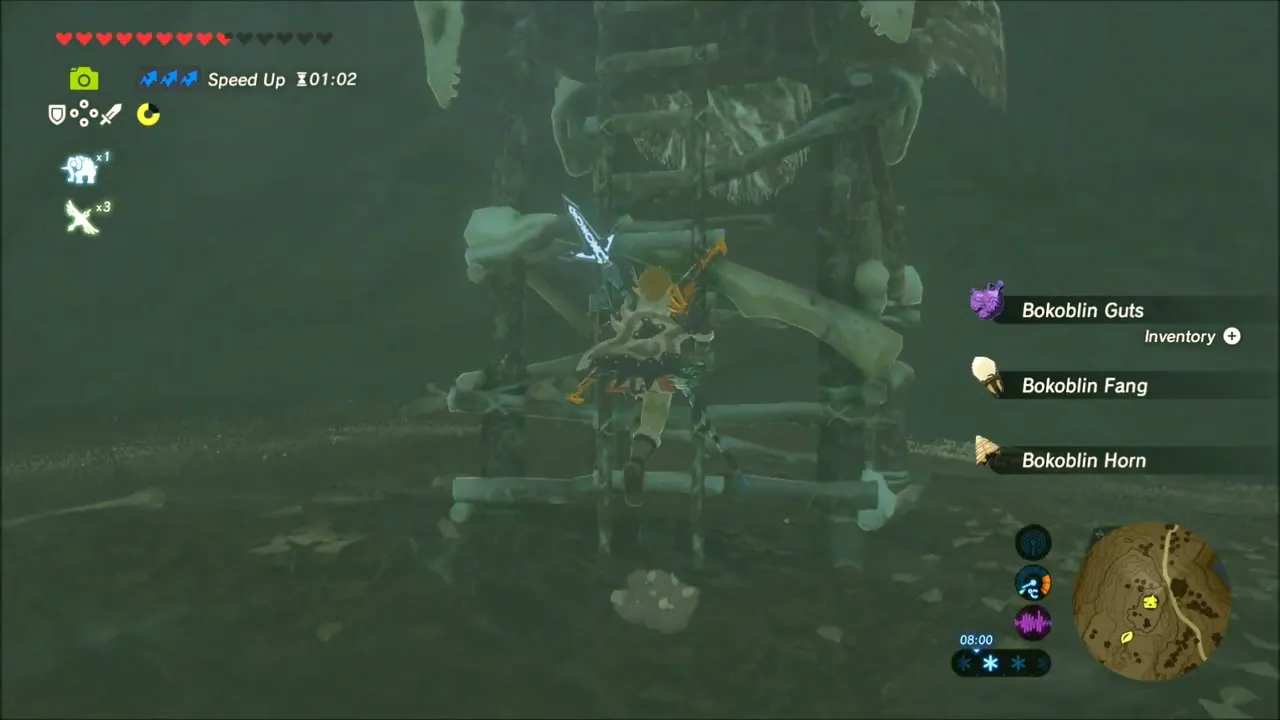
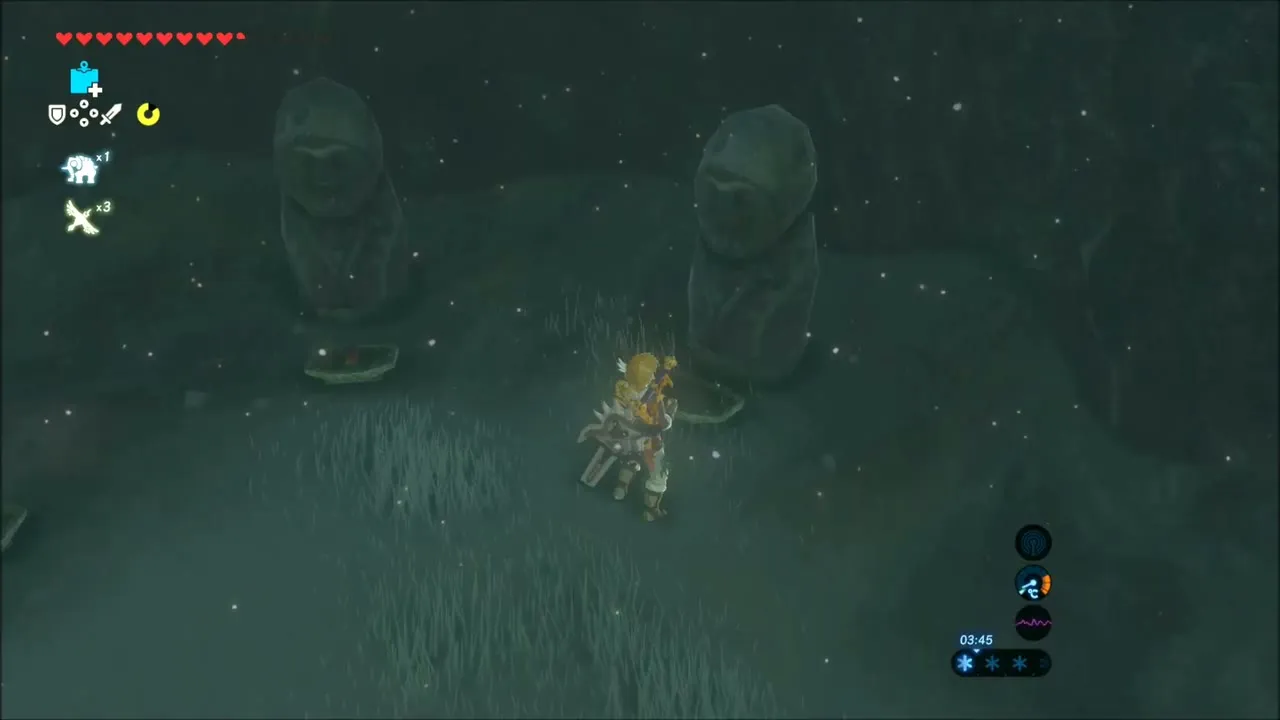
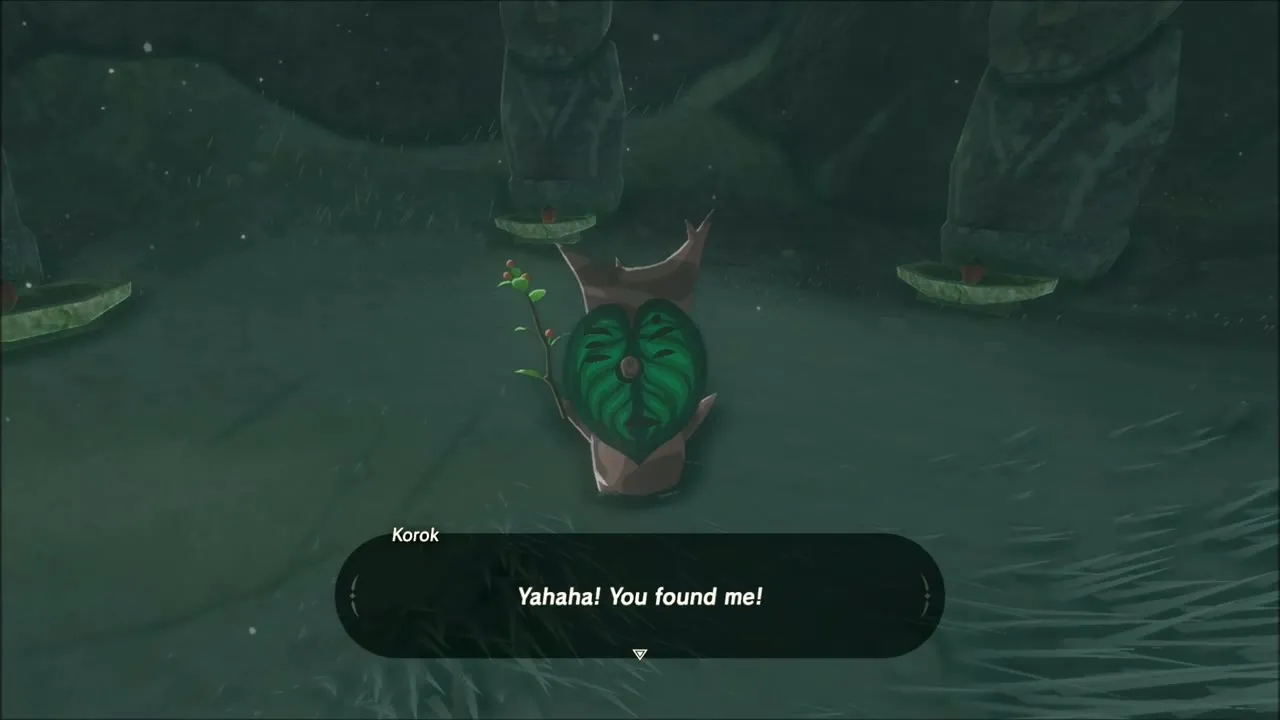
Deep in the snowfall, a Korok appears beside a small group of stone statues, and you take another seed.
Gisa Crater: Stone Talus and Korok Seeds
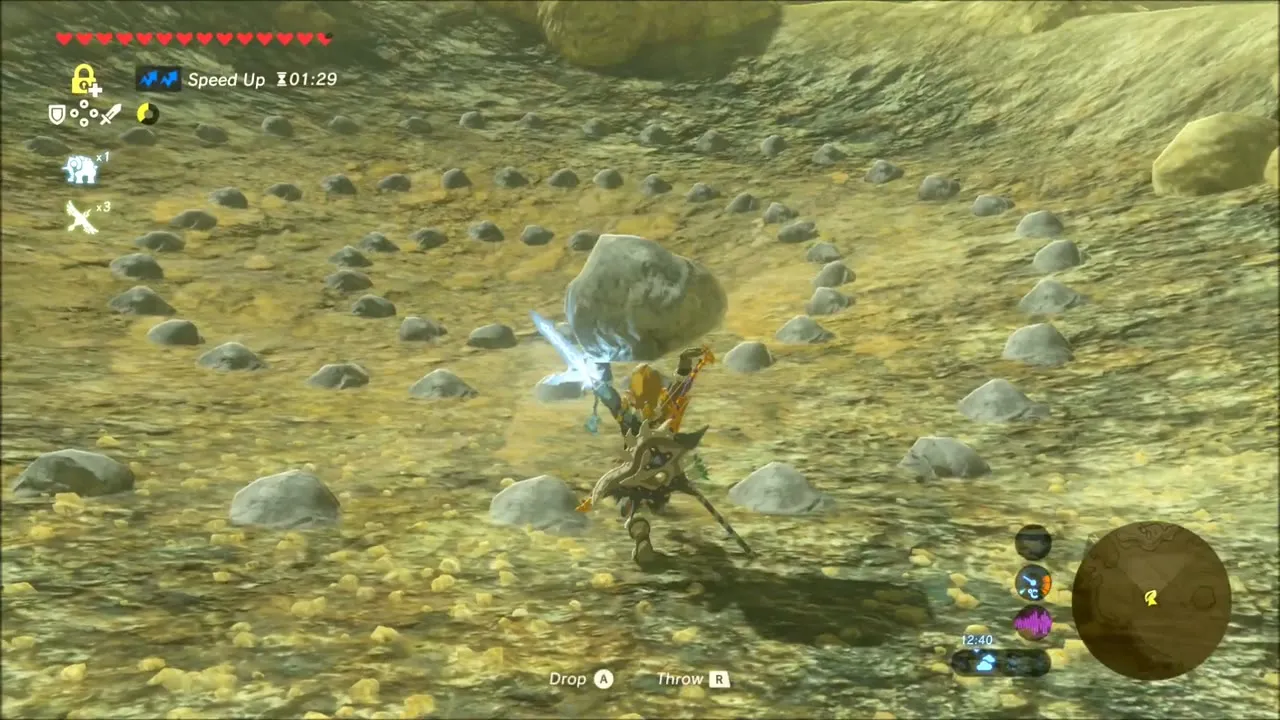
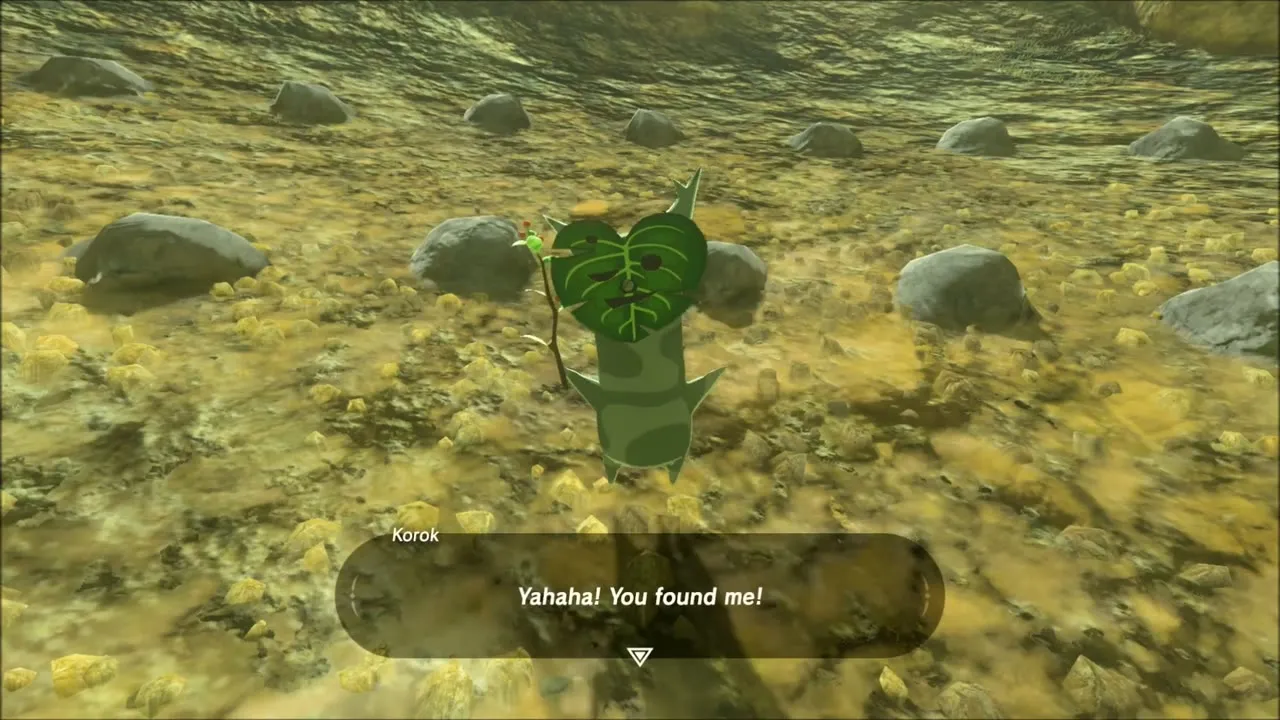
Check your map and head toward Gisa Crater (-3931, -1090), the wide dry basin south of Tabantha Tower. Among a scatter of small loose stones on the ground there you can find a Korok seed.
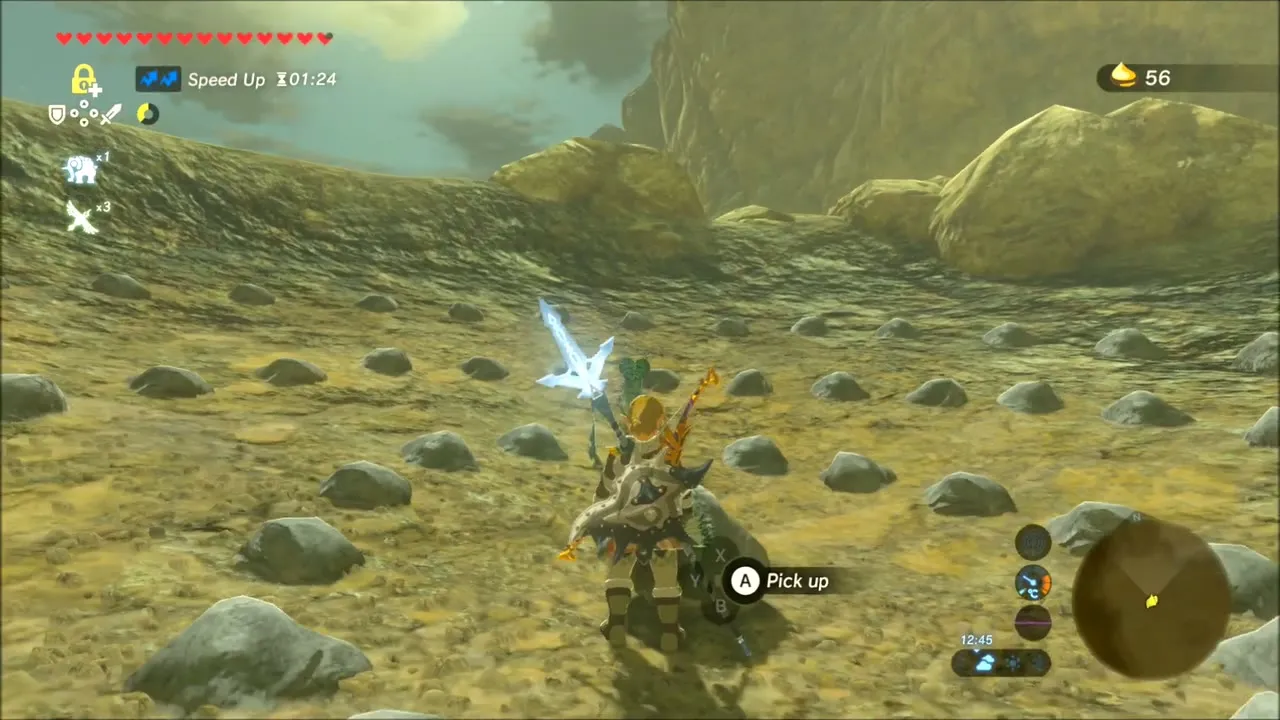
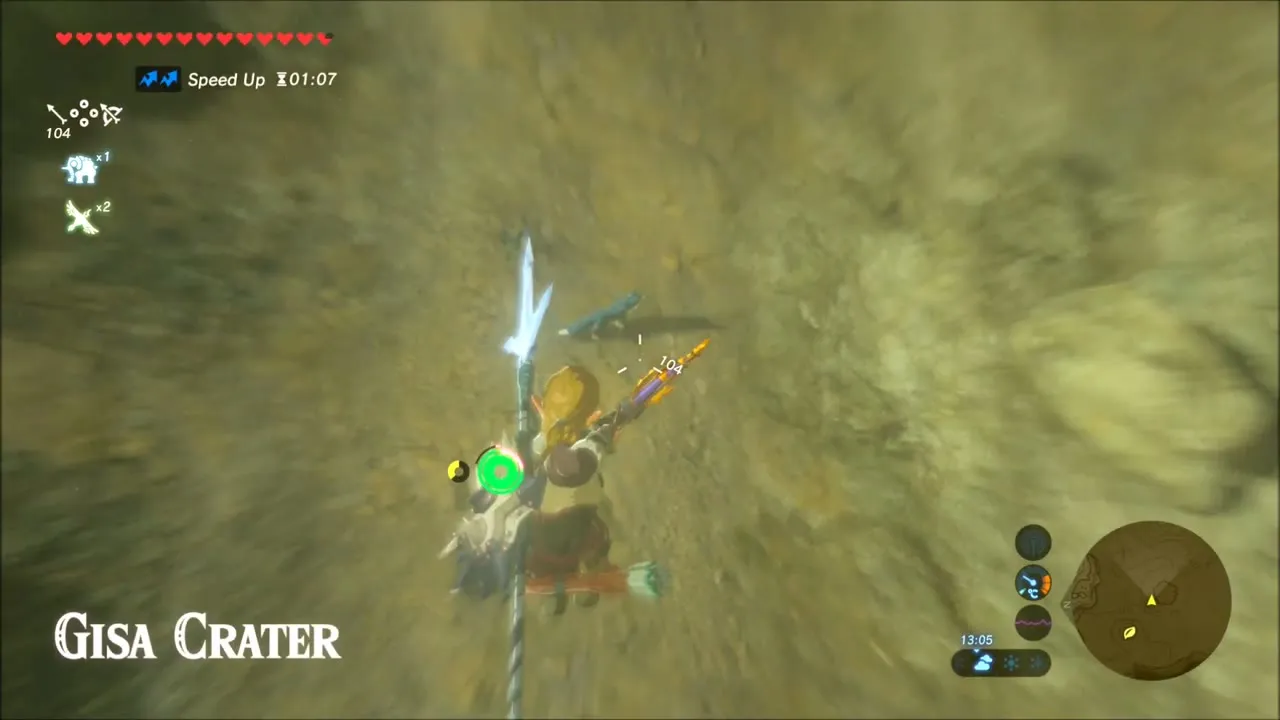
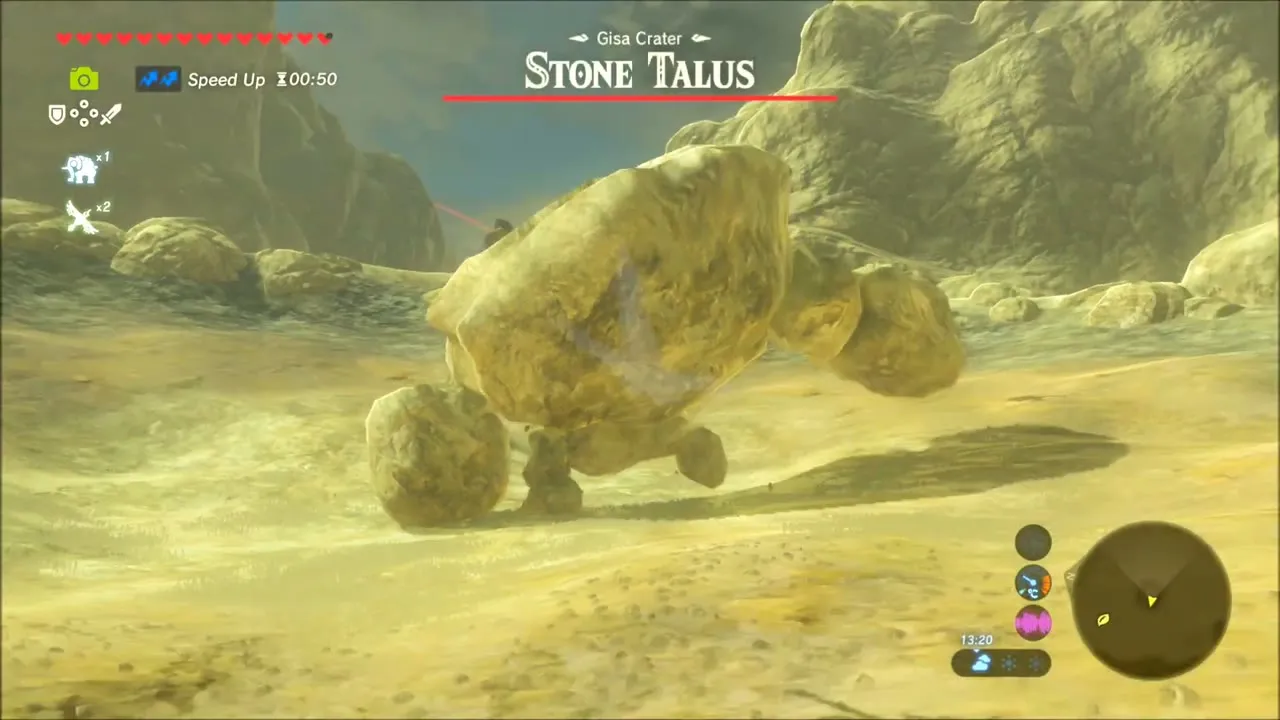
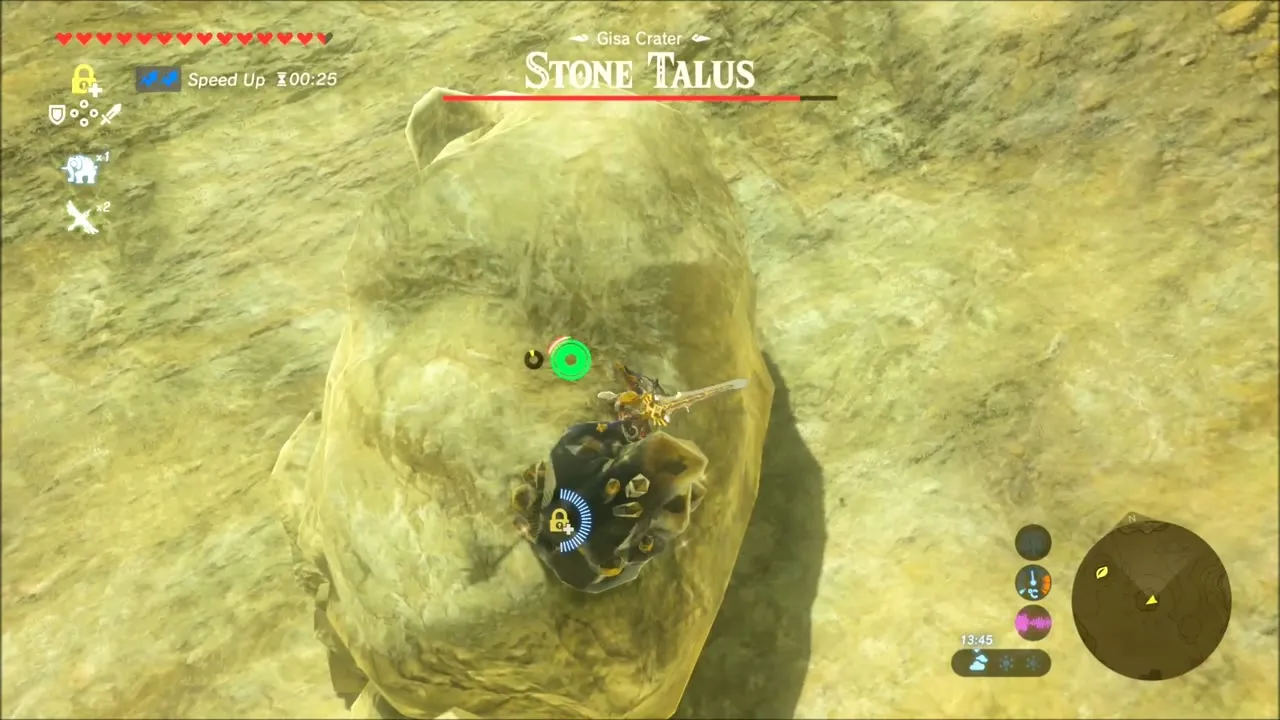
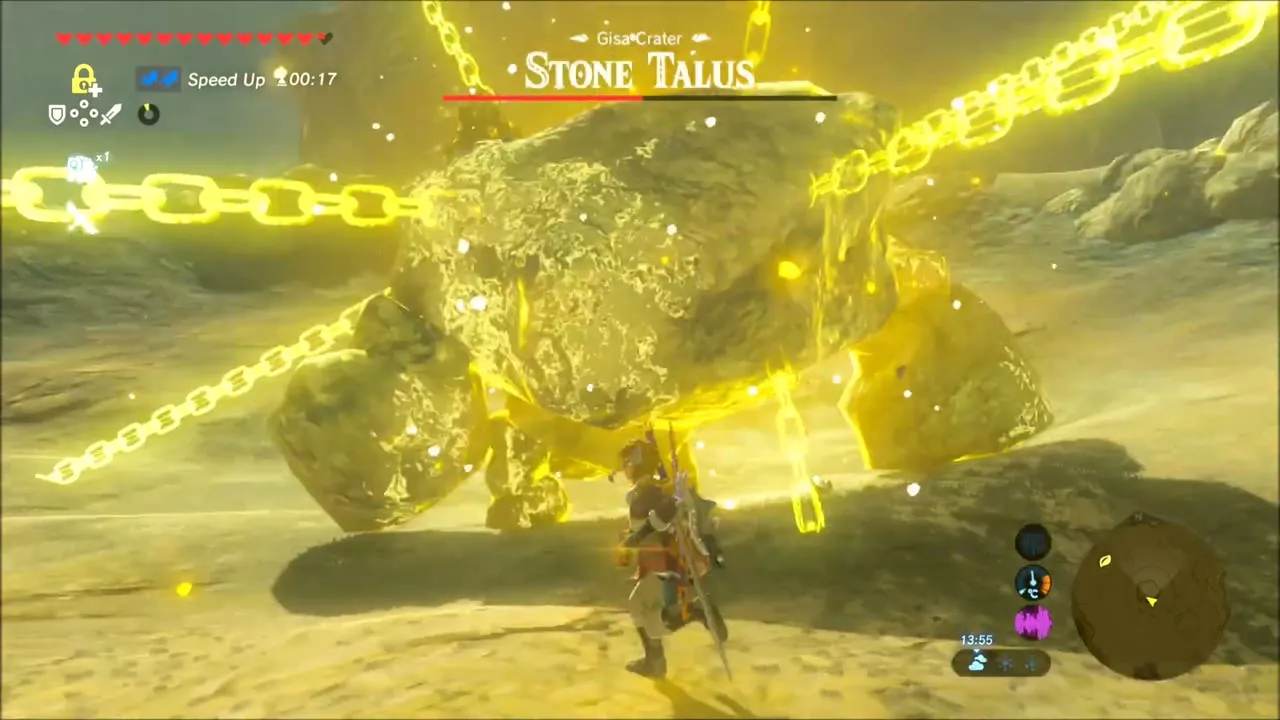
The big fight is the Stone Talus. Pin it with Stasis so it stops moving, climb up onto its back and strike the glowing ore deposit on top. Once it falls you are rewarded with Amber, Sapphire, Topaz and Opal.

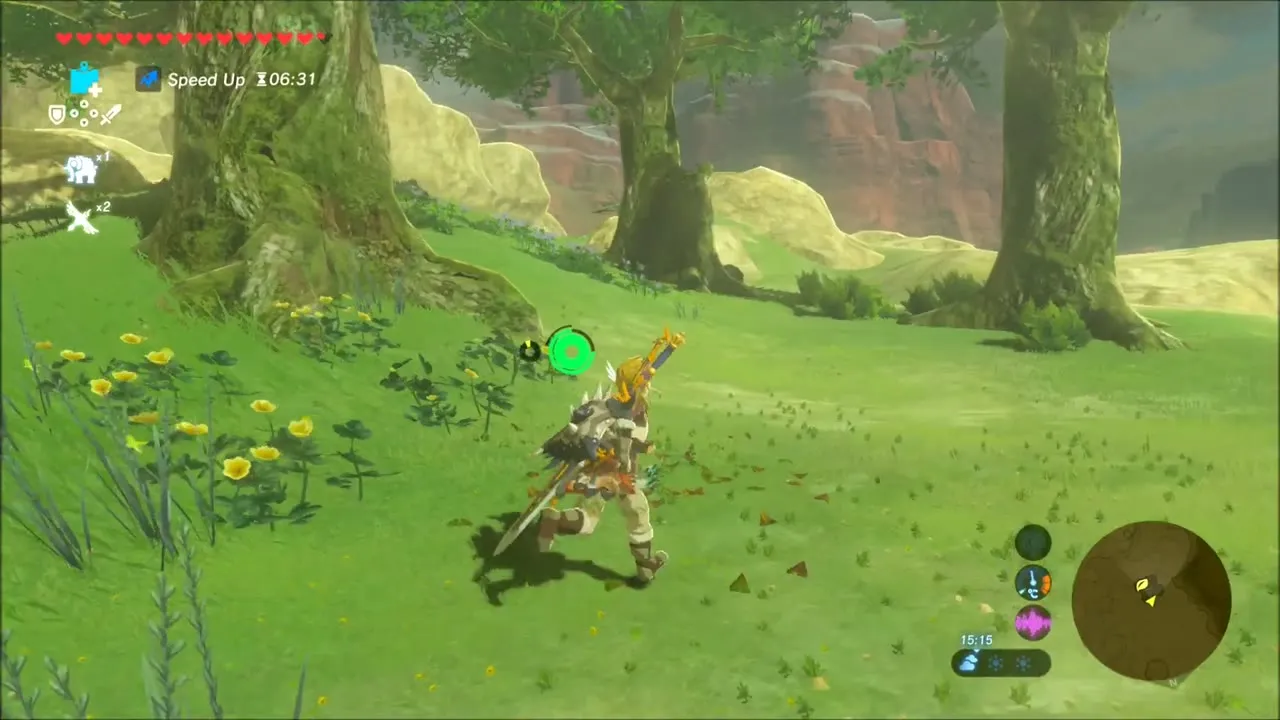
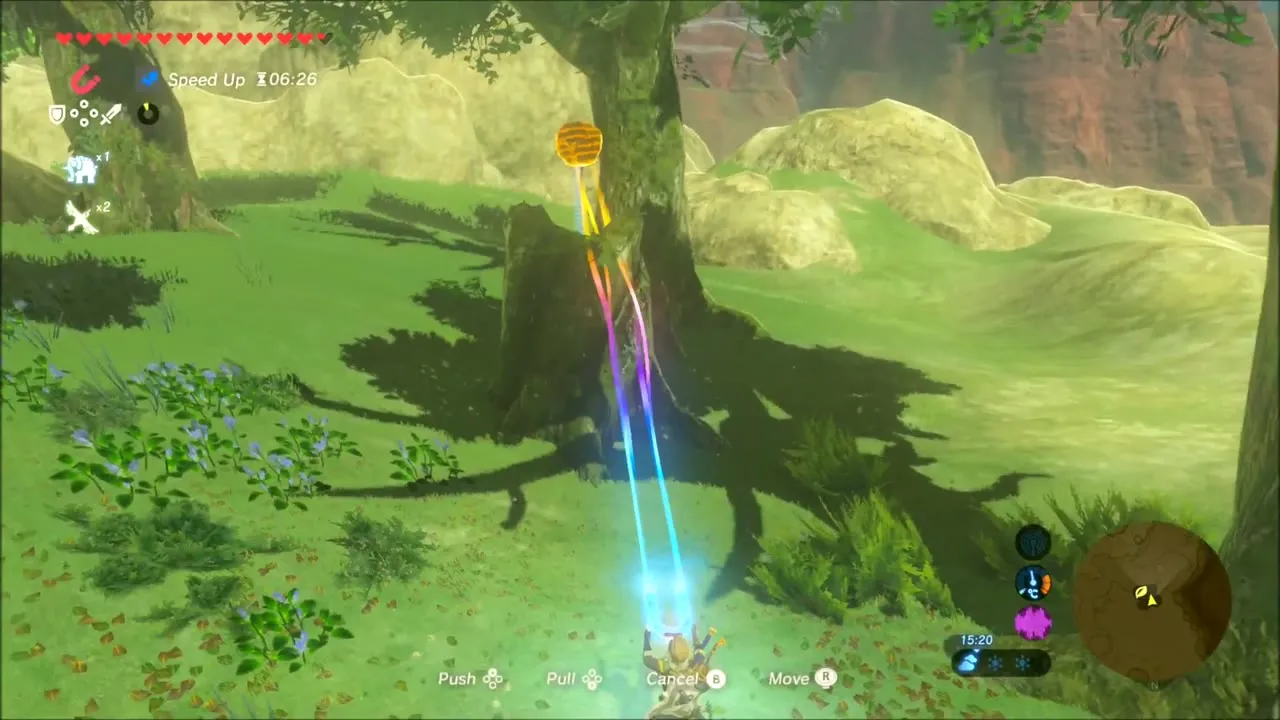
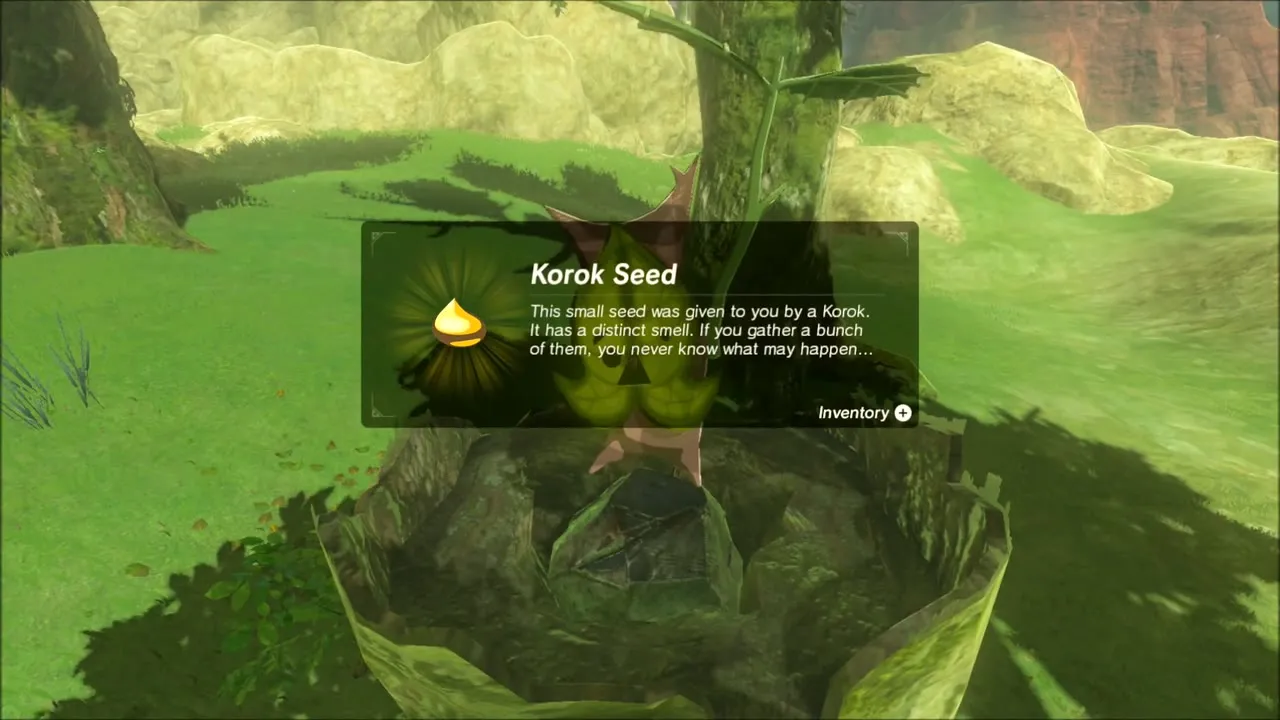
Walk up the slope into the green grass past the crater rim. At the foot of a large tree a Korok seed turns up after you use Magnesis on the object near its roots.
A little farther on, a row of tall stone statues stands on dry ground. Place an apple on the stone plate among the statues and a Korok shows itself. Take the seed it gives you.
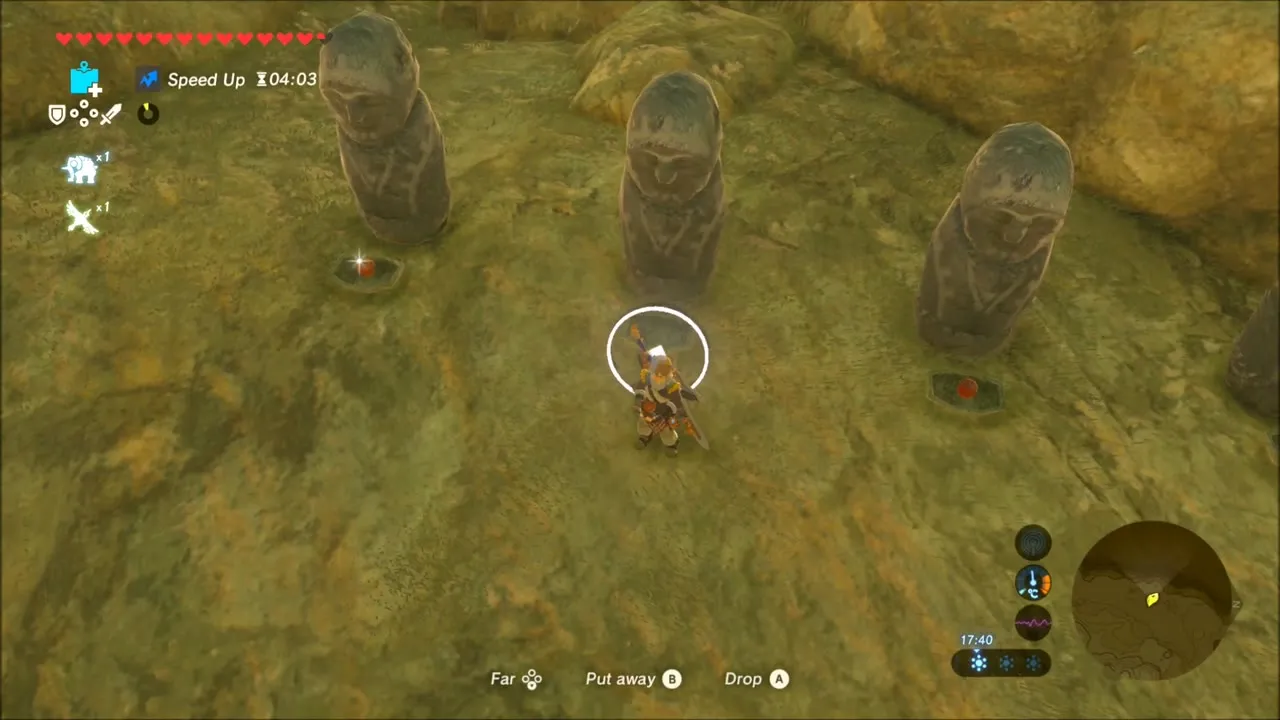
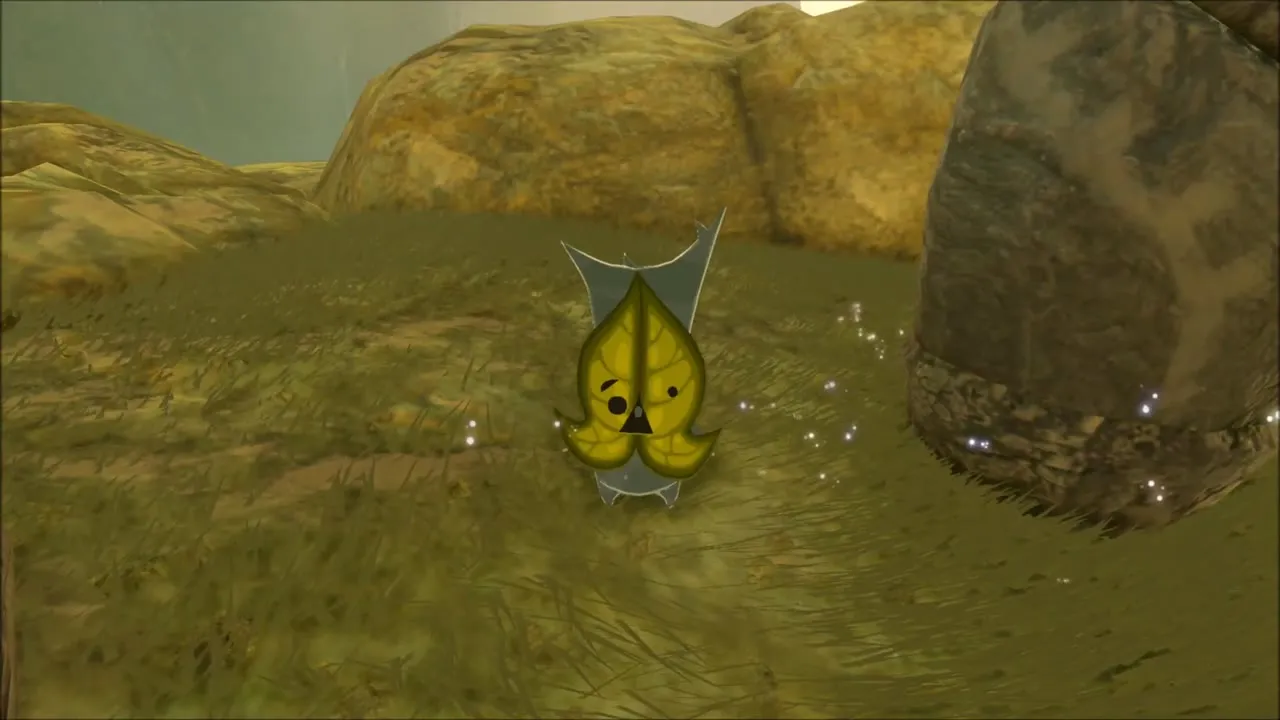

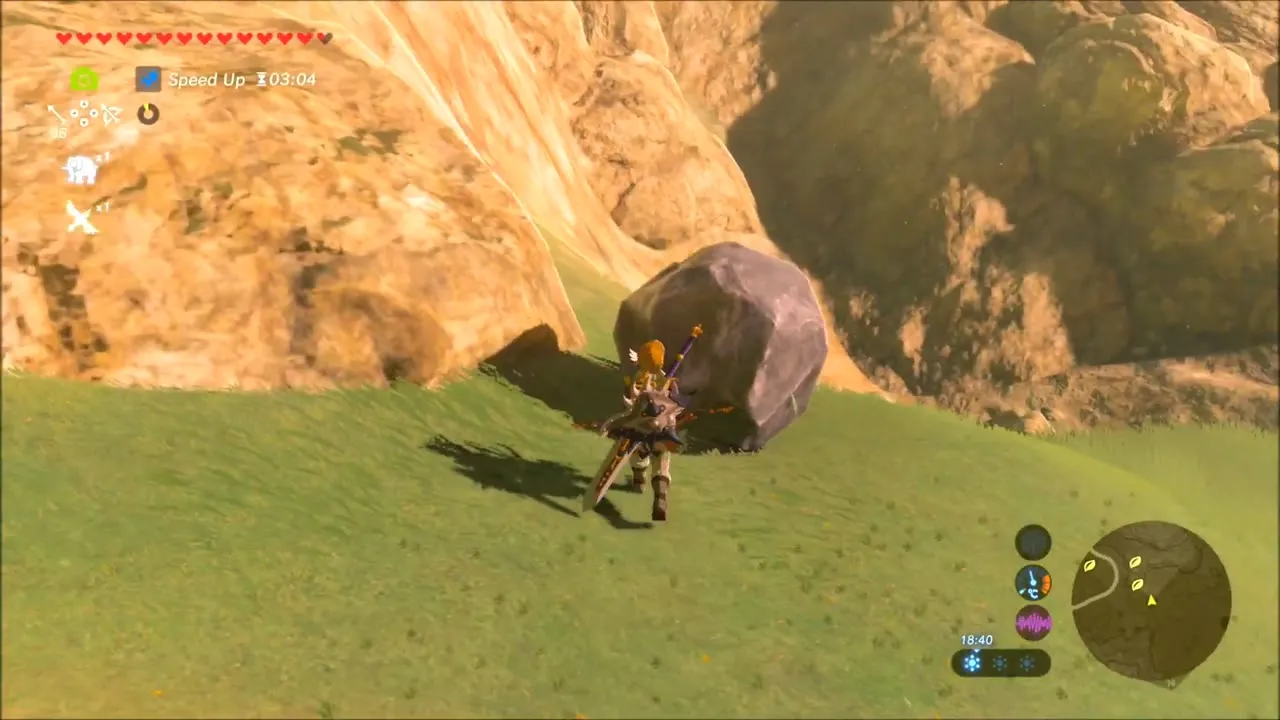
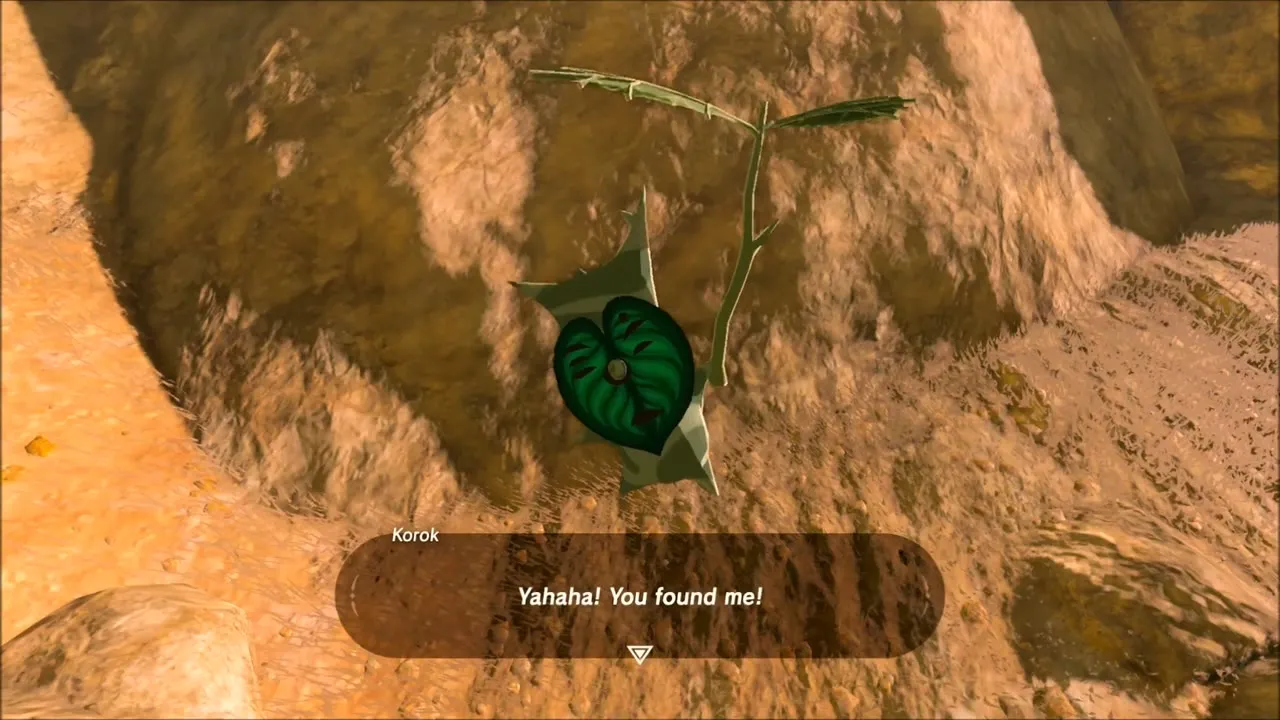
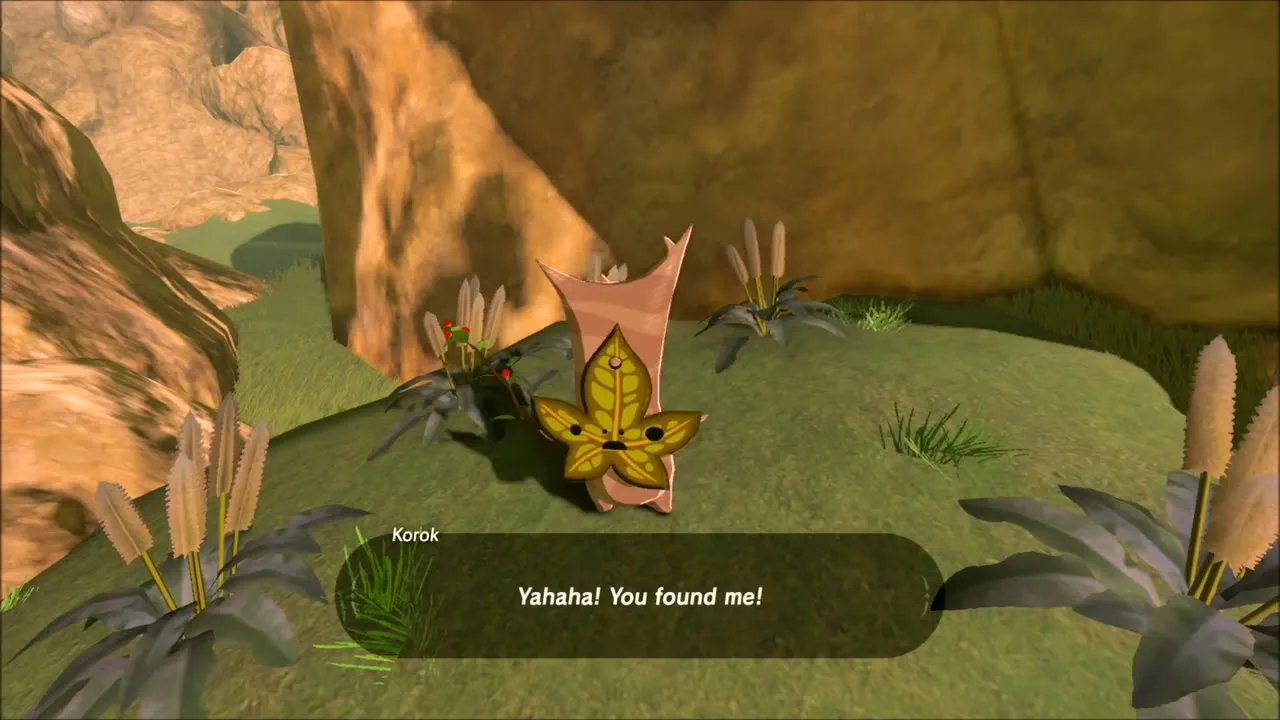
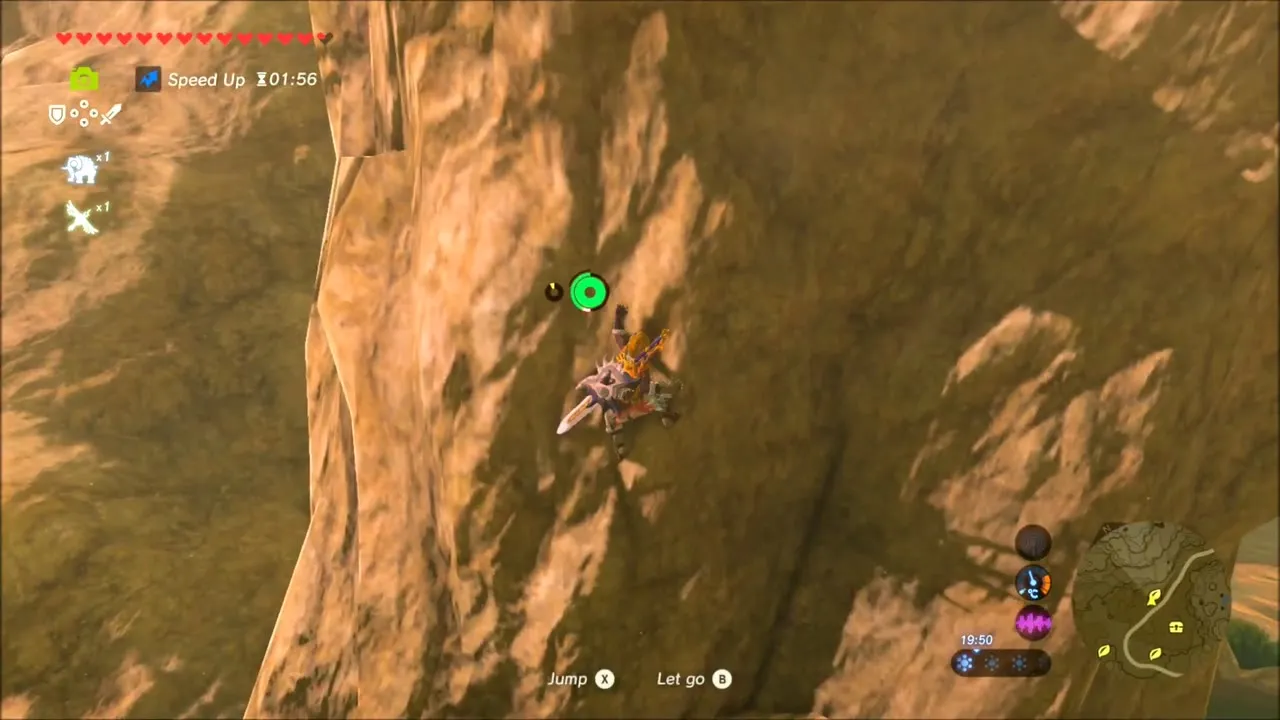
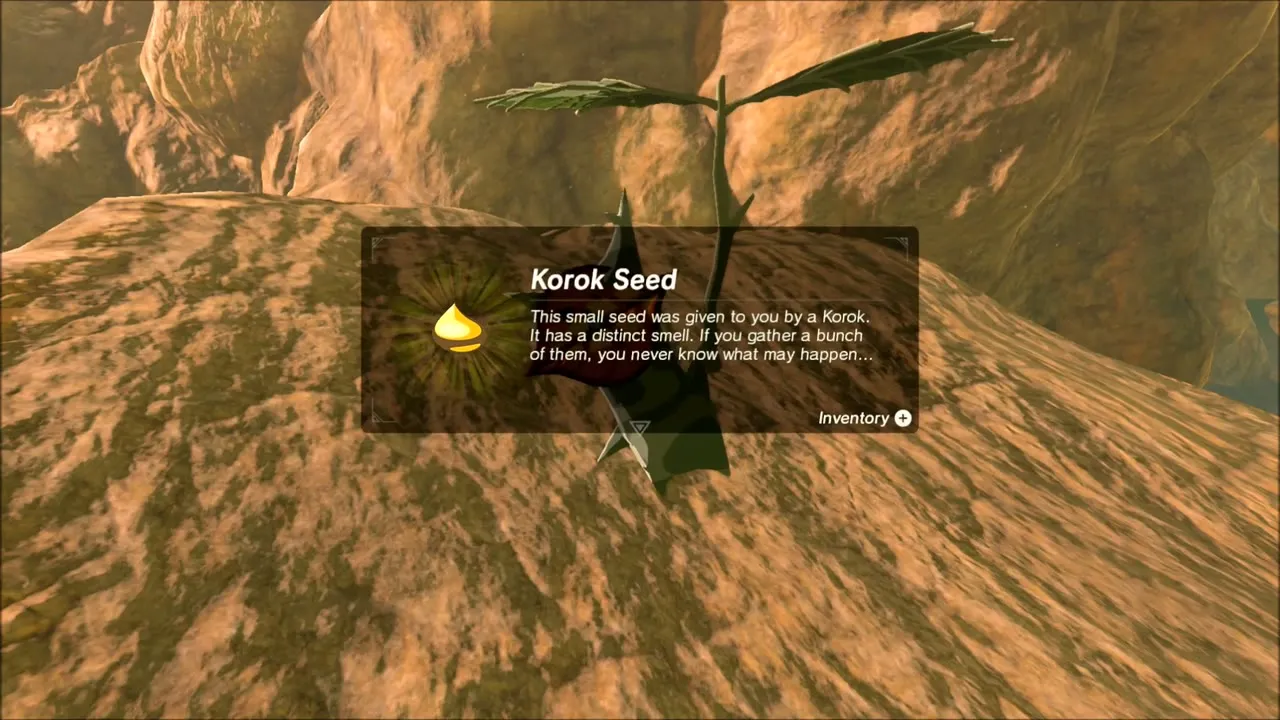
Three more seeds sit among the orange cliffs just beyond. The first is in a hollow at the foot of the rock wall next to a boulder: a Korok pops up when you reach the cliff. The second is on a grassy ledge higher up the cliff, reached by climbing up to the green shelf. The third is at the top of a sheer rock face: climb the wall to the top and a Korok waits there.
Lizalfos Ruins and the Great Fairy Kaysa
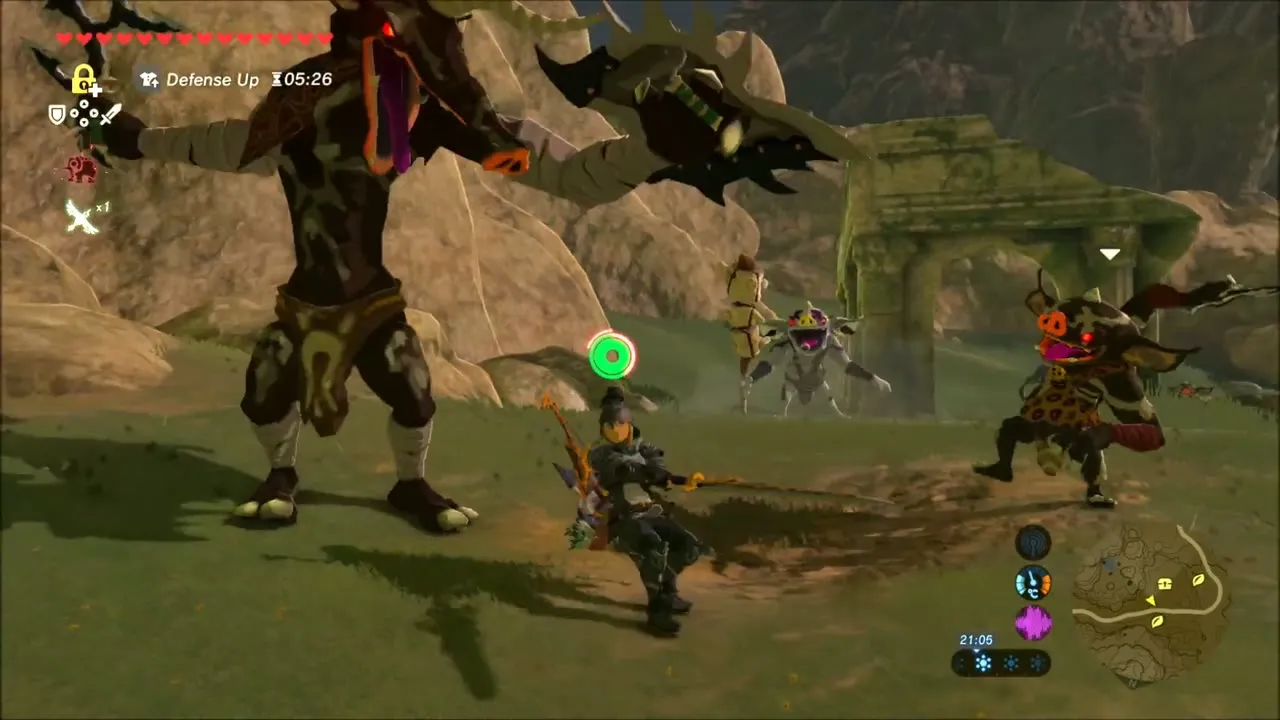
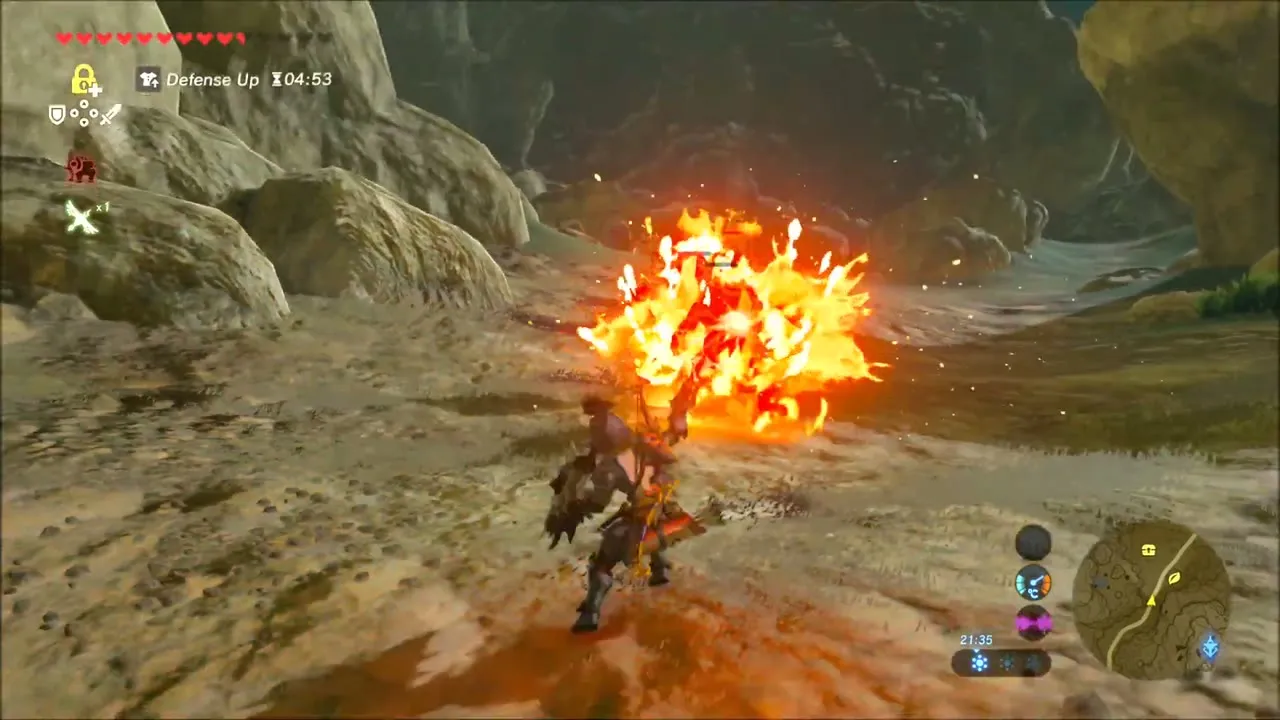
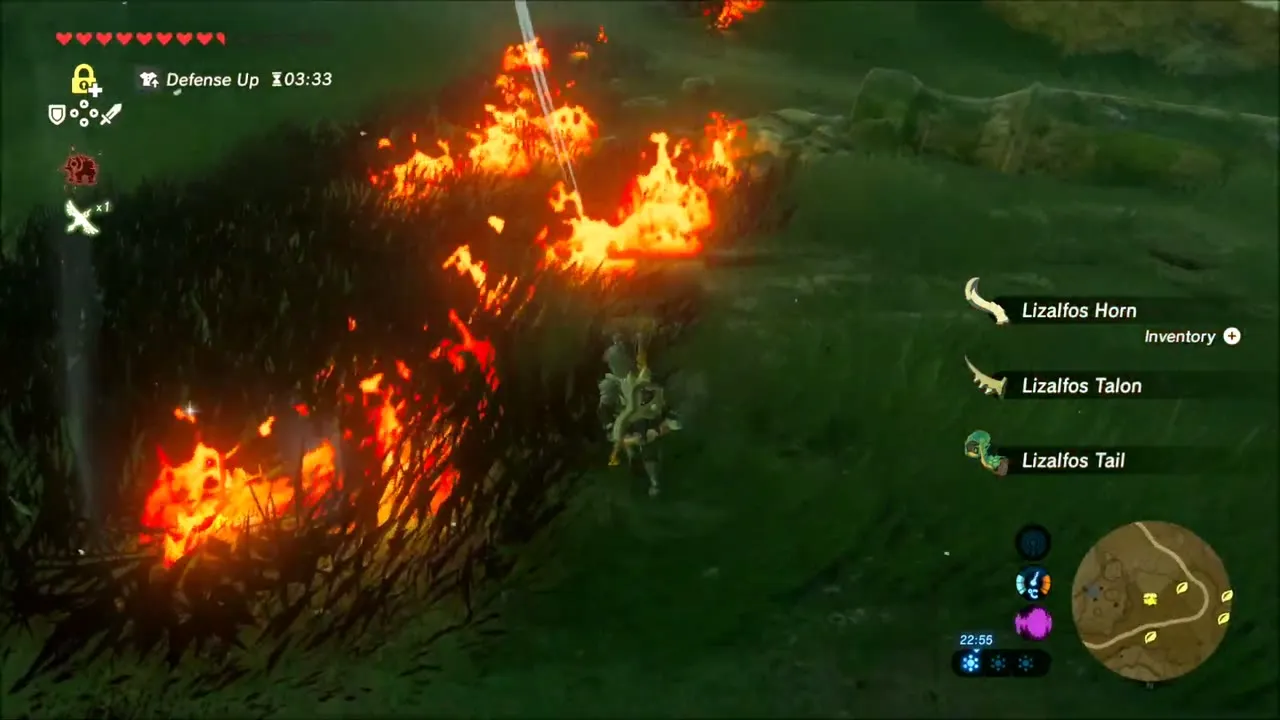
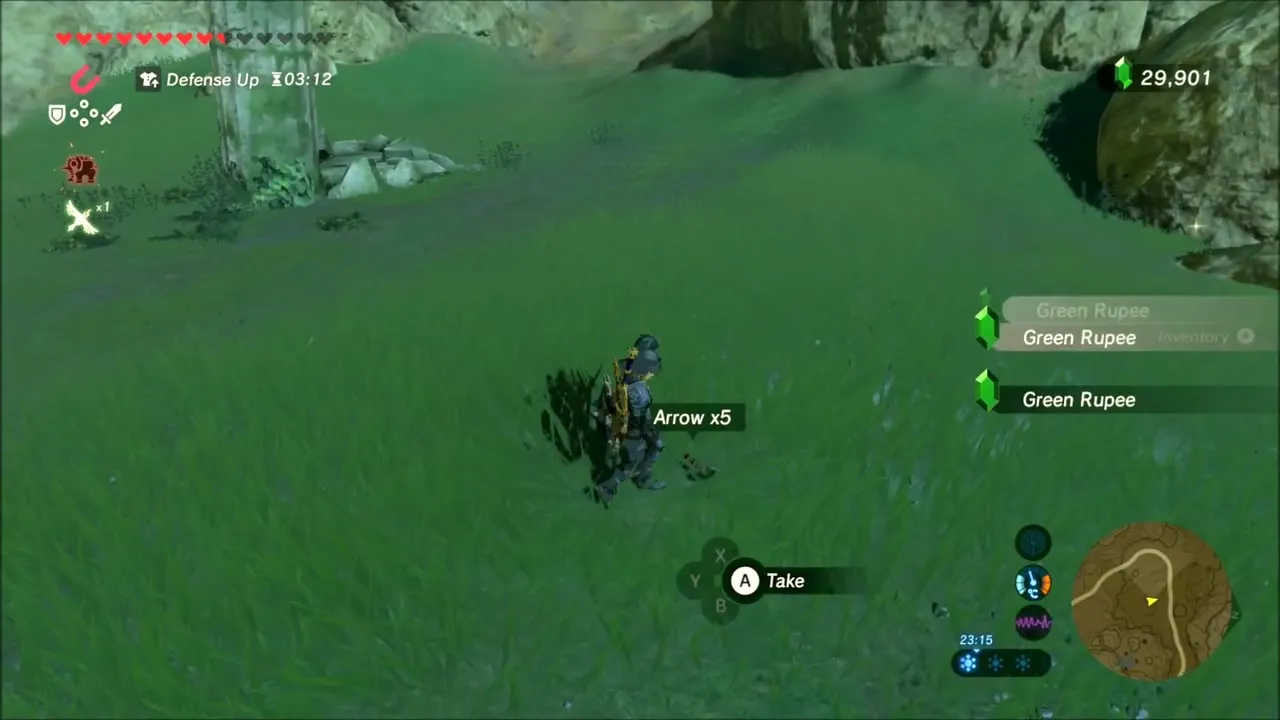
Ride on across the open ground and through a set of stone ruins in a green valley. A pack of Lizalfos waits among the arches. Burn them down with fire and collect their Horns, Talons and Tails, plus the Arrows and Green Rupees they leave behind.
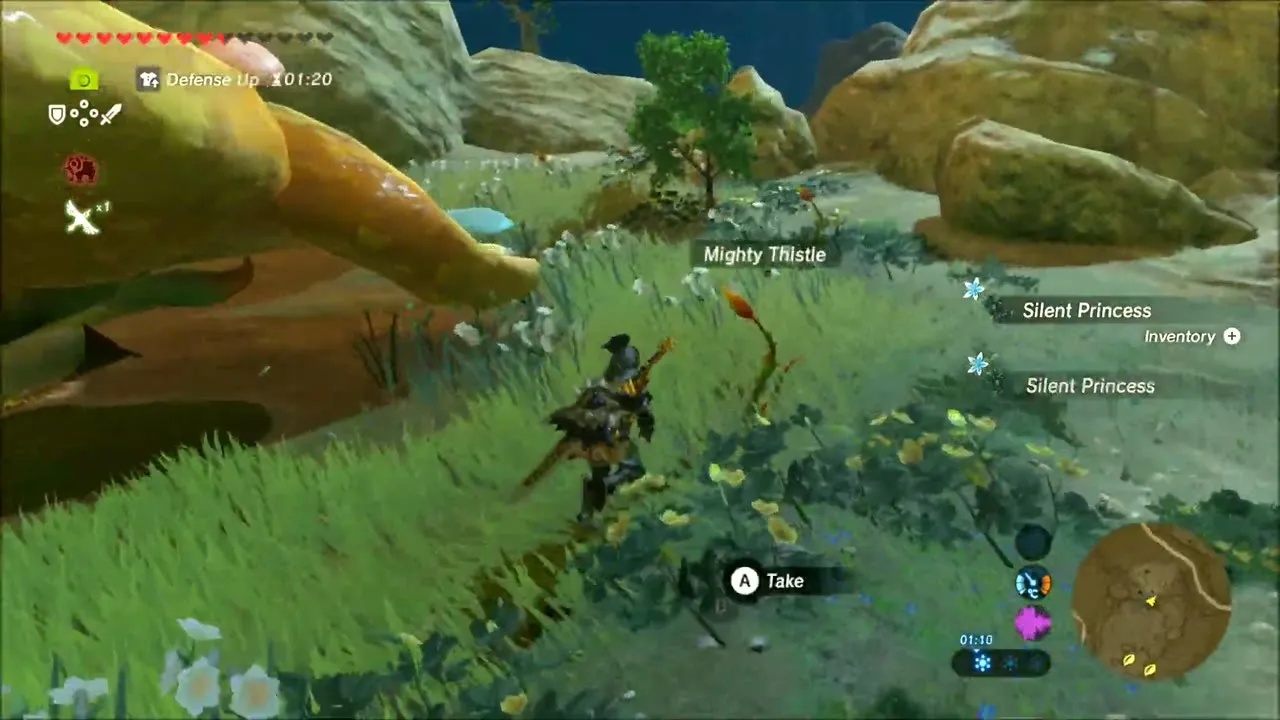
The Great Fairy Kaysa lives at Piper Ridge (-3540, -747), south of Lake Totori. Pick the Mighty Thistle growing on the approach, then step into the flower to wake her. Kaysa offers to enhance your armor: choose the piece you want upgraded, for example the Rubber Tights, and hand over the required materials. See the Great Fairy overview for costs and the full upgrade list.
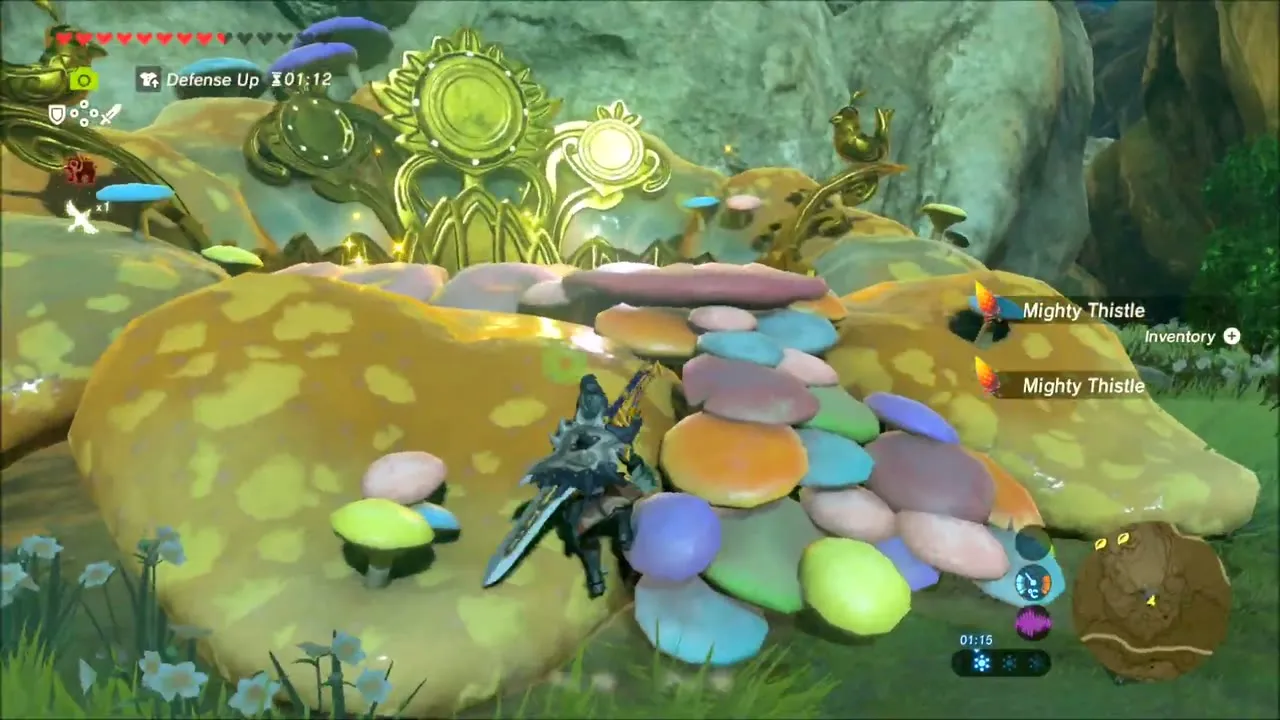
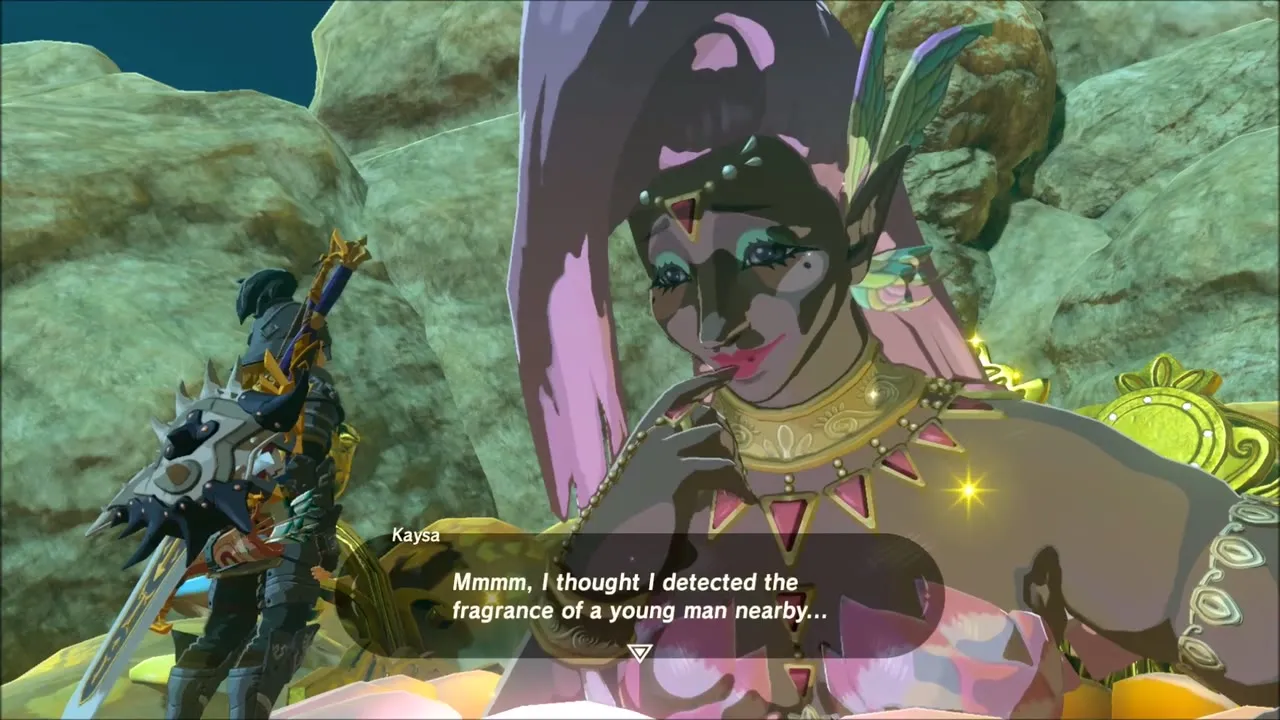
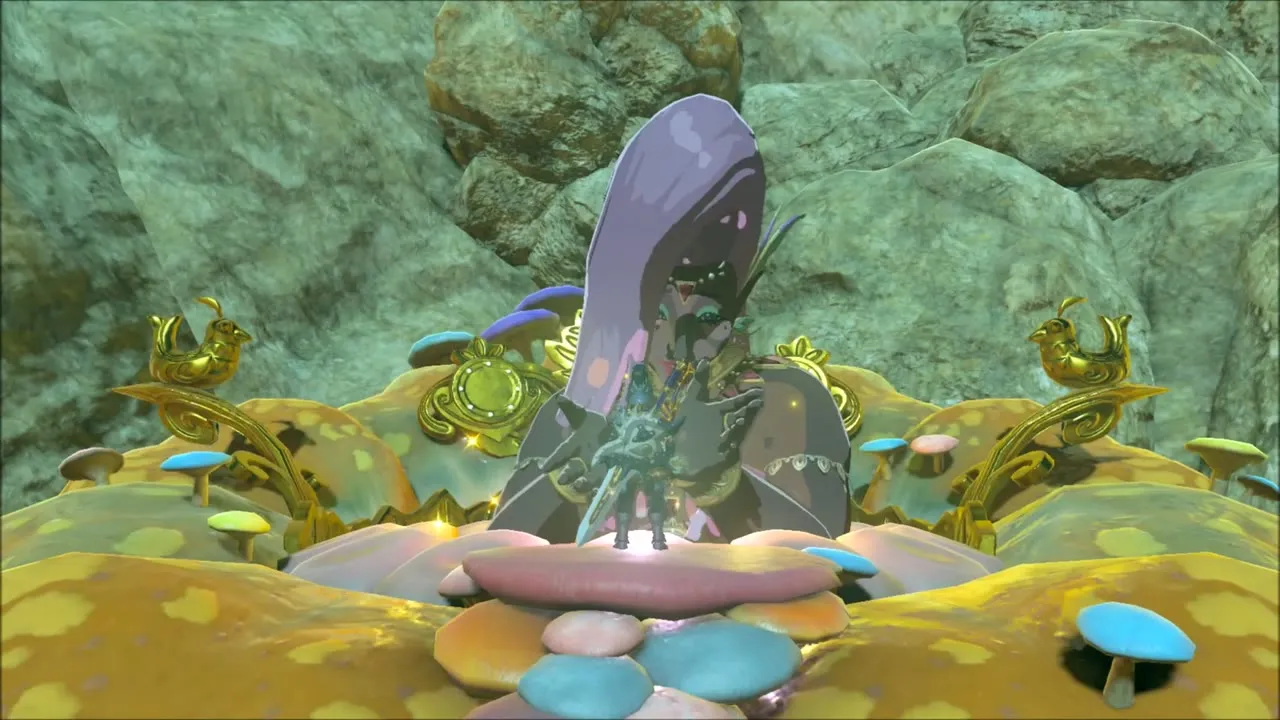
Rayne Highlands: Korok Seeds and Ruins
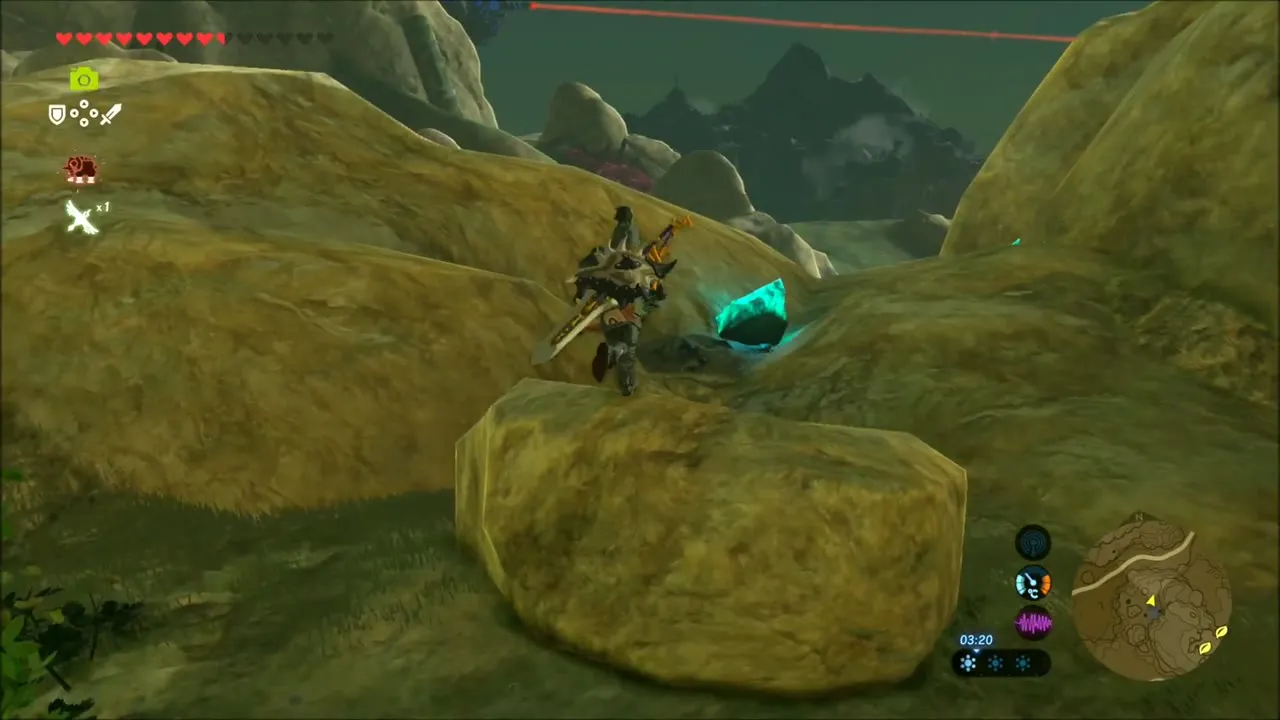
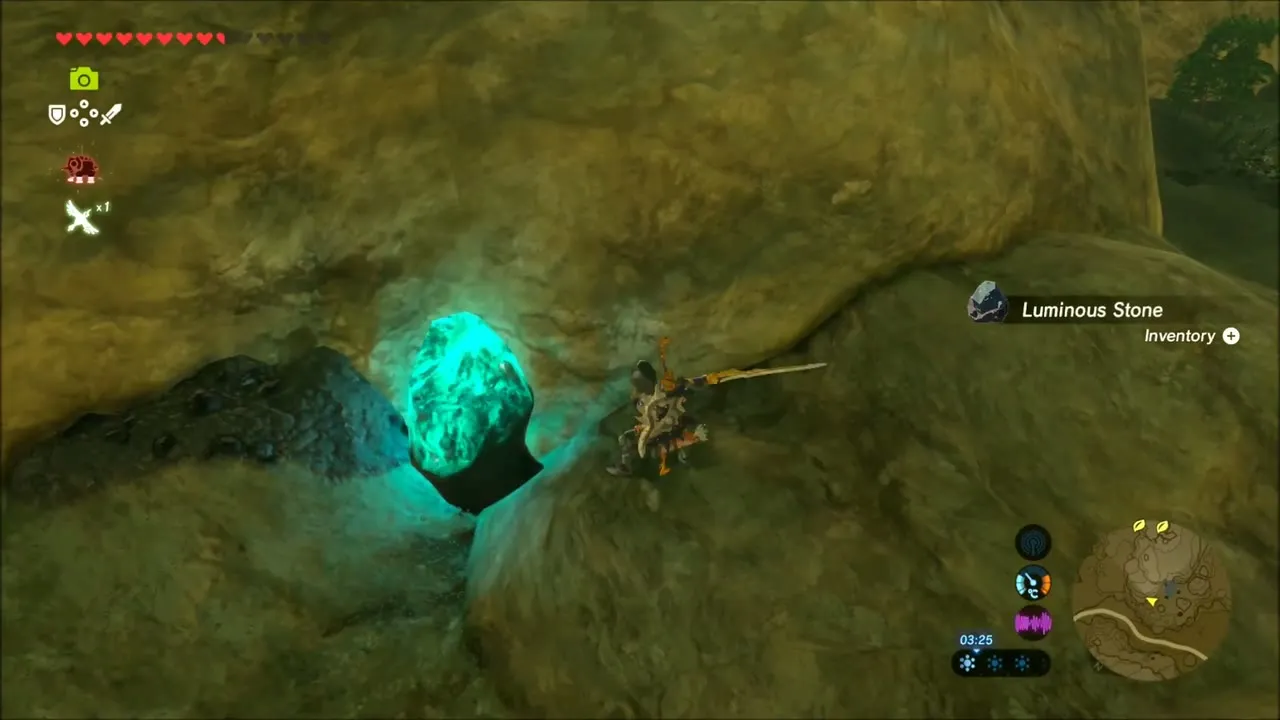
Leave the fountain and head west into the Rayne Highlands. A Luminous Stone glows in a cave beside the path, and you can set map stamps along the cliffs to mark your next stops. Be ready to climb: much of the route follows ledges and boulders along the edge of the plateau.
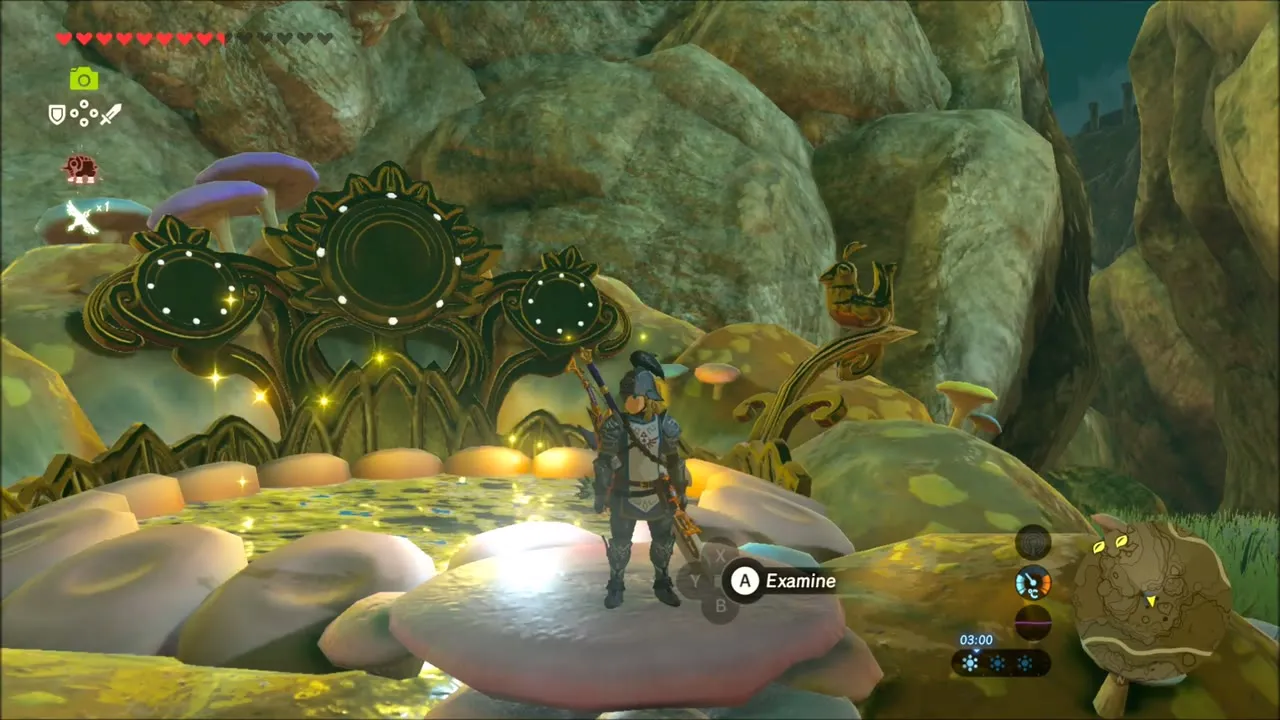
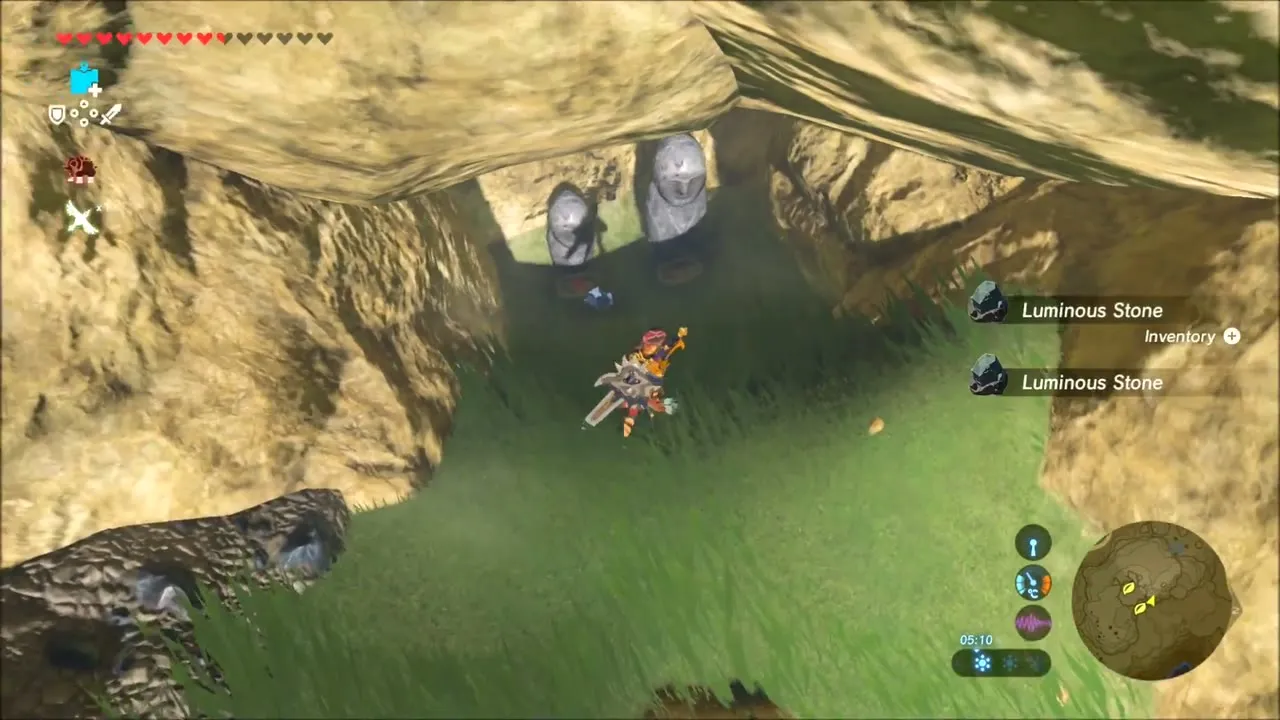
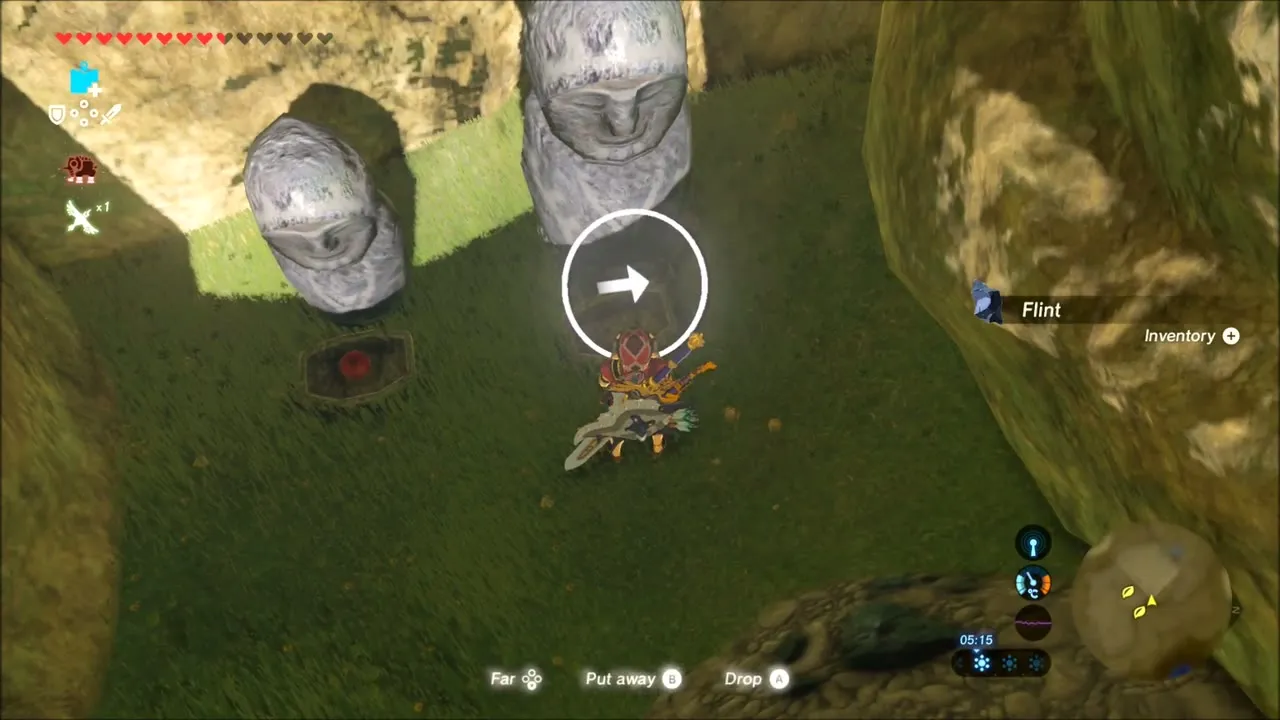
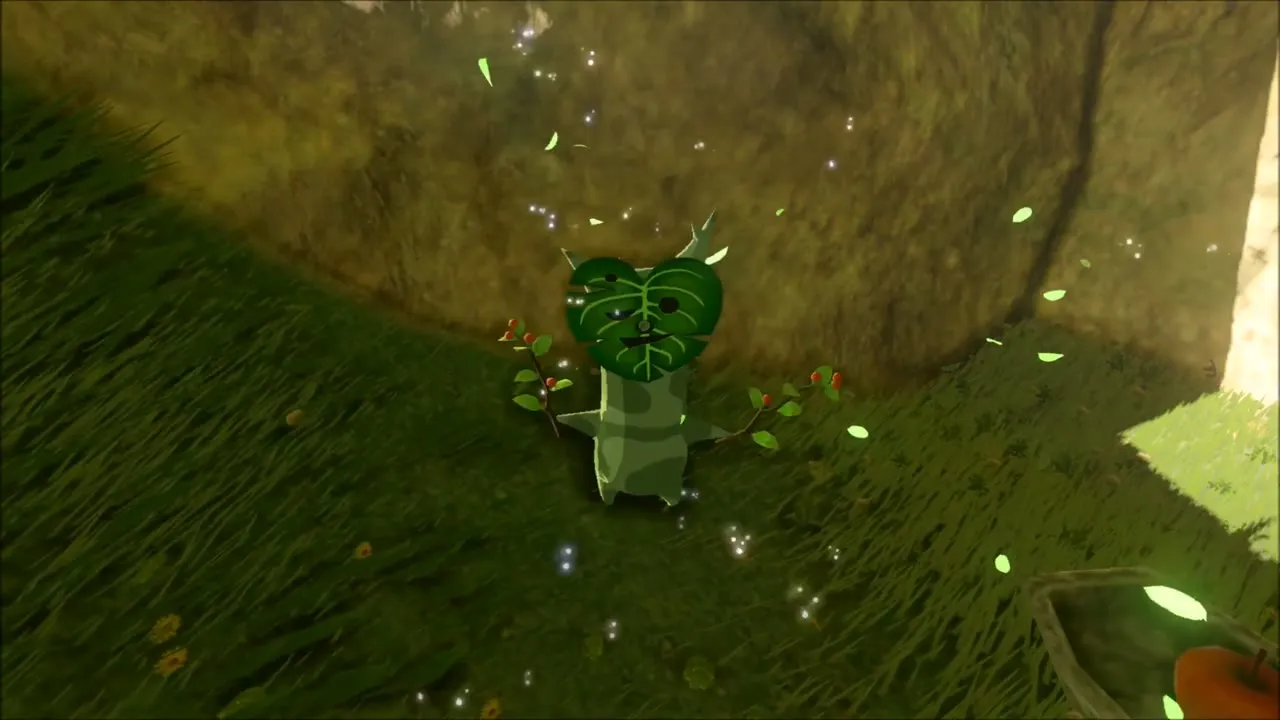
A Korok sits beside a row of stone statues in a grassy gully. Grab an apple that lies nearby and set it down on the stone plate in front of the statues, and the Korok shows itself.

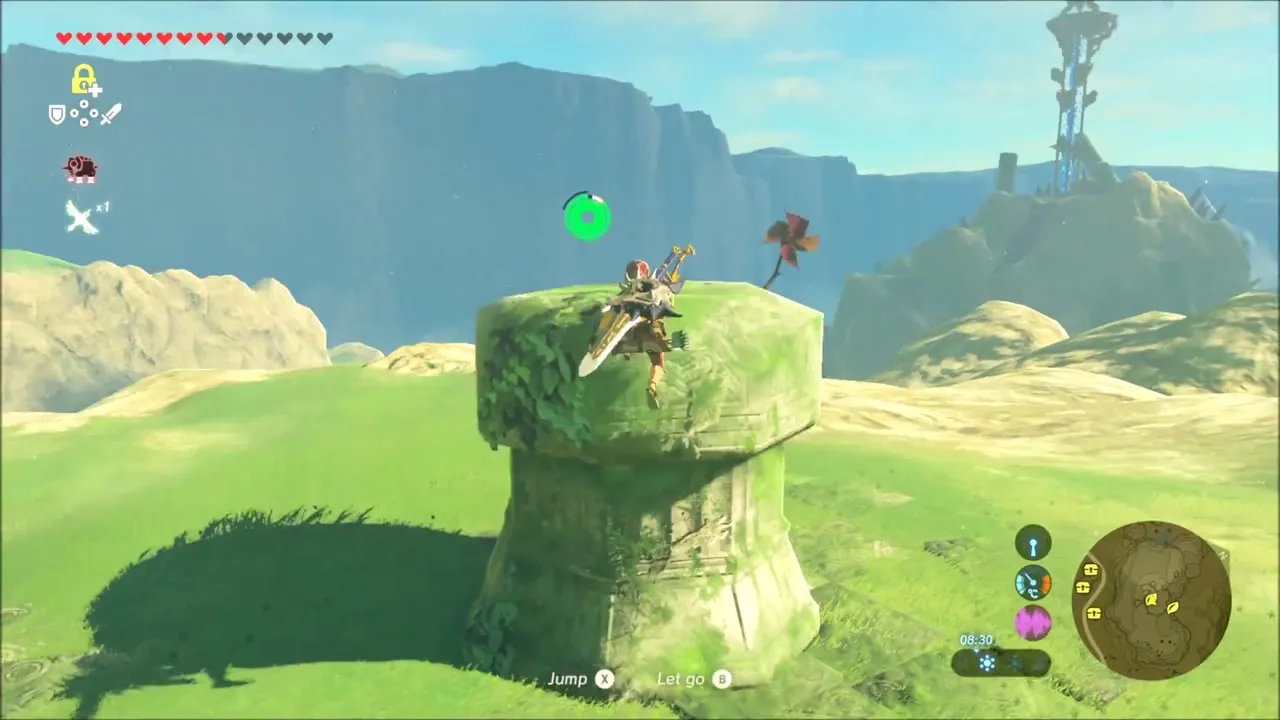
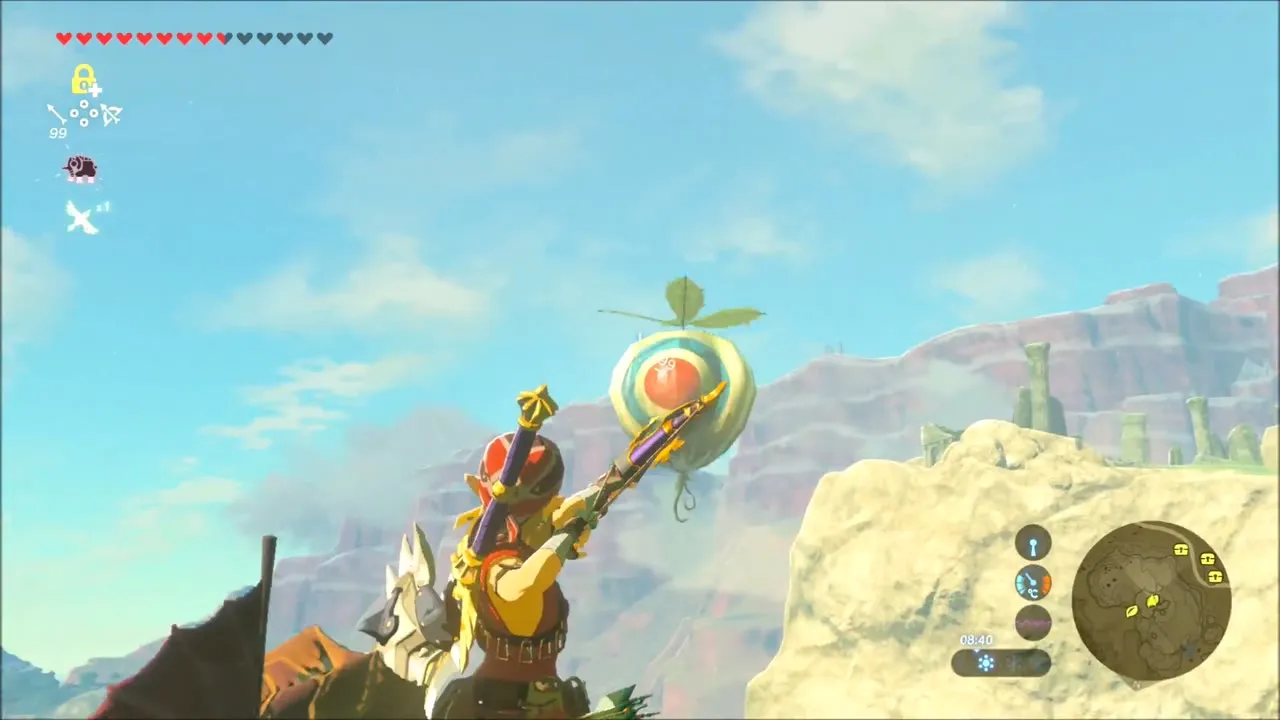
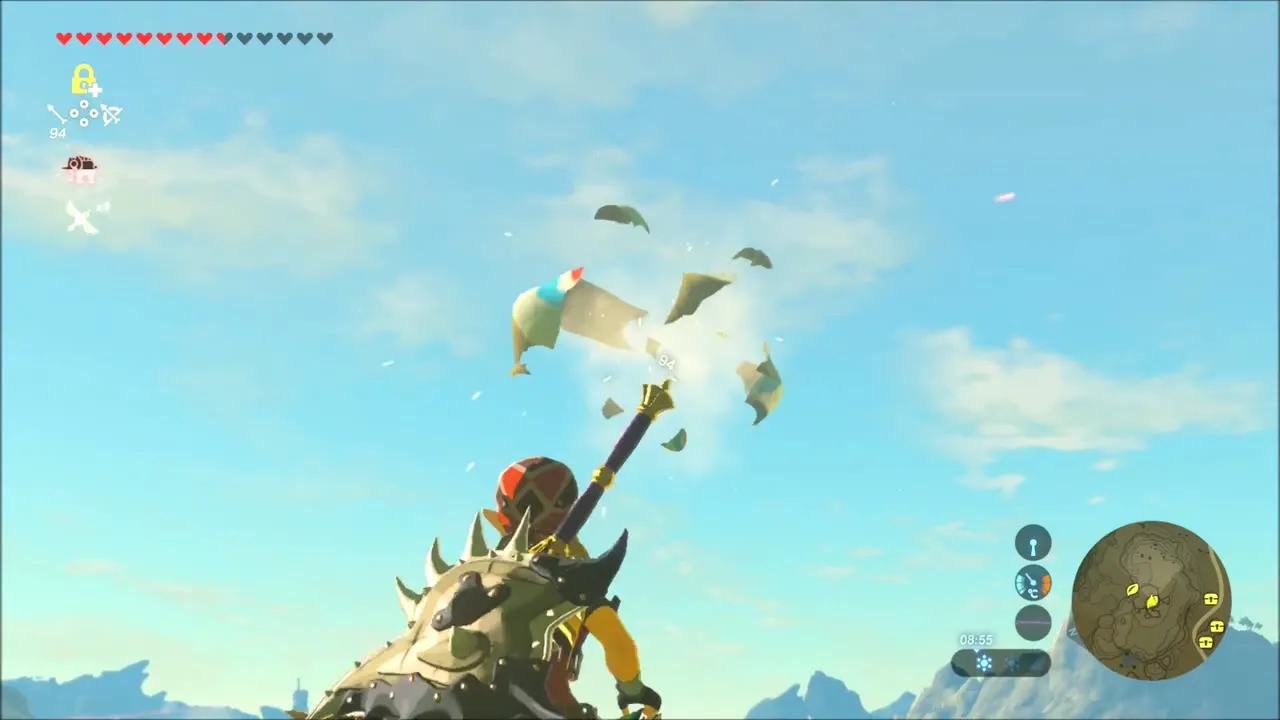
Another Korok hovers in the air held up by a balloon-like fruit. Climb the rocky rise nearby, aim up and shoot the balloon with an arrow. The Korok drifts down and gives you its seed.

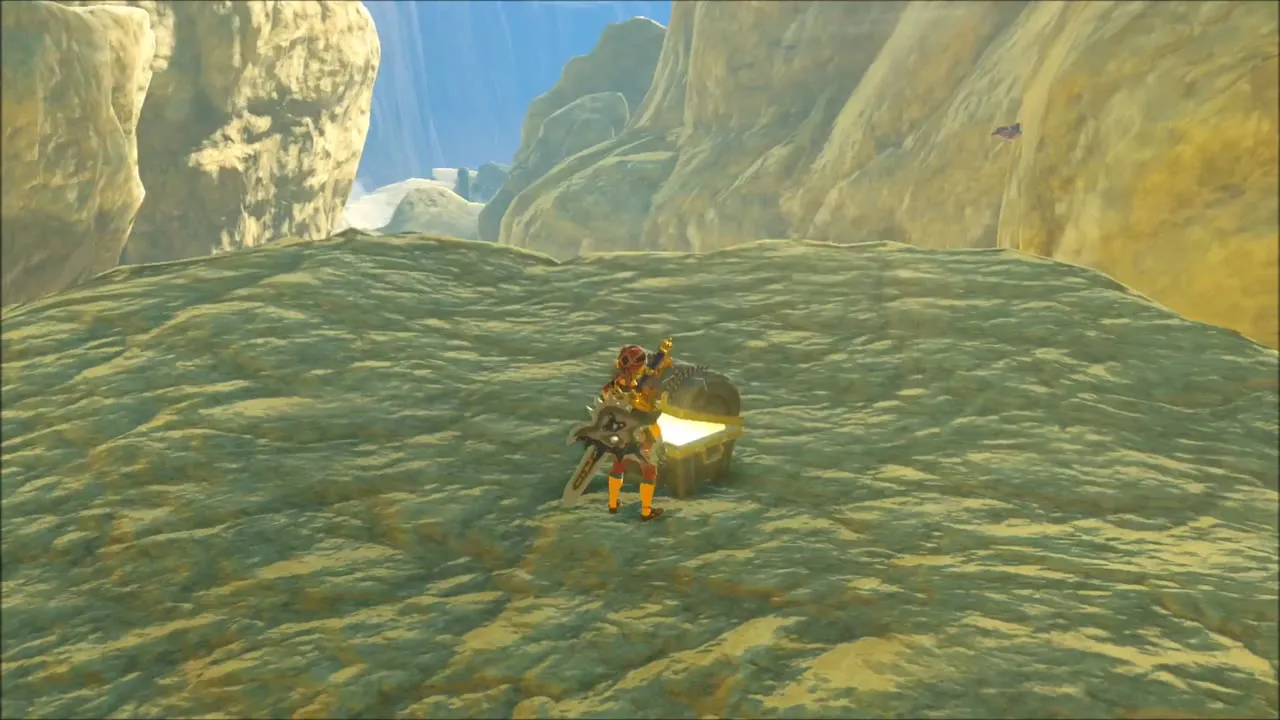
Among ruined stone arches on a rocky shelf stands a chest, and another chest on a ledge near the cliff holds an Opal.
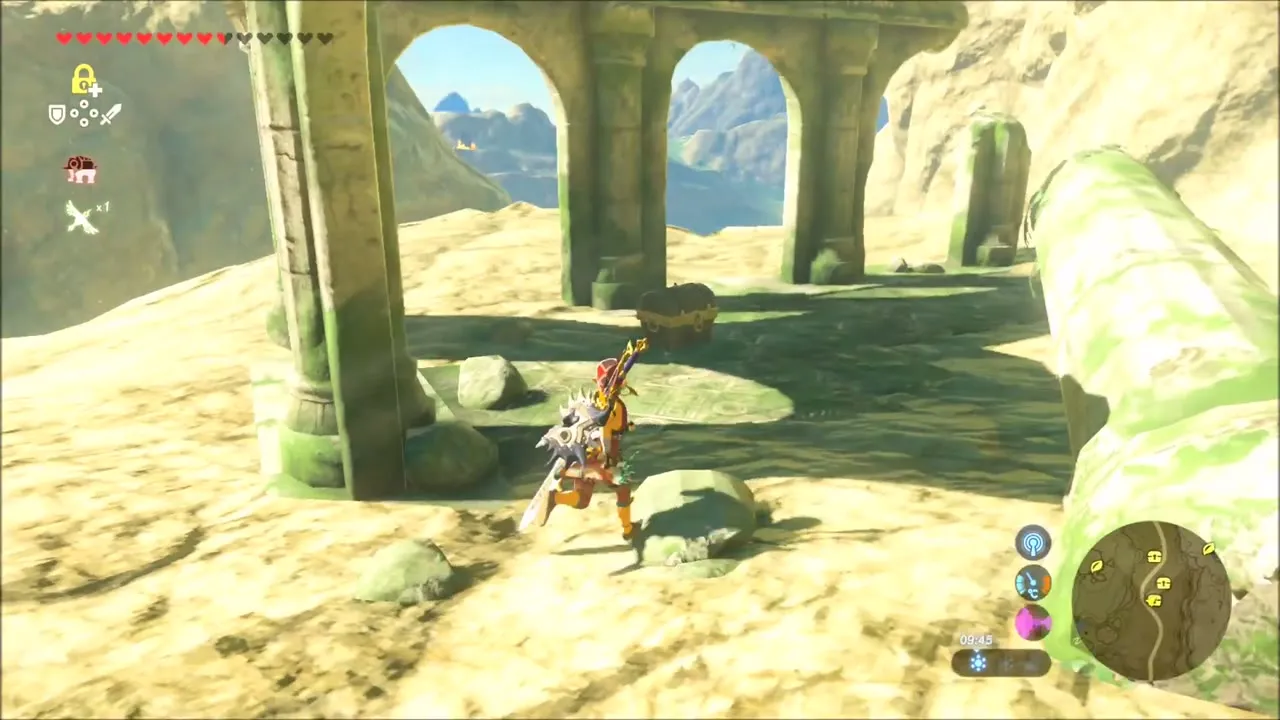
Guardian Skywatcher near the Ancient Columns
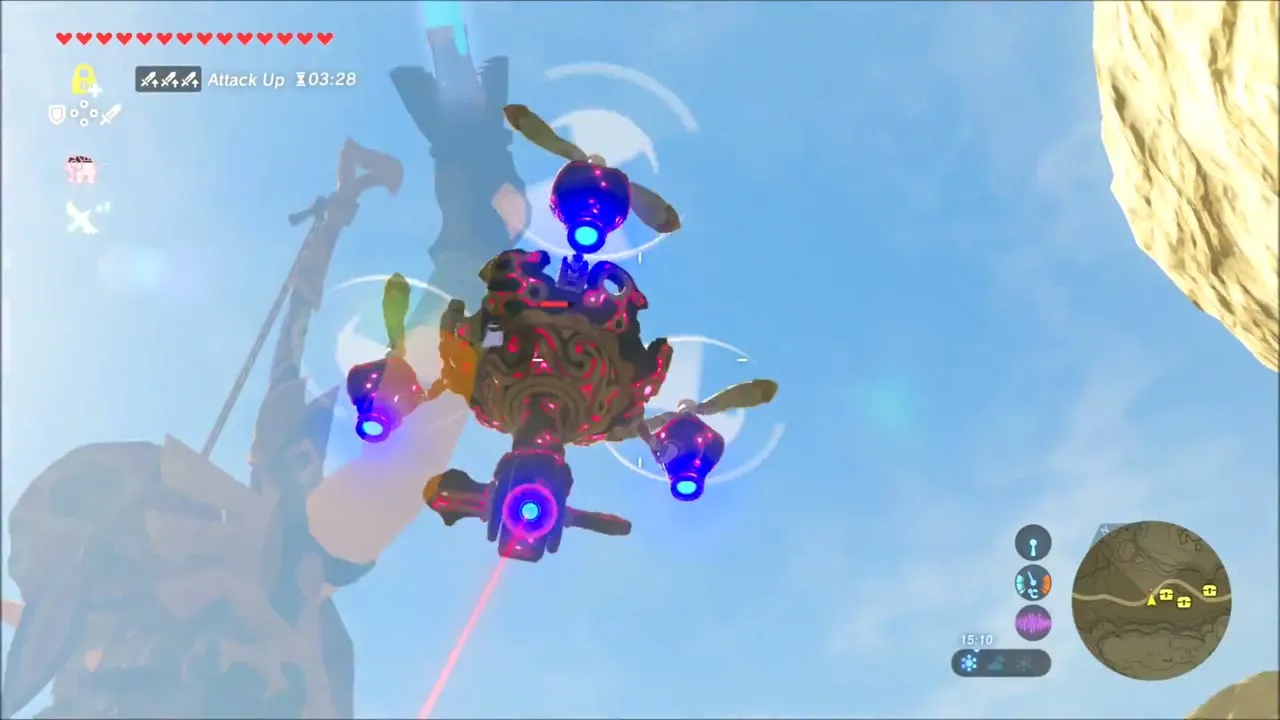
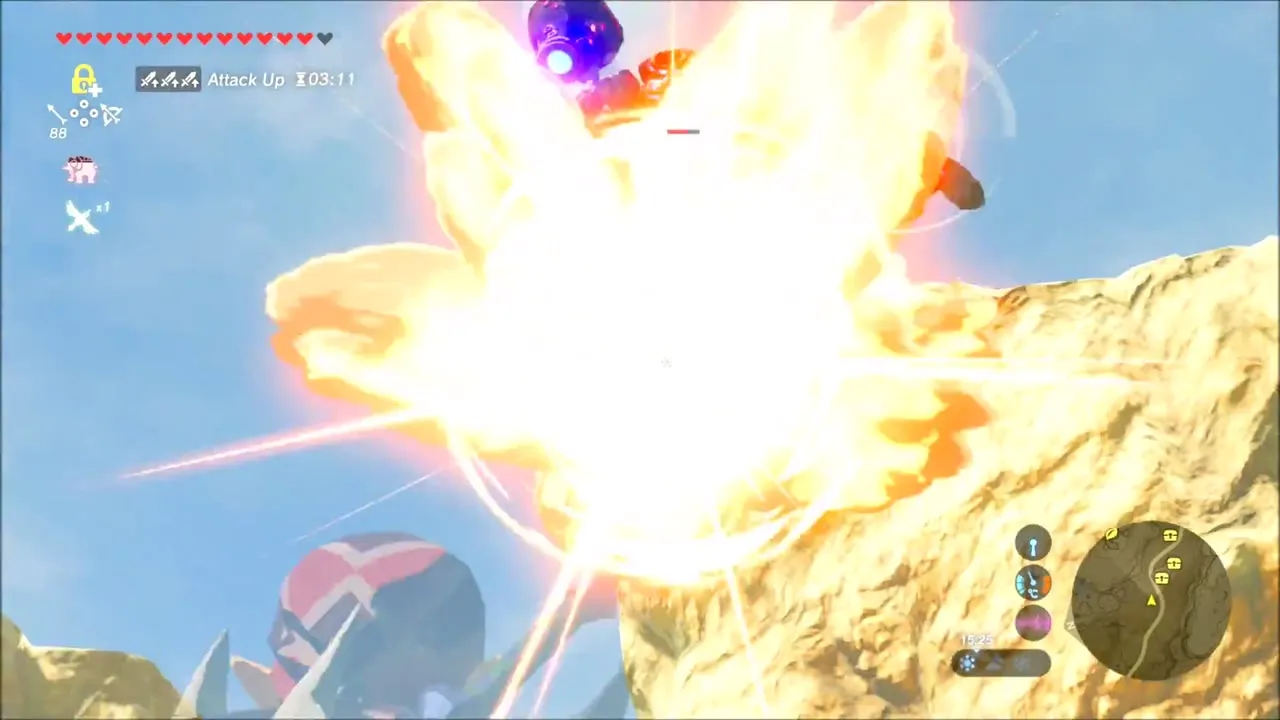
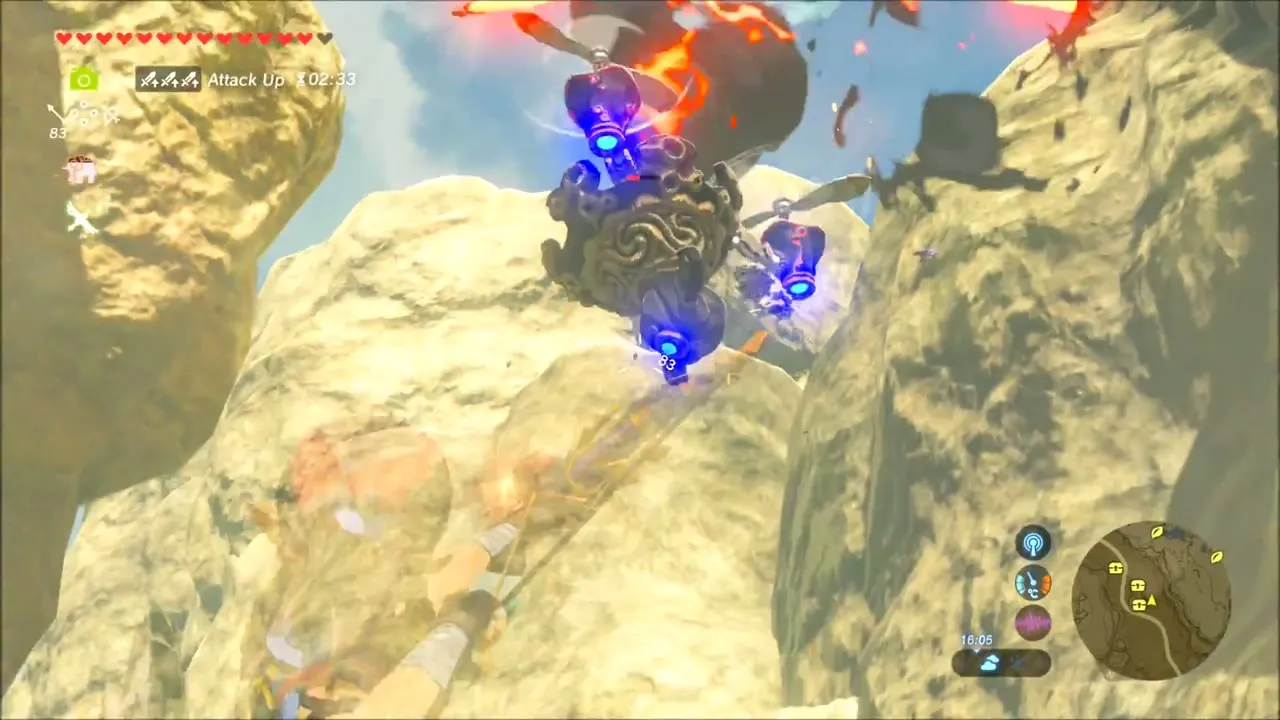
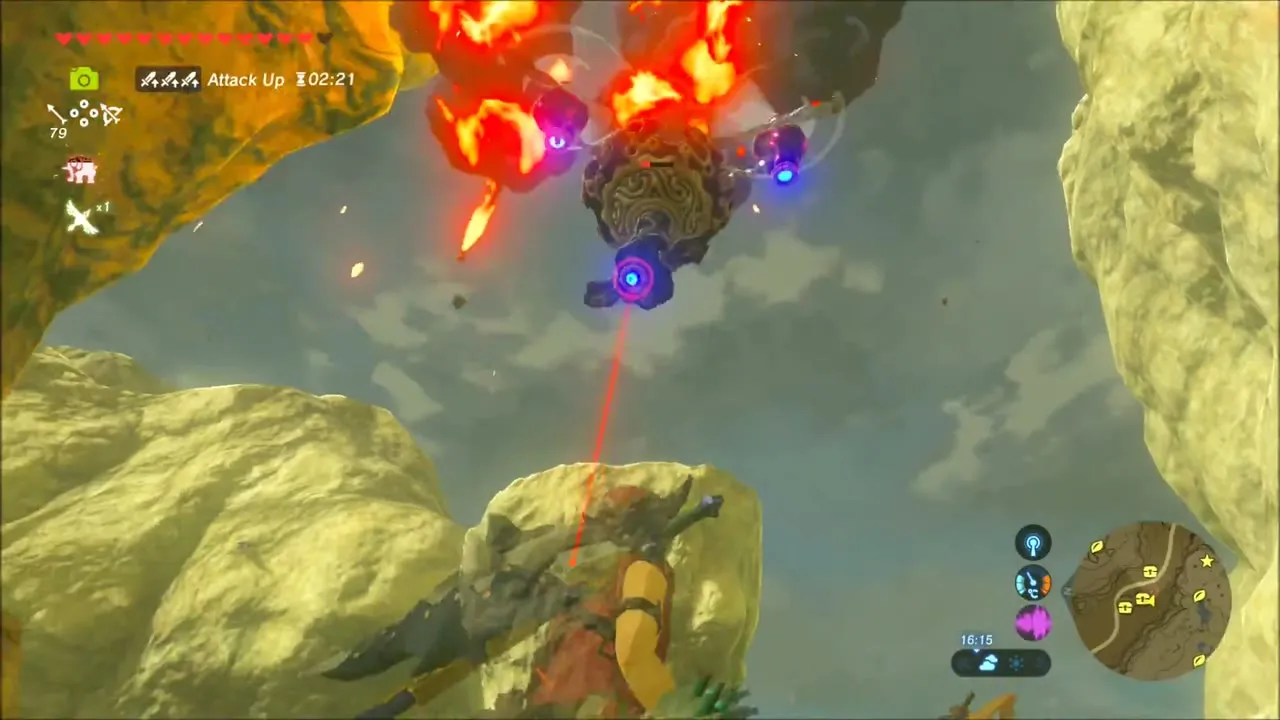
As you reach the area around the Ancient Columns, a Guardian Skywatcher flies in. Shoot it with arrows while it hovers above the rocks. It explodes in flames when it falls, so wait for the fire to die down.
Tena Ko’sah Shrine: A Major Test of Strength
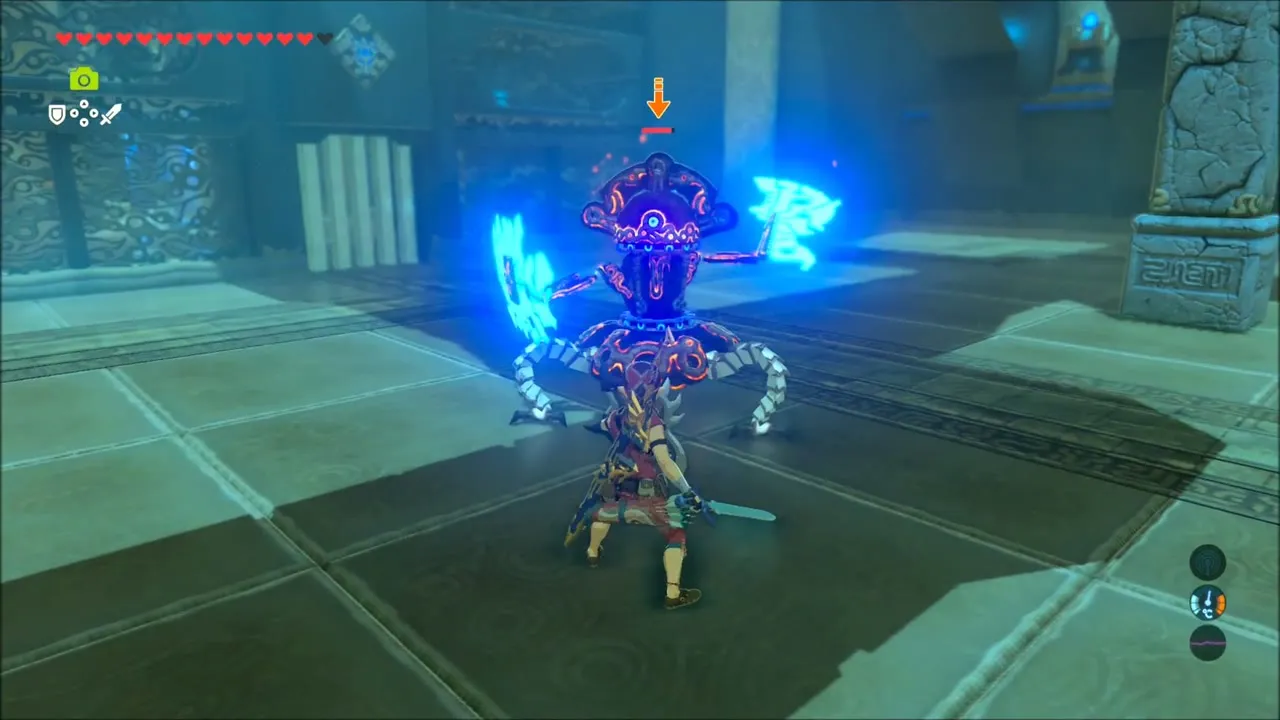
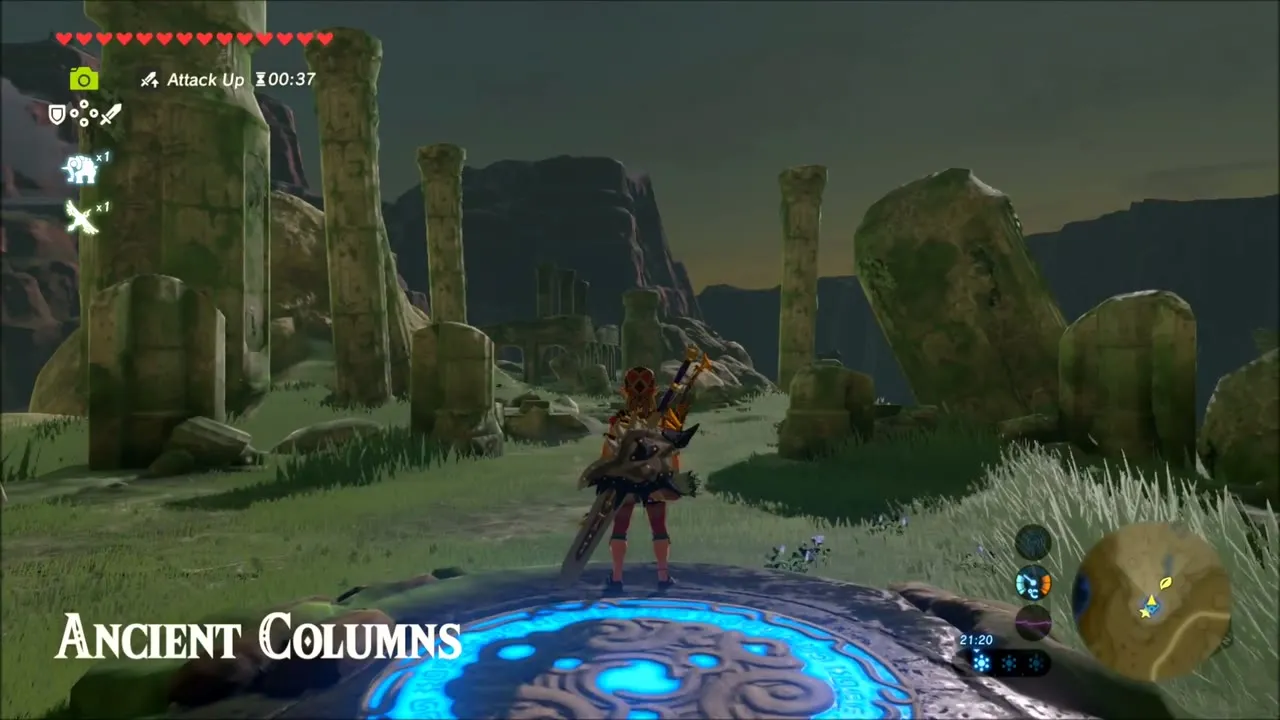
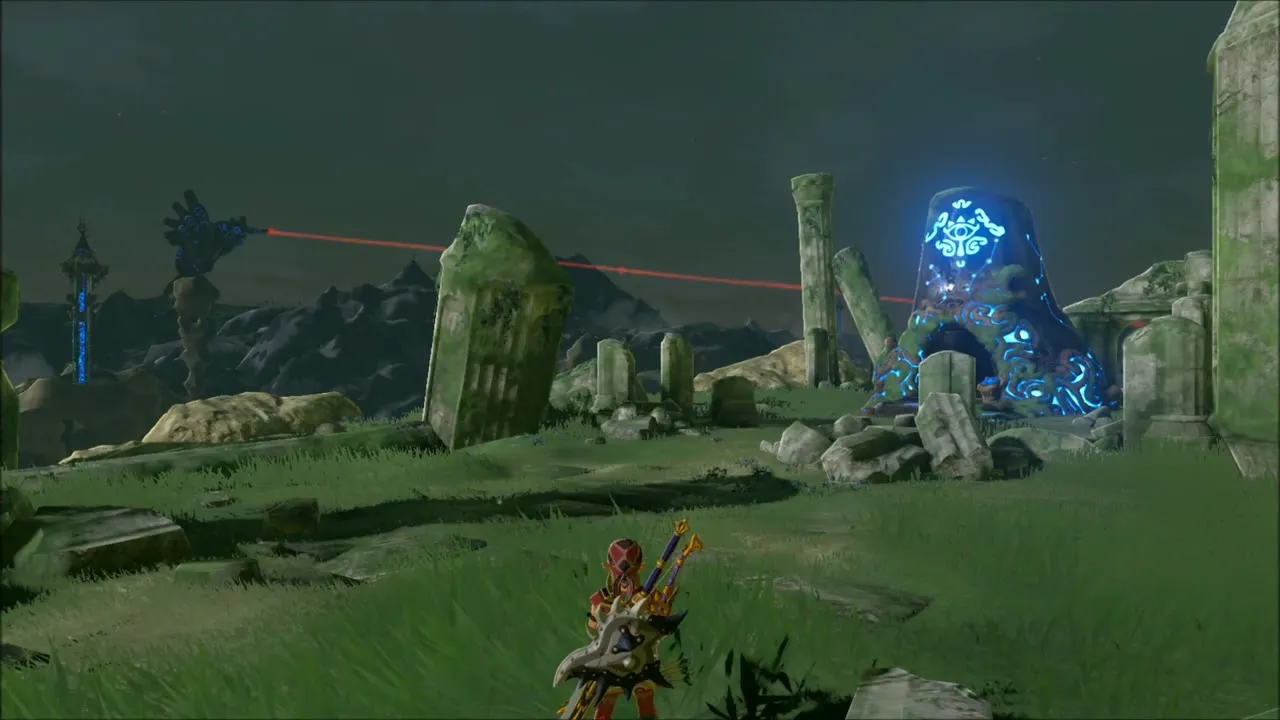
Walk up the grassy slope into the Ancient Columns (-3573, -432), where the title of the area appears. The Tena Ko’sah Shrine (-3466, -447, height 397) stands among the fallen pillars. Inside, the trial is a straight fight against a Guardian Scout IV.

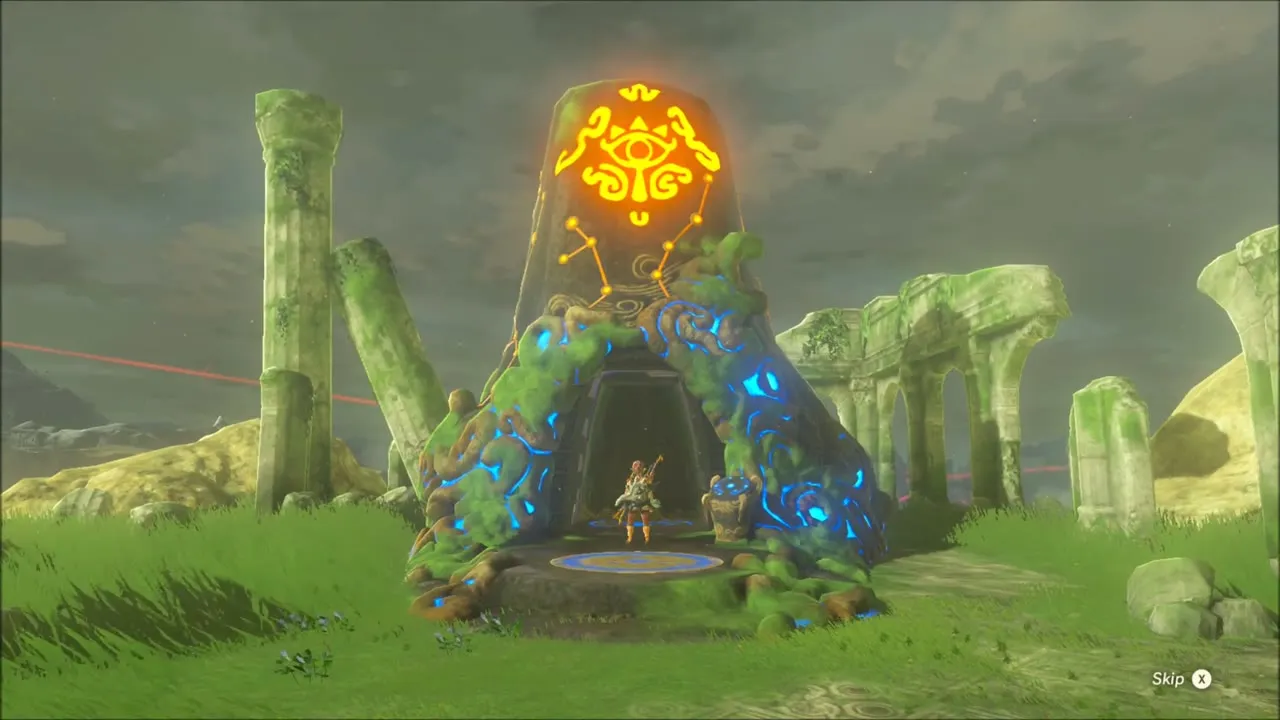
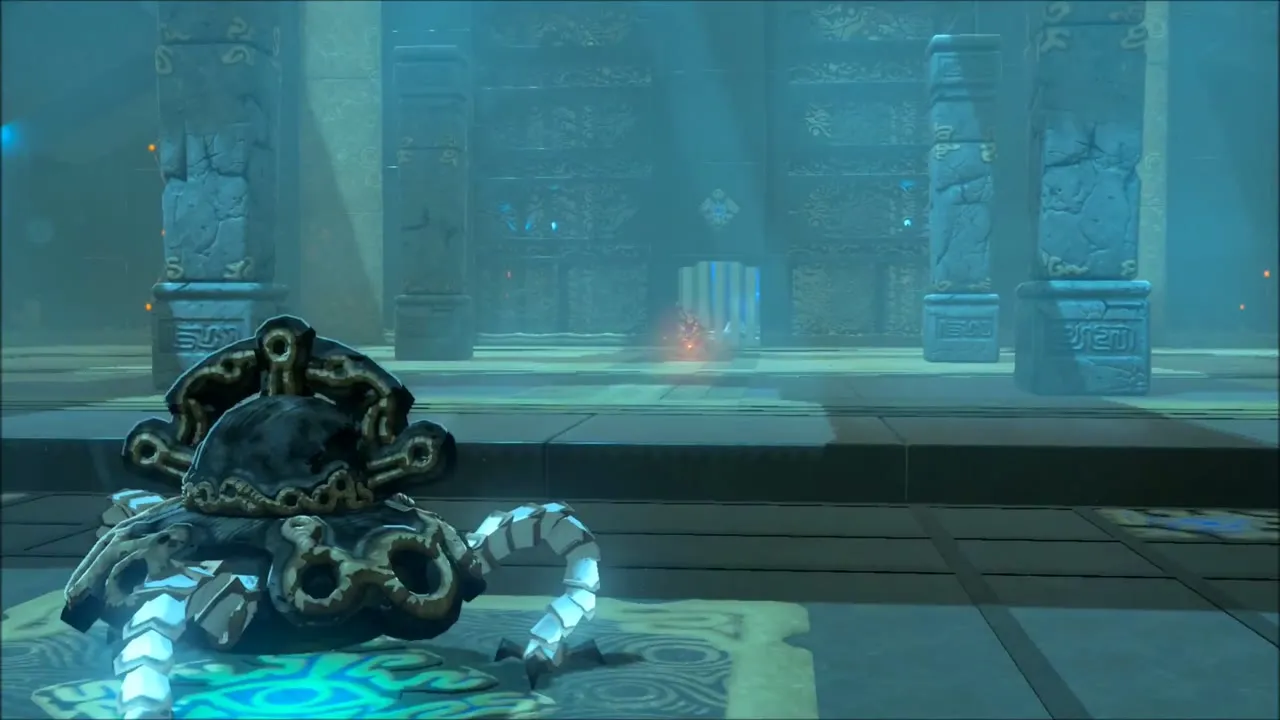
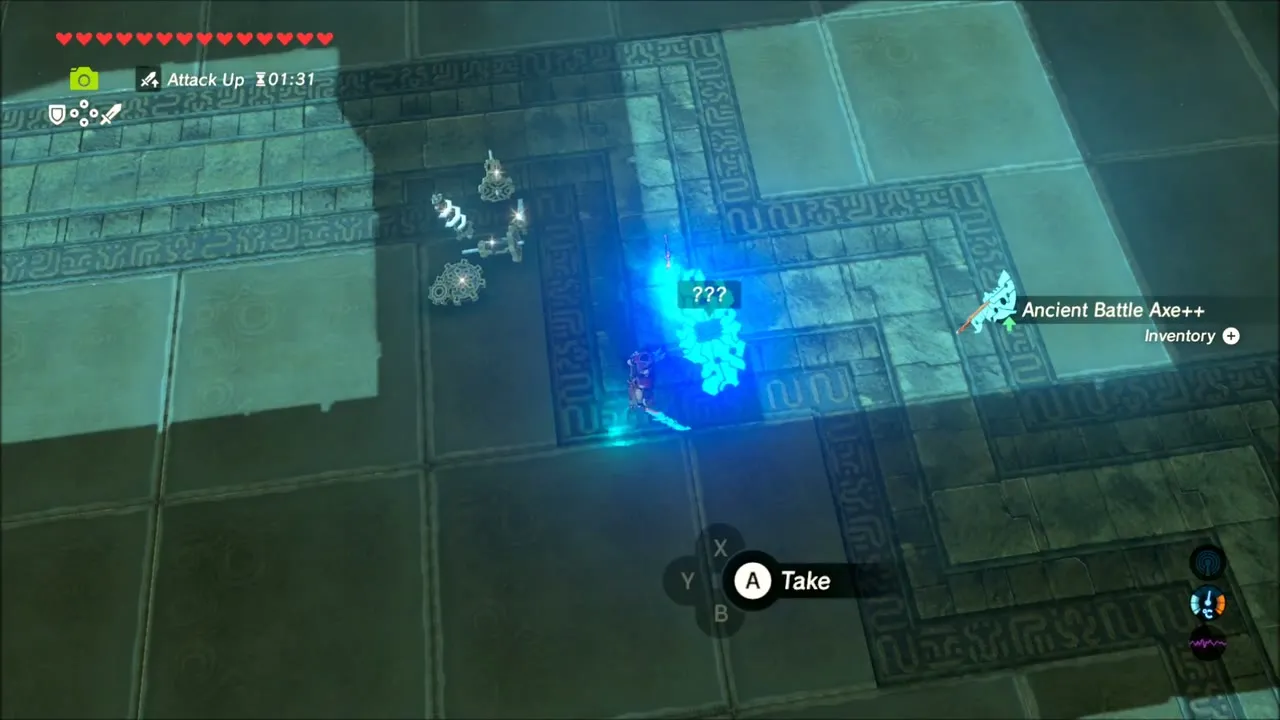
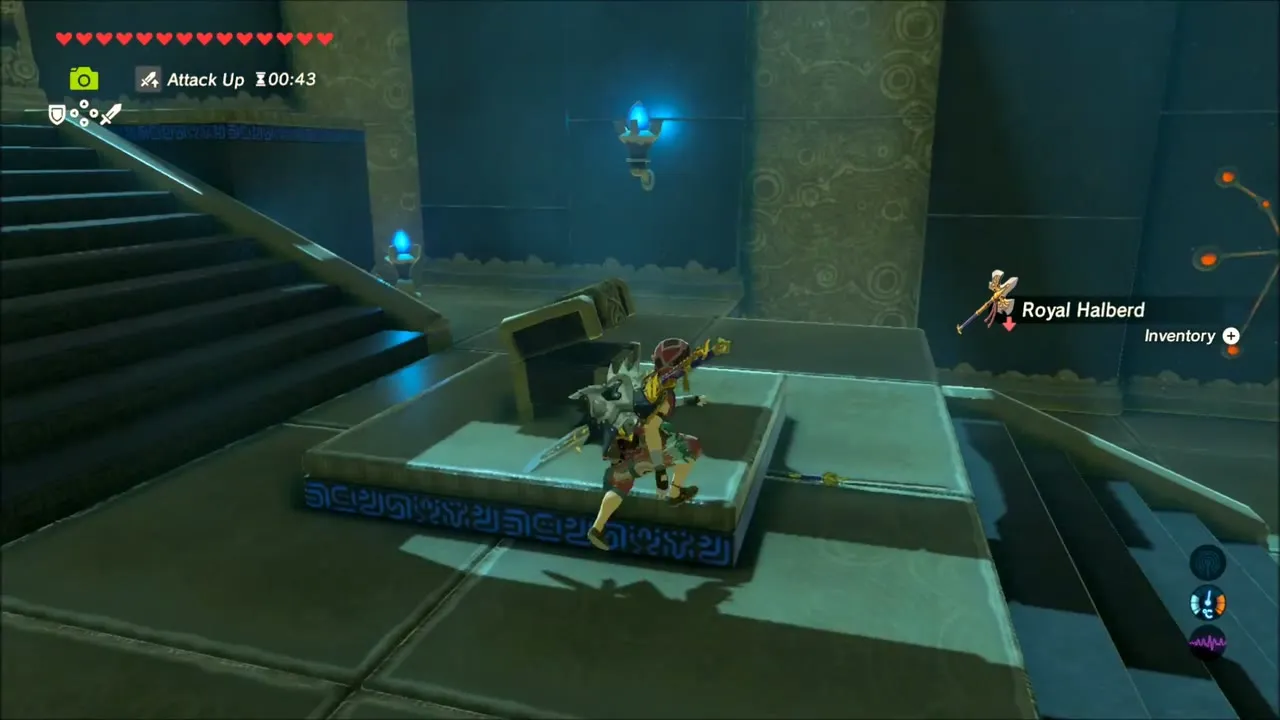
Dodge sideways from the sword, backflip from the axe sweep and hit it in the opening. Let it charge into a pillar to stun it, then strike it freely. When it turns into a spinning laser use the updraft to float over it. Defeat it for ancient weapons and parts, then walk up the steps to a chest holding a Royal Halberd (tier set by difficulty scaling).

The monk at the altar at the end of the hall gives you the Spirit Orb.
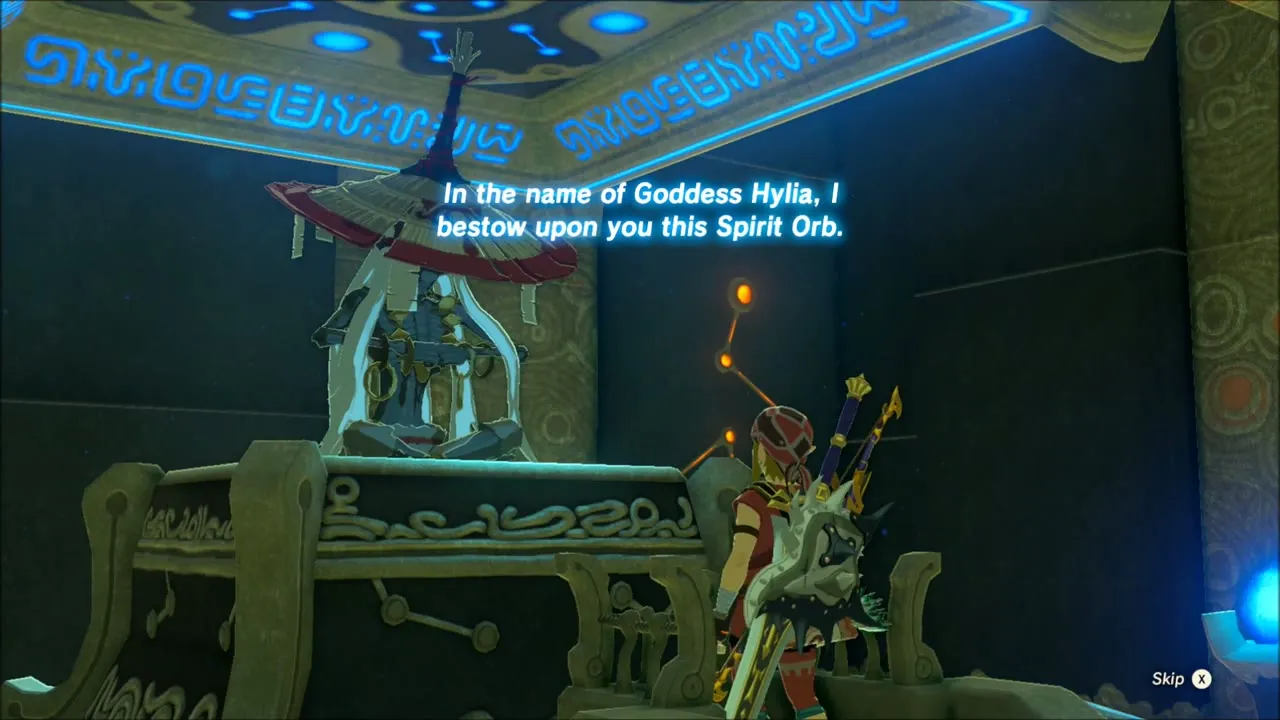
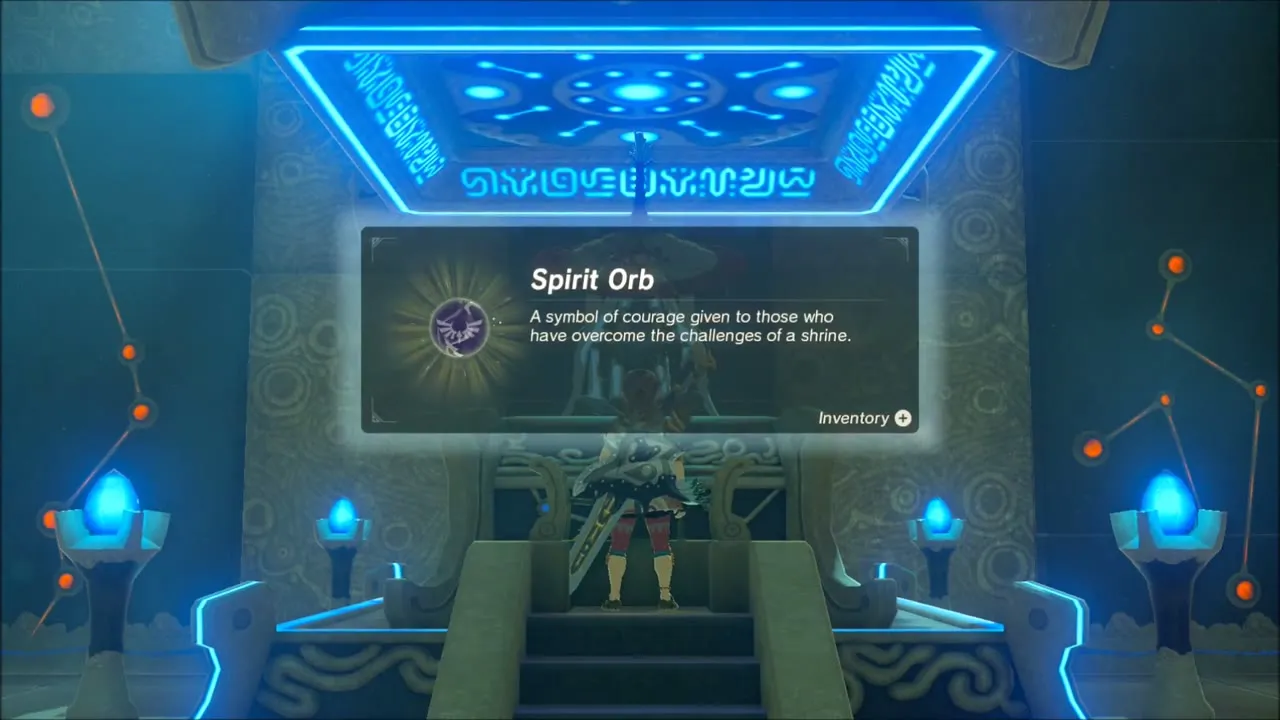
Ancient Columns: A Captured Memory
When you step back outside among the Ancient Columns, open your Sheikah Slate album: one photo shows a view of standing columns that matches the ruins here. A glowing spot appears in the grass where the photo was taken. Step into it to watch a memory in which Link and Princess Zelda stand beside a mossy stone slab among the columns.

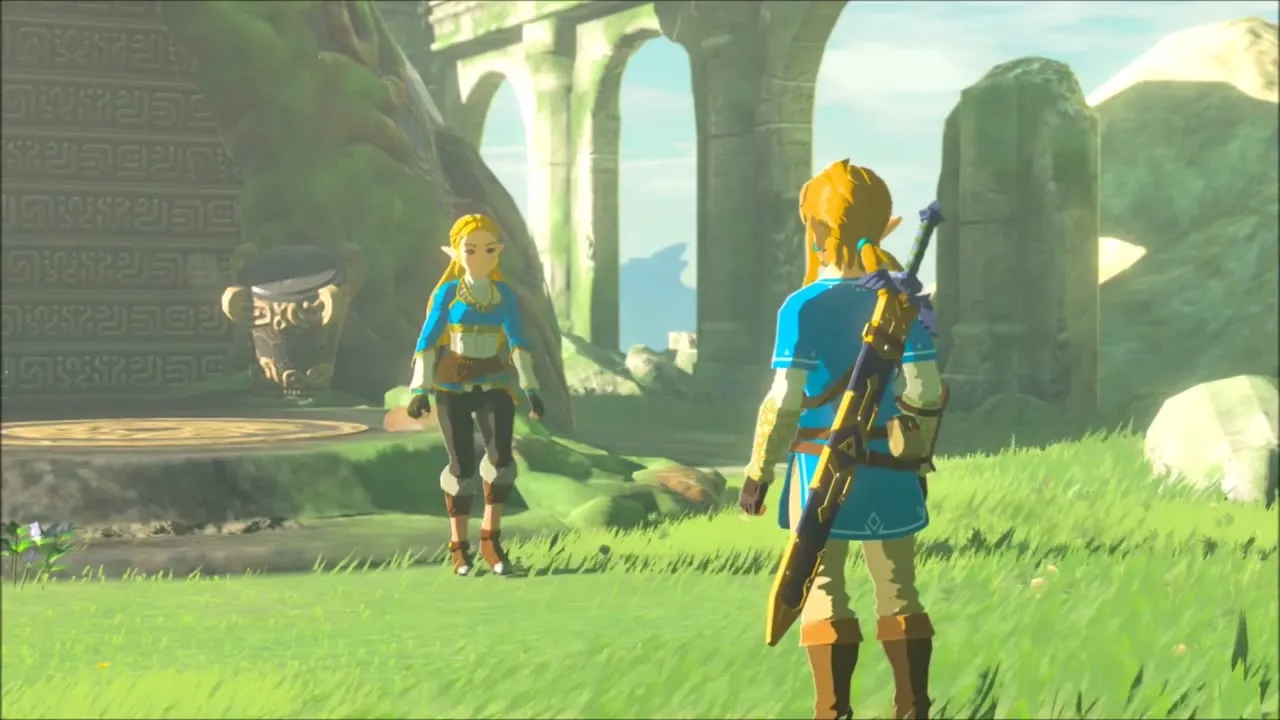
Korok Seeds Around the Ancient Columns
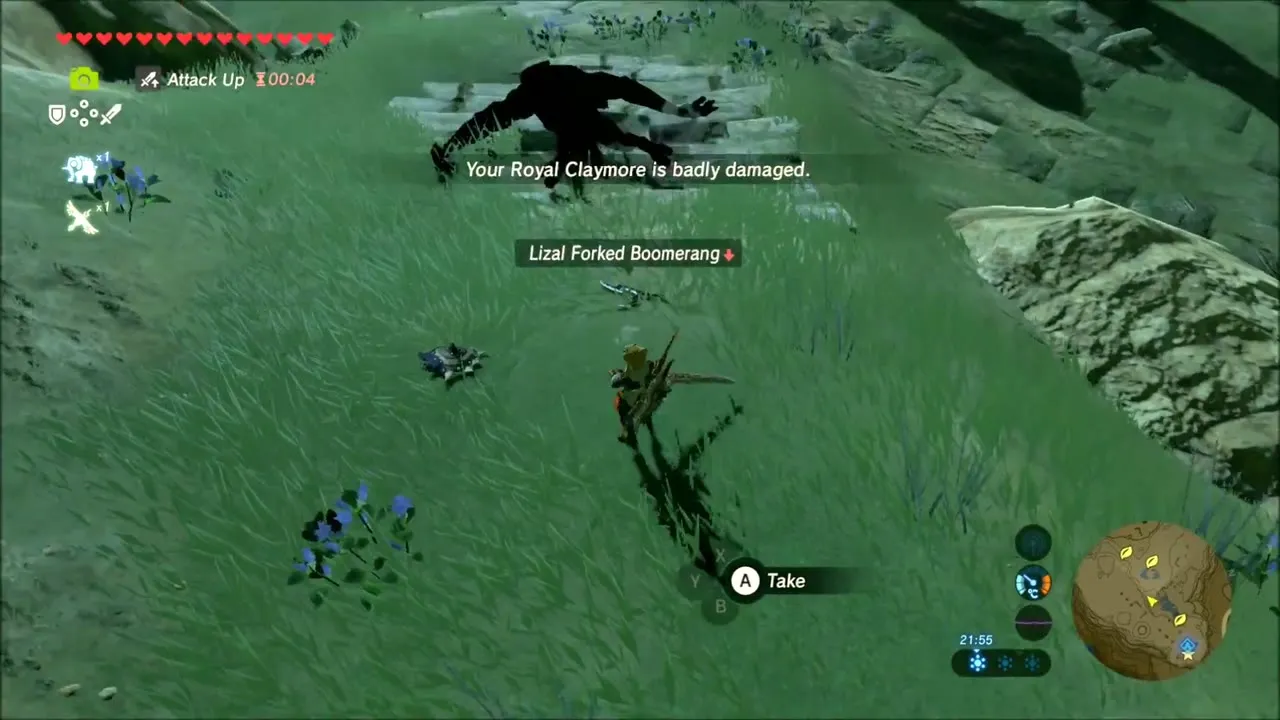
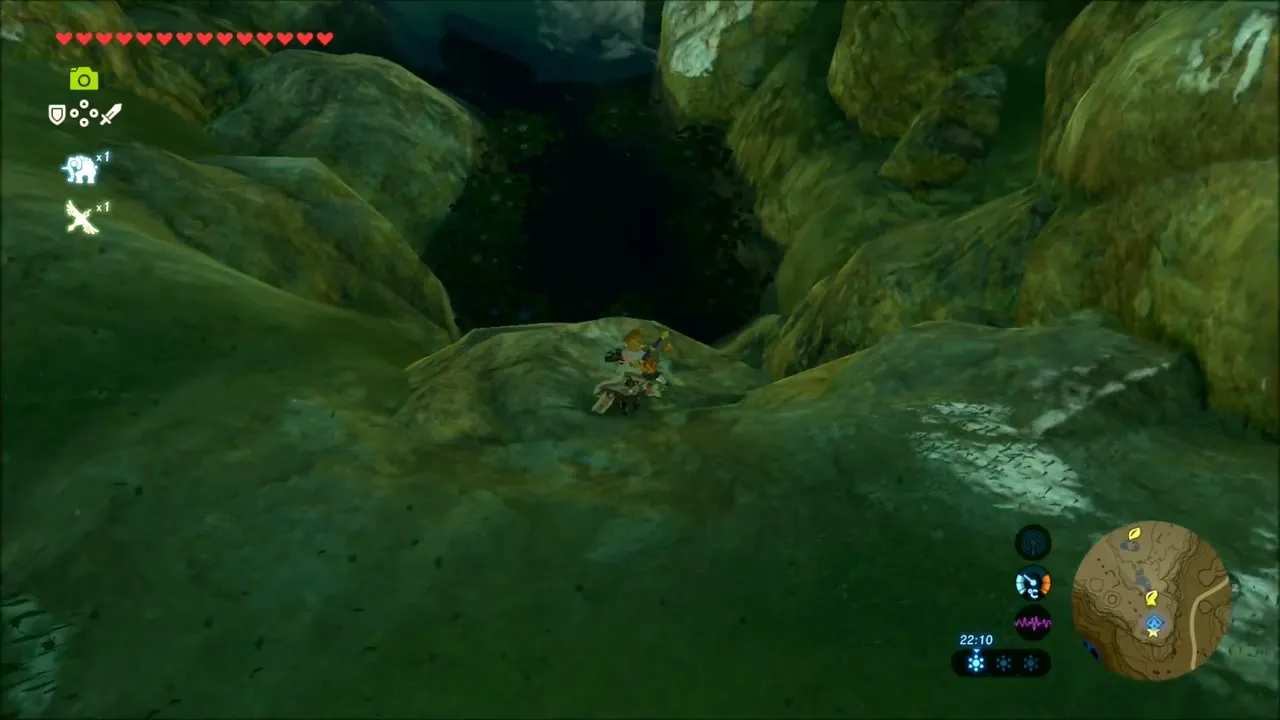
If your Royal Claymore is worn out, swap weapons, then head down the slope. A Korok sits in a dark gap among fallen stones and pillars below the columns: walk into the hollow between the stones and it greets you.
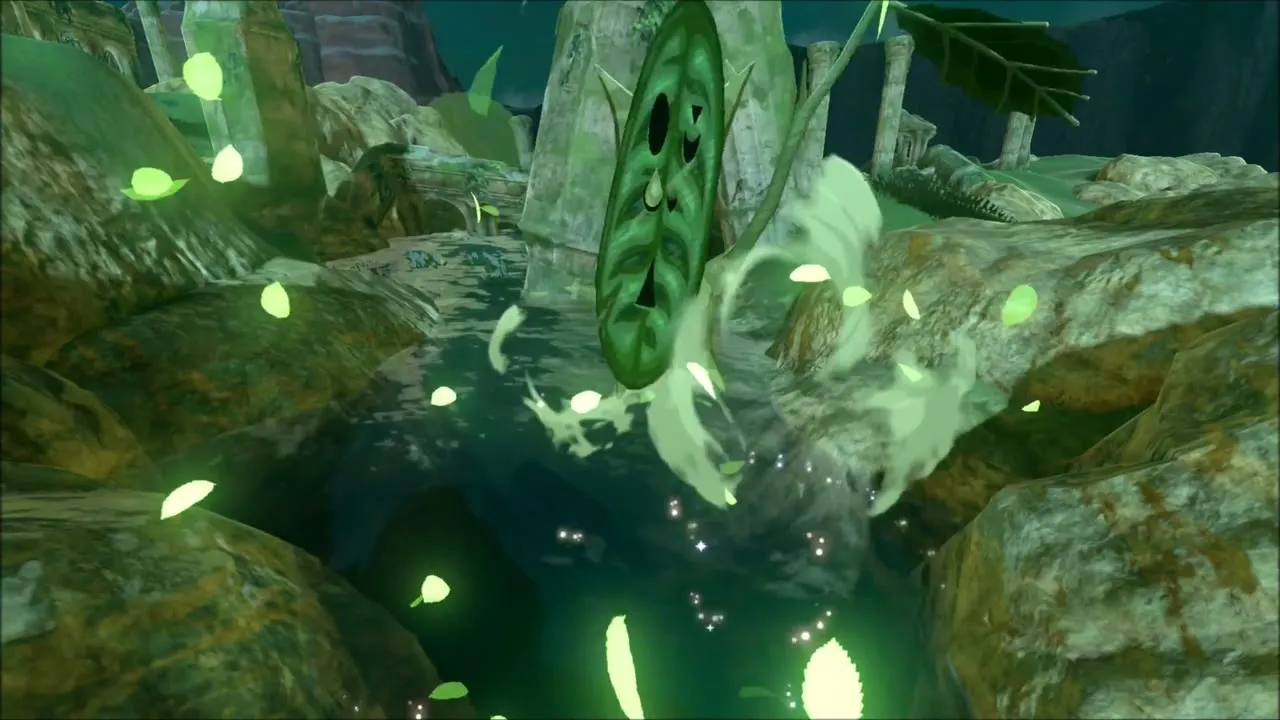
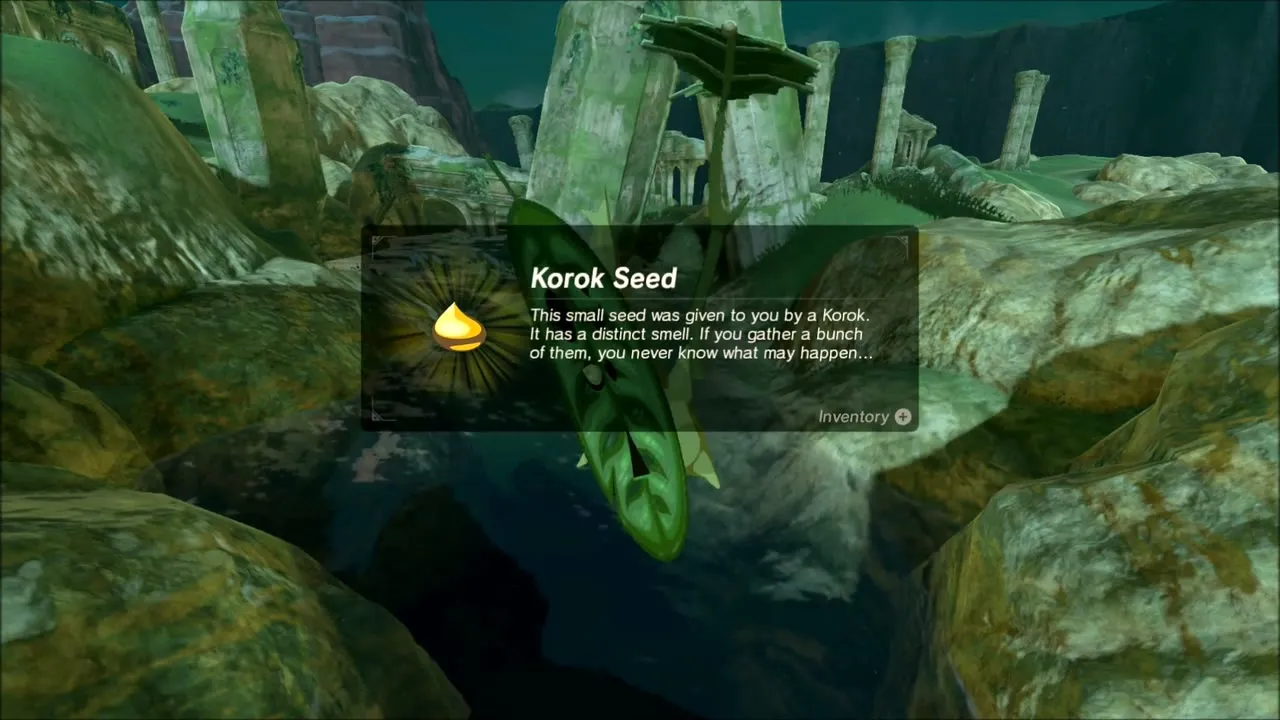
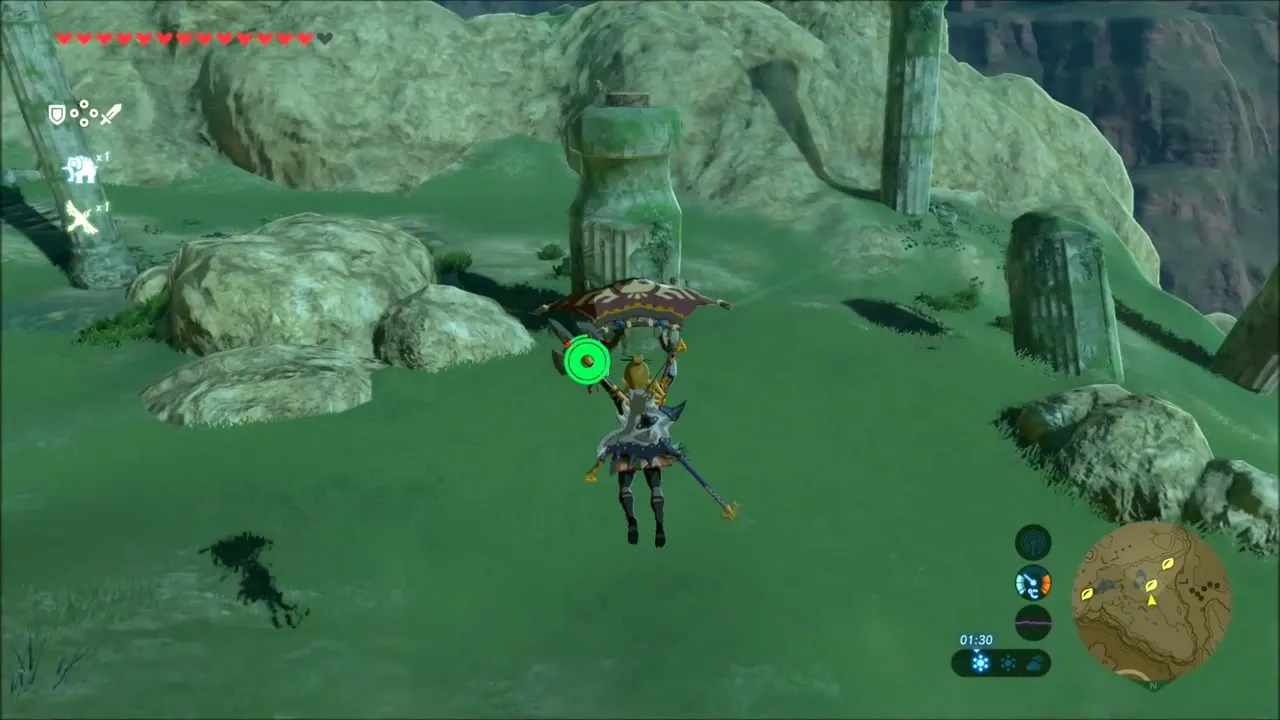
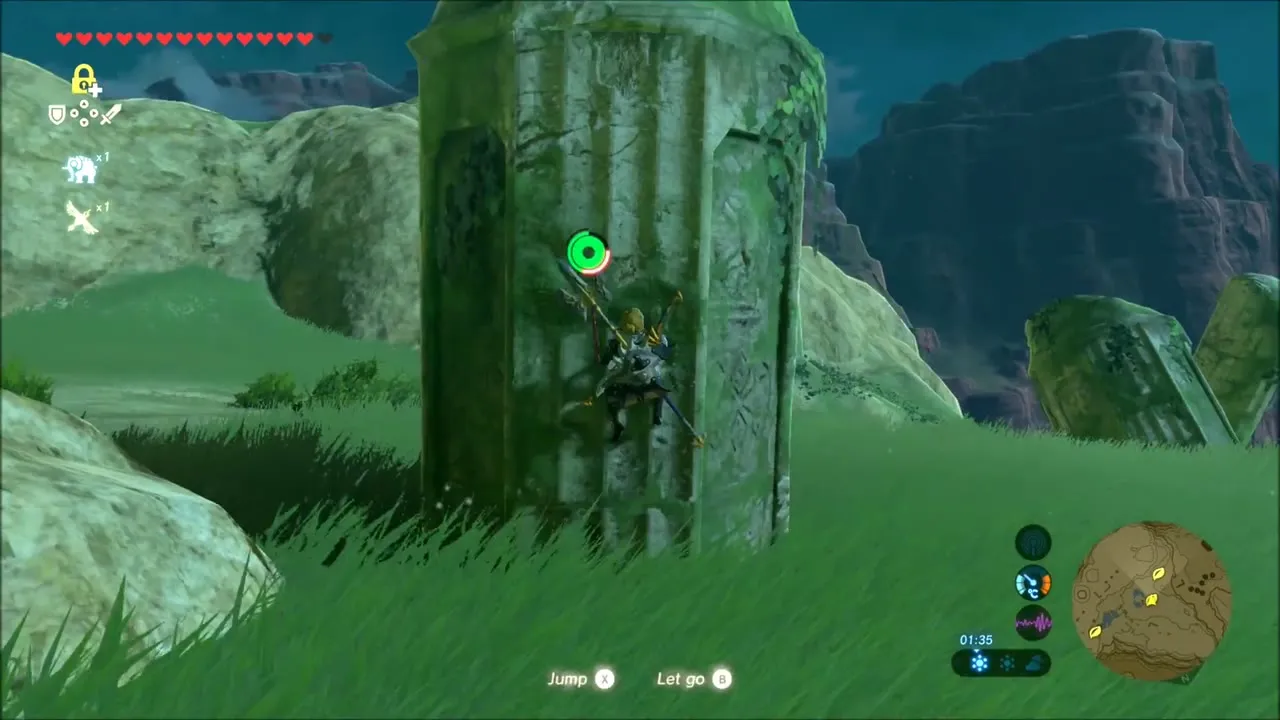
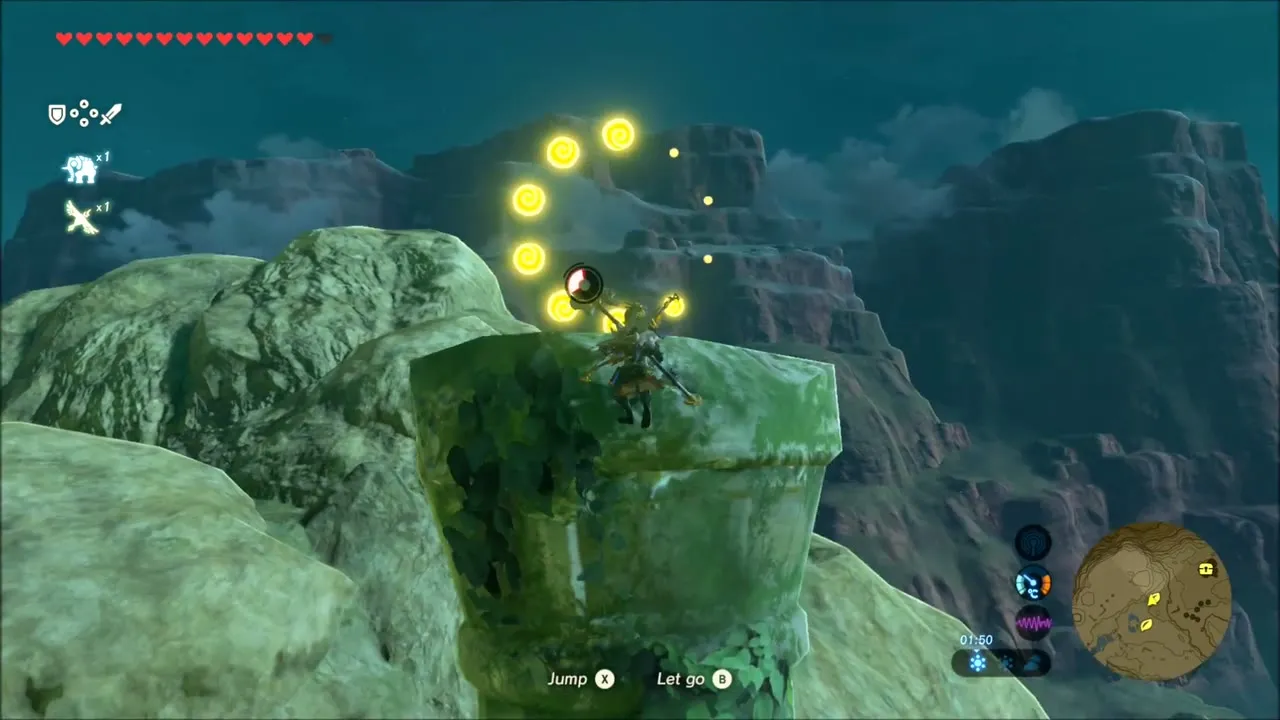
A second Korok waits on the very top of a tall mossy column. Glide to the base of the pillar, climb it to the top and speak to the Korok to collect the seed.
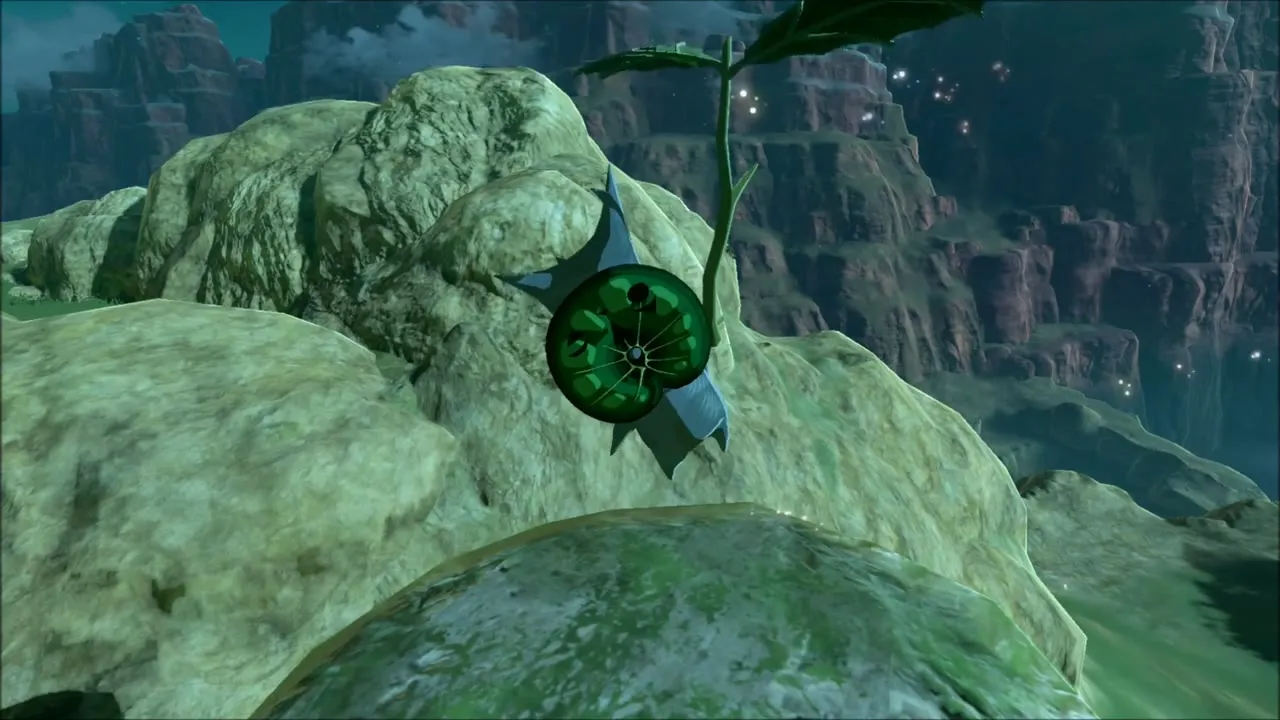
Tree Lookout and Korok Hill
Beyond the columns, a wooden lookout is built into the branches of a huge tree. Climb up the wooden stairs to its platform, where a chest sits beside a barrel, and the platform also gives you Keese Wings and arrows.
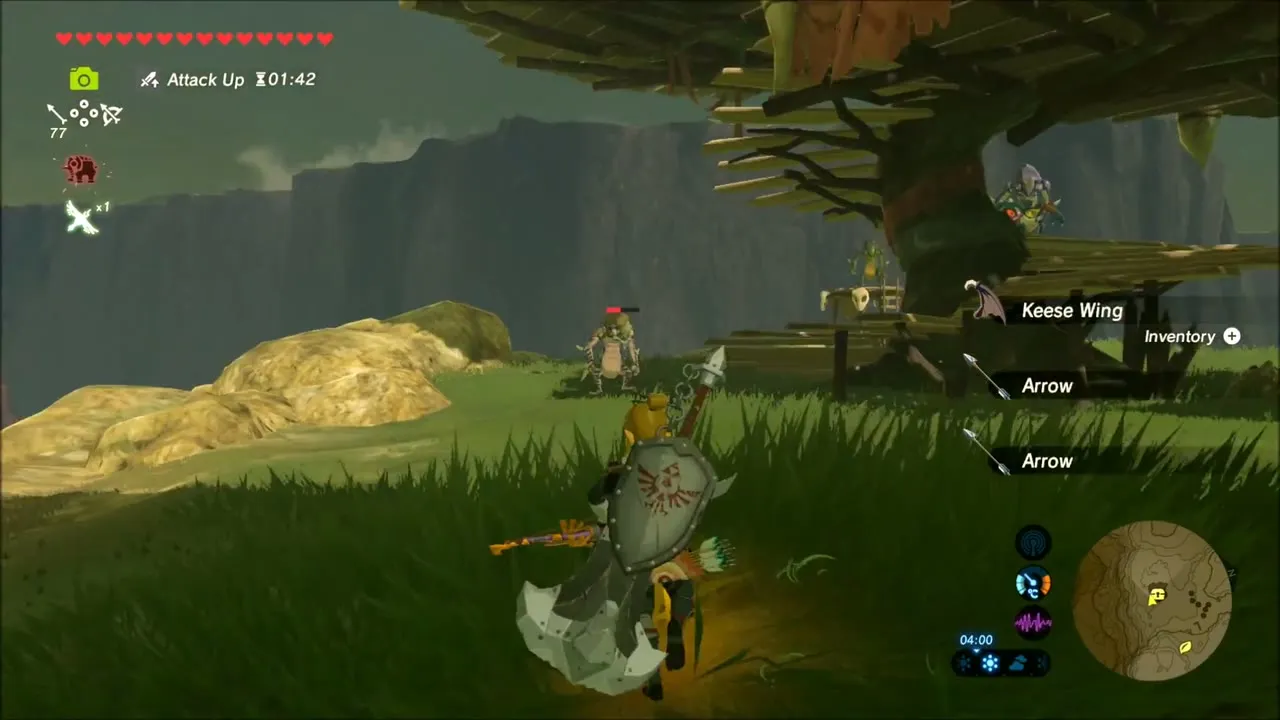
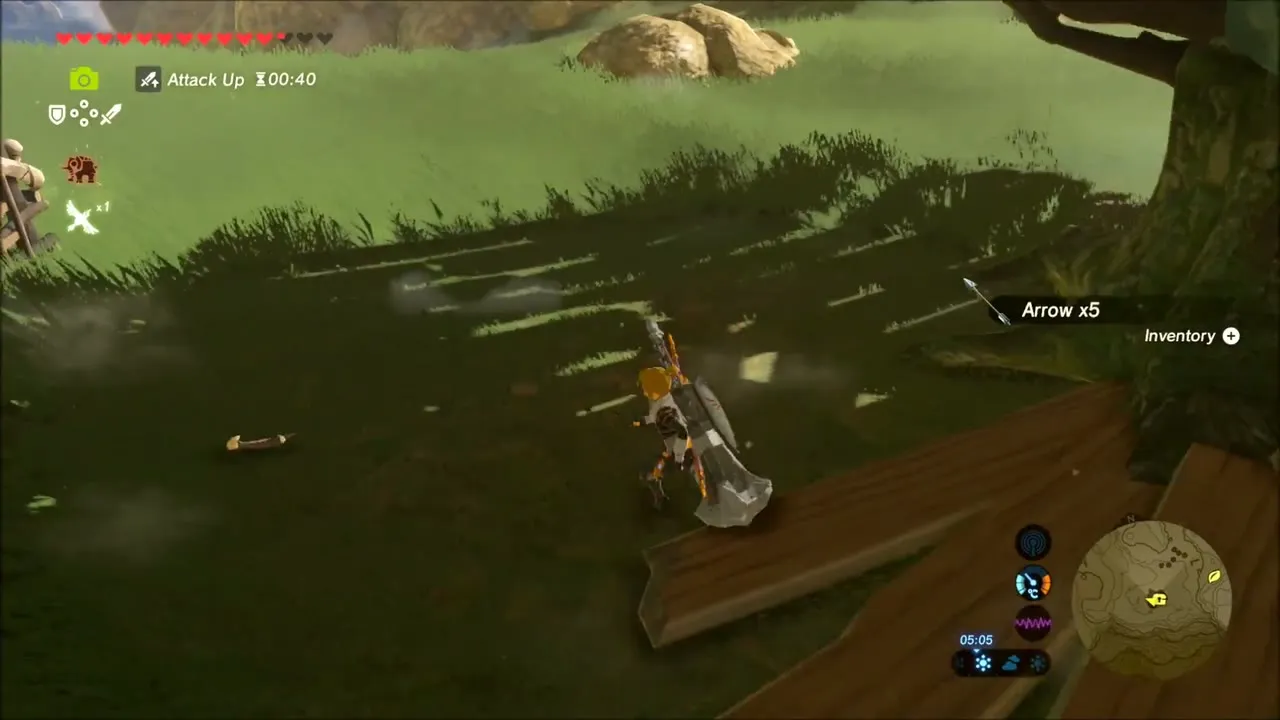
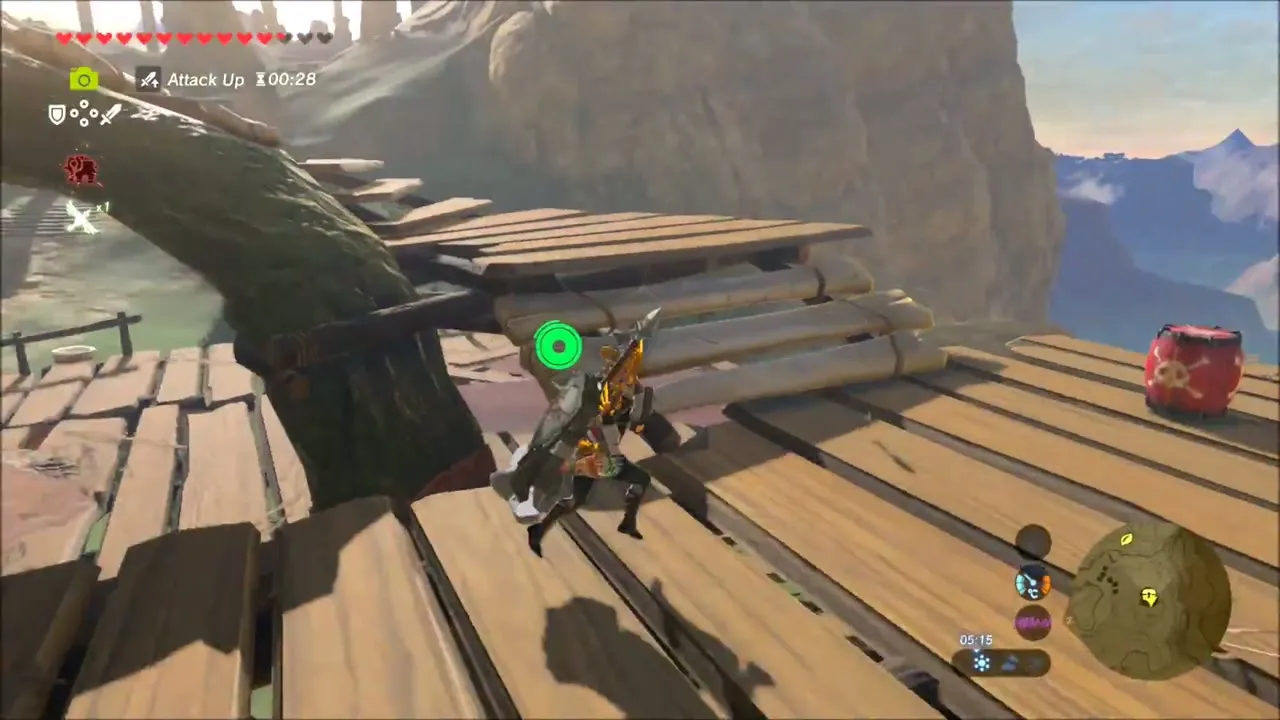
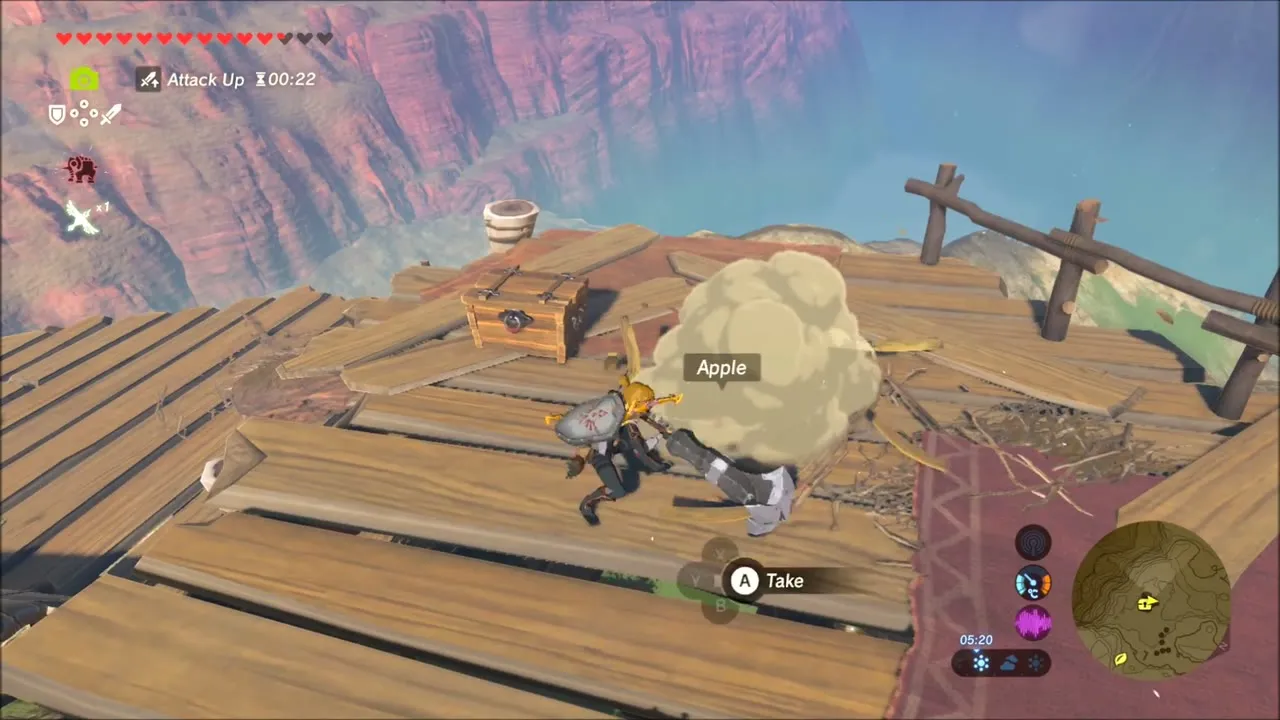
Nearby on a grassy knoll above the cliffs, a Korok perches next to a rock. Climb up and speak to it to take the seed.
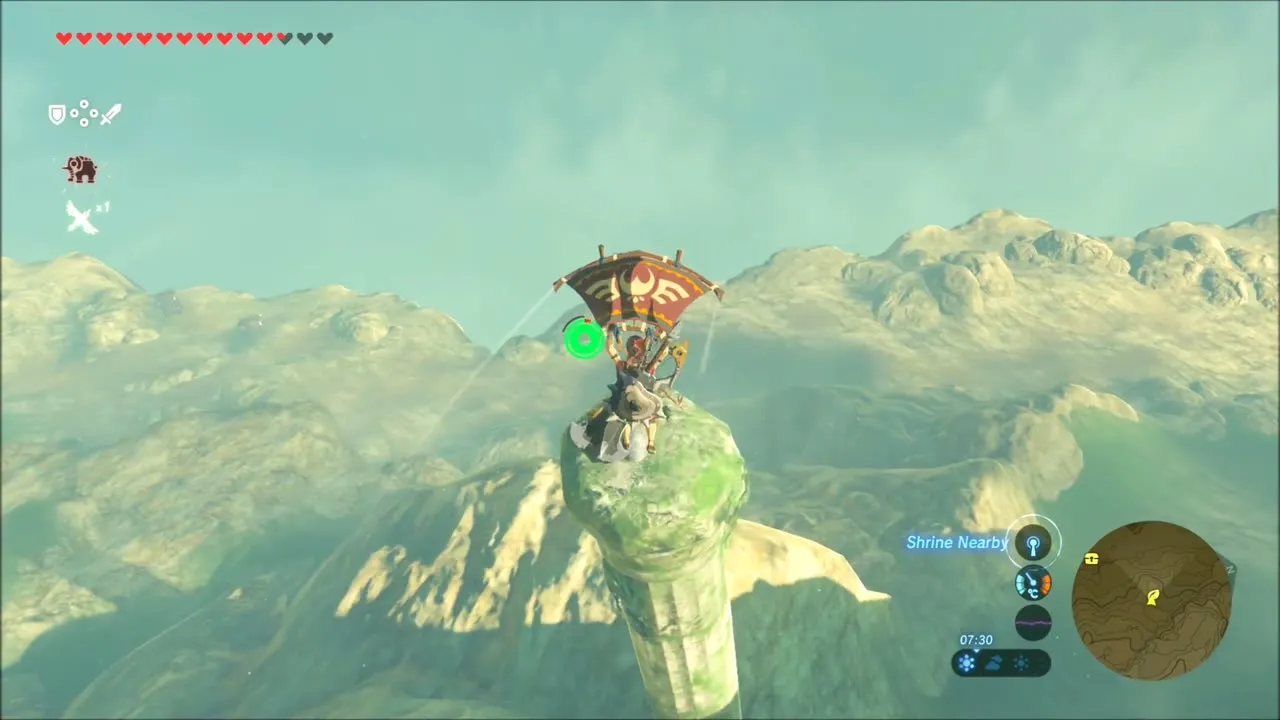

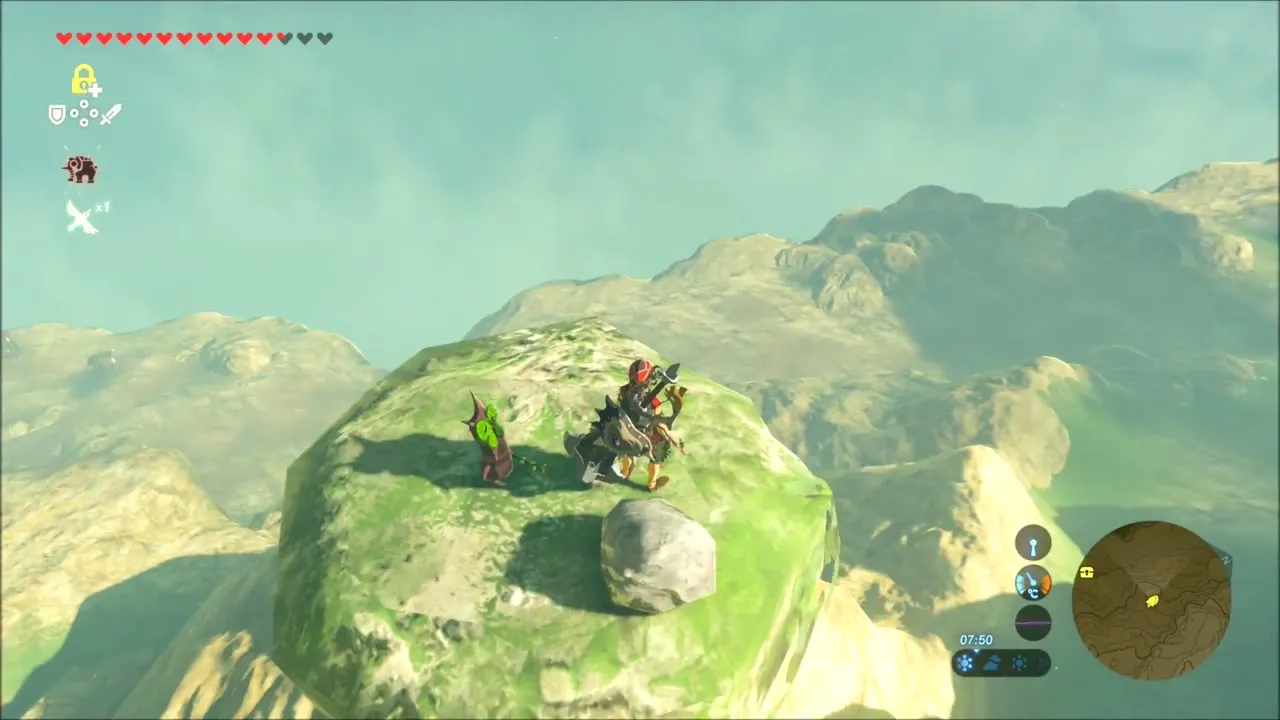
Kah Okeo Shrine: Wind Guide
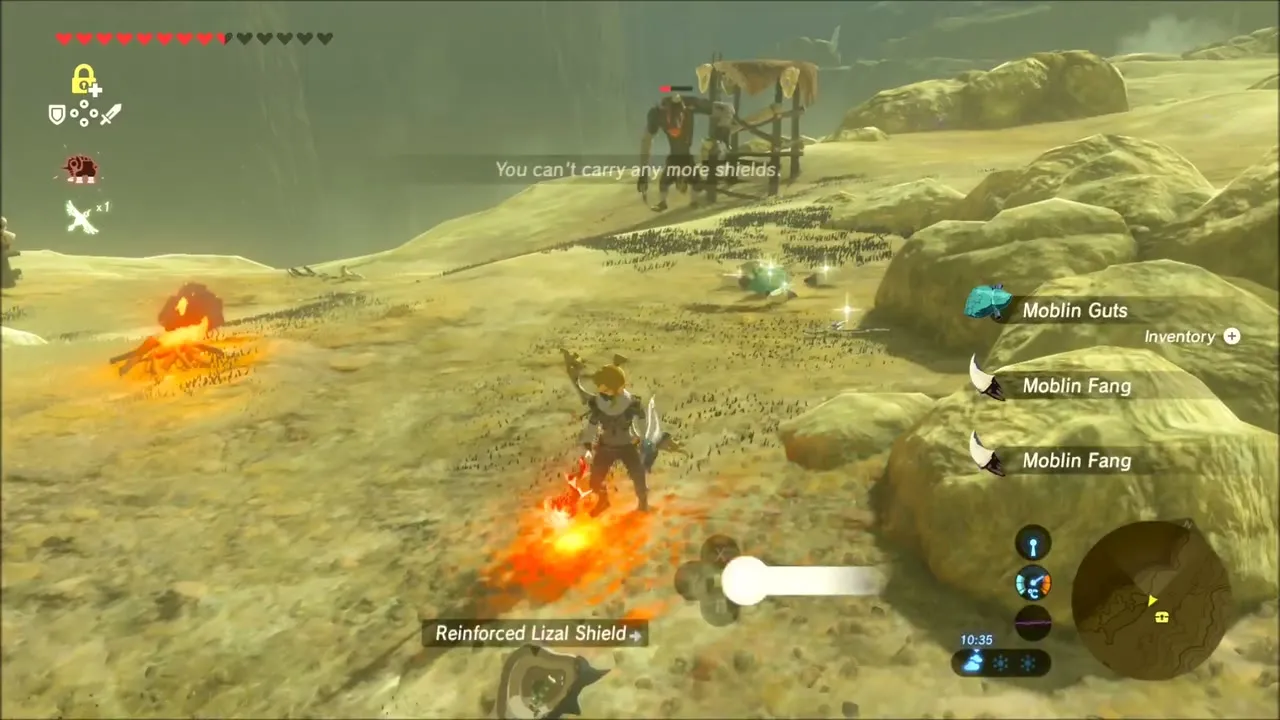
Move on to the west edge of the Rayne Highlands, where a Moblin camp guards the way. Clear it with arrows and bombs, then loot the Moblin Fangs and Guts. South of the camp, the Kah Okeo Shrine (-4121, -414, height 197) lies beneath a large rock slab. Clear the slab away from the entrance and the monument rises, opening the shrine.
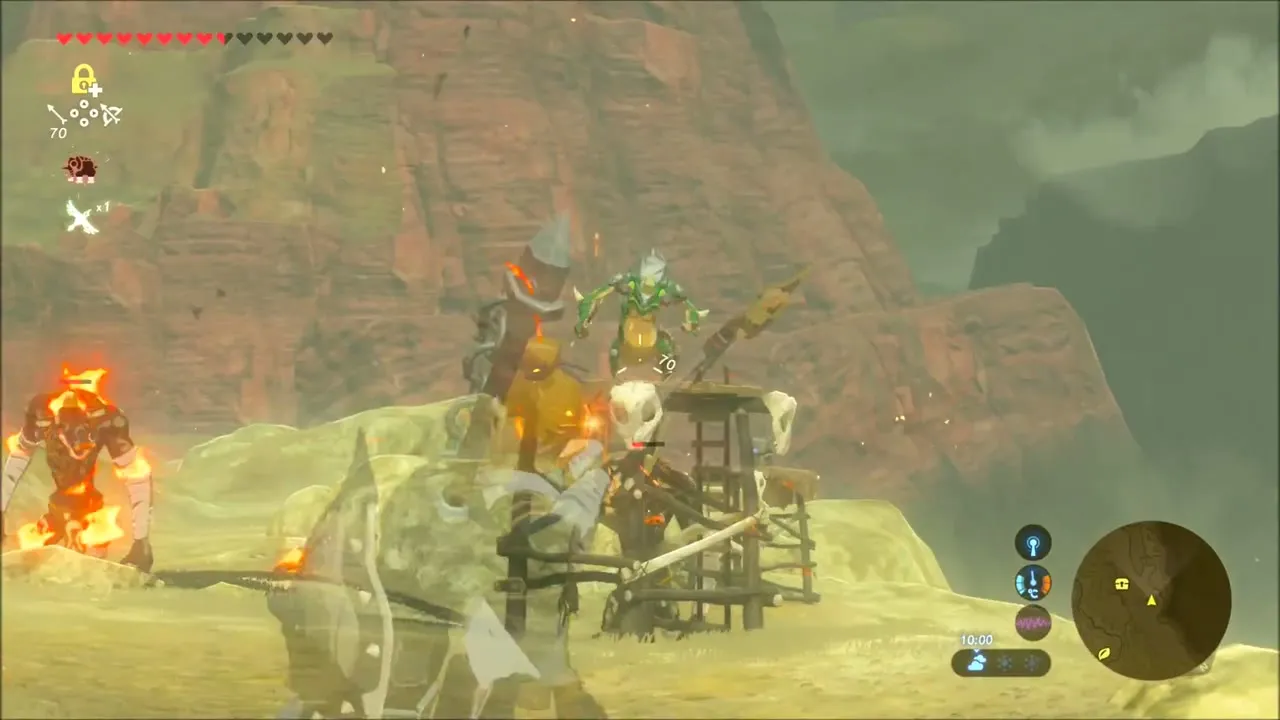
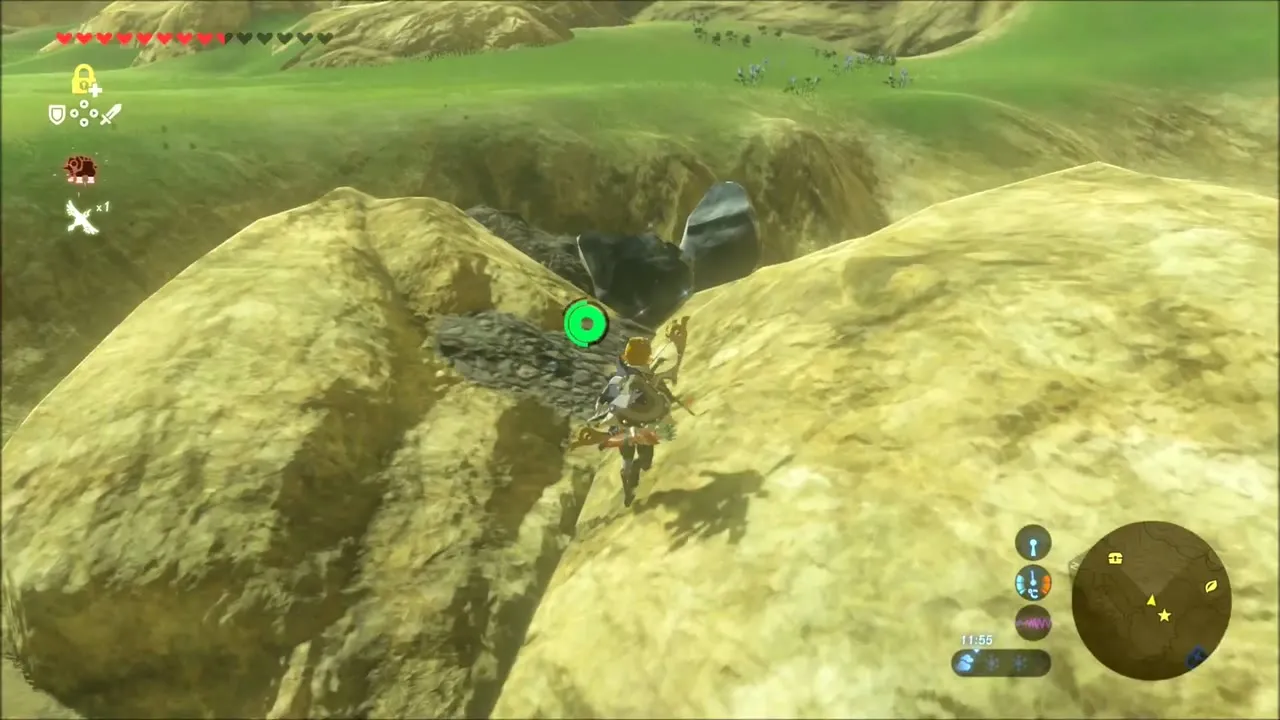
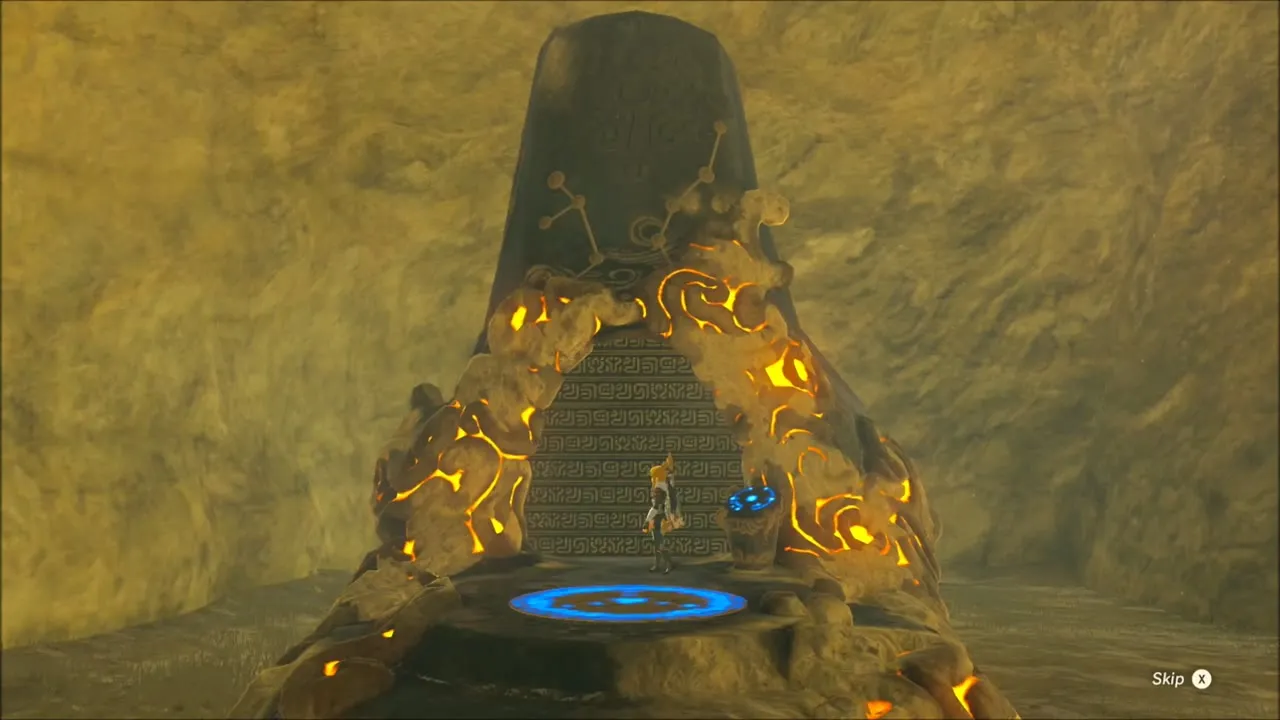
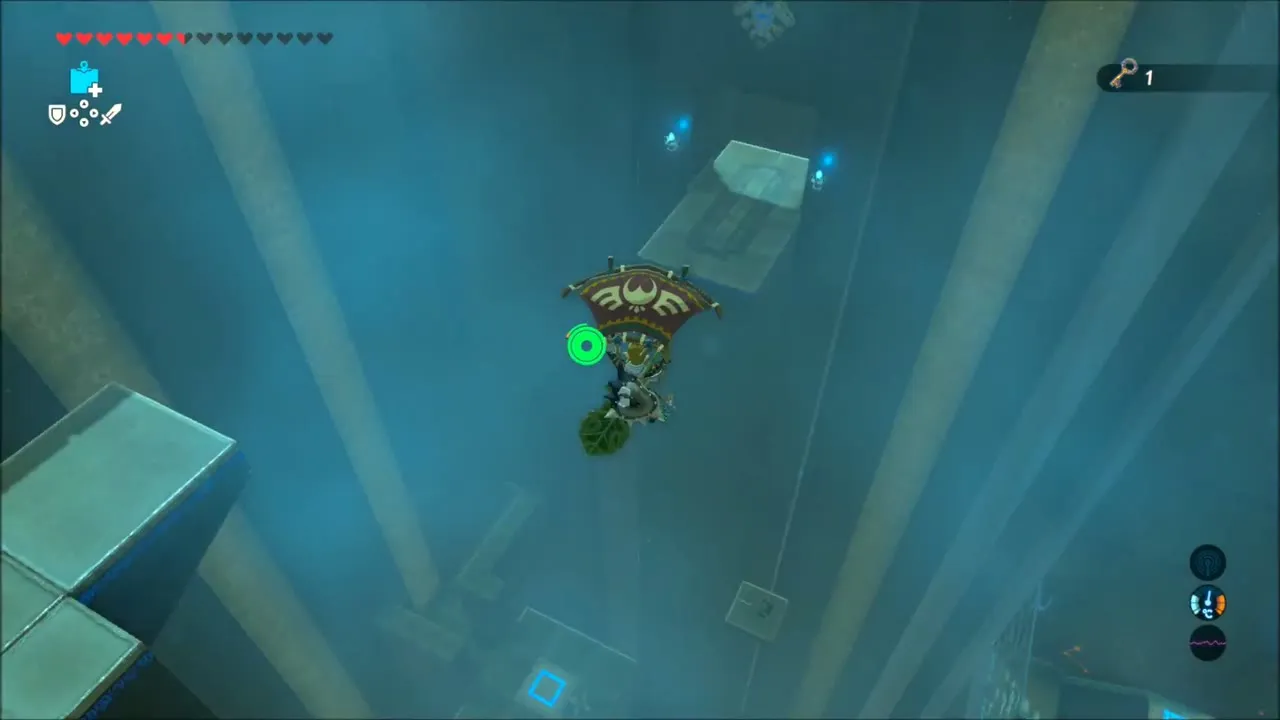
The trial is a wind puzzle: fan each windmill with the Korok Leaf. The chest on the left of the first corridor holds a Korok Leaf if you lost yours. Fan the switch beside the gate and dash through before it shuts. Blow the barrel hanging from balloons across the corridor, then drop to the room below to defeat the Guardian Scouts.
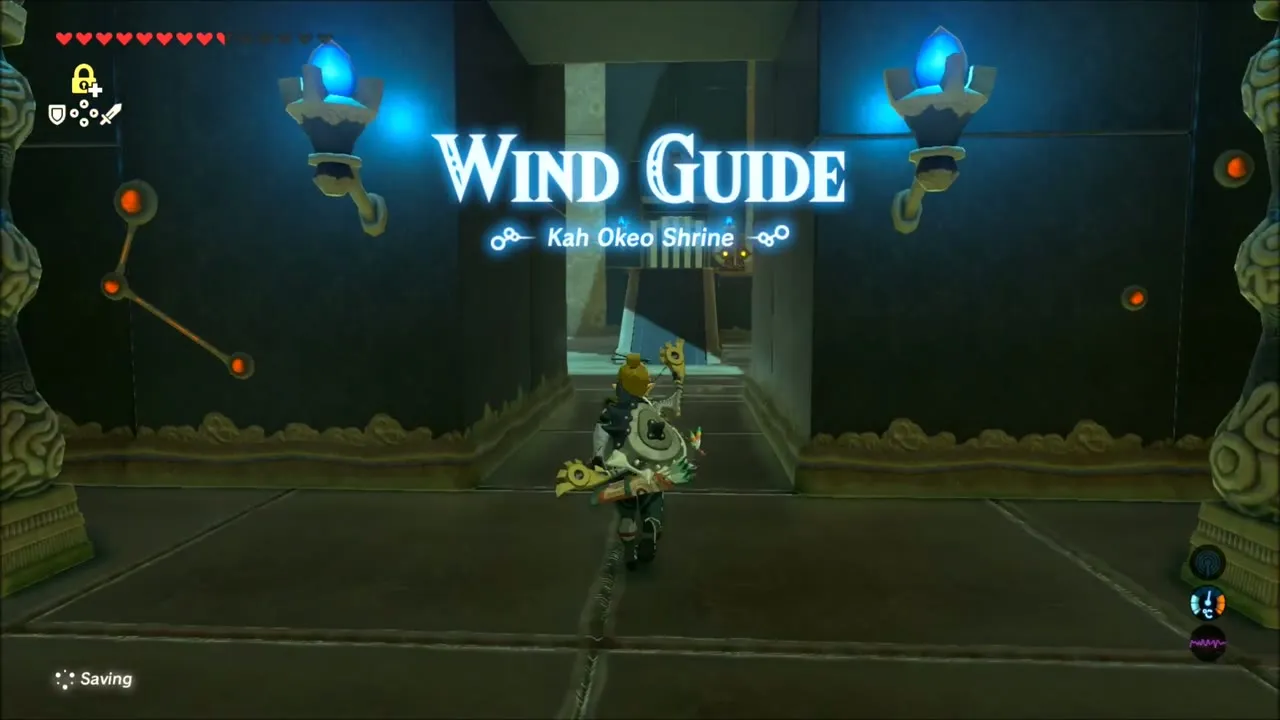
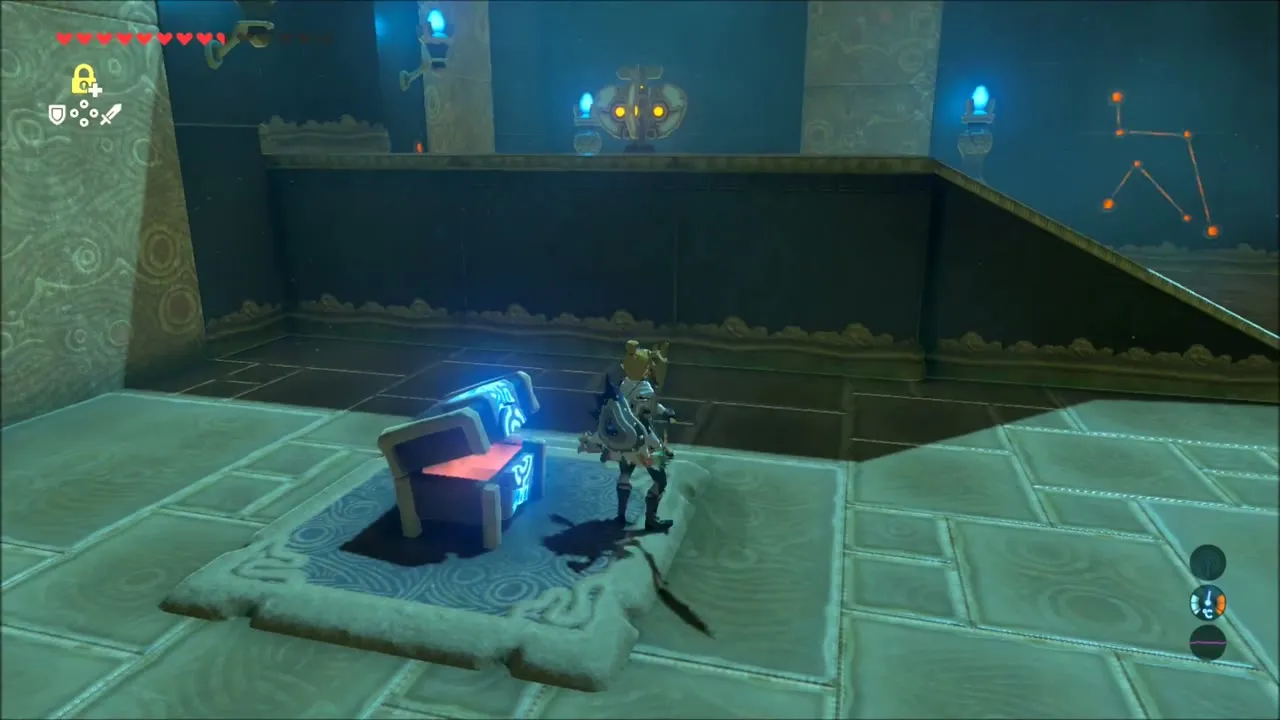
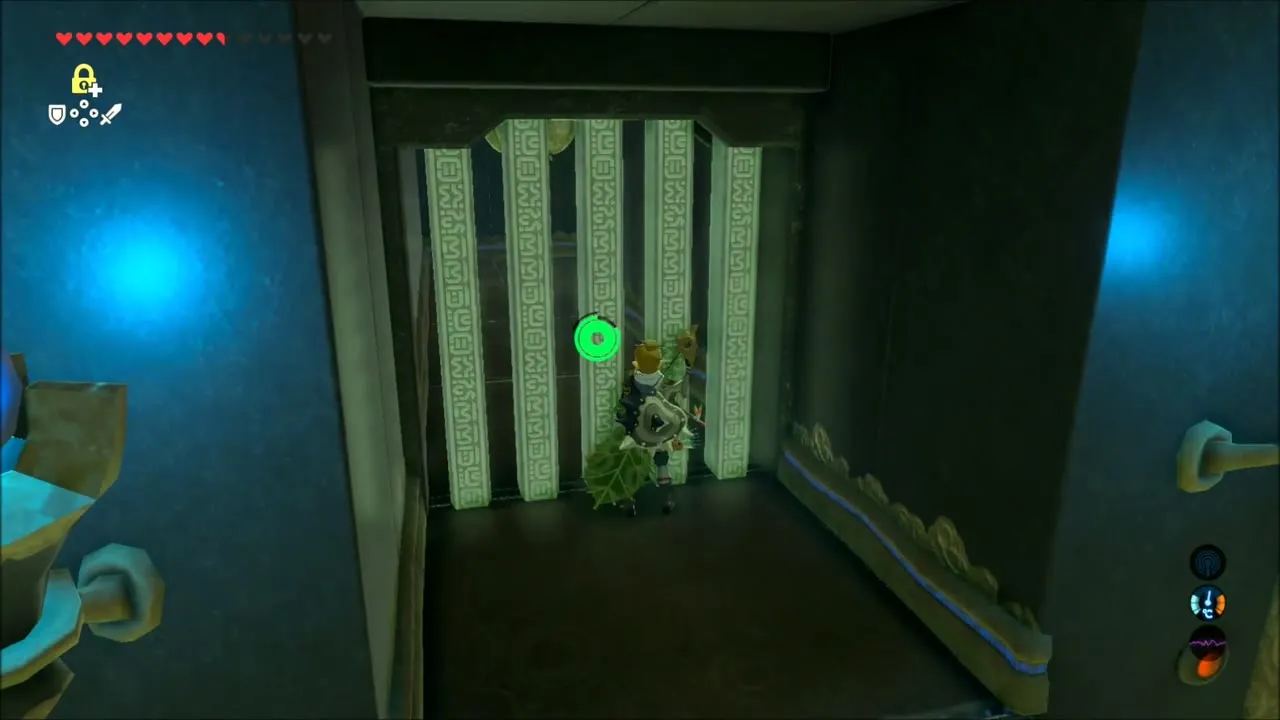
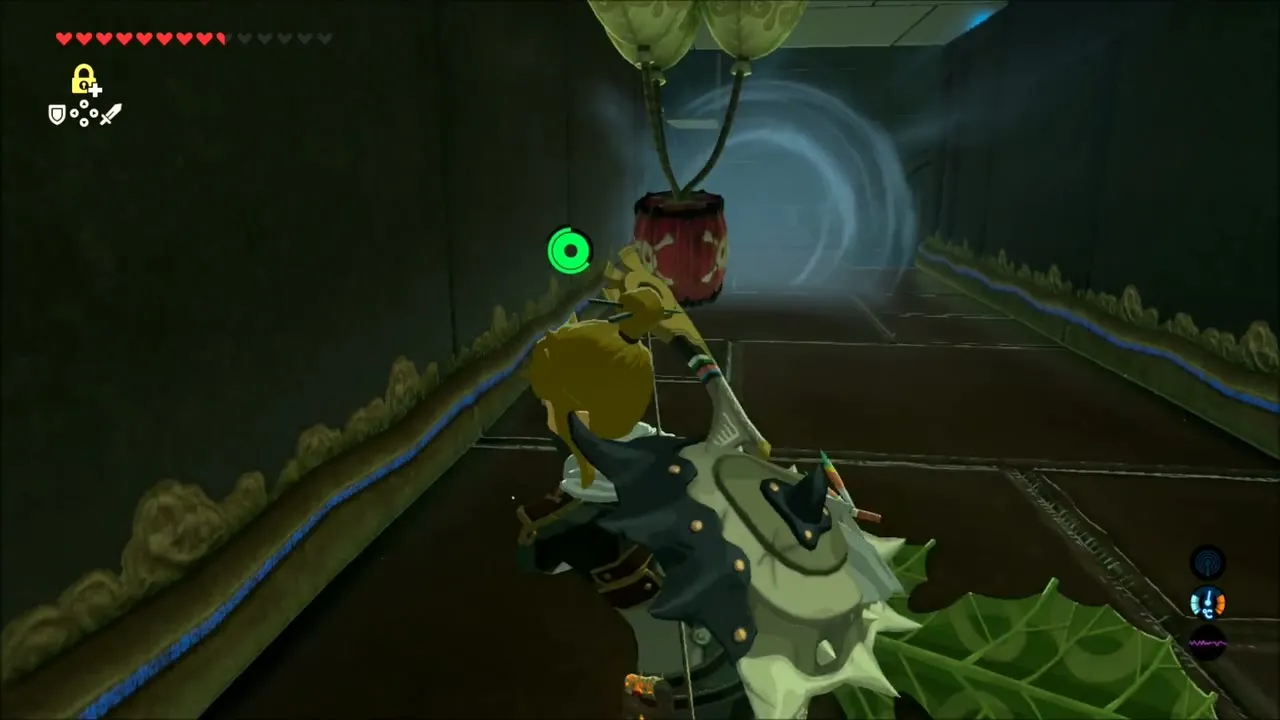
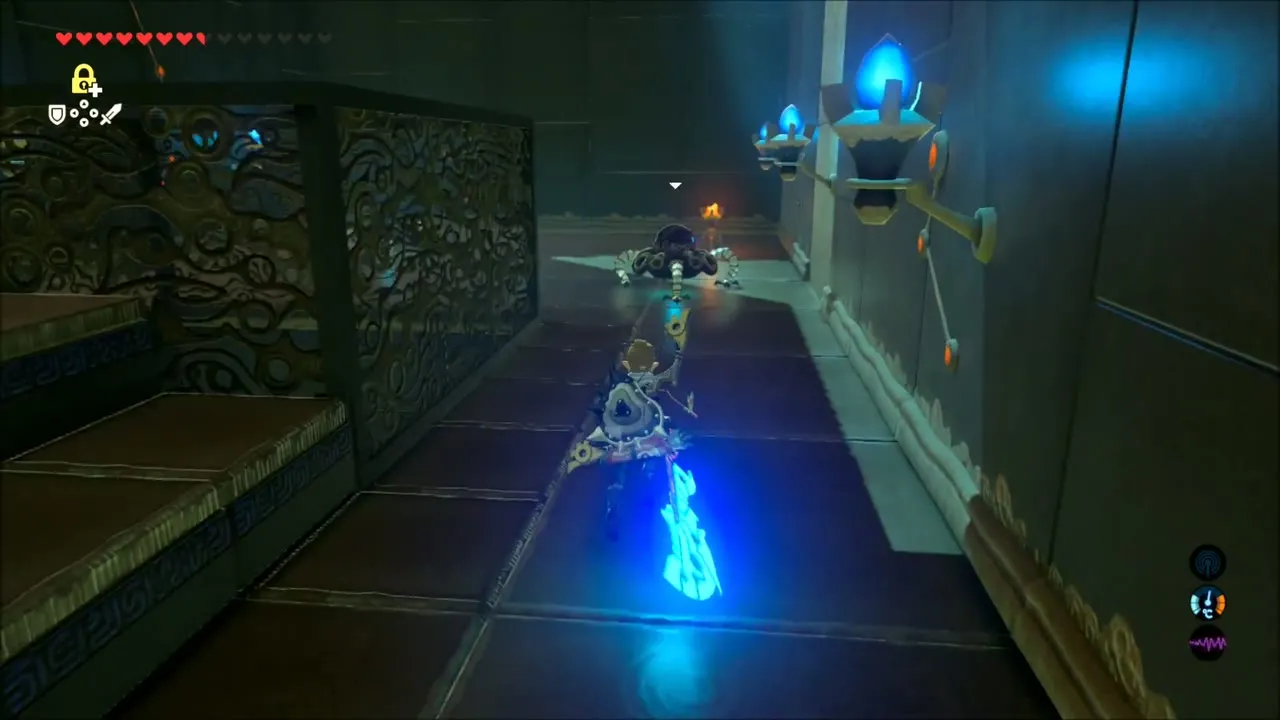
Back upstairs, fan the switch to raise the balloon platform, steer it around and open a chest with a Gold Rupee. Blast the cracked wall with a bomb arrow and enter the next room, where a windmill under a piston launches you for a glide down to a chest holding a one-handed sword.
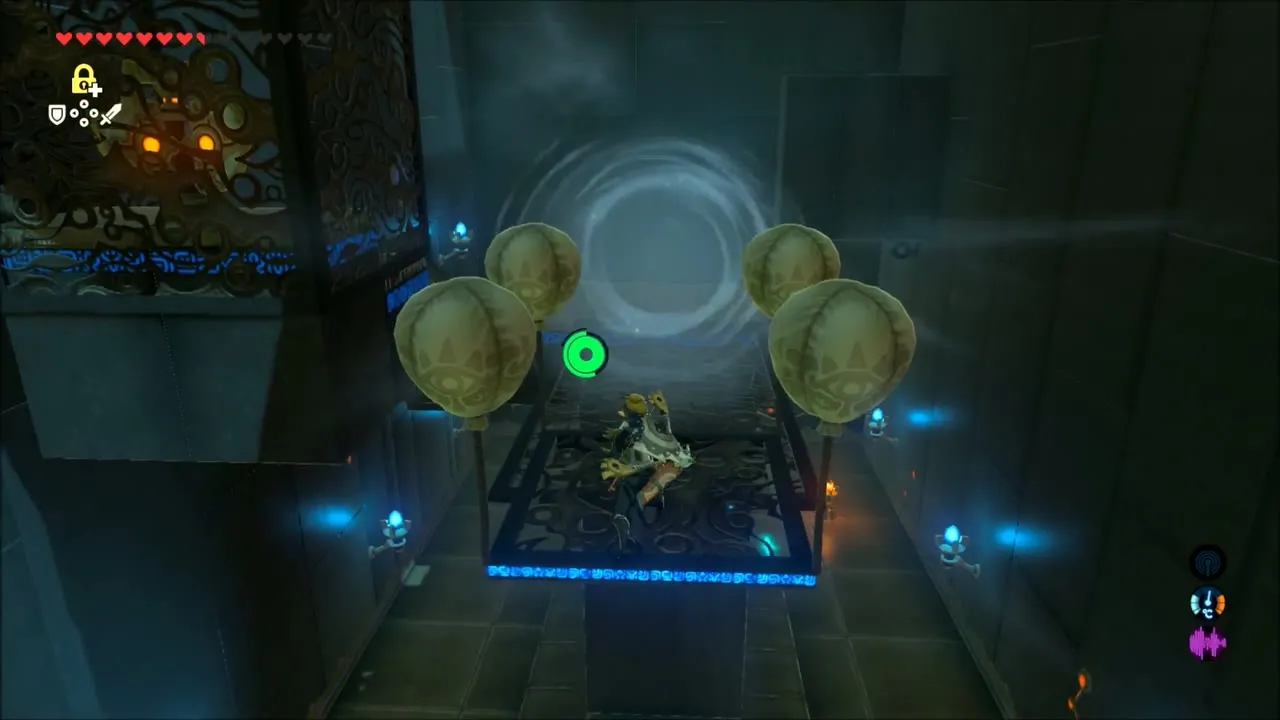
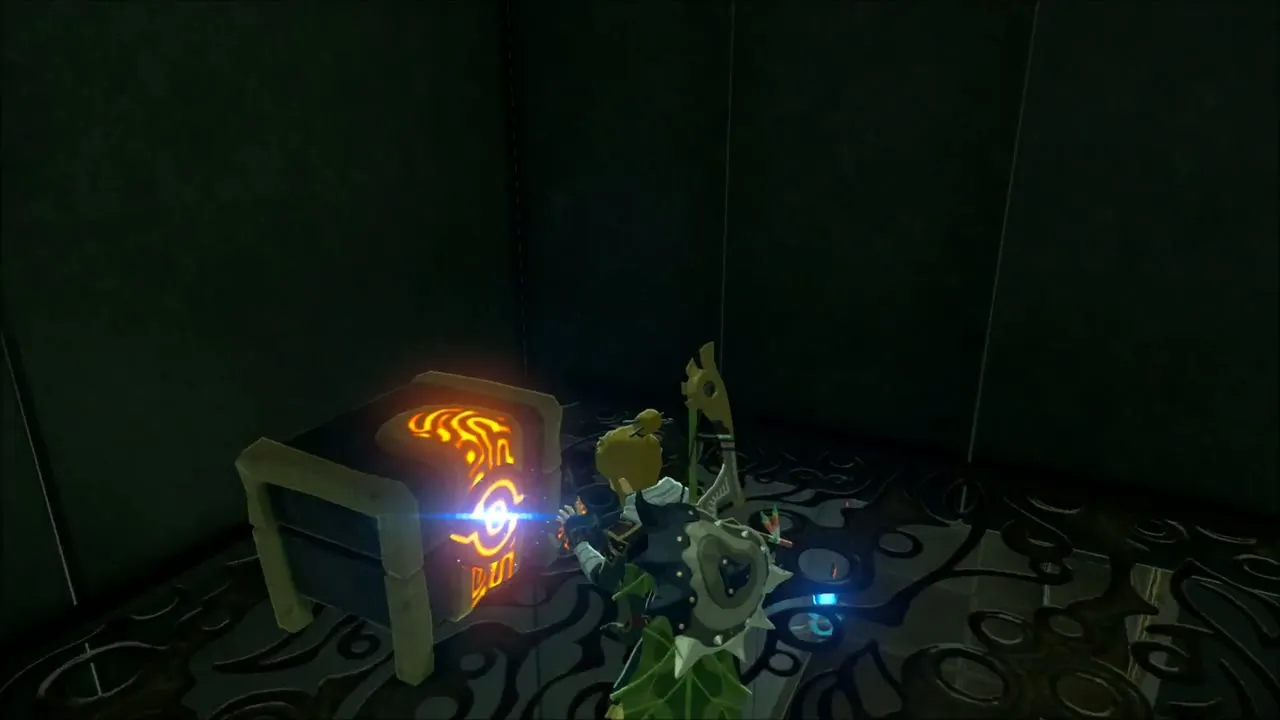
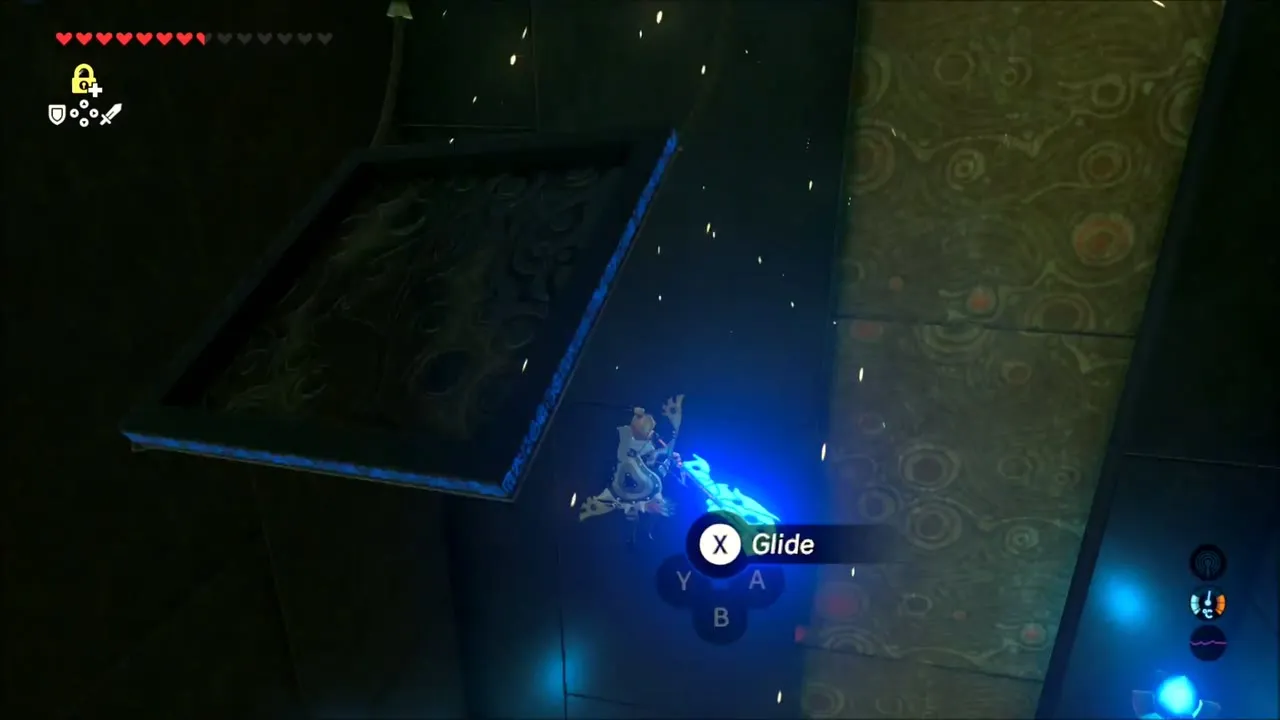
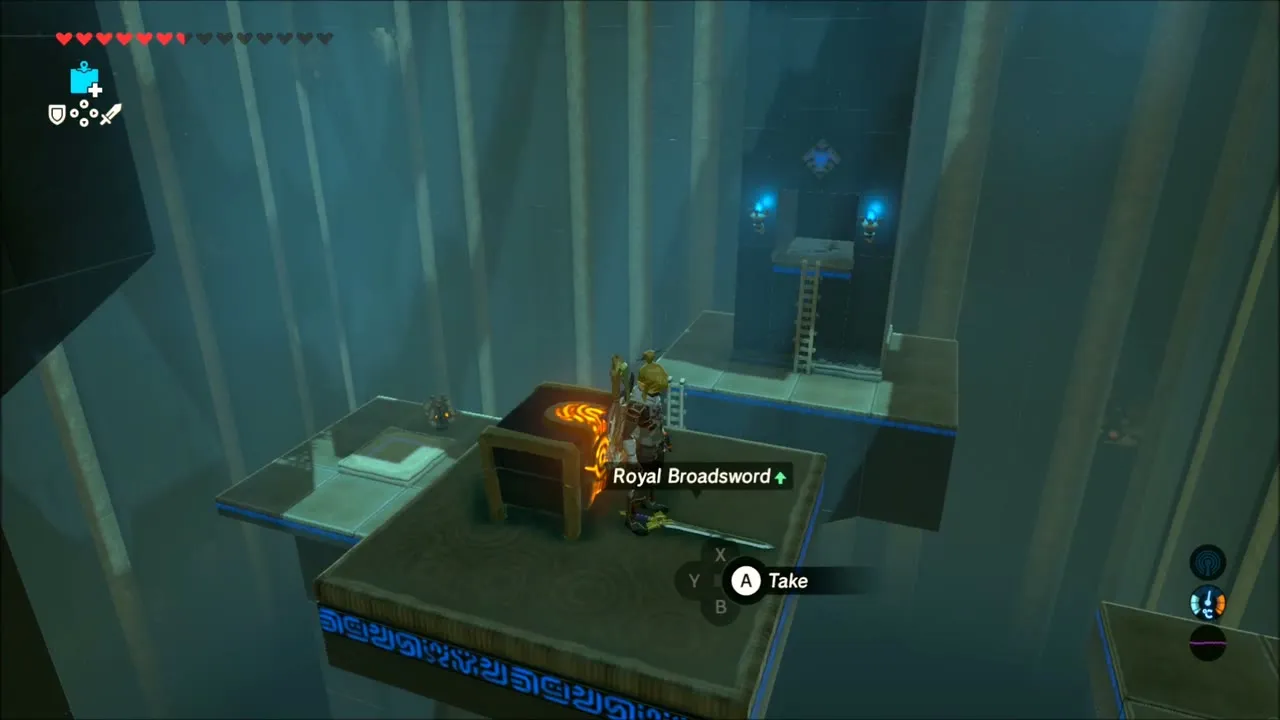
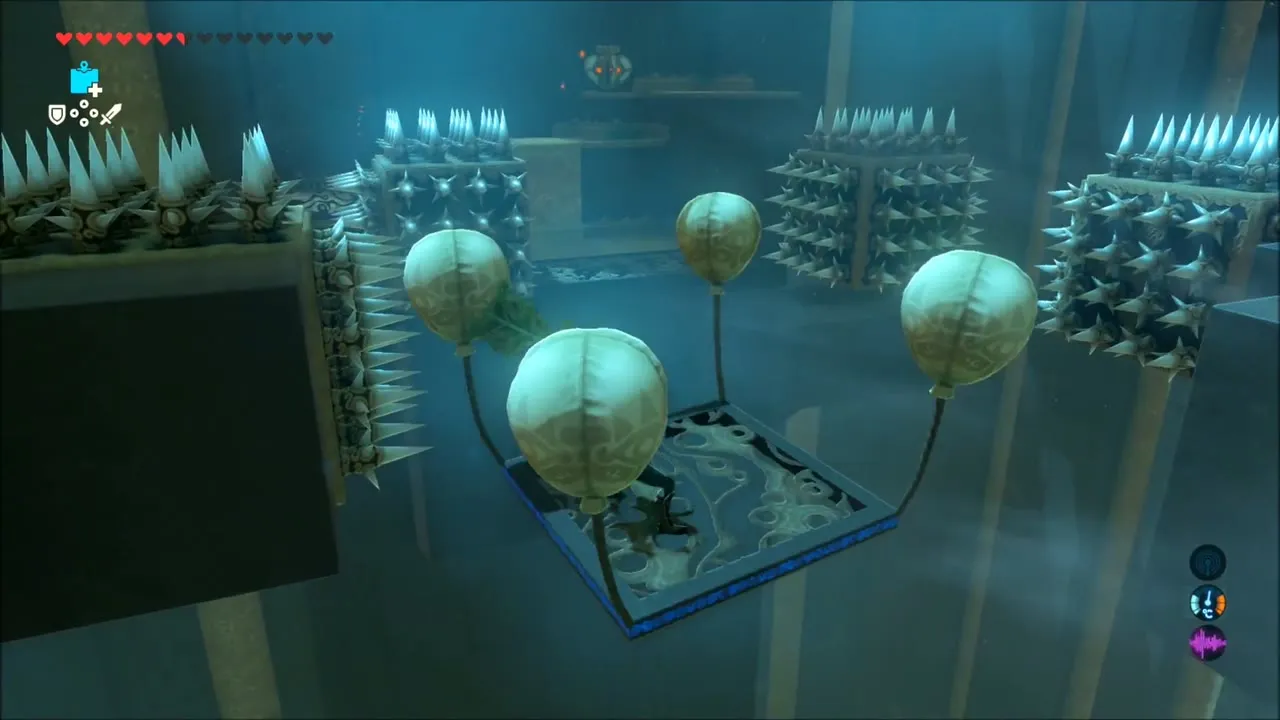
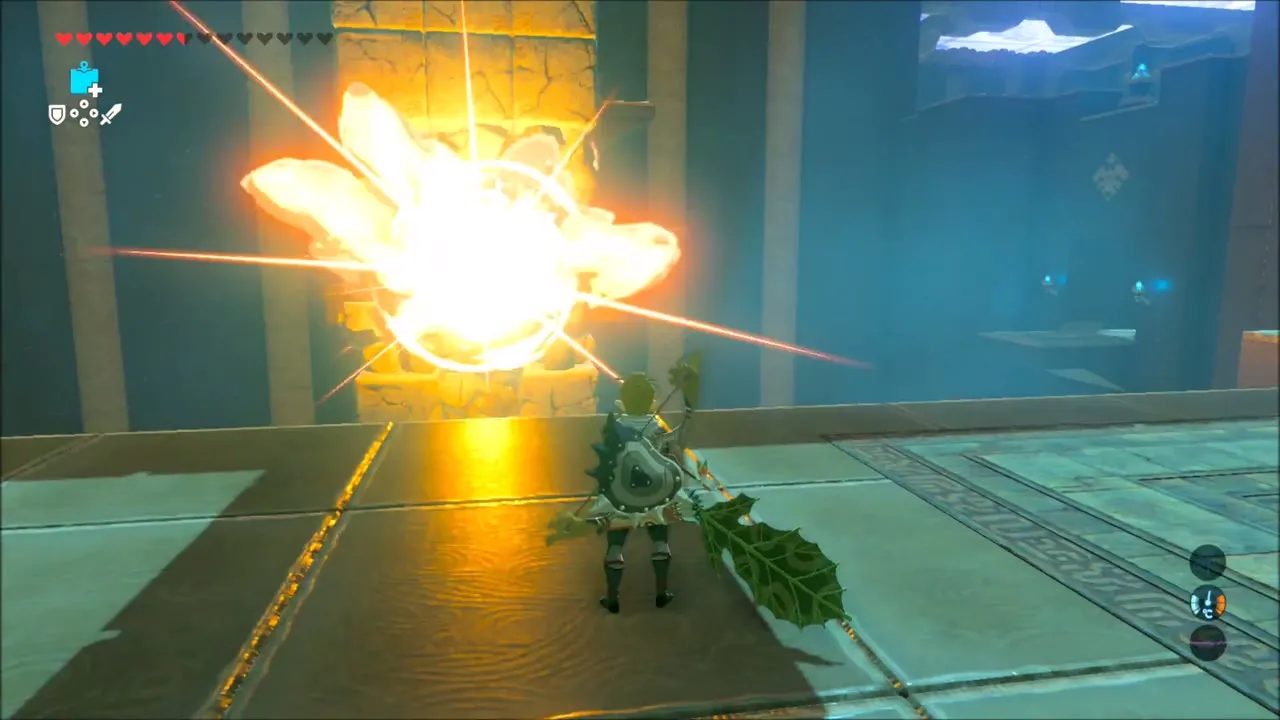
Ride the next balloon platform between the spiked walls to a chest containing a Giant Ancient Core. Bomb the cracked pillar so the updraft opens, rise up and take the Small Key from the chest at the top.
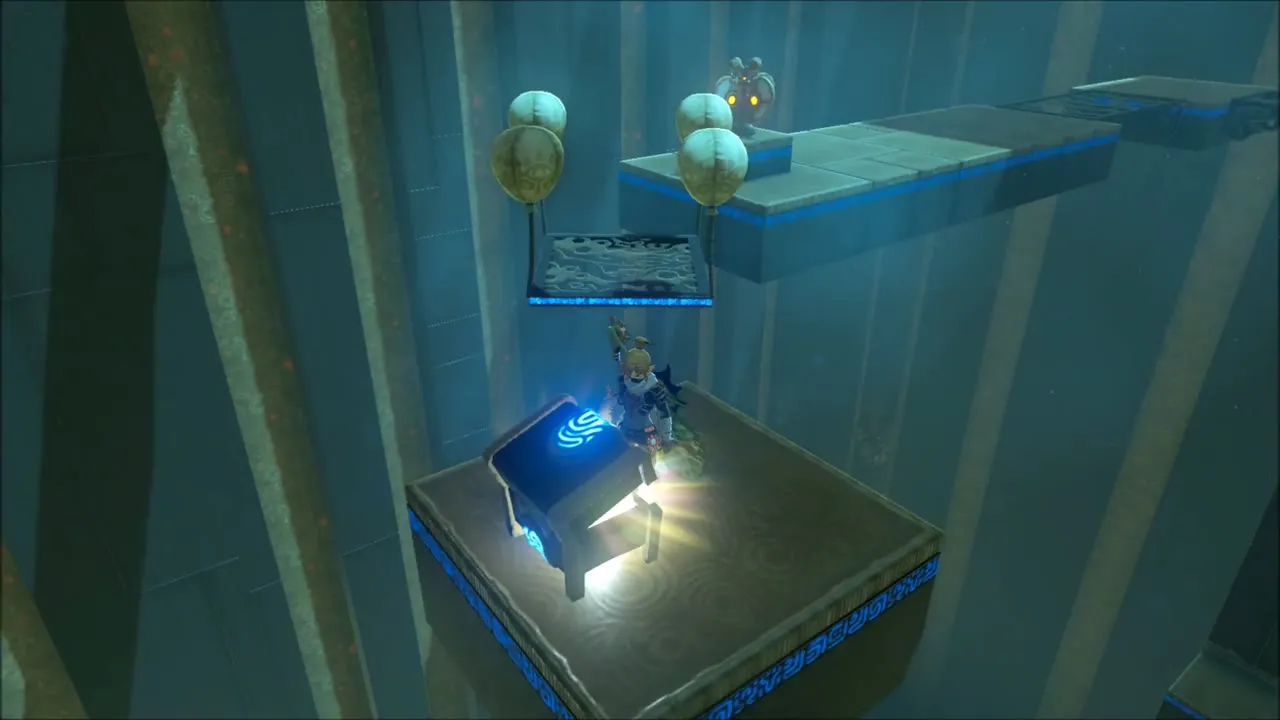
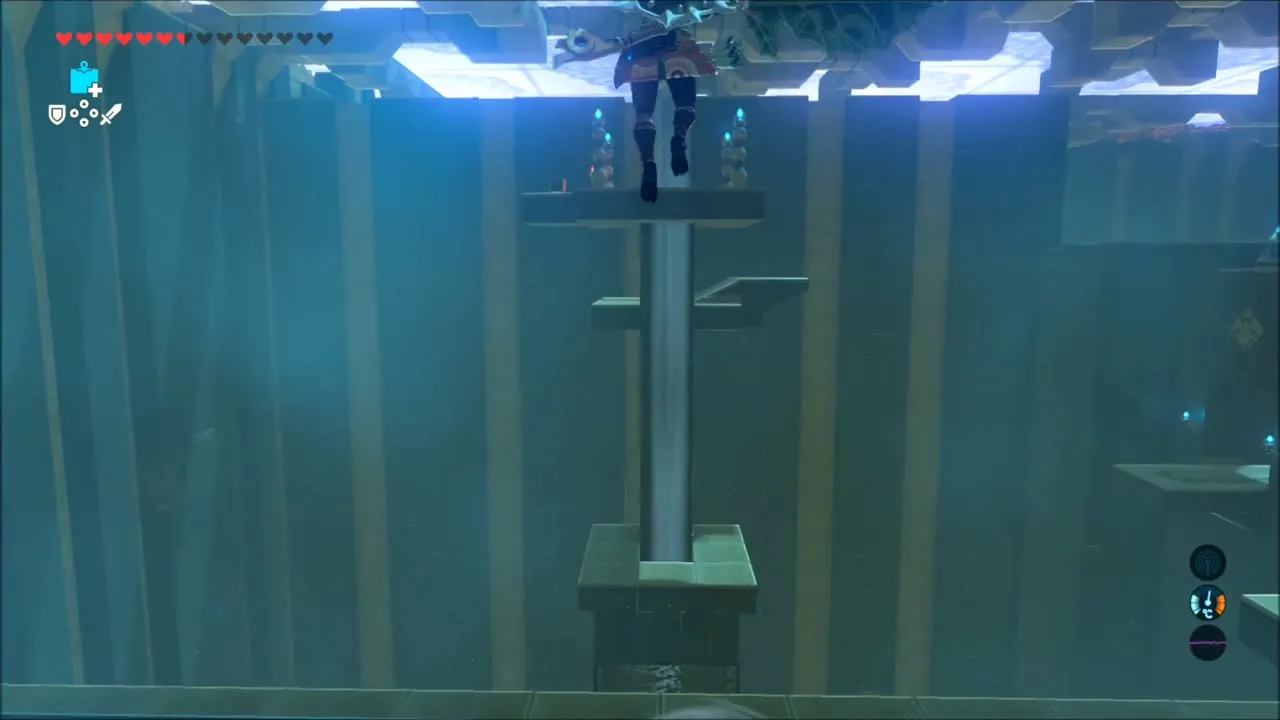
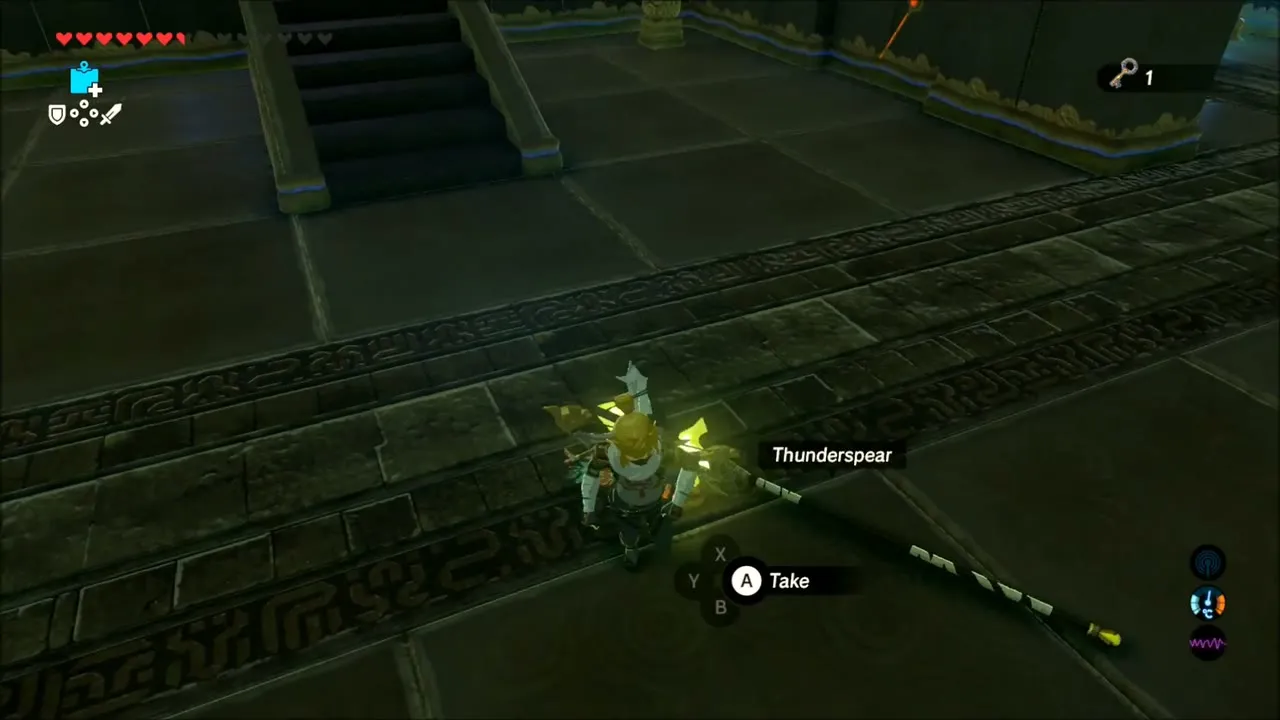
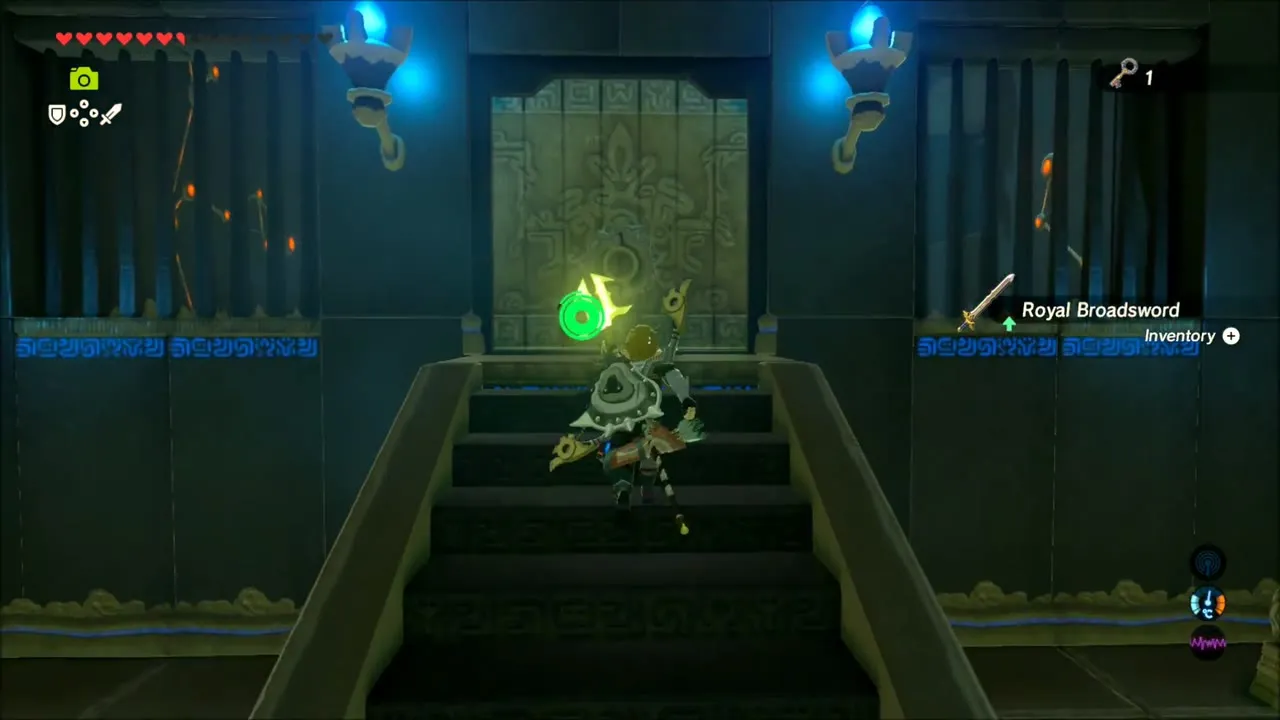
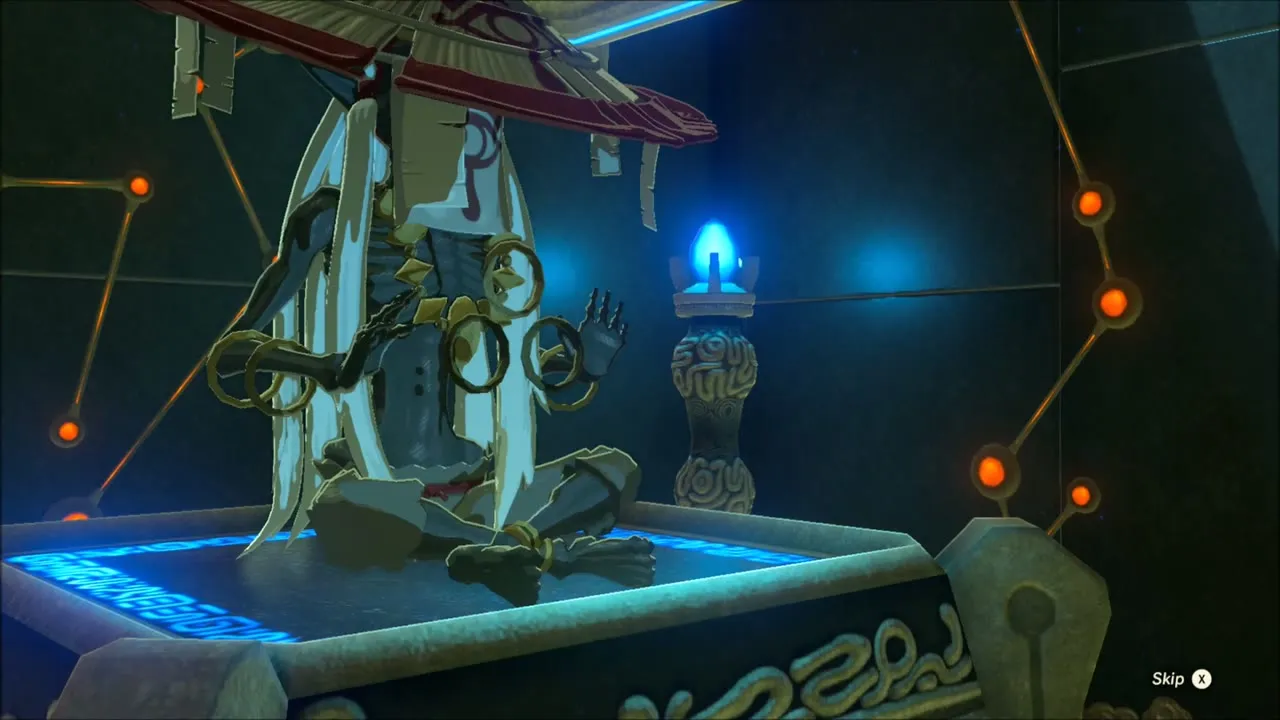
Glide to the top-left corner of the next room for a chest holding a Thunderspear, then drop down to the locked door, unlock it and speak to the monk at the end of the hall to get your Spirit Orb.
Korok Seed in the Flower Meadow
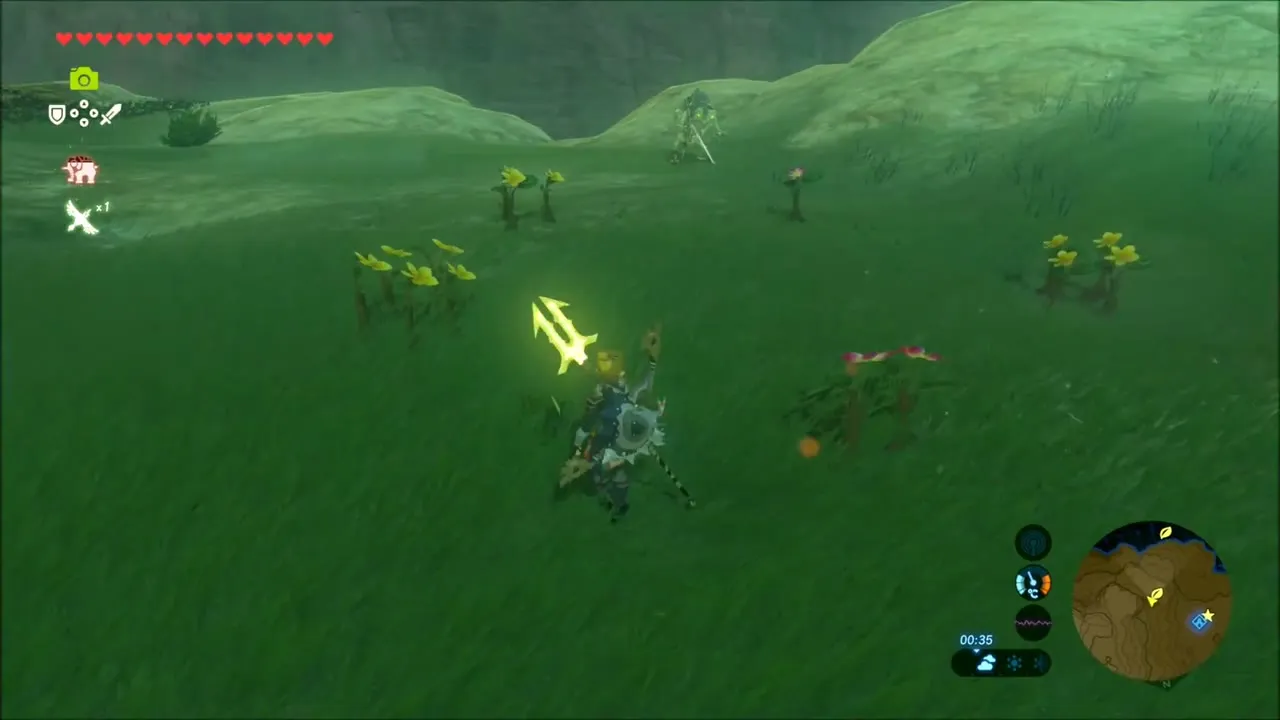
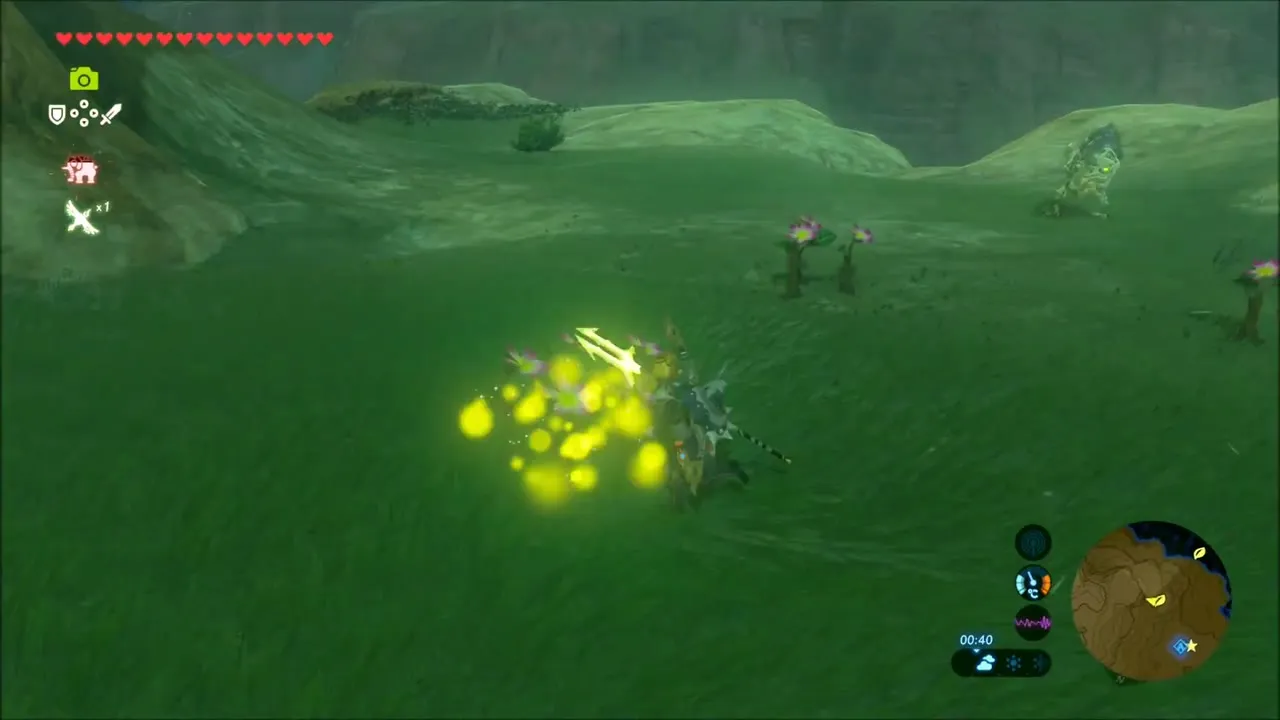
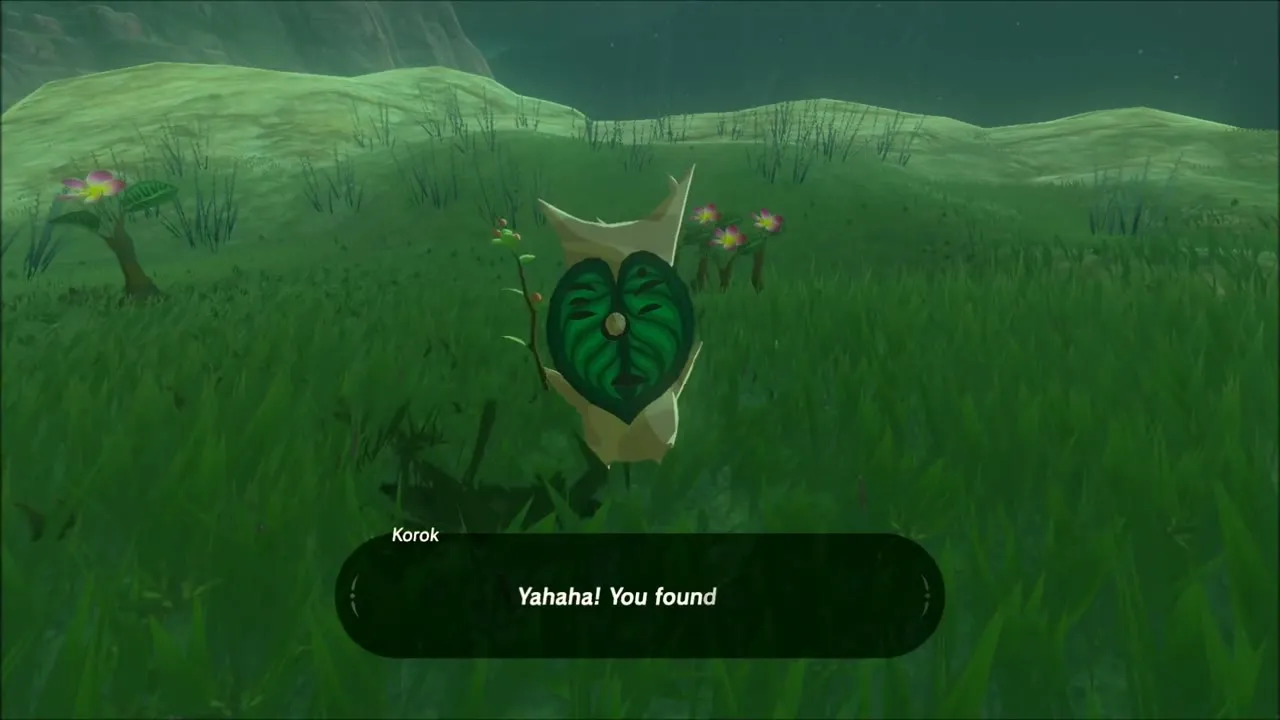
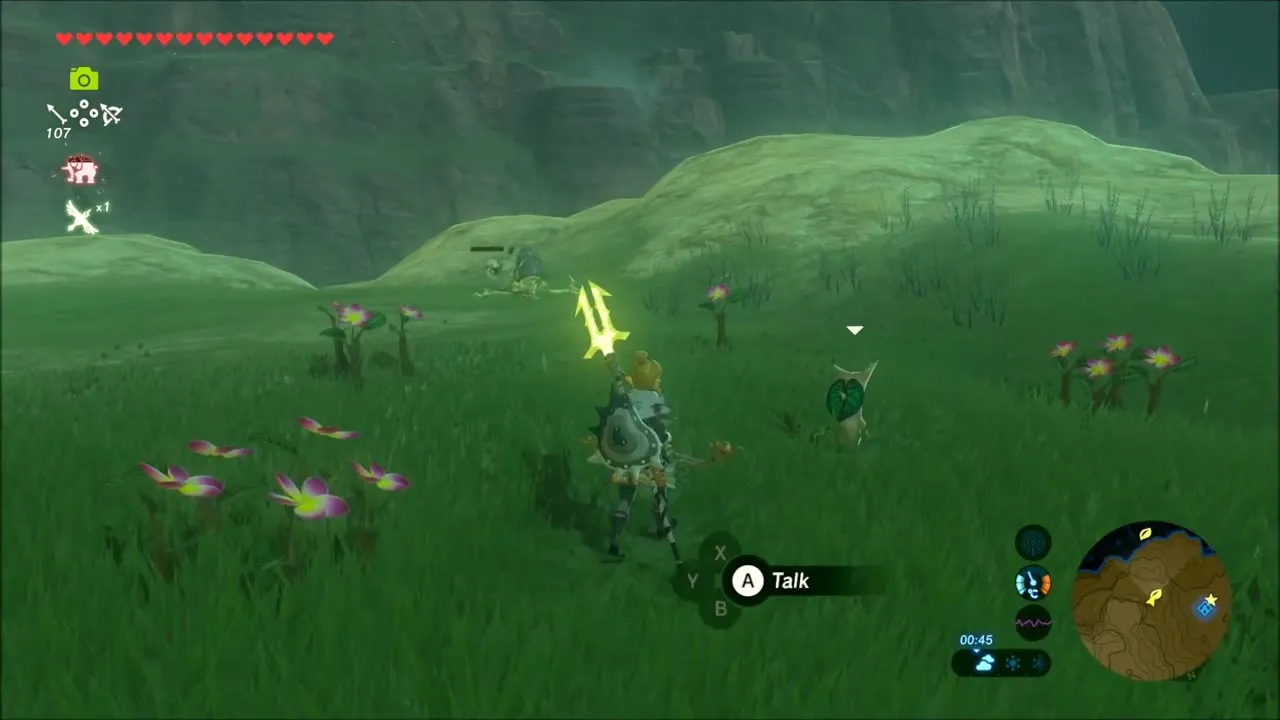
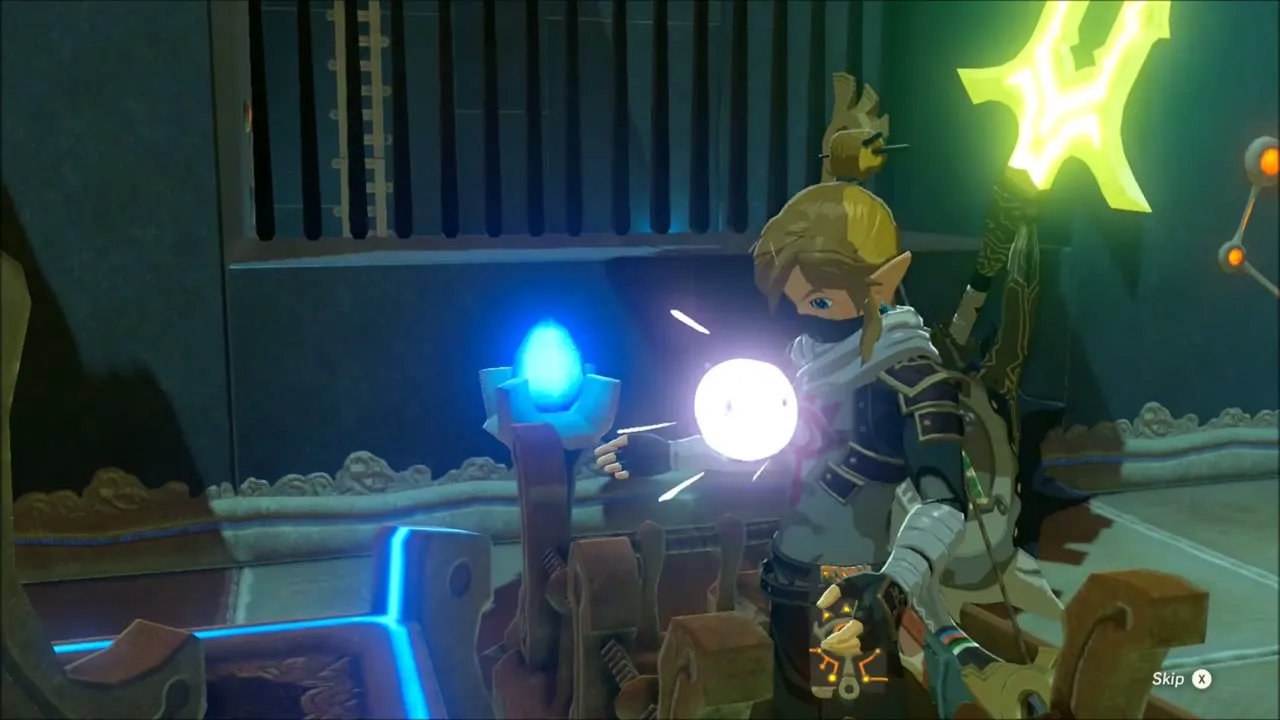
Leaving the shrine takes you out onto the hillside again. Cross the slopes and follow the line of yellow and pink flowers across the meadow to the end. It leads to a Korok, who gives you another seed.