100% Completion Walkthrough21 chapters
- Great PlateauAll 4 Shrines, the Paraglider and Korok Seeds
- Kakariko Village and Dueling PeaksSeek Out Impa, Shrines and Korok Seeds
- Hateno VillageHateno Tower, the Ancient Tech Lab, Link’s House and Shrines
- Zora’s DomainReach Zora’s Domain, Vah Ruta, Lanayru Shrines and Korok Seeds
- Faron and Lurelin VillageLurelin Village, Faron Tower, Shrines and Korok Seeds
- Korok Forest and Master SwordHow to Get the Master Sword, Lost Woods, Shrines and Korok Seeds
- Hebra MountainsHebra Tower, Snowfield Stable, Shrines and Korok Seeds
- Rito Village and Vah MedohVah Medoh, Tabantha Tower, Shrines and Korok Seeds
- Gerudo HighlandsGerudo Tower, Gerudo Summit, Shrines and Korok Seeds
- Gerudo TownForbidden City Entry, the Thunder Helm, Desert Shrines and Korok Seeds
- Vah Naboris and Gerudo DesertThunderblight Ganon and the Gerudo Desert Shrines
- Lake HyliaLake Tower, Farosh, Lake Shrines and Korok Seeds
- Akkala and Tarrey TownTarrey Town, Akkala Tower, Shrines and Korok Seeds
- Death Mountain and Goron CityGoron City, Vah Rudania, Eldin Shrines and Korok Seeds
- RidgelandRidgeland Tower, Shrines, Memories and Korok Seeds
- Central HyruleCentral Tower, Captured Memories, Shrines and Korok Seeds
- Hyrule Castlethe Hylian Shield, Saas Ko’sah Shrine, Zelda’s Diary and Memories
- Calamity GanonLast Side Quests, Destroy Ganon and the Final Boss
- All Hinox, Talus and Molduga LocationsEvery Hinox, Stone Talus and Molduga, for Kilton’s Medals of Honor
- Trial of the Sword and EX TreasuresThe Trial of the Sword and every EX Treasure location (DLC Pack 1)
- Champions’ BalladOne-Hit Obliterator, Champion Trials and the Final Trial
| Region | Ridgeland |
|---|---|
| Shrines | 7: Zalta Wa Shrine, Sheem Dagoze Shrine, Toh Yahsa Shrine, Mijah Rokee Shrine, Shae Loya Shrine, Keeha Yoog Shrine, Mogg Latan Shrine |
| Sheikah Tower | Ridgeland Tower |
| Korok seeds | 76 |
| Memories | Memory 7, Memory 8 |
| Towns and stables | Tabantha Bridge Stable |
This chapter of the 100% walkthrough covers the Ridgeland region in a route that collects everything along the way: 7 shrines, 76 Korok seeds, the Sheikah Tower and 2 memories, plus the quests, chests and minibosses you meet. Positions are map coordinates (x grows east, z grows south).
Death Mountain Lava Rails, Korok Seeds and Gold Rupee
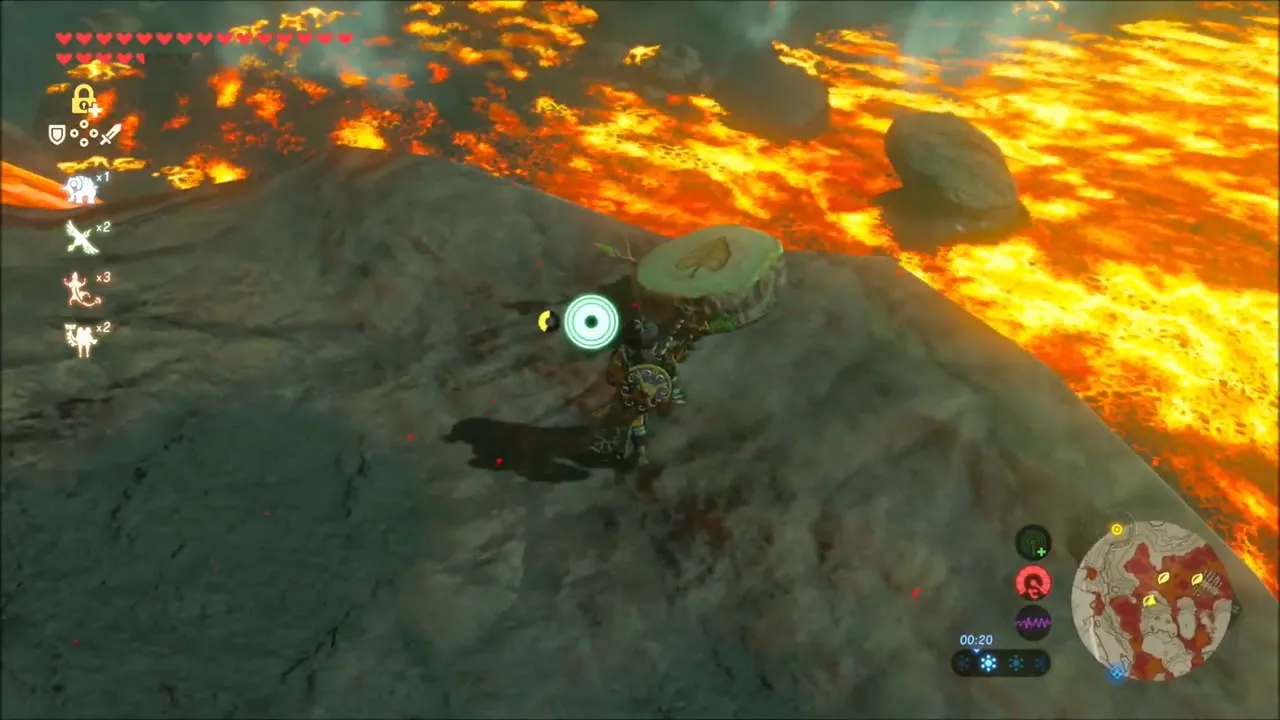
You begin in the lava-filled crater of Eldin, wearing fire protection. A rail cart runs along a track over the molten lake: climb in and let it carry you across the lava to the rocks on the far side, where amber, flint and other minerals lie along the ledges.


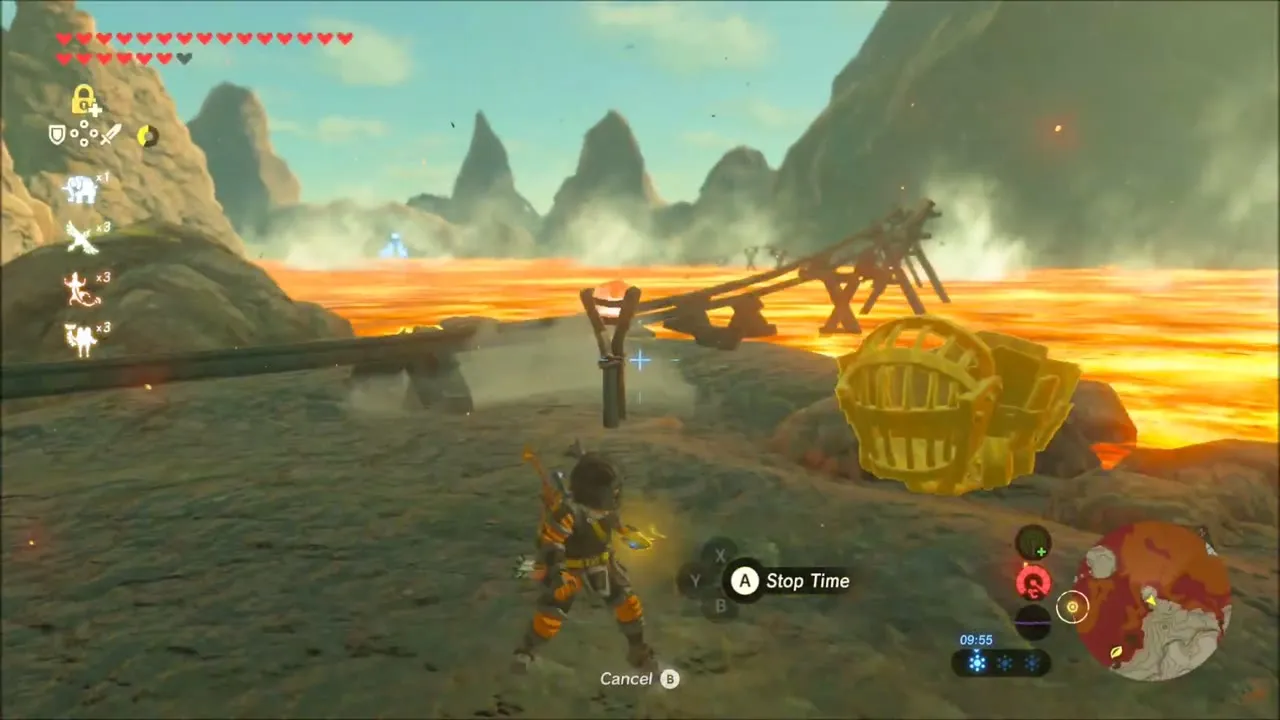

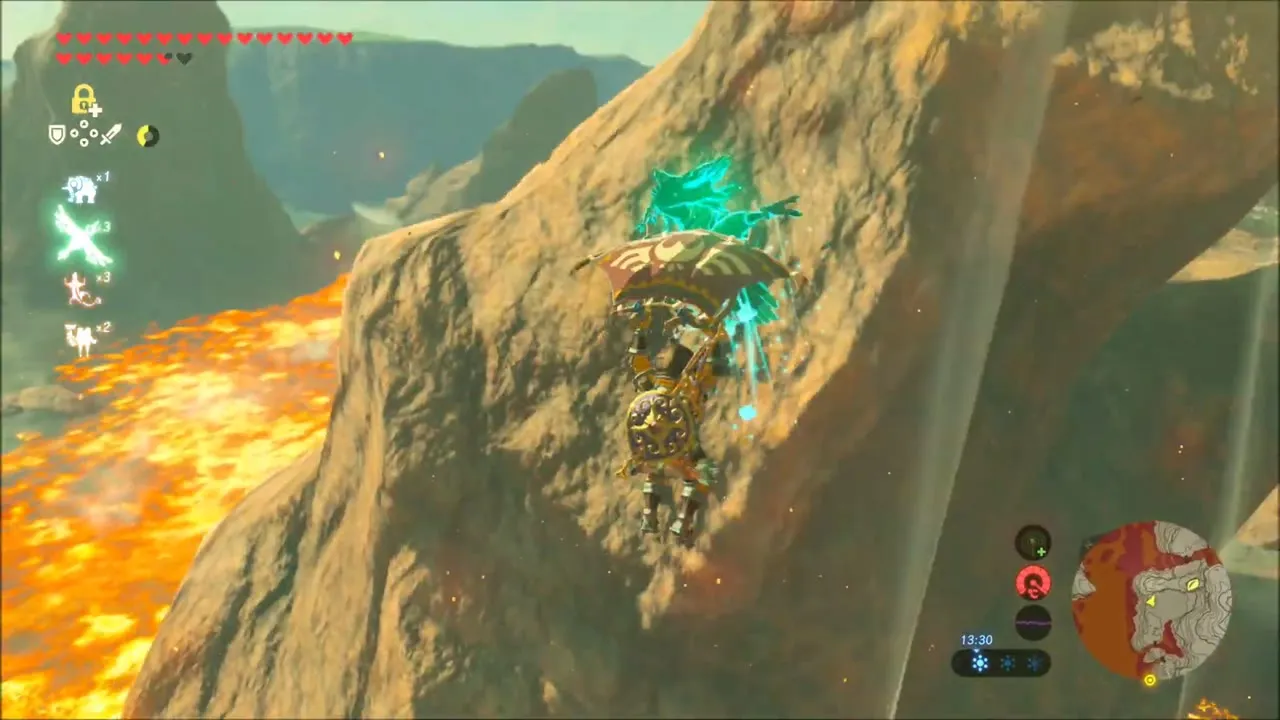
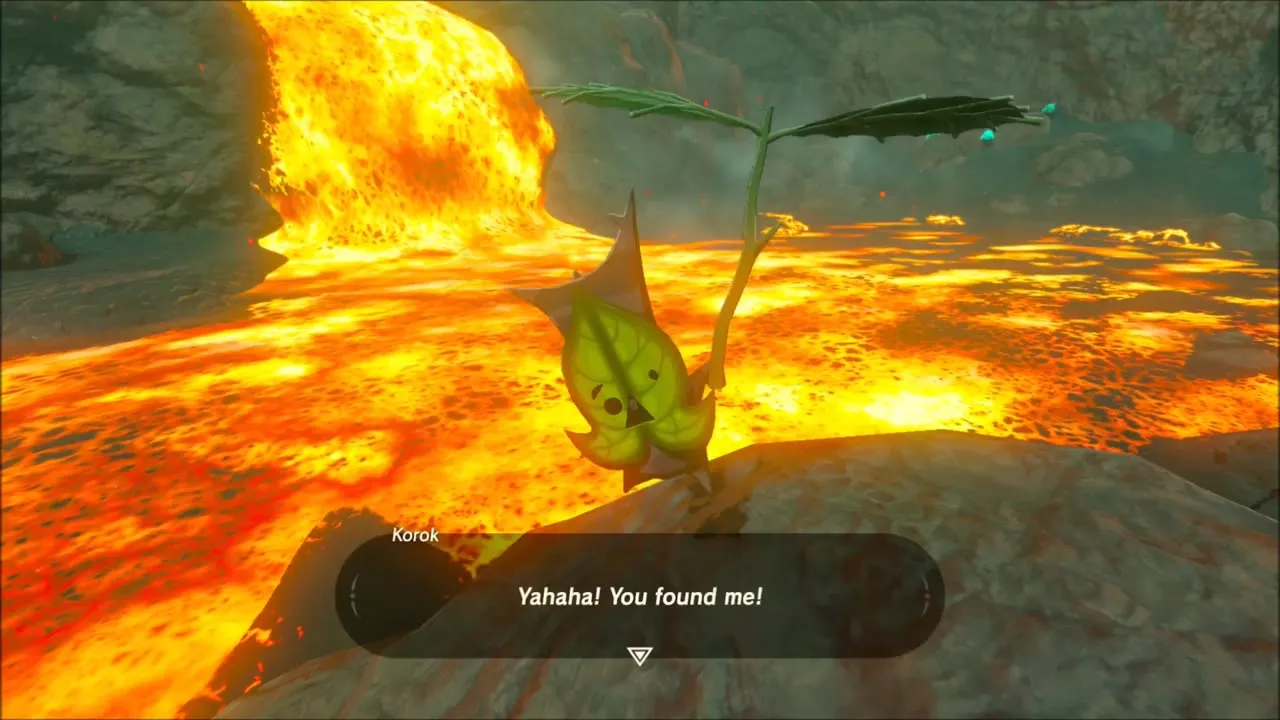
Several Korok seeds are tucked into the rock spires above the lava here. One Korok waits on a narrow ledge at the top of a sandstone ridge, beside a loose rock, and another is in a dark hollow in a cliff wall; you reach both by climbing and gliding between the pillars.


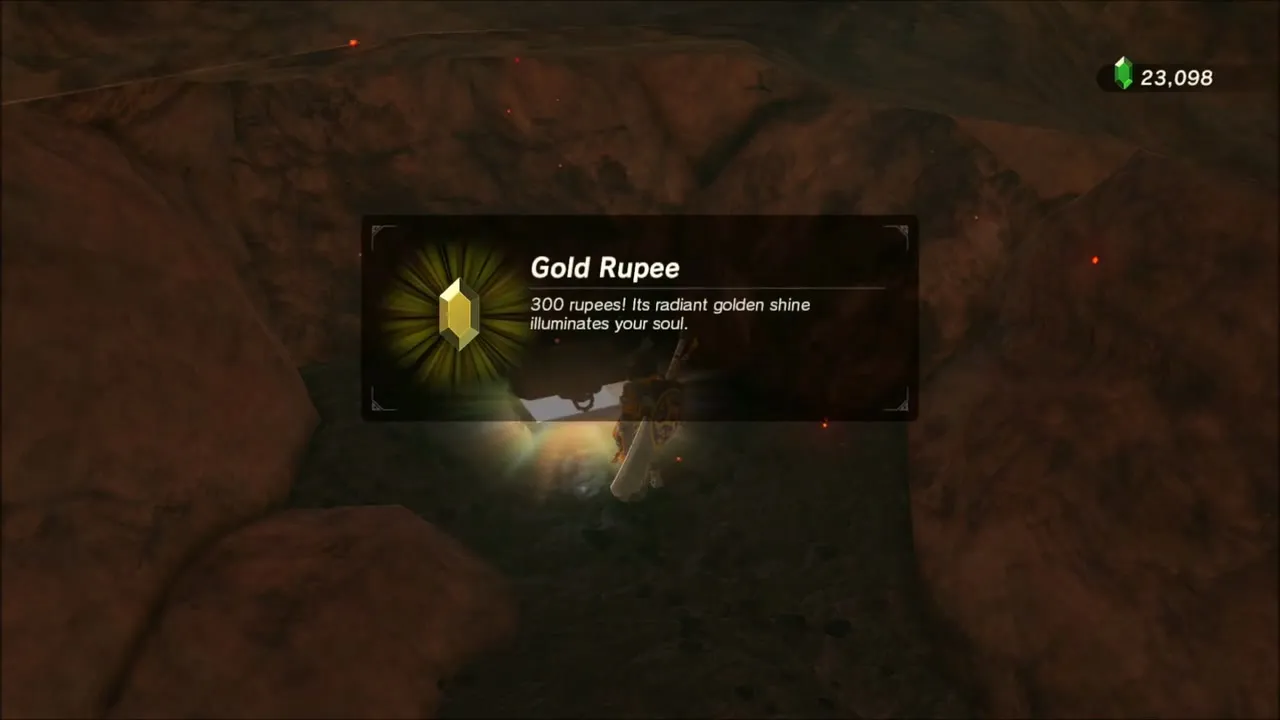
Keep working along the lava shore. A small cave hides a Gold Rupee (300 Rupees), and another Korok seed sits on the volcanic rocks nearby. Red Chuchus, Fire Keese and Lizalfos roam this area, so keep your fire protection and weapons ready.
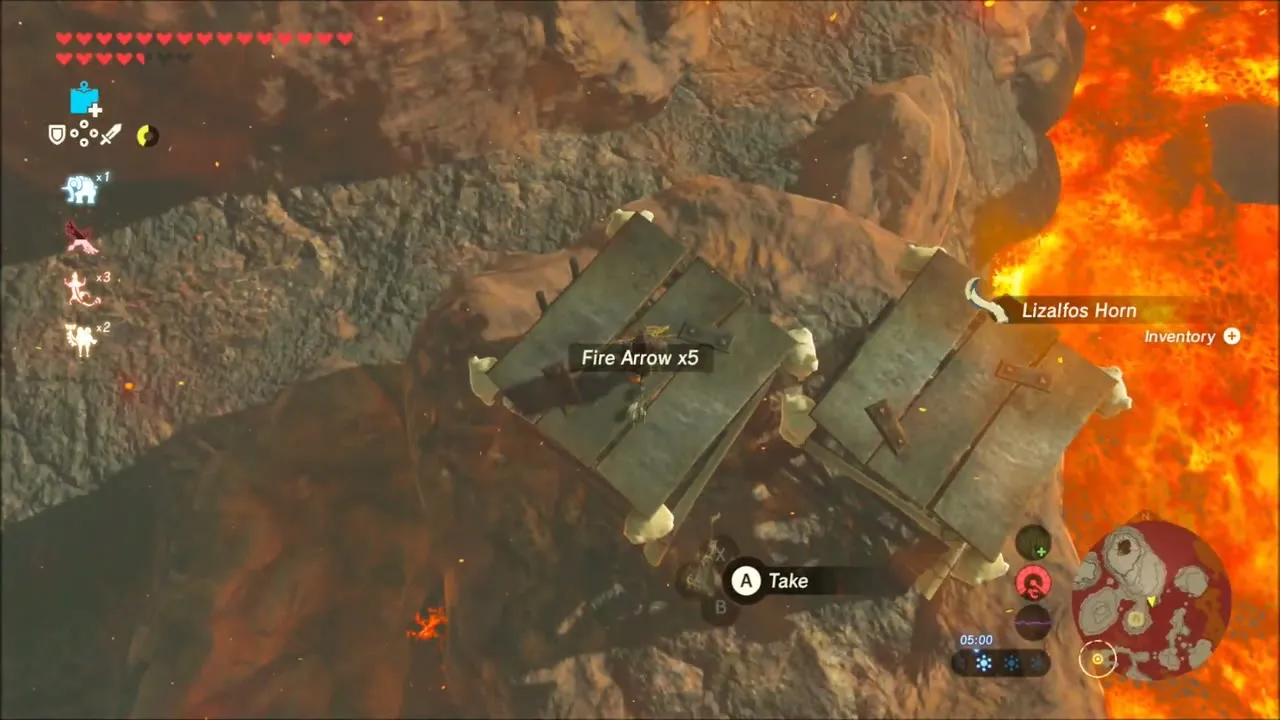
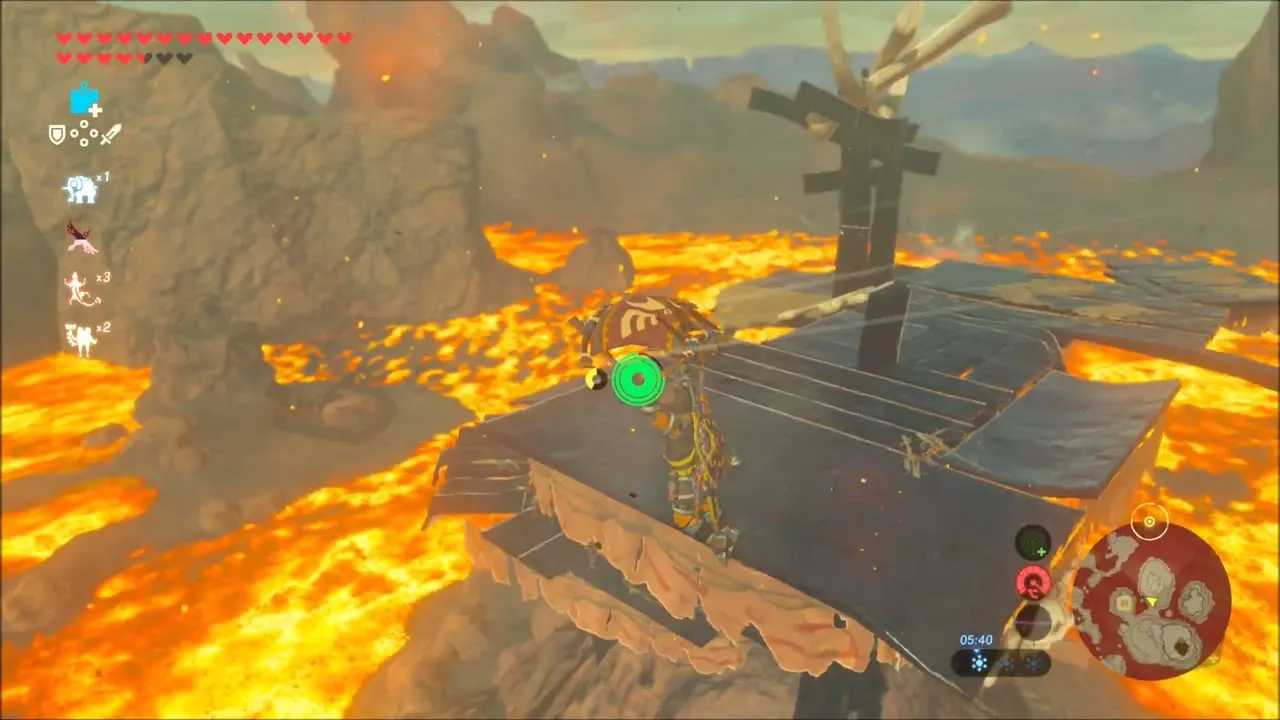
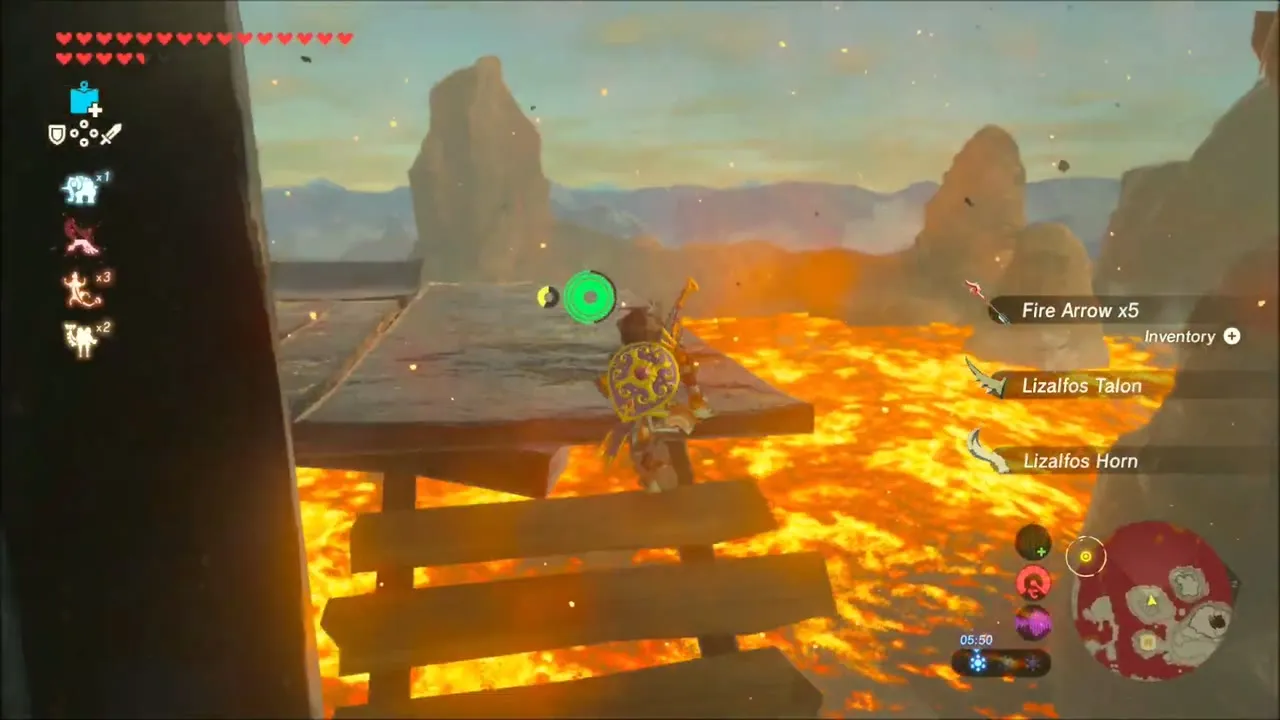
At a Lizalfos camp built on a wooden platform above the lava, open the chest to take five Fire Arrows. The camp also drops Lizalfos horns, talons and tails.
The Road to Respect: Igneo Talus at Darunia Lake
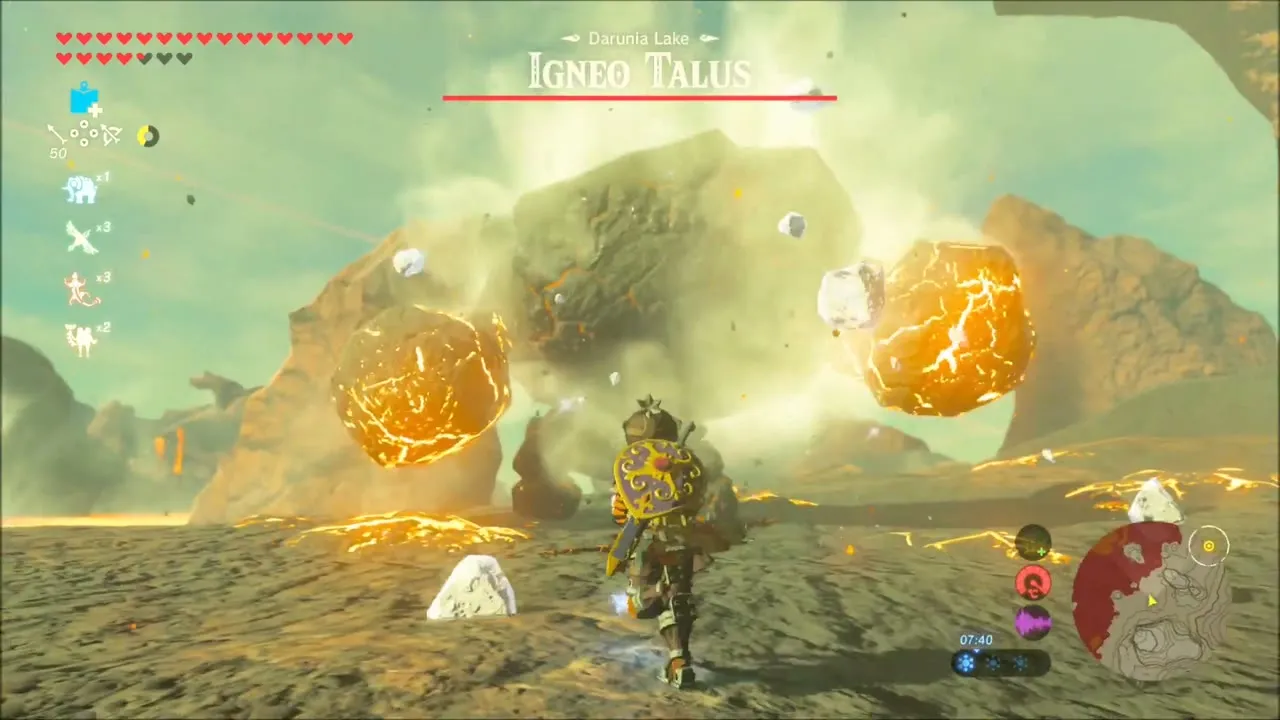
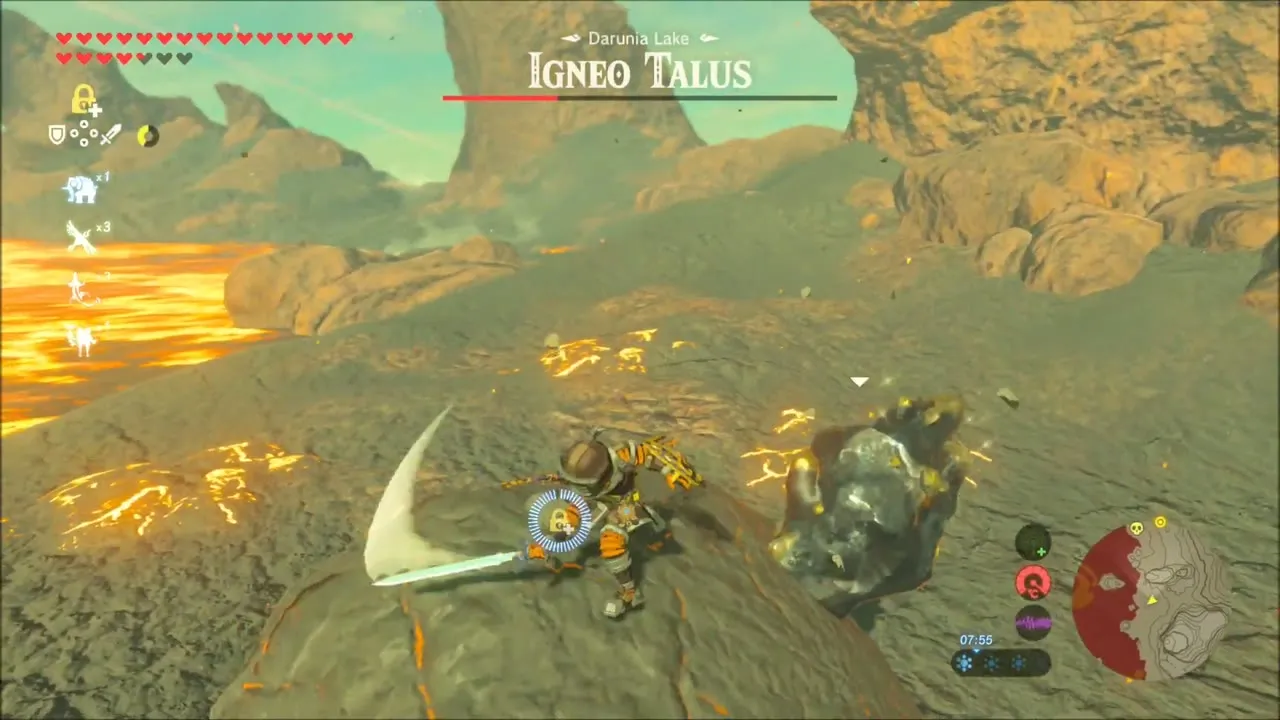
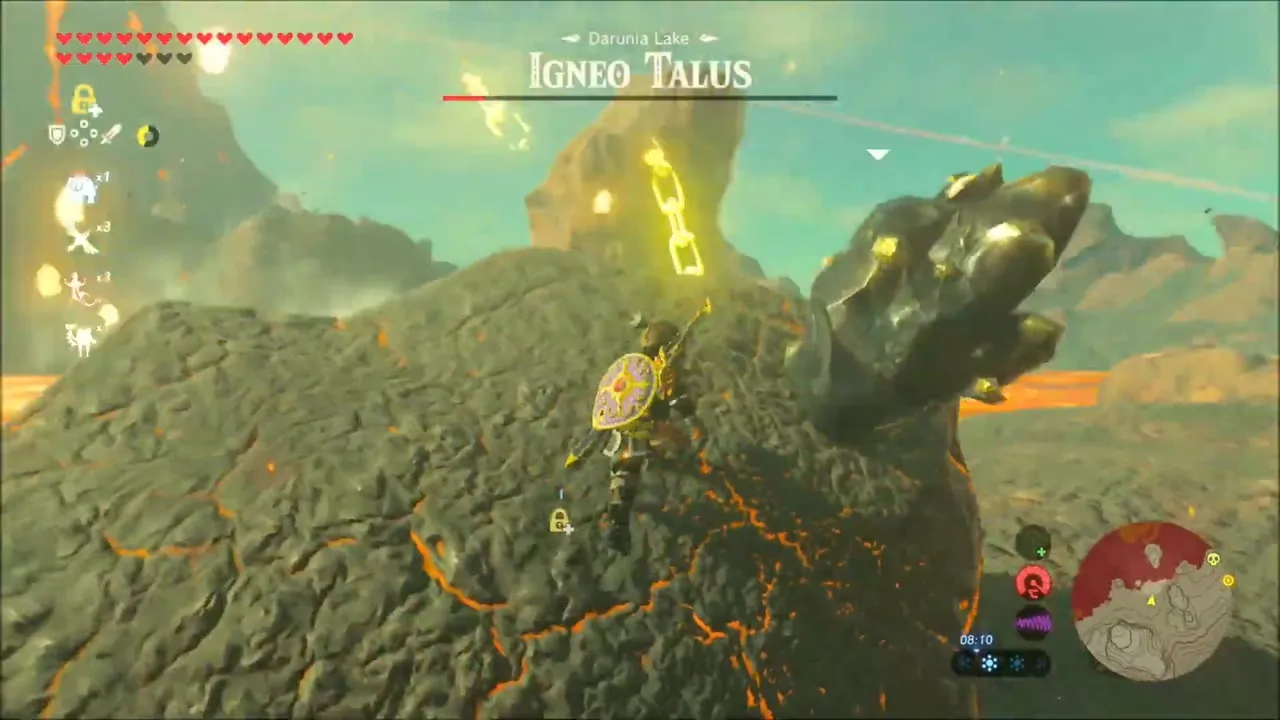
Walk to the shore of Darunia Lake and approach the buried rock. The Igneo Talus rises as you get close; keep clear of its fists and strike the ore deposit on its back until it collapses. That completes the first task of The Road to Respect.

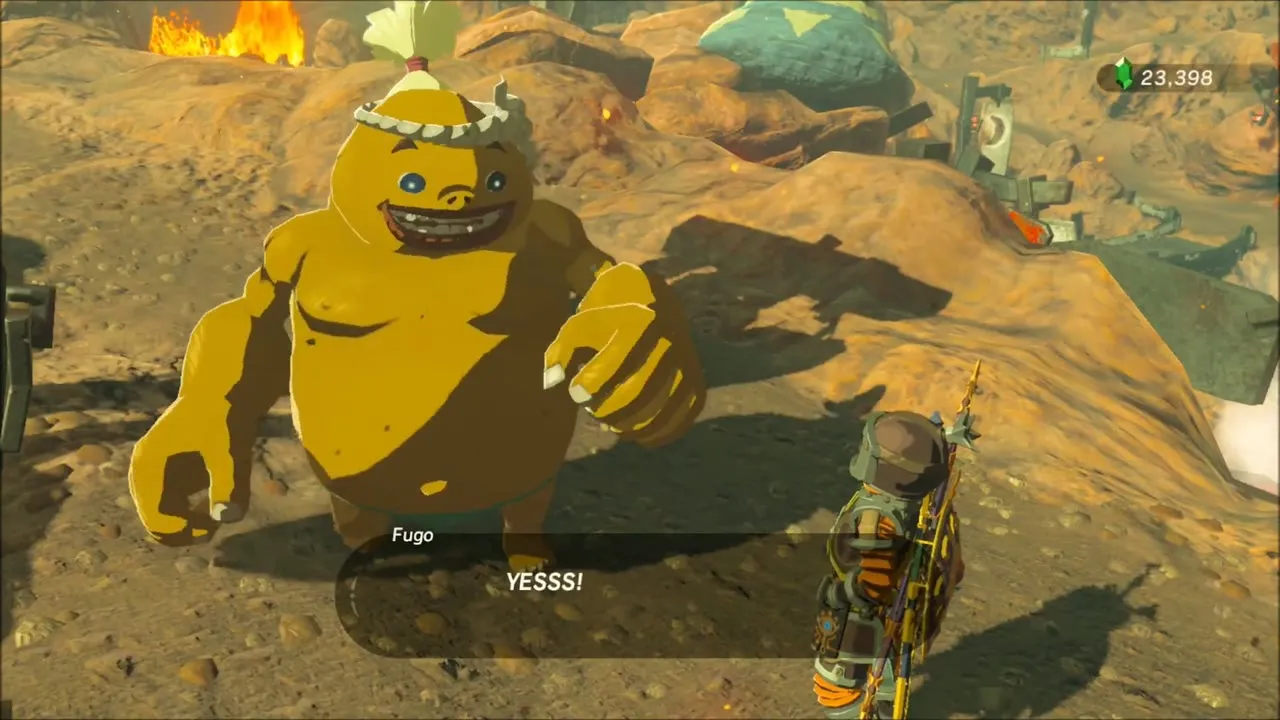
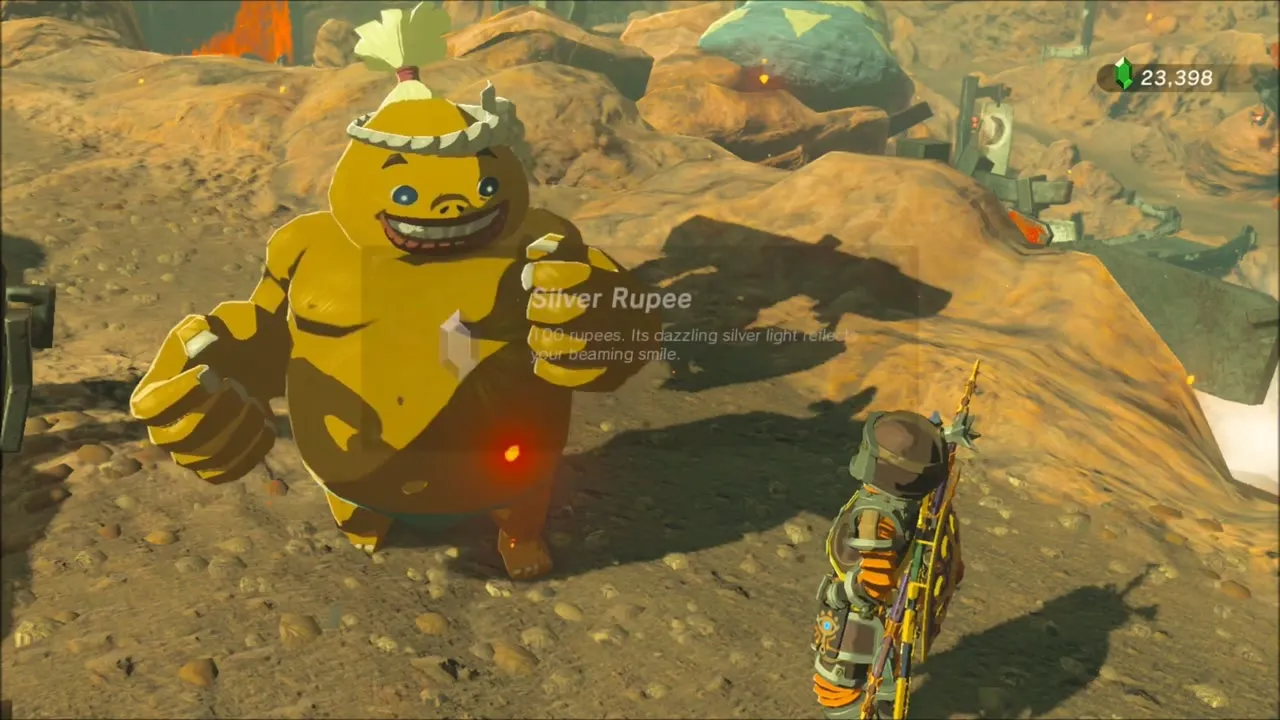
Return to Fugo in Goron City. He cheers when he hears the news, and the quest pays a Silver Rupee (100 Rupees).

Death Mountain’s Secret: Dugby’s Spear
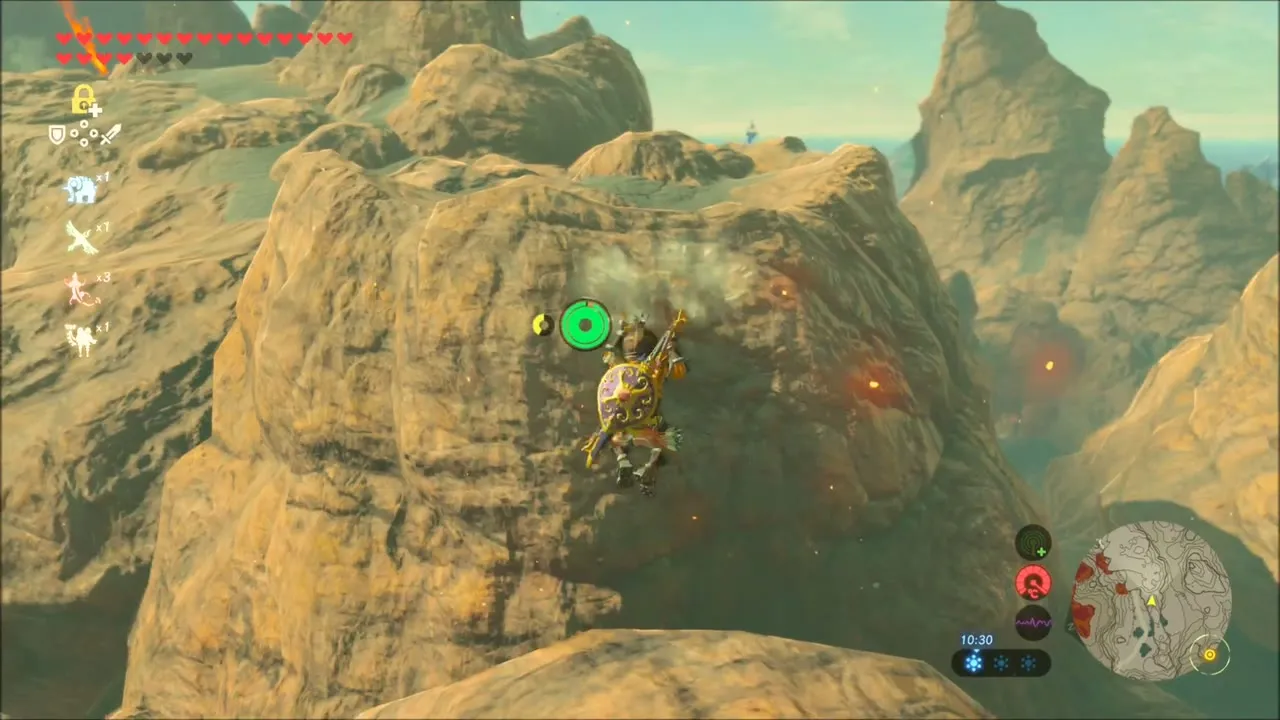
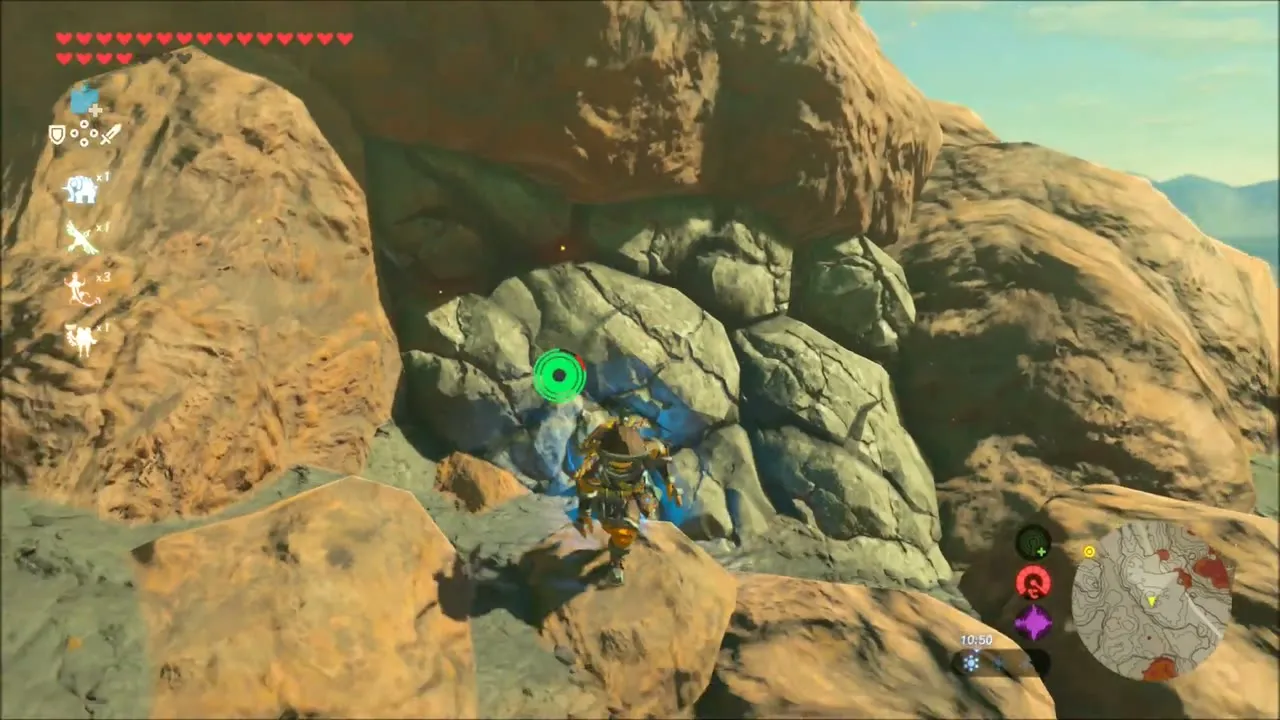
Next, finish Death Mountain’s Secret. Climb the rock face towards the spot where Dugby hid his spear, take it, and bring it back to Dugby at the hot springs to complete the quest.
Rito Village, Rito Stable and the Great Fairy Fountain
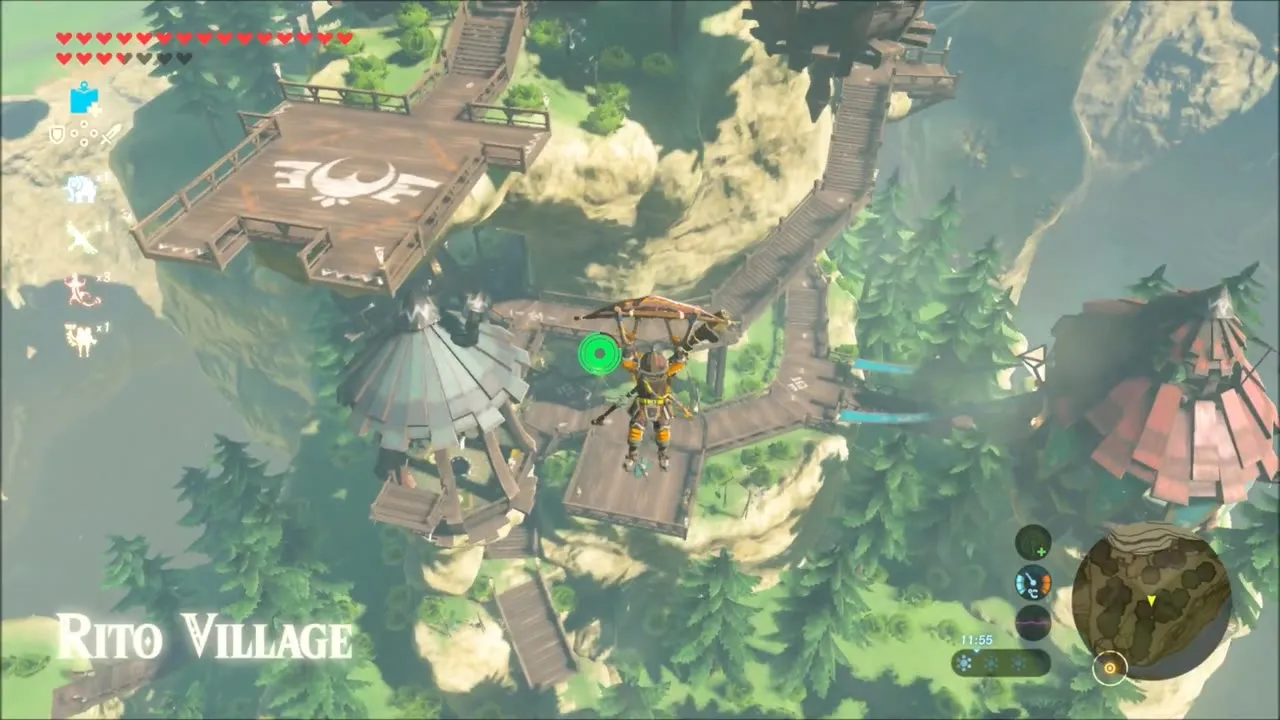
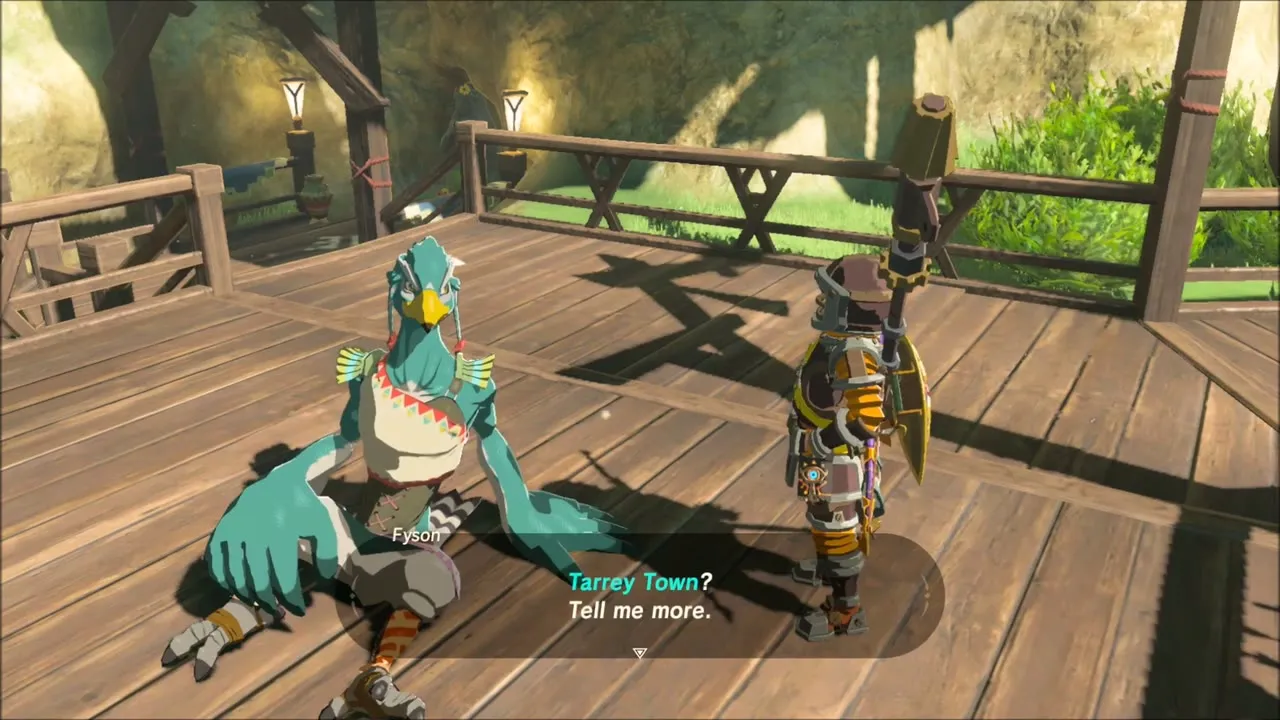
Open your map and travel to Rito Village. Speak to Fyson, who says he will gather items on the way to Tarrey Town and sell them in his new shop; that finishes another task of From the Ground Up.

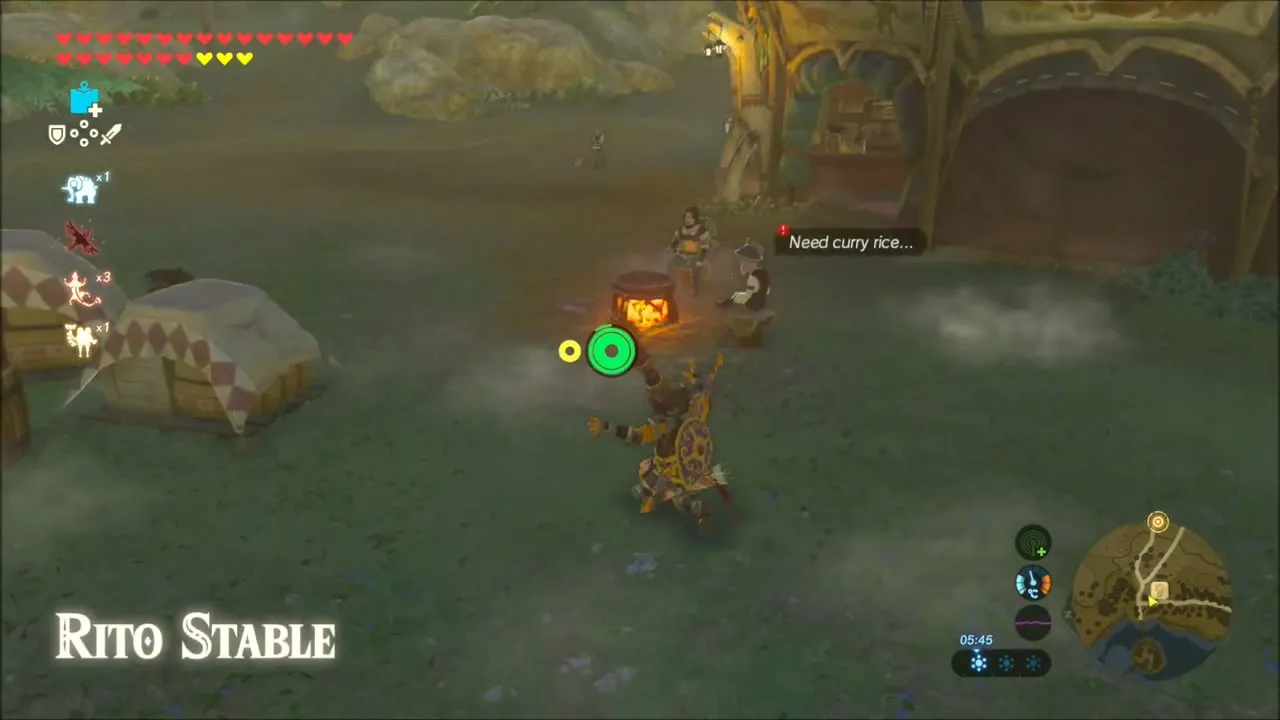
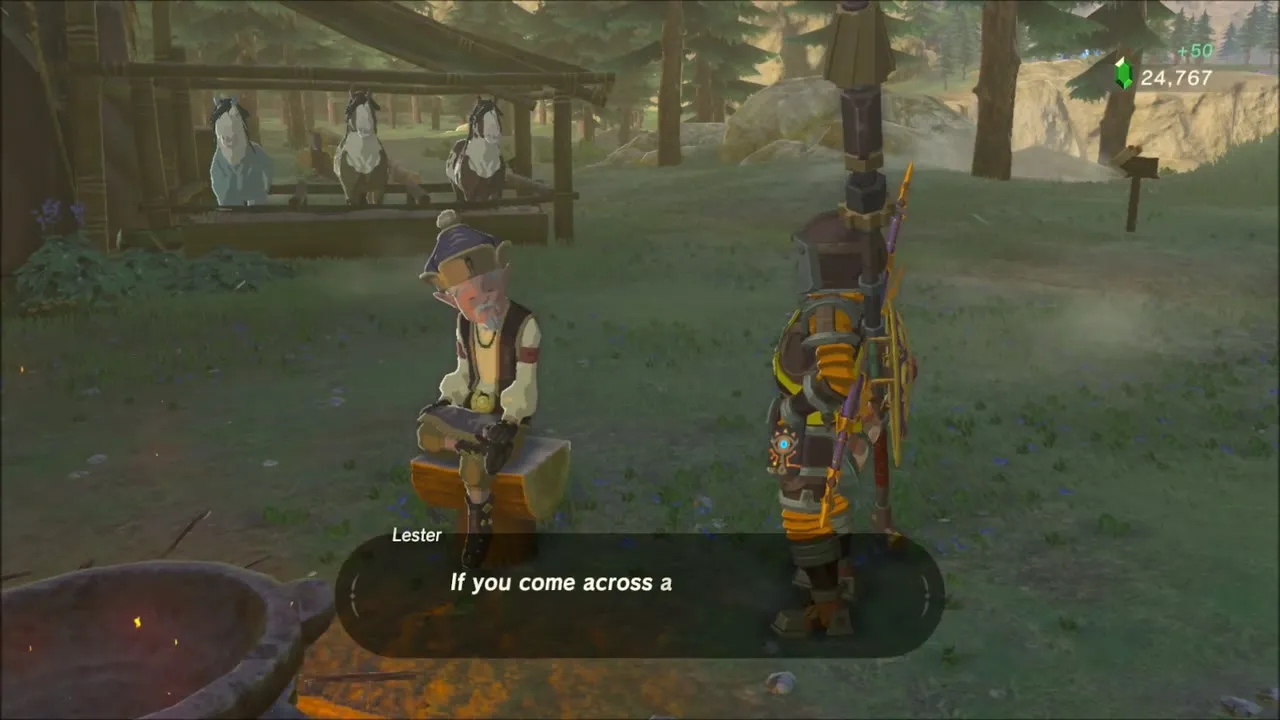
At Rito Stable, talk to Lester again and give him the Goron Spice you bought in Goron City to finish Curry for What Ails You. He pays you a Purple Rupee (50 Rupees).

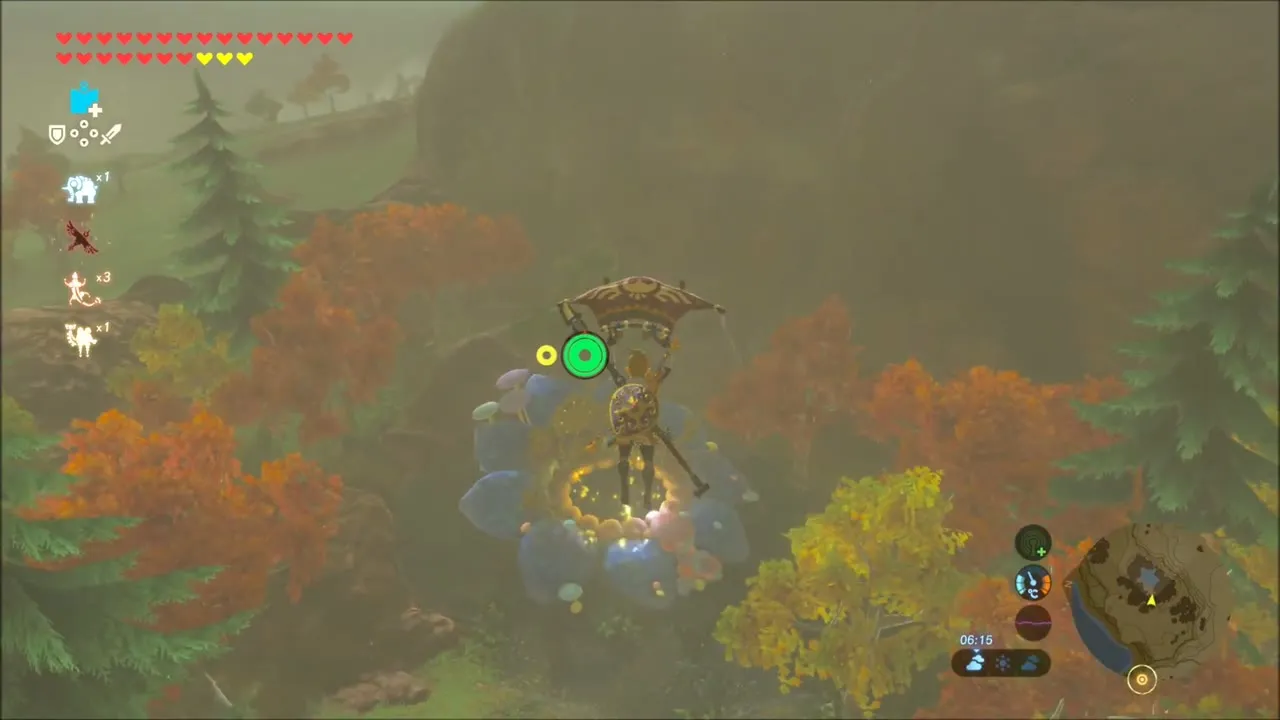
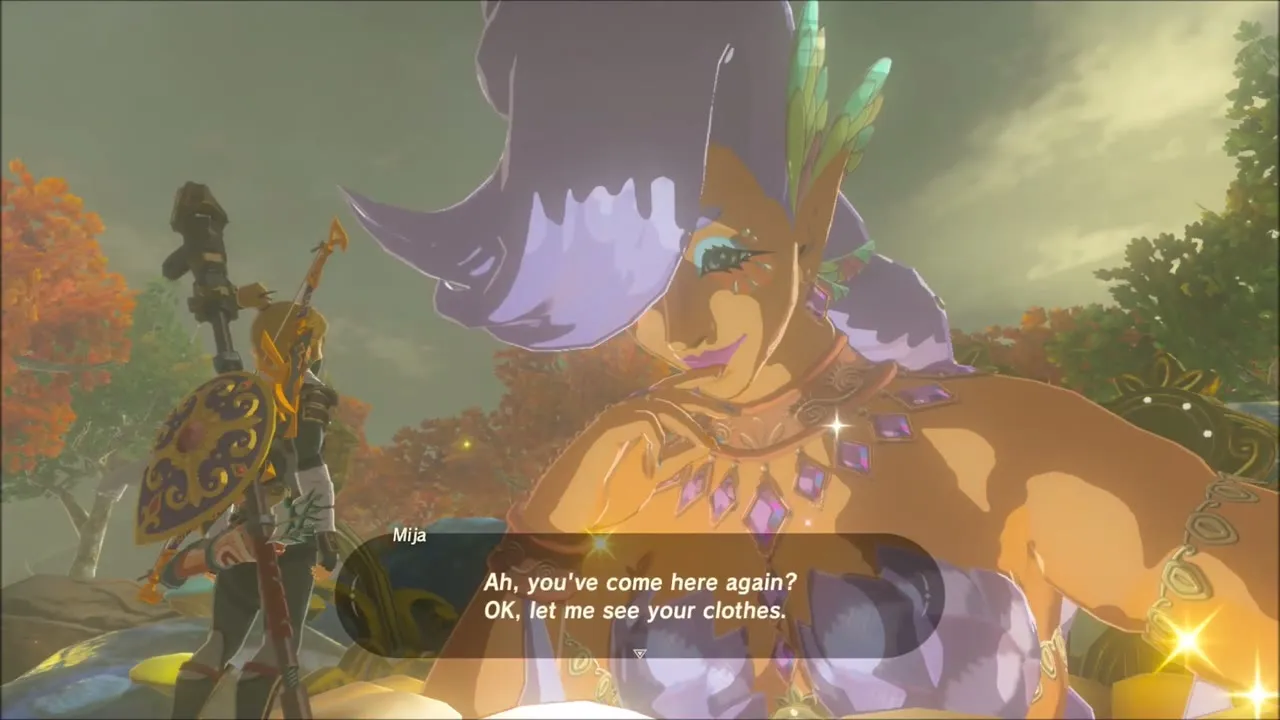
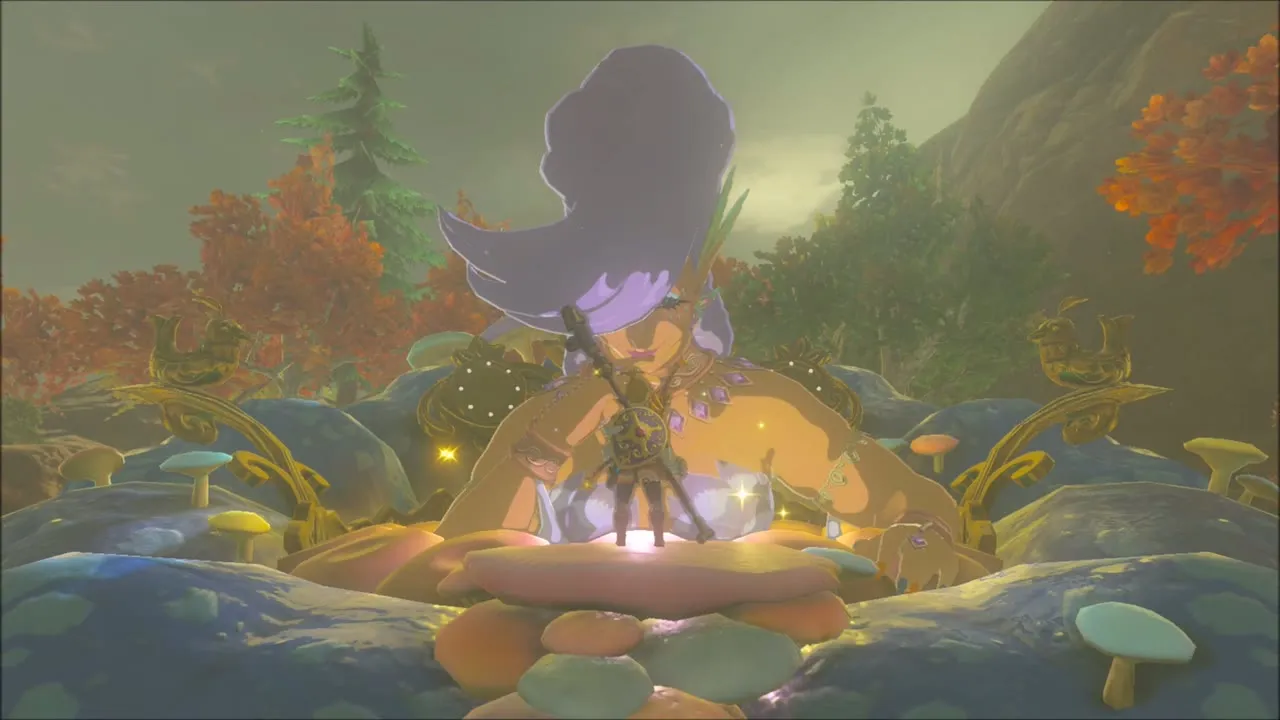
Glide down to the Great Fairy Fountain in Akkala to wake Mija. Pay her fee and she lets you upgrade armor with the listed materials. Costs and locations for all four fairies are on the Great Fairy Fountains page.

Into the Vortex Tablet and Wood for Hudson
Equip the Zora Helm for the swim and cross the water to the ruins on the shore of Malin Bay, where the stone tablet starts the shrine quest Into the Vortex. It tells you to carry the ancient orb to the middle of Rist Peninsula.



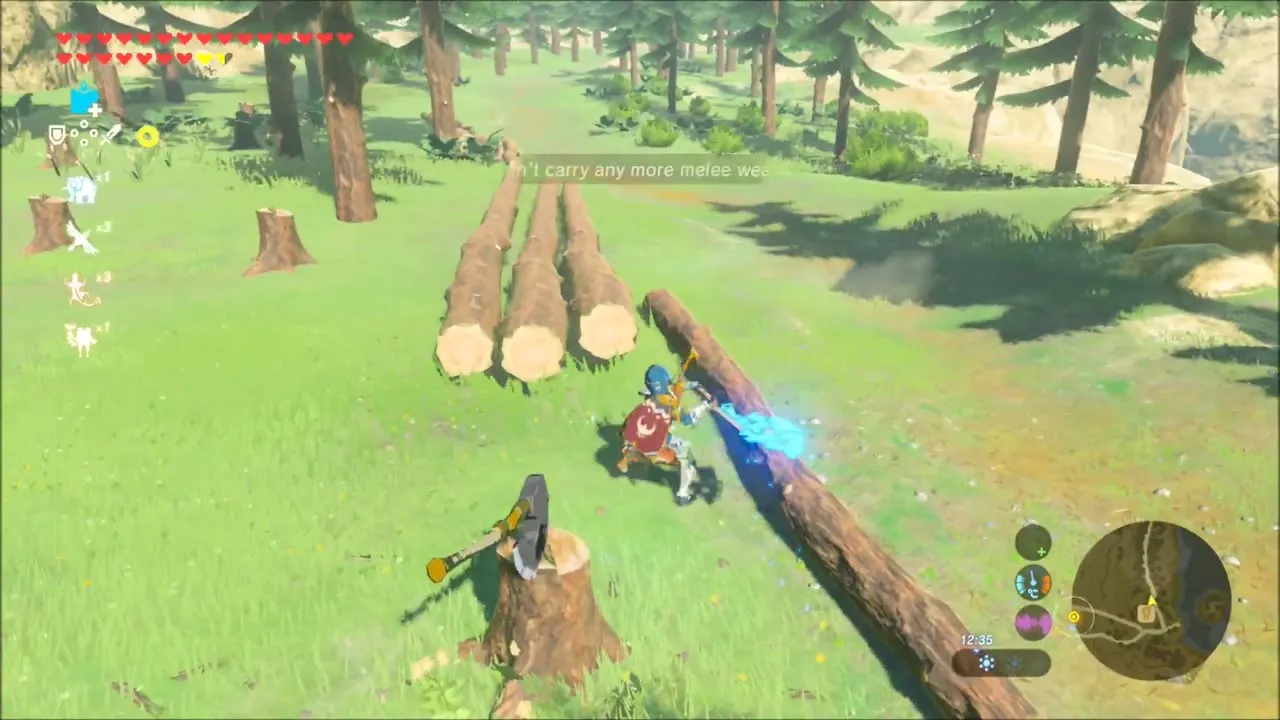
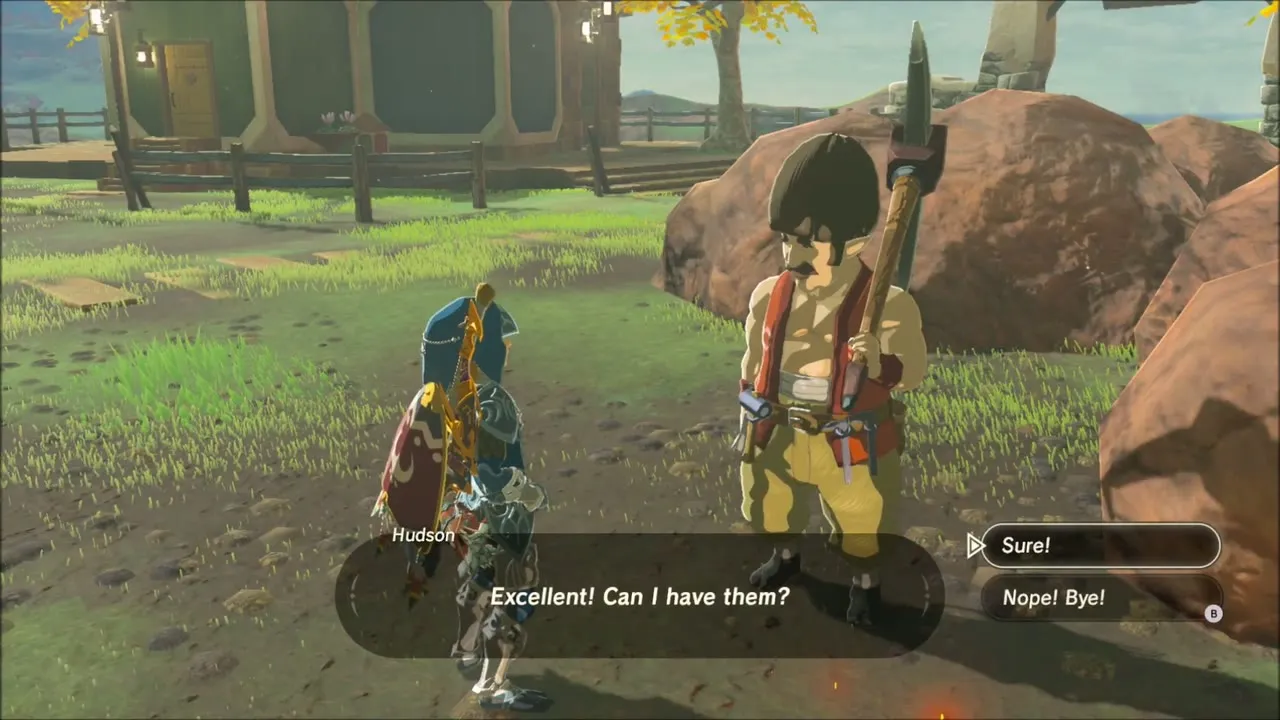
Glide on and chop trees for wood. Hudson in Tarrey Town wants fifty bundles for the town, and handing them over moves From the Ground Up forward.
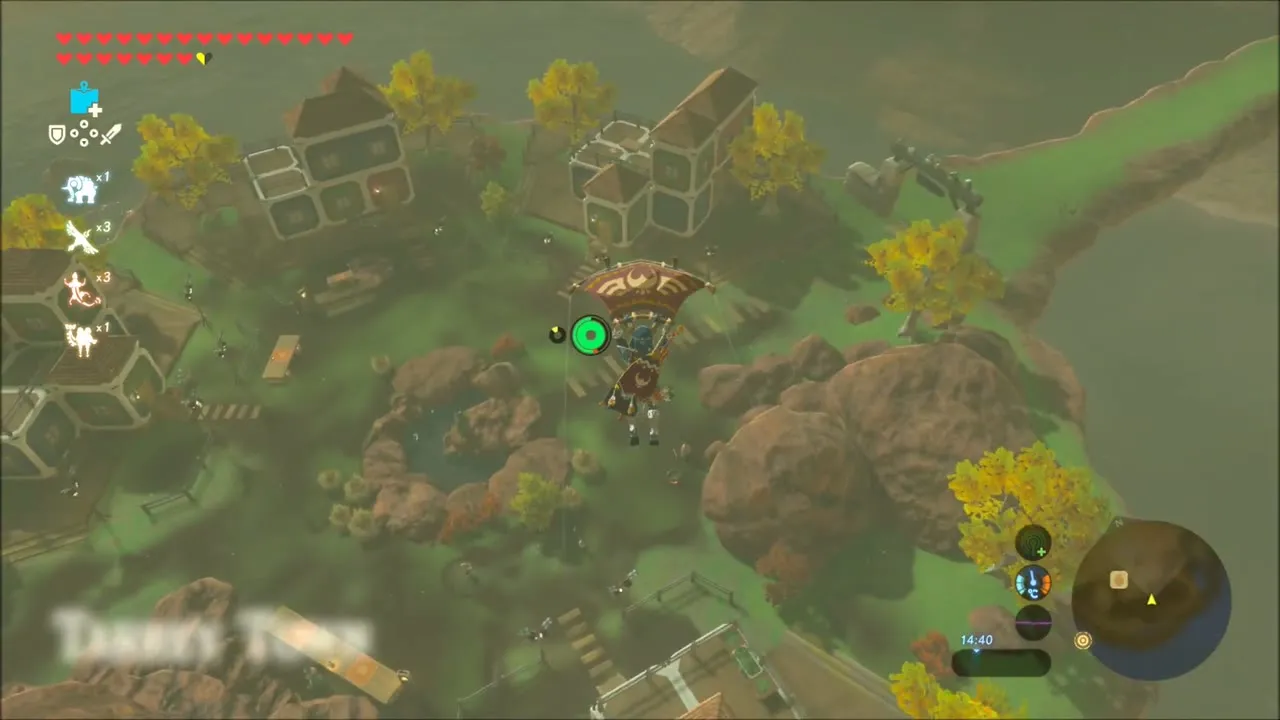
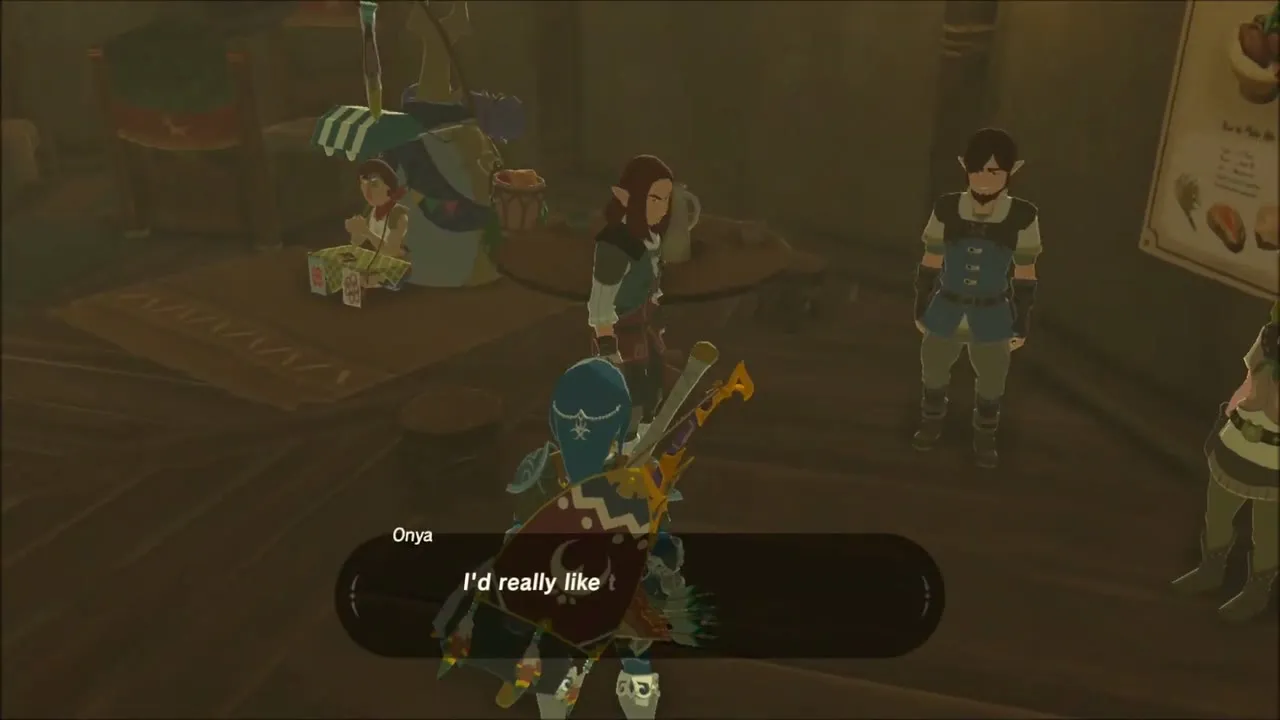
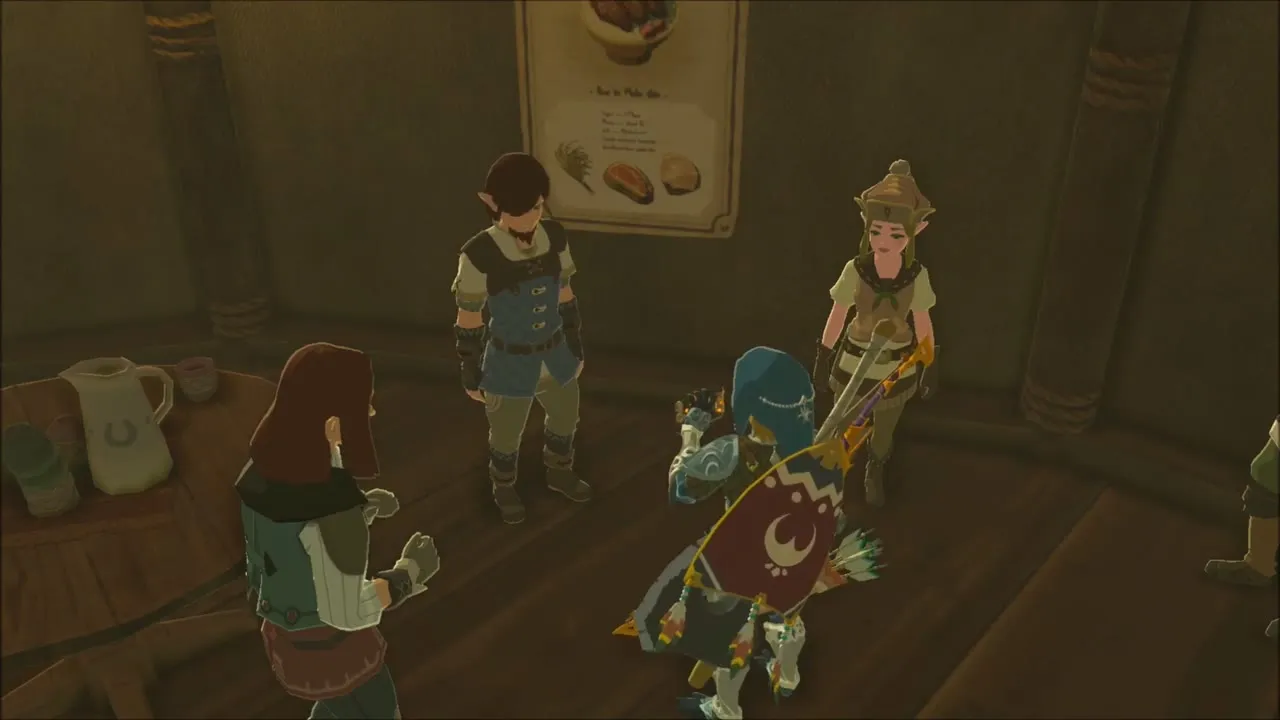
While you are in Tarrey Town, show Onya the Leviathan photo from your album, and talk to the villagers Akrah and Garshon again to clear the Leviathan Bones tasks.

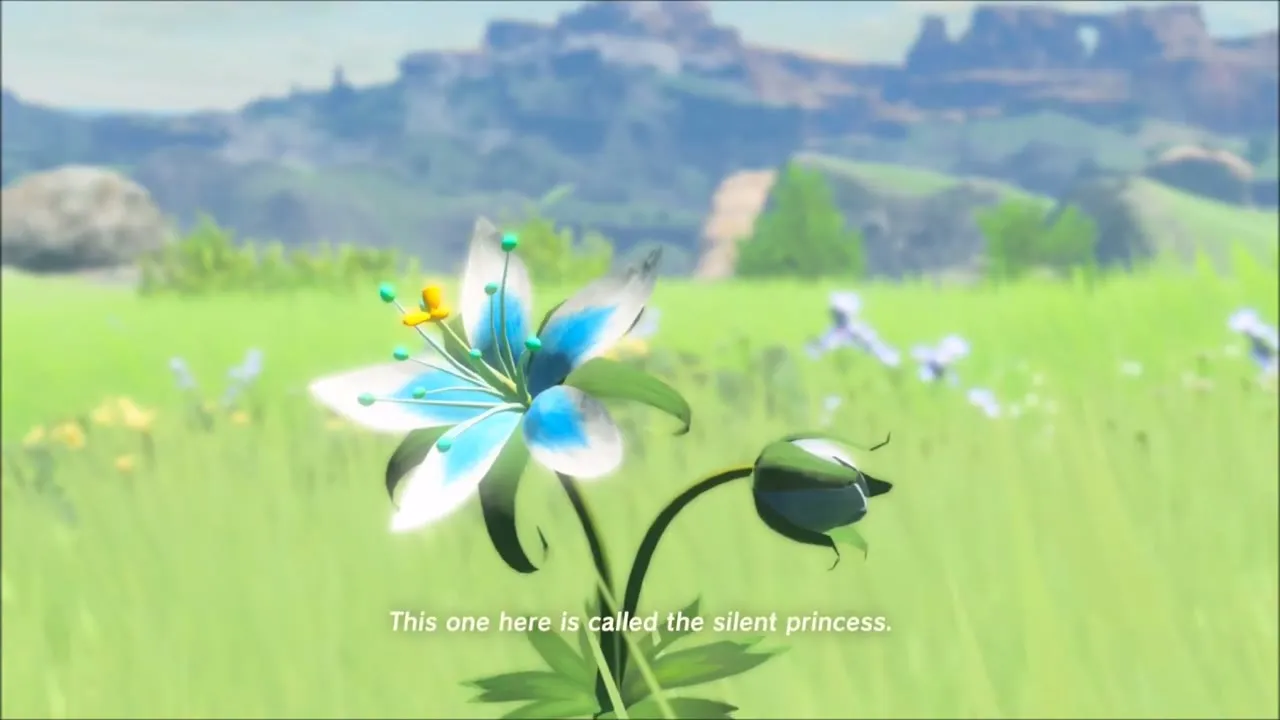
Silent Princess Memory on Irch Plain
Ride north-east to Irch Plain. In front of the big tree beside the pools, with Hyrule Castle in view, step onto the spot from your album photo to see Zelda and Link in a flowery meadow, where Zelda talks about the Silent Princess flower. The memory is called Silent Princess.
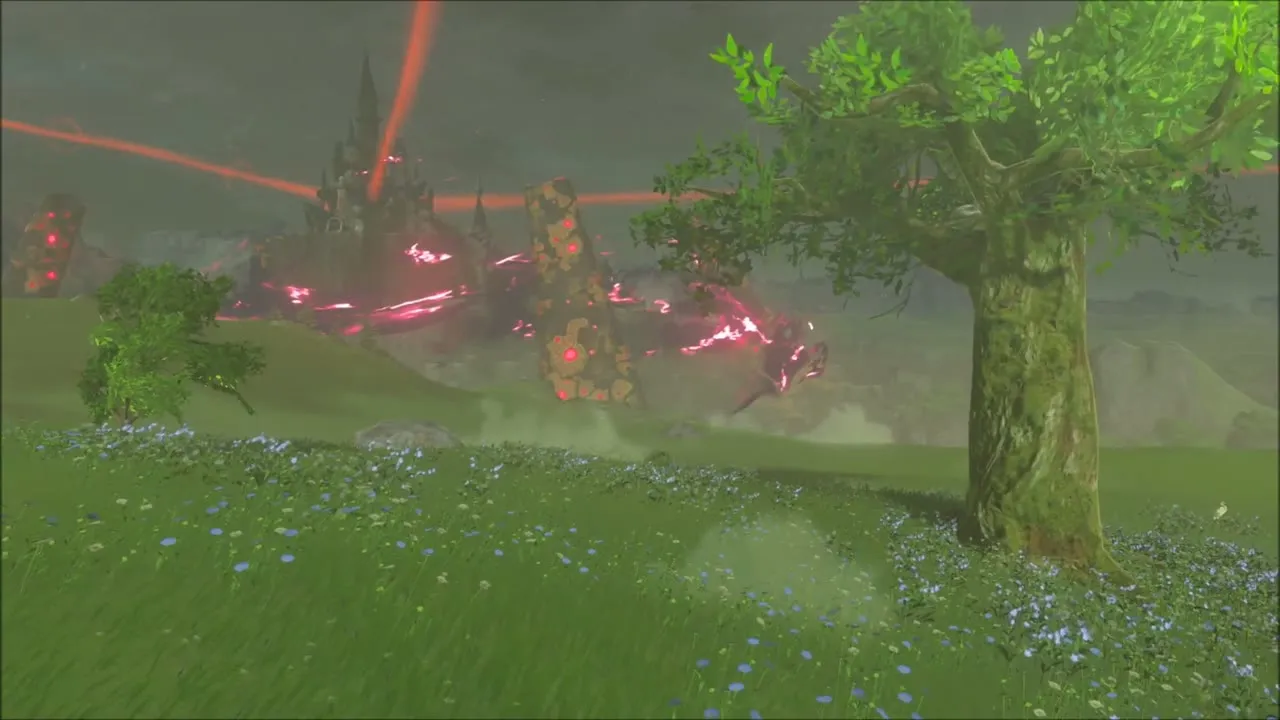


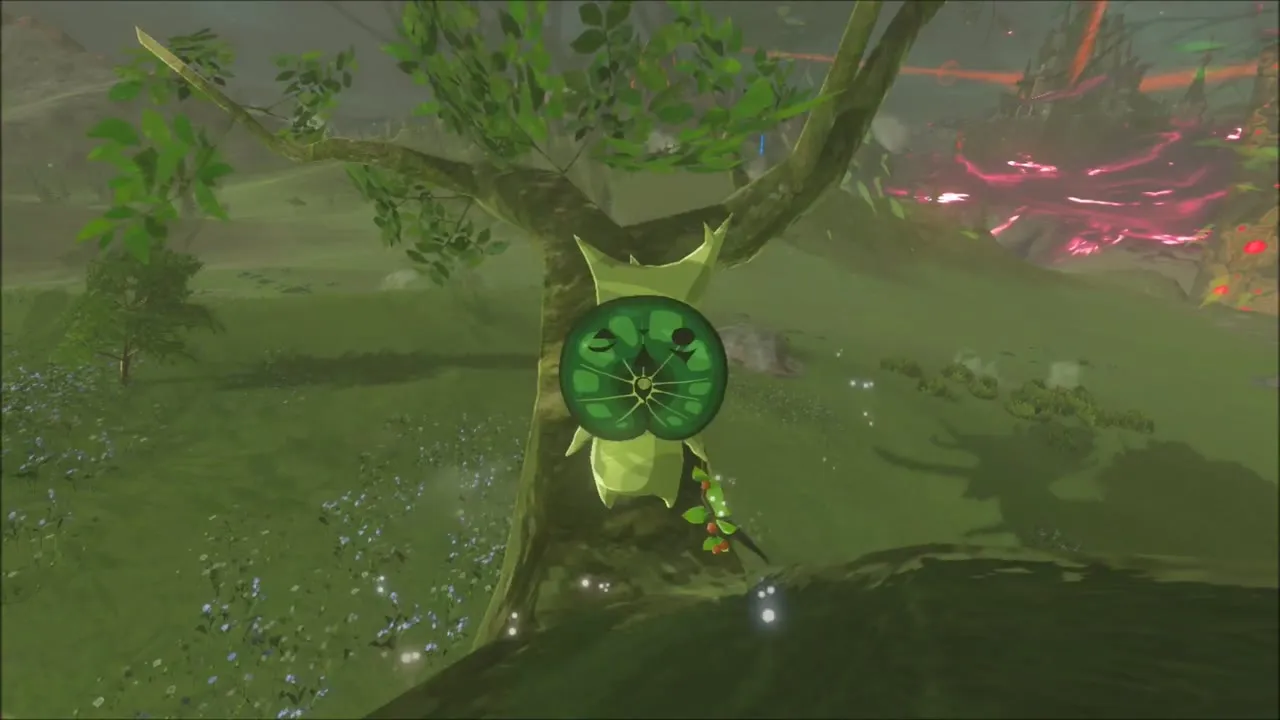
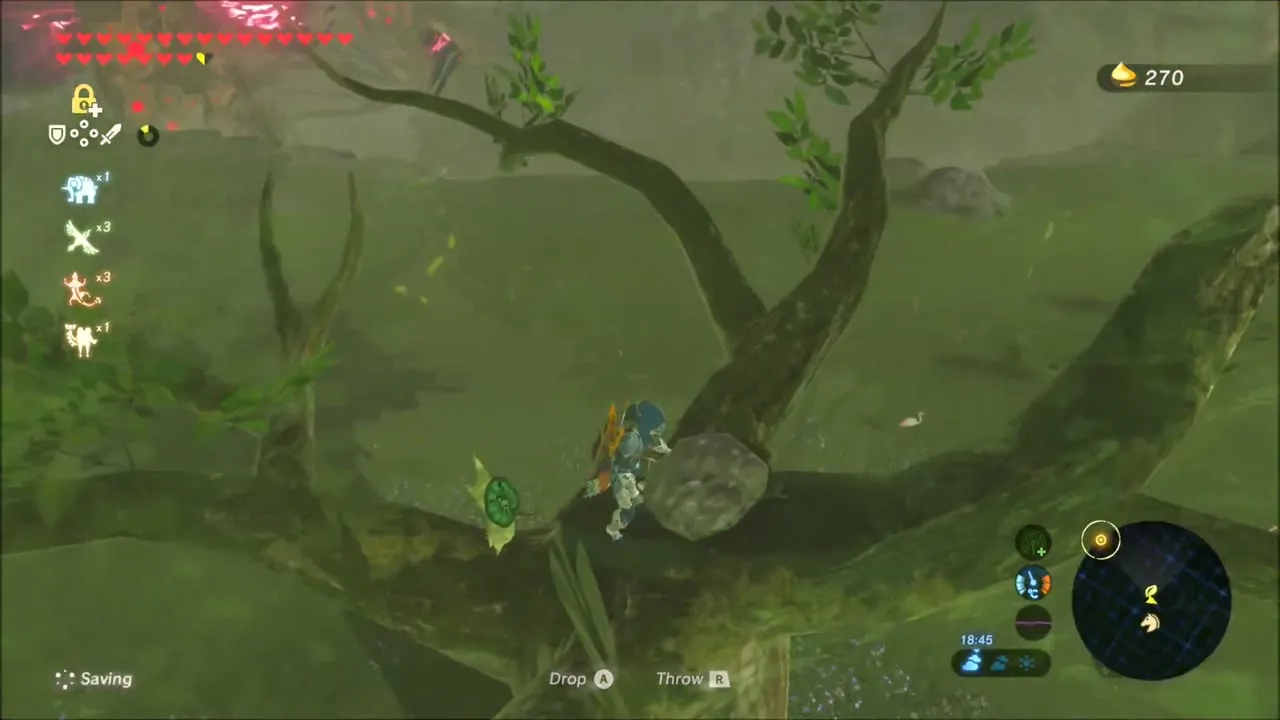
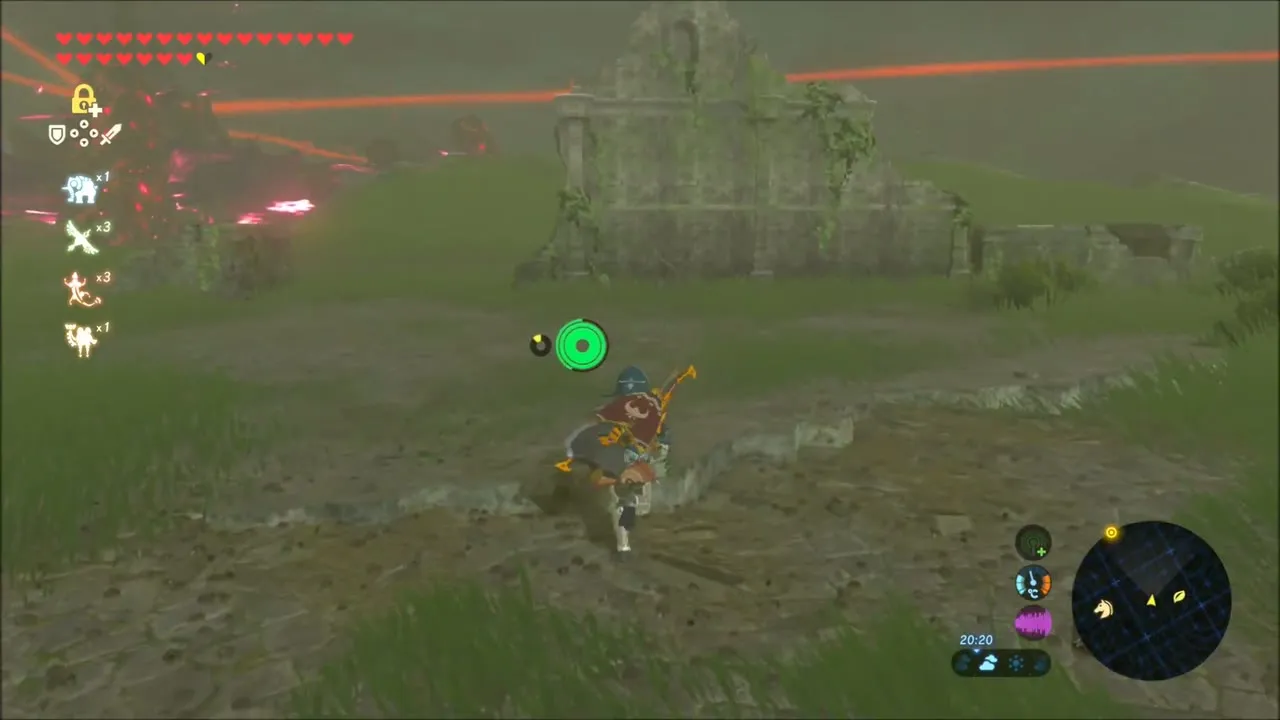
Two more Korok seeds lie nearby. A Korok is hidden in a tree on the edge of the plain, and a second hides in the paved ruins on the way to the tower, near an old stone wall.

How to Activate Ridgeland Tower
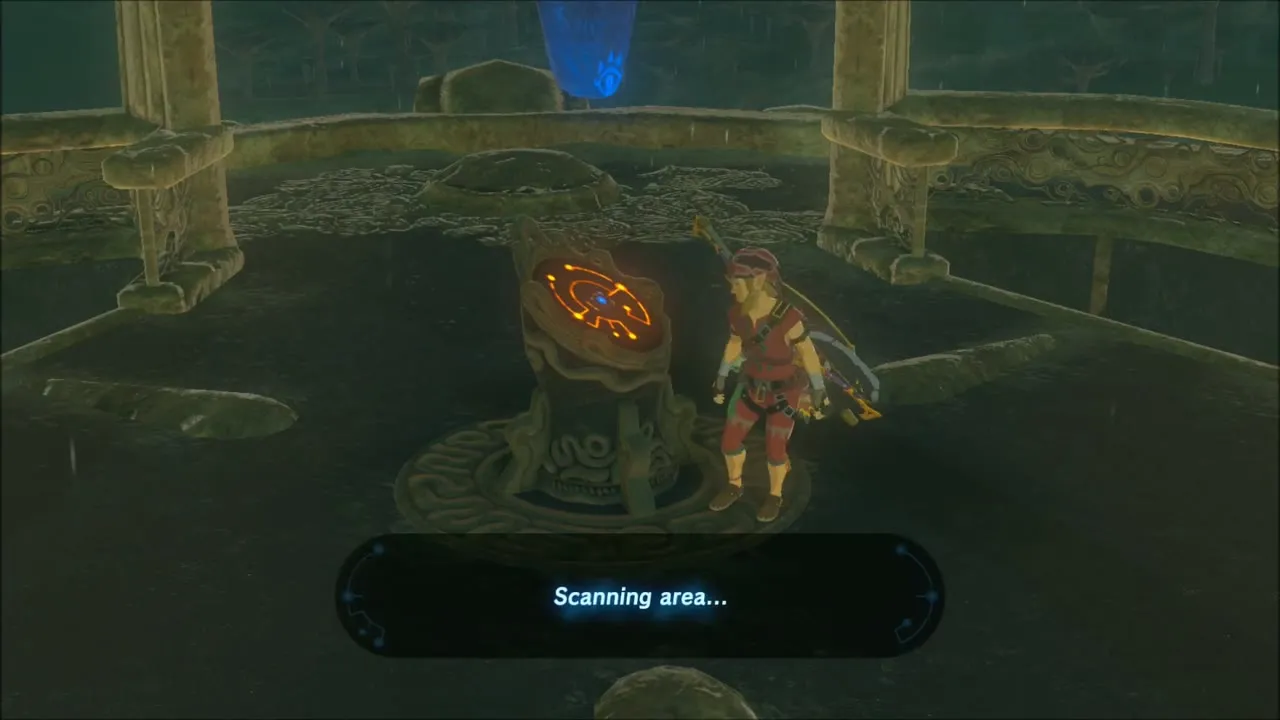
The land around the tower is flooded. Use Cryonis to raise an ice block next to the tower base and open the chest on it for a Purple Rupee (50 Rupees). Then climb the glowing steps and place your Sheikah Slate on the terminal to unlock the Ridgeland map. The tower stands at x -1755, z -774, height 349.


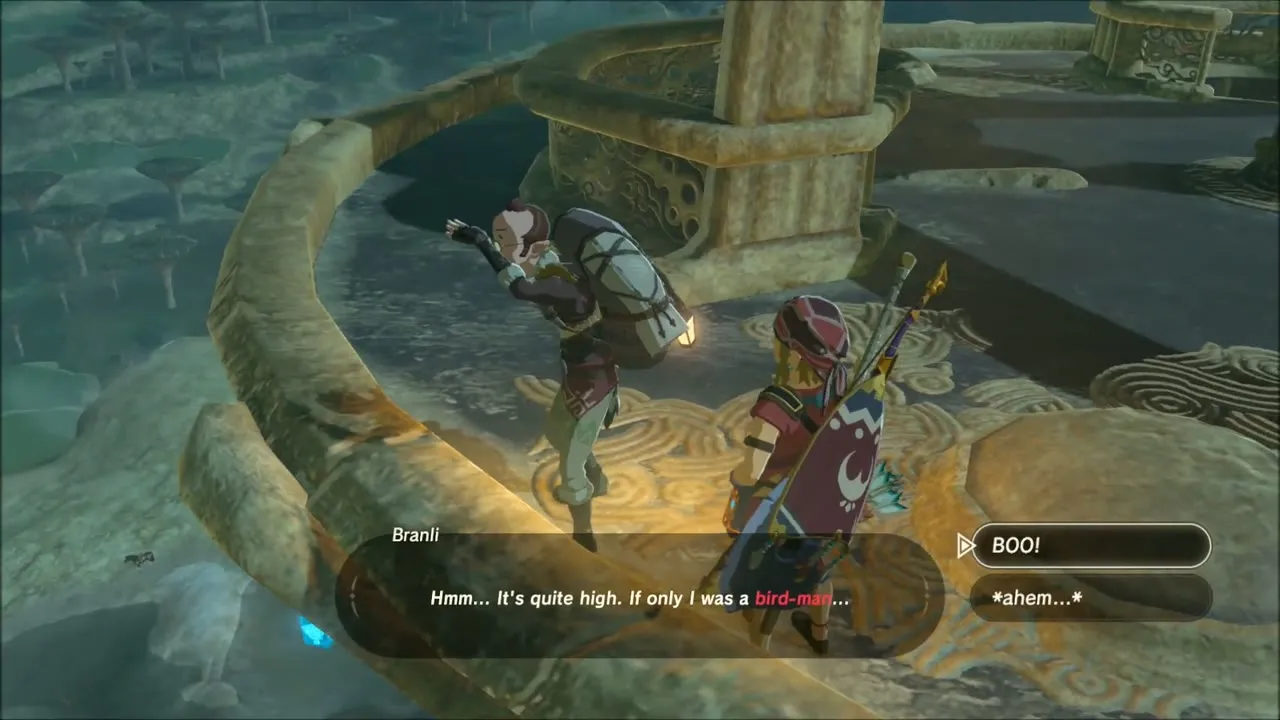
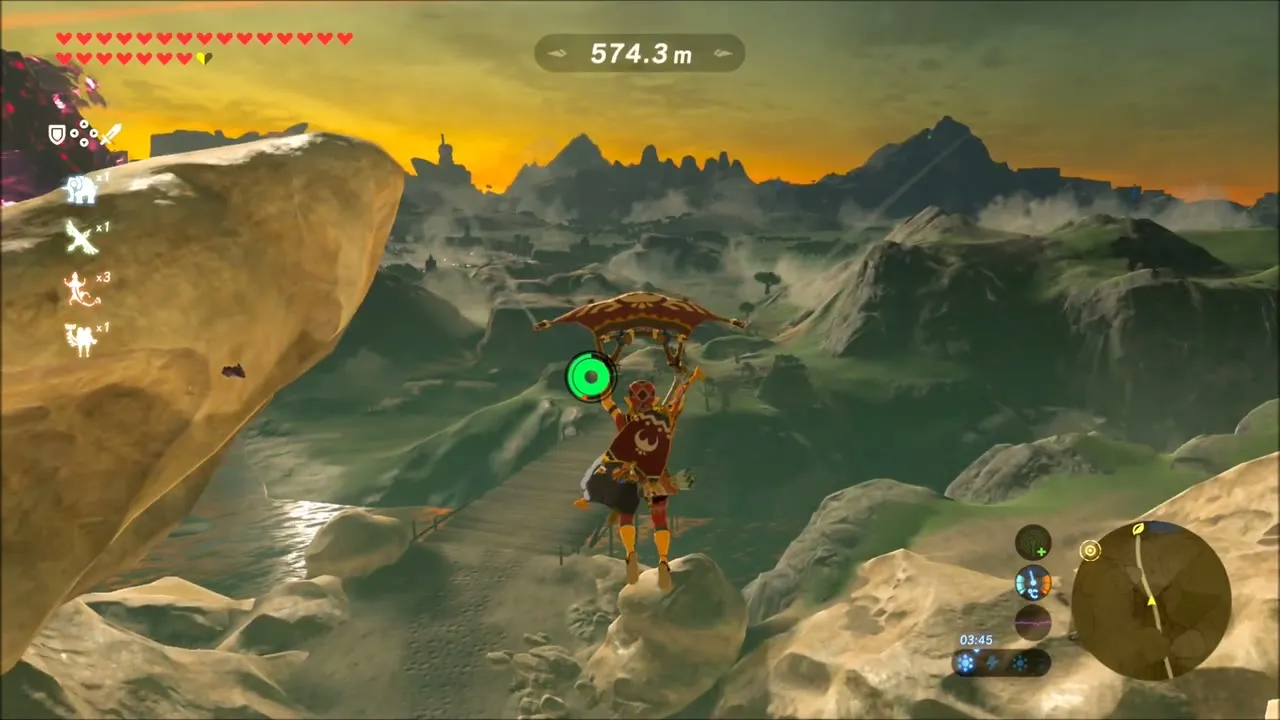
The researcher Branli waits on the platform at the top. He wants to study your glide, so jump from the edge, land, and talk to him again to hear his thanks.


Flooded Plain Below Ridgeland Tower: Fire Arrows Chest
Drop into the water beside the tower and swim to its base. A second Cryonis ice block lifts a chest out of the water, and it holds five more Fire Arrows. Lizalfos patrol the flooded plain, so expect your bow and sword to wear down quickly.


Get out of the water and ride the road towards the breach canyon, passing Lizalfos on the sand, to reach Zalta Wa Shrine.

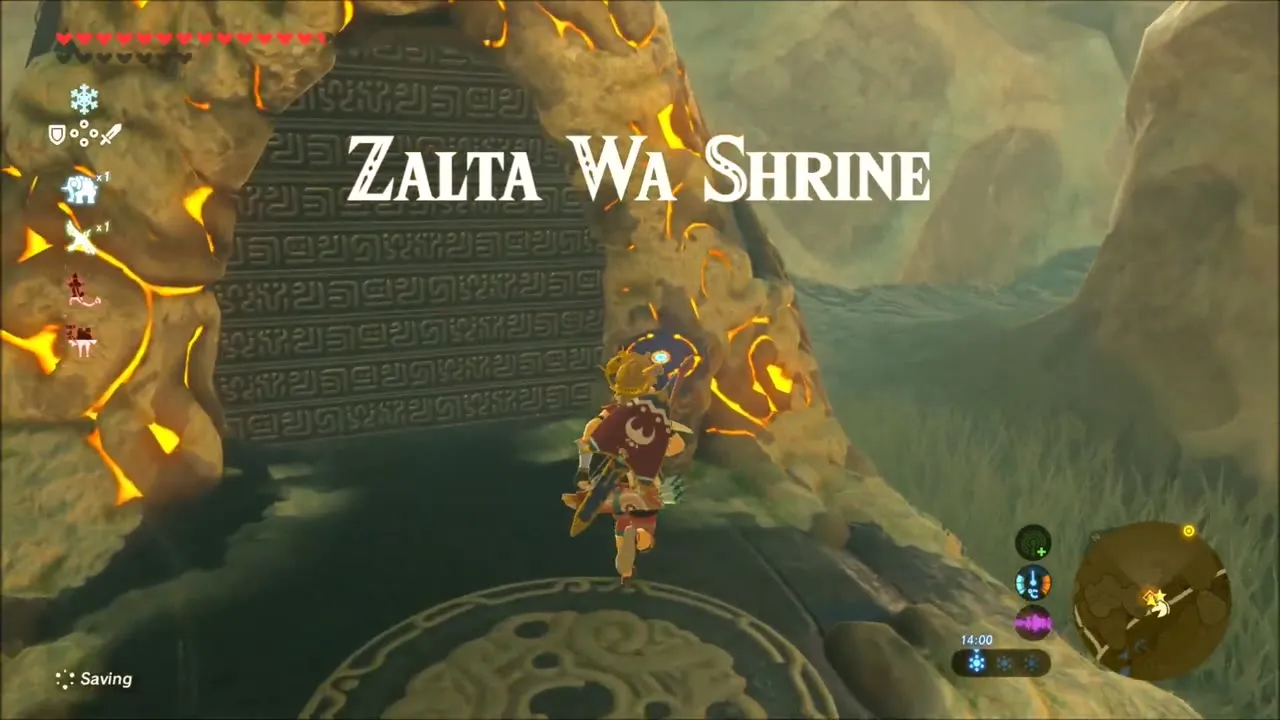
Zalta Wa Shrine: Two Orbs to Guide You
Zalta Wa Shrine (x -1433, z -593, height 151) lies at the bottom of the Breach of Demise. Its trial, Two Orbs to Guide You, has you drop one orb into its funnel to open a gate, carry the second orb to the floor plate and throw it into the next funnel, then launch yourself up to the moving platform. See the Zalta Wa Shrine page for the full solution.

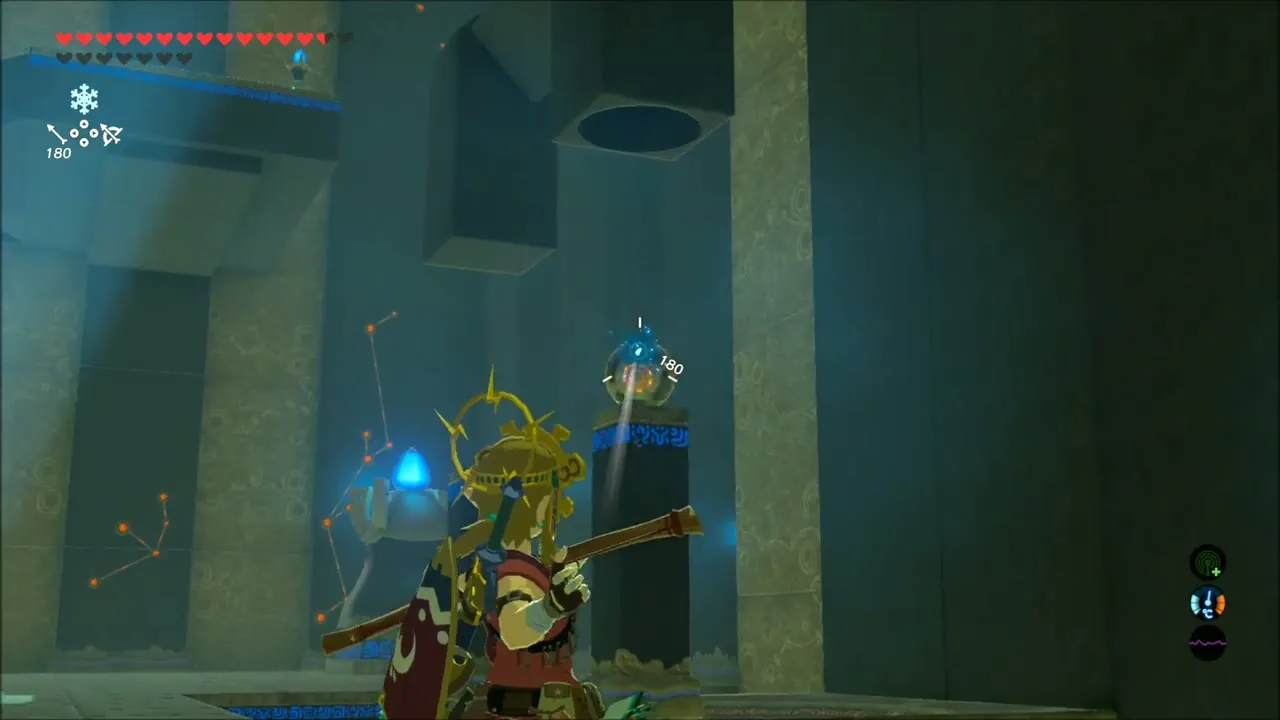


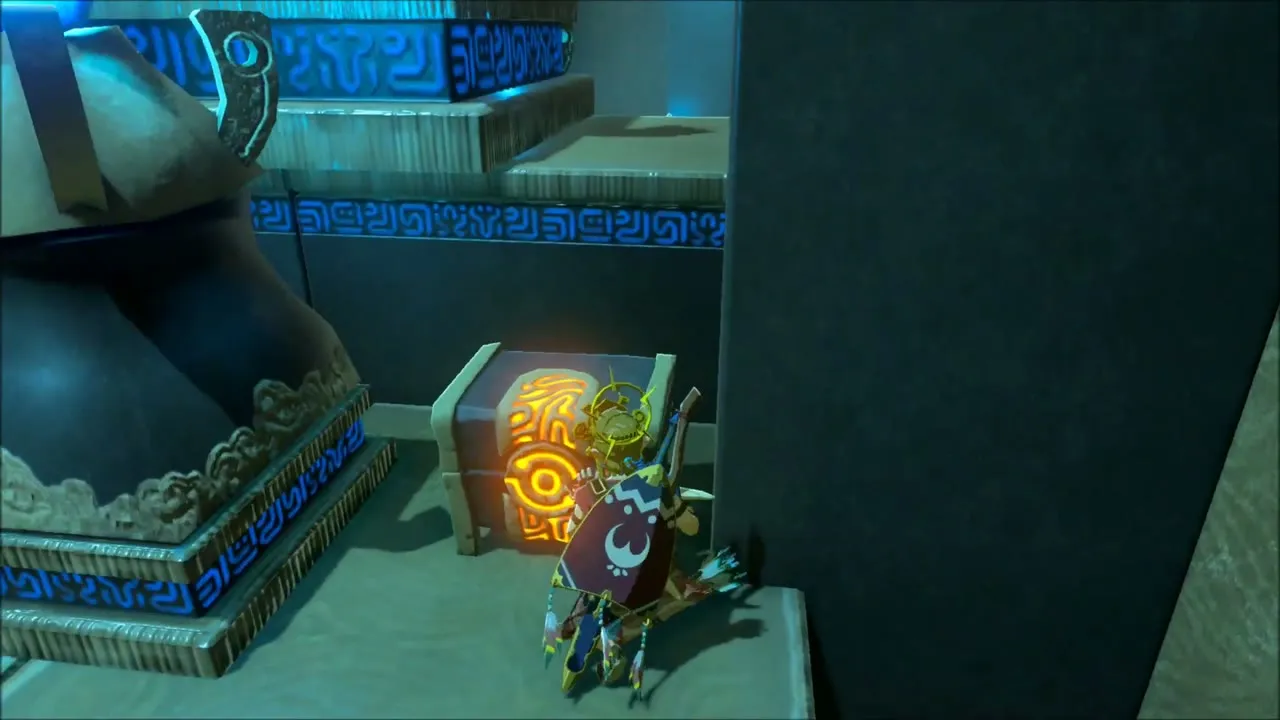
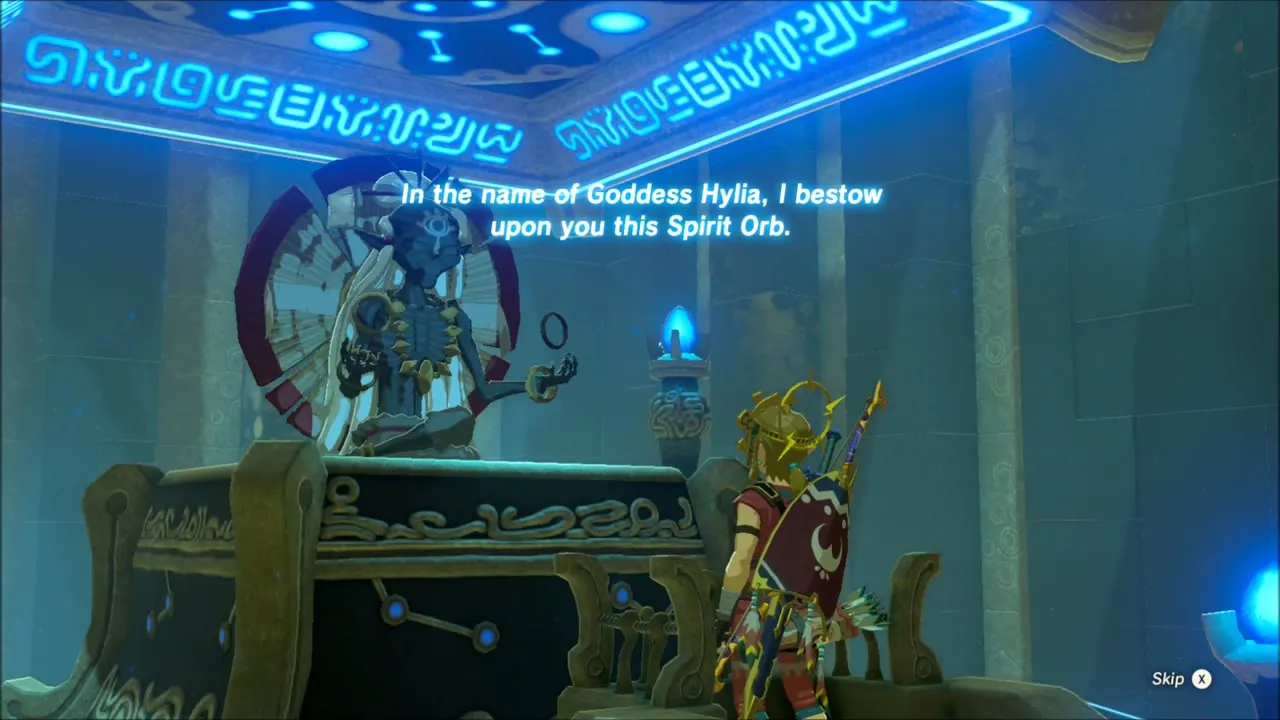
Glide to the chest for a Royal Bow (tier set by difficulty scaling), then ride back to the monk for your Spirit Orb.
Chests and Korok Seeds across West Hyrule Plains
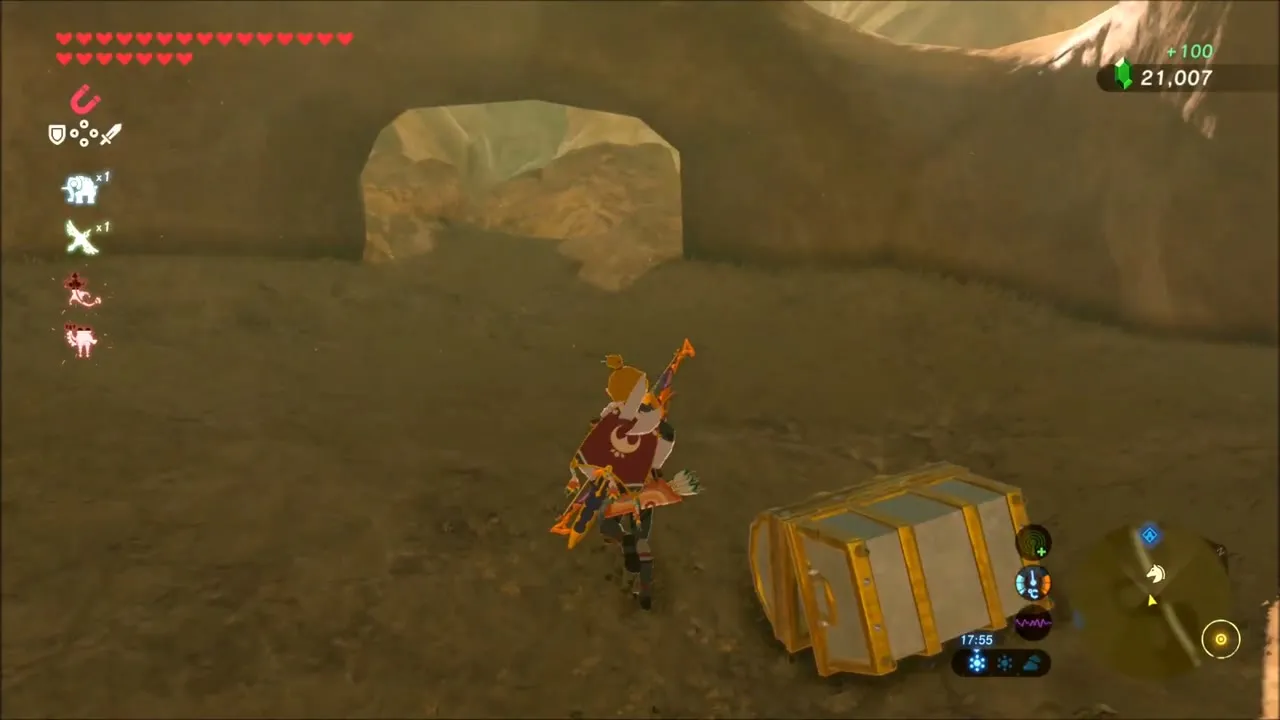
Outside, mount up and ride into the bone-strewn hollow near the giant skeleton. A chest here holds a Silver Rupee (100 Rupees). Nearby, a Bokoblin camp on wooden stilts is worth clearing for arrows and horns.

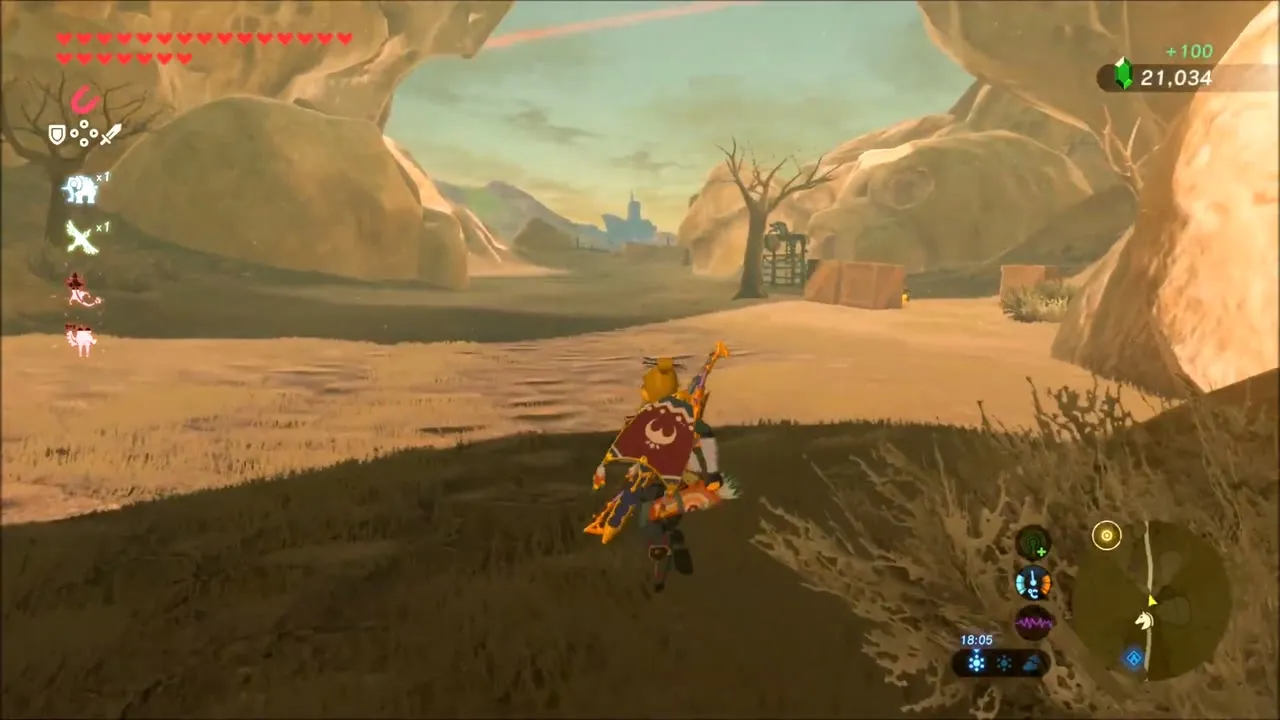

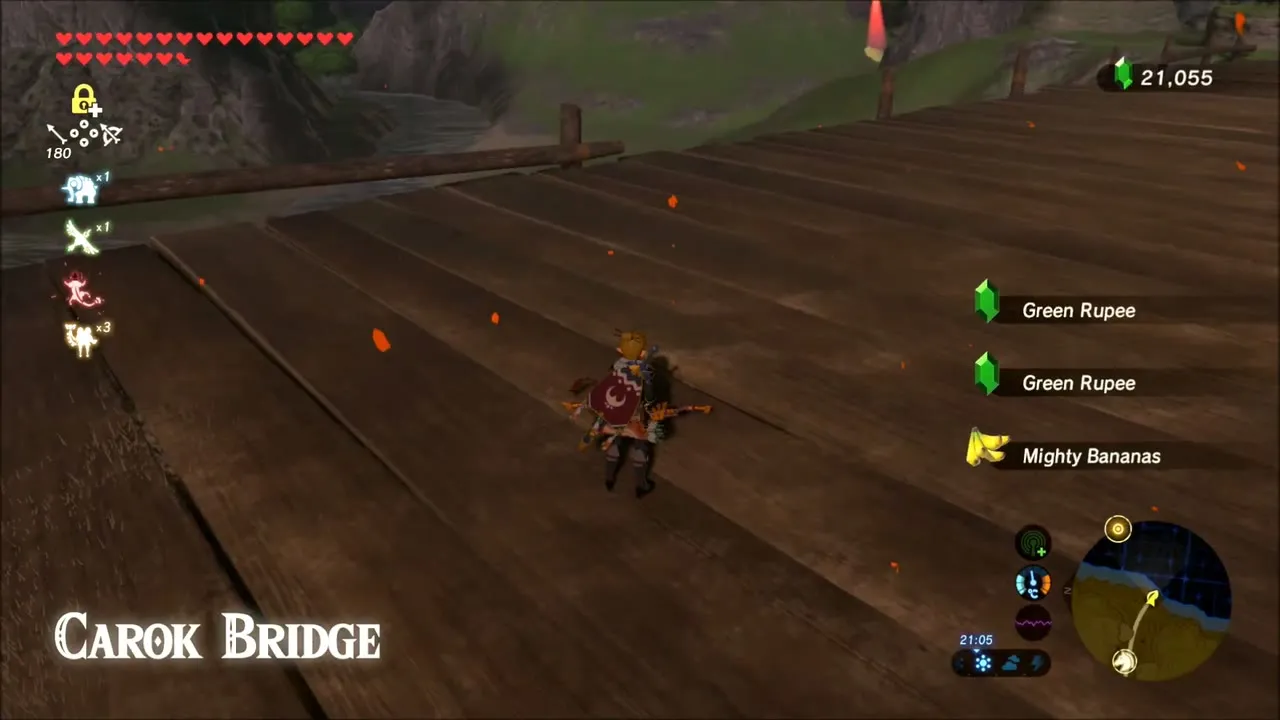
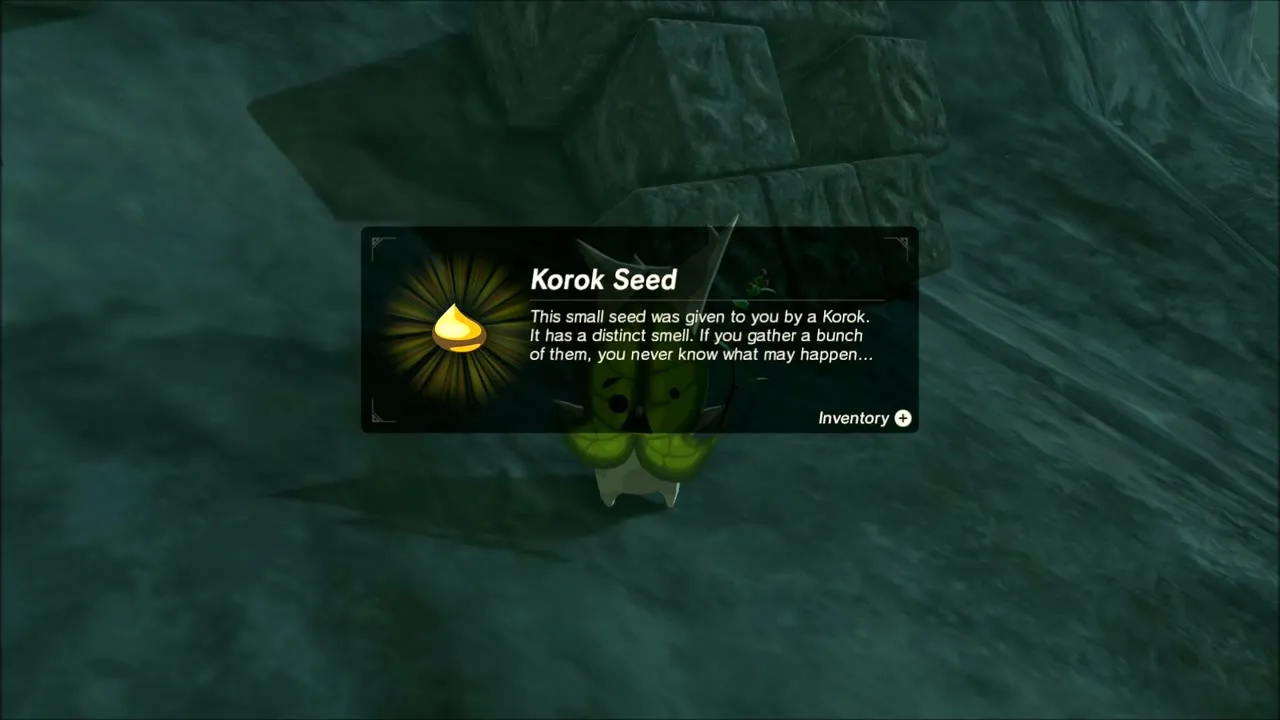
At Carok Bridge, look in the wooden scaffolding under the planks: a Korok hides there and gives you a seed. Cross the hillside beyond for another seed beside a rock, then use Magnesis on the stone blocks near the water to find a Korok tucked under them.


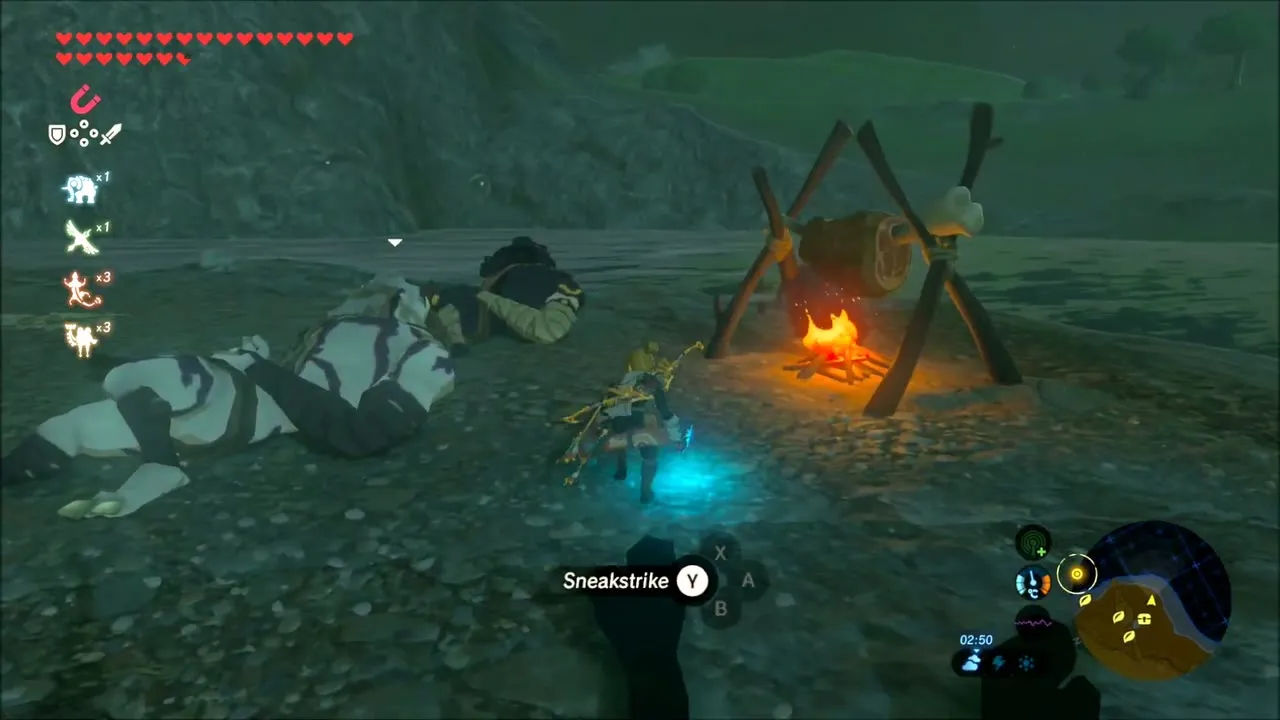
Along the lake you will find a camp with a large white Moblin that guards a chest. Block its swings, counter with a flurry attack, then loot its horns, fangs and guts and open the chest.


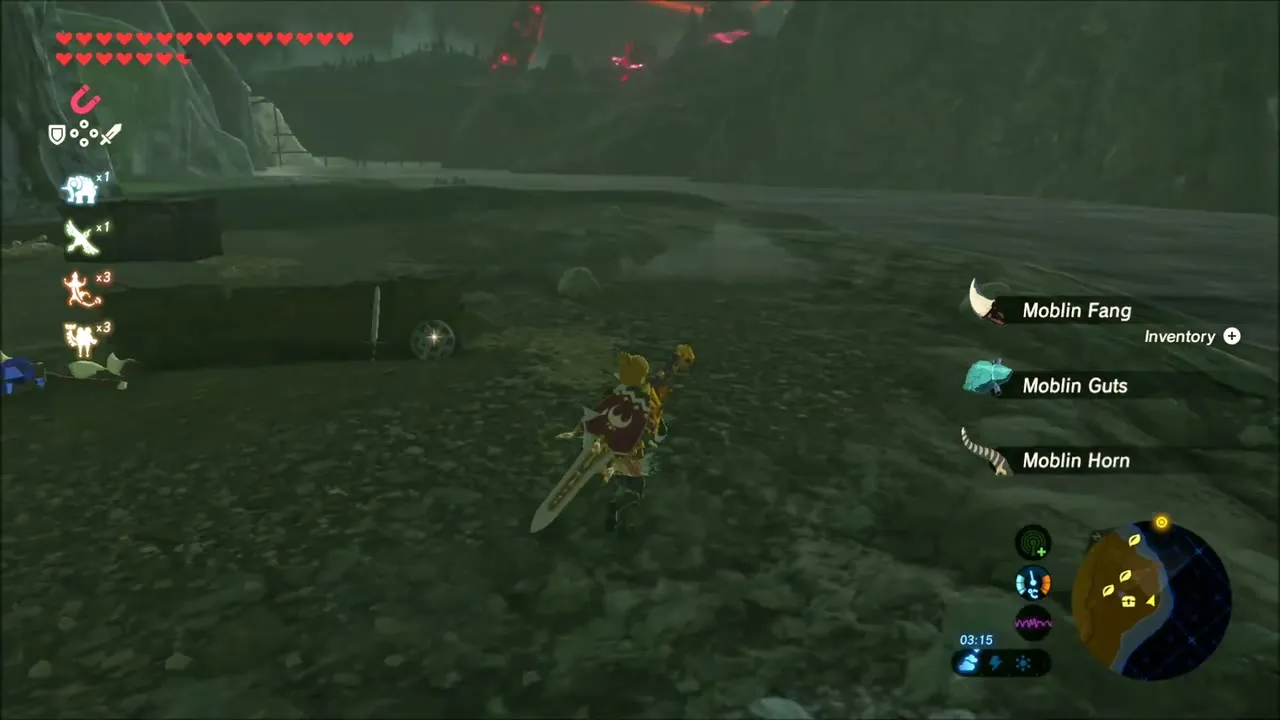
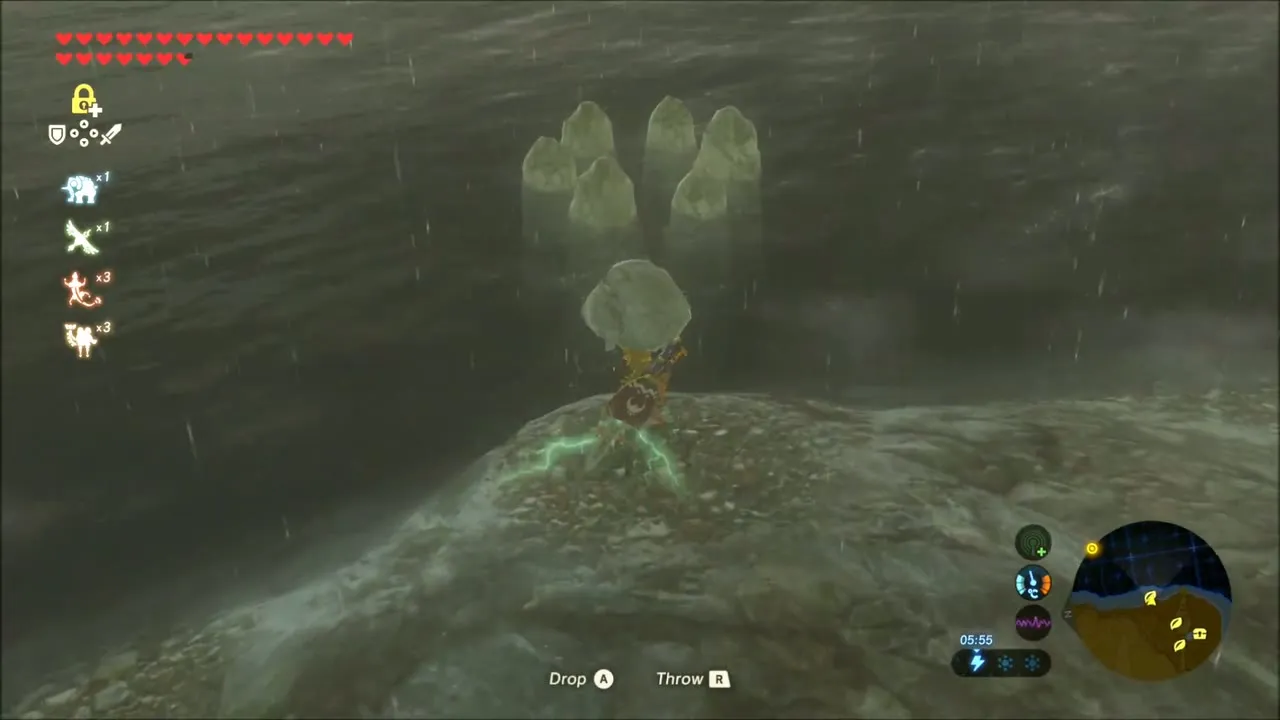
More Korok seeds lie in the hills along the lake. Look for them on the grassy slopes and by the stone blocks near the water, and use Magnesis or Stasis where a block or rock is in the way.


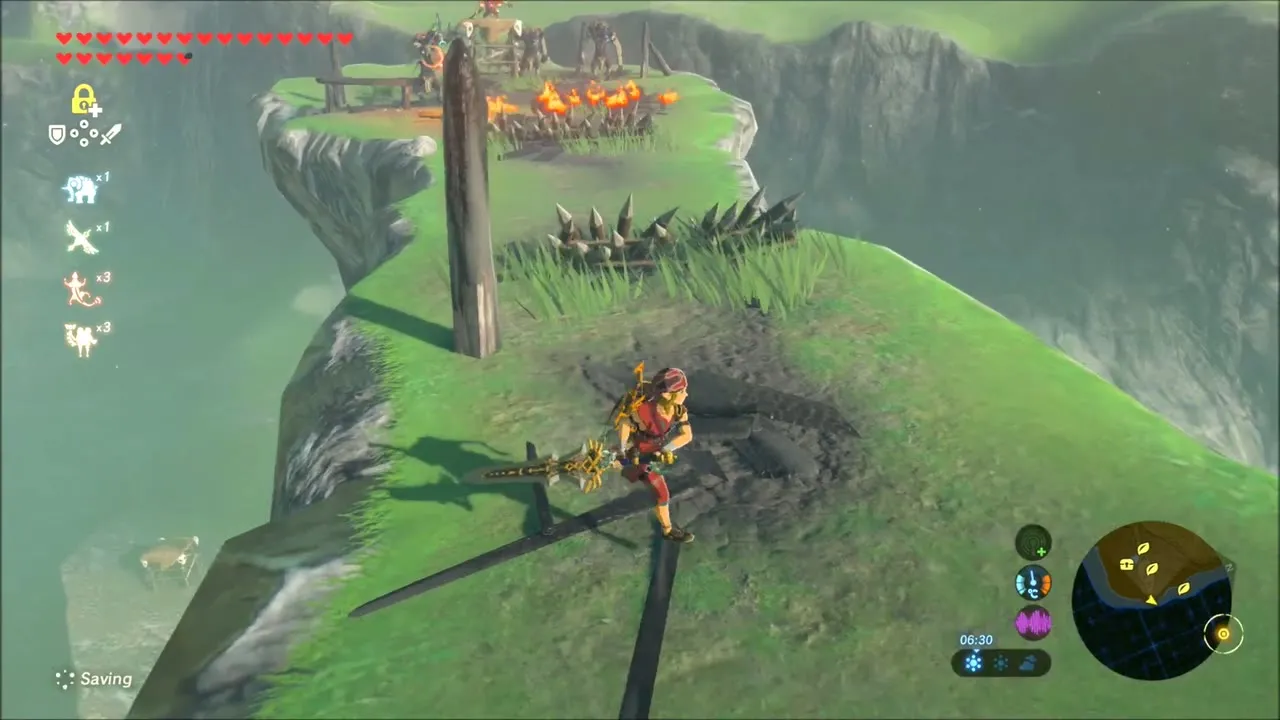
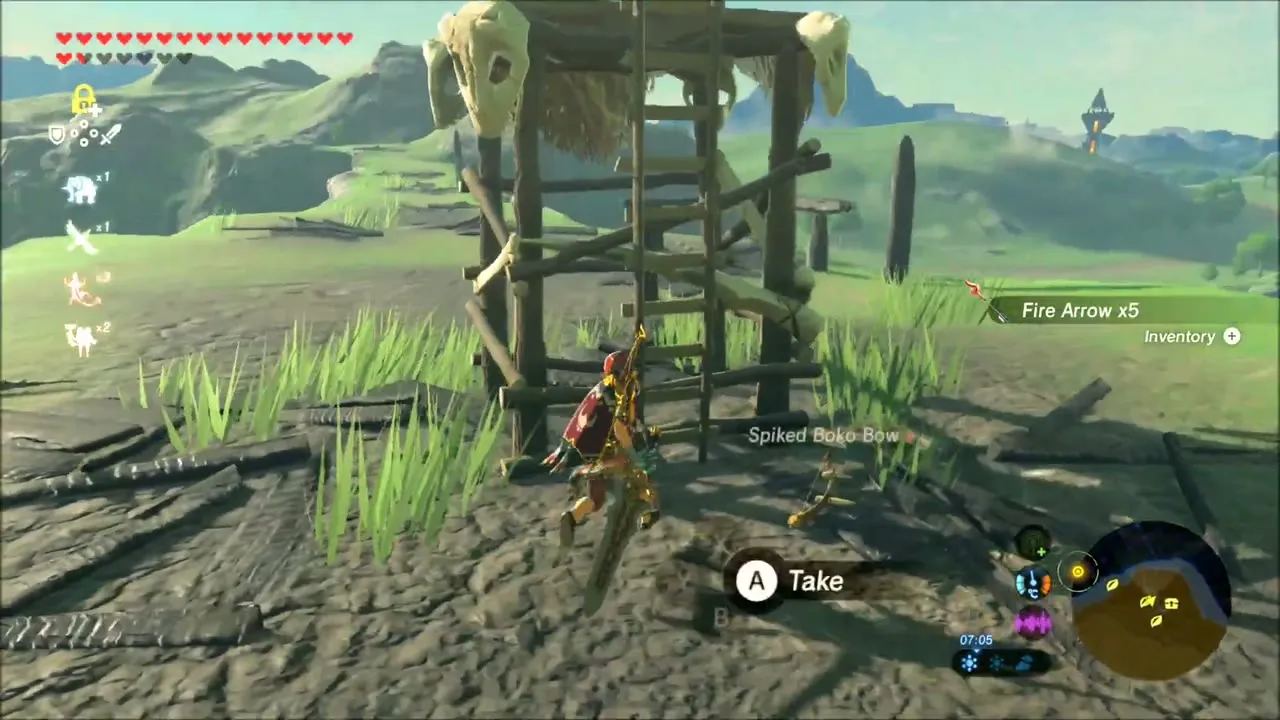
A Bokoblin camp on a grassy mound has a wooden lookout; Fire Arrows set it ablaze, and the camp drops Fire Arrows, horns and fangs.


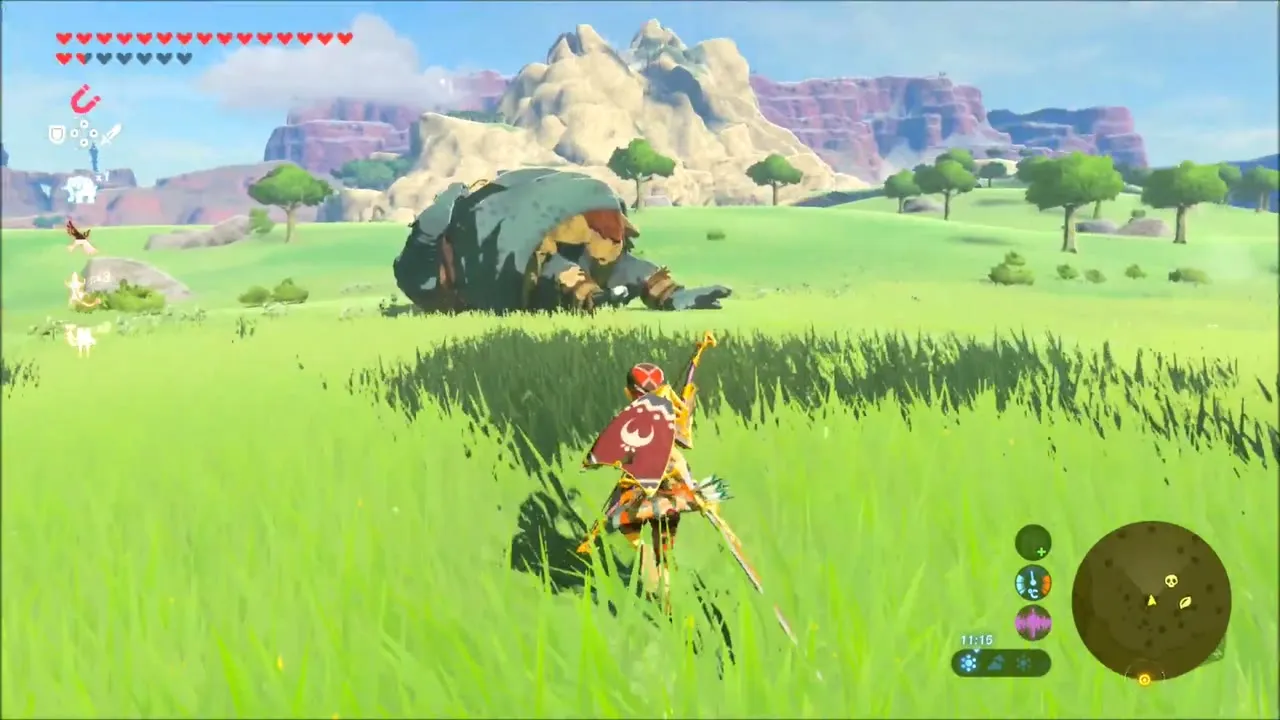
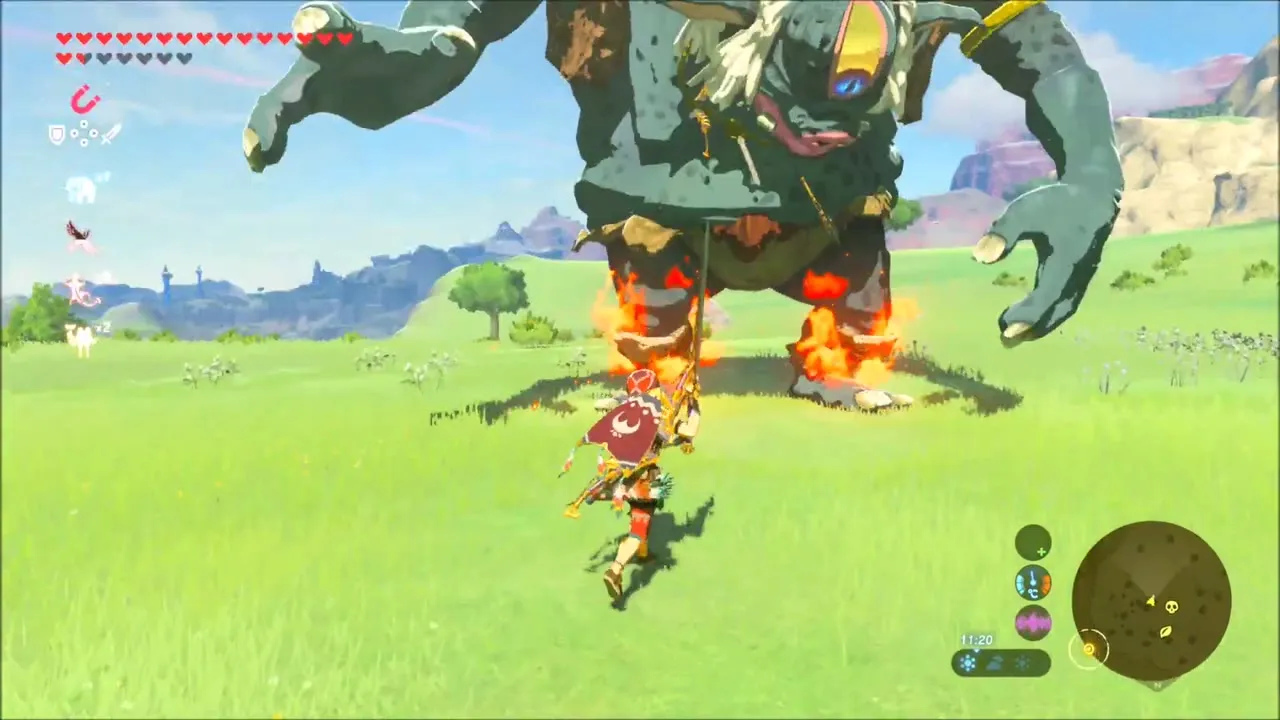
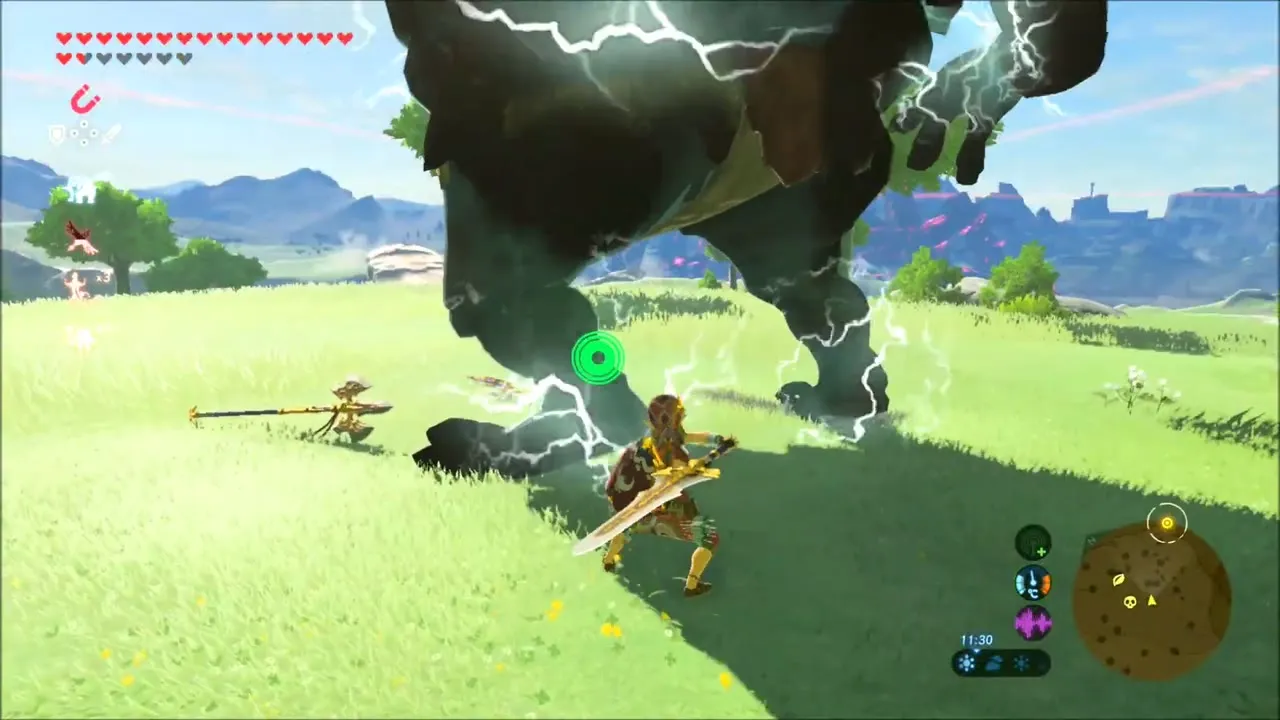
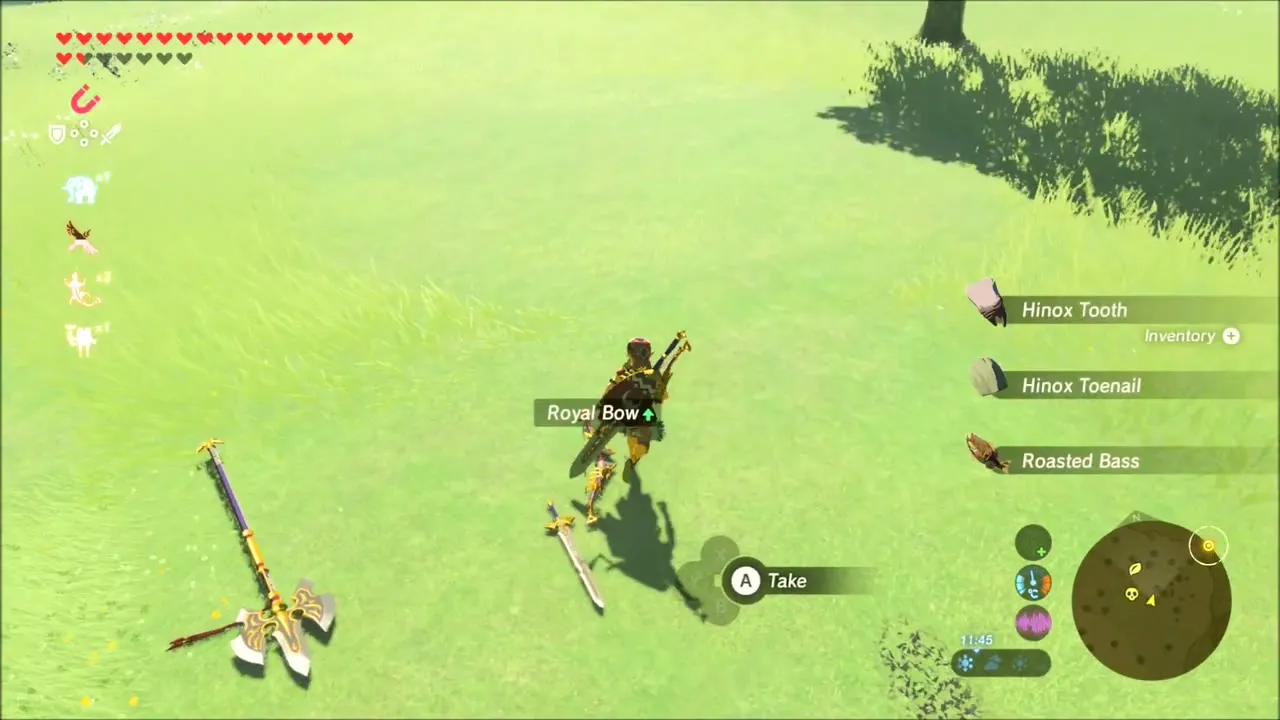
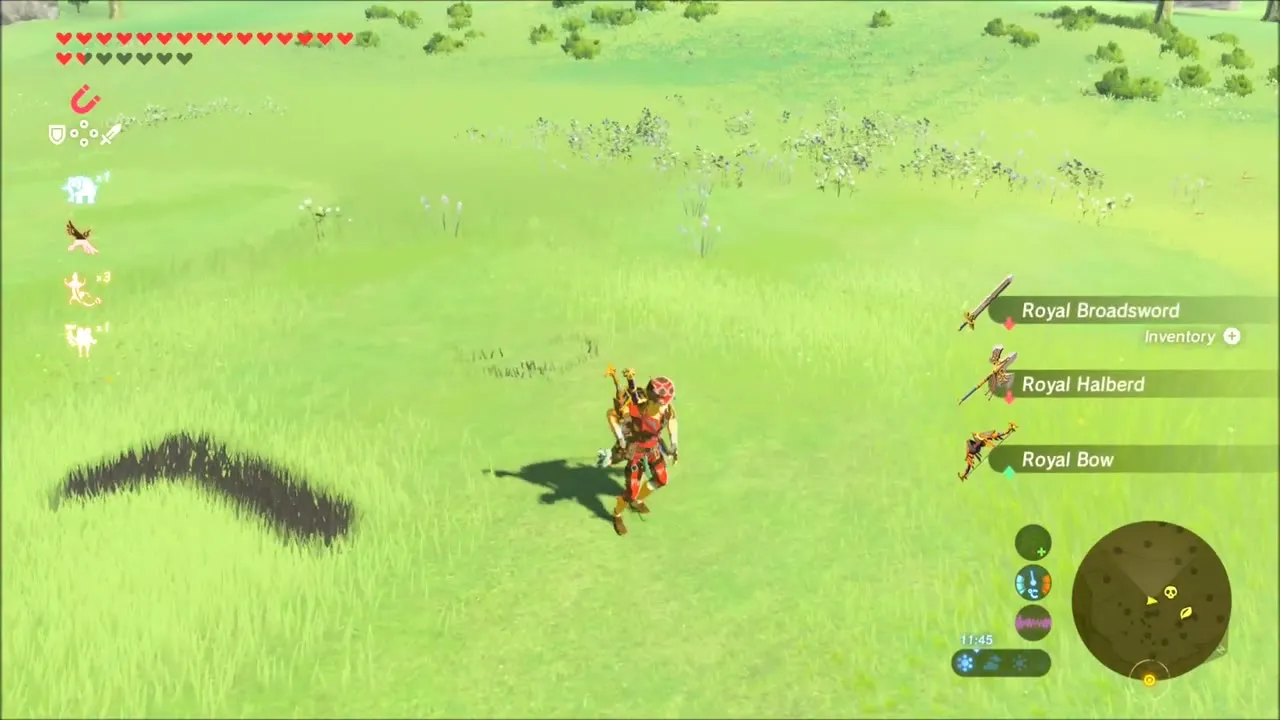
Near the stream a Hinox lumbers across the plain. Shoot its eye, then attack it while it is stunned. It leaves a Hinox Tooth and a Hinox Toenail, and a Royal Broadsword lies on the grass nearby.
Several more Korok seeds lie in the grassy hills south-east of here. Look behind boulders and on the slopes as you ride towards the ring valley.


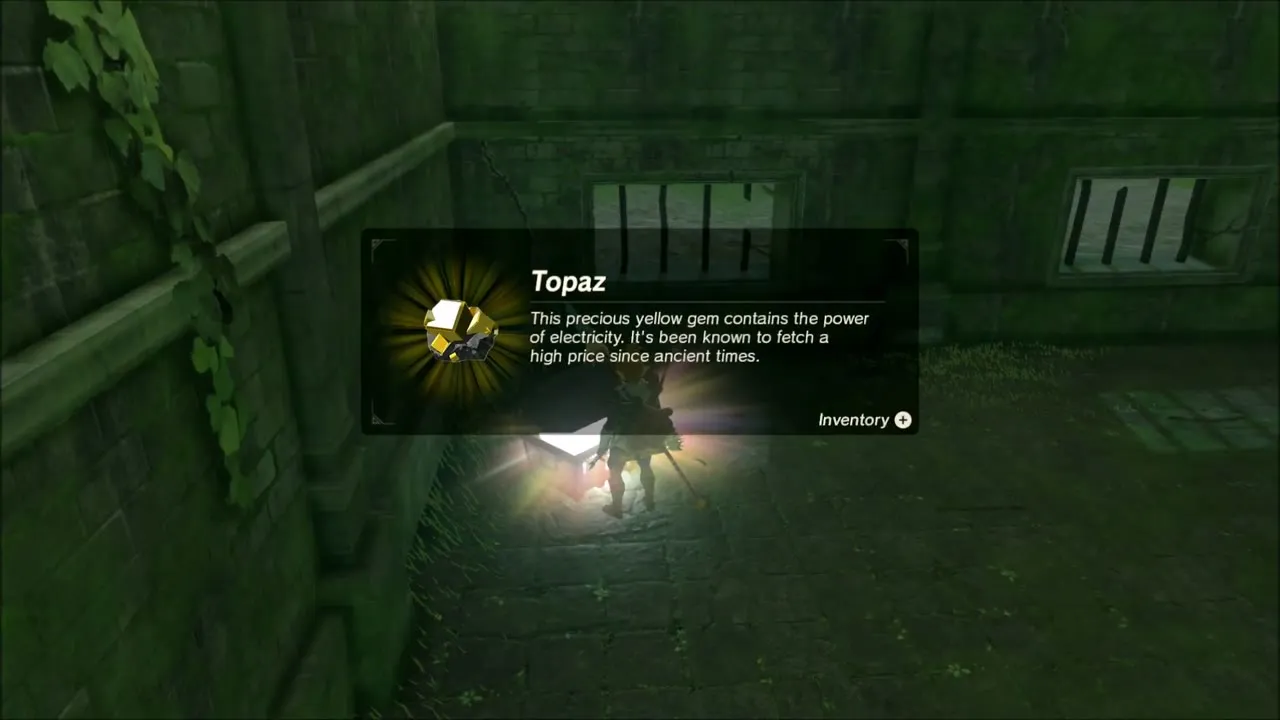
In a ruined stone hall, open the chest for a Topaz before you continue.
The Two Rings: Sheem Dagoze Shrine Quest
Ride towards the bridge linking West Hyrule Plains and Nima Plain and talk to Kass. His song about one arrow threading two rings begins The Two Rings.


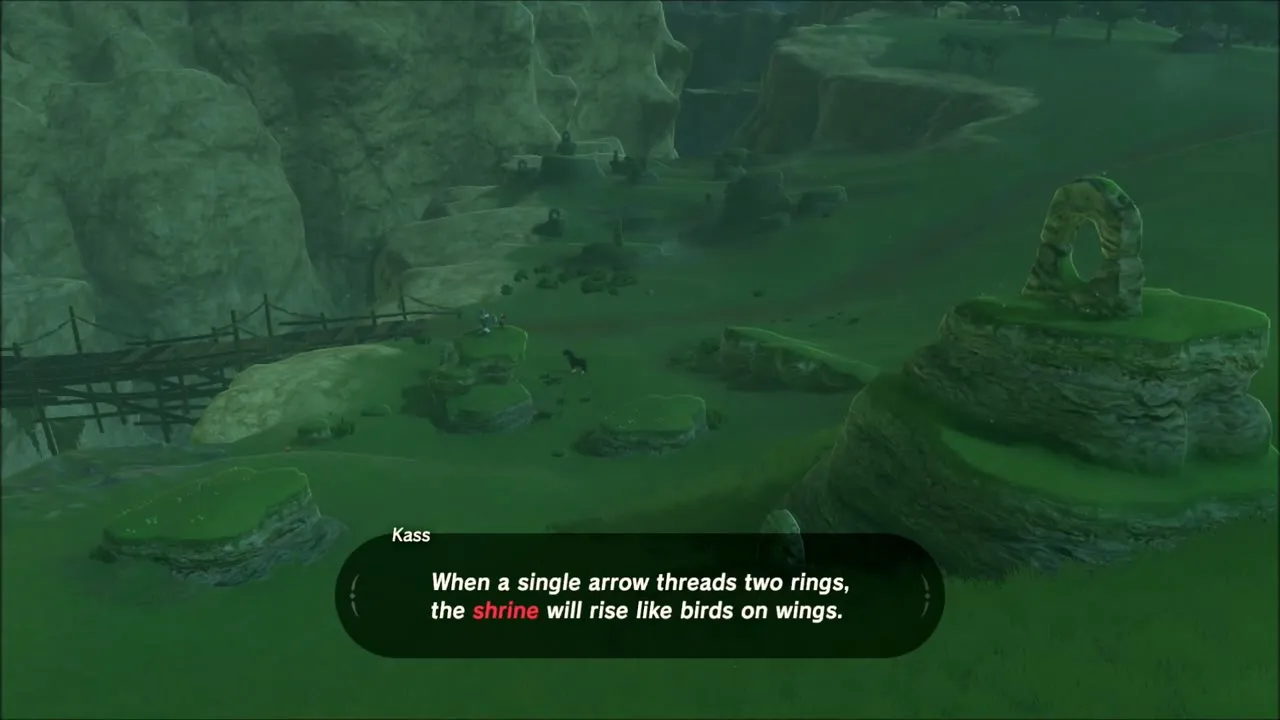

The quest needs a bow that fires a single arrow, so swap out a multi-shot bow for one with long range, such as the Ancient Bow.

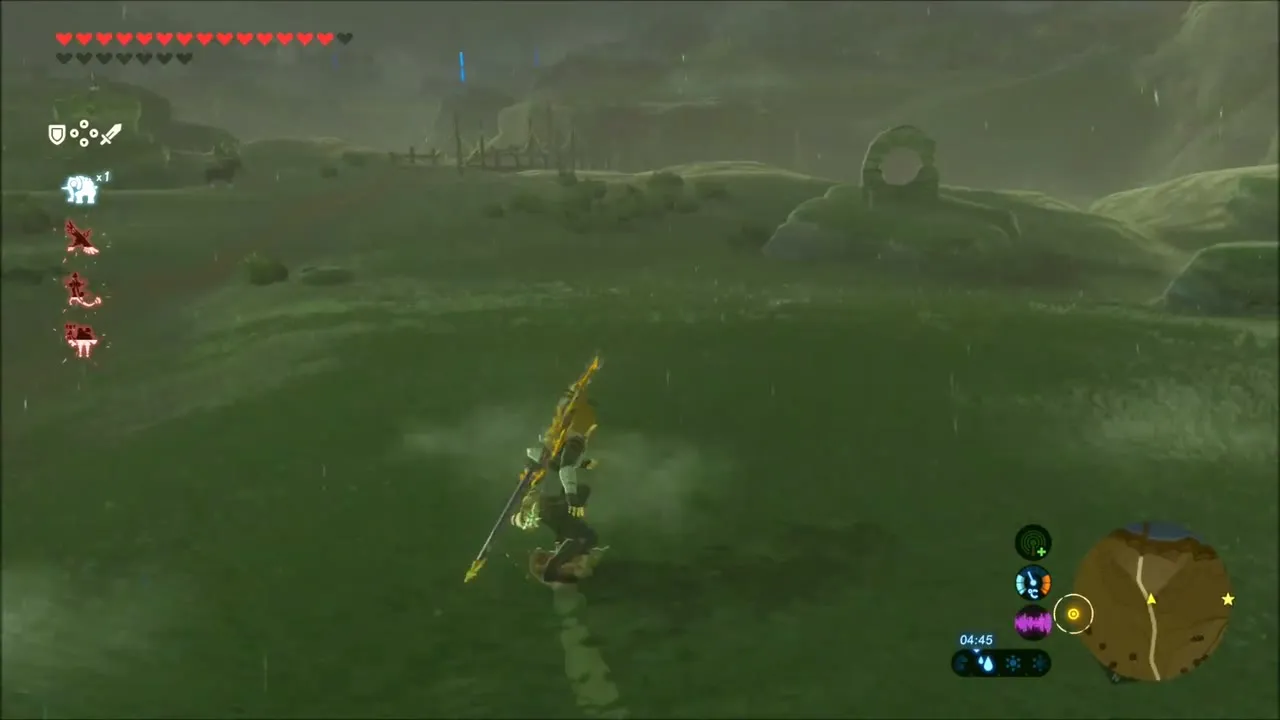
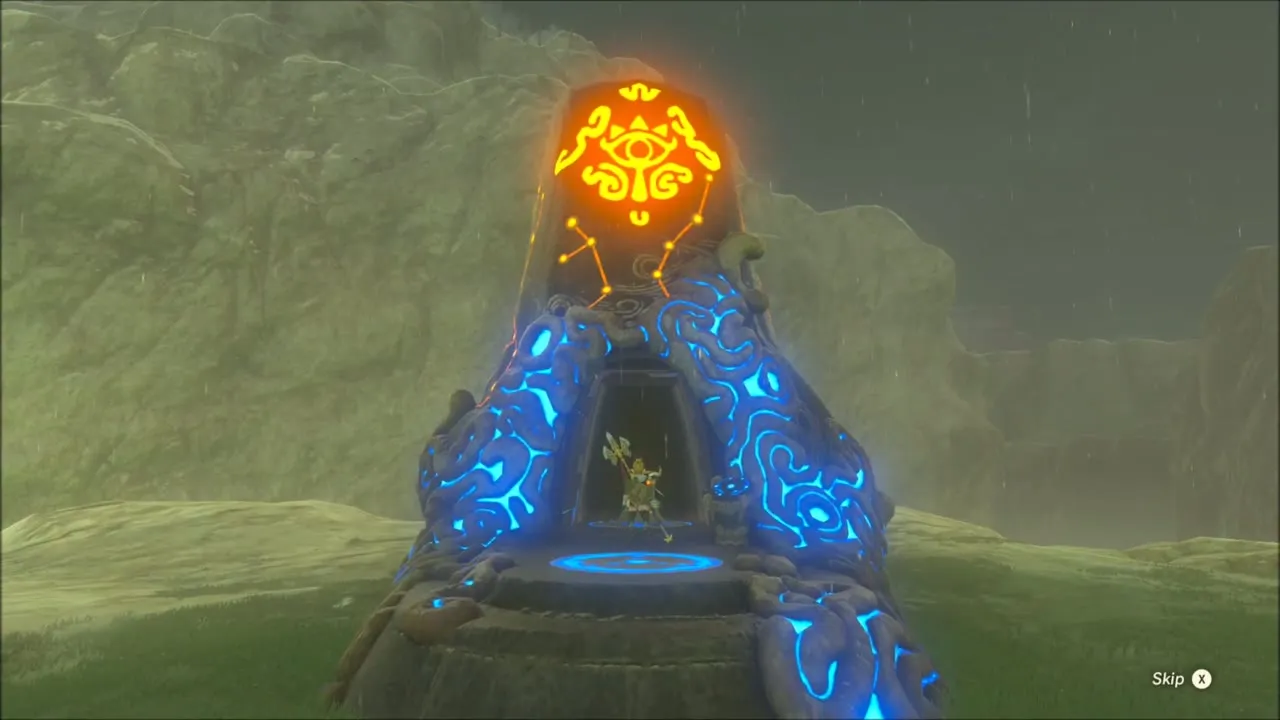
Find the pair of stone rings that line up and fire a fully drawn arrow through both. The second task completes and Sheem Dagoze Shrine rises out of the ground.
Sheem Dagoze Shrine: Moving in Parallel
Sheem Dagoze Shrine (x -1892, z 91, height 221) is a timing puzzle with two floor switches that release the orbs. Step on them in turn so that each orb reaches its receptacle.


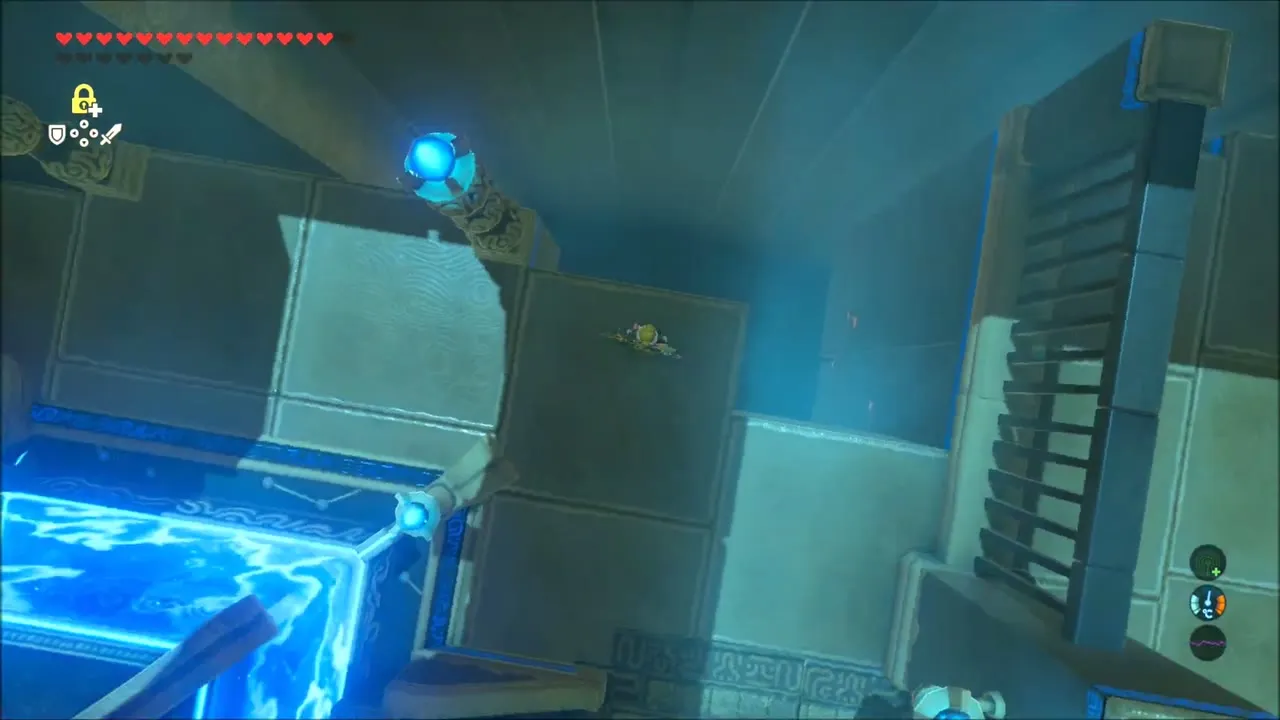
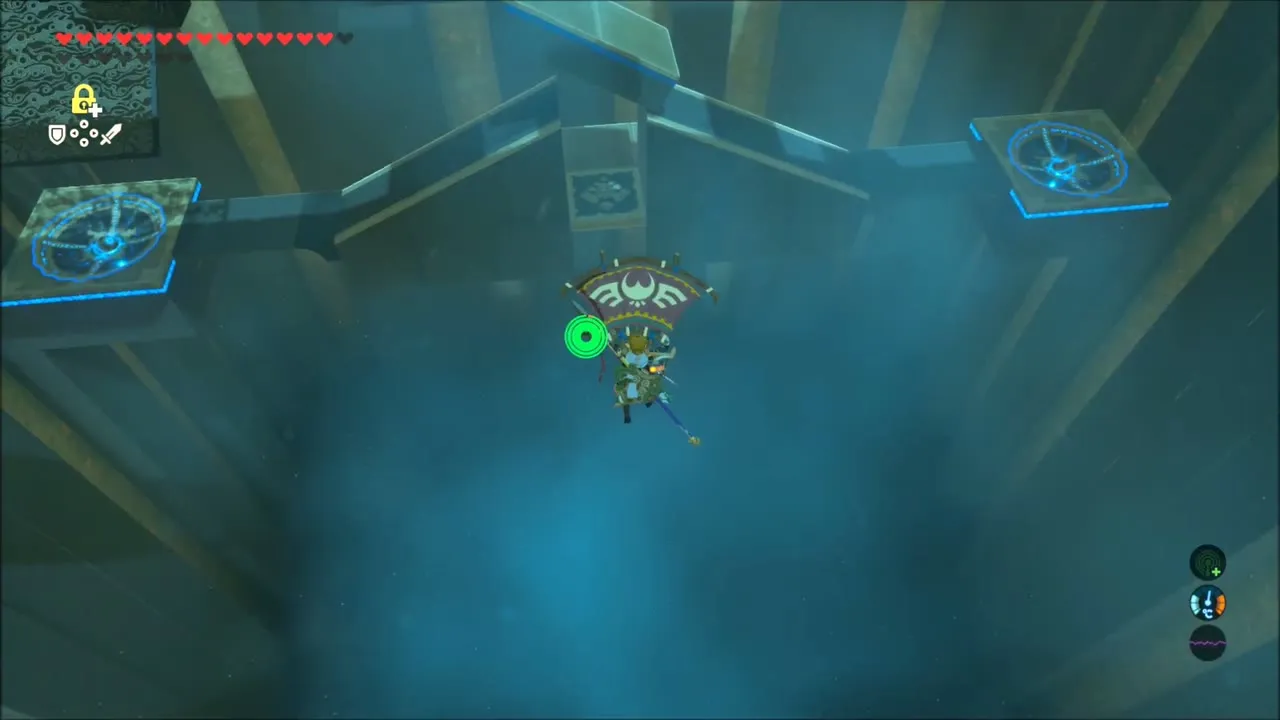
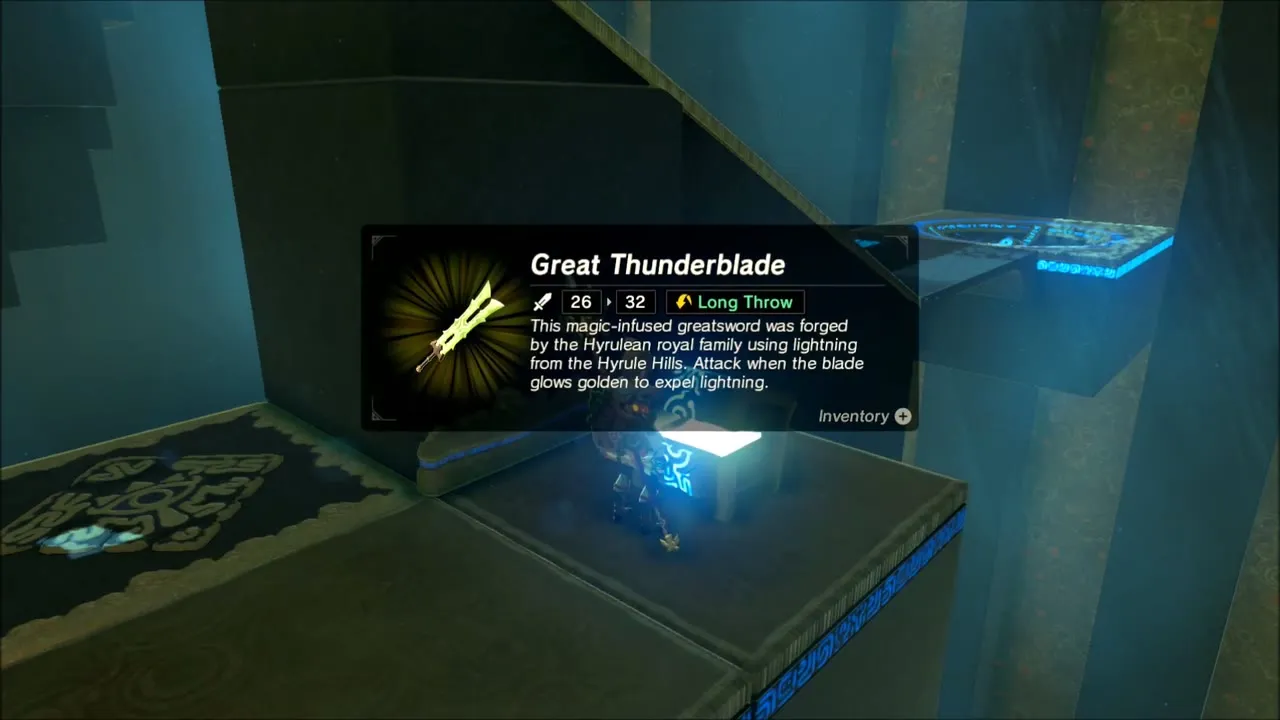
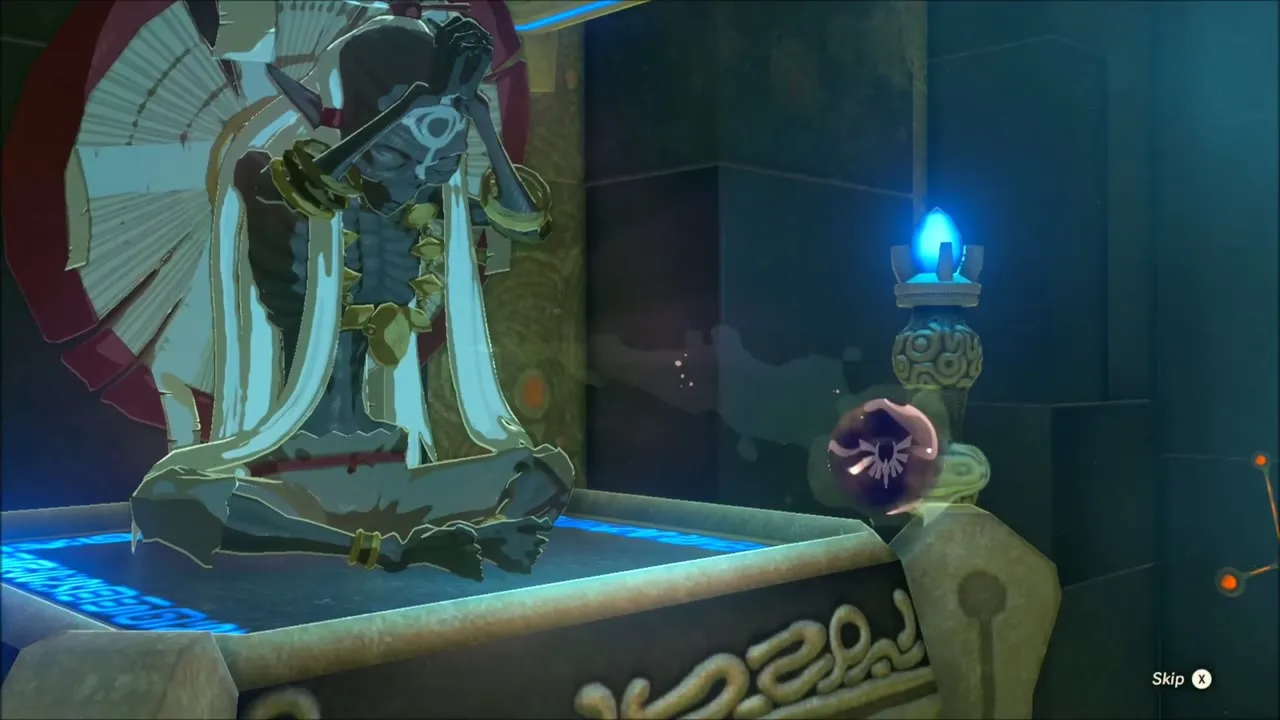
Before leaving, glide across the room to the chest for a Great Thunderblade, then ride the platform back to the monk for your Spirit Orb.

Korok Seeds in Tanagar Canyon and Upland Lindor
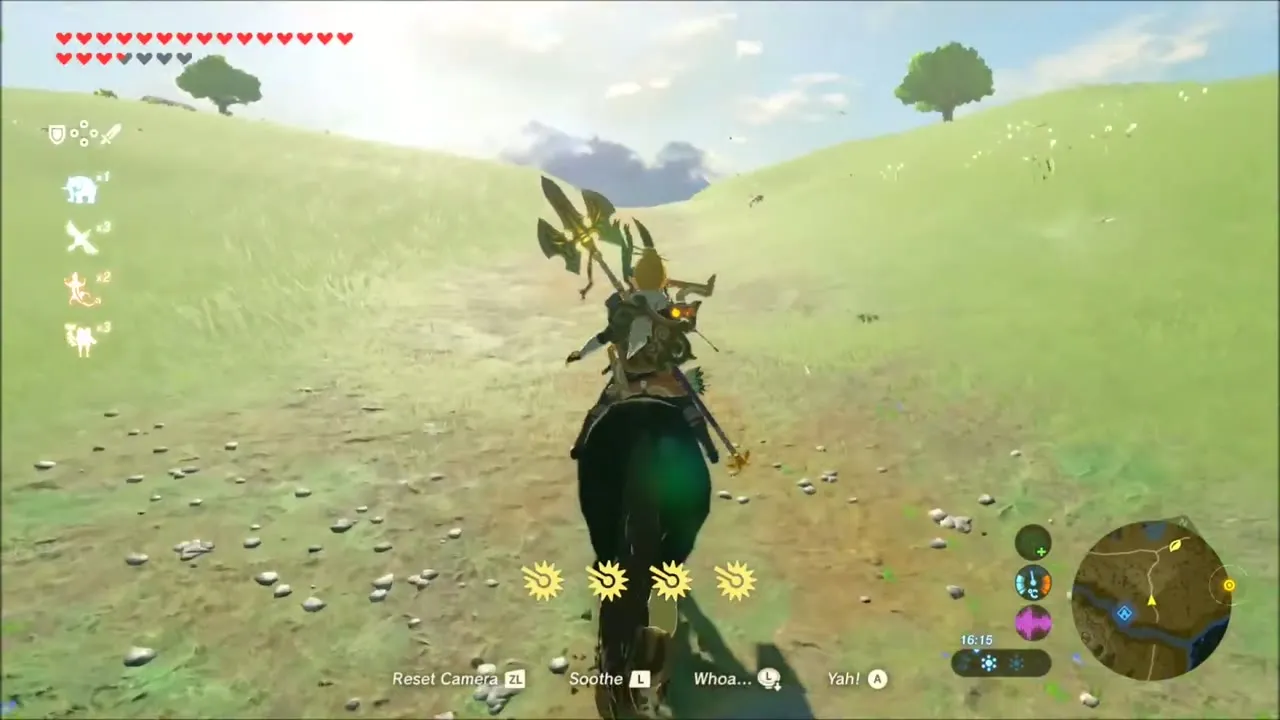
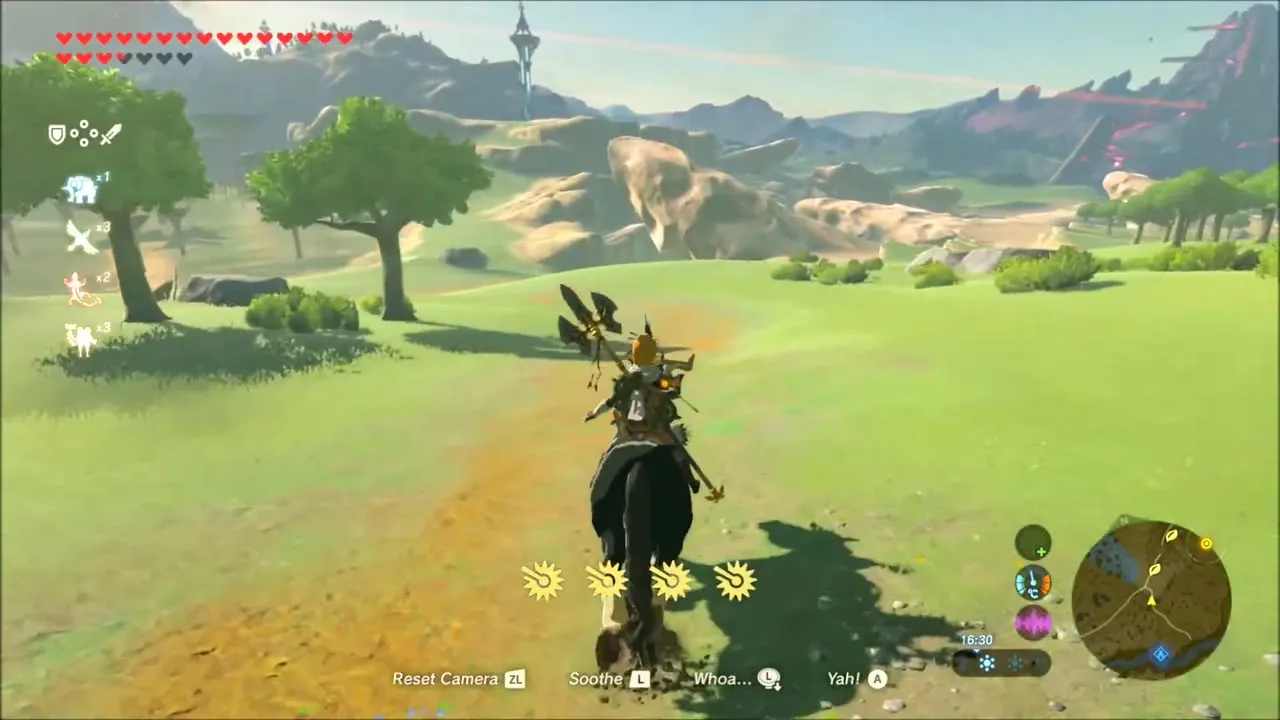
This stretch starts with Link riding west across Jeddo Bridge and into the sandstone country of Tanagar Canyon, the dry basin west of Salari Plain. Follow the dirt trails down to the canyon floor, then leave the horse and work on foot, because most of the seeds here are tucked on rock shelves that only a climb and a glide will reach.

Sandstone Korok seeds on the canyon rim
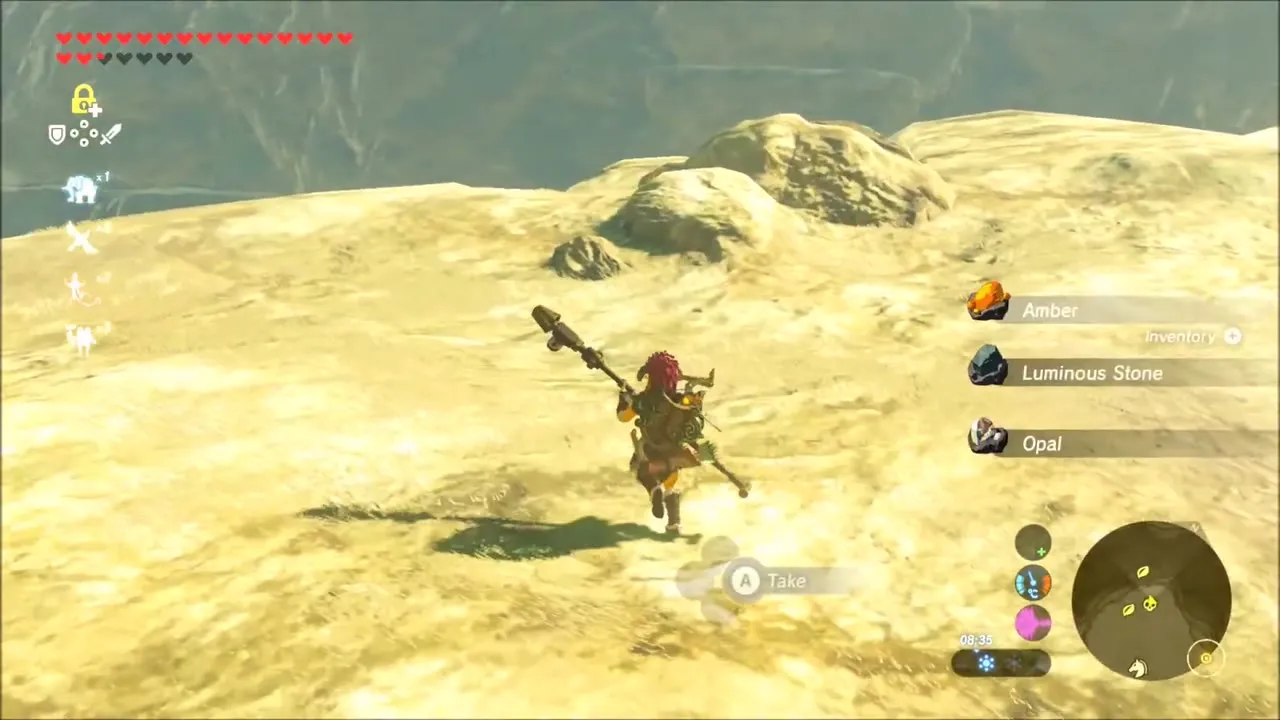
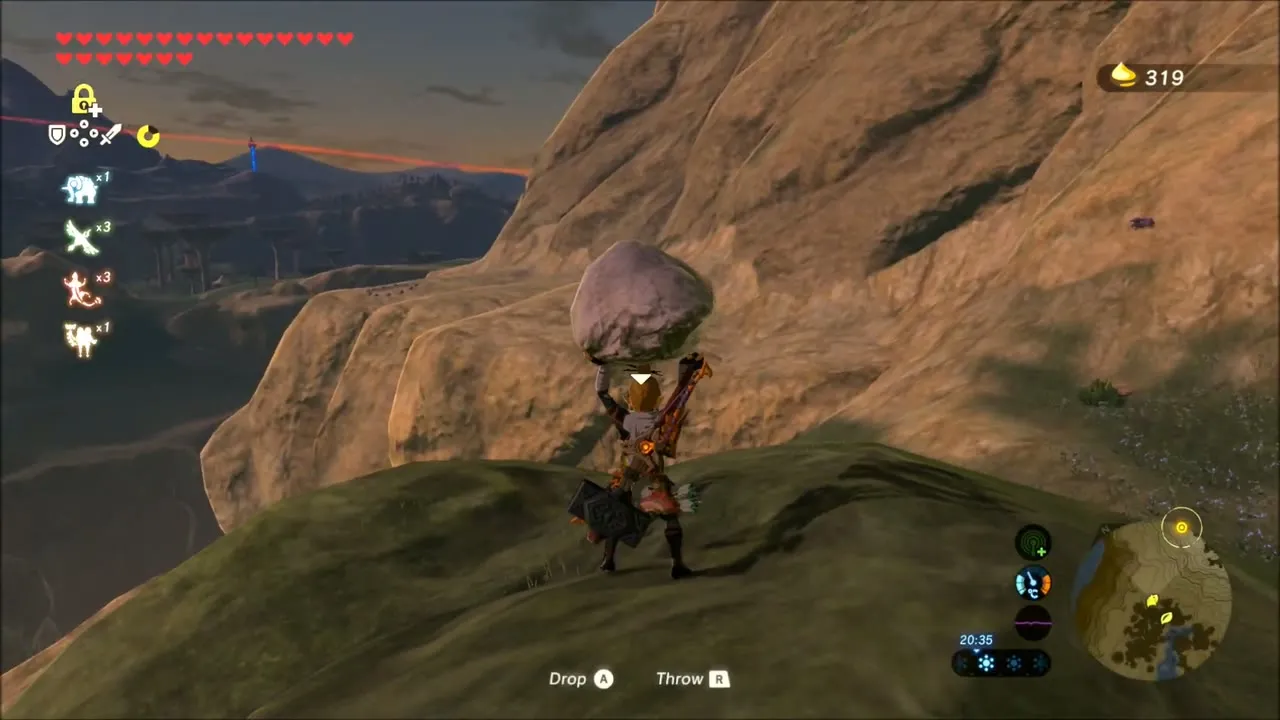
Glide across to the pale sandstone ledges and look for a Korok leaf growing on top of a high rock; talk to it for the first seed of this stretch. Later, on a dark hillside at night, pick up a loose boulder from the hilltop and carry it down the slope toward the water. The next Korok seed appears at the shore between two rocks.

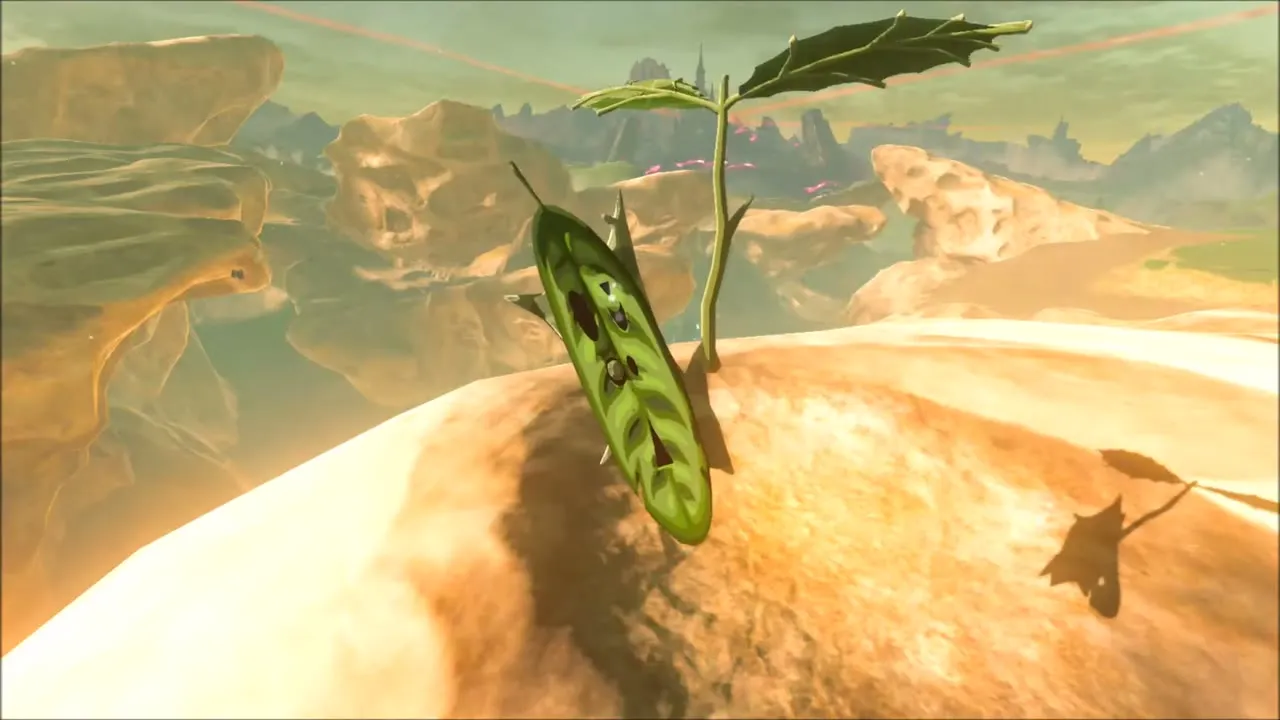

Climb the mossy hill where Amber and Topaz can be mined from the rock face, then glide on to the crest. A glowing yellow ring hangs over the hill: glide into it, and a Korok leaf appears beside the large boulder. The pines on the next hillside hide another seed, up at the top of a tall tree: climb it and talk to the Korok.
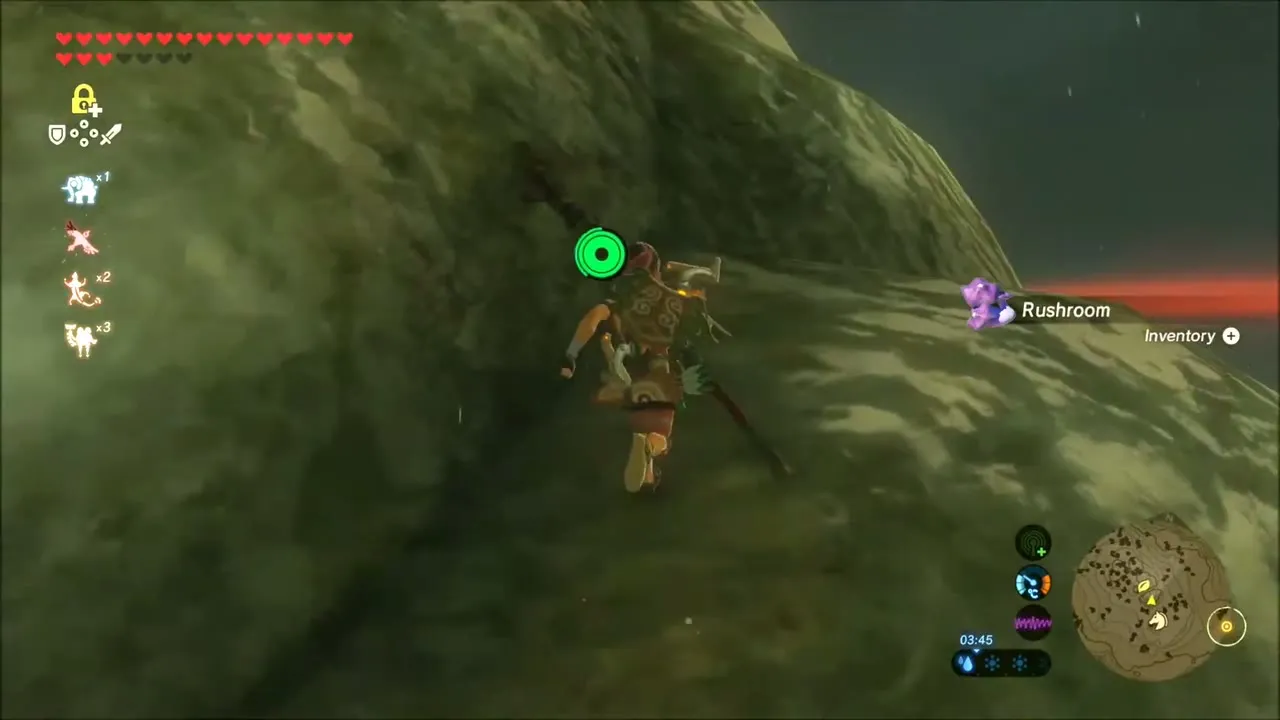

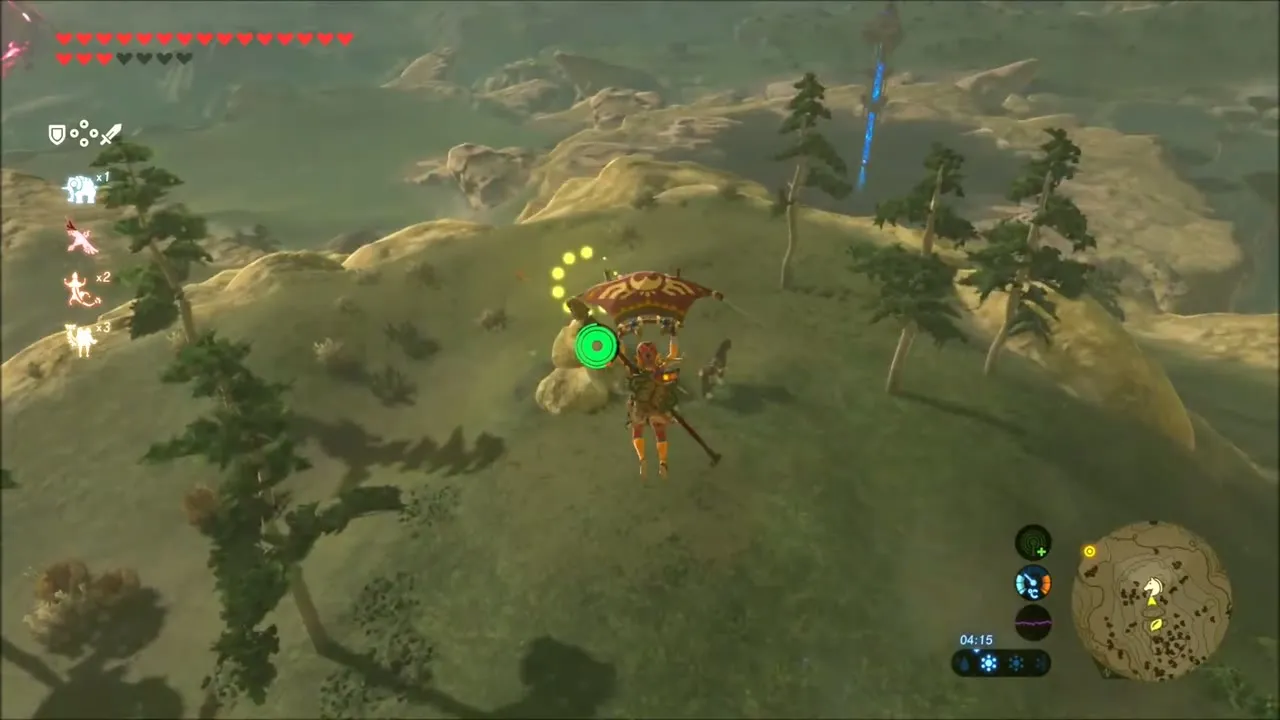

On the grassy flat below, you can lift another boulder and carry it a short way for one more seed. Pick up a Hearty Radish on the way, and check your armor menu for Amber Earrings.
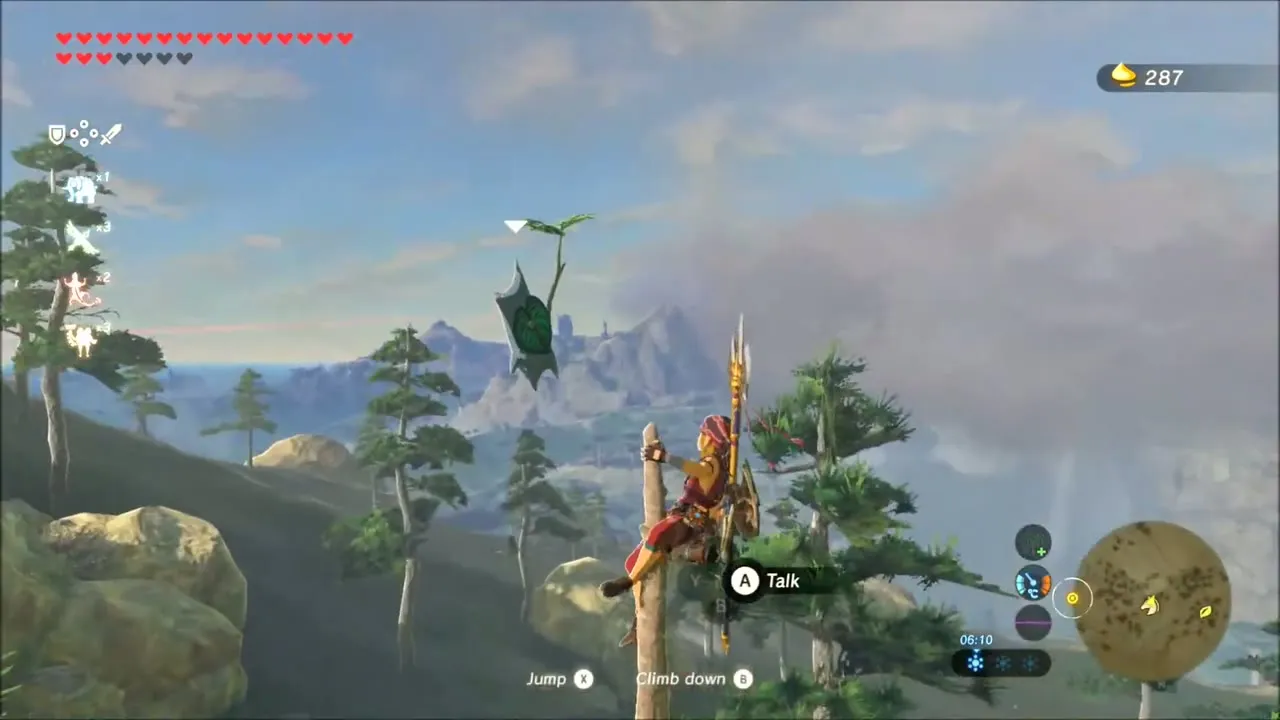


Stone Talus in Upland Lindor
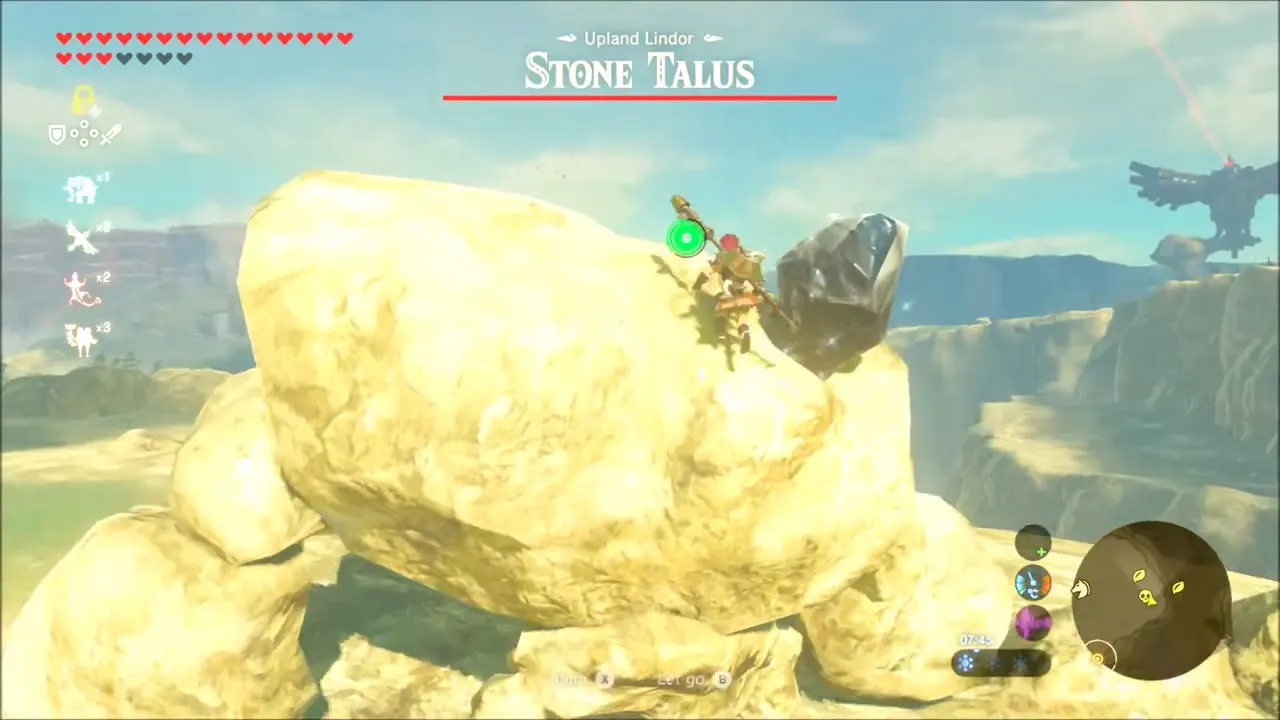
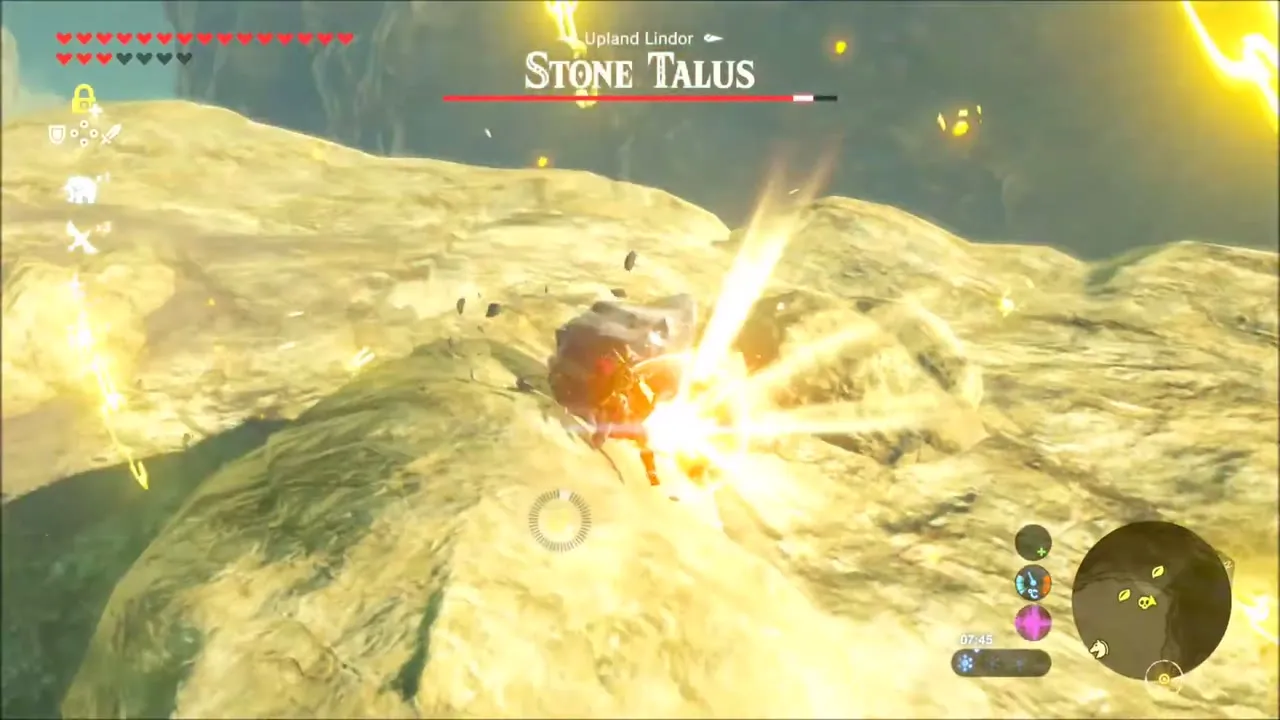
In Upland Lindor a Stone Talus is stirring among the sandstone formations. Climb onto its back, strike the glowing ore deposit on its weak spot until it crumbles, then finish it off. Mine the remains and the nearby ore veins for Amber and Opal.

Canyon ledge and rock-circle seeds
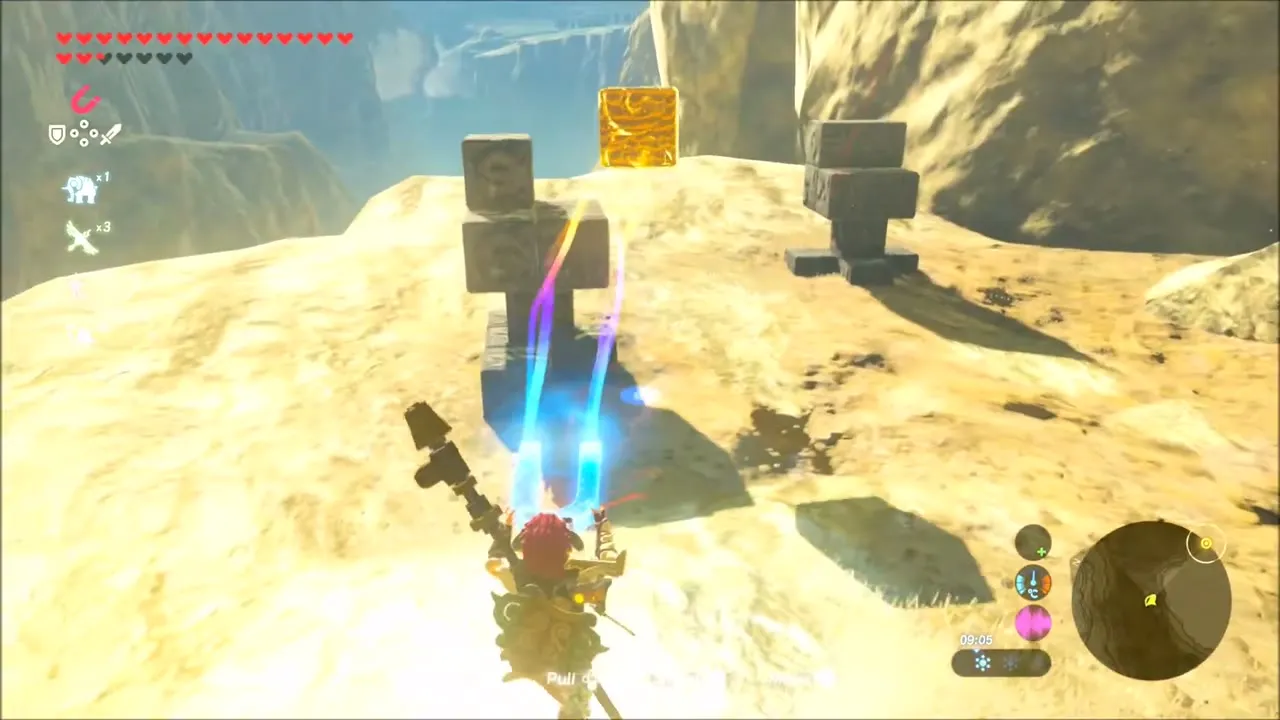
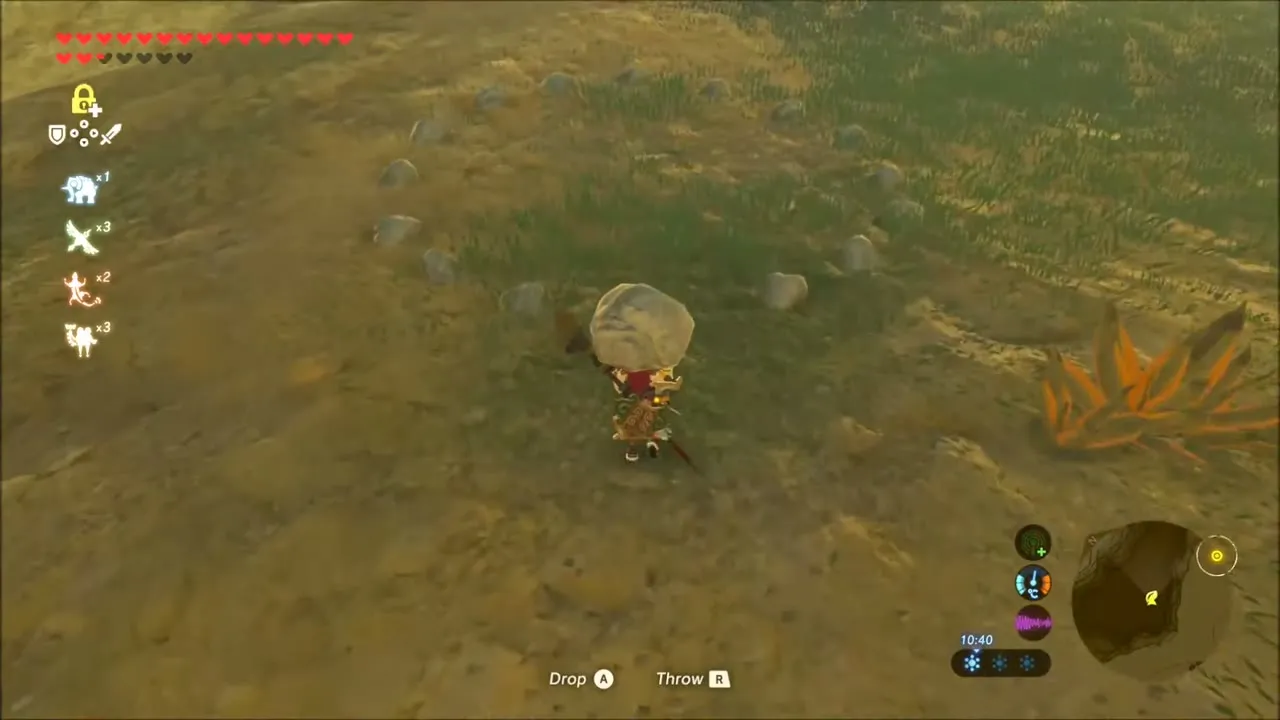
Gliding down the canyon wall brings you to a ledge with a few stone pillars and a stone block that carries a Korok leaf; speak to it for a seed. Bomb the cracked rock in the narrow gap below for Opal and Rock Salt. Then walk through the grass to a ring of small stones with one missing: pick up a stone from the ground and drop it into the gap to free the Korok.



One more seed in this part of the canyon is up a cliff. Climb the long sandstone wall, resting when your stamina runs low, then glide down to the green grassland, where a herd of wild horses grazes.


Ore caves in the storm
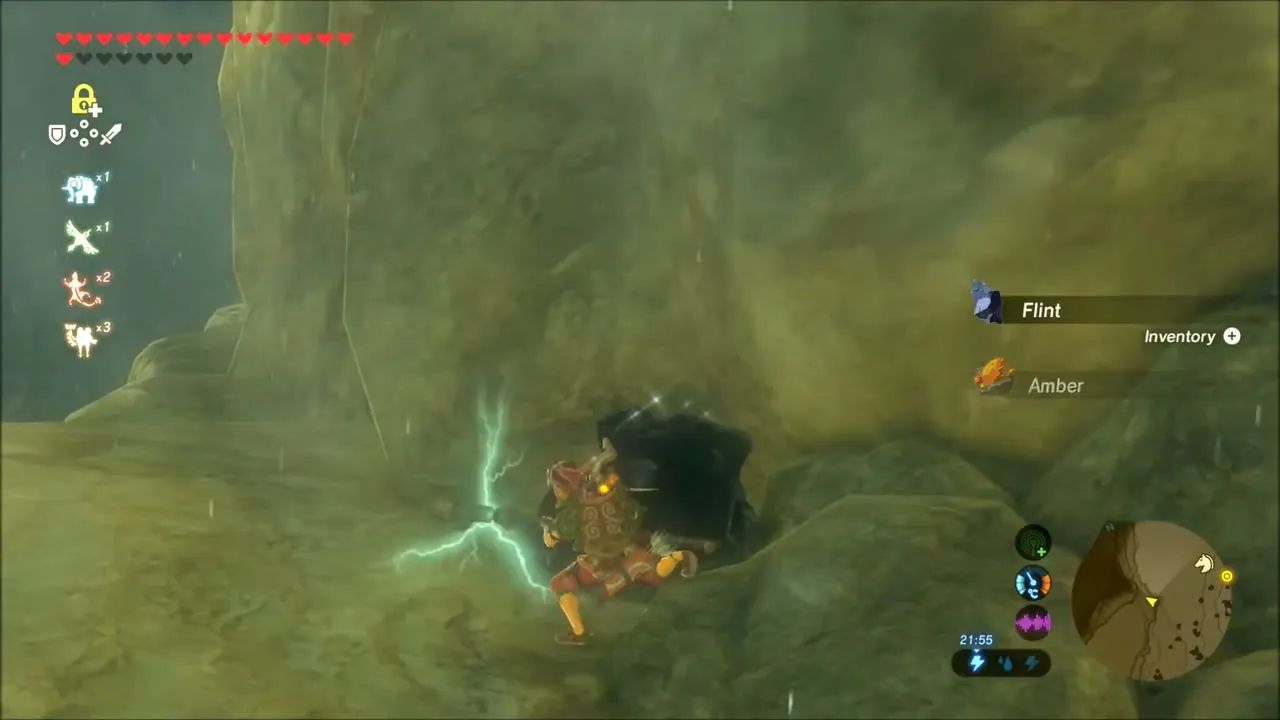
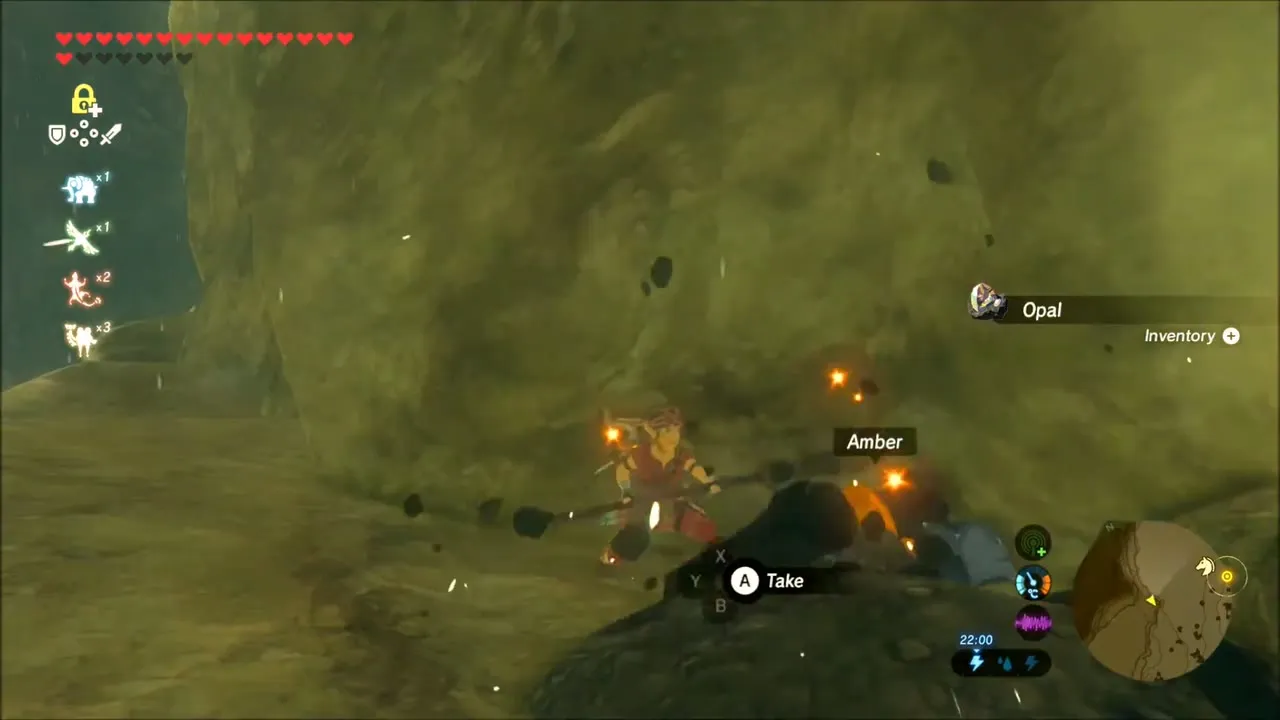
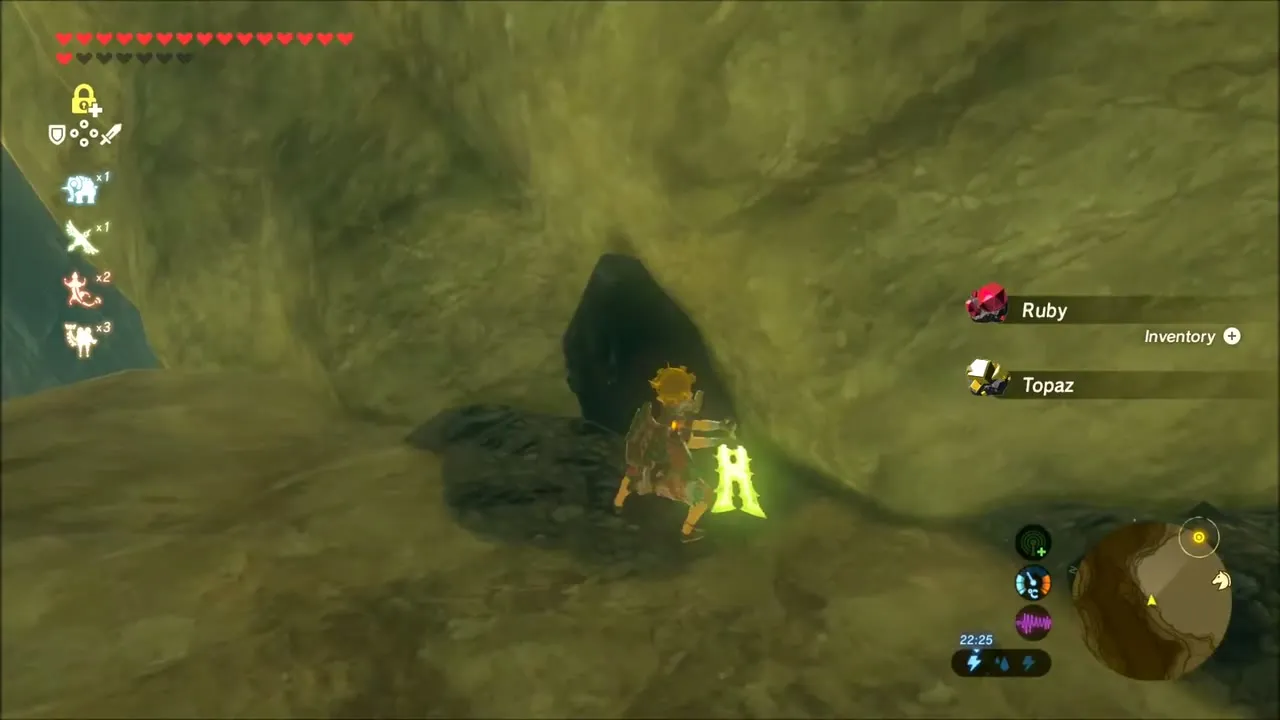
In a rain-soaked pocket of the canyon, two small caves are good for mining Amber, Opal, Flint, Ruby and Topaz in a short loop. Dinraal circles above in the storm, which makes this a convenient place to gather dragon scales. Take care when lightning starts to crack down and avoid carrying metal.


Konba’s Footrace Near Thundra Plateau
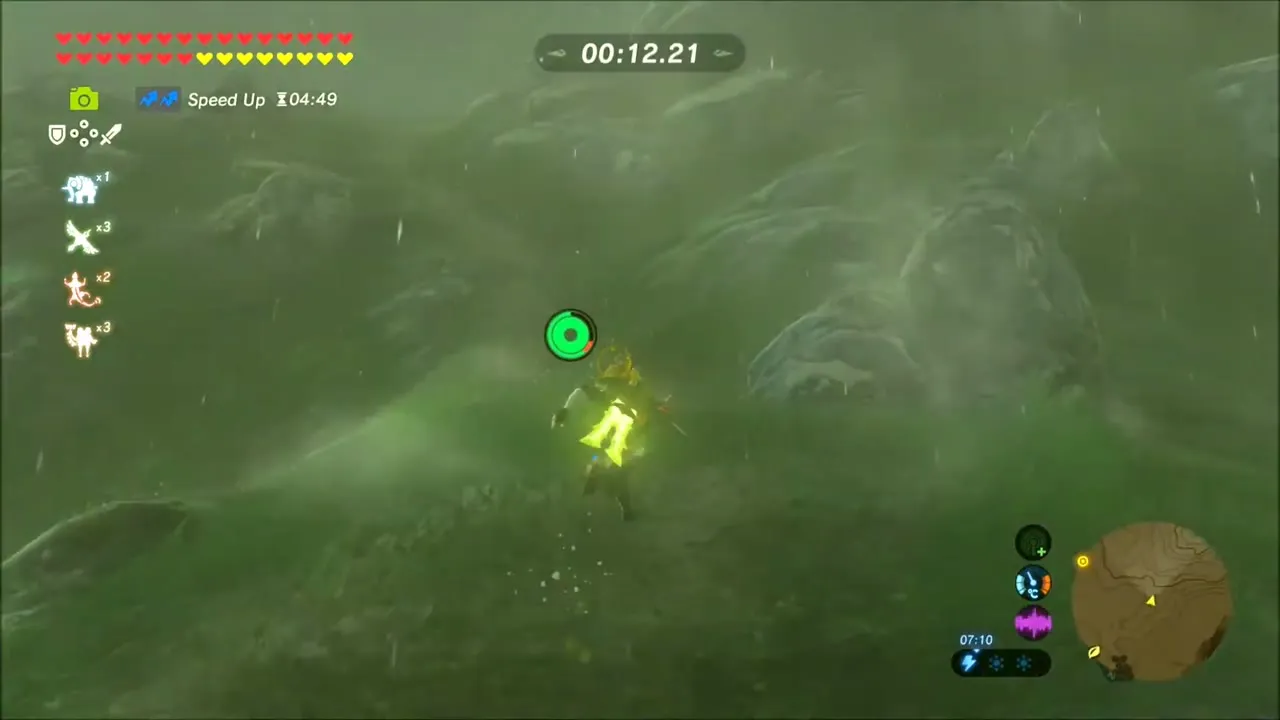
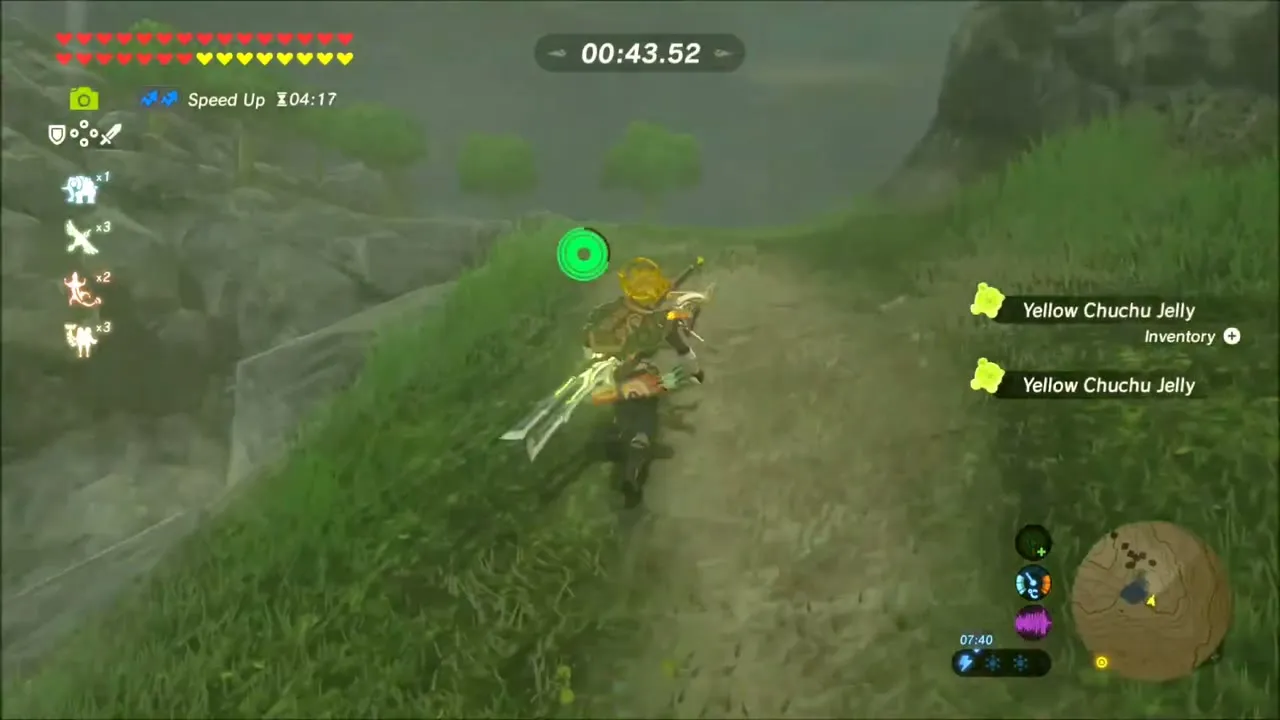
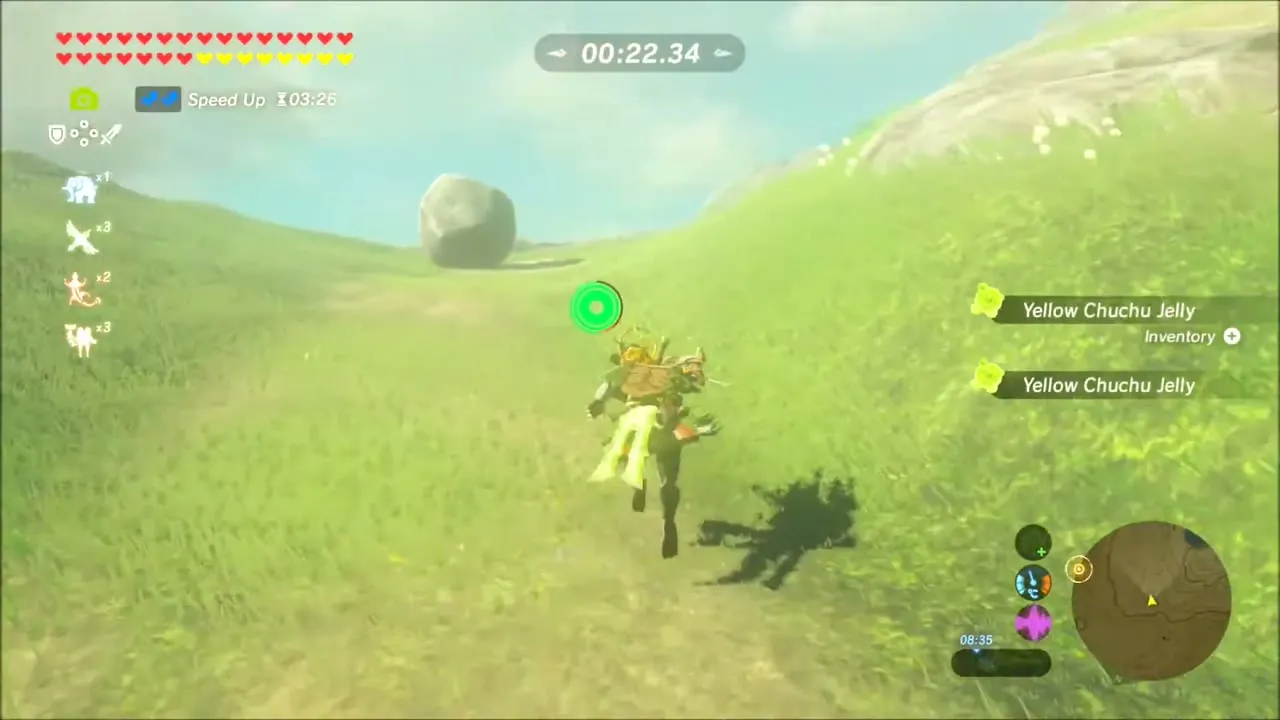
Head north-east to Konba’s camp at Footrace Check-In (x -2642, z -1169) and run the Footrace. It costs 20 rupees, you must run it on foot without a horse, and a win pays out a Purple Rupee. Sprint straight up the slope toward the flags rather than following the winding path, and collect Yellow Chuchu Jelly and Keese Wings as you go.
Trial of Thunder and Toh Yahsa Shrine: Buried Secrets
Head to Thundra Plateau at (x -2229, z -960), just west of Ridgeland Tower. Lightning storms the plateau until the Trial of Thunder shrine quest is finished, so unequip every metal weapon, bow and shield before you step onto the grass.
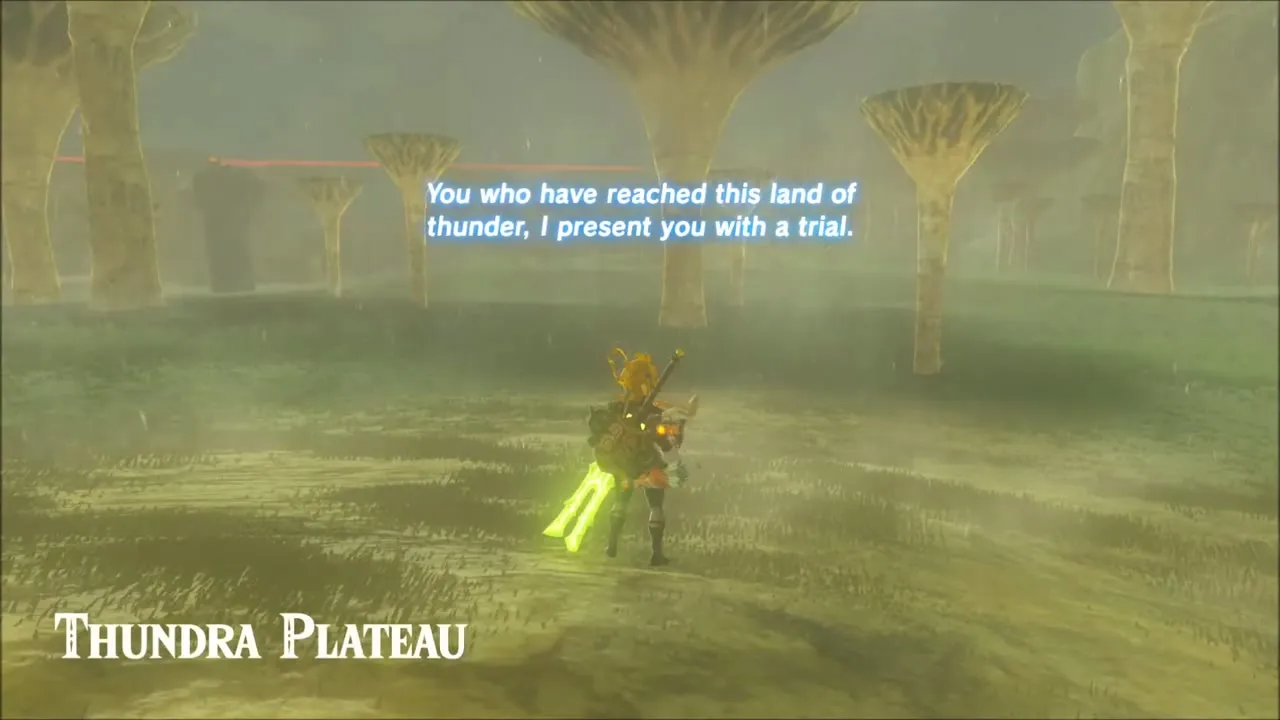


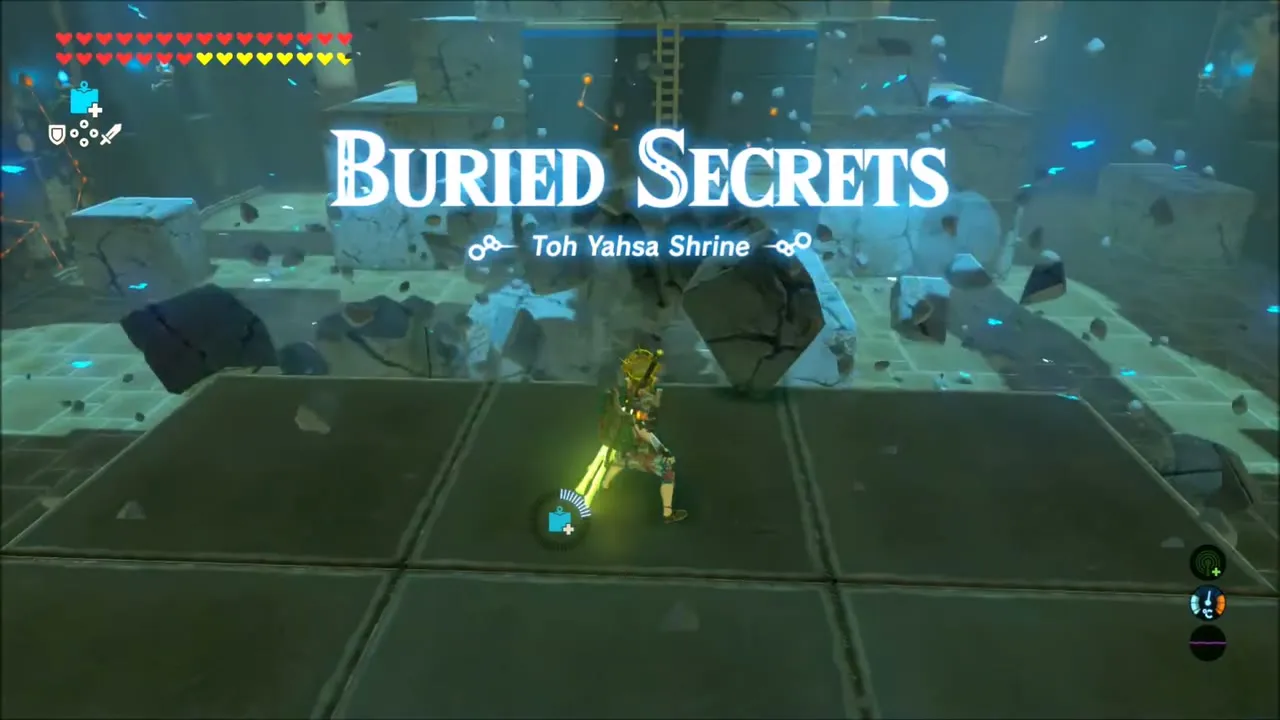
Carry or launch the four coloured orbs (orange, purple, green and red) onto the central plateau and place each in the matching socket. The orange orb sits on a platform north of the plateau: freeze it with Stasis, hit it repeatedly with a non-metal weapon to build up momentum, and it sails across when Stasis ends. When the last orb is seated, Toh Yahsa Shrine rises from the ground.
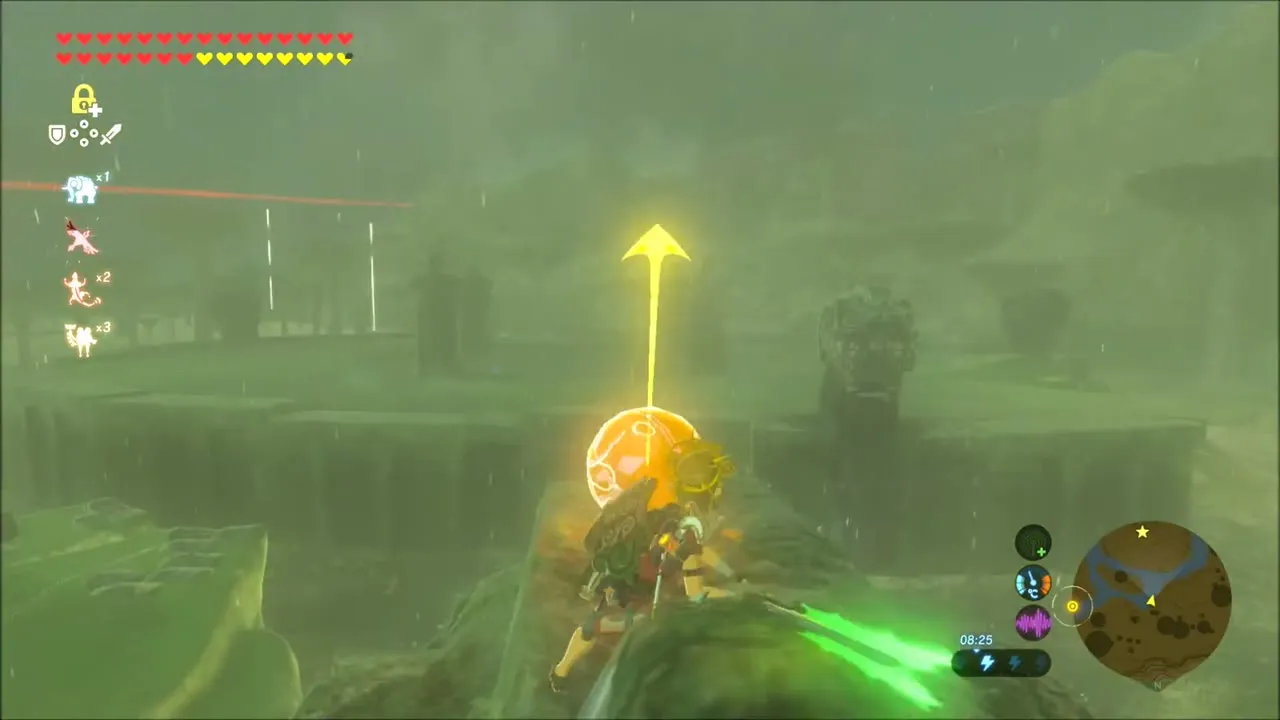
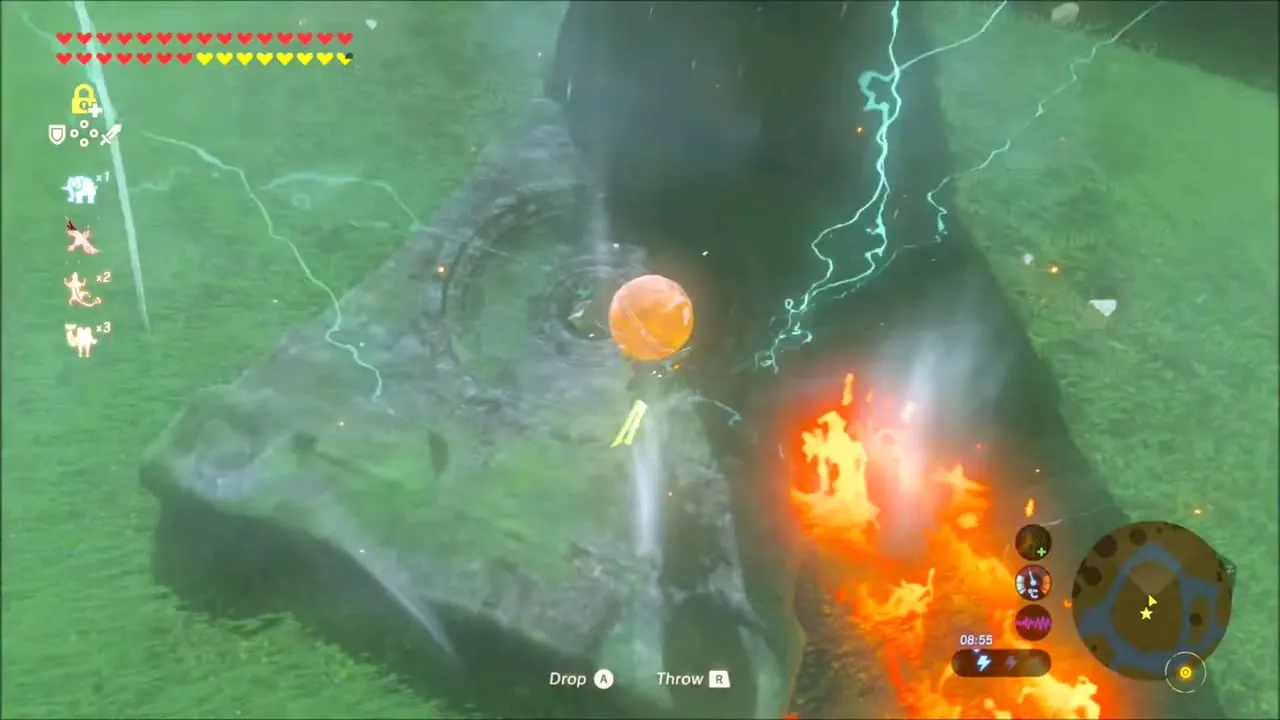
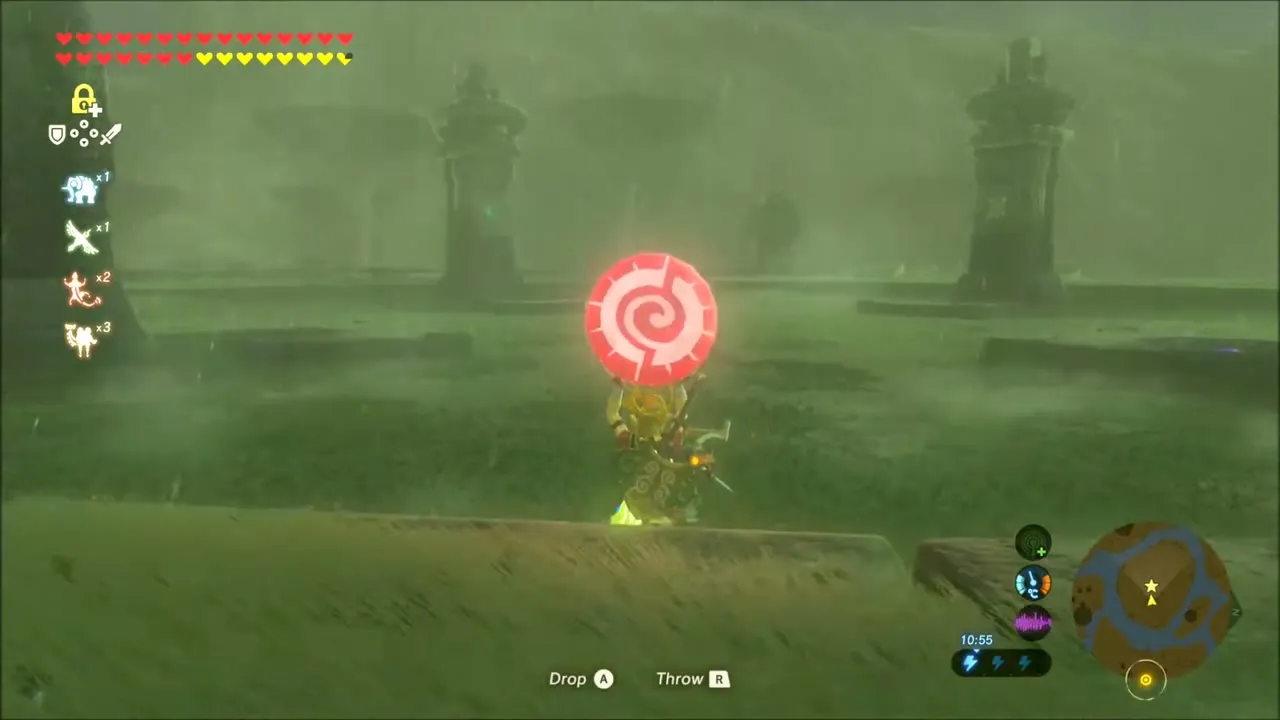
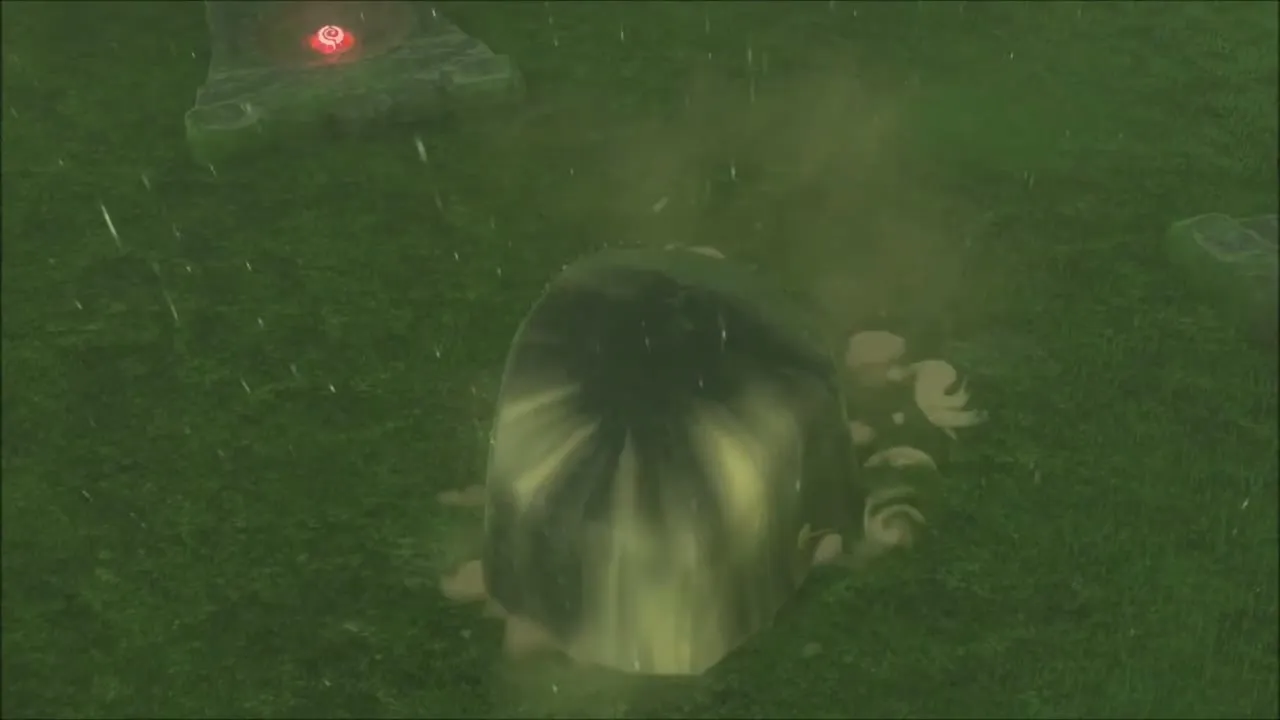
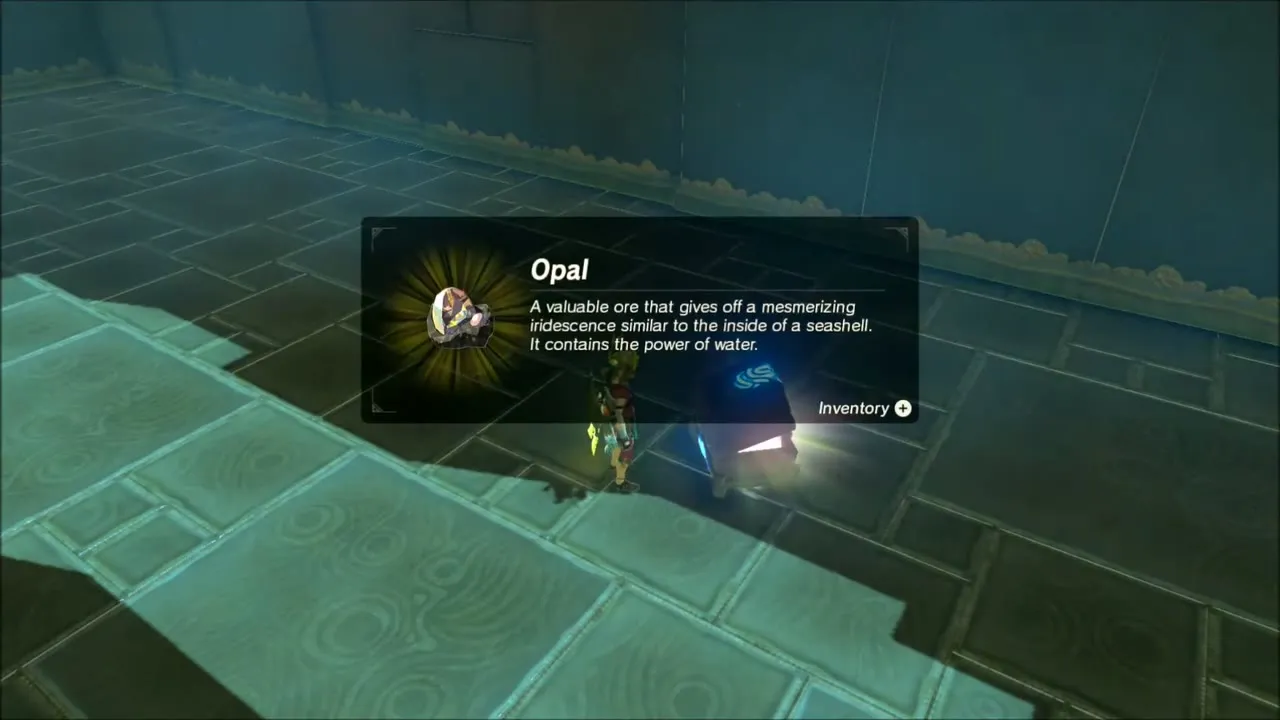
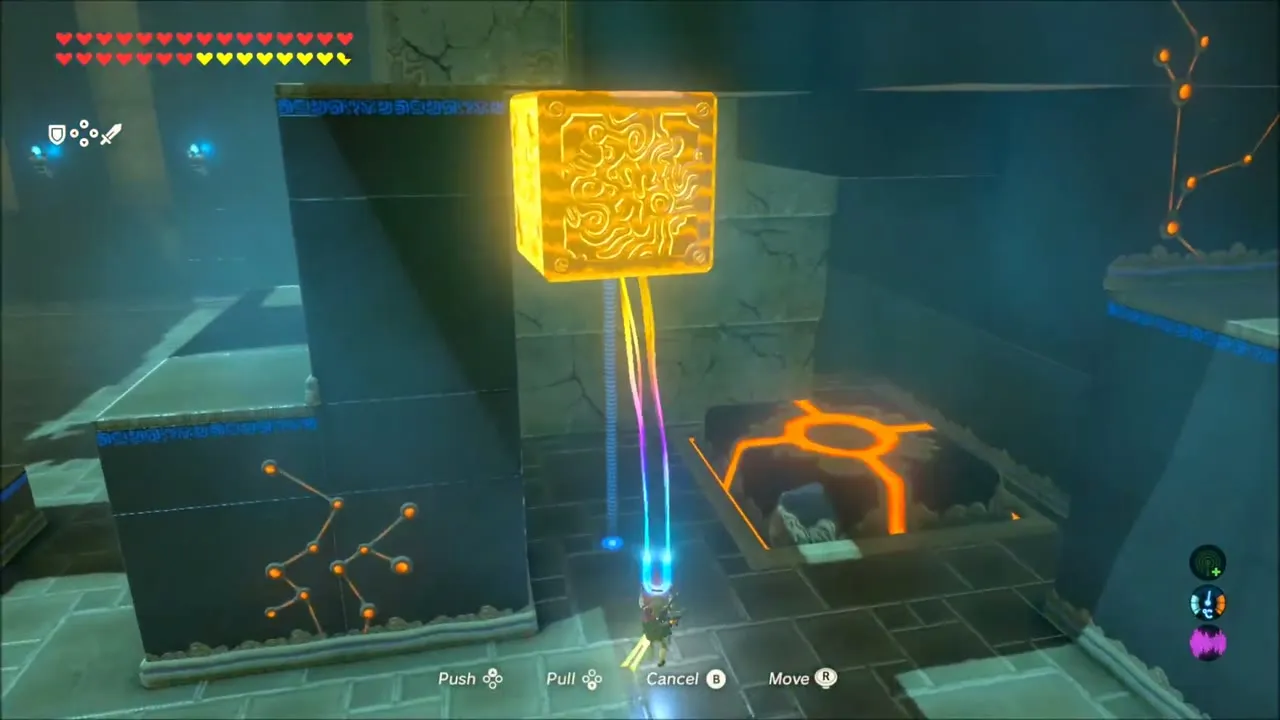
Inside, the trial Buried Secrets is about breakable blocks and metal crates. Blow up the blocks with Remote Bombs, use Magnesis to knock a chest down for an Opal, and bomb the block under the entrance to uncover a chest of Rubber Armor, which grants shock resistance. Move the metal crate across and set it on the hidden pressure plate to open the monk’s gate and take the Spirit Orb.


Korok Seeds Among the Seres Scablands Mushroom Pillars
The next stretch is spent on the giant mushroom-shaped pillars of Seres Scablands, between Ludfo’s Bog and Thundra Plateau. Cross the stream near the start and look for Korok leaves tucked beside the thick trunks. Several seeds sit high on the pillars: climb the trunk, then glide from the cap to the neighboring ones.
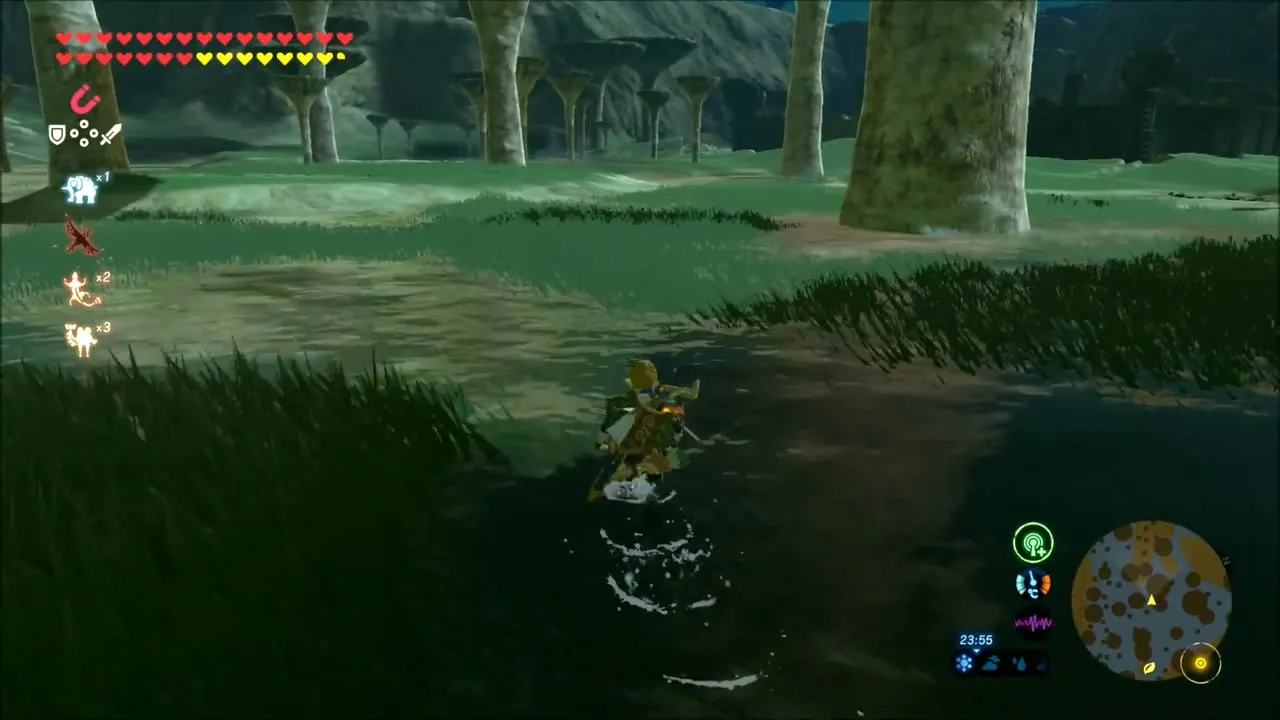
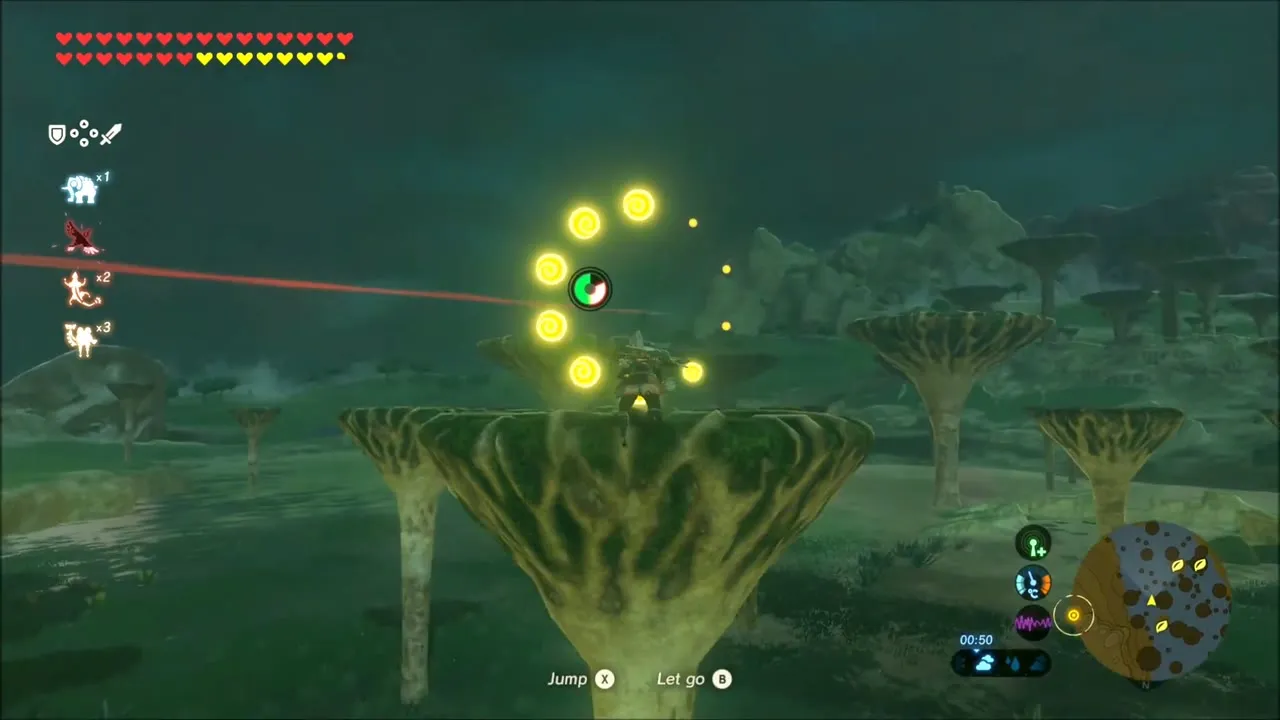

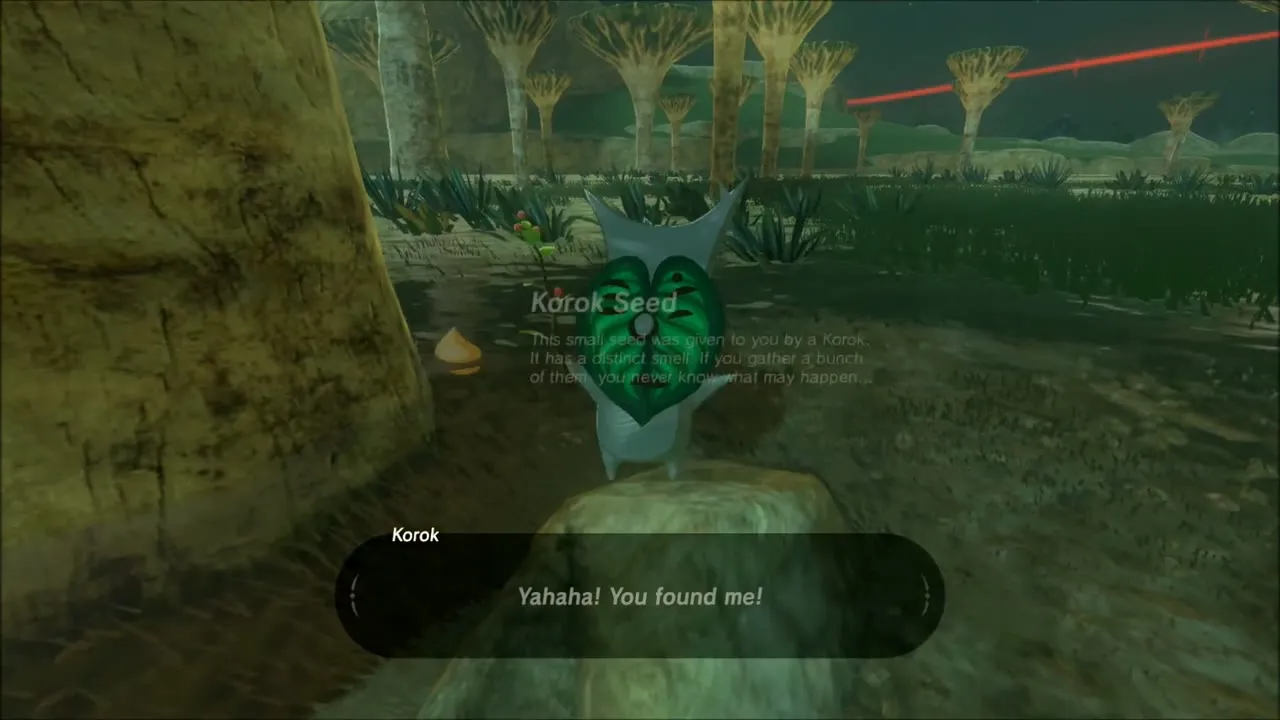
One seed here is a ring of grey stones set in the grass with one missing; pick up a loose rock nearby and drop it into the gap to free the Korok. Others are simply a leaf growing on a cap or beside a trunk that you reach by climbing.
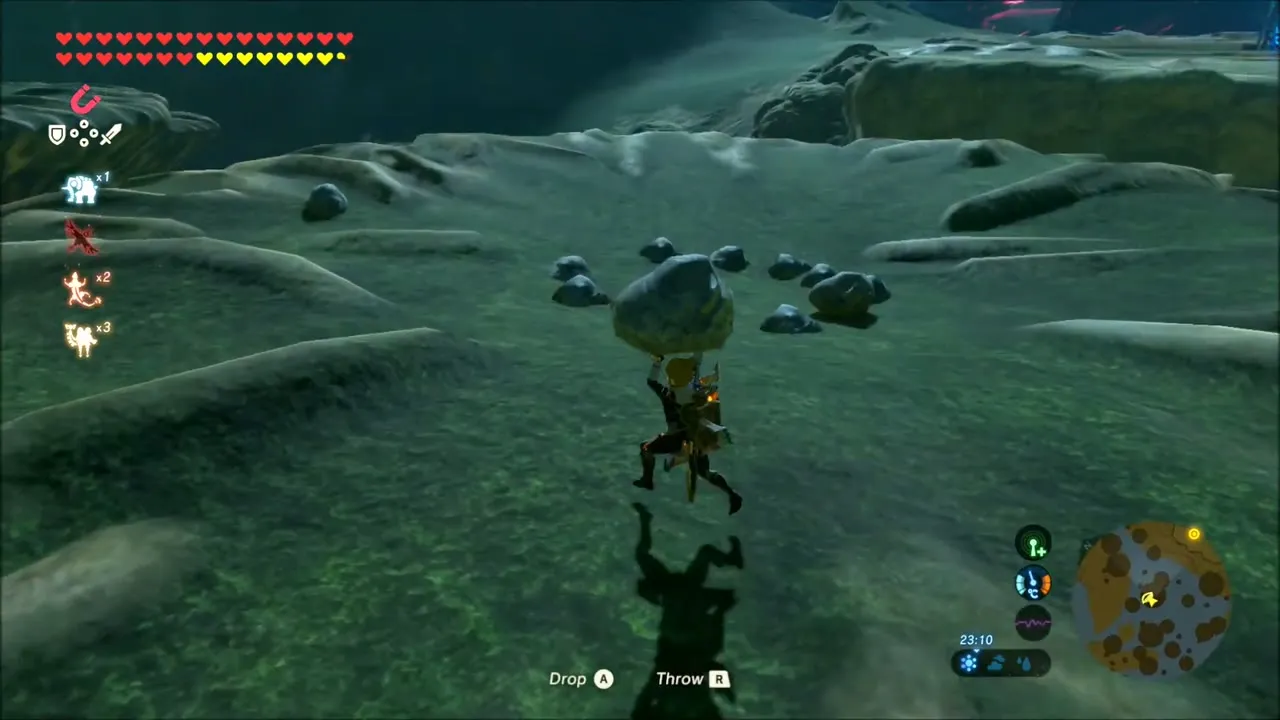
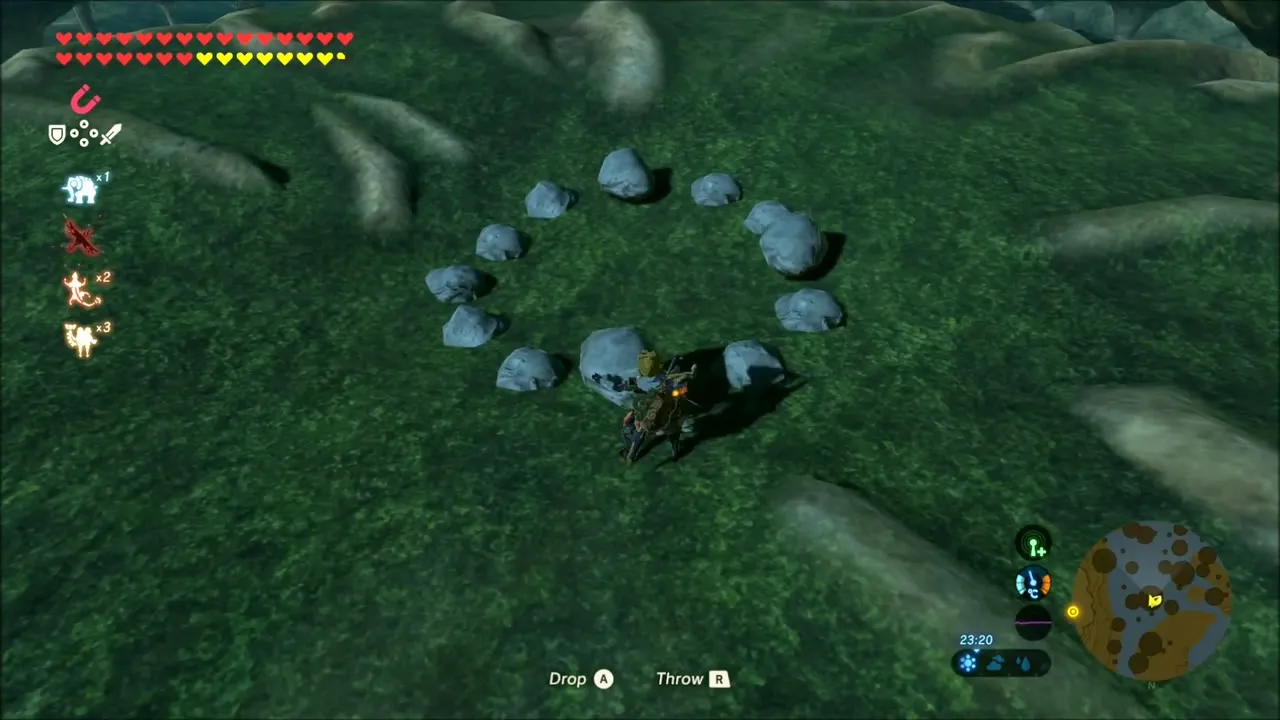
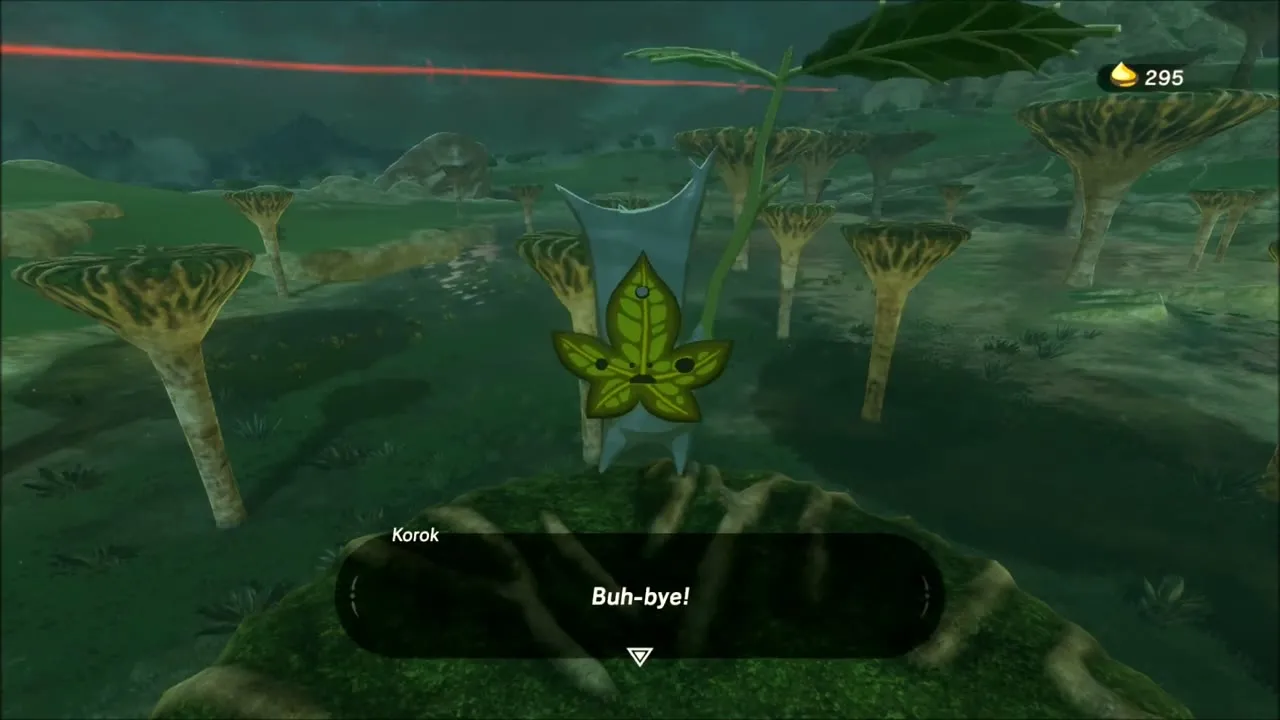
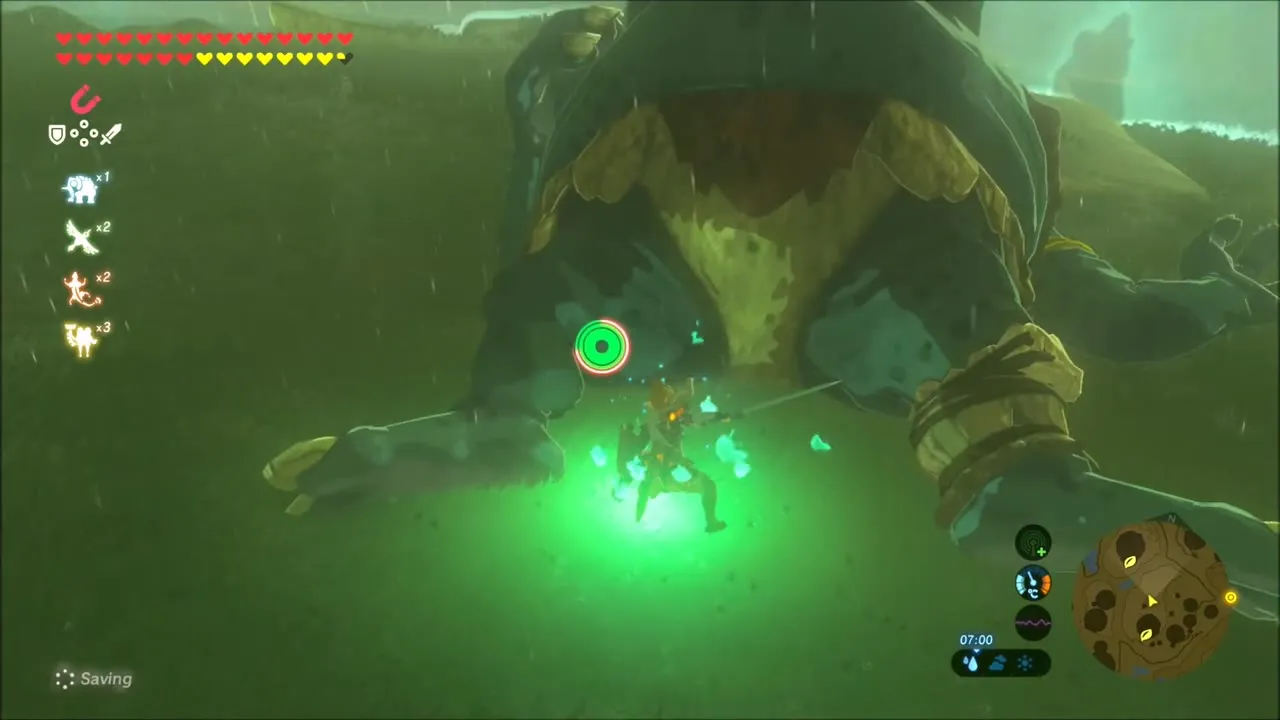
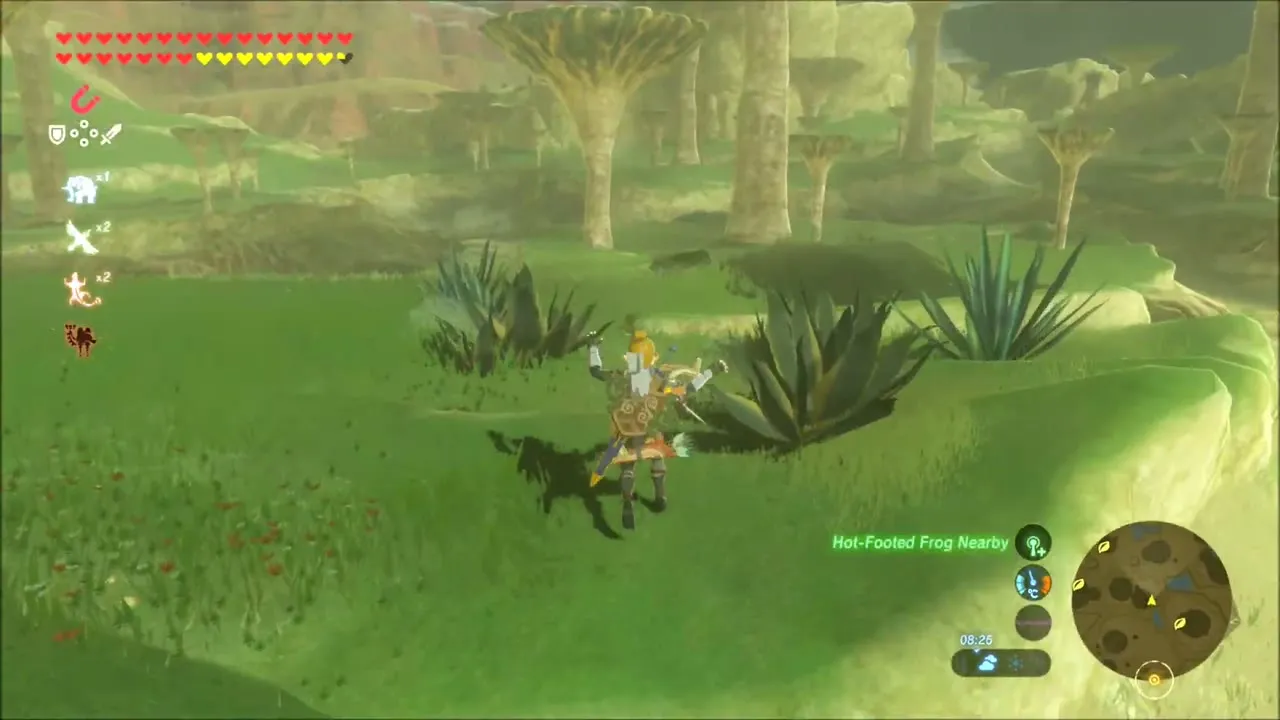
A Hinox wanders the slopes among the pillars. Fight it on your way through, and keep gathering Hot-Footed Frogs, Acorns and a Big Hearty Radish. The last seeds of this stretch lie on the grassy hills beyond it.

Washa’s Bluff: Kass and the Under a Red Moon Shrine Quest
Ride on to Washa’s Bluff at about (x -2732, z 87), where Kass keeps a hut on the top of the tallest mushroom pillar. Read his journal there. It sings of an ancient song of the night of the red moon and of a pedestal where you must stand with nothing between you and the night air. This starts the Under a Red Moon shrine quest.


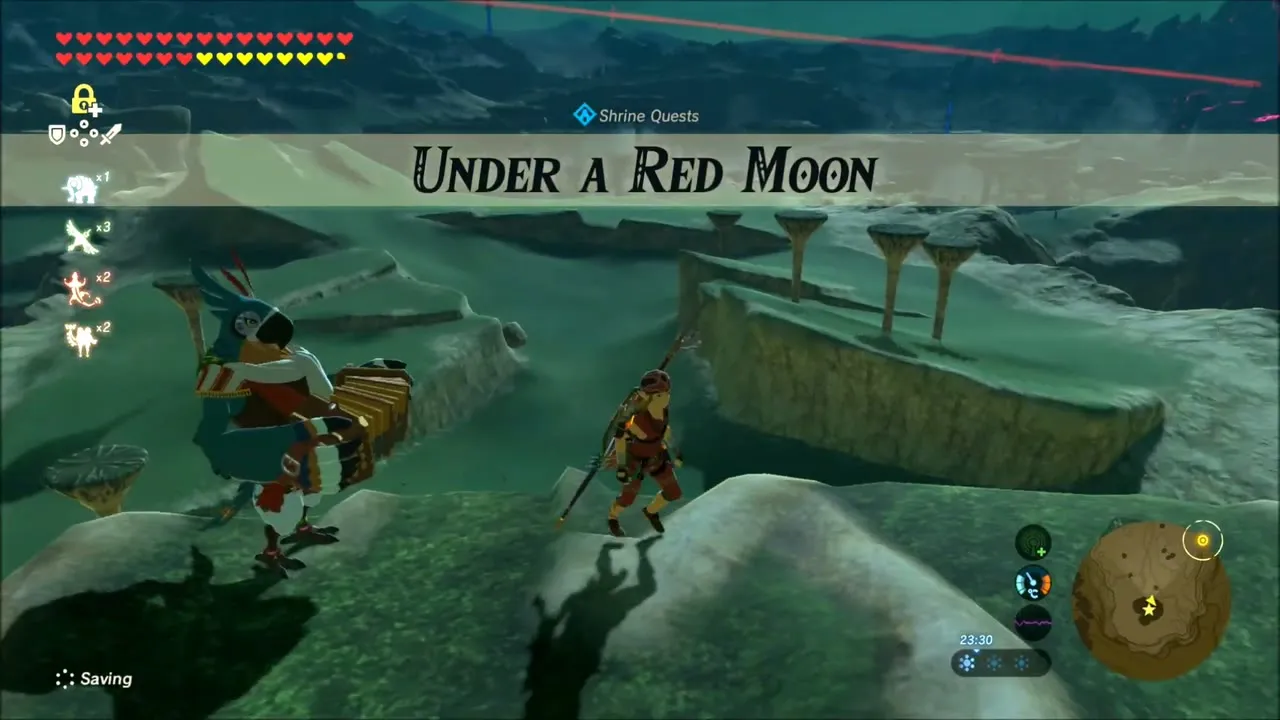
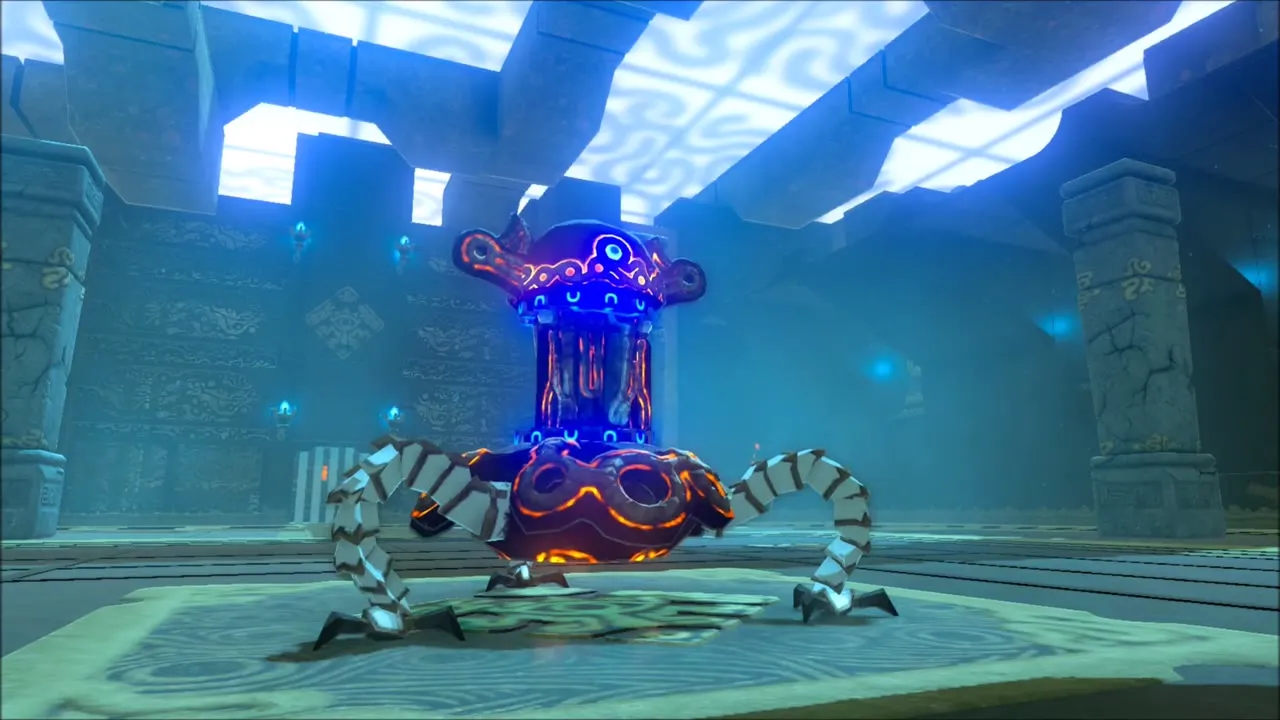
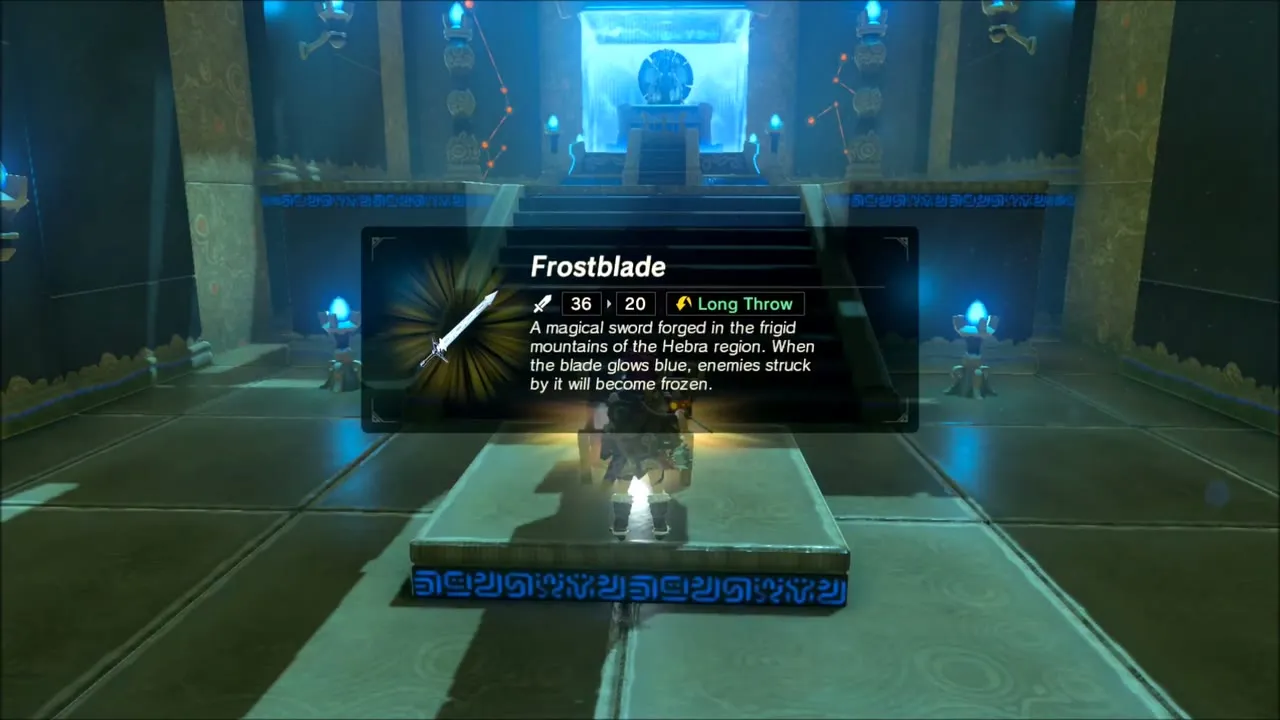
Wait for a Blood Moon, then unequip all weapons, shield, bow and armor and stand on the pedestal. Mijah Rokee Shrine (x -2744, z 226) rises from the ground. Its trial, A Modest Test of Strength, is a fight against a Guardian Scout III. Stasis helps you land heavy hits while it is held still. Open the chest for the Frostblade and take the Spirit Orb from the monk.



Blumeni Plateau Stone Talus and the Lynel
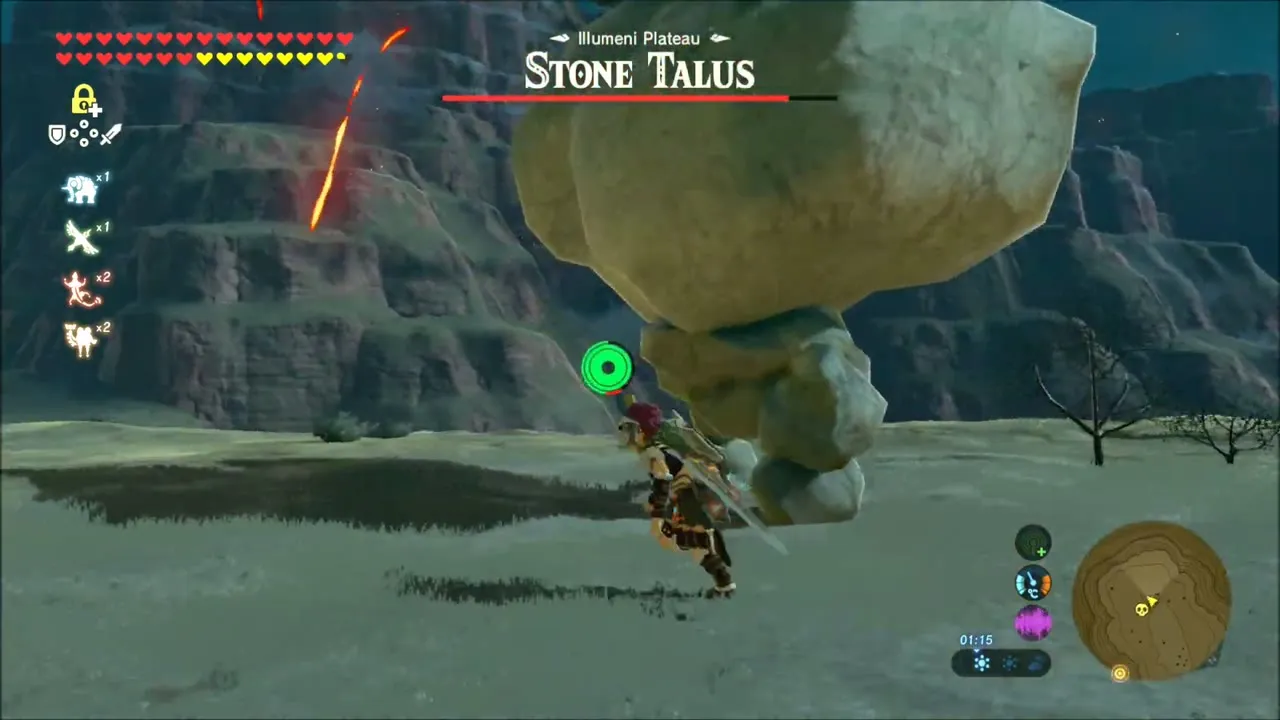
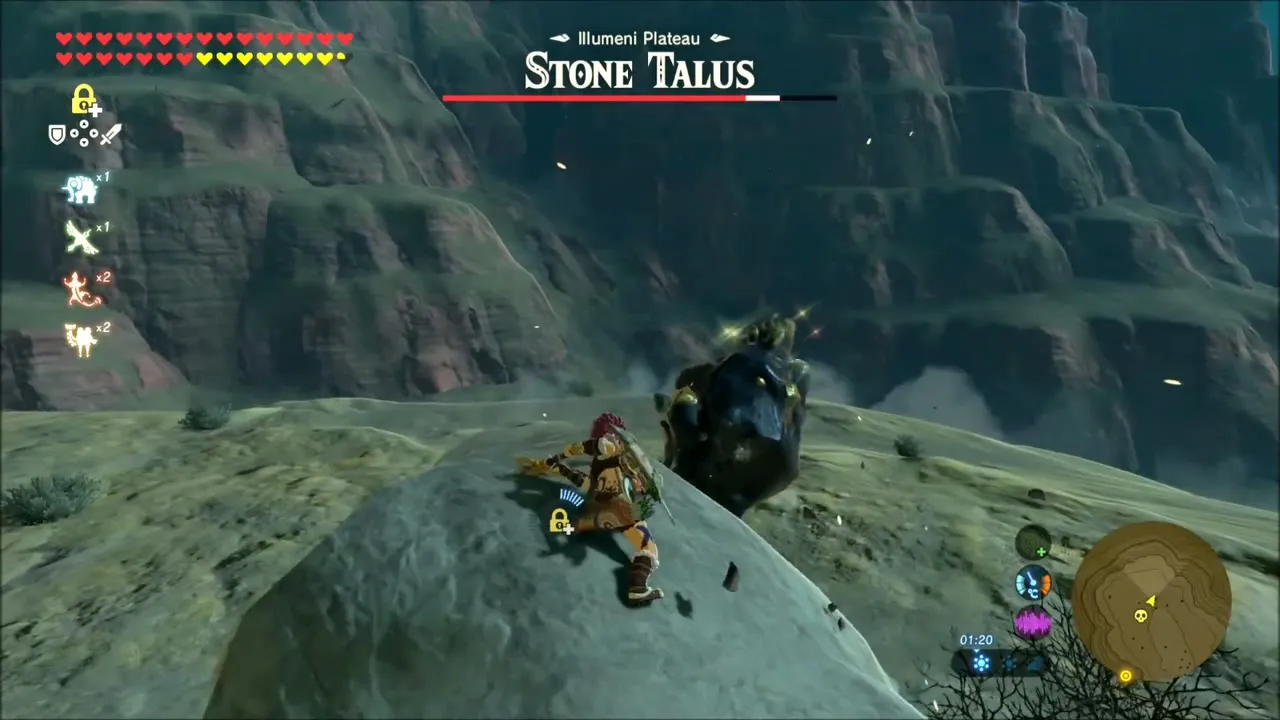
Outside the shrine, head south across Blumeni Plateau, where a Stone Talus blocks the way. Strike the ore on its back until it falls and mine its remains for gems.

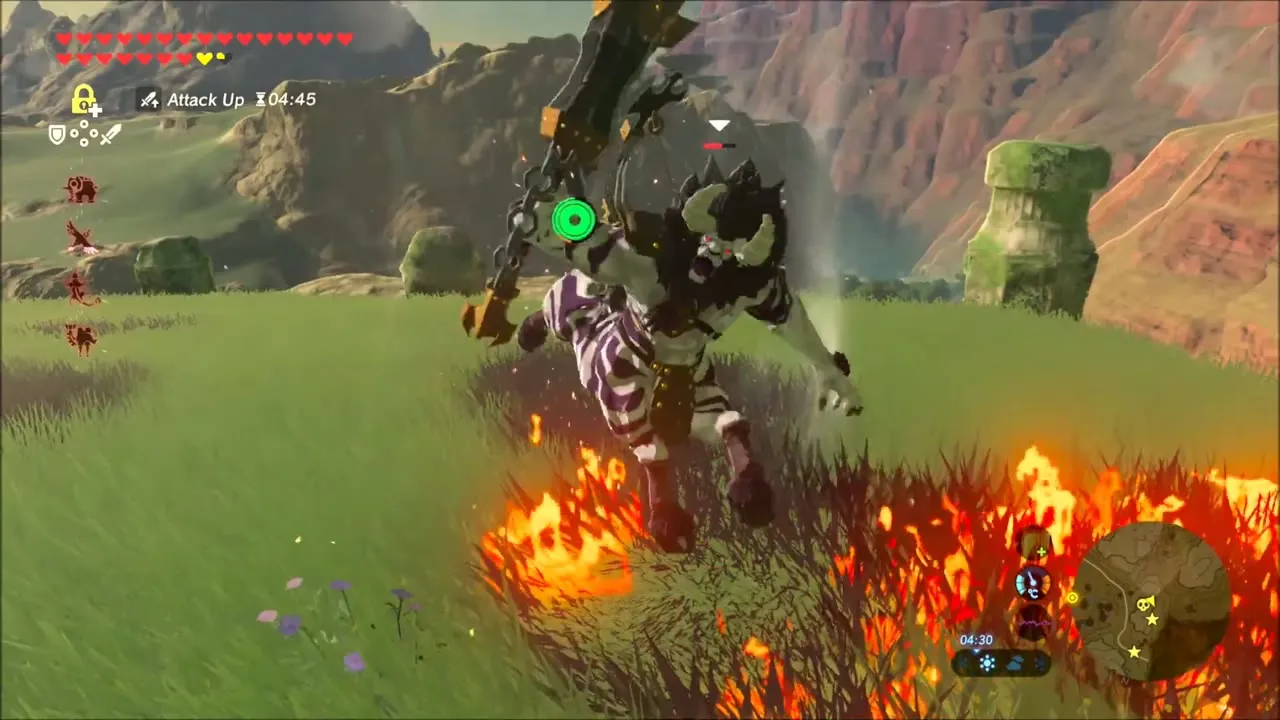
A little further on, on the grassland near Hyrule Ridge, a Lynel prowls. Keep moving, use a shield against its fire attacks and shoot while it winds up. Its drops include a Savage Lynel Bow and Savage Lynel Crusher.


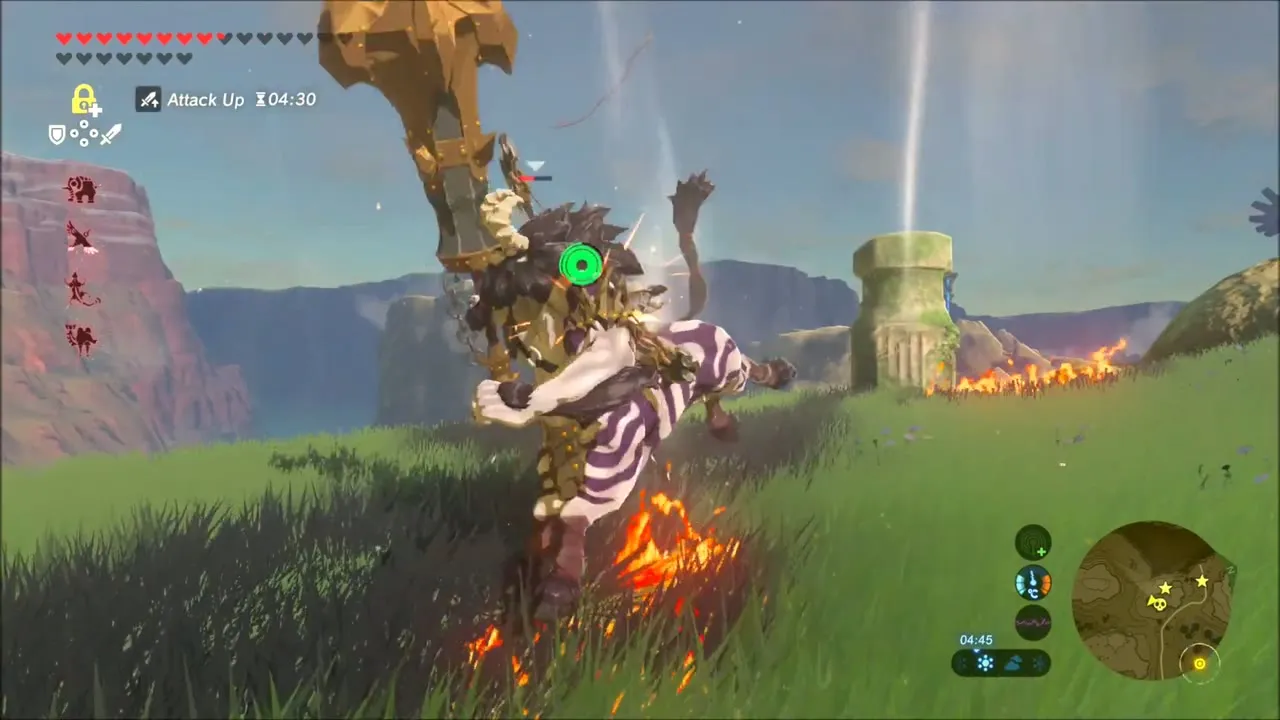
Shae Loya Shrine: Aim for the Moment
Follow the ridge north-west toward the Tabantha Bridge. Shae Loya Shrine (x -2931, z -433) sits just before the bridge and south of Tabantha Bridge Stable. Its trial, Aim for the Moment, is built around launch platforms and slow-motion shooting.
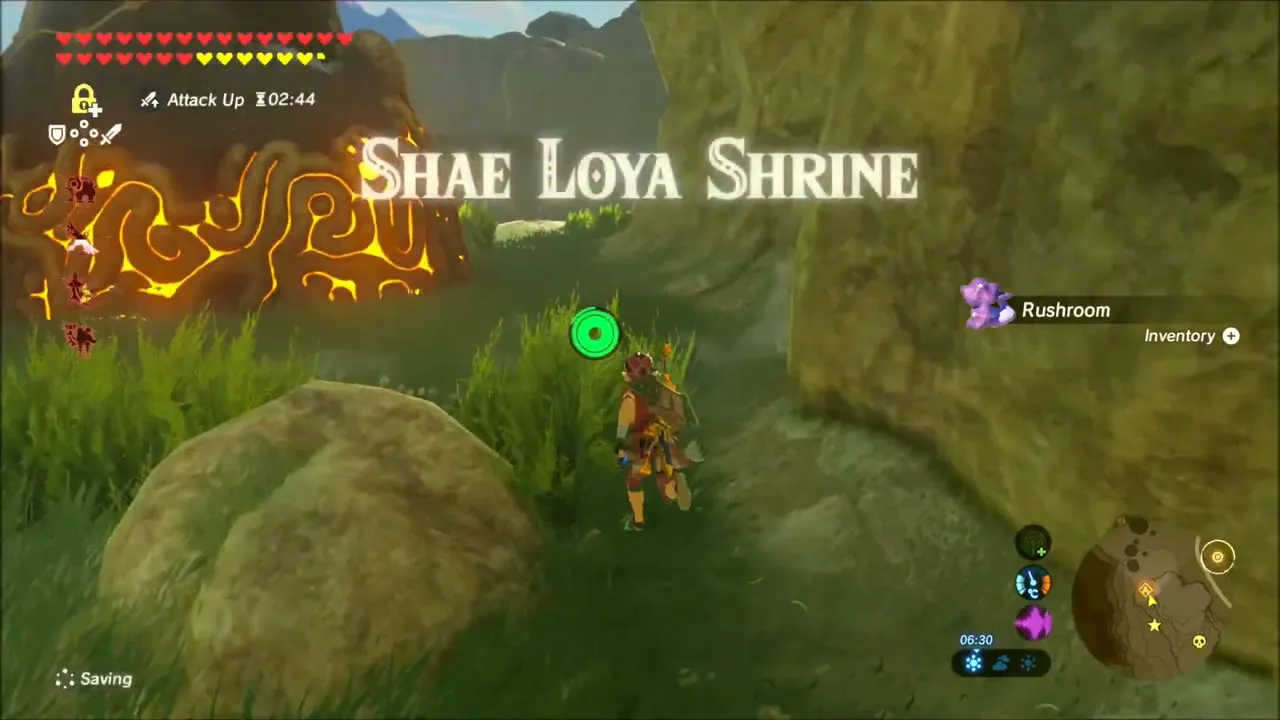

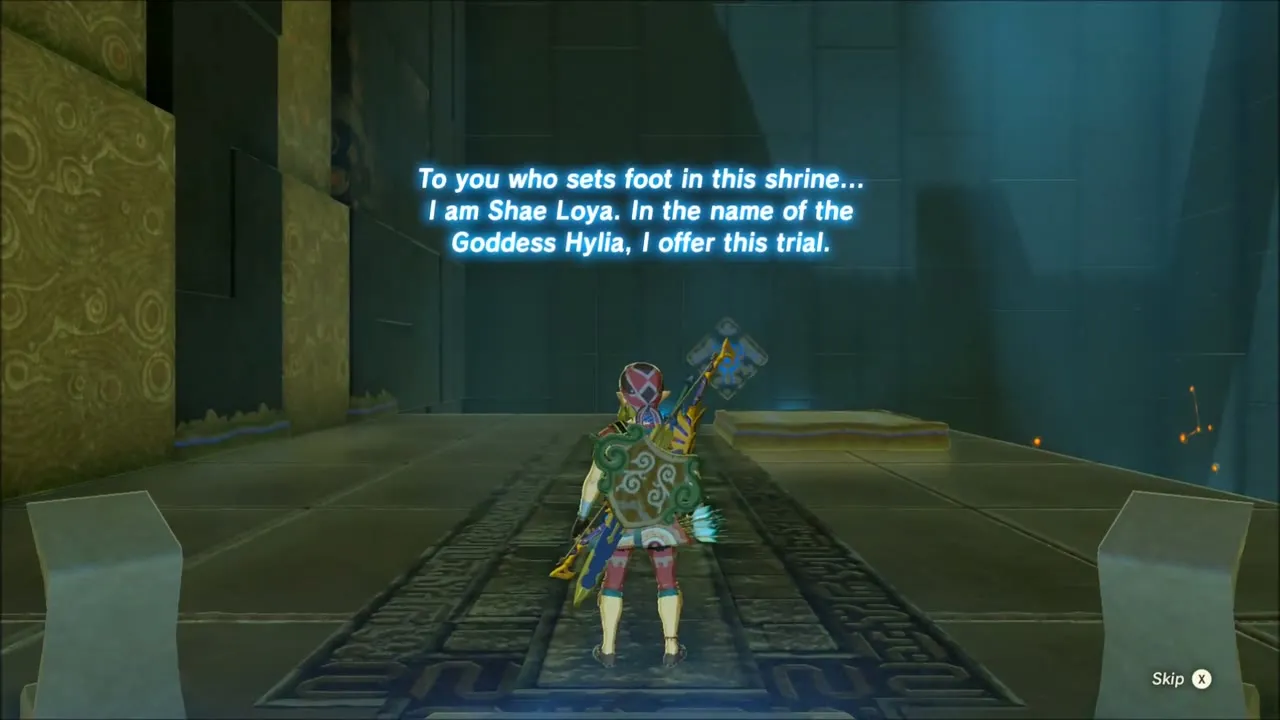

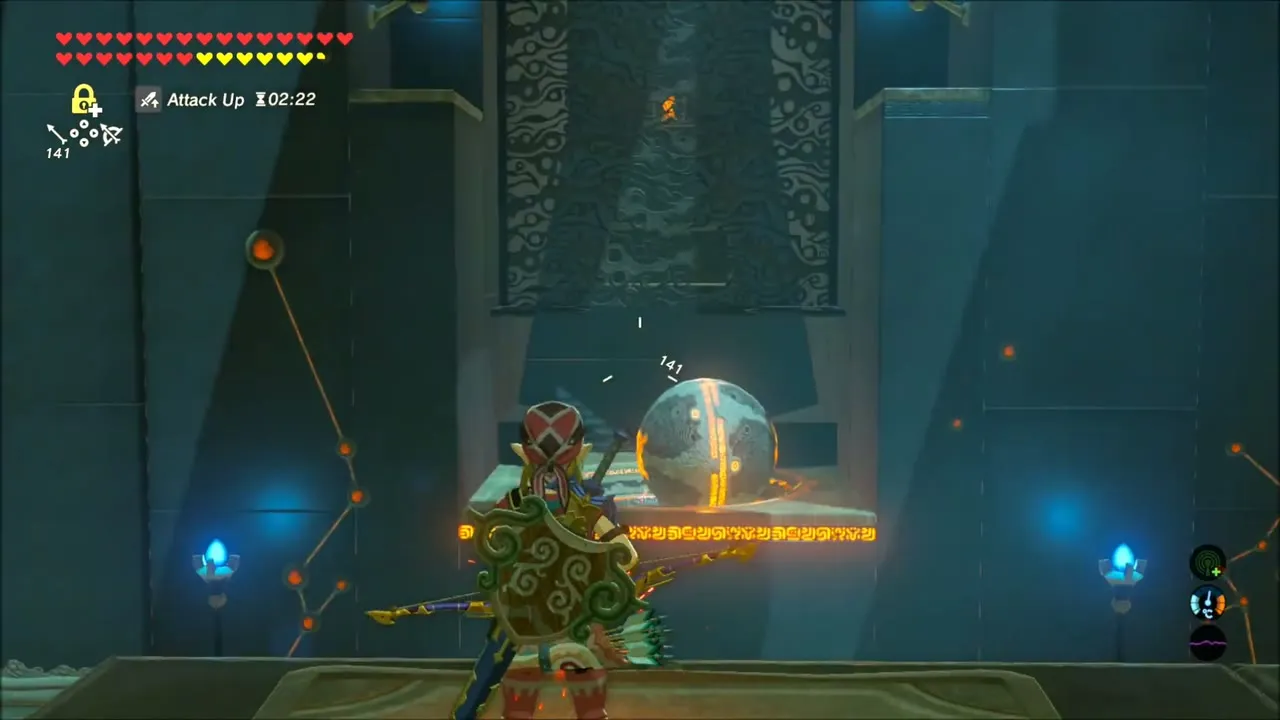
Freeze the giant sphere with Stasis as it flies, hit it with arrows to build momentum and let it roll into the receptacle. This activates a launcher: ride it up, glide to the slope and open the chest for a Topaz. A second chest on a platform holds a Falcon Bow; cut the ropes holding the platform to drop it. This chest is left for a later visit. Shoot the orange switch in the wall while airborne to open the exit gate and reach the monk’s Spirit Orb.


Tabantha Bridge Stable and A Gift for the Great Fairy
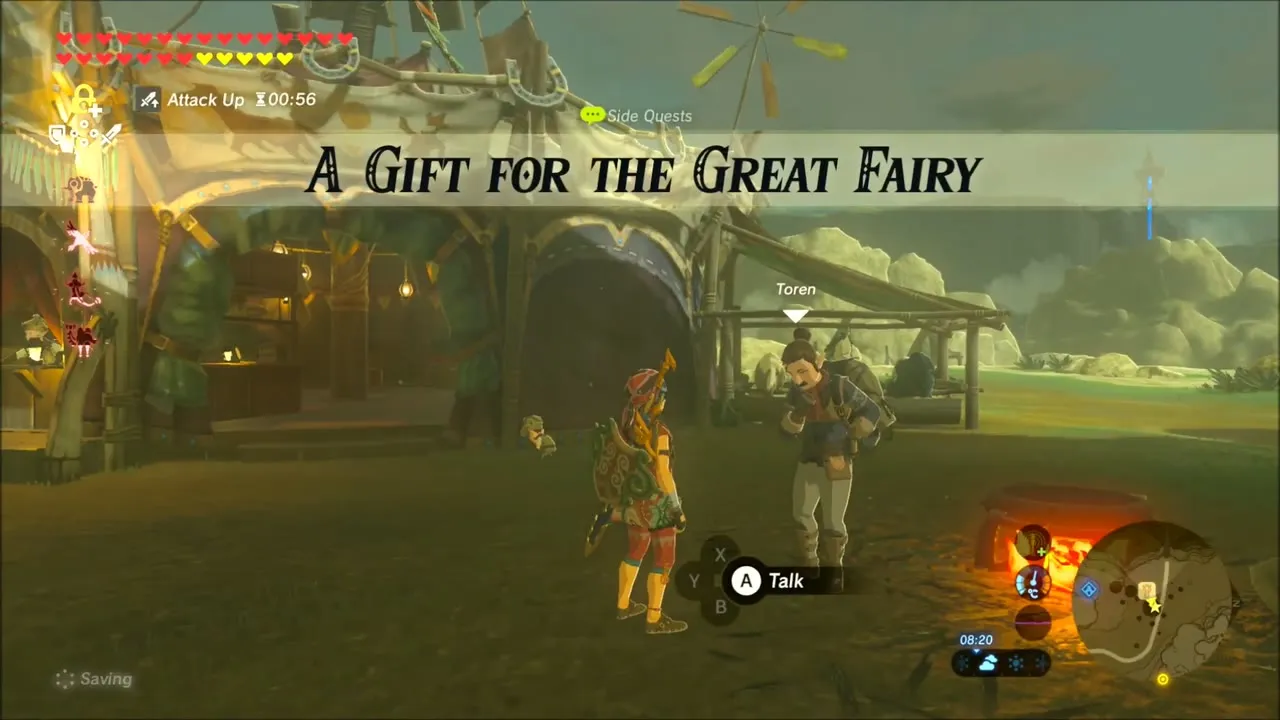
Walk the short distance to Tabantha Bridge Stable (x -2932, z -548). Toren hands you 500 rupees when you accept A Gift for the Great Fairy, so that you can make an offering to the Great Fairy at Piper Ridge across the bridge. Talking to Toren afterward closes the quest.


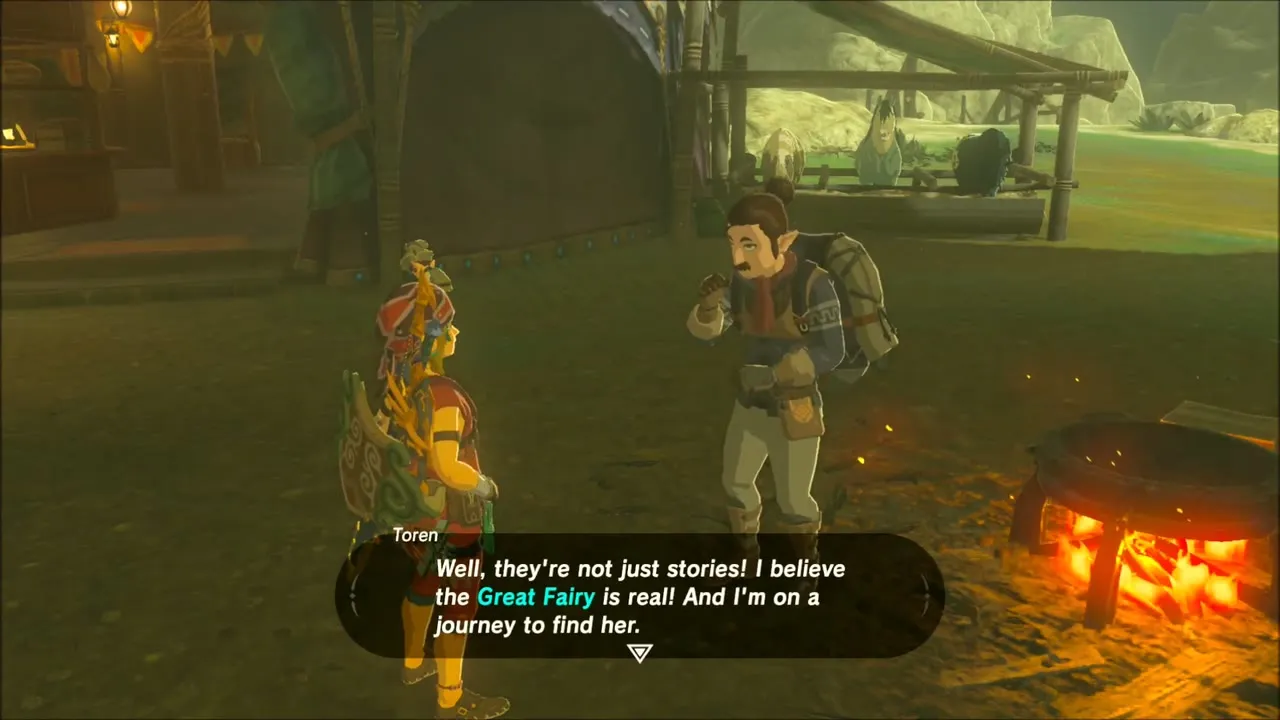
The people at the stable are talking about the new shrine that has just appeared nearby, so a quick chat here confirms that you have raised Shae Loya.
Little Sister’s Big Request: Darners for Gleema
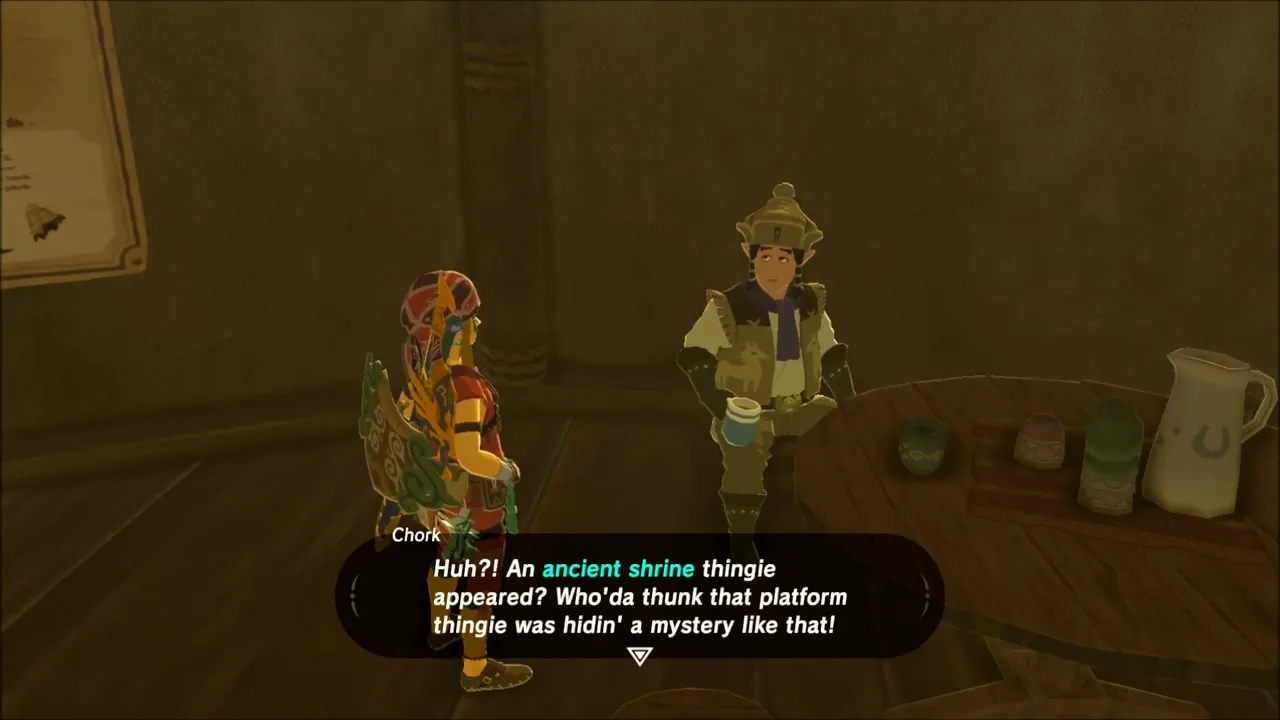
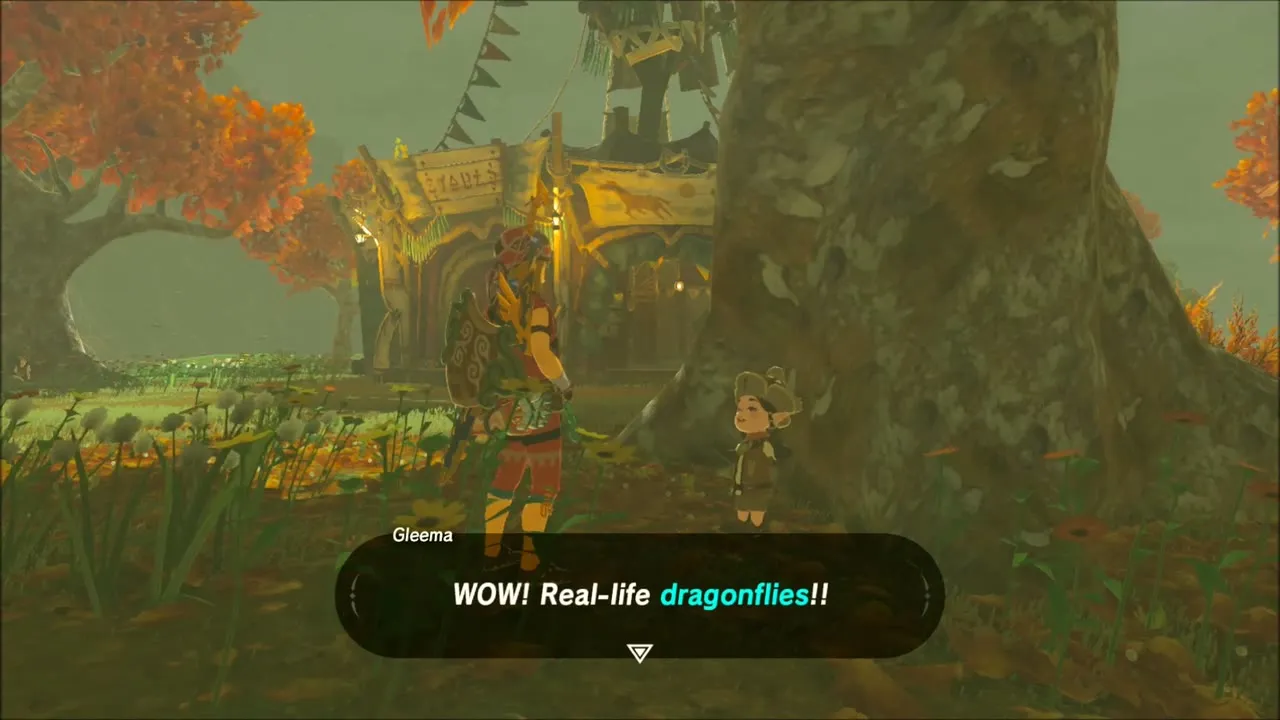
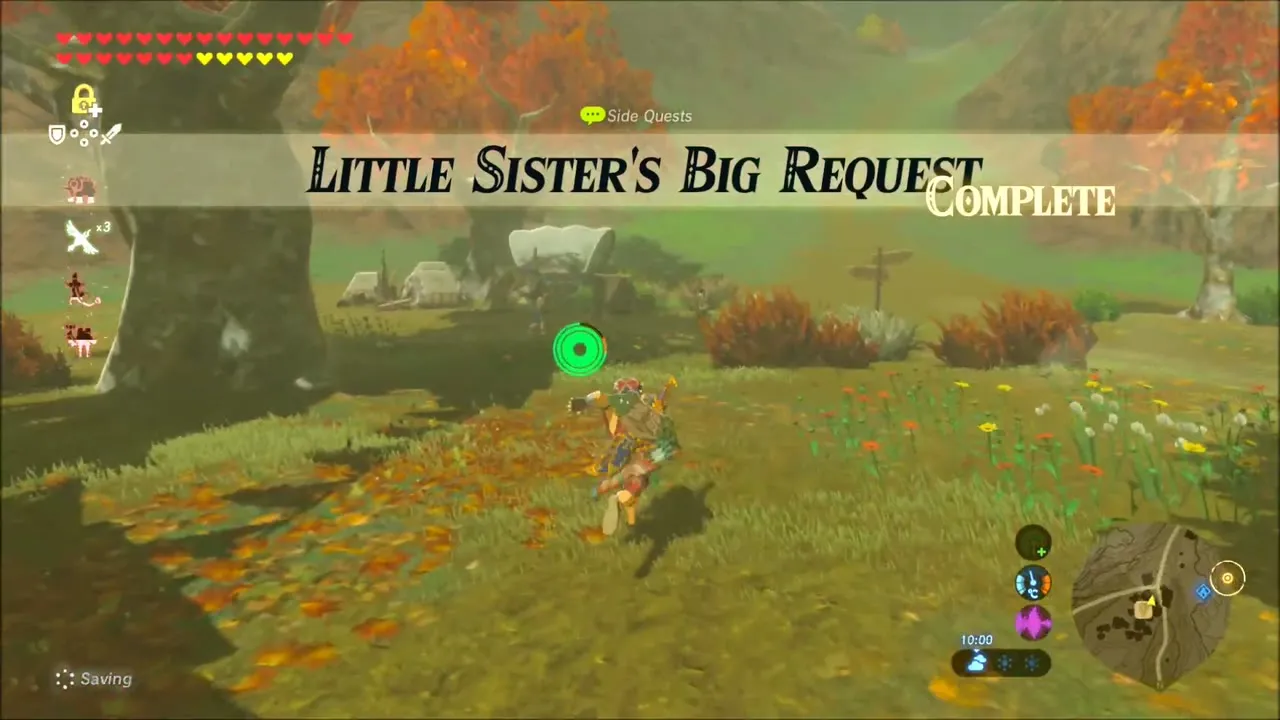
A trip to South Akkala Stable wraps up Little Sister’s Big Request. Beedle sells darners for 10 rupees each at stables: buy a Warm Darner, a Cold Darner and an Electric Darner, then give them to Gleema. Jana thanks you for the dragonflies, and the quest is complete for a Silver Rupee. Beedle will also buy your spare gems, such as the Topaz you picked up.


Mija, the Great Fairy of Akkala
Ride on to East Akkala Stable and the fountain beyond, where Mija waits at (x 4112, z -1378). Pay the fee to wake her and she upgrades armor: open the menu and pick the clothing you want strengthened, such as Climbing Gear, Ancient Cuirass or Rubber Armor, provided you carry the materials she asks for.


Cliffside Etchings: Geggle on the Ridge
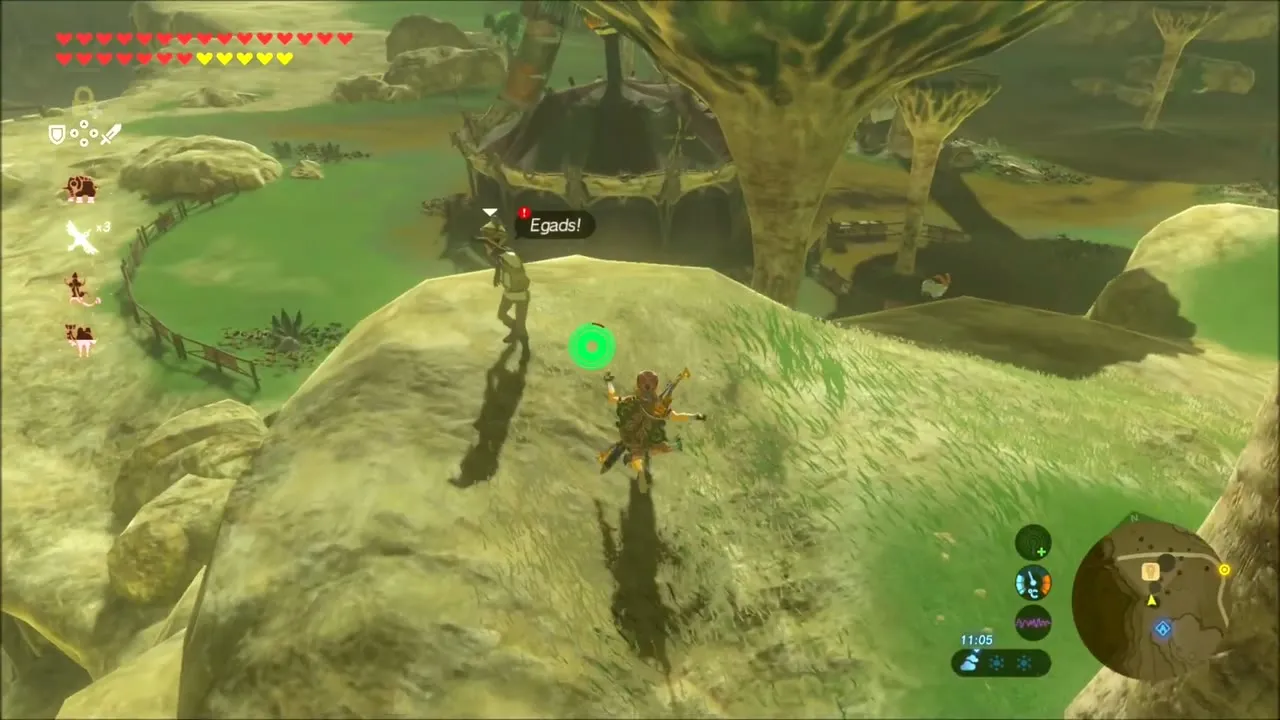
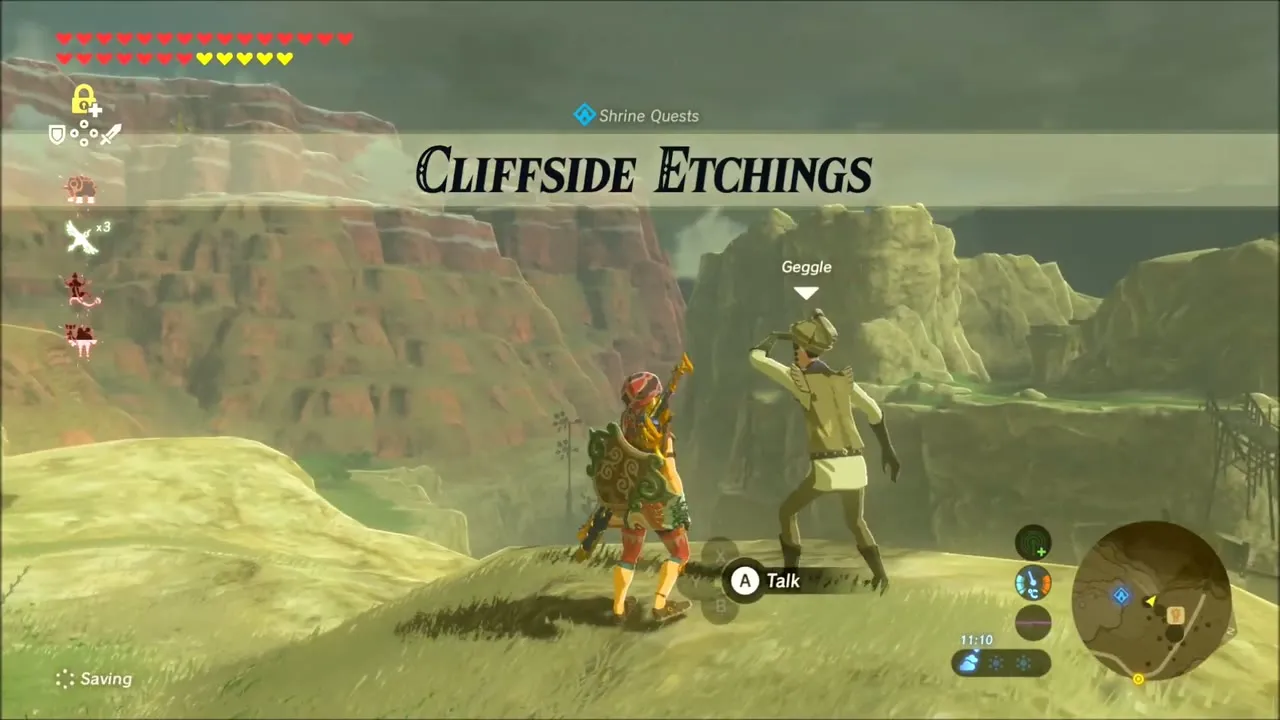
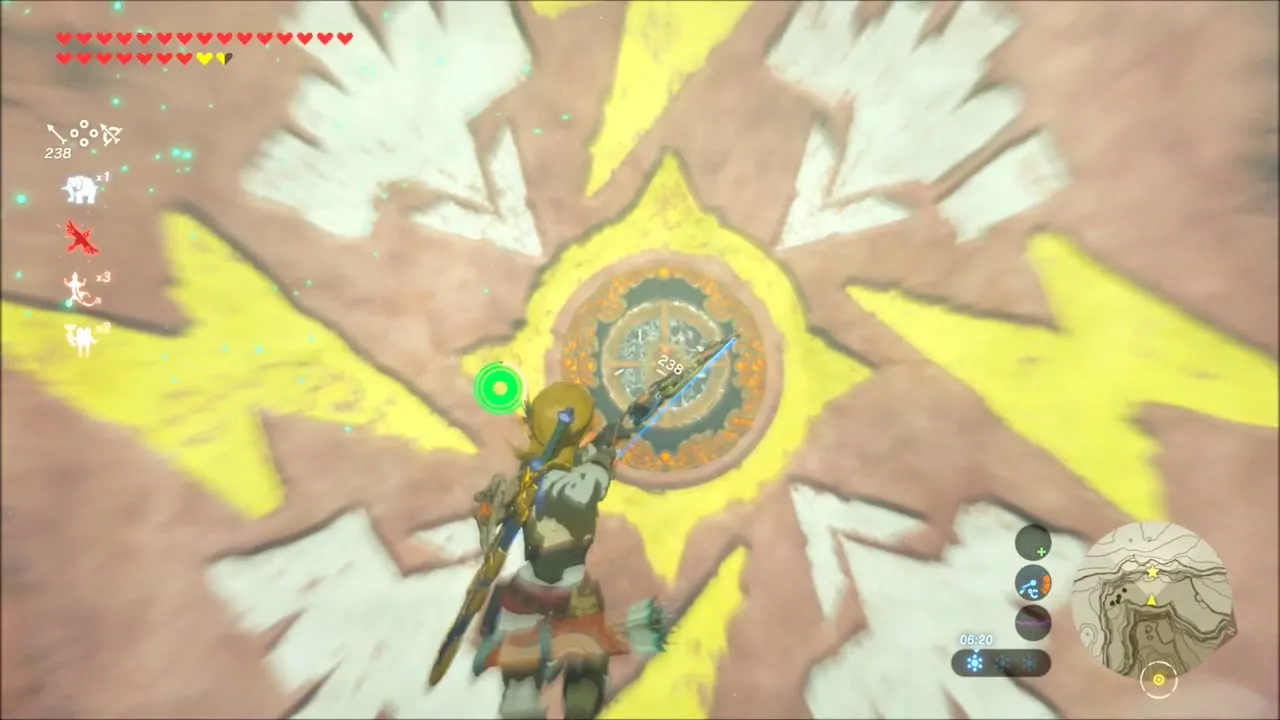
Back on Hyrule Ridge, find Geggle on the ridge south of Tabantha Bridge Stable. He thinks the cliff was carved by hand, and talking to him starts the Cliffside Etchings shrine quest. Use a bow and a Shock Arrow on the orange pedestal ringed by lightning and cloud etchings, and Keeha Yoog Shrine (x -3852, z 716) appears.


Stocking Up at the Stable
Before heading back into the wilds at night, stop at the stable and talk to Beedle. He sells bundles of arrows and a few butterflies, so top up your quiver here if you plan to spend the evening hunting Korok seeds and monster camps with a bow.


Royal Claymore: Bokoblin Cave Chest
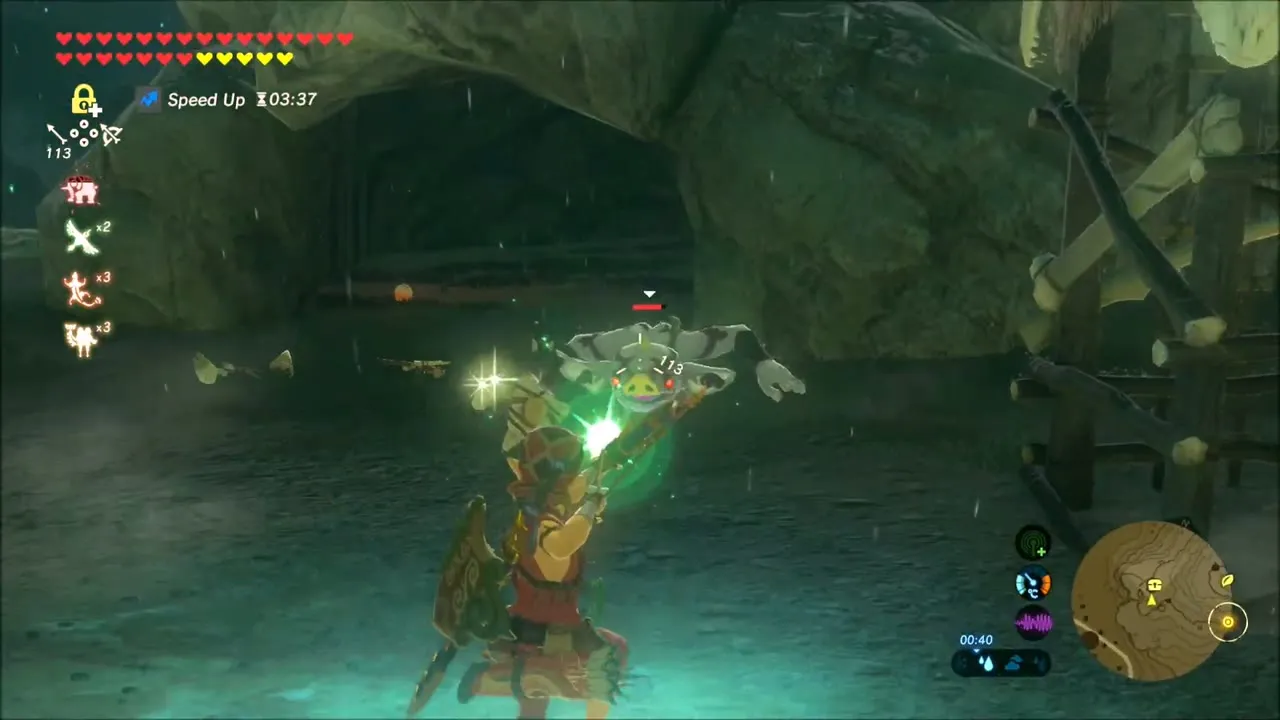
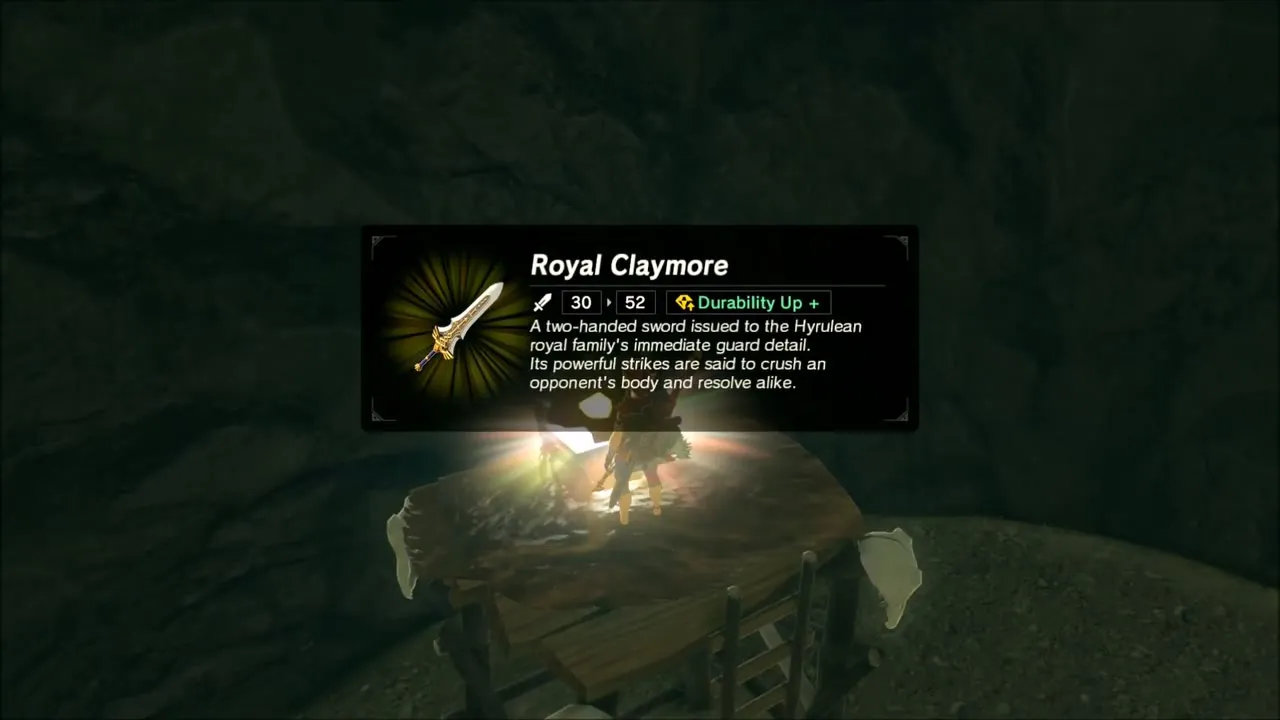
A Bokoblin camp is set up inside a cave, marked by a skull-topped lookout tower. Clear the monsters out and open the wooden chest at the back to receive a Royal Claymore (its stats follow difficulty scaling). If your weapon slots are full the game will tell you your inventory is full, so drop a worn-out weapon before you open it.

Korok Seeds on the Rainy Ridges
The dark ridges above the camp hide two Korok seeds close together. The first Korok is waiting in the grass on a hilltop; walk up to it and speak to it. The second is a little further along the ridge: lift the loose rock lying there and the Korok pops out. Watch the ground as you climb, since amber is lying around the rocks here.


How to Get the Royal Shield
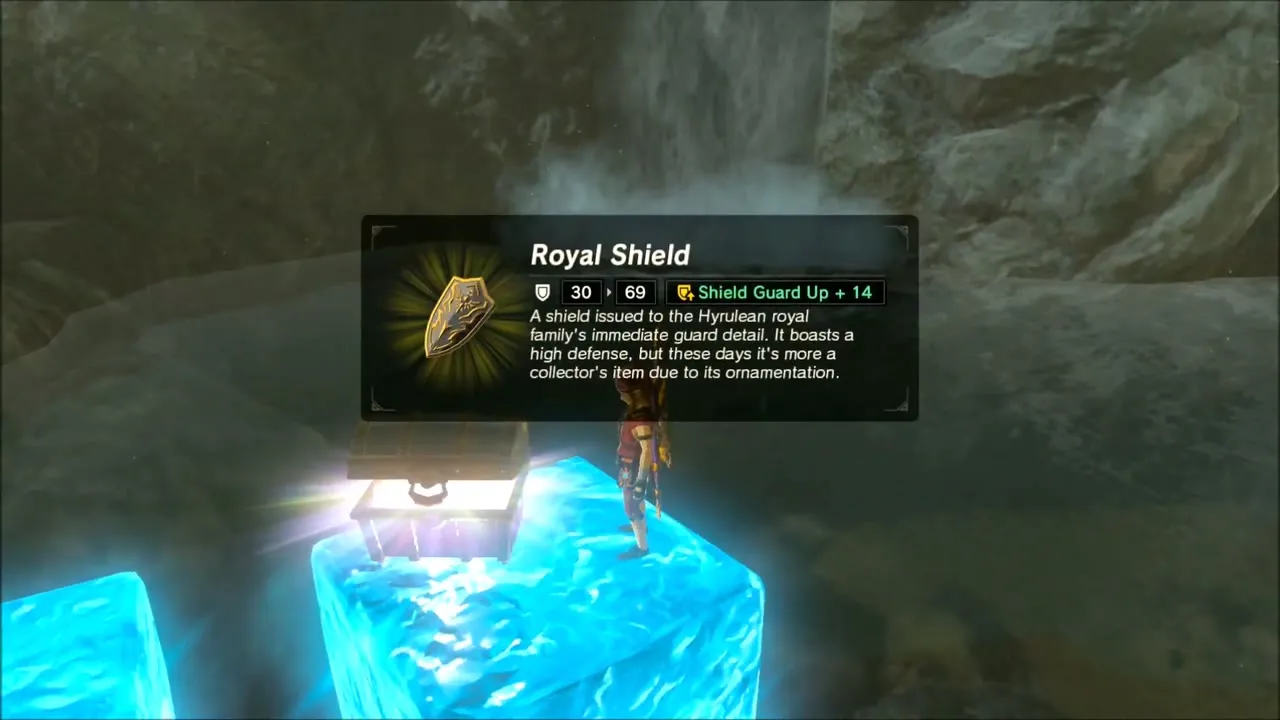
The Royal Shield is in a chest in a rocky cave that you cannot simply walk up to. Use Cryonis to raise ice blocks you can climb, and use Stasis and a heavy weapon where you need to launch or move something out of the way, until you reach the chest. Opening it gives you a Royal Shield (stats depend on your progress).


Shock Arrows in the Water Cave
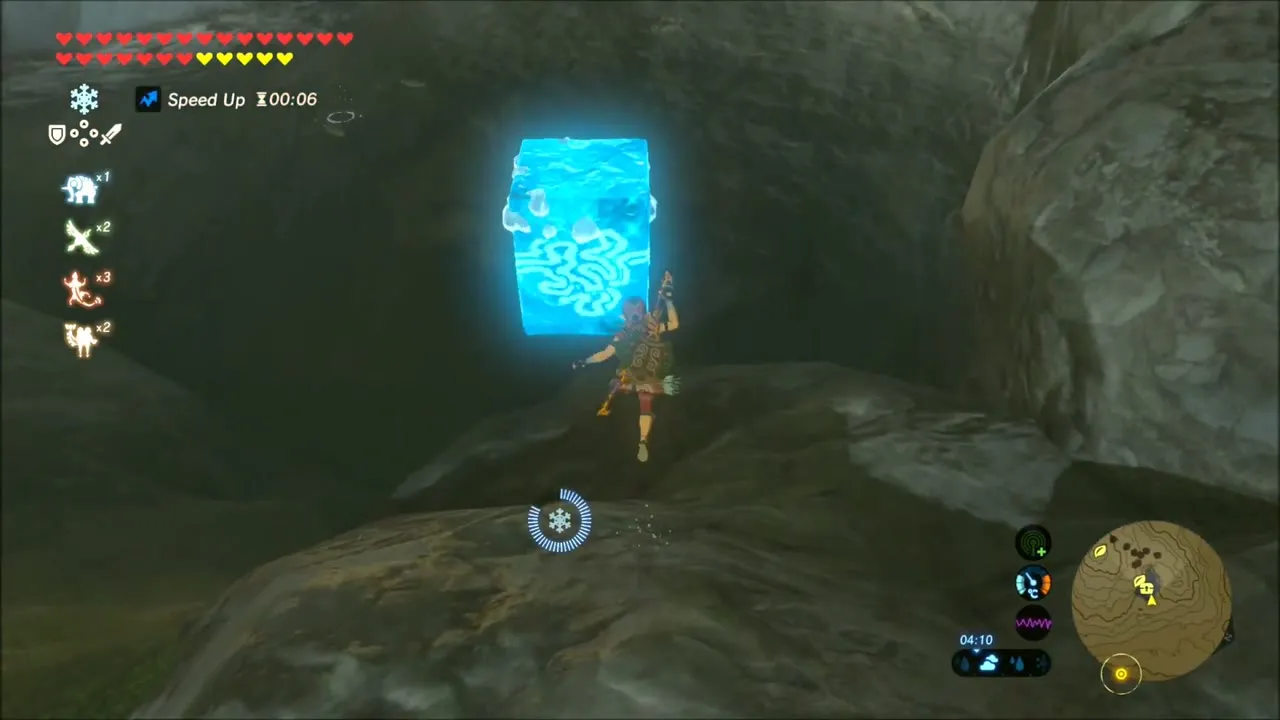
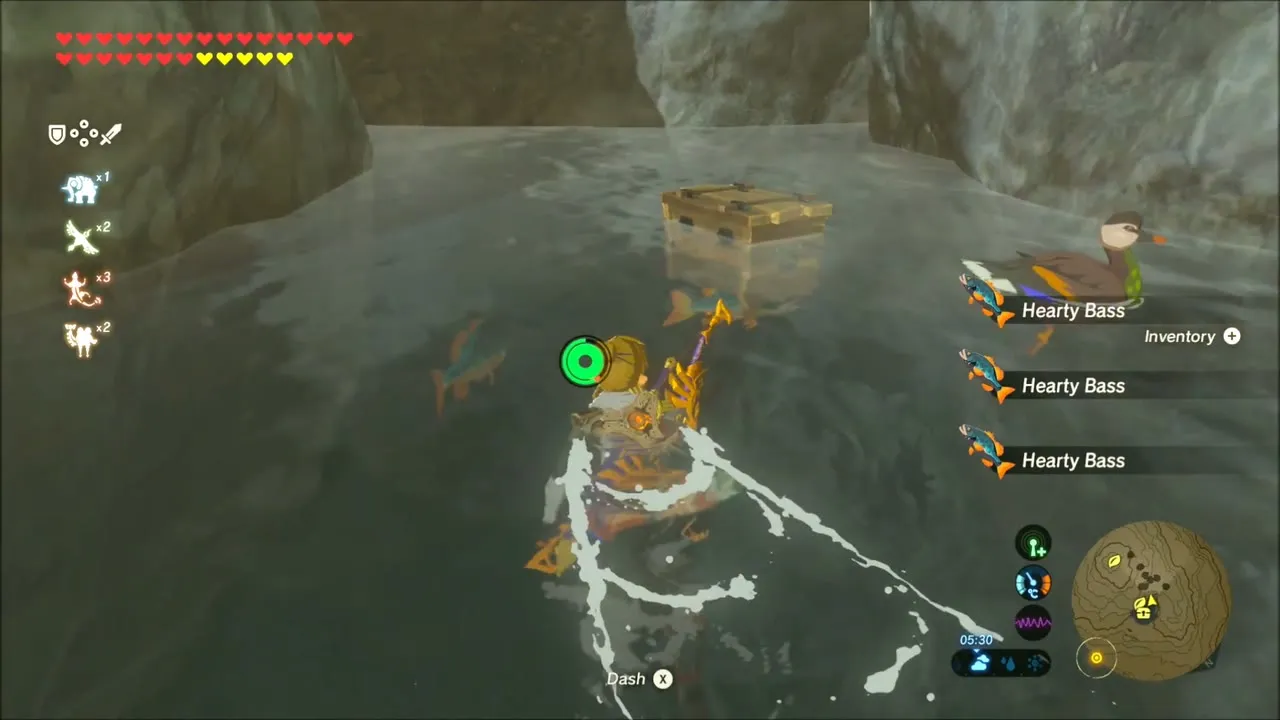
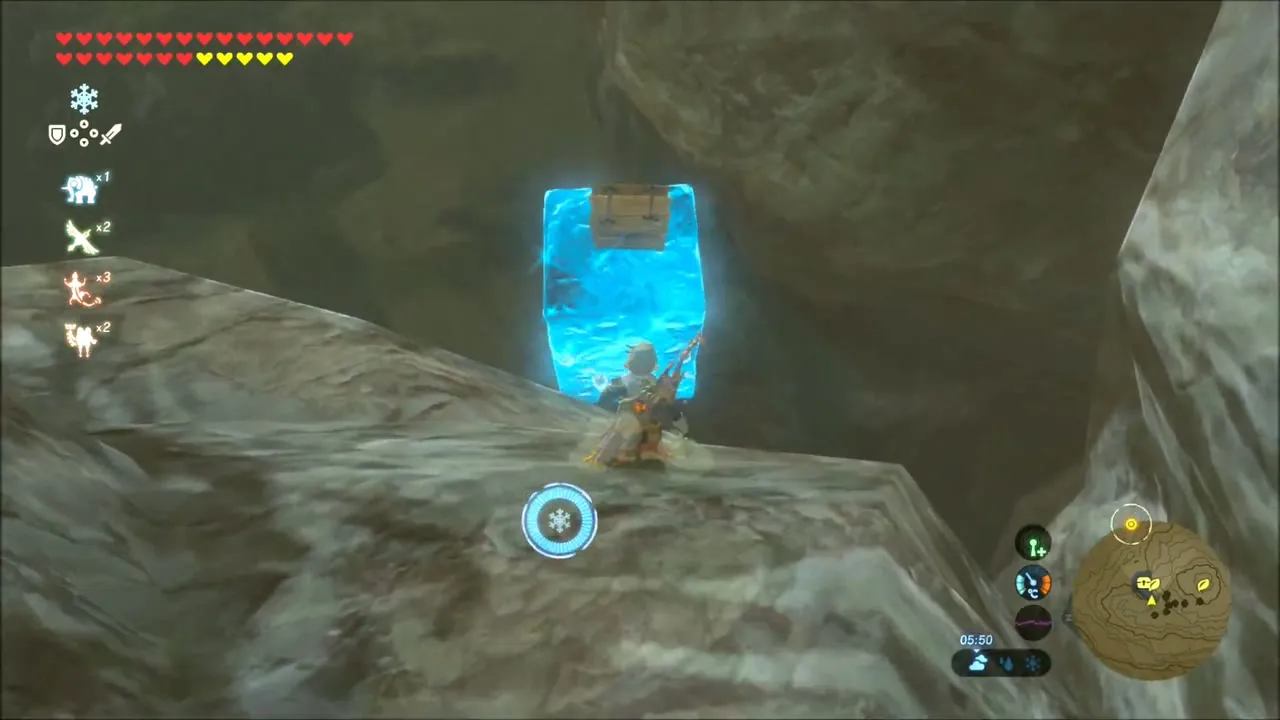
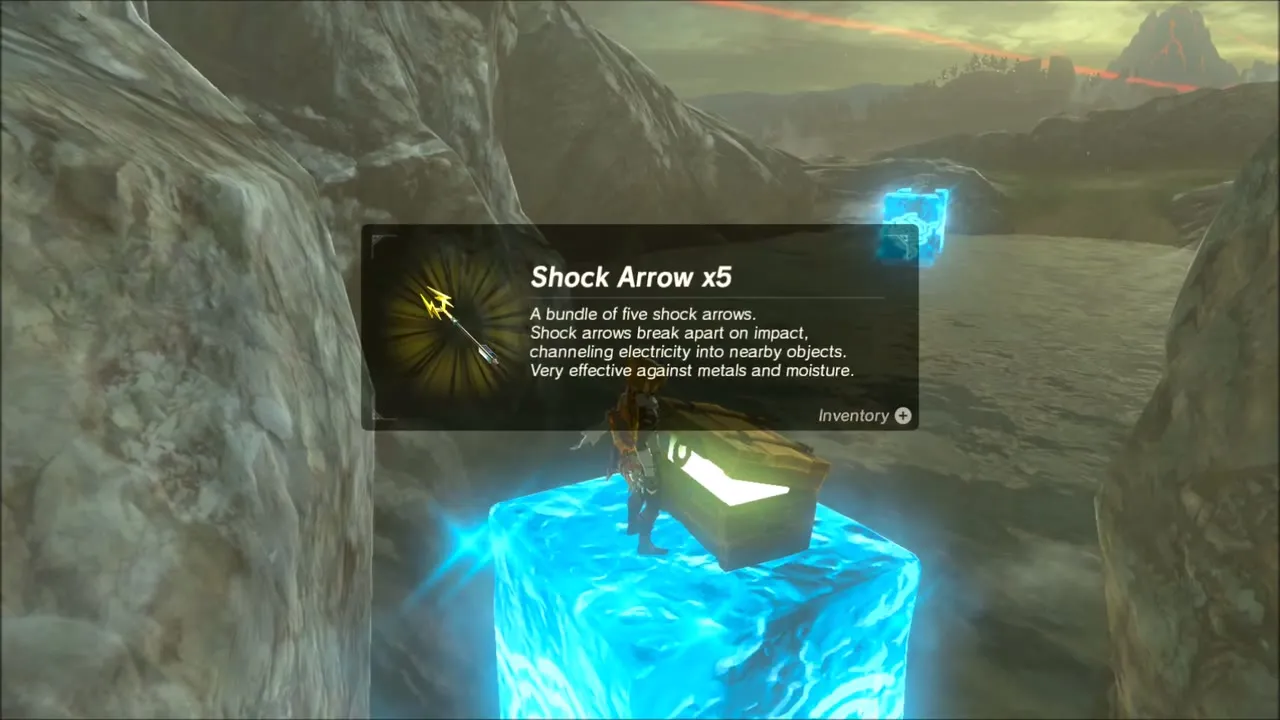
Swim into a flooded cave where bass and bright fish are swimming around and look for a chest that sits just out of reach in the water. Make an ice block beneath it with Cryonis, climb up and open it to receive five Shock Arrows. Keep them for the next shrine quest, which needs one.

Tanagar Canyon: Korok Seeds and Boom Bam Golf
Korok seed beside the golf flag
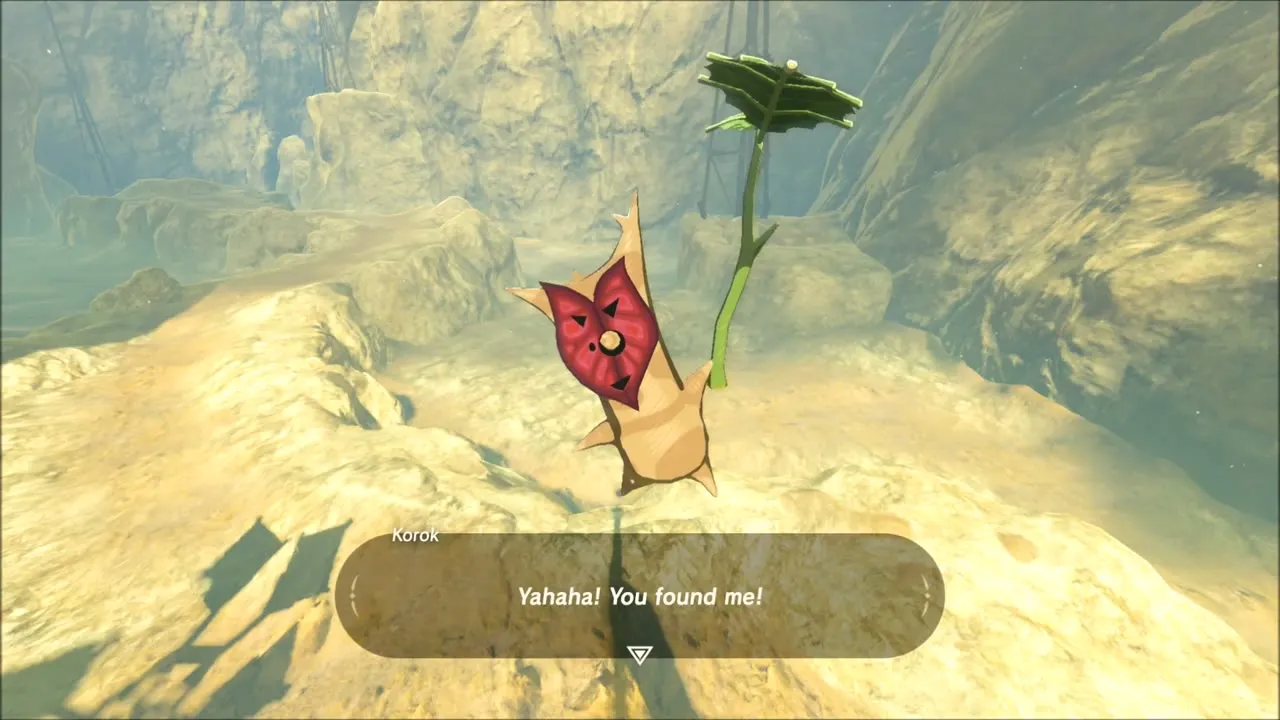
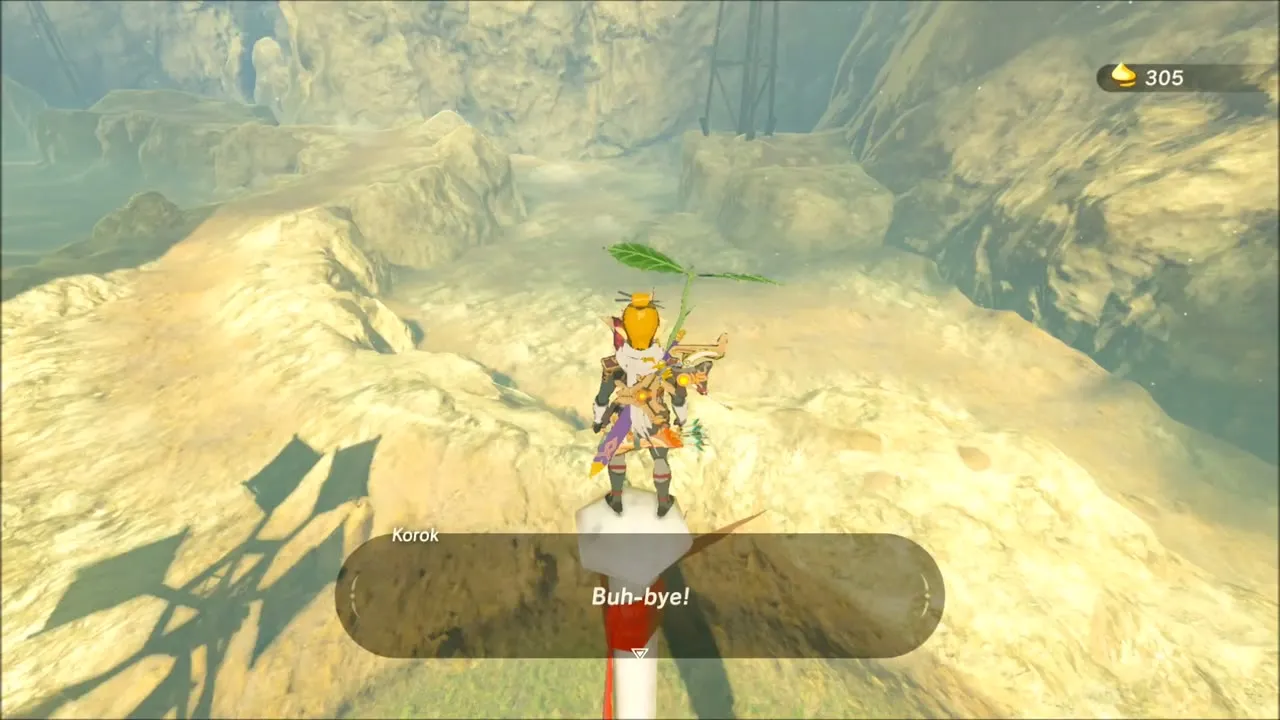
On the sandy ridge of Tanagar Canyon, next to one of the tall course flag poles, a Korok is hiding. Climb up to it, speak to it and take the seed.


Boom Bam Golf
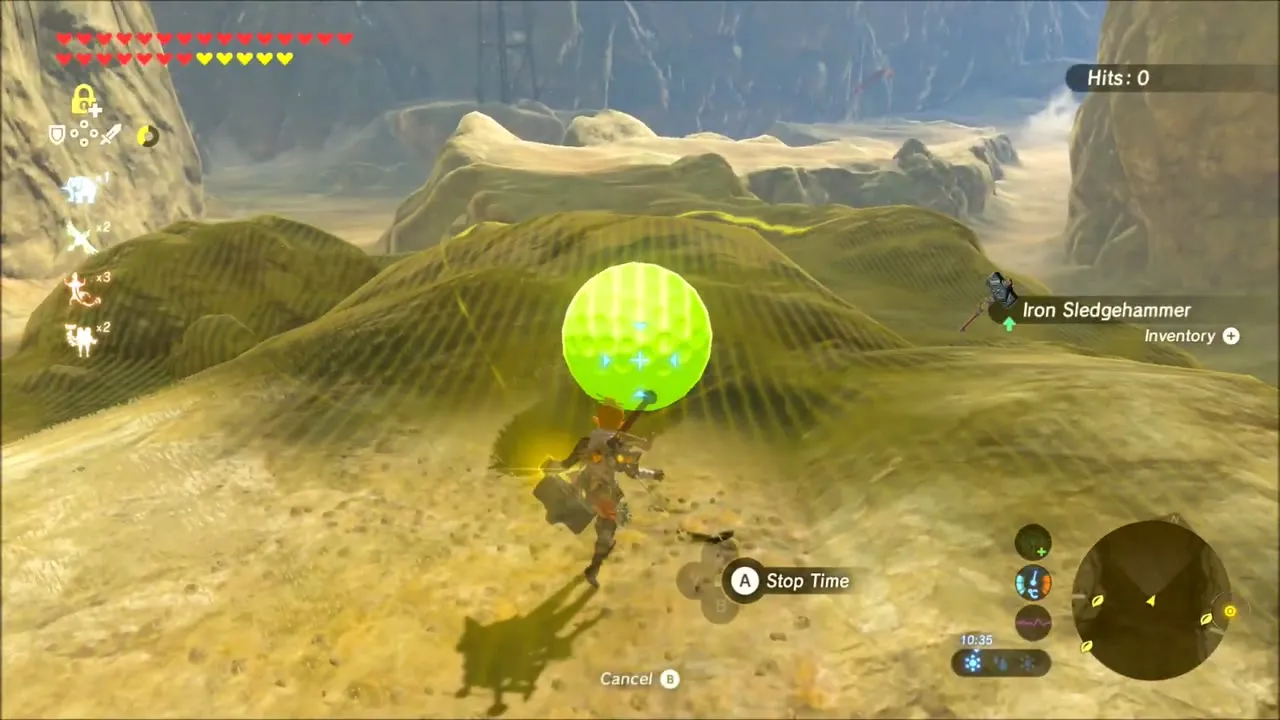
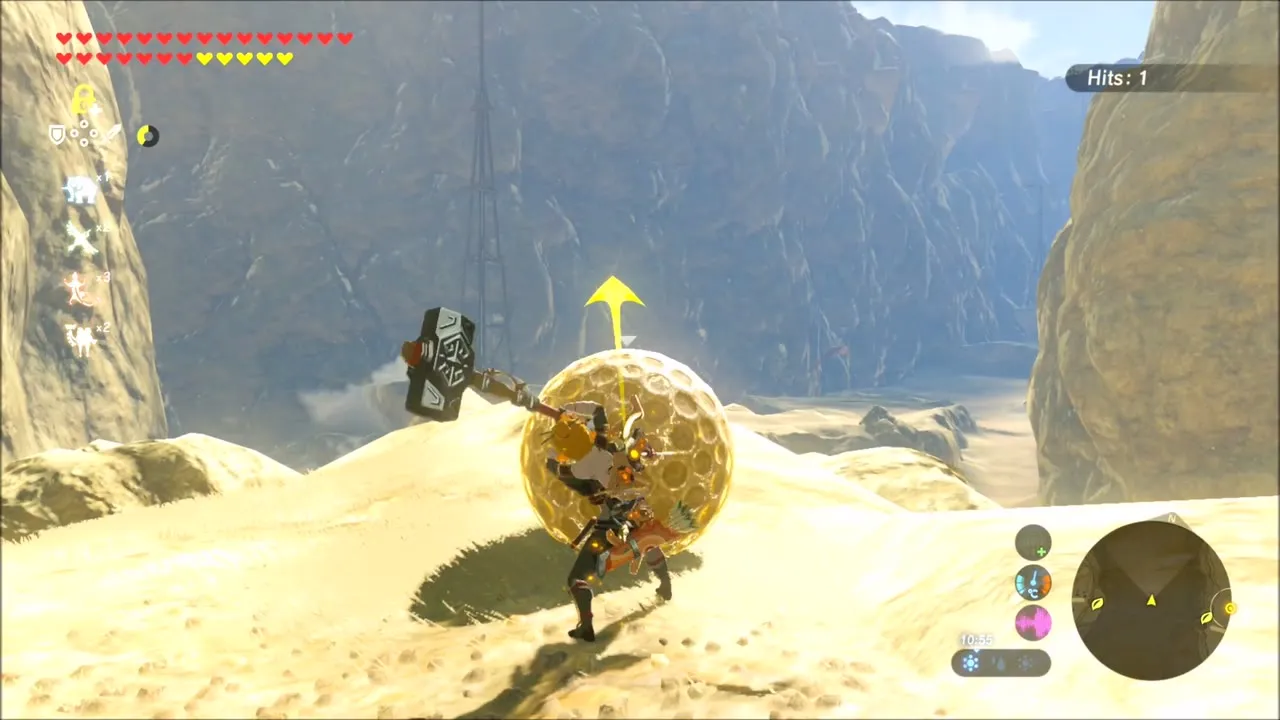
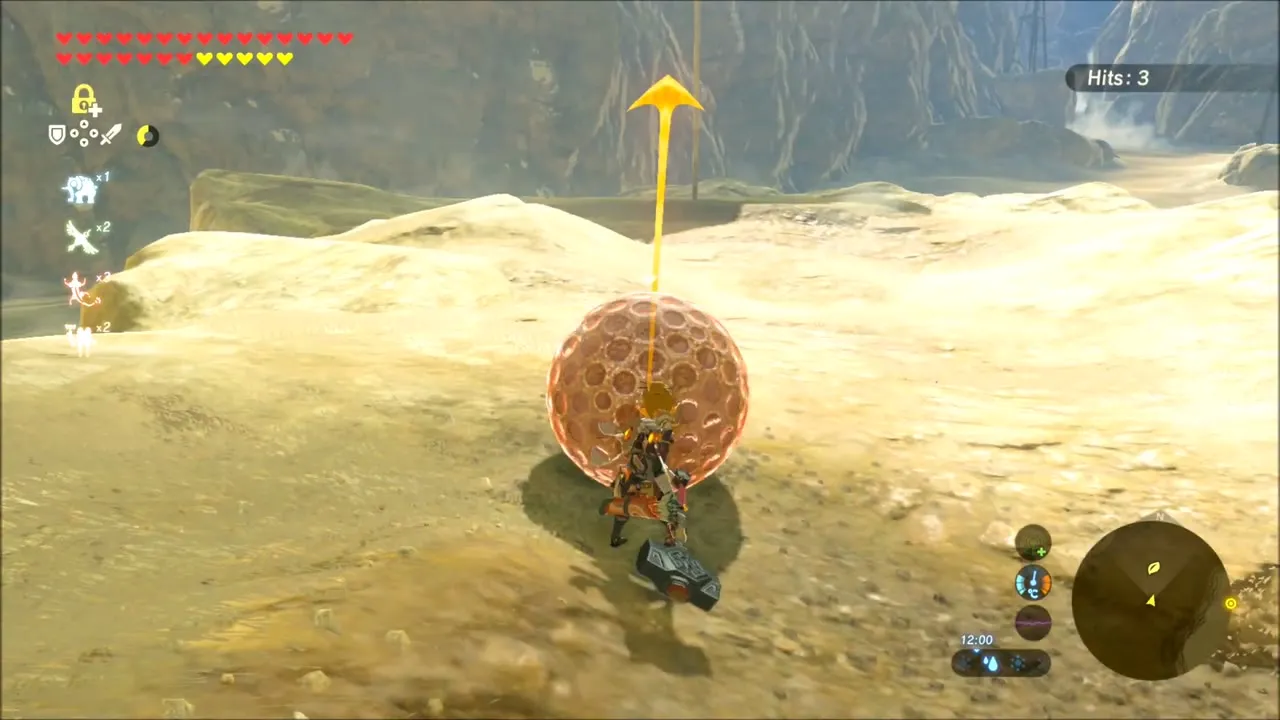
Modar the Goron runs a golf course in this canyon. Take a free sledgehammer, freeze the giant ball with Stasis and hit it, then repeat, watching the hit counter at the top right of the screen as the ball travels toward the hole. Fewer strokes pay out more, and the rules and prizes are covered on the Boom Bam Golf page. Just beyond the course you pass Shae Loya Shrine, which you may already have opened.

Korok seeds around the stable and bridge
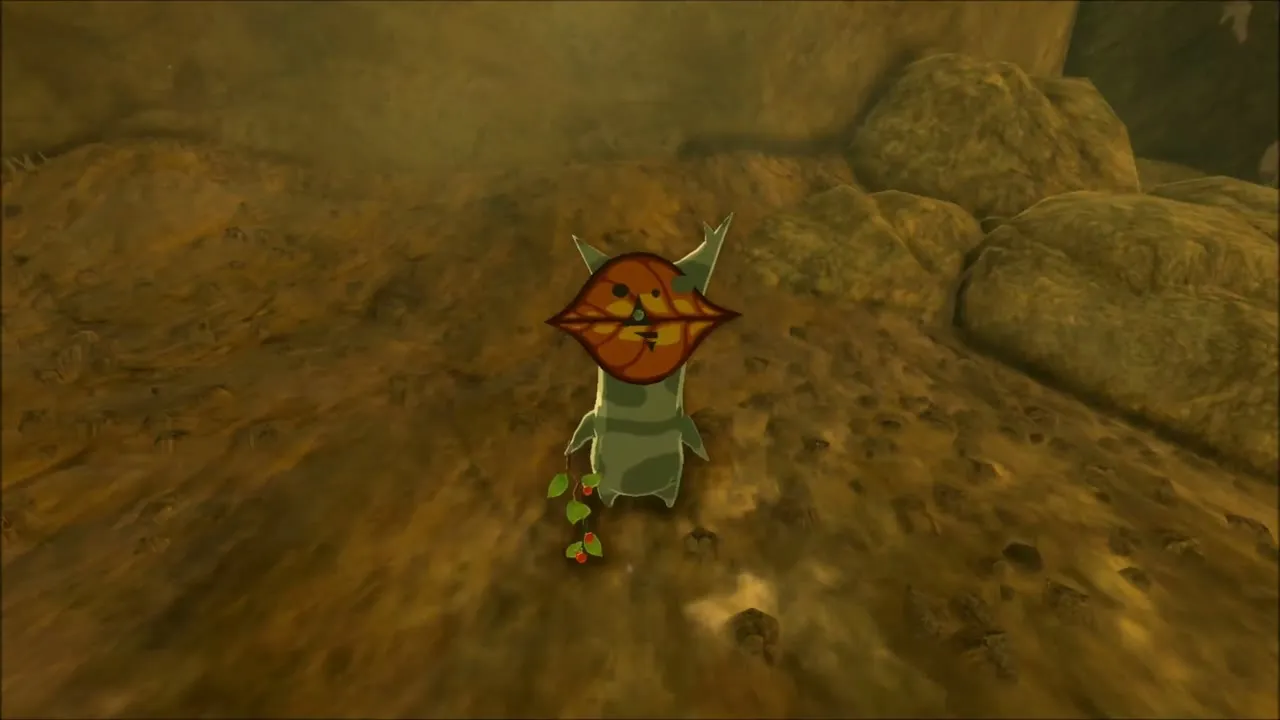
Glide on past Tabantha Bridge Stable and under the Tabantha Great Bridge, then work along the canyon, where more Koroks wait in rocky nooks. One of them is behind a boulder: freeze the boulder with Stasis and hit it to clear the way. Another is under a large stone slab, which you can float away by tying Octo Balloons to it, leaving the Korok below.


Keeha Yoog Shrine: Shoot the Lightning Etching
Hit the pedestal with a Shock Arrow
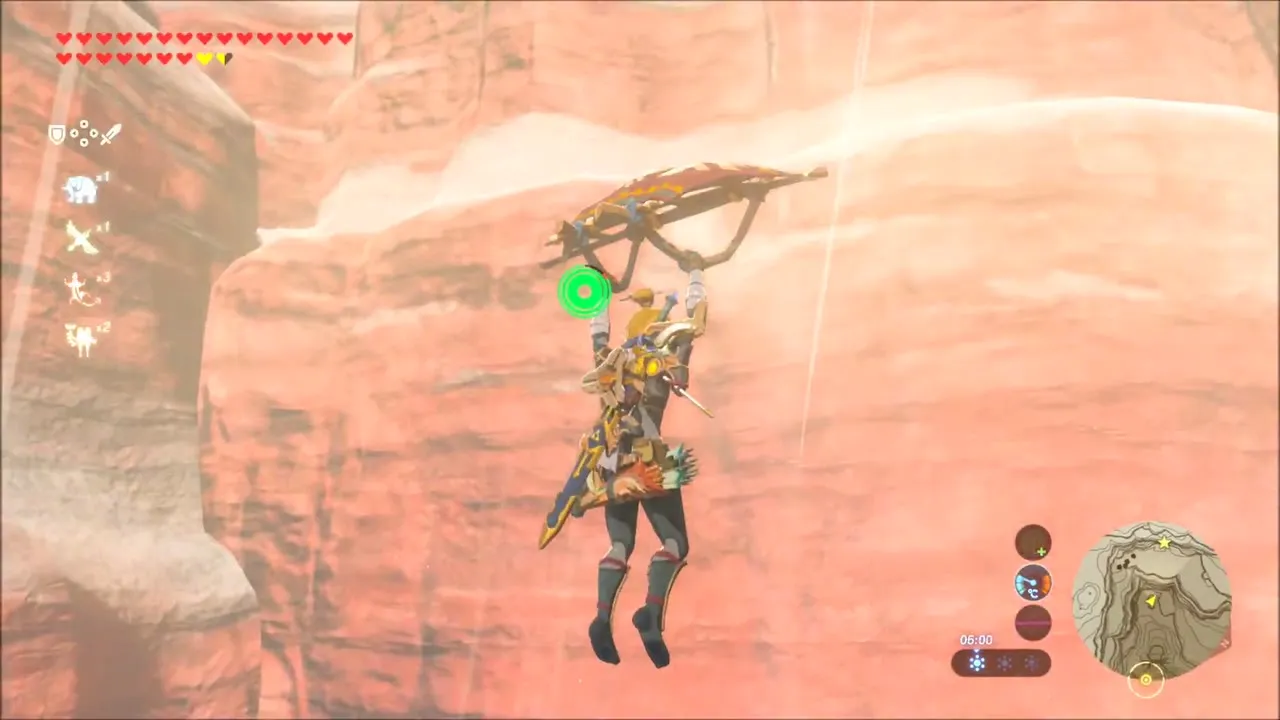
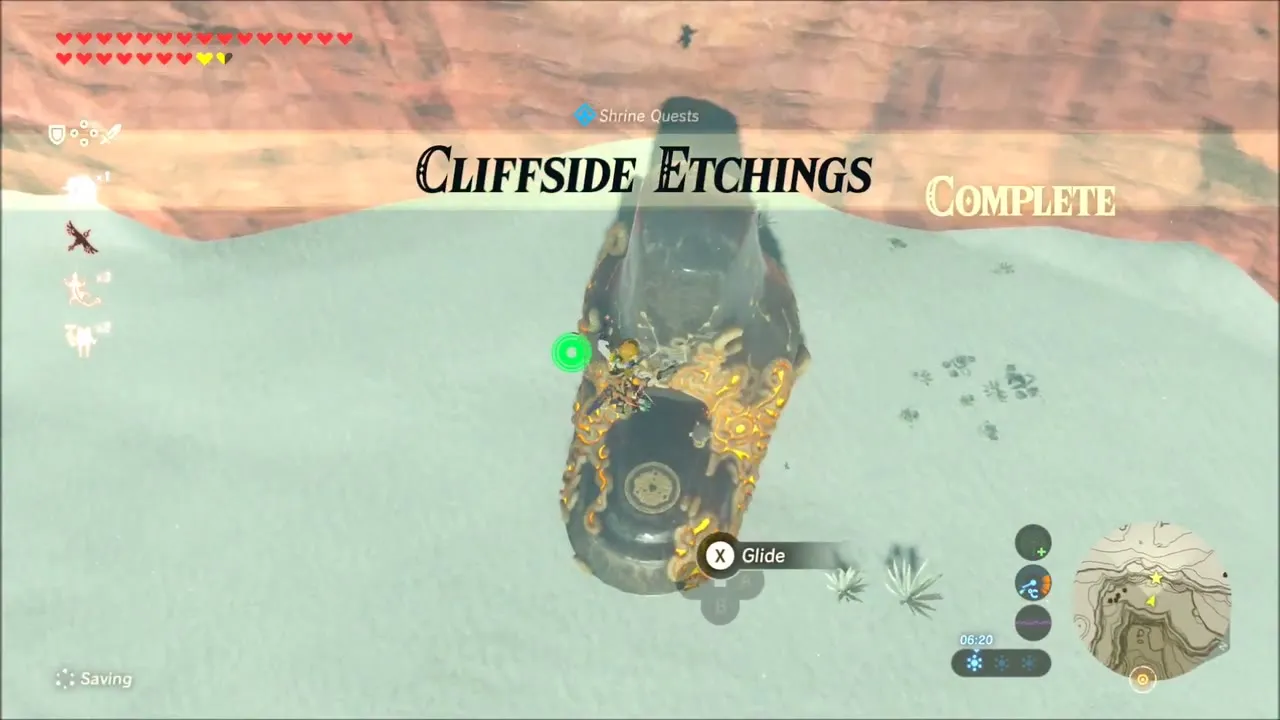
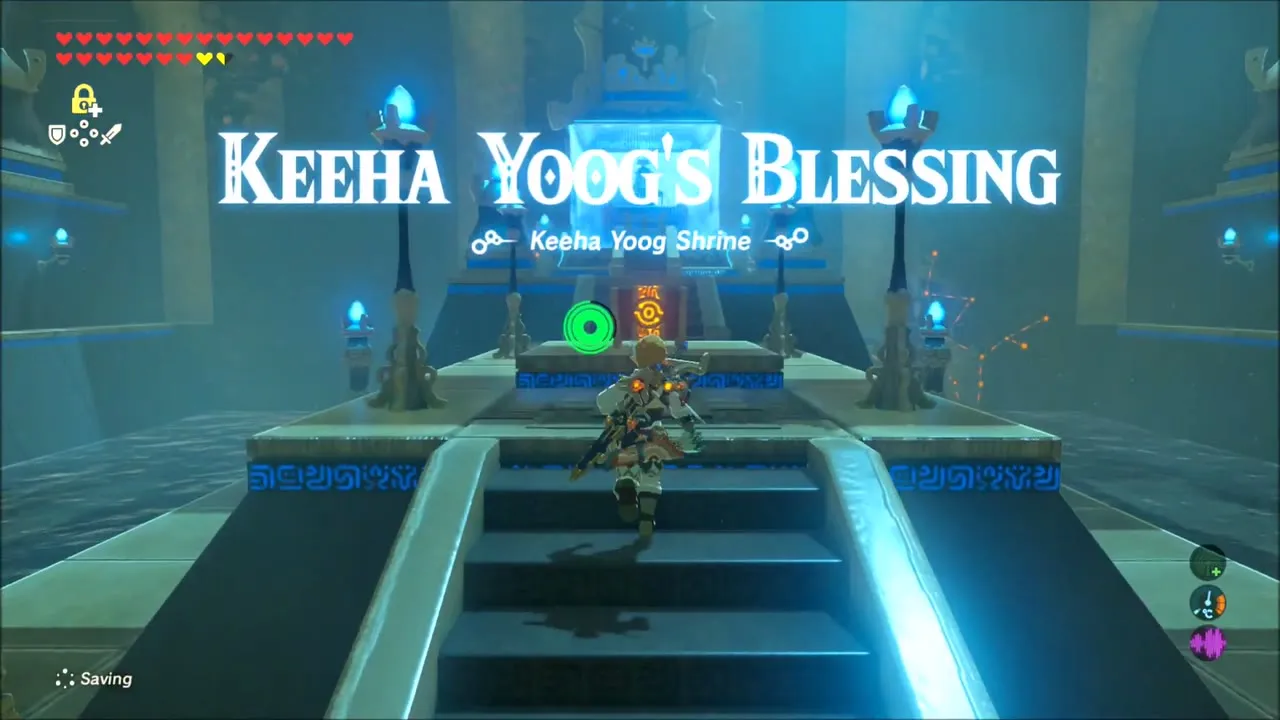
Put on cold-weather clothing such as the Snowquill Tunic and climb and glide into the snowy red cliffs east of Gerudo Summit. A cliff face there carries a carving of lightning bolts and clouds around a pedestal. Aim at the center of the etching and hit it with a Shock Arrow. This completes the shrine quest Cliffside Etchings and raises Keeha Yoog Shrine (x -3852, z 716, height 649).

Inside the shrine
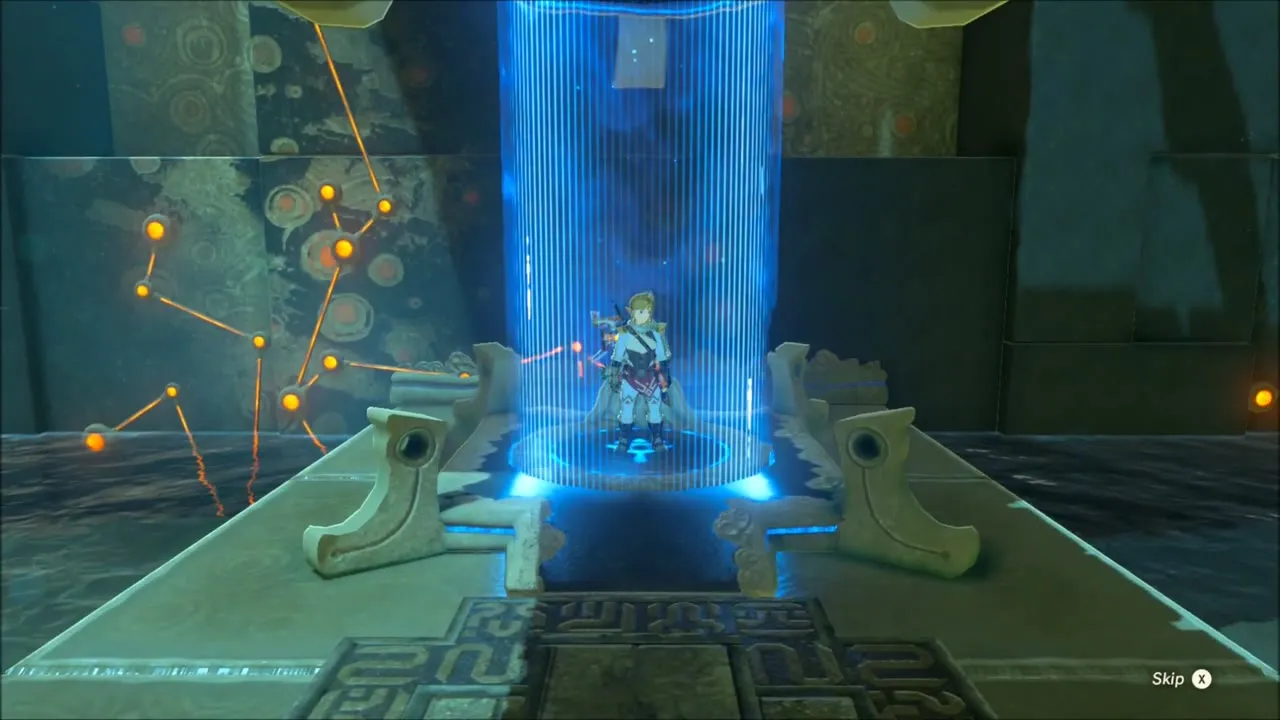
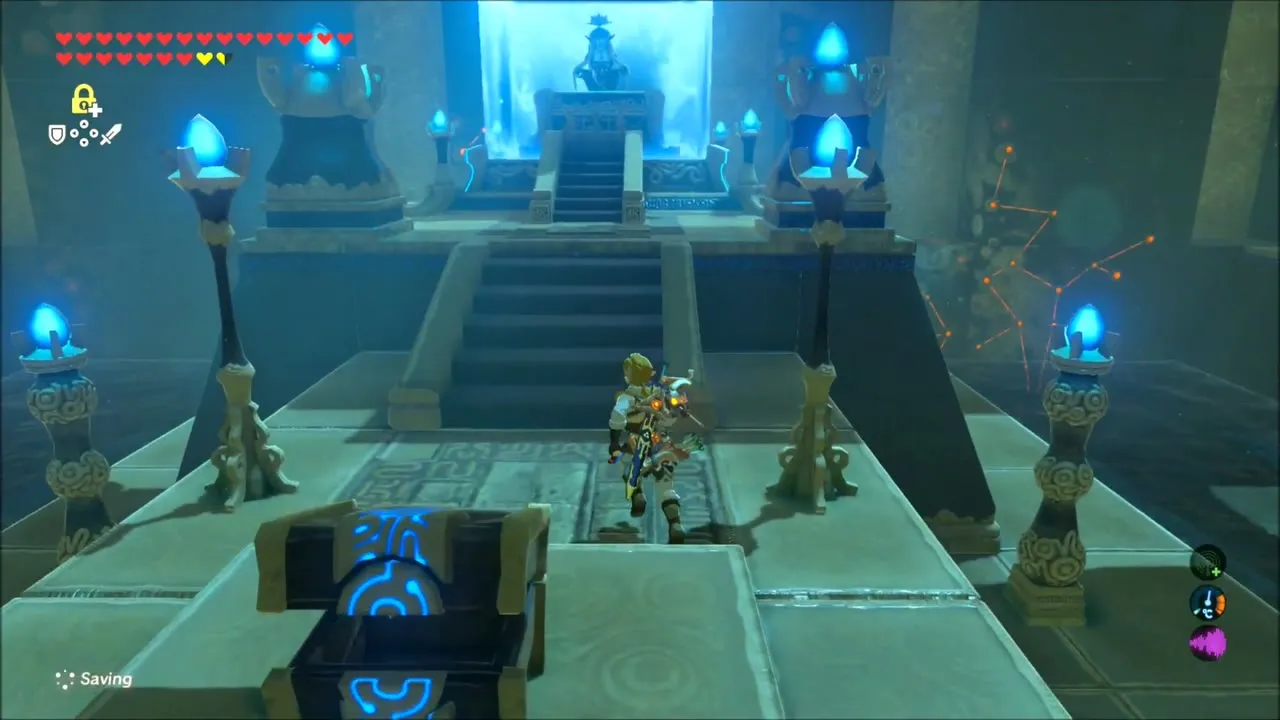
Keeha Yoog’s Blessing is a blessing shrine, so there is no trial: walk straight to the altar and speak to the monk for a Spirit Orb. A chest inside holds a Diamond.

River Bed: Korok Seed, Amber and Opal Chests
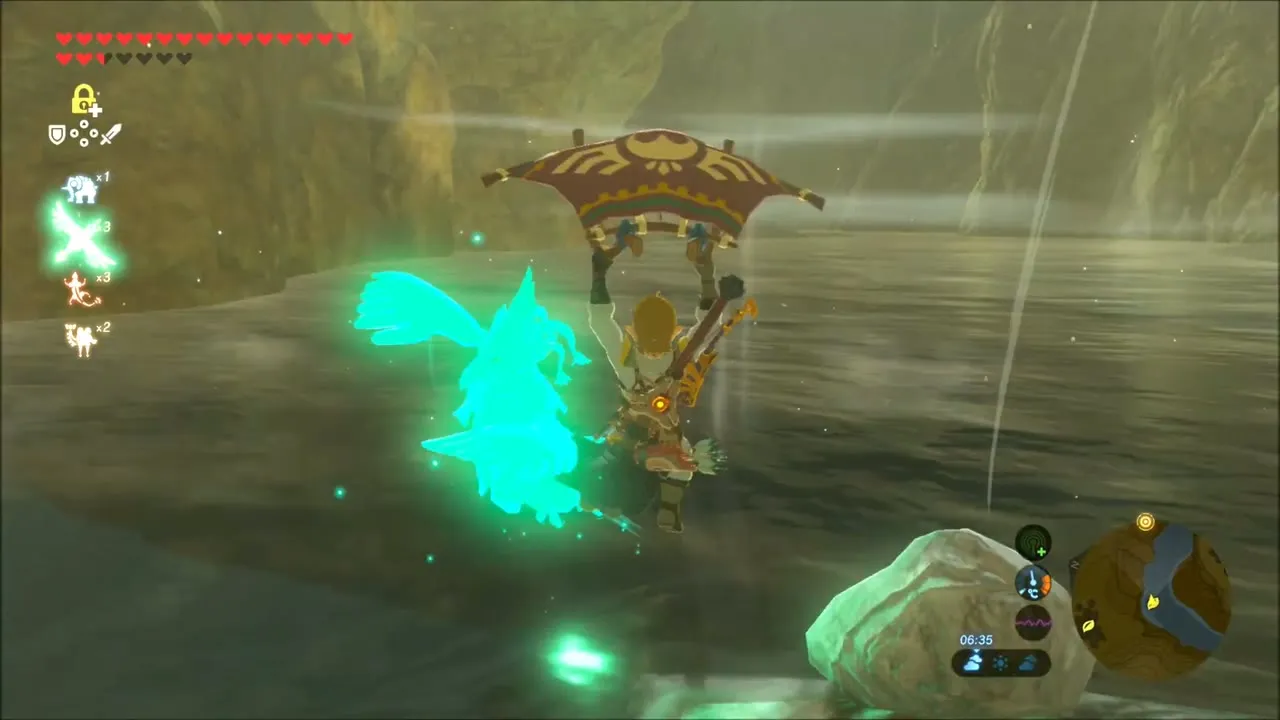
Glide down into a dry river bed. In the stream a Korok is hiding under a rock: lift the rock off it and take the seed. On the shore are two chests, one containing Amber and the other an Opal. Monsters roam this stretch, so keep your weapon ready.



Giant Boomerang Chest and Pond Korok Seeds
Giant Boomerang
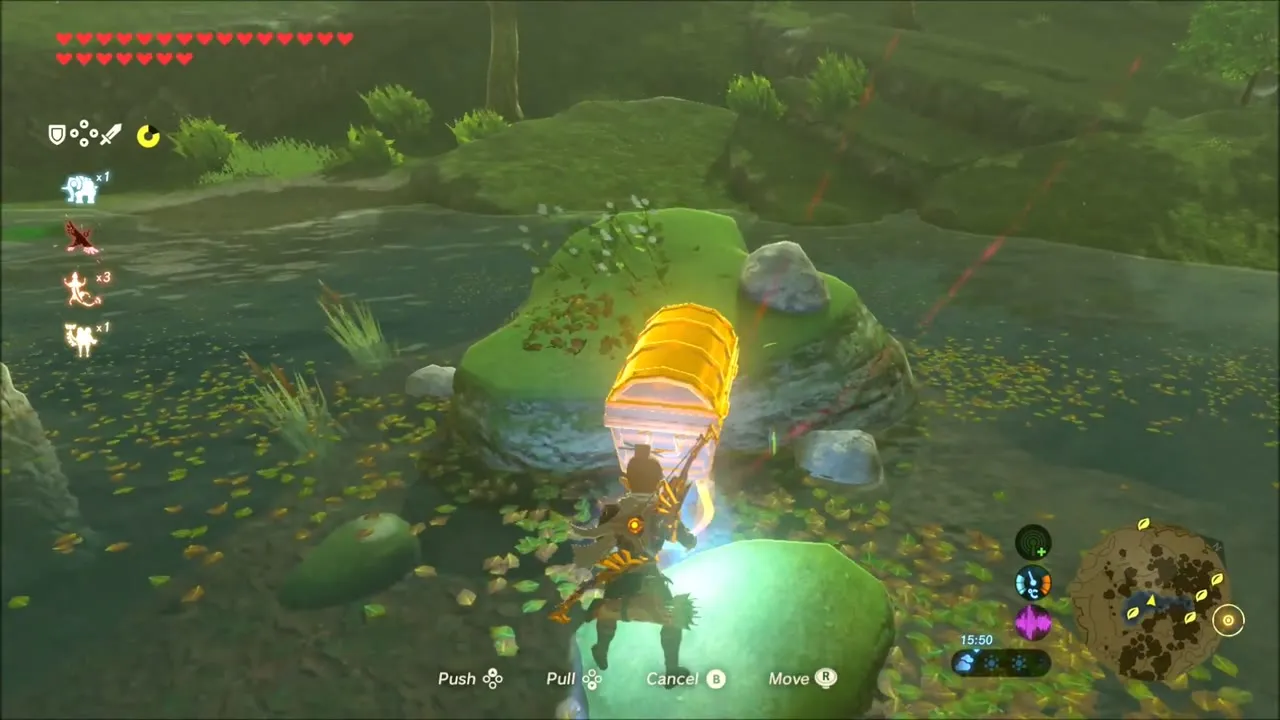
A chest lies hidden in the water of a lily-covered pond. Use Magnesis to pull it up, then open it to get a Giant Boomerang (stats depend on your progress).

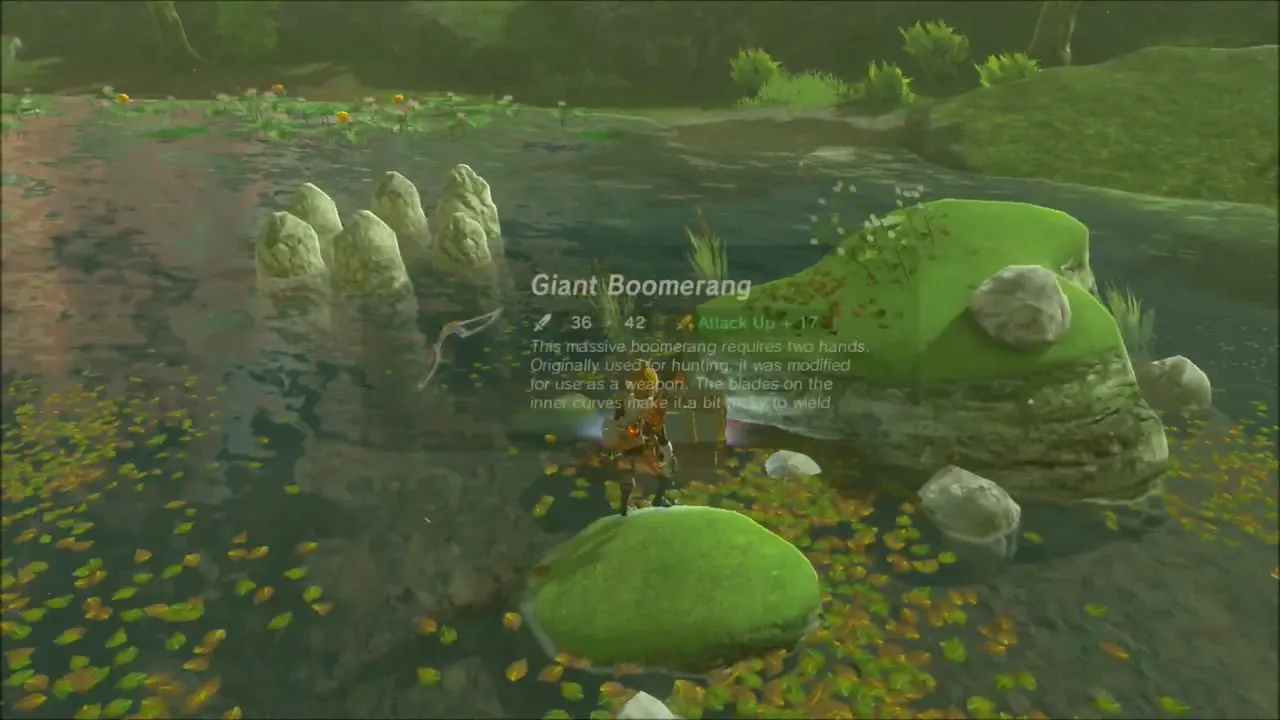
Korok seeds in the pond
A ring of small standing stones in the pond has one stone missing. Carry a rock over and put it in the gap, and a Korok appears among the lily pads.


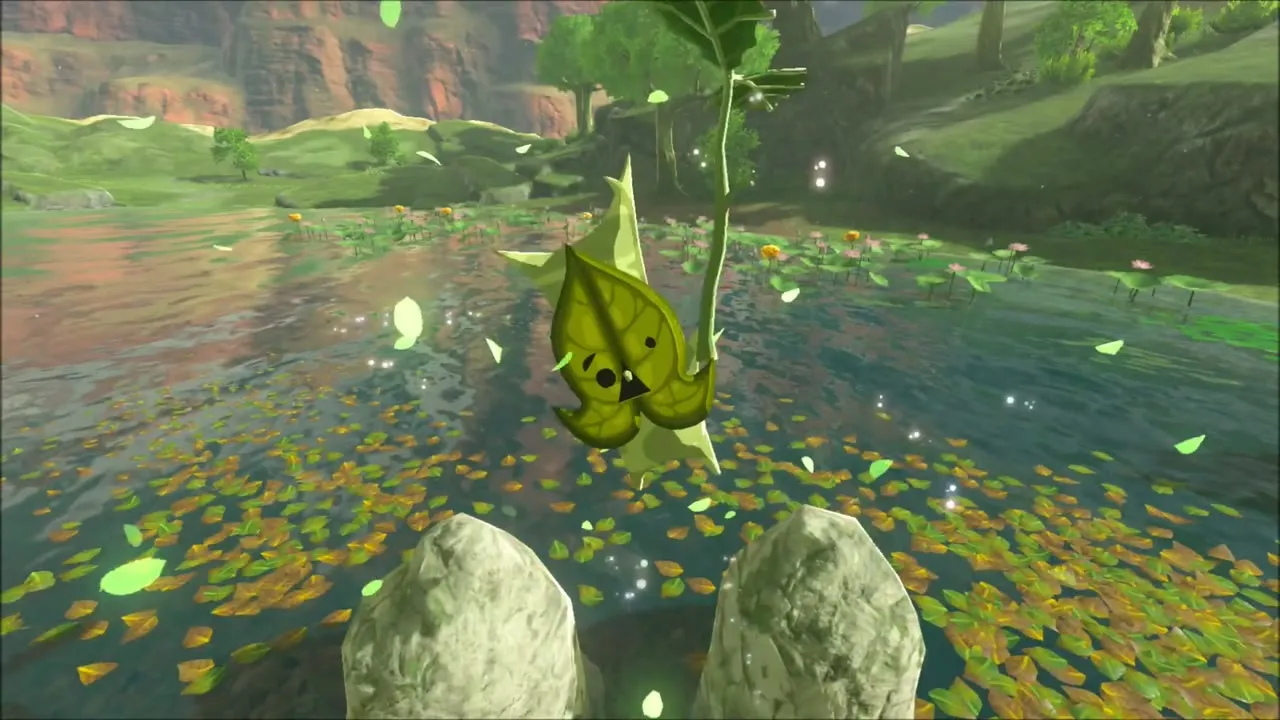
Burning Brambles and a Hilltop Rock
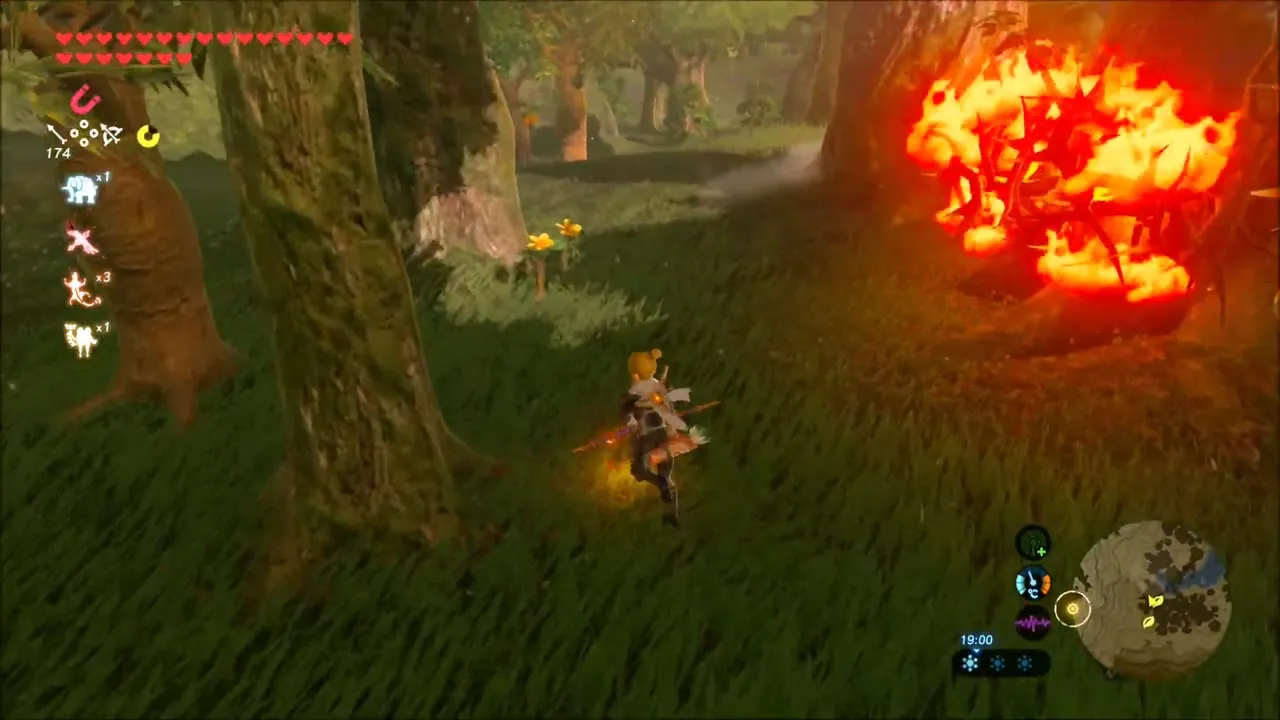
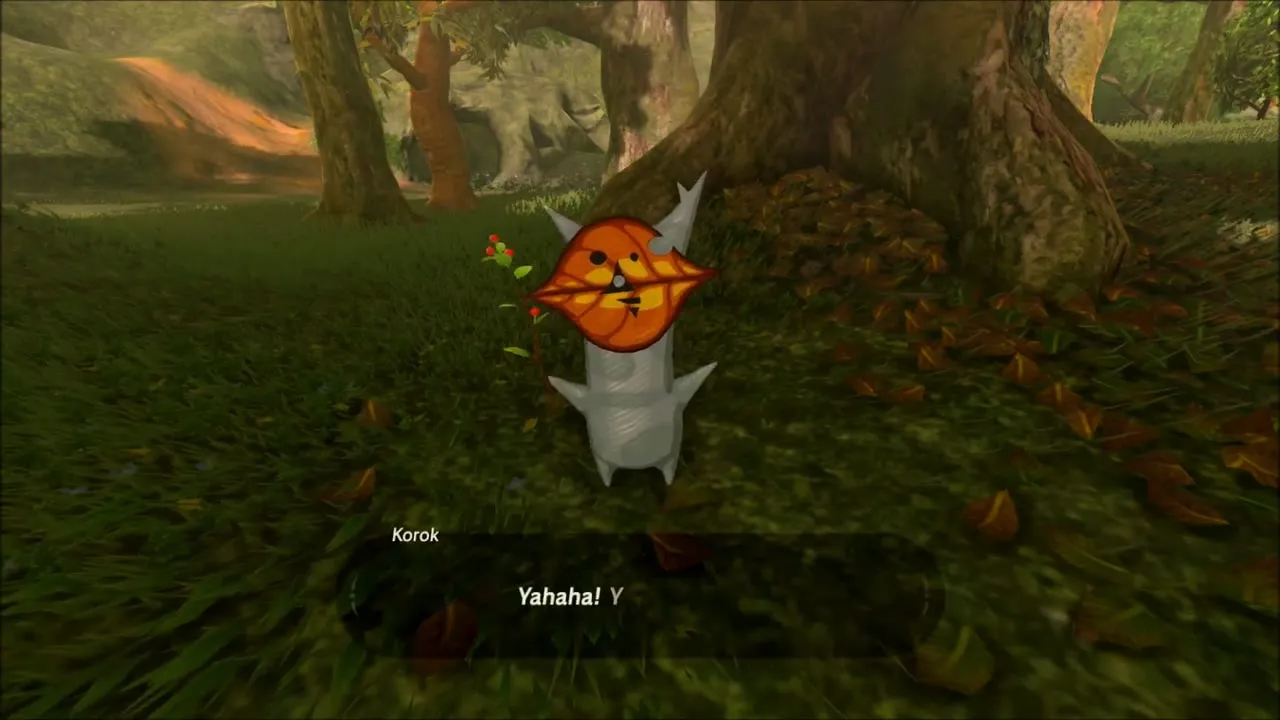
Two more seeds finish this stretch. Next to a tree wrapped in thorny brambles, burn the growth away with a fire arrow and the Korok appears beside the stump. On a grassy hill nearby, lift the rock sitting on the mound to find the last Korok, and it hops out as you do.


Satori Mountain: Open Your Map and Climb
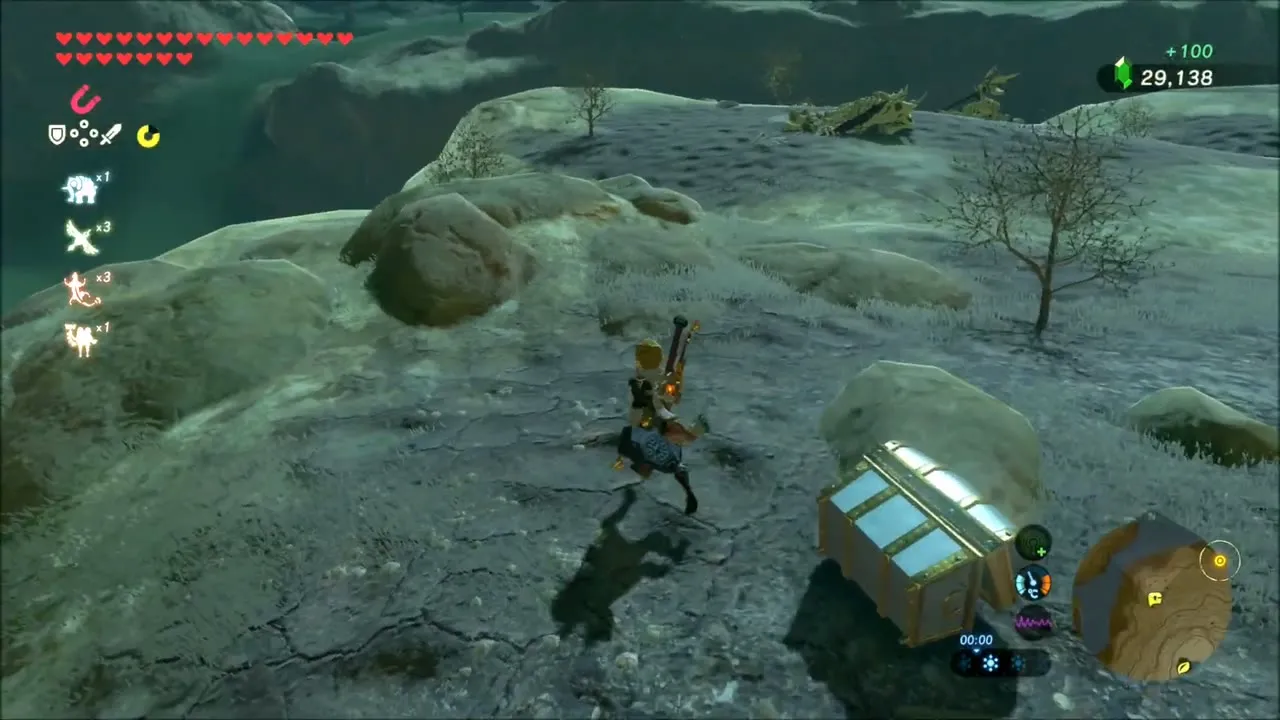
With the Korok locations stamped on your map, head up the mountain. A chest on a snowy ridge holds a Silver Rupee, and further up you will find stalwart skeleton monsters and a bird’s nest with eggs. Ore deposits here give amber and topaz when smashed with a sledgehammer, so bring one if you have it.
Satori Mountain Korok Seeds
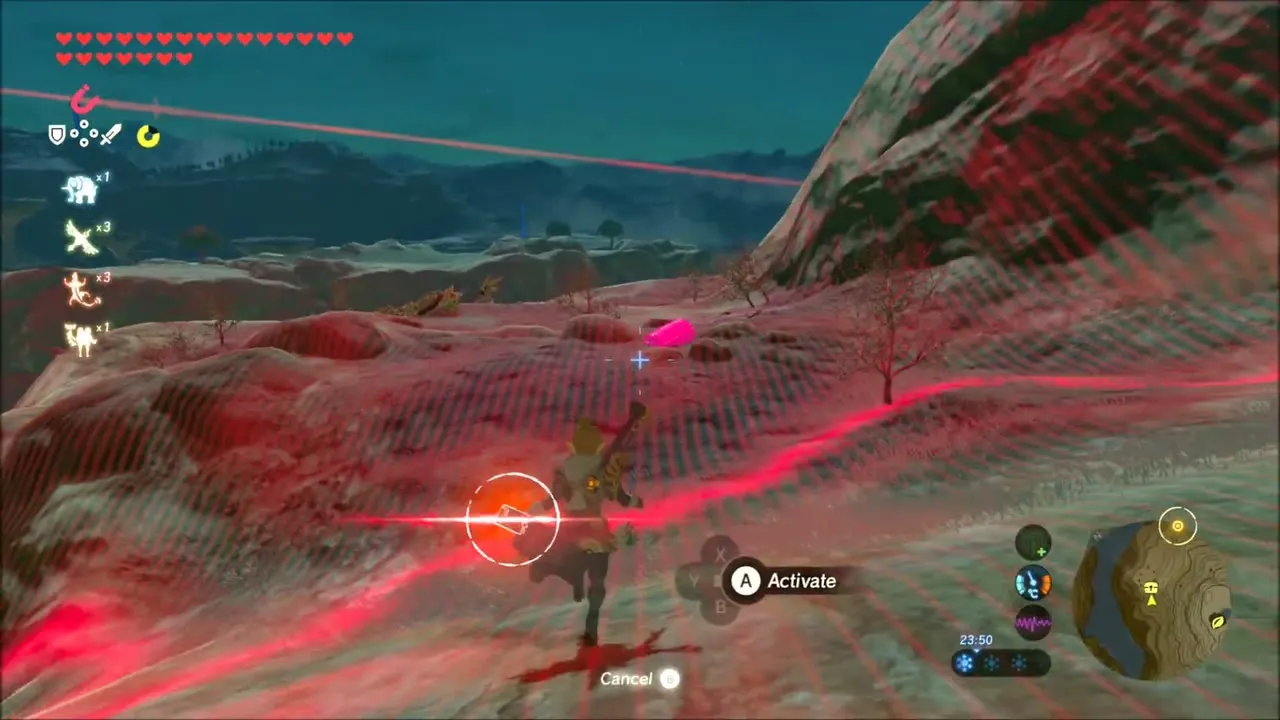
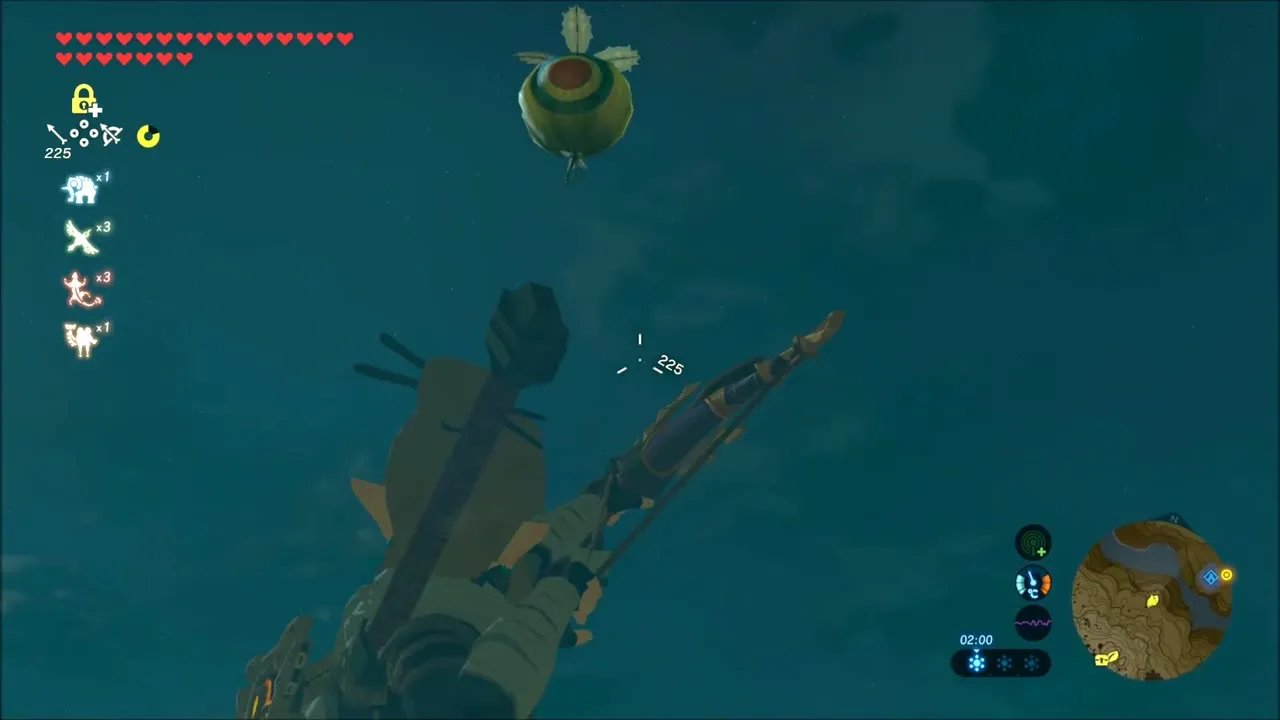
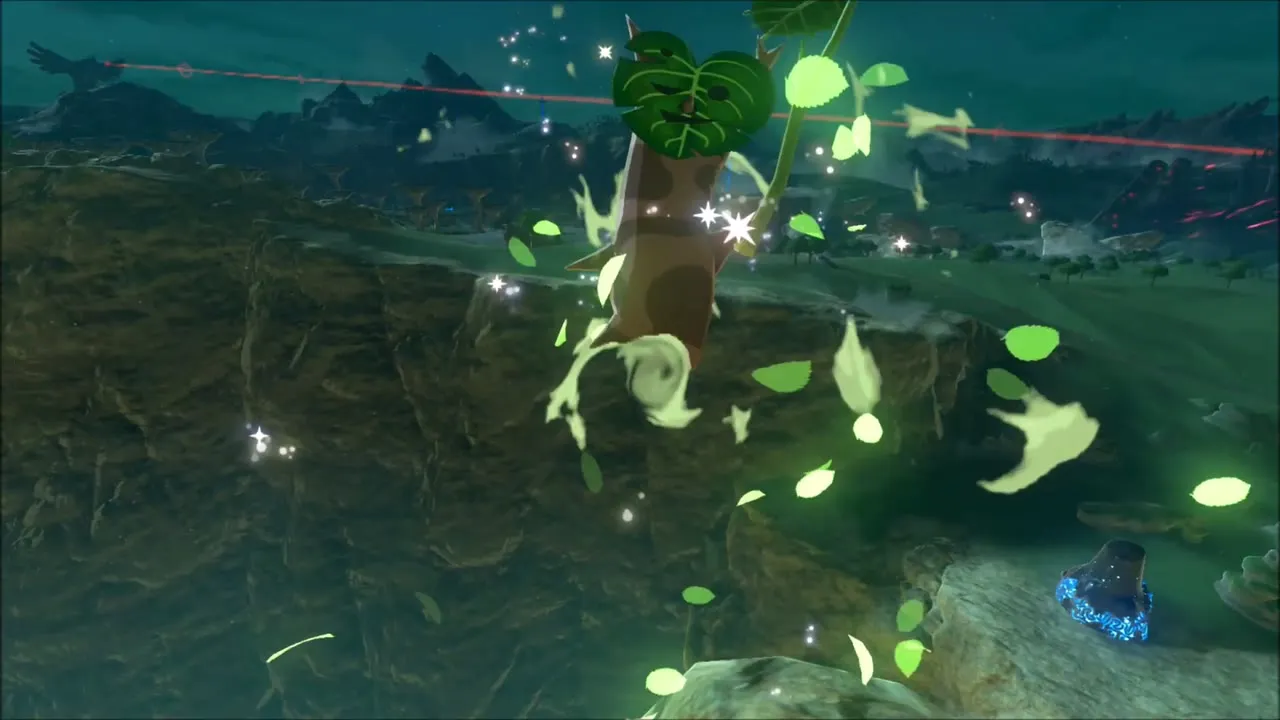
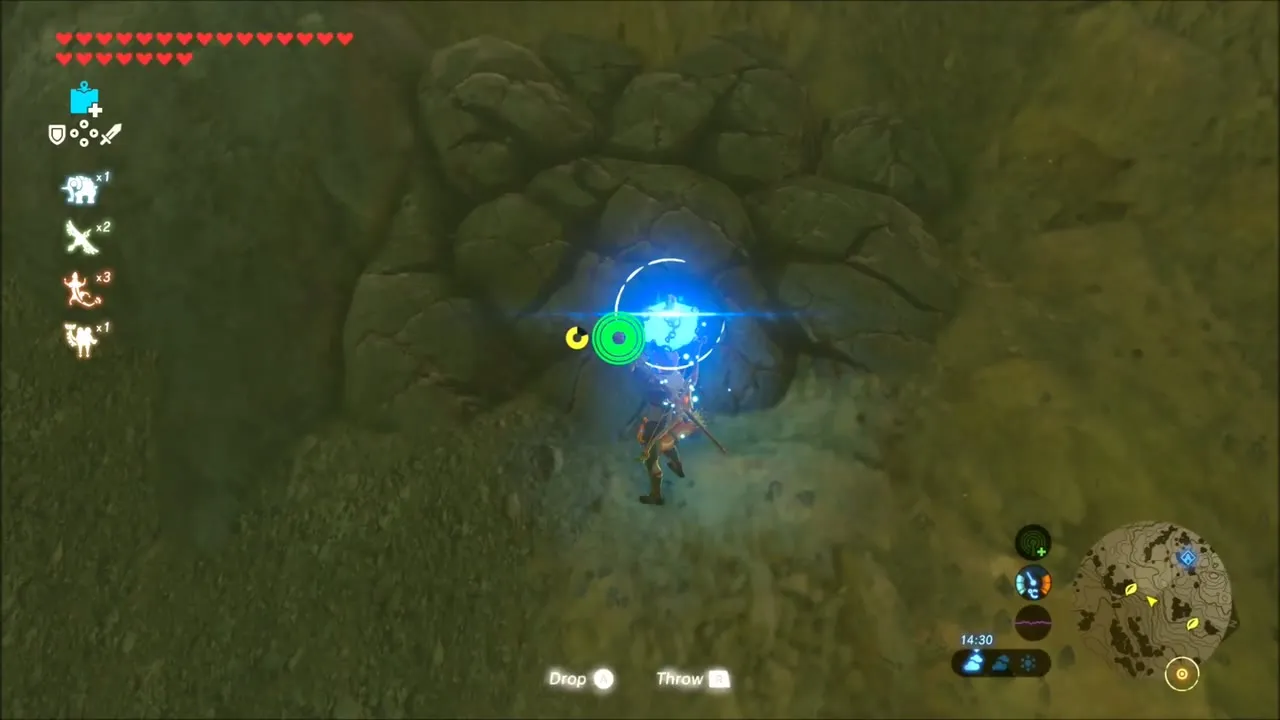
The slopes below hold a long chain of seeds. One Korok hangs in the air beside a cliff edge, another clings to a tree trunk near pink blossoms (where Silent Princess flowers grow), and another is hiding behind a leaf-like plant on a rocky ledge. A fourth sits behind a cracked rock wall that you open with a bomb. Others require you to shoot a target: aim your bow at the floating balloon target in the sky to get the seed.

Mogg Latan Shrine: Synced Swing
Cross the swings and spiked balls
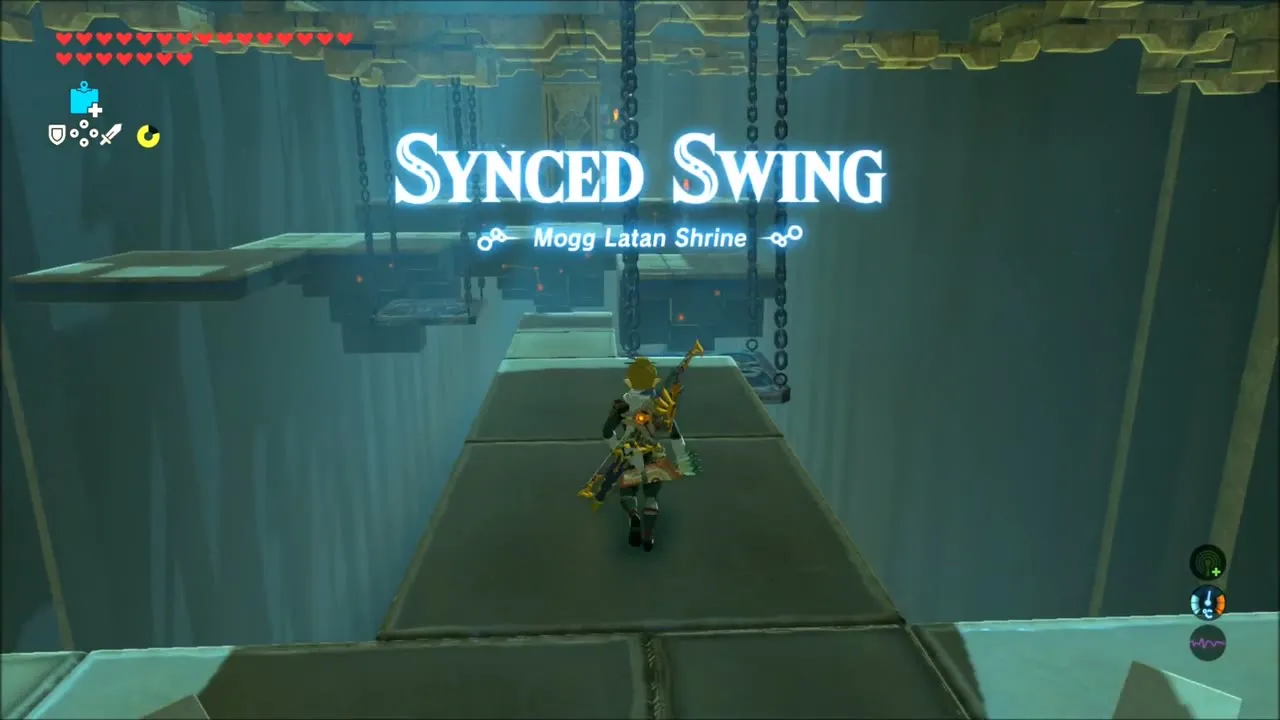
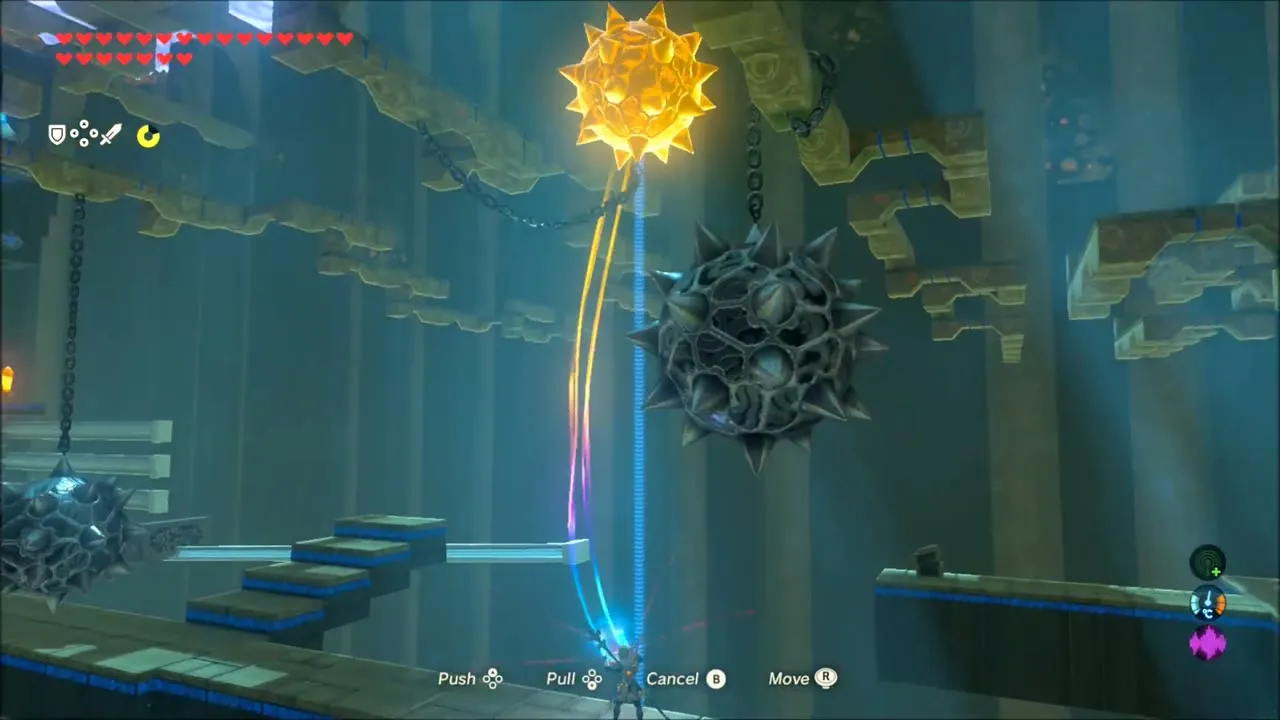
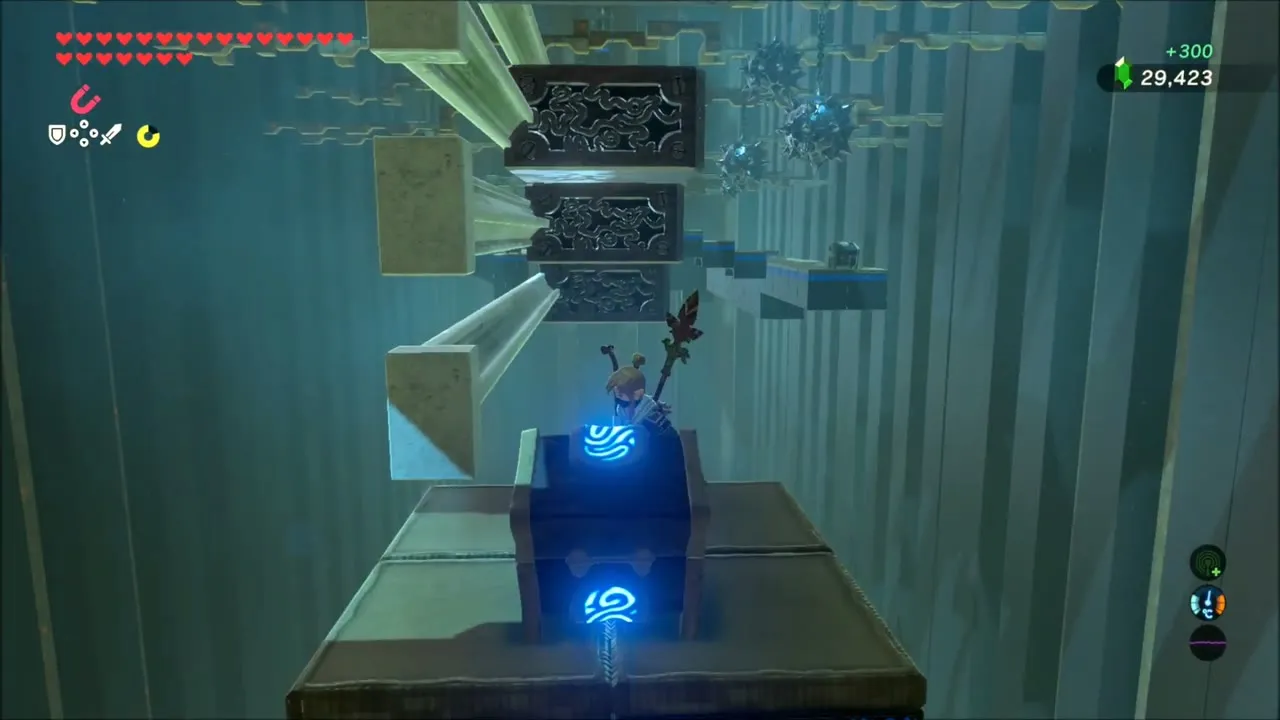
Mogg Latan Shrine on Satori Mountain (x -2298, z 462) holds the Synced Swing trial. Inside, ride the swinging platforms across the gaps, freeze spiked balls with Stasis and stack the metal platforms with Magnesis. A full walkthrough is on the Mogg Latan Shrine page.


Chests and Spirit Orb
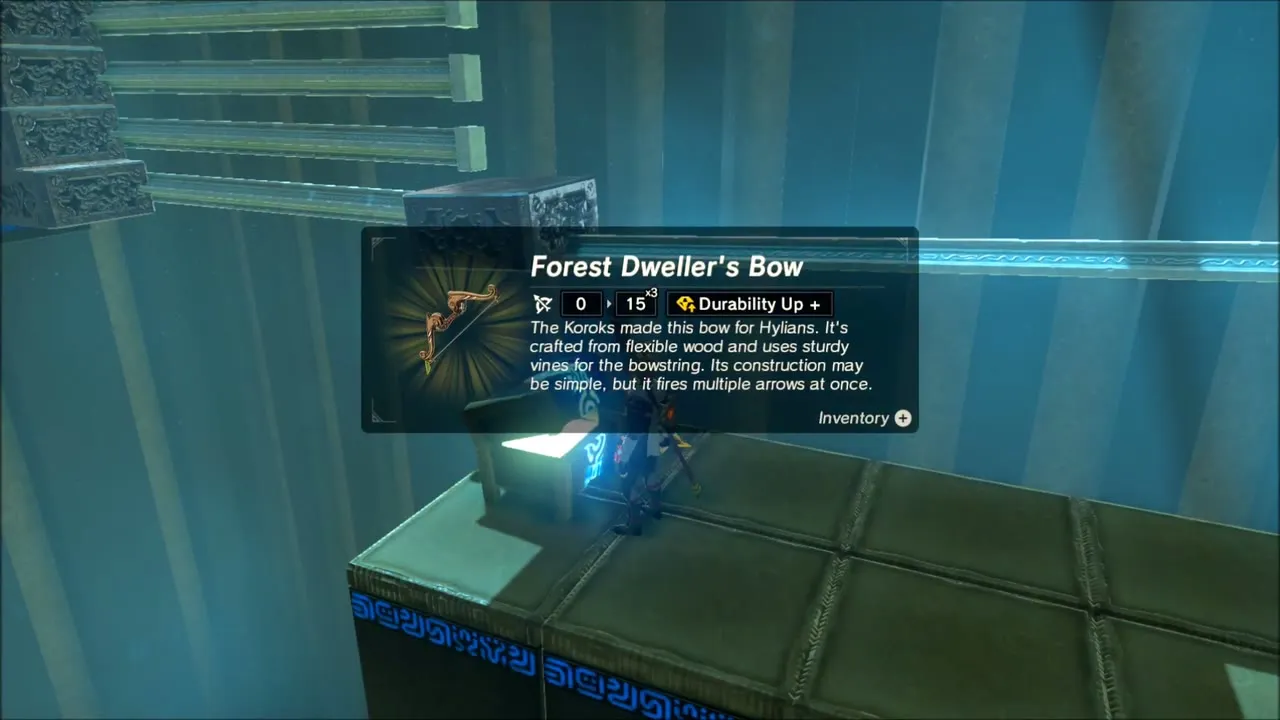
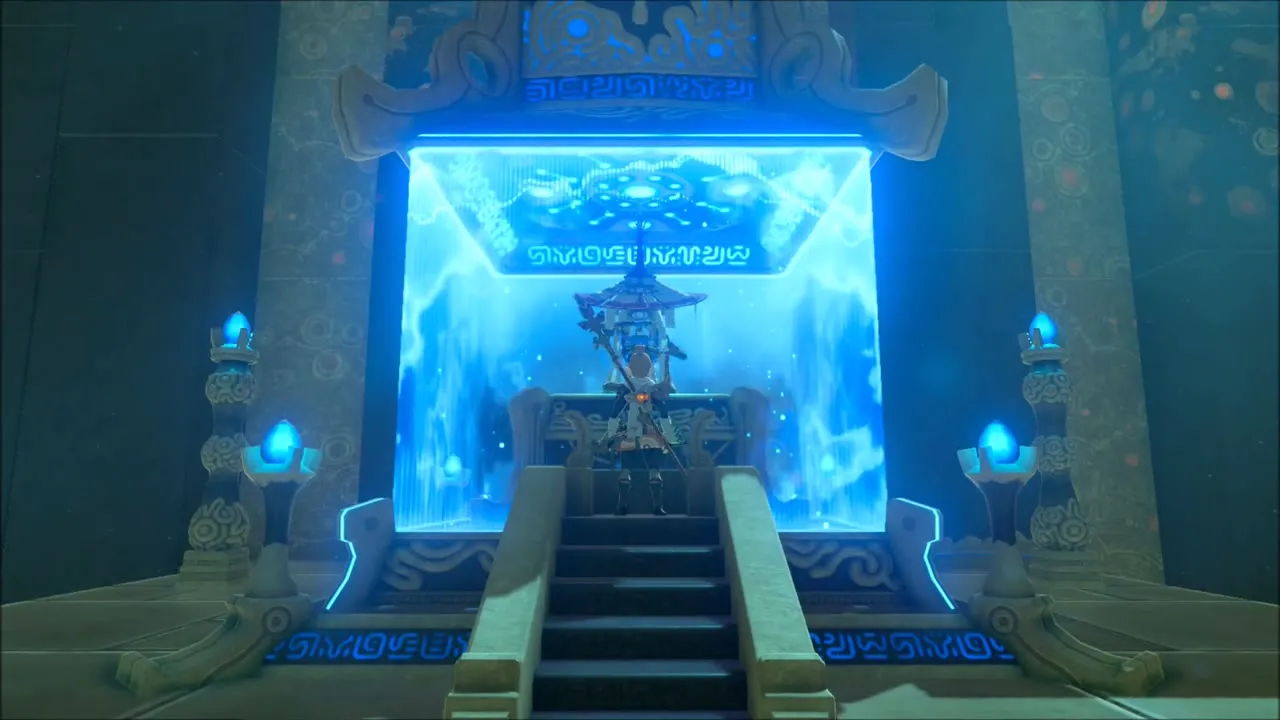
Open the chest for a Forest Dweller’s Spear and the optional one for a Forest Dweller’s Bow, then drop to the chest under the monk’s platform for a Gold Rupee. Speak to the monk to receive the Spirit Orb.

Stalnox on Satori Mountain
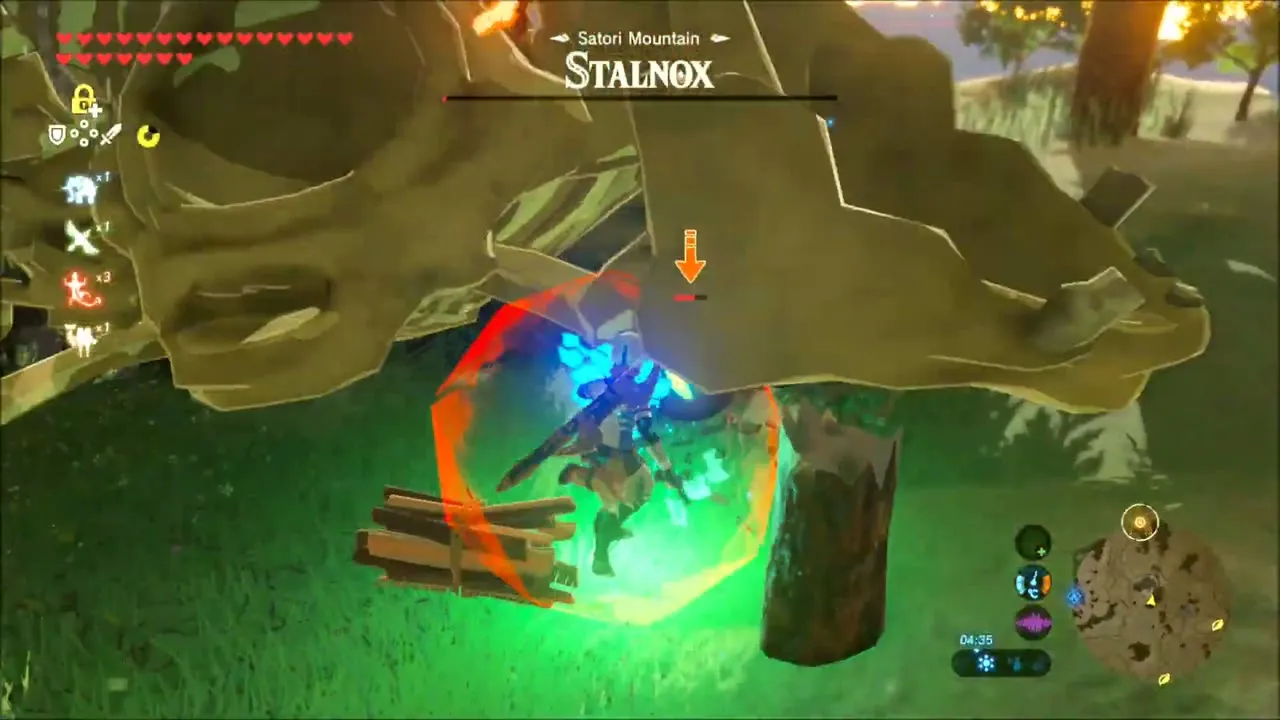
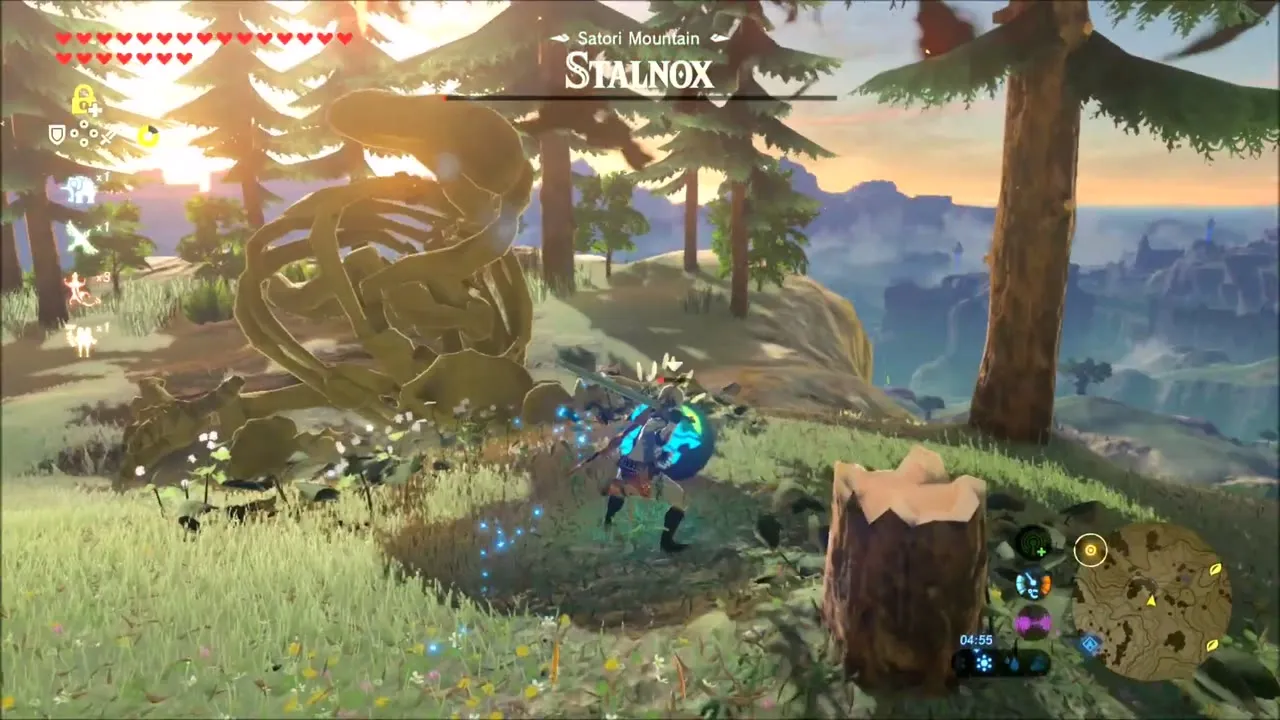
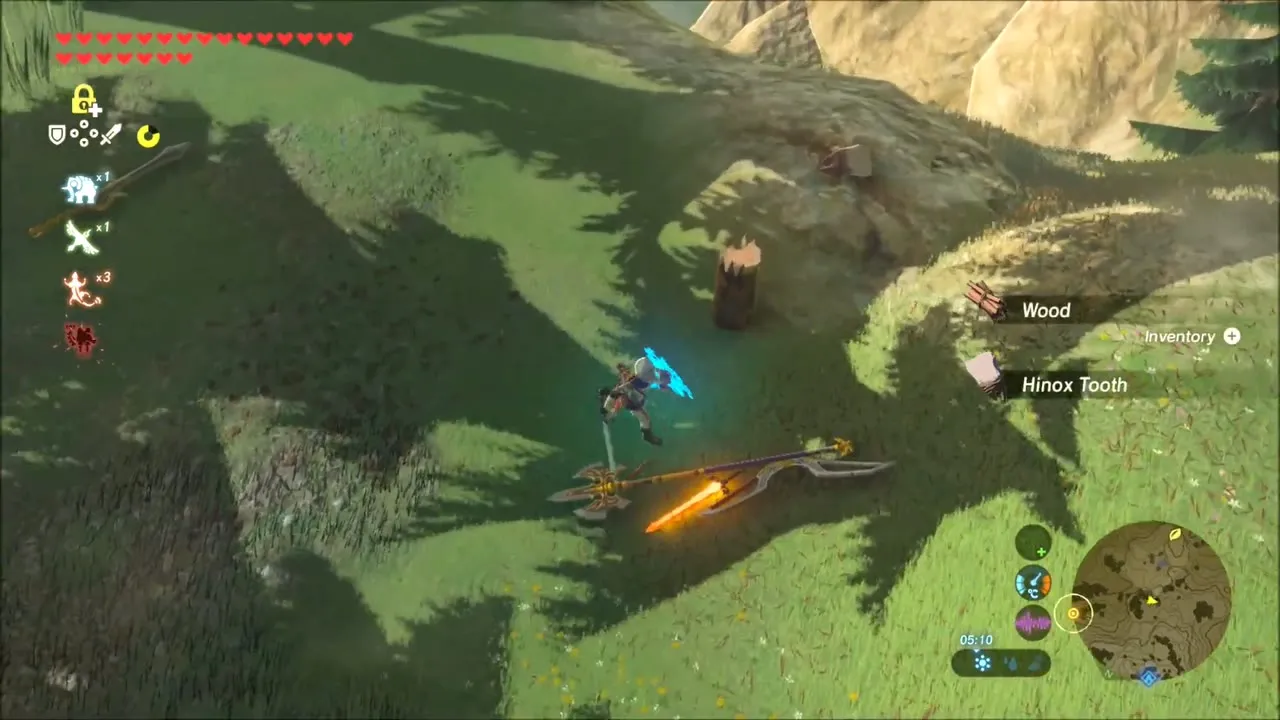
Back outside, a Stalnox rises on the lower slopes of Satori Mountain. Shoot the eye on its head until it staggers, then strike it, and keep going until the eye is destroyed, because the bones rebuild otherwise. It drops Hinox Teeth. More details are on the Stalnox page.

More Korok Seeds on the Grassy Hills
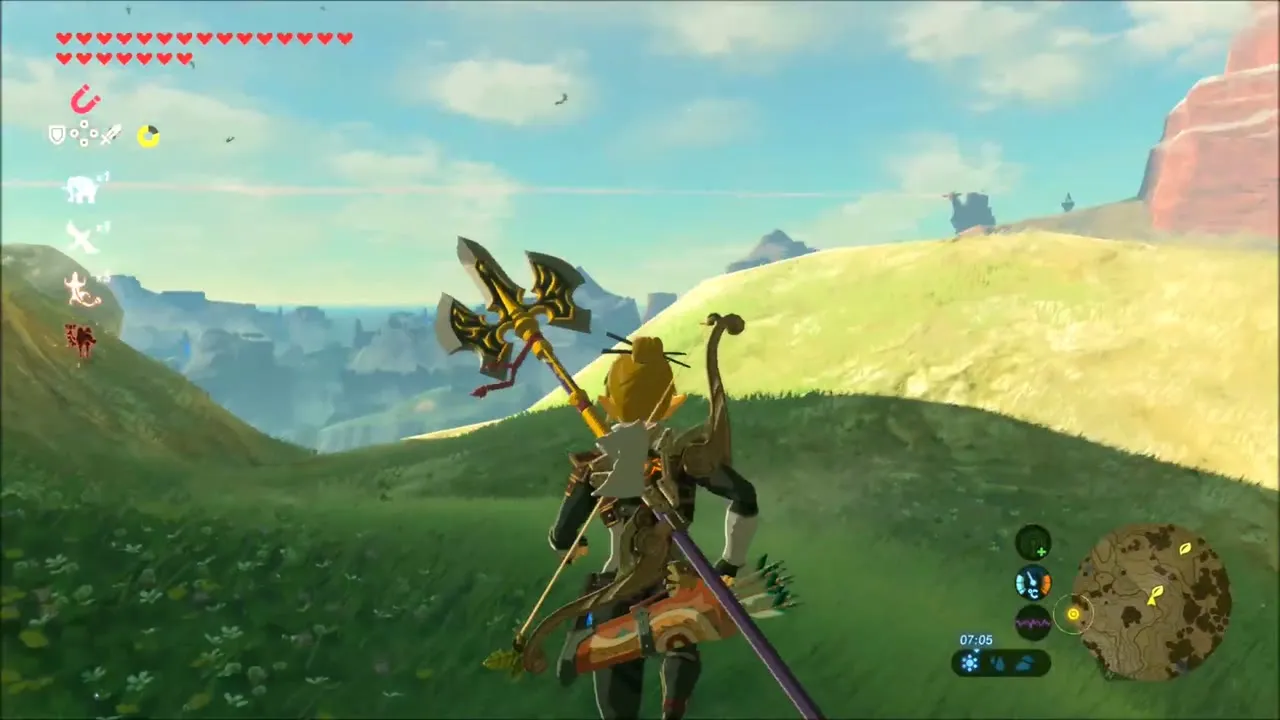
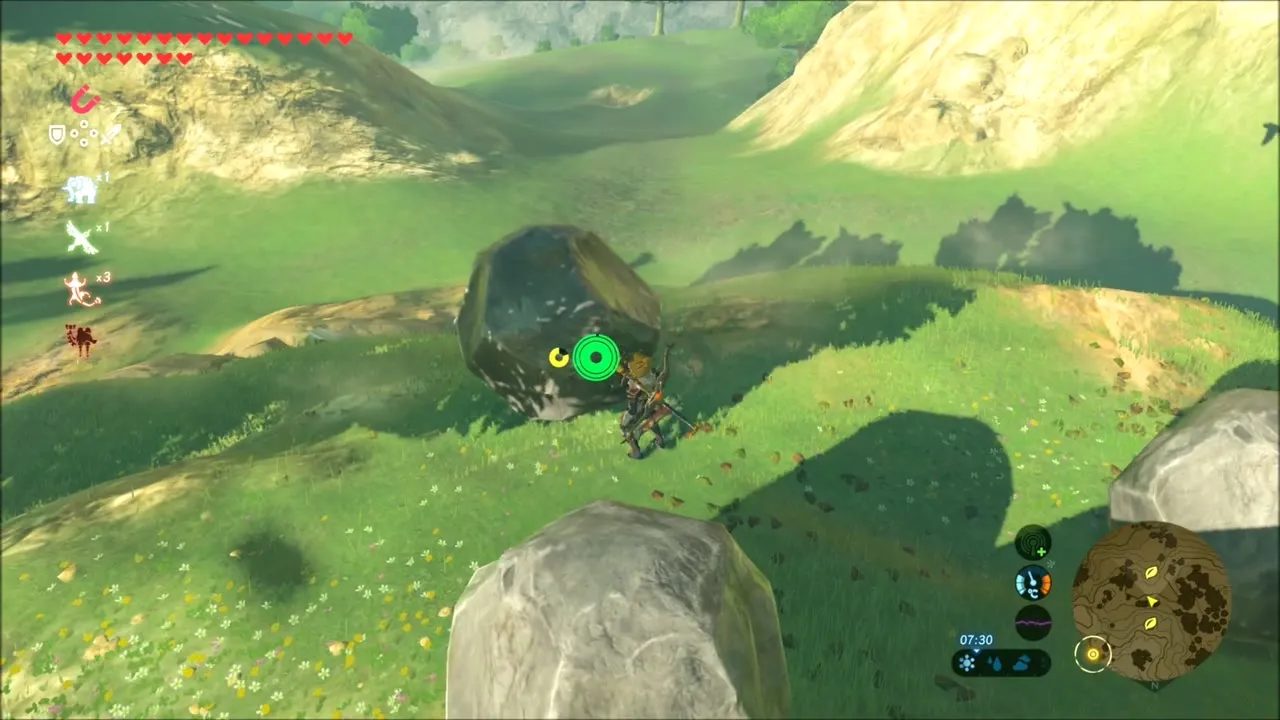
Work down the green hills for the next run of seeds. Some are lying under rocks on mounds, one is behind a boulder you freeze with Stasis and shove aside, and others are in the trees and the forest below. Pick up apples and radishes as you pass them. A chest sits on one of the grassy slopes if you want to loot it.
Catching a Horse on the Hills
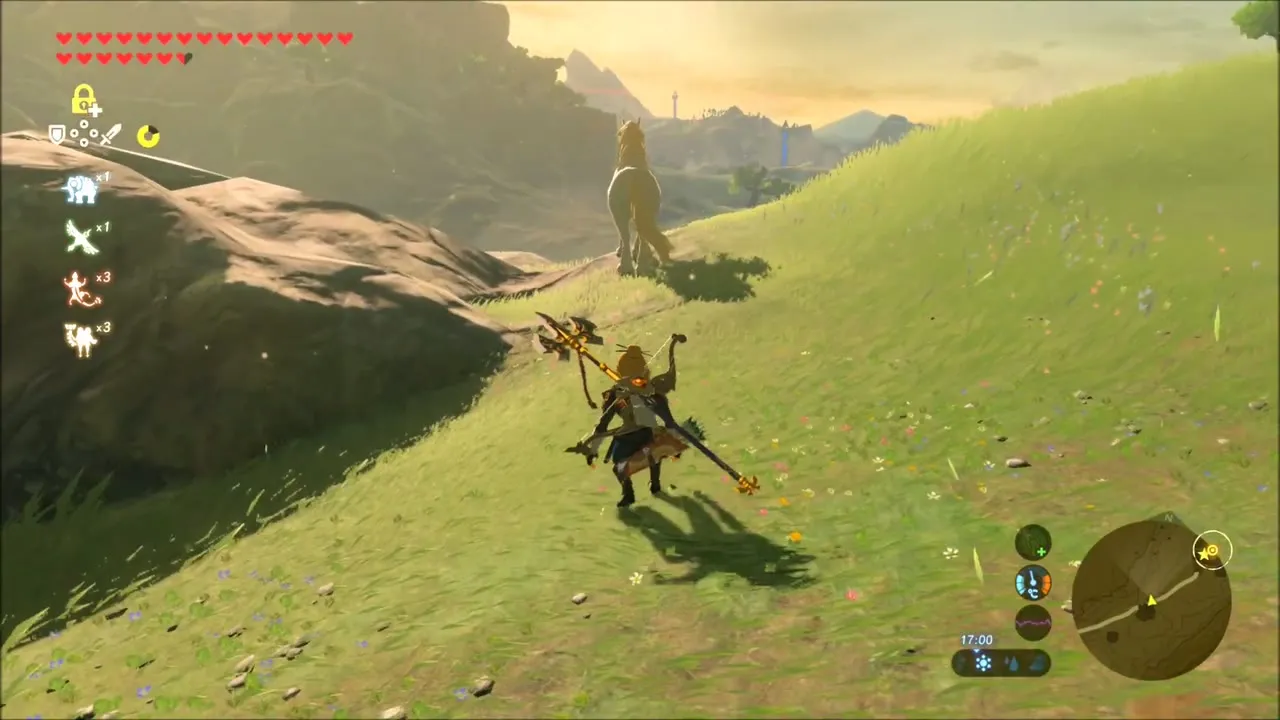
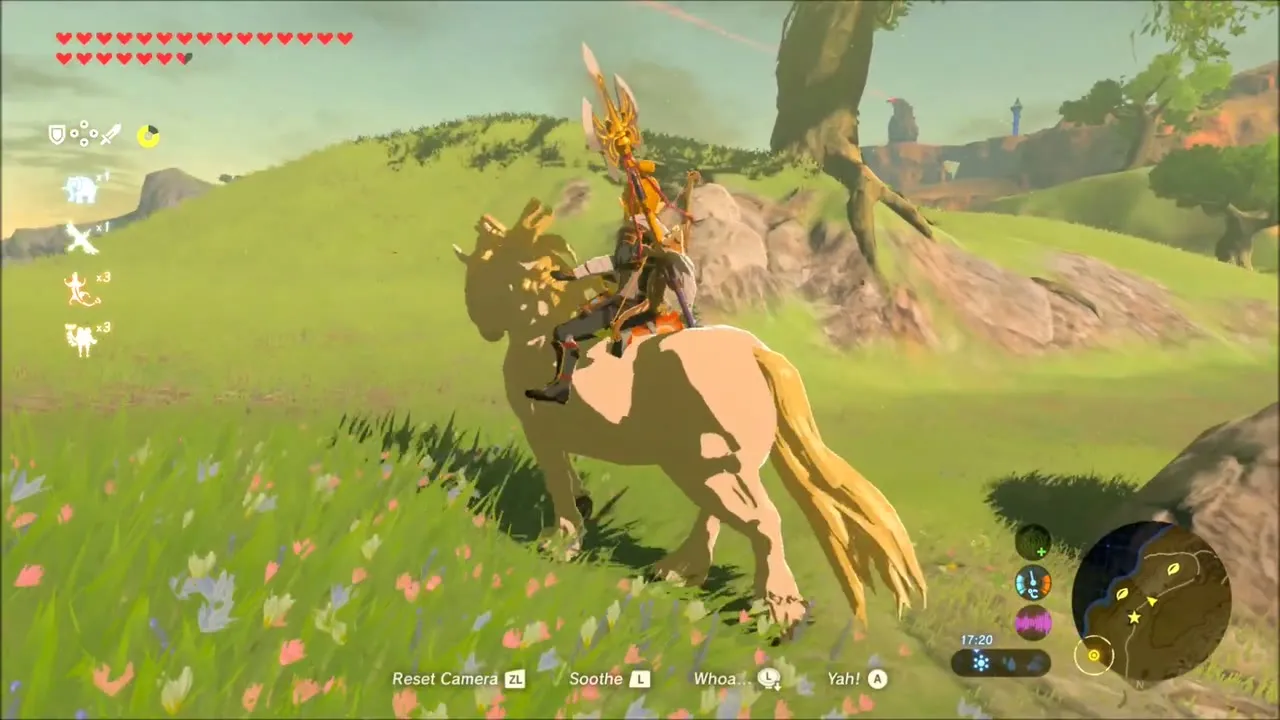
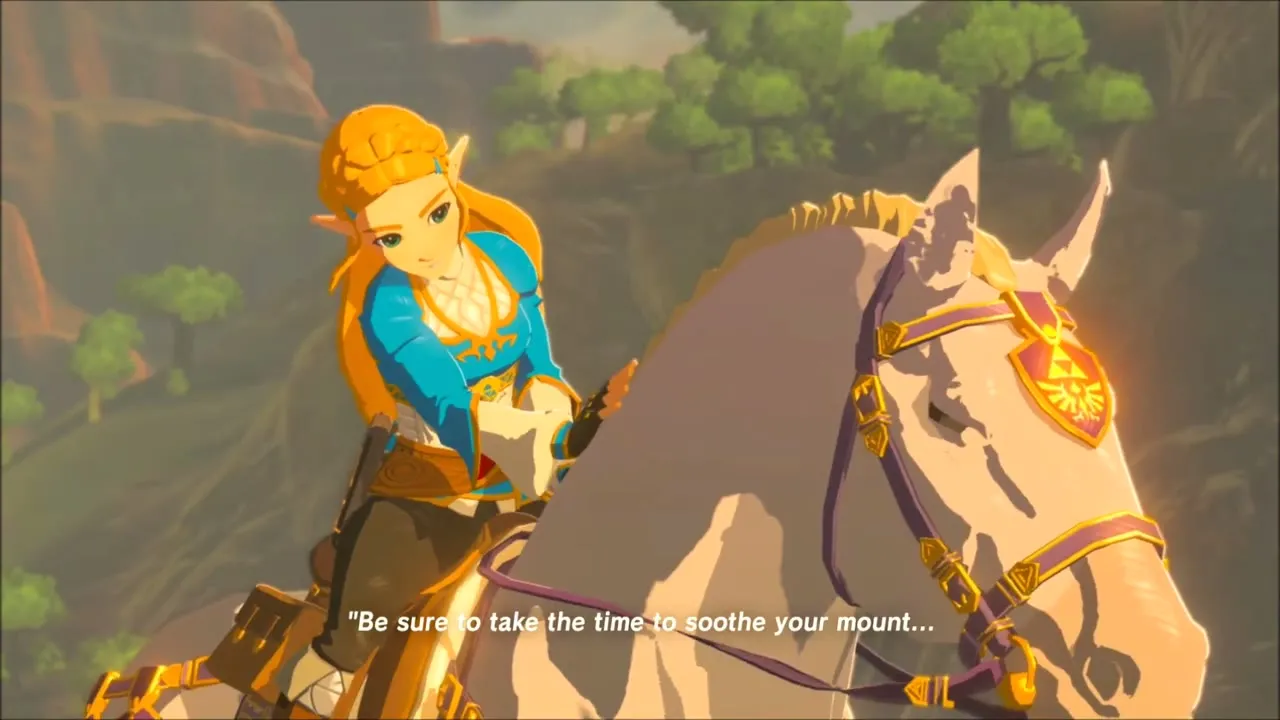
Sneak up on one of the pale wild horses grazing on the hill, climb on and calm it by stroking it. It takes a few tries to settle the horse, but once it is tamed you can ride up to the ruins.

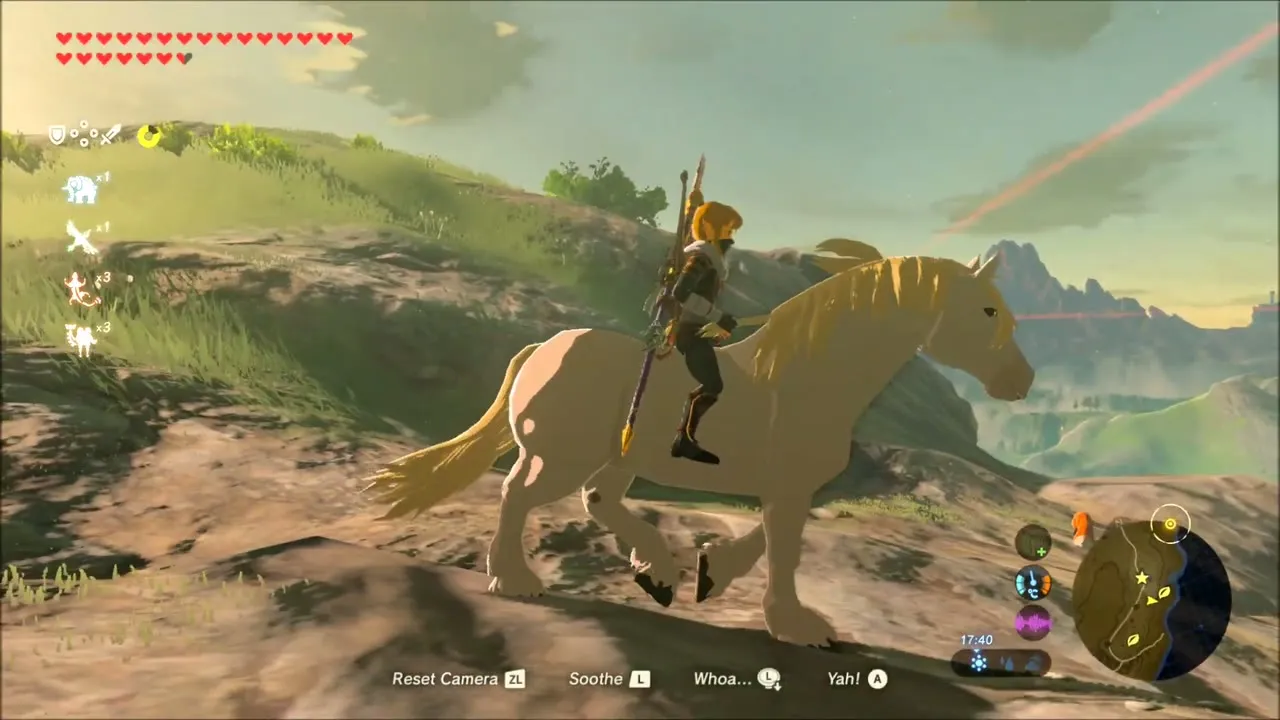
Sanidin Park Ruins: Memory
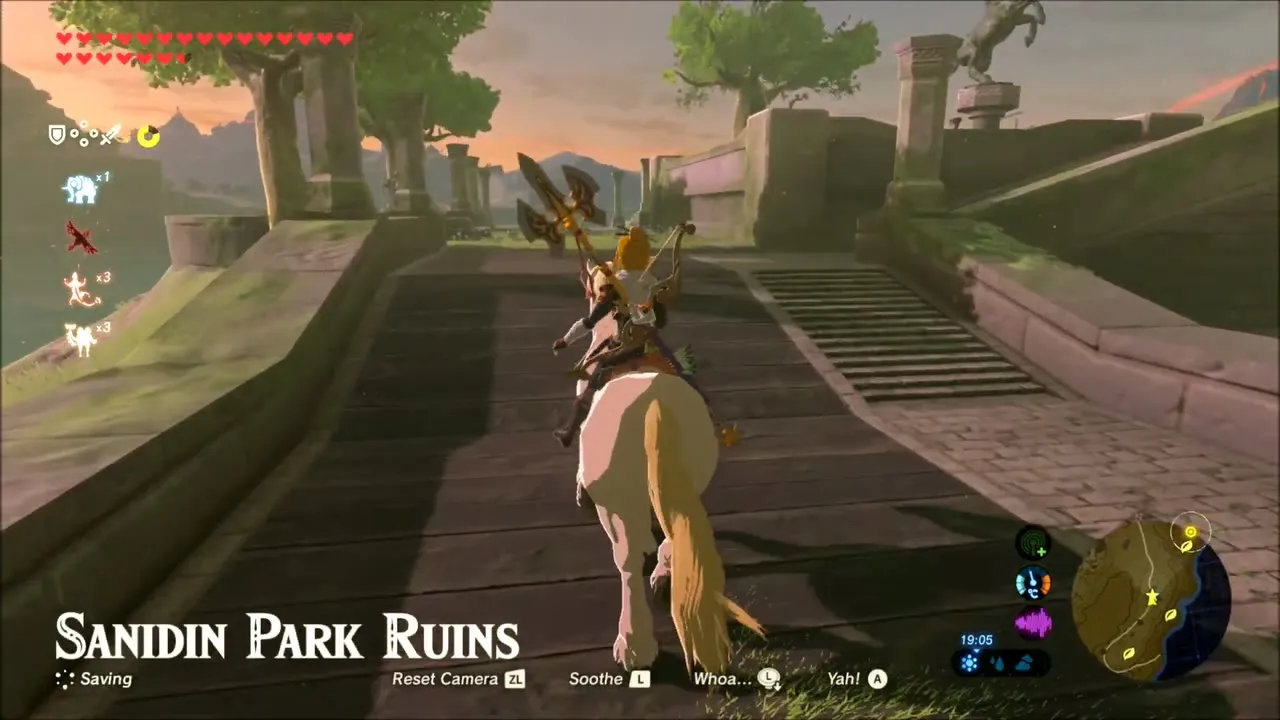
Ride your new horse to Sanidin Park Ruins (x -1630, z 688), a ruined park on a hill with a large stone horse statue. Step on the glowing spot beside the statue to see Memory 14 – To Mount Lanayru, in which Zelda rides out to meet Link.


Register Your Horse at the Stable
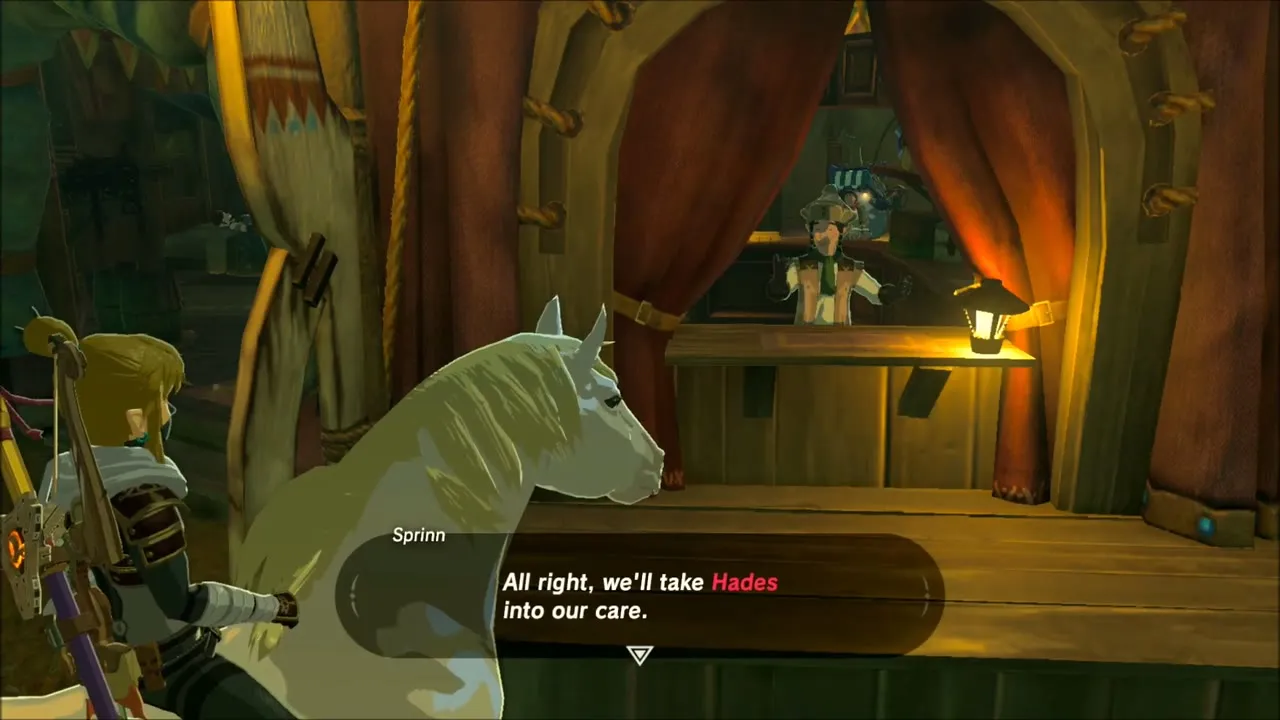
At a stable, speak to the keeper to register your new horse and give it a name. You then pick which horse to take out.

A Traveler Looking for His Mare
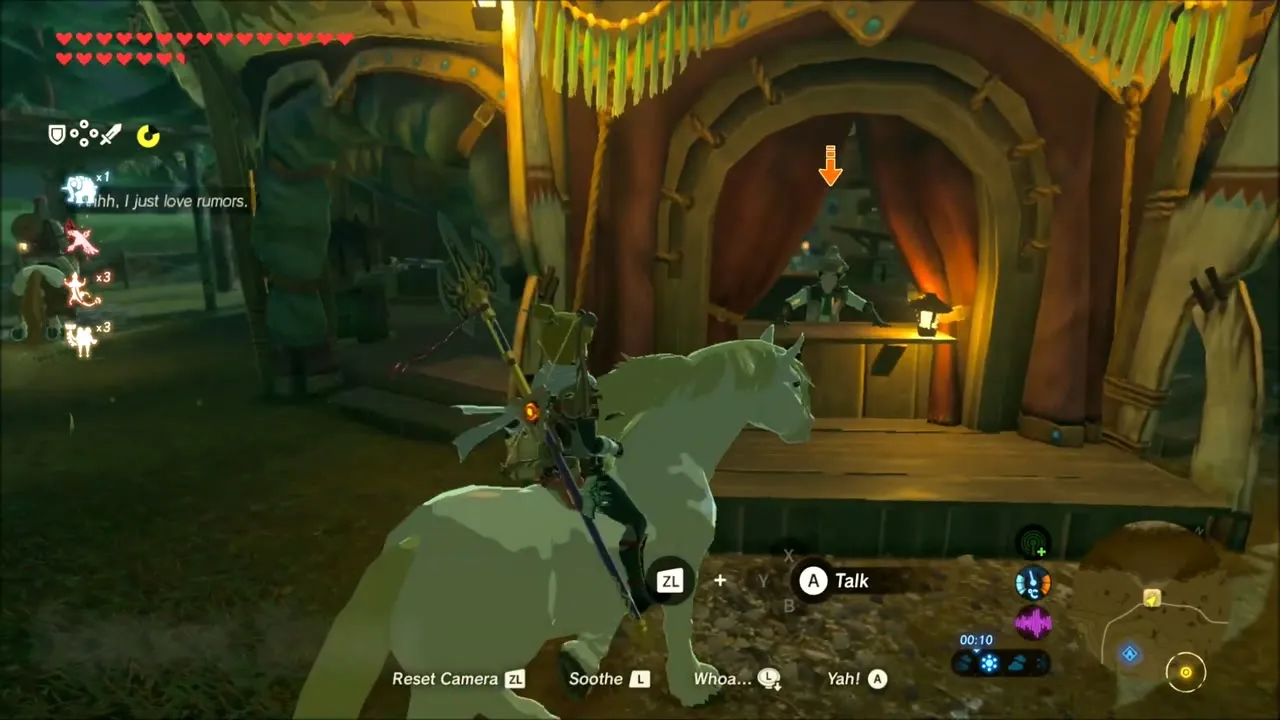
Riding away from the stable at night, you pass a traveler camped near a monster outpost; stop for a word if you like, then ride on back toward the ruins.