100% Completion Walkthrough21 chapters
- Great PlateauAll 4 Shrines, the Paraglider and Korok Seeds
- Kakariko Village and Dueling PeaksSeek Out Impa, Shrines and Korok Seeds
- Hateno VillageHateno Tower, the Ancient Tech Lab, Link’s House and Shrines
- Zora’s DomainReach Zora’s Domain, Vah Ruta, Lanayru Shrines and Korok Seeds
- Faron and Lurelin VillageLurelin Village, Faron Tower, Shrines and Korok Seeds
- Korok Forest and Master SwordHow to Get the Master Sword, Lost Woods, Shrines and Korok Seeds
- Hebra MountainsHebra Tower, Snowfield Stable, Shrines and Korok Seeds
- Rito Village and Vah MedohVah Medoh, Tabantha Tower, Shrines and Korok Seeds
- Gerudo HighlandsGerudo Tower, Gerudo Summit, Shrines and Korok Seeds
- Gerudo TownForbidden City Entry, the Thunder Helm, Desert Shrines and Korok Seeds
- Vah Naboris and Gerudo DesertThunderblight Ganon and the Gerudo Desert Shrines
- Lake HyliaLake Tower, Farosh, Lake Shrines and Korok Seeds
- Akkala and Tarrey TownTarrey Town, Akkala Tower, Shrines and Korok Seeds
- Death Mountain and Goron CityGoron City, Vah Rudania, Eldin Shrines and Korok Seeds
- RidgelandRidgeland Tower, Shrines, Memories and Korok Seeds
- Central HyruleCentral Tower, Captured Memories, Shrines and Korok Seeds
- Hyrule Castlethe Hylian Shield, Saas Ko’sah Shrine, Zelda’s Diary and Memories
- Calamity GanonLast Side Quests, Destroy Ganon and the Final Boss
- All Hinox, Talus and Molduga LocationsEvery Hinox, Stone Talus and Molduga, for Kilton’s Medals of Honor
- Trial of the Sword and EX TreasuresThe Trial of the Sword and every EX Treasure location (DLC Pack 1)
- Champions’ BalladOne-Hit Obliterator, Champion Trials and the Final Trial
| Region | Akkala |
|---|---|
| Shrines | 8: Ze Kasho Shrine, Dah Hesho Shrine, Ke’nai Shakah Shrine, Kah Mael Shrine, Ritaag Zumo Shrine, Katosa Aug Shrine, Tu Ka’loh Shrine, Zuna Kai Shrine |
| Sheikah Tower | Akkala Tower |
| Korok seeds | 55 |
| Towns and stables | Tarrey Town, South Akkala Stable, East Akkala Stable |
This chapter of the 100% walkthrough covers the Akkala region in a route that collects everything along the way: 8 shrines, 55 Korok seeds and the Sheikah Tower, plus the quests, chests and minibosses you meet. Positions are map coordinates (x grows east, z grows south).
Upgrading Armor at Tera’s Great Fairy Fountain
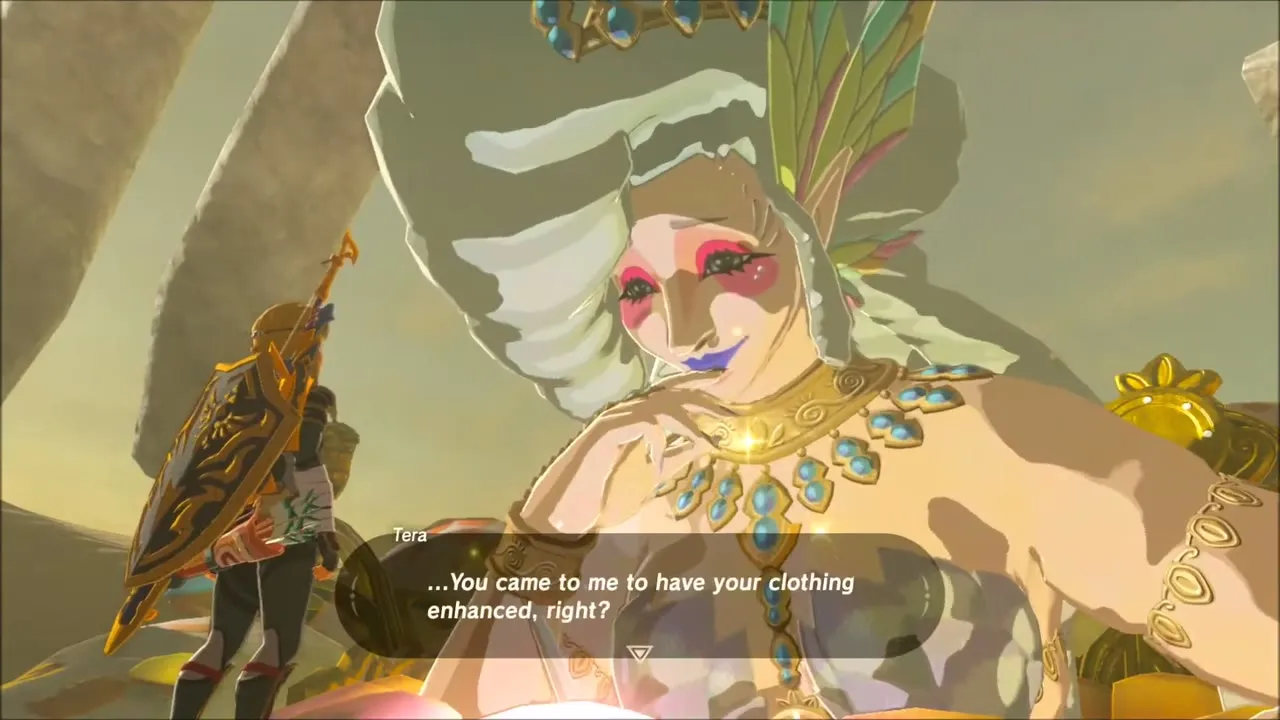
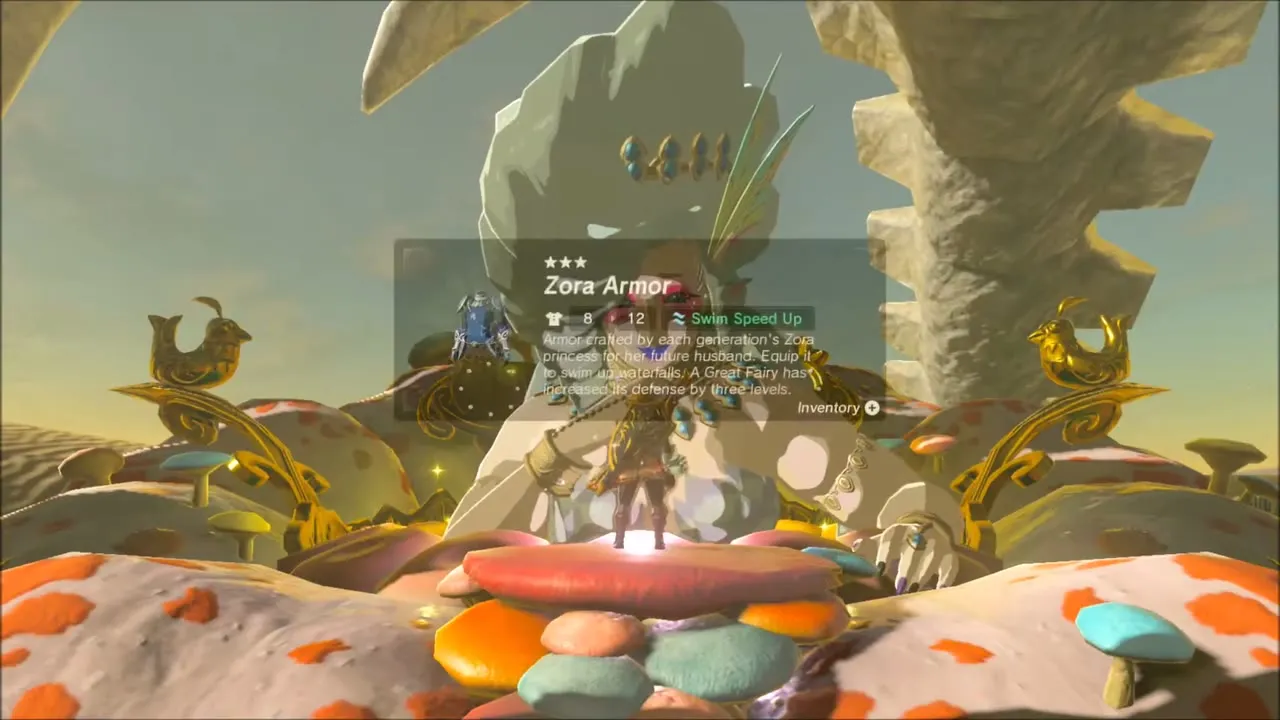
The route opens at Great Fairy Tera‘s fountain under the giant skeleton in the far south-west of the Gerudo Desert. Pay her fee, then hand over materials to raise the star rating of your gear. Here Link enhances his Zora Armor and Zora Helm and also upgrades a Radiant Shirt. Upgrades cost materials only, so check the parts list on the upgrade screen before you go shopping.


Stocking up before Akkala
With the armor sorted, Link browses the shops of Gerudo Town. Lorn’s stall sells Hearty Durians for 60 rupees each, the inn offers a night’s stay with an optional spa plan, and another vendor trades in amber and sells goat butter for cooking. Spare rupees and a few meals will make the trek north easier.


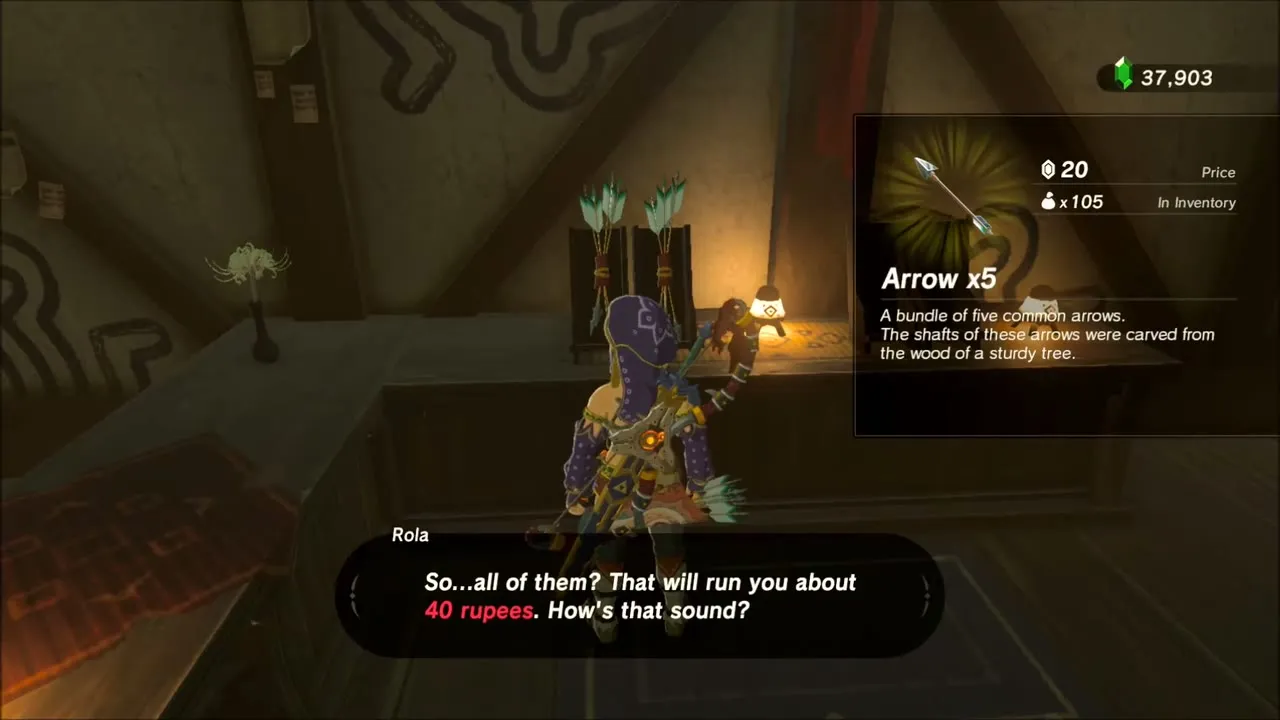
The next stops fill the quiver and the pantry. Rola’s arrow stand in Kakariko Village sold a full stack at 50 rupees, and Cleff’s fish stall in Zora’s Domain sells Chillfin Trout for cold-resistance cooking. The Ta’loh Naeg and Ne’ez Yohma shrines serve as fast travel points for these two legs of the trip.


Travelling Overland into Akkala
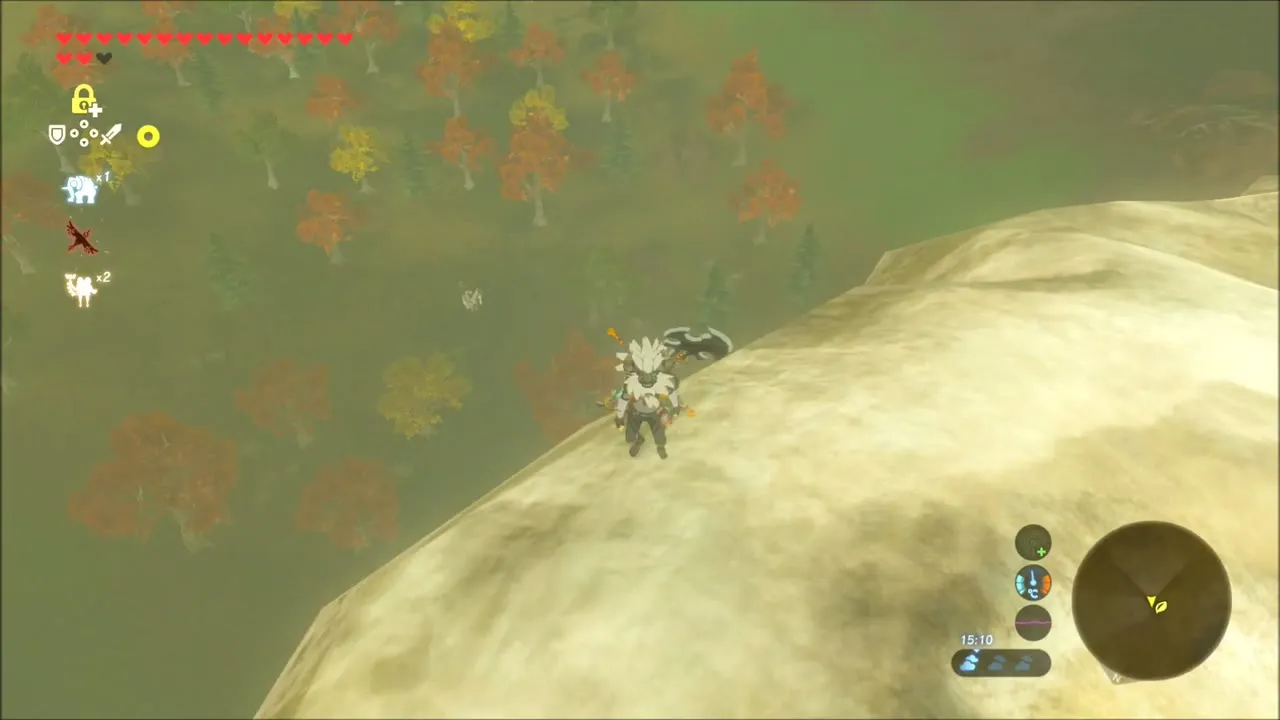
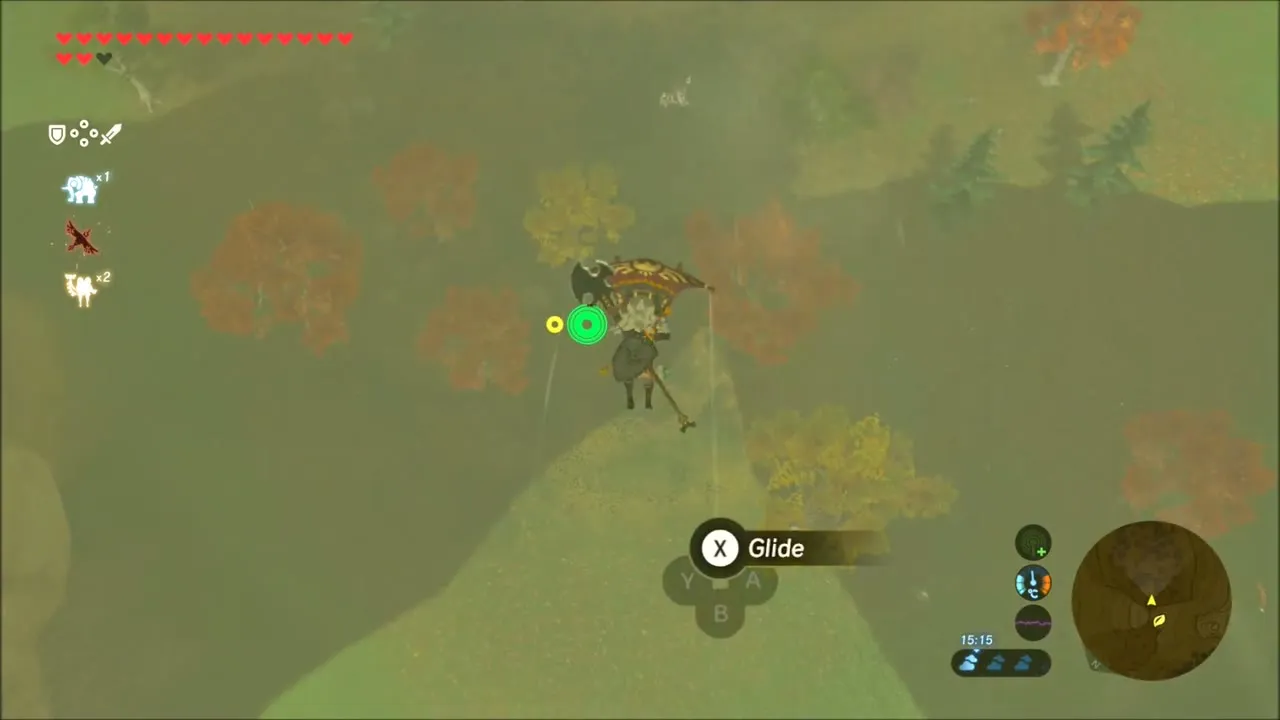
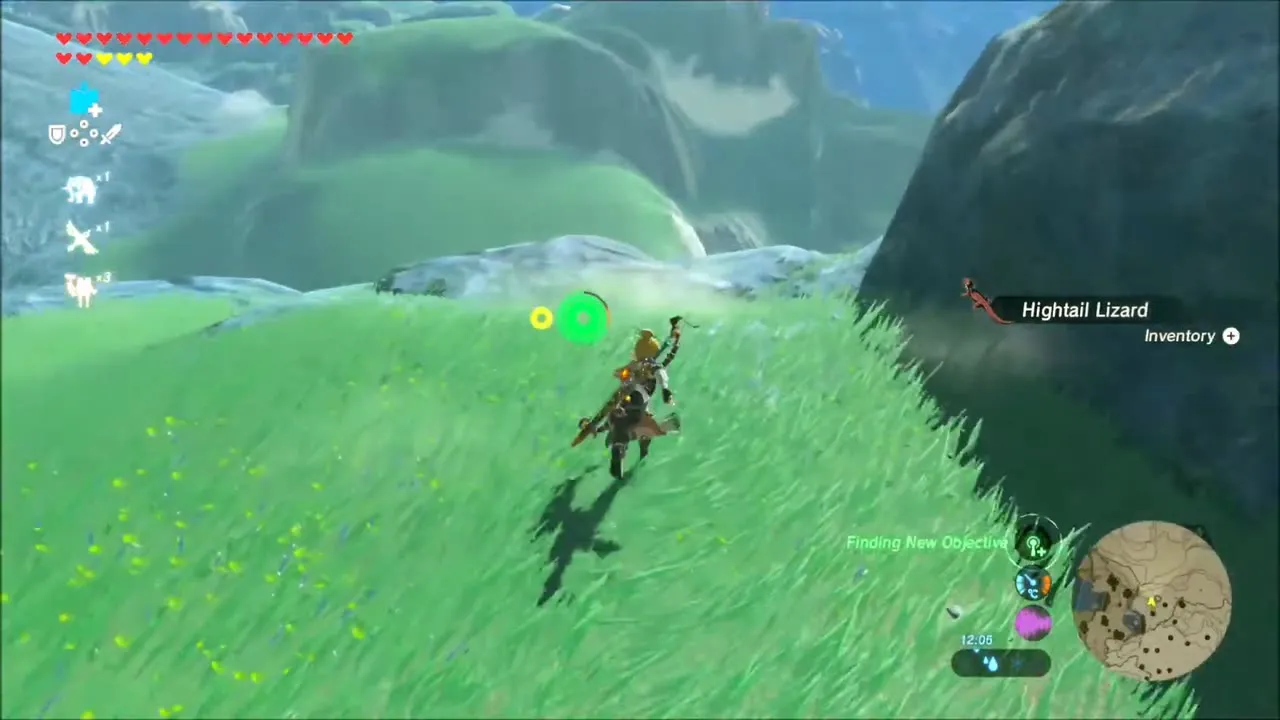
From Zora’s Domain, Link swims and climbs north-east toward Akkala, stopping to check the map and drop stamps. On the way you can pick up Big Hearty Radishes and Hightail Lizards, and cut down a few Moblins and Lizalfos for monster parts. Once the highlands open up you can glide most of the last stretch across the autumn hills.



Akkala Bridge Ruins: Korok Seed and Nell’s Fireproof Elixir
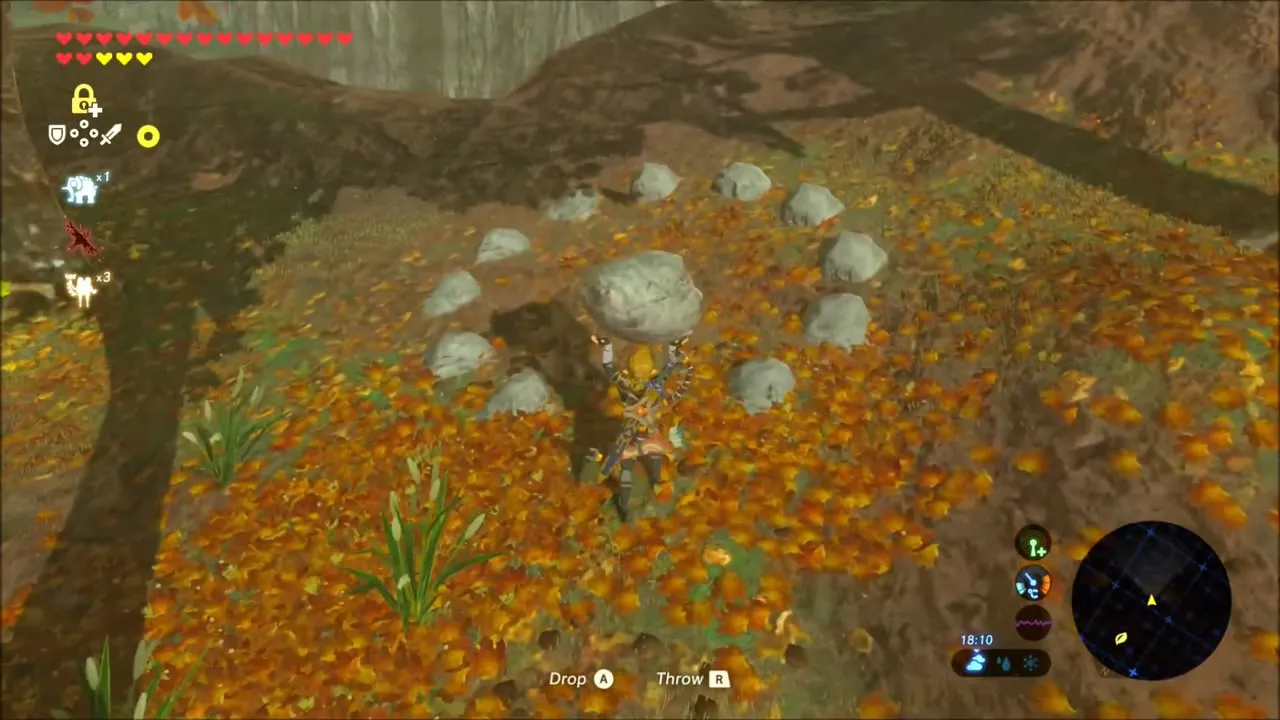
Korok seed in a ring of stones
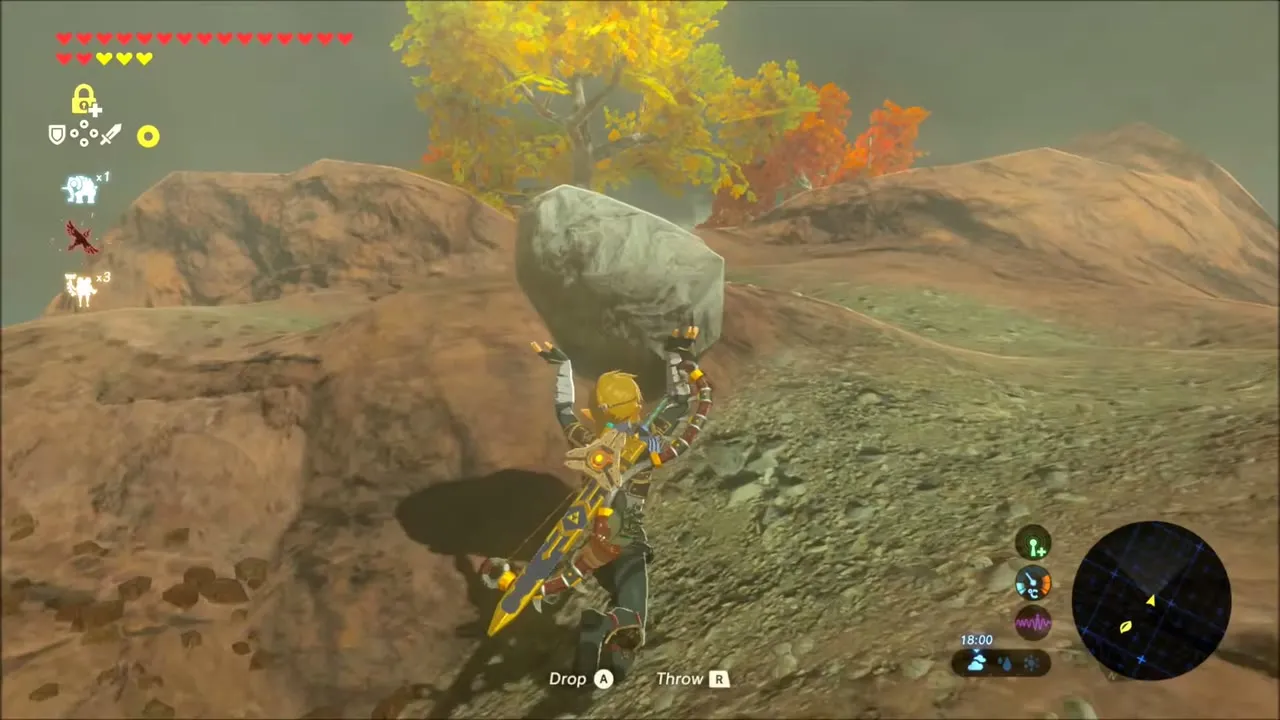
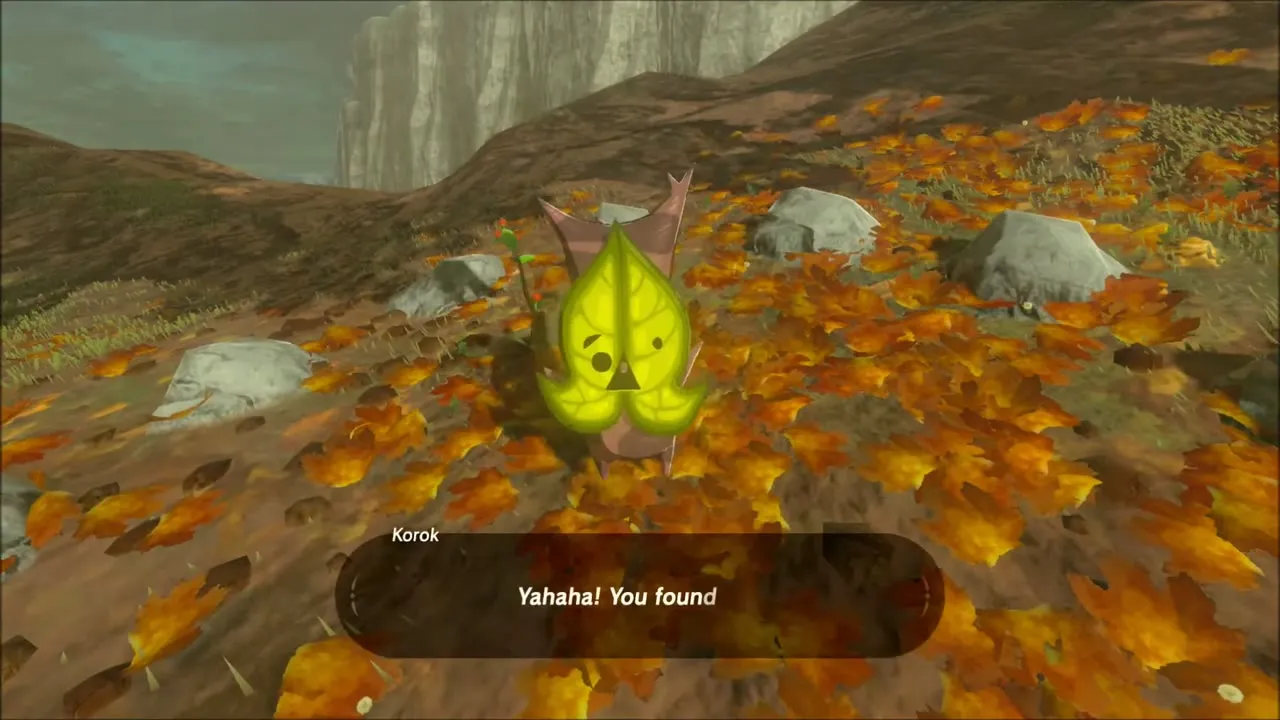
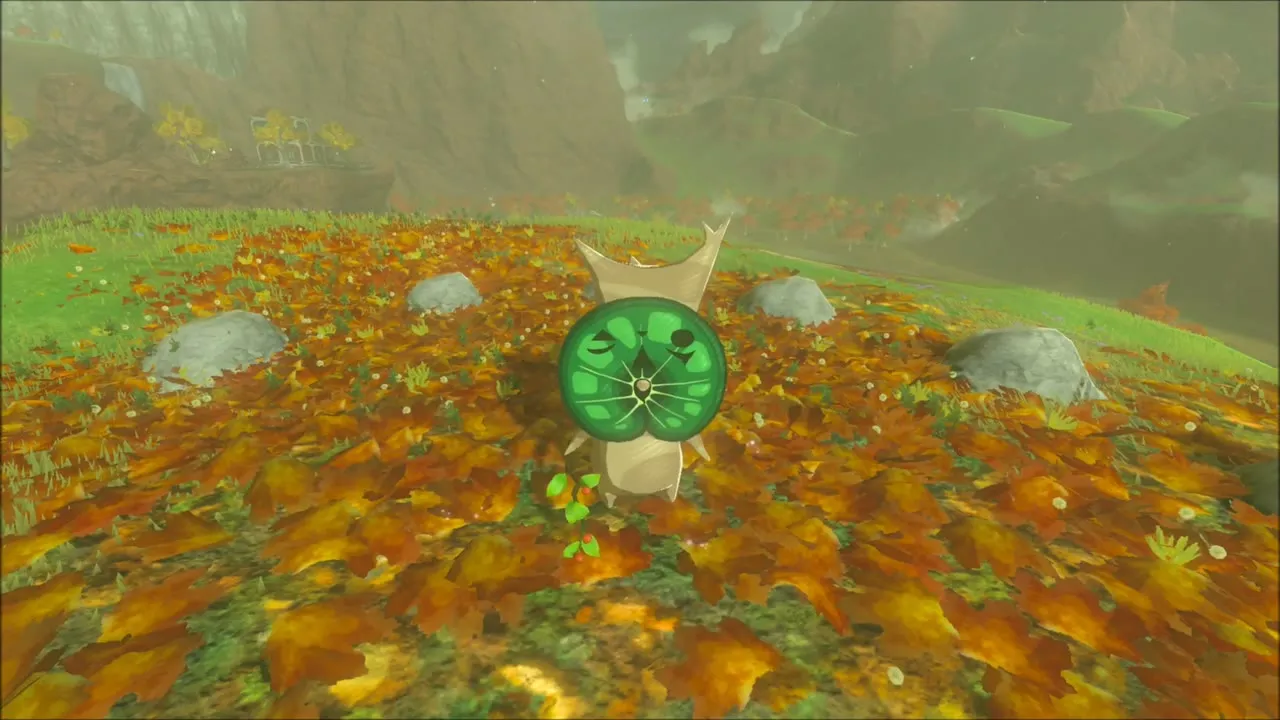
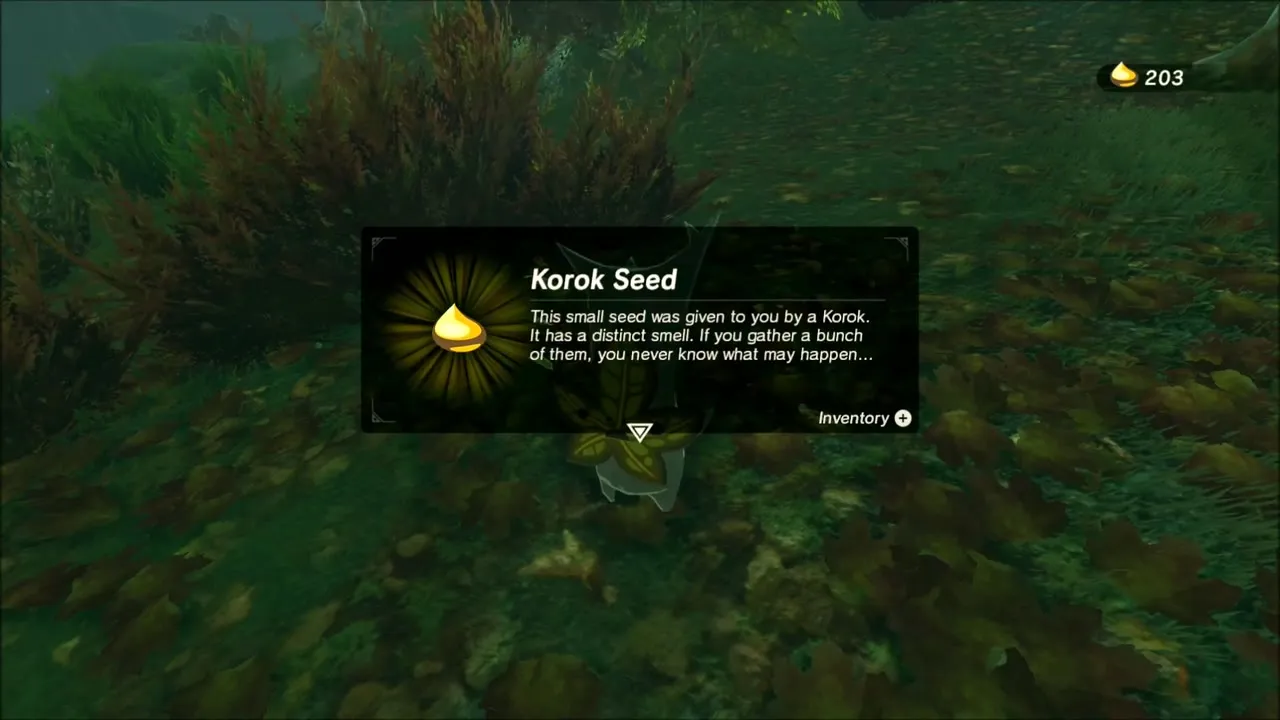
On a hill covered in autumn leaves, short of the ruins, one Korok seed hides in a circle of small stones that has a stone missing. Pick up a loose rock nearby, carry it to the gap and set it down. The Korok pops out of the leaves and hands over the seed.
Help Nell to get a Fireproof Elixir
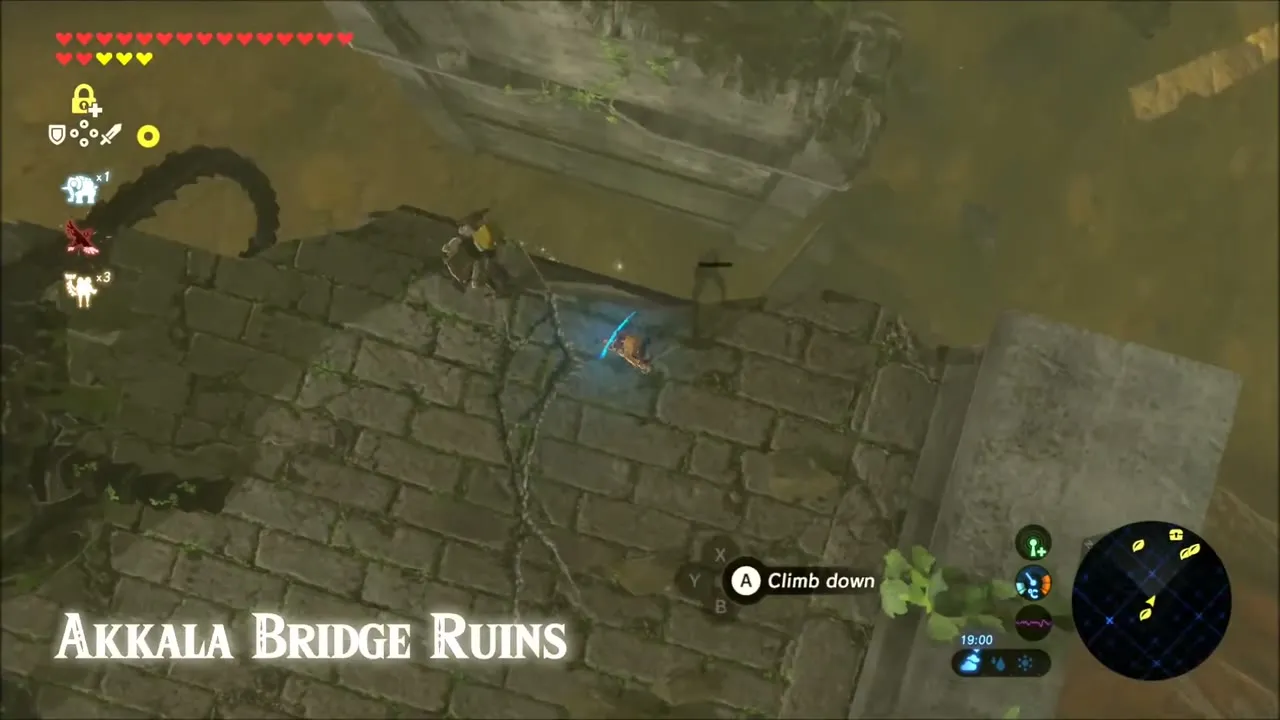
Follow the trail past a dormant Guardian wreck to the Akkala Bridge Ruins at (3150, -1389), where a soldier named Nell stands on the broken stonework. Talk to him and listen to his story about the soldiers who made their last stand in the citadel. He thanks you with a Fireproof Elixir, which you can save for Death Mountain.


Akkala Citadel Ruins: Guardians and Ancient Parts
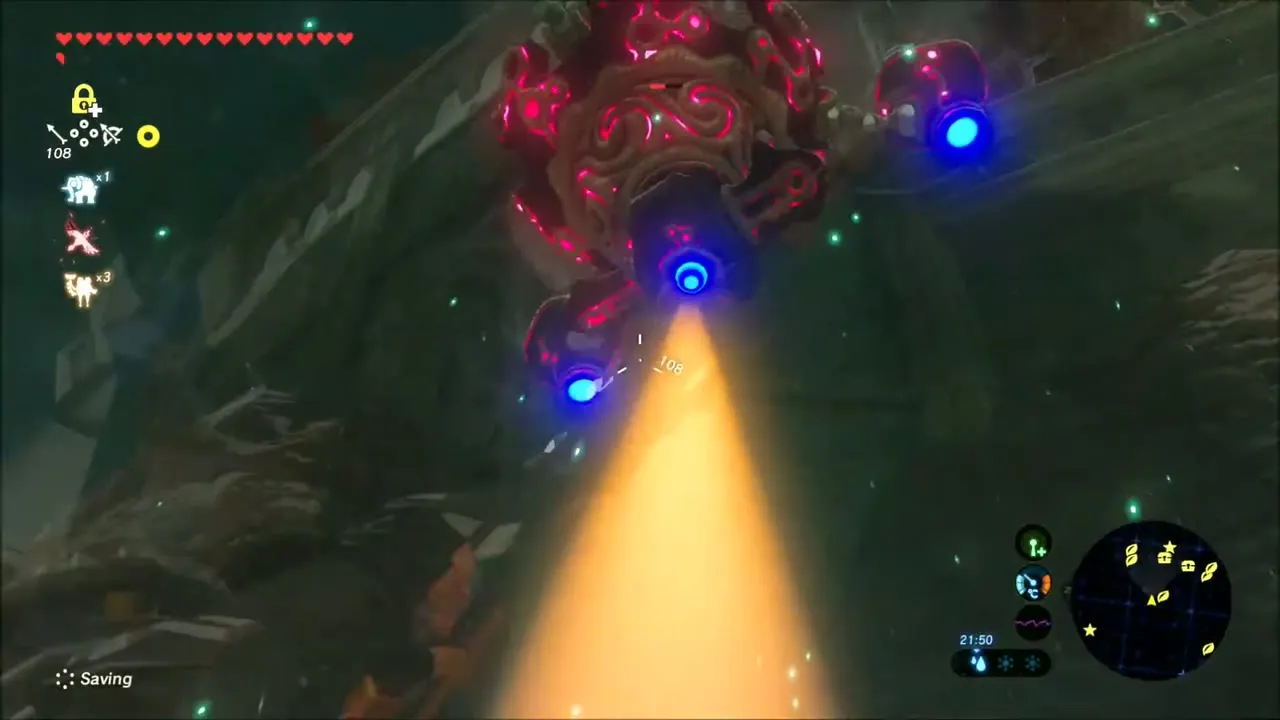
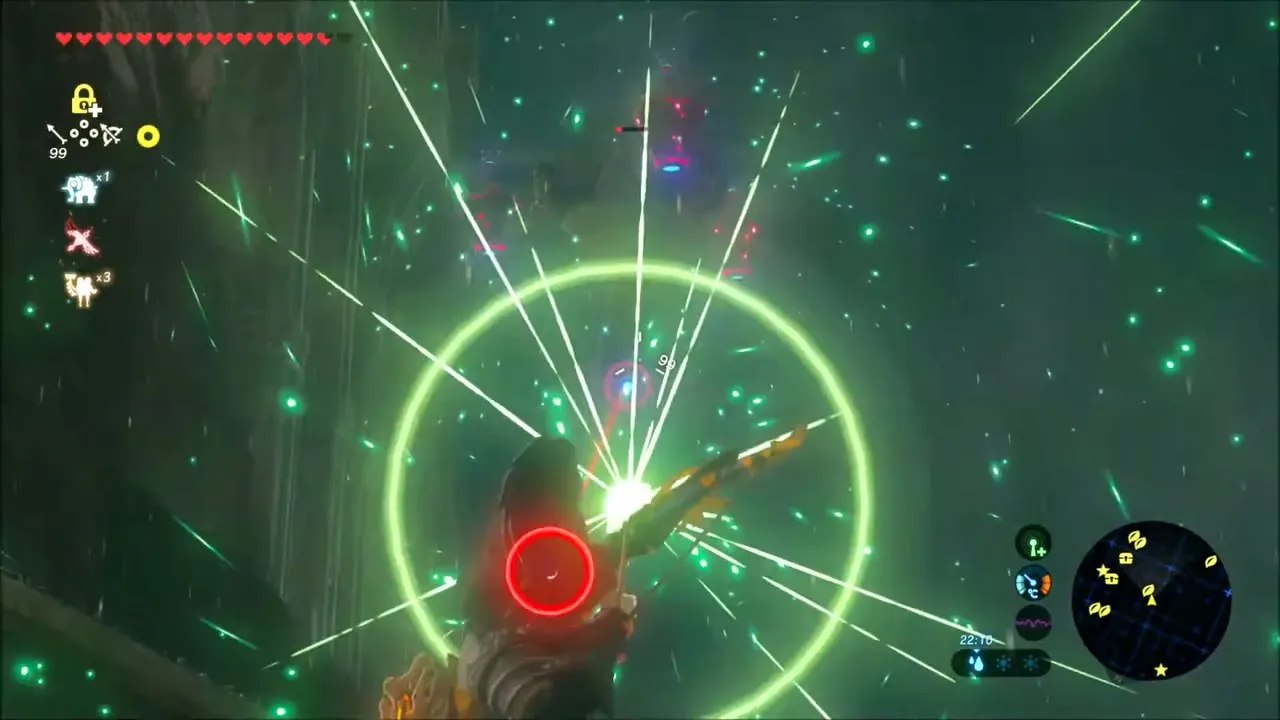
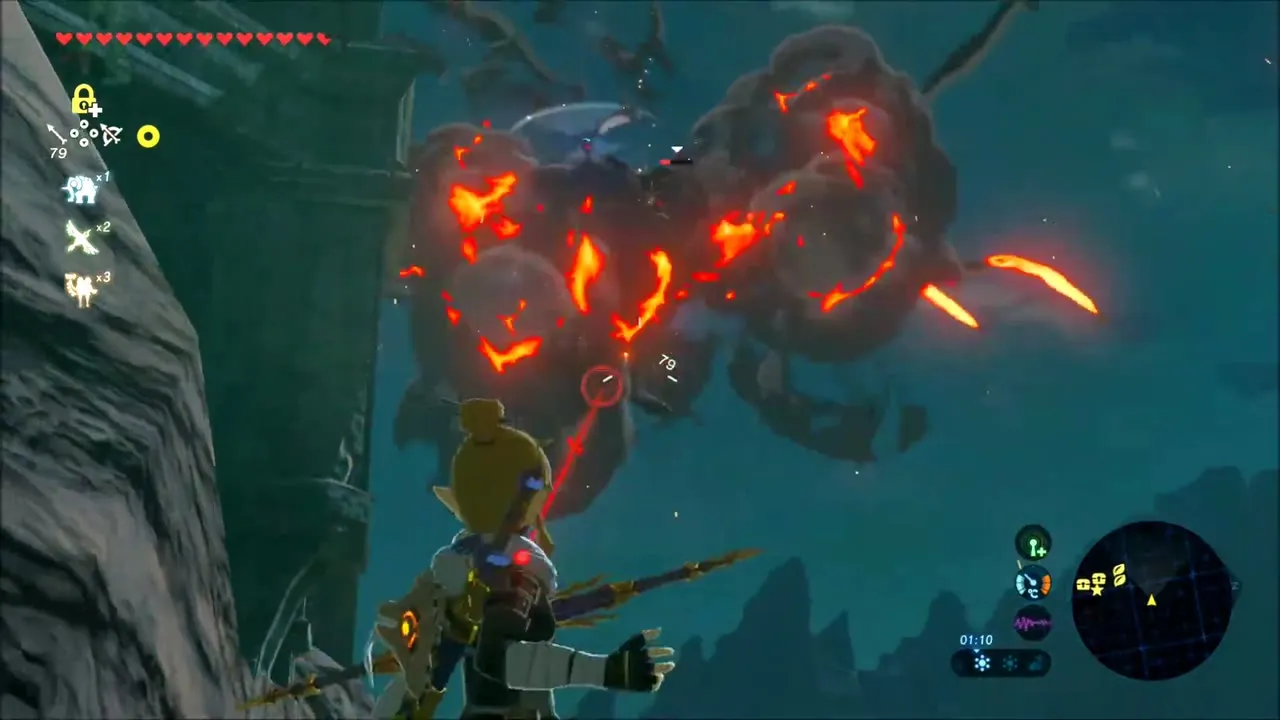
The slopes around the Akkala Citadel Ruins at (3336, -1453) are patrolled by Guardians and their Stalker relatives. Link takes them on with Ancient Arrows and an ancient bow and spear (tier set by difficulty scaling), then collects Ancient Screws, Shafts and Gears from the wreckage. Keep moving between the ruined walls so the lasers cannot lock on, and expect your weapons to take a beating.

Korok Seeds in the Akkala Citadel Ruins
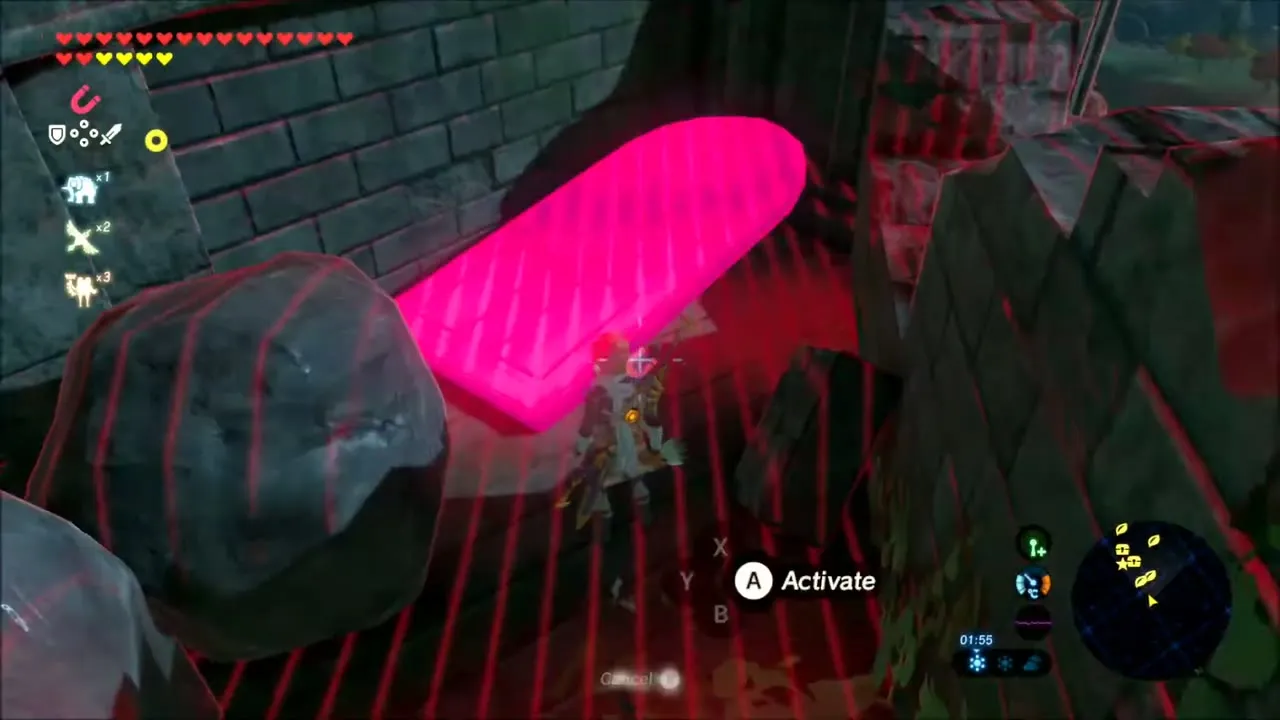
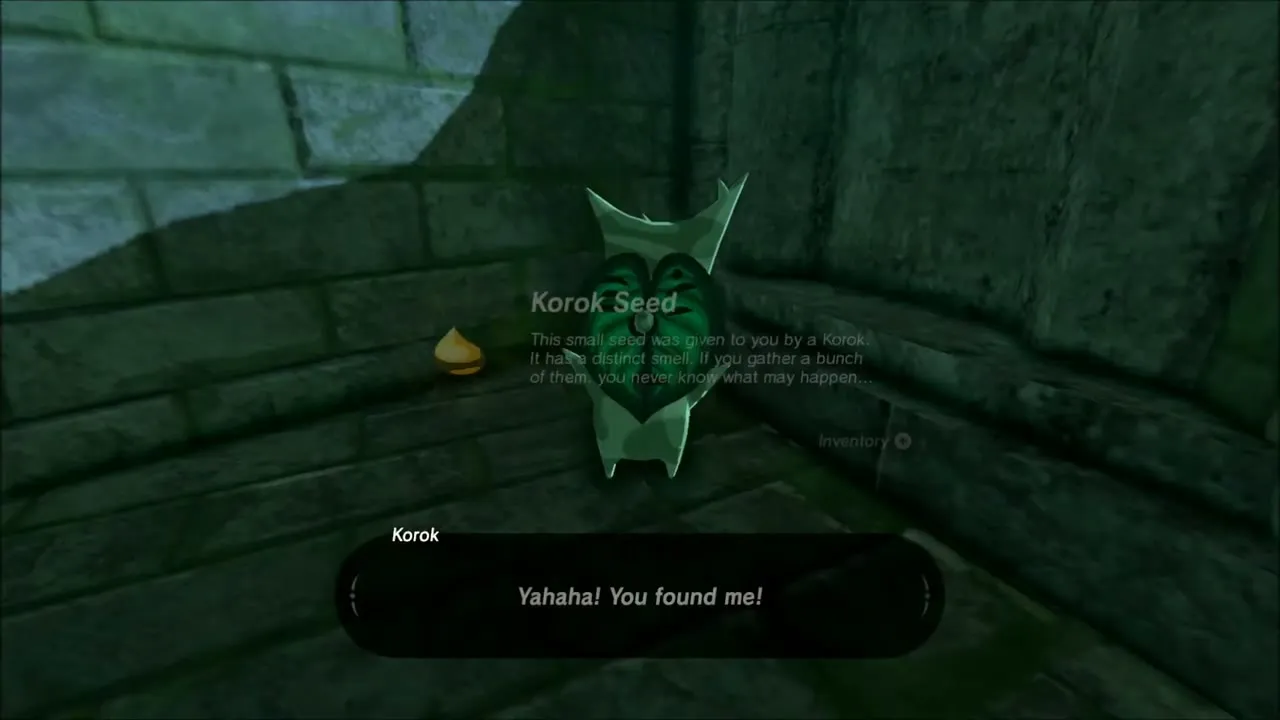
The first seed here is in a stone corner of the ruins, where a large dark metal block and a heavy boulder crowd the passage. Shift the block with Magnesis, pick up the boulder and move it aside, and the Korok is waiting in the corner behind it.


A second seed lies on a ruined terrace on the cliff edge. Use Stasis on the loose slab in the open ground, then carry a stone block over to the pile of broken blocks by the wall and set it on the stack. The Korok pops up on the blocks.
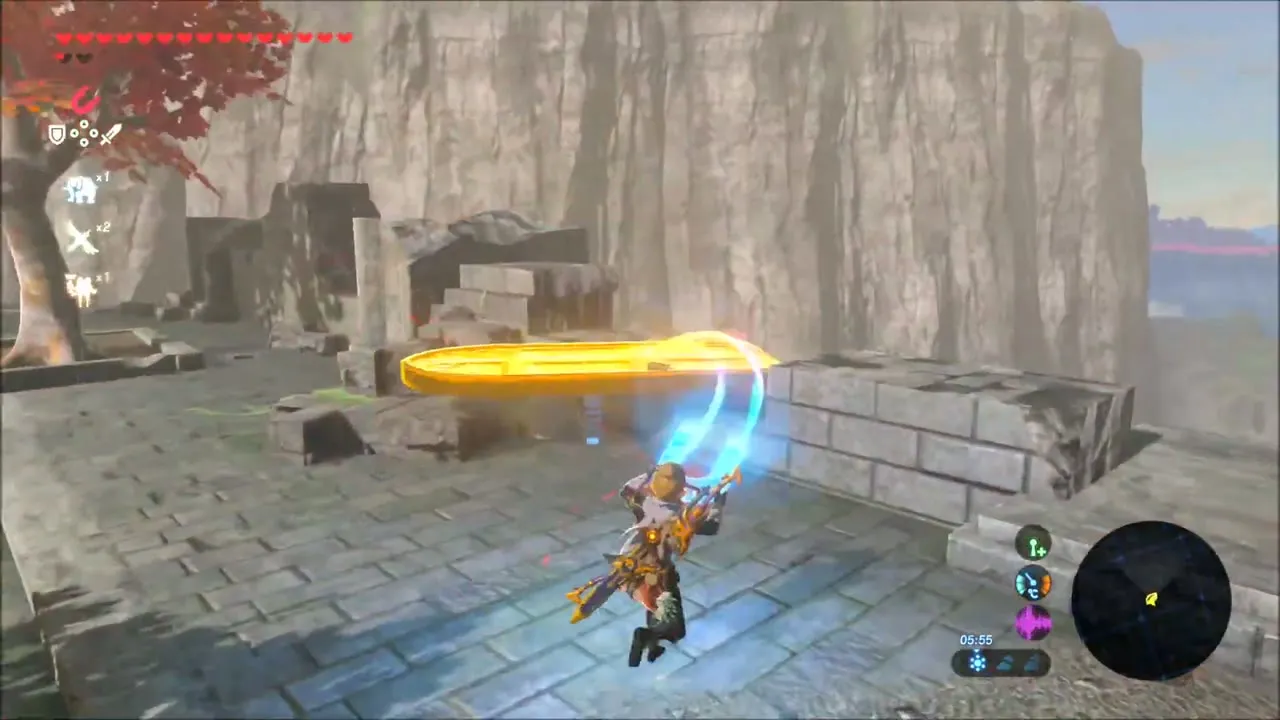
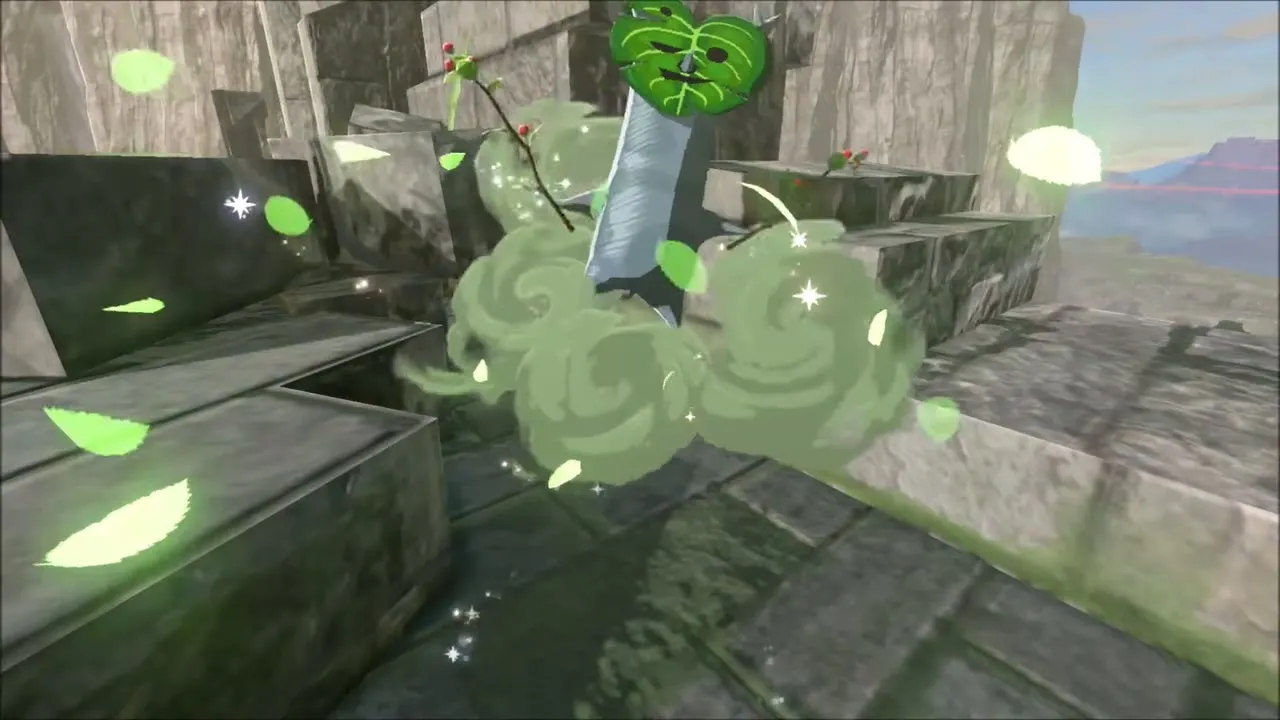
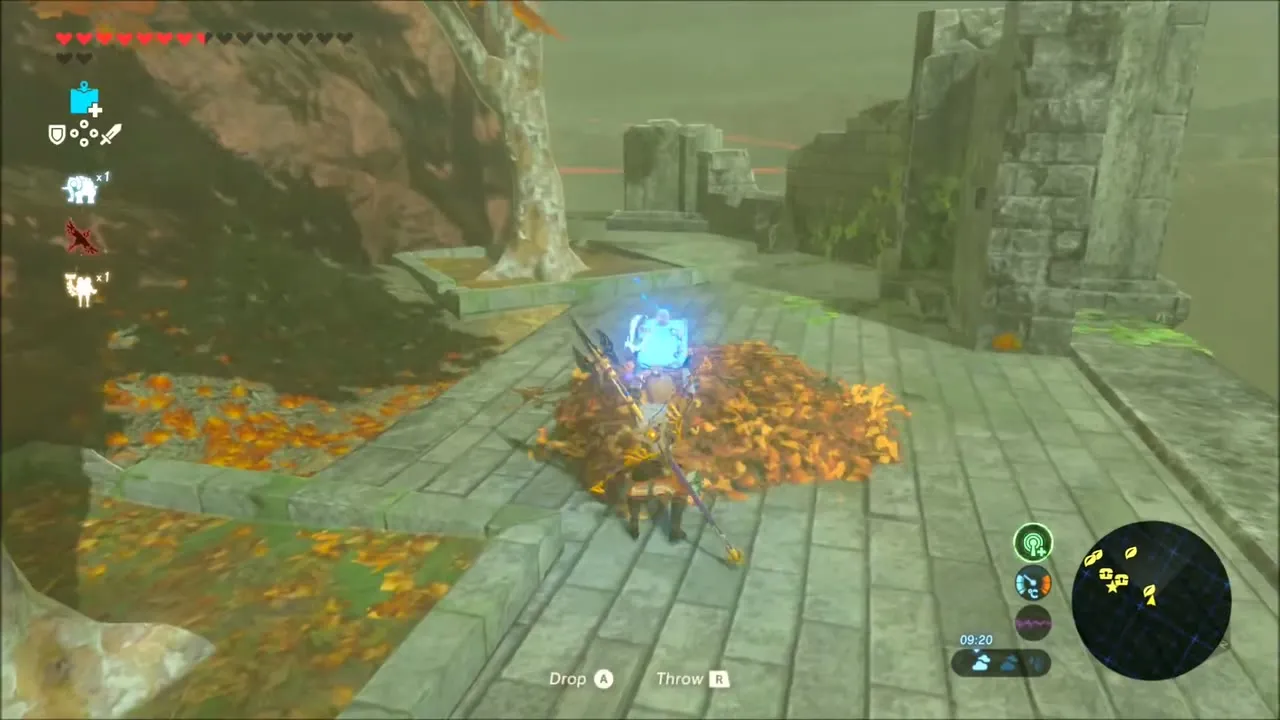
A third seed is under a pile of leaves by a big tree in the courtyard. Walk up to the pile, drop a Remote Bomb beside it and detonate the bomb. The blast scatters the leaves and the Korok pops out.
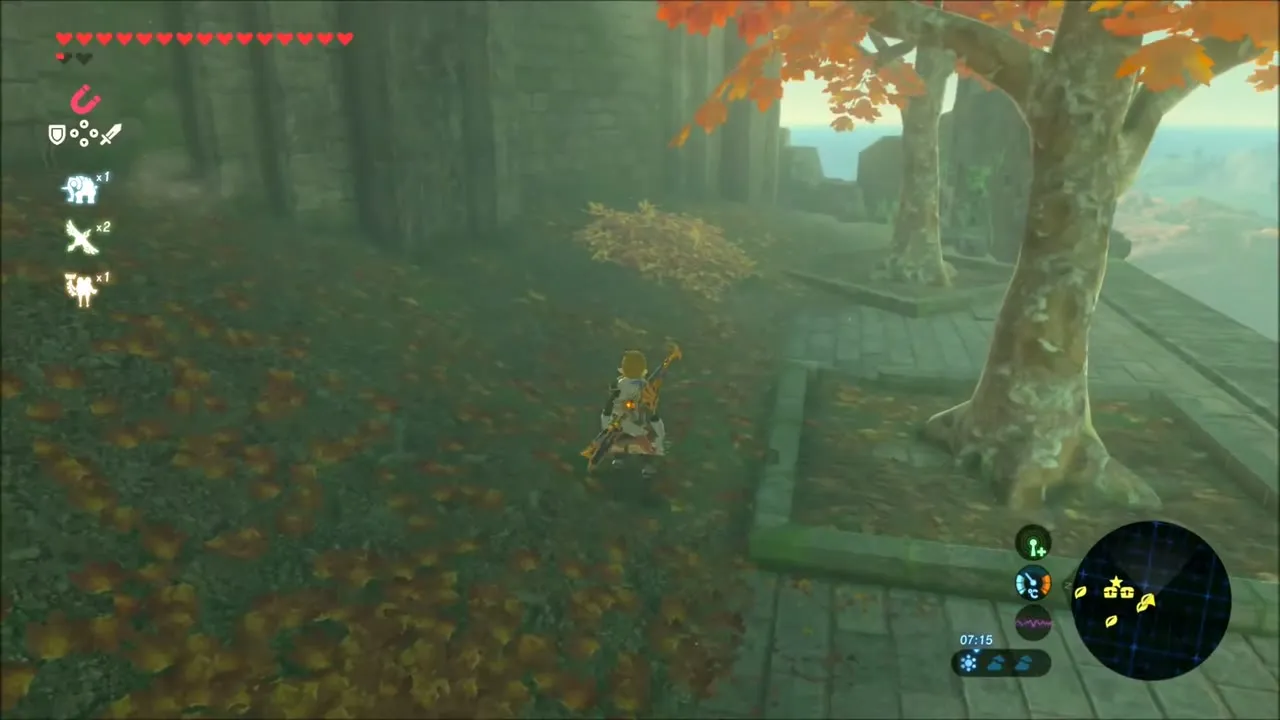
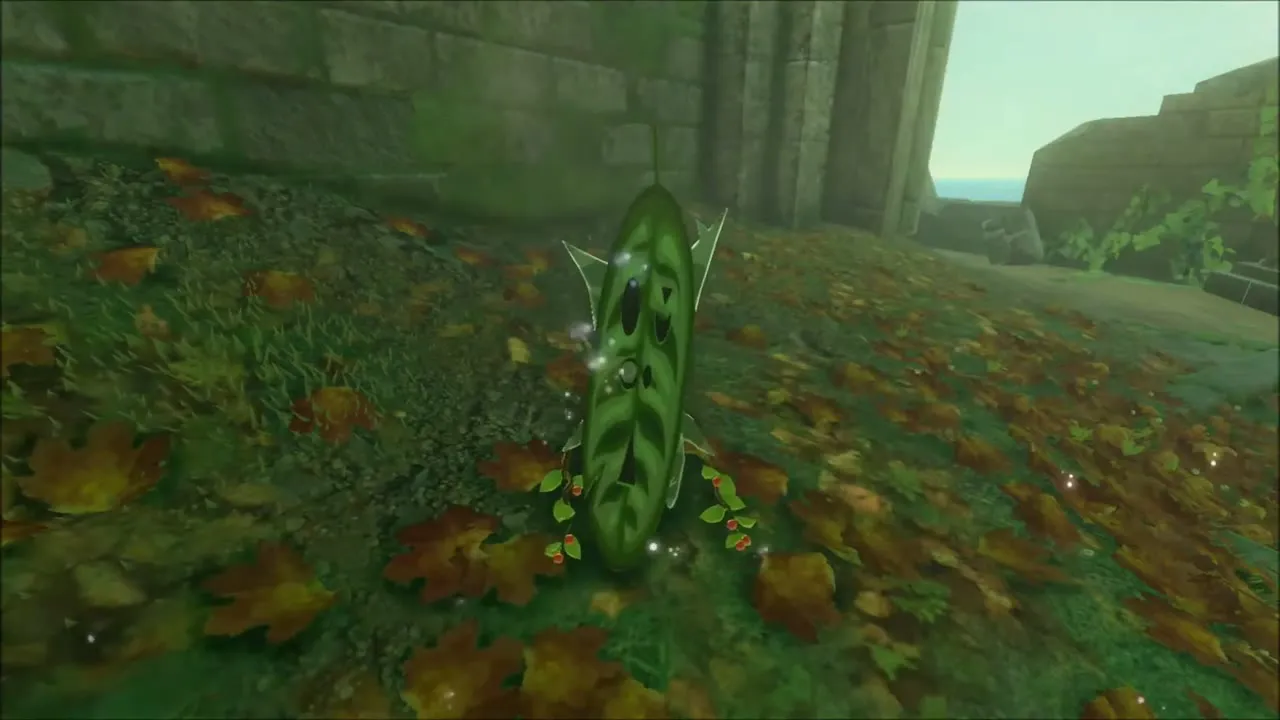
Another seed hides under a pile of leaves on the paved terrace by the courtyard trees. Throw a Remote Bomb at the pile and detonate it to blow the leaves away, and a Korok appears. Slowing time with Stasis helps you line up the shot.


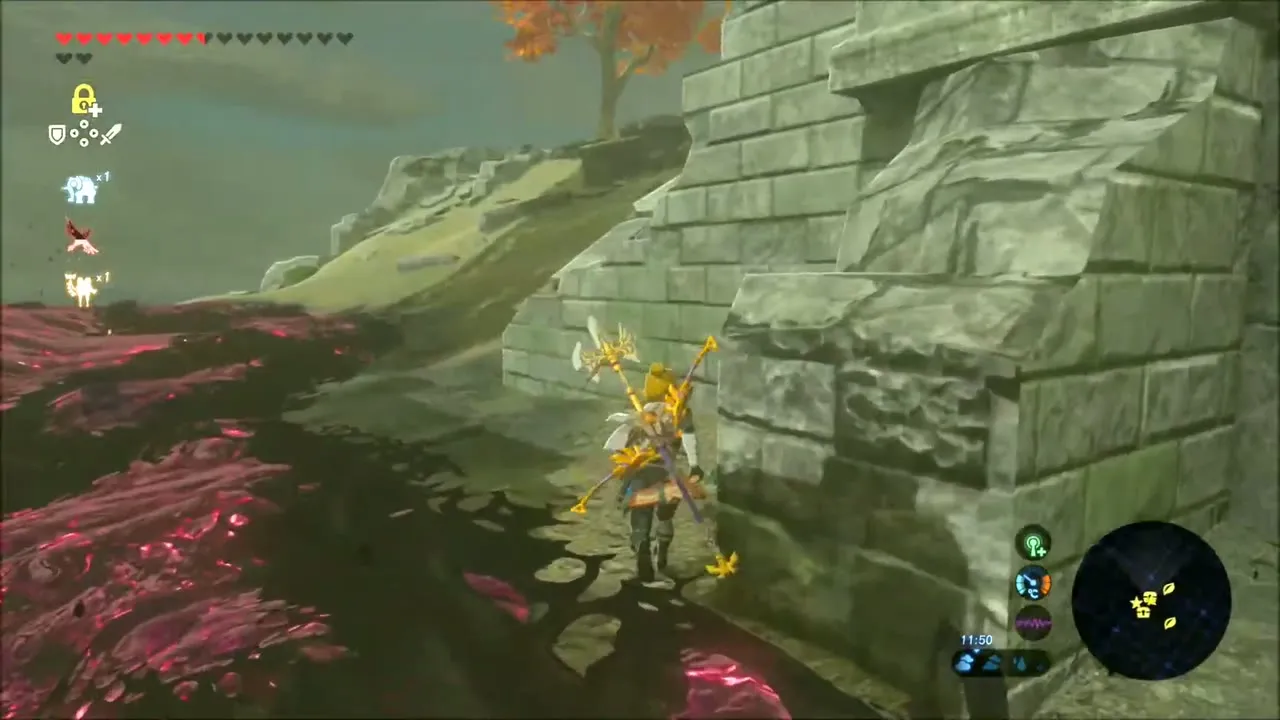
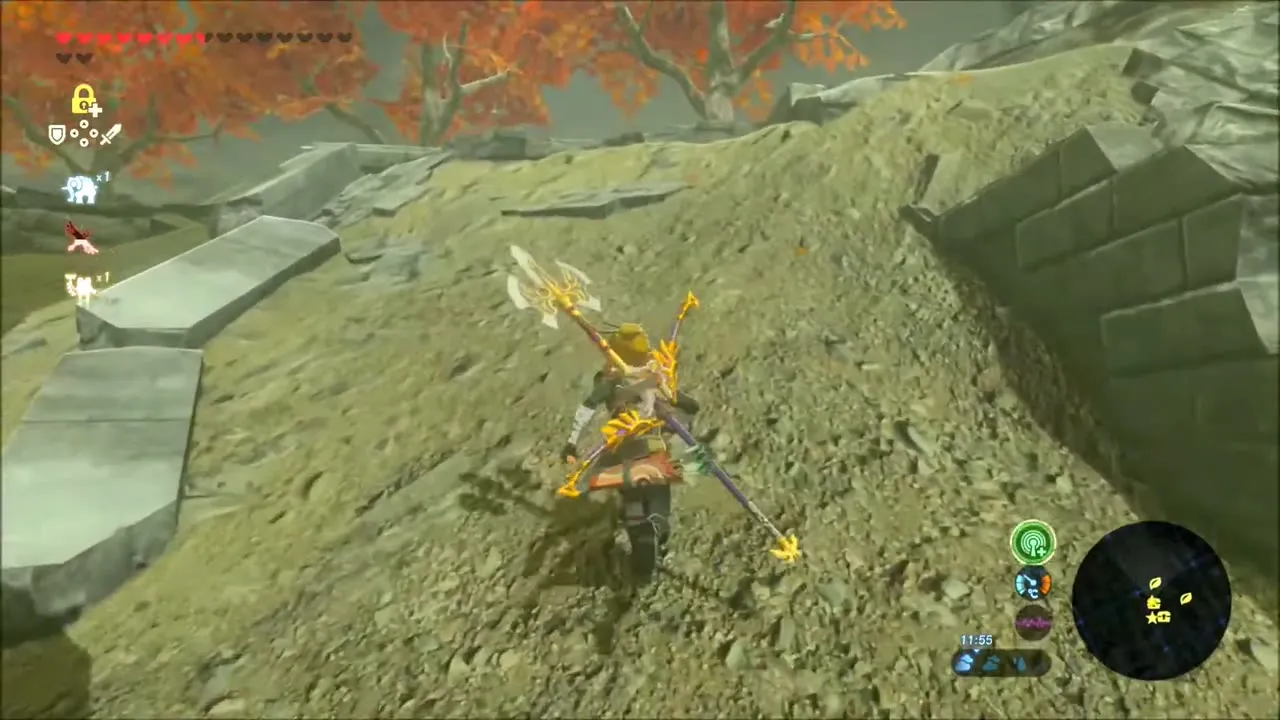
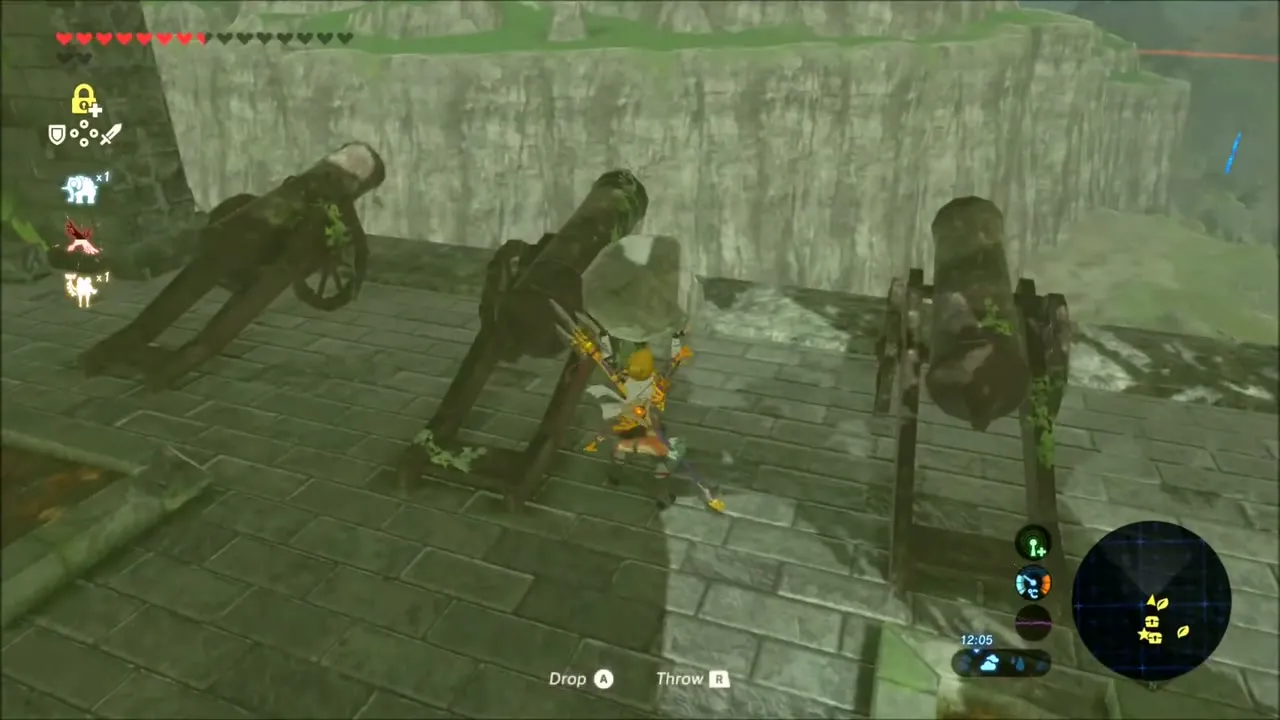
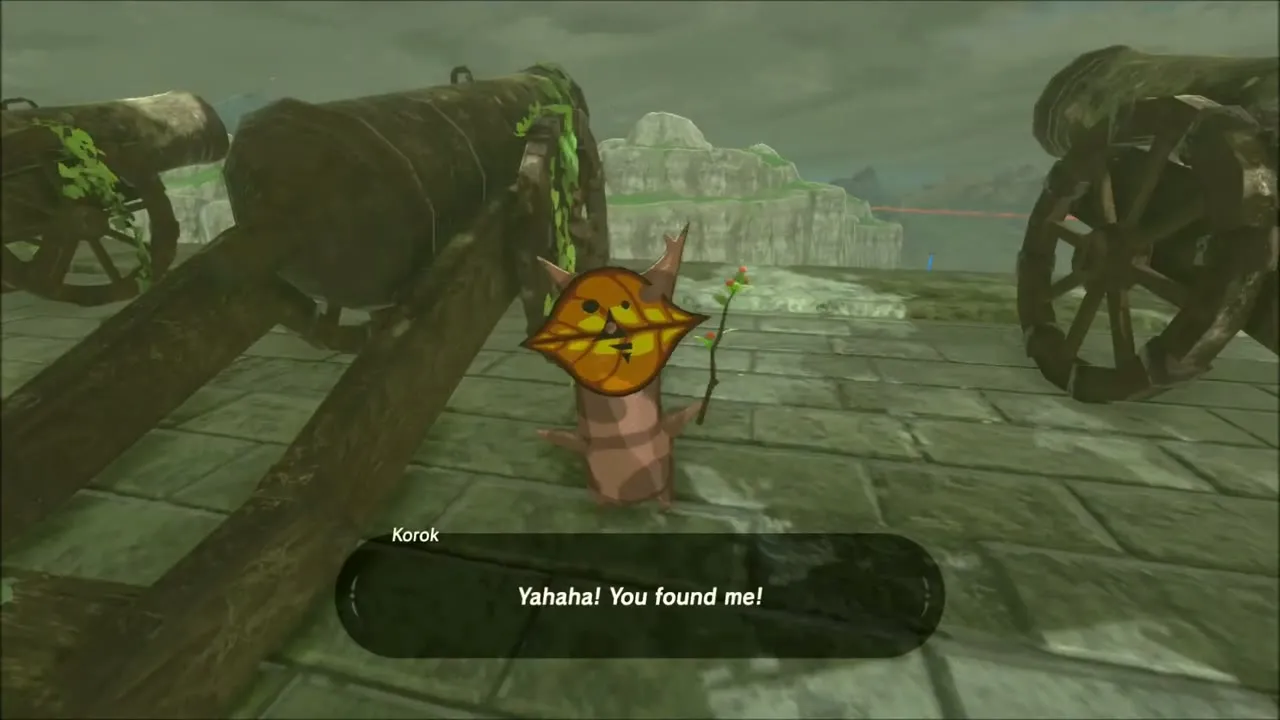
The last seed of this stretch is on the rampart beside a row of old cannons. Climb the rubble slope up to the rampart, slow time with Stasis if something blocks the way, and walk along the cannons. The Korok is standing next to the barrels.
Silver Rupee Chest and Akkala Tower
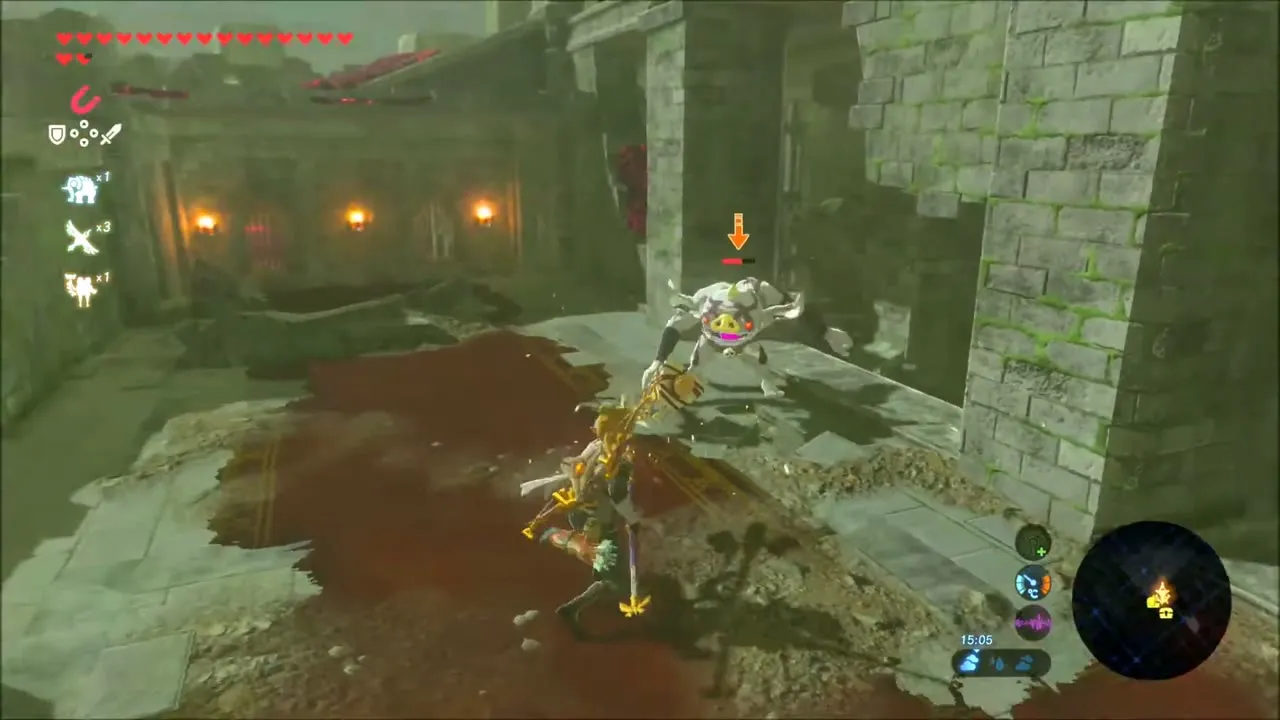
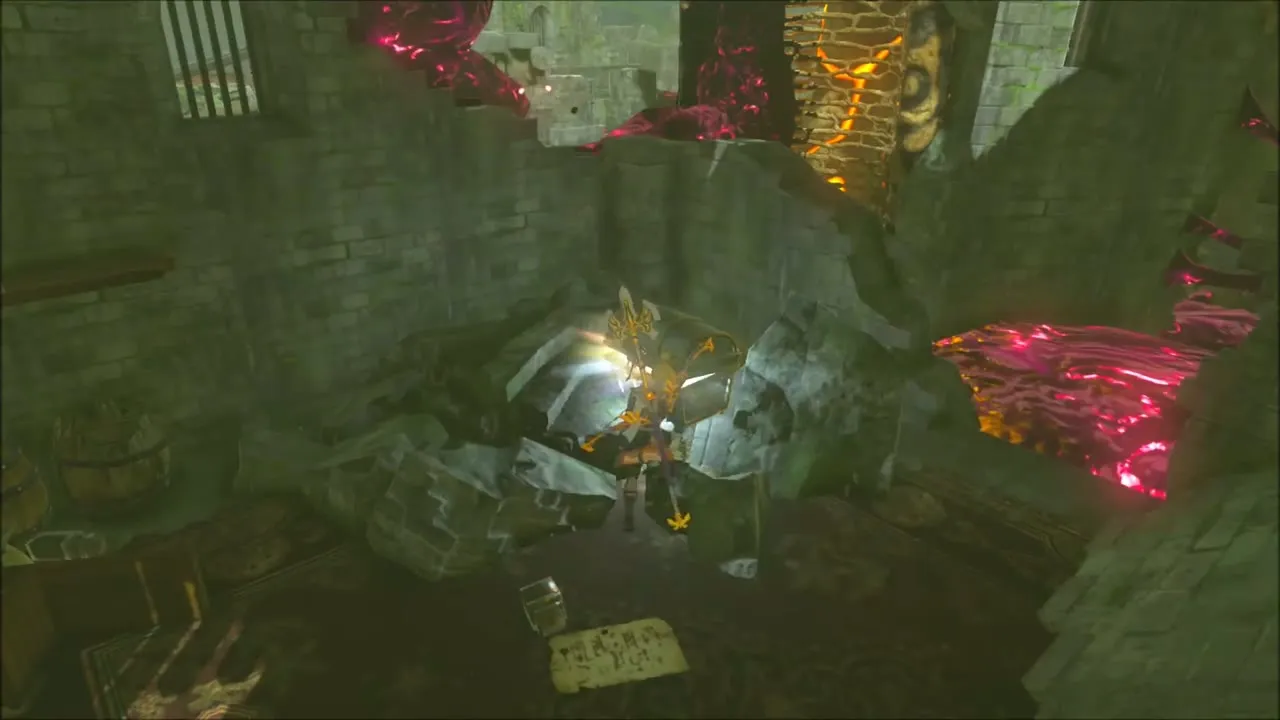
Inside the shattered halls of the citadel, patches of malice and a Bokoblin camp block the way. Clear the camp, then push through the lower hall to a chest half buried in rubble. Opening it gives a Silver Rupee, worth 100 rupees.


Climb Akkala Tower
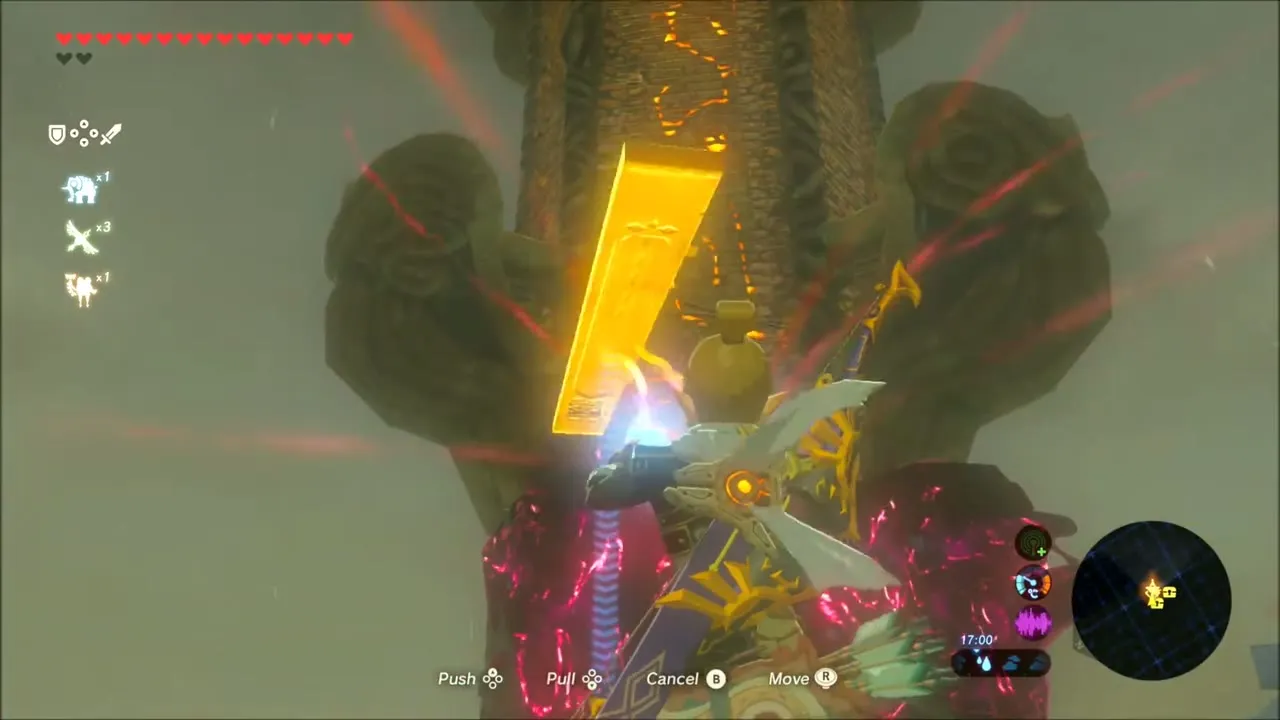
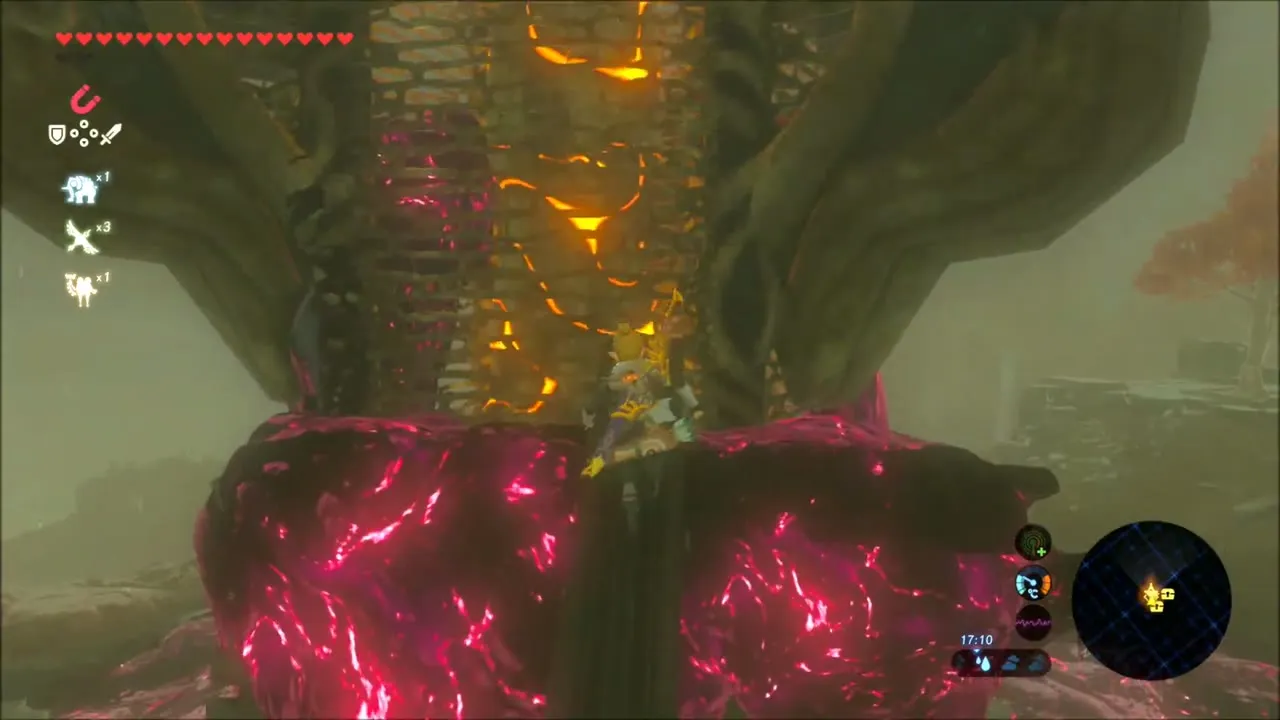
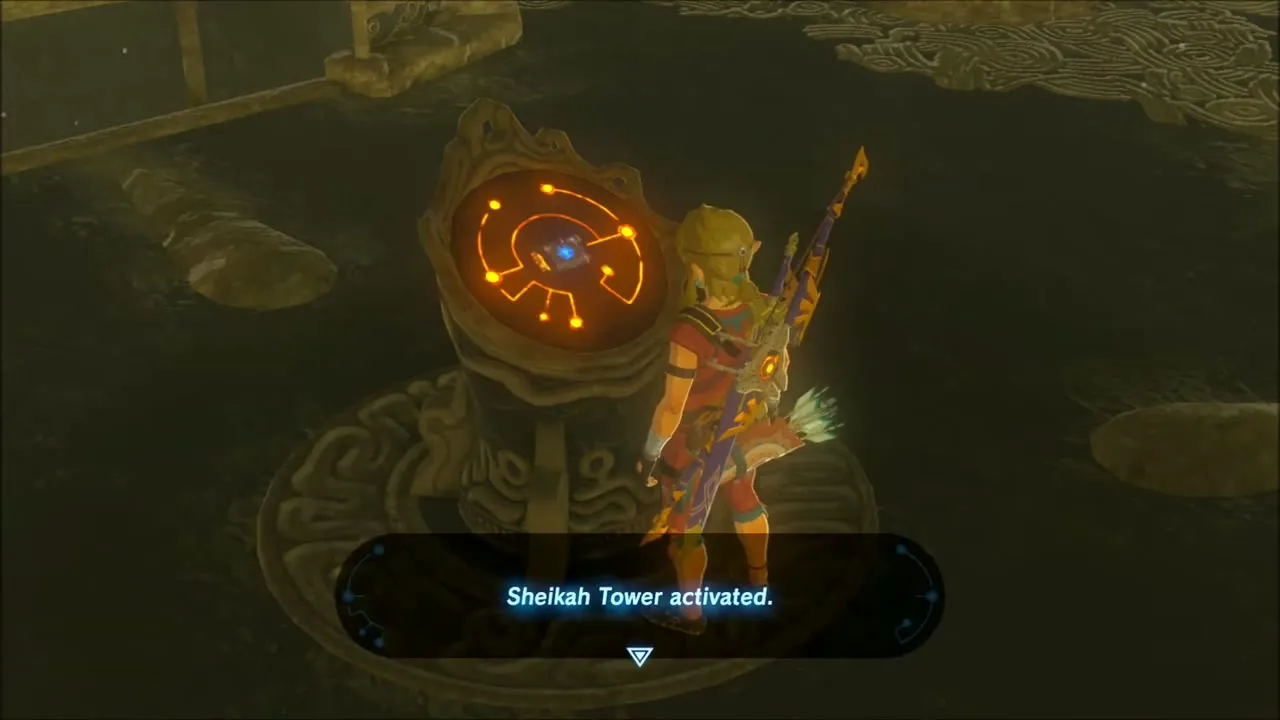
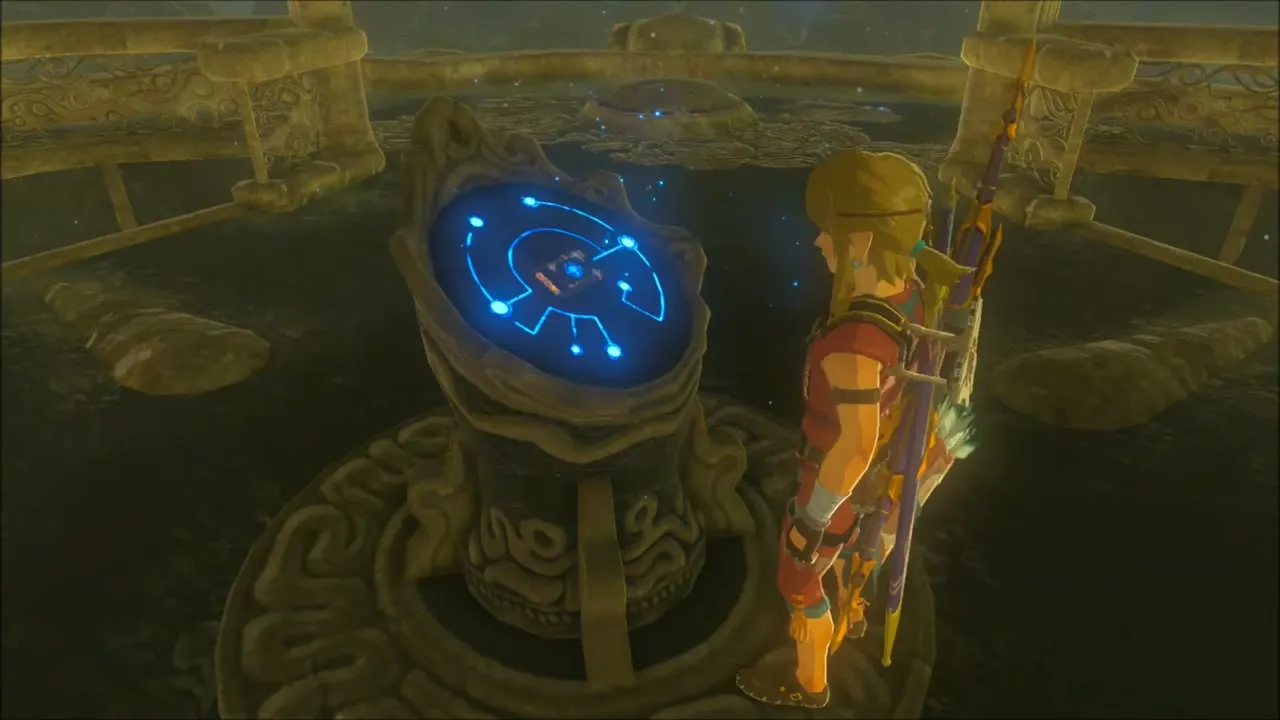
Akkala Tower rises out of the ruins at (3308, -1500). Use Magnesis on a metal slab to bridge the gaps beside the malice-covered pillar at its base. Then climb the tower itself, working around the malice, and activate the podium at the top with your Sheika Slate to download the Akkala map.
Ze Kasho Shrine: Ze Kasho Apparatus Trial
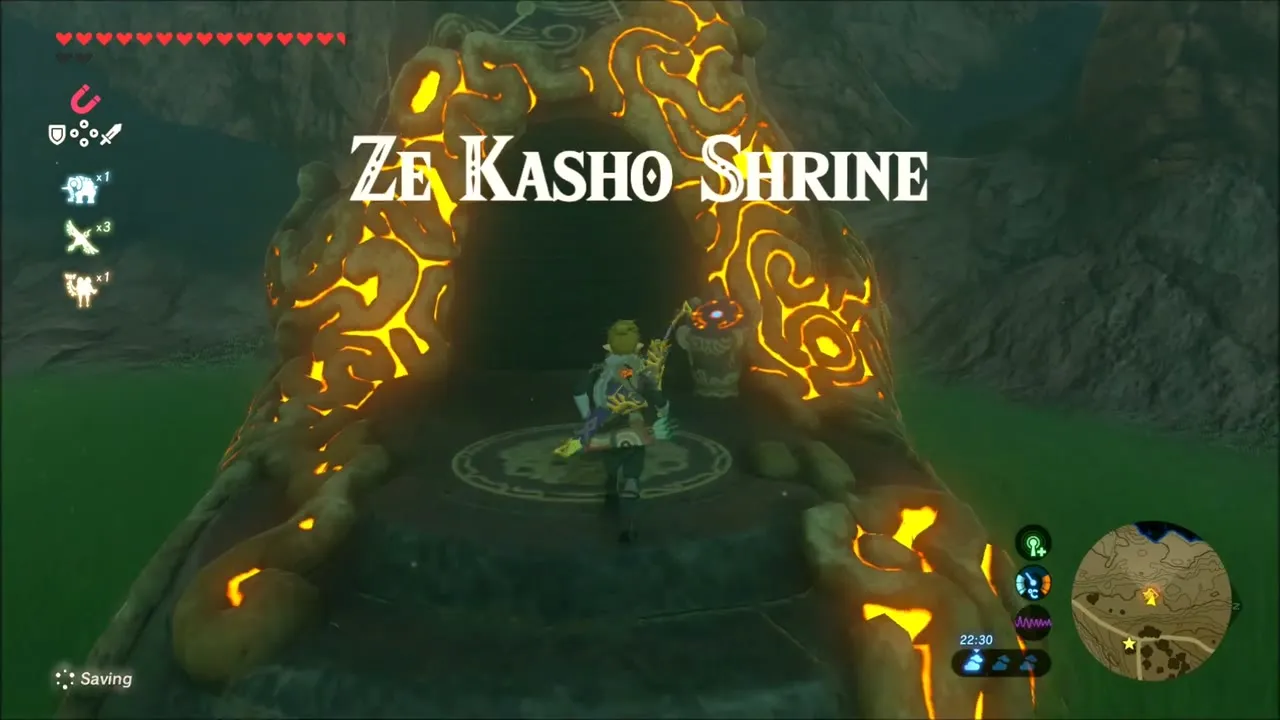
Glide down from the tower toward the road across from South Akkala Stable. Ze Kasho Shrine at (3028, -1668) is a motion-control trial. You tilt a platform to clear spikes off a bridge, cross a laser room by hiding behind rotating blocks, and tilt a tray until three orbs rest on three switches. The chest in the laser room holds a Silverscale Spear, and the monk Ze Kasho gives you a Spirit Orb at the end.


South Akkala Stable and Little Sister’s Big Request
South Akkala Stable stands at (3150, -1693), and its shop sells arrows. Jana sits under a big tree by the stable and asks you to bring her your favorite plant, an armoranth, and mentions that a carpenter passed through on his way to build a village near Lake Akkala. This starts Little Sister’s Big Request. Beedle also keeps a stall in the stable.


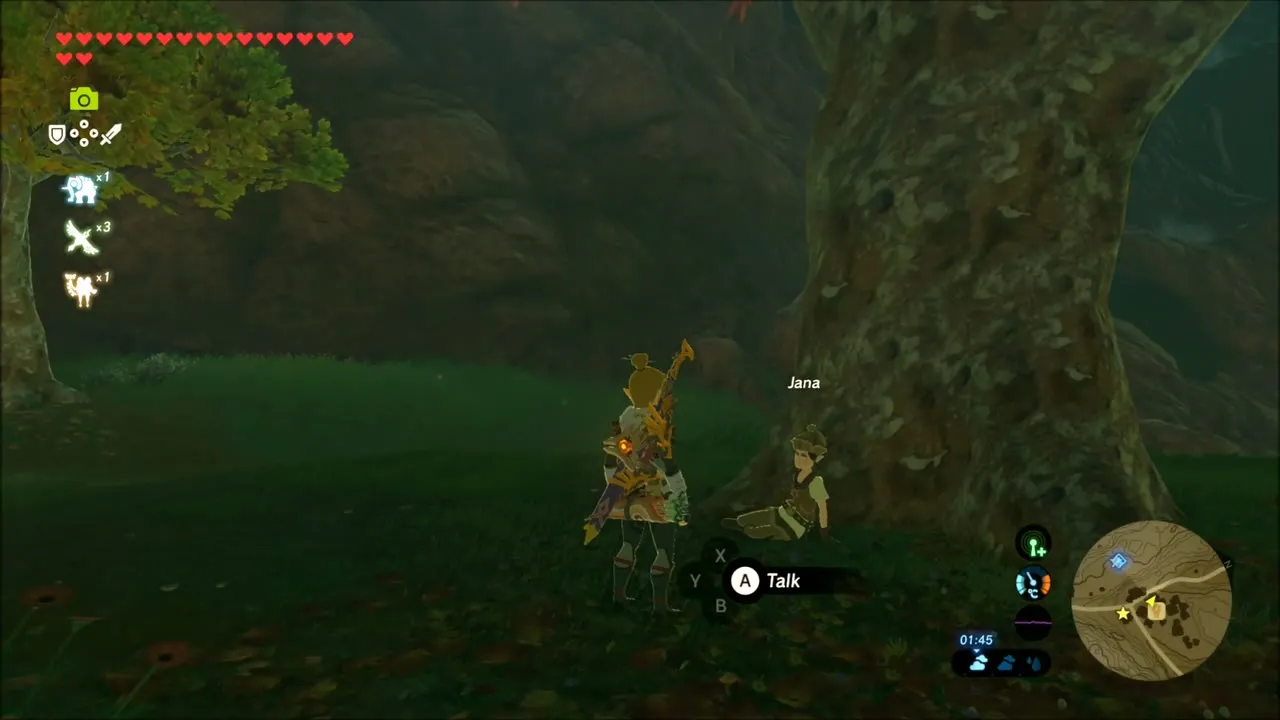
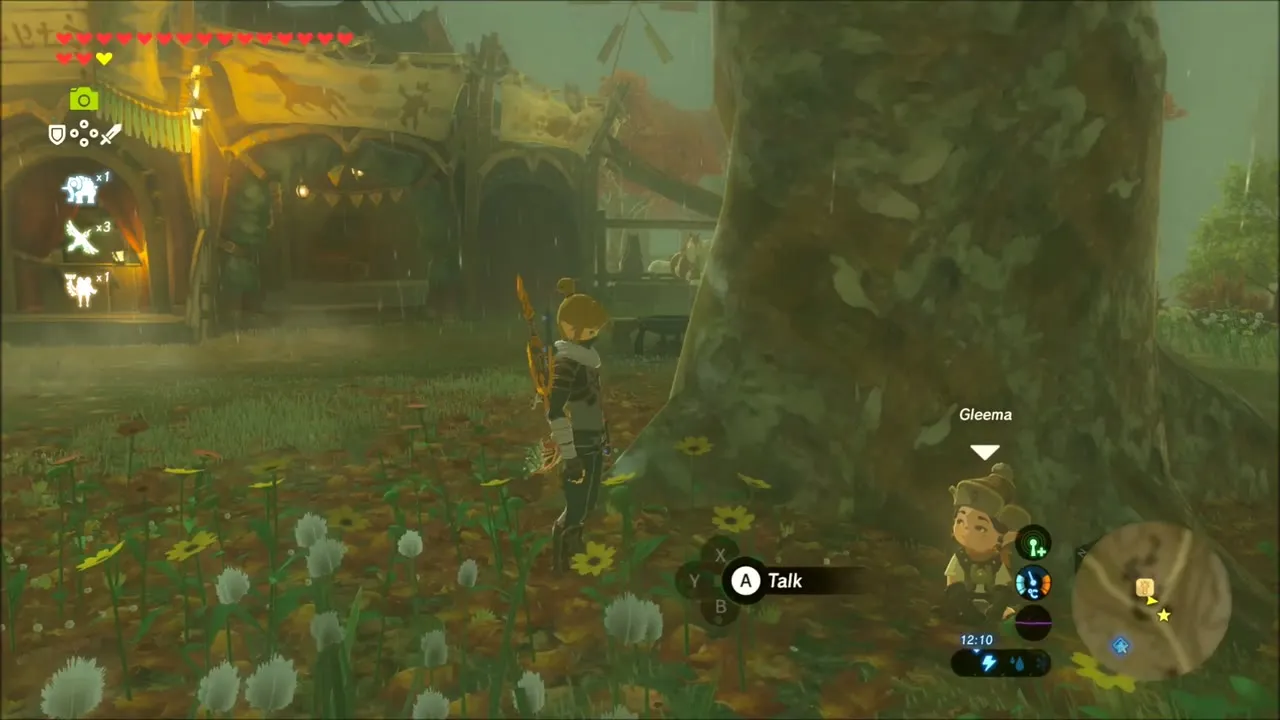
Talk to Gleema during the day, and she says dragonflies are the thing she likes. Return to Jana to complete the second task. The last task needs a Warm Darner, a Cold Darner and an Electric Darner, which you can deliver later for a Silver Rupee.


Korok Seeds in the South Akkala Hills
On the grassy hills north-east of the stable, one Korok seed lies under a lone rock sitting in the open. Pick the rock up, set it down elsewhere and the Korok appears.


Guardian Hunting in the Autumn Hills
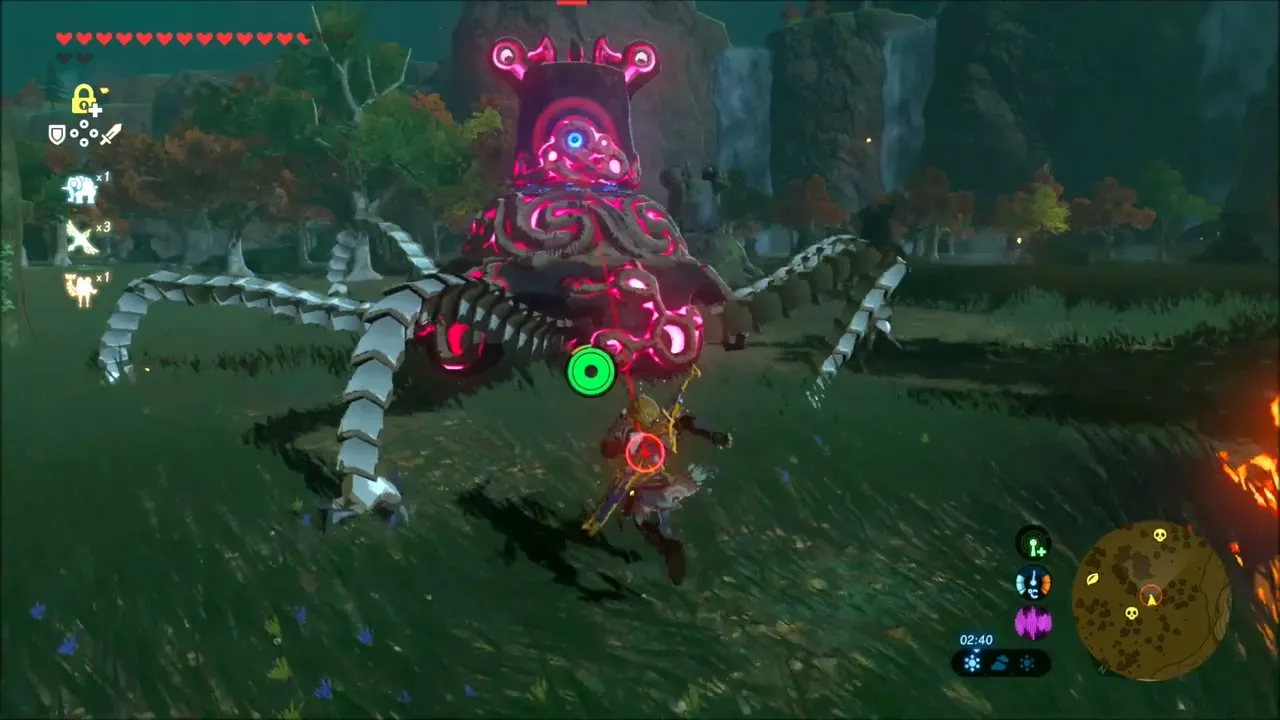
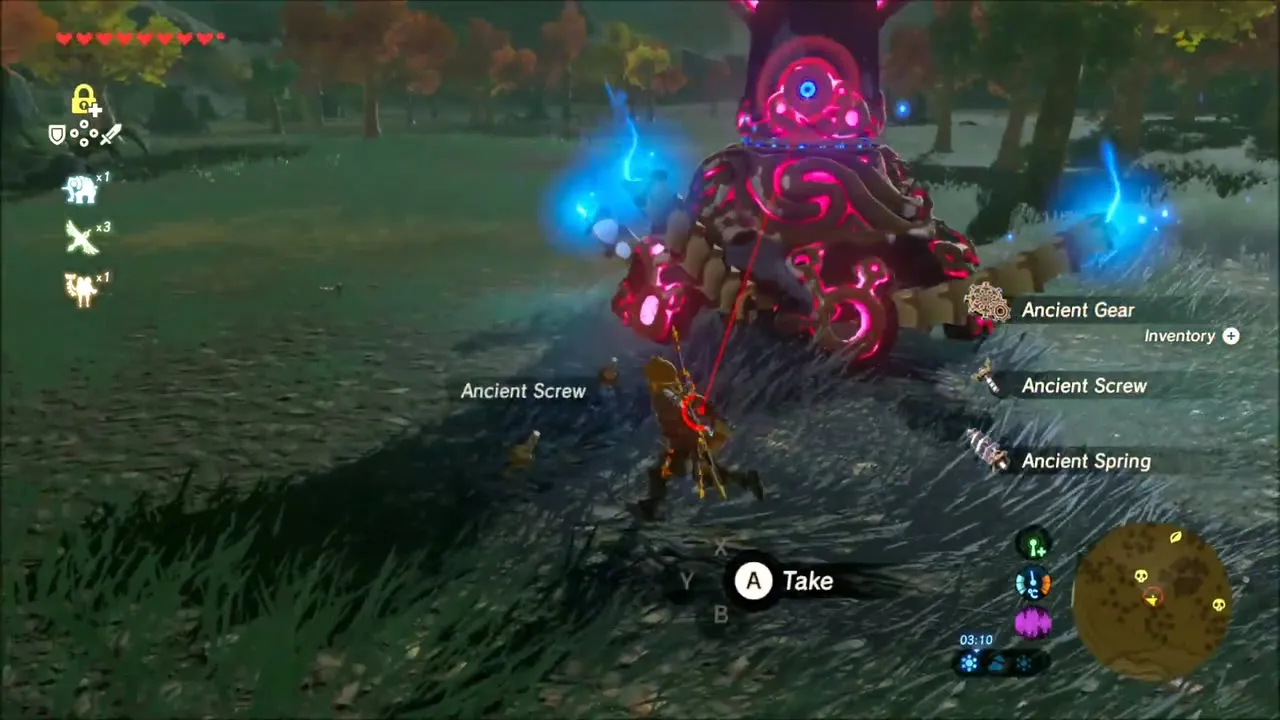
Further along, a Guardian Stalker and other ancient machines roam the autumn hills. Beat them with Ancient Arrows and a Thunderspear (tier set by difficulty scaling) to collect more Ancient Screws and Shafts for upgrades.


Lake Akkala Sunken Chests
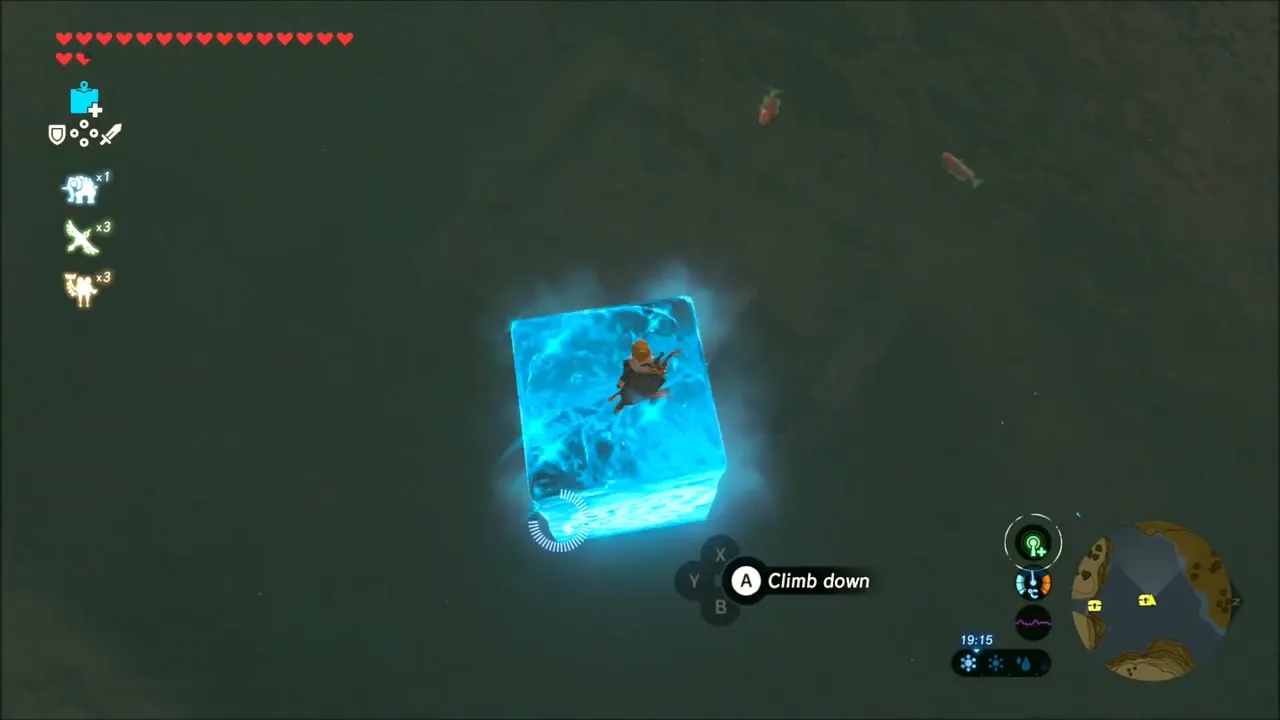
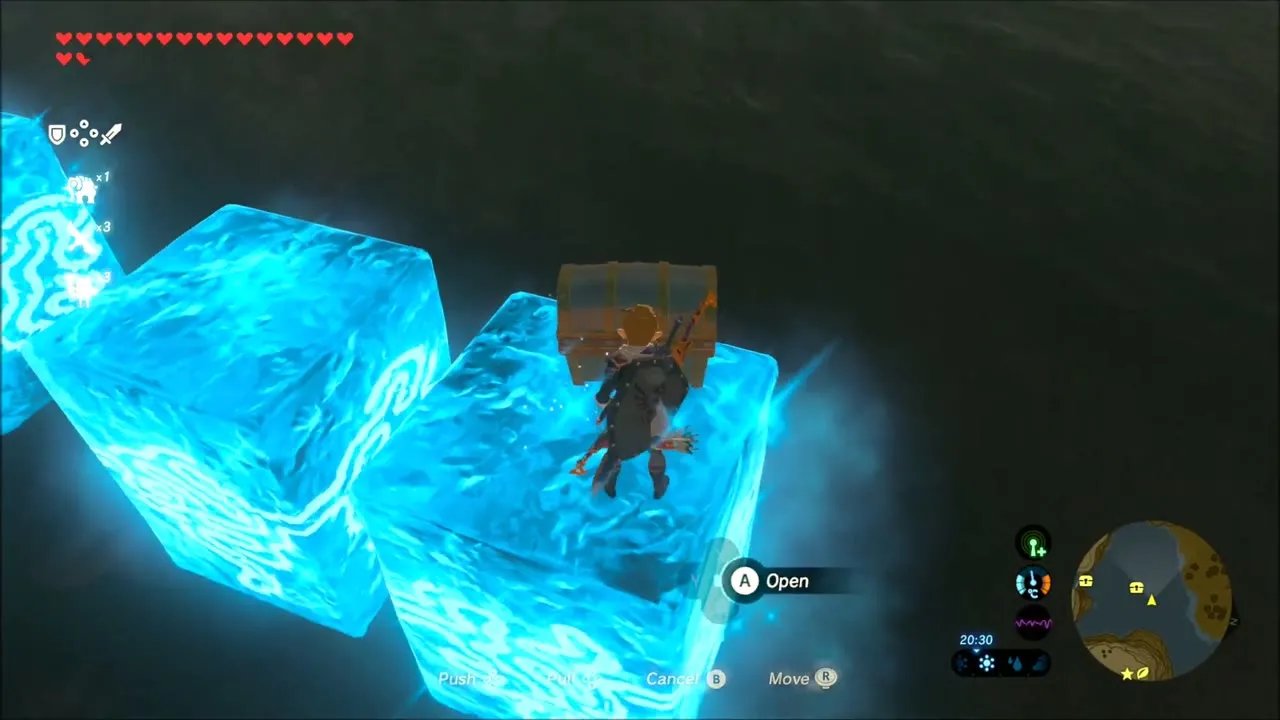
Lake Akkala holds several sunken chests. Make Cryonis blocks to walk across the water, and use Magnesis from a block to pull the chests up from the bottom.

Korok Seeds near Lake Akkala
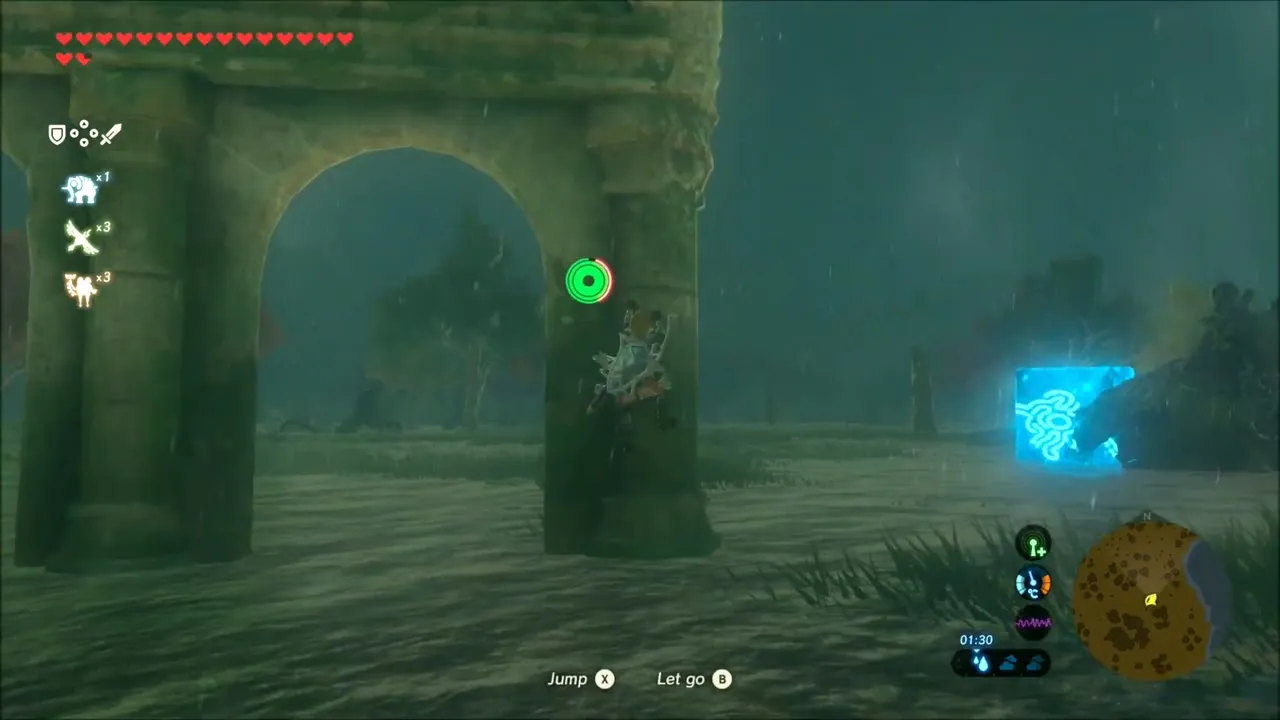
Near the lakeshore, a Korok sits on the top of a broken stone arch in some ruins. Climb the arch’s side to the top and talk to the Korok to collect the seed.


On a hill to the east is another ring of stones with a gap. Lift a nearby boulder and carry it to the gap, and the Korok pops up and hands over the seed.

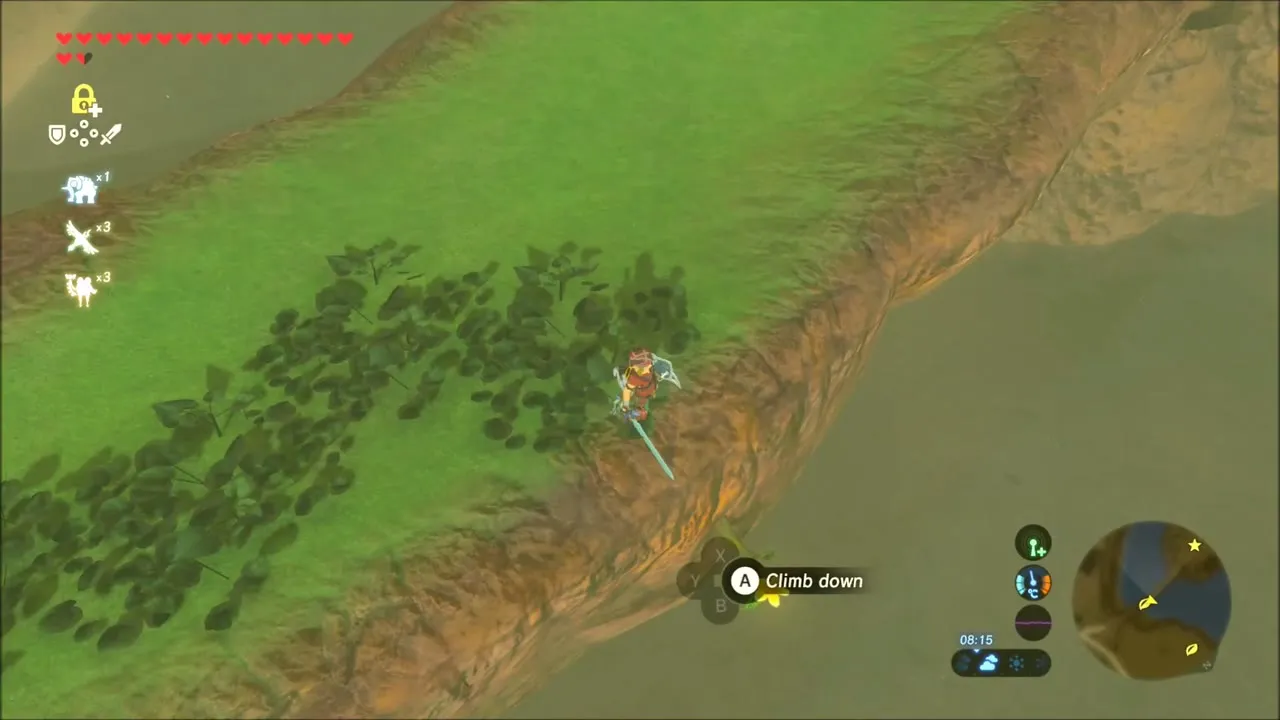
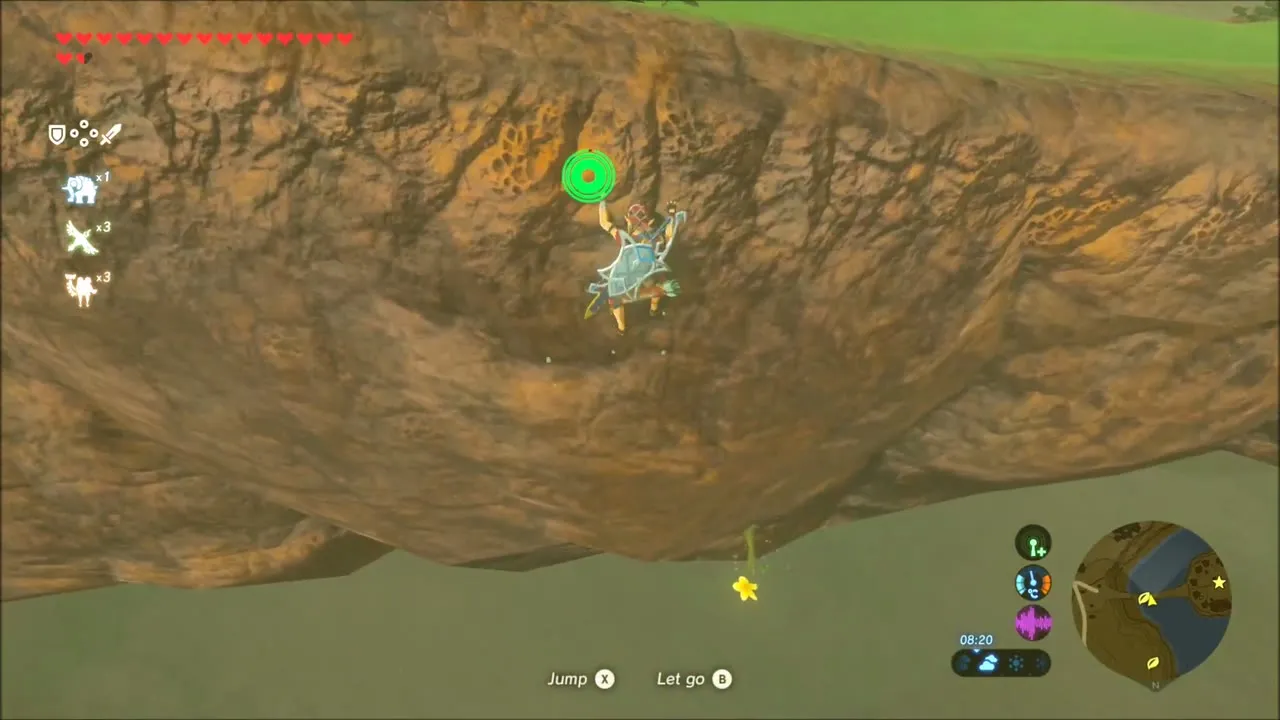
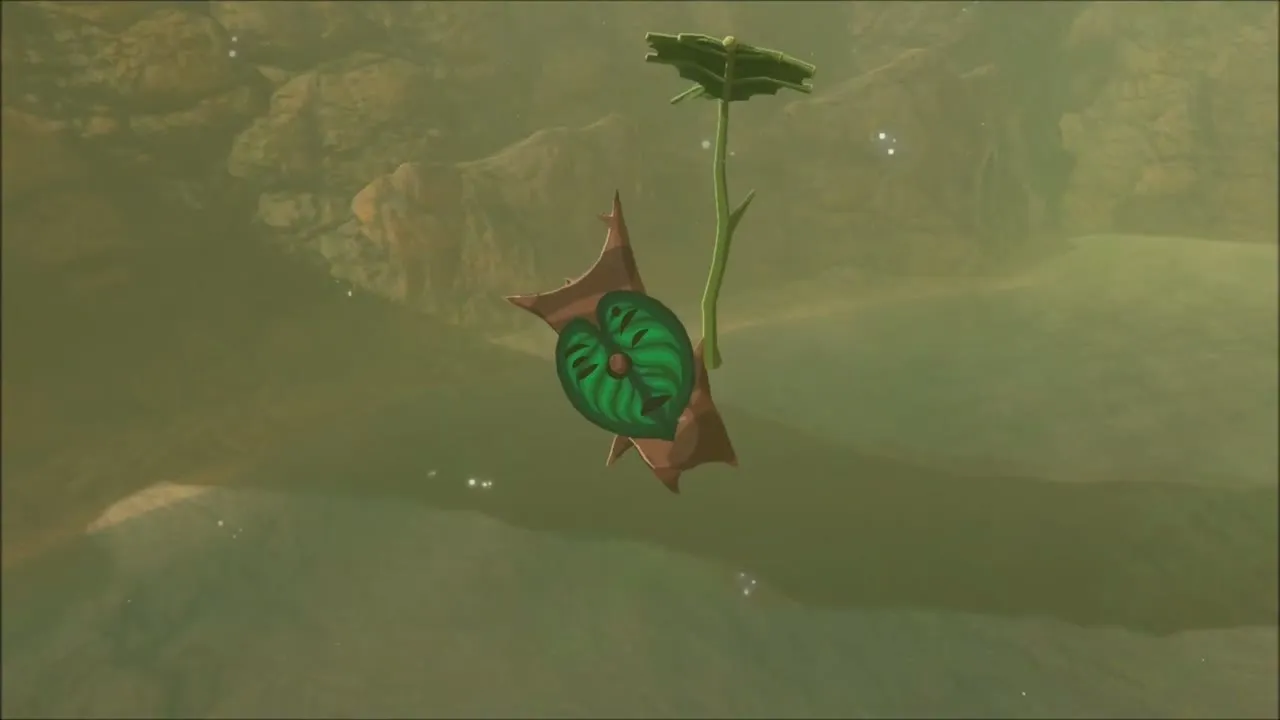
On the cliff trail toward Tarrey Town, a Korok hangs under a rocky overhang. Climb the cliff face, work round to the underside and reach the Korok to take the seed.
Tarrey Town and the From the Ground Up Quest
Tarrey Town stands at (3965, -1615) beside a big boulder. Hudson, the carpenter, stands at his campfire and asks you to bring him wood. This begins From the Ground Up. Bring the 10 bundles of wood he asks for first.


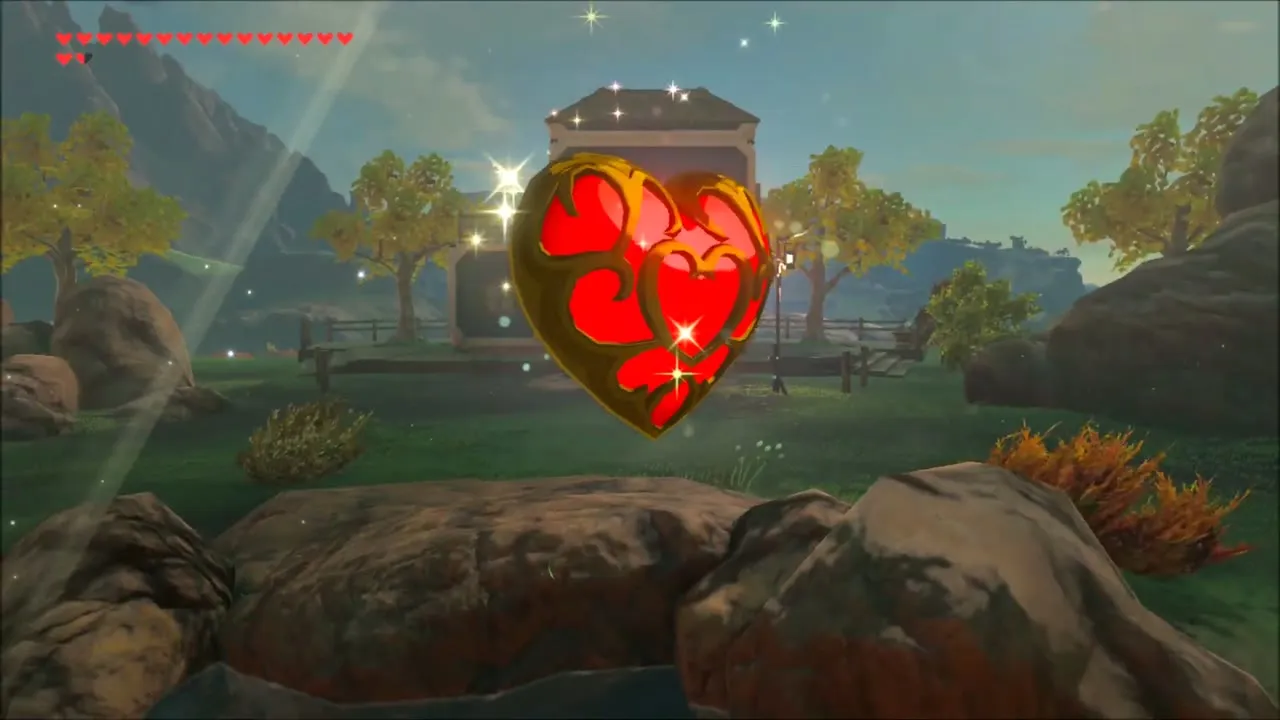
A Goddess Statue stands on a rock in the town. Speak to it and it offers a Heart Container or a Stamina Vessel in exchange for four Spirit Orbs. Choosing the Heart Container makes the statue glow, and it tells you to bring peace to Hyrule.



Mija Great Fairy Fountain
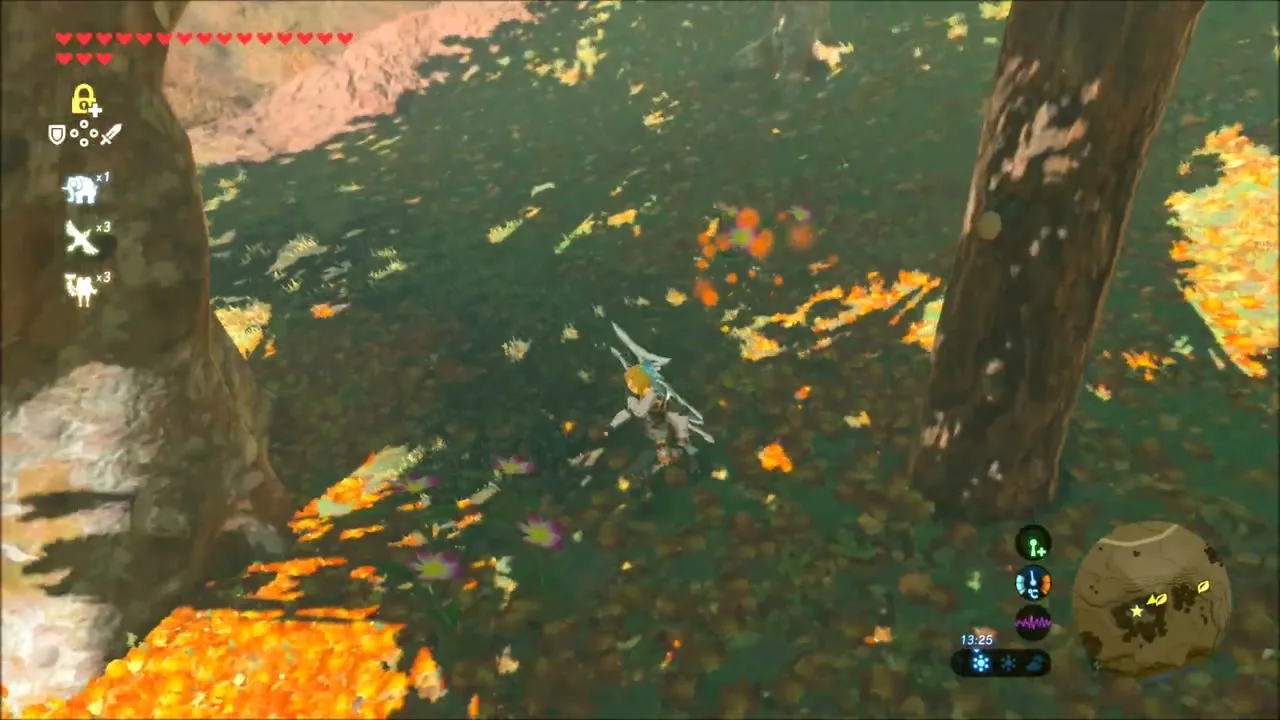
Head east into the autumn woods. In one tall tree a Korok sits among the upper branches. Climb the trunk to the top and approach the Korok to receive the seed.

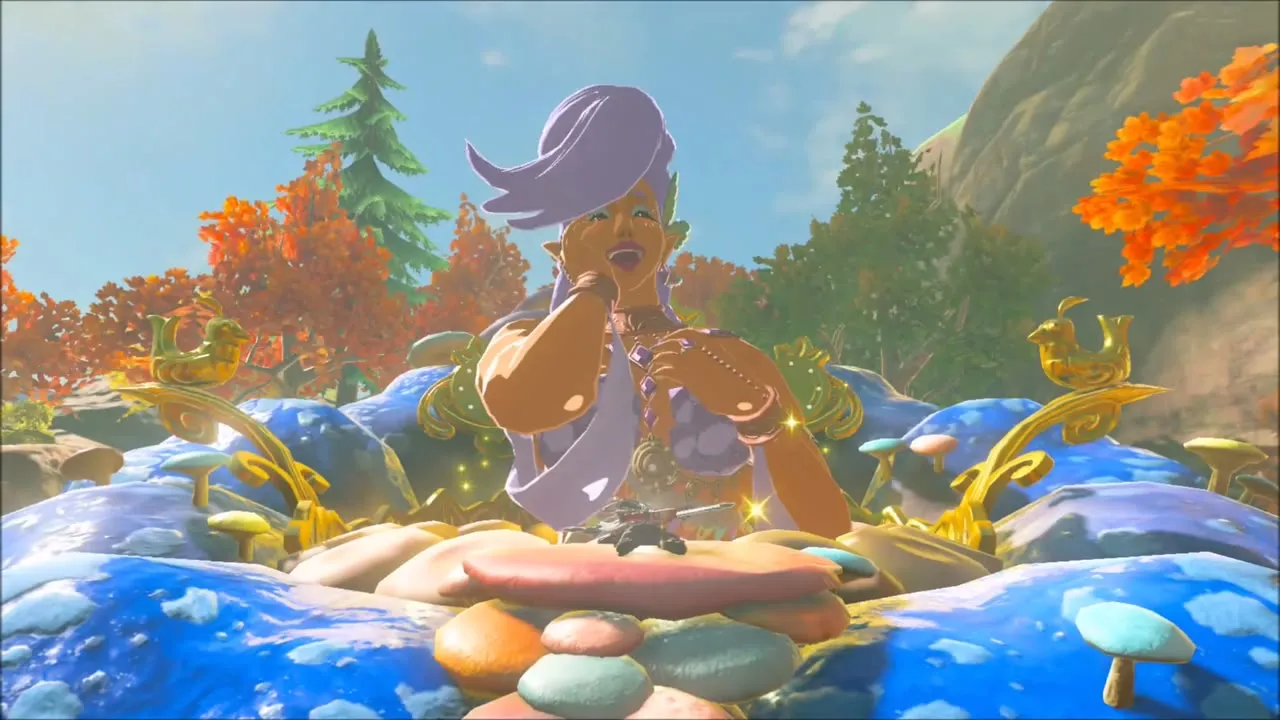
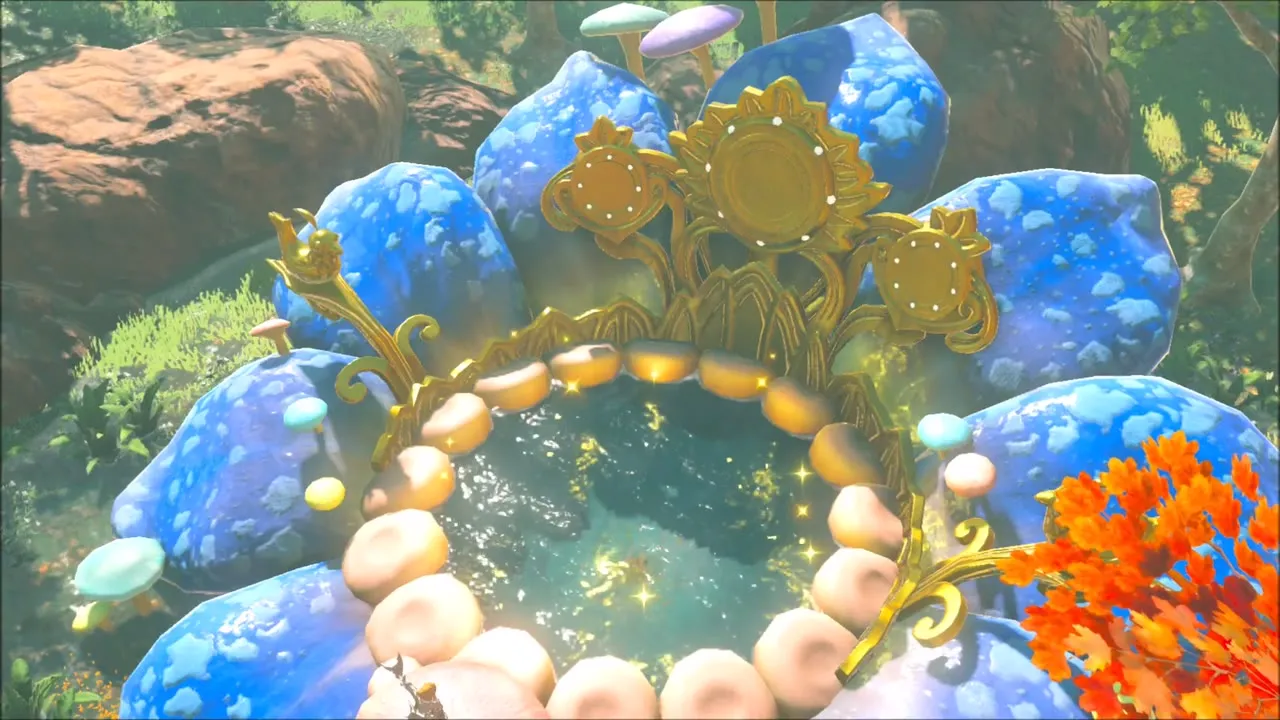
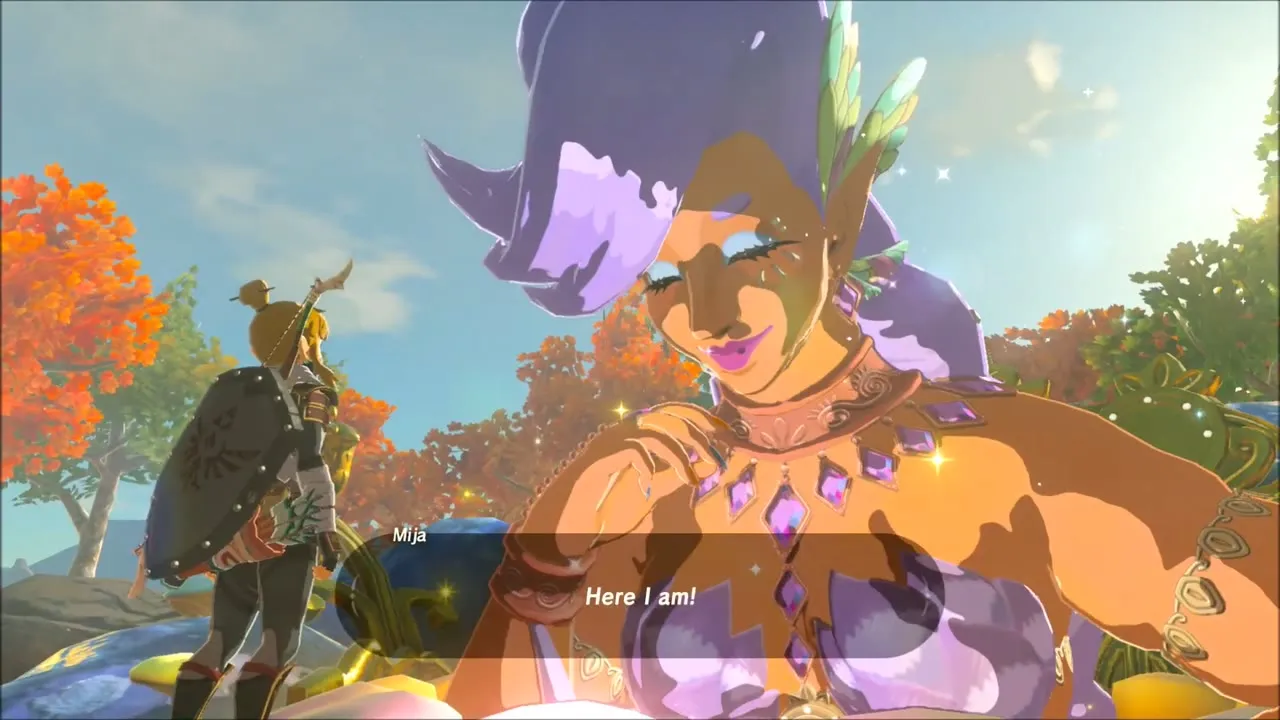
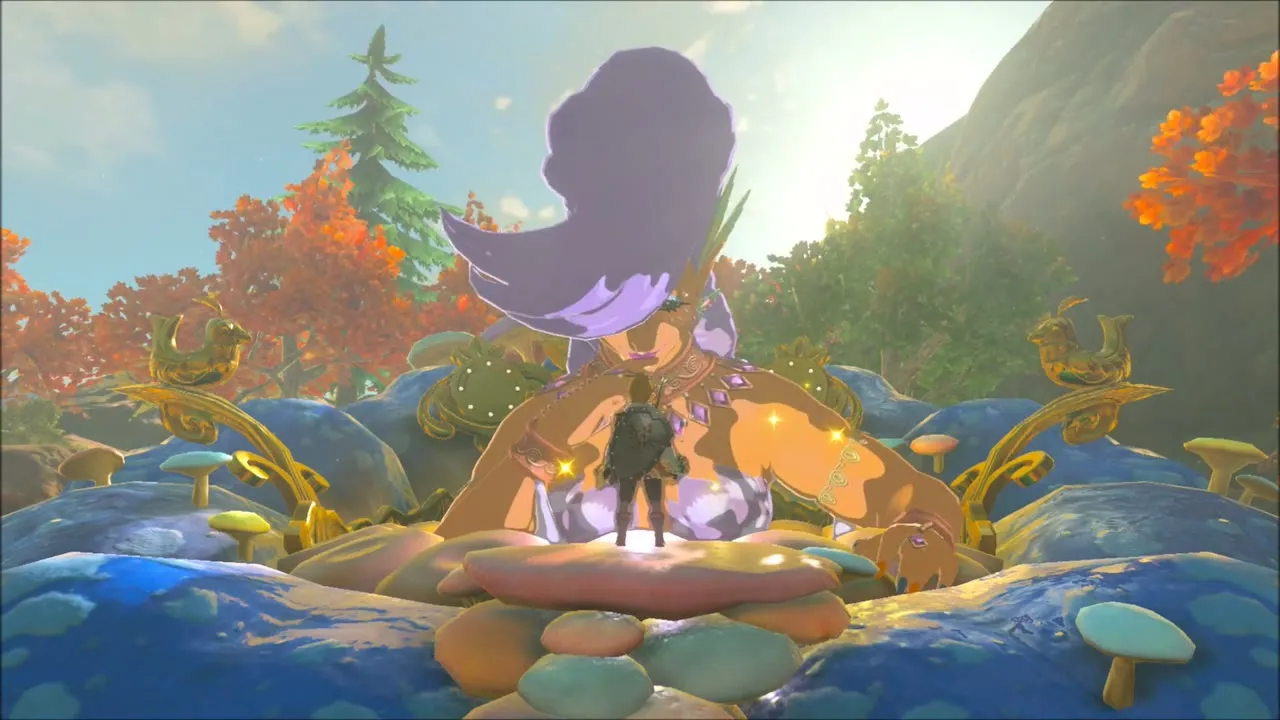
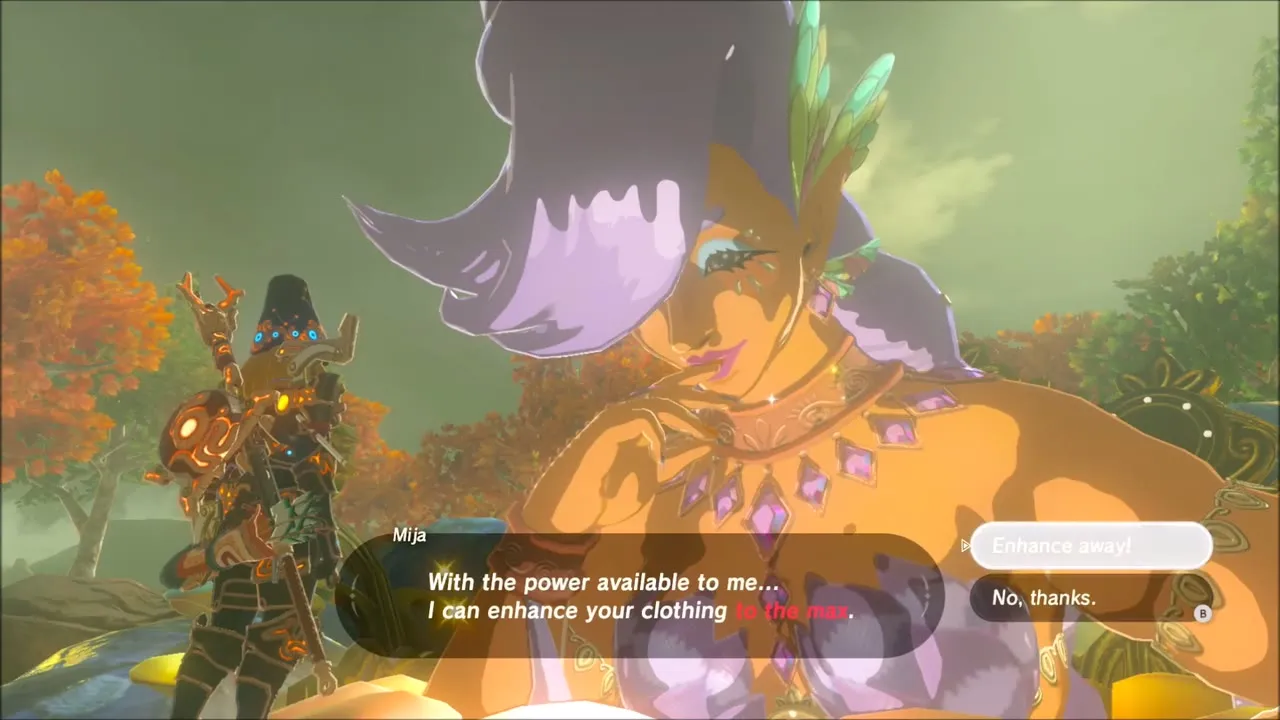
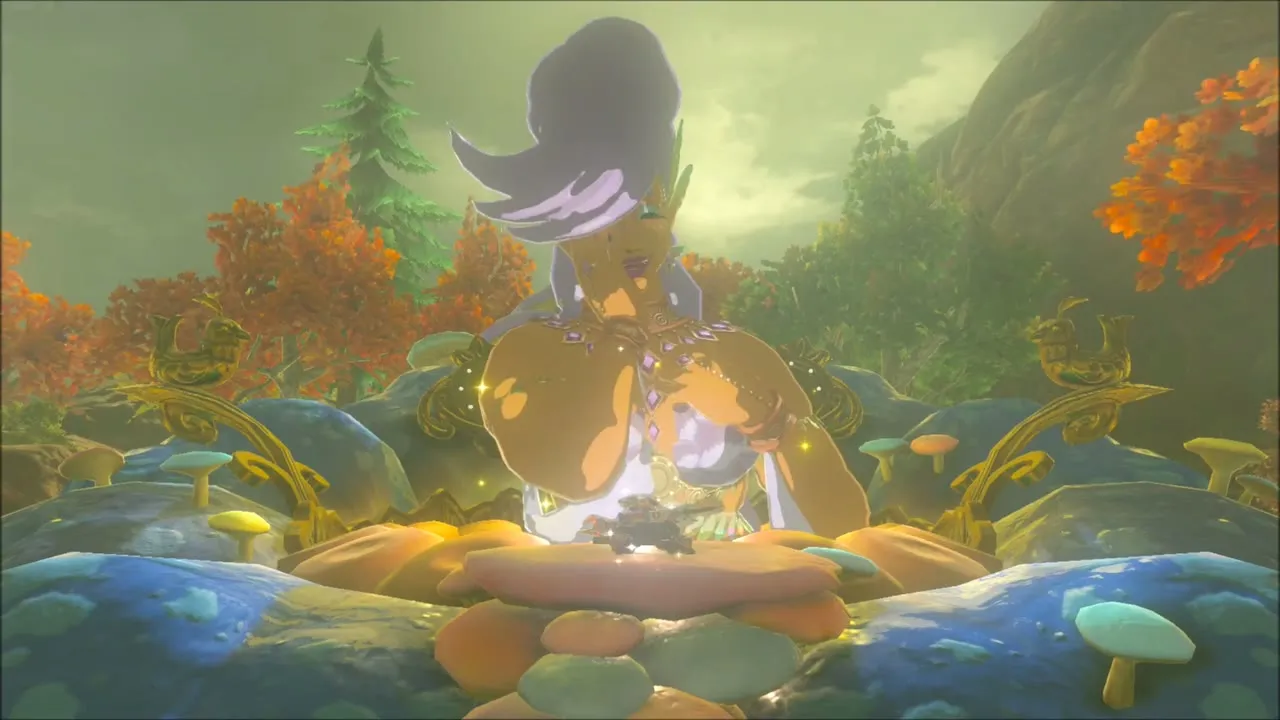
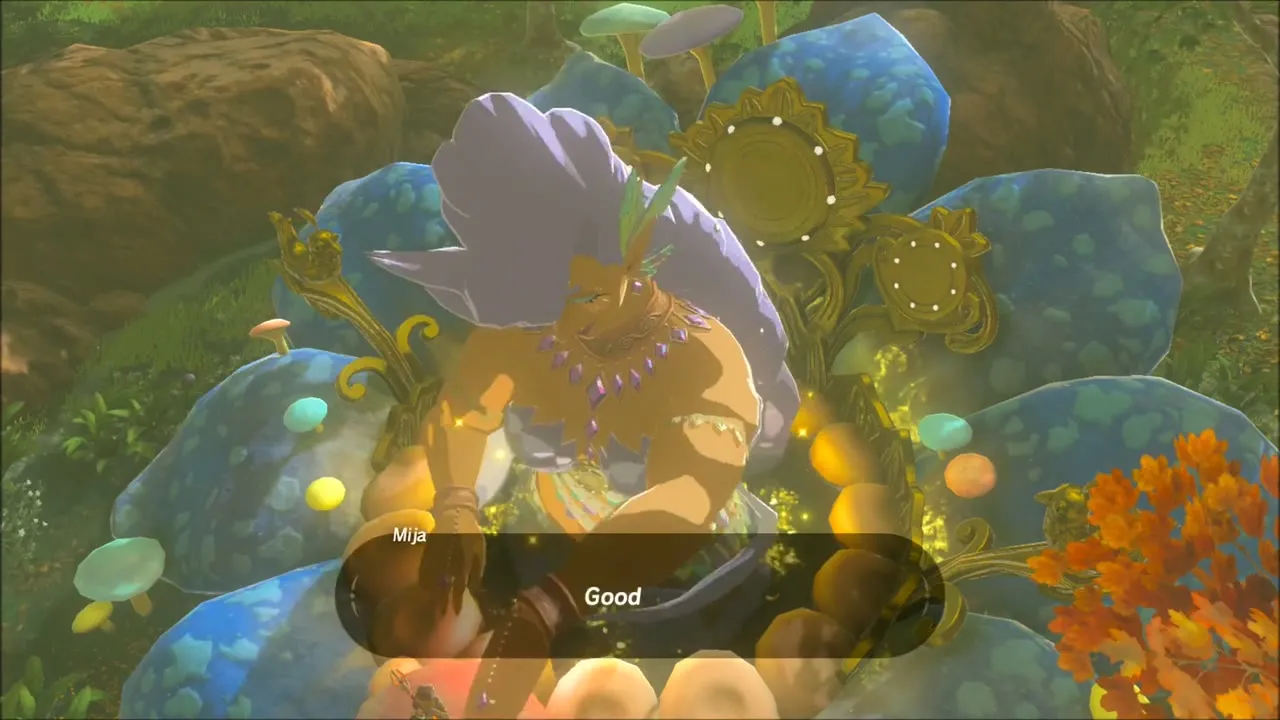
Mija’s fountain is in the grove just east of Dah Hesho Shrine. The Great Fairy listens to her story and asks for your help to regain her power, and Link then uses her to enhance armor, including the Sand Boots, in exchange for materials.



Planning the Eastern Akkala Sweep
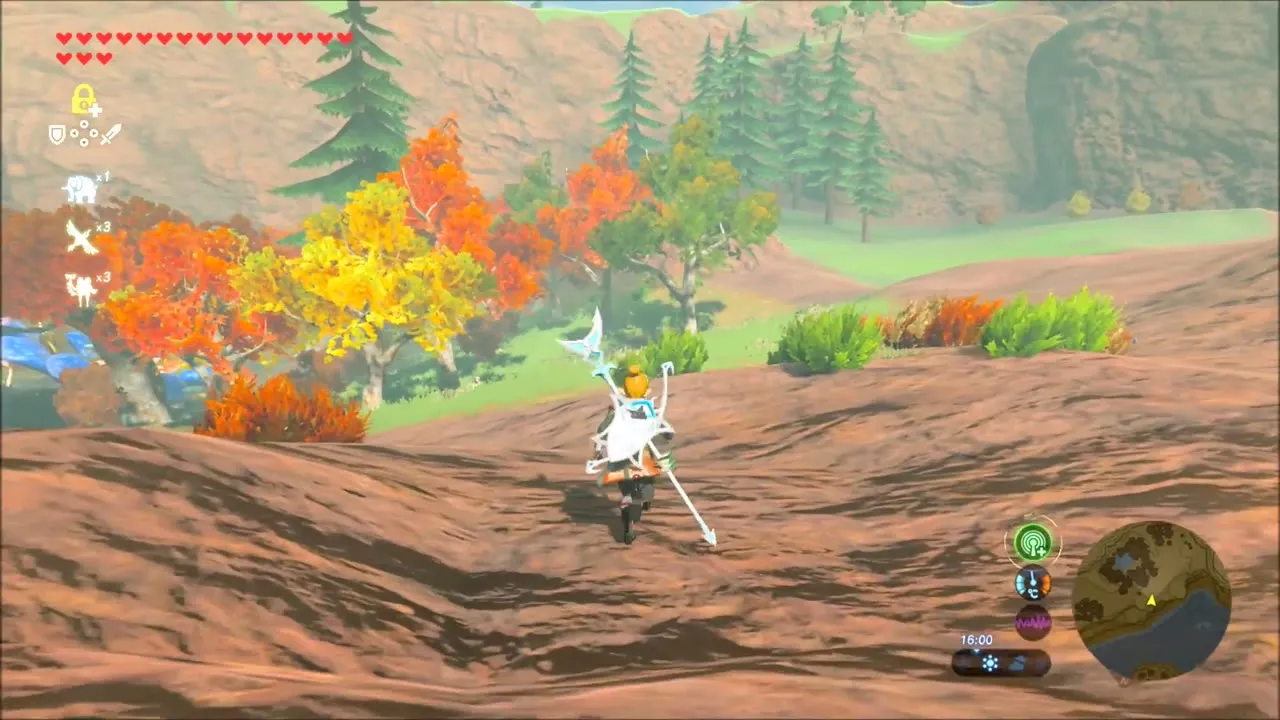
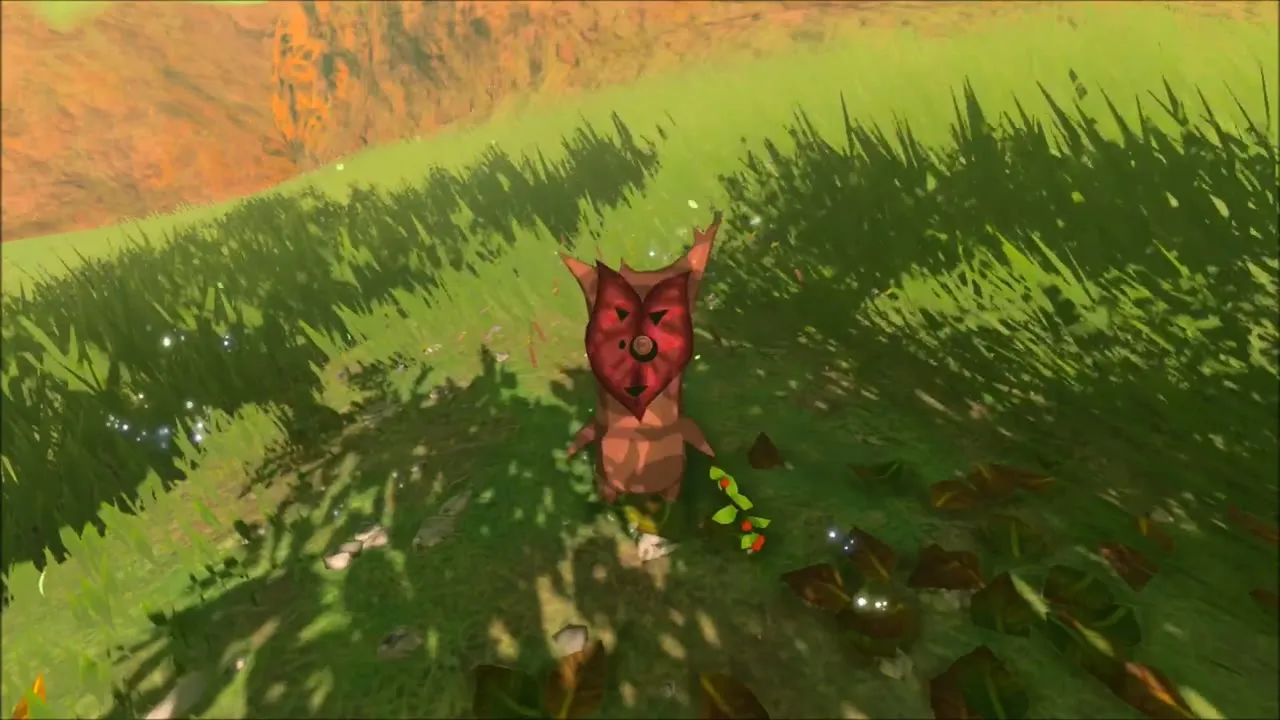
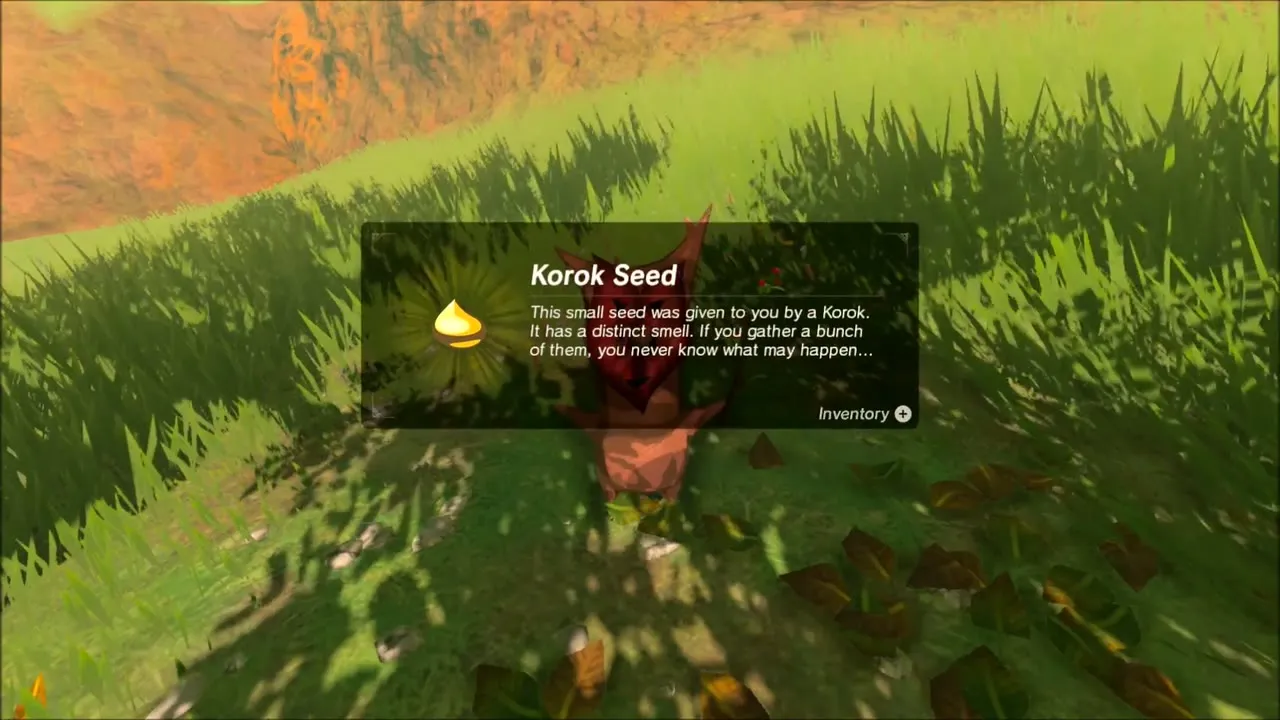
Open the map around Tarrey Town, Lake Akkala and the Akkala Highlands and mark the Korok seeds, chests and shrines you still need in the east of the region. Your first seed is in the autumn woodland on the lake’s eastern side, where a Korok sits in the grass beside a flower and a fallen tree. The Akkala Korok seed list helps you match each find to its map position.
Dah Hesho Shrine: A Minor Test of Strength
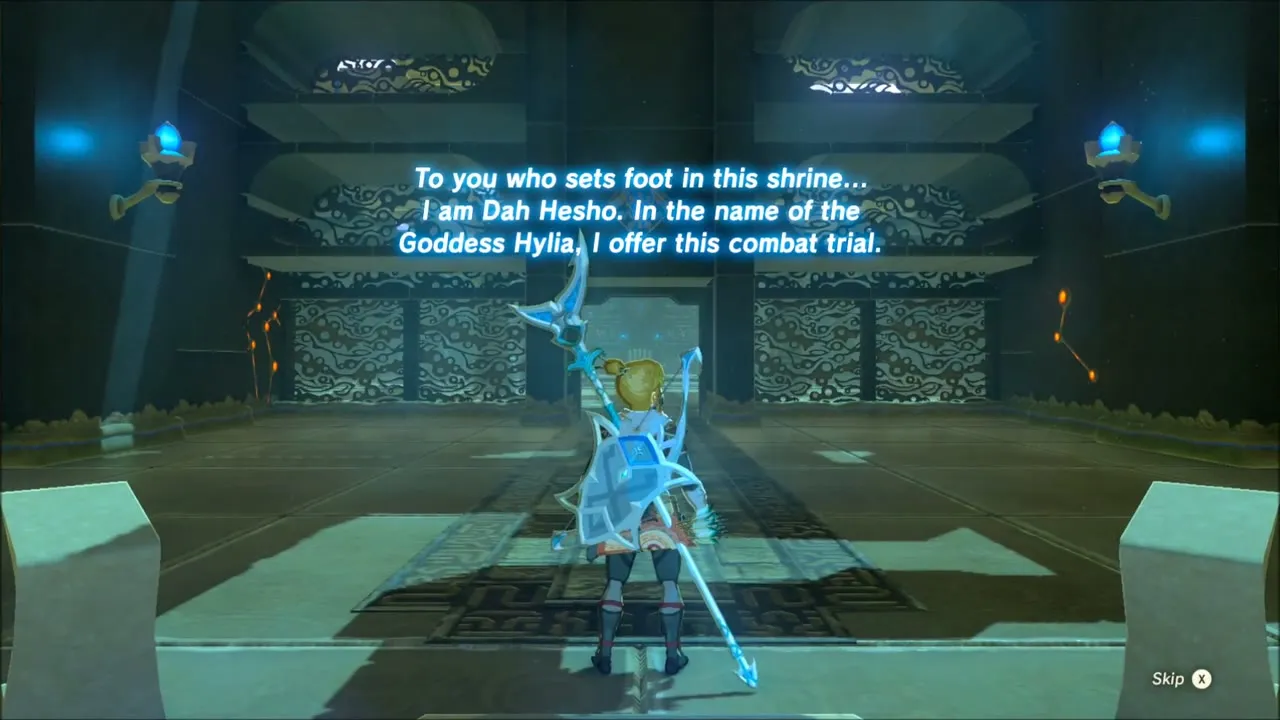
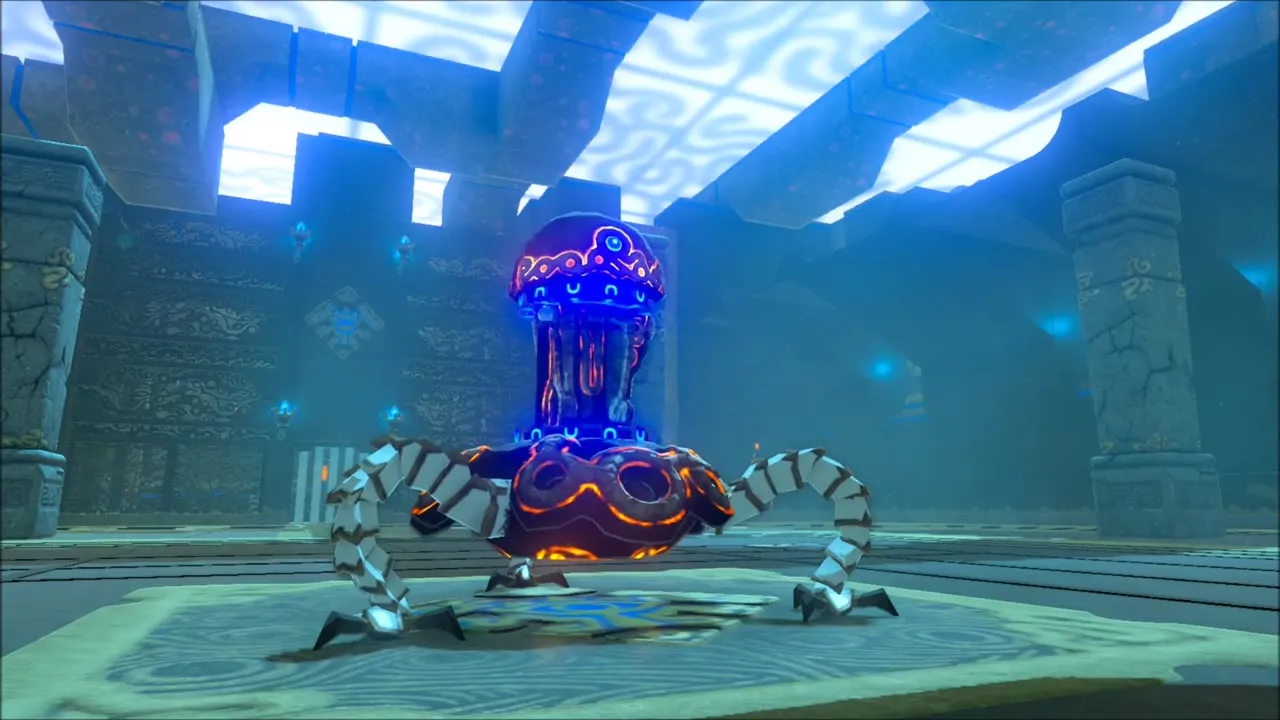
Walk to the orange-glowing shrine on the high ground east of Tarrey Town and Lake Akkala at (3900, -1304) and step onto the pad. The monk announces a combat trial and a Guardian Scout rises in the arena. Hide behind a pillar while it spins, use the updraft when it fires its laser, and strike it between attacks. The full solution is on the Dah Hesho Shrine page.
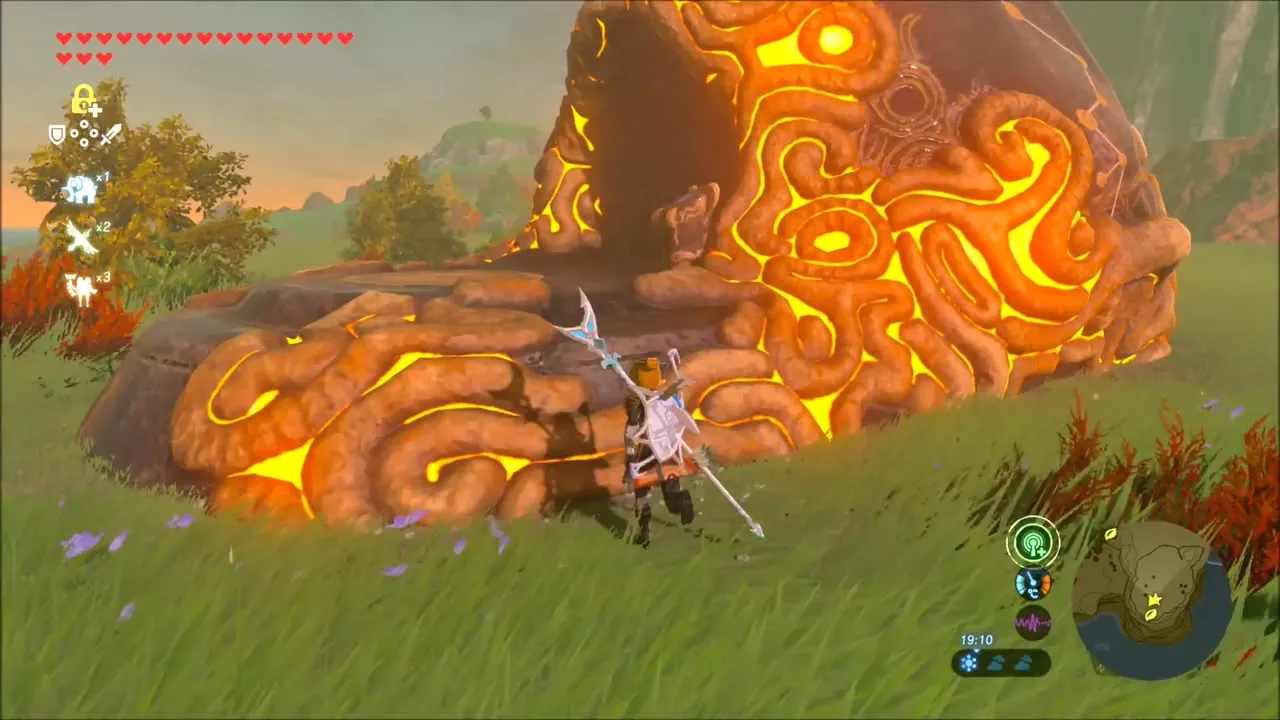

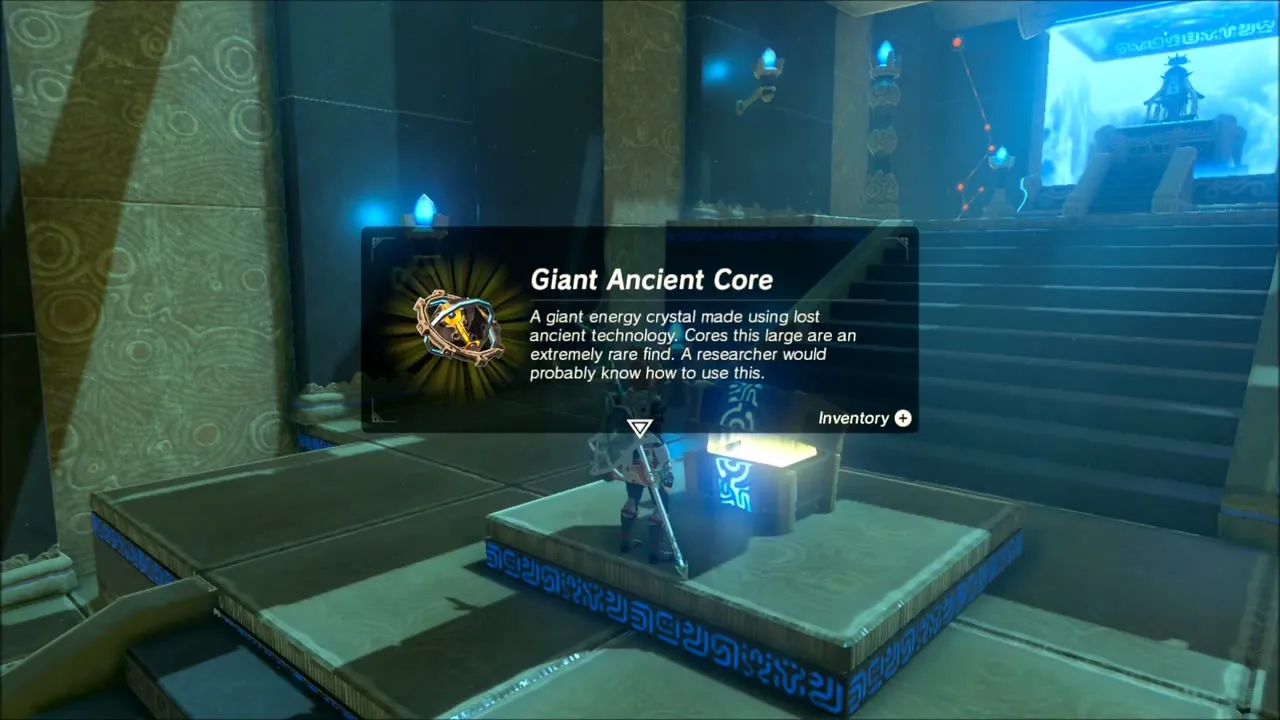
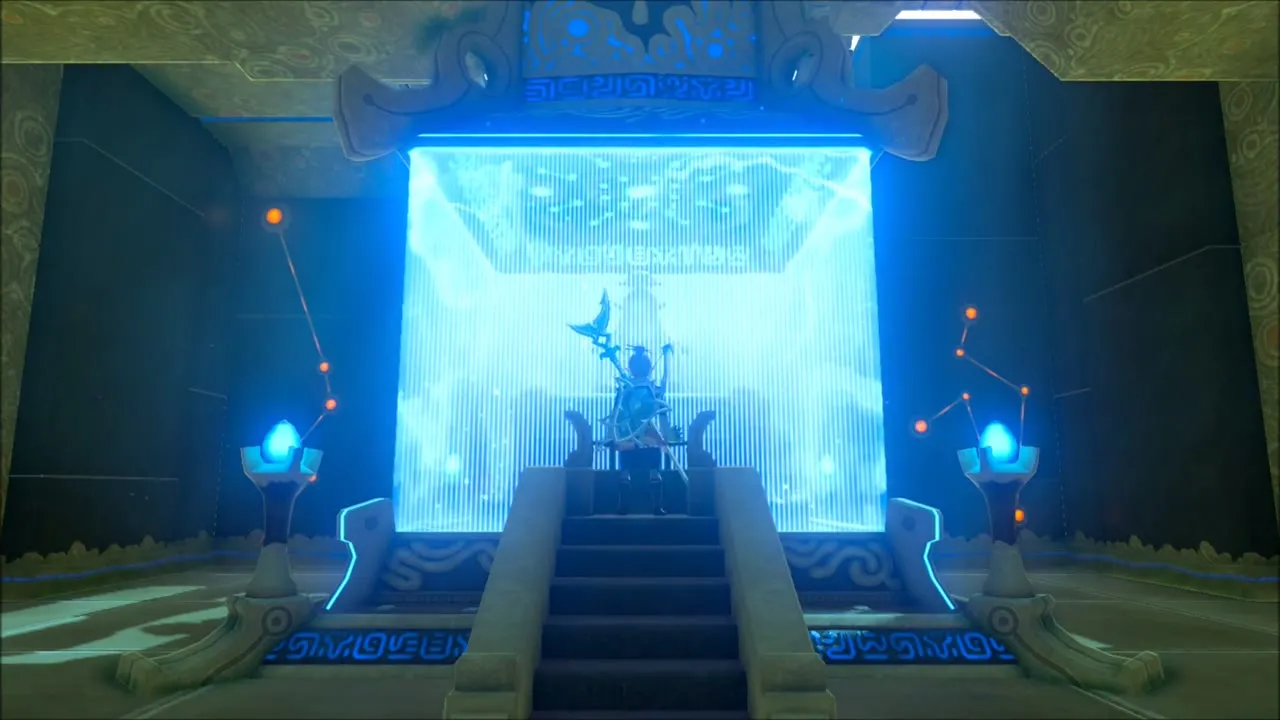
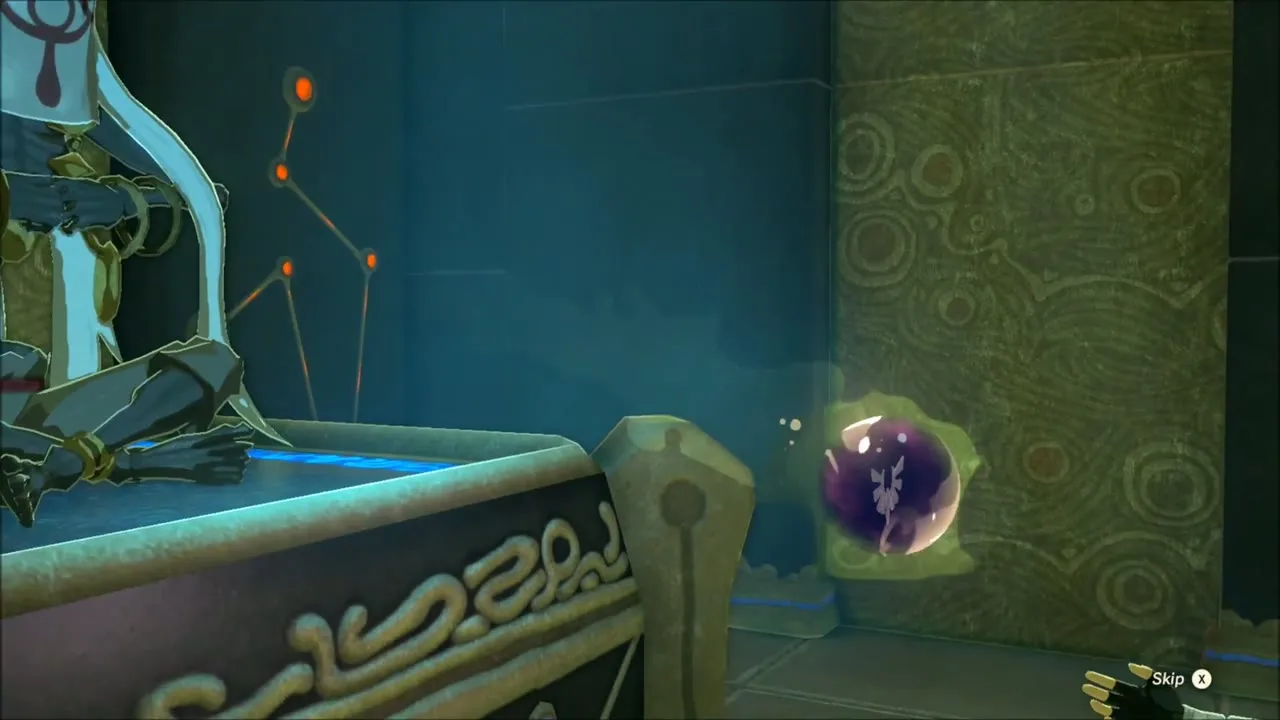
After the fight, climb the stairs to the altar. The chest on the platform holds a Giant Ancient Core. Talk to the monk to receive your Spirit Orb.

East and West Sokkala Bridge: Chests in the River
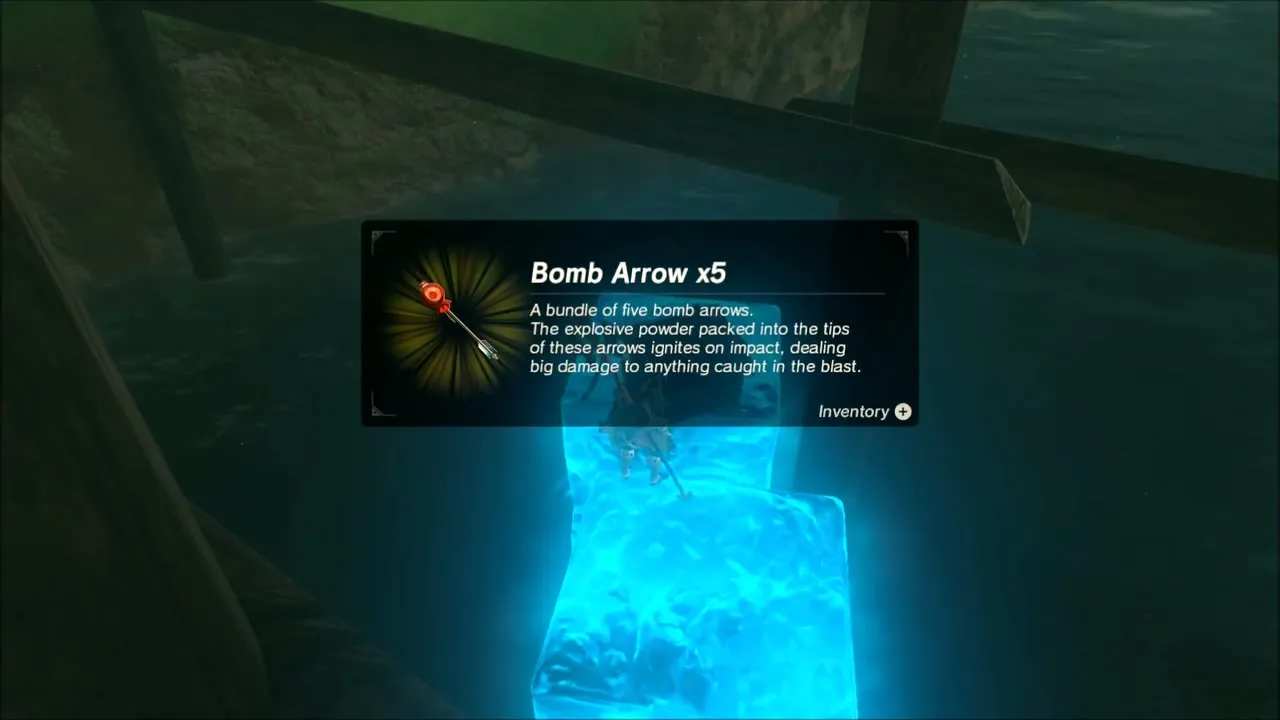
Follow the river south to East Sokkala Bridge. A chest sits in the dark water beneath the planks. Swim to the pillars, raise ice blocks with Cryonis until you can stand beside it, and open it for five Bomb Arrows. Nearby, a Korok comes out of a pile of rocks on the hillside under the autumn trees.
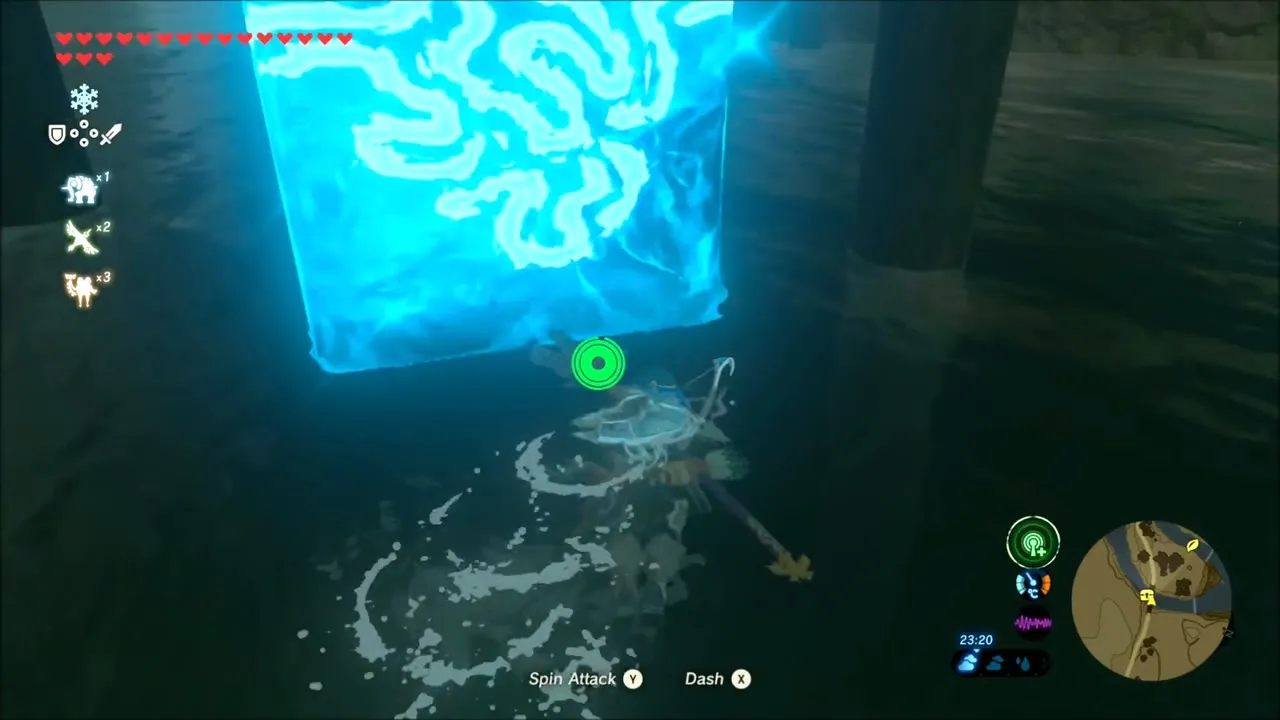

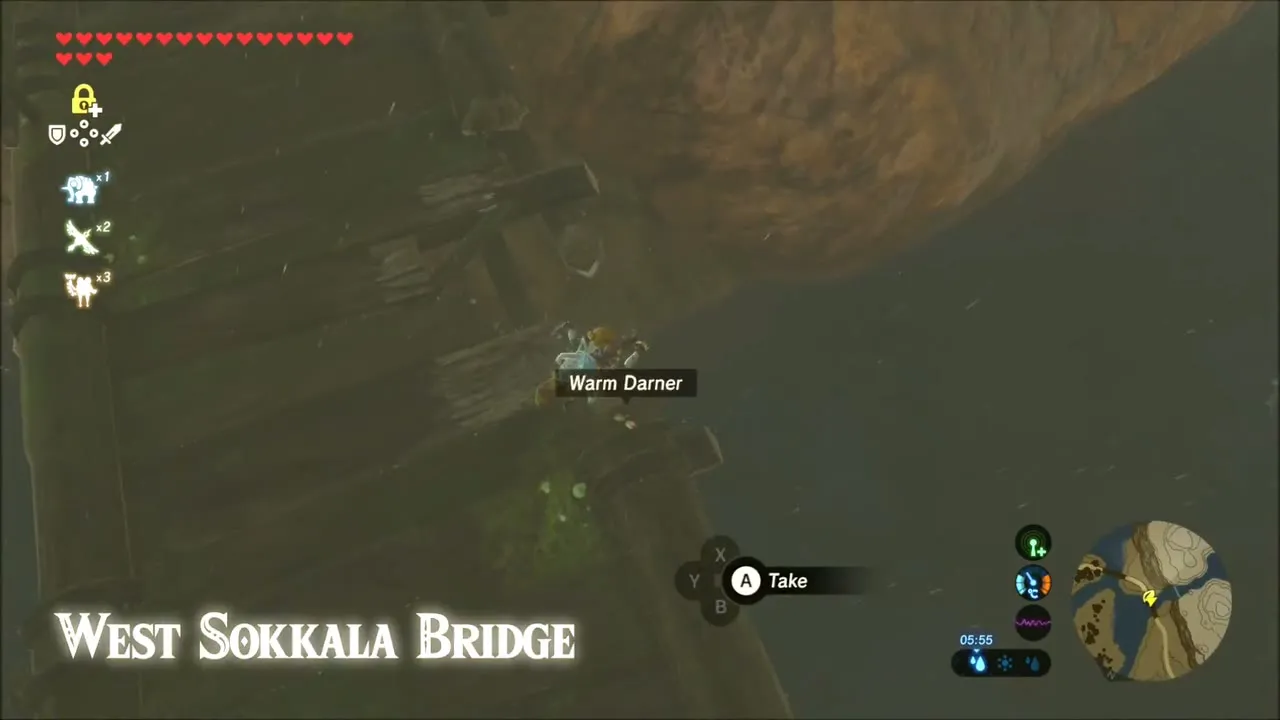
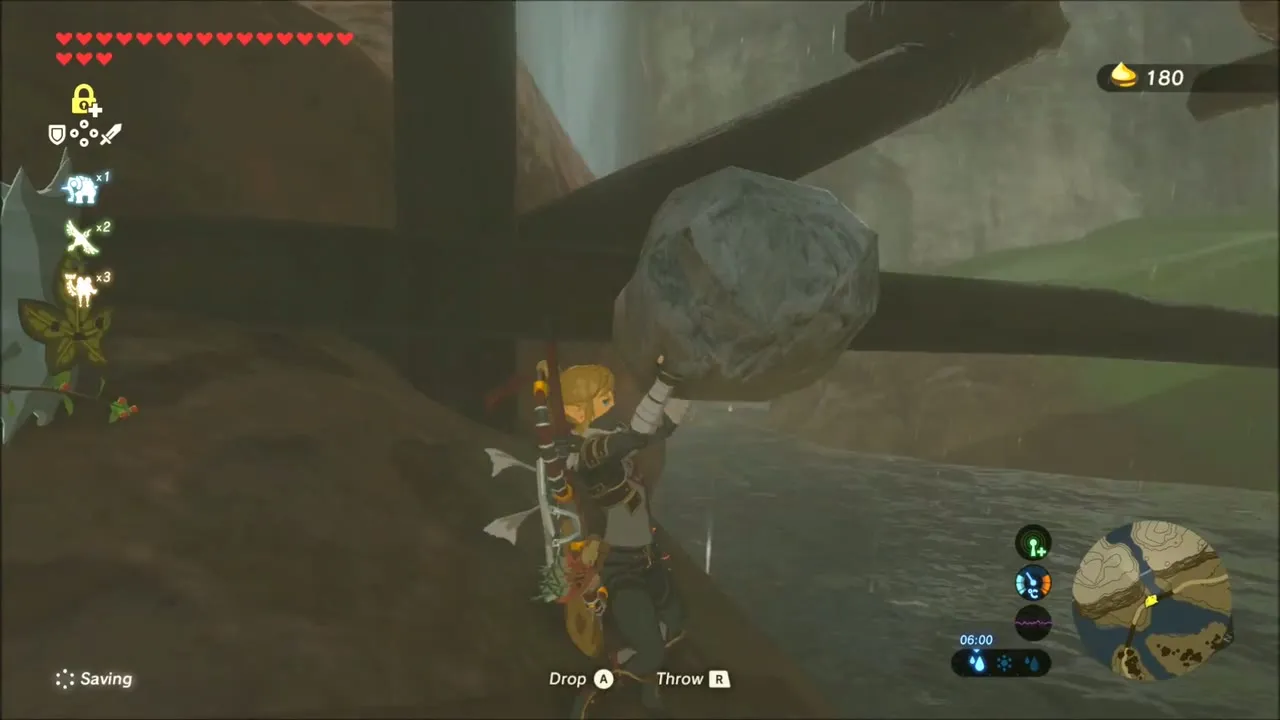
Another Korok is near West Sokkala Bridge. Pick up a loose boulder in the stream bed and carry it with you. The river below the bridge also hides chests: stack Cryonis blocks beside the waterfall pools, freeze the chest in place with Stasis if you need to, and launch it onto the ice or bank to open it.

Chabi: Monster Extract Tips
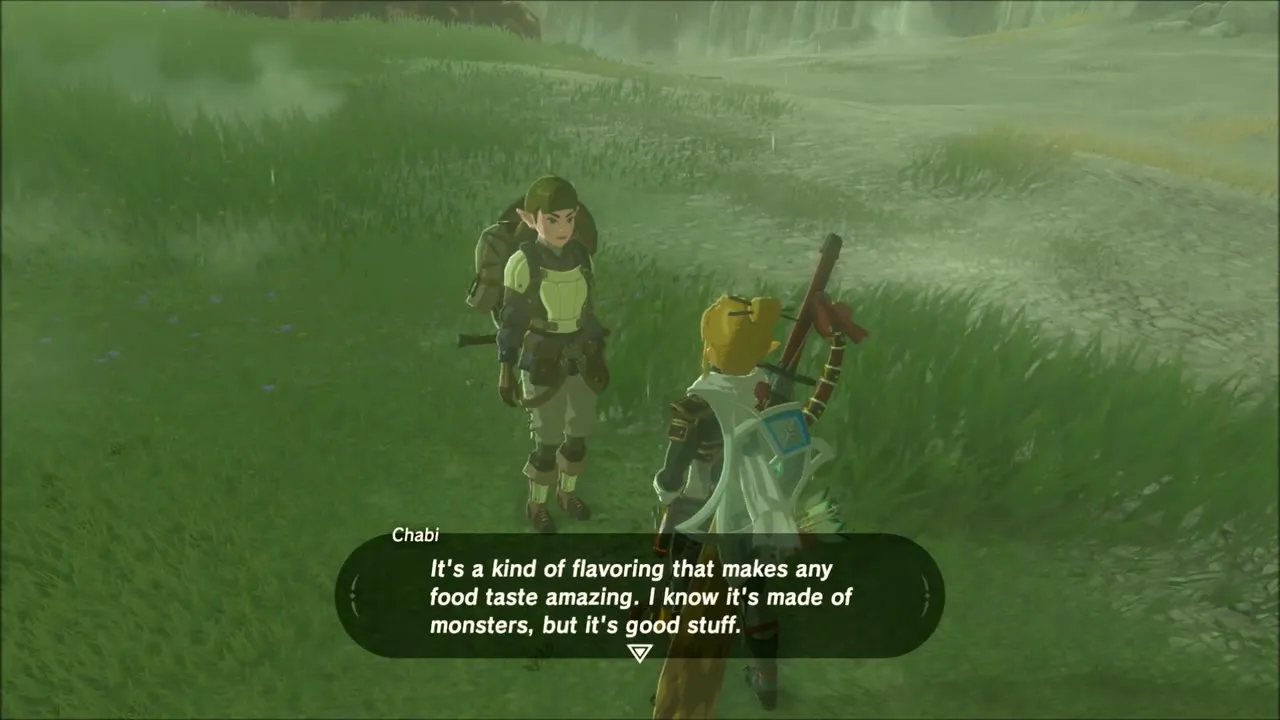
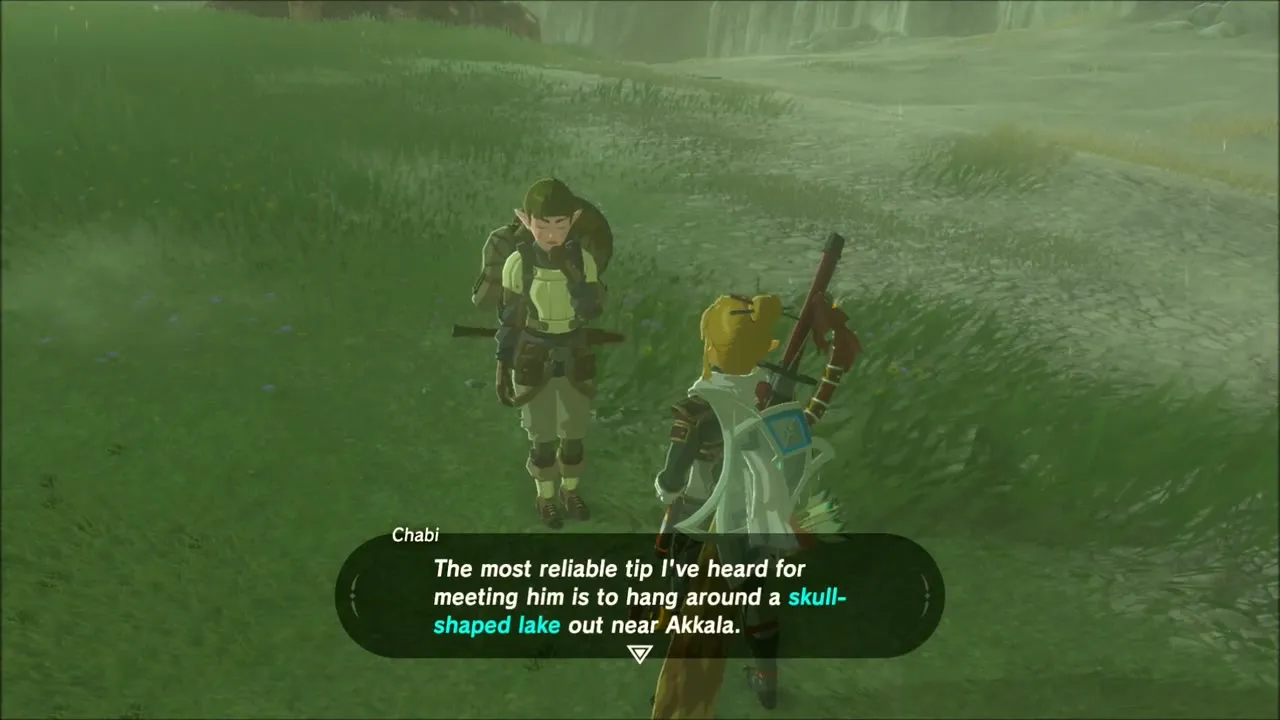
On the open grass above the river you can talk with Chabi, a traveller who tells you that monster extract is a flavouring that makes food taste better, and suggests you ask Kilton at Fang and Bone or look for monster-minded people around the skull-shaped lake near Akkala.

Korok Seeds Above Lake Akkala
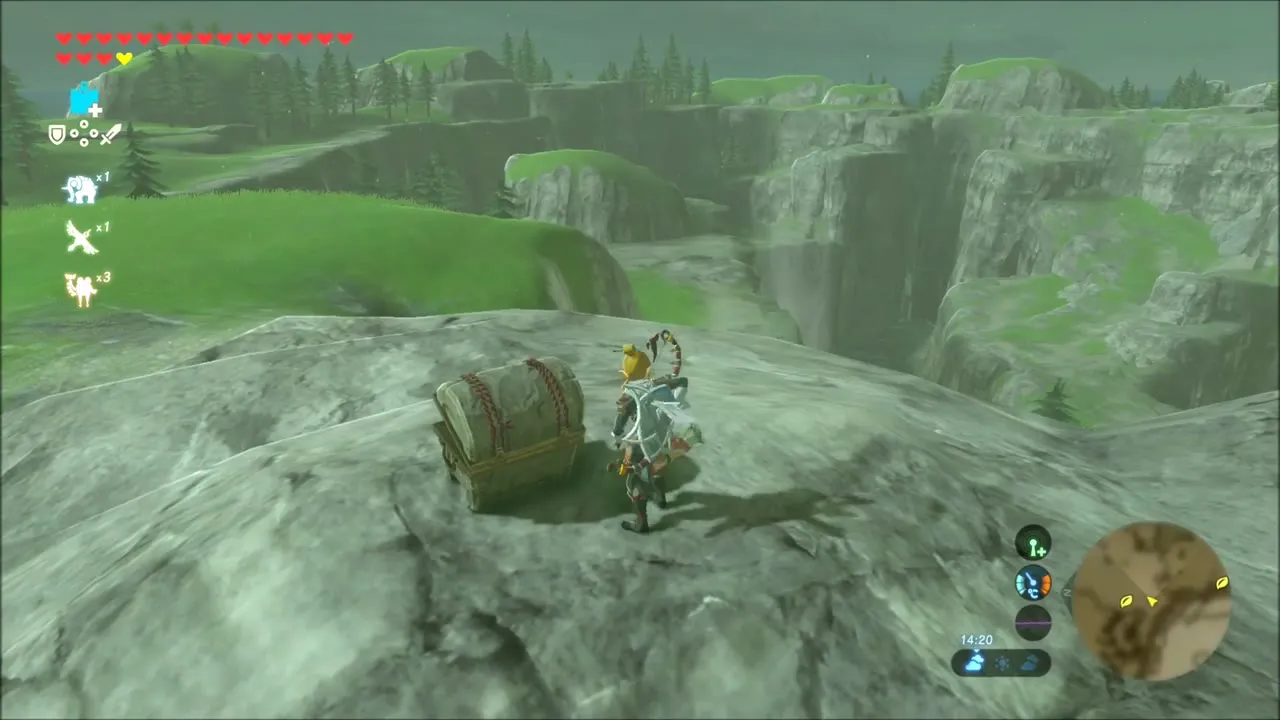
Climb the rocky ridge above the river. A chest sits on a bare rock slab beside a deep gorge, and you can mine ore from the cliff beside it. Later, from a ledge above a pine forest, nock an arrow and shoot a floating target hanging between the trees at a distance to get another Korok seed.


Head east across the meadows toward the lake. Beneath two big trees at the water’s edge, shoot an arrow into the tree to make a Korok appear at its trunk for another seed.


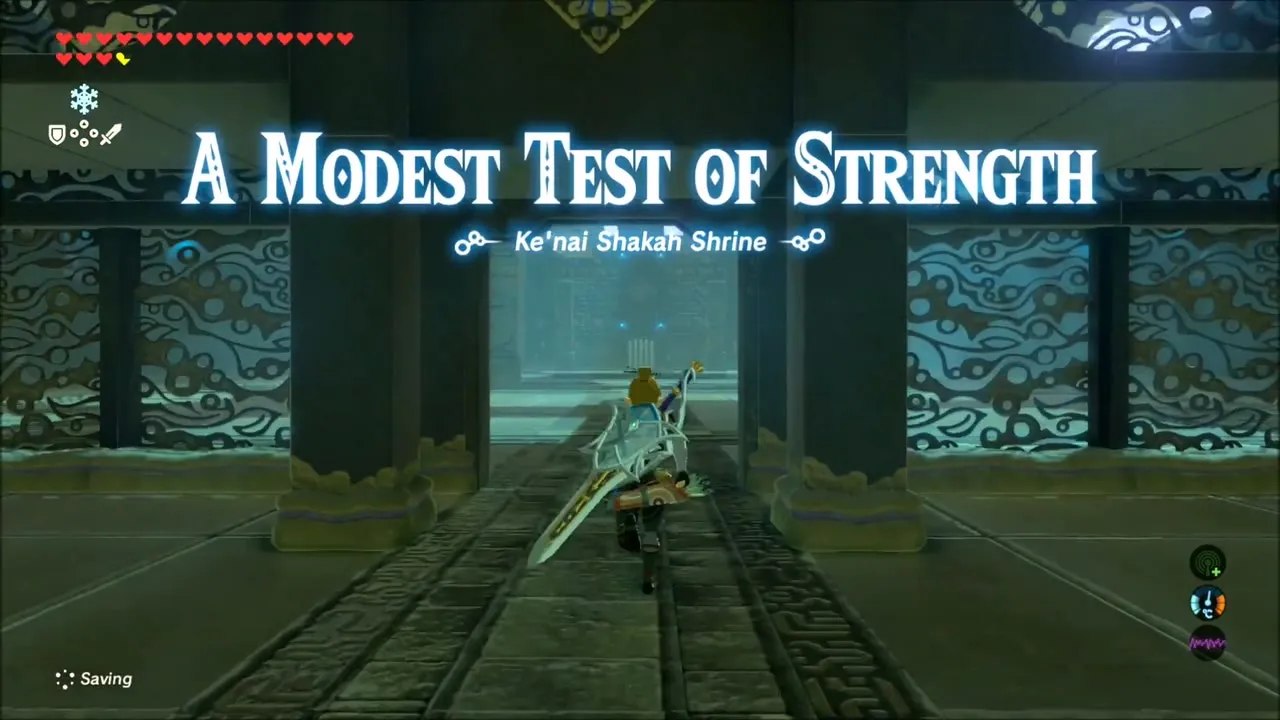
Ke’nai Shakah Shrine: A Modest Test of Strength
Go to the pool in Ulria Grotto. Use Cryonis blocks to cross the water and climb to the north wall, then blow open the rocks with a bomb arrow to uncover Ke’nai Shakah Shrine at (4195, -856). Activate it to begin the trial.
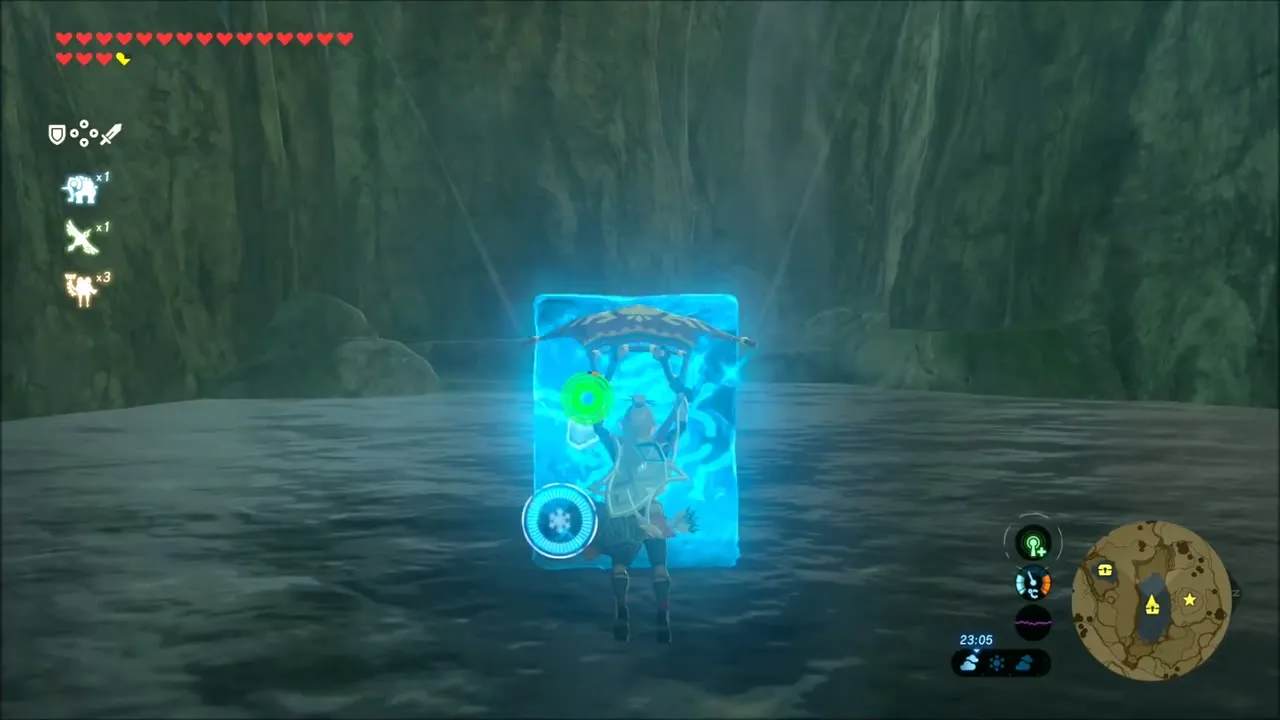
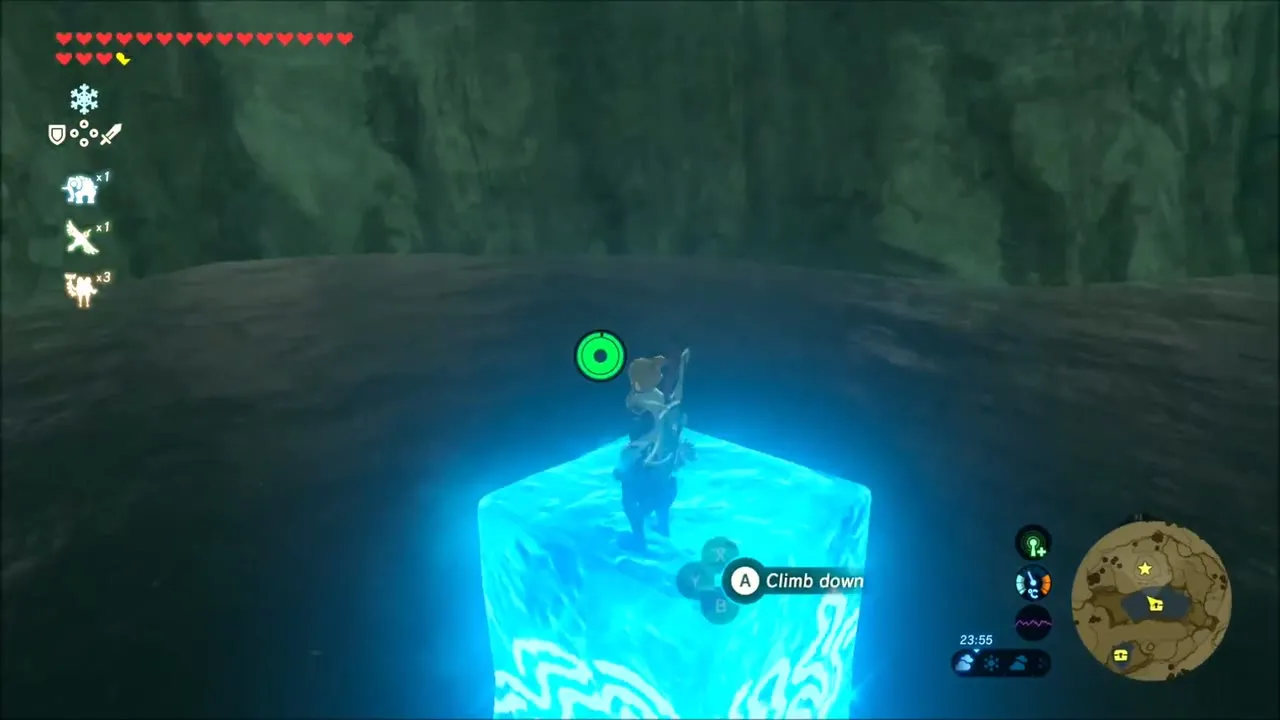
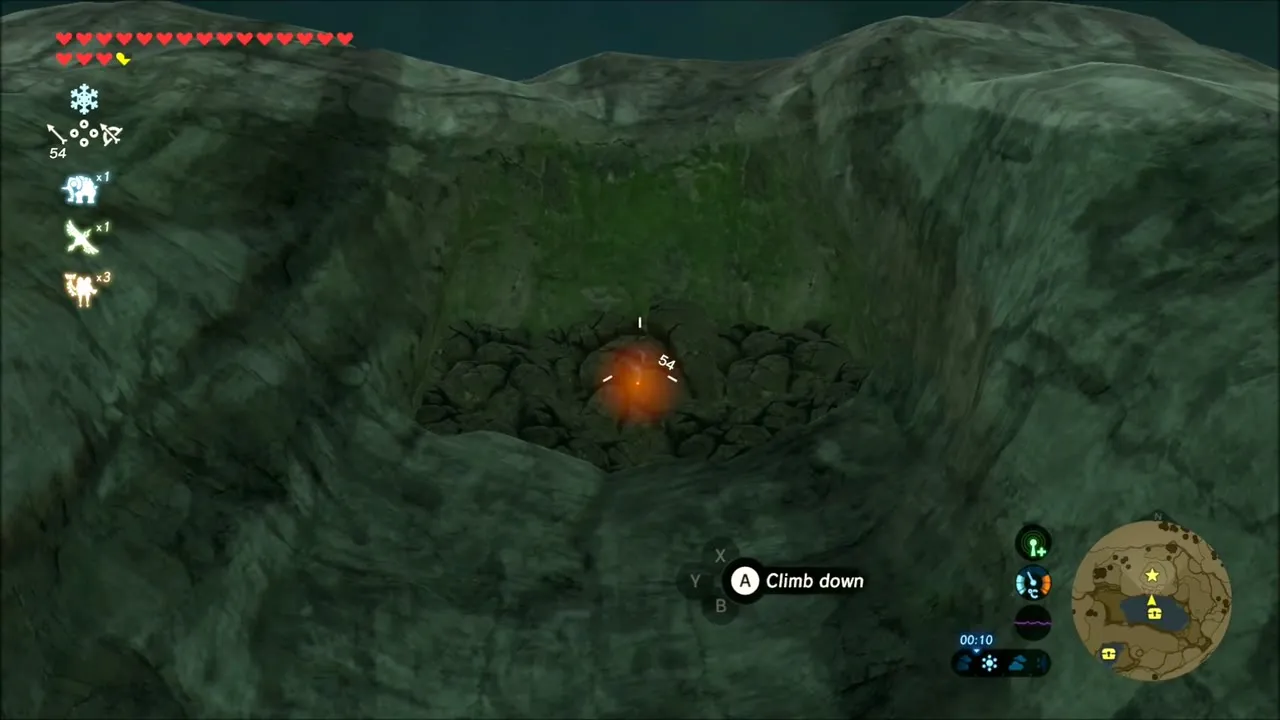
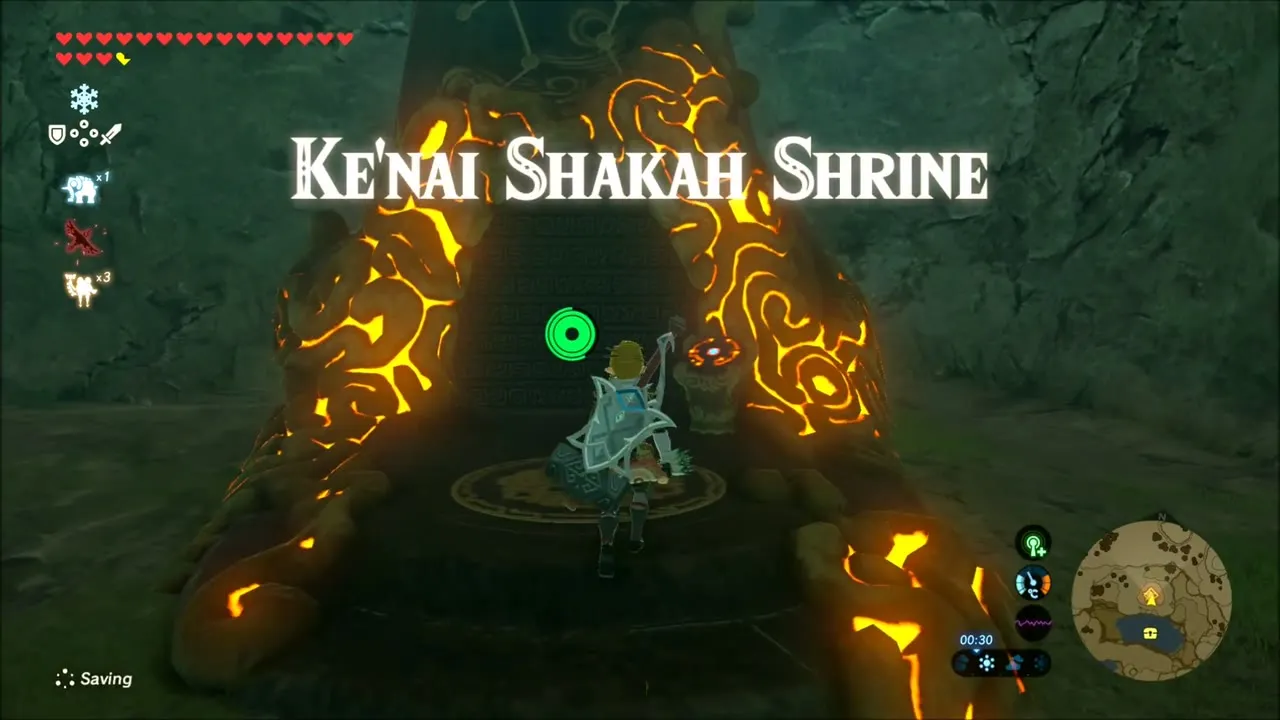
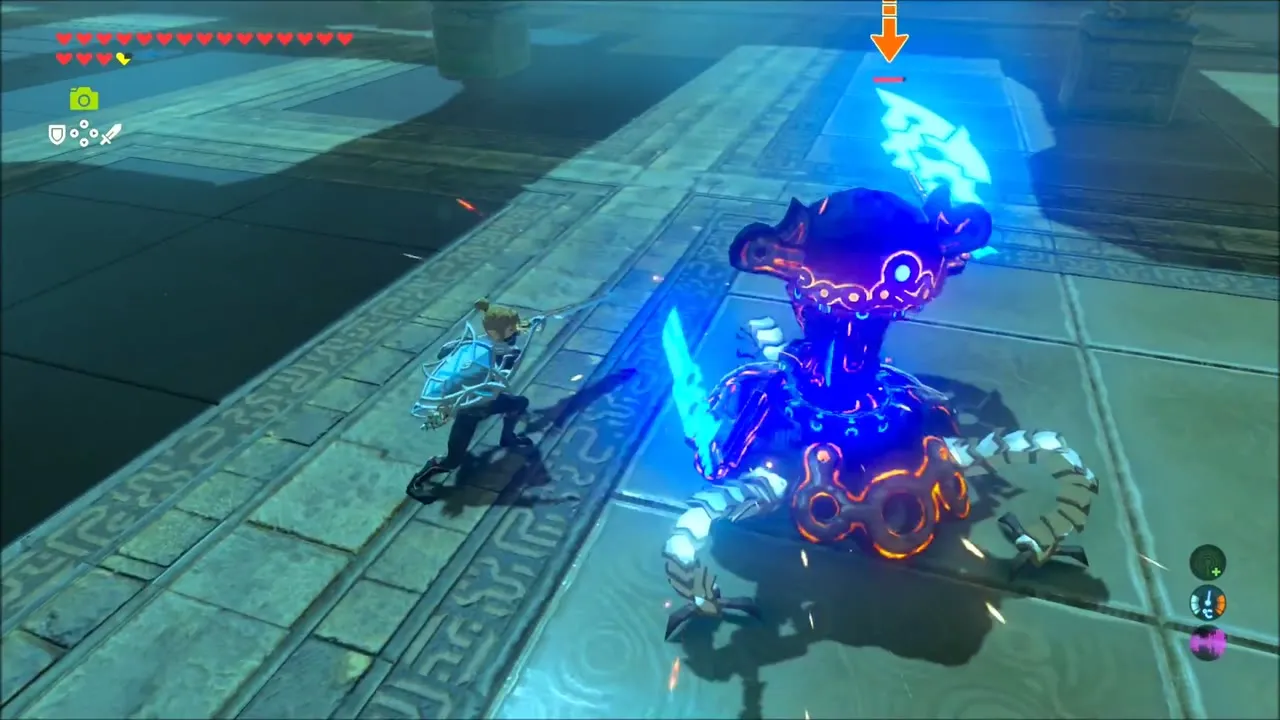
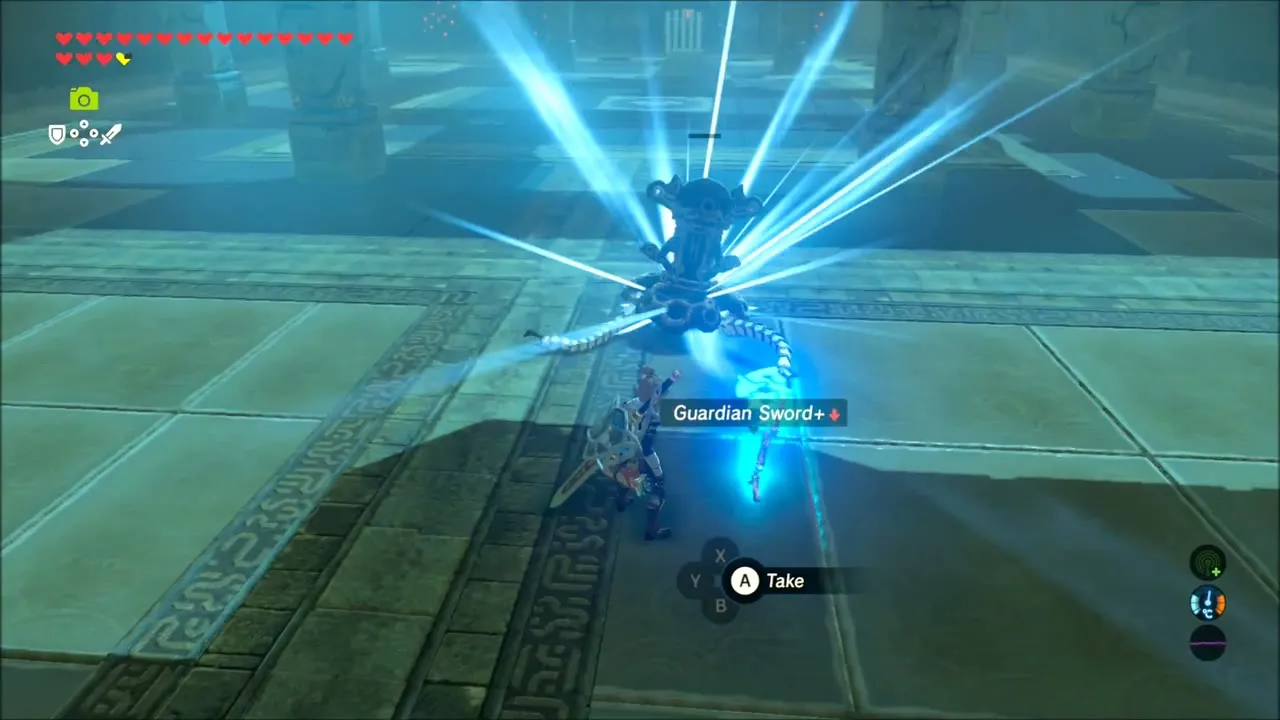
Inside is a Guardian Scout. Dodge its attacks, rise on the updraft when it spins its laser, and finish it before its last volley. In the chamber after the fight, open the chest on the platform and take the Spirit Orb from the monk.

Korok Seeds and Chests in the Eastern Woodland
Once you leave the shrine, glide down the cliff and cross the valley. Beside a waterfall, cast Stasis+ on a boulder, strike it, and a Korok appears among the stones.


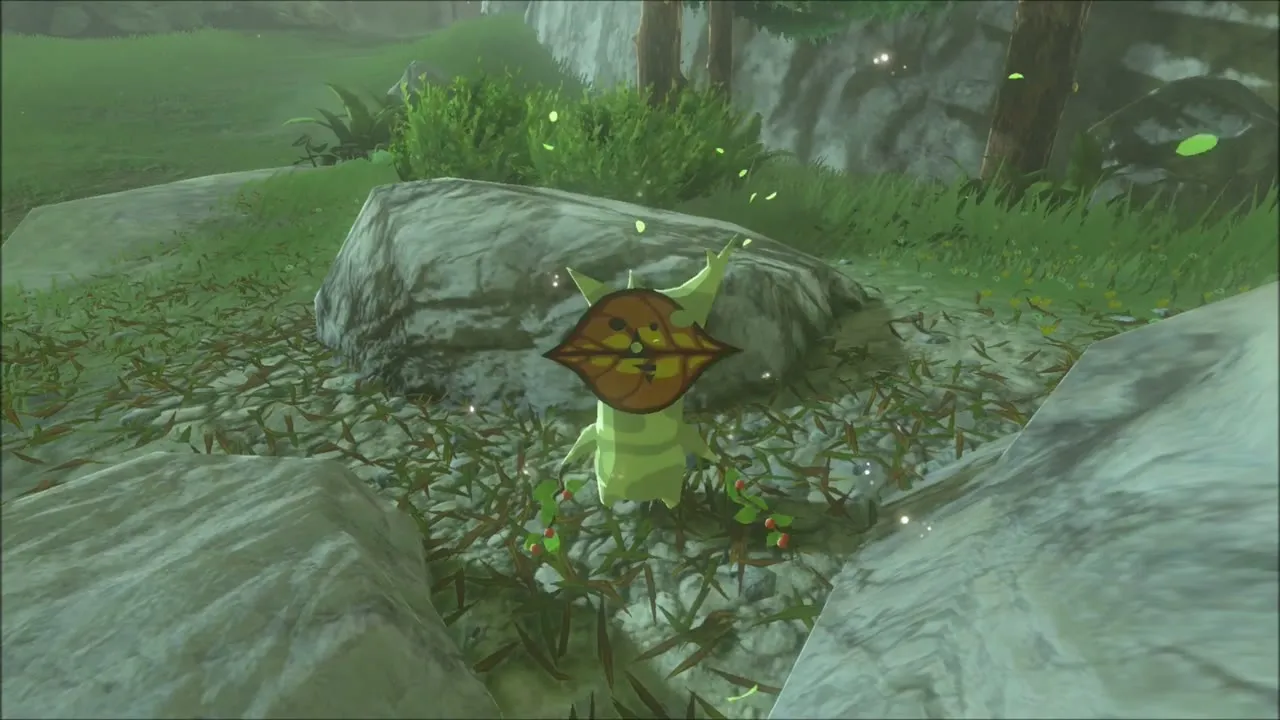
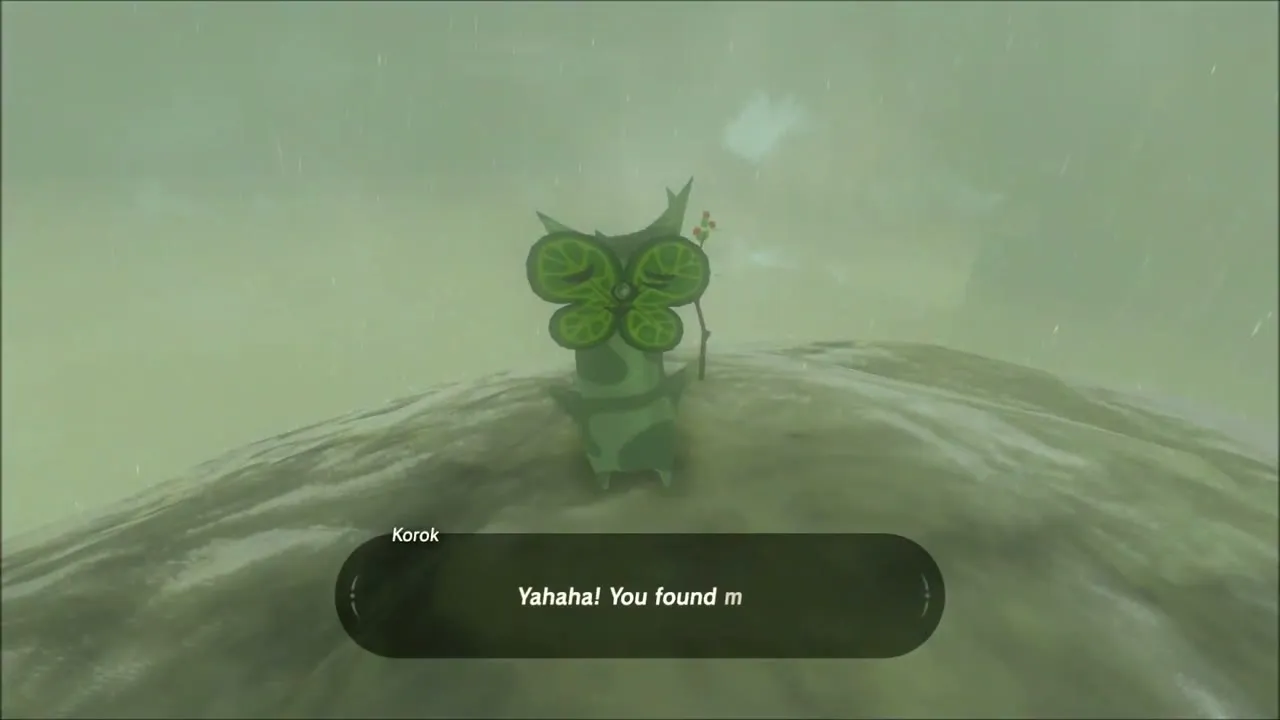
Further east, climb a lone fir tree in a meadow right to its top. A Korok is waiting there and calls out as soon as you find it.
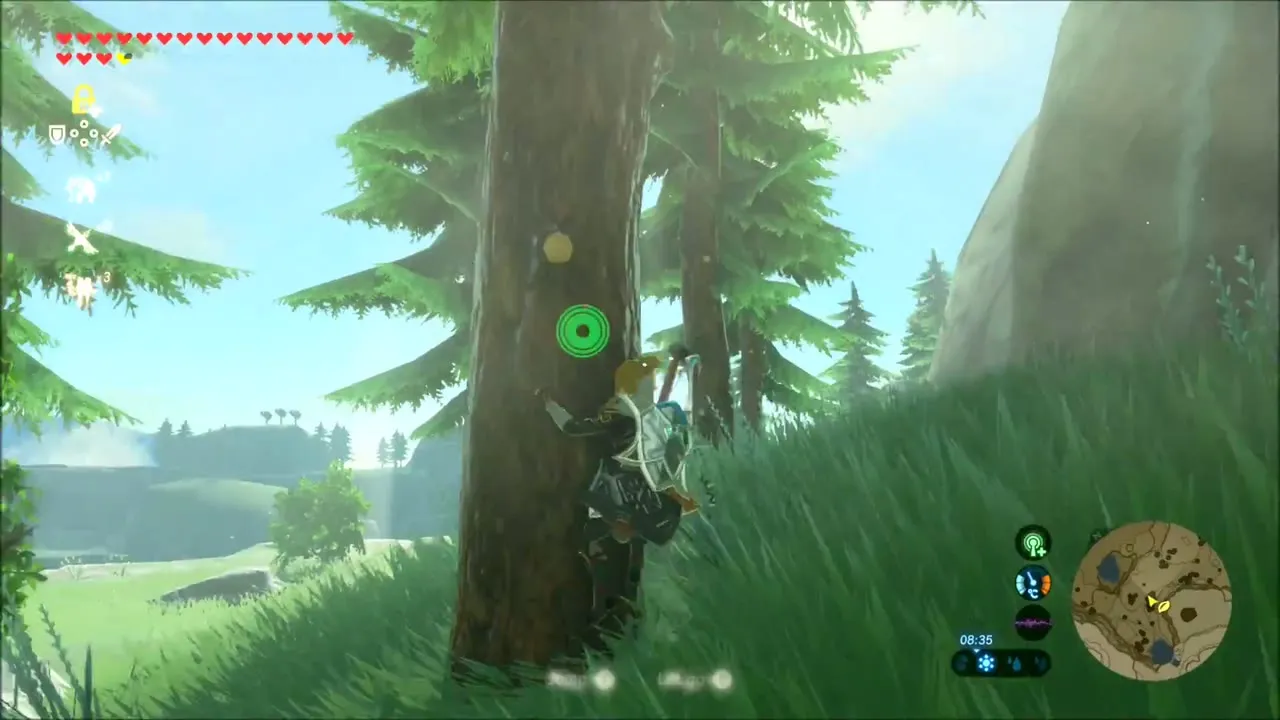
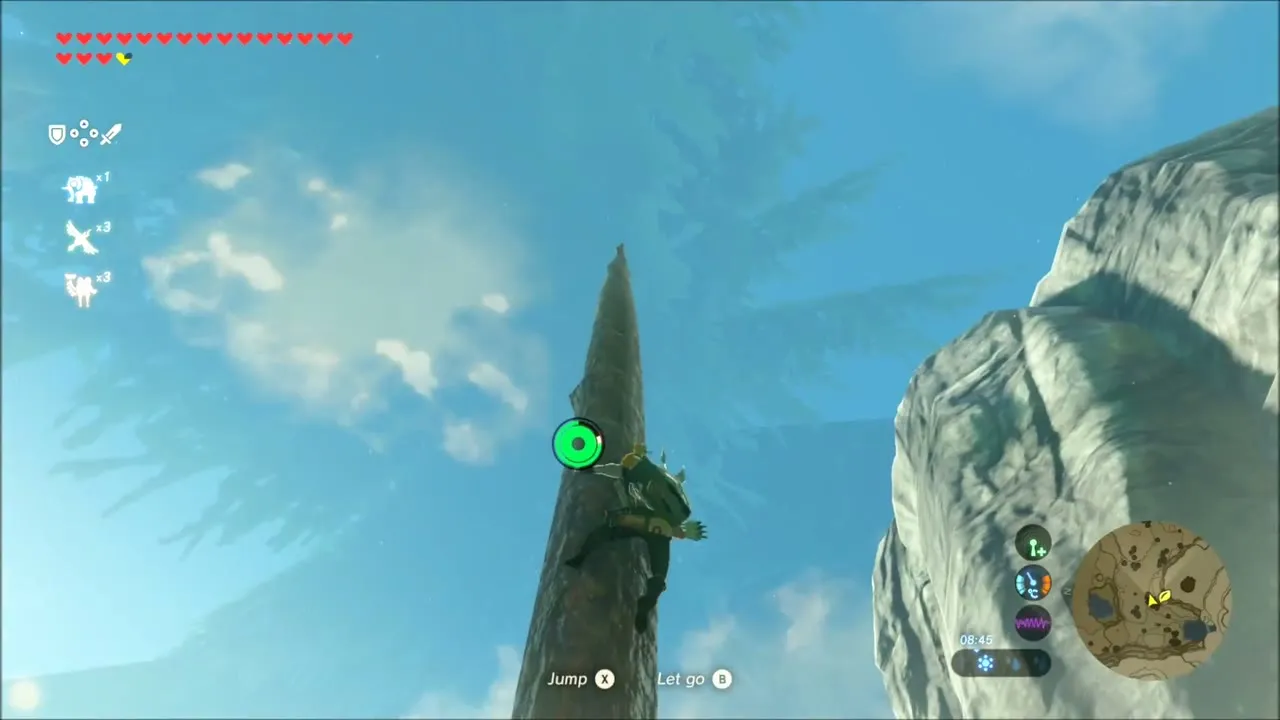
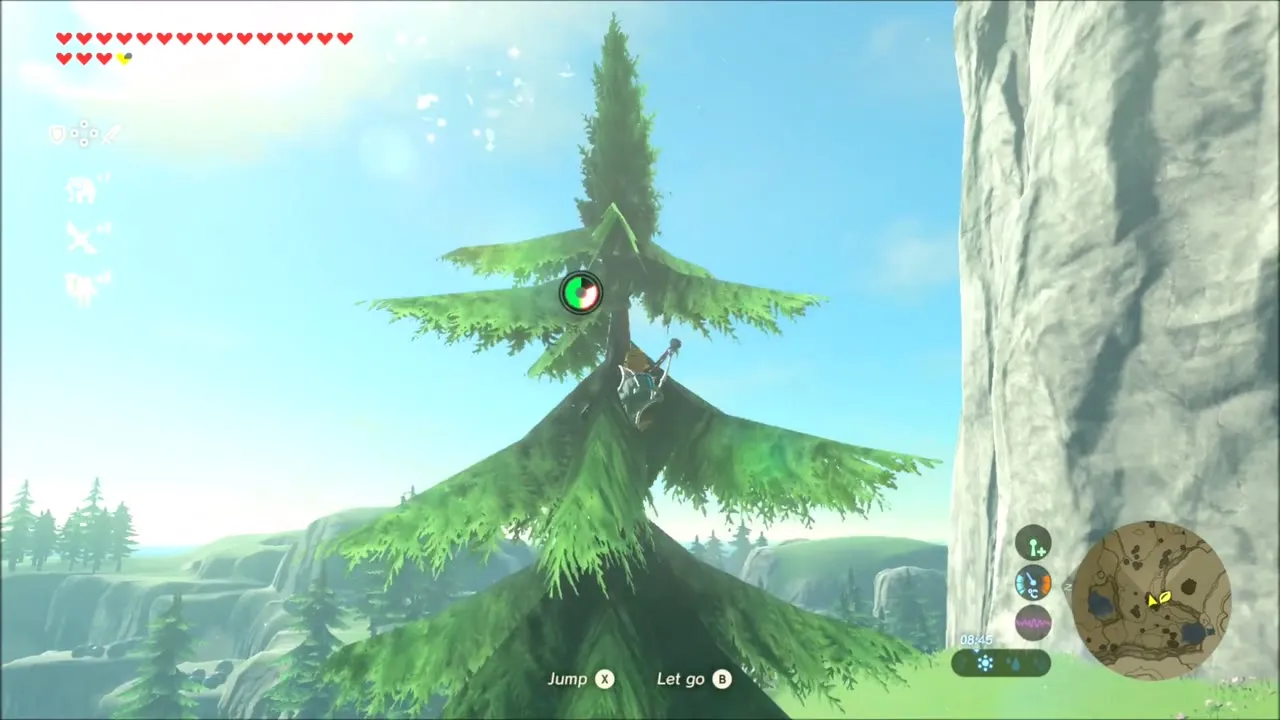
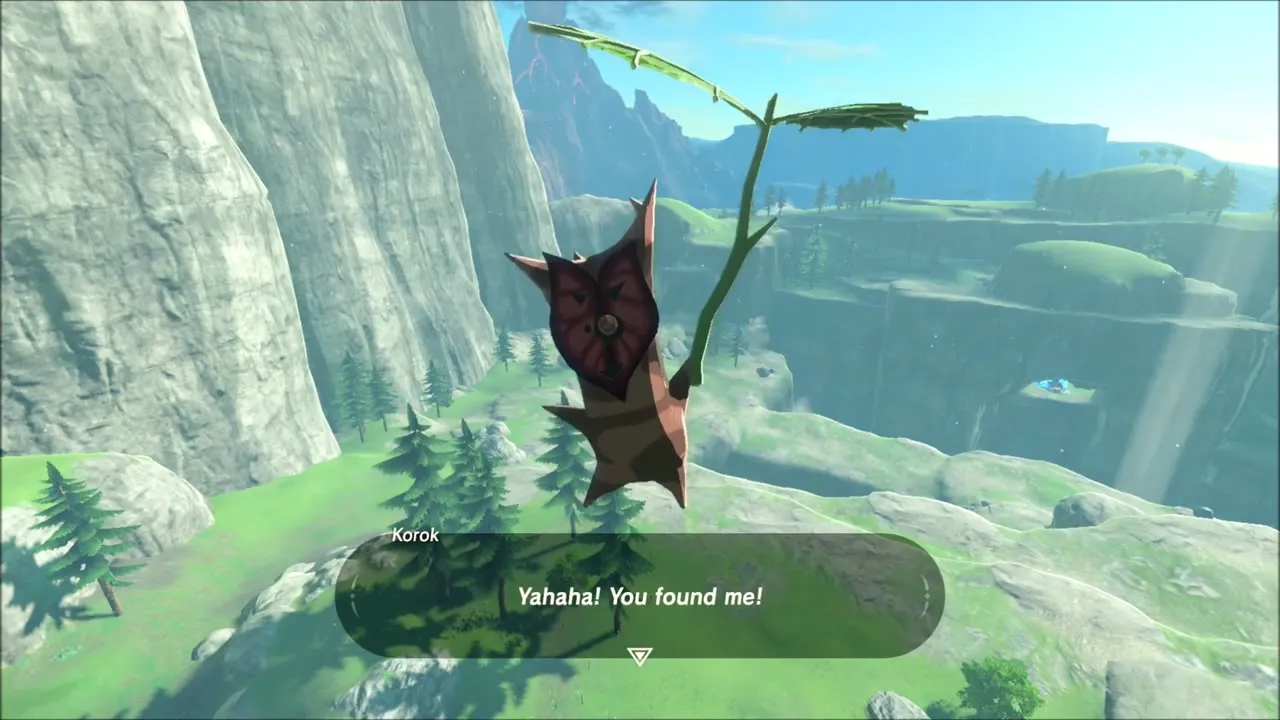
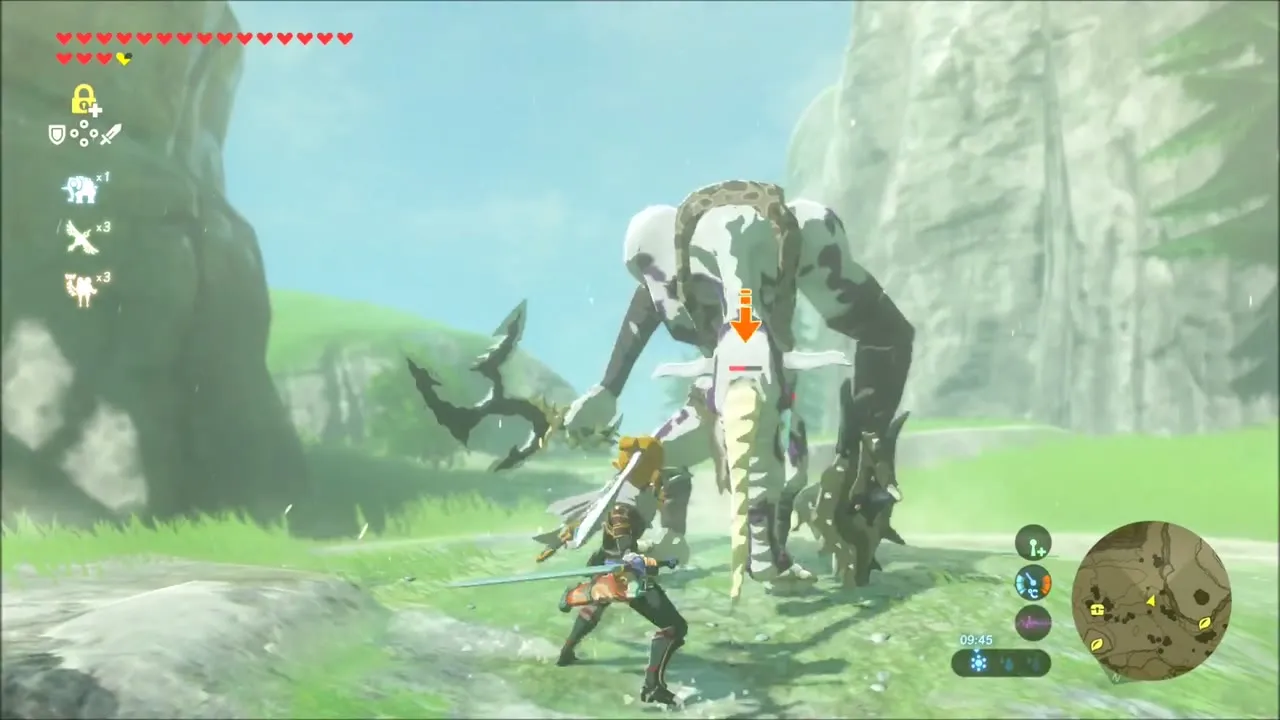
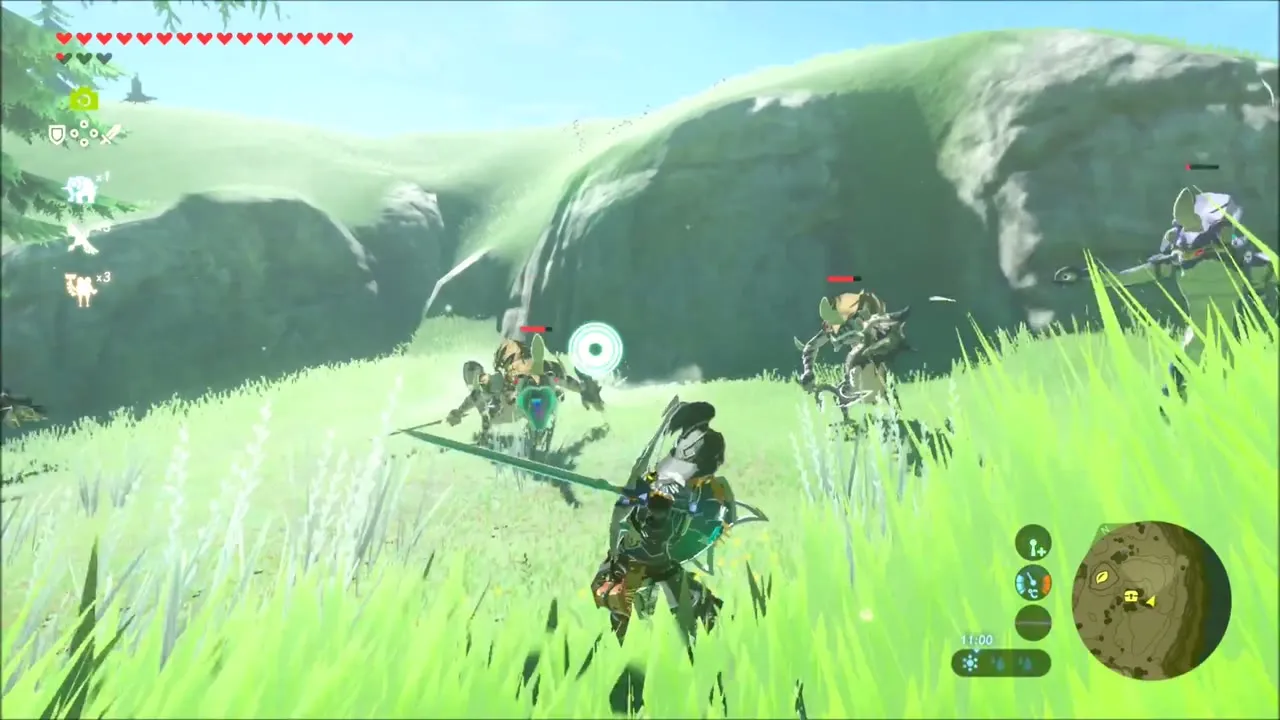
The woods beyond are full of Lizalfos, Moblins and Bokoblins. Beat them for their parts, open a chest you find on the way, and keep going through the rain.
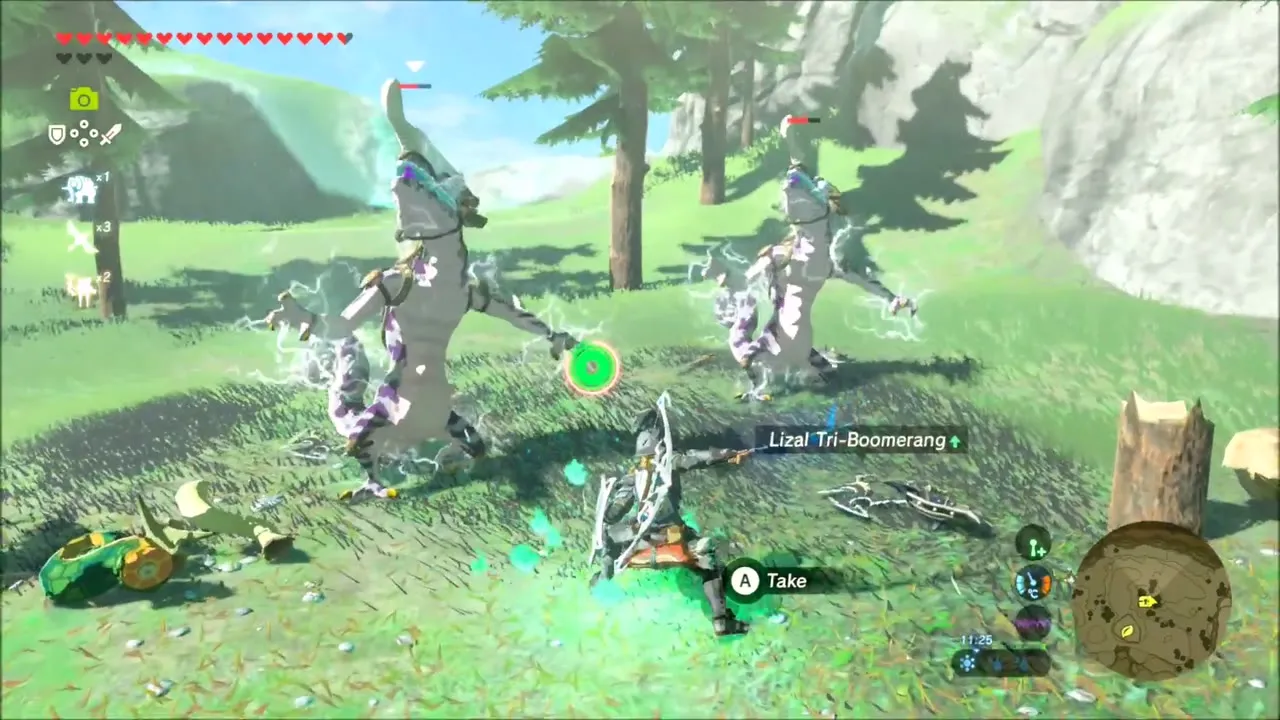

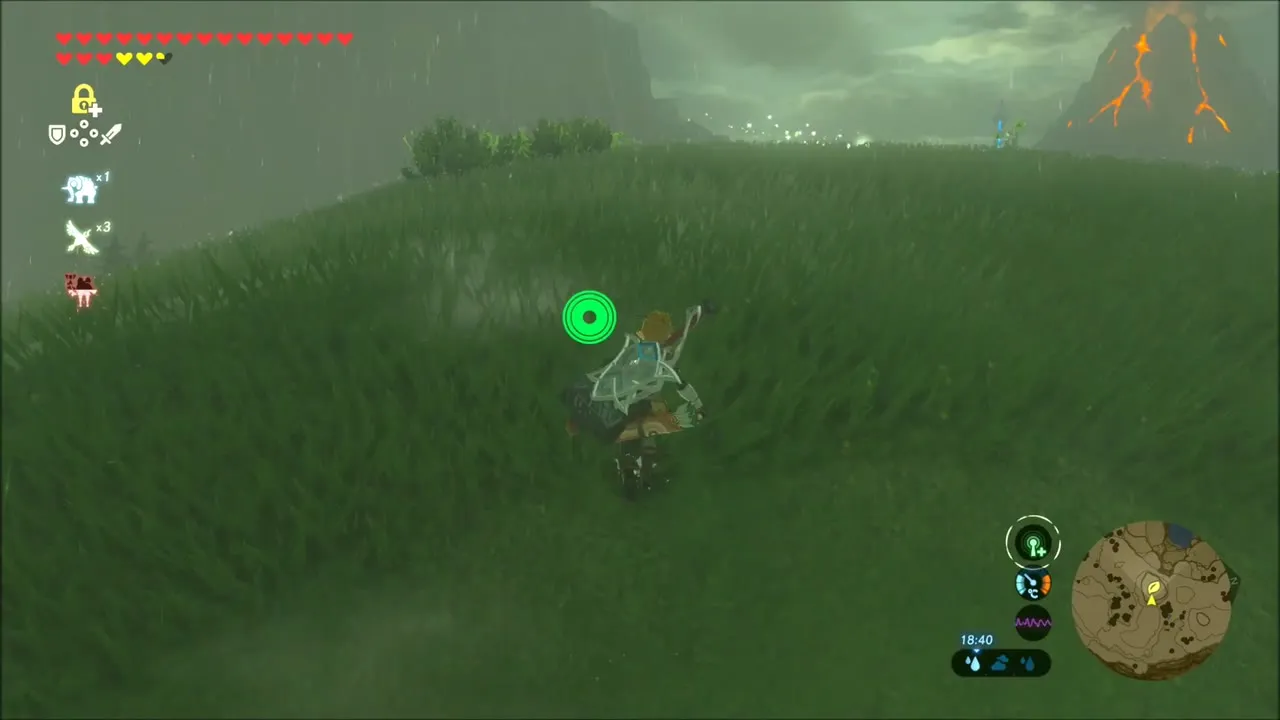
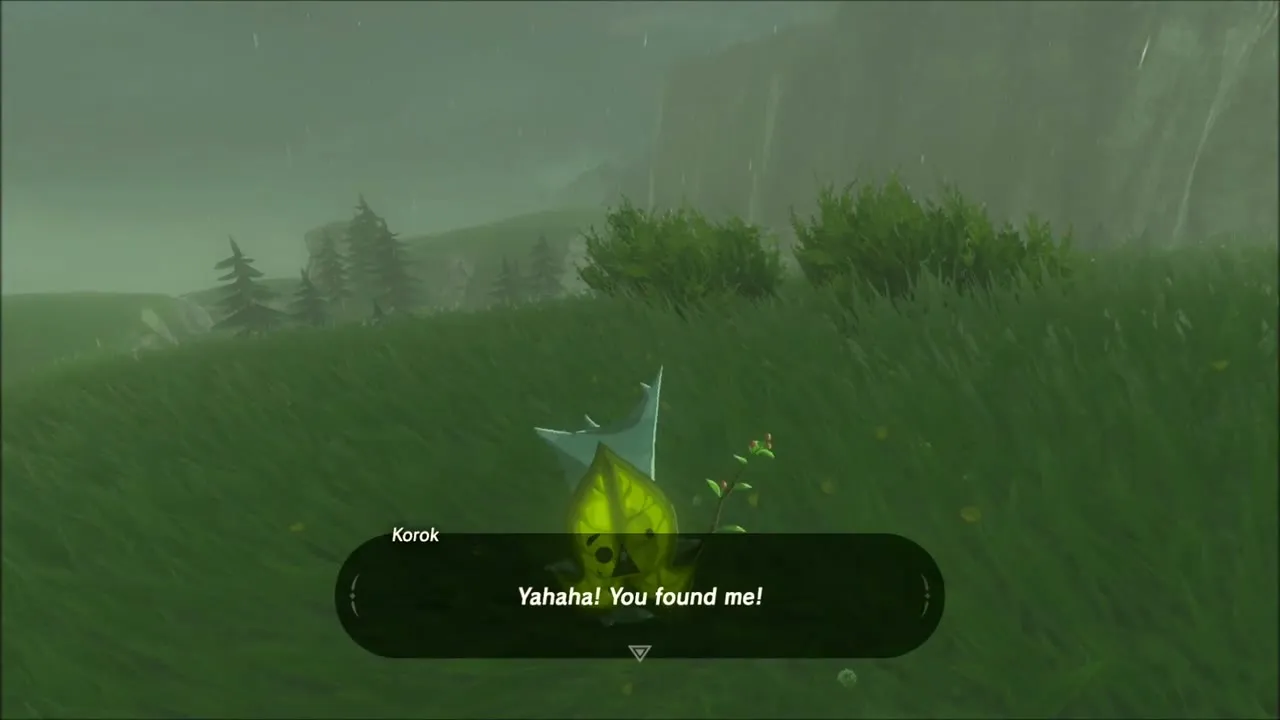
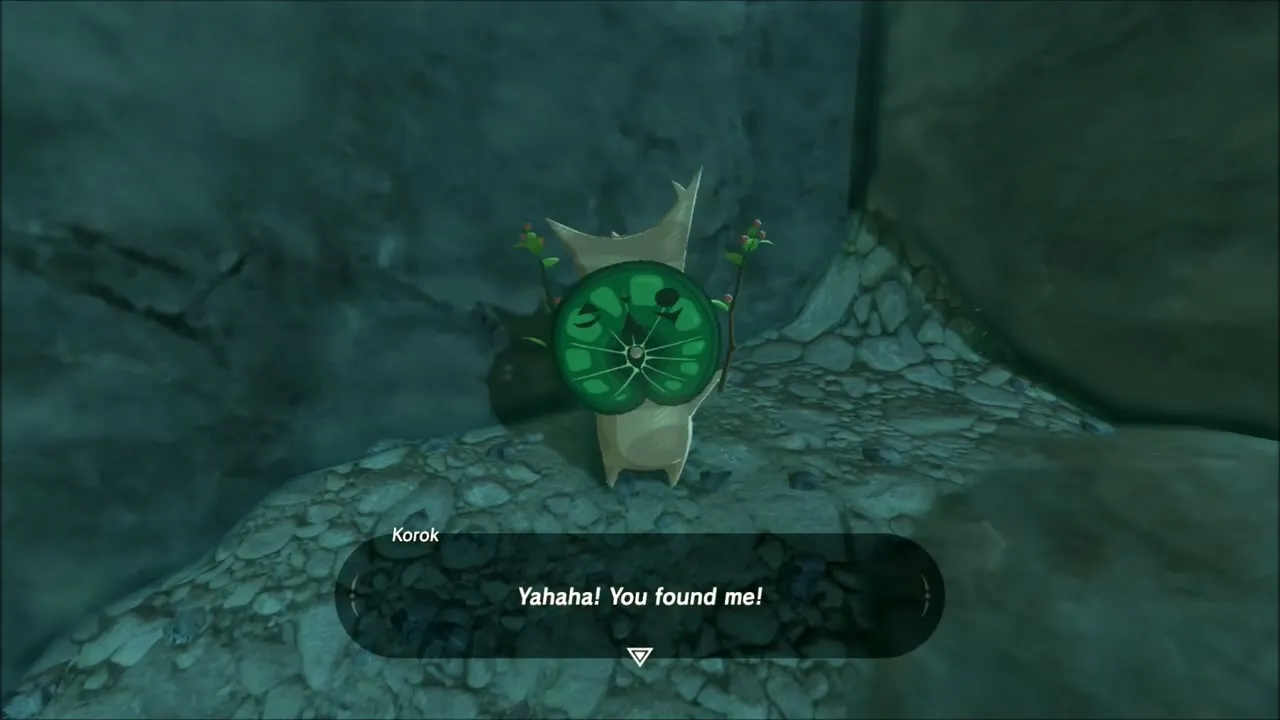
Climb the grassy hill in the rain and look at the crest to find one more Korok. A short way on, a chest in a clearing holds five Shock Arrows. Finally, find a Korok with a lime-slice leaf on a narrow ledge at the edge of the woods.

Tingel Island: Korok Seeds, Chests and Kah Mael Shrine
Tingel Island is a rugged knot of cliffs and wooden walkways, so expect to climb and paraglide between ledges. Two Korok seeds sit high on the rock: one on top of a boulder at the end of a steep climb, and another on a high cliff reached by climbing and gliding past a waterfall. Several chests are tucked on ledges, one beside a tall rock wall.


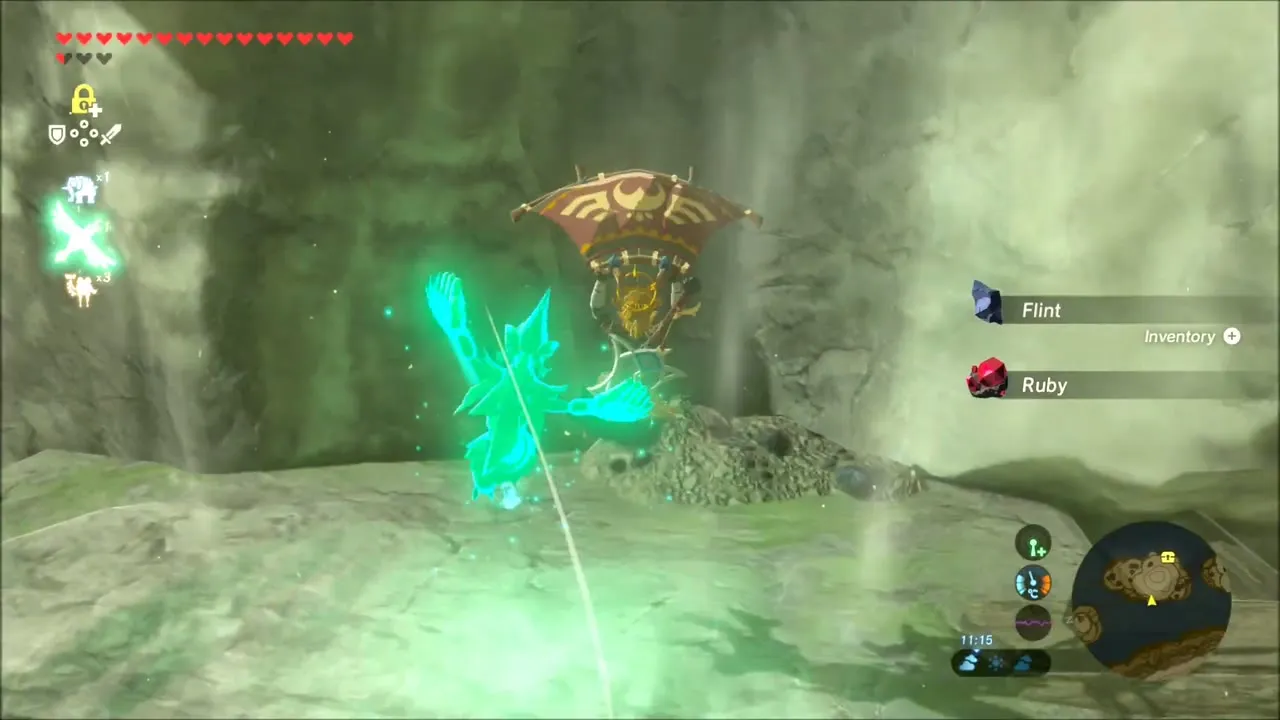
Ore deposits along the way give rock salt, flint, amber, opal and ruby. Guardian Skywatchers patrol the ledges, so watch for their red lasers. Besides the chests above, a couple more chests are worth opening as you go.


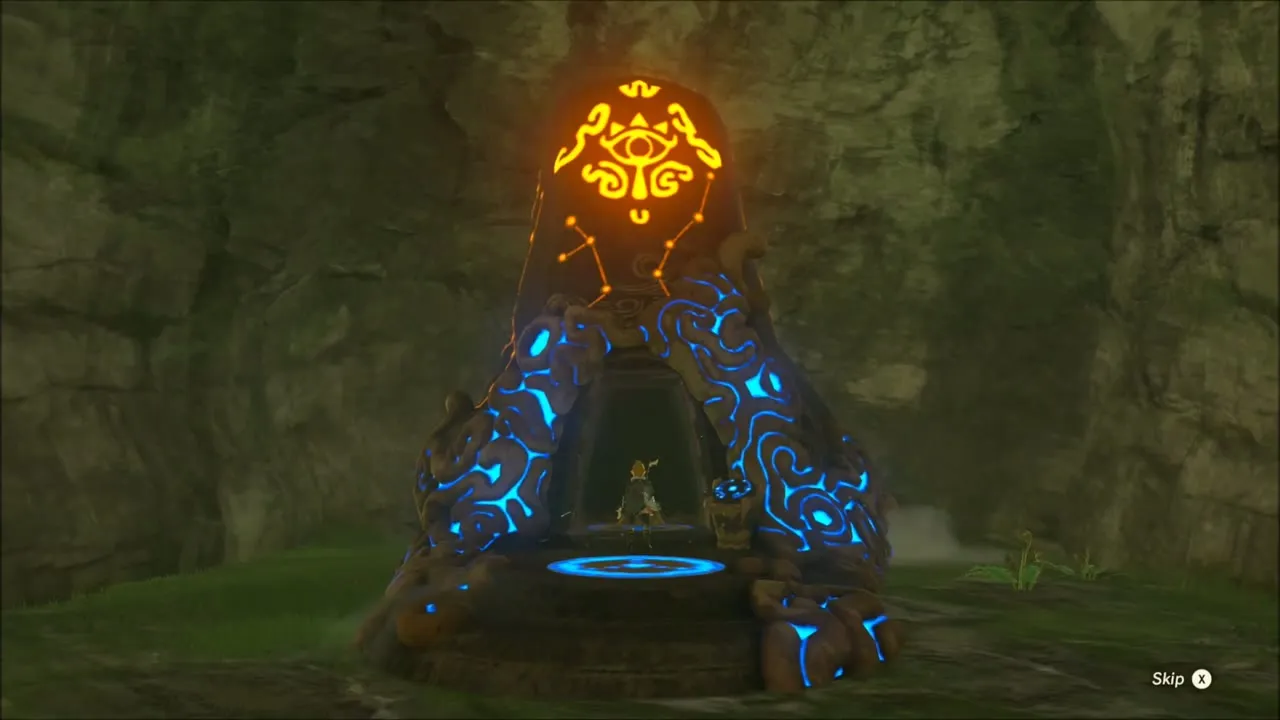
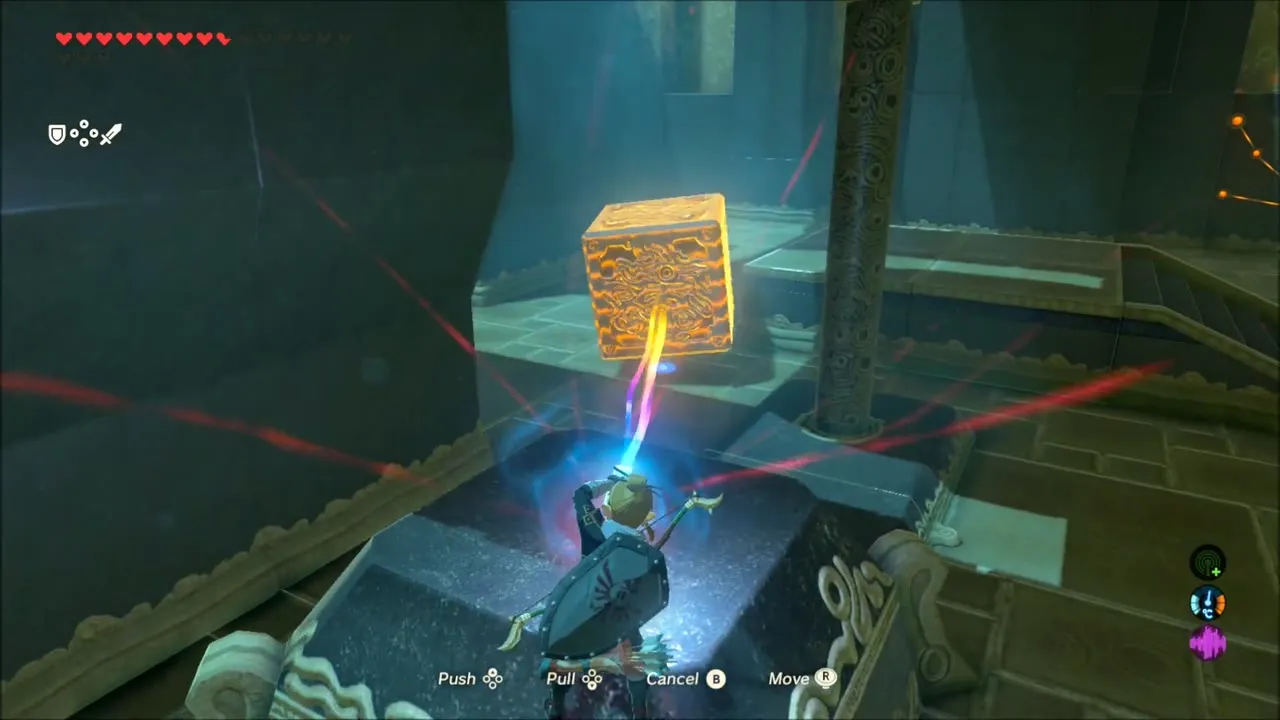
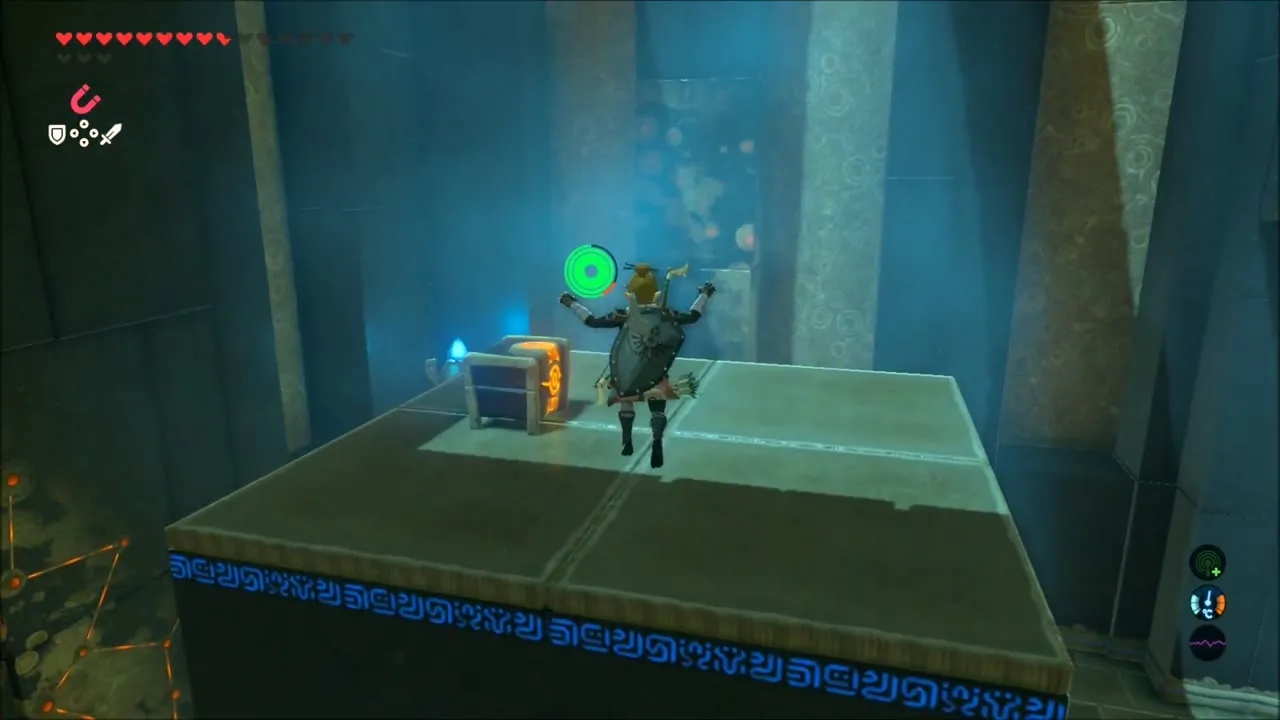
In the island’s central valley, find the slab covering a shrine and drop in. Kah Mael Shrine at (4709, -1310) is a weighing-scale puzzle. Use Magnesis to move the metal barrel to the far pan so your side rises, jump to the monk’s platform, then drop the large metal block from height to reach the chest. Take the Spirit Orb from Kah Mael.

Mija’s Great Fairy Fountain: Armor Upgrades
Visit Mija’s fountain by Lake Akkala at (4112, -1378). Mija upgrades armor for materials and rupees. Radiant Tights, Barbarian Leg Wraps, Snow Boots and Snowquill Headdress all appear on her upgrade list, so bring the listed monster parts and gems. See Great Fairies for costs.

Korok Seeds on the Eastern Shore
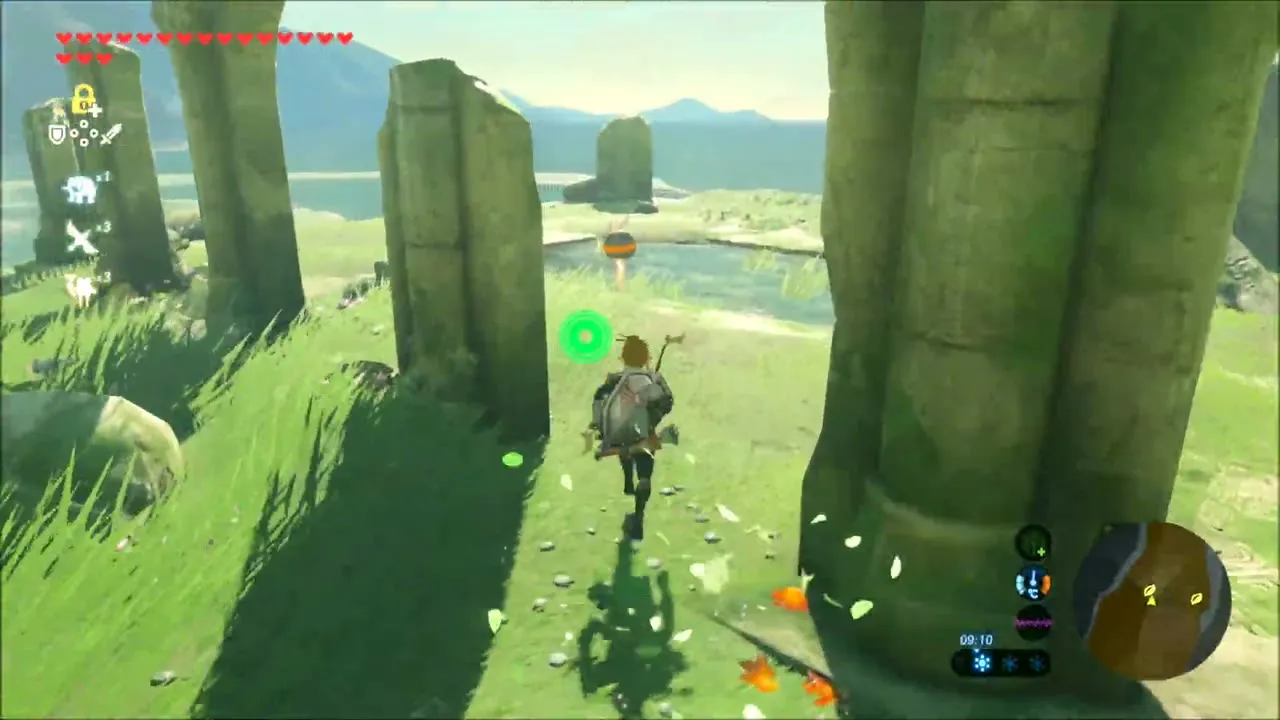
On the grassy slopes above the beach, ruined stone arches and fallen pillars mark the spot. One Korok seed is found by a mossy rock overlooking the sea, and another Korok is standing on a stone block among the ruins. Check the stones around any lonely ruin here.

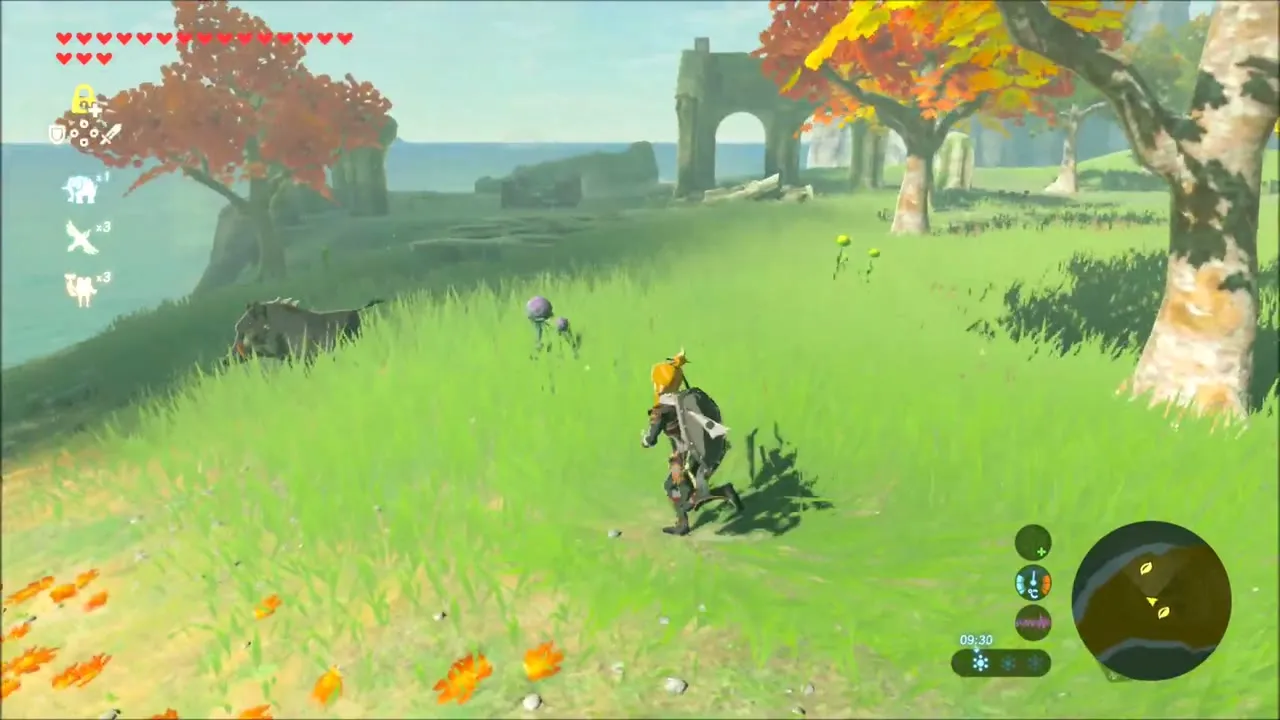
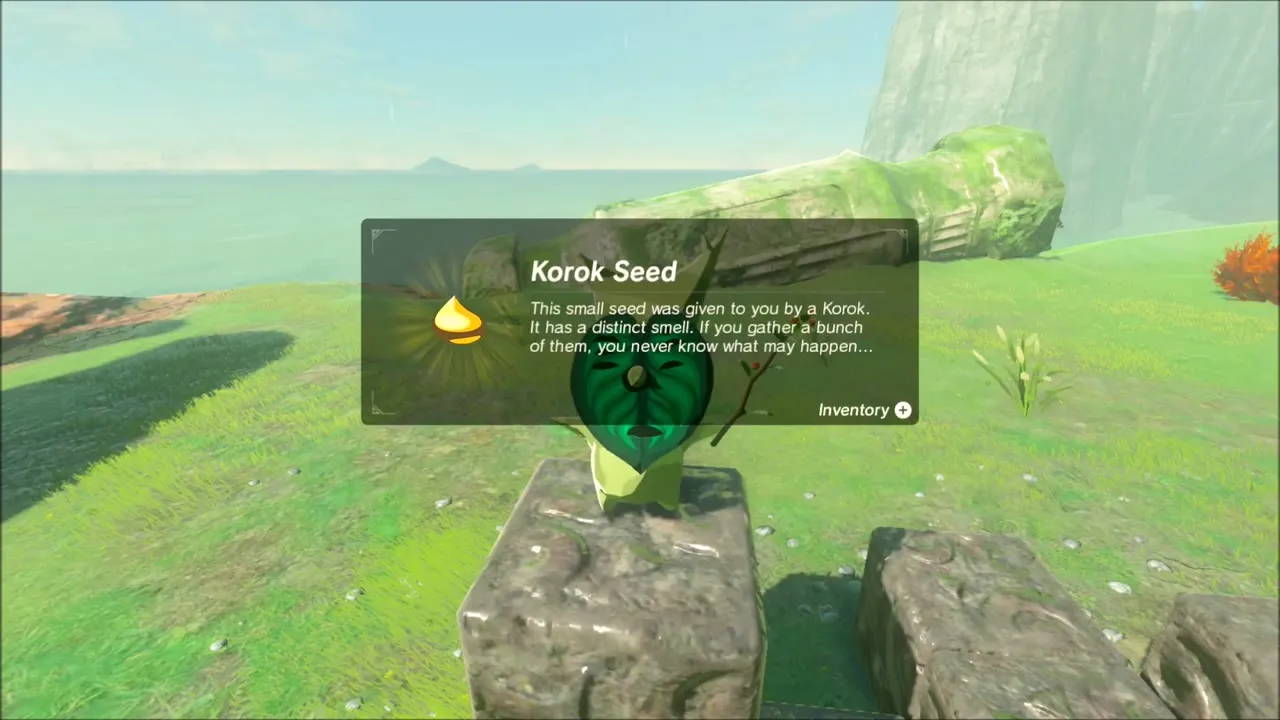
Ritaag Zumo Shrine: Carrying the Ancient Orb
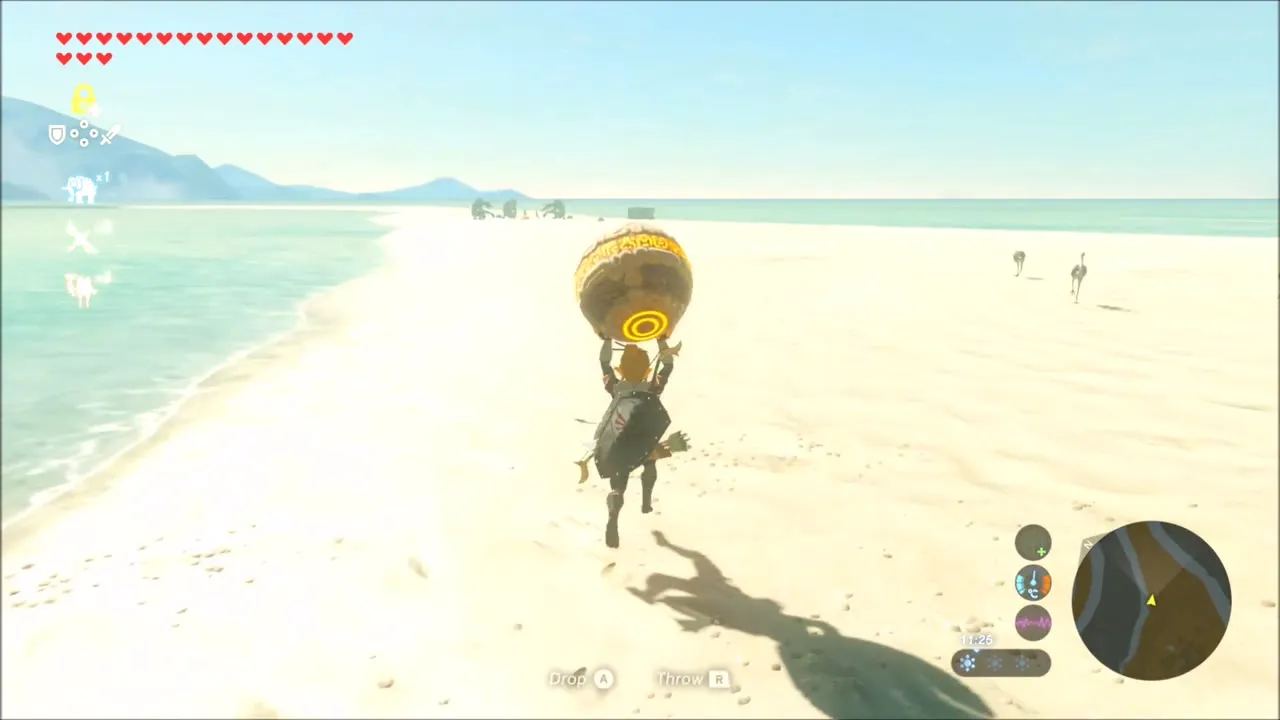
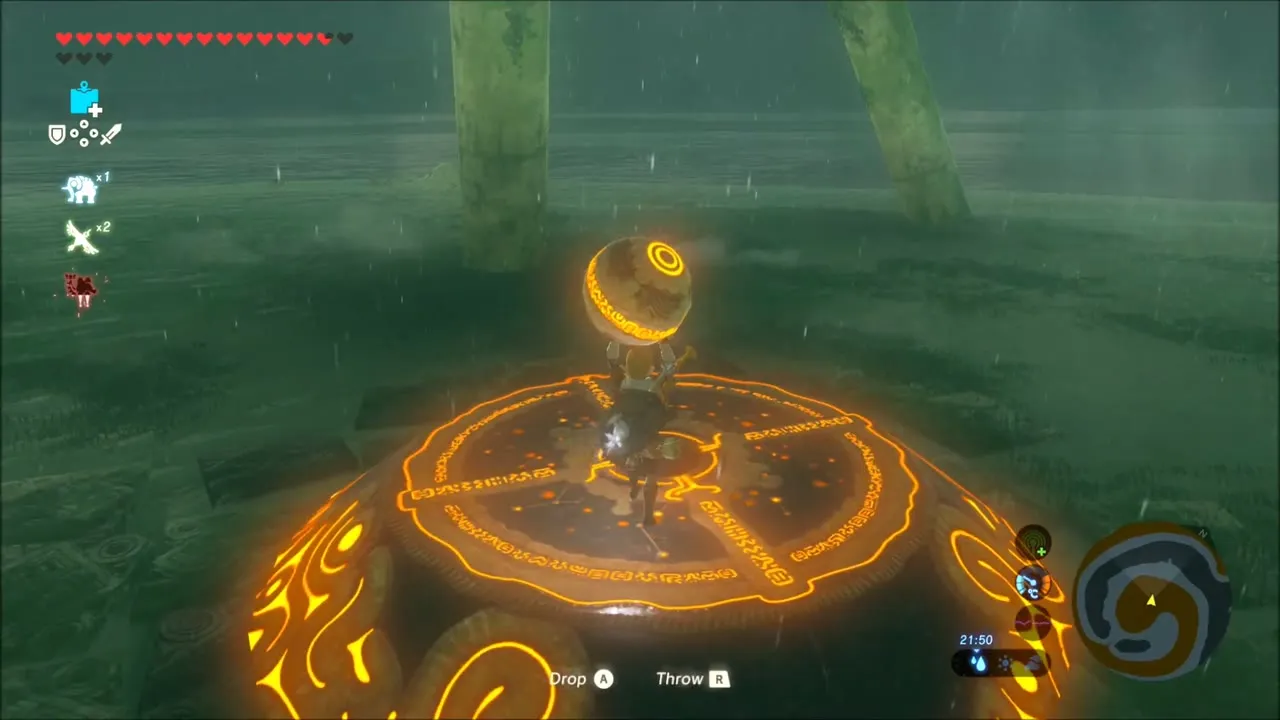
Take the ancient orb from the ruins on Malin Bay and carry it east along the sandy beach toward the Rist Peninsula. Put it down whenever monsters attack, fight them, then pick it up again. This starts with the Into the Vortex shrine quest.


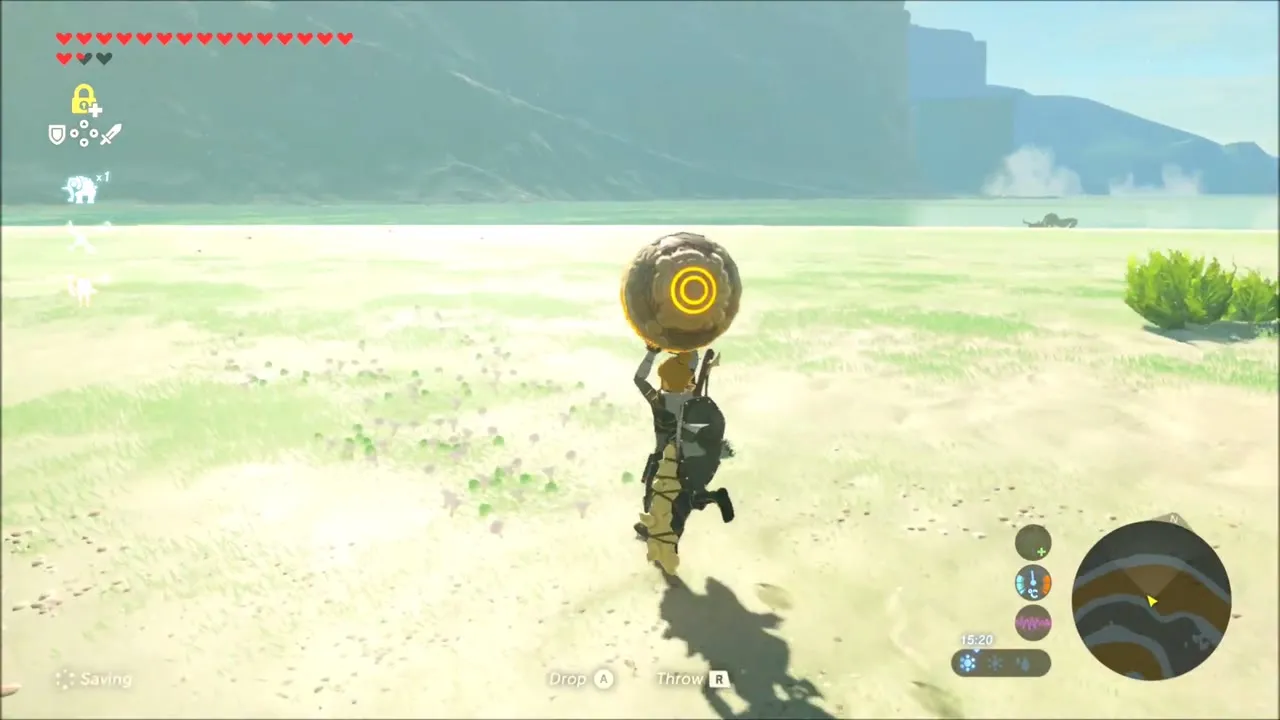
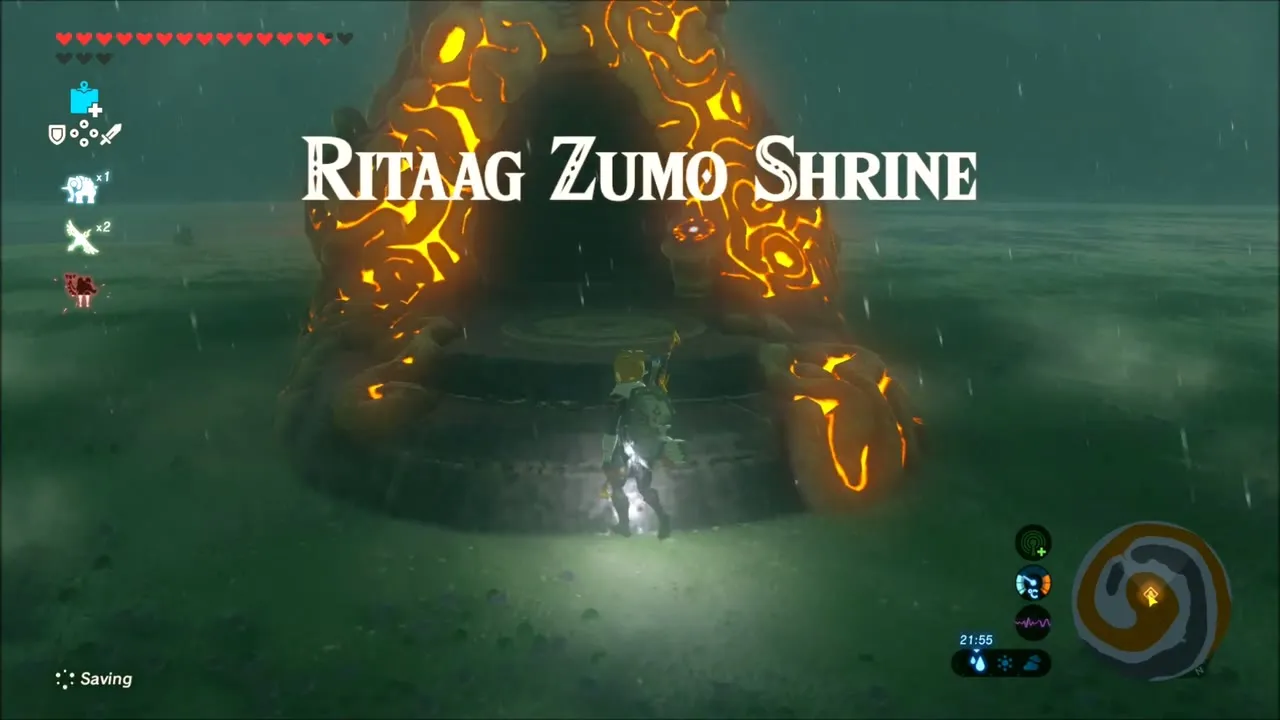
At the centre of the spiral, set the orb on the platform. Ritaag Zumo Shrine at (4525, -2128) rises from the ground. Walk through the shrine to the altar and claim your Spirit Orb from the monk.

East Akkala Beach and the Rainy Coast: Korok Seeds on the Way to Katosa Aug
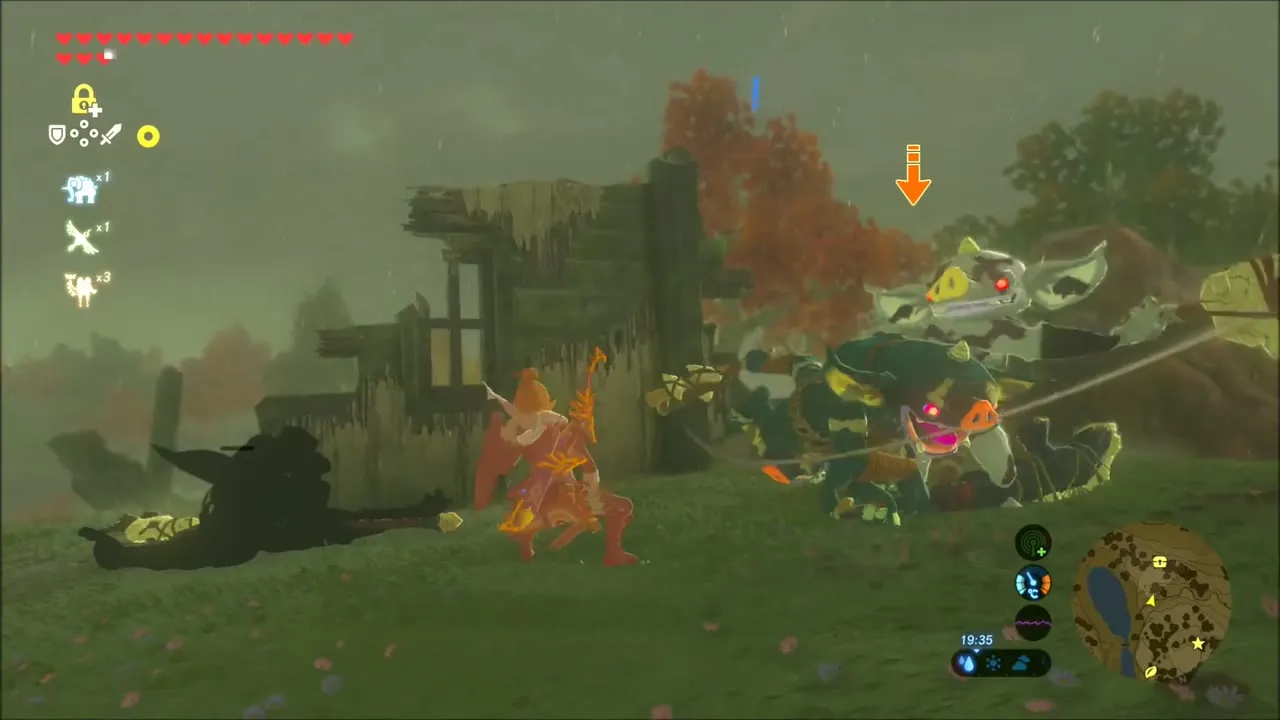
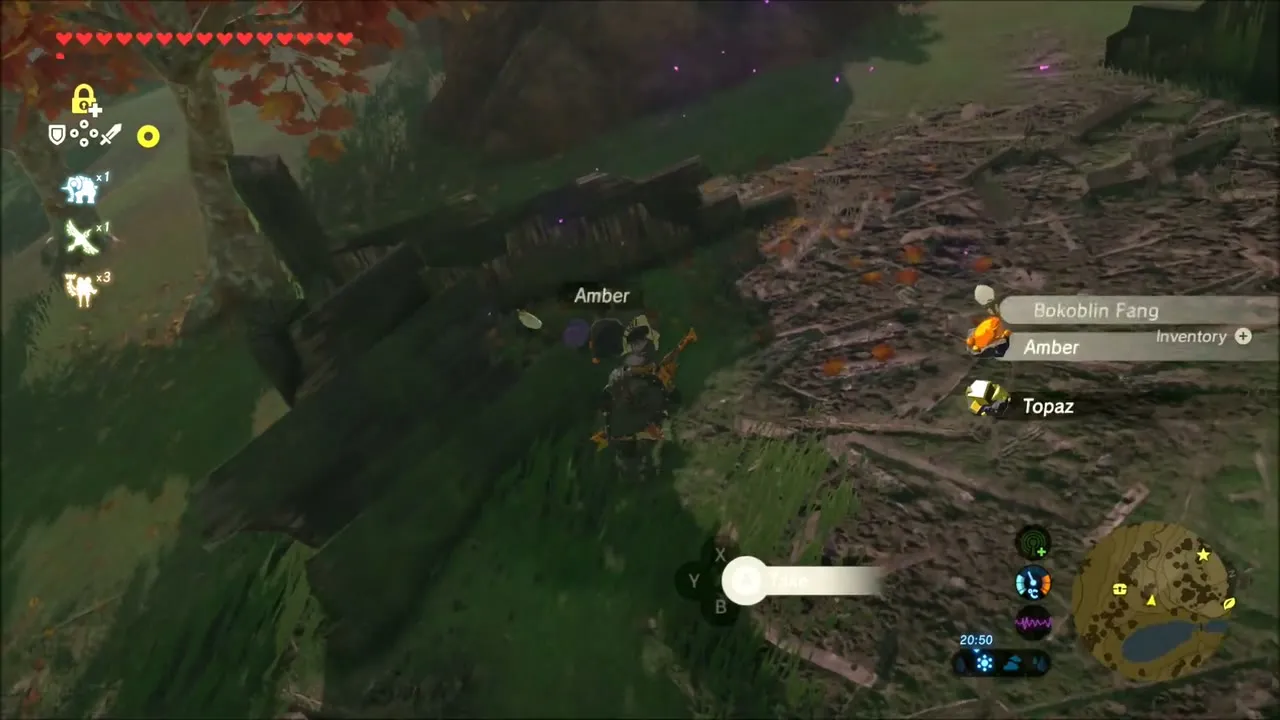
The route opens on the rain-soaked coast of eastern Akkala. Mark your next targets on the map, then work down the shoreline of East Akkala Beach, swimming around a wooden dock and shooting the Moblins that patrol the sand. They drop Moblin Fangs and Horns, and you can pick up Amber along the water’s edge. Stay on the beach and the grassy slopes above it while the rain lasts.

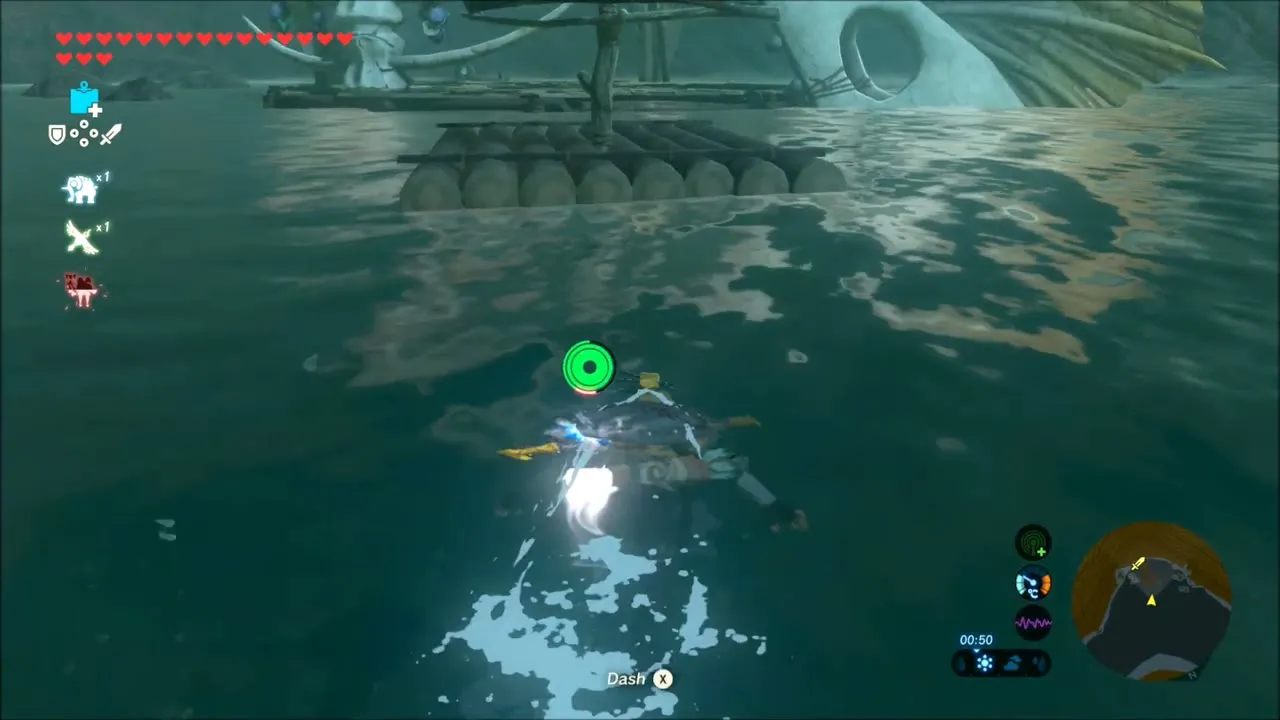
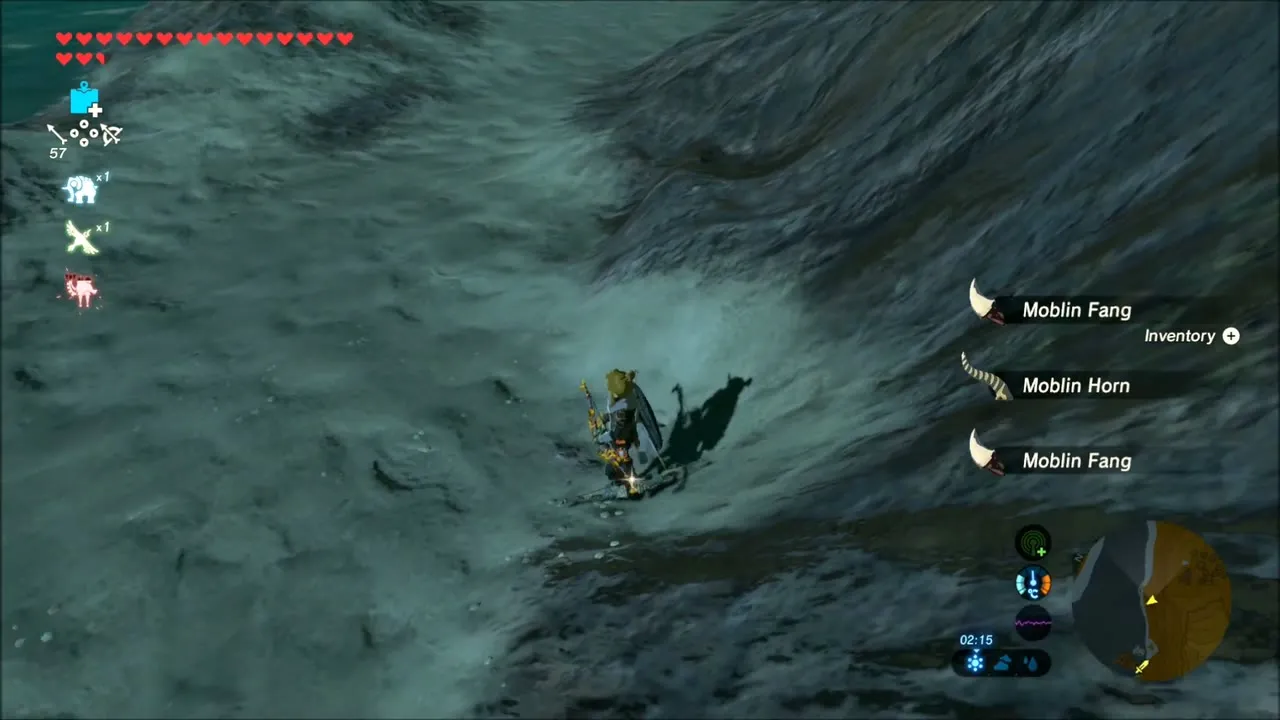
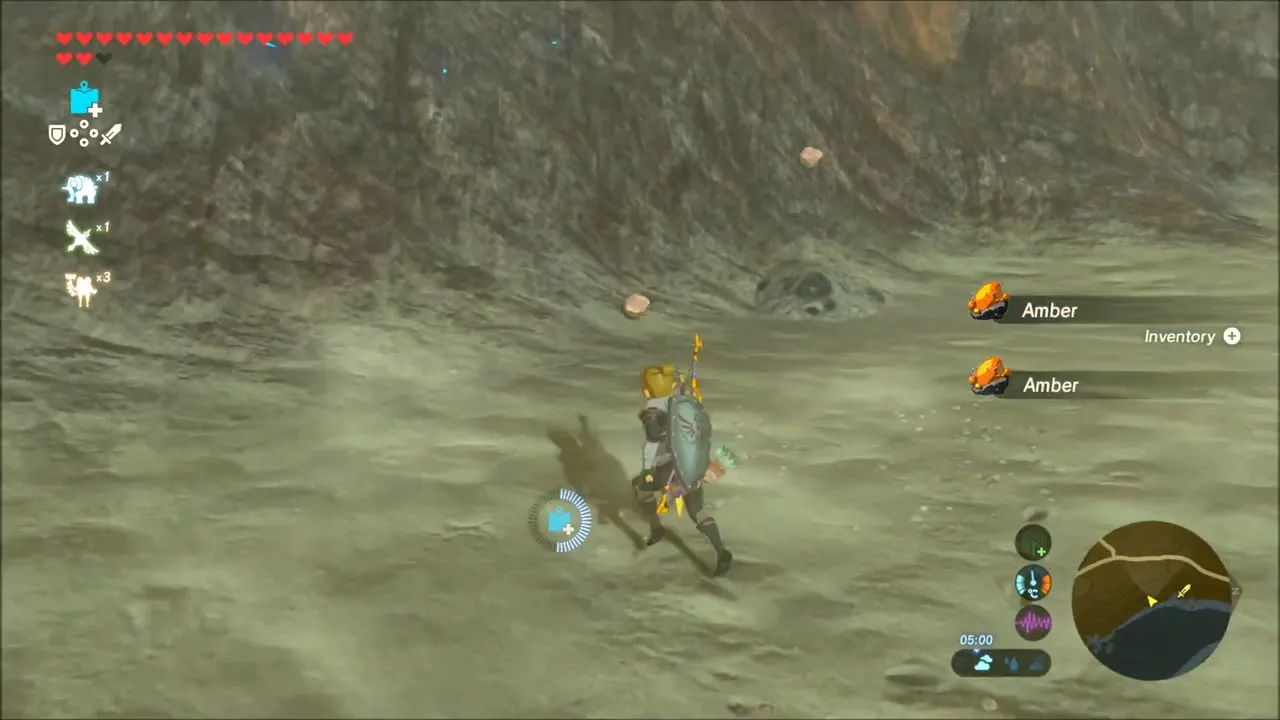
Korok seeds on the grassy ridges
Inland, a grassy ridge climbs toward a bare boulder at its crest. A Korok is waiting on that boulder, and walking up to it earns you a Korok Seed.
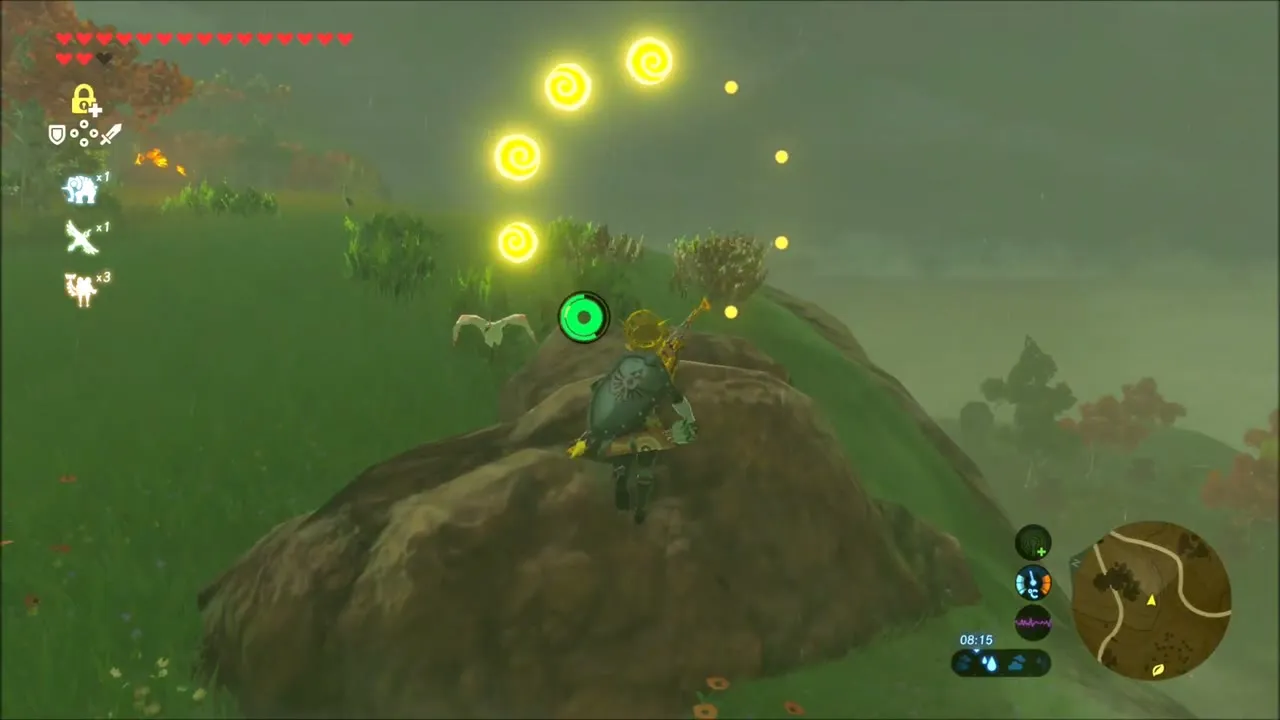

A little further on, two small green balloons float in the air above the next slope. Draw your bow and pop both with arrows. When the second one bursts, the Korok behind the trick shows itself in a swirl of leaves and hands over another seed.
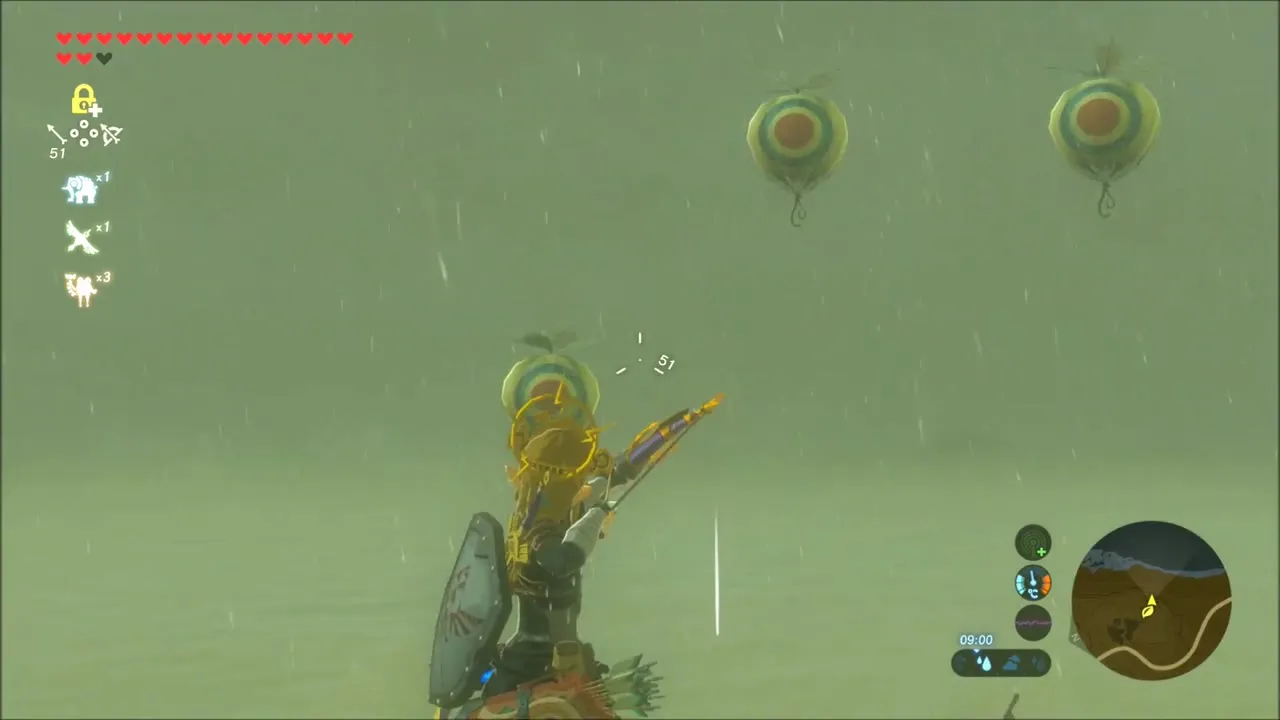

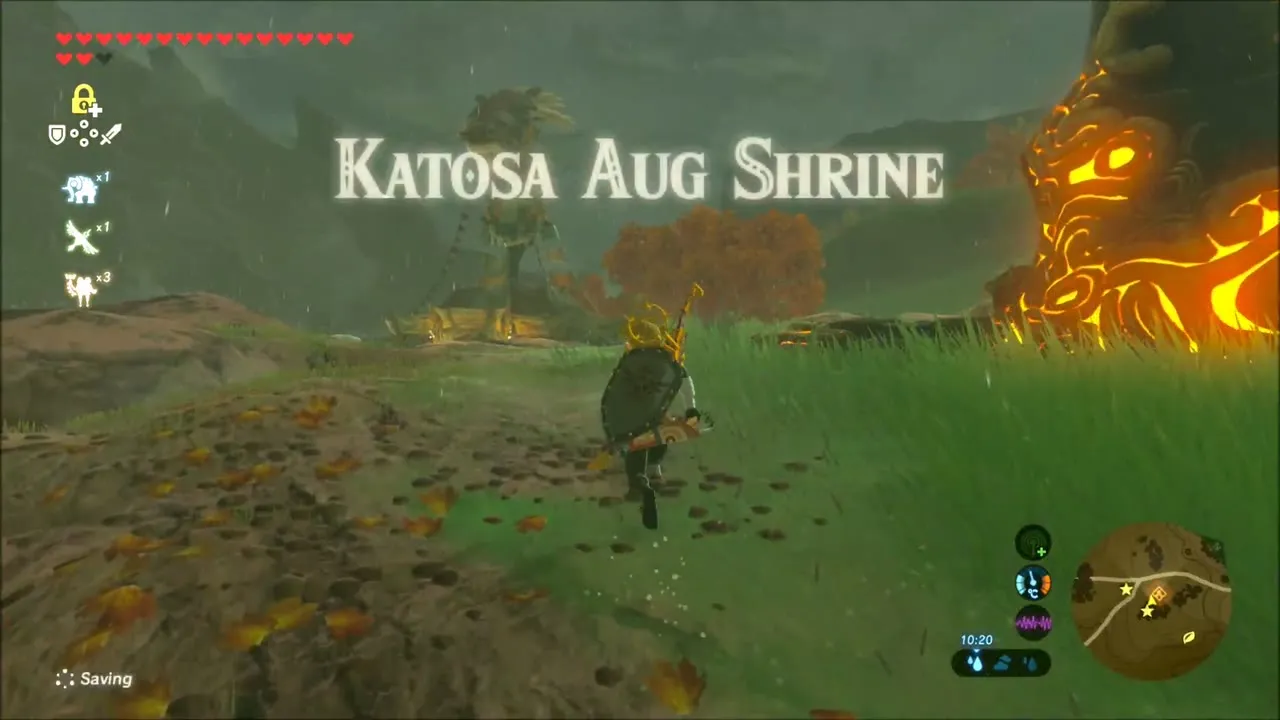
Katosa Aug Shrine: Hammer Apparatus Trial and Great Frostblade
Follow the road inland to Katosa Aug Shrine, which stands beside East Akkala Stable (map position x 4295, z -2730, height 250). The trial is a pair of motion-controlled hammer puzzles: tilt the hammer apparatus so that it taps a stone orb gently into its receptacle. Hit too hard and the orb rolls off the edge. The first orb raises a platform; behind the monk waits a second apparatus with a trickier course.
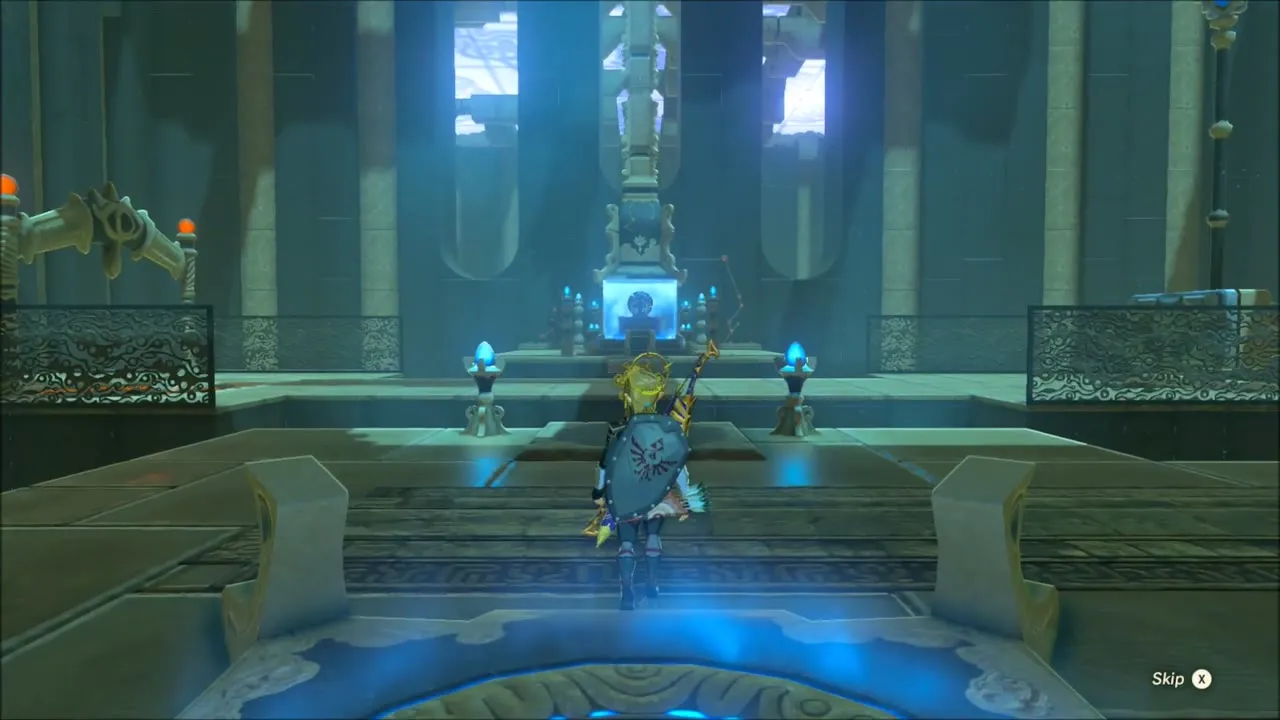
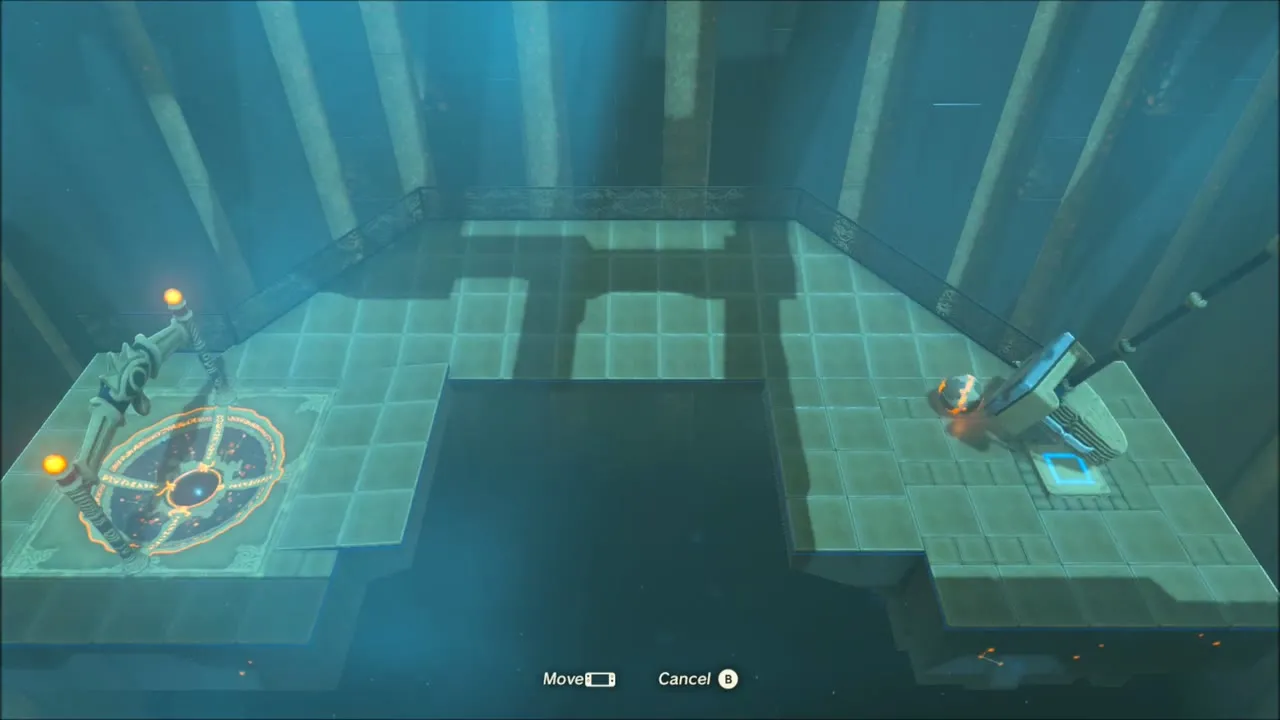
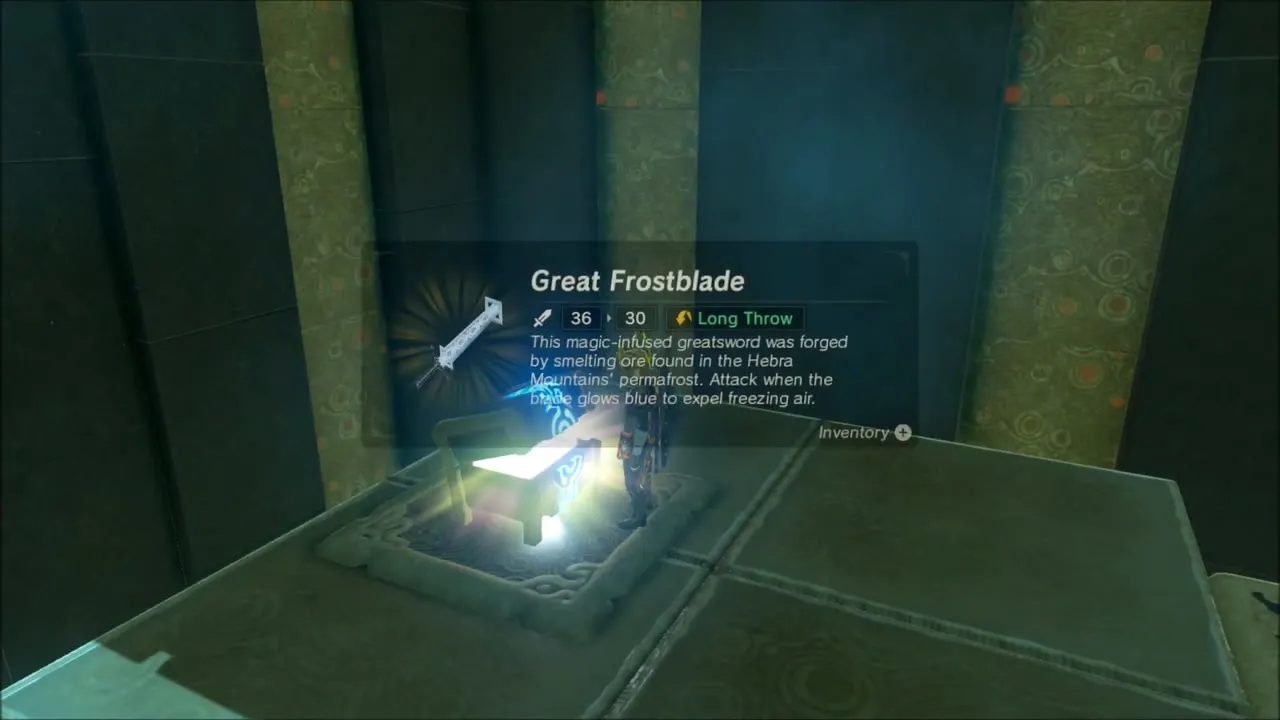
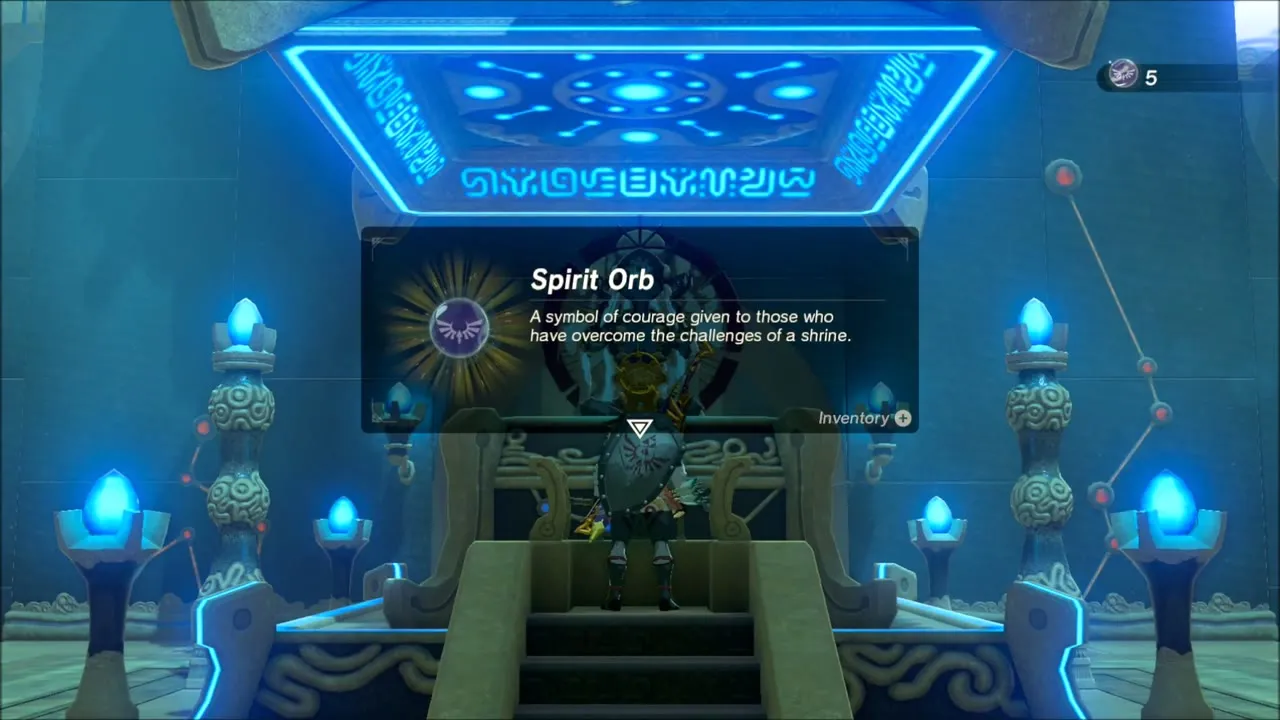
Sinking the second orb opens the chest on your right, which holds a Great Frostblade. Speak to the monk afterwards for the Spirit Orb. The shrine’s own page has a fuller walkthrough of both orbs.


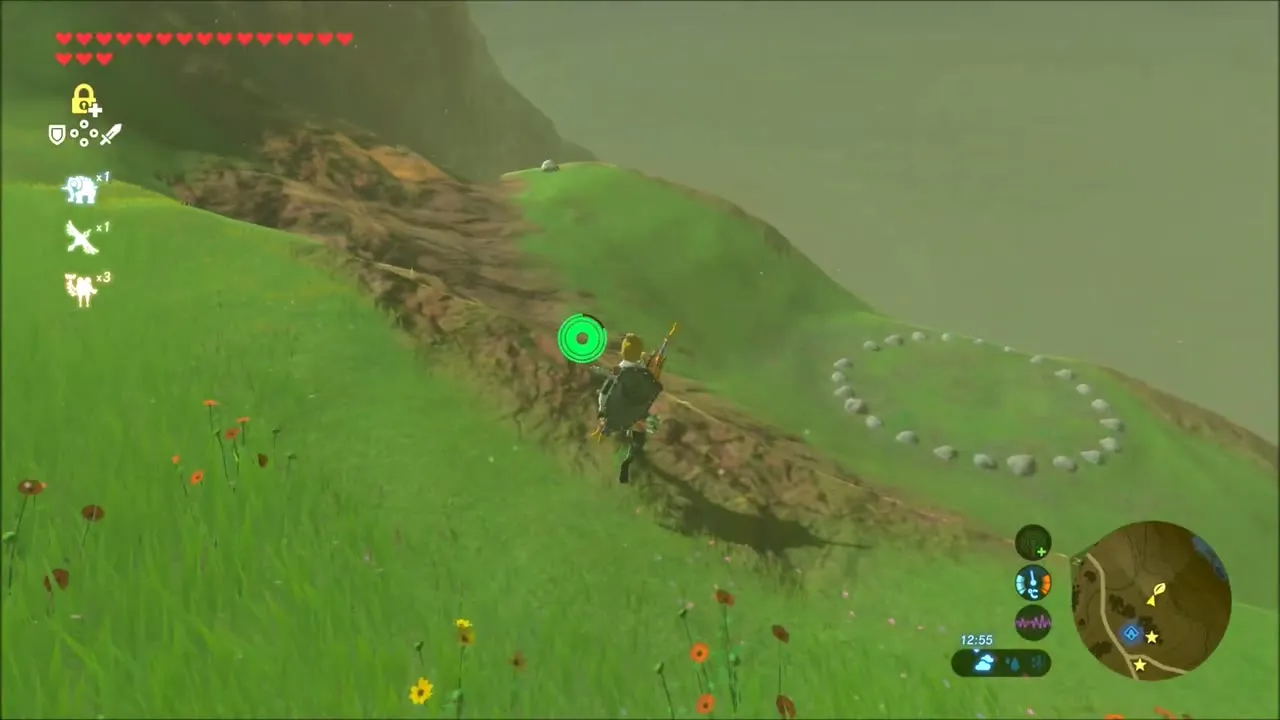
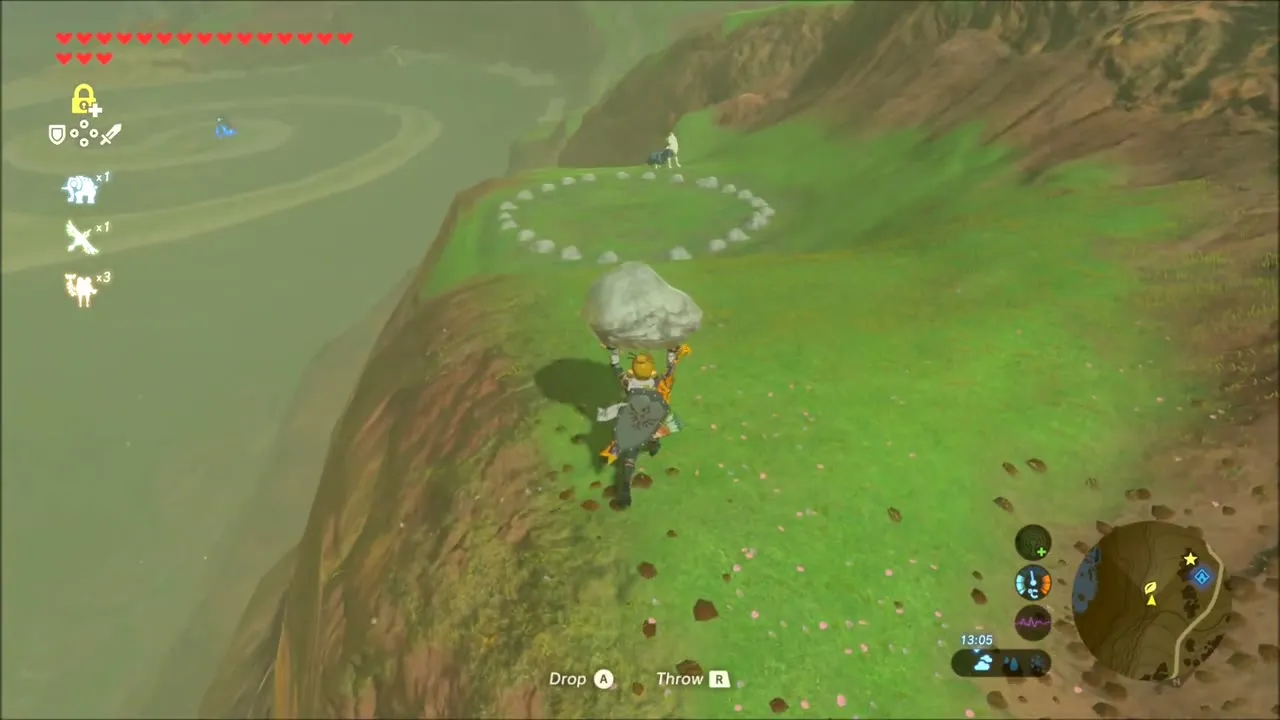
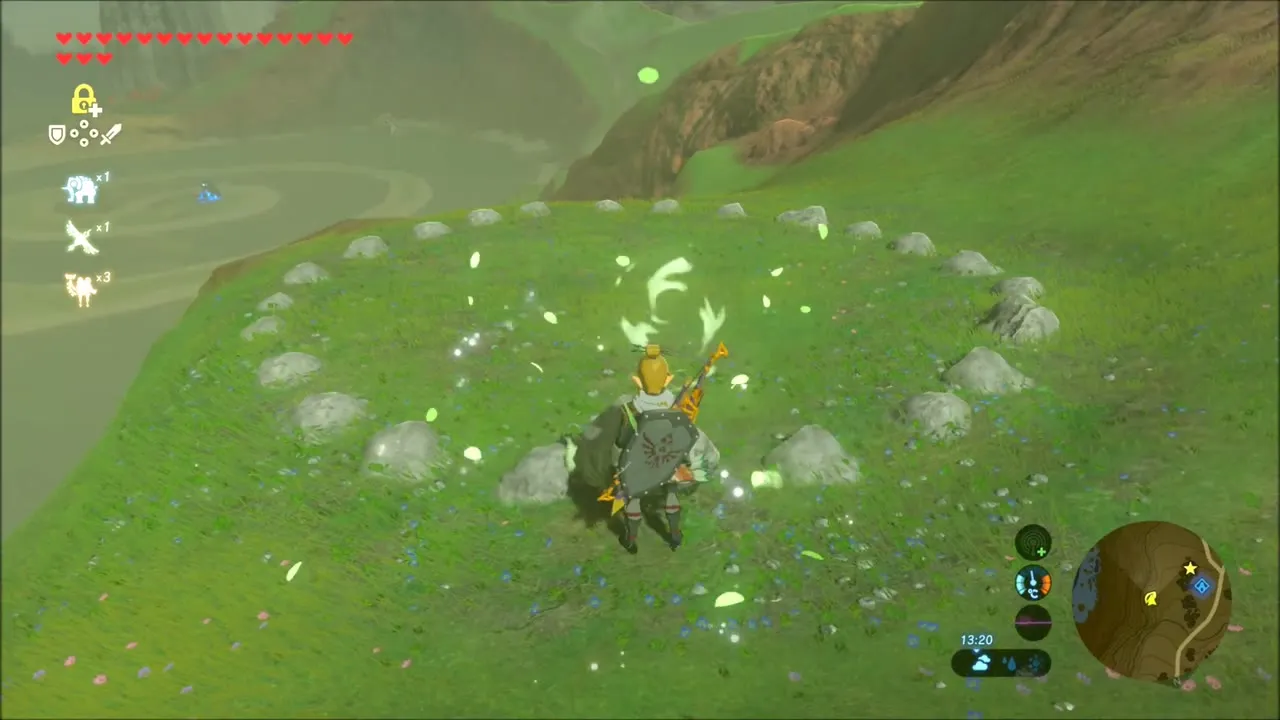
On the slope below the shrine there is another Korok. A ring of small stones circles a patch of grass, and one stone is missing. Pick up a loose boulder from the hillside, carry it up to the ring and set it down, and the Korok pops out with a seed.

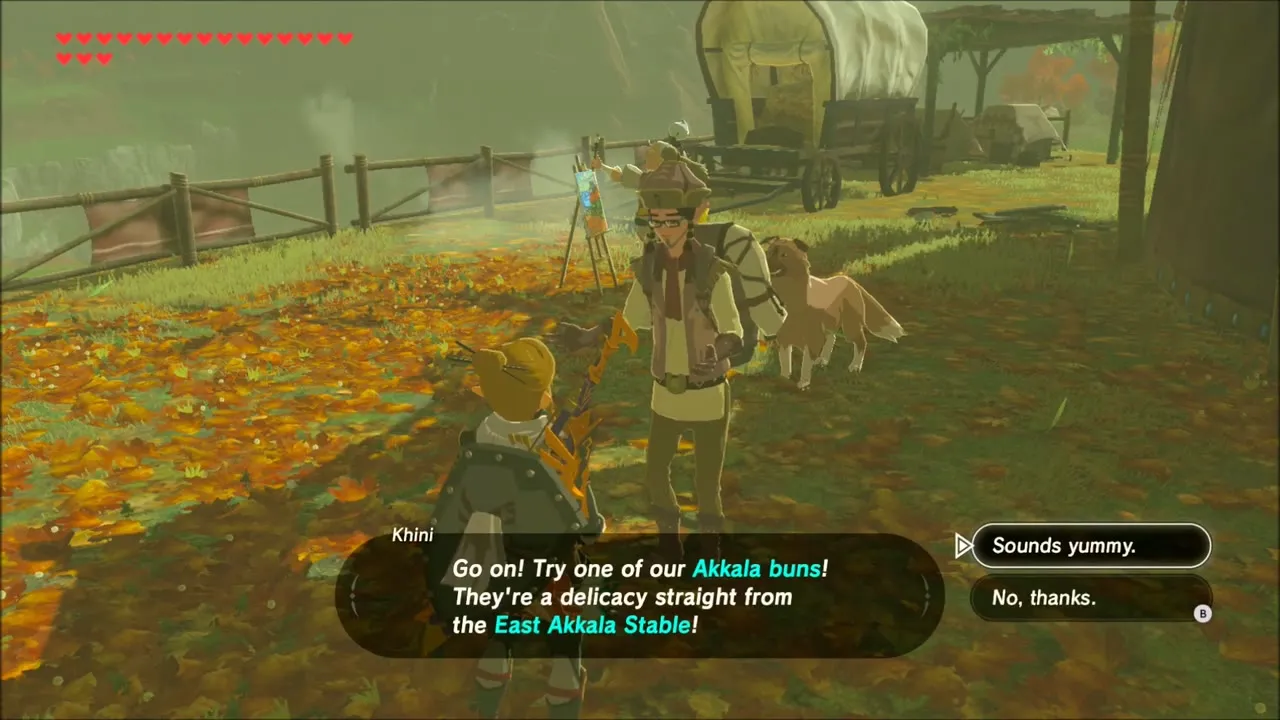
East Akkala Stable: Shop, Hoz, Nobo and Pikango
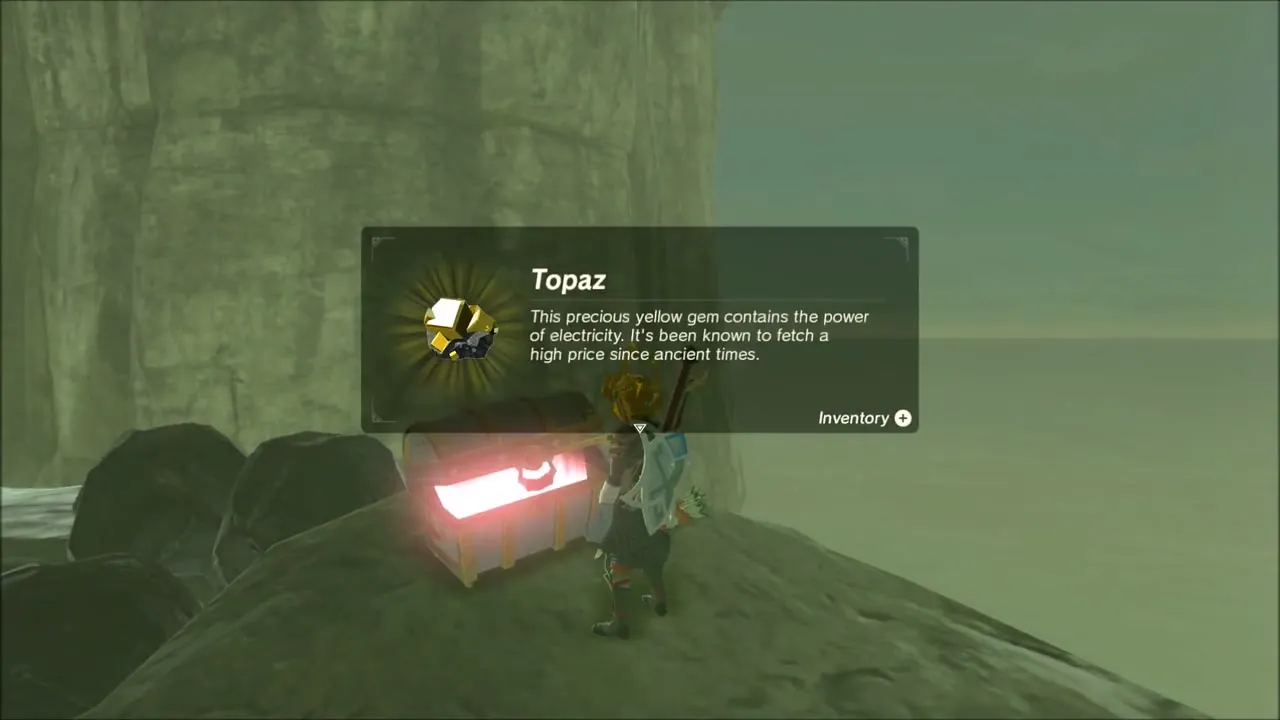
East Akkala Stable (x 4228, z -2748) is the base for the rest of this stretch. Beedle runs a shop here, so restock arrows and sell spare gems such as Topaz. Talk to the guard Hoz, who asks you to tell him what any suspicious people look like. That starts A Shady Customer. Then speak to Nobo, who sends you west of the stable to a sacred place called the Spring of Power. That is the start of the shrine quest The Spring of Power, which needs a Dinraal‘s Scale.
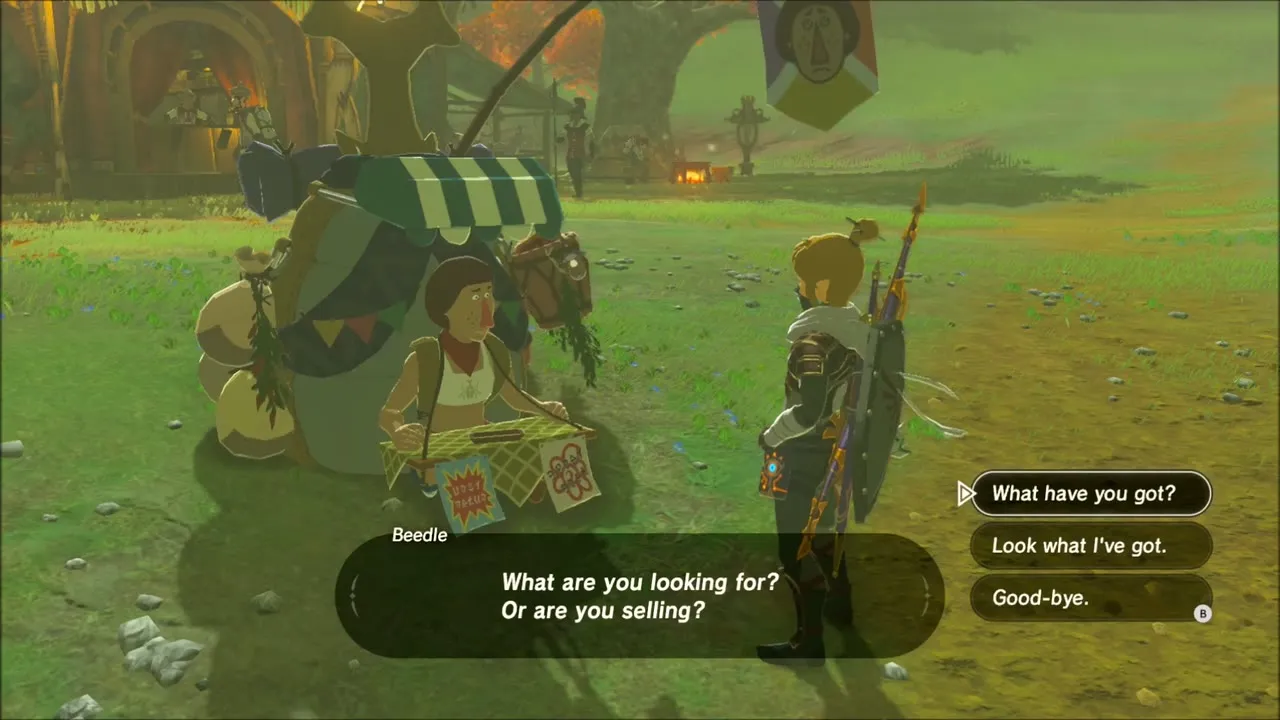
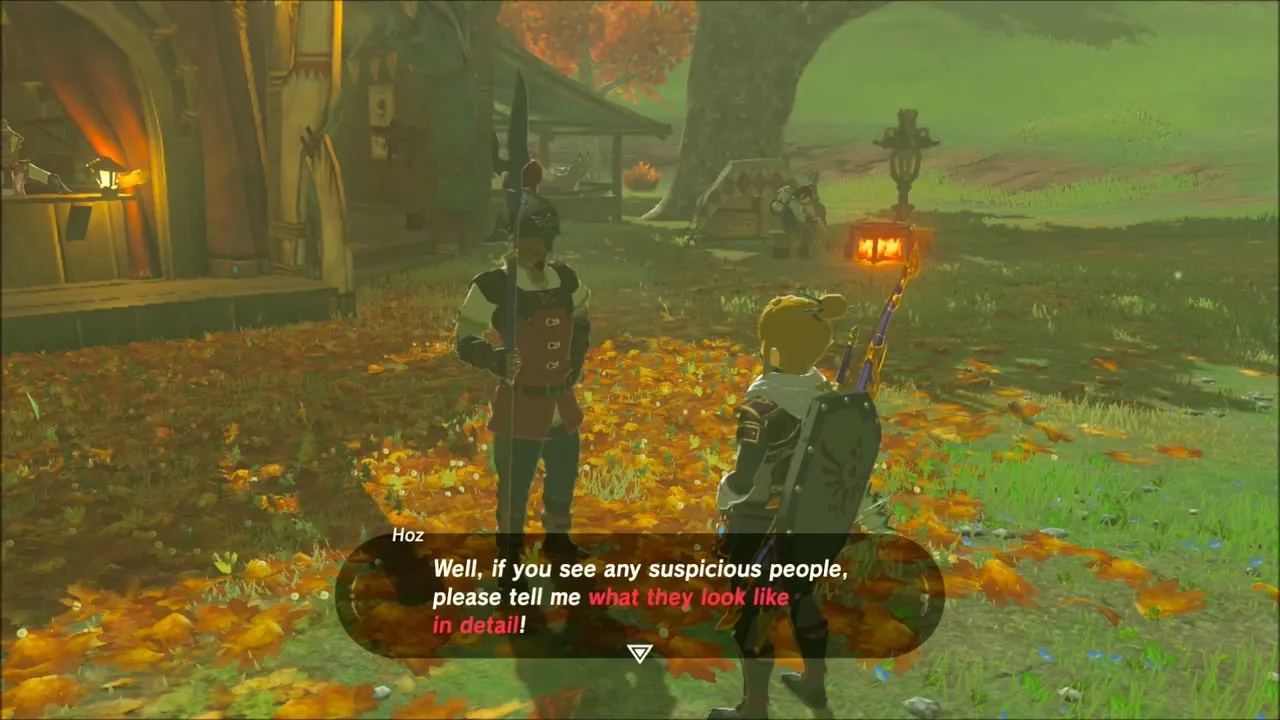
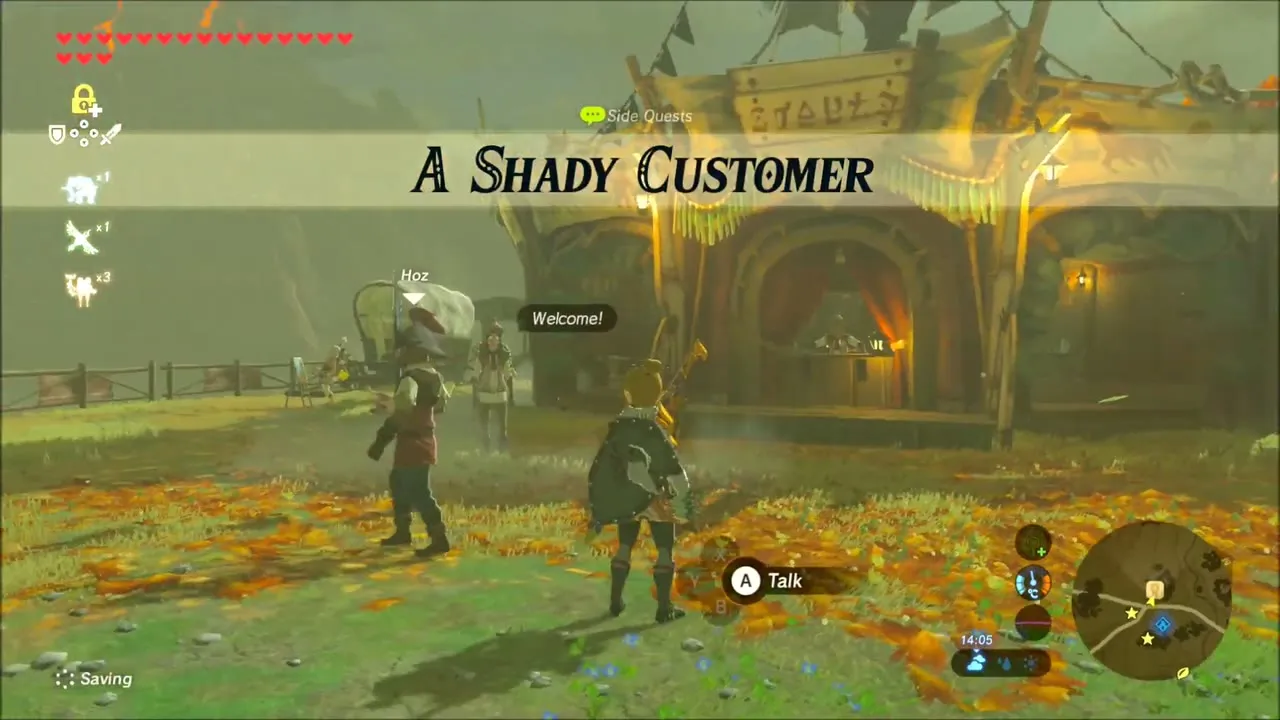
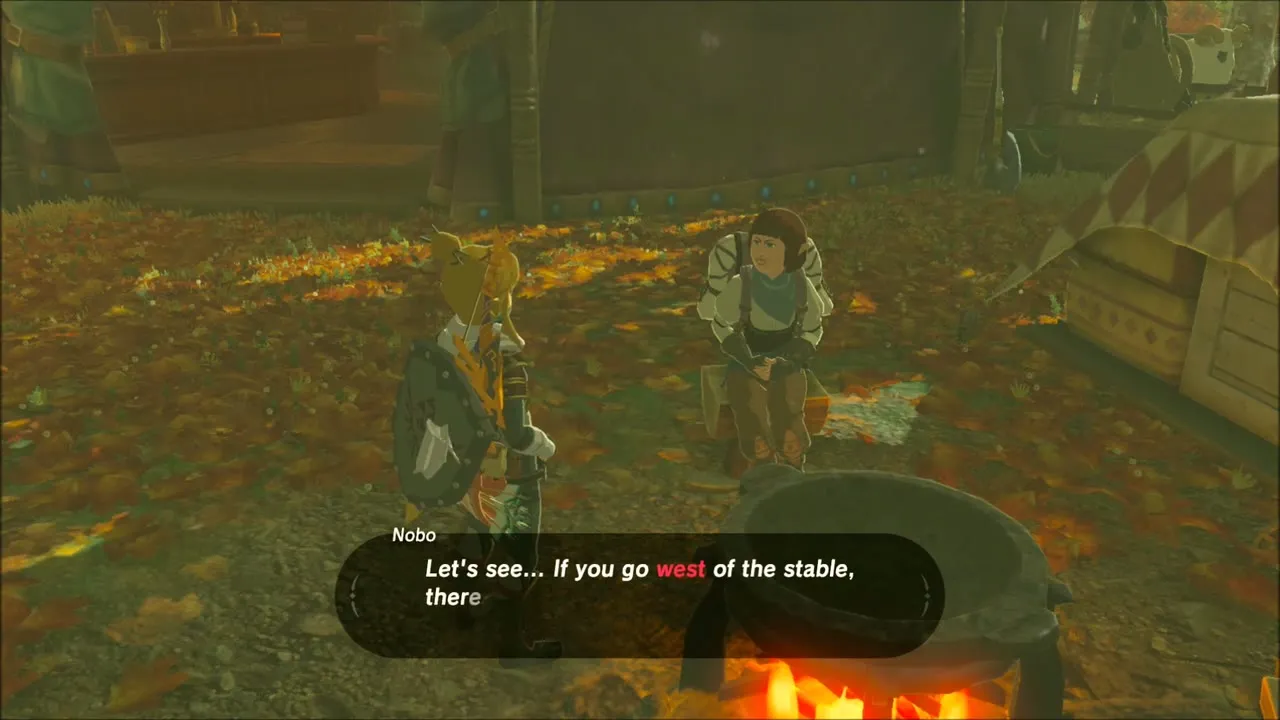
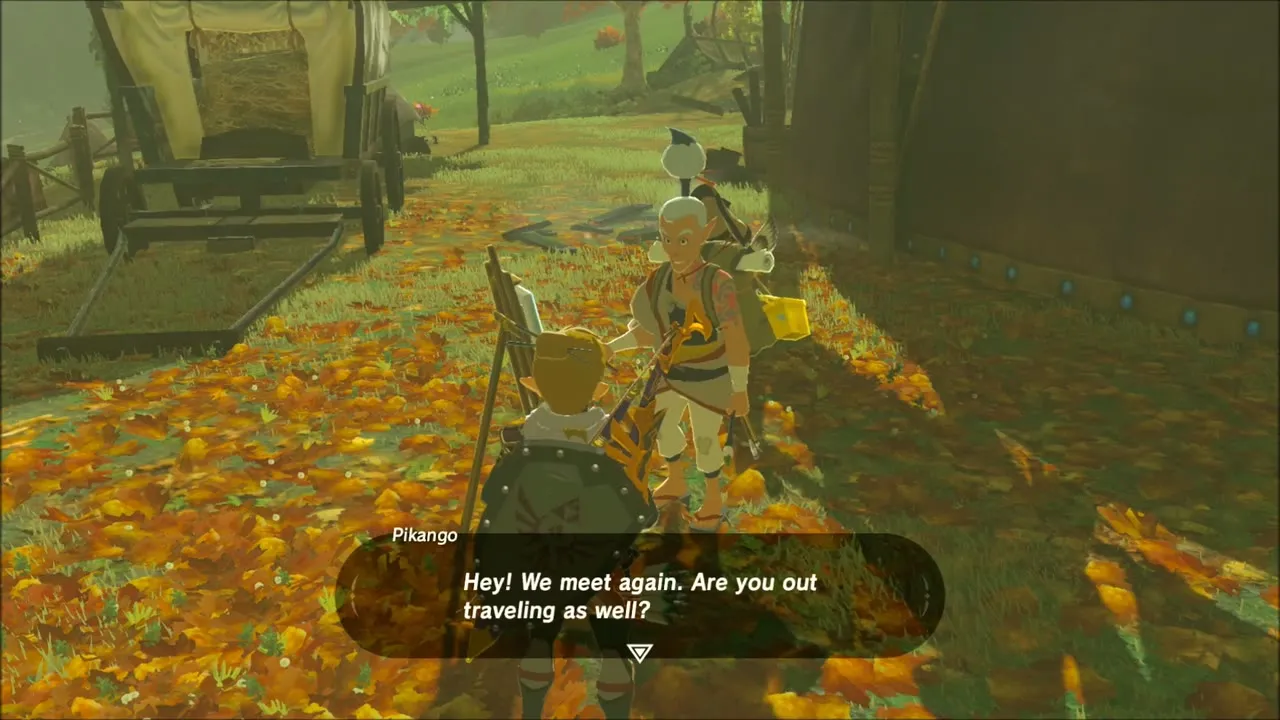
Chat with the rest of the stable’s staff and guests before you leave. The traveling artist Pikango is here too, and he offers to tell you about the places he has visited.

The Autumn Grove: Korok Seeds and the Road to the Tech Lab
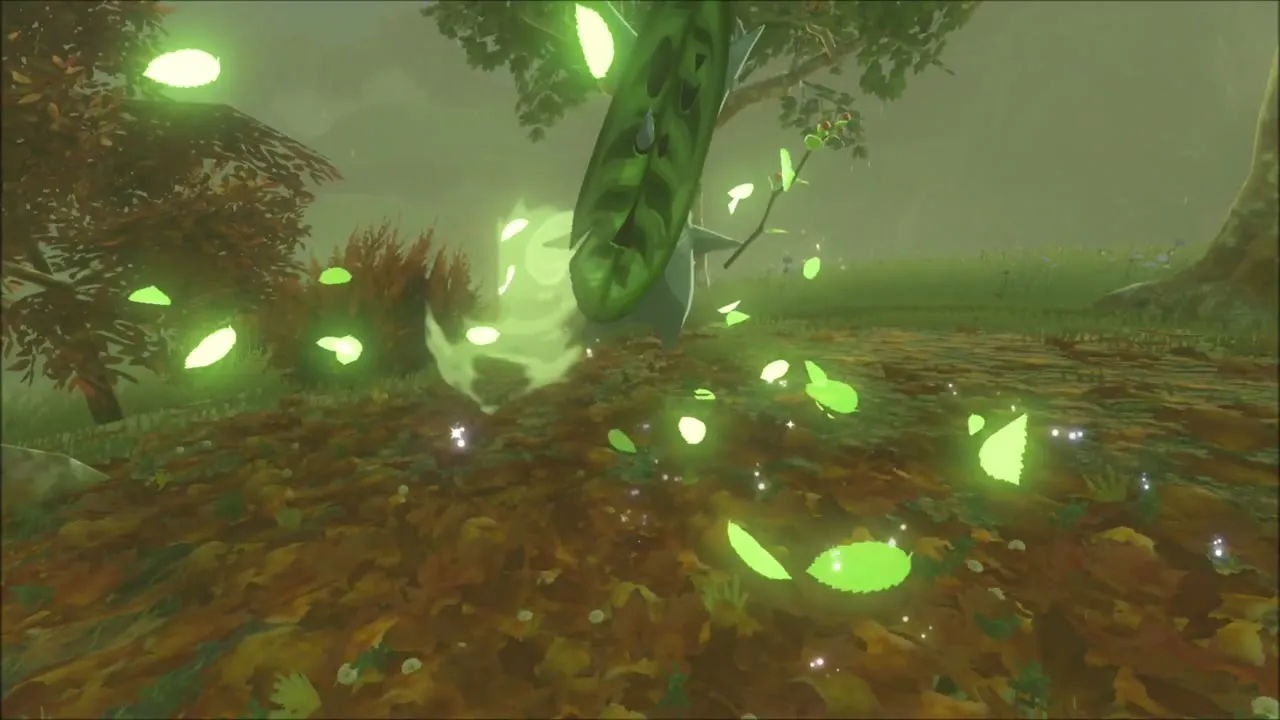
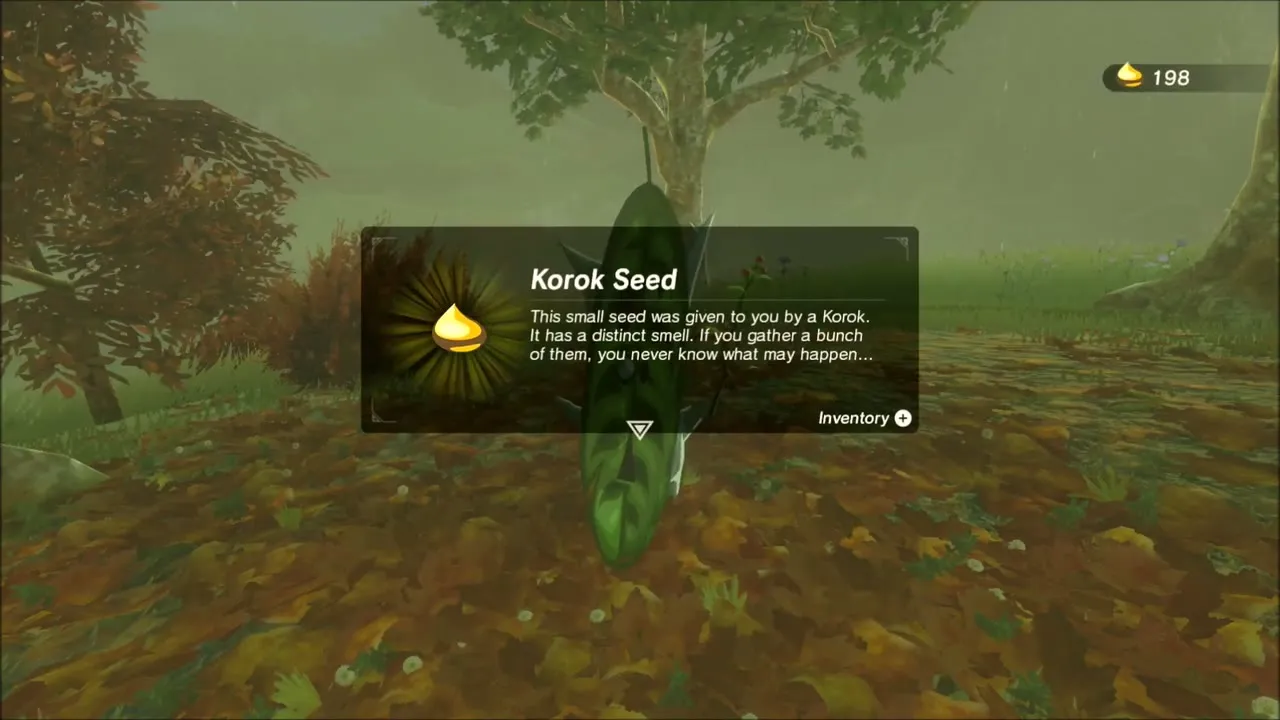
Beyond the stable the slopes fill with red and gold autumn trees. Two Koroks are hiding among the bushes and flowers here. Run toward a golden sparkle in a thicket and you uncover one; a second sparkle a short way off, under the trees, hides the other. Each gives a seed.

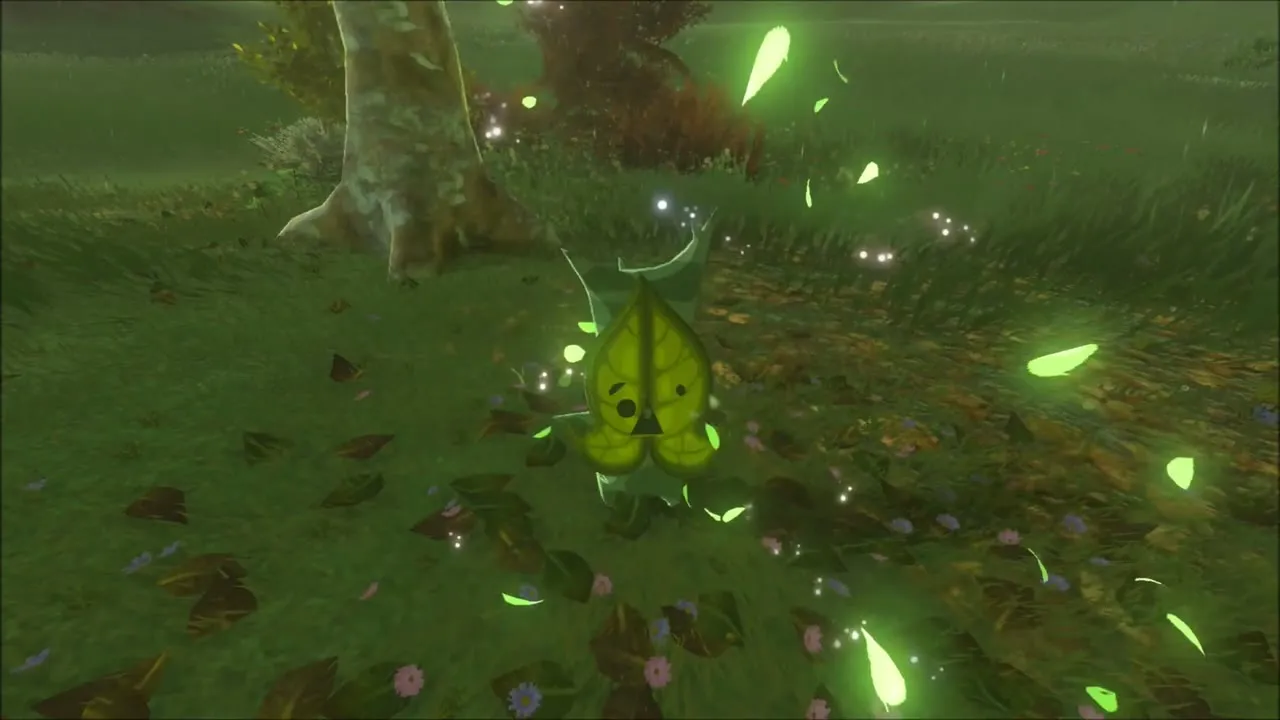
Fighting your way toward the Ancient Tech Lab
The way toward the Akkala Ancient Tech Lab runs past several monster camps. Fire arrows are handy against grass and wooden camps, the Bokoblins carry Fangs, Horns and Guts, and a Guardian guards a stretch of hillside, so keep your shield ready for its beam.
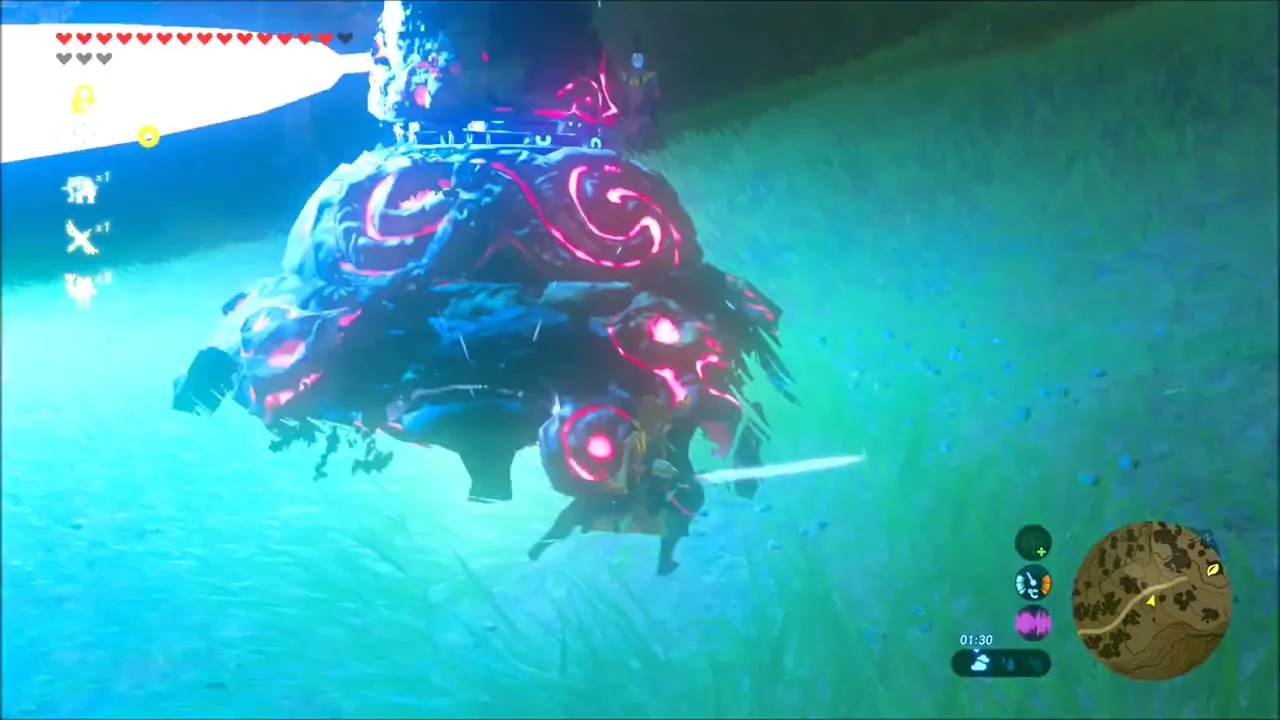
Mossy Guardian wreck: Ancient Spring, Ancient Screw and a Korok seed
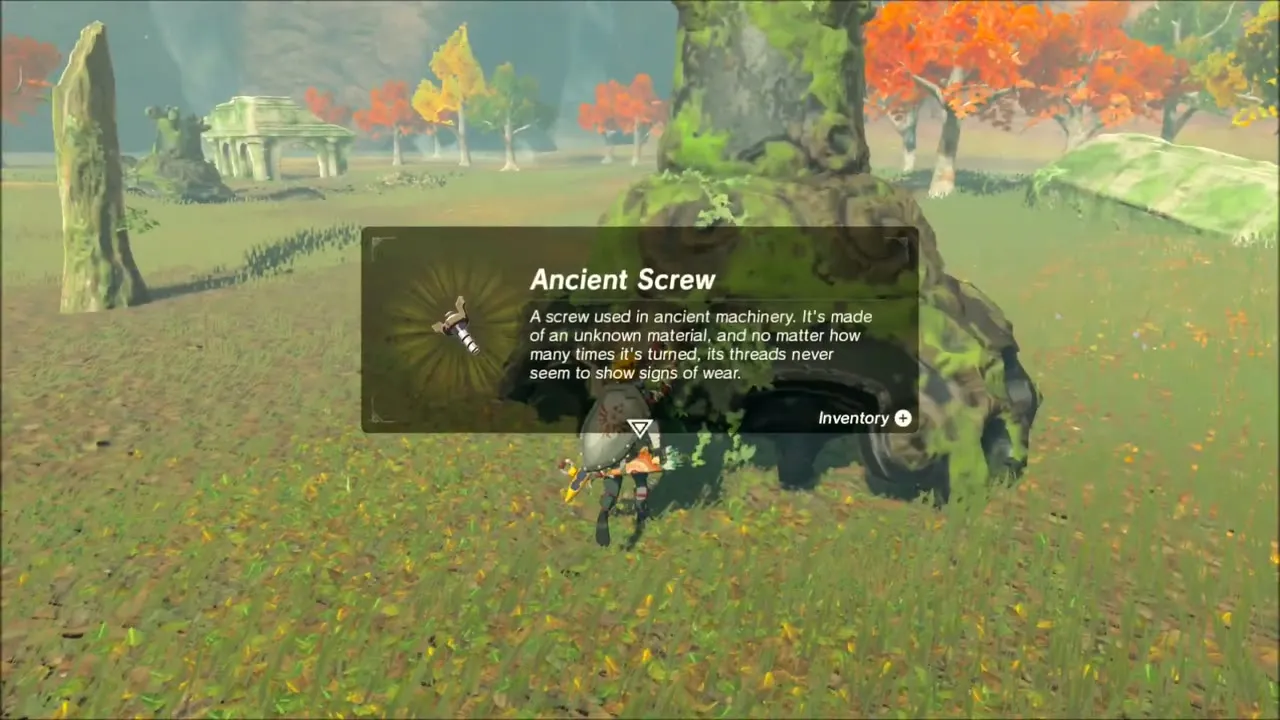
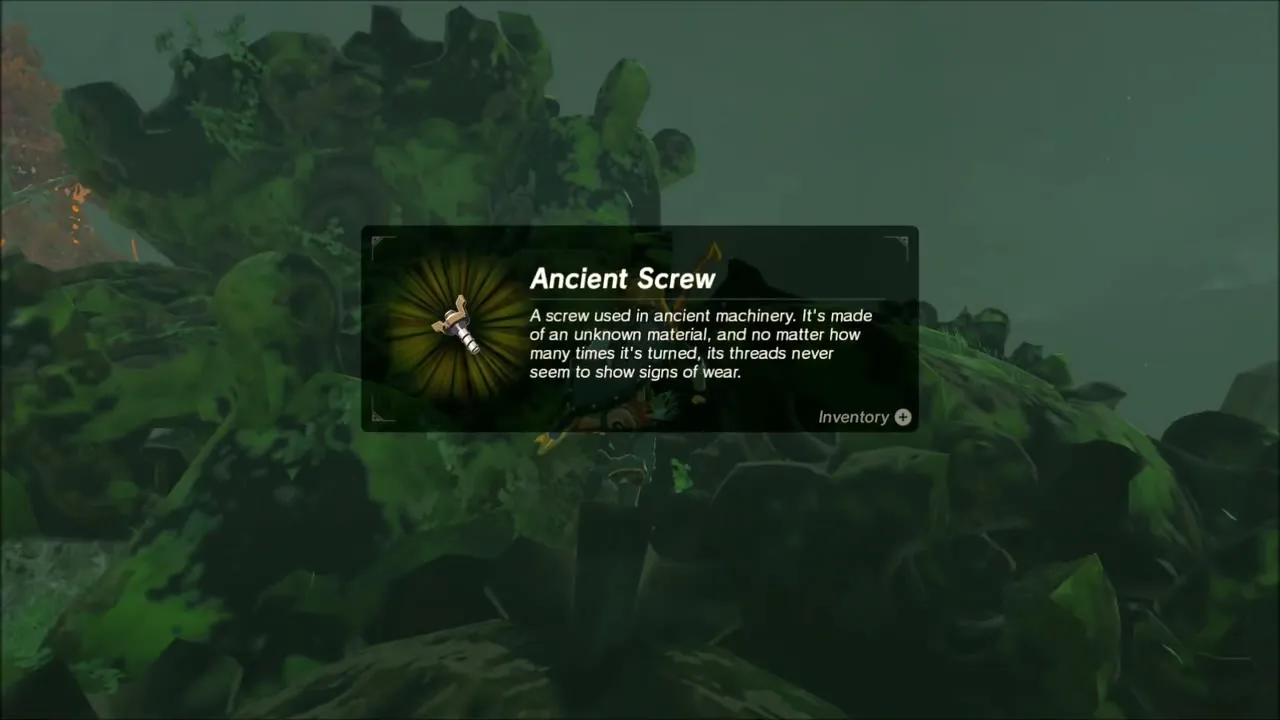
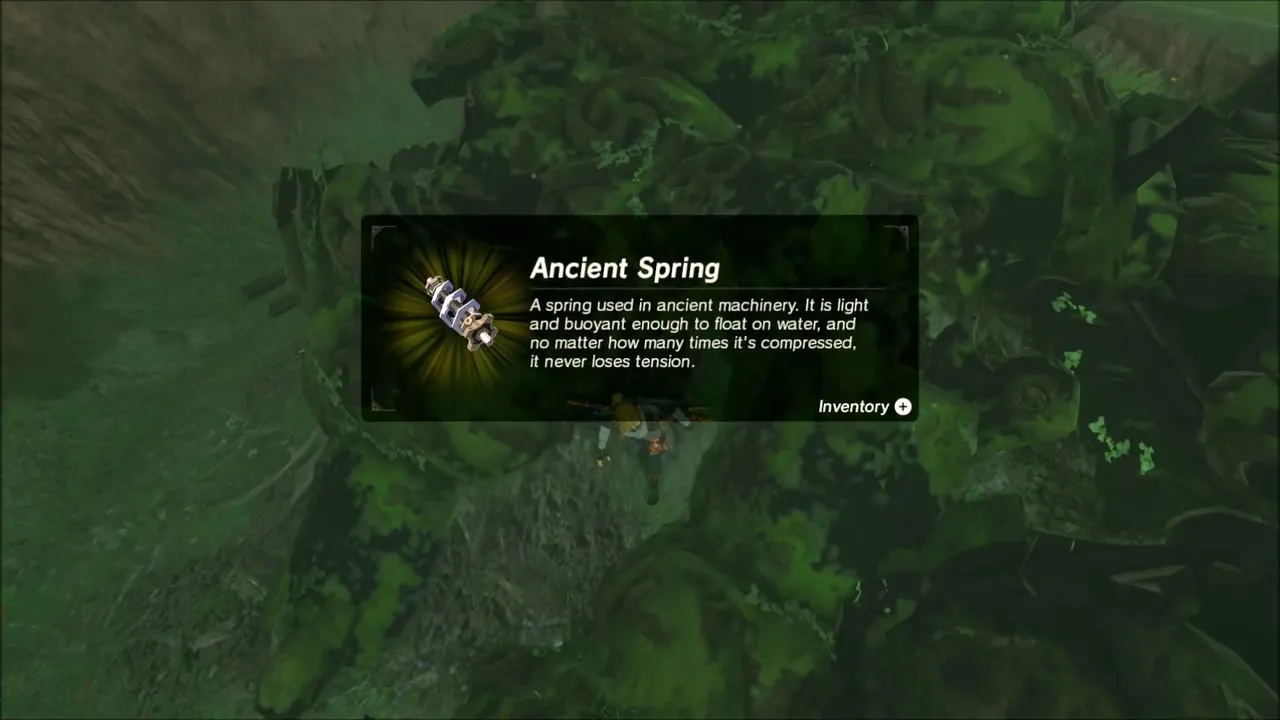
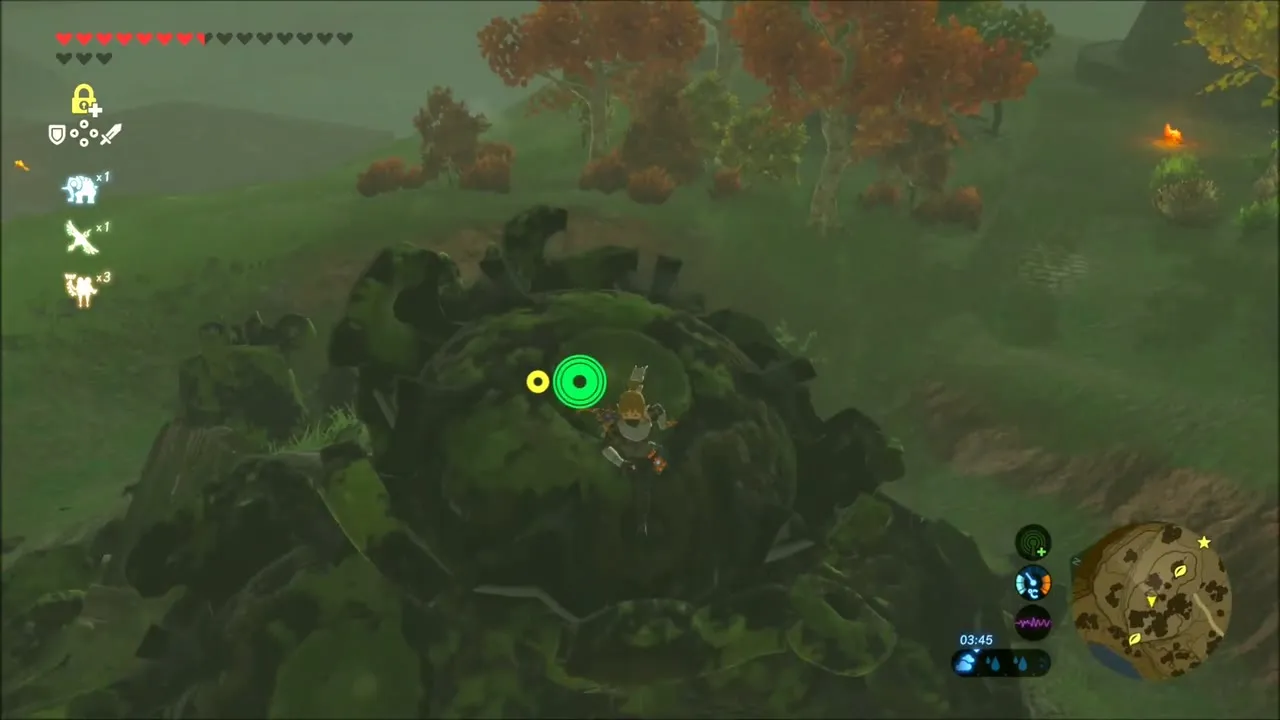
Further on, a huge moss-covered Guardian wreck lies in the grass. Walk up to it and press A to search the parts. You get an Ancient Spring and an Ancient Screw, which you will want for the robot-gear shop at the lab. Climb onto the top of the wreck and a Korok waits there with a seed.

Akkala Ancient Tech Lab: Robbie’s Research and The Skull’s Eye
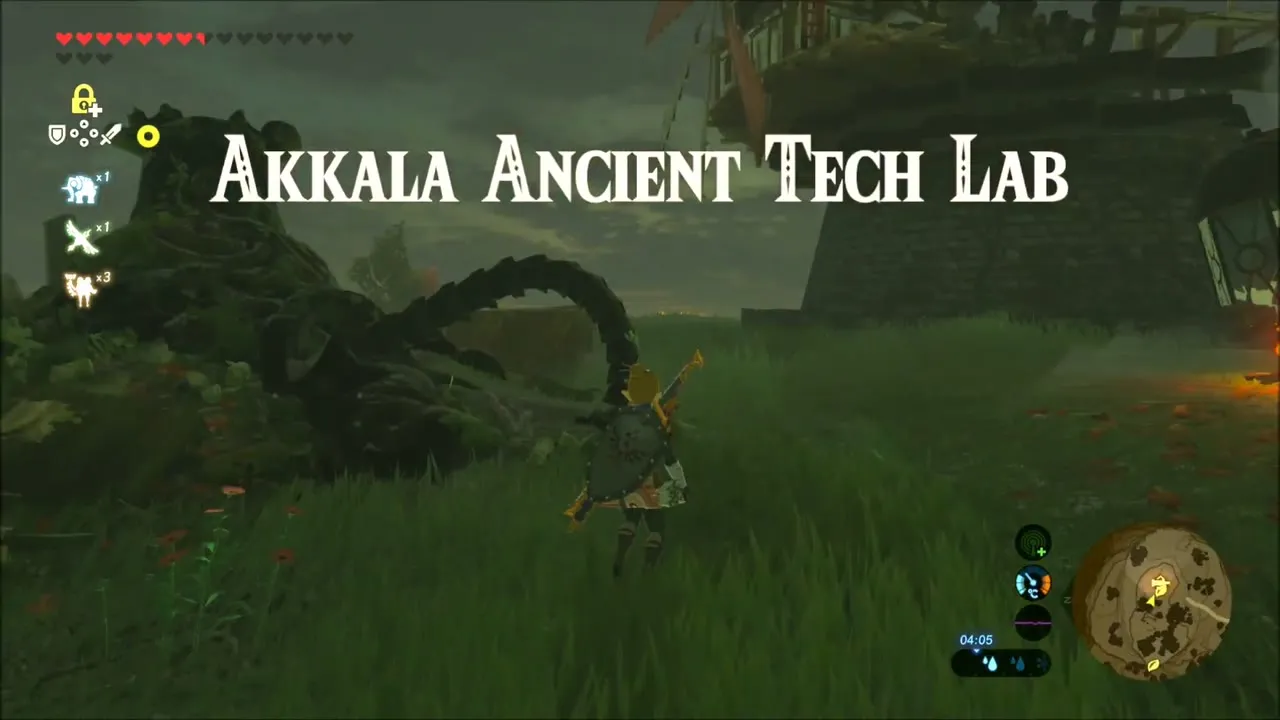
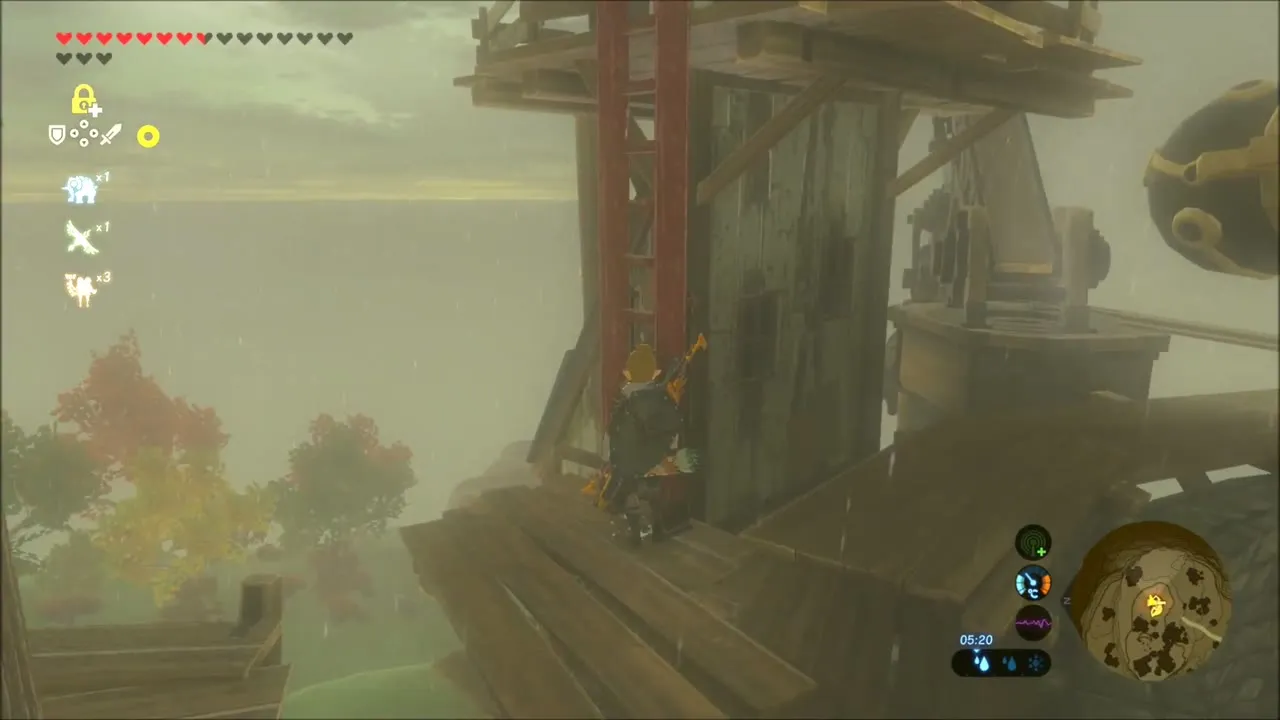
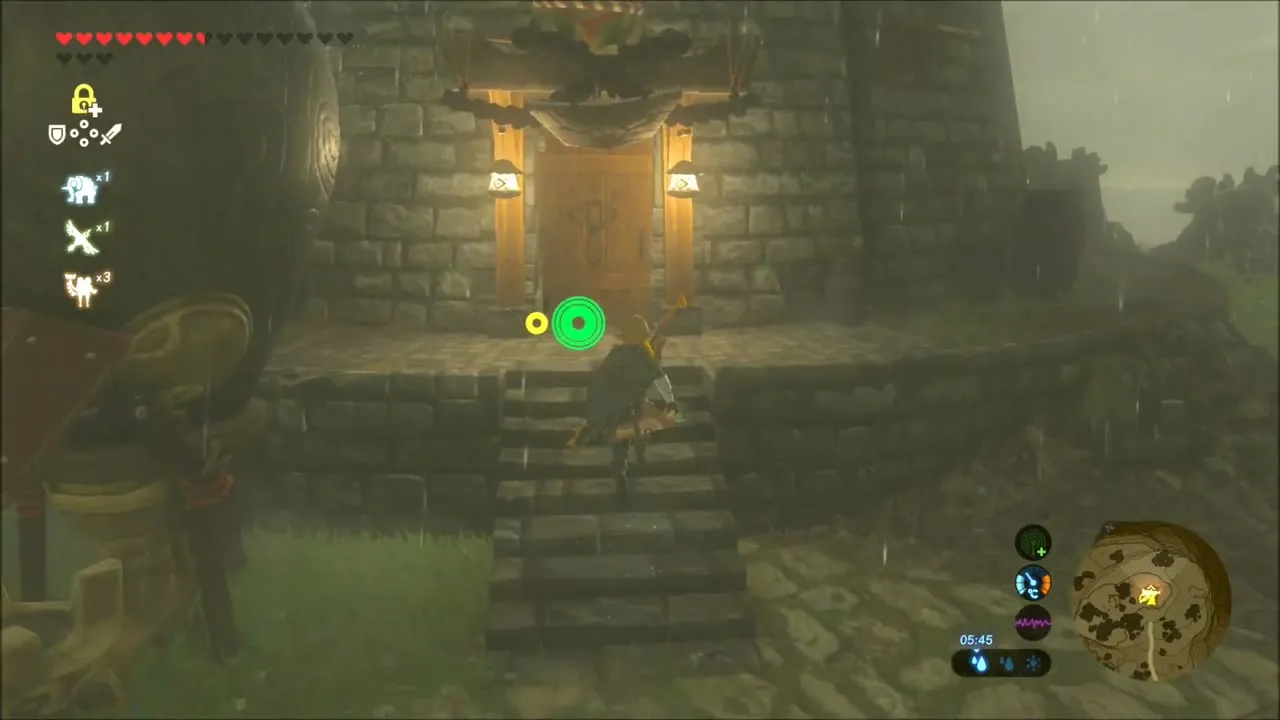
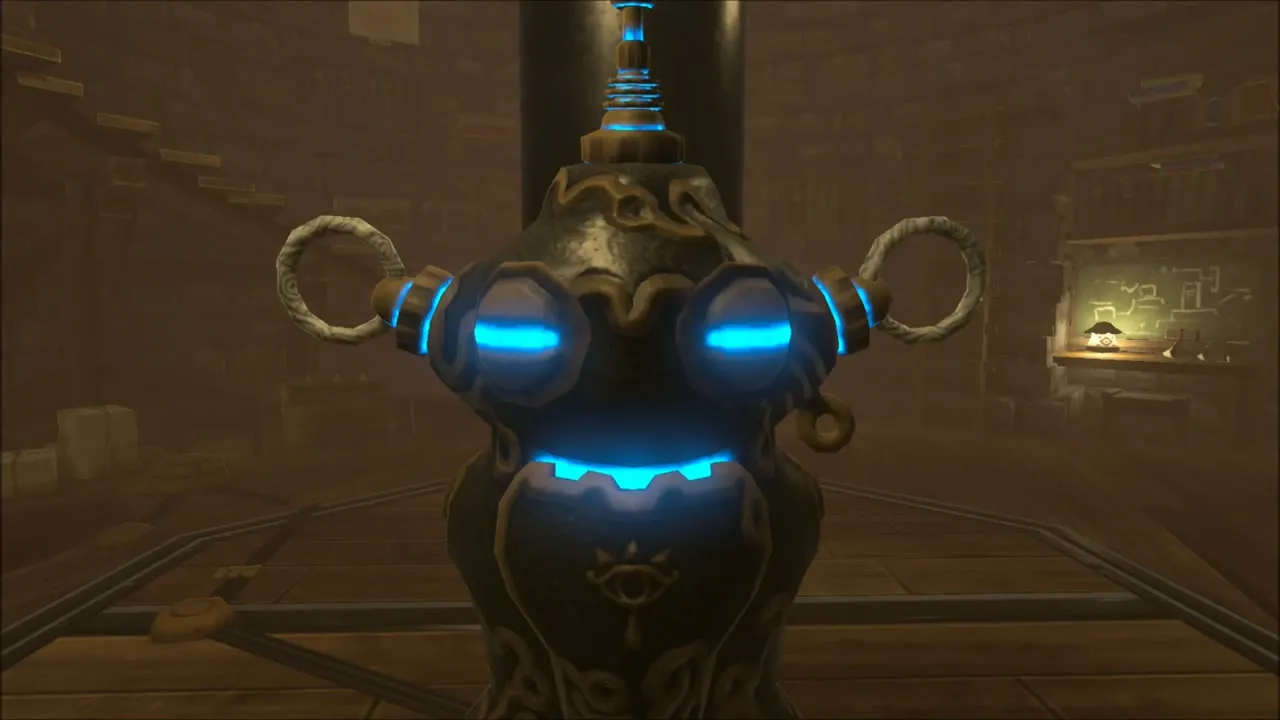
The Akkala Ancient Tech Lab sits on the high ground in eastern Akkala. Climb the wooden scaffolding up to the entrance, picking up another Ancient Screw from the ruined machinery on the way. Inside, a dormant robot stands in the middle of the floor.
Robbie’s Research: show Robbie your scars
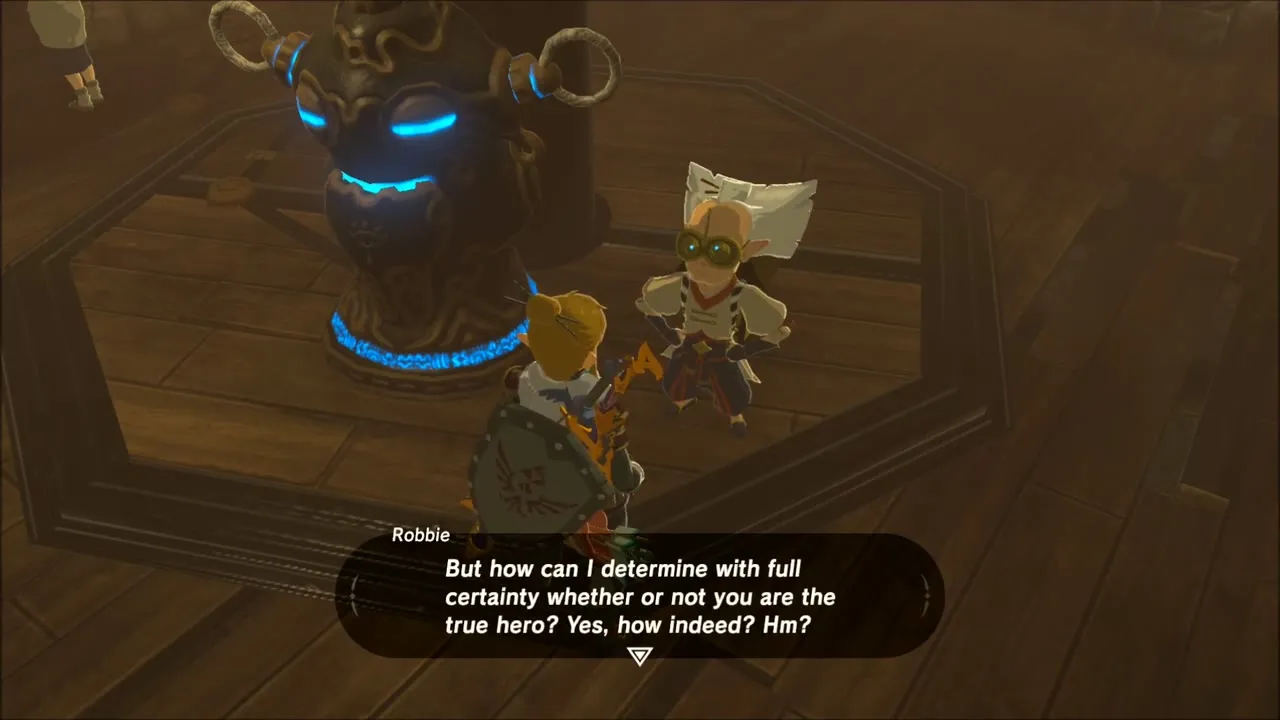
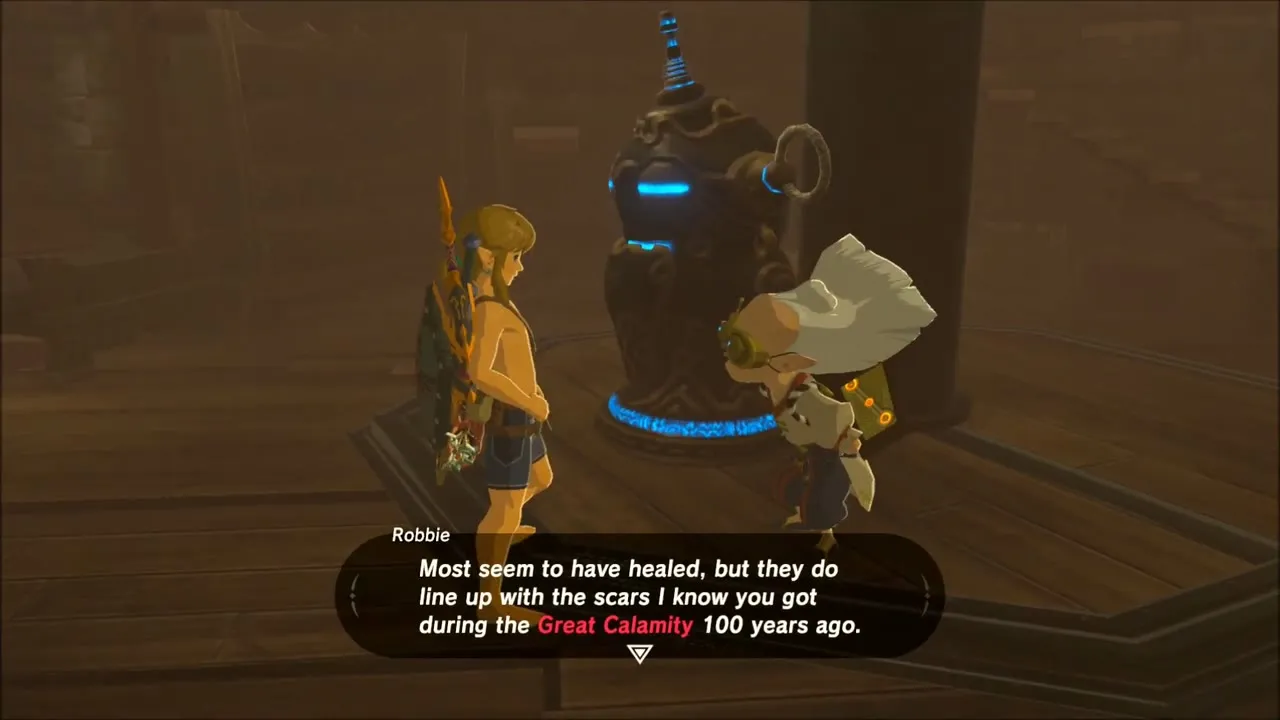
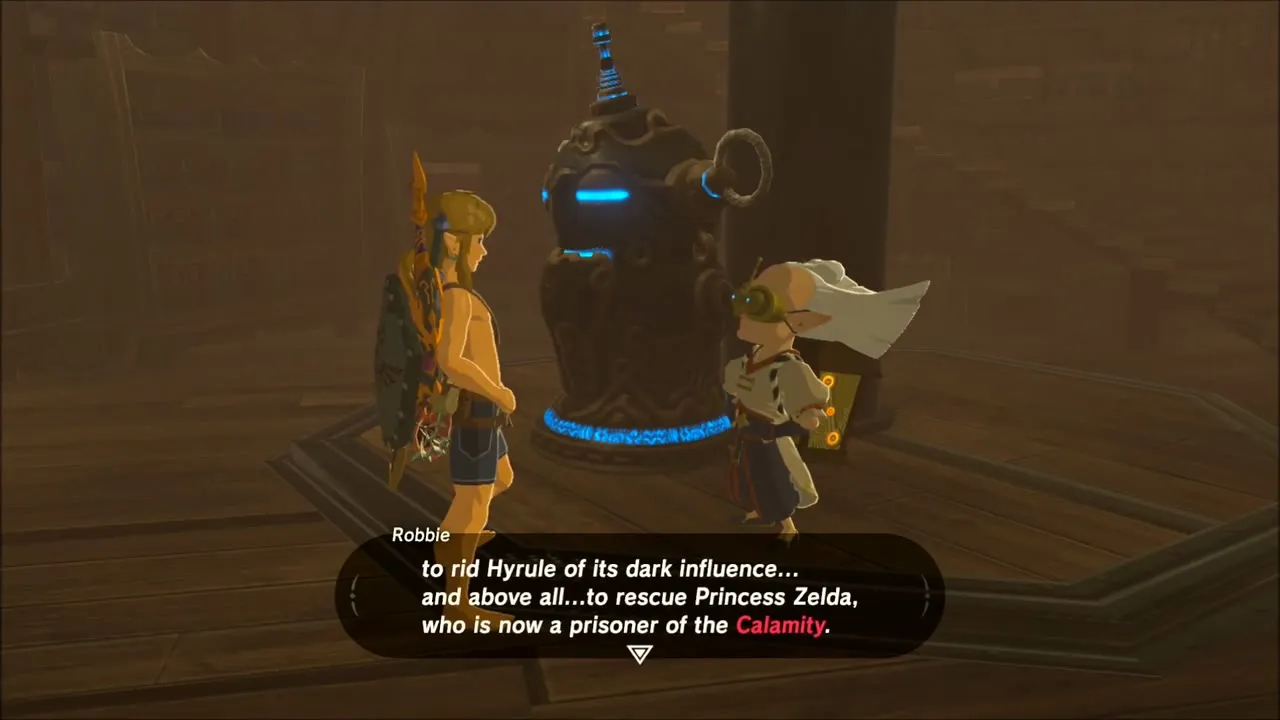
Interact with the robot to bring out Robbie. He wants proof that you are the real hero, so take off all of your equipment and let him see your scars. He talks about Purah, the Calamity and his research. Your Adventure Log then updates for Robbie’s Research: the robot needs blue flame from the ancient furnace to wake up, and that is your next job.

The Skull’s Eye: Jerrin and the left eye of Skull Lake
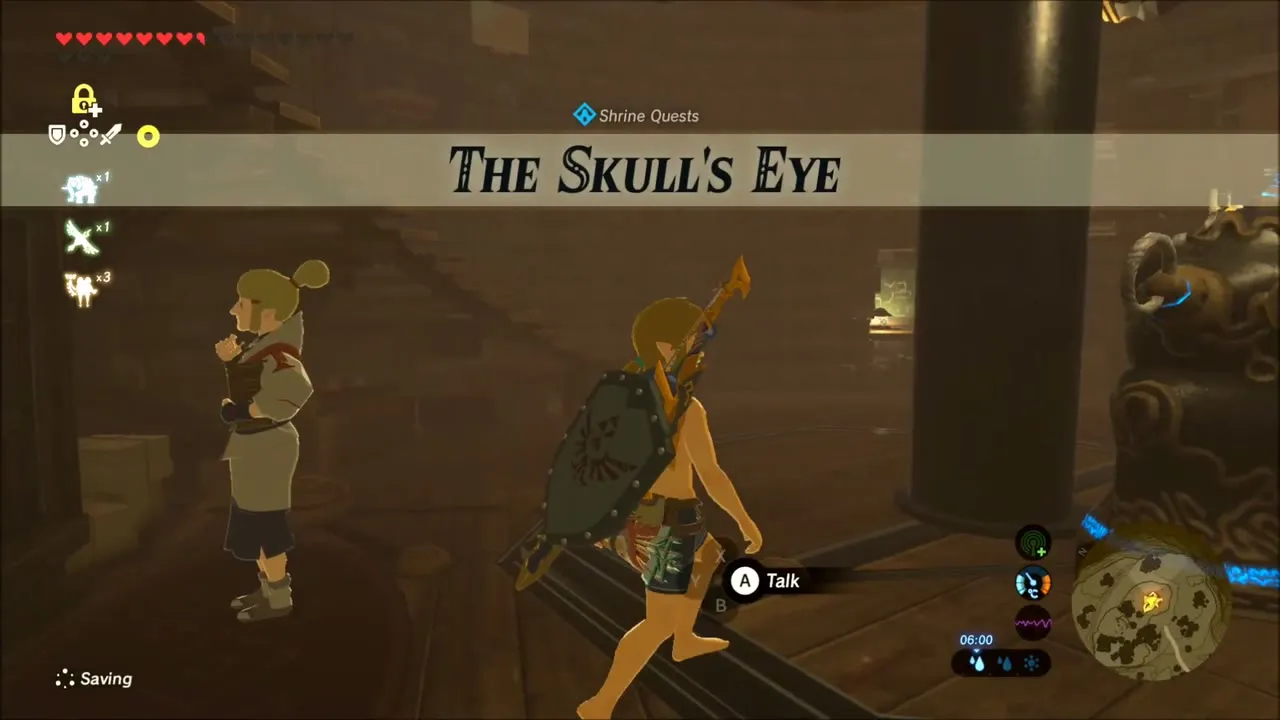
Talk to Jerrin, the researcher standing nearby, to begin The Skull’s Eye. She tells you that the left eye of Skull Lake is higher up than the right one, and that if you run into Kilton you are on the wrong eye. That points you toward Zuna Kai Shrine.

Monster Camps, a Hilltop Korok and the Road to the Ancient Furnace
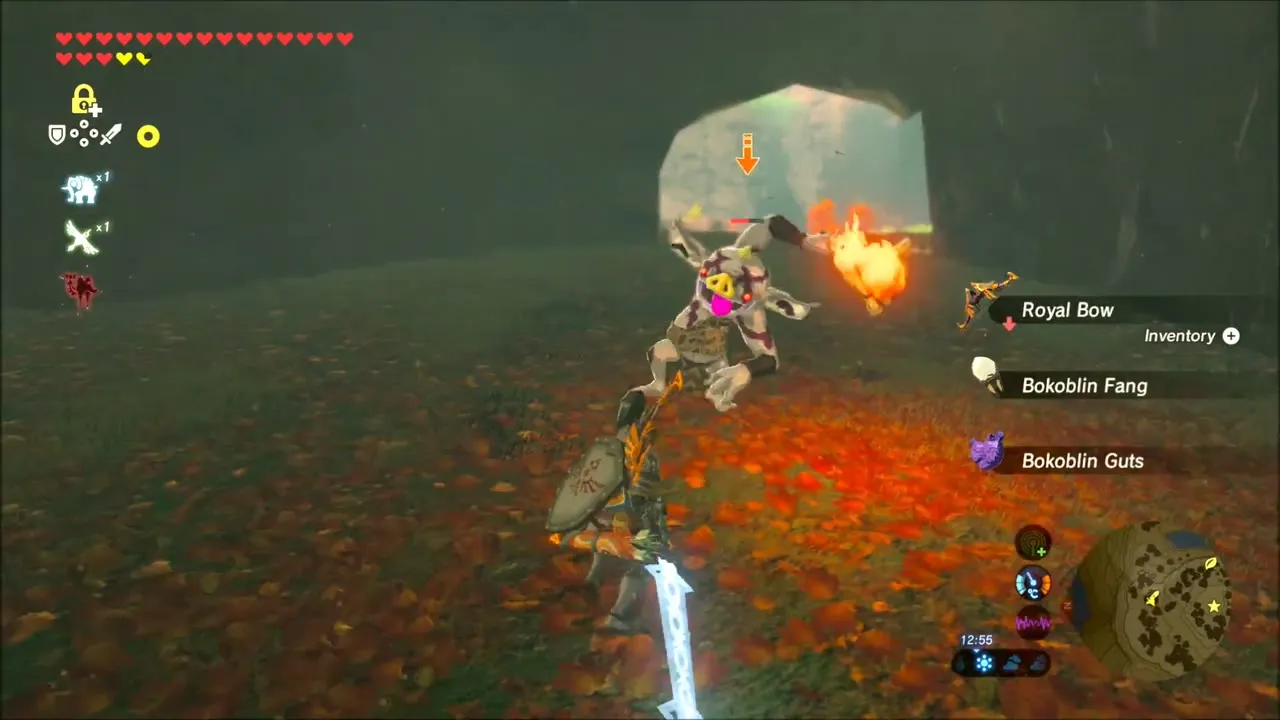
From the lab, head out across the rolling country. The route runs through several monster camps, including a cave and a camp full of barrels. Their loot includes a Royal Bow, Bokoblin Fangs and Guts and Moblin Fangs, Guts and Horns, and Stasis helps against large boulders and heavy enemies.

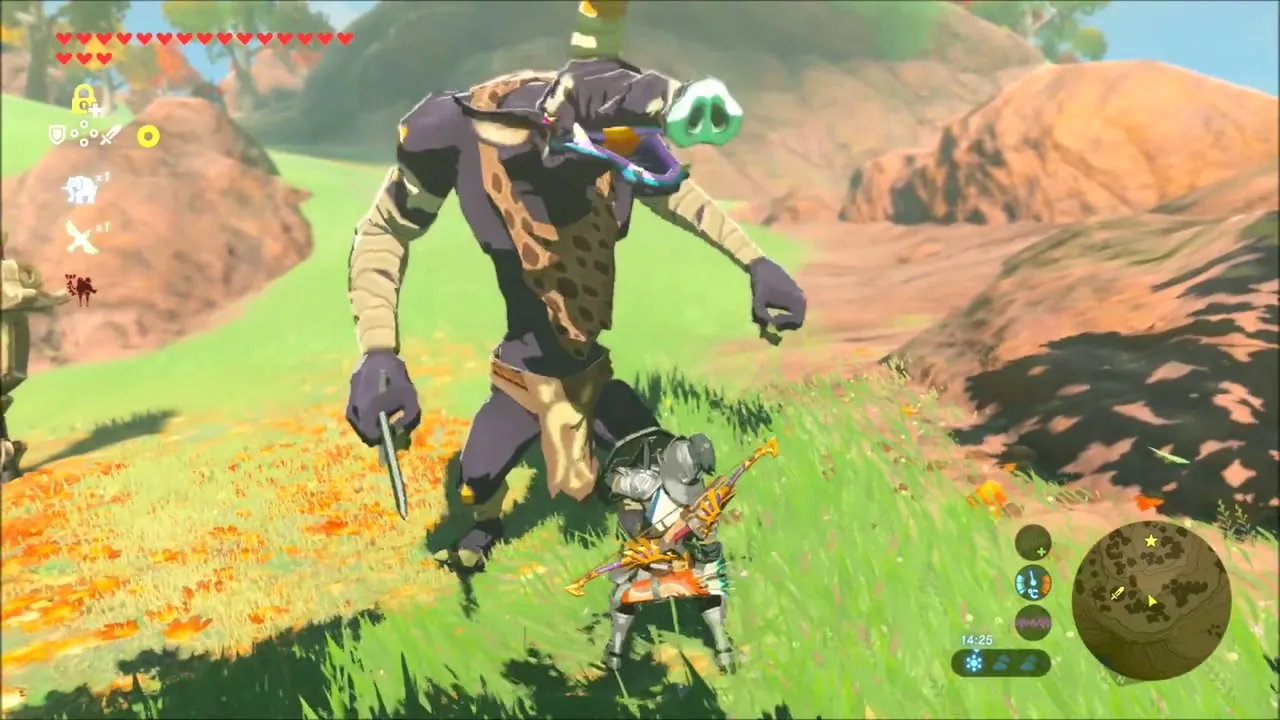
Near the end of this stretch, a rocky hilltop is ringed with golden sparkles. Climb up to it and the Korok behind the ring gives you a seed. Glide off the hill afterwards.


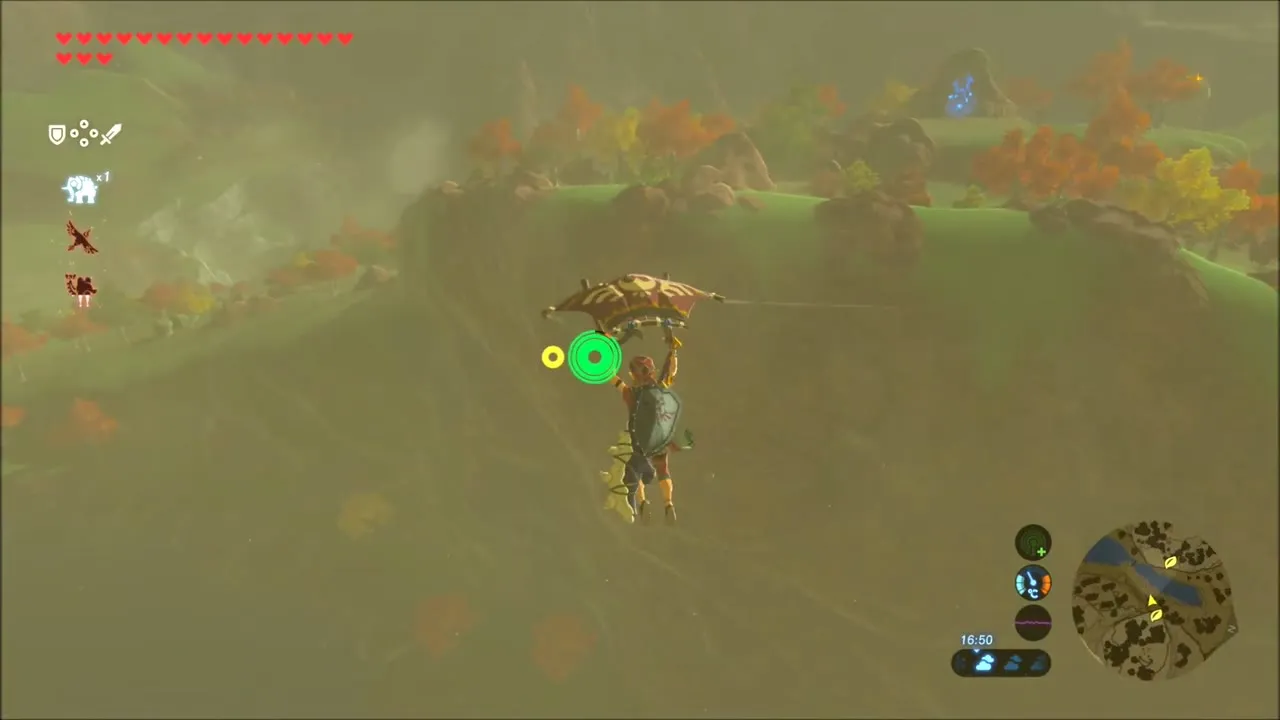
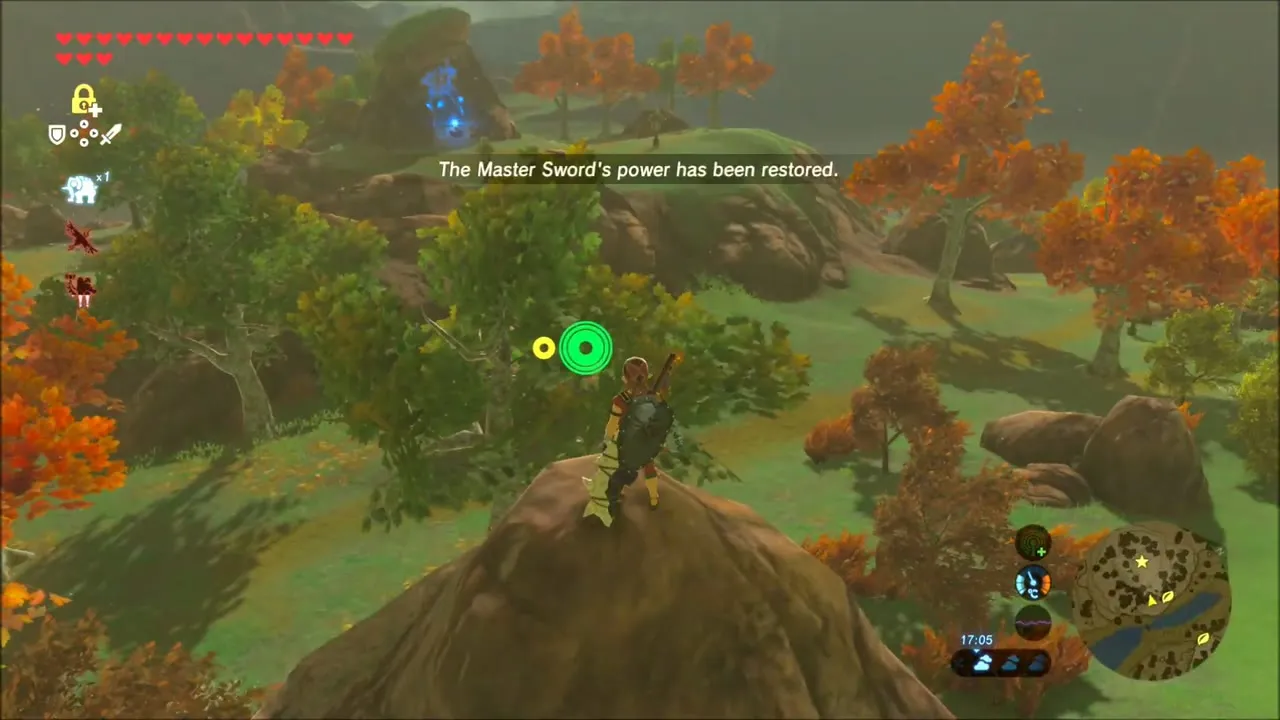
A message tells you that the Master Sword‘s power has been restored. On the map, mark Tumlea Heights (x 4167, z -3153), where the Ancient Furnace glows blue against the mountainside. Mount your horse and ride toward it.
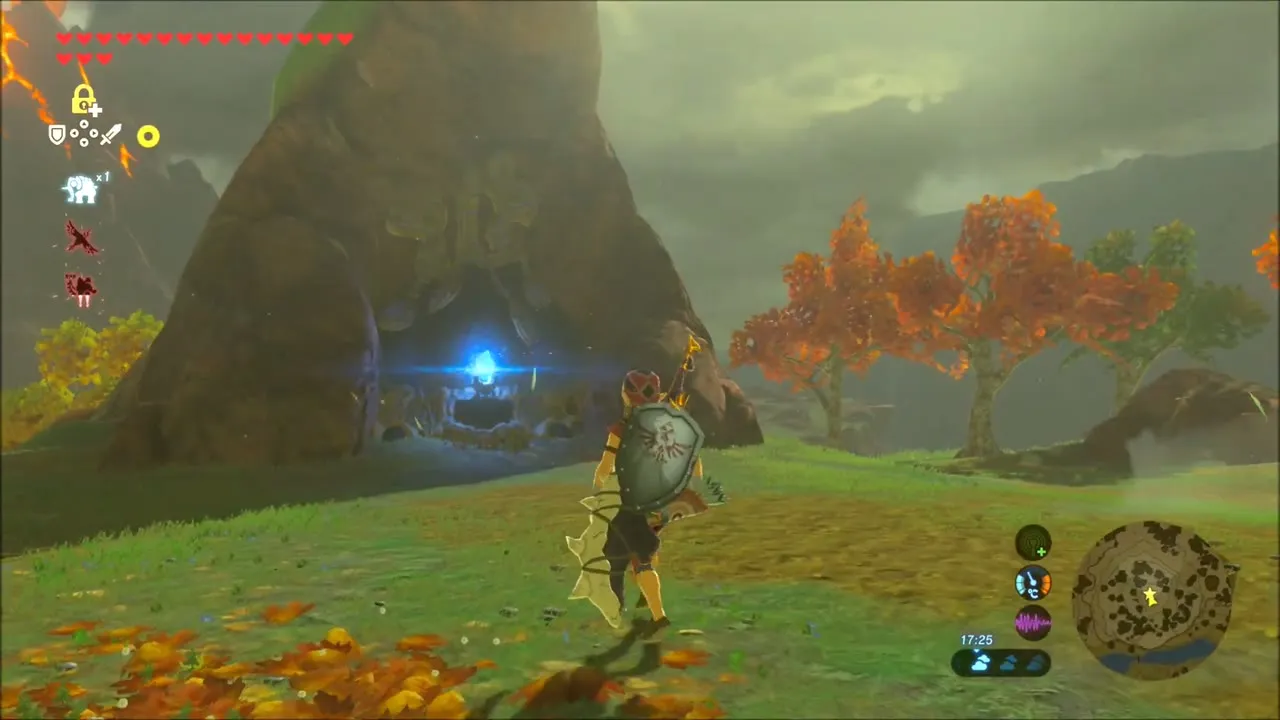
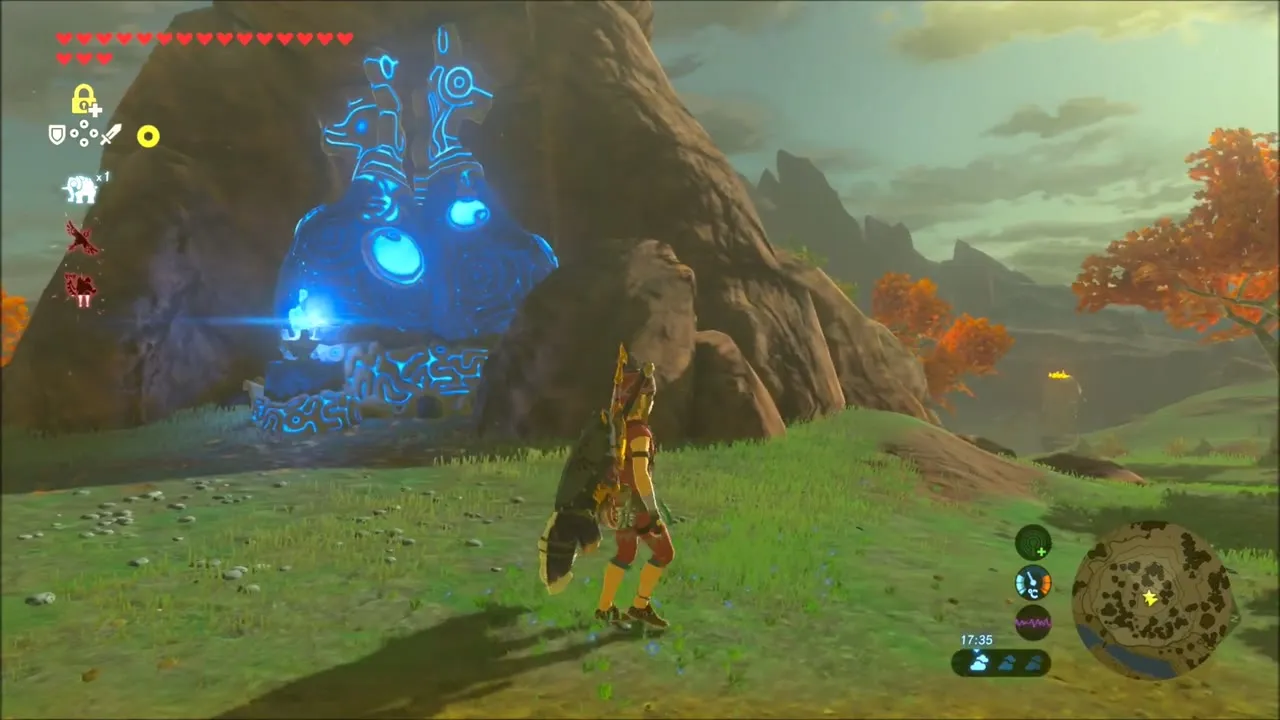
Robbie’s Research: Carry the Blue Flame to the Akkala Ancient Tech Lab
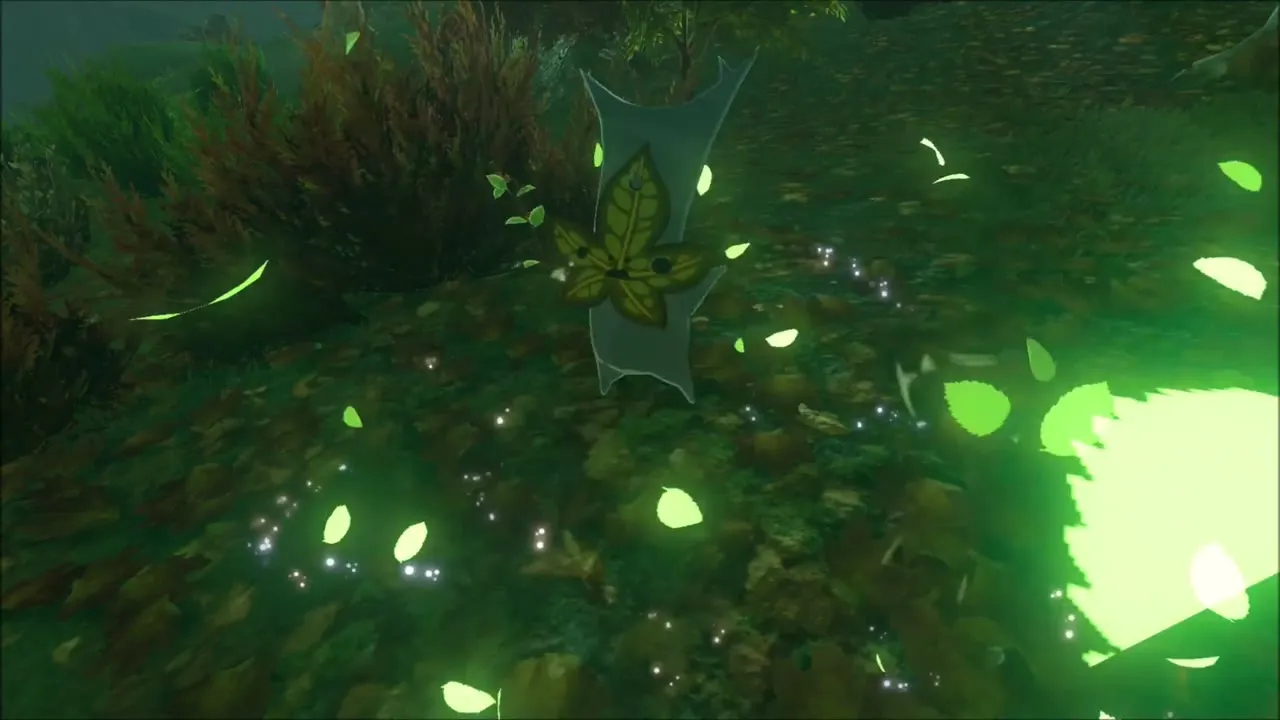
You come to a hilltop that looks out toward Death Mountain. Check the map and stamp the next spots, then clear the nearby Moblin camp for Fangs, Guts and Horns. Among the fallen leaves between the autumn trees, a Korok is hiding; reveal it for another seed.
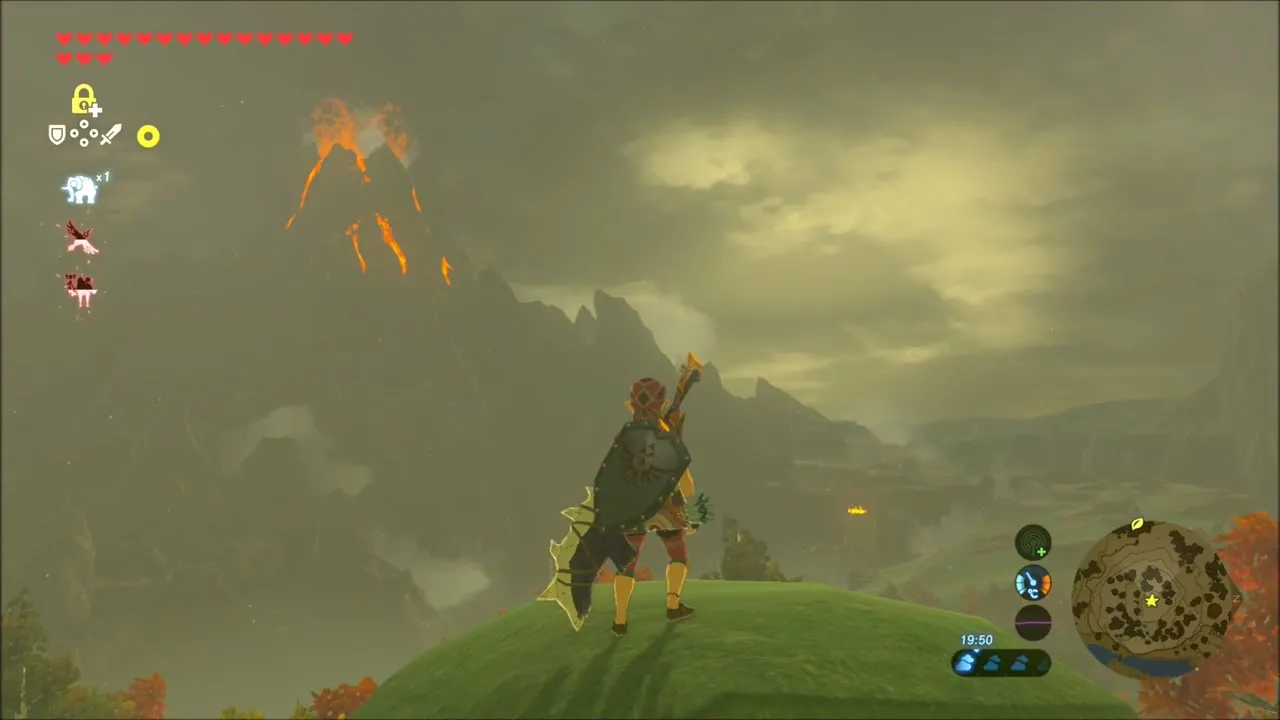

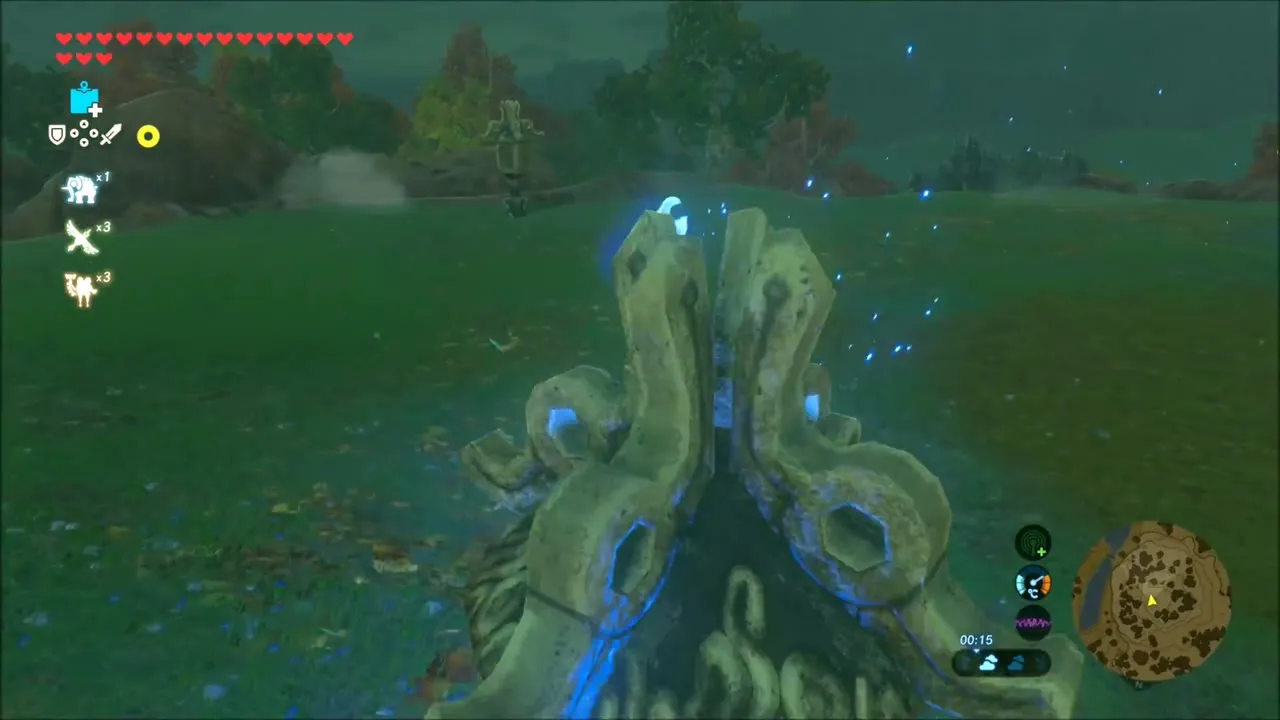
Go to the Ancient Furnace at Tumlea Heights and light a torch on its blue fire. The flame goes out when you run, climb or put the torch away, so walk steadily with it held up in front of you.


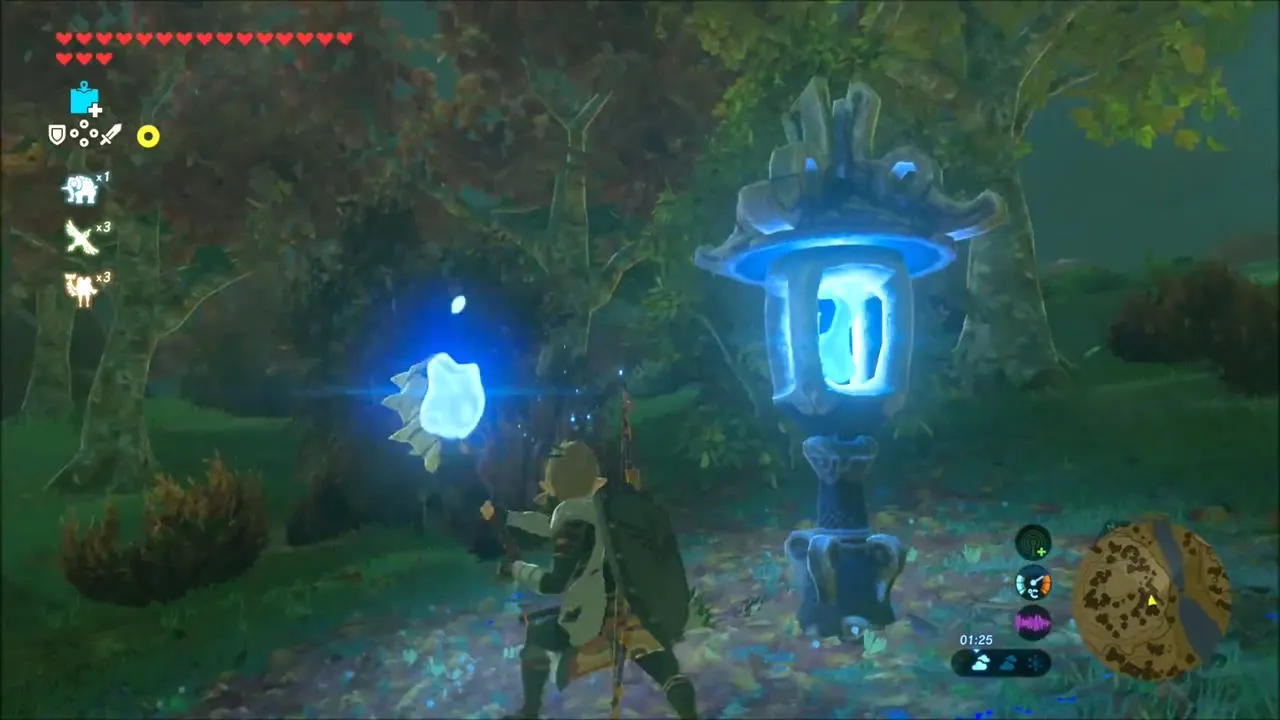
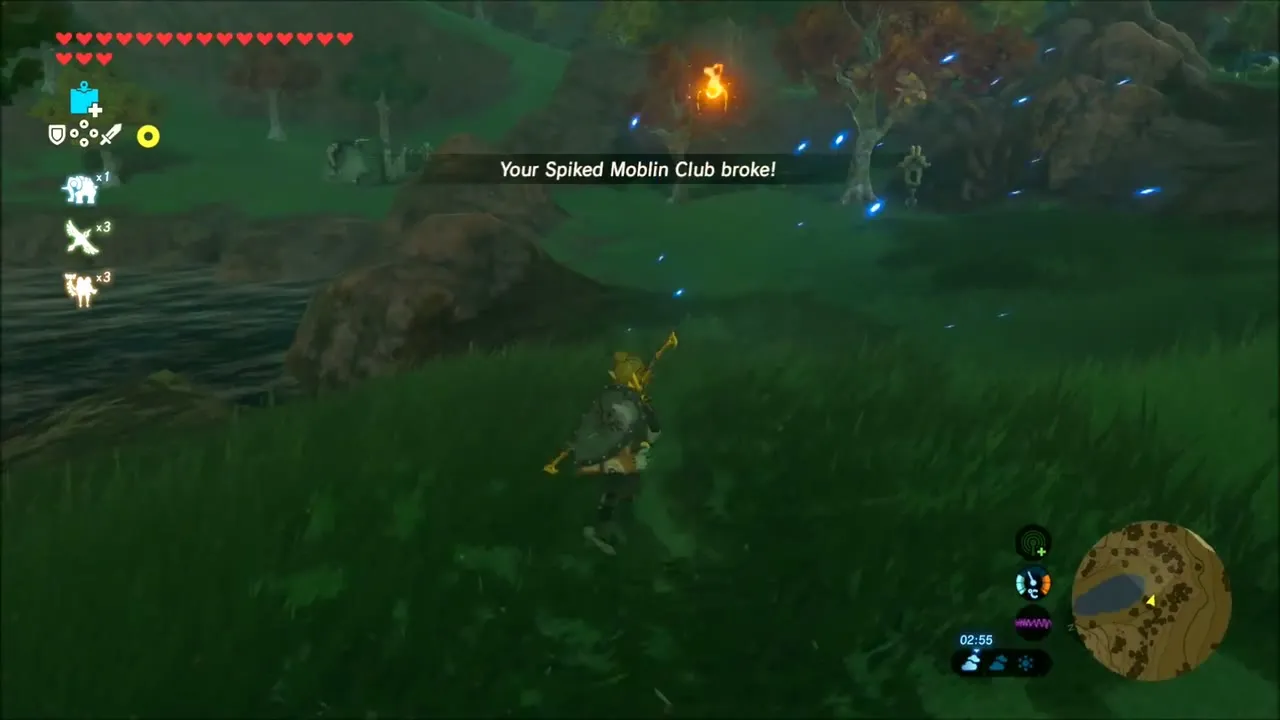
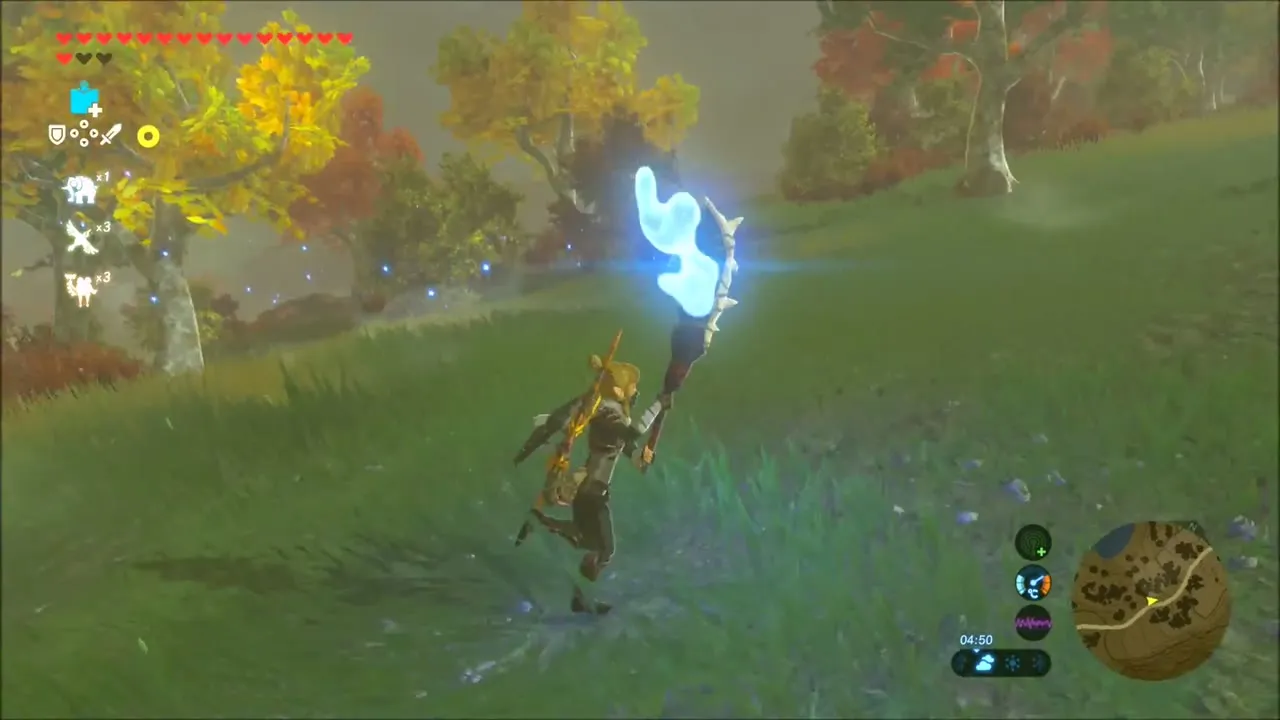
Carry the torch all the way back across the countryside to the lab. If the flame dies, relight it at a lantern or the furnace. Monsters attack along the road, so keep a spare weapon handy; a Spiked Moblin Club may break in the fight. At the furnace outside the lab, touch the torch to it to light it with the blue flame.
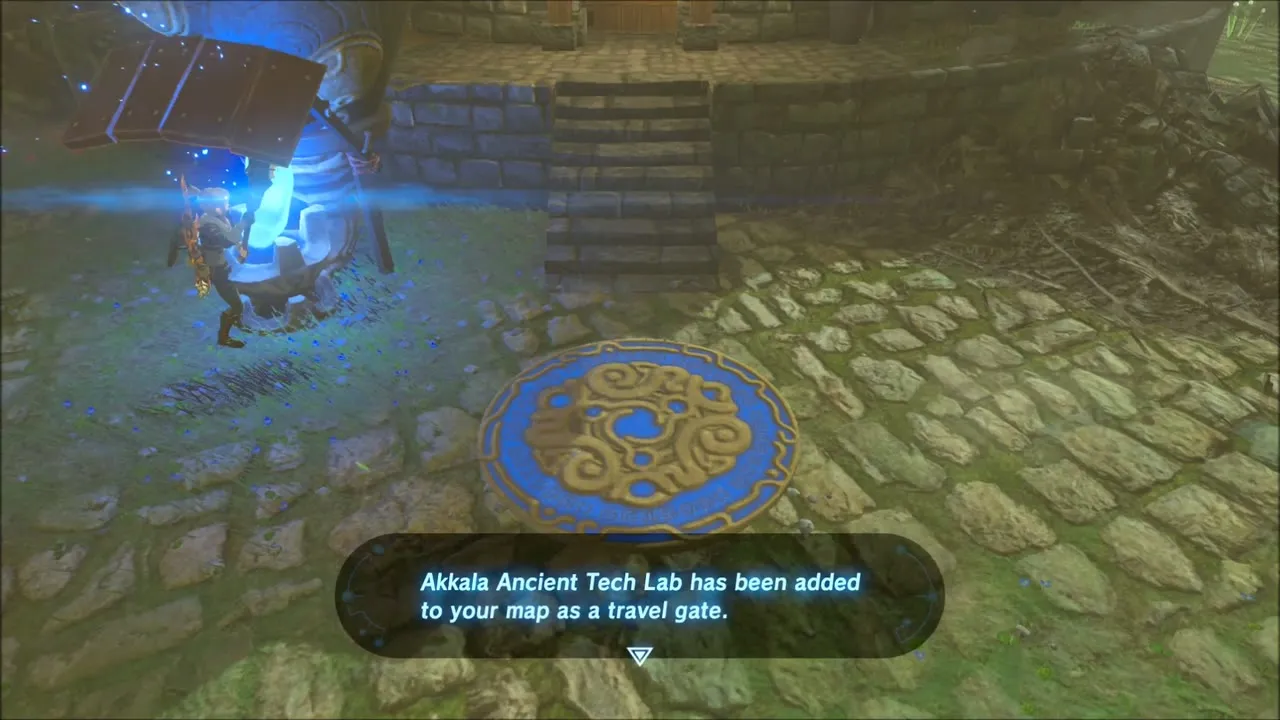
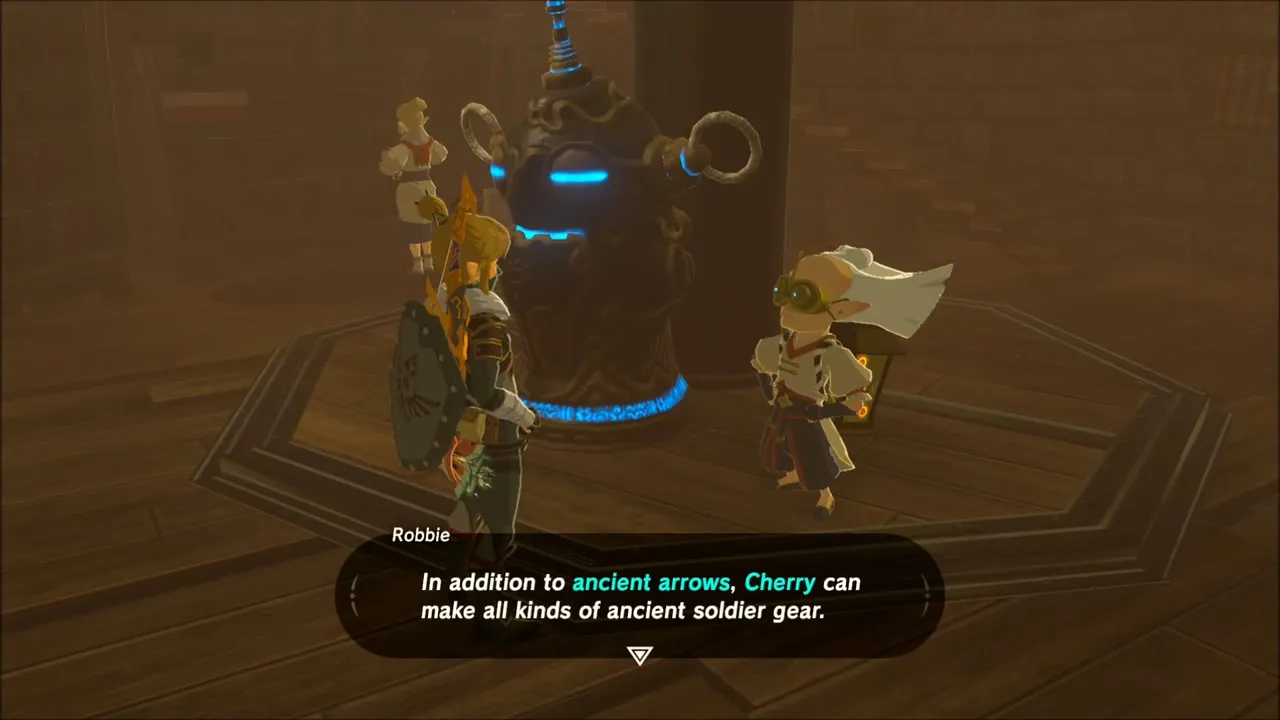
Talk to Robbie again to finish the quest and receive your reward of three Ancient Arrows. Cherry the robot is working now, and she trades ancient gear for materials and rupees. Ancient Helm, Cuirass and Greaves are on her list, together with ancient weapons, shields and arrows. This is where your Ancient Springs, Screws, Shafts and Cores go.


Mija the Great Fairy: Armor Upgrades
With ancient gear in your pack, visit the Great Fairy Mija at her fountain in Akkala (around x 4112, z -1378). Offer her rupees to wake her, then open the armor menu and choose the piece you want to upgrade. Zora Armor and Snow Boots both appear on the list, and each screen shows how many of each material you need before you commit.

Akkala Sea: Guardians, Sea Rocks and Korok Seeds
Head to the coast and swim out into the Akkala Sea. Koroks hide on lone rocks in the water, so look for small islets with a green sprout on top, climb up and take the seed. The first is a short swim from the shore.


A Guardian stands in the shallows ahead. Keep your shield up against its beam and use Stasis and arrows to wear it down. Afterwards, walk the white sand to collect Razorclaw Crabs and the Lizalfos Horns, Talons and Tails that drop from the lizards on the beach.

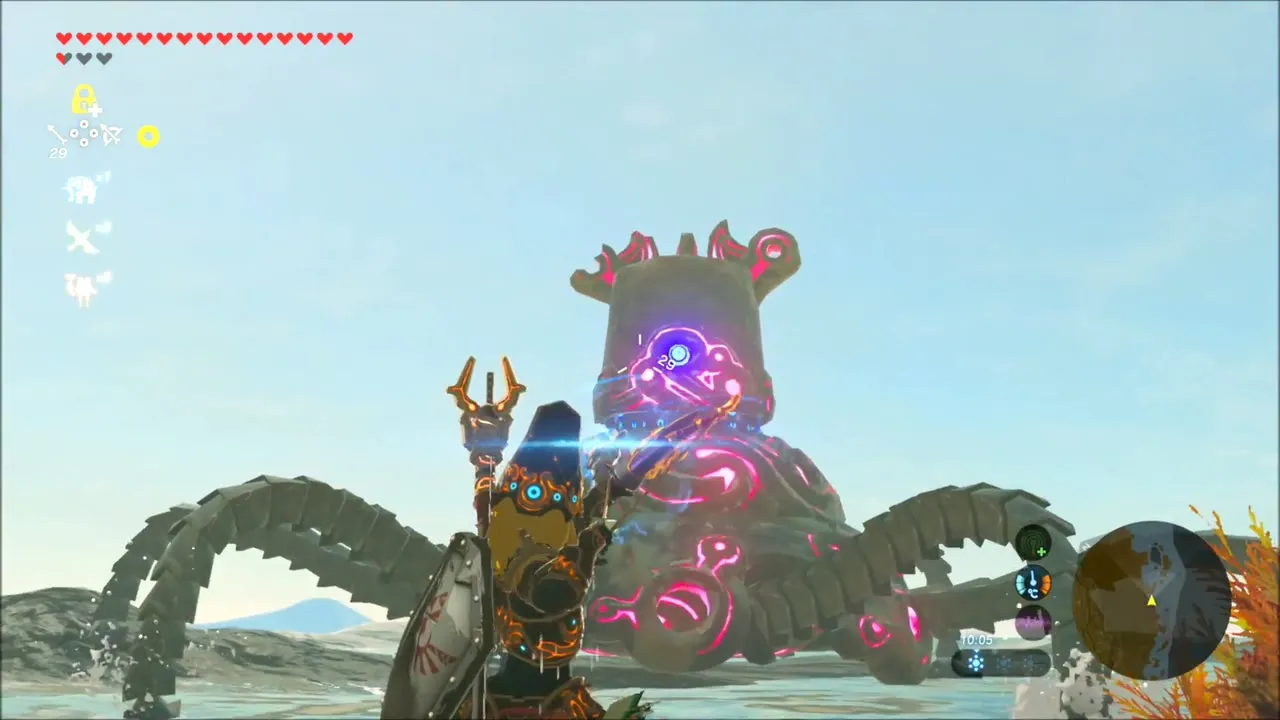

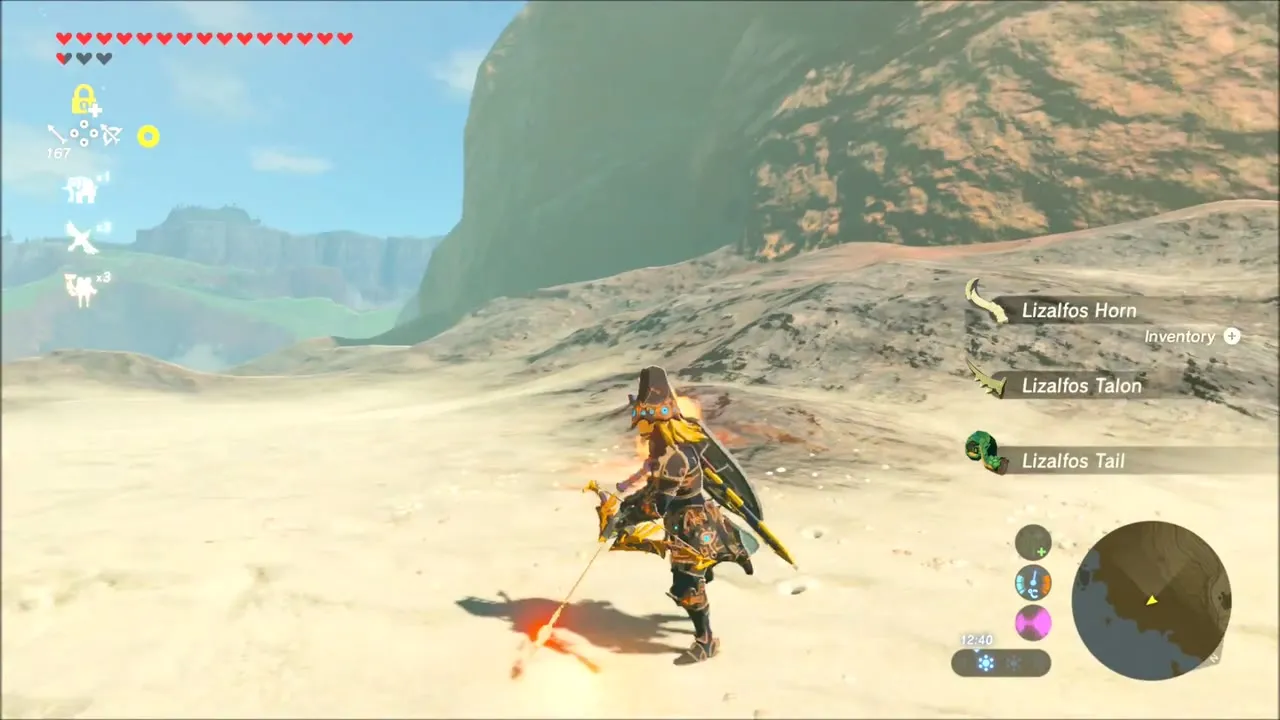
Further out, a yellow-masked Korok sits on a bare rock in open water; swim to it for another seed. Later, climb the red rocky cliff by the shore for the last Korok of this swim, and rest on ledges as your stamina runs low.


Lomei Labyrinth Island and Tu Ka’loh Shrine: Trial of the Labyrinth
Further north-east, Lomei Labyrinth Island (x 4654, z -3650) rises out of the sea. Swim in, grab a Mighty Porgy if you like, and climb onto the maze walls. This starts the shrine quest Trial of the Labyrinth. The goal is Tu Ka’loh Shrine (x 4655, z -3709, height 250) above the far wall.
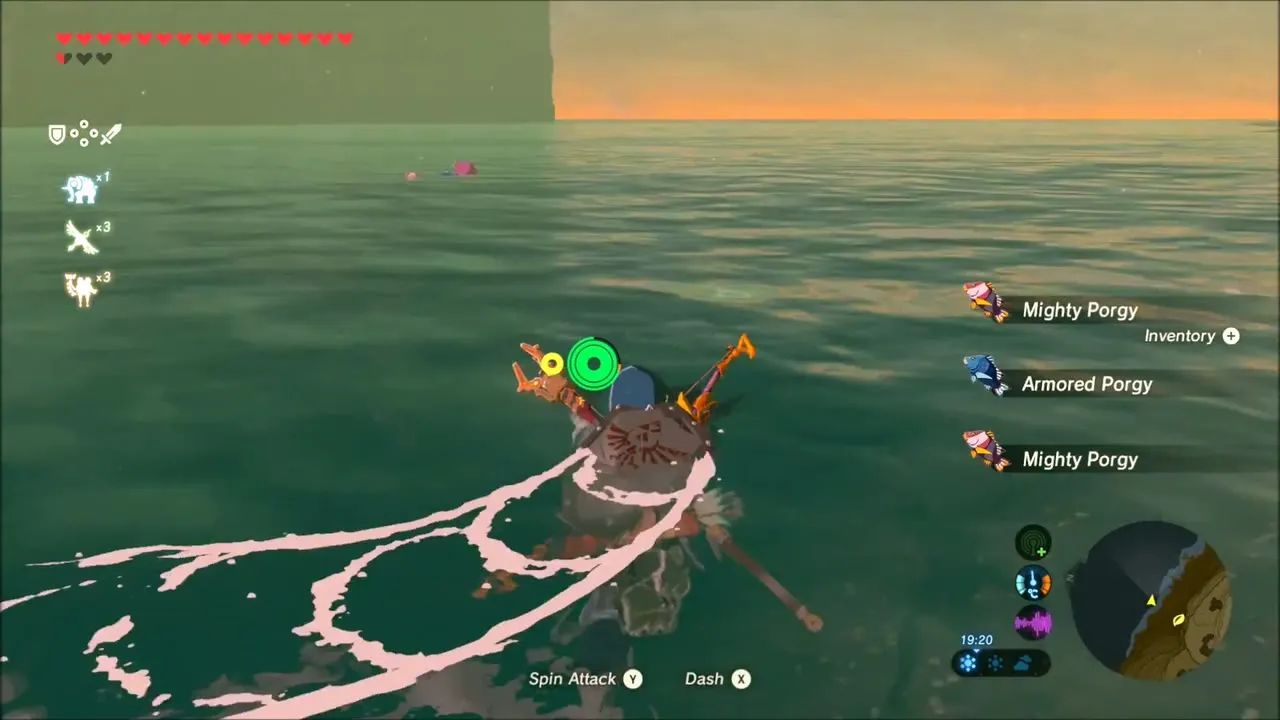

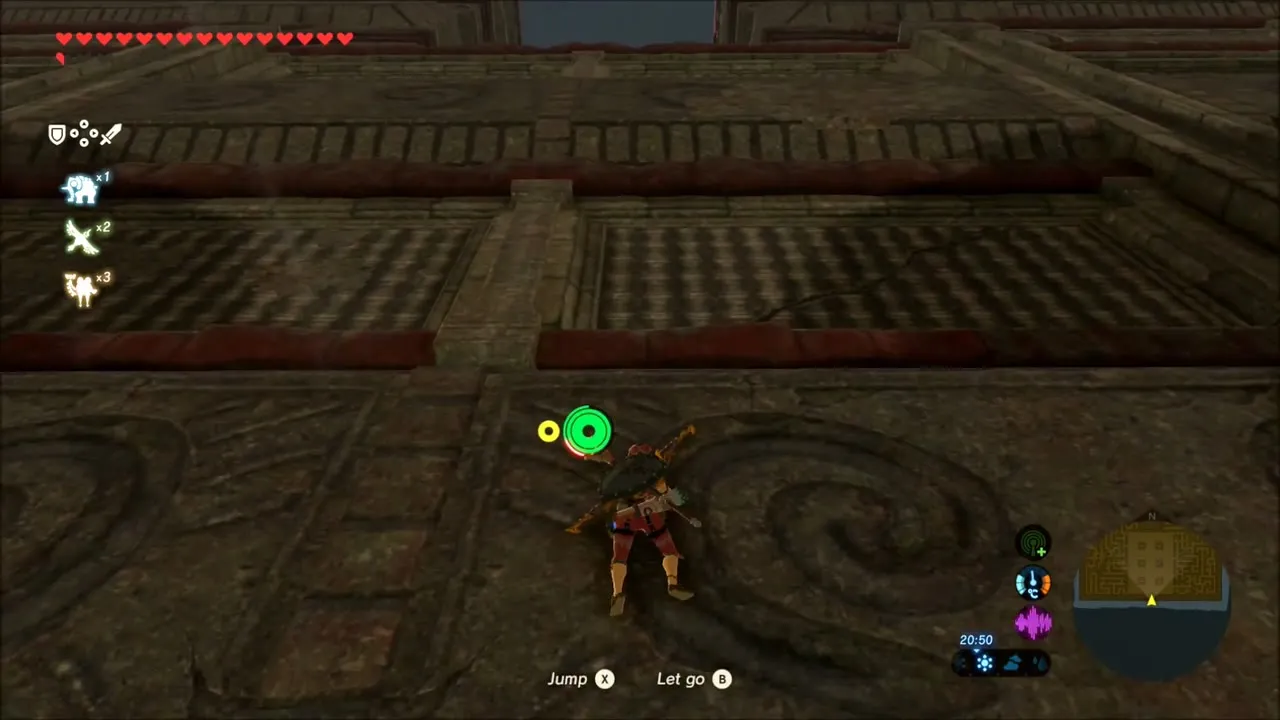
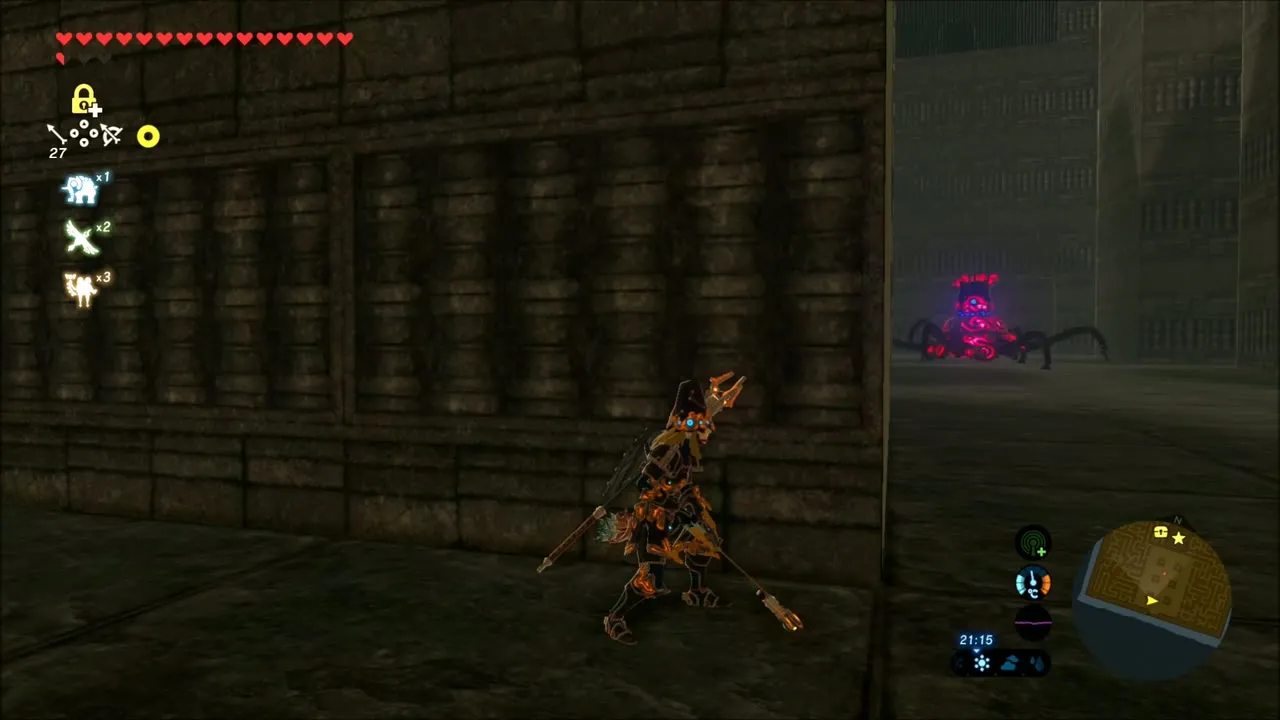
Inside the maze, Guardians patrol the passages, so fight or avoid them as you go. In one corridor a metal box blocks the way; use Magnesis to pull it out of the passage. A dead end beyond it holds a chest with a Giant Ancient Core, a rare crystal worth taking to Cherry.
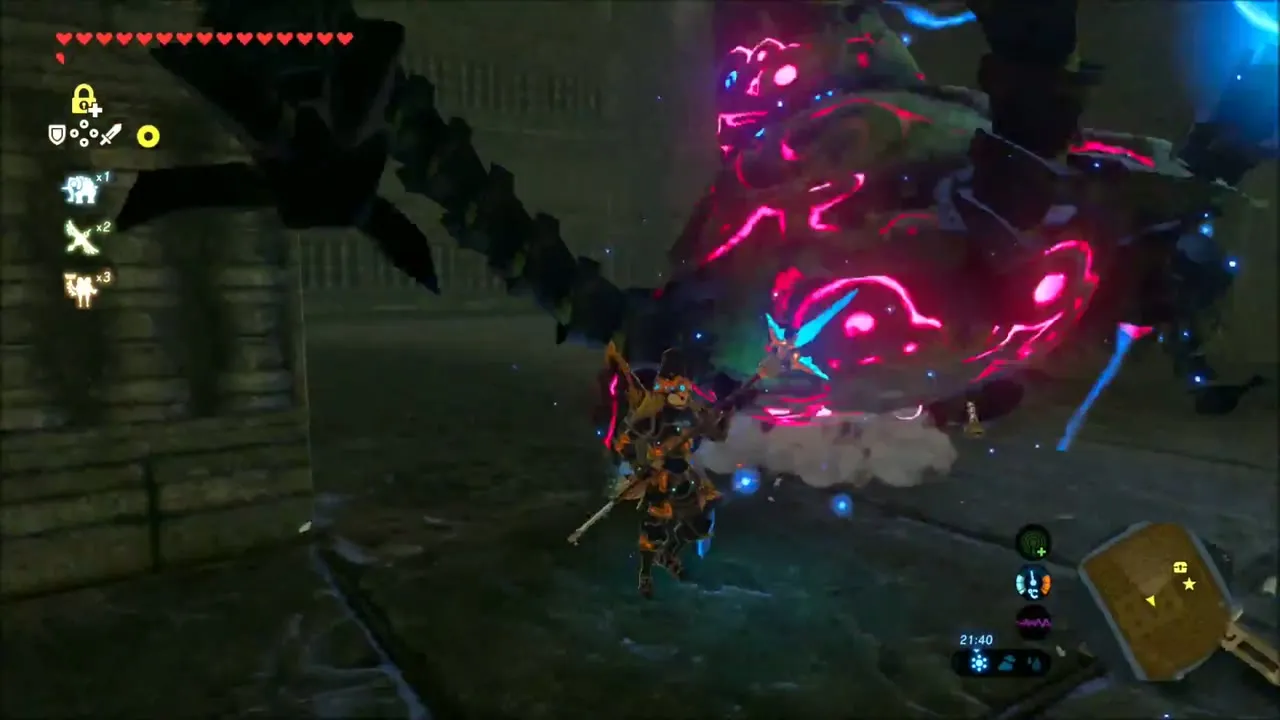

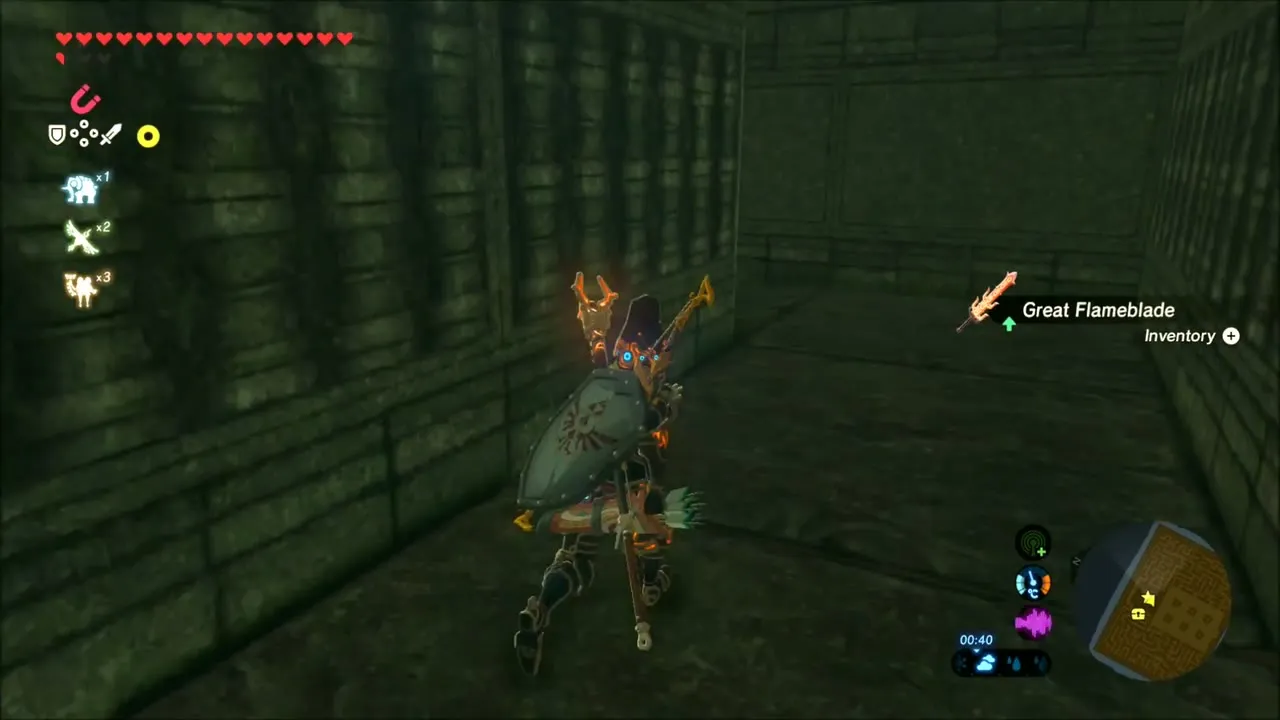
Keep following the corridors. Partway through, the Blood Moon rises. Another chest further along holds a Great Flameblade. After that the maze ends in a flight of stairs, and then in front of the shrine entrance.


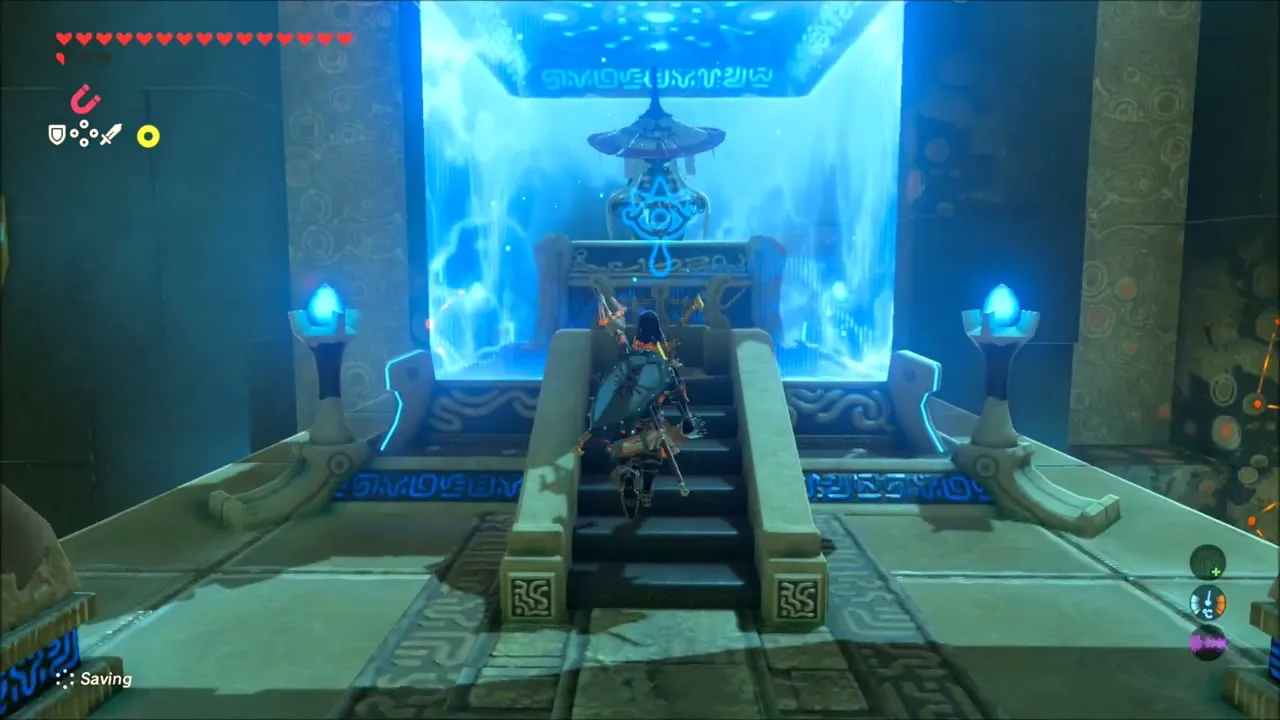
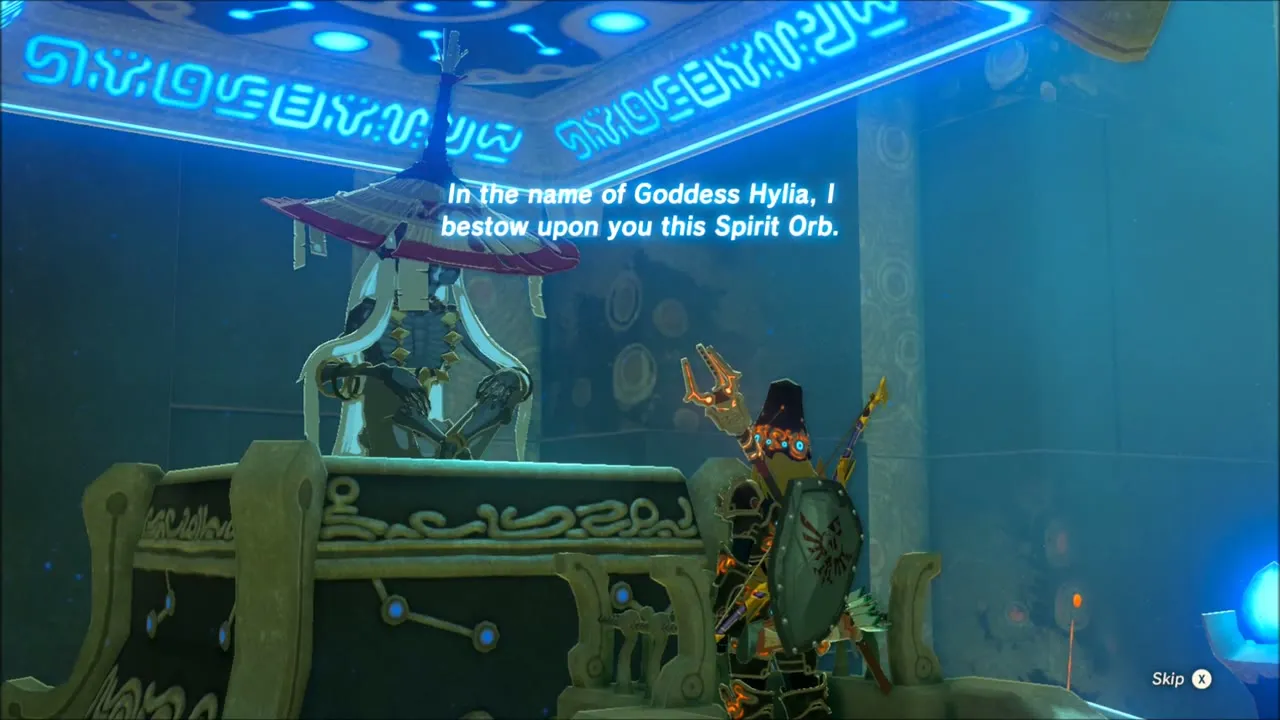
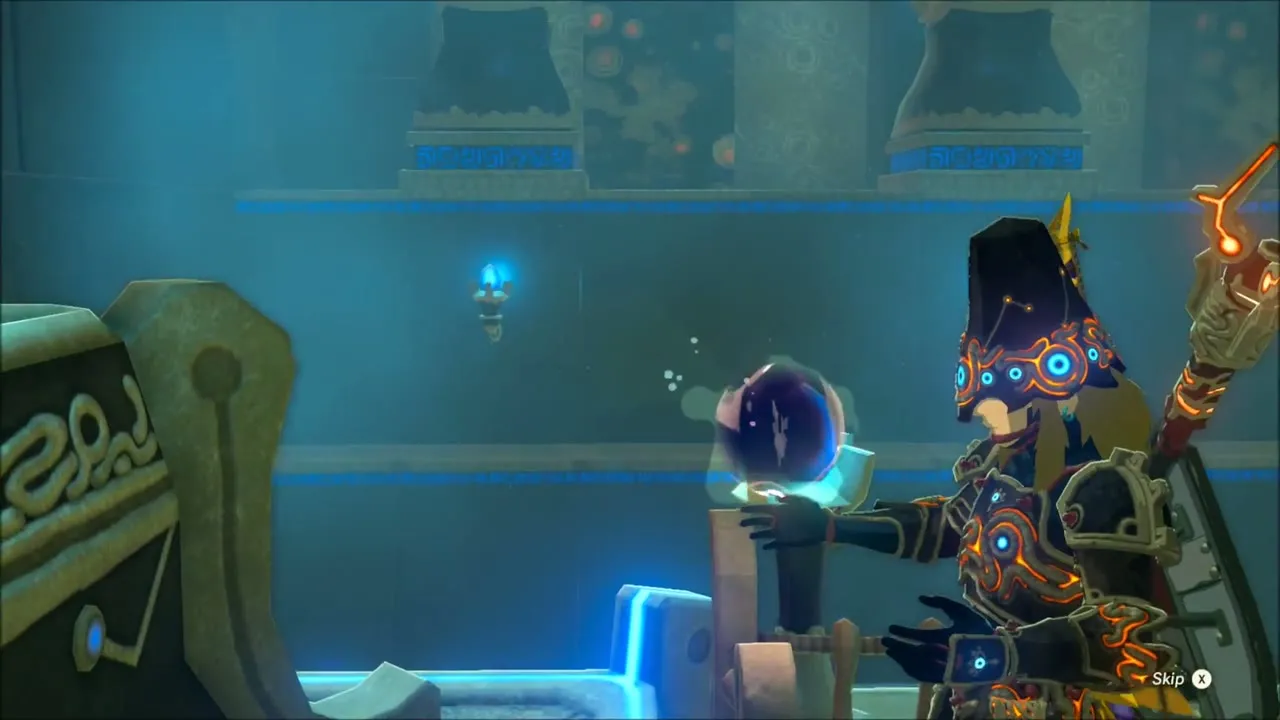
Tu Ka’loh Shrine has no puzzle. Walk in and the quest banner announces that the Trial of the Labyrinth is complete. Speak to the monk Tu Ka’loh for the Spirit Orb. The shrine’s own page has the exact turn-by-turn route if you get lost in the maze.

Guardian Graveyard: Ancient Screws, Springs and Cores
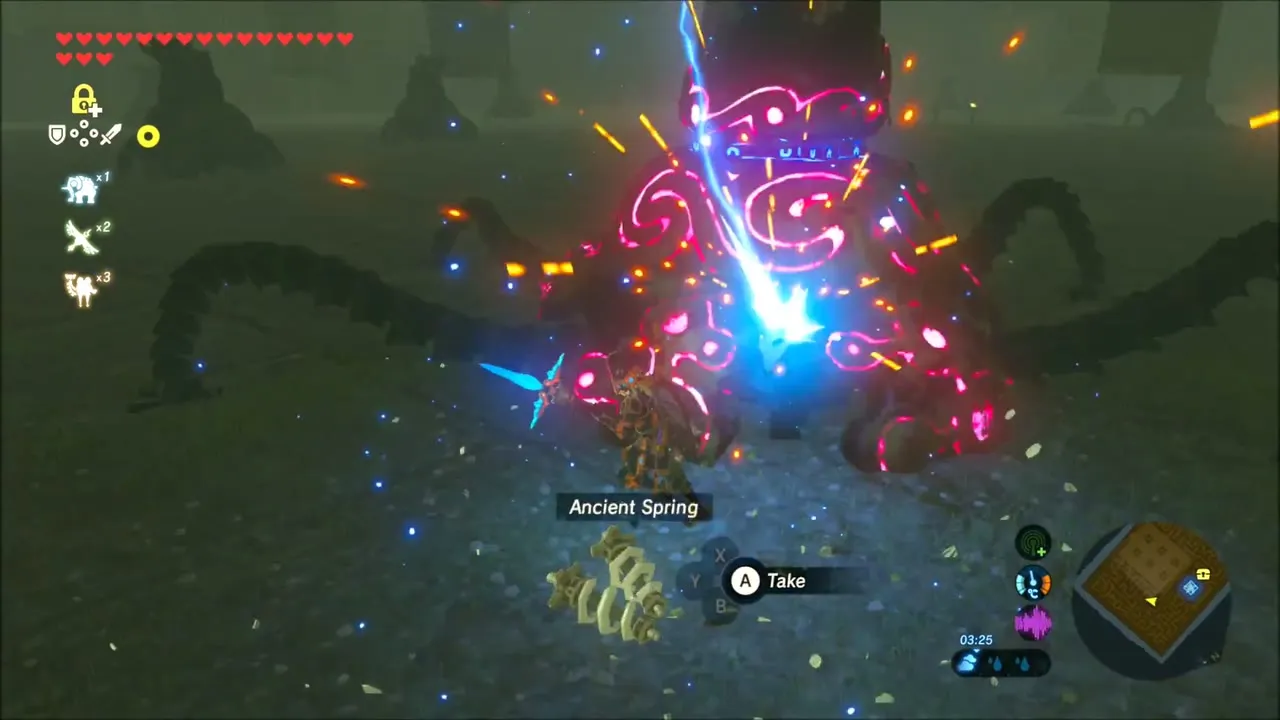
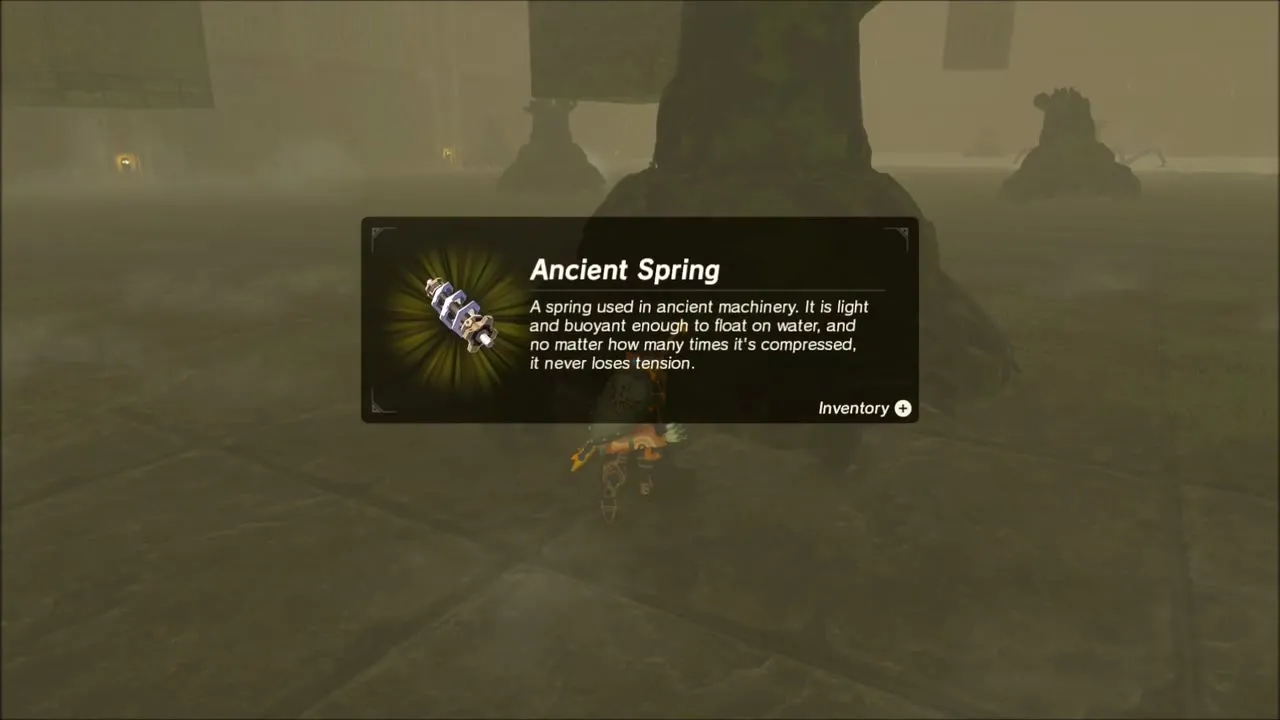
After the shrine, drop down into the Guardian graveyard below the maze. It is a perfect place to farm ancient parts: walk among the wrecks and press A to collect Ancient Springs, Screws, Shafts and Gears. A few live Guardians still roam the graveyard, so watch for their red lasers, and use Stasis to freeze one before you strike. Spend the loot with Cherry for ancient weapons, armor and arrows.



Lynel in the Akkala Hills: Savage Lynel Weapons
The next stretch begins on a ledge near the foot of Death Mountain. Climb down, open the map to plan the route, and gear up before you hunt the Lynel in the grassy hills. A strong two-handed weapon such as the Royal Broadsword is in your inventory, and armor with a stealth bonus, such as Stealth Tights, helps you get close.
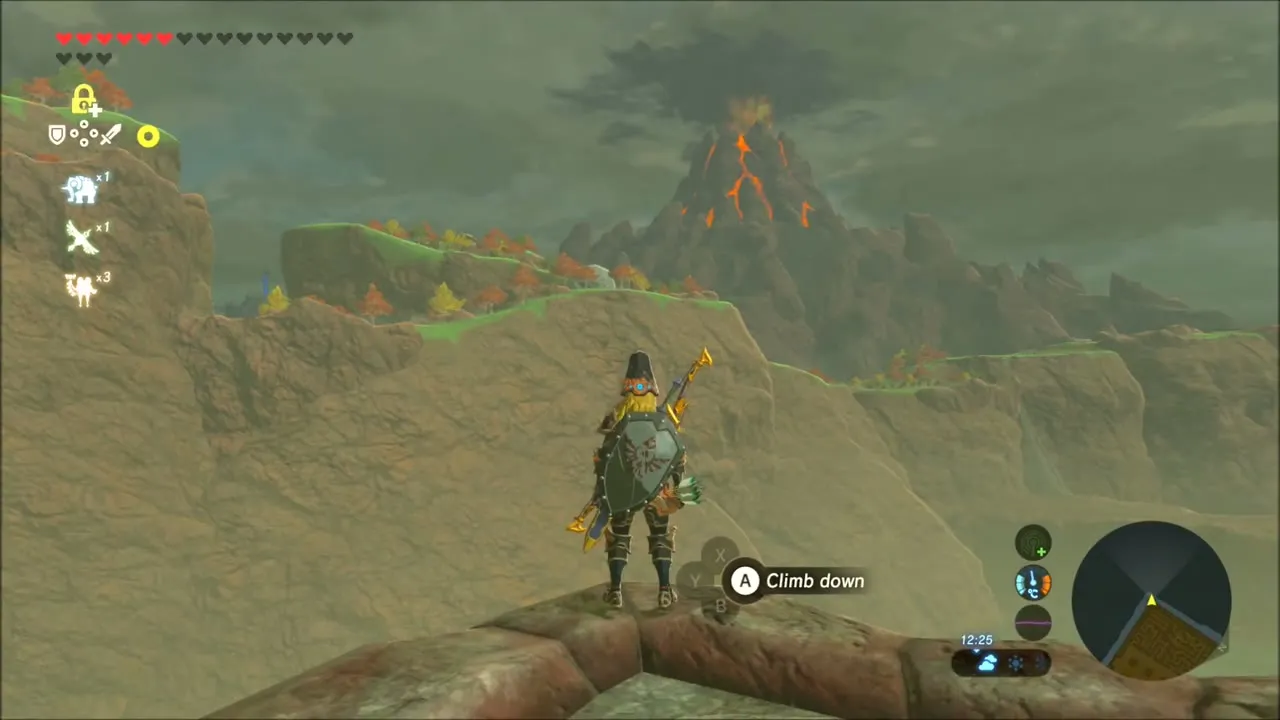
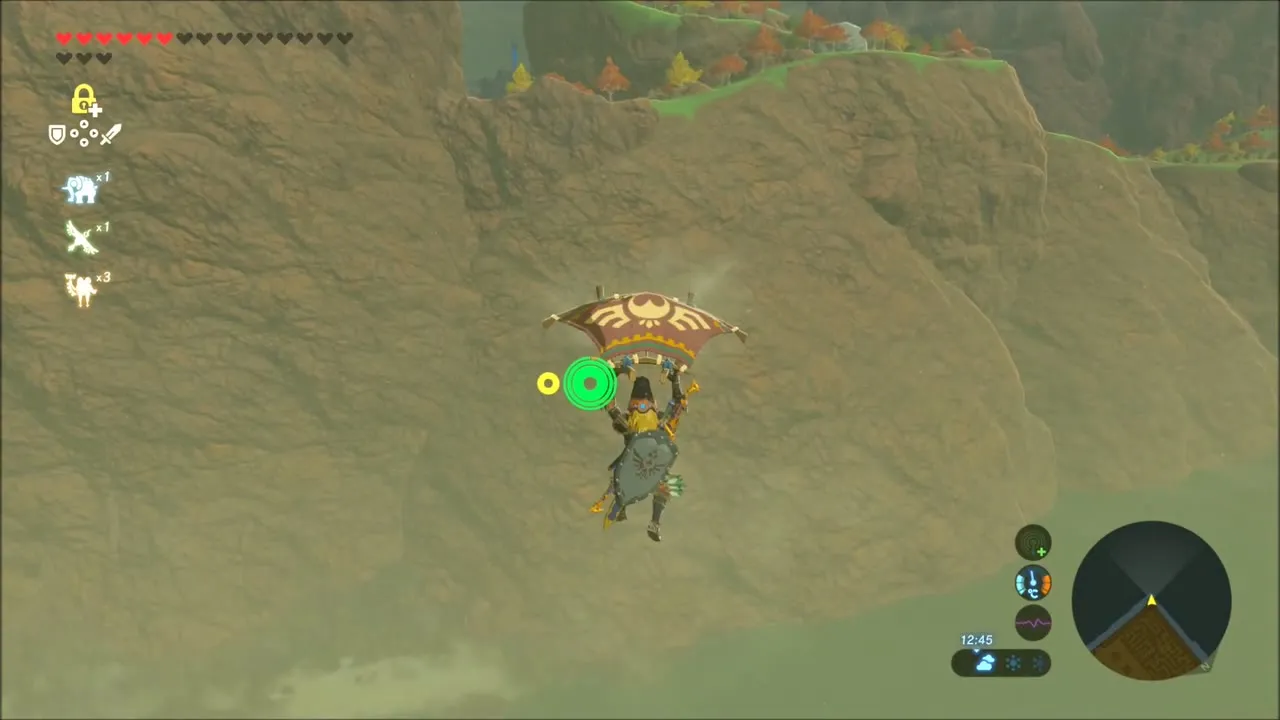
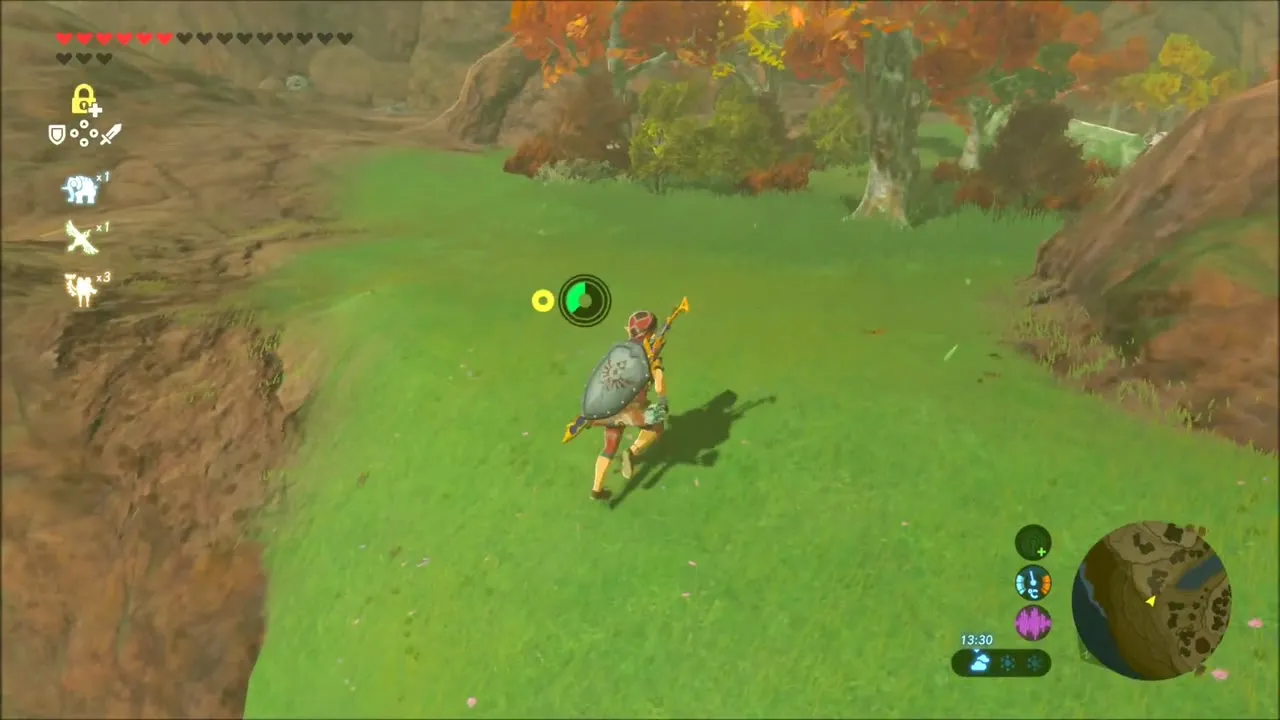
The Lynel is a striped, horse-bodied monster. Keep moving, shoot it with fire arrows from range, and finish it when it falls. The loot box shows Lynel Horn, a Sapphire and Lynel Guts, along with a Savage Lynel Bow and a Savage Lynel Spear. Savage weapons belong to the strongest tier, so see the Silver Lynel page for what to expect.
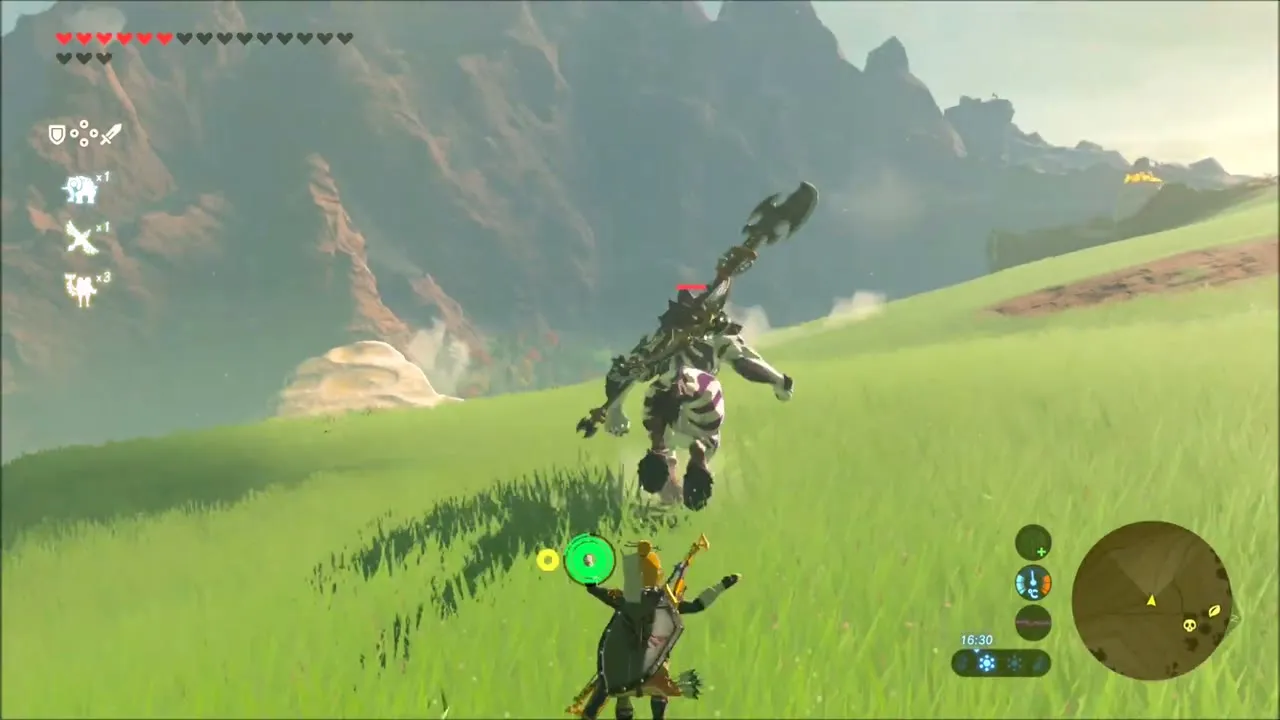

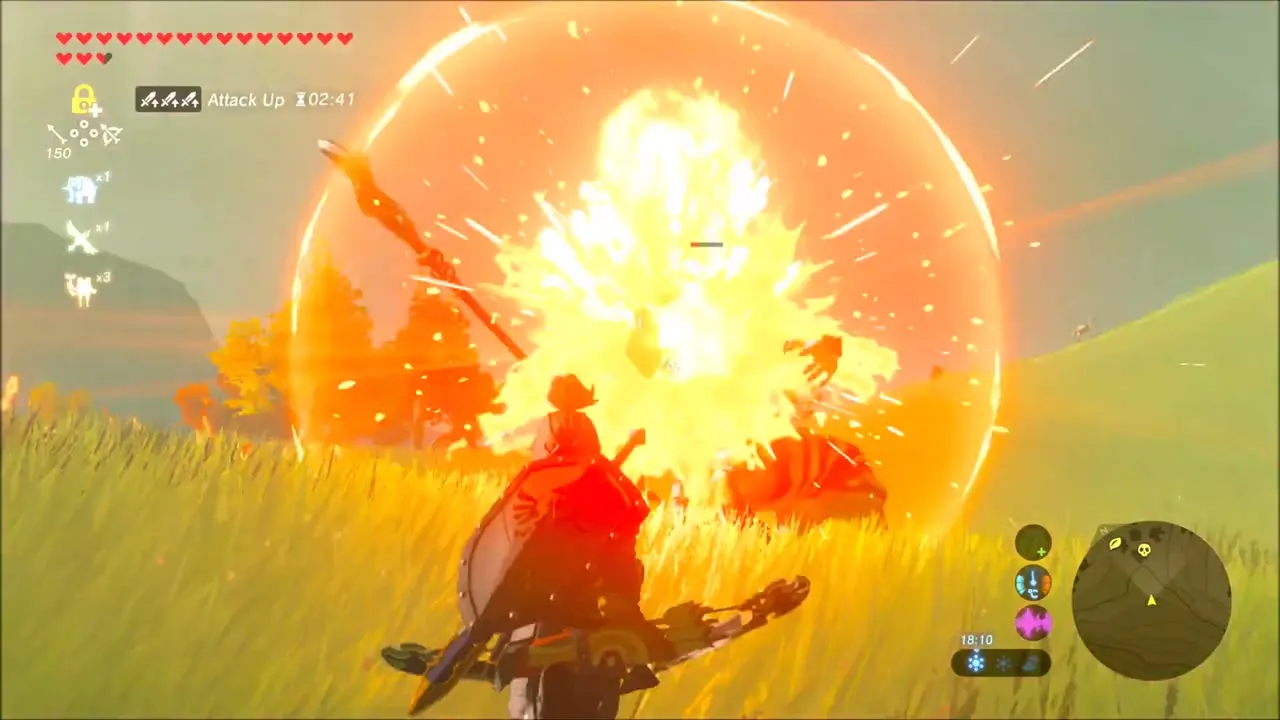


Korok Seeds with Boulders and Pits
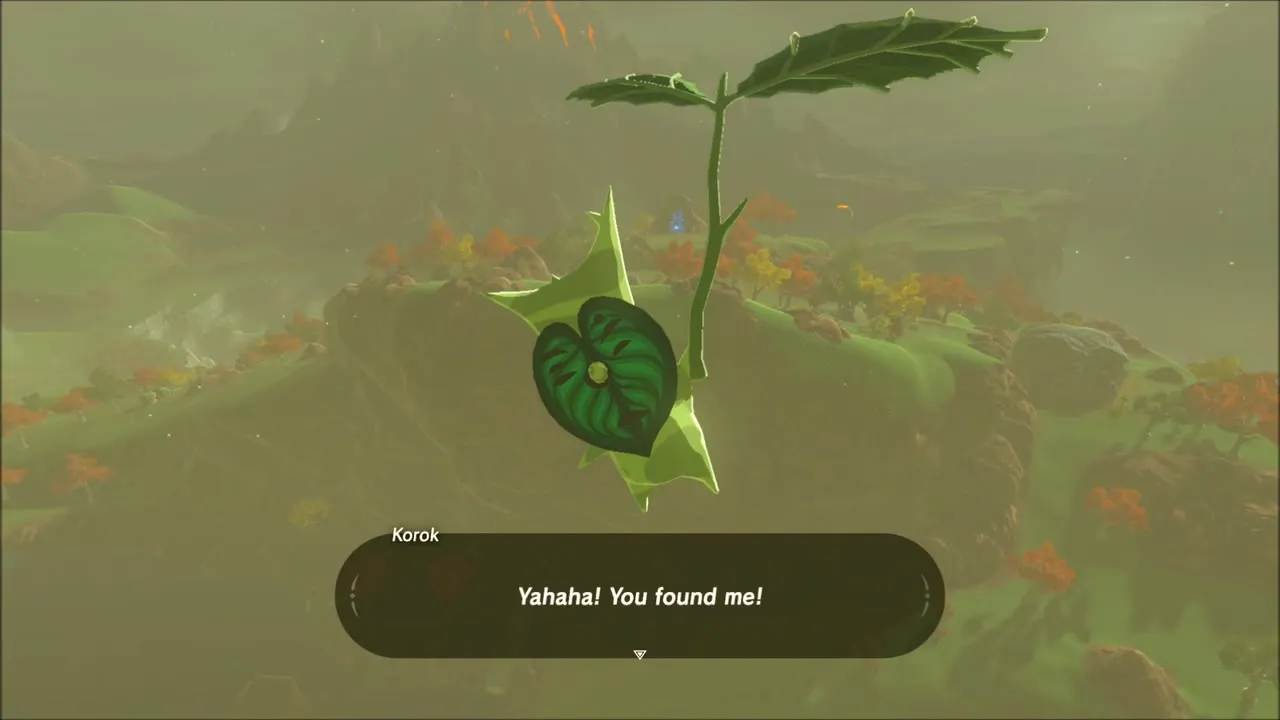
Several grassy hillsides further on hold Koroks that want a boulder in a pit. Use Stasis to launch a round boulder along the grass, or lift it by hand, and drop it into the hollow in the ground. A Korok then appears beside the hole with a seed. Another Korok near a lone tree reveals itself with a cheerful “Yahaha! You found me!” and gives a seed too.


Korok seeds in the volcano’s shadow
Keep moving along the base of the volcano, picking up Seared Prime Steak, Fire Keese Wings and Ruby as you go. Several rocky spots here hide Koroks. One sits under a boulder; use Stasis or lift the rock to uncover it. Each Korok pays out one seed.
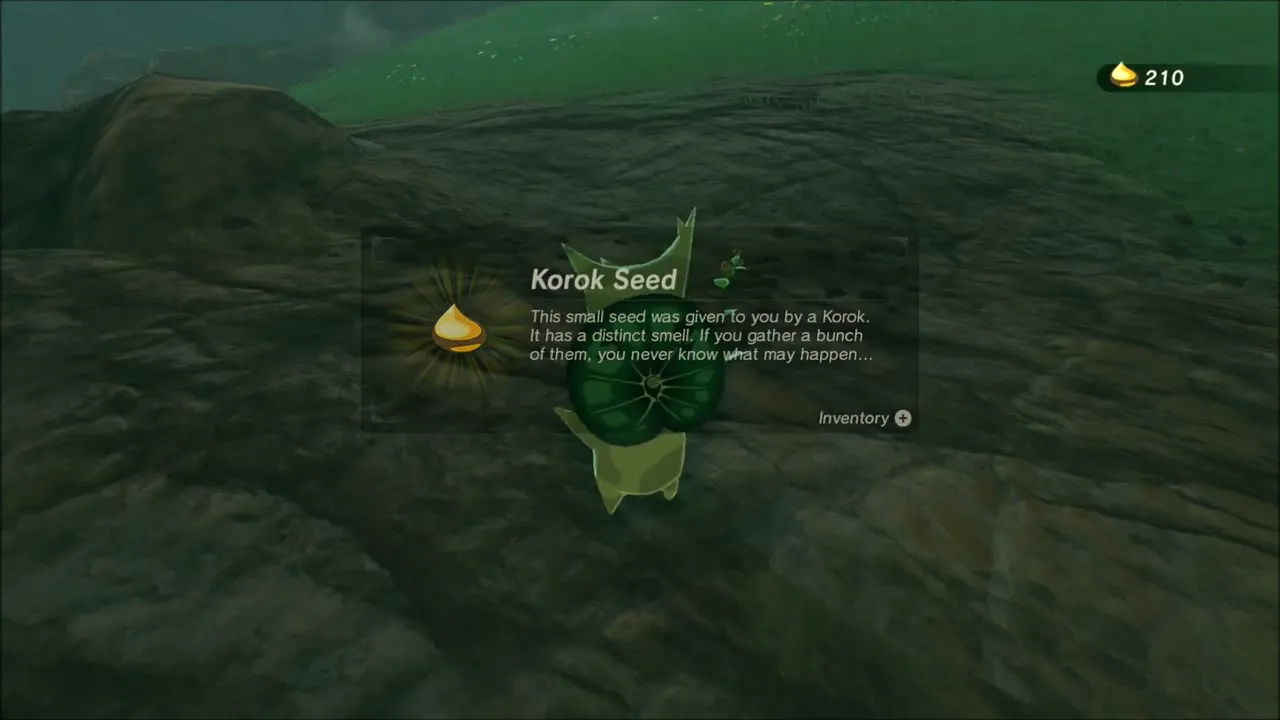

Beyond a gnarled dead tree, climb the trunk until you reach a fork near the top. A Korok sits in the branches, and the seed is yours once you get there.


Zuna Kai Shrine: Flameblade on the Skull Lake Pillar
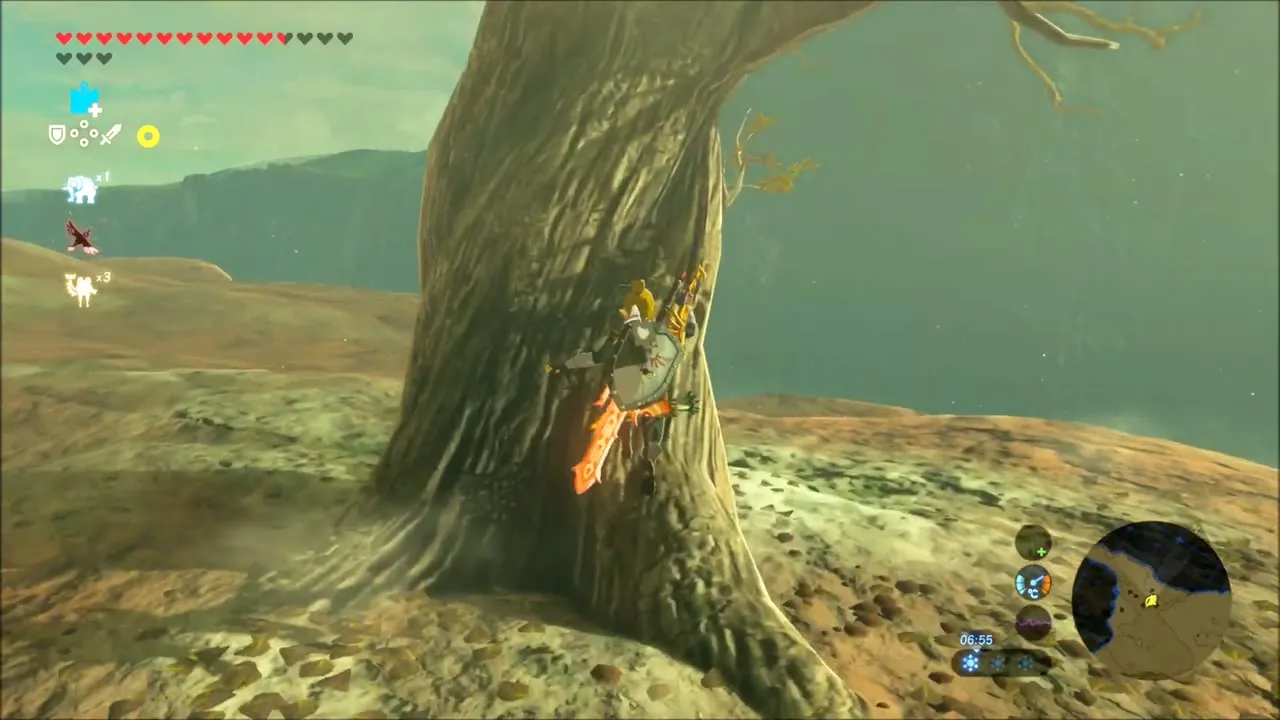
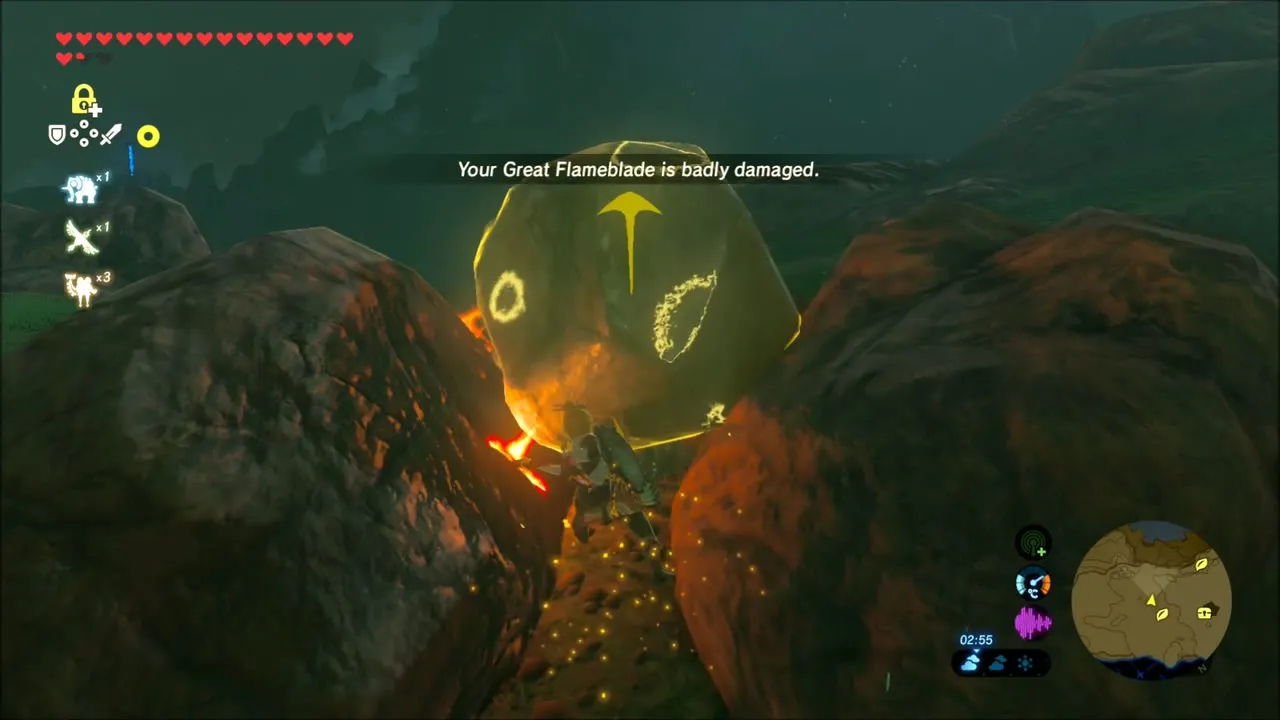
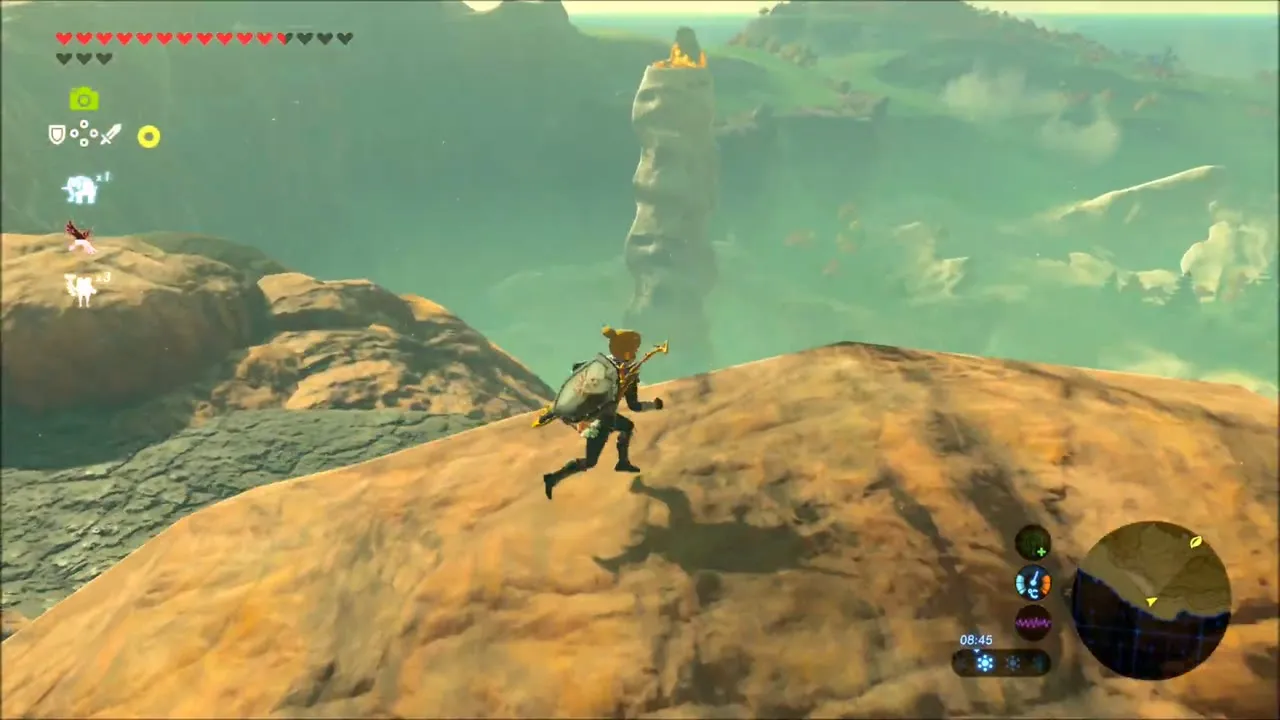
Cross the dry red hills toward Skull Lake (x 3314, z -3499), collecting Amber, Flint and Rock Salt as you go. A tall white pillar stands in the lake. Glide down onto its side, then climb the last stretch by hand, resting on ledges. Your Great Flameblade is badly damaged by now, so carry a spare weapon.


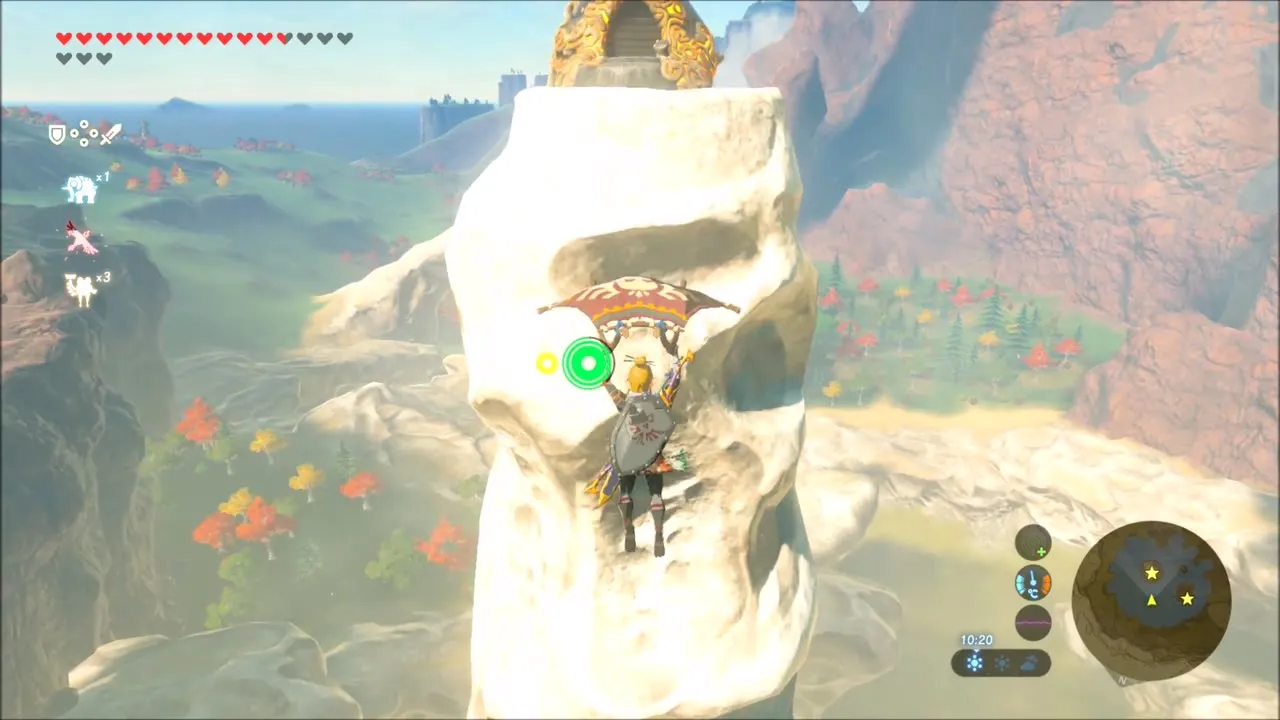
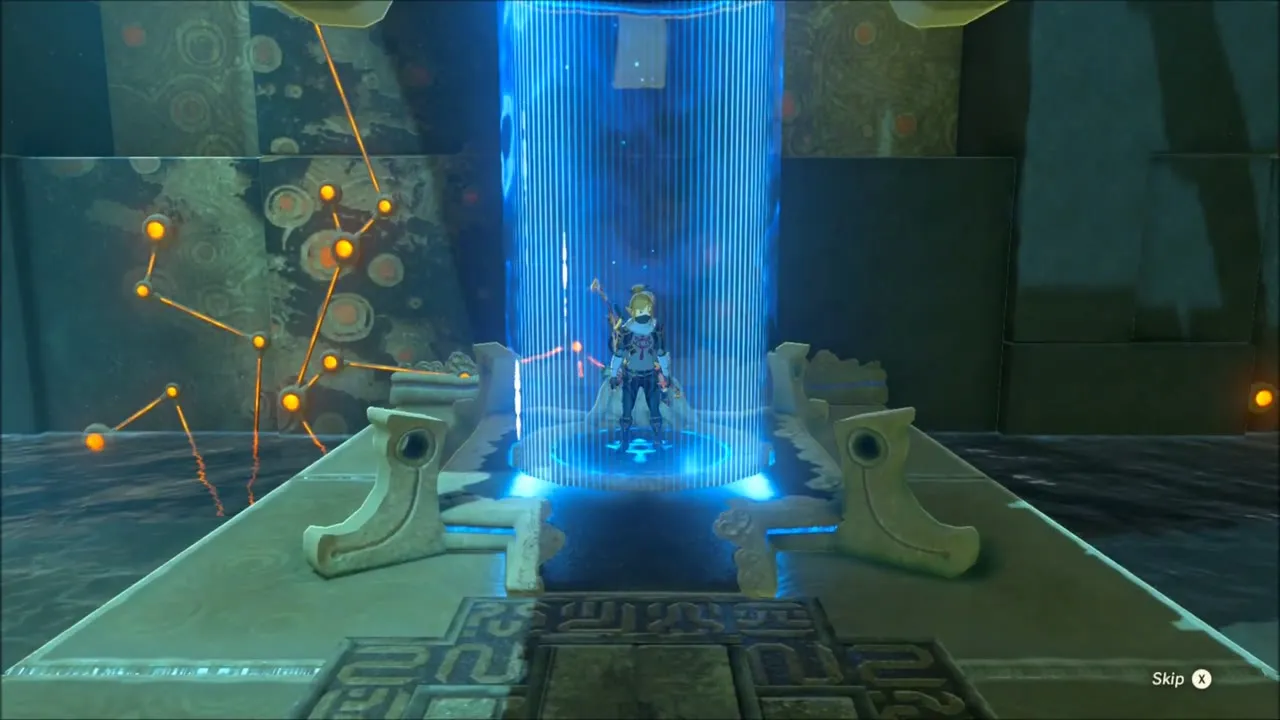
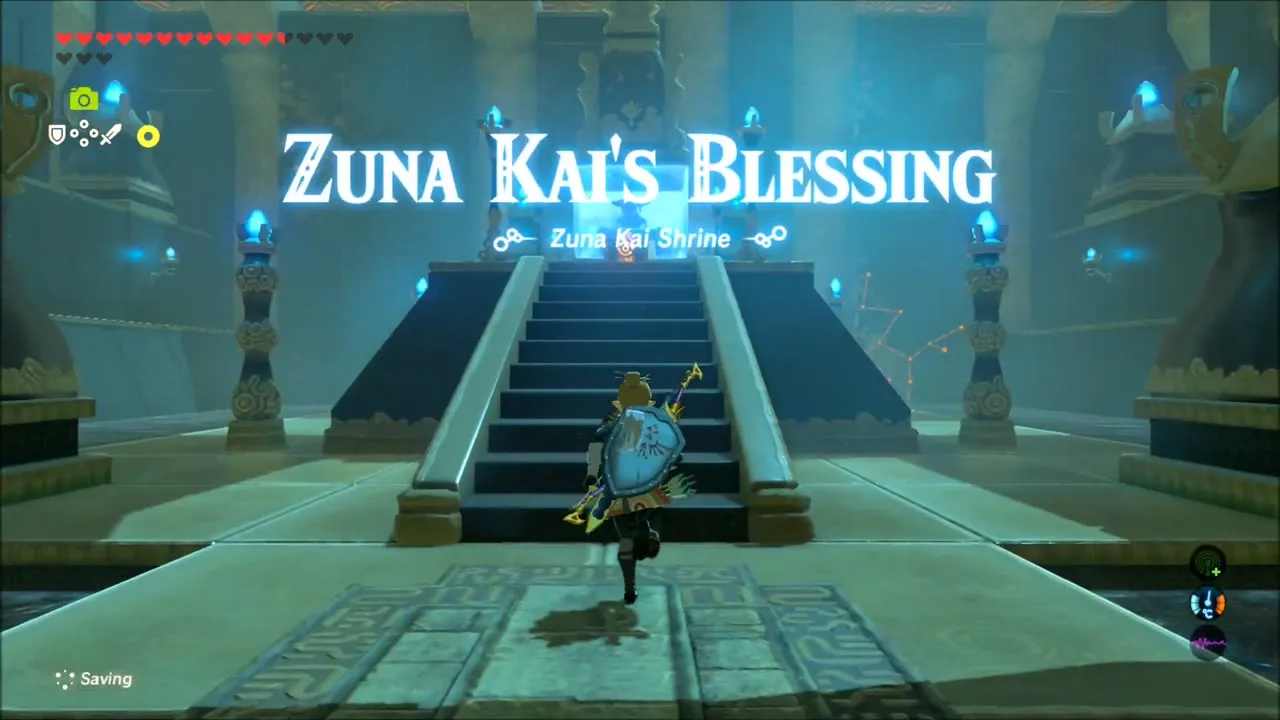
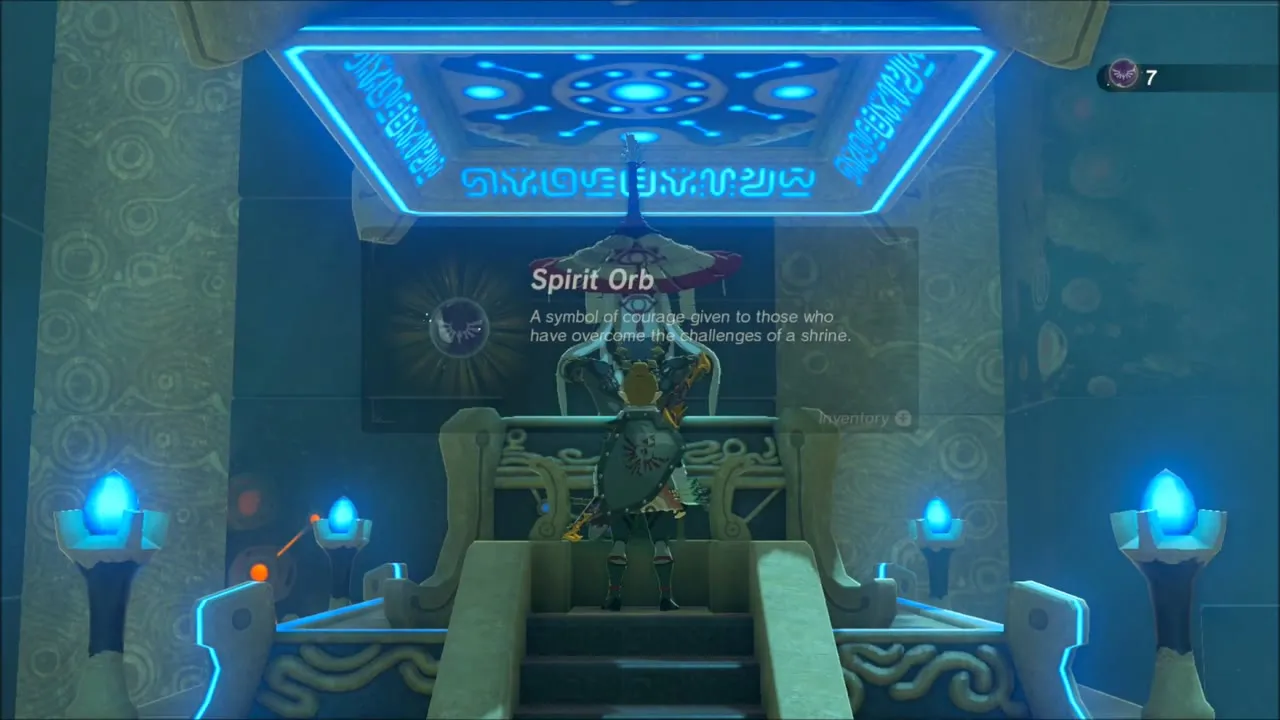
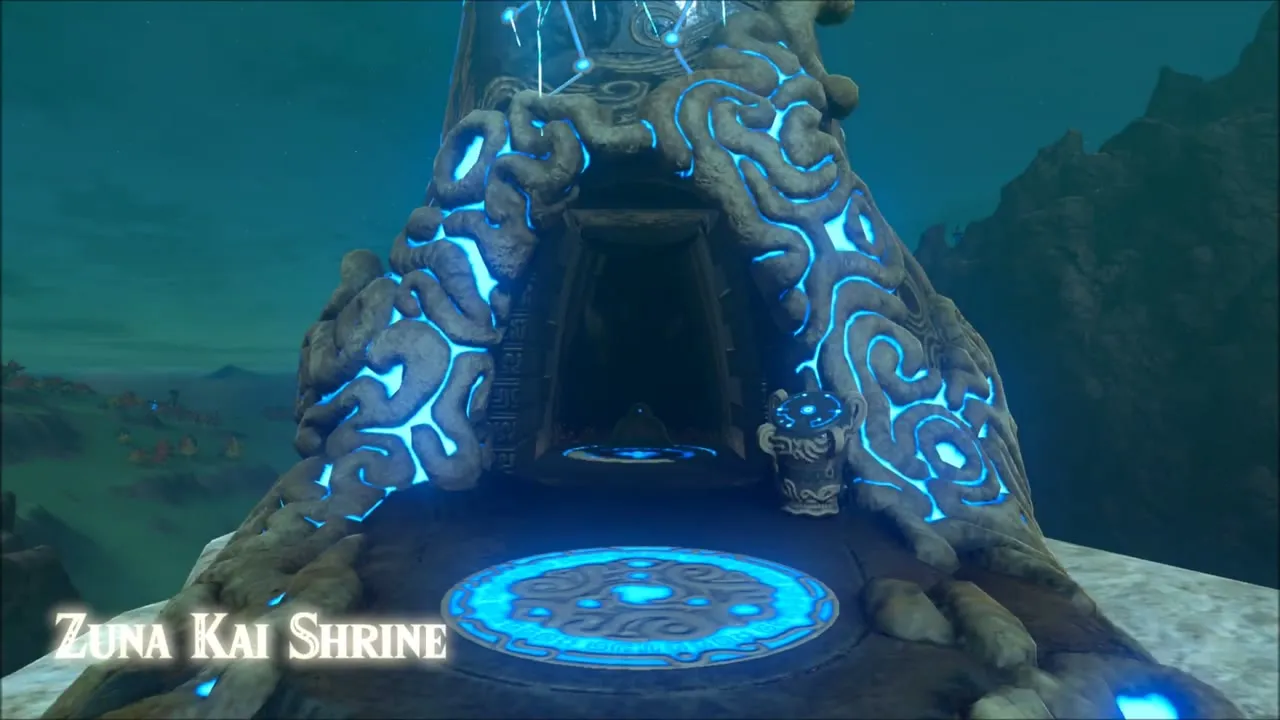
At the top, Zuna Kai Shrine (x 3324, z -3421, height 312) is a blessing shrine with no puzzle. This completes The Skull’s Eye. Open the chest for a Flameblade, then speak to the monk Zuna Kai for the Spirit Orb. The shrine’s warp platform lets you fast-travel back here later.

Kilton and the Fang and Bone Shop
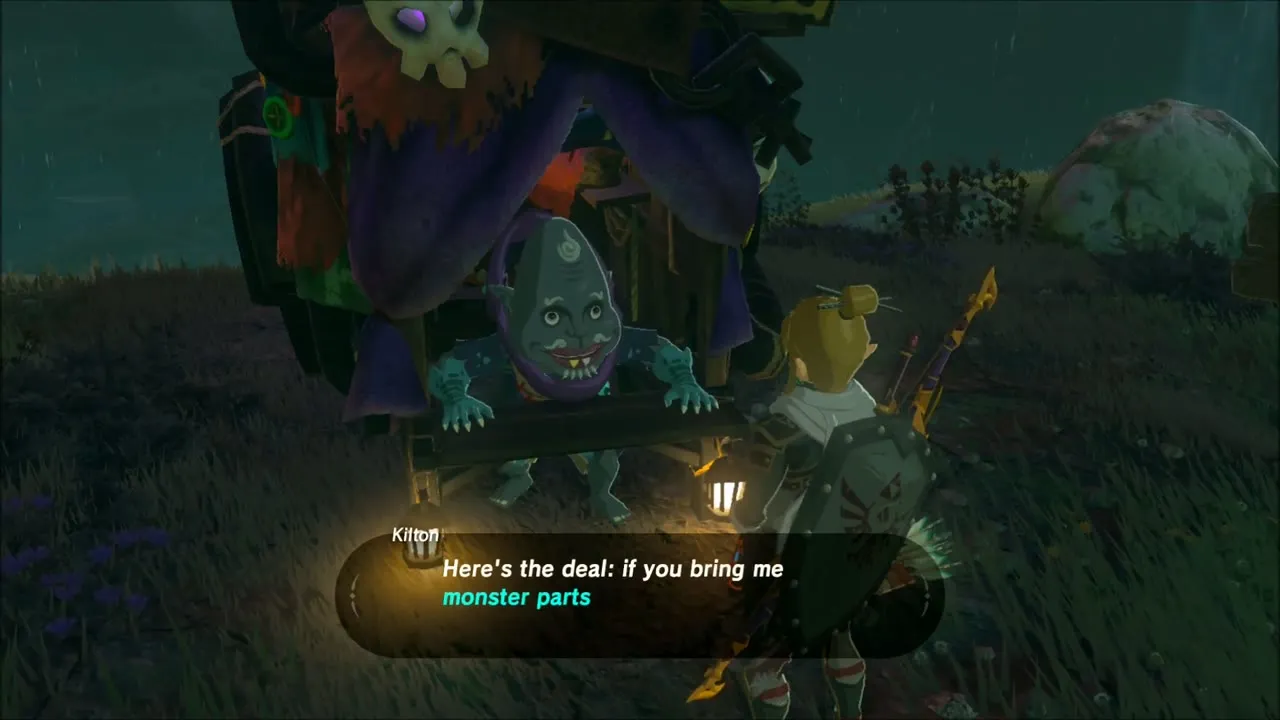
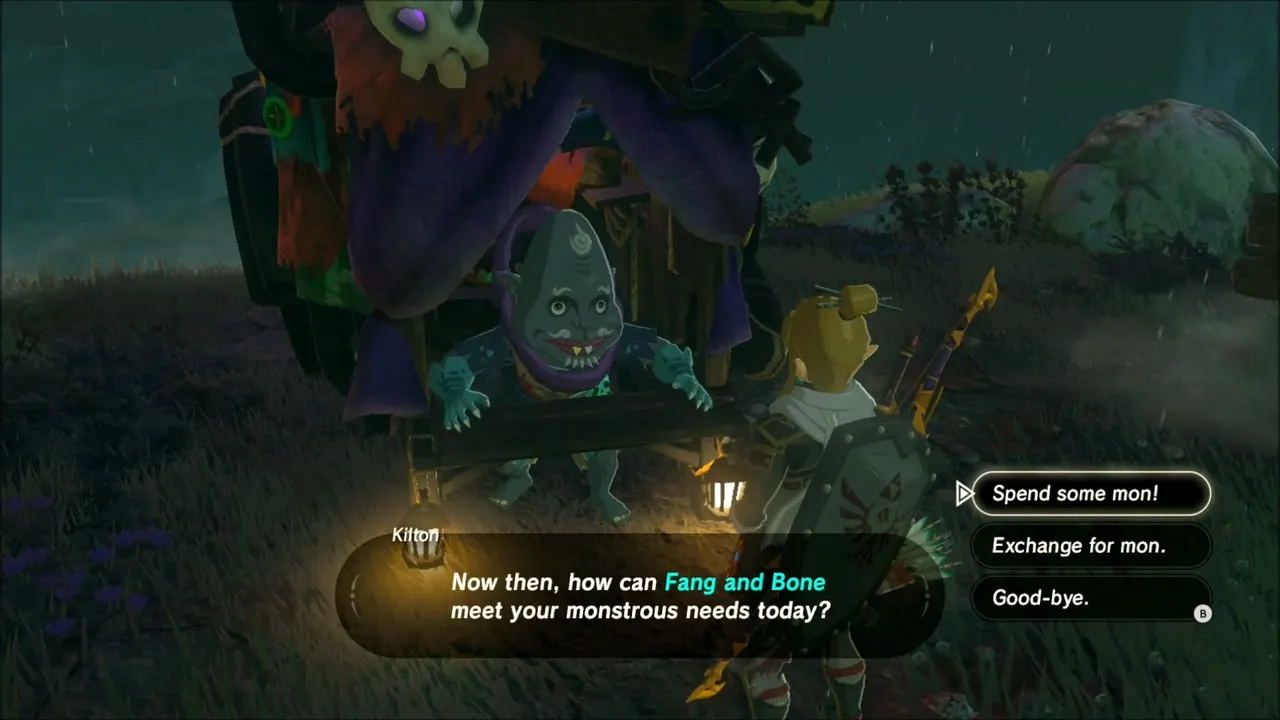
Once night falls, Kilton appears at Skull Lake. Speak to him to finish the first task of A Shady Customer, which is finding him; the photo for Hoz and the trip back to the stable come later. Kilton opens his Fang and Bone shop and introduces himself.

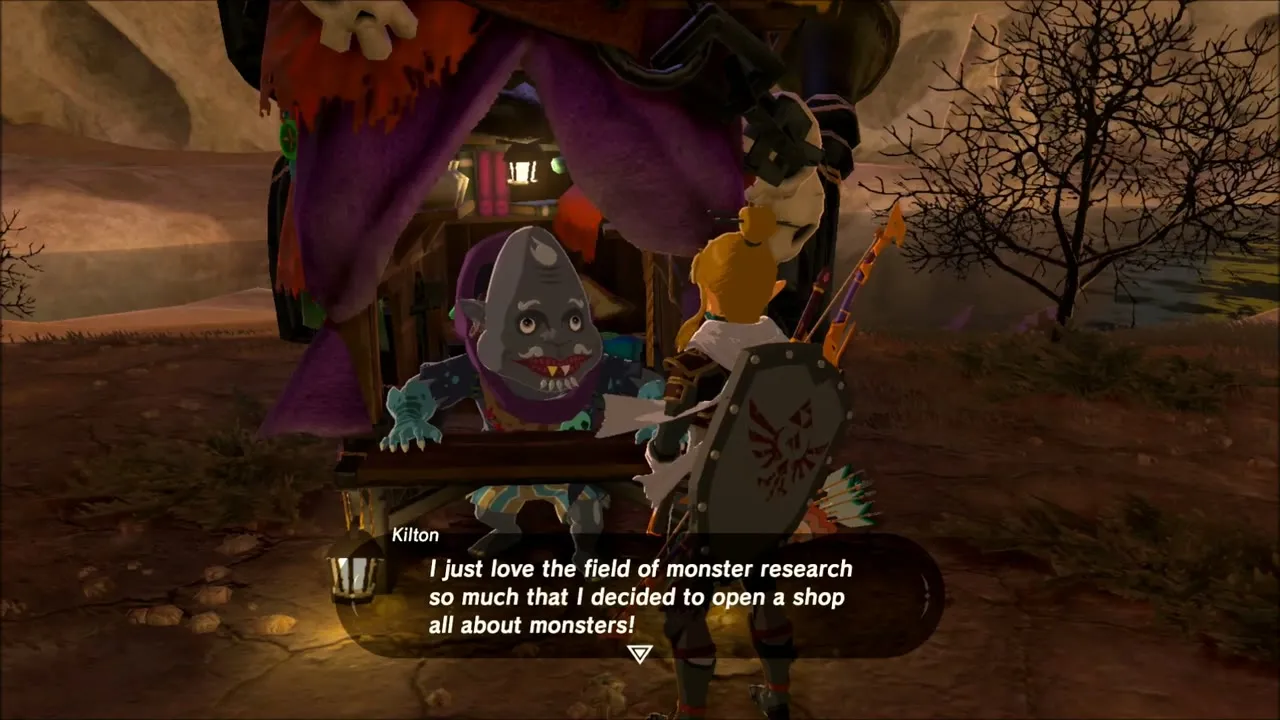
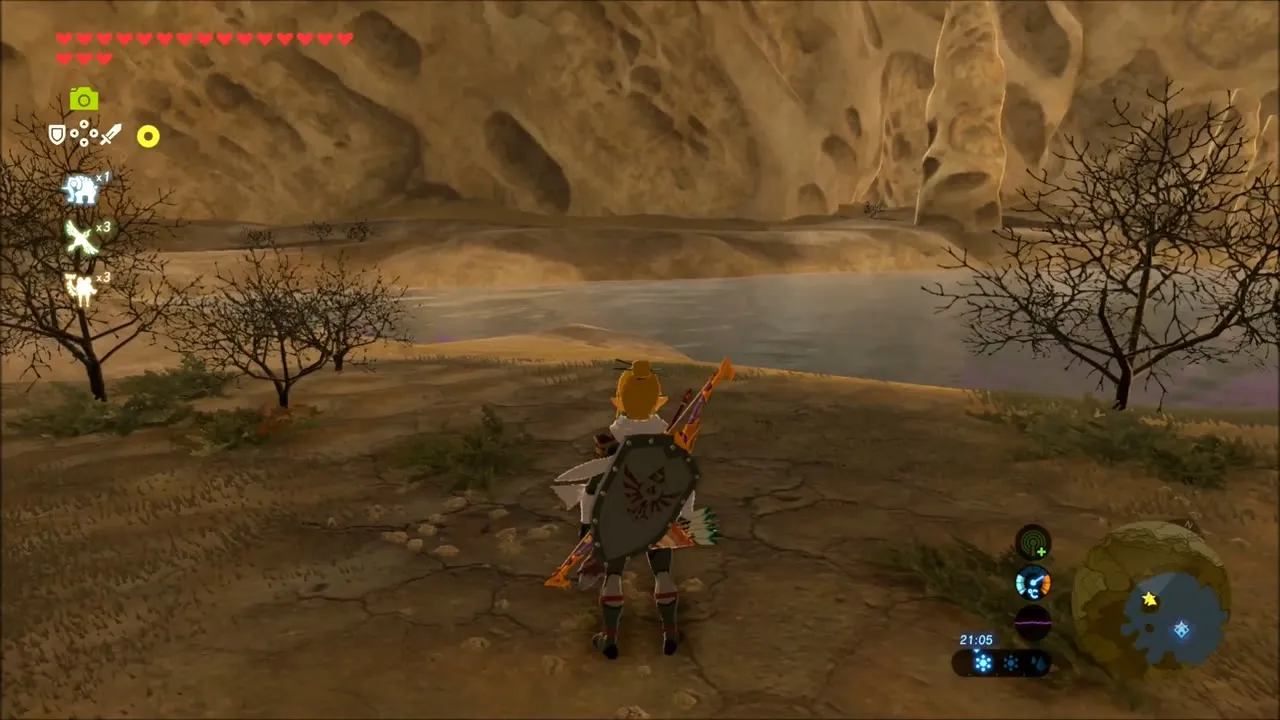
Kilton buys monster parts for Mon. Sell him spare Bokoblin Fangs, Moblin Horns, Lizalfos Talons and Keese Wings. His stock includes a Bokoblin Mask, Moblin Mask, Lizalfos Mask and Lynel Mask, plus a Monster Saddle and a Monster Bridle.

Cooking at East Akkala Stable
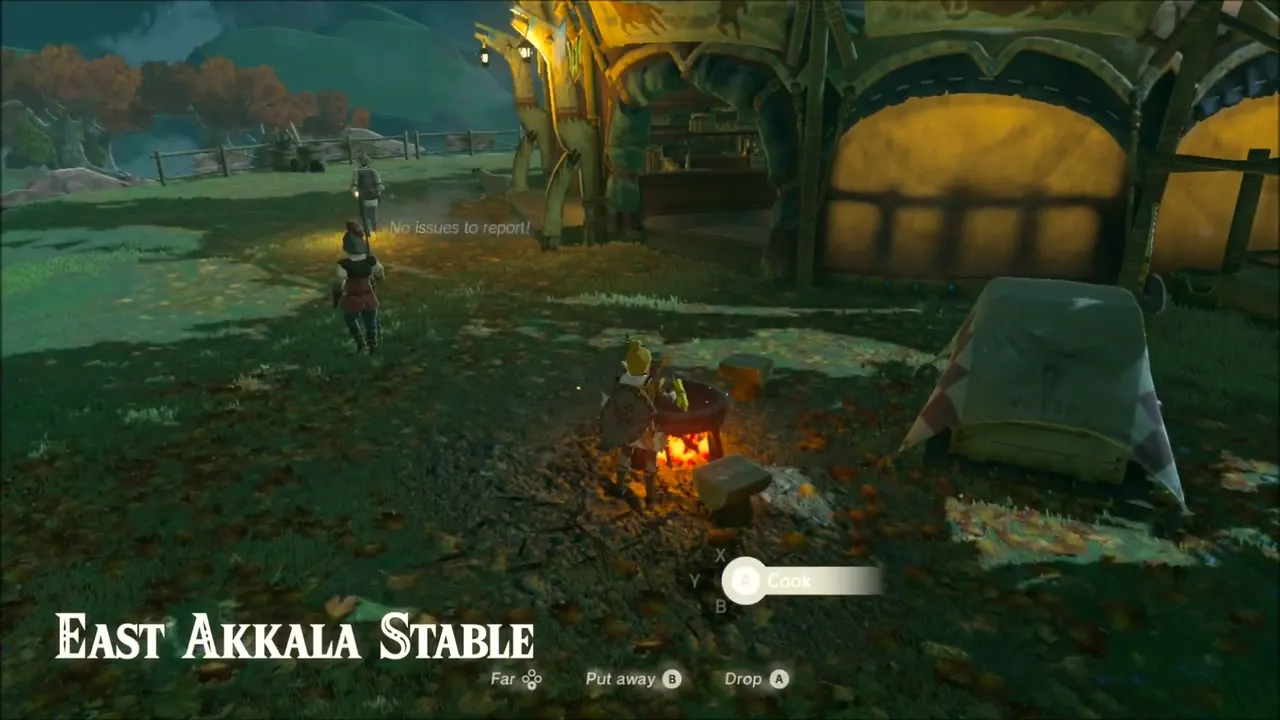
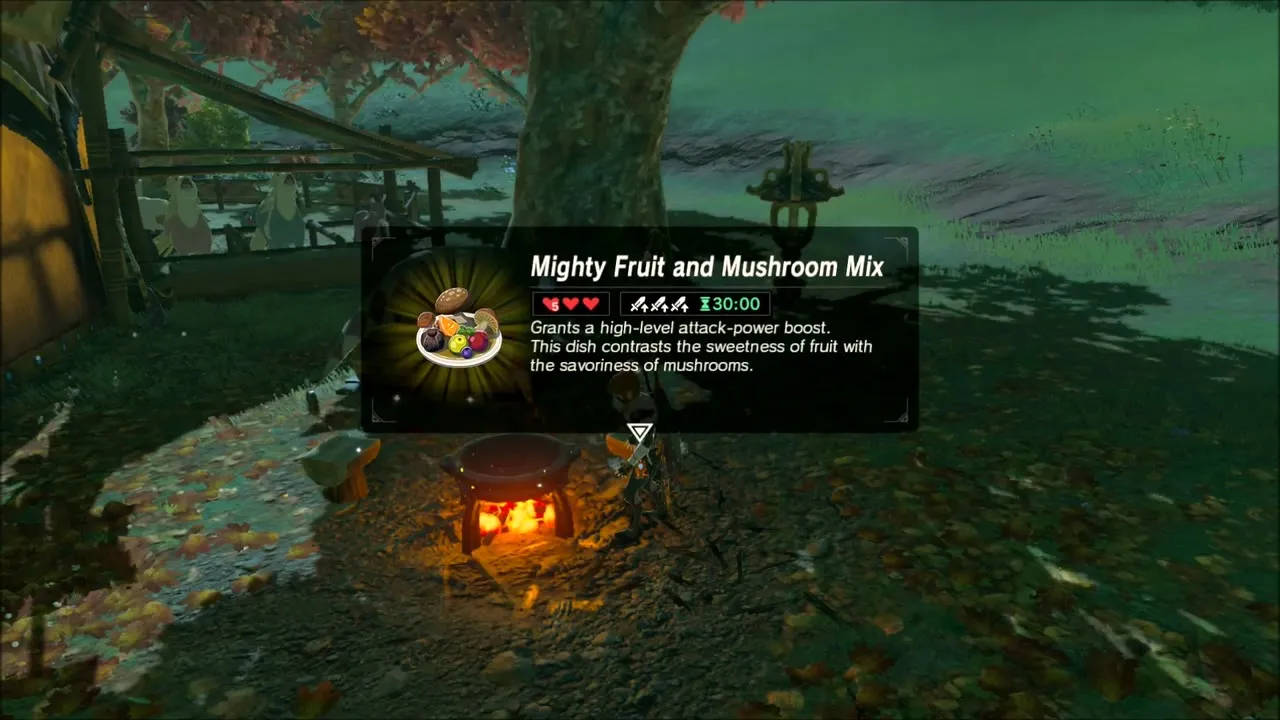
Return to East Akkala Stable and use the cooking pot beside it. The list of dishes includes a Monster Cake, Hearty Fruit and Mushroom Mix, Mighty Fruit and Mushroom Mix and Hearty Steamed Mushroom Mix. Stack up on healing food before the next climb.

Skull Lake: Korok Seeds on the Pale Rocks
Fast travel back to Zuna Kai Shrine and explore the pale limestone cliffs around Skull Lake on foot. Three Korok Seeds are hidden among these rocks. Use the paraglider to hop between ledges, climb the slopes, and watch for Amber and Rock Salt in the crevices.


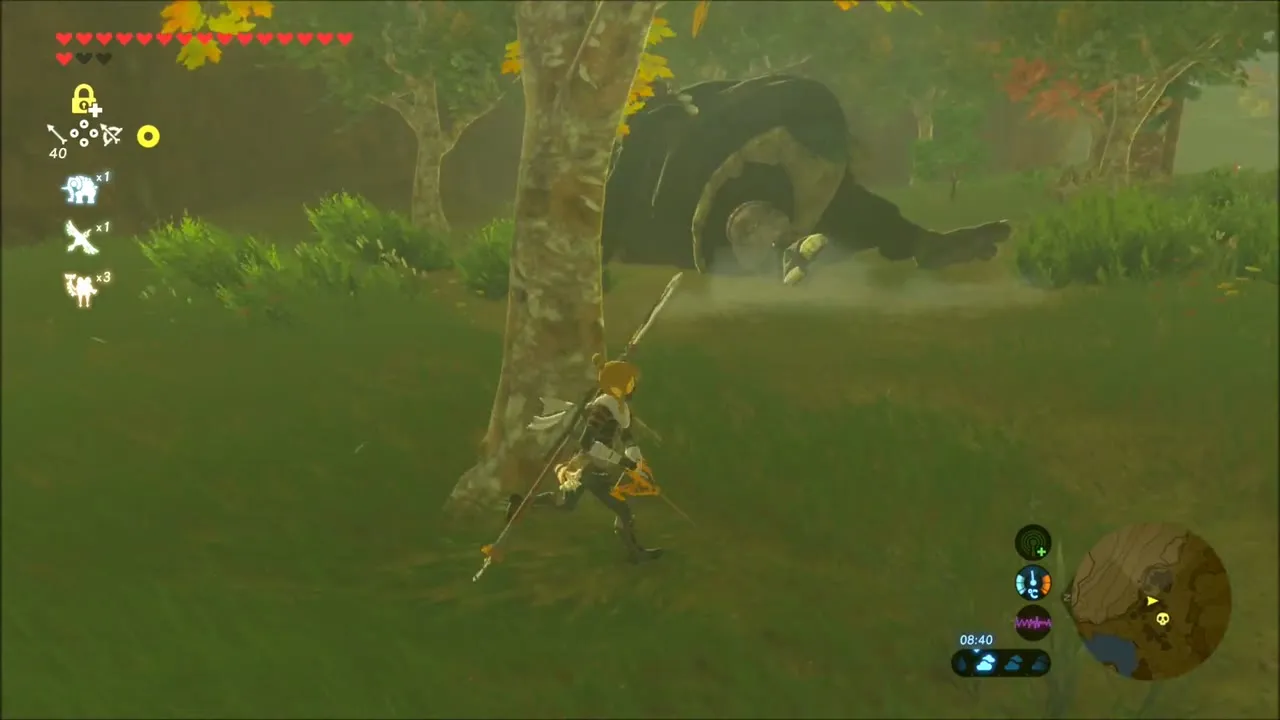
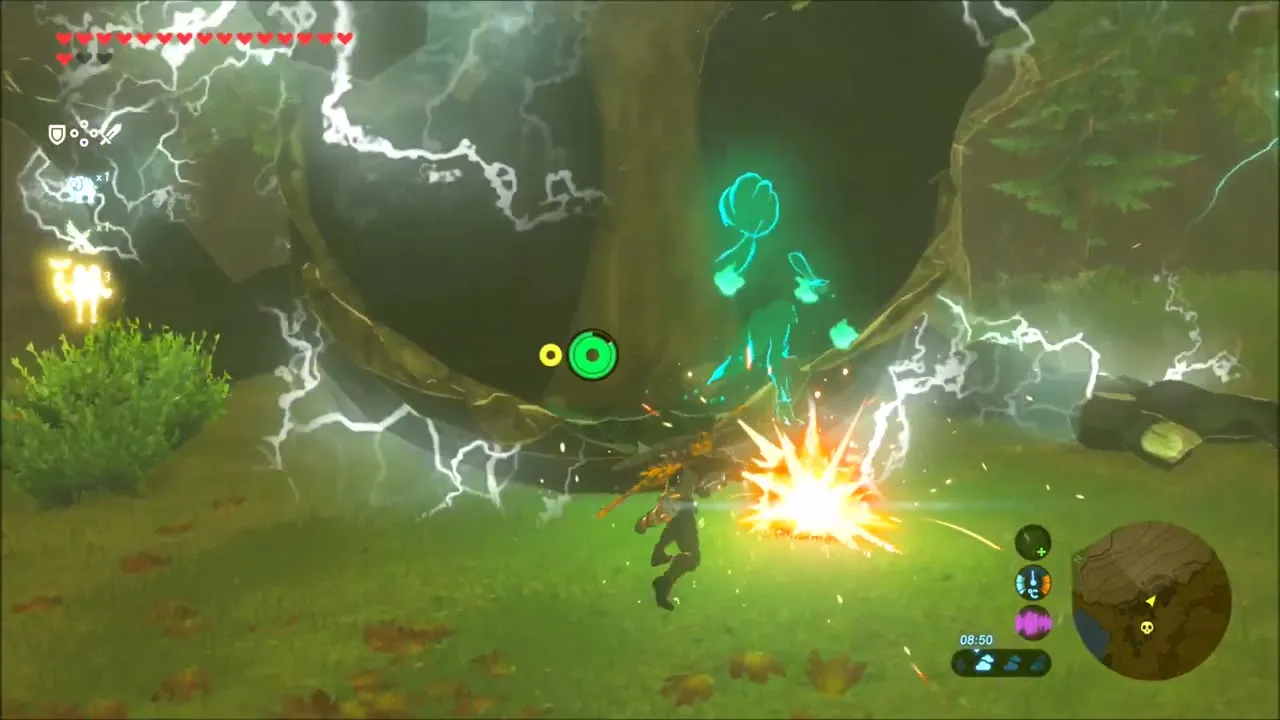
Equip Shock Arrows before the next big fight. A Hinox waits on the hillside; hit it with shock arrows and then follow up with your strongest weapon.

The Last Korok Seed of the Stretch
The stretch finishes among the green hills, where a limestone ridge gives you a view over the autumn trees. Climb up to the pale hill, stay on the paraglider where the drop is steep, and a final Korok hides nearby; take the seed and carry on.