100% Completion Walkthrough21 chapters
- Great PlateauAll 4 Shrines, the Paraglider and Korok Seeds
- Kakariko Village and Dueling PeaksSeek Out Impa, Shrines and Korok Seeds
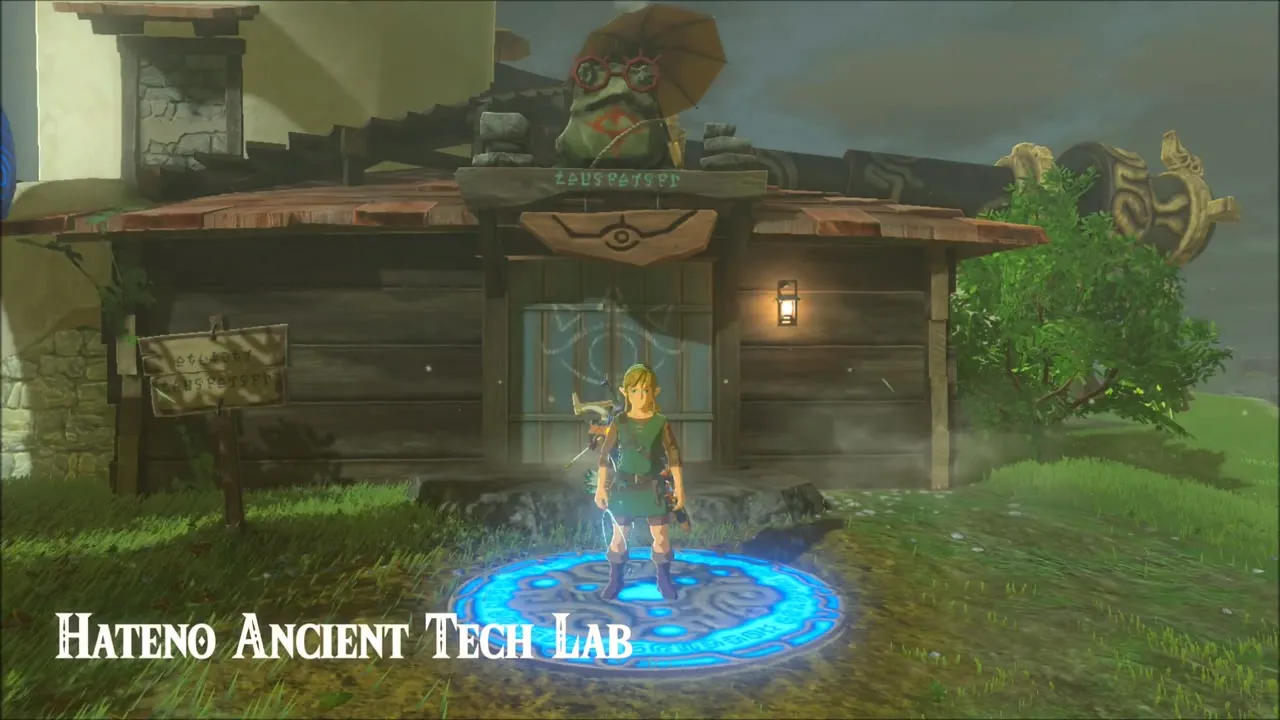
- Hateno VillageHateno Tower, the Ancient Tech Lab, Link’s House and Shrines
- Zora’s DomainReach Zora’s Domain, Vah Ruta, Lanayru Shrines and Korok Seeds
- Faron and Lurelin VillageLurelin Village, Faron Tower, Shrines and Korok Seeds
- Korok Forest and Master SwordHow to Get the Master Sword, Lost Woods, Shrines and Korok Seeds
- Hebra MountainsHebra Tower, Snowfield Stable, Shrines and Korok Seeds
- Rito Village and Vah MedohVah Medoh, Tabantha Tower, Shrines and Korok Seeds
- Gerudo HighlandsGerudo Tower, Gerudo Summit, Shrines and Korok Seeds
- Gerudo TownForbidden City Entry, the Thunder Helm, Desert Shrines and Korok Seeds
- Vah Naboris and Gerudo DesertThunderblight Ganon and the Gerudo Desert Shrines
- Lake HyliaLake Tower, Farosh, Lake Shrines and Korok Seeds
- Akkala and Tarrey TownTarrey Town, Akkala Tower, Shrines and Korok Seeds
- Death Mountain and Goron CityGoron City, Vah Rudania, Eldin Shrines and Korok Seeds
- RidgelandRidgeland Tower, Shrines, Memories and Korok Seeds
- Central HyruleCentral Tower, Captured Memories, Shrines and Korok Seeds
- Hyrule Castlethe Hylian Shield, Saas Ko’sah Shrine, Zelda’s Diary and Memories
- Calamity GanonLast Side Quests, Destroy Ganon and the Final Boss
- All Hinox, Talus and Molduga LocationsEvery Hinox, Stone Talus and Molduga, for Kilton’s Medals of Honor
- Trial of the Sword and EX TreasuresThe Trial of the Sword and every EX Treasure location (DLC Pack 1)
- Champions’ BalladOne-Hit Obliterator, Champion Trials and the Final Trial
| Region | Central Hyrule |
|---|
This chapter of the 100% walkthrough covers the Central Hyrule region in a route that collects everything along the way, plus the quests, chests and minibosses you meet. Positions are map coordinates (x grows east, z grows south).
Riverside Stable: The Royal Guard’s Gear and A Royal Recipe
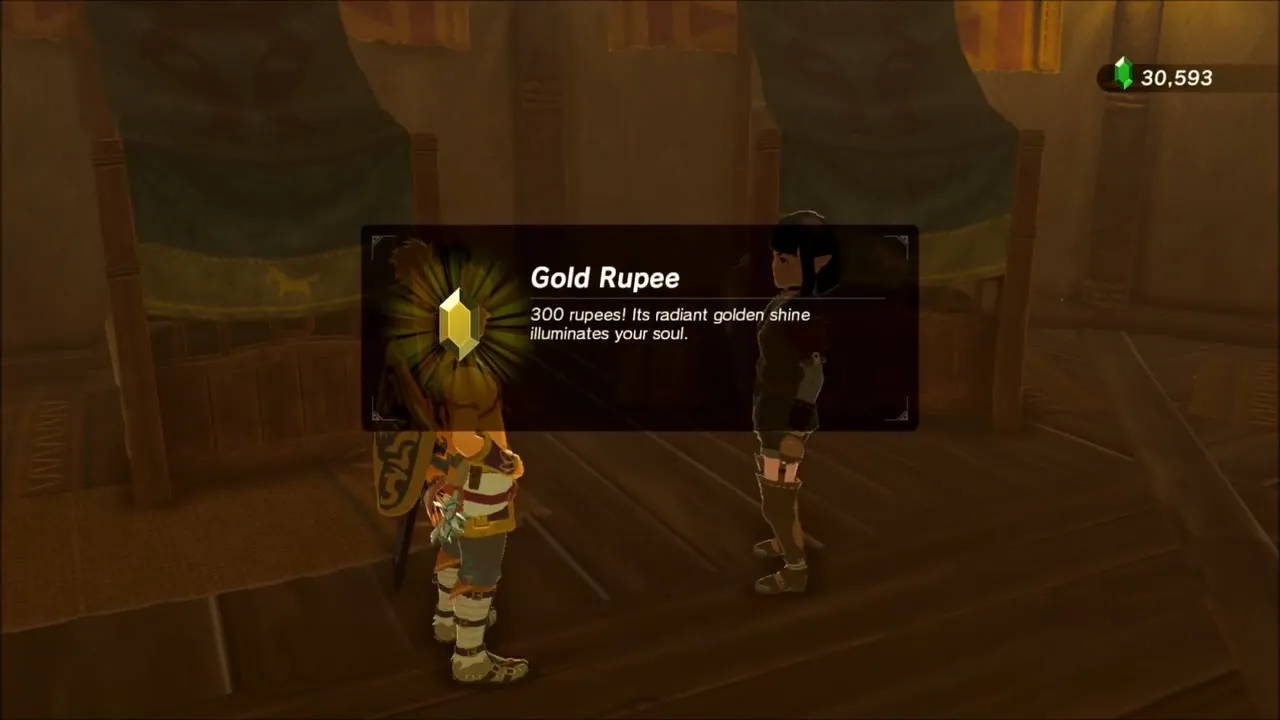
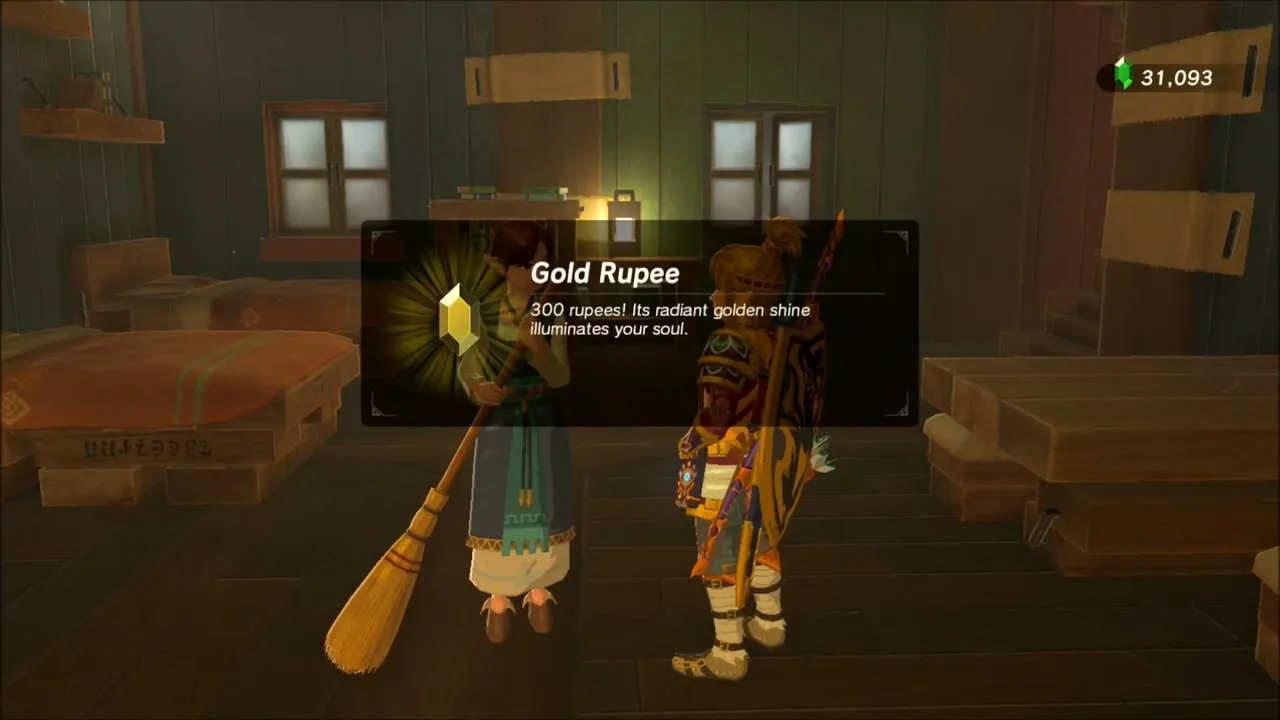
Warp to Riverside Stable (x 339, z 1095) on the eastern edge of Central Hyrule and cash in the two side quests that began in Hyrule Castle. Parcy takes the Royal Guard weapon you brought for The Royal Guard’s Gear and pays 300 rupees, which arrive as a Gold Rupee.
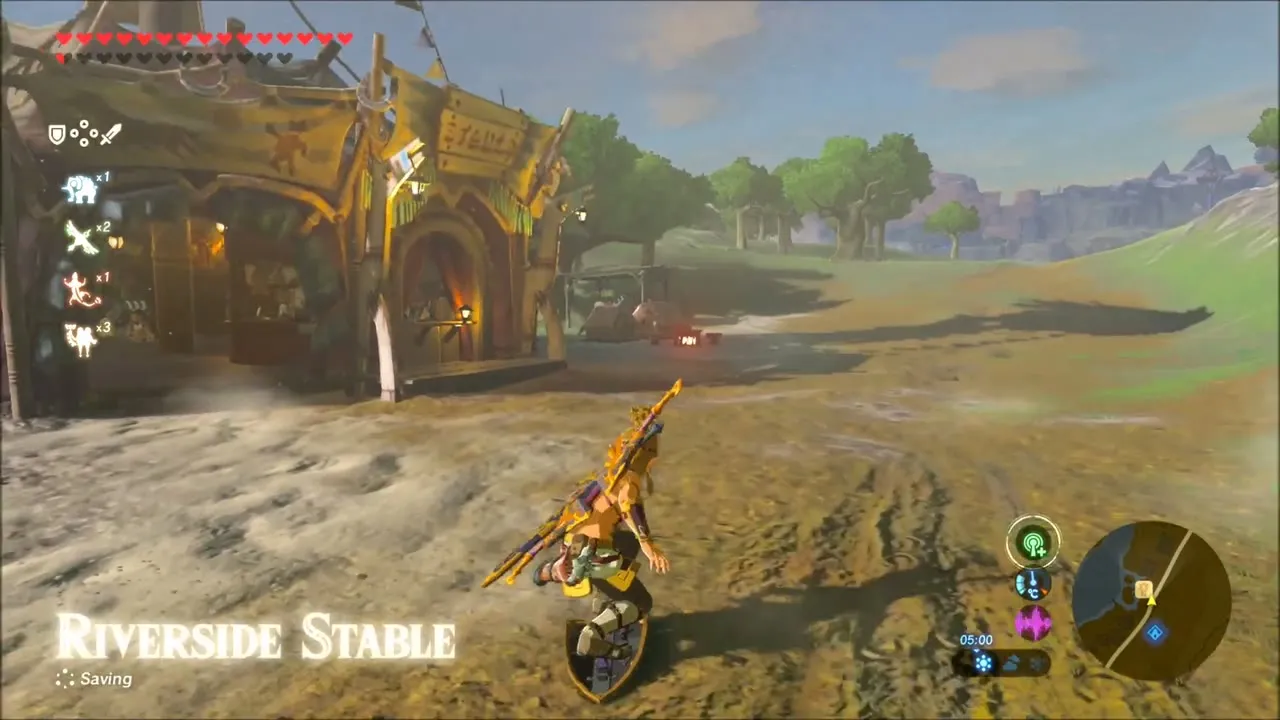
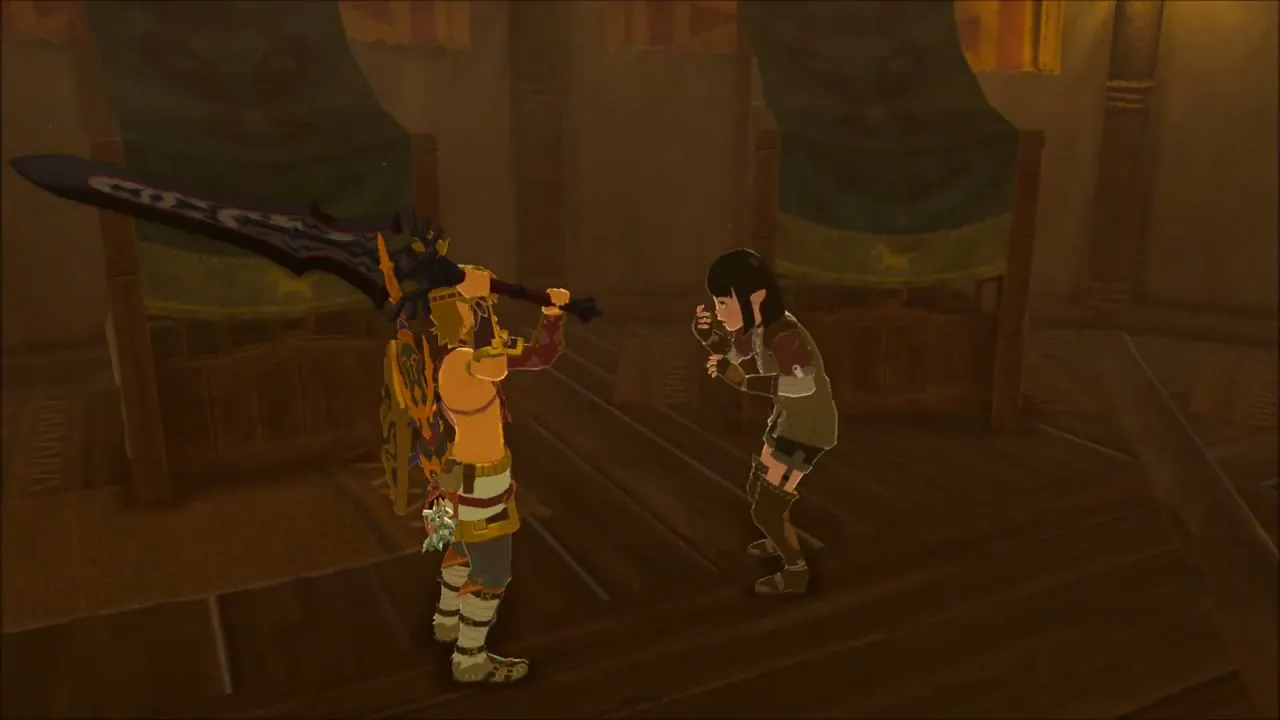

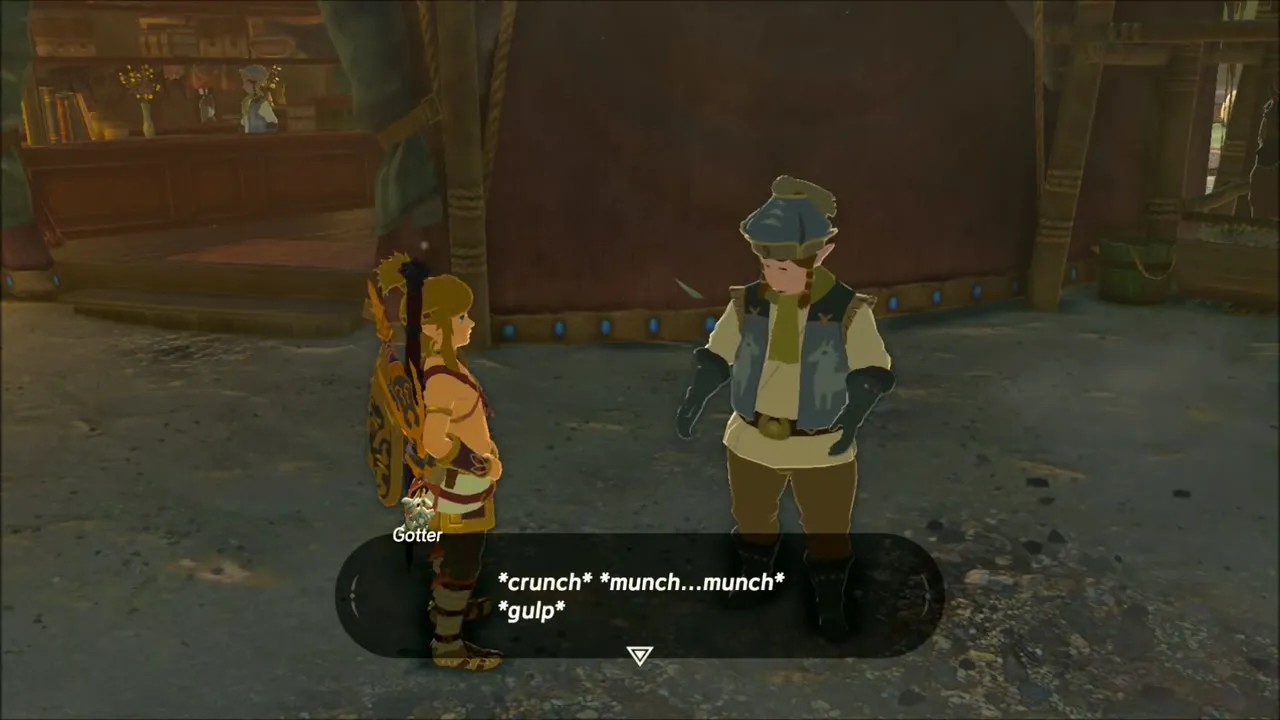
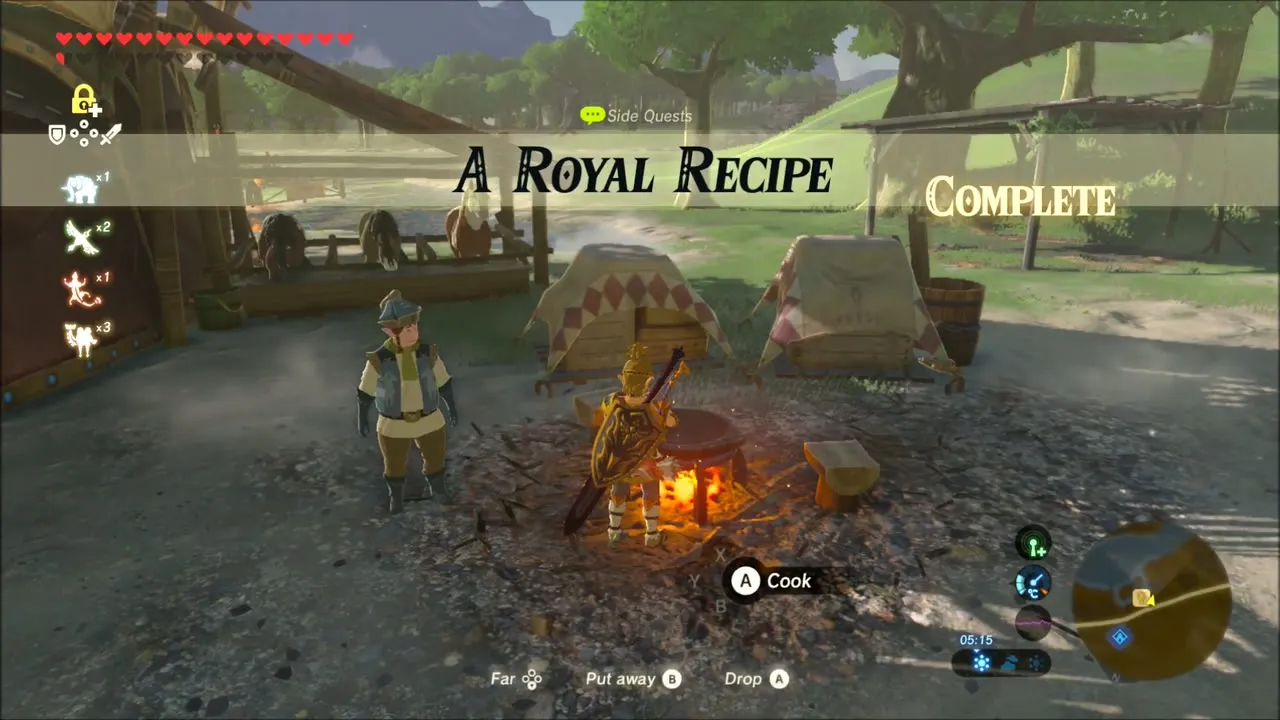
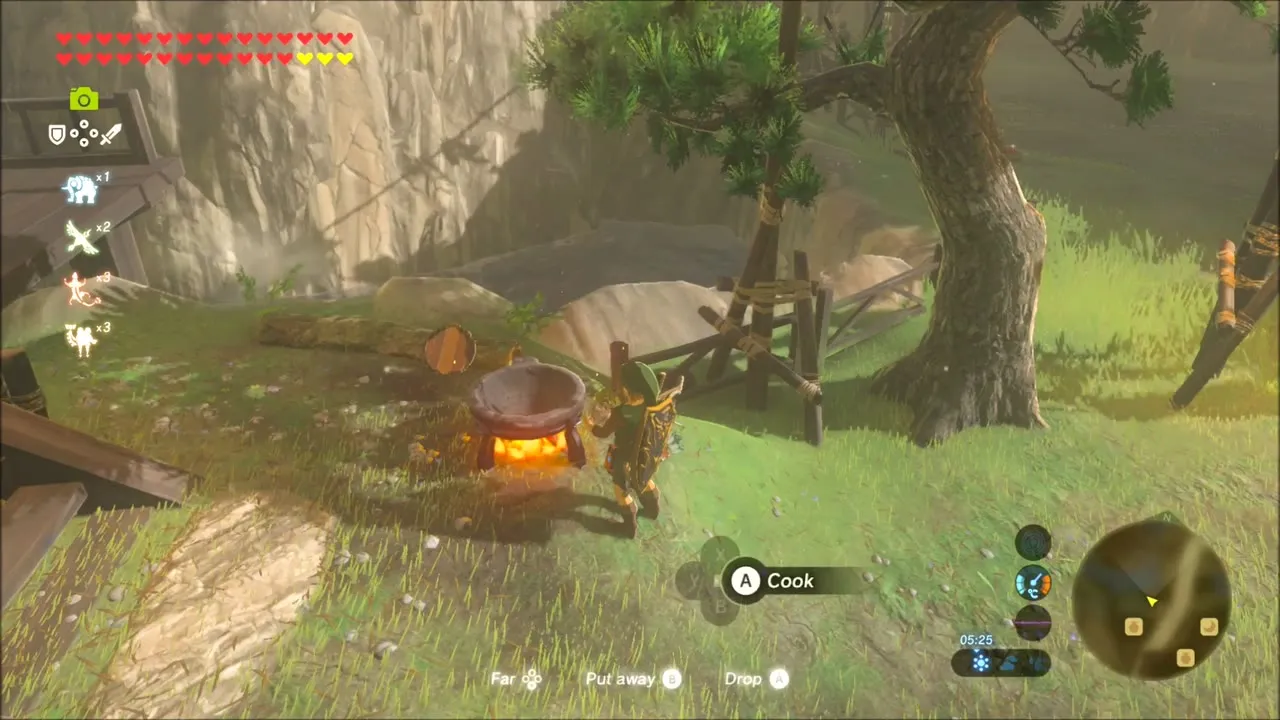
Gotter, by the cooking pot, wants to taste the castle recipes for A Royal Recipe. Give him a Monster Cake and he tucks in at once; the quest pays a Silver Rupee for each of the two dishes (Monster Cake and Fruitcake). Cook another Monster Cake at the stable’s pot while you are here, because you will need it for Hunnie in Tarrey Town.

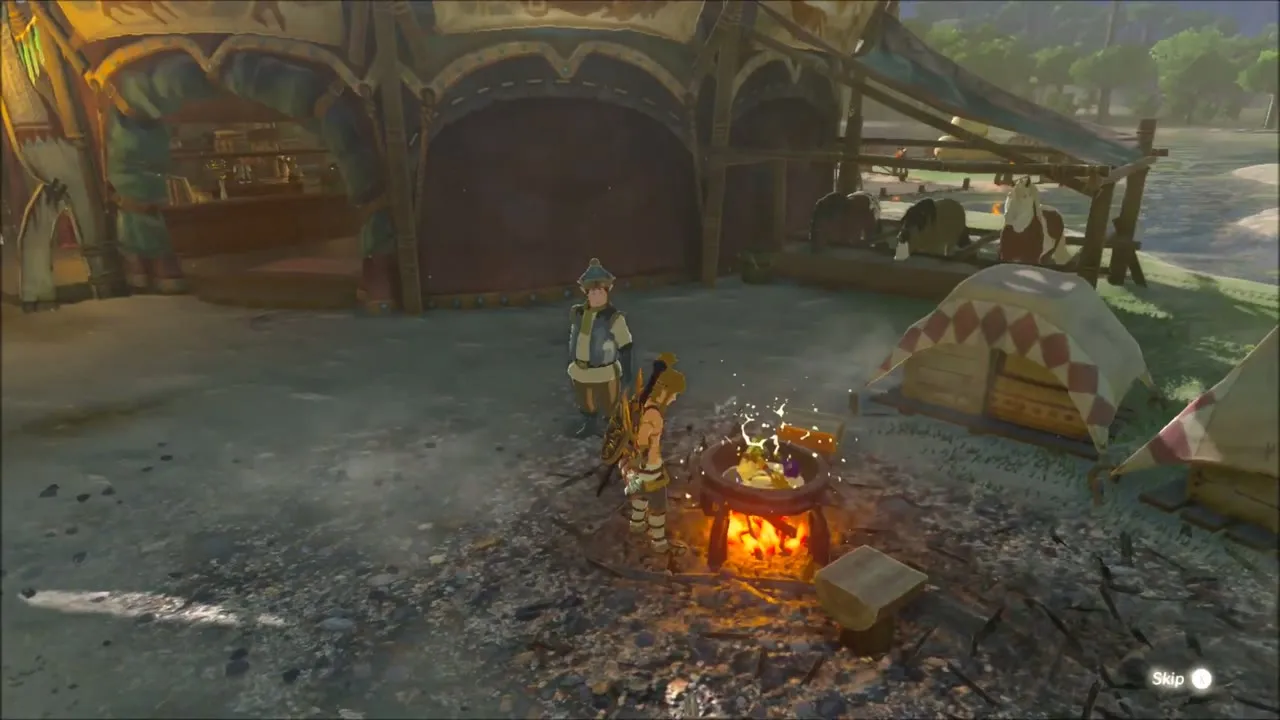
Playtime with Cottla and My Hero
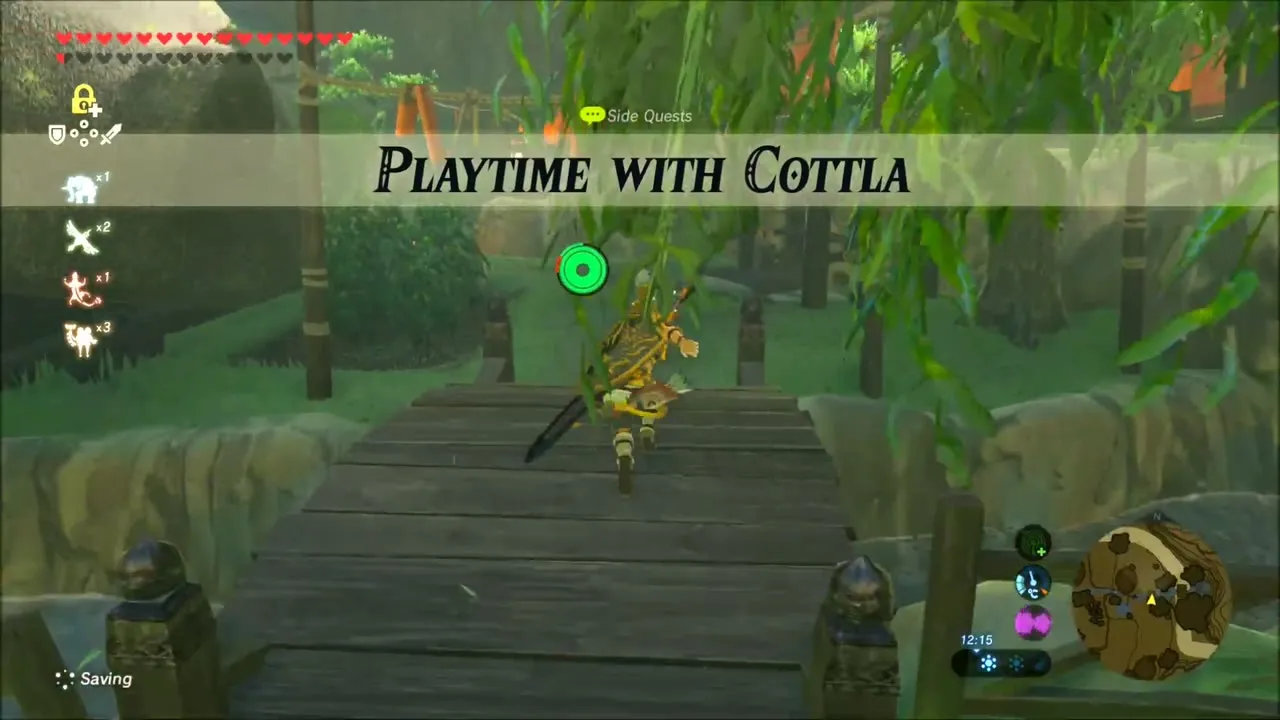
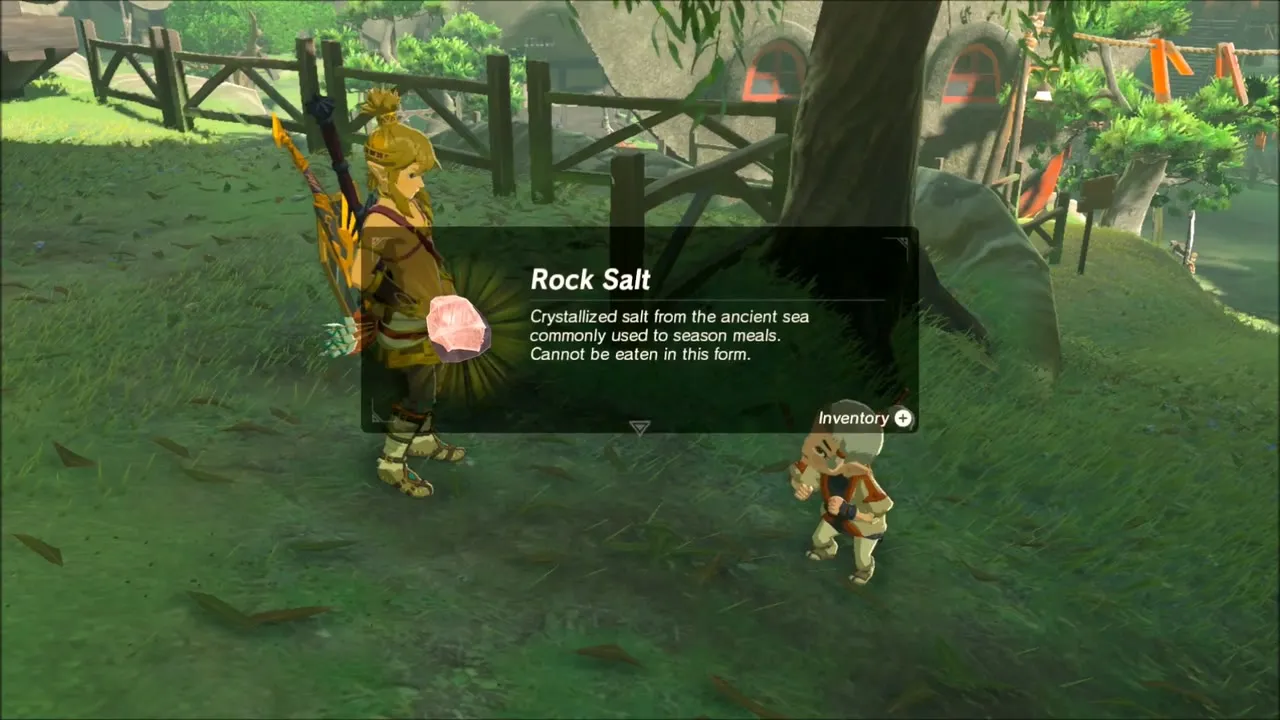
In Kakariko Village, catch Cottla in the middle of the day while she is running her laps and agree to play. Choose hide-and-seek, then climb the stairs to Impa‘s house: she is hiding on the porch. Finding her finishes Playtime with Cottla and gives you Rock Salt.
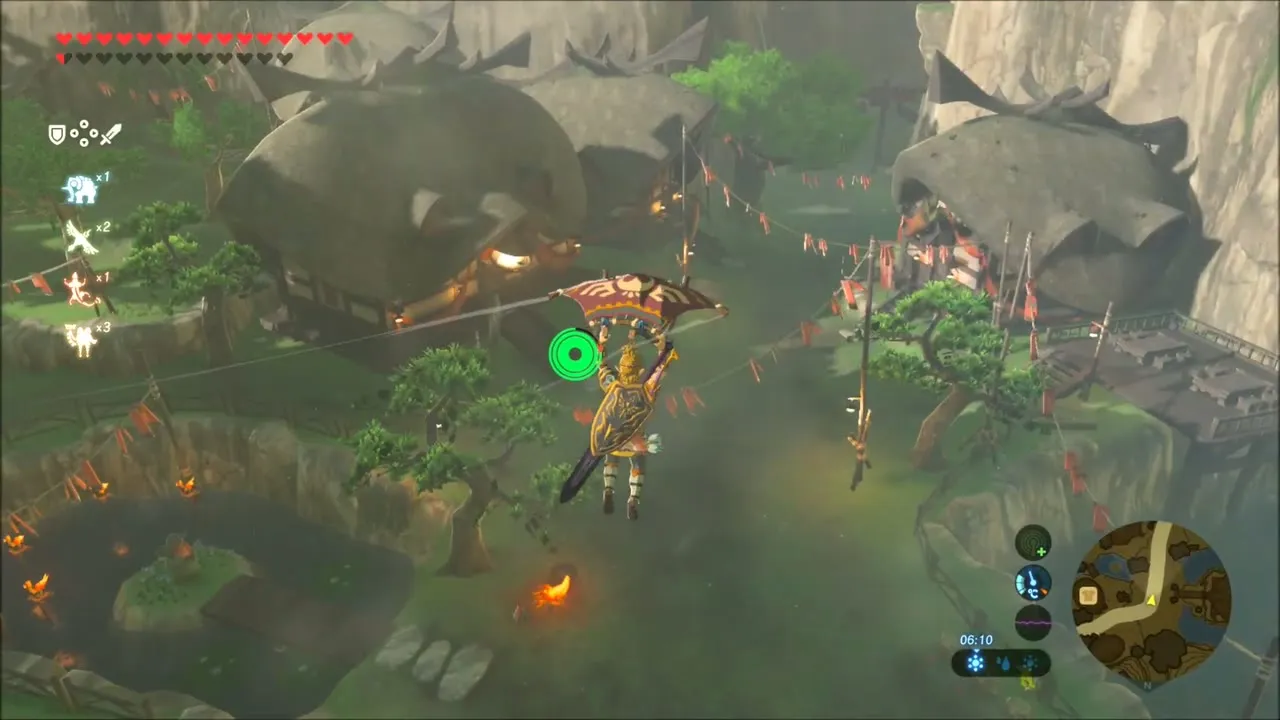
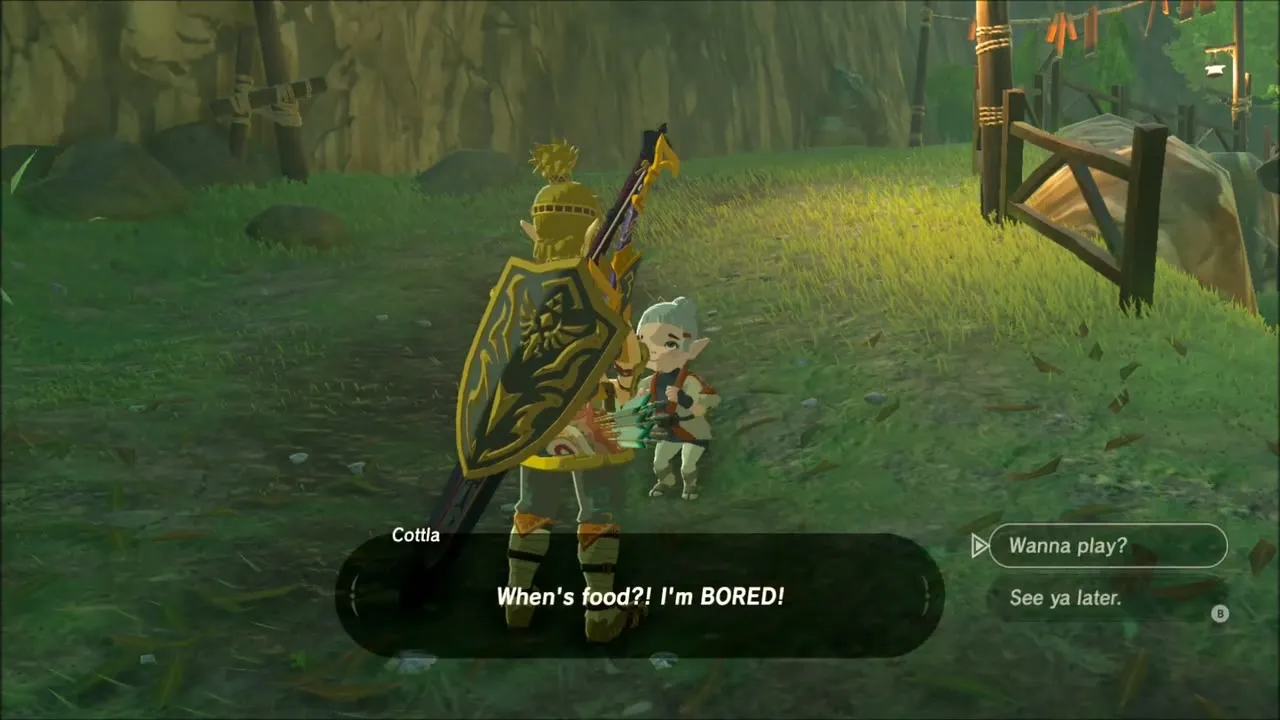
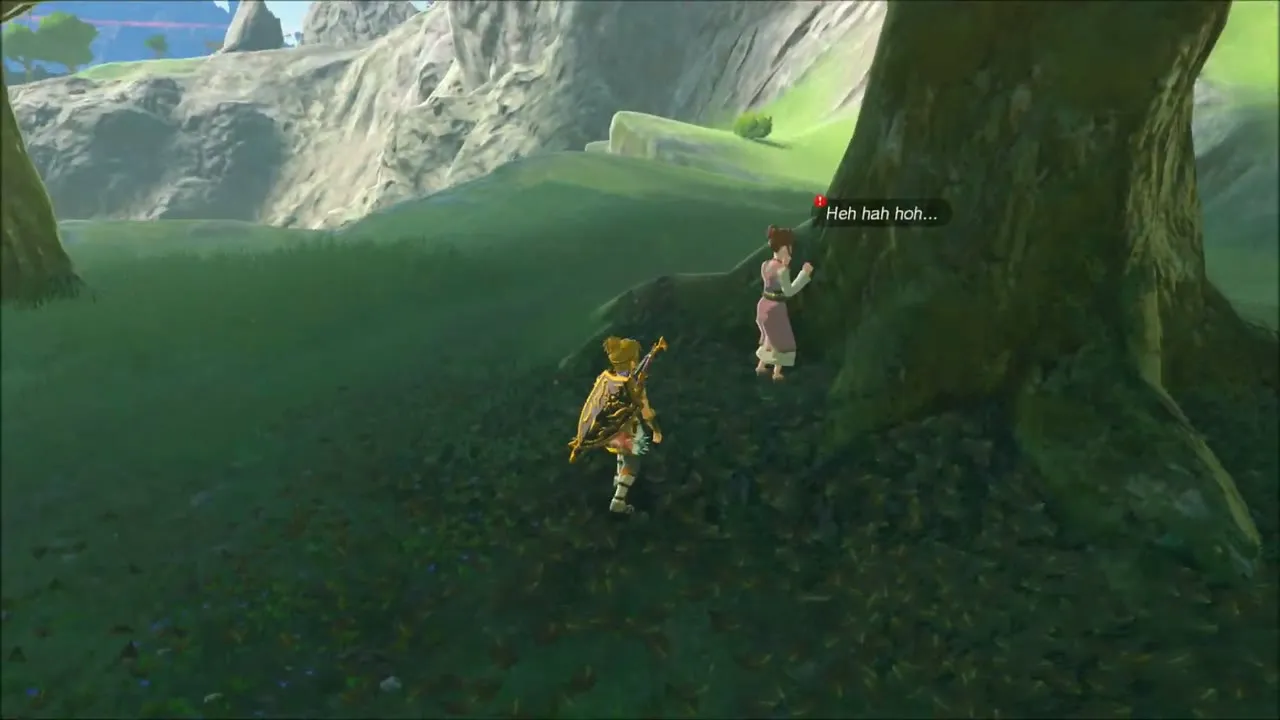
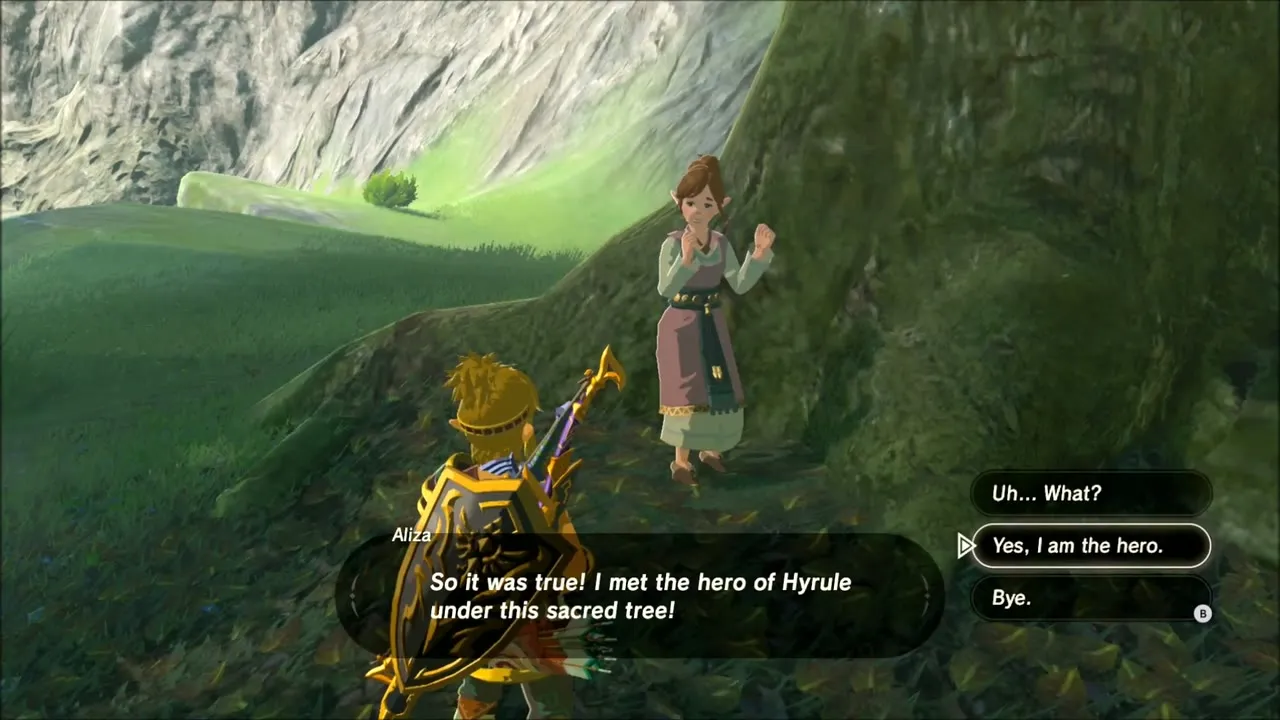
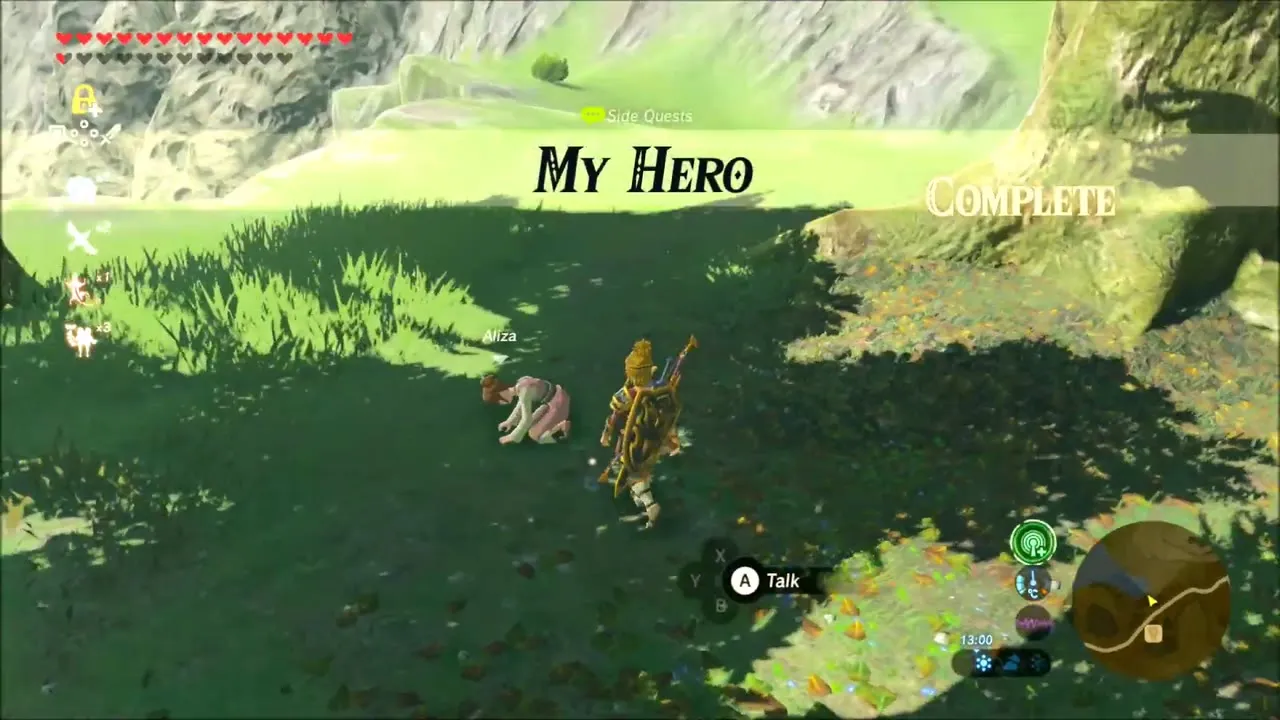
Next, go to the big tree just east of Outskirt Stable (x -1449, z 1269) in south-west Central Hyrule, where Aliza stands. My Hero is completed by talking to her with the Master Sword equipped or carried, and she answers with a Star Fragment.

Tarrey Town: A Parent’s Love and Hobbies of the Rich
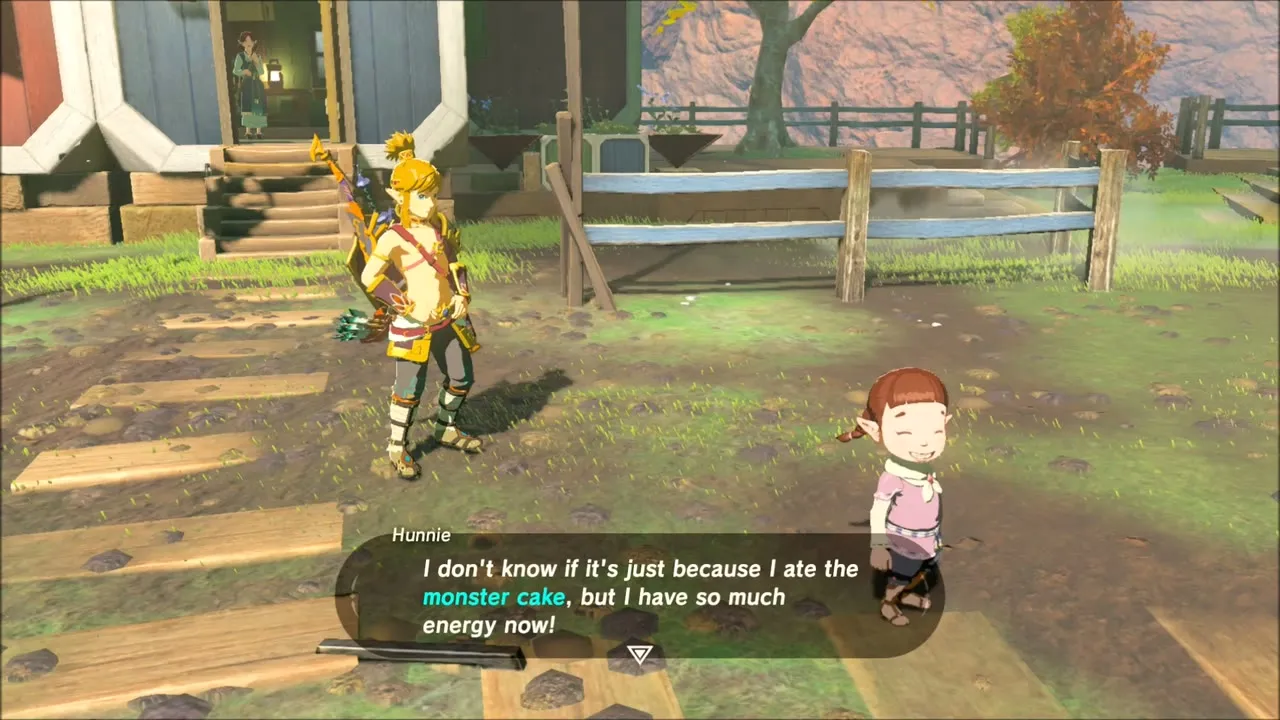
Glide down onto Tarrey Town (x 3965, z -1615) in eastern Akkala after dark. Take your Monster Cake to Ruli’s house and hand it over: Ruli is overwhelmed with gratitude and pays out a Gold Rupee for A Parent’s Love. Talk to the family again, and Hunnie’s delighted reaction to the cake closes the quest.



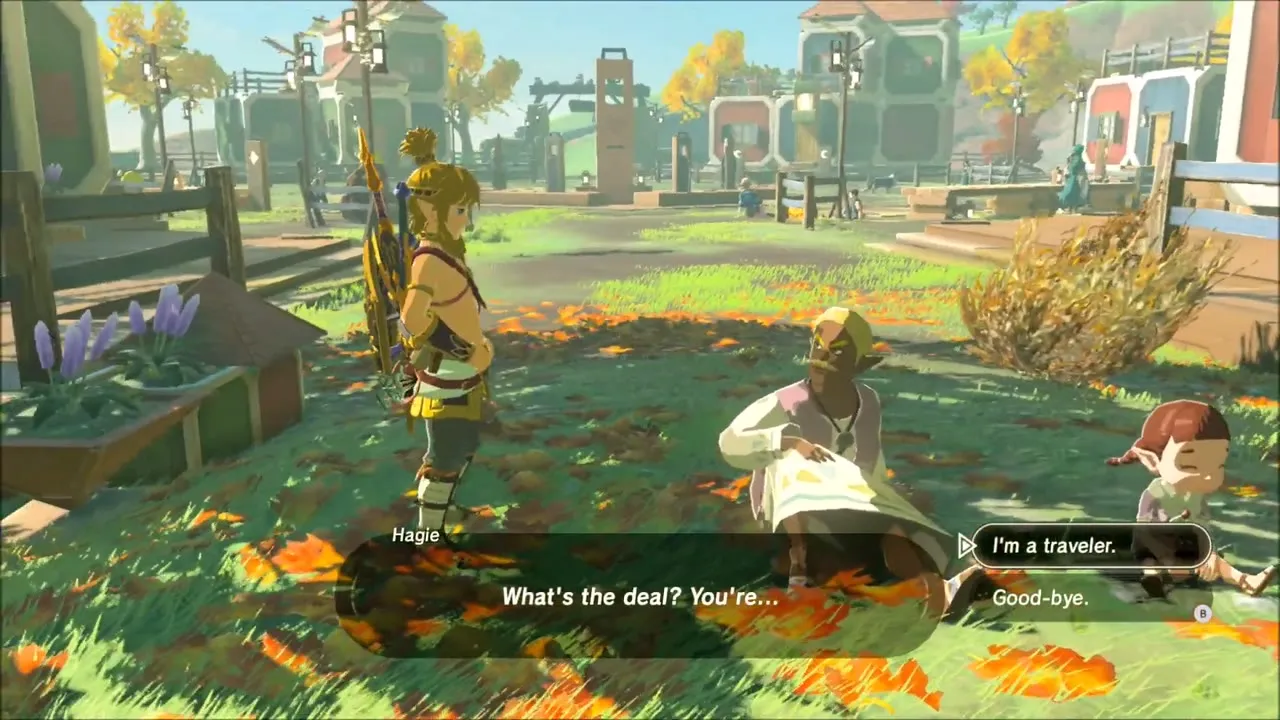
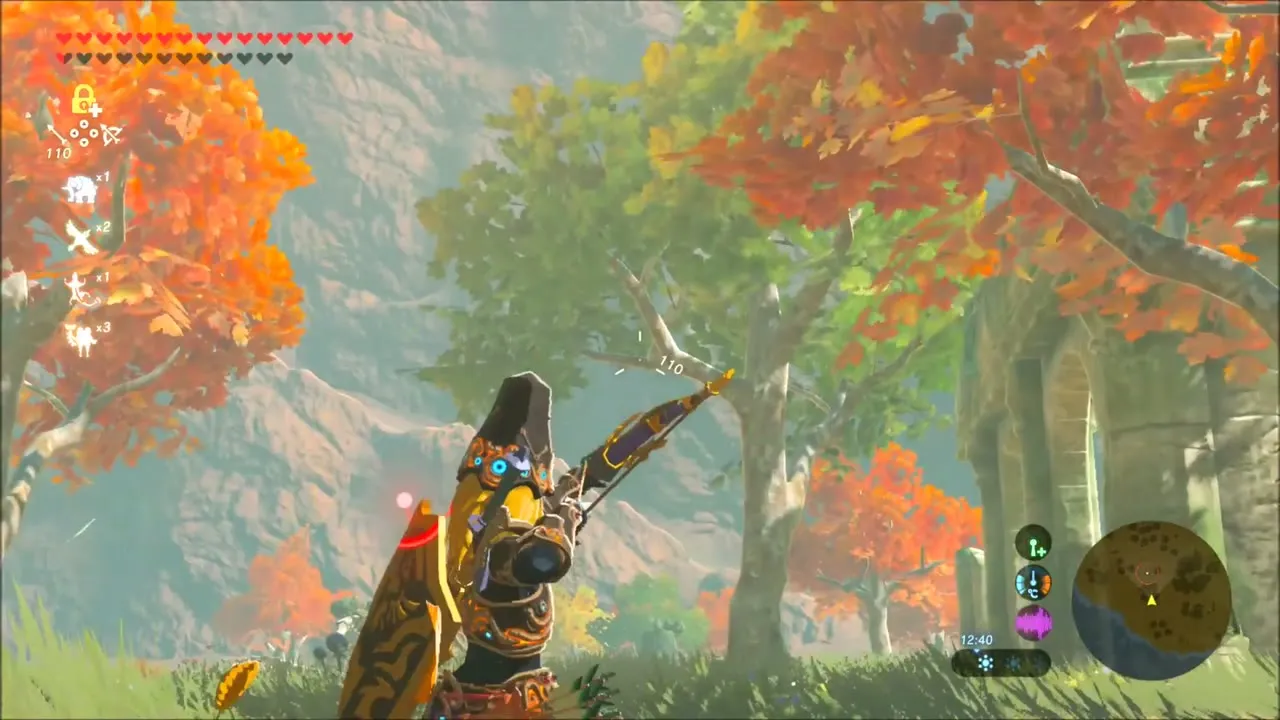
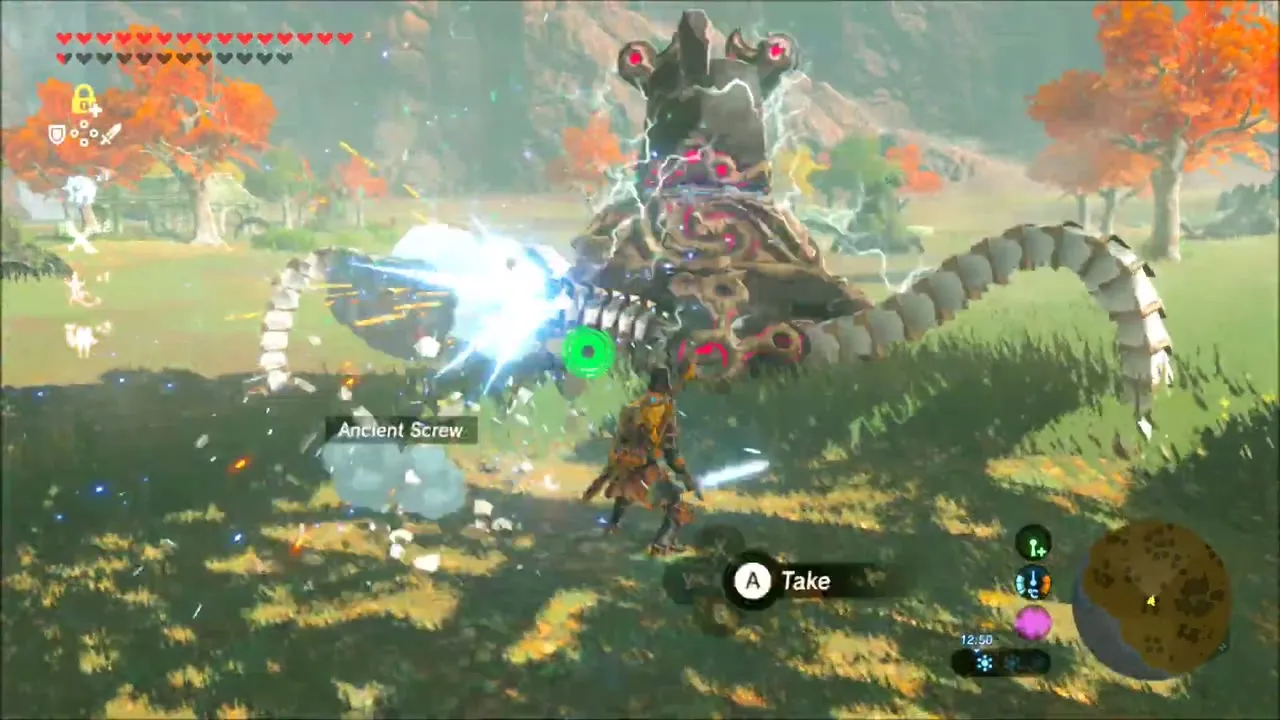
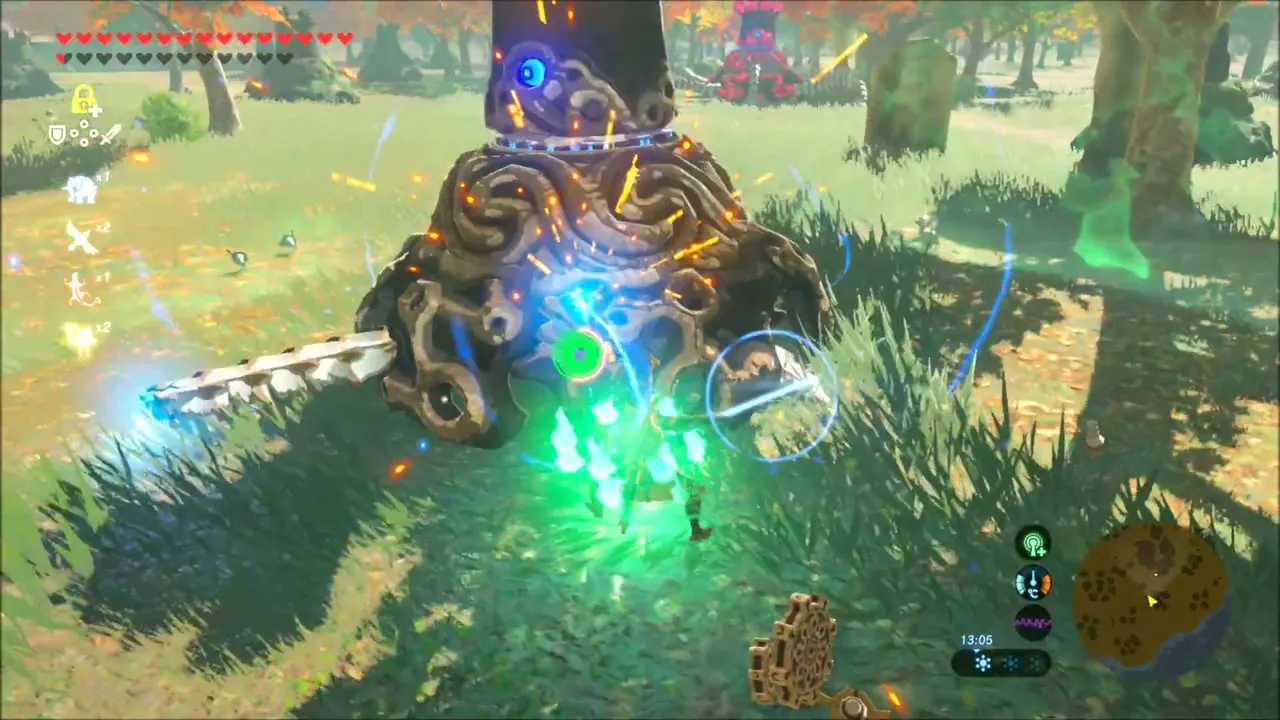
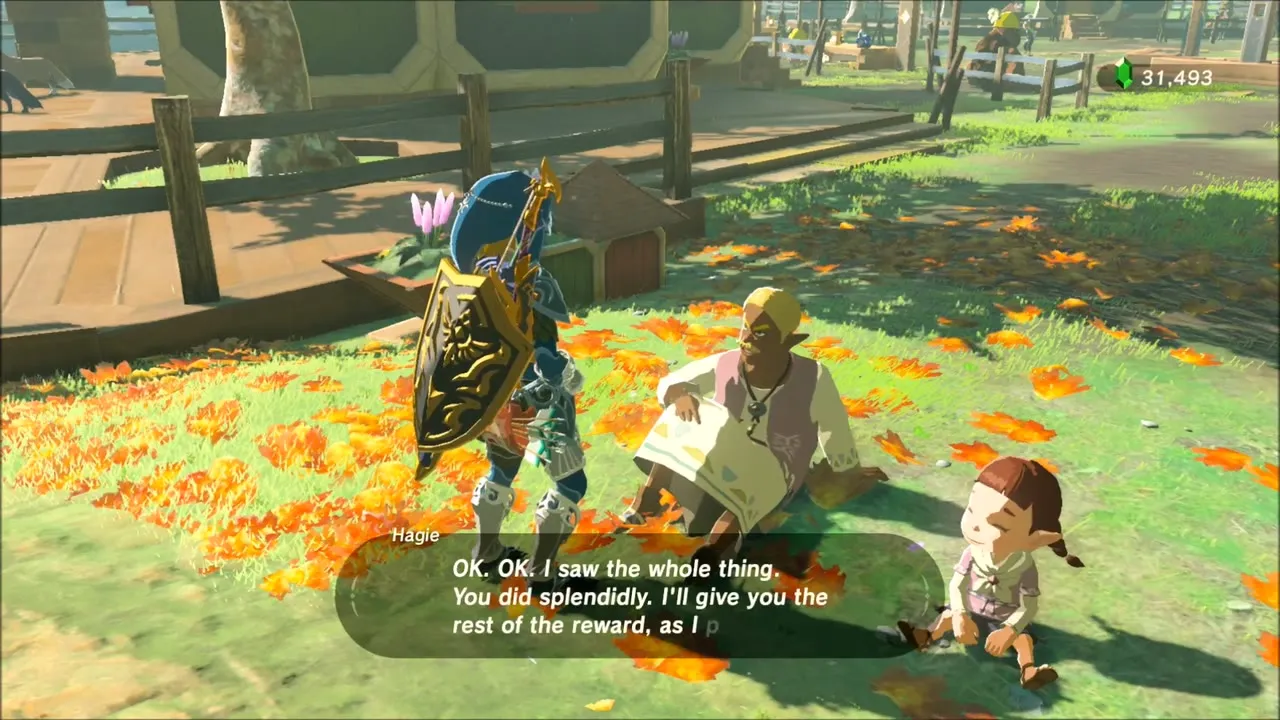
Speak to Hagie, who sits on the edge of town, for Hobbies of the Rich. He wants the two Guardian Stalkers in Torin Wetland (x 3601, z -1637) destroyed. Go after them one at a time: shoot an eye, then cut off the legs, and collect the Ancient parts they drop. Return to Hagie for a Silver Rupee and a Red Rupee.

Special Delivery: Follow the Letter to Sasan
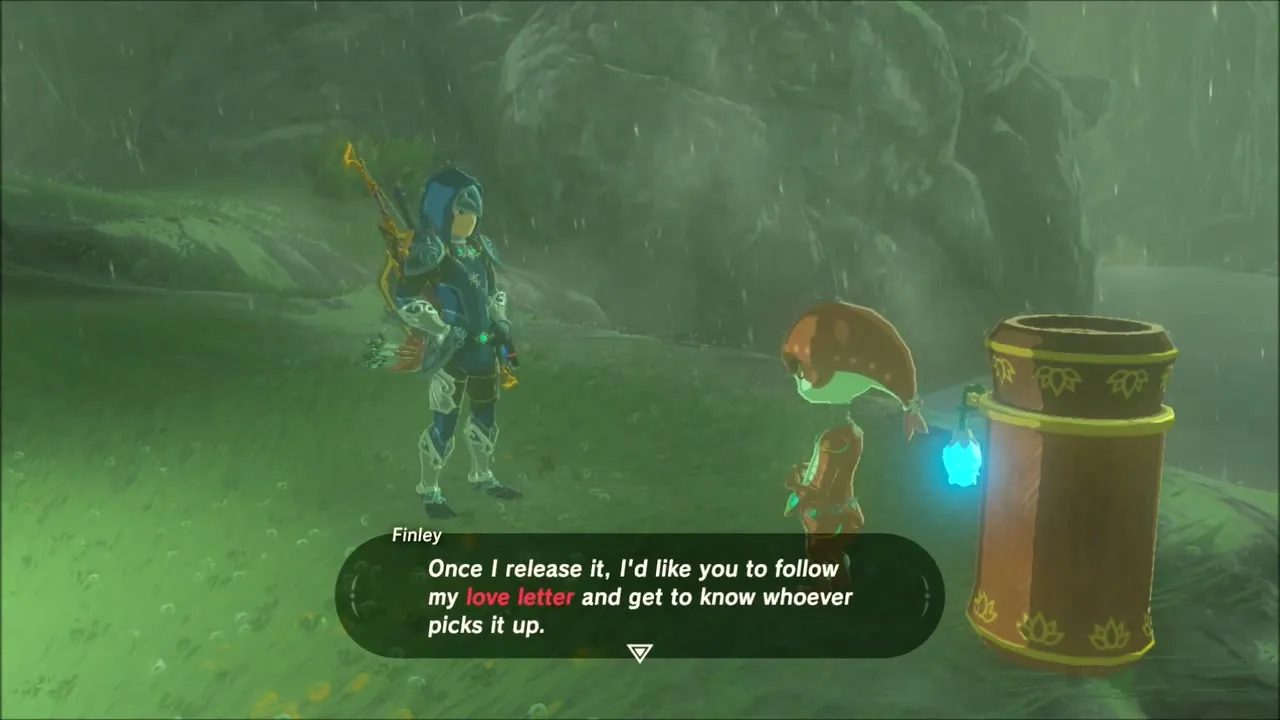
Finley waits in the rain at the Bank of Wishes (x 2752, z -87) in Zora’s Domain. She sets her letter on the river and begs you to find whoever picks it up, which starts Special Delivery. Follow the letter downstream, keeping it in sight and shooting enemies and clearing obstacles ahead of it.
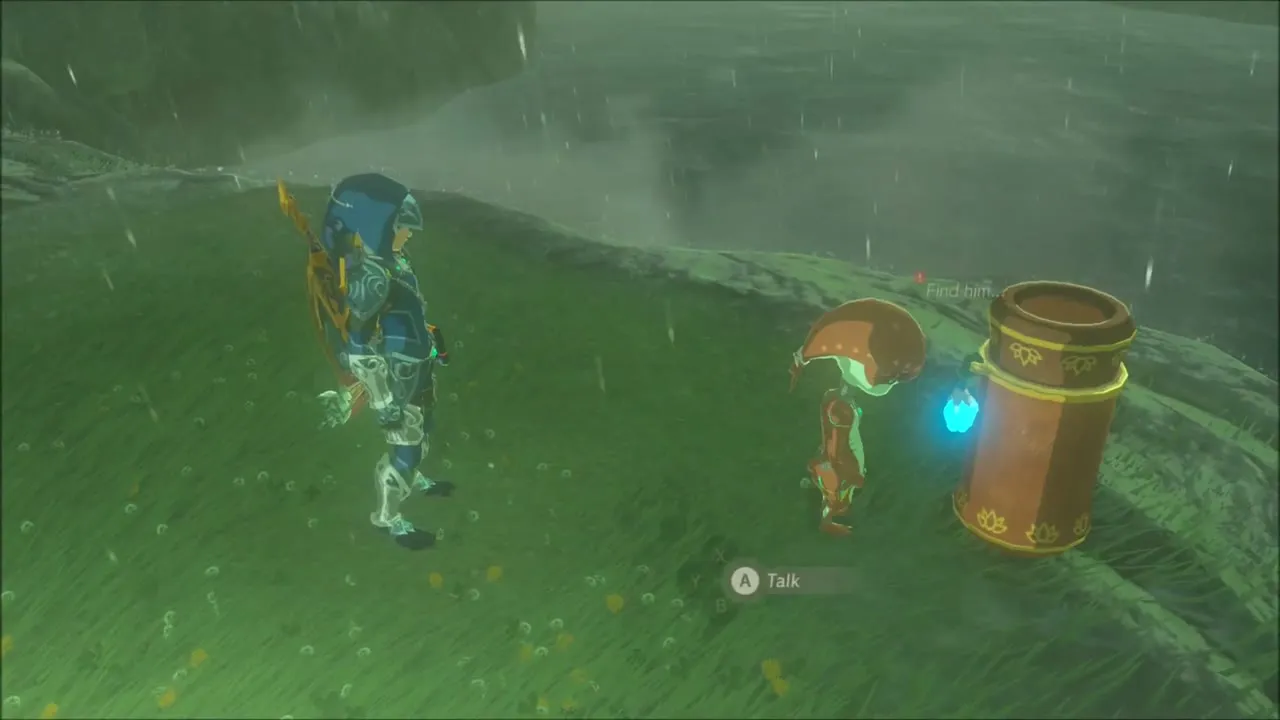
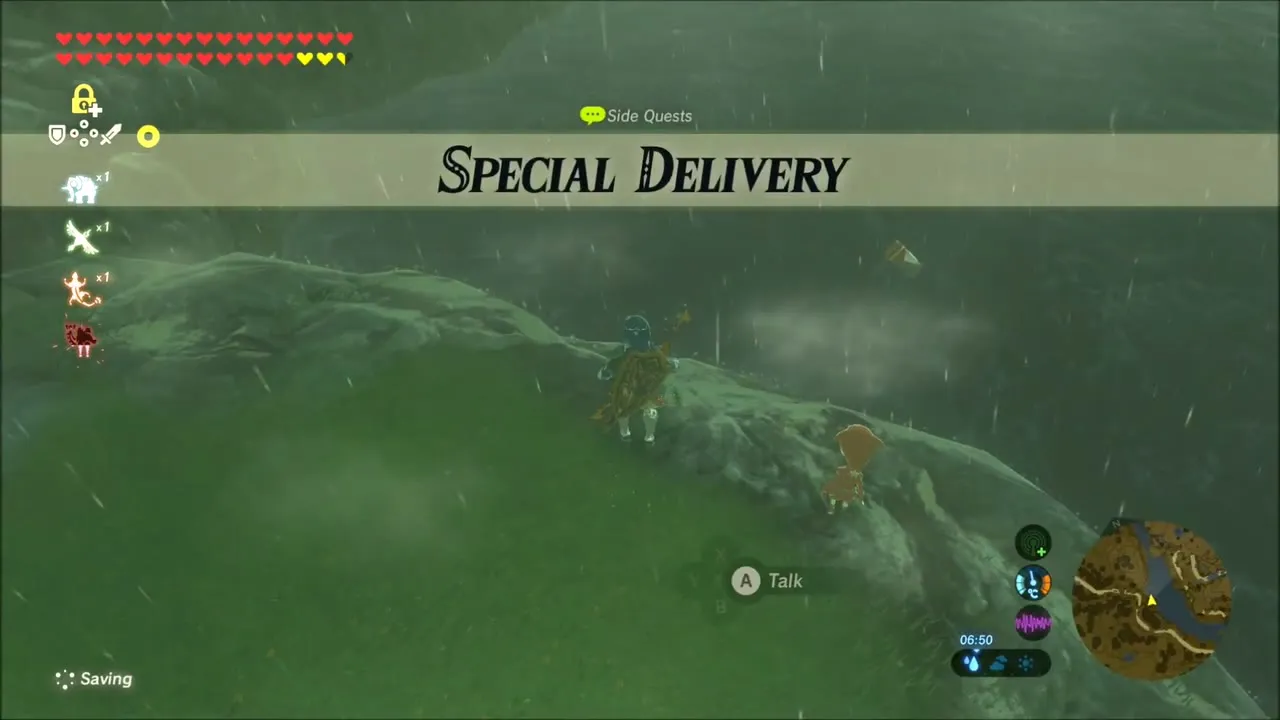
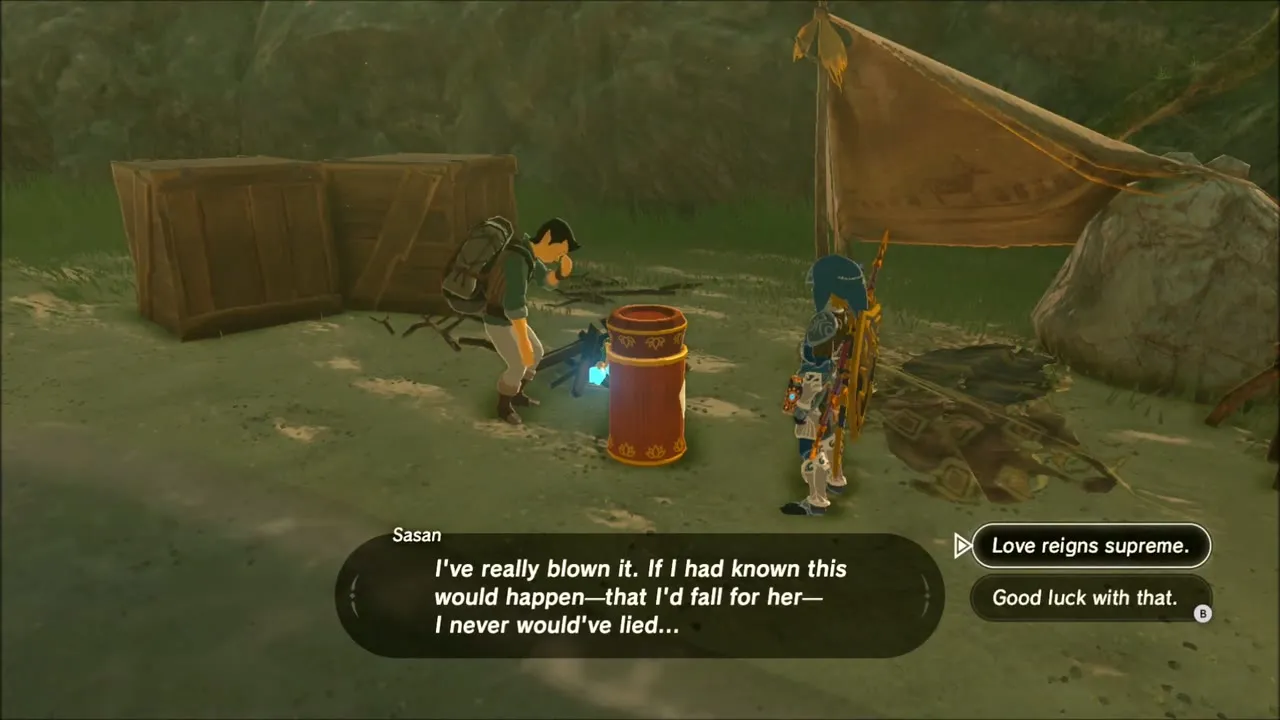
The letter comes to rest at a small camp near Mercay Island (x 1713, z -131), where Sasan picks it up. Talk to him, then go back to Zora’s Domain and speak to him and Finley together; they pay a Gold Rupee.


The Weapon Connoisseur: Show Nebb All Eight Weapons
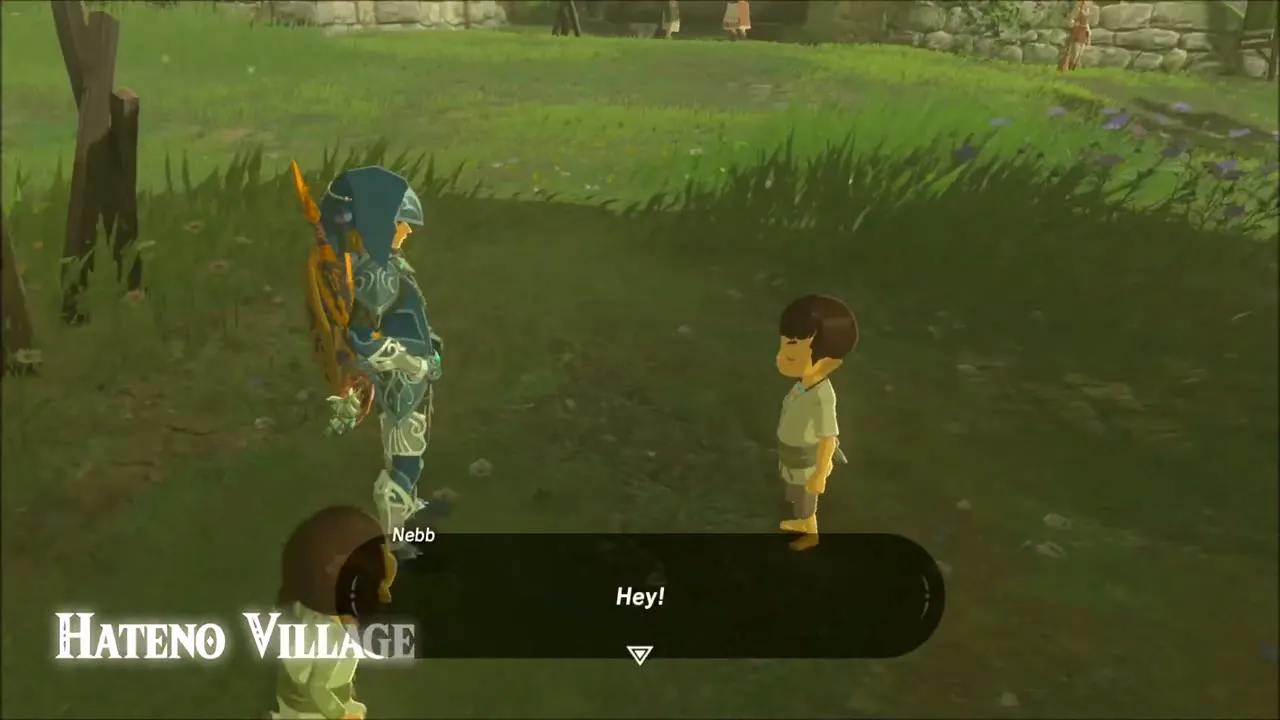
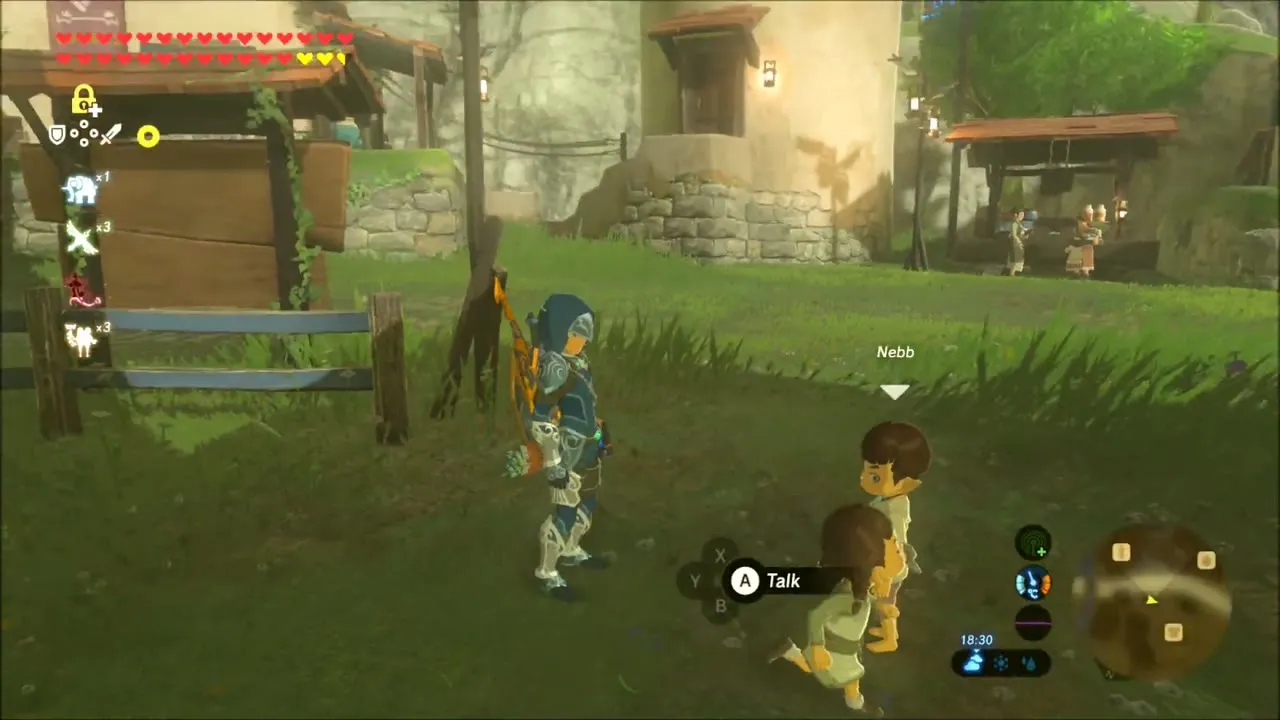
The children of Hateno Village hold the other long errand. Nebb asks you to hold up one weapon at a time for The Weapon Connoisseur: Traveler’s Sword, Fire Rod, Moblin Club, Duplex Bow, Windcleaver, Ancient Battle Axe+, Frostspear and Ancient Short Sword, with rewards that rise from Red Rupees to a Diamond. Collect the first few from Hateno’s surroundings, a Fire Wizzrobe, the Moblins near Zora’s Domain and a Yiga camp near Sho Dantu Shrine, and keep returning to Nebb.

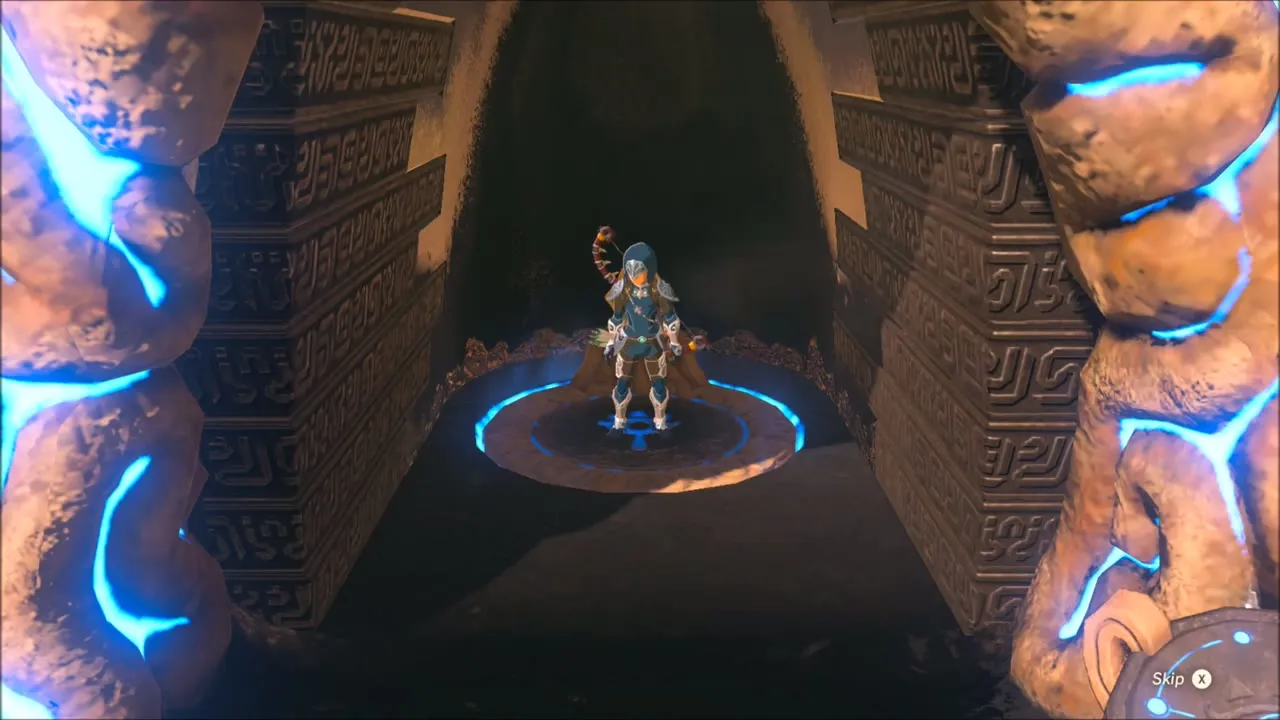
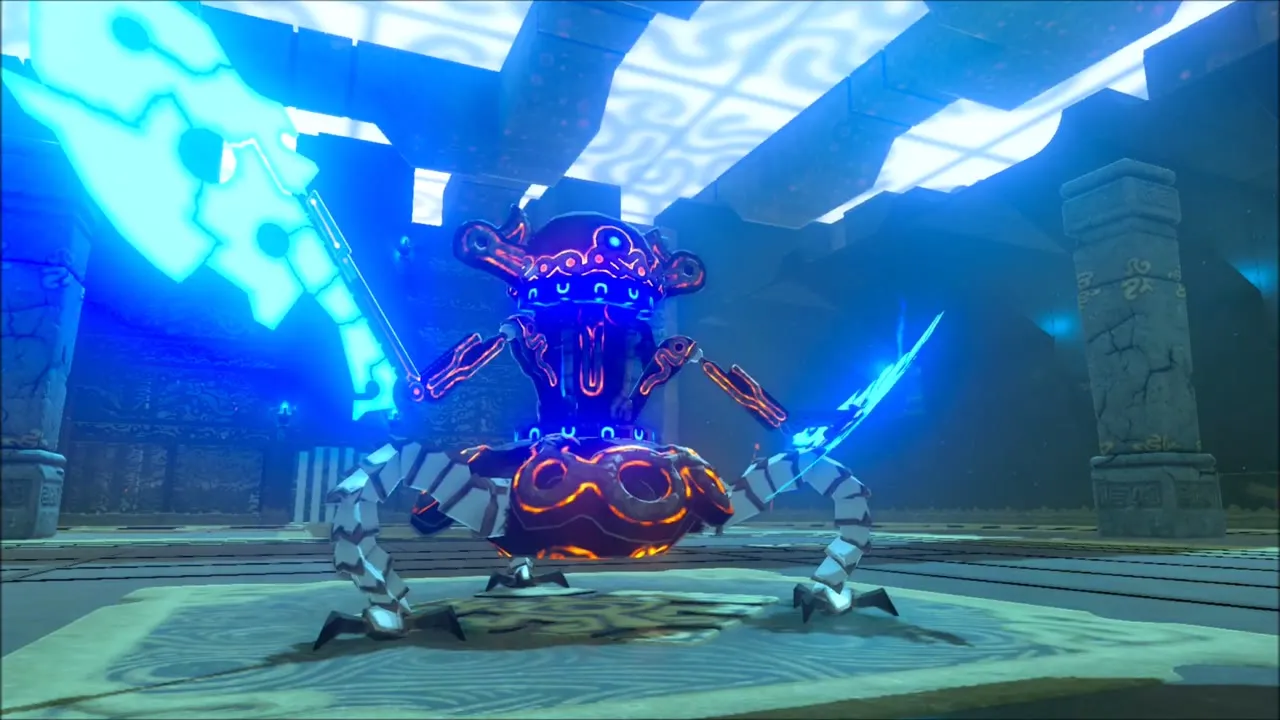
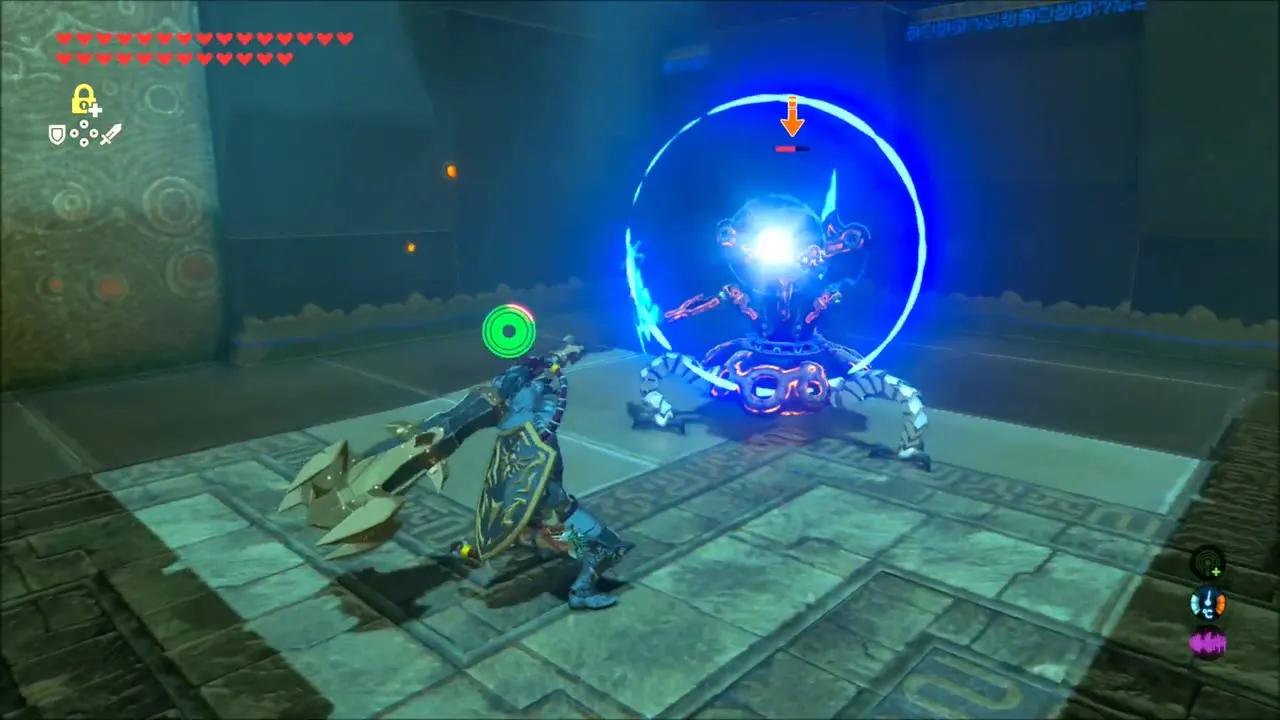
Go into a shrine with a Guardian Scout for the Ancient Battle Axe+. Step onto the blue shrine floor, fight the Scout and pick up the axe. Once it is shown to Nebb, a Silver Rupee follows.


The Frostspear is carried on the upper levels of the Coliseum Ruins (x -1151, z 1263). A Silver Lynel prowls there with a flaming weapon and a bow, so dodge its charges and arrows, and strike when it staggers. The fight drops Lizalfos parts and other loot.


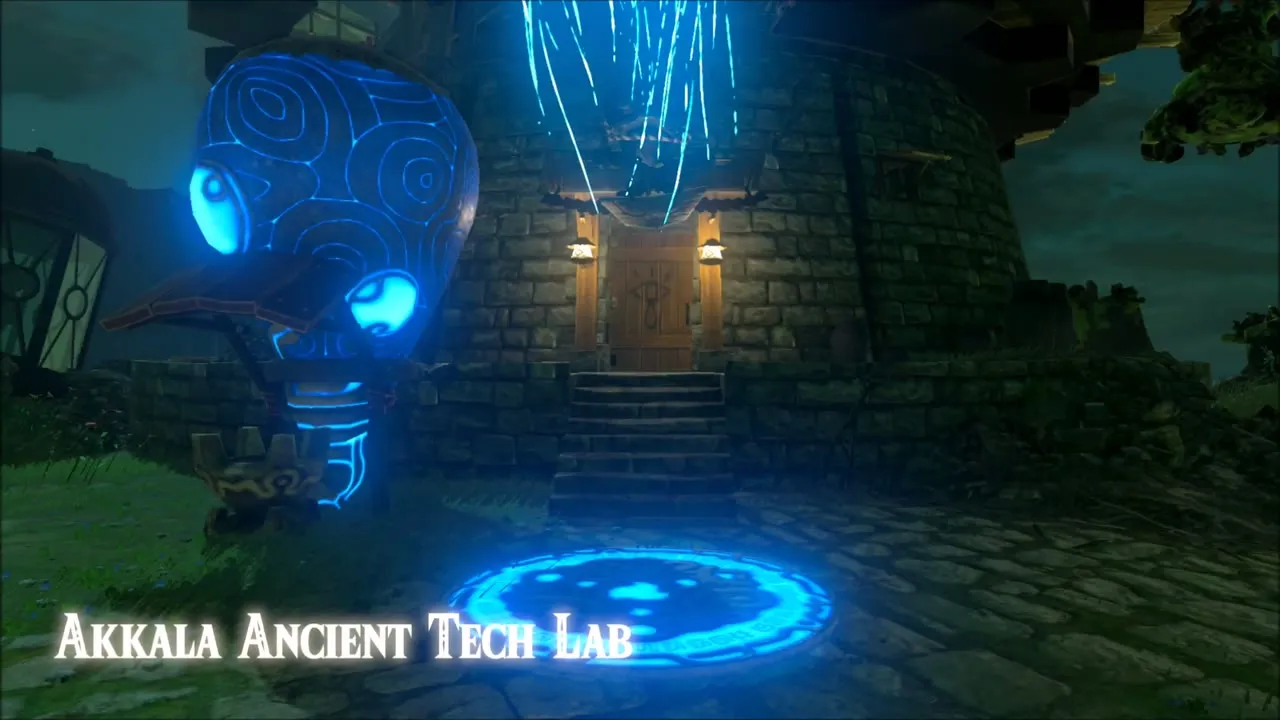
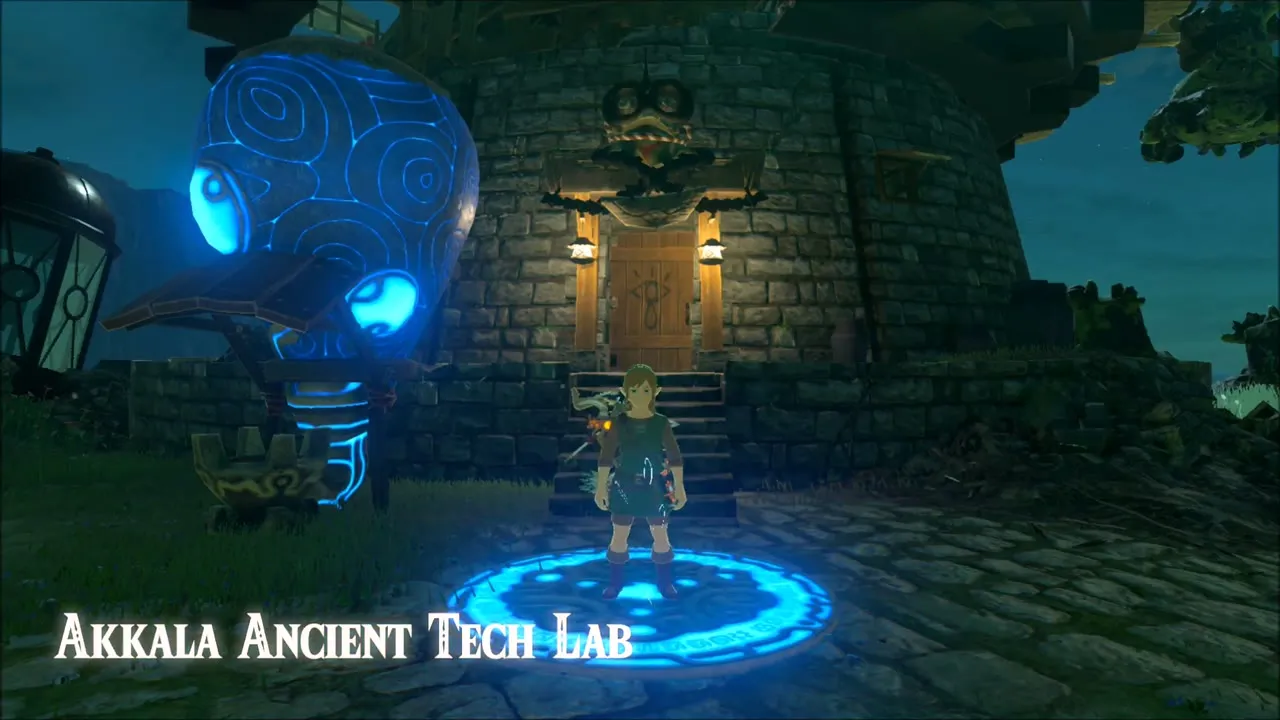
Buy the last weapon, an Ancient Short Sword, at the Akkala Ancient Tech Lab. Back in Hateno Village, show it to Nebb and he finishes the quest with a Diamond; across the quest he pays 2 Red Rupees, 2 Purple Rupees, 2 Silver Rupees, a Gold Rupee and a Diamond.
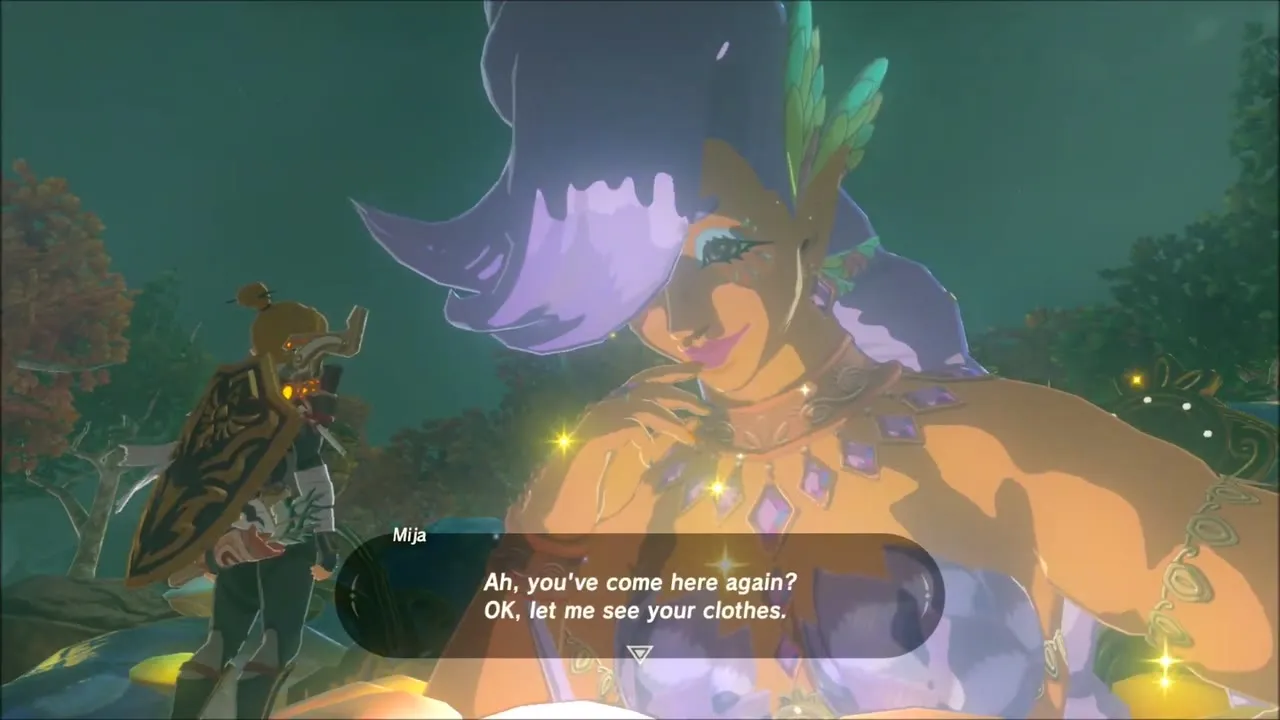
Mija’s Great Fairy Fountain, Akkala
From Hateno, make for Mija’s Great Fairy Fountain (x 4112, z -1378) in Akkala, in the grove just east of Dah Hesho Shrine. A ring of glowing mushrooms circles the spring, and you step up to the pool to examine it.


Dragon Parts: Farosh, Dinraal and Naydra
Warp to Shoda Sah Shrine (Impeccable Timing, x 1790, z 2993) to farm Farosh, the green dragon that glides above Lake Floria. Climb the cliffs beside the waterfall, wait for it to pass, and shoot or slash the dragon’s body to collect Farosh’s Claw and Shard of Farosh’s Fang.
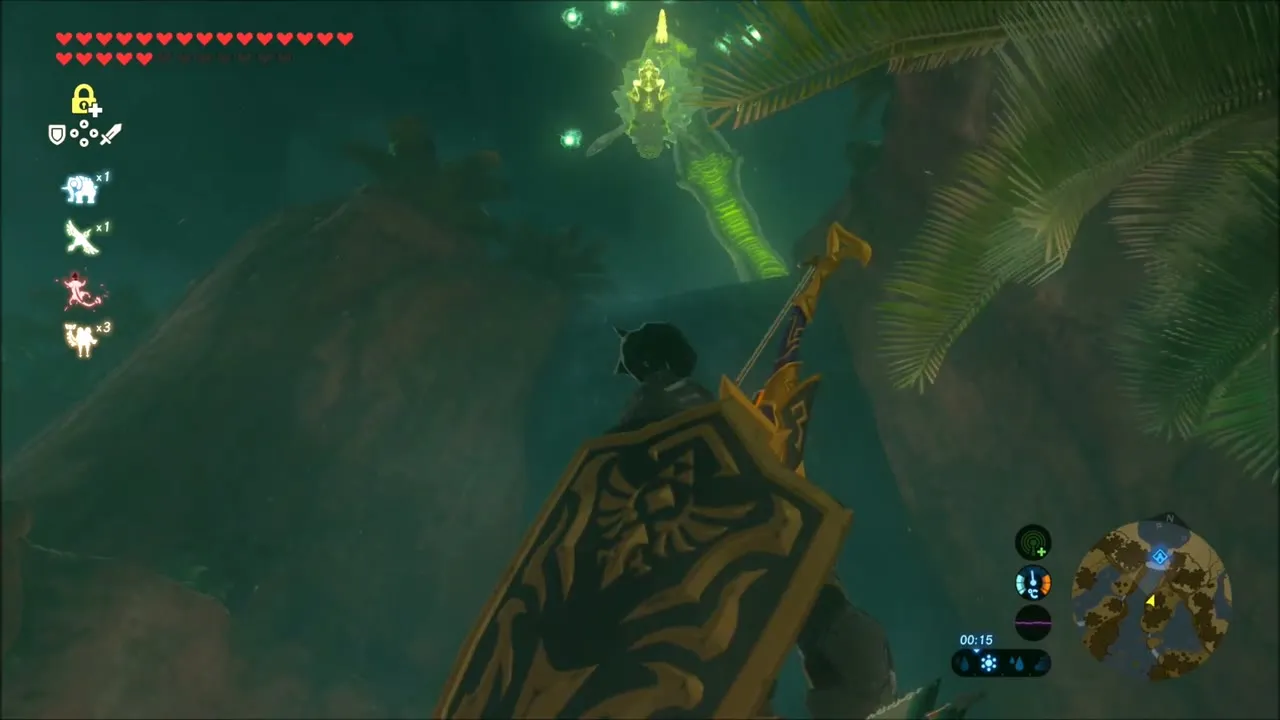
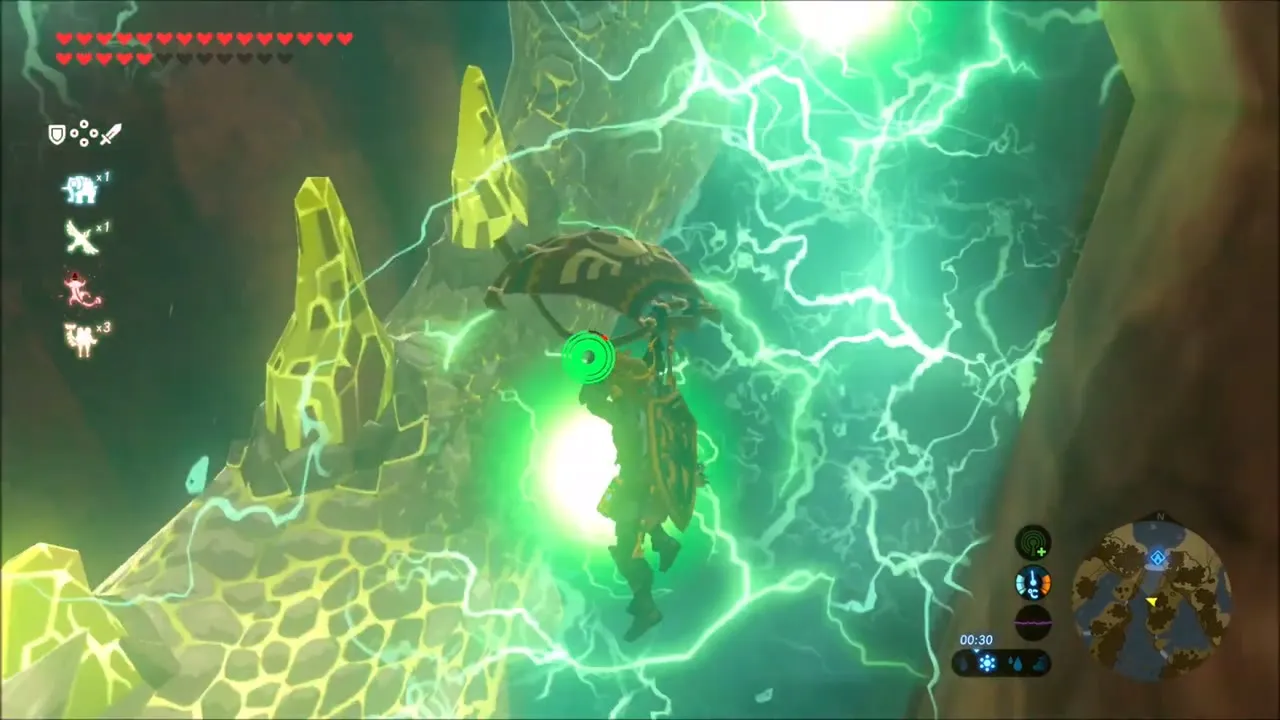


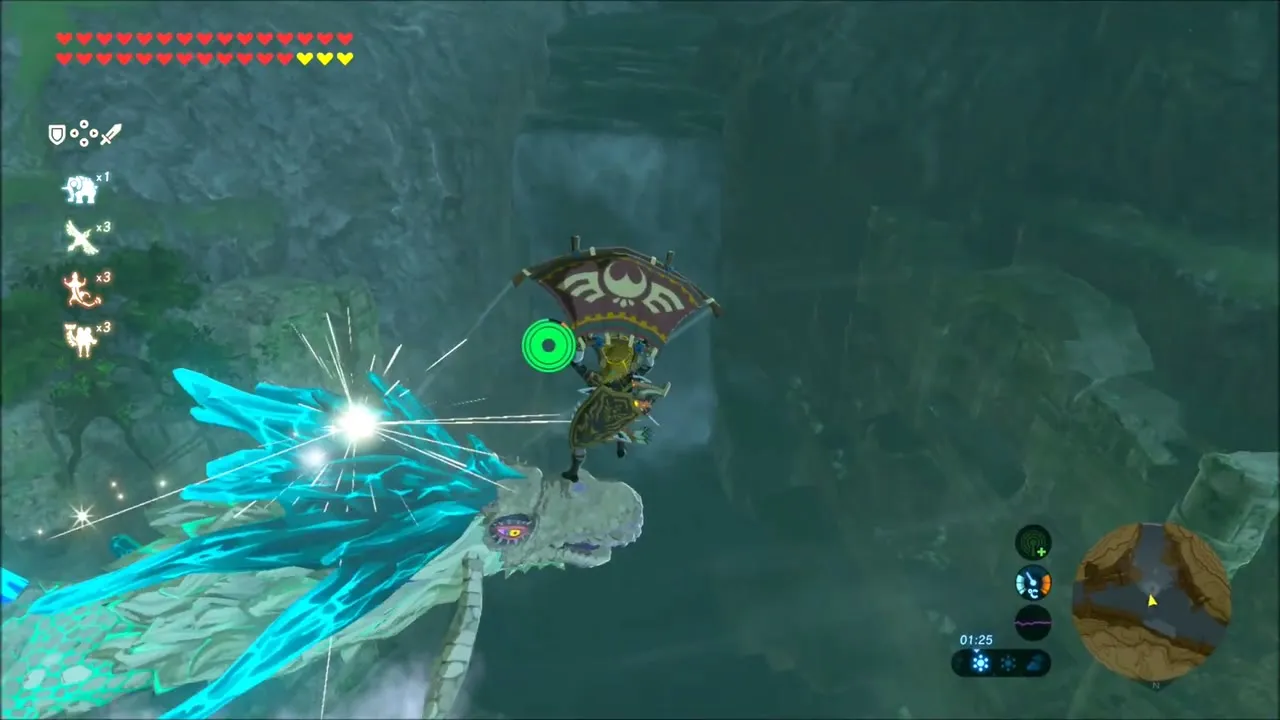
Dinraal, the fire dragon, can be reached from the air: glide alongside it with the paraglider, hit its horns and fangs and gather Shard of Dinraal’s Fang and Shard of Dinraal’s Horn. Dow Na’eh Shrine is a handy warp point on the loop.


Naydra, the ice dragon, is the third to hunt. Hit it near the head and a Shard of Naydra’s Horn falls. Keep a few of each shard: Great Fairy upgrades use them. Ja Baij Shrine gives you a convenient warp point when you are done.


Take the shards to the Great Fairy and upgrade your clothes: for example, the Trousers of the Wild want two Shard of Dinraal’s Horn and a Star Fragment for their next star, while Opal Earrings are already fully upgraded and show “Cannot Enhance.”


Blue Flame at East Akkala Stable
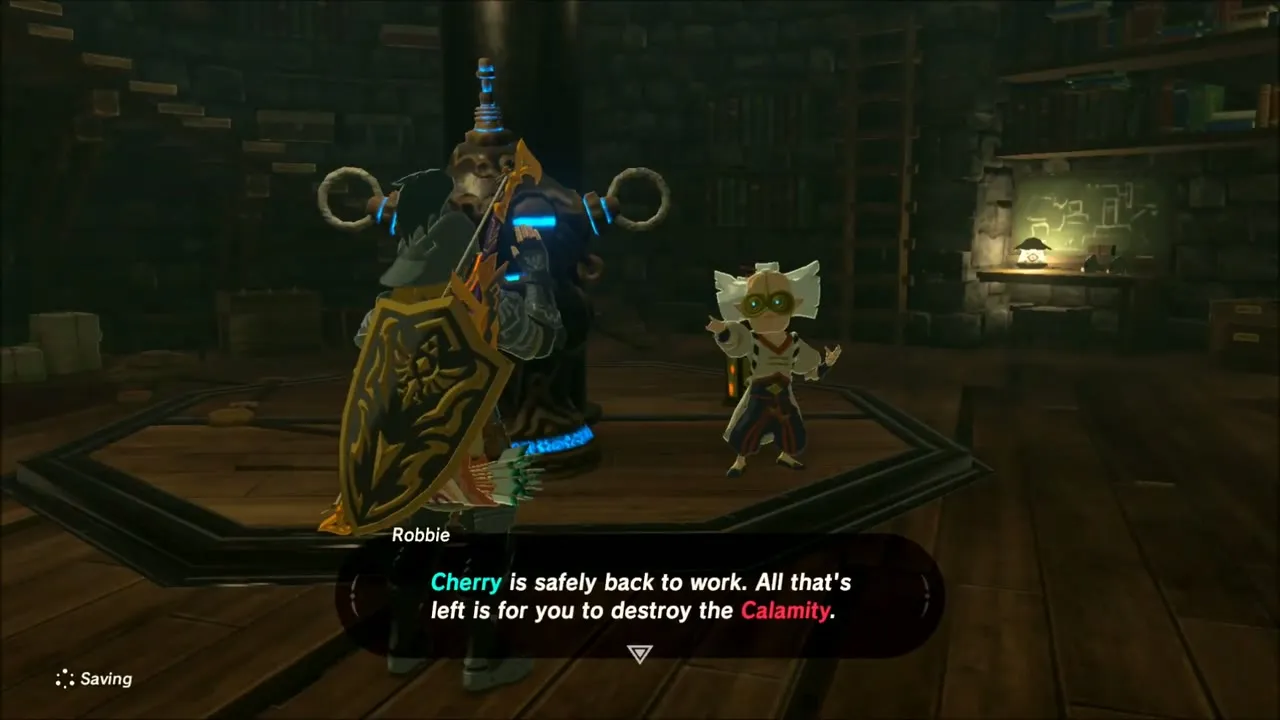
Back at the Akkala Ancient Tech Lab, speak to the lab staff again and head out at night. Aya sits beneath a tree outside East Akkala Stable (x 4228, z -2748). Take on Blue Flame: carry fire from the nearest blue lantern to the unlit one next to her within three minutes. A fast run pays at least 50 rupees.


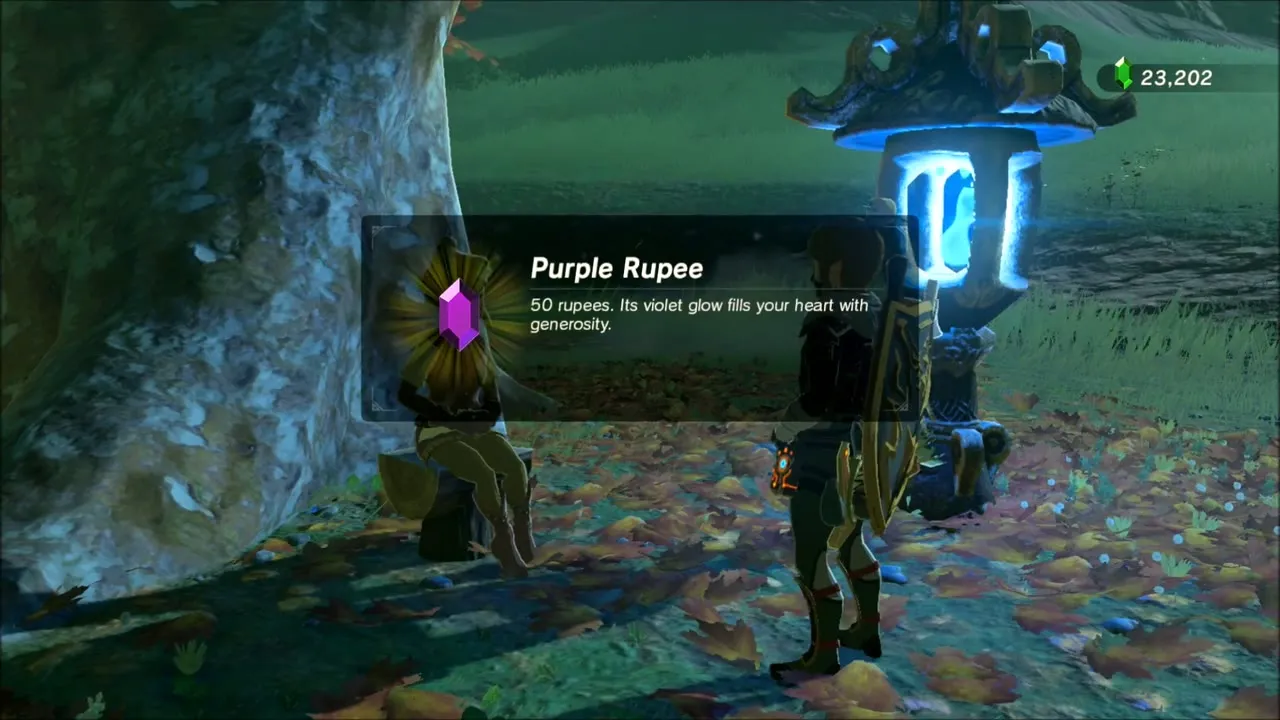
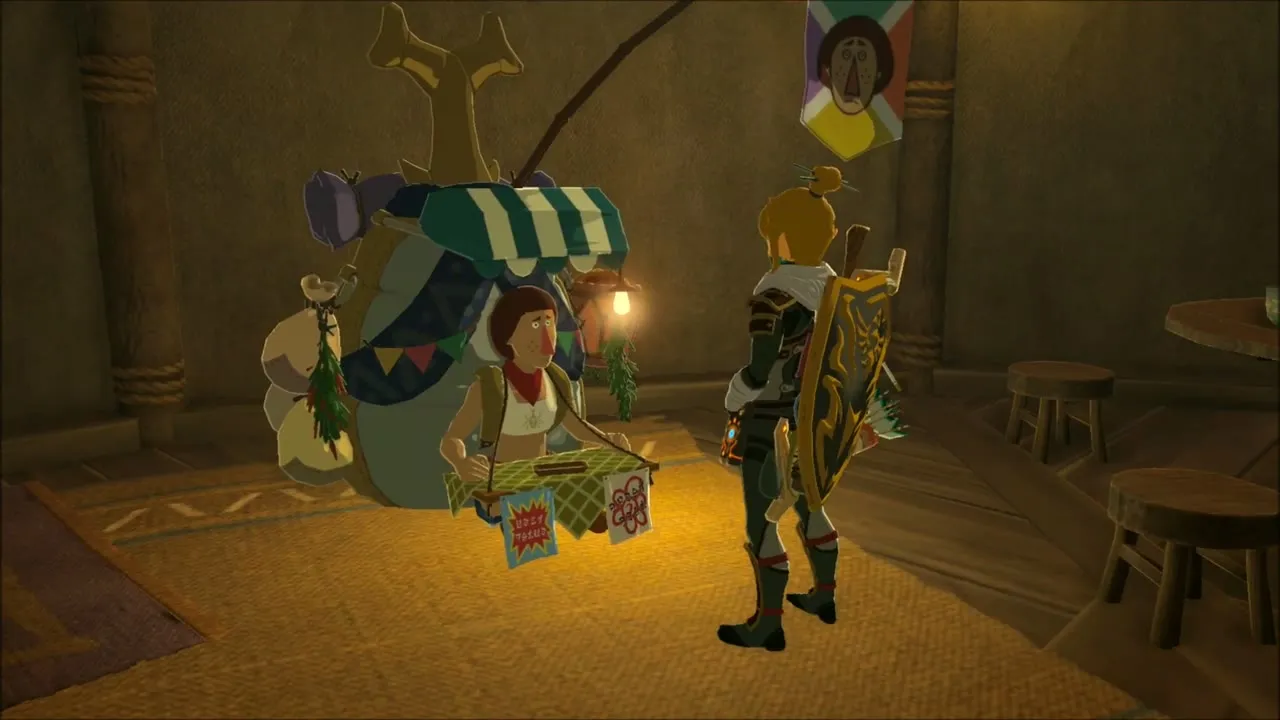
Beedle‘s stall in a stable is a good spot to sell spare gems. Rubies, sapphires and opals fetched about 1,800 rupees here.
Mounted Archery Camp: Knight’s Bridle and Saddle
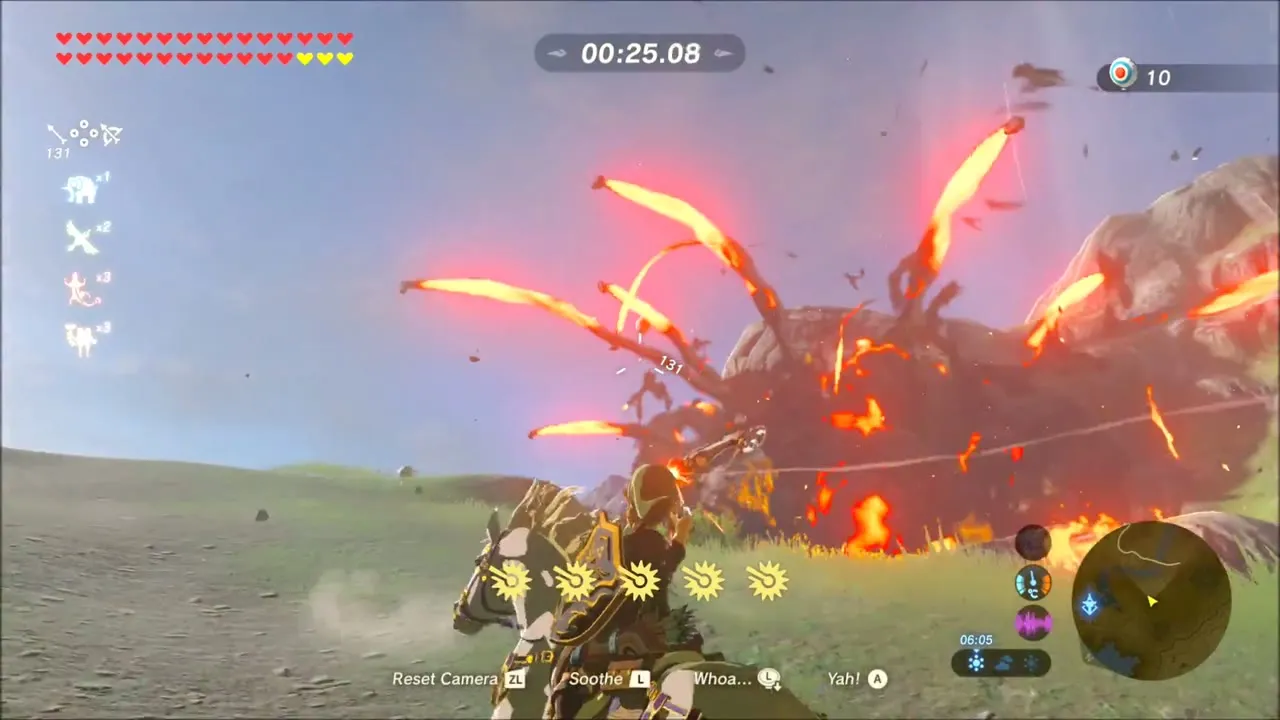
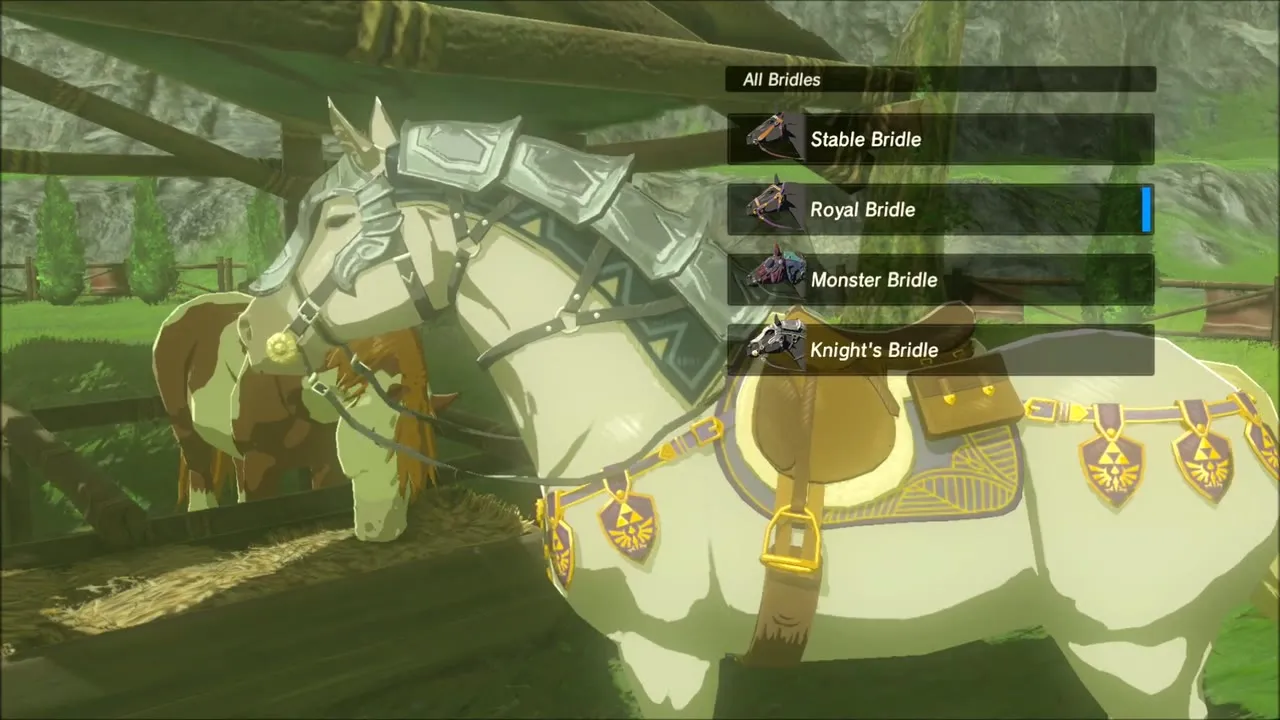
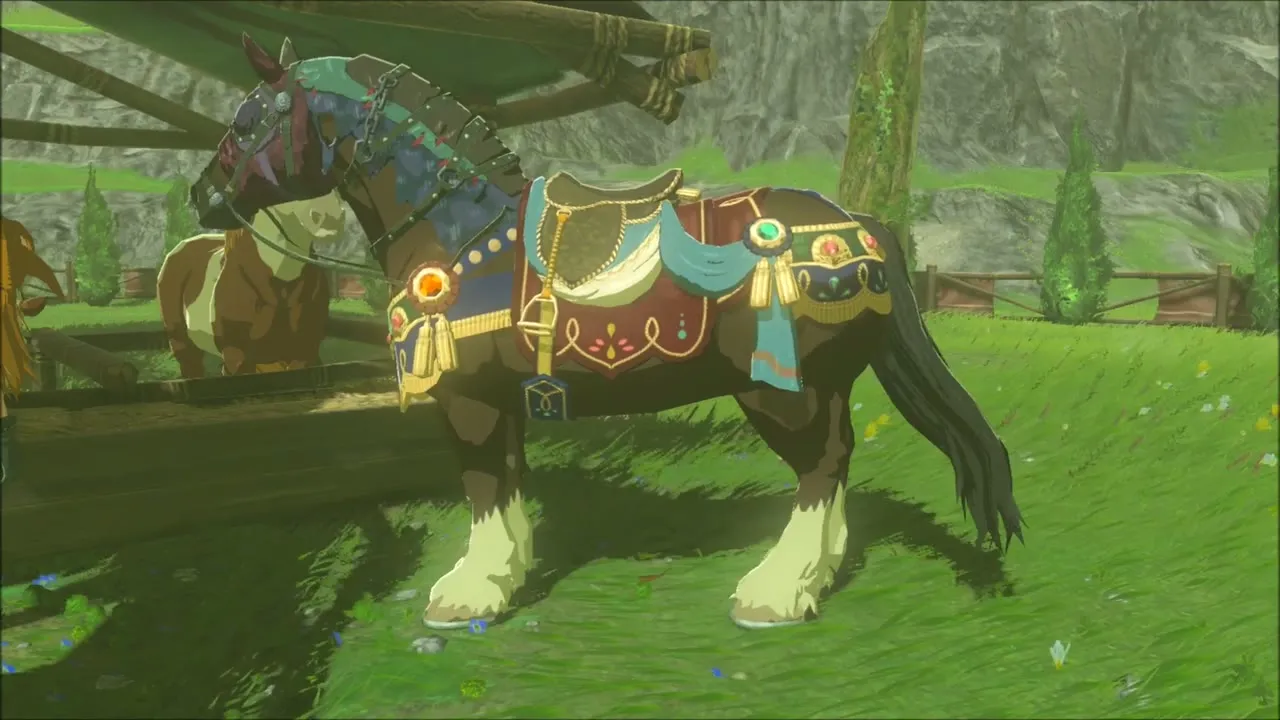
Ride to the Mounted Archery Camp (x -163, z 3514) south of Lake Tower and speak to Jini while mounted. The run costs 20 rupees and you shoot targets from the saddle; a multi-shot bow with bomb arrows clears them fast. Hit 20 targets or more and Jini gives you the Knight’s Bridle; 23 or more earns the Knight’s Saddle as well.



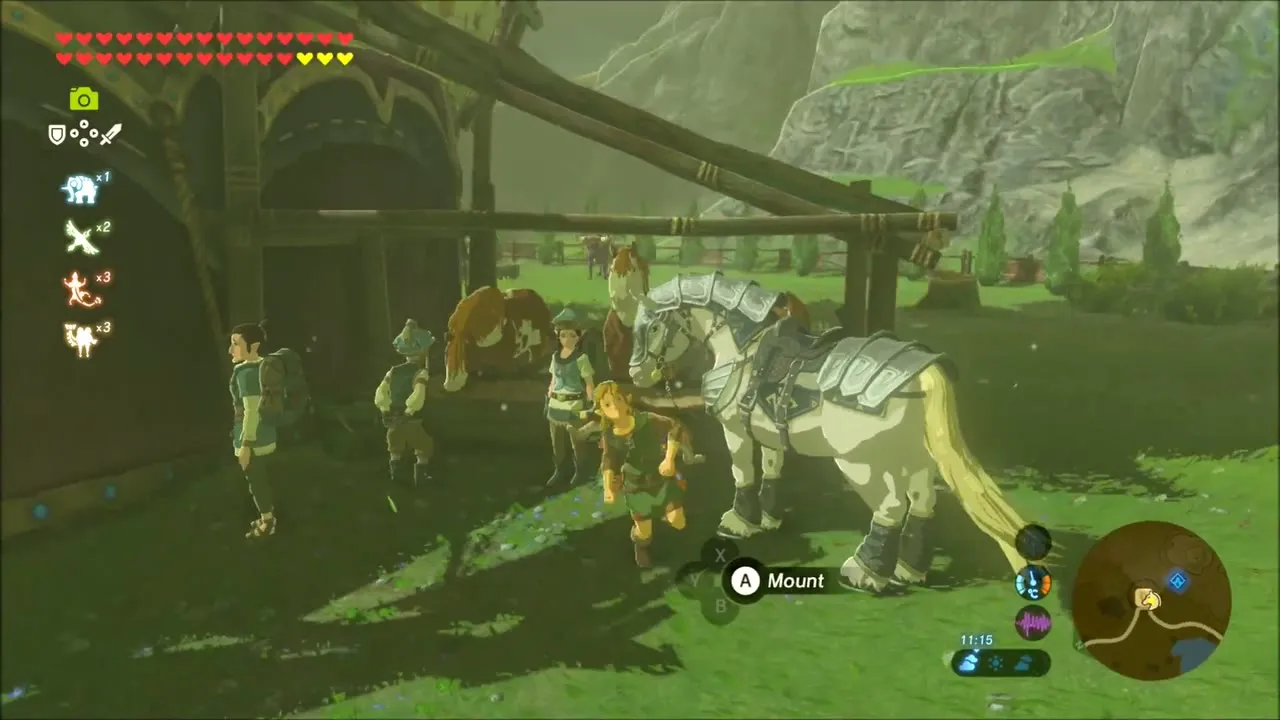
Take the horse to a stable and talk to the horse handler to change the bridle. The list now shows Stable, Royal, Monster and Knight’s Bridle, so you can pick your favourite look.

The Silent Swordswomen: Gerudo Desert Statues
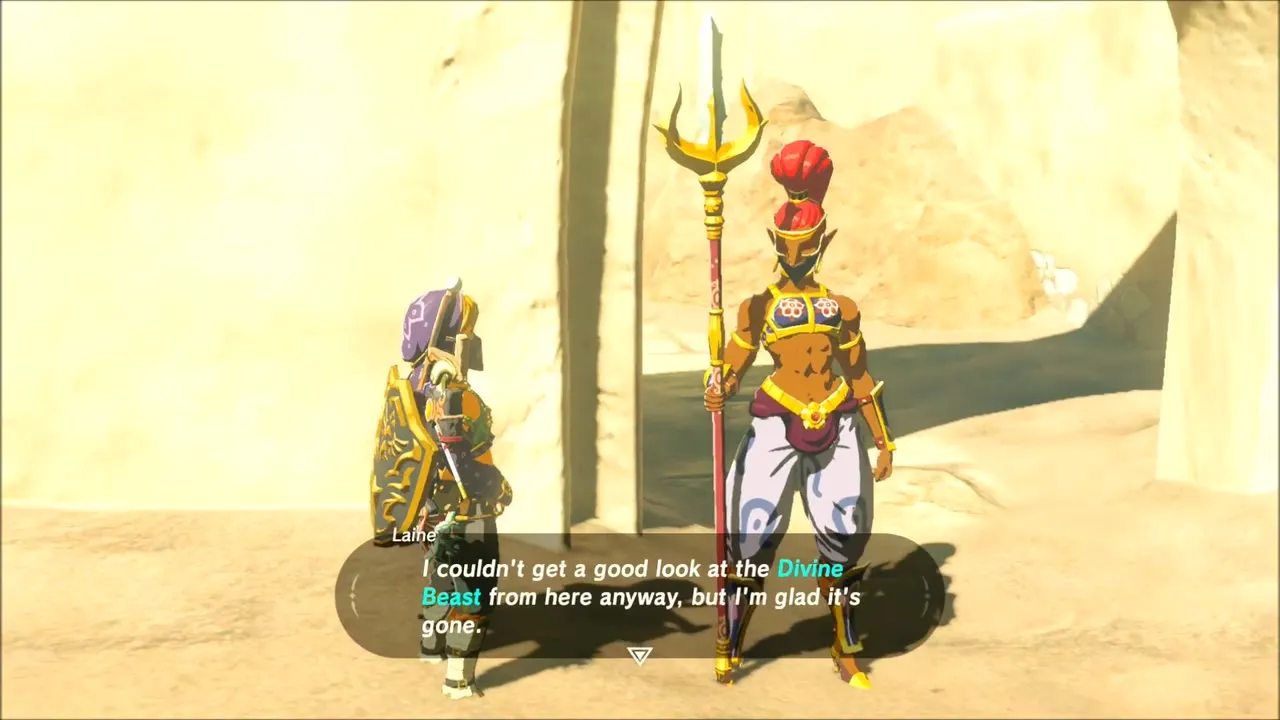
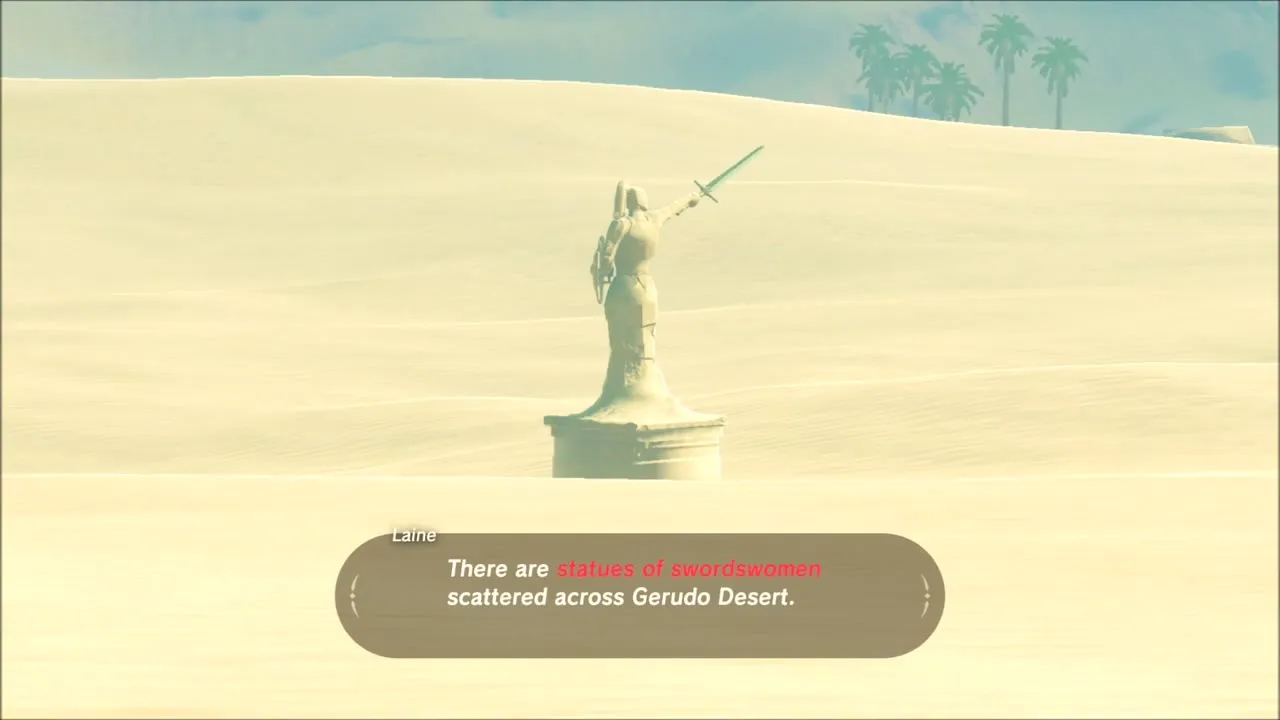
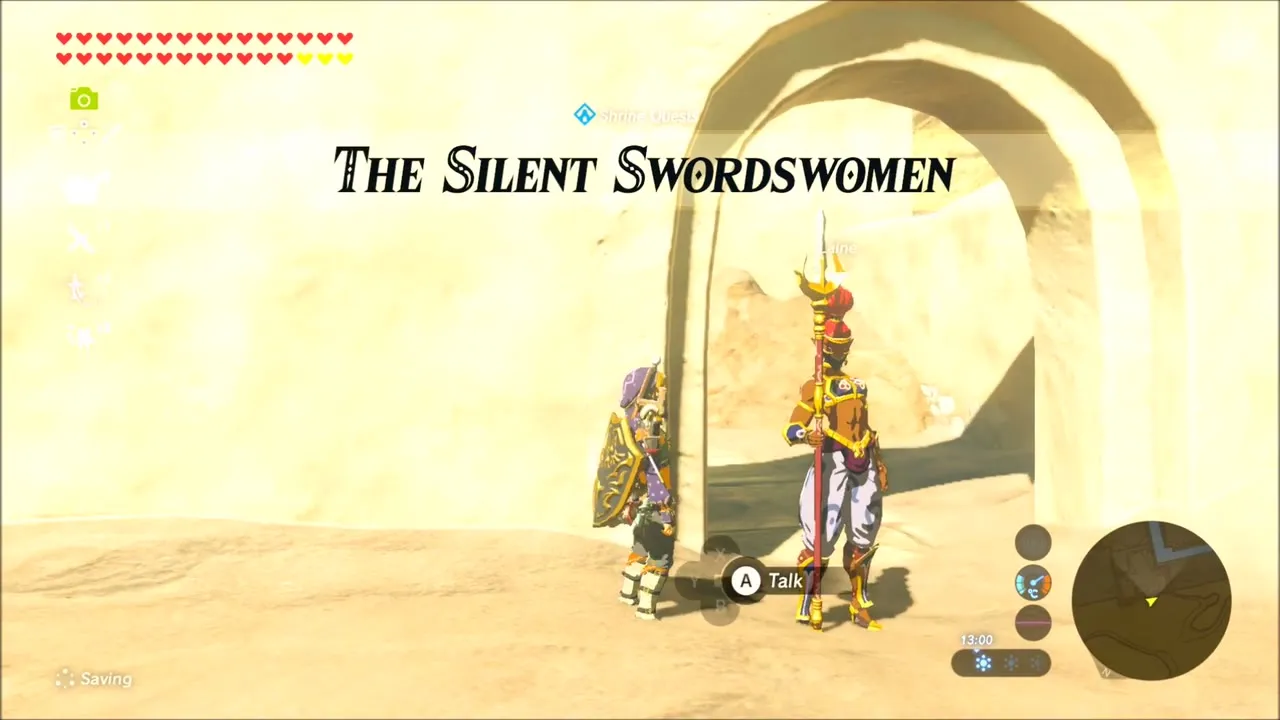
In Gerudo Town, speak to Laine, who tells you statues of swordswomen are scattered across the desert. The Silent Swordswomen then asks you to follow the direction each statue points, from one to the next, until the trail ends at Kema Zoos Shrine. The shrine quest only registers as complete when you talk to the woman who gave it, as you can check in the quest log.
Cooking and Last Preparations
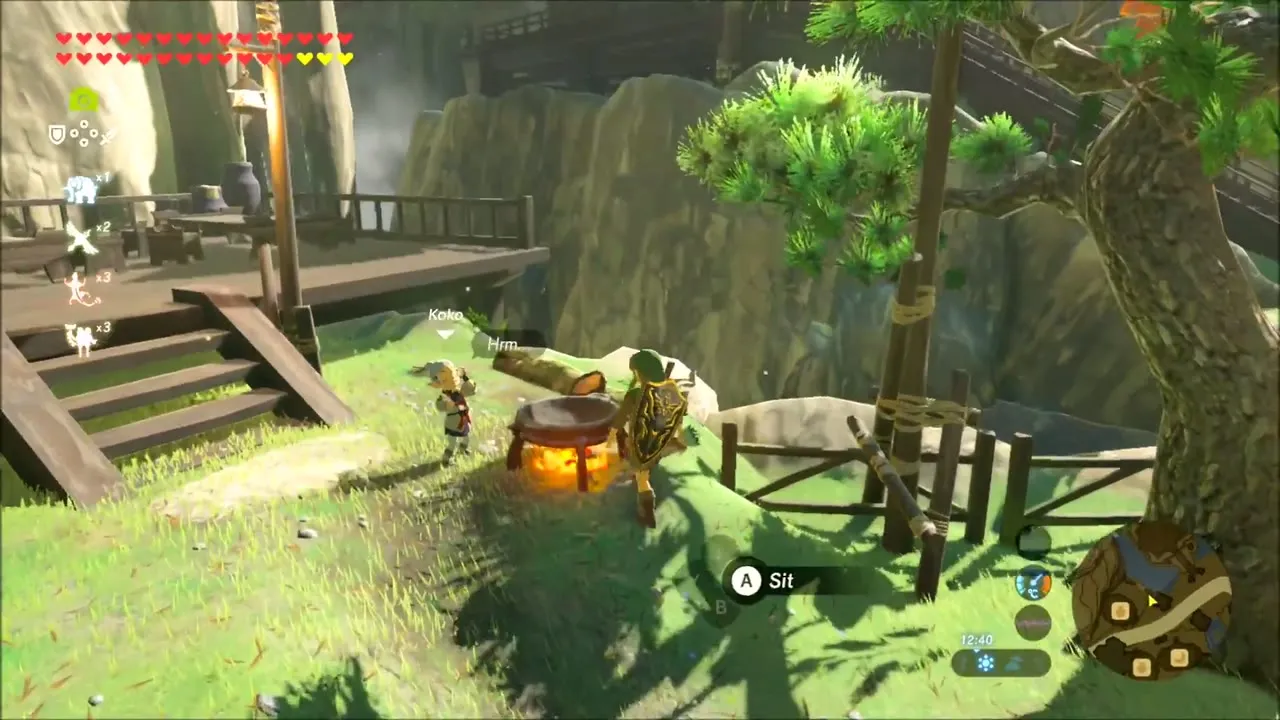
Before the final push, cook a large batch of healing food at the stable and camp pots. Hearty Radish, Big Hearty Radish, Hylian Rice, Fresh Milk, Hearty Bass and Raw Gourmet Meat all go into dishes that refill your hearts or boost them, and you will want a stack of them for Ganon.


Destroy Ganon: Reach the Sanctum
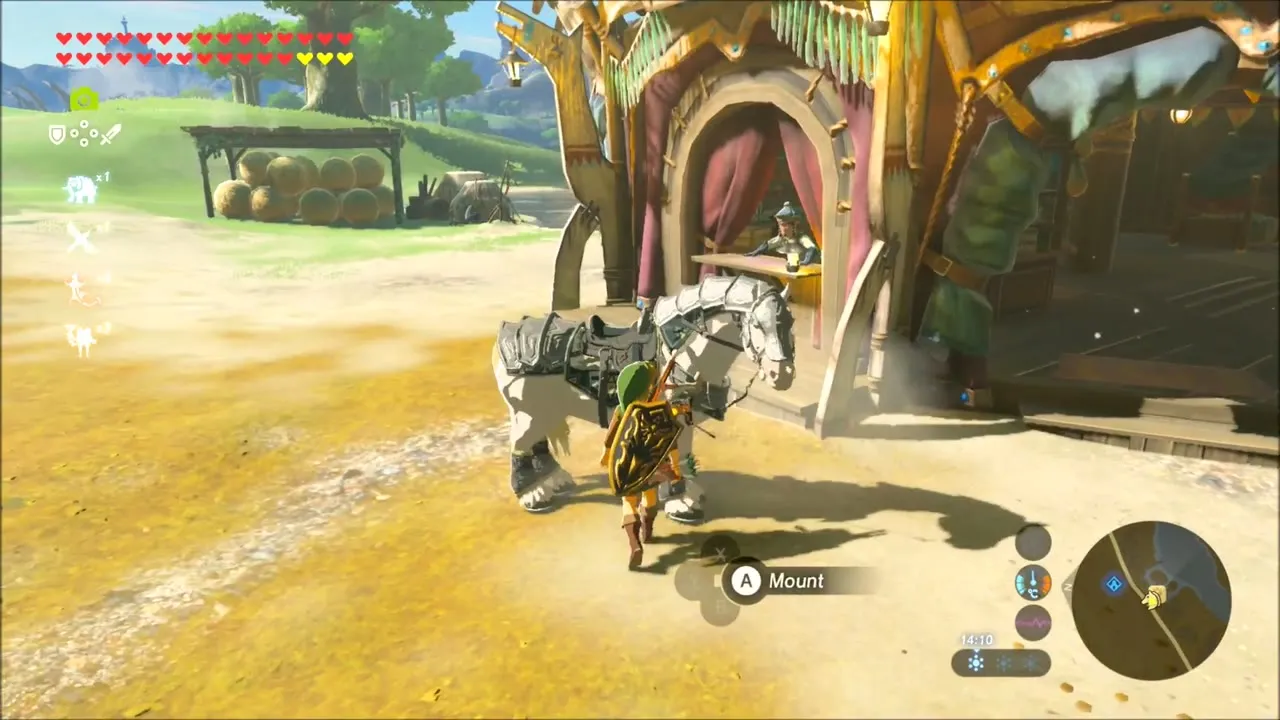
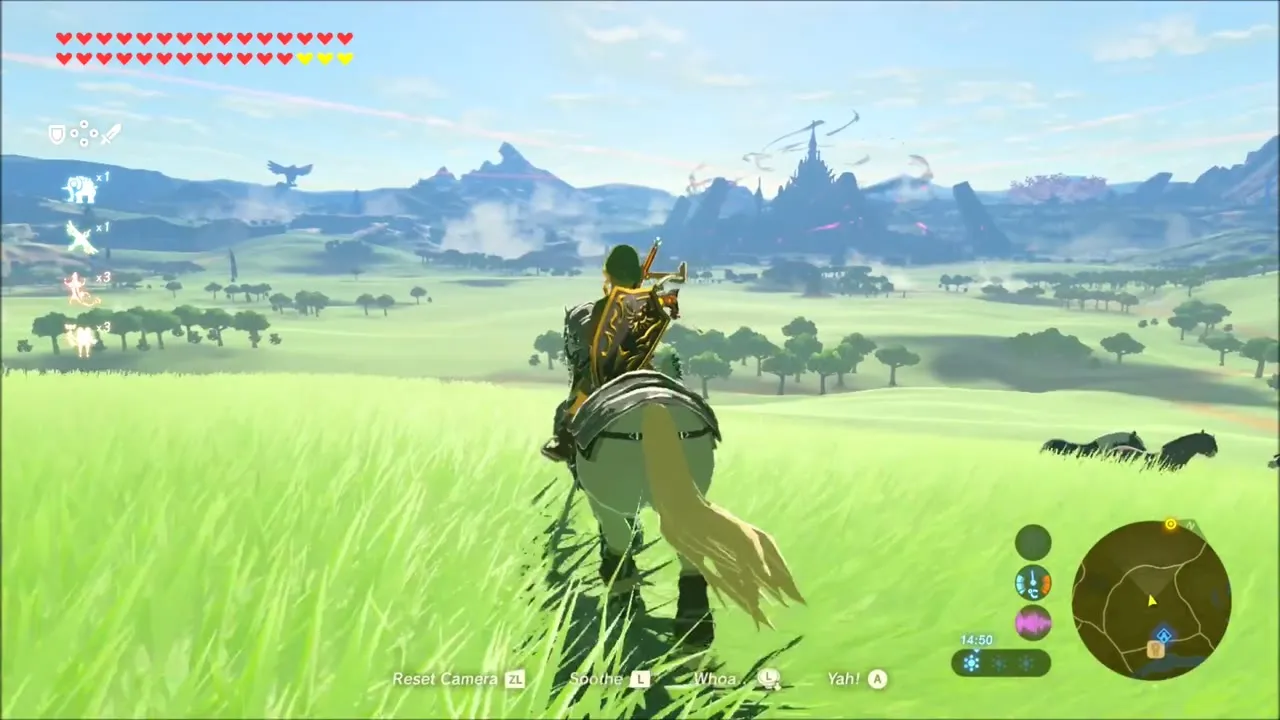
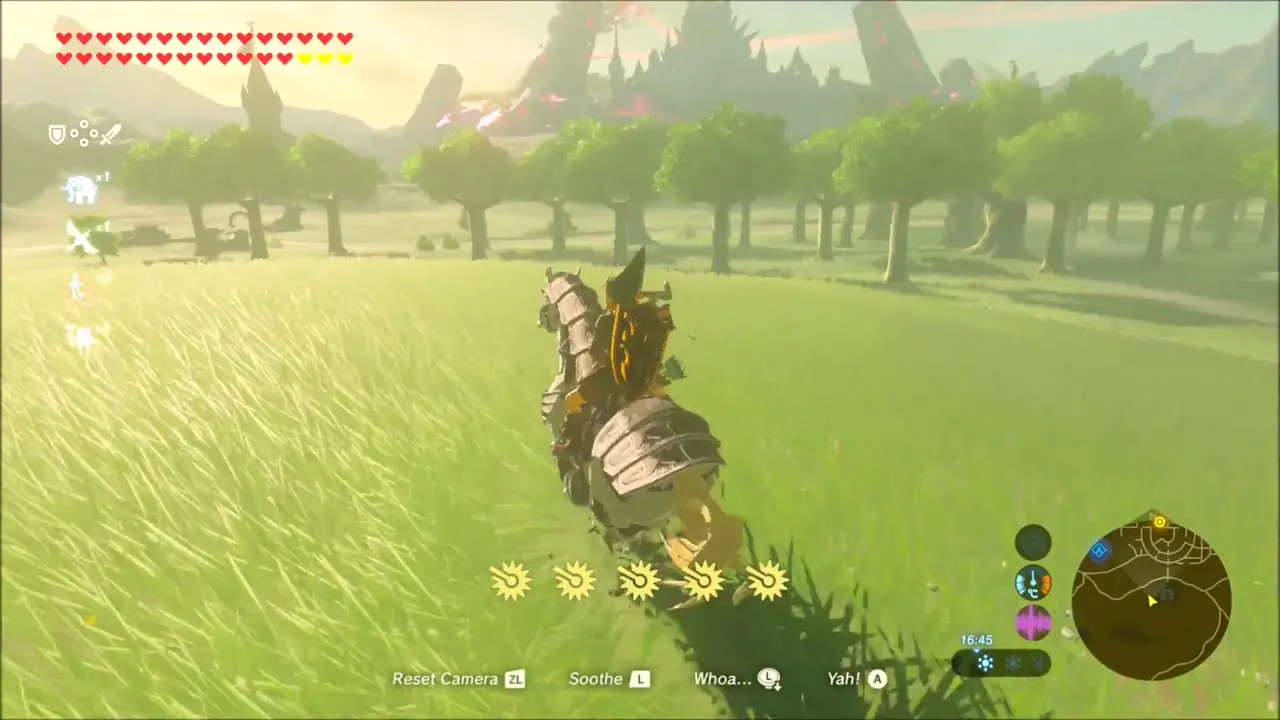
Begin Destroy Ganon from Riverside Stable. Mount up and ride toward the castle across Hyrule Field, following the road until the gates of Hyrule Castle Town come into view.

Push through the Castle Town ruins on foot, hugging cover as Guardians fire their red lasers. Keep Magnesis ready for metal obstacles and expect weapons to wear out: an Ancient Battle Axe+ breaks on the way, so carry spares. Gather Ancient Screws and Gears from the Guardians you wreck.

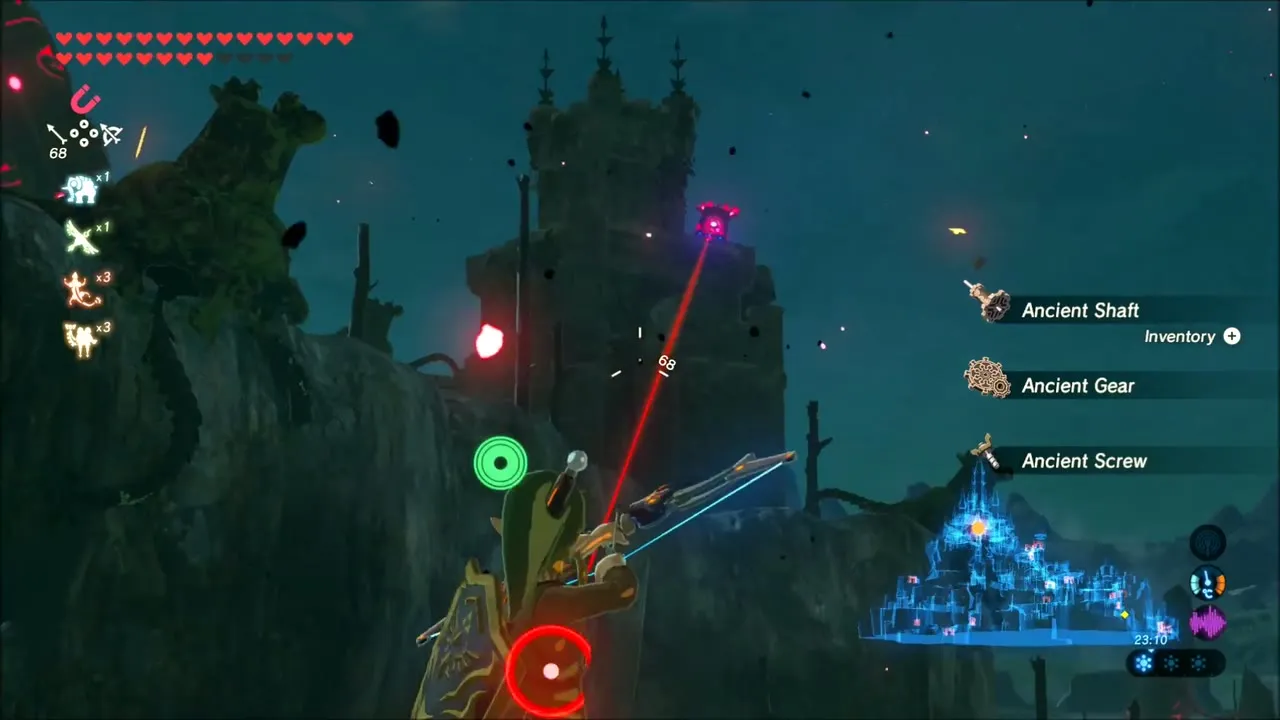

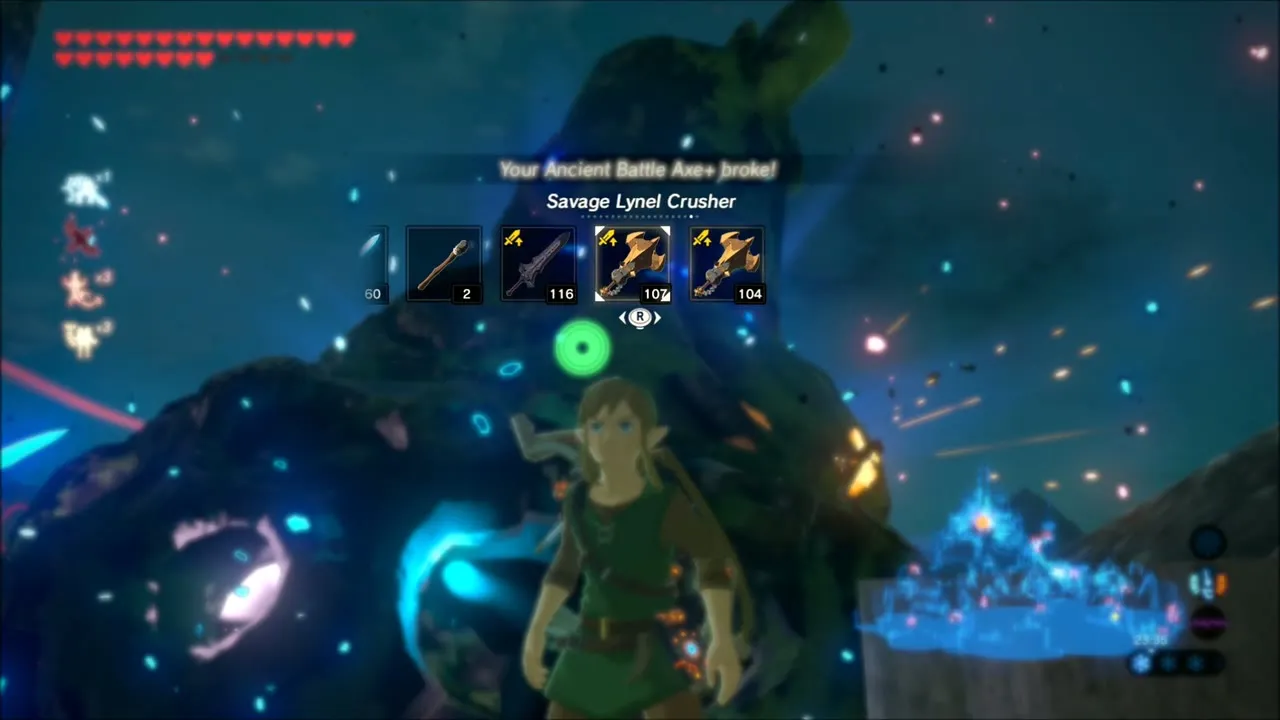
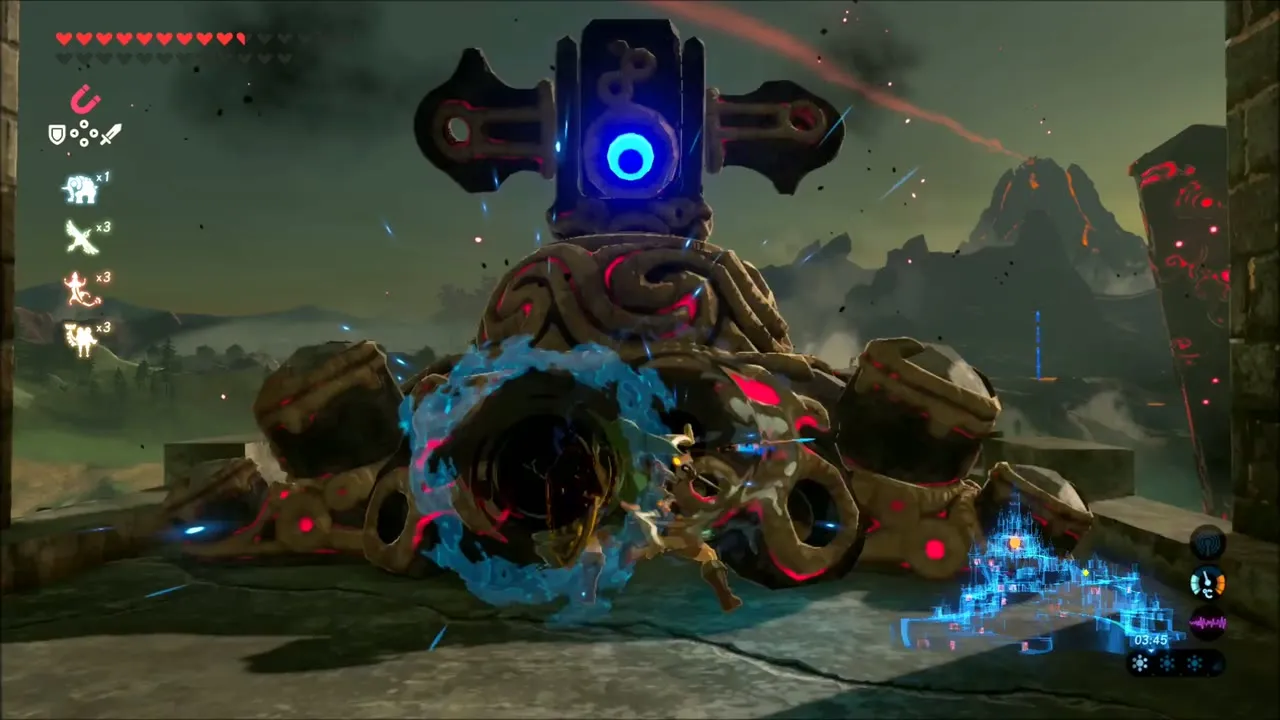
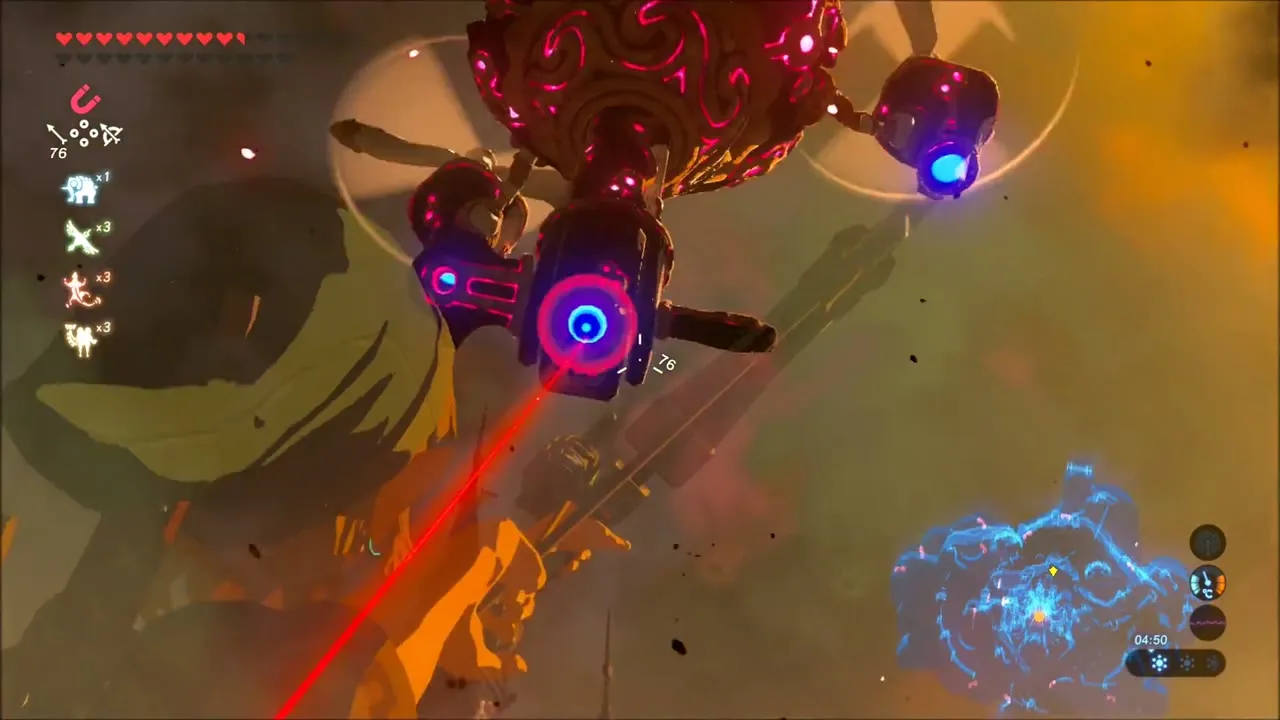
Inside the castle grounds the Guardian turrets and Guardians are thicker. Work through them with Magnesis, sneak attacks and rolls, then follow the passages deeper in, between pools of Malice and glowing red eyes, towards the heart of the castle.

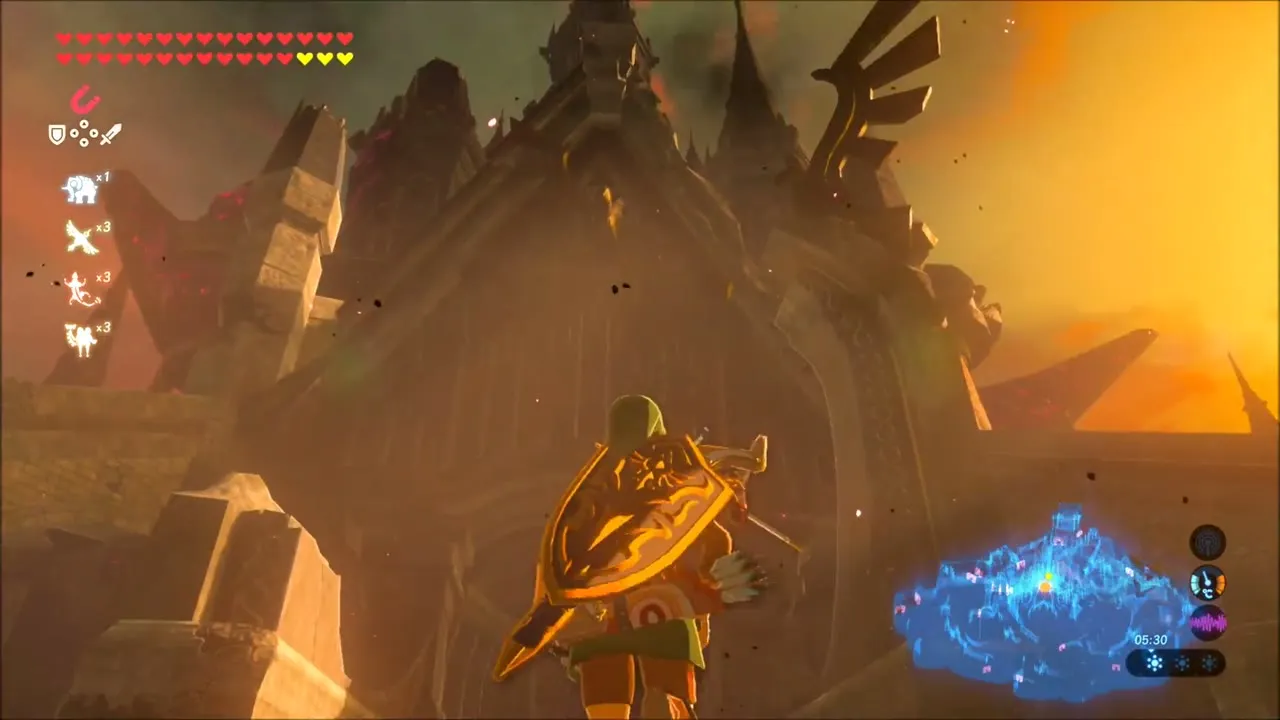
Calamity Ganon Boss Fight
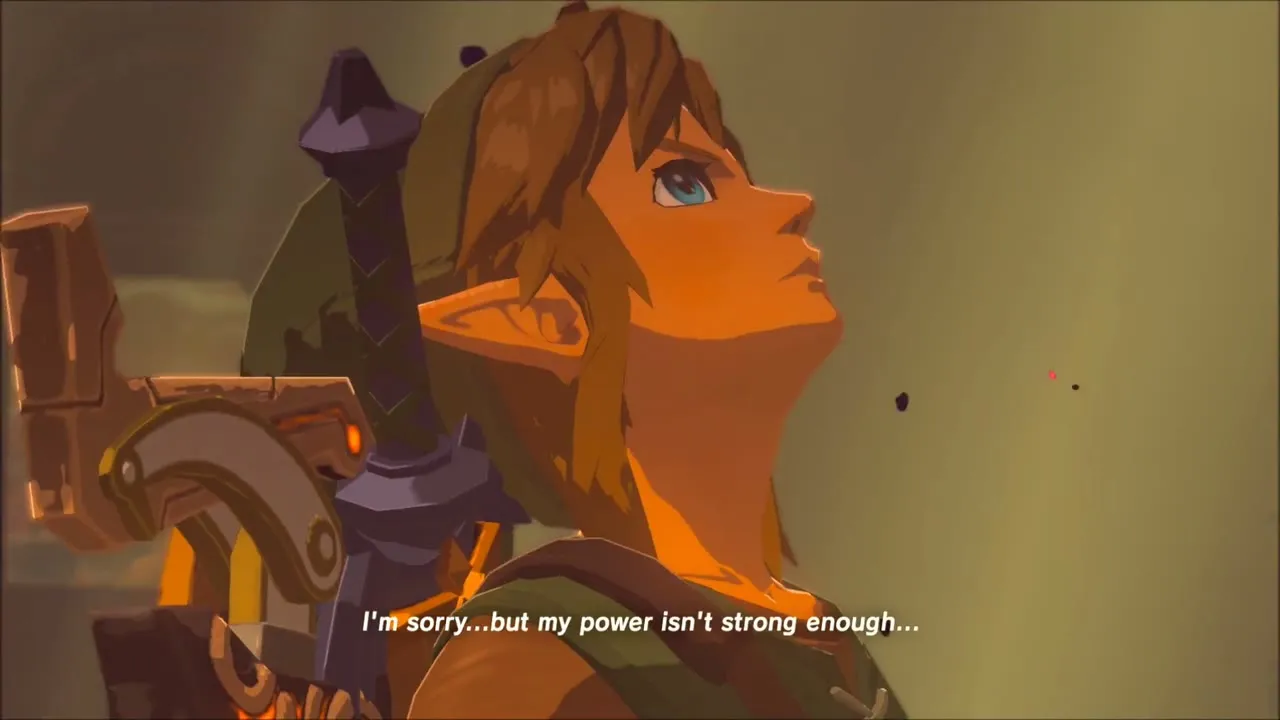
Deep in the castle, Link stops in a dark chamber and a cutscene plays. Zelda tells him her power may not be enough, but her light flares and the way into the sanctum opens.
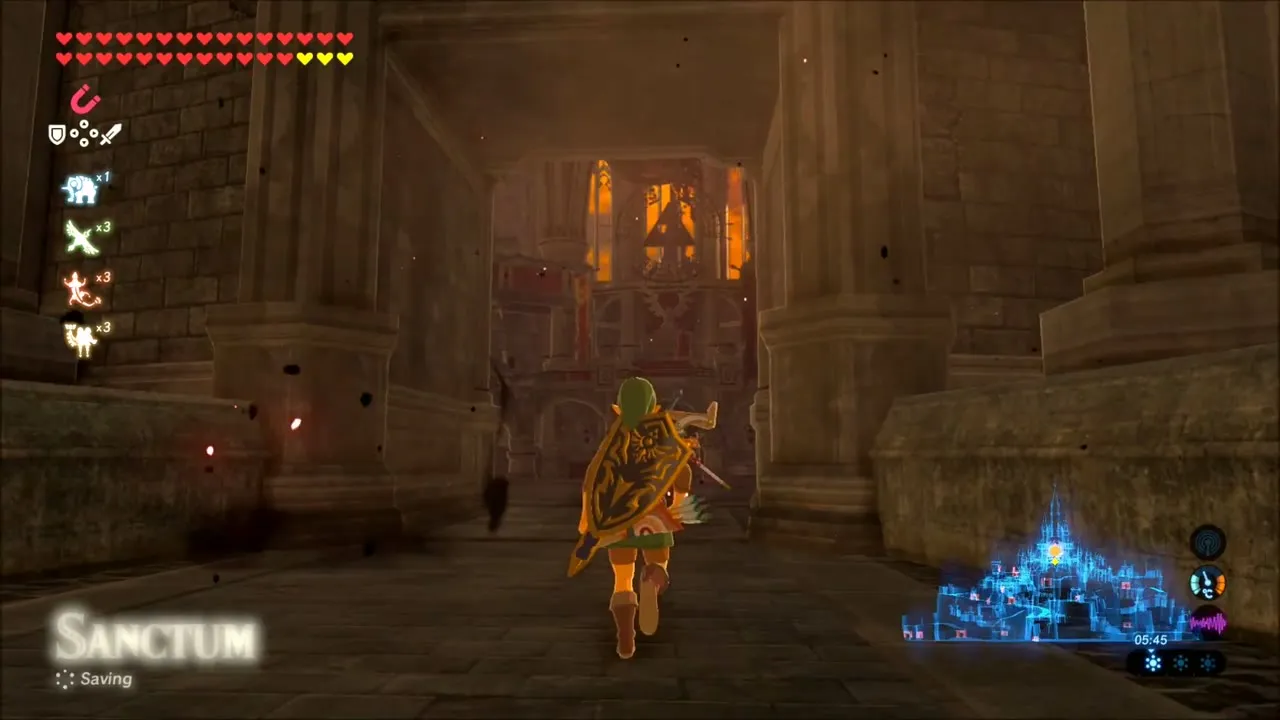

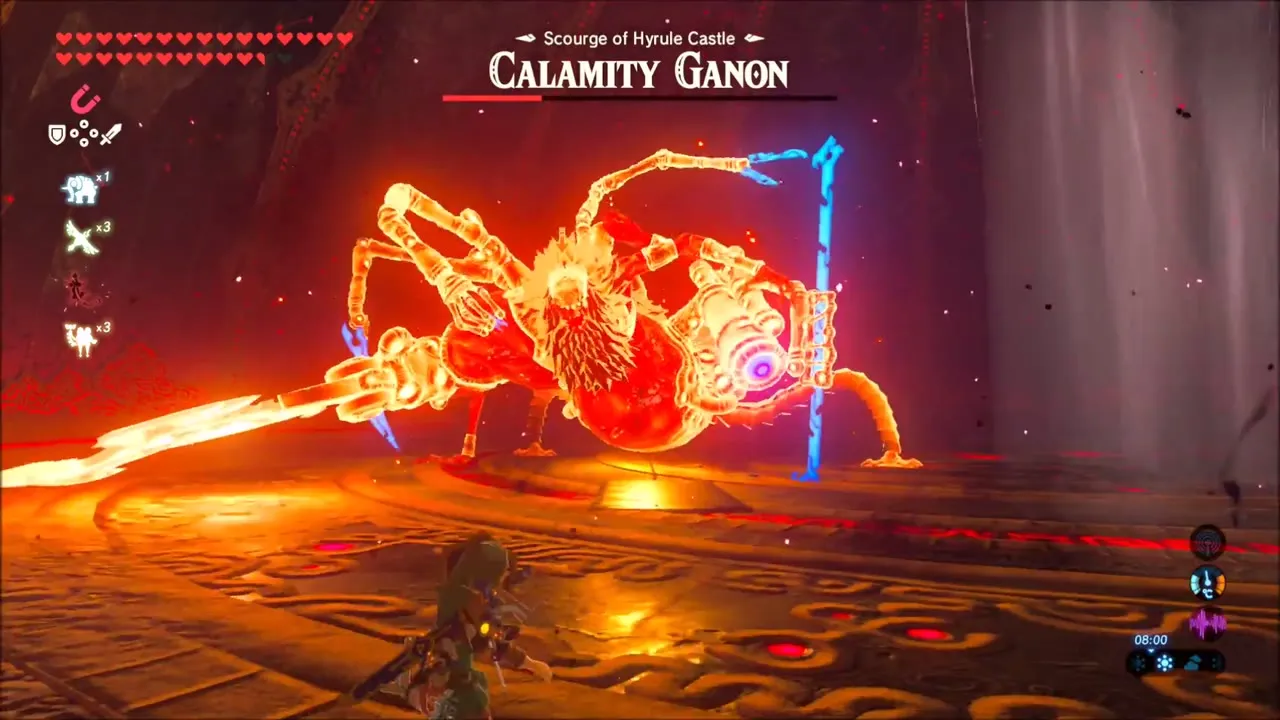
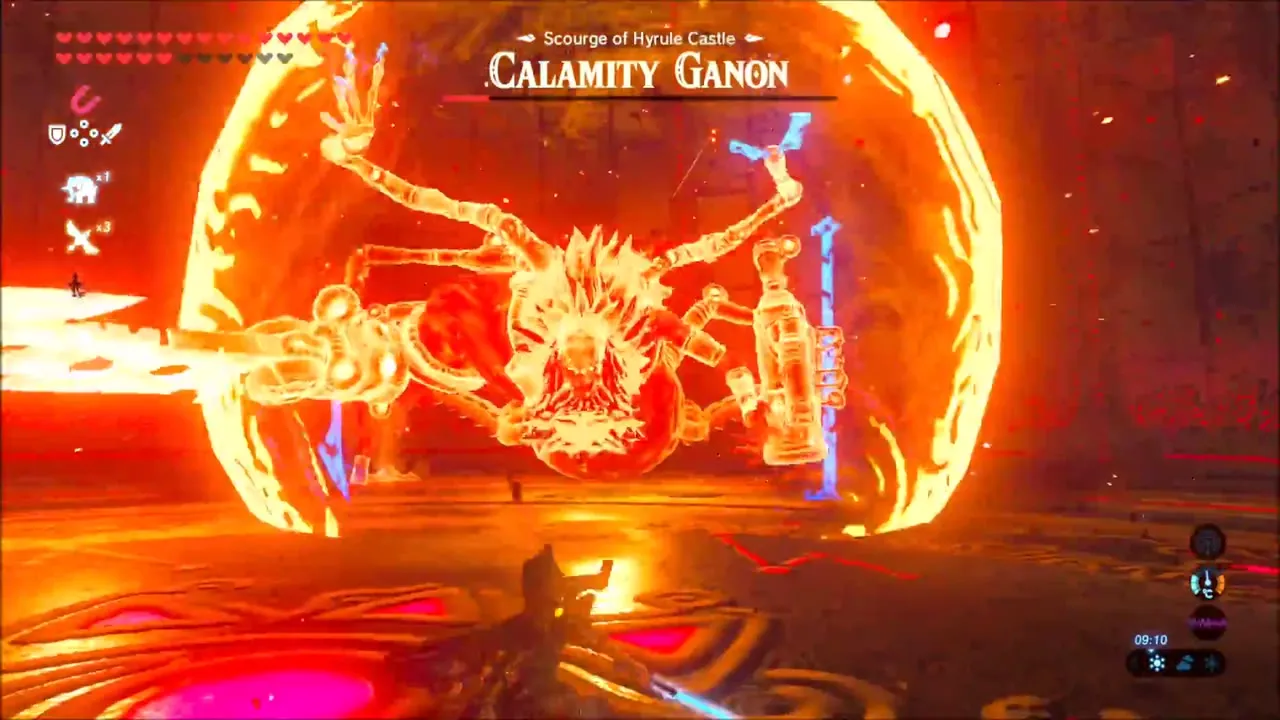
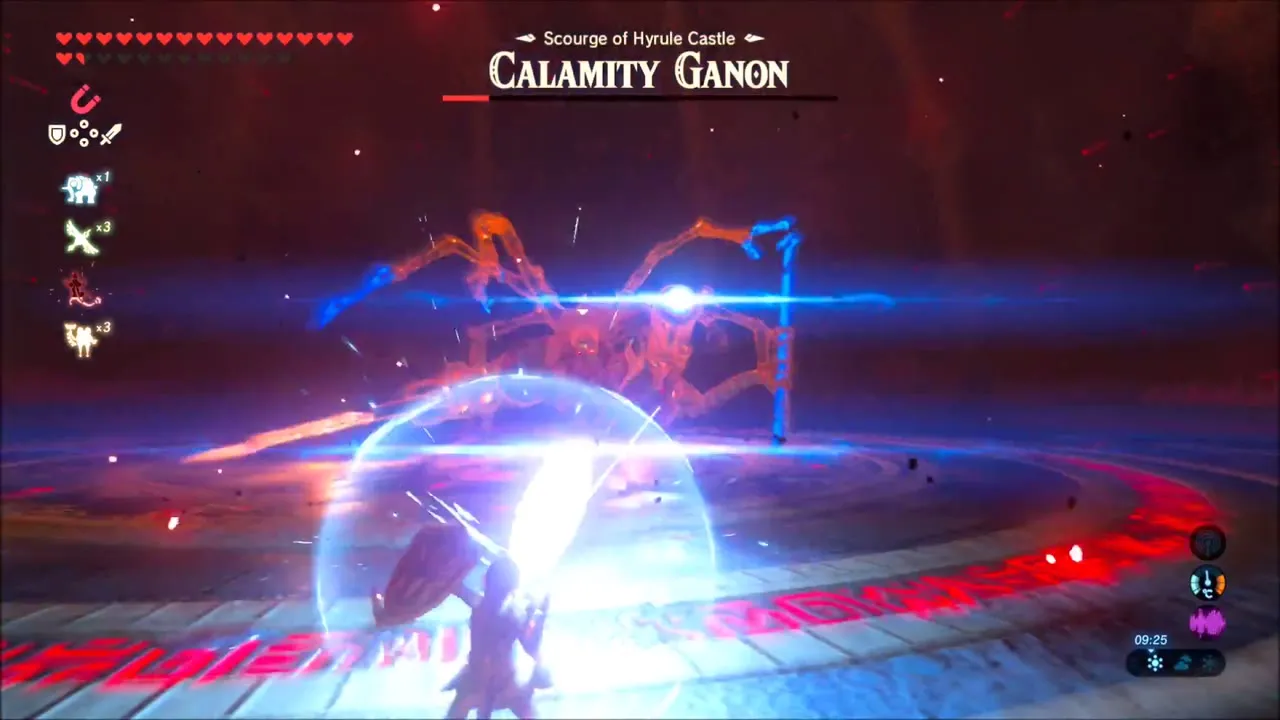
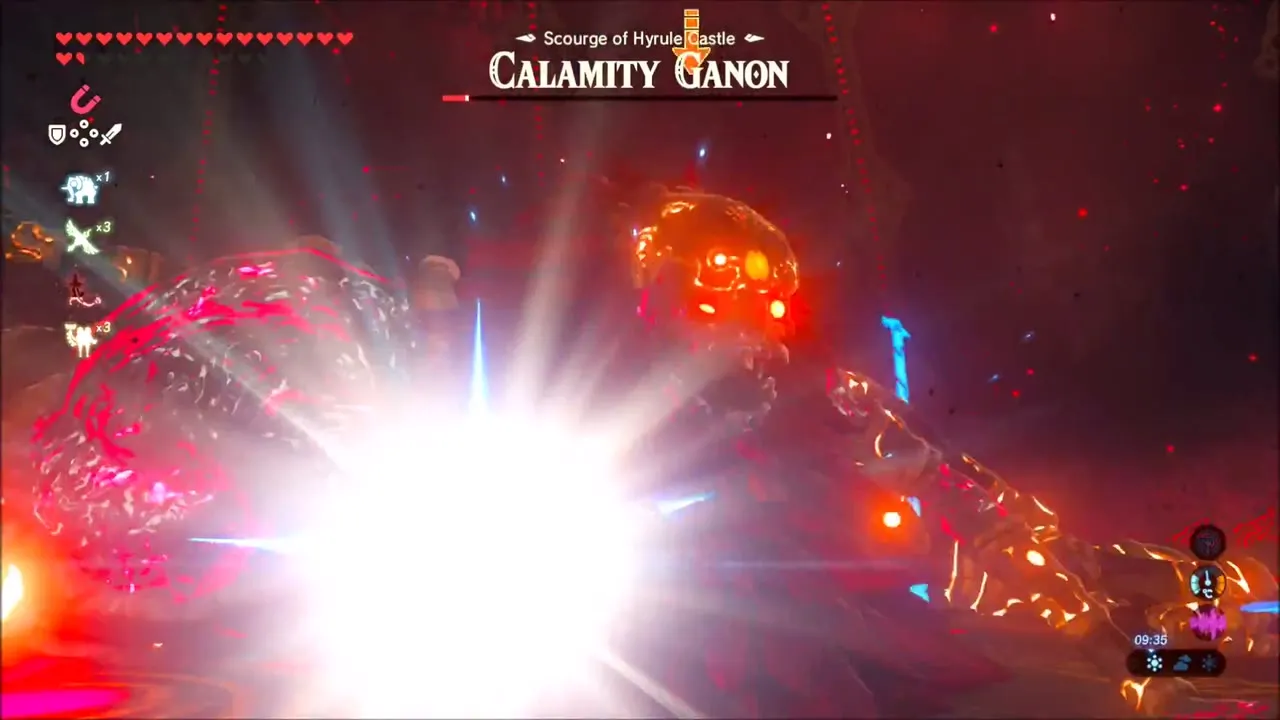
Calamity Ganon fills the arena, a spider-like mass of ancient machines wrapped in Malice. Every Divine Beast you freed fires a blue beam at him, and each beam removes an eighth of his health. Dodge the fire he lays on the floor, use the openings to hit his glowing weak points and parry the beams he returns.

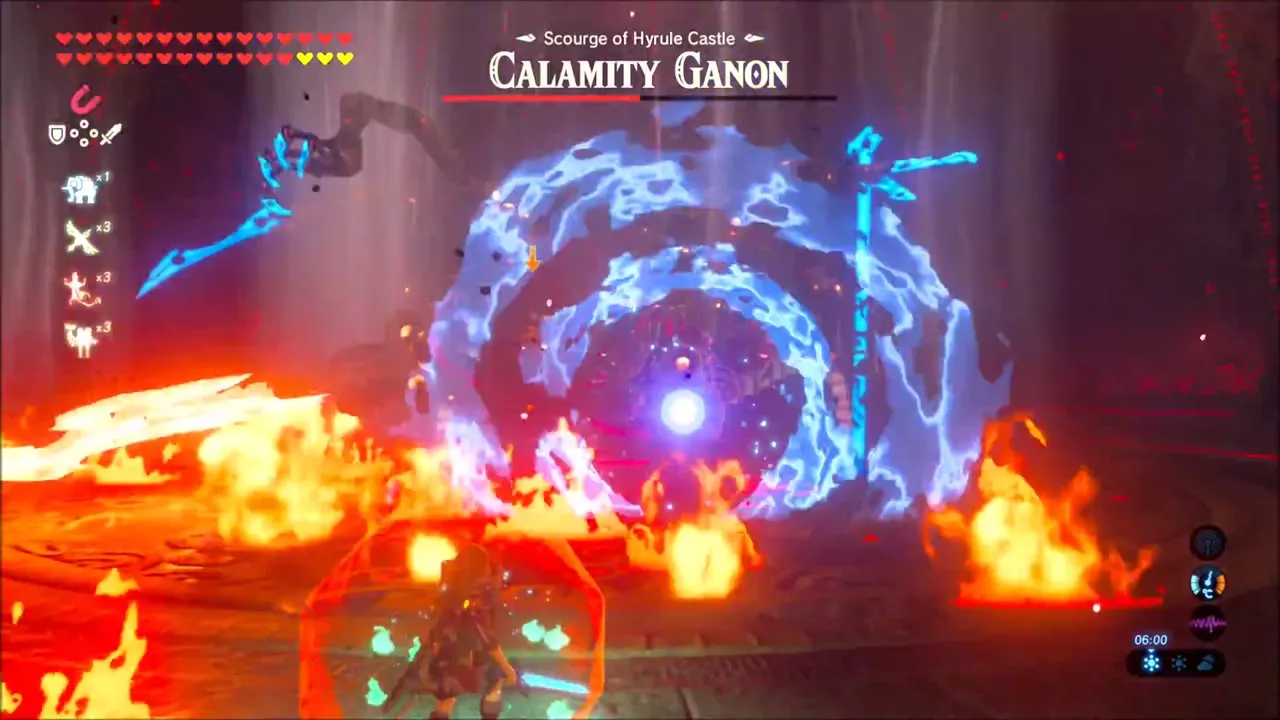
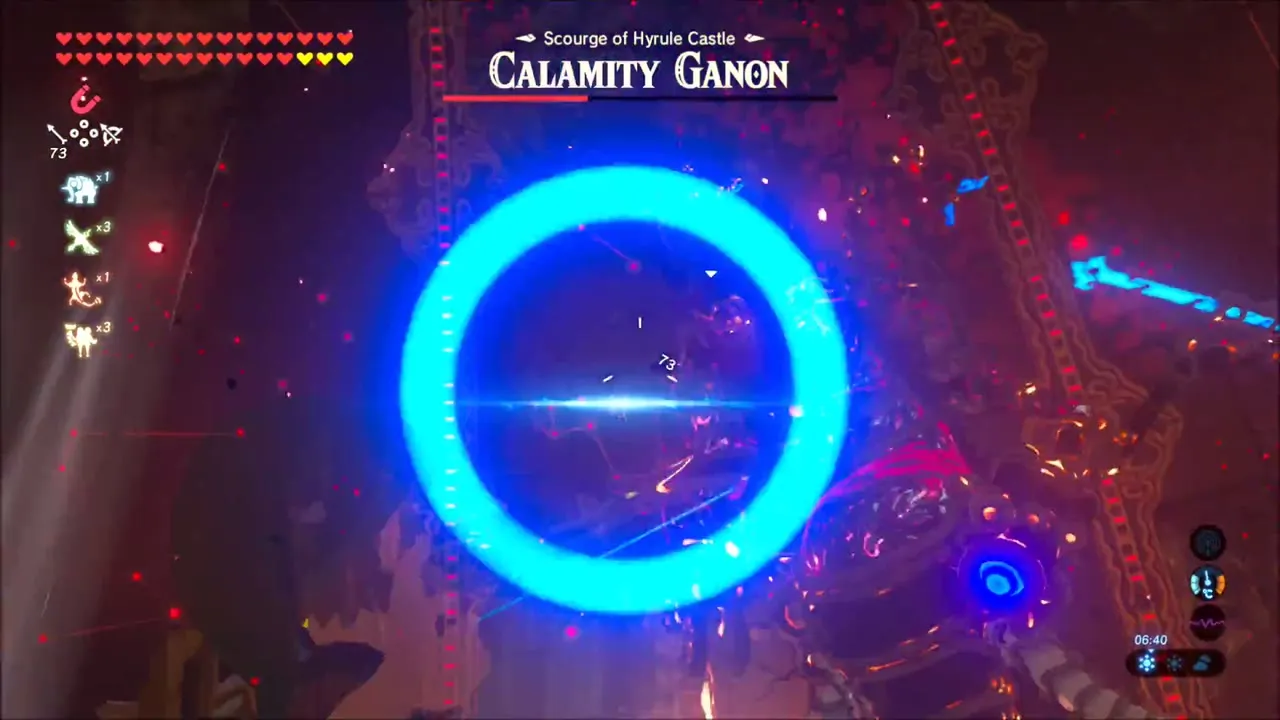
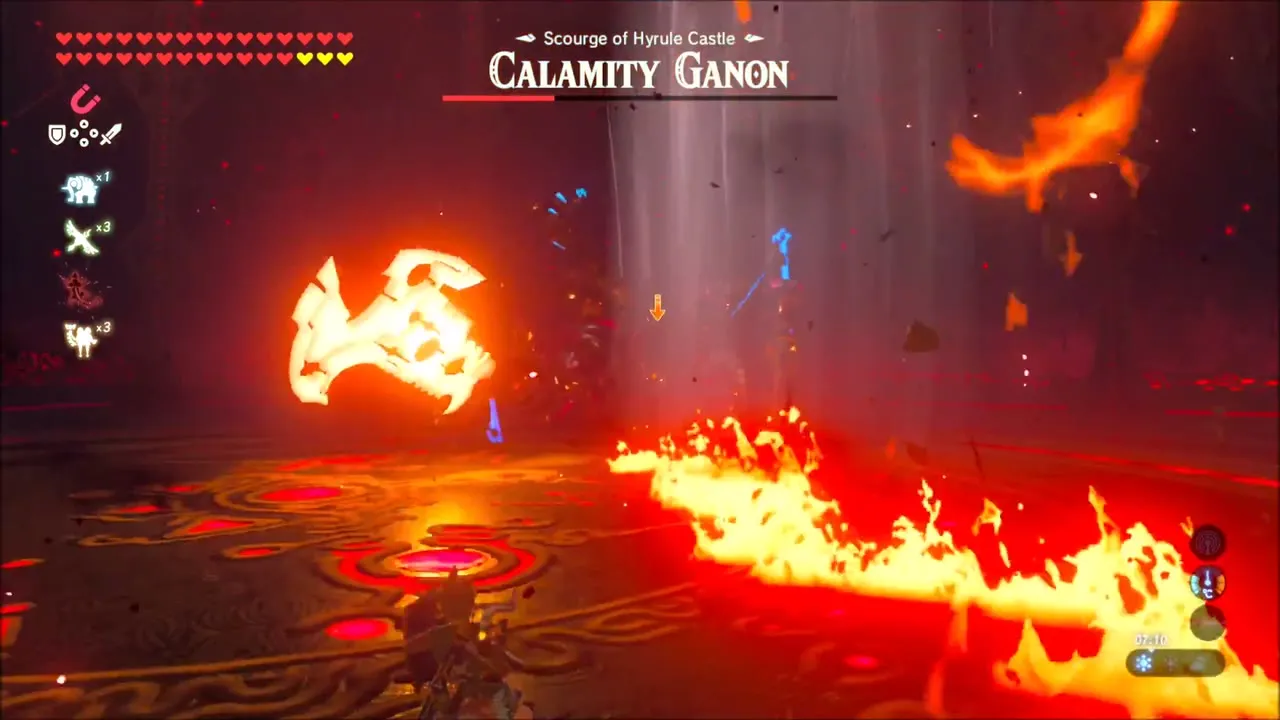
He changes into a blazing form and later a ball of fire, and in the final phase adds a barrier that only a perfect parry or a Champion ability can break. Keep eating your hearty food, and strike hard when he drops his guard until a blinding white light ends the fight.
Dark Beast Ganon and the Bow of Light
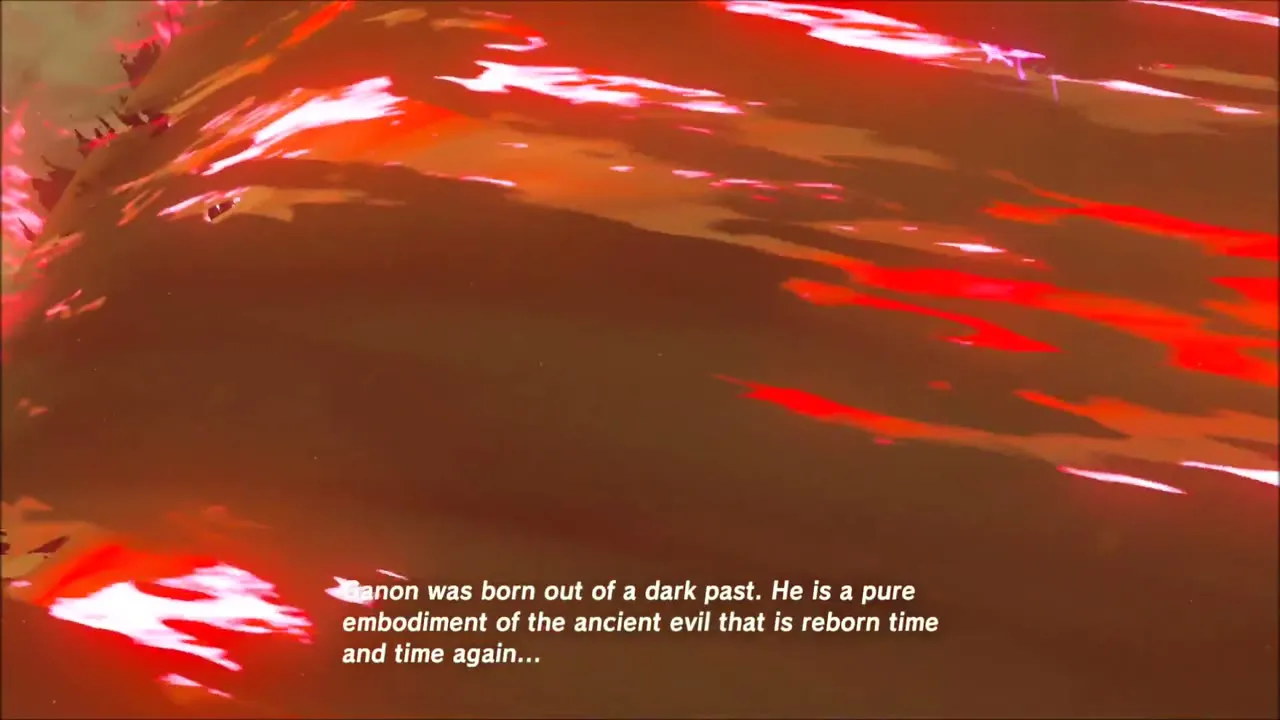
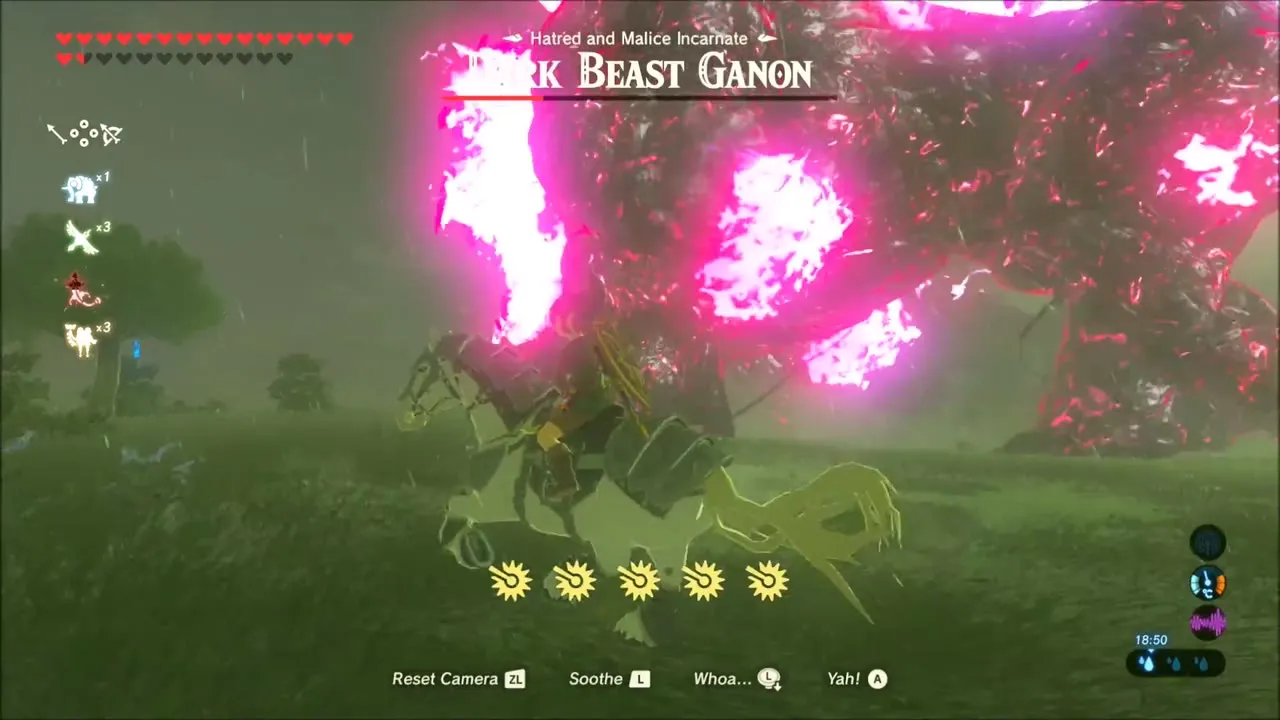
After a cutscene about Ganon‘s dark past, Link finds himself on horseback in open grassland, facing Dark Beast Ganon, a giant boar wreathed in red Malice. You now have only your horse and Zelda’s Bow of Light. Circle him on horseback and shoot the gold targets that appear on his body.
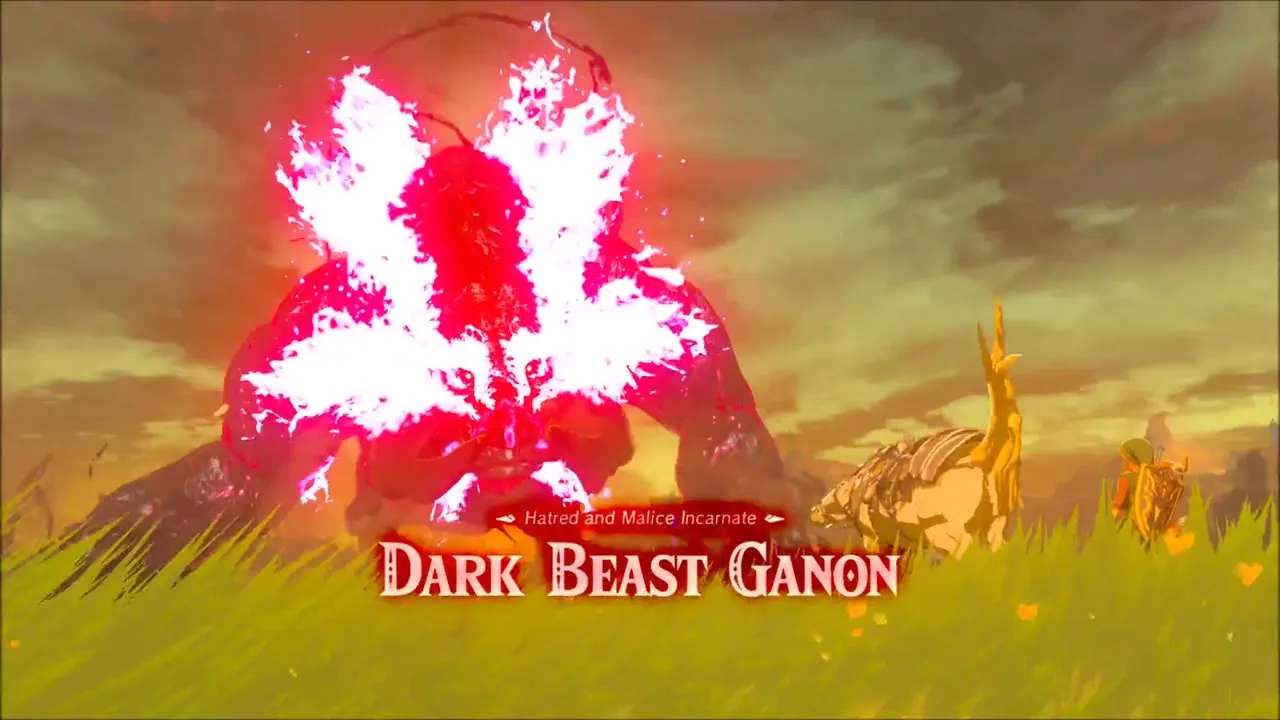

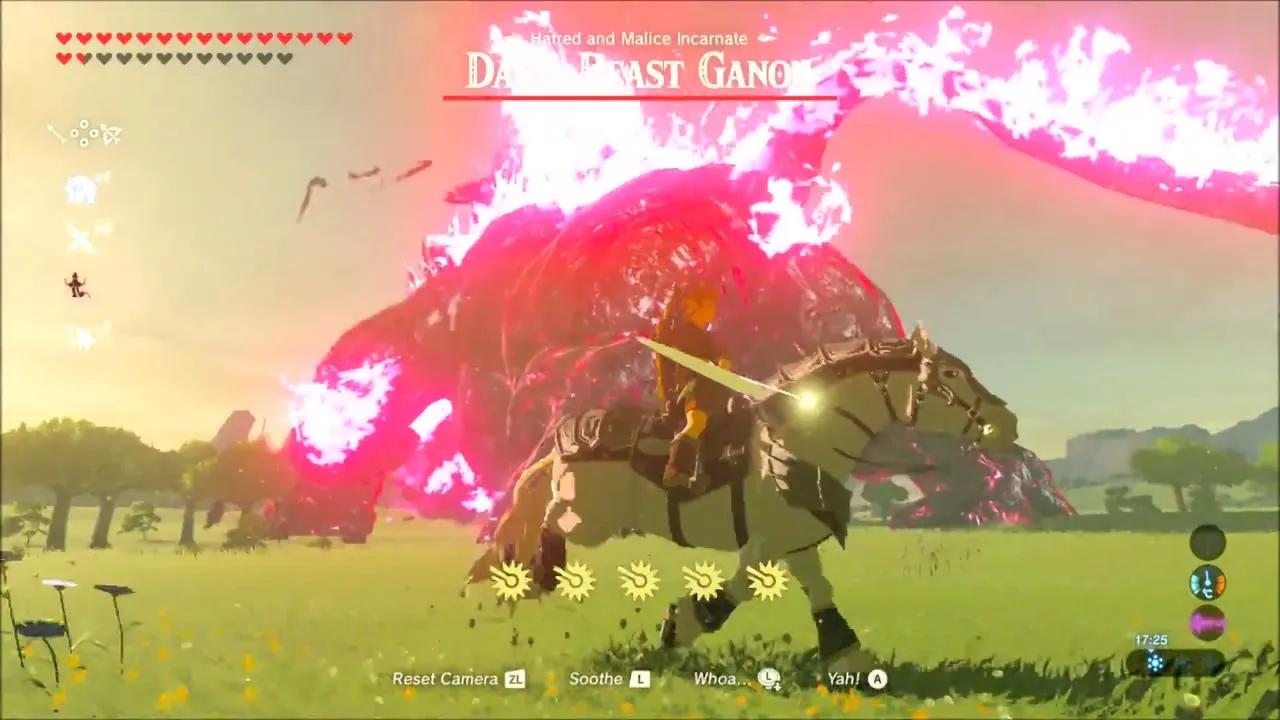
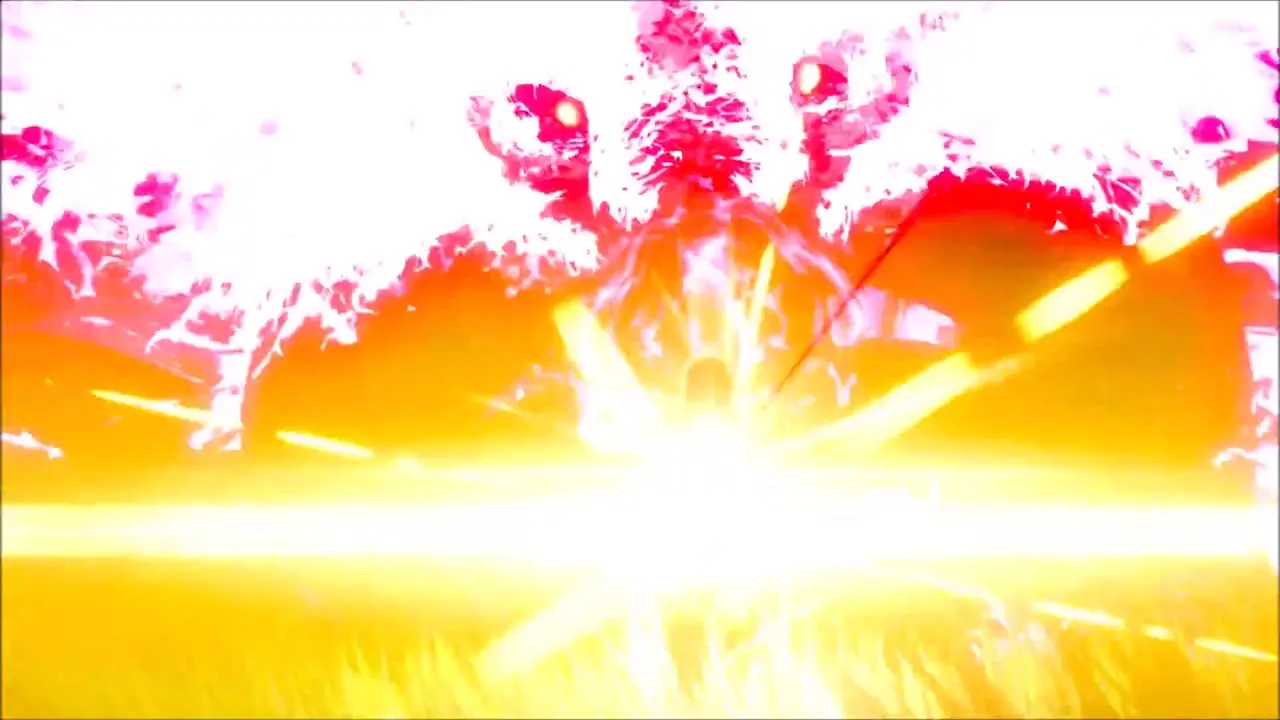
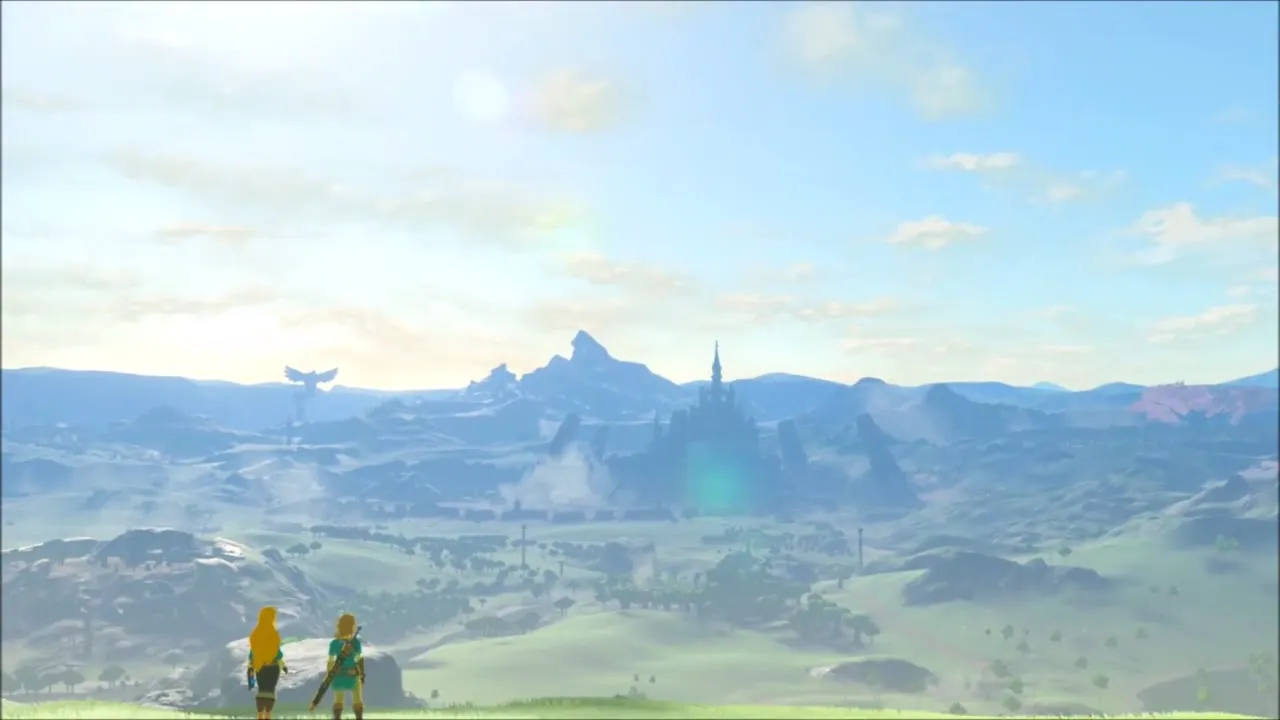
Keep shooting each marker as it shows: his legs, then the belly, and finally the eye on his head. The last light arrow shatters him, a flash of golden light fills the screen, and Zelda and Link stand together on the hill as the ending plays and the credits roll.

After the Credits: Autosave, Locations and the Compendium
When the credits end you are offered the autosaves from just before the fight, and you can keep exploring Hyrule. With the map open, pick the places still missing from your list, such as Sah Dahaj Shrine (x 2666, z -1580), as warp points.

Two named locations still need a visit: Little Twin Bridge (x 1716, z 2150) and Shadow Hamlet Ruins (x 3054, z -2299). Step into both to register them.
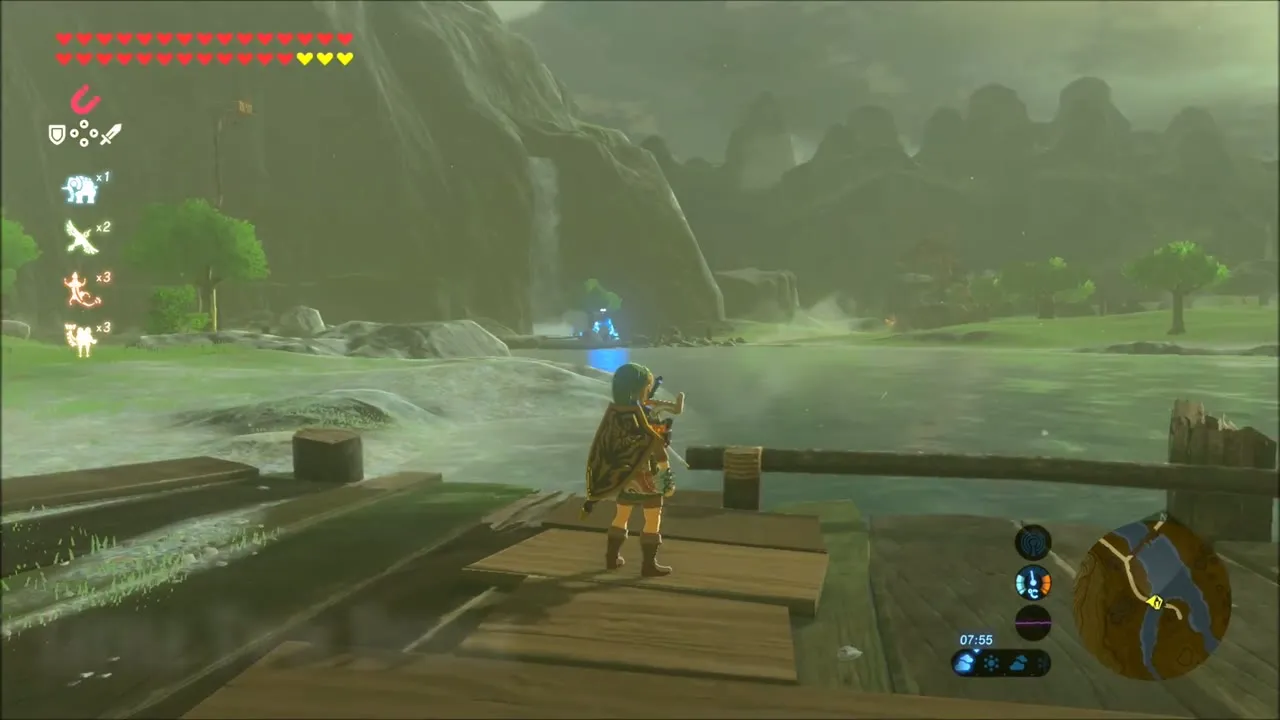


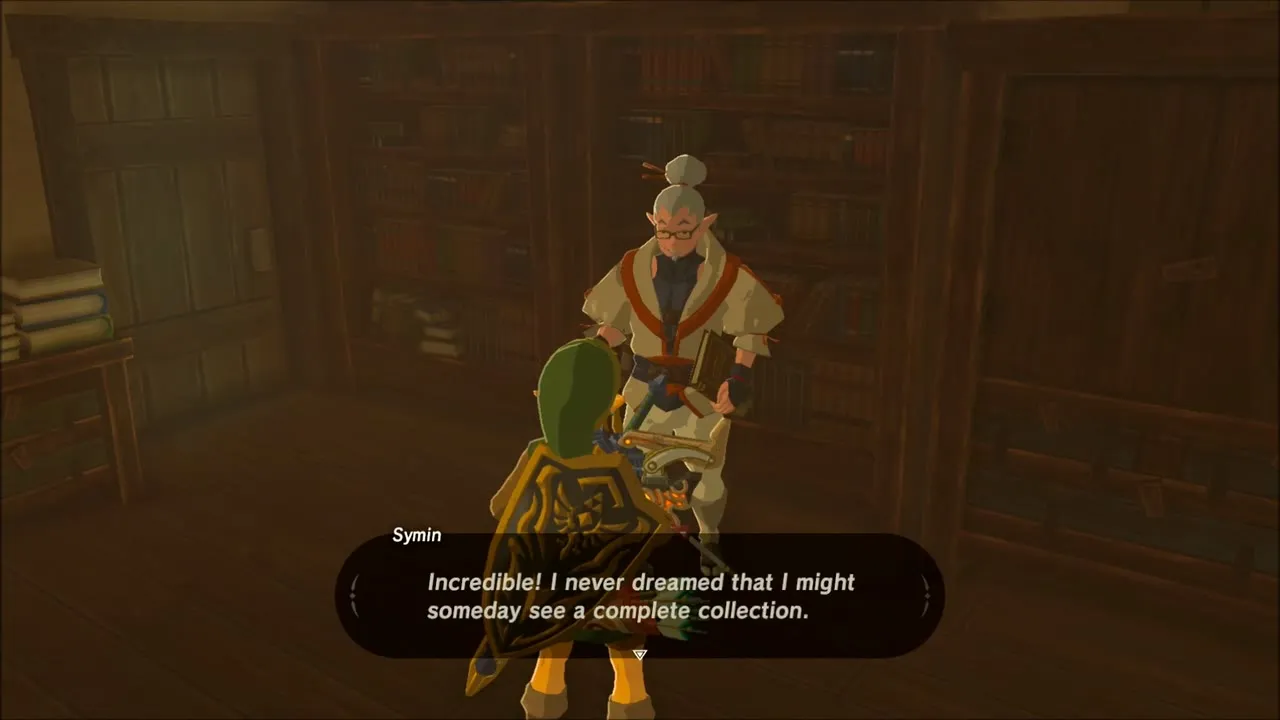
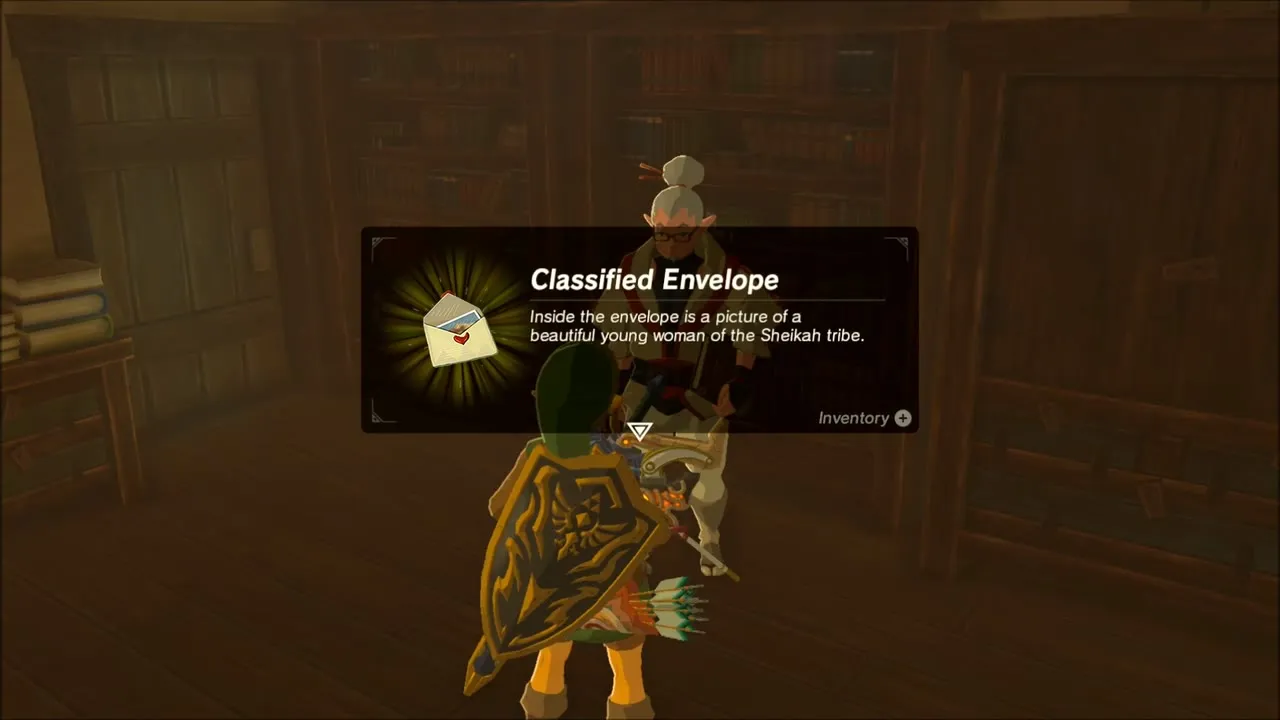
Finish the Hyrule Compendium by buying the pictures you are missing from Symin, who sells them for 100 rupees each. Pick “buy all” for the weapon pictures, then page through the creature, monster, material and equipment entries to check that none are blank.