100% Completion Walkthrough21 chapters
- Great PlateauAll 4 Shrines, the Paraglider and Korok Seeds
- Kakariko Village and Dueling PeaksSeek Out Impa, Shrines and Korok Seeds
- Hateno VillageHateno Tower, the Ancient Tech Lab, Link’s House and Shrines
- Zora’s DomainReach Zora’s Domain, Vah Ruta, Lanayru Shrines and Korok Seeds
- Faron and Lurelin VillageLurelin Village, Faron Tower, Shrines and Korok Seeds
- Korok Forest and Master SwordHow to Get the Master Sword, Lost Woods, Shrines and Korok Seeds
- Hebra MountainsHebra Tower, Snowfield Stable, Shrines and Korok Seeds
- Rito Village and Vah MedohVah Medoh, Tabantha Tower, Shrines and Korok Seeds
- Gerudo HighlandsGerudo Tower, Gerudo Summit, Shrines and Korok Seeds
- Gerudo TownForbidden City Entry, the Thunder Helm, Desert Shrines and Korok Seeds
- Vah Naboris and Gerudo DesertThunderblight Ganon and the Gerudo Desert Shrines
- Lake HyliaLake Tower, Farosh, Lake Shrines and Korok Seeds
- Akkala and Tarrey TownTarrey Town, Akkala Tower, Shrines and Korok Seeds
- Death Mountain and Goron CityGoron City, Vah Rudania, Eldin Shrines and Korok Seeds
- RidgelandRidgeland Tower, Shrines, Memories and Korok Seeds
- Central HyruleCentral Tower, Captured Memories, Shrines and Korok Seeds
- Hyrule Castlethe Hylian Shield, Saas Ko’sah Shrine, Zelda’s Diary and Memories
- Calamity GanonLast Side Quests, Destroy Ganon and the Final Boss
- All Hinox, Talus and Molduga LocationsEvery Hinox, Stone Talus and Molduga, for Kilton’s Medals of Honor
- Trial of the Sword and EX TreasuresThe Trial of the Sword and every EX Treasure location (DLC Pack 1)
- Champions’ BalladOne-Hit Obliterator, Champion Trials and the Final Trial
| Region | Downloadable content |
|---|
This chapter of the 100% walkthrough covers the downloadable content in a route that collects everything along the way, plus the quests, chests and minibosses you meet. Positions are map coordinates (x grows east, z grows south).
EX Treasure Quests and Misko’s EX Journal (Master Trials DLC)
With the Master Trials pack installed, your Adventure Log gains a batch of new side quests: EX Trial of the Sword, EX Strange Mask Rumors!, EX Teleportation Rumors!, and four EX Treasure quests (Ancient Mask, Fairy Clothes, Twilight Relic and Phantasma). All four treasure quests start from one book, Misko’s EX Journal, in Outpost Ruins at (-247, 1675), east of the Great Plateau. The new chests carry an EX plate on the lid, and a few of them sit on the way, so you can pick up some of the extra loot as you travel.


Oman Au Shrine: Ruby chest
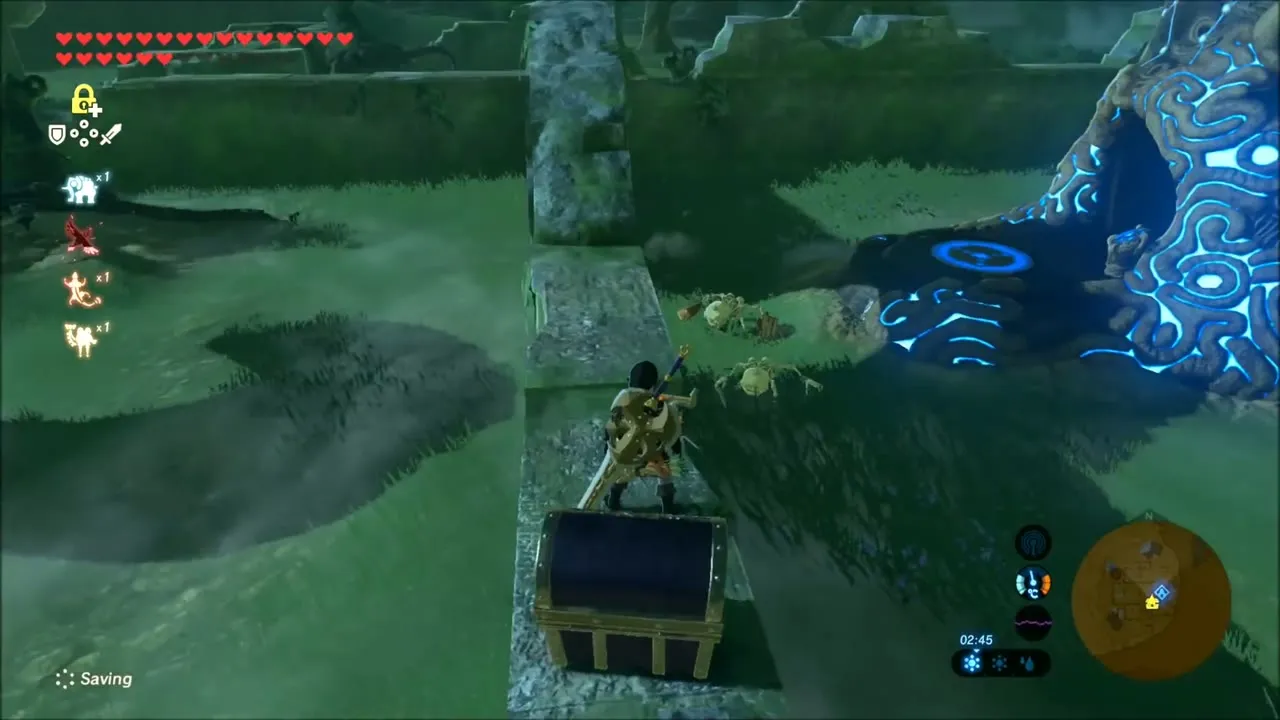
Near Oman Au Shrine (-672, 1514), home of the Magnesis Trial, a chest sits on the ground beside the shrine entrance next to a crate. A few skeletons wander the spot, so clear them first. The chest holds a Ruby.


Ja Baij Shrine: Nintendo Switch Shirt chest
A little south, by Ja Baij Shrine (-448, 1990), an EX chest rests on top of a ruined stone wall. Climb onto the wall and open the chest to get the Nintendo Switch Shirt, a cosmetic piece that comes with the expansion pass bonus. Link can wear it straight away.
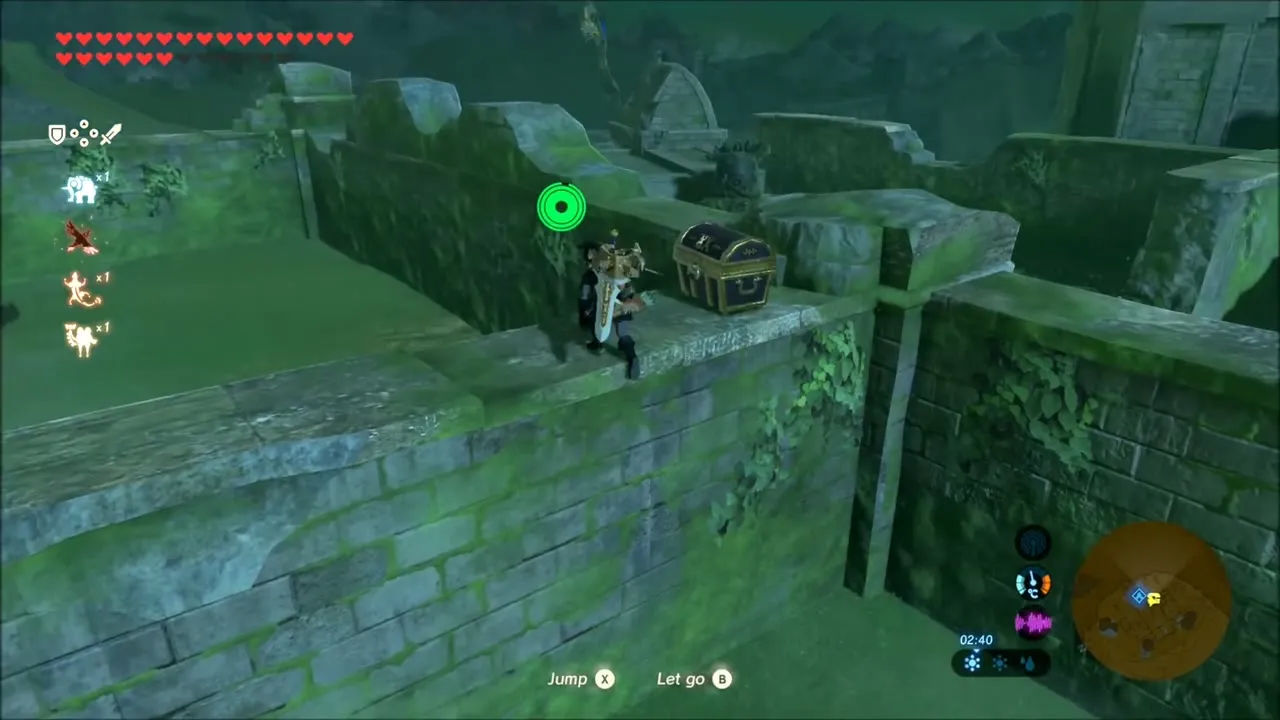

EX chest on a snowy ledge
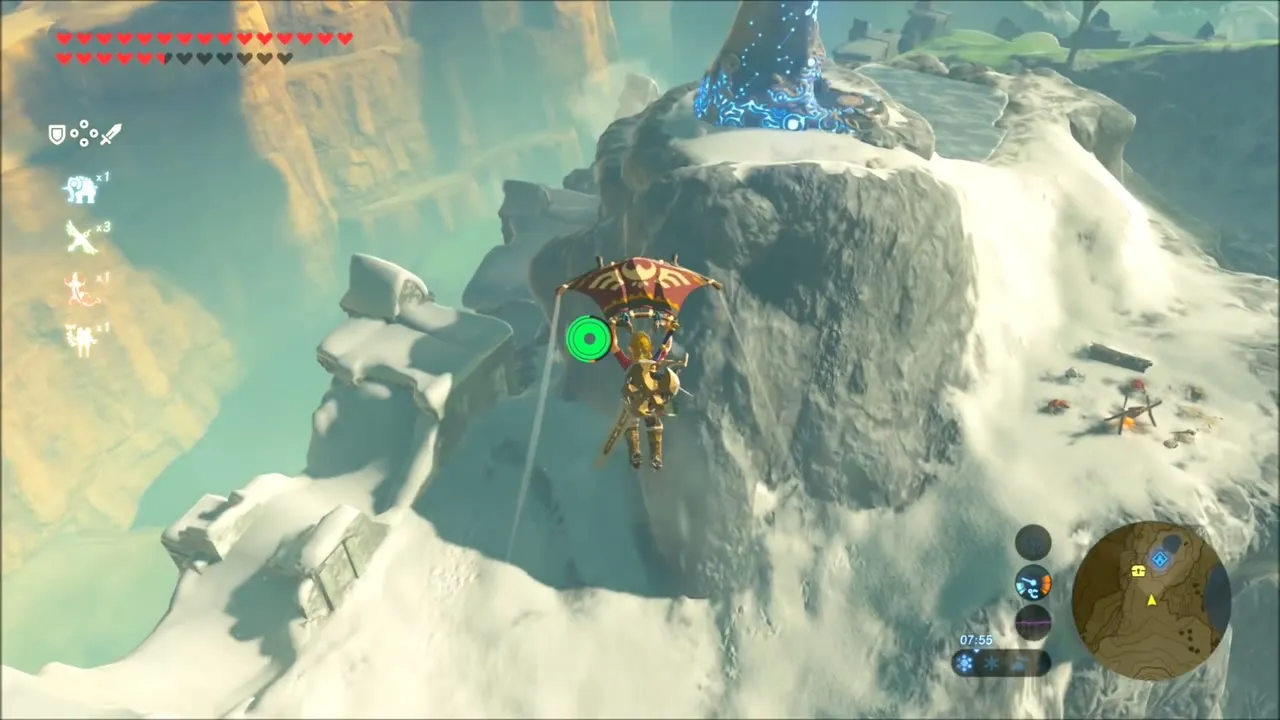
Another EX chest waits on a narrow snow-covered ledge beneath a mountain peak. Reach it by climbing the snowy slope and gliding down onto the ledge from above; the chest stands right at the edge of the rock. Use the map stamp feature to mark the spot, since the ledge is easy to lose among the cliffs.


Misko’s EX Journal at Outpost Ruins
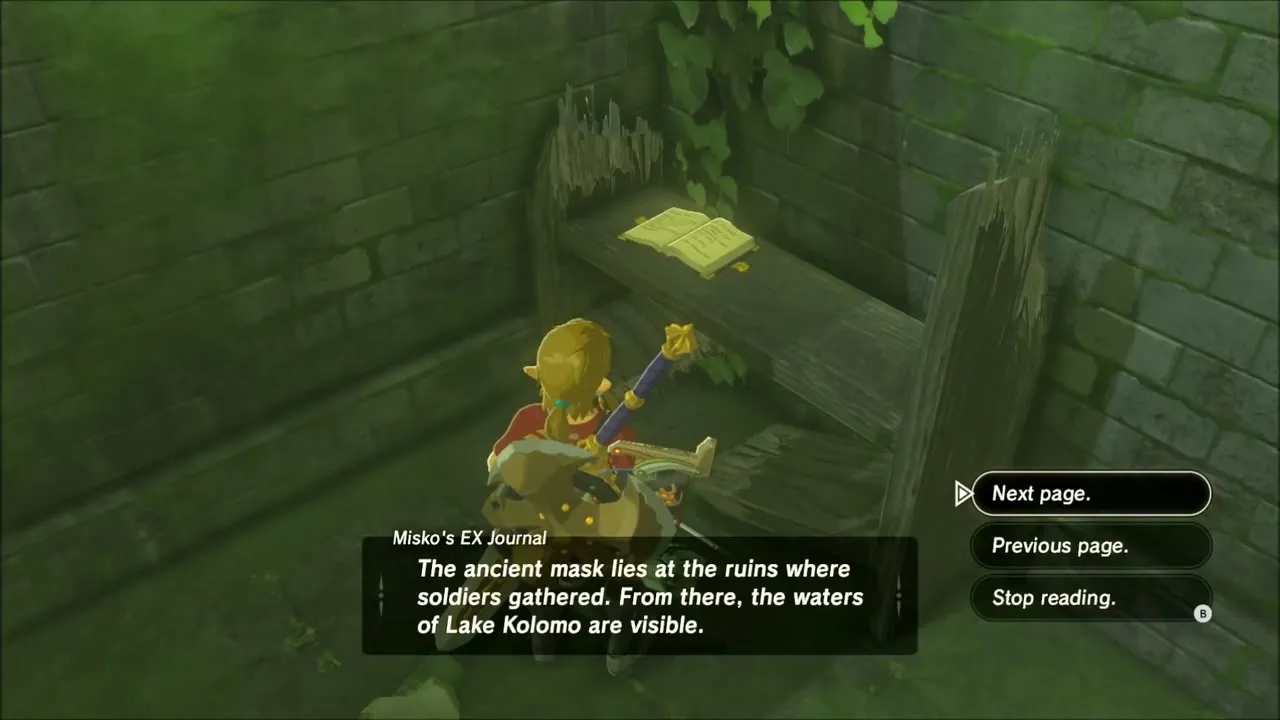
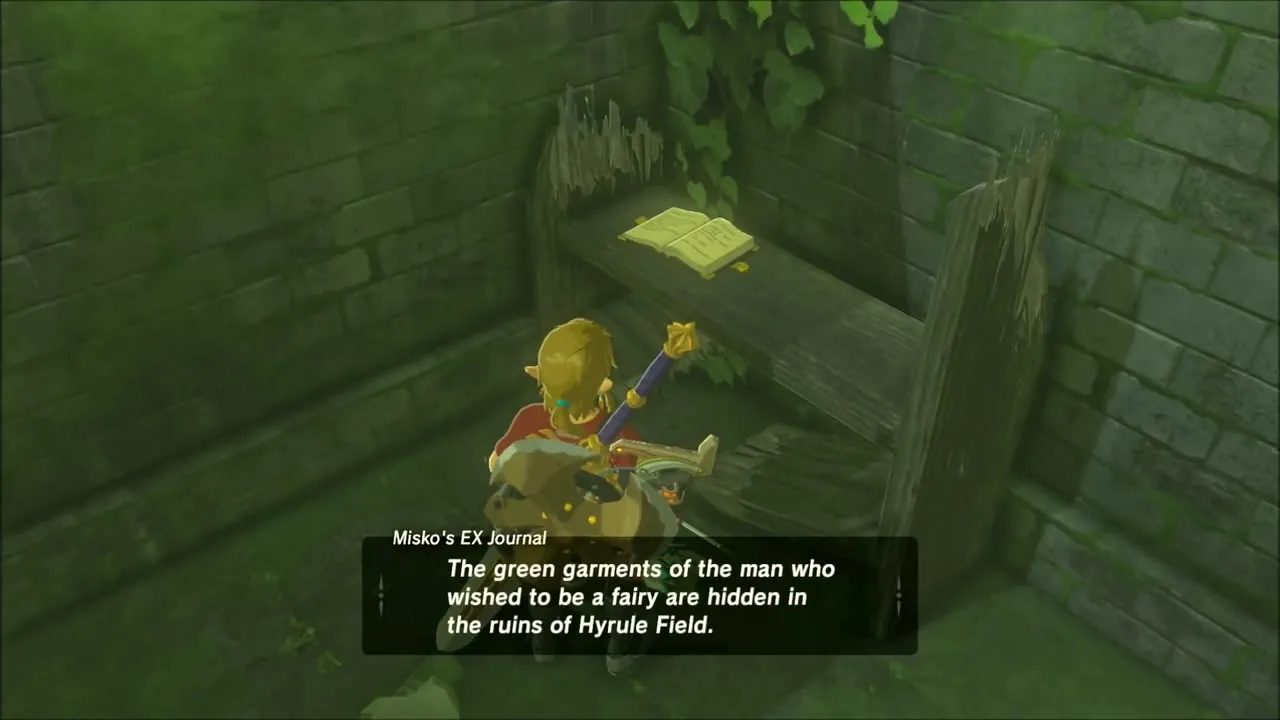
Outpost Ruins is a walled ruin in Central Hyrule. Drop into the sunken stone corner of the ruins and read the book lying on the wooden bench there. Reading it completes the first task of all six treasure and rumor quests at once, and each quest now lists a rumor for its next piece. One of the notes says the green garments of the man who wished to be a fairy are hidden in the ruins of Hyrule Field. Check the Adventure Log afterward, because each quest now names its next target.

Majora’s Mask Location: Kolomo Garrison Ruins
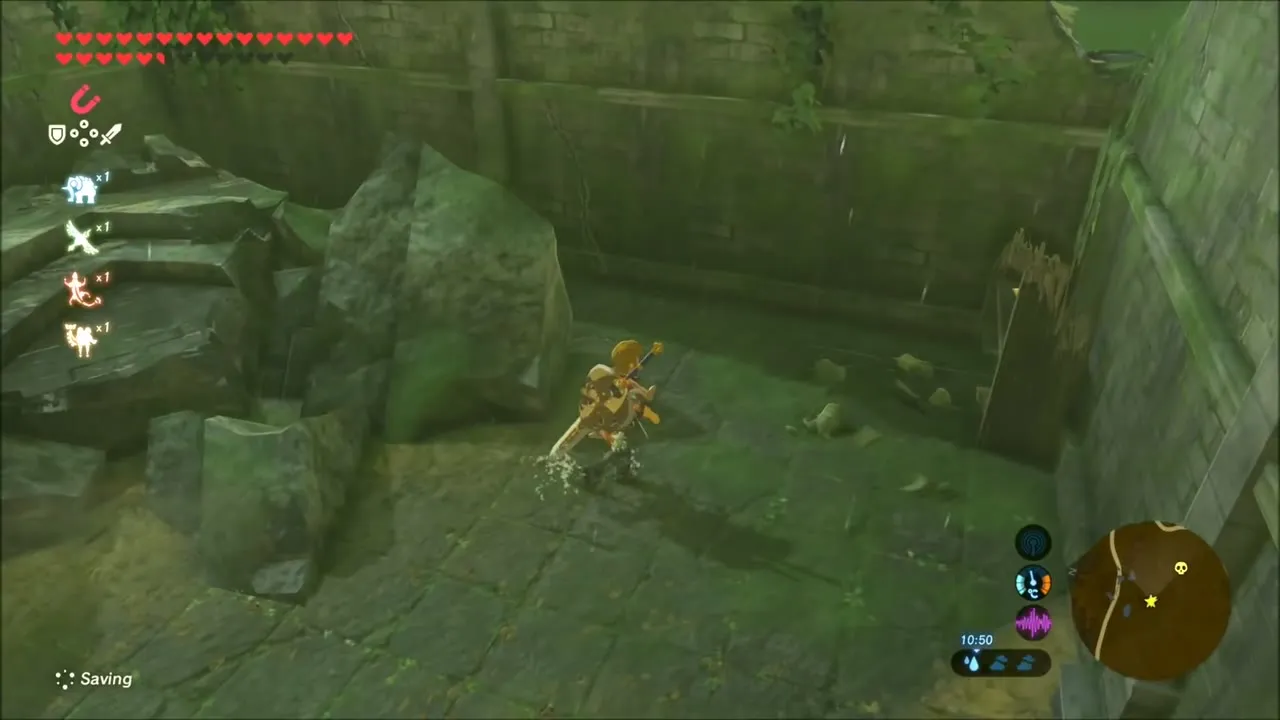
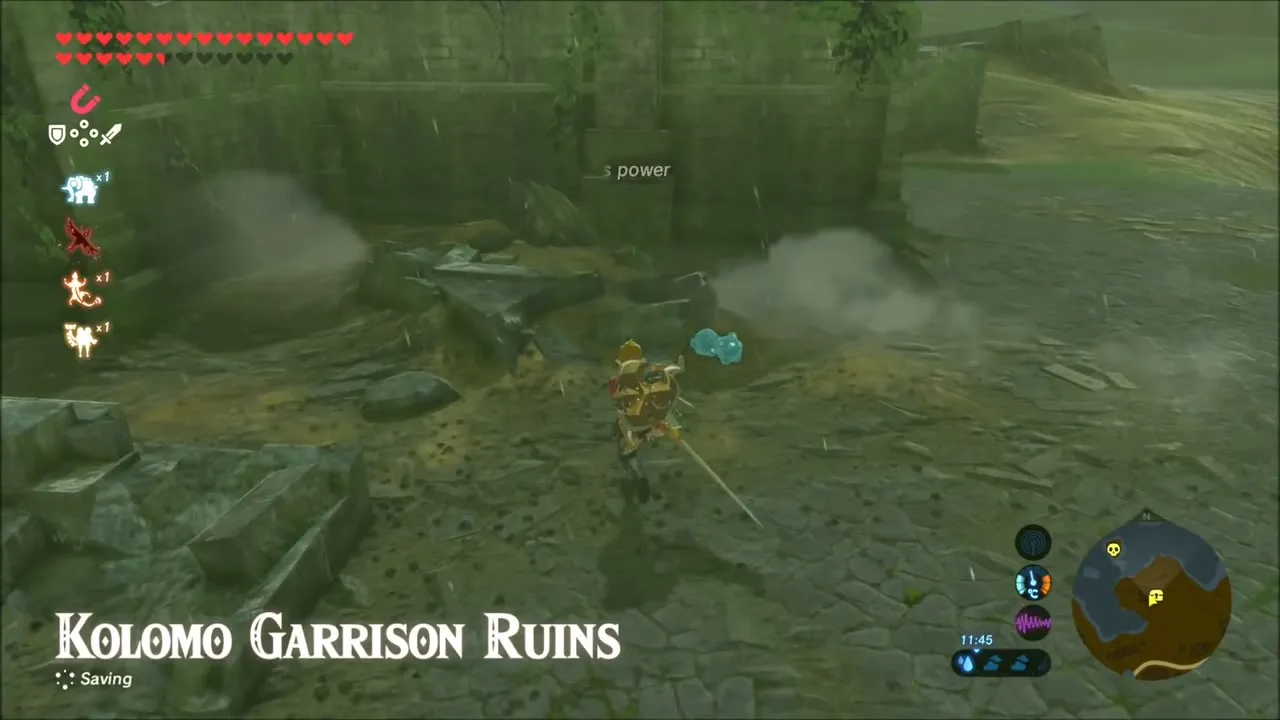
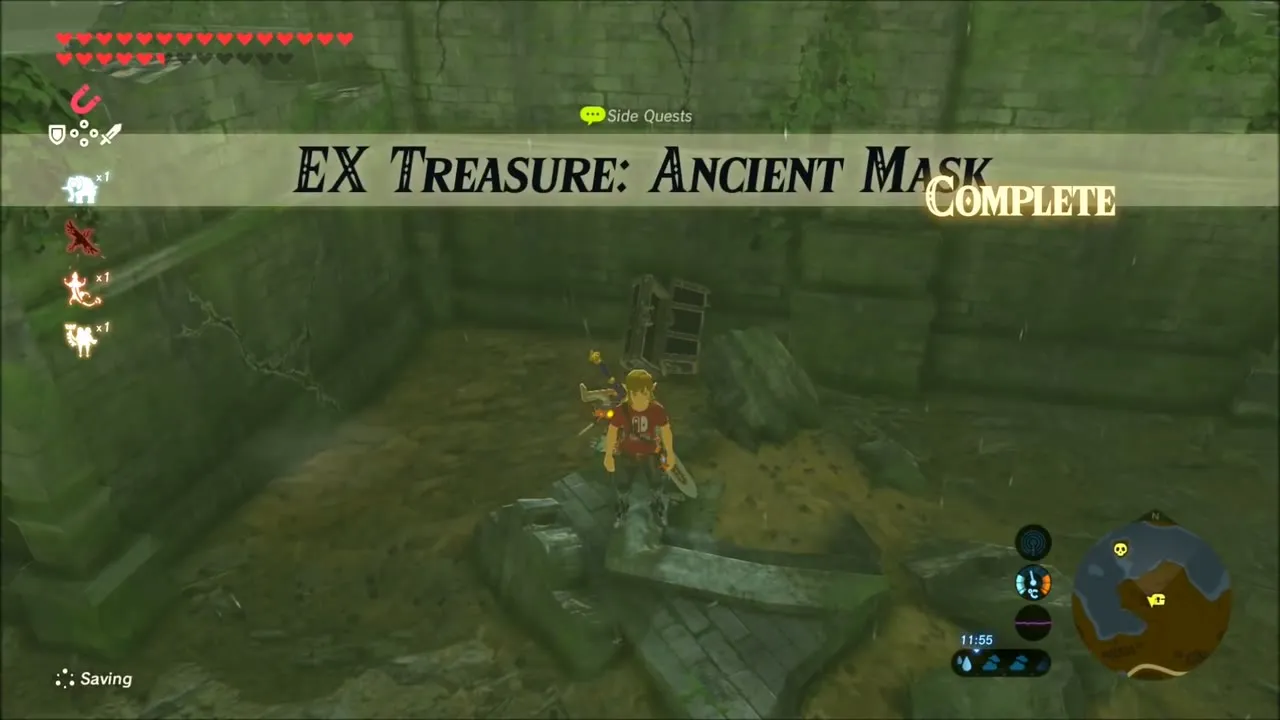
EX Treasure: Ancient Mask sends you to Kolomo Garrison Ruins (-465, 1272), on the shore of Lake Kolomo north-west of the journal. Search the broken walls with Magnesis, lift out the buried chest and open it to receive Majora’s Mask. Wearing it makes Bokoblins, Moblins and Lizalfos leave you alone, which helps on the long treasure run that follows.


Phantom Armor Set Locations: Helmet, Armor and Greaves
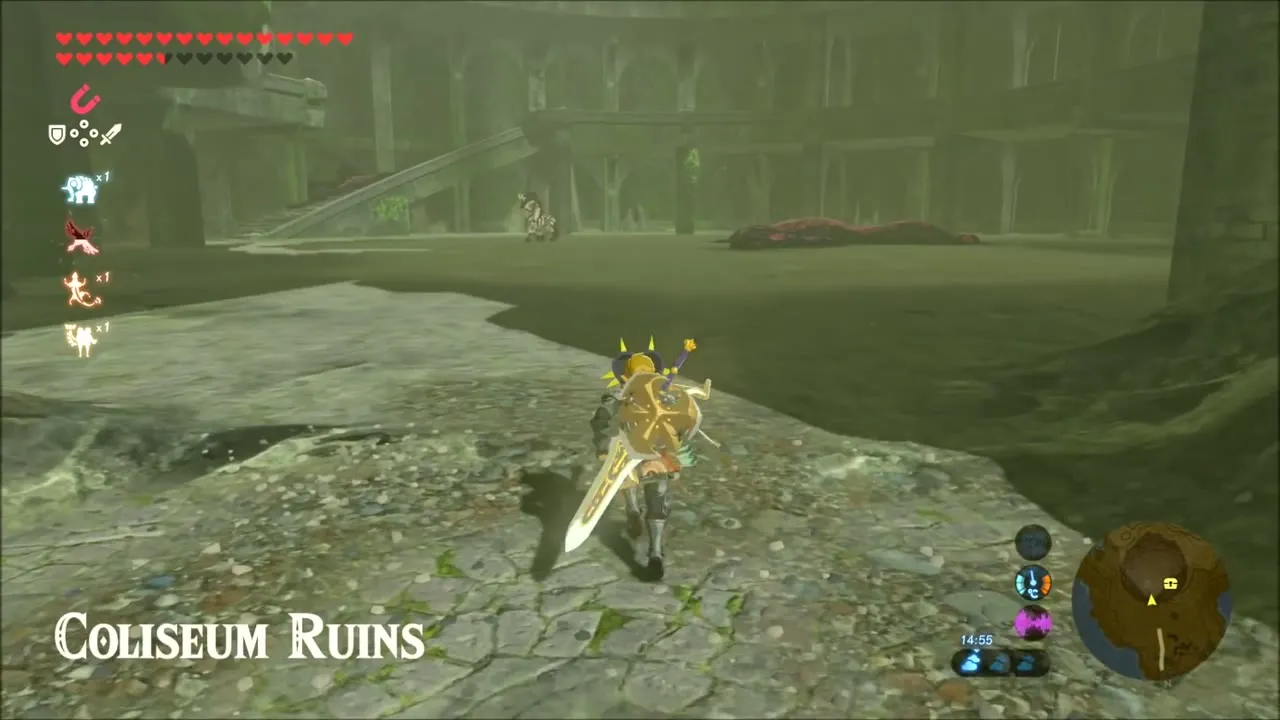
Phantom Helmet: Coliseum Ruins and the Lynel
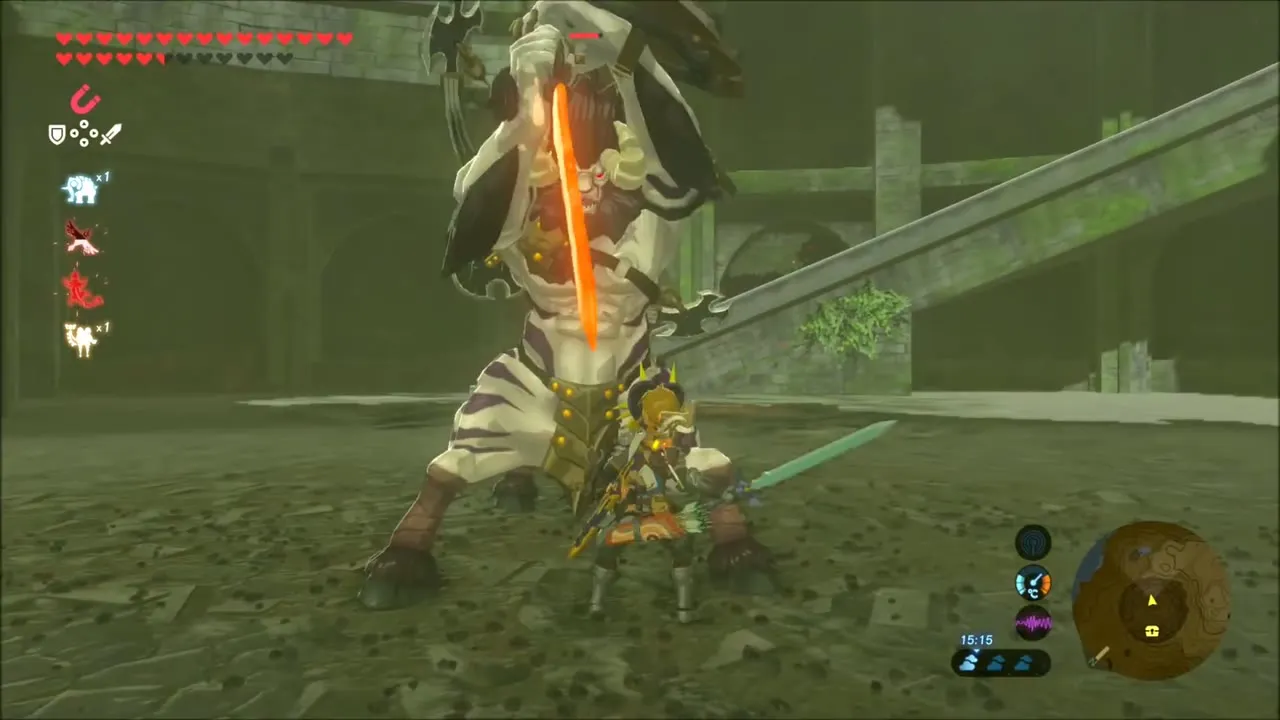
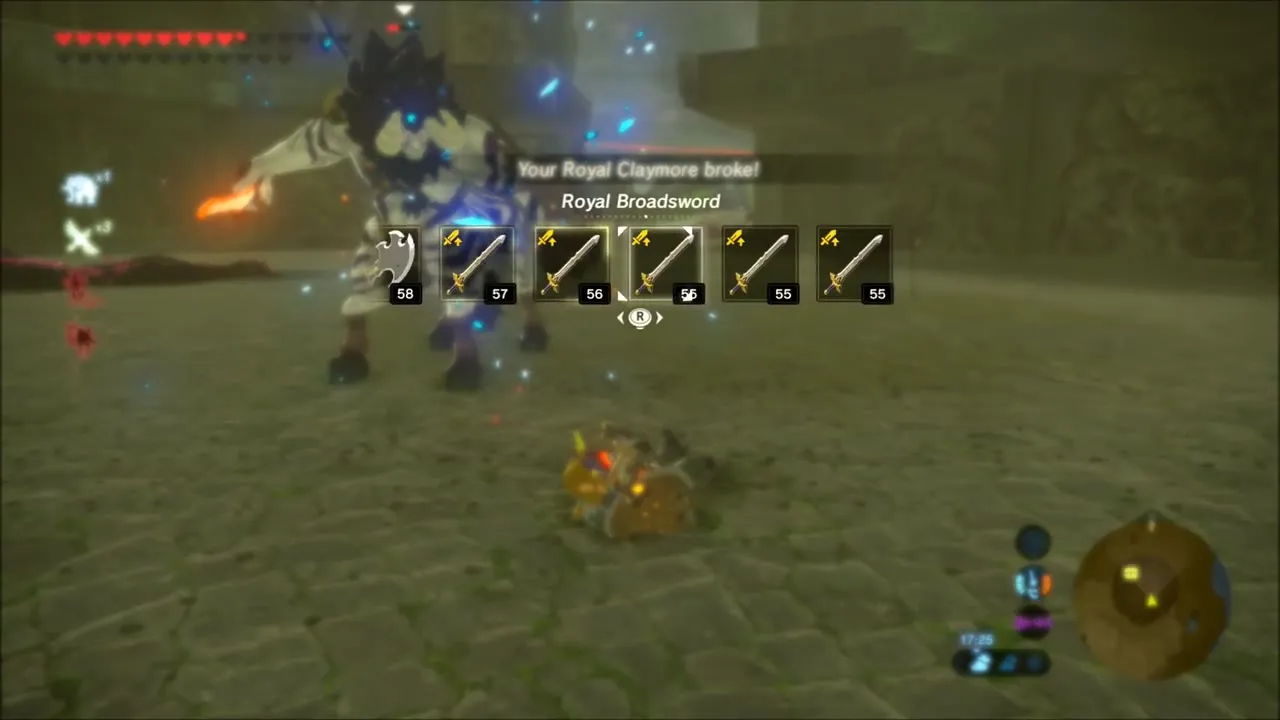
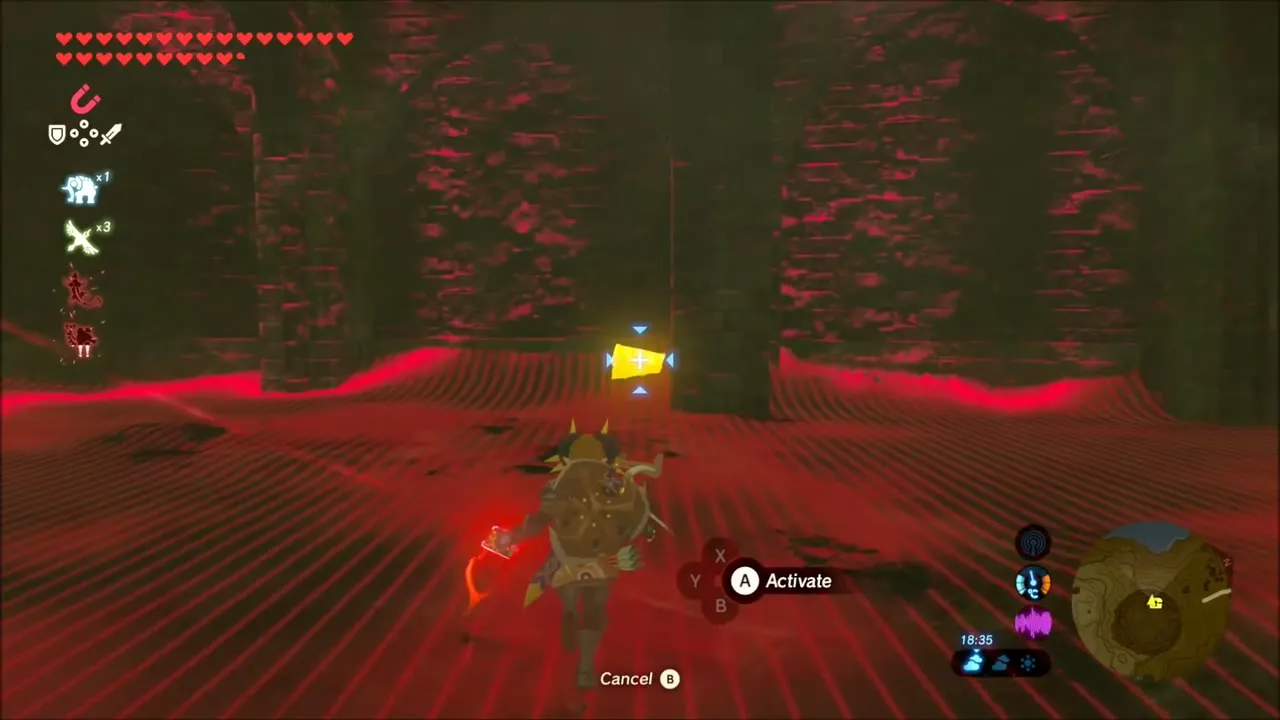
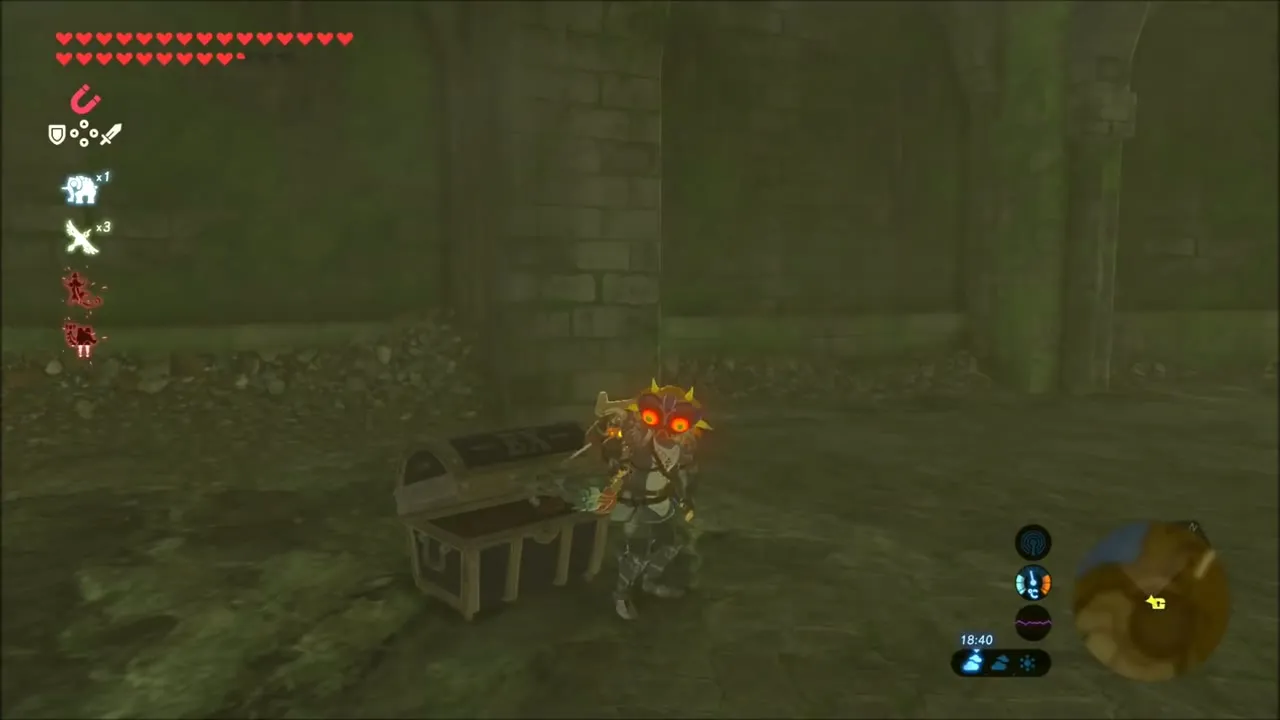
Ride to Coliseum Ruins (-1151, 1263), a round arena west of Aquame Lake. A Lynel patrols inside, and the fight is long: one Royal Claymore breaks along the way, so bring spare weapons and good food. When the Lynel is down, use Magnesis around the arena to lift the chest out of the ground. Inside is the Phantom Helmet, the first piece of the Phantom set, and it completes the second task of EX Treasure: Phantasma.

Tingle’s Hood, Shirt and Tights Locations
Tingle’s Hood: Exchange Ruins
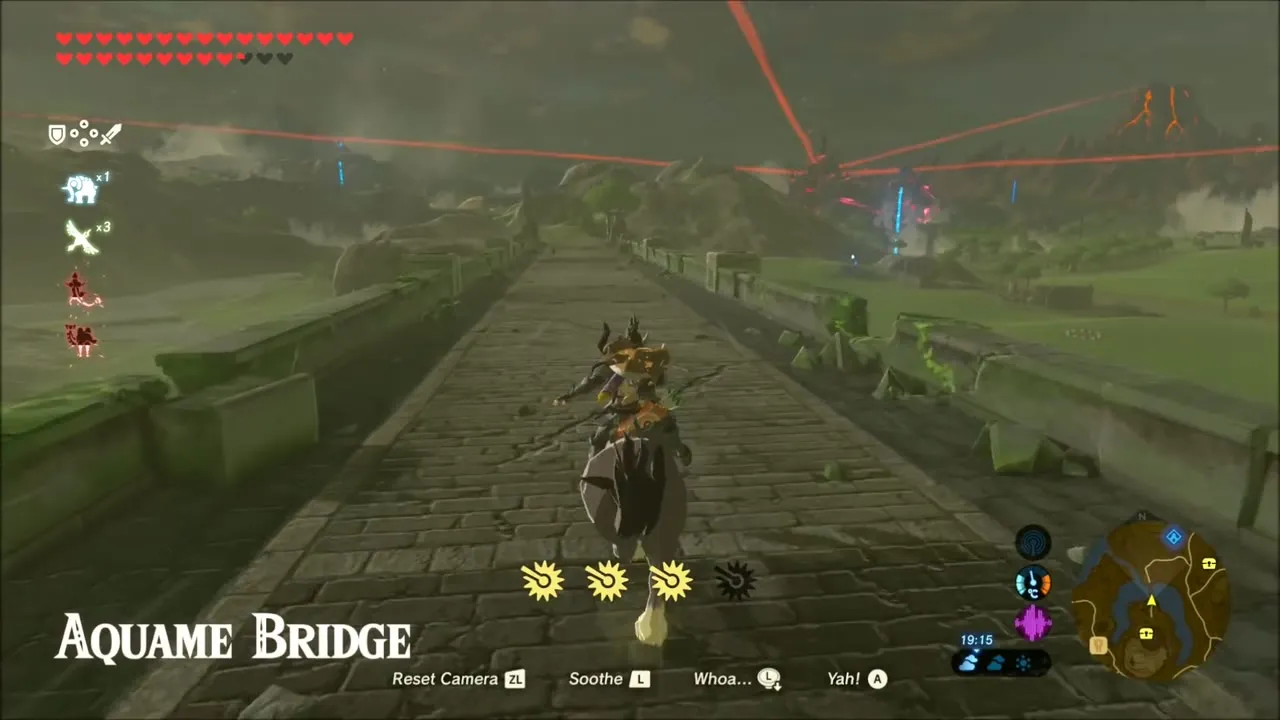
Cross Aquame Bridge to Exchange Ruins (-744, 868). A short Magnesis search turns up the chest holding Tingle’s Hood, task 2 of EX Treasure: Fairy Clothes. You pass Rota Ooh Shrine (-1562, 1310) on your way back toward the stable.


Phantom Greaves: Hyrule Garrison Ruins
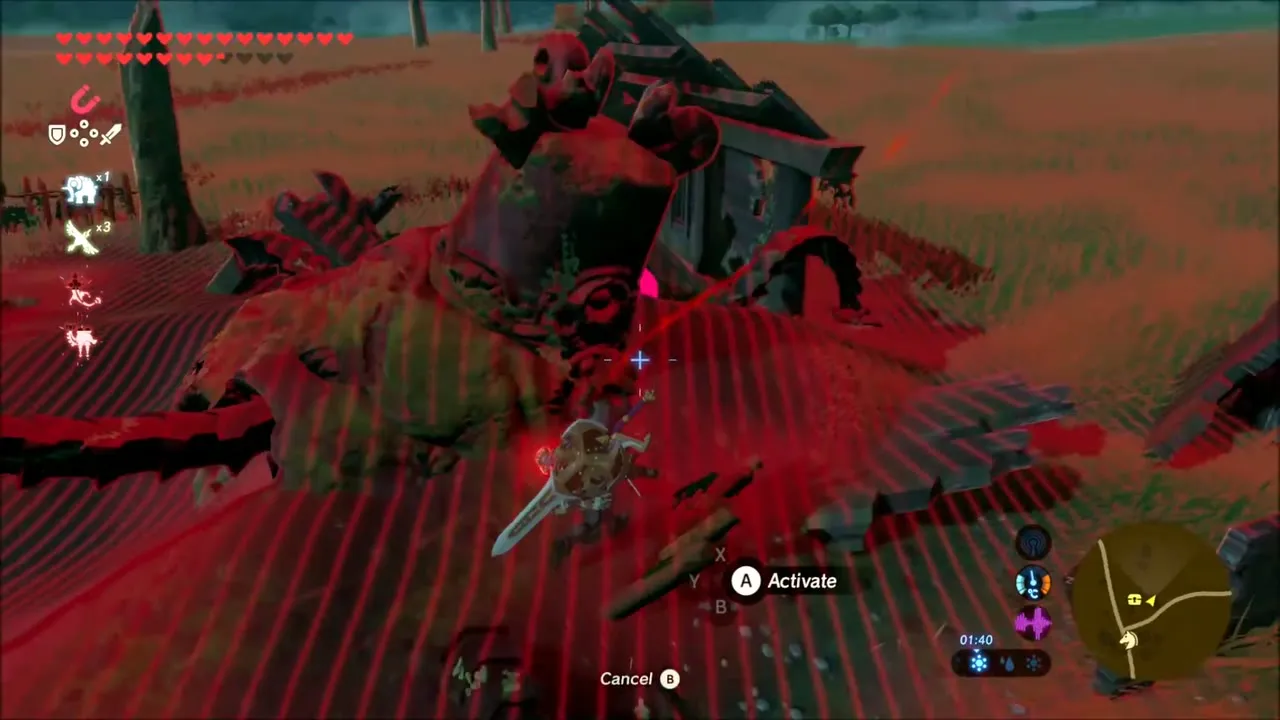
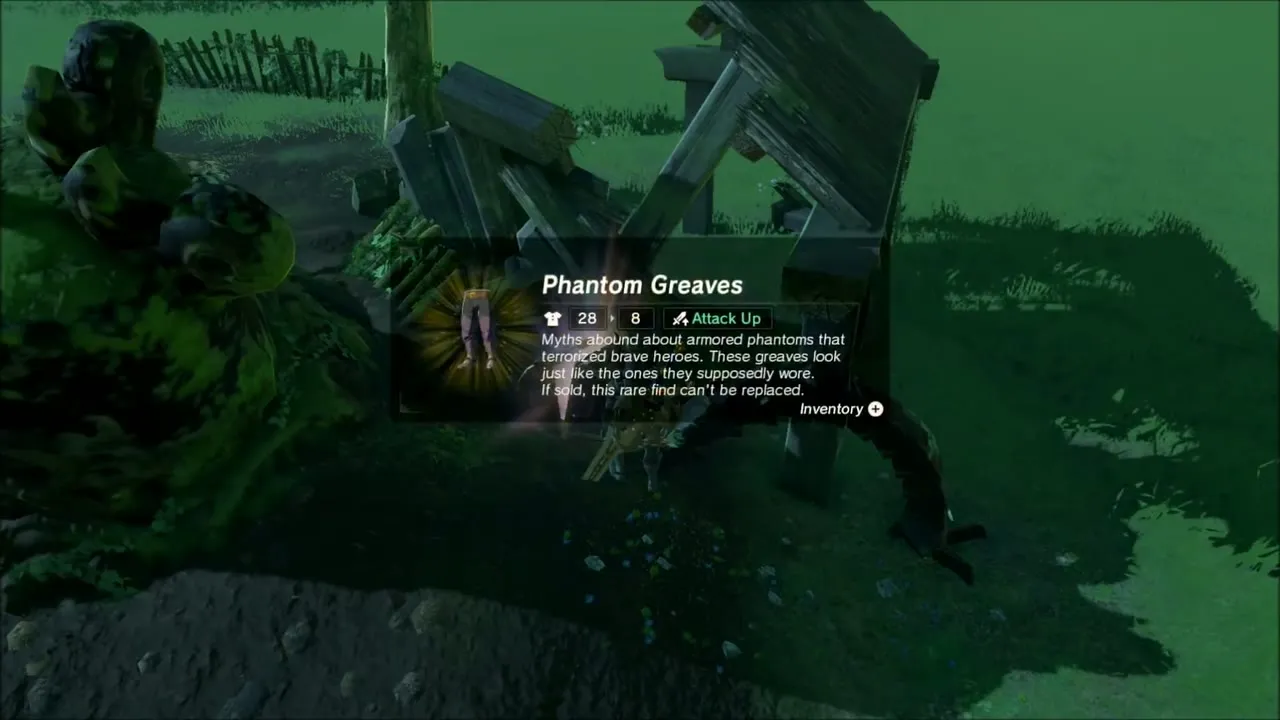
The Phantom Greaves are at Hyrule Garrison Ruins (-588, 574), south-east of Central Tower. At night Moblins, skeletons and a Guardian roam the fields between you and the ruins, so sneak past or fight them for loot. Find the chest under a collapsed section of wall, lift it clear with Magnesis and open it for the Greaves.

Tingle’s Tights: Mabe Village Ruins
Mabe Village Ruins (-57, 175) lie east of Hyrule Castle. A chest sits right beside a large overgrown Guardian wreck among the ruined houses. Aim Magnesis at the chest rather than the Guardian, pull it out and open it for Tingle’s Tights.

Phantom Armor: Sacred Ground Ruins
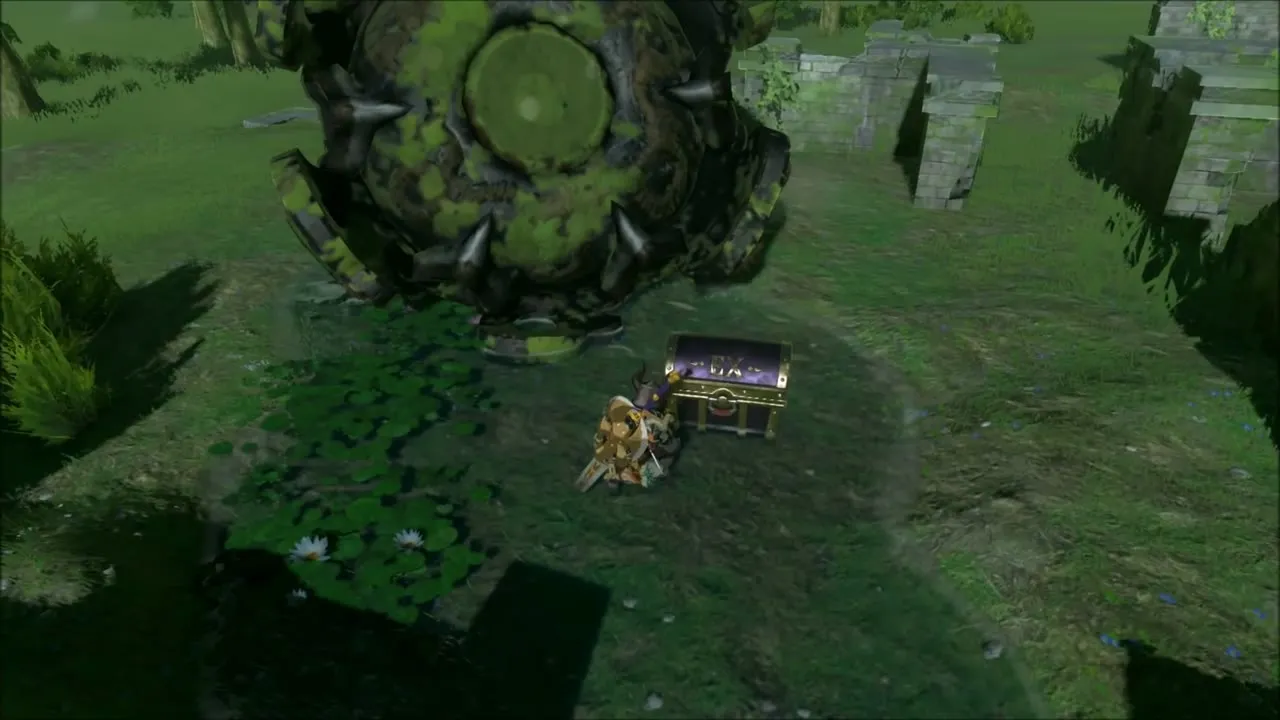
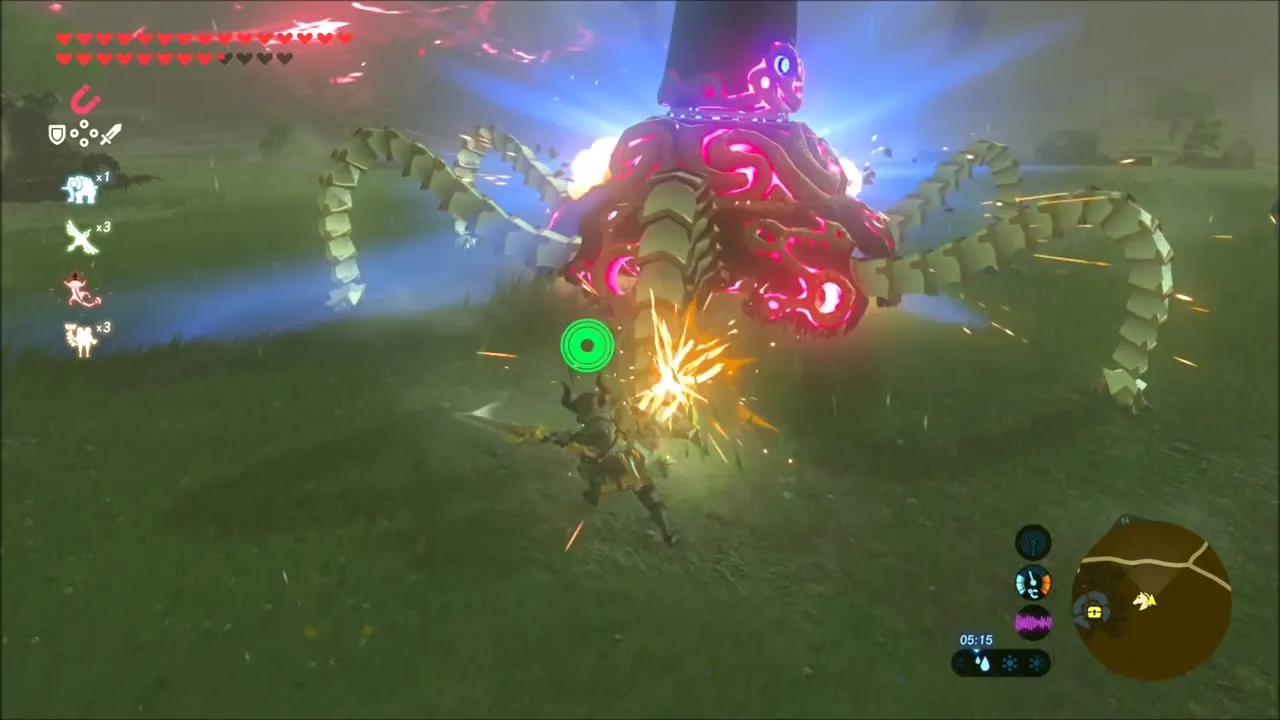
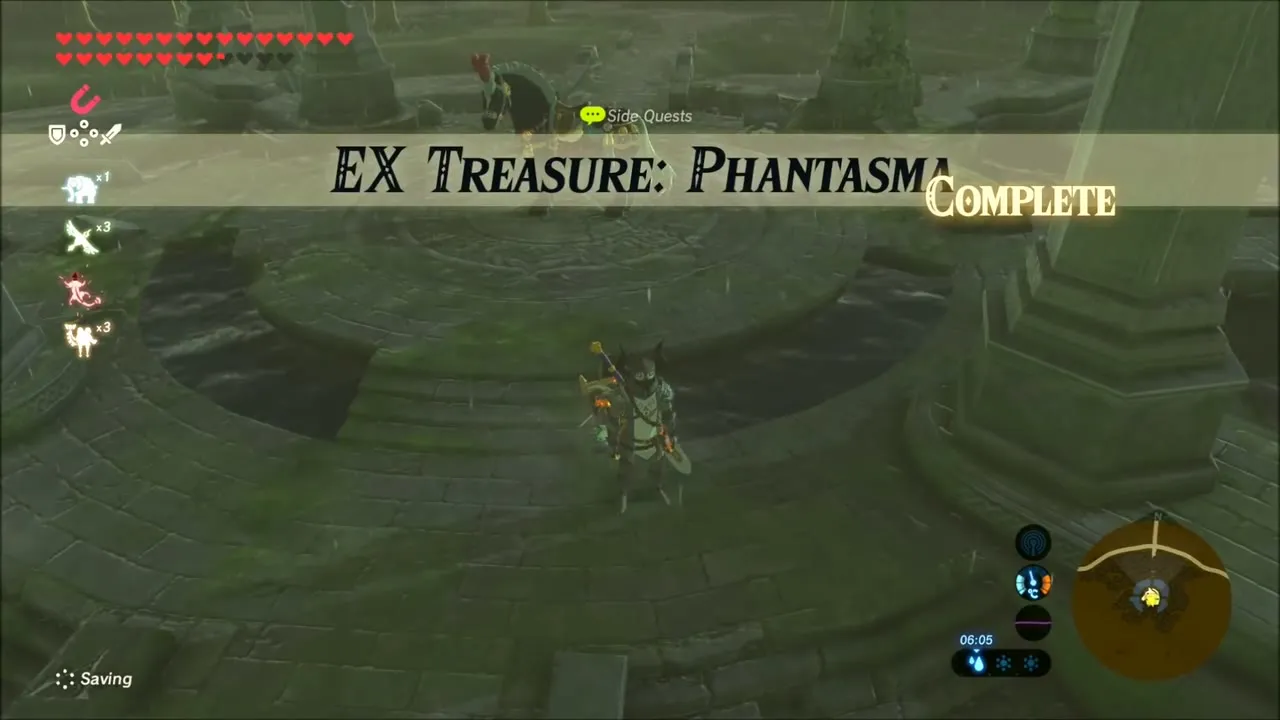
Sacred Ground Ruins (-254, -76) is south of Hyrule Castle, and a Guardian patrols the approach. Destroy it and collect the Ancient Gear it drops. Then search the flooded stone stairs for a chest trapped under a slab, free it with Magnesis and open it to receive the Phantom Armor. That finishes the Phantom set and the quest EX Treasure: Phantasma.


Midna’s Helmet Location: Sage Temple Ruins
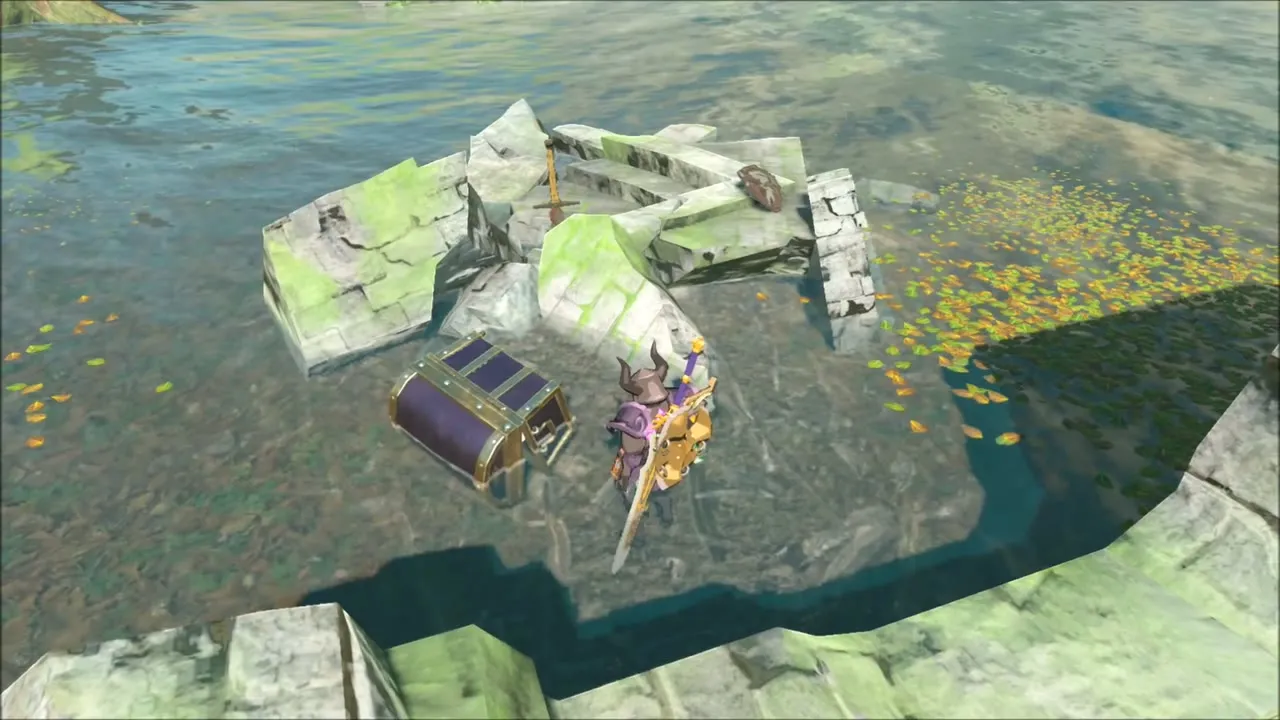
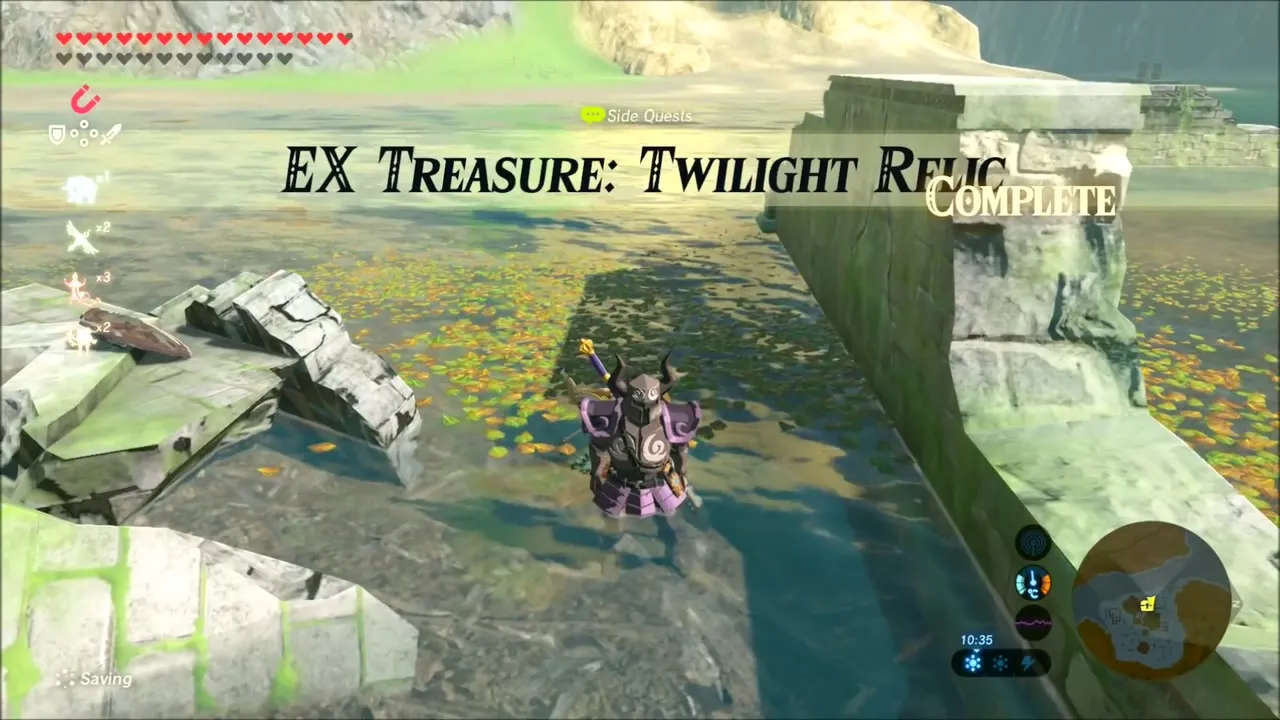
Midna’s Helmet is the only prize of EX Treasure: Twilight Relic. Go to Sage Temple Ruins (-1355, 233), where a Moblin camp stands near the river. The chest lies in the shallow water among fallen stone blocks. Raise it with Magnesis and open it to claim Midna’s Helmet, which gives Guardian Resist Up.


Tingle’s Shirt: Castle Town Prison
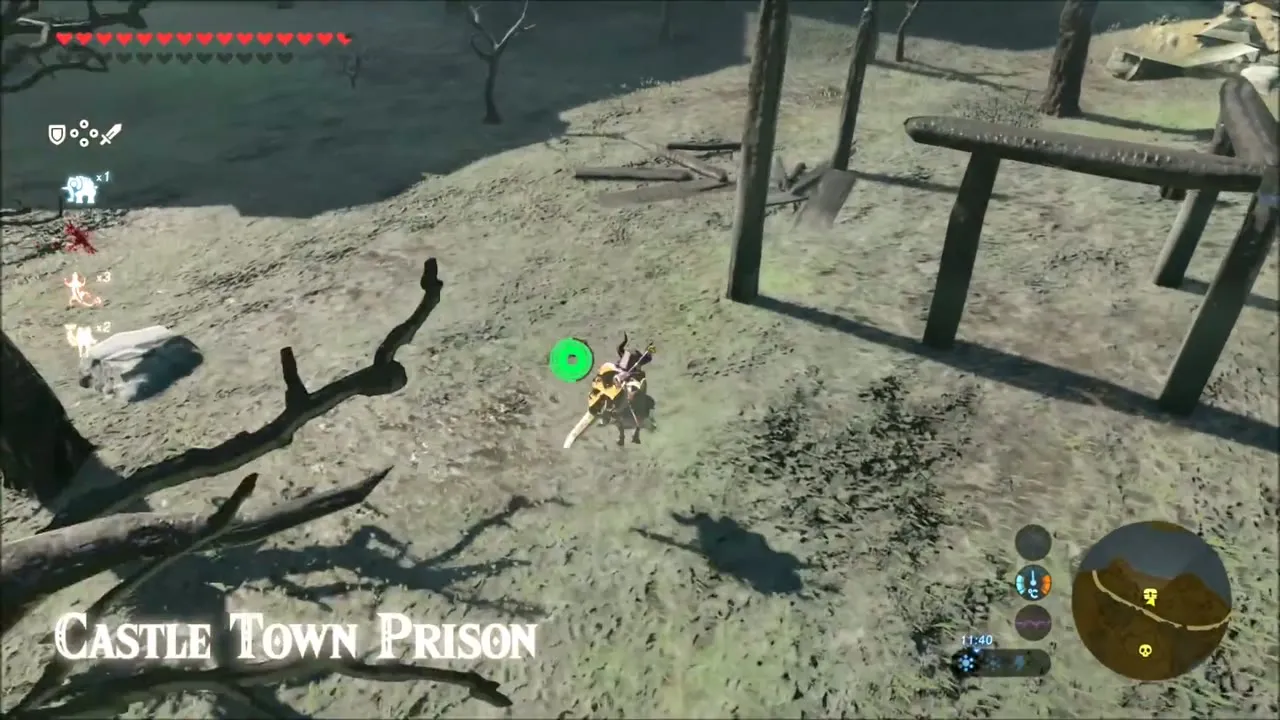
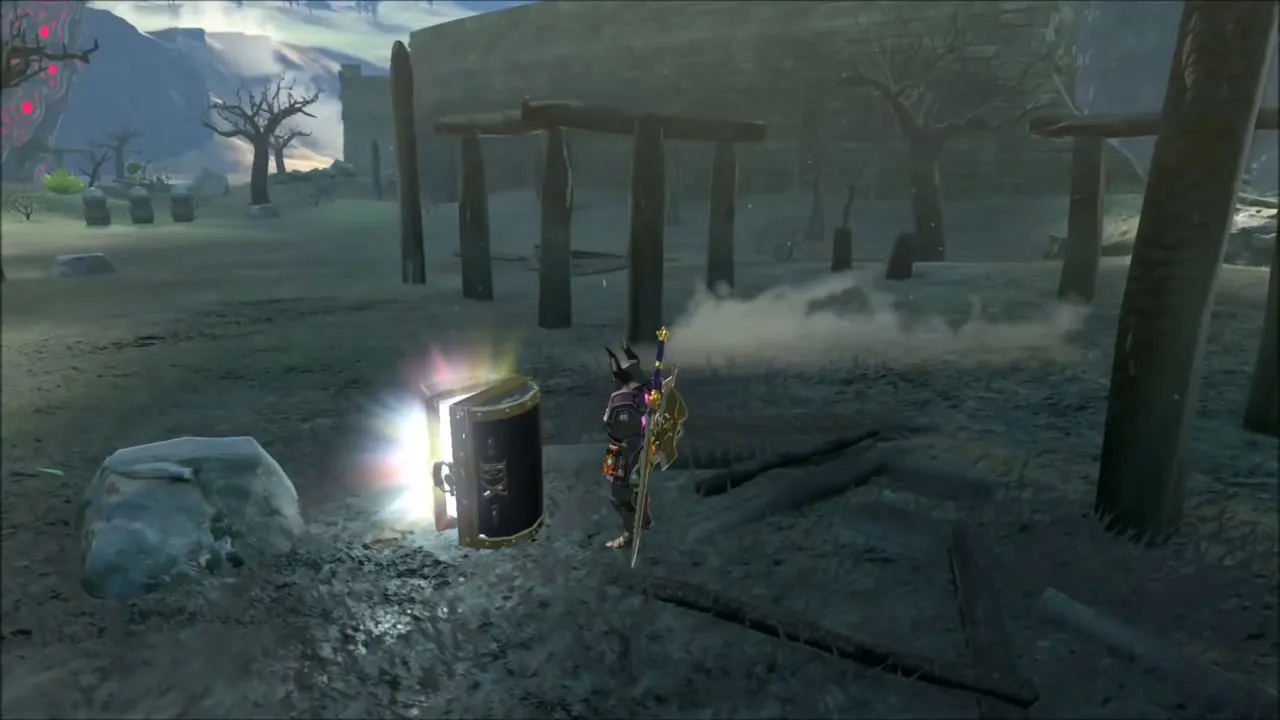
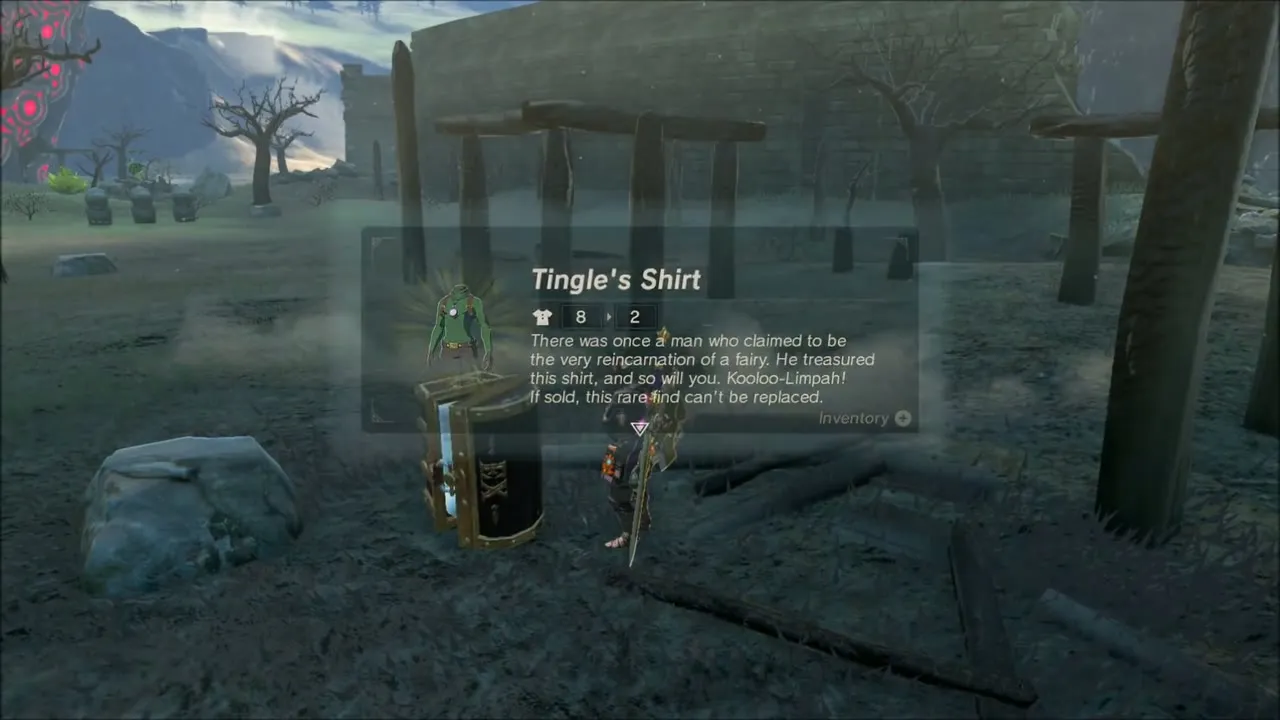
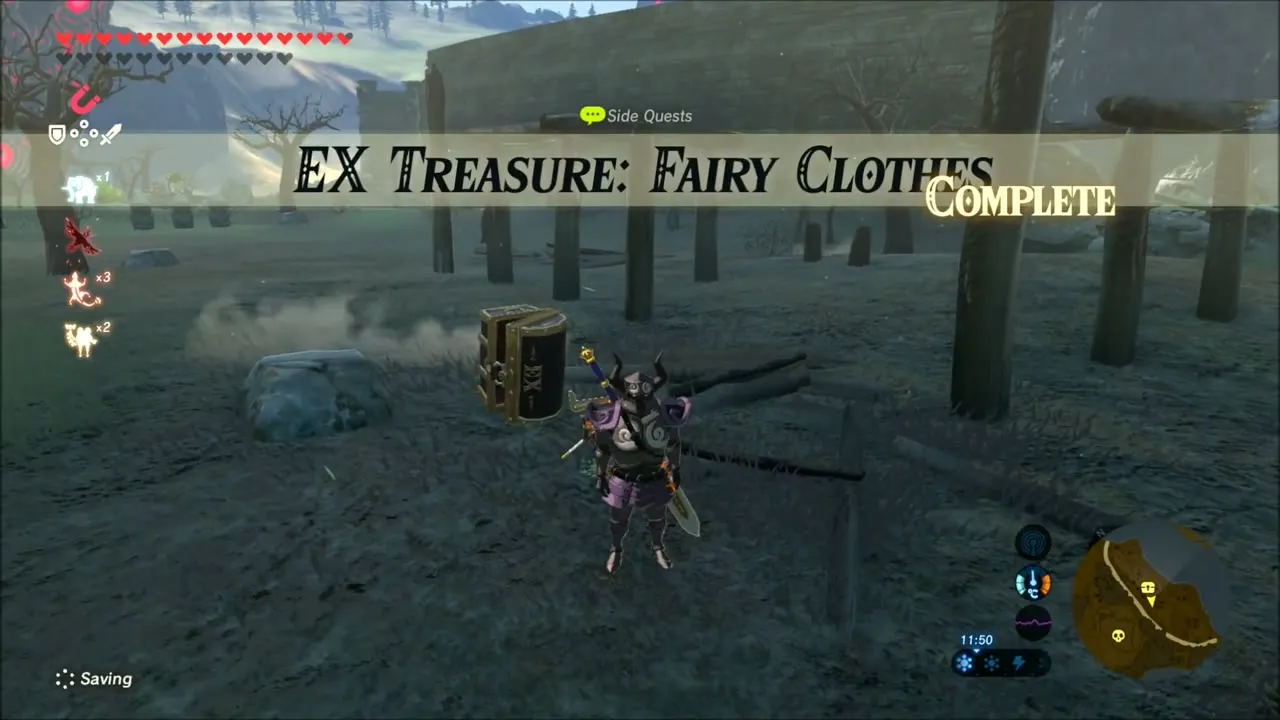
The last piece of Tingle’s outfit is at Castle Town Prison (-682, -841), a burnt ruin among bare dead trees on the island west of Hyrule Castle. Raise the chest from the ground and open it for Tingle’s Shirt. With all three pieces on, Tingle’s set is complete and EX Treasure: Fairy Clothes is finished. Mirro Shaz Shrine (1231, -1213) is on the way east.
Korok Mask Location: Woodland Stable and the Lost Woods
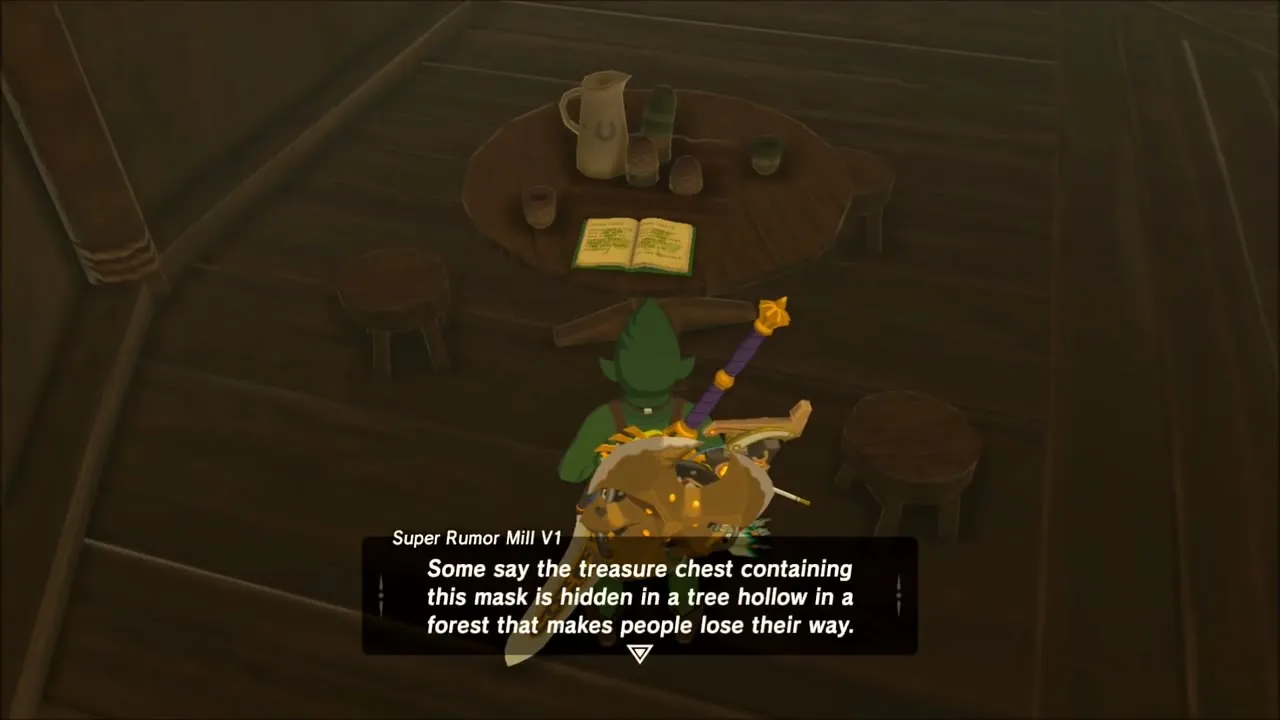
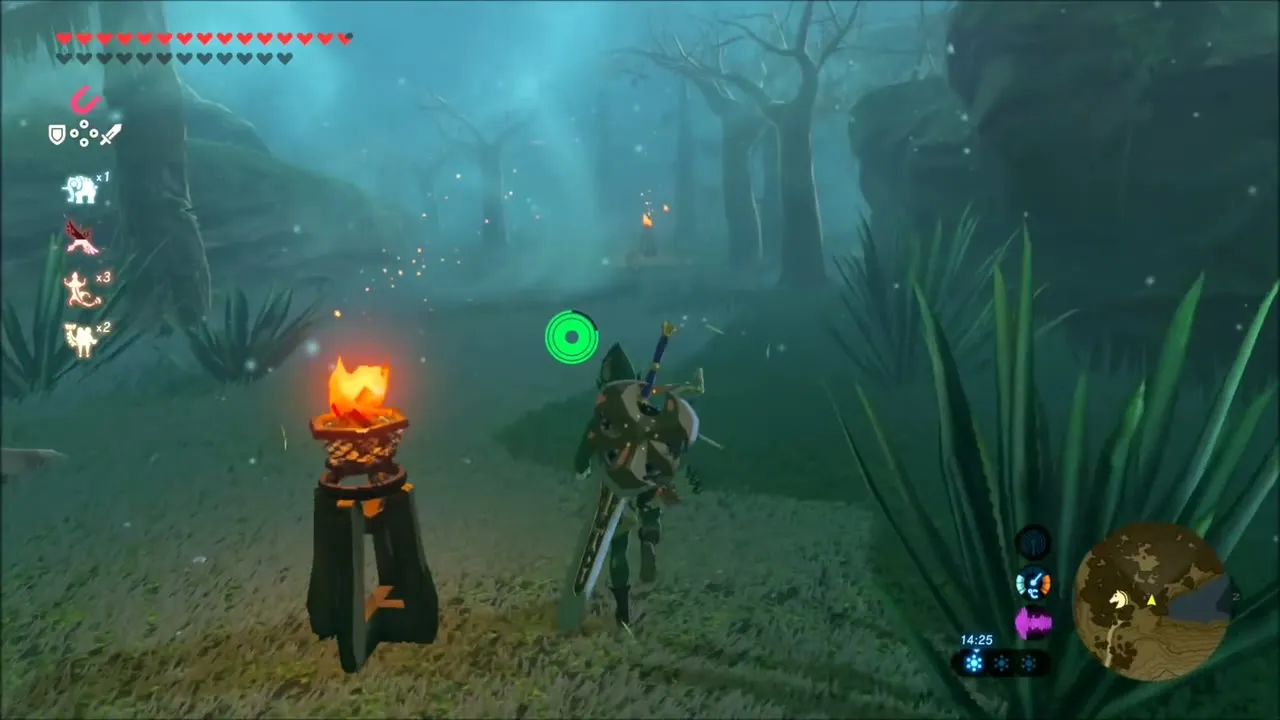
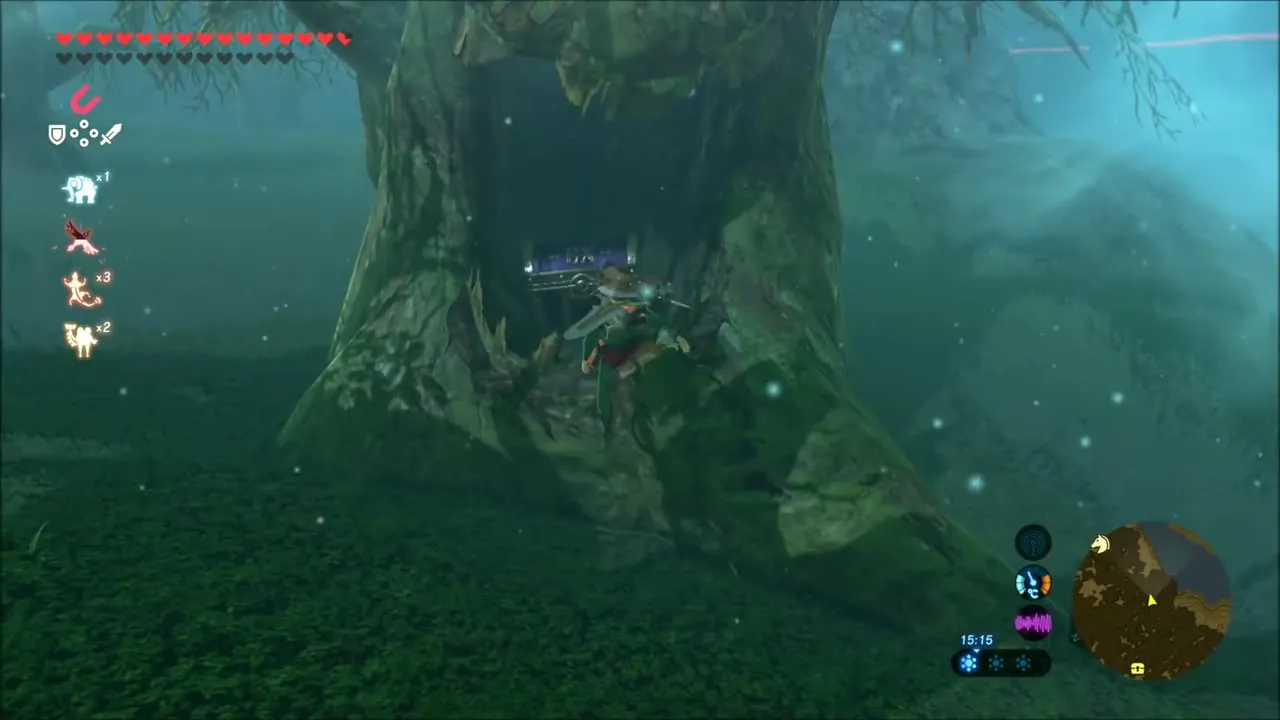
EX Strange Mask Rumors! starts at Woodland Stable (1066, -1142), where the Super Rumor Mill book tells of a mask that shakes when a Korok is close and says how to find it. Ride to the Lost Woods (742, -1912), light a torch at the burning pillars near the entrance and walk into the fog. A chest sits inside the open hollow of a twisted tree; pull it out with Magnesis to receive the Korok Mask.

Travel Medallion Location: Lomei Labyrinth Island
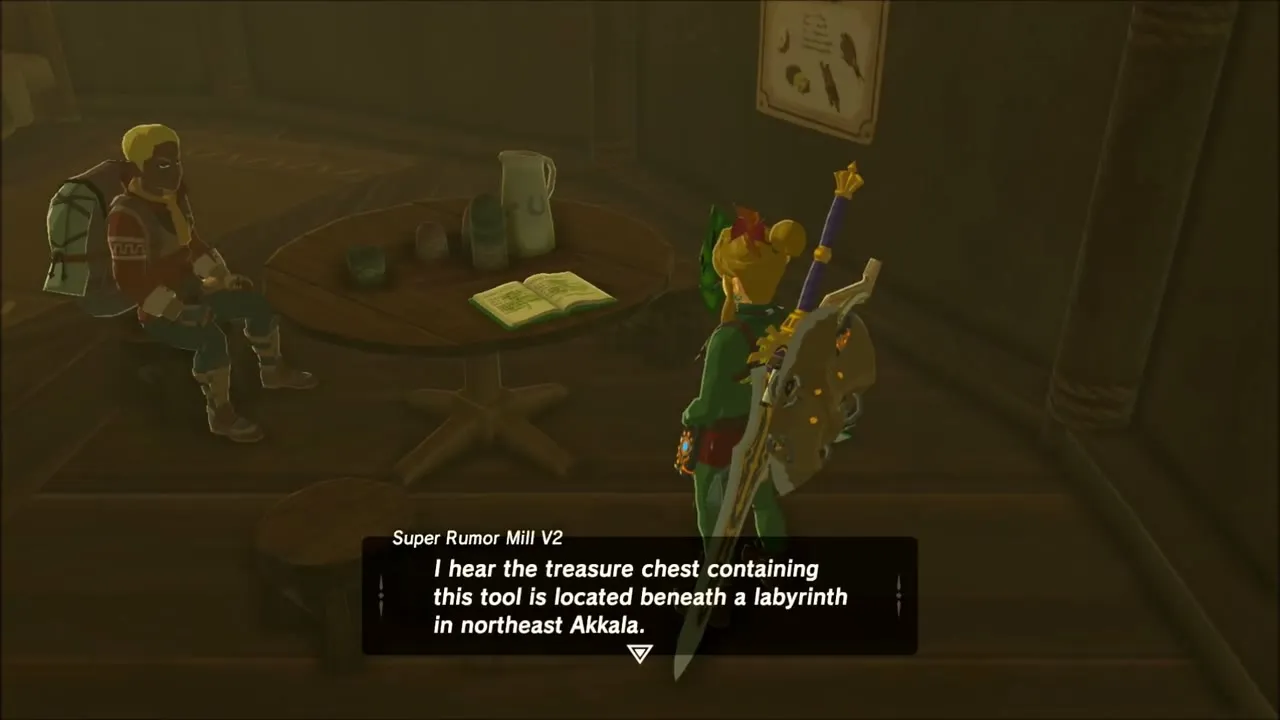
For EX Teleportation Rumors! read the second Super Rumor Mill book at South Akkala Stable (3150, -1693), a short ride past Ze Kasho Shrine. It points you to Lomei Labyrinth Island (4654, -3650), where a Decayed Guardian waits in the room beneath the shrine. Defeat it and take the Ancient parts it leaves, then open the chest in the room to receive the Travel Medallion. The quest is complete.
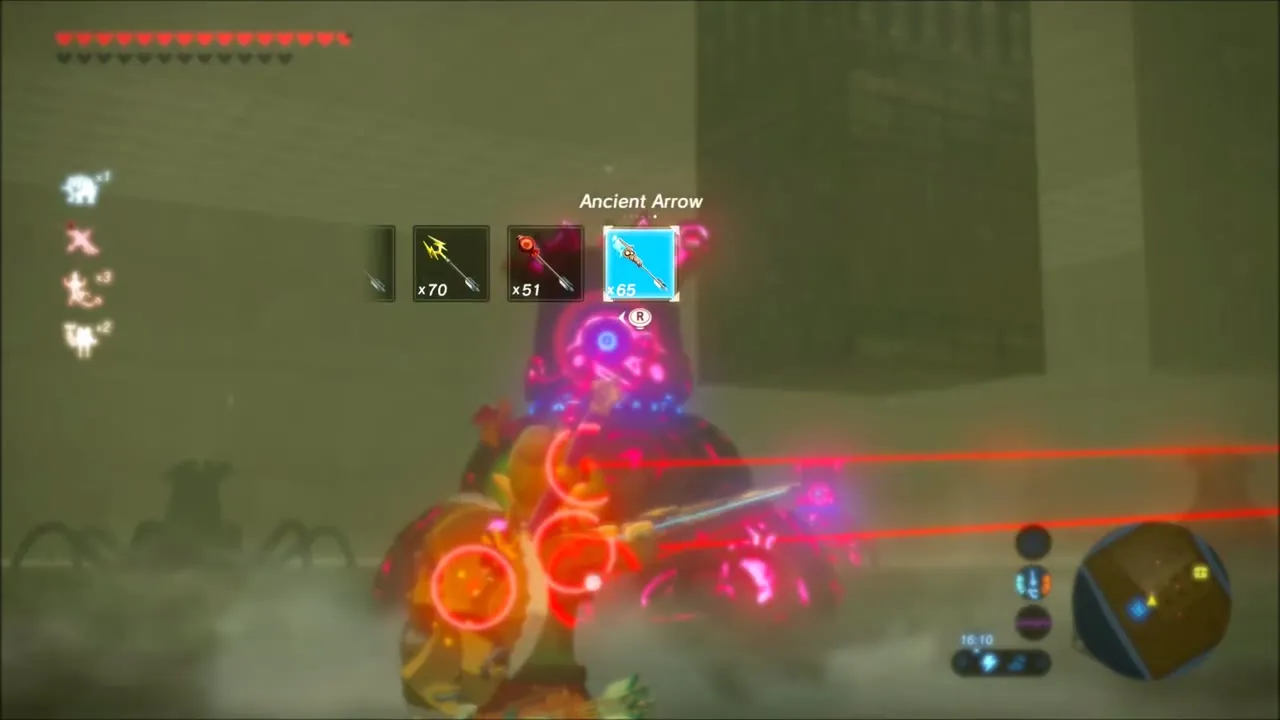
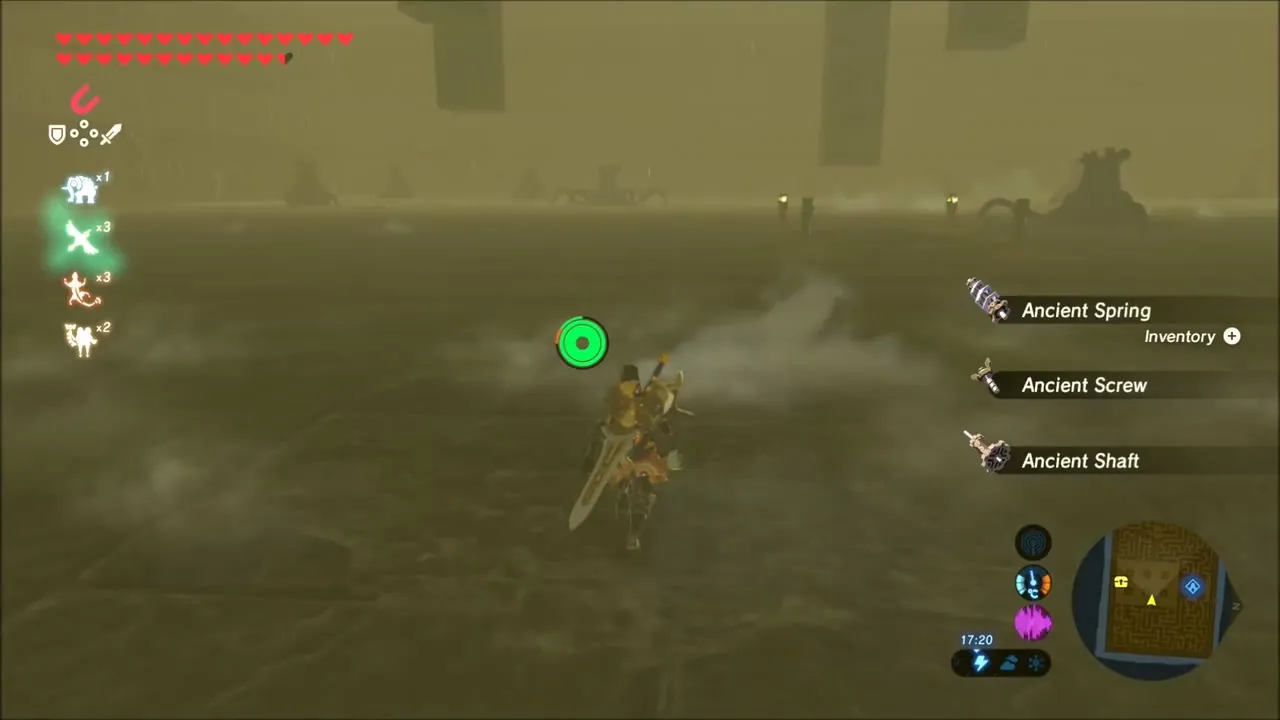
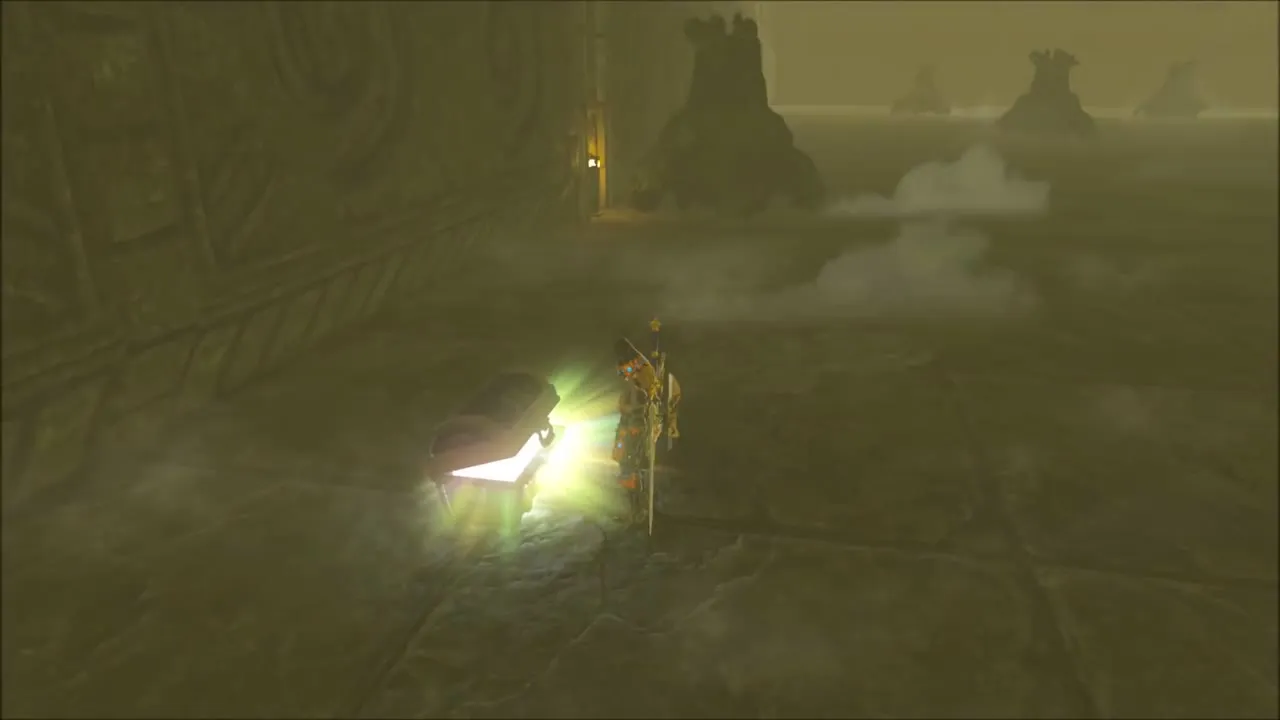
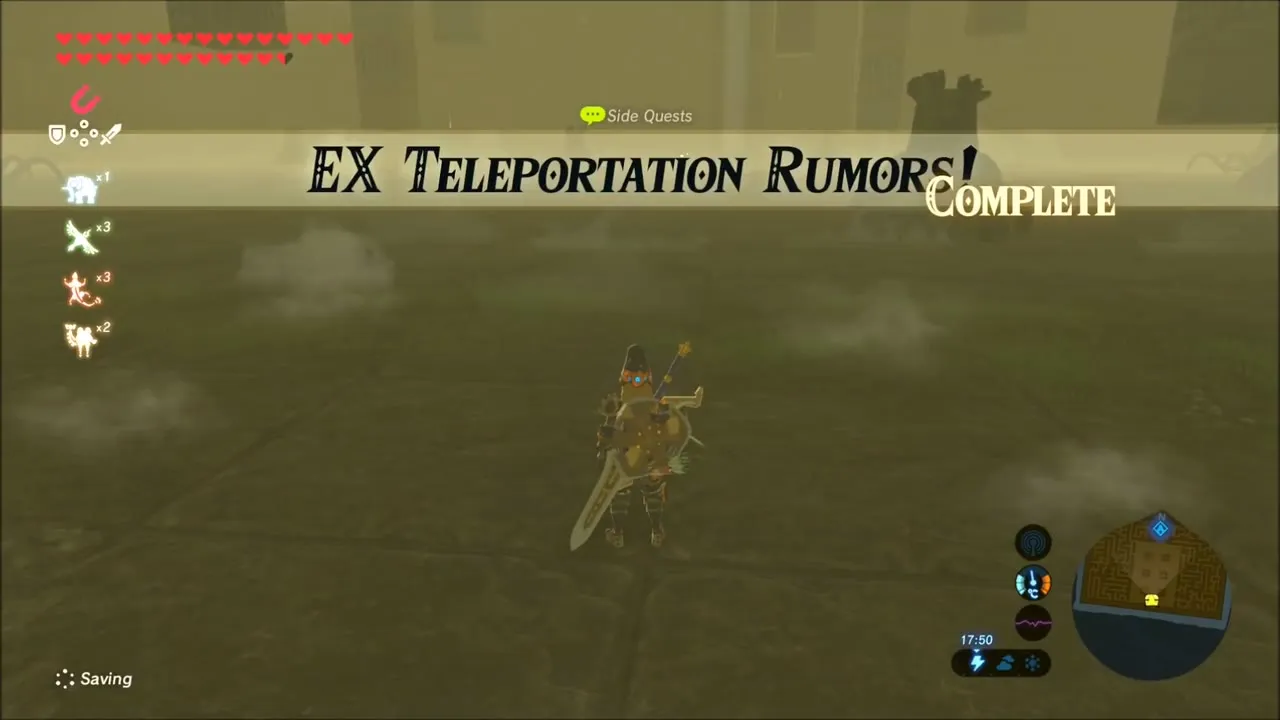
The Travel Medallion sits among your key items. Place it where you stand to register a single marker, and you can warp back to that spot from the map at any time, which is handy for long detours.
How to Start the Trial of the Sword
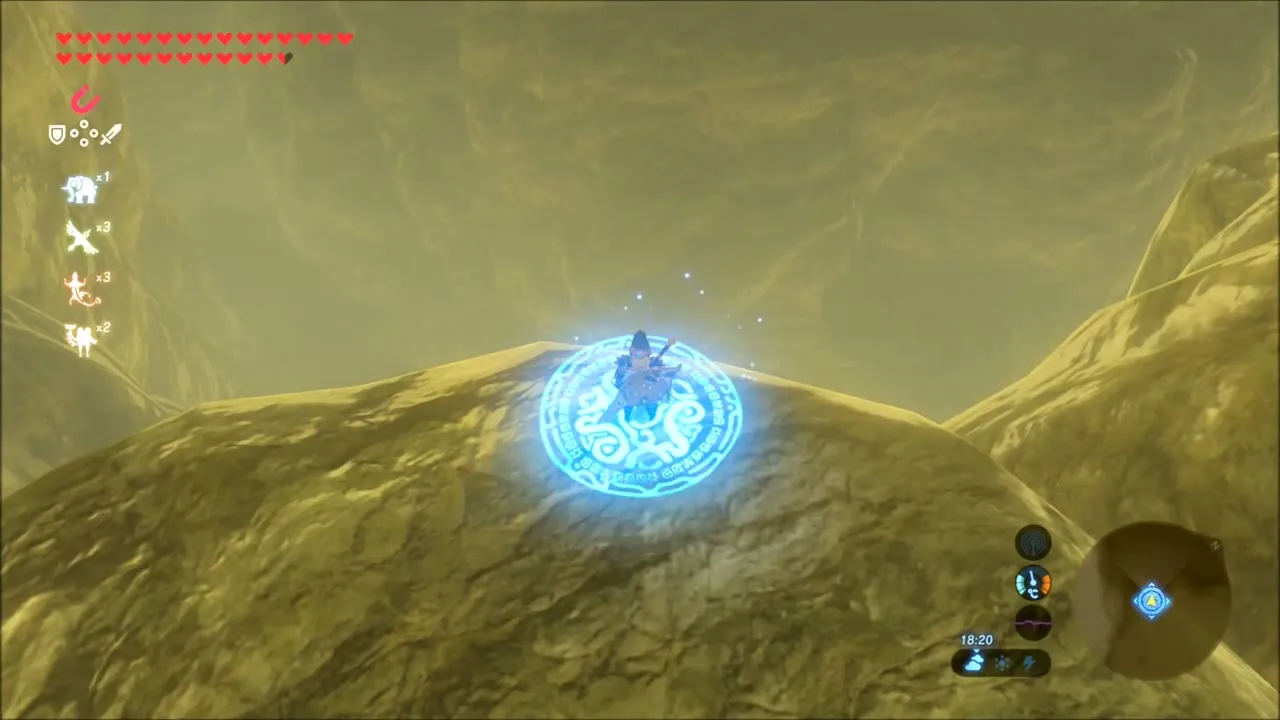
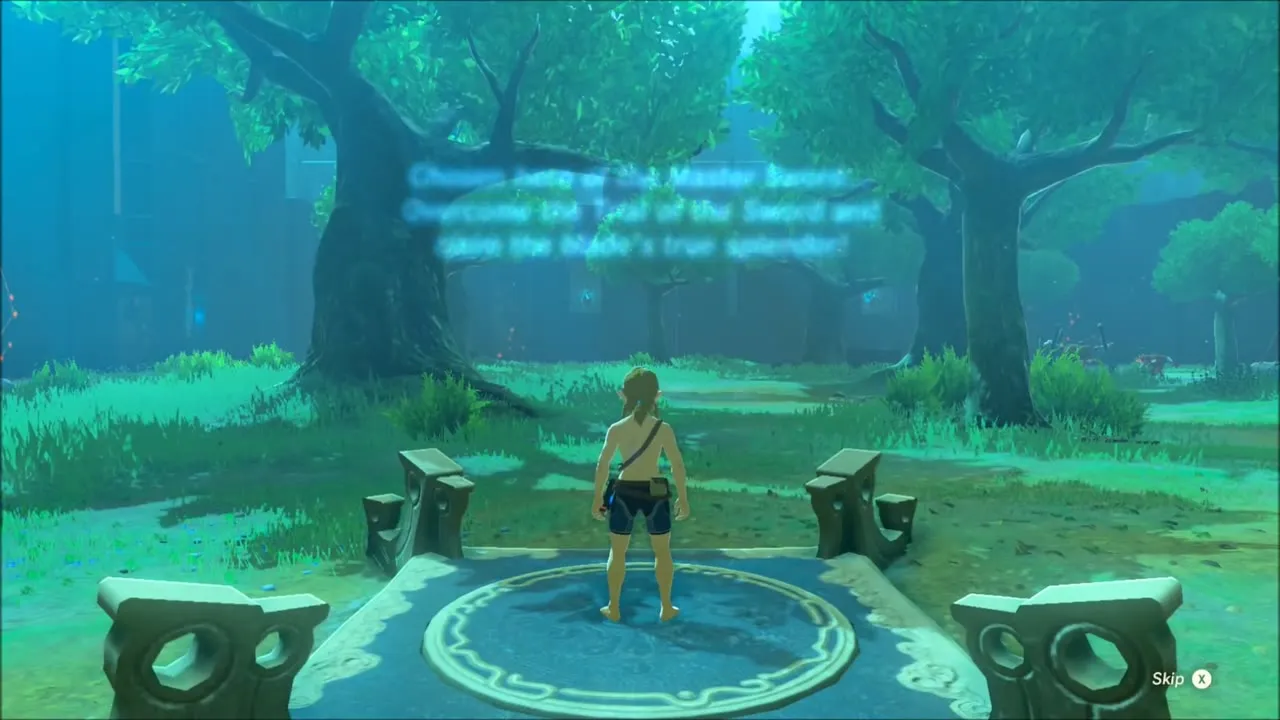
To begin EX Trial of the Sword, enter the Korok Forest (Keo Ruug Shrine is on the path in) and talk to the Great Deku Tree, who asks you to return with the Master Sword. Speaking to him completes the first task. The other three tasks are clearing the Beginning Trials, the Middle Trials and the Final Trials.


Trial of the Sword: Beginning Trials Walkthrough
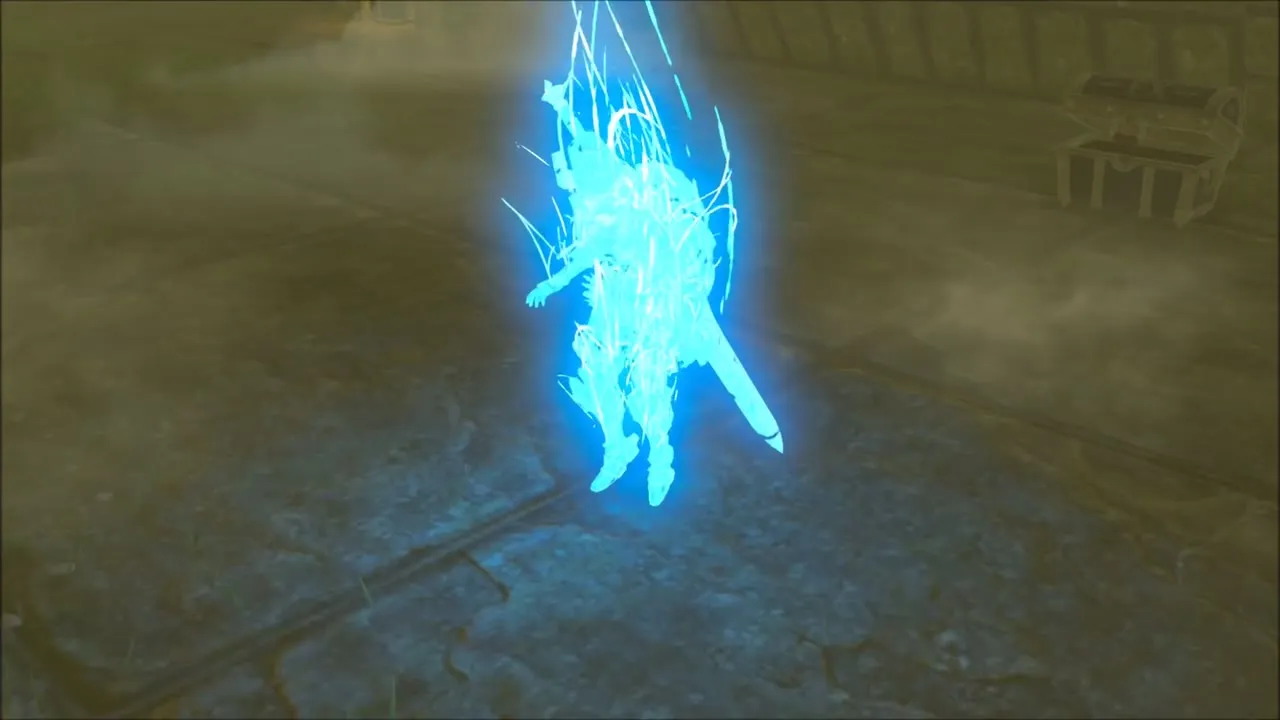
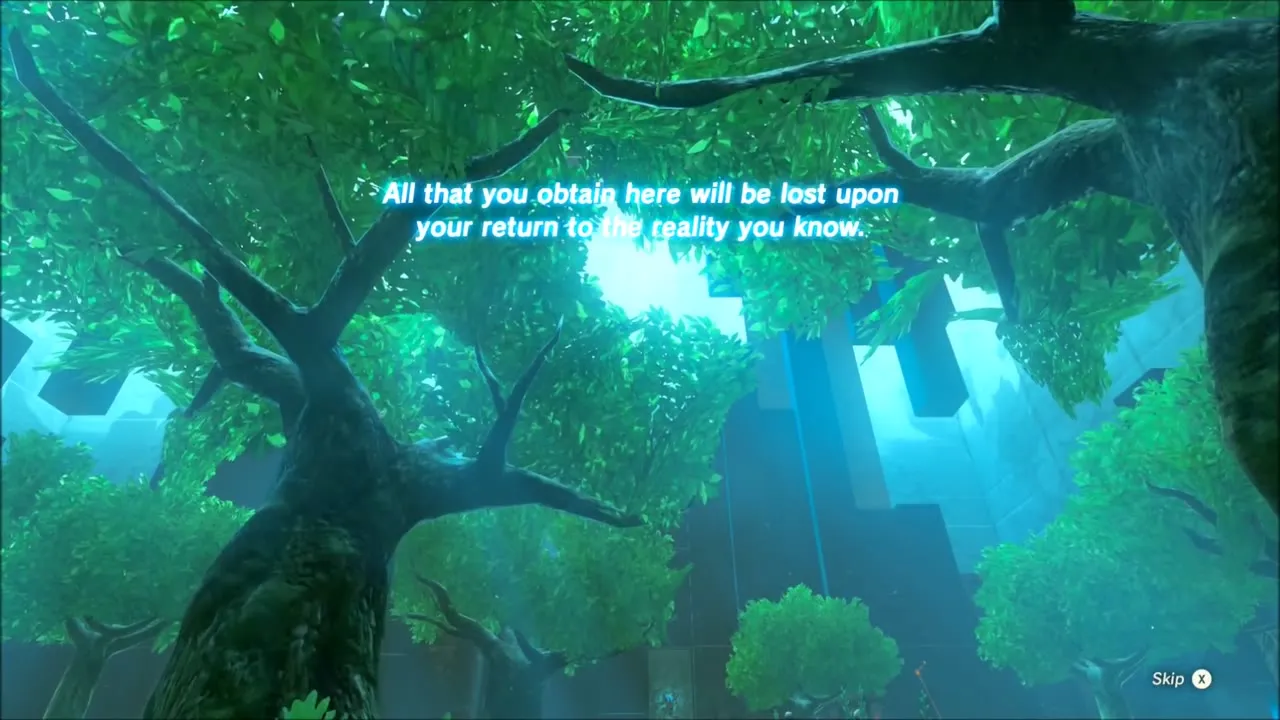
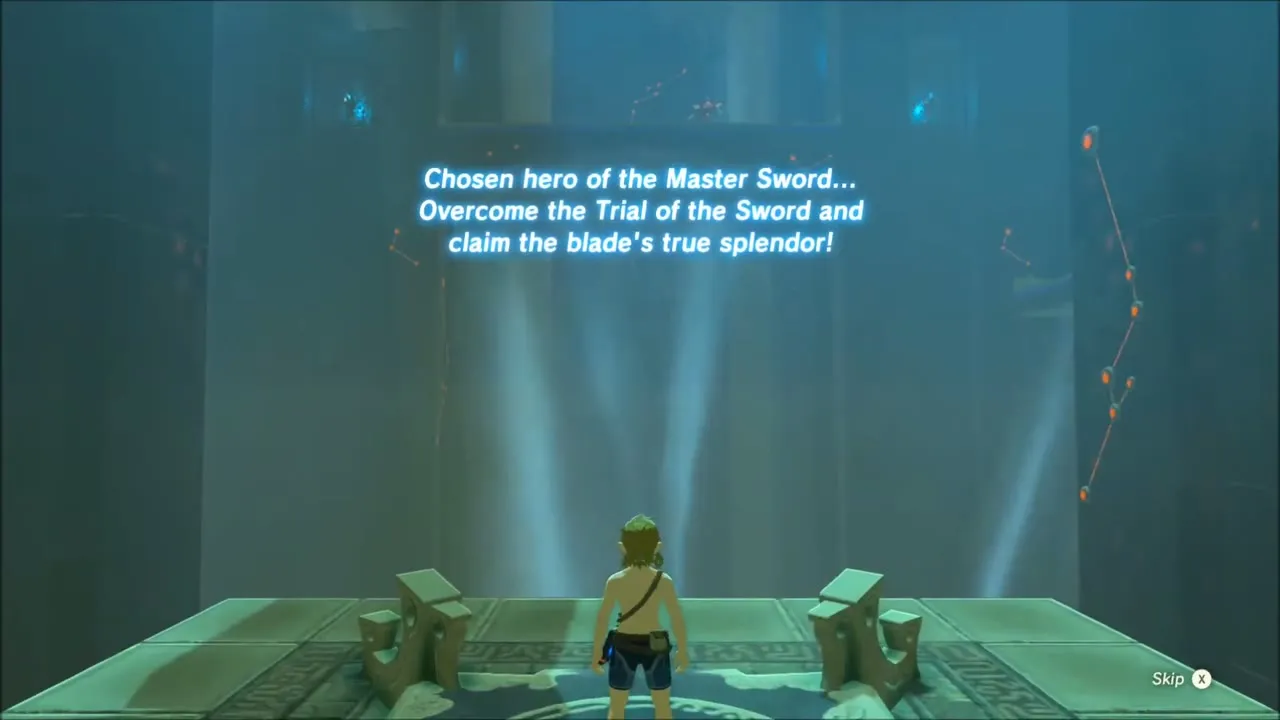
The trial starts when you set the Master Sword in its pedestal. Link loses all his weapons, bows, shields and armor, so you fight bare-handed with whatever you find, but your hearts, bonus hearts and any active food effects carry over. Eat a good meal first. Everything you gather inside is lost when you leave, and you cannot save partway through a set.
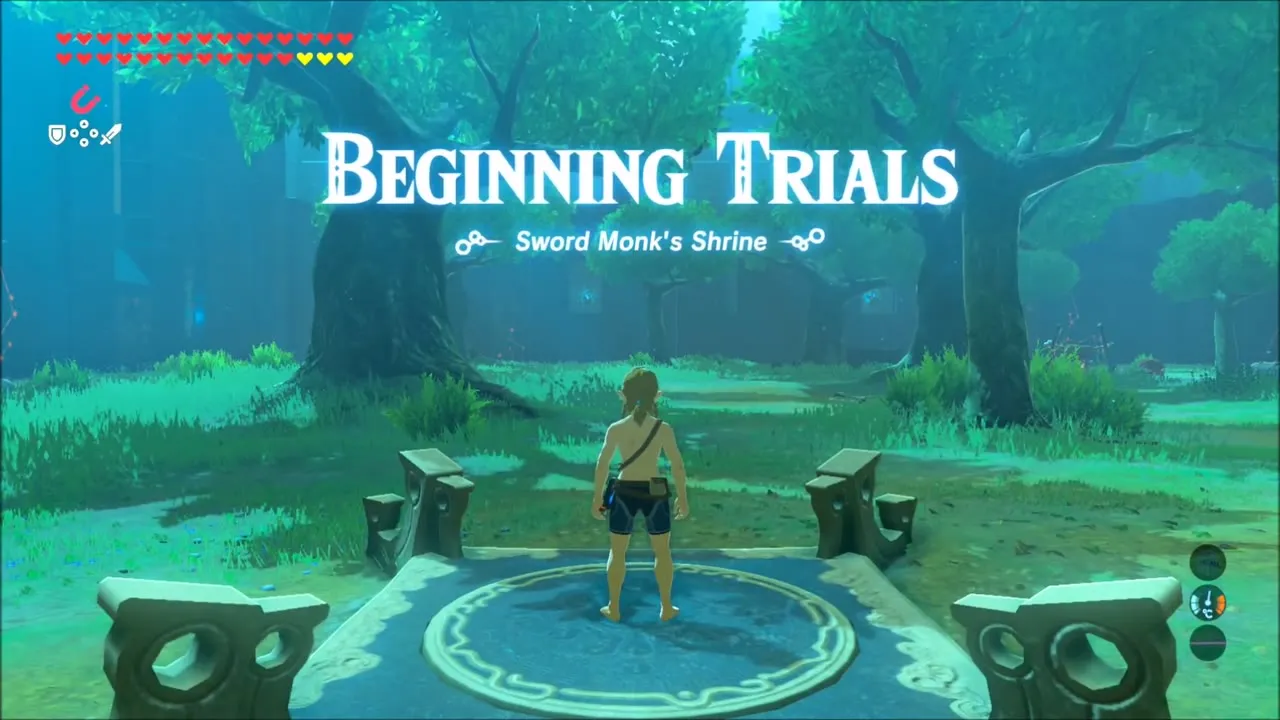
Floors 1 to 4: camps, fire and your first weapons
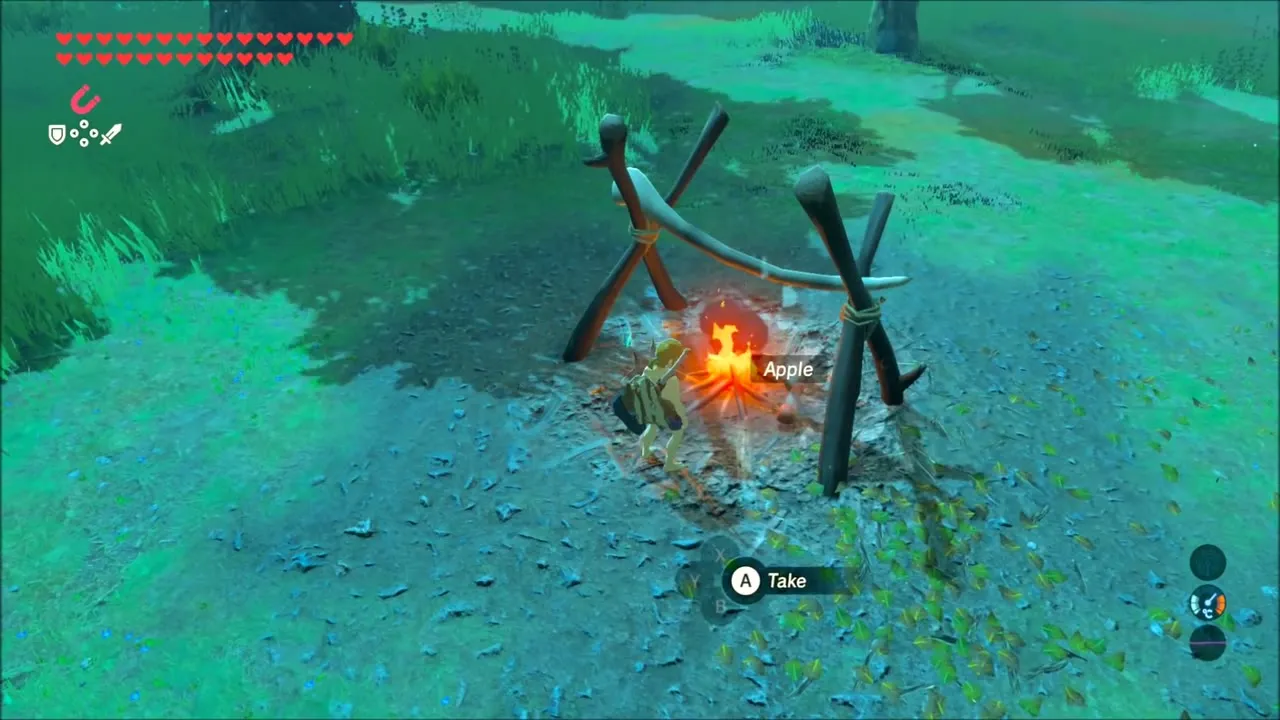
The first rooms are small forest clearings with Bokoblin camps. Grab the Boko clubs, spears and bows from the ground and from crates, and use the campfires and burning grass to your advantage: torches set the dry grass alight and fire spreads quickly toward enemies. Roast apples and other finds over a fire when you pass one so you can heal later. A glowing circle on the ground marks the exit that opens when the room is cleared.


Floor 5: Stone Talus
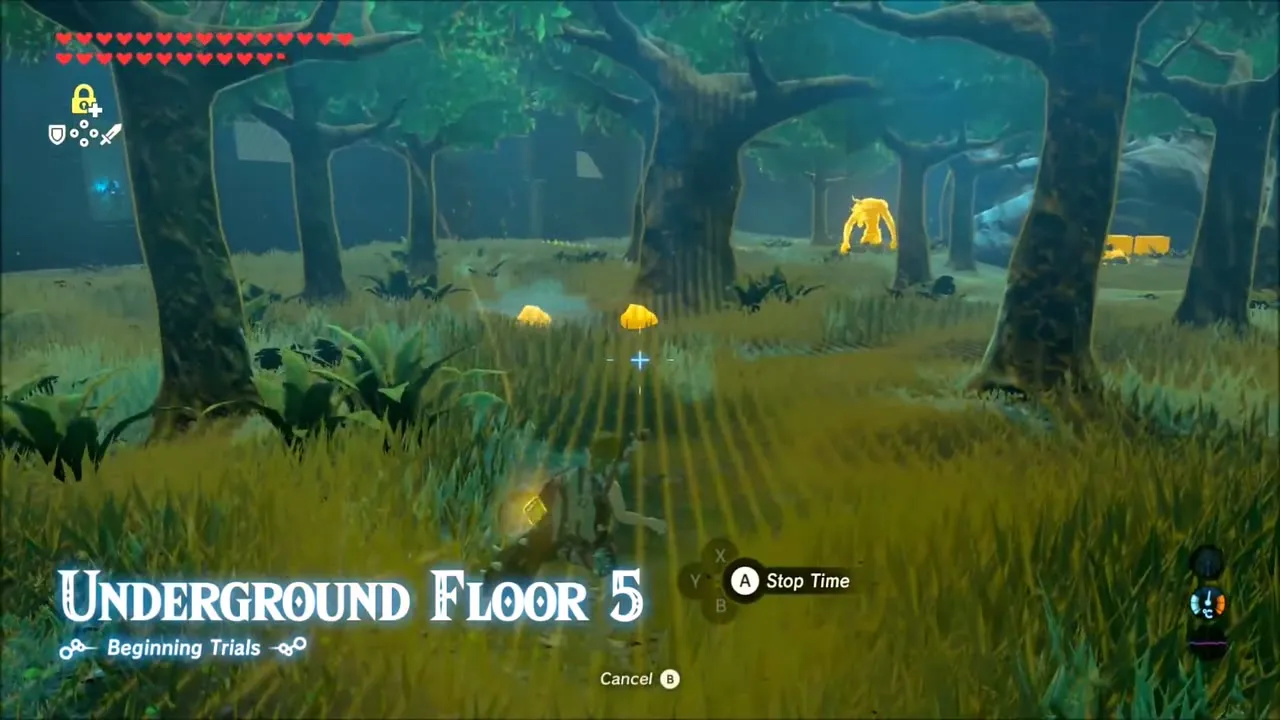
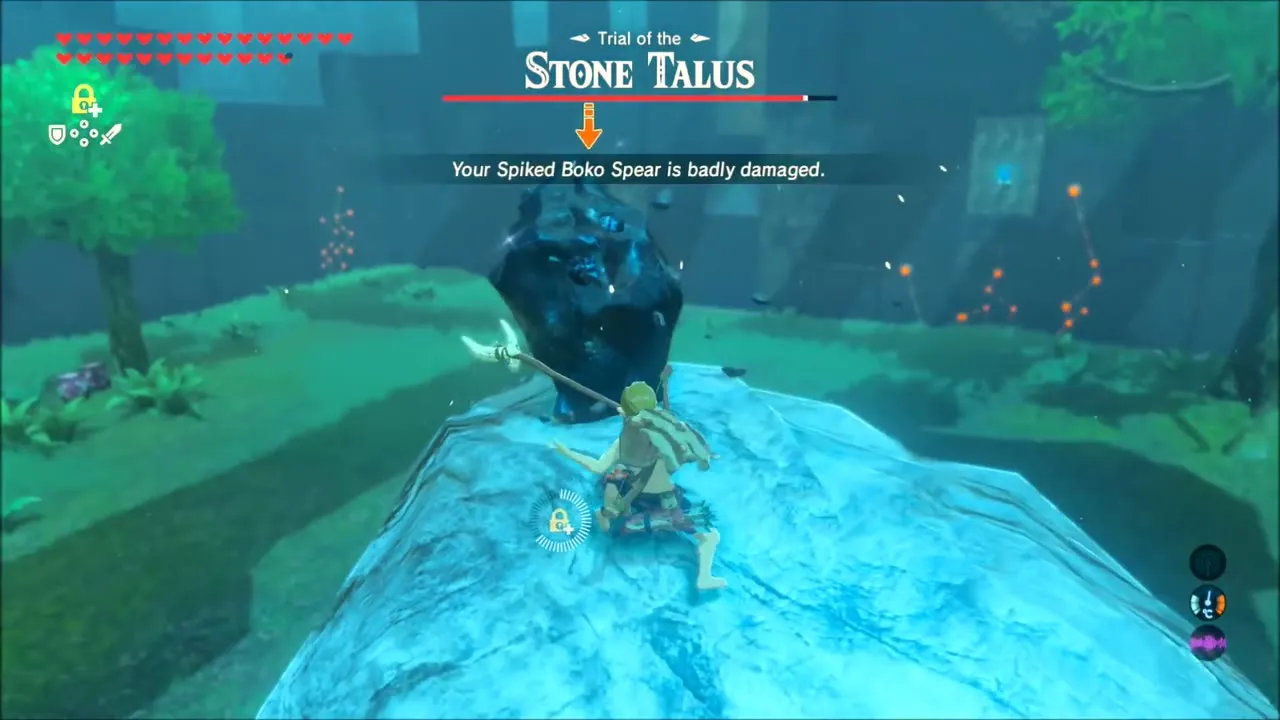
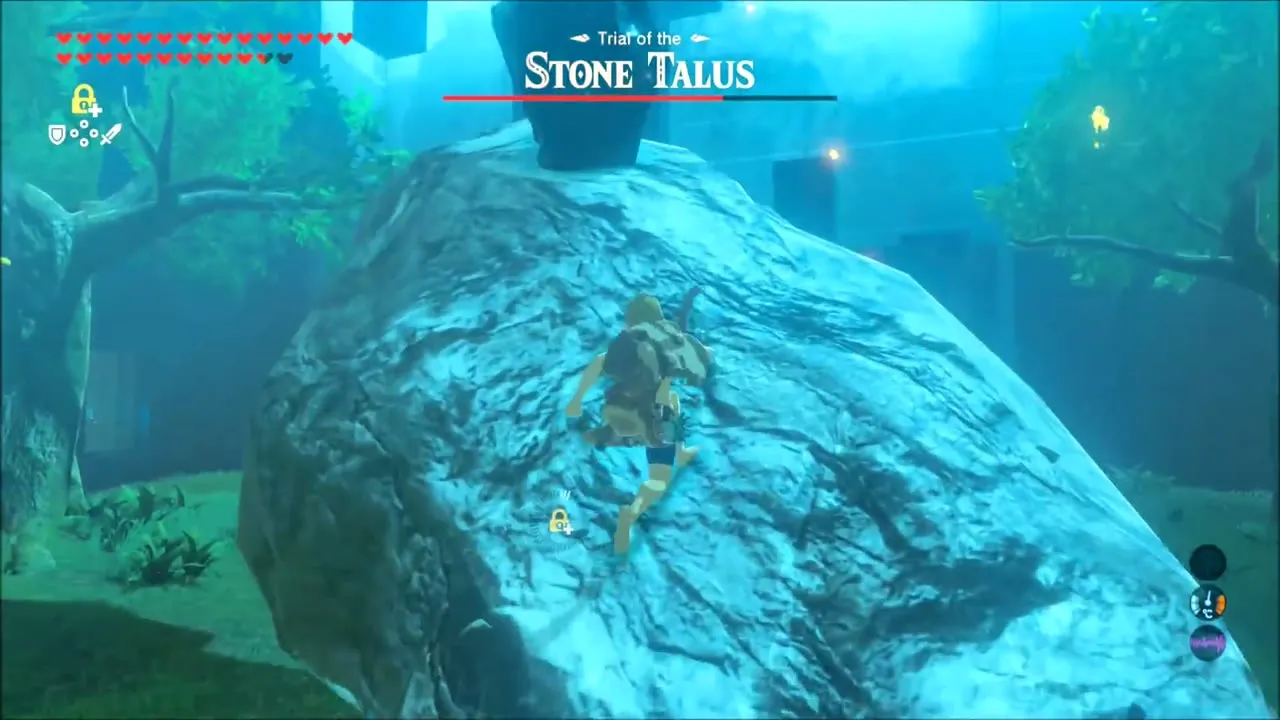
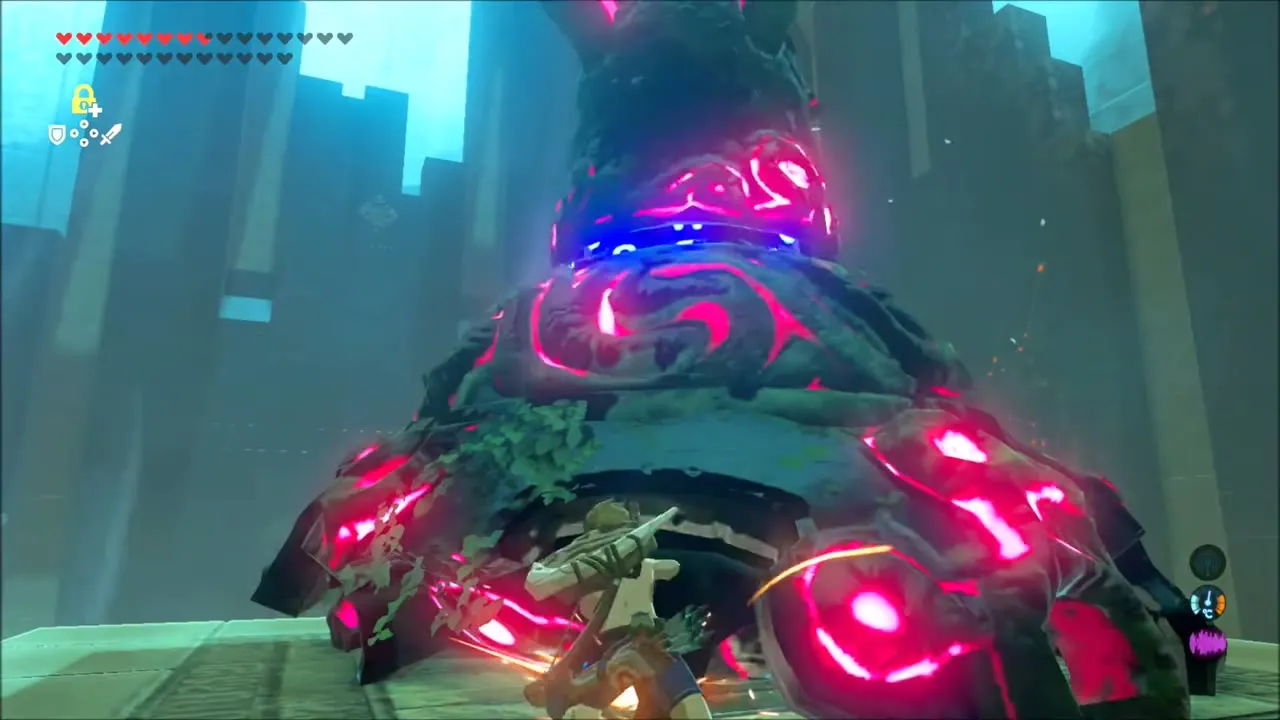
Underground Floor 5 mixes Moblins and Bokoblin lookouts with a Stone Talus boss. Climb onto the Talus’s back and hit the ore deposit on its body to knock it down, then keep hitting the exposed weak point. Wait for the stone to settle before you step on it, and use bombs or a heavy weapon if you picked one up. Afterward you reach a rest room with a glowing platform.

Rest room: cooking pot and Soldier’s gear
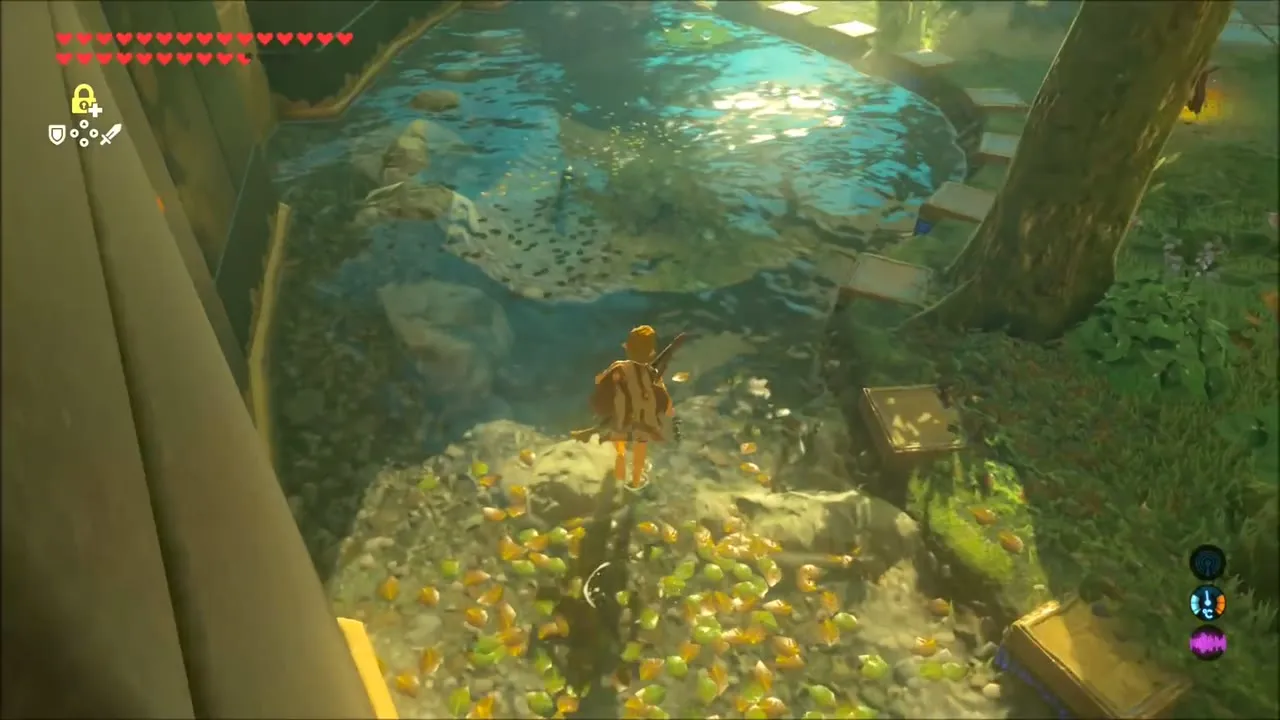
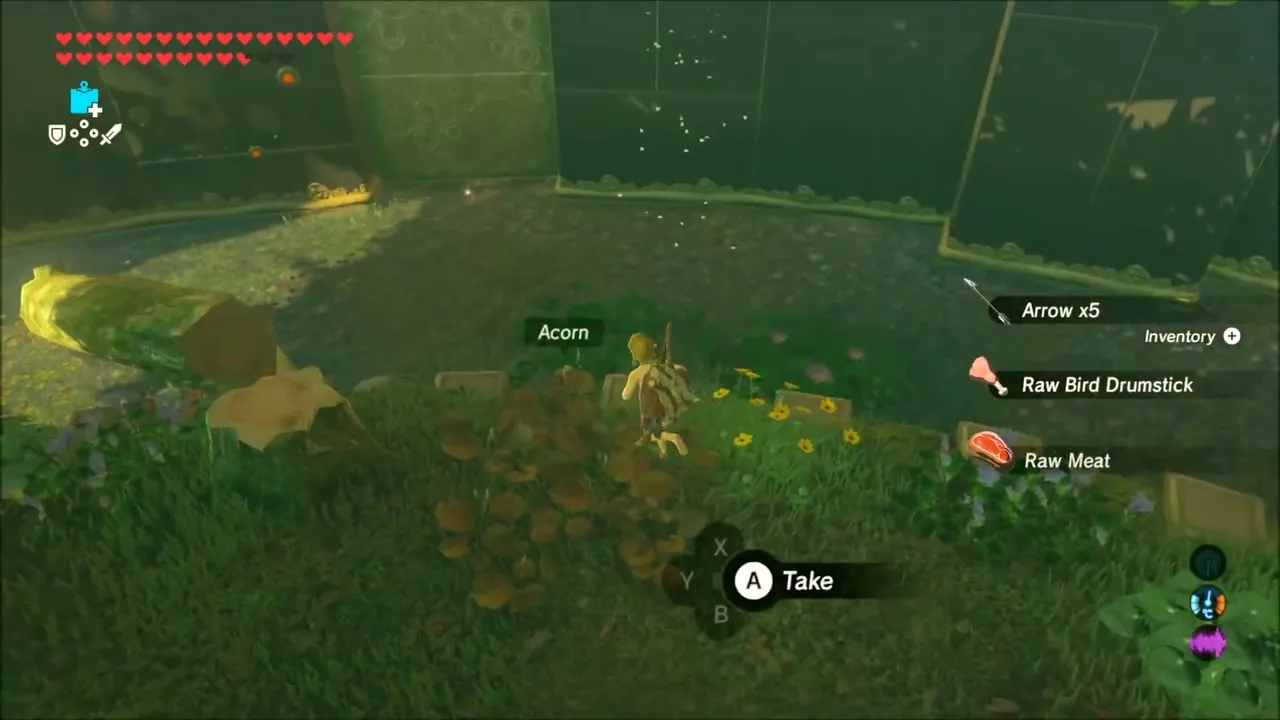
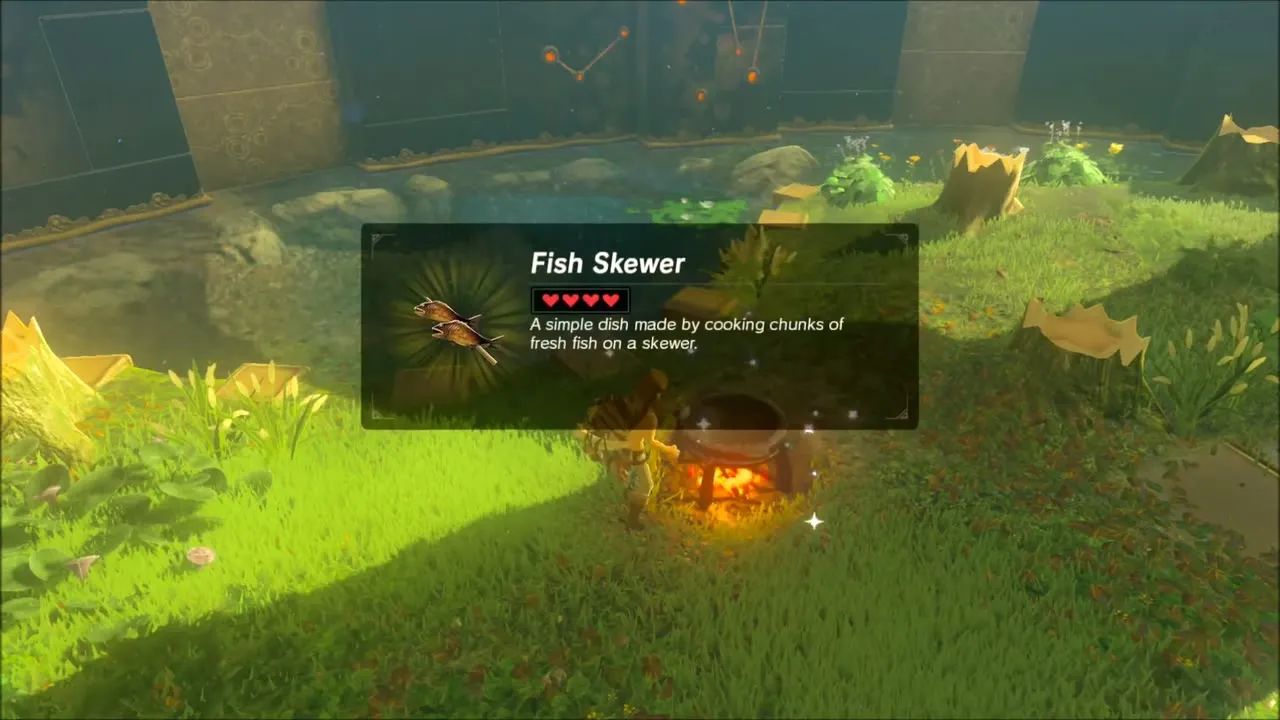
The rest room has a cooking pot, a fishing pond and some weapons among the finds. Gather mushrooms, wood and fish, then cook something such as a Simmered Fruit or Fish Skewer to keep your defense up for the next set of rooms. Take every weapon you can carry before the next door.

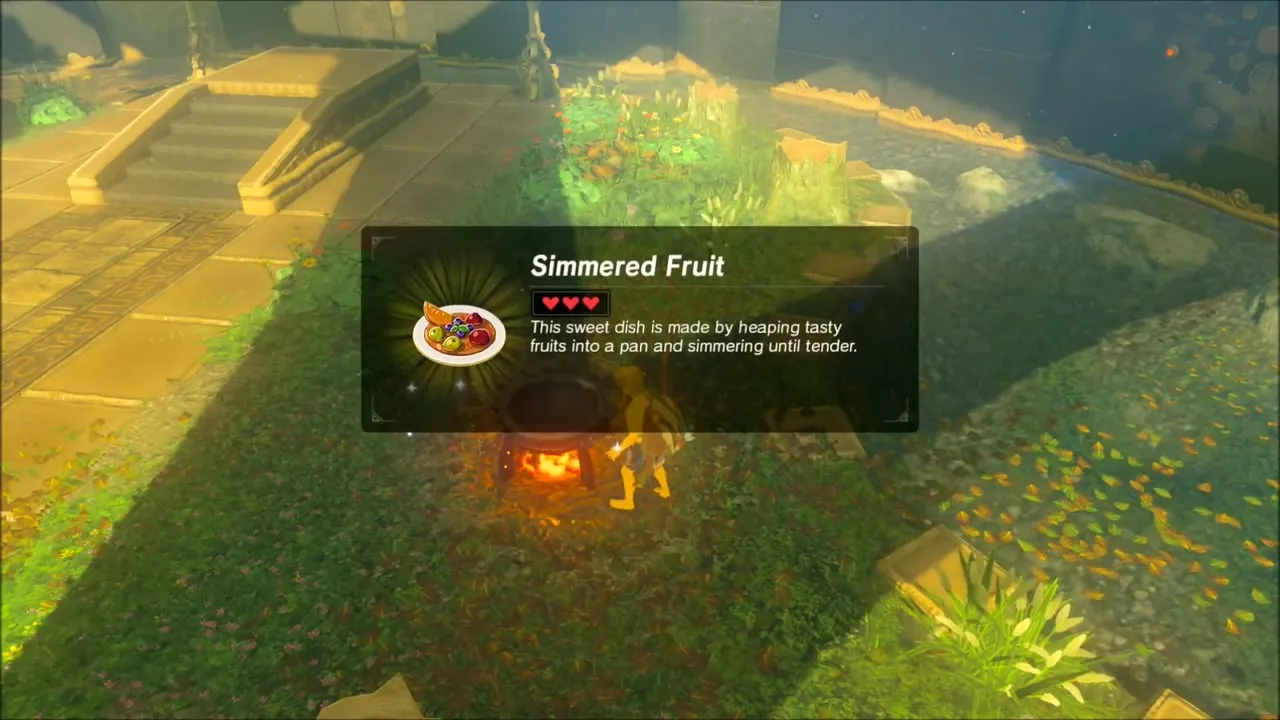
Floors 6 to 9: Lizalfos and wooden platforms
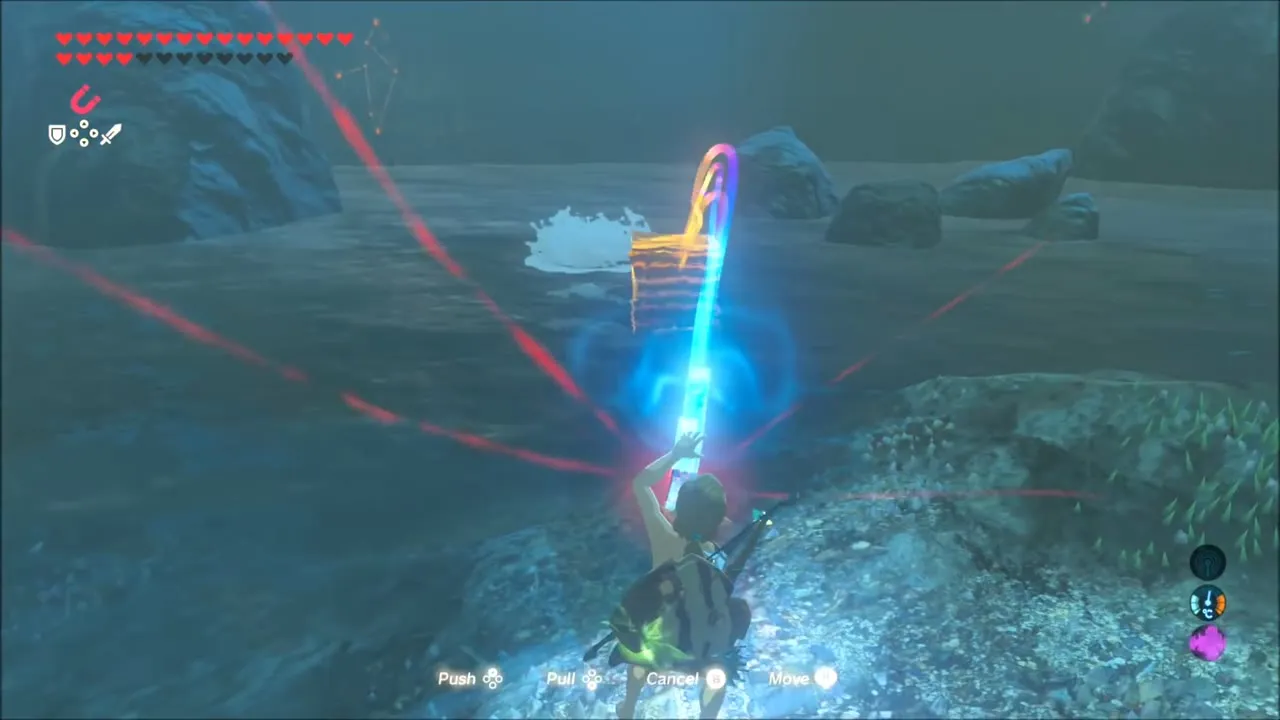
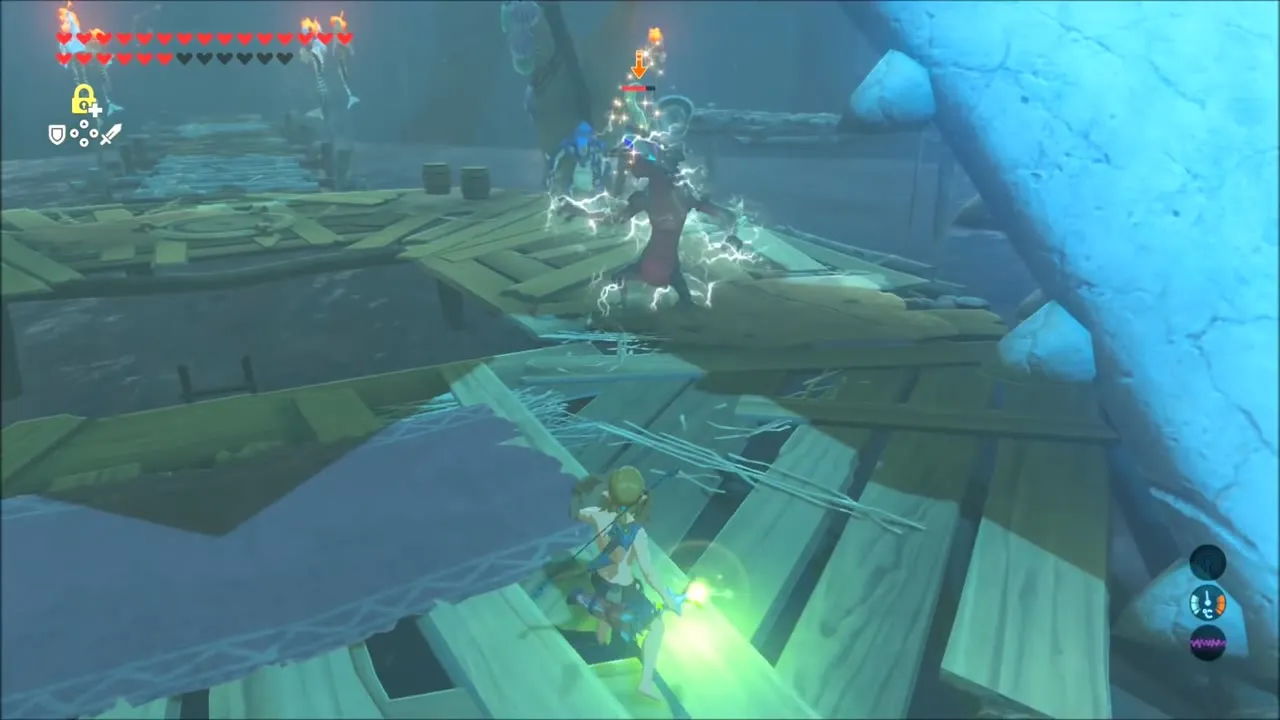
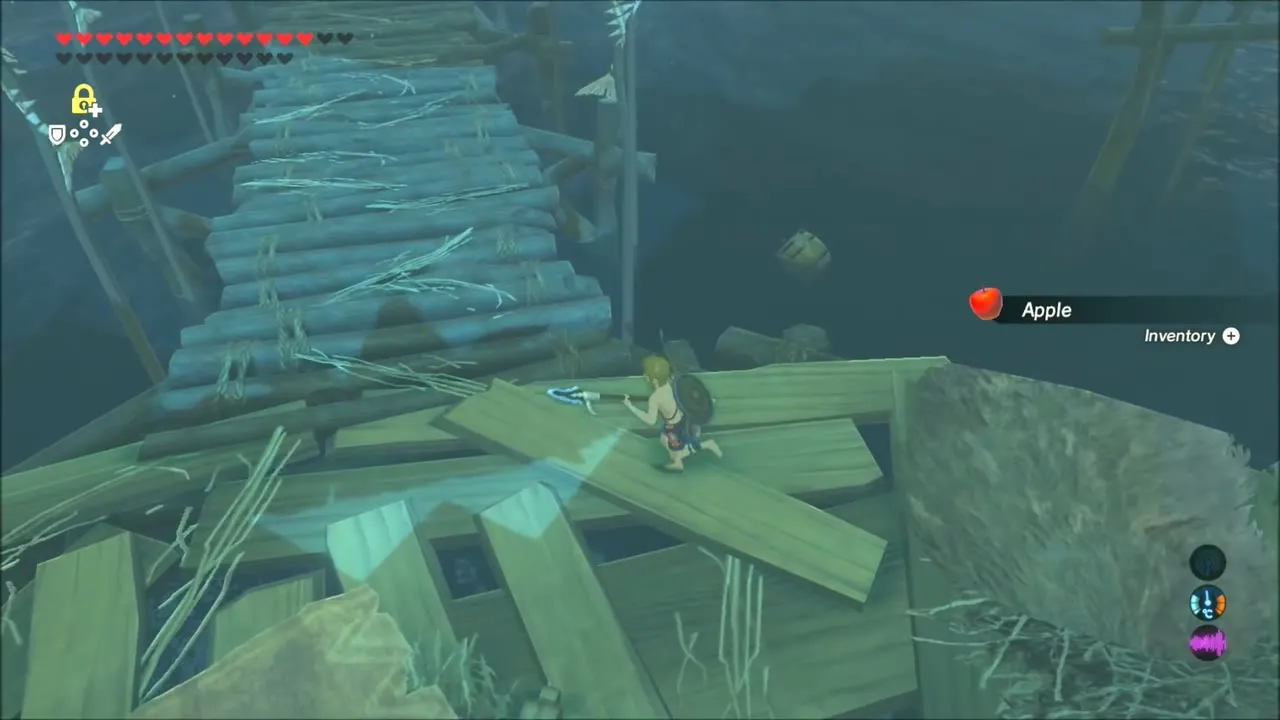
The next rooms turn into swampy halls with Lizalfos, including electric ones. Weapons break fast, so keep swapping; a Serpentine Spear turns up here. On Floor 9 you burn a wooden structure with a Fire Arrow and use Magnesis to move a metal crate across the water. A long run across wooden platforms over water leads past more Lizalfos and Moblins, with arrows, Shock Arrows and Fire Arrows lying around.

Final room: Hinox and the Master Sword pedestal
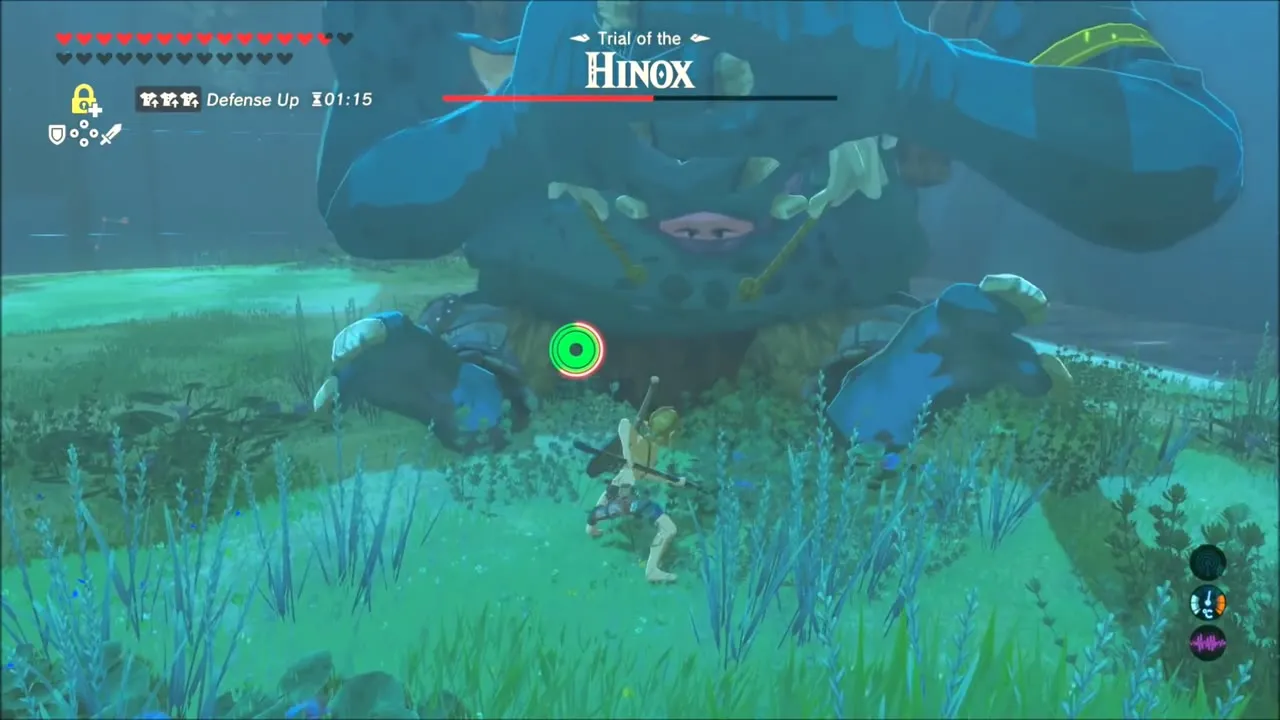
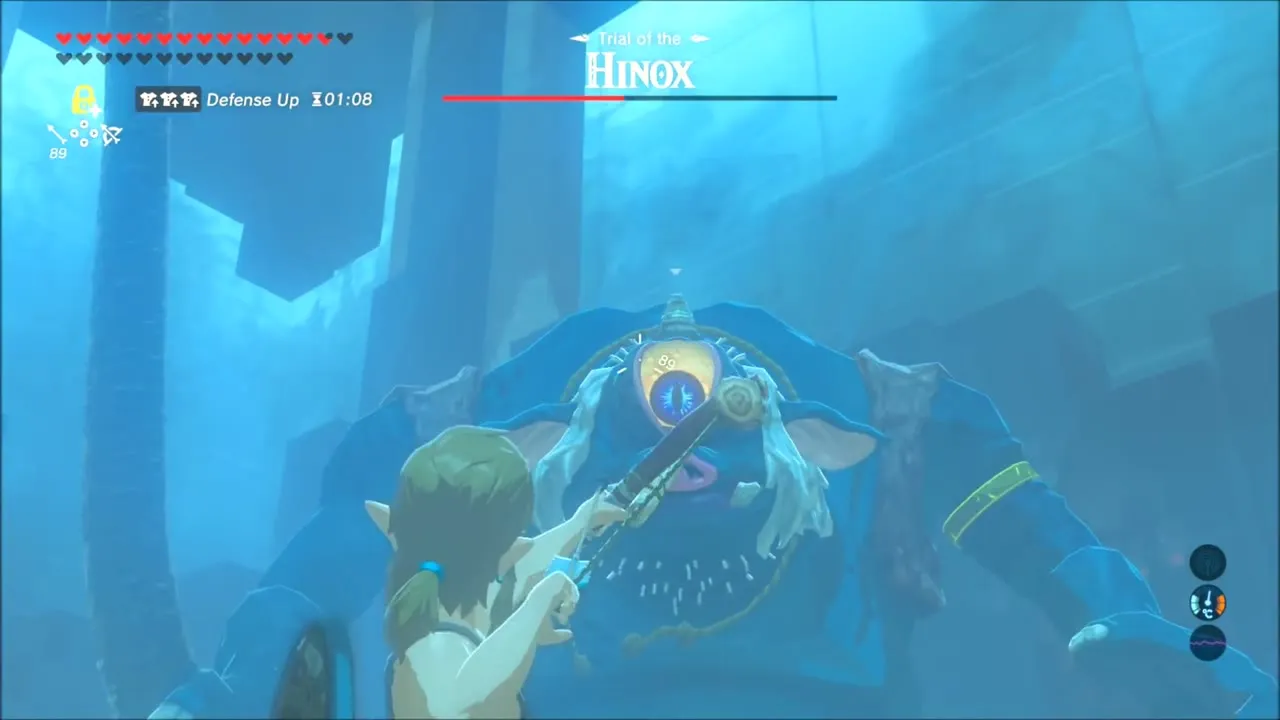
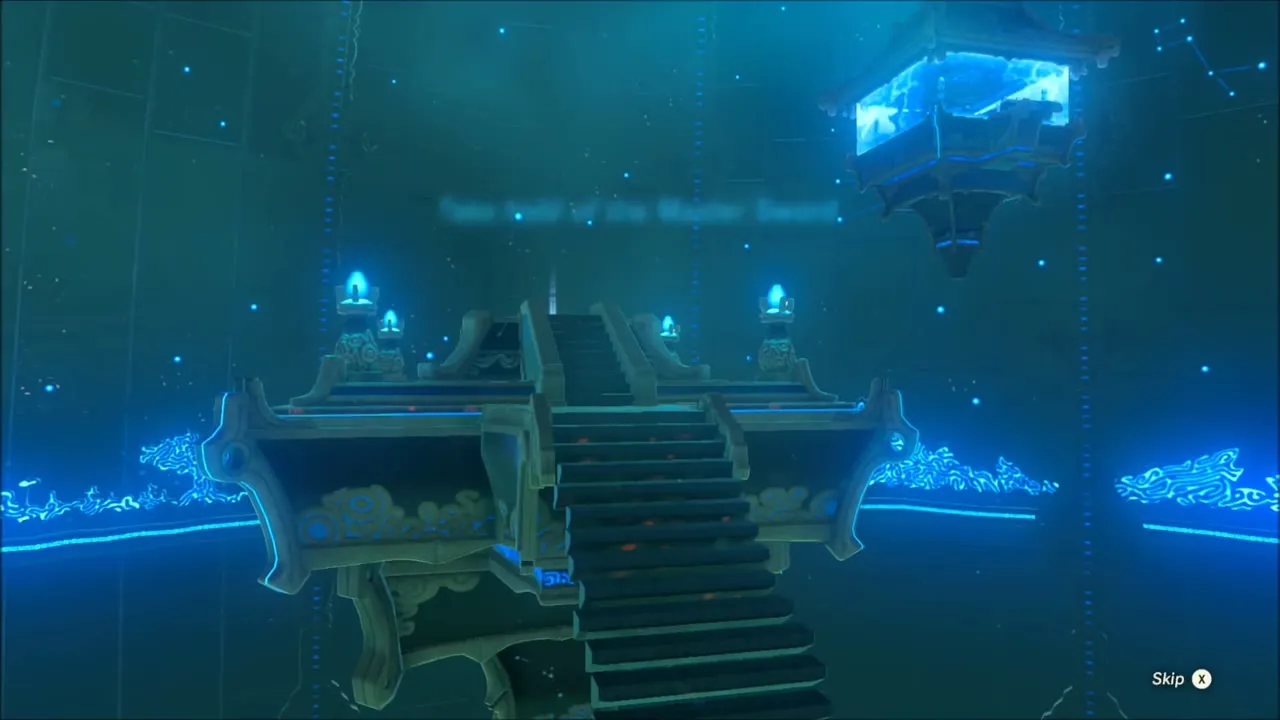
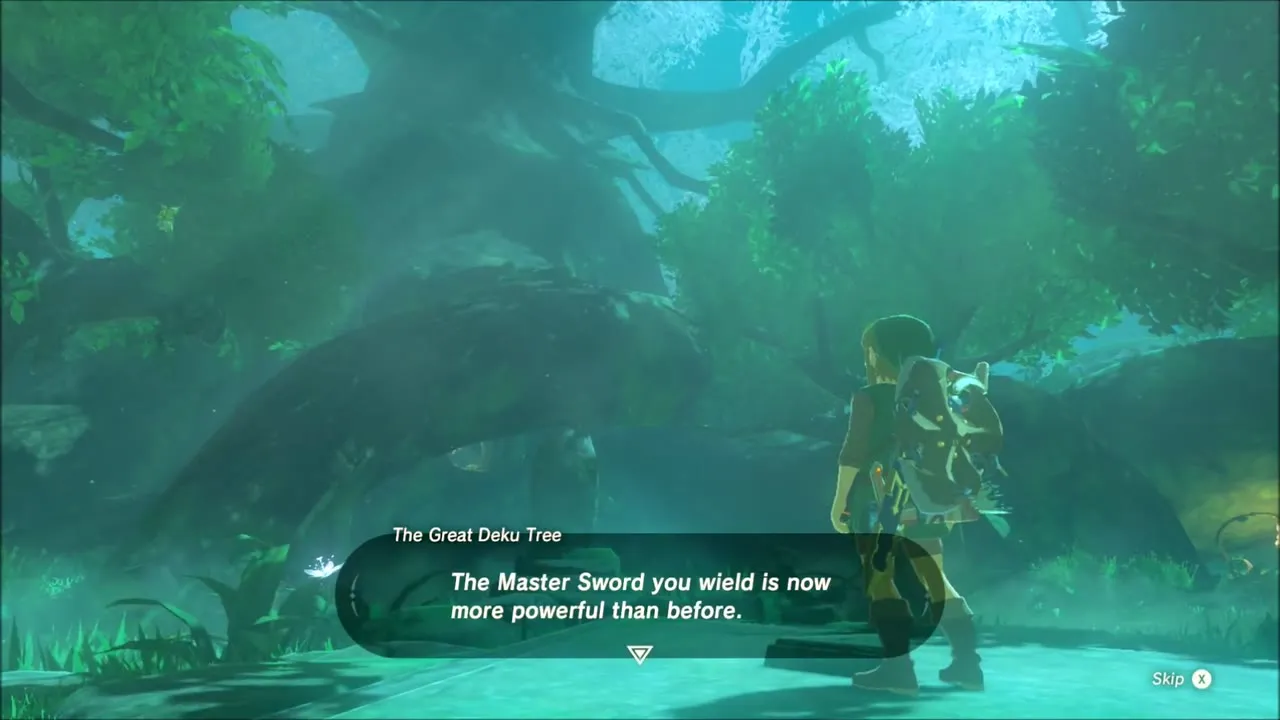
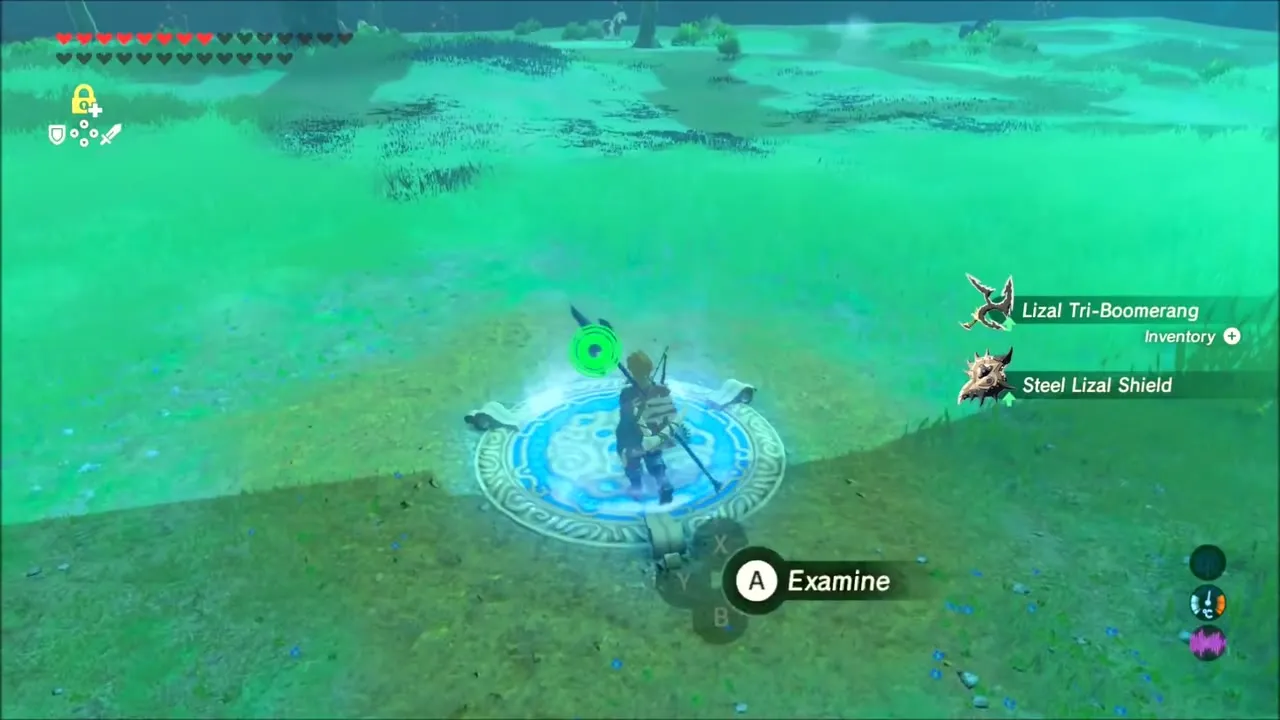
The last room is a grassy arena with a Hinox. Stay under its belly and out of its swings, shoot its eye when it opens, and keep a few arrows for the finish; the Spiked Boko Bow breaks during the fight, so pick up another weapon. Collect the Palm Fruit and arrows left behind, then walk through the last door. A voice commends your efforts and the Master Sword waits at the top of the stairs. Take hold of it to finish the Beginning Trials; the sword returns to Link and the Great Deku Tree comments on your strength.

Trial of the Sword: Middle Trials Walkthrough
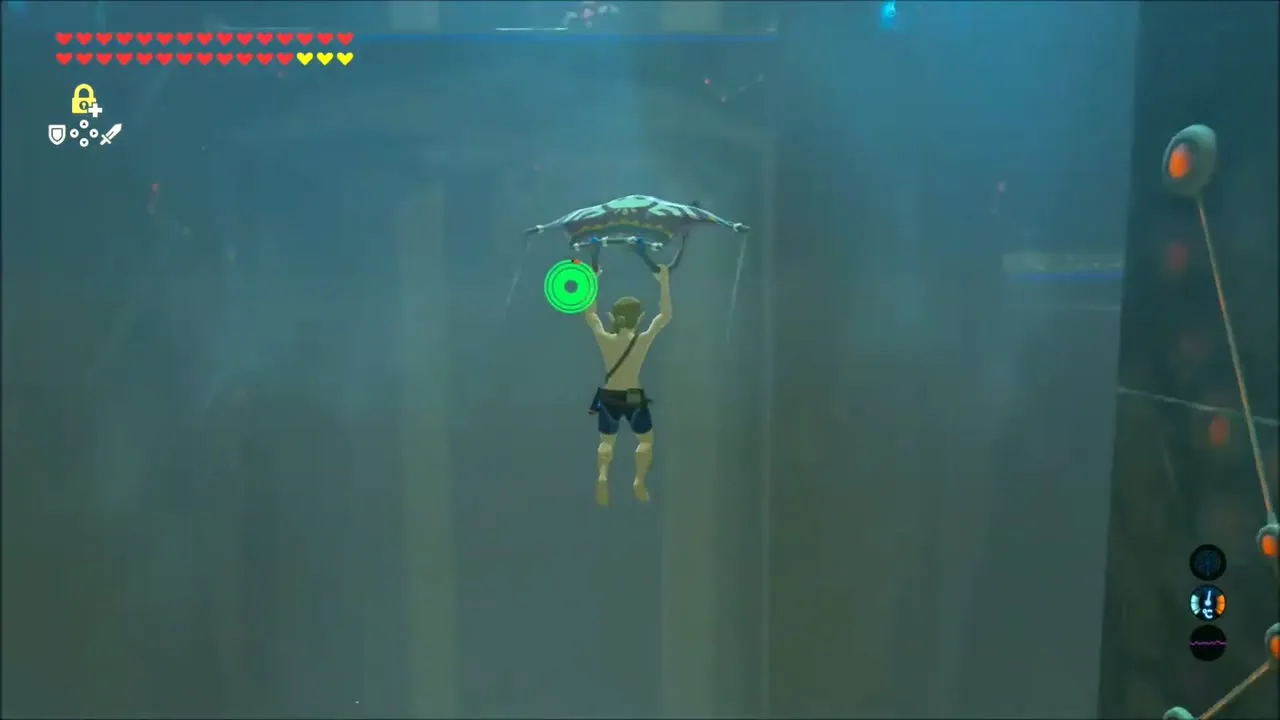
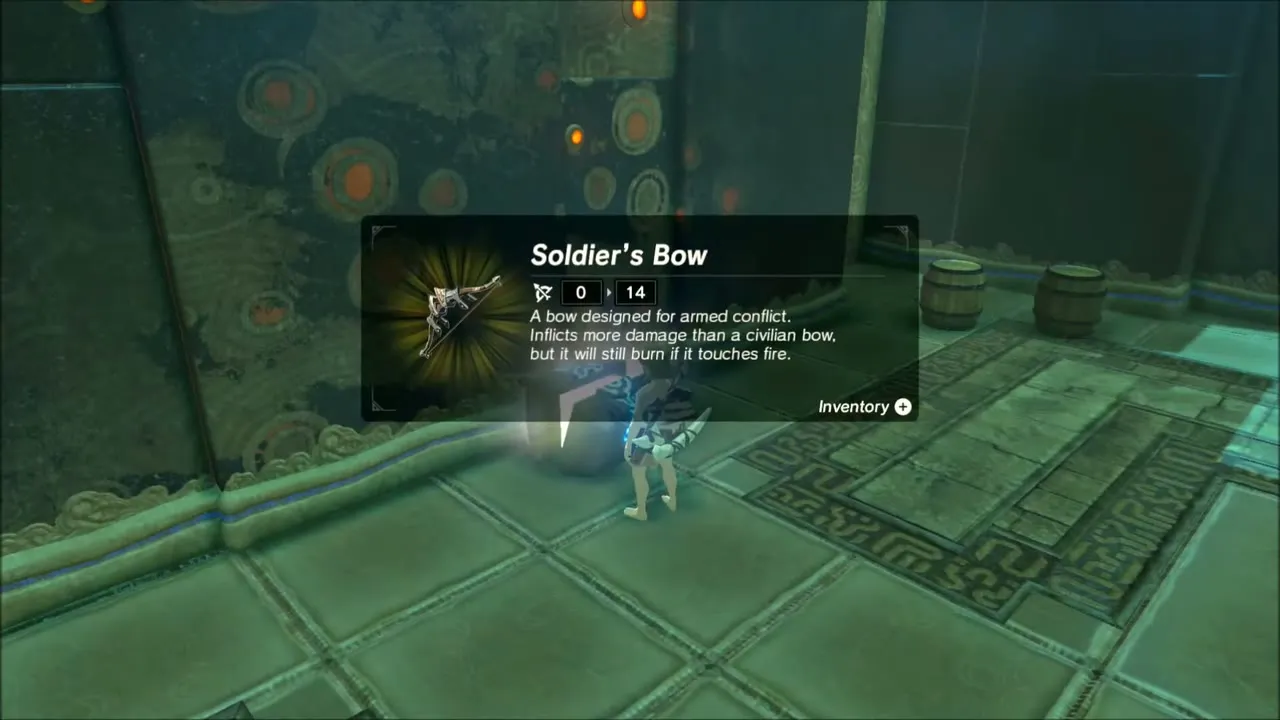
After the Beginning Trials, talk to the Great Deku Tree again and set the Master Sword in the pedestal once more. You start with nothing, and the warning appears again that everything you collect is lost on your return. The early rooms are stone halls with updrafts that let you glide and fire traps. The Remote Bomb rune and Stasis are available here; use bombs on the groups of enemies and grab the Soldier’s Spear and Soldier’s Bow from the first chests.


First floors: fire, wind and floating casters
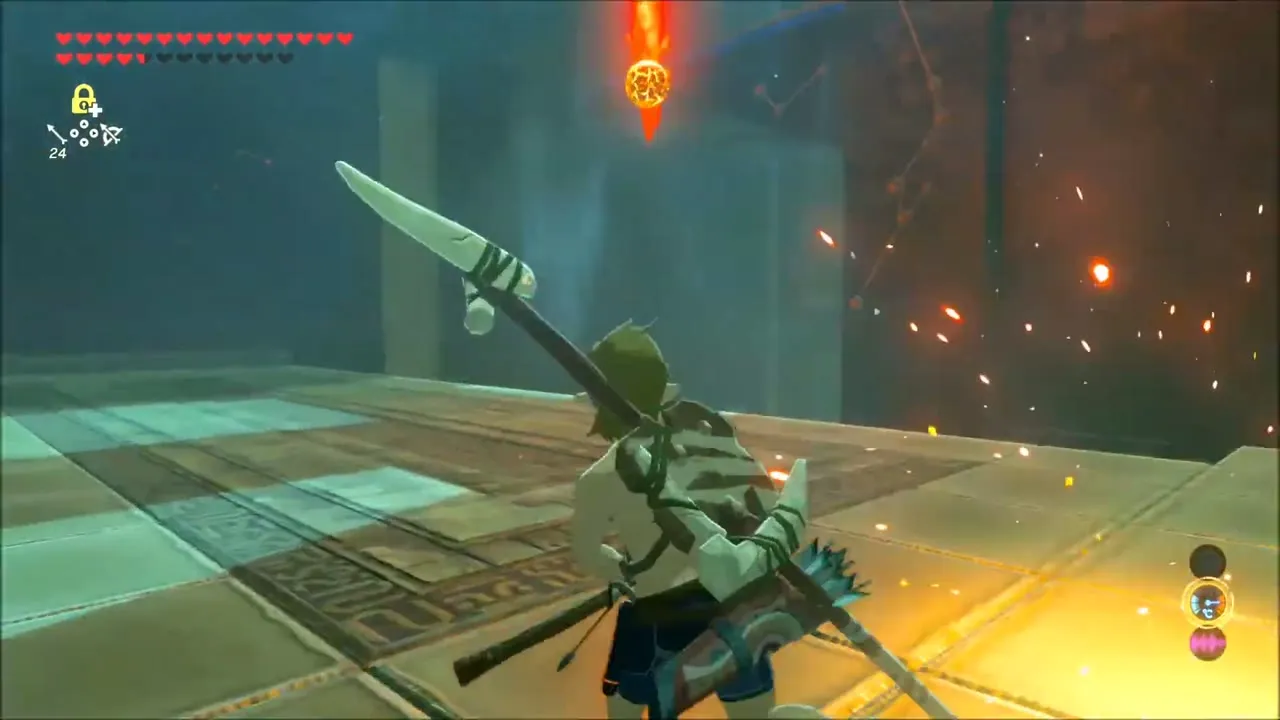
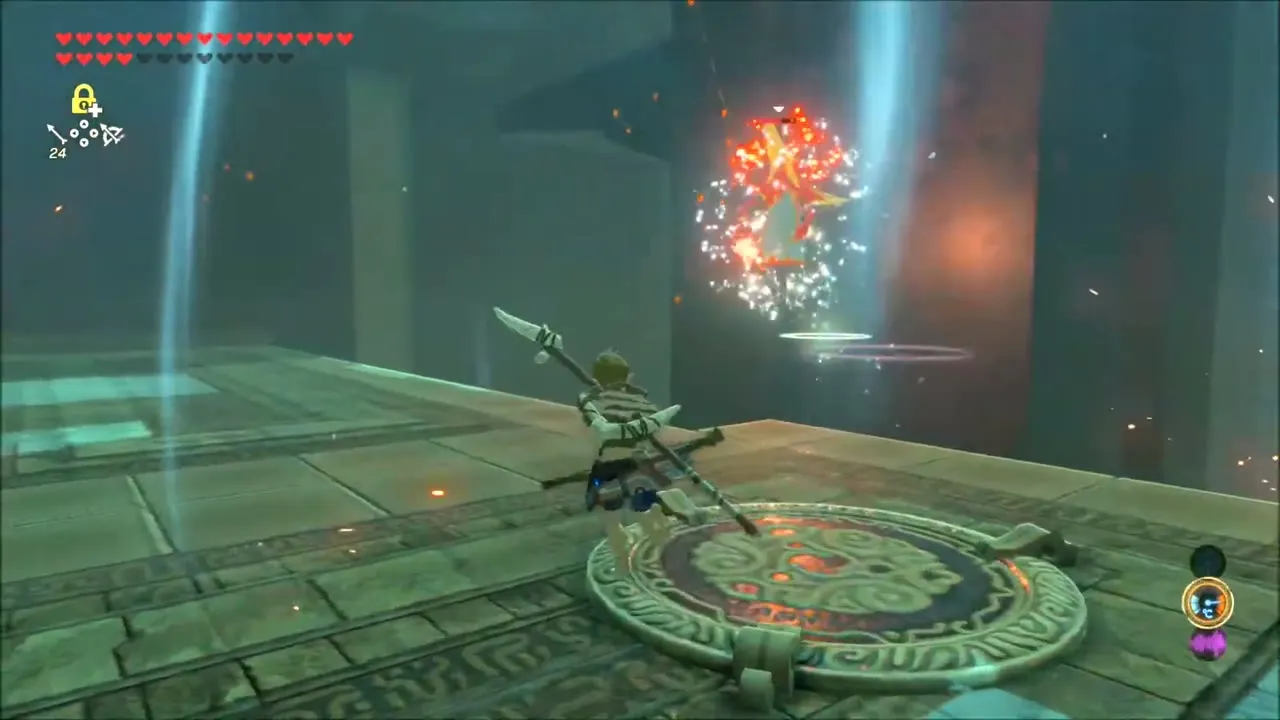
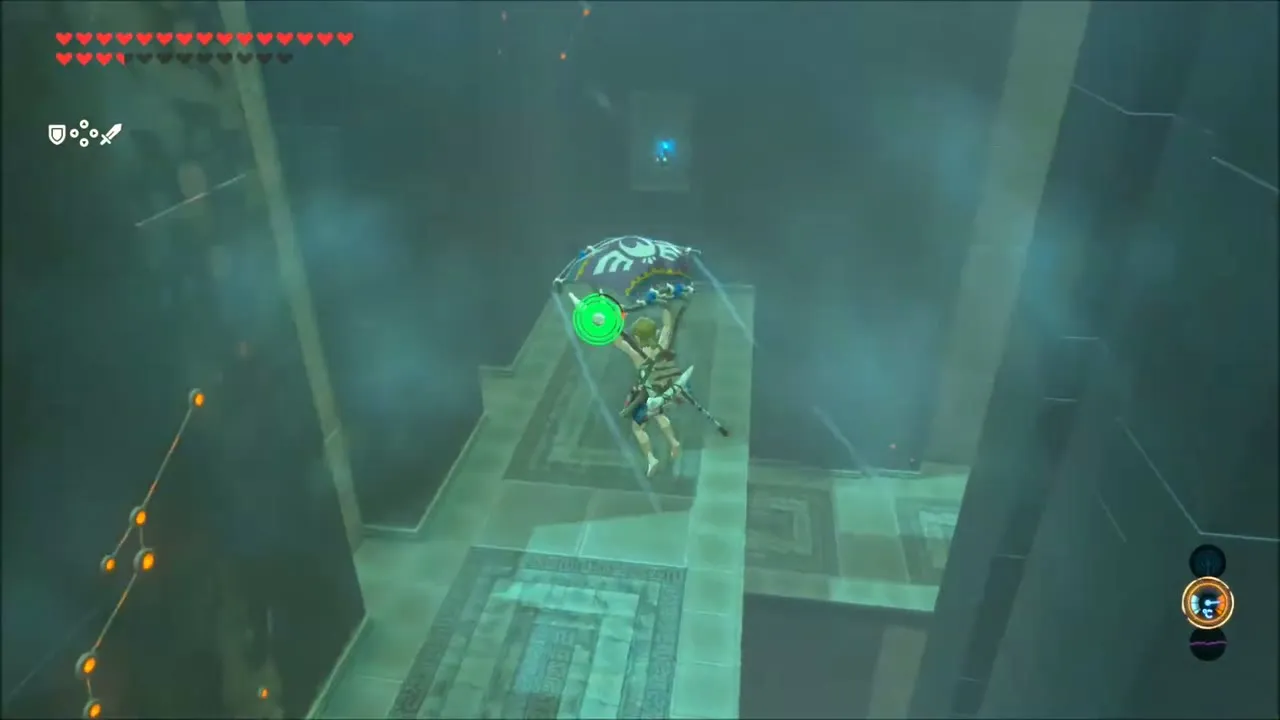
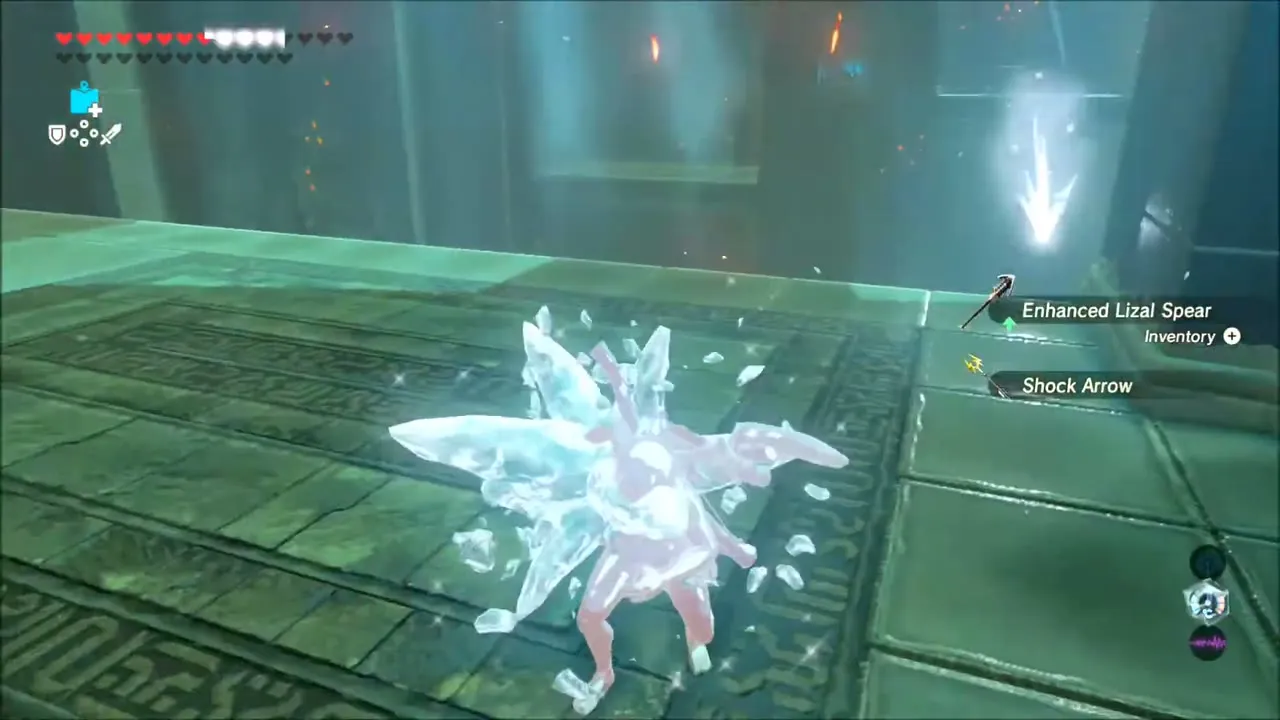
Further in, wind columns carry you over pits, burning rocks drop from above, and robed casters float over the arena.An Enhanced Lizal Spear and an Ice Arrow stack show up in later rooms; the Ice Arrows are useful against fire enemies.

Decayed Guardian
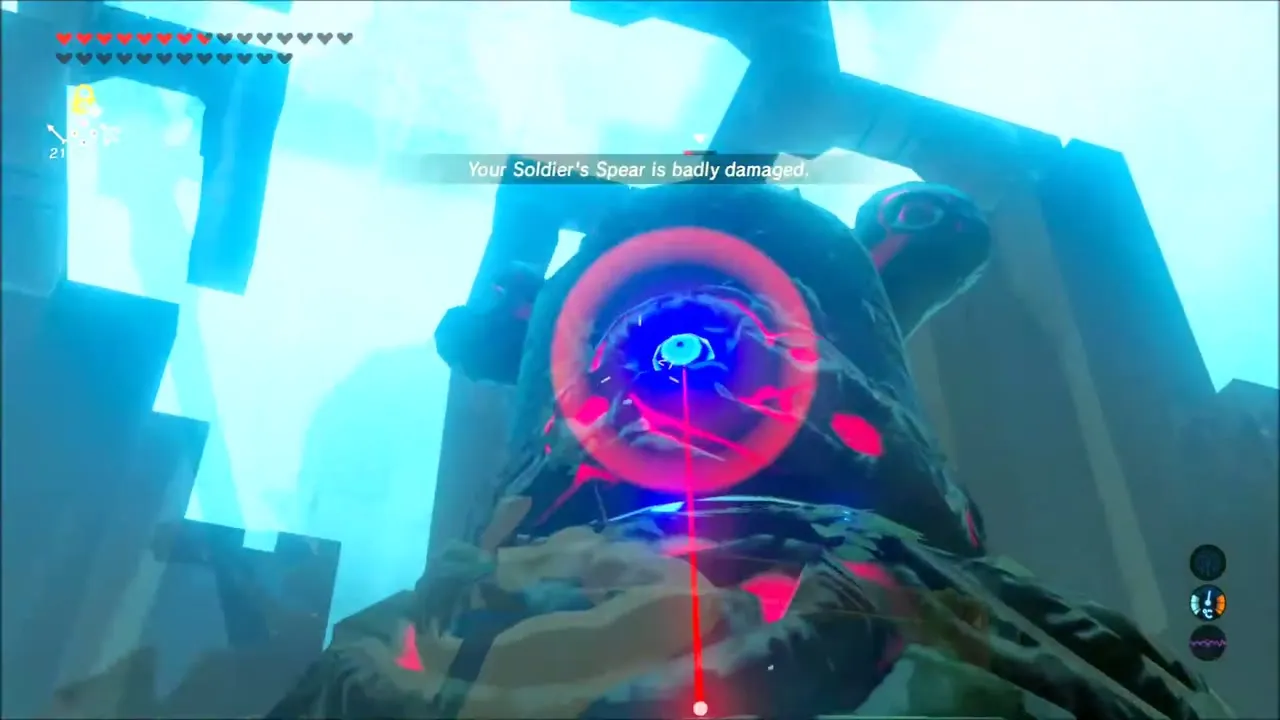
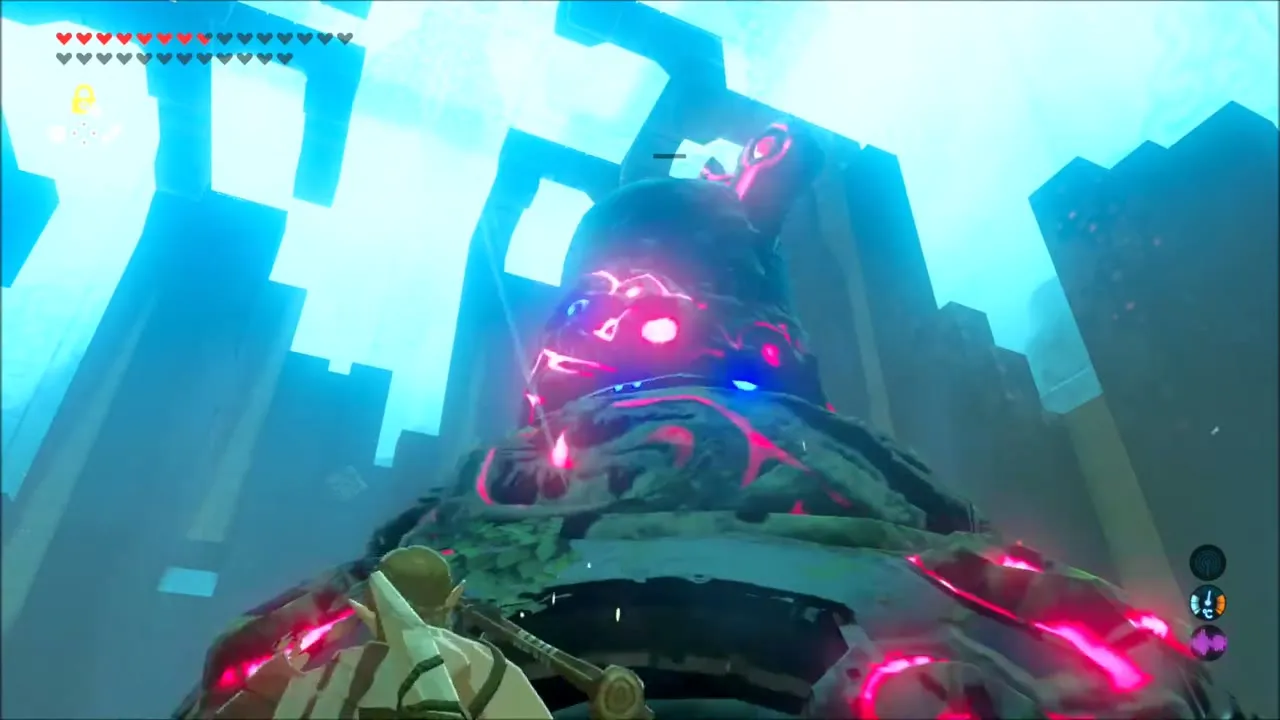
A Decayed Guardian guards the next arena. Keep moving around the stone pillars, shoot its eye when it charges the beam and finish it with melee hits from behind. Reaching the room beyond gives you a rest platform with a pond.

Rest room: Knight’s gear
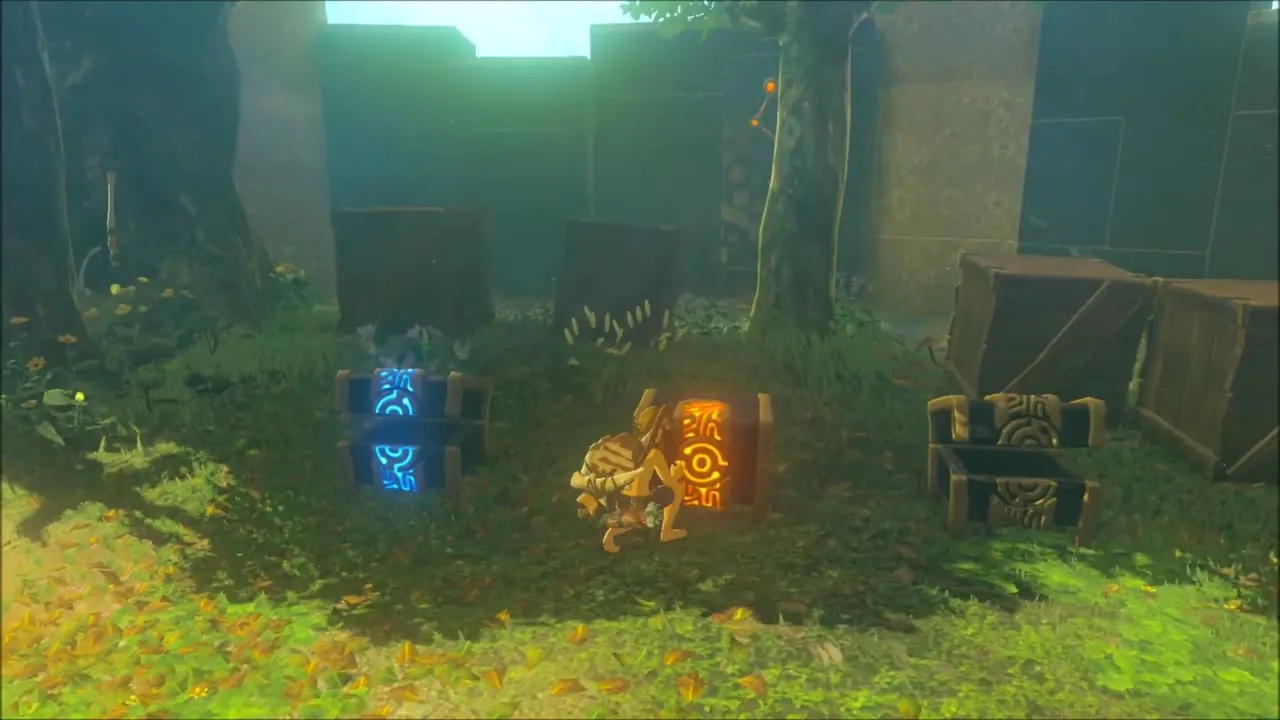
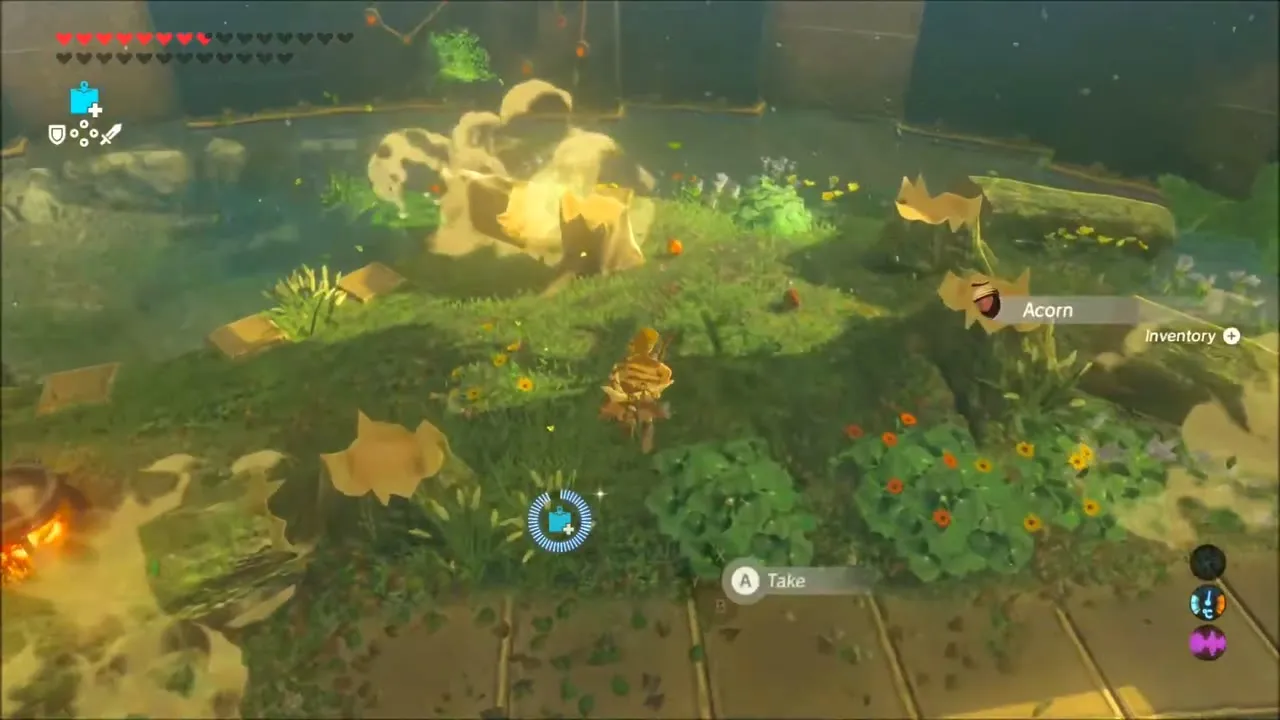
The rest area has several chests next to the fairy and the platform. Open them to restock weapons, shields and bows. Fish in the pond, gather wood and fruit, and cook Fish Skewers and Simmered Fruit at the pot before moving on.


Floors 6 to 9: dark forest rooms
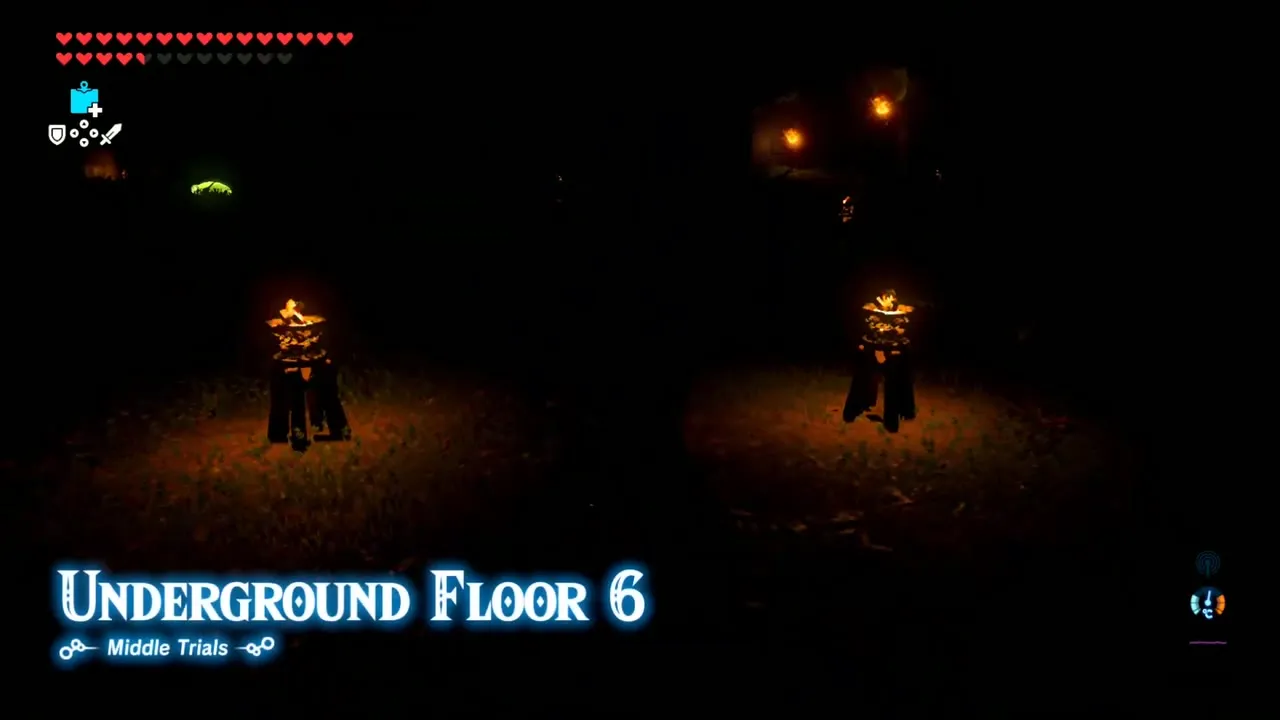
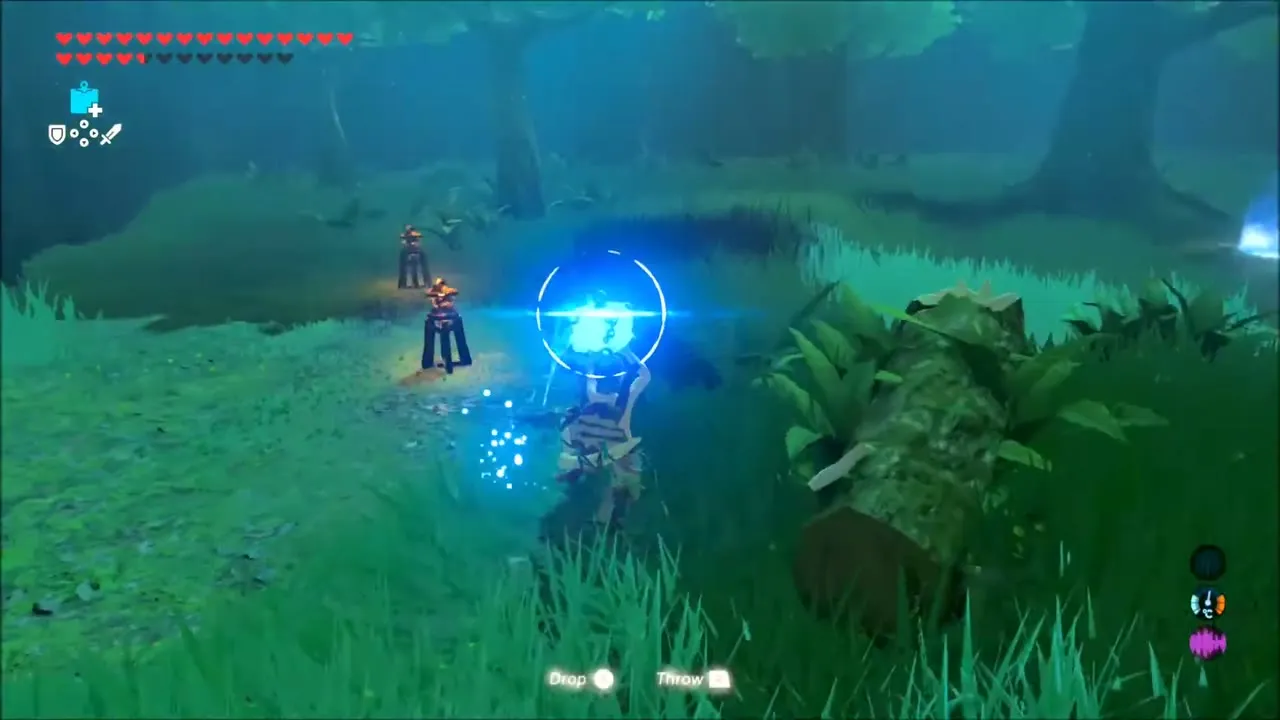
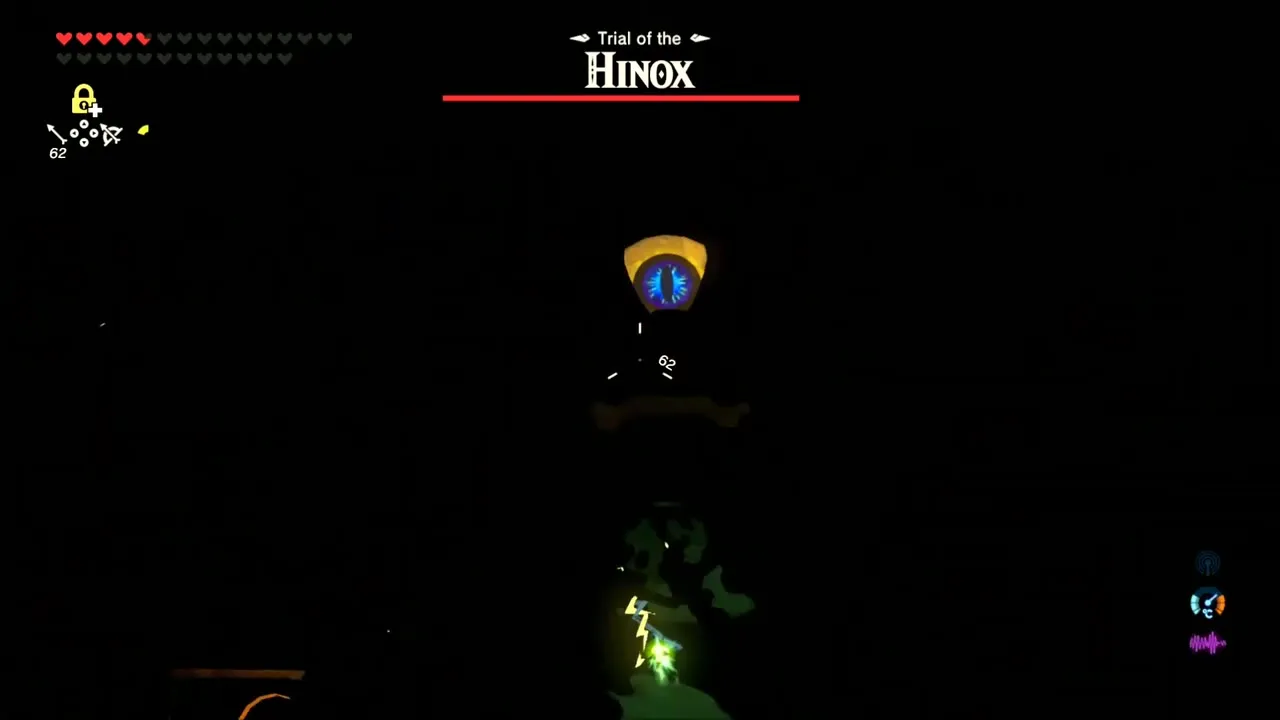
Underground Floor 6 starts a stretch of dark rooms lit by torches, with Bokoblin and Moblin camps in the forest. Your Soldier’s Broadsword breaks; keep a Shock Arrow stack and a Korok Leaf in the pack. Floor 9 is dark as well, with enemies hiding between the torches. A Hinox waits in the dark; hit its eye with arrows and slow it with Stasis when it charges.


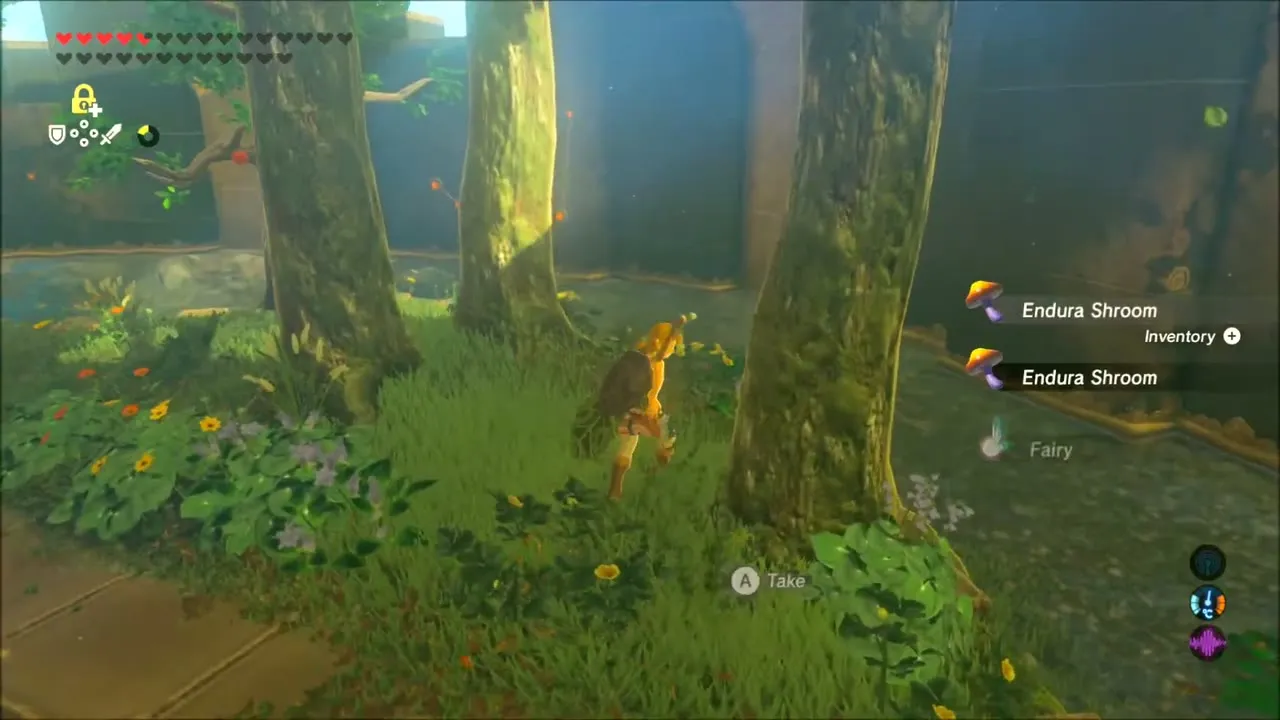
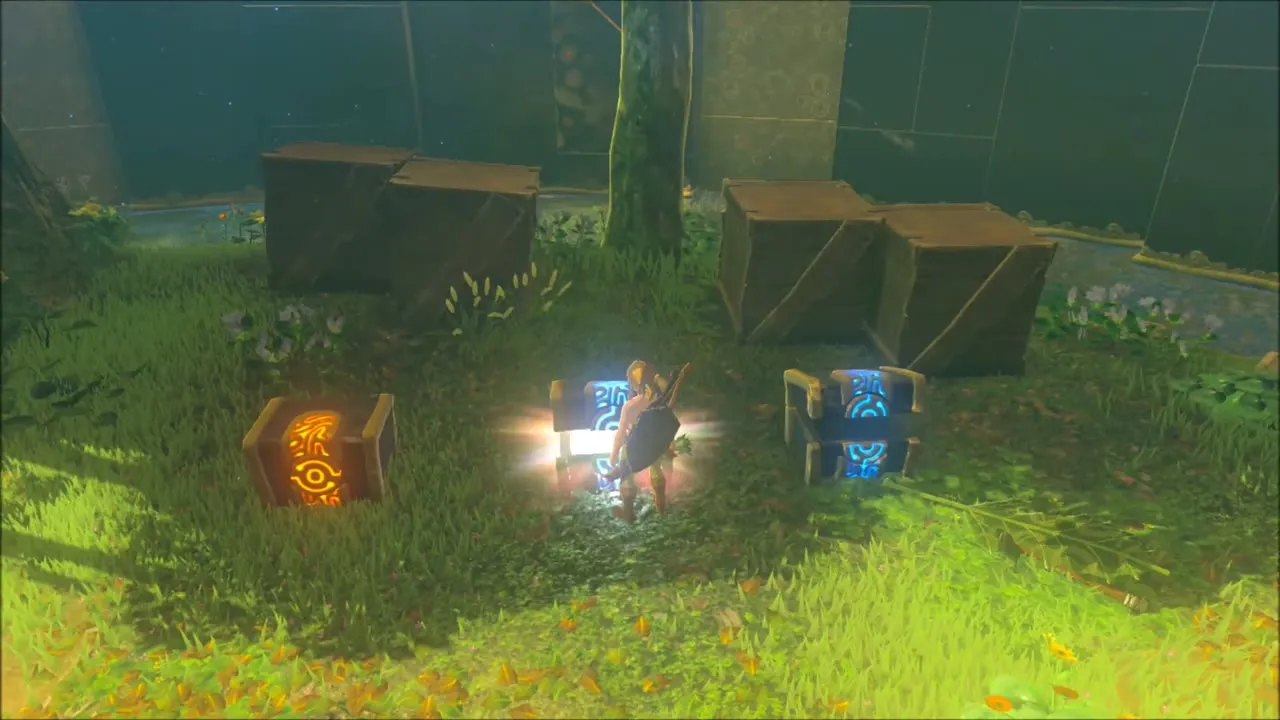
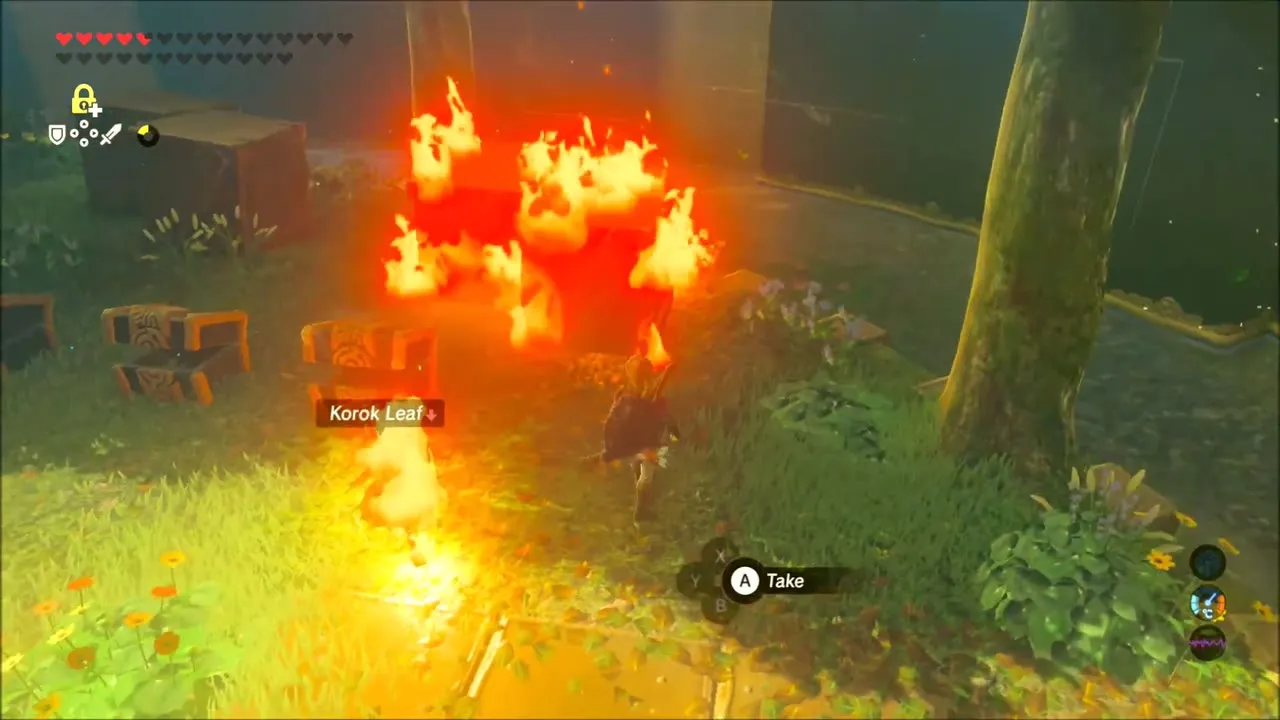
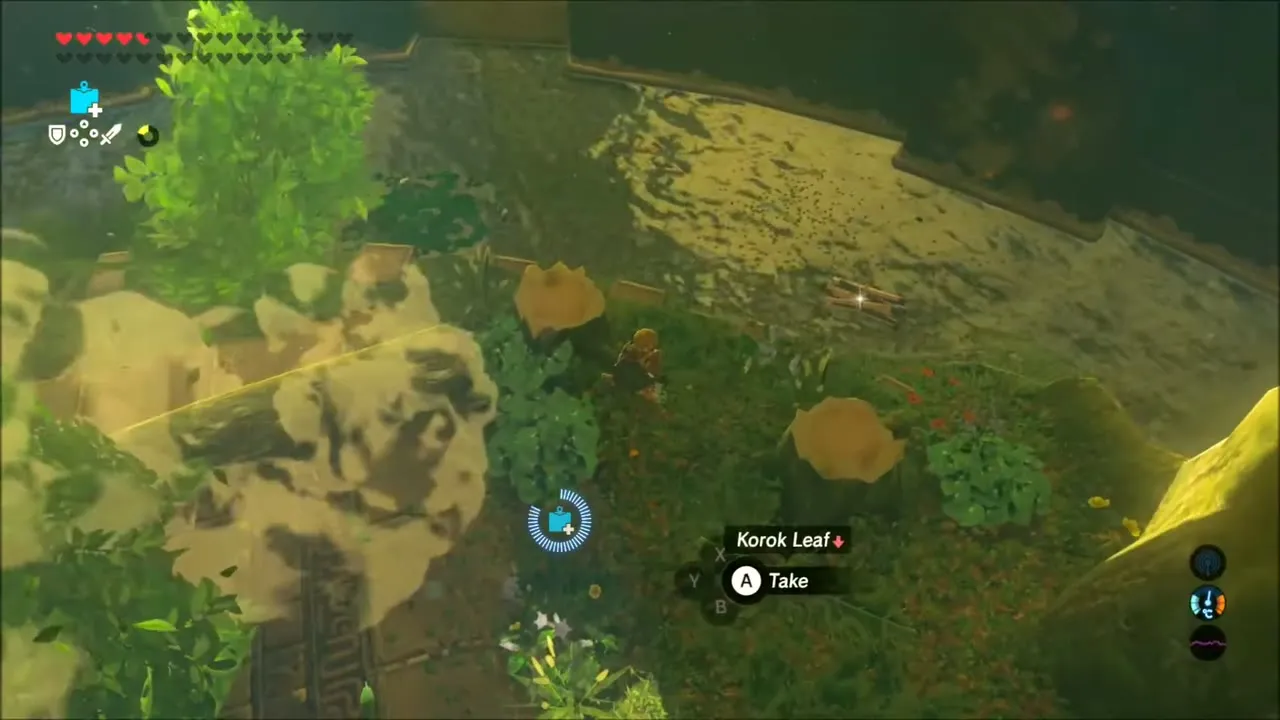
Second rest room: Hylian Tunic and Forest Dweller’s weapons
The second rest room has a fairy nearby and a row of chests. They hold armor and weapons to restock with. Use a torch to burn the wooden crates if you want to reach everything. A Korok Leaf is among the loot too.
Final floors: arrows, Knight’s Bow and Guardian Scouts
On the last floors, Stasis helps against arrows and moving platforms. Guardian Scouts block the way and drop Guardian weapons such as a Guardian Spear and a Guardian Sword+ when they fall. Watch your weapon slots, because Link cannot carry any more melee weapons once they are full.
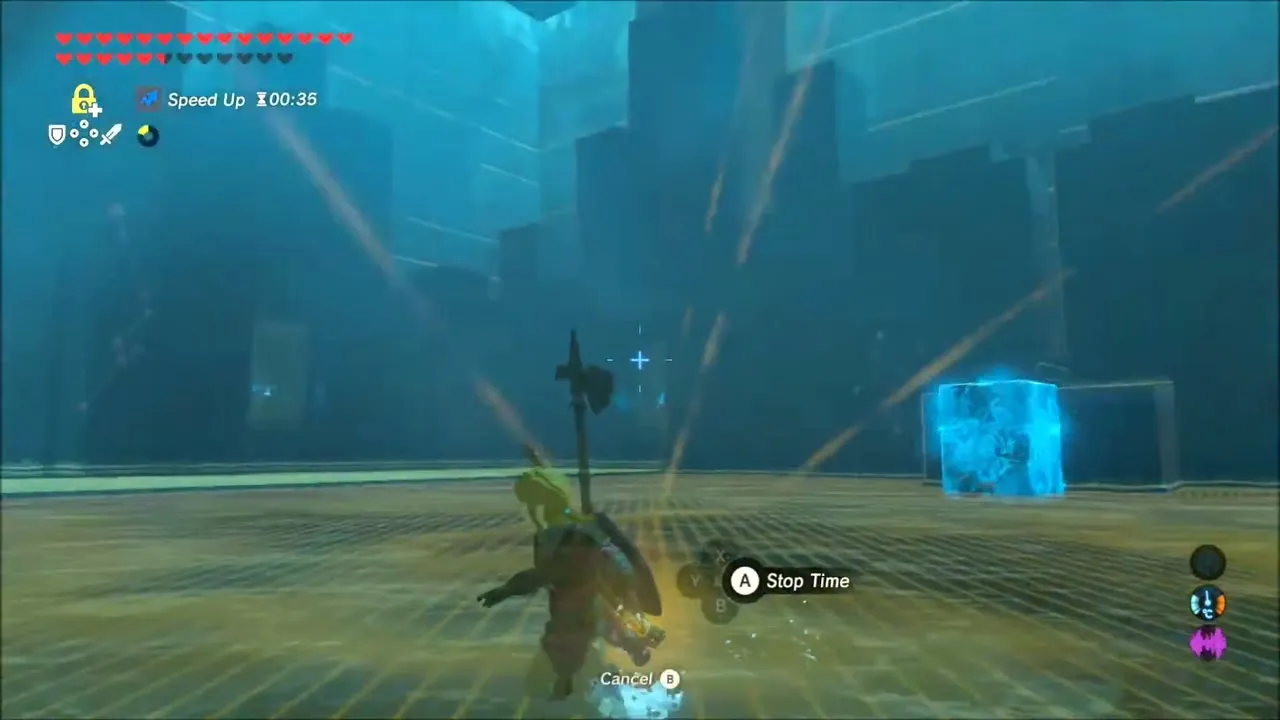


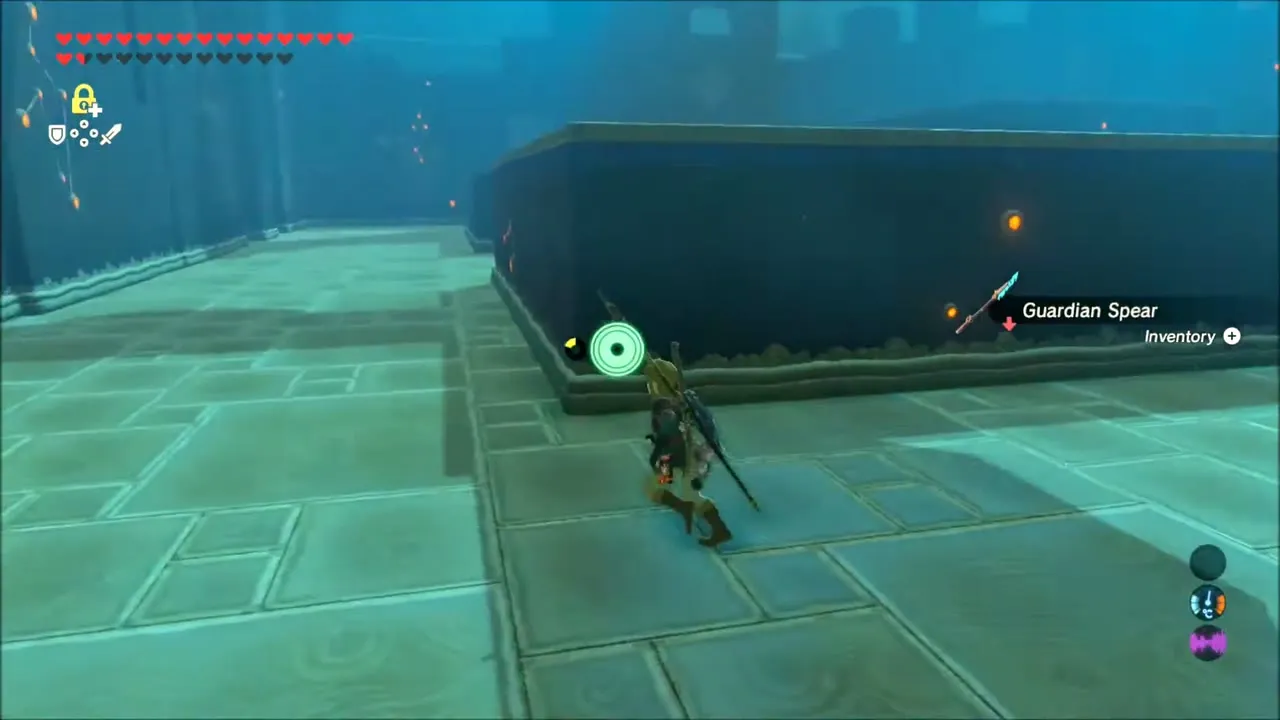
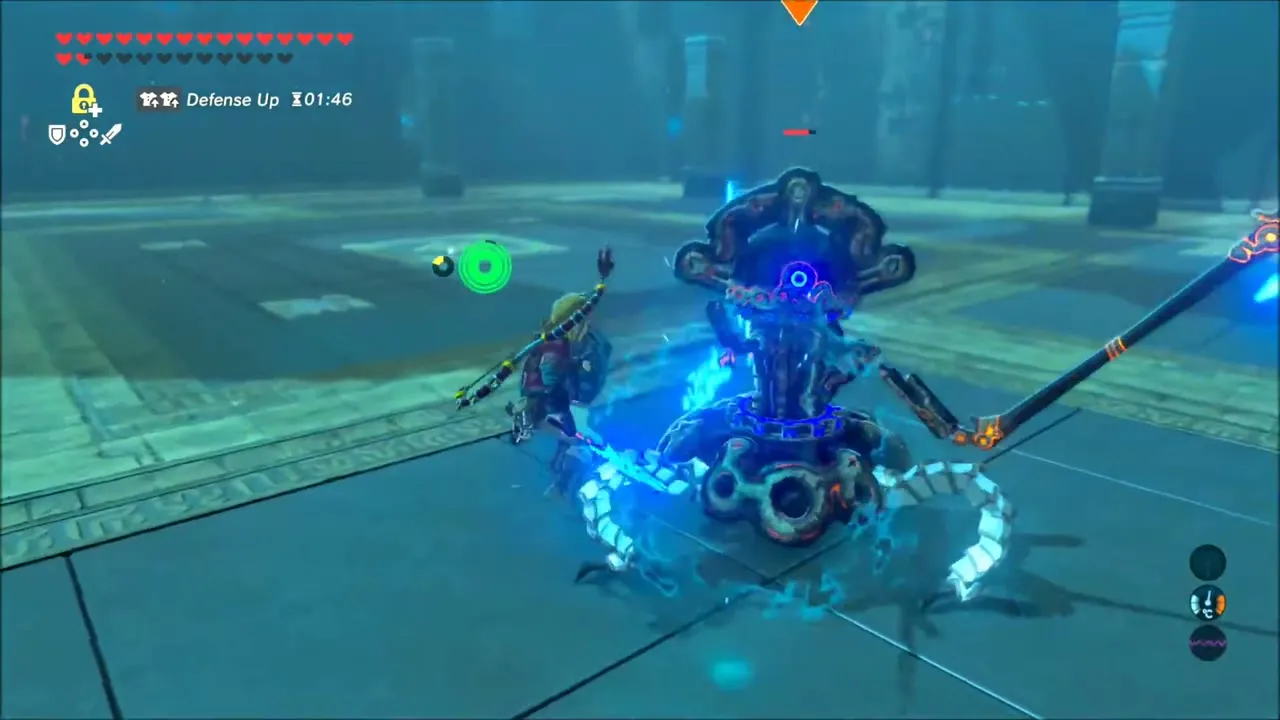
Guardian Scout fight and the second pedestal
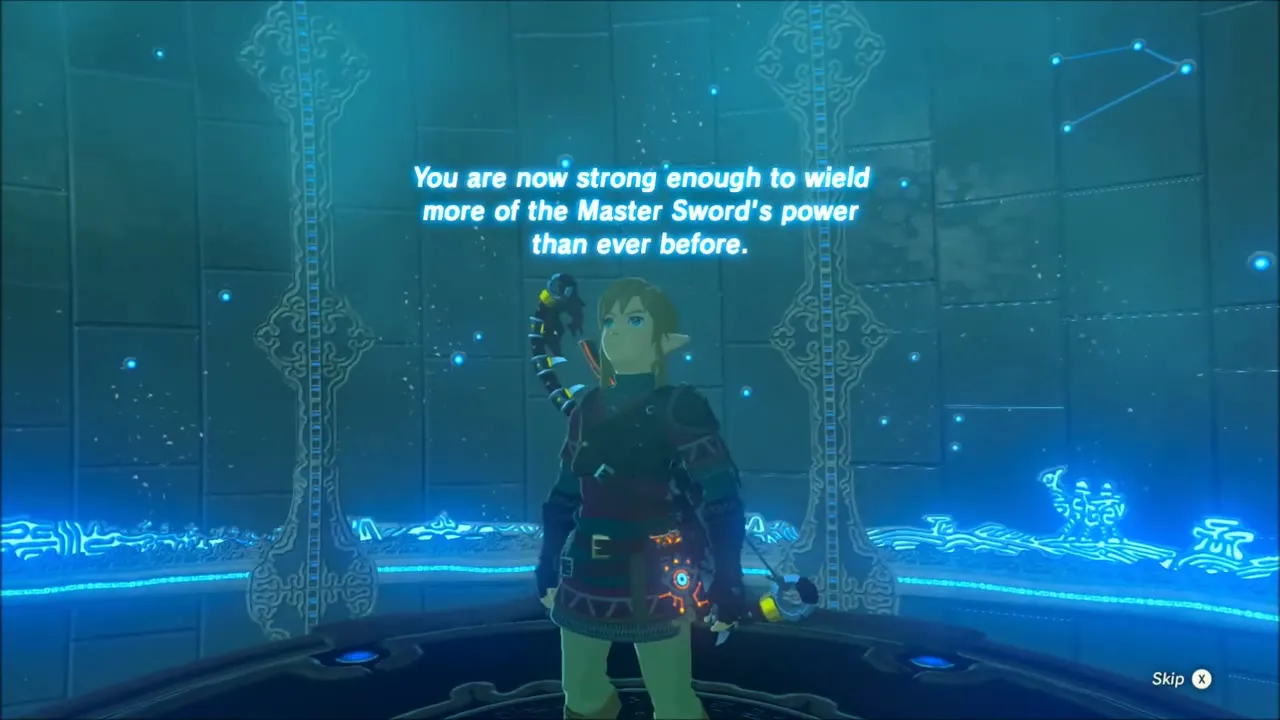
The final Guardian Scout carries a glowing blade. Dodge its swings and parry its beam, or shoot its eye. Eat a defense meal beforehand. When it falls, take the weapons it drops, then climb the stairs to the Master Sword. A voice tells you that you are now strong enough to wield more of its power than ever before, and you return to the Korok Forest, where the Great Deku Tree offers you another try to gain still more power.


Trial of the Sword: Final Trials Walkthrough (Floors 1 to 23)
The Final Trials are the last and longest of the three sets, and they are the one you cannot afford to enter unprepared. Your hearts and any active meal effect carry in with you, so eat a food that boosts your attack or defense and fill the extra yellow hearts before you step up to the pedestal. Link starts in nothing but his shorts with no weapons, bows, shields or armor, and every floor is a sealed arena: clear the enemies and a blue light opens the way down. Everything you collect is wiped when the set ends, and a death sends you back to the first floor of the set empty-handed, so pick up every weapon and arrow you see. Save your Ancient Arrows above all else; they are your answer to the Guardians and Lynels near the end.
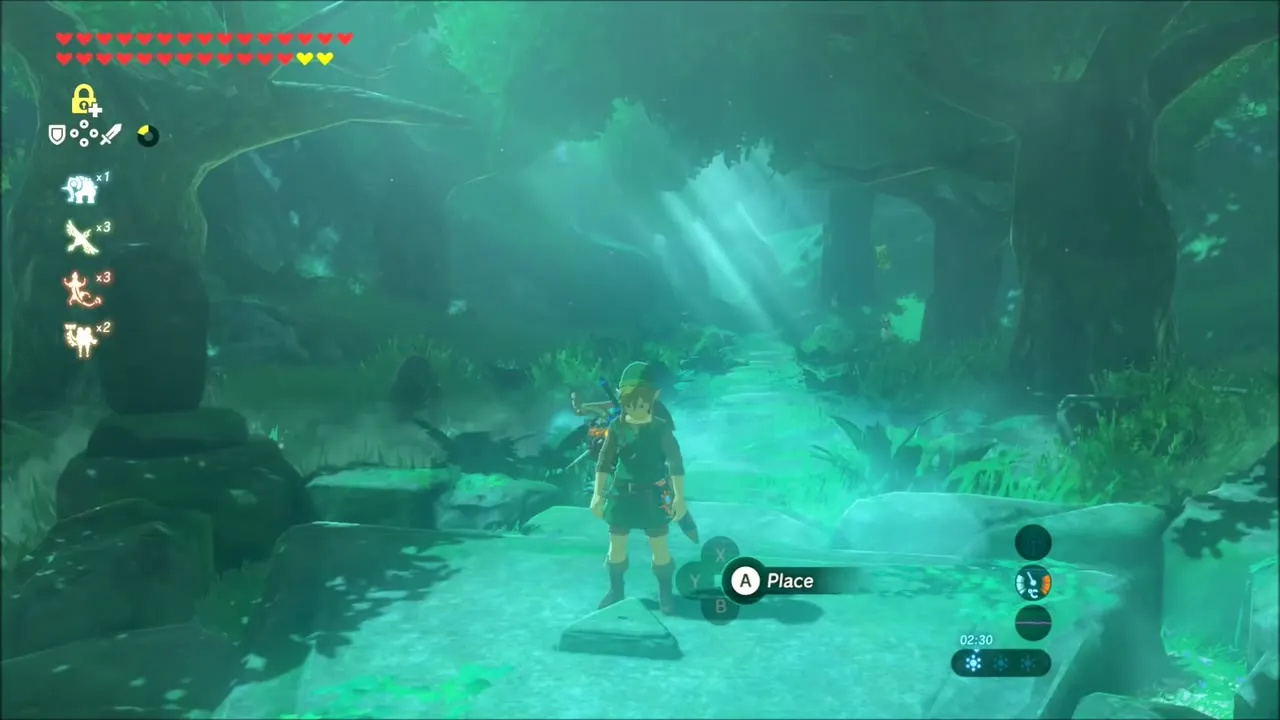

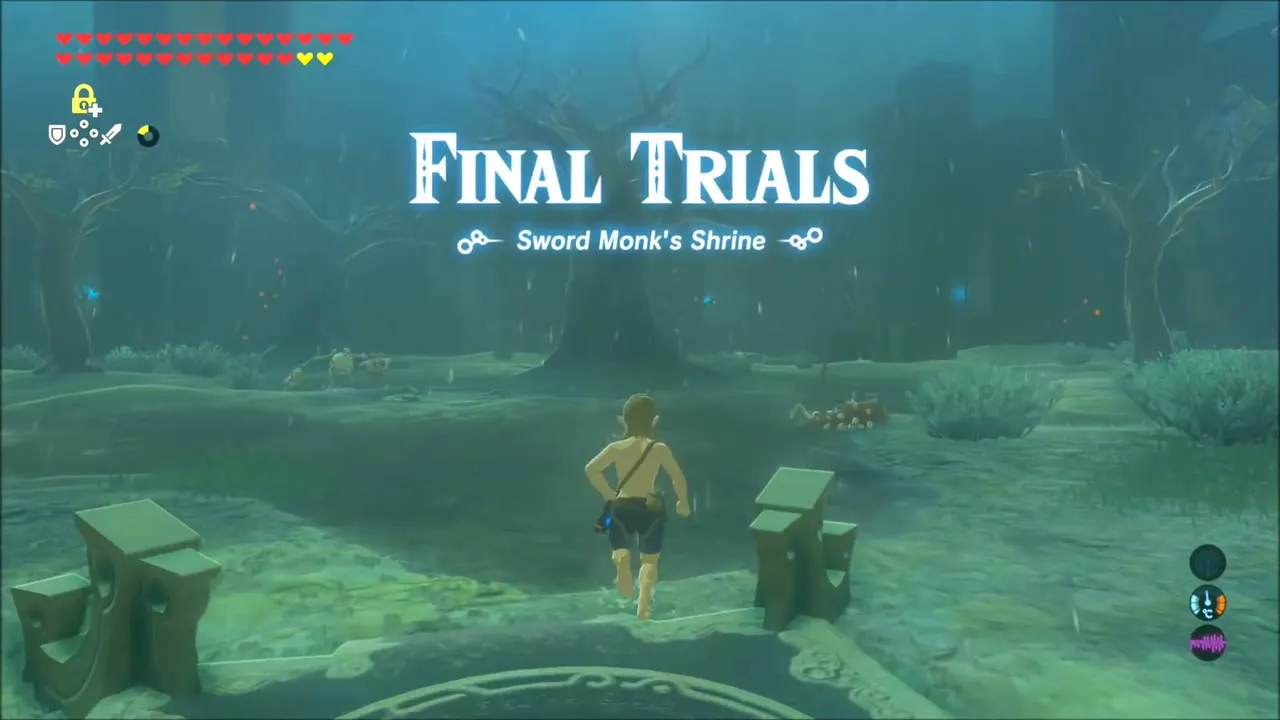
Floors 1 to 5: Storm Forest, Stalhorses and Stalnox
Floors 1 and 2 are wet forests under a lightning storm, and metal weapons lying around attract the bolts, so wield them only when you need to. The enemies are skeleton monsters (Stalkoblins on floor 1, then Stalizalfos and Electric Keese around a skull-shaped camp on floor 2). Take their Bokoblin Arms and other bone weapons, which are safe from lightning. On floor 2, shoot the Keese from a distance, roll a bomb to the explosive barrels in the skull before you wake the monsters inside, and use Magnesis to find the chest buried to the side of the skull.
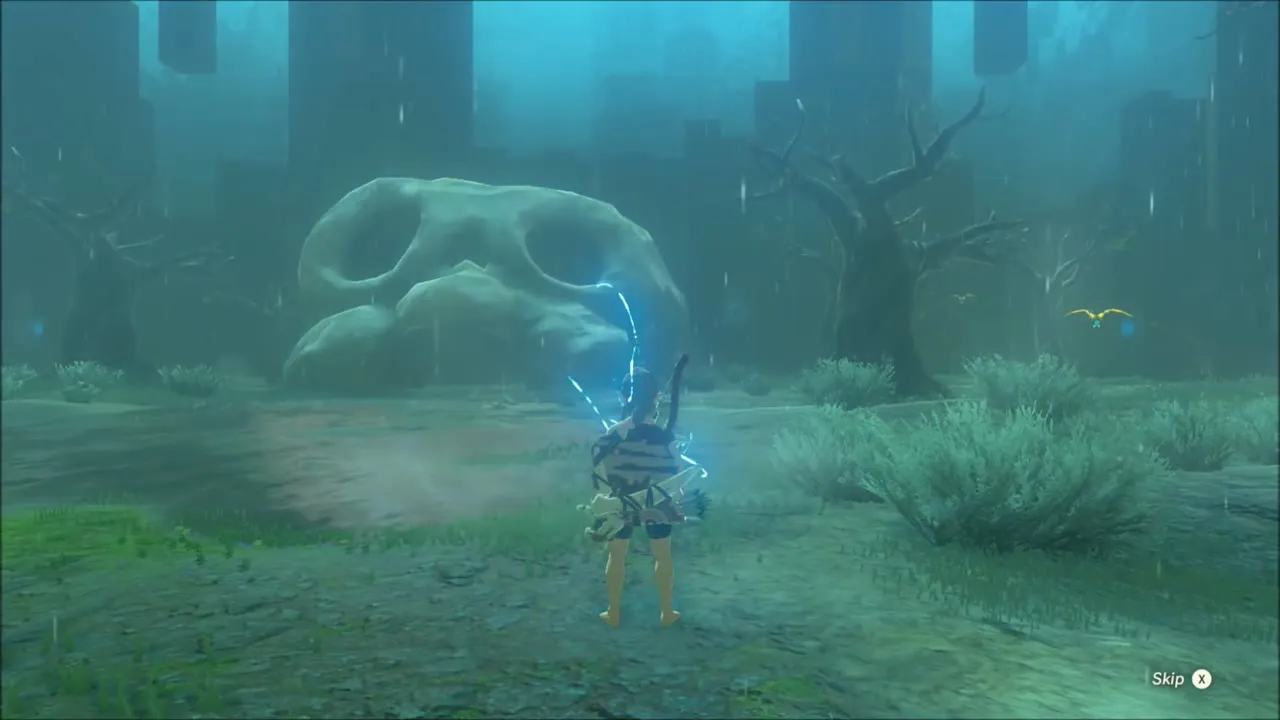


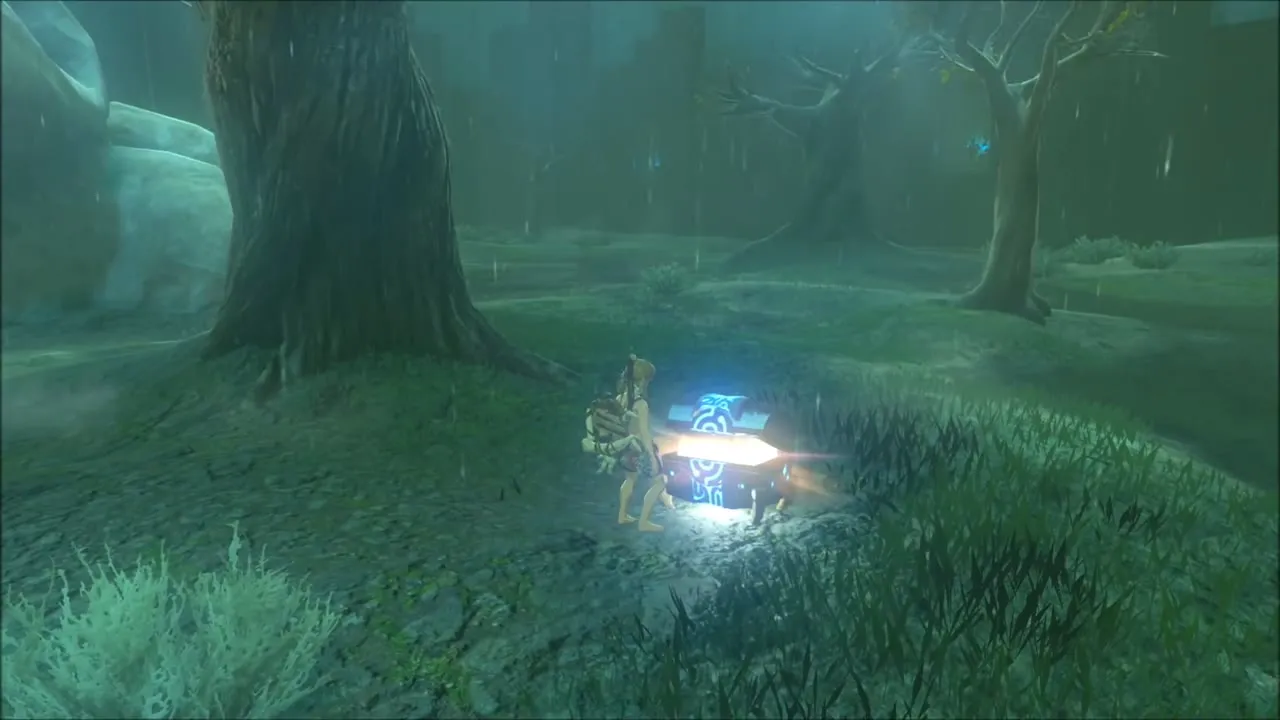
Floor 3 is a jungle of wooden platforms with Stalmoblins and big Electric Chuchus guarding the middle. Shoot the Chuchus from range, then deal with the Stalmoblins when they appear. Two chests sit on wooden platforms above the arena: one holds a Knight’s Shield, and the other is a metal chest you can lift down with Magnesis for a Knight’s Bow.
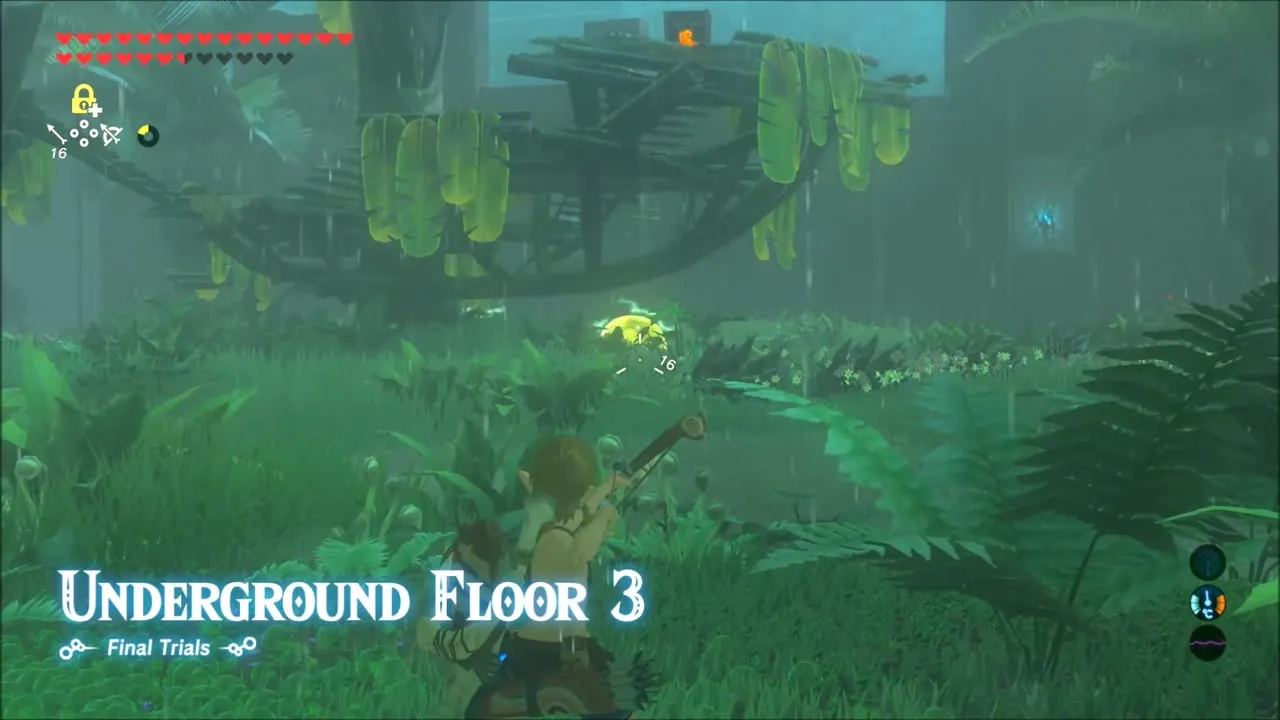

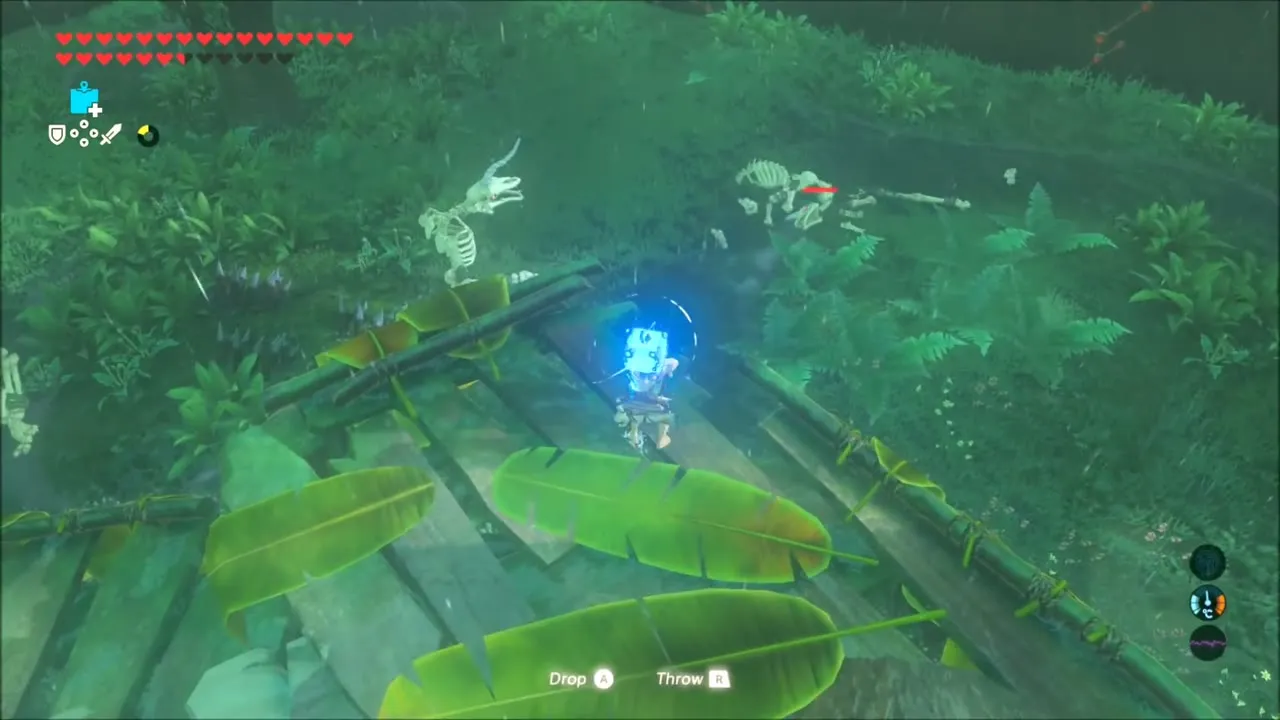
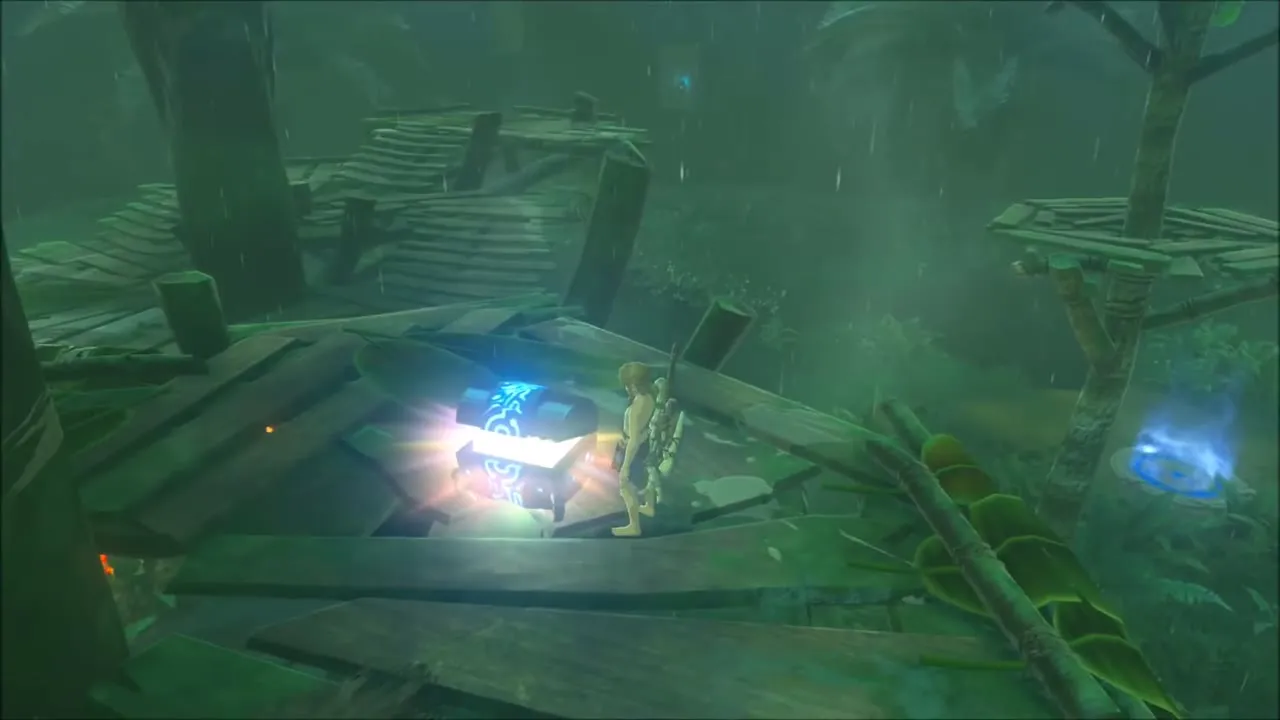
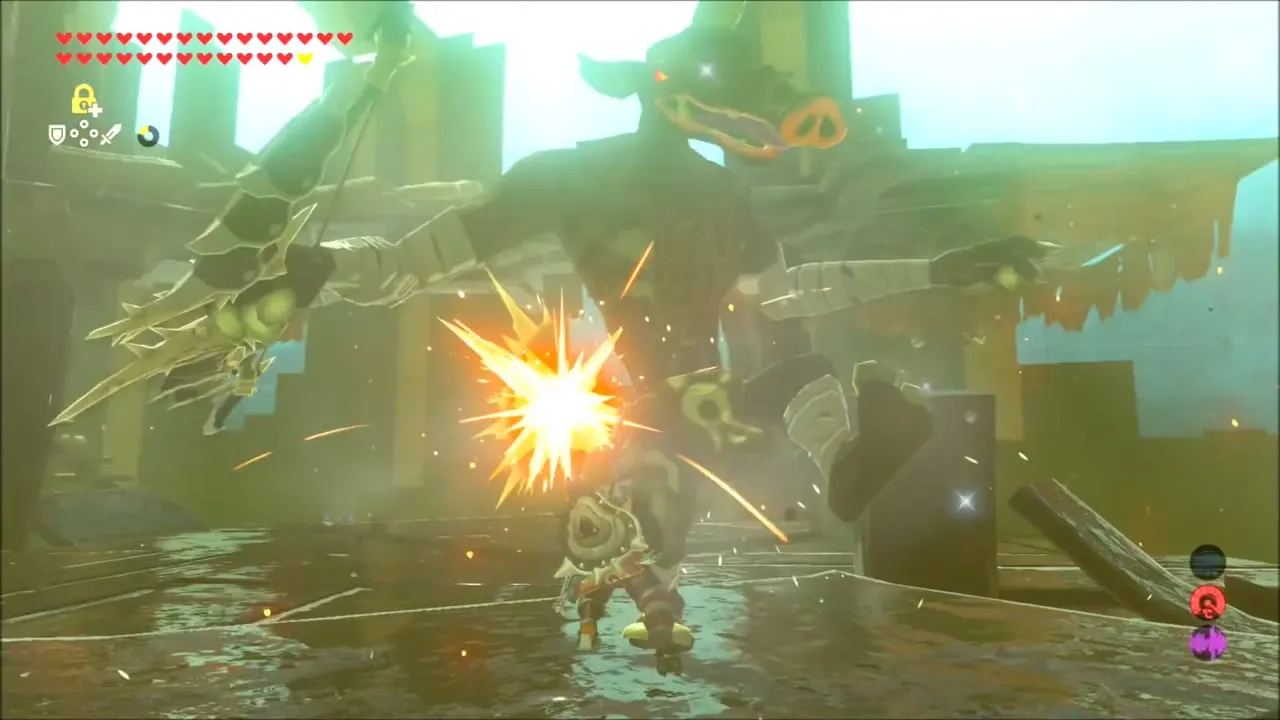
Floor 4 is a marsh where a pack of Stalkoblins charges you on Stalhorses the moment you arrive. Throw bombs into the pack to knock riders off their mounts, then finish them on foot and stay away from the spears; three archers wait farther out. Crates scattered around hold arrows, and Rusty weapons and Bokoblin Arms are your main supply of gear here.

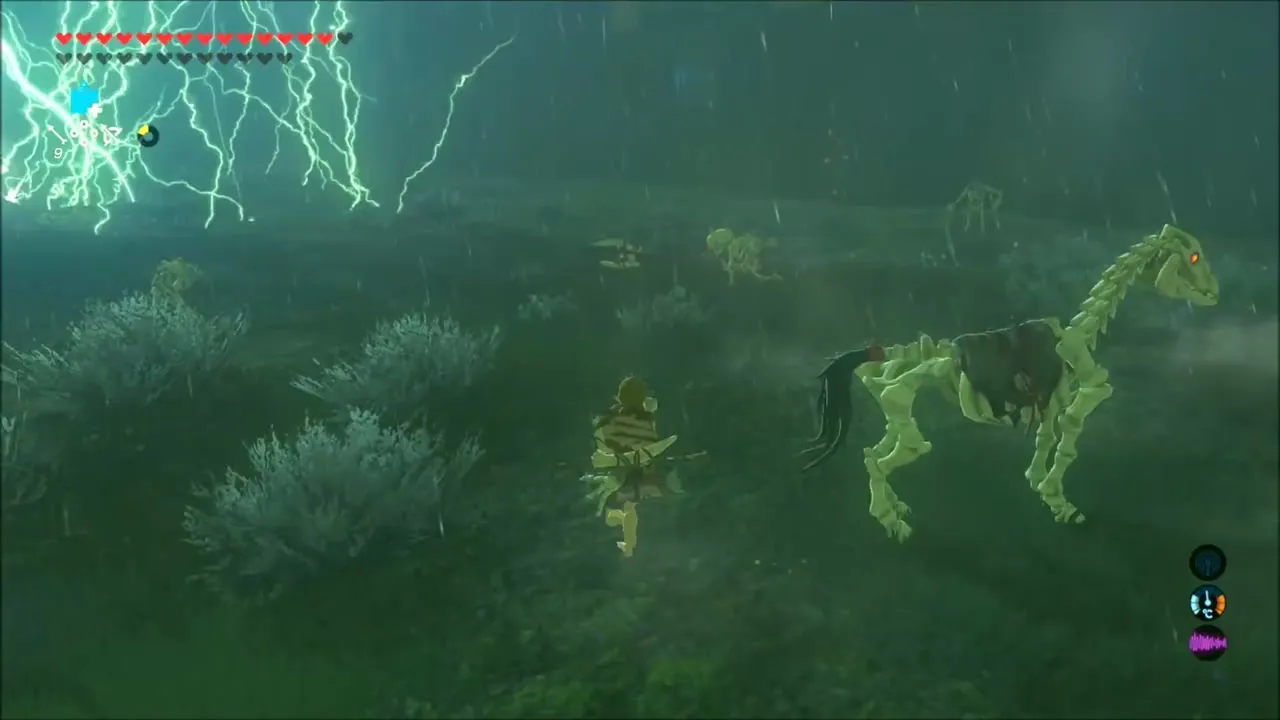


Floor 5 is a rocky field with a Stalnox, the skeletal Hinox, struck by lightning like everything else in the storm. Keep away from metal weapons while it is near, shoot the eye when it rises, and pick up the weapons it drops. A buried metal chest can be pulled out of the ground with Magnesis, and metal crates under the broken skull hold arrows.


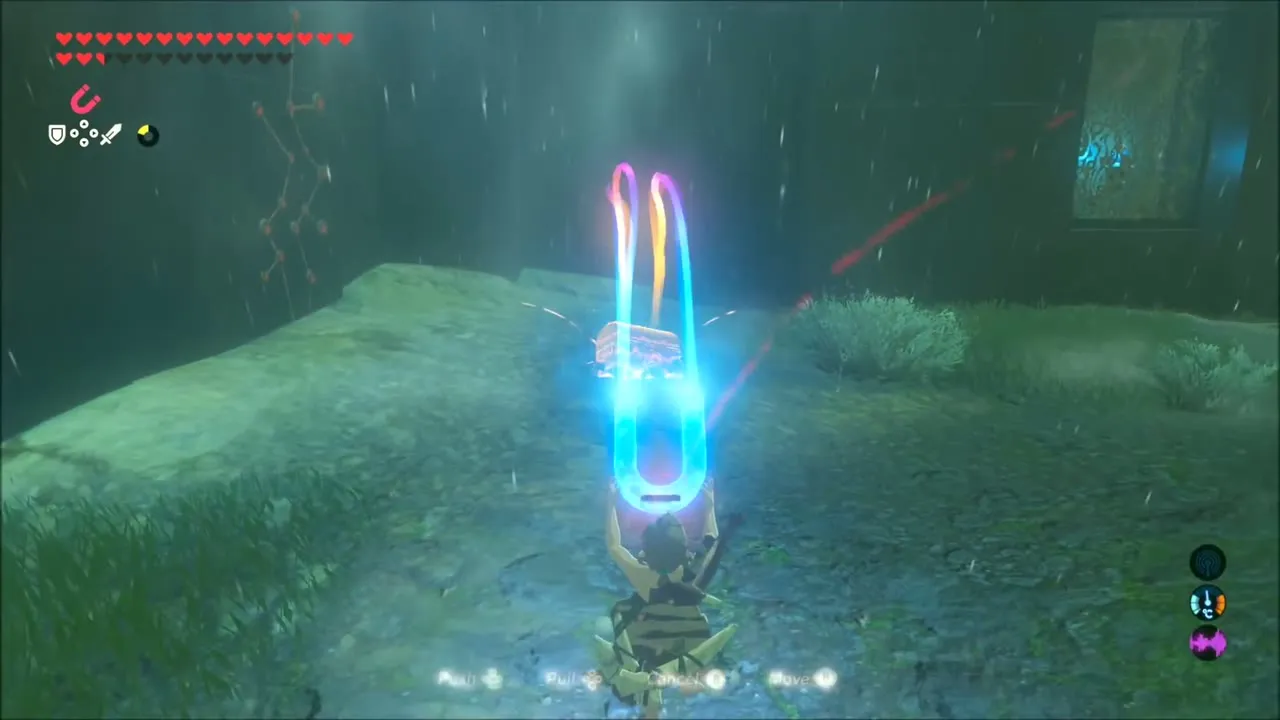

Floor 6: First Rest Area (Flamebreaker Boots)
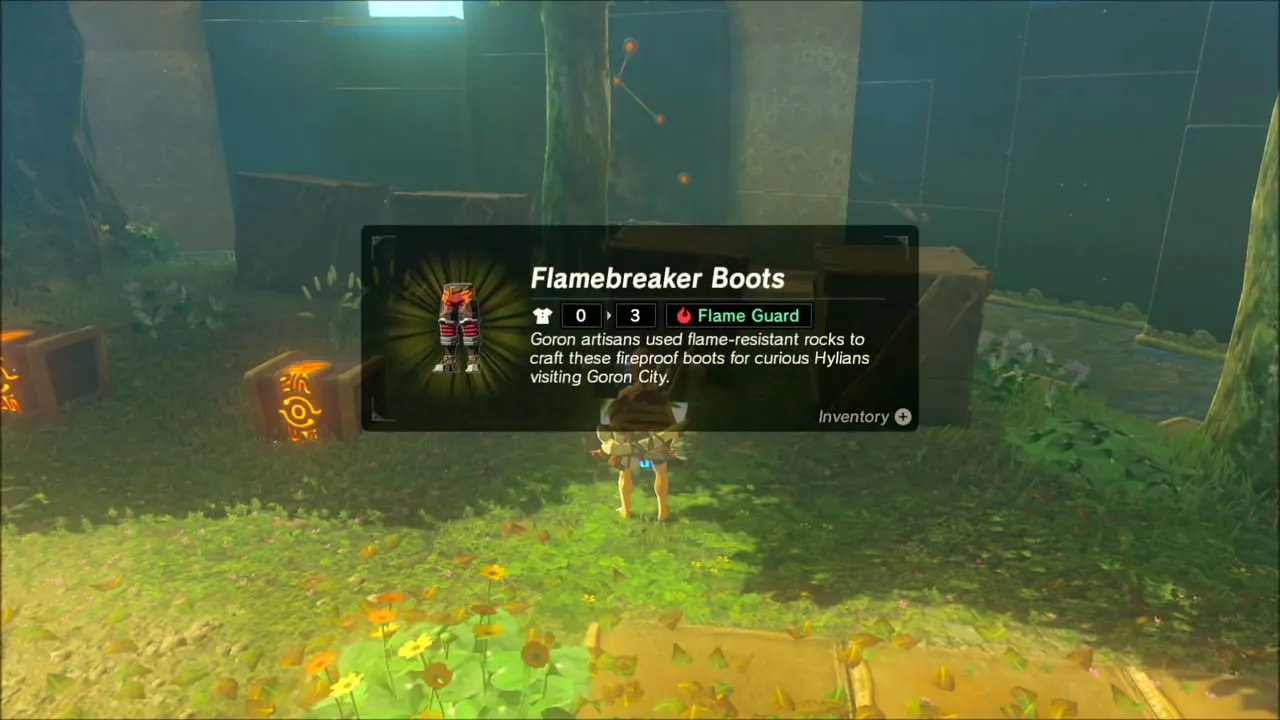
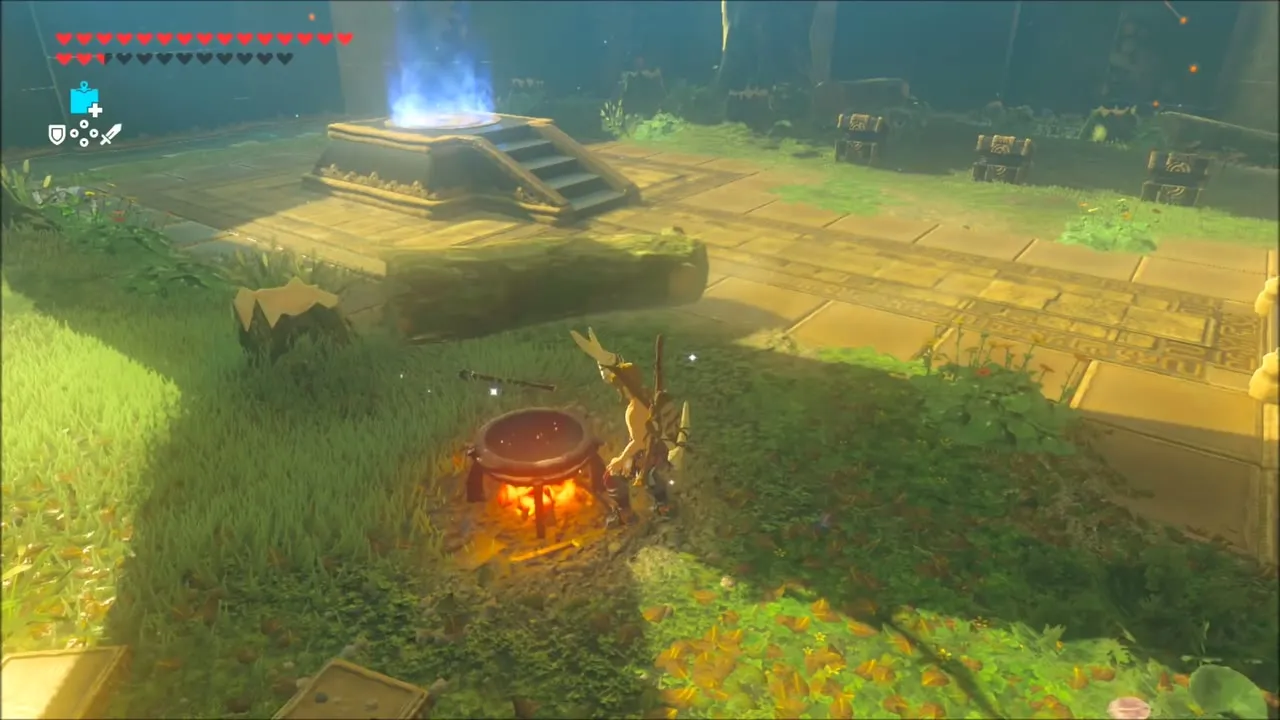
Floor 6 is a safe garden with a cooking pot, a fairy, crates of arrows and meat, mushrooms and fish. Three chests hold the Flamebreaker Boots, a Knight’s Bow and three Ancient Arrows. Put the boots on straight away, because the next set of floors is a lava field and you will burn without them, and save the Ancient Arrows. Cook any Hearty ingredient you find on its own for a full heal and bonus hearts, then eat before you drop through the portal.

Floors 7 to 12: Lava Floors and the Igneo Talus
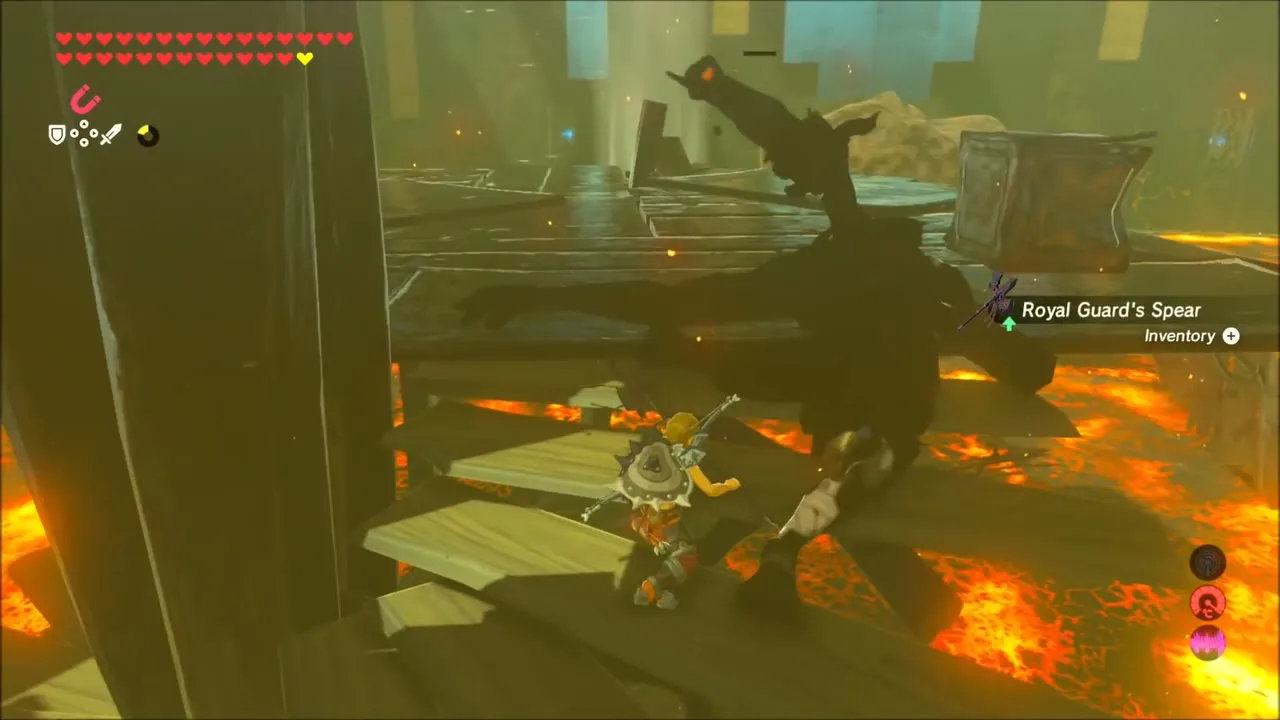
Floors 7 to 9 are islands of rock in a lava sea, so wooden weapons are useless here (they burn) and the Flamebreaker Boots are mandatory. On floor 7 shoot the Big Fire Chuchu and bomb the Igneo Pebblits before they move, then feed any rusty weapon to the Rock Octorok at the end to clean it. Floor 8 has three Fire-Breath Lizalfos spread over four rocks; hop between them on the updrafts and shoot them down. Floor 9 pairs a Meteo Wizzrobe, a Black Moblin and two Lizalfos around a skull camp, and a single Ice Arrow is enough to put the Wizzrobe down.
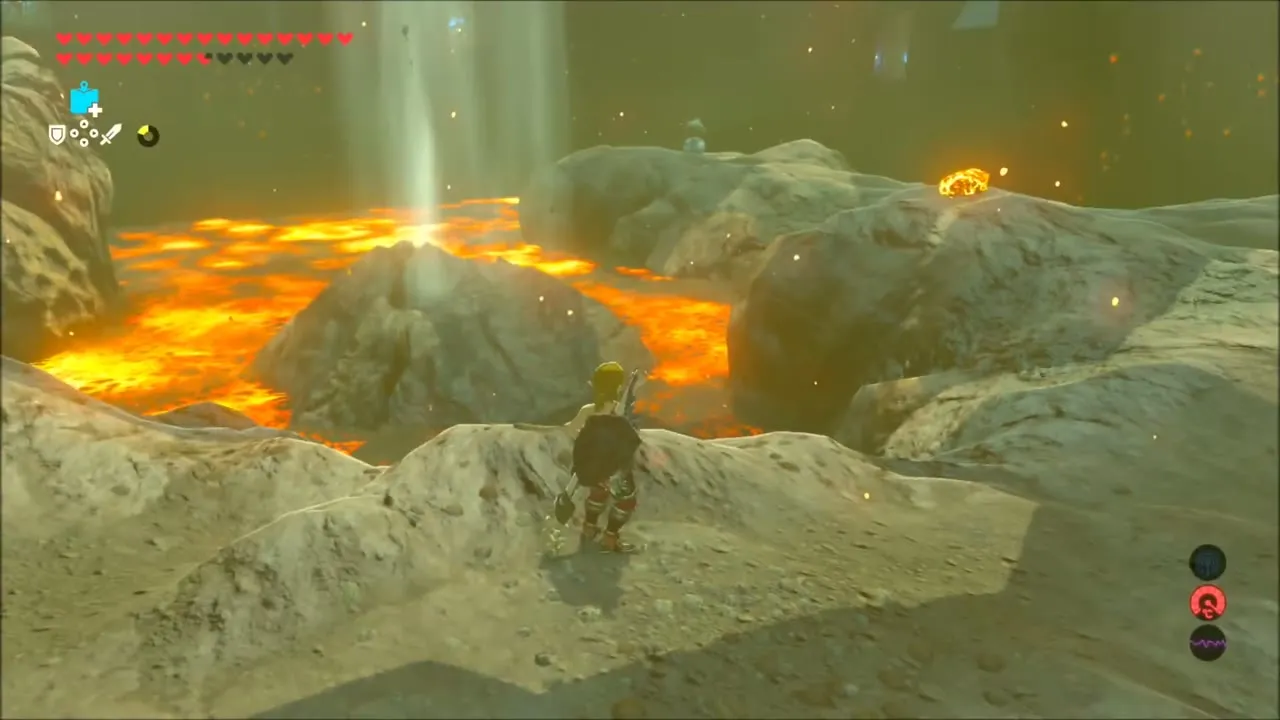


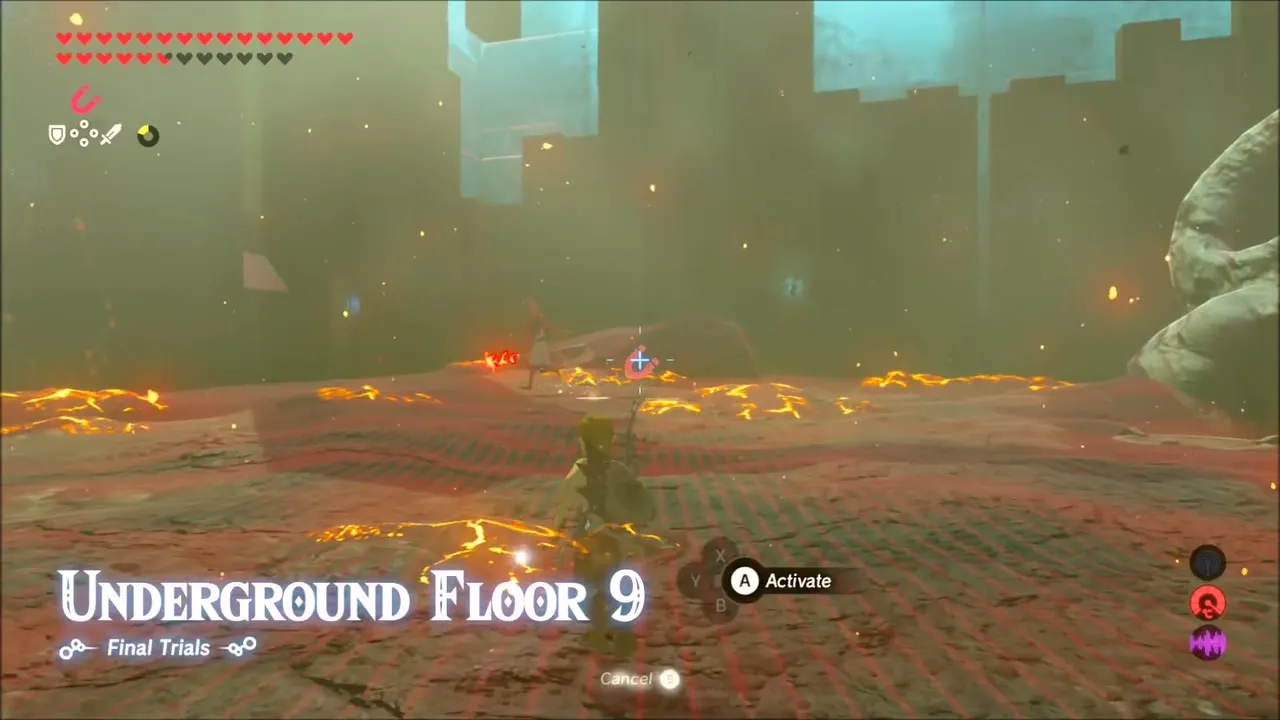
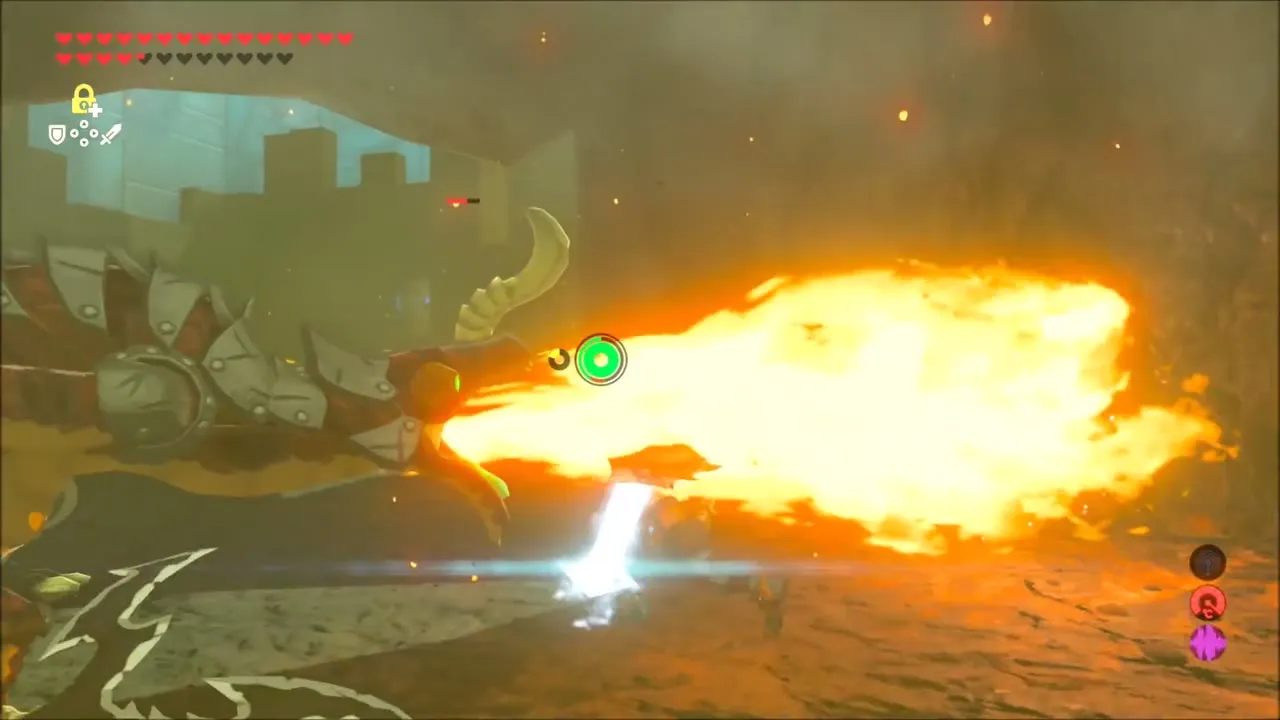
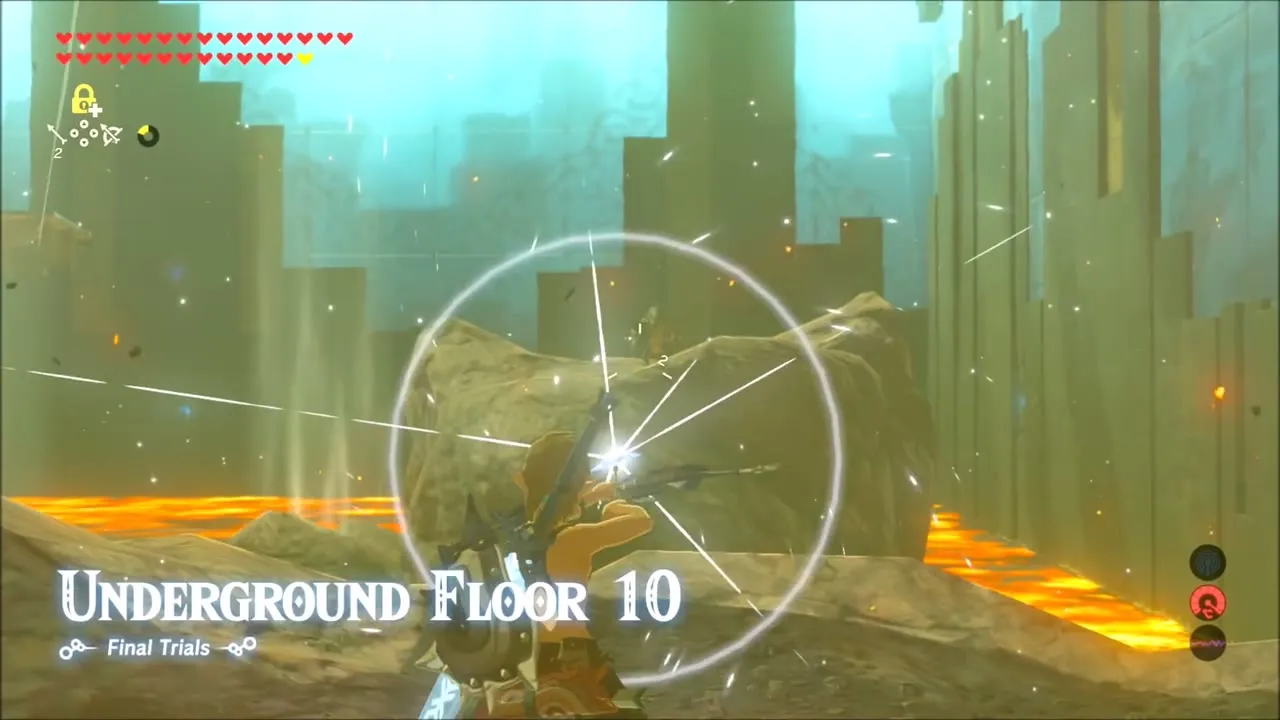
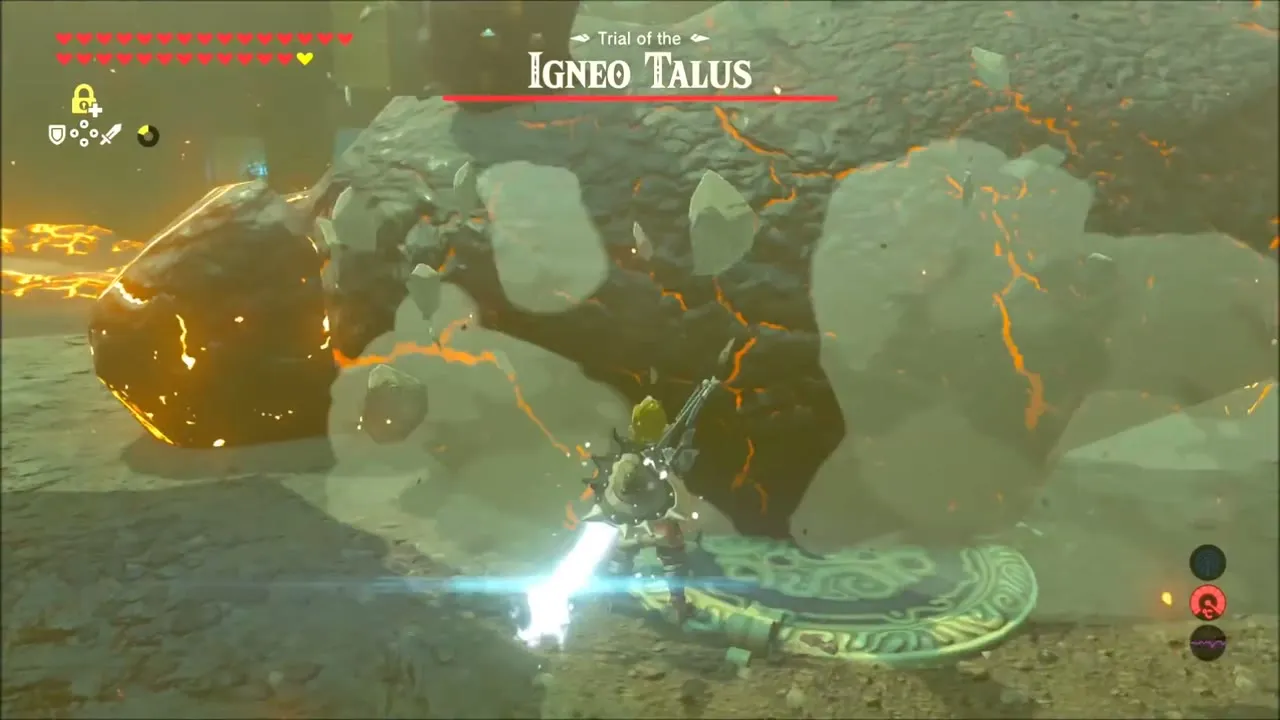
Floor 10 is a wooden camp on a rock in the lava, held by a Fire-Breath Lizalfos and several Black Moblins; shoot the lone Lizalfos first, glide to the camp, and knock the Moblins into the lava where you can, since anything that falls in is lost along with its weapon. A chest sits out in the lava. Floor 11 is the Igneo Talus: blow up the three rock piles before waking it to uncover updrafts, cool it with Ice Arrows or an ice weapon so you can climb on, and hit the ore on its back. Do not waste Ancient Arrows on it, as Taluses shrug them off.

Floor 12: Second Rest Area (Royal Guard’s Shield and Hylian Tunic)
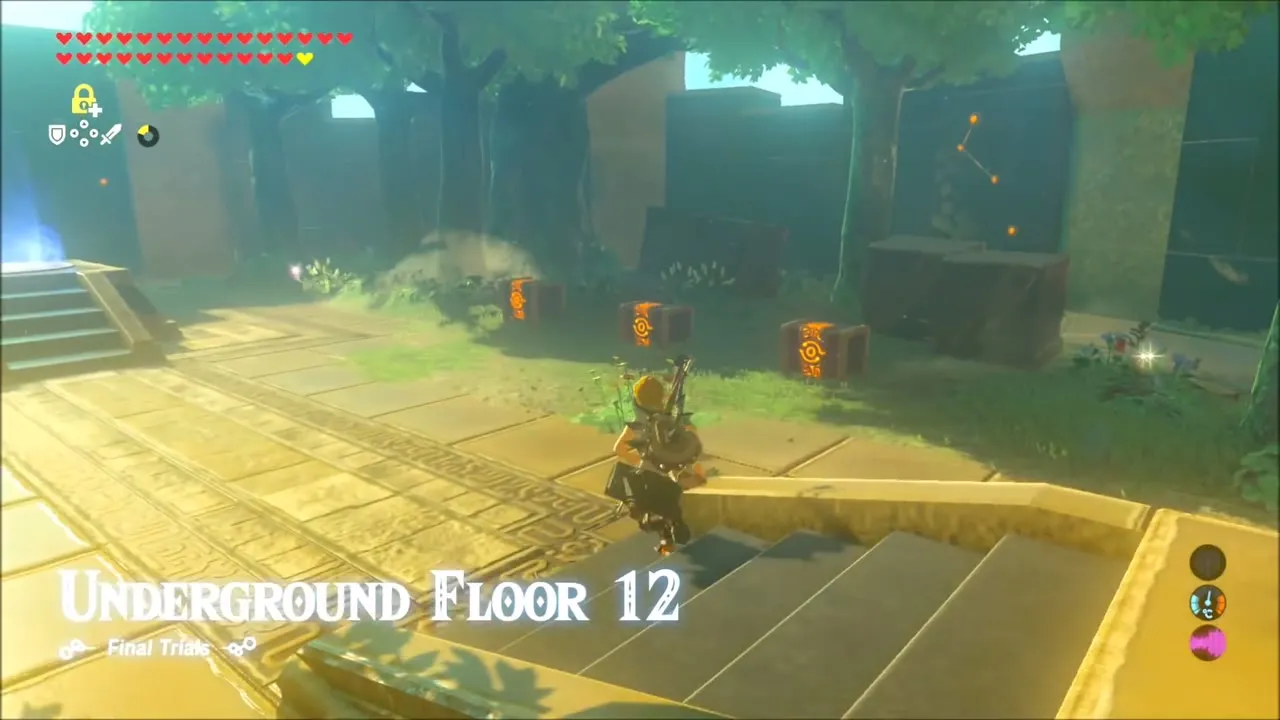
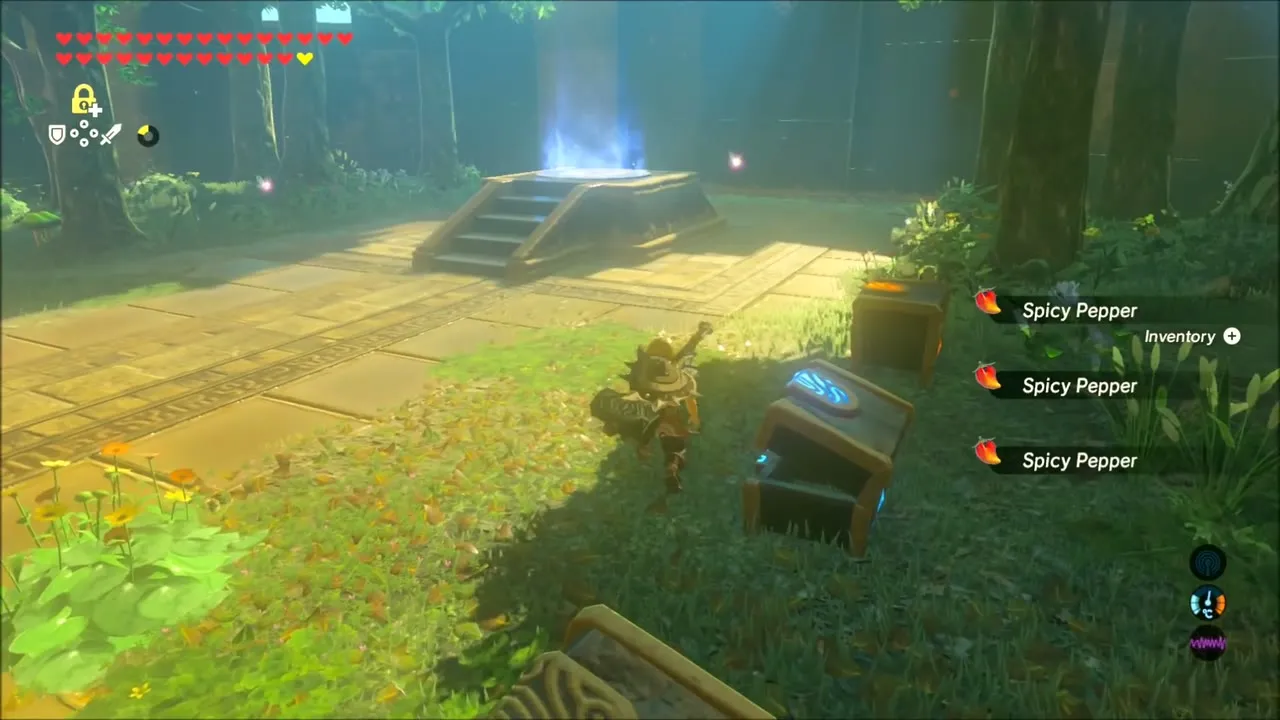
The second rest garden holds a Royal Guard’s Shield, a Stone Masher and the Hylian Tunic in its chests, plus a cooking pot, a fairy and fish. Spicy Peppers grow here, and you will want them: the next floors are frozen. Cook Spicy Pepper dishes for cold resistance, and keep the Stone Masher for the ice Talus ahead. Take the Hylian Tunic and whatever else you can carry before moving on.


Floors 13 to 17: Snowfields, the Frost Talus and a Lynel
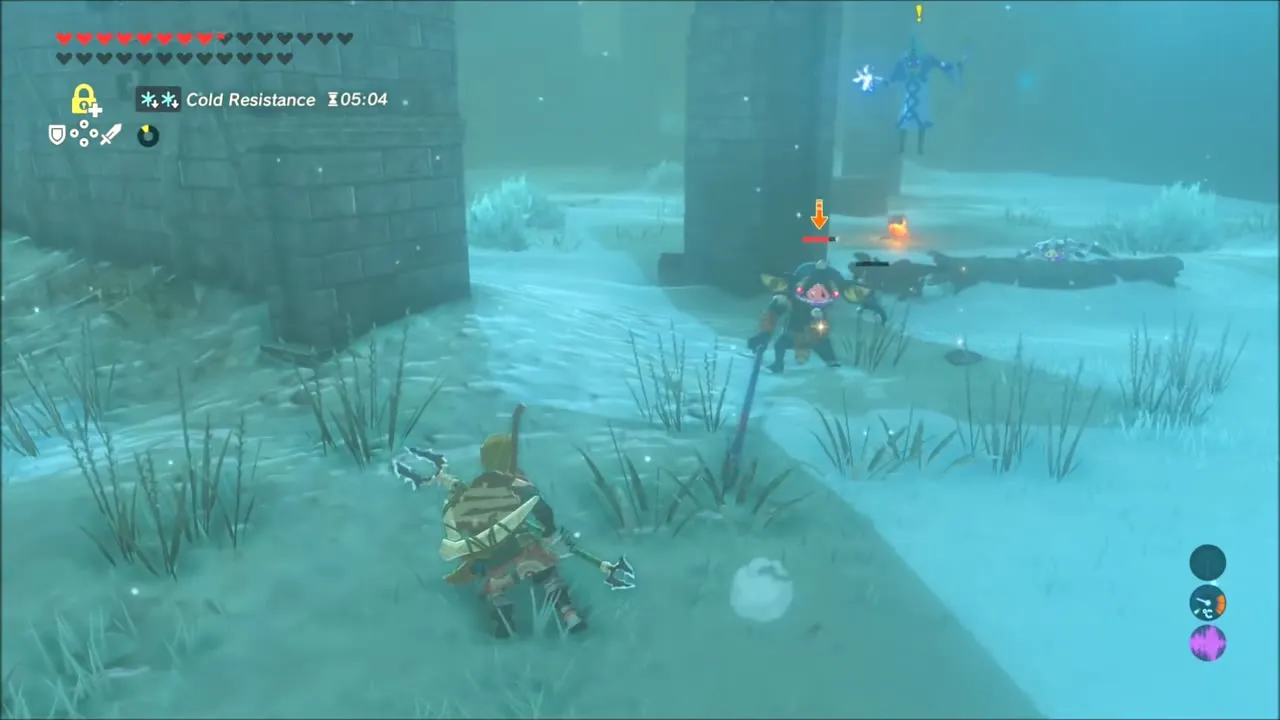
Floors 13 to 15 are snowfields, so eat your cold-resistance meal first, or hold a fire weapon such as a Flamespear or Meteor Rod to keep warm. On floor 13, bomb the Frost Pebblits, shoot the Big Ice Chuchu, and burn the ice block near the start to free a chest of Bomb Arrows. Floor 14 has an enemy camp ringed with Ice Chuchus and a Silver Moblin; pick off the Bokoblins one by one, burn the ice blocks for updrafts, and free a chest of three Ancient Arrows. Floor 15 is a ruined camp with a Blizzard Wizzrobe and a Black Moblin: touch the Wizzrobe with fire before it starts hailing, then clear the camp.
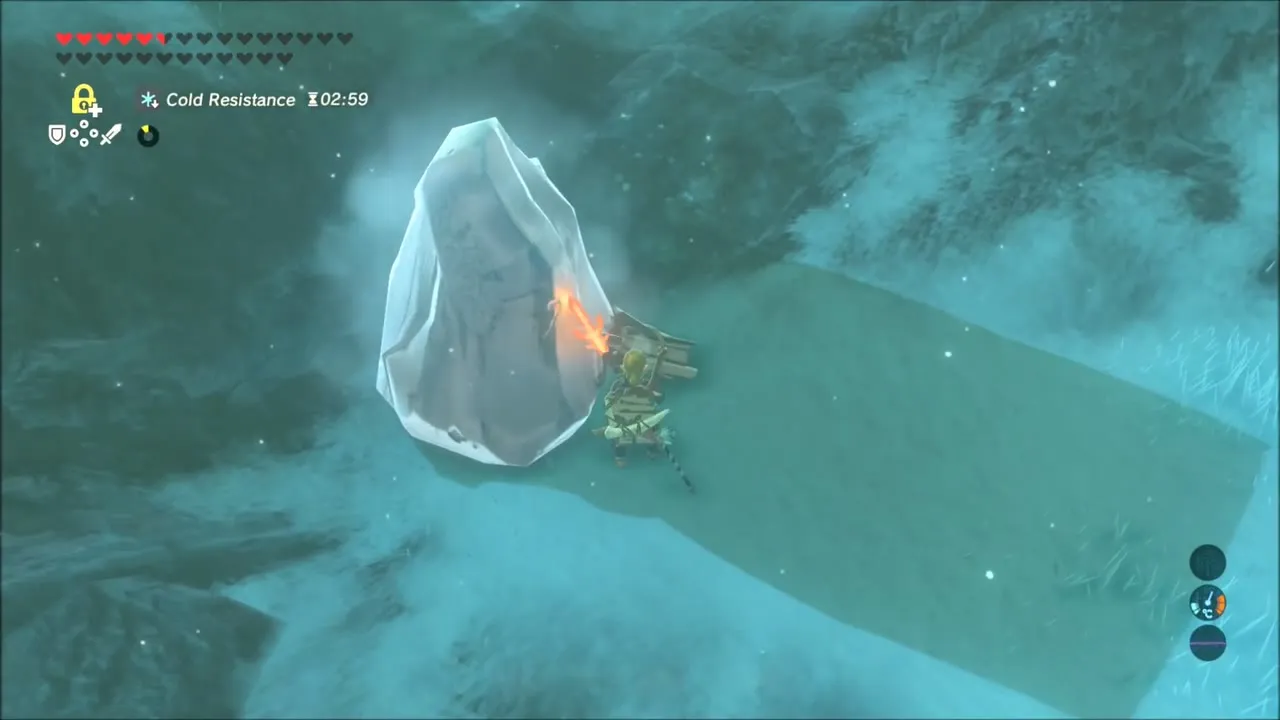


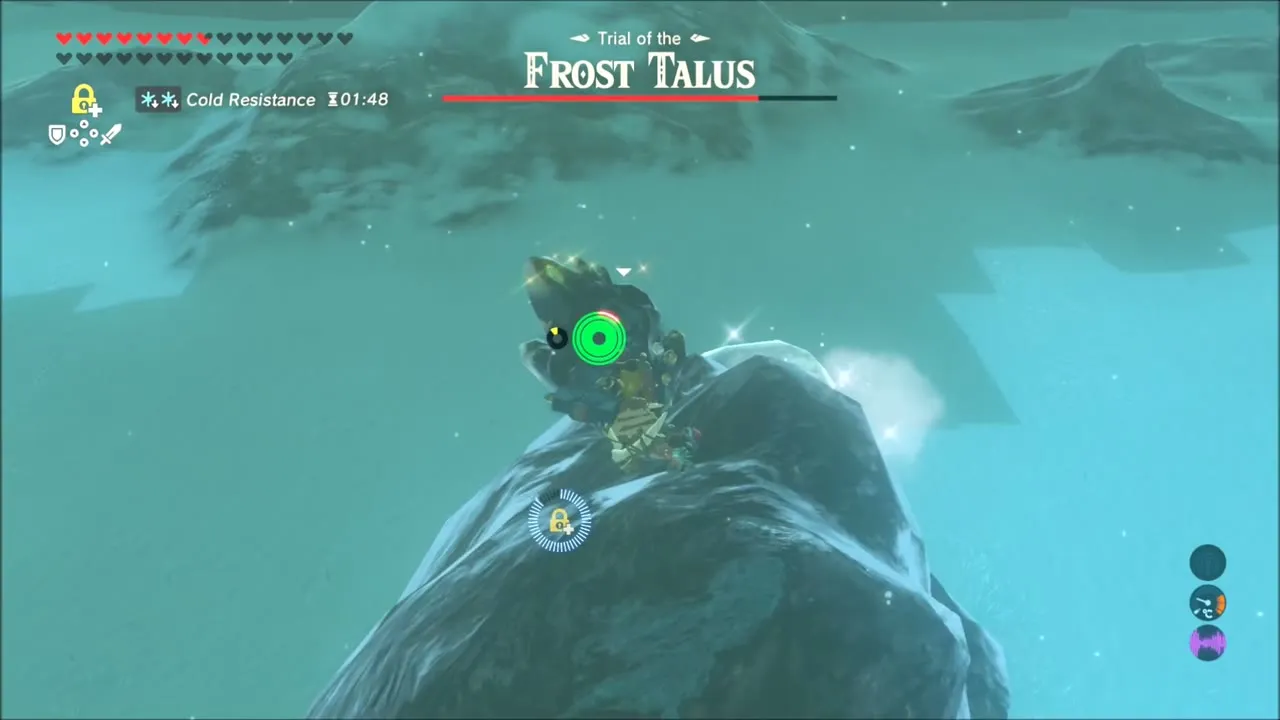
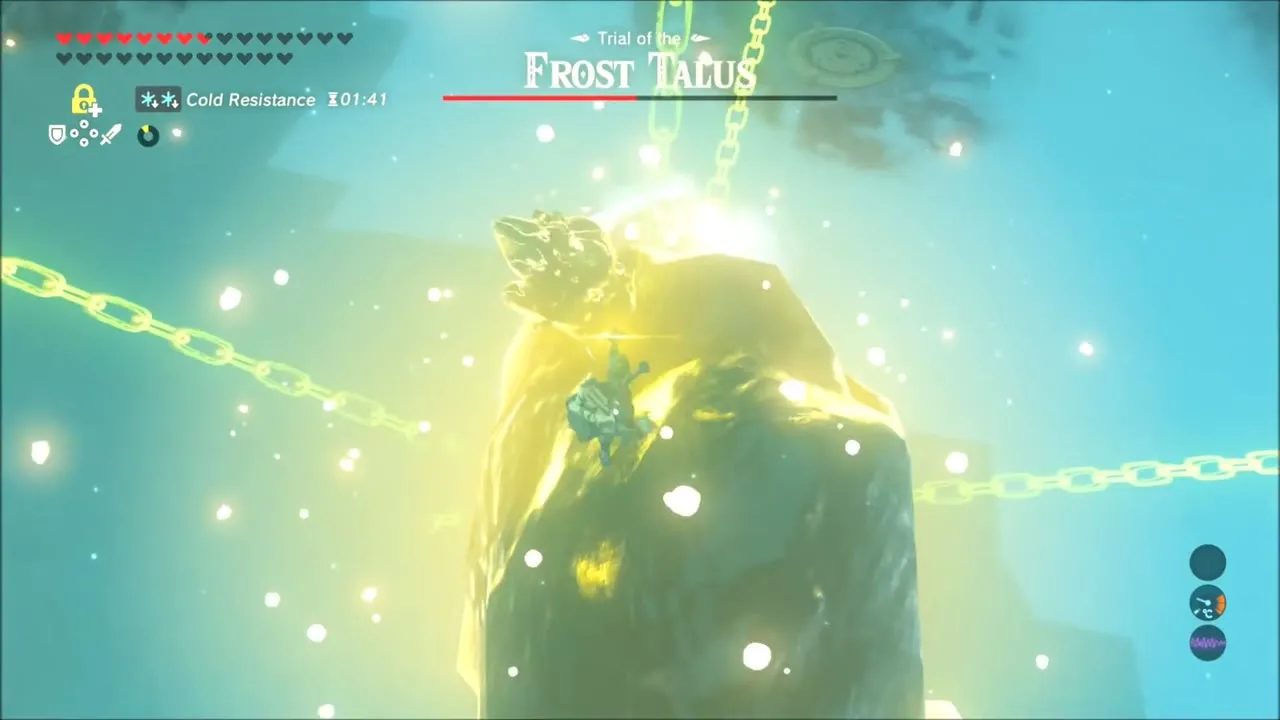
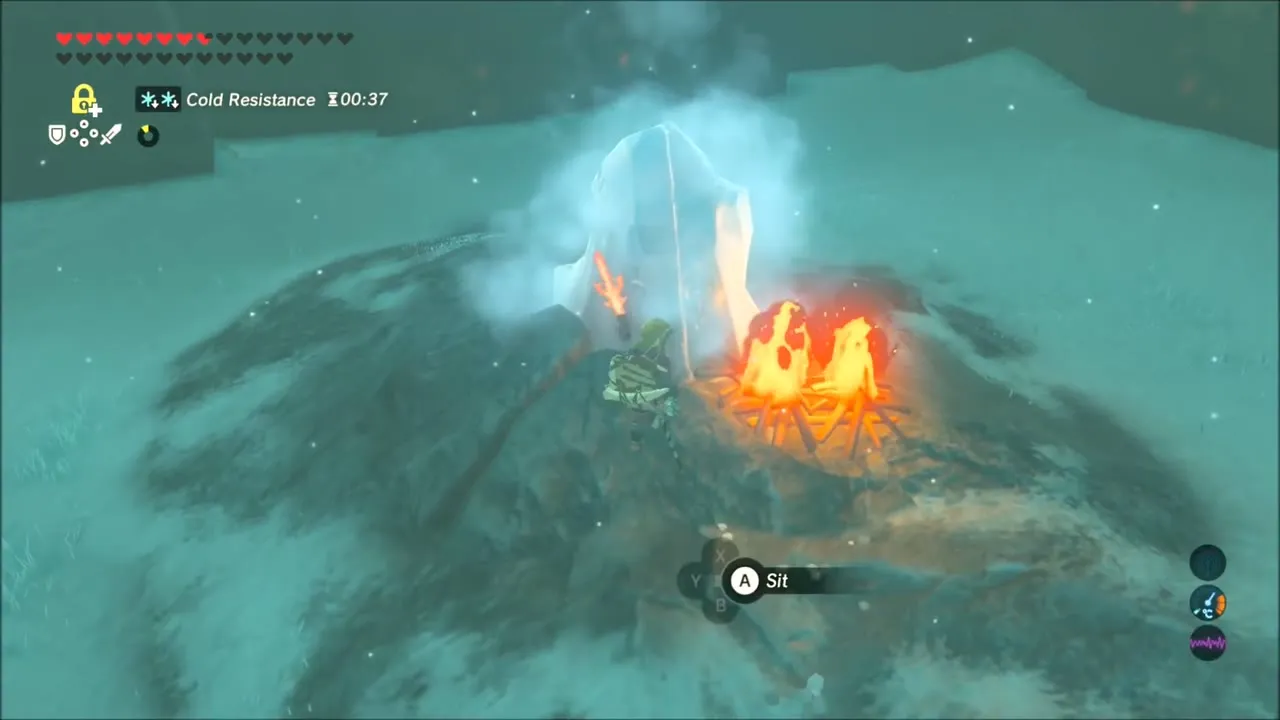
Floor 16 is the Frost Talus. Melt the ice blocks in the corners of the arena first to expose updrafts, then use fire to thaw the Talus so you can climb it, and hit the ore on its back. Your Stone Masher from the rest area is ideal here. Skip the Ancient Arrows, which do only normal damage to a Talus.

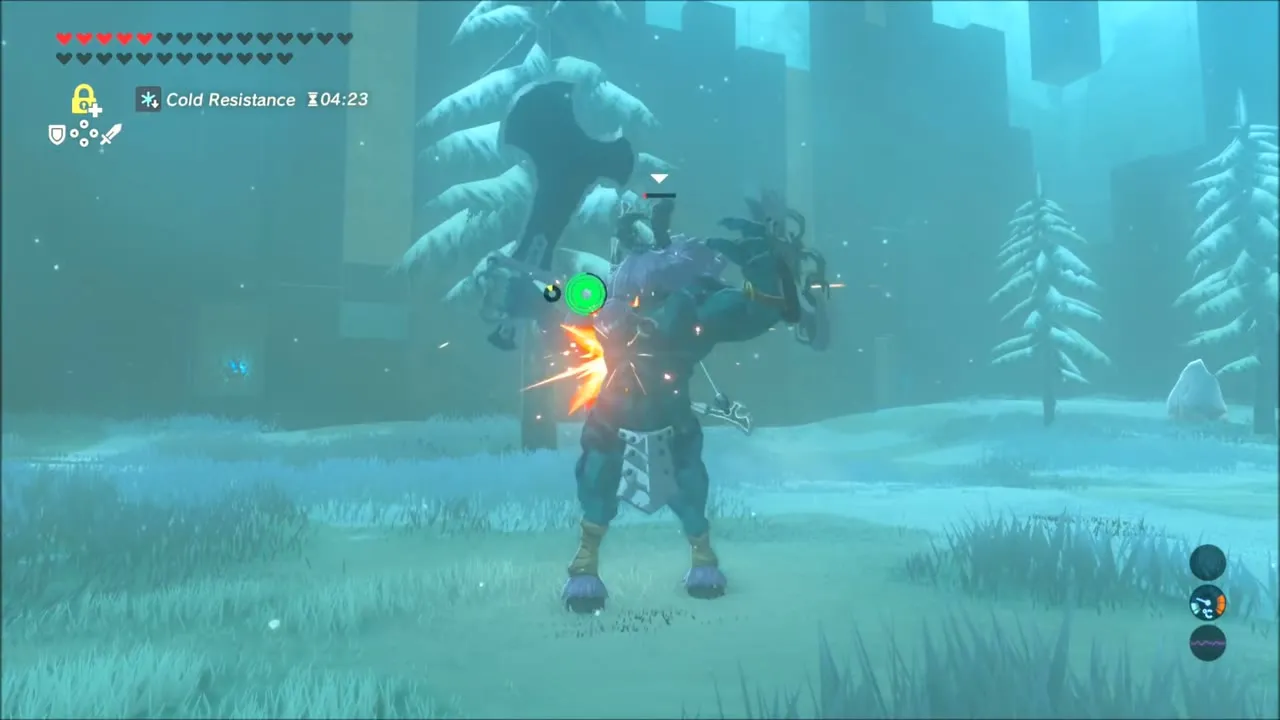
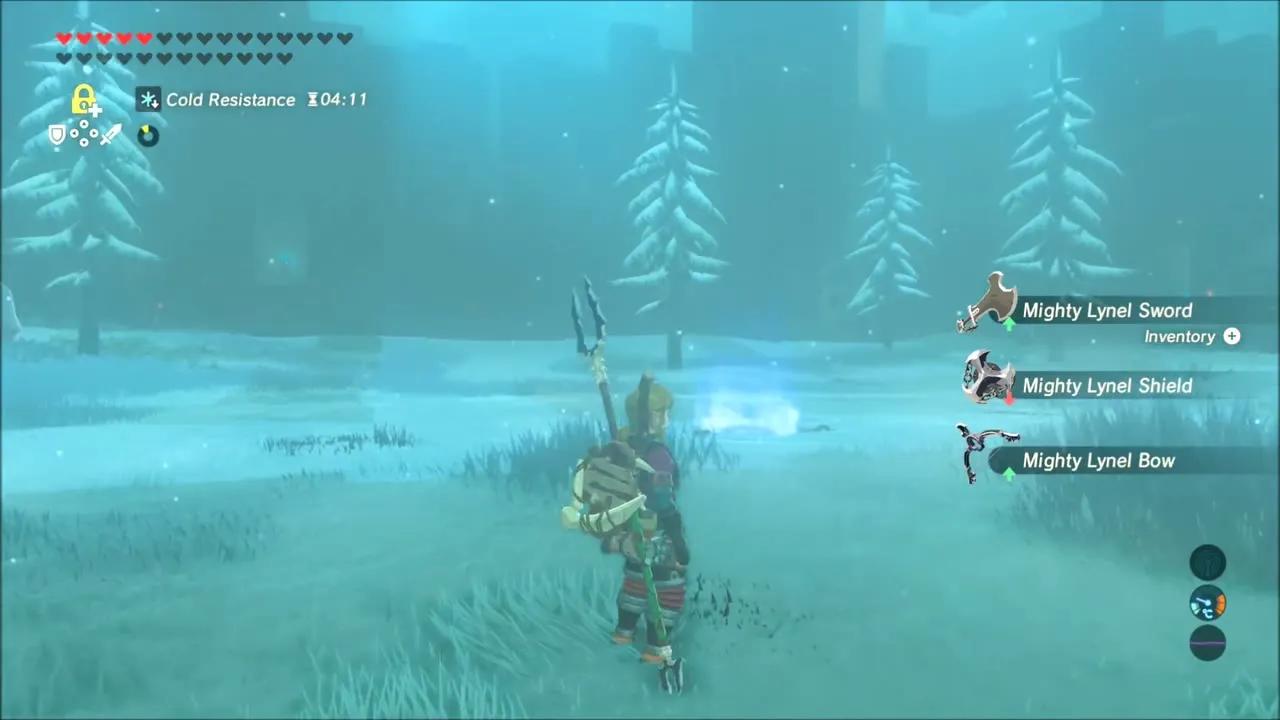
Floor 17 is your first Lynel, a Blue-Maned Lynel, the weakest kind. You can fight it normally, but one Ancient Arrow sends it away at once; freeze it with Stasis or shoot it in slow motion to guarantee the hit. Its weapons are yours to collect. Melt the ice block with fire to reach a chest with Bomb Arrows.


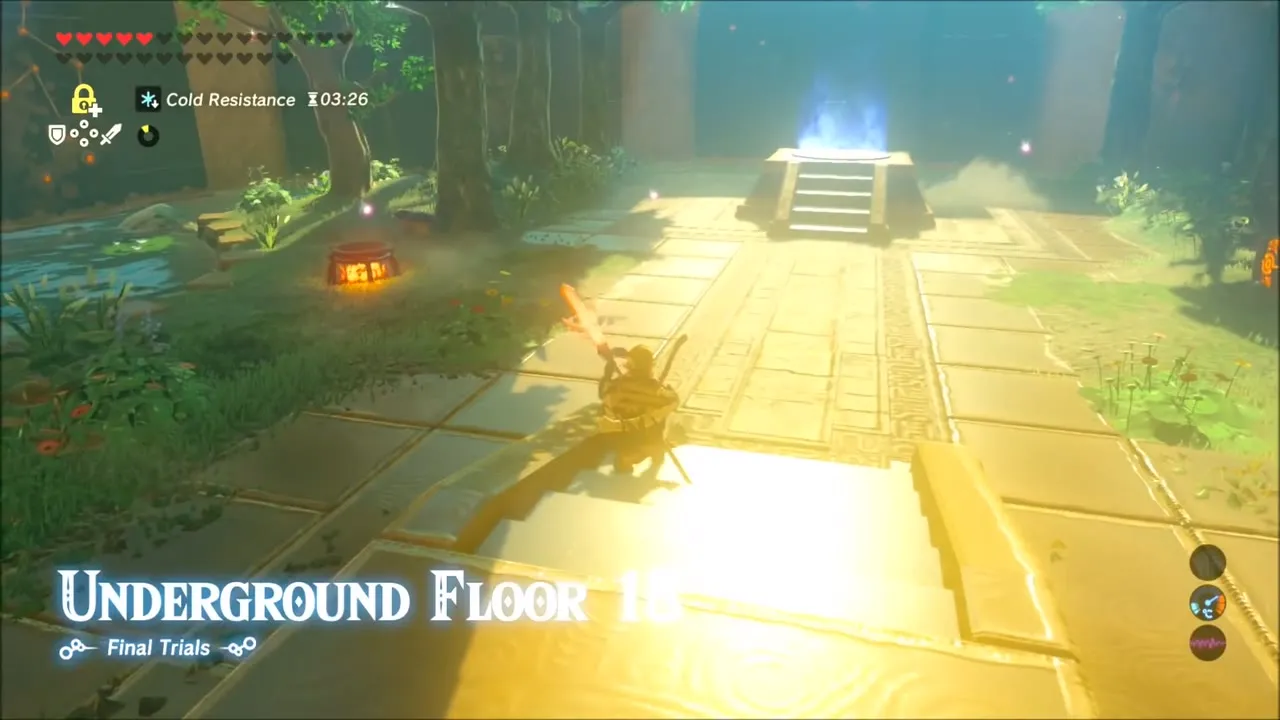
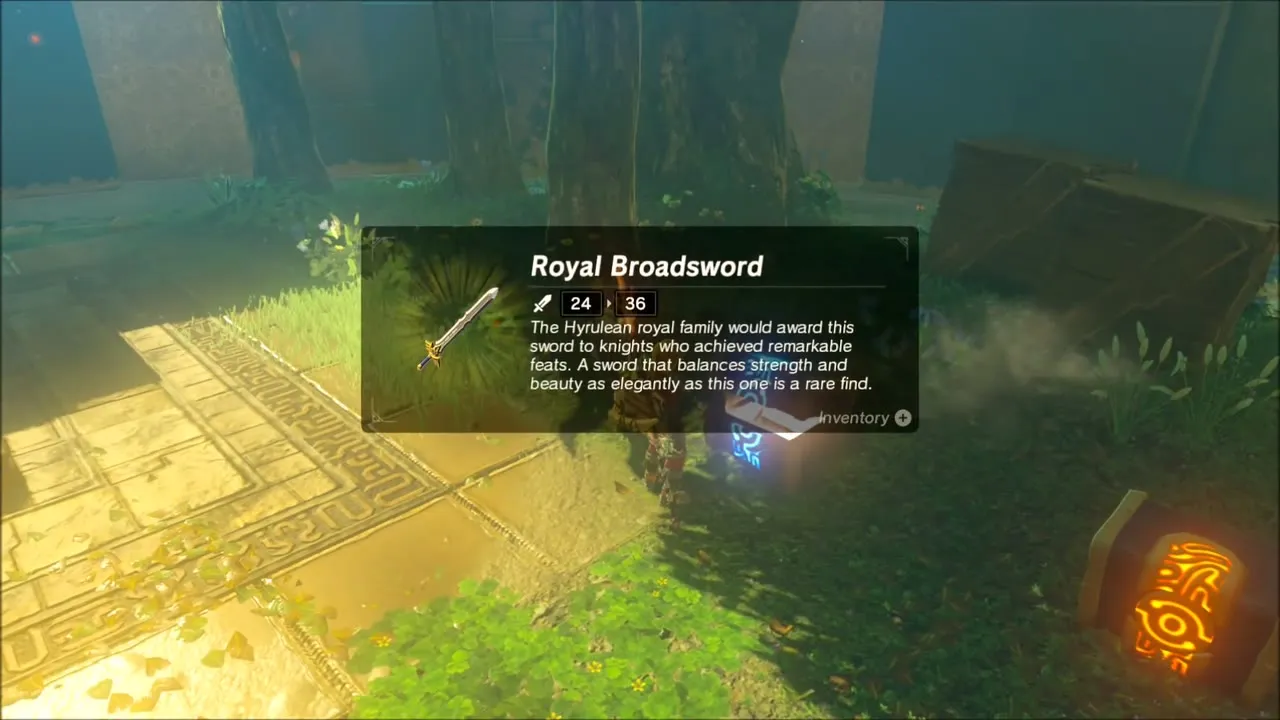
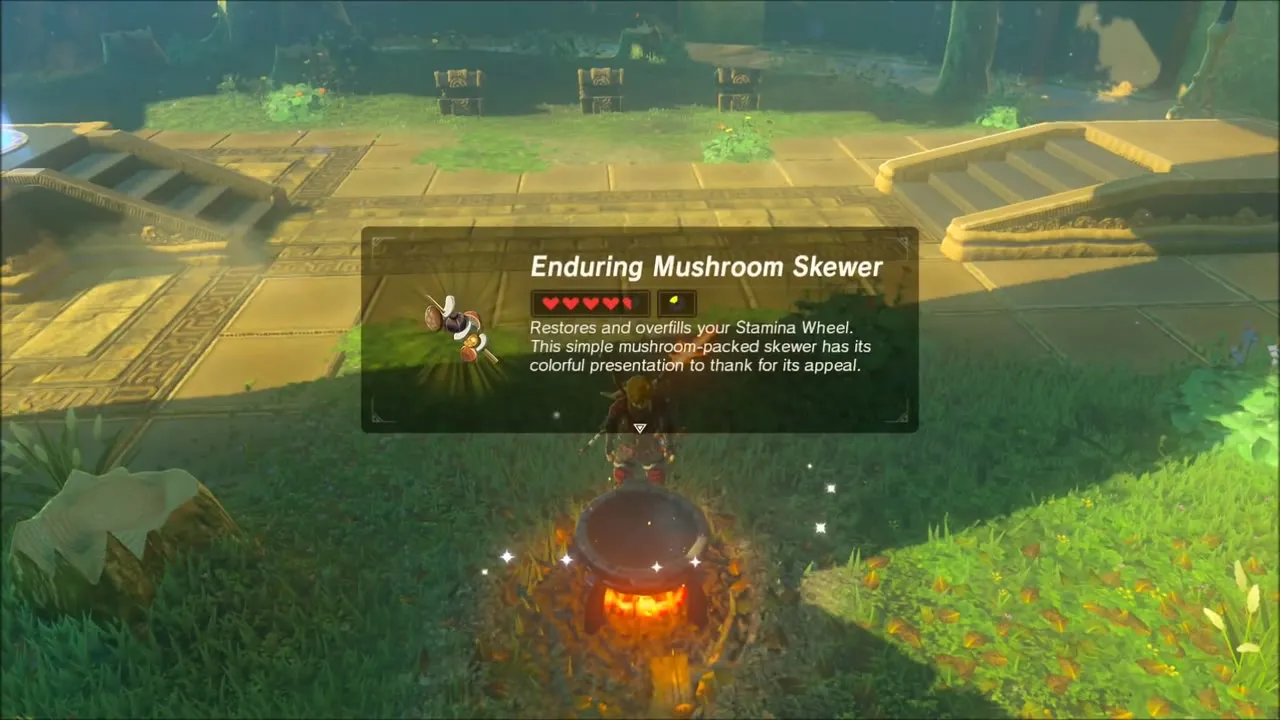
Floor 18: Third Rest Area (Royal Broadsword, Shield and Bow)
The third rest garden has a Royal Broadsword, a Royal Shield and a Royal Bow in its chests, several fairies, fish and a cooking pot. Cook Hearty ingredients one at a time for full heals, and warm up with a Spicy Pepper dish before leaving the snow behind. This is the last pause before the Guardian floors, so use it to eat, restock your arrows and put your best sword, shield and bow in hand.


Floors 19 to 23: Guardians, Skywatcher, Turret and the Final Lynel
Floor 19 puts you in a grove with six stationary Decayed Guardians. Do not wake them all at once: find a big tree to stand behind, take a strong bow, and shoot the nearest one in the eye until it blows. Reflecting a Guardian’s beam with a well-timed shield parry kills it in one hit, but a mistimed block destroys your shield. In an emergency, one Ancient Arrow ends a Guardian.
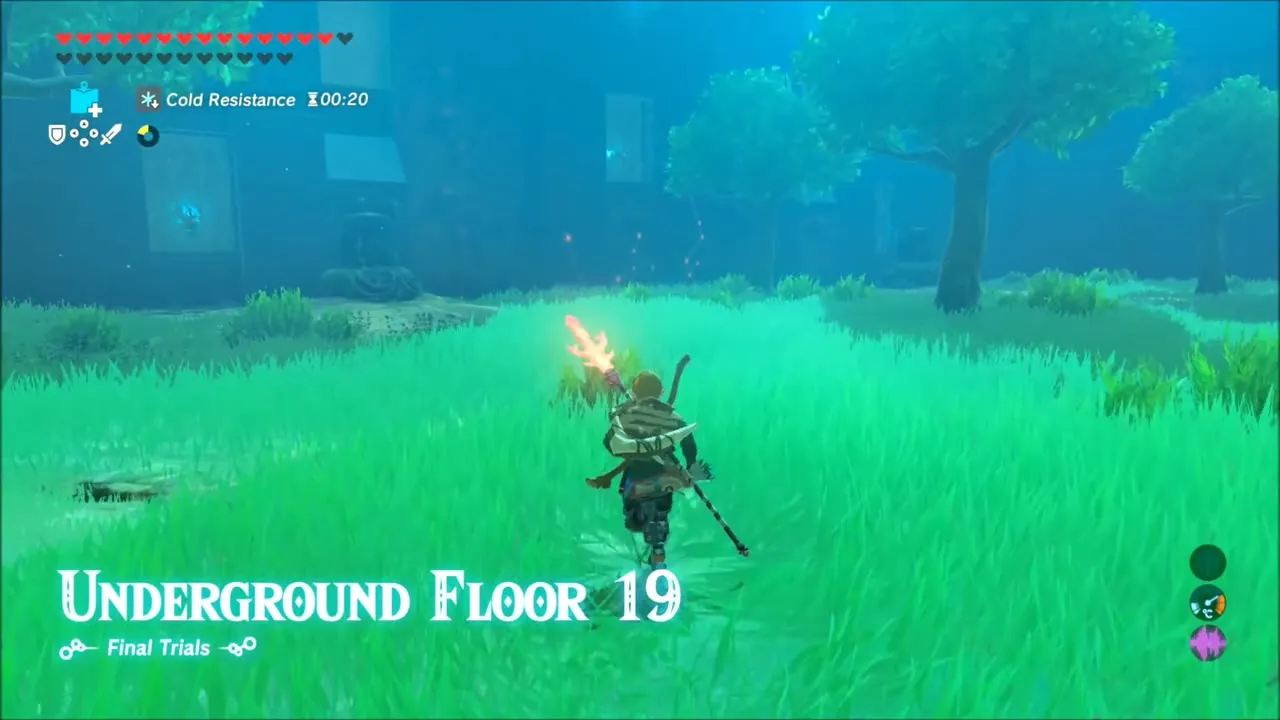
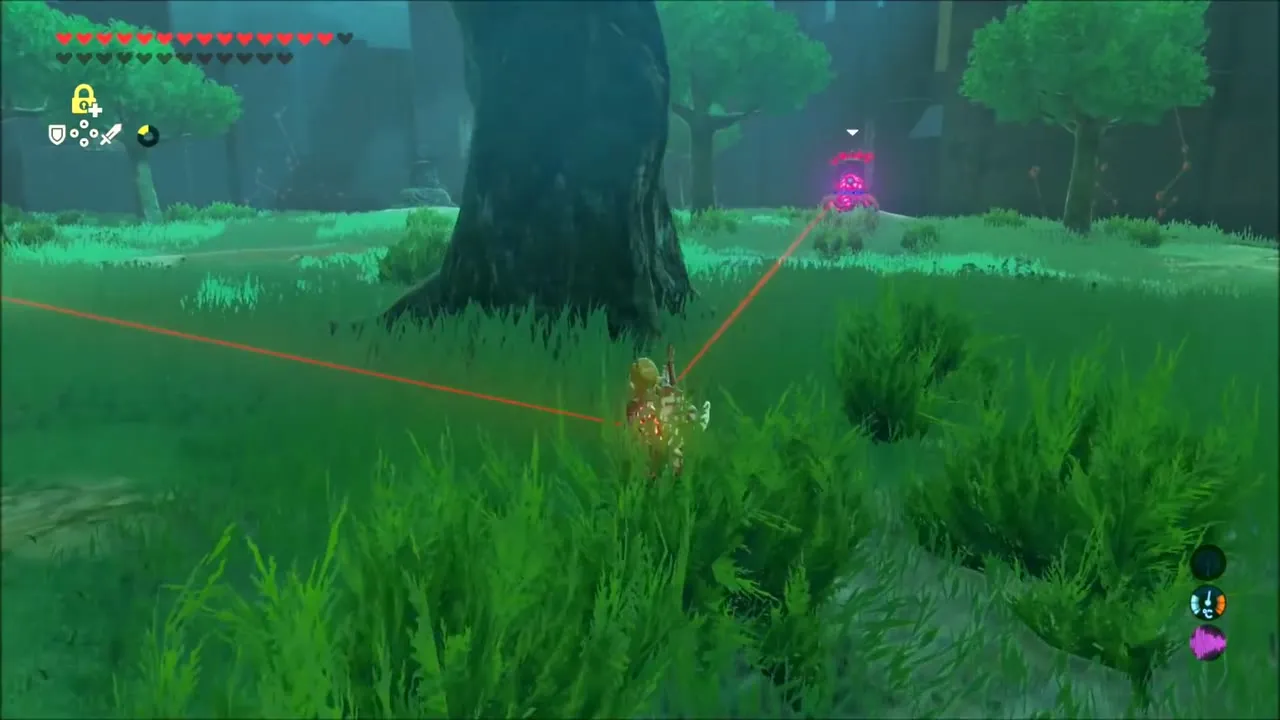
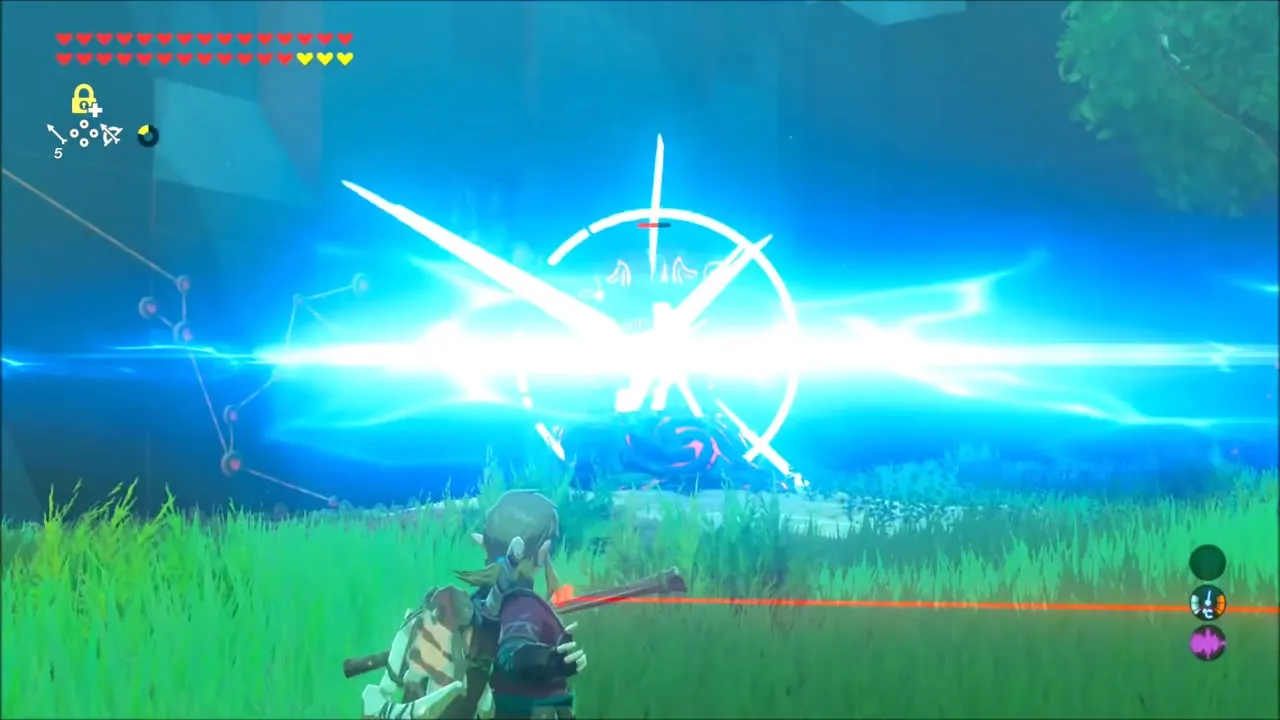
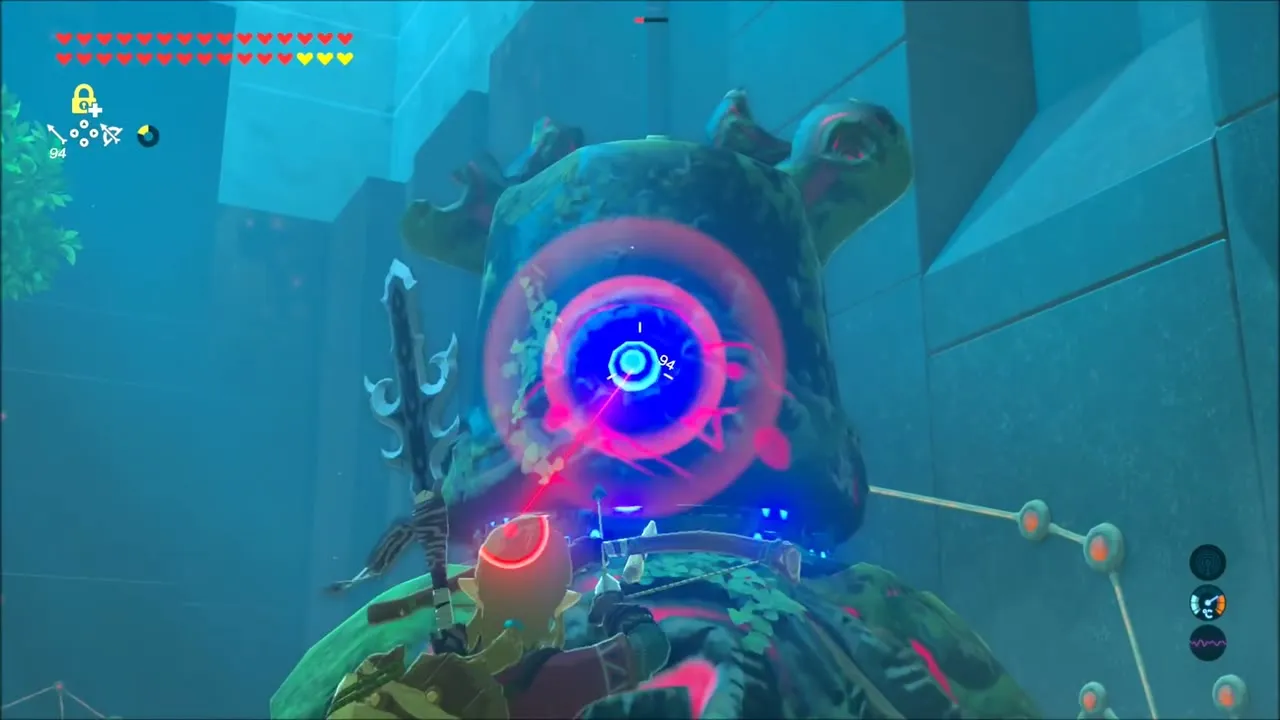
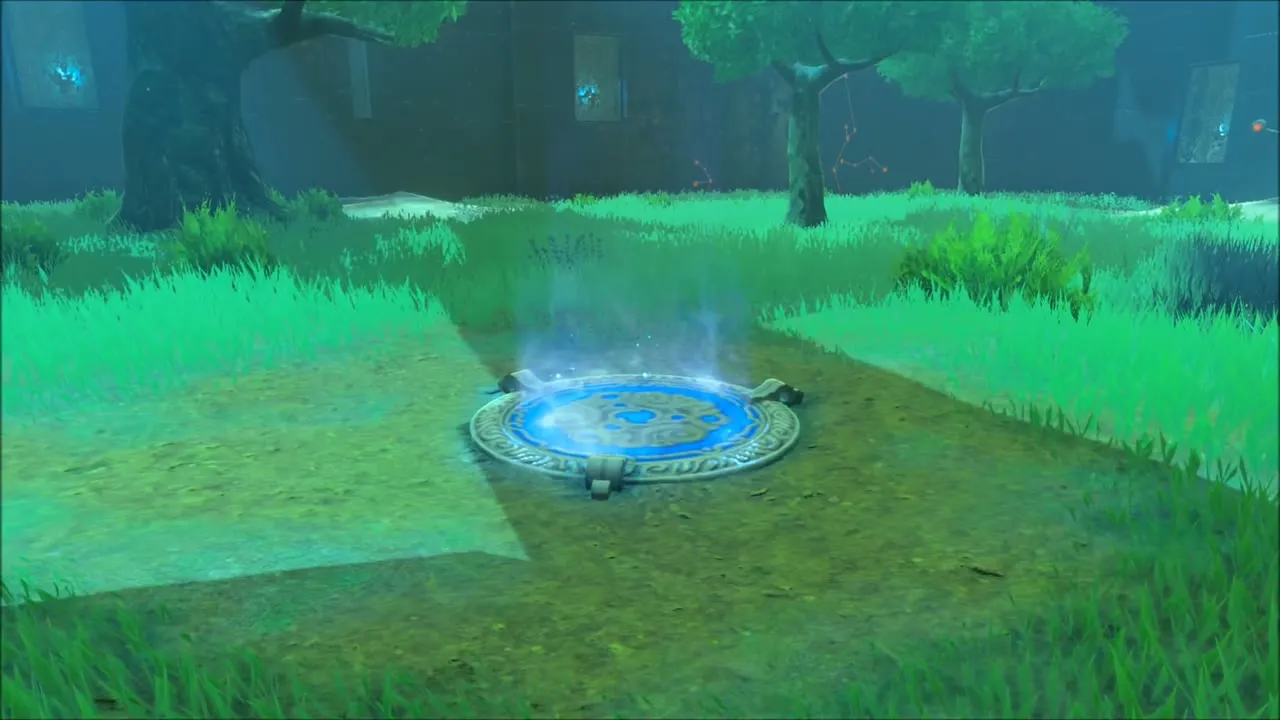
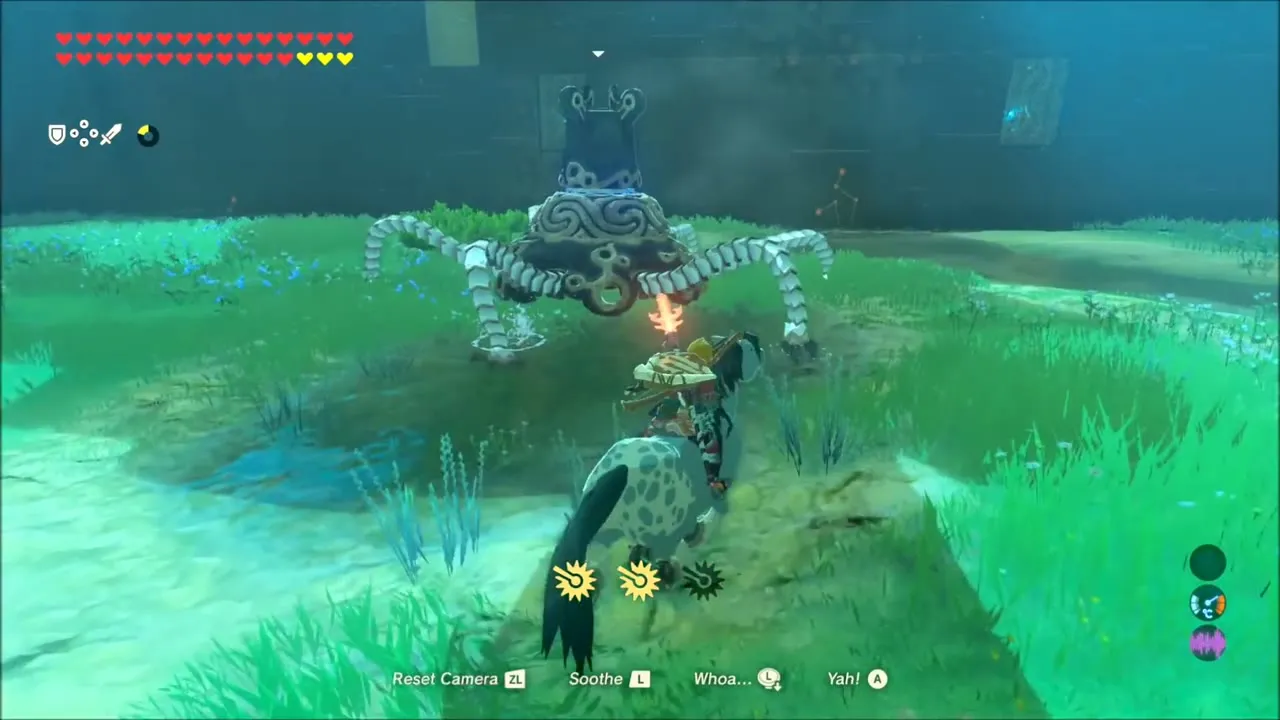
Floor 20 is a grassy field with a fountain in the middle and a single walking Guardian Stalker. Fight it from behind the fountain, tear its legs off with arrows to pin it in place, then shoot the eye until it dies. Two horses roam the field if you want to fight from the saddle, though they are awkward to control, and crates by the fountain give you more arrows.


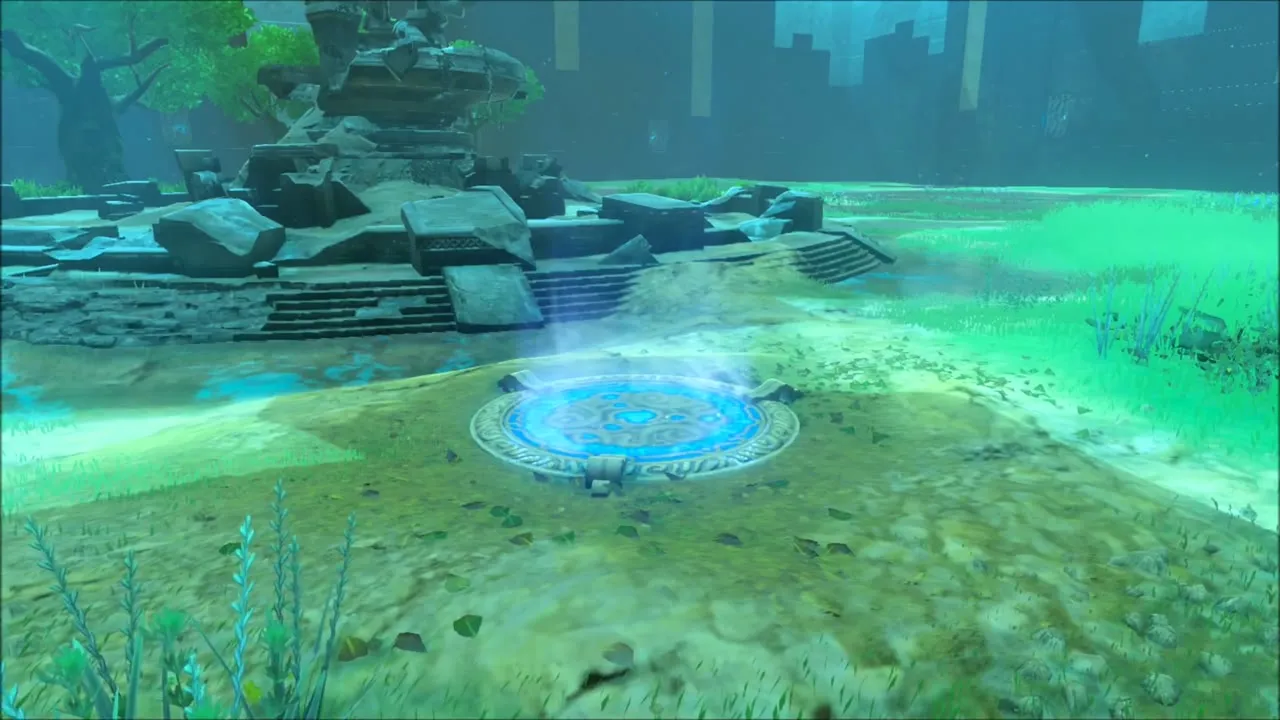
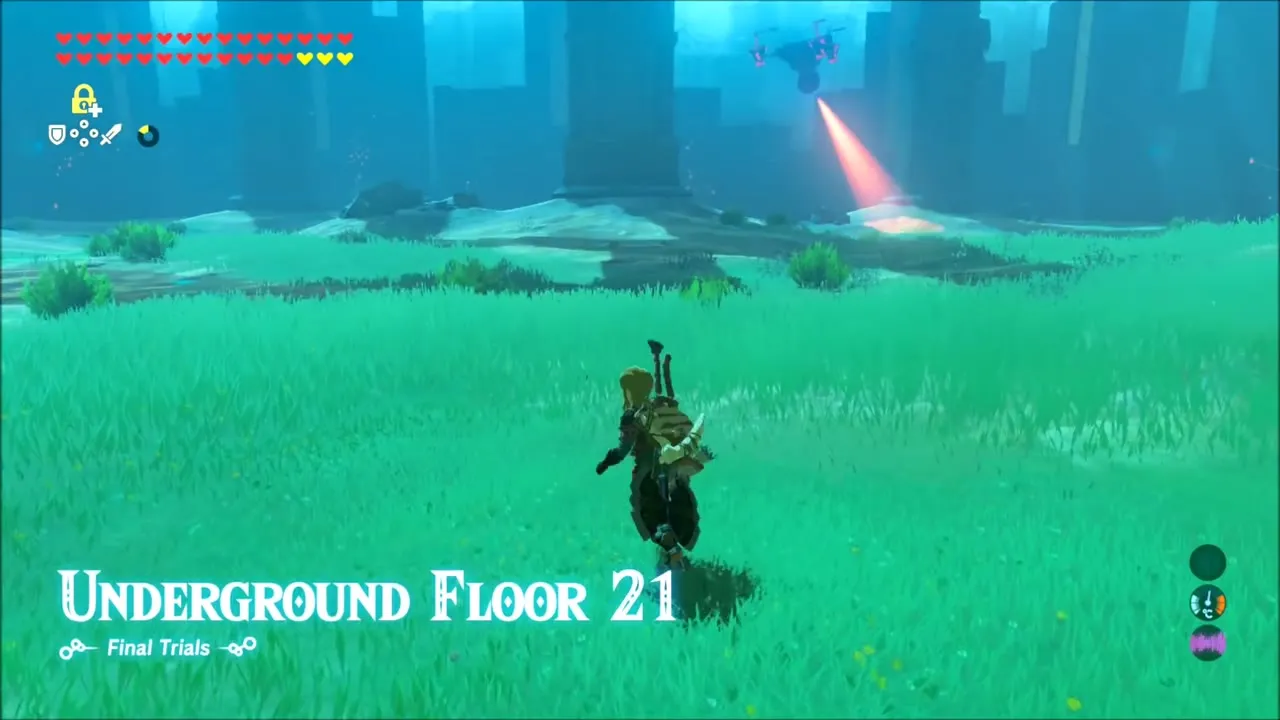
Floor 21 is a field with five towers and a Guardian Skywatcher circling above. It ignores you until you enter its line of sight, so use cover, then glide off a tower and shoot its eye in slow motion. The central tower holds a chest at the top, and crates near its foot hold arrows. An Ancient Arrow ends the fight in one shot.
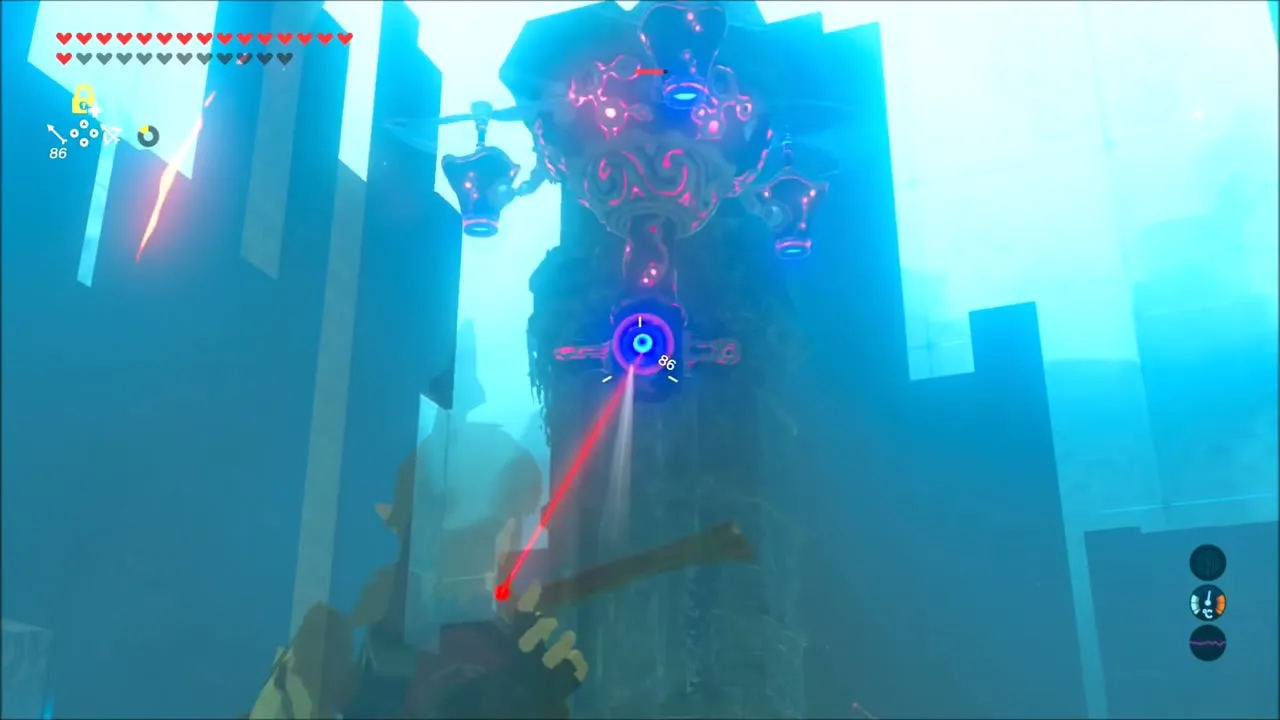
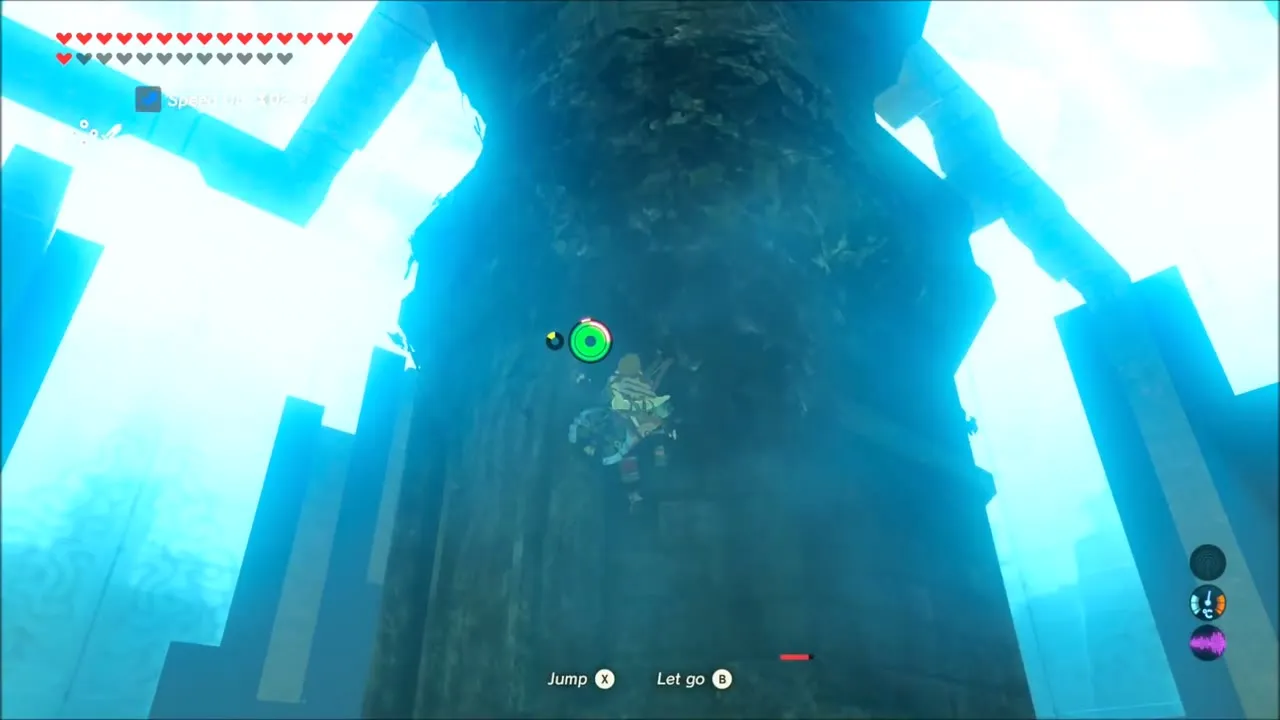
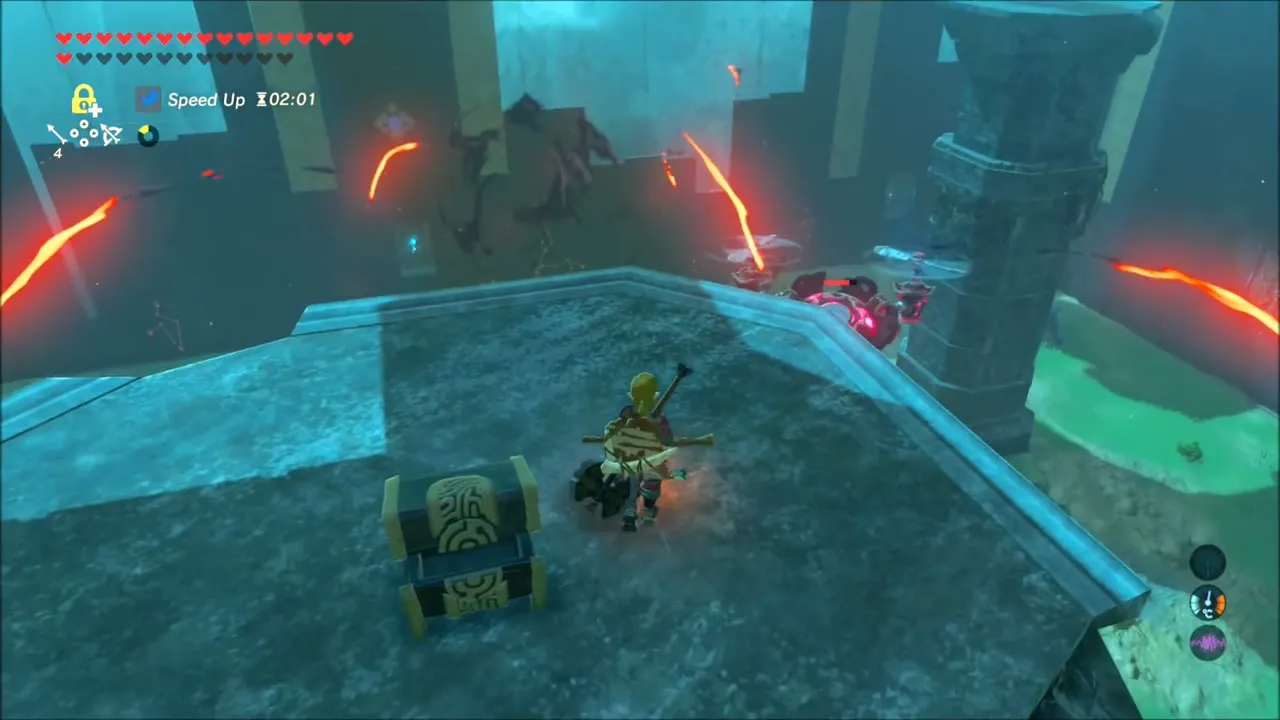
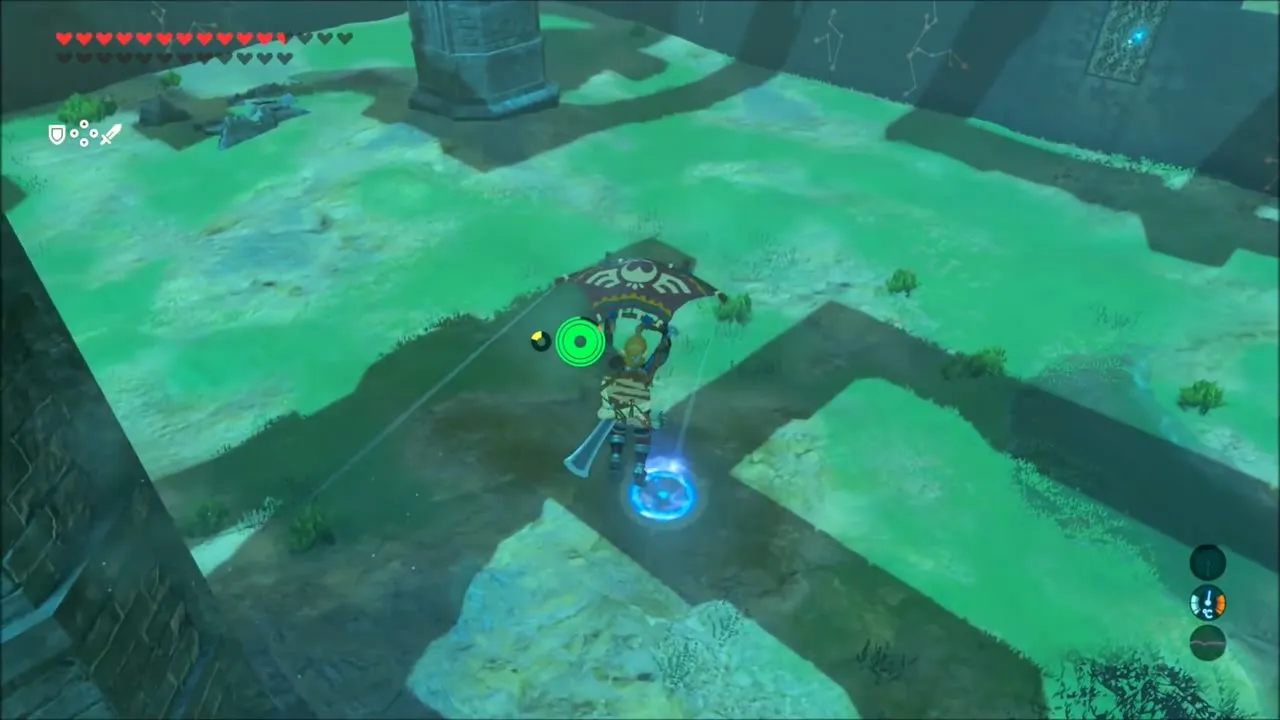
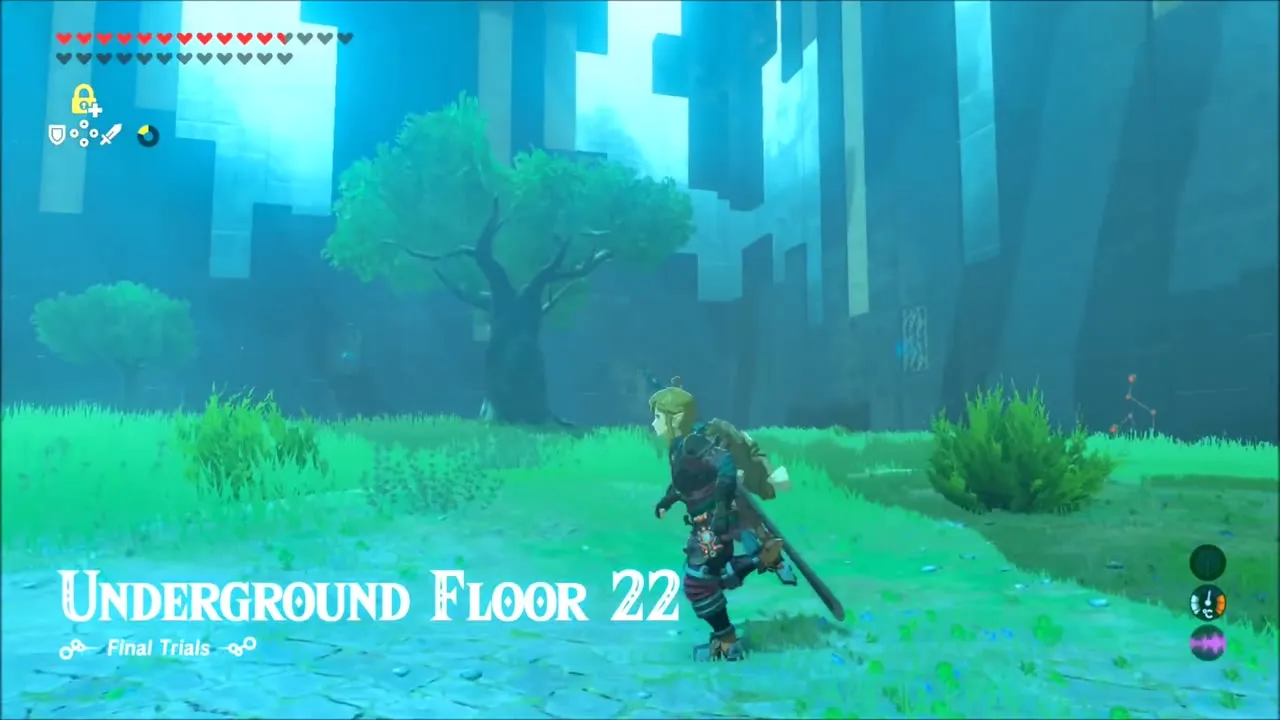
Floor 22 is a huge ruined settlement with a Guardian Stalker, a Skywatcher and a Guardian Turret all active at once. Run straight to the building in the middle and slip through the gap in its wall: it is the safest spot on the floor, and two chests inside hold a Royal Bow and a Royal Shield. From the ladders, shoot the Skywatcher as it passes, lure the Stalker close and pin it, then work your way to the Turret using the old walls for cover and shoot its eye from the top of the tower.
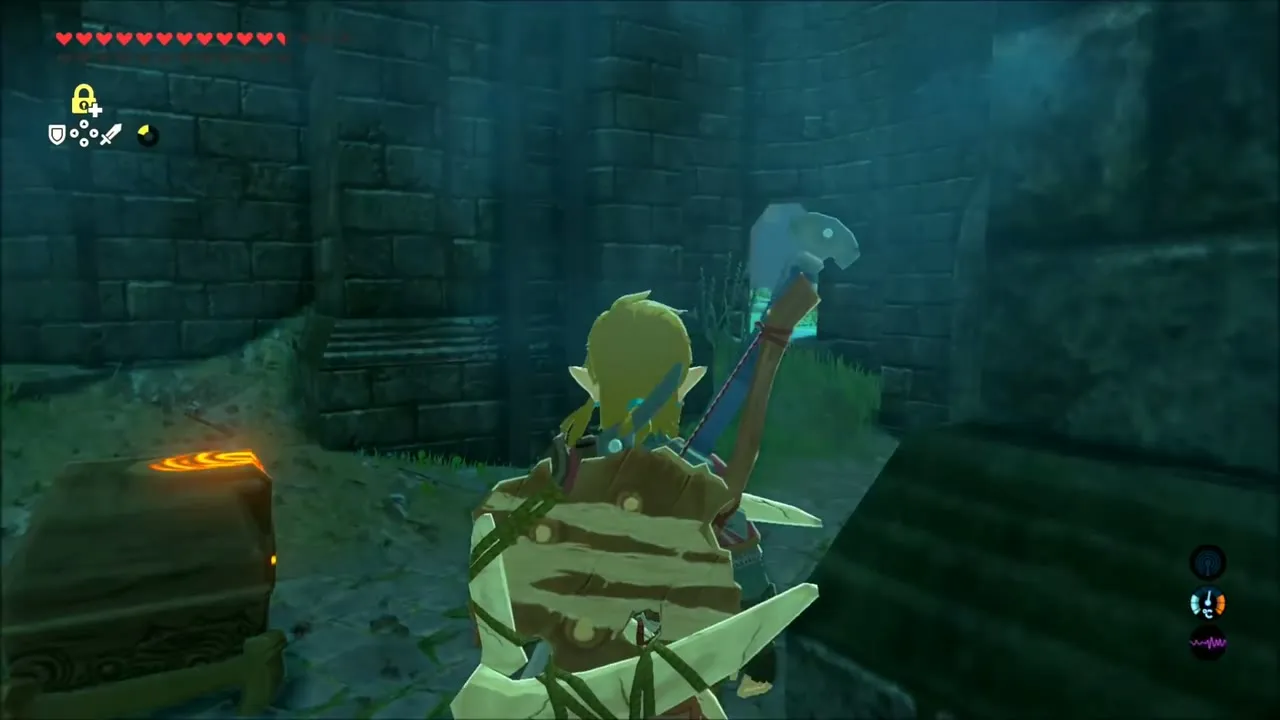

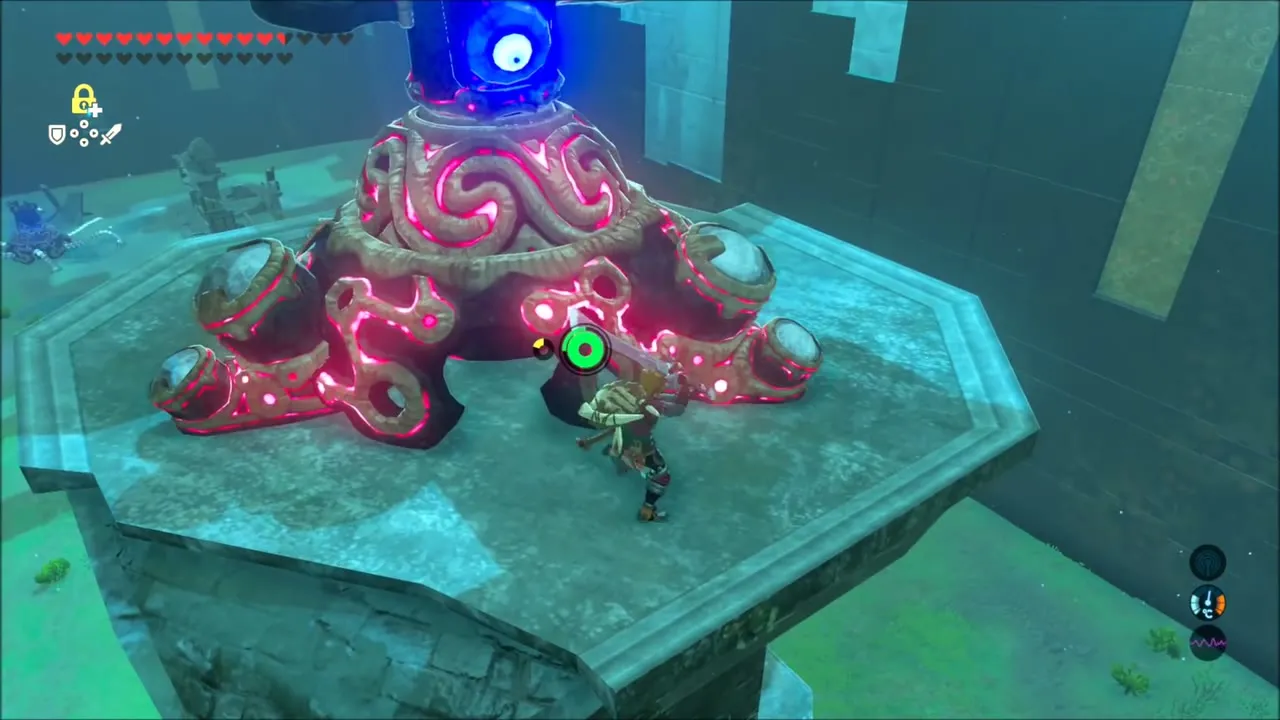
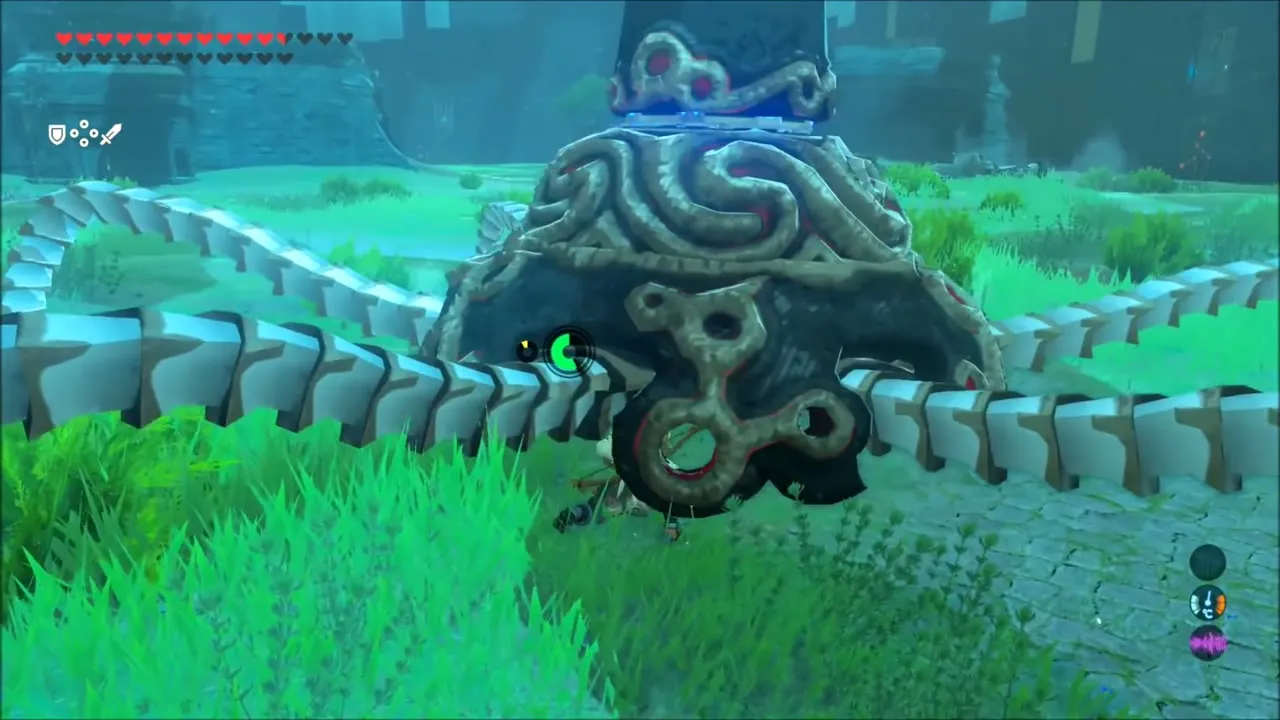
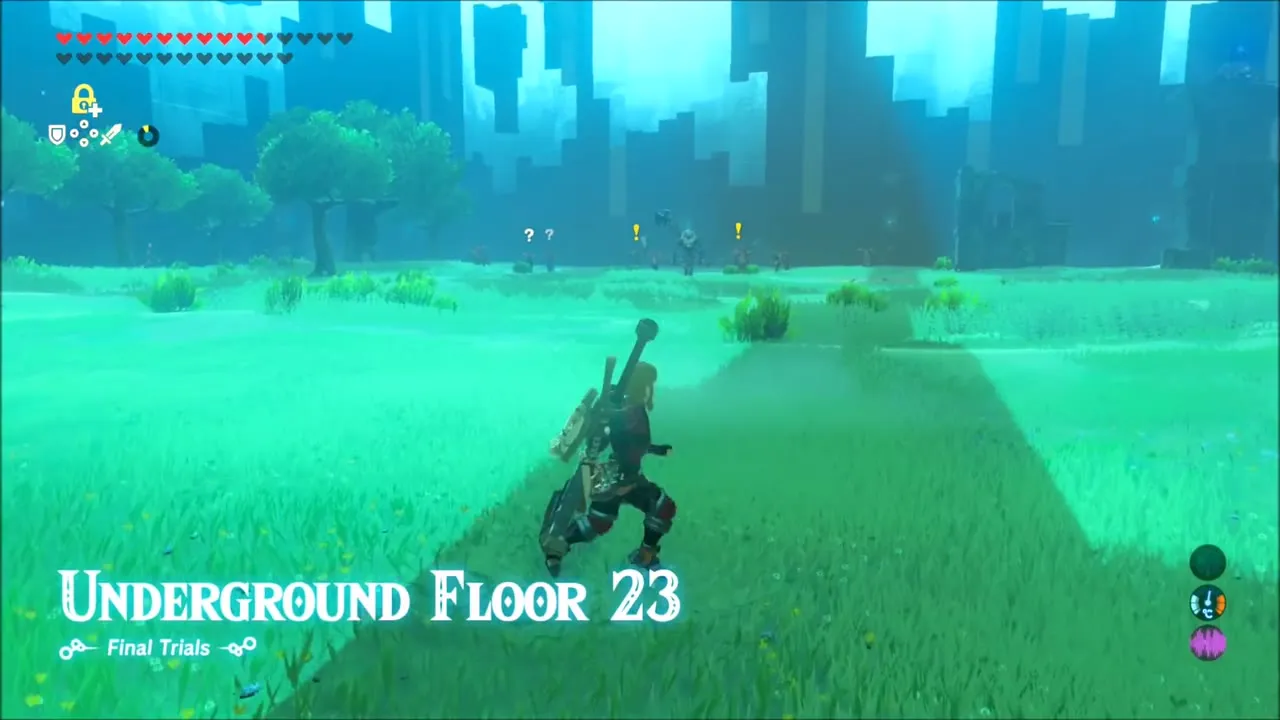
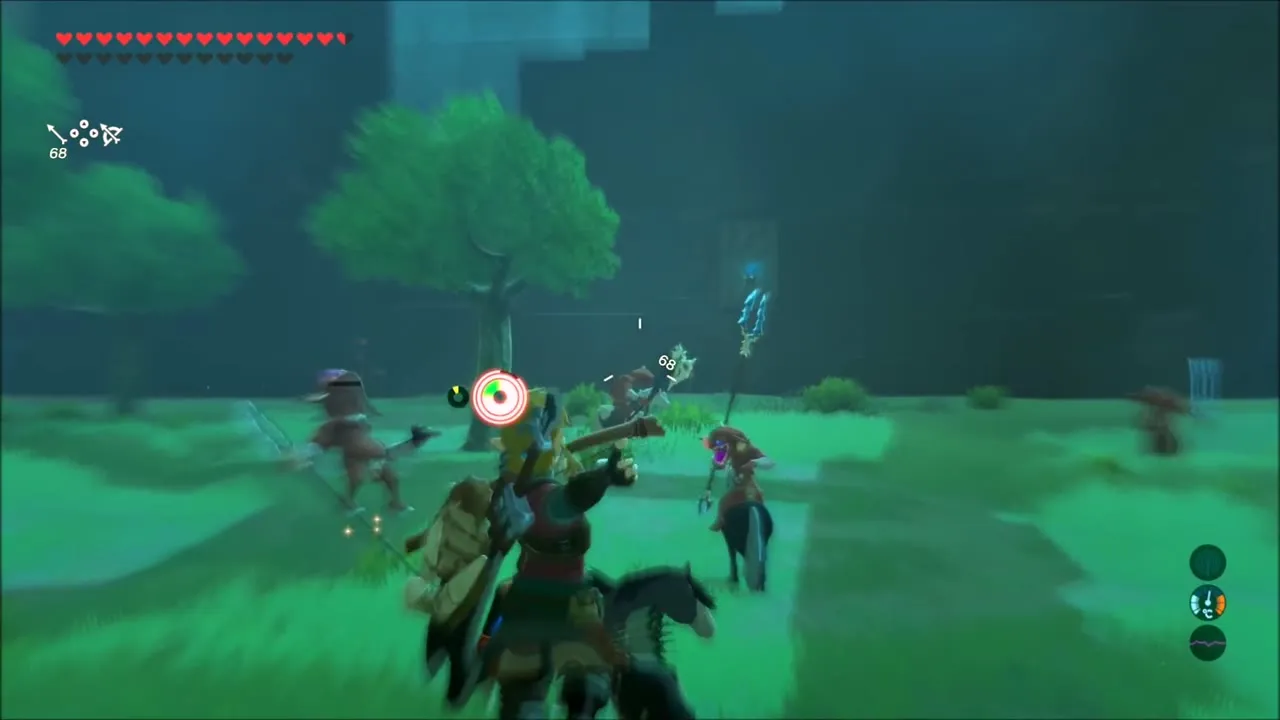
Floor 23 is the last room: a vast field where about eight Bokoblins on horseback charge you and a White-Maned Lynel and a Guardian Turret wait among them. Clear the riders with arrows and bombs, since one hit takes a Red Bokoblin out. Then deal with the Lynel, ideally with Stasis and an Ancient Arrow so it cannot dodge, and finish the Turret as on floor 22. A chest in the small ruins holds Bomb Arrows. When the arena is clear, step through the final portal.

Trial of the Sword Reward: How the Master Sword Reaches Full Power
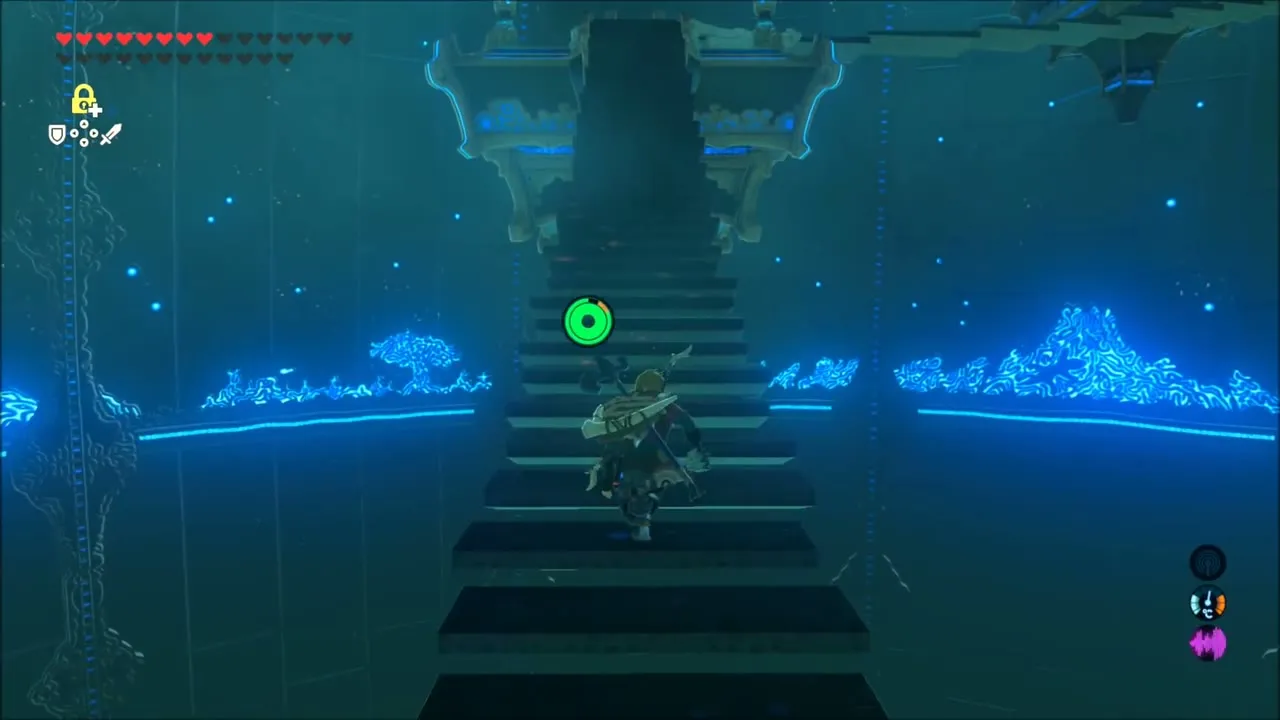
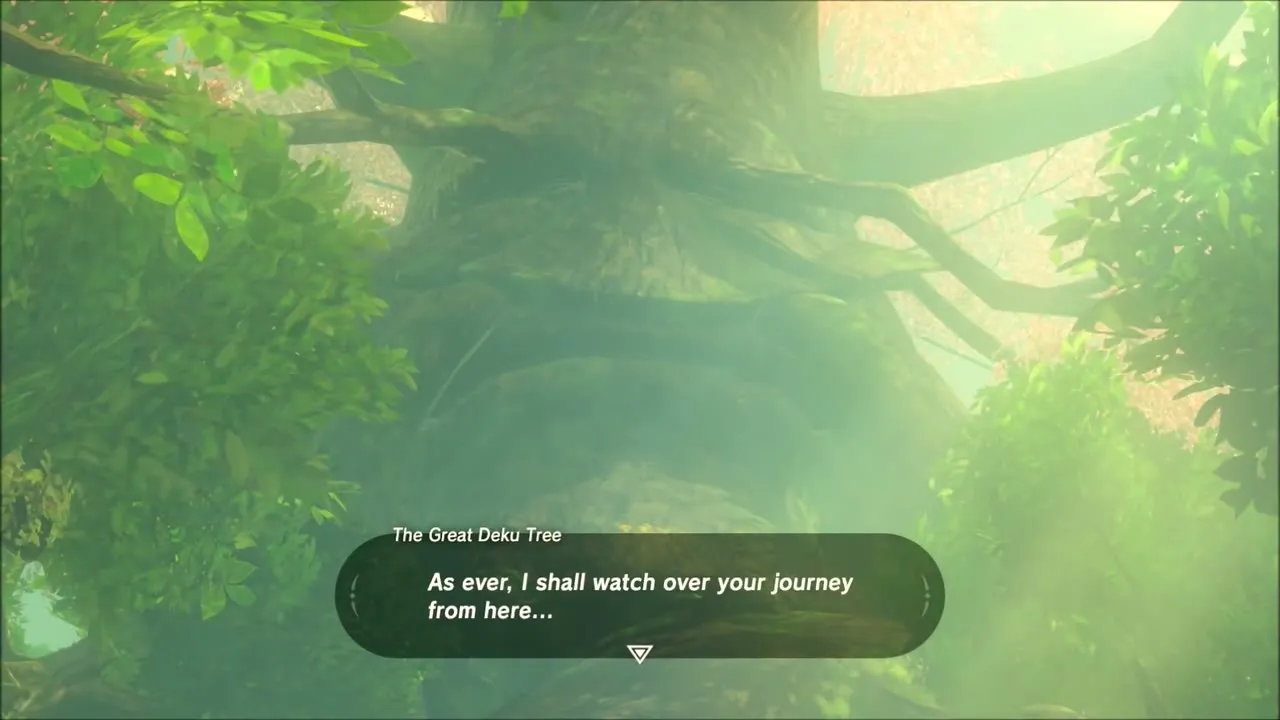
The last portal leads to a quiet shrine hall at the end of a long staircase. Walk up to the Sword Sage, who tells you that you have proven your hand worthy of the legendary Master Sword, and the blade glows in its pedestal as it is powered up. From then on the Master Sword stays at 60 attack power all the time instead of only near Calamity Ganon and its Guardians; it can still run out of charge and has to rest for a while before it returns. The Great Deku Tree adds a final word as Link returns to the Lost Woods, promising to keep watching over his journey.


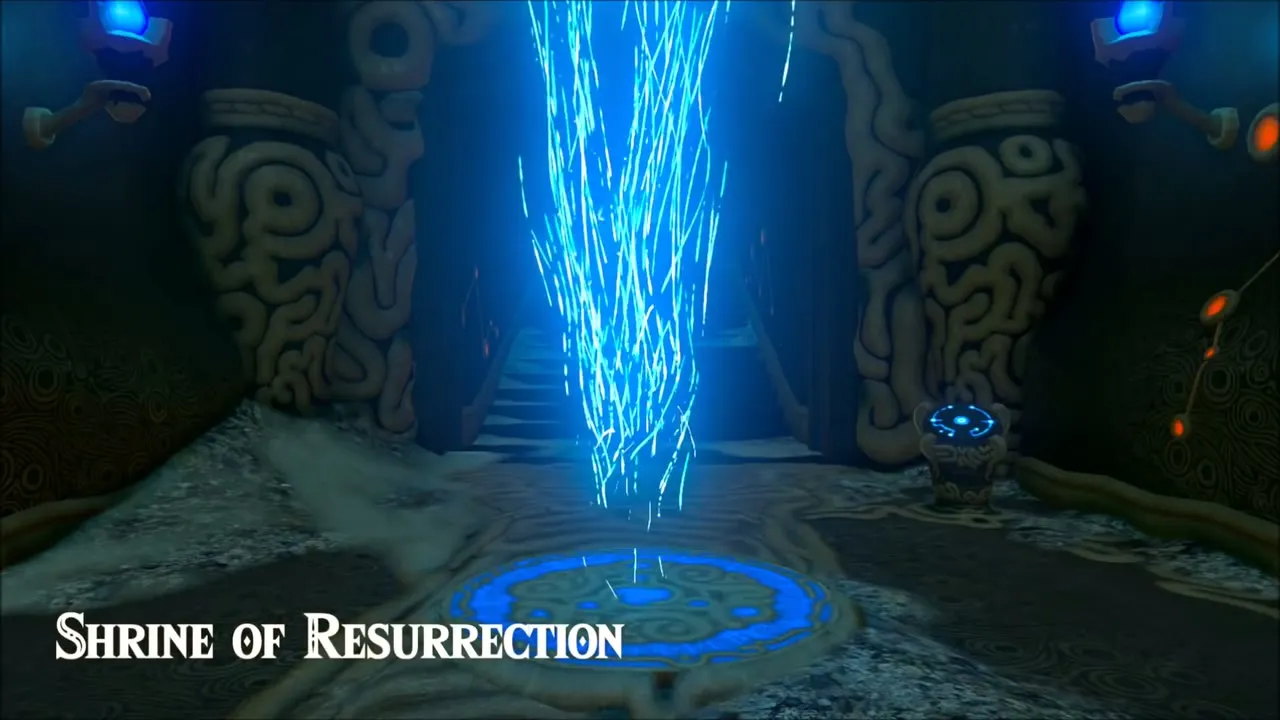
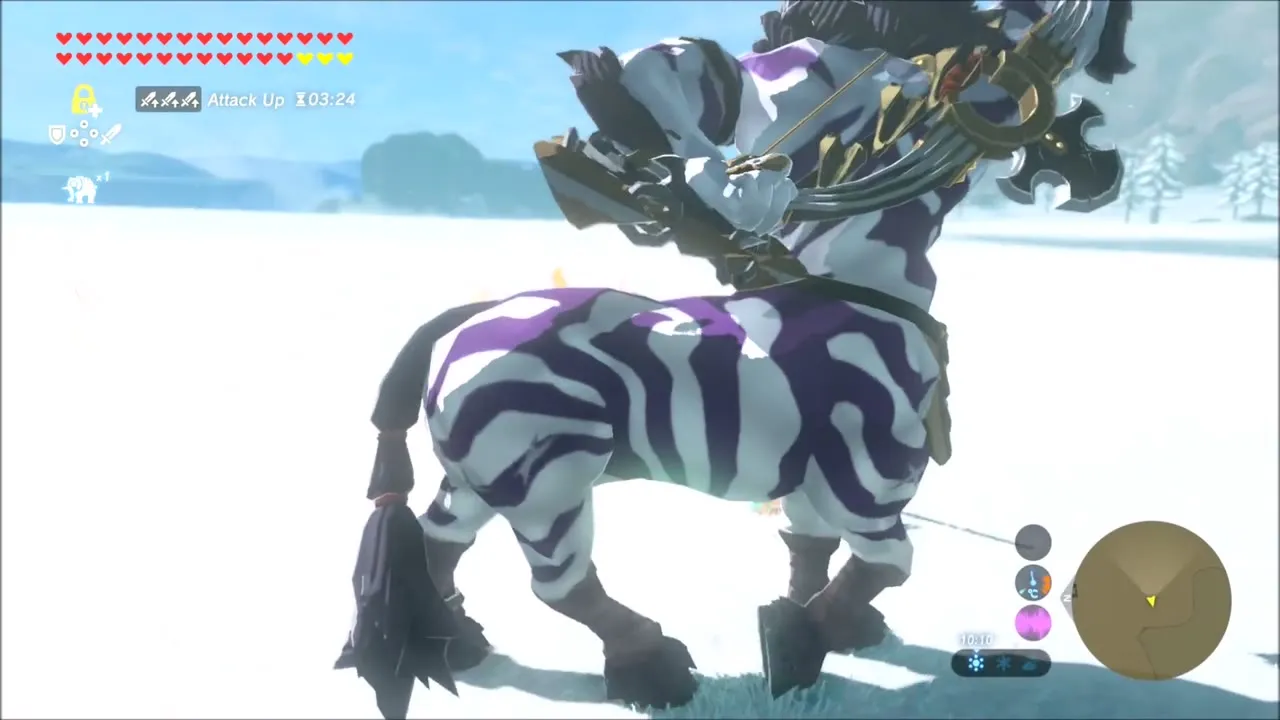
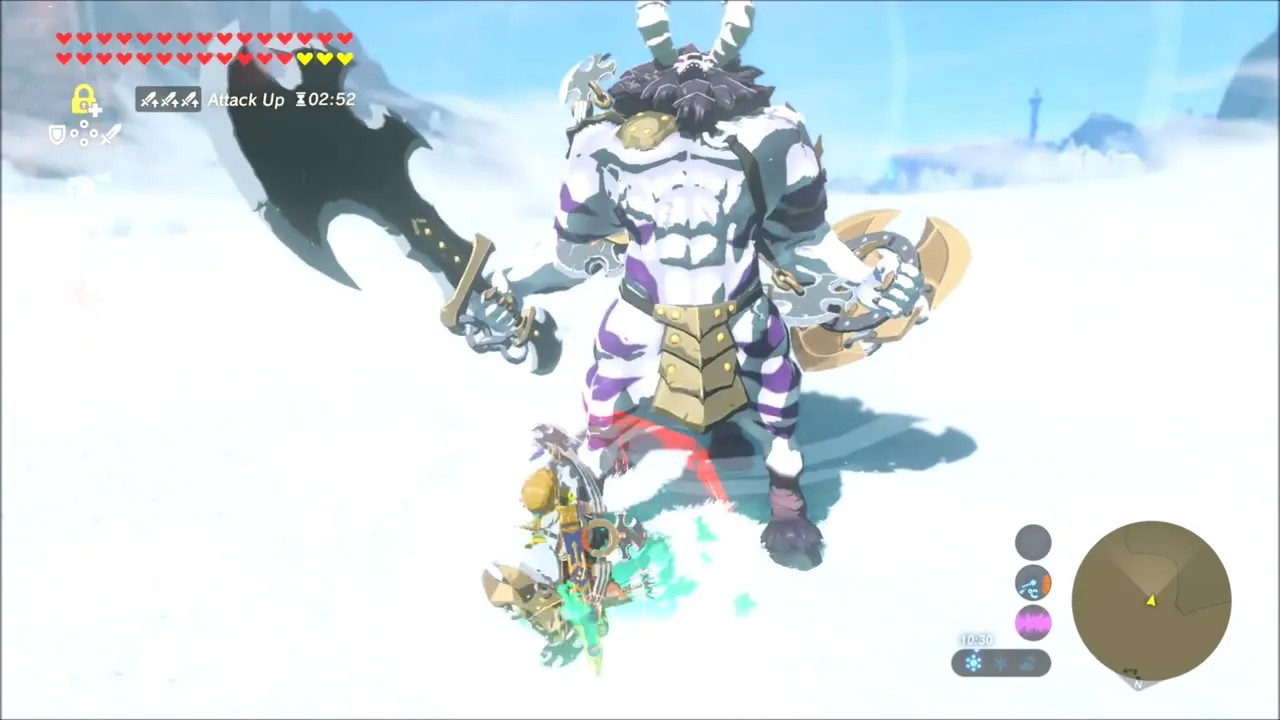
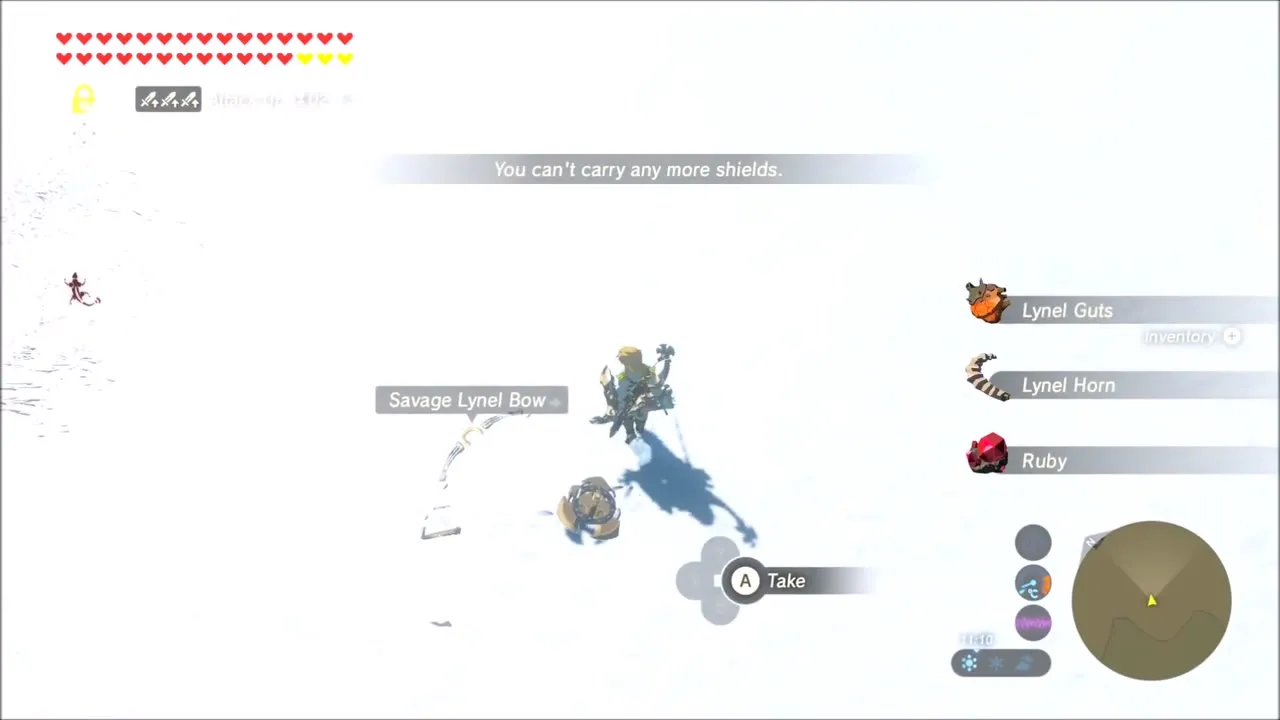
To try the powered-up blade, take it into the snow and fight a Silver Lynel: it drops Savage Lynel weapons. When you are done, warp to the Shrine of Resurrection on the Great Plateau, where the next DLC pack starts.

Ancient Saddle and Ancient Bridle Locations (EX Ancient Horse Rumors)
After you install The Champions’ Ballad, a batch of new DLC quests appears in your Adventure Log: EX Ancient Horse Rumors, EX Royal Guard Rumors, four EX Treasure quests (Merchant Hood, Garb of Winds, Usurper King and Dark Armor) and a collaboration quest about a salvager. The two stable rumors are the quickest. Pick them up in whichever order you like; the DLC overview lists every treasure at a glance.

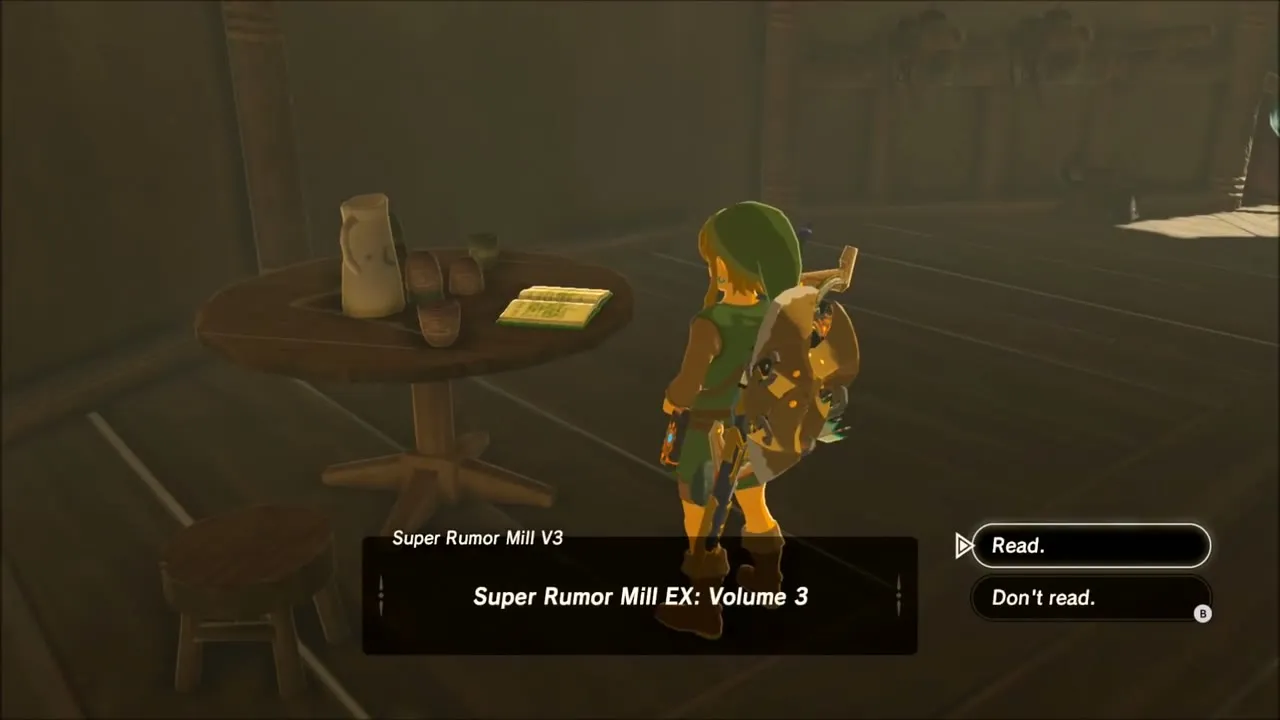
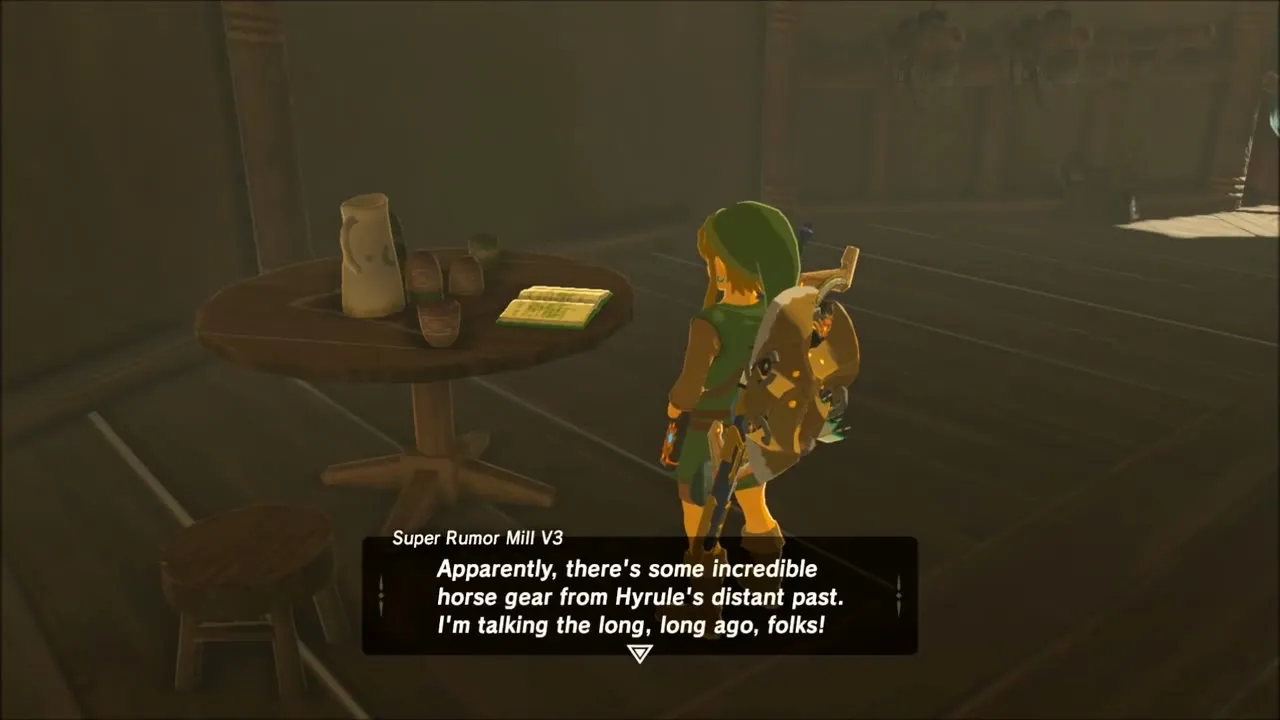
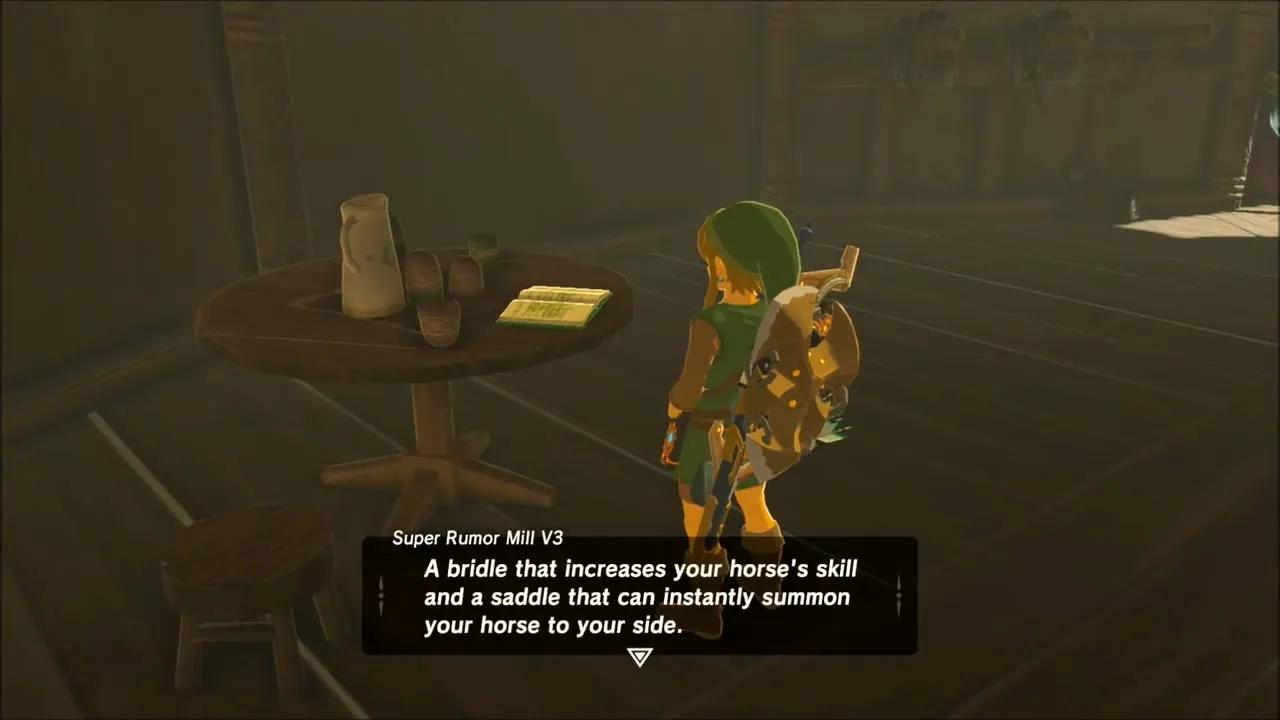
Go to Highland Stable (x 530, z 3451) and read the Super Rumor Mill book on the table inside. It says the ancients rode horses with extraordinary gear, which starts EX Ancient Horse Rumors and sets two tasks: find the Ancient Saddle and the Ancient Bridle.
Ancient Saddle Location: Malanya Spring
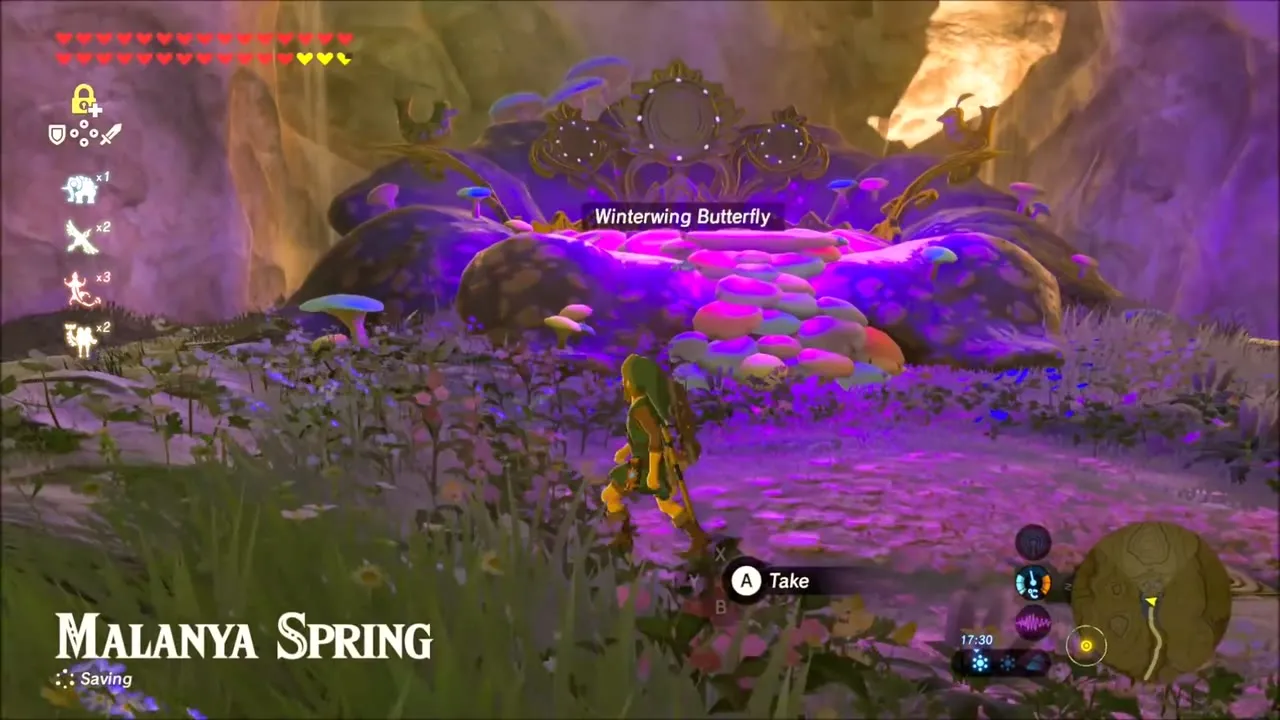
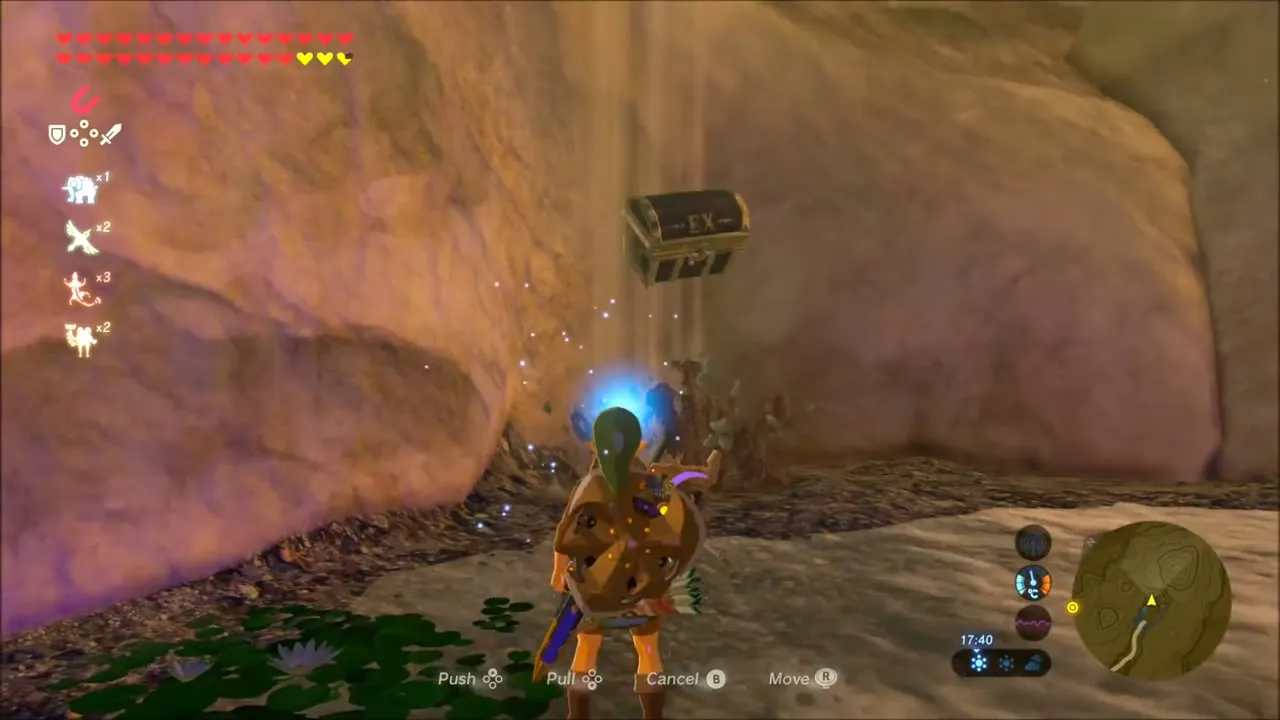
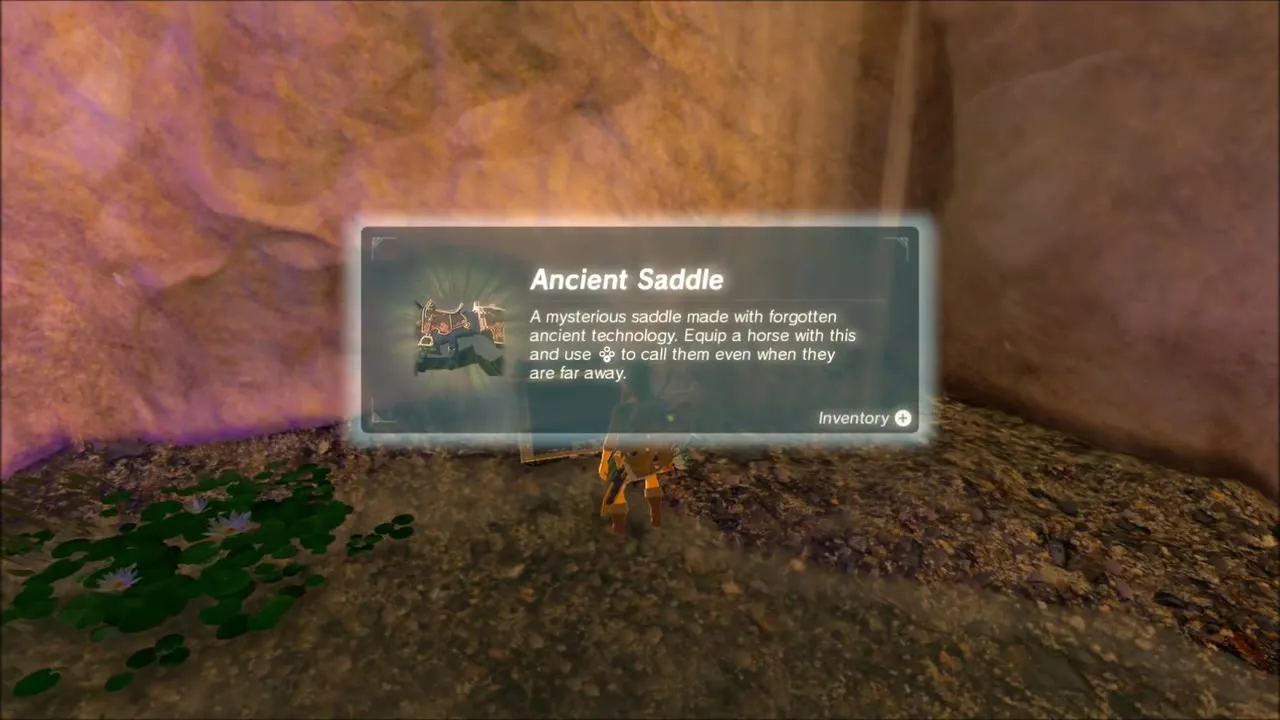
Leave Highland Stable and head toward Ka’o Makagh Shrine (x 523, z 3525); beyond it, climb up and glide over to Malanya Spring (x 801, z 3704), a small cavern with a glowing purple flower bud in the middle. The chest sits by the bud, and it holds the Ancient Saddle, which lets you call your horse with a whistle from anywhere.

Ancient Bridle Location: Satori Mountain Cherry Tree
For the second item, travel to Satori Mountain (x -2229, z 338) and find the cherry tree standing by itself on a rise, with pink petals covering the ground below. A chest rests at its foot and holds the Ancient Bridle, which gives your horse extra spurs. Taking it completes EX Ancient Horse Rumors.


How to Equip the Ancient Saddle and Bridle
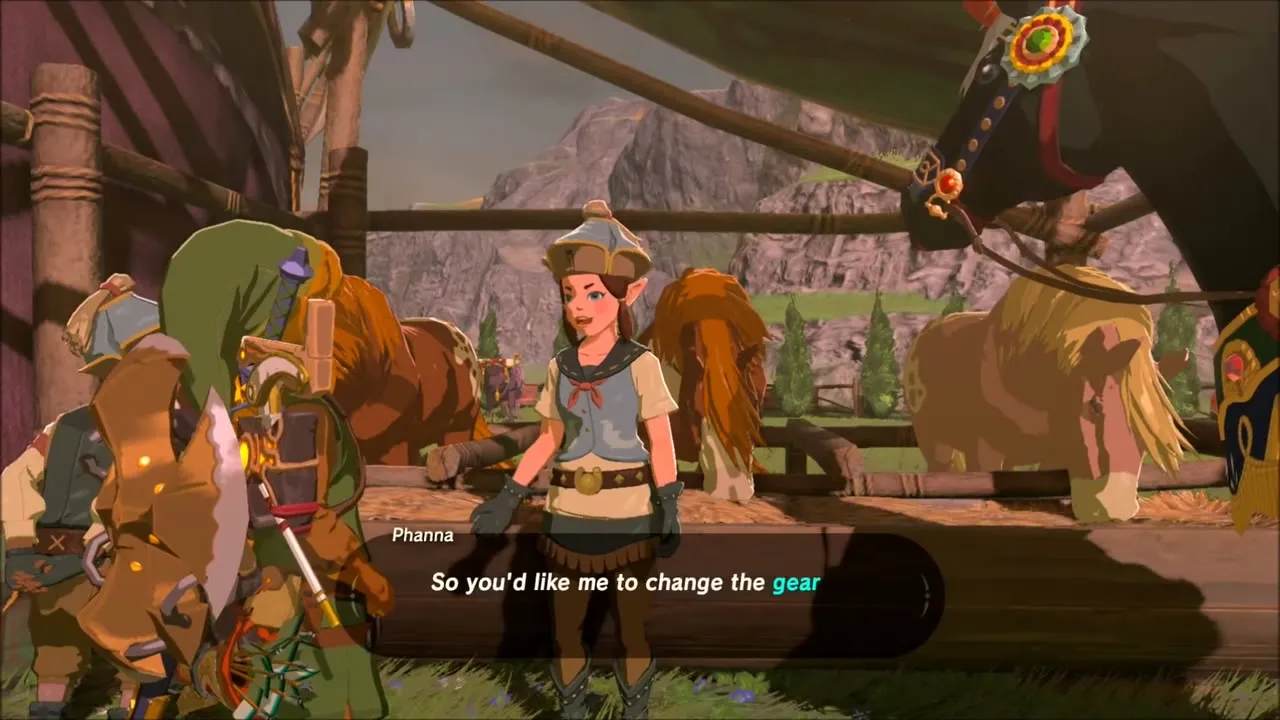
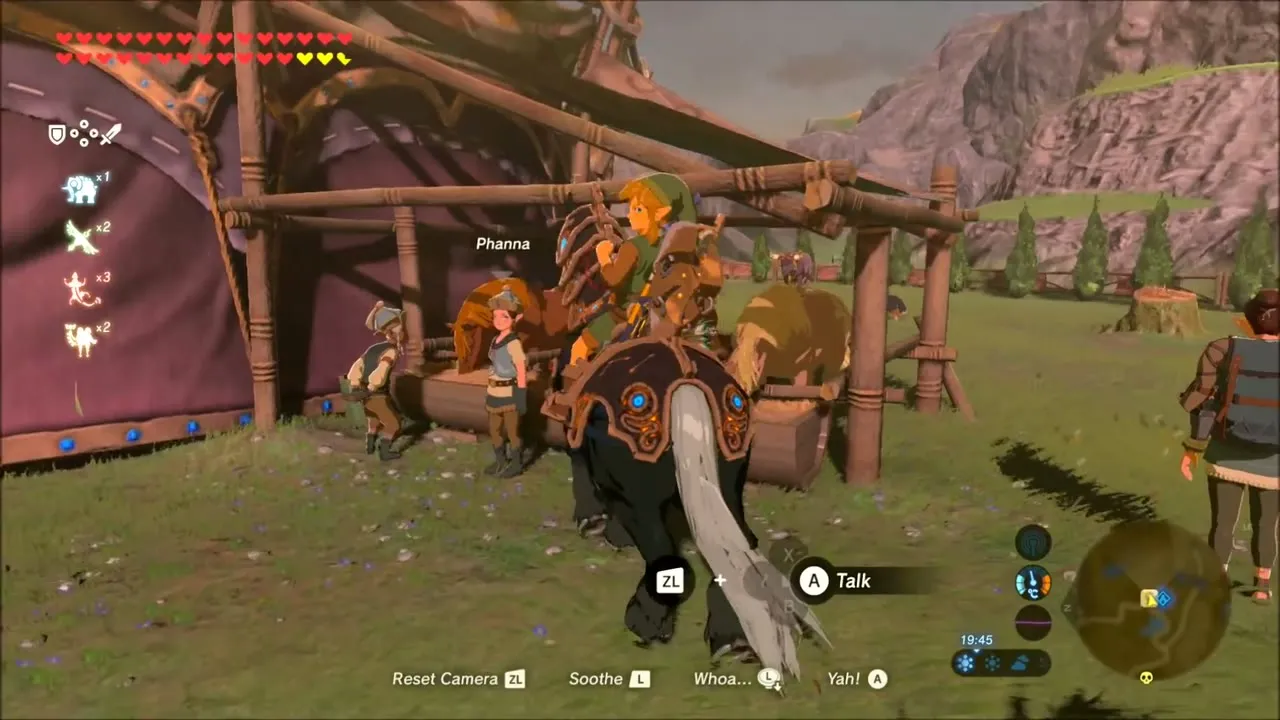
Return to Highland Stable and talk to the stable hand with your horse beside you. Ask to change the gear on your horse, then choose the Ancient Saddle and Ancient Bridle from the list. See the horses page for more on gear and taming.


Royal Guard Cap, Uniform and Boots Locations (EX Royal Guard Rumors)
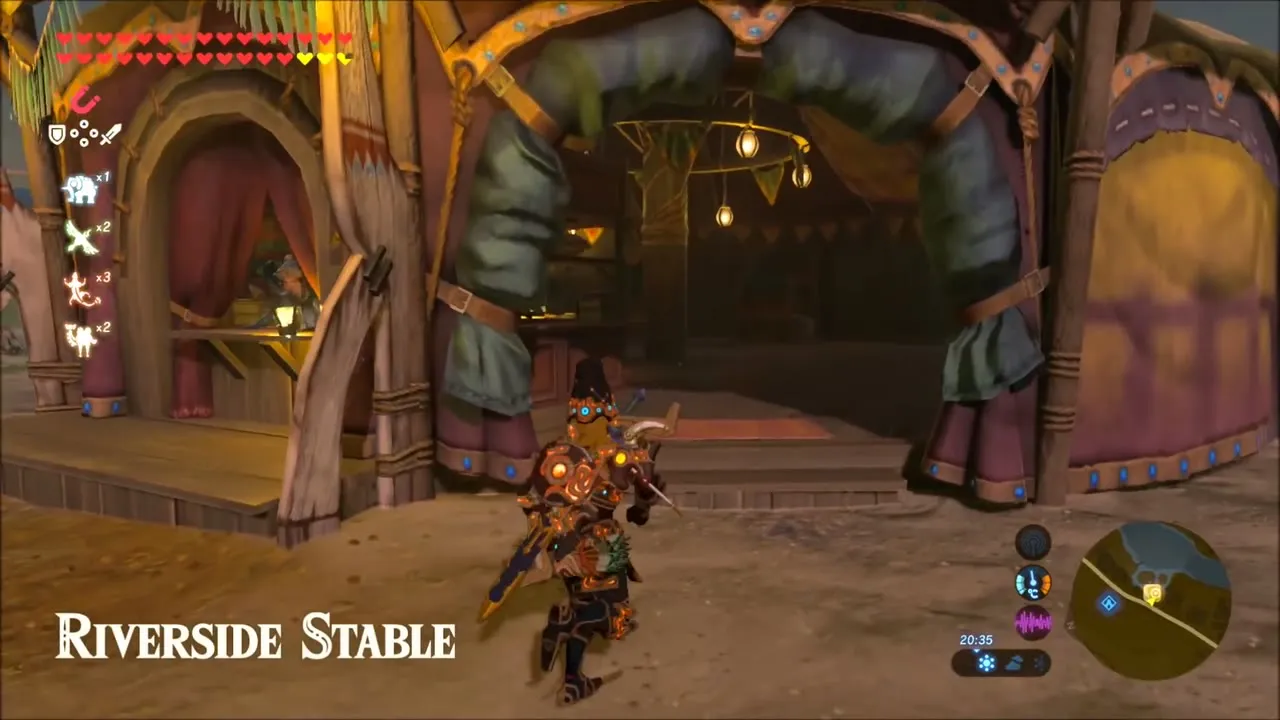
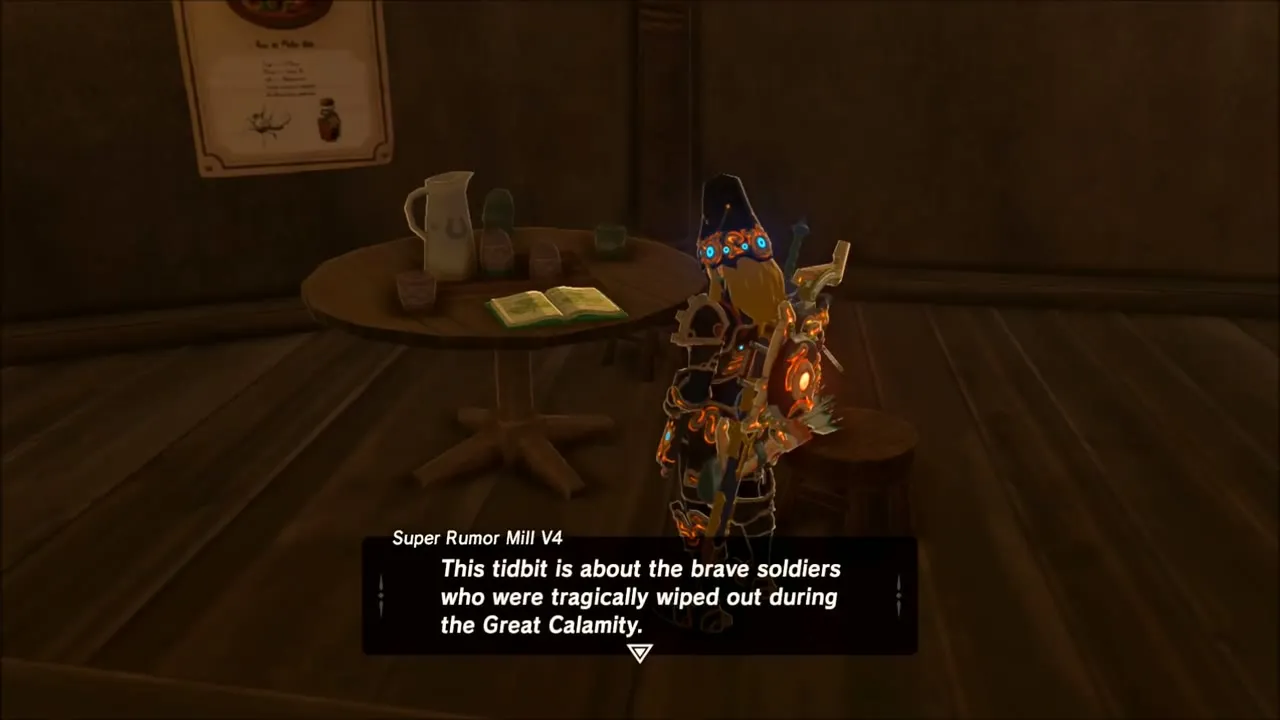
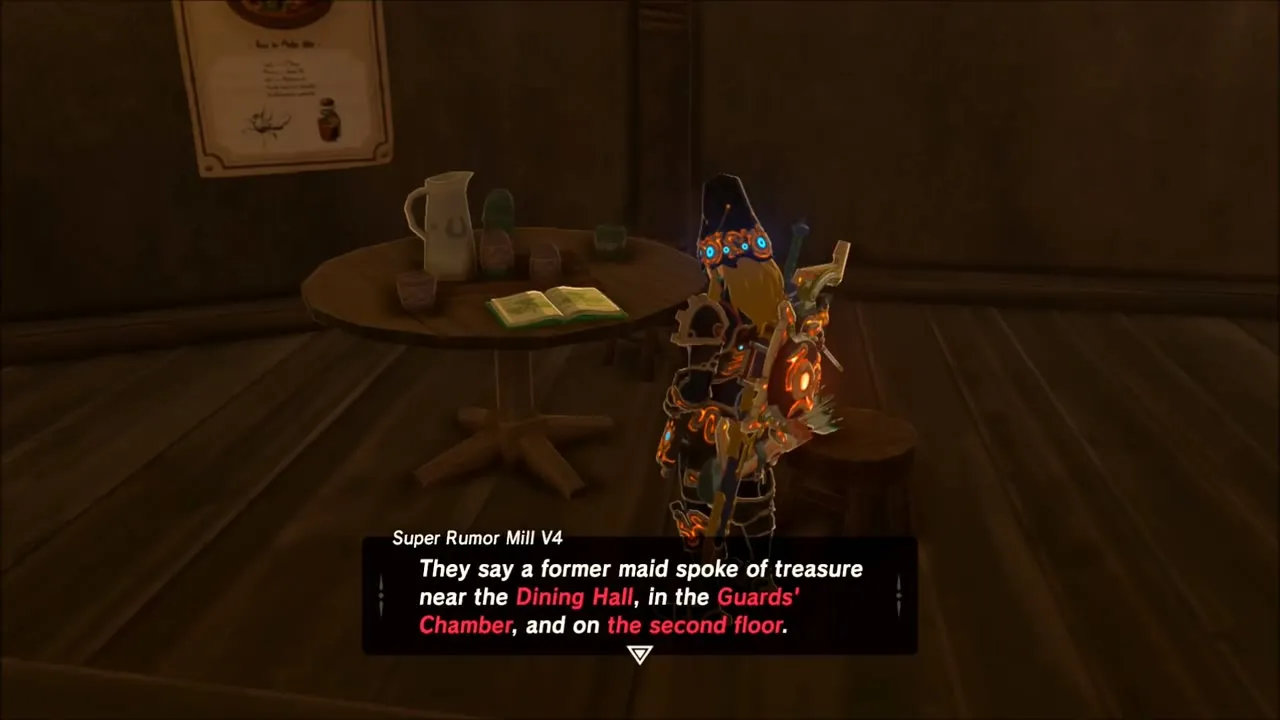
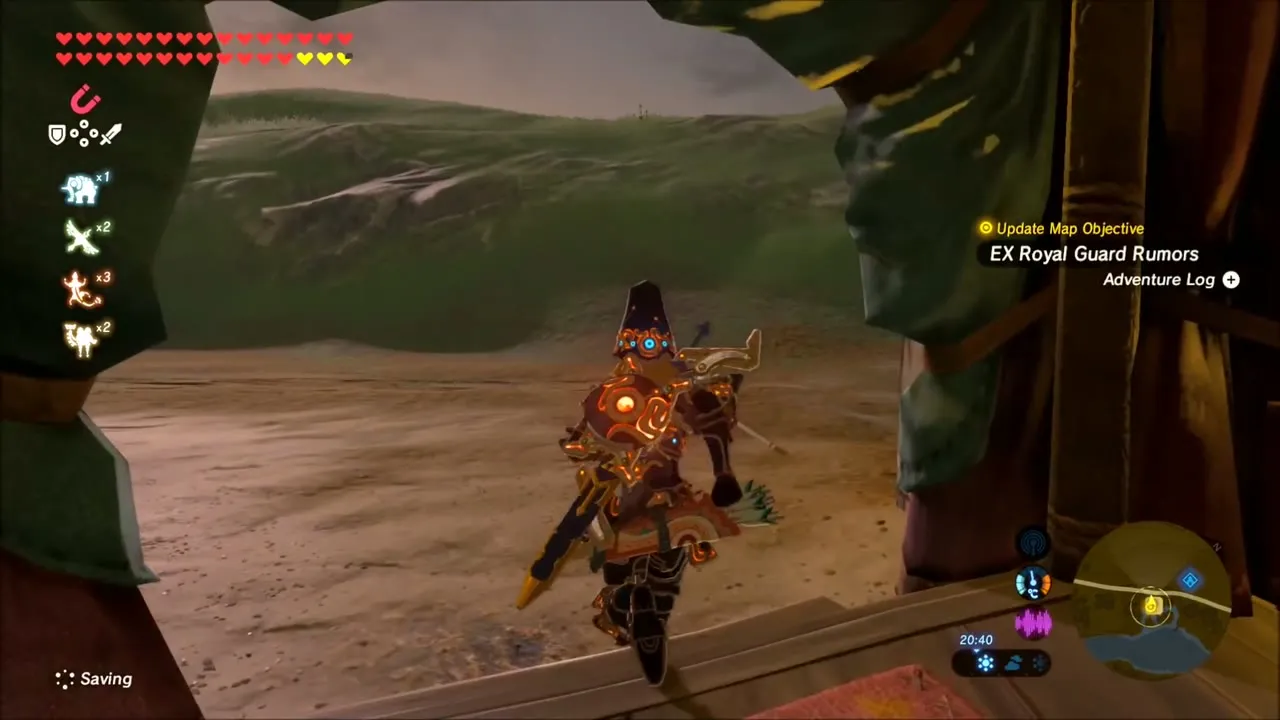
Go to Riverside Stable (x 339, z 1095) and read the Super Rumor Mill book inside. It tells of the royal guards who died in the Great Calamity and hints that a former maid knew where their treasure lay: near the Dining Hall, in the Guards’ Chamber, and on the second floor. That starts EX Royal Guard Rumors, and all three chests are inside Hyrule Castle.
Reaching Hyrule Castle
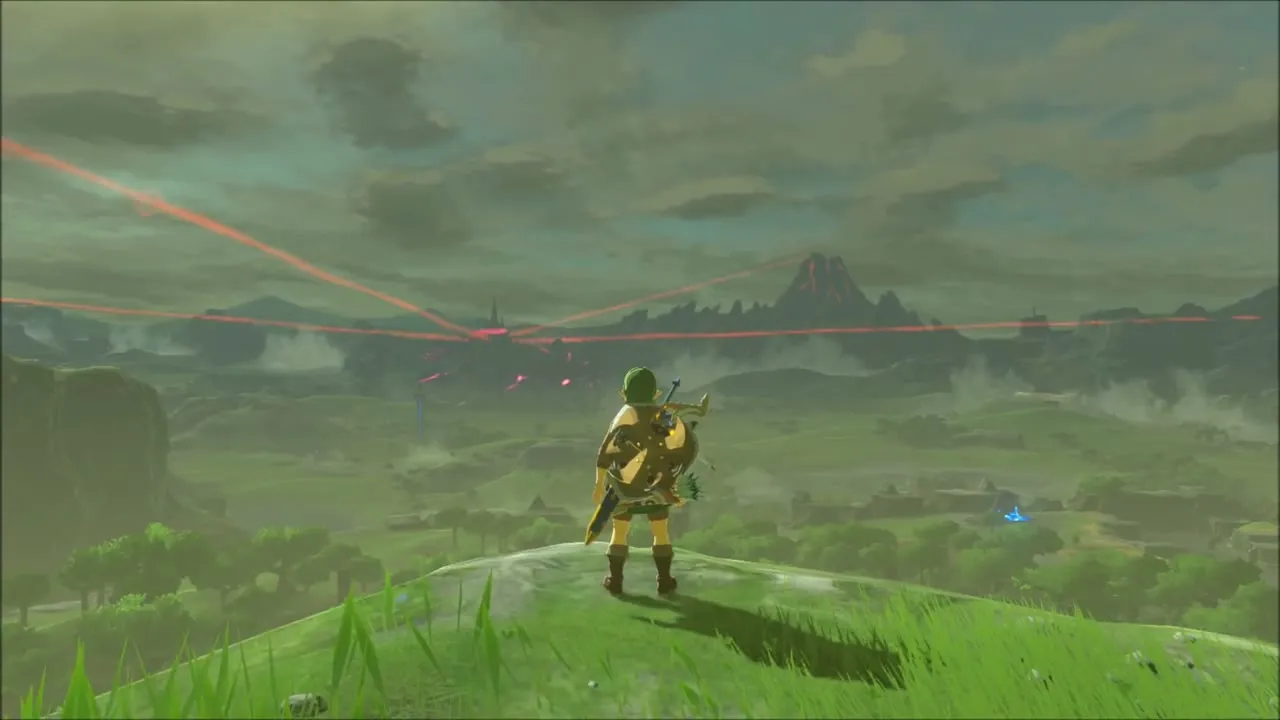
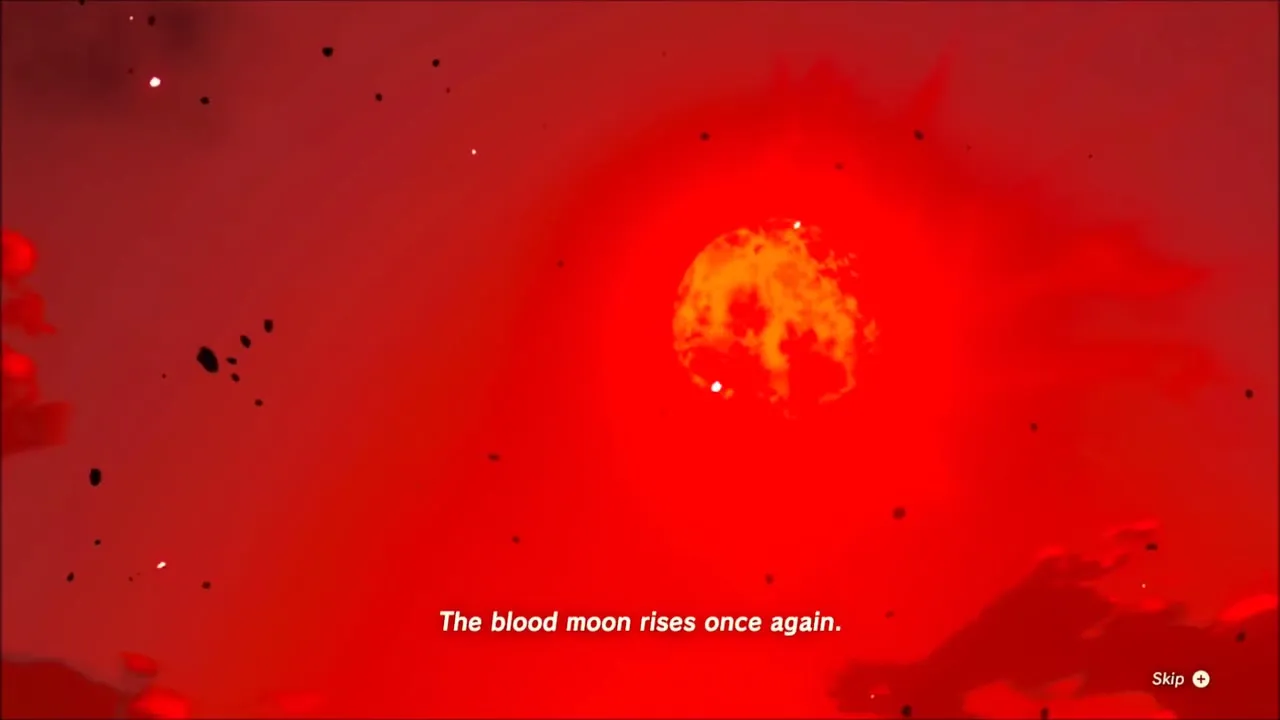
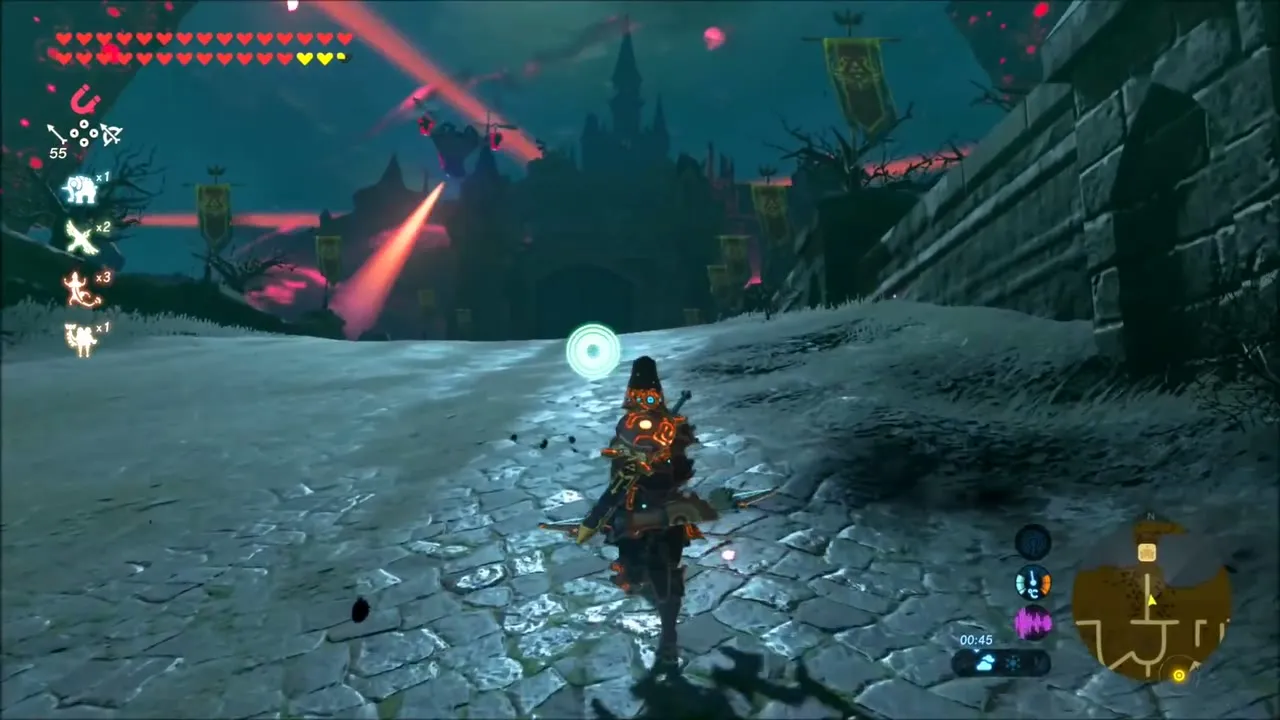
Ride toward Hyrule Castle (x -254, z -611) and dismount before the grounds, where Guardians sweep red beams across the approach. When night comes the blood moon rises and the monsters in the castle return, so stay on your guard and expect a fight inside. Climb in and head through the castle toward the Guards’ Chamber.

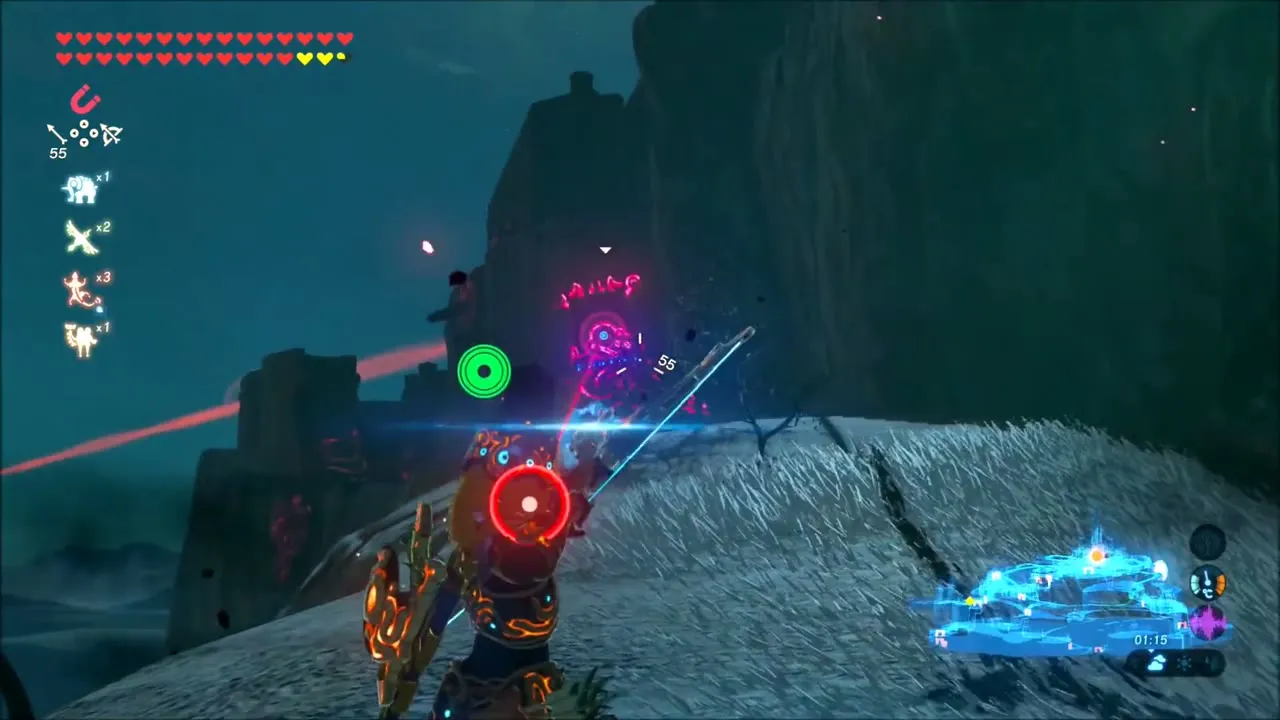
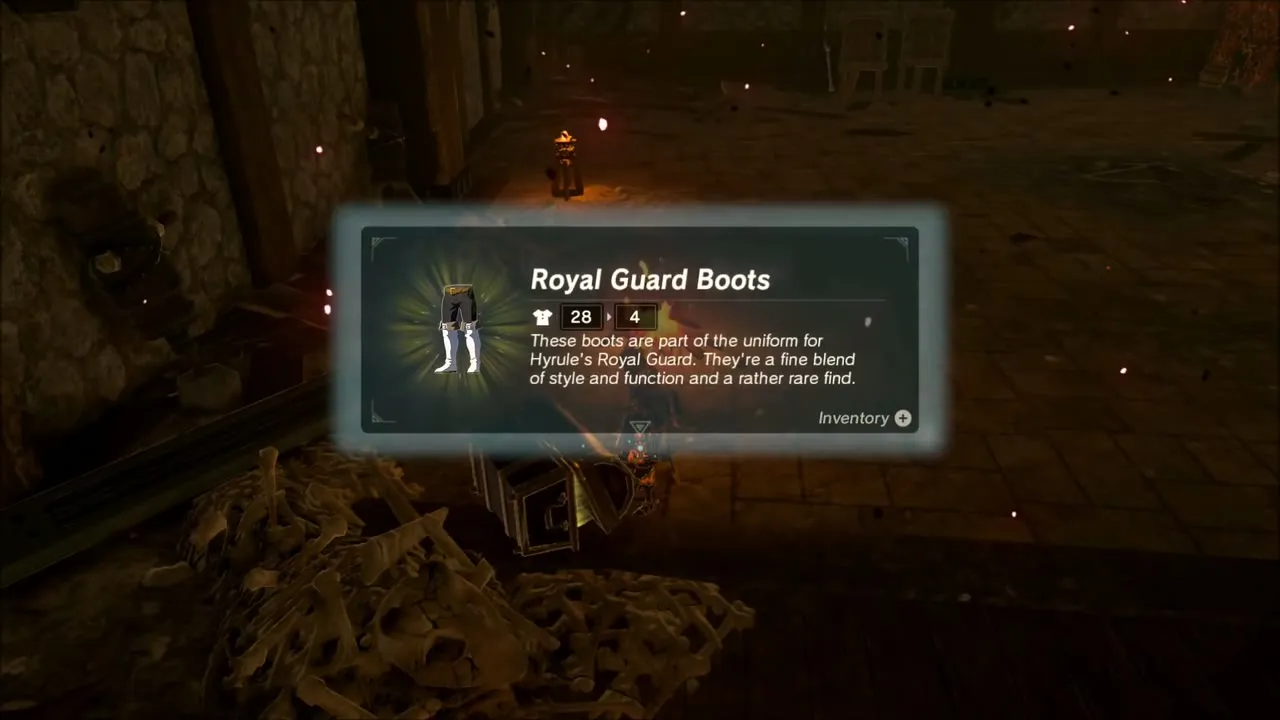
Royal Guard’s Boots Location
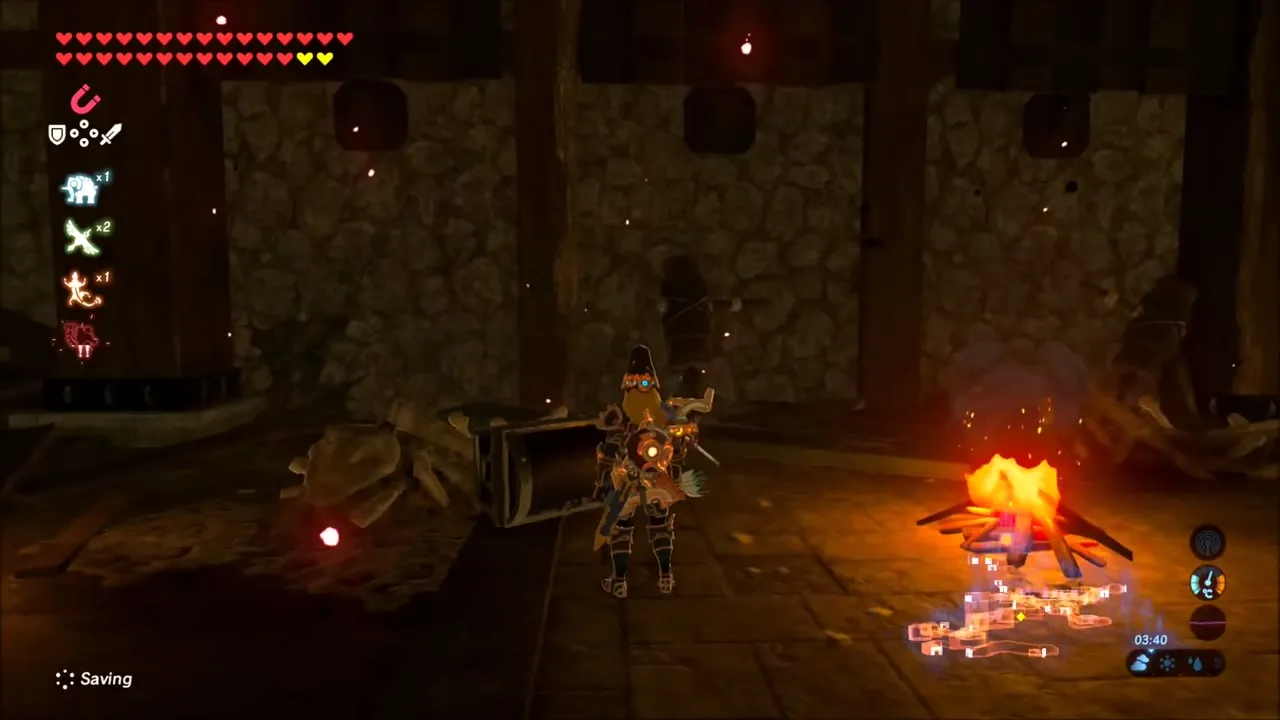
The first chest is in a dark barracks-style room lit by a campfire. Monsters wait on the way in, so clear them before you search. The chest is beside the fire, half buried under a pile of bones and rubble, and it holds the Royal Guard Boots.

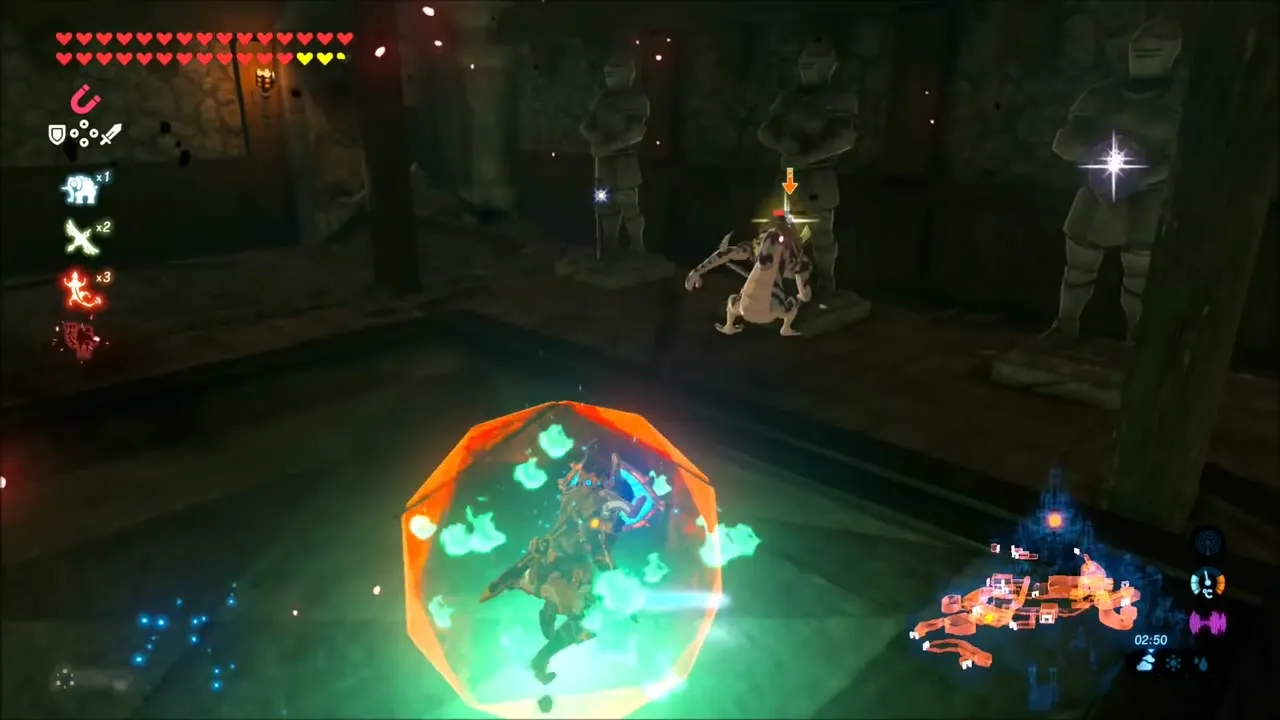
Royal Guard Uniform Location
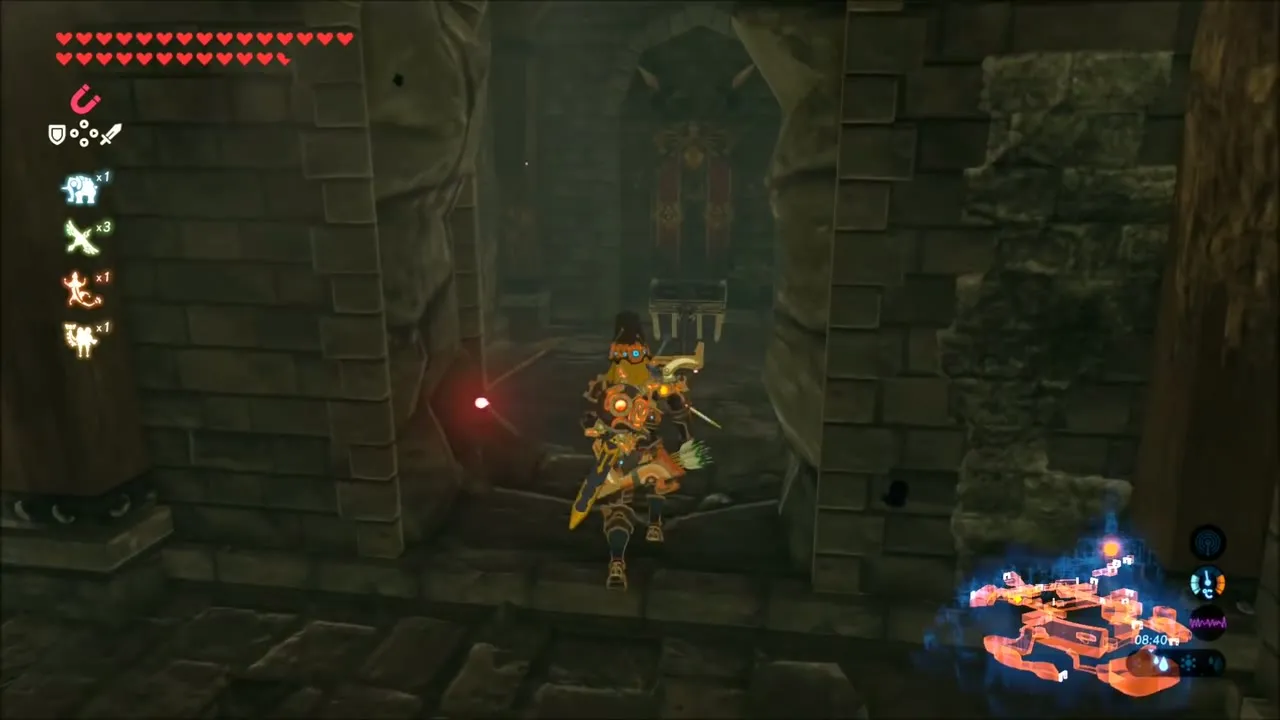
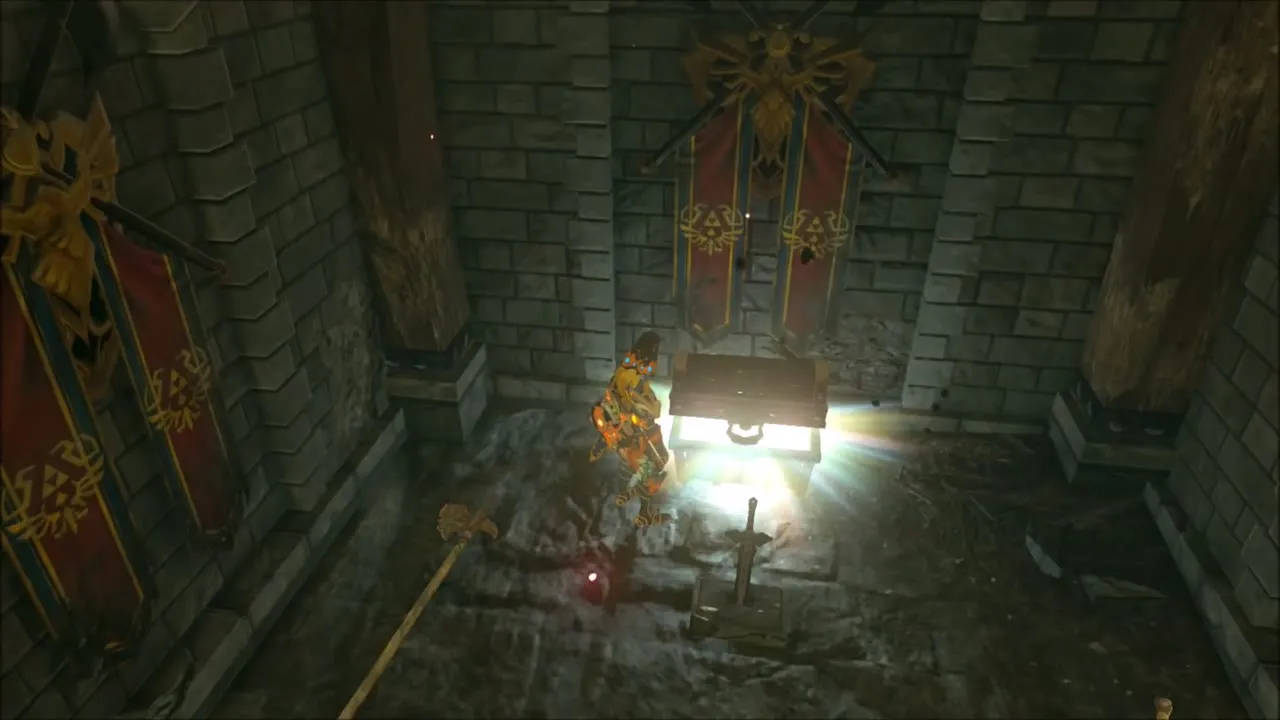
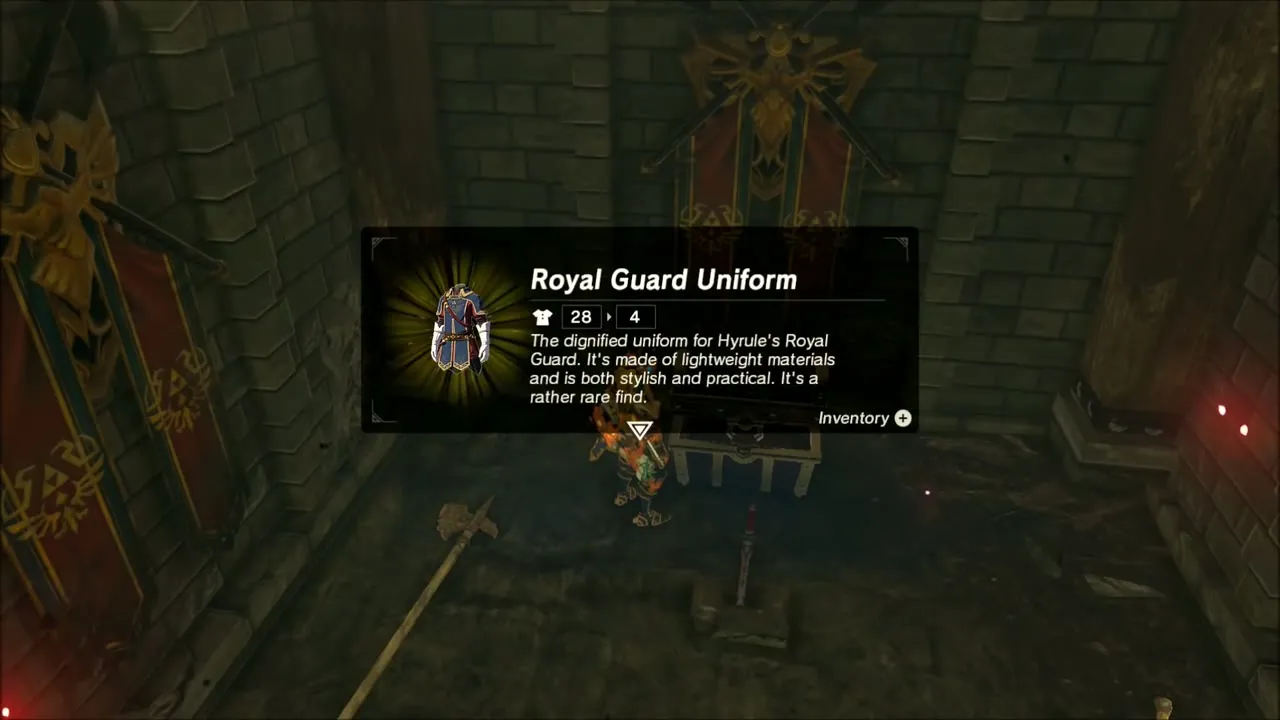
The second chest is in a hidden room past the Dining Hall area, down a corridor with red guard banners on the walls. Walk to the end of the passage and open the chest between the banners for the Royal Guard Uniform.

Royal Guard Cap Location
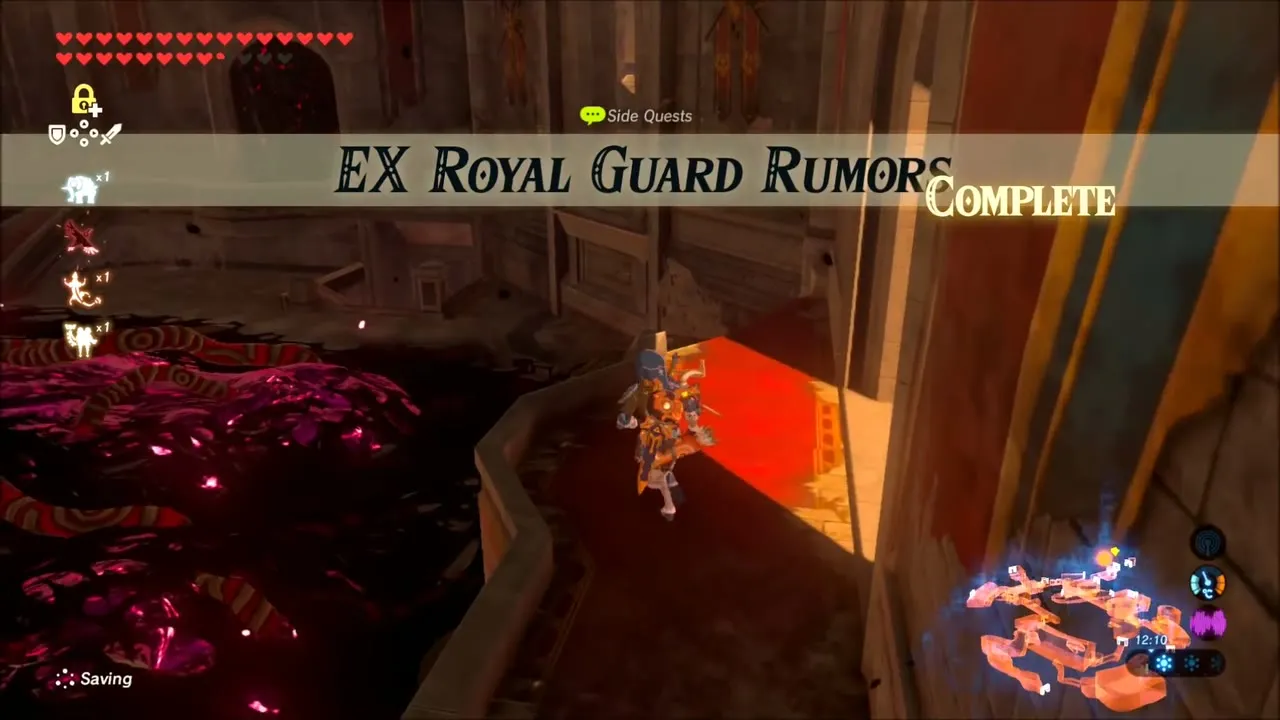
The last chest is in the Sanctum, on the upper floor. Cross the room to the grand staircase with the red carpet and the statue of a knight, where the chest sits next to the statue. It holds the Royal Guard Cap and completes EX Royal Guard Rumors. Glide out when you are done, or choose Leave This Area from the map.


EX Treasure Locations: Zant’s Helmet, Ravio’s Hood, Island Lobster Shirt and Phantom Ganon Armor
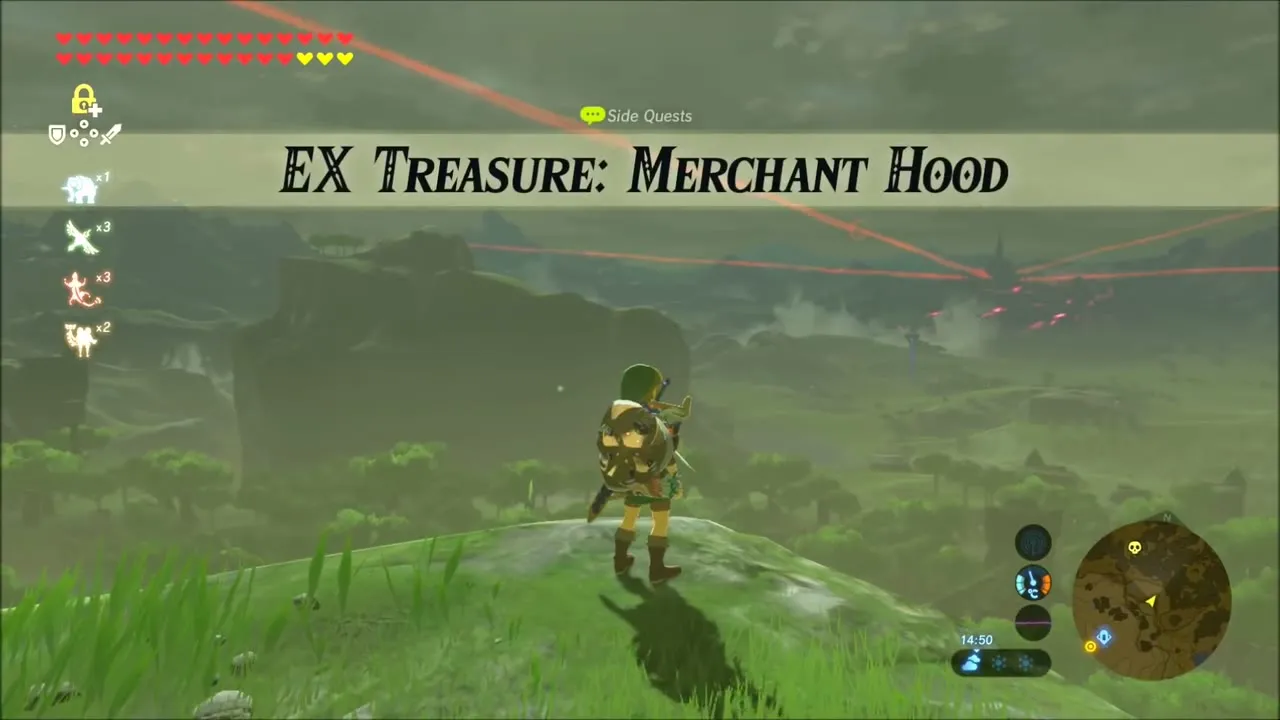
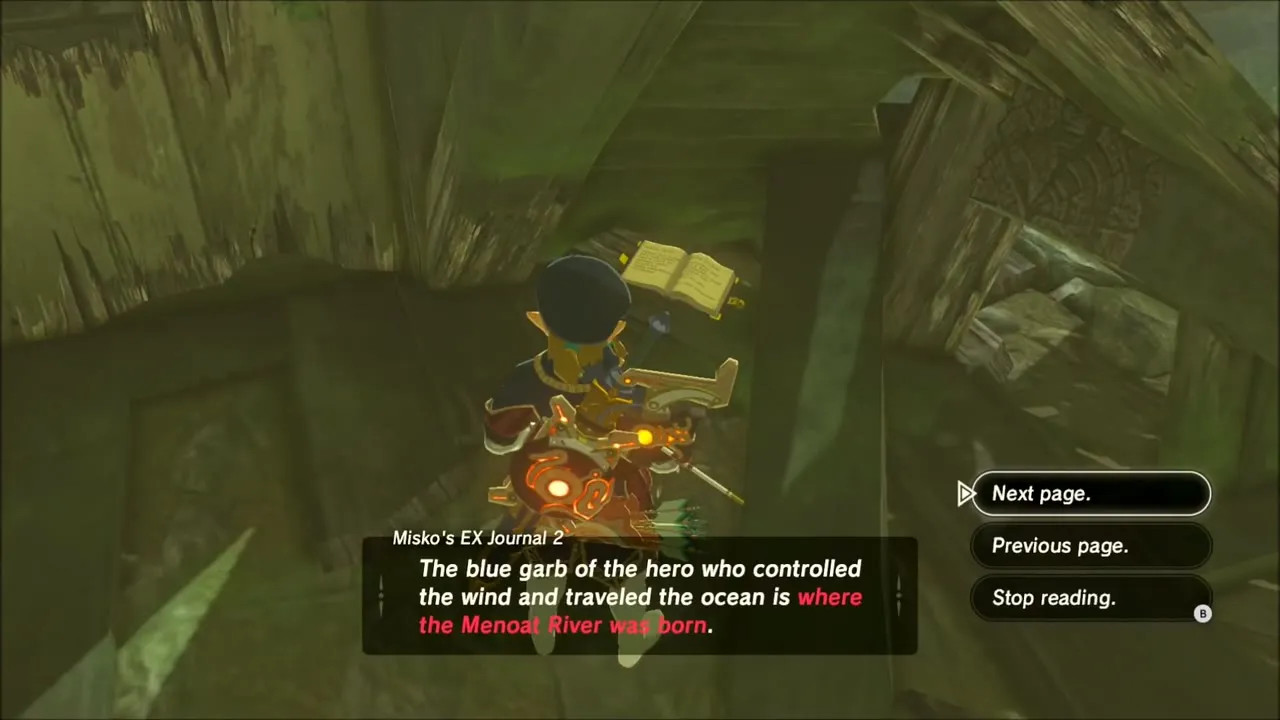
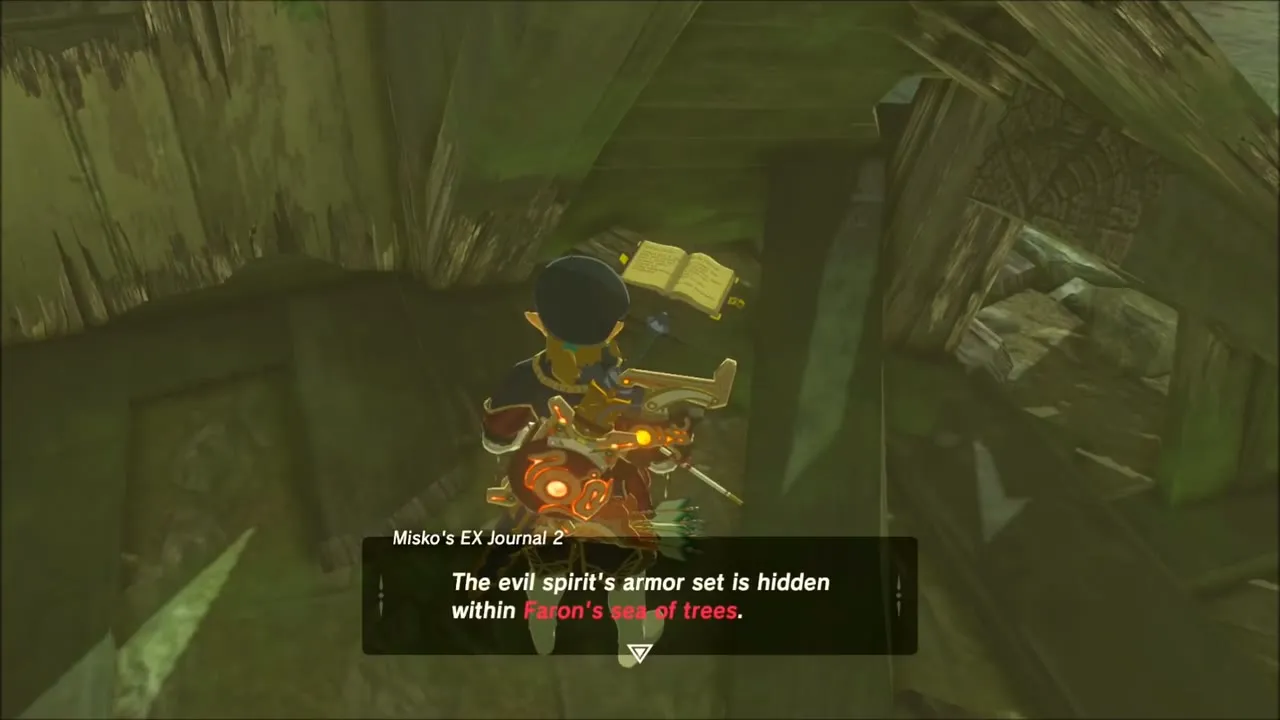
Four of the new treasure quests start at the same place. Go to Deya Village Ruins (x 353, z 1953), the flooded ruins, and examine the journal in a ruined wooden building. Misko’s second journal says he hid six relics stolen from Hyrule Castle in treasure chests, and it adds clues such as the evil spirit’s armor set lying within Faron’s sea of trees and the blue garb of the hero who sailed lying where the Menoat River was born. Reading it begins EX Treasure: Usurper King, Merchant Hood, Garb of Winds and Dark Armor at the same time.

Zant’s Helmet Location (EX Treasure: Usurper King)
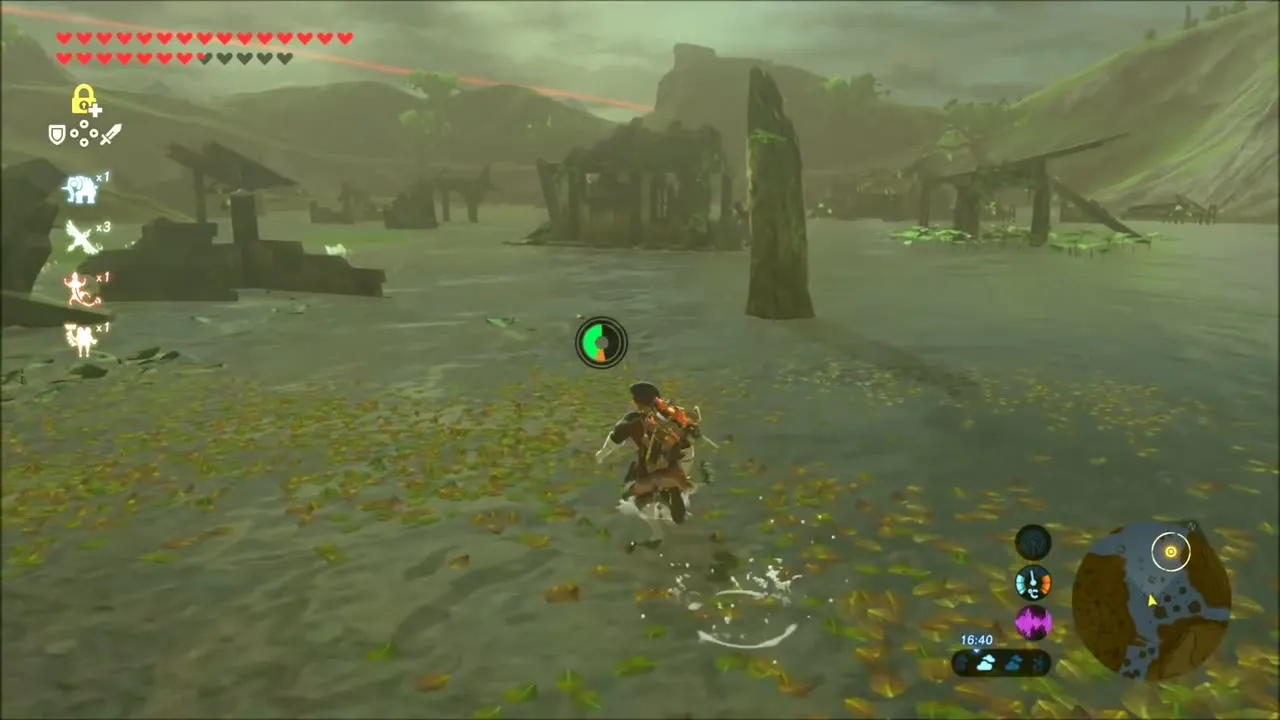
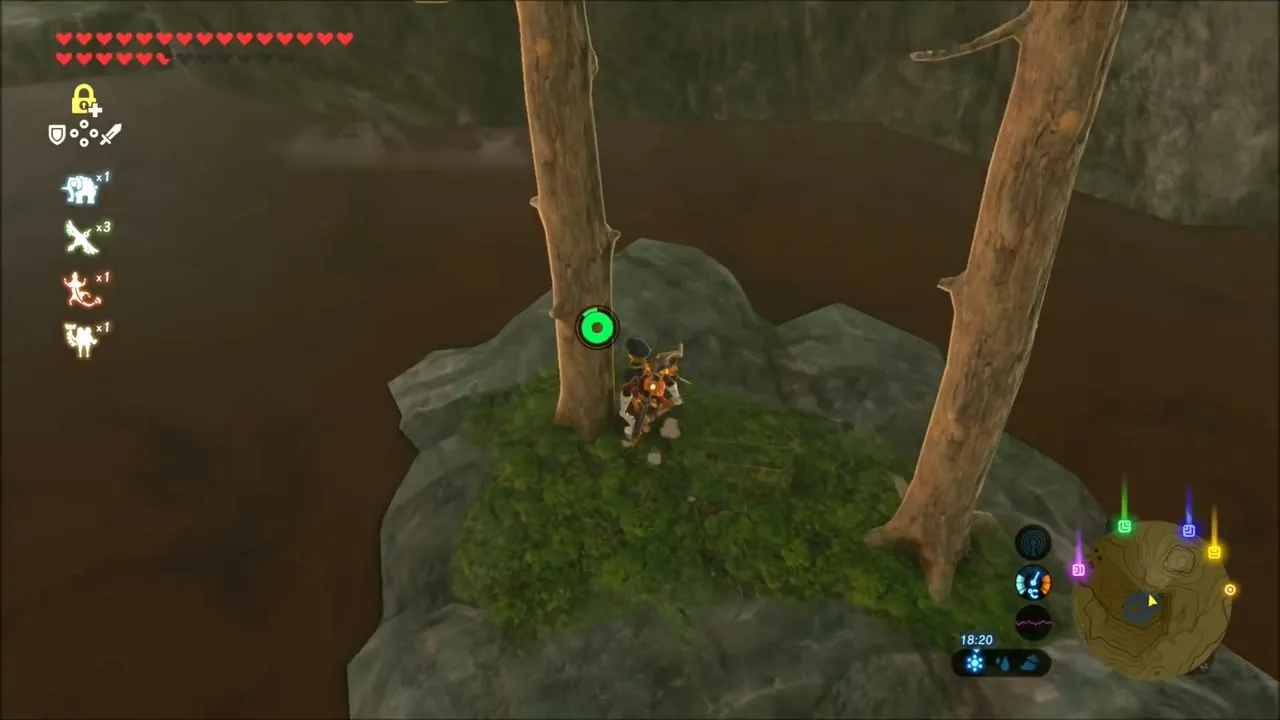
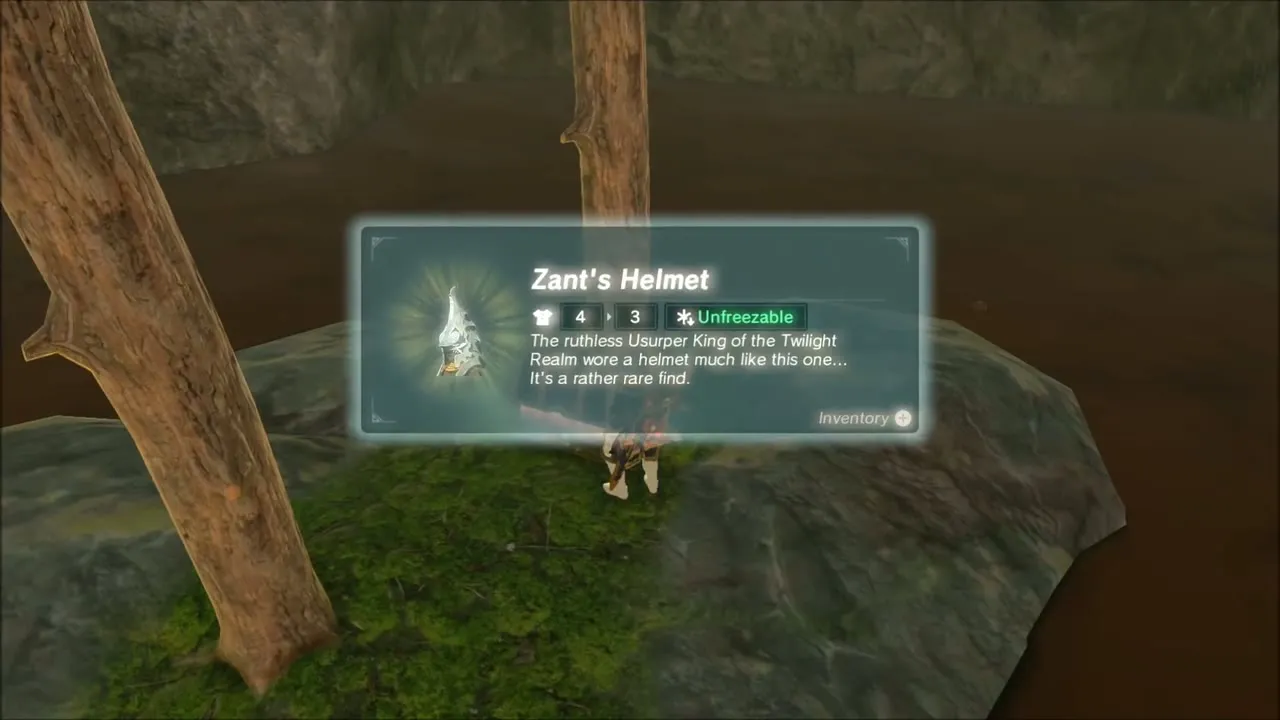
Zant’s Helmet is in Tobio’s Hollow (x 1329, z 2564), a swamp south-east of the ruins. Glide down onto the small island in the middle of the swamp, where two bare trees stand on a patch of grass. The chest is between the trunks and holds Zant’s Helmet, which makes you immune to being frozen.

Ravio’s Hood Location (EX Treasure: Merchant Hood)
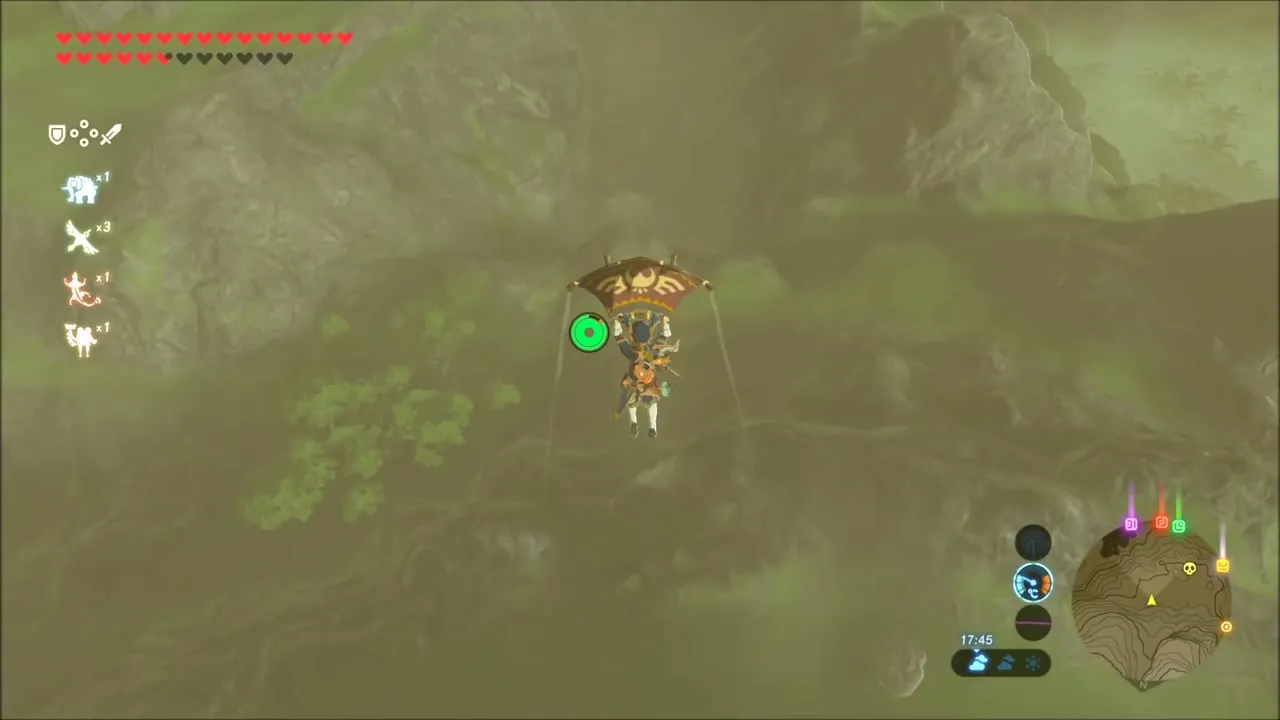
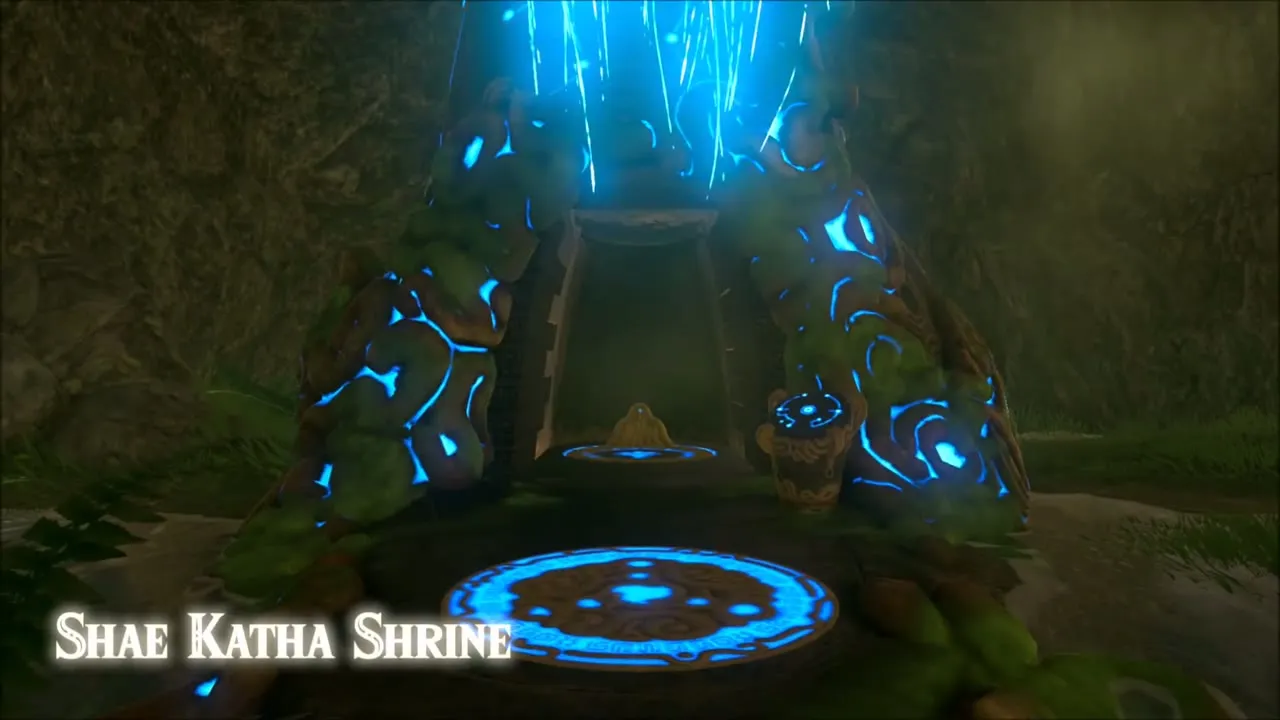
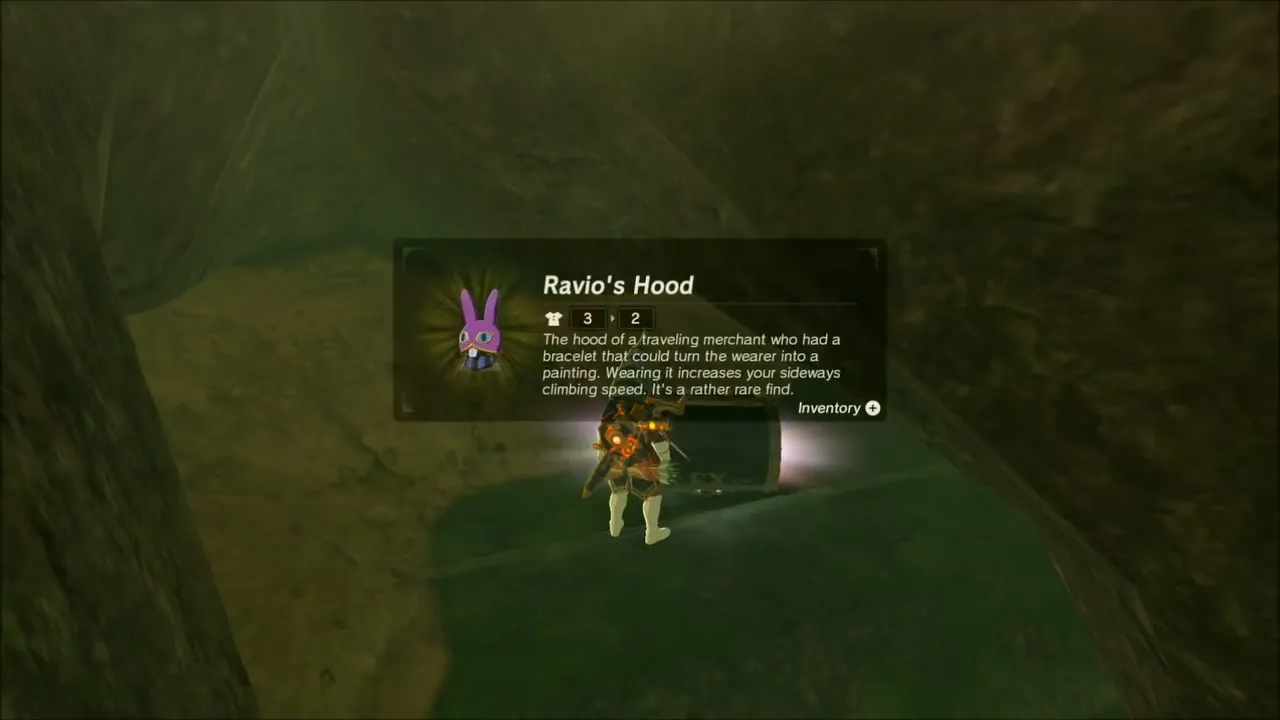
Ravio’s Hood is near Dracozu Lake, at the Spring of Courage (x 877, z 2371); the Shae Katha Shrine (x 870, z 2330) is next to it, and makes a handy warp point. The quest text points to the right hand of the dragon at the Spring of Courage, and the chest there holds Ravio’s Hood, which completes the quest.

Phantom Ganon Armor Locations (EX Treasure: Dark Armor)
The Phantom Ganon set is hidden in the jungle of Faron, so travel into Faron and search the forest for the chests. Two of the pieces are in this jungle: the Phantom Ganon Greaves are in one chest, and the Phantom Ganon Skull is in another a short way on. They give you a stealth bonus.

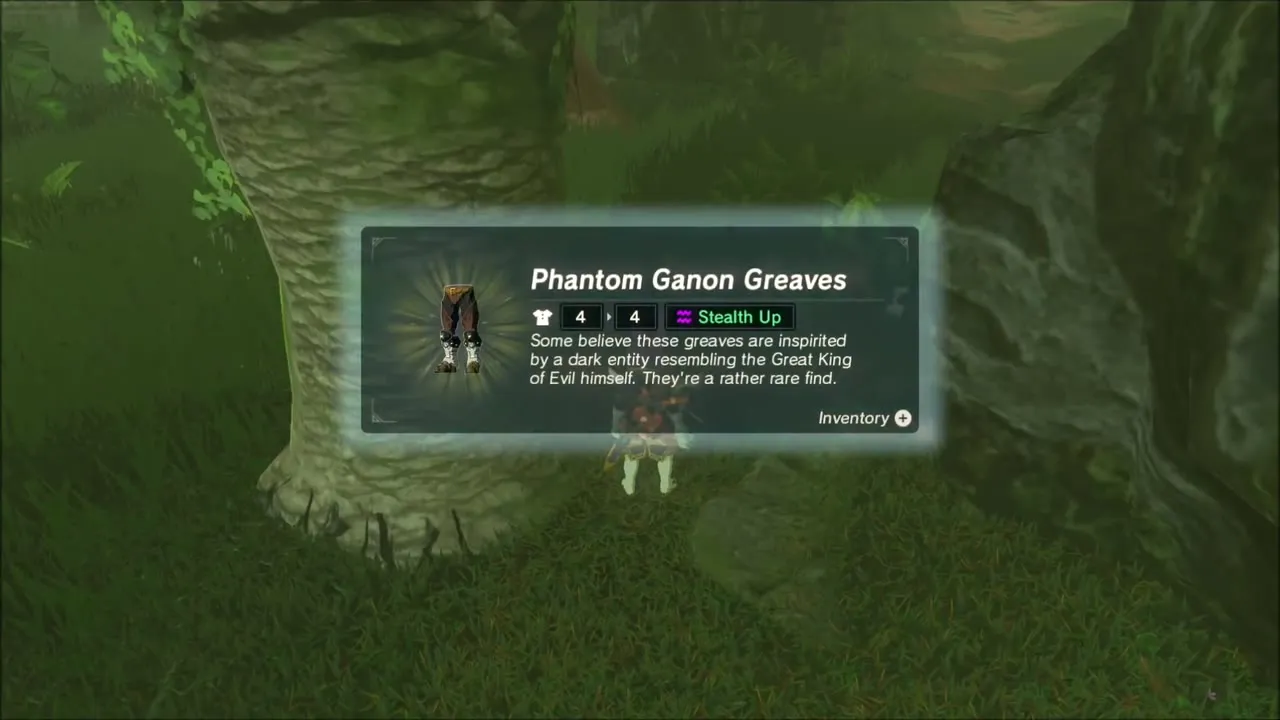

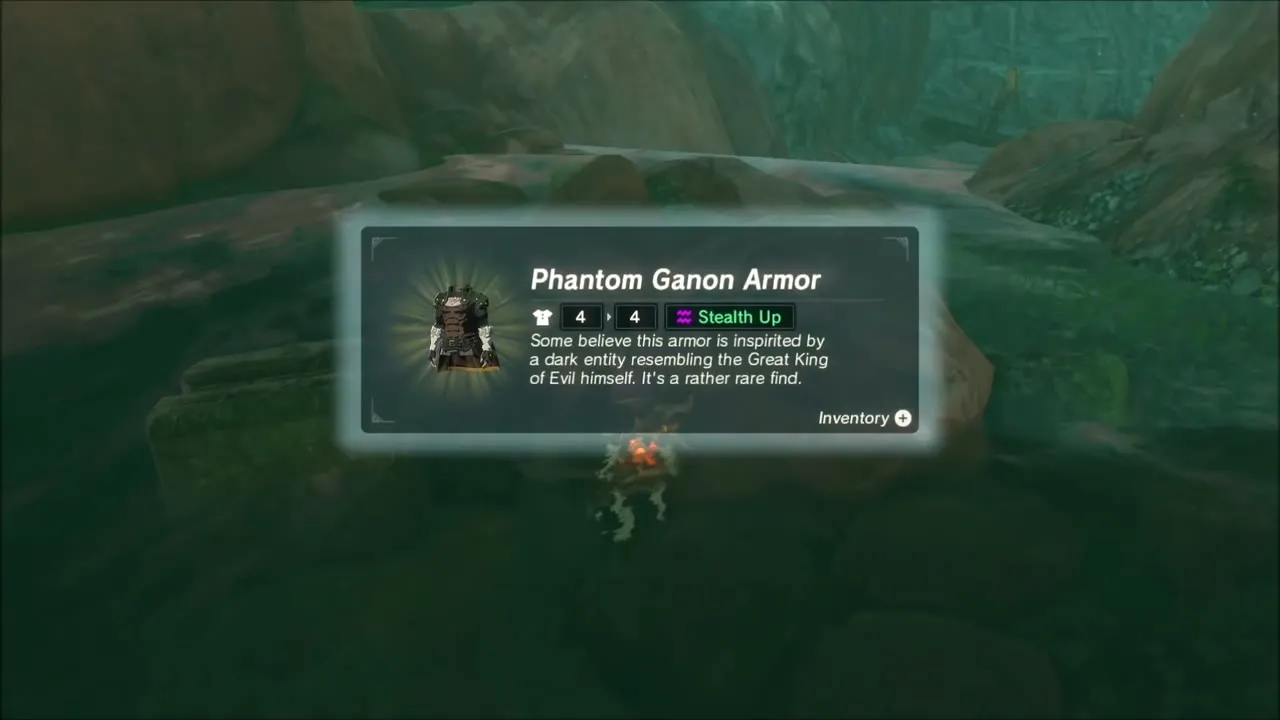
The Phantom Ganon Armor itself is at Sarjon Bridge (x 1026, z 3236). Pull the chest up with Magnesis. With all three pieces, the set makes skeleton monsters ignore you until you attack.


Island Lobster Shirt Location (EX Treasure: Garb of Winds)
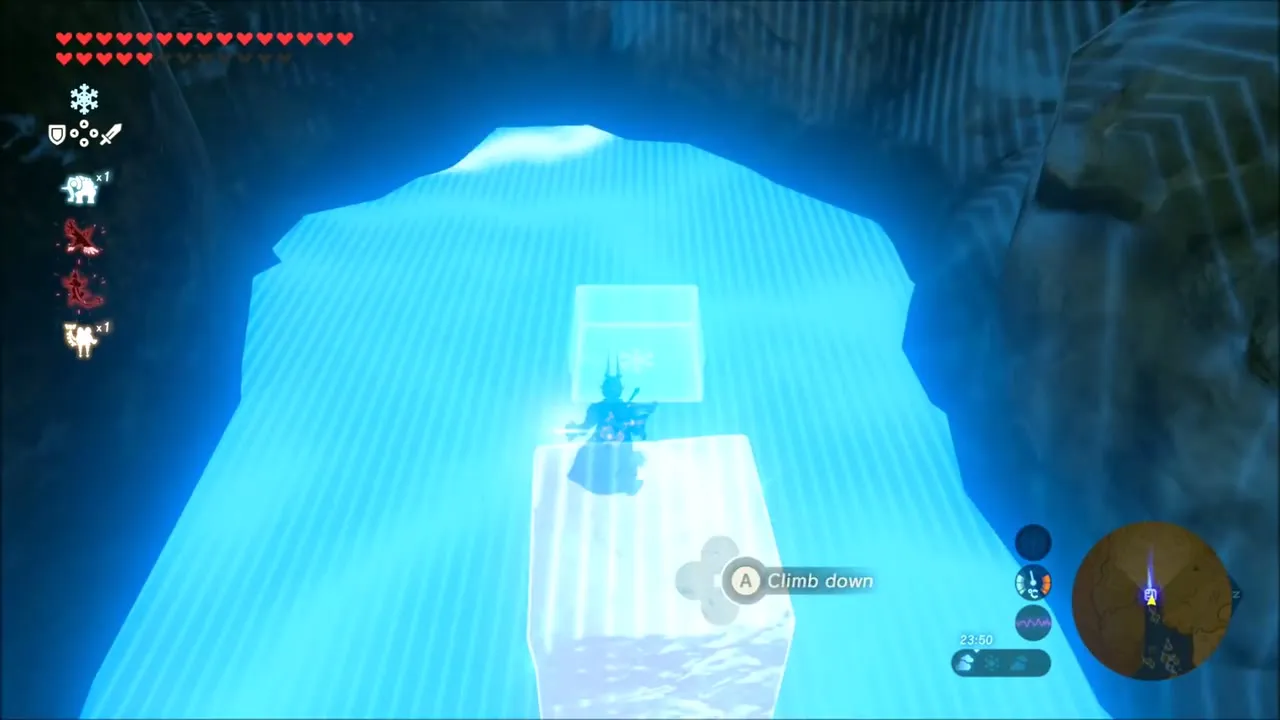
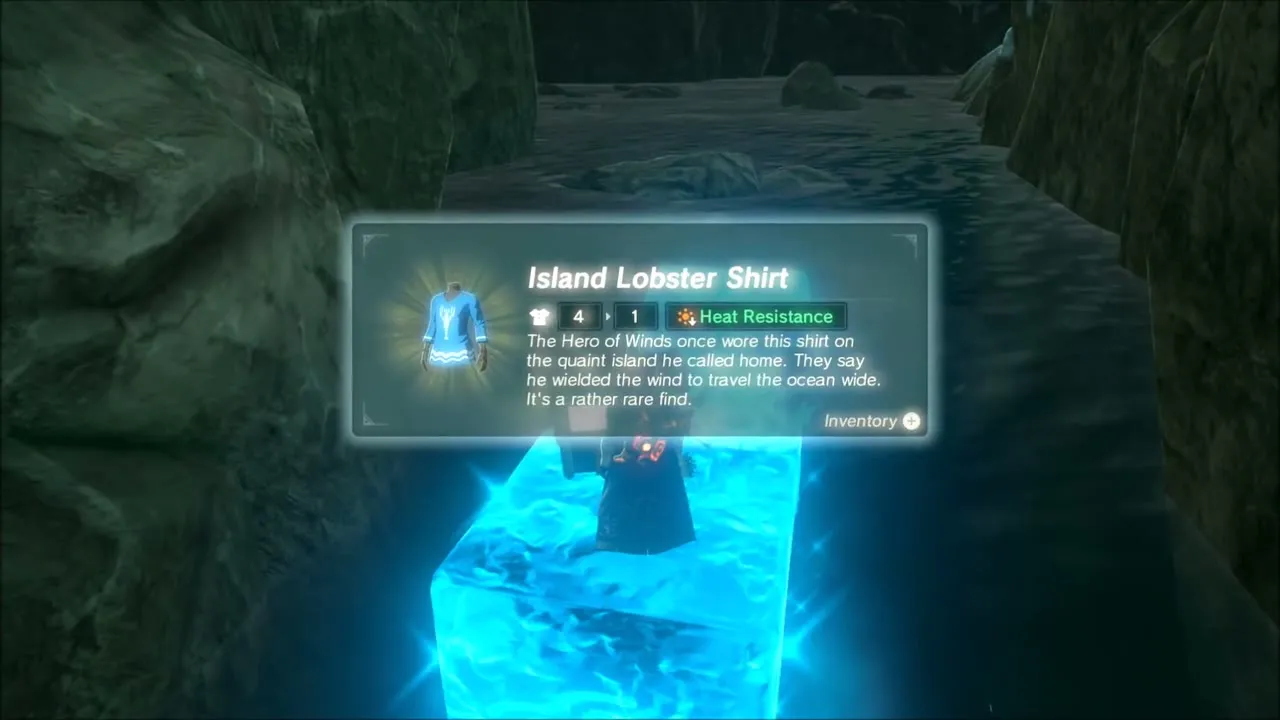
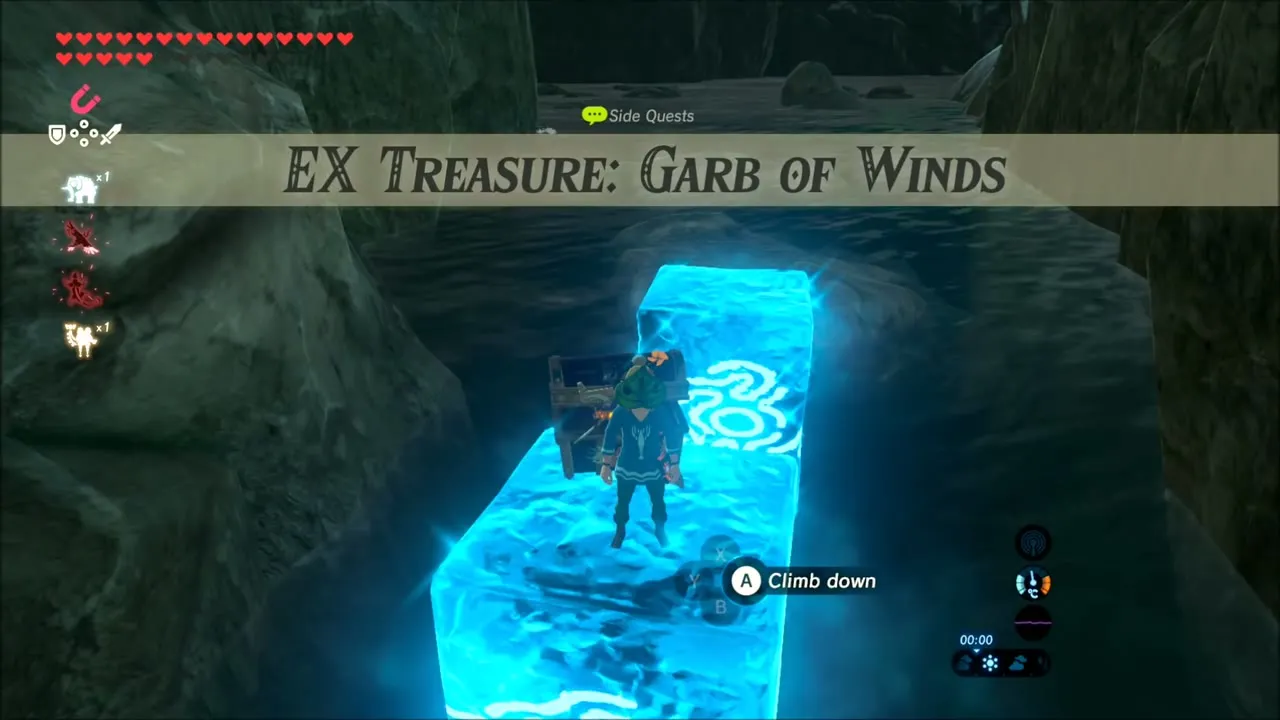
The Island Lobster Shirt is at the source of the Menoat River (x -15, z 3252), near Cora Lake (x -48, z 3056). The chest is underwater at the source: create a Cryonis block beneath you and ride it up, and open the chest to receive the shirt, which gives some resistance to heat. This completes EX Treasure: Garb of Winds.
Salvager Headwear, Vest and Trousers Locations (Xenoblade Chronicles 2 Quest)
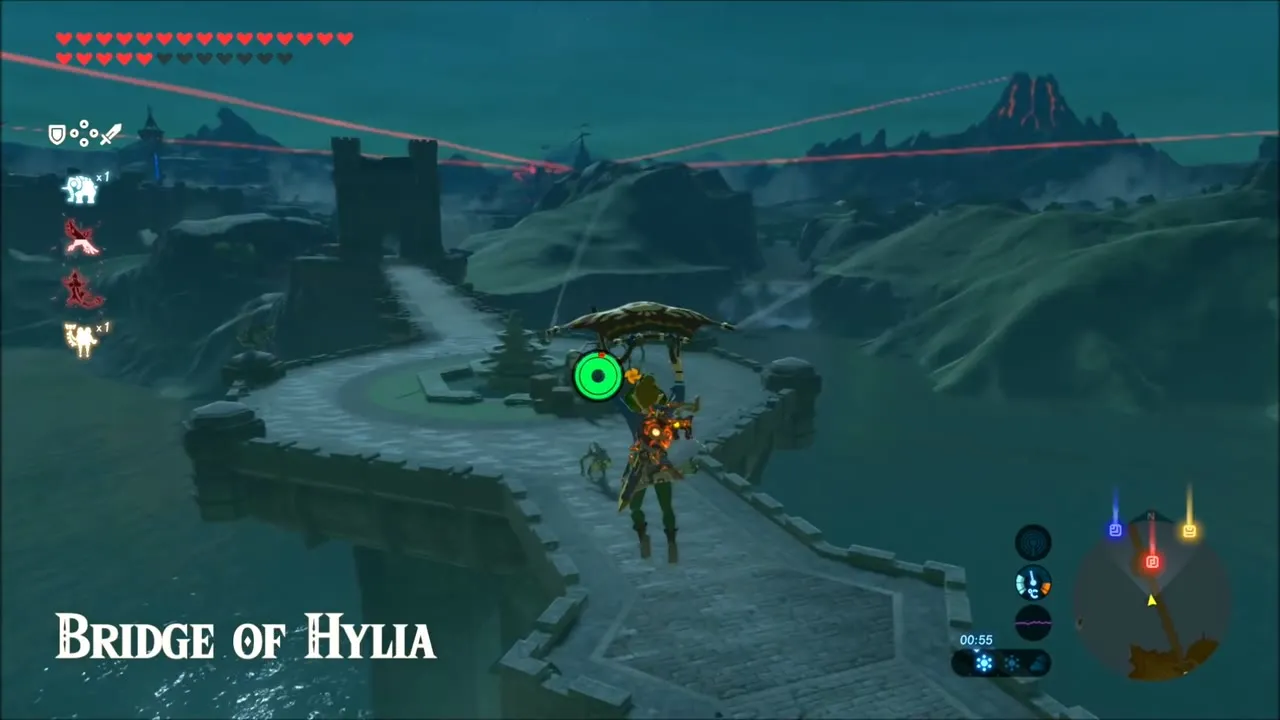
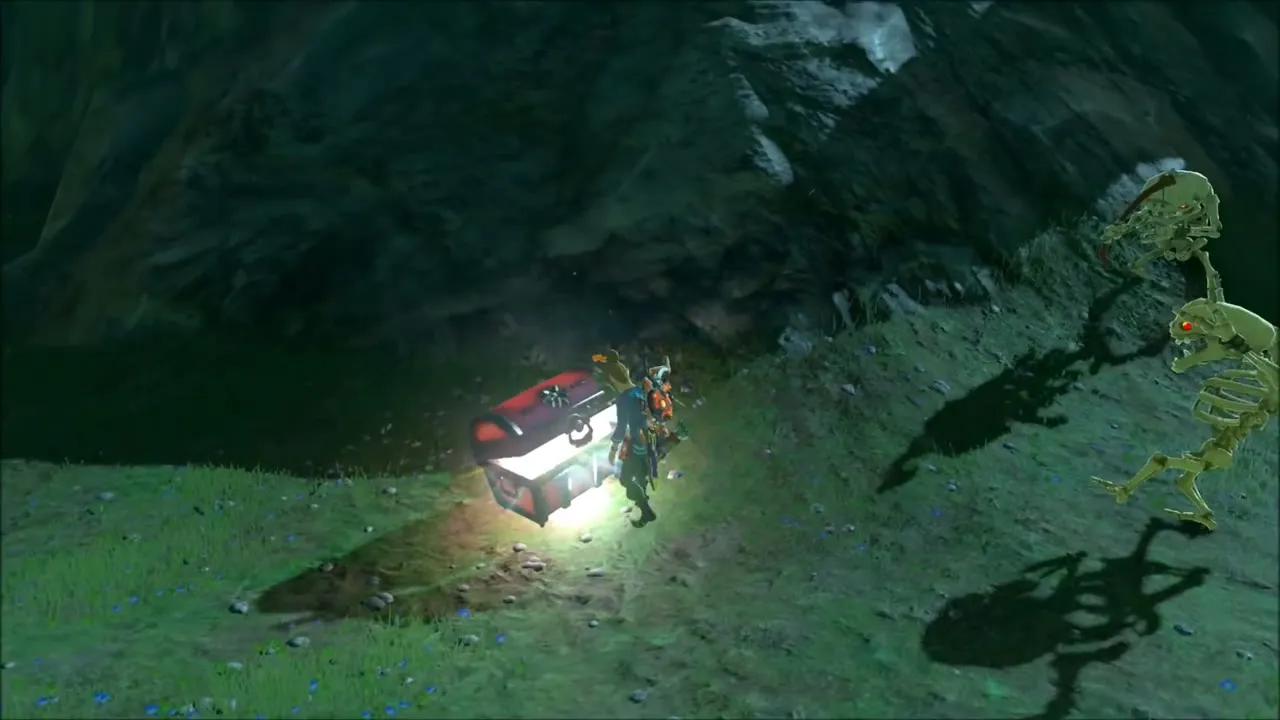
This quest is a Xenoblade Chronicles 2 collaboration and is read from its entry in your Adventure Log, where three clues describe where red lights fall from the night sky: the southern sky from the middle of the largest bridge, the eastern sky from the skull’s left eye, and the southeastern sky from a peak. The lights only show at night. For the headwear, wait for dark and stand on the Bridge of Hylia (x -40, z 2509), then follow the red beam south over the lake to a grassy shore where a few skeleton monsters guard the chest. It holds the Salvager Headwear.

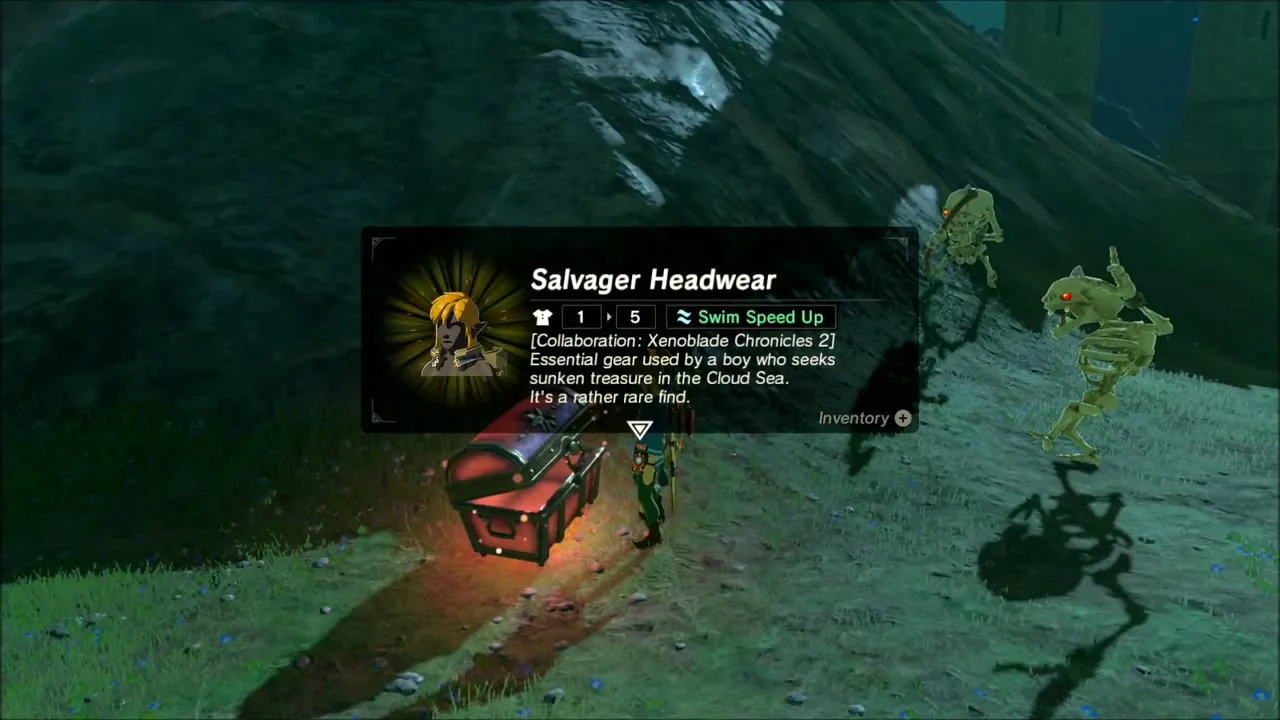
The second light is on the eastern sky from Skull Lake (x 3314, z -3499), standing at the skull’s left eye. Follow the red beam to a field below the ridge, defeat the Stalkoblins around the chest, and open it for the Salvager Vest.

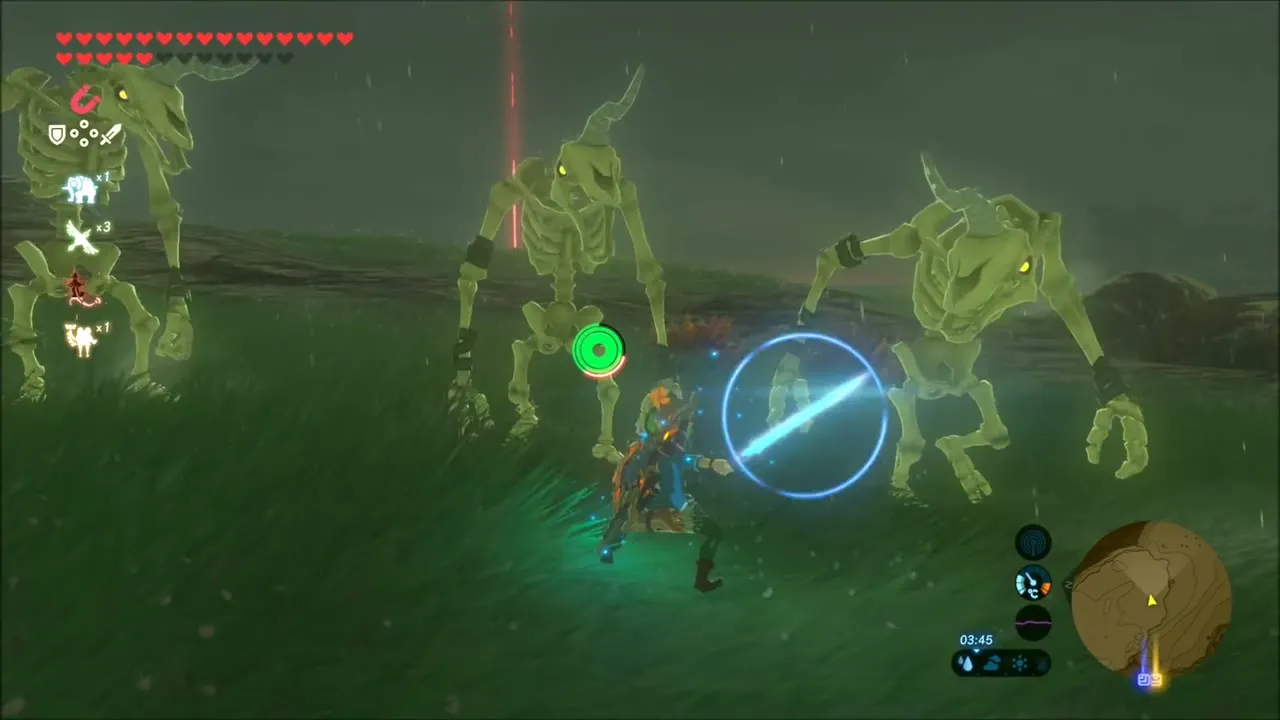
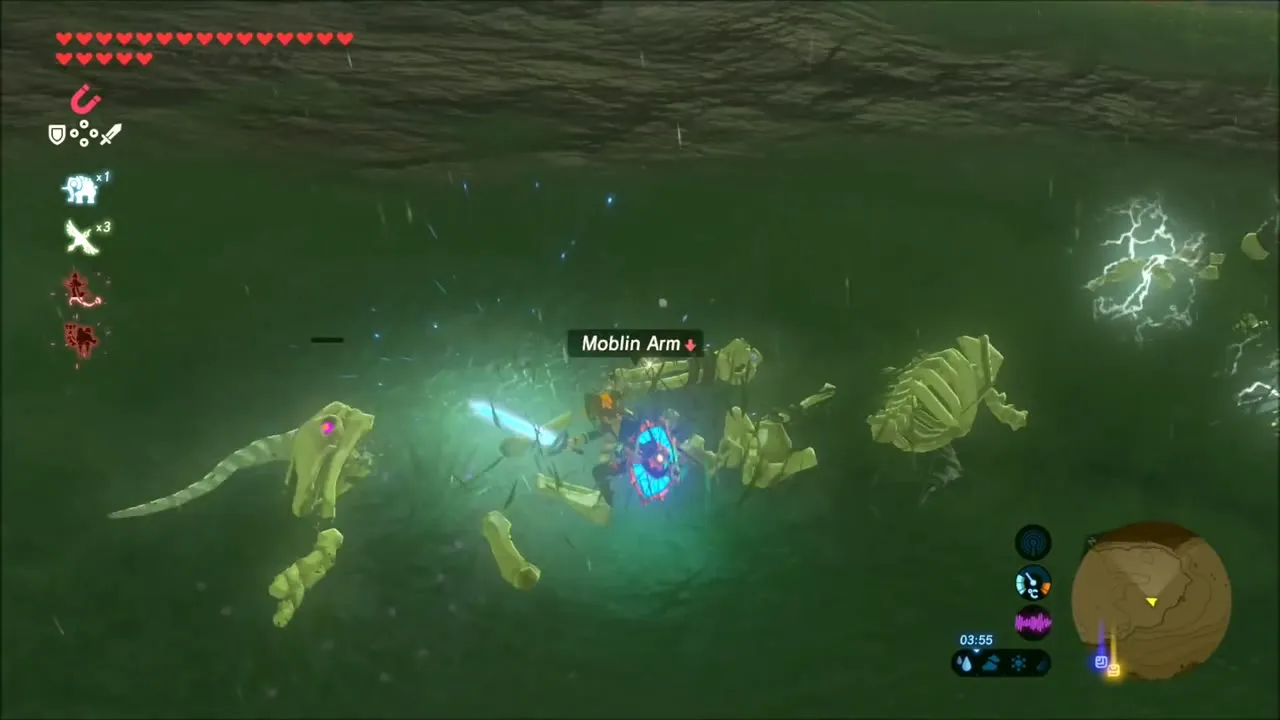

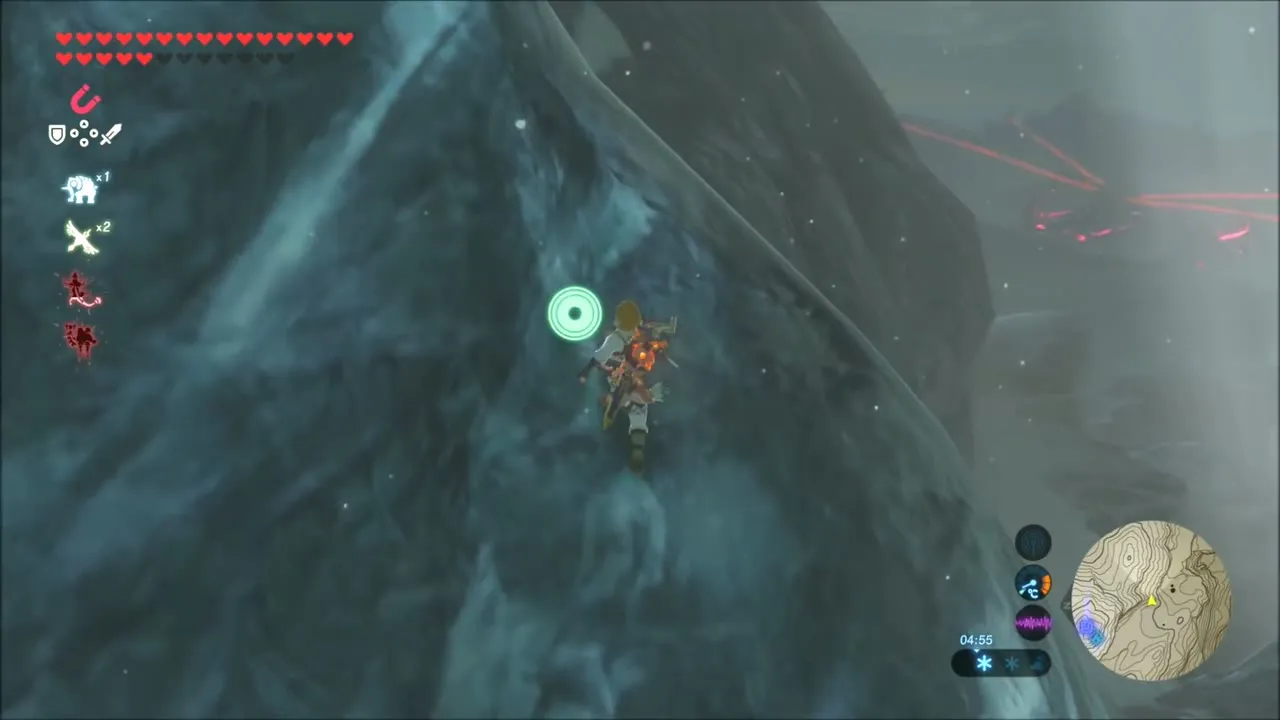
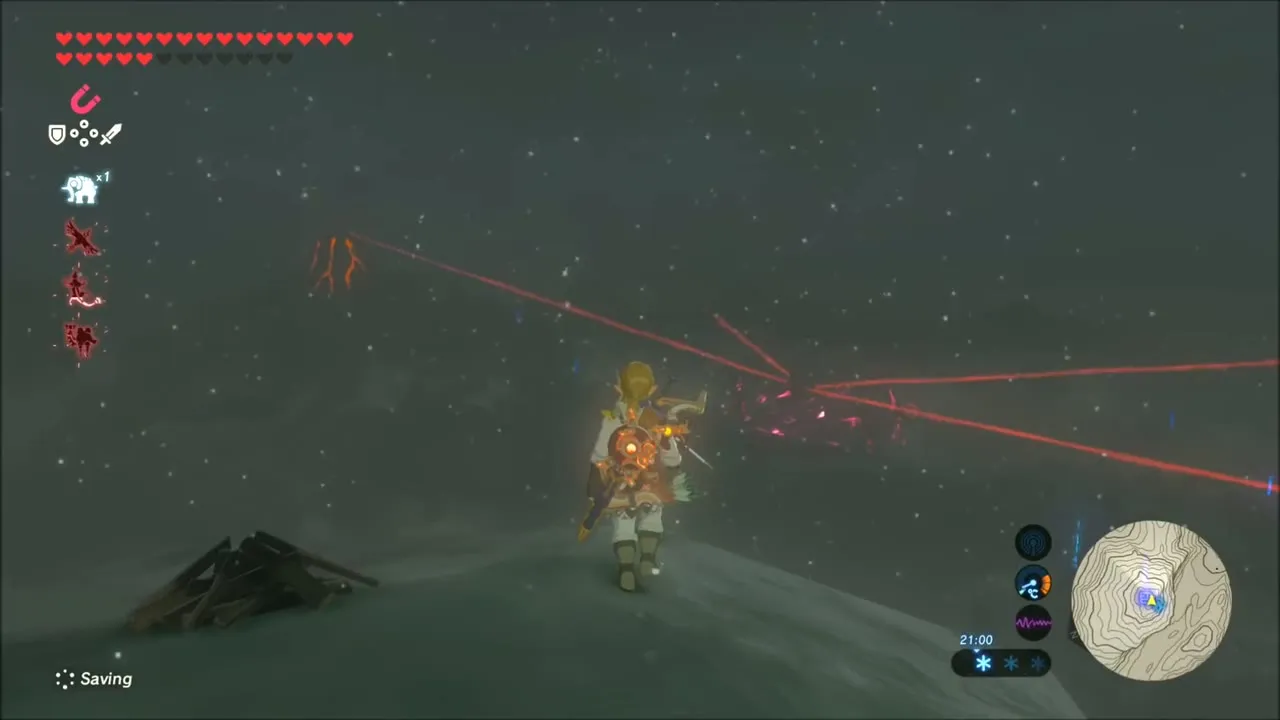
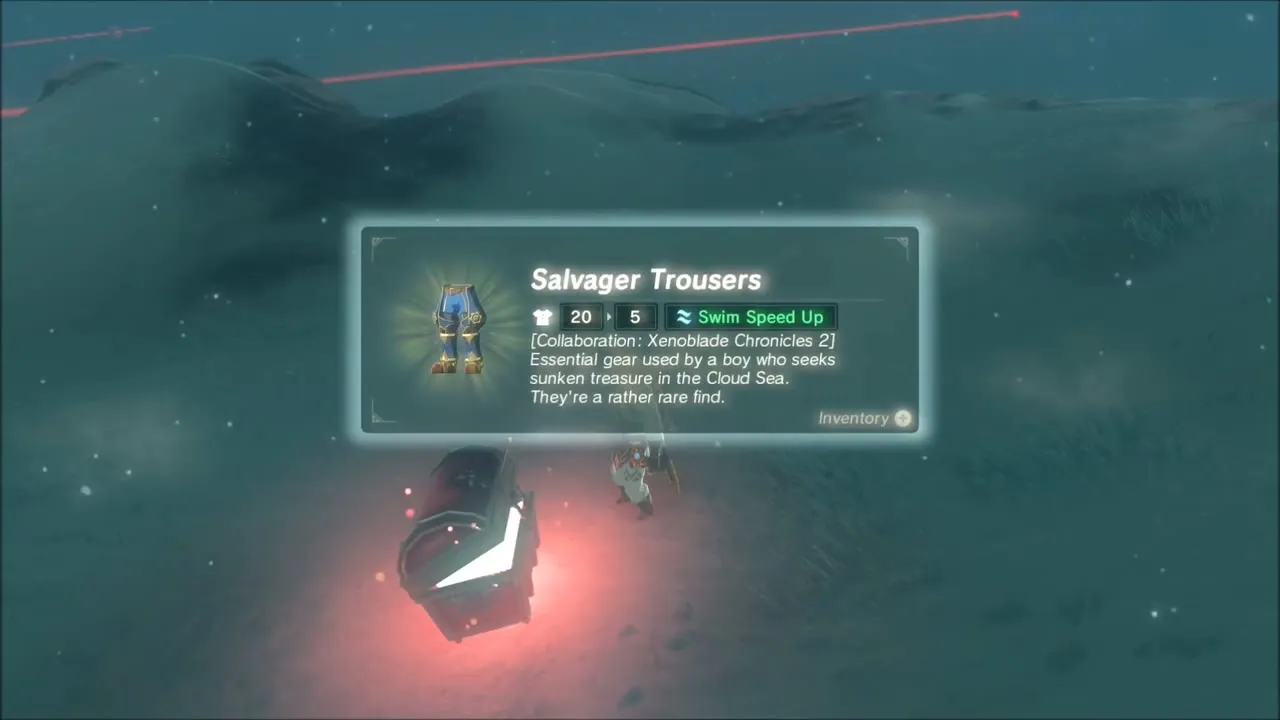
For the third light, climb Hebra Peak (x -2771, z -2914) and wait for night; a campfire in the cold lets you skip ahead. When the red column appears to the south-east, glide down toward it through the snow and fight off the monsters near the chest. It holds the Salvager Trousers. The Salvager Set increases swim speed, and the full set also lowers the stamina cost of dash swimming.


How to Start The Champions’ Ballad (Shrine of Resurrection)
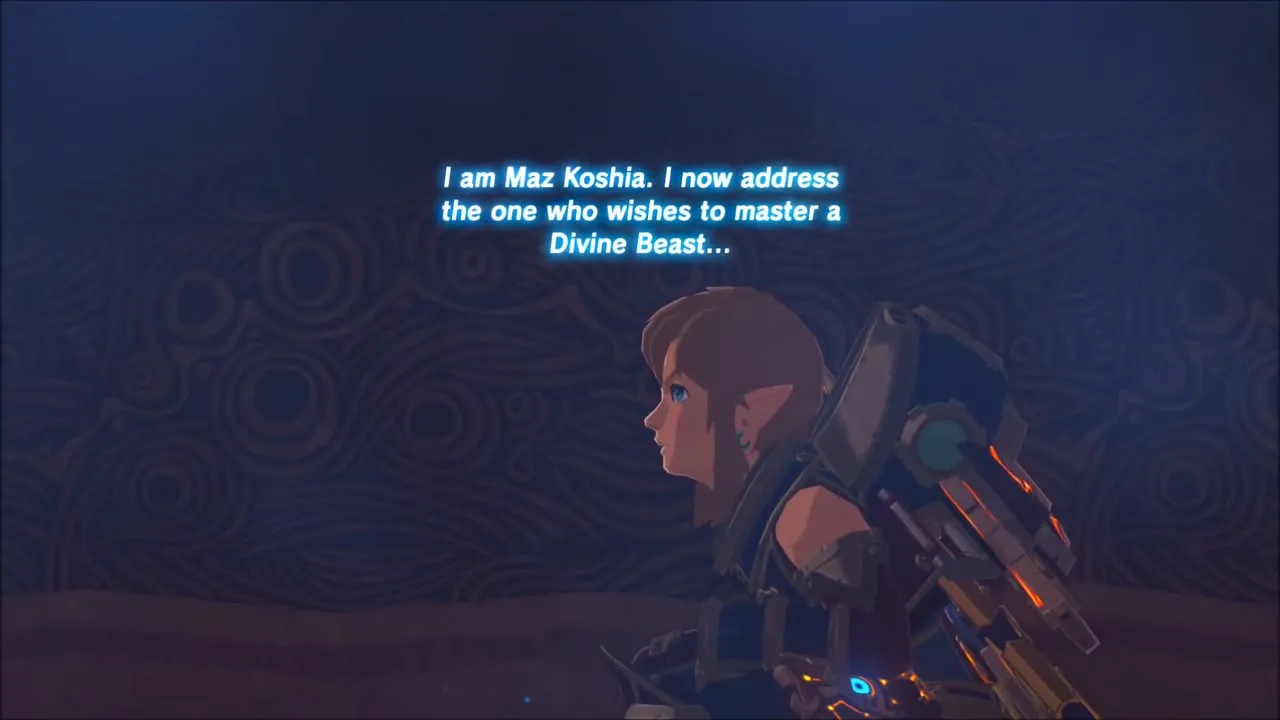
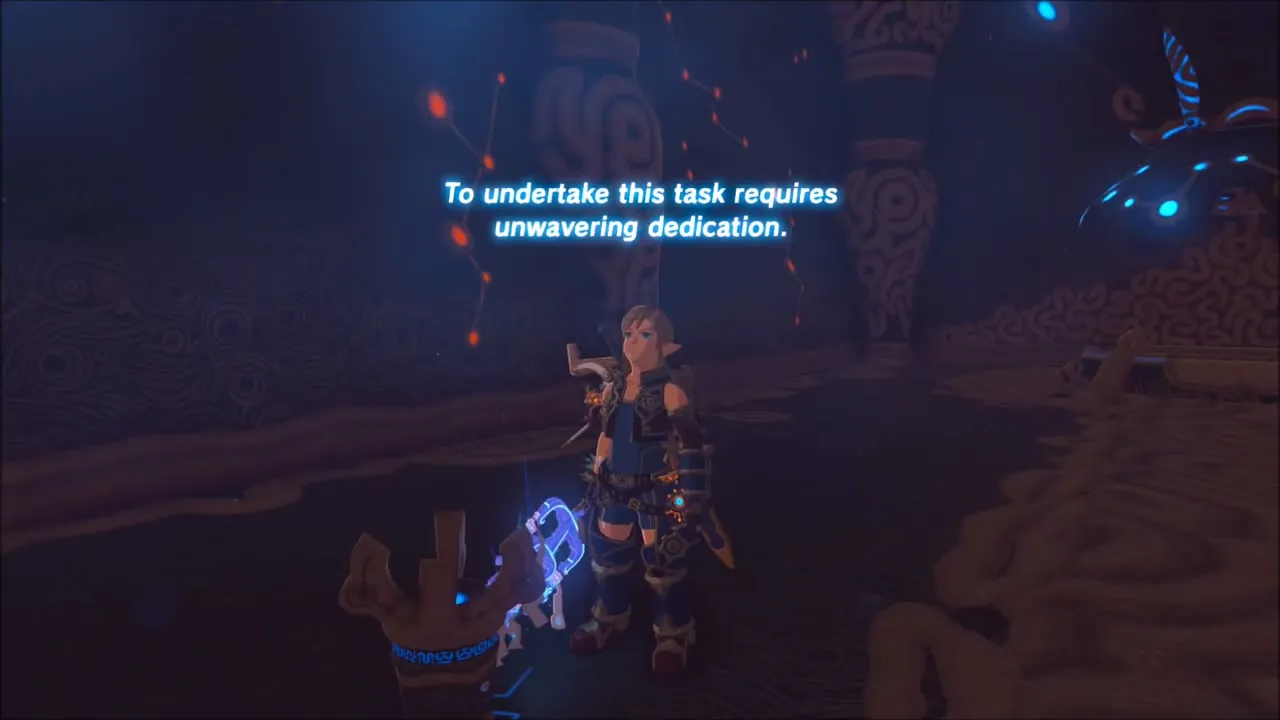
Once you have cleared the treasure quests, warp to the Shrine of Resurrection on the Great Plateau and place the Sheikah Slate on the pedestal inside. That starts EX The Champions’ Ballad. The monk Maz Koshia speaks to you and tells you the trial needs unwavering dedication, and then hands you the One-Hit Obliterator, a sword that defeats any enemy in one hit but also leaves Link vulnerable to dying in a single blow. Use it to clear the monster camps on and around the Plateau, one for each of four new shrines; the DLC overview covers the whole pack.