100% Completion Walkthrough21 chapters
- Great PlateauAll 4 Shrines, the Paraglider and Korok Seeds
- Kakariko Village and Dueling PeaksSeek Out Impa, Shrines and Korok Seeds
- Hateno VillageHateno Tower, the Ancient Tech Lab, Link’s House and Shrines
- Zora’s DomainReach Zora’s Domain, Vah Ruta, Lanayru Shrines and Korok Seeds
- Faron and Lurelin VillageLurelin Village, Faron Tower, Shrines and Korok Seeds
- Korok Forest and Master SwordHow to Get the Master Sword, Lost Woods, Shrines and Korok Seeds
- Hebra MountainsHebra Tower, Snowfield Stable, Shrines and Korok Seeds
- Rito Village and Vah MedohVah Medoh, Tabantha Tower, Shrines and Korok Seeds
- Gerudo HighlandsGerudo Tower, Gerudo Summit, Shrines and Korok Seeds
- Gerudo TownForbidden City Entry, the Thunder Helm, Desert Shrines and Korok Seeds
- Vah Naboris and Gerudo DesertThunderblight Ganon and the Gerudo Desert Shrines
- Lake HyliaLake Tower, Farosh, Lake Shrines and Korok Seeds
- Akkala and Tarrey TownTarrey Town, Akkala Tower, Shrines and Korok Seeds
- Death Mountain and Goron CityGoron City, Vah Rudania, Eldin Shrines and Korok Seeds
- RidgelandRidgeland Tower, Shrines, Memories and Korok Seeds
- Central HyruleCentral Tower, Captured Memories, Shrines and Korok Seeds
- Hyrule Castlethe Hylian Shield, Saas Ko’sah Shrine, Zelda’s Diary and Memories
- Calamity GanonLast Side Quests, Destroy Ganon and the Final Boss
- All Hinox, Talus and Molduga LocationsEvery Hinox, Stone Talus and Molduga, for Kilton’s Medals of Honor
- Trial of the Sword and EX TreasuresThe Trial of the Sword and every EX Treasure location (DLC Pack 1)
- Champions’ BalladOne-Hit Obliterator, Champion Trials and the Final Trial
| Region | Gerudo Highlands |
|---|---|
| Shrines | 5: Kuh Takkar Shrine, Sasa Kai Shrine, Sho Dantu Shrine, Kema Kosassa Shrine, Joloo Nah Shrine |
| Sheikah Tower | Gerudo Tower |
| Korok seeds | 40 |
This chapter of the 100% walkthrough covers the Gerudo Highlands region in a route that collects everything along the way: 5 shrines, 40 Korok seeds and the Sheikah Tower, plus the quests, chests and minibosses you meet. Positions are map coordinates (x grows east, z grows south).
Hestu, Hateno and Kakariko Errands Before the Gerudo Highlands
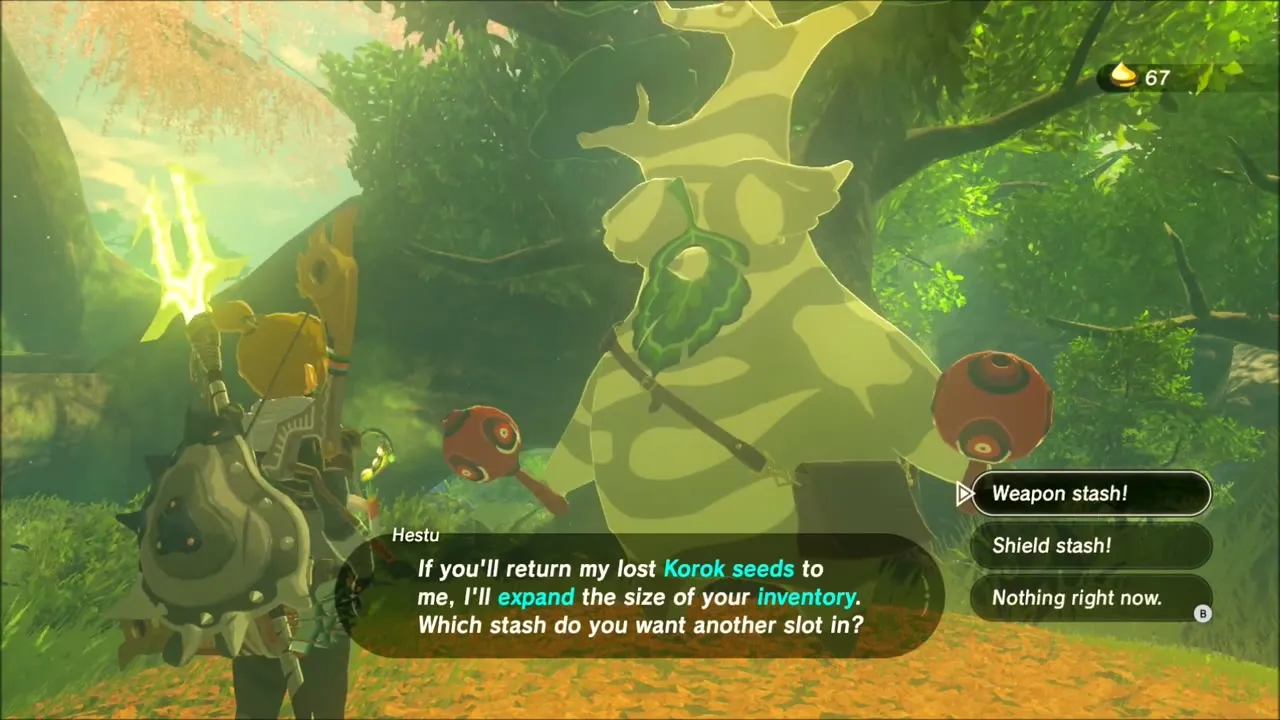
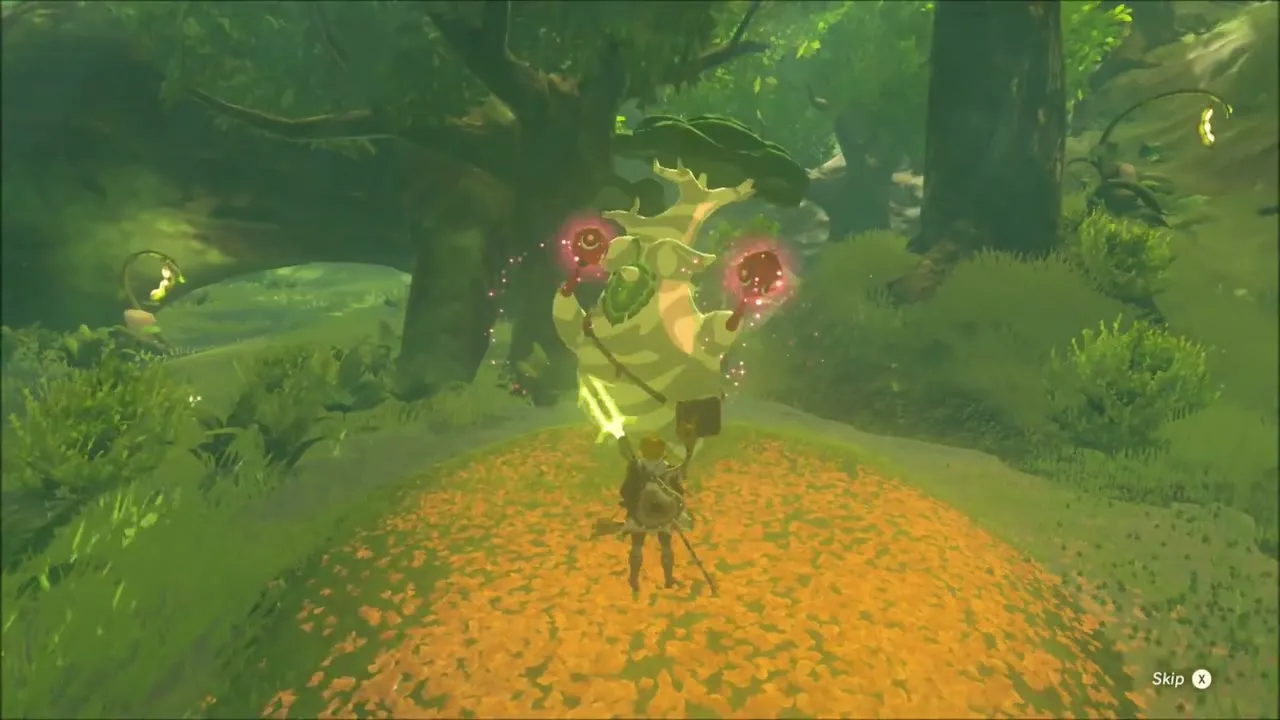
Begin by finding Hestu and spending Korok Seeds on him. He offers to enlarge either your weapon stash or your shield stash, so pick the slot you need and hand over the seeds you have collected so far.

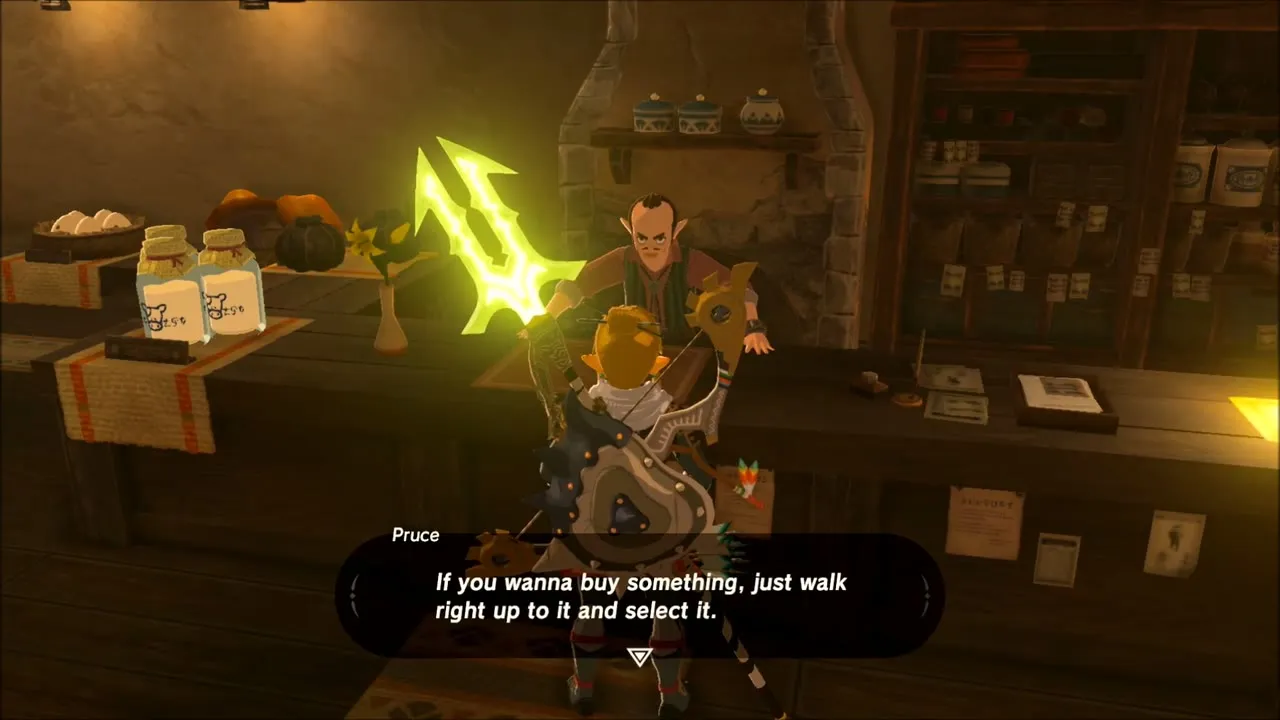
Then visit Hateno Village and sell spare gems to Pruce, the shopkeeper. Sapphires, Rubies and Opals all fetch a good price, which keeps your rupee count healthy for armor upgrades.
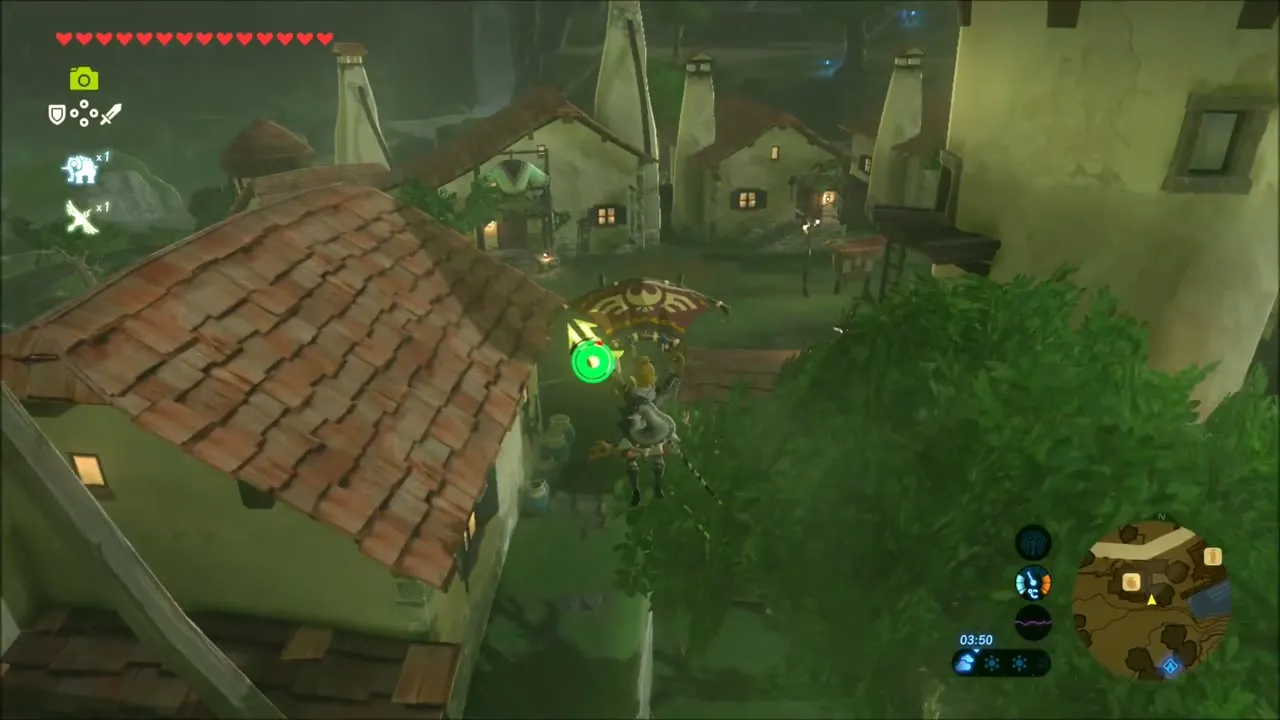

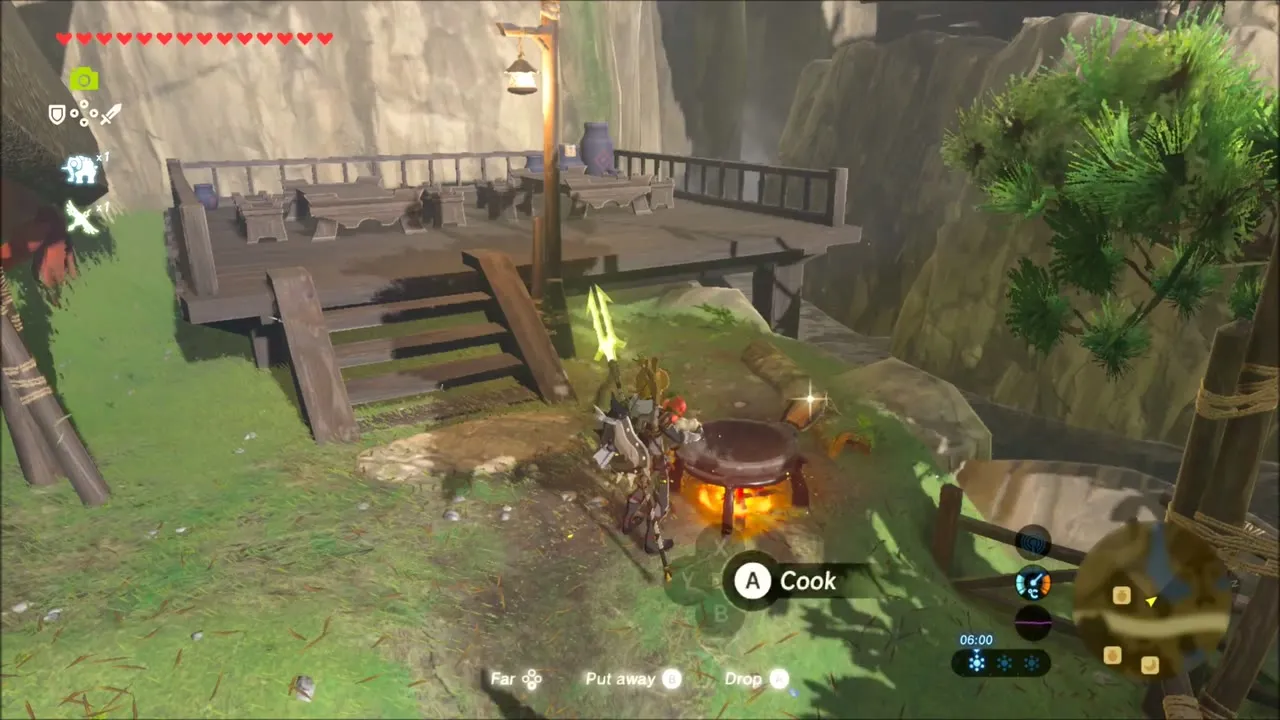
Walk on to the Great Fairy Fountain near Kakariko Village and then into Kakariko itself. Cook with the pot in the village, using Hearty Durian, Big Hearty Truffle and the mushrooms in your pack, so you carry healing food and buffs into the cold regions.


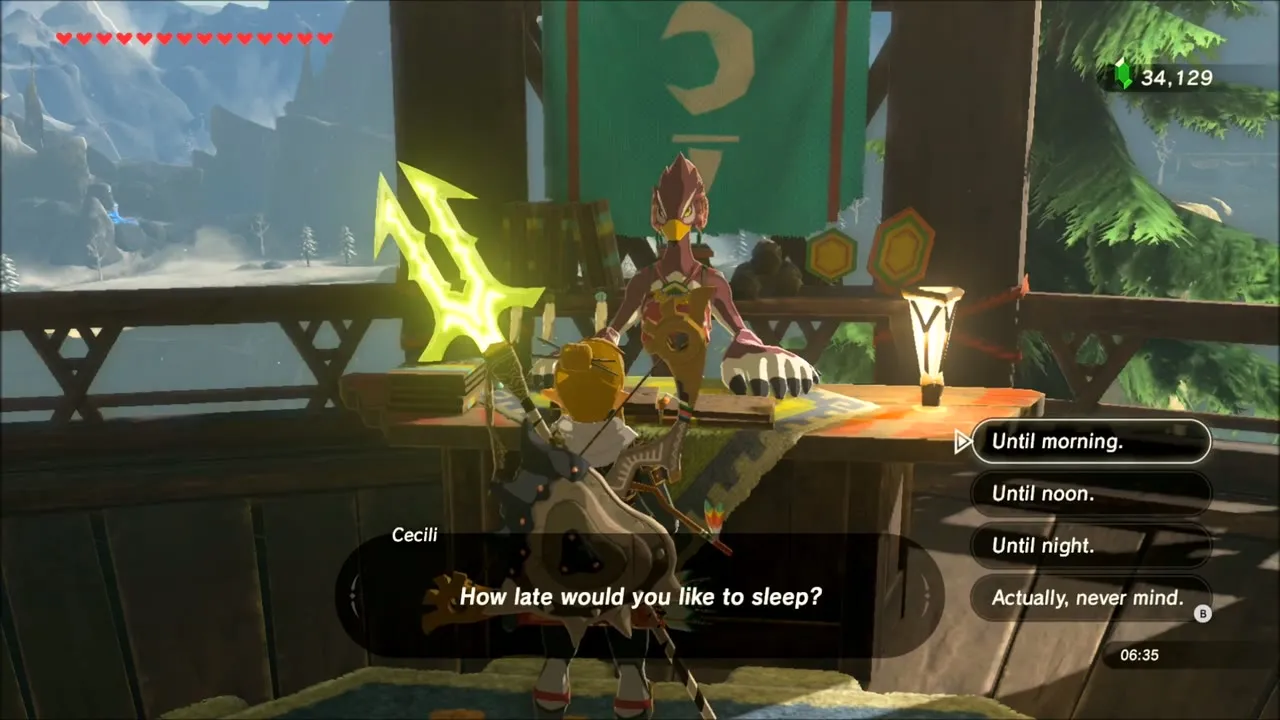
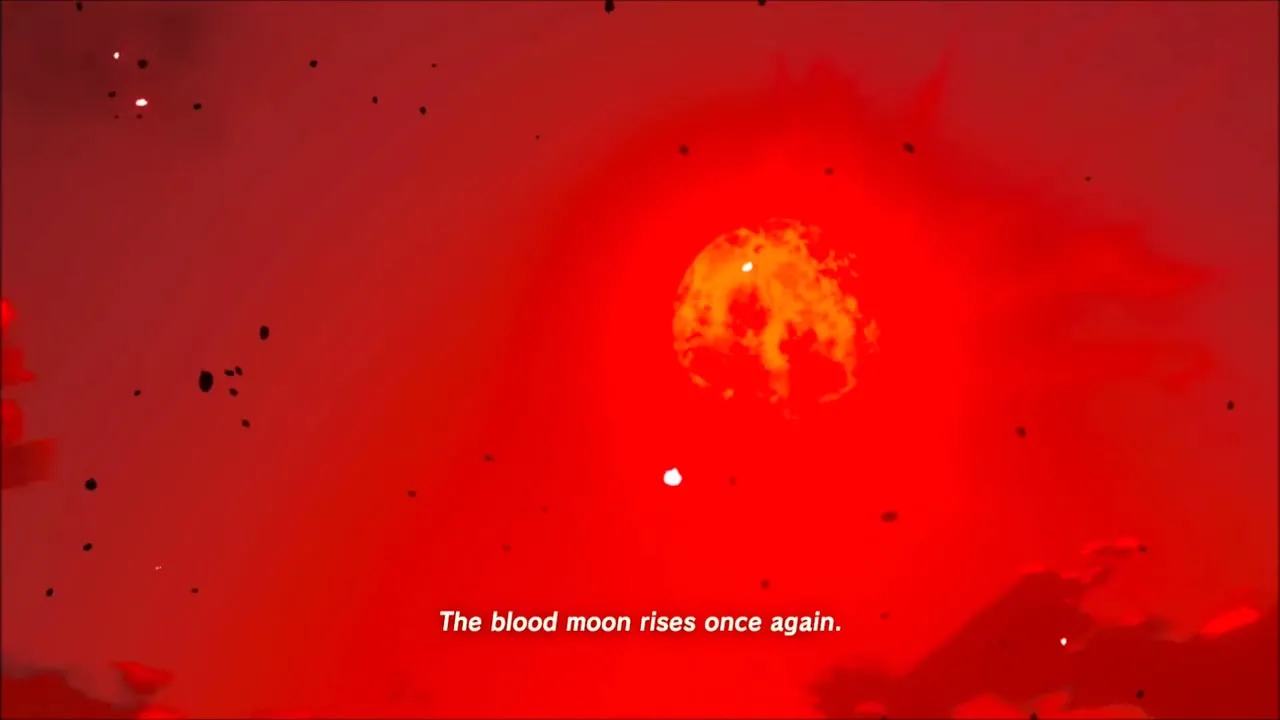
Make your way to Rito Village and sleep in the inn; Cecili asks how late you want to rest, and sleeping through the night brings on the Blood Moon. Once you are rested, set off for the Gerudo Highlands.
Korok Seeds and Chests in the Western Gerudo Highlands Canyons
Balloon Korok on the red cliffs
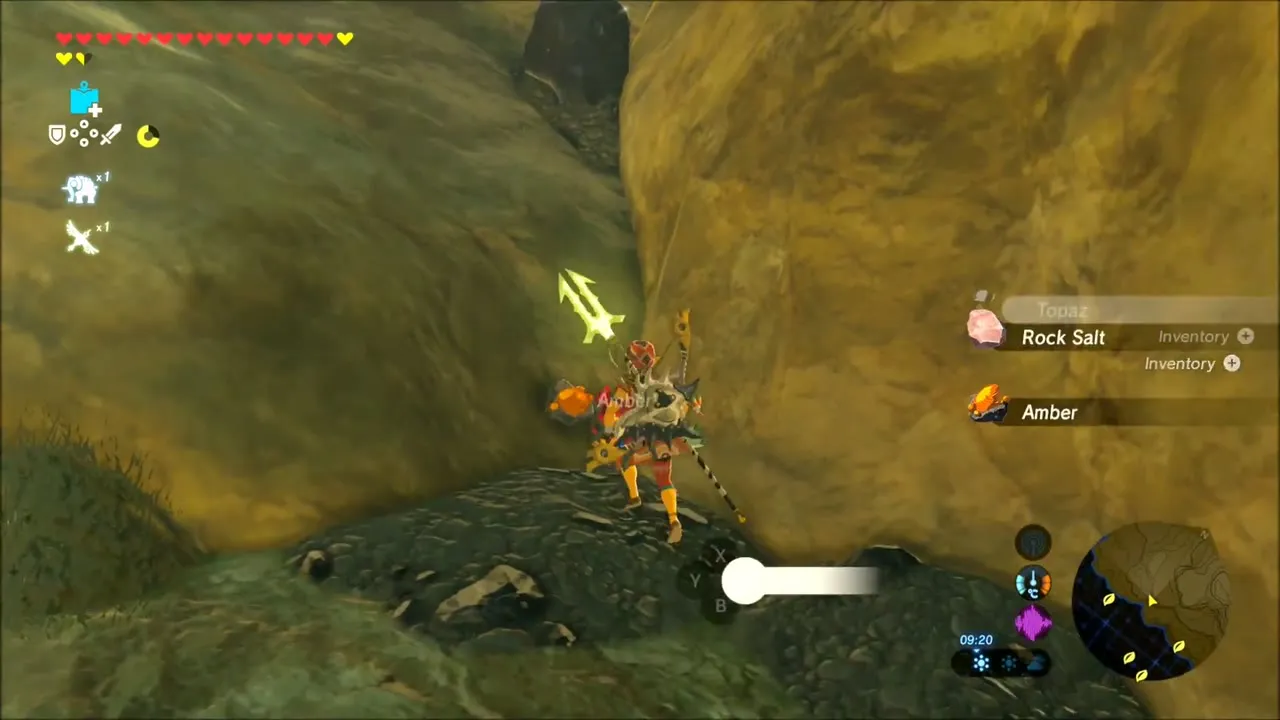
Beside a high red cliff, a target balloon hangs in the air. Stand on the ledge below it, draw your bow and shoot the balloons; a Korok flutters down and gives you a seed. Mine the Amber deposit on the same ridge before you leave.


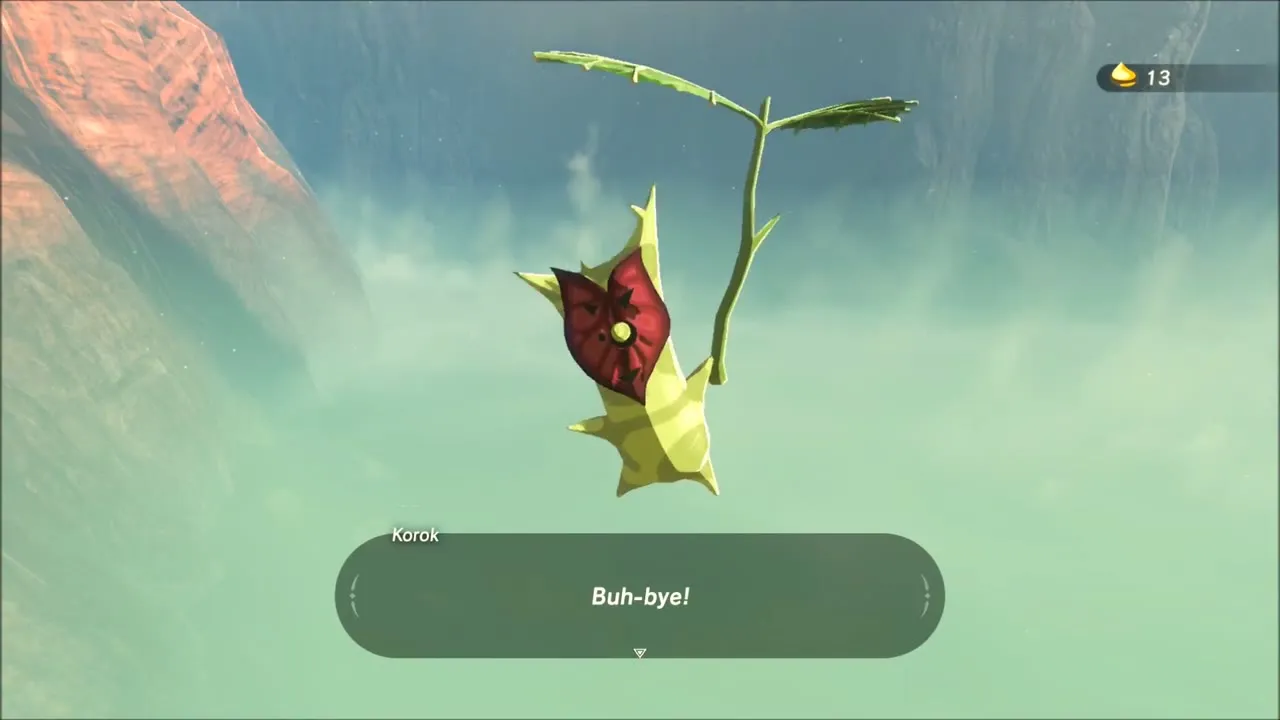
Stone ring and canyon ore
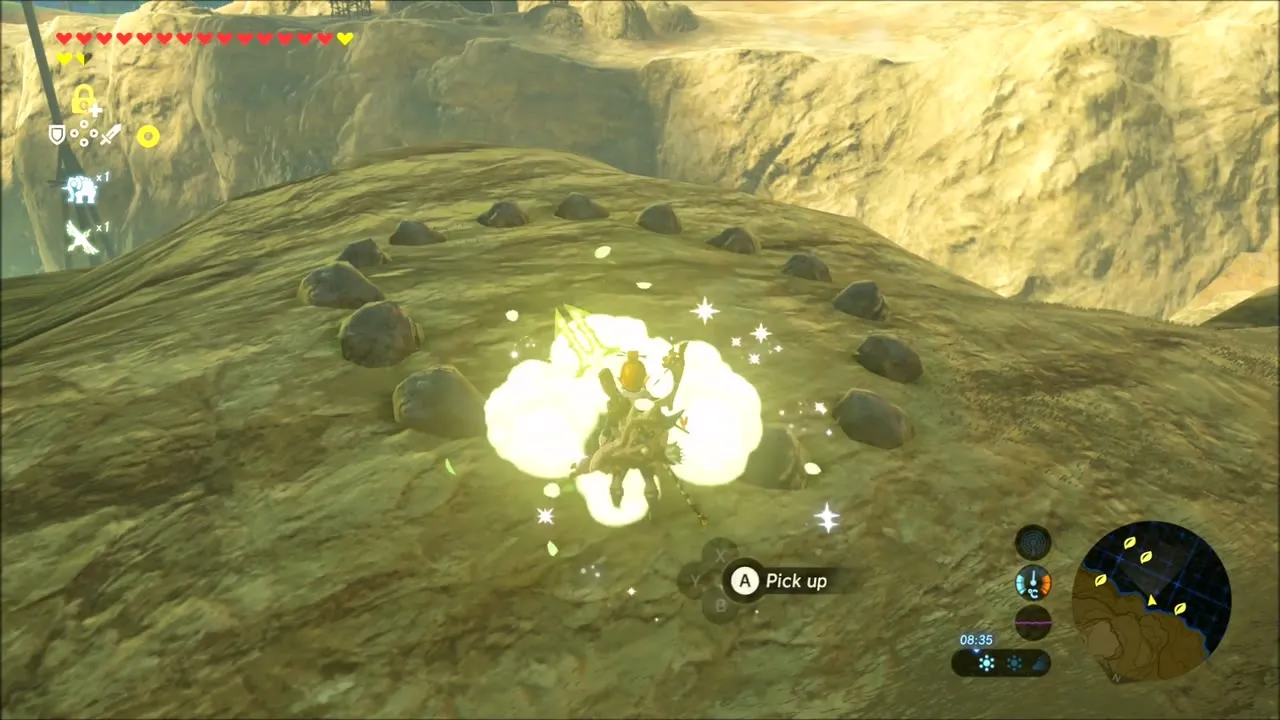
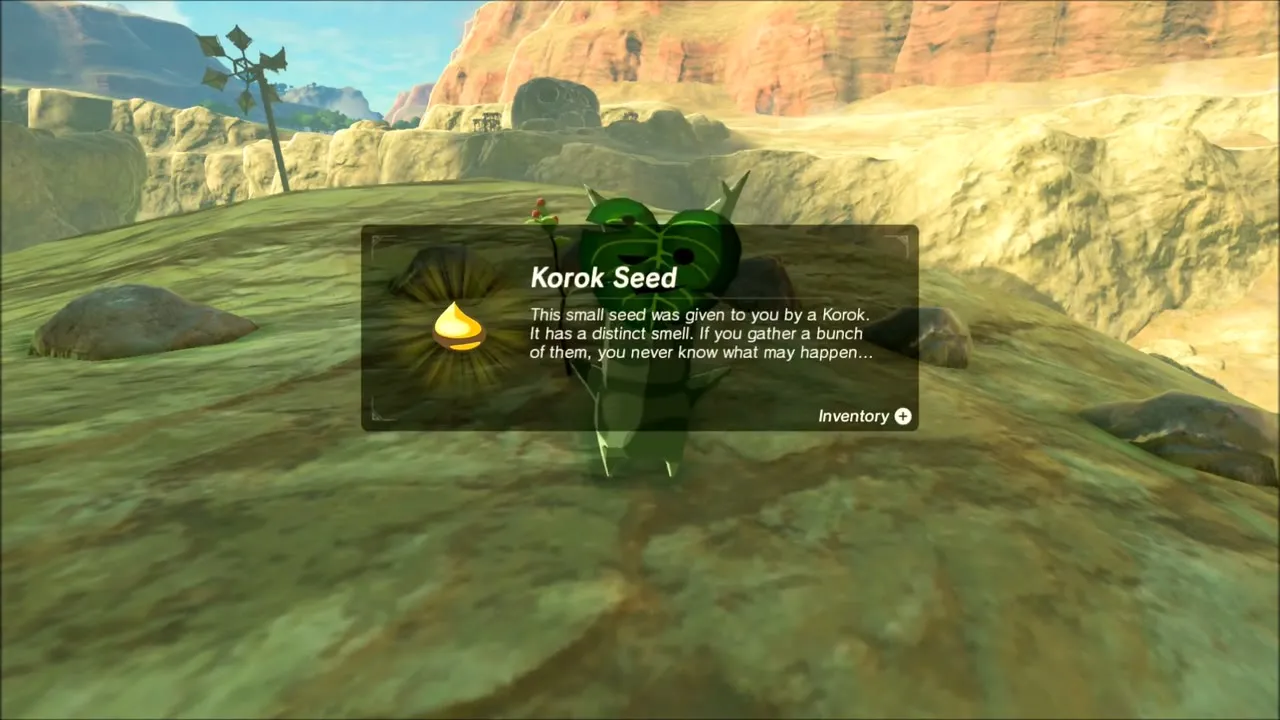
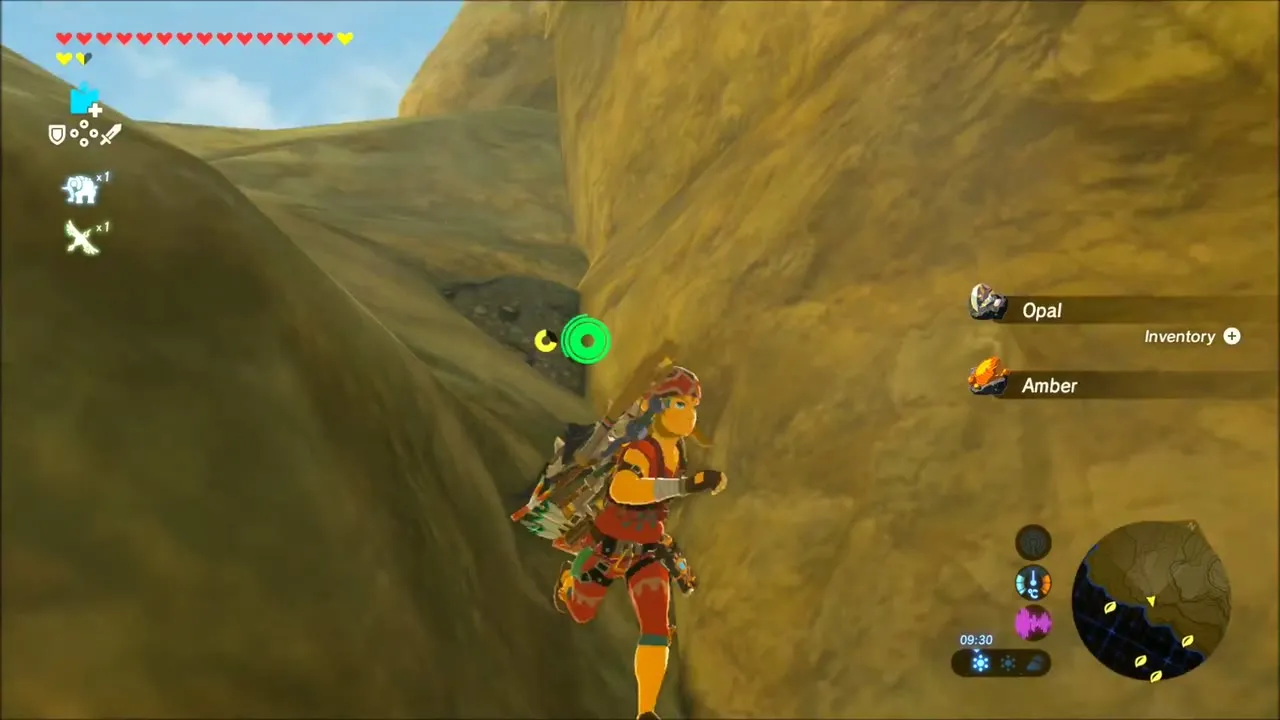
On the next ledge a ring of small stones sits on the ground, and the seed is waiting in the middle of it; step in and pick it up. Farther along the canyon wall, break the ore deposits to collect Opal and Amber.
Dune and scaffold Koroks
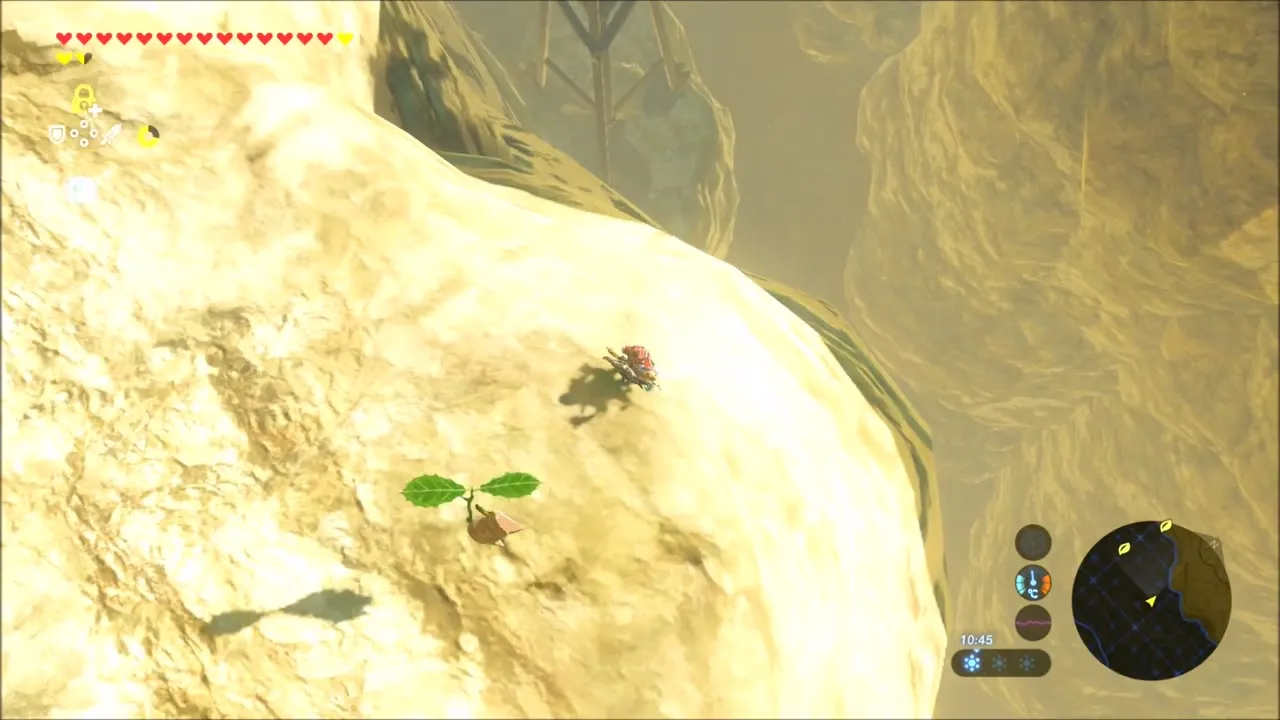
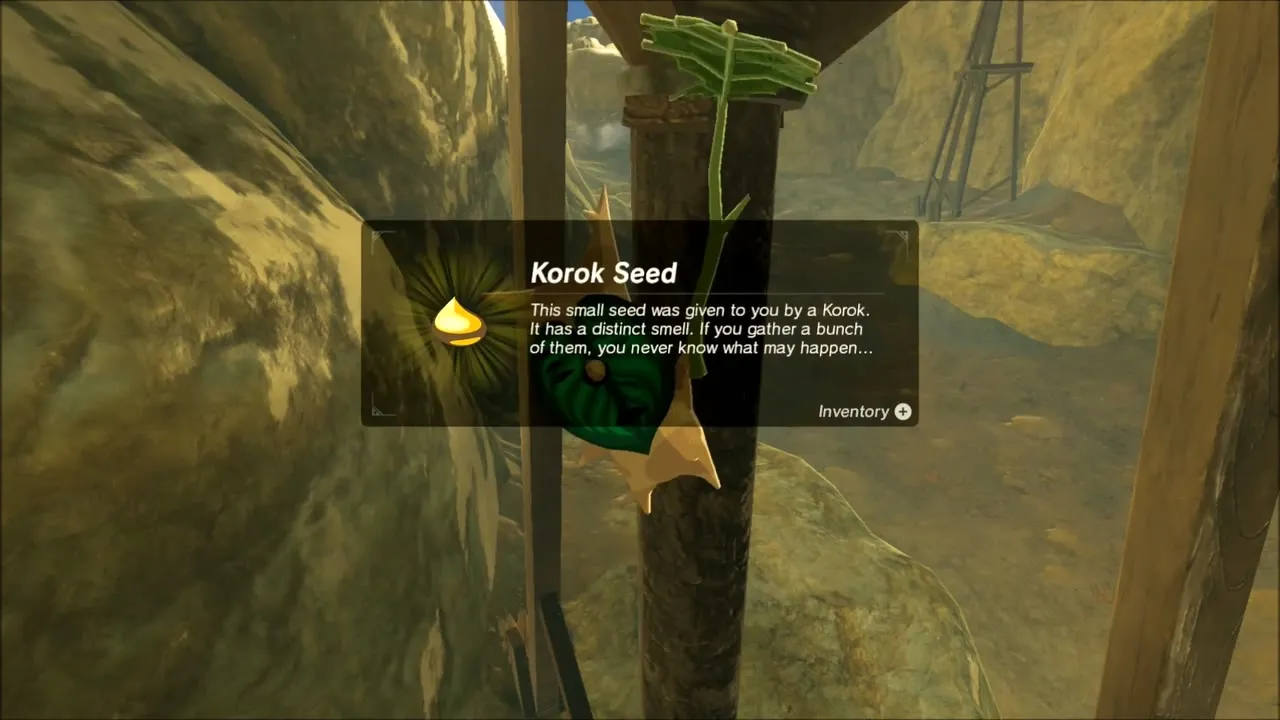
Glide to the open sand dune, where a Korok is standing out in the open and gives you a seed when you reach it. Another leaf is sticking out of the dune just beyond; follow it to the wooden scaffold propped against the cliff, where a Korok clinging to the beam gives you one more seed.


Bokoblin camp with a Sapphire chest
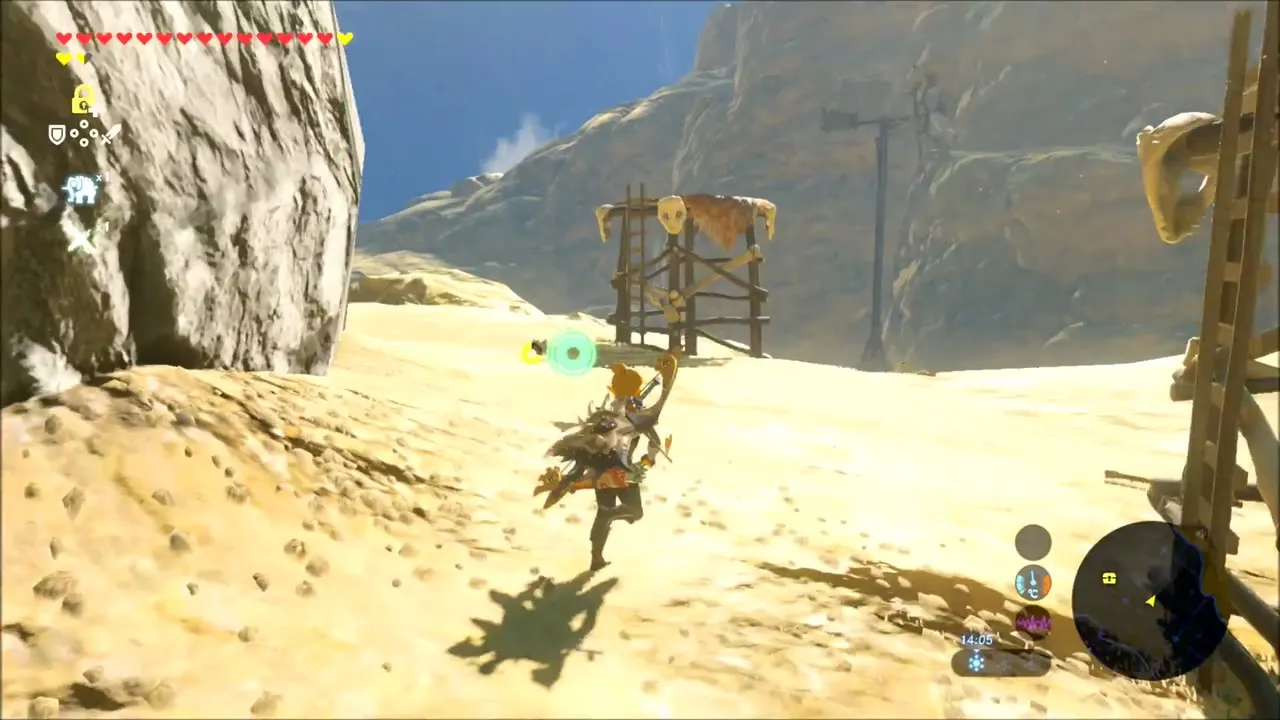
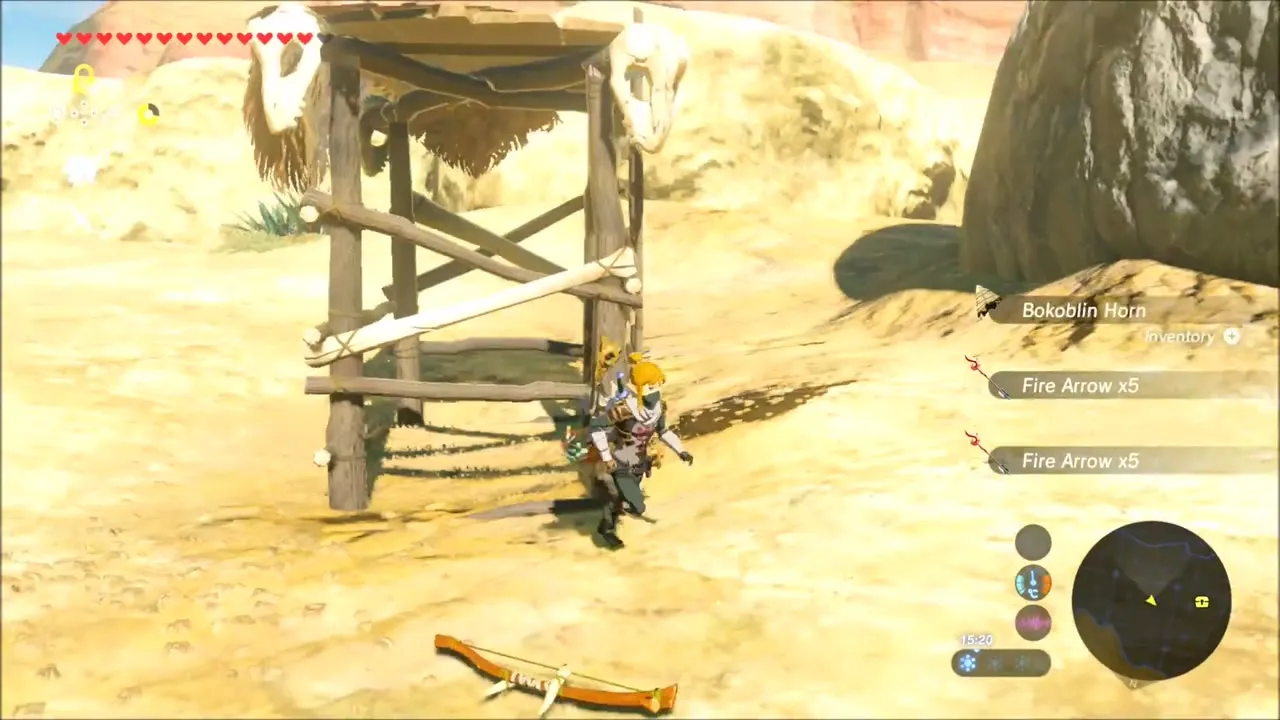
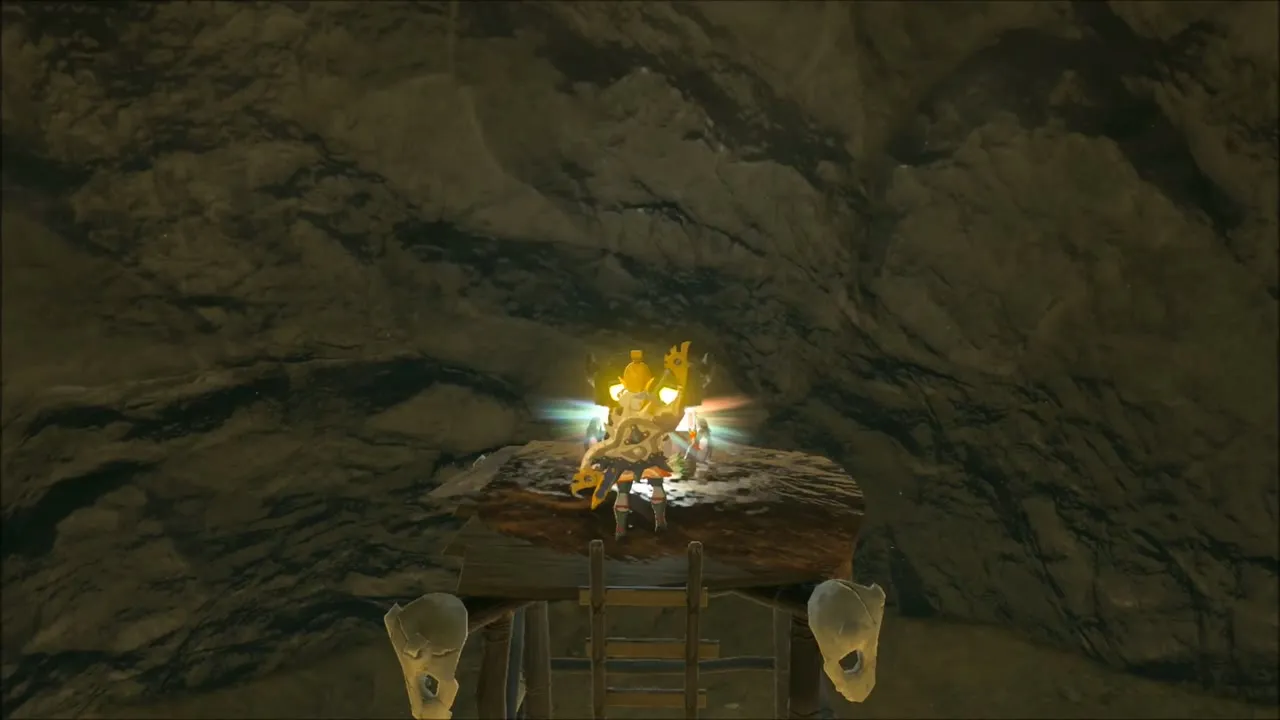
The Bokoblin camp with a skull-shaped rock and a wooden lookout tower is worth clearing. Defeat the monsters and take the two bundles of 5 fire arrows they leave, then go into the small cave beside the camp and open the chest, which holds a Sapphire.

Korok in the grove
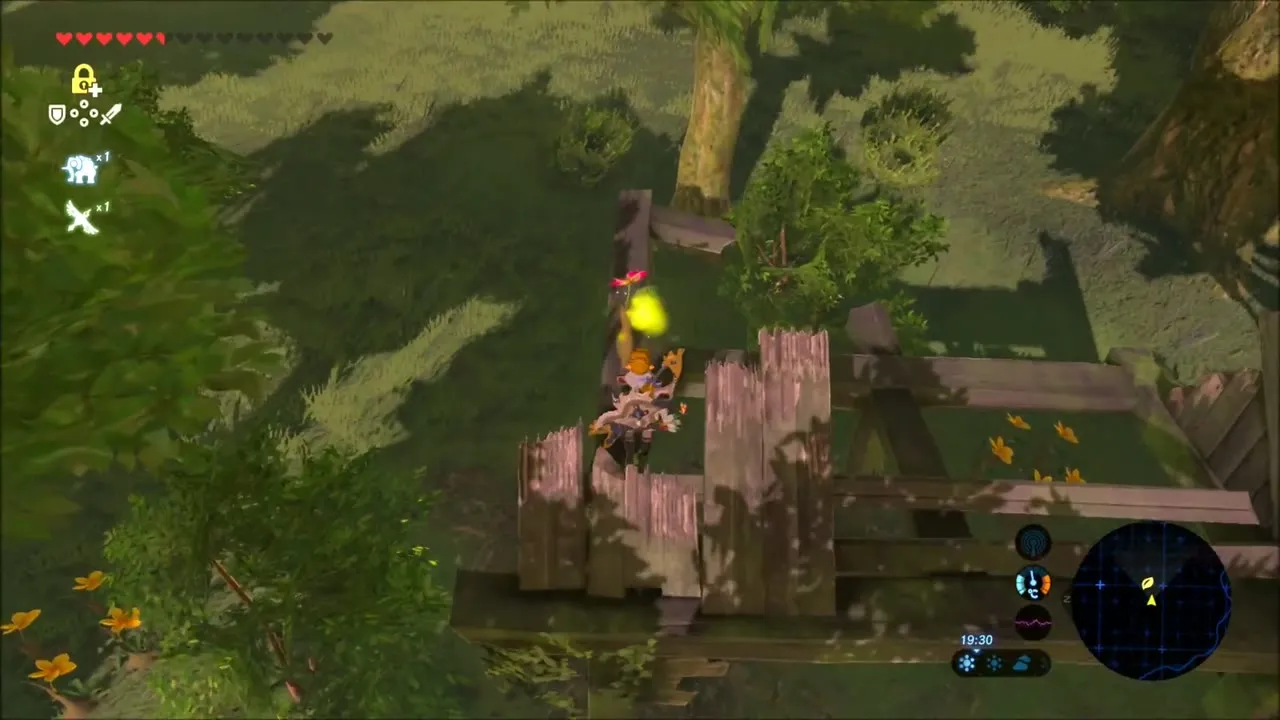
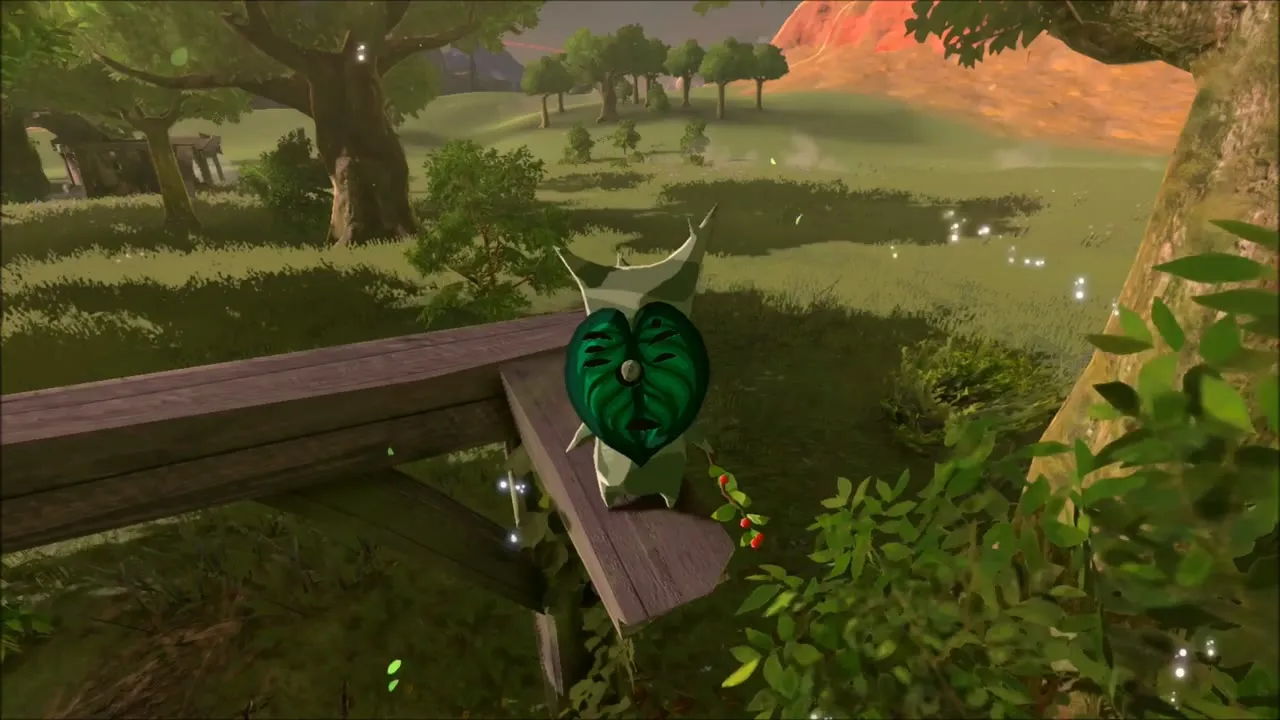
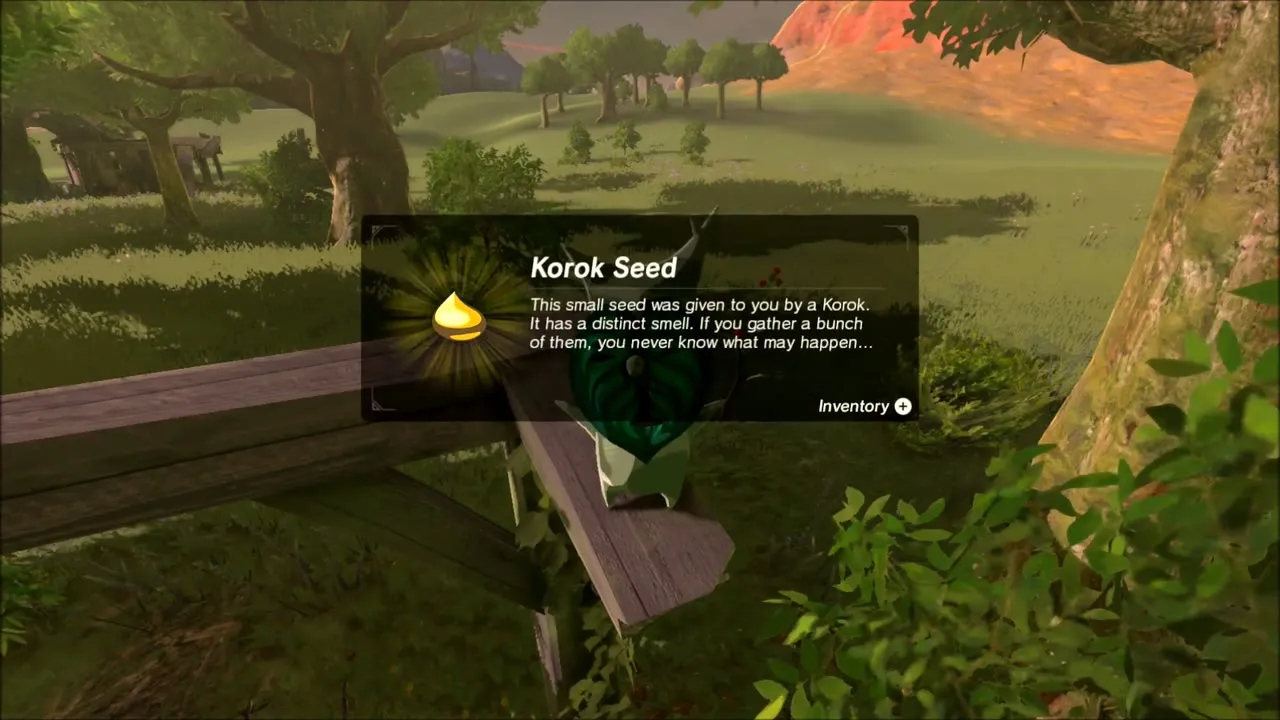
Follow the lake into the wooded grove to the south, climb the stack of wooden planks and look beside the broken wooden fence. A Korok is waiting there and gives you another seed.

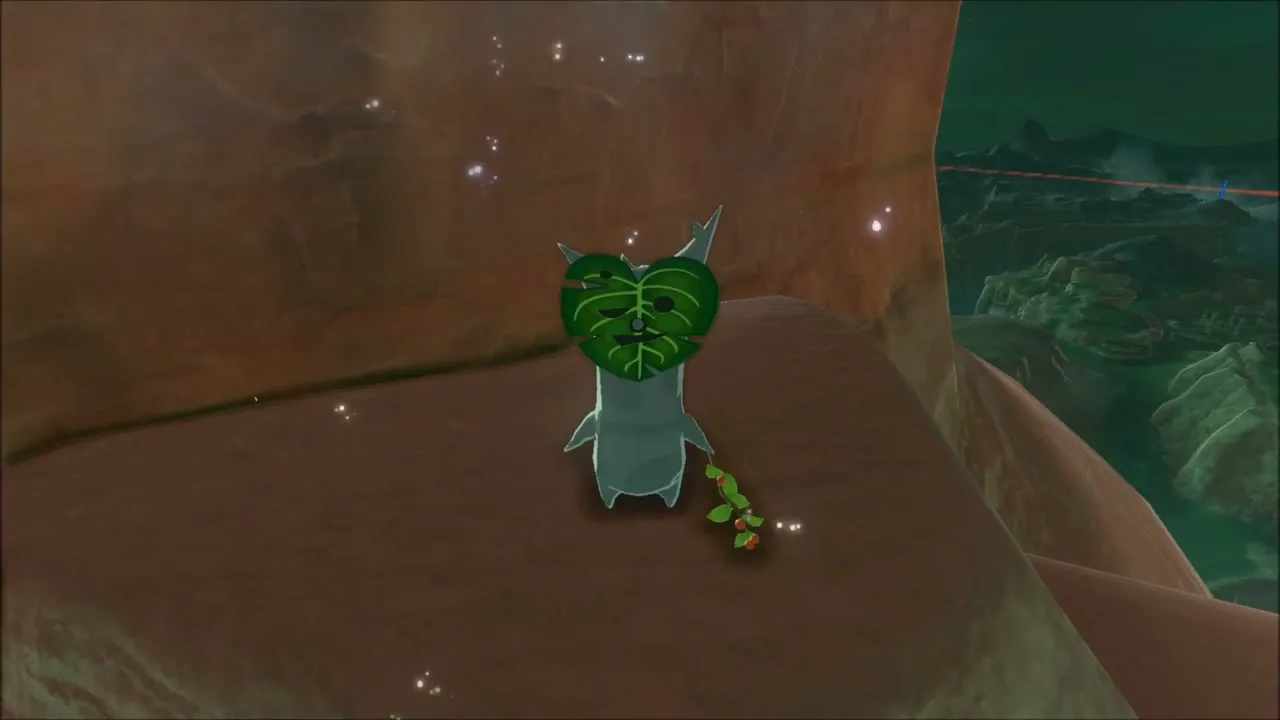
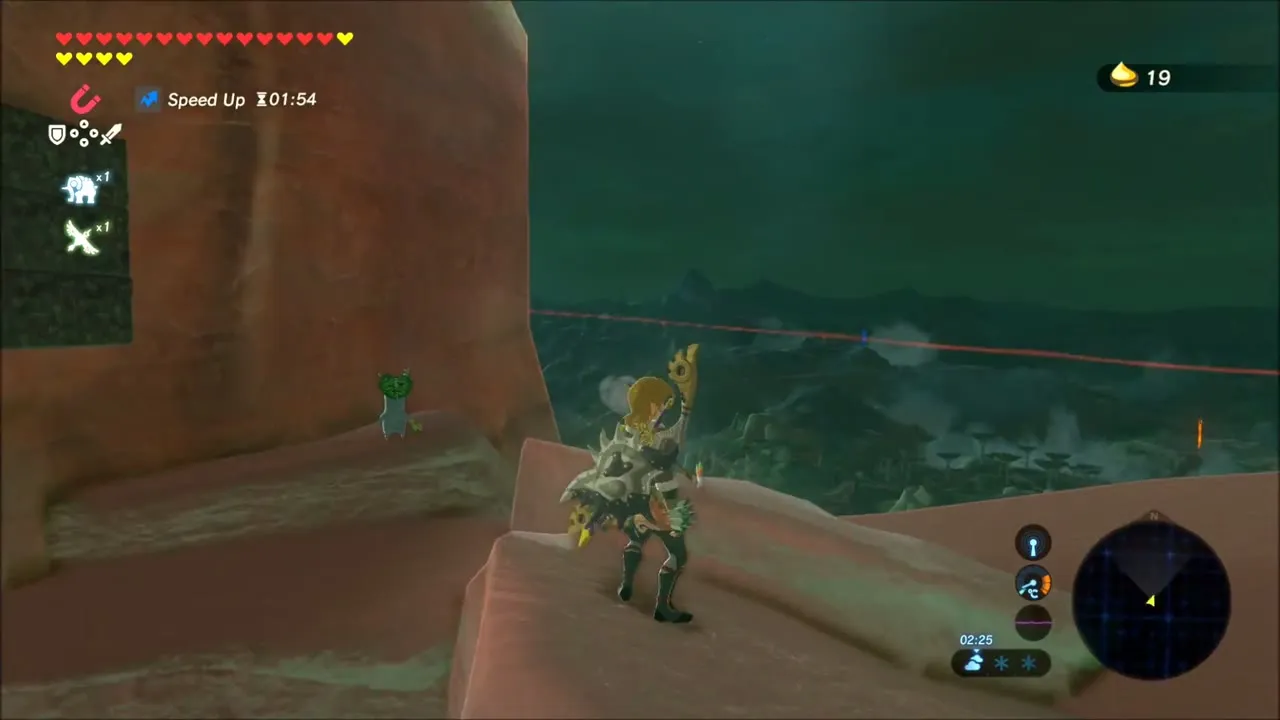
Rock ring and cliff-top Korok
On the steep green slope beyond, a ring of small stones hides a seed: carry the loose stone lying beside it over to the ring. Then climb the red cliff above, where a Korok on a high ledge greets you and rewards you with another seed.


Falcon Bow chest
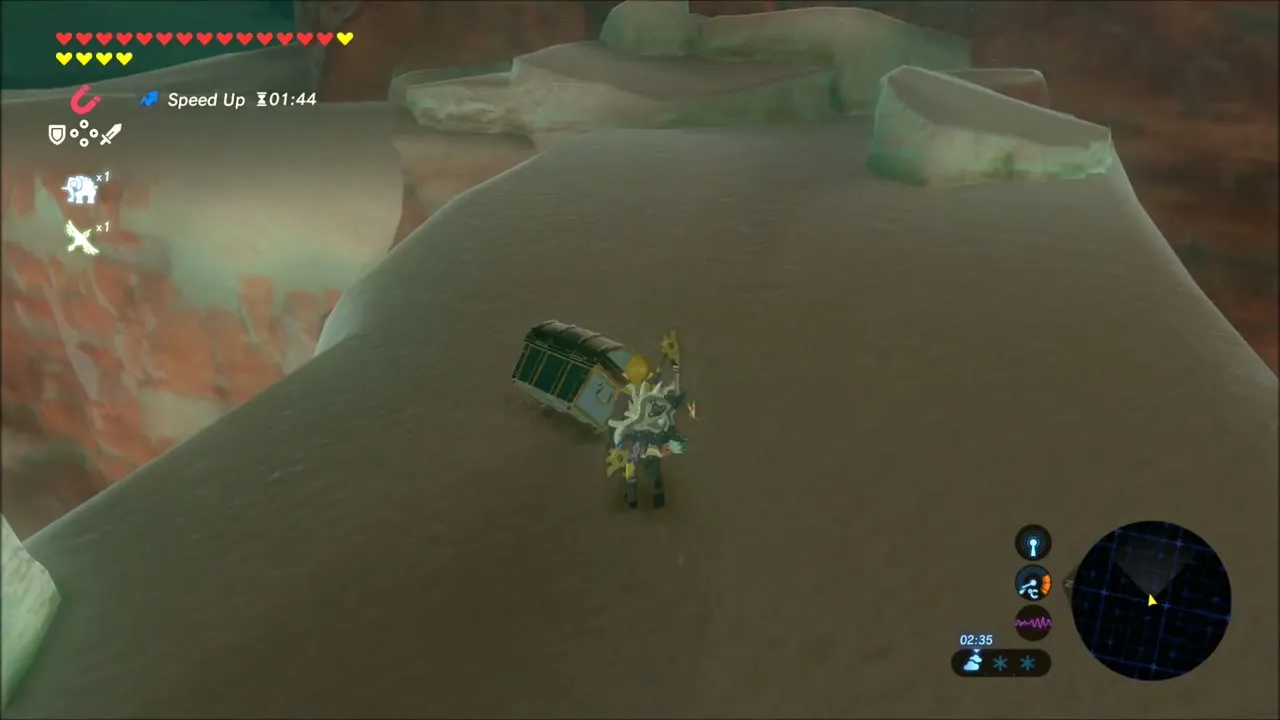
In the red rock face nearby, use Magnesis on the metal chest set into the cliff, pull it out and open it for a Falcon Bow, a refined Rito bow that fires quickly.


Kuh Takkar Shrine: Melting Ice Hazard Trial
Thaw the frozen shrine
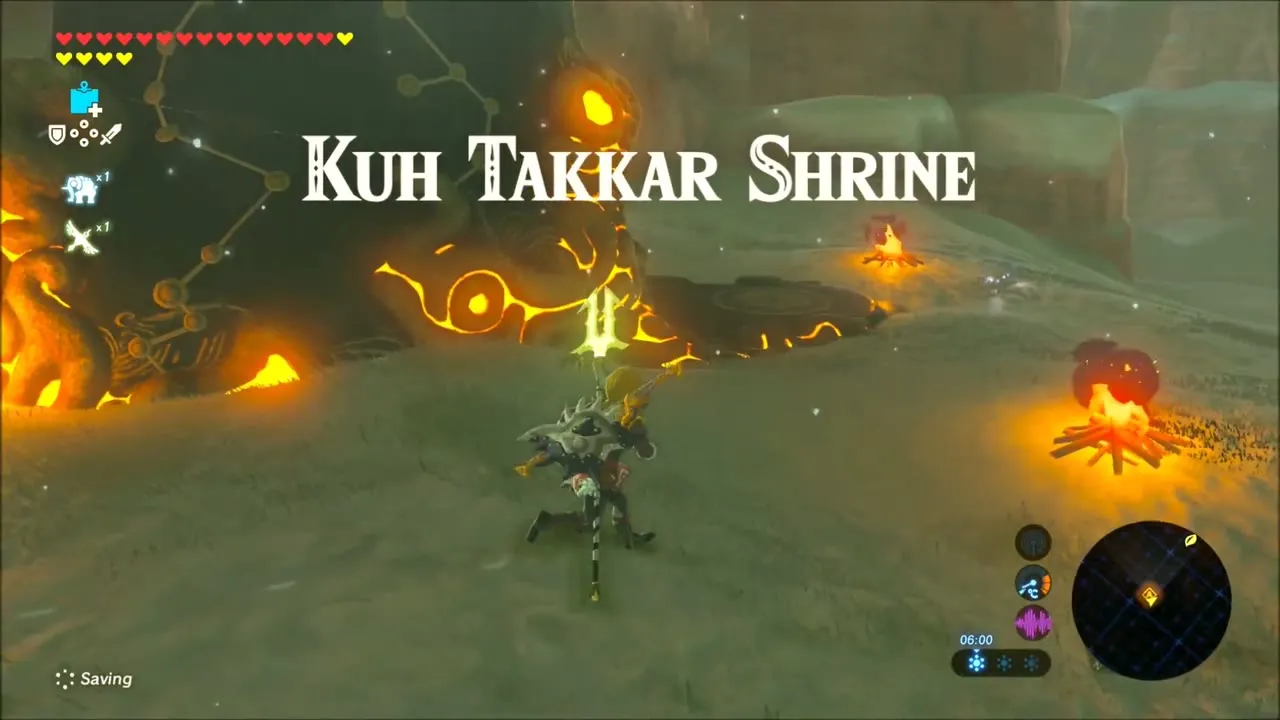
Kuh Takkar Shrine sits at the foot of Laparoh Mesa, sealed in a block of ice. Shoot a fire arrow at the ice until it melts; the shrine’s title card appears as soon as you thaw it. Its position is (x -3084, z 1222).


Rearrange your gear in Hateno
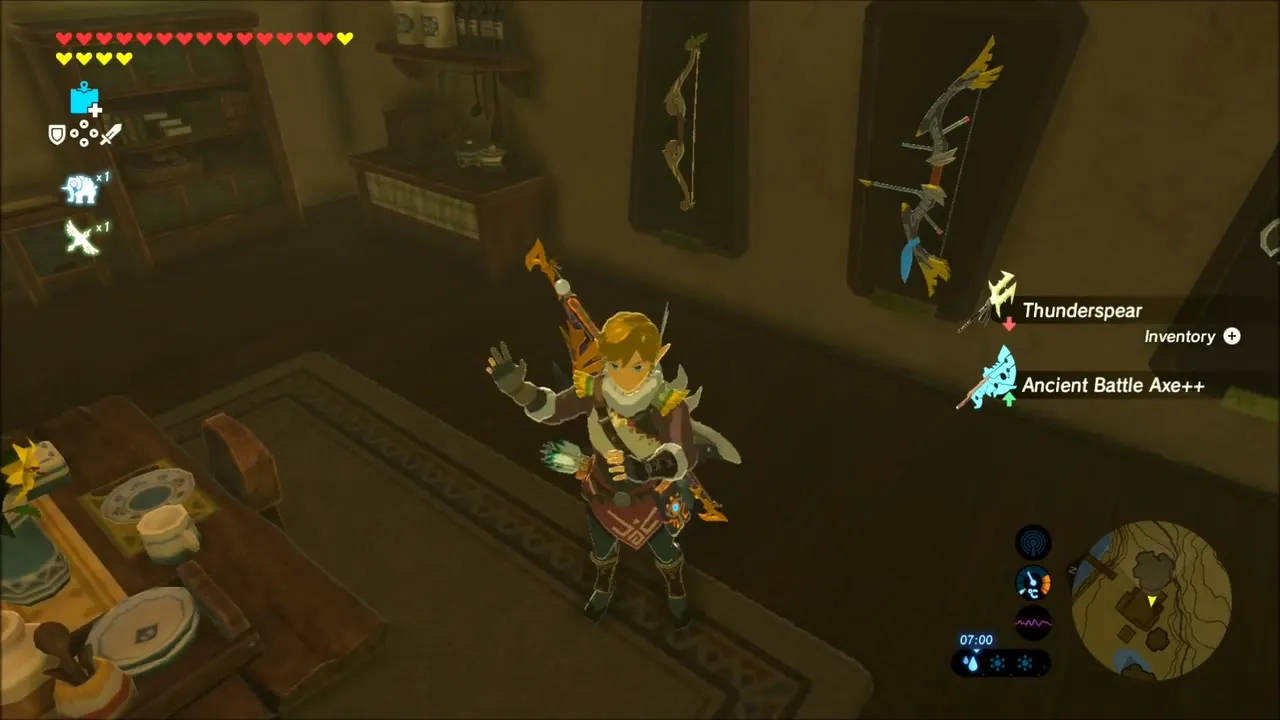
Your pack is full of weapons, so warp to Hateno Village and stop at your house to hang up spares and pick a better loadout. Then travel back to the new shrine.


Carry the ice through the fire
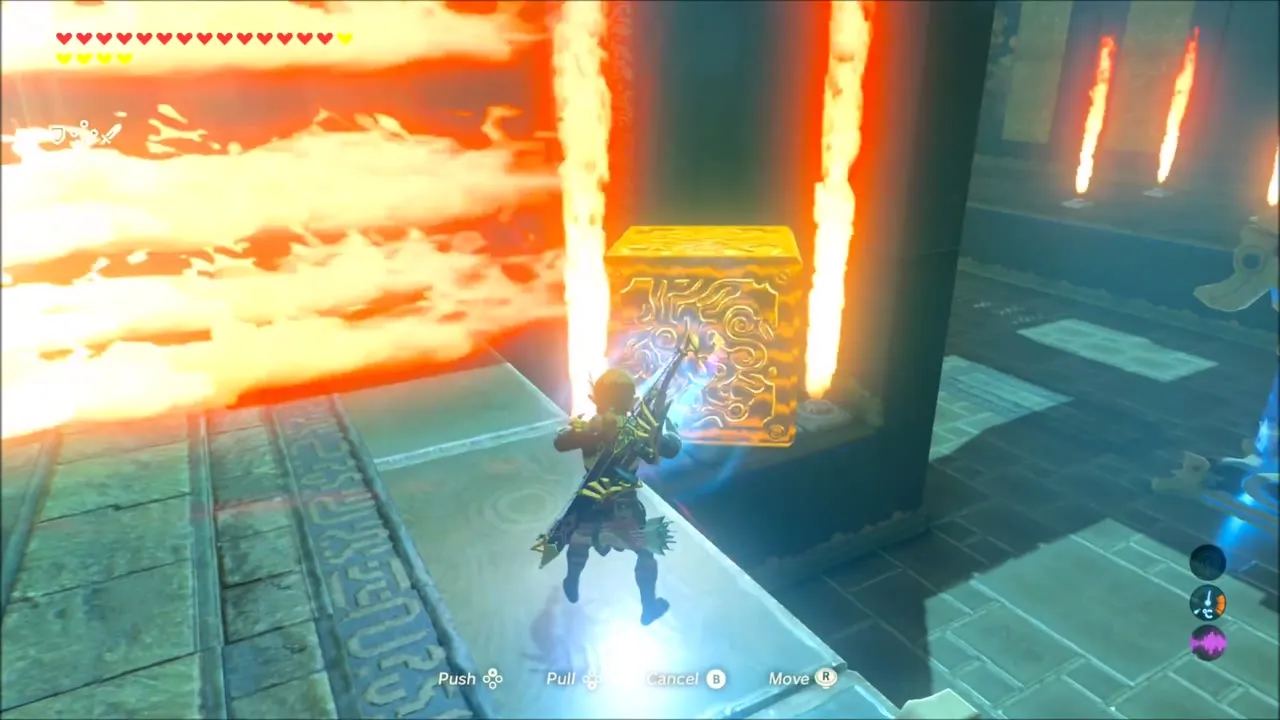
In Kuh Takkar Shrine the monk asks for an offering of ice. Carry the block through the columns of fire, sliding it under the long horizontal flames and using Magnesis on the metal blocks to shield the ice and yourself on the last stretch. Set it on the altar to open the way to the monk, who gives you a Spirit Orb. The shrine’s chest holds a Frostblade.



West Sapphia’s Table: Snow Korok, Lizalfos and the Frost Talus
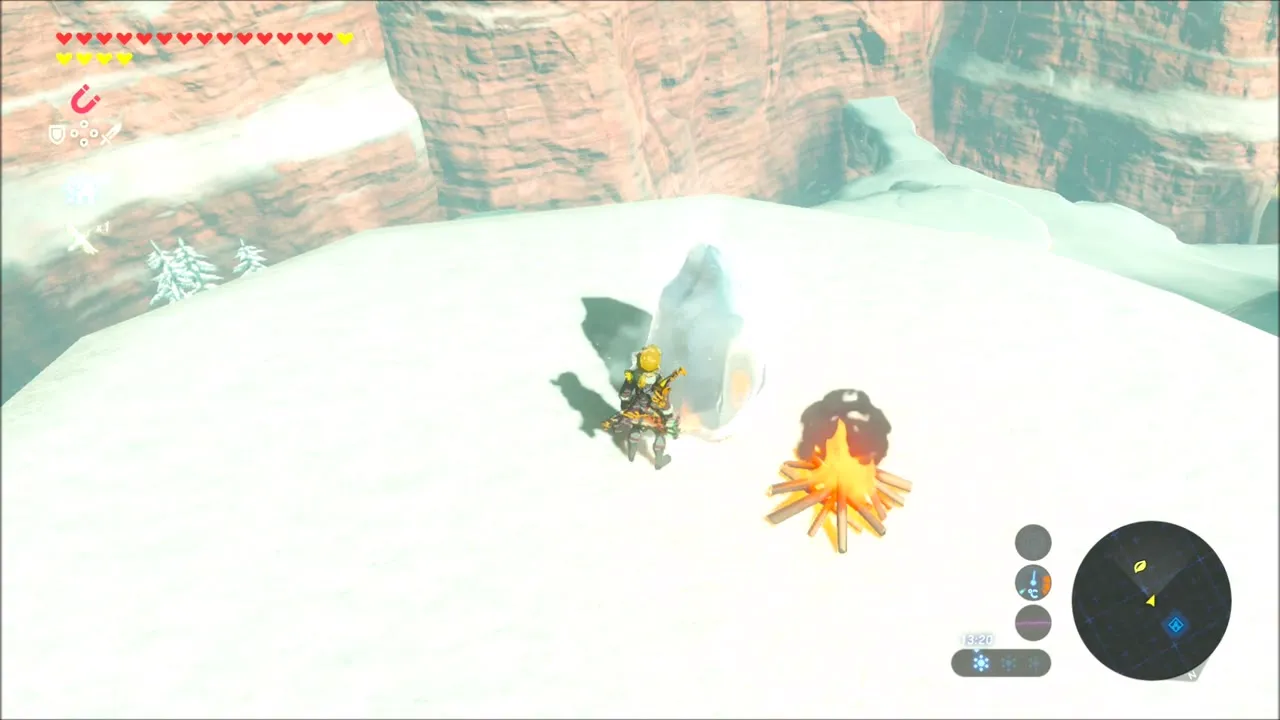
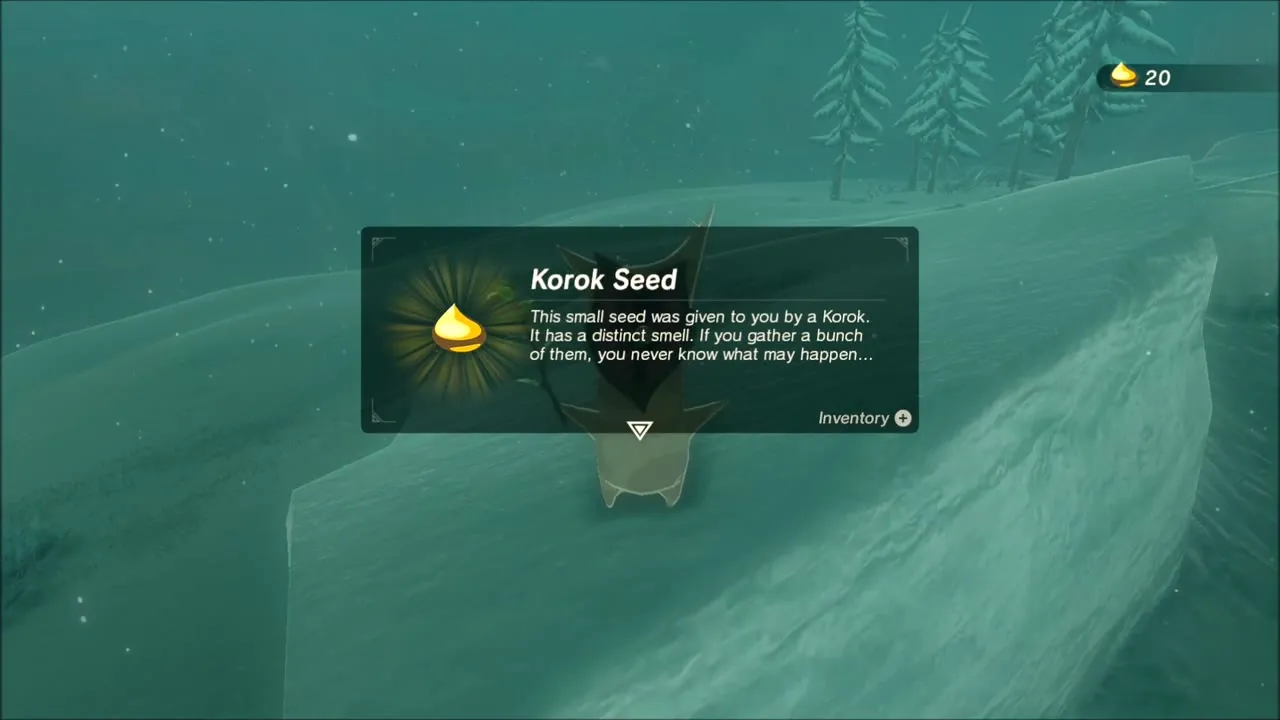
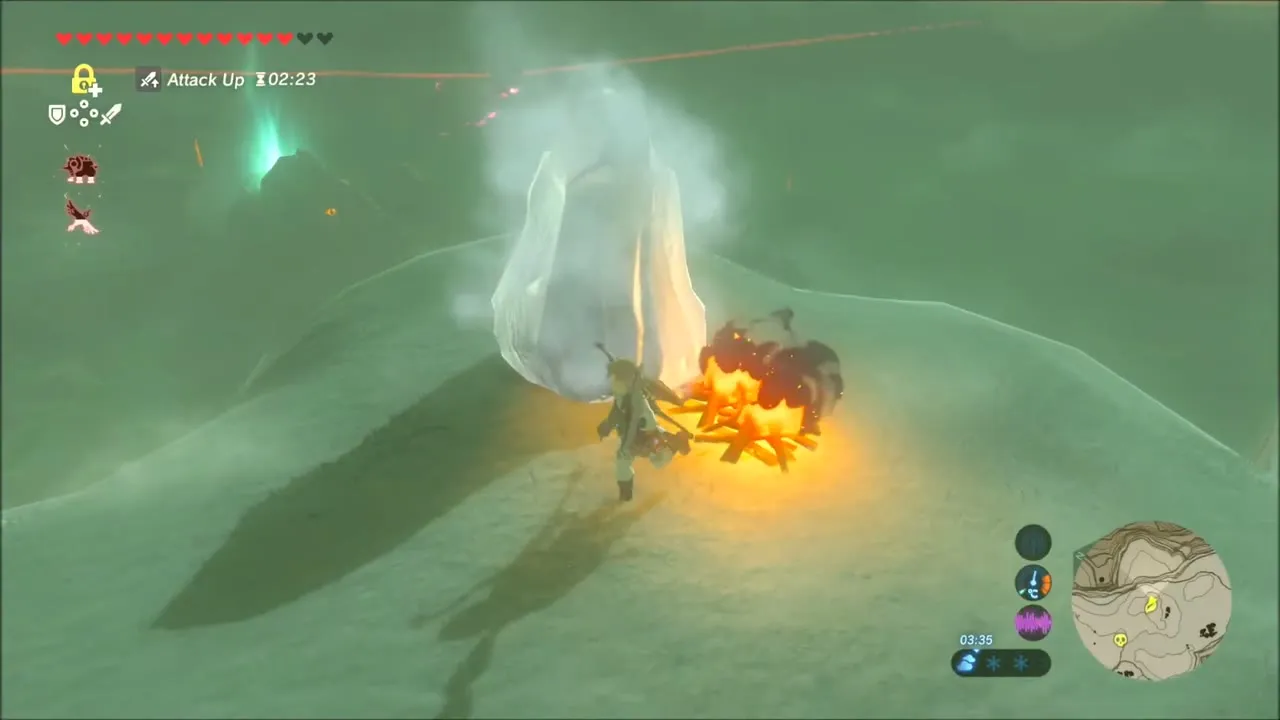
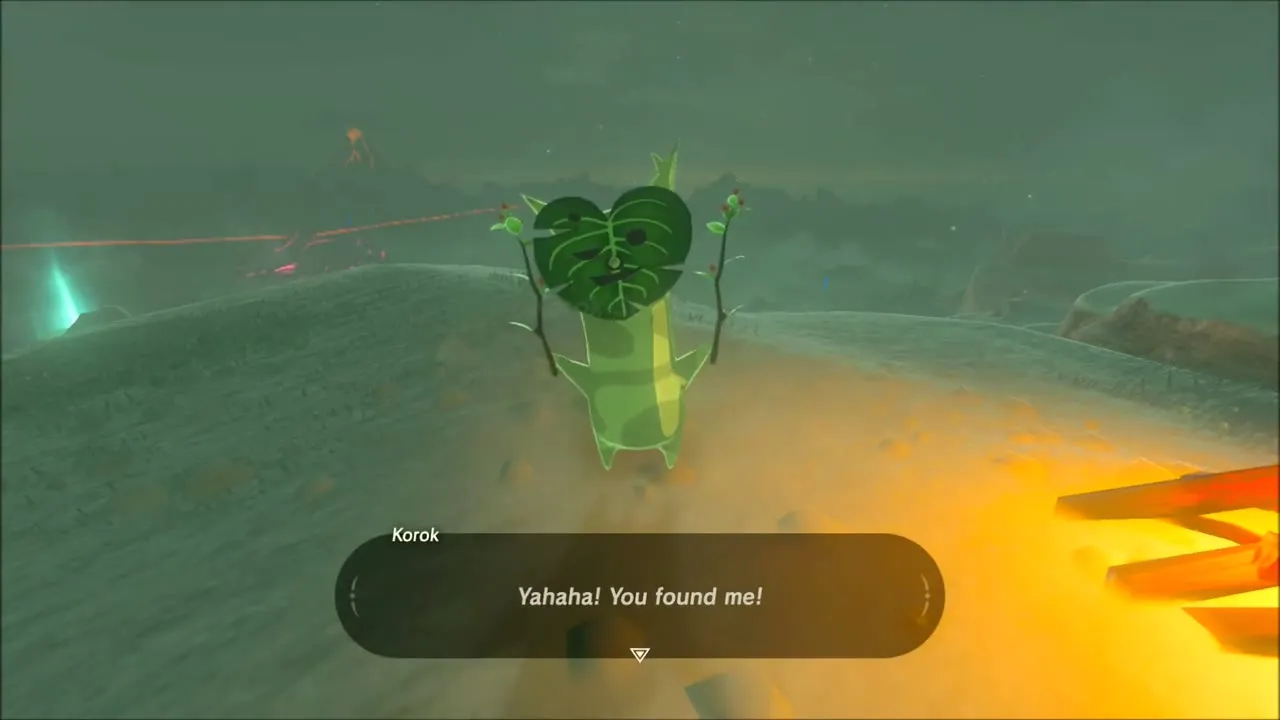
Back outside, climb onto the snowy plateau, where a Korok sits next to a pile of firewood and gives you a seed. Swap into cold-resistant gear (the Snowquill trousers go on here) and fight off the Lizalfos that attack on the snow; they drop Lizalfos Horns and Talons.
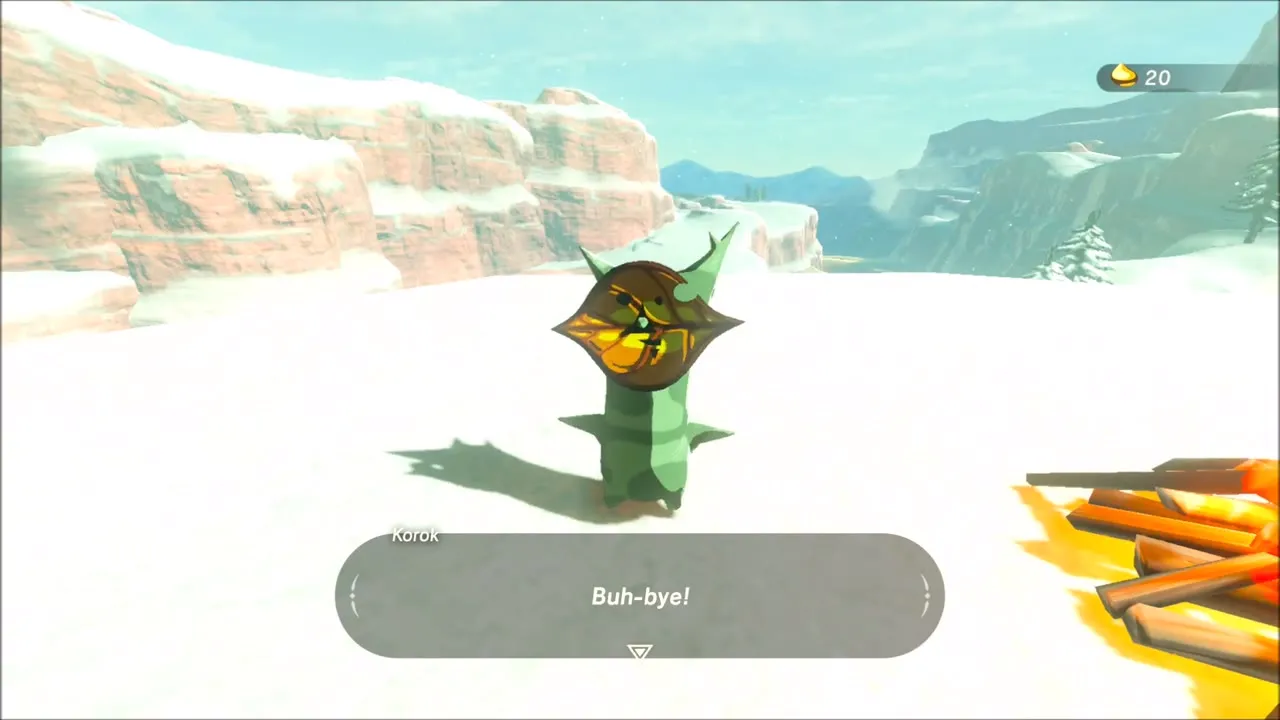

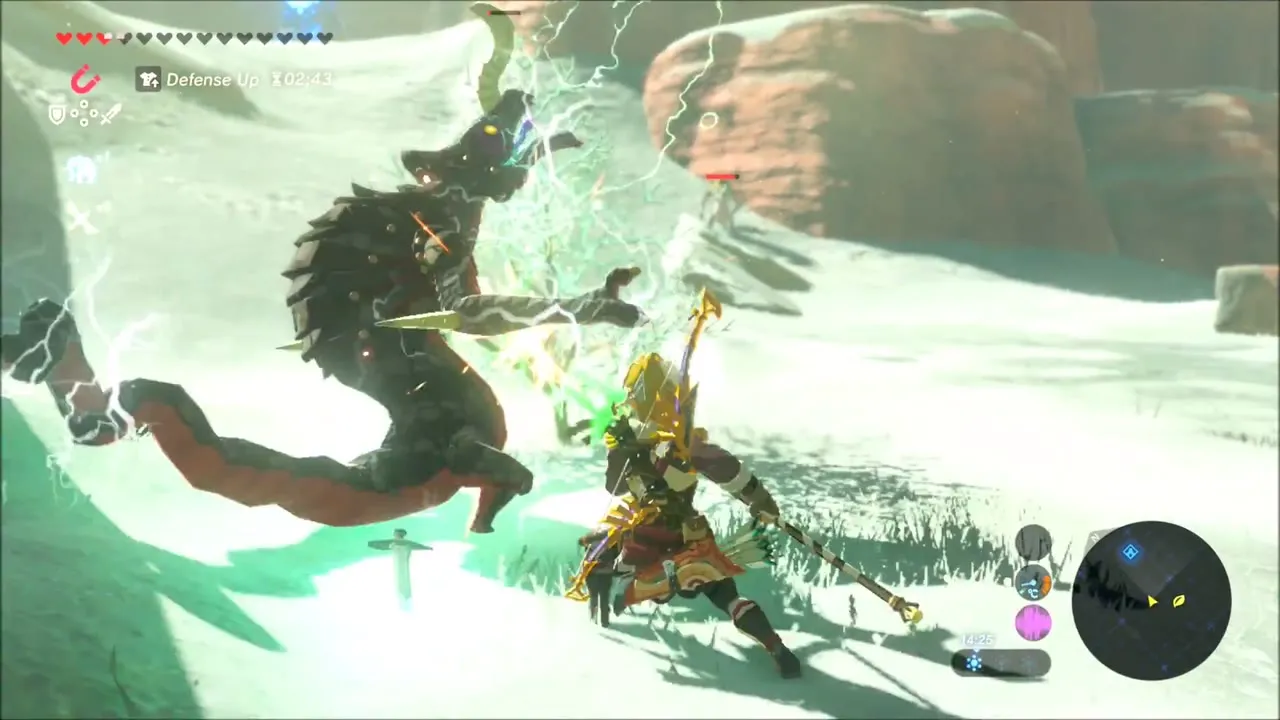
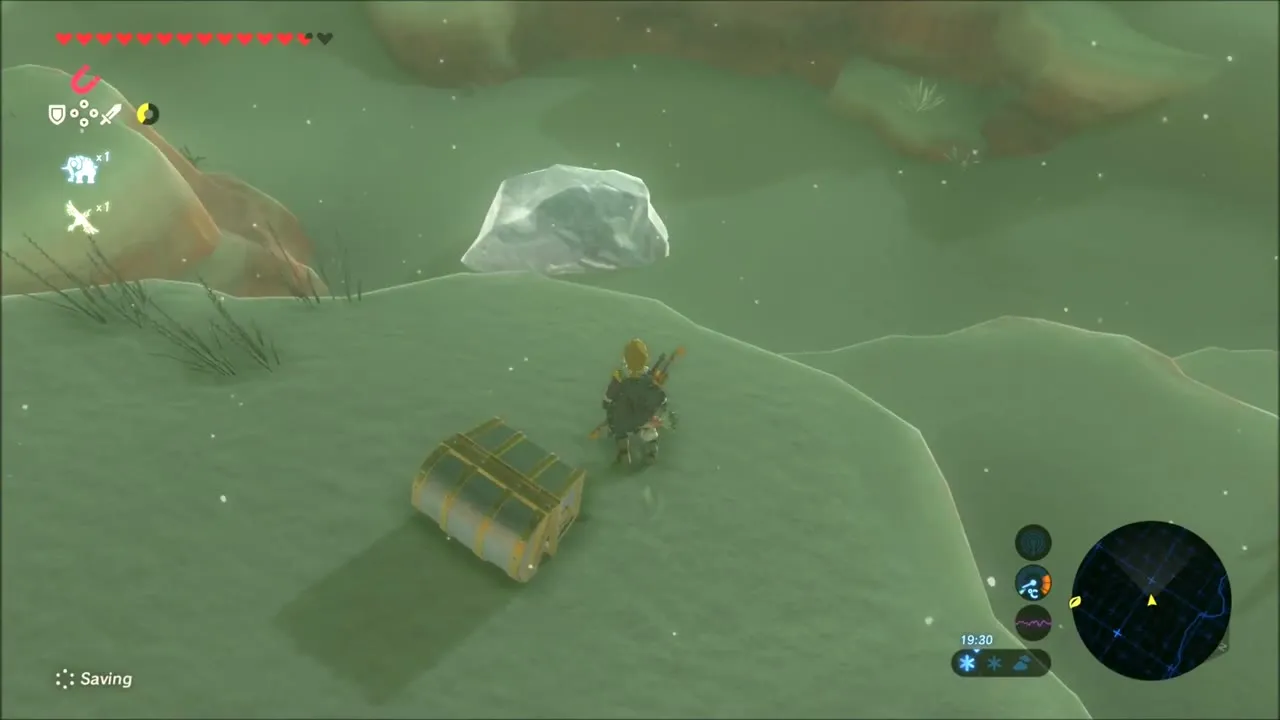
As you cross the plateau toward West Sapphia’s Table, use Magnesis to pull a chest out of the snow, and open another chest on the slope. These chests hold shock arrows and fire arrows, which you will want for the miniboss ahead.

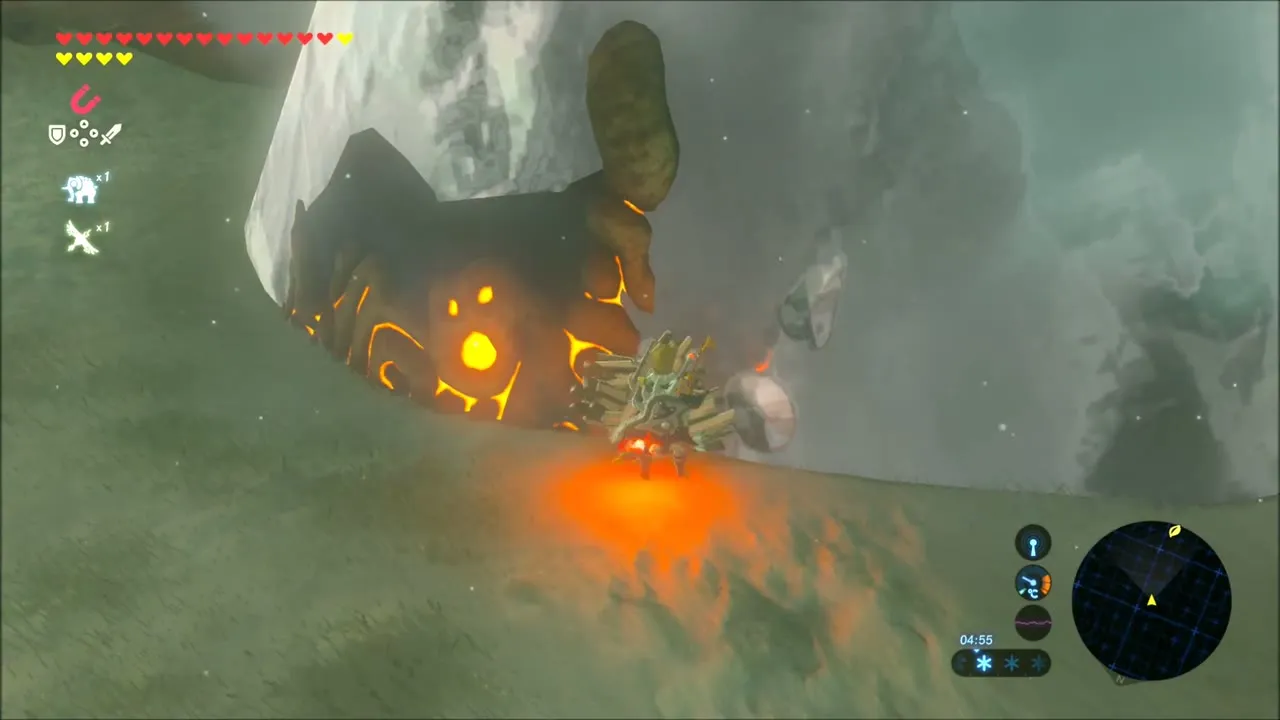
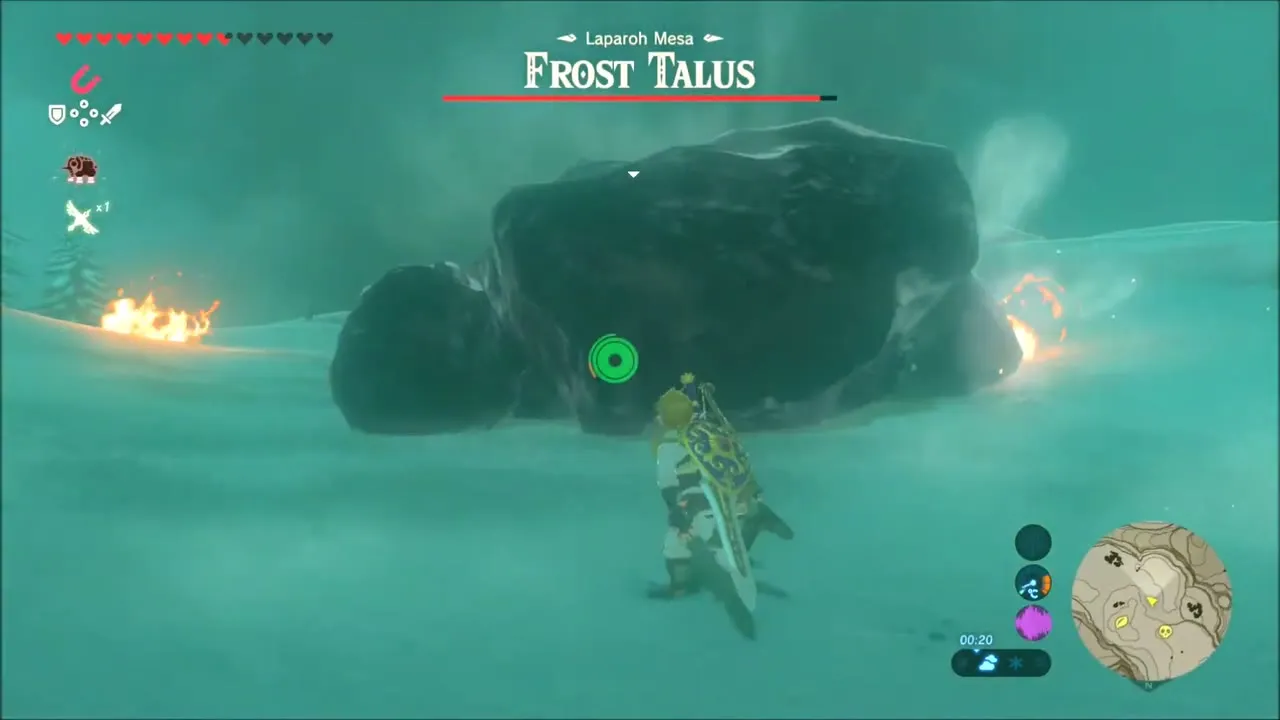
West Sapphia’s Table is home to a Frost Talus. Melt its ice with fire, knock it down with a Remote Bomb (the detonate prompt appears as you fight) and strike the ore deposit on its body to finish it.

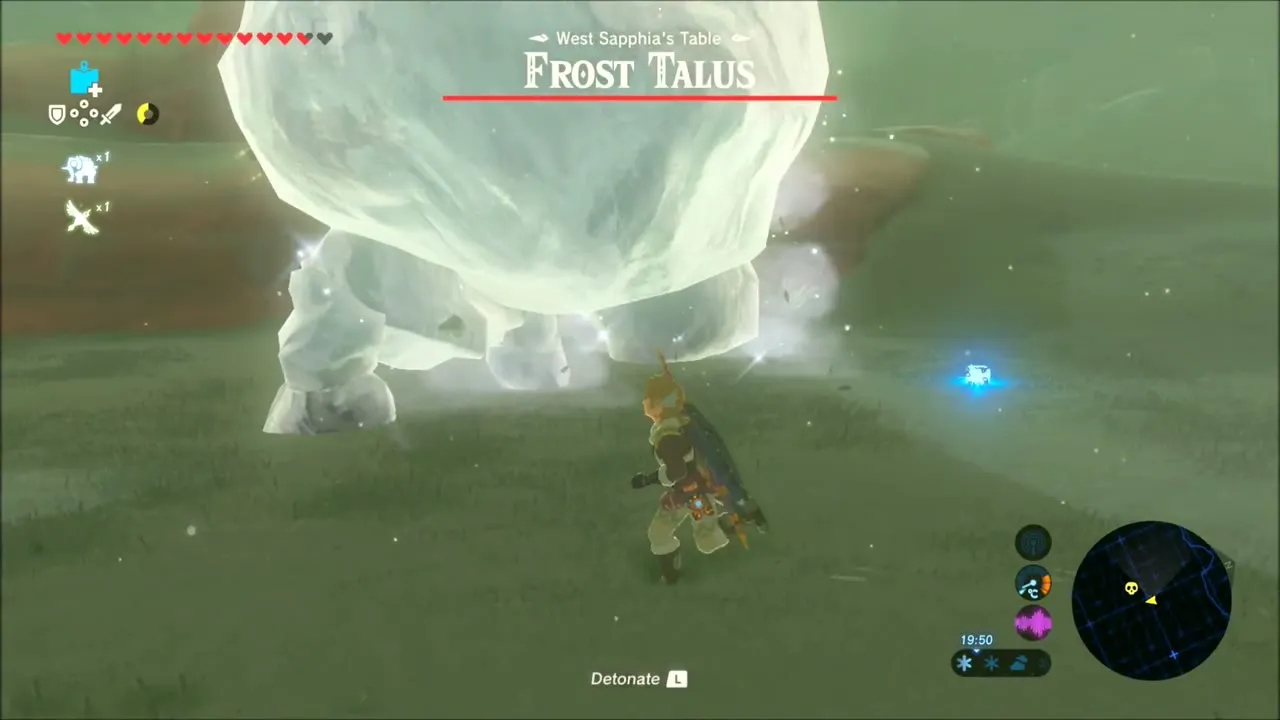
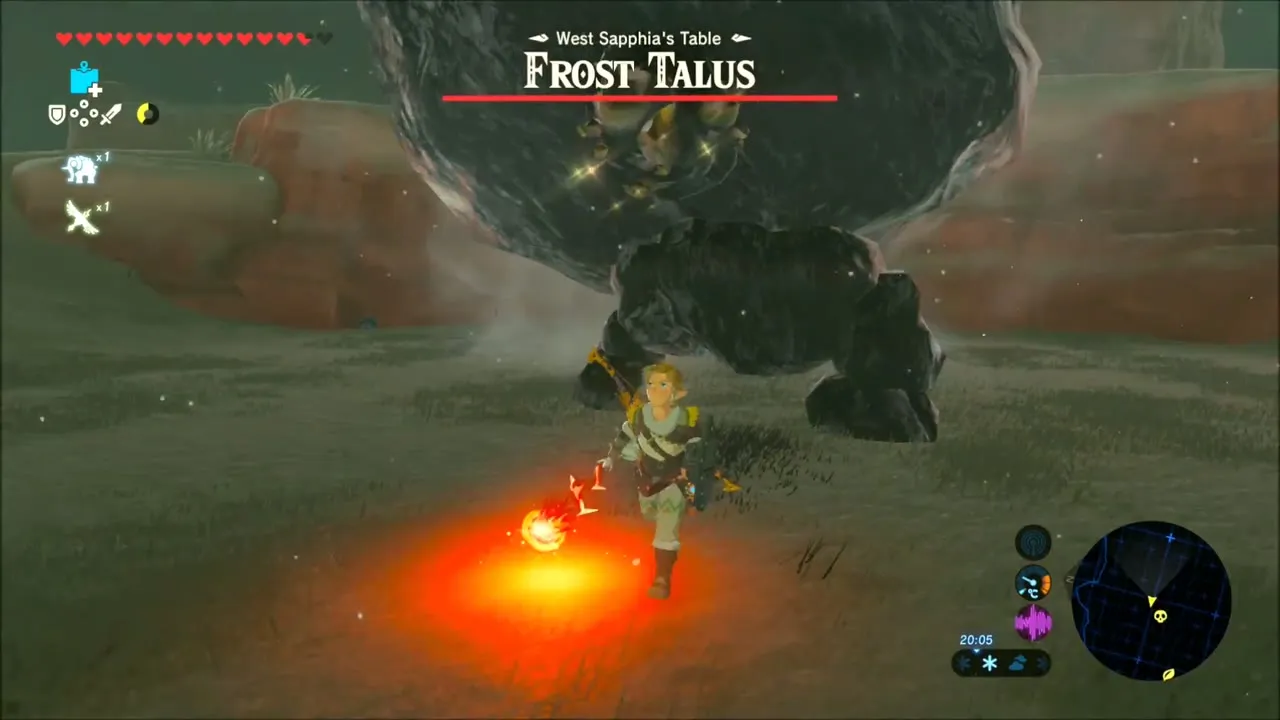

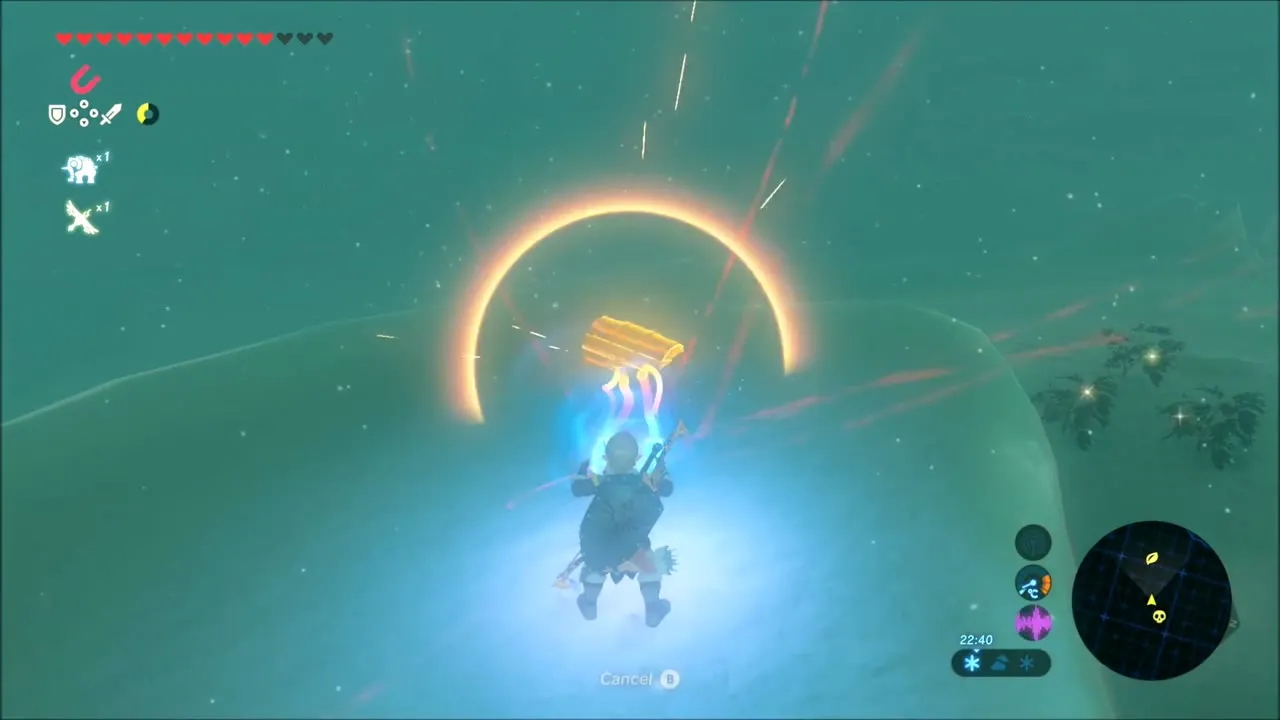
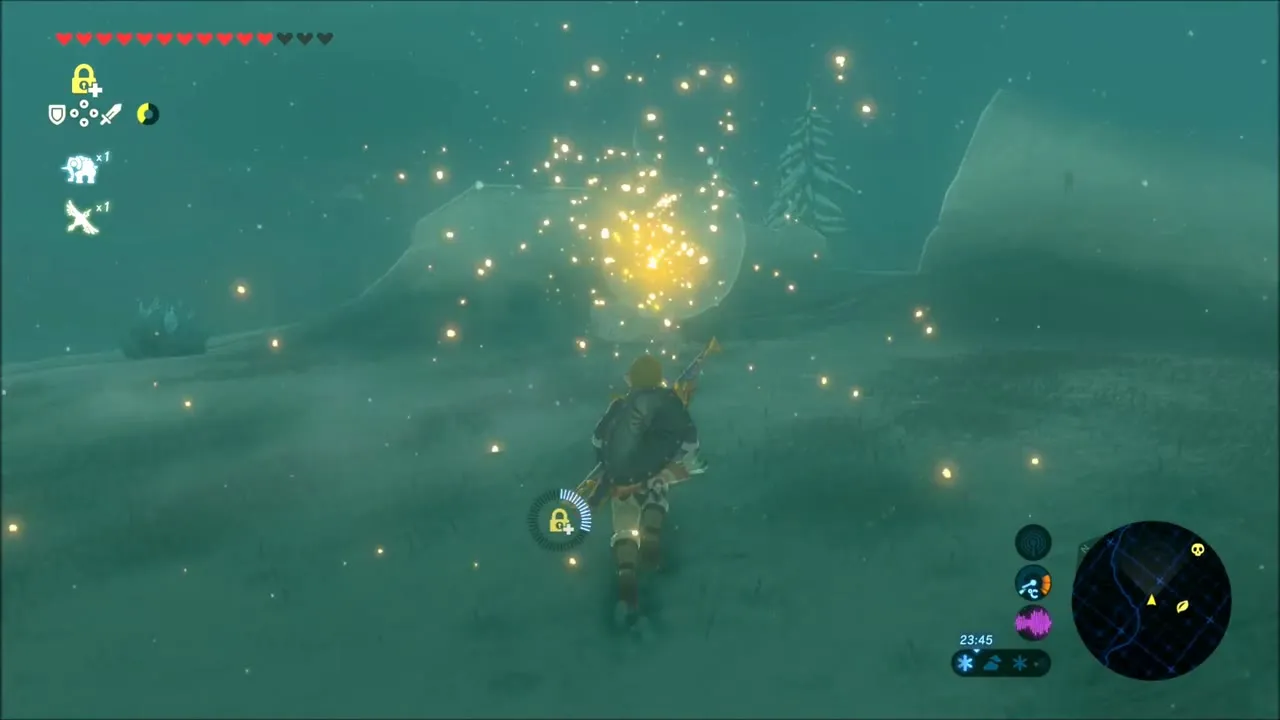
After the fight, use Magnesis to pull a buried chest out of the snow. Then find the Korok on the snow ridge, which rewards you with another seed.
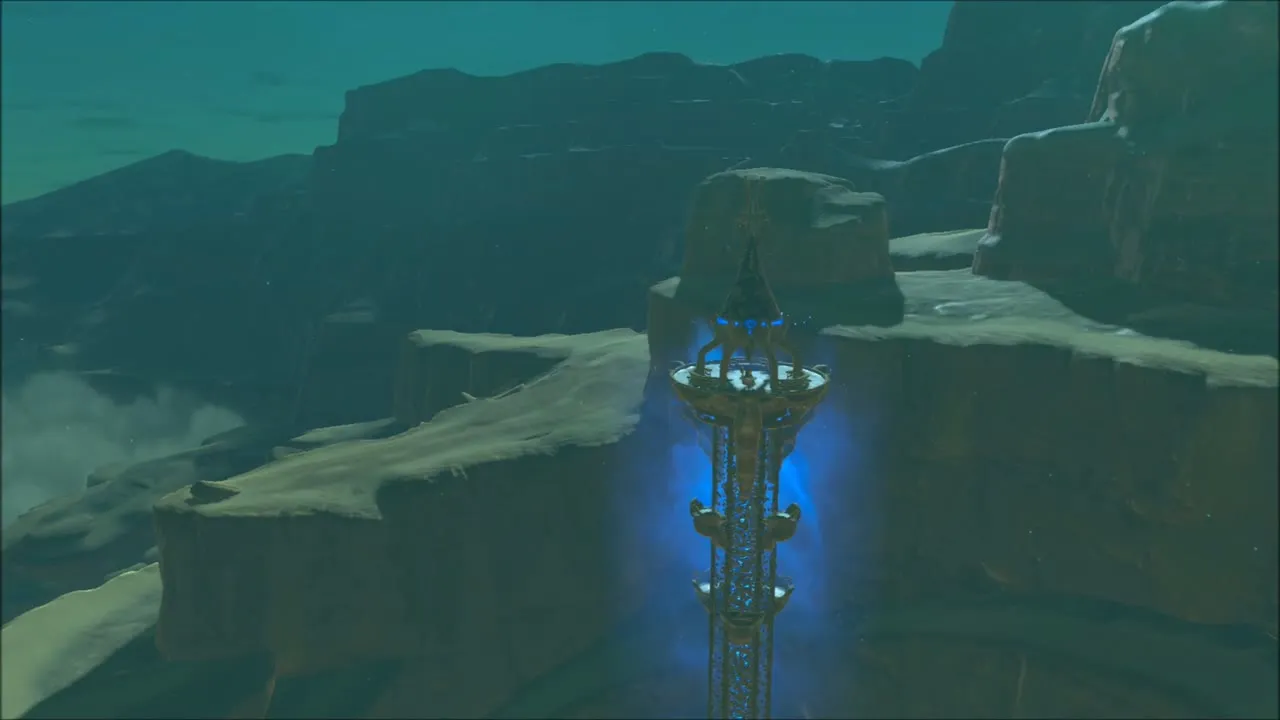
Gerudo Tower and the Sign of the Shadow Quest
Climb to the Sheikah Tower at (x -3666, z 1829). Activate its terminal and the Gerudo Tower map unlocks the rest of the Gerudo Highlands.


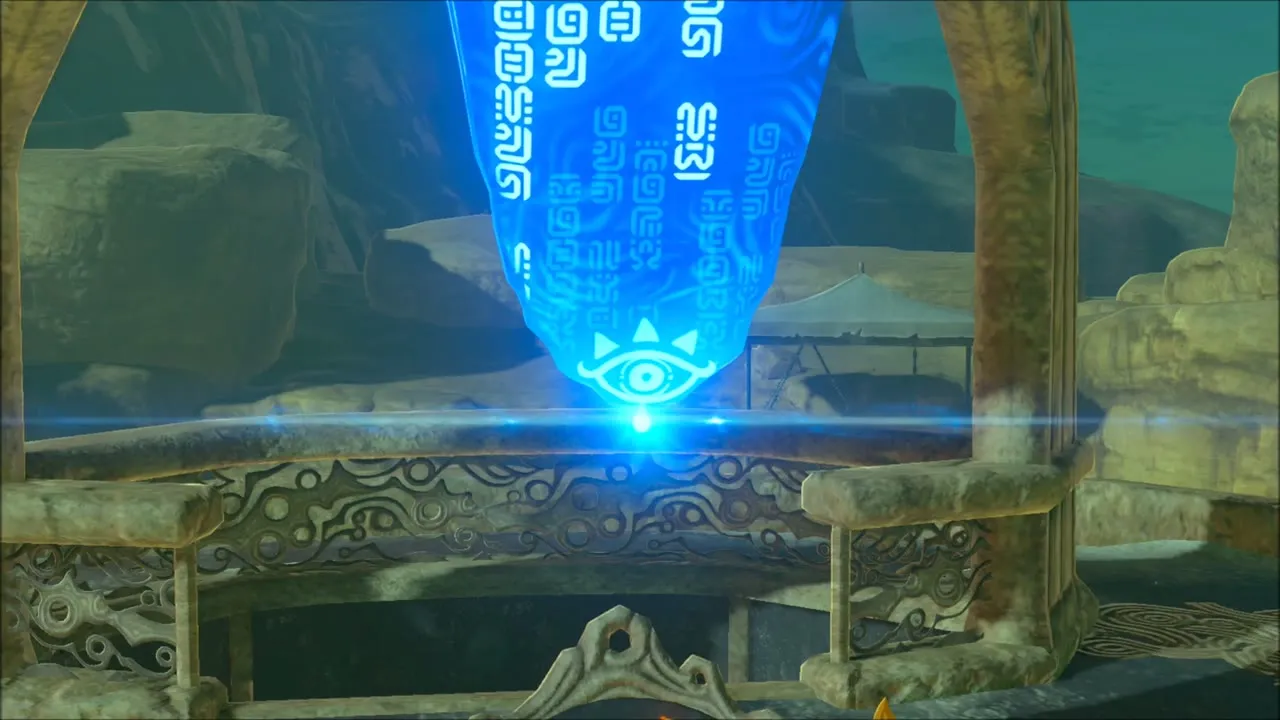
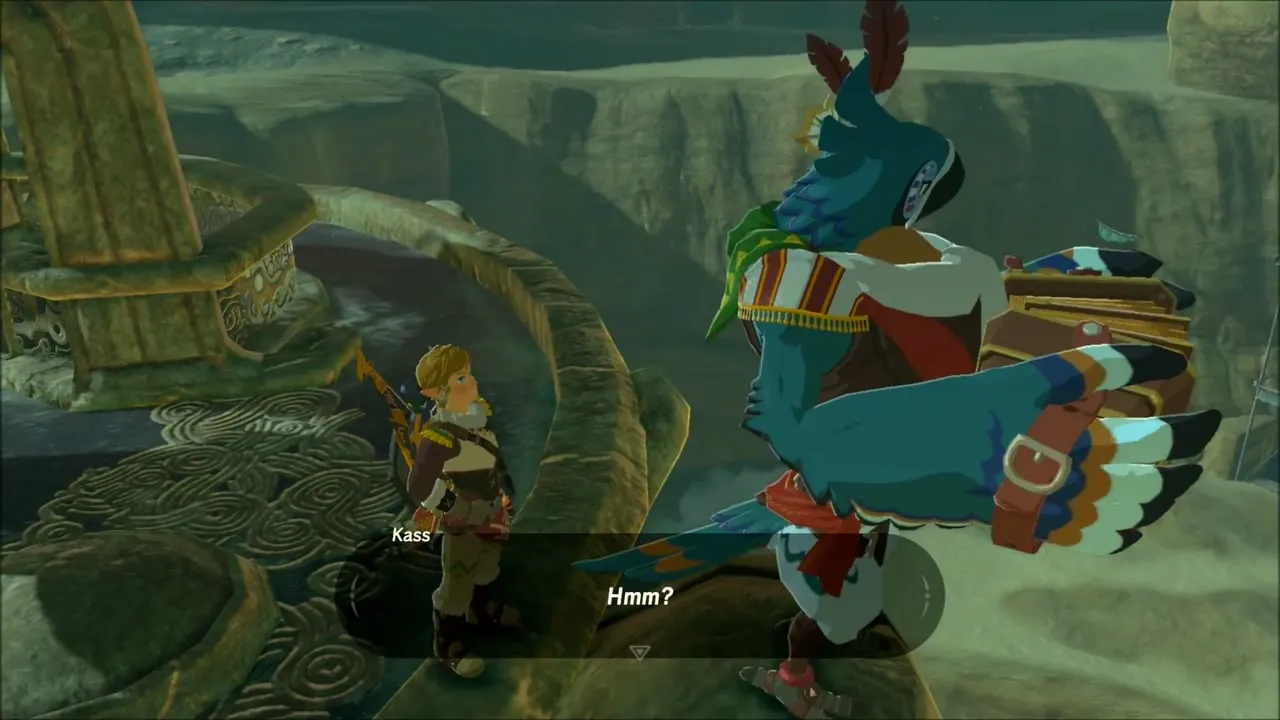
At the top, Kass sings a riddle about light and a shadow, starting the shrine quest Sign of the Shadow. His last line tells you to pierce heaven’s light to reveal the prize.

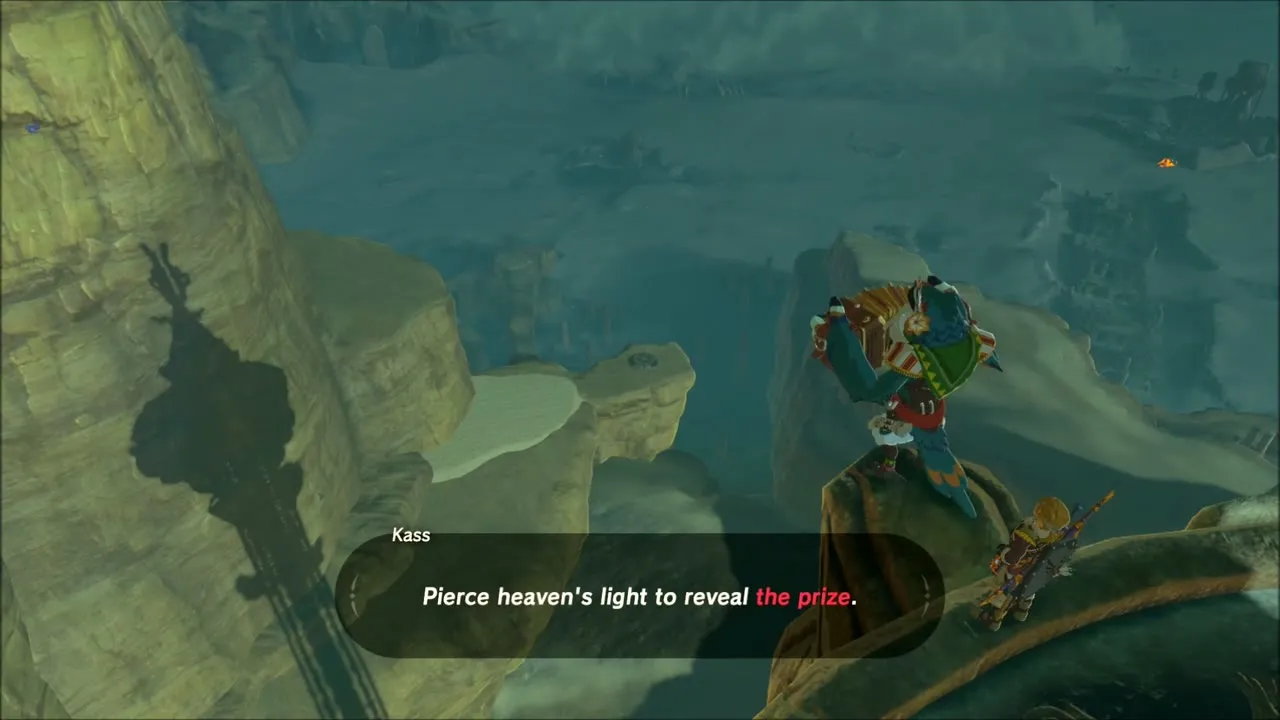
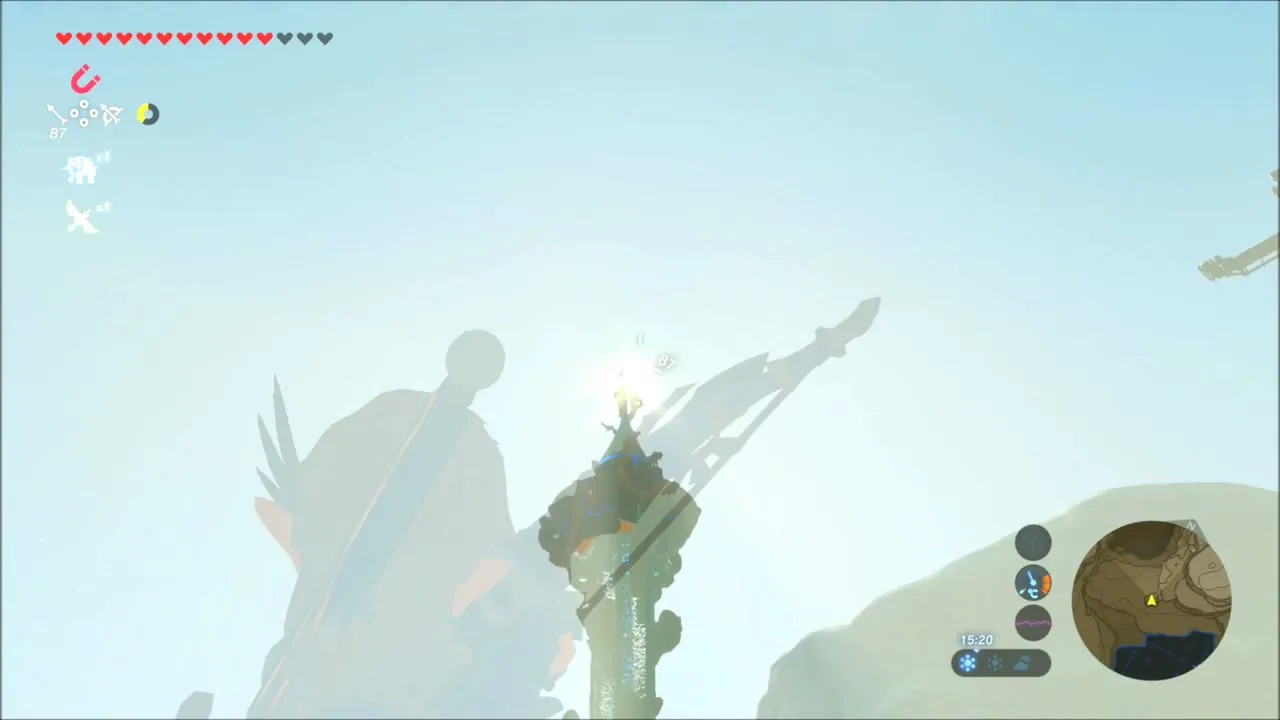
Glide from the tower to the round Sheikah platform on the cliff to the south and stand on it. When the tower’s shadow reaches the altar in the mid-afternoon, aim your bow at the sun and shoot an arrow into it. Dust pours away as Sasa Kai Shrine rises beside you.



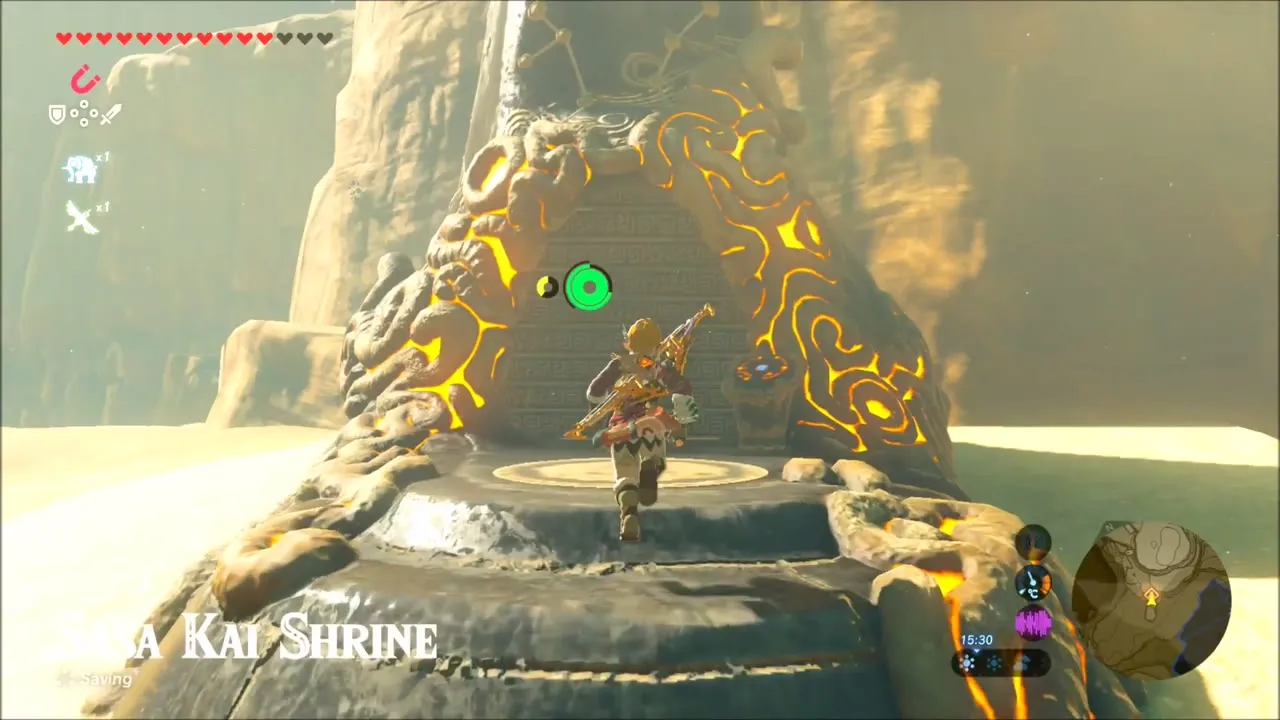
Sasa Kai Shrine: A Modest Test of Strength
In Sasa Kai Shrine (x -3560, z 1954) you fight a Guardian Scout III. Dodge its sword and spear strikes and counter with flurry rushes. It wears down weapons quickly, so keep several in your pack.
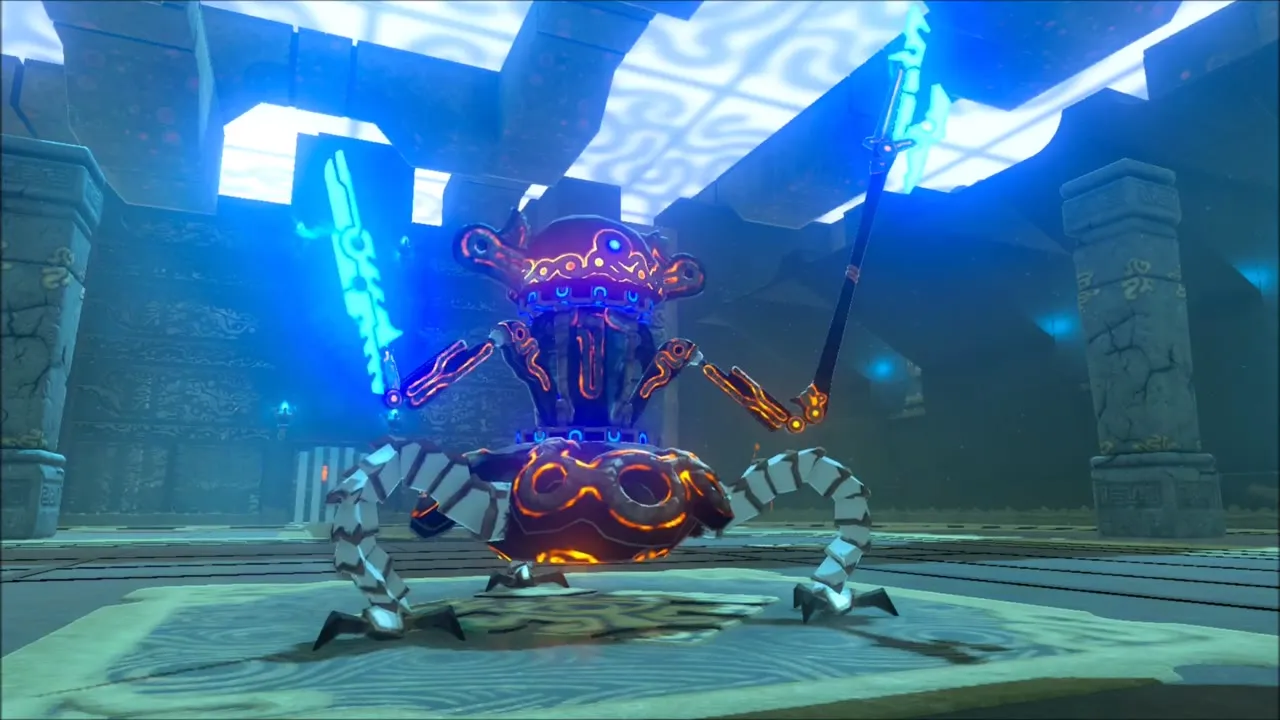
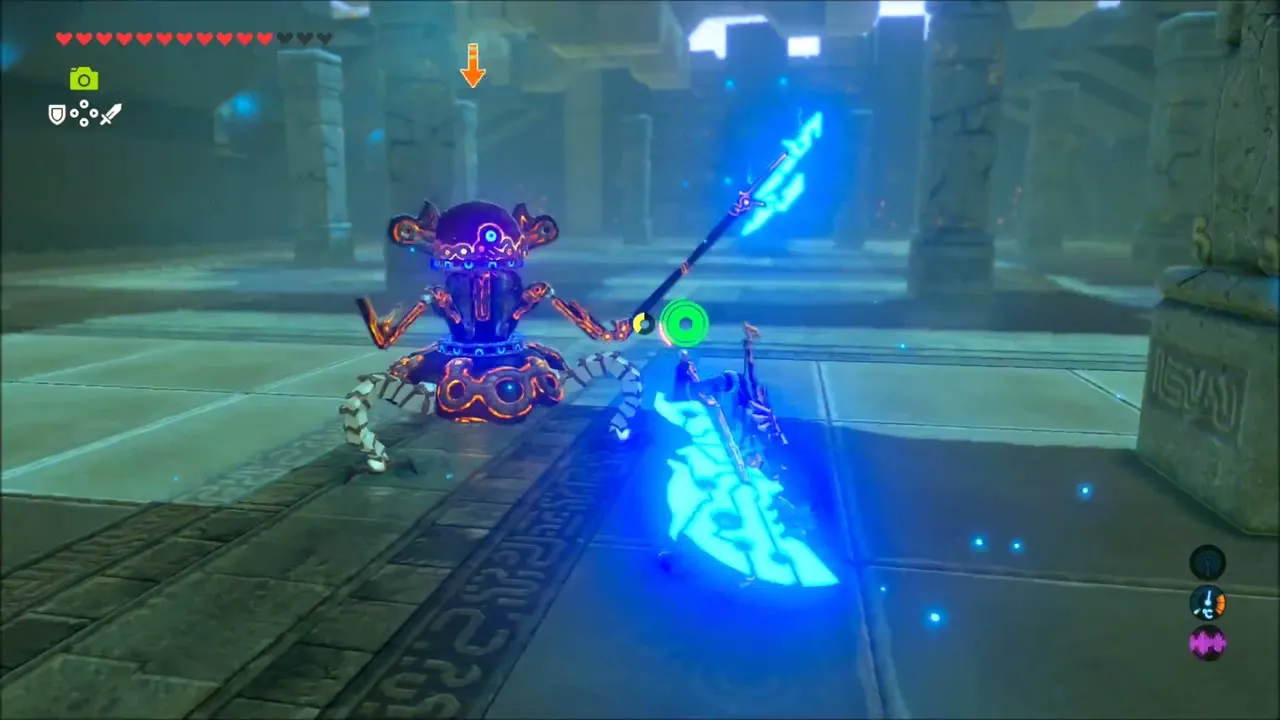
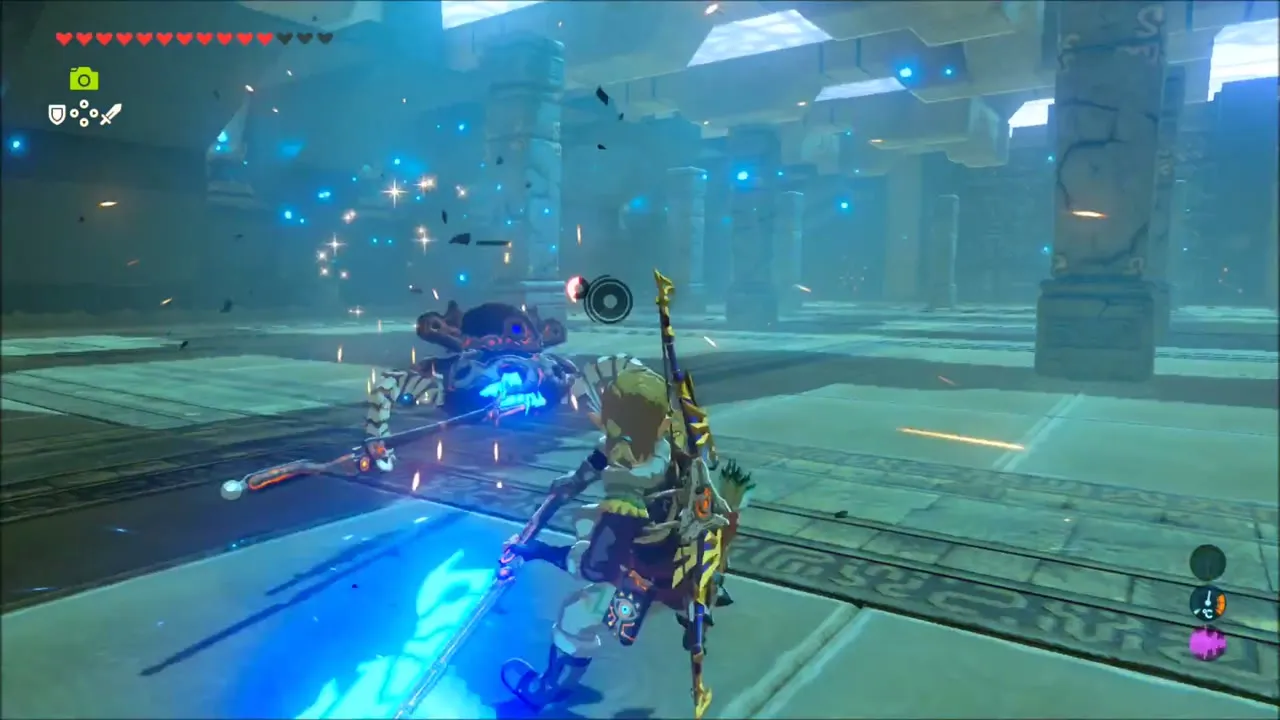
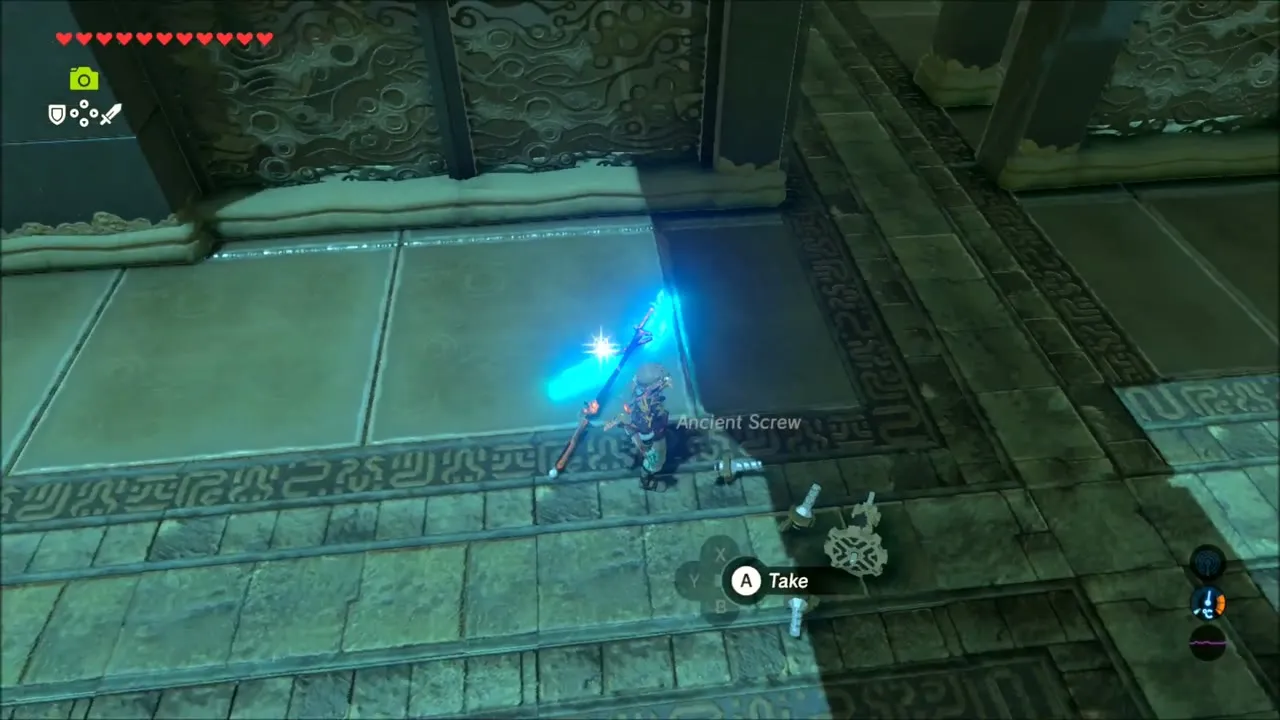
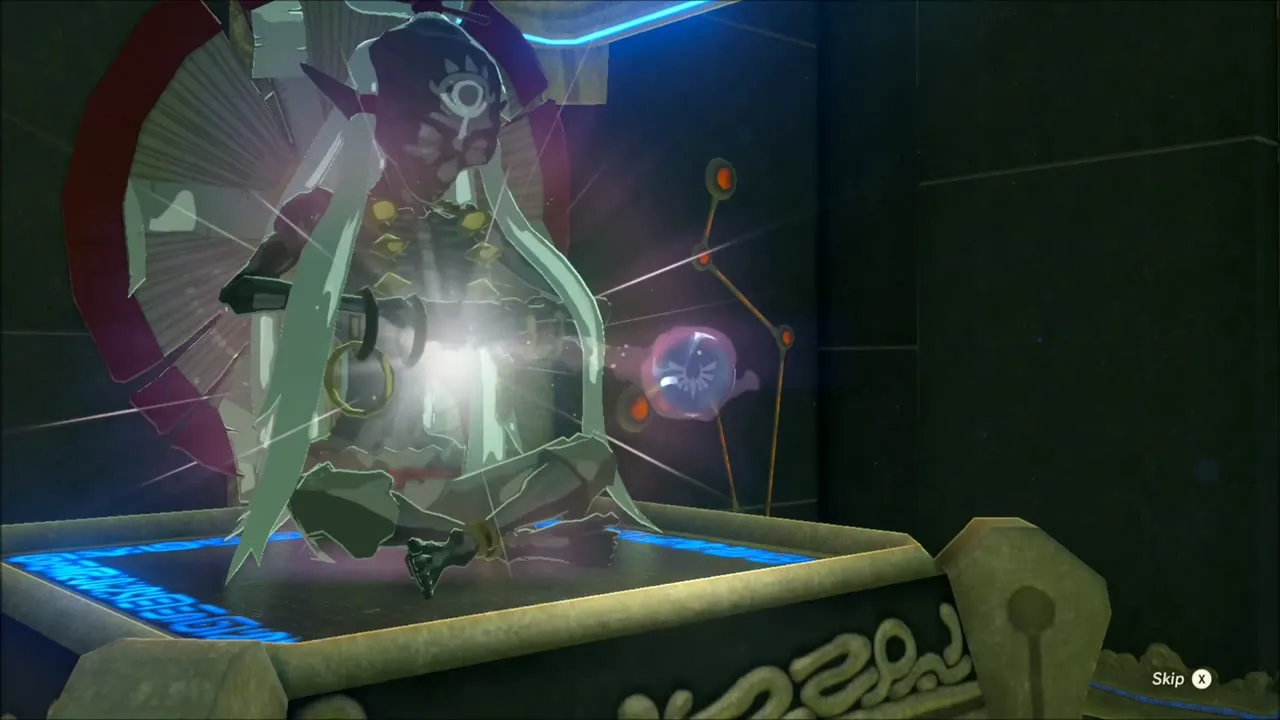
Beating it opens the shrine’s chest with a Frostblade, and Monk Sasa Kai awards a Spirit Orb. Then leave across the sandy ridge.


Hateno Again: Selling Gems and Dyeing Armor
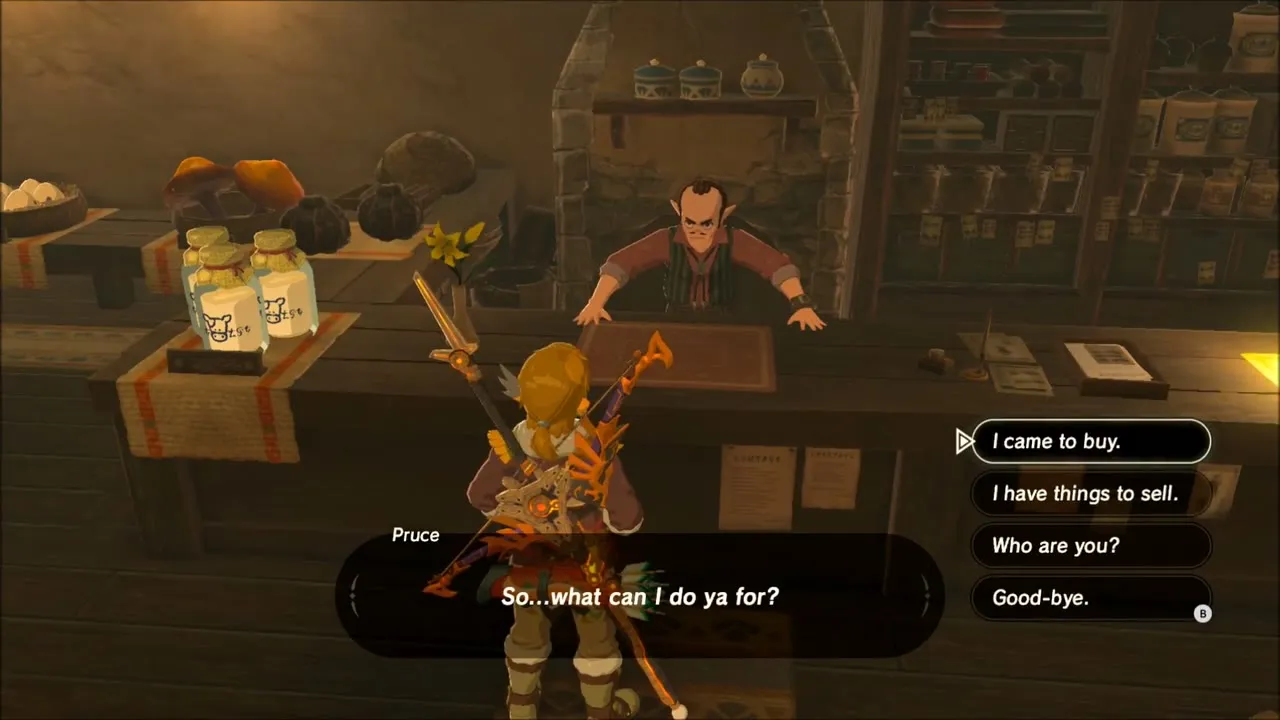
Warp to Myahm Agana Shrine at Hateno Village and visit Pruce again. A Sapphire sells for 260 rupees, an Amber for 30 and a Luminous Stone for 70, so sell your stock of gems and stones.


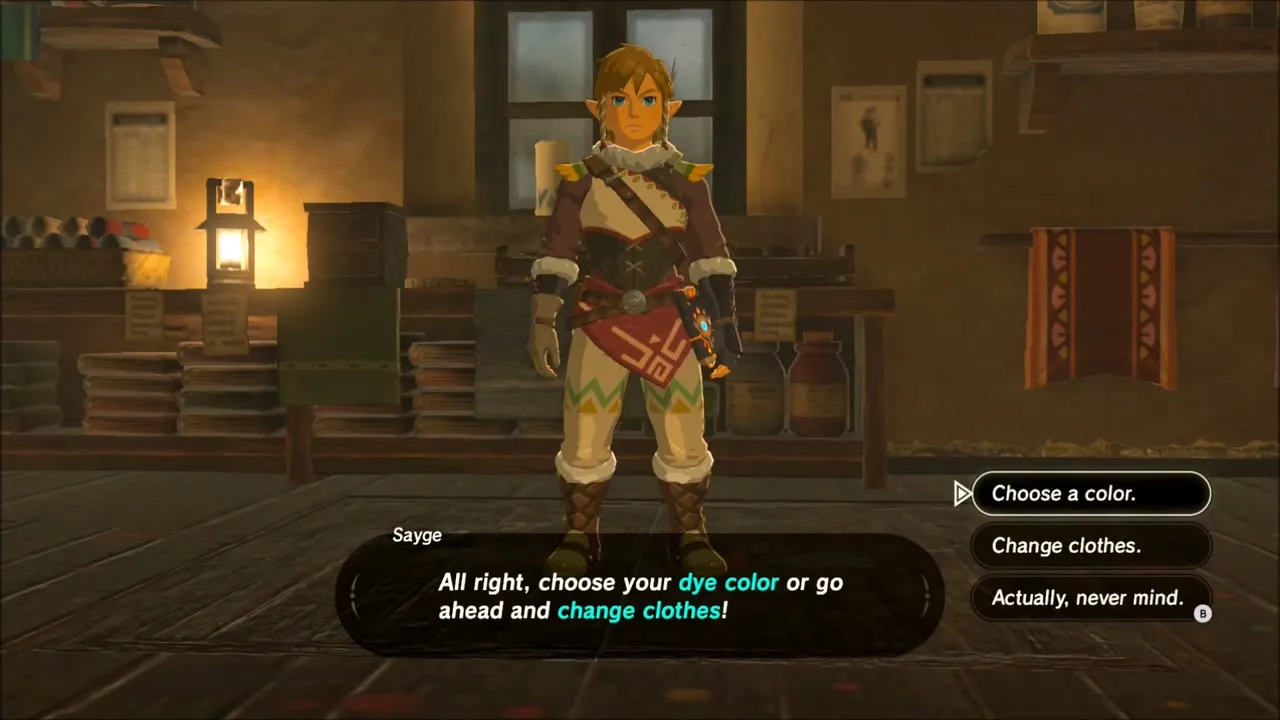
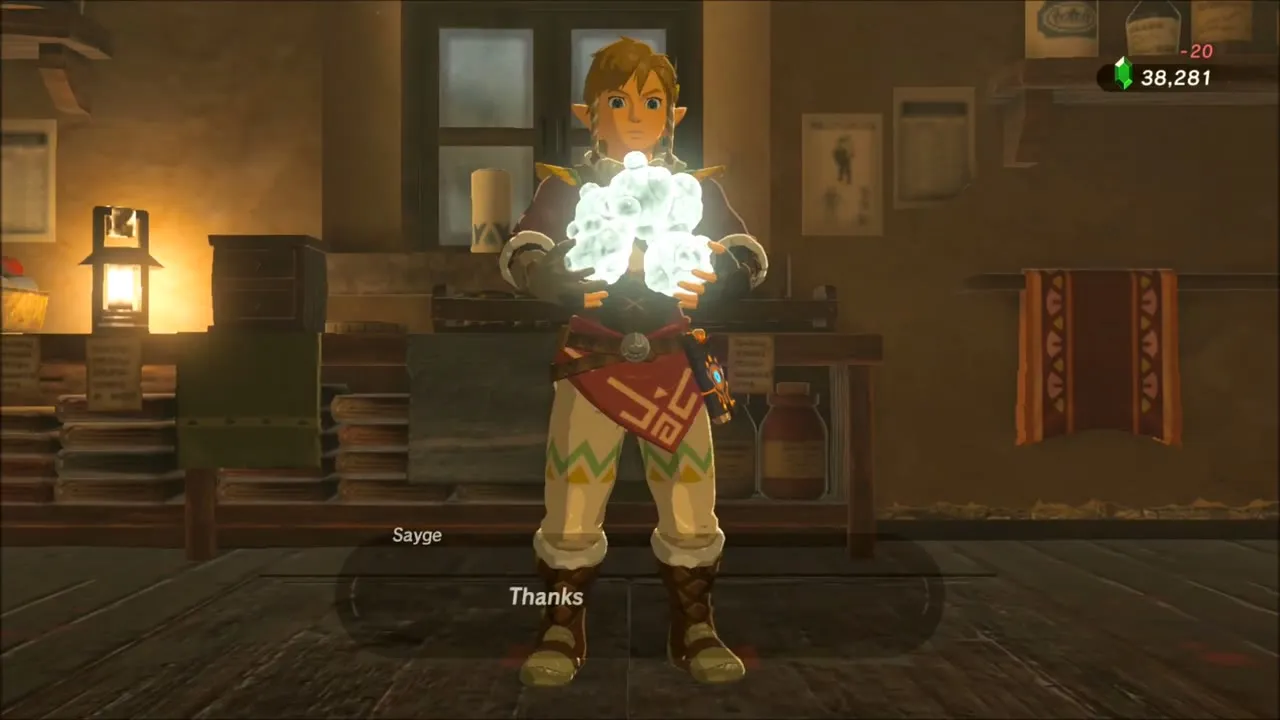
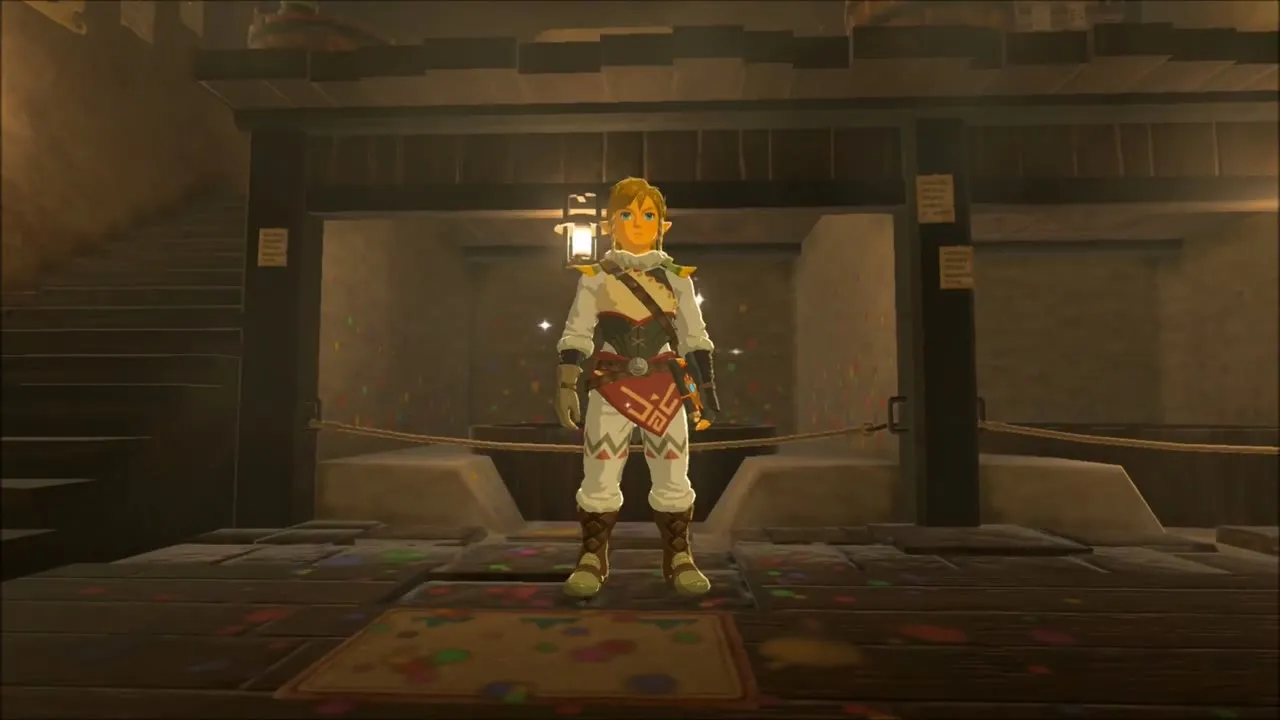
Then visit Sayge’s dye shop. She asks you to choose five ingredients for your dye; add something like Hearty Radish and your armor changes color.
Cooking a Batch of Meals
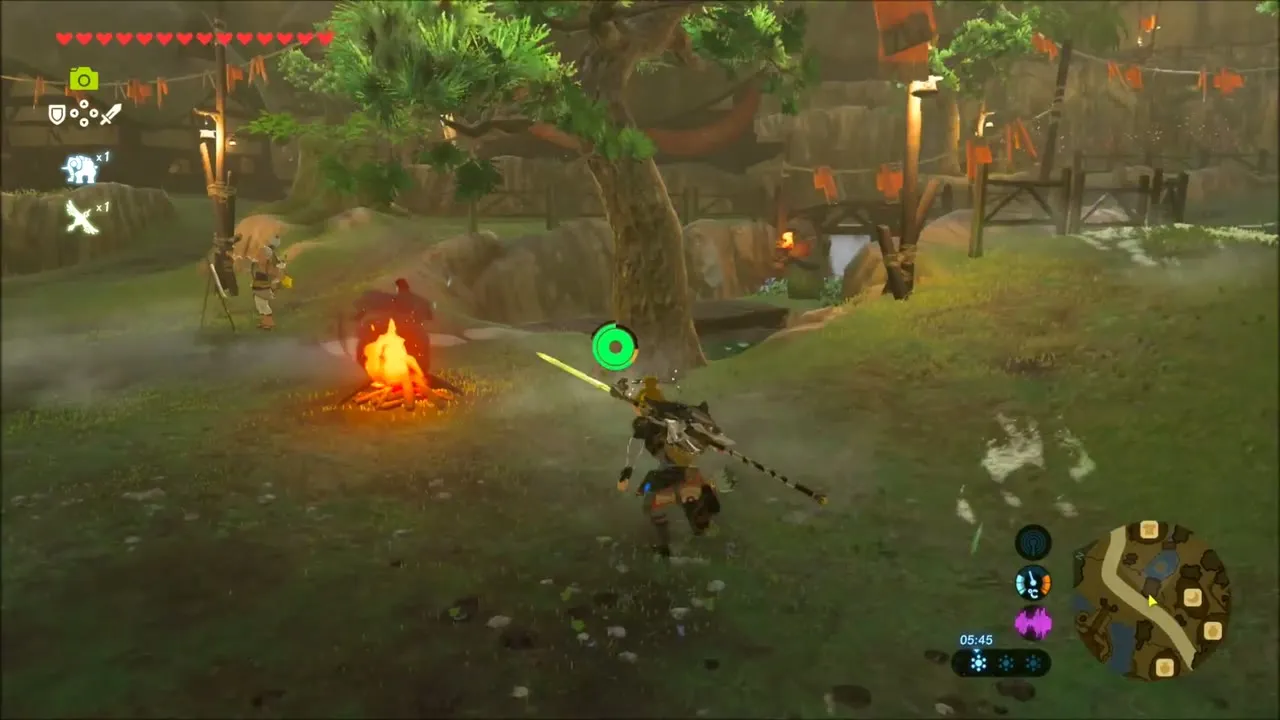
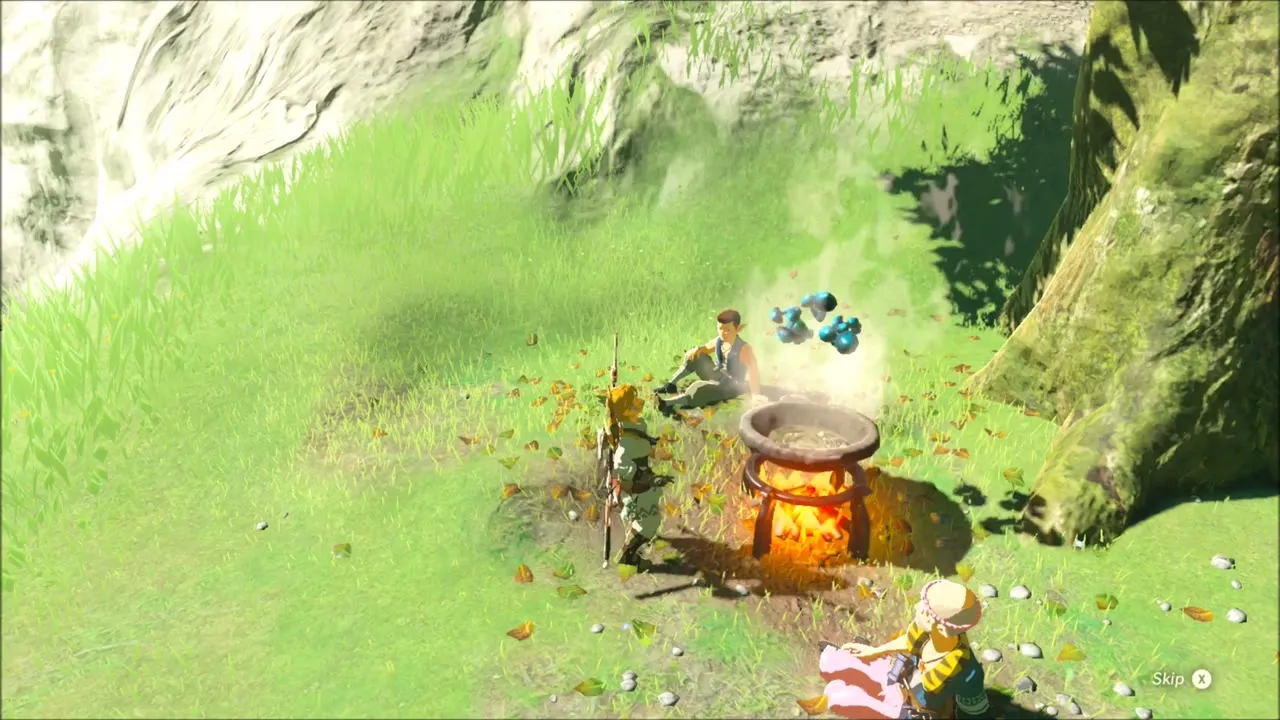
Cook in the forest clearing beside the big tree, stocking up on dishes like Hasty Simmered Fruit, Hearty and Energizing Mushroom Skewers, Chilly Mushroom Skewers, Mighty Mushroom Skewers and Sneaky Seafood Skewers.

Riddles of Hyrule: Voltfin Trout and Lynel Hoof
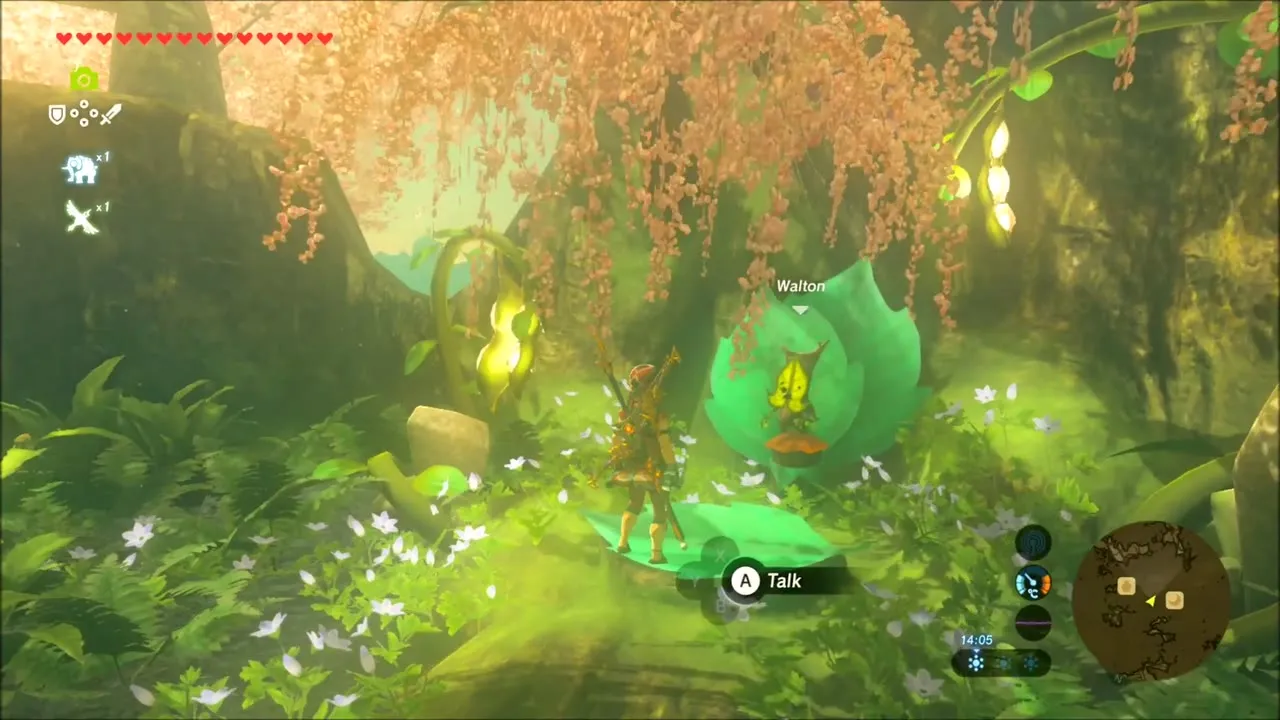
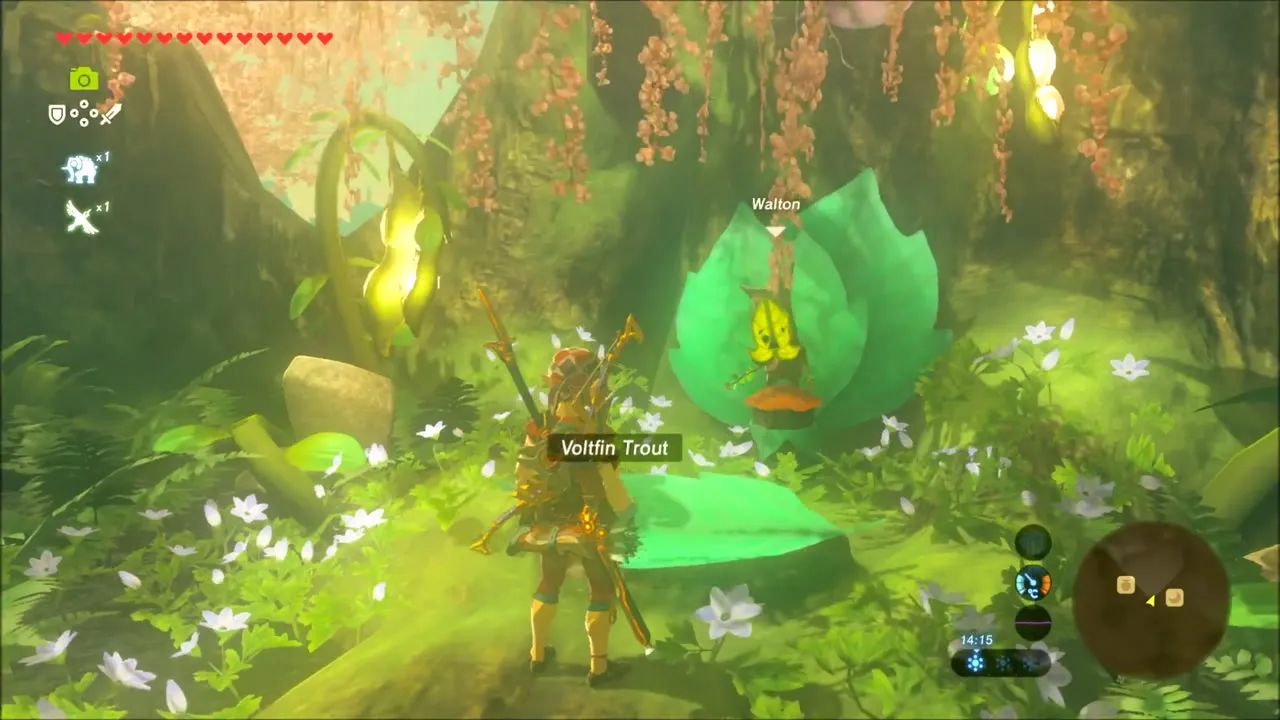
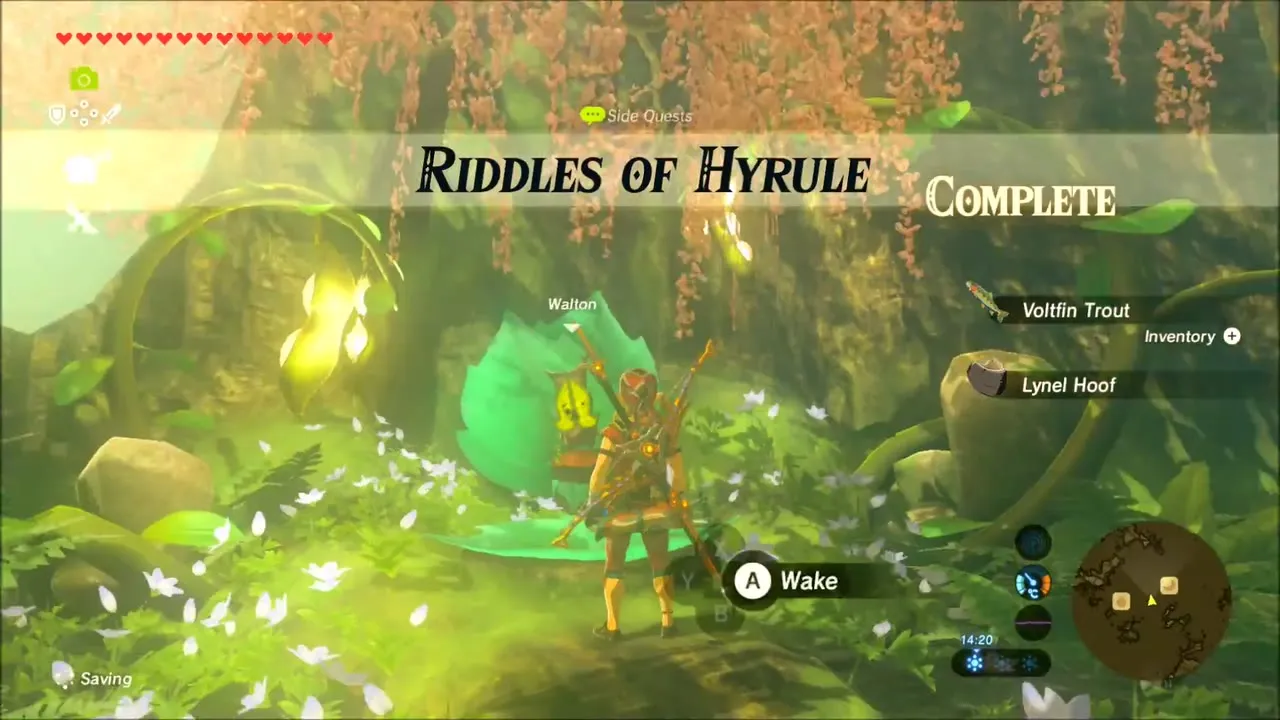
Go to Walton at the top of the Great Deku Tree in the Korok Forest and place a Voltfin Trout on the leaf in front of him to answer the fourth riddle. For the fifth, offer a Lynel Hoof. With every riddle solved, Riddles of Hyrule is complete and Walton gives you a Diamond.
Gerudo Highlands Canyons: Chests, Ruins and More Korok Seeds
Warp back to the Gerudo Highlands and work down into the sandy canyons at the foot of the cliffs. Collect Mighty Bananas and Raw Prime Meat as you go, cross the wooden scaffold built against the wall, and pick up the Zapshrooms growing near it.
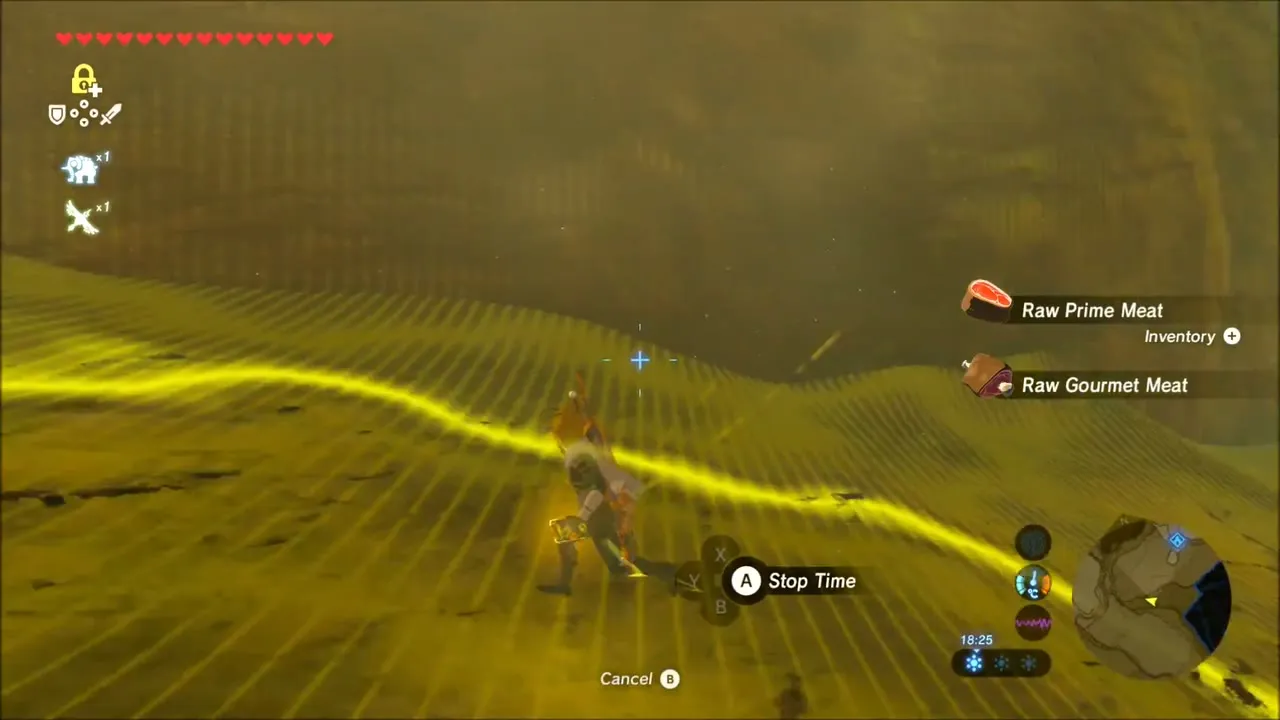

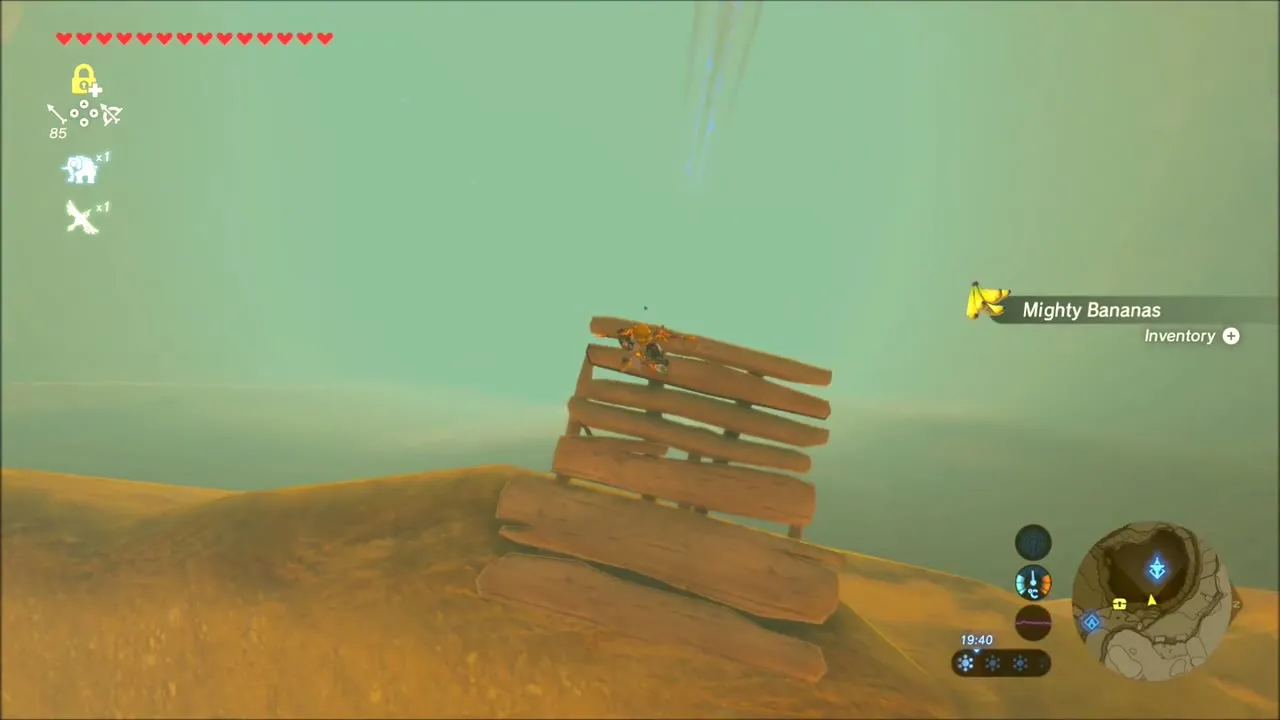

On the timber scaffolds, gold chests hang from chains. Use Magnesis to drag each one to a spot where you can open it.
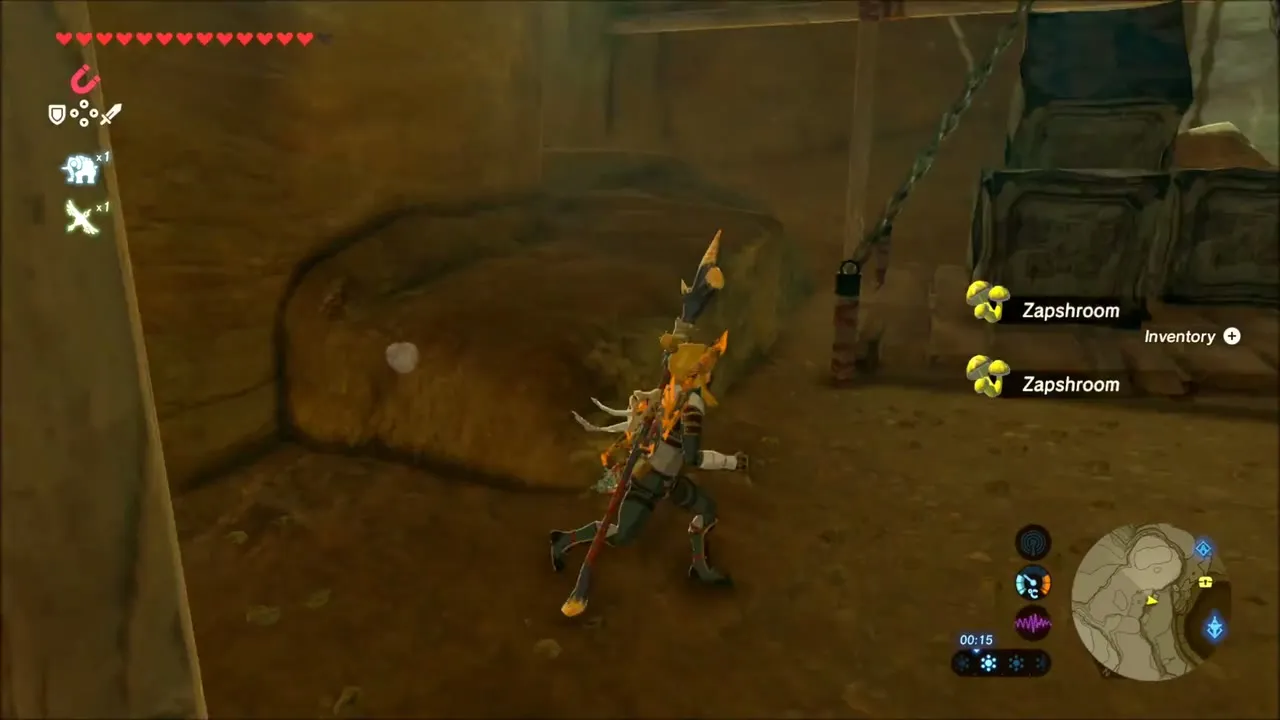

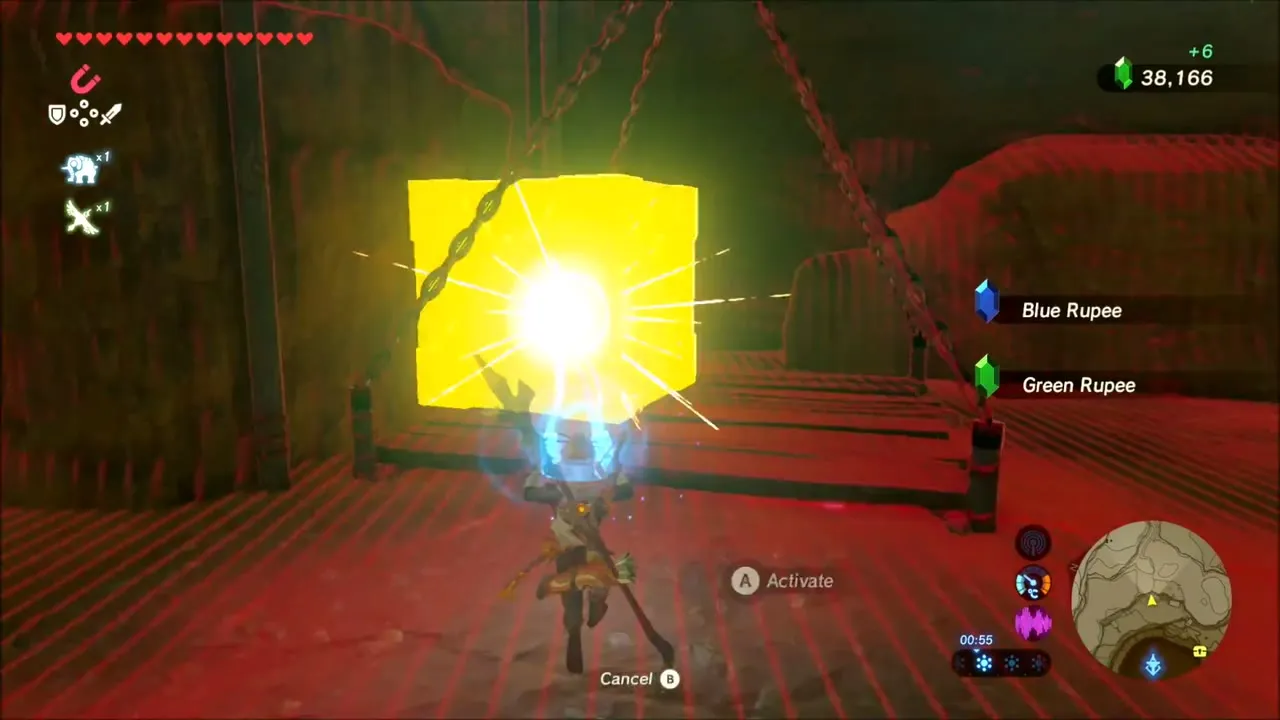
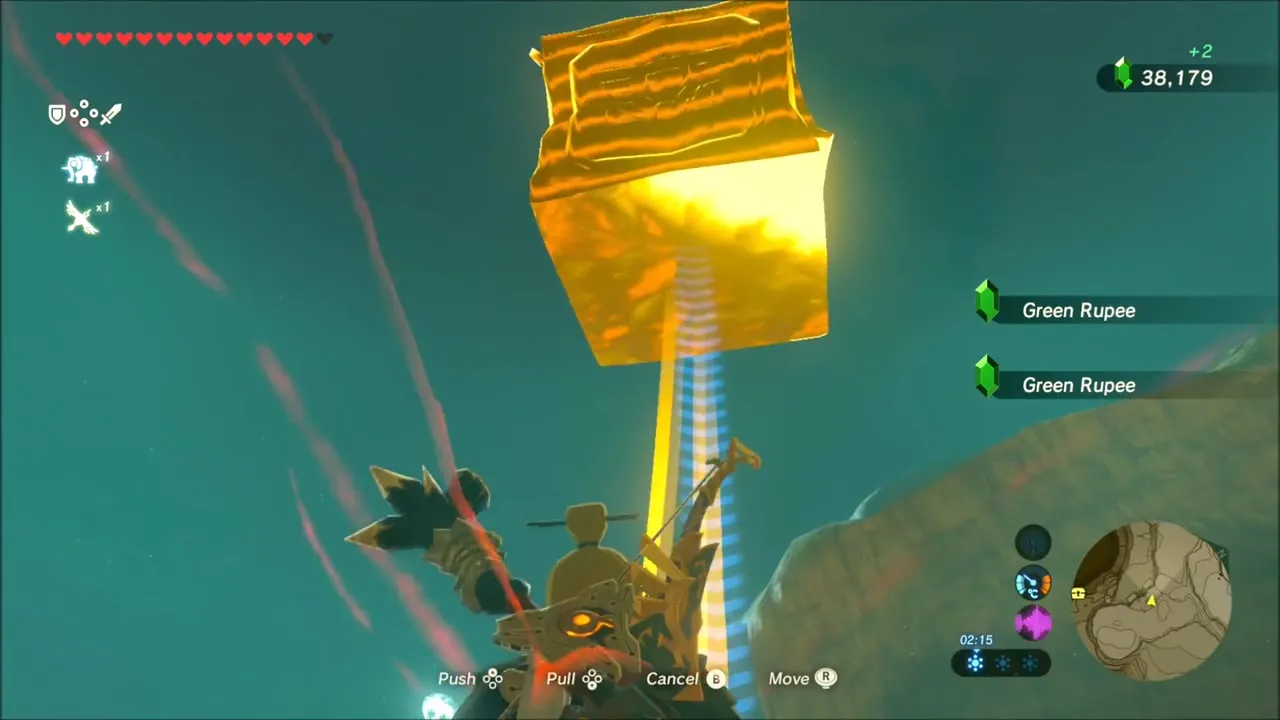
Above the canyon, balloon targets float in the air. Climb to the highest ledge, aim up and shoot the balloons; the Korok that appears gives you a seed.


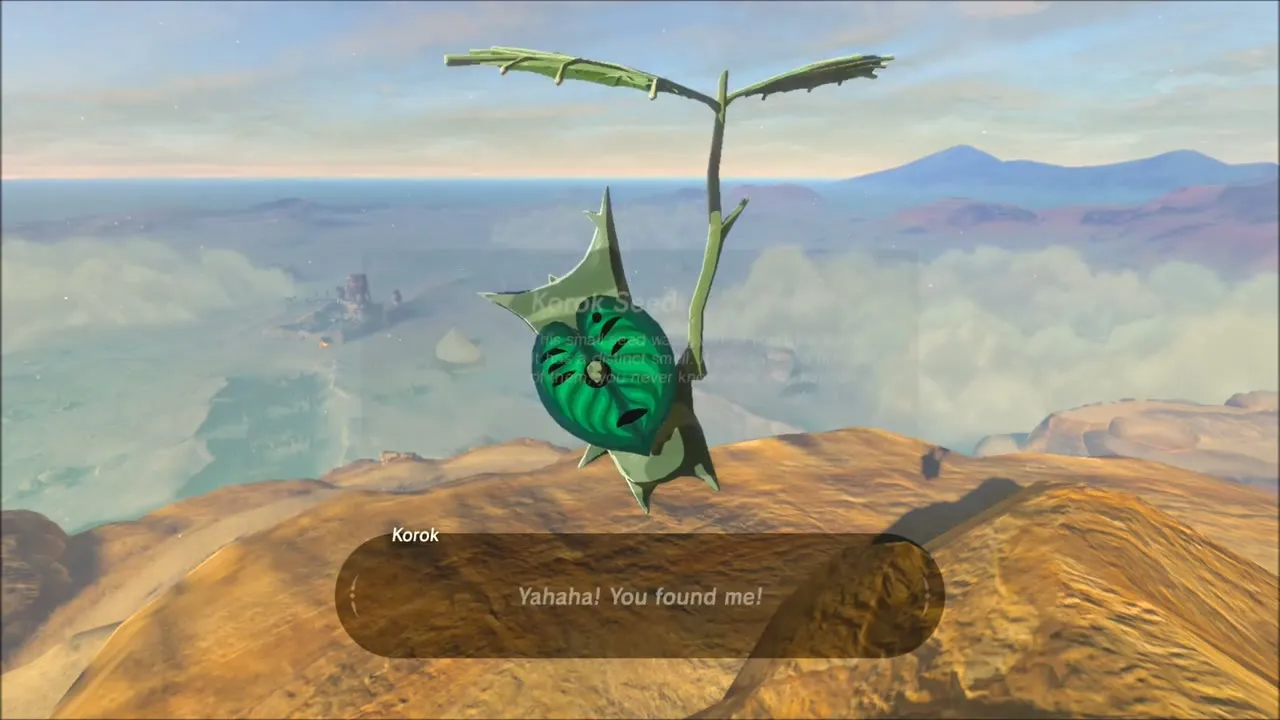
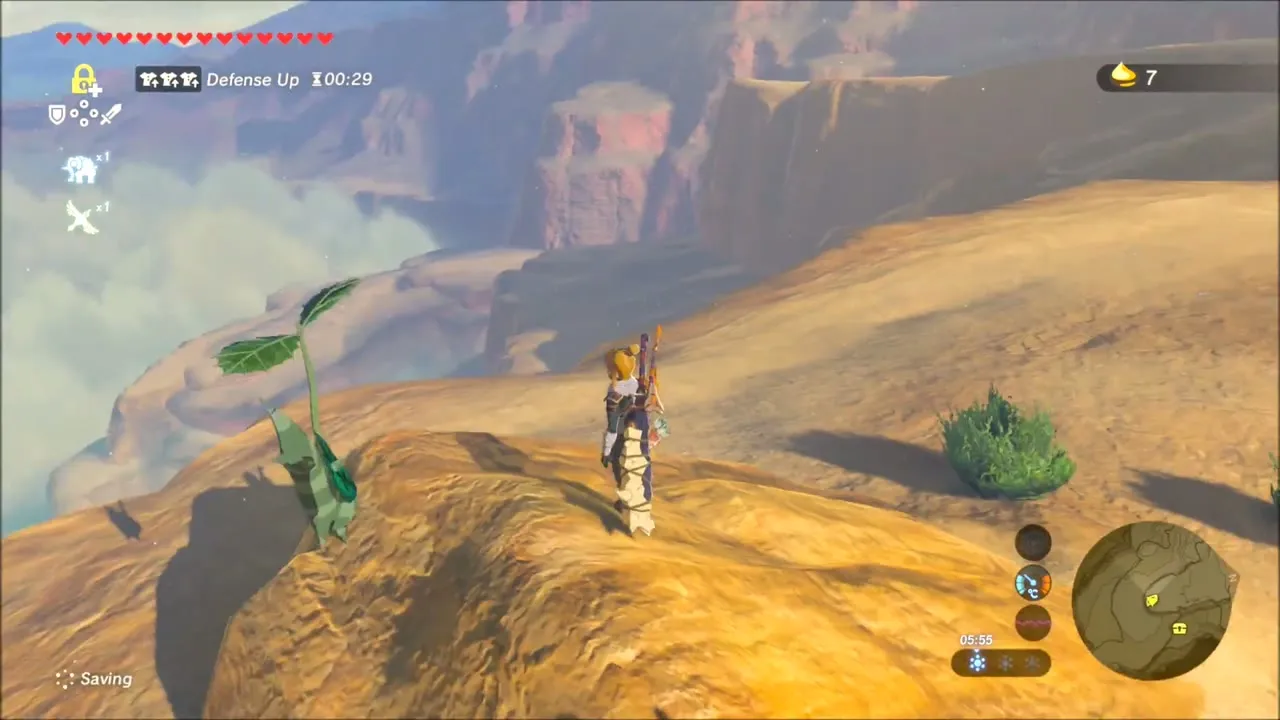
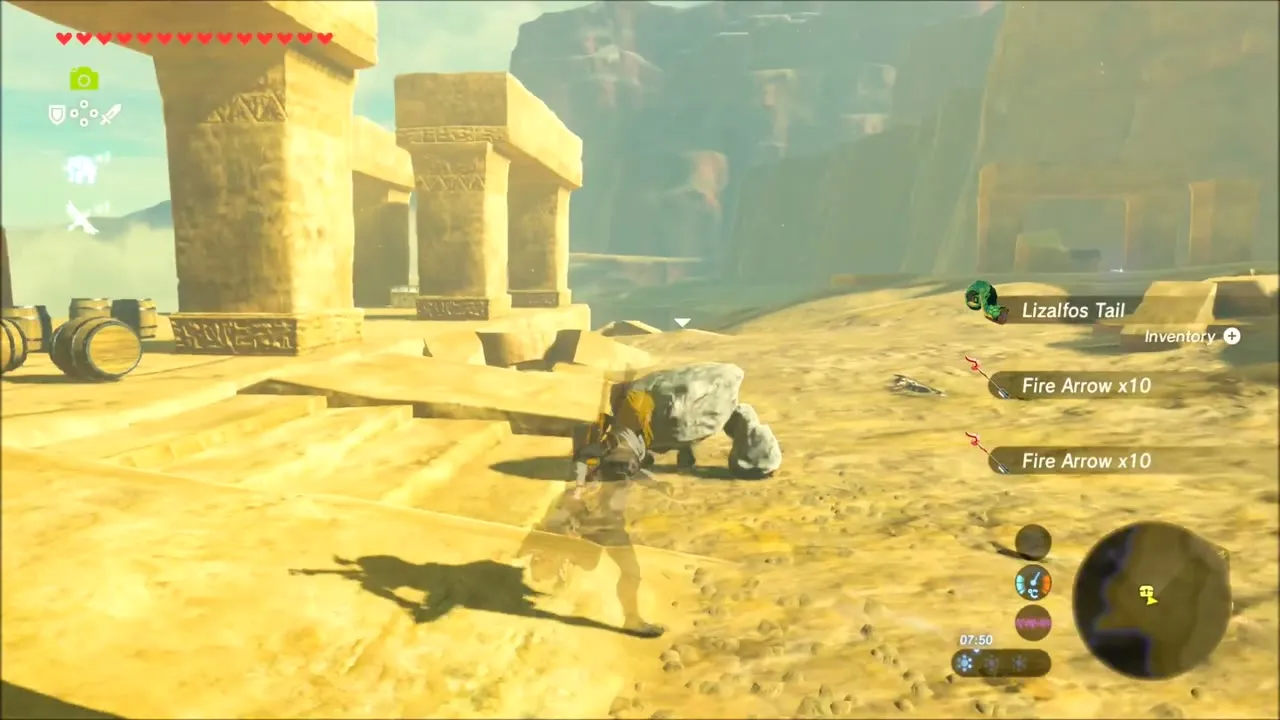
The sandstone ruins with tall pillars hold a chest with a Silver Rupee on a ledge. Opals and Fire Arrows are scattered nearby, and a Royal Bow lies at the end of the ruins.
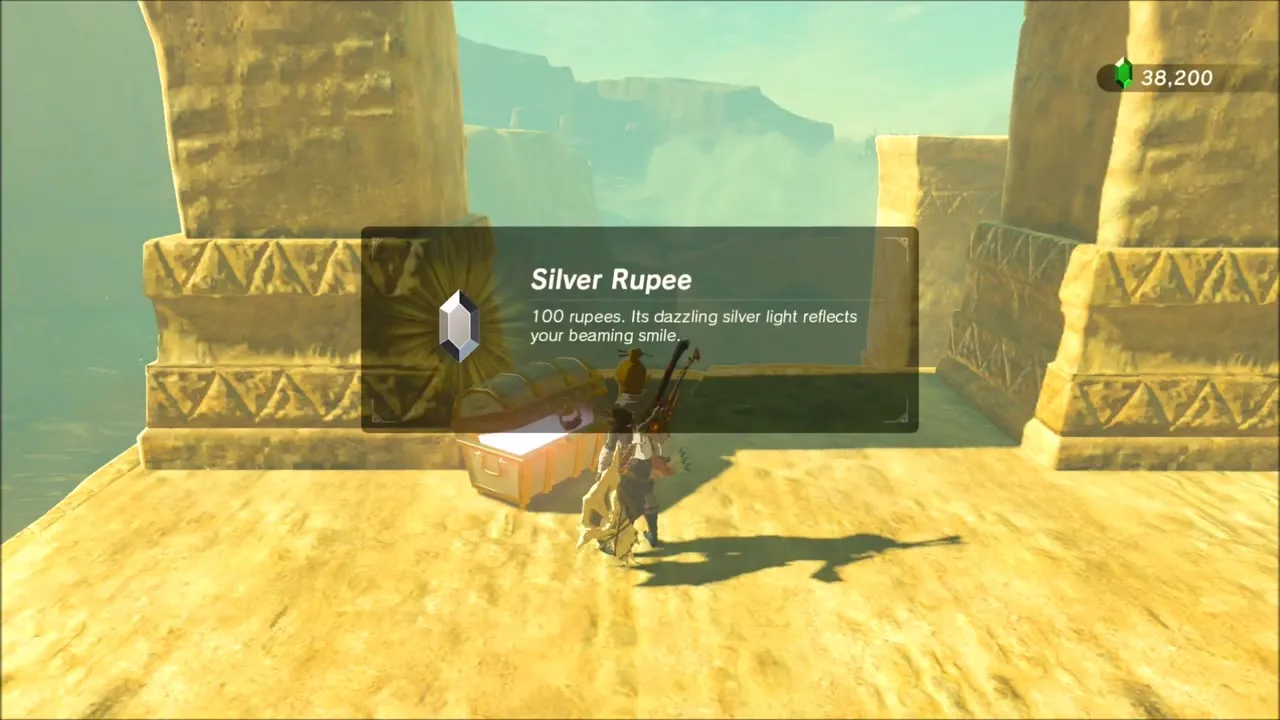

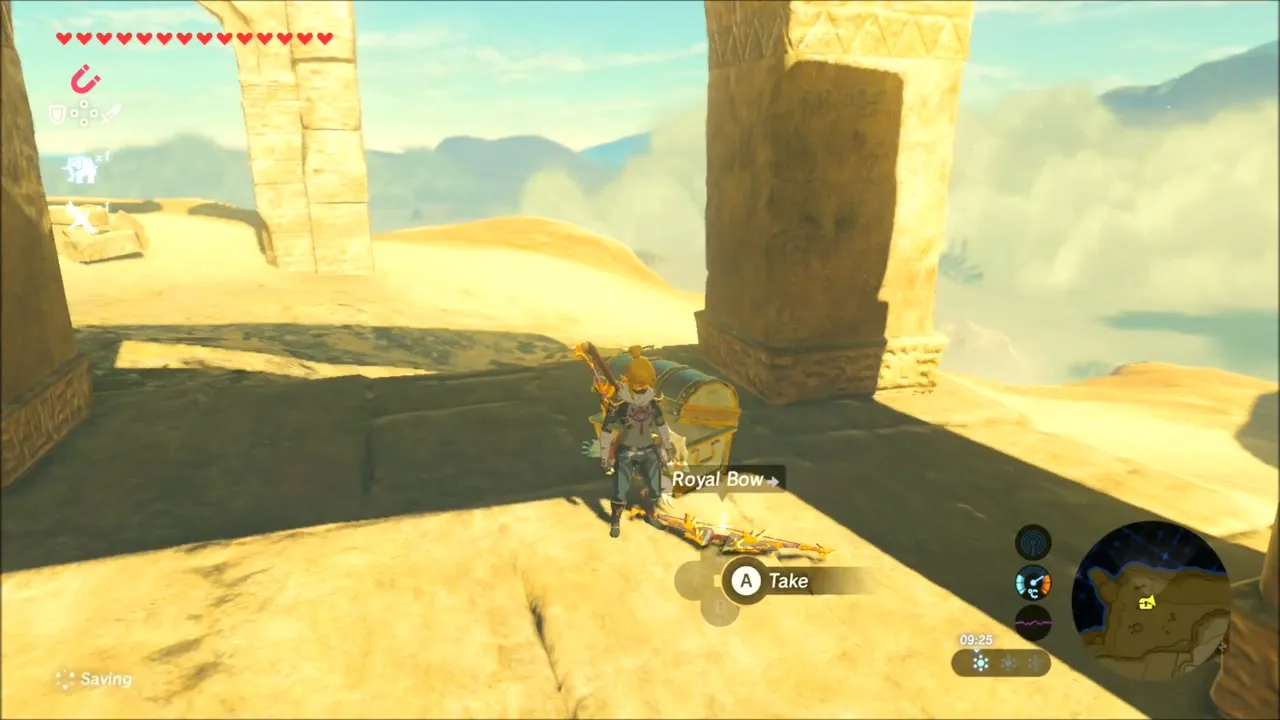
As you head south across the canyon floor and up its walls, you pick up several more seeds. One is next to a group of rocks, beside Mighty Bananas.
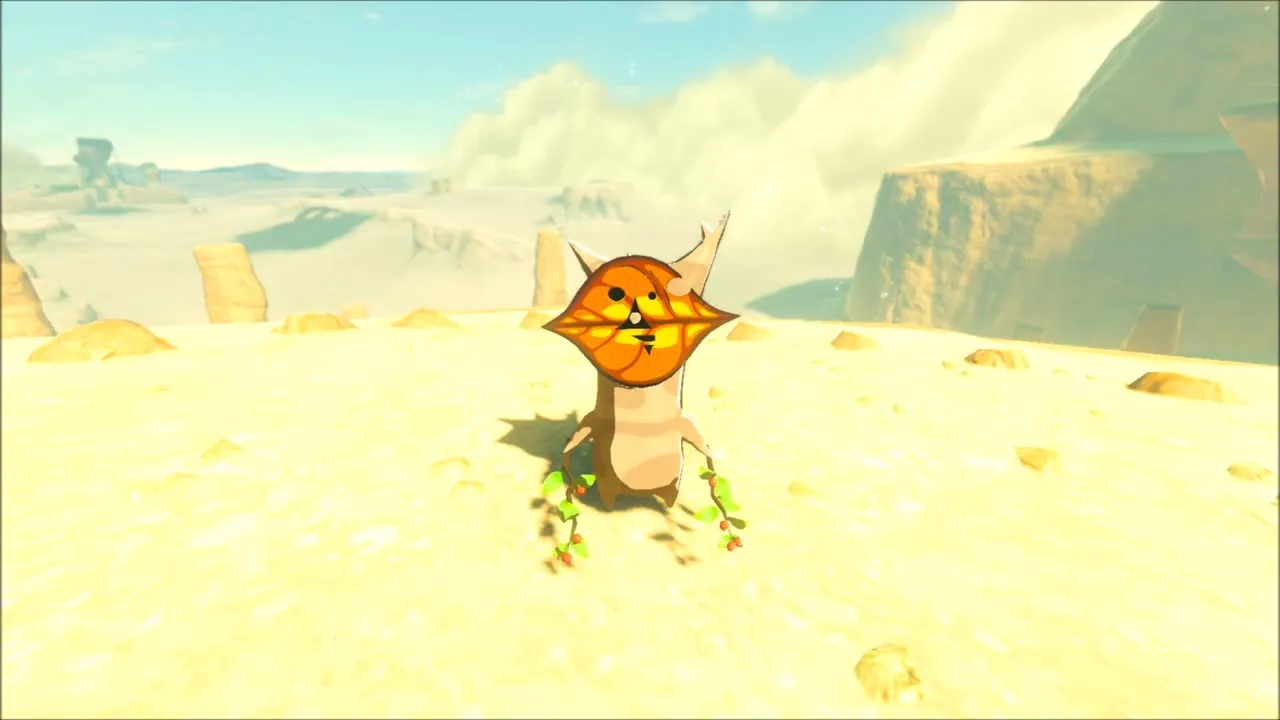


Along the wall, rows of stones sit on round sockets. Pick up the stone that is out of place and set it into the empty socket to claim a seed. Another row of stones sits further on, with a bunch of Mighty Bananas resting on one of the sockets.
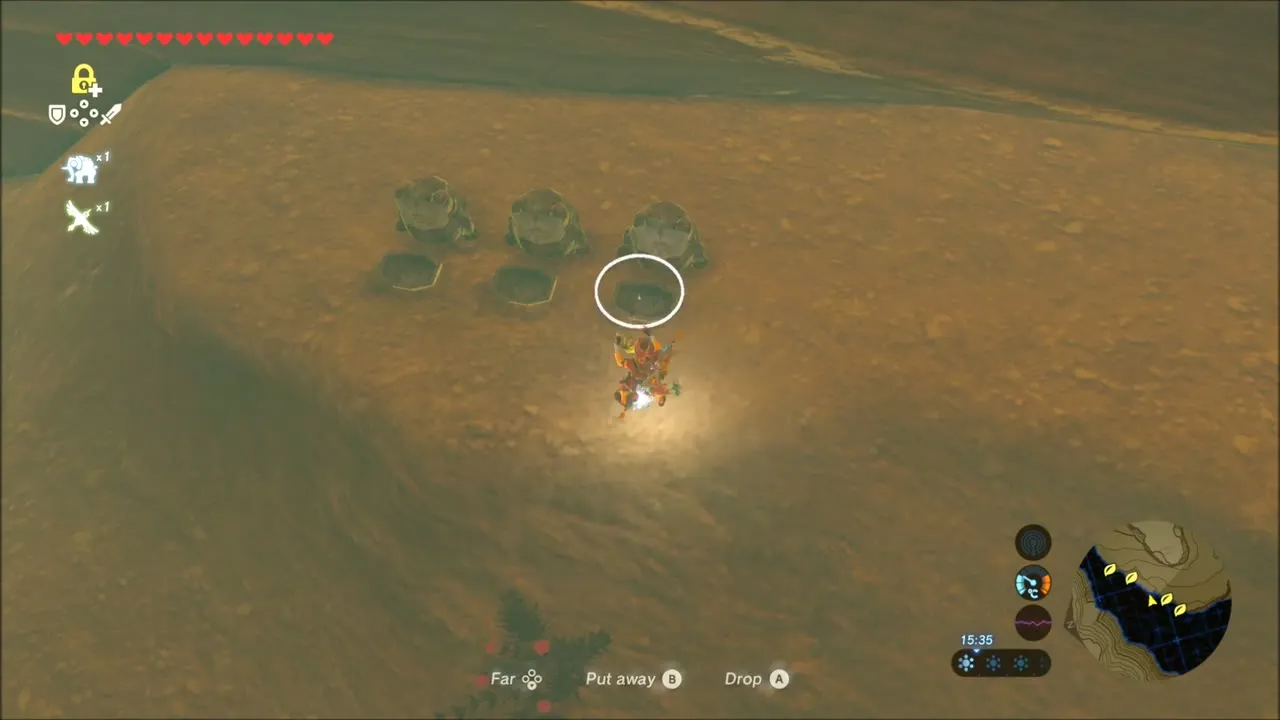


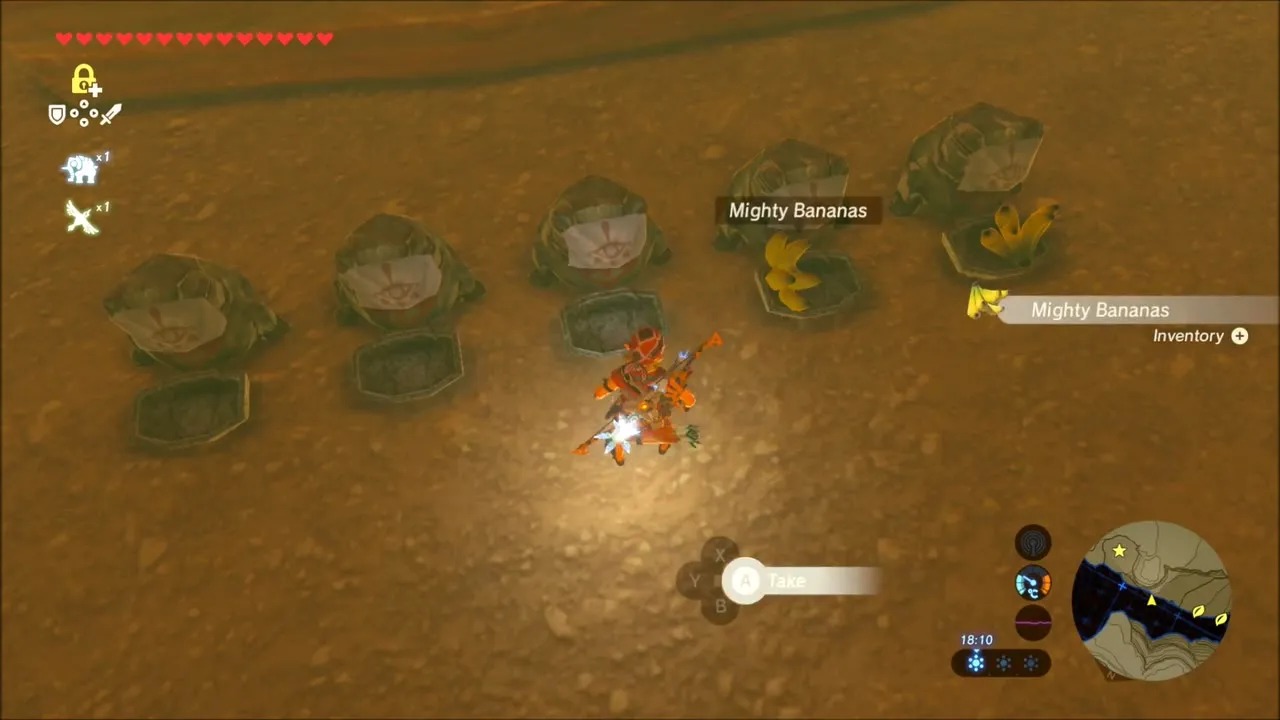
On the flat desert floor farther on, a round green Korok is hiding among the scattered stones; walk up to it for another seed.
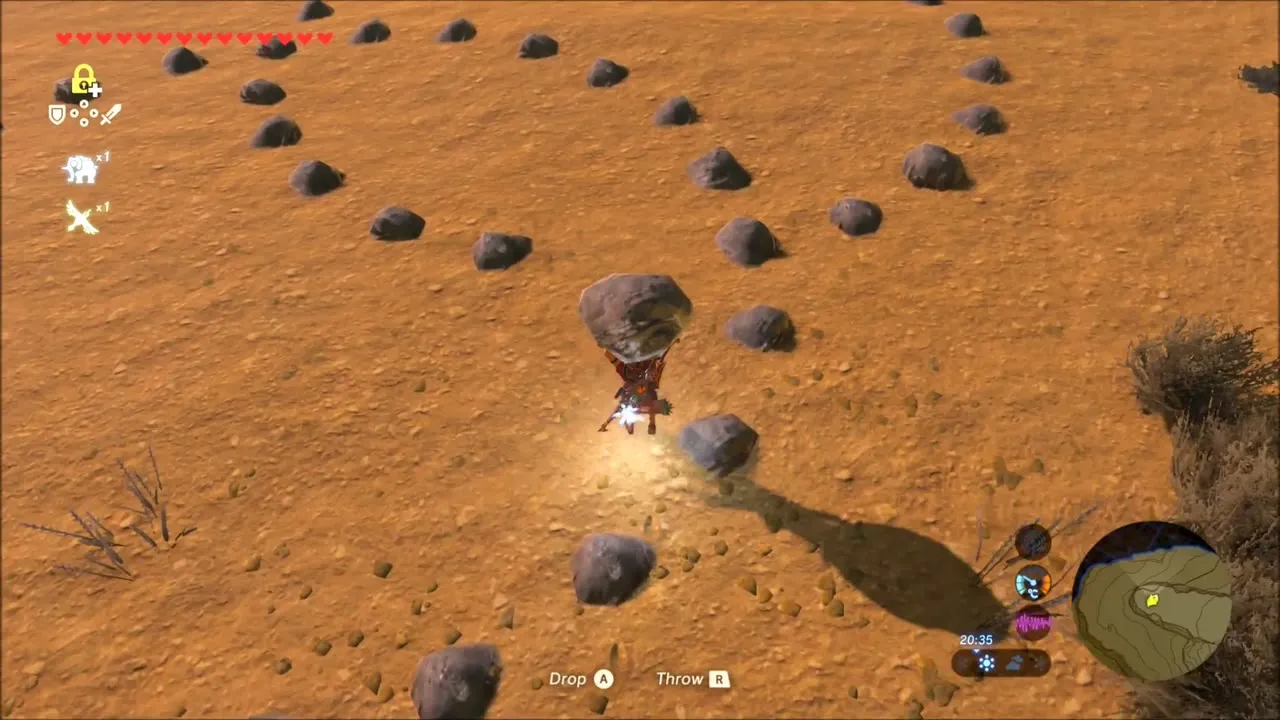
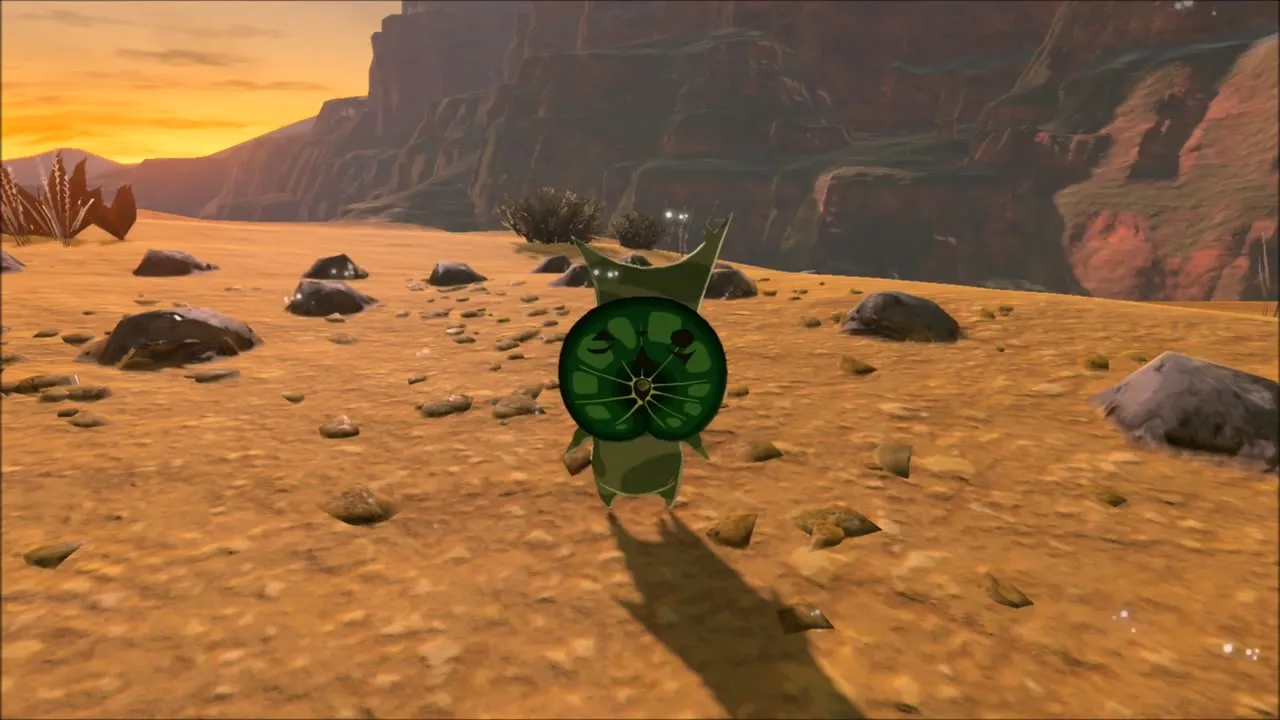
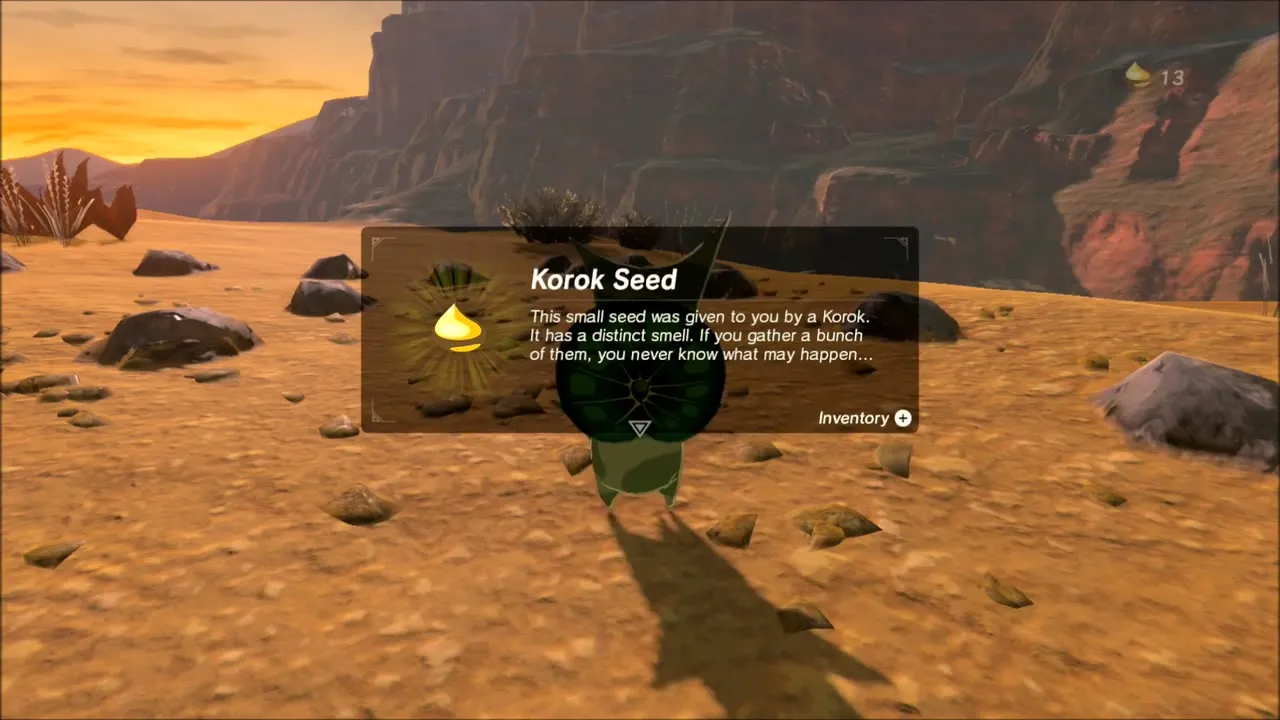
Sho Dantu Shrine: Two Bombs Trial
Raise the shrine with a Luminous Stone
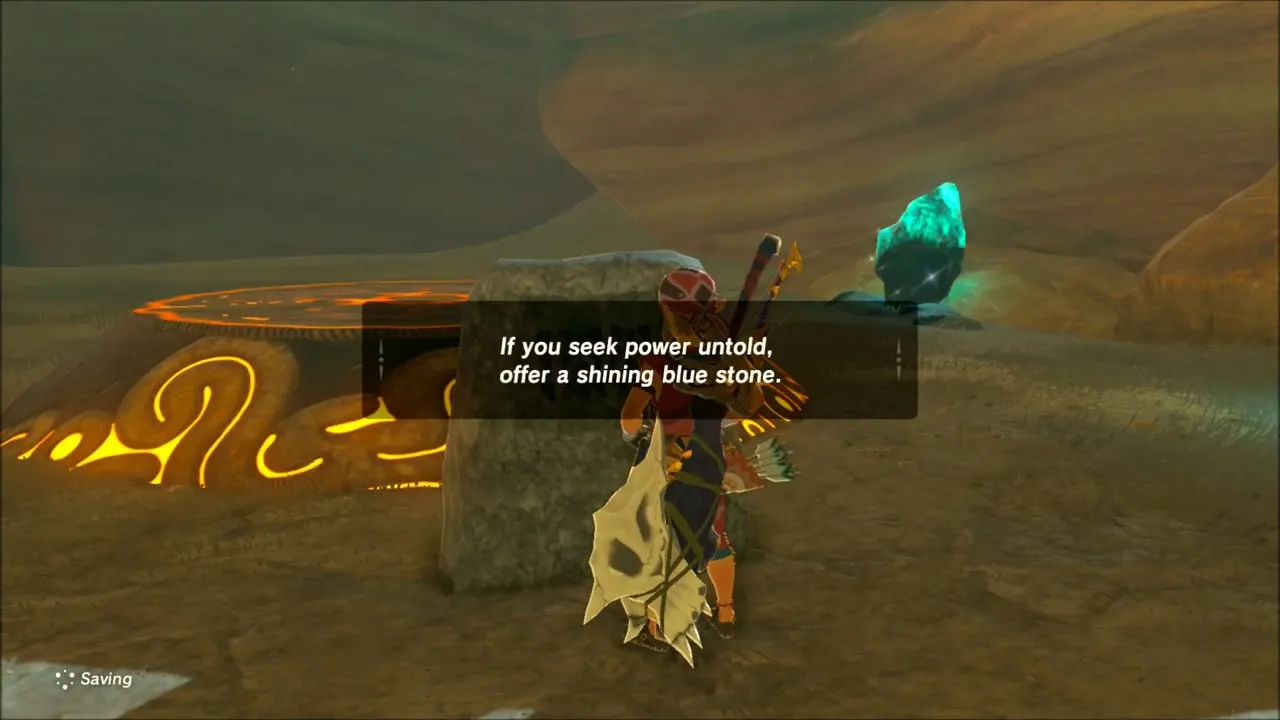
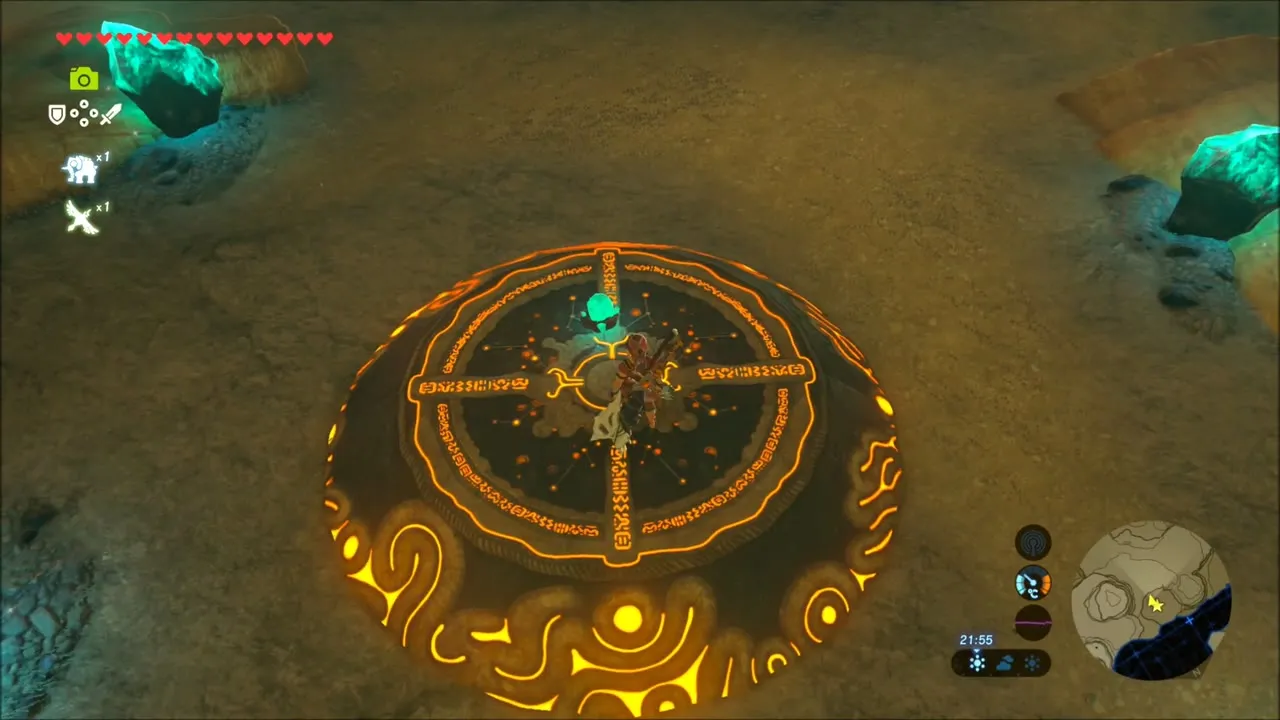
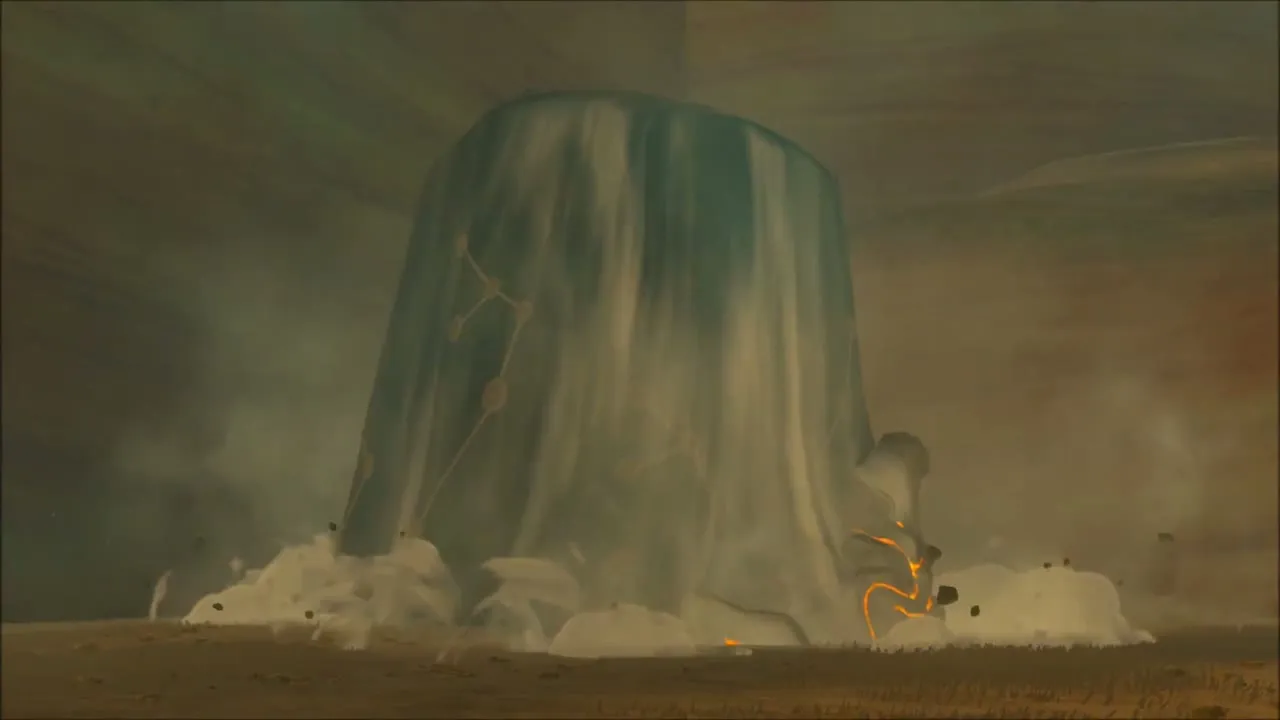
In the cliffs north-west of Gerudo Tower, find the glowing pedestal and its tablet, which asks for a shining blue stone. Place a Luminous Stone on the pedestal and Sho Dantu Shrine (x -3911, z 1653) rises out of the sand.

Solve the bomb rooms
Blow up the wooden boxes at the entrance and check behind the column in the next room for the chest holding a Silver Rupee. Then use the round and square bombs on the moving platforms and pillars to trigger the switches room by room.
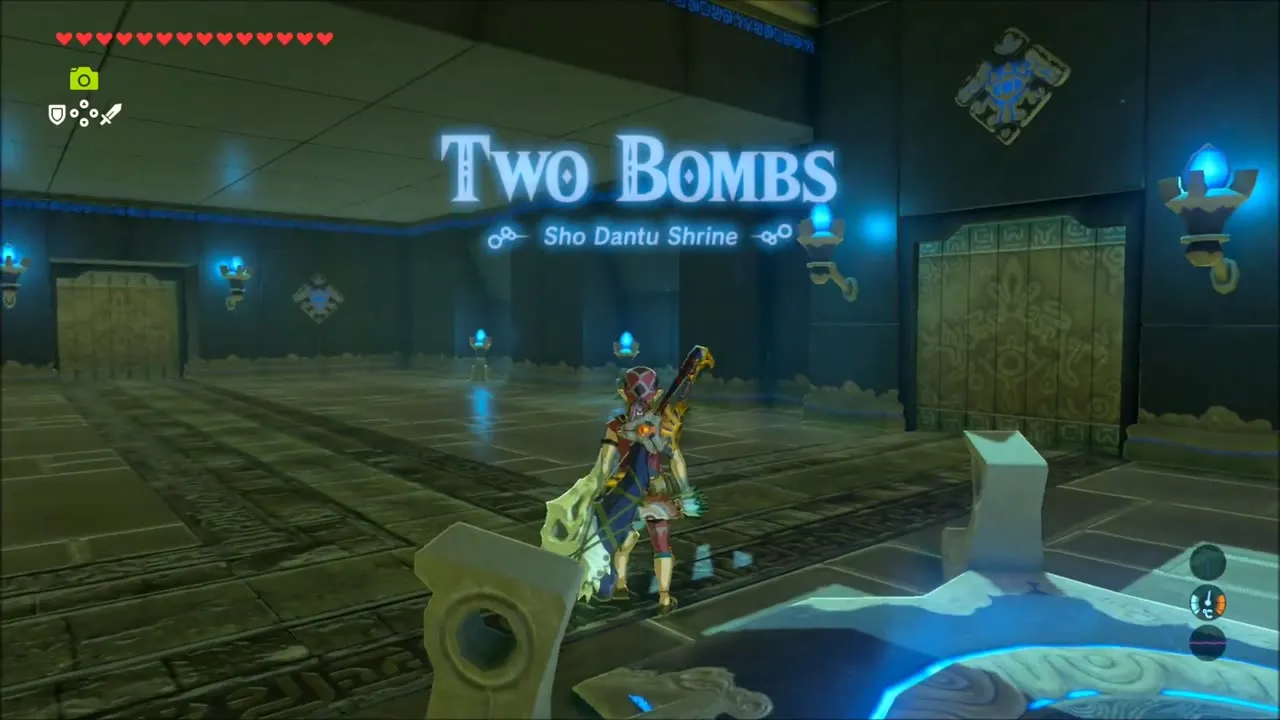
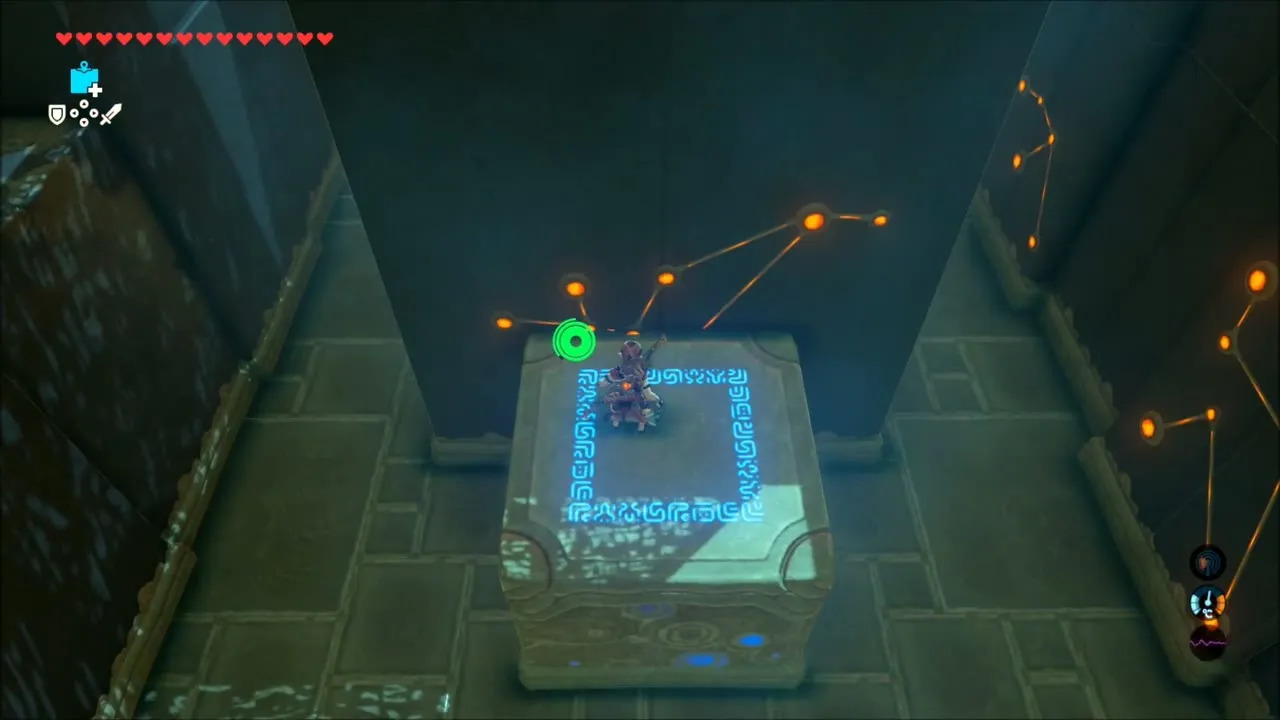

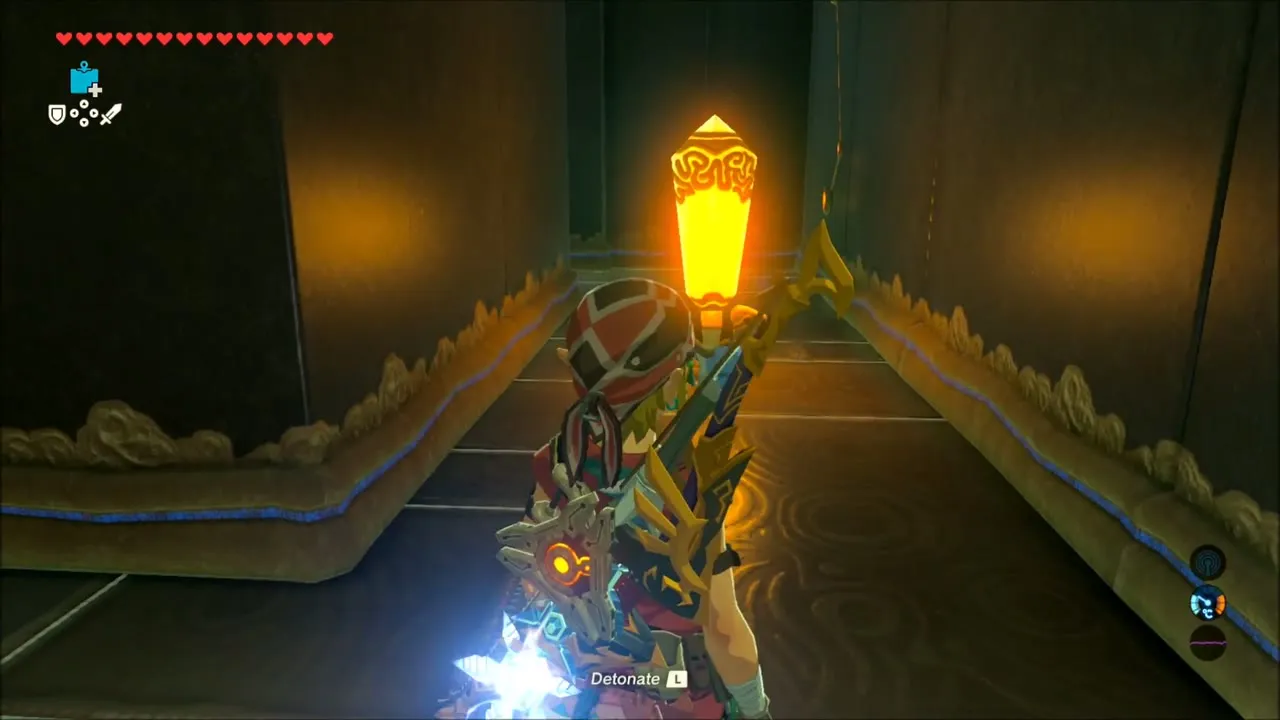
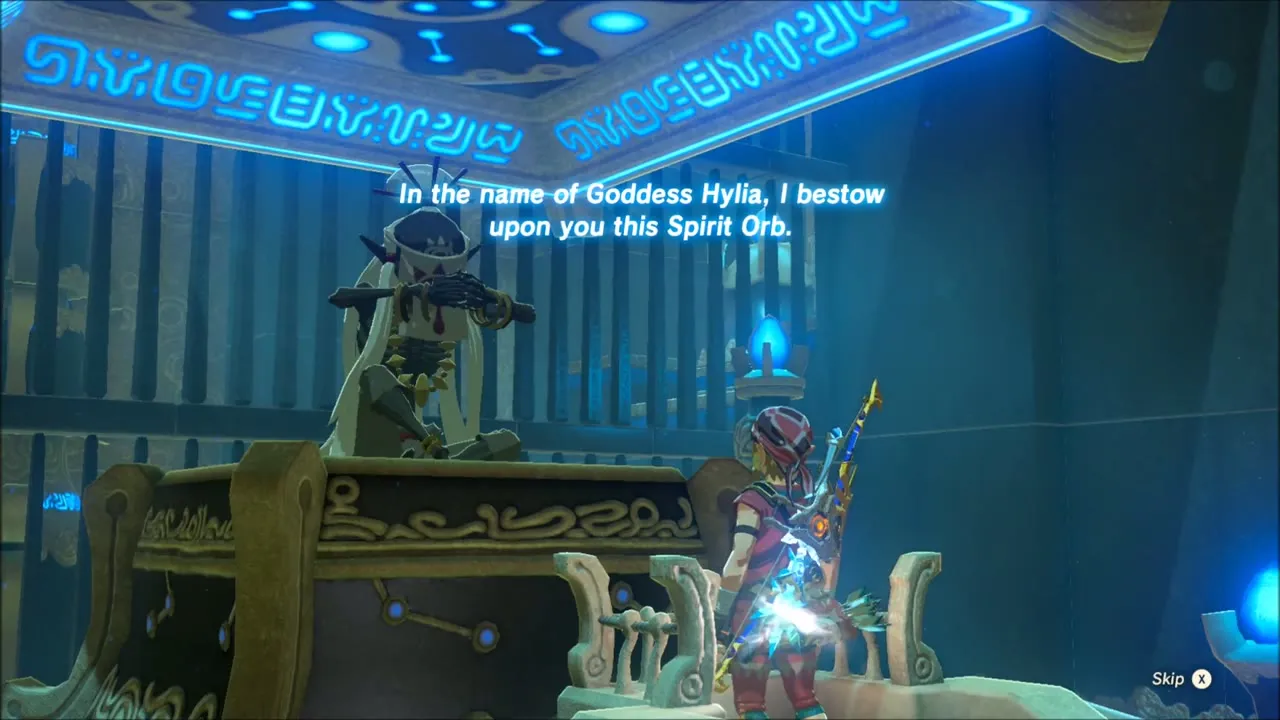
At the end of the third room, Monk Sho Dantu hands you a Spirit Orb. After leaving, you can open the Hyrule Compendium to review your new entries.
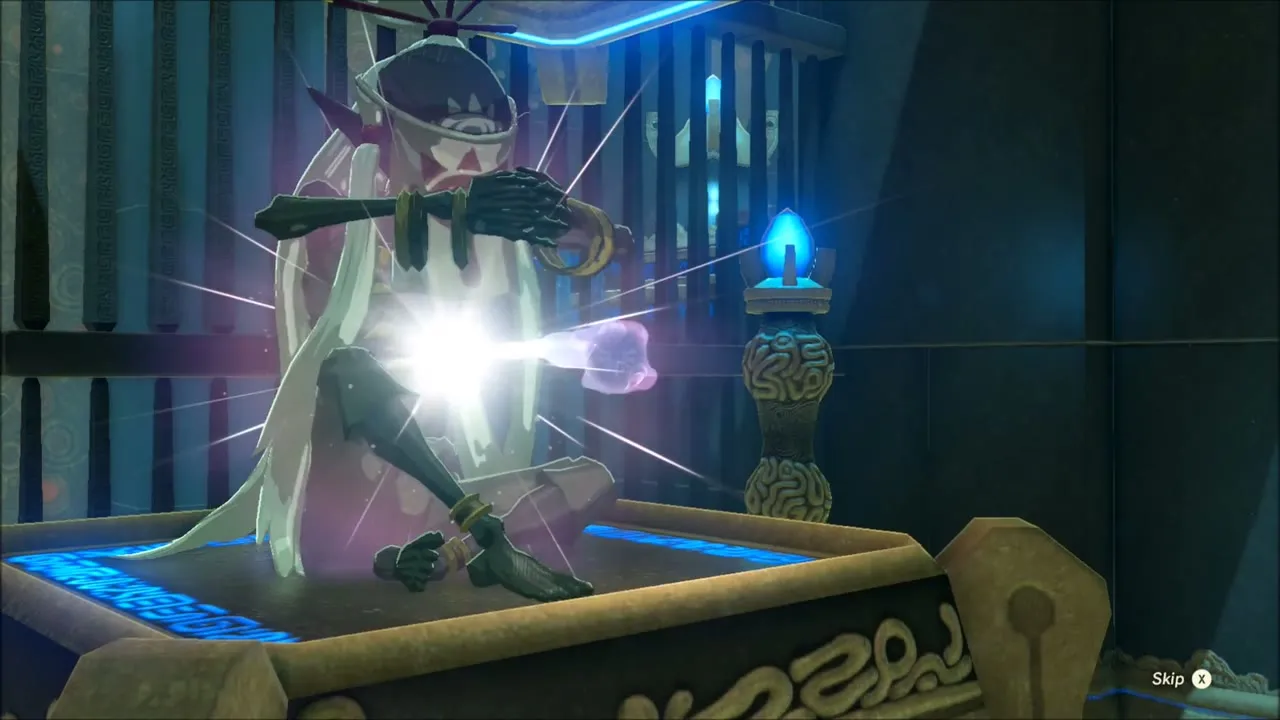


Rutimala Hill: Stone Talus and Korok Seed
Start at the Sheikah warp point in the sandy canyon country on the southern edge of the Gerudo Highlands. Open the map before you leave and drop stamps on the chests and Korok spots you plan to visit around Rutimala Hill and the Risoka Snowfield. This loop crosses a lot of open ground with few landmarks, and stamps keep you from circling back.
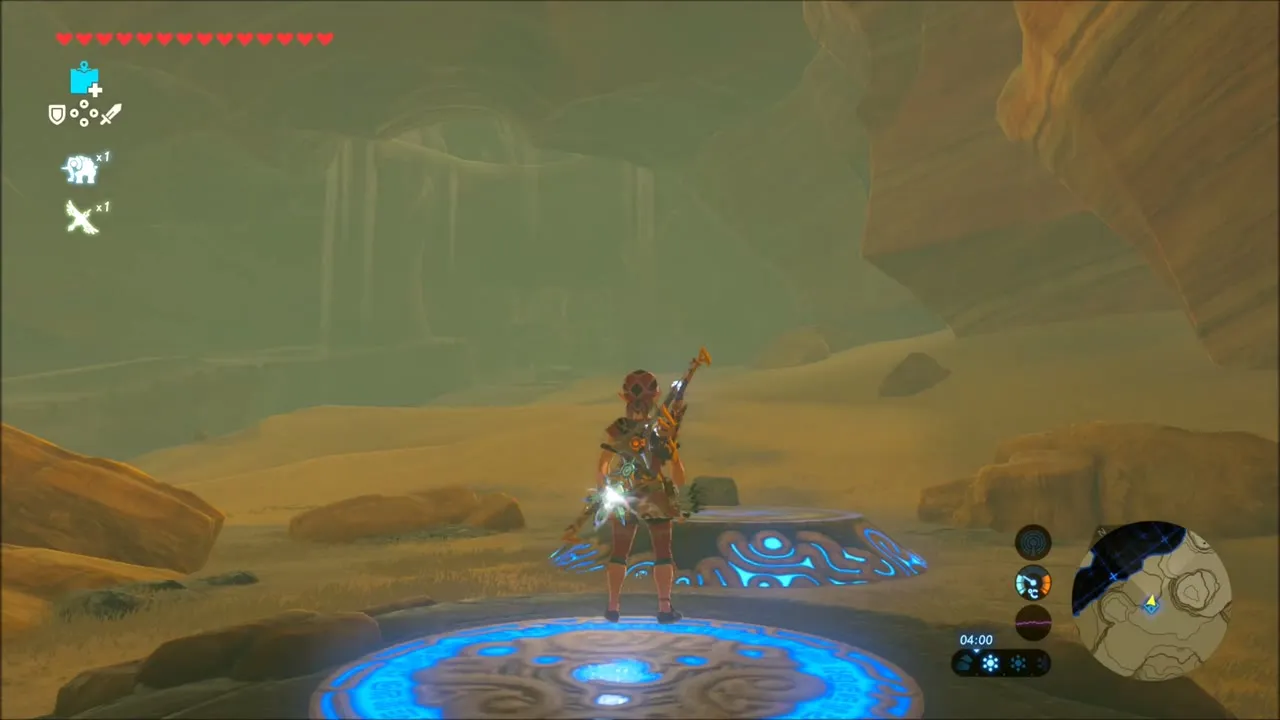
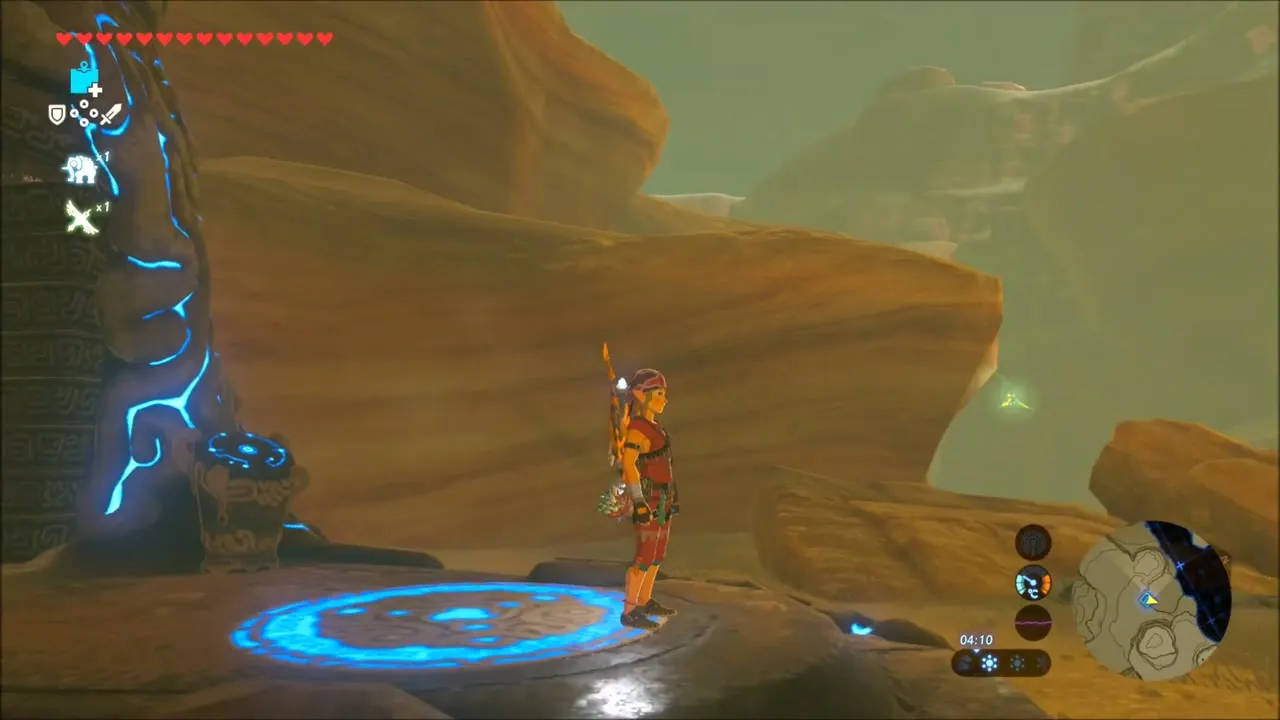
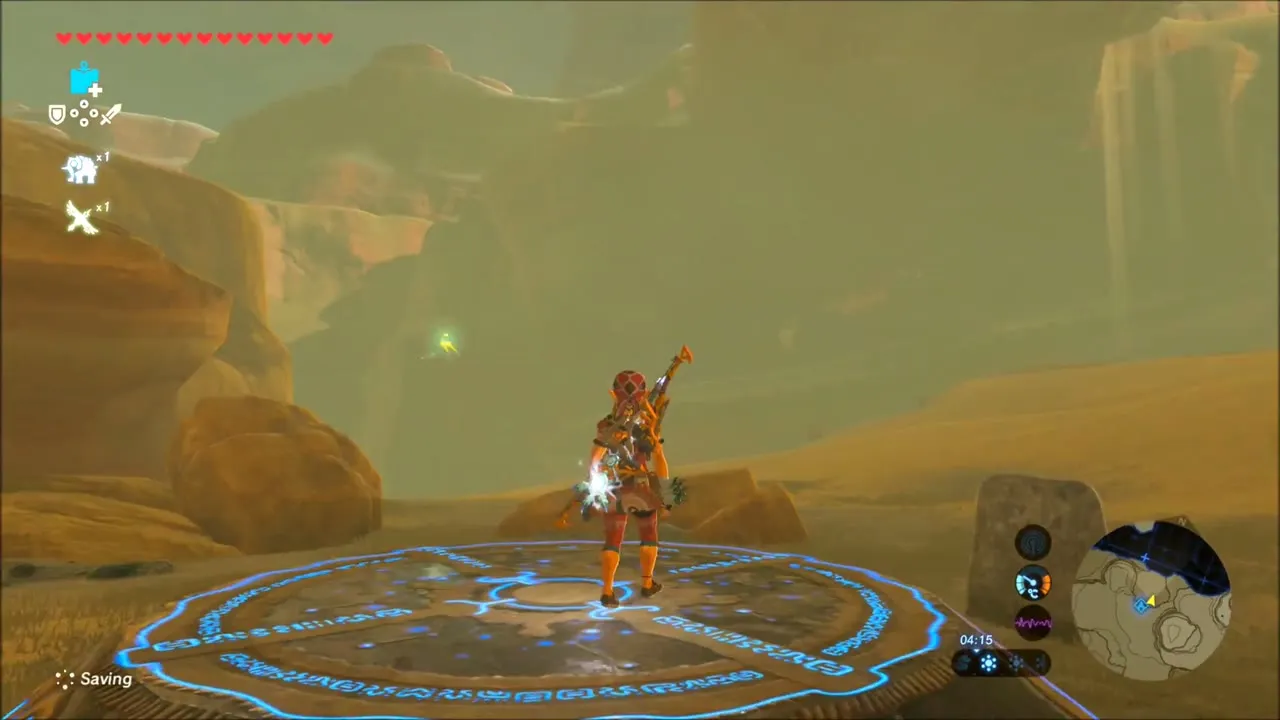
Glide out across the canyon toward Rutimala Hill. The ground here is bare rock and dry grass, so you can cover distance quickly before the snow begins.
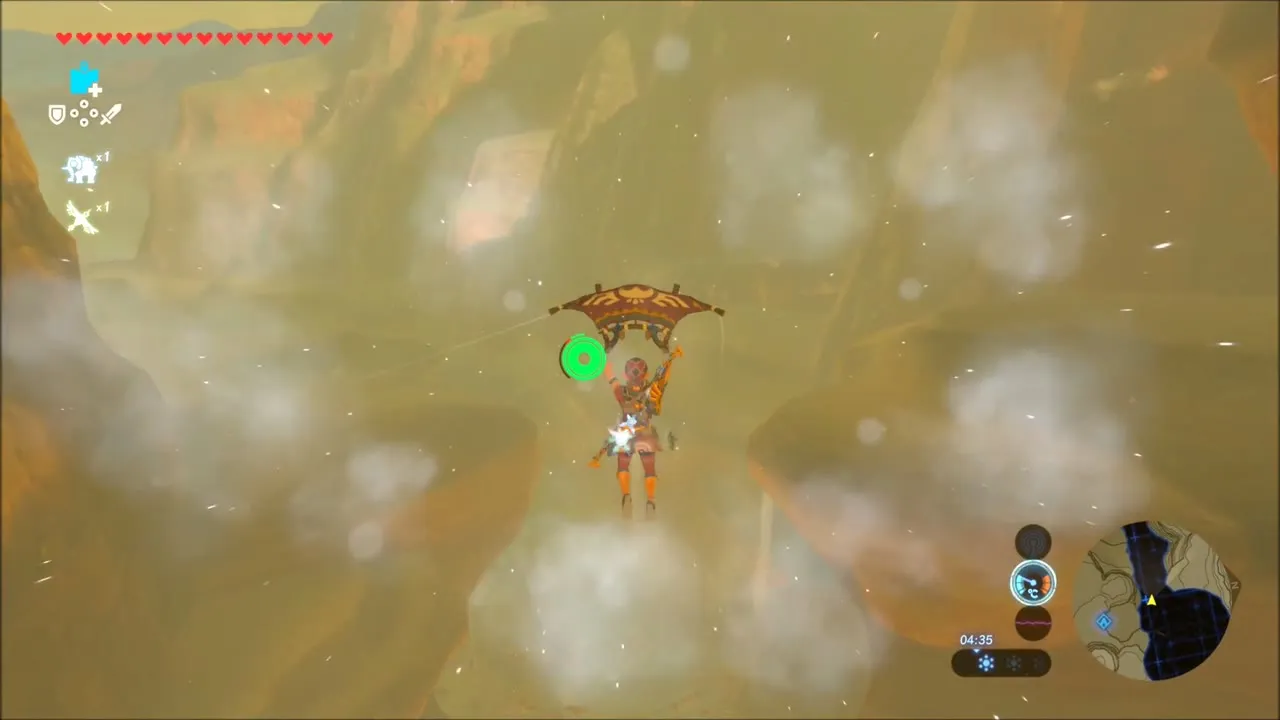
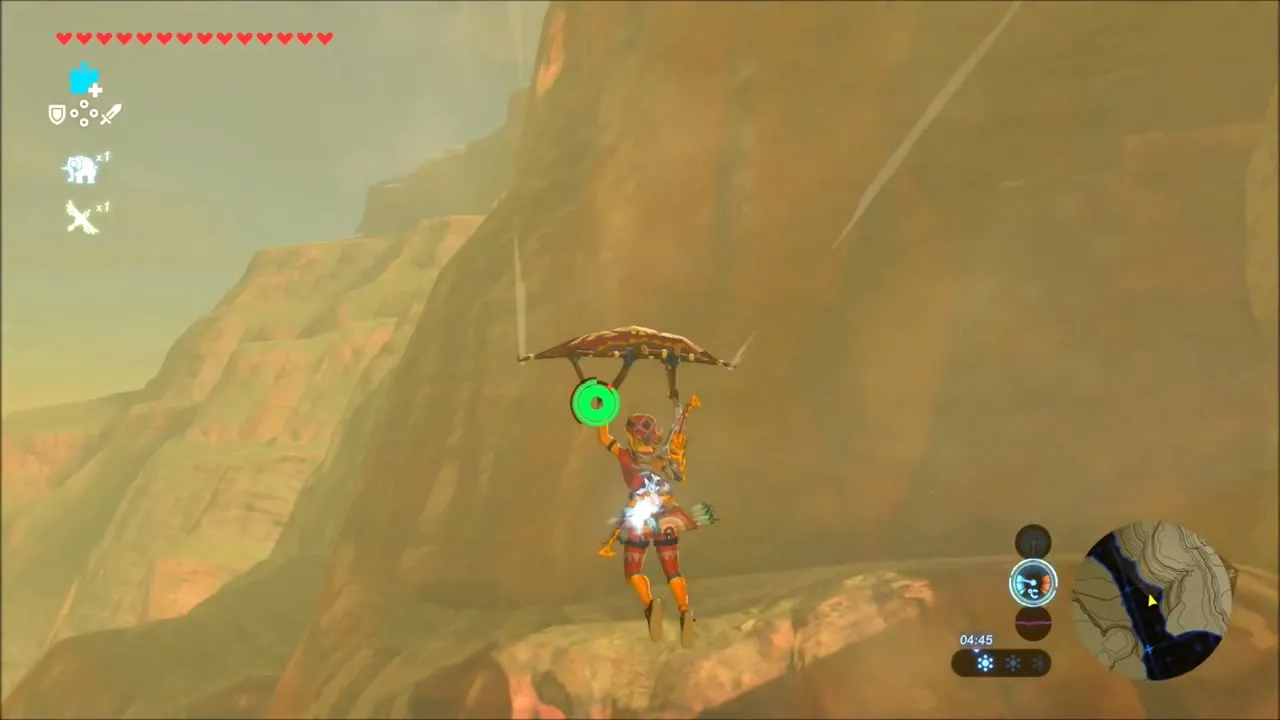
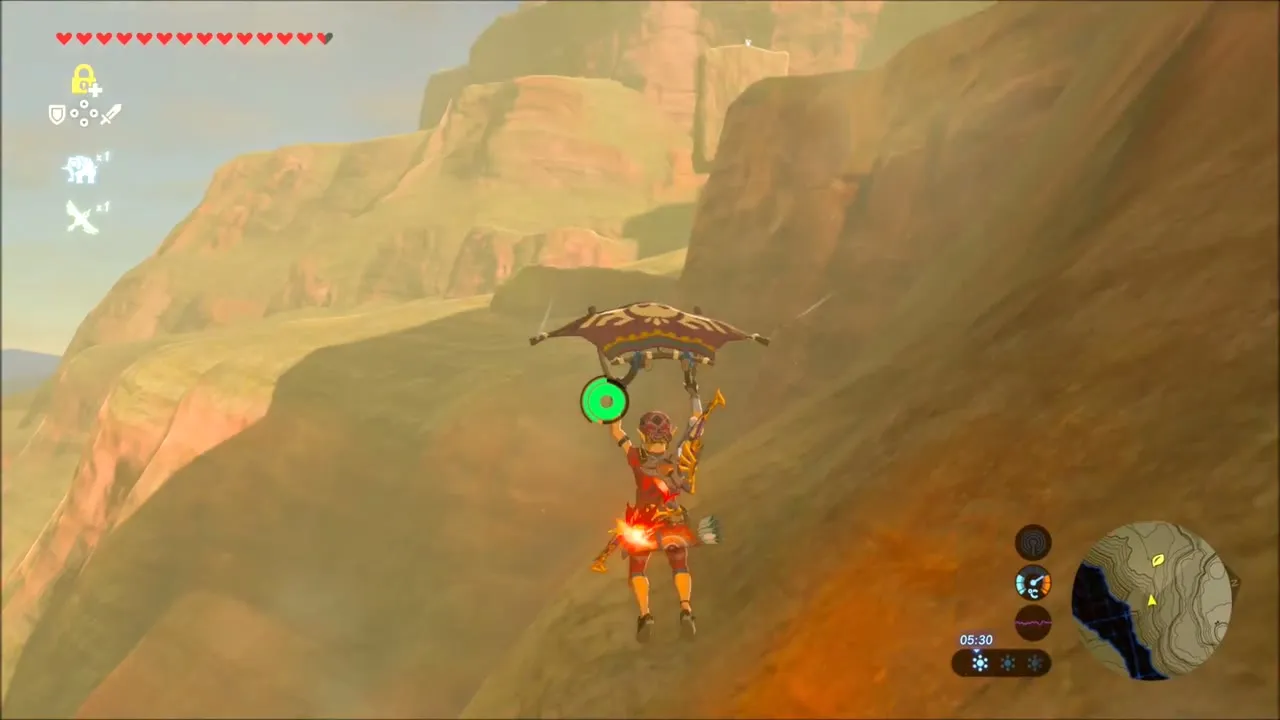
Stone Talus on Rutimala Hill
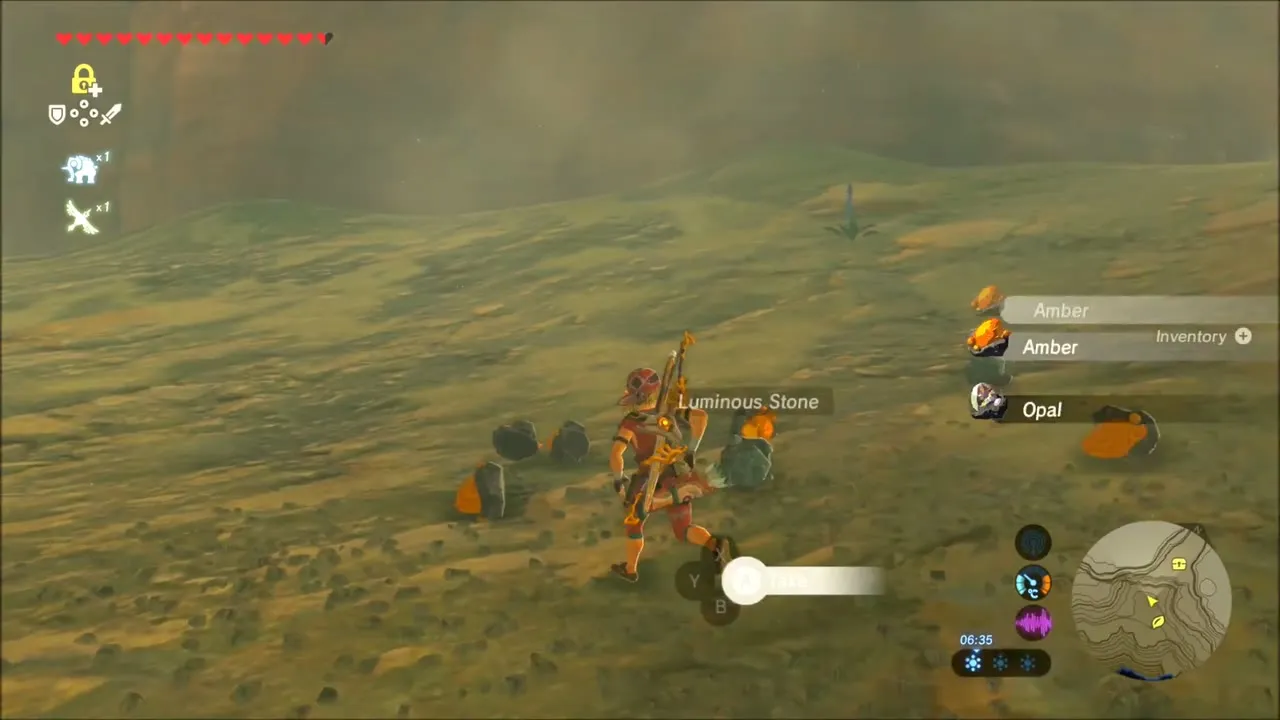
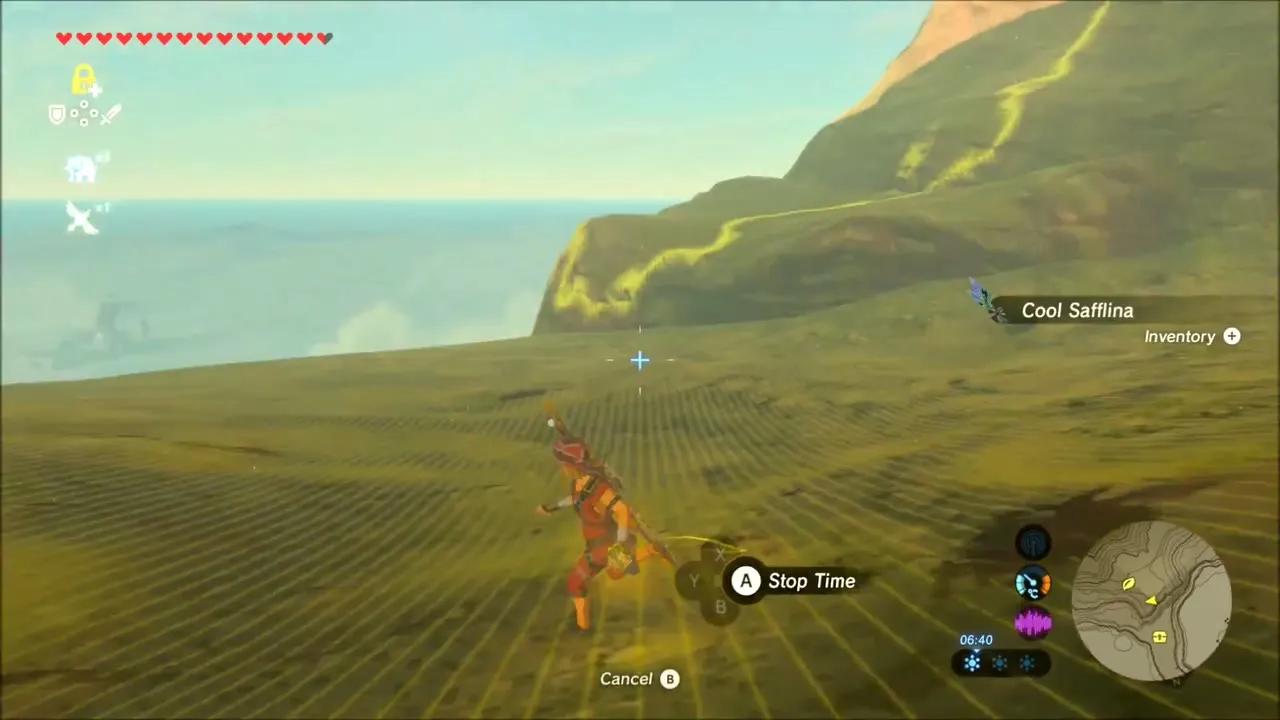
A Stone Talus stands on the slope of Rutimala Hill. Get onto the rock beside it and strike the glowing ore deposit on its body until it crumbles. The fight leaves Cool Safflina, Amber and a Luminous Stone to pick up.
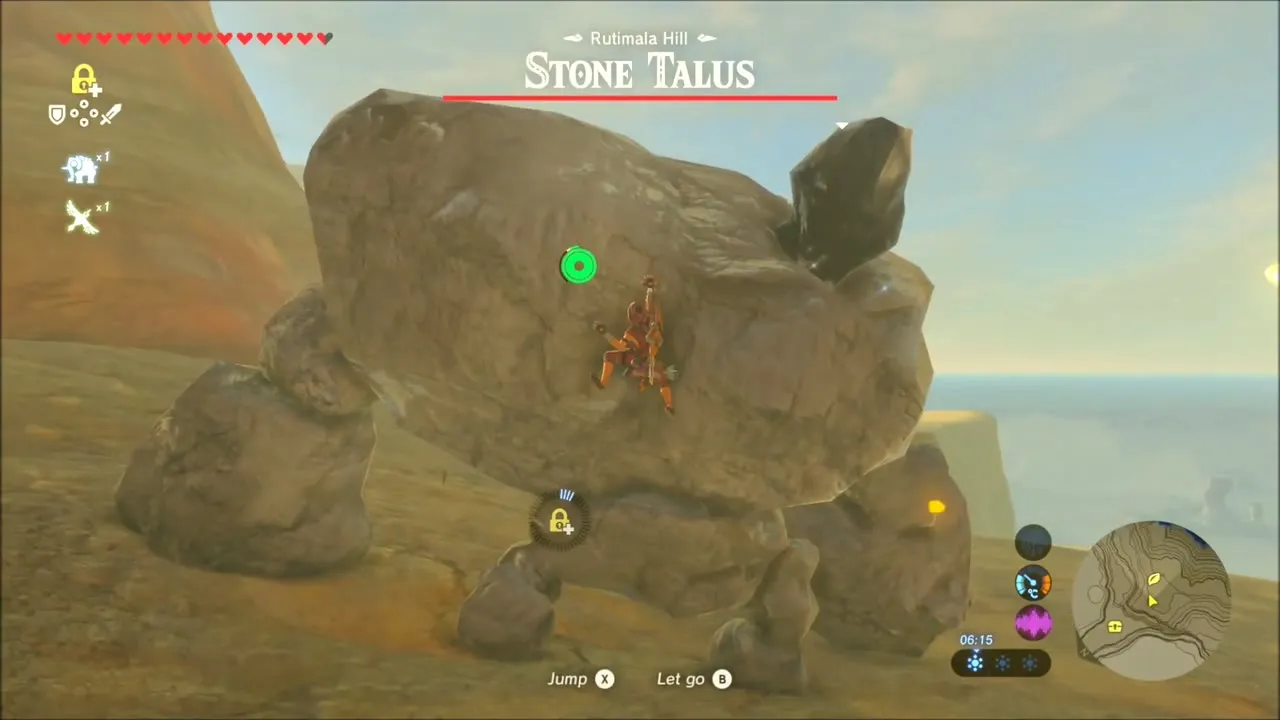

Korok seed: metal cube and stone blocks
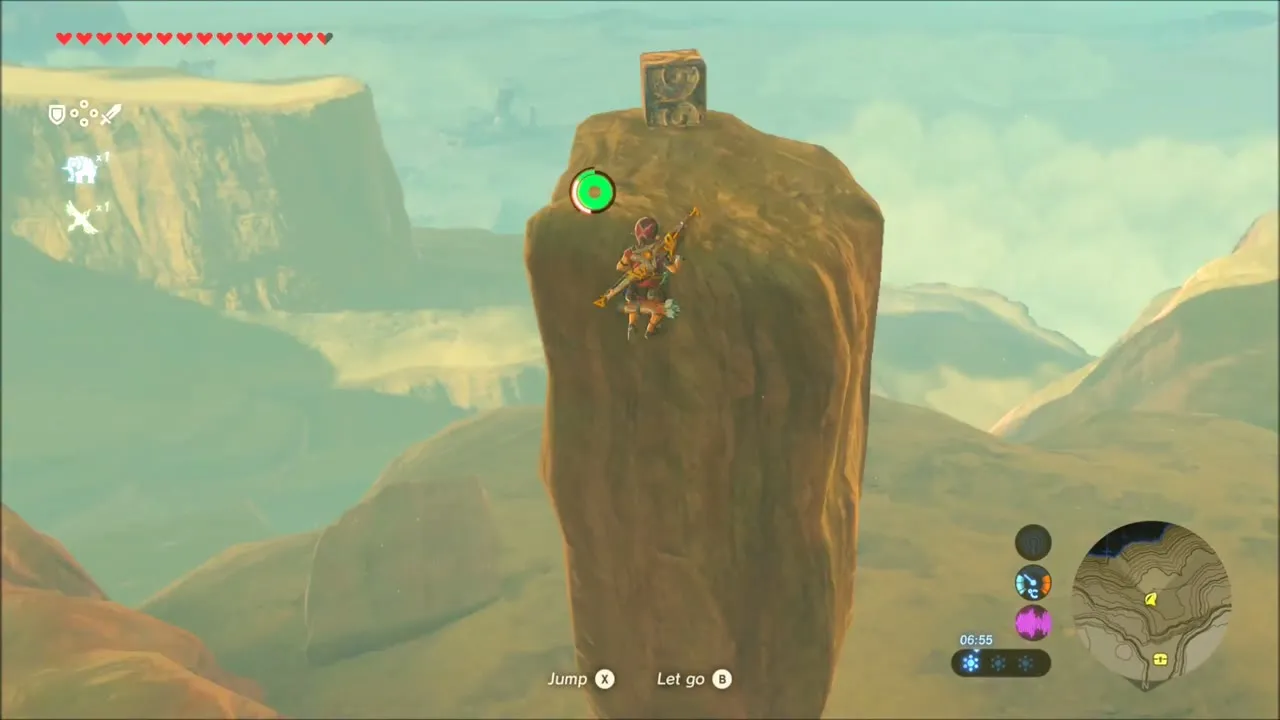
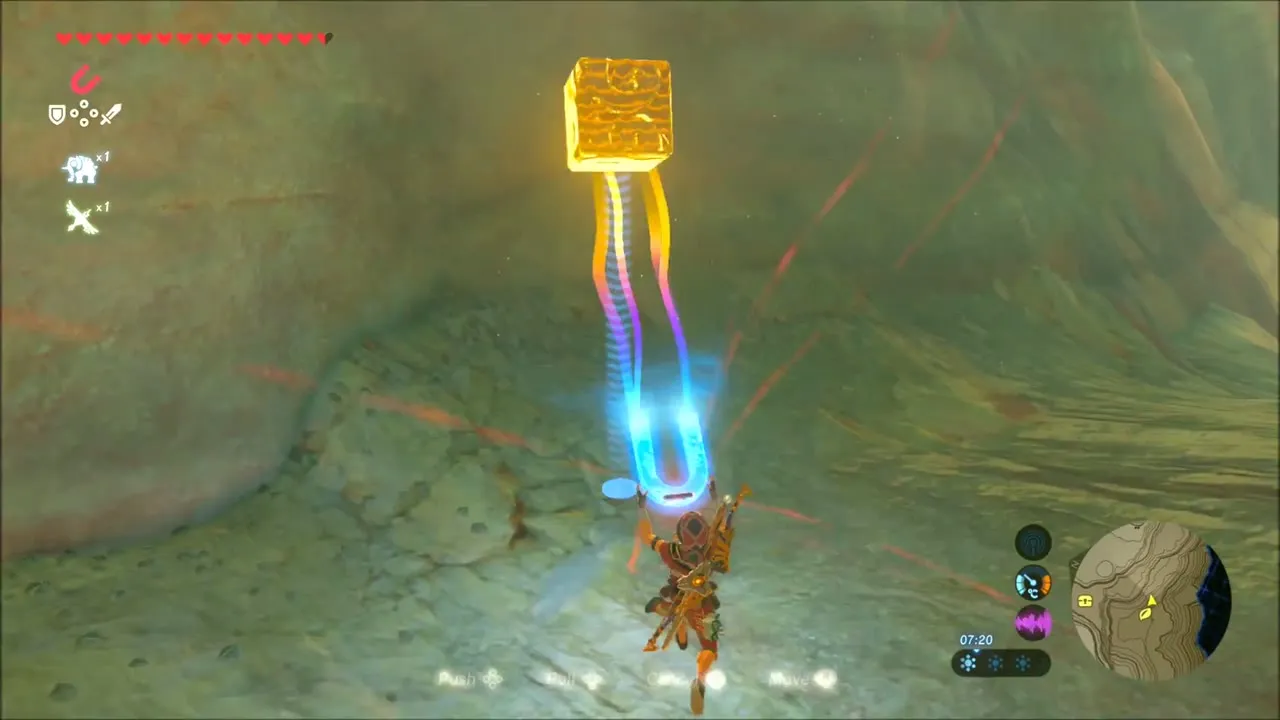
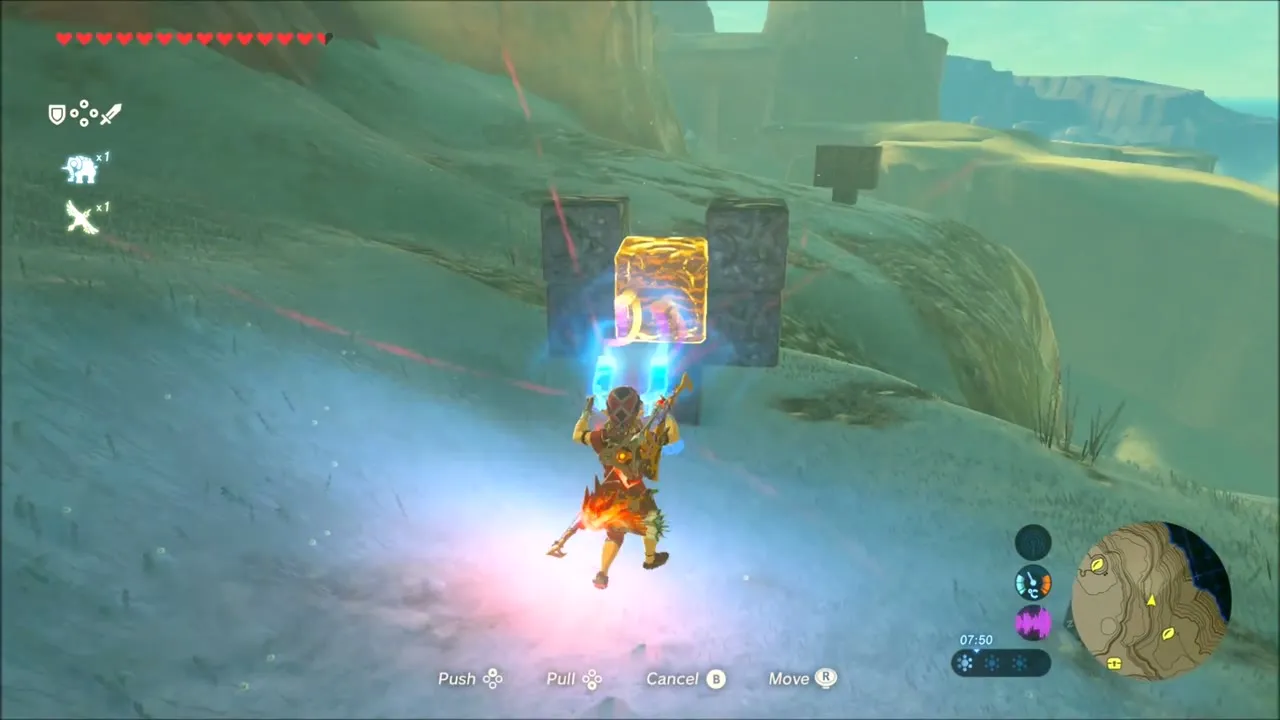
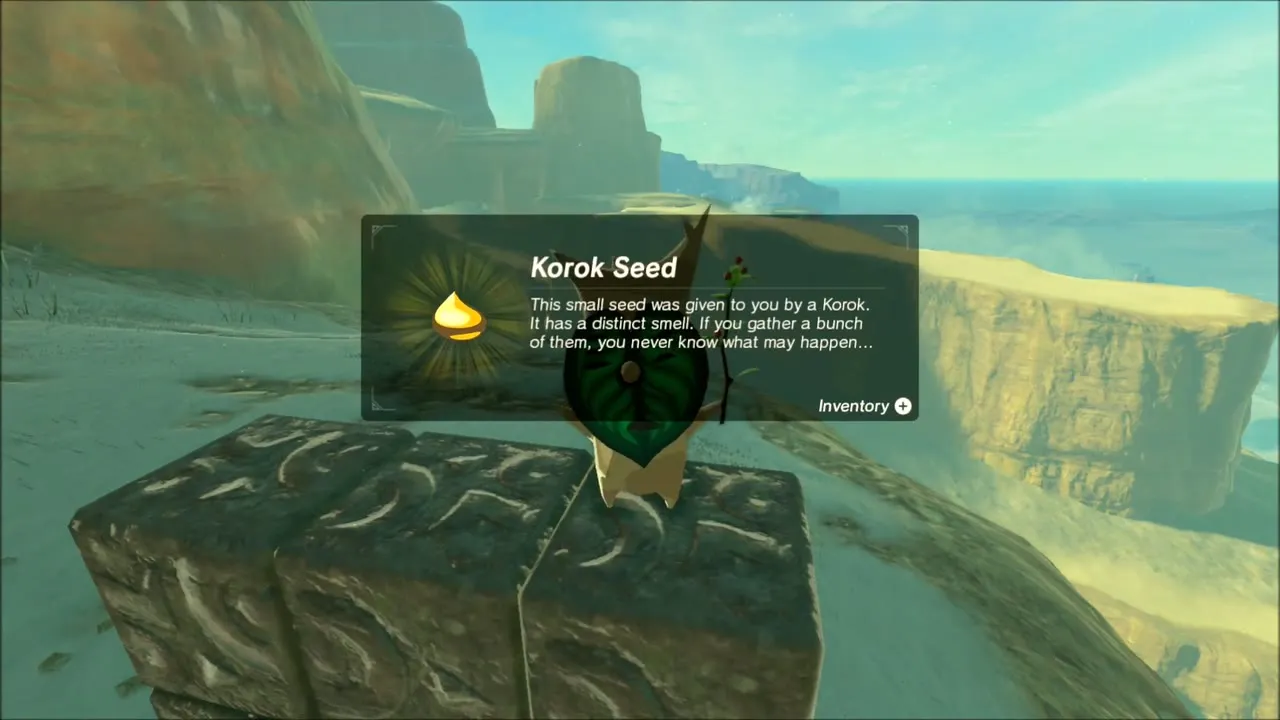
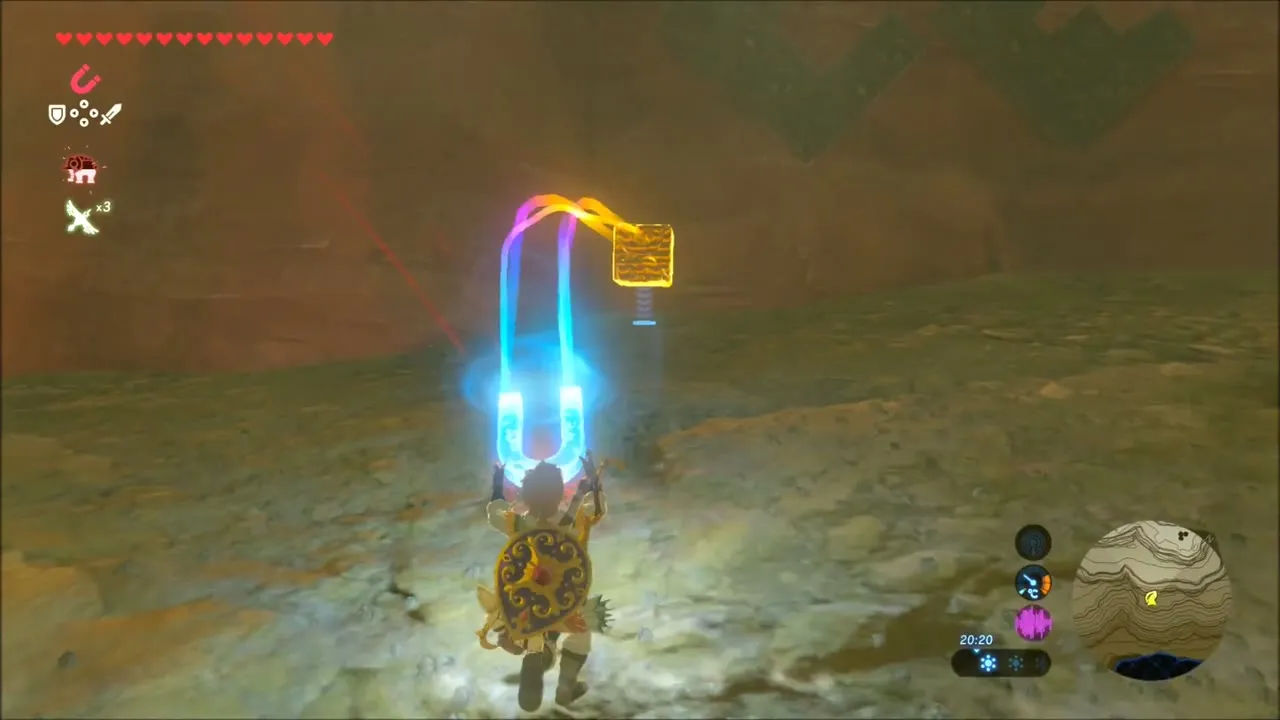
Just past the Talus, a metal cube sits on a tall rock pillar. Use Magnesis to lift it free and steer it along the hillside to a stack of carved stone blocks standing on a cliff ledge. Set the cube down beside the blocks and the Korok appears on top of the stack, giving you a Korok seed.
Risoka Snowfield: Chests, Korok Seed and Stone Talus
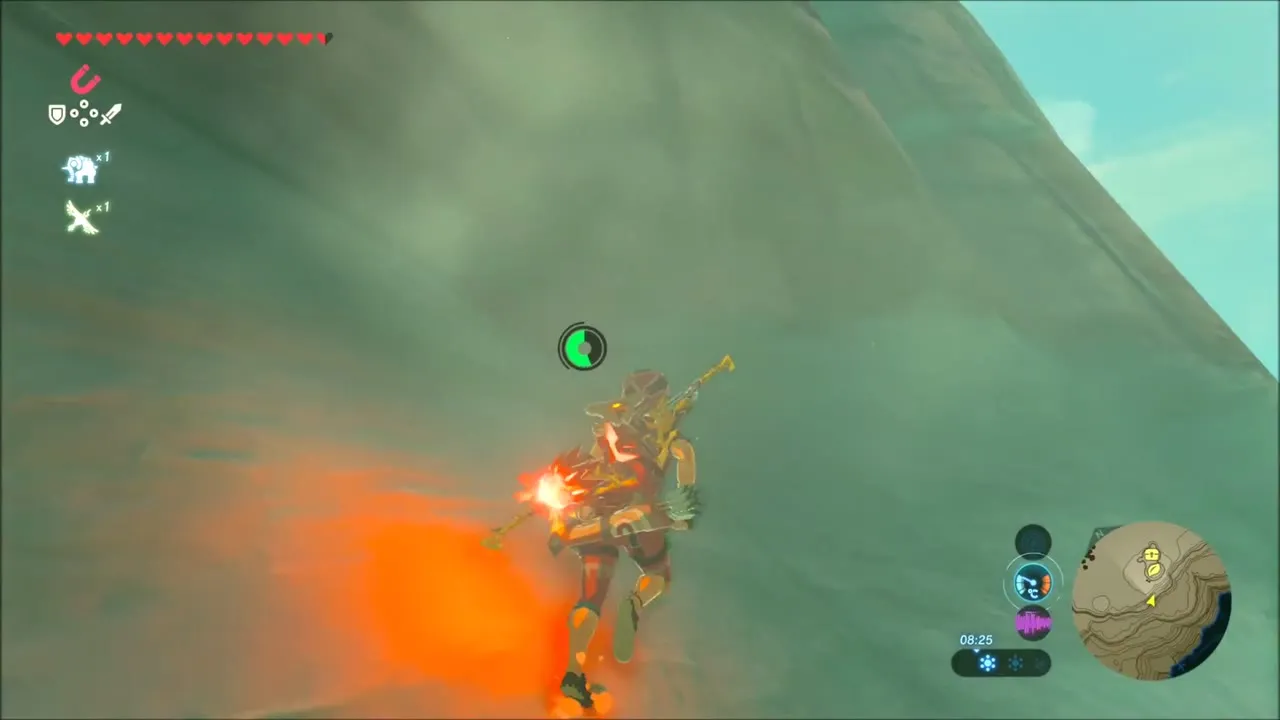
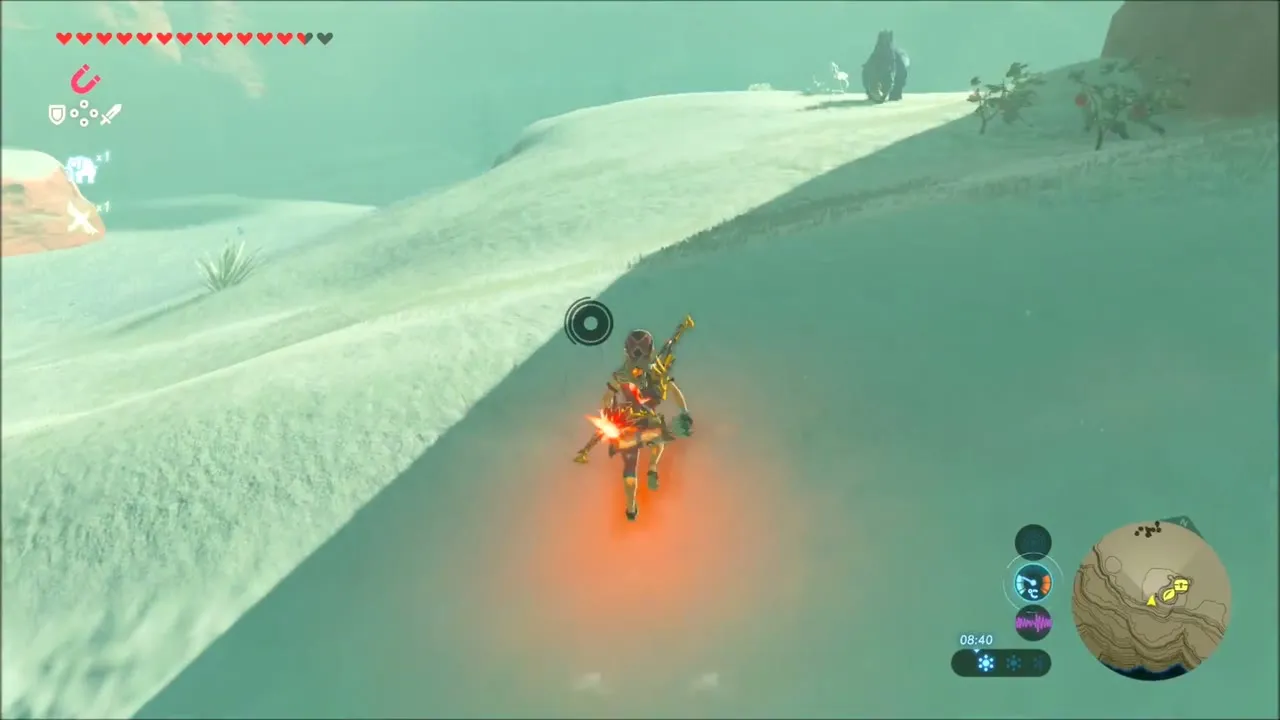
Climb the red cliffs to the north and step onto the Risoka Snowfield. Bring cold protection, since the Highlands are freezing and the snow slows your search.
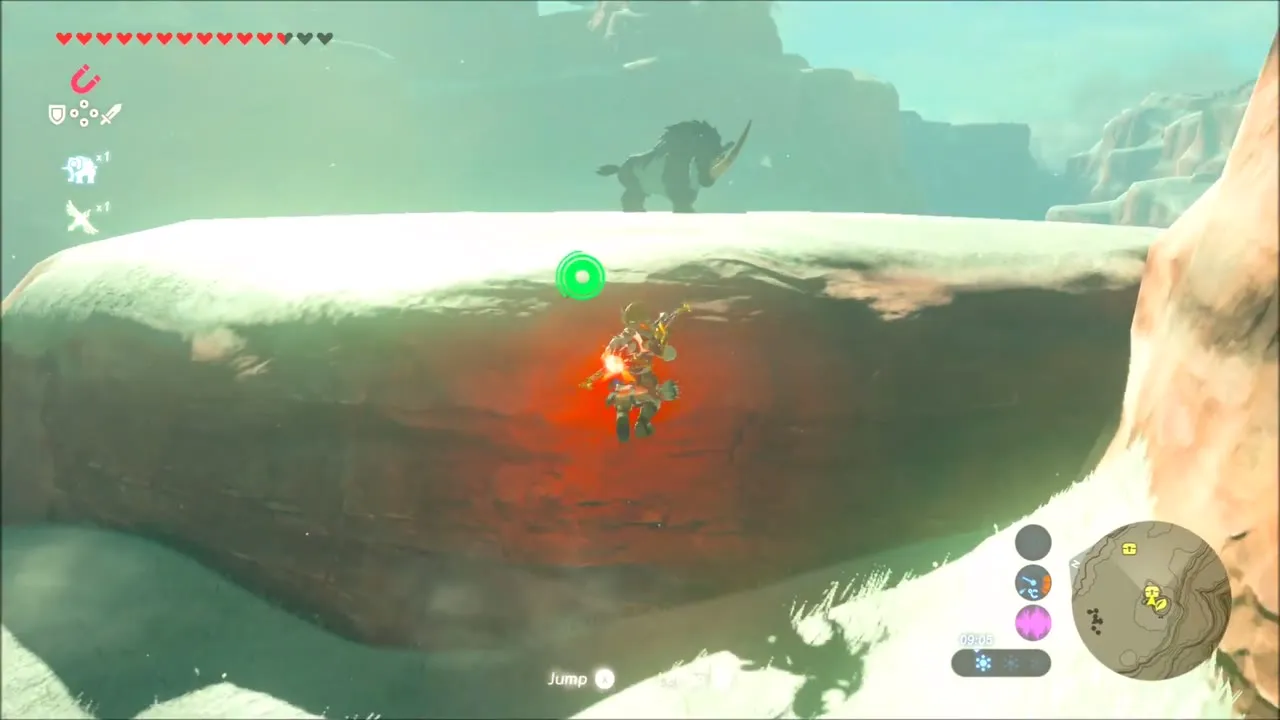
Korok seed in the open snow
Open the chests that sit in the drifts just over the rim, then look around the open slope next to them: a Korok is hiding in the plain snow there. Walk up to it and it hands over another seed.
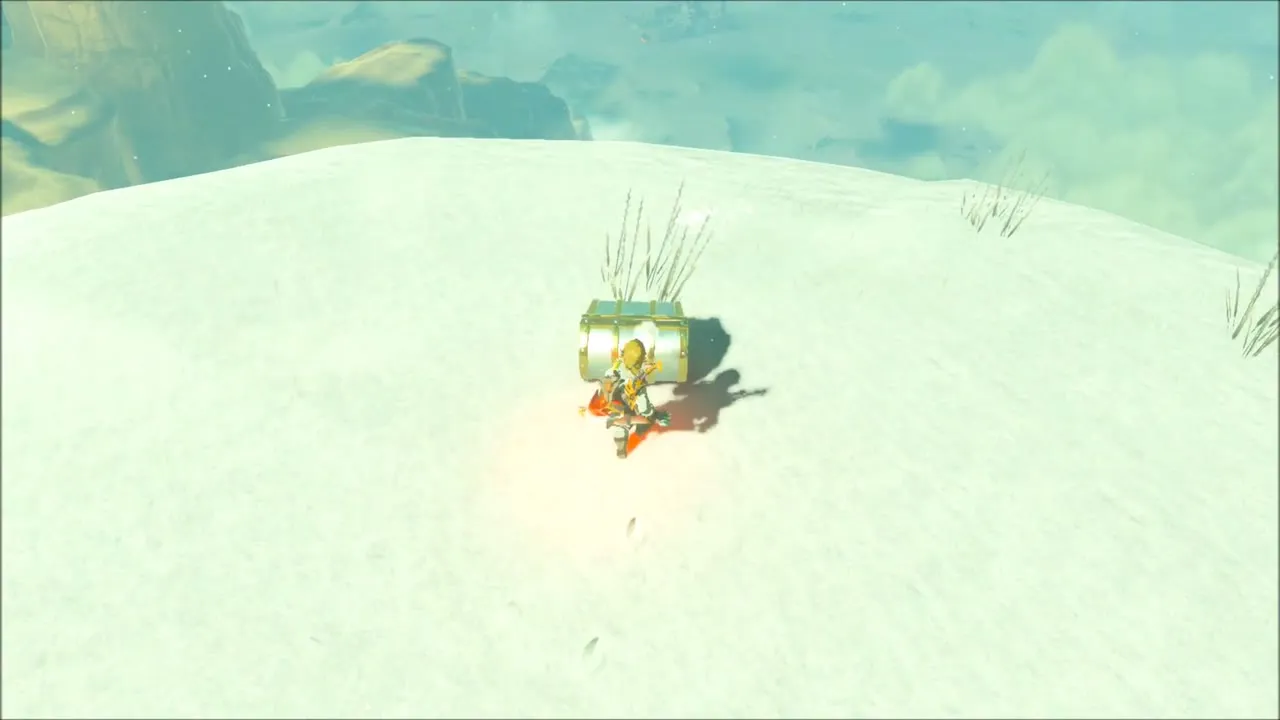


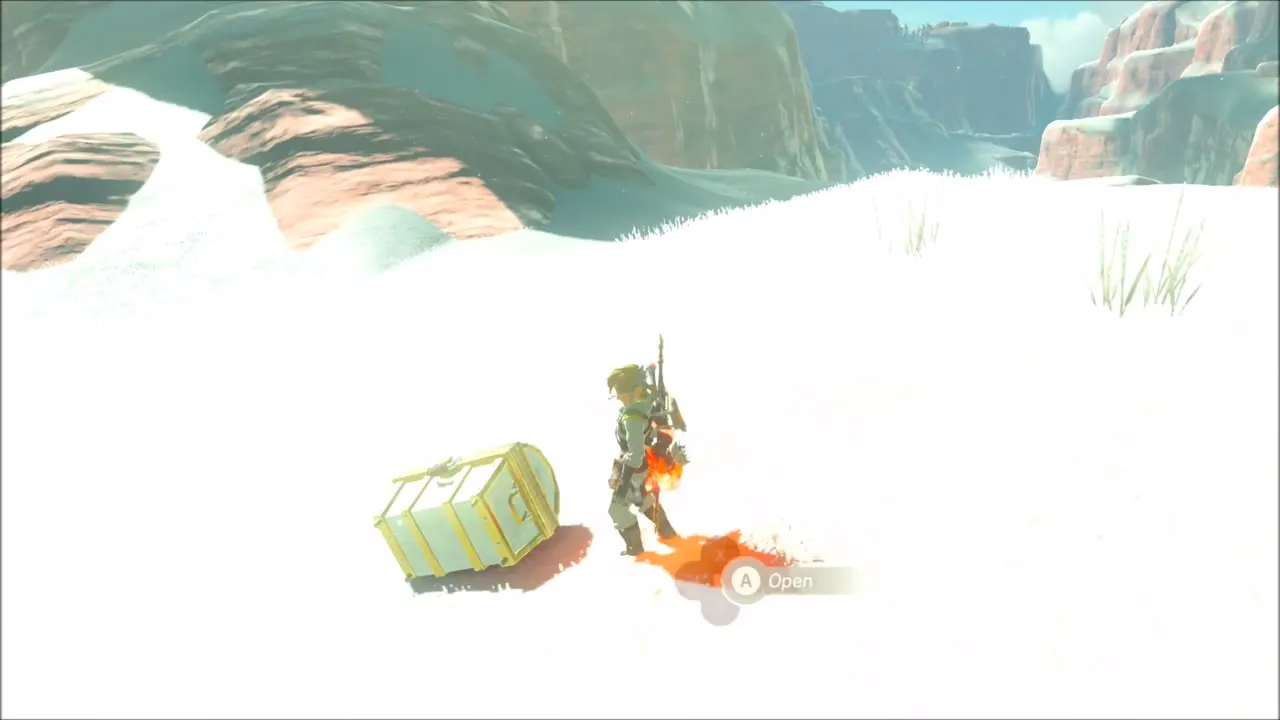
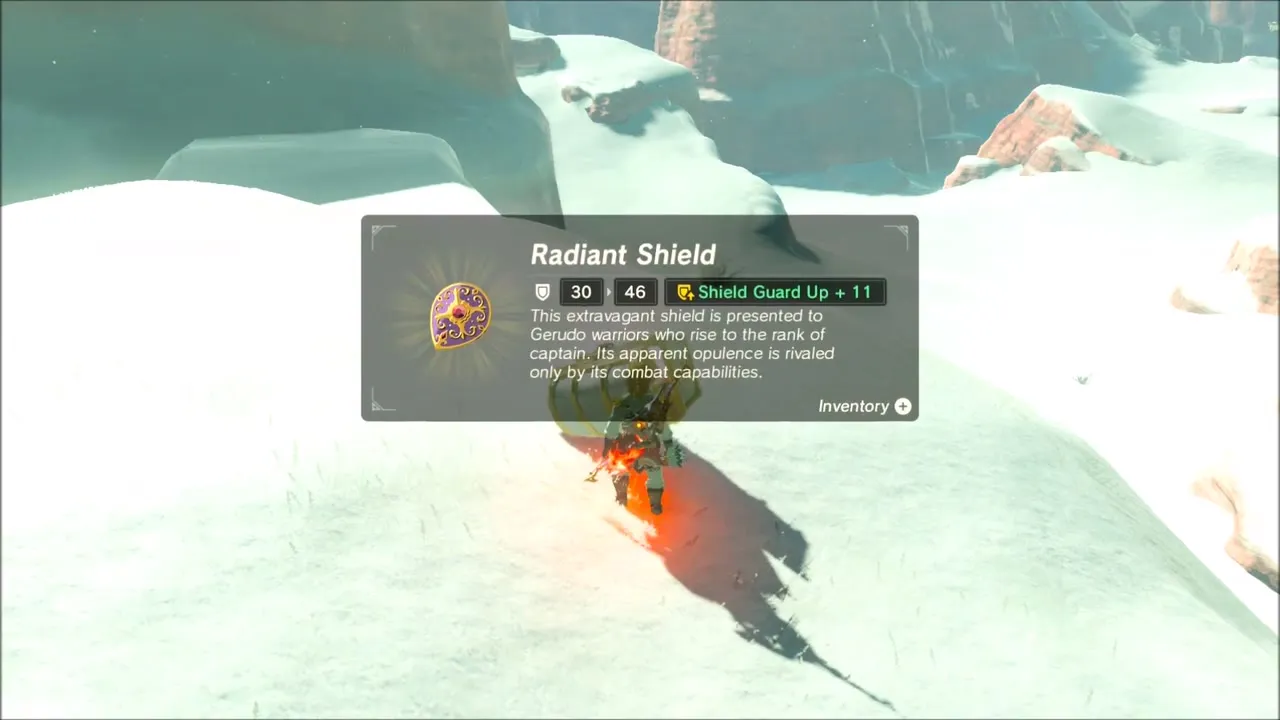
Snow chests: Golden Bow, Royal Bow and Radiant Shield
More chests lie scattered across the snowfield. One gives a Golden Bow, another a Royal Bow along with a second Golden Bow, and a third, beside a rock, holds a Radiant Shield. Your bow and shield slots fill up fast, so be ready to drop spare gear if the game says you cannot carry more.
West Vatorsa Snowfield: second Stone Talus
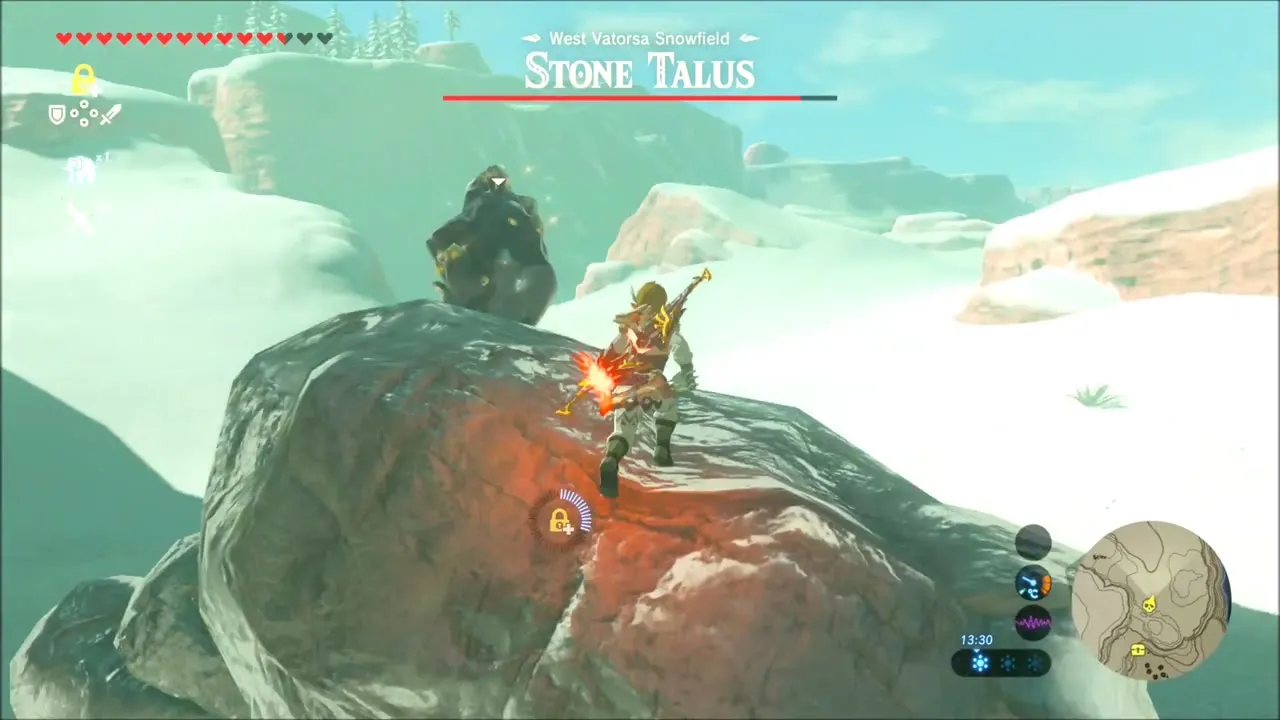
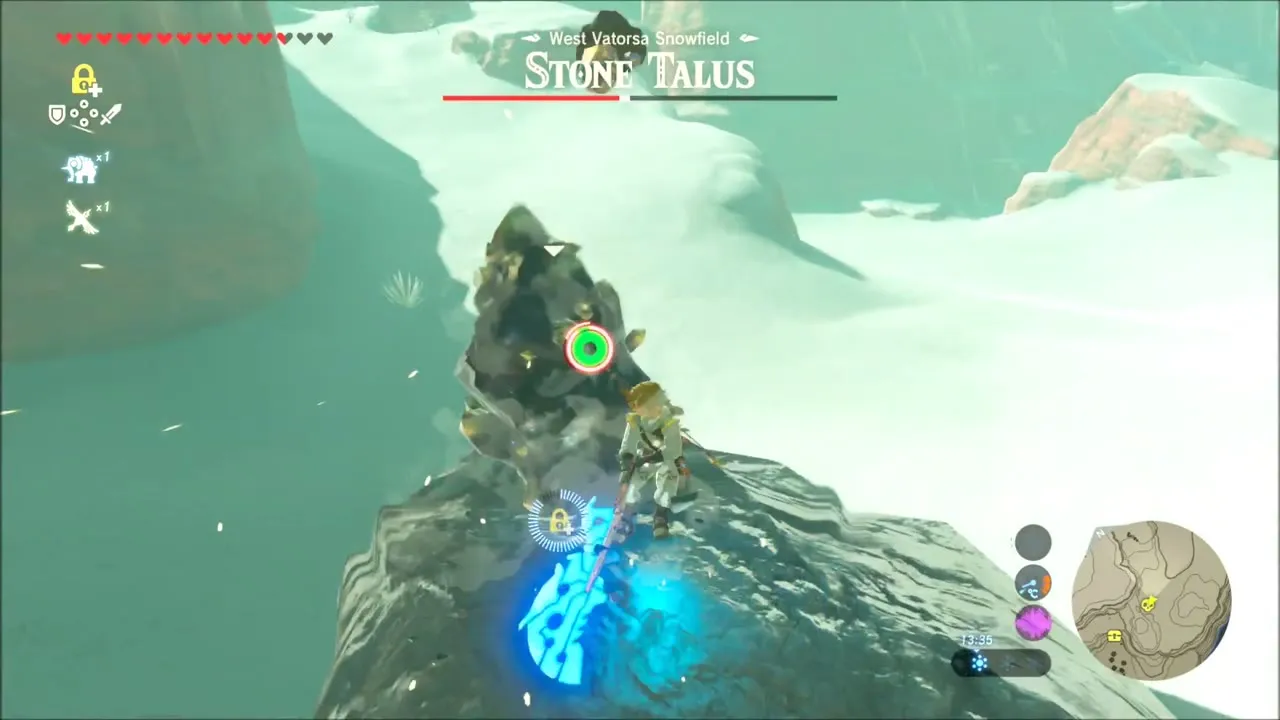
At the edge of the West Vatorsa Snowfield another Stone Talus rises from the rock. Climb onto the boulder beside it and attack the ore deposit on its body, as you did on Rutimala Hill.

Cold Hollows, Lizalfos Camps and Bomb Arrows
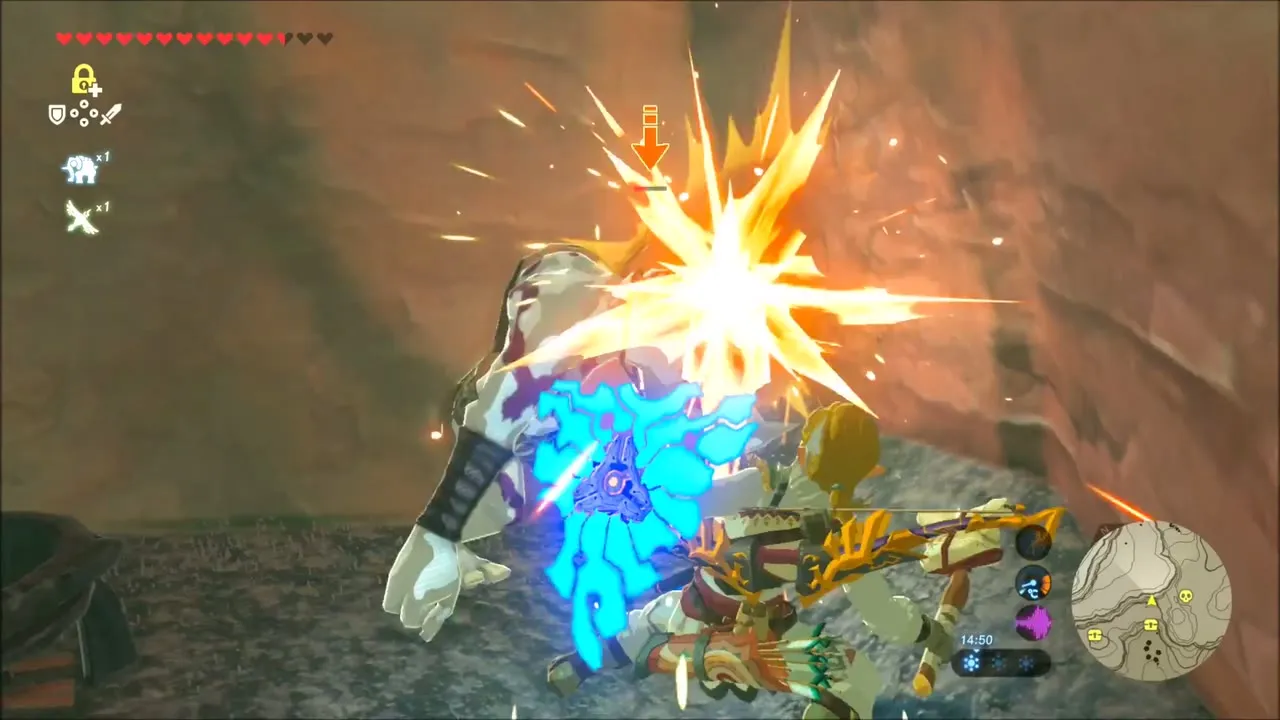
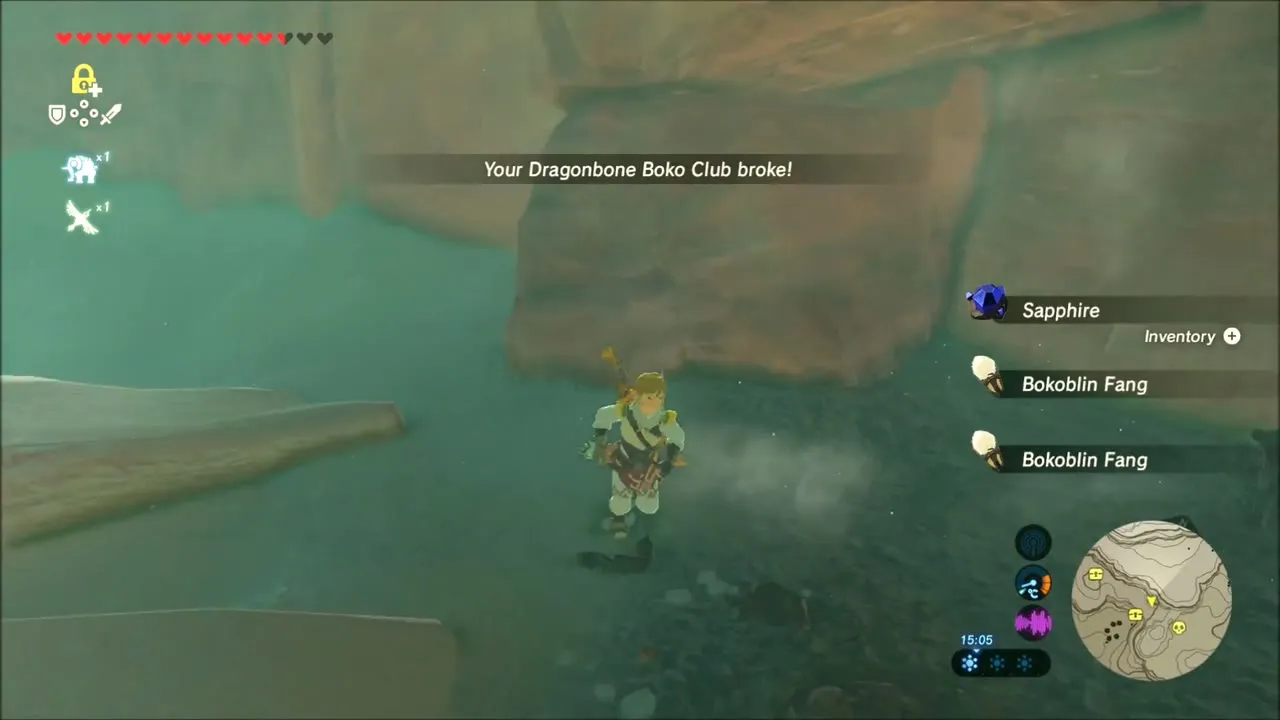
Below the snowfield the ground dips into cold hollows with Bokoblins and Moblins. Beating them drops a Sapphire, Bokoblin Fangs and Moblin Guts. Light campfires with Wood to warm up between fights, and use Stasis or Magnesis on any chest that sits out of reach.

Further along, a chest in the frozen hollows gives five Bomb Arrows. Lizalfos also prowl this stretch, so keep fire or shock arrows ready.


Lizalfos lookout
A Lizalfos group holds a wooden lookout in a dim hollow. Defeat them and one leaves a Lizal Tri-Boomerang, along with Lizalfos Horns, Talons and Tails.
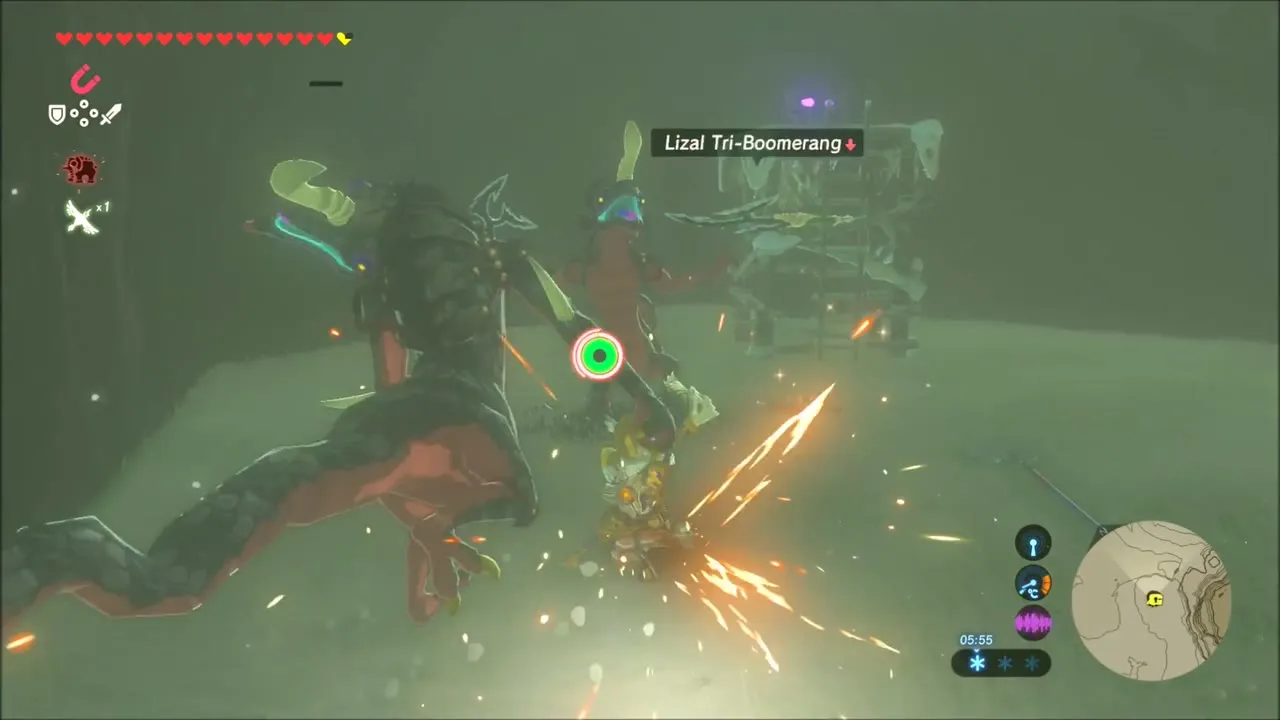
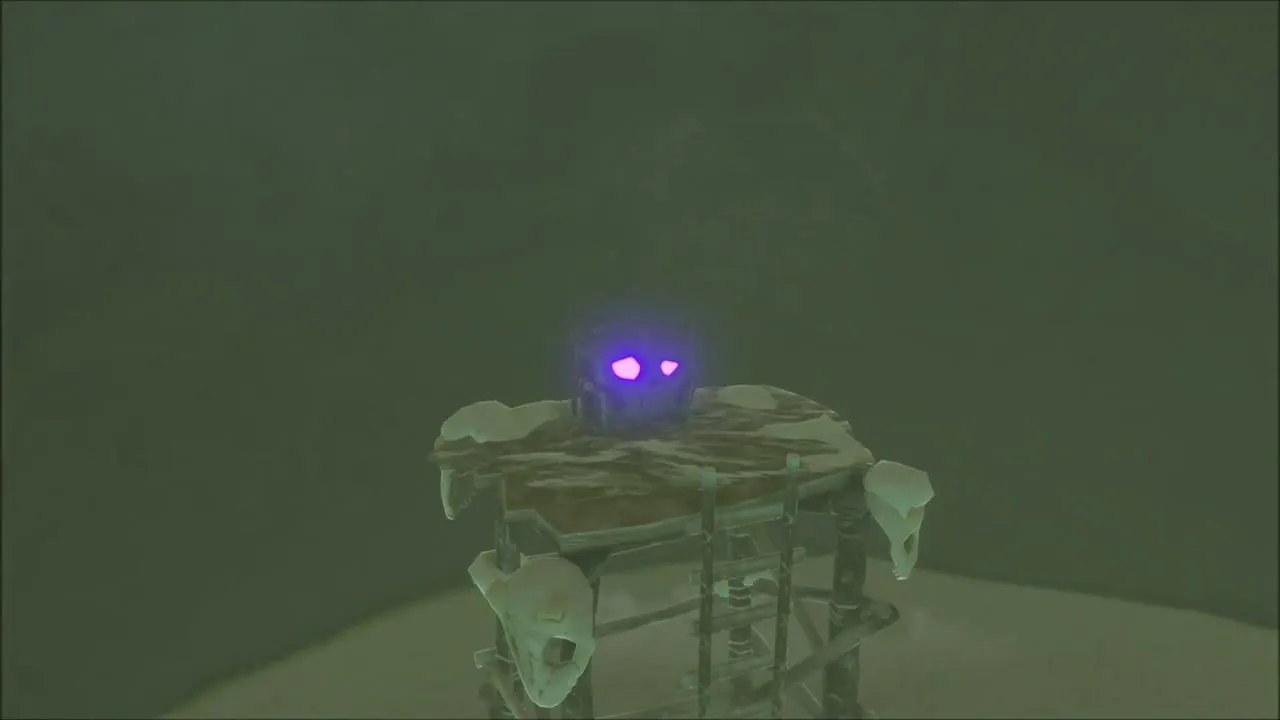


Korok Seeds and Golden Claymore in the Snow
Korok seed on a cliff ledge
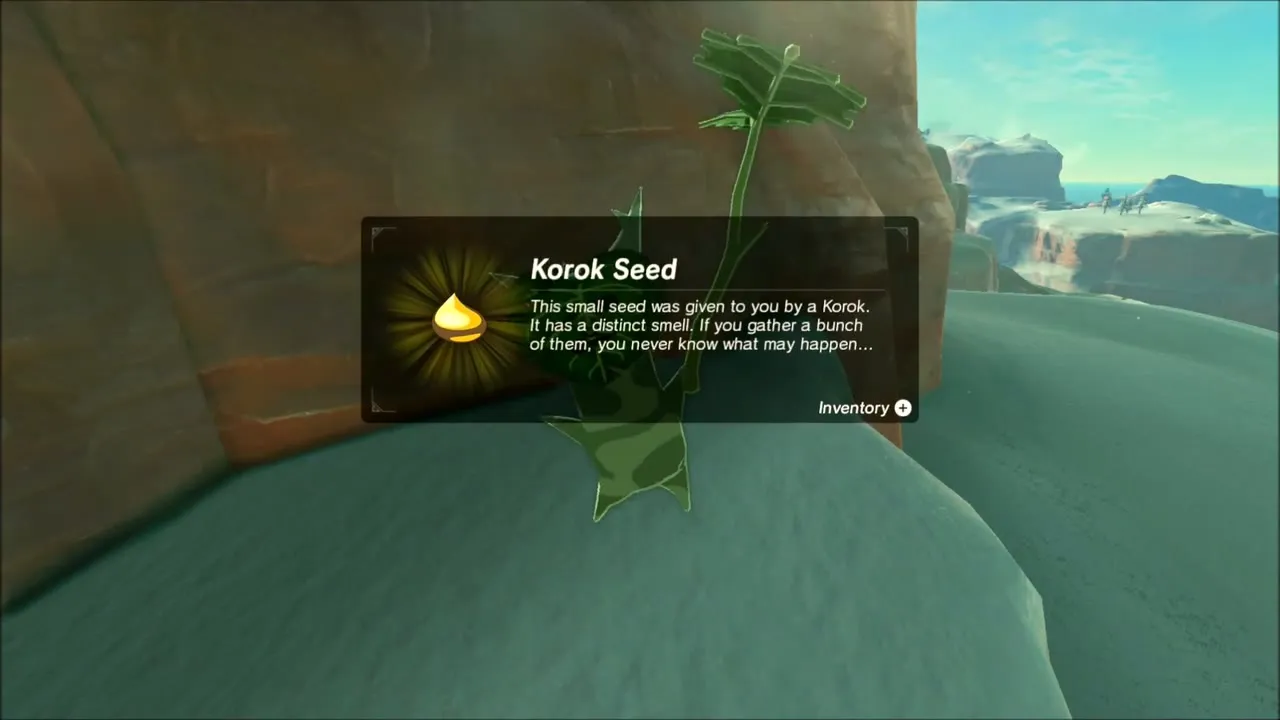
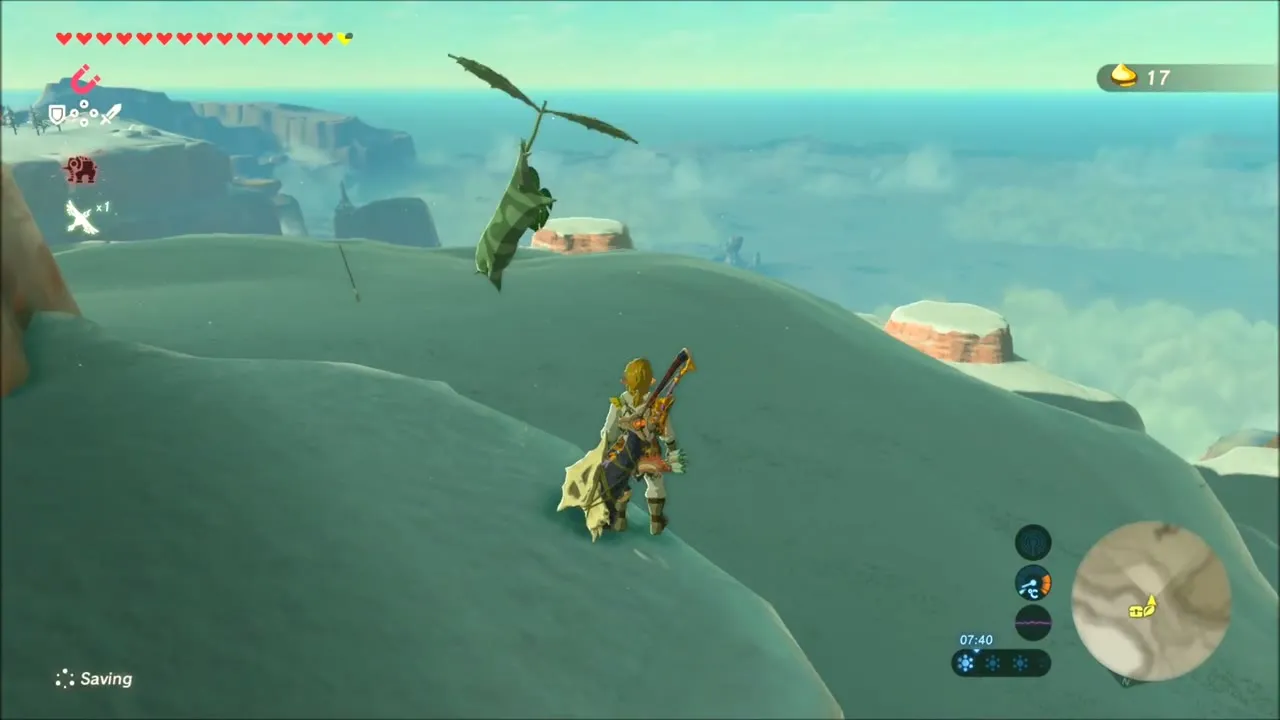
Glide over the red cliff toward a ledge marked by a ring of yellow sparkles. Land beside the ring and talk to the Korok, who gives you a seed.
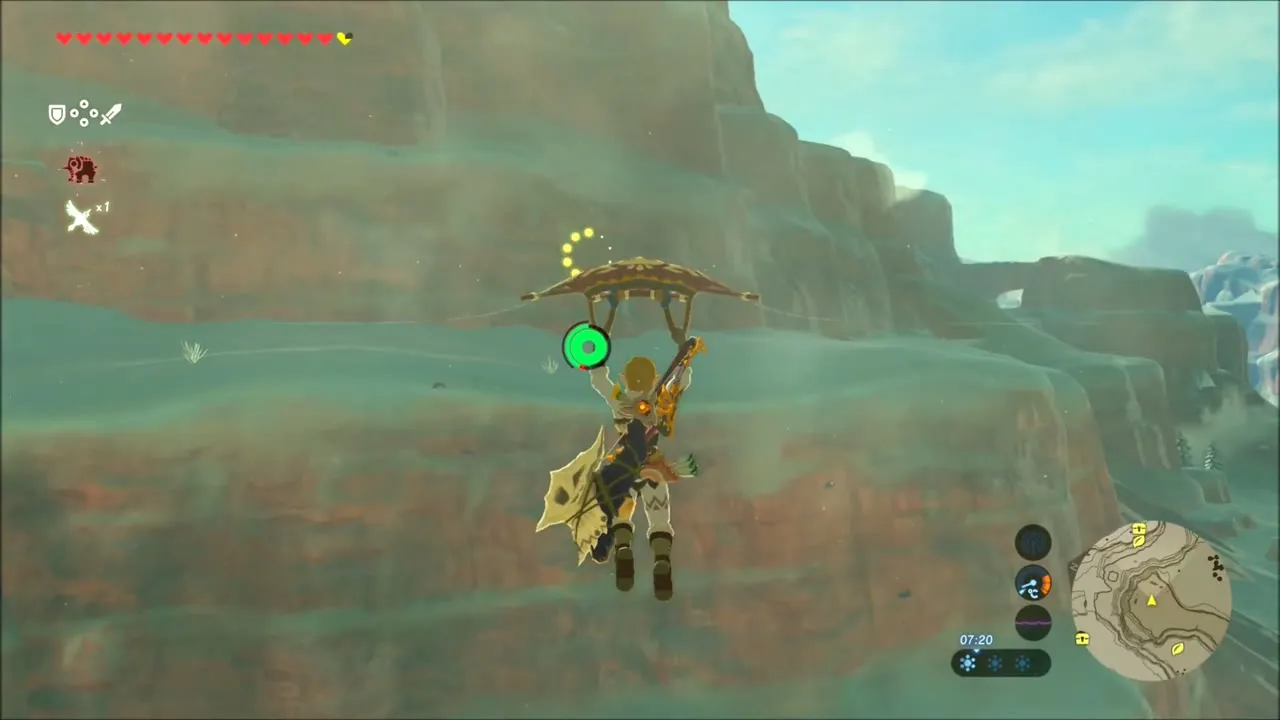
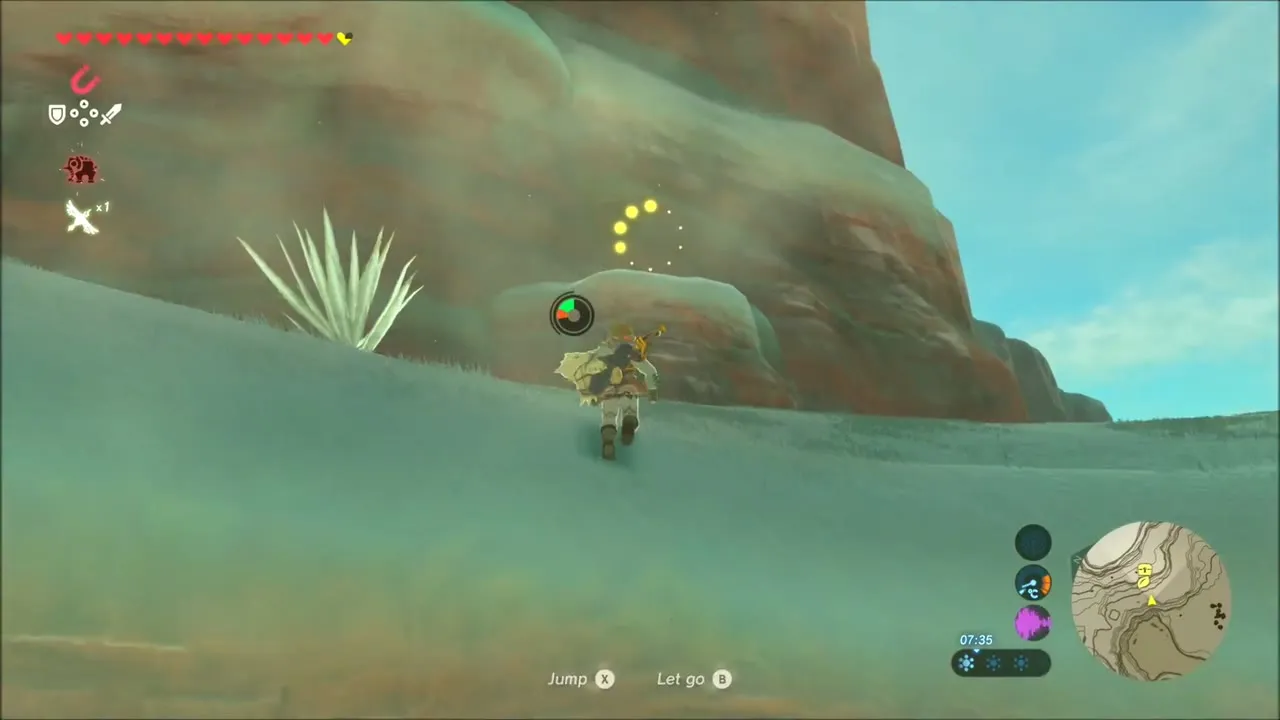
Golden Claymore chest
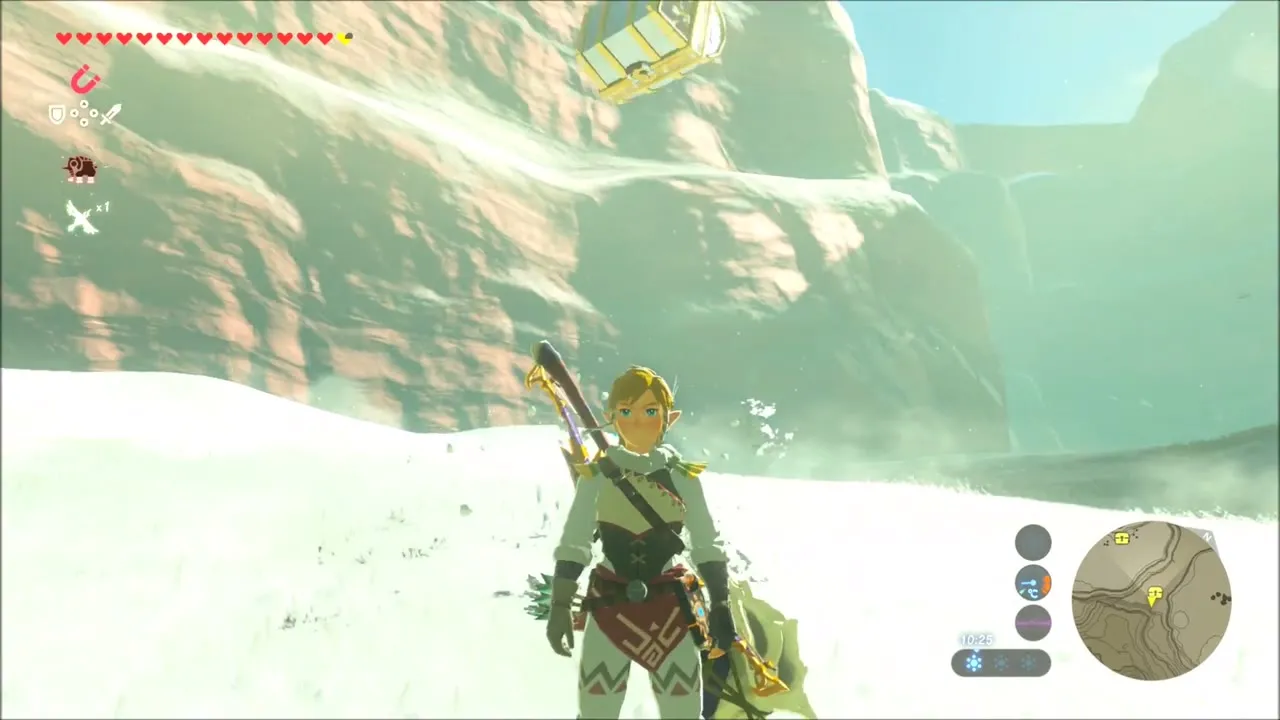
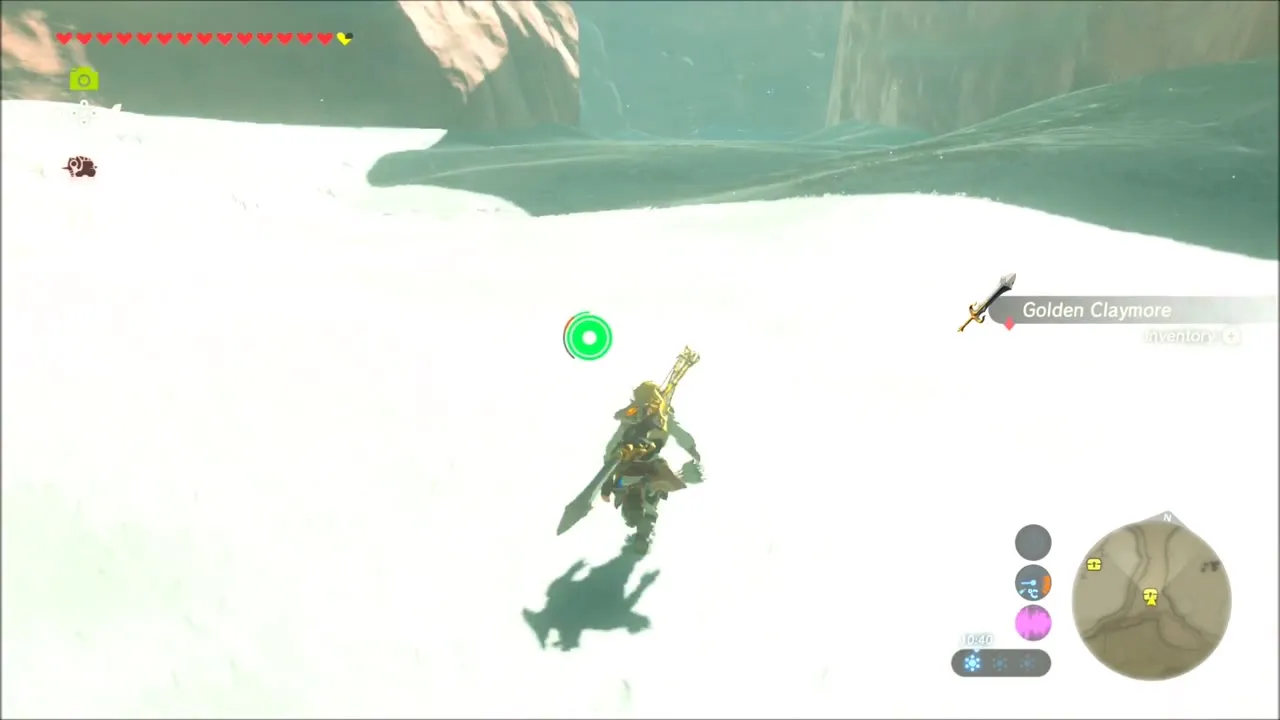
Further on, a chest sits at the foot of a rock face in the snow. It holds a Golden Claymore (tier set by difficulty scaling), another weapon you may have to swap in.

Korok seed: boulder and stone circle
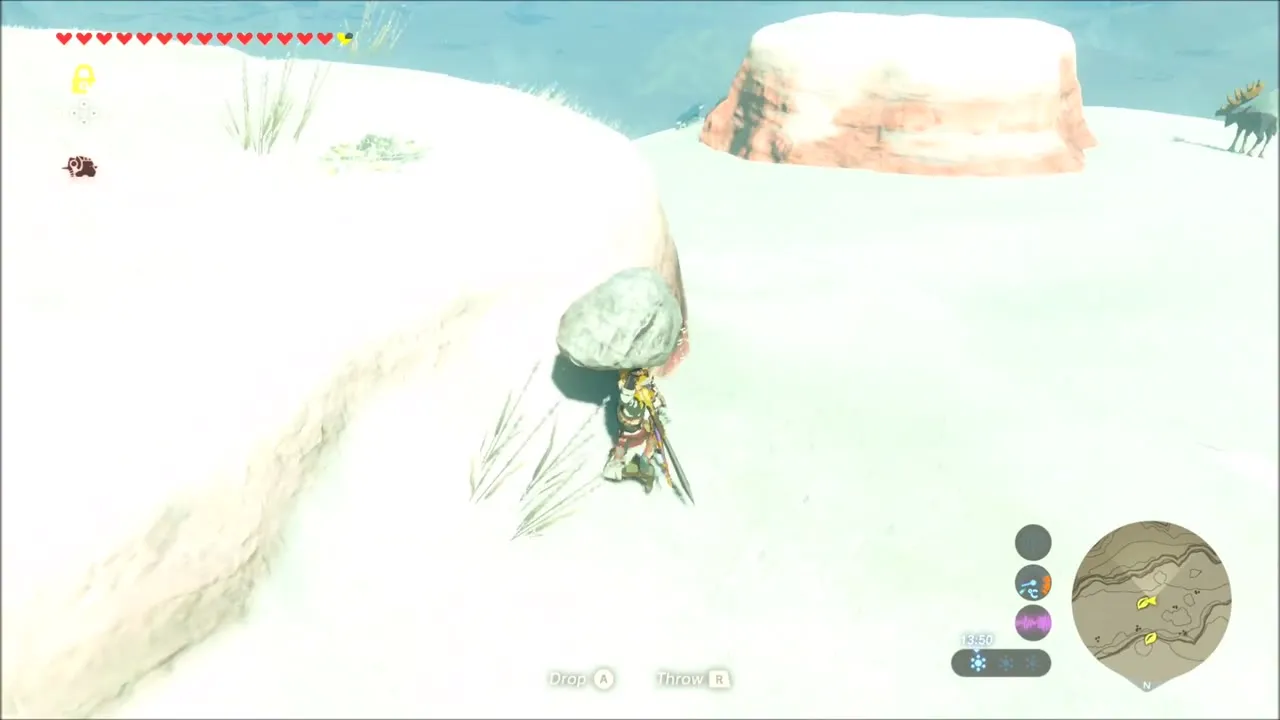
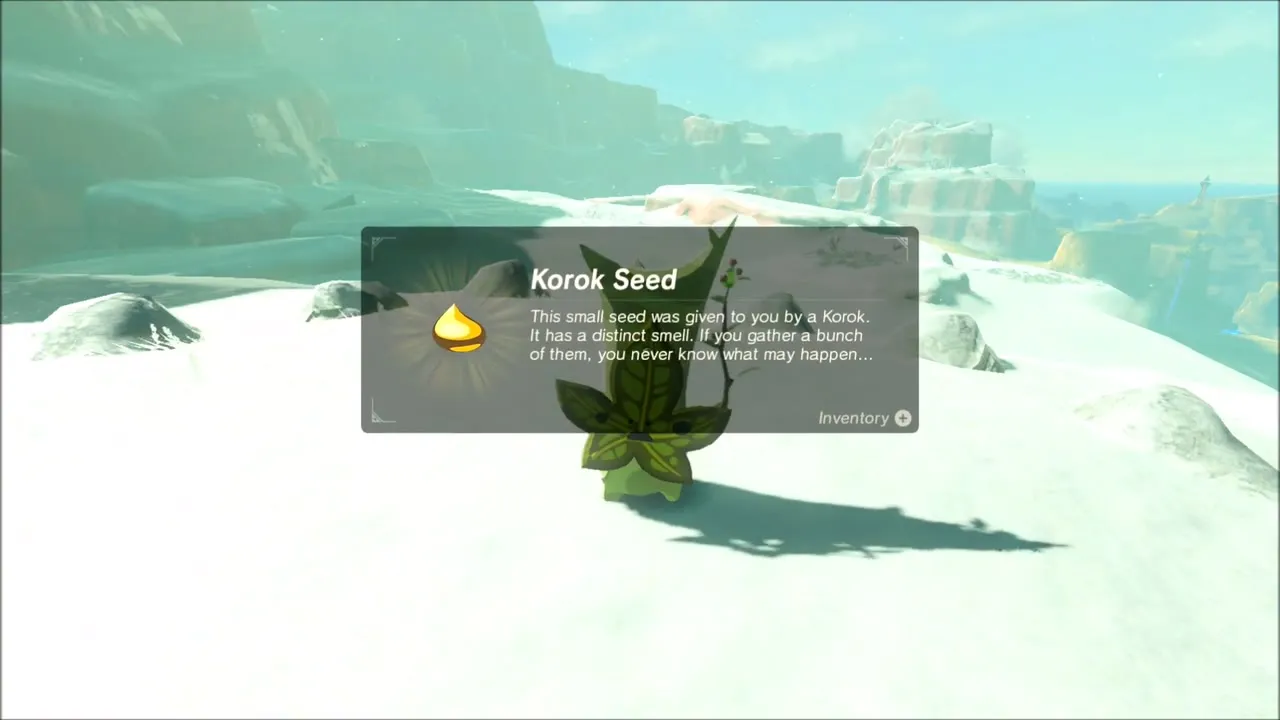
On the next slope, a ring of small stones is laid out in the snow with a stone missing. Lift a loose rock from the hillside, carry it to the ring and set it in the gap. The Korok pops out with another seed.


Lizalfos tower and Moonlight Scimitar
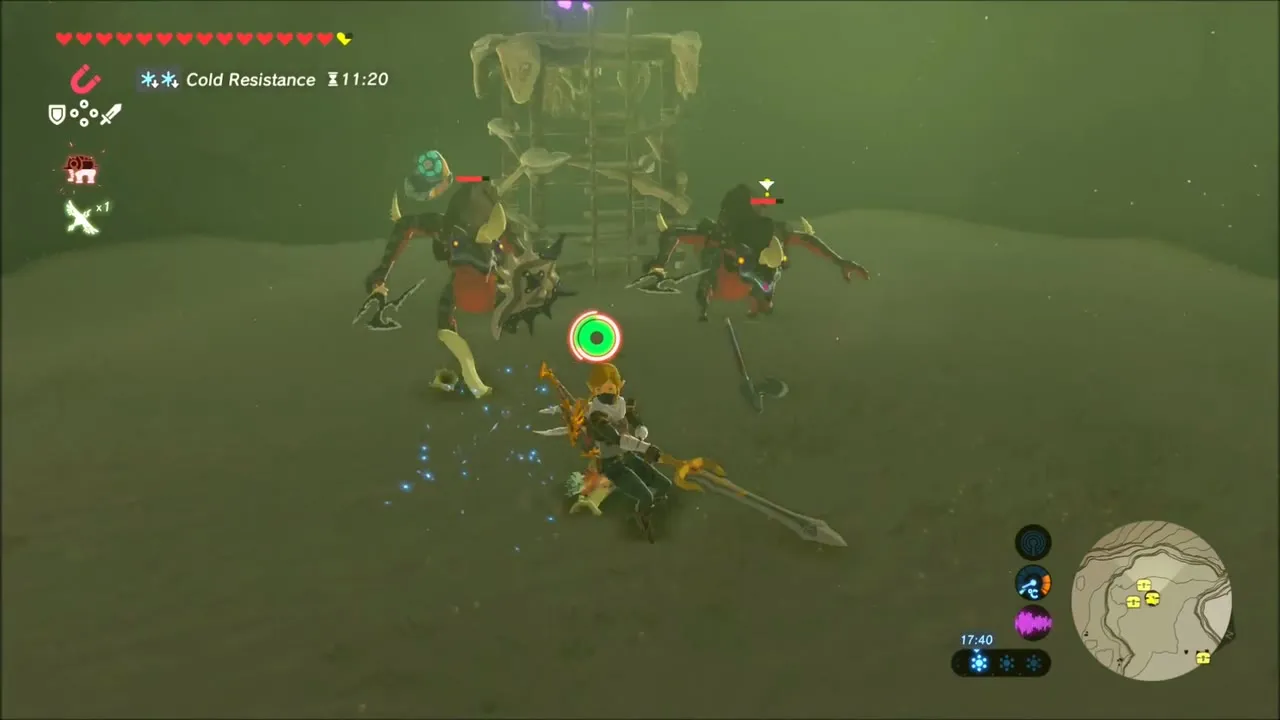
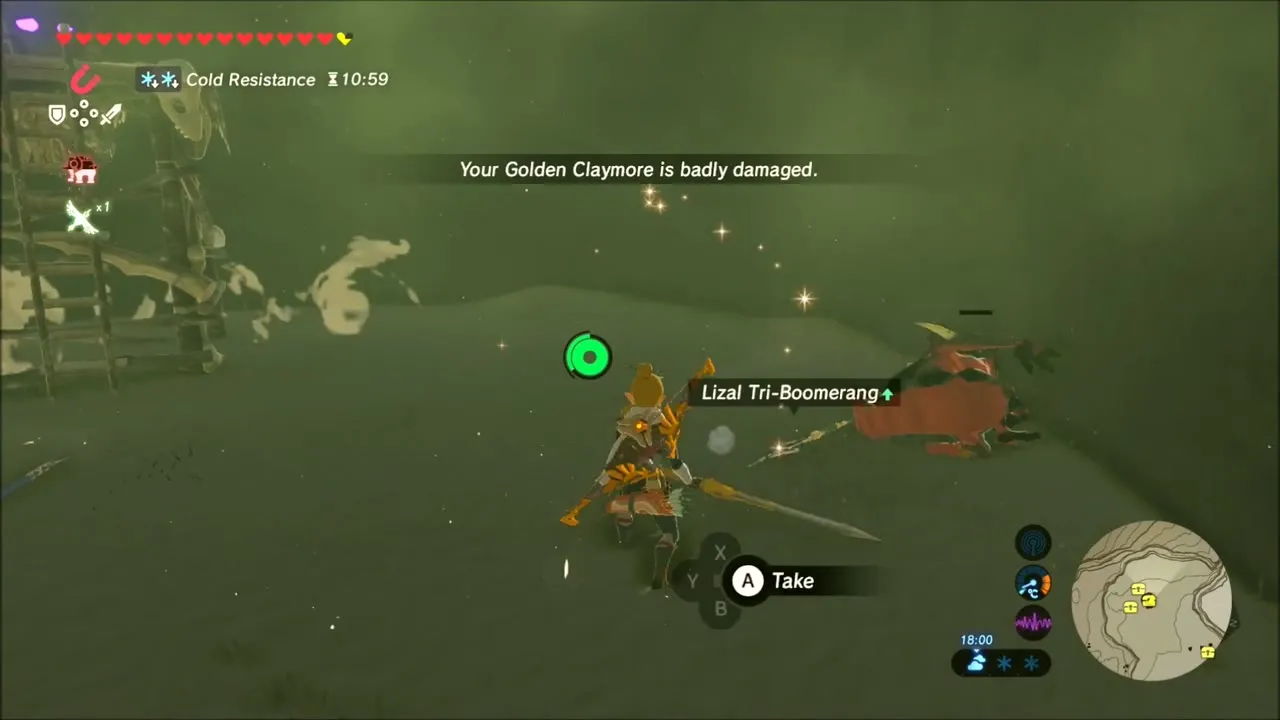
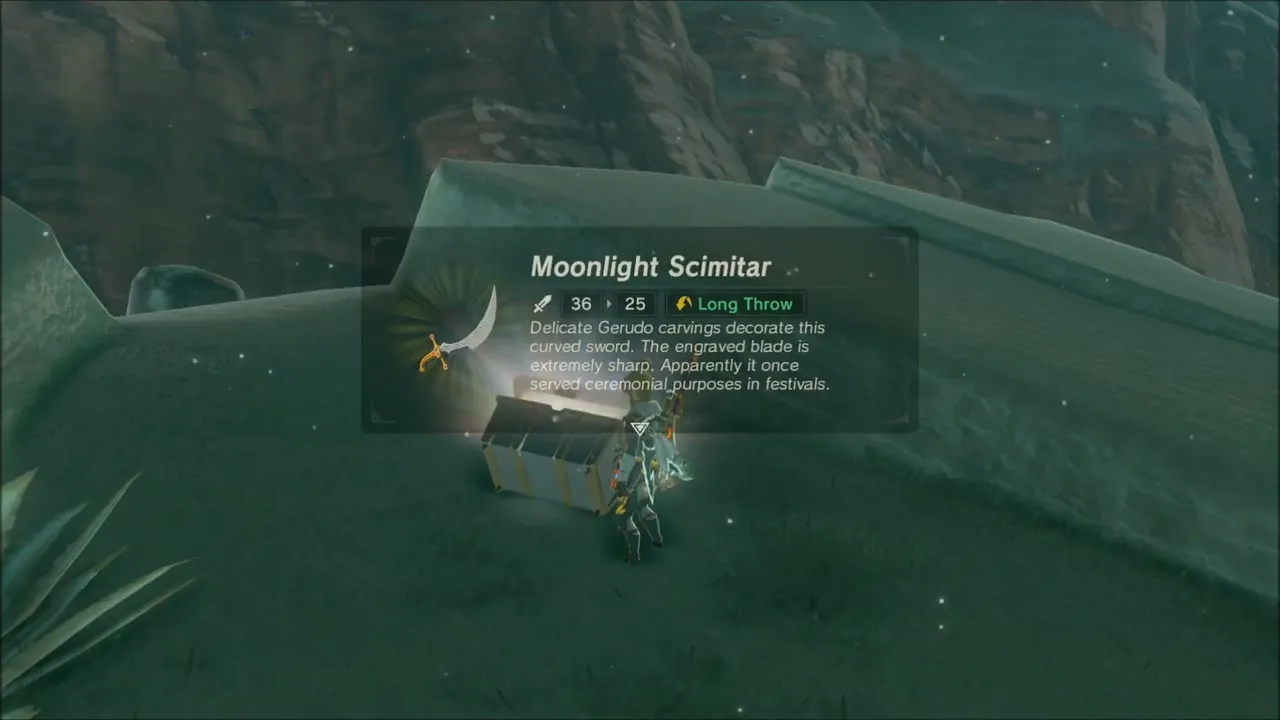
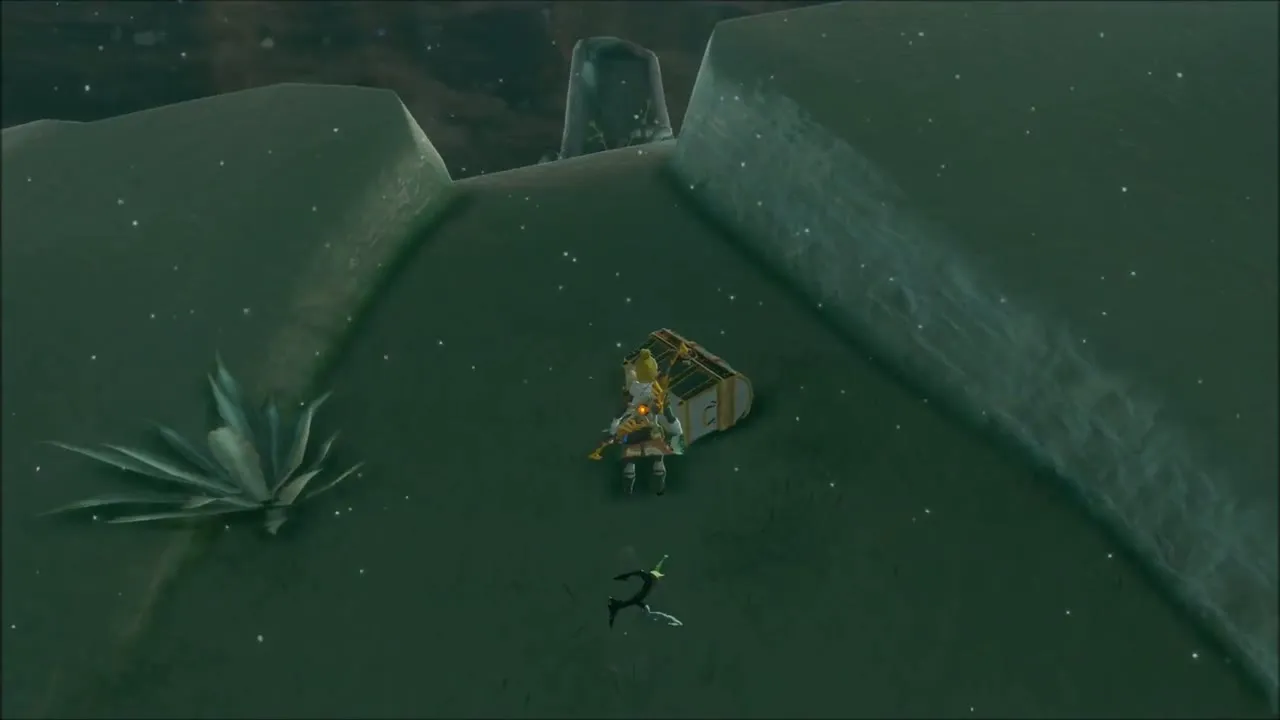
A Lizalfos stands on a bone-and-timber tower in the fog. Take it out for a Lizal Tri-Boomerang and Lizalfos Talons. Later, a chest on the ground gives you a Moonlight Scimitar (tier set by difficulty scaling).

Korok seed: rock and flower ring
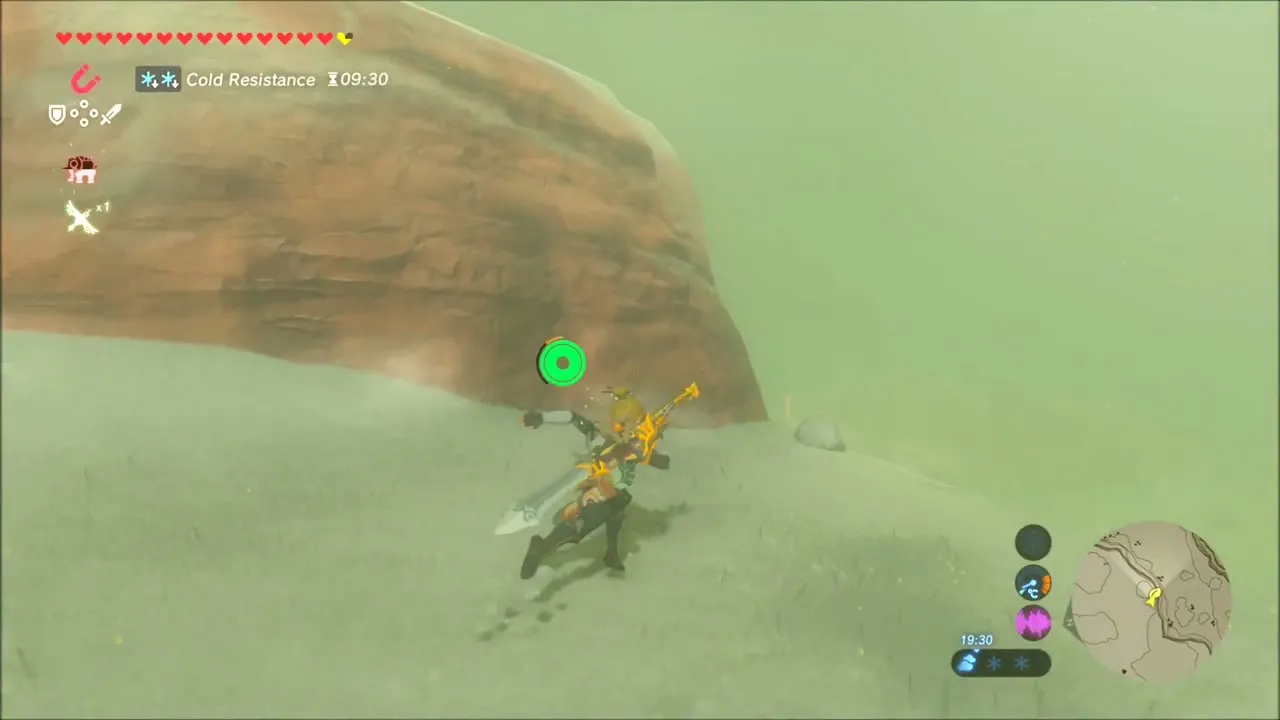
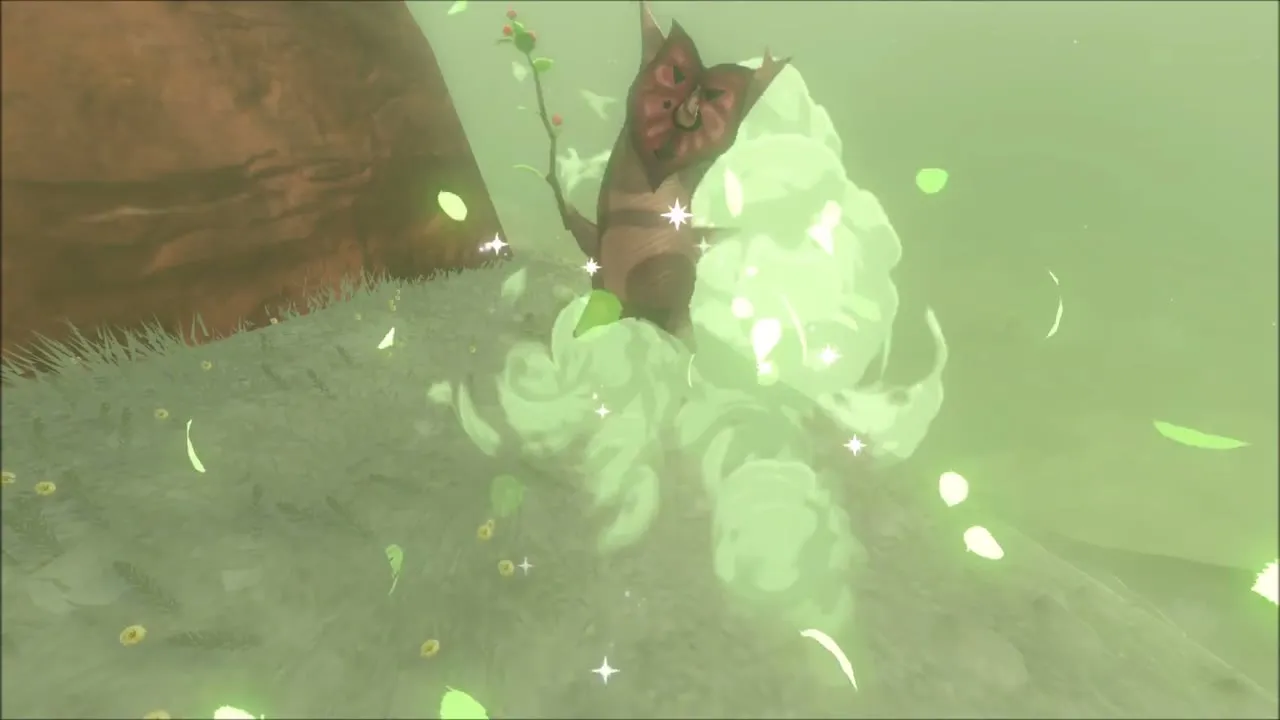
At the foot of a large red boulder lies a small stone, and a short way off is a ring of tiny yellow flowers. Pick the stone up, carry it into the flower ring and set it down. The Korok springs out of the ground and gives you its seed.
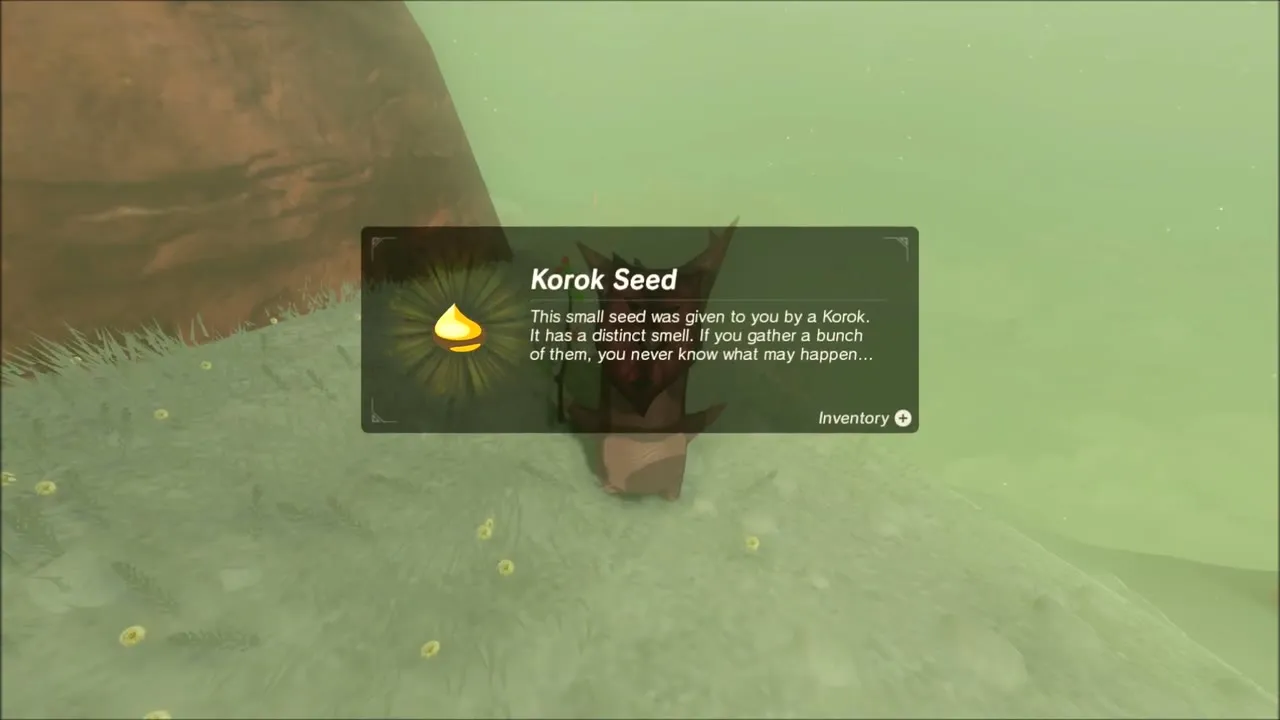
Kema Kosassa Shrine: A Major Test of Strength
Kema Kosassa Shrine lies at (-4657, 905) in the Risoka Snowfield, at the foot of Mount Agaat and hidden behind a slope. Follow the glow of its marker through the blowing snow until the entrance comes into view.
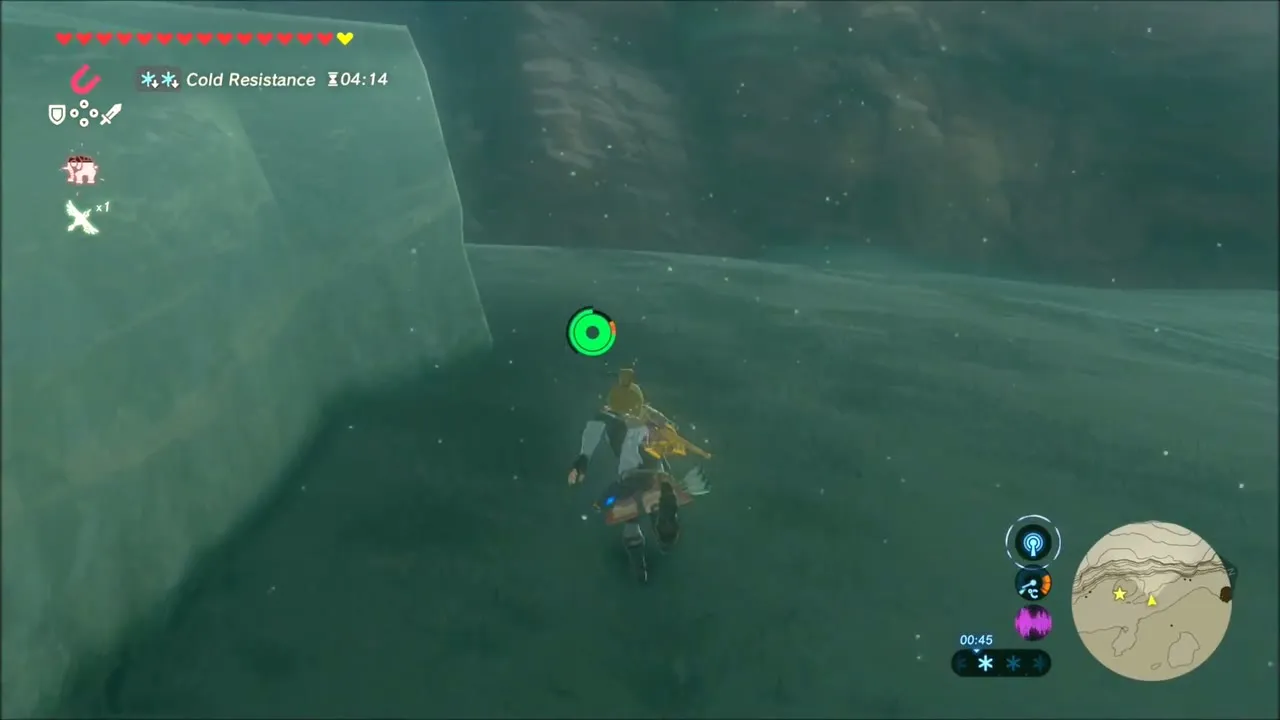
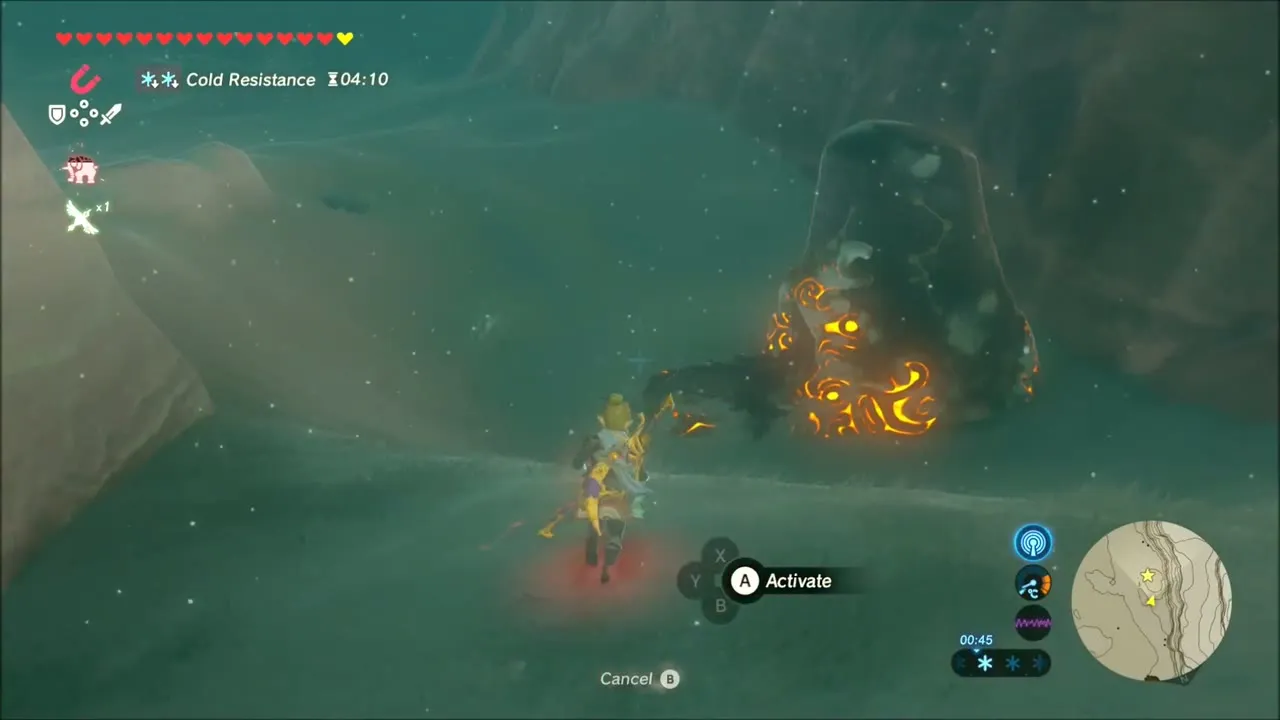
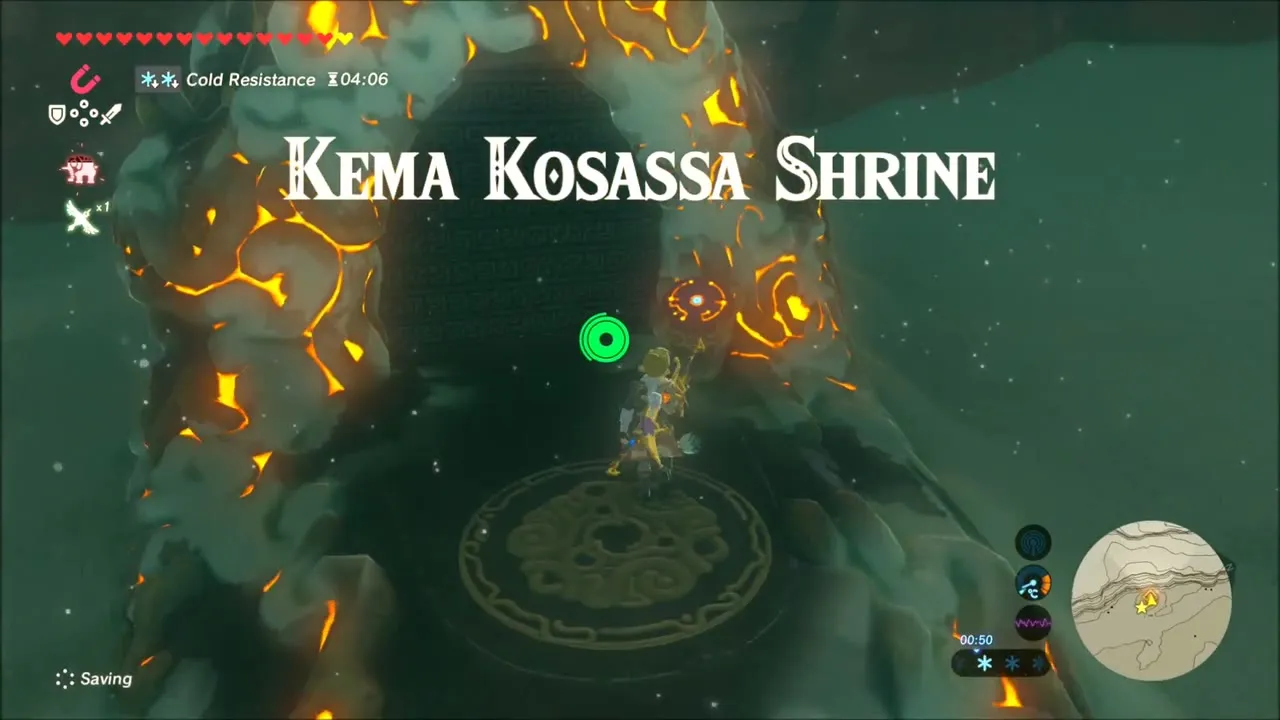
The trial, “A Major Test of Strength”, is a duel with a Guardian Scout IV. Dodge its melee attacks and keep your distance when it fires its beam. Shock arrows and a strong weapon wear it down, and its health bar is long, so fight patiently.
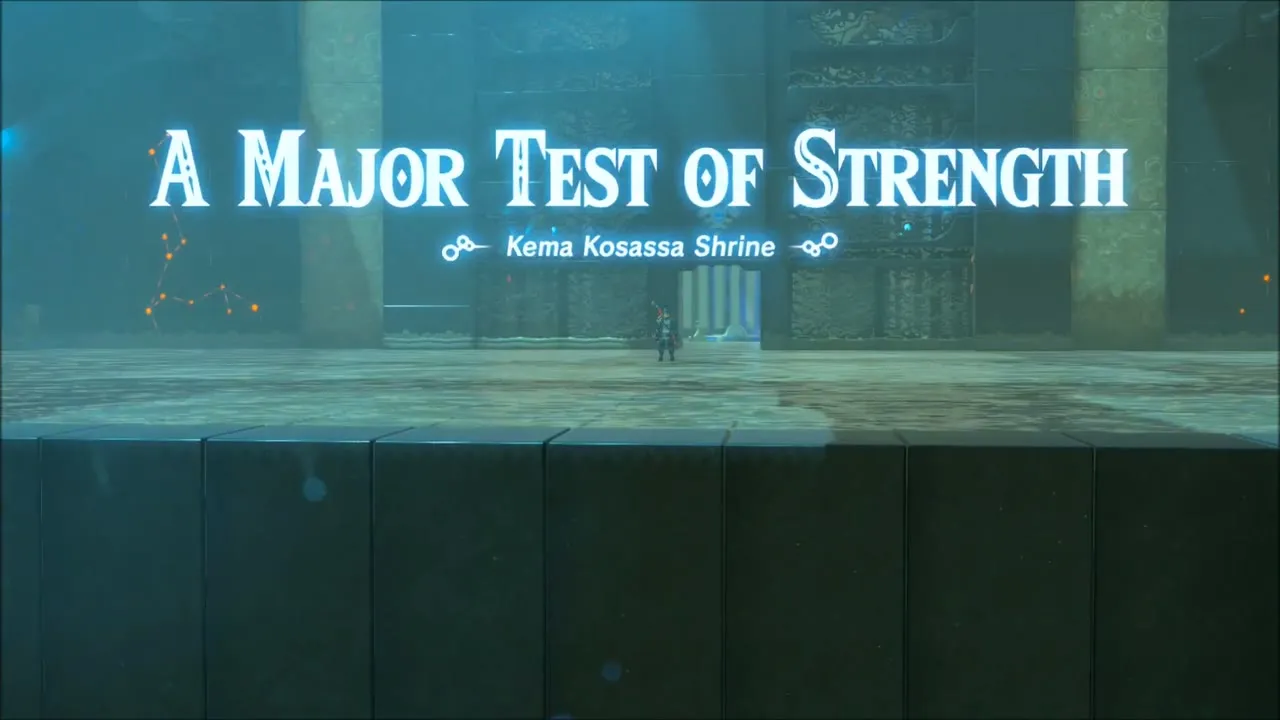

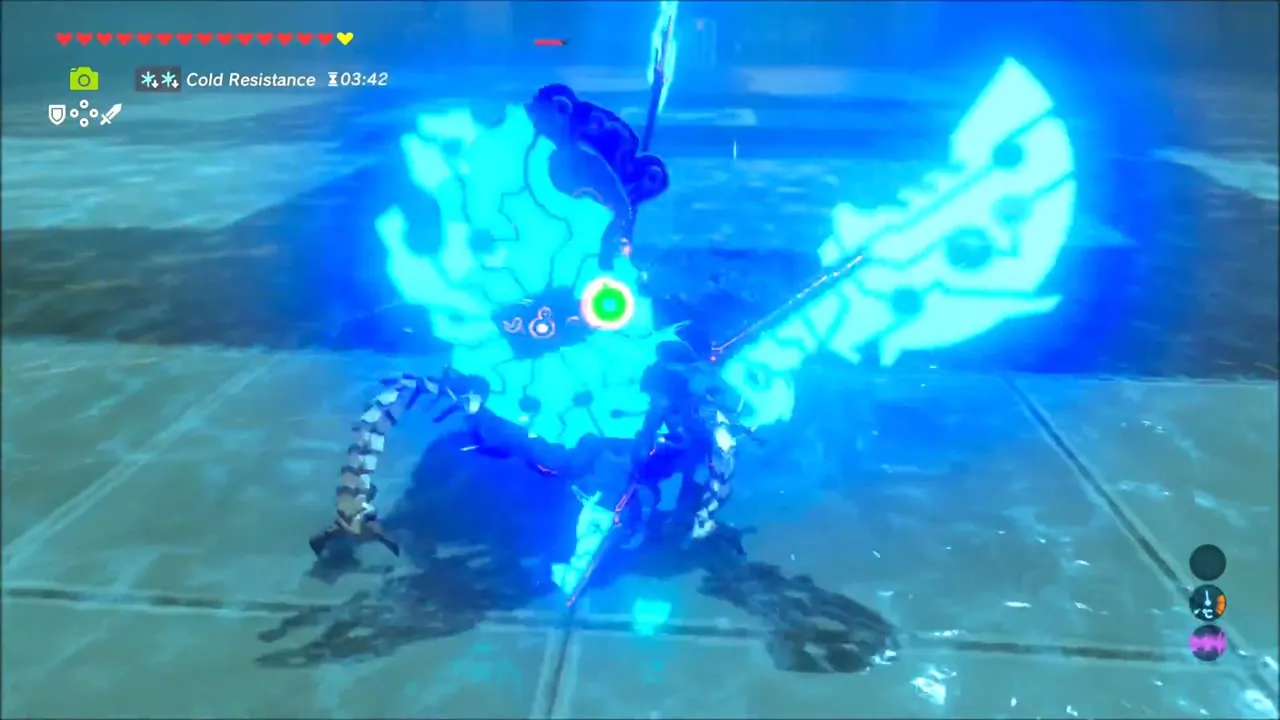

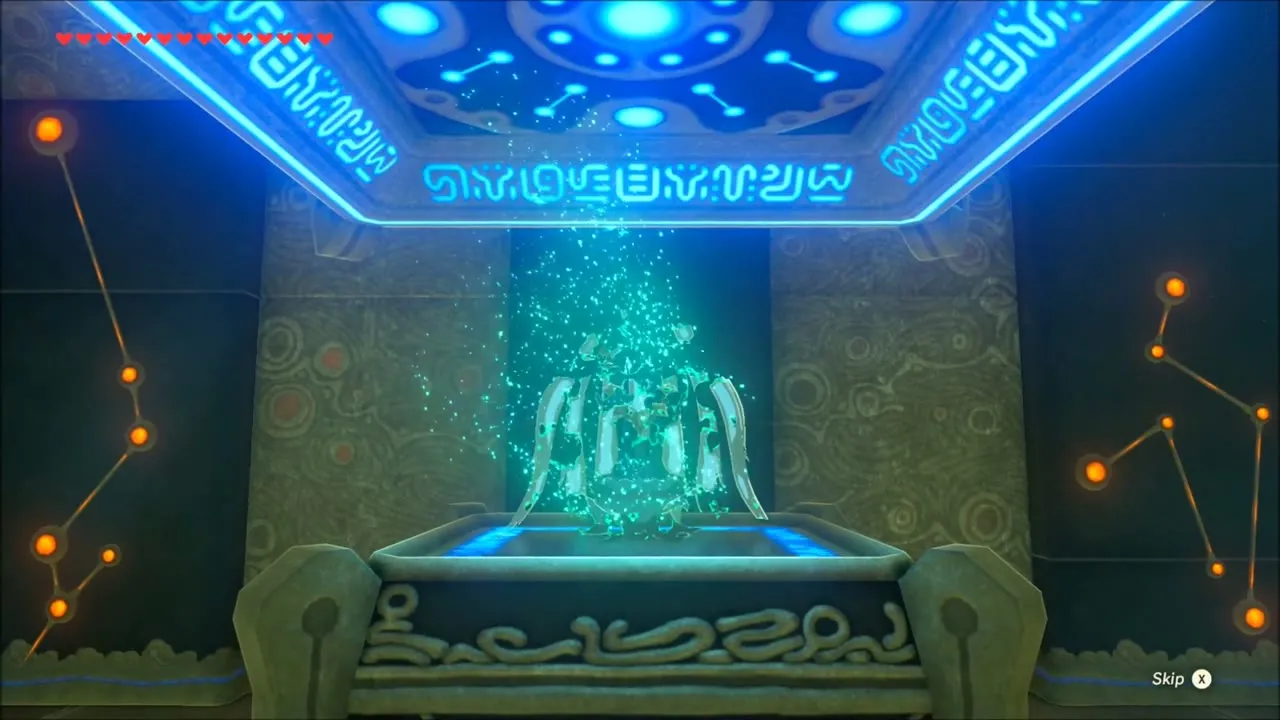
When the Scout falls, open the chest for a Silver Rupee and speak to the monk at the altar to receive the Spirit Orb. Step onto the shrine’s warp pad when you leave.



Mount Agaat Slopes: Korok Seed and Purple Rupee Chests
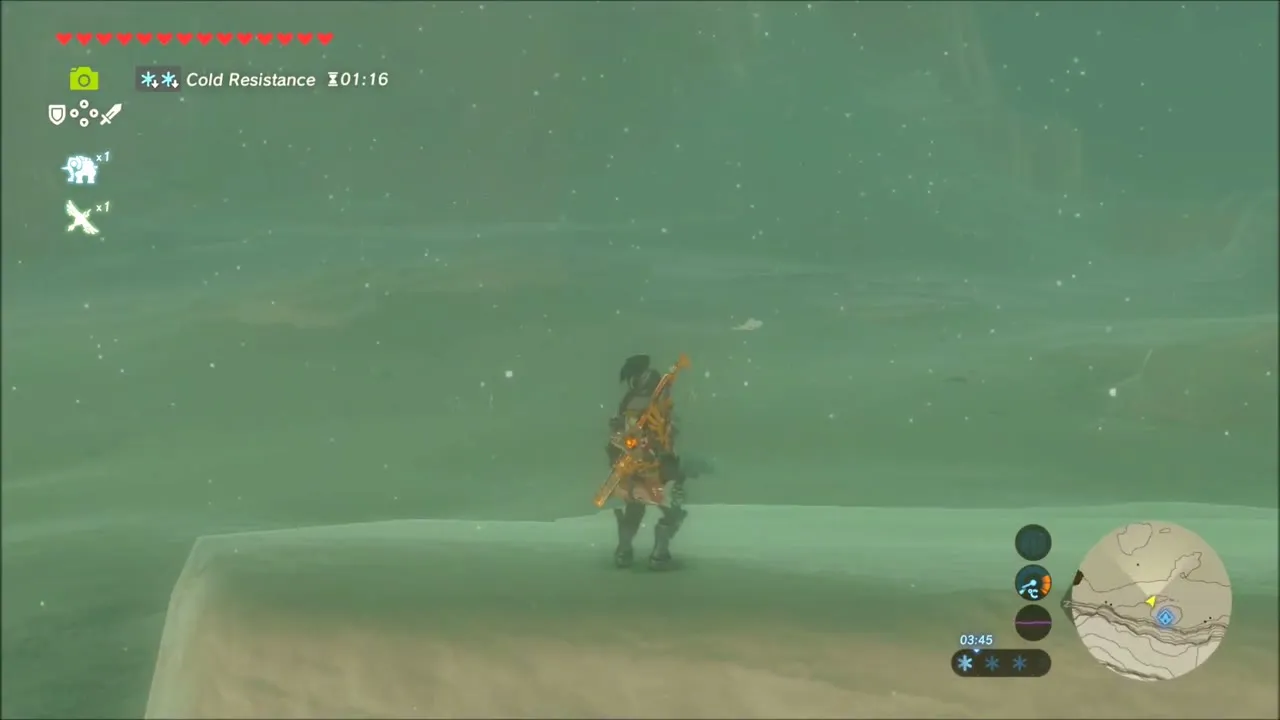
Outside the shrine it is night and your cold-resistance timer is running low. Check the map toward Gerudo Summit, Mystathi’s Shelf and Hemaar’s Descent to the north-east before you set out, and eat or cook something warm first.

Korok seed: burn the wood by the ice
Climb the rise to a ledge capped by a block of ice. Gather Wood, set it alight next to the ice and let the fire burn. A Korok appears beside the rock and hands over a seed.


Purple Rupee chests
Head across the snowfield and glide down to open two chests, each holding a Purple Rupee worth 50 rupees. White and Red Chuchu Jelly drops from the Chuchus you fight here, and a Hasty Meat Skewer from your pouch gives a movement boost for the trek.
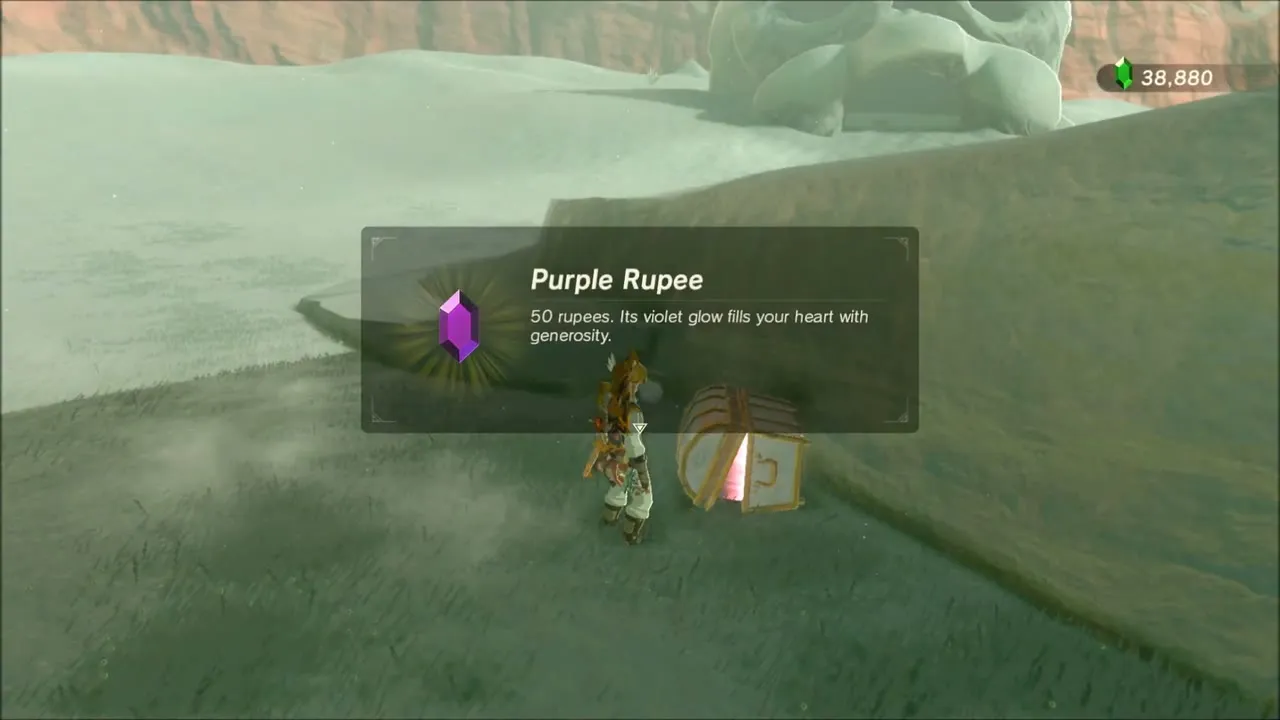
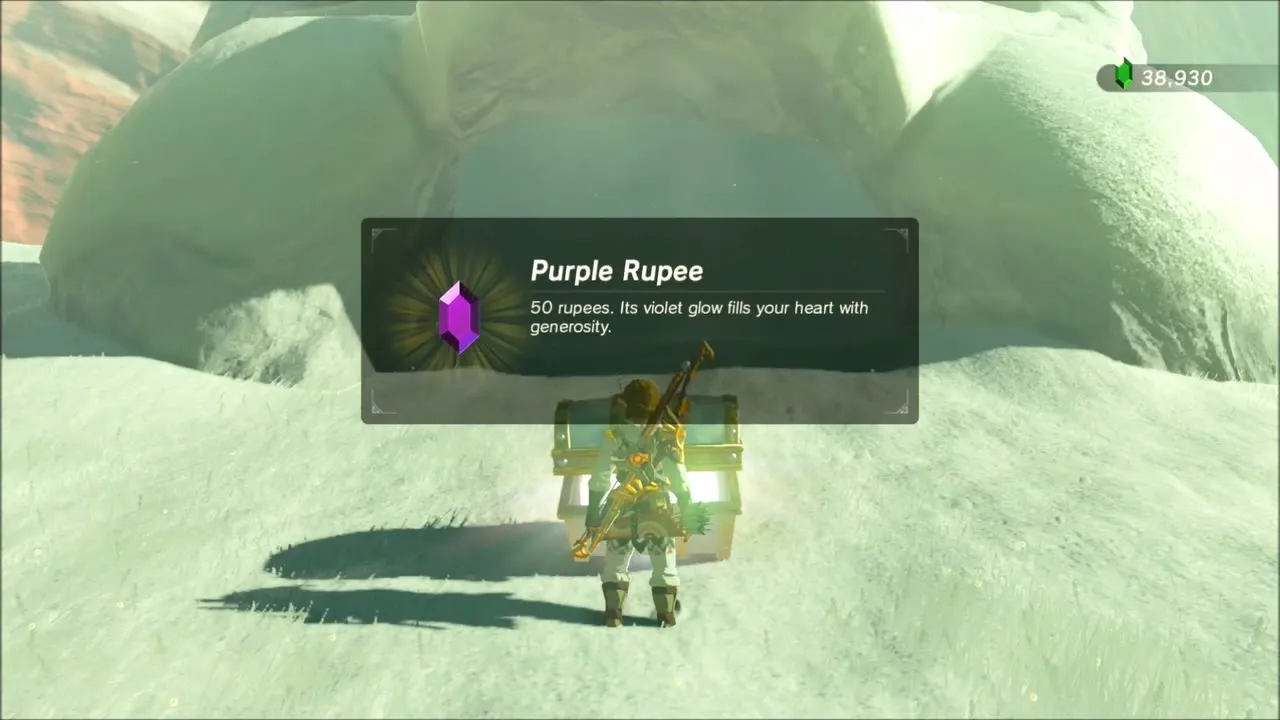


Ledge chest and Lizalfos on the snow
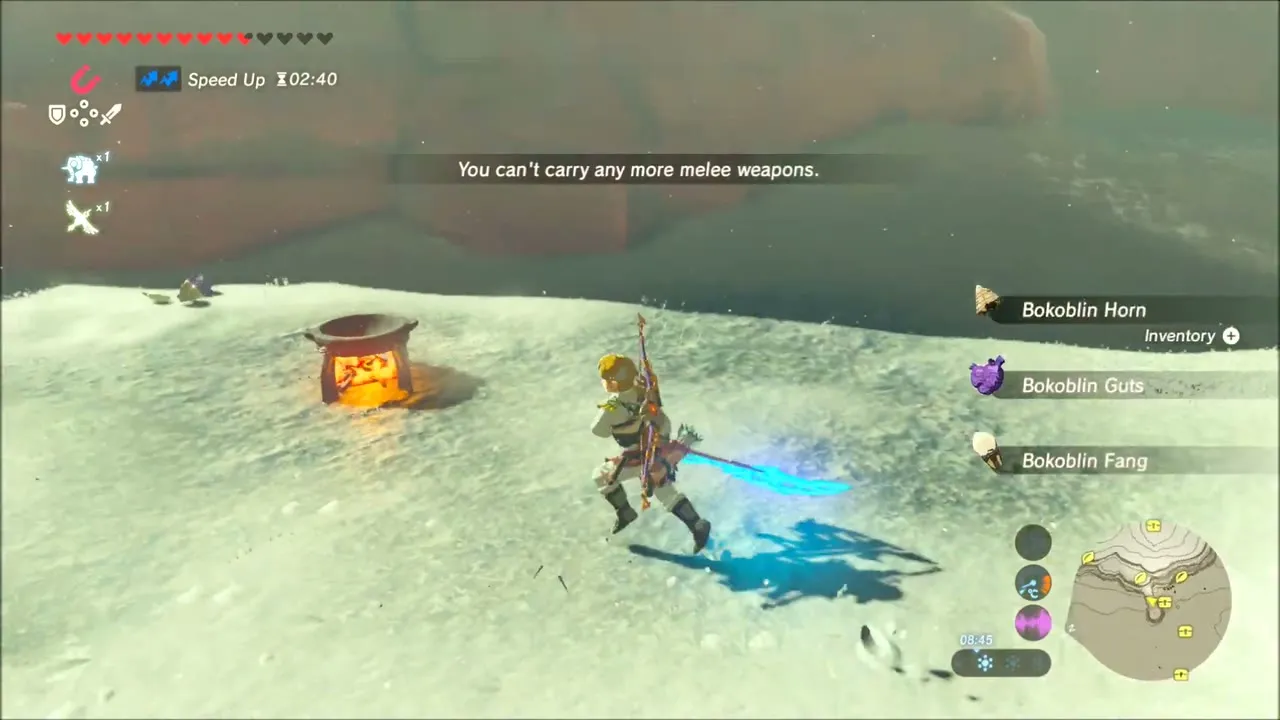
Further on, a chest stands on a snowy ledge above a drop. Lizalfos and Bokoblins guard the area and their fights give Lizalfos Talons, Icy Lizalfos Tails, Bokoblin Guts, Fangs and Horns.

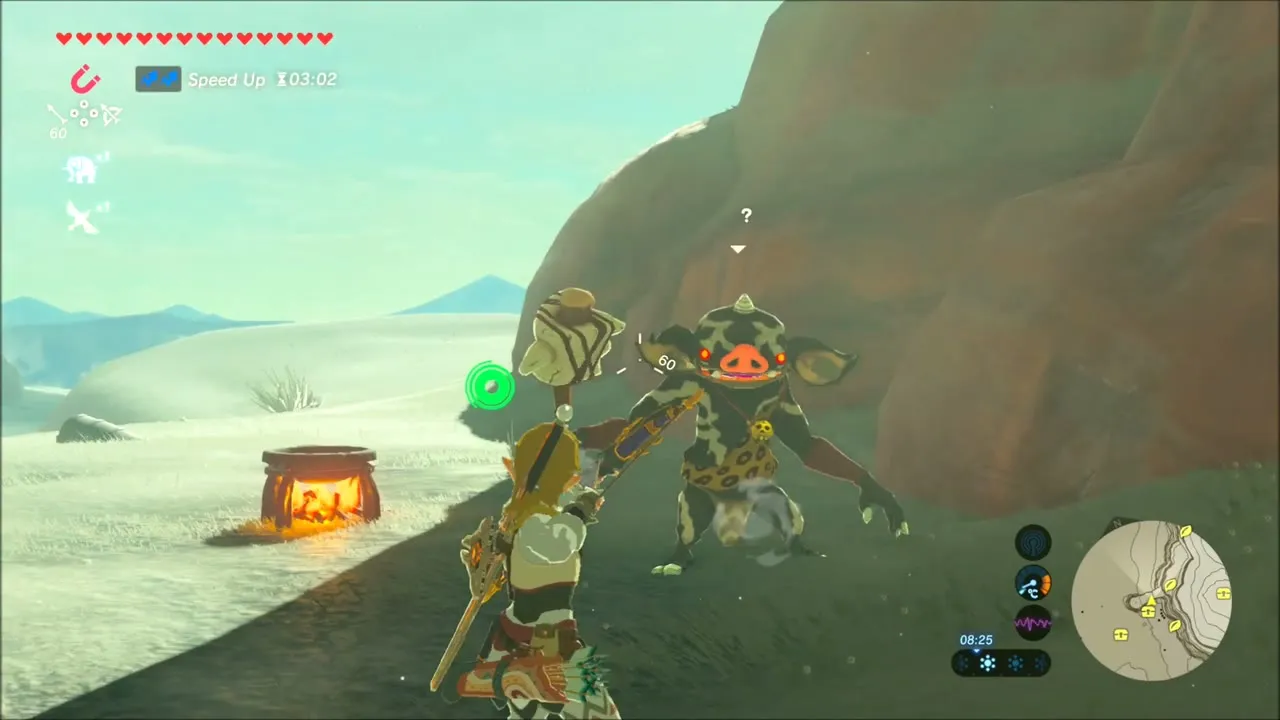
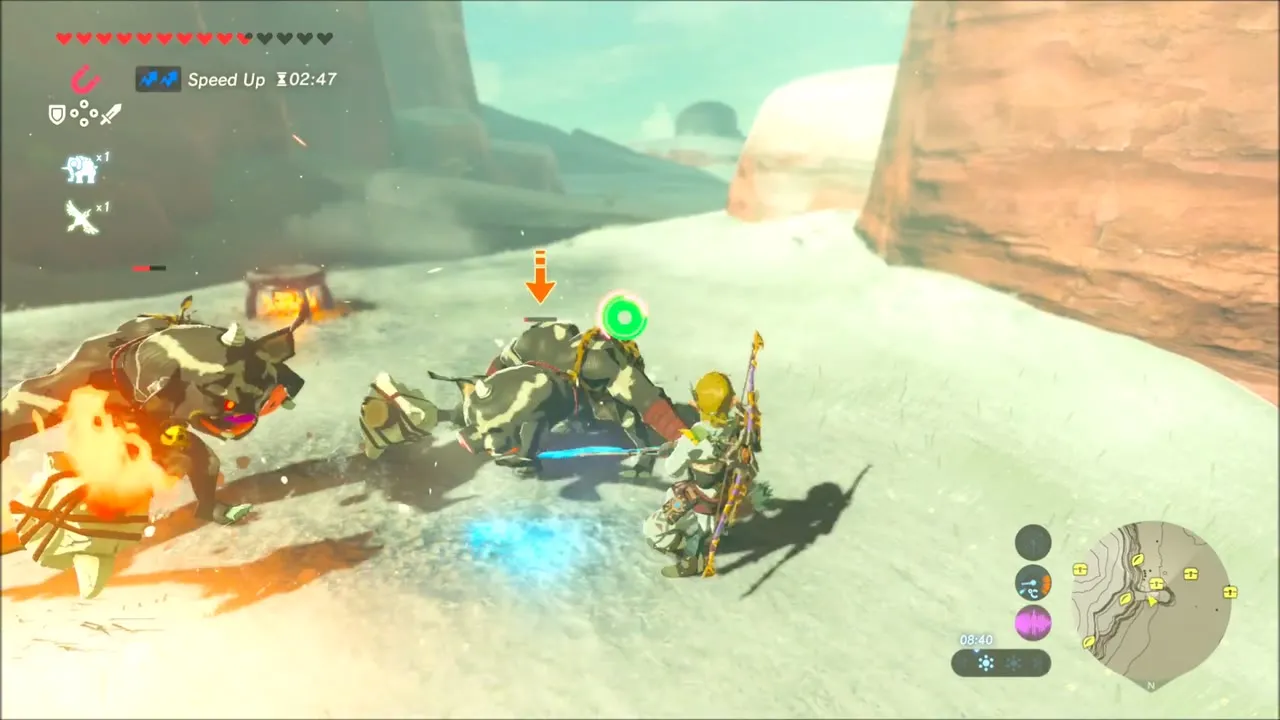
Cliff Korok Seeds and the Statue of the Eighth Heroine
Korok seed: climb the red cliff
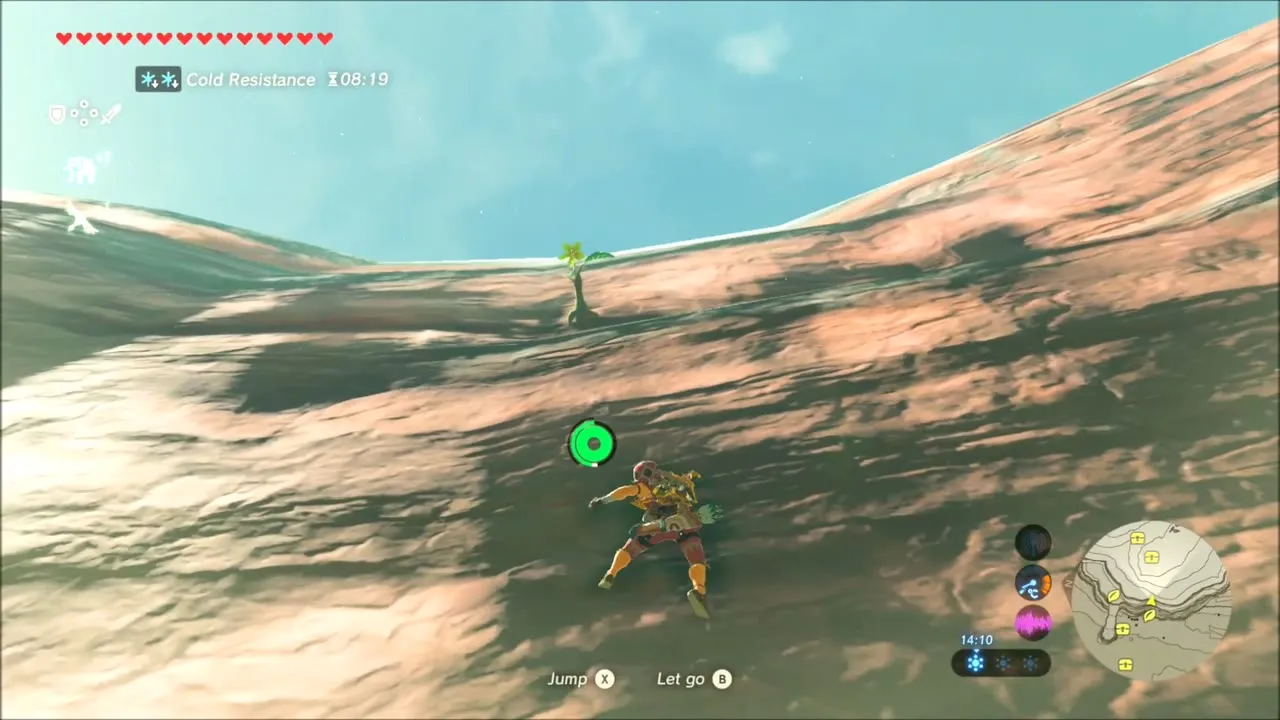
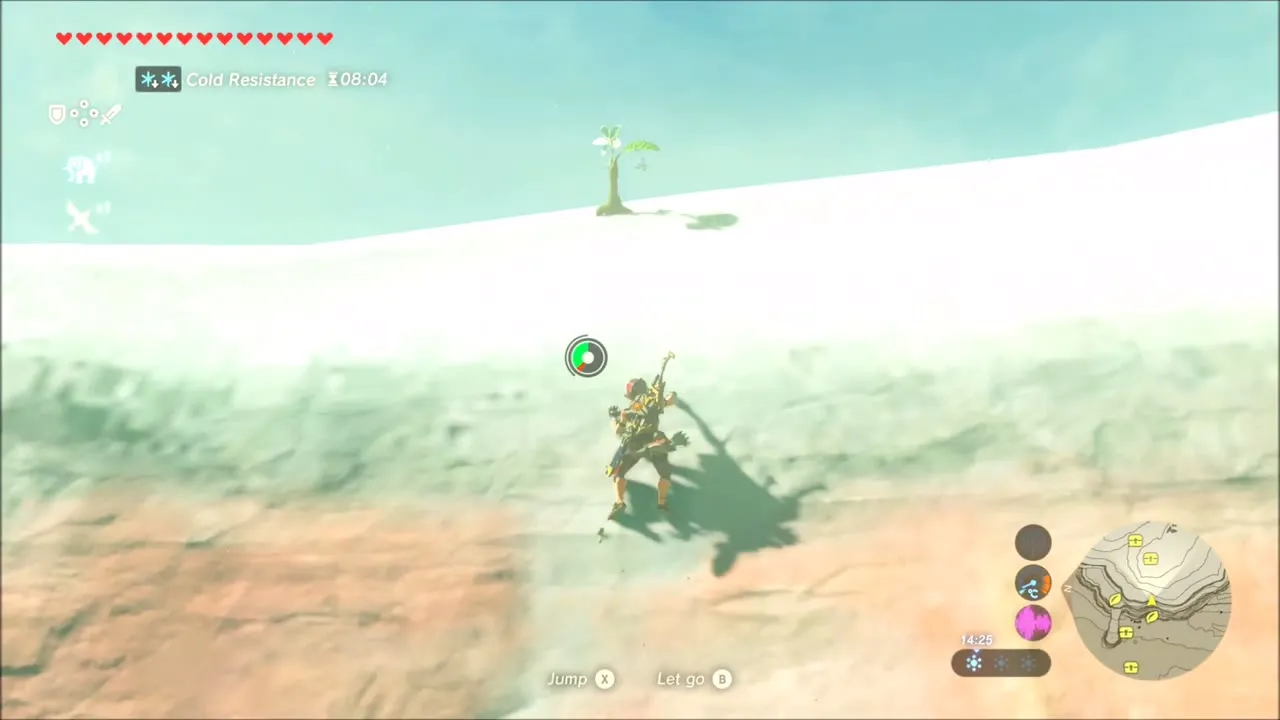
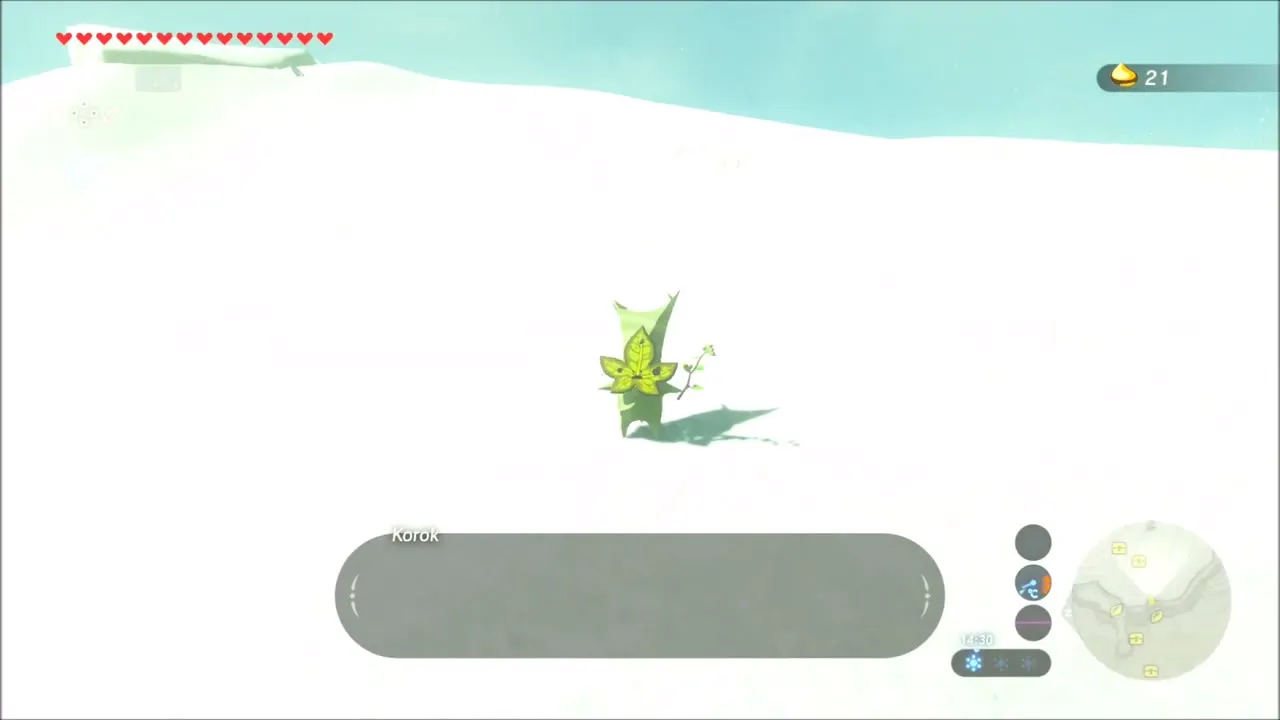
Climb the red cliff face to the snowy top, where a lone leaf marks a Korok. Pull yourself over the edge, walk up to it and take the seed.

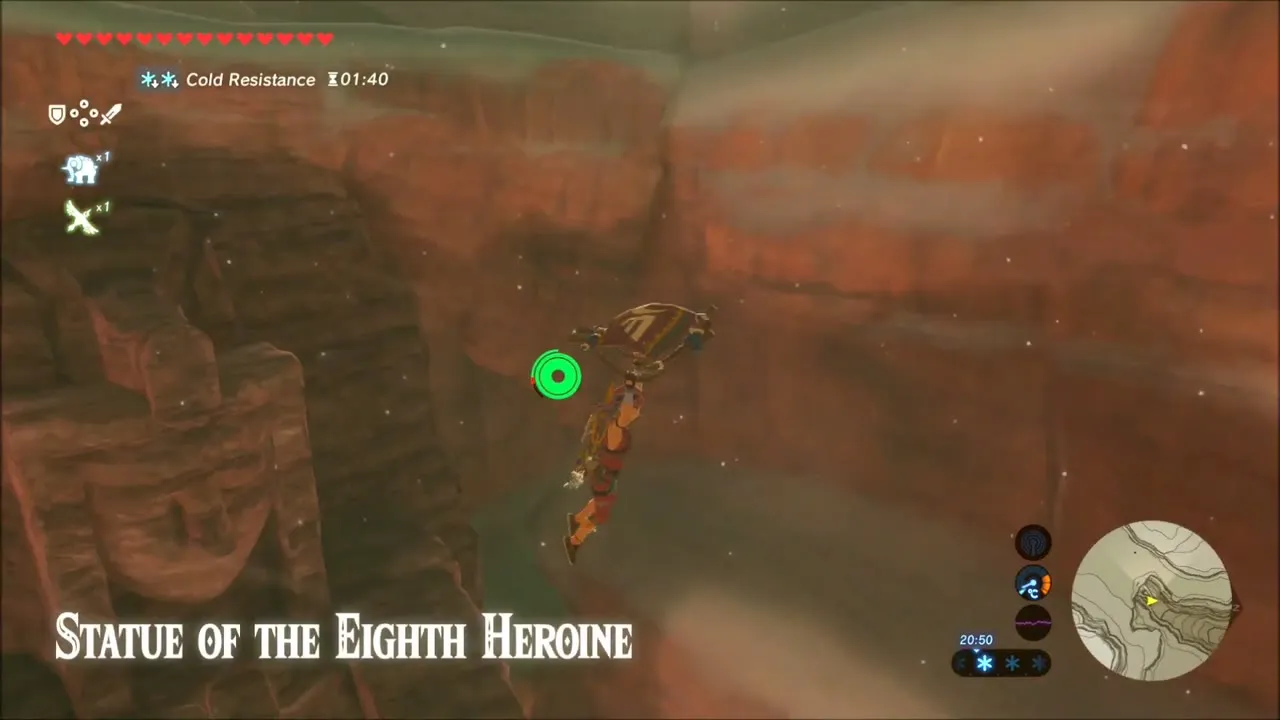
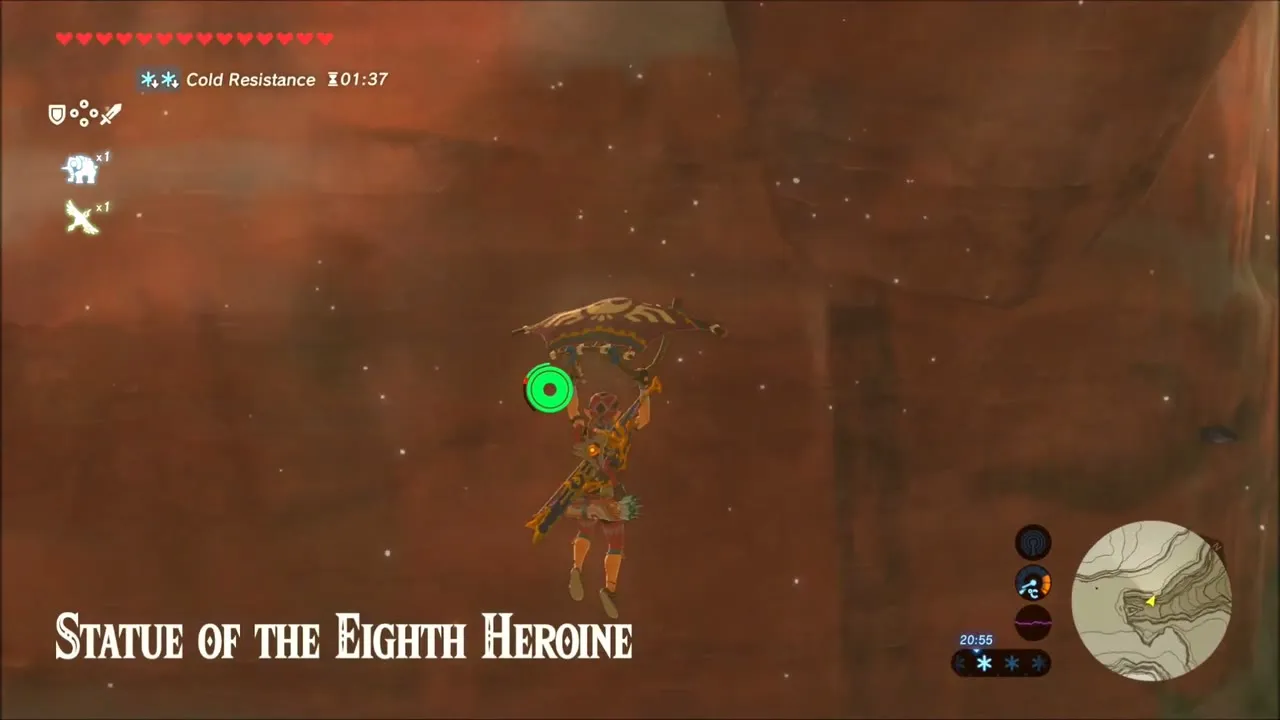
Glide north into the valley. The title “Statue of the Eighth Heroine” appears as you drop in. This giant carved figure is the target of The Eighth Heroine side quest, so take a photo while you are here.
Korok seed: stone blocks and Magnesis
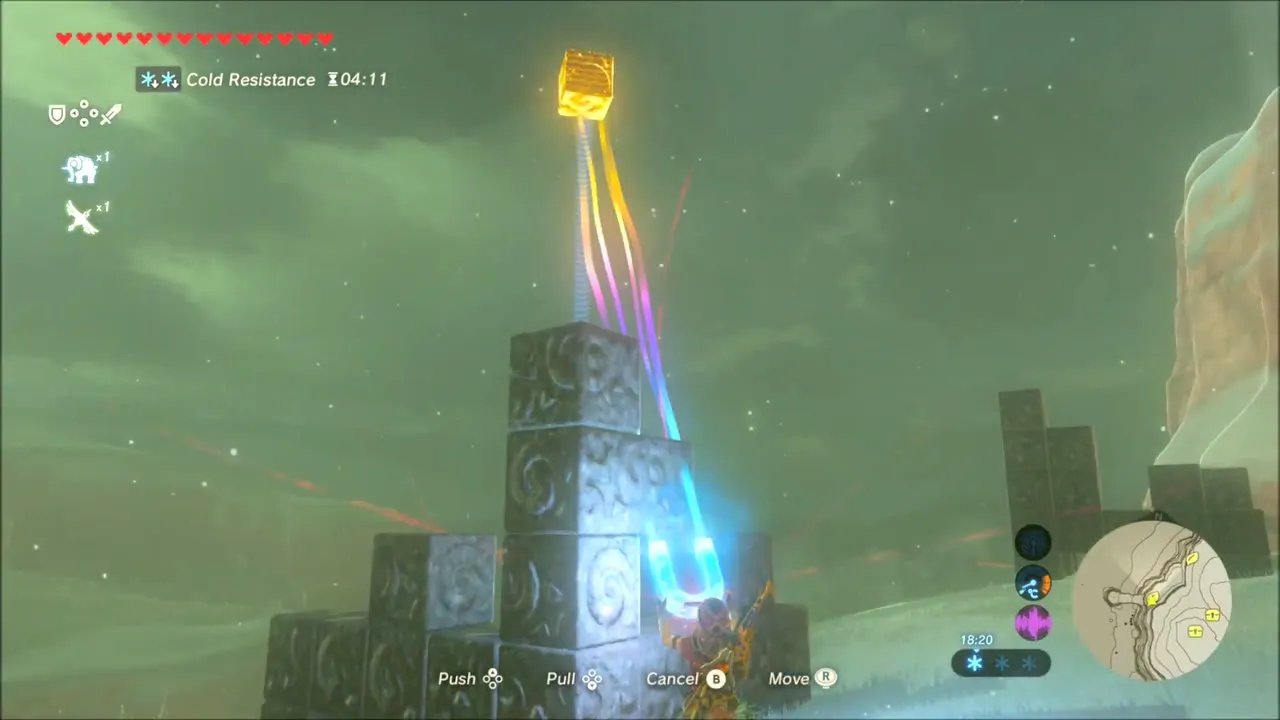
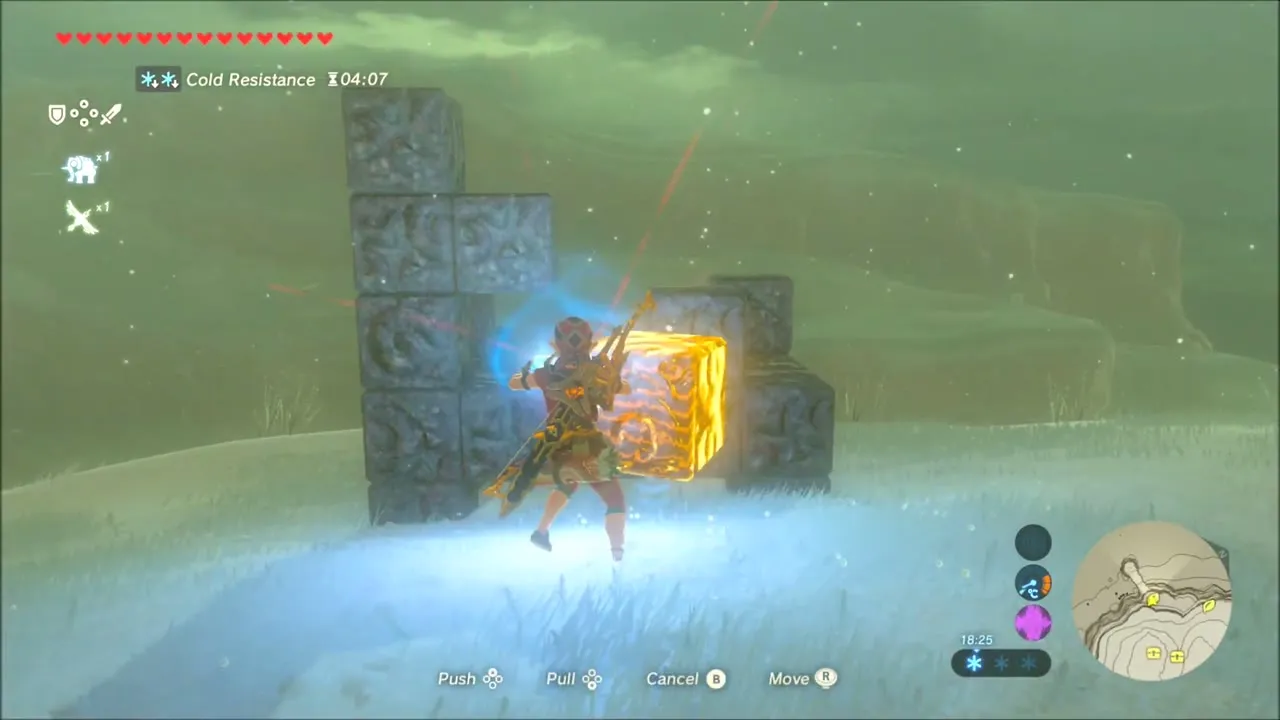
Nearby, a tall stack of carved stone blocks has one metal block set into it. Grab the metal block with Magnesis and pull it clear of the stack. A Korok appears on a lone block, and you receive a seed.
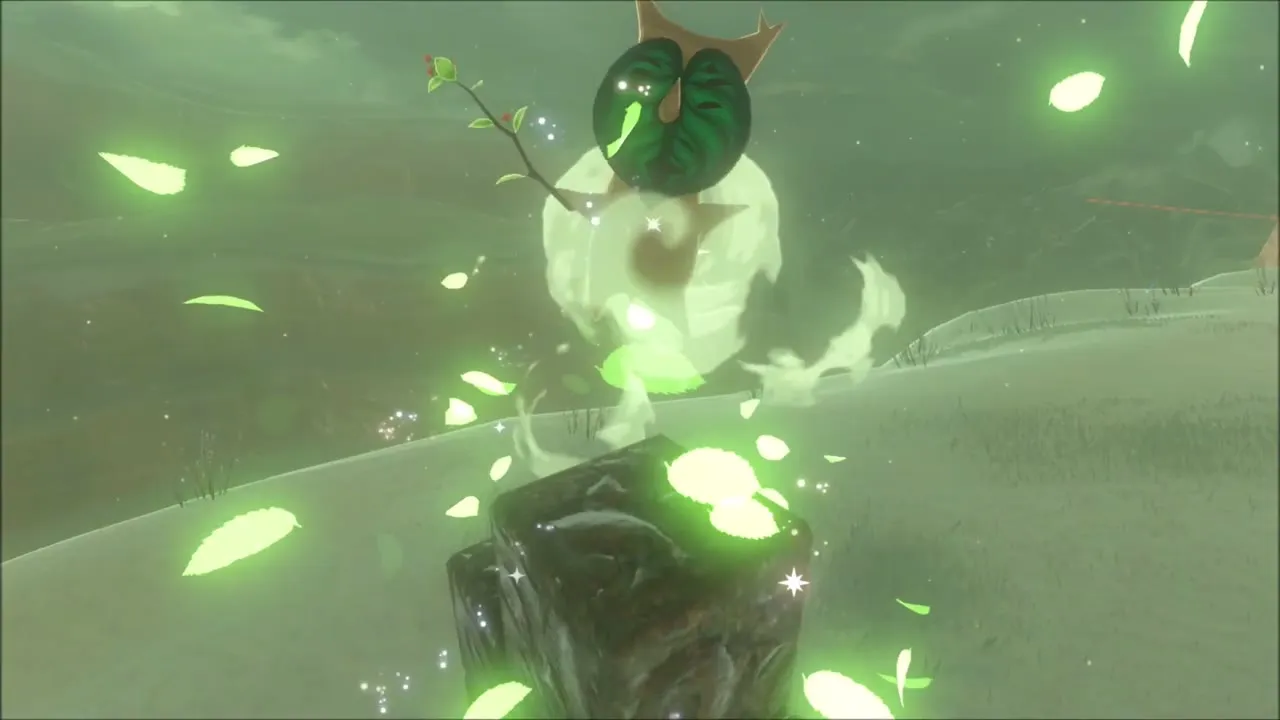
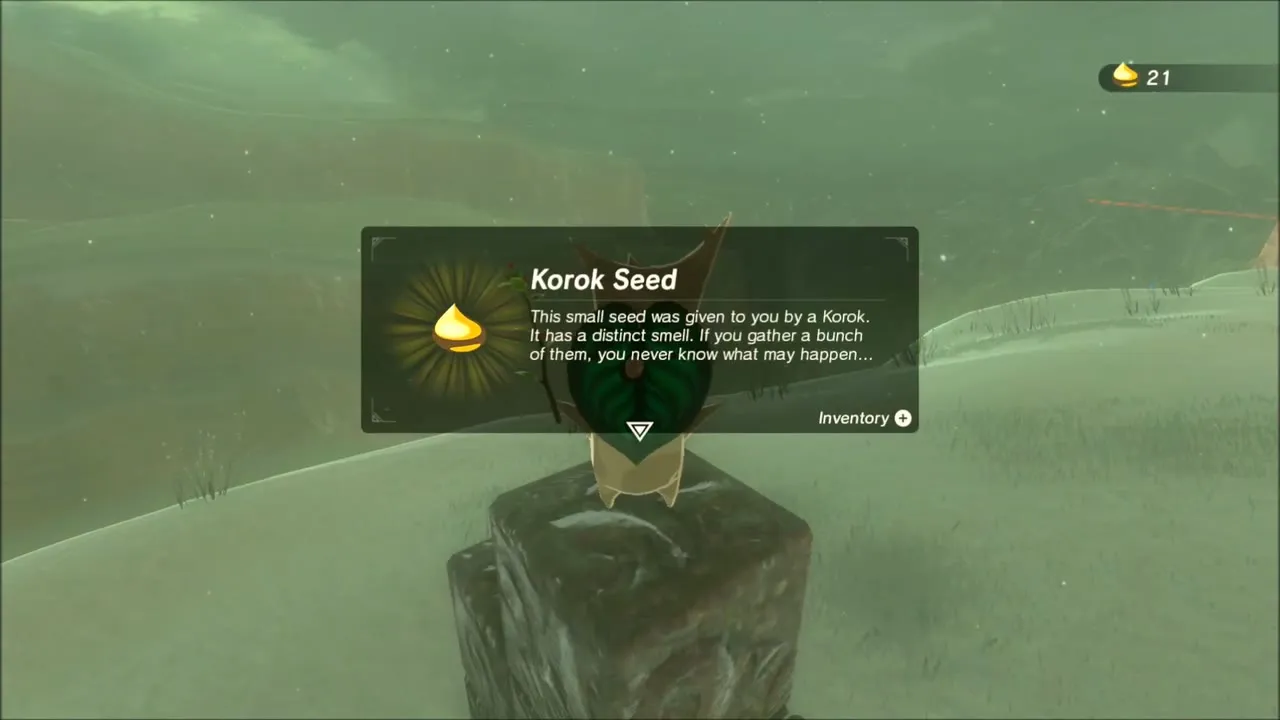
Korok seed: glide to the cliff ledge
Glide down off the ridge toward a ring of yellow sparkles by the cliff. Land on the ledge, talk to the Korok and take the seed.

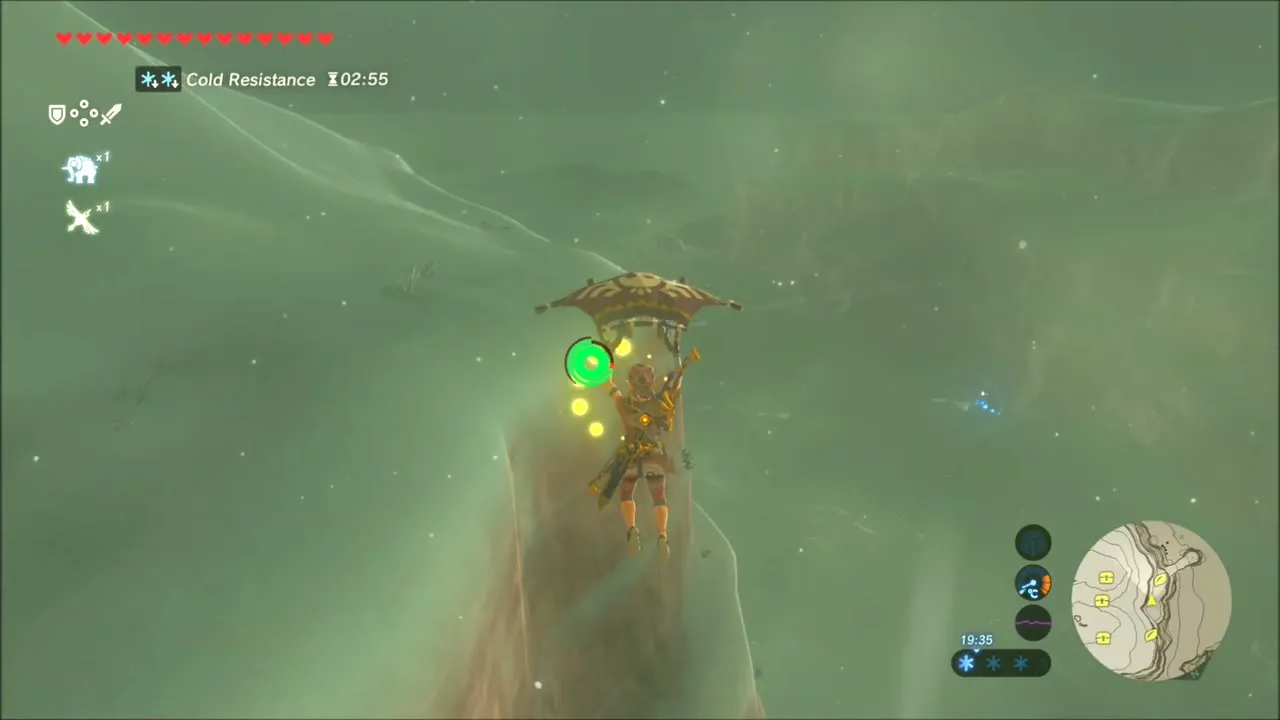

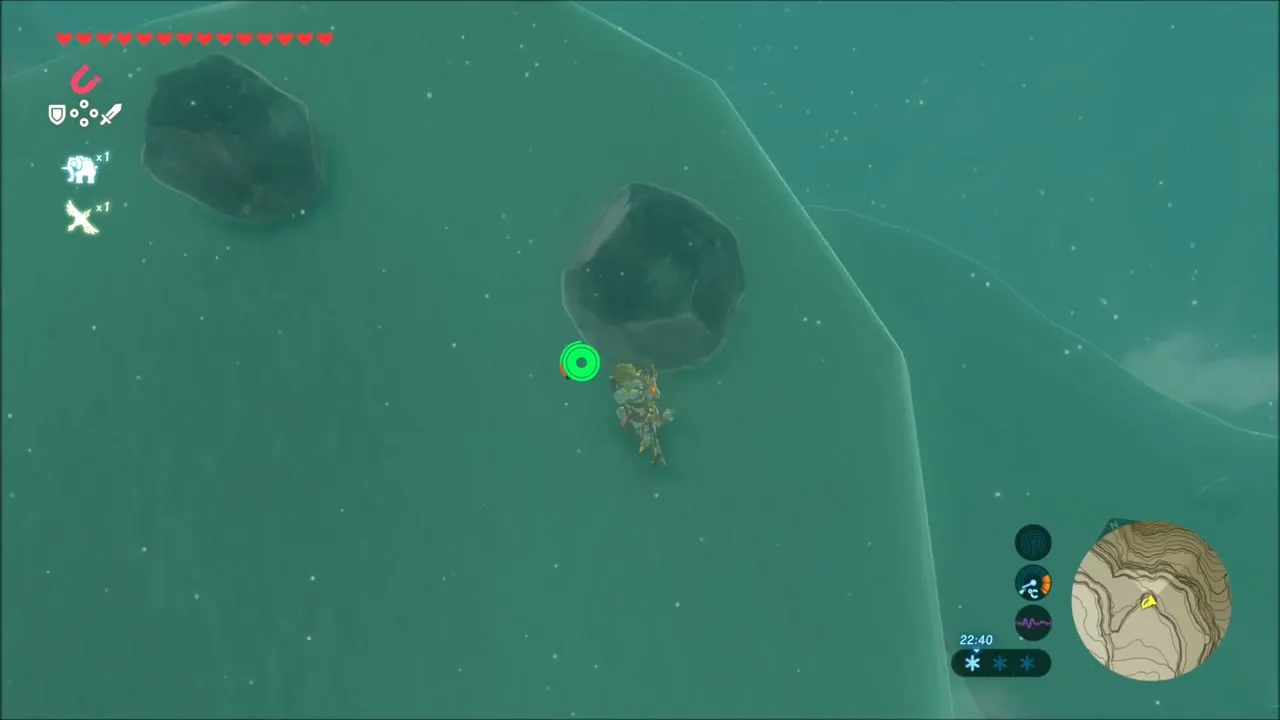
Korok seed: slope with dark boulders
Further along, dark boulders lie scattered on a pale slope above a drop. Reach the ledge beside them and you find a Korok sitting there for another seed.

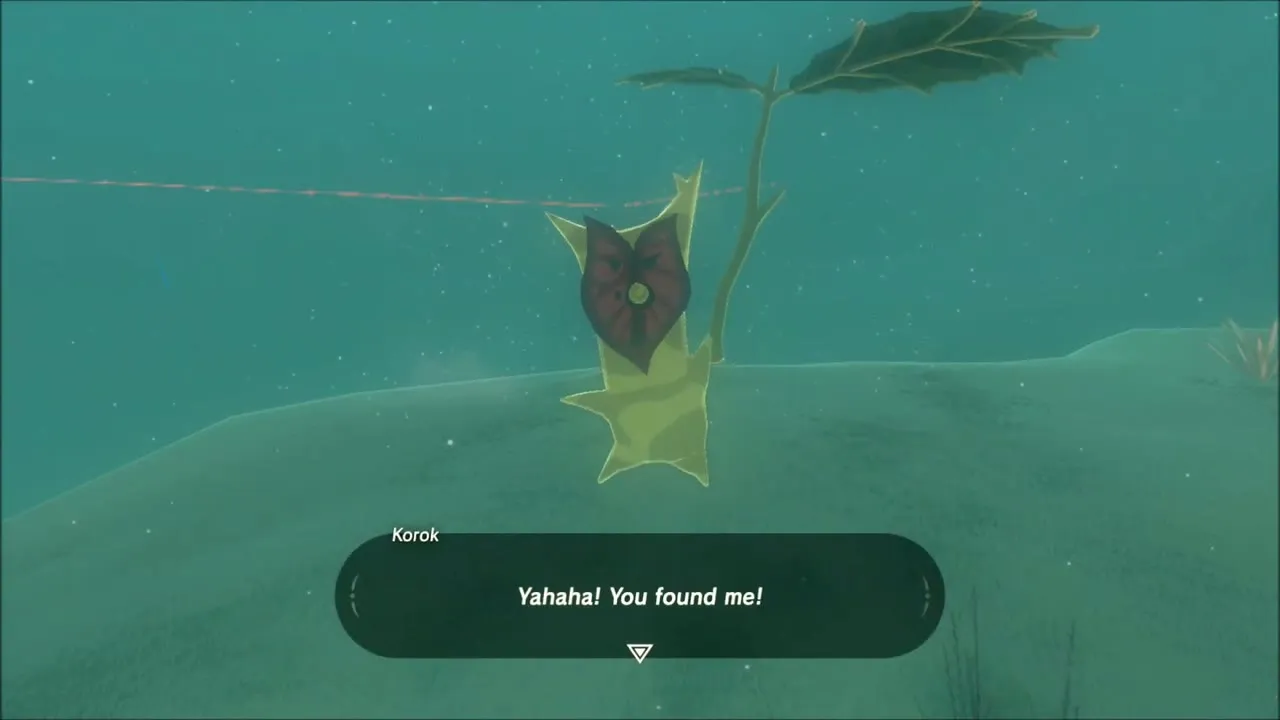
Korok seed: leaf on the cliff
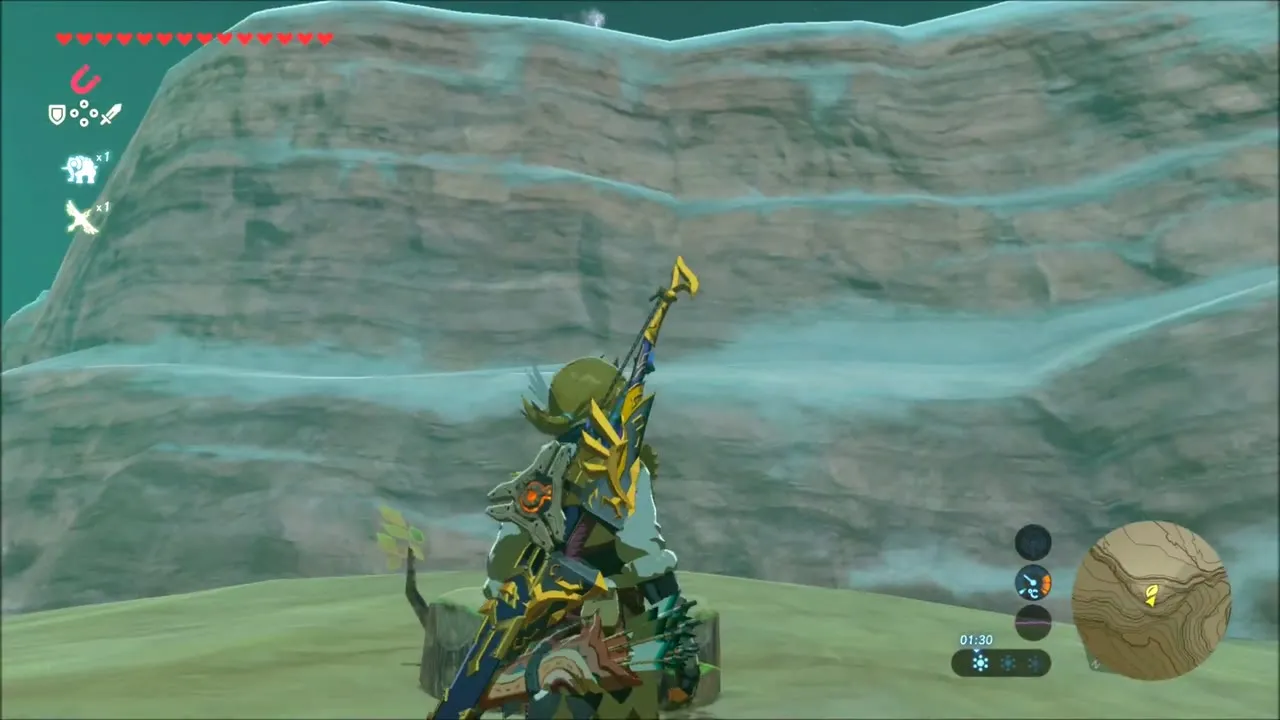
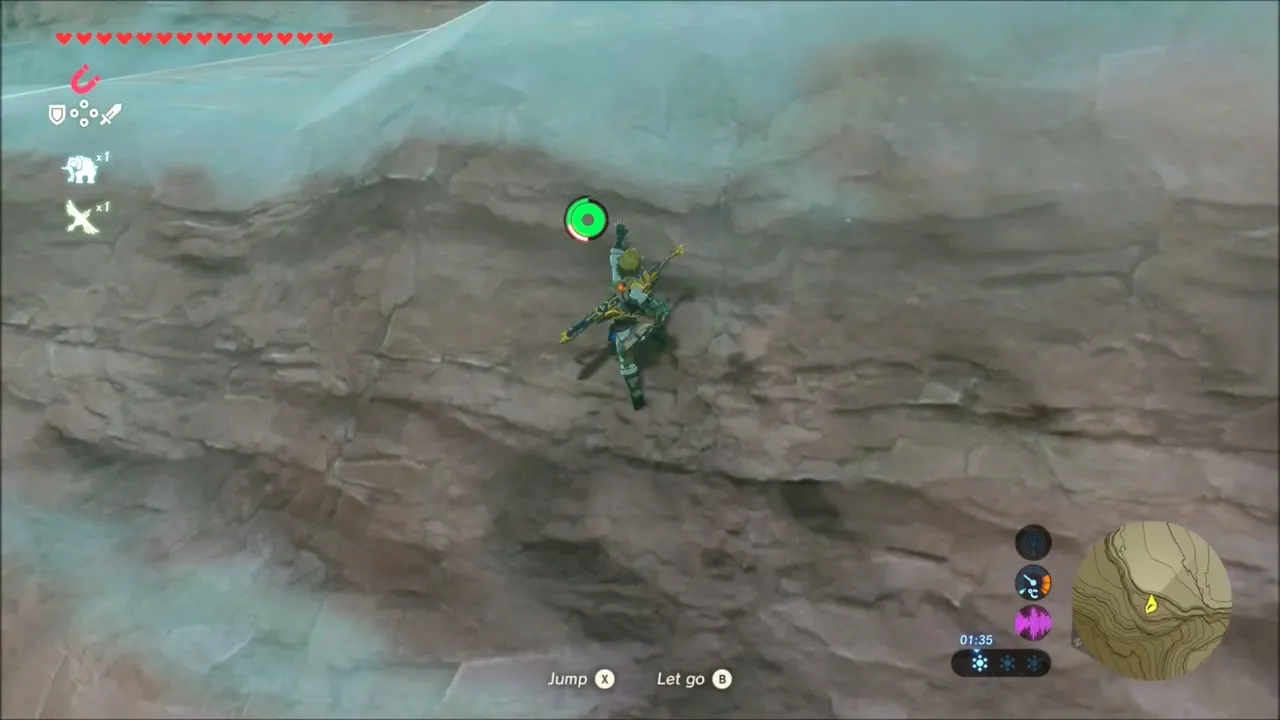
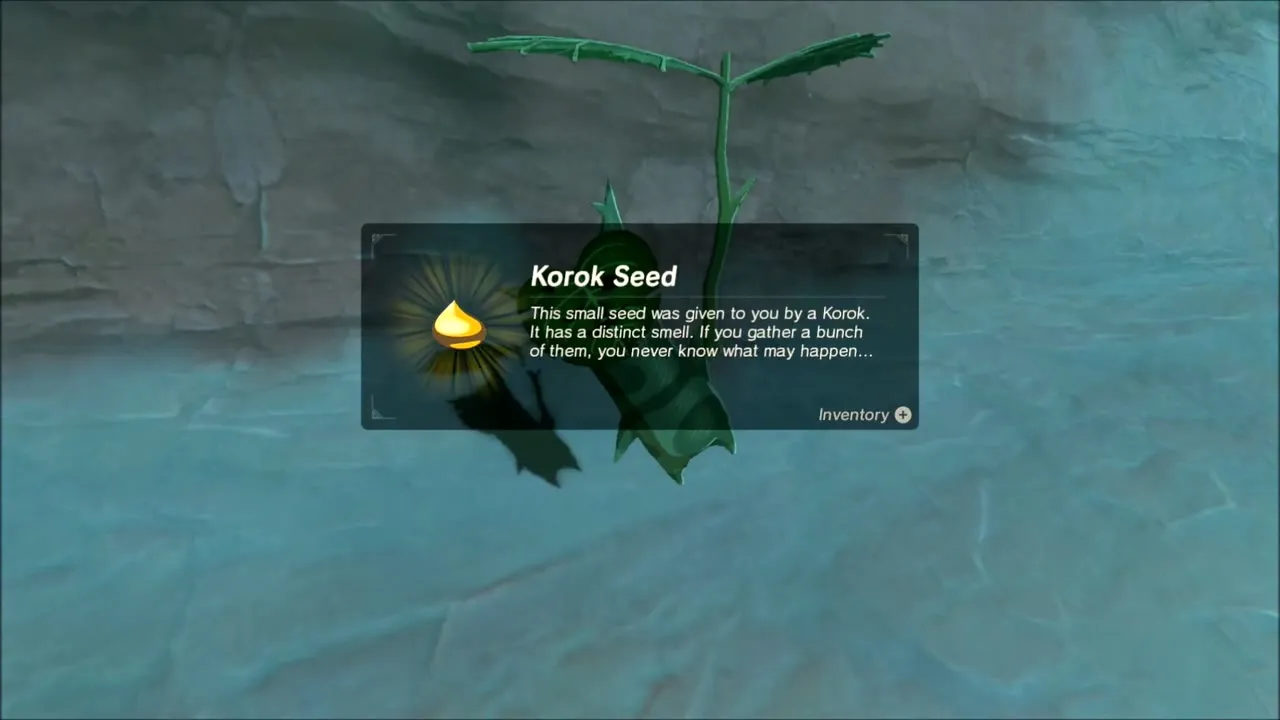
Climb a cliff face to a leaf-topped Korok perched on the wall. Go up to it and talk for the seed.

Rock-Carrying Korok Seed and the White-Maned Lynel
Korok seed: carry a rock to the boulder
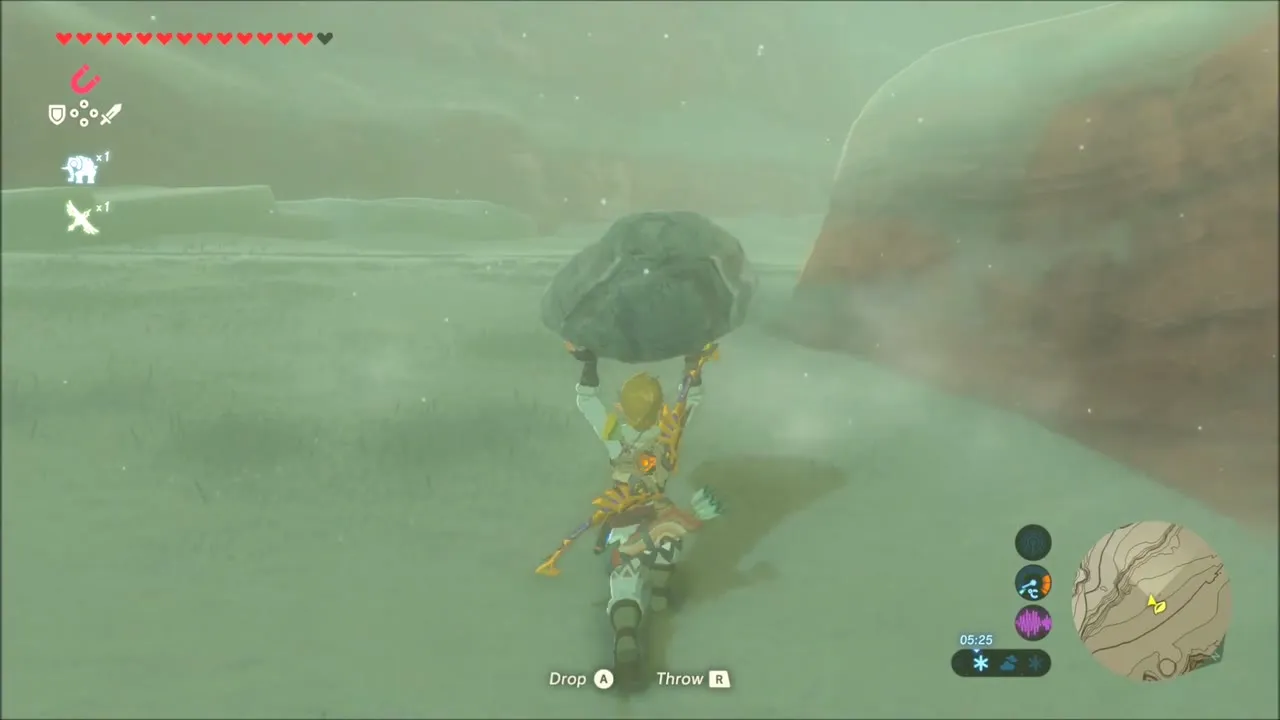
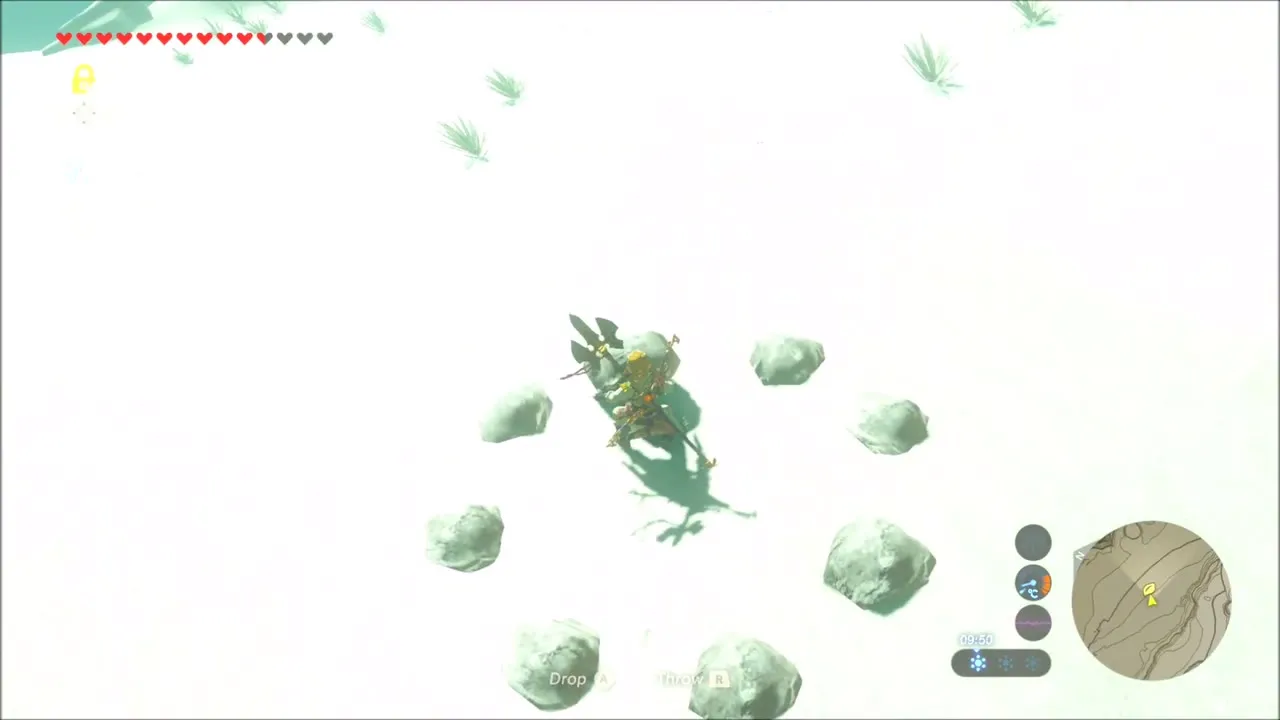
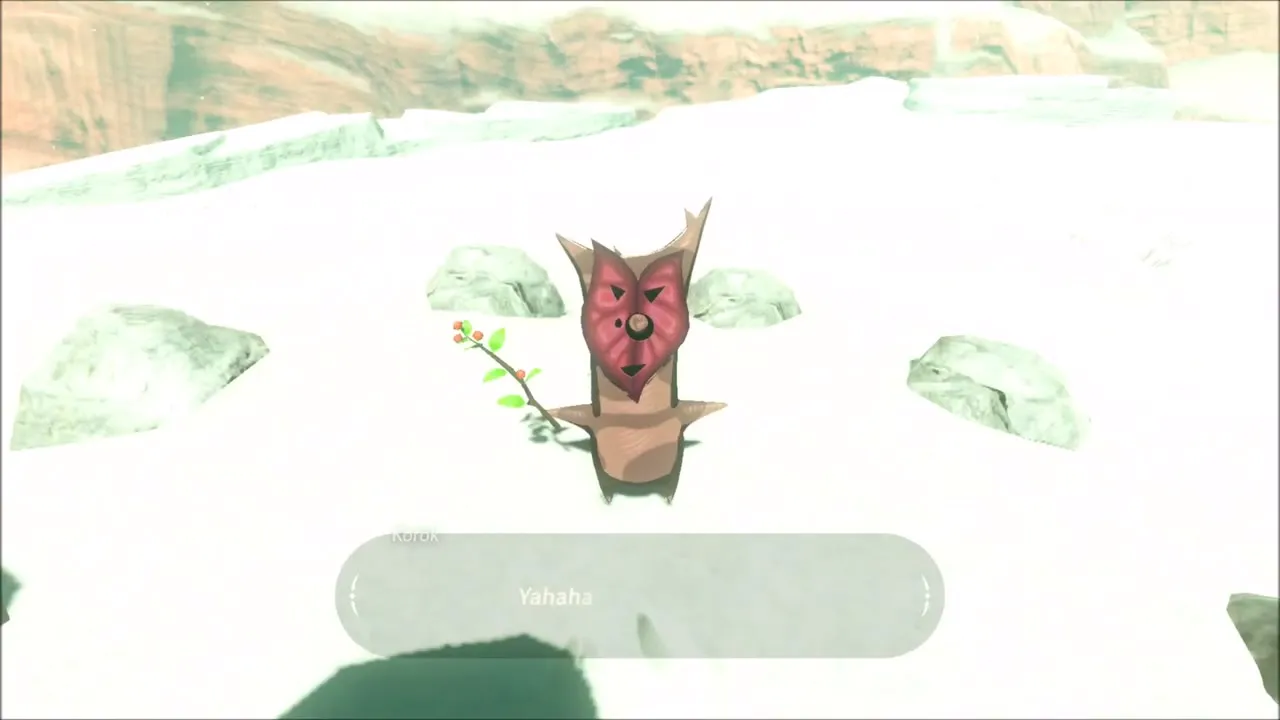
On the flat ground ahead, pick up a loose rock and carry it a long way across the plain and climb the large red boulder with it. Set the rock down among the small stones on top and the Korok appears with its seed.


White-Maned Lynel
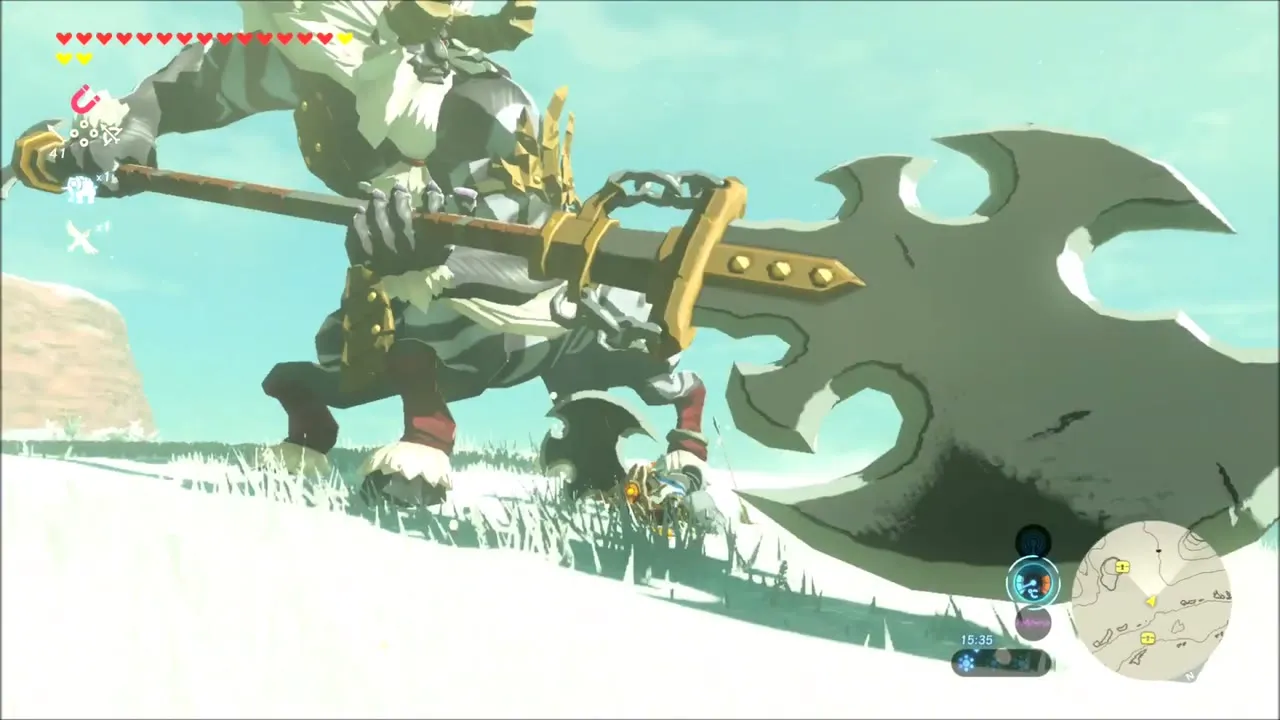
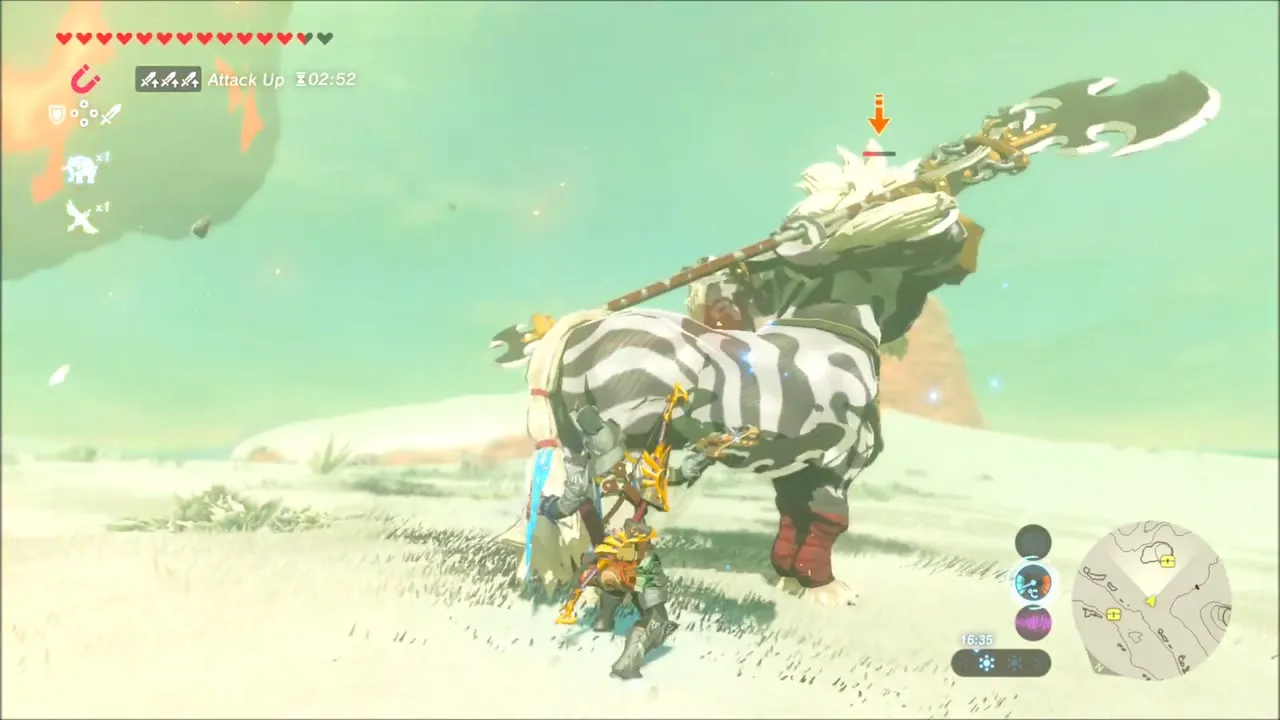
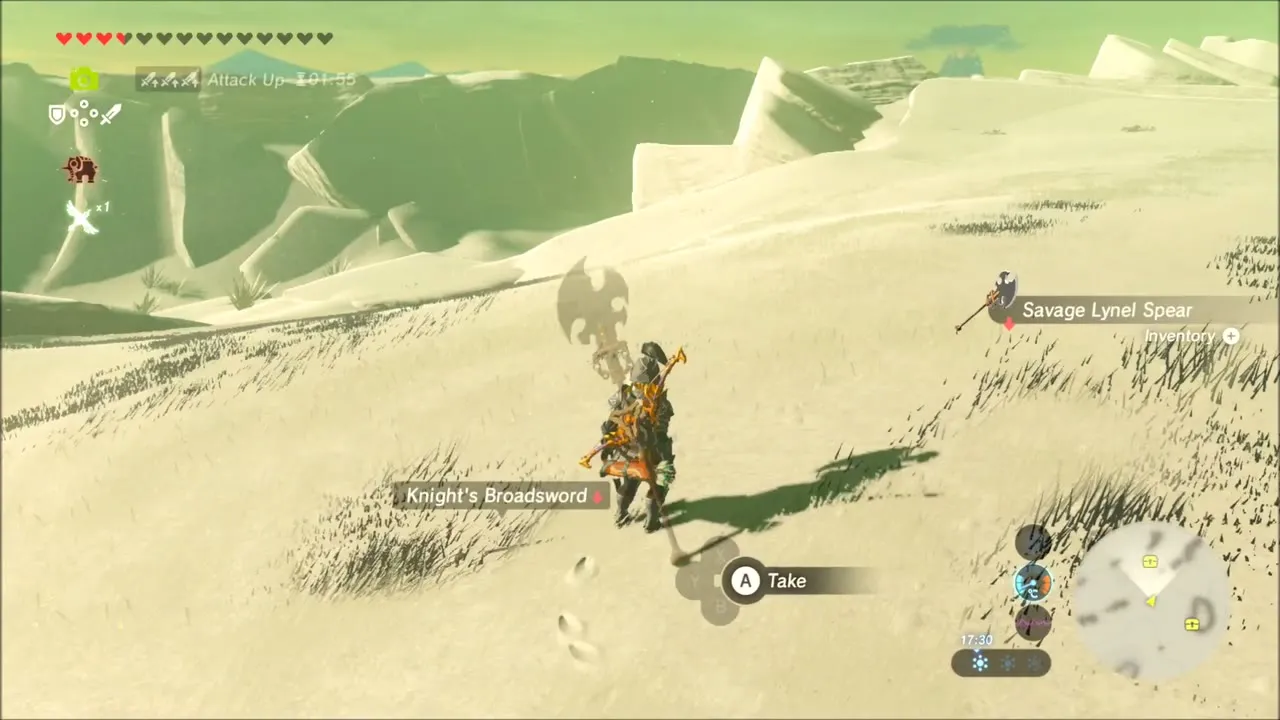
On the white plain a White-Maned Lynel prowls with a large spear. Put on your Soldier’s gear, eat a Mighty Mushroom Skewer for the attack boost and fight it with arrows and well-timed dodges. When it falls it leaves a Savage Lynel Spear along with other Lynel parts.

Royal Shield chest and Lizalfos
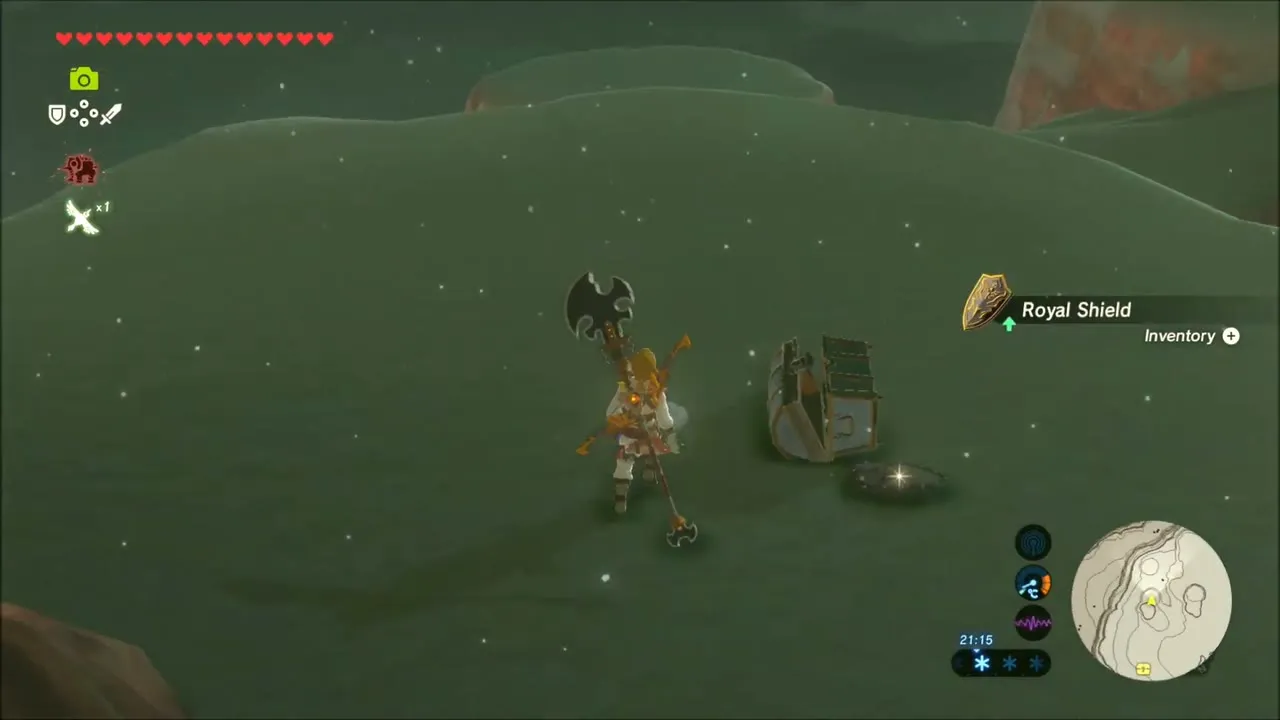
Back in the cold fog a chest on the ground gives a Royal Shield. Lizalfos in the area drop Talons, Horns and Icy Lizalfos Tails, so clear them while you open the chests nearby.

Korok seed: rock carried to the Korok
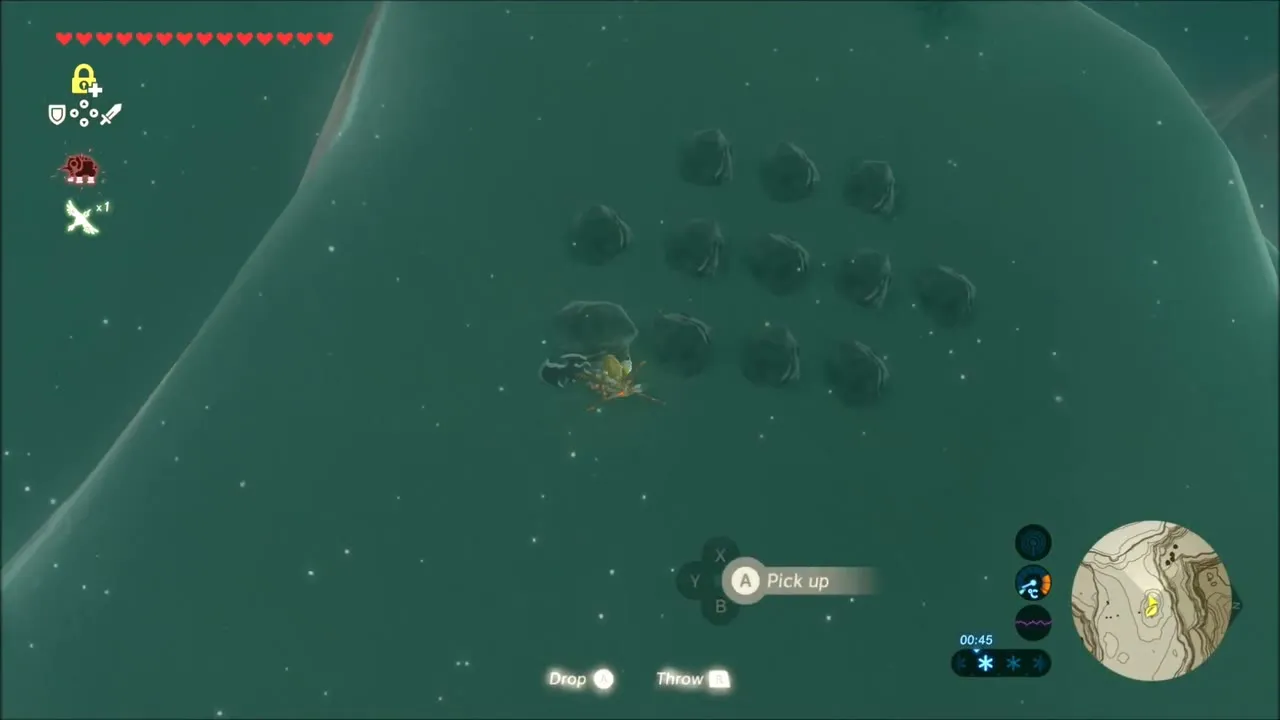
On the last hill, a pattern of dark stones is laid out on the slope with one stone missing. Carry a loose rock up and drop it into the gap. The Korok bursts out and gives you its seed.
Vatorsa Snowfield Treasure Chests and Korok Seeds
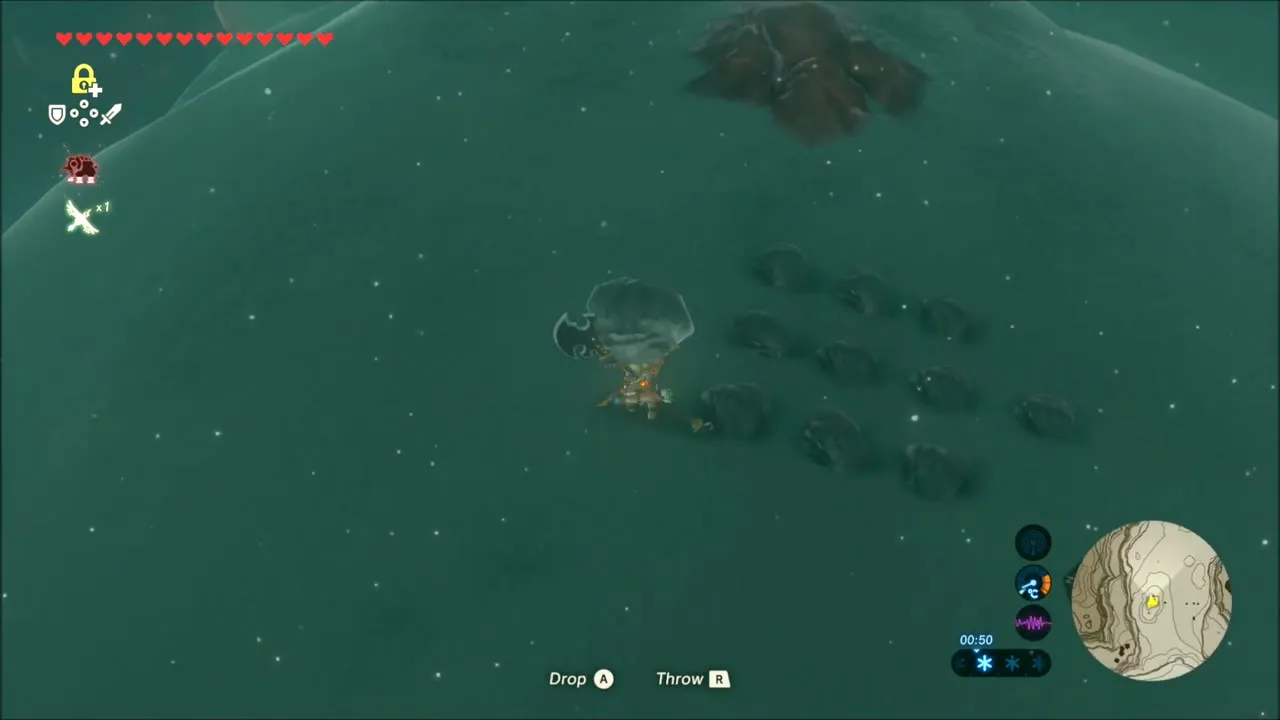
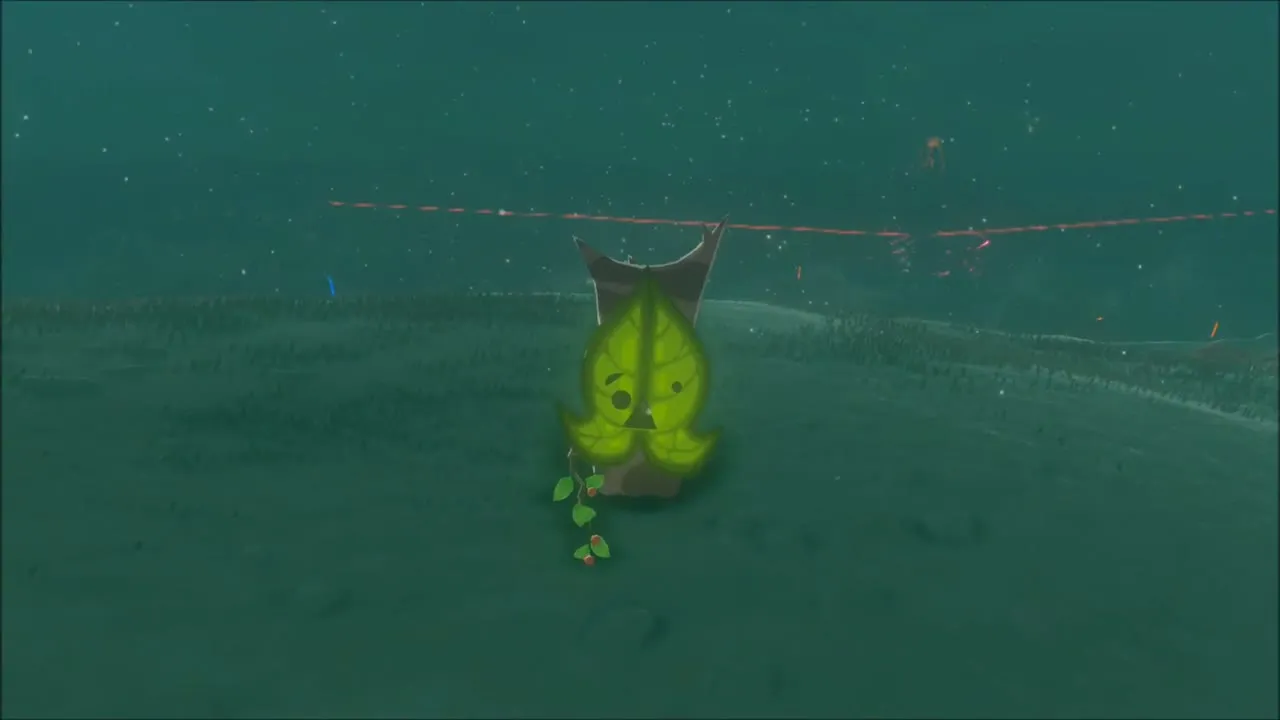
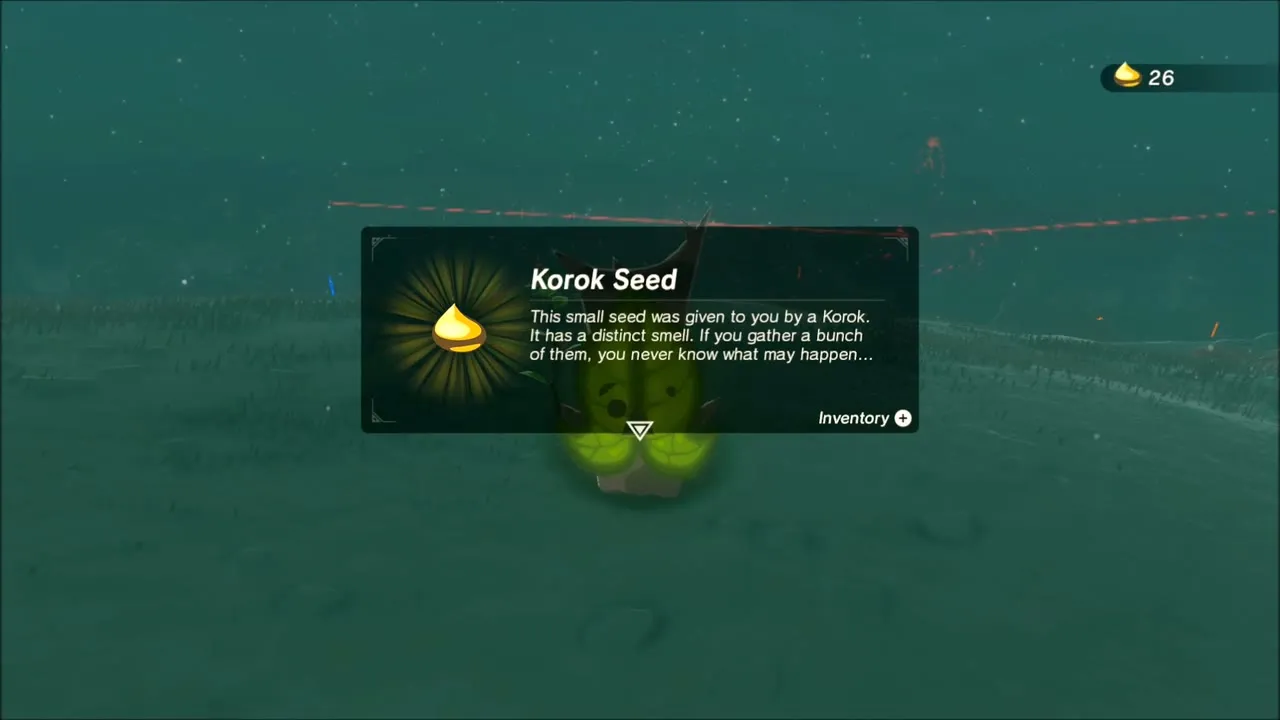
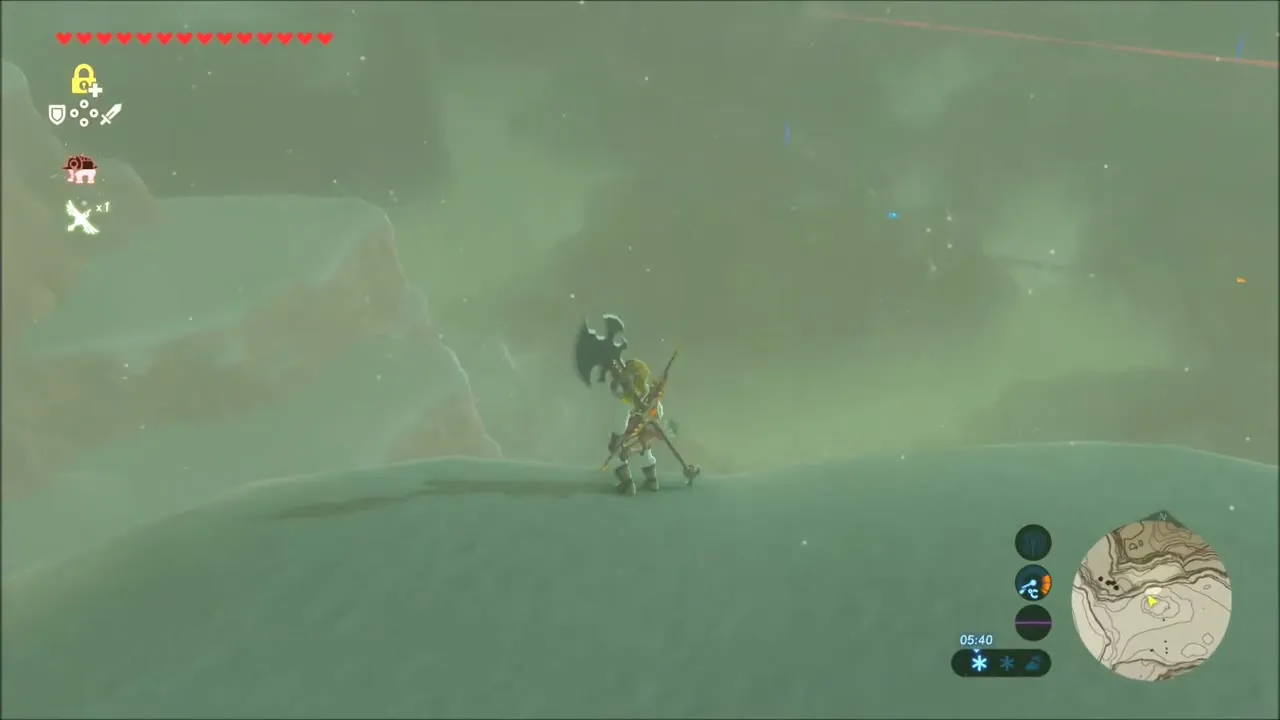
You start in a blizzard on a snowy ridge at the edge of the Gerudo Highlands, with a Korok standing next to you. Before moving on, open the map and use the Sheikah Sensor over Vatorsa Snowfield (x -3474, z 1128, map square B-6), the plateau between Gerudo Summit to the north-west and Laparoh Mesa to the east. The area is dotted with treasure chest icons, and most are buried in snow or tucked against rocks, so the rest of this stretch is a sweep of the whole plateau.

Korok seed at the top of the cliff scaffolding
Drop off the ridge and glide to the wooden scaffolding built against the red cliff face. Climb its ladders and planks to the top platform, where a Korok waits at the end of the planks. Talk to it for a Korok seed. More planks and rope-bridge style walkways continue along the cliff afterwards, with Bokoblin and Moblin drops to collect and boulders to push out of your way.
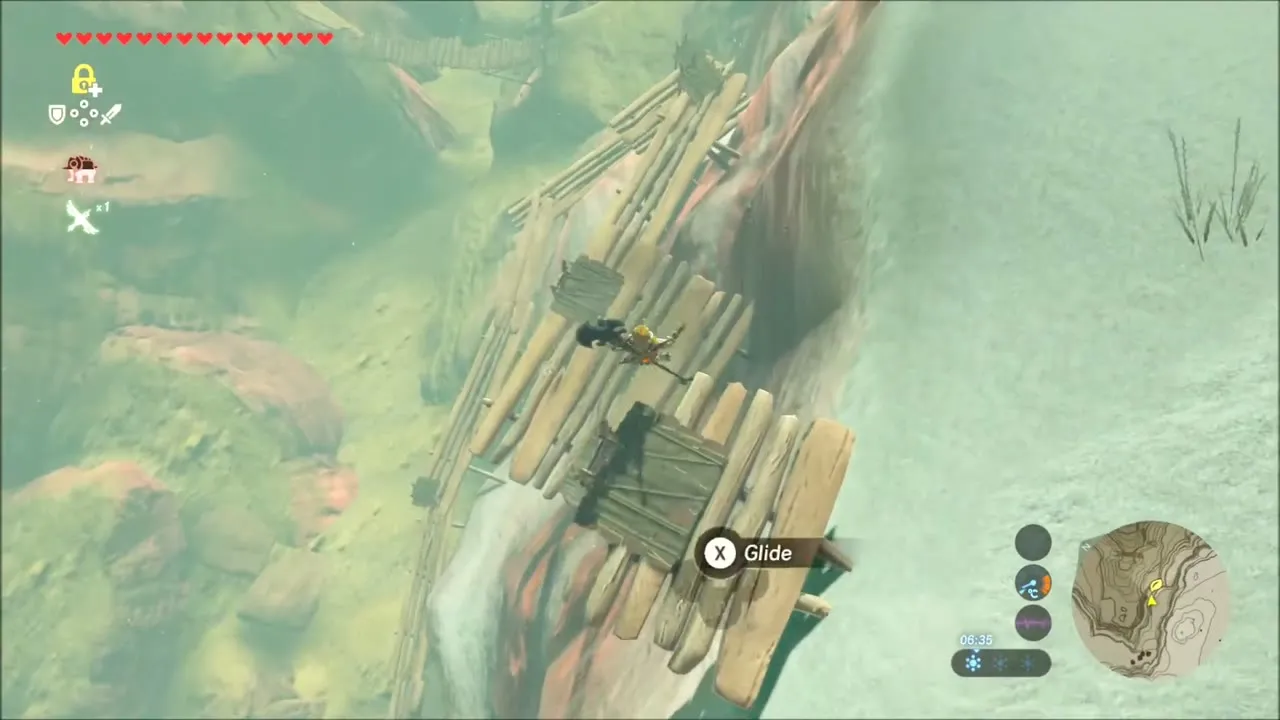
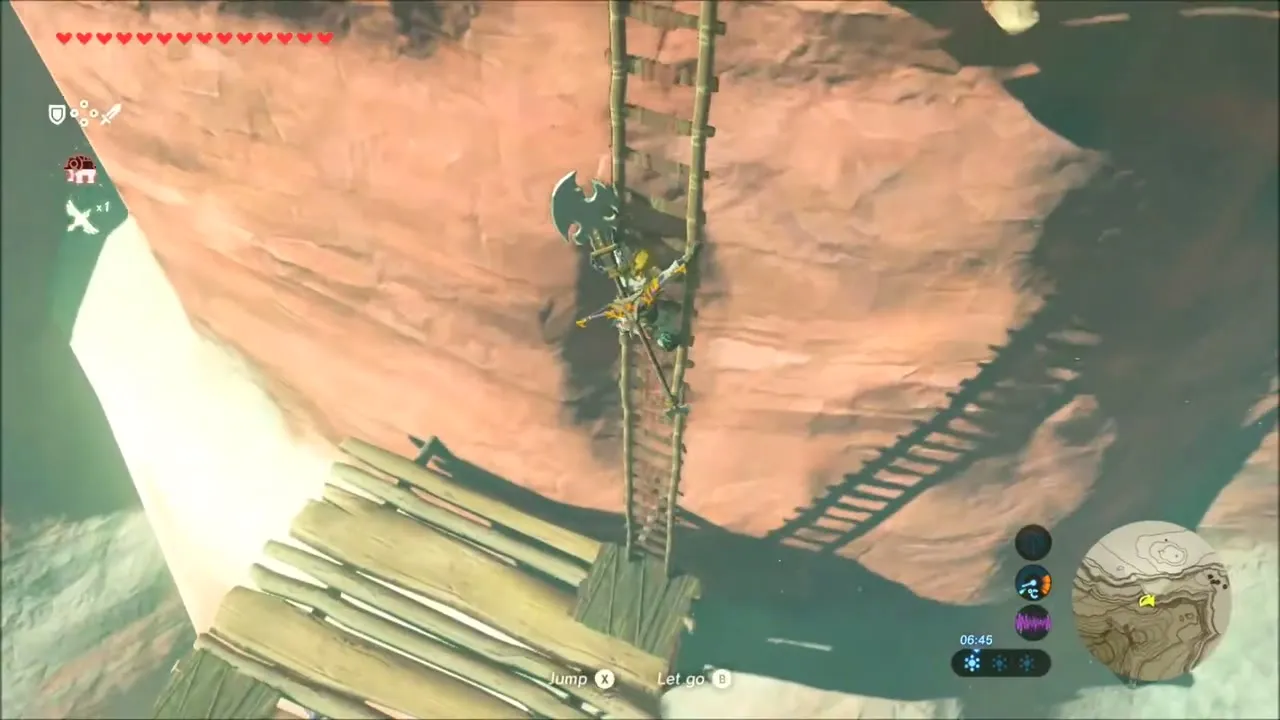


Buried chests: Sheikah Sensor and Magnesis
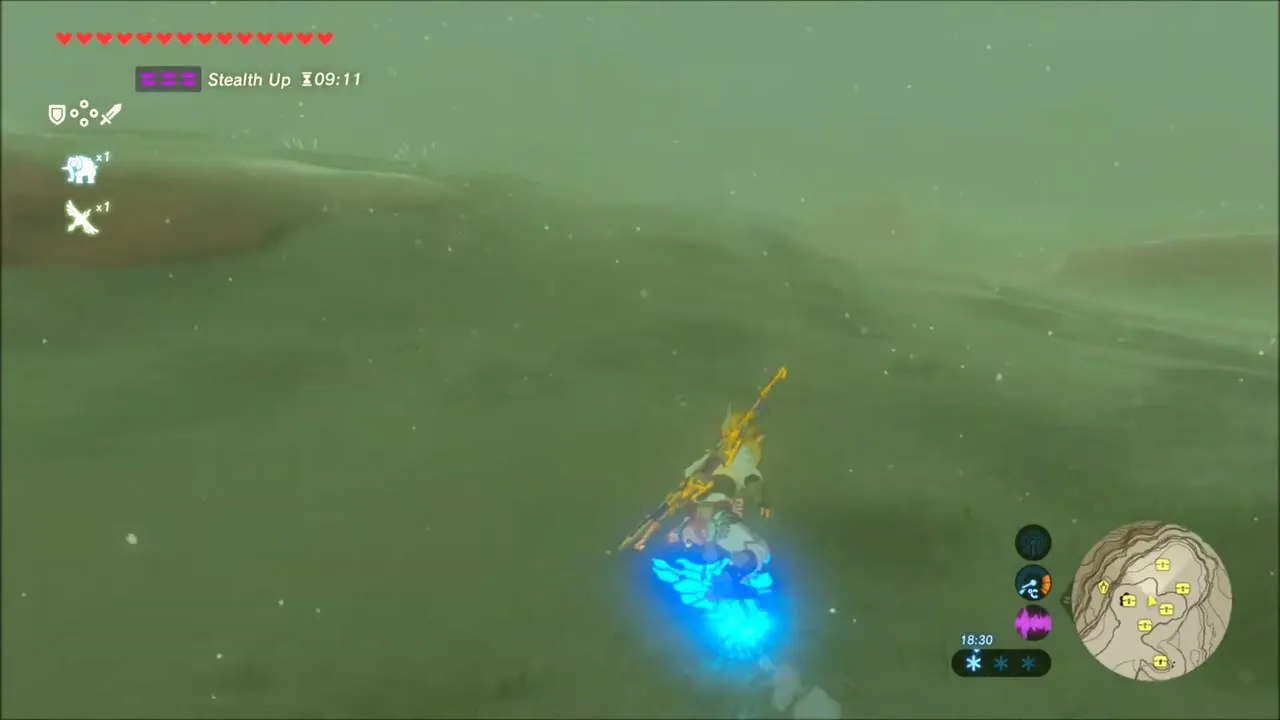
Eat a Stealth Up dish before you start, then walk the plateau with the Sheikah Sensor tracking a chest and Magnesis ready. When the rune sweep lights up red, the chest is under the snow or inside the slope and Magnesis drags it free. This turns up chests with Opal (two of them close together), Amber, rupees and bundles of arrows, and a Knight’s Shield and other gear lying on the snow. Pick up the materials you pass: Ice Keese Wings, Amber and Wood from fallen trees.
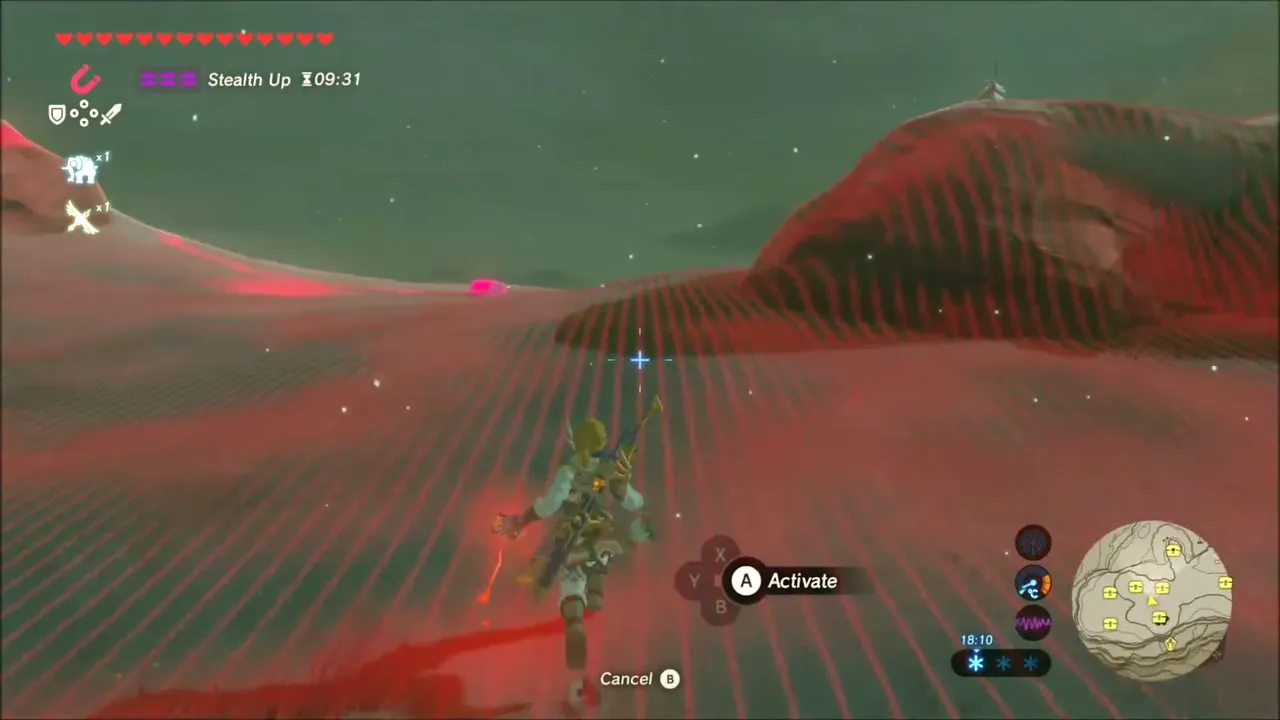


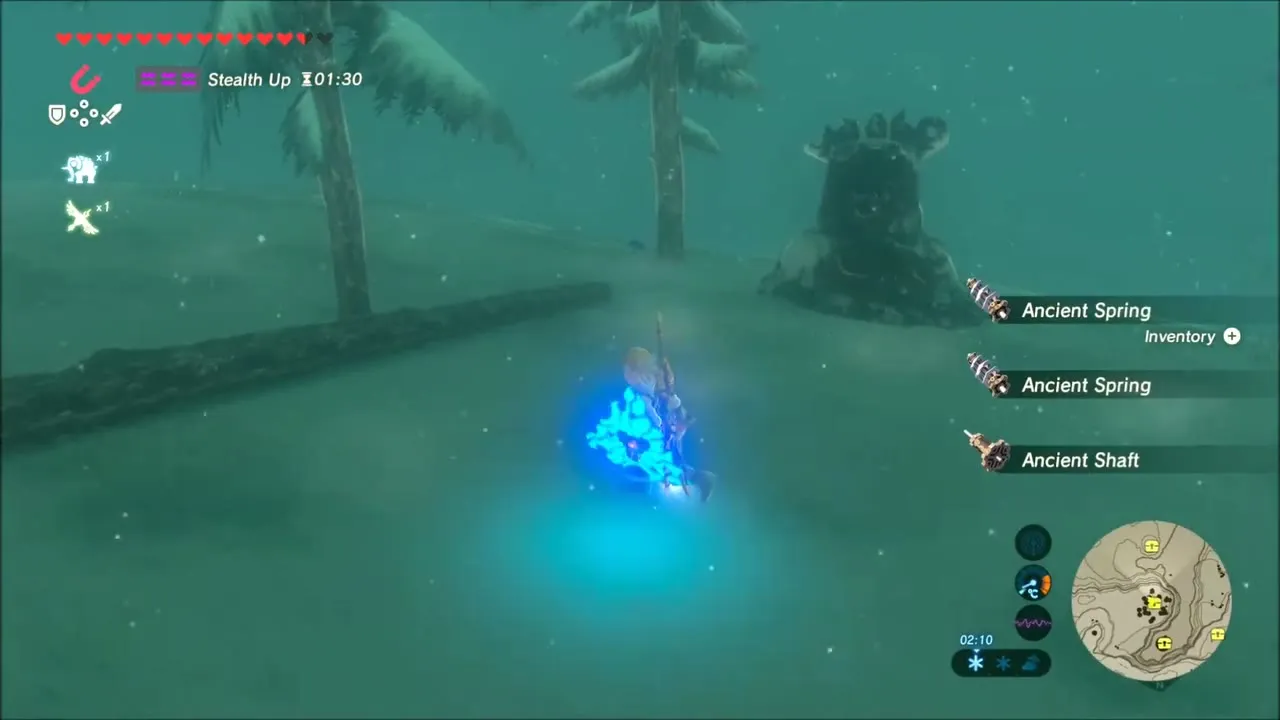
Skull camp and Ruby chest
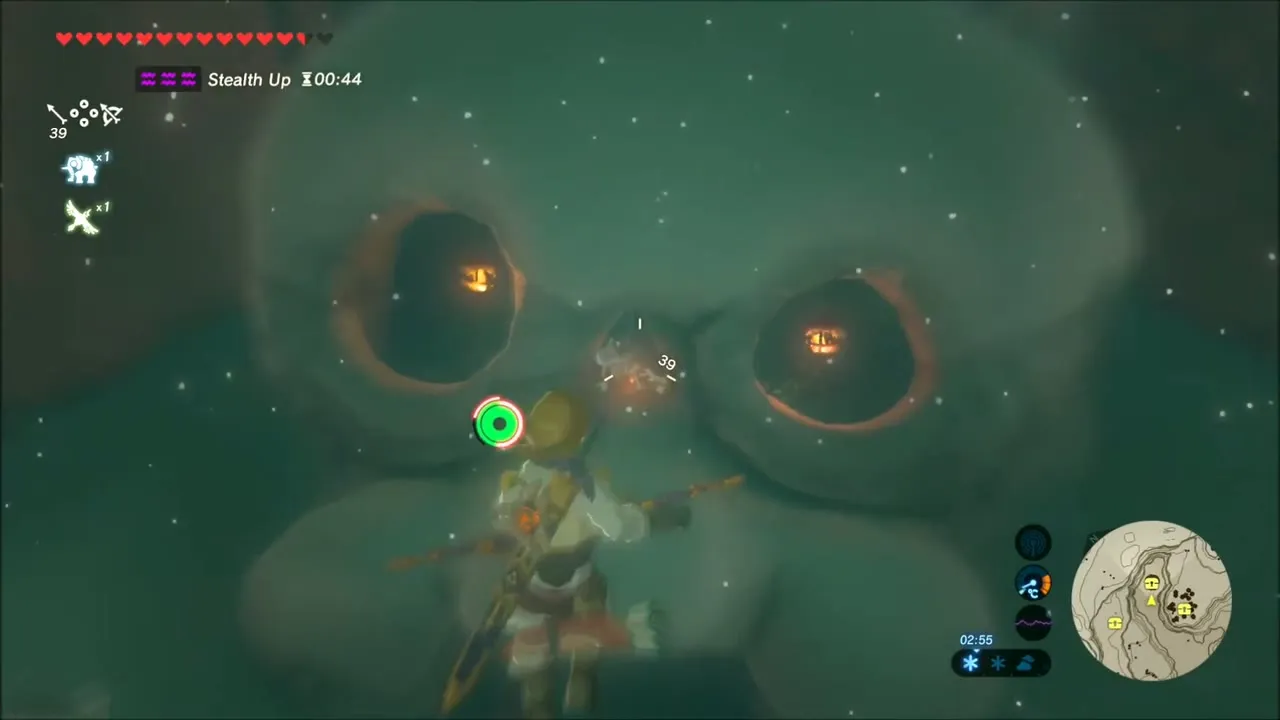
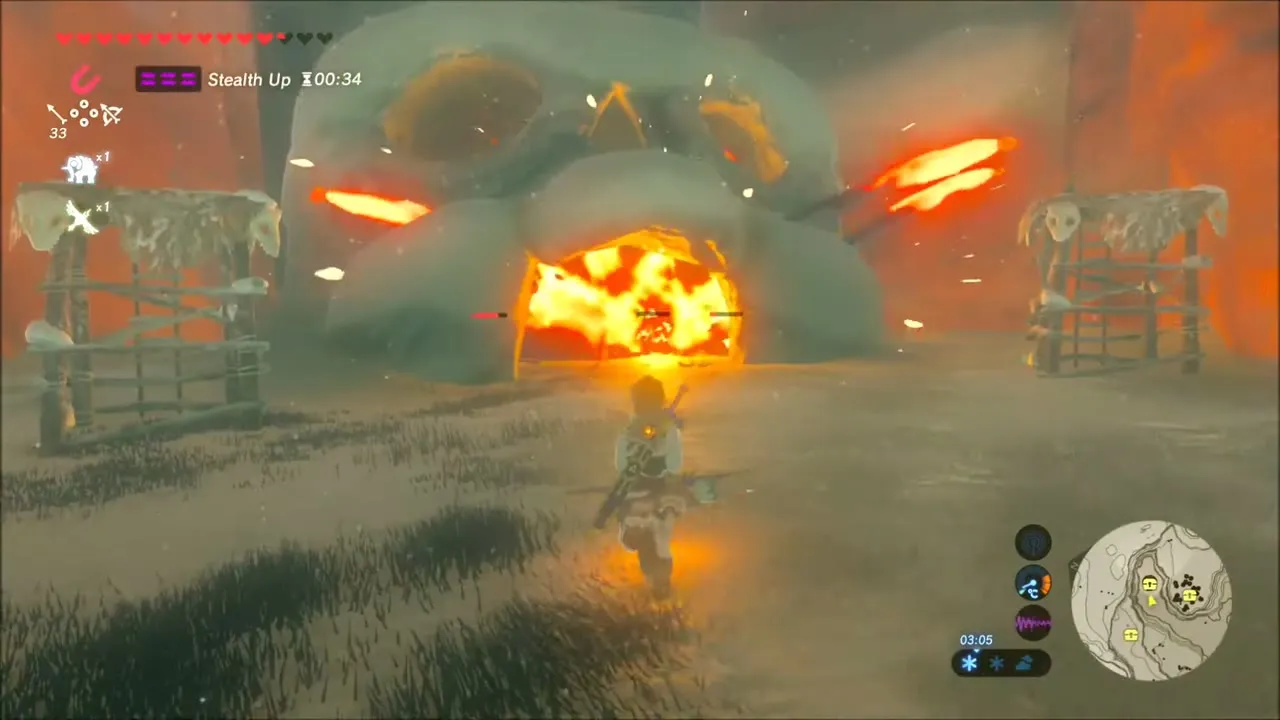
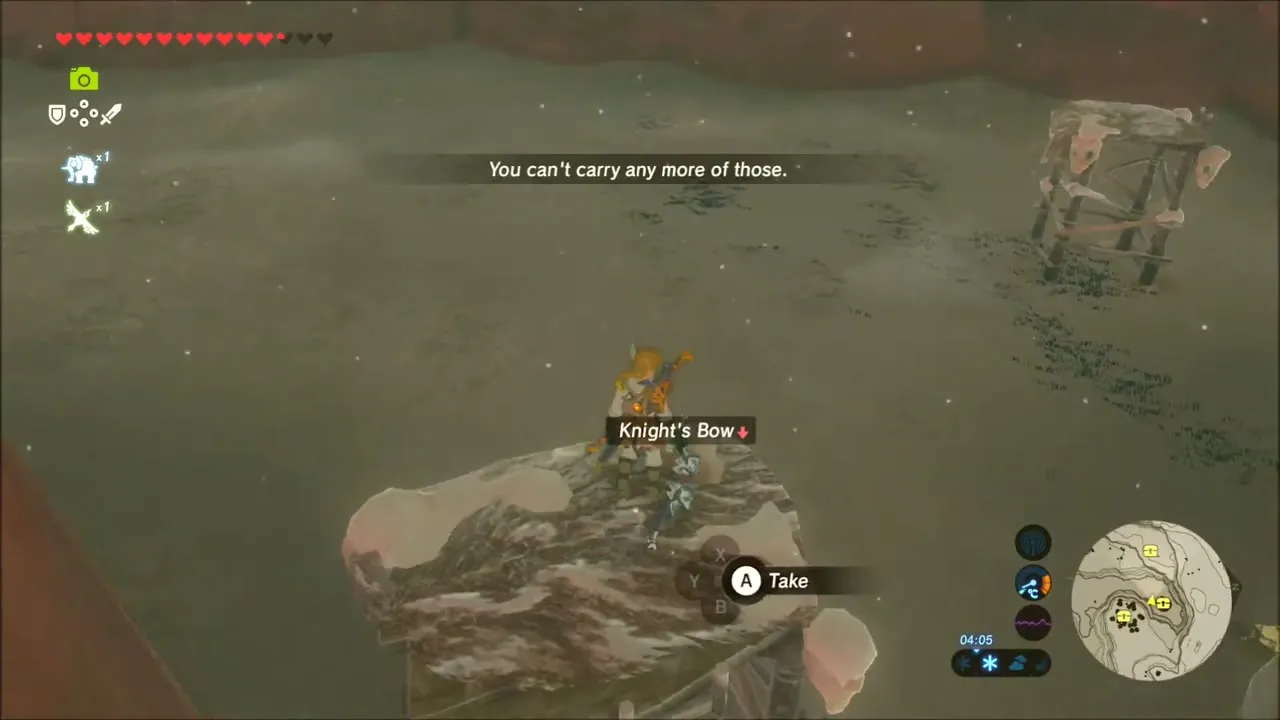
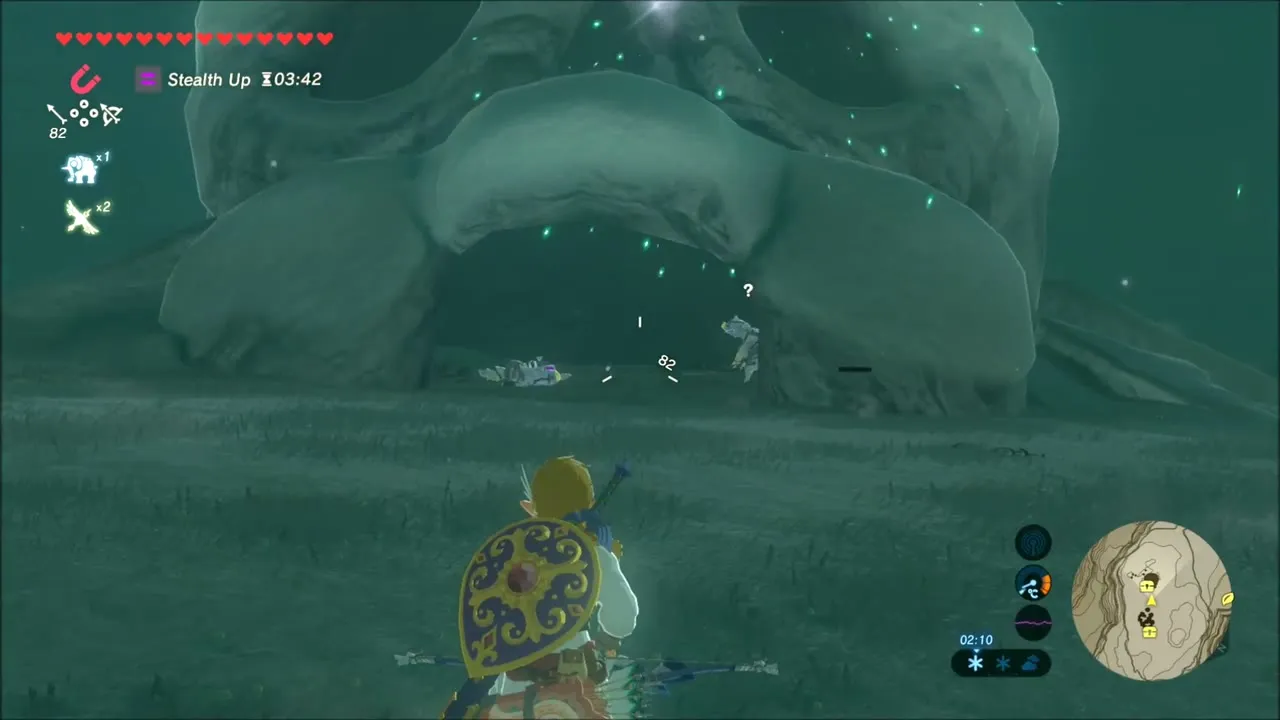
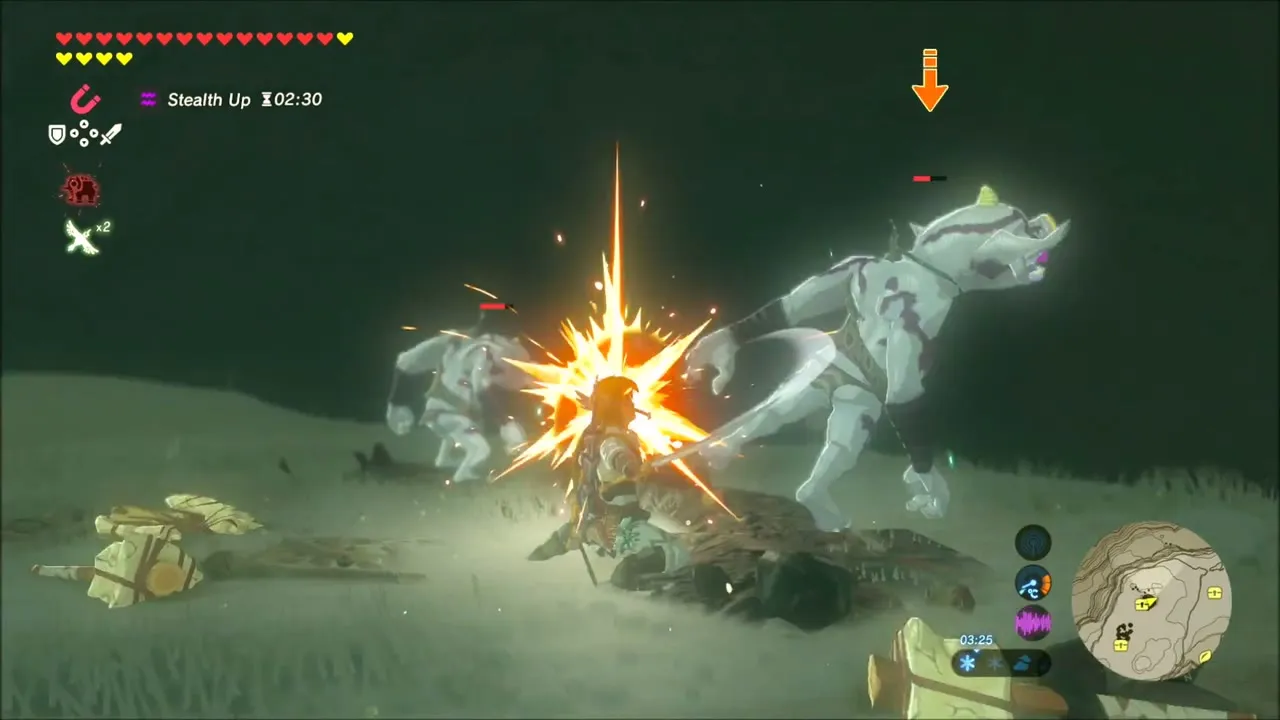
Toward the middle of the snowfield you reach a Bokoblin camp built around a giant skull. Blow up the explosive barrels at the entrance, defeat the camp’s monsters and loot the cave. A chest in the camp holds a Ruby, and a Knight’s Bow lies on a rock nearby, along with more gems and Bokoblin drops.

Lynel on the snowfield
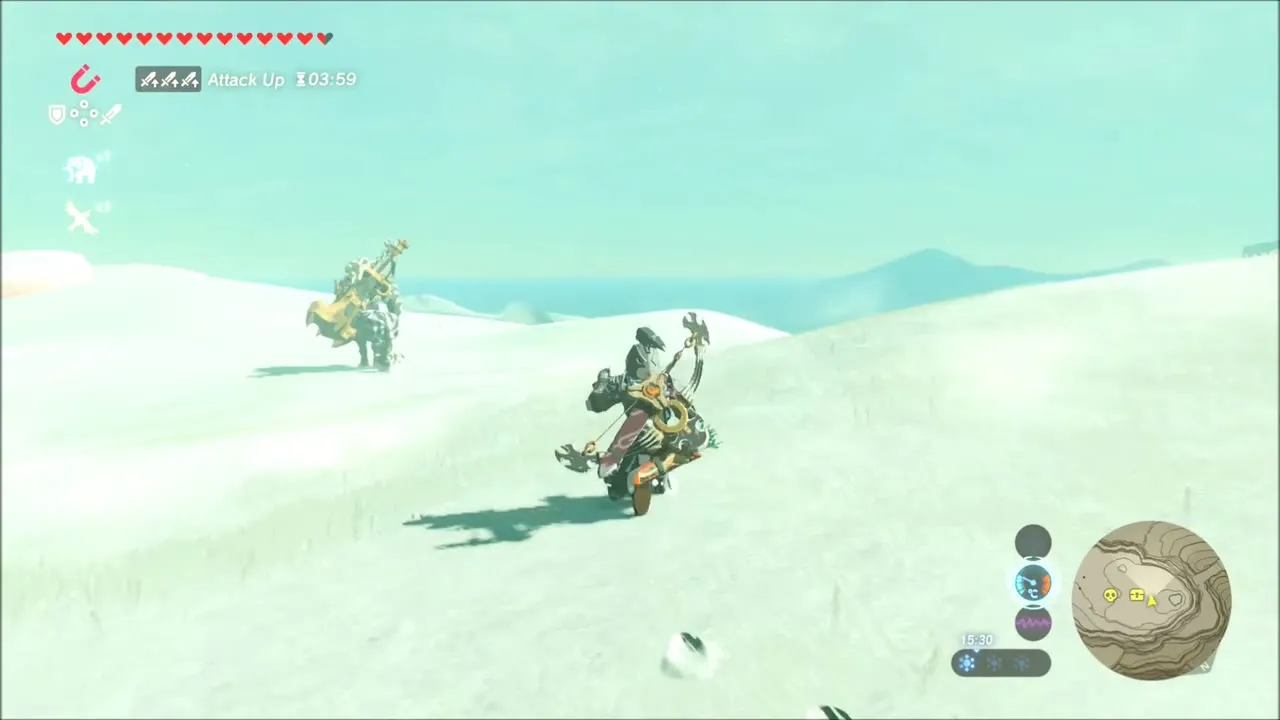
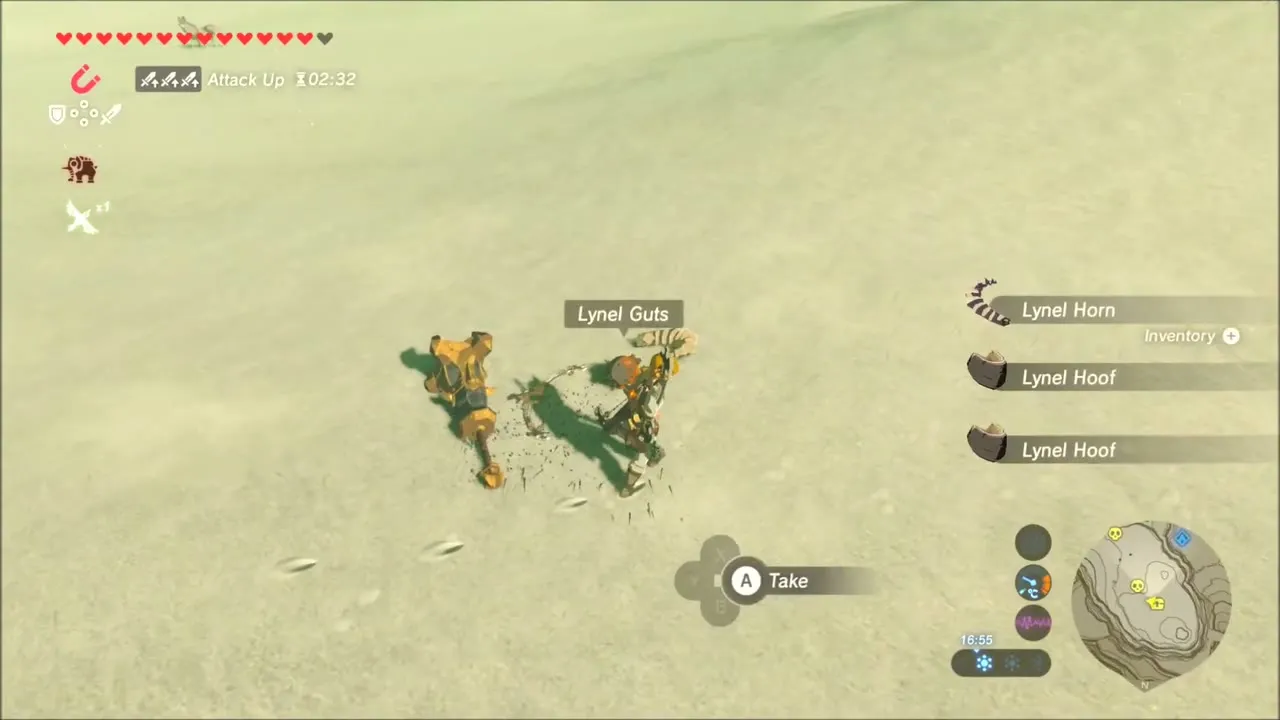
Further east, on open snow, a Lynel patrols with the best Savage Lynel gear, which marks it as a Silver Lynel. Fight it from range with bomb arrows and from close up with a fire weapon such as the Flameblade. When it falls it drops a Savage Lynel Crusher and a Savage Lynel Bow, plus Lynel Horn, Lynel Guts and Lynel Hooves, so collect everything before the remains fade away.


Royal Shield and Radiant Shield chests
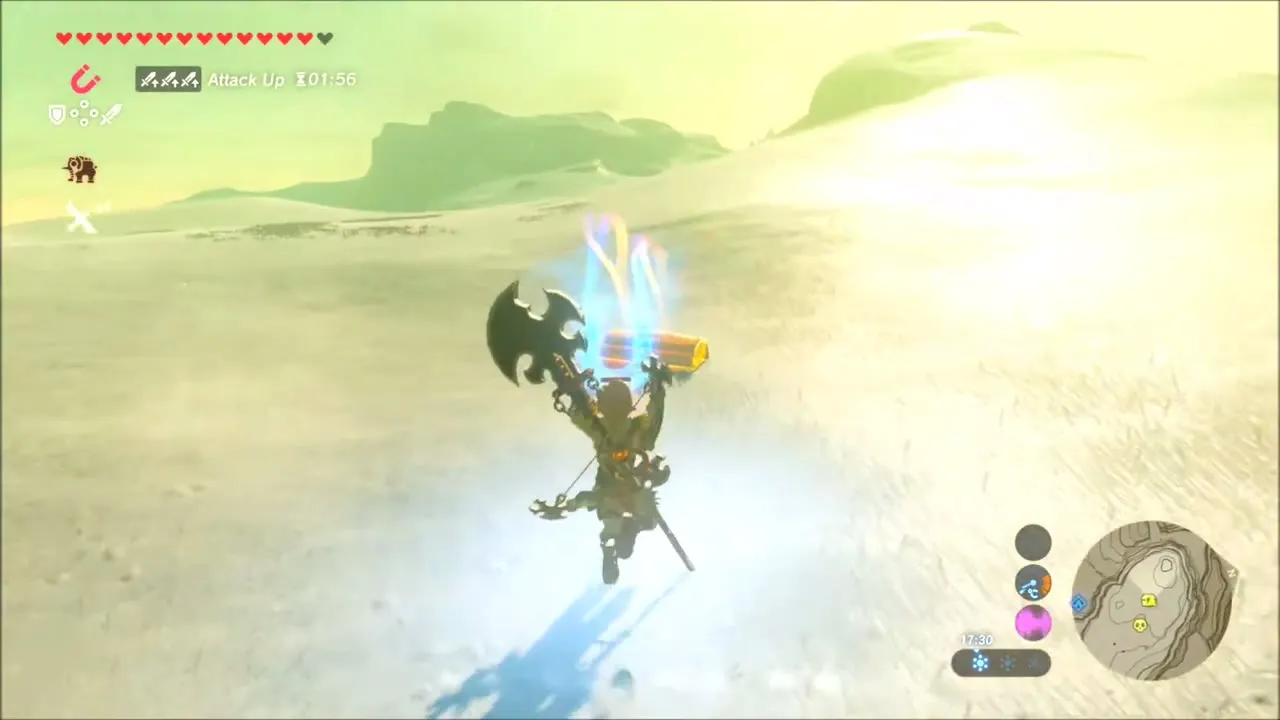
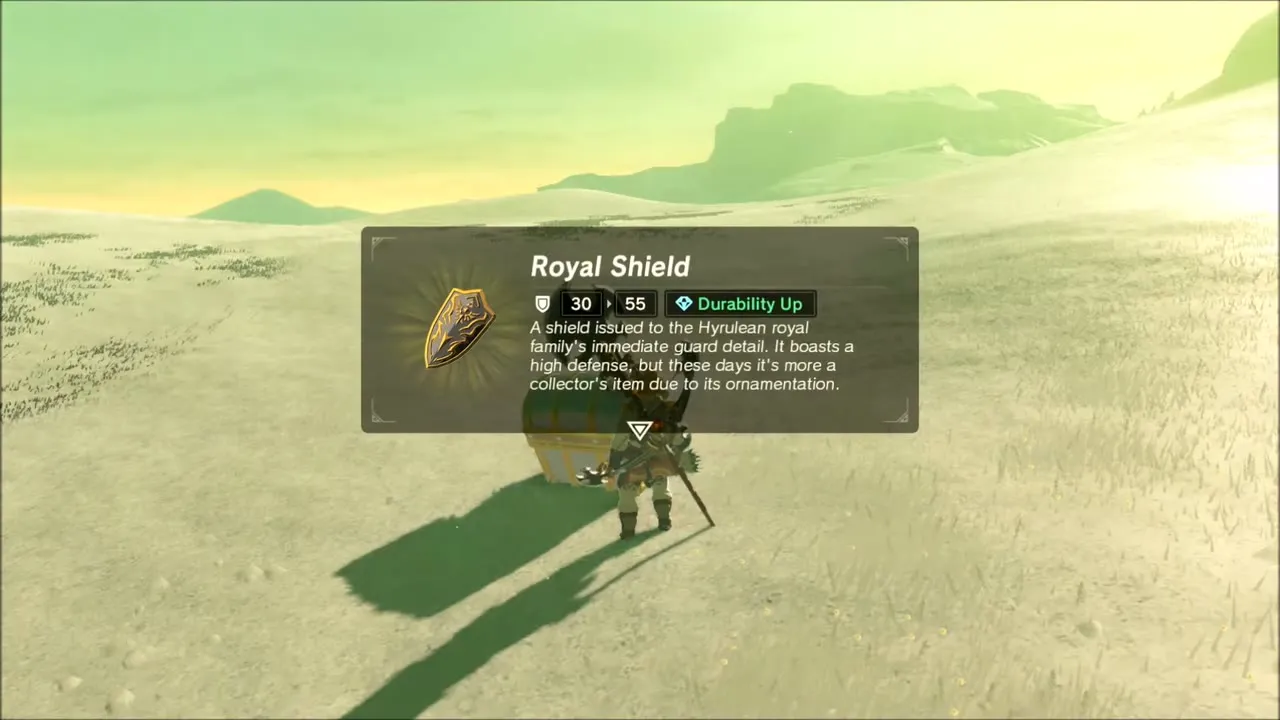
On the flat snow beyond the Lynel, two more Magnesis chests lie buried next to each other. The first holds a Royal Shield (tier set by difficulty scaling) and the second a Radiant Shield (tier set by difficulty scaling), a Gerudo captain’s shield with high defense. Free both with Magnesis and take them.

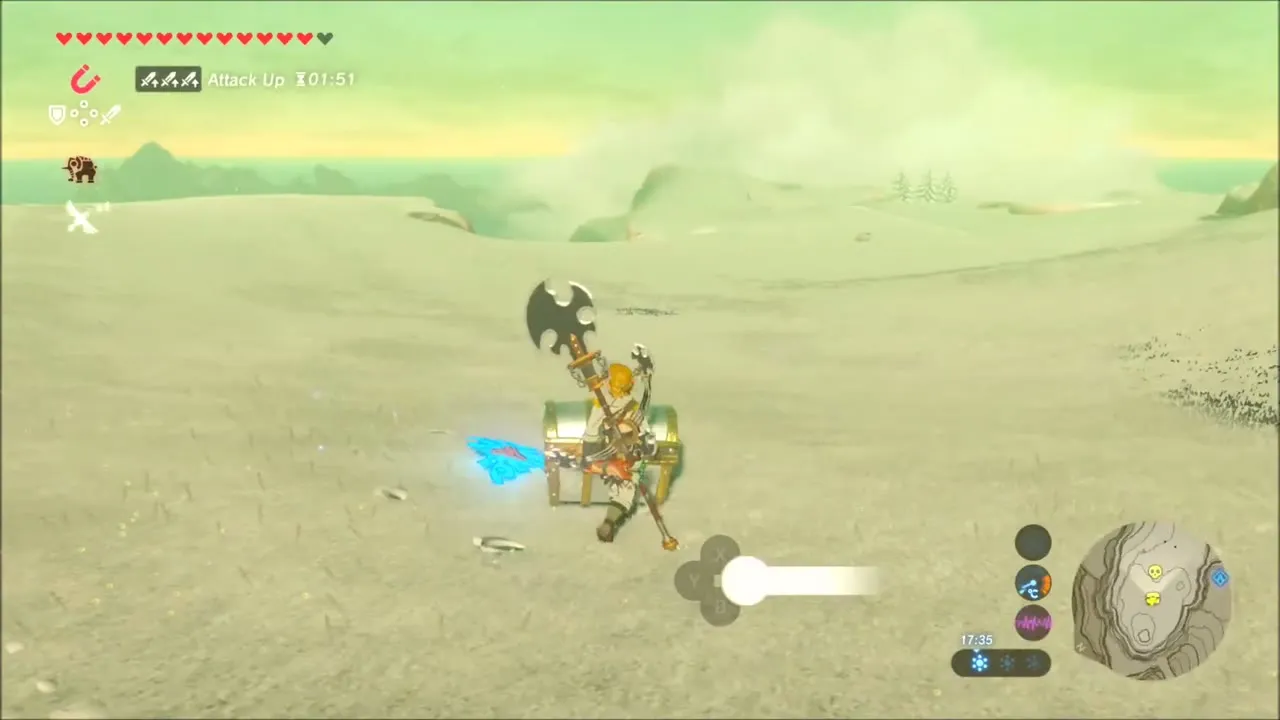
Korok seed up the lone pine tree
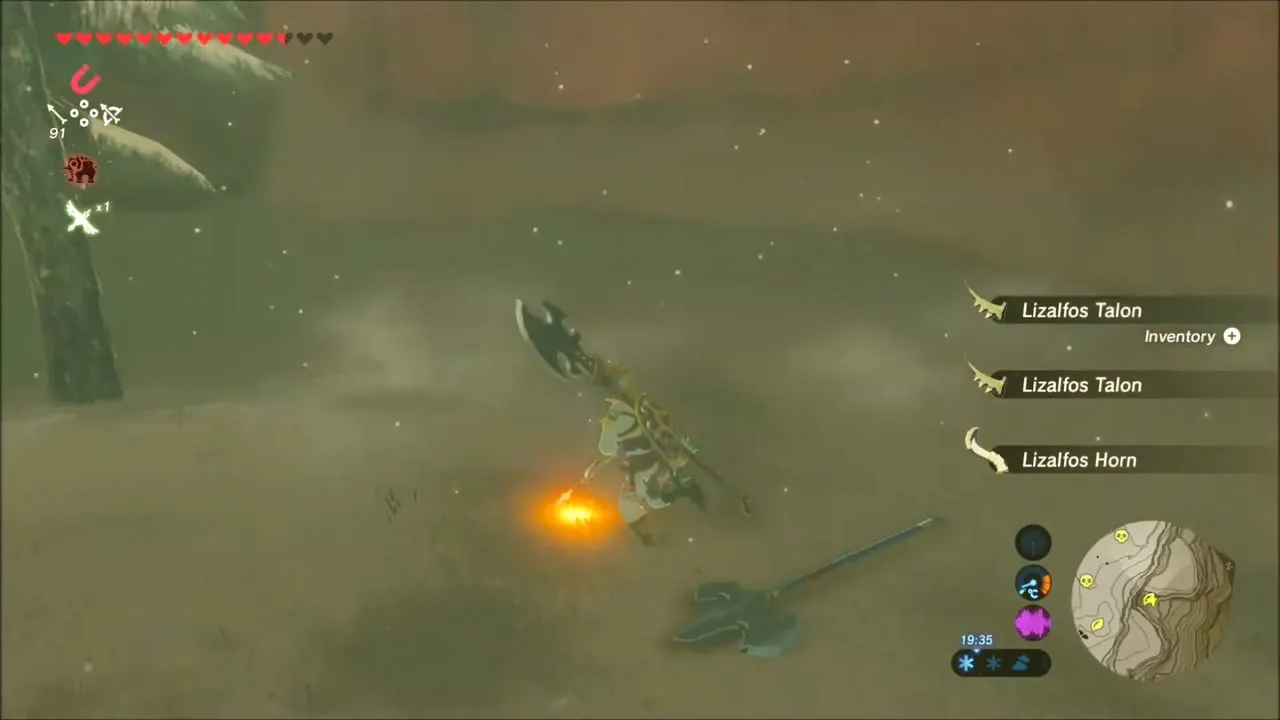
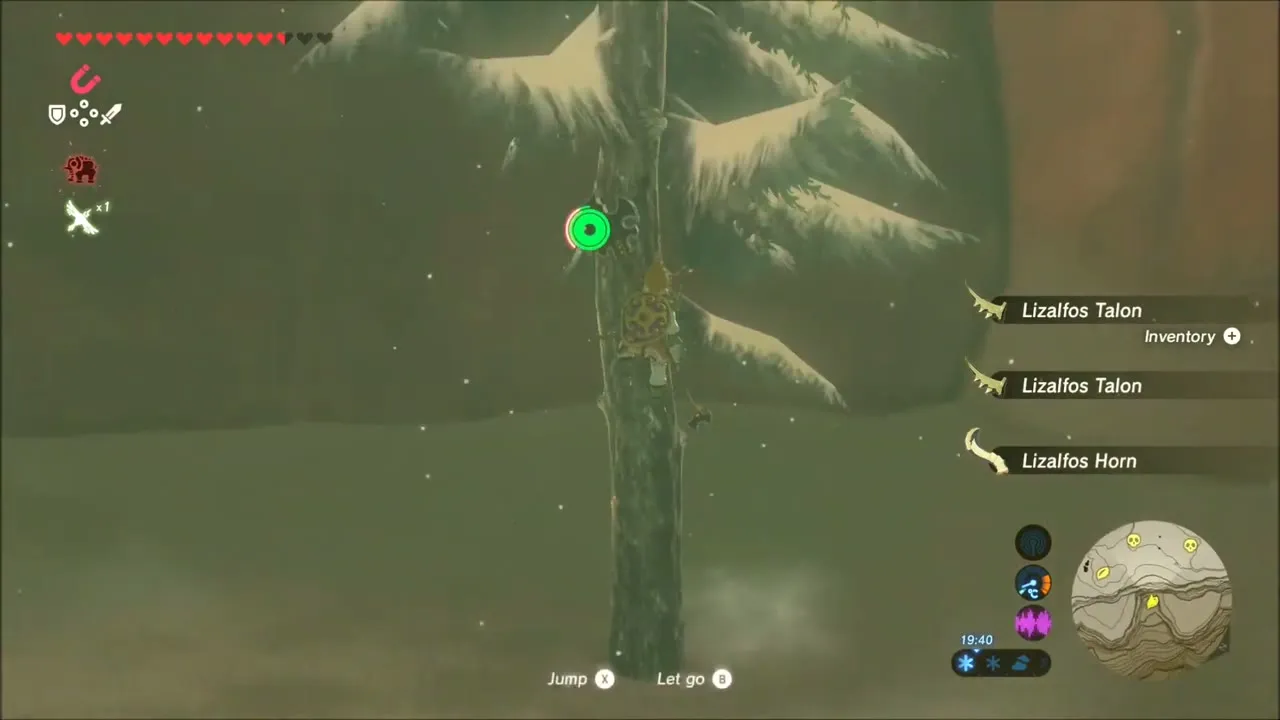
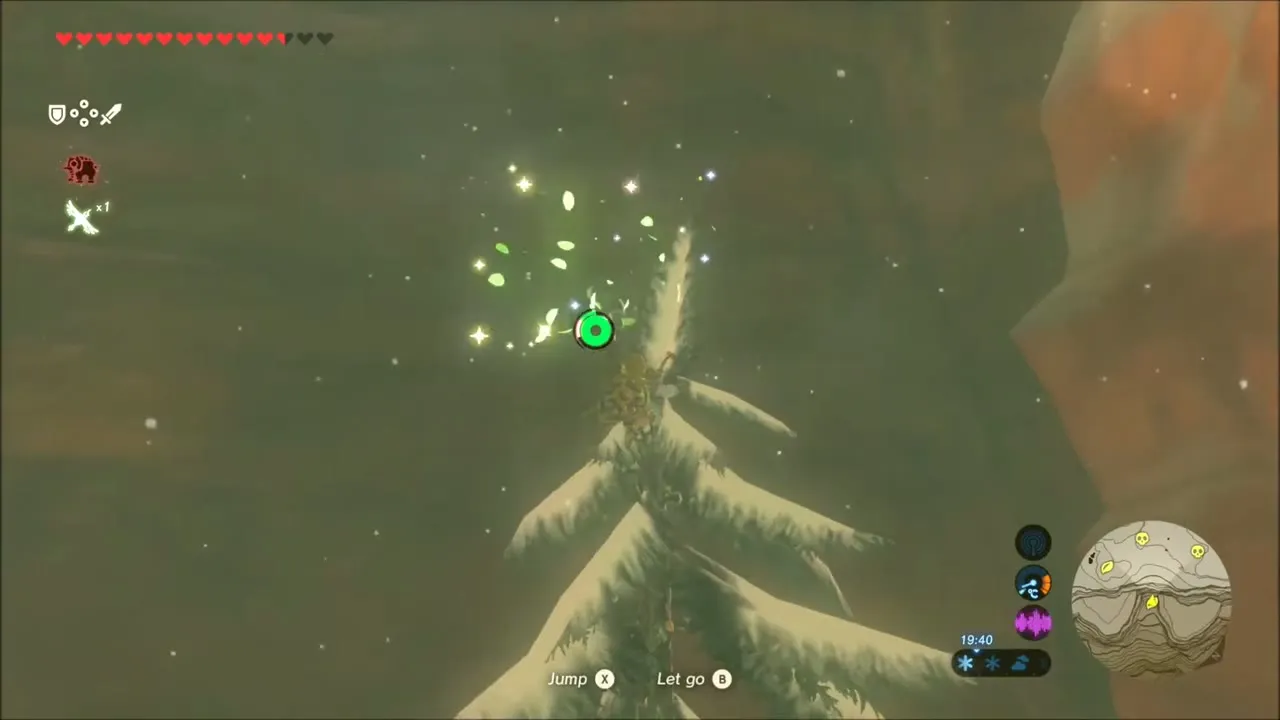
Follow the canyon south and look for a single snow-dusted pine tree standing between two rock walls. Climb it to the top: a Korok appears near the crown and gives you a seed. Lizalfos wander around the base of the tree and drop Lizalfos Talons and Horns when you defeat them.
Frost Talus on Laparoh Mesa
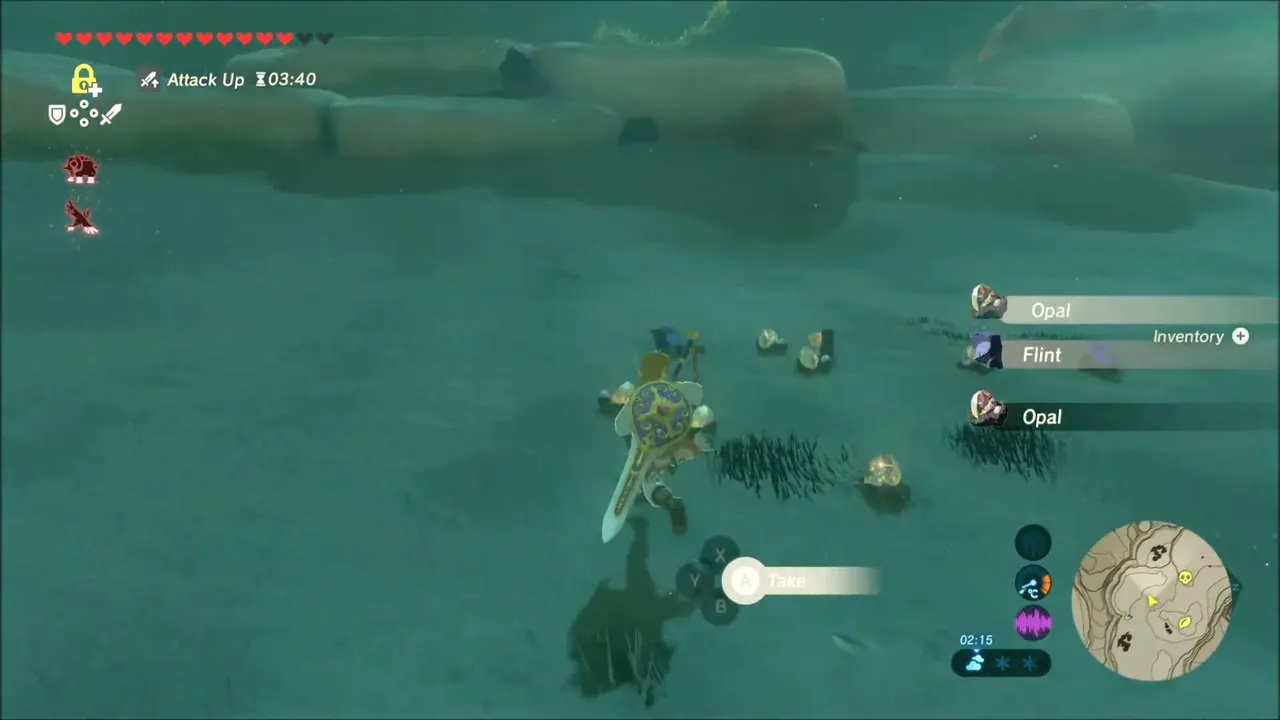
Climb to Laparoh Mesa (x -2940, z 1207, map square C-6) to find a Frost Talus, a Talus covered in ice. Fire arrows thaw the ice so you can climb its body and break the ore deposit on its back. Once it falls you can pick up Opal and Flint from its remains.


Korok seed: melt the ice with a campfire
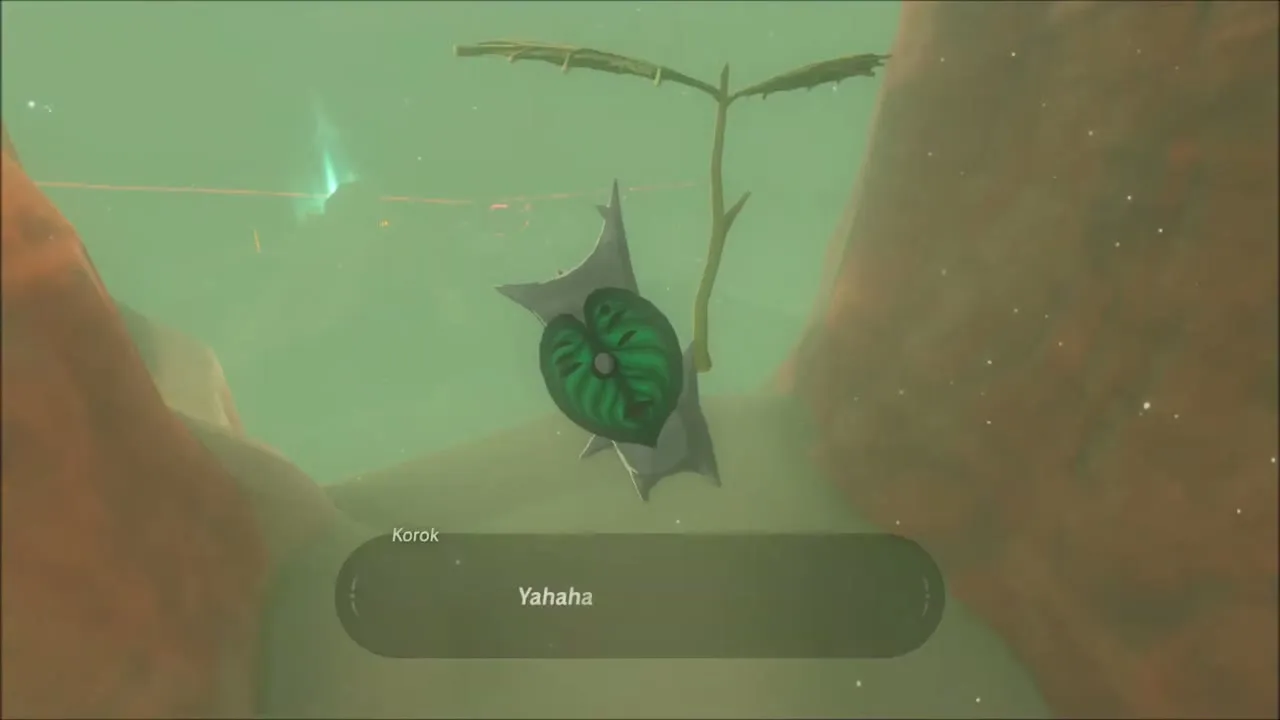
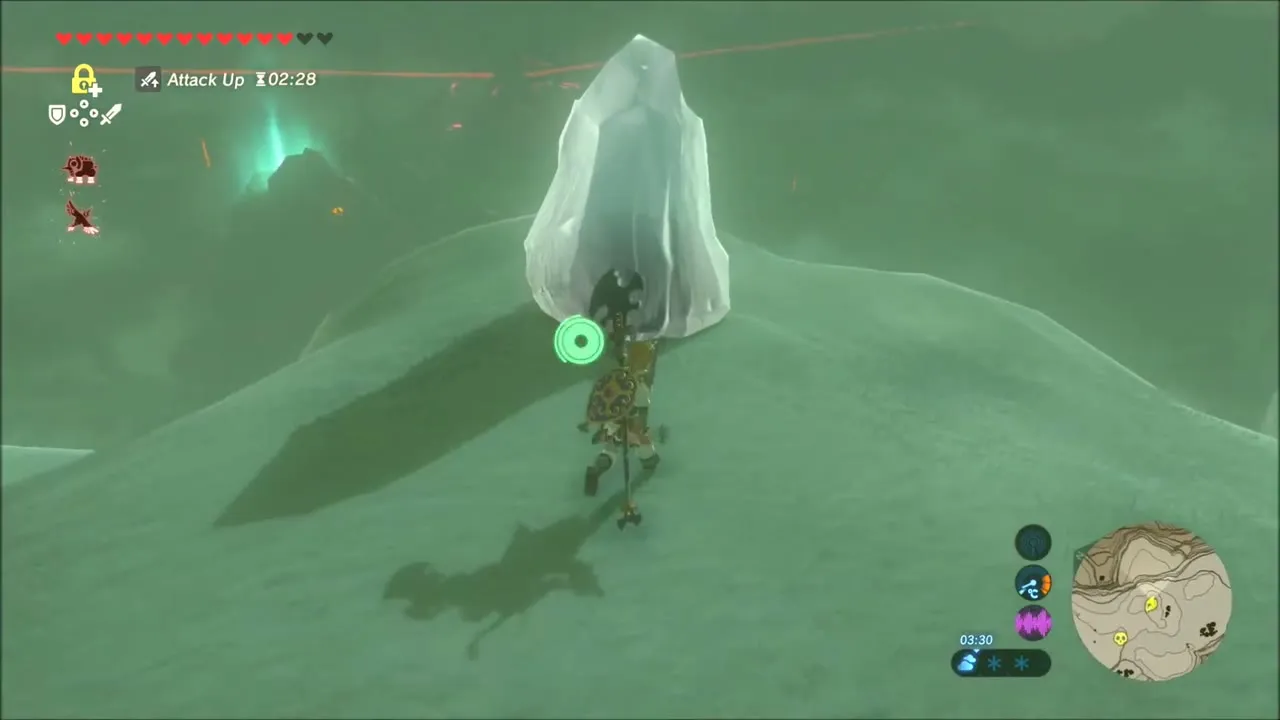
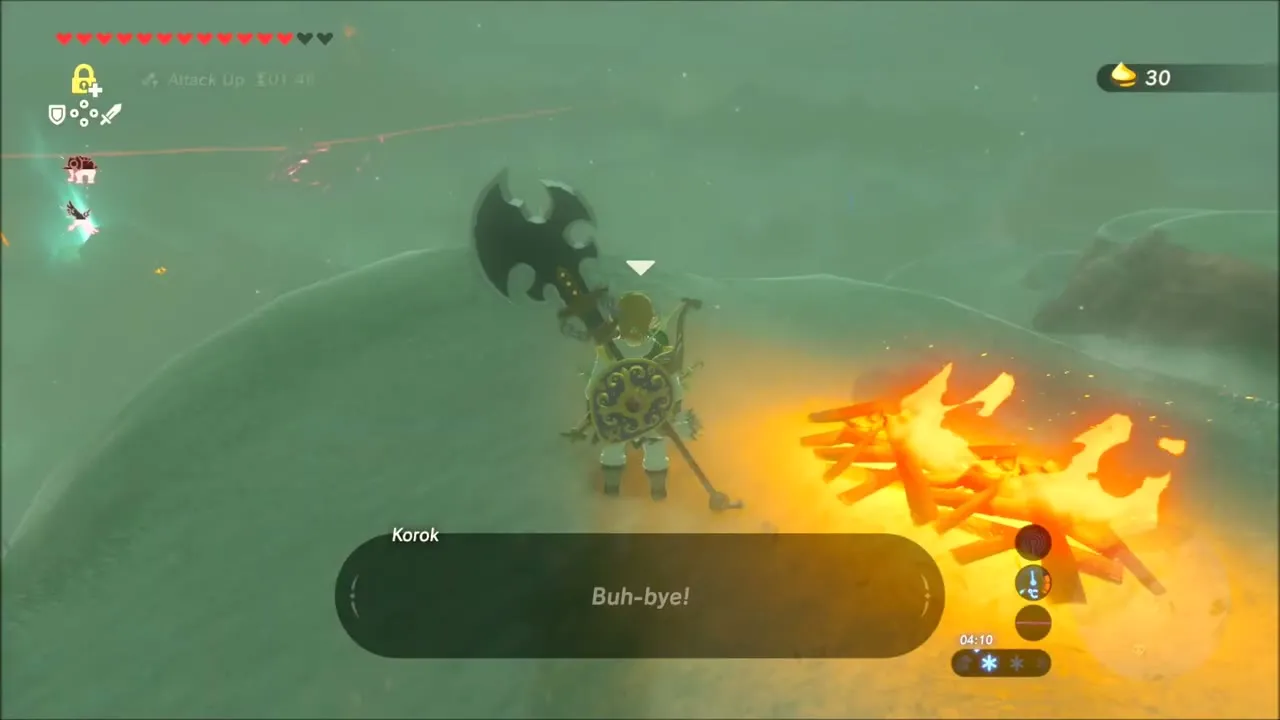
On a snow-covered summit near the Talus, a lone block of white ice sits on the ground. Drop some Wood next to it and set it alight with a fire arrow or flint. The campfire’s heat melts the ice, and a Korok is freed and hands over a seed.
Laparoh Mesa and Sapphia’s Table: Korok Seeds and Chests
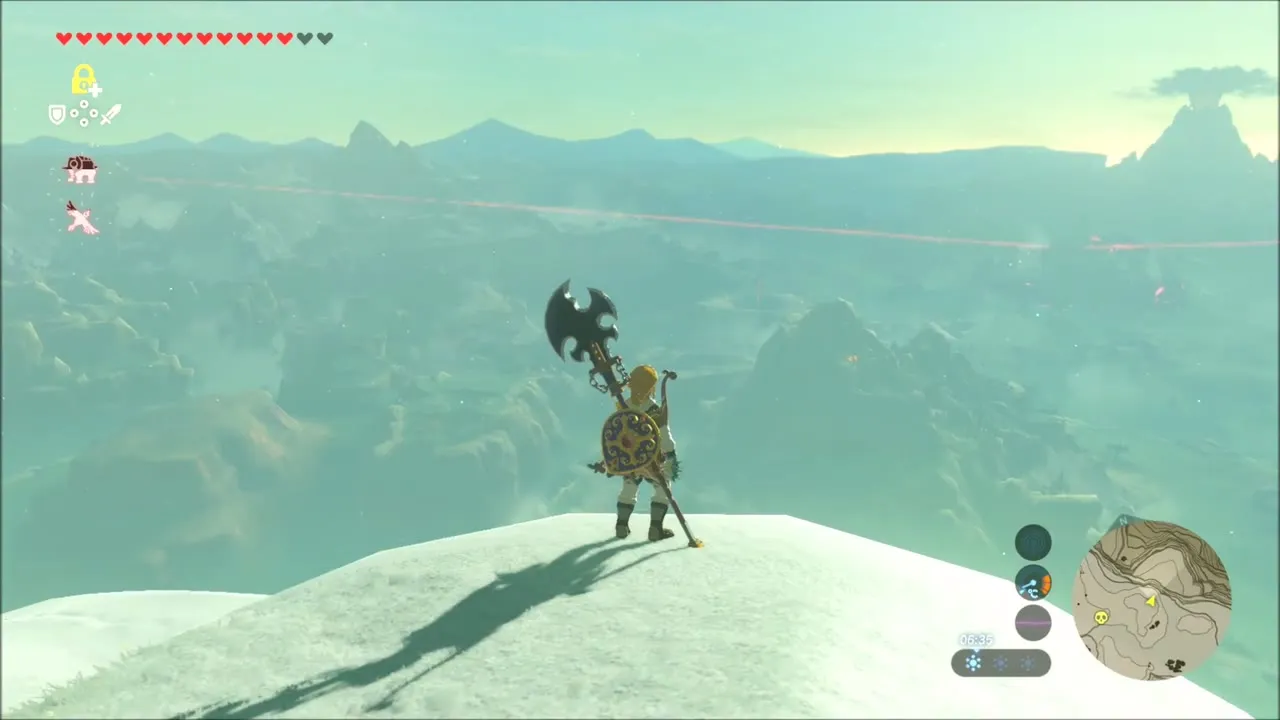
From the same peak, open the map again and plan the next stretch of the chest sweep eastward across the plateau, where chest icons line the cliff edges and the ruined lookout towers.
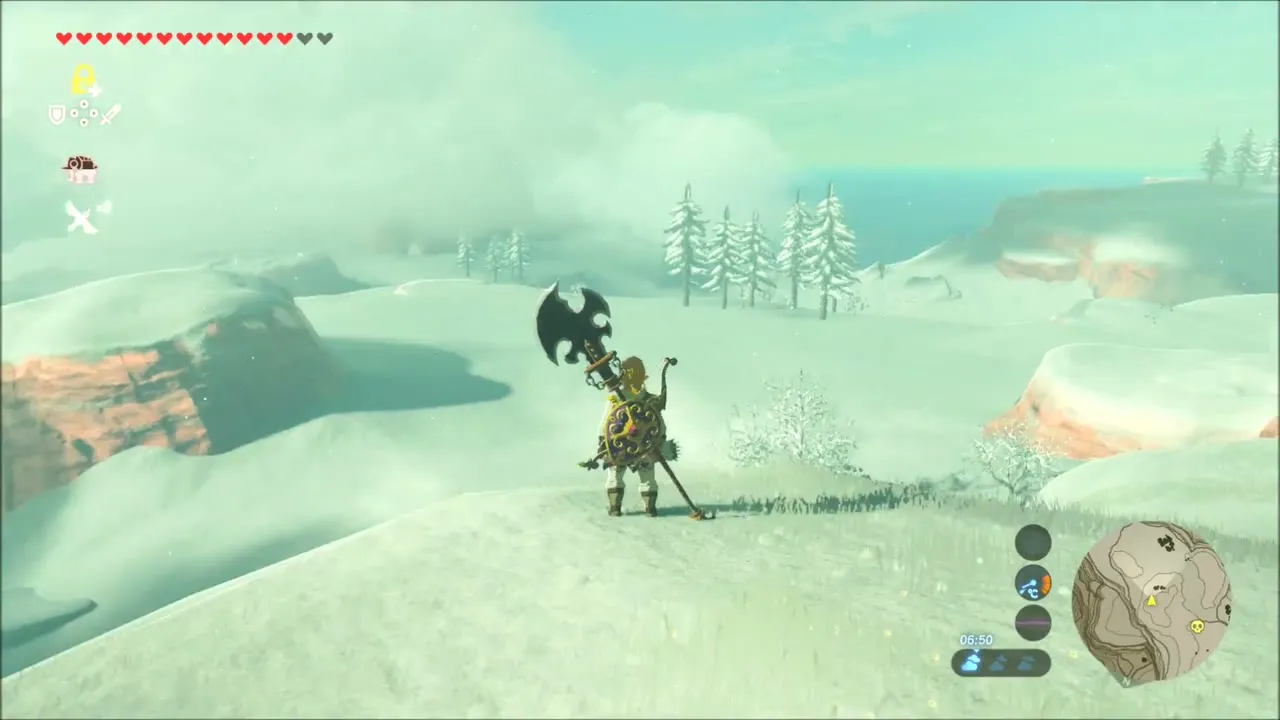
Korok seed: rock ring on the cliff top
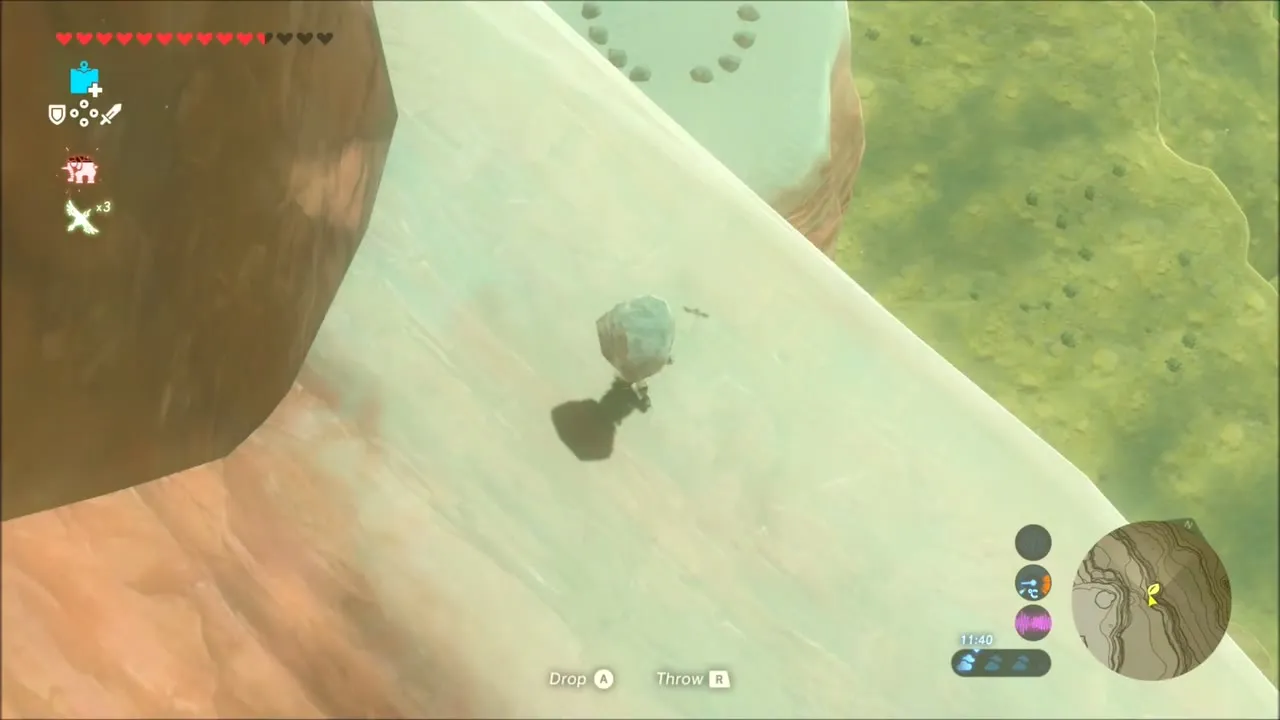
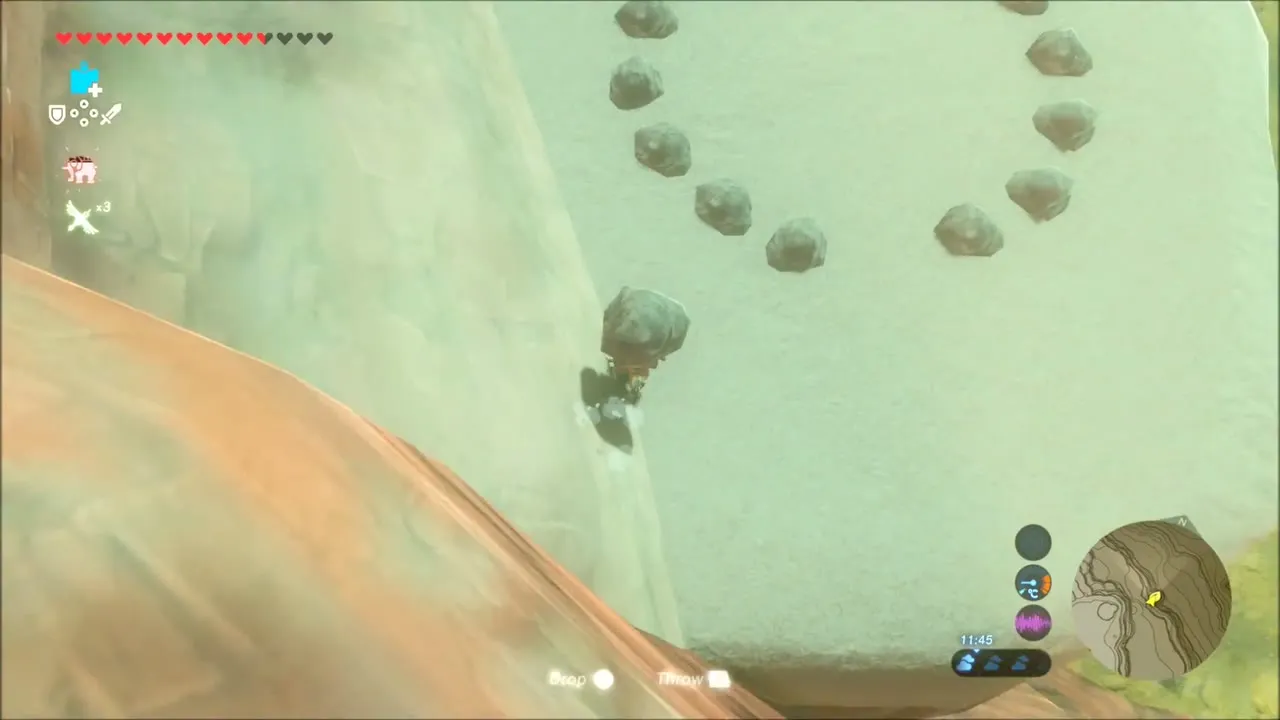
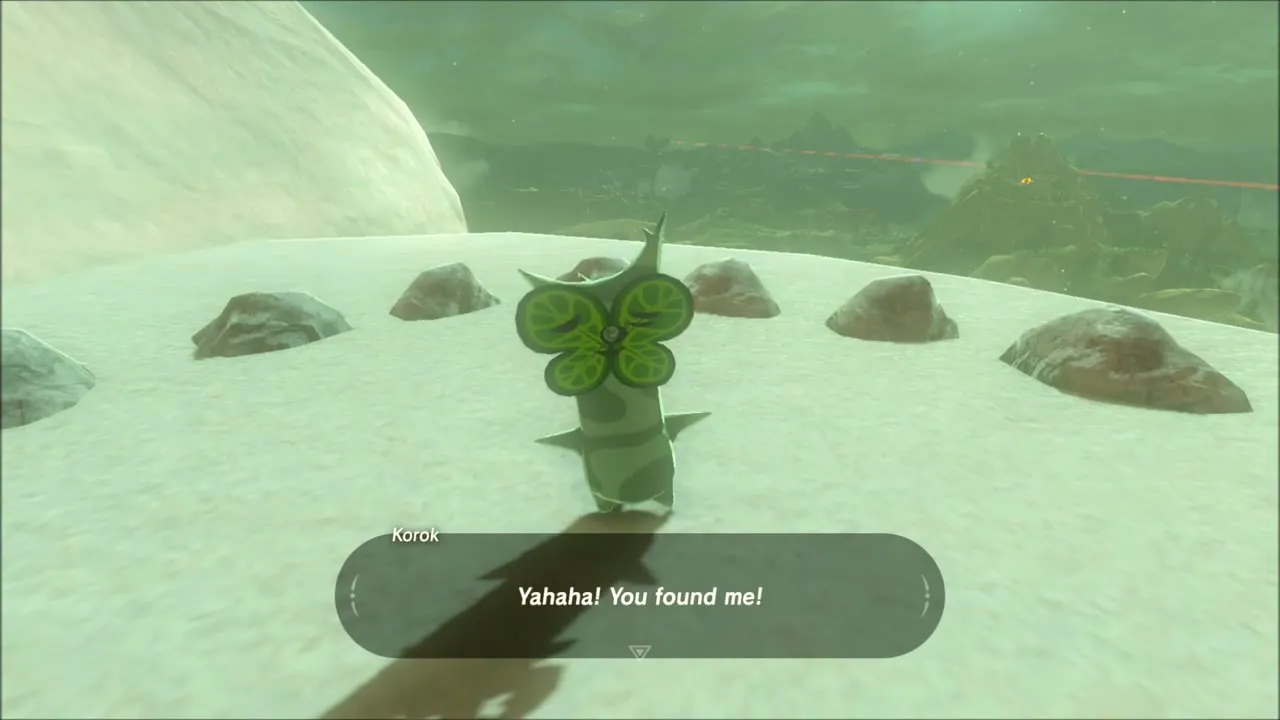
Climb the snowy cliff to a flat ledge with a ring of small rocks that has one rock missing. A loose rock lies near the ledge, so pick it up, carry it to the ring and drop it into the gap. The Korok in the middle of the circle gives you a seed.

Korok seed: shoot the balloon
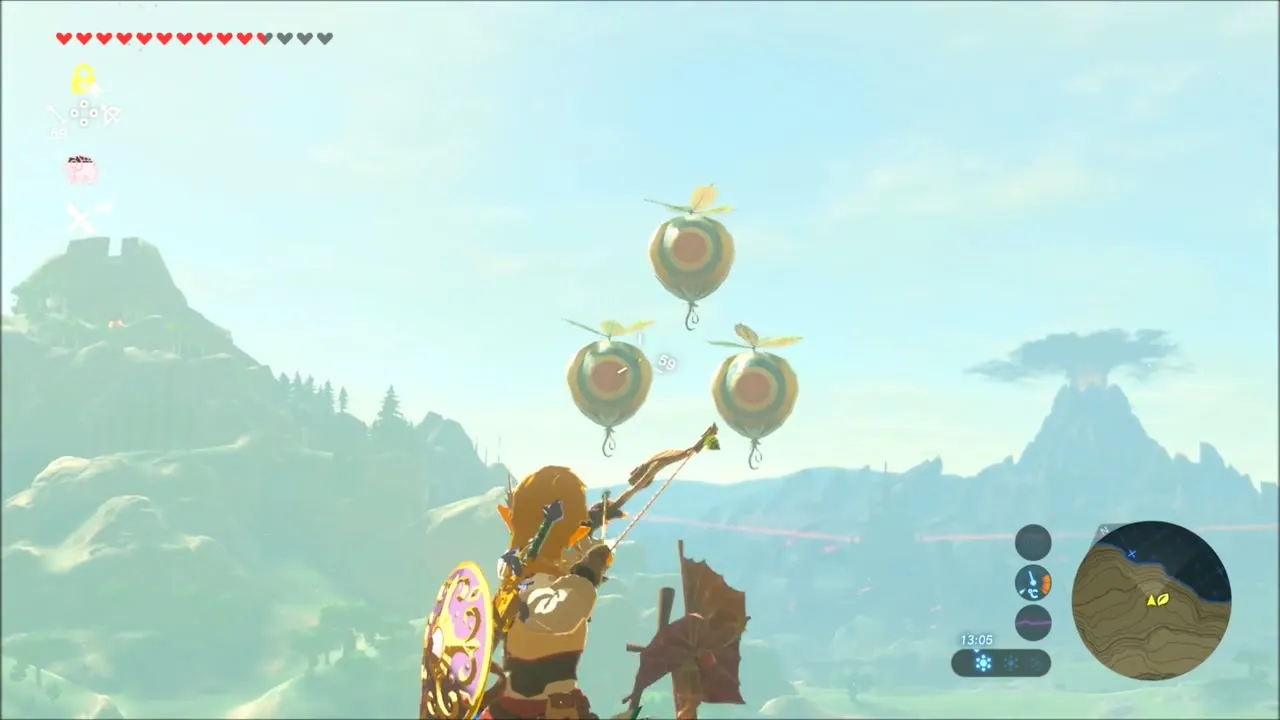
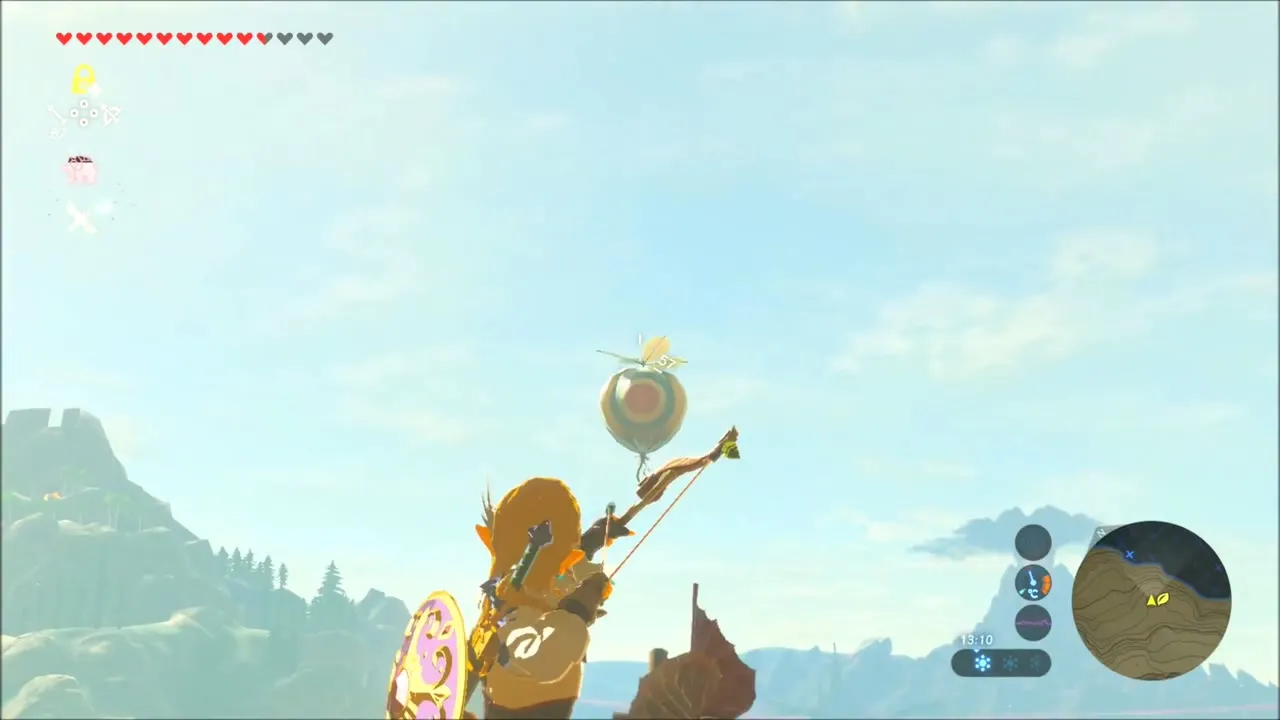
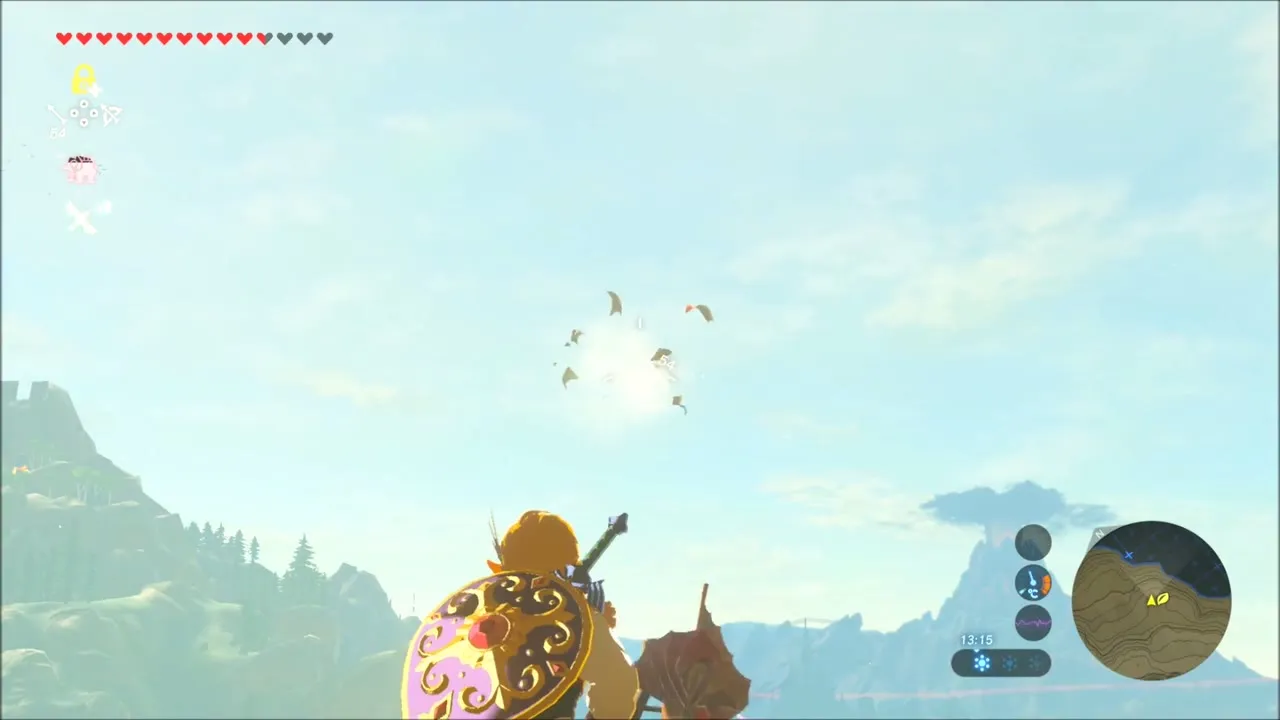
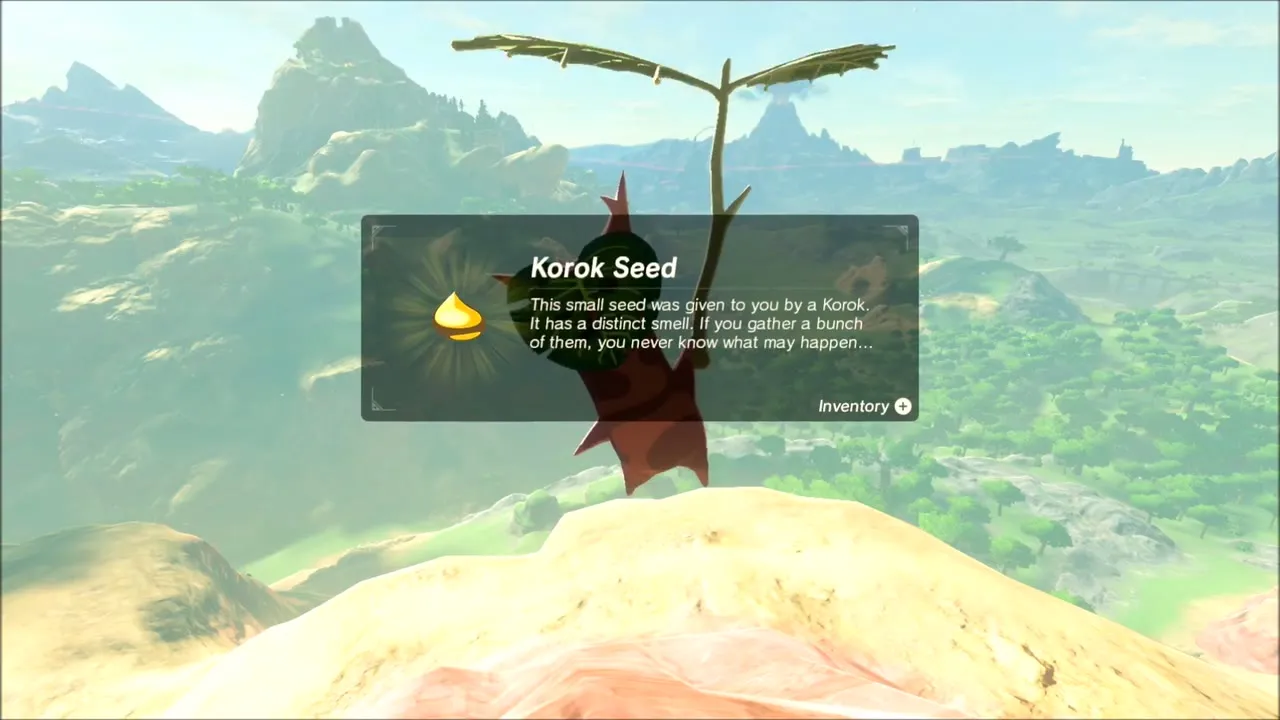
Further along the ridge a Korok floats high above you, hanging under a balloon. Draw your bow and shoot the balloon to bring it down, then talk to the Korok for its seed.
More chests on the snow and in the camps
Keep sweeping with the Sheikah Sensor and Magnesis. A Silver Rupee chest lies half sunk in the snow, and others give arrows, fire arrows, shock arrows, Amber, Sapphire and Purple Rupees. Two more skull-shaped Bokoblin camps hold weapon chests as well. Your Flameblade breaks along the way, so use your sturdier weapons on the tougher monsters.


Korok seeds: two more rock rings on the snow
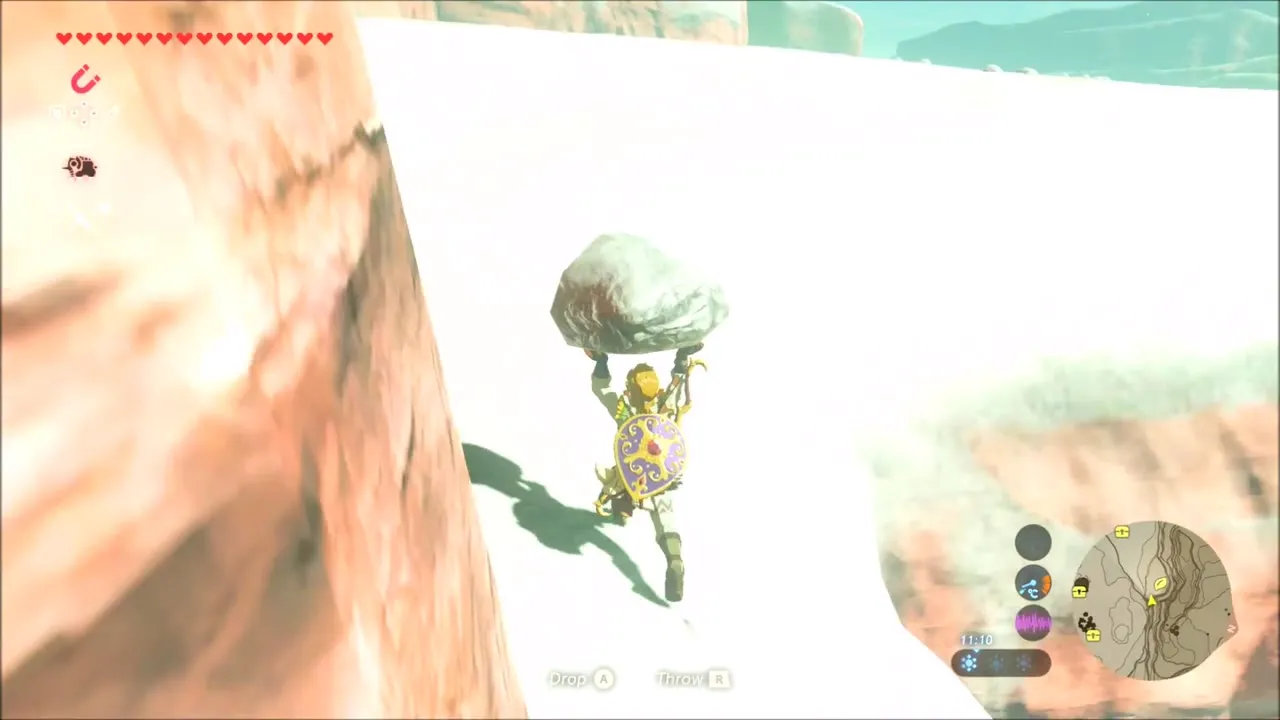
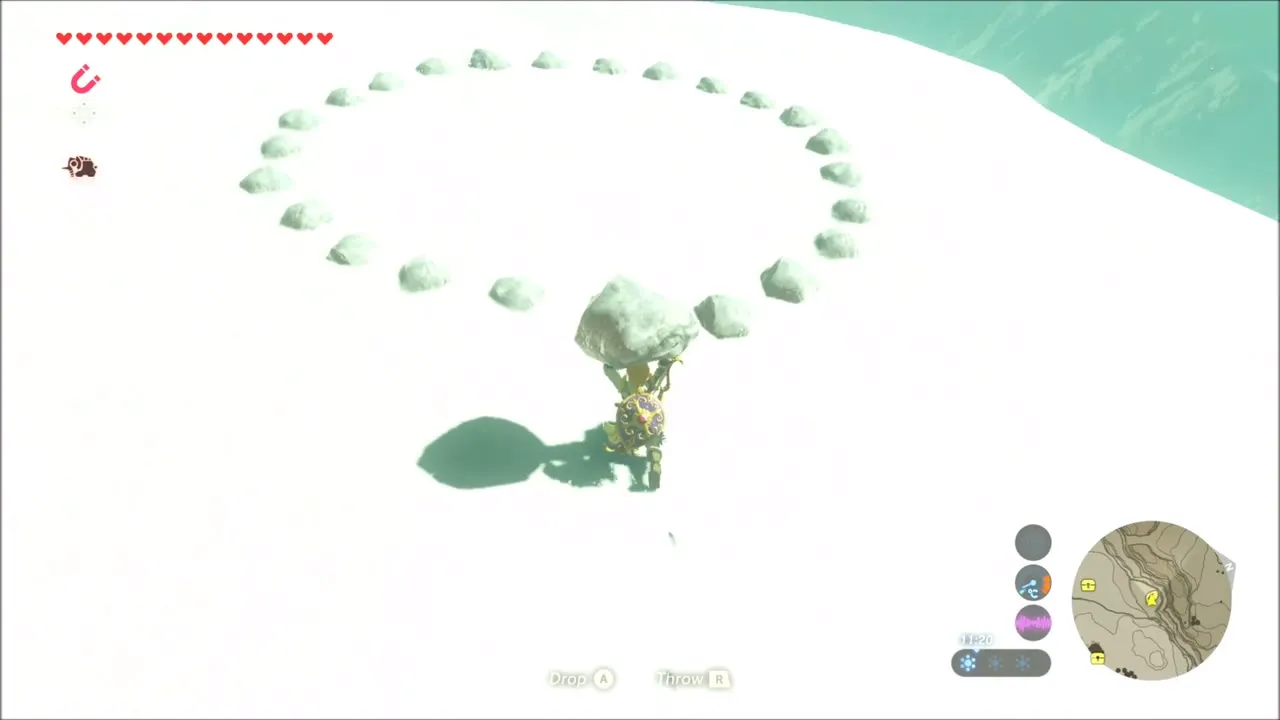
Two more Korok seeds sit on the snowy shelves further east. For the first, carry a boulder across the snow and set it in the gap in a ring of rocks. For the second, pick up a rock beside another dotted ring on a snowy mound and put it back into the circle. Each ring holds a Korok that gives you a seed.
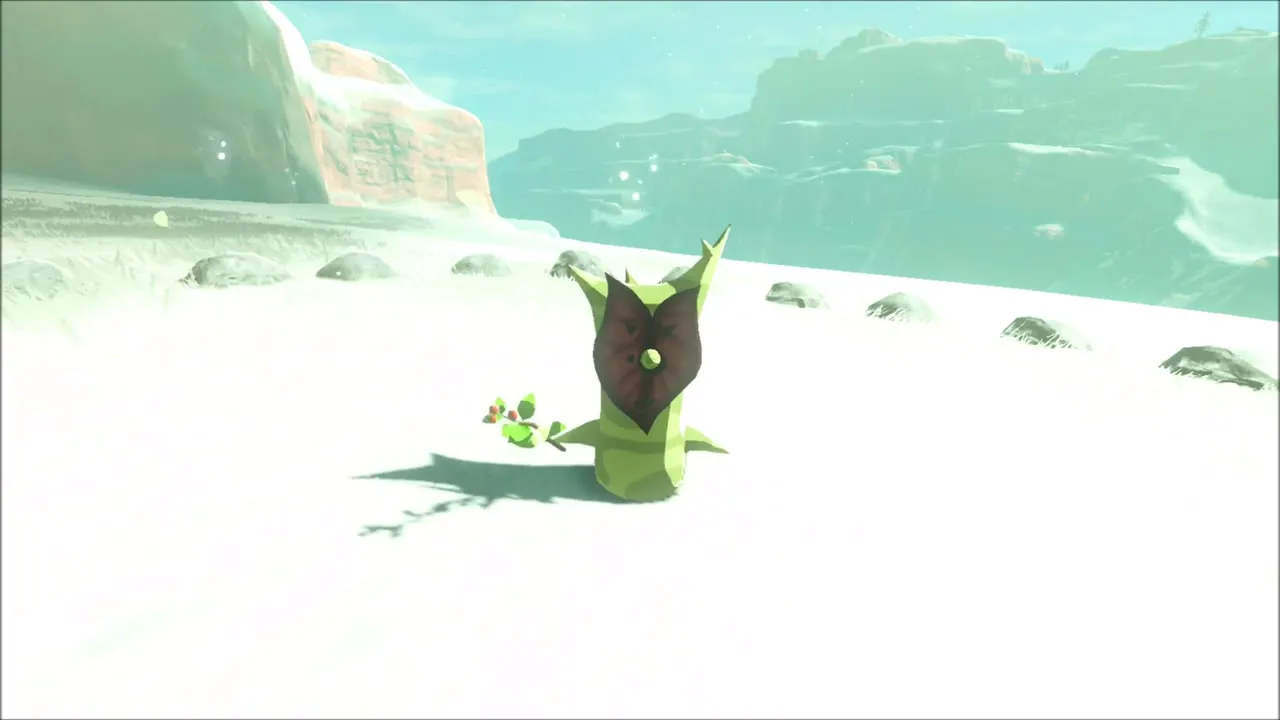

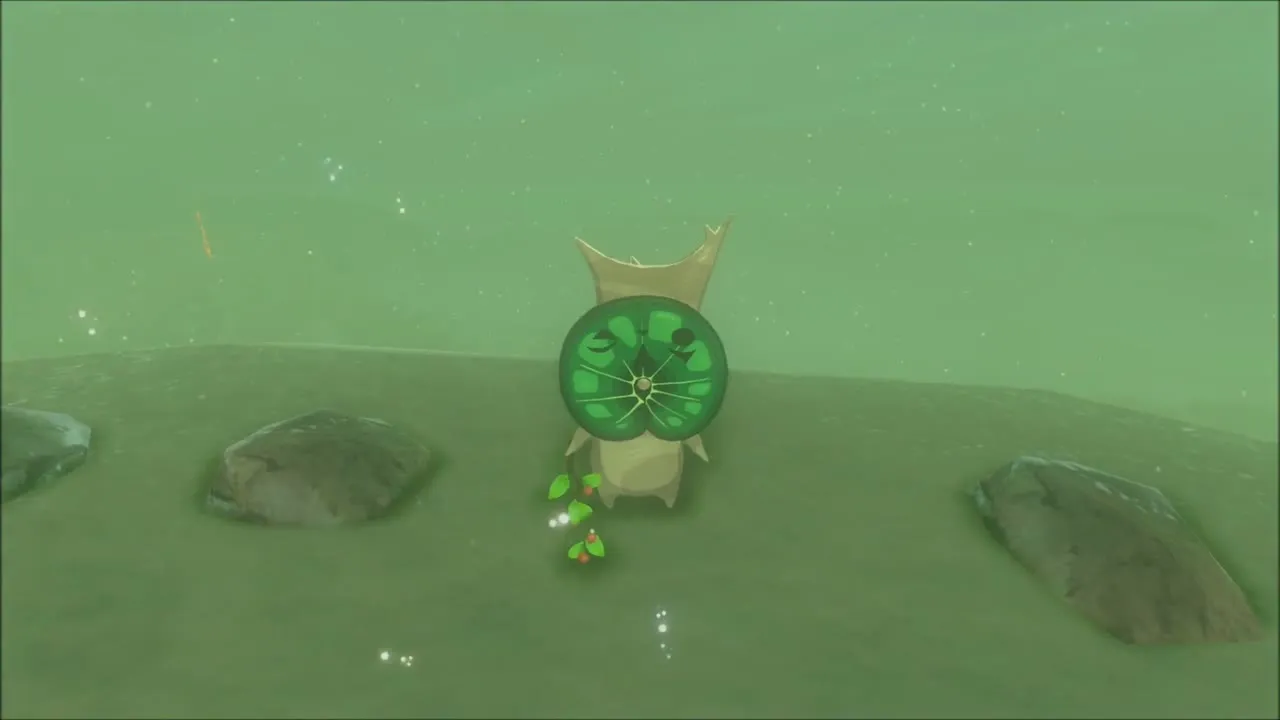
Korok seed on the open slope
Next to a wooden crate on a grassy slope, a Korok is hiding in the open. Open the crate, then talk to the Korok for another seed.
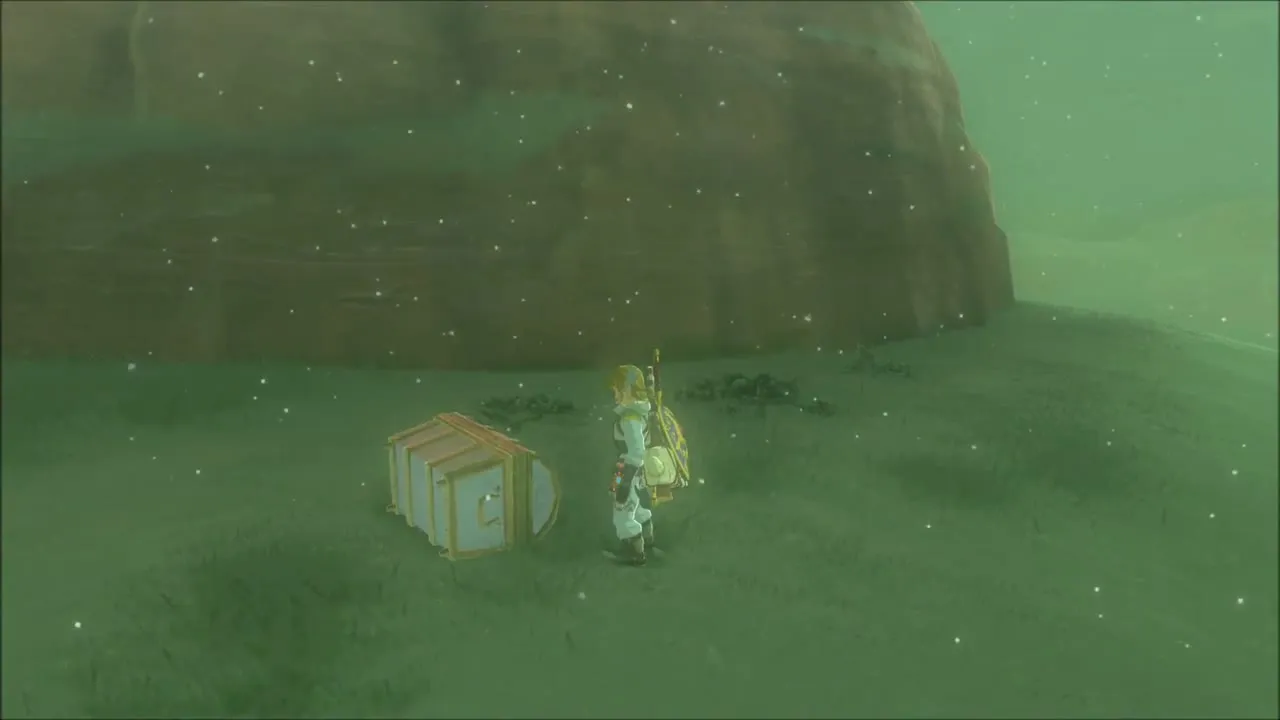
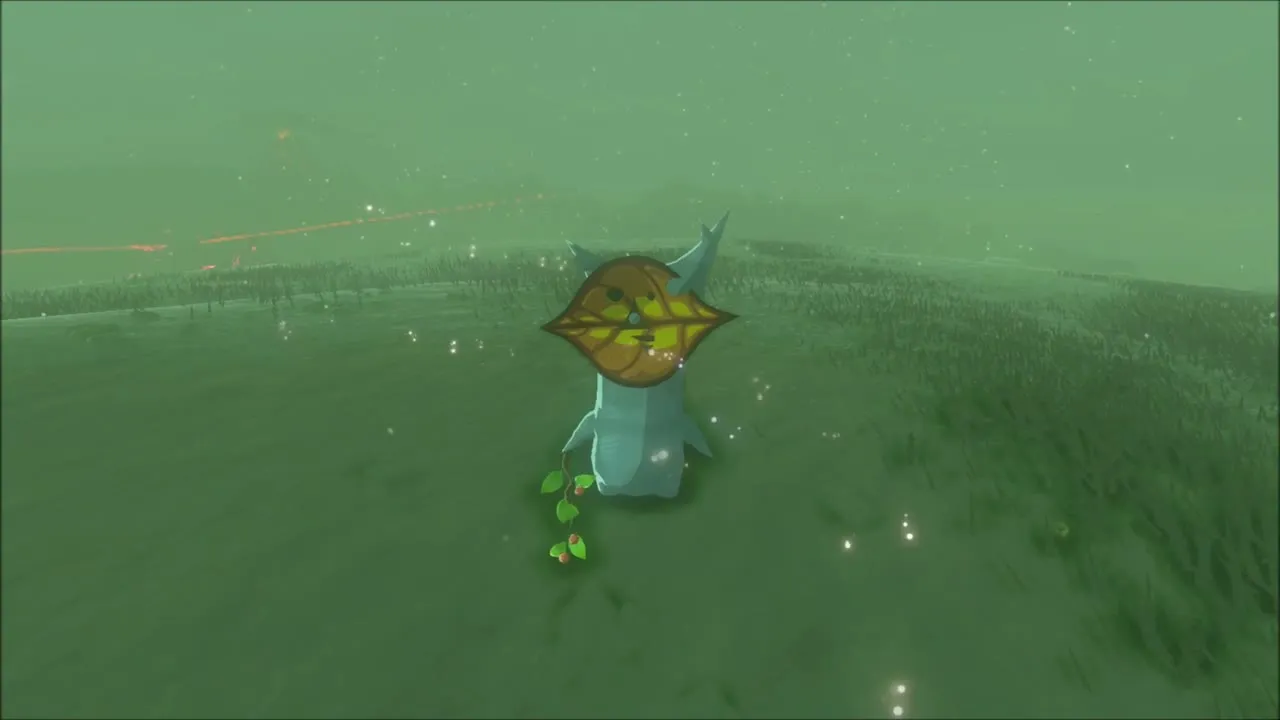

Korok seed: Magnesis block in the box canyon
Climb down the red cliff into a small canyon with a metal block on the ground. Grab the block with Magnesis and lift it high; a Korok appears below it and gives you a seed.


Korok seed: boulder on the glowing spot
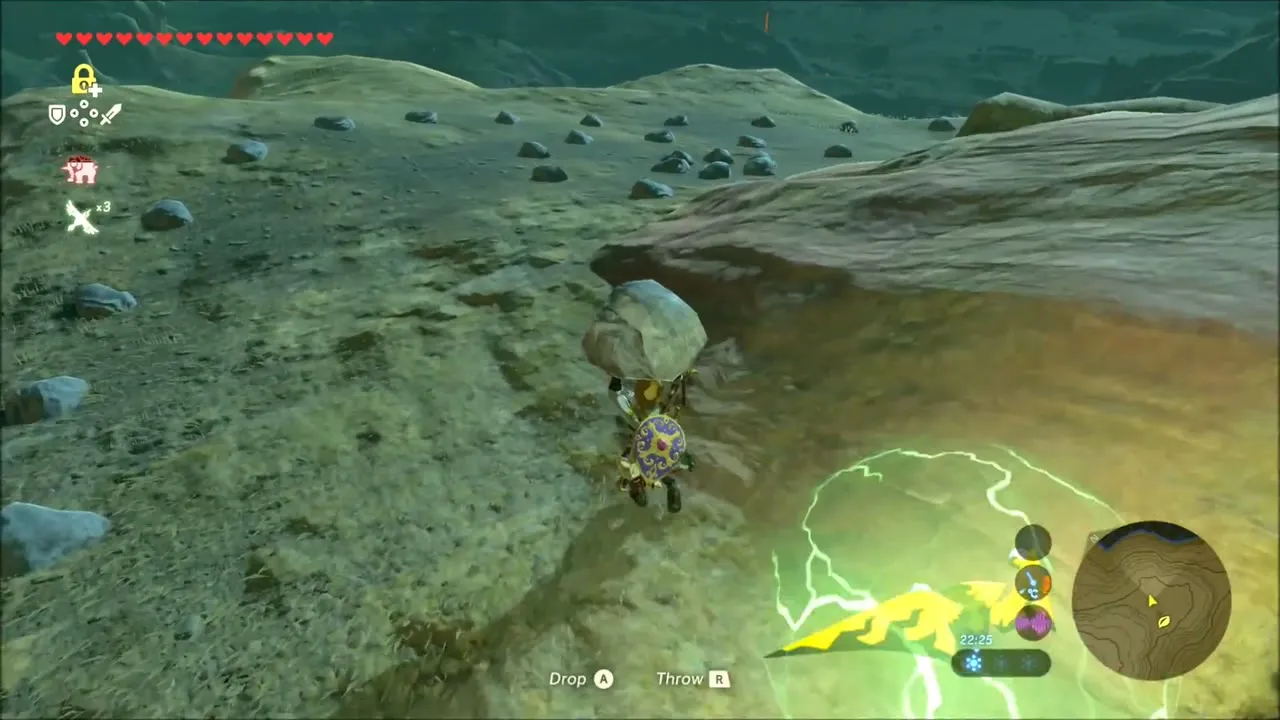
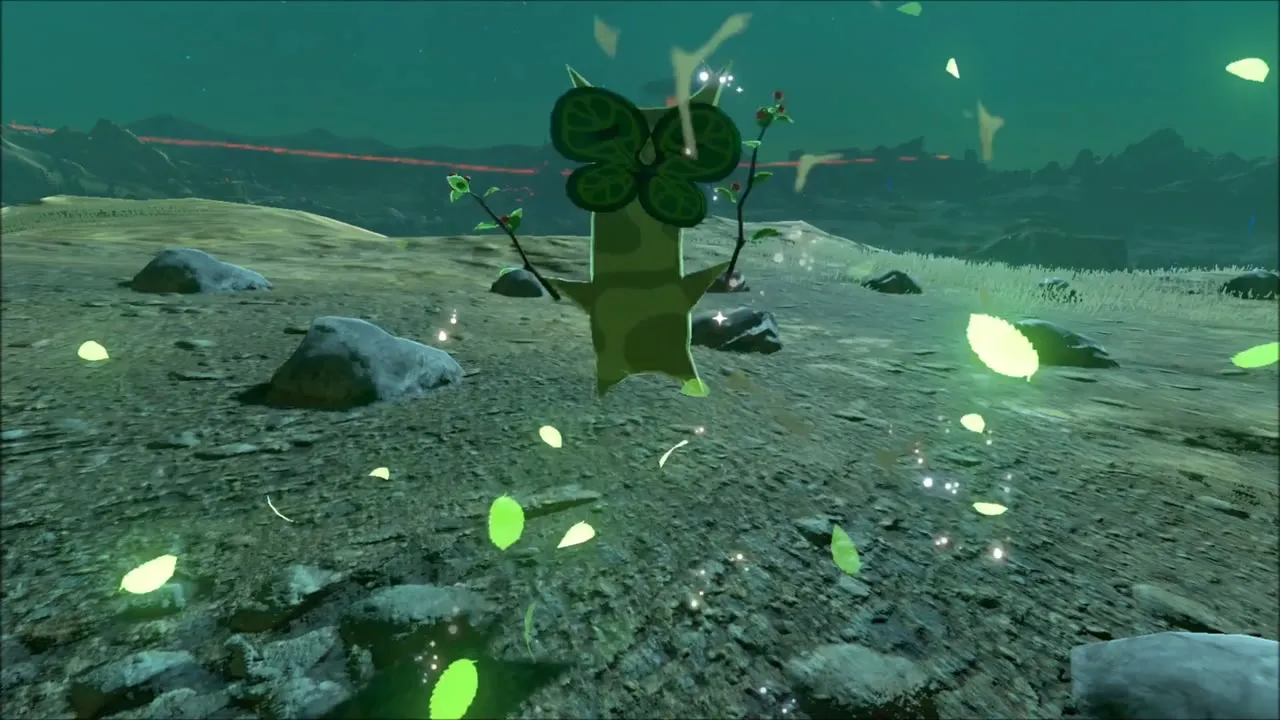
Cross the rocky hillside covered in small stones and pick up a large rock. Carry it to the patch of ground that crackles with yellow sparks and drop it there. A Korok appears among the stones and gives you a seed.


Test of Will: Goron Endurance Challenge
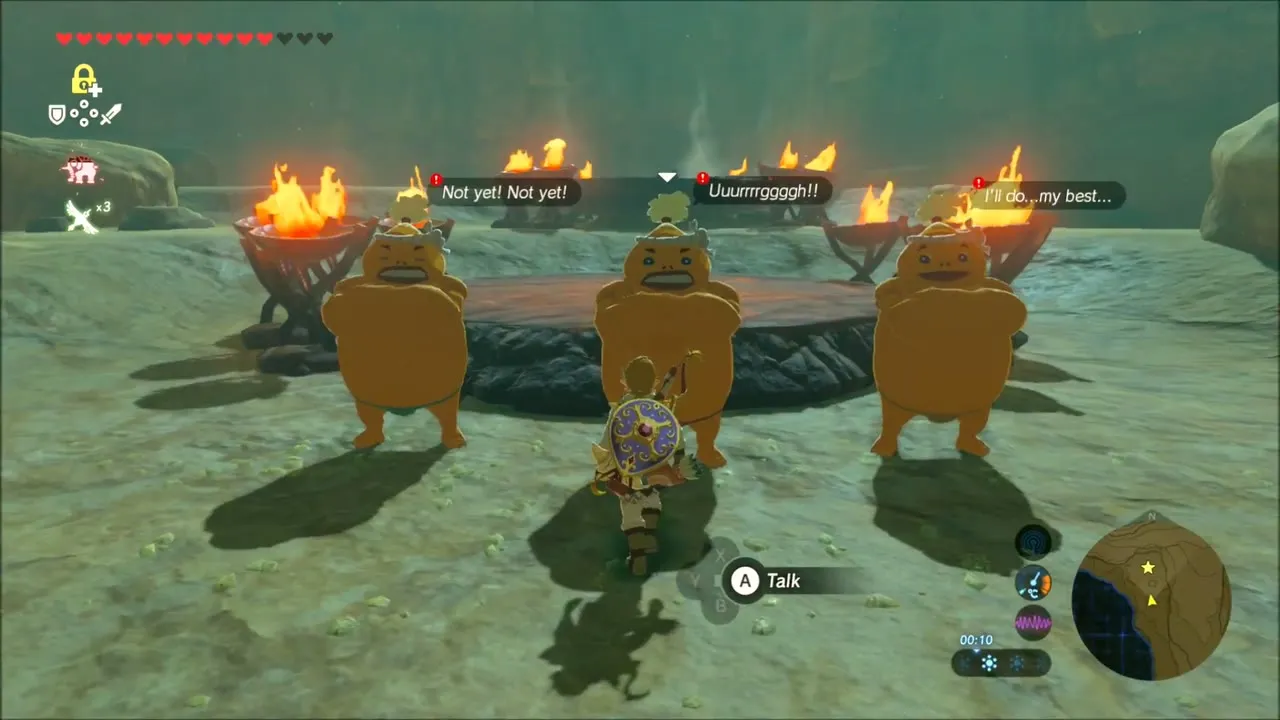
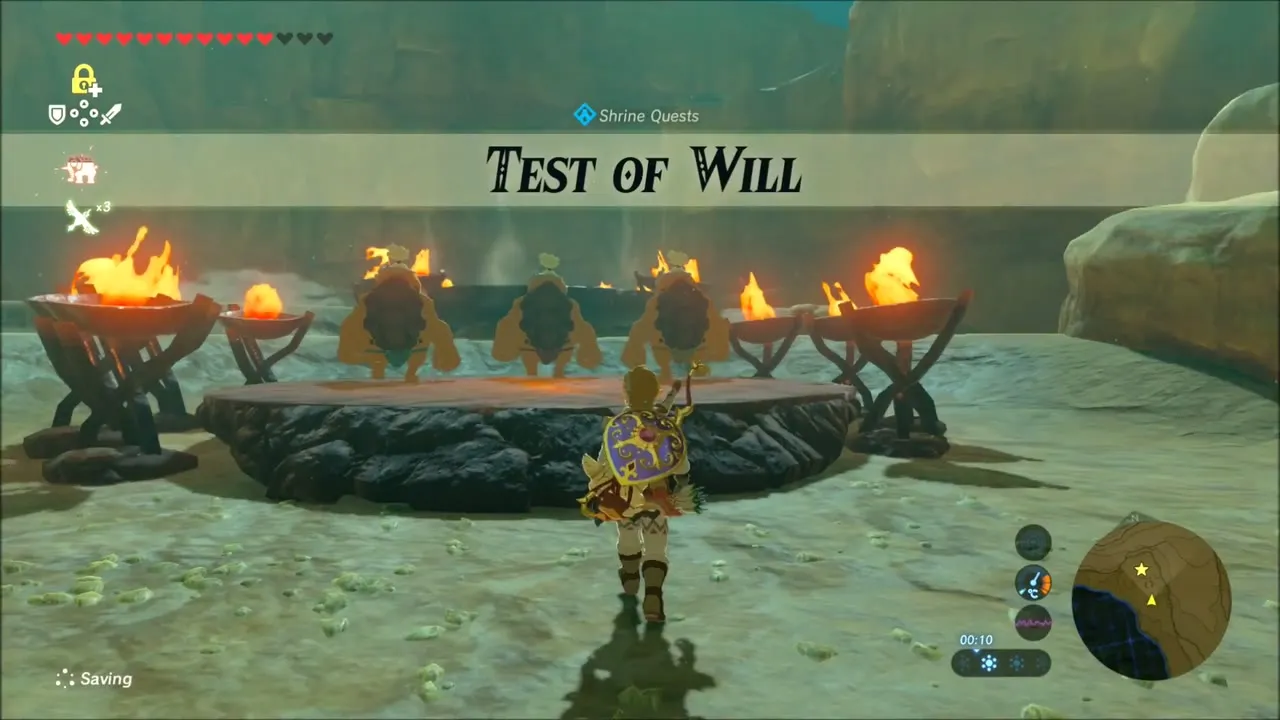
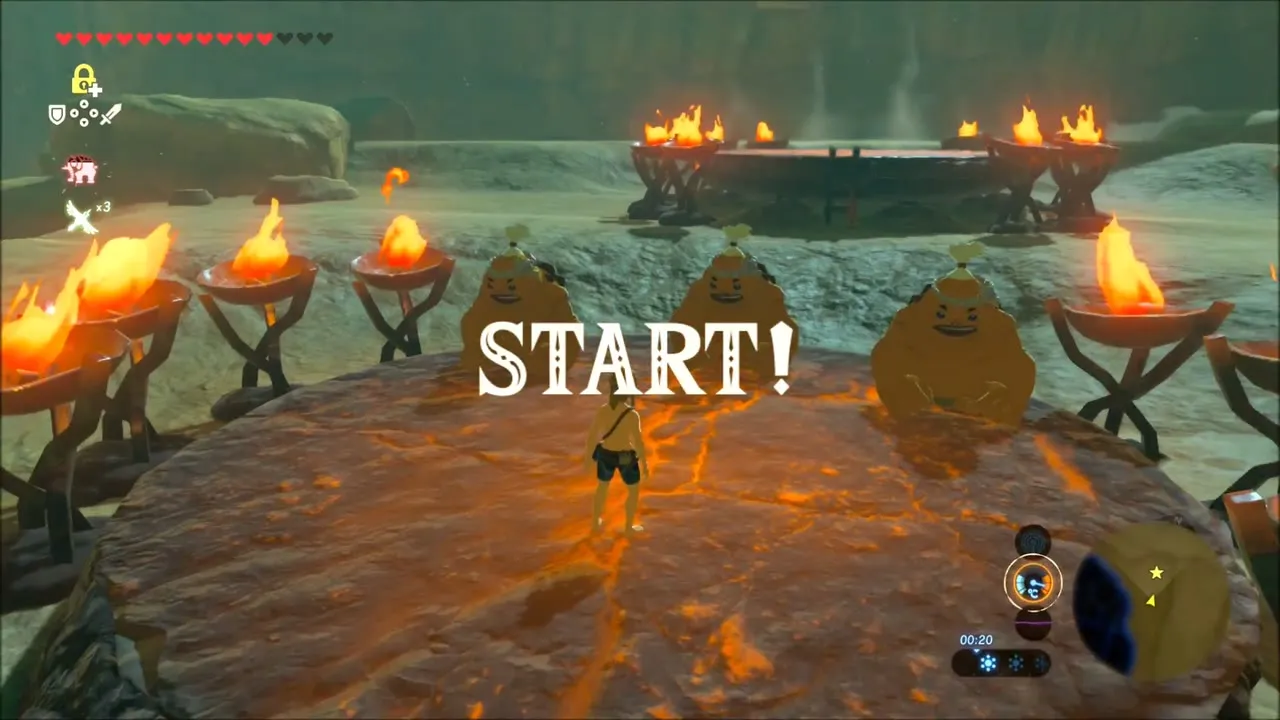
Head east to the north-east corner of the Koukot Plateau, near Mount Nabooru (x -1893, z 1943, map square D-6). Three Gorons, the Blood Brothers Bayge, Kabetta and Heehl, stand around a glowing hot plate ringed by torches. Talk to them to start the shrine quest Test of Will. The first round is a contest of endurance: stand on the hot plate without armor until all three Gorons pass out.
Second round and Joloo Nah Shrine
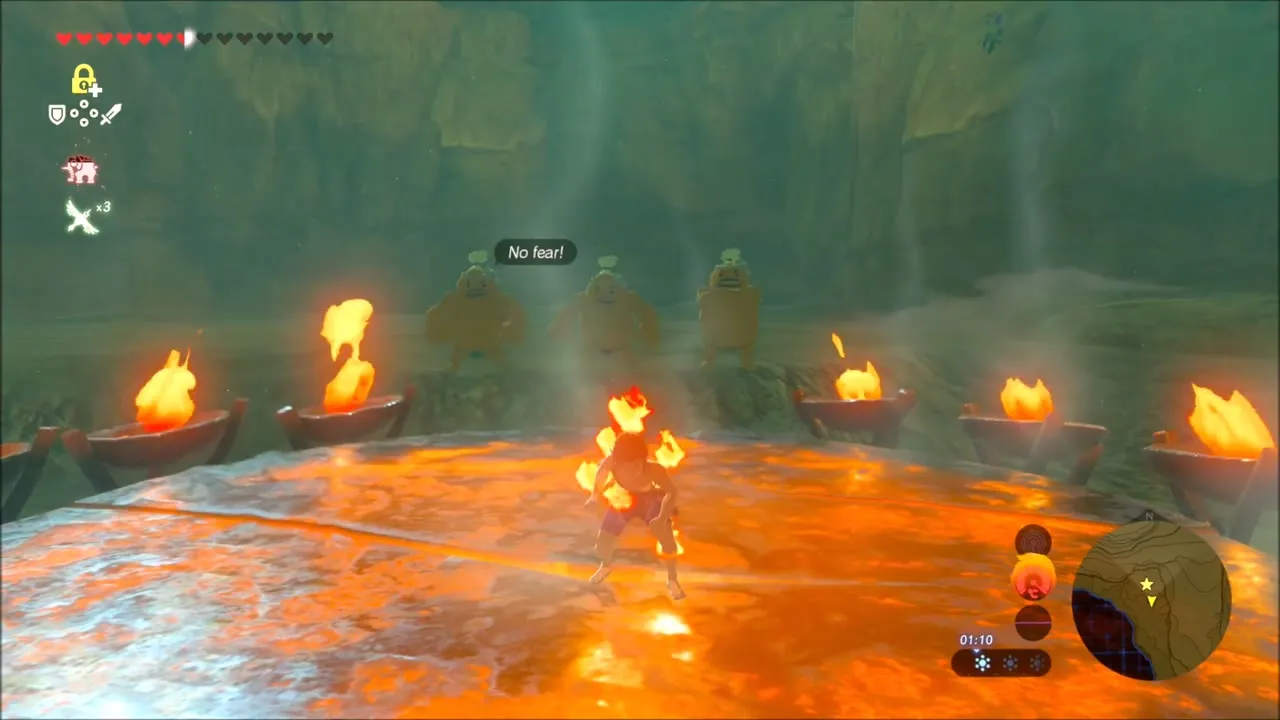
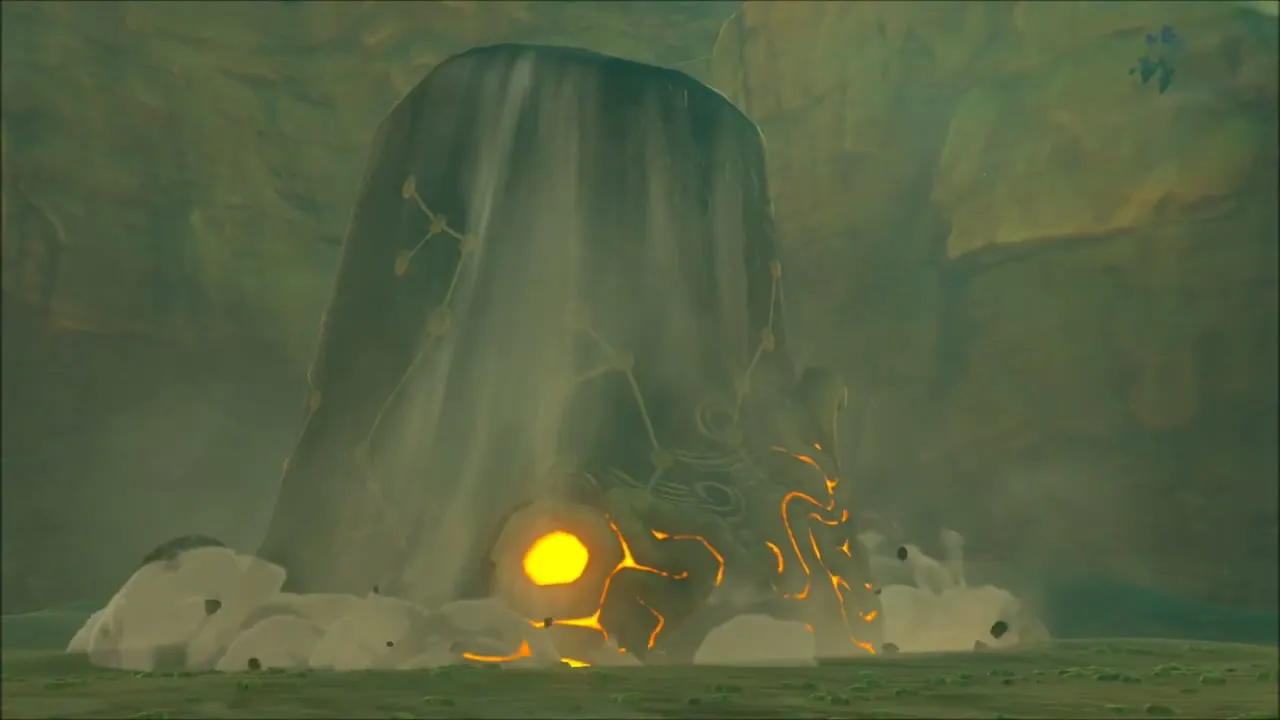
In the second round the plate ignites and flames burn around you, so you must outlast all three Gorons again until they admit you have won. Afterwards a glowing rock formation beside the plate opens and the Joloo Nah Shrine (x -2004, z 1675, height 241) rises from the ground. Bayge also points you toward the Gut Check Challenge north of Death Mountain.


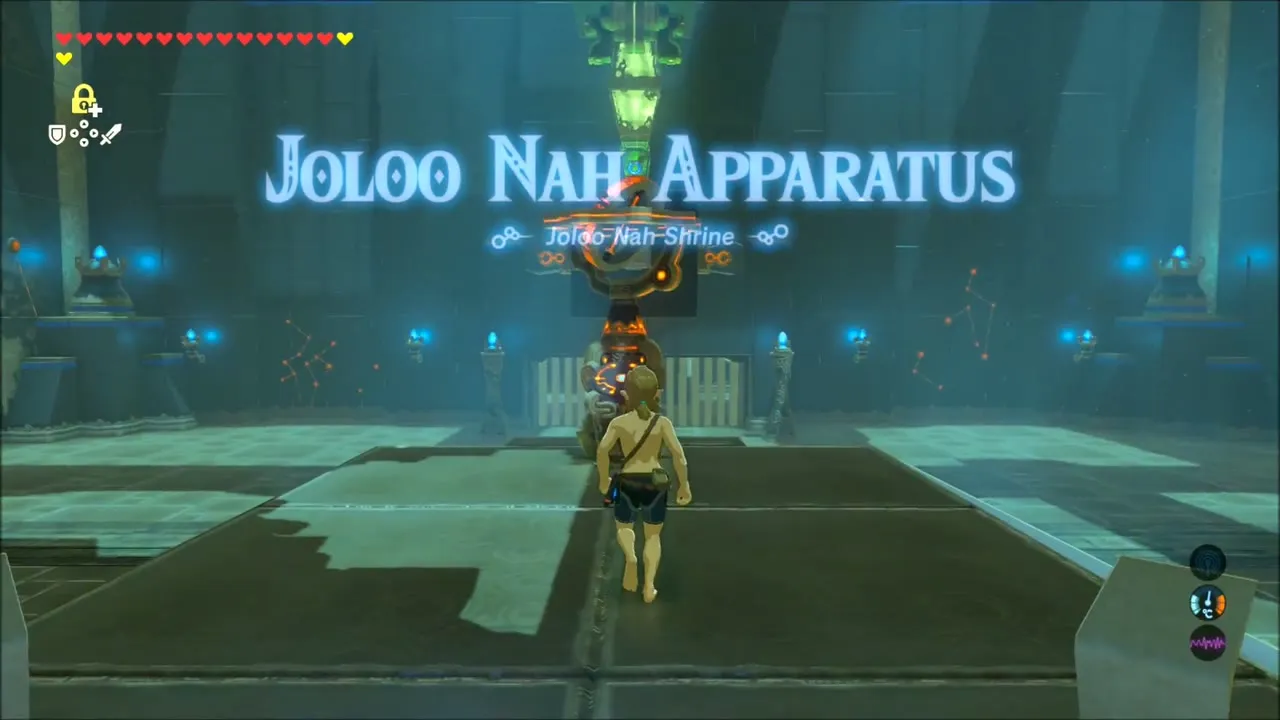
Joloo Nah Shrine: Joloo Nah Apparatus
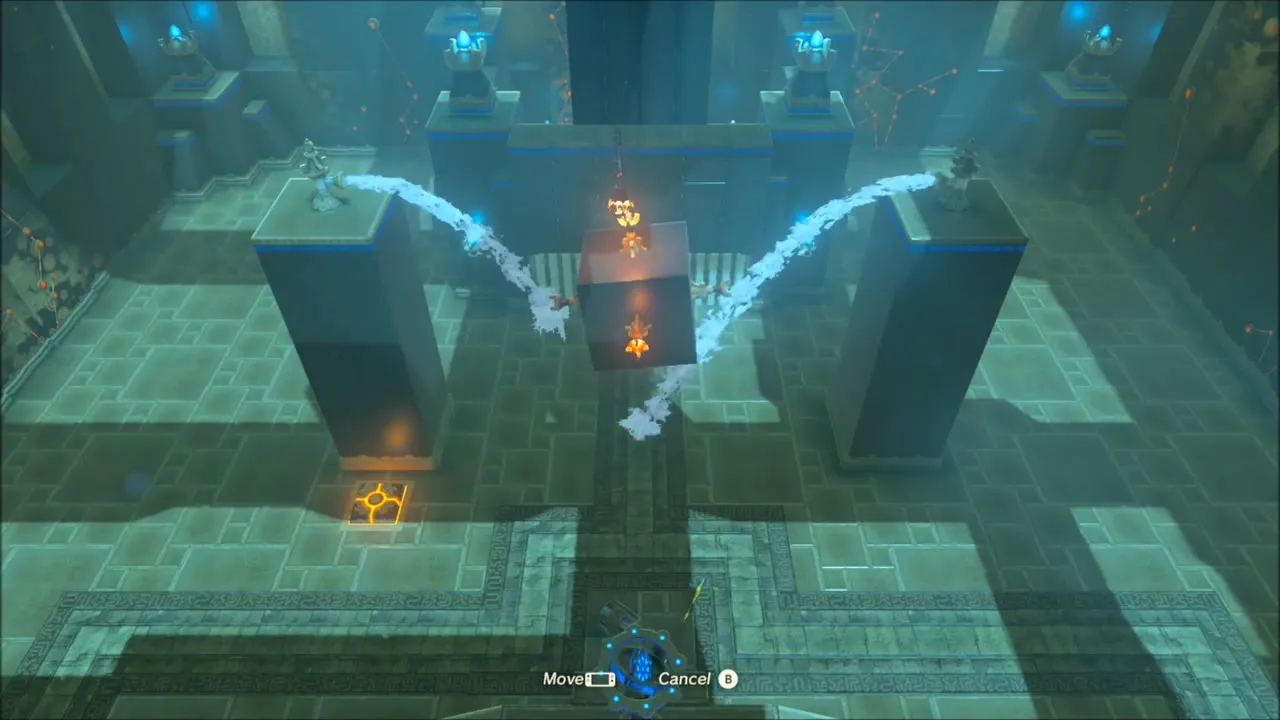
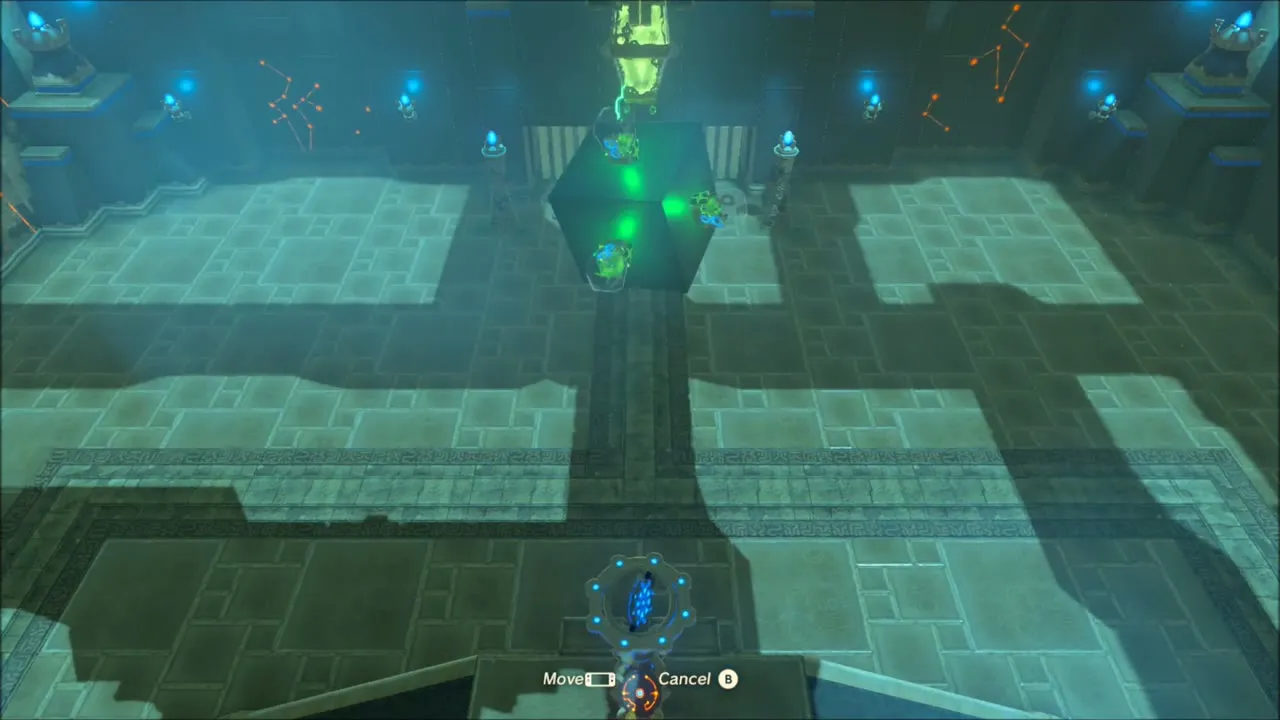
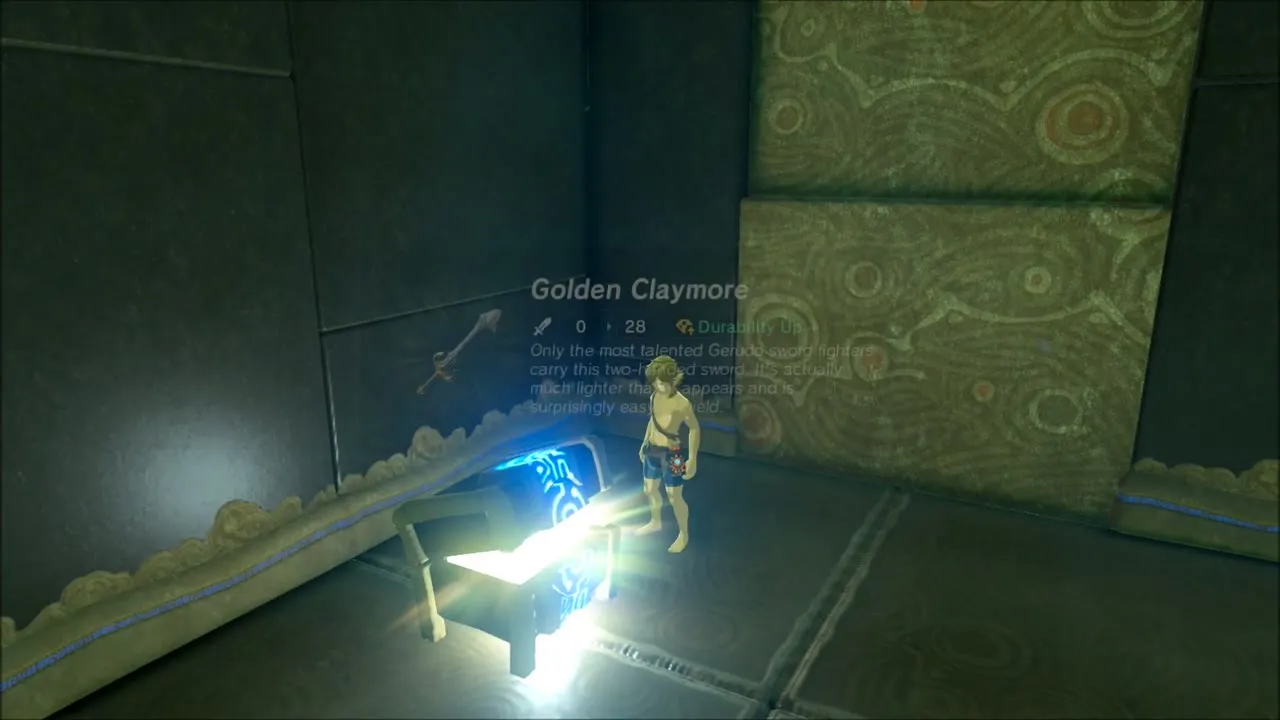
The Joloo Nah Apparatus is a puzzle of rotating cubes, controlled from motion terminals. In the first room, turn the cube until its terminals have all touched the power source, which opens the way on. A second room has a chest holding a Golden Claymore, and you then line up wind jets on the fans and use Magnesis and Stasis on the metal block and the fan switches to reach the last room.
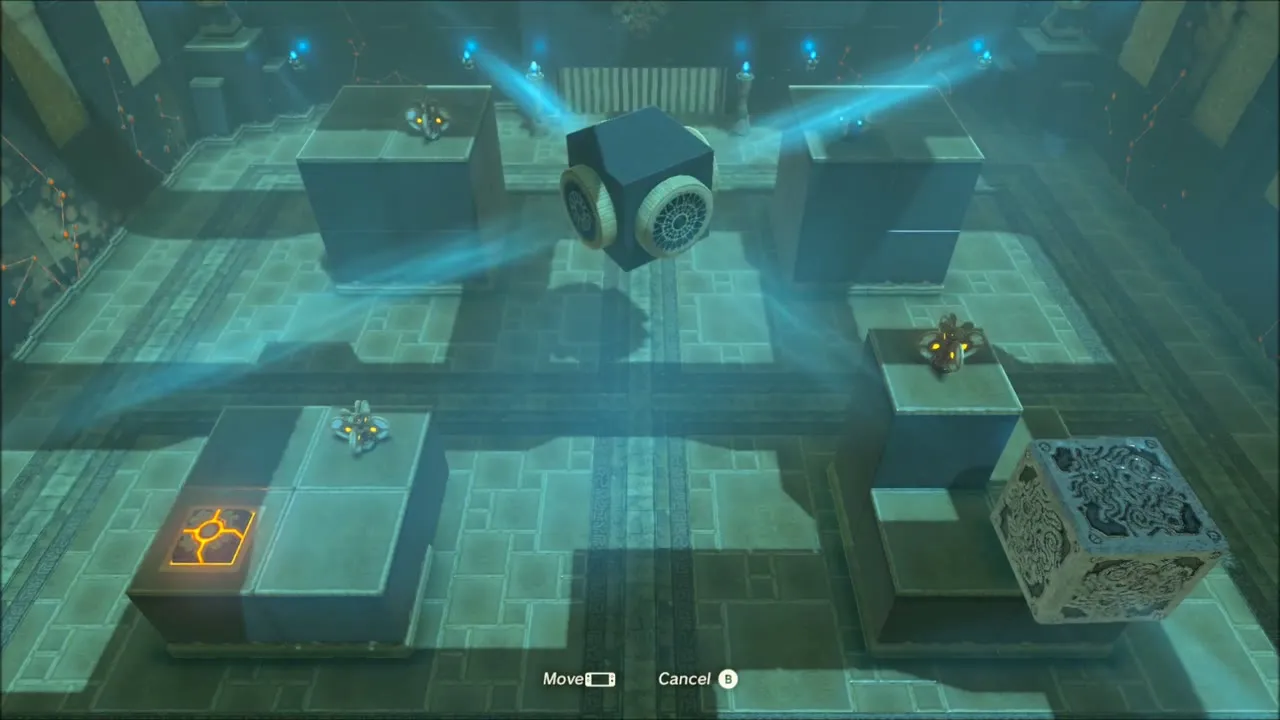
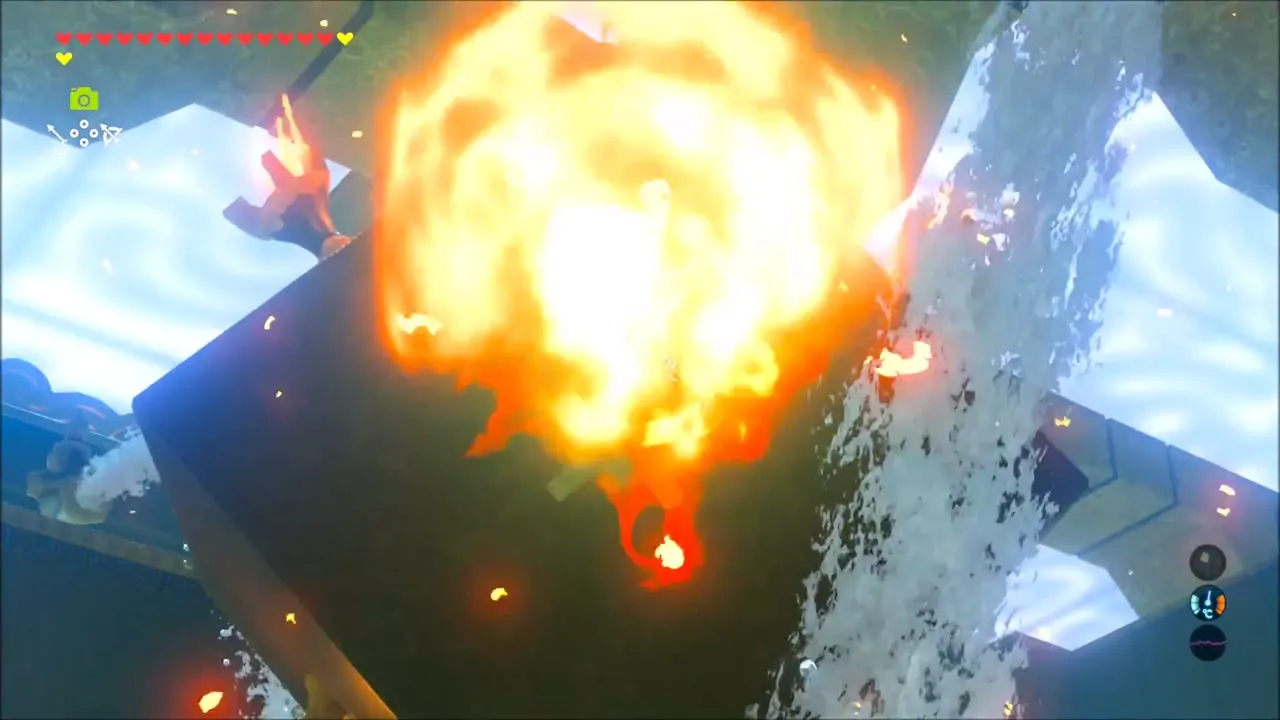
In the last room, swing the lantern with Magnesis to light a flammable pile and drop a chest holding a Gerudo Spear, then use Magnesis to put it on the floor switch and shut off a water spout. Rotate the final cube so its torches all light without touching the water jets, then speak to the monk to receive the Spirit Orb.