100% Completion Walkthrough21 chapters
- Great PlateauAll 4 Shrines, the Paraglider and Korok Seeds
- Kakariko Village and Dueling PeaksSeek Out Impa, Shrines and Korok Seeds
- Hateno VillageHateno Tower, the Ancient Tech Lab, Link’s House and Shrines
- Zora’s DomainReach Zora’s Domain, Vah Ruta, Lanayru Shrines and Korok Seeds
- Faron and Lurelin VillageLurelin Village, Faron Tower, Shrines and Korok Seeds
- Korok Forest and Master SwordHow to Get the Master Sword, Lost Woods, Shrines and Korok Seeds
- Hebra MountainsHebra Tower, Snowfield Stable, Shrines and Korok Seeds
- Rito Village and Vah MedohVah Medoh, Tabantha Tower, Shrines and Korok Seeds
- Gerudo HighlandsGerudo Tower, Gerudo Summit, Shrines and Korok Seeds
- Gerudo TownForbidden City Entry, the Thunder Helm, Desert Shrines and Korok Seeds
- Vah Naboris and Gerudo DesertThunderblight Ganon and the Gerudo Desert Shrines
- Lake HyliaLake Tower, Farosh, Lake Shrines and Korok Seeds
- Akkala and Tarrey TownTarrey Town, Akkala Tower, Shrines and Korok Seeds
- Death Mountain and Goron CityGoron City, Vah Rudania, Eldin Shrines and Korok Seeds
- RidgelandRidgeland Tower, Shrines, Memories and Korok Seeds
- Central HyruleCentral Tower, Captured Memories, Shrines and Korok Seeds
- Hyrule Castlethe Hylian Shield, Saas Ko’sah Shrine, Zelda’s Diary and Memories
- Calamity GanonLast Side Quests, Destroy Ganon and the Final Boss
- All Hinox, Talus and Molduga LocationsEvery Hinox, Stone Talus and Molduga, for Kilton’s Medals of Honor
- Trial of the Sword and EX TreasuresThe Trial of the Sword and every EX Treasure location (DLC Pack 1)
- Champions’ BalladOne-Hit Obliterator, Champion Trials and the Final Trial
| Region | Great Plateau |
|---|---|
| Shrines | 4: Oman Au Shrine, Ja Baij Shrine, Keh Namut Shrine, Owa Daim Shrine |
| Sheikah Tower | Great Plateau Tower |
| Korok seeds | 6 |
This chapter of the 100% walkthrough covers the Great Plateau region in a route that collects everything along the way: 4 shrines, 6 Korok seeds and the Sheikah Tower, plus the quests, chests and minibosses you meet. Positions are map coordinates (x grows east, z grows south).
Shrine of Resurrection: Sheikah Slate, Old Shirt and Well Worn Trousers
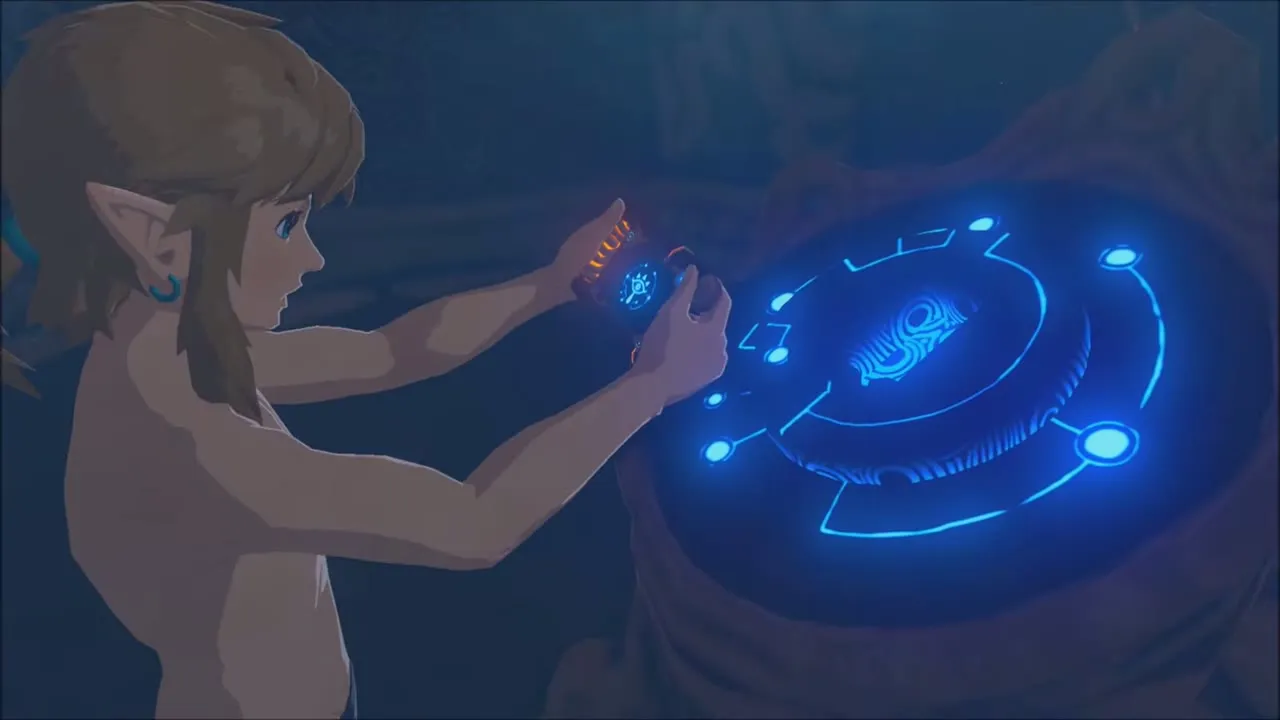
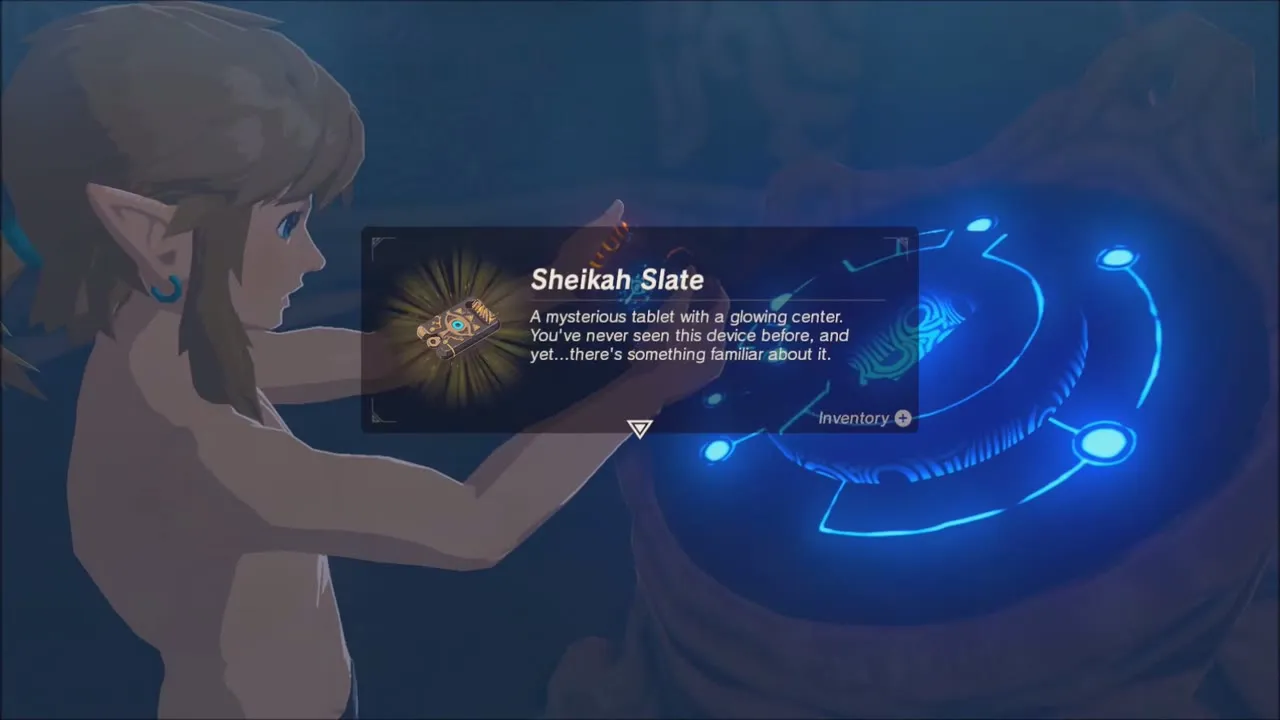
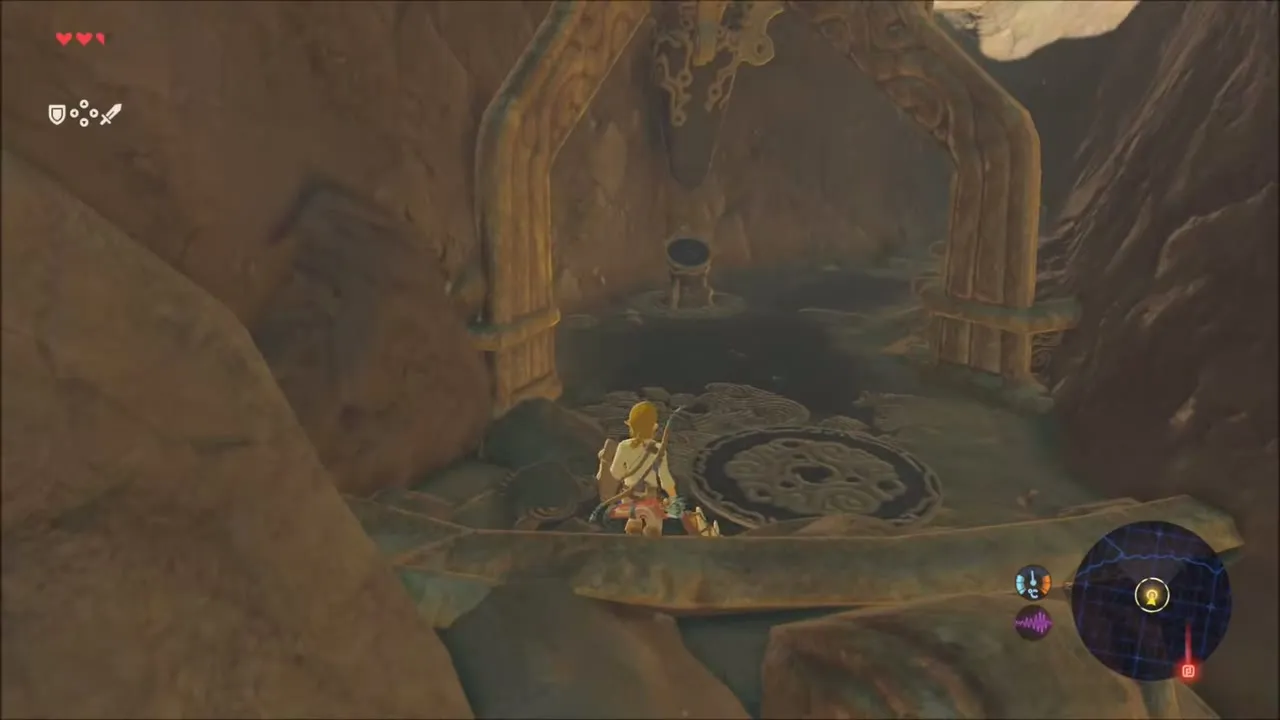
You wake up in the Shrine of Resurrection with no clothes and no memory. Follow the glowing path to the pedestal and take the Sheikah Slate from it. The slate holds every rune, your map and your camera for the rest of the game, so there is nothing else to do in the opening room until it is in your hands.


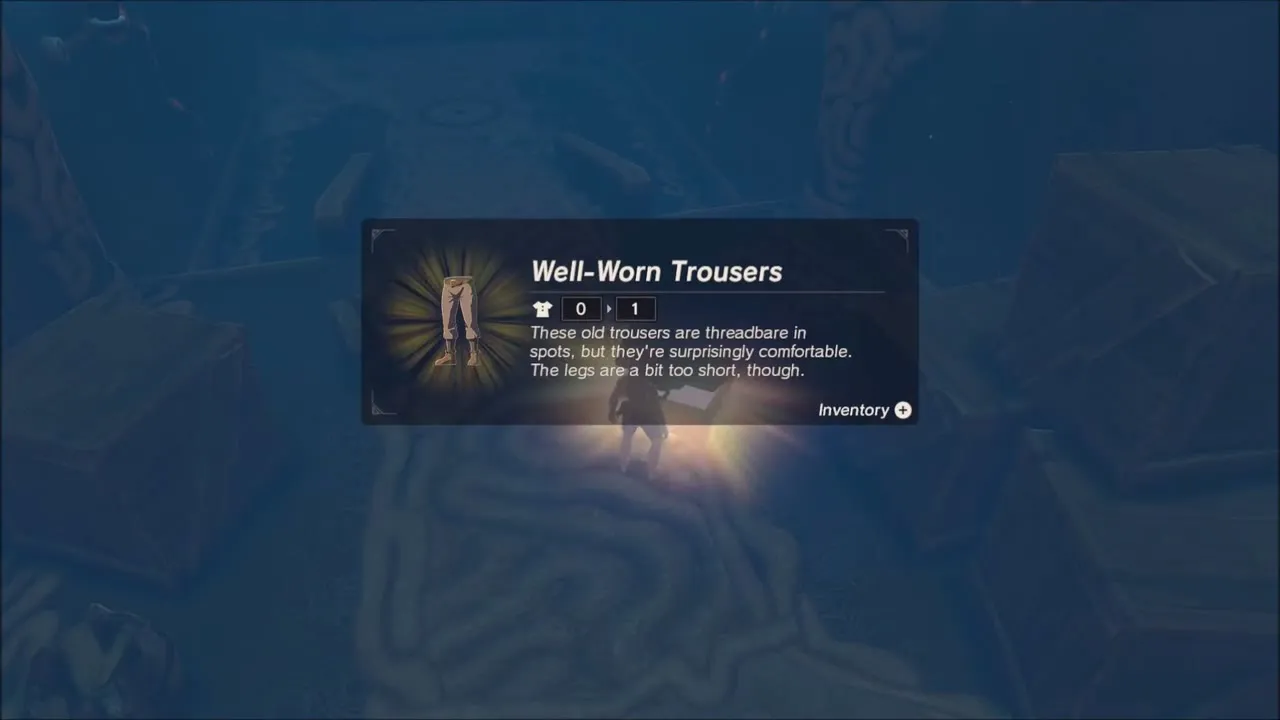
Before you leave, search the dark chamber for two chests. One holds the Old Shirt and the other the Well Worn Trousers, the only clothes you own for now. Open your inventory and equip both. They give almost no protection, but you will want them on before the first enemy camp outside.


Walk through the door at the far end of the chamber and climb the stairs into the light. A voice calls you the light that must shine on Hyrule again and sends you out. The Follow the Sheikah Slate main quest begins as soon as you are on the grass, and its marker points at the Great Plateau Tower.


First Weapons and the Old Man’s Campfire
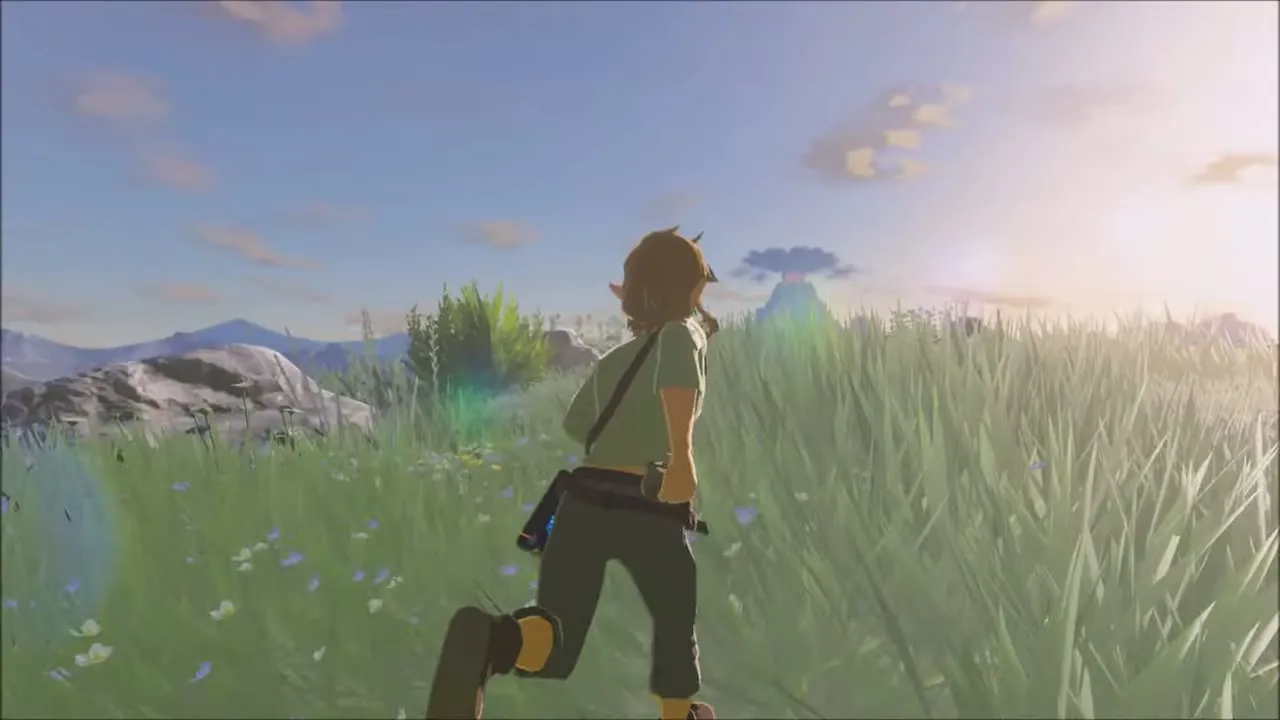
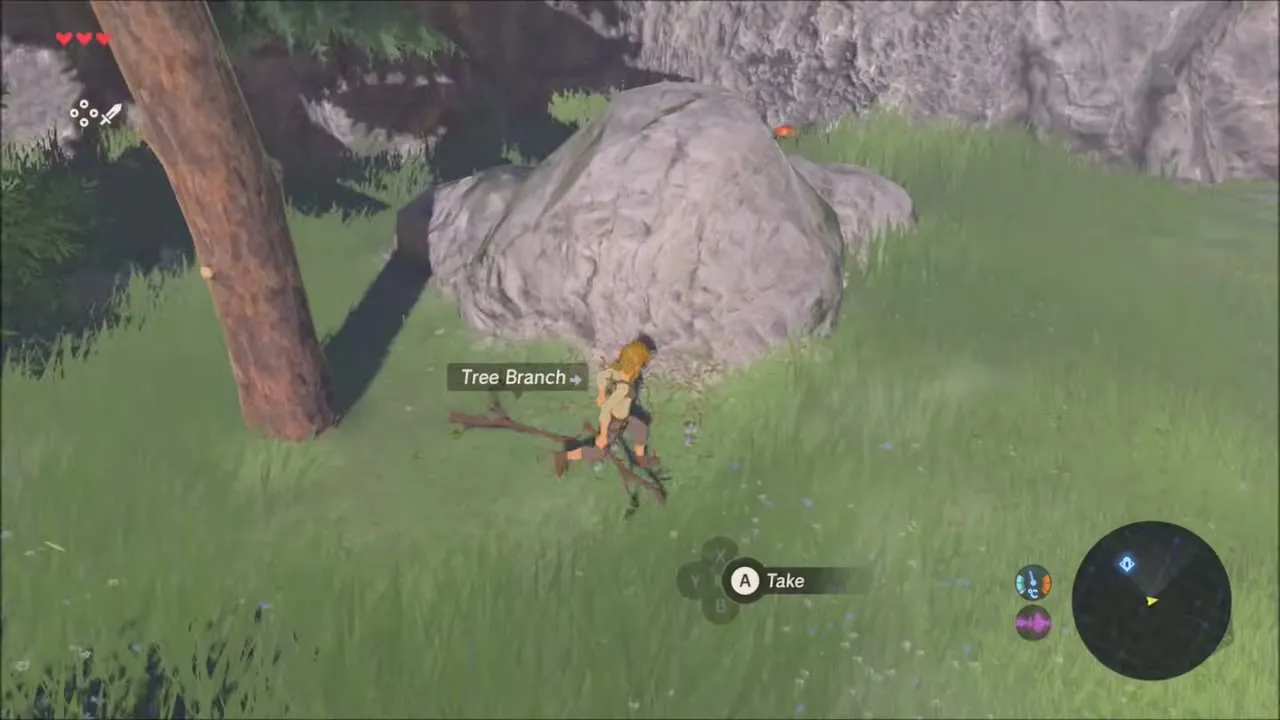
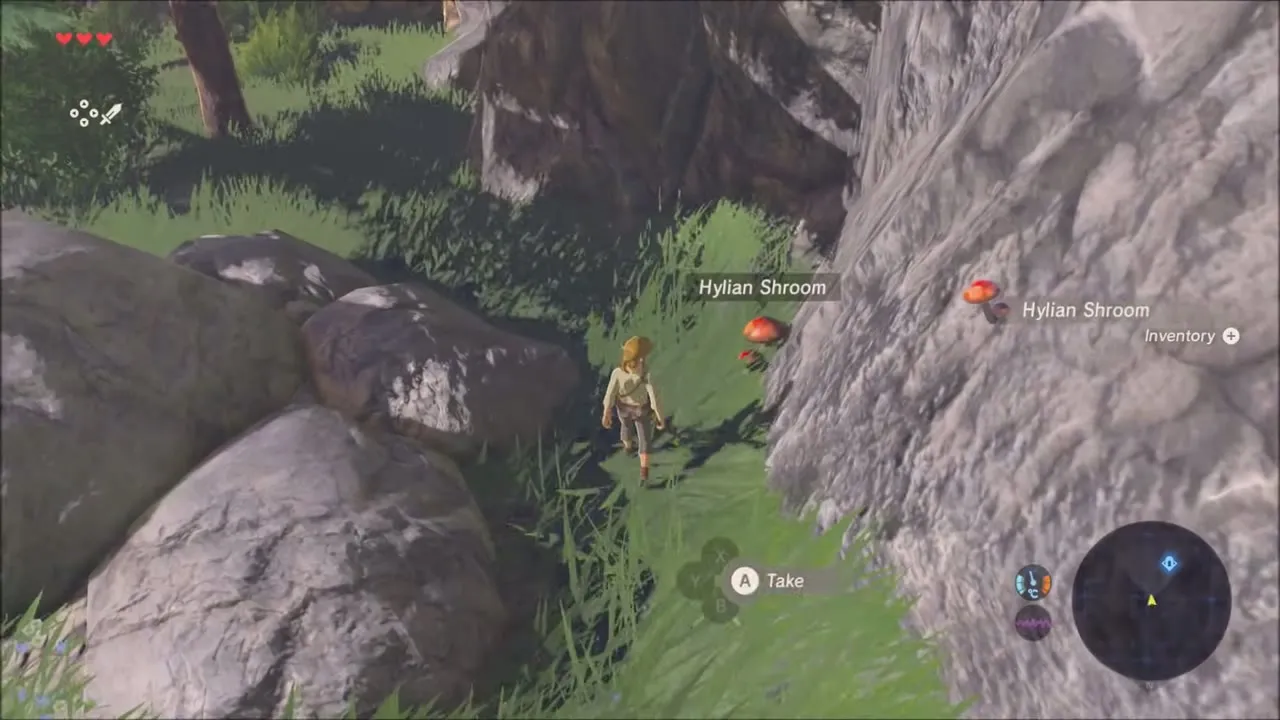
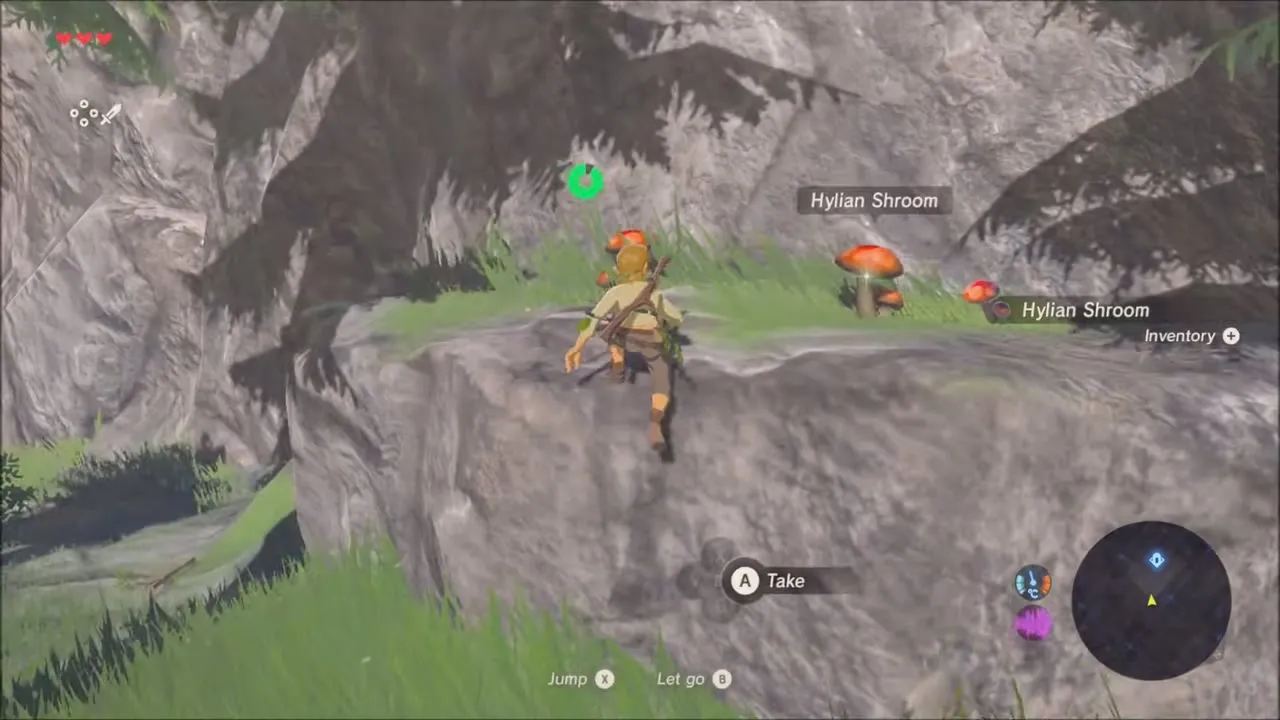
From the cliff outside the shrine, head down the grassy slope. Pick up a Tree Branch from the ground as your first weapon and collect the Hylian Shrooms growing among the trees, which restore hearts when eaten or cooked. A Bokoblin camp sits in the open below the church ruins in the distance, so for now a stick and a sneaky approach are enough.
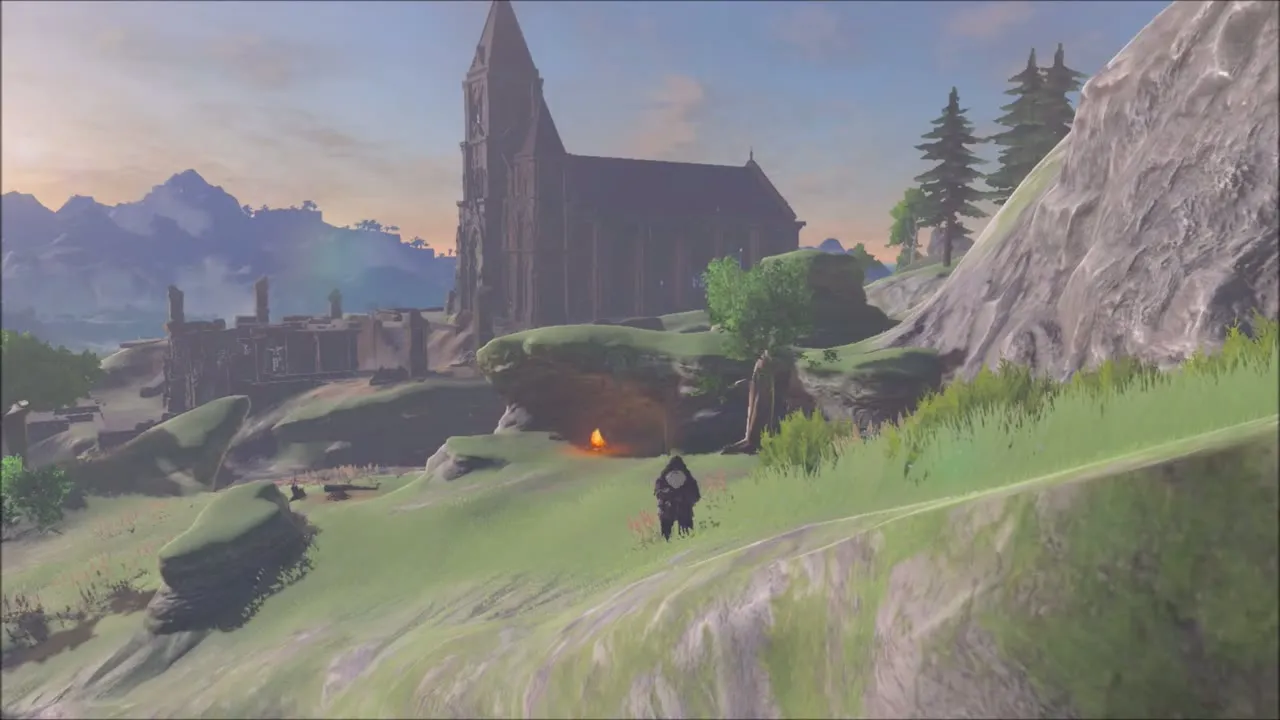

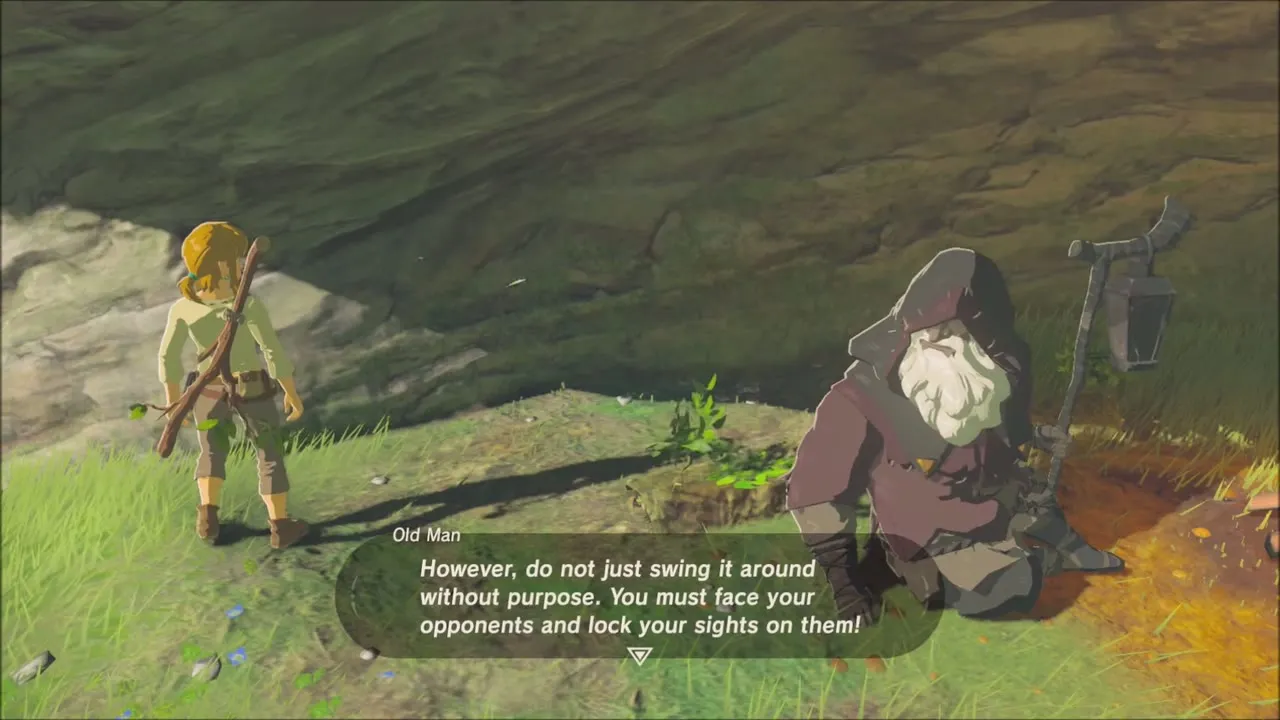
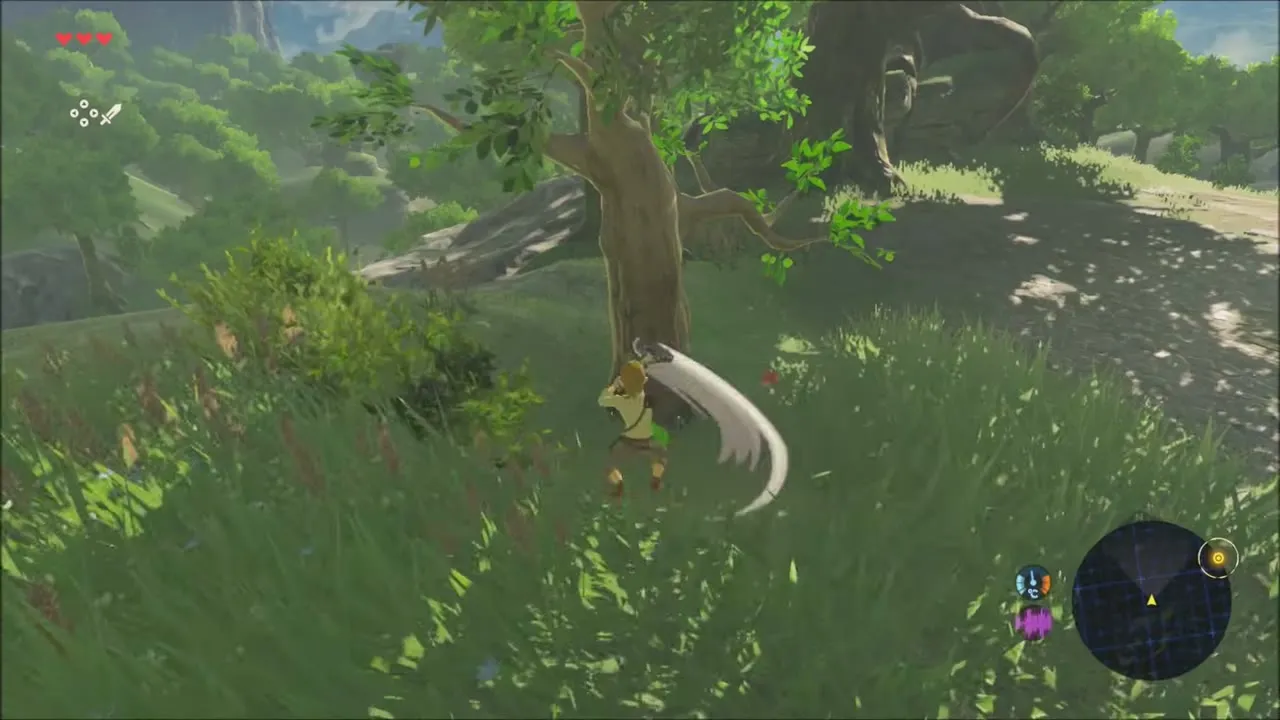
Follow the path to the Old Man, who sits at a campfire under an overhang. Talk to him and he lets you take the torch that hangs by the fire. His advice is to face your opponents and lock on instead of swinging blindly, which is worth remembering. A few Apple trees stand in the grass further on, so knock down some Apples as food before you continue.


Great Plateau Korok Seed 1: Lily Pad Circle and the Rusty Broadsword
Follow the slope down to the small pond below the Old Man. A little grassy islet in the middle of the water holds a Rusty Broadsword, a better weapon than the branch. Swim out to it, pick it up and swim back to the bank.
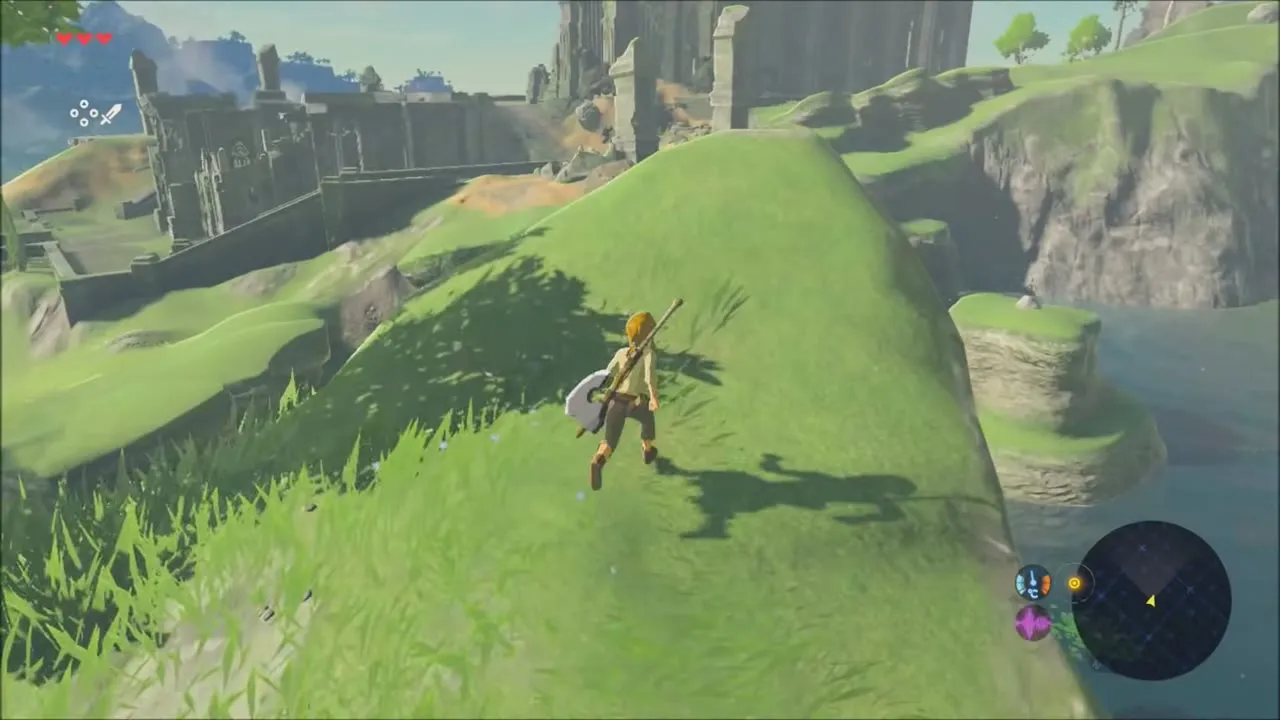

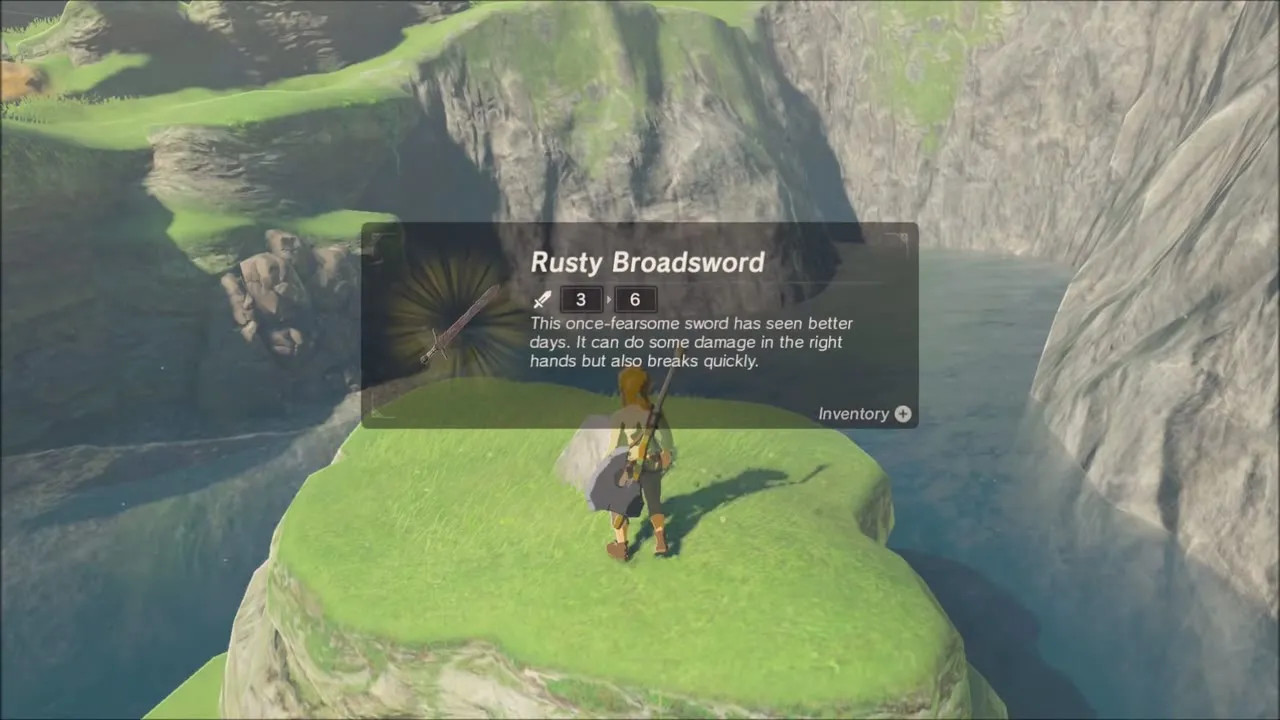
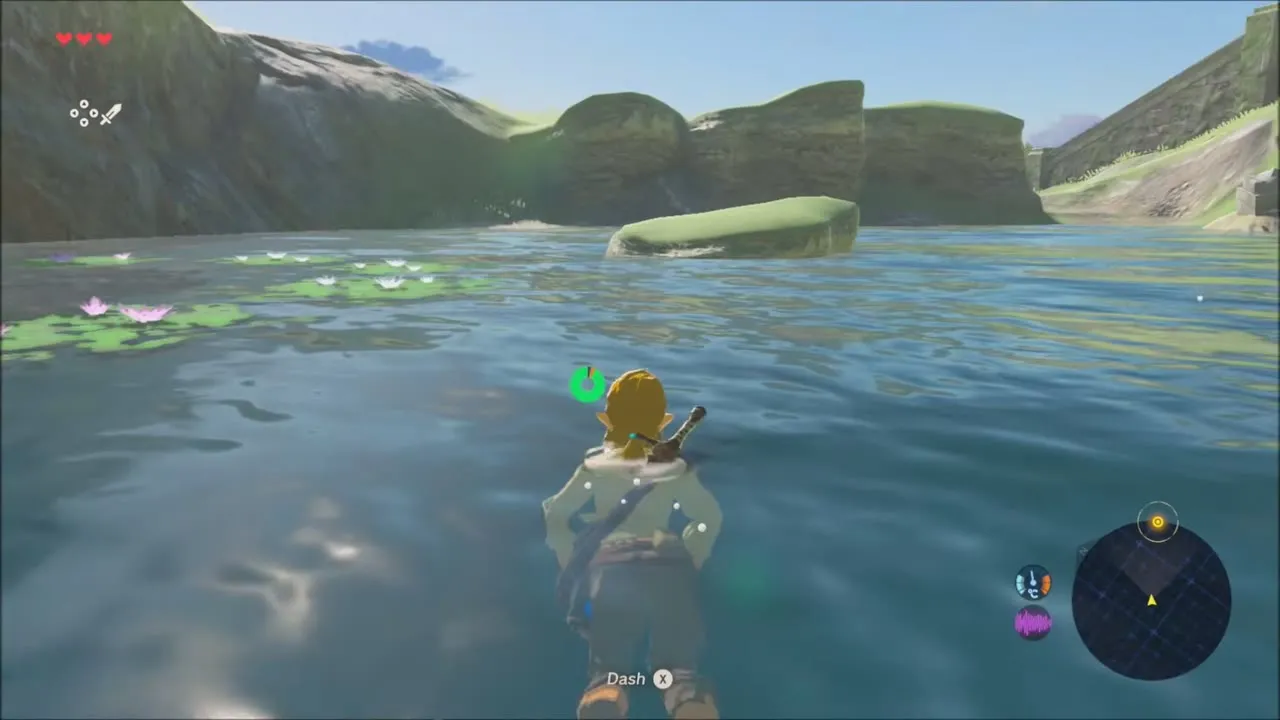
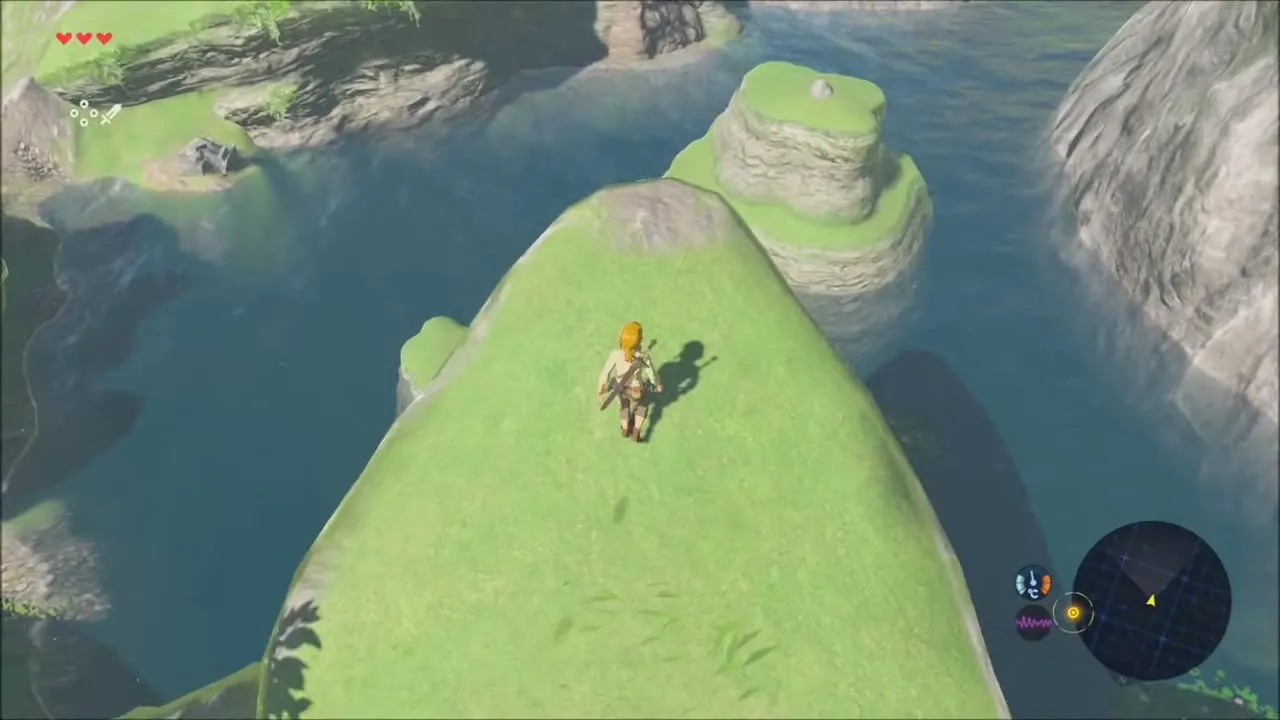
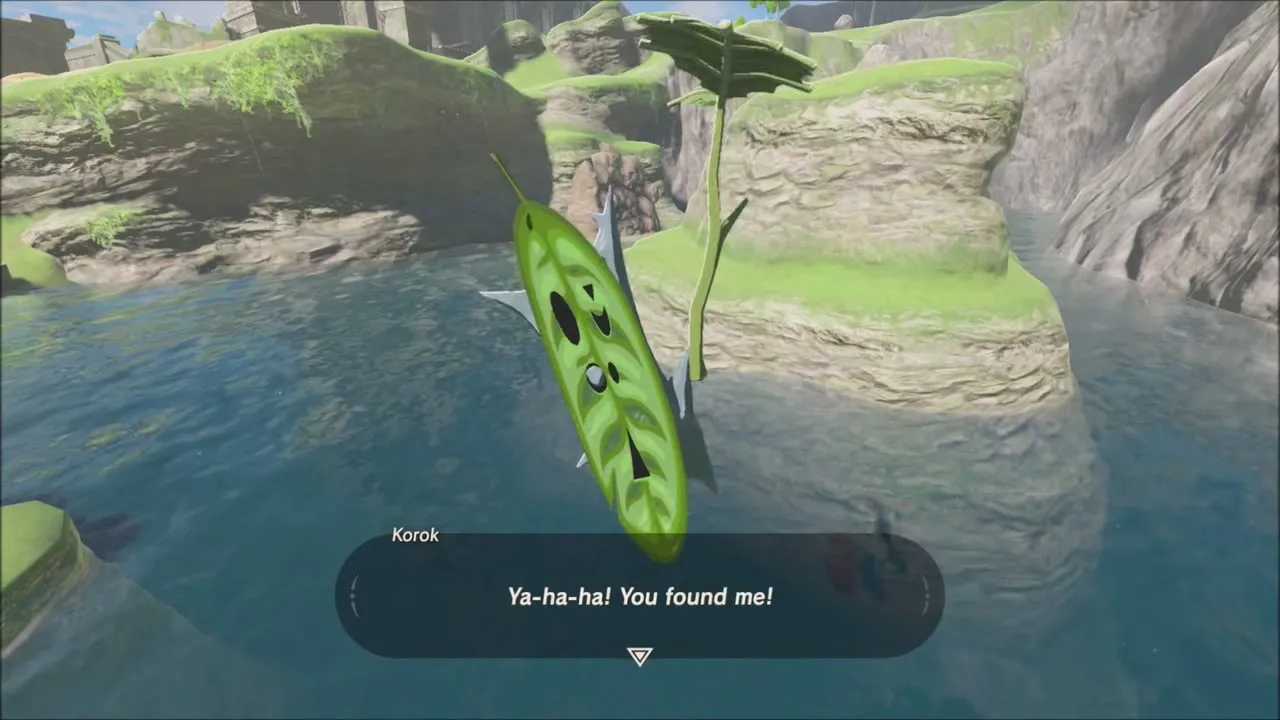
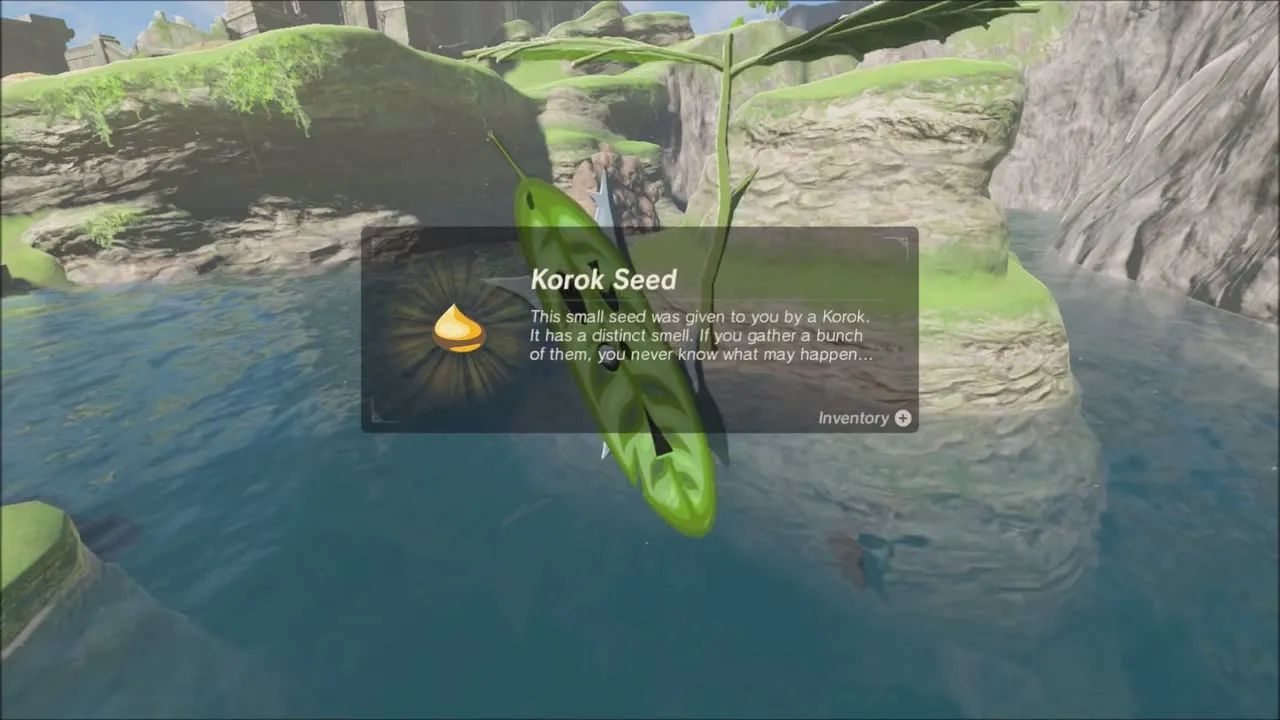
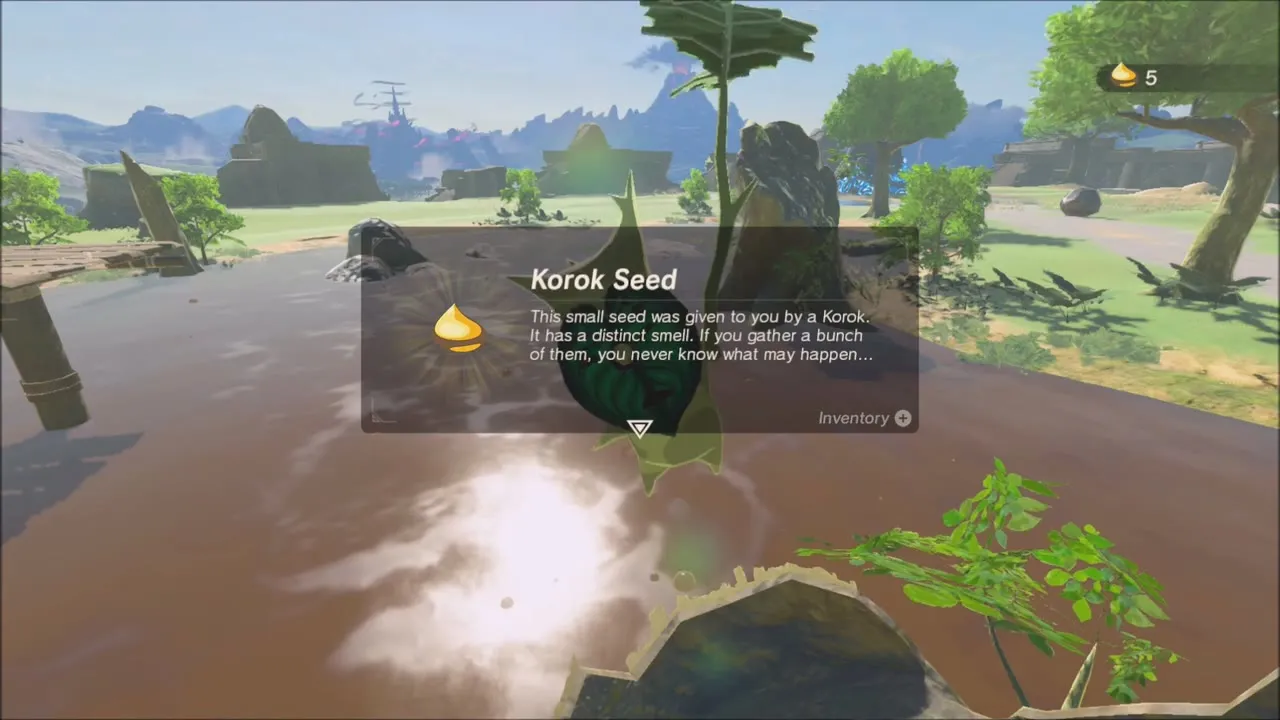
This pond hides your first Korok seed. Climb the pointed grassy rock at the edge of the water and look down from its tip: a ring of lily pads floats on the surface below. Jump from the peak and land in the middle of the ring, and the Korok appears by the mossy pillar rising out of the pond and hands over a Korok Seed. It is the easiest seed on the plateau and teaches you to look for circles and rings in nature.

Hylian Trousers, Traveler’s Bow and Fire Arrows in the Temple of Time Ruins
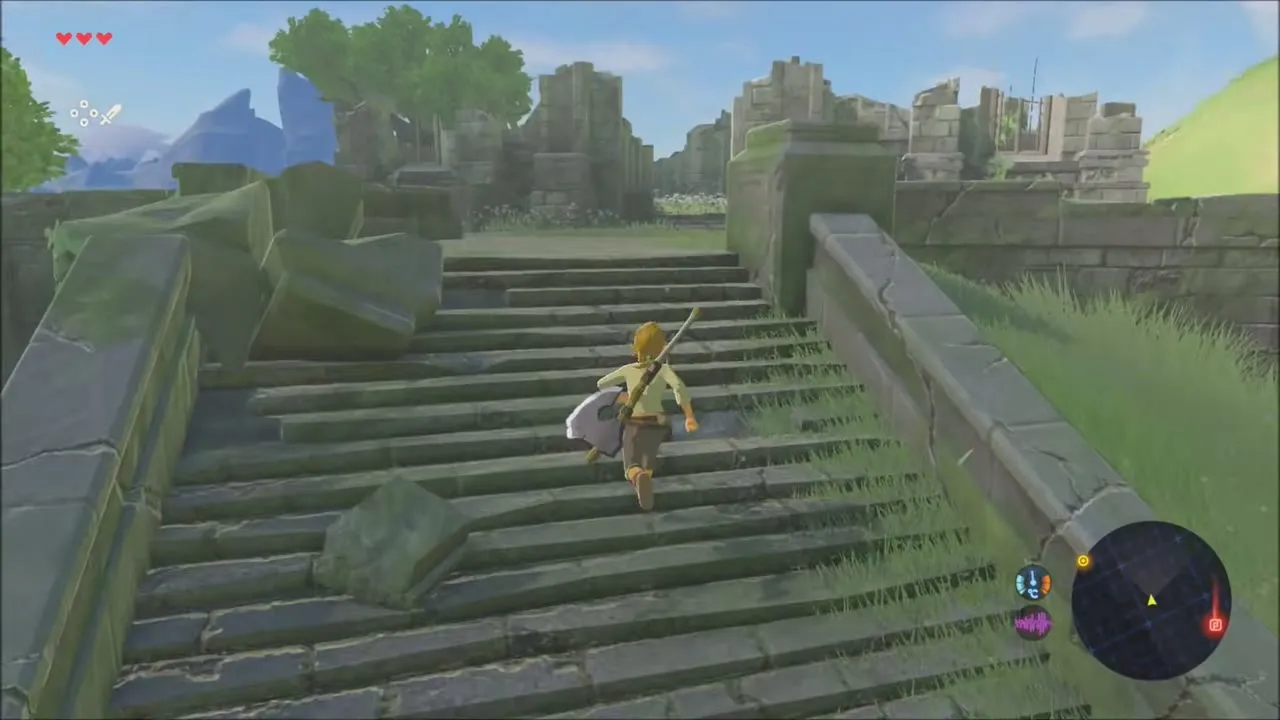
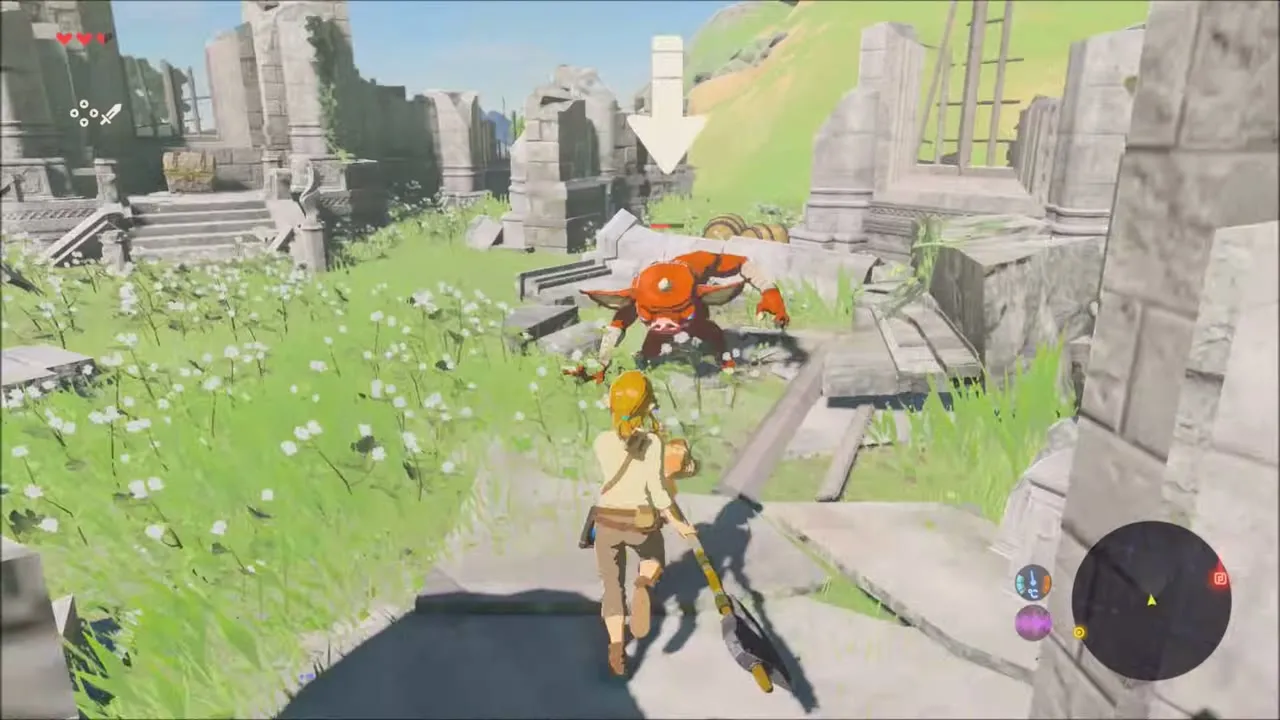
Climb the long stair into the crumbling ruins that lead up to the Temple of Time. A red Bokoblin guards the courtyard, so deal with it first. Then search the stone platform among the broken pillars: a chest there holds the Hylian Trousers, a far better pair than the Well Worn Trousers. Equip them.
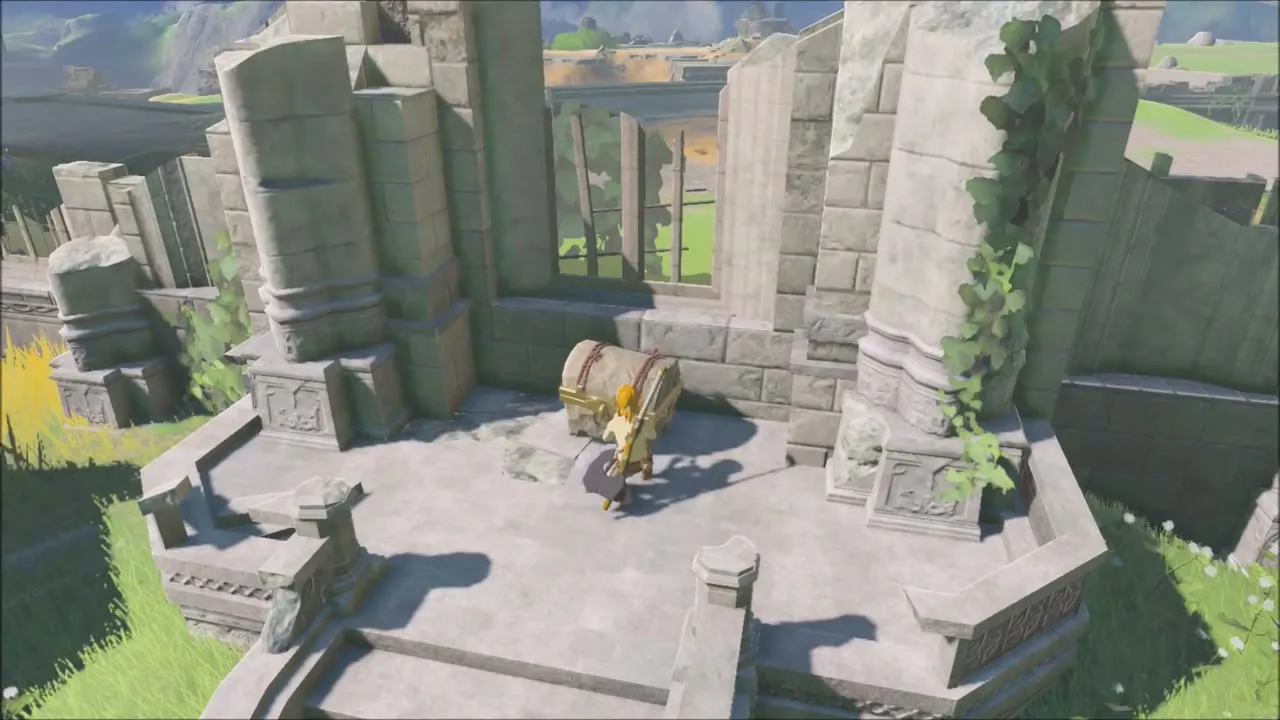

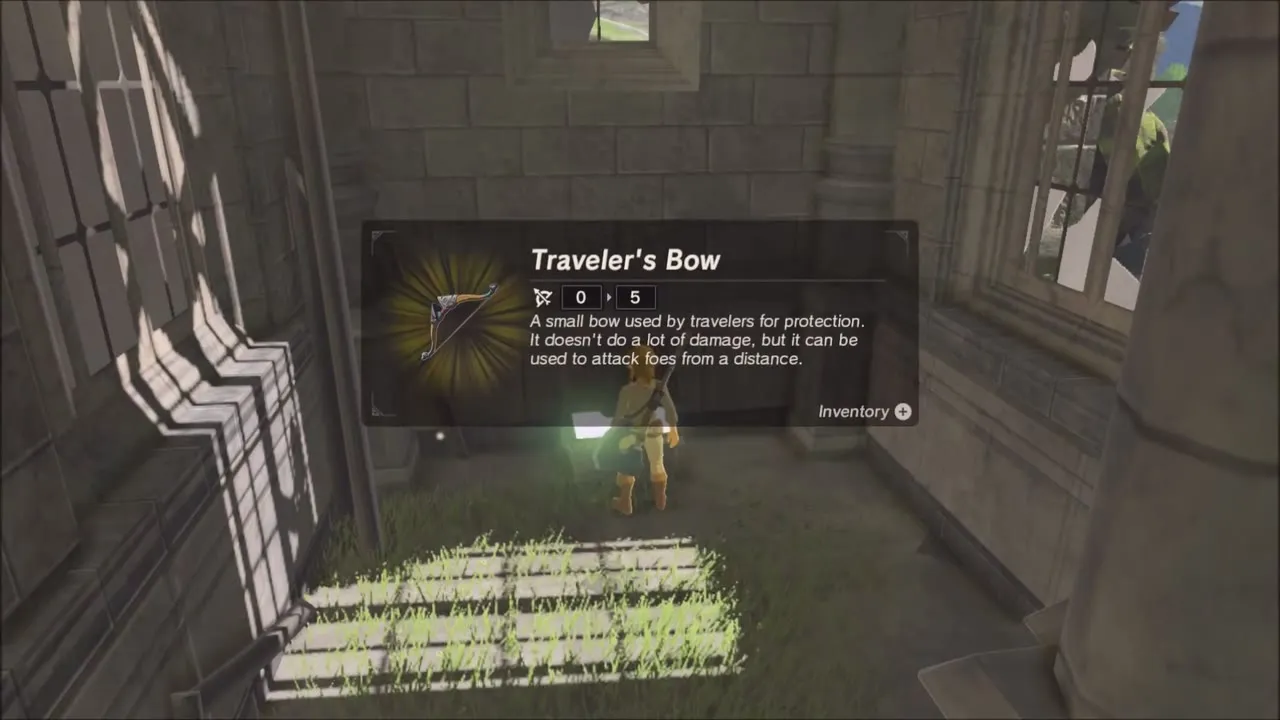
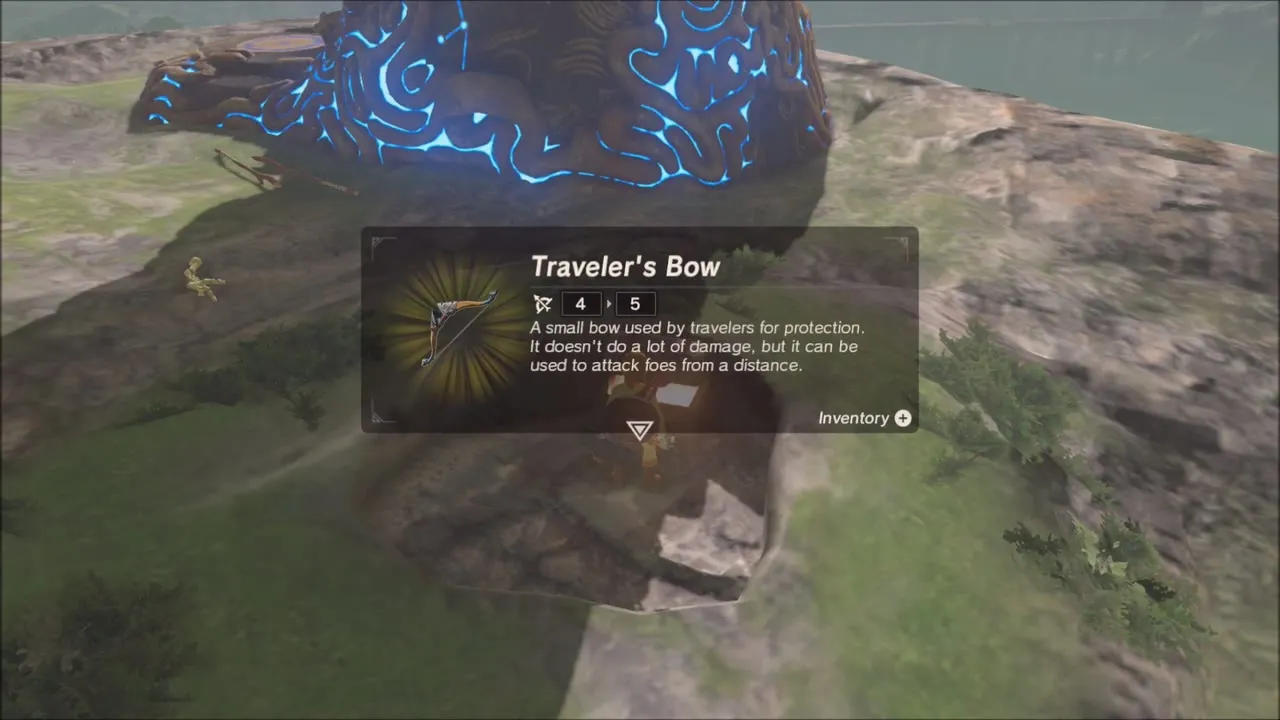
Walk on into the ruined chapel and look in the small room at the side. A chest there holds the Traveler’s Bow. A bow lets you shoot enemies from a distance, so keep it equipped for the camps ahead.

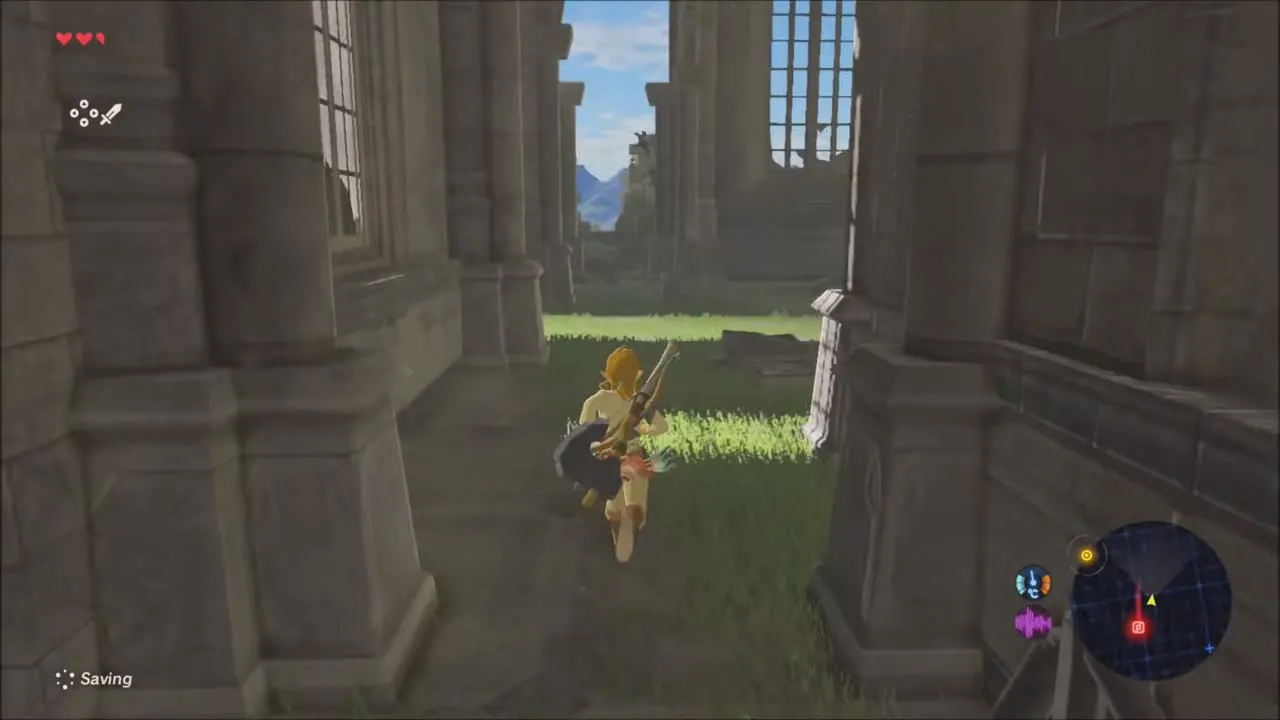
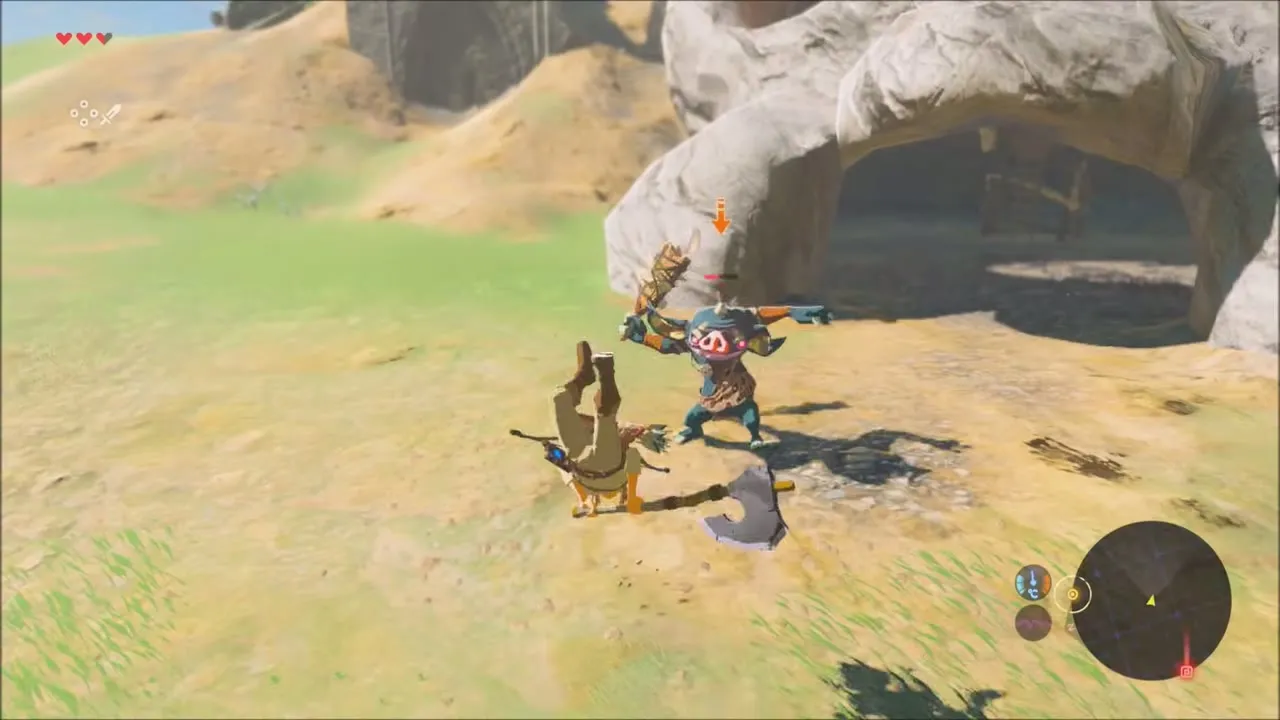
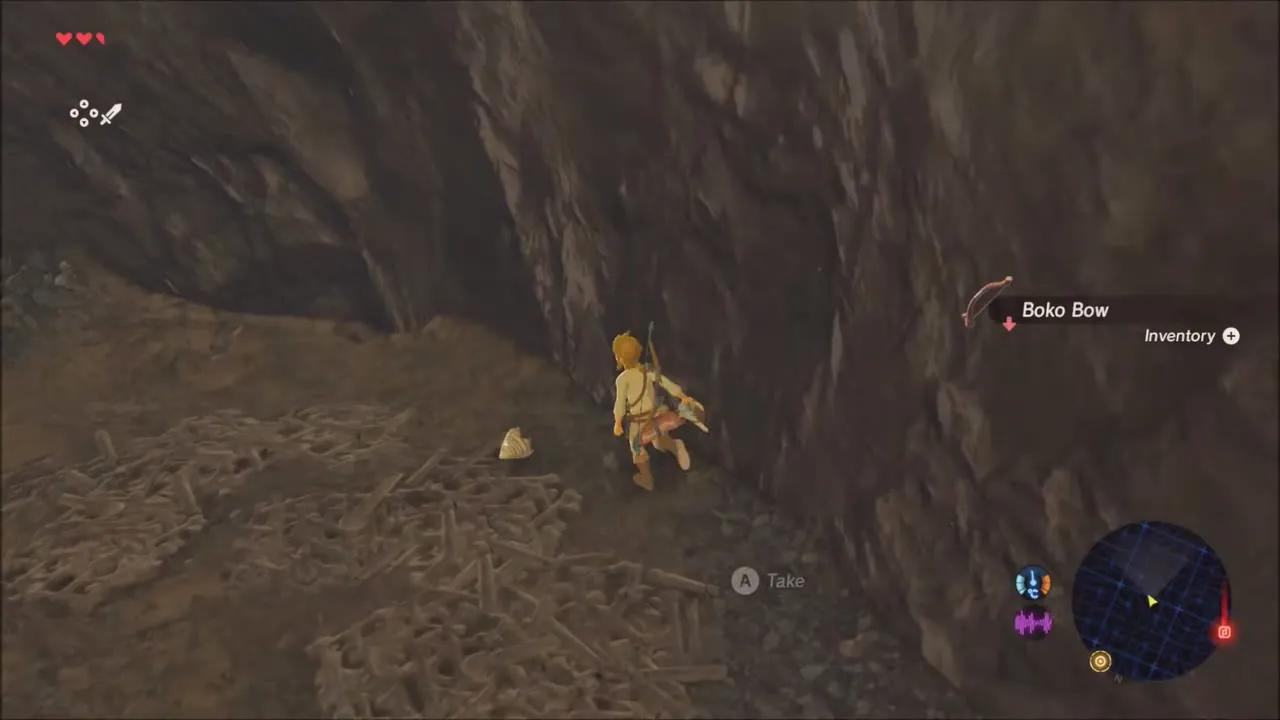
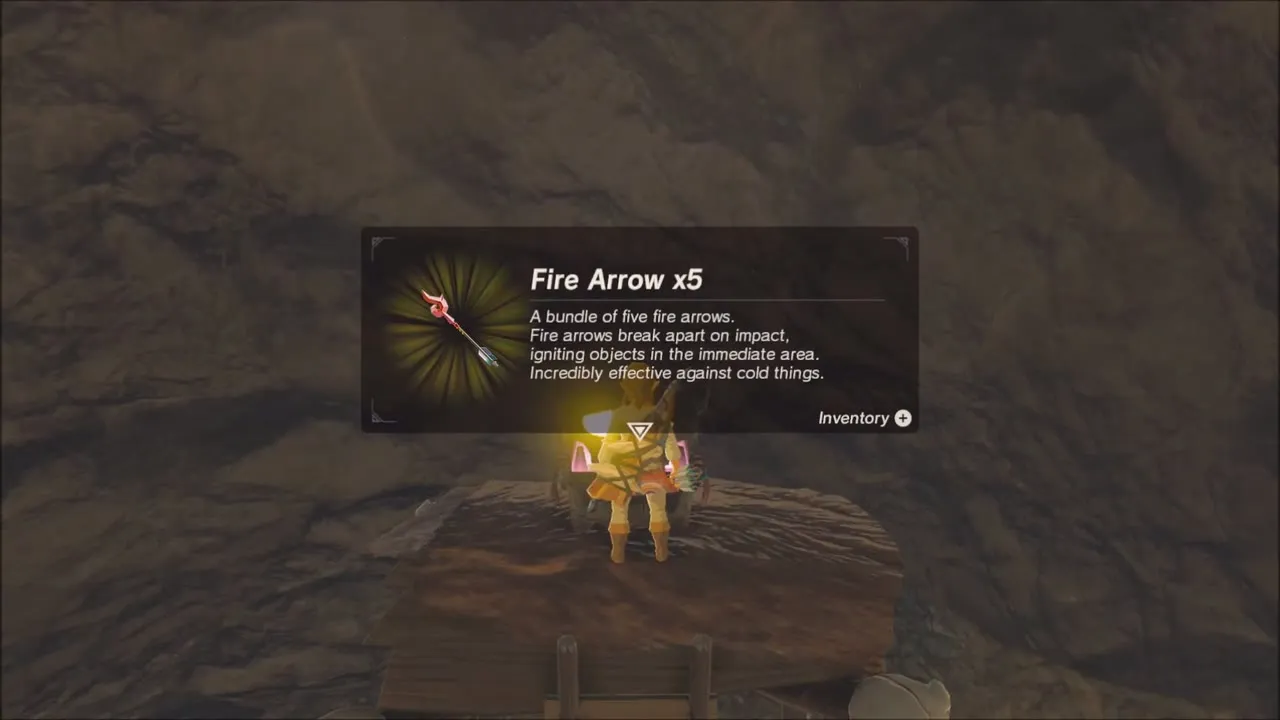
Leave the temple and head to the next Bokoblin camp, built around a rocky cave. Beat the Bokoblins and loot their Fangs and Horns, and take the Boko Bow and arrows they drop. Inside the cave a chest holds Fire Arrows (x5), which set things alight and are strong against dry grass and wooden camp structures.


Great Plateau Tower: How to Activate It
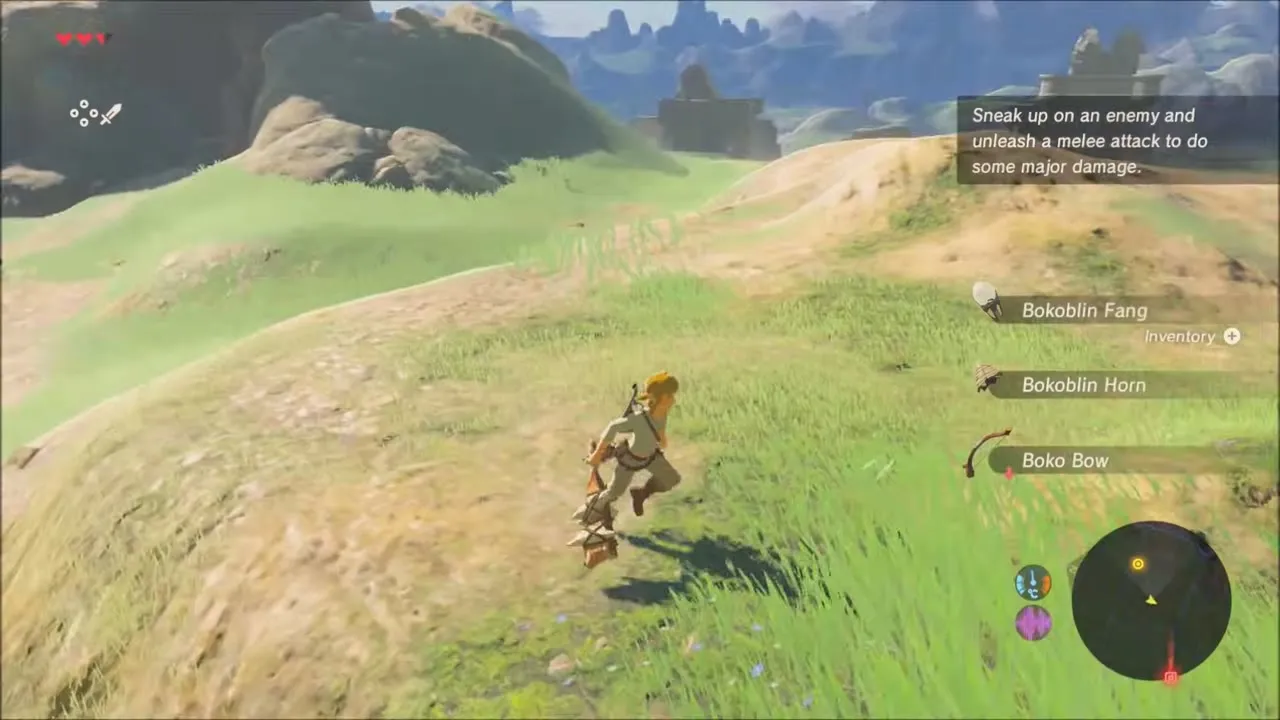
From the camp, follow the marker on your map to the tower. Along the way you meet another Bokoblin: creep up behind it and attack while it has not noticed you, since a sneak attack does major damage. Take its weapon and drops and carry on.
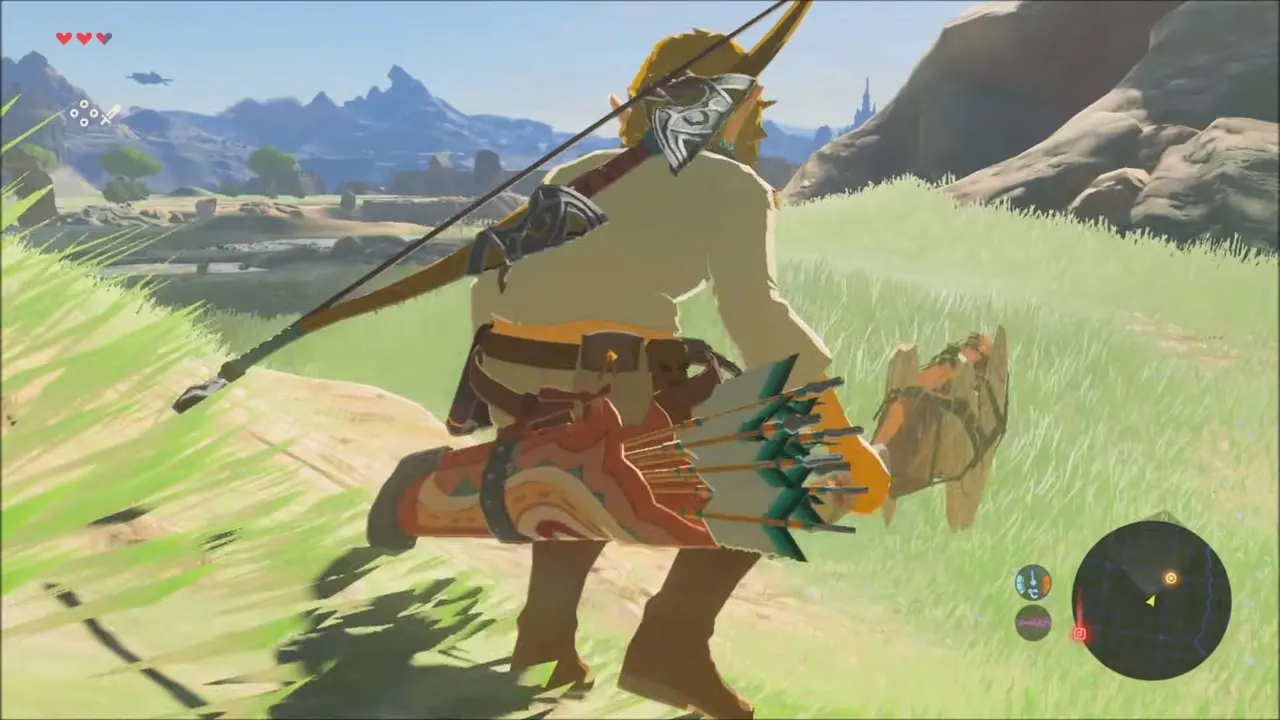
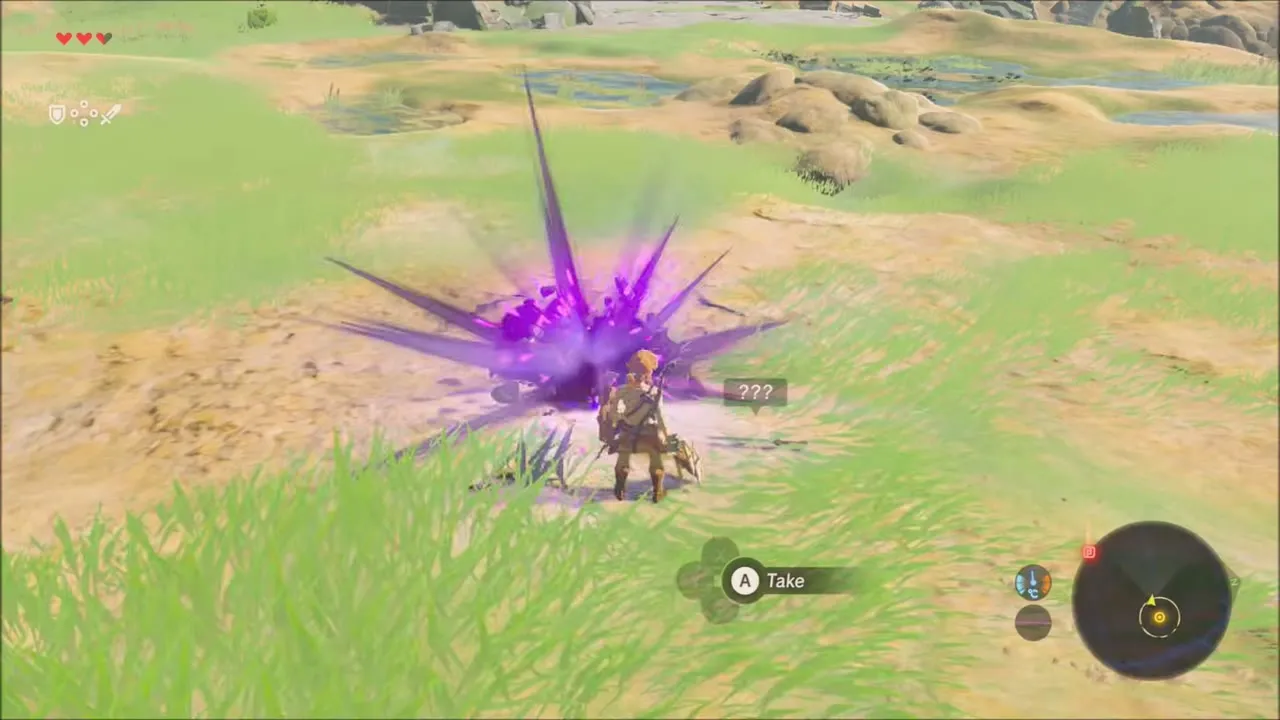
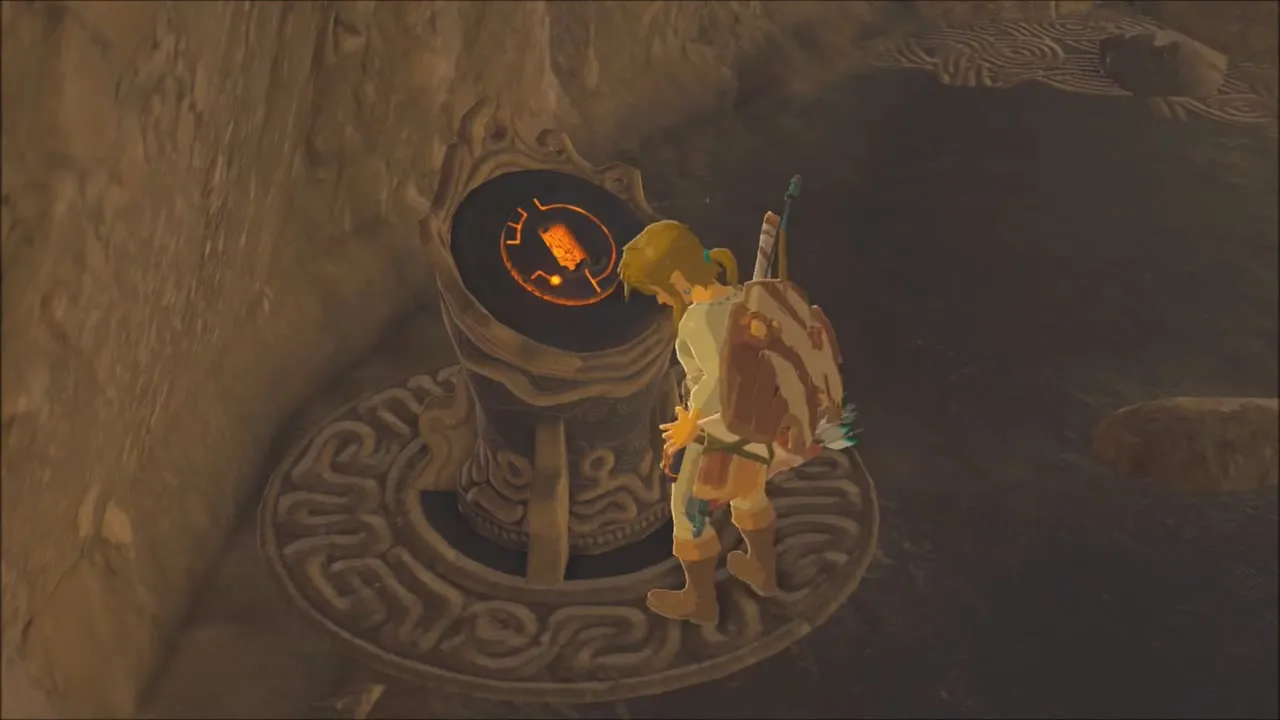
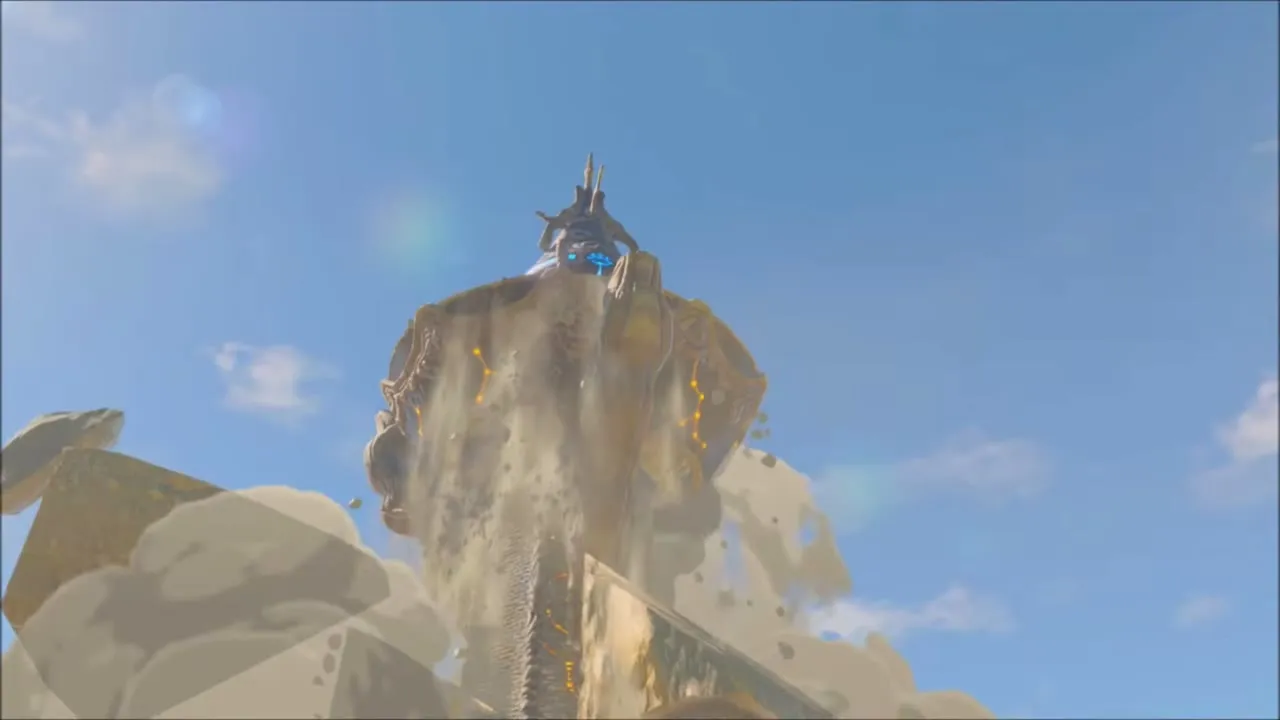
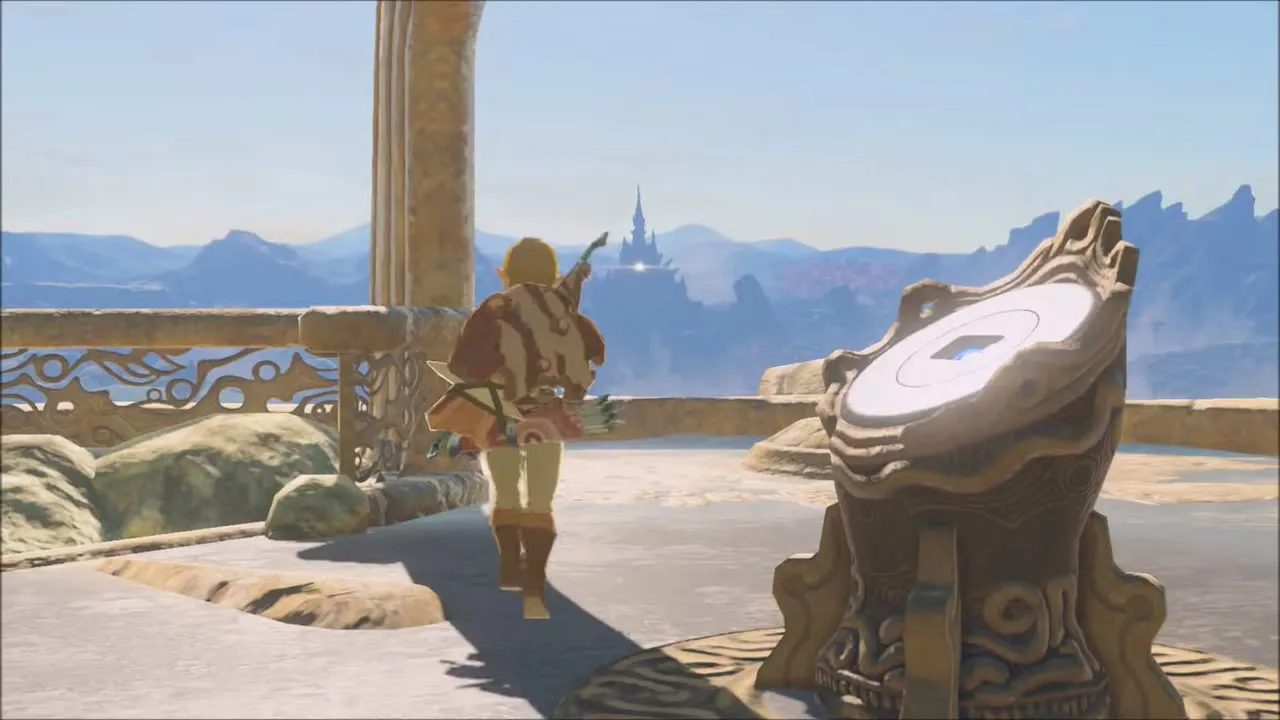
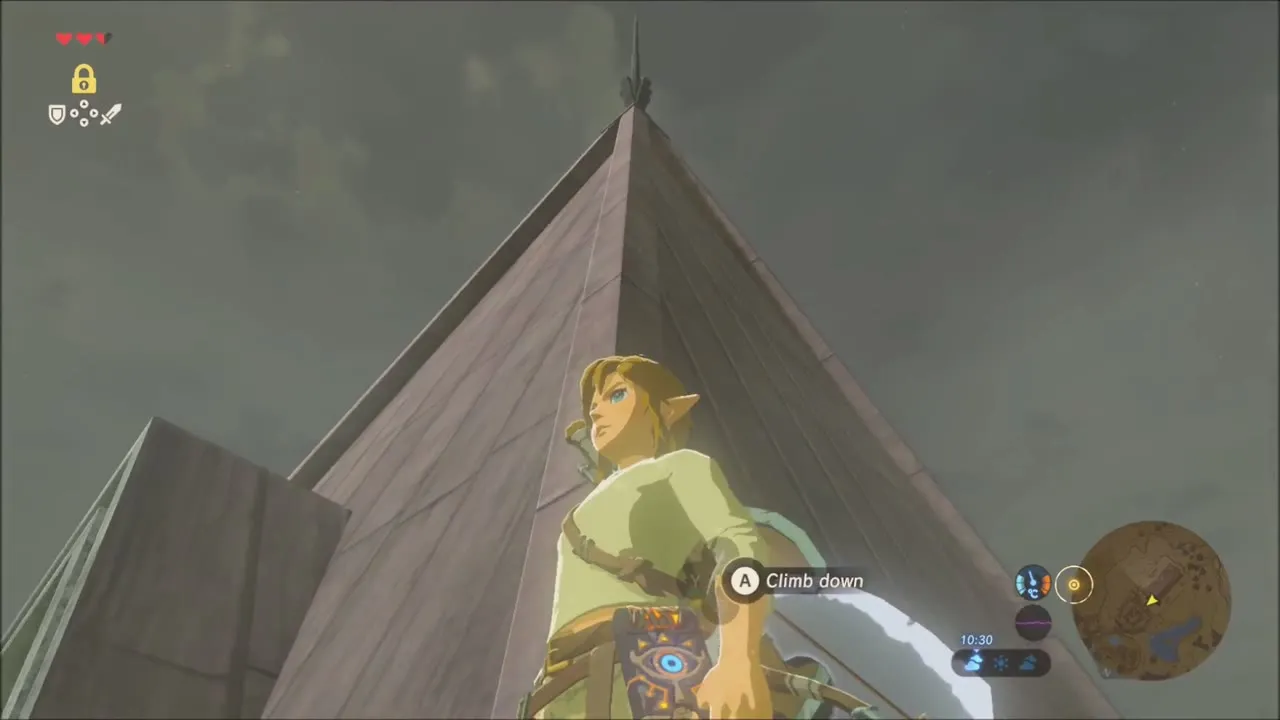
The Great Plateau Tower (x -560, z 1695) is buried under a heap of boulders. Find the small pedestal tucked into the rocky alcove and place the Sheikah Slate on it. The ground shakes, the stone falls away and the tower rises into the sky with you on top. At the summit, use the terminal to download the map of the Great Plateau and take in the view of Hyrule Castle wrapped in the red haze of the Calamity.


The Old Man at the Tower: Start of The Isolated Plateau
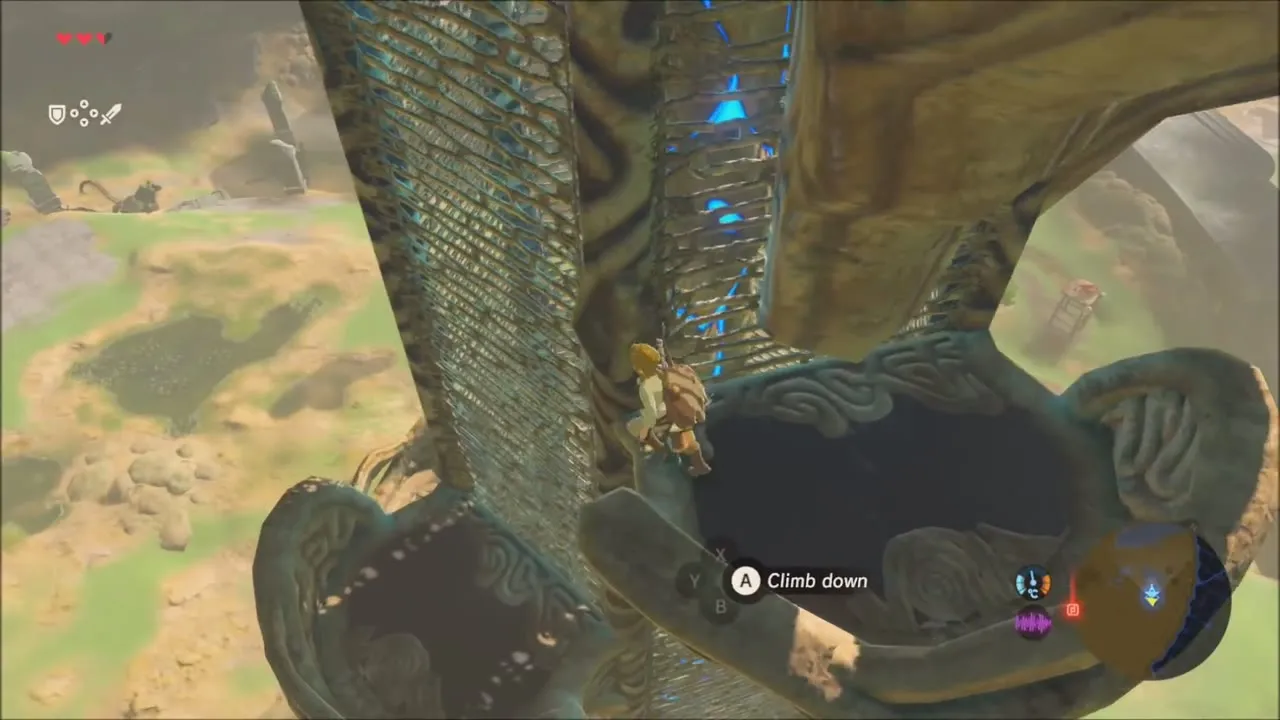
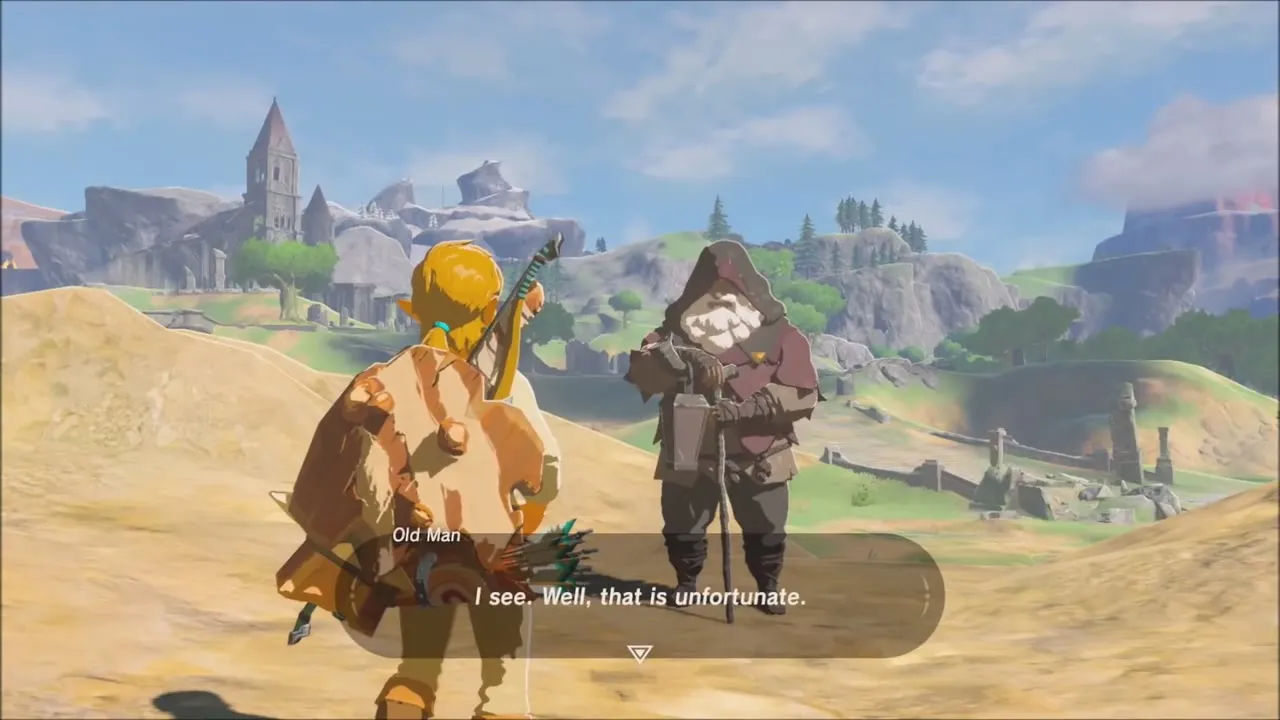
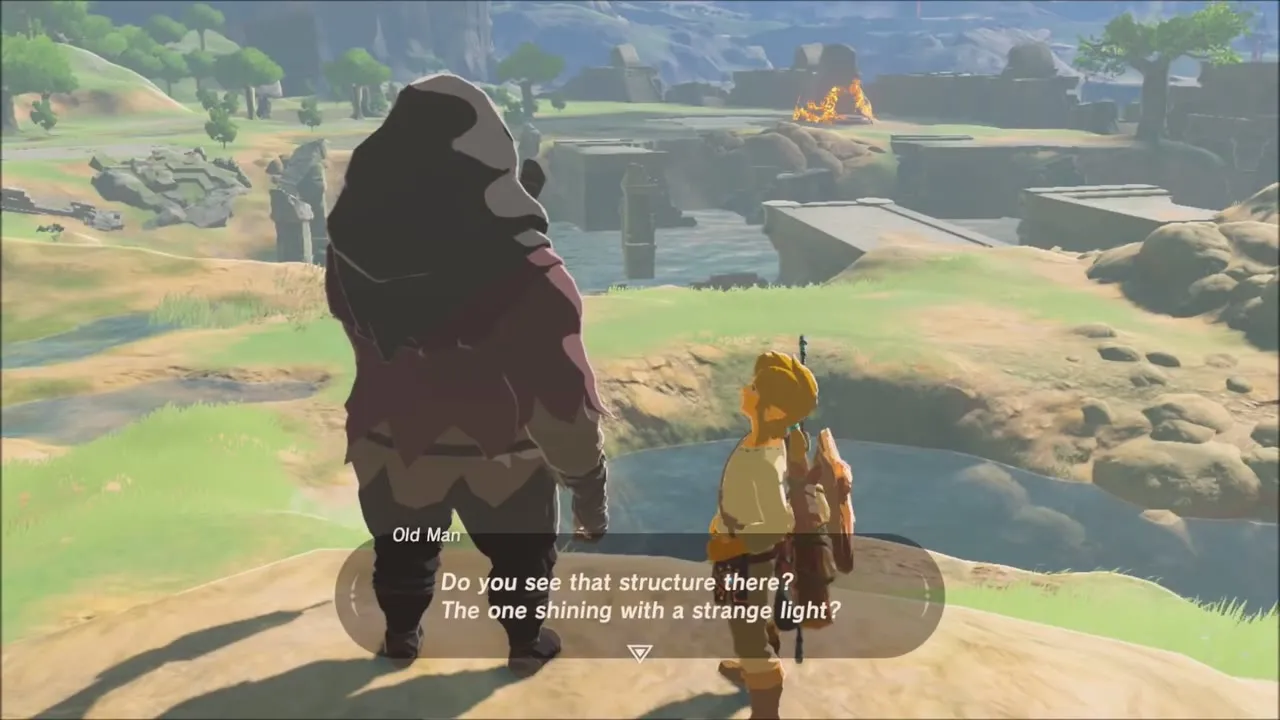
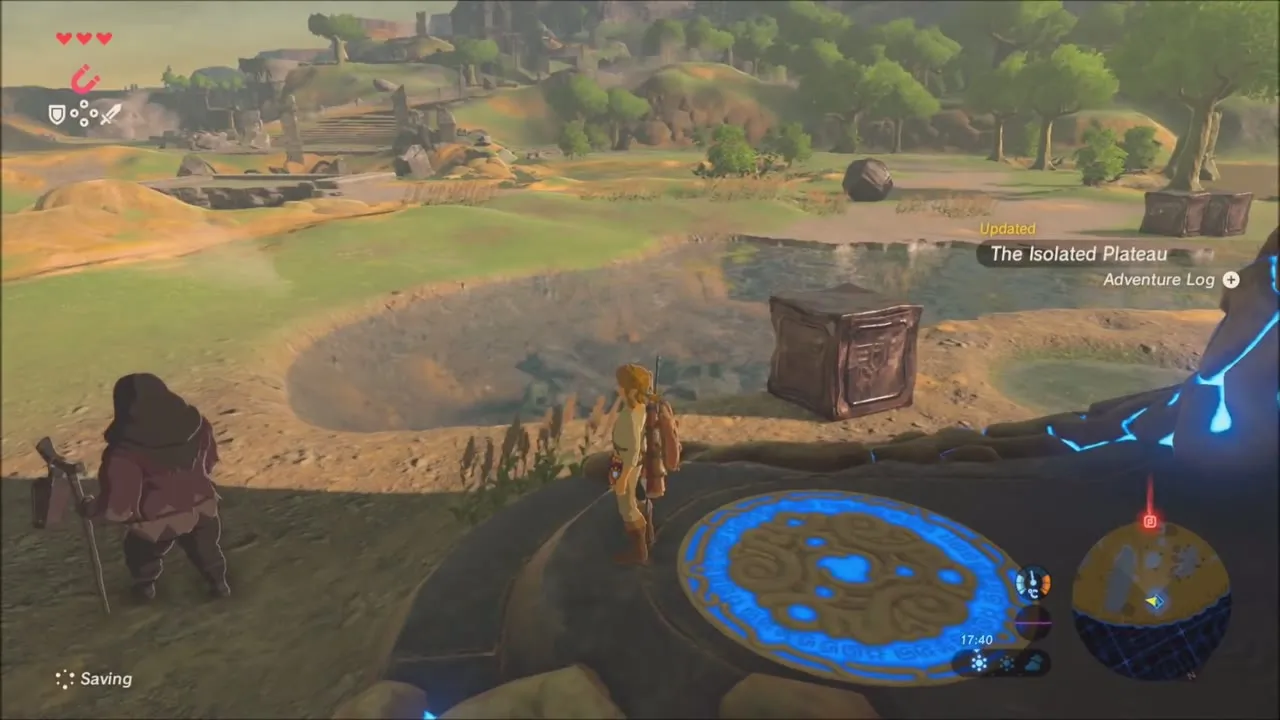
Climb down the tower. The Old Man is waiting at its foot and talks about the long-dormant power that has awakened, and about how the towers rose just as something began to glow far across the plateau. He then leads you to the edge of the hill to show you the shrine that glows orange in the distance.
Traveler’s Sword: Bokoblin Watchtower Chest
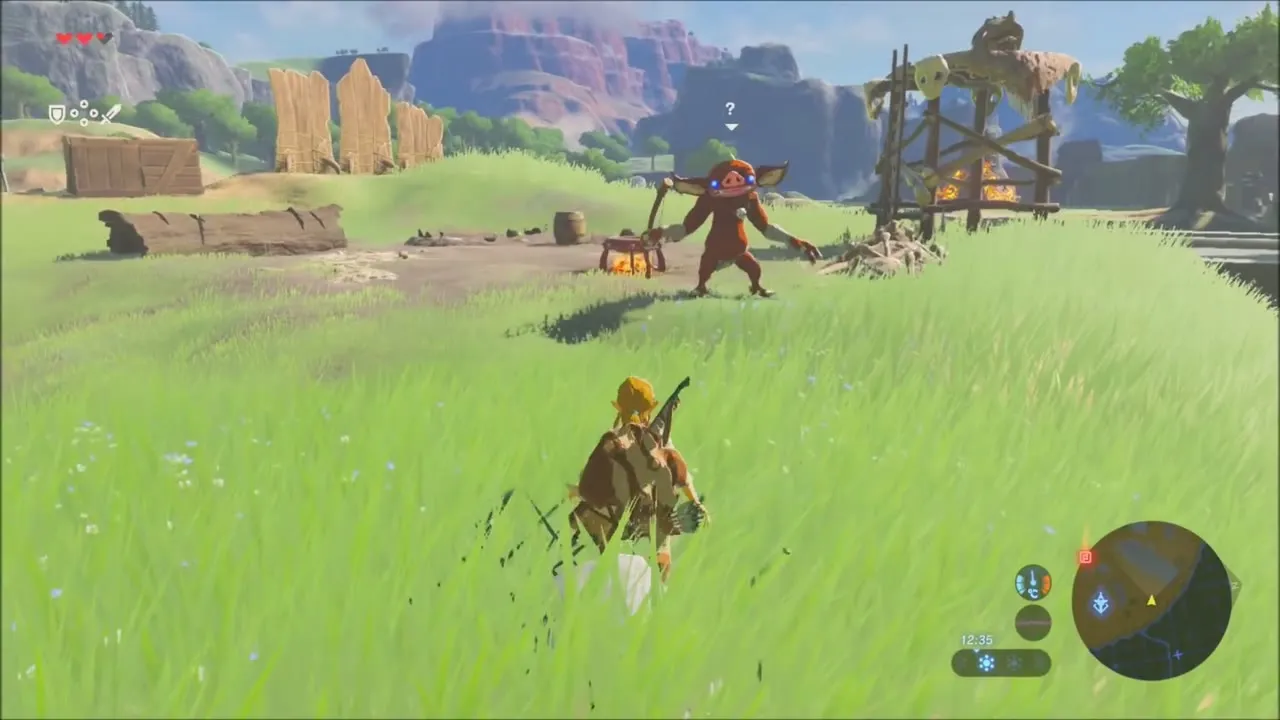
On the way to the glowing shrine you pass a small Bokoblin camp. Clear it out, using your bow on the lookouts, then climb the ladder of the wooden watchtower and open the chest on its roof for a Traveler’s Sword (a weapon whose power depends on your progress).


Oman Au Shrine: Magnesis Trial
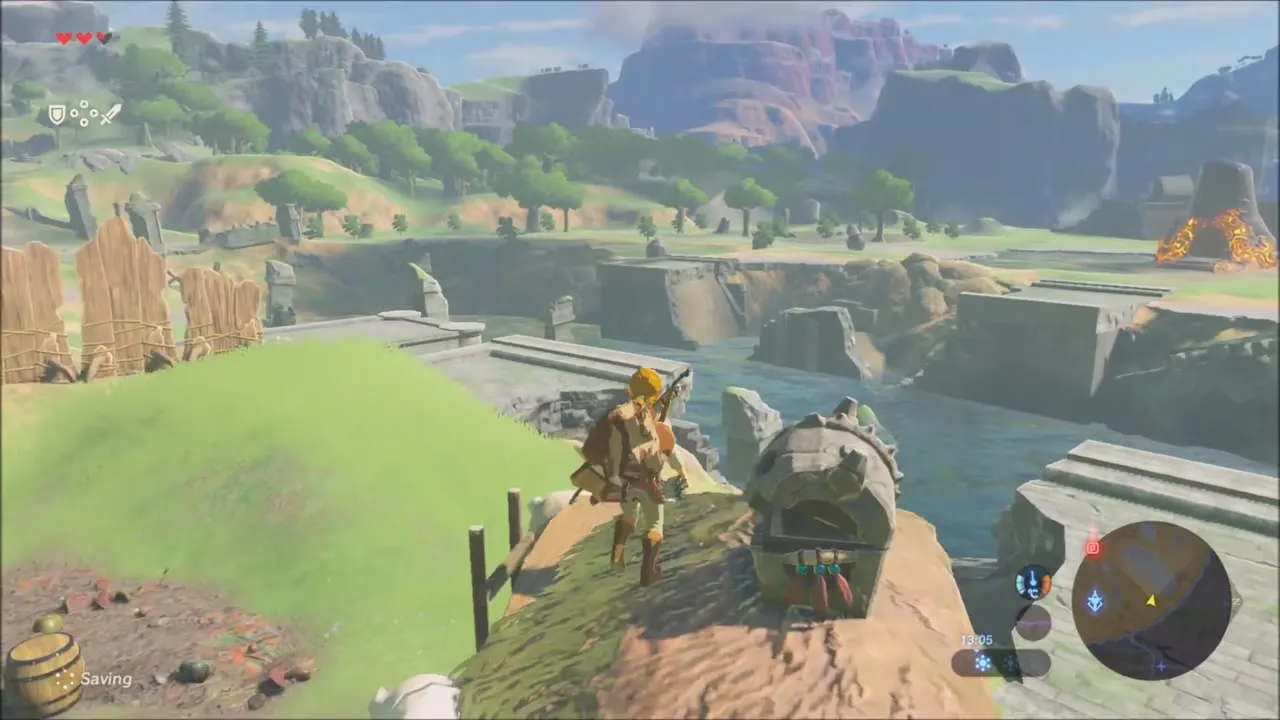
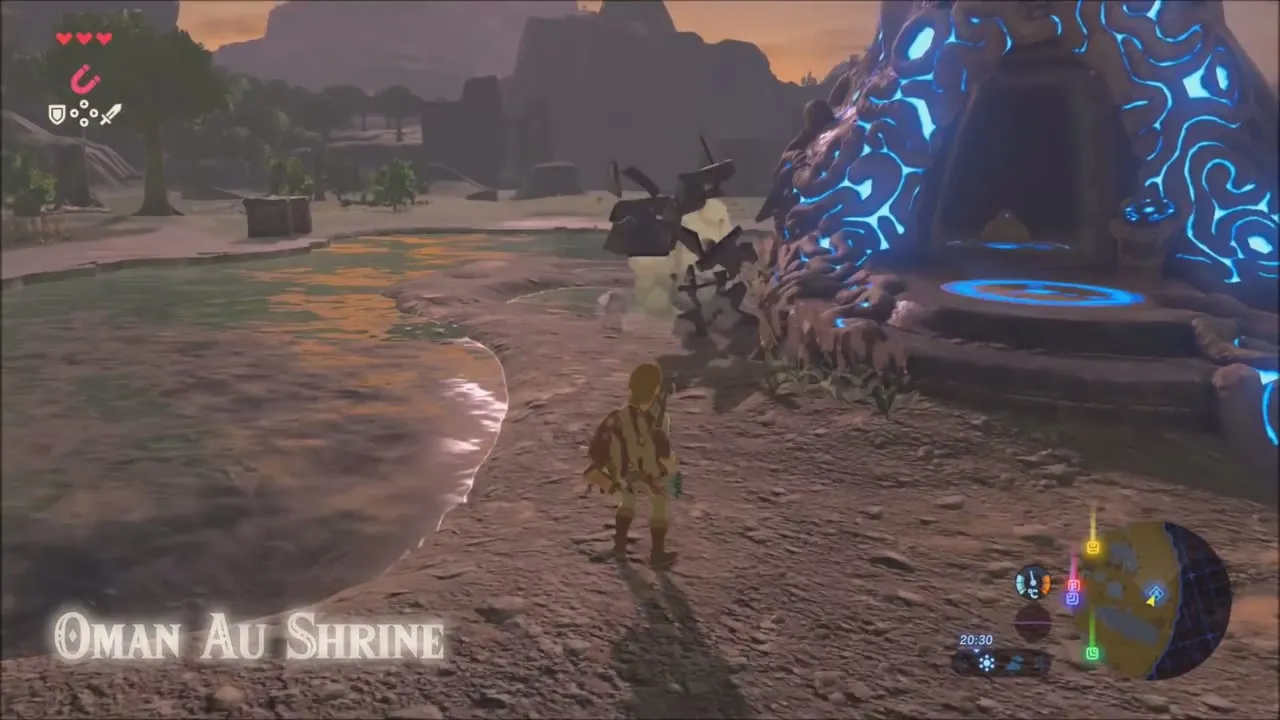
The Oman Au Shrine (x -672, z 1514) sits beside a pond north-west of the tower. Run along the edge of the pond to the glowing doorway, step on it to register the Travel Gate and go inside. This is the first of four shrines you must clear before you can leave the plateau.
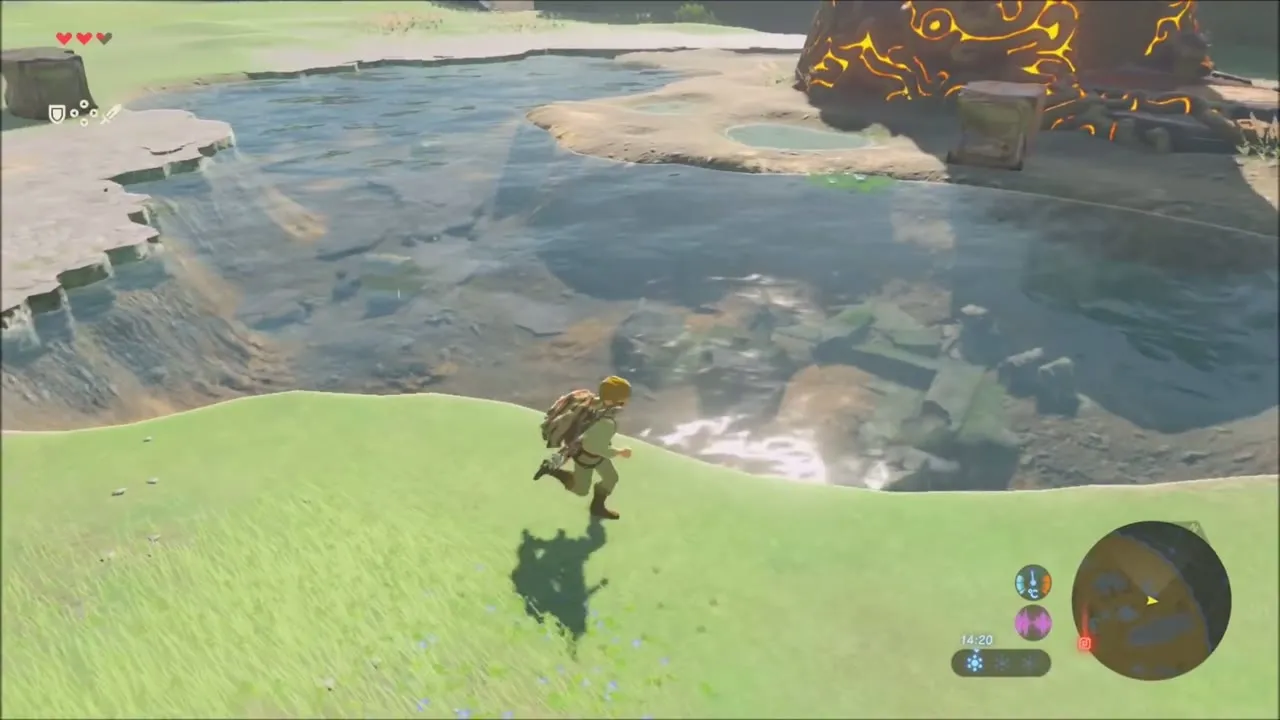
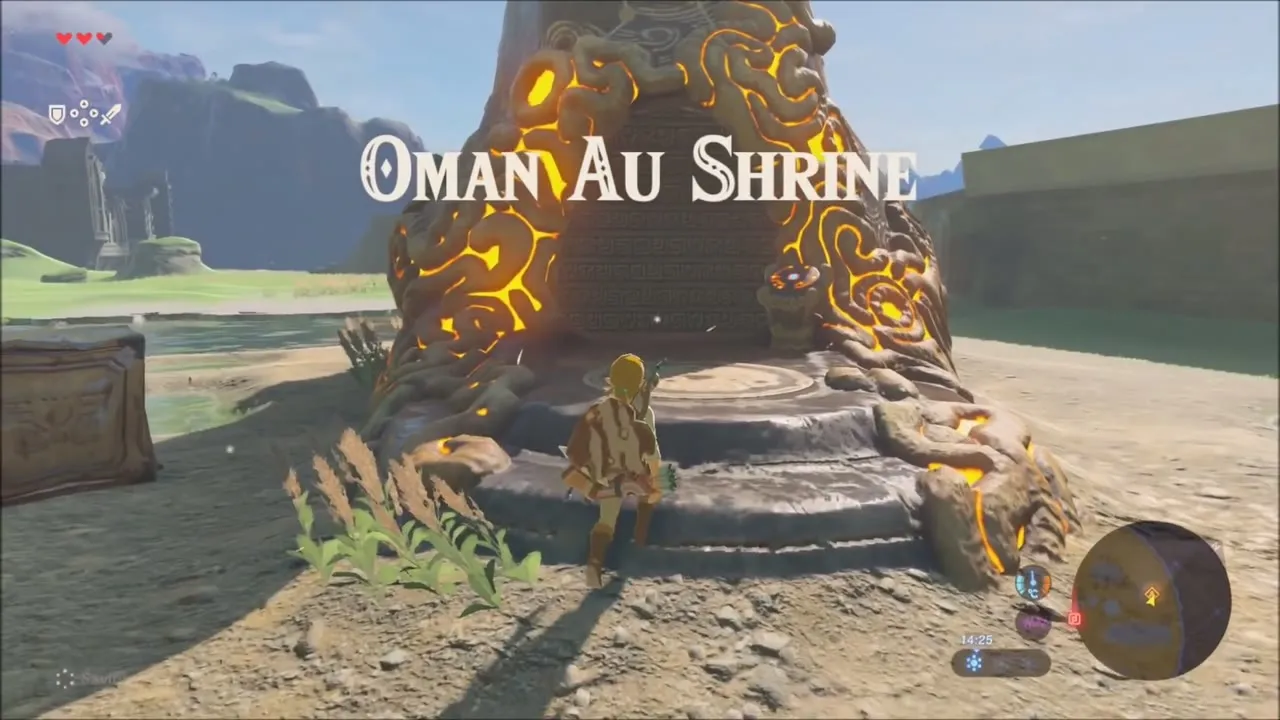
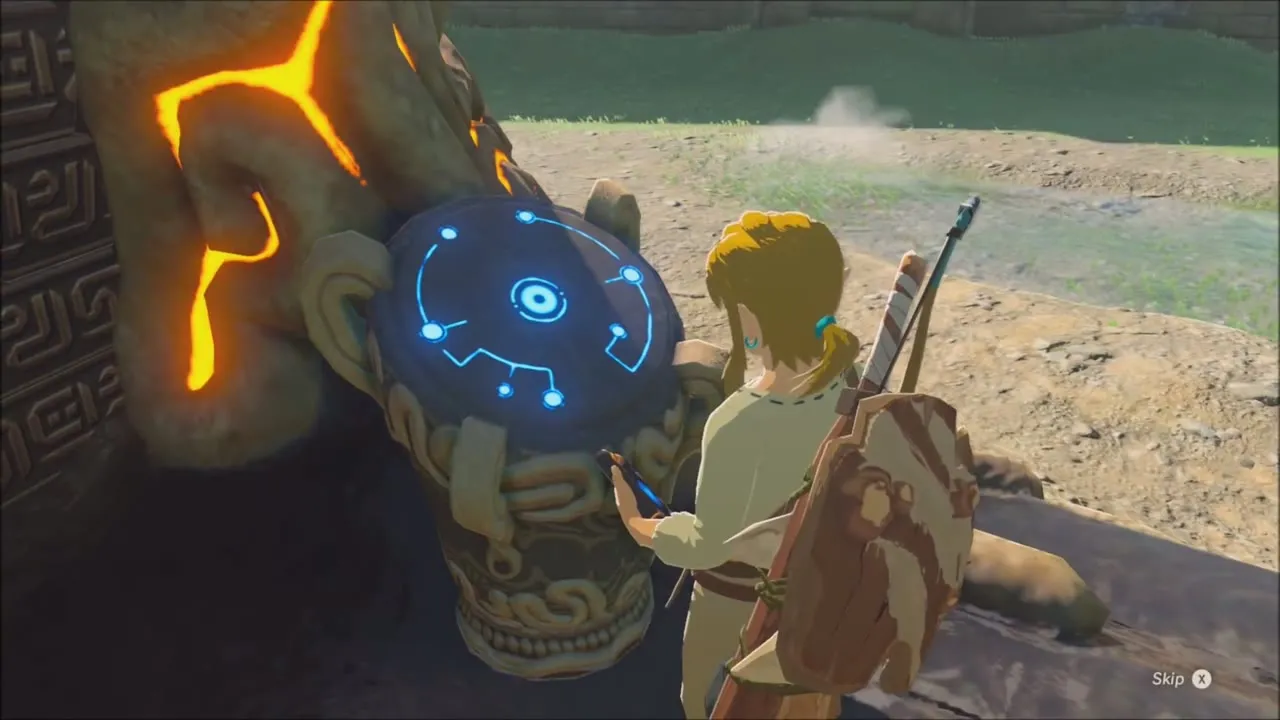
Put the Sheikah Slate on the pedestal in the first room to learn the Magnesis rune, then equip it from the rune menu. Aim it at the metal slab set in the floor and lift it out of its slot to open the way forward. In a later room a wall of stone blocks closes the path: pull the one metal block out of it to make a gap. Where the floor ends, drag a metal slab across the gap and use it as a bridge.
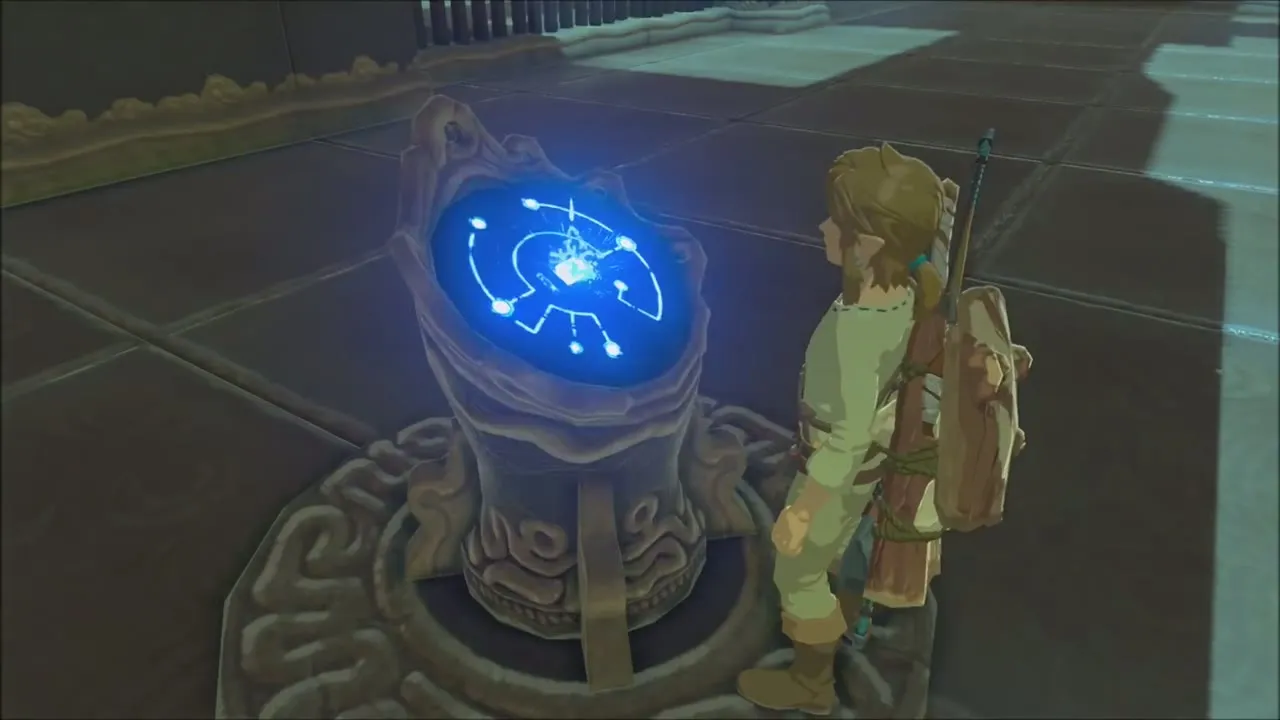
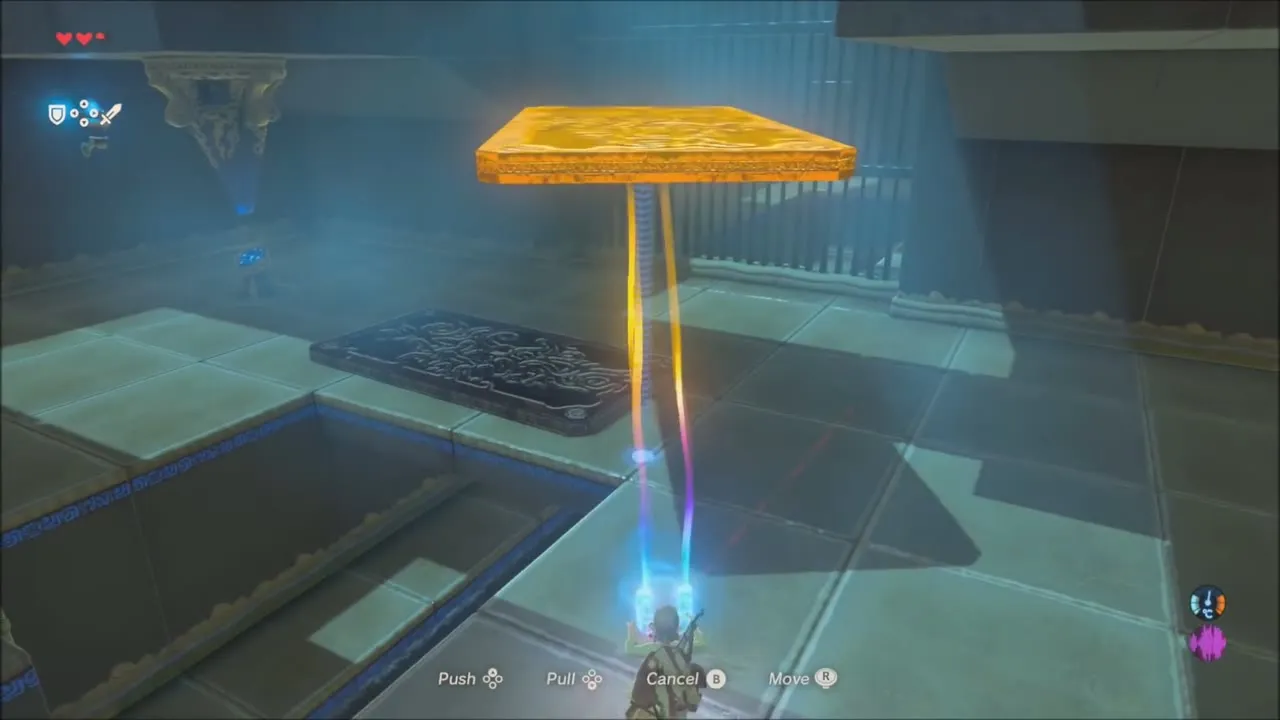
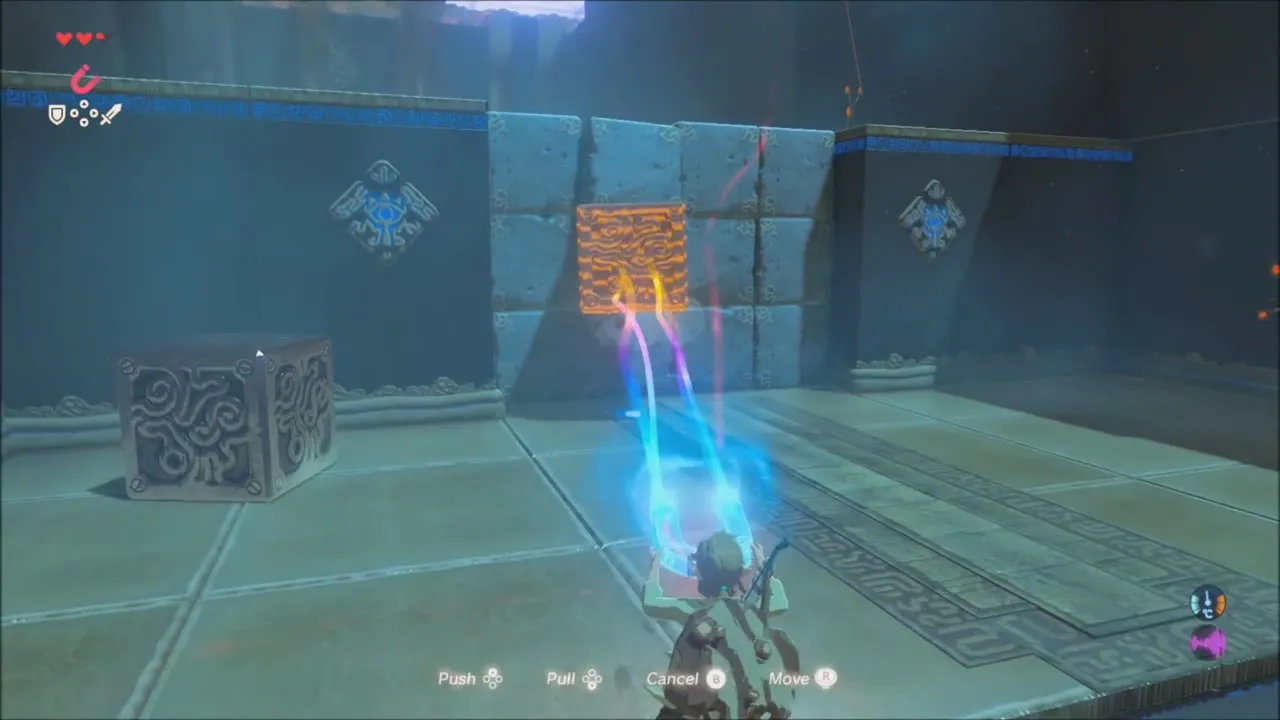
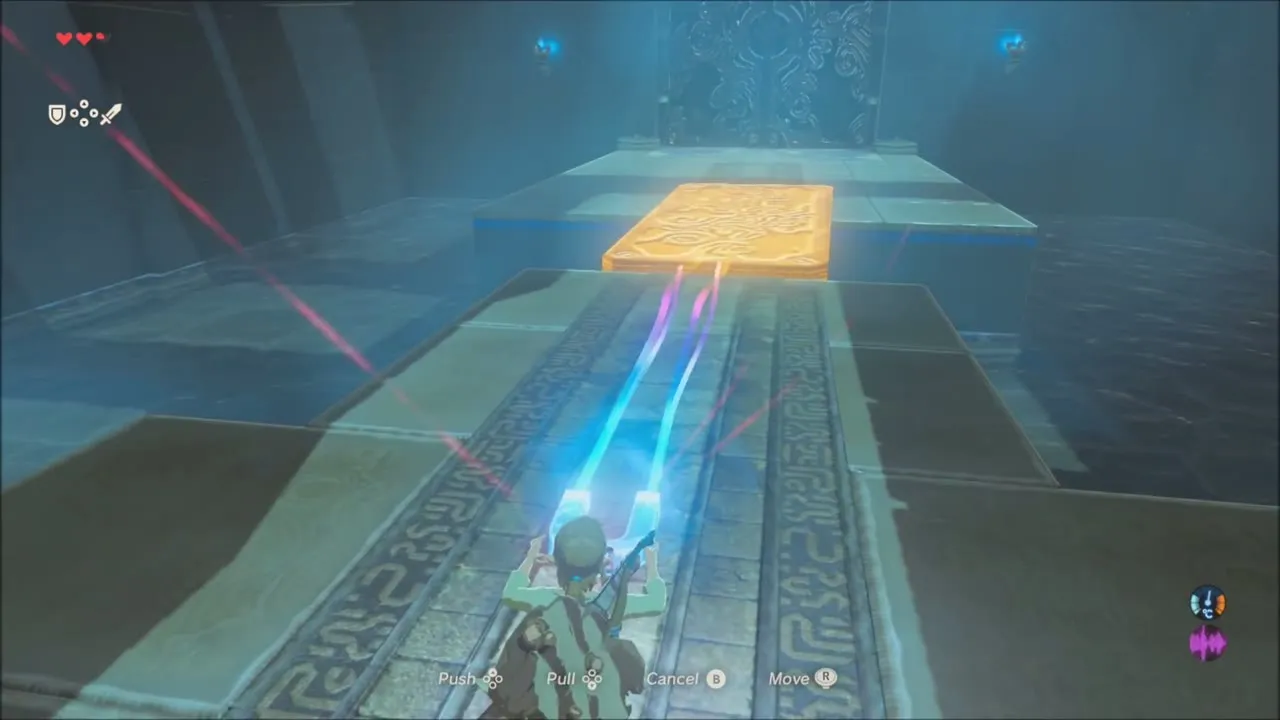
Look for a chest on a high ledge you cannot climb to. It is metal, so lock on with Magnesis and pull it down to take the Traveler’s Bow inside. Then go through the great doors at the end to meet the monk Oman Au, who gives you a Spirit Orb. You also keep the Magnesis rune.


The Isolated Plateau: Paraglider Quest and the Sheikah Slate Scope
Outside, the Old Man is waiting and talks about the Sheikah, the ancient tribe that built the shrines. He starts the main quest The Isolated Plateau: clear the four shrines of the plateau, then meet him at the Temple of Time and he gives you the Paraglider, the only way down from the plateau. Open your map and you can see him ask you to head back up the tower.


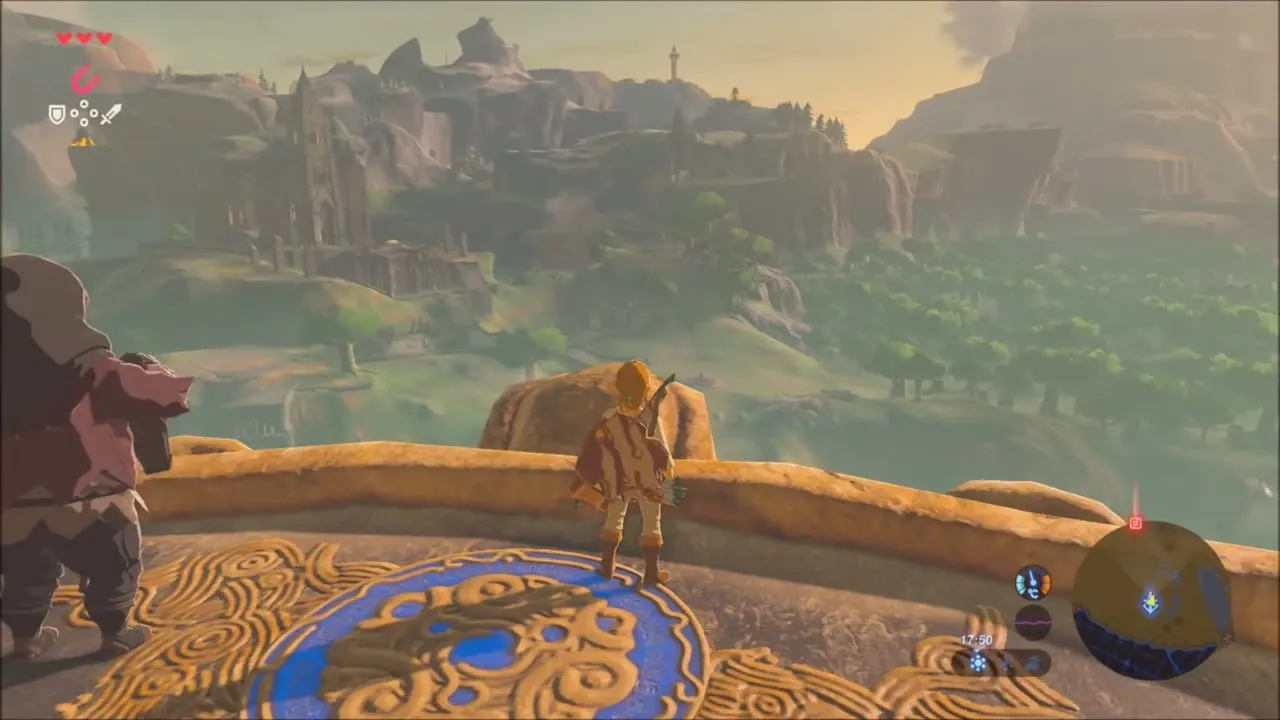
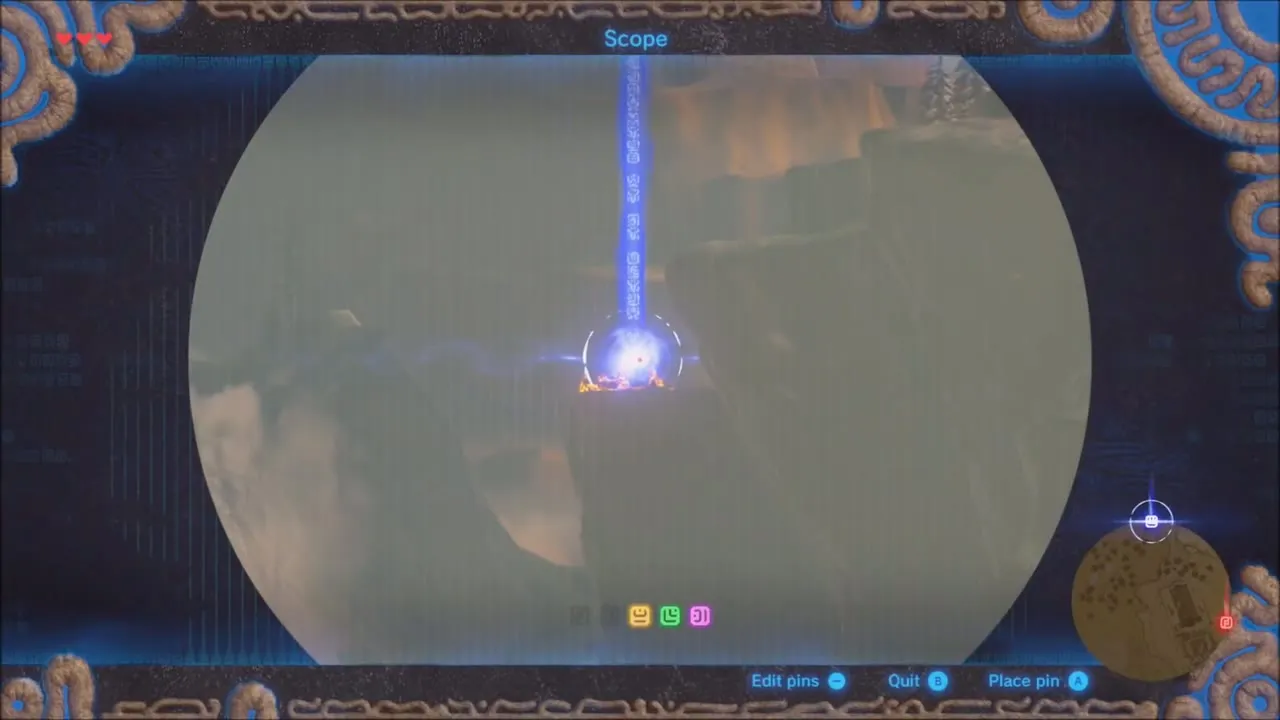
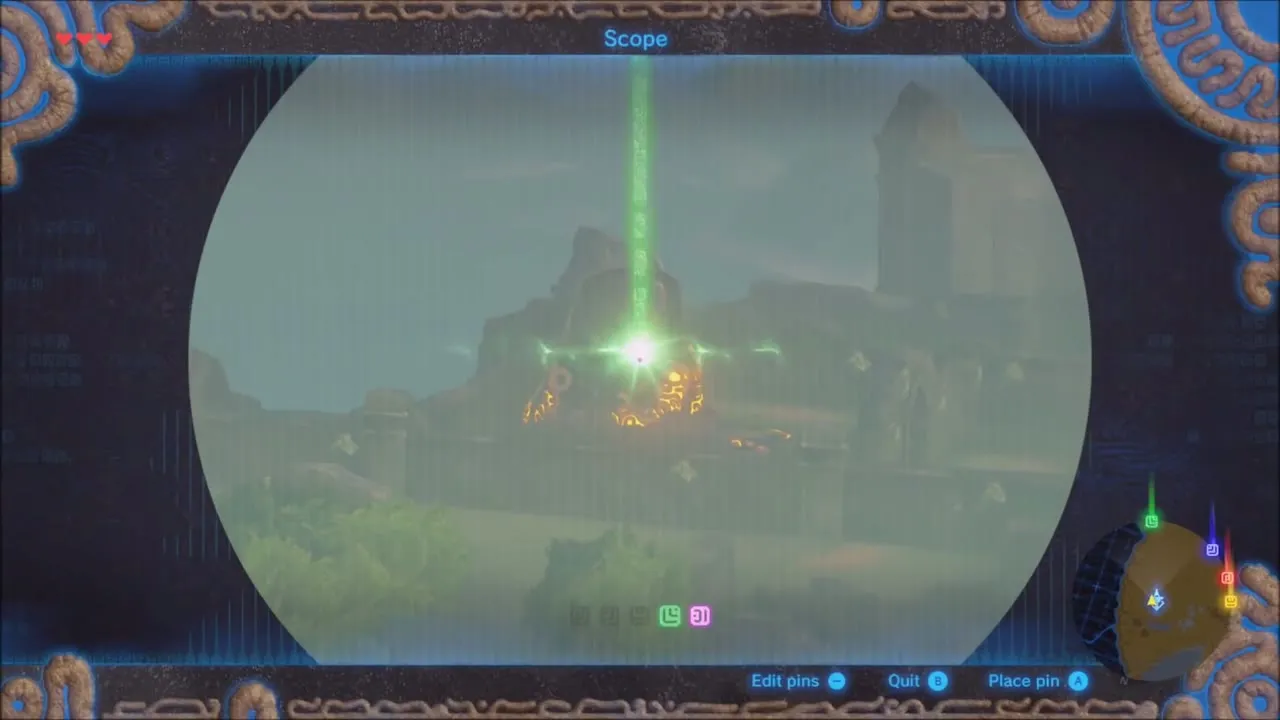
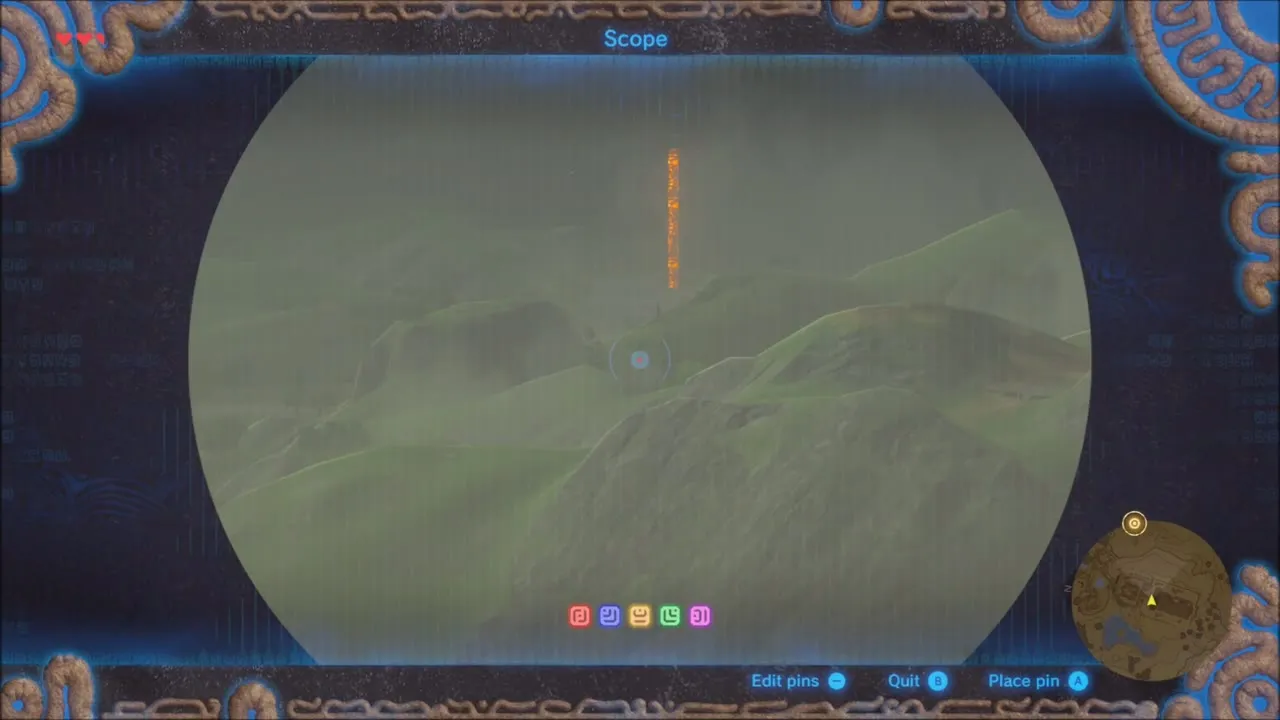
At the top of the tower the Old Man teaches you the Scope. Open it from the Sheikah Slate, look around for shrines and places of interest, and plant a pin on the map where you want to go. Use it whenever you reach a high place: it is the easiest way to spot shrines and Koroks.

Magnesis Treasure Near Oman Au Shrine: Amber, Opal, Ice Arrows and Fire Arrows
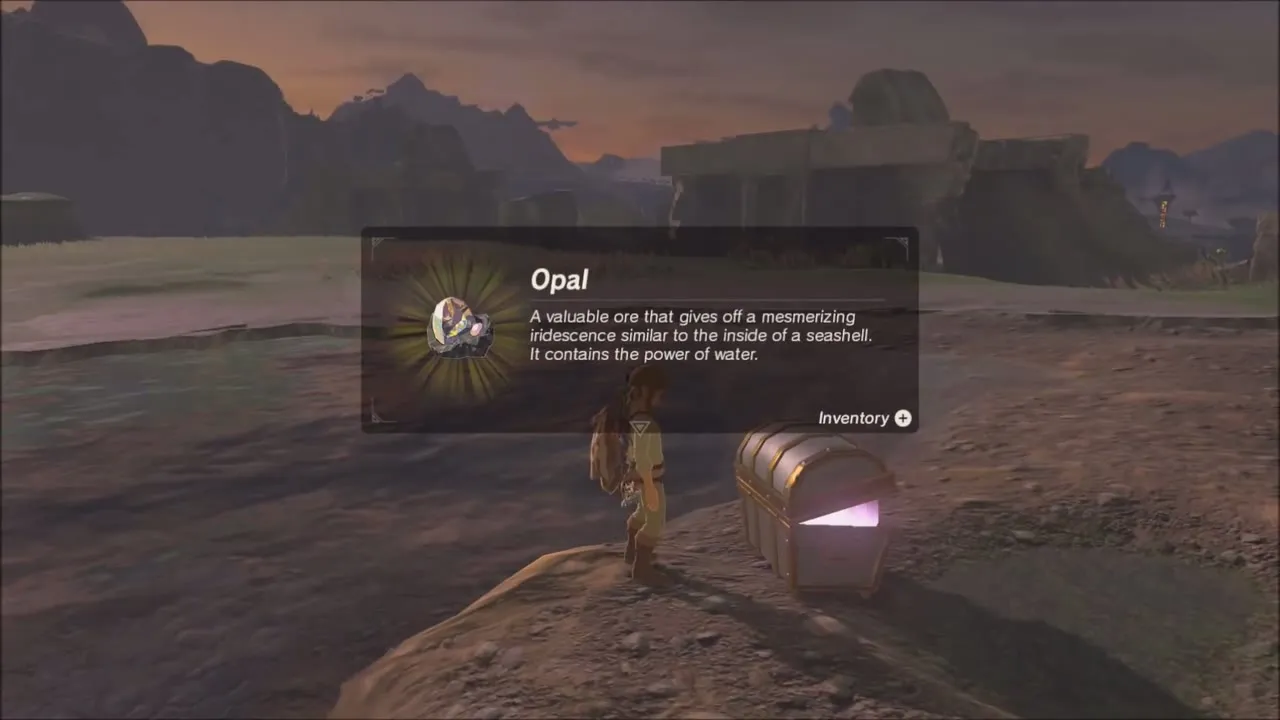
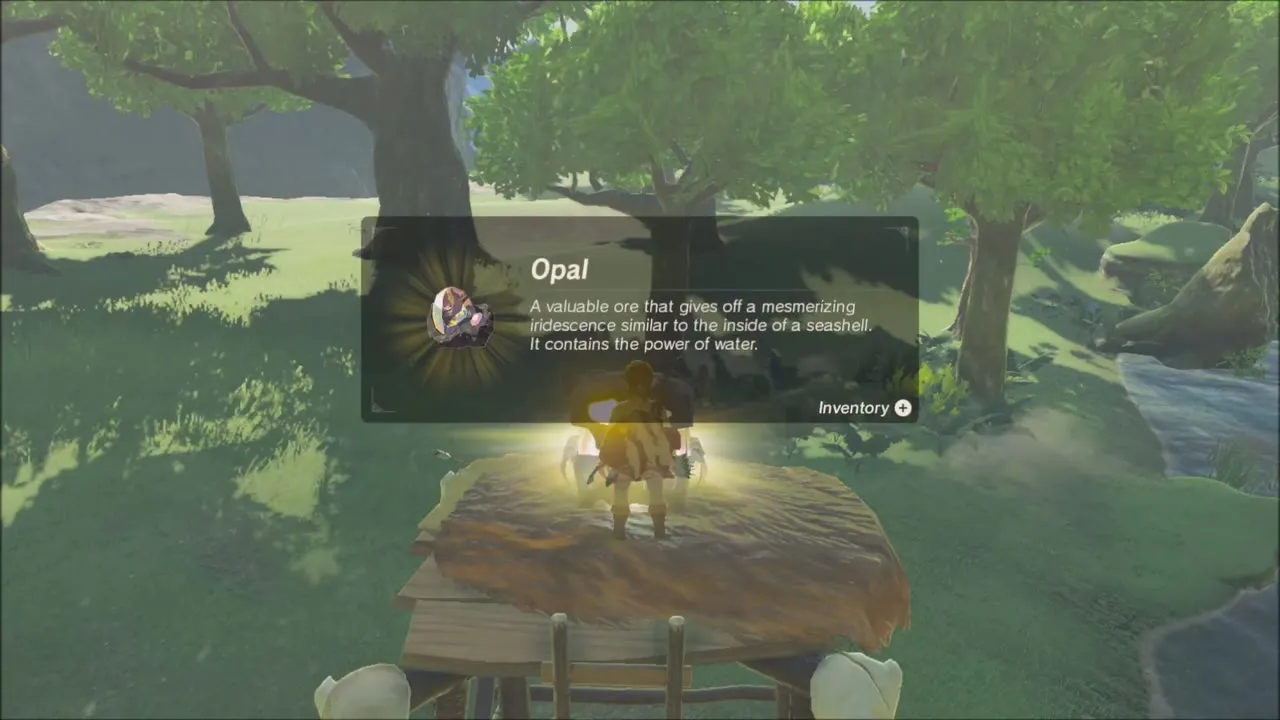
Drop from the tower and run back to the pond outside Oman Au Shrine. Metal chests lie in the water and on its banks. Lock on to each one with Magnesis, lift it clear and open it. Between them they hold Amber and an Opal, gems you can sell or keep for later.
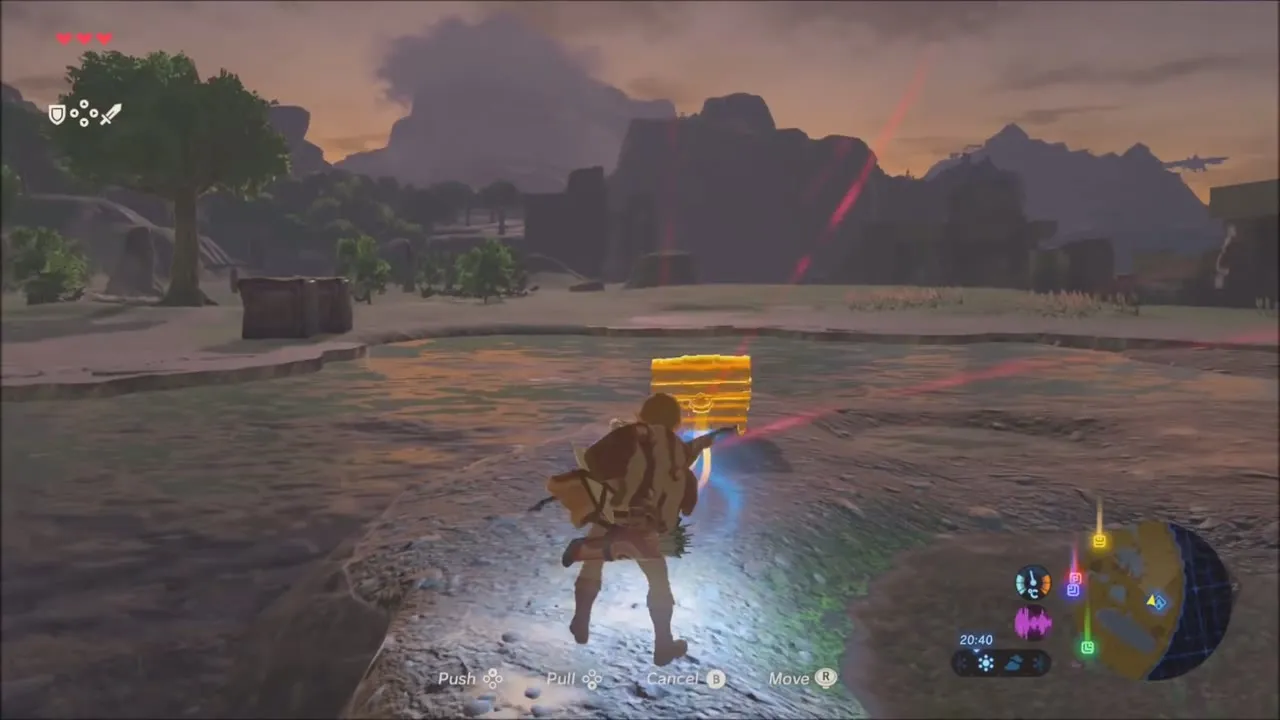
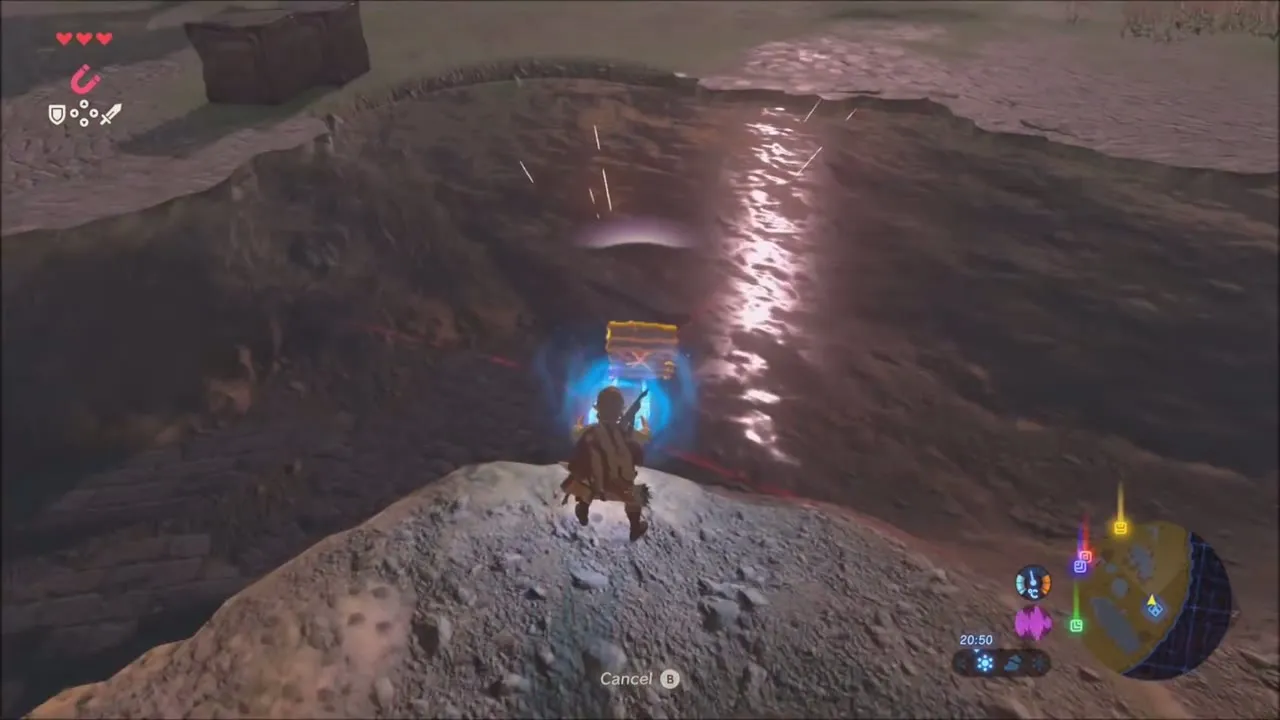
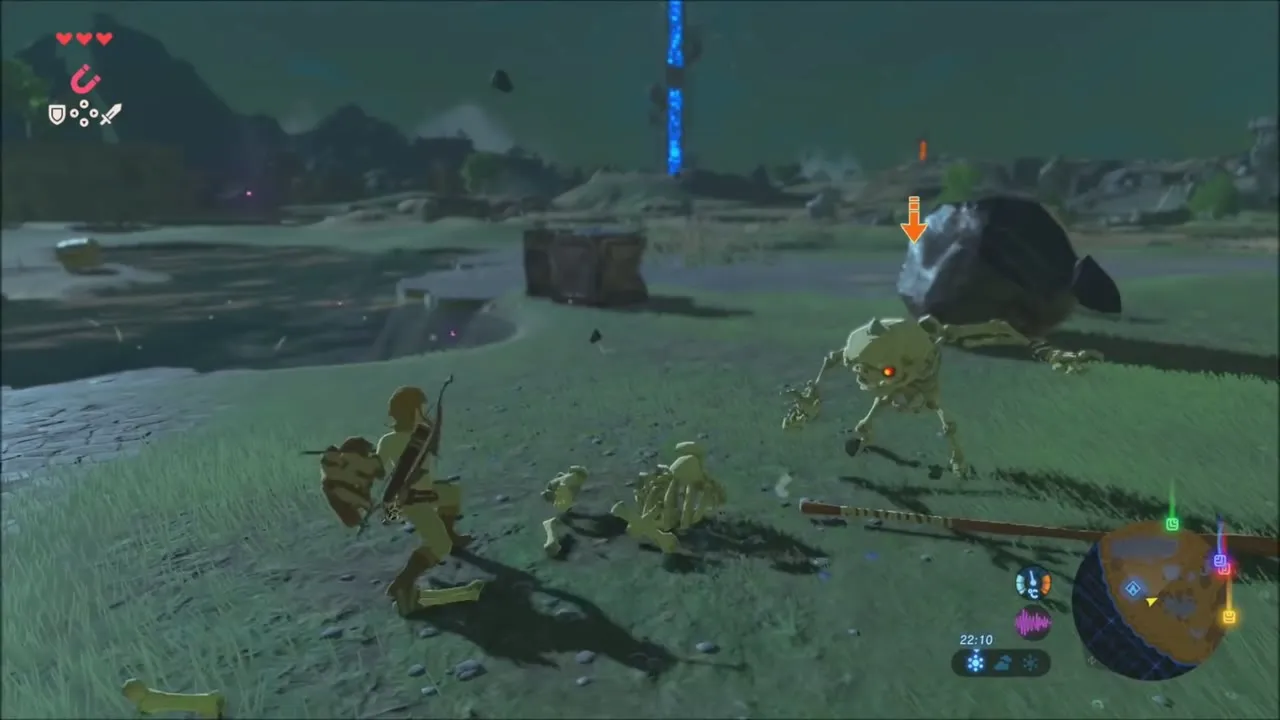
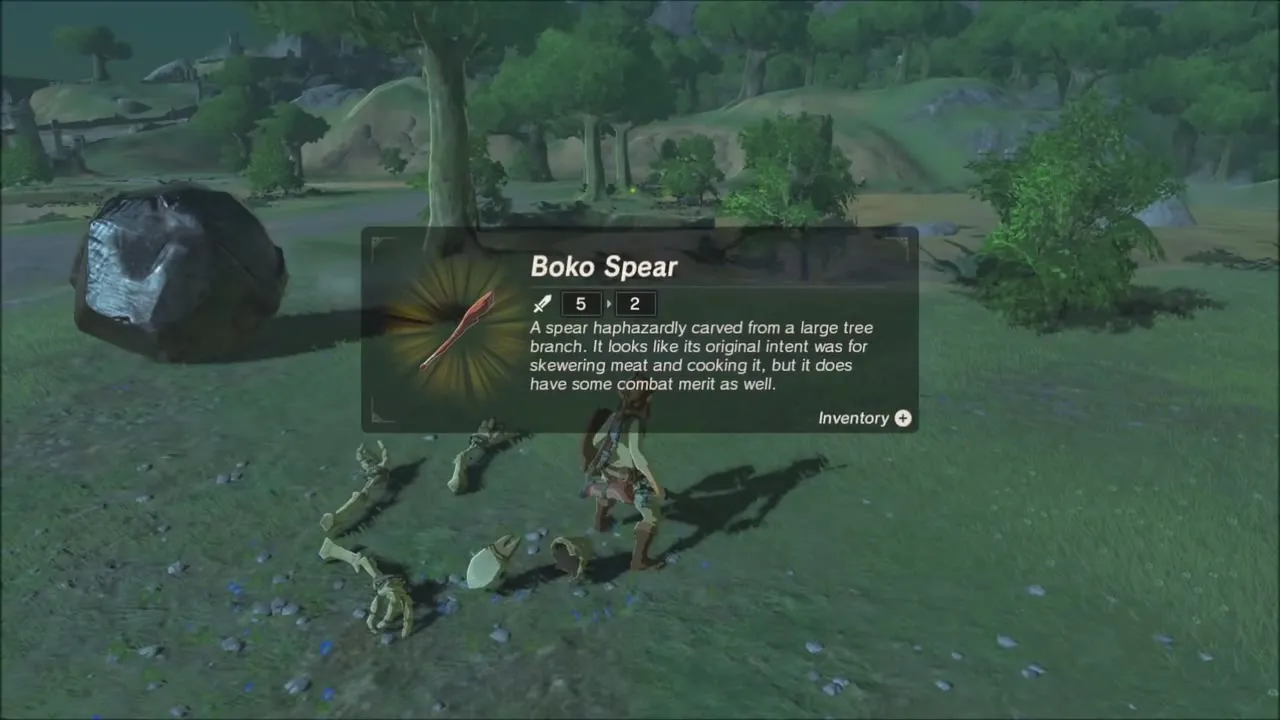
After dark, skeleton Stalkoblins climb out of the ground around the pond. Use Magnesis on the metal crates lying around, lift one above an enemy and drop it to crush the skeleton. This is a safe way to fight at low hearts, and the monsters leave behind Bokoblin parts and weapons.
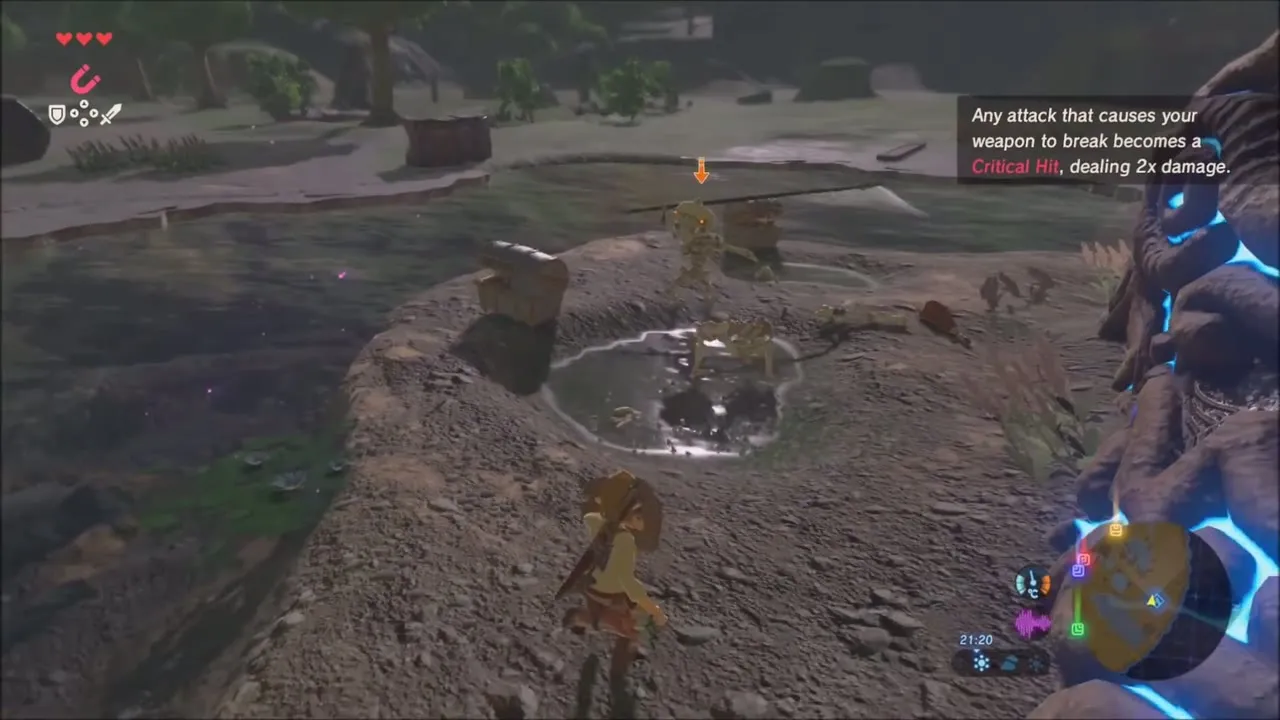
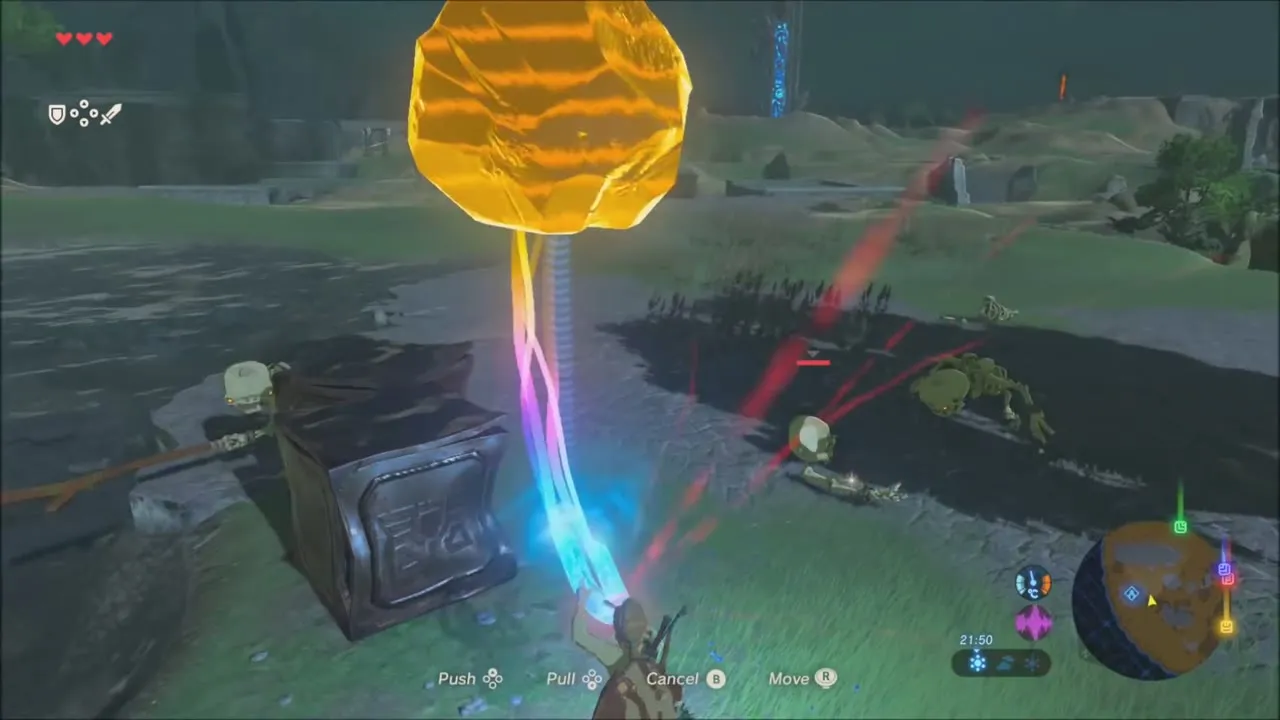
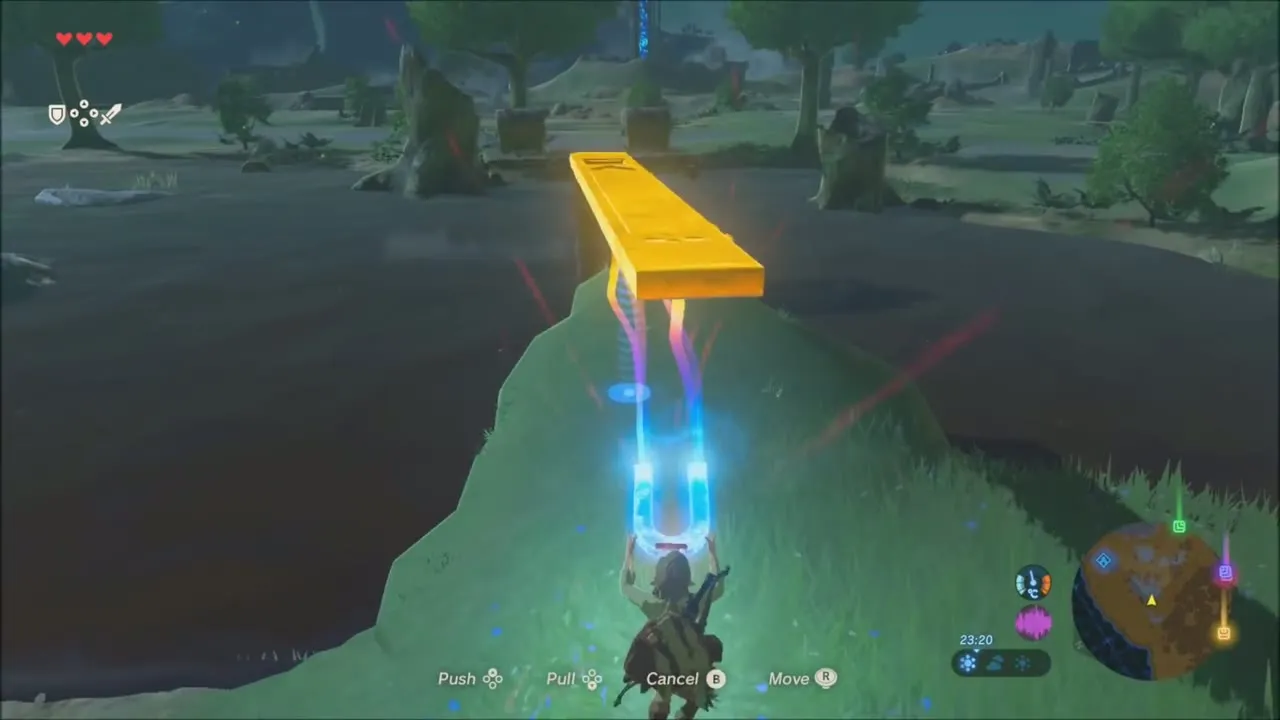
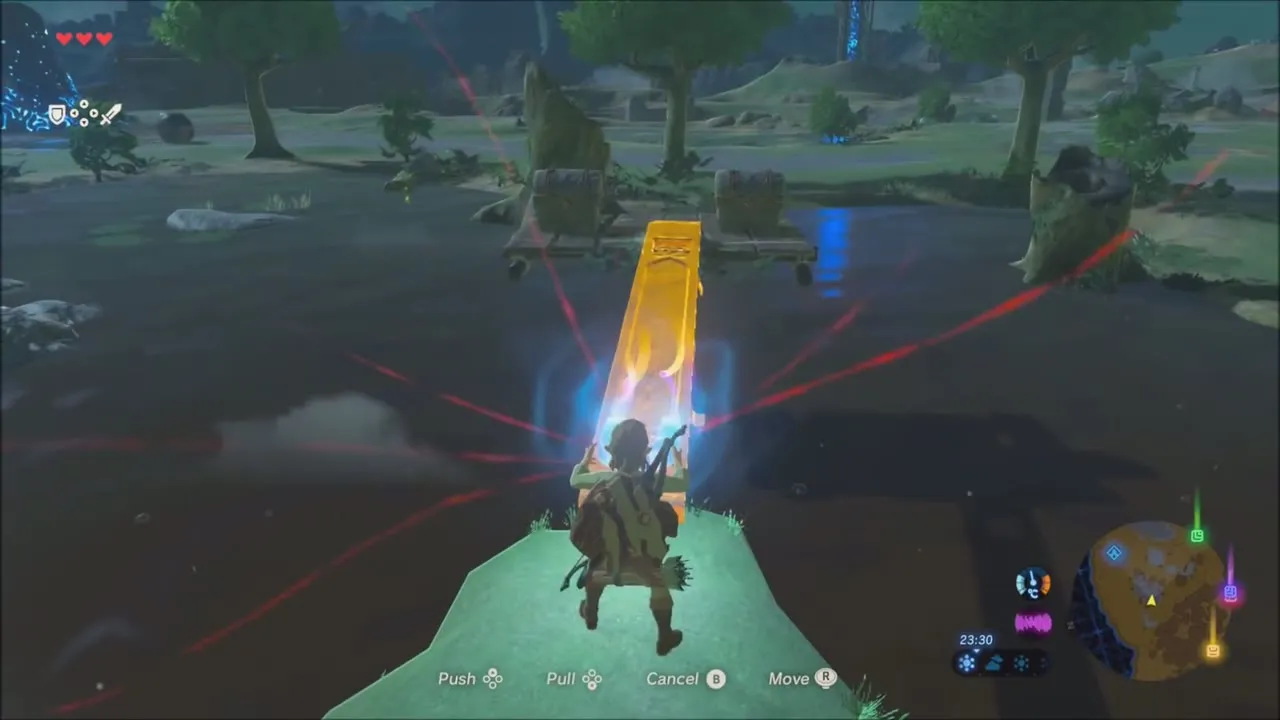
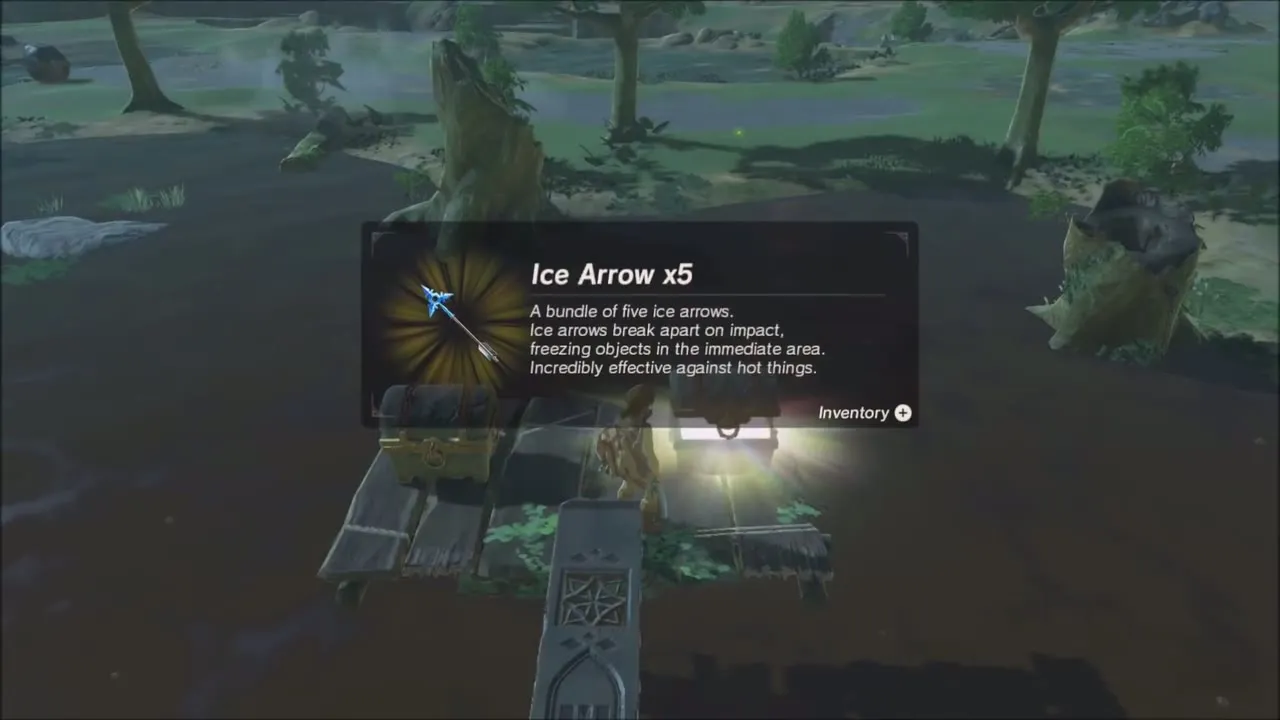
For the last chests, find the long metal plank at the edge of the stream. Lift it with Magnesis and lay it across the water as a bridge to a small wooden platform. Two chests wait there: one holds five Ice Arrows and the other five Fire Arrows, so open both.

Ja Baij Shrine: Bomb Trial
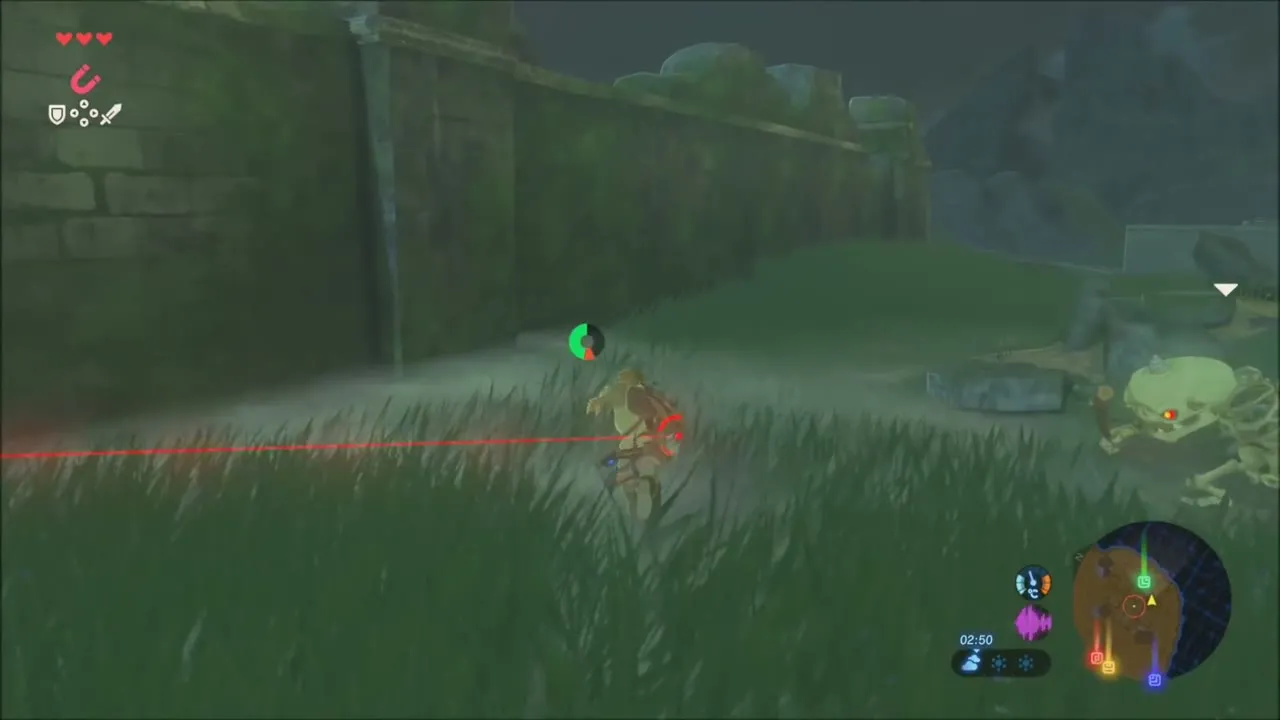
Mark the Ja Baij Shrine (x -448, z 1990) on your map. It lies in the Eastern Abbey ruins, south-east of the tower. A damaged Guardian near the entrance still fires its red beam, so stay out of its line of sight, creep along the old wall and climb over it to reach the shrine door.


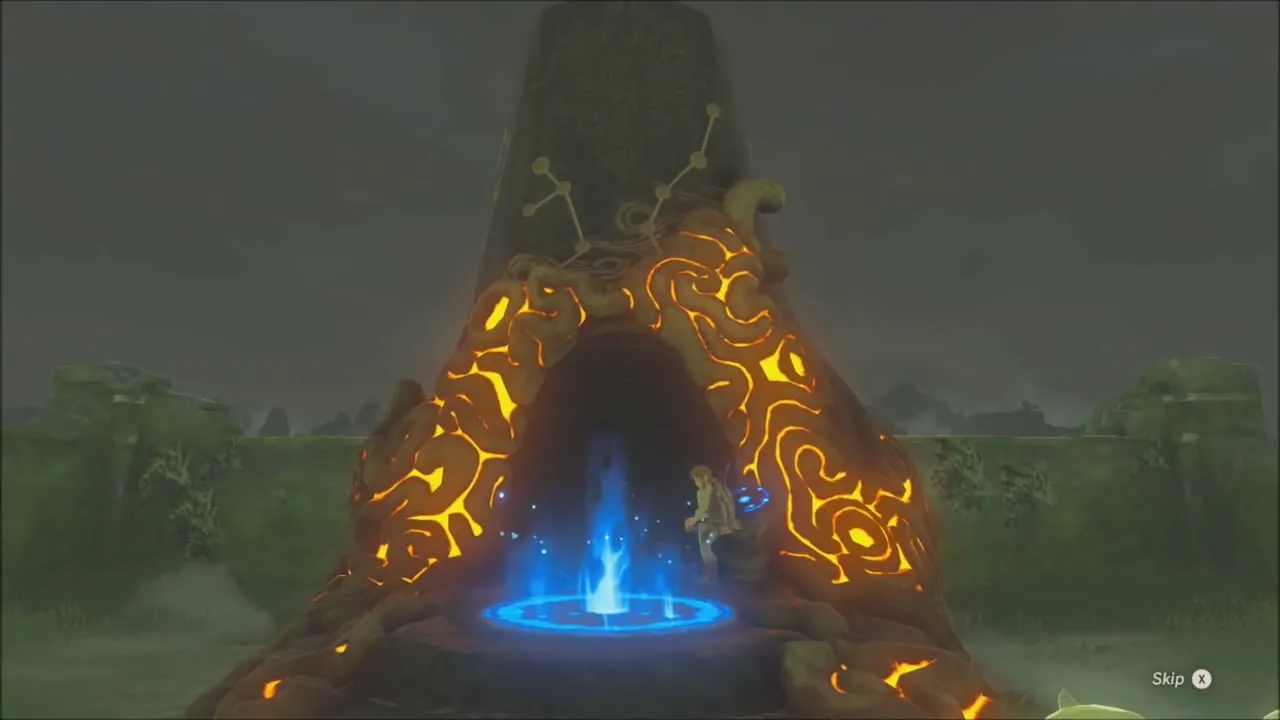
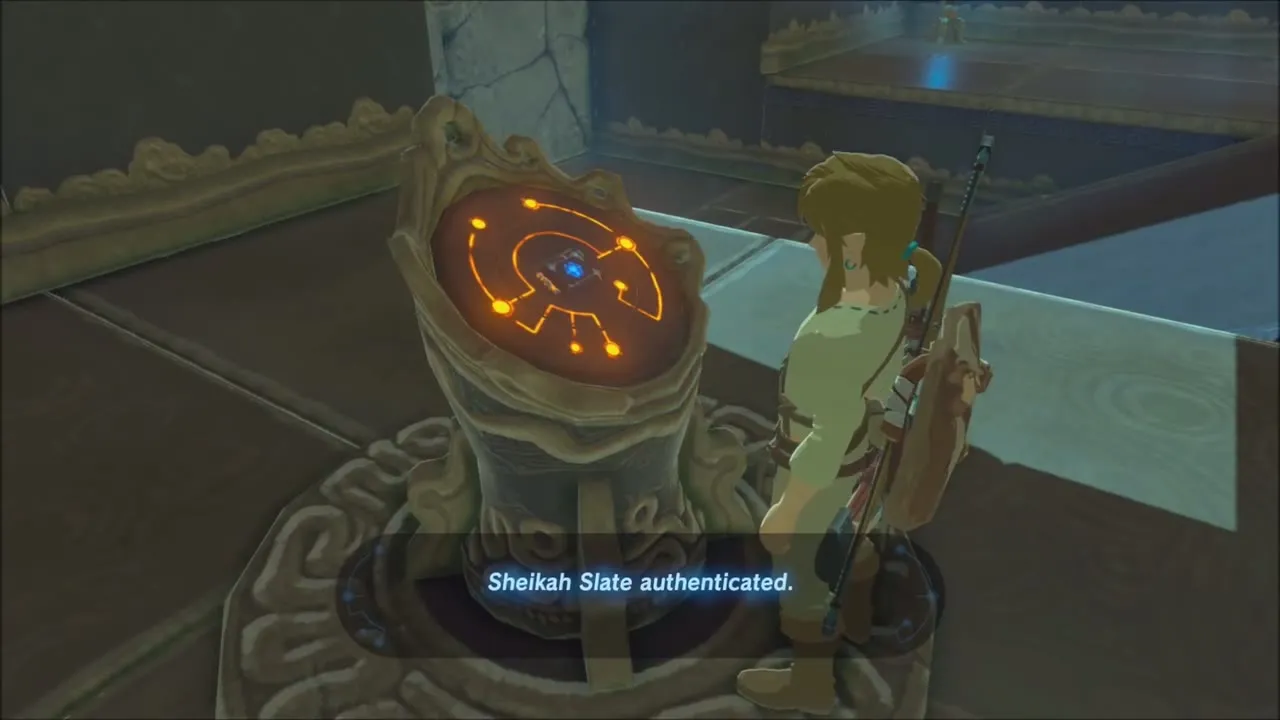
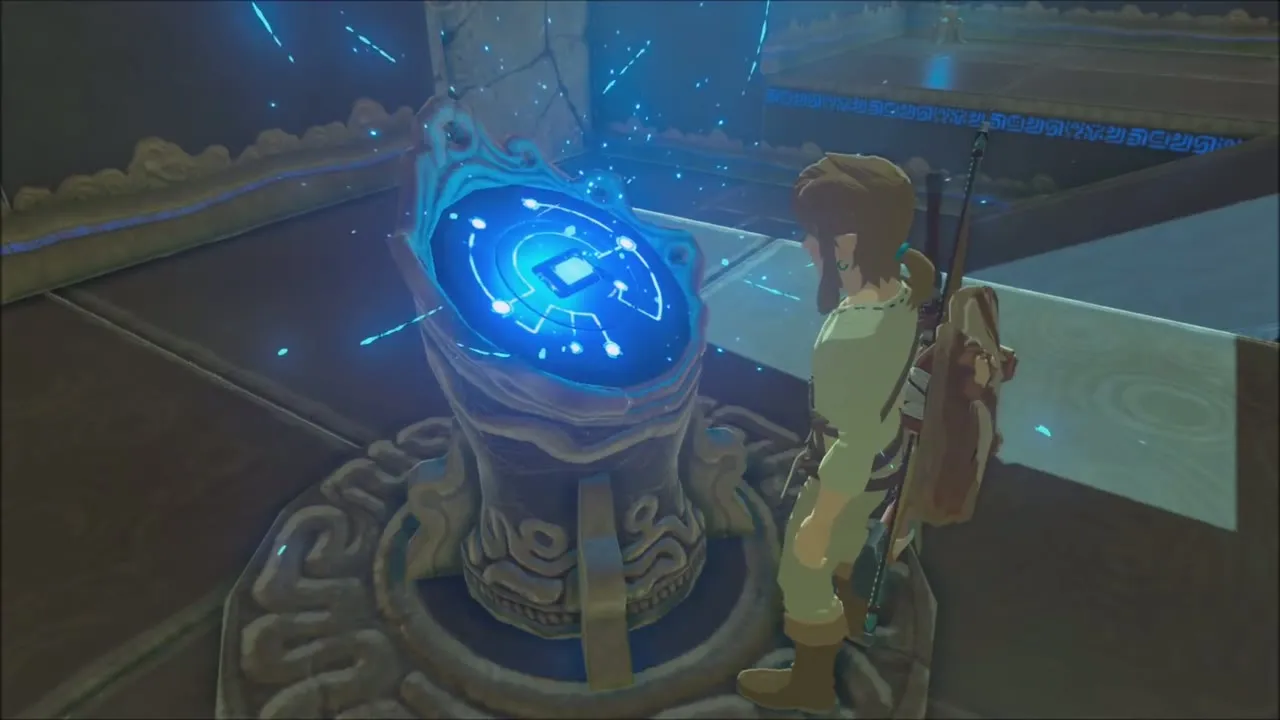
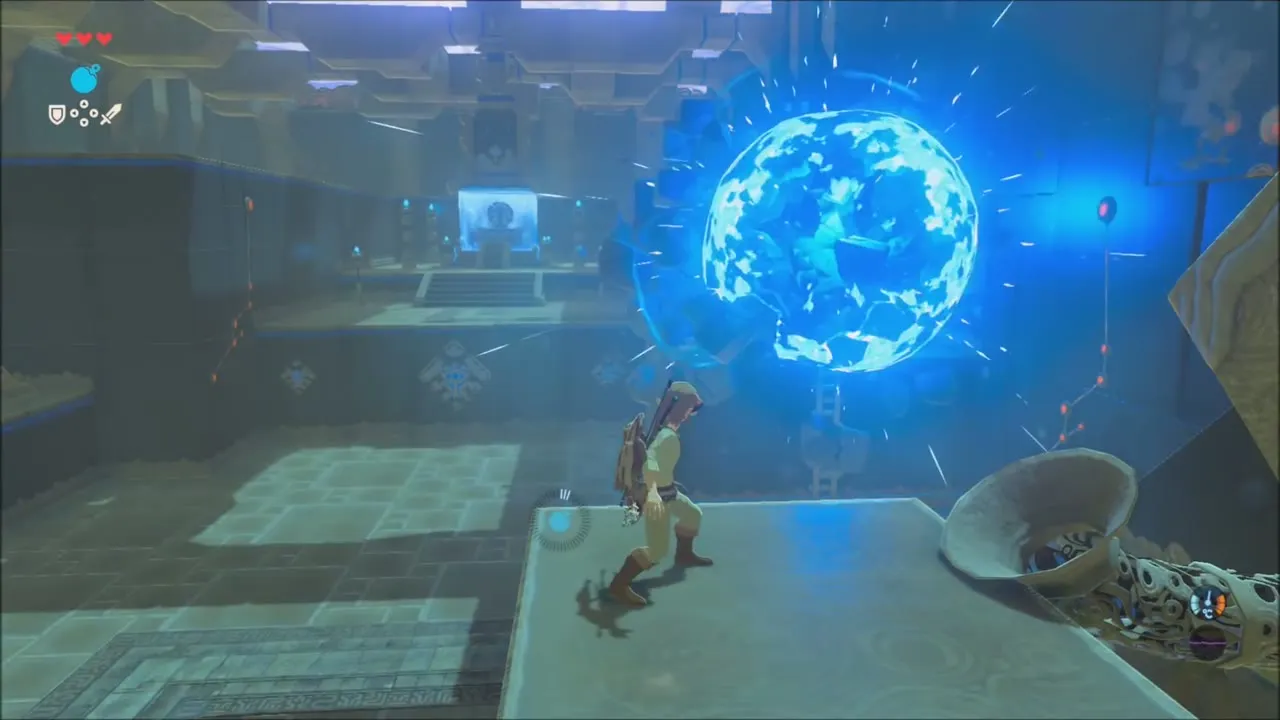
Inside, put the Sheikah Slate on the pedestal to get the Remote Bomb runes, round and cube. Drop a bomb by the cracked wall at the end of the entry slope and detonate it to open the hallway. Break the cracked blocks that hide a side alcove to find a chest with a Traveler’s Claymore.

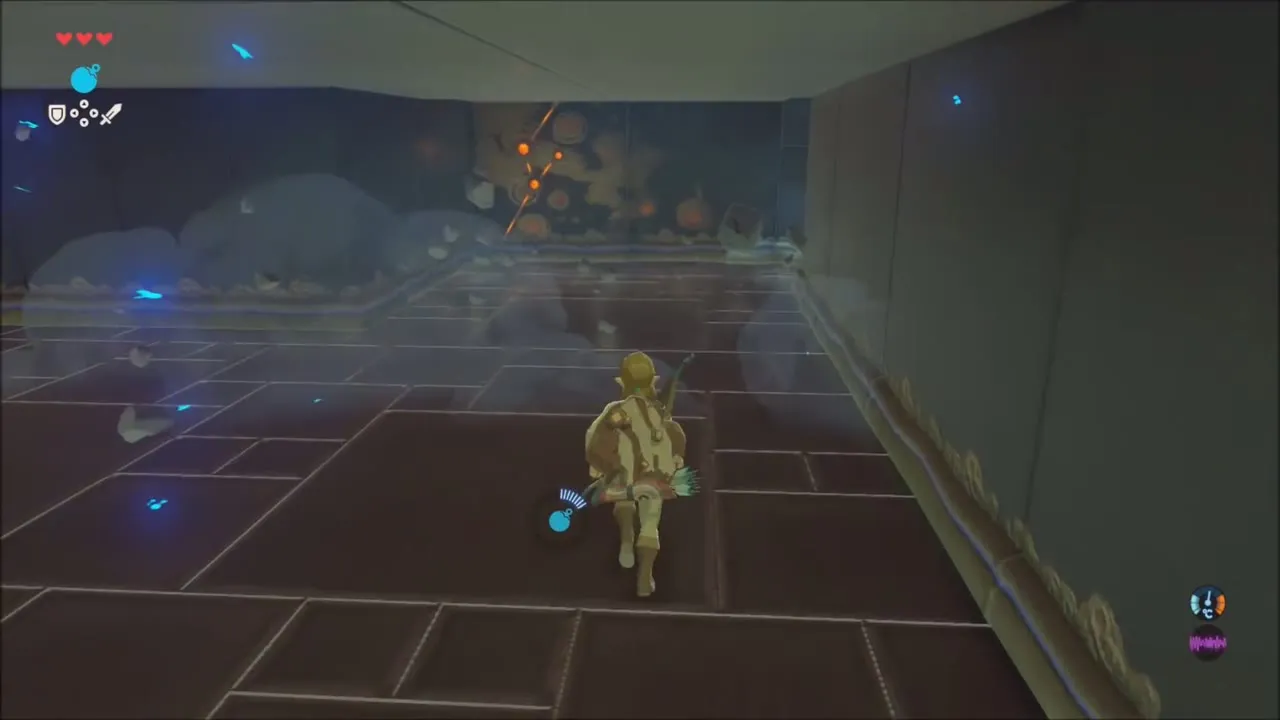
The next rooms are more of the same: carry a cube bomb across on the moving platform and detonate it from a safe distance to break the far wall, then drop a round bomb in the funnel so it is launched onto the stone covering the last ladder. A chest by the monk, reached from the launcher block, holds an Amber. Climb the ladder, speak to the monk Ja Baij and take your second Spirit Orb. That leaves two shrines to go.




West of the Temple of Time: Amber and Opal Chests by the River
With the Ja Baij Shrine finished, your next target is the Keh Namut Shrine in the far west, so open the map and drop a pin on it at (-1435, 1991) before you leave. The trip is long and cold, which leaves time to pick up loot in the ruins and along the river on the way.


Magnesis chest in the pond
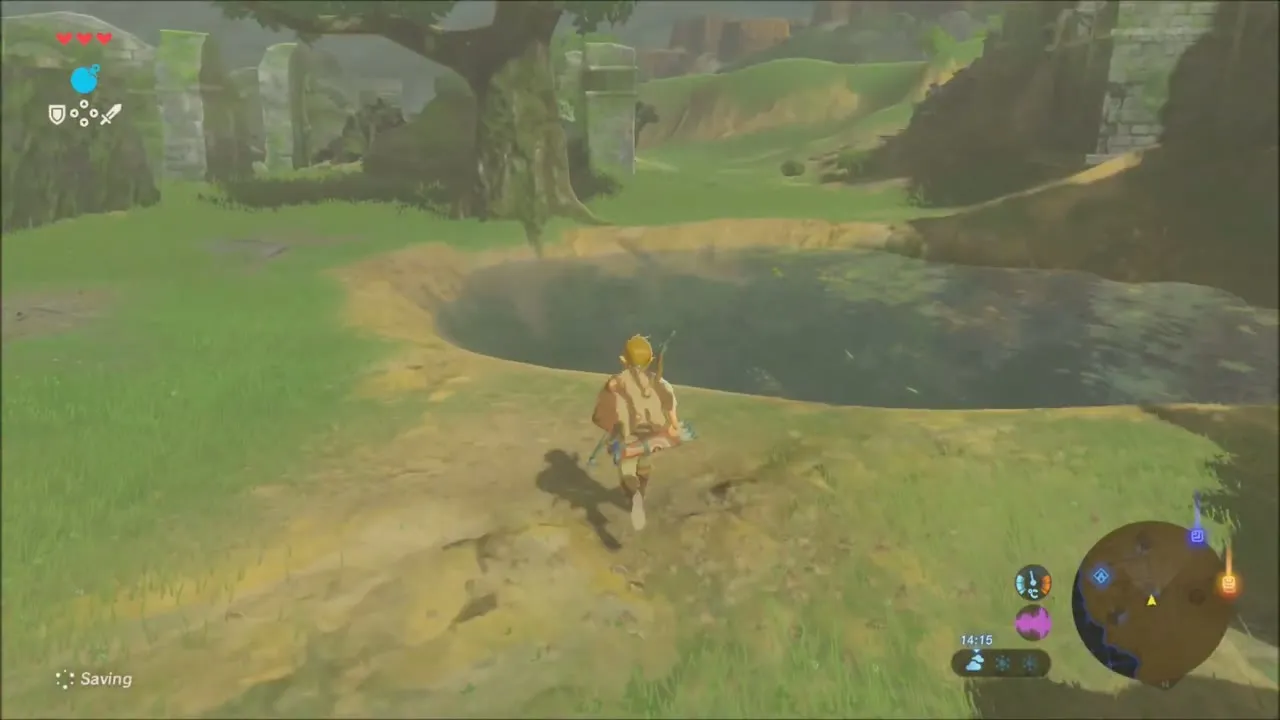
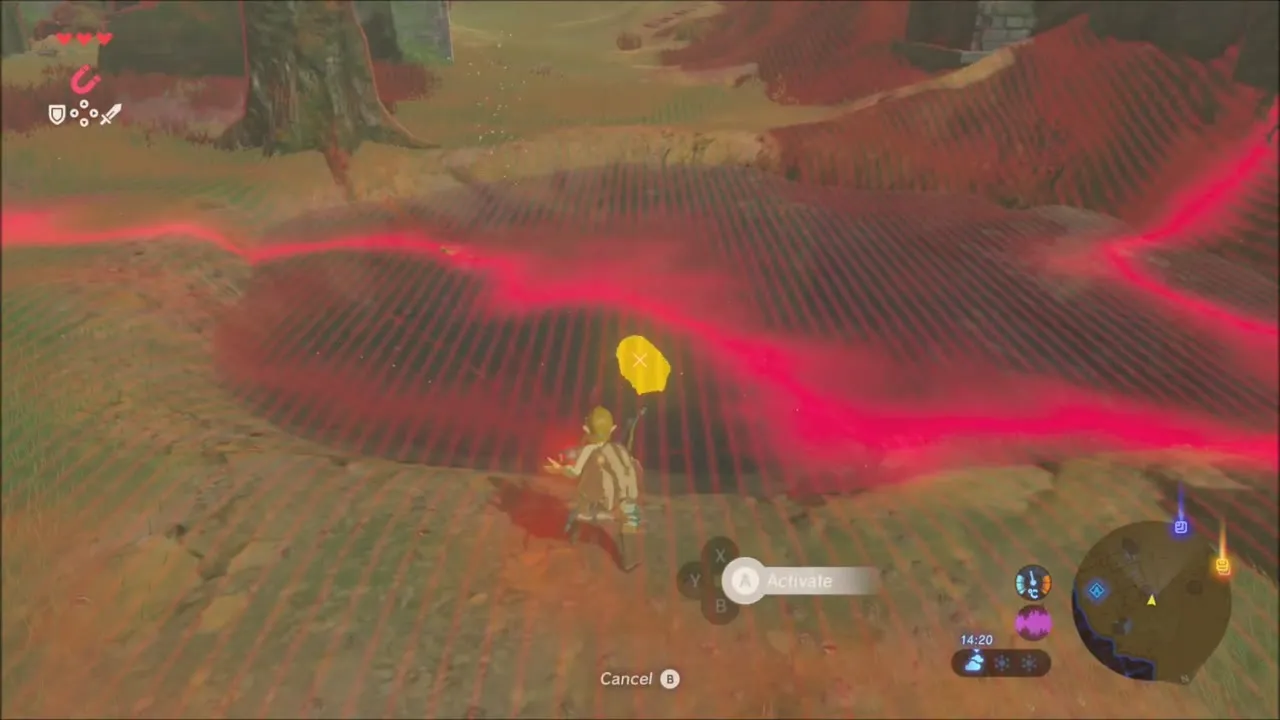
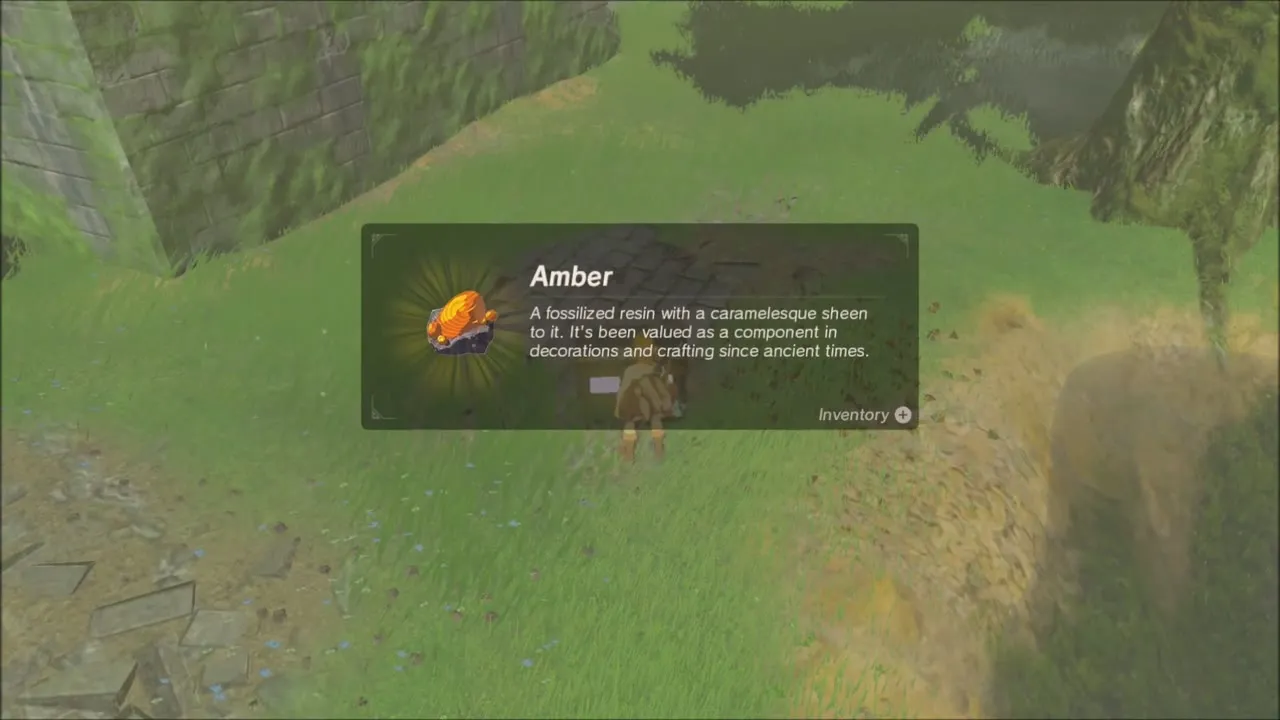
In the grassy ruins there is a small round pond with a metal chest lying in it. Stand on the rim, switch to Magnesis, drag the chest up and out of the water, and open it for an Amber.
Opal on the river bank
Follow the stone staircase through the ruins, then climb down the grassy cliff to the River of the Dead. Swim across to the rocky bank beneath the far cliff, where a pile of boulders leans against the wall. A glinting Opal lies in the hollow at its foot, so grab it before you carry on.

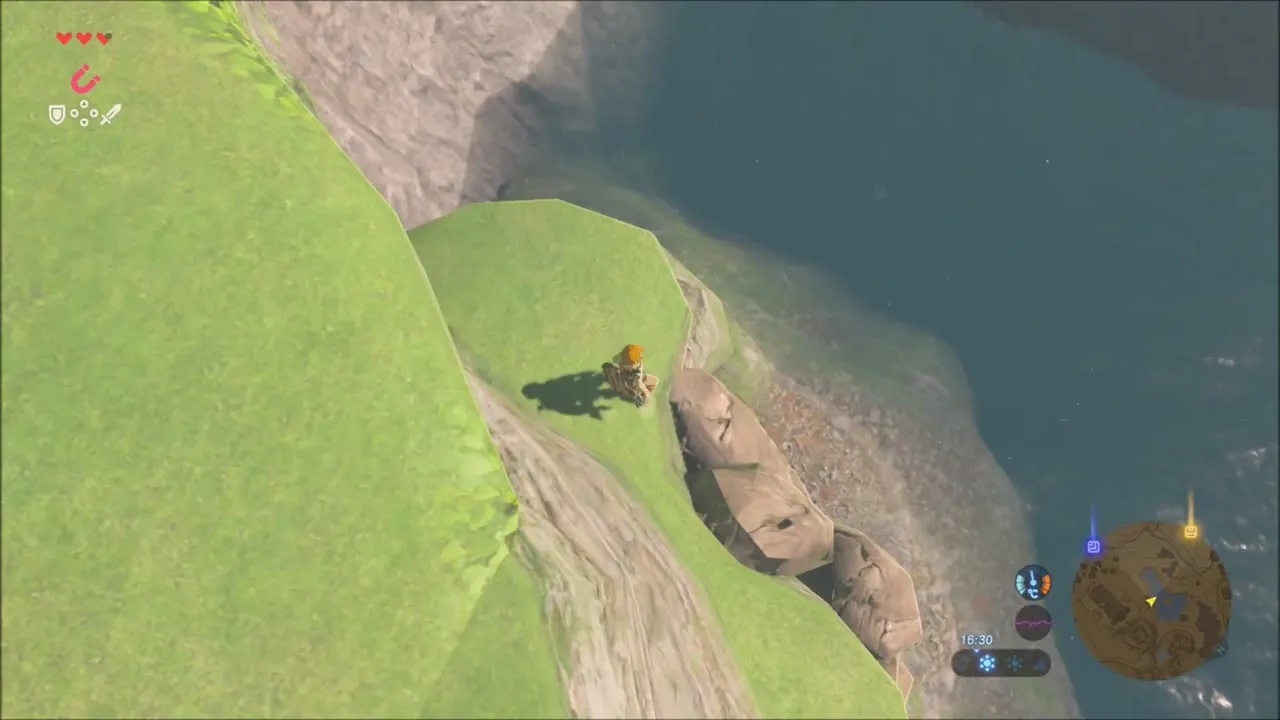
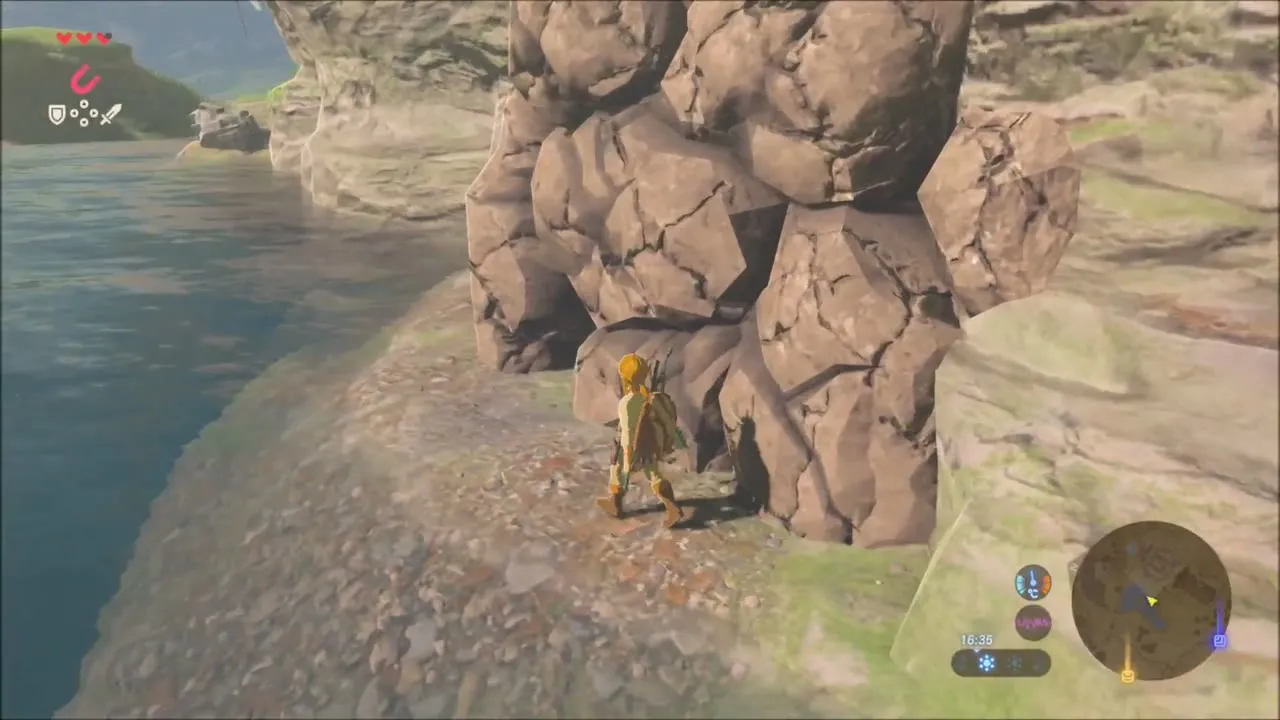

Sneaky Steamed Fish and the Silent Shroom
Beyond the river the path runs into the woods on the northwest side of the plateau. Pick up a Silent Shroom here, because mushrooms like it give a dish its stealth bonus, then light a campfire and cook a Sneaky Steamed Fish. Eating it before you approach a camp makes Bokoblins far less likely to notice you.
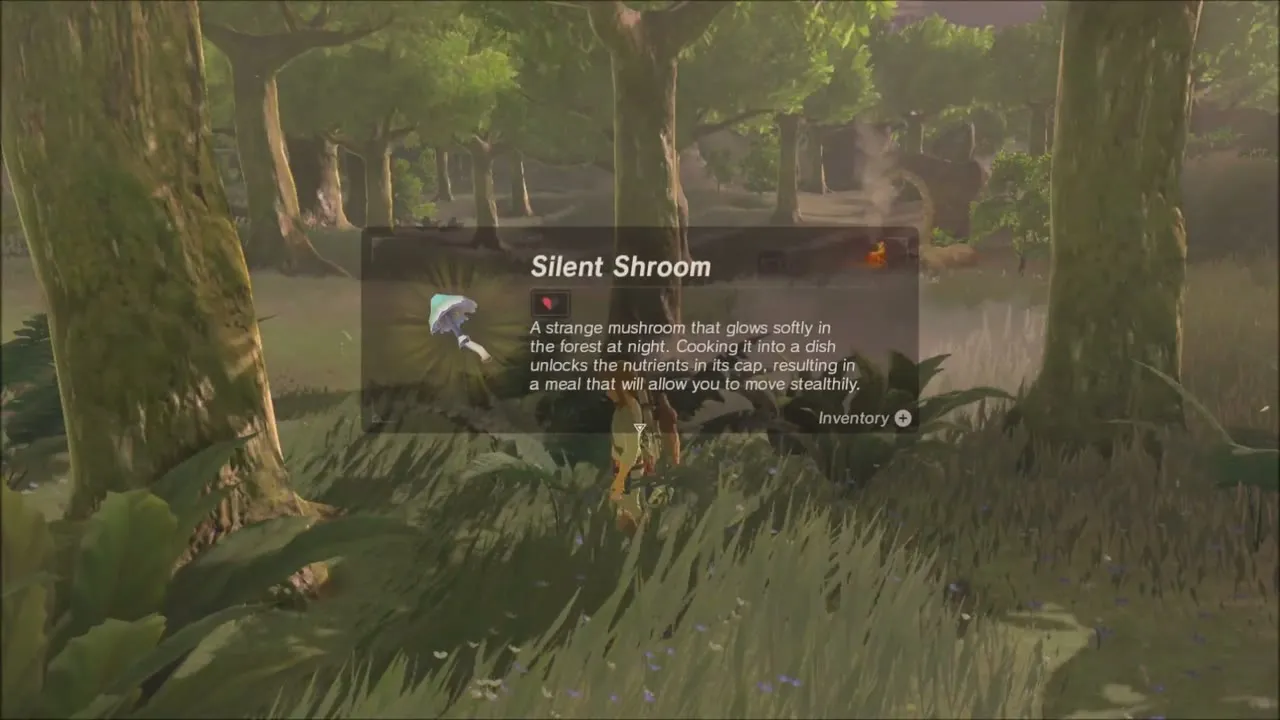

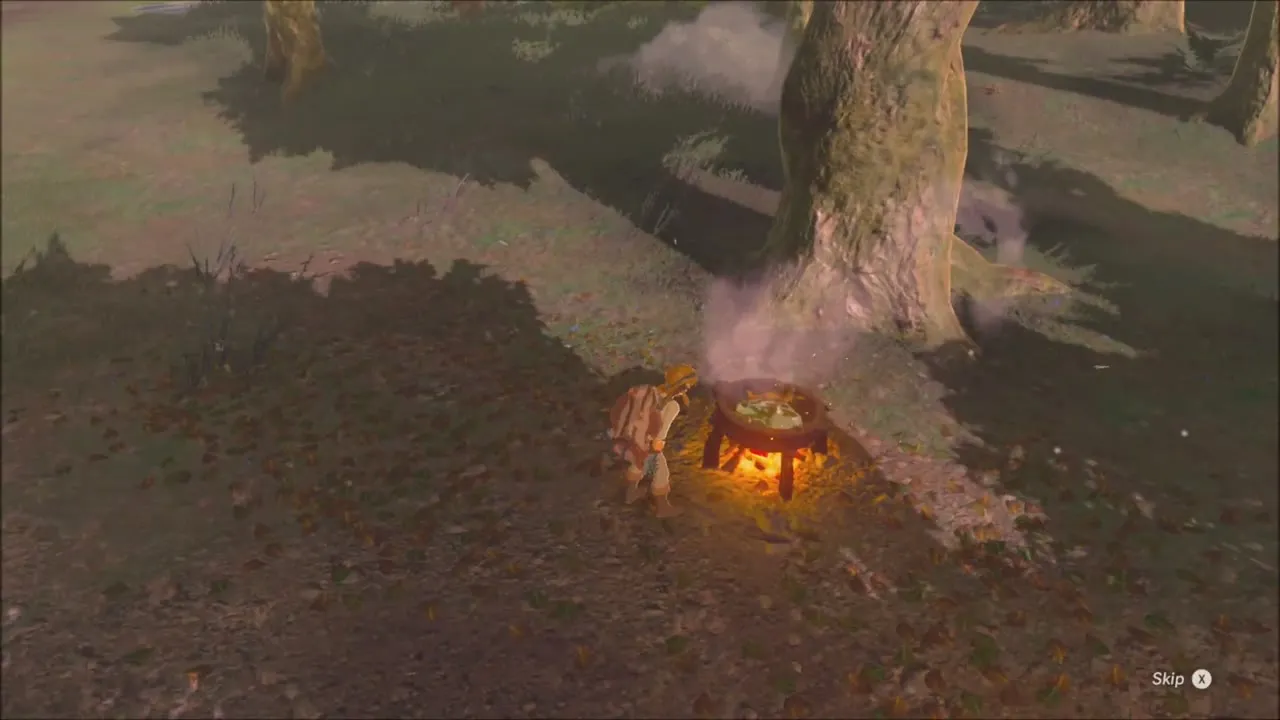

Korok Seeds in the Western Woods
Korok seed on the rocky hilltop
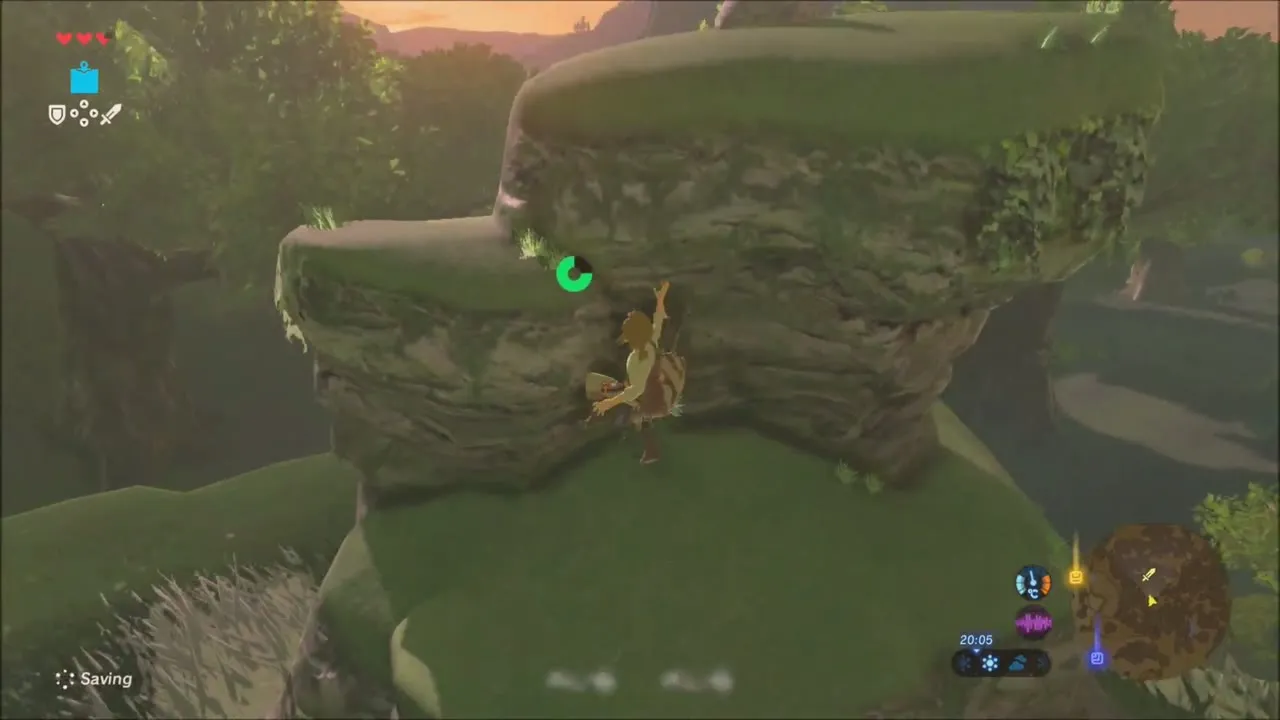
Deeper in the woods, a hill of stacked rock rises above the trees. Climb its side to the top; the Korok is standing in the open there, so there is no puzzle, and you only have to talk to it for the second seed of the plateau.


Korok seed at the end of the glowing trail
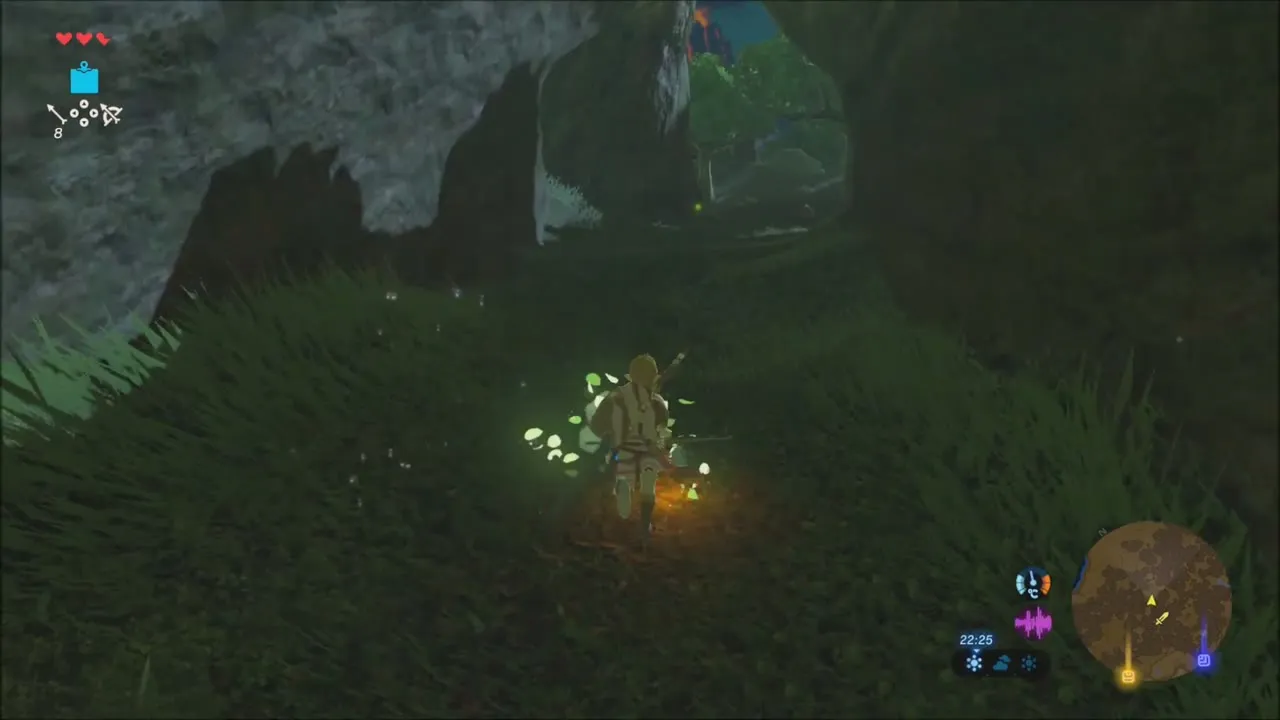
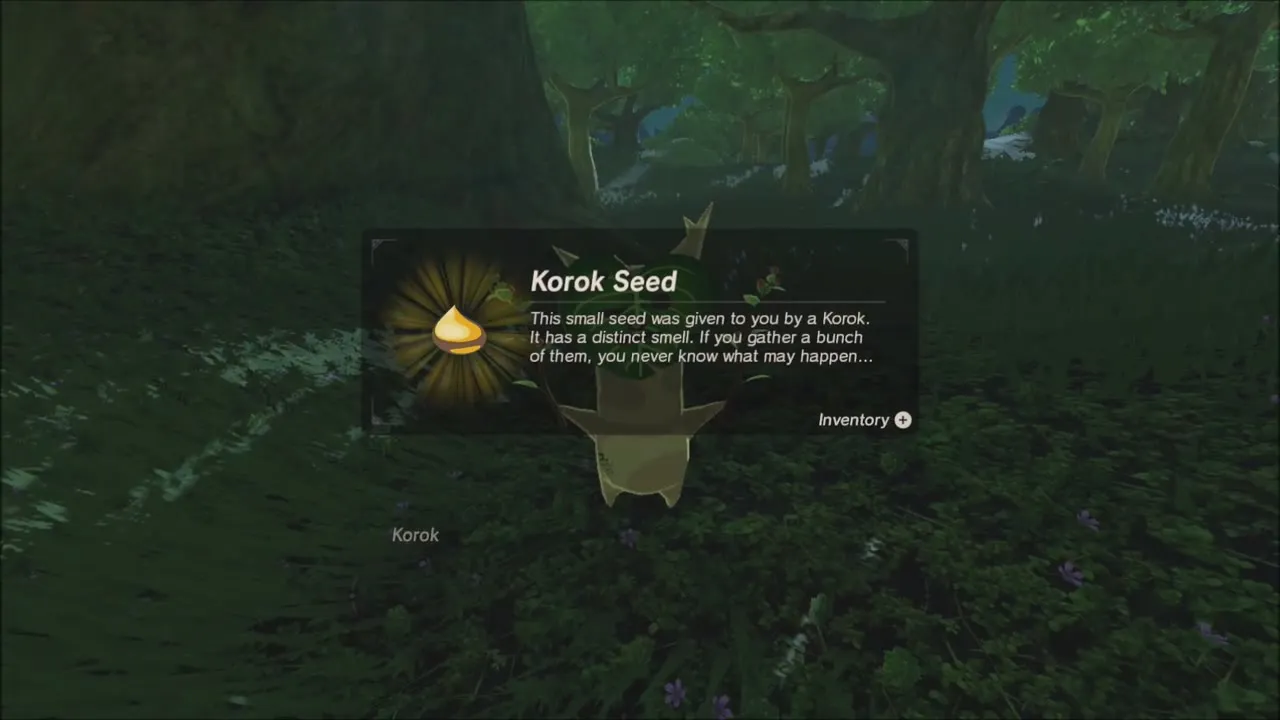
Further on, the forest becomes dark and thick with ferns. A trail of glowing petals on the ground winds between the trunks. Follow it all the way and it ends at a Korok hiding in the undergrowth, who gives you the third seed.


Bokoblin Camp and the Stone Talus Near Hopper Pond
The lookout camp on the meadow
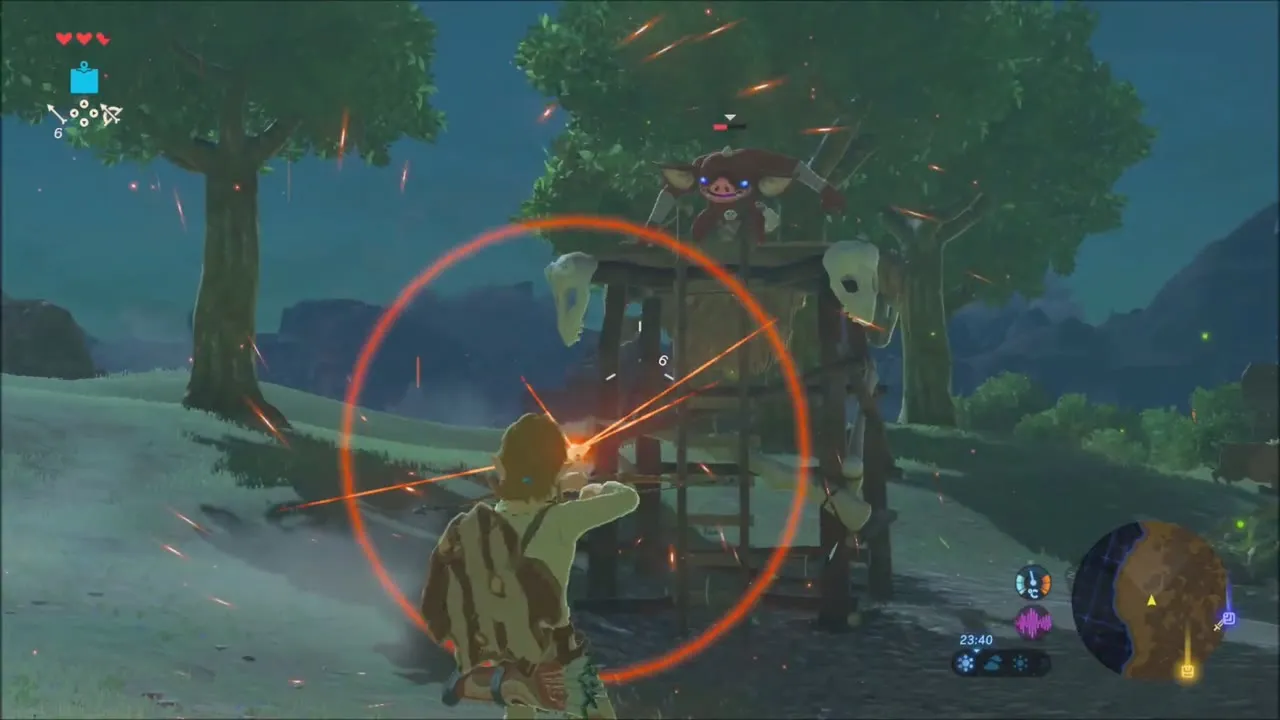
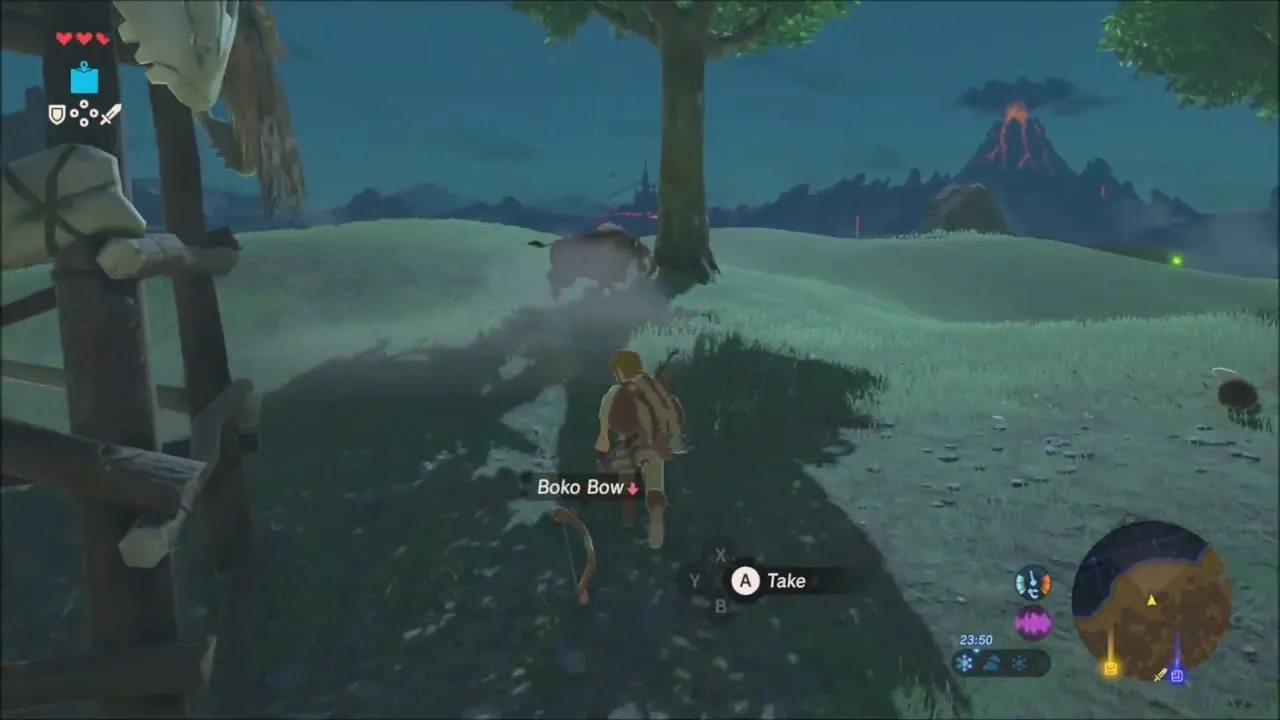
Leaving the trees, you come out onto a meadow with a Bokoblin camp and a wooden lookout tower. Shoot the Bokoblin on the tower first and then deal with the ones on the ground. A chest sits among the ruins here, and the camp’s drops include a Boko Bow. You can also catch Sunset Fireflies in the grass at the edge of the trees if you want more cooking ingredients.

How to beat the Stone Talus
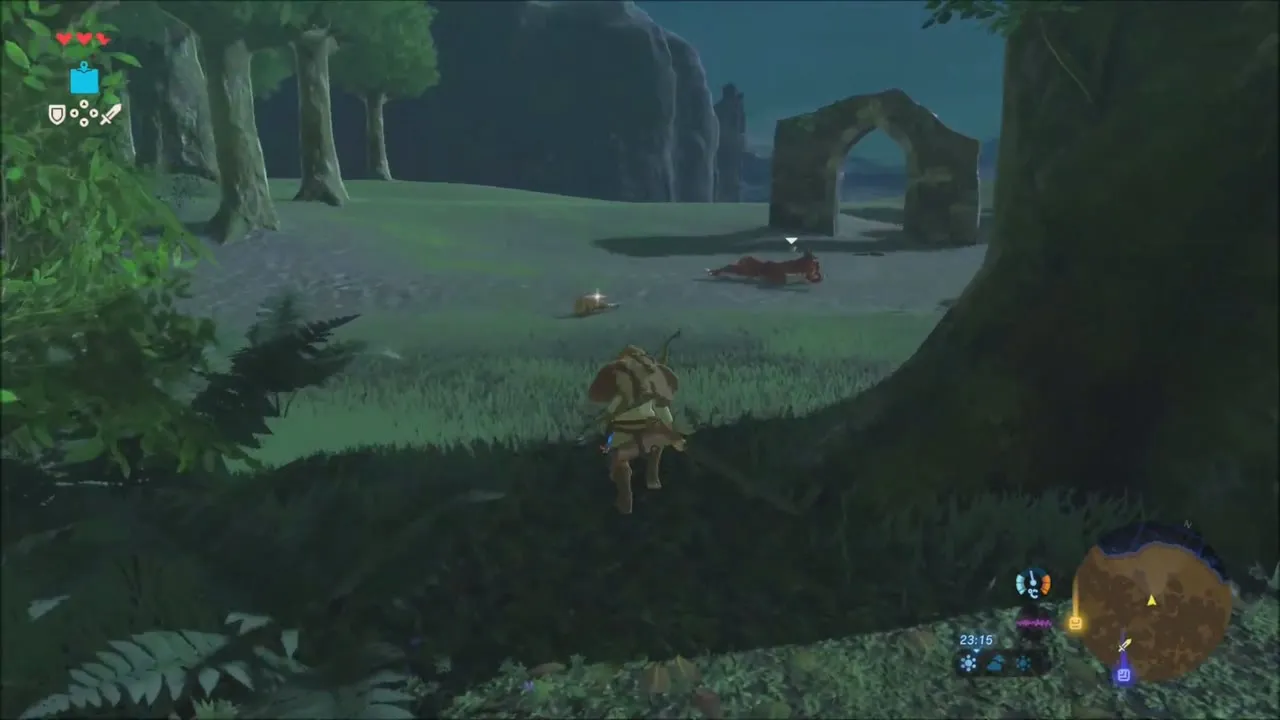
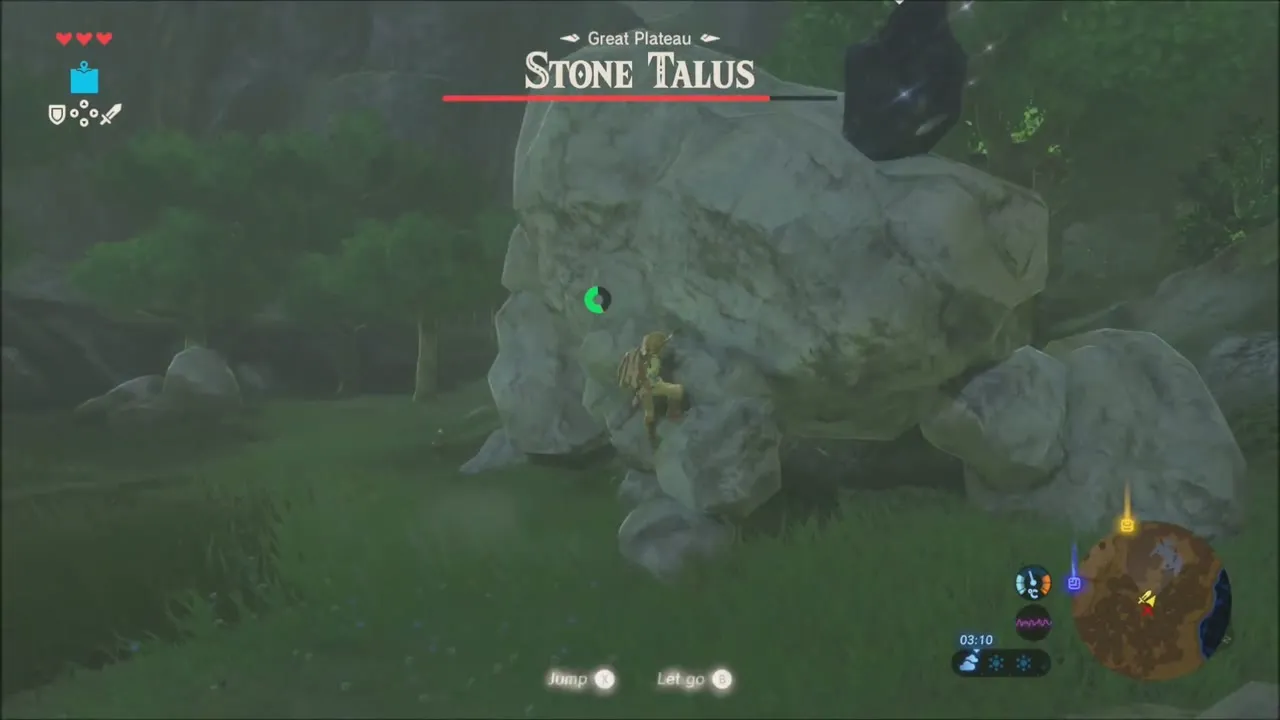
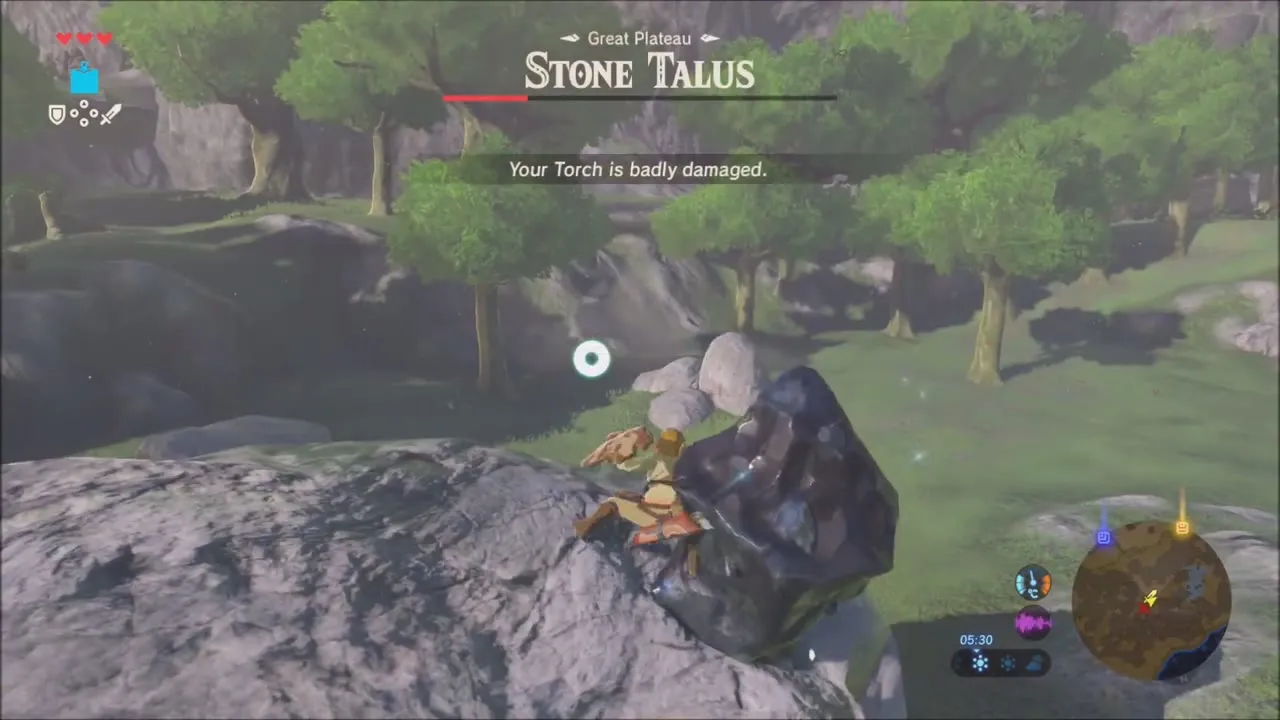
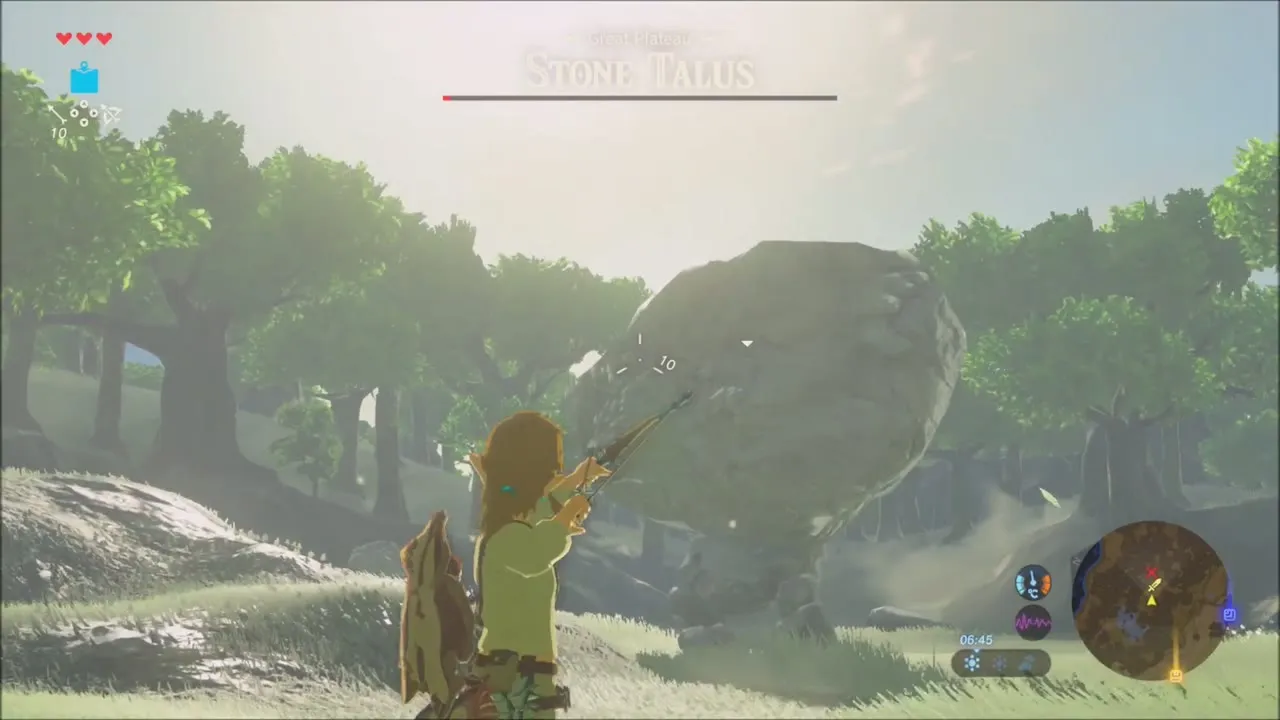
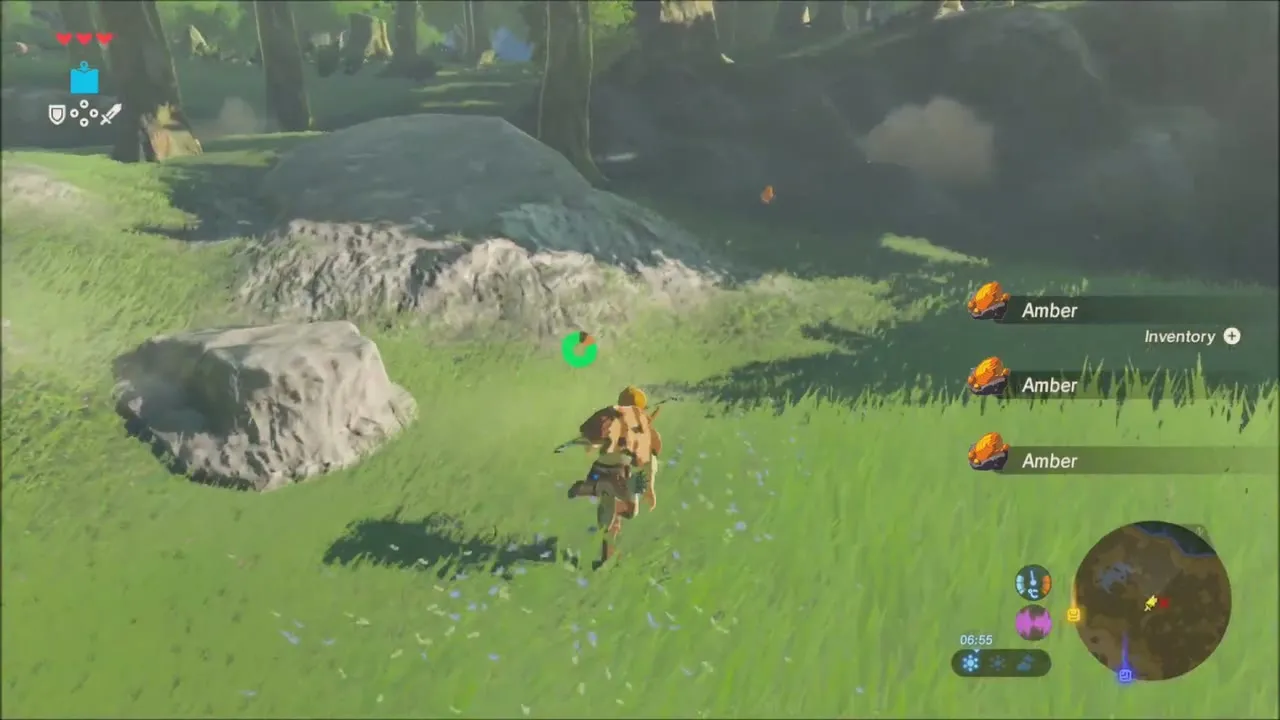
In the clearing between Hopper Pond (-1191, 1659) and the Forest of Spirits (-963, 1705) a pile of boulders is actually a Stone Talus. Keep your distance while it hurls rocks, then run in, climb up its body and strike the ore deposit growing on its back, using arrows to keep it off balance when it gets back up. Expect your weapons to break during the fight. When it falls it leaves gems, including an Opal and several Amber.
Streamside Camps, Treehouse Camp and the Cliff Korok Seed
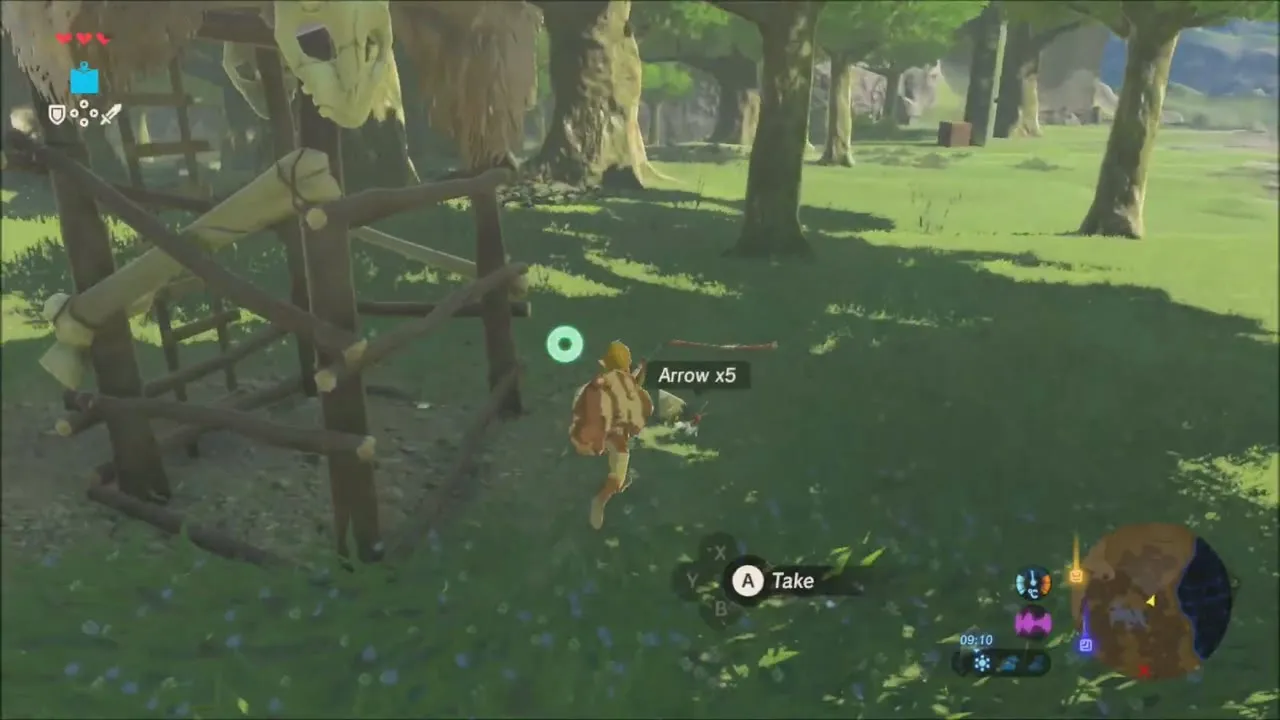
Head south-east along the stream. On the far bank is another camp, with a watchtower beside a campfire and a chest on a platform of logs. Shoot the guards, wade across and open the chest, then check the crates and trees in the open ground for arrows before you go on.

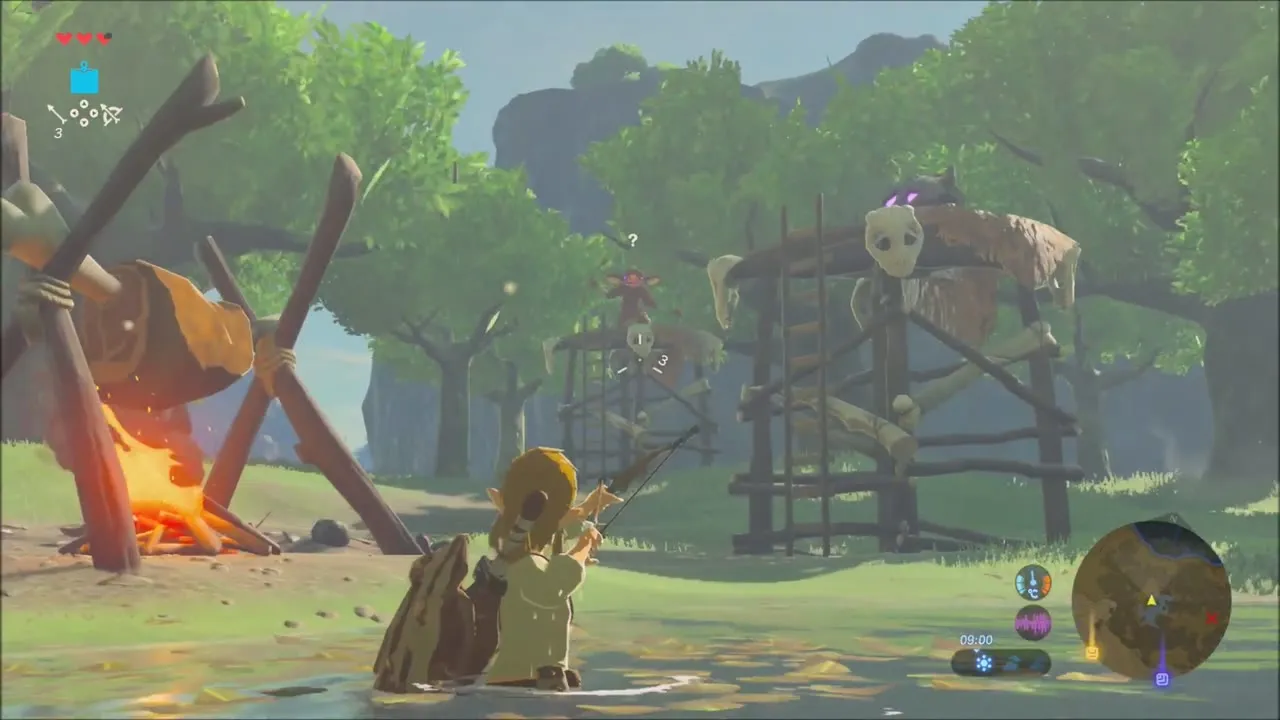
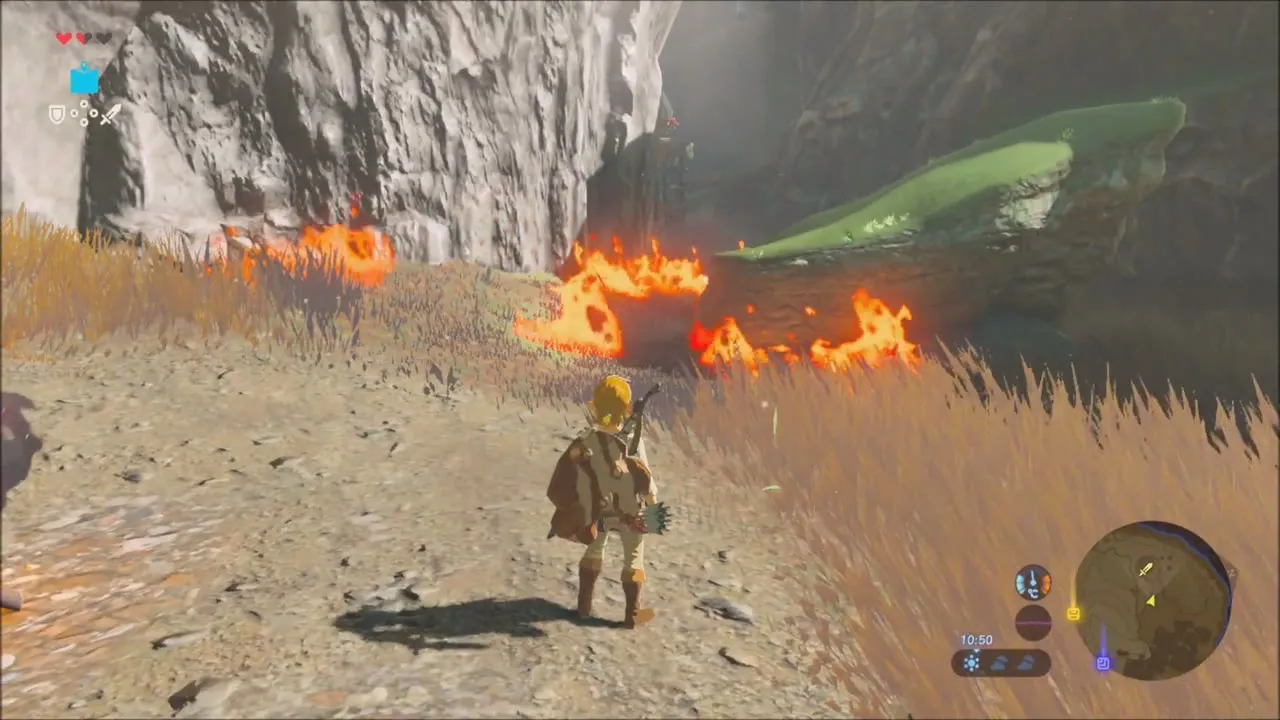
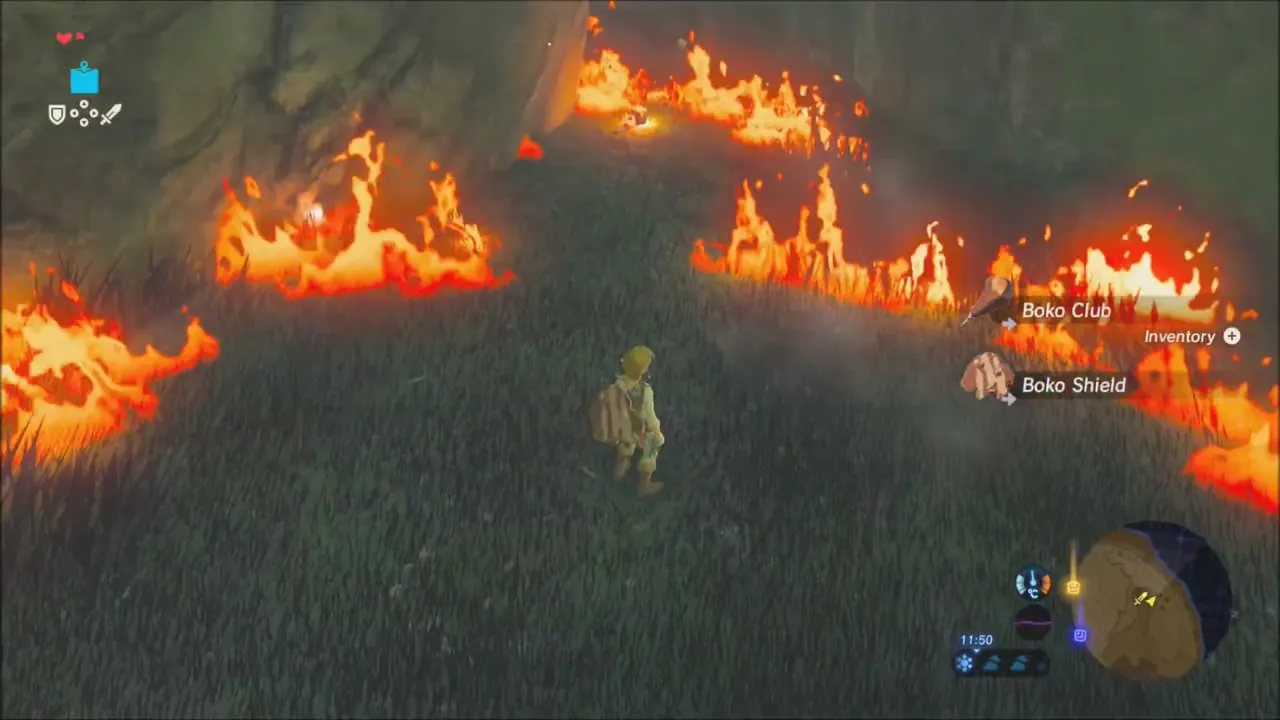
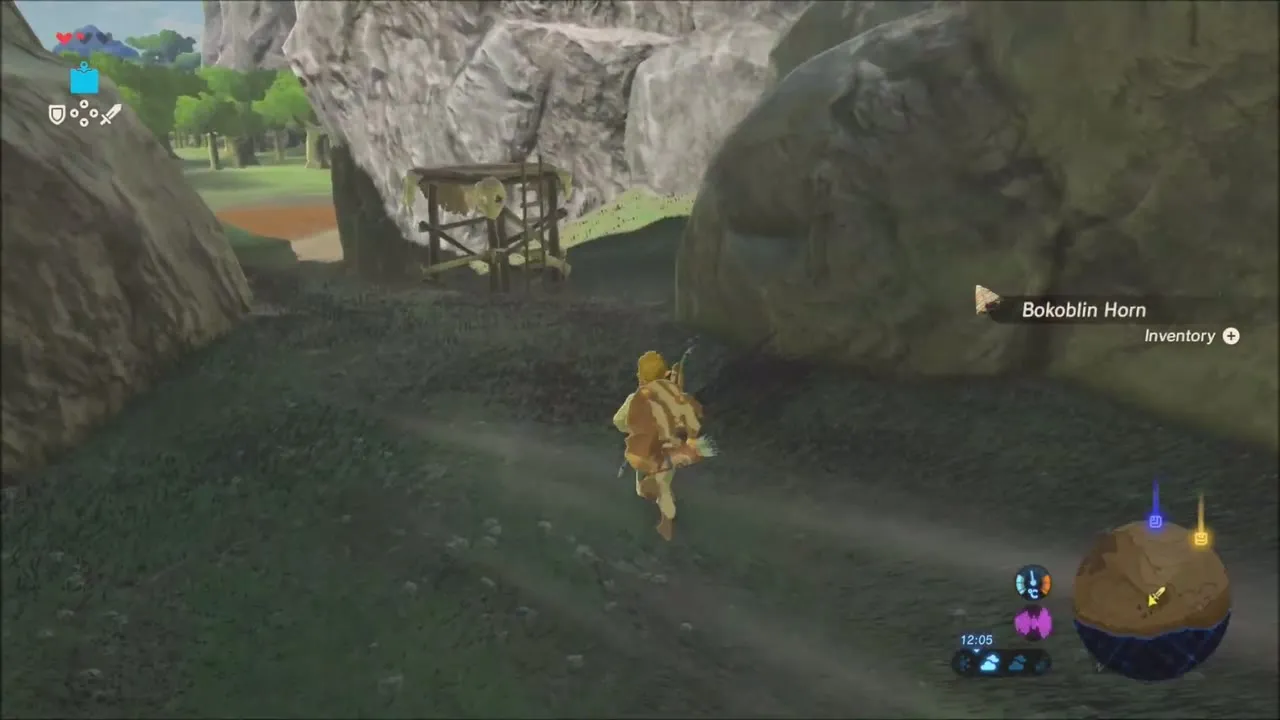
A third camp lies in a narrow gap in the cliff. The grass on the ground is dry, so a fire arrow or torch from a distance sets the whole place alight and does most of the work for you. Wait for the flames to die down and take the Boko Club, Boko Shield and Bokoblin Horn left behind.

Korok seed behind the stone blocks
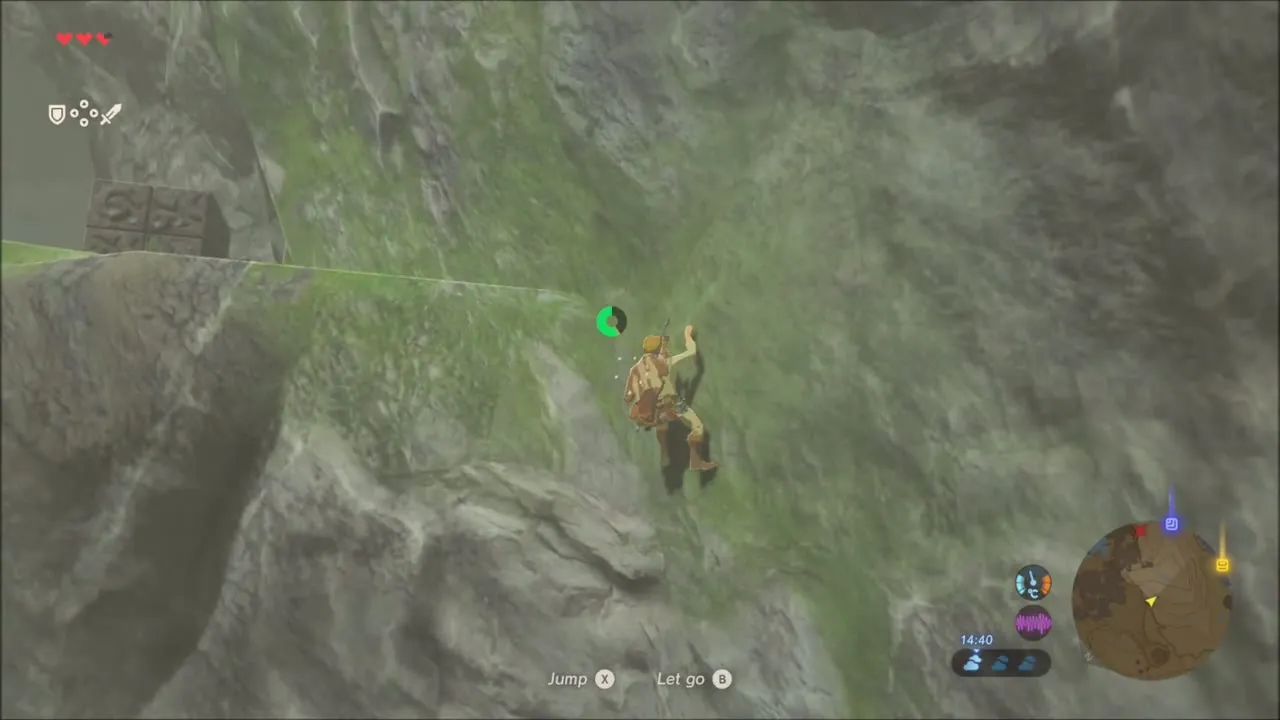
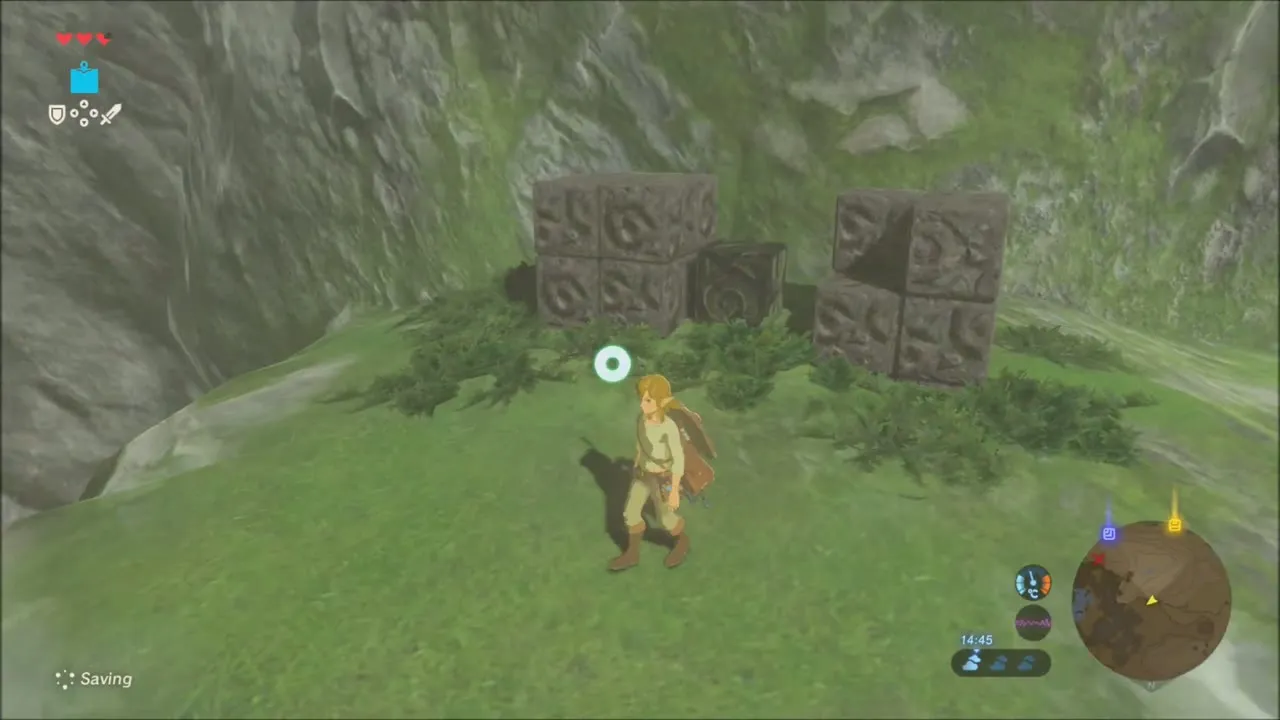
Just beyond the camp, climb the steep cliff to a grassy ledge. Two stacks of carved stone blocks stand on either side of a small metal box. Aim Magnesis at the box and pull it up out of the gap, and the Korok appears on one of the blocks and gives you the fourth seed.


Treehouse camp
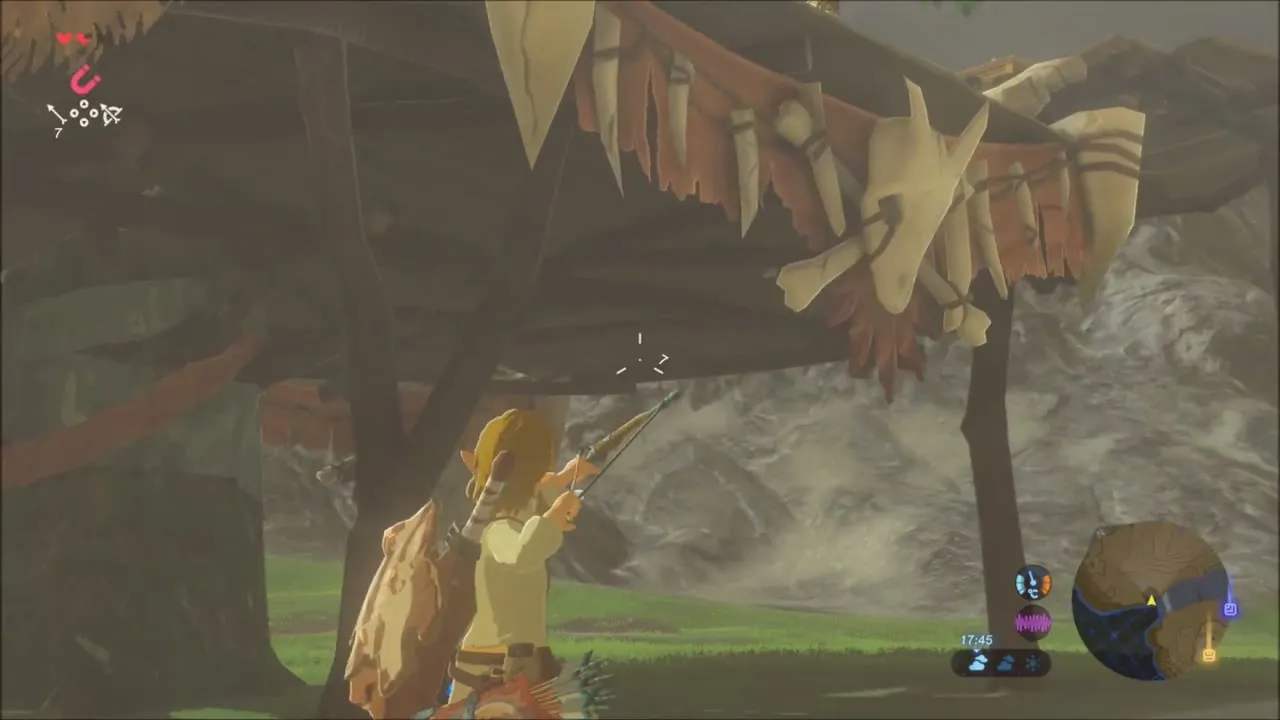
Follow the grass slope round to a camp built around a huge tree, with a lookout platform in its branches. Shoot the Bokoblin on the platform from below, walk up the wooden ramp and open the chest on top. The Bokoblins here also drop a Boko Shield.
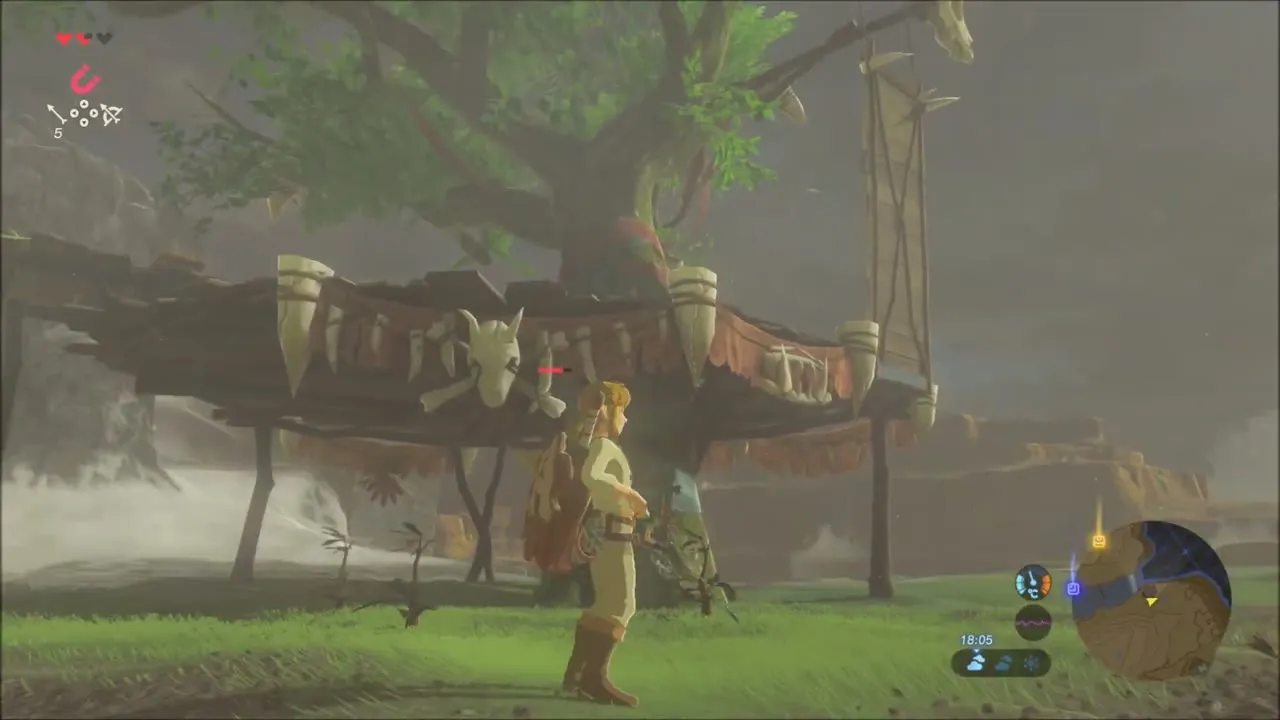
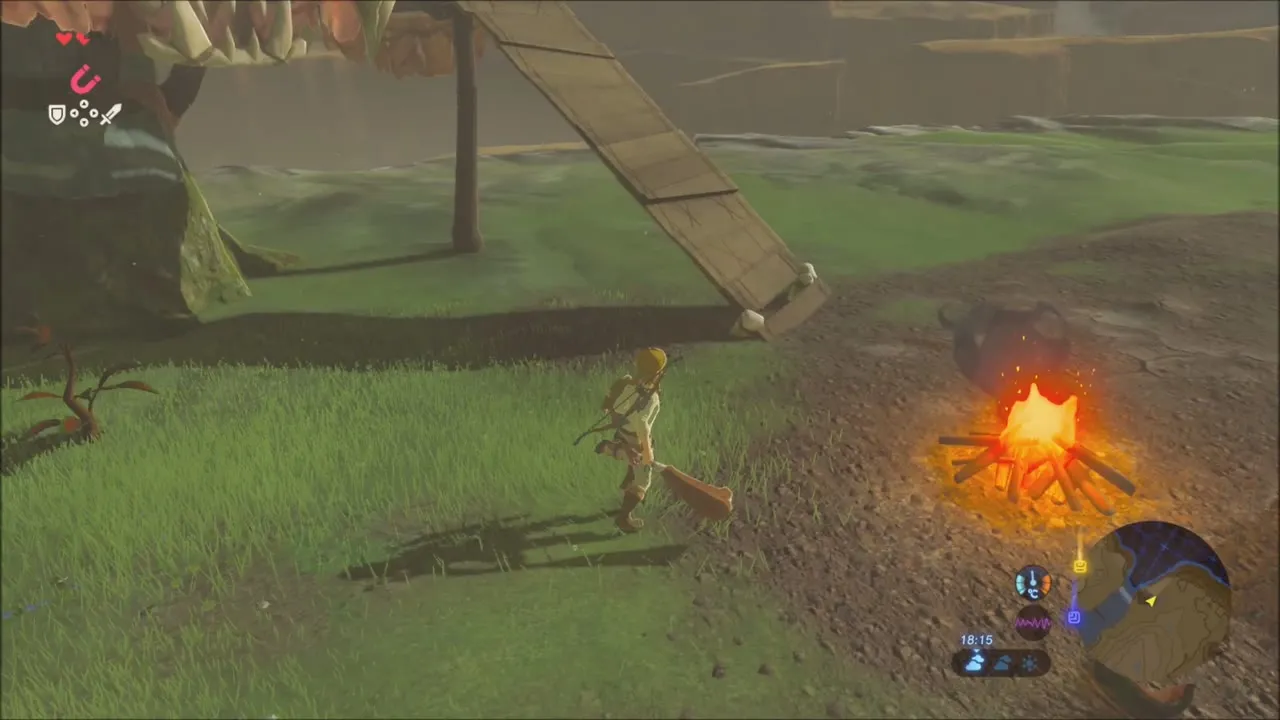

Spicy Elixir and the Cold Climb to Keh Namut Shrine
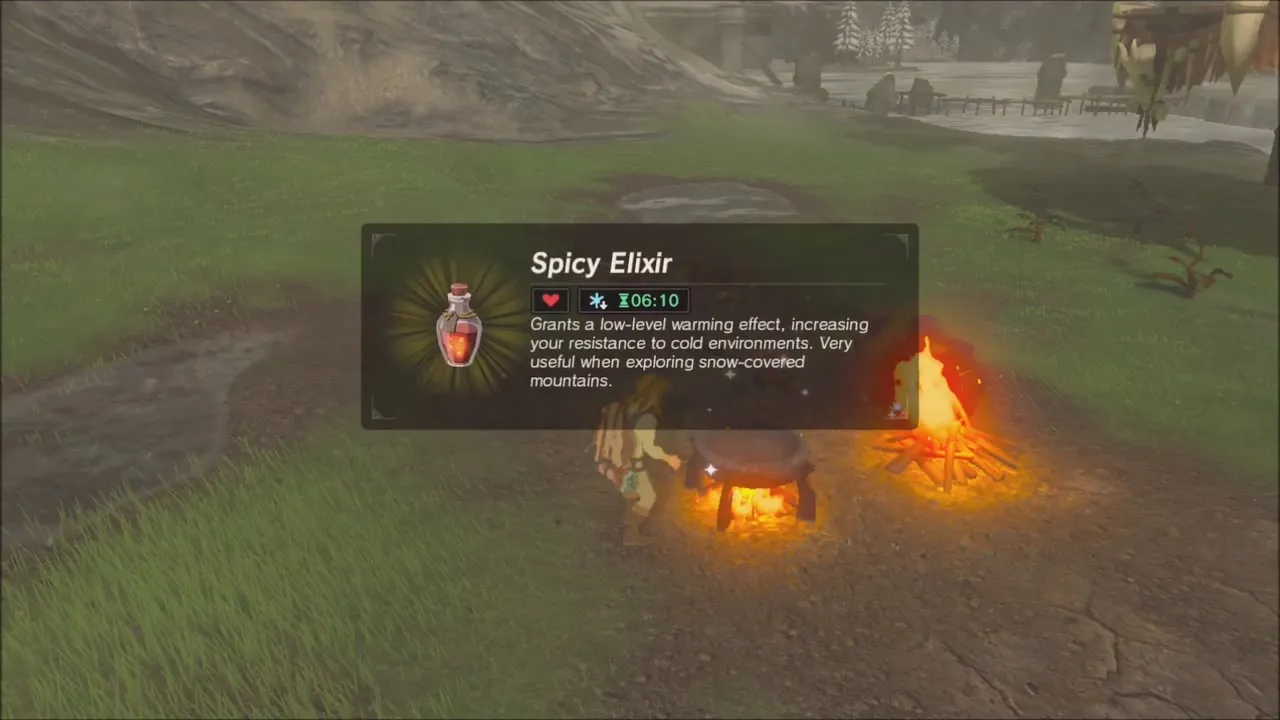
The slopes ahead are freezing and your hearts will drain unless you are prepared. At a campfire near the snow line, cook a Spicy Elixir by putting a Summerwing Butterfly (a Warm Darner also works) in the pot together with a monster part such as a Keese Wing. Drink it before you climb for several minutes of cold resistance, or wear warm clothing instead.
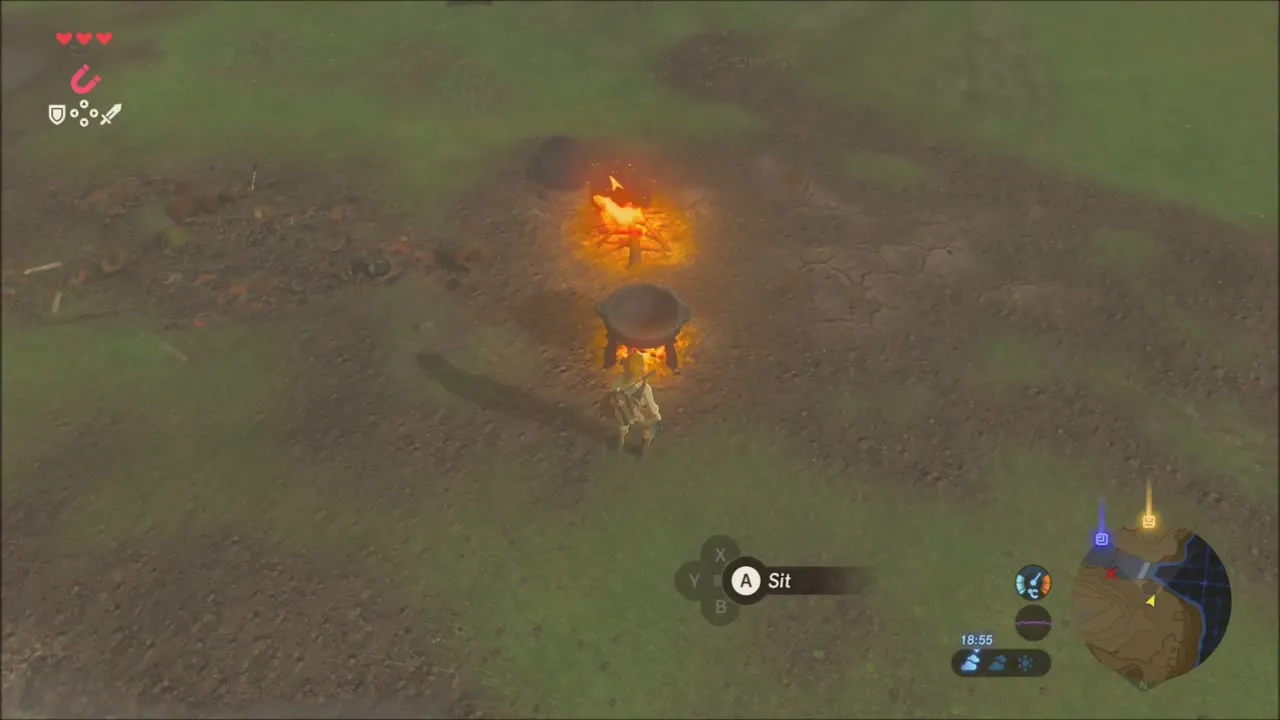
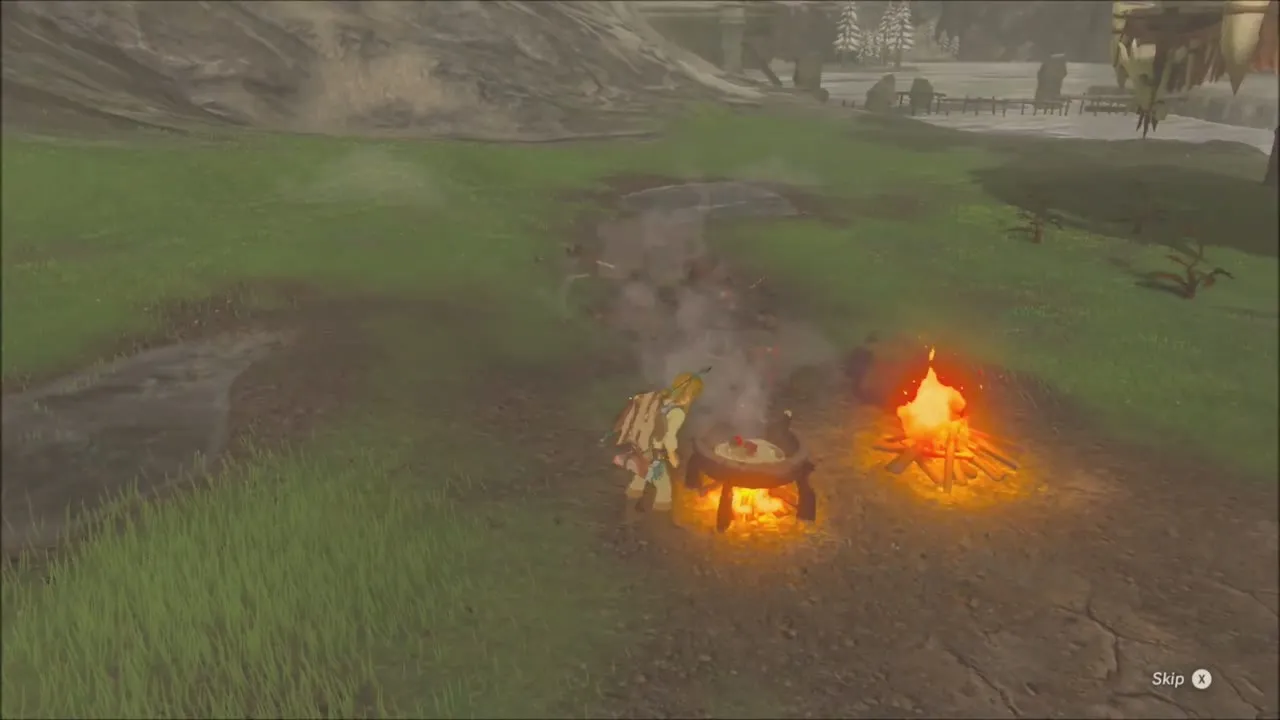
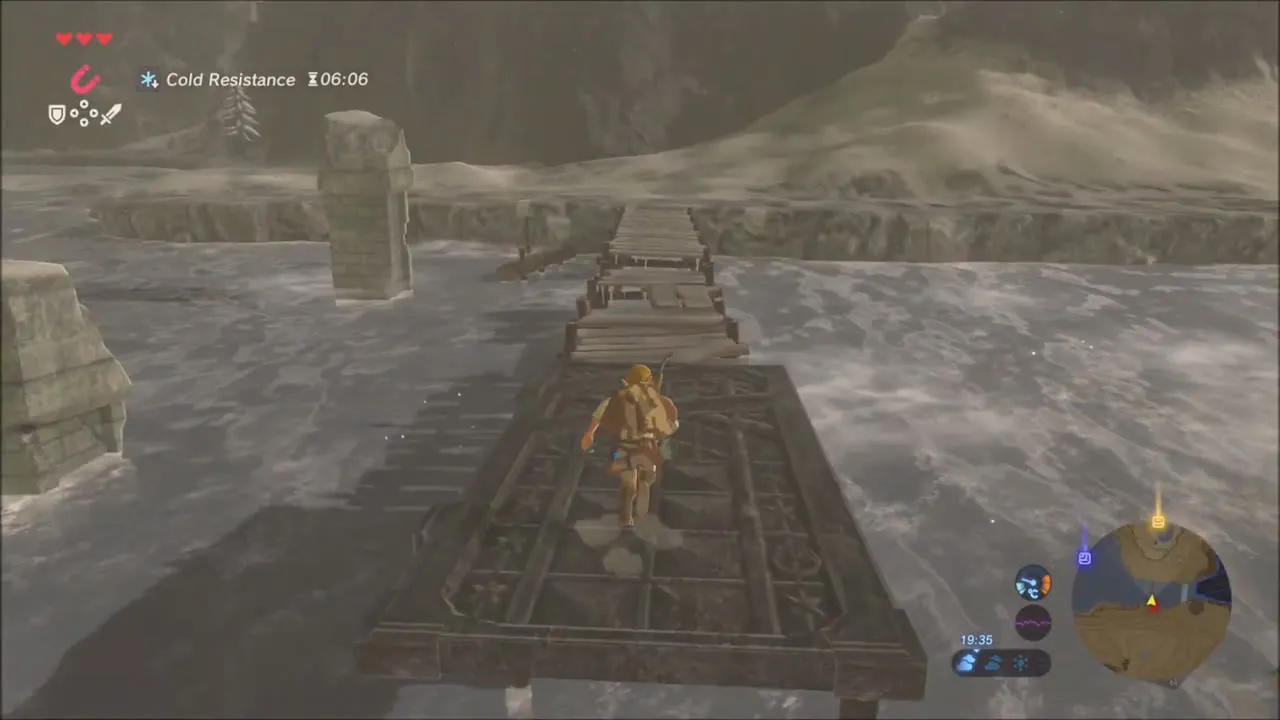
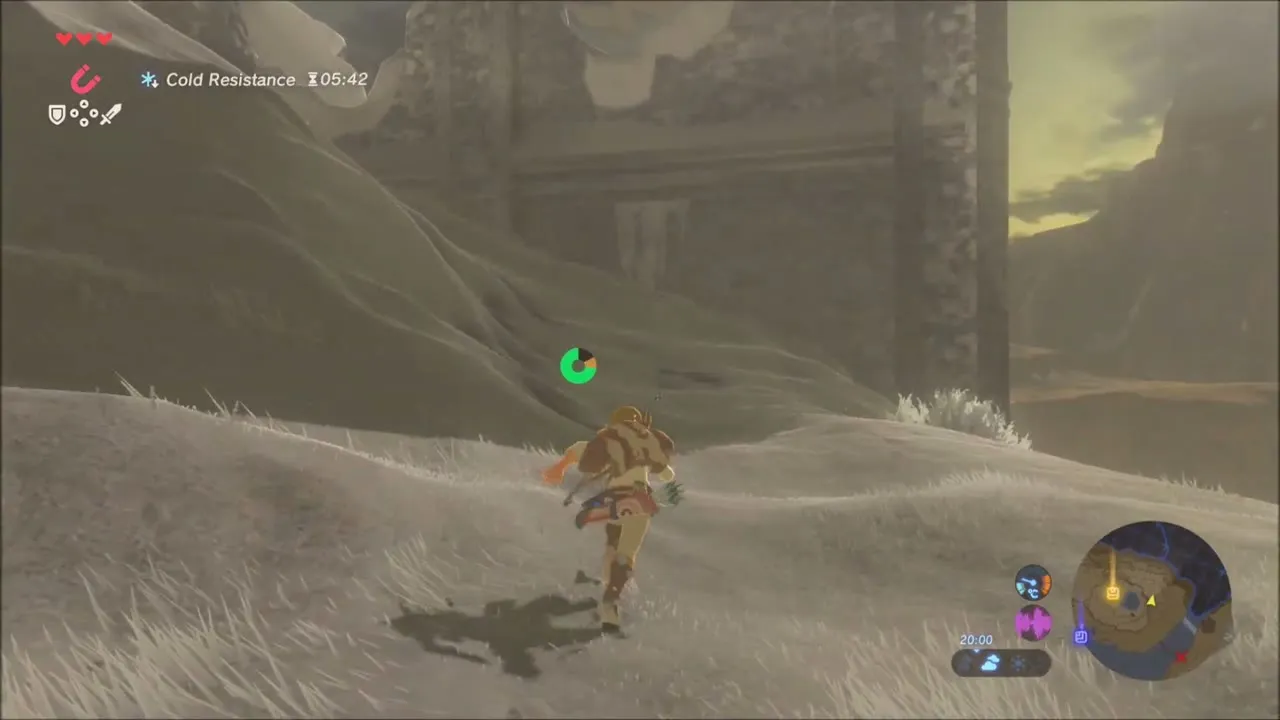
At the icy water below the shrine, aim Magnesis at a metal slab and drag it across the surface to use as a ferry, then take the bridge on the other side. Keep an eye on the cold timer, pass the small camp on the snow and push on up to the shrine.


Keh Namut Shrine: Cryonis Trial
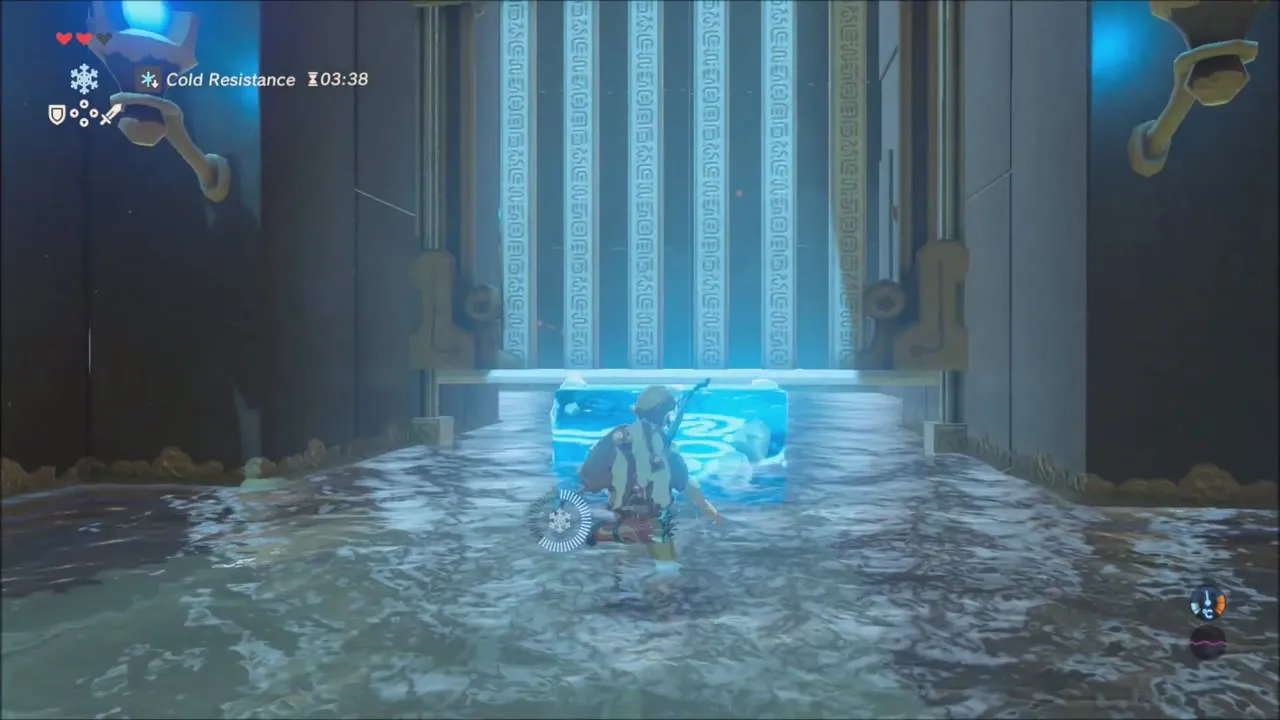
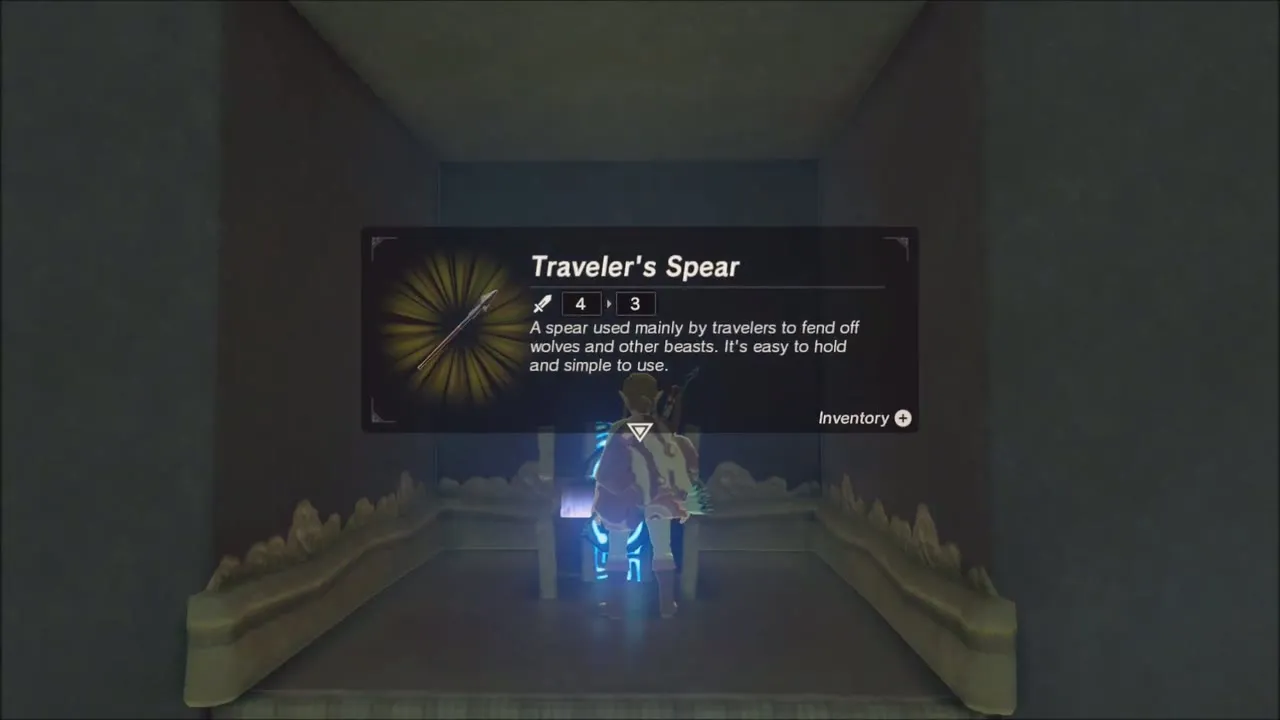
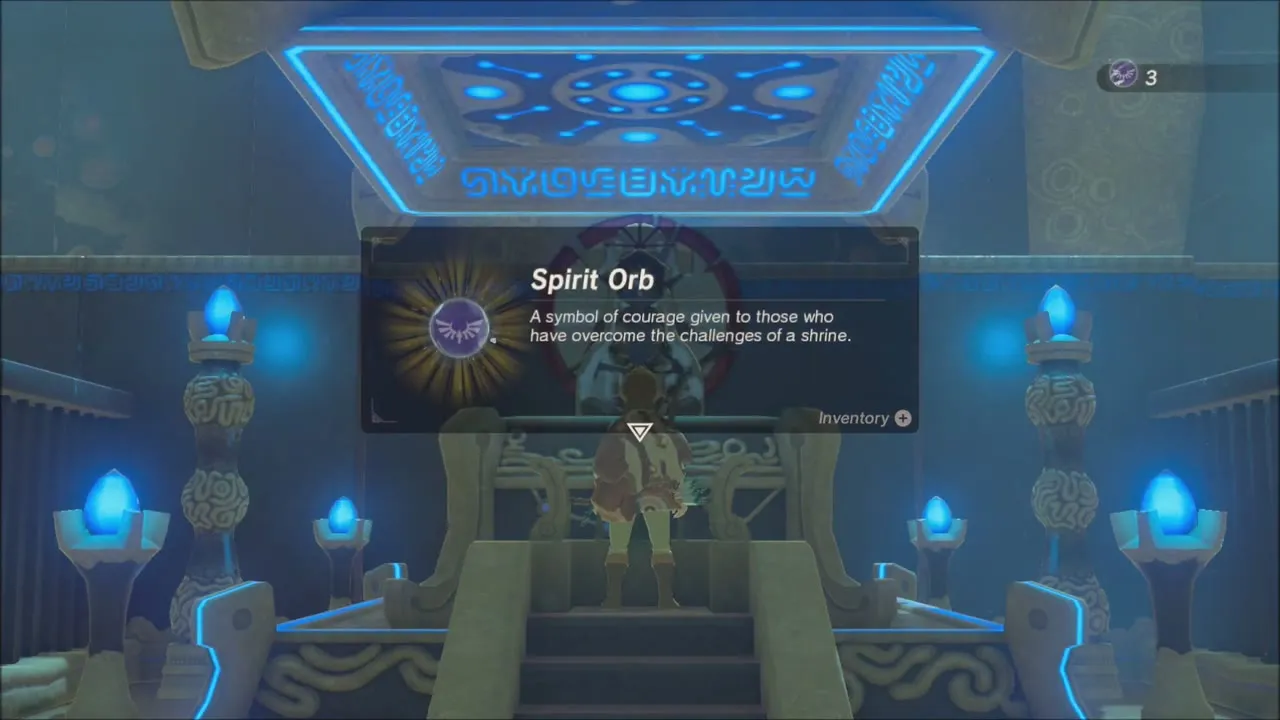
The Keh Namut Shrine at (-1435, 1991, height 351) sits on the snowy slopes of Mount Hylia. Take the Cryonis rune from the pedestal and raise an ice block in the pool to climb out. In the next room, make an ice pillar under the barred gate to lift it, and then beat the Guardian Scout beyond, using more ice as cover. Raise pillars beneath the tilting platform to climb to the upper level, where a chest in an alcove holds the Traveler’s Spear, then go up the stairs to the monk Keh Namut for the third Spirit Orb.



Down from Keh Namut: Chest in the Pond, Korok Seed and the Cliff Camps
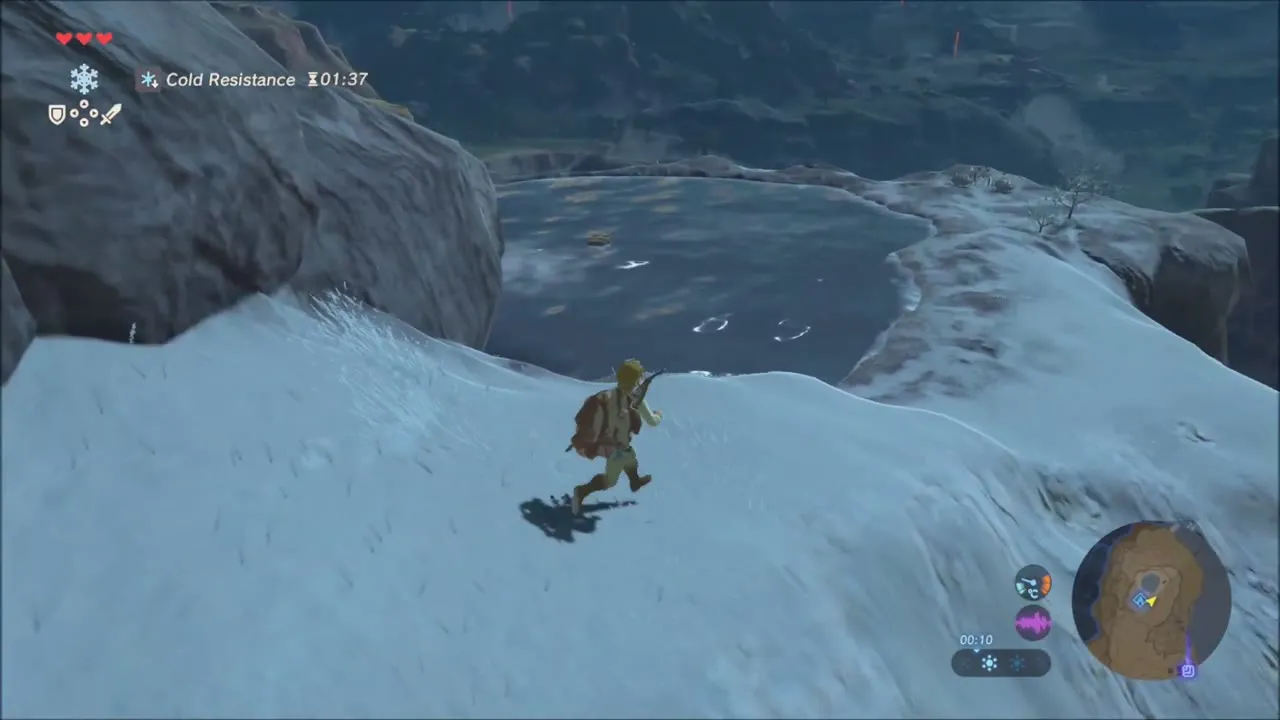
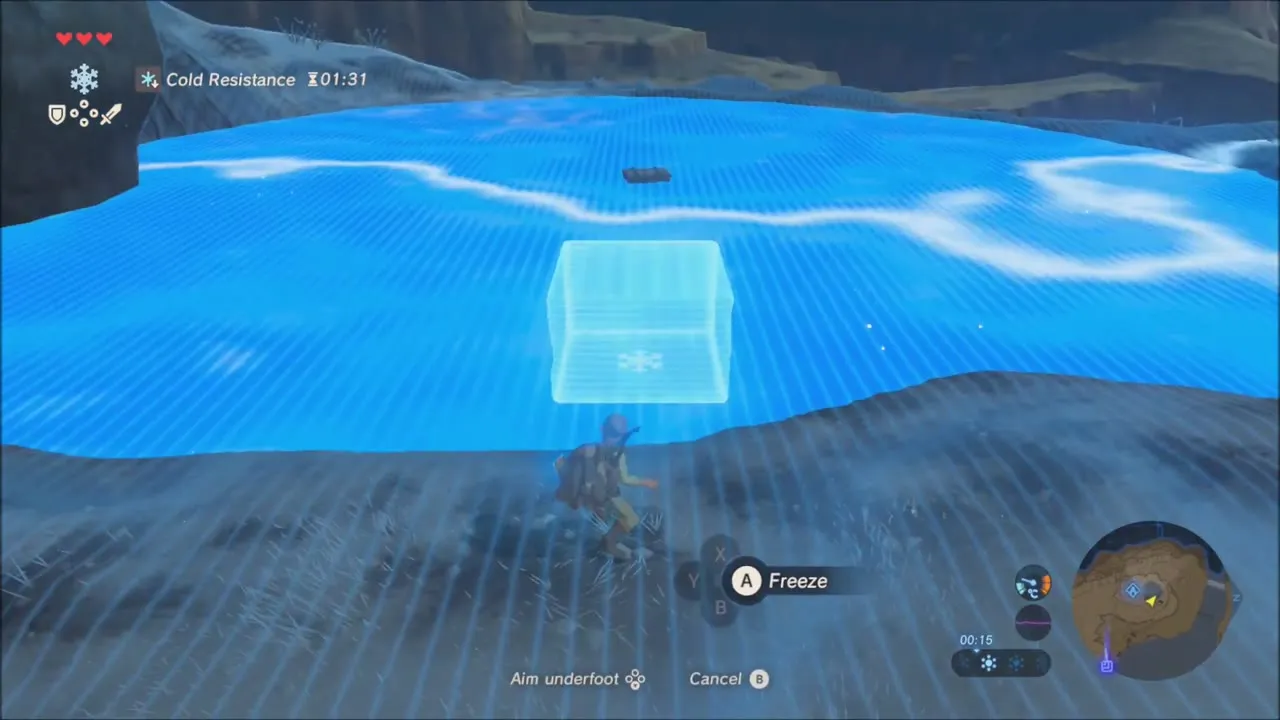
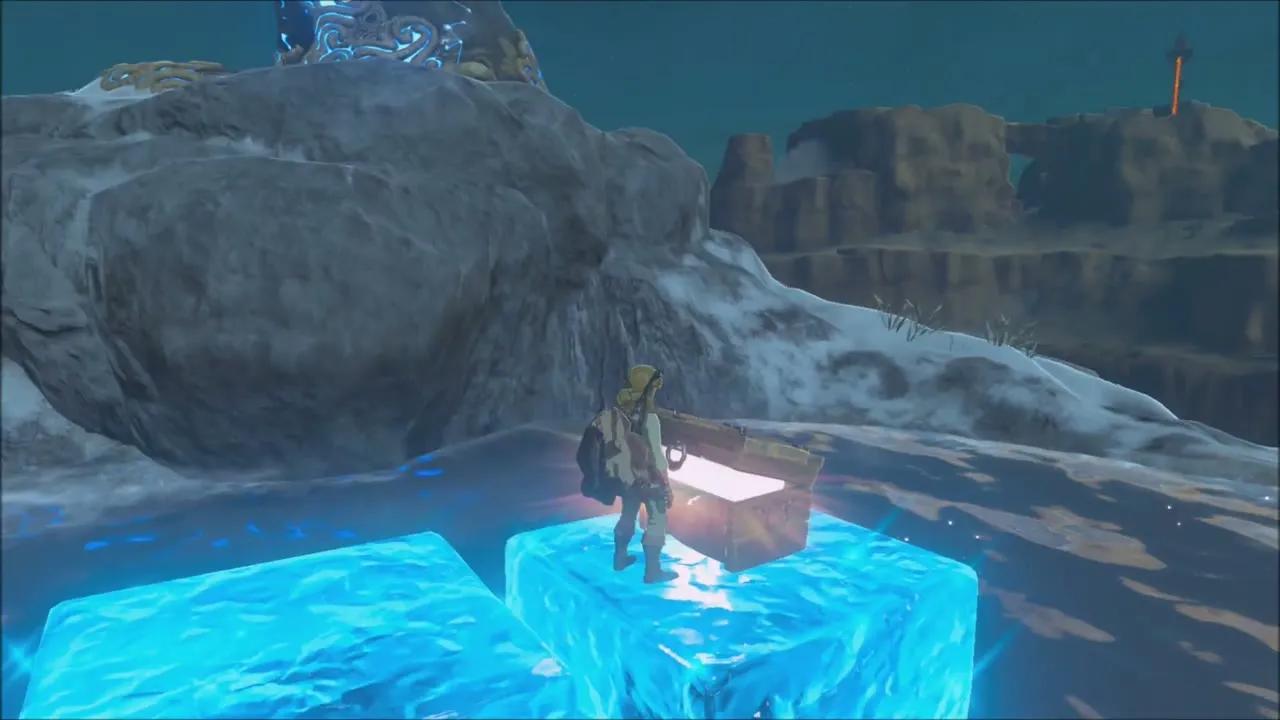
The shrine’s exit pad puts you on the hillside above a frozen pond with a chest in it. Aim Cryonis at the water under the chest and raise a stack of ice blocks until it is lifted within reach, then open it.

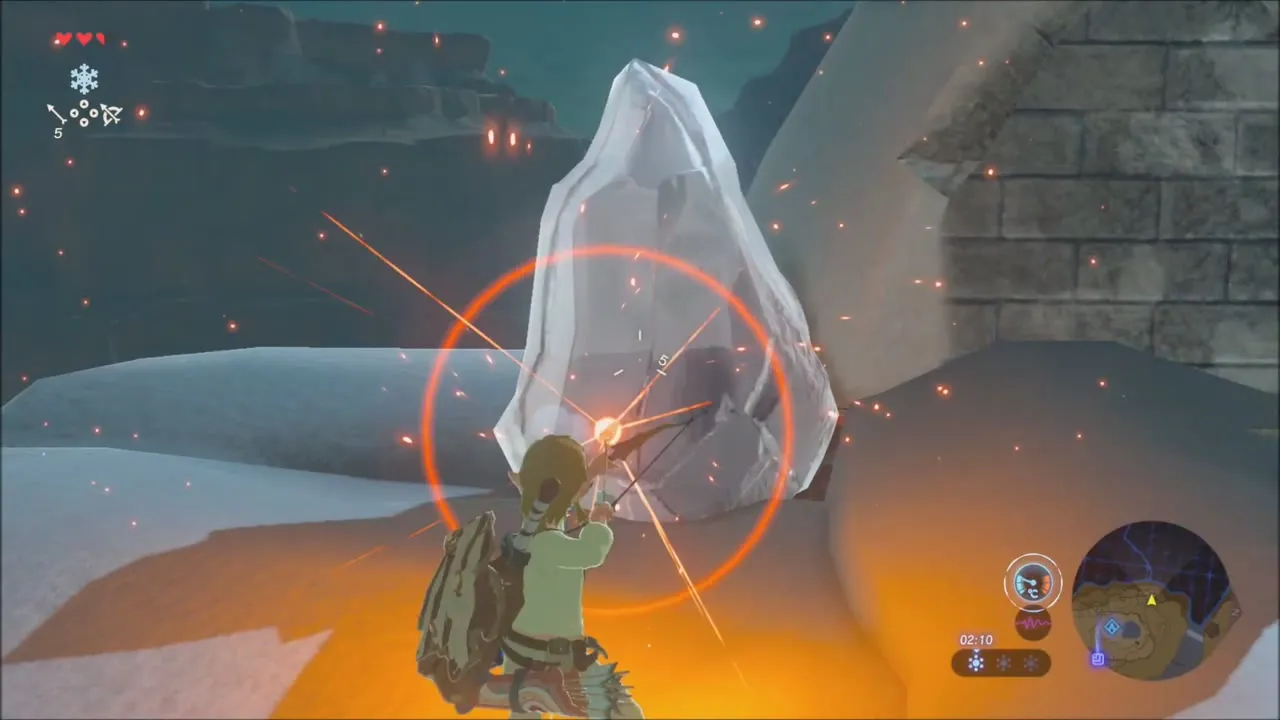
Korok seed behind the ice
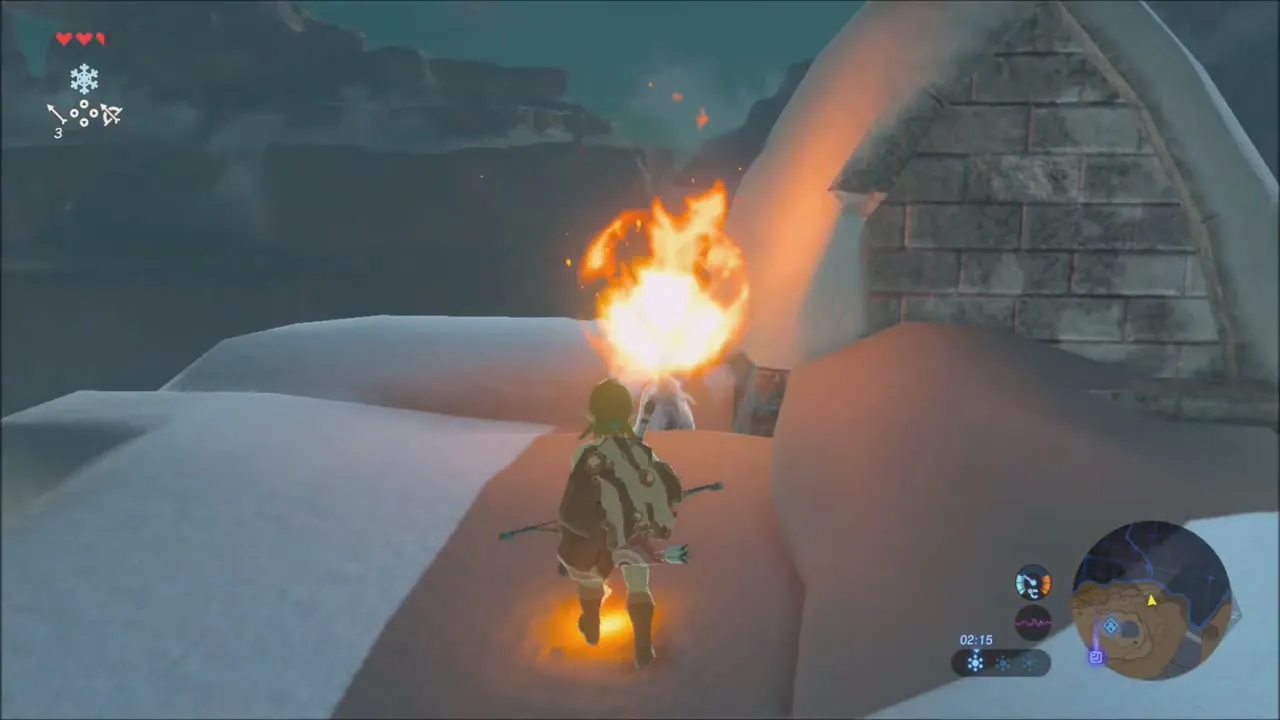
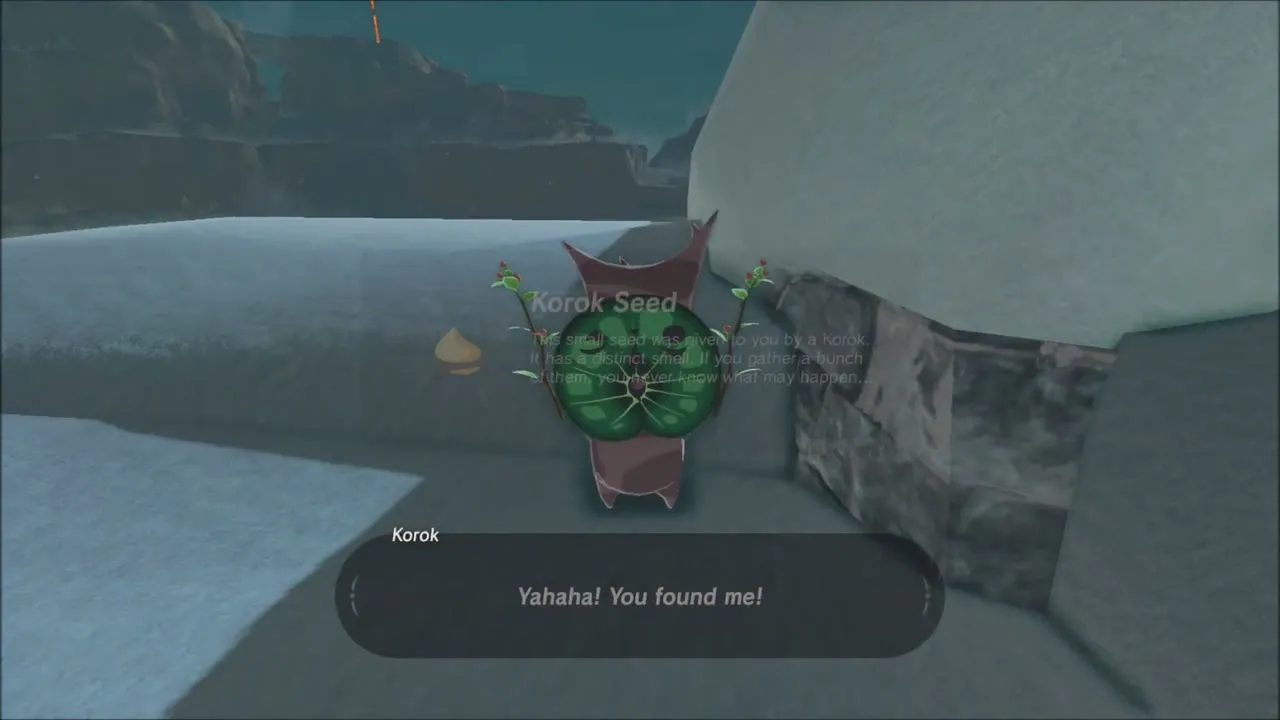
Follow the snowy ridge south to a small snow-covered stone hut with a block of ice against its wall. Equip a fire arrow and shoot the ice. Once it melts, the Korok behind the hut comes out and gives you the fifth seed.

Magnesis Bridge and the Lookout Camp on the Cliffs
Further down, use Magnesis to slide a metal bridge section over a gap and cross to the grass beyond. There is a campfire here if you need to cook, and a cave nearby full of Keese, whose wings are good for elixirs.


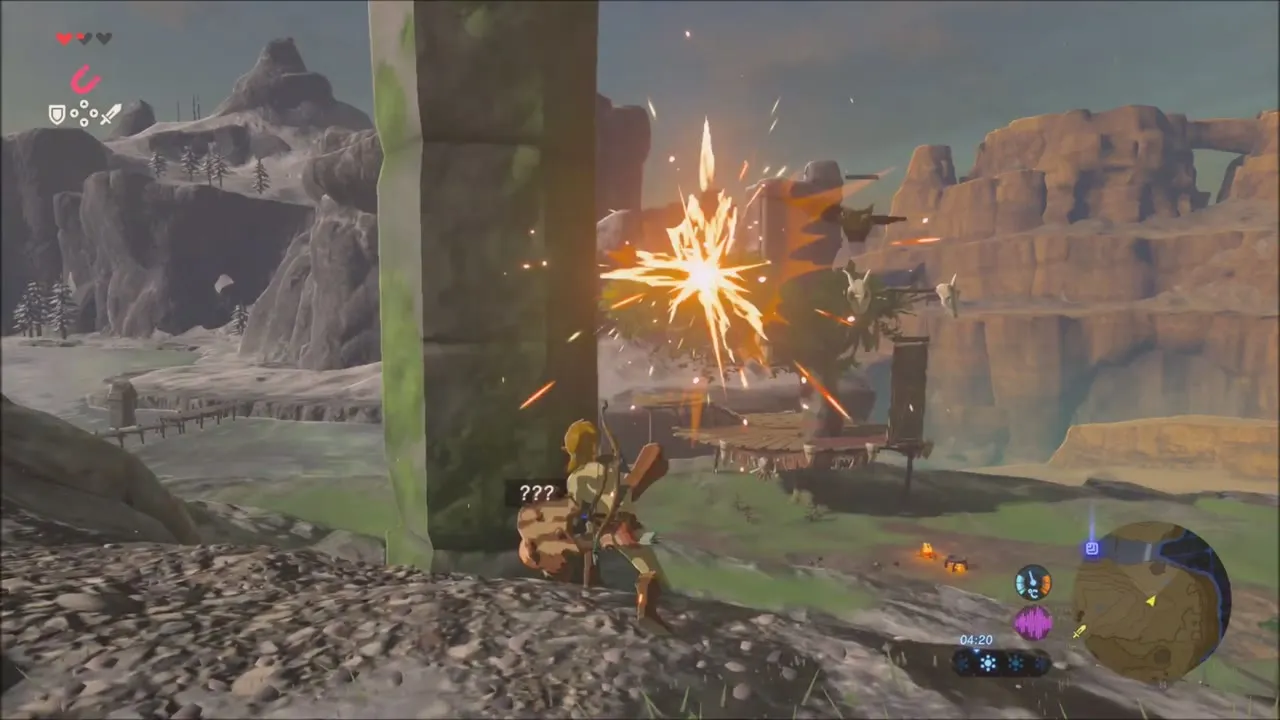
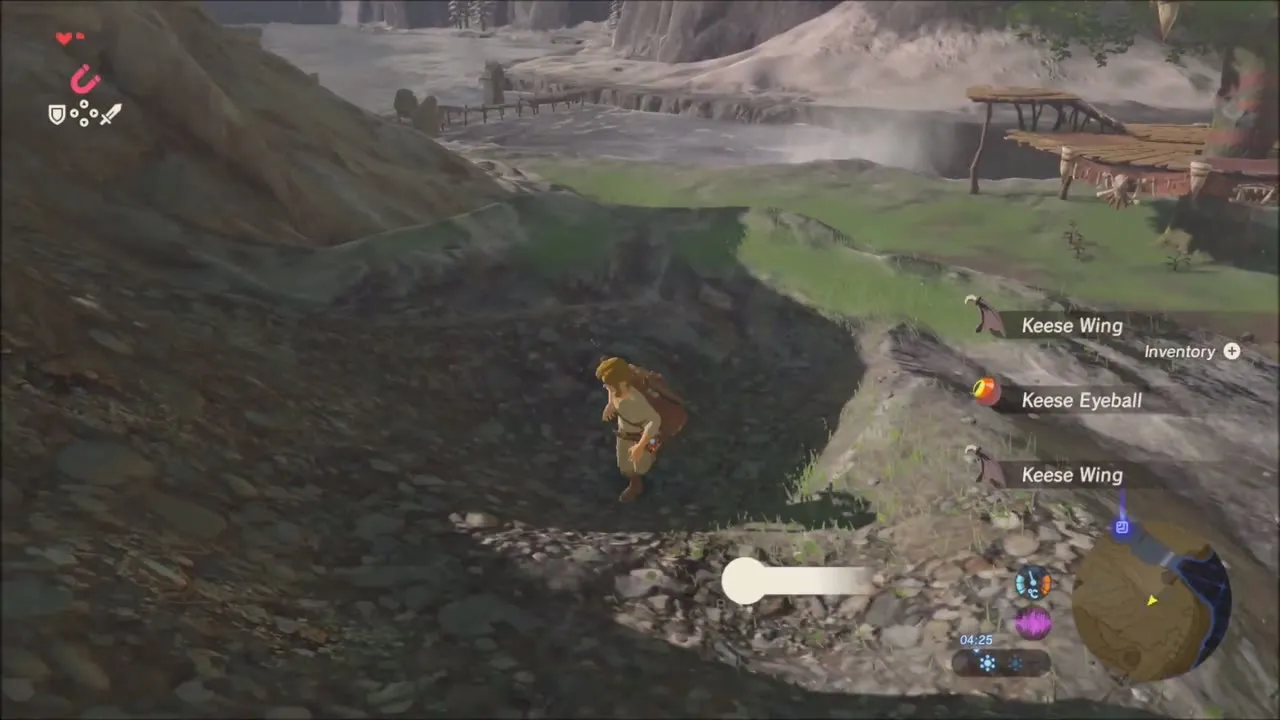
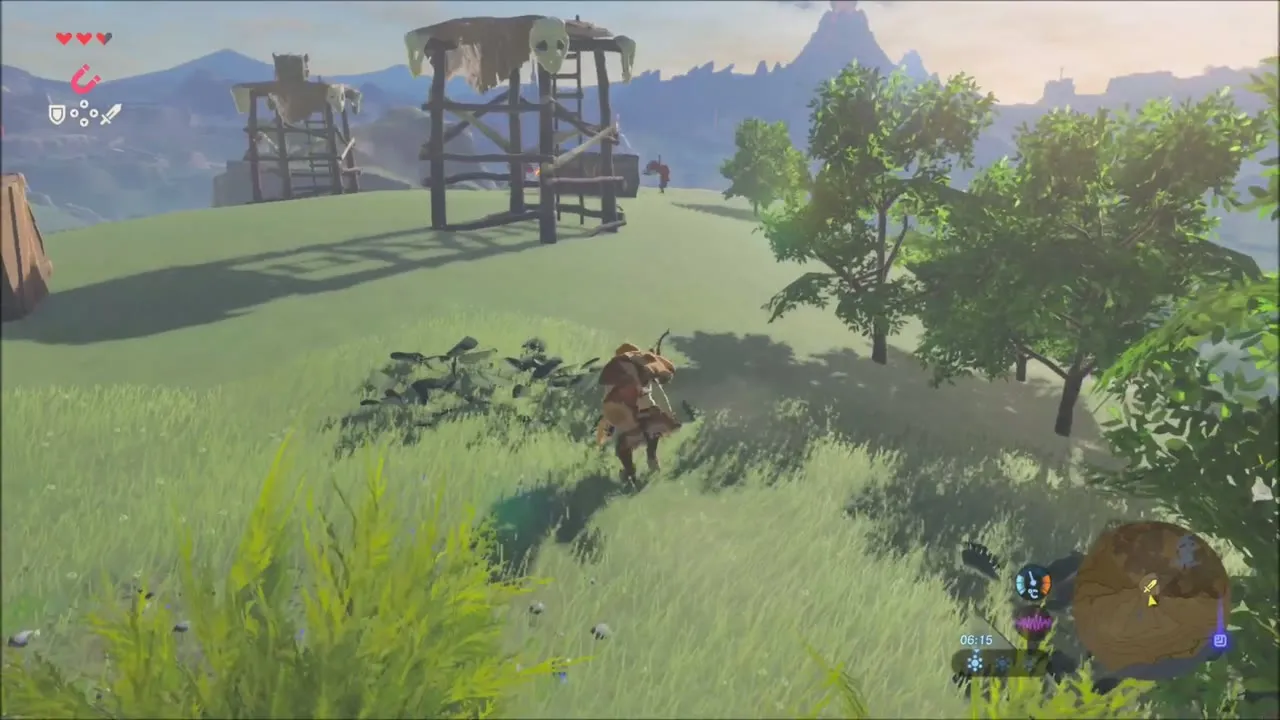
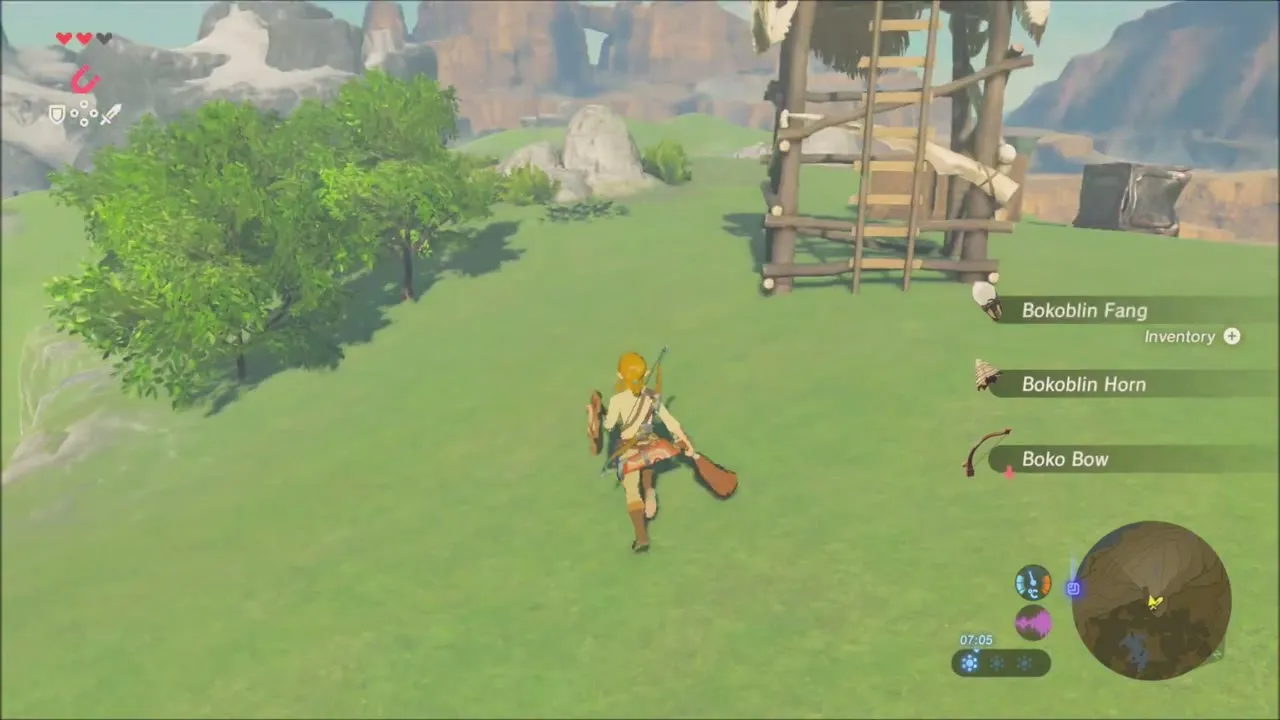
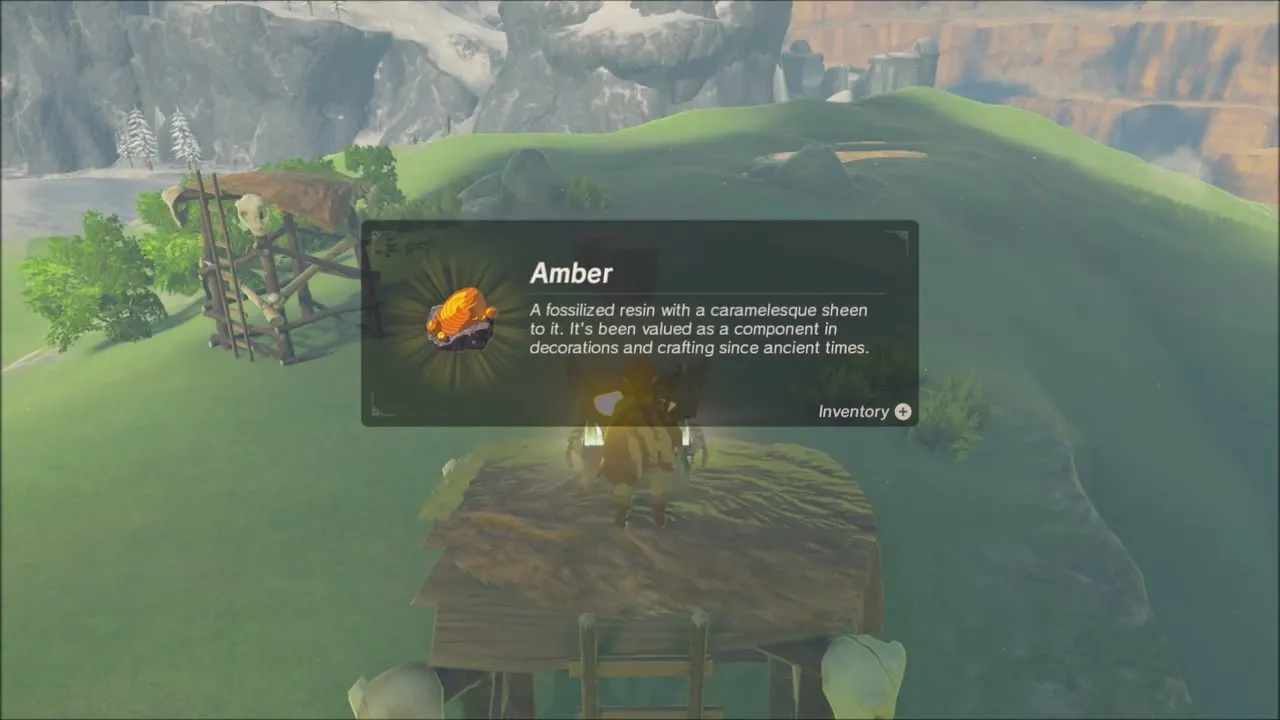
East along the cliff is a Bokoblin camp with crates and a lookout tower. Shoot the archer first. Use Magnesis on the metal chest near the tower, and climb the tower platform for the loot there; it yields an Amber. The Bokoblins drop a Bokoblin Horn and a Boko Bow.

Korok seed by the stump in the stream
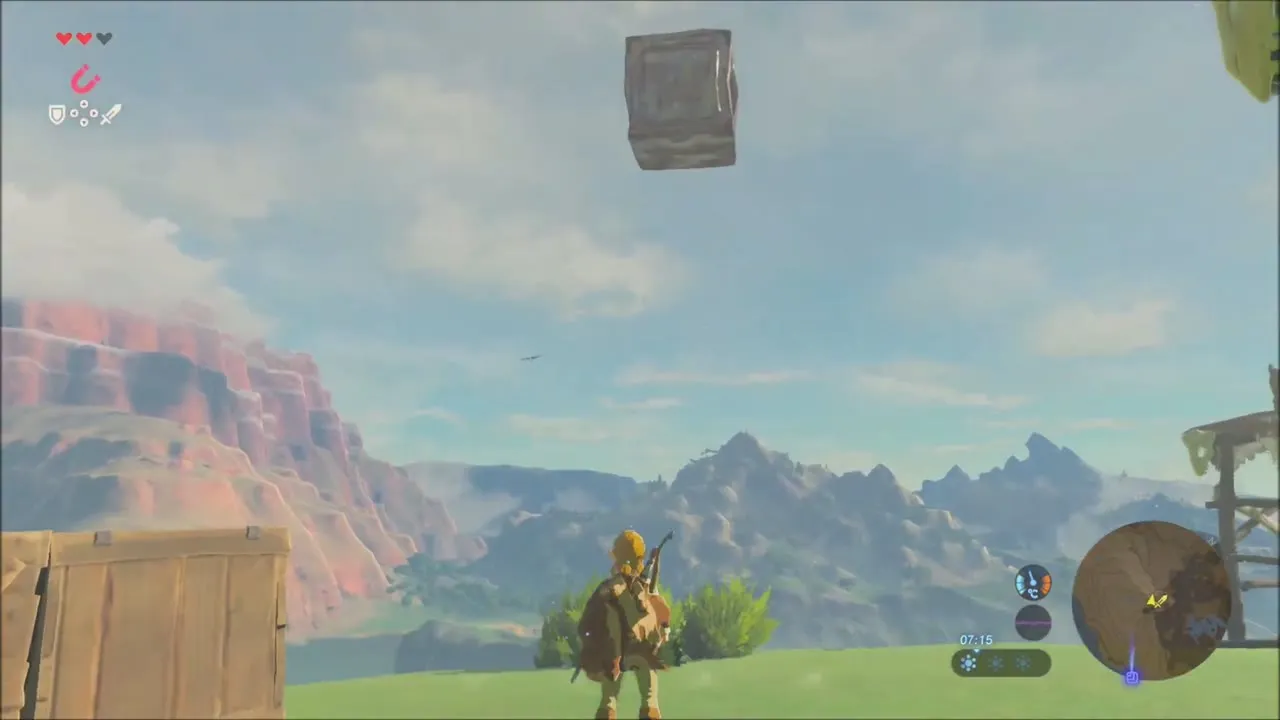
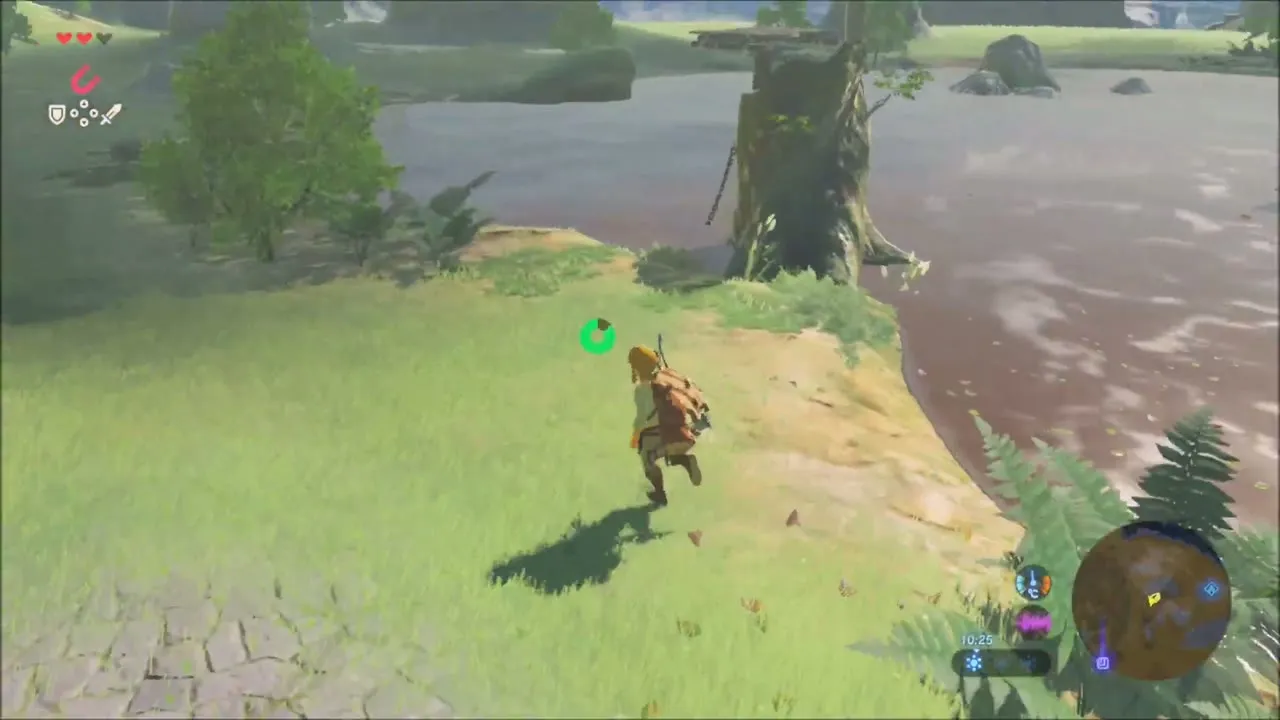
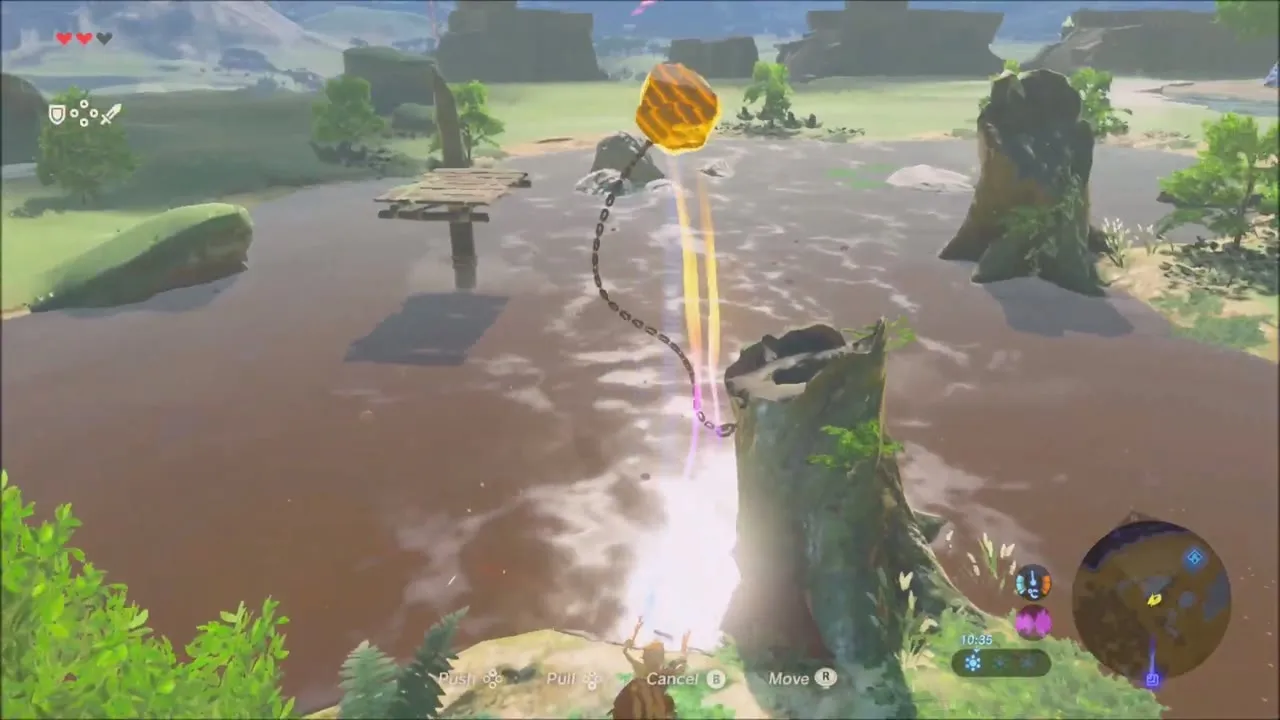
Further north a stream crosses a green valley and passes a tree stump with a chain wrapped around it. Use Magnesis on the metal object at the water’s edge beside the stump and lift it out. A Korok appears beside the stump and hands over the sixth seed.

The Old Man’s Cabin and the Throwing Spear
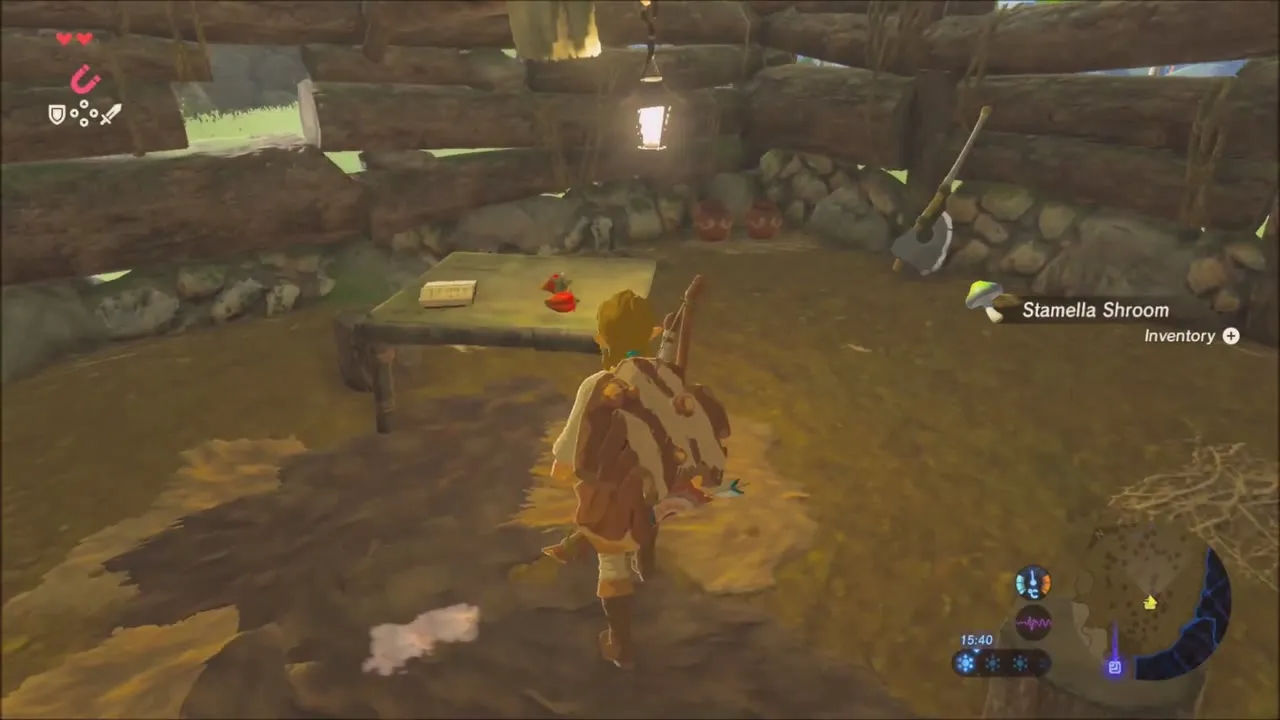
Now work your way south-east across the ruins to the Old Man‘s cabin. Go inside and read the diary on the table. Shelves hold a Baked Apple, and a Woodcutter’s Axe is lying around.
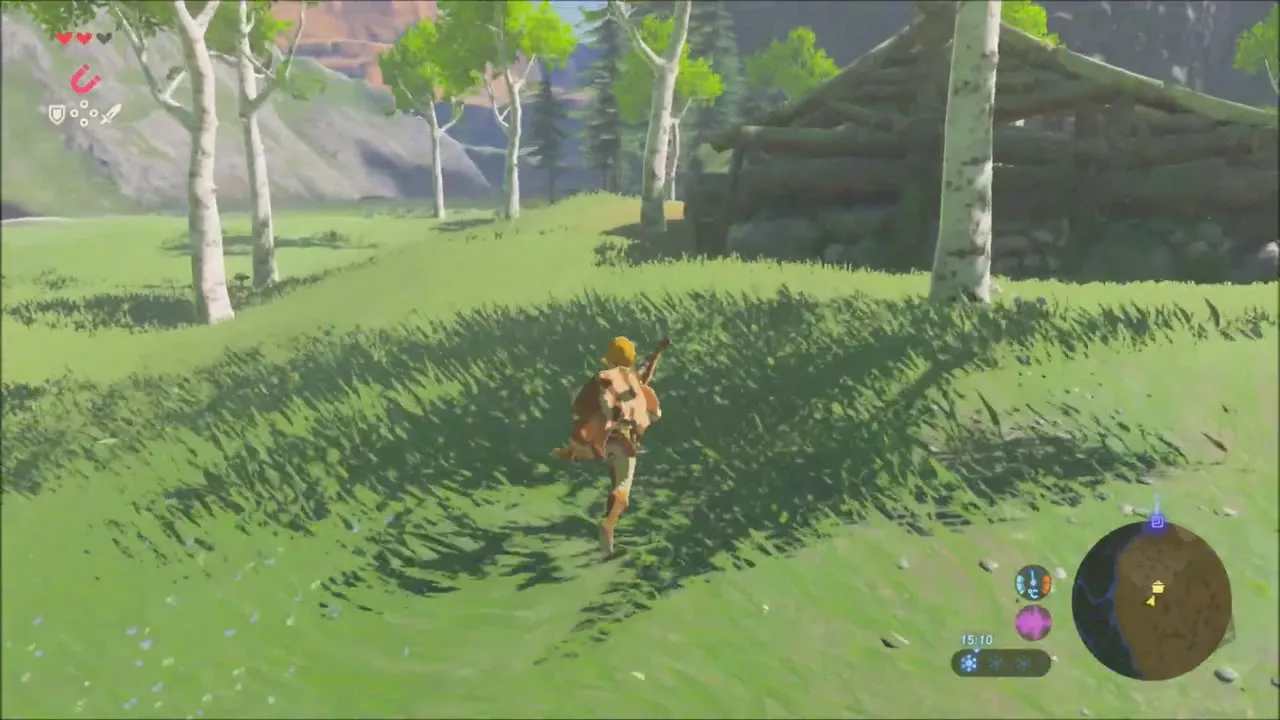


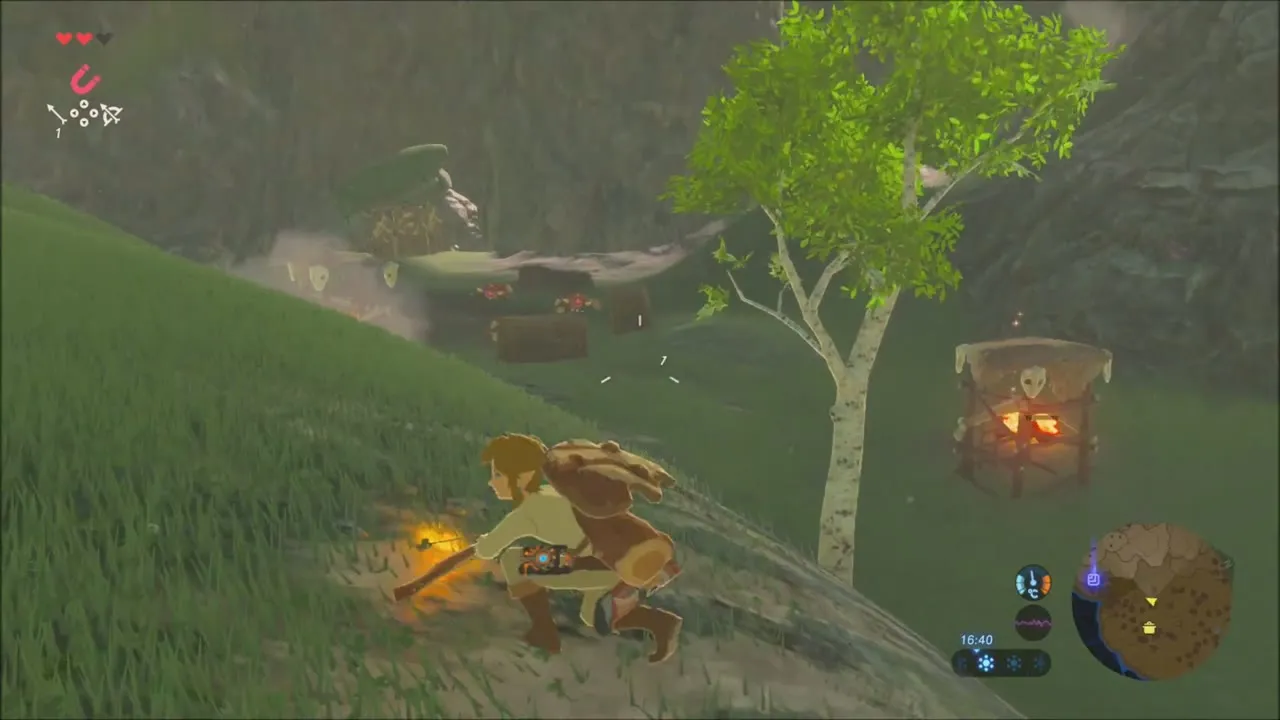
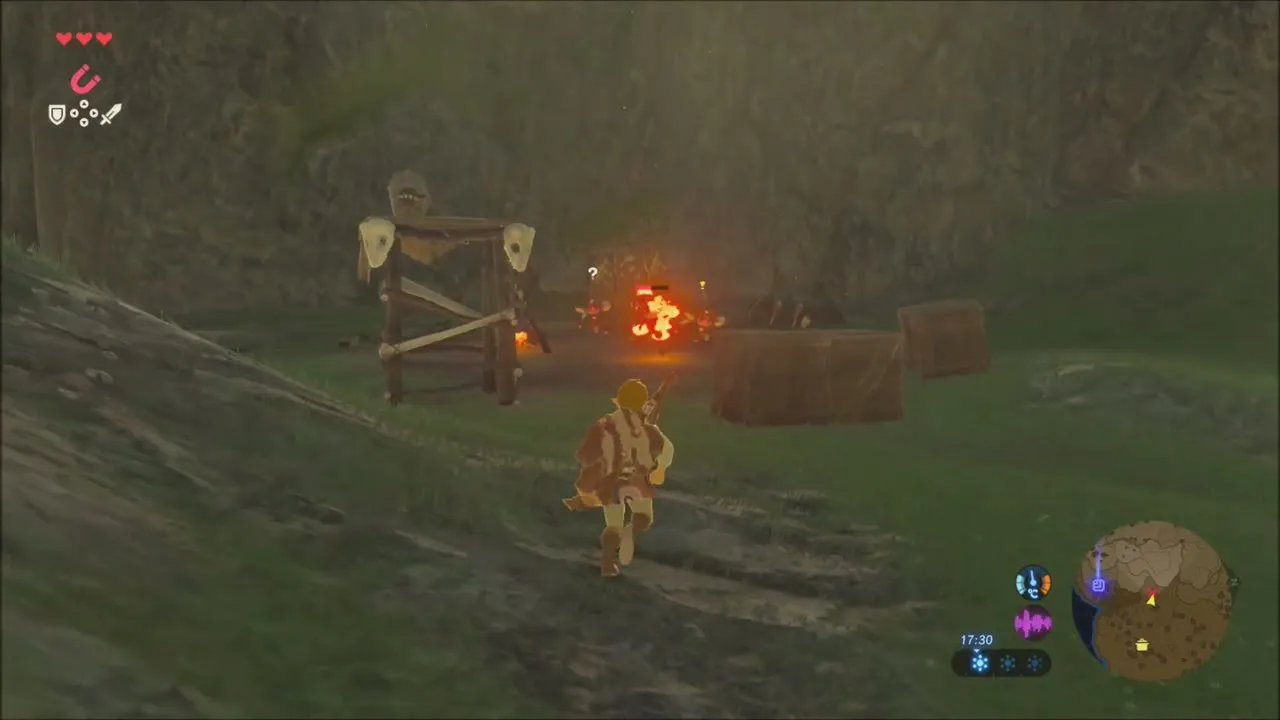
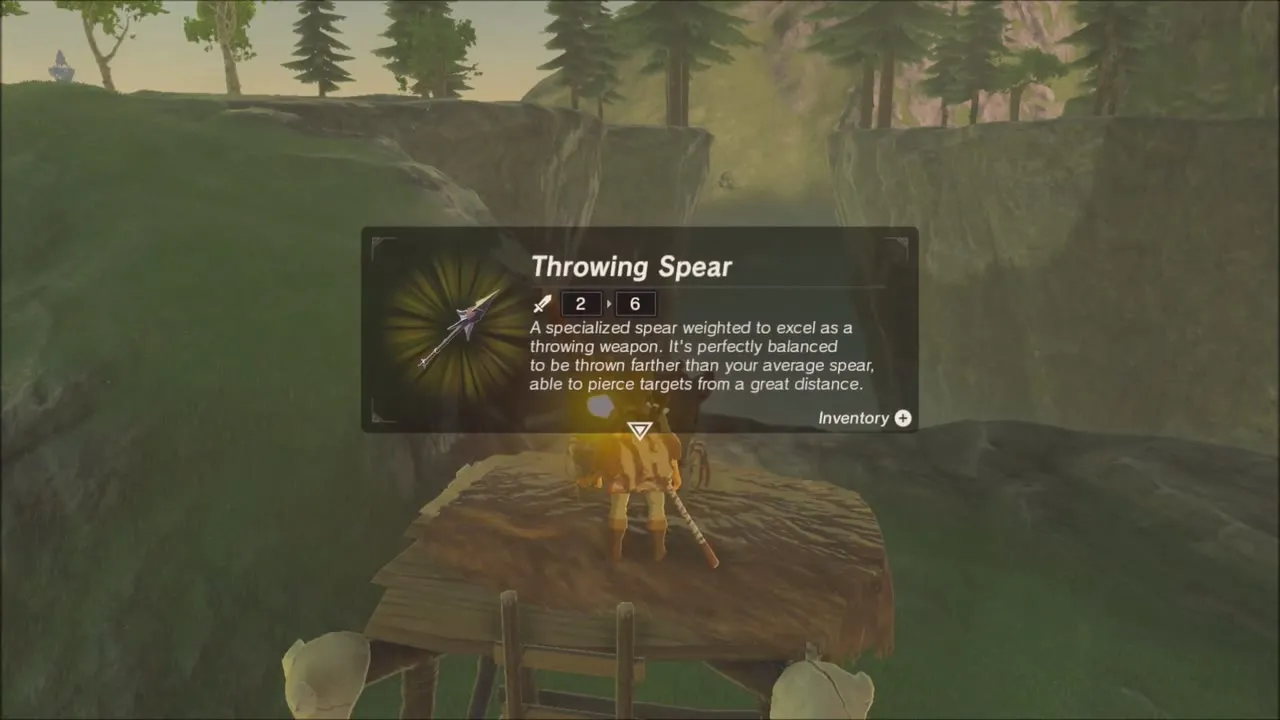
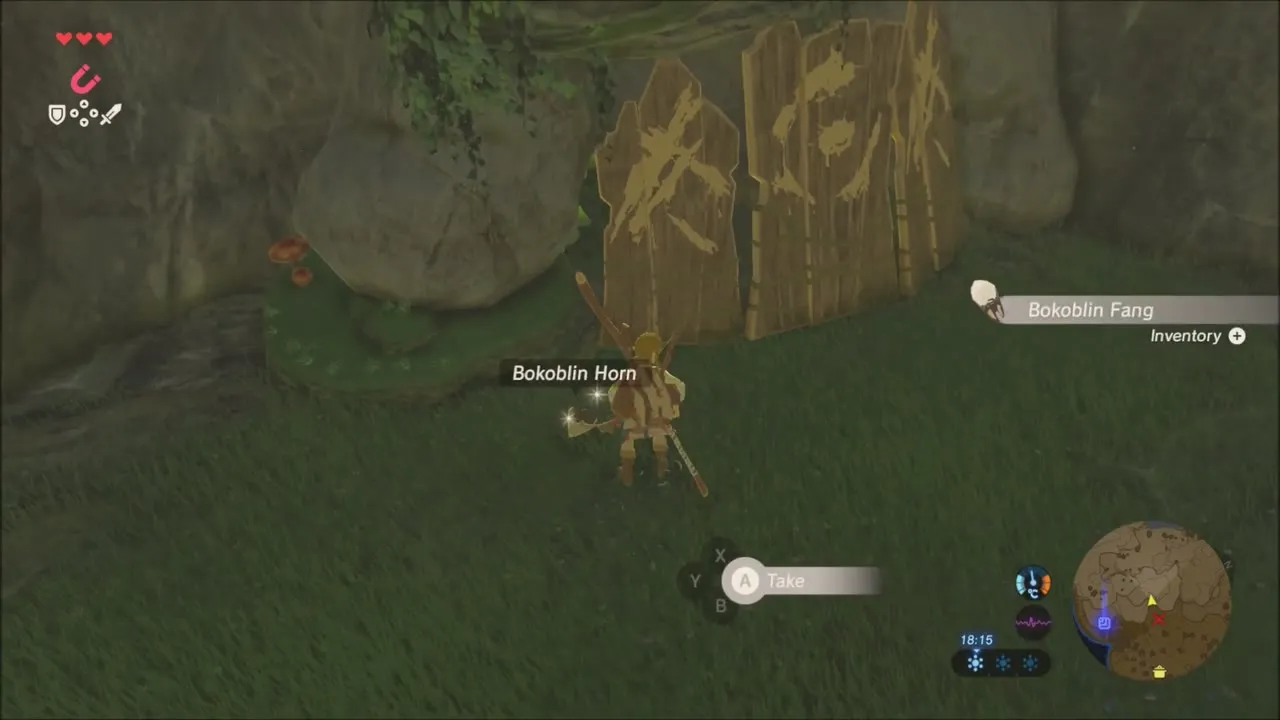
A little further down is one more Bokoblin camp. A torch on the hay sets it ablaze, which makes it easy to clear. Open the chest on the log platform for a Throwing Spear and collect the Bokoblin Horn and Fang that the guards drop. Apple trees along the slope are good for a snack on the way.
Owa Daim Shrine: Stasis Trial
Climbing the southern cliff
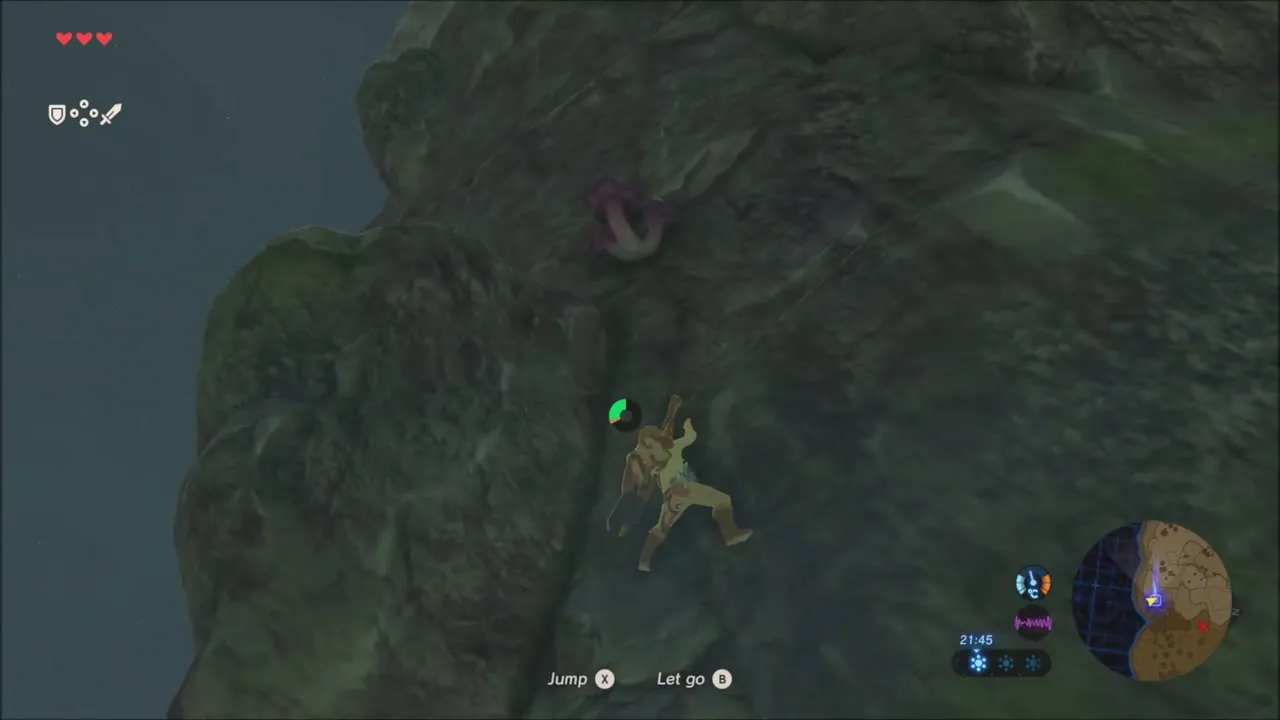
The Owa Daim Shrine at (-925, 2320, height 287) is at the top of a steep cliff on the southern edge of the plateau. Climb the rock face in short stretches and stop to rest on any ledge to recover stamina. A Rushroom grows on the wall about halfway up.

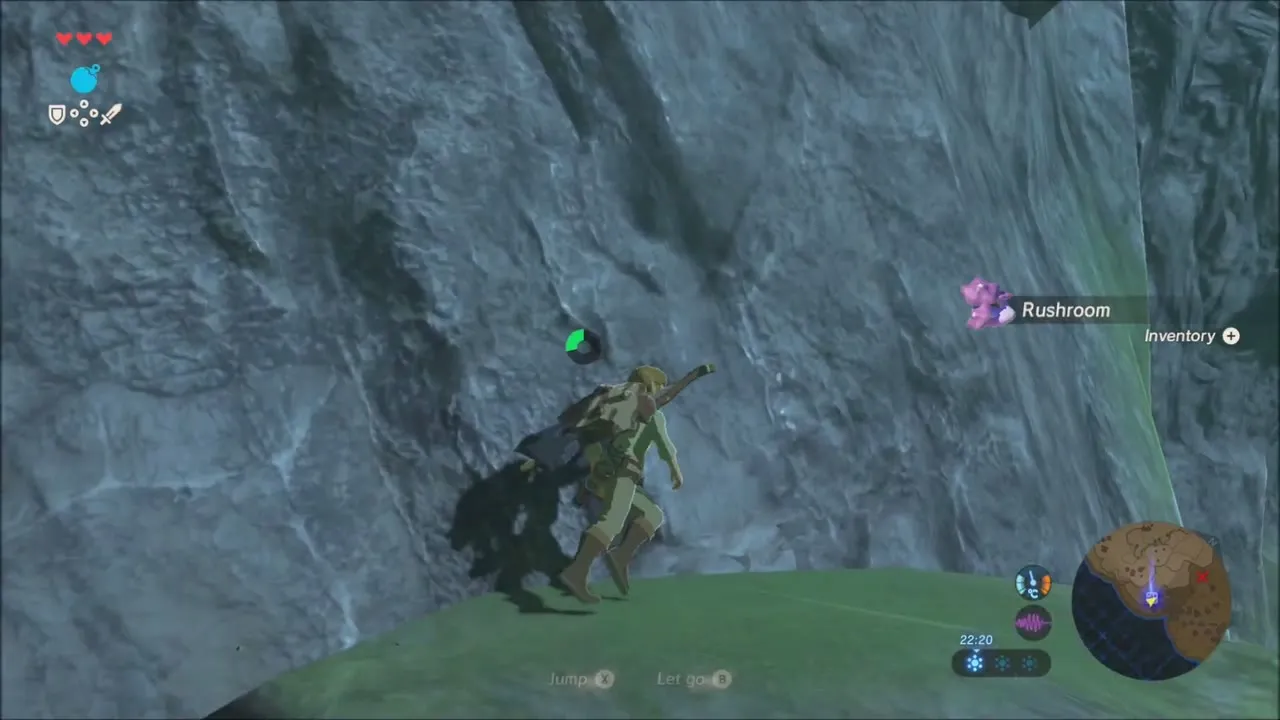

Stasis trial and Spirit Orb
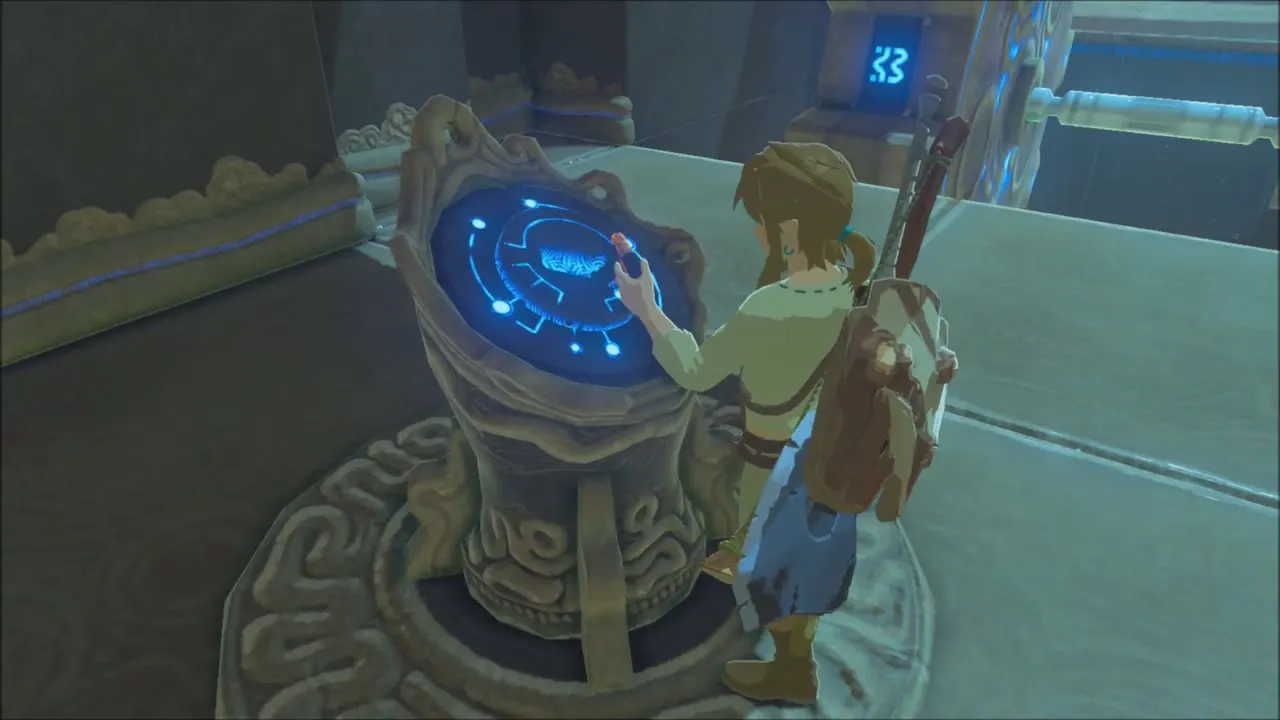
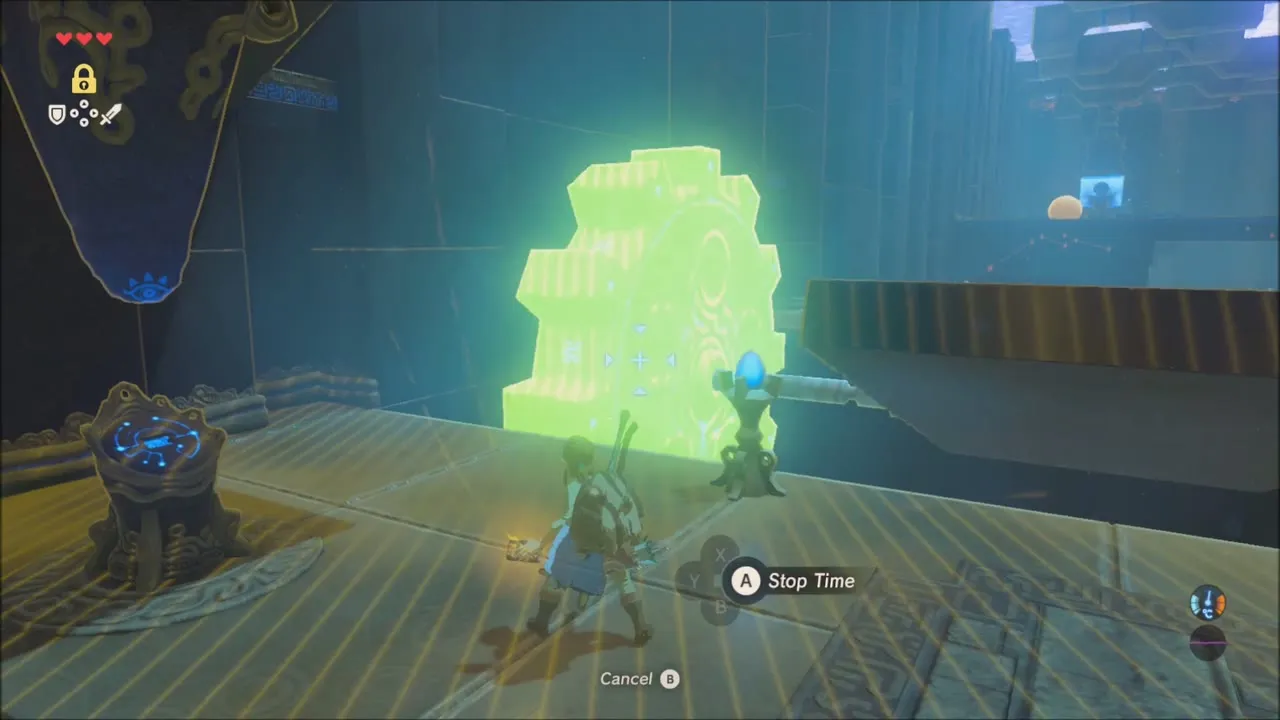
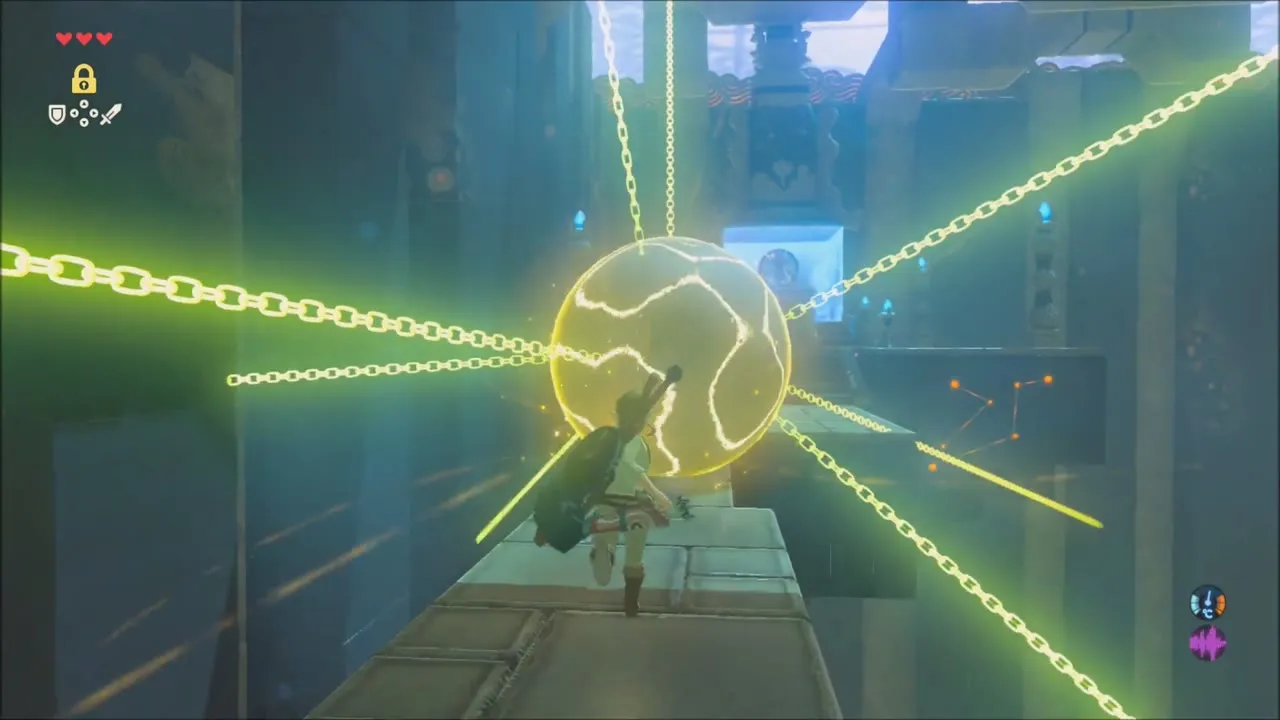
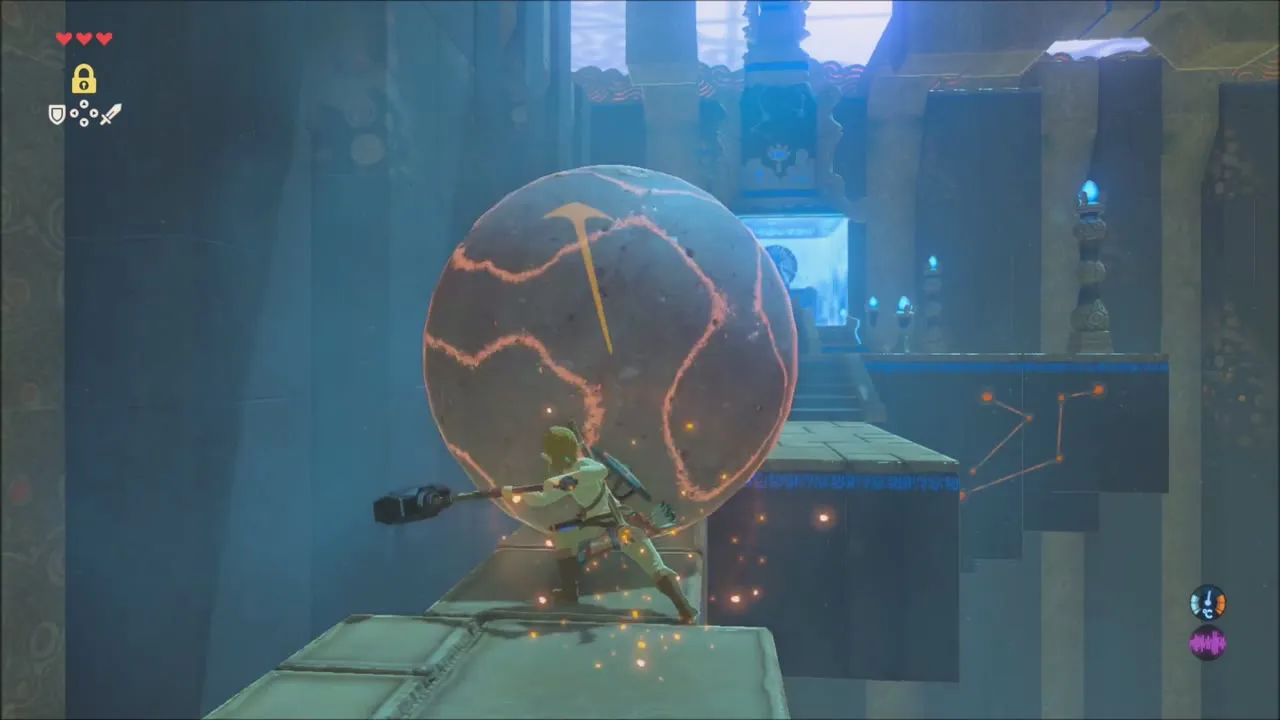
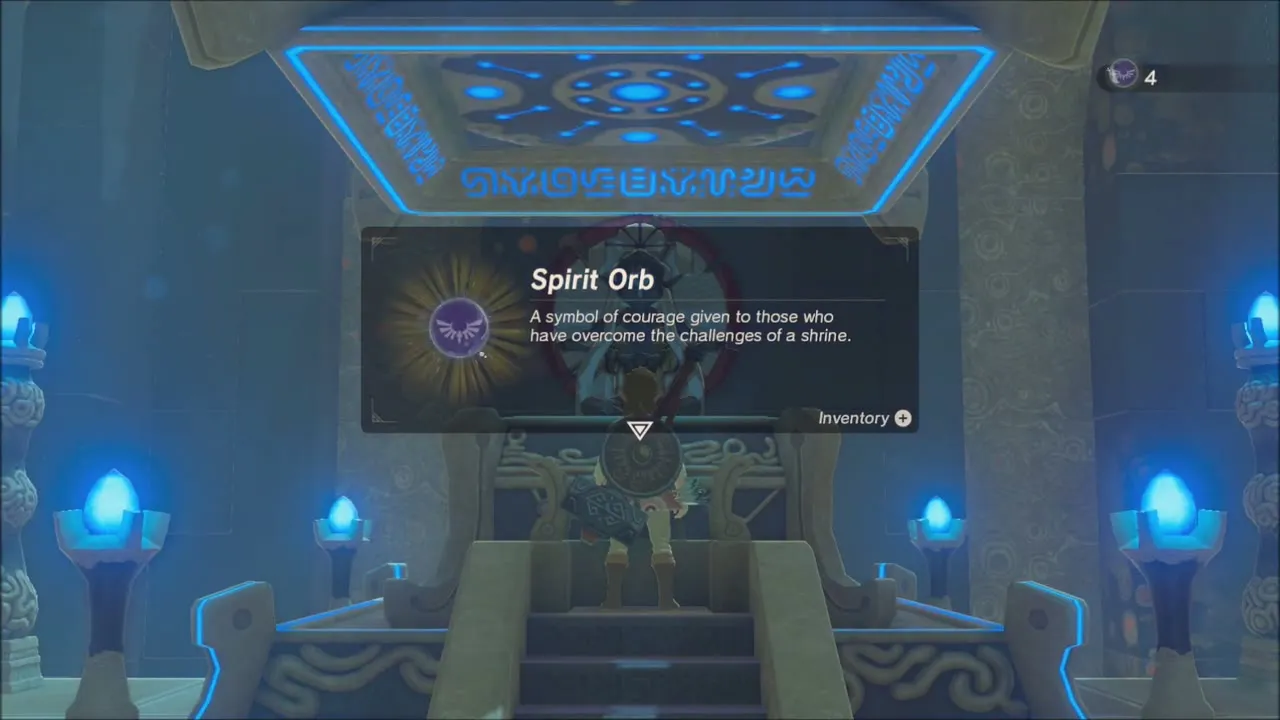
Inside, take the Stasis rune from the pedestal, freeze the big gear to cross the platform, and use Stasis on the boulders rolling down the ramp. The chest at the top holds the Traveler’s Shield. An Iron Sledgehammer is lying on the left side, so free up a weapon slot first: freeze the boulder that blocks the way and hit it repeatedly, then walk past to the monk Owa Daim for the fourth Spirit Orb.
After the Fourth Shrine: What the Old Man Says
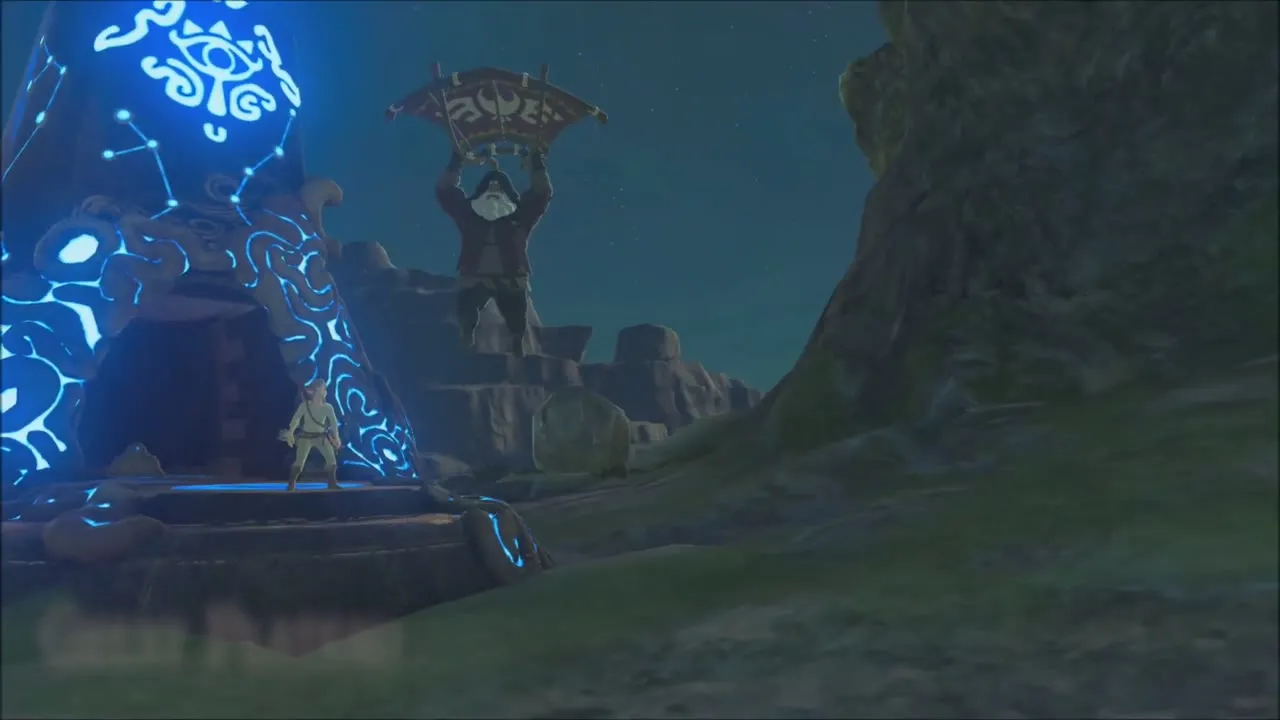
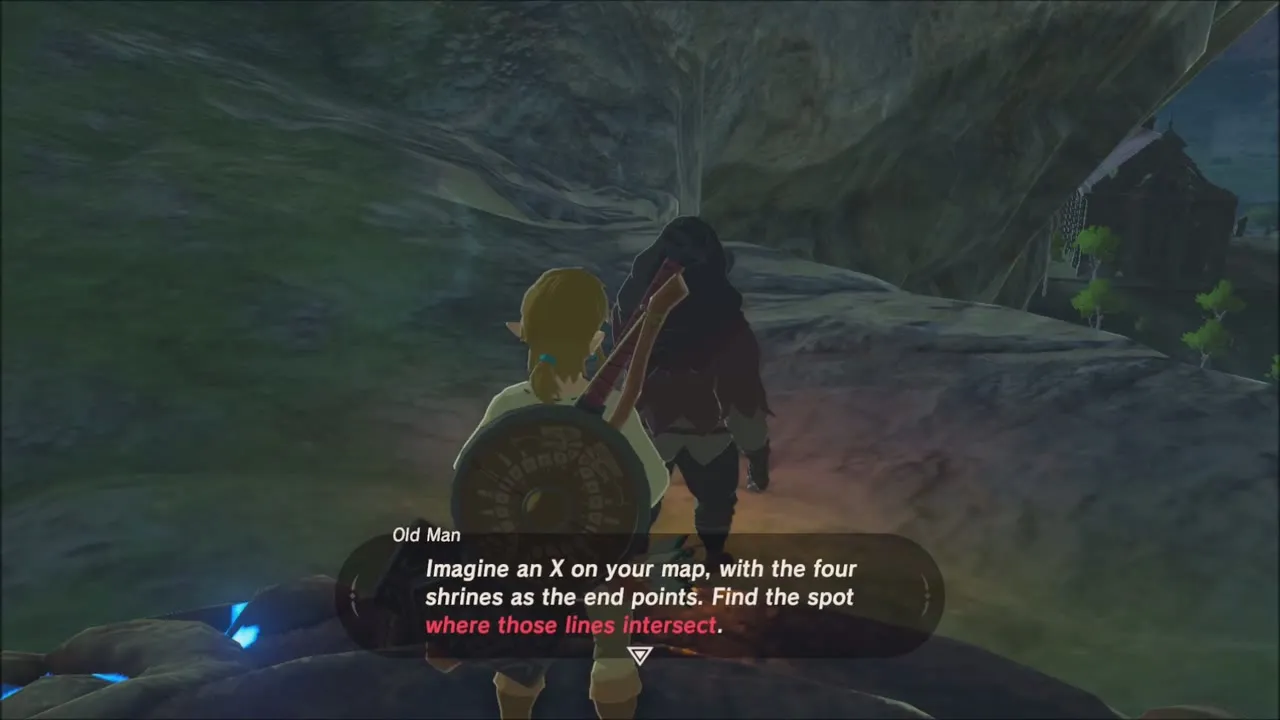
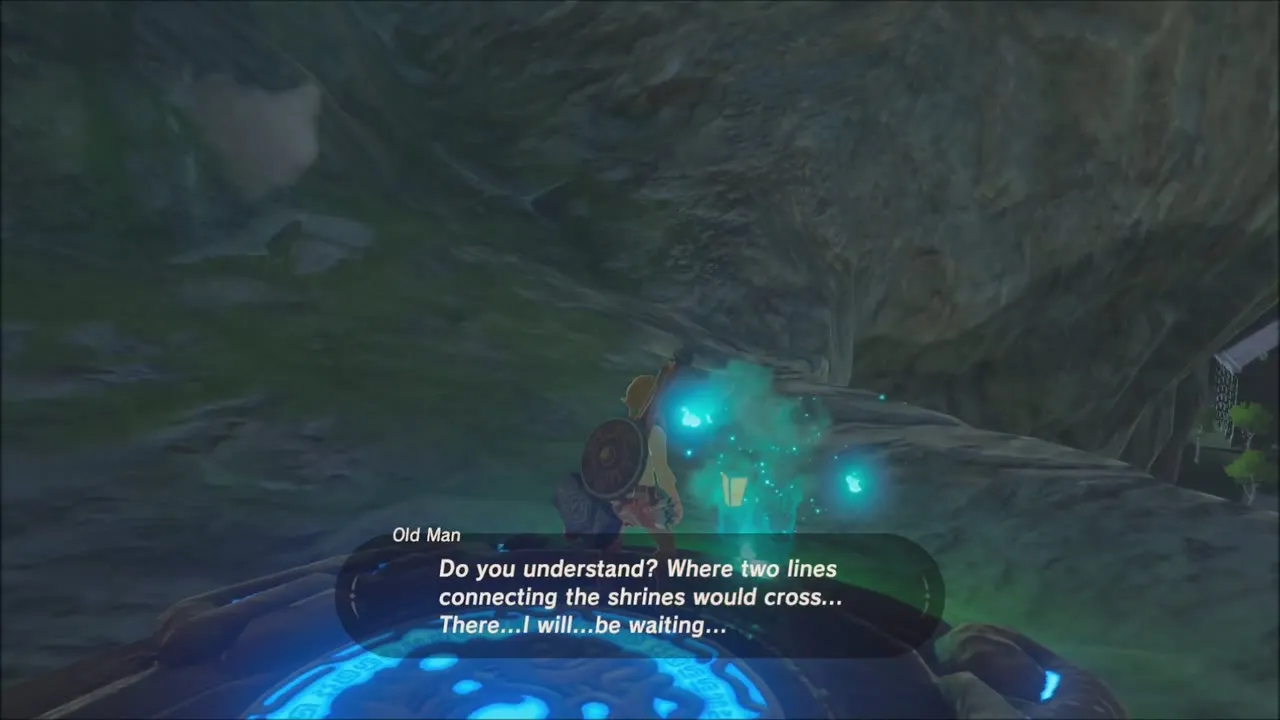
When you step out of the shrine, the Old Man is waiting for you. He says it is finally time to tell you everything, and asks you to imagine an X on your map with the four shrines at its end points; the spot where the lines meet is where he will be waiting.
Temple of Time: King Rhoam, the Paraglider and Seek Out Impa
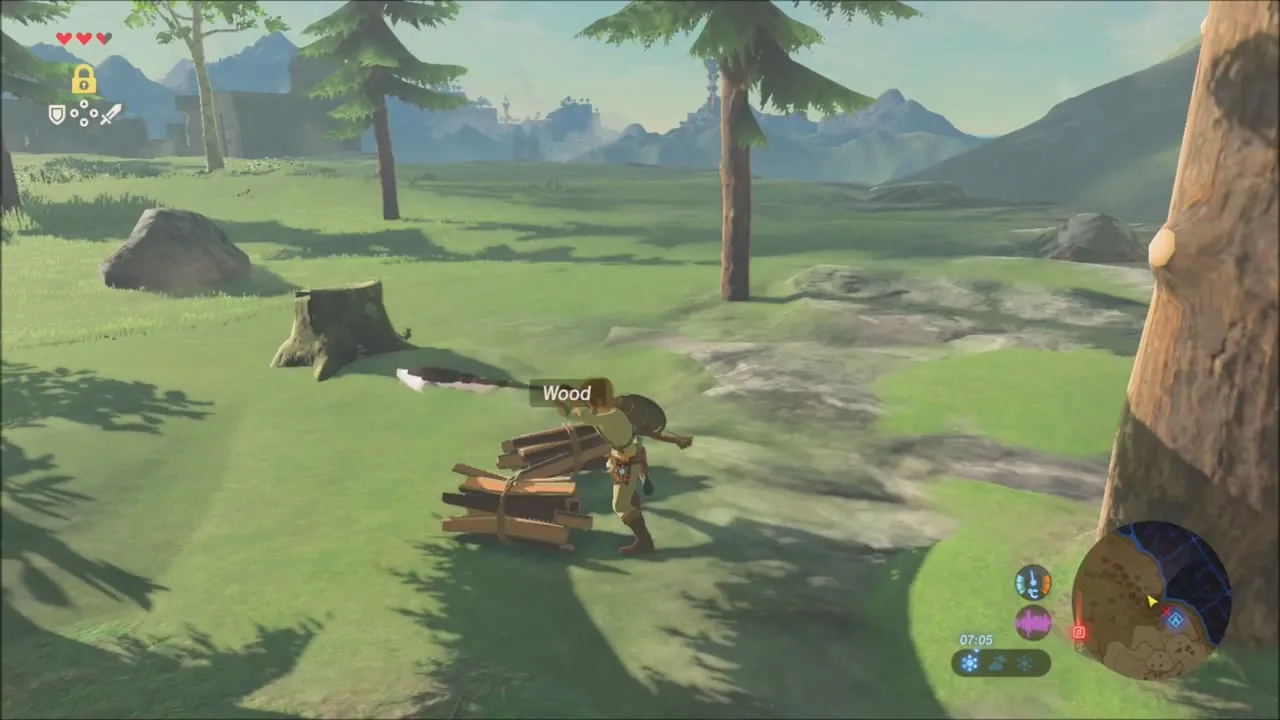
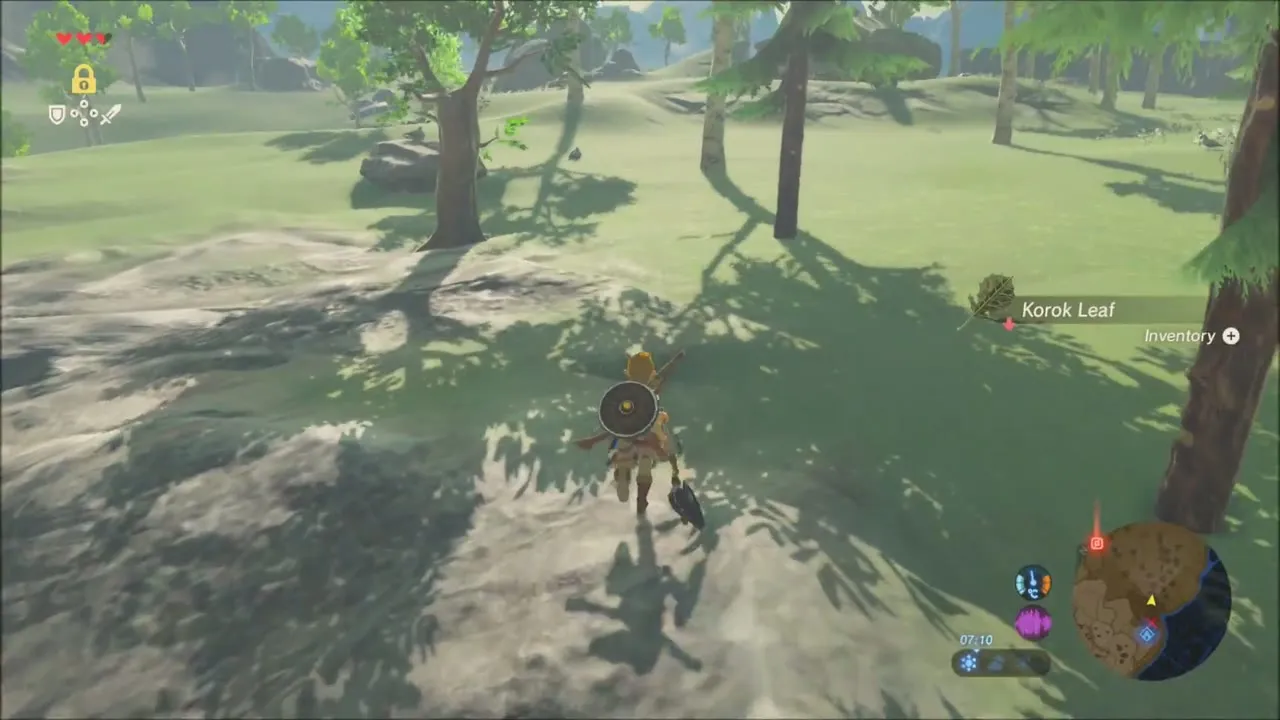
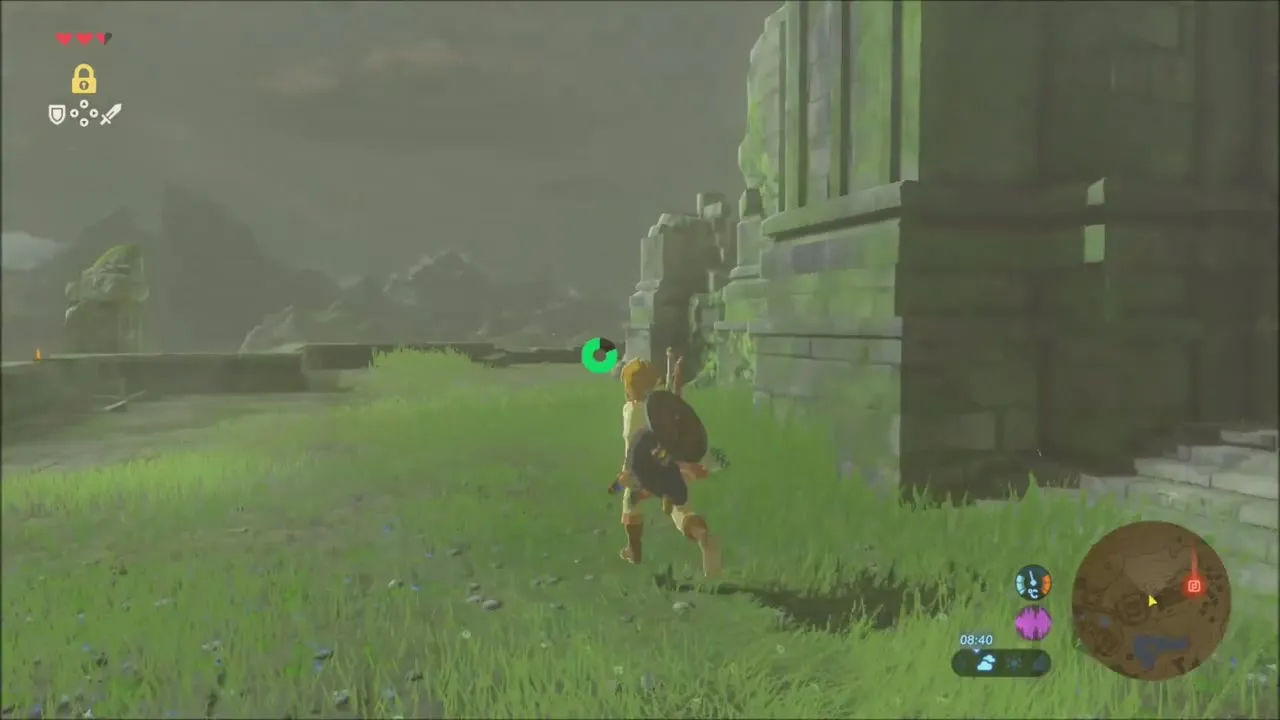
Once you have the Traveler’s Bow chest from Oman Au Shrine, leave the shrine and make your way south across the Great Plateau toward the Temple of Time (x -819, z 2005). You drop down a ledge, climb a short rock face and cross open meadow, where you can pick up Wood and a Korok Leaf. The temple stands in a grassy courtyard that you enter over a few fallen walls.

Trade Spirit Orbs at the Goddess Statue
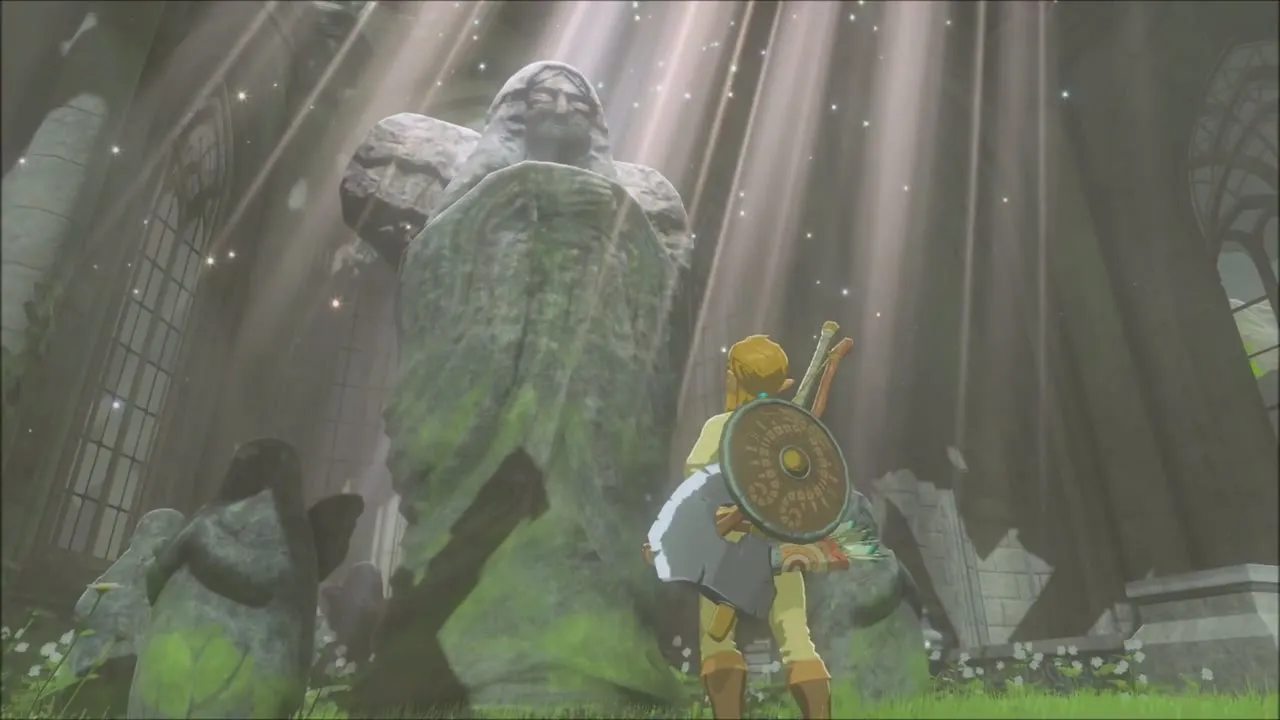
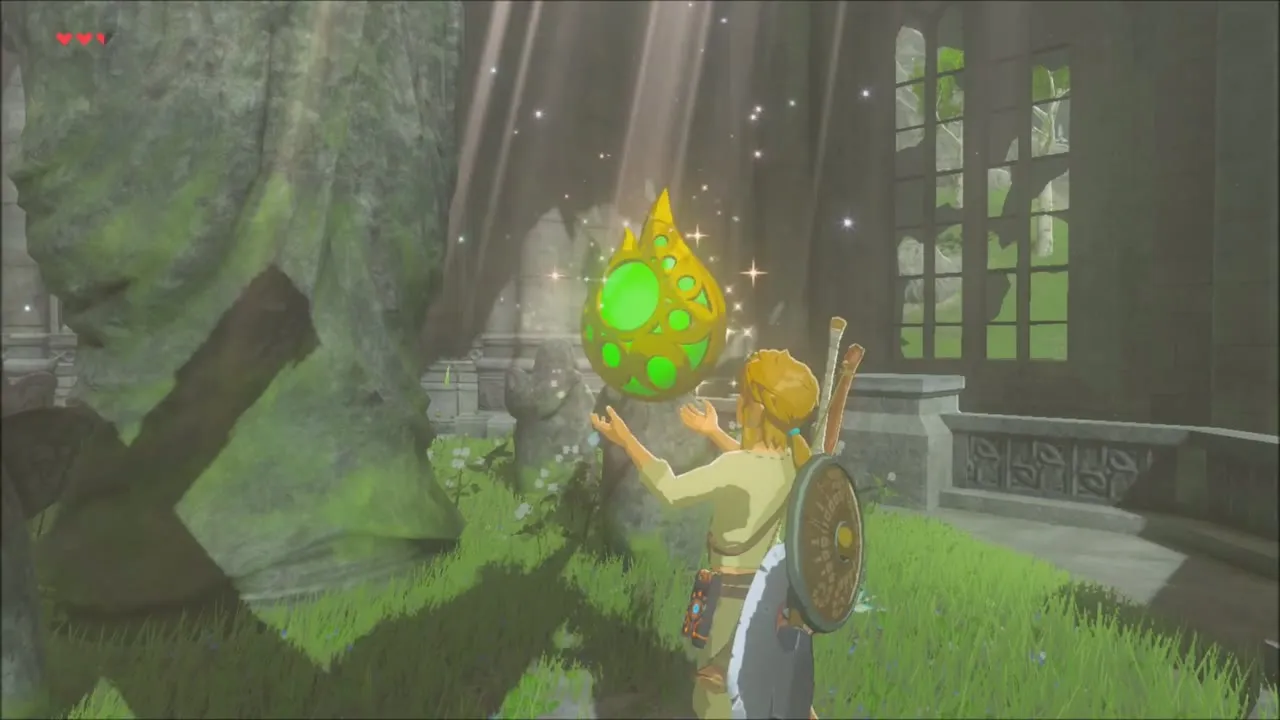
A Goddess Statue stands in the courtyard. With the four Spirit Orbs from the plateau shrines you can trade for one Heart Container or one Stamina Vessel. Taking the Stamina Vessel gives you a longer stamina wheel for the climbing ahead.


Meet King Rhoam and receive the Paraglider
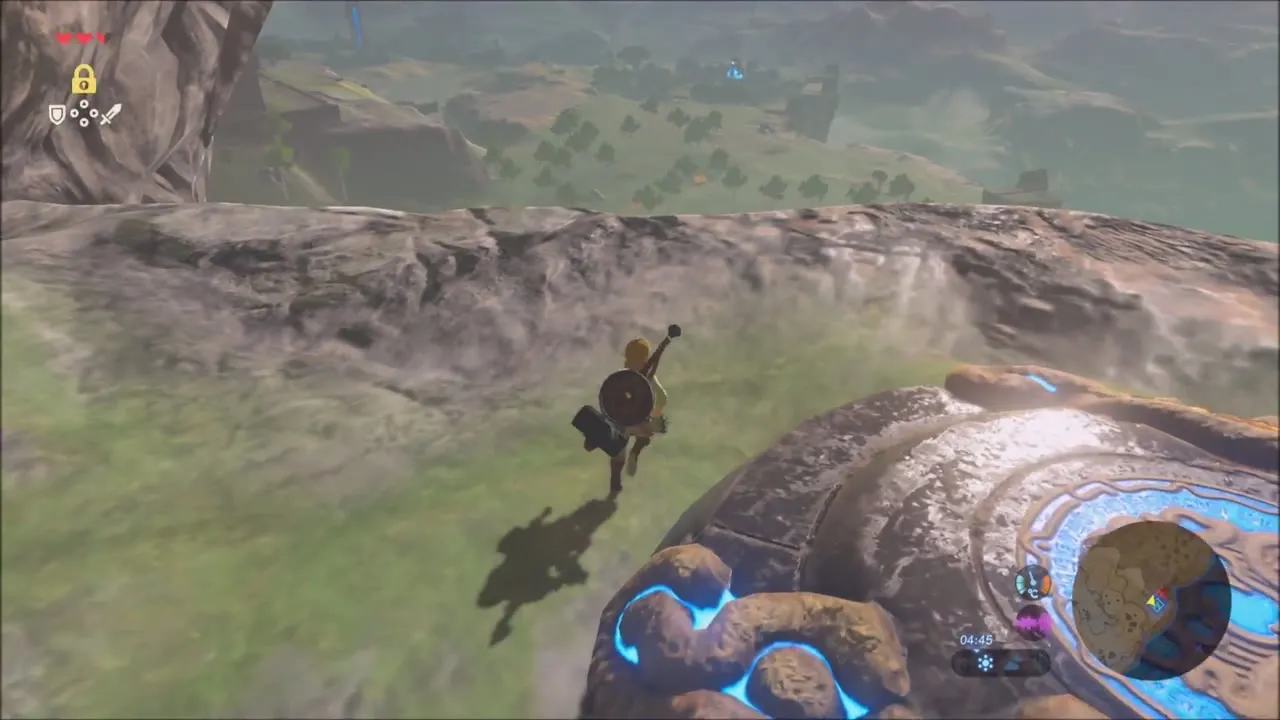
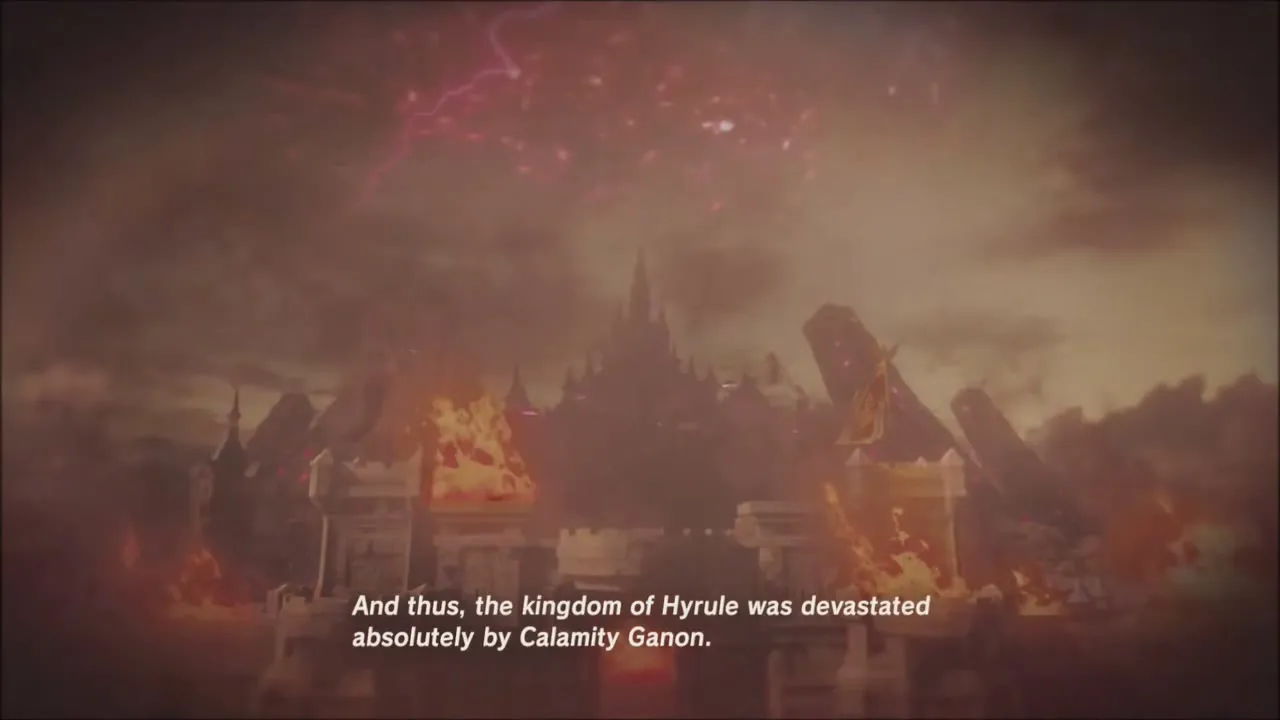
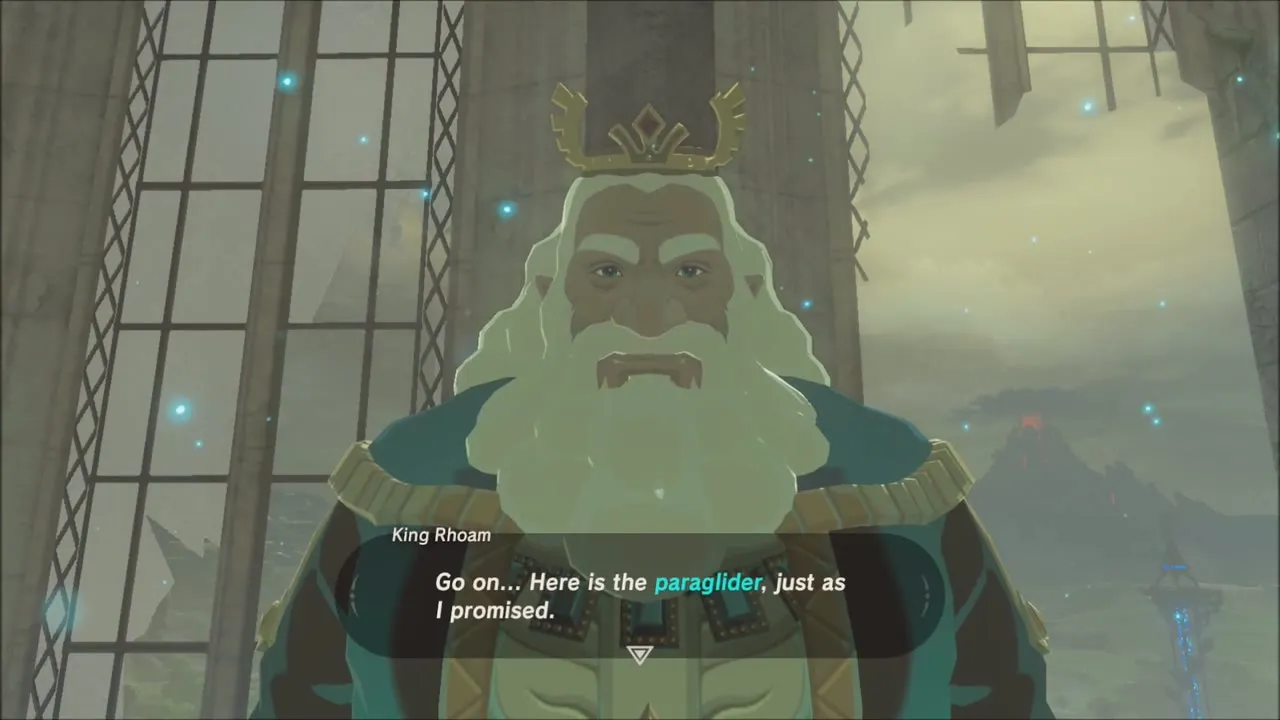
Climb the inside of the temple to the upper floor, where the Old Man waits by the window. He reveals himself as the ghost of King Rhoam, tells the story of the Great Calamity and the Divine Beasts, and then hands over the Paraglider he promised. This starts the main quest Seek Out Impa, and Destroy Ganon appears in your quest log next to it. The goal is Kakariko Village: head east beyond the Dueling Peaks, then follow the road north.


Soldier’s Bow and the way down
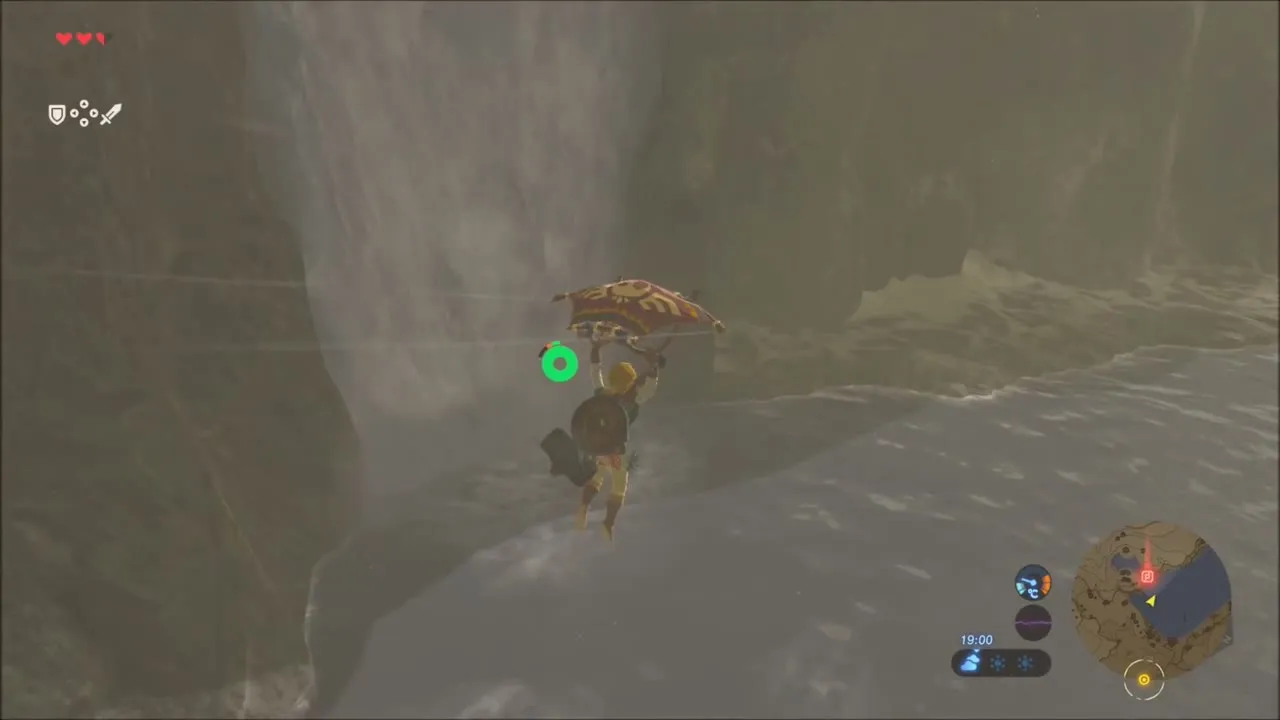
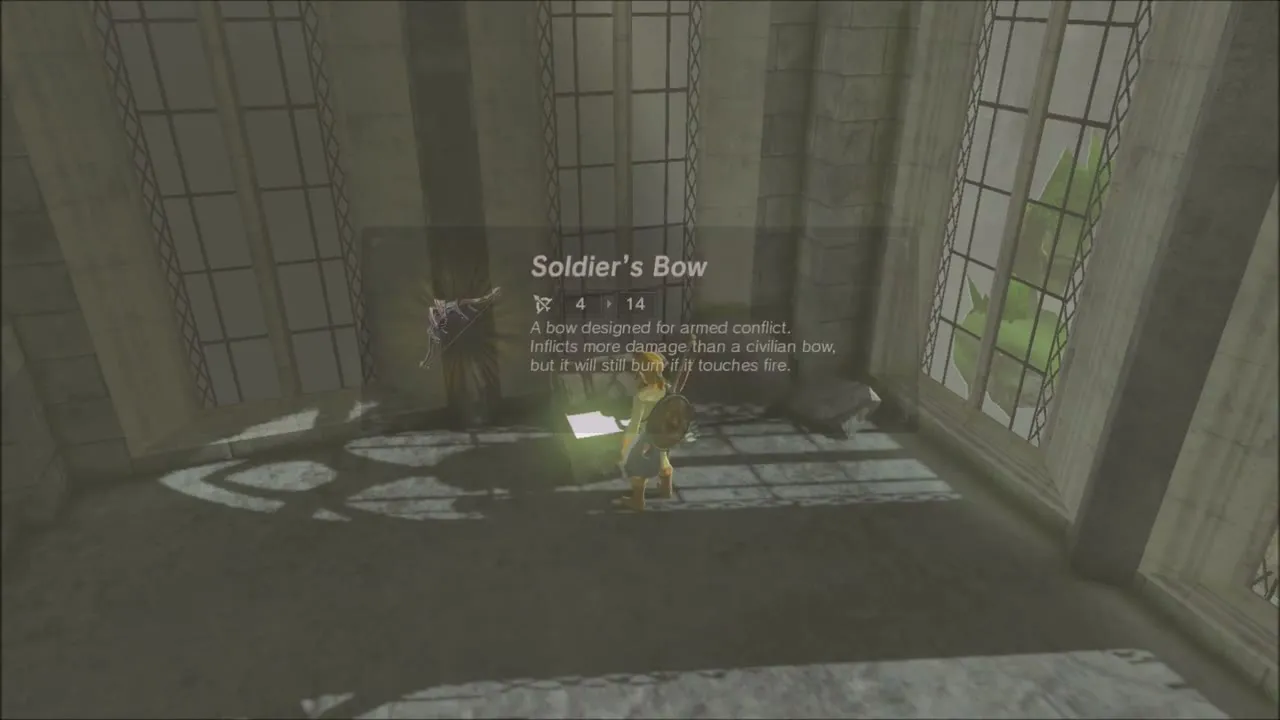
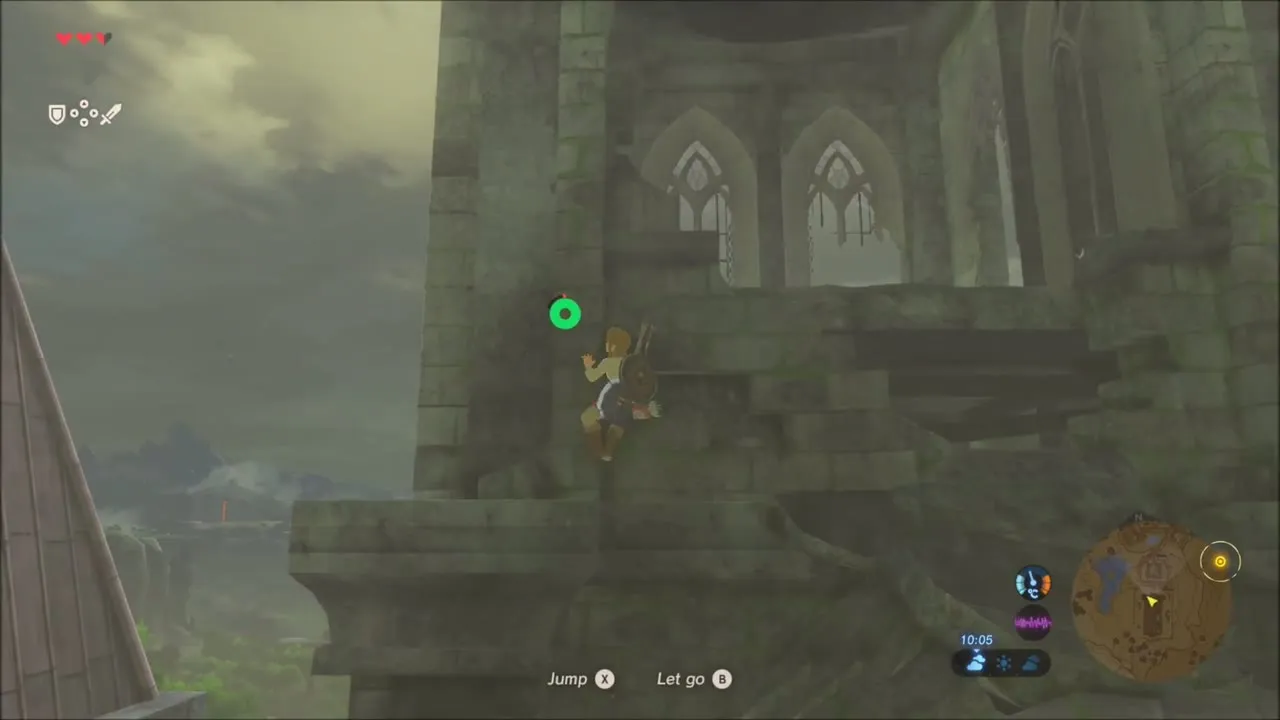
Before you leave the room, open the chest by the wall for a Soldier’s Bow. Then climb out and work your way down the temple’s outer wall from ledge to ledge. From the high edge, look east through the scope and drop a pin on the far horizon so you can follow your route on the map, then open the Paraglider and glide down.
Warm Doublet and Mount Hylia Chests
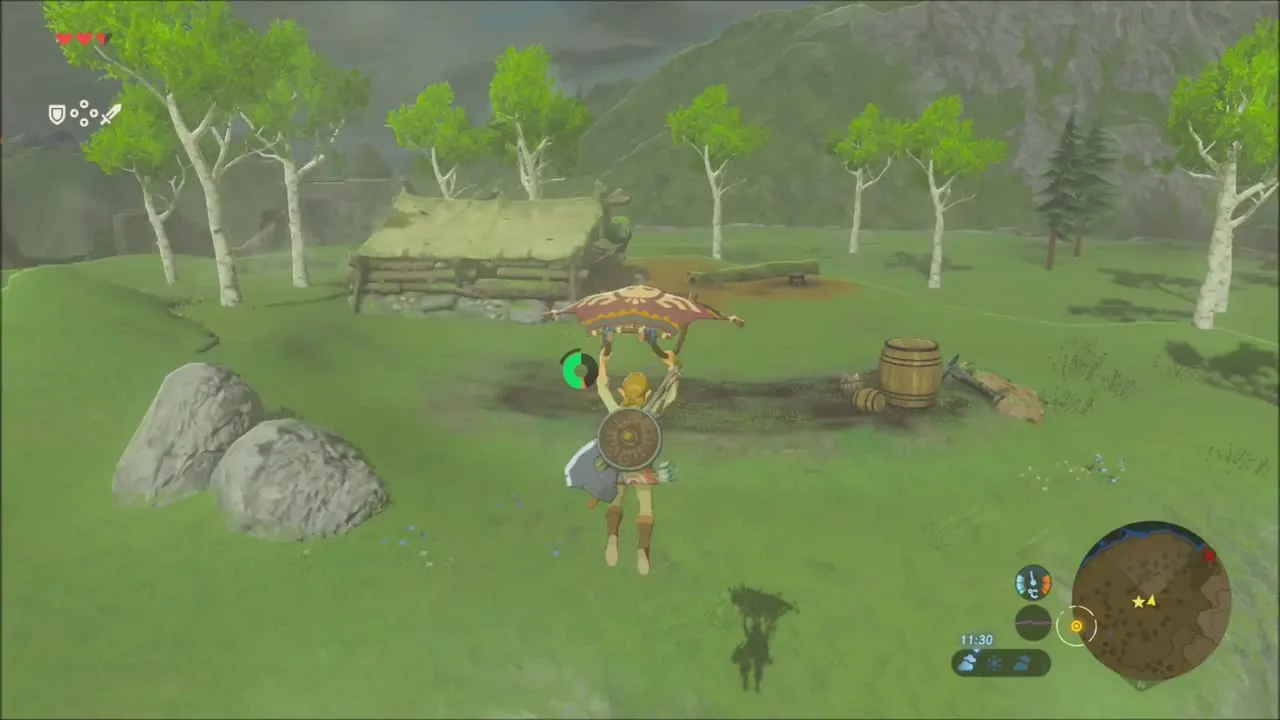
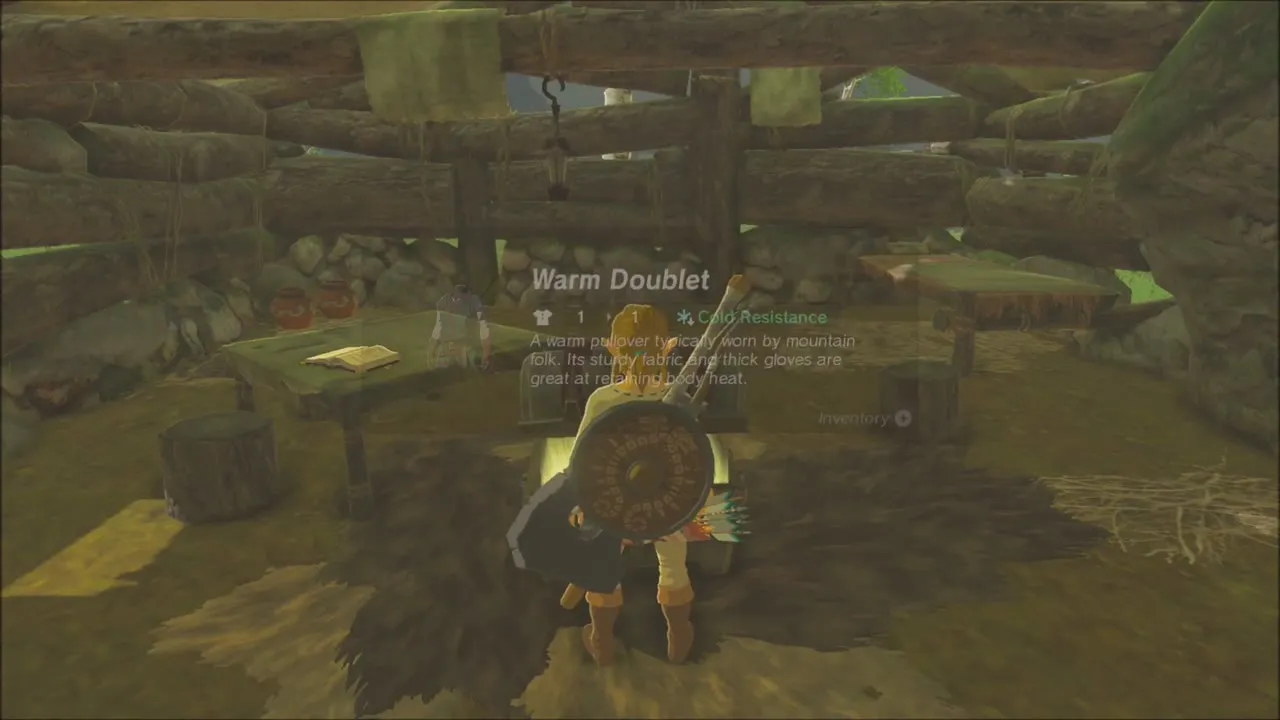
Glide toward the ground below until you spot a wooden hut with a barrel beside it. A chest inside holds the Warm Doublet (Cold Resistance). Put it on from the armor tab of your inventory, because the next stretch is snowy.

Climb Mount Hylia
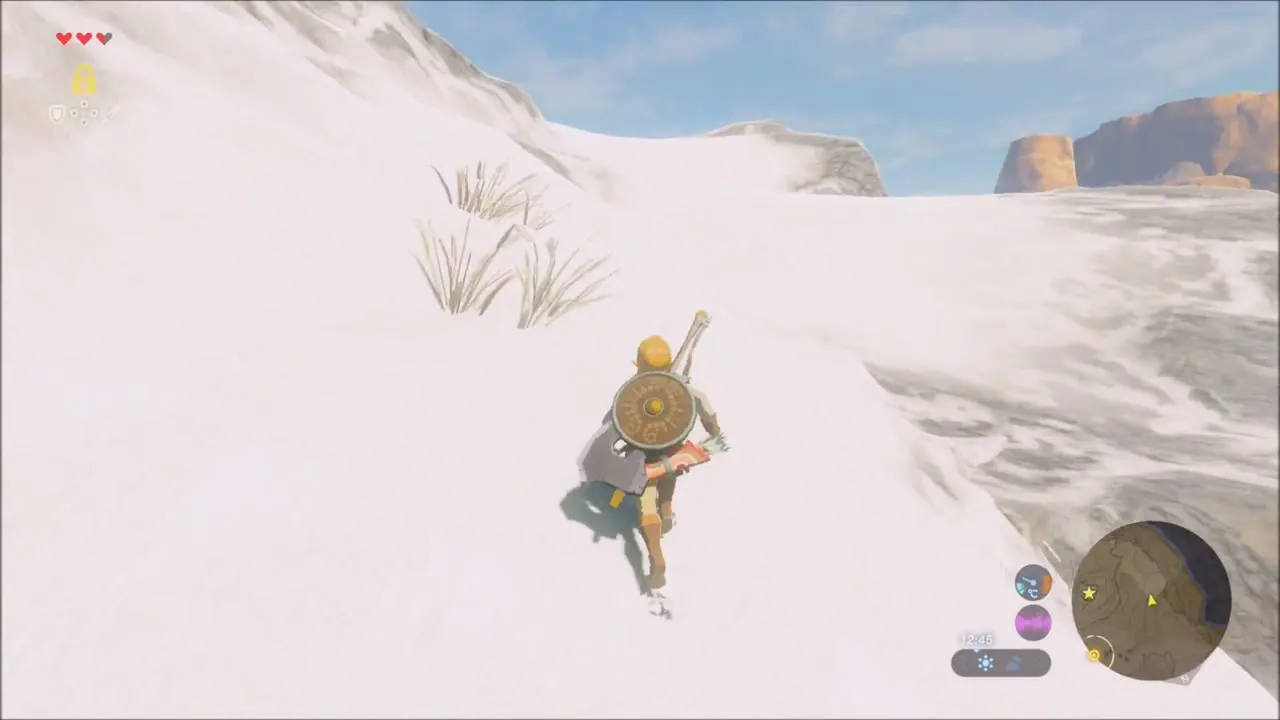
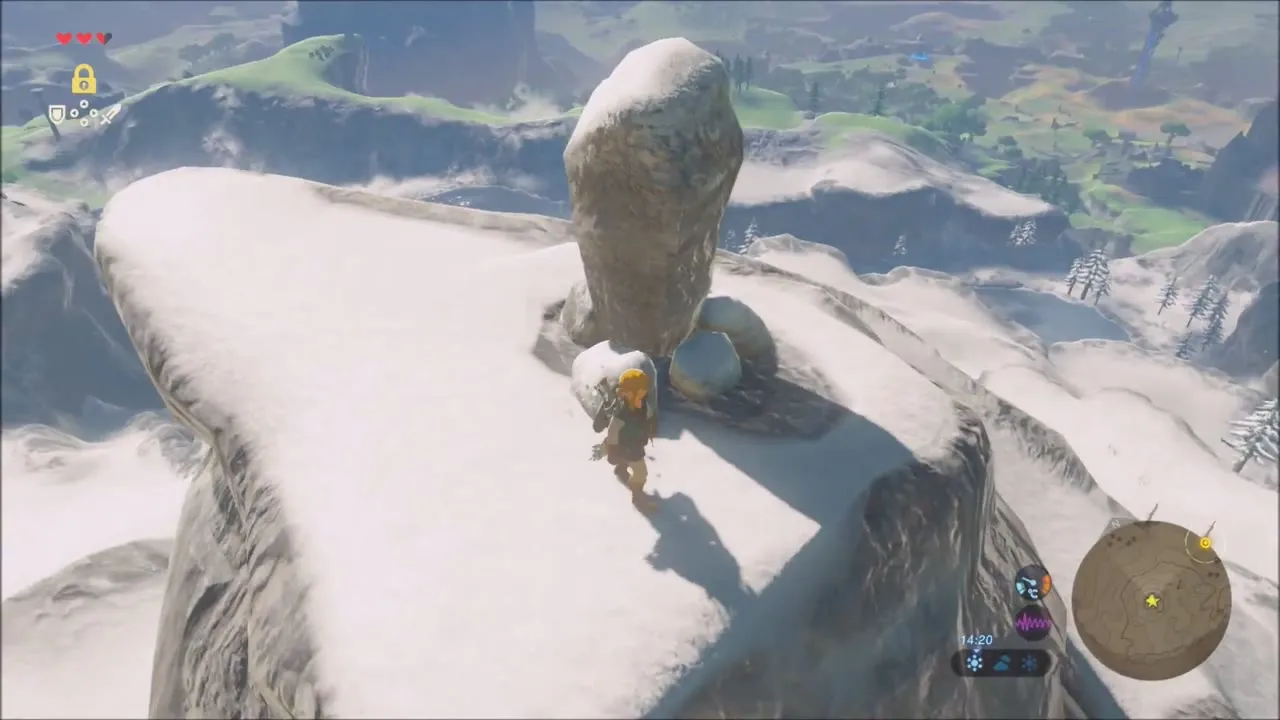
Make your way to the snow-covered slopes of Mount Hylia (x -1277, z 2180) on the south-west side of the plateau and climb toward the peaks. Near the top a Bokoblin with a hammer guards a chest on a narrow ridge: defeat it and open the chest. Carry on along the ridge to a Bokoblin camp, where you can collect Bokoblin Horns, Fangs and Arrows lying around the campfire. A rock balanced on one of the snowy peaks hides a Korok puzzle that you can leave for later.

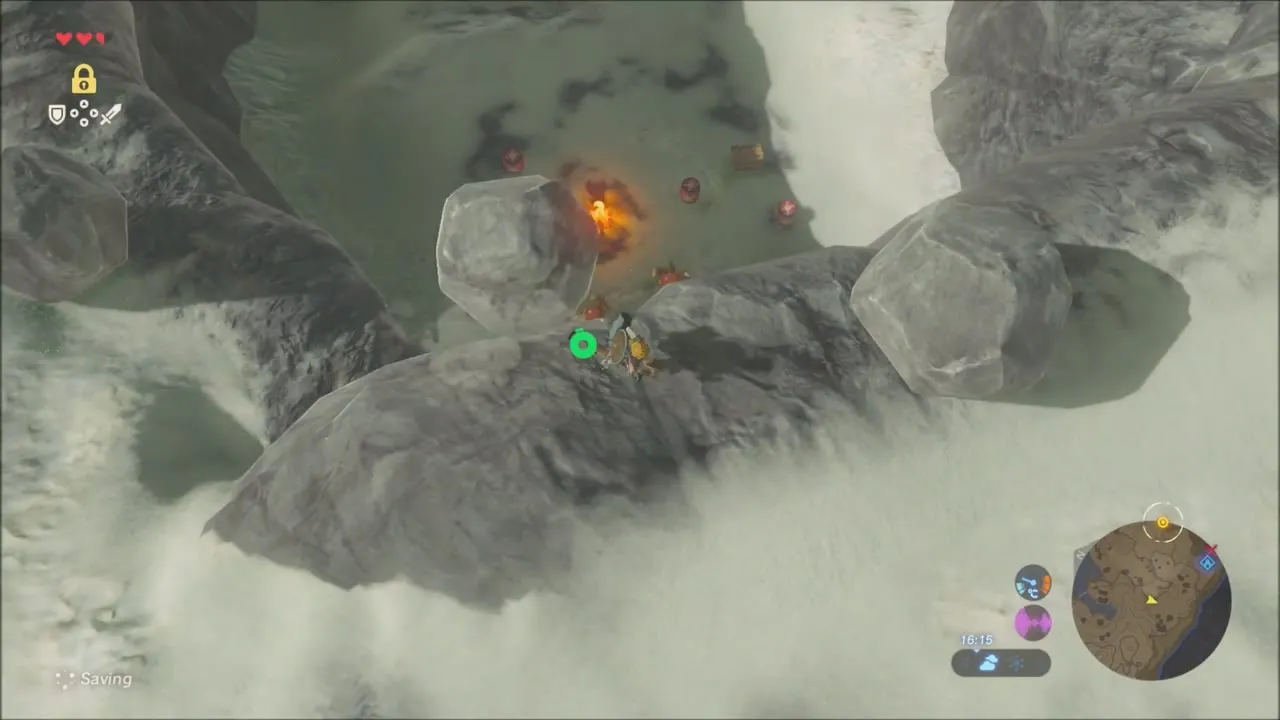
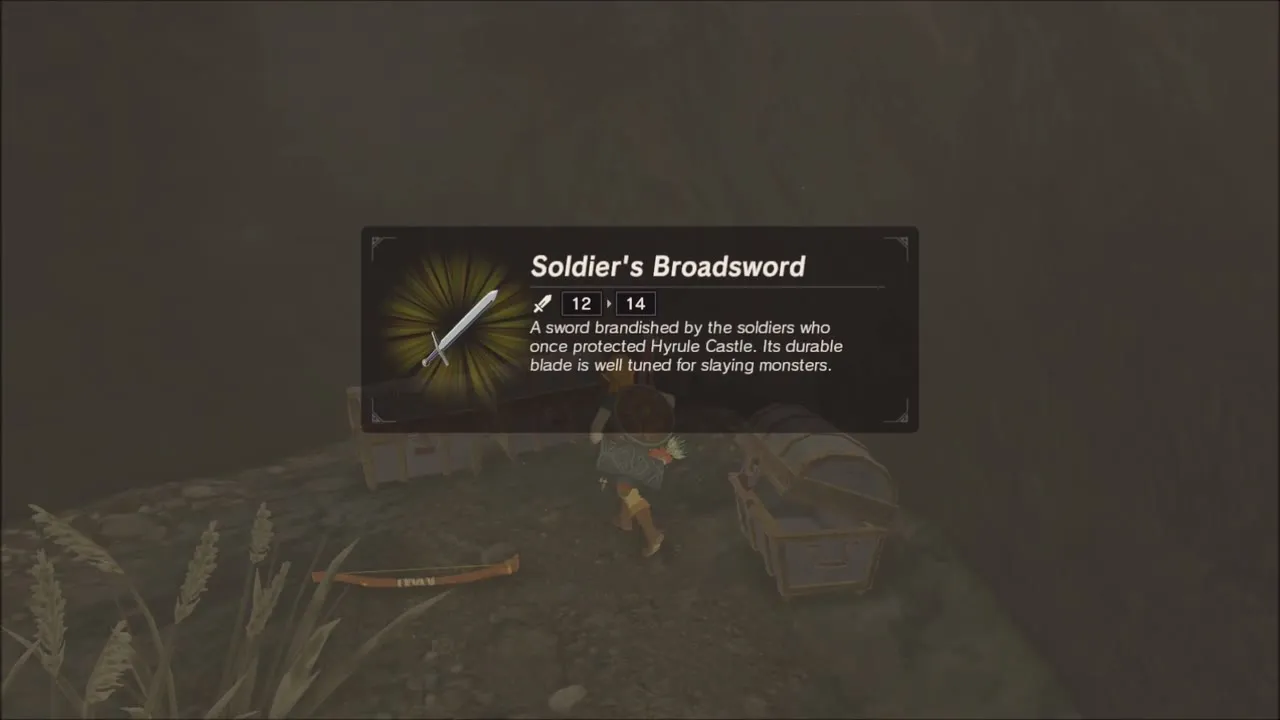
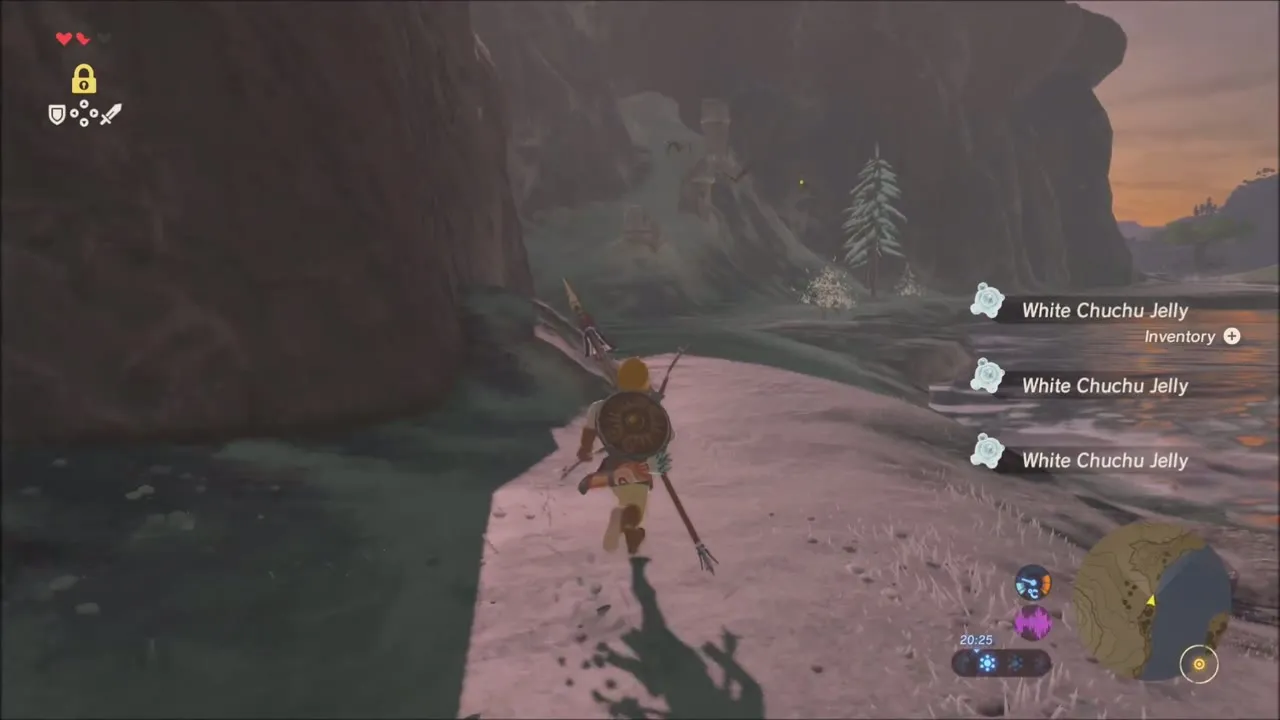
On the way down, a path beside a waterfall leads to a chest holding a Soldier’s Broadsword. The snowy shore below has White Chuchu Jelly to collect from the white Chuchus. When the slope is done, open the map and travel to the Great Plateau Tower (x -560, z 1695), then glide off the plateau from the tower platform and land on the road at its foot.