100% Completion Walkthrough21 chapters
- Great PlateauAll 4 Shrines, the Paraglider and Korok Seeds
- Kakariko Village and Dueling PeaksSeek Out Impa, Shrines and Korok Seeds
- Hateno VillageHateno Tower, the Ancient Tech Lab, Link’s House and Shrines
- Zora’s DomainReach Zora’s Domain, Vah Ruta, Lanayru Shrines and Korok Seeds
- Faron and Lurelin VillageLurelin Village, Faron Tower, Shrines and Korok Seeds
- Korok Forest and Master SwordHow to Get the Master Sword, Lost Woods, Shrines and Korok Seeds
- Hebra MountainsHebra Tower, Snowfield Stable, Shrines and Korok Seeds
- Rito Village and Vah MedohVah Medoh, Tabantha Tower, Shrines and Korok Seeds
- Gerudo HighlandsGerudo Tower, Gerudo Summit, Shrines and Korok Seeds
- Gerudo TownForbidden City Entry, the Thunder Helm, Desert Shrines and Korok Seeds
- Vah Naboris and Gerudo DesertThunderblight Ganon and the Gerudo Desert Shrines
- Lake HyliaLake Tower, Farosh, Lake Shrines and Korok Seeds
- Akkala and Tarrey TownTarrey Town, Akkala Tower, Shrines and Korok Seeds
- Death Mountain and Goron CityGoron City, Vah Rudania, Eldin Shrines and Korok Seeds
- RidgelandRidgeland Tower, Shrines, Memories and Korok Seeds
- Central HyruleCentral Tower, Captured Memories, Shrines and Korok Seeds
- Hyrule Castlethe Hylian Shield, Saas Ko’sah Shrine, Zelda’s Diary and Memories
- Calamity GanonLast Side Quests, Destroy Ganon and the Final Boss
- All Hinox, Talus and Molduga LocationsEvery Hinox, Stone Talus and Molduga, for Kilton’s Medals of Honor
- Trial of the Sword and EX TreasuresThe Trial of the Sword and every EX Treasure location (DLC Pack 1)
- Champions’ BalladOne-Hit Obliterator, Champion Trials and the Final Trial
| Region | Hebra |
|---|---|
| Shrines | 14: Maag No’rah Shrine, Rin Oyaa Shrine, Qaza Tokki Shrine, Sha Gehma Shrine, Rok Uwog Shrine, Gee Ha’rah Shrine, Lanno Kooh Shrine, Dunba Taag Shrine, Shada Naw Shrine, Goma Asaagh Shrine, Mozo Shenno Shrine, To Quomo Shrine, Hia Miu Shrine, Maka Rah Shrine |
| Sheikah Tower | Hebra Tower |
| Korok seeds | 75 |
| Towns and stables | Snowfield Stable |
This chapter of the 100% walkthrough covers the Hebra region in a route that collects everything along the way: 14 shrines, 75 Korok seeds and the Sheikah Tower, plus the quests, chests and minibosses you meet. Positions are map coordinates (x grows east, z grows south).
Maritta Exchange Ruins: Bokoblin Camp, Chests and a Silver Rupee
Start from the Sheikah platform that looks out toward the Hebra peaks, then ride west across Salari Plain to the Maritta Exchange Ruins at about (-1805, -1625). The broken stone buildings are full of Bokoblins, and their weapons, apples and arrows lie scattered over the cobbles, so clear the camp and restock on Bokoblin parts and ammunition as you go.


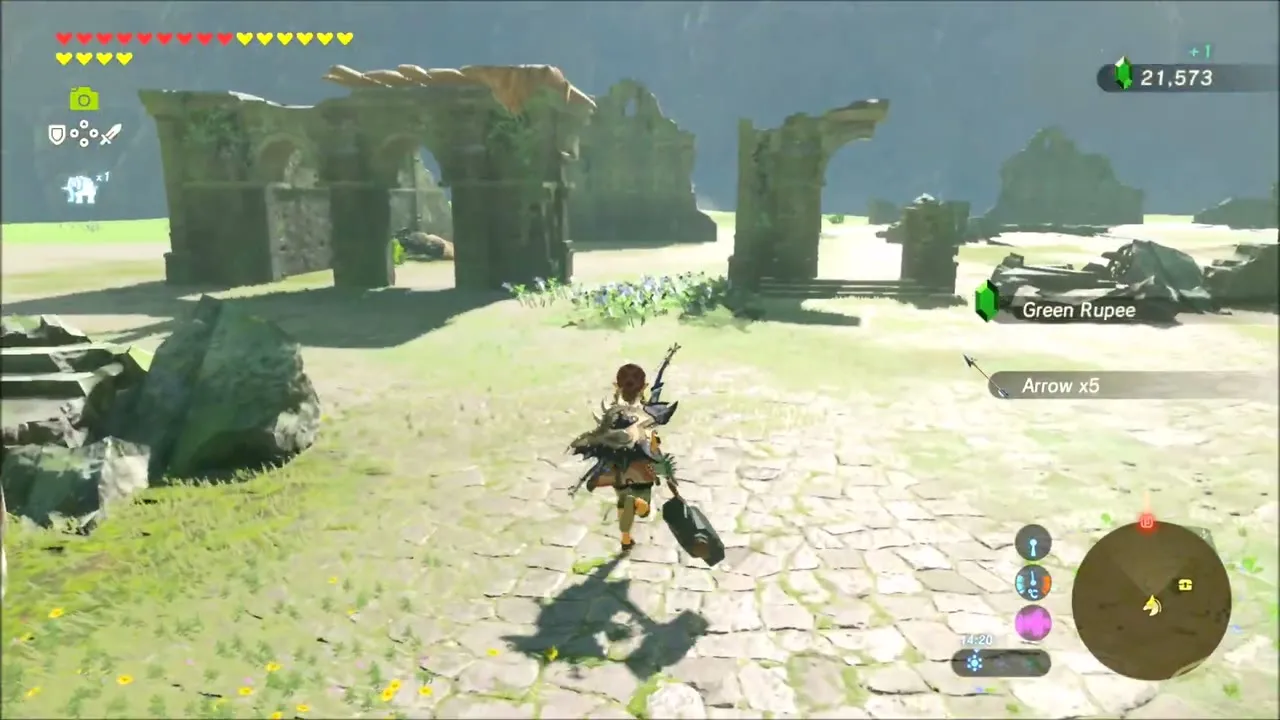
Bokoblin lookout and its loot
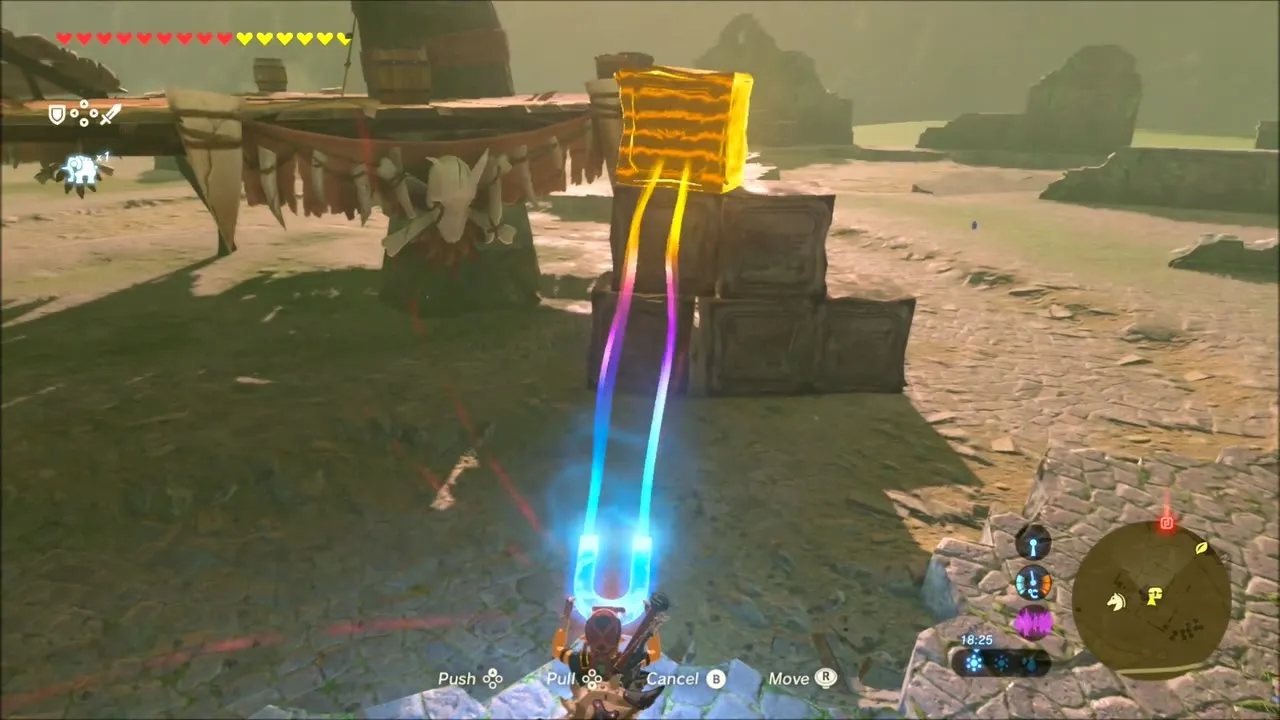
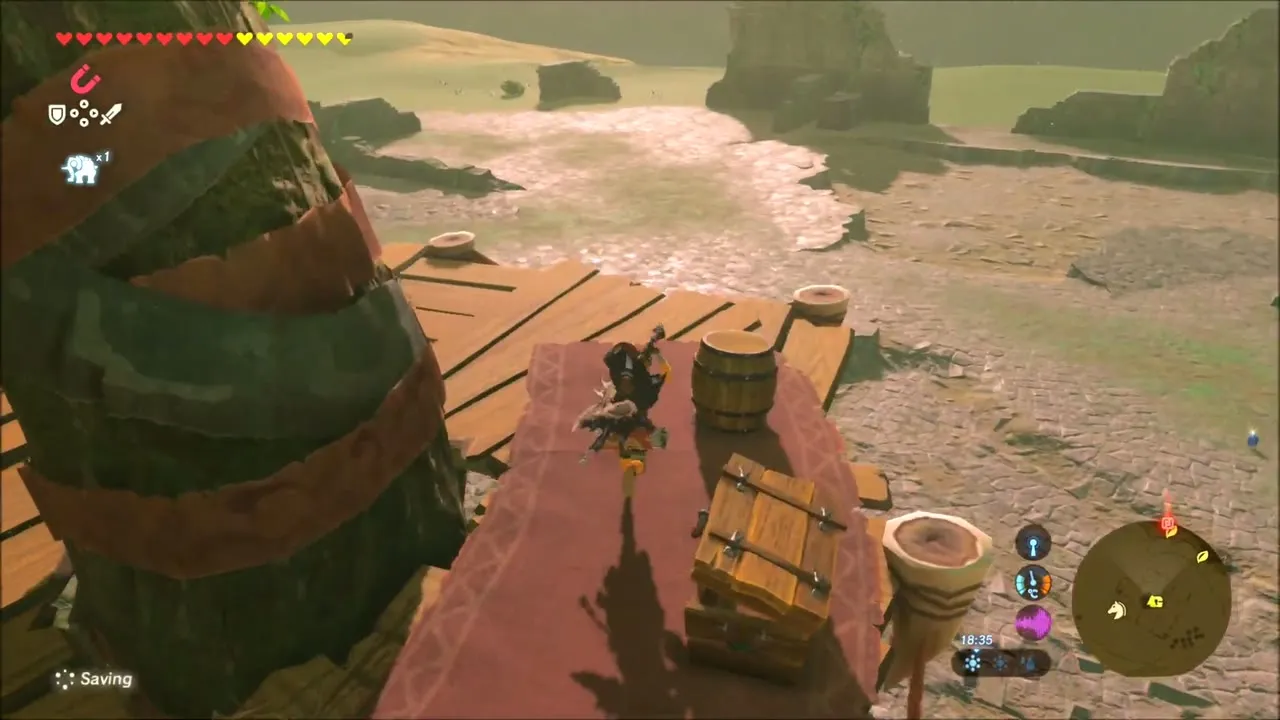
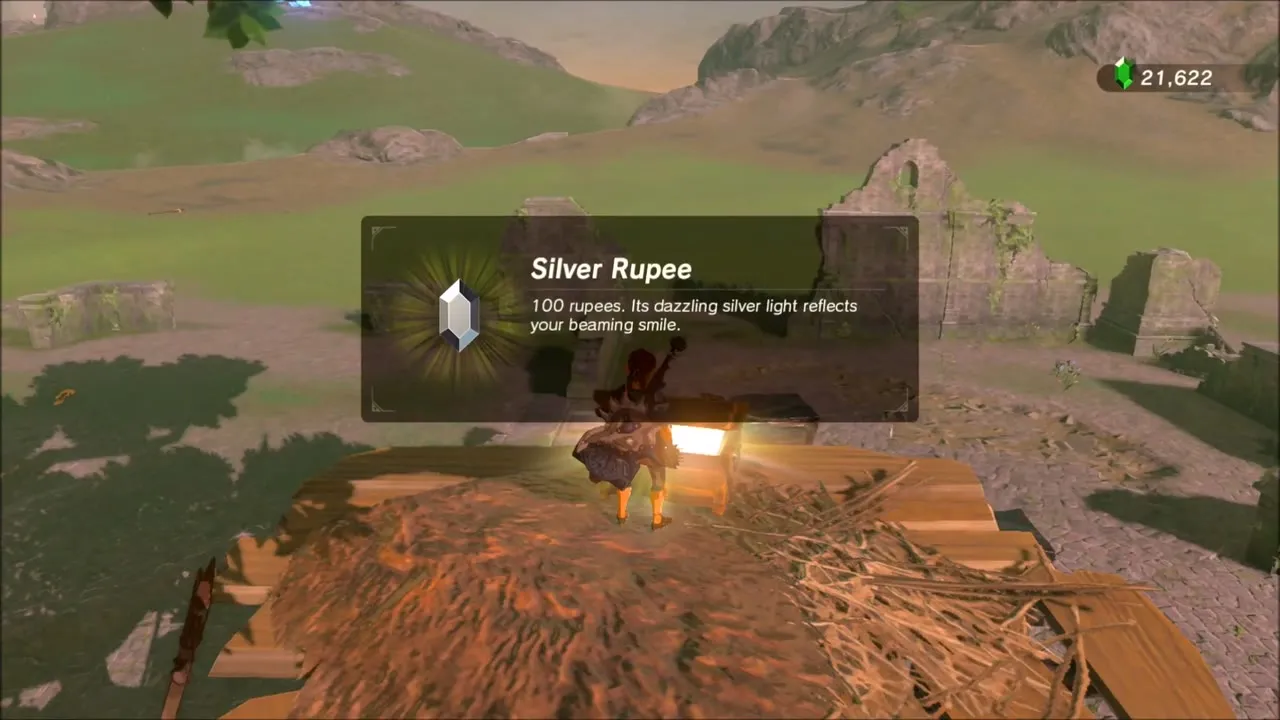
The camp’s wooden watchtower is the real prize. Use Magnesis on the metal crates around its base and move them into a staircase so you can reach the platform, where a chest is waiting. Up on the lookout you can also pick up a Silver Rupee (100 rupees) and a Rusty Broadsword from the straw nest.

Night Camp: Topaz and Cooking
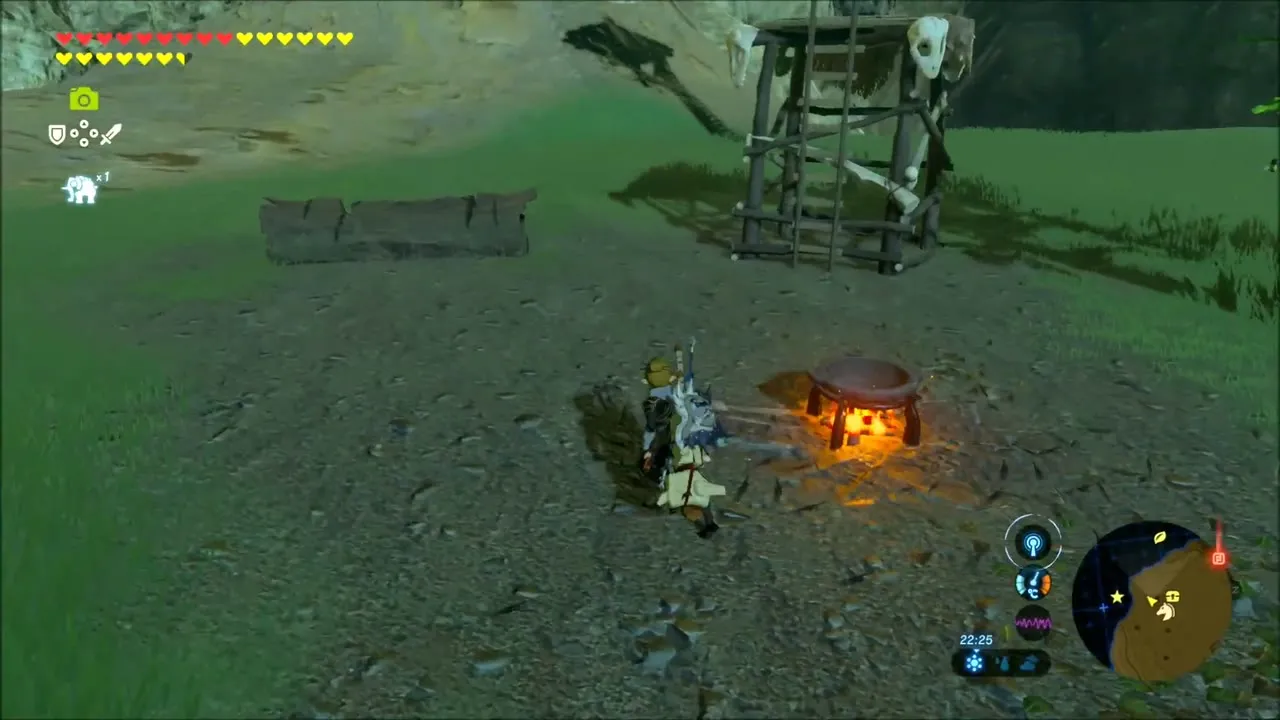
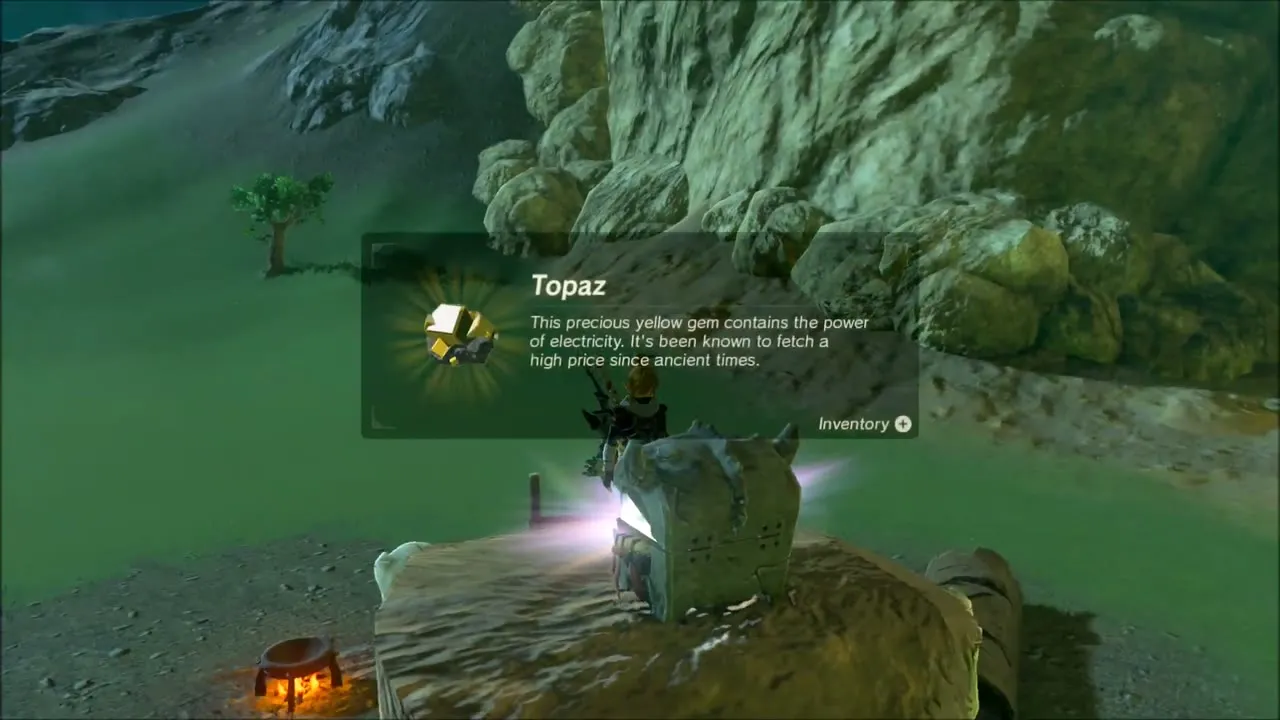
As evening falls, follow the foot of the cliffs and check the rocks beside the Bokoblin cooking pot. A Topaz sits in a chest there, so grab it before moving on. A campfire or pot nearby is a handy spot to cook meals before the long climb ahead.

Lindor’s Brow: Korok Seed Caves in the Cliff
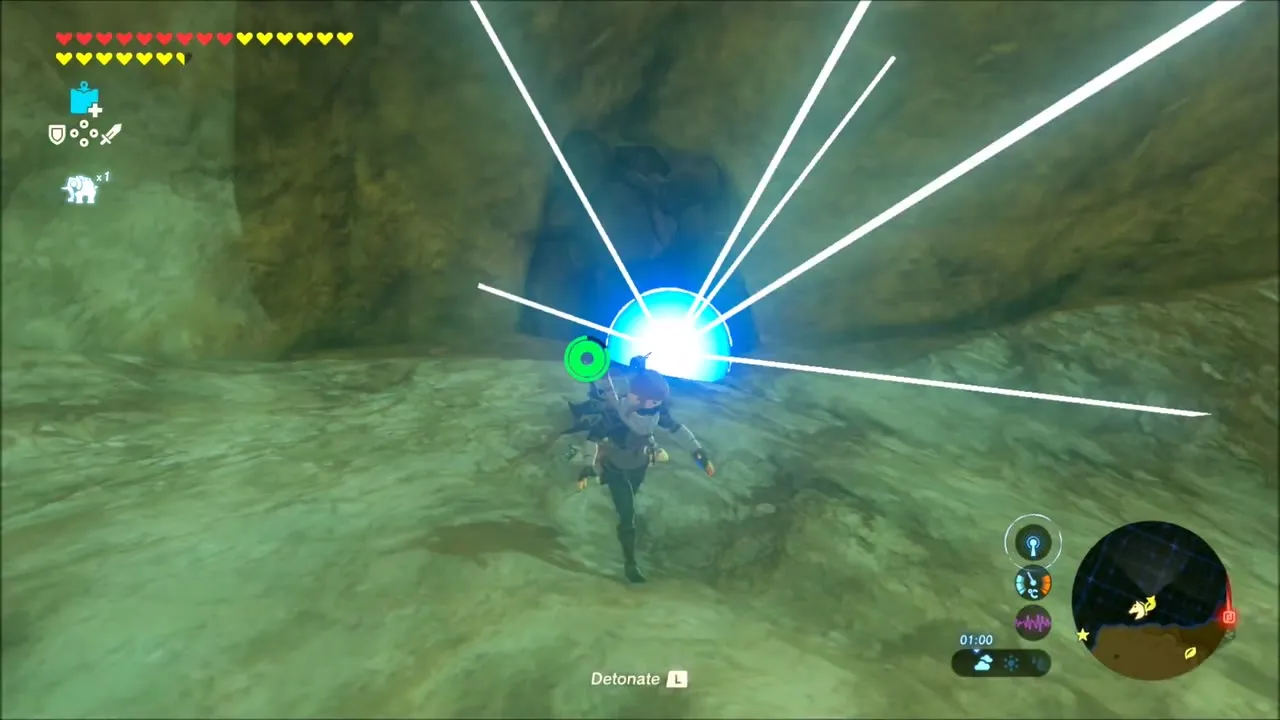
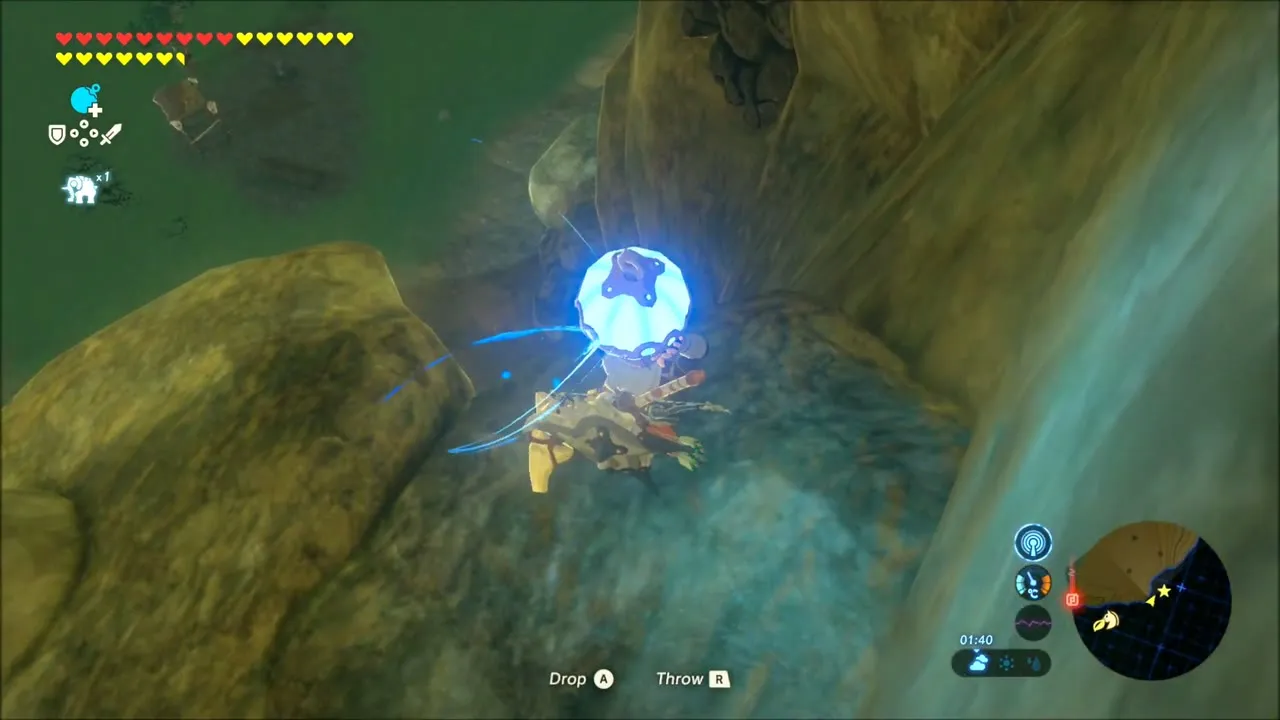
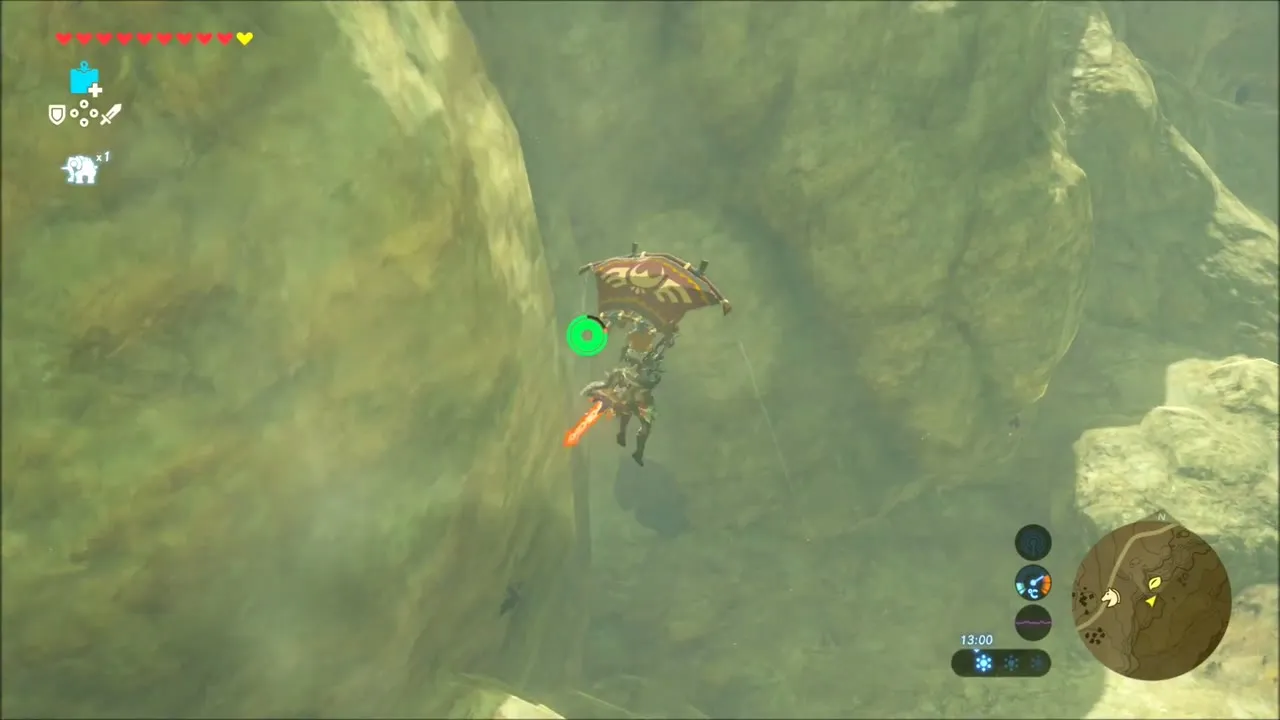
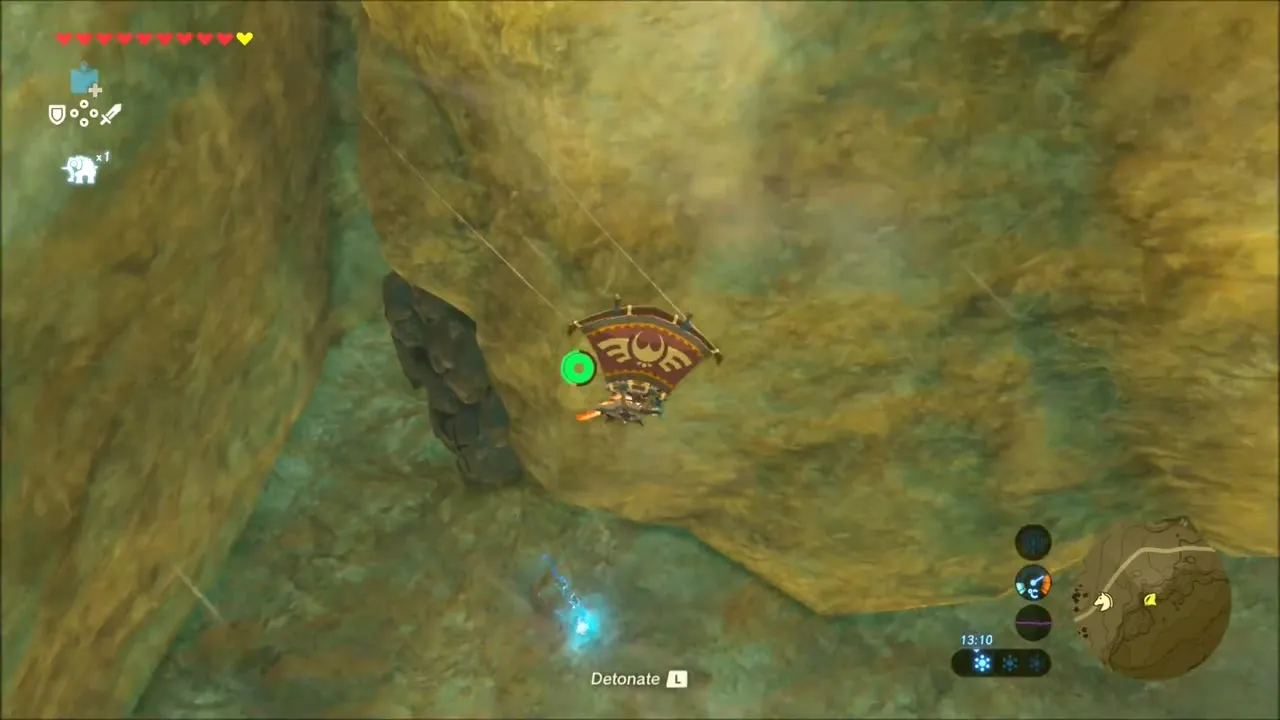
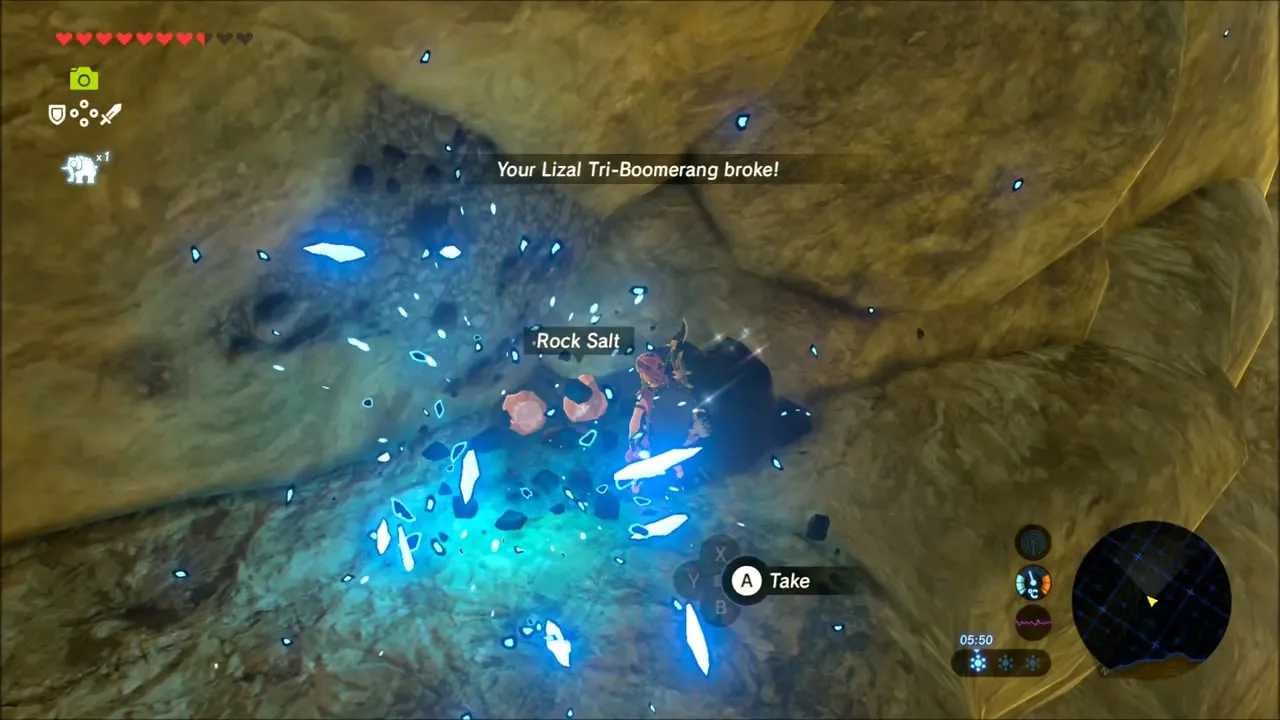
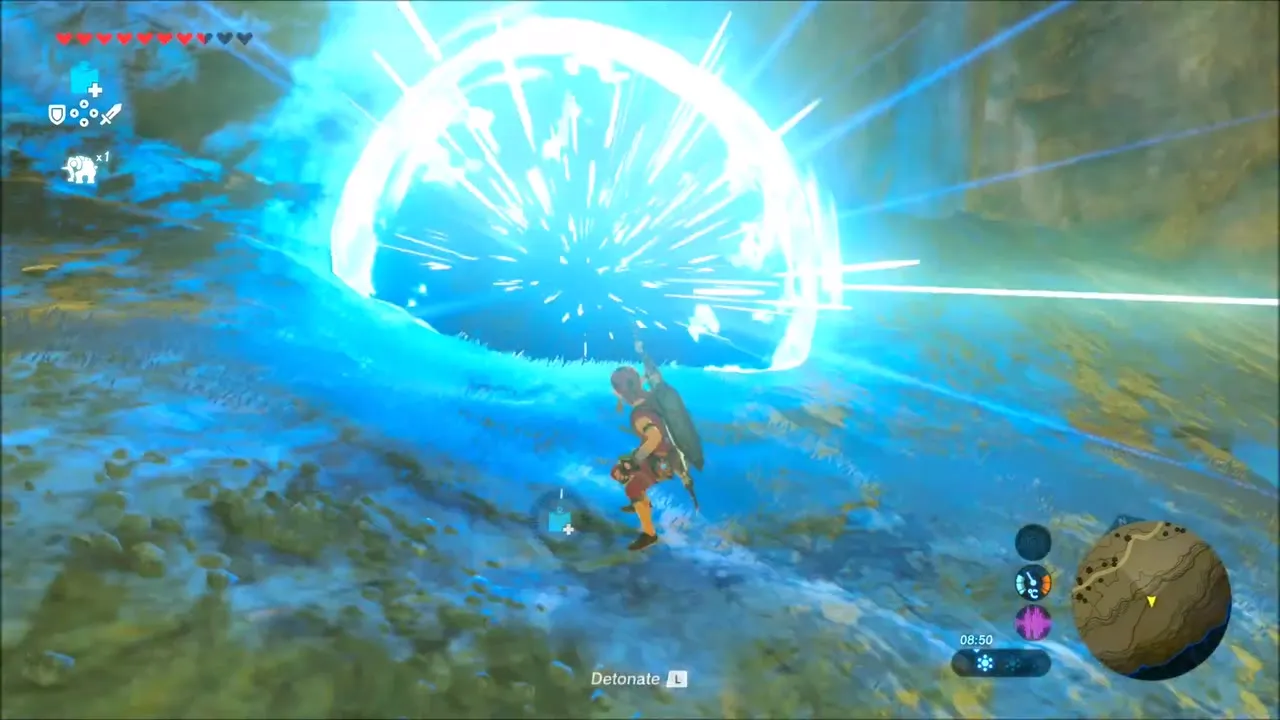
Ride to the foot of Lindor’s Brow, dismount and climb the rock face. In a small cave in the cliff, a Korok is hiding behind a plug of loose rock: set a remote bomb (Cryonis helps if you need a ledge to stand on), detonate it to clear the rubble, and the Korok pops out with a Korok seed. Keep climbing and you can pick up Amber and Rock Salt from the ore on the ledges.


Maag No’rah Shrine: Blessing Trial
Near the top of the cliff a cracked boulder plugs a hole in the rock wall. Blow it open with a bomb, climb in, and the Maag No’rah Shrine (trial: Maag No’rah’s Blessing, at (-1940, -1459), height 263) activates when you step up to it. It is a blessing shrine with no puzzle: open the chest for a Silver Rupee, then speak to the monk for the Spirit Orb.


Korok Seeds in the Cliff Caves and the Dry Canyon
Glide down from the shrine and search the next cave in the cliff. A second Korok is tucked into the back, behind rock that you blast open with another remote bomb, and it hands over a seed. A Stalmoblin patrols the cave, so deal with it first.



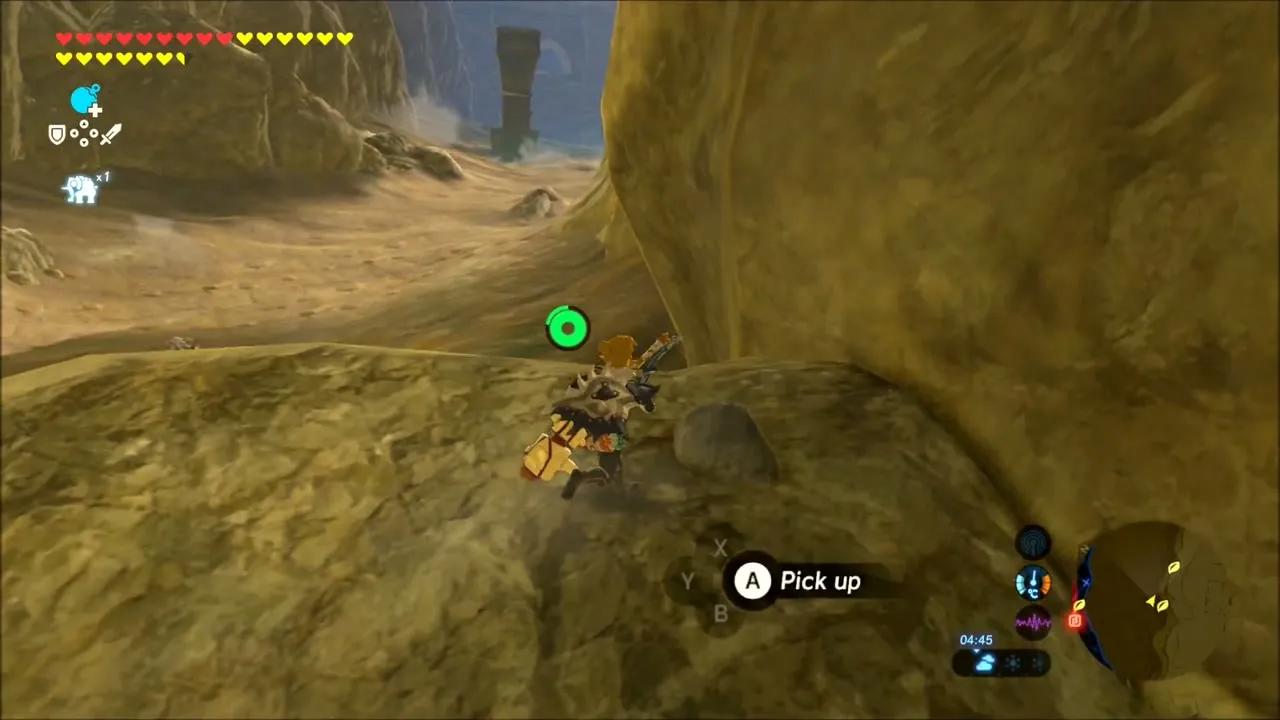
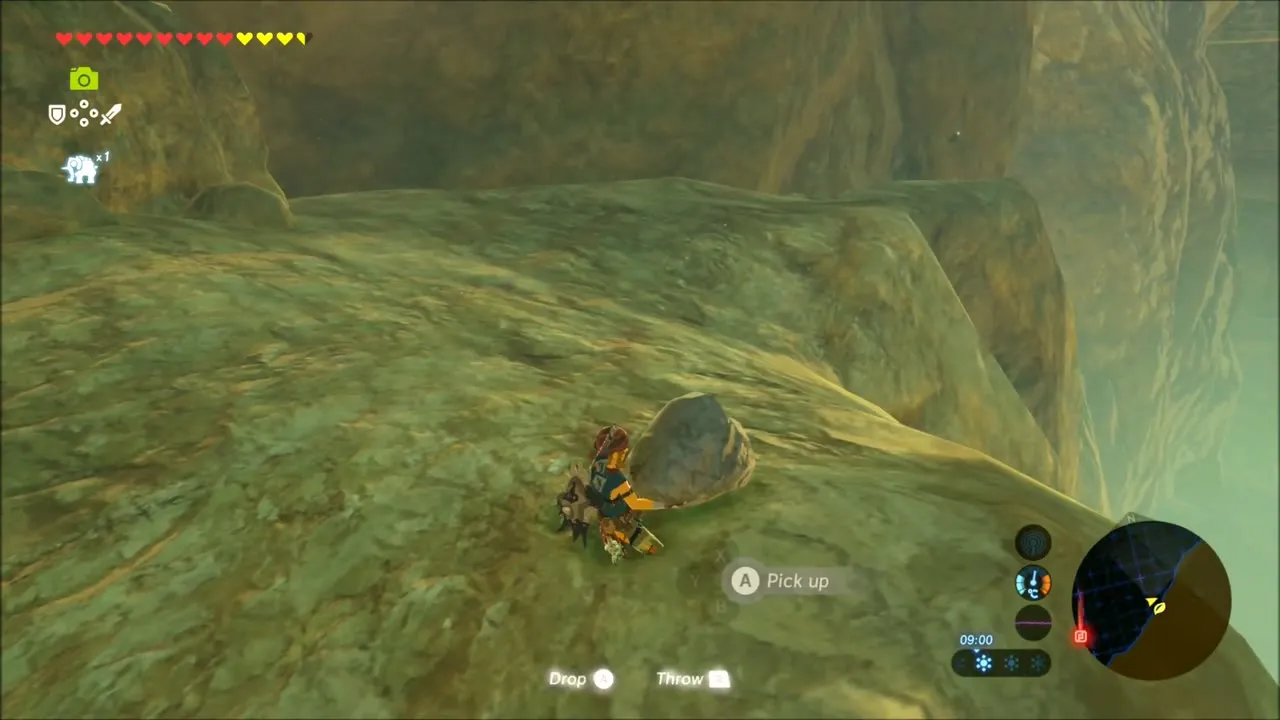
Down in the sandy canyon, two more Koroks hide under rocks. At the first, pick up the loose stone lying against the foot of the cliff and the Korok pops out. A little further on, a second stone sits in a nook at the wall: carry it clear of the spot and another Korok appears. That is two seeds in a short stretch of the canyon floor.


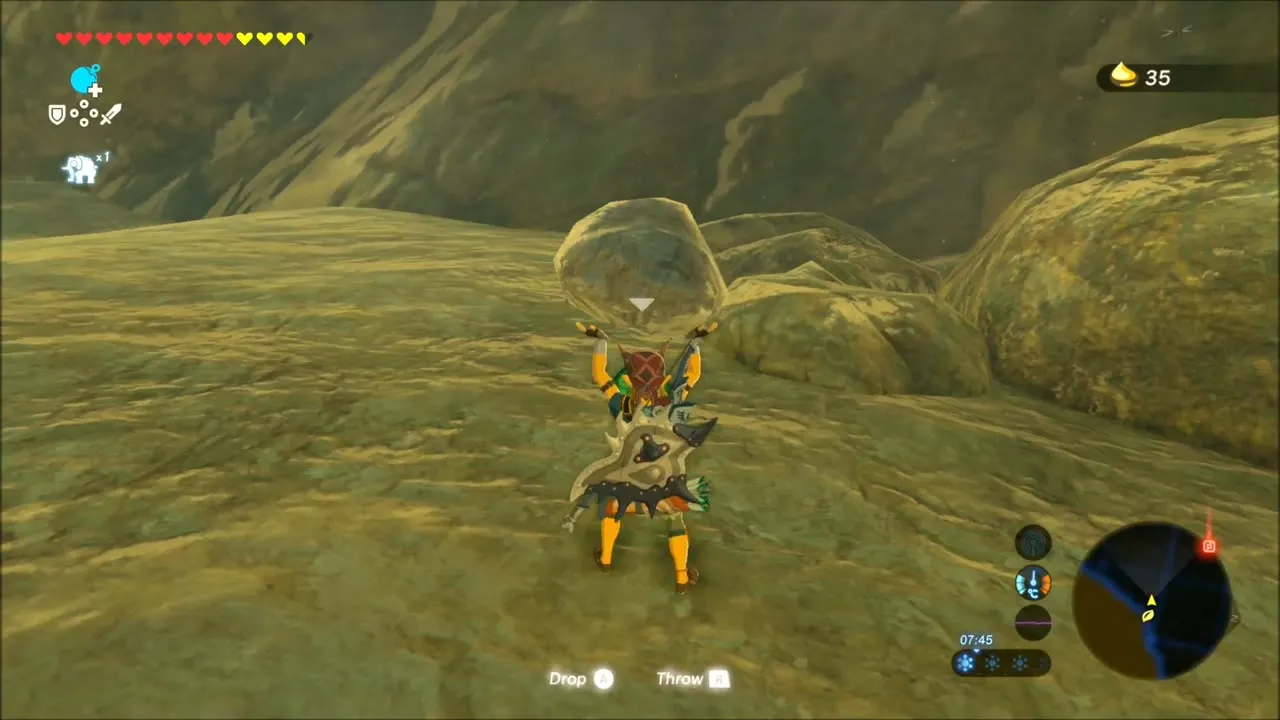
Climb the sandstone ledges above the canyon floor for two more seeds. On each high shelf a loose stone is lying on the rock: lift it, and a Korok appears from under it with its seed. Together with the caves and the canyon floor, that is six seeds around Lindor’s Brow.


Serenne Stable: Register a New Horse
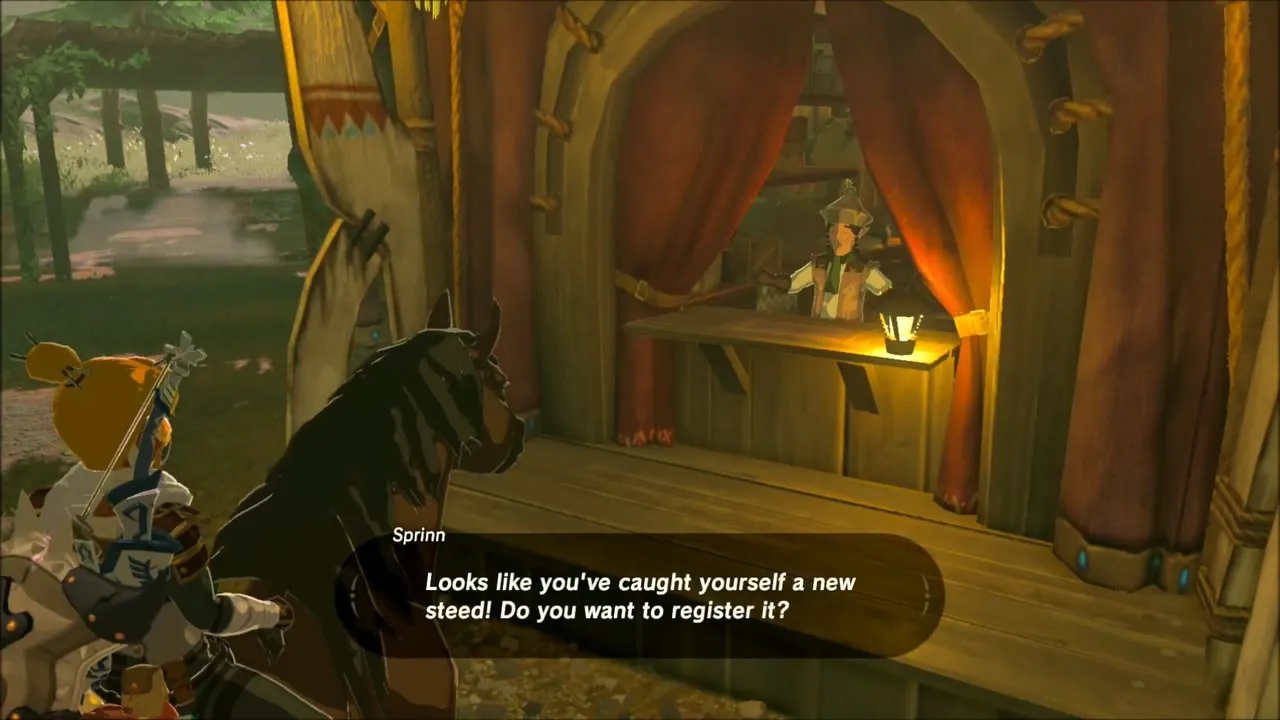
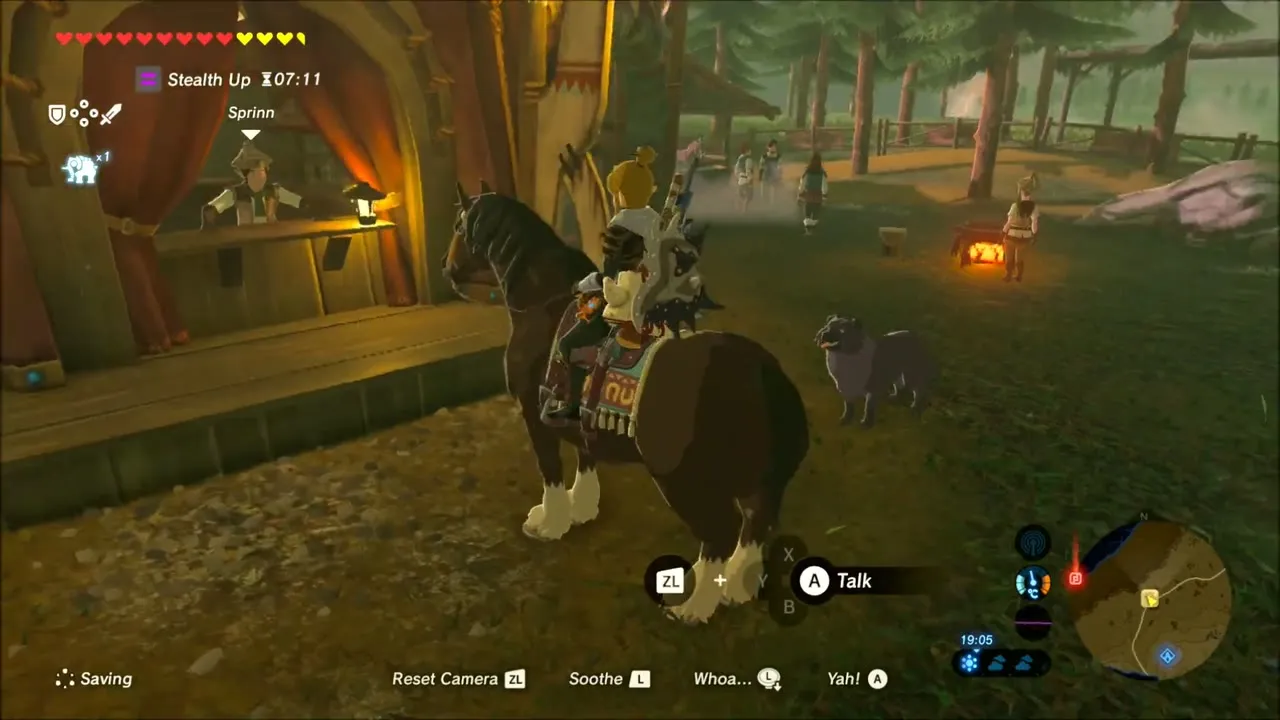
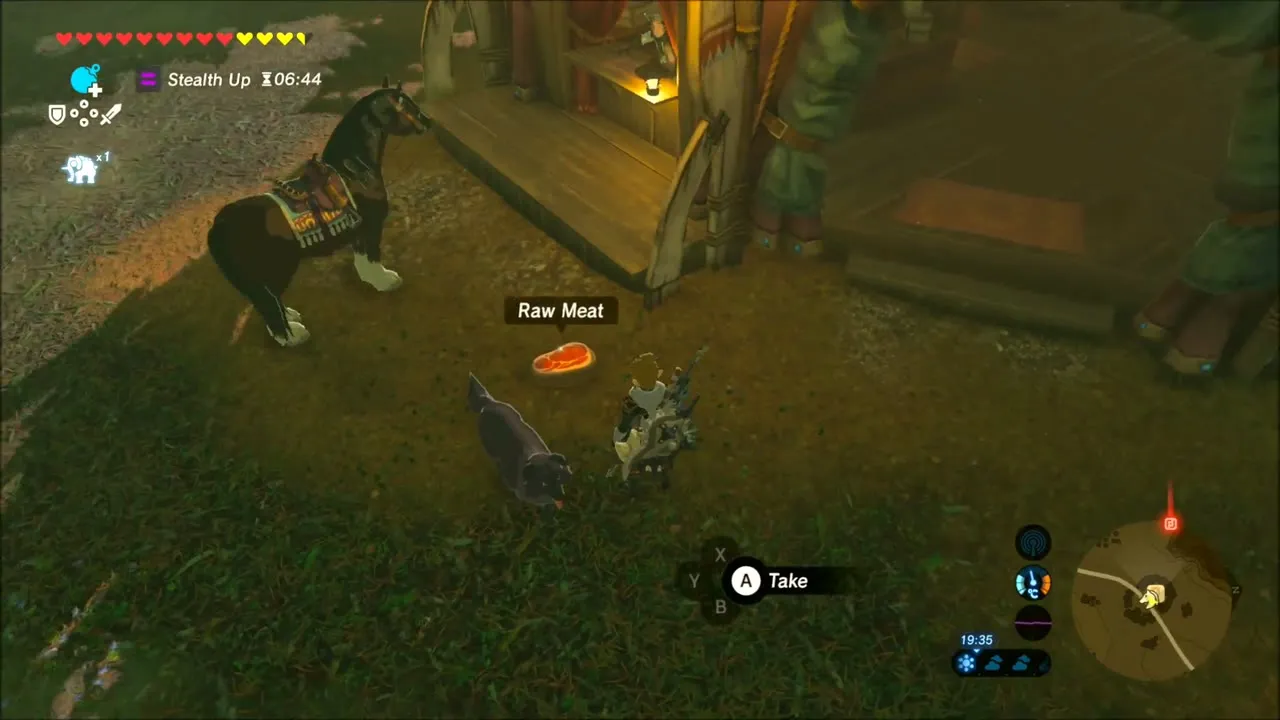
At nightfall ride east to Serenne Stable, at about (-1559, -1799). Talk to Sprinn at the counter to register the horse you caught on the way (it is named Hades in your stable list). Beedle‘s travelling shop is also camped near the stable, so you can sell spare Amber and gems. A dog outside leads you to a piece of raw meat.

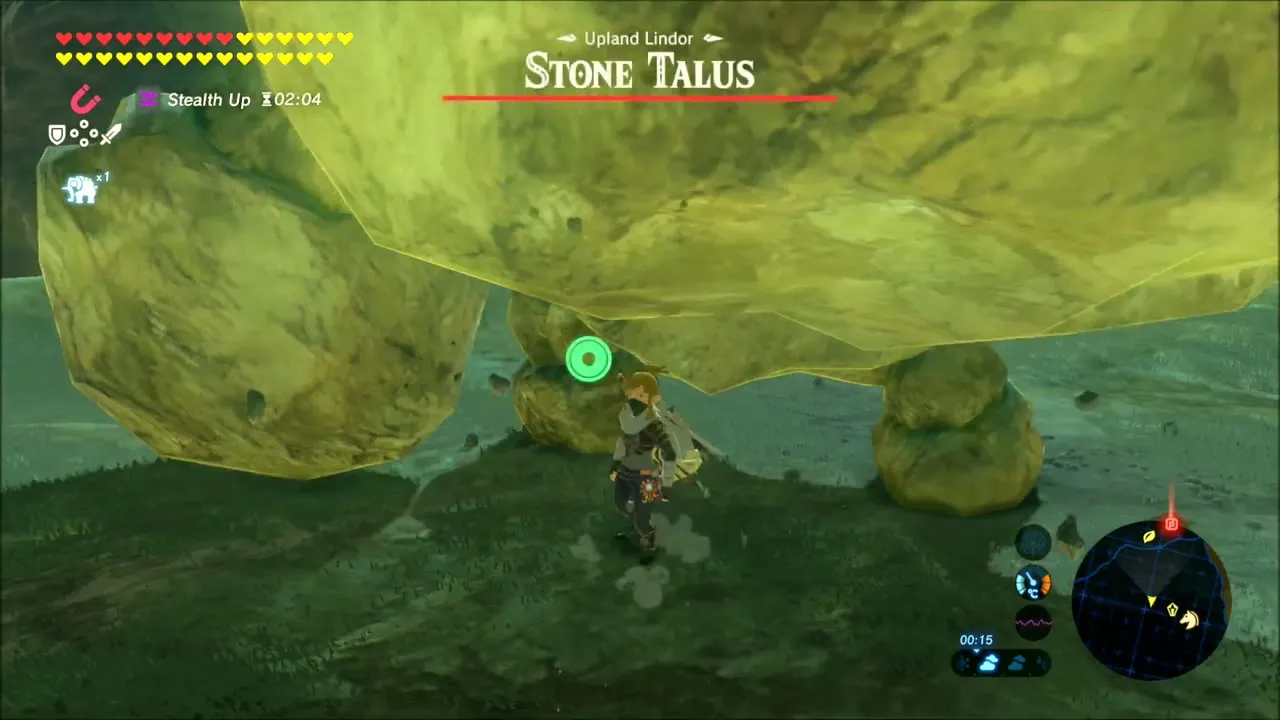
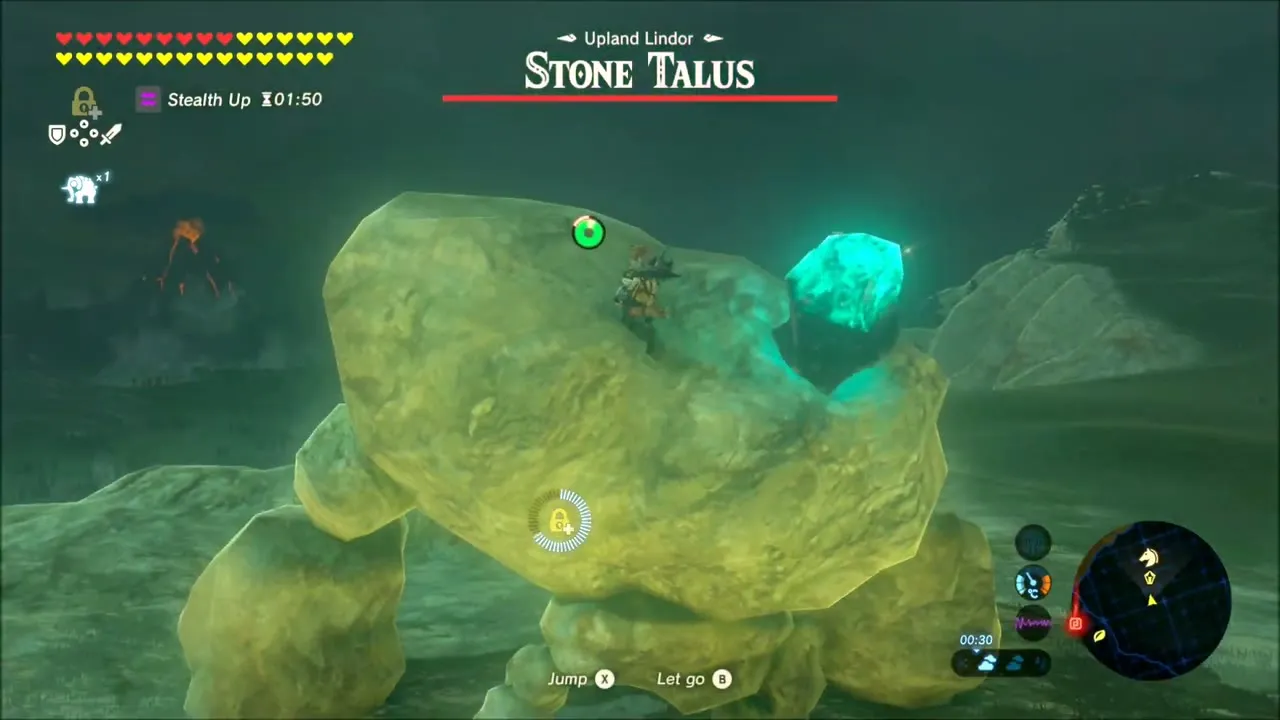
Stone Talus at Upland Lindor
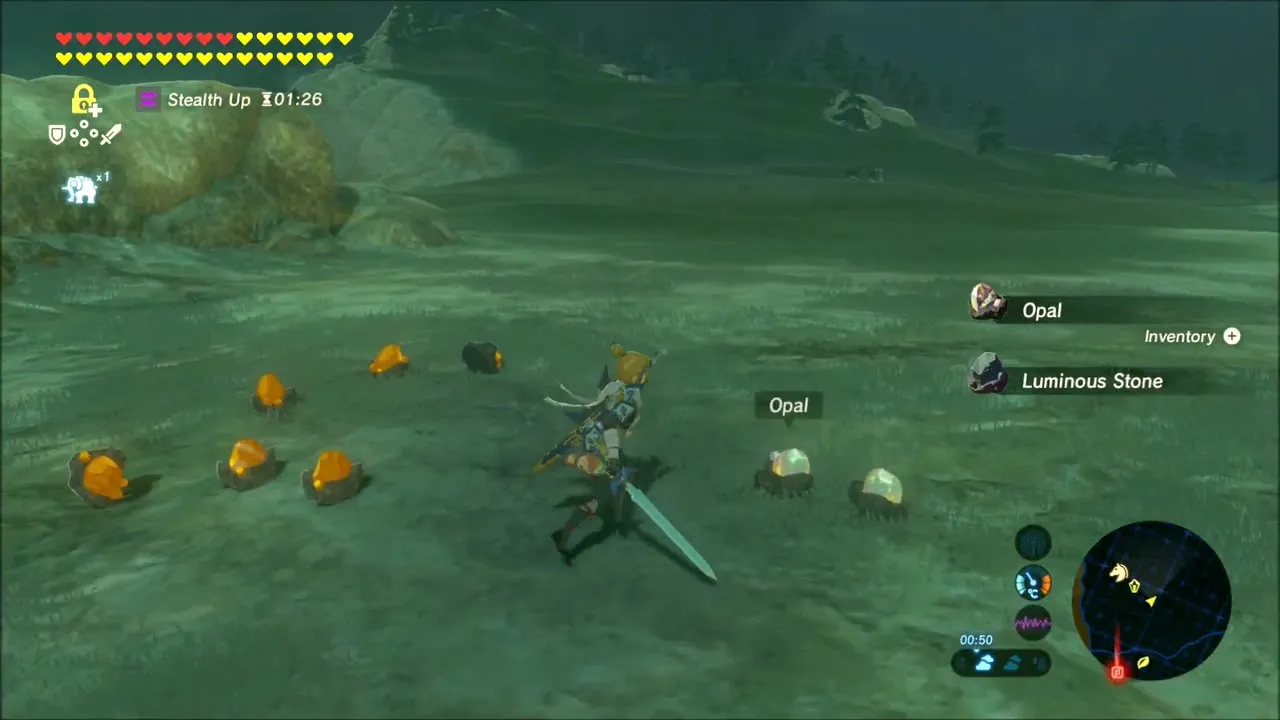
North of the stable, in Upland Lindor, you meet a Stone Talus. Stay close and use the glowing ore on its back as the weak spot to bring it down. When it falls, it drops a handful of Amber, a good reward for the fight.

A Cave Korok and the Abandoned Snow Camp
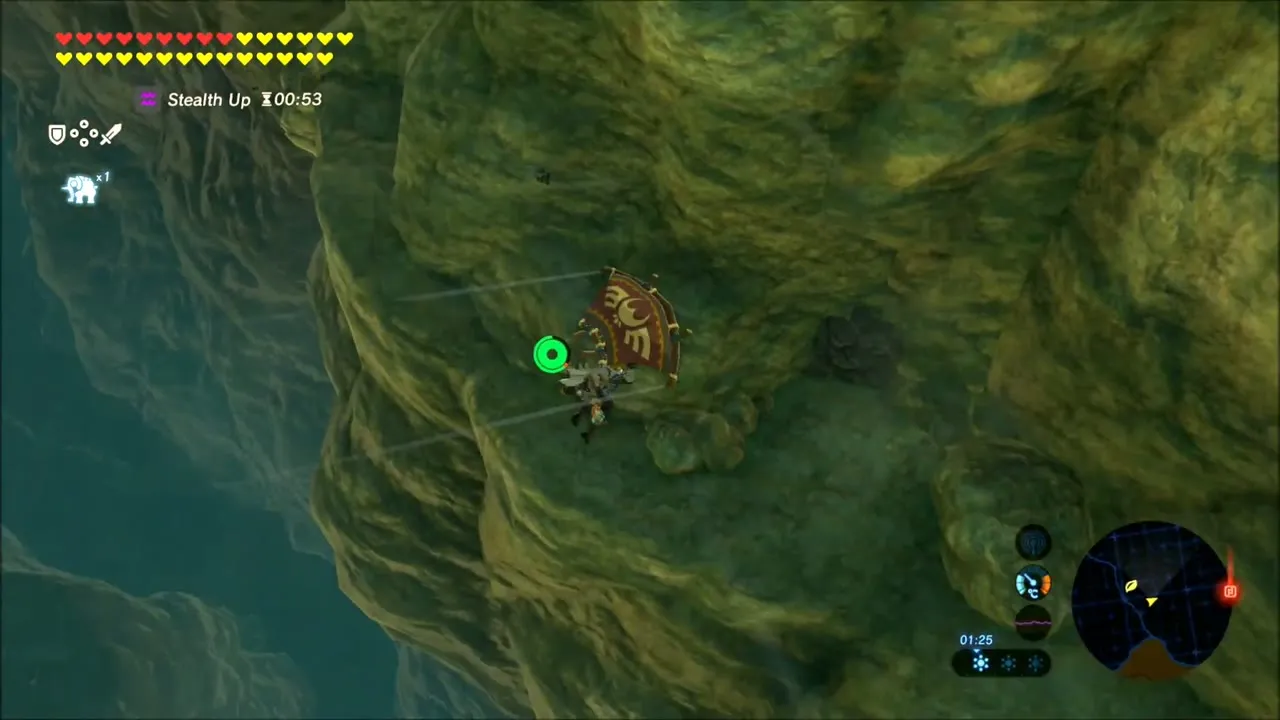
Glide down from the ridge into a cliffside cave with waterfalls. A Korok is hiding at the back wall: blast the dark patch of rock with a remote bomb, move the loose stone, and the Korok appears with a seed.


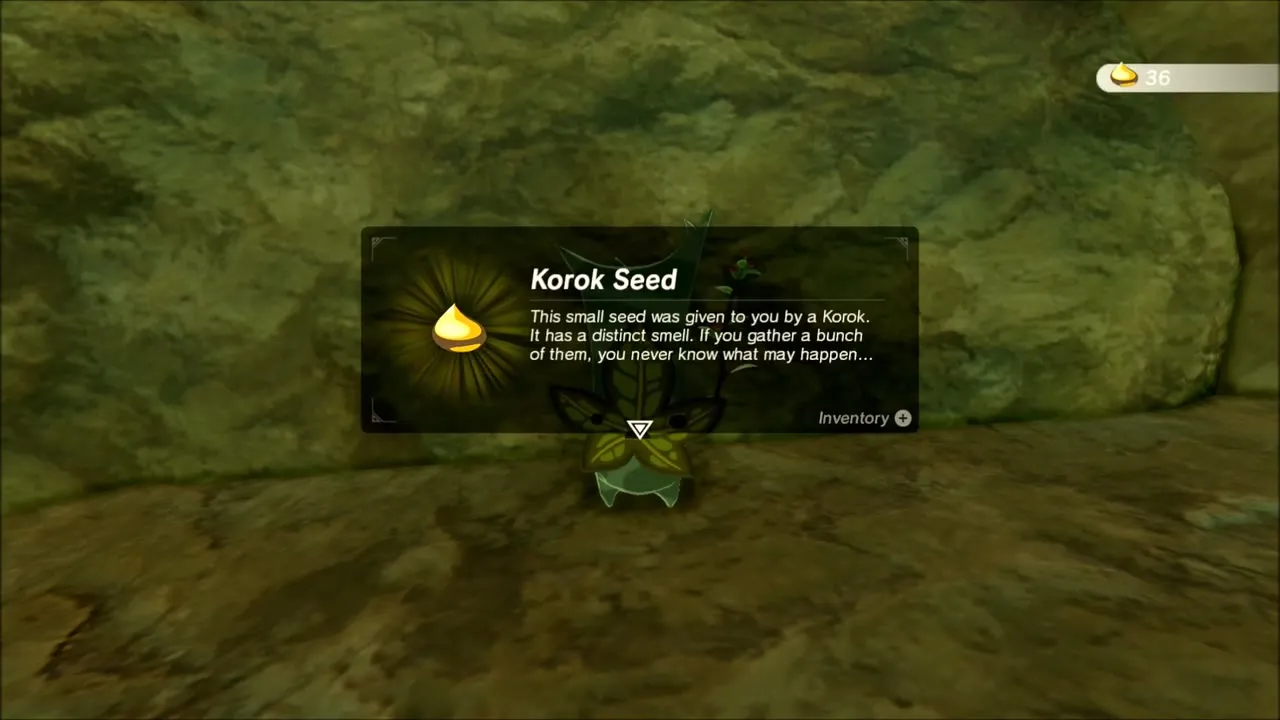
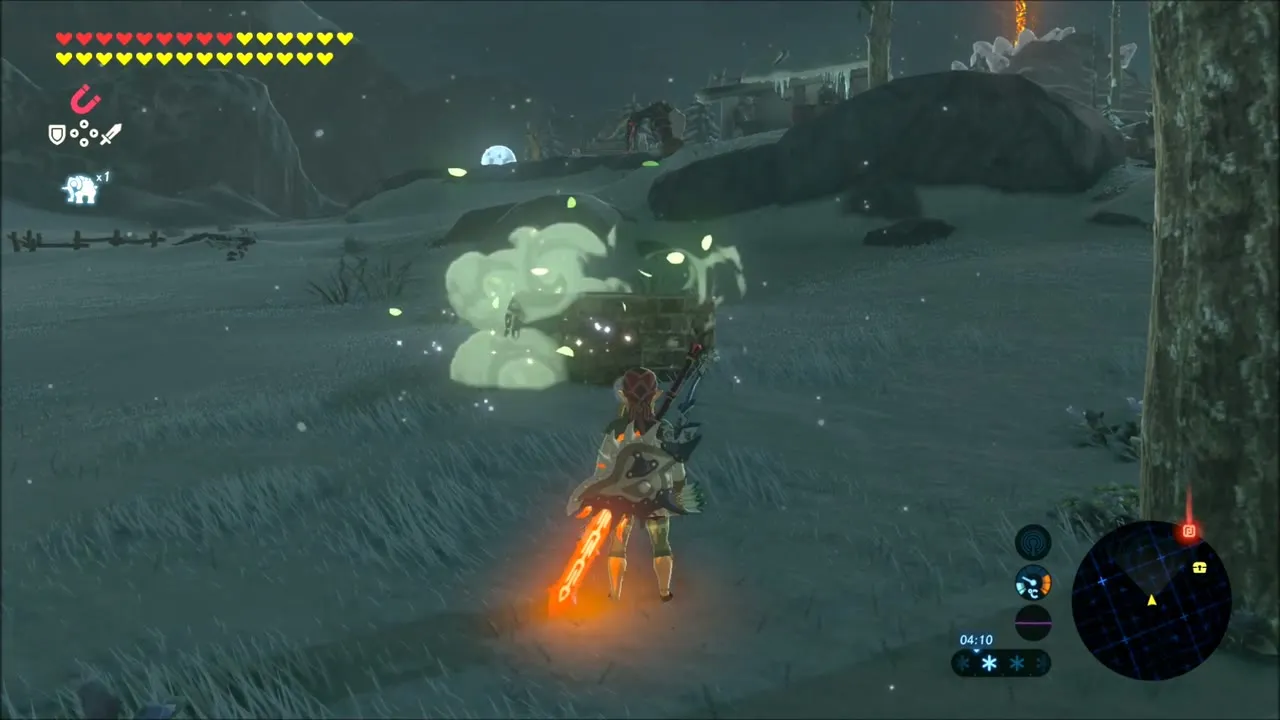
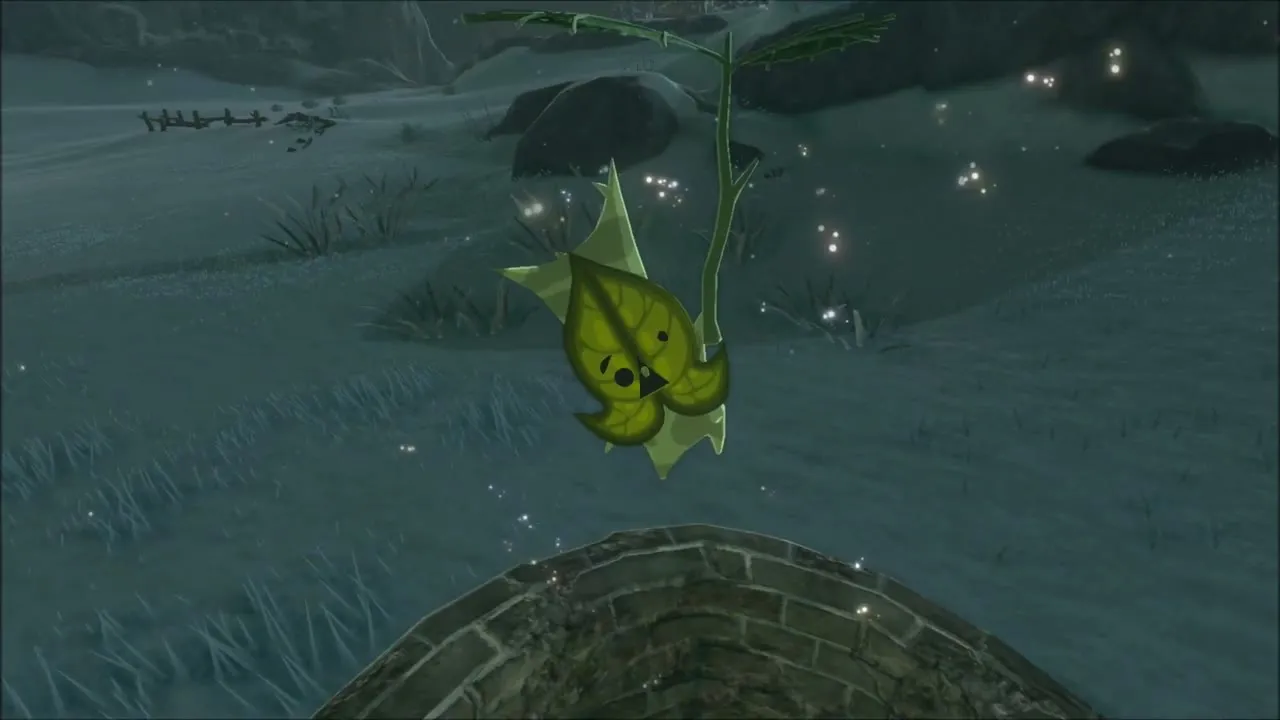
Continue north into the Hebra snow, where it gets bitterly cold; wear a Warm Doublet or similar before you go. At the abandoned shacks, a Korok hovers on its leaf beside a low round wall of stones in the snow. Walk up to it and it gives you the seed. Icy Lizalfos and Bokoblins roam the area, so fight them from the shelter of the old shacks. That makes eight seeds on this stretch of the route.

Falcon Bow and the Way to Hebra Tower
In the wrecked shacks of the snow camp, search through the debris for chests. One contains a Knight’s Bow, and another holds a few arrows. Take what you need and follow the slope toward the tower.


Hebra Tower: Unlock the Map
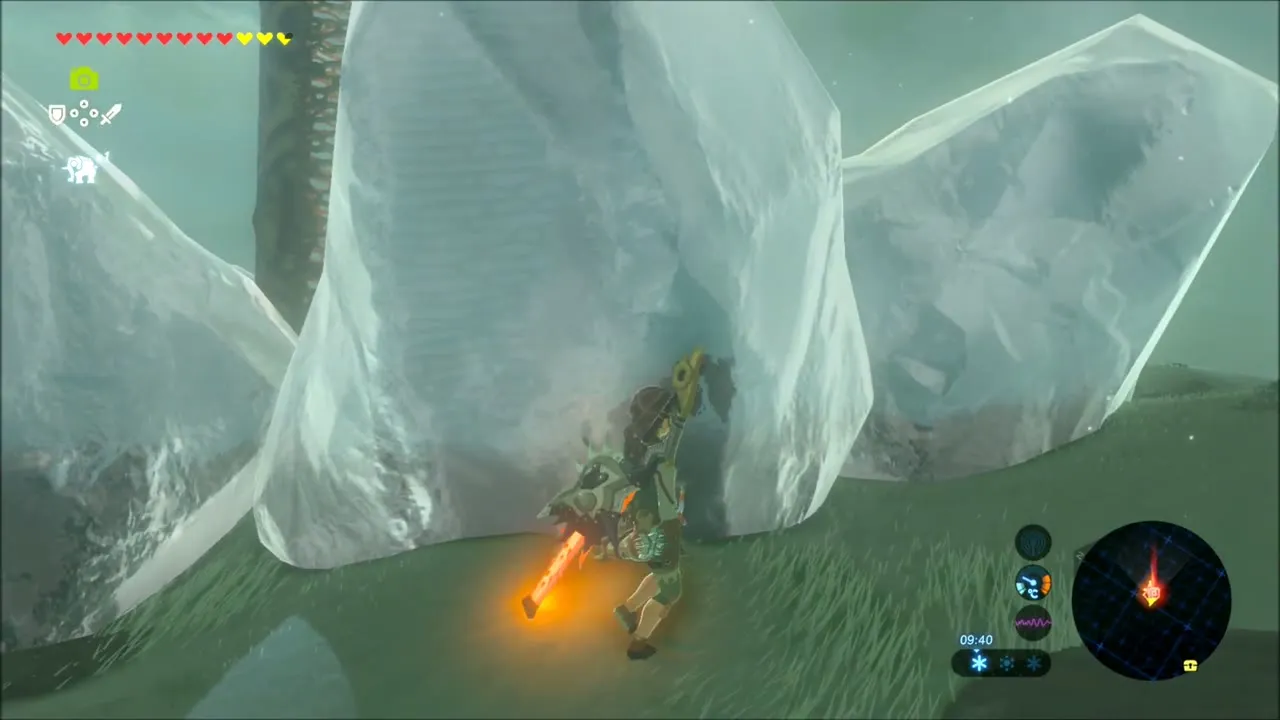
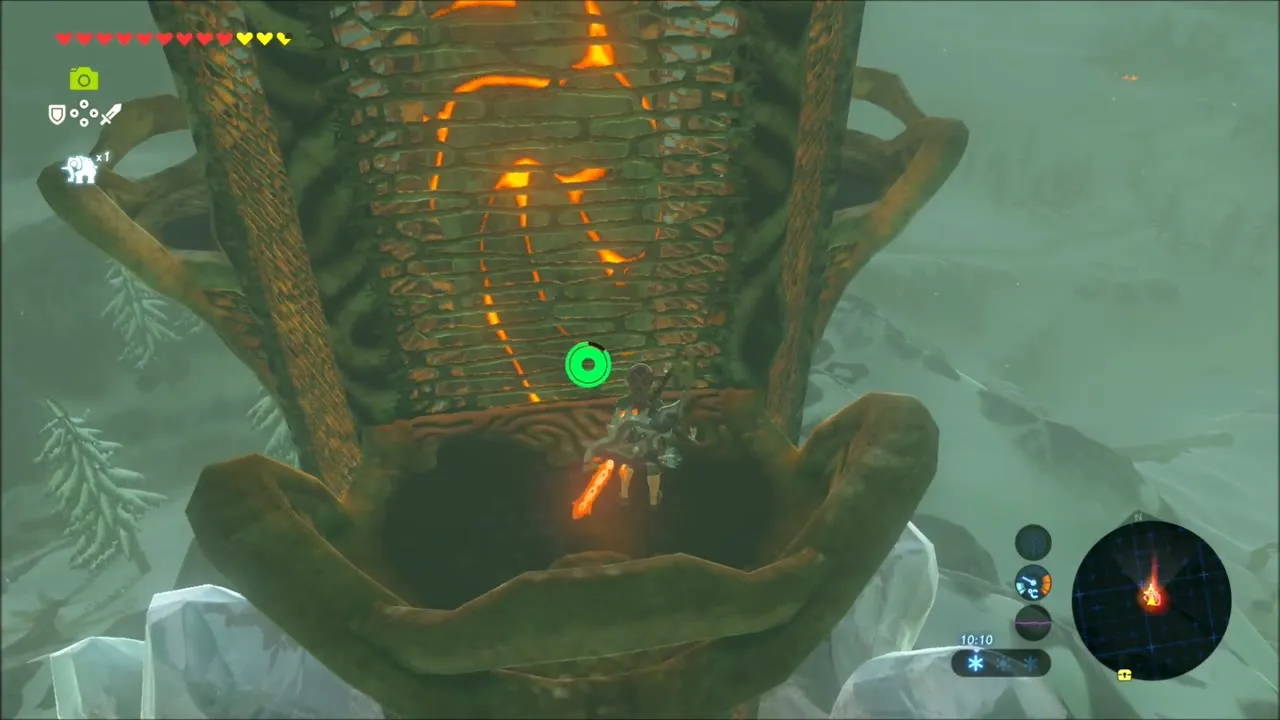
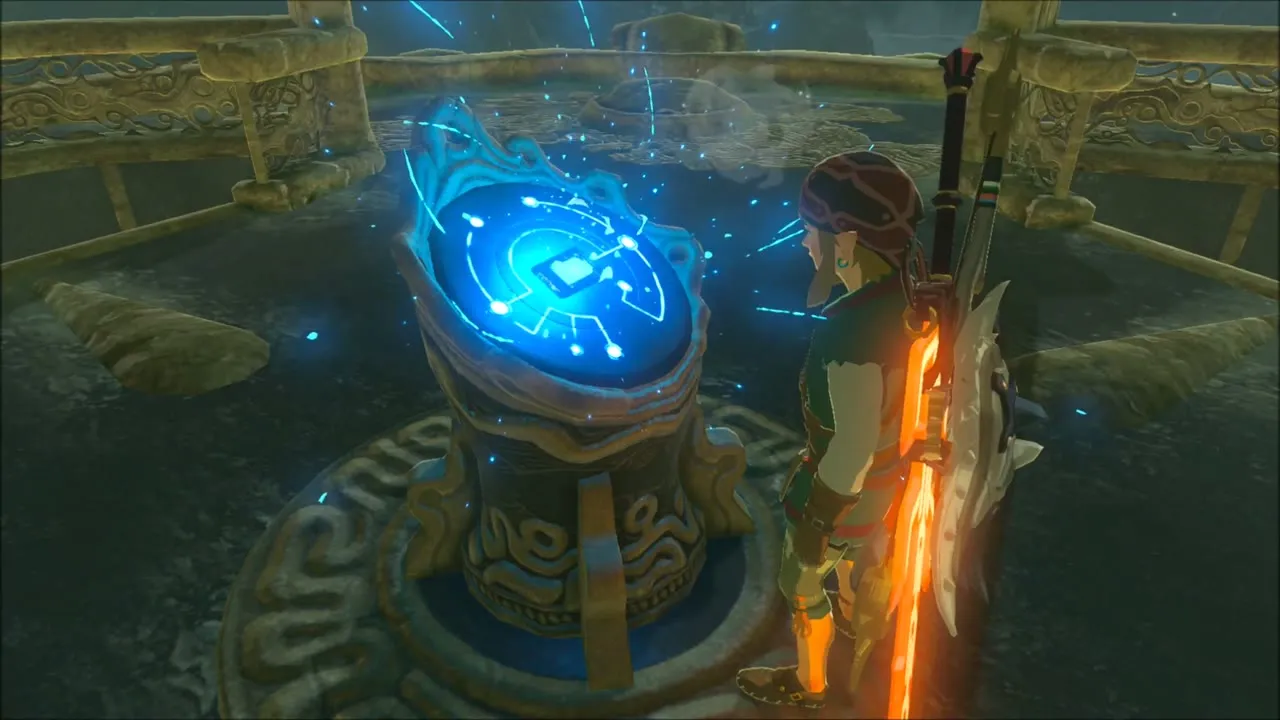
Hebra Tower stands at (-2173, -2034), height 550. Its base is crusted with ice: burn the ice away, climb the tower to the top, and place the Sheikah Slate on the pedestal to download the Hebra map. From the platform you can see across the snowy peaks of the whole region, so use the view to pin the locations you still need before you go on.

Pondo’s Lodge: Snowball Bowling
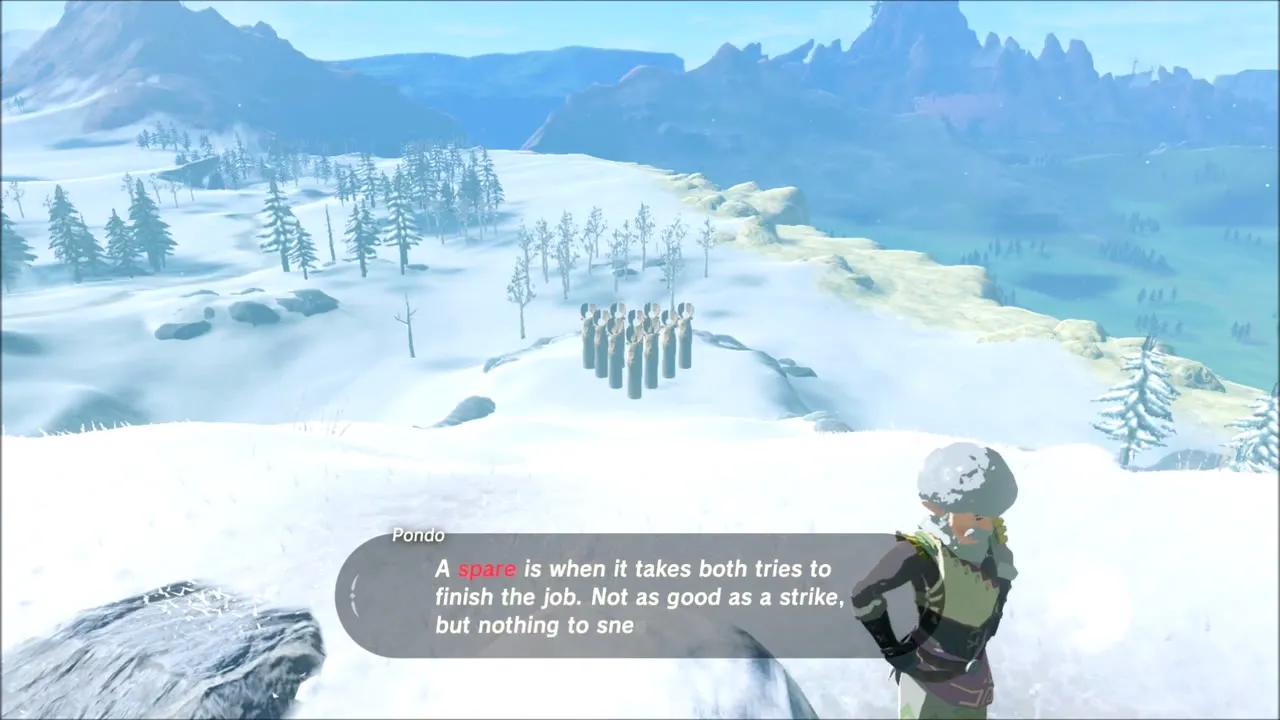
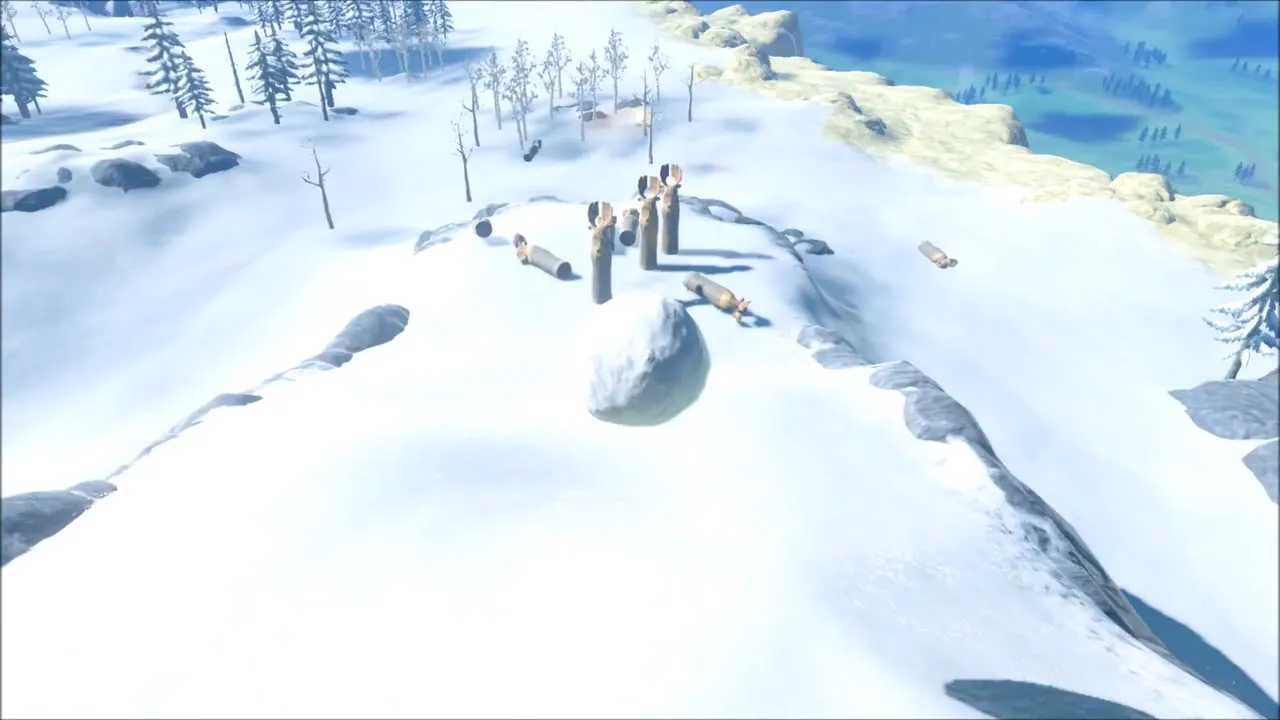
Glide off the tower to Pondo’s Lodge at (-2077, -2081), just to the northeast. Talk to Pondo, pay 20 rupees and play Snowball Bowling: roll a snowball down the hill and knock over all ten pins. Standing behind Pondo and throwing over his head is the most reliable shot, and a strike pays a Gold Rupee. A less perfect score still earns a smaller rupee prize, such as the Blue Rupee you can win here.


Korok Seeds Across the Tabantha Snowfield
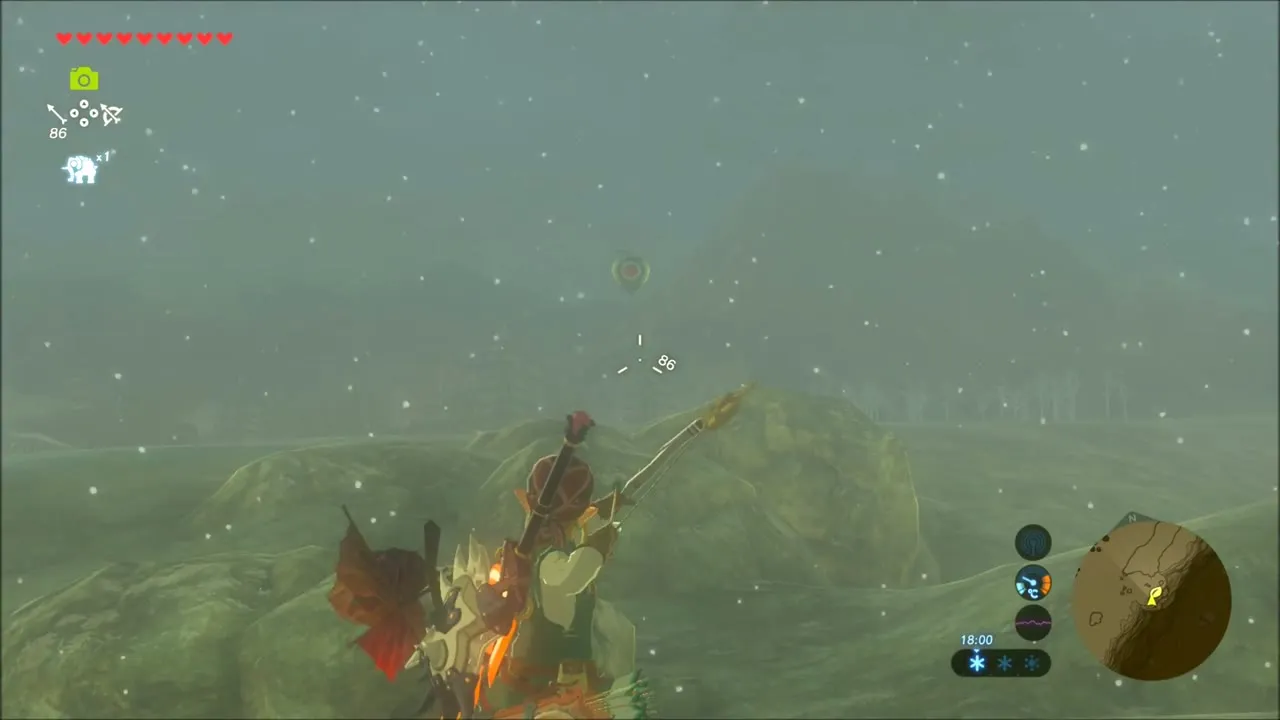
Leave the lodge and cross the snow. At a hilltop, a Korok hangs in the air above you: shoot it down with an arrow and it gives you a seed. Further on, in the pine forest, lies a rock on the forest floor. Clear the spot with a bomb, then lift the rock and the Korok underneath hands over its seed.


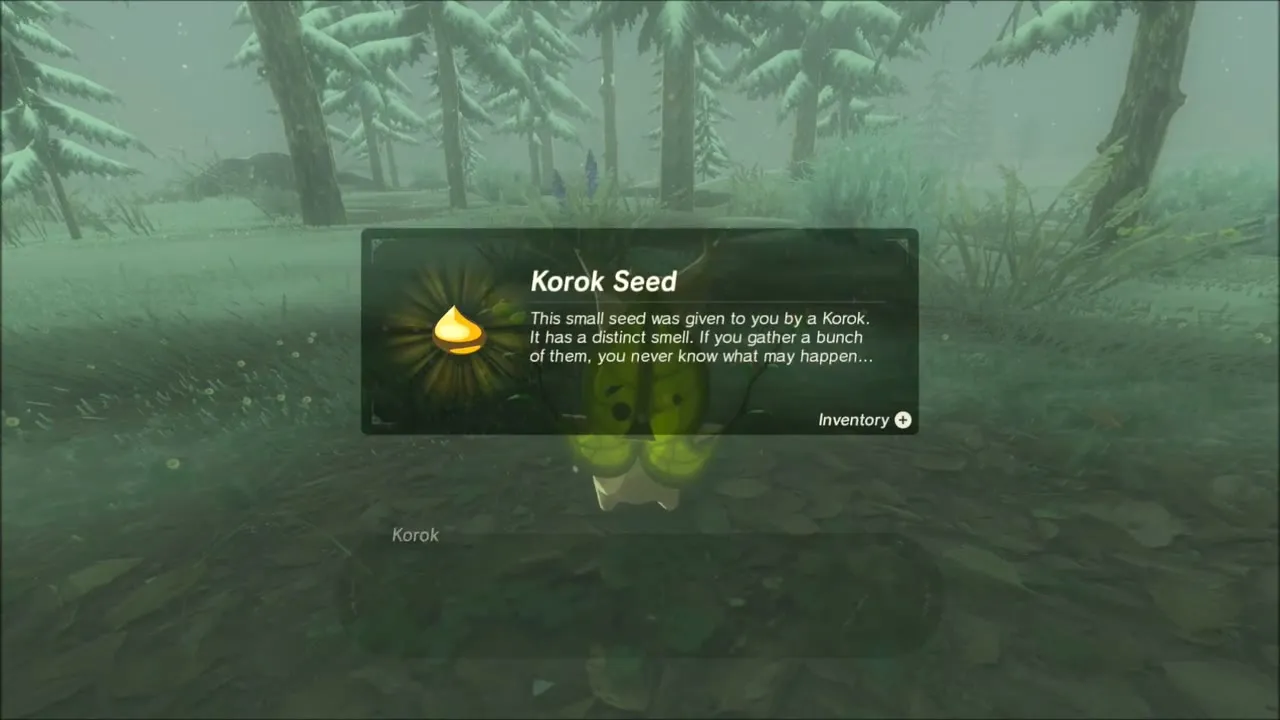
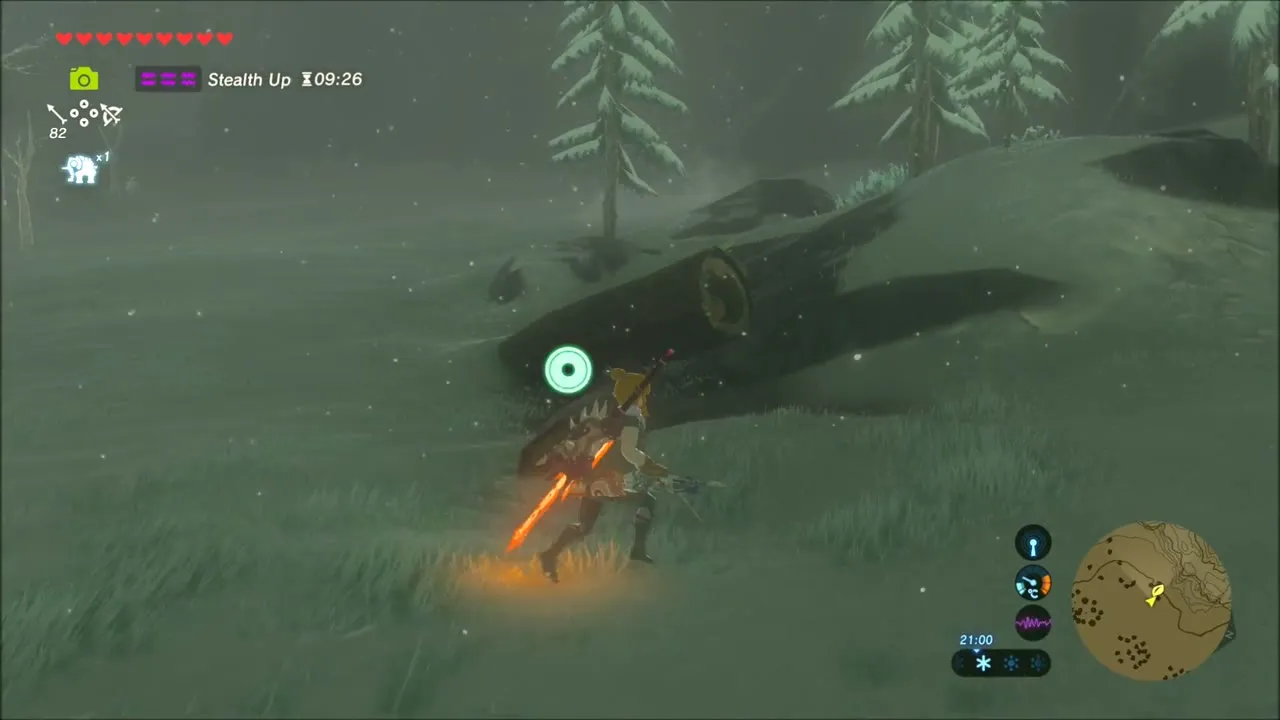
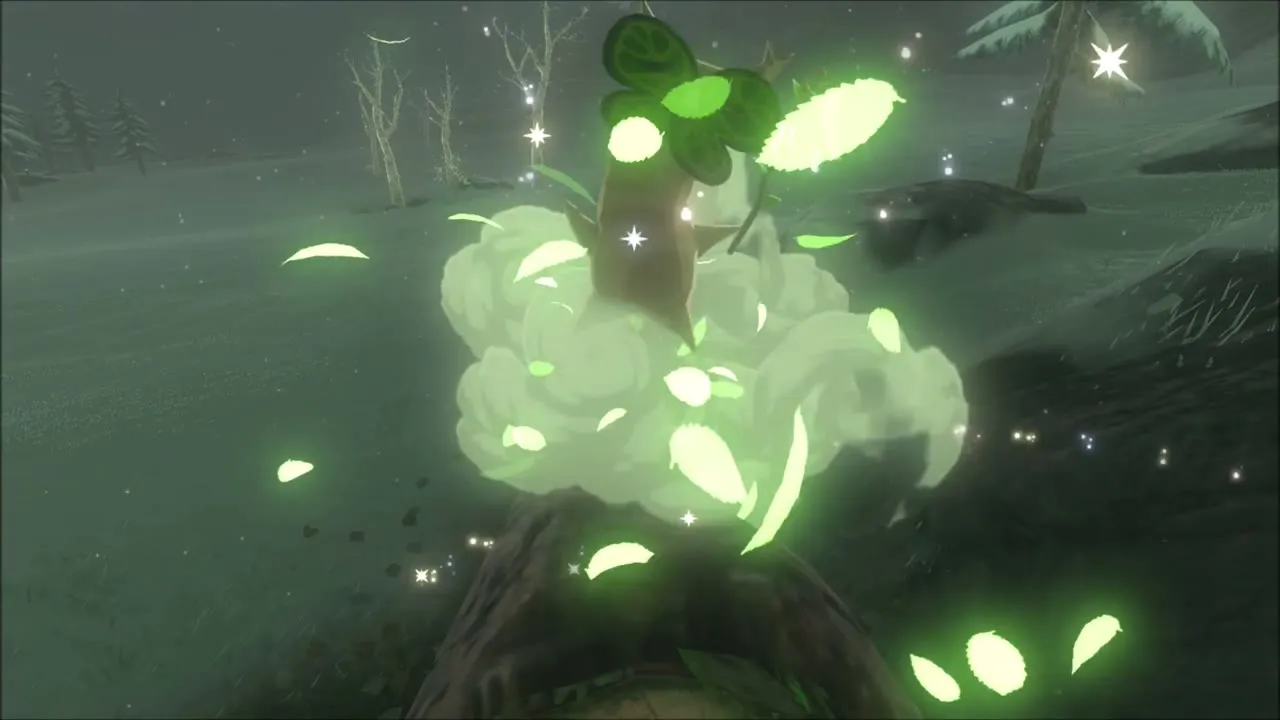
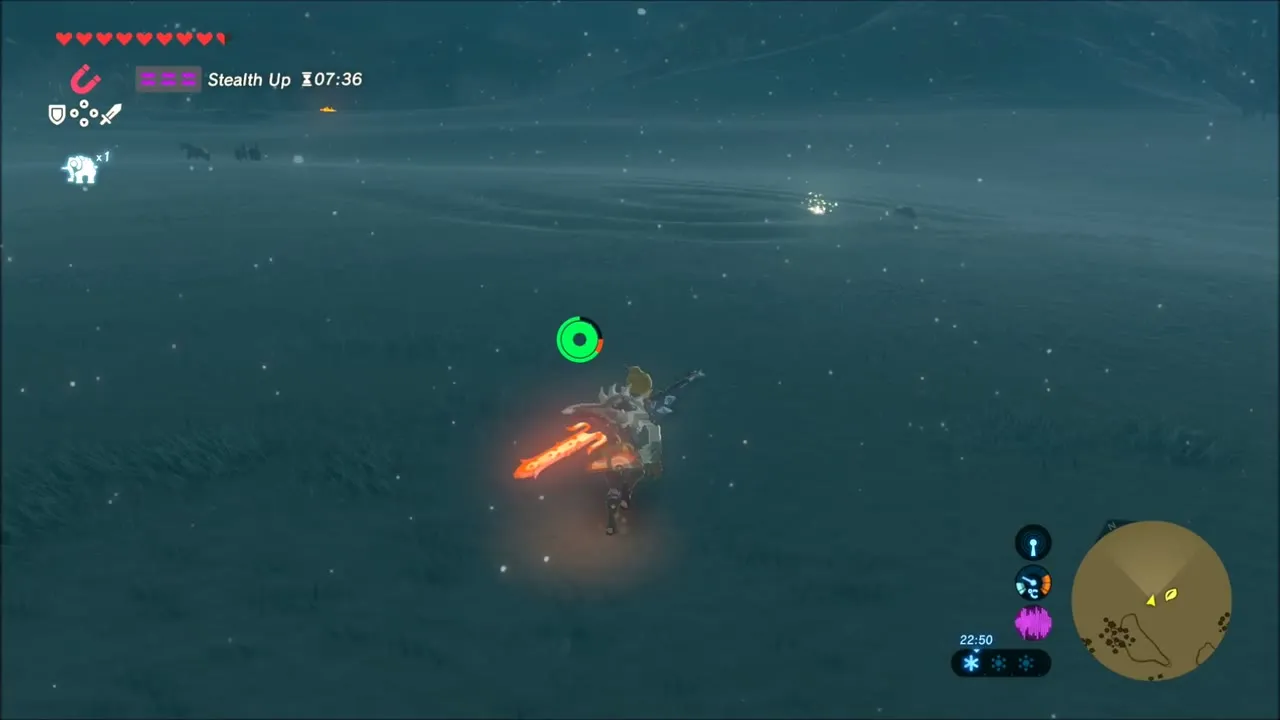
On the open meadow near some small pines is a fallen log: approach it and a Korok appears on top, ready to hand over a seed. Later, on the dark snowy plain at night, a faint sparkle on the ground gives away another Korok; walk up to it and it pops out with a fourth seed for this stretch.
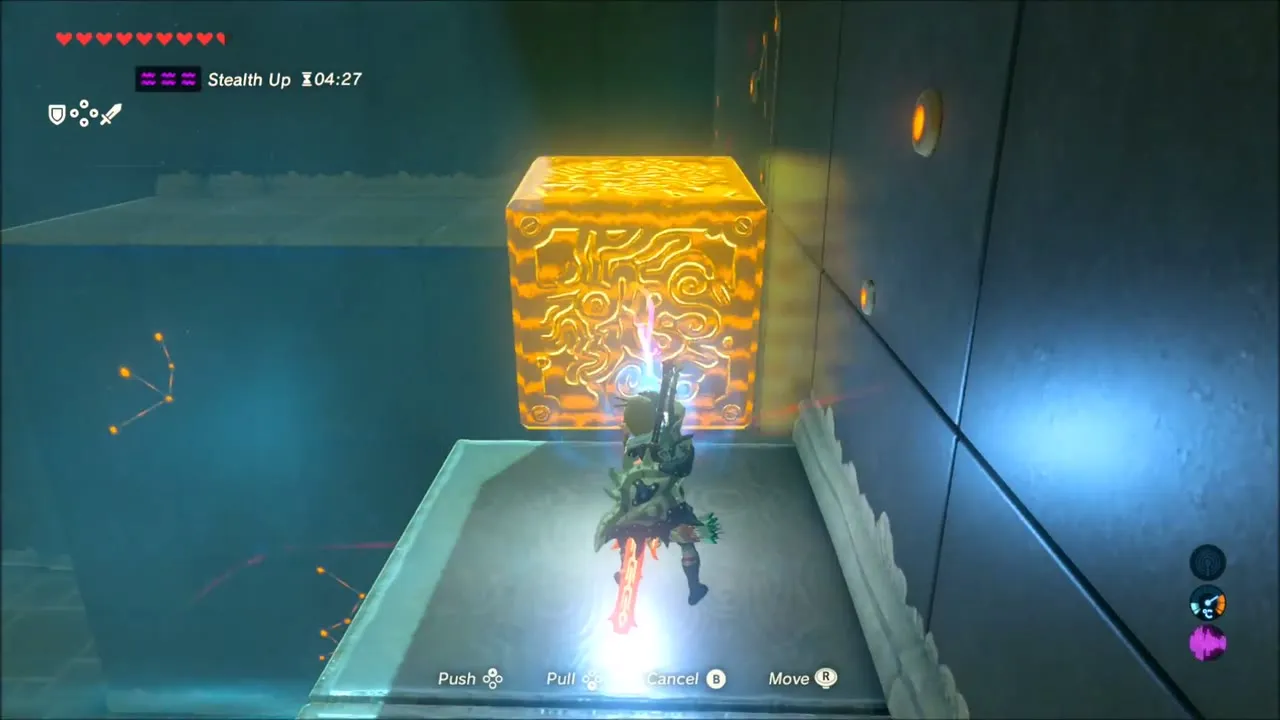
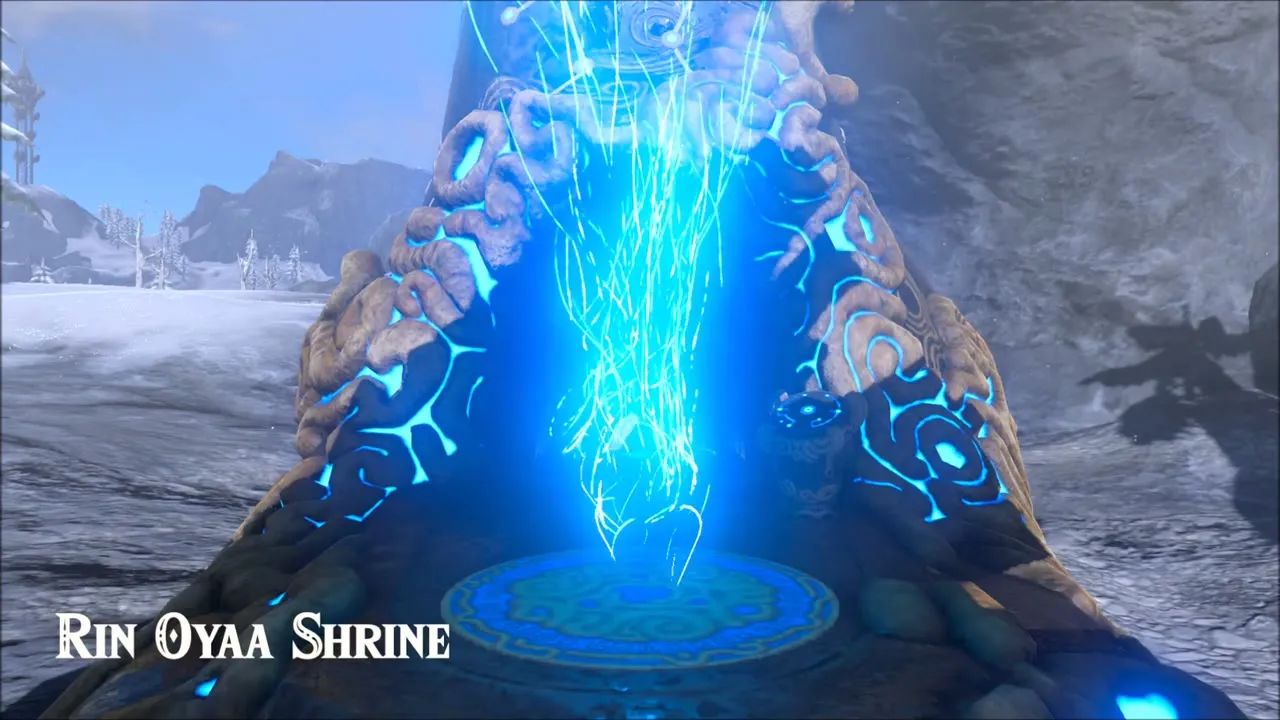
Rin Oyaa Shrine: Directing the Wind (Magnesis)
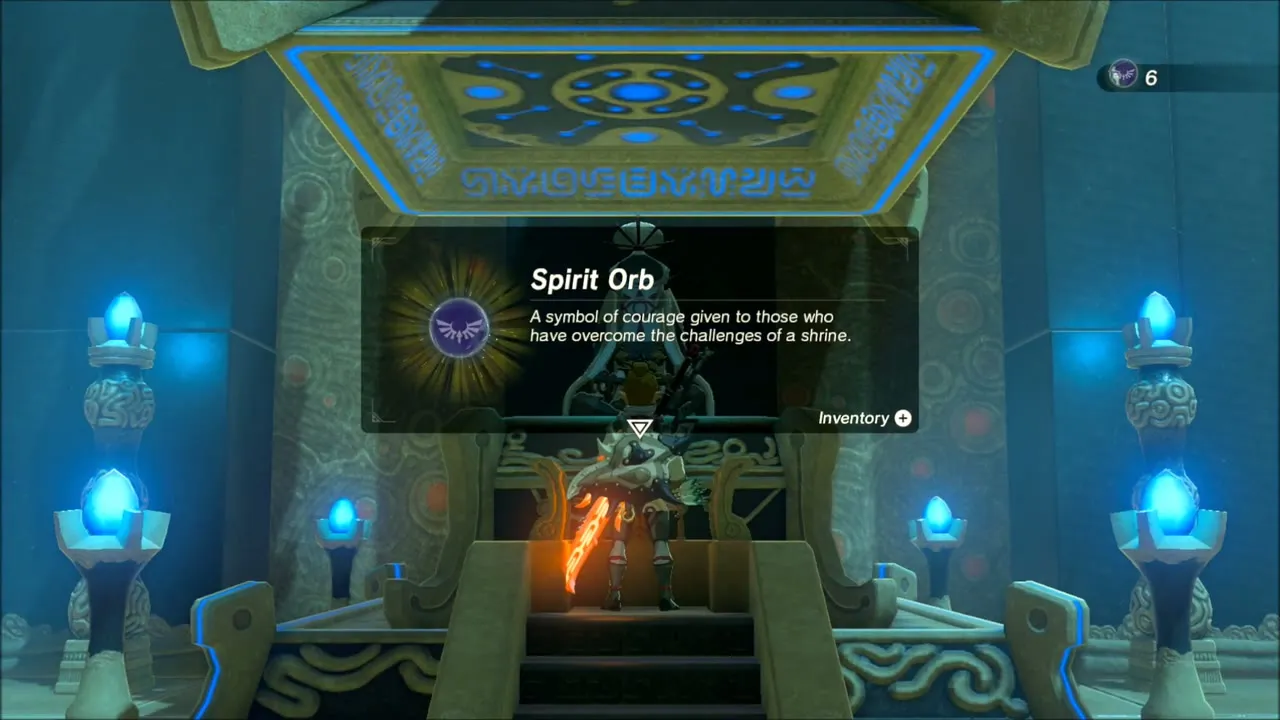
The Rin Oyaa Shrine (trial: Directing the Wind, at (-1720, -2555), height 349) is just west of Snowfield Stable. Six fans blow around the room. Use Magnesis to park metal boxes in front of the right fans, release the orange orb so the air currents carry it up the ramp into the receptacle, and ride the platform to the monk. At the top, turn left, shift the box with Magnesis to cross over, and open the chest for an Ancient Core. Then speak to Monk Rin Oyaa for the Spirit Orb.


Snowfield Stable and the Stalhorse: Pictured! Quest
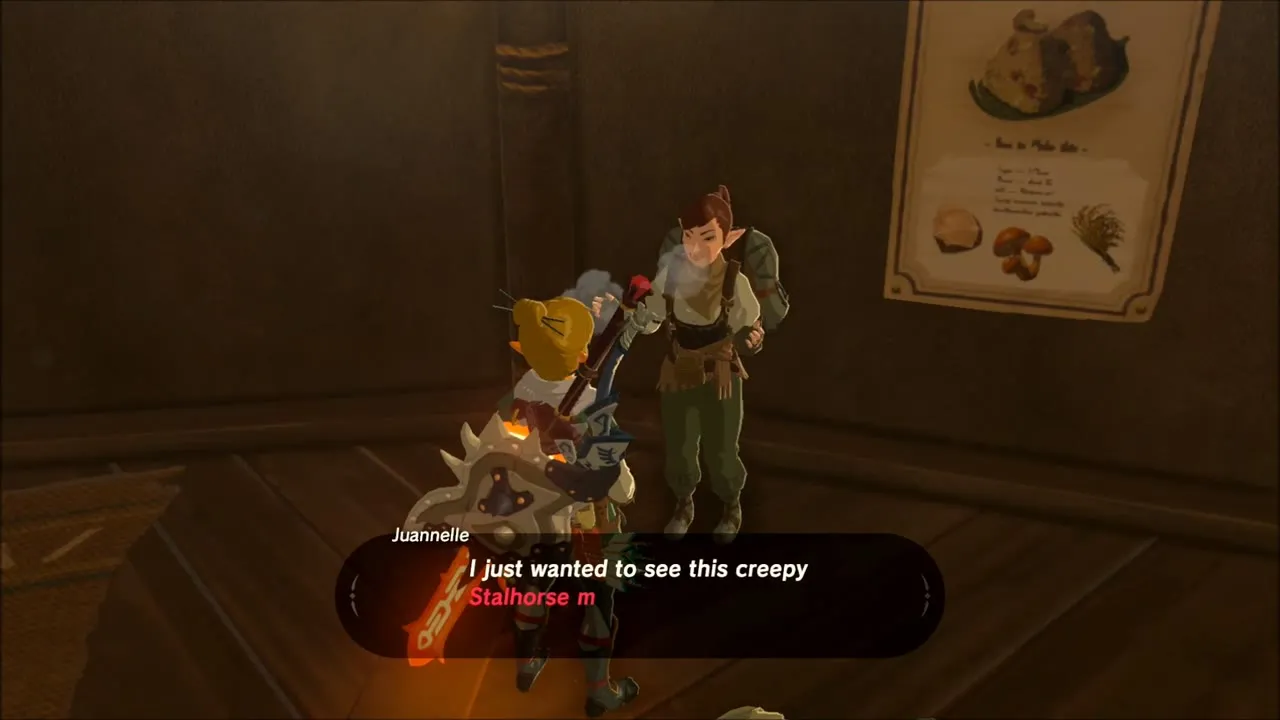
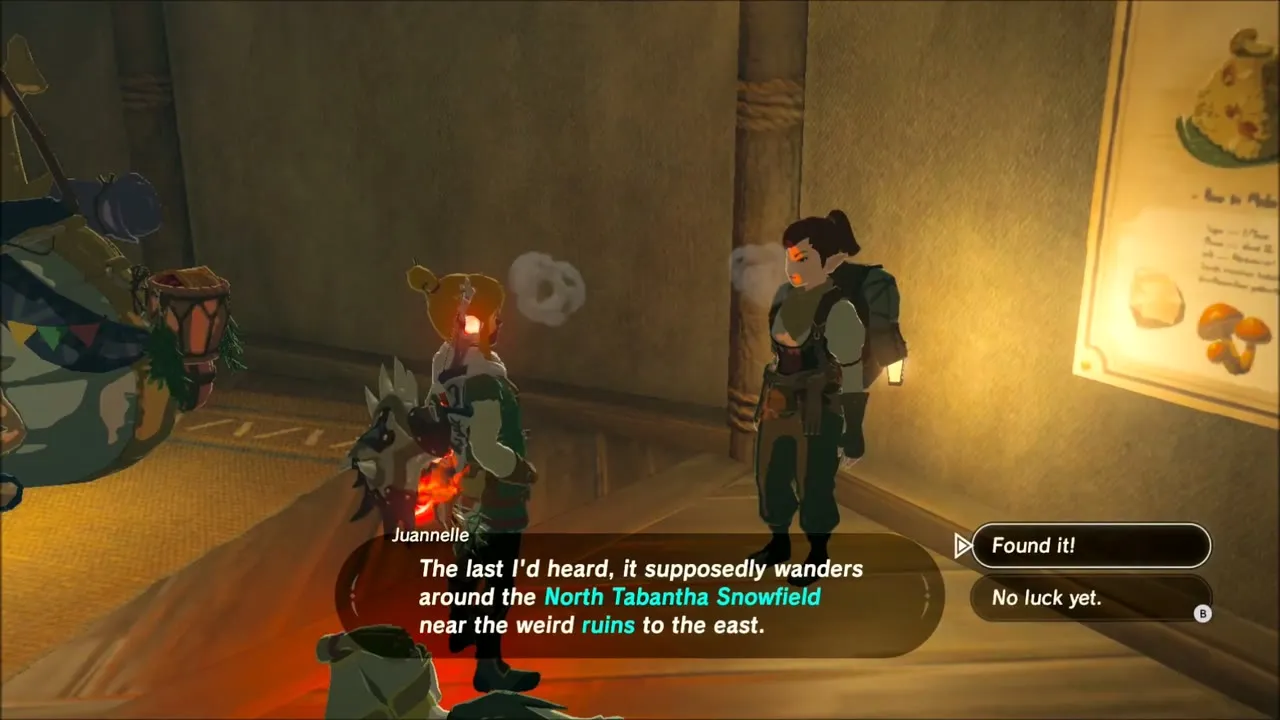
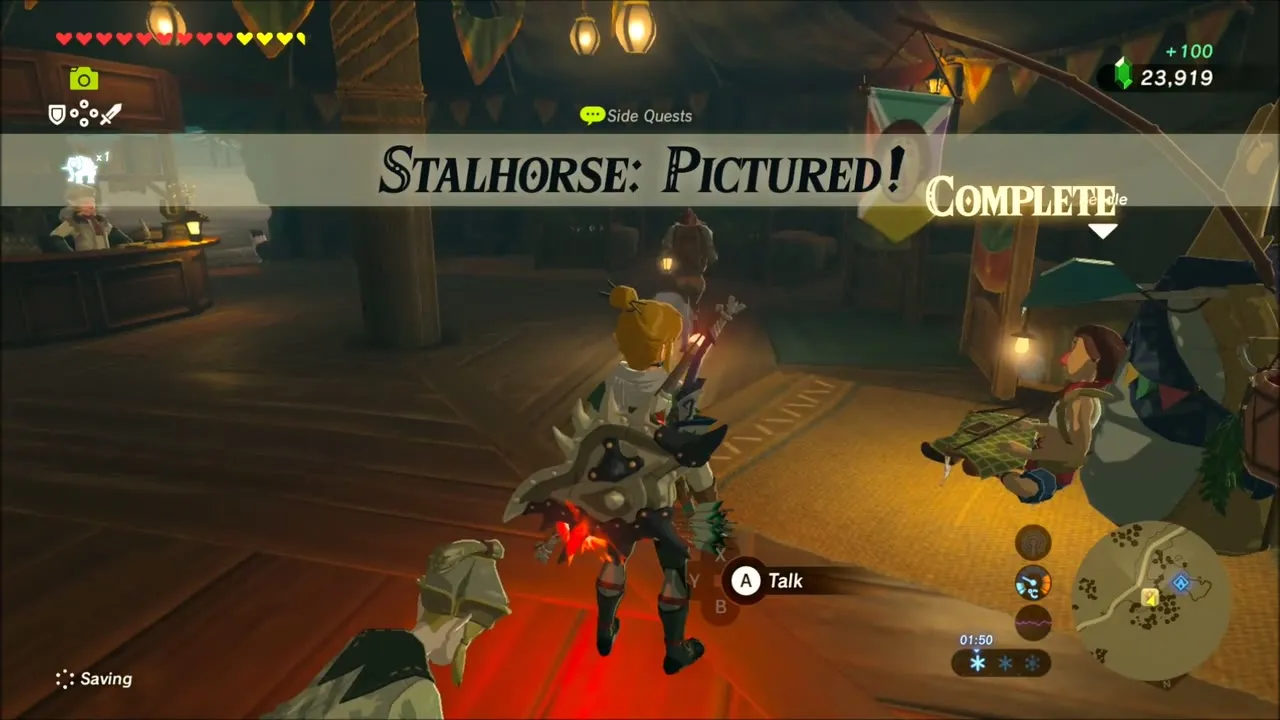
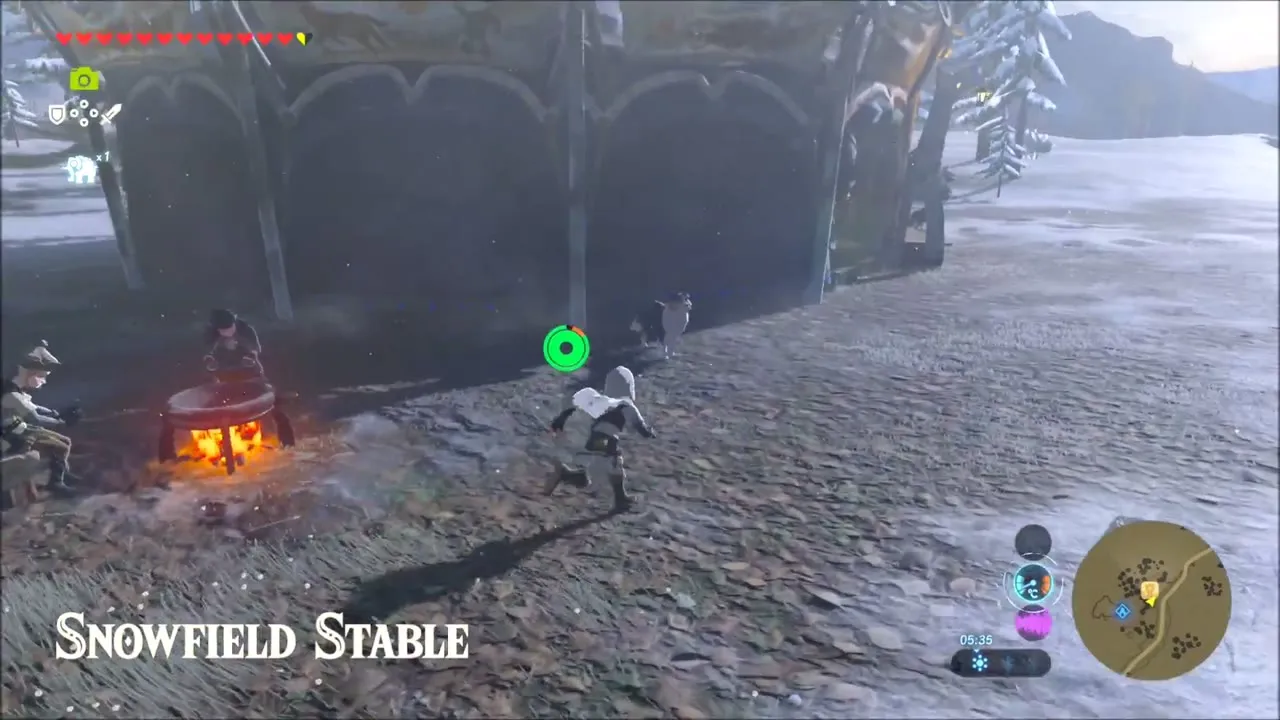
Just past the shrine is Snowfield Stable, at (-1655, -2572). Warm up inside and talk to Juannelle, who starts the Stalhorse: Pictured! quest. She wants a photo of a Stalhorse taken with the Camera Rune, and they appear only at night with the mounted Moblins in the northern Tabantha snowfield, so come back after dark. The stable also lets you stable horses, buy supplies and sell items before you set out.



Korok Seeds East of the Stable
Ride out to the rocky ravine to the southeast and glide down into it. A remote bomb shatters the rubble that blocks a narrow crevice, and a Korok inside gives you a seed. A nearby cave holds a Diamond, a Sapphire and some Flint that you can pick up.


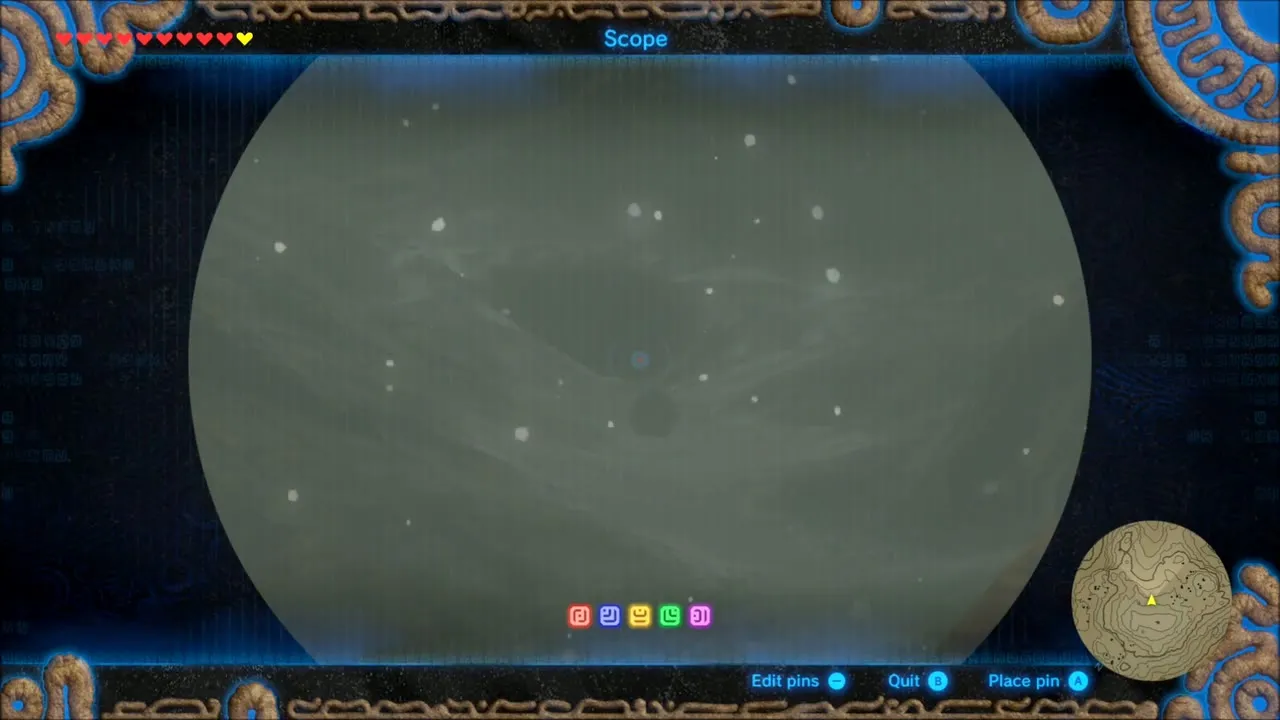
Further along, across a gap in the snowy ridge at night, use the Scope to look across the slope and spot a Korok on the far side; shoot an arrow at it and it gives you its seed. Soon after, in a ruin of dark stone blocks, there is a slot between the blocks: use Magnesis to lift a metal block into the slot, and a Korok appears from behind the stones.

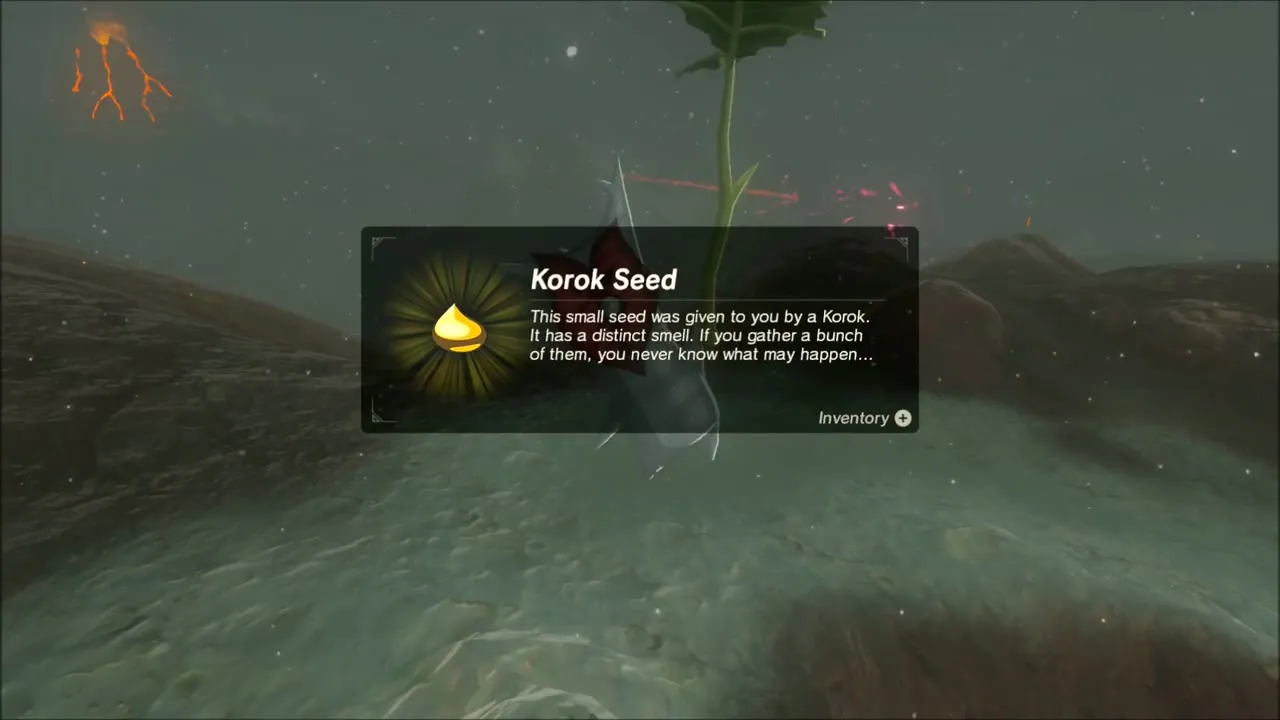

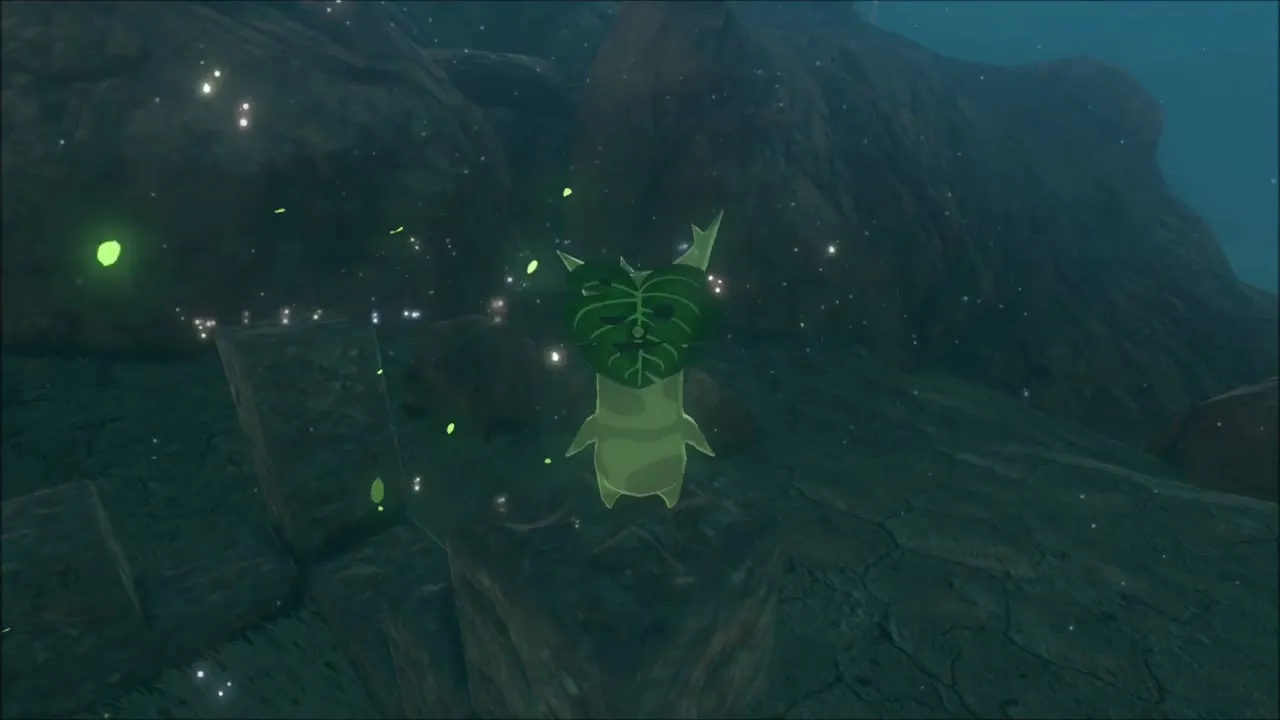
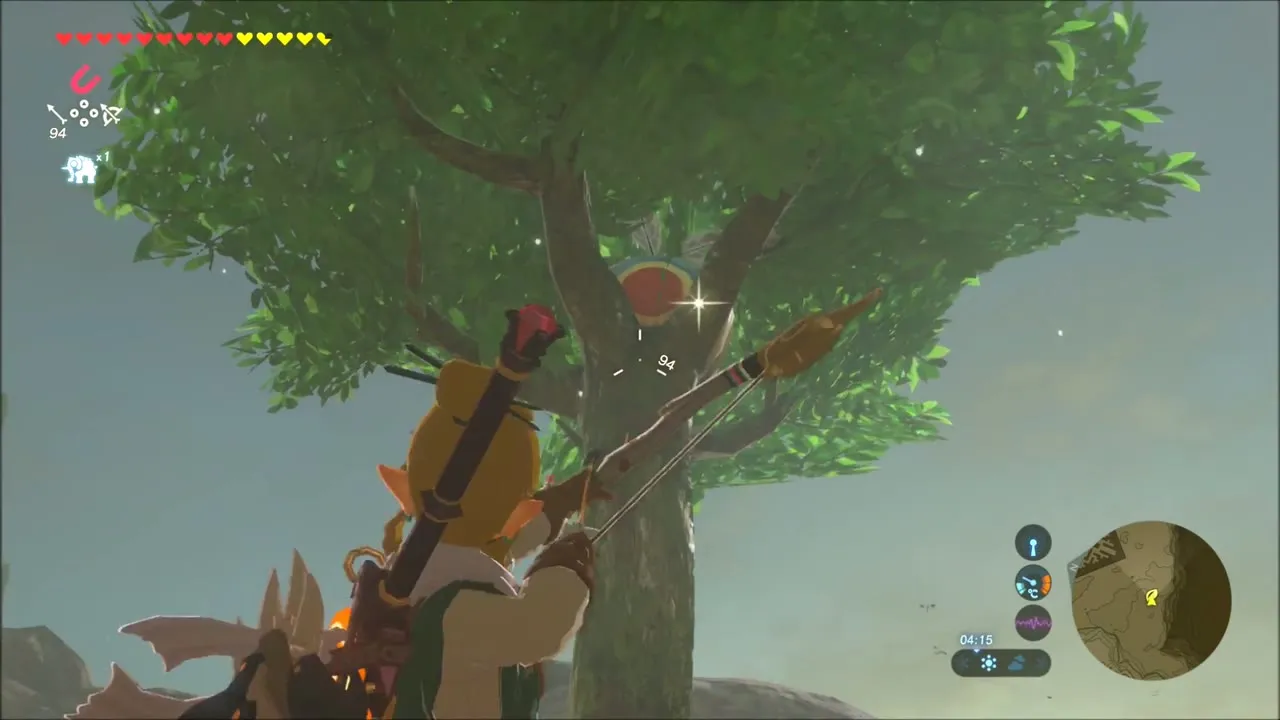
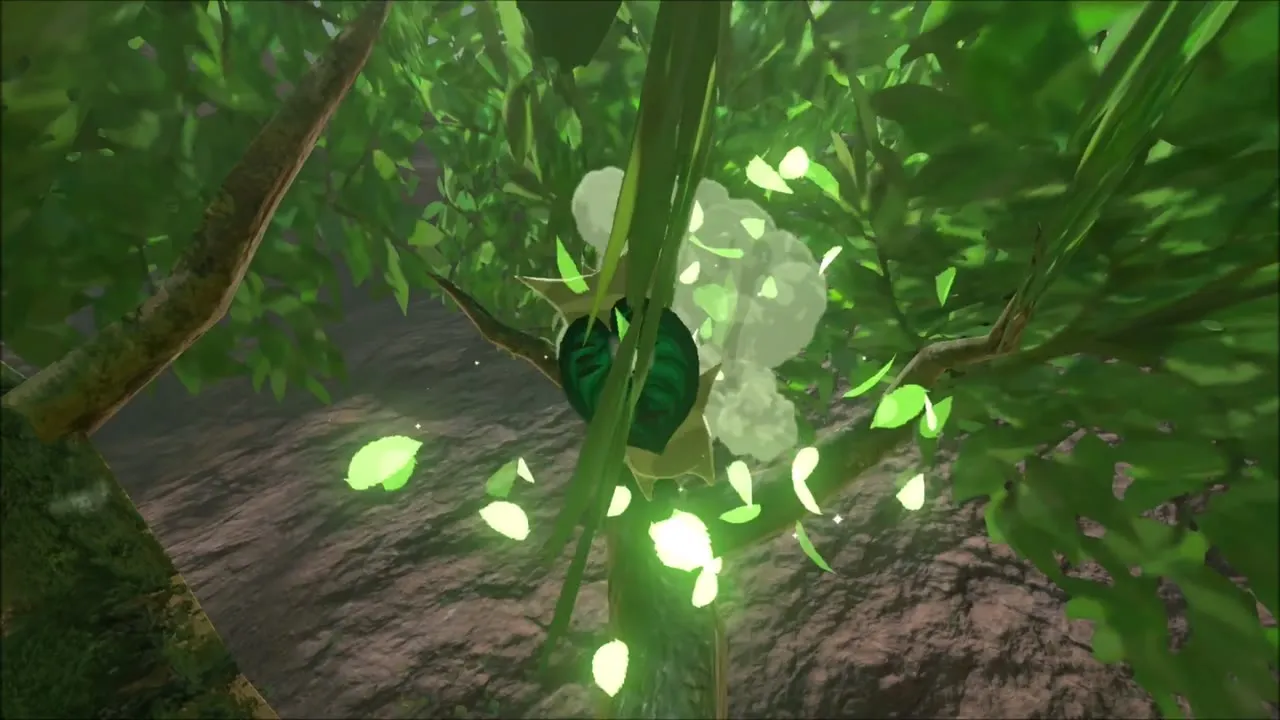
Beside the outer wall of the maze, a lone tree hides a Korok in its crown. Aim your bow at the red spot in the branches and the Korok comes out with its seed. That makes eight seeds across the stretch from the tower to the maze.

North Lomei Labyrinth: Trial on the Cliff
The big walled maze in the northeast of the Tabantha snowfield is the North Lomei Labyrinth, at about (-825, -3412). Entering it starts the Trial on the Cliff shrine quest: a voice tells you that anyone who reaches this point and goes through the maze will receive a blessing. It is bitterly cold, so wear warm clothing or eat cold-resistant food.
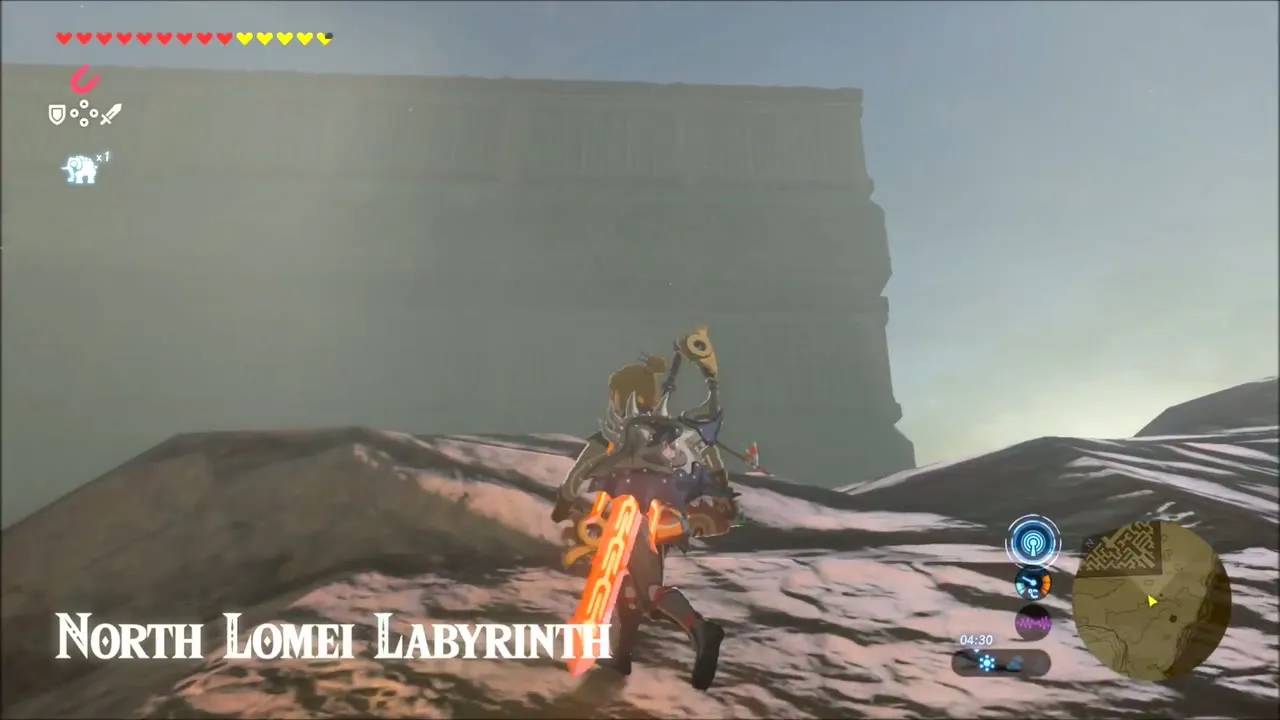
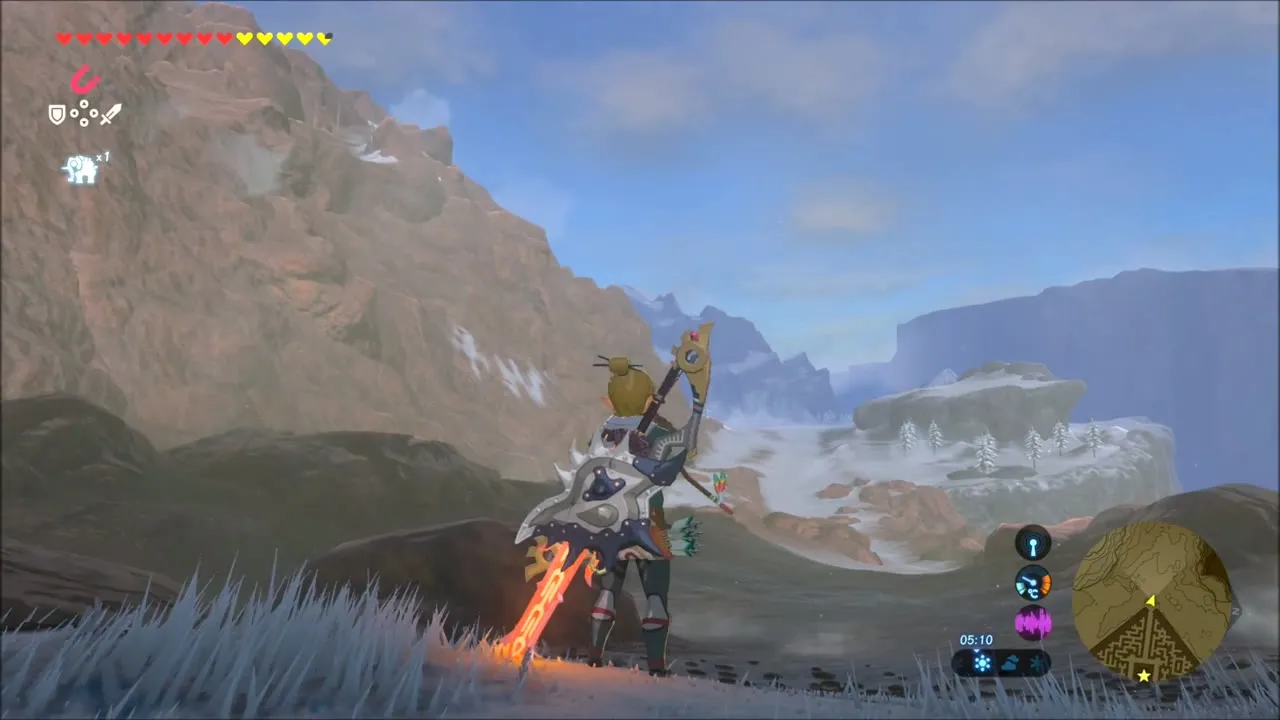
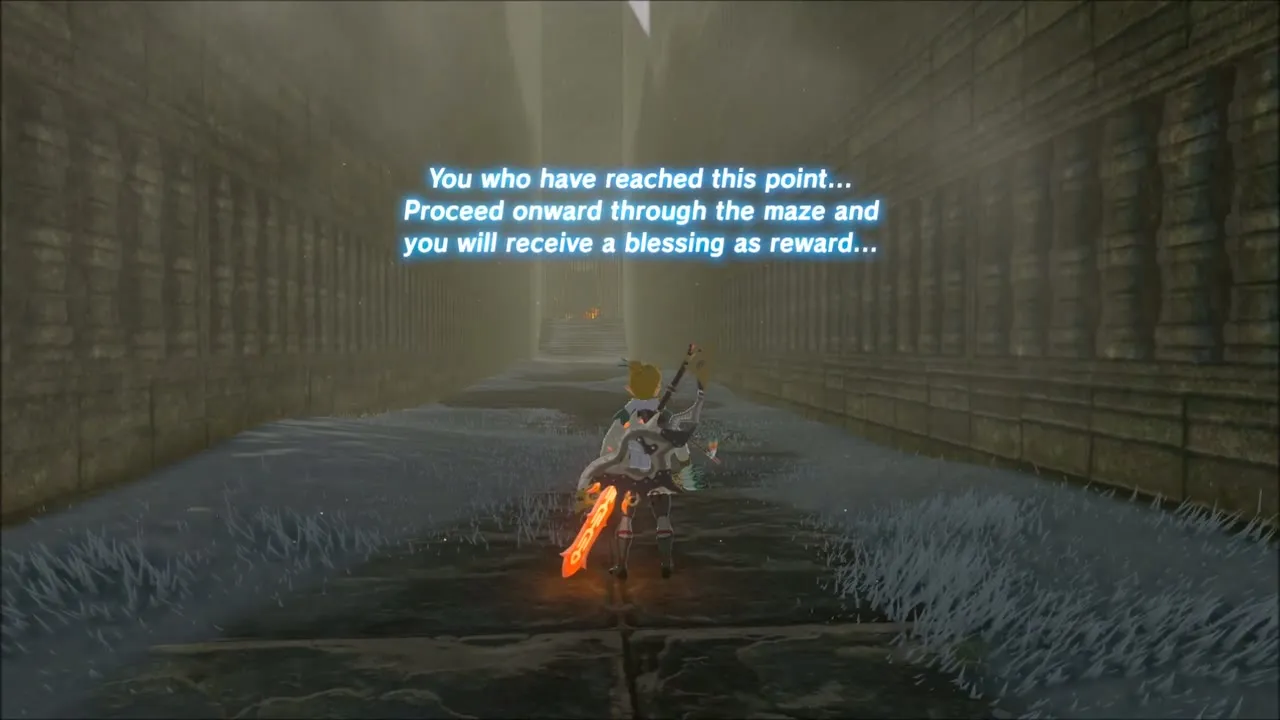
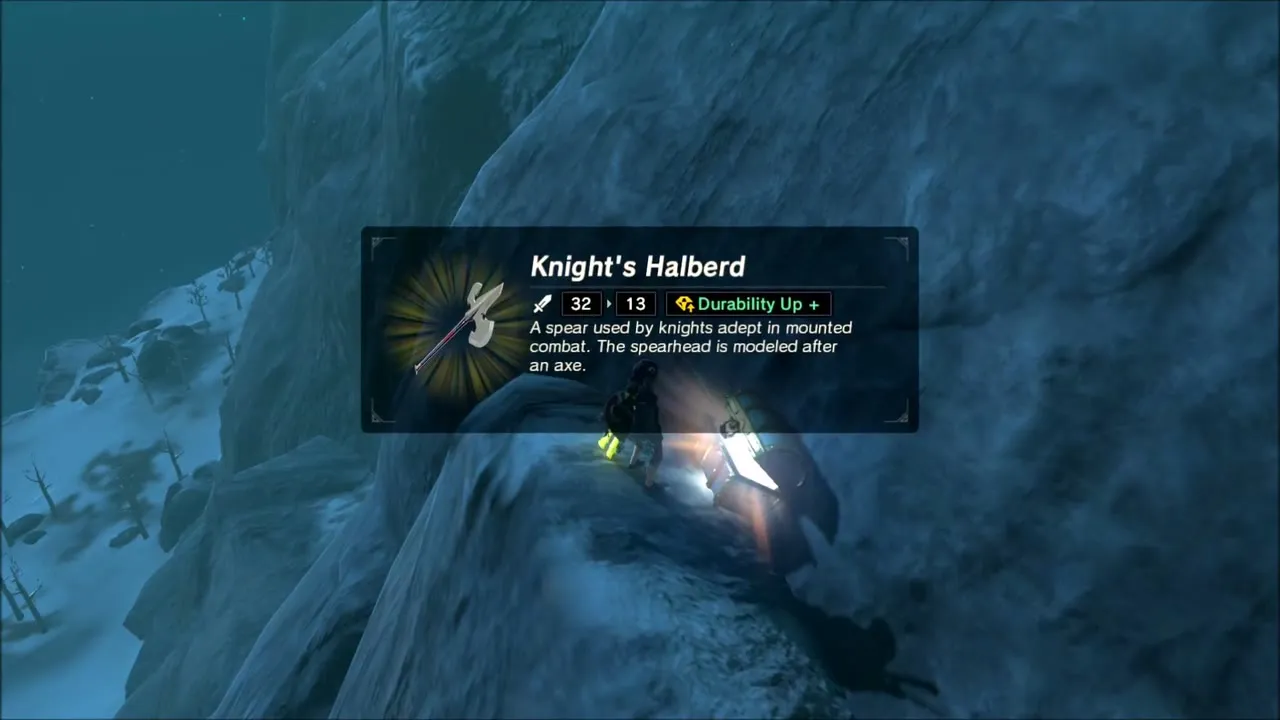
Pools of Malice and Lizalfos block the corridors. Work your way around the outside of the maze, climbing and gliding over the walls where you can, until the giant Malice eye comes into view, then shoot it with an arrow. Along the way you can pick up a Steel Lizal Bow and a Knight’s Halberd from fallen enemies, Lizalfos parts, a Meteor Rod and a chest in a dead end. Destroying the eye clears the Malice and opens the tunnel toward the centre.


Qaza Tokki Shrine: Blessing at the Maze’s Centre
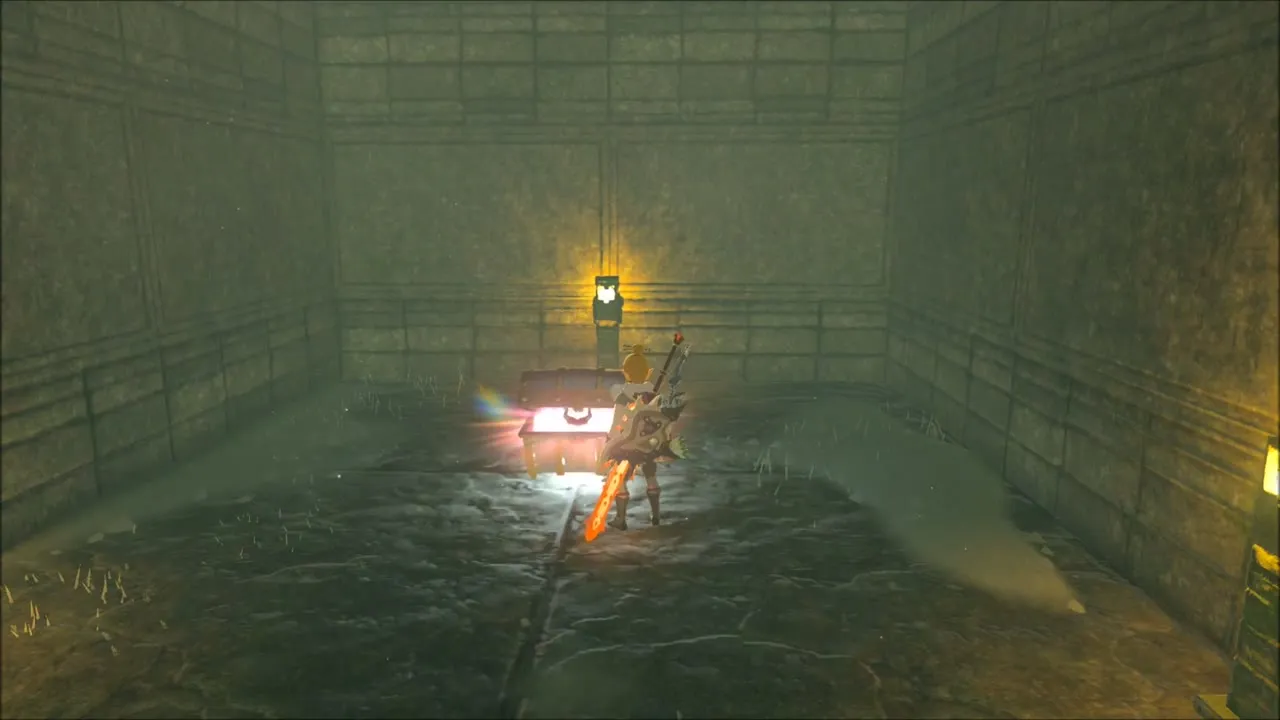
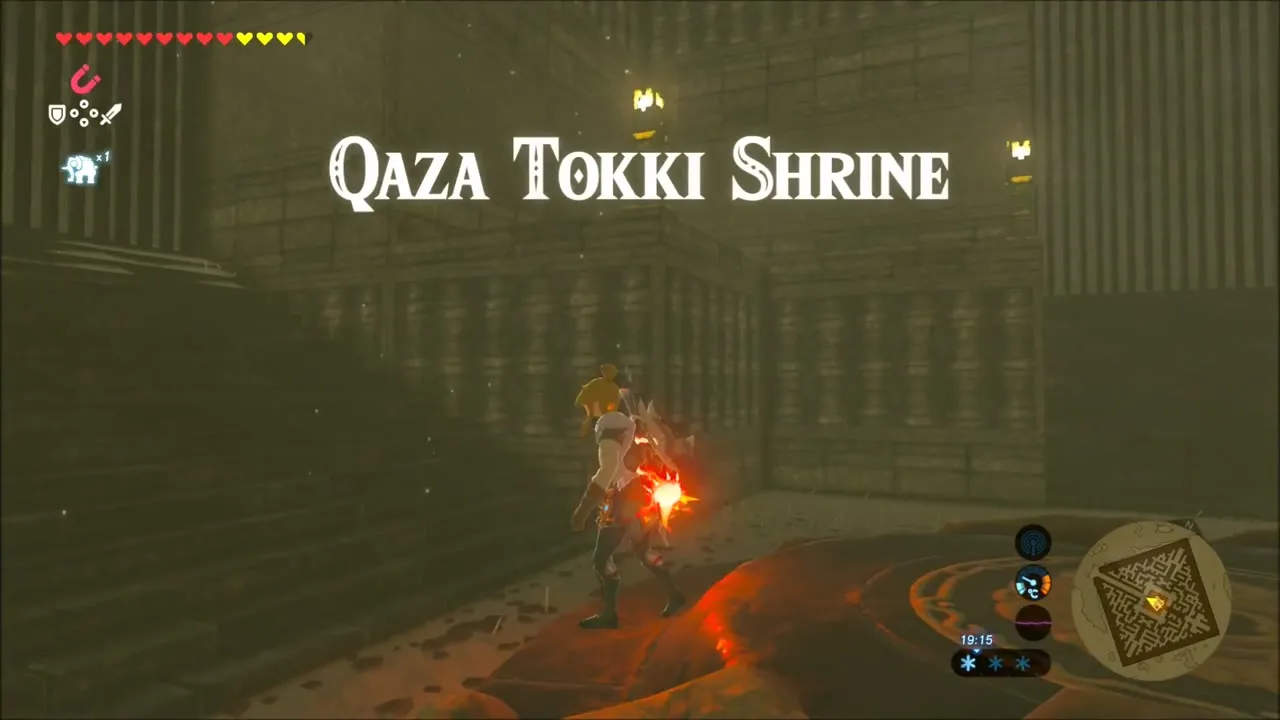
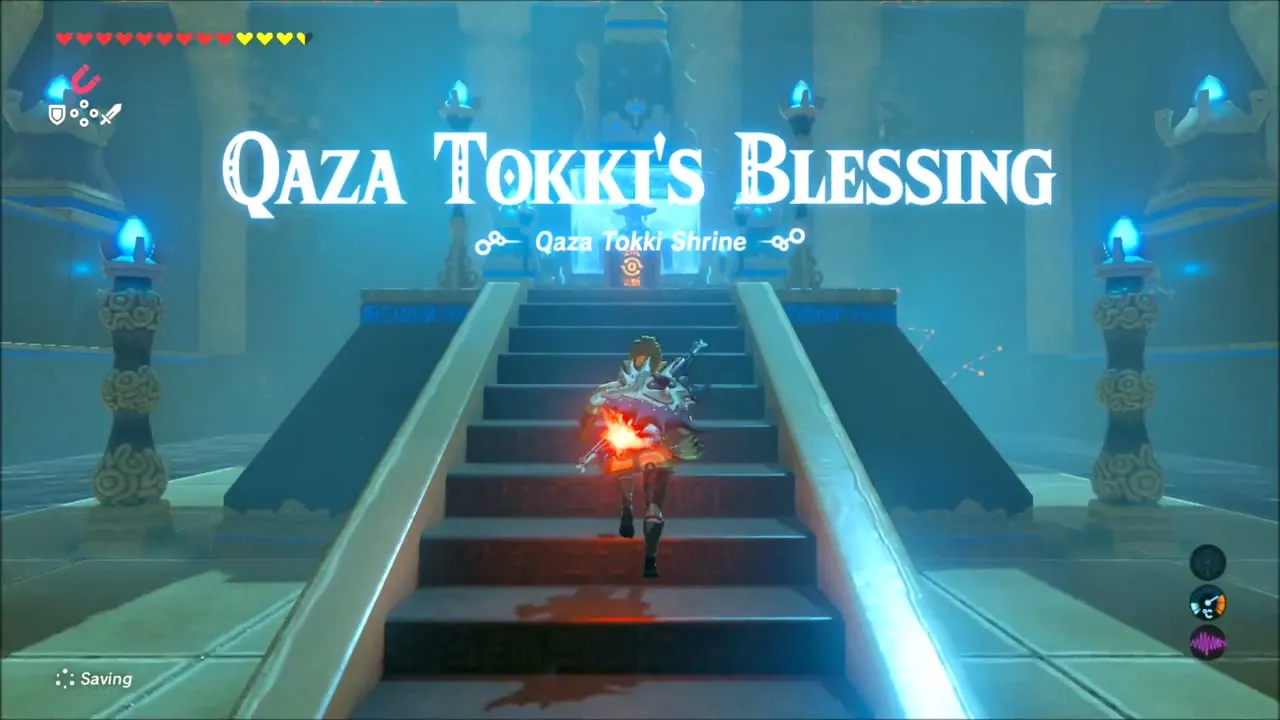
Follow the cleared tunnel to the upper platforms and a metal block that you move with Magnesis to open the way. Beyond it, the Qaza Tokki Shrine (trial: Qaza Tokki’s Blessing, at (-821, -3535), height 354) is waiting. Reaching it completes the Trial on the Cliff. Open the chest for the Barbarian Leg Wraps, then speak to Monk Qaza Tokki for the Spirit Orb.



Stalhorse: Pictured! Photograph a Stalhorse and Report to Juannelle
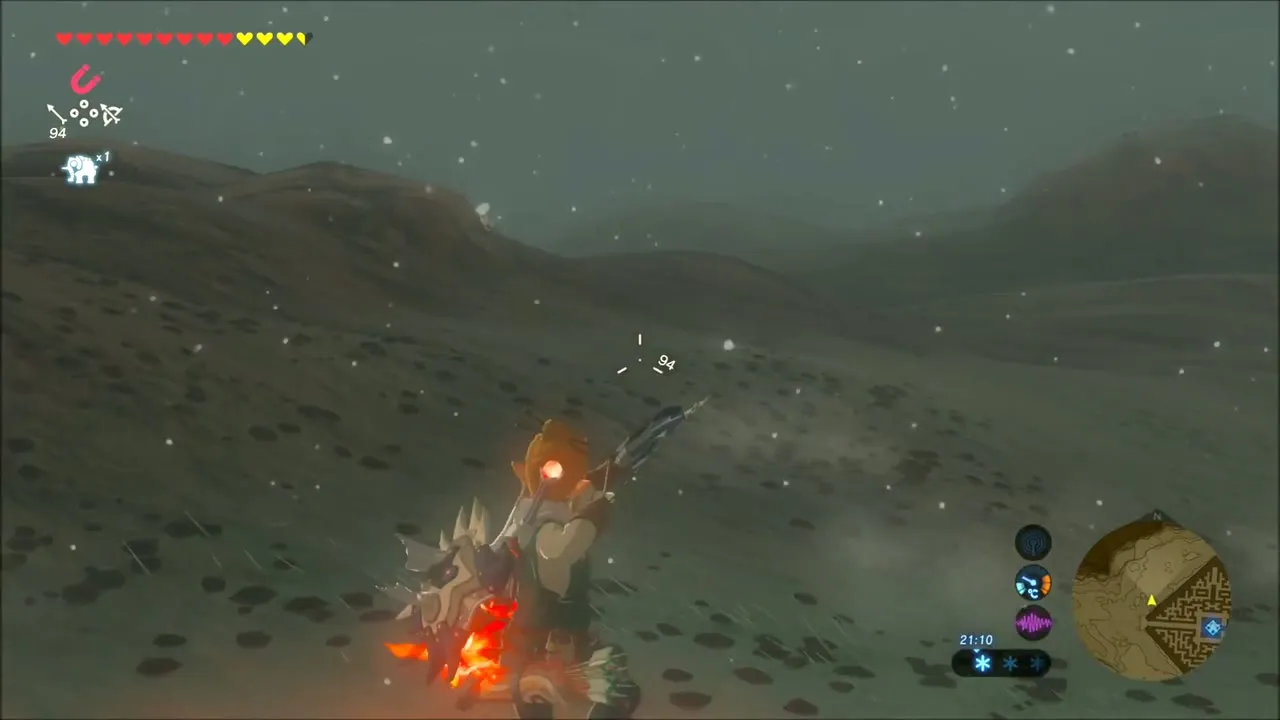
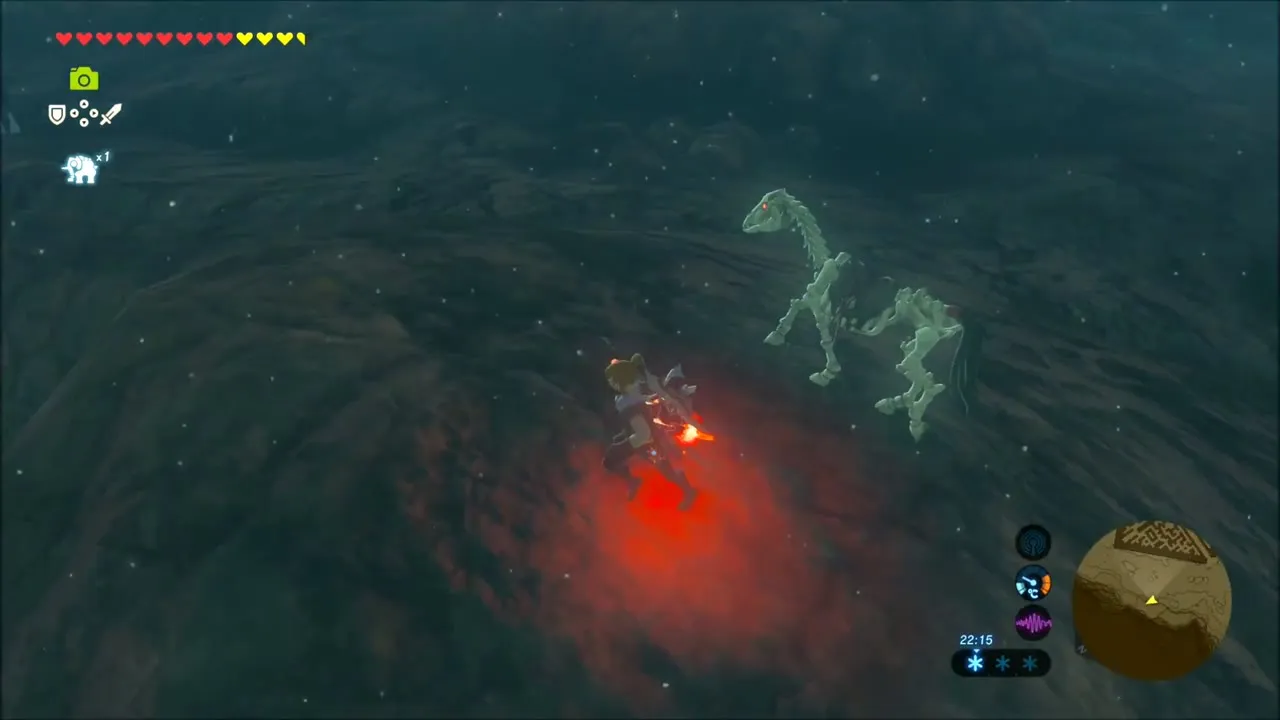
The Stalhorse: Pictured! request needs the Camera Rune and a night-time ride over the snowfields. Skeletal horses roam the open ground after dark, so ride toward the next one you spot, open the Camera Rune and hold the reticle on it until the Compendium recognises it, then take the shot. Once the picture is logged, you can stop searching.


Show the picture at Snowfield Stable
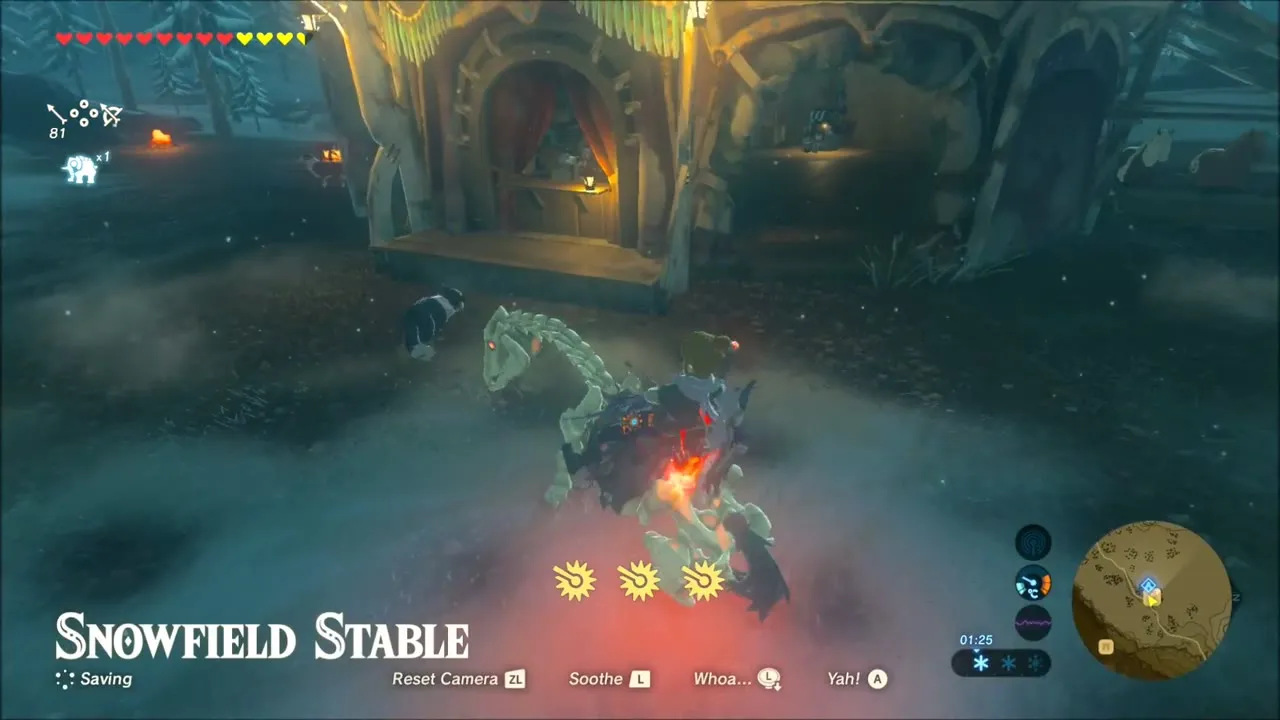
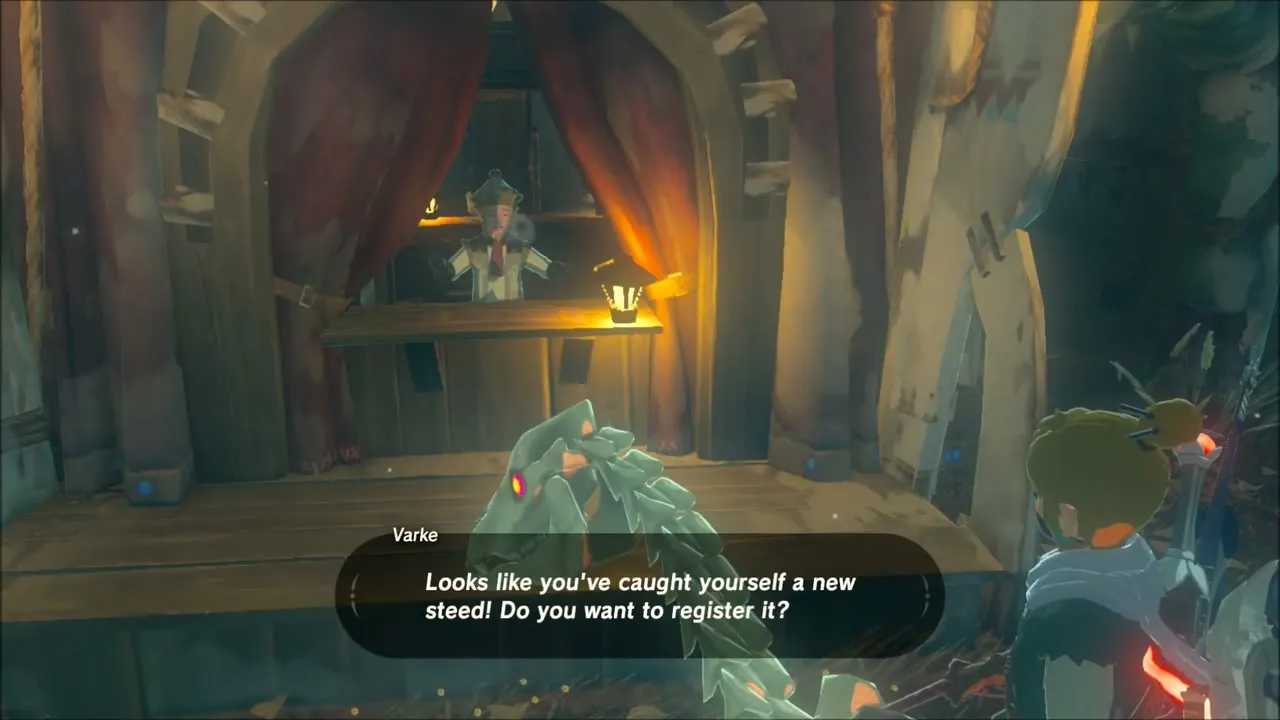
Carry on to Snowfield Stable (x -1655, z -2572, height 382). If you are leading a freshly caught horse, the stable keeper offers to register it here. Then step inside and speak to Juannelle, the visitor who asked for the photo. Tell her you found one, pick the Stalhorse picture from your album, and she hands over a Silver Rupee worth 100 Rupees.

Lynel Fights in the Snowfield: Drops and Tactics
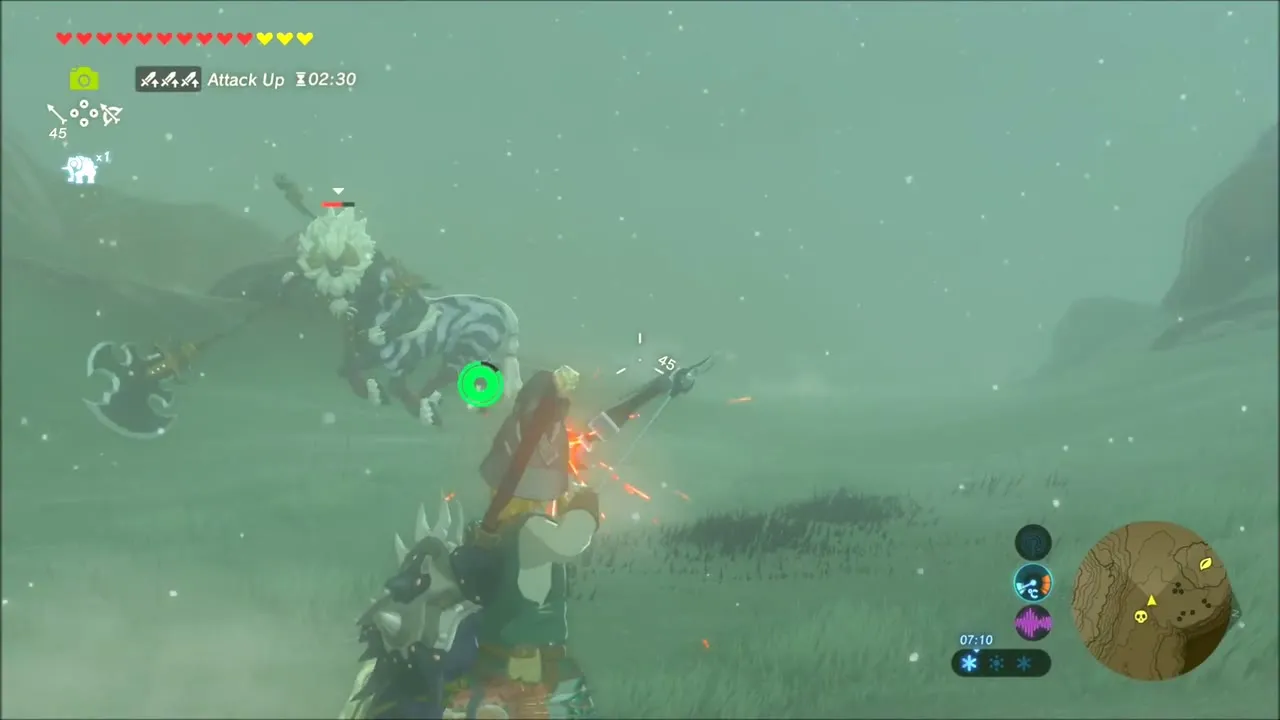
Out on the open snowfield a Lynel with a huge two-handed axe blocks your path. Eat for attack power first, keep your distance, and use bombs and arrows to knock it off balance before closing in. Beating it earns Lynel Horn and Lynel Guts, a stack of 10 Shock Arrows and a Savage Lynel Spear, so make room in your inventory before you start.

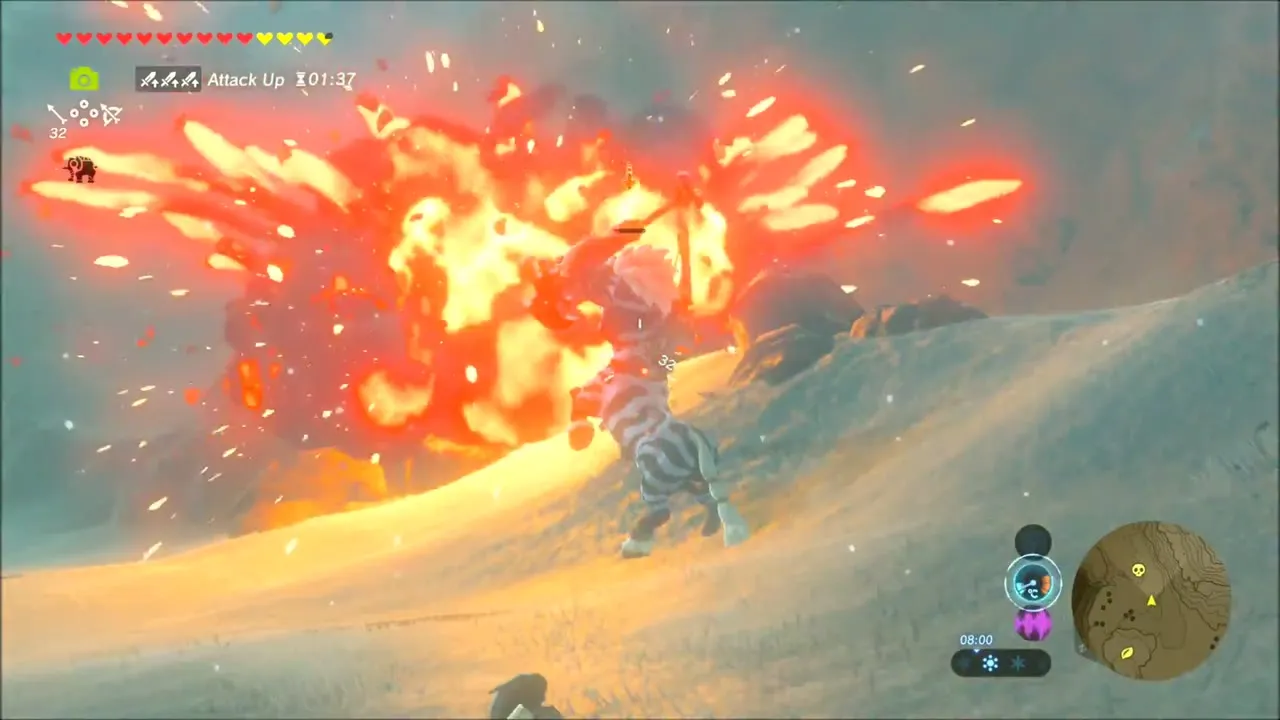

Korok Seeds on the Snowfield Before Sha Gehma Shrine
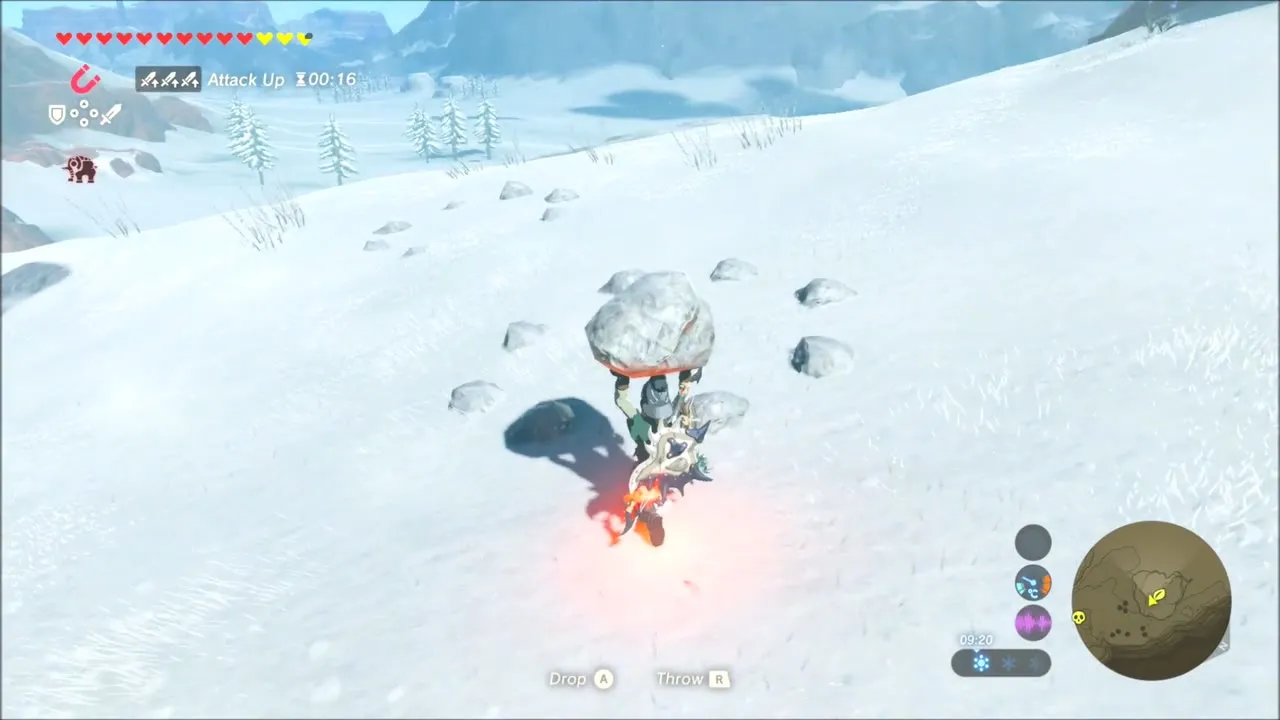
On a snowy slope you will see a ring of small stones with a gap in it. Pick up a loose rock lying nearby and carry it to the gap. Setting it in place makes a Korok appear, and you collect one Korok Seed.
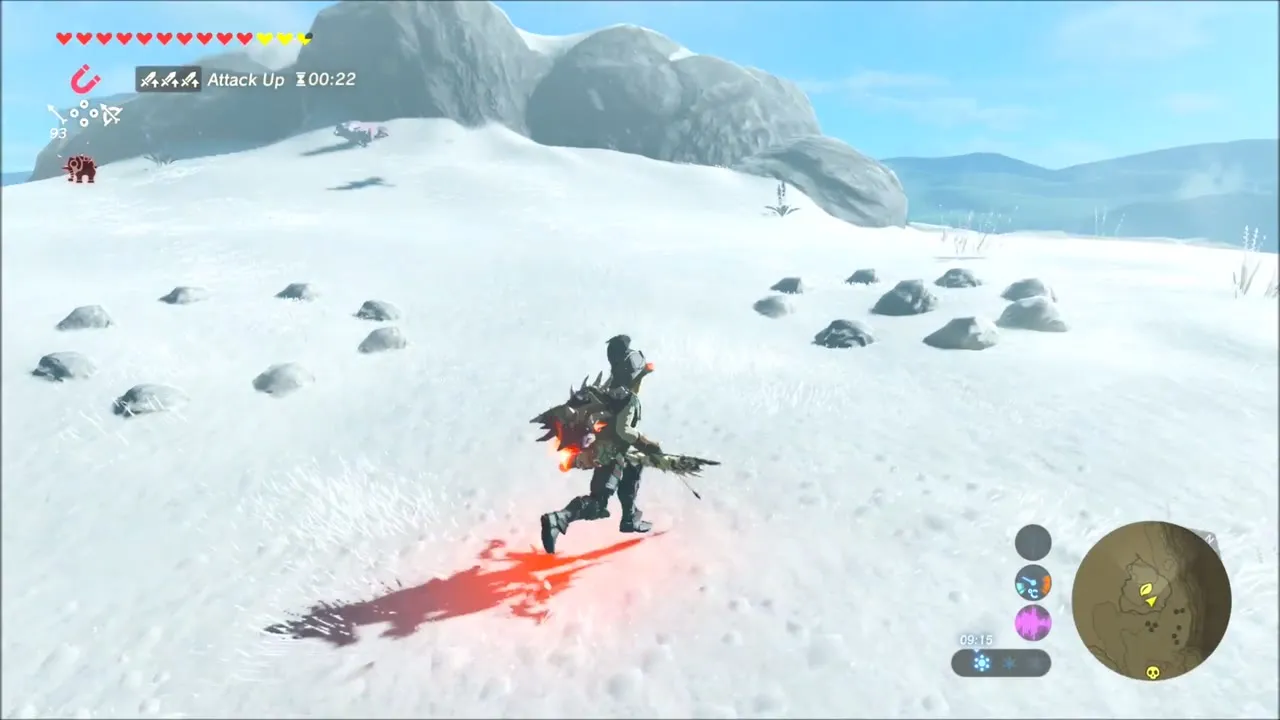

Farther on, among snow-laden pines, a Korok is perched on a fallen log. Walk up to the log and the Korok pops up to hand over a second Korok Seed.


Sha Gehma Shrine: Shift and Lock Solution
Sha Gehma Shrine (x -1672, z -3759, height 360) stands in the far north of the Tabantha snowfield, so bring cold protection. Ride across the plain to the shrine’s snow-capped arch and step onto the pad at its entrance to begin the Magnesis and Stasis trial.


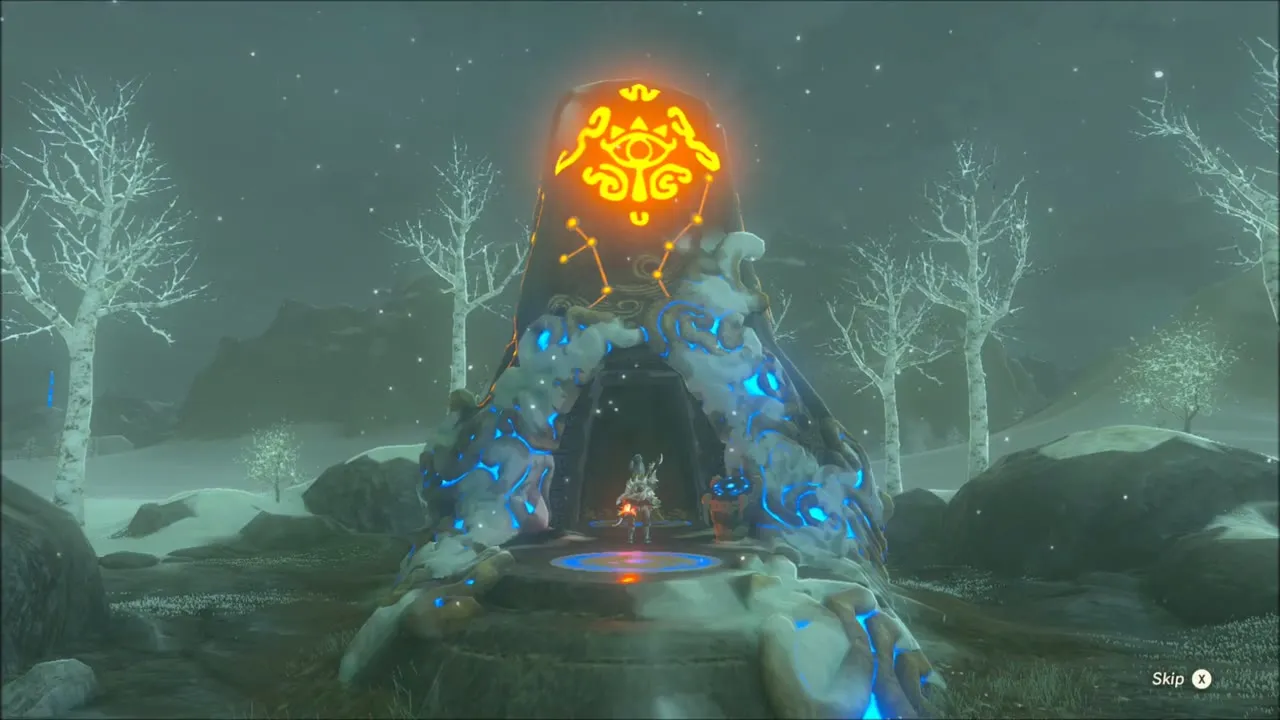
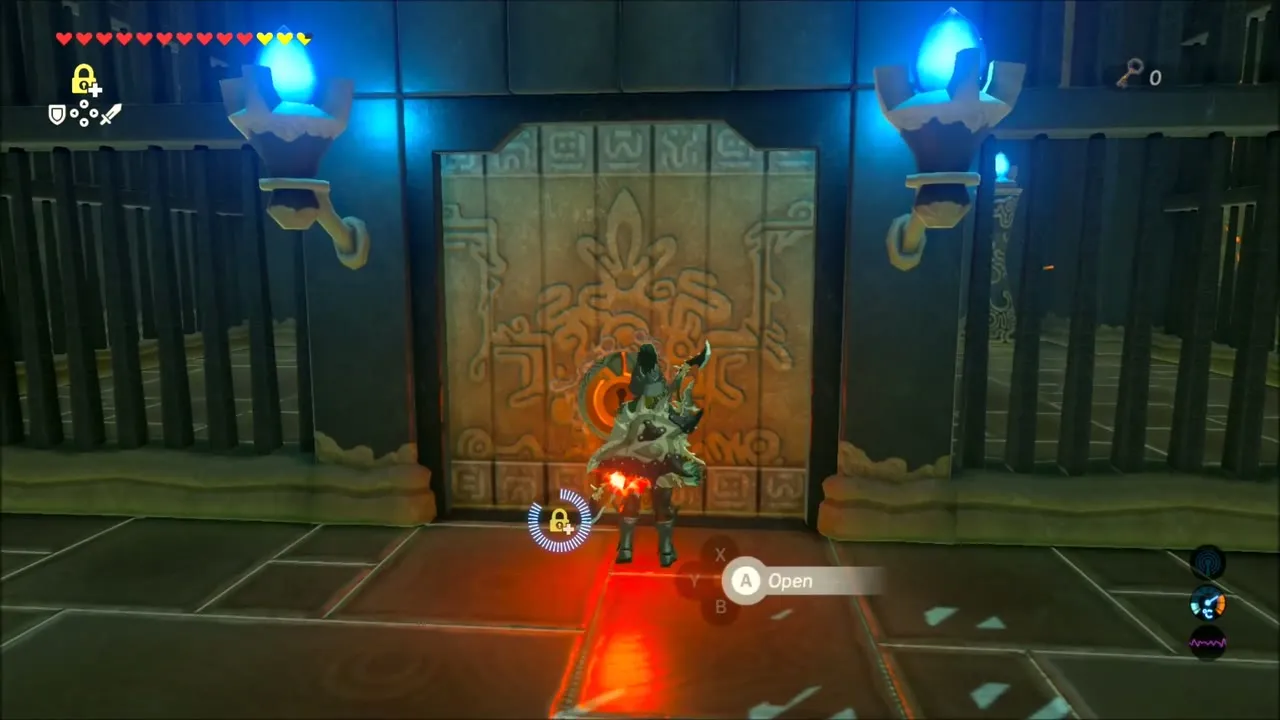
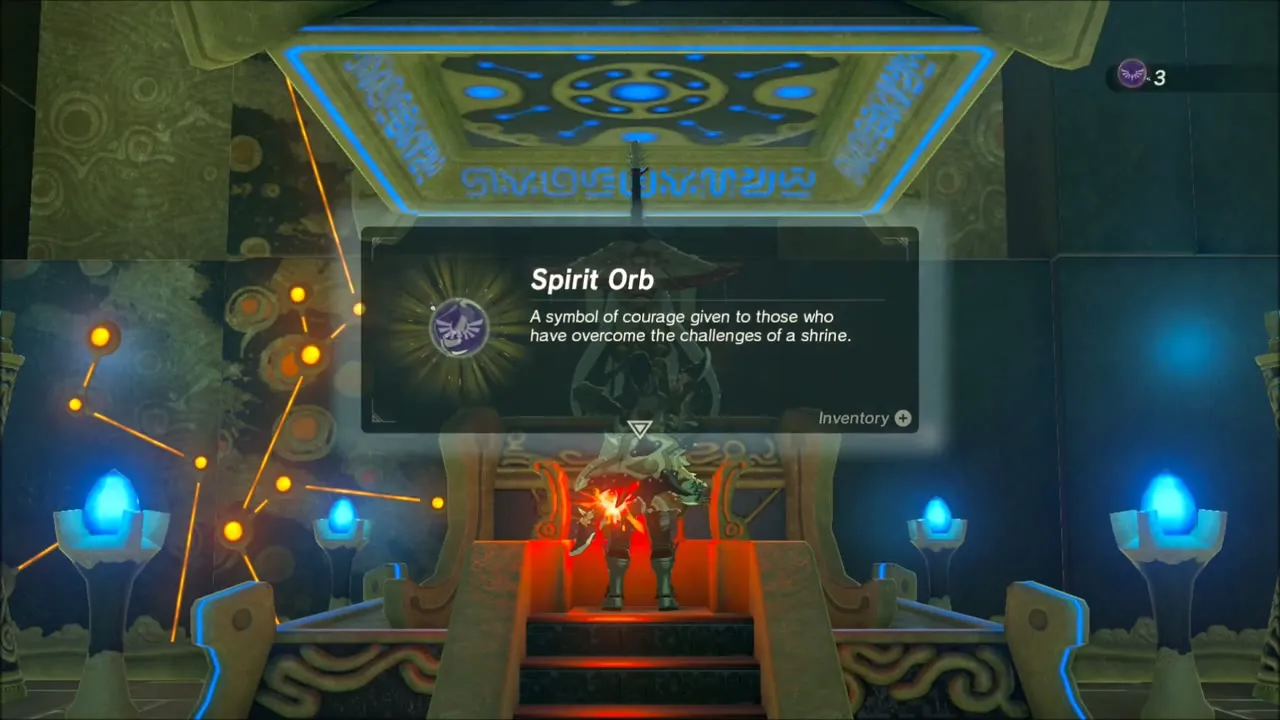
Inside, a Small Key chest sits beneath a metal cube on a rail above moving platforms. Climb to the second walkway, lift the cube with Magnesis, set it on a passing platform, then freeze it in place with Stasis. Drop down and open the chest to take the key. From the top walkway, jump down to the second, unguarded chest for a Royal Broadsword (tier set by difficulty scaling). Use the key on the gate and take the Spirit Orb from the monk Sha Gehma.



Korok Seed: Shoot the Balloons on the Snowy Hill
Back on horseback in the swirling snow, a handful of balloon targets with bullseyes float over a hilltop. Ride up to them, draw your bow and pop them while still mounted. Once they are down, a Korok appears and gives you a Korok Seed.


Second Lynel on the Plains: Savage Lynel Weapons
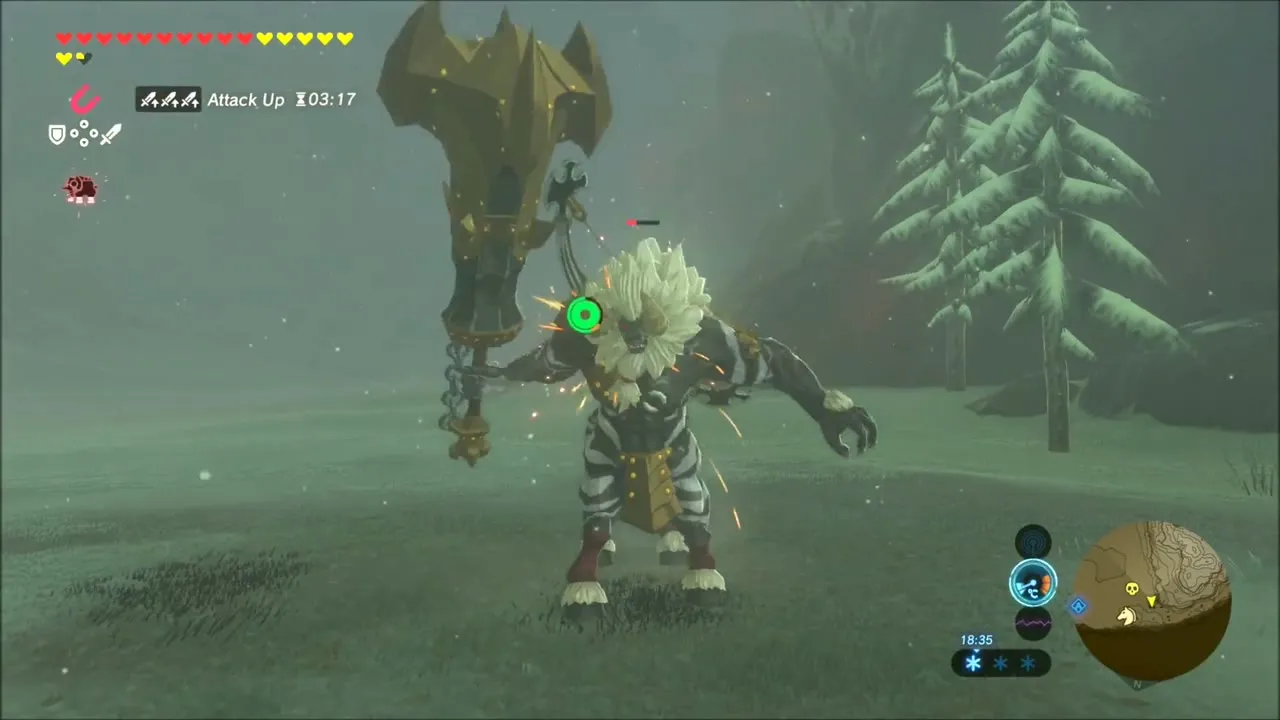
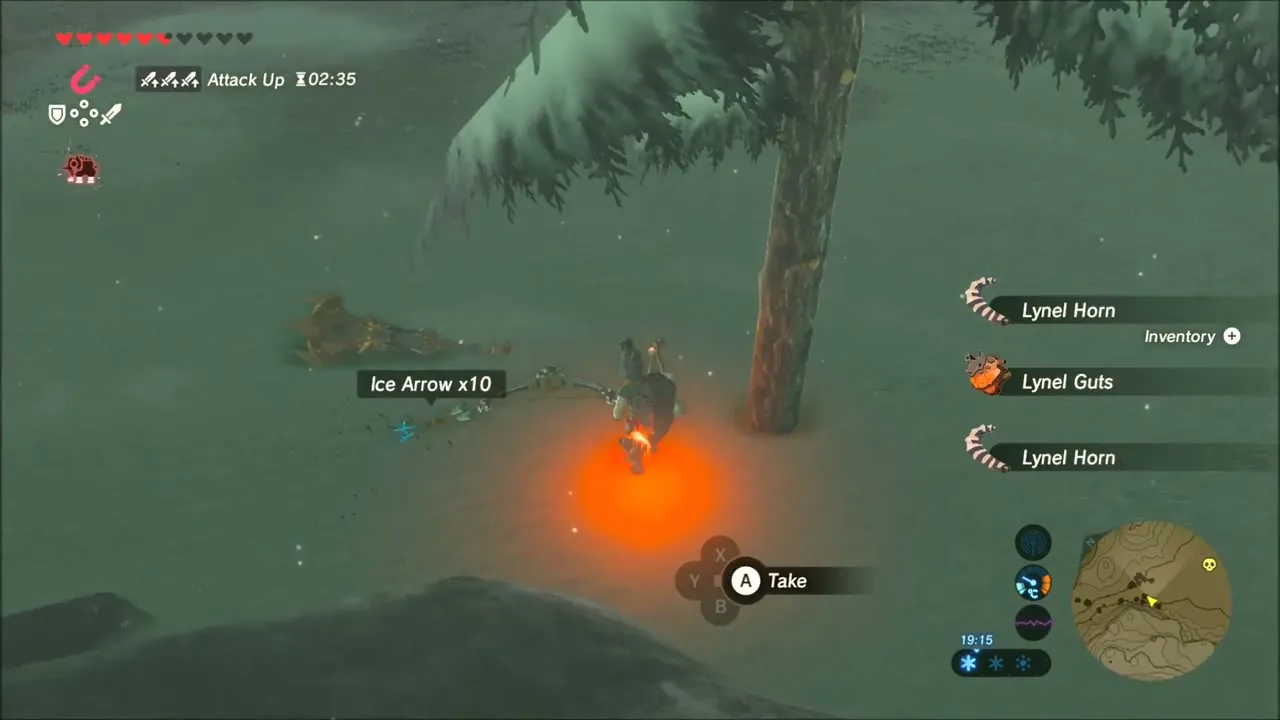
Another Lynel prowls a stretch of snow dotted with pines, so prepare food and attack-boosting dishes before you start. Fire sets the grass ablaze around it and helps you stagger it between its charges. When it falls you can take Lynel Horn, 10 Ice Arrows, a Savage Lynel Bow and a Savage Lynel Crusher.


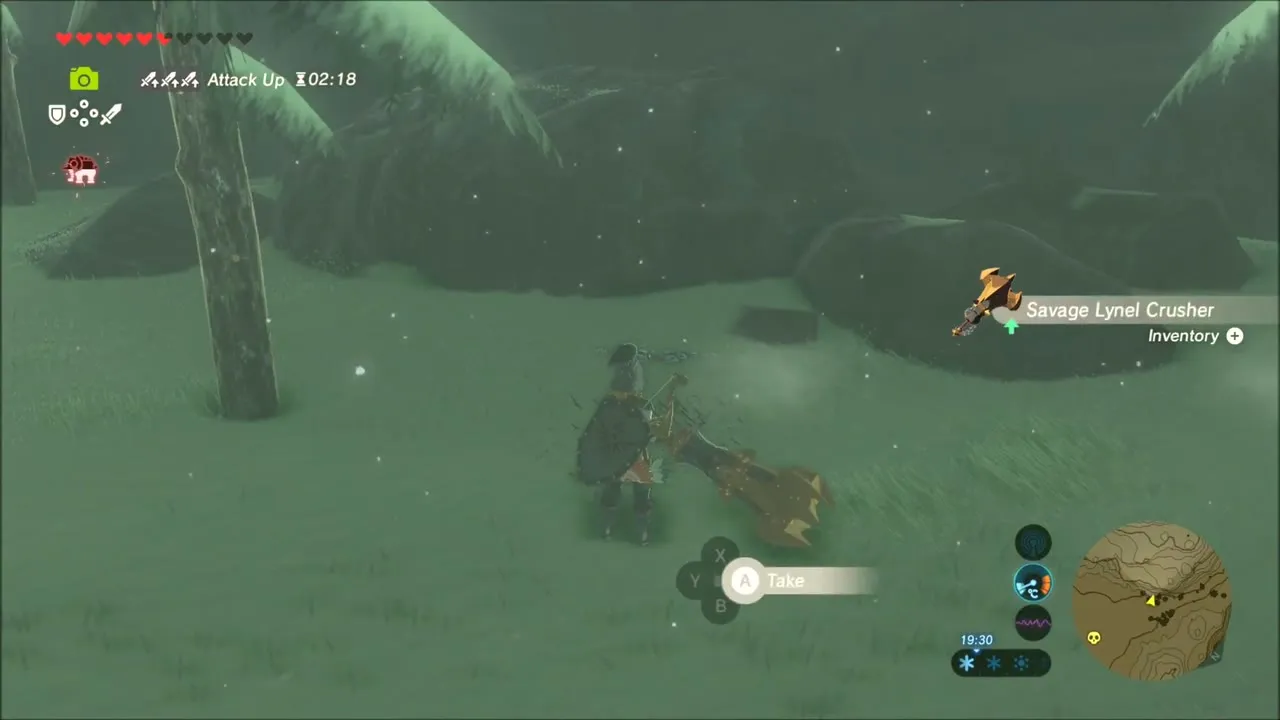
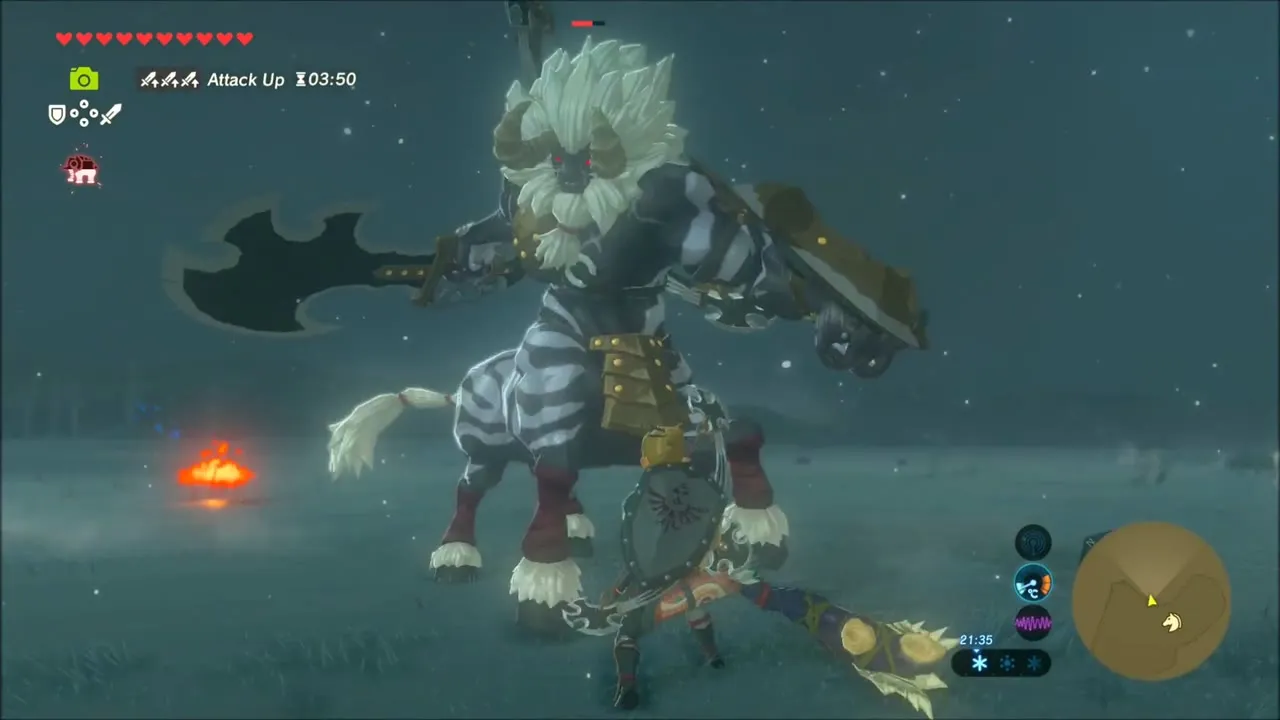
Third Lynel and the Kite Shield Chest
Once night falls, a third Lynel attacks you on the dark plain. Fight it with bombs and arrows, then pick up the Savage Lynel Bow it drops.


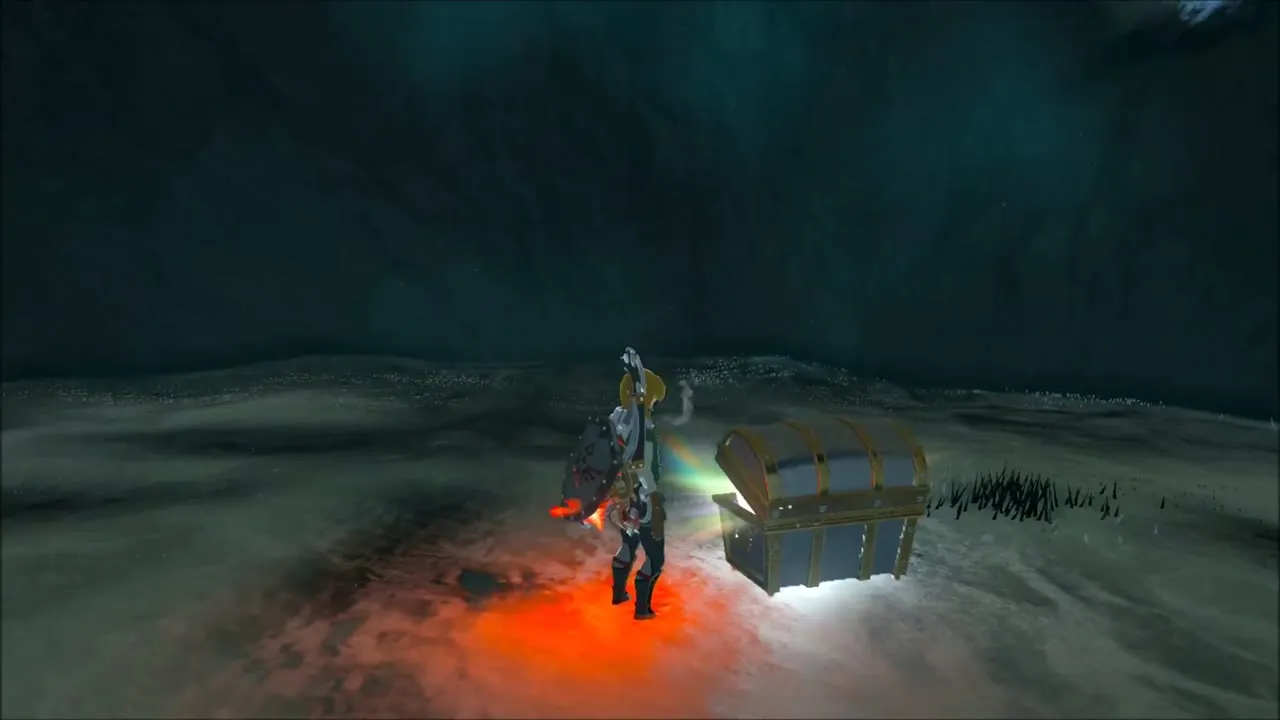
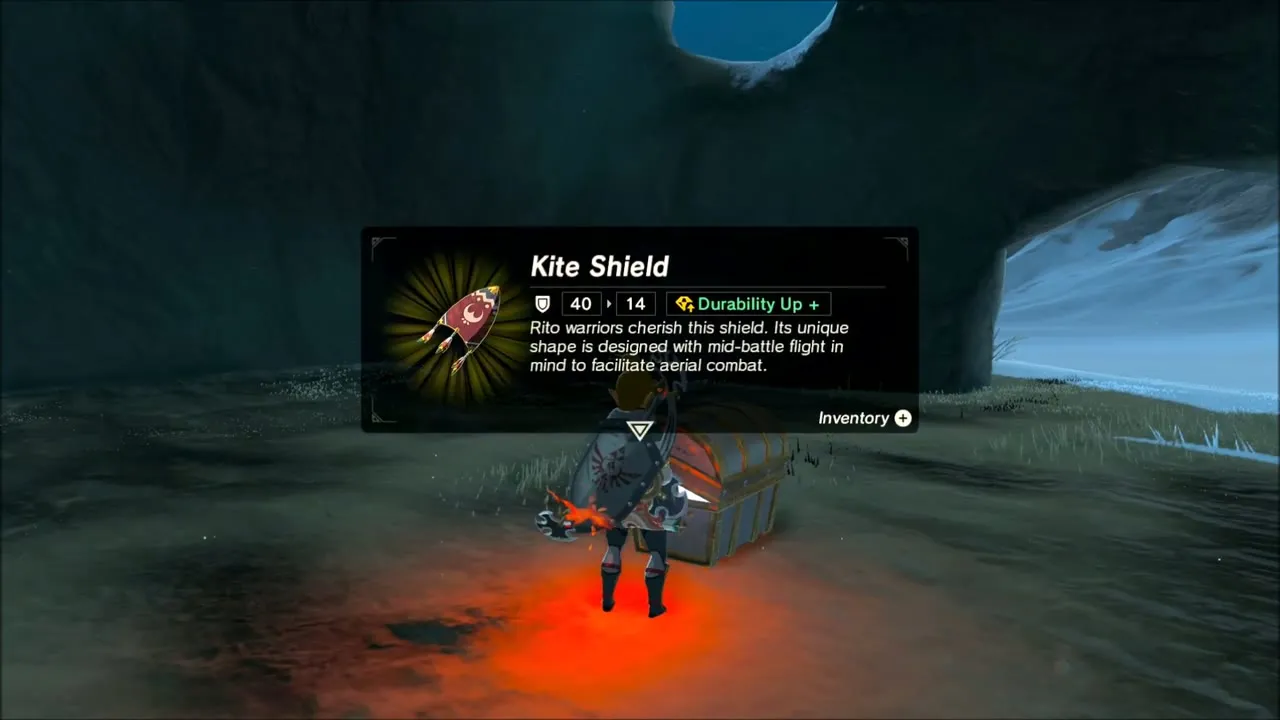
Farther along the frozen route, a hollow in the rock holds a chest with a Kite Shield, the Rito shield with the unusual shape.
Korok Seed in the Rocky Basin on the Way to Rok Uwog
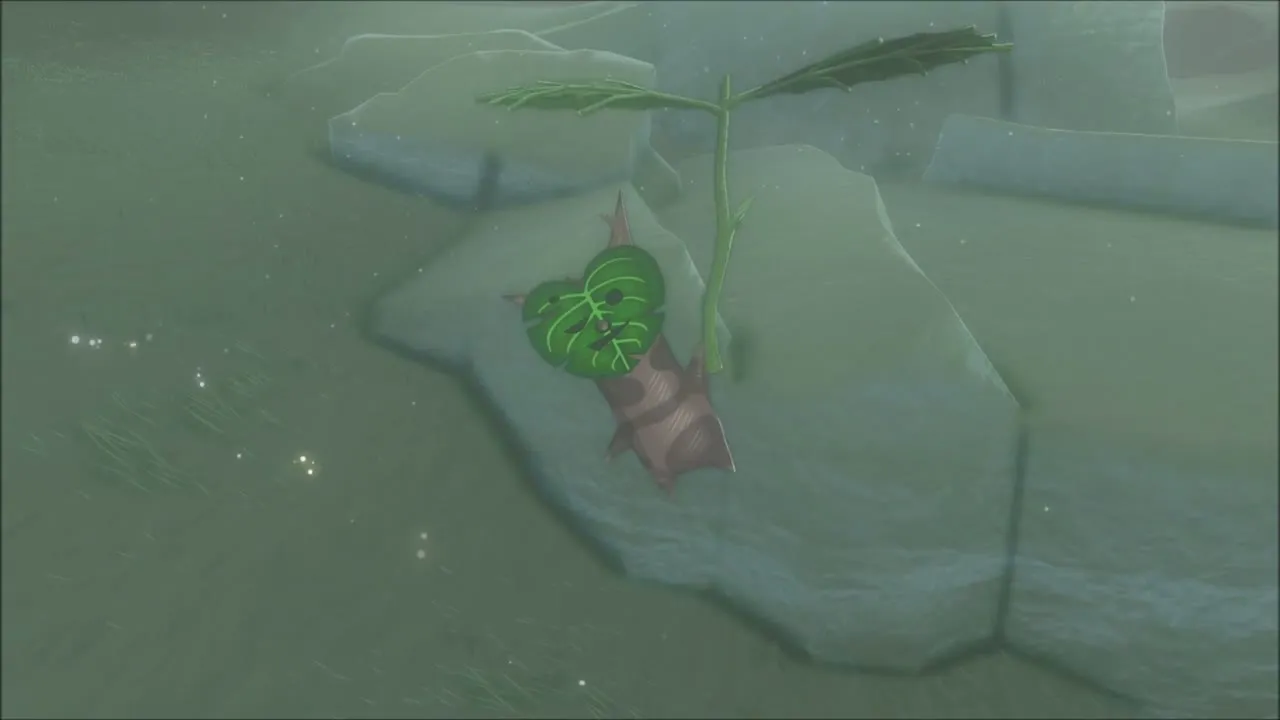
In a foggy basin strewn with boulders, a Korok is hiding among the tilted slabs of rock. Search around the slabs until it springs out and collect another Korok Seed.


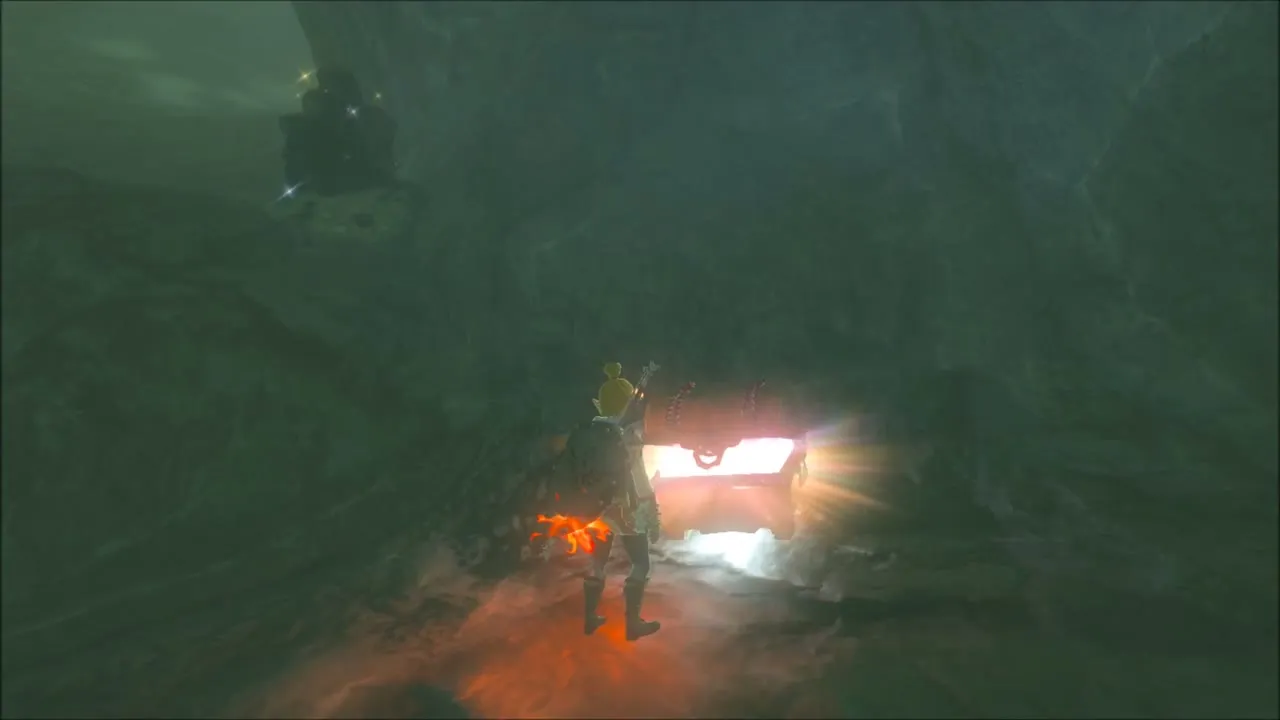
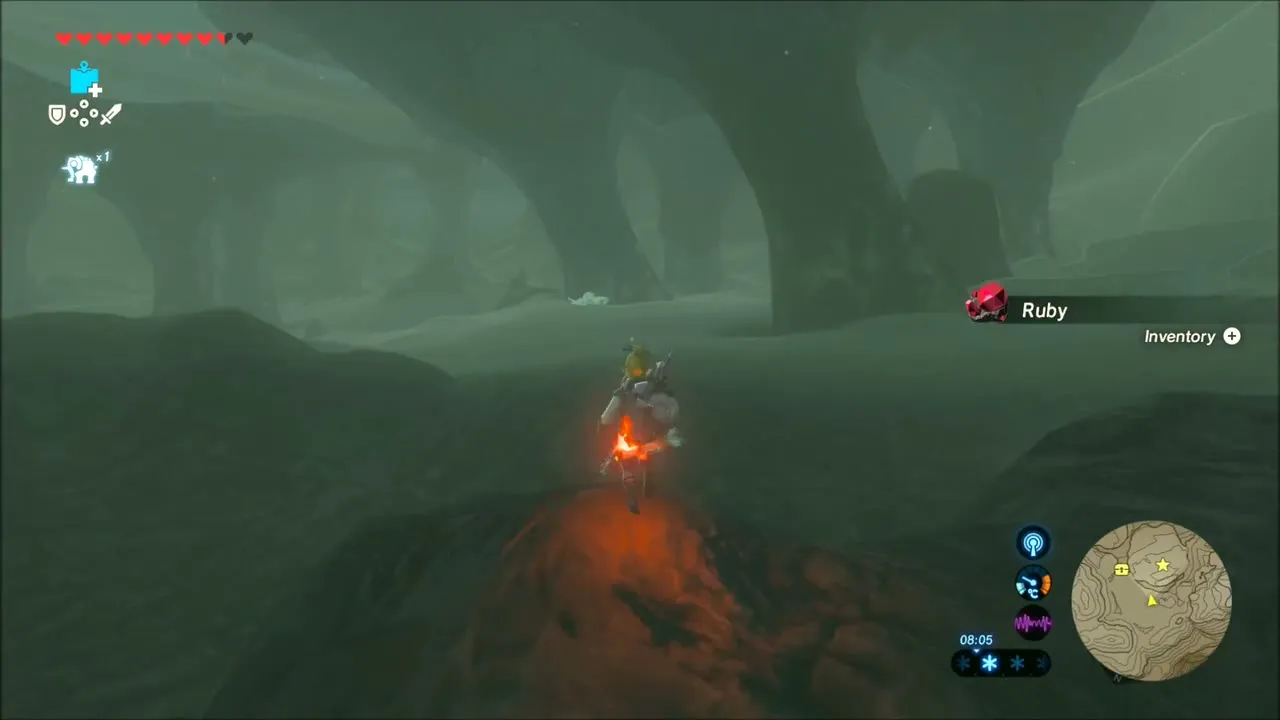
A little farther on, a cave mouth leads into a dark cavern lined with ore. Blow open the rock walls with bombs to uncover Ruby, Amber, Flint and Rock Salt, and open the chest at the back of the cave before you continue toward Rok Uwog.

Rok Uwog Shrine: Power of Reach Solution
Rok Uwog Shrine (x -2377, z -3225, height 499) is in a mountain cave south-west of Sha Gehma, close to Pikida Stonegrove, and its trial is named Power of Reach. Eat or wear cold protection before heading in, then walk through the glowing arch to start the trial.
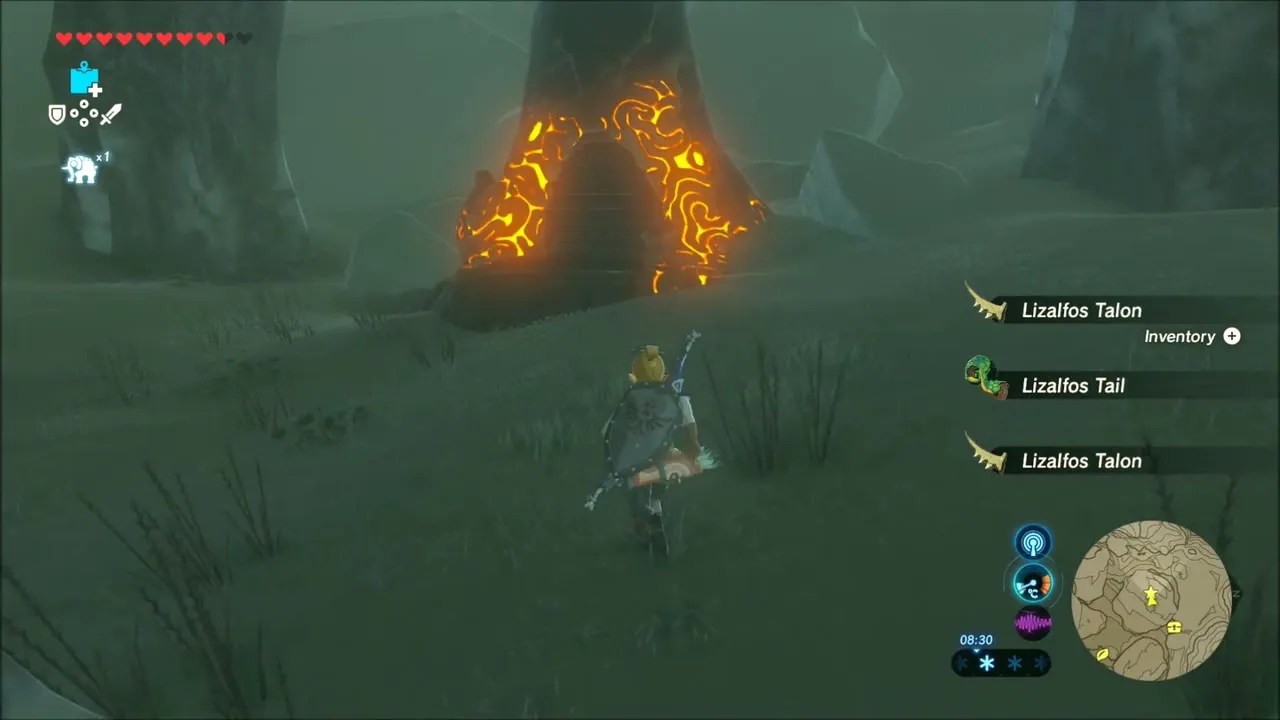

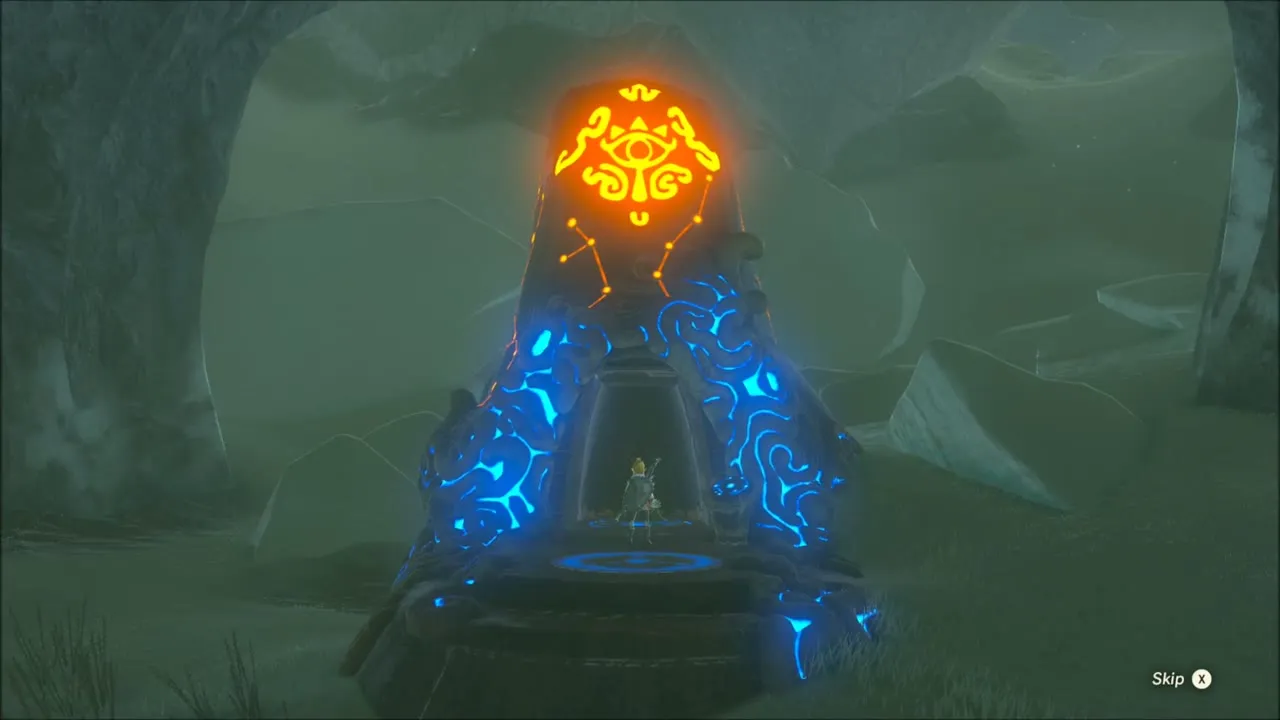

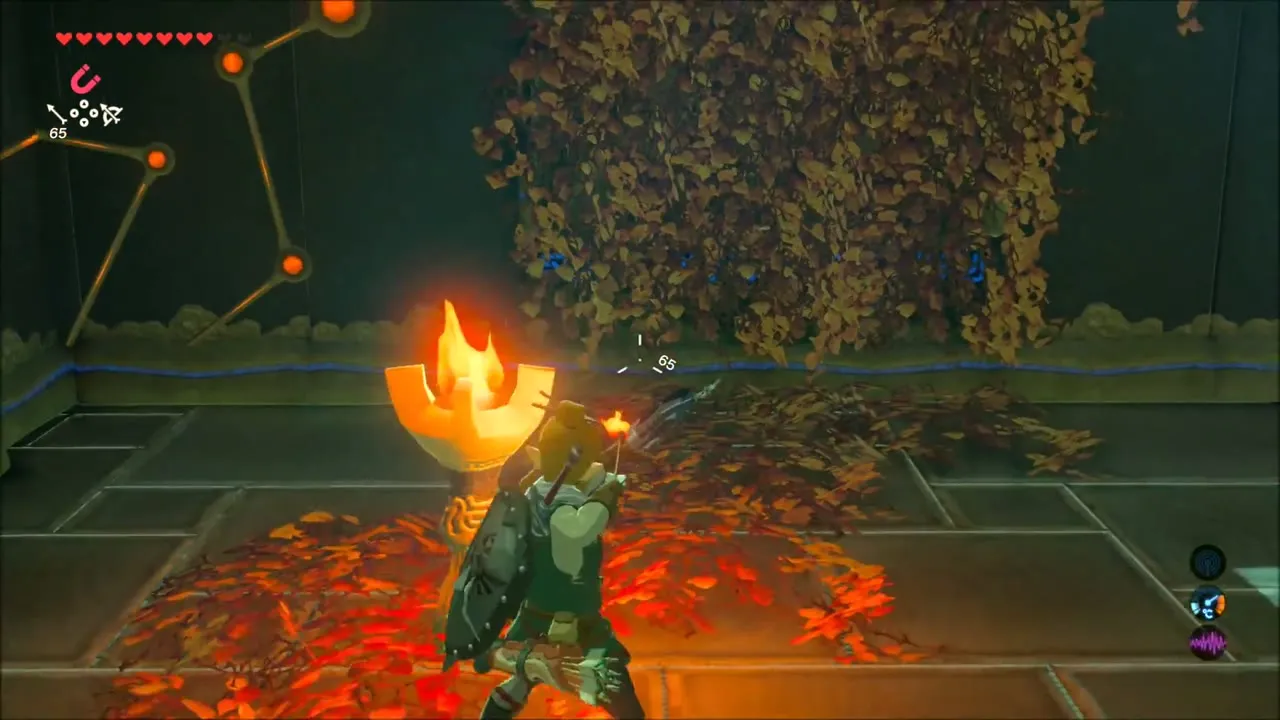
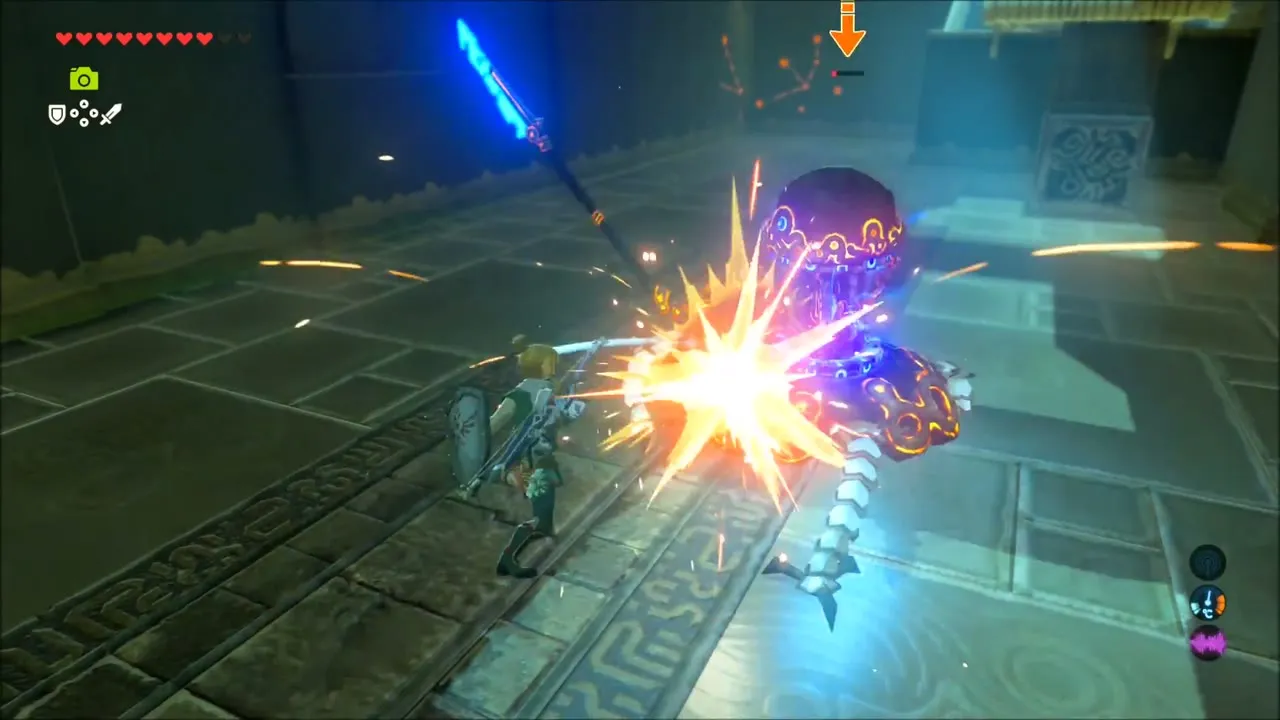
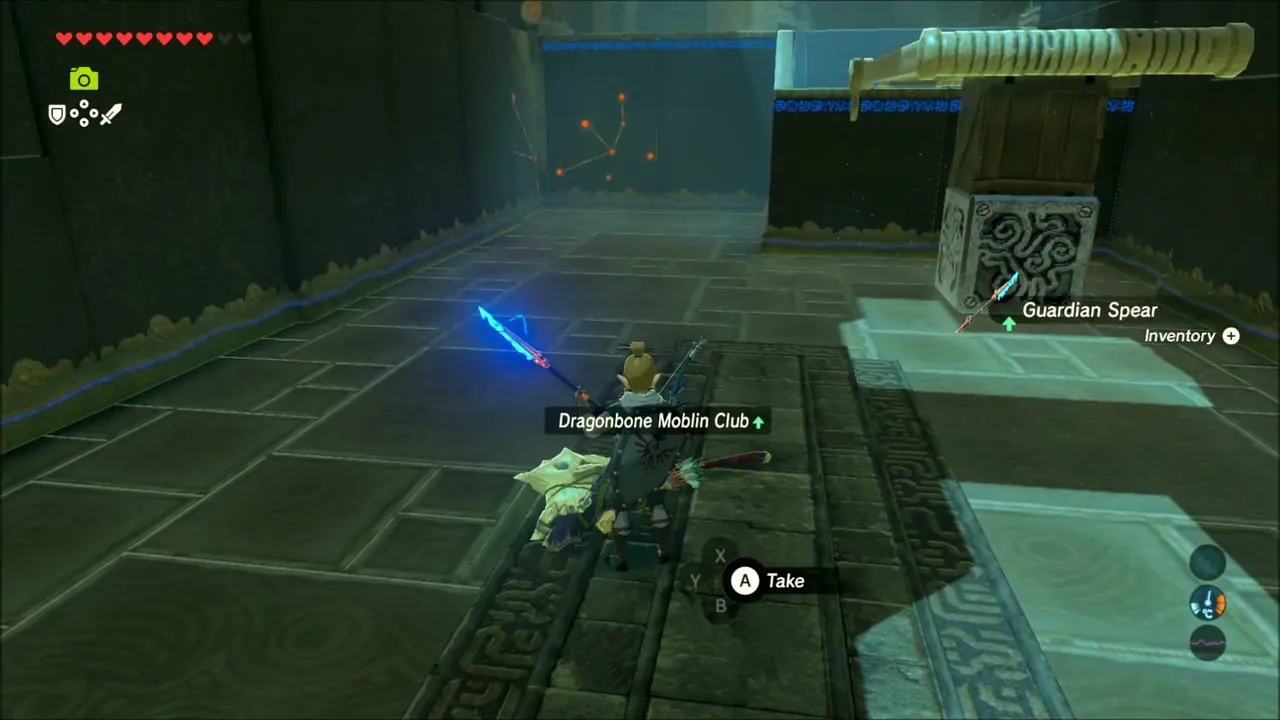
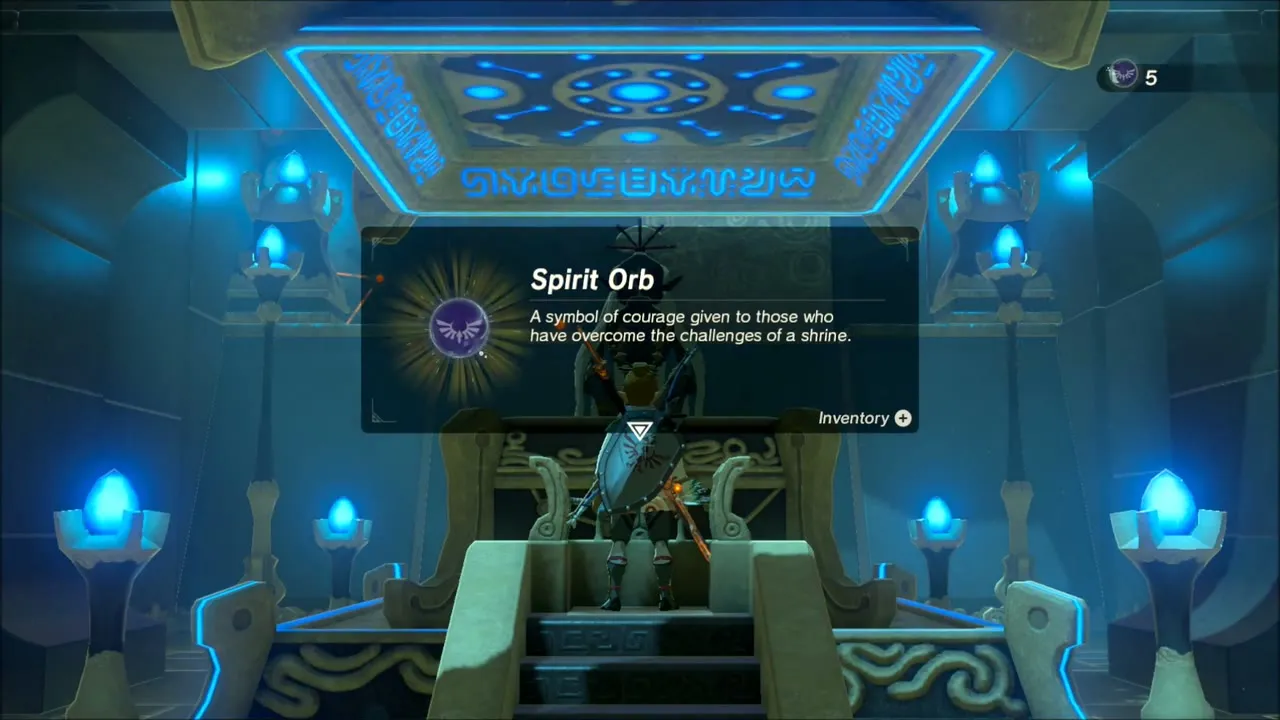
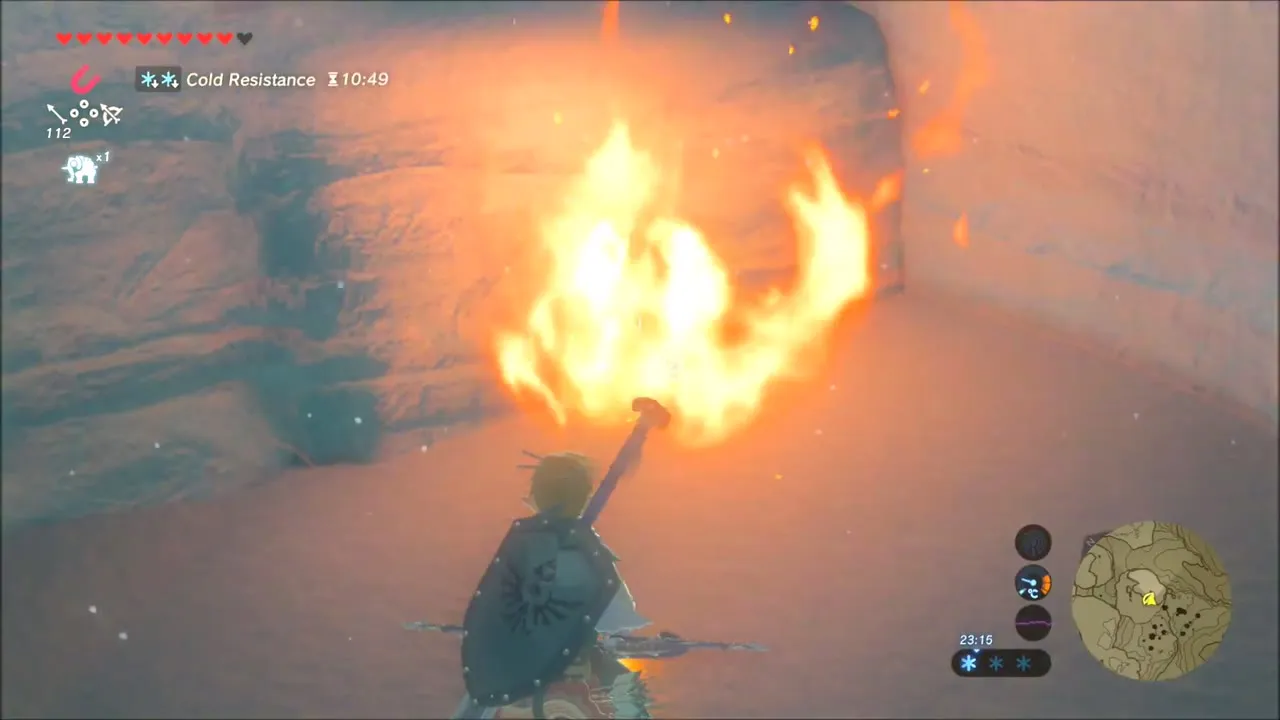
The first chamber has a chest that holds a Drillshaft. Burn the dry leaves beside the grated doorway with a torch to open the way to the second room, where you defeat a Guardian Scout (its Guardian Spear is worth keeping) and use Magnesis to lower ramps. Carry the metal block back across the rooms and set it on the floor switch to open the grated doorway, then open the chest beyond for the Small Key. Unlock the door and speak to the monk Rok Uwog for the Spirit Orb.
Pikida Stonegrove: Korok Seeds, Frost Talus and Ice Arrows
Leave Rok Uwog and start working the ridges to the south-east. Drop map stamps on the Korok and chest locations you plan to visit, then glide down from the slope below the shrine and climb the next hill.
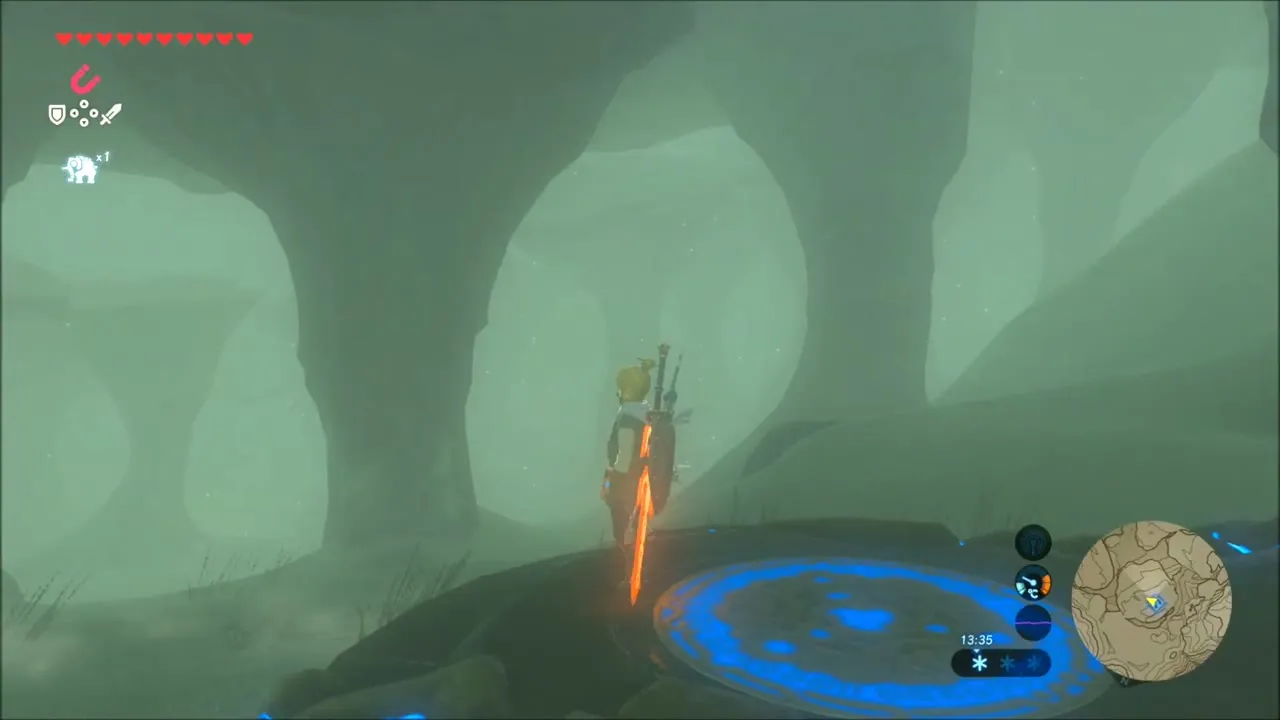
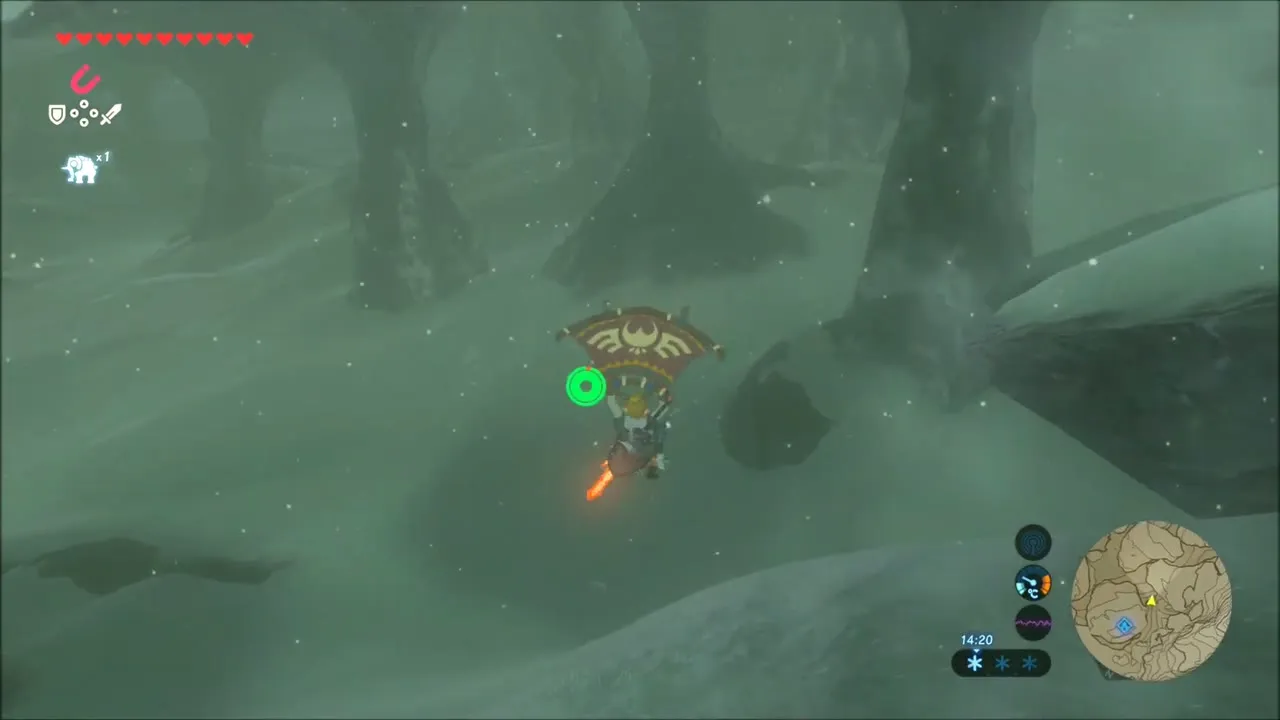
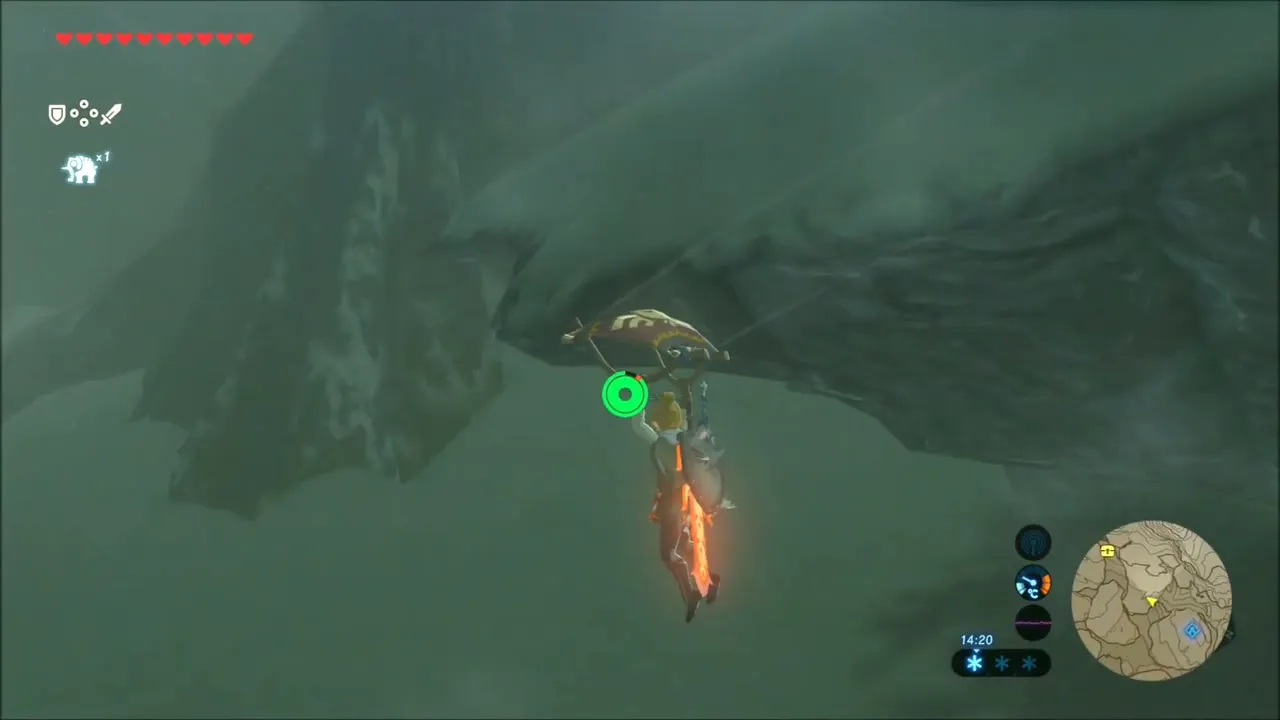
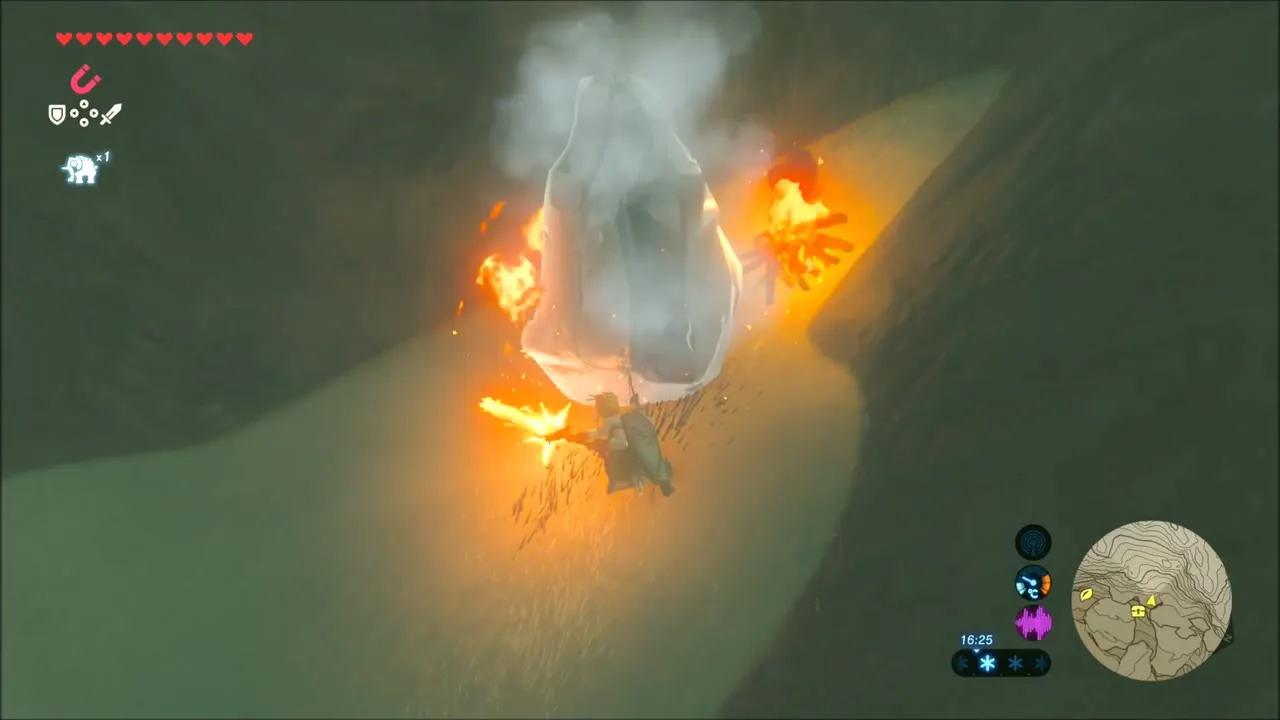
On a grassy ledge a large block of ice sits next to a heap of firewood. Collect wood, light the pile with flint or a fire weapon, and let the flames melt the ice. A Korok pops out of the thawing ice and gives you a Korok Seed.



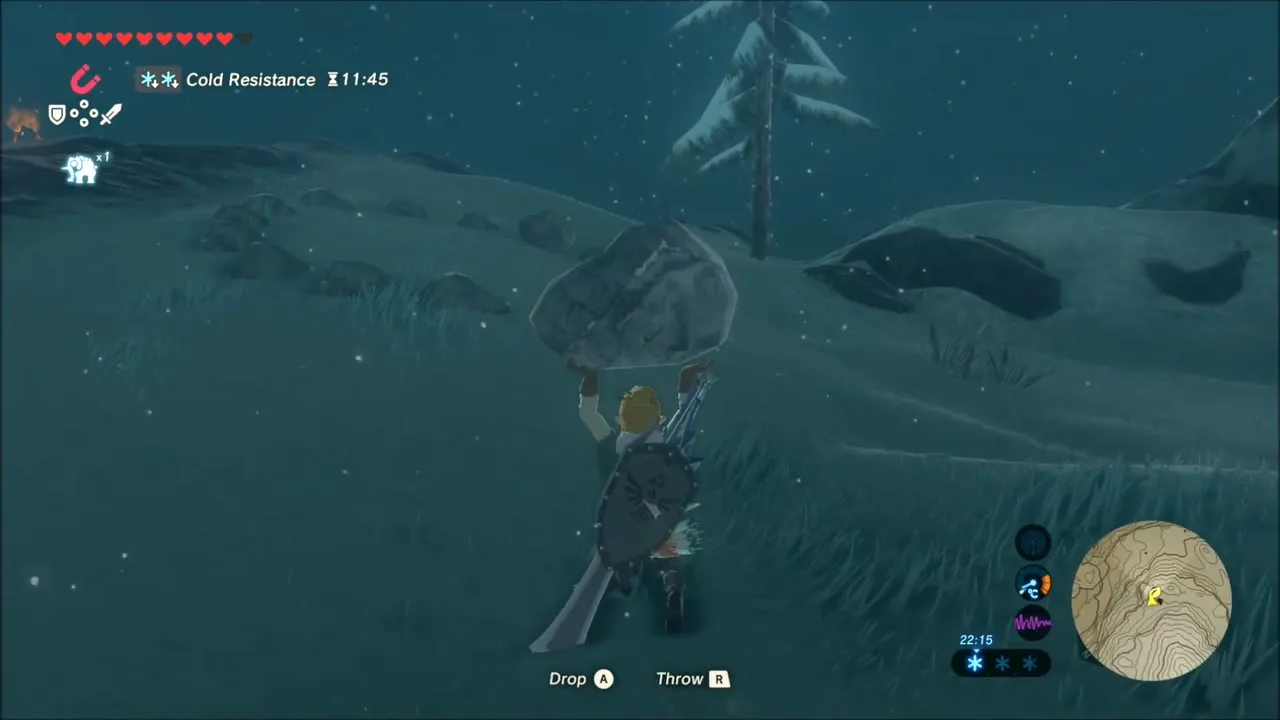
Farther along on a snowy rise, a ring of stones surrounds a patch with a stone missing. Pick up a nearby rock and set it in the gap to bring out a Korok Seed.

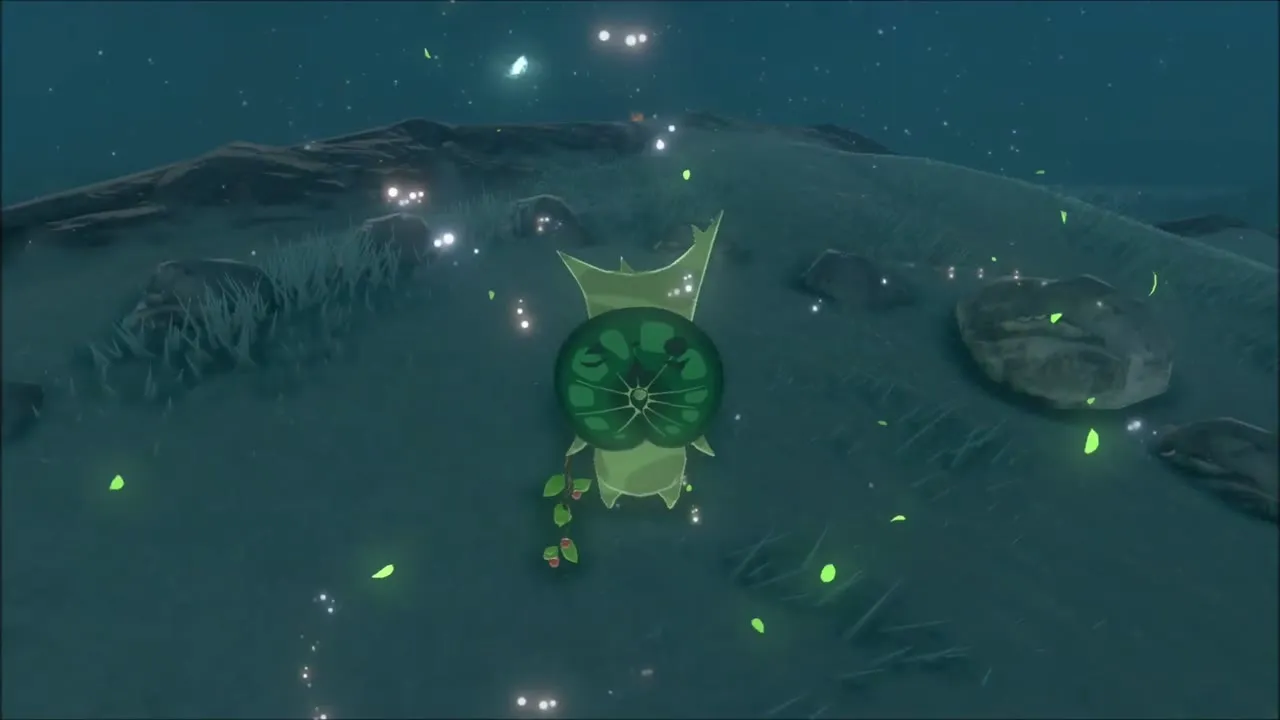
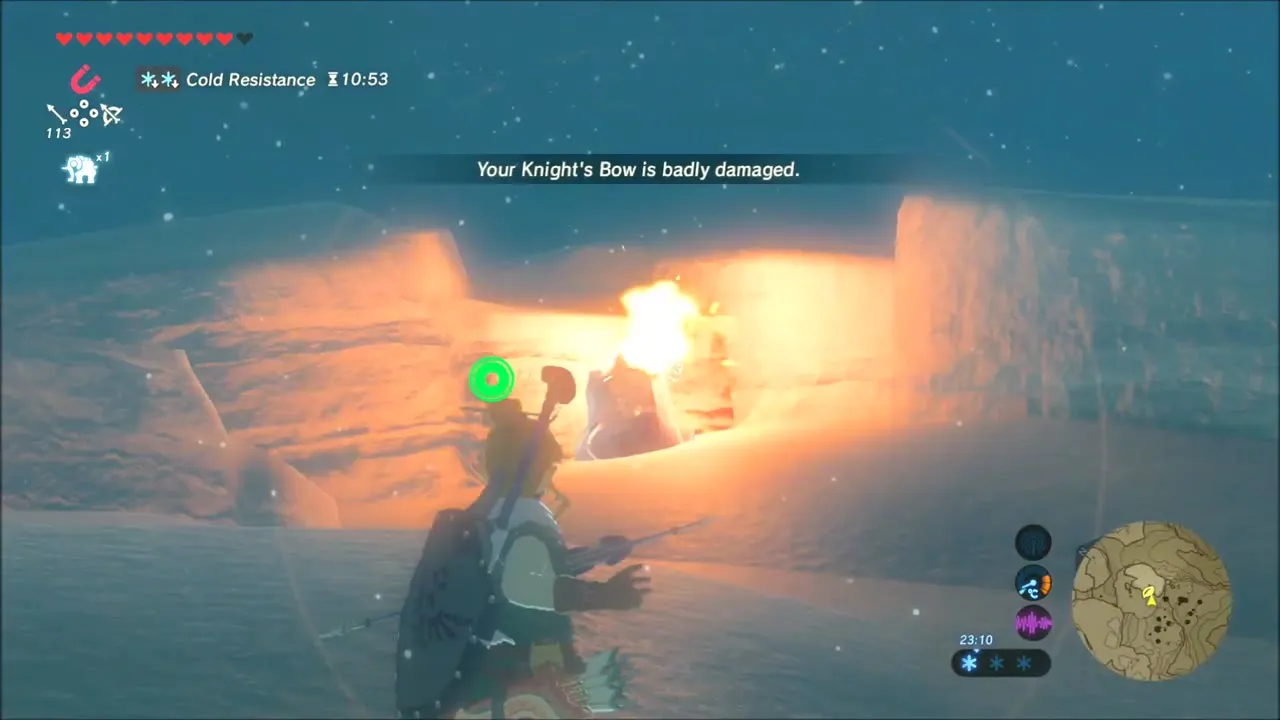
On a field of broken ice slabs, glide across to an ice wall with a Korok frozen inside. Hold a burning torch against the wall until the ice melts away and the Korok appears with a Korok Seed.

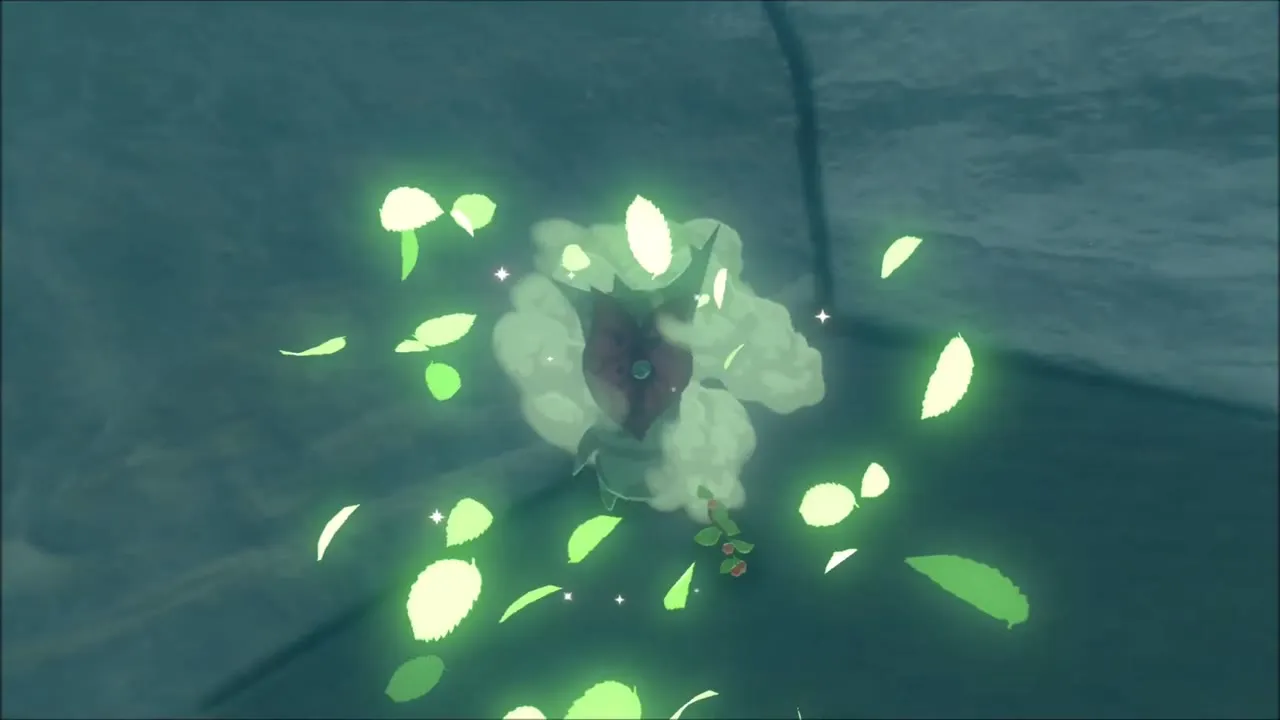
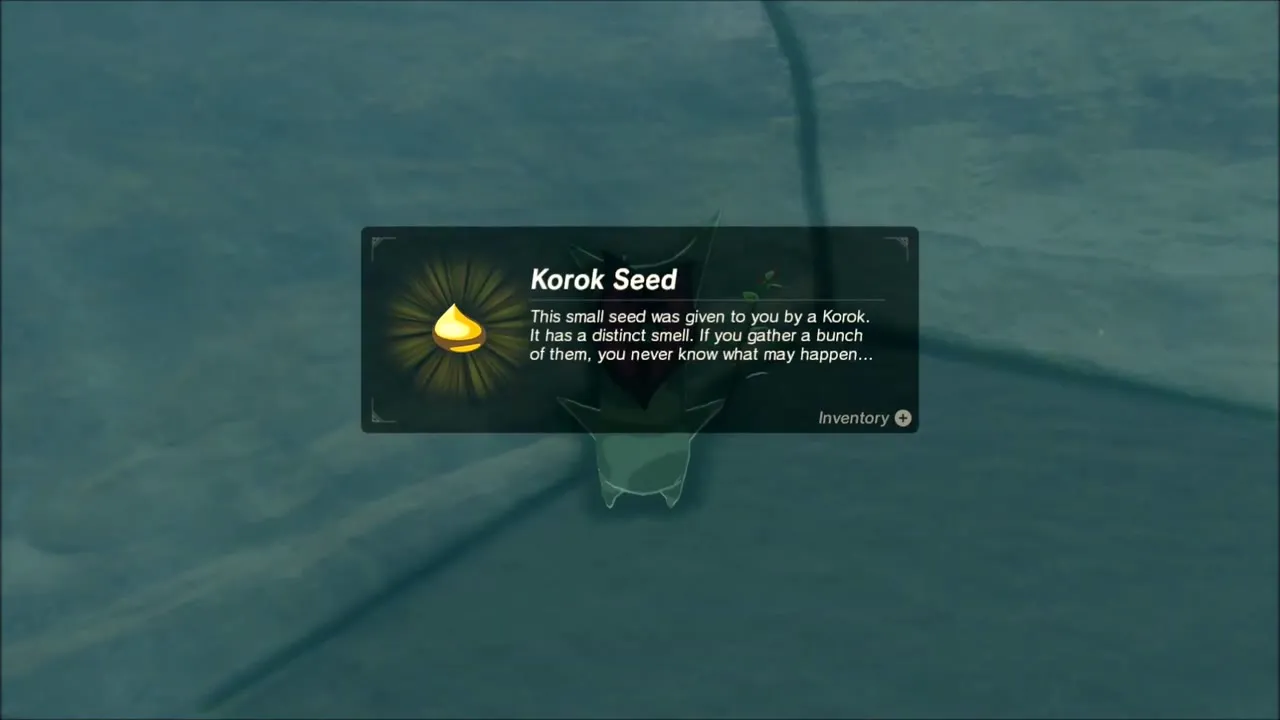
Frost Talus at Pikida Stonegrove
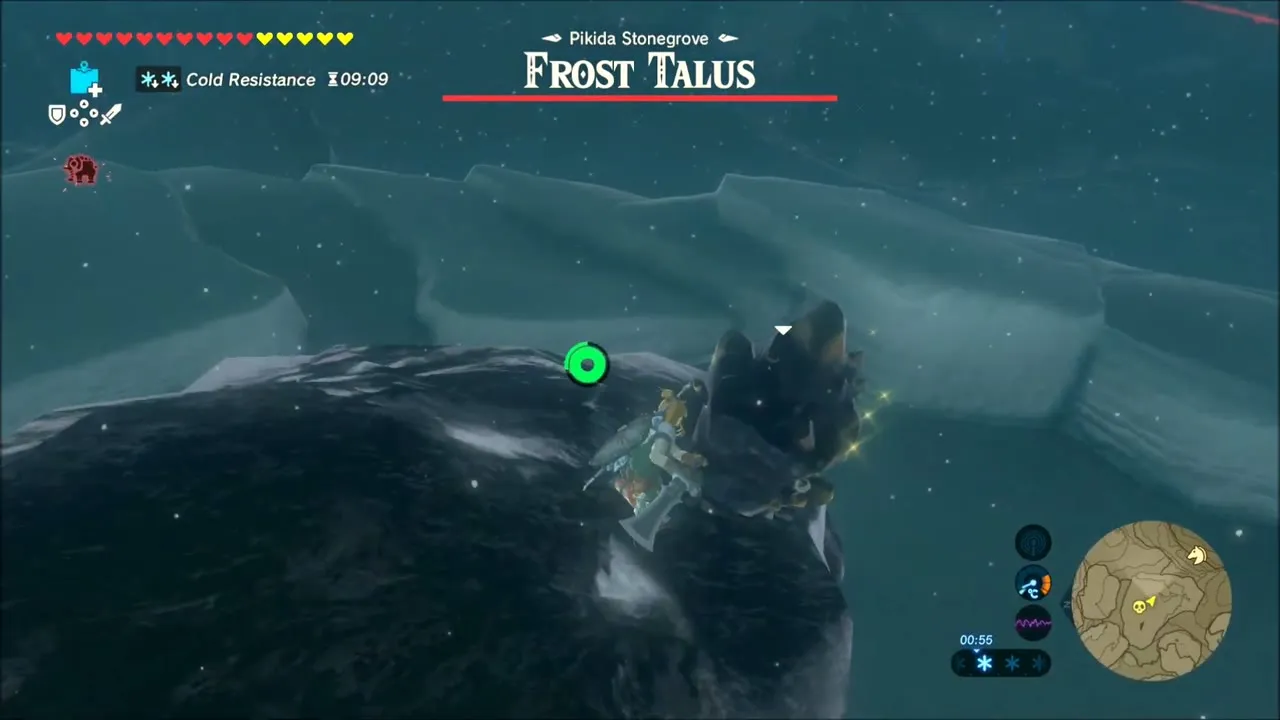
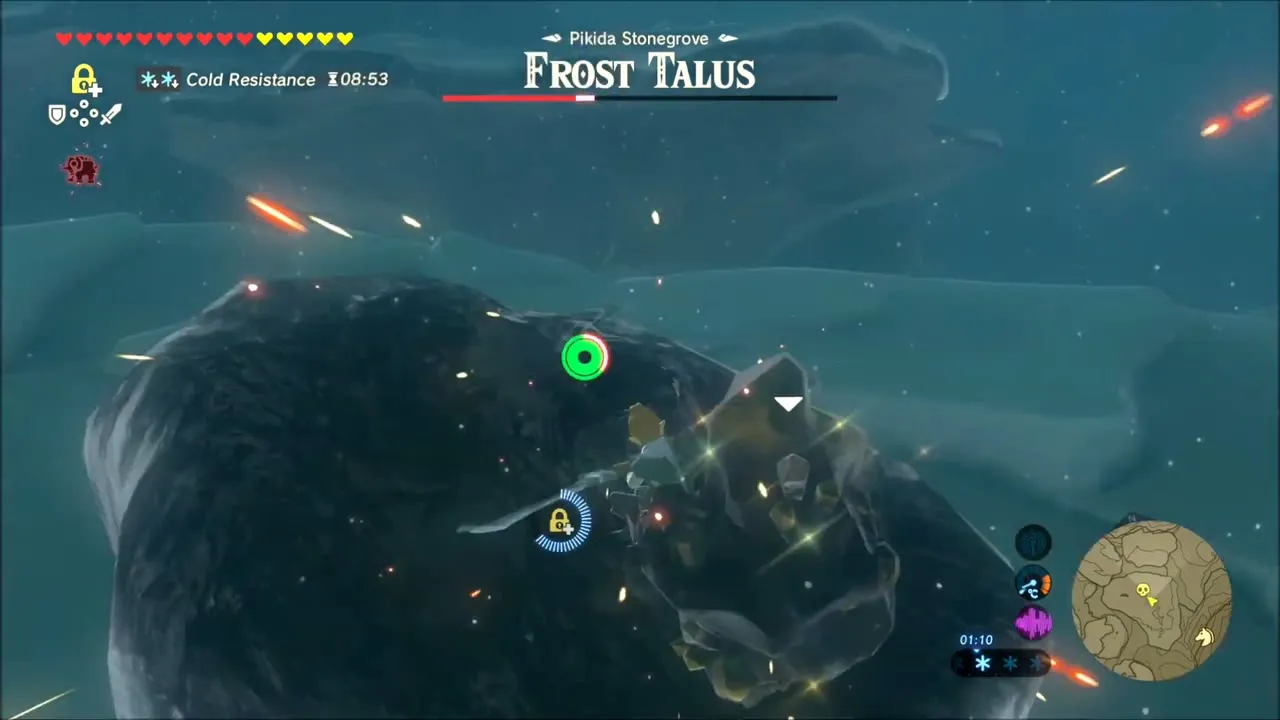
The Frost Talus here is a Stone Talus wrapped in ice, and the area title reads Pikida Stonegrove. Melt its ice with a fire weapon or arrow before touching it, then climb the thawed body and strike the glowing ore deposit on its back until it collapses. Amber is among the drops, along with the gems this Talus leaves behind.

Two Ice Arrow chests and a Korok on the ridge
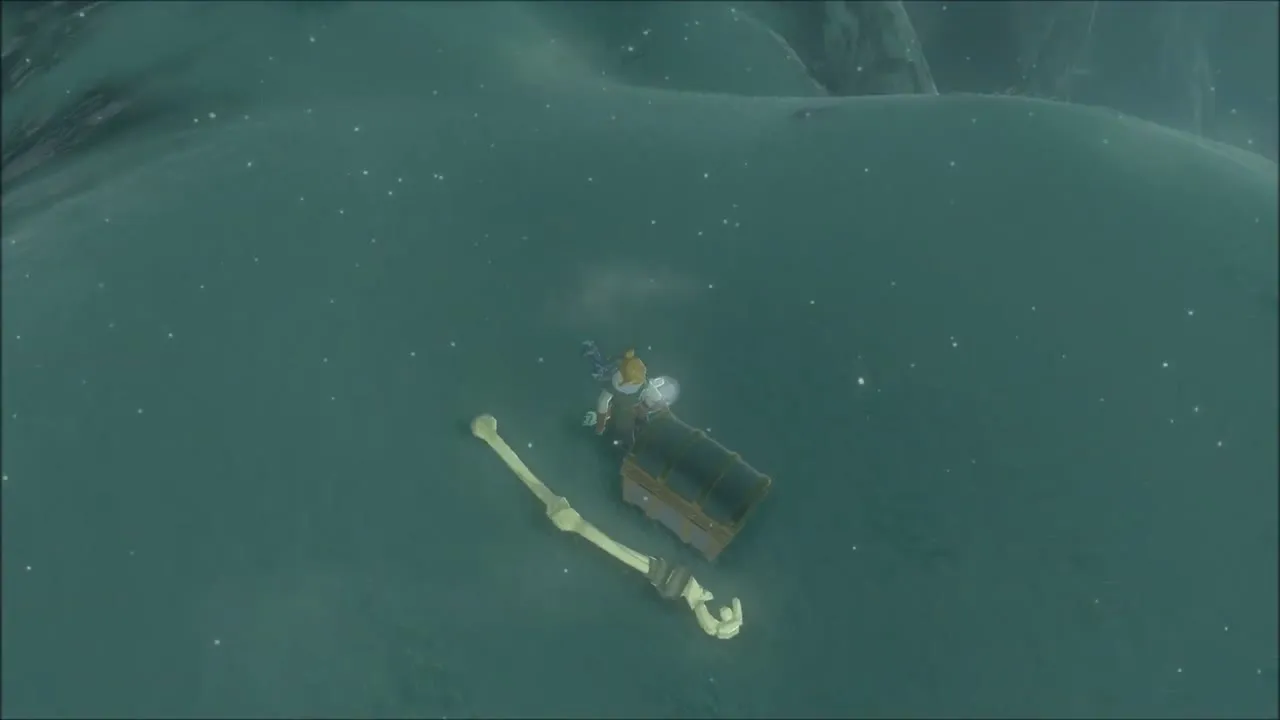
Climb the long ridge beyond the Talus to a chest lying beside old bones. Opening it gives you a bundle of 5 Ice Arrows.


Higher on the same mountainside, a Korok is sealed in a block of ice on a steep face. Burn the ice with a flame weapon until it melts away and the Korok pops out with another Korok Seed.

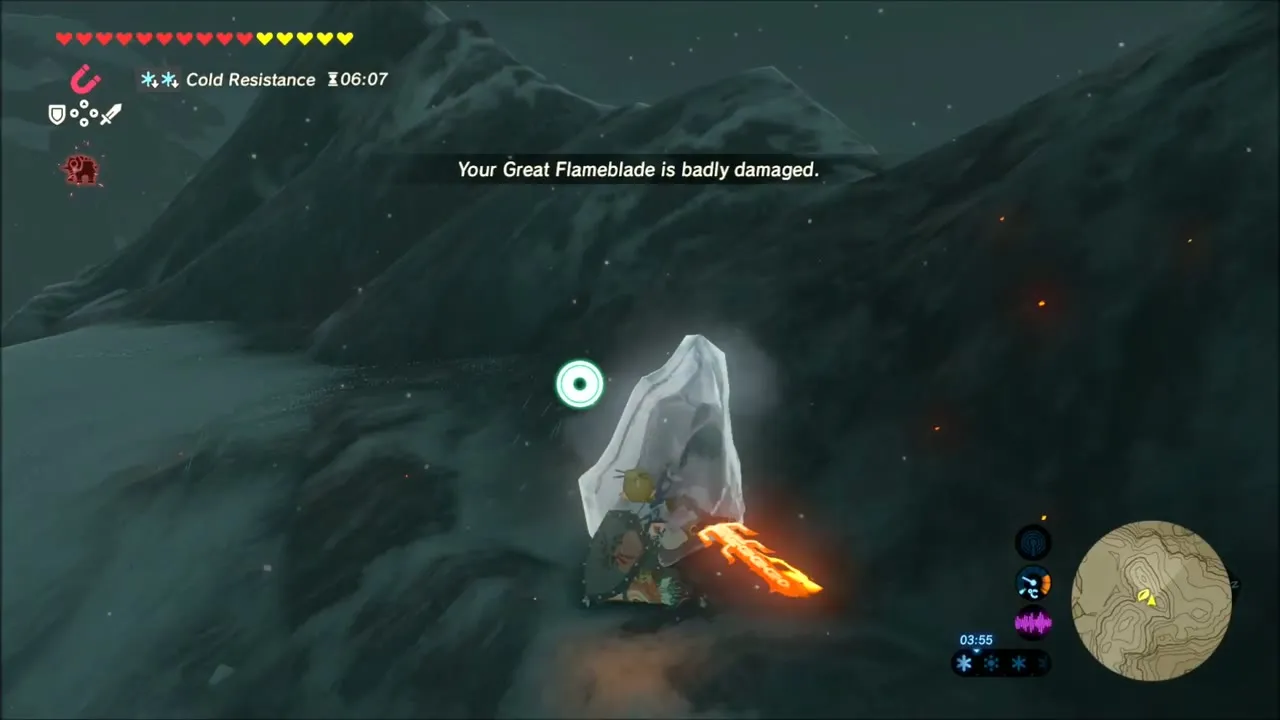
Near the snowy summit, climb to a rounded hilltop where a loose rock rests. Lift the rock and a Korok appears with another Korok Seed.


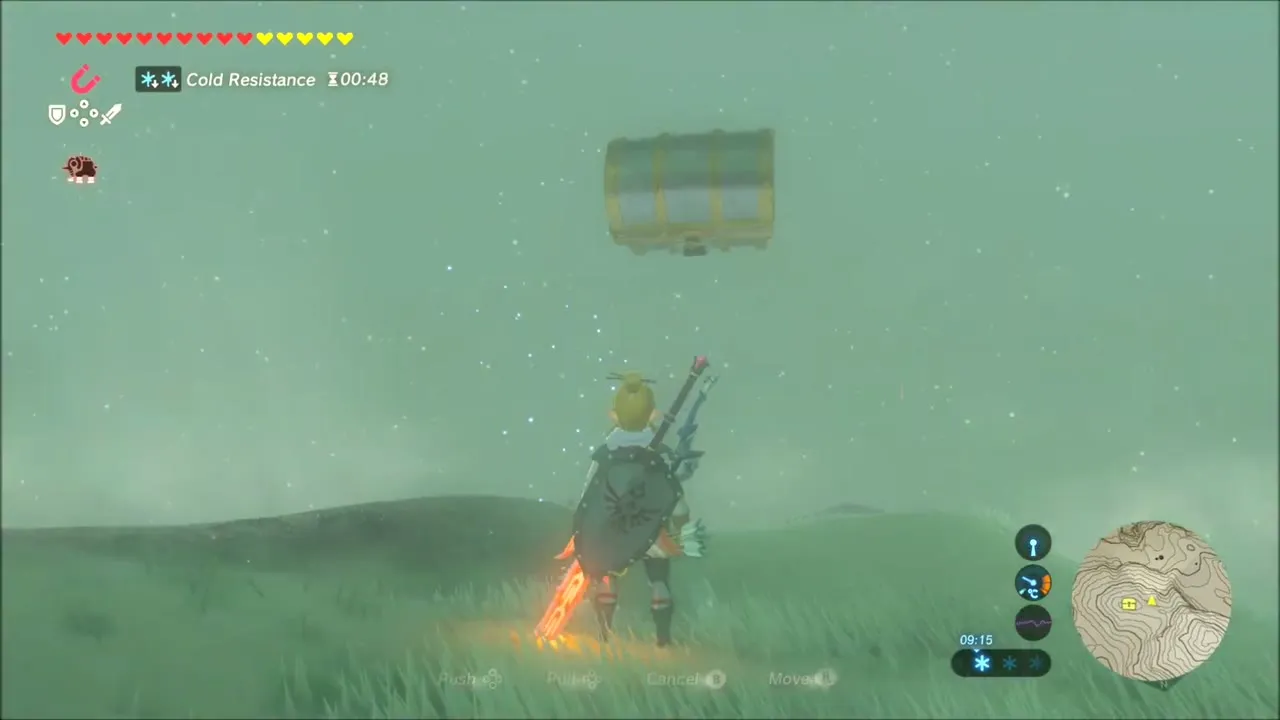
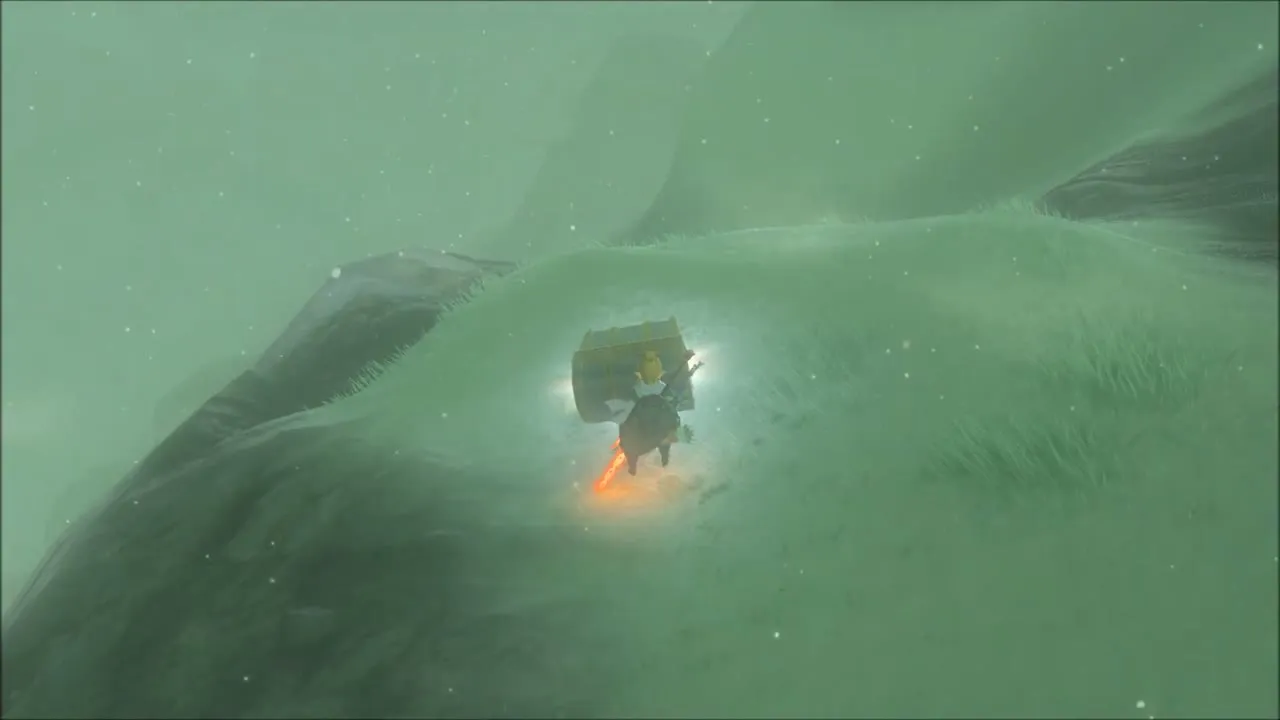
A chest lies on the next slope below, easy to spot through the mist. Grab it with Magnesis and pull it to you. Inside is a second bundle of 5 Ice Arrows.
Ice Lizalfos Fight and Two Korok Seeds
Farther down, an Ice Lizalfos attacks. Cut it down with fire to collect Lizalfos Talon, Lizalfos Horn and Icy Lizalfos Tail. A little way on, an ice block hides another Korok. Burn it away with a flame weapon and take the Korok Seed.

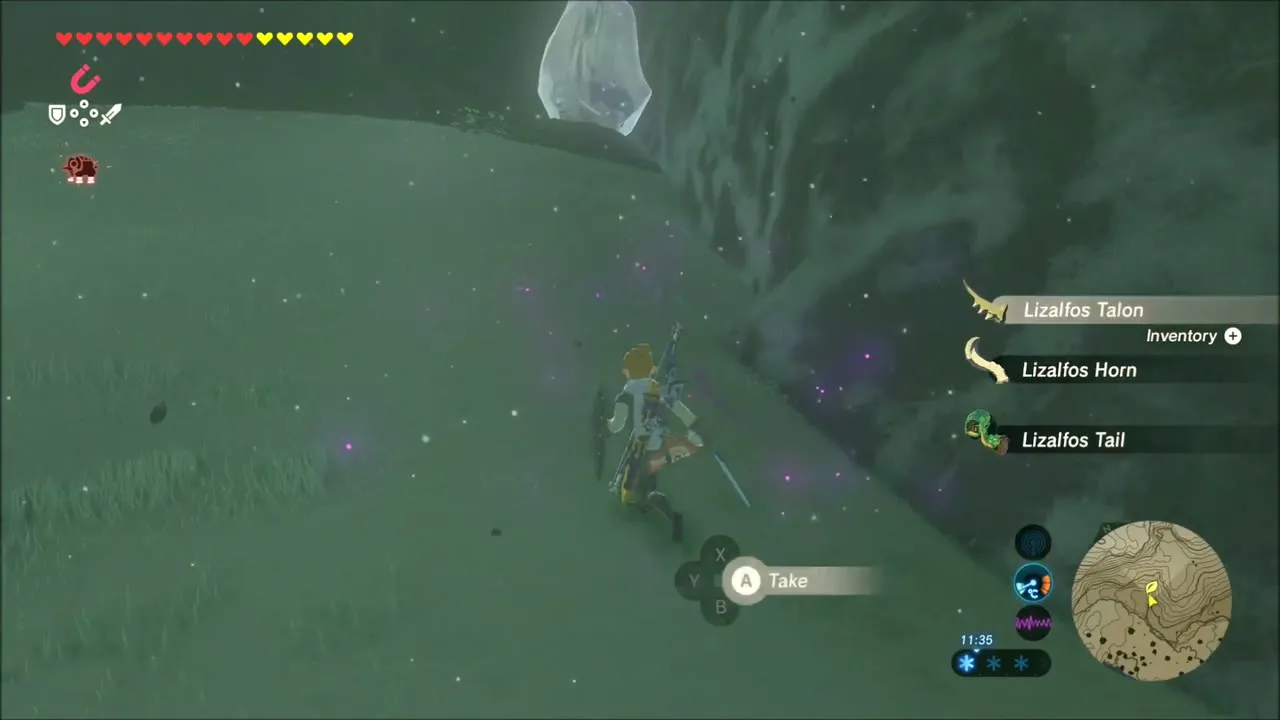

Follow the stream toward the next shrine and climb onto a rocky ledge where a Korok is waiting. Walk up to it for another Korok Seed.
Gee Ha’rah Shrine: Tandem Solution
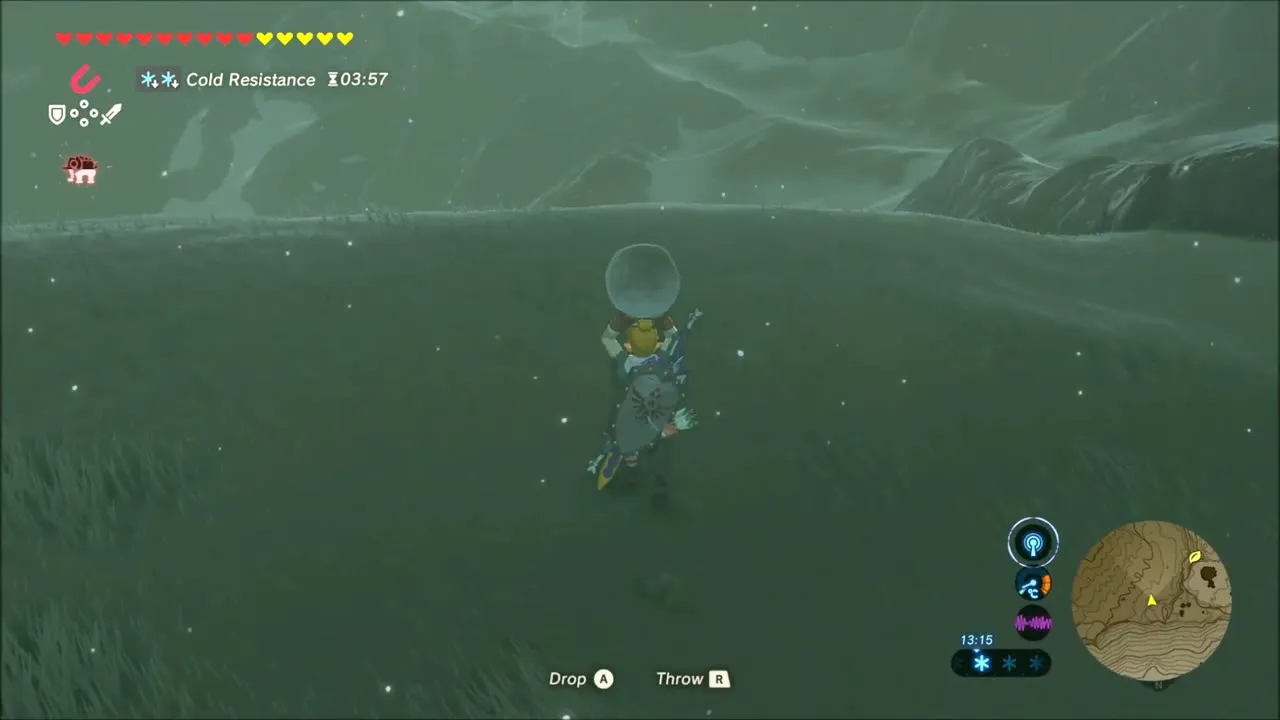
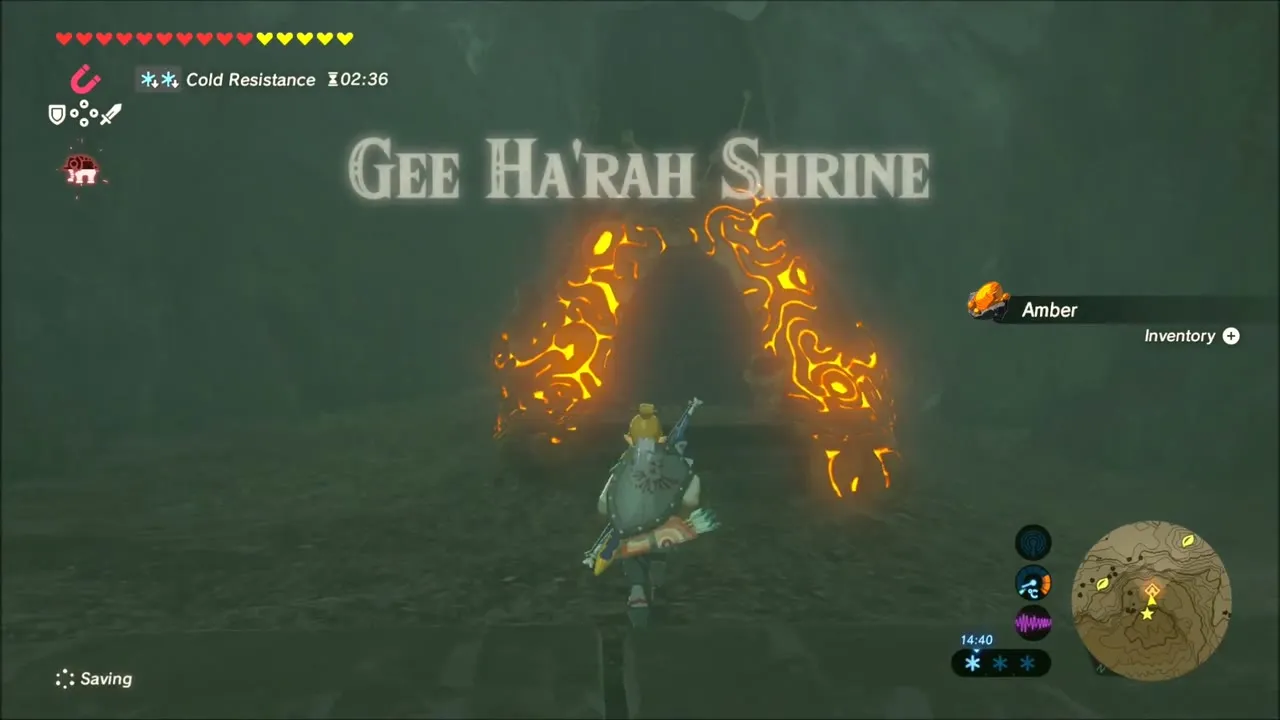
Gee Ha’rah Shrine (x -2380, z -2255, height 291) lies at the foot of a snowy slope in the Tabantha Tundra, and a sealed door blocks the way. Pick up one of the small snowballs on the hillside, carry it to the groove that leads down to the doors, and set it rolling. The snowball grows as it travels and breaks the door open. If it misses, grab another and try a different groove.

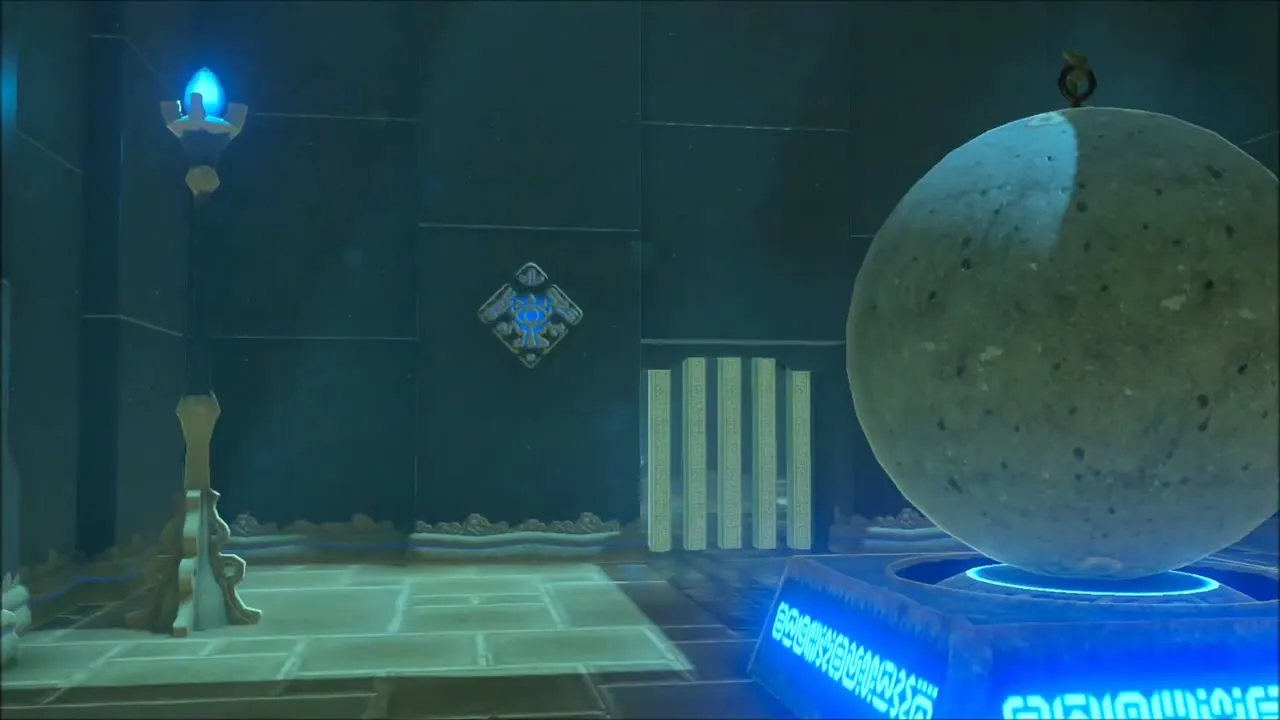
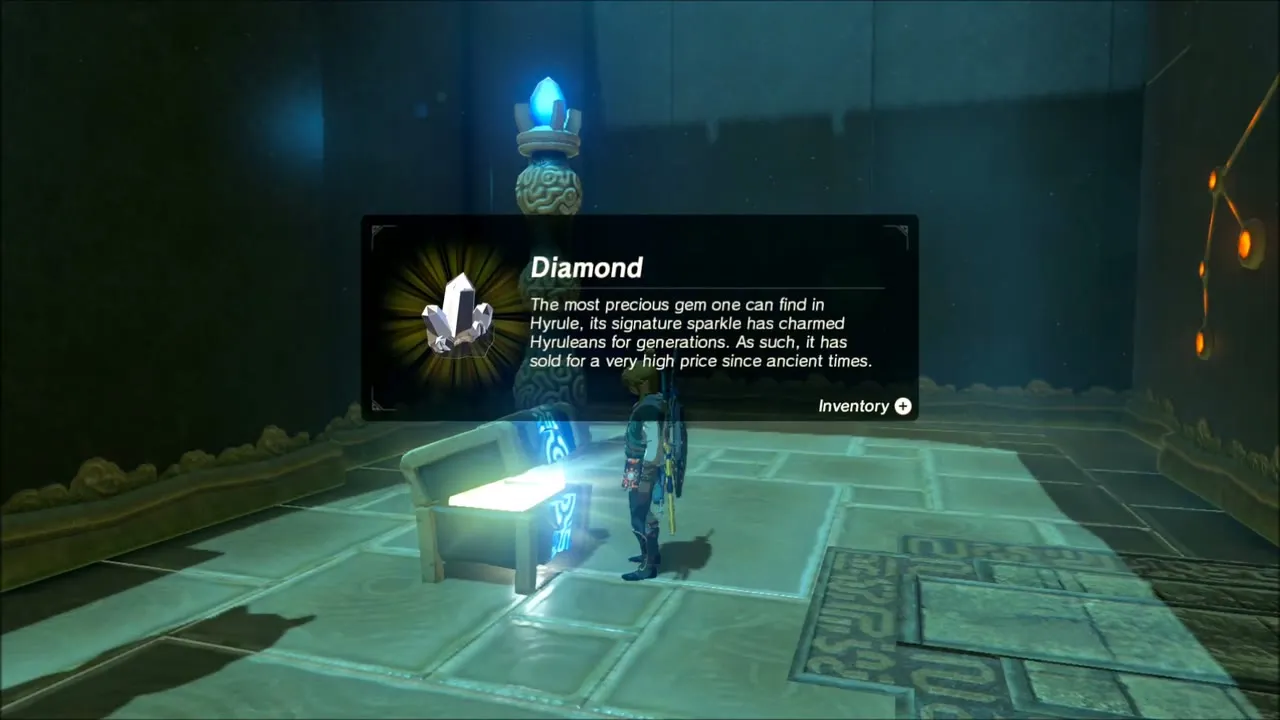
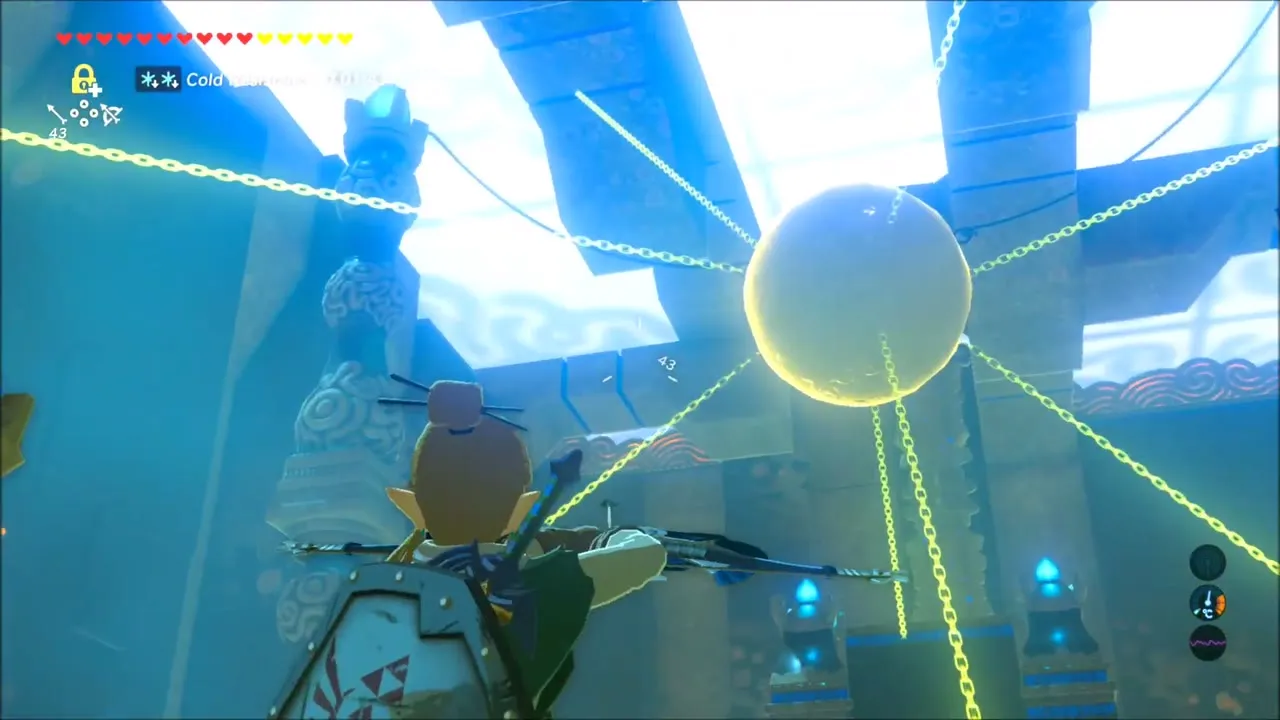
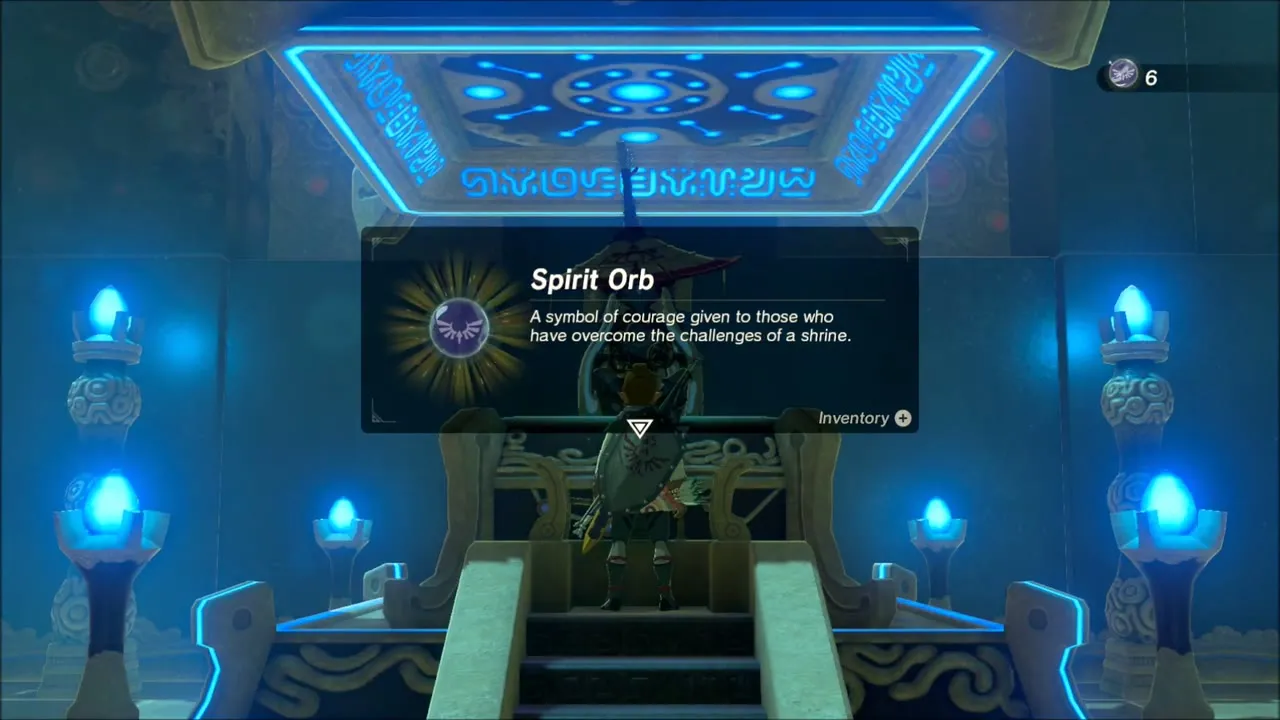
Inside, you cut ropes so stone balls drop onto plungers. Shoot the rope above the first ball to open the first door, then shoot the left rope of the second so it swings into the wall plunger and opens the Diamond chest. For the last door, freeze the ball with Stasis, shoot both of its ropes and let it drop straight down onto the floor plunger. Talk to the monk Gee Ha’rah for the Spirit Orb.

Korok Seeds and Chests on the Ridges South-West of Gee Ha’rah
Several oversized snowballs rest on a ridge. Freeze one with Stasis, strike it to build momentum and send it rolling down the slope. A Korok appears at the crest of the ridge, and you collect a Korok Seed.


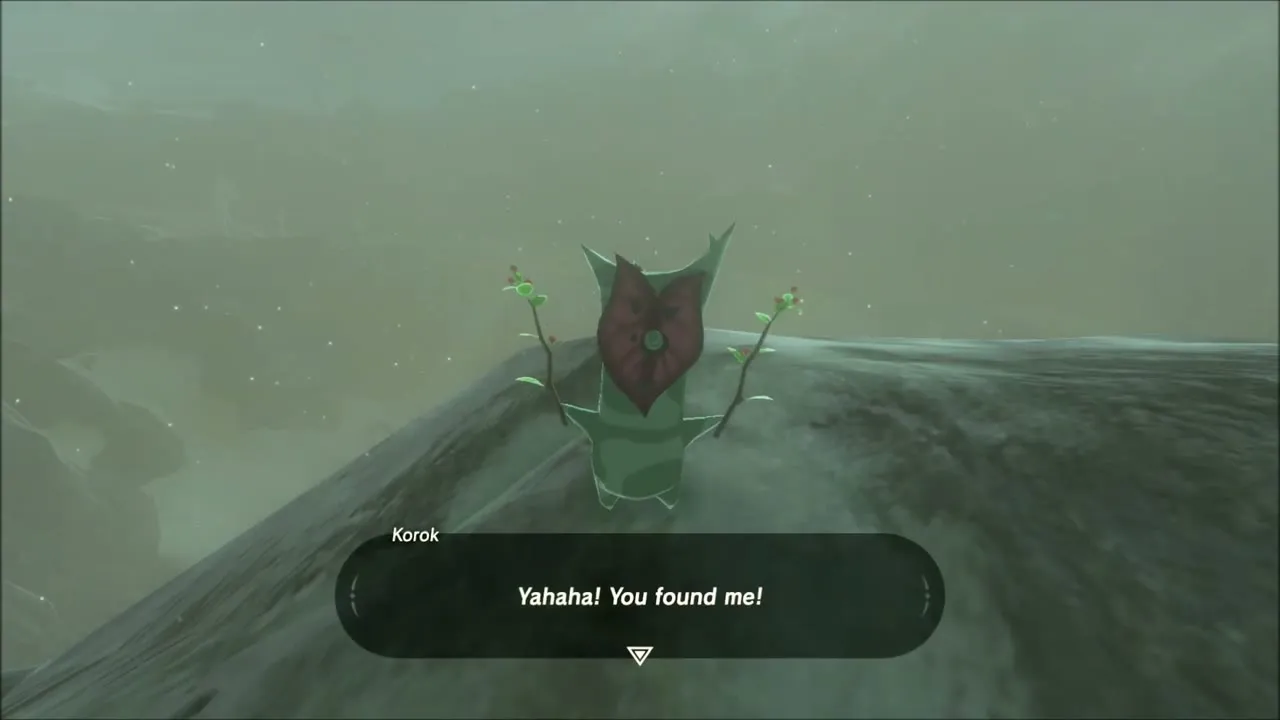
After dark, climb a steep ridge until a Korok springs out at the top. Take its Korok Seed.
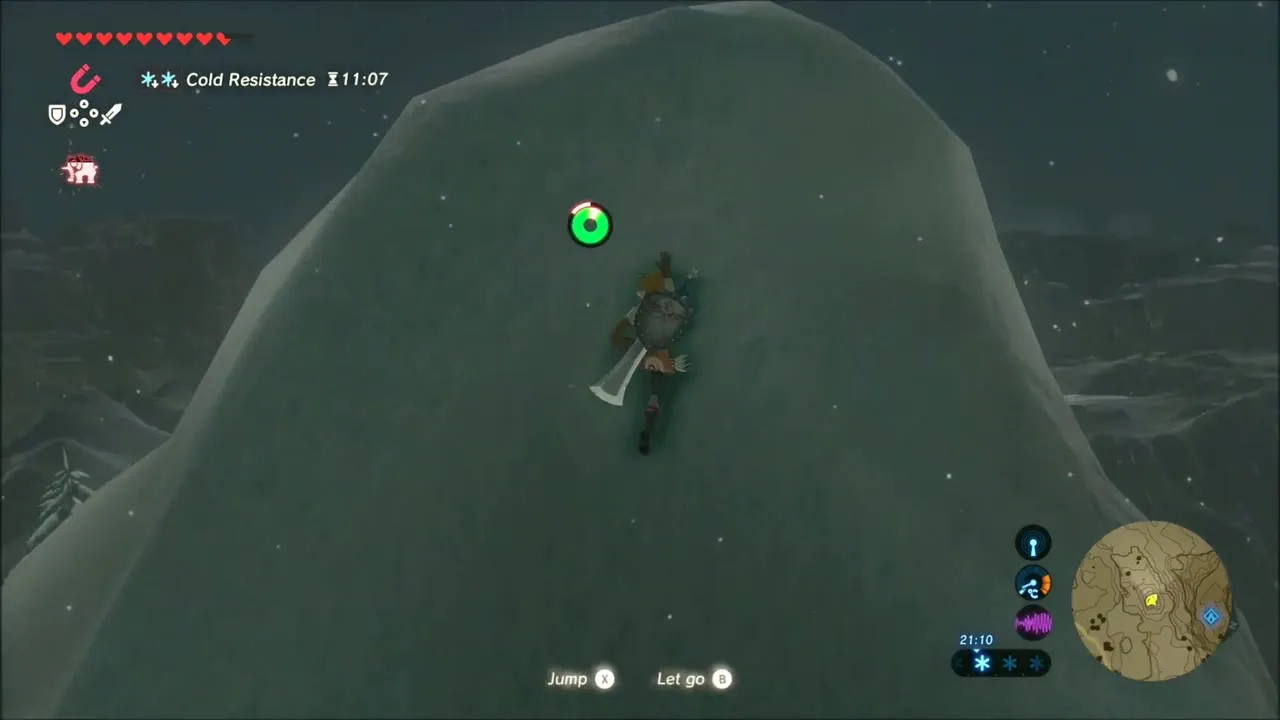
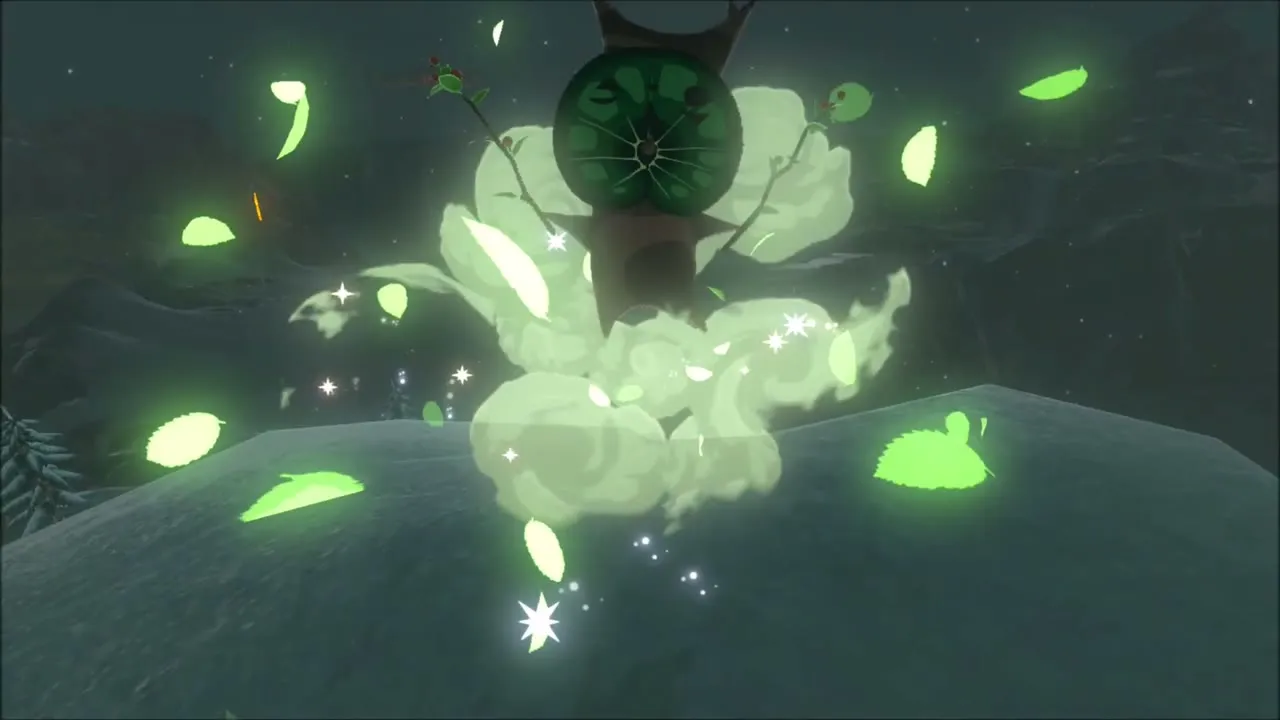

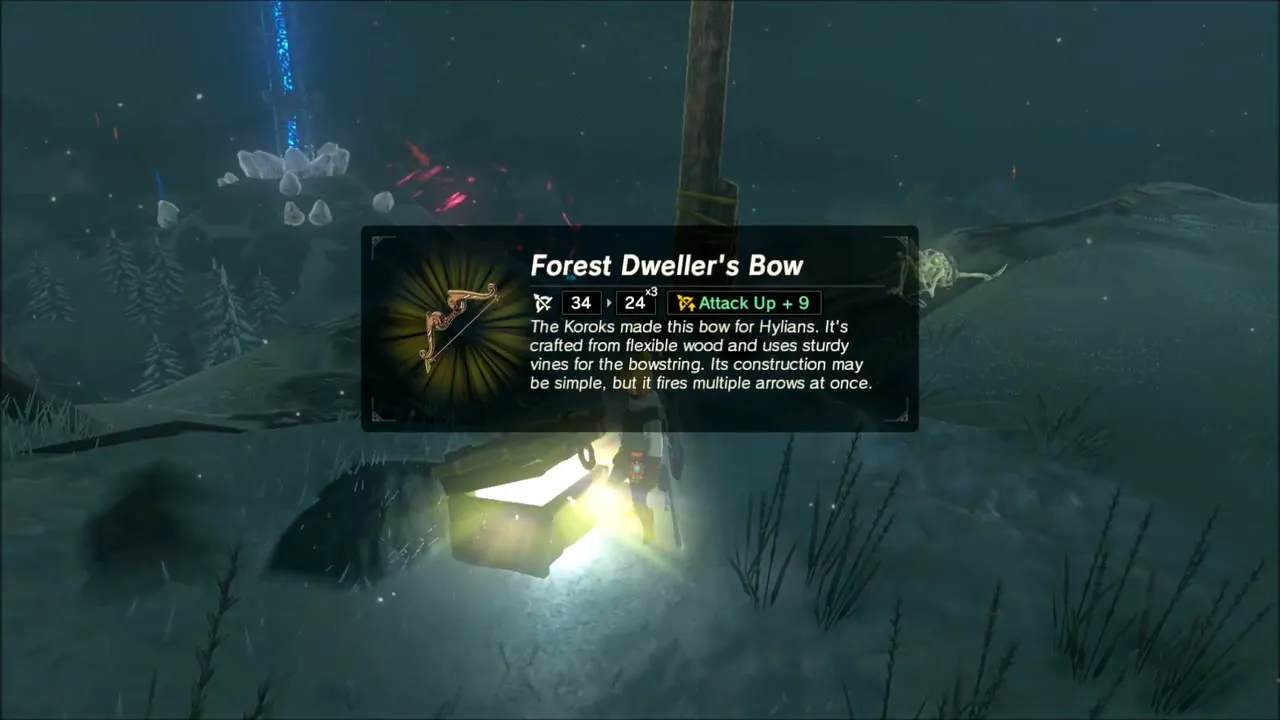
On the way down, a chest in the snow contains a Forest Dweller’s Bow.


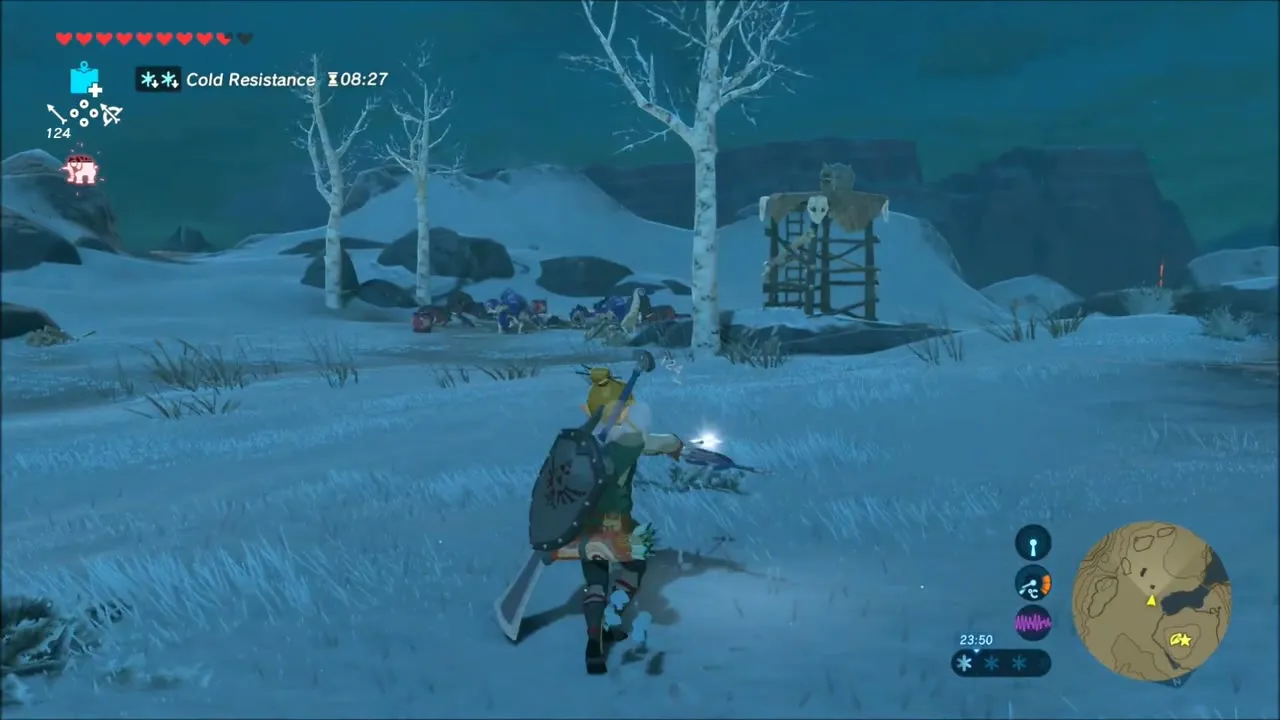
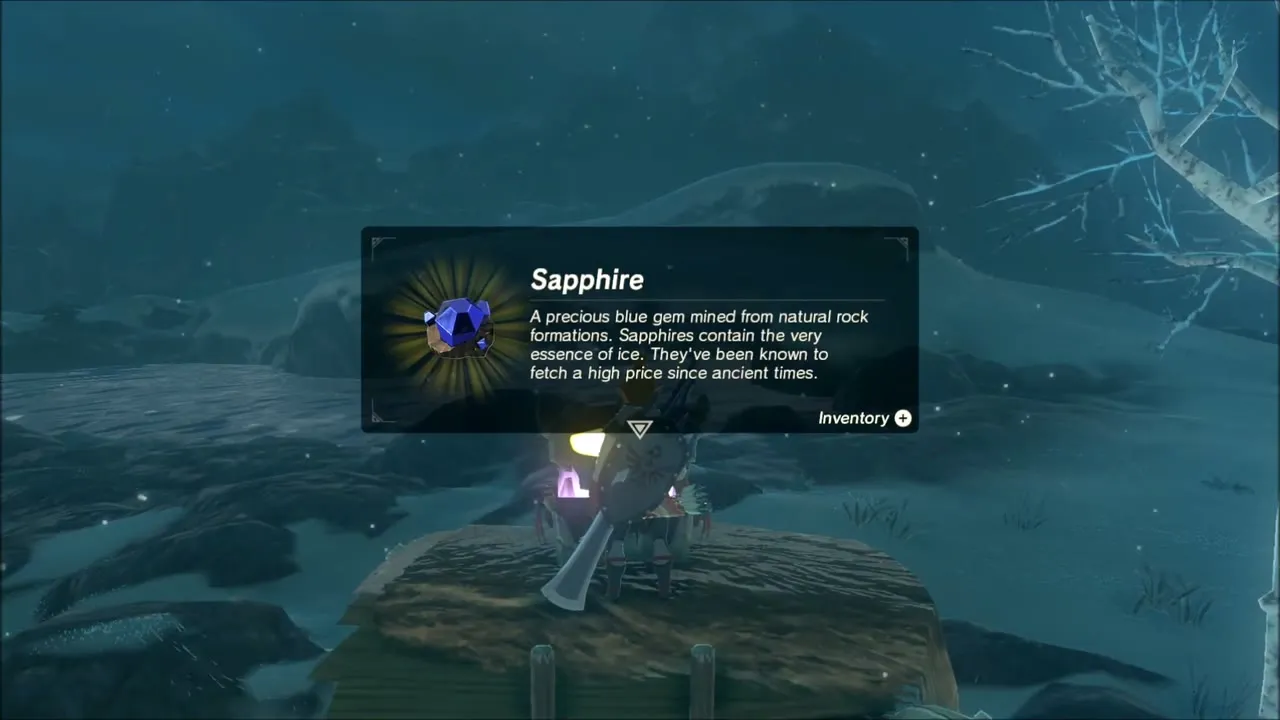
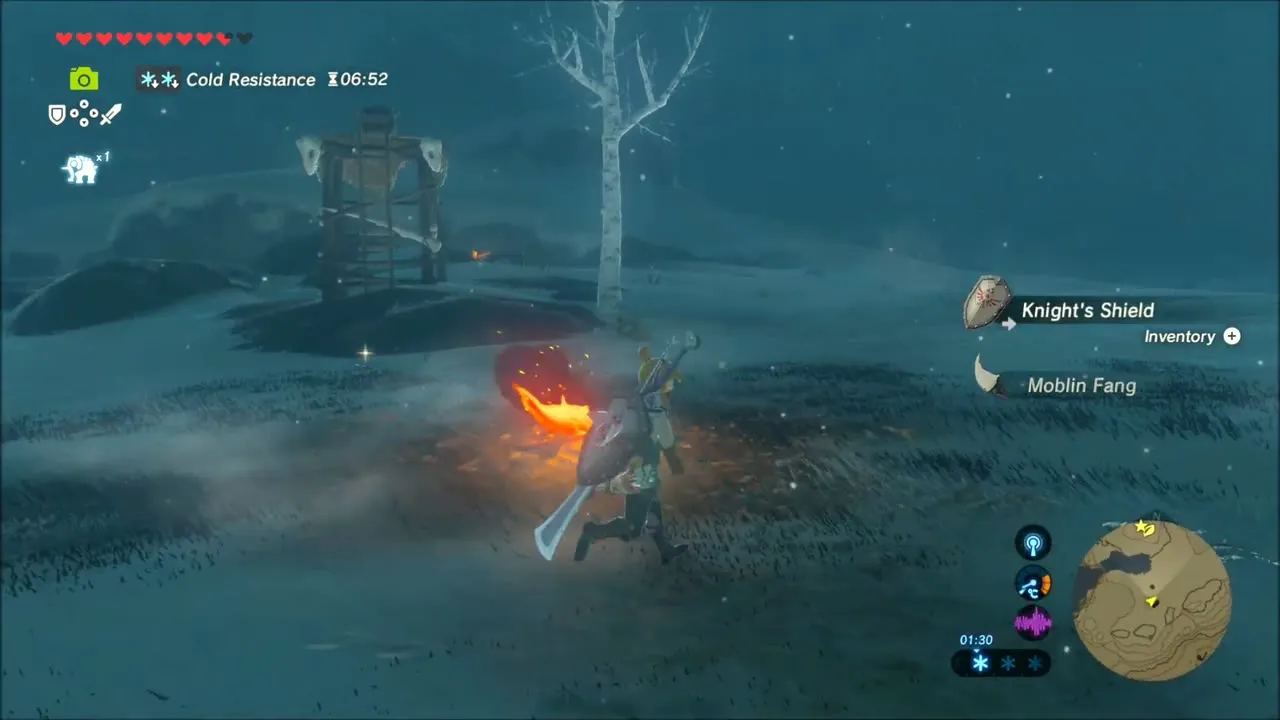
Beside a wooden lookout tower on the snowy plain, clear the enemies and open the chest for a Sapphire. A Knight’s Shield is also there for the taking.
Lanno Kooh Shrine: Lanno Kooh’s Blessing
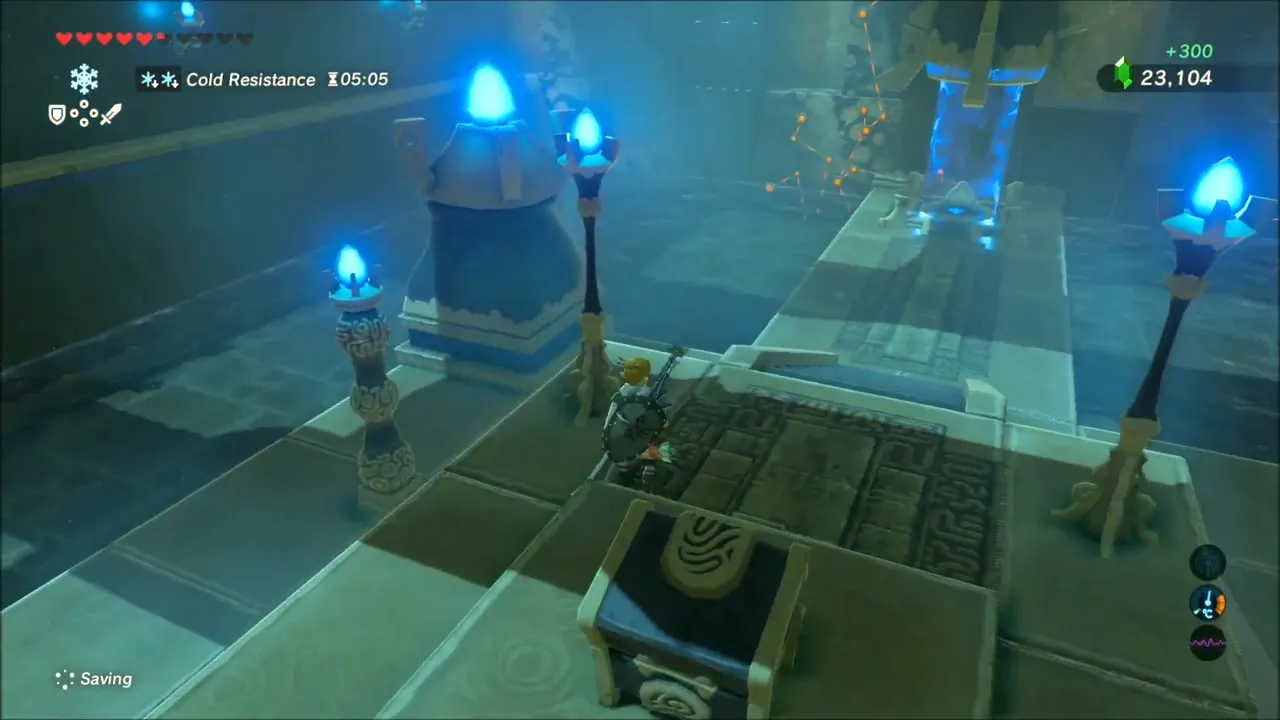
Lanno Kooh Shrine (x -2637, z -2061, height 459) is in a cave on the water south of Hebra Falls, so eat hearty food first. The freezing river drains your hearts as you swim, so use the boulder sticking out of the river as a stepping stone and place Cryonis blocks to shorten the crossing. The swim costs about seven and a half hearts.


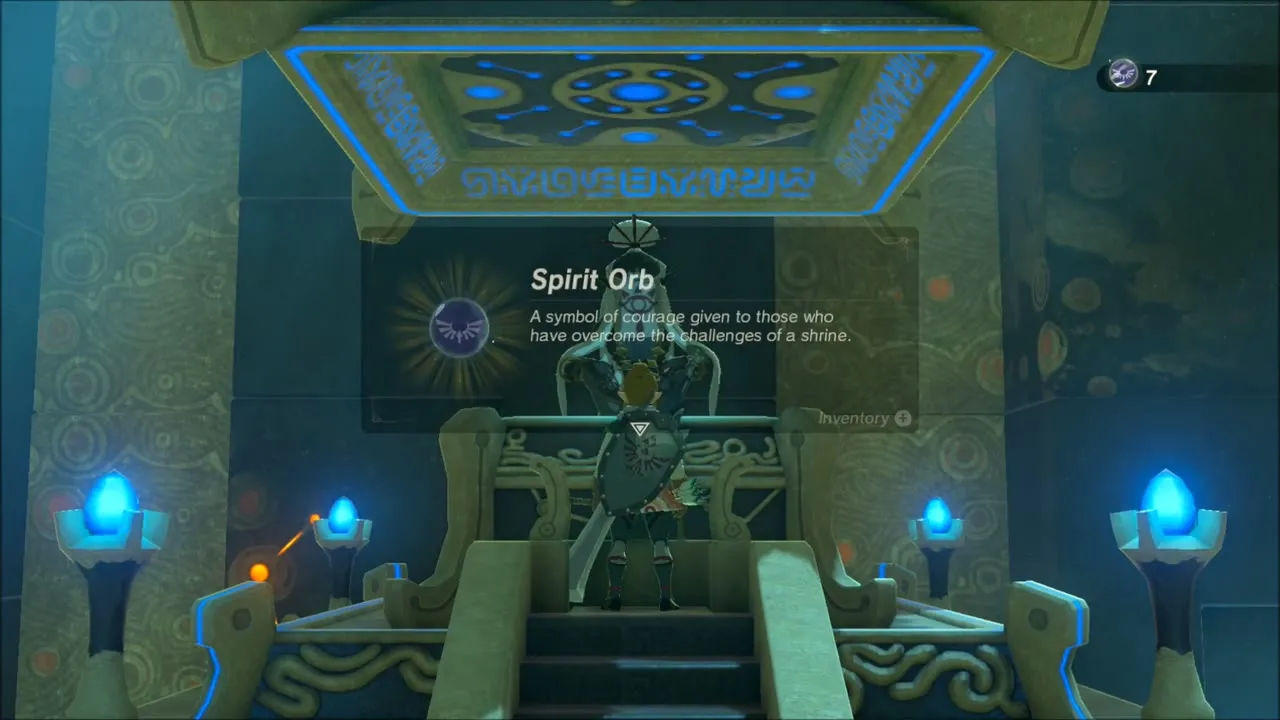
A Korok Seed waits in the cave at (-2637, -2048): the Korok stands on a rock ledge near the shrine door. The shrine itself is a Blessing with no puzzle, so open the chest on the path for a Gold Rupee (300 Rupees) and speak to the monk Lanno Kooh for the Spirit Orb.

Hebra Plunge Snowfield: Silver Rupee, Forest Dweller’s Bow and Korok Seeds
Start at the edge of the Hebra Plunge lake and set a route across the open snowfield with a map pin. The blizzard here eats through your cold resistance quickly, so keep warm food or Snowquill gear ready. A chest sitting in the open snow holds a Silver Rupee, worth 100 rupees.

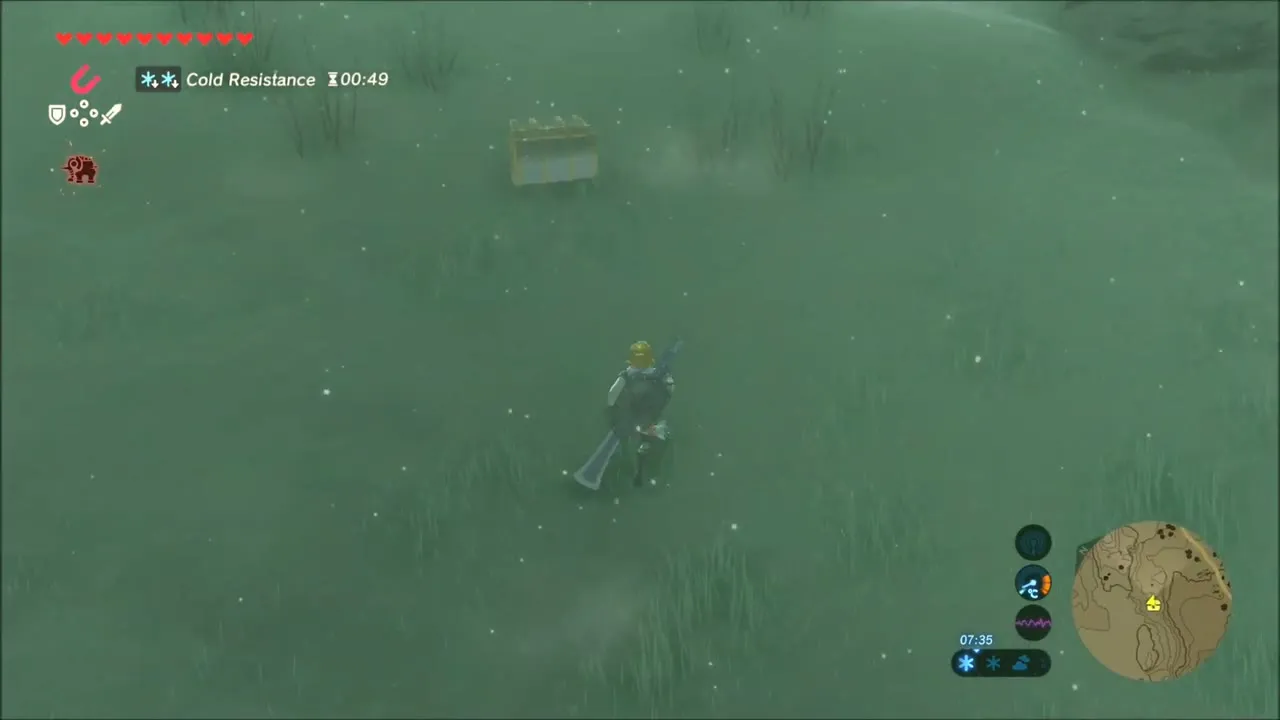
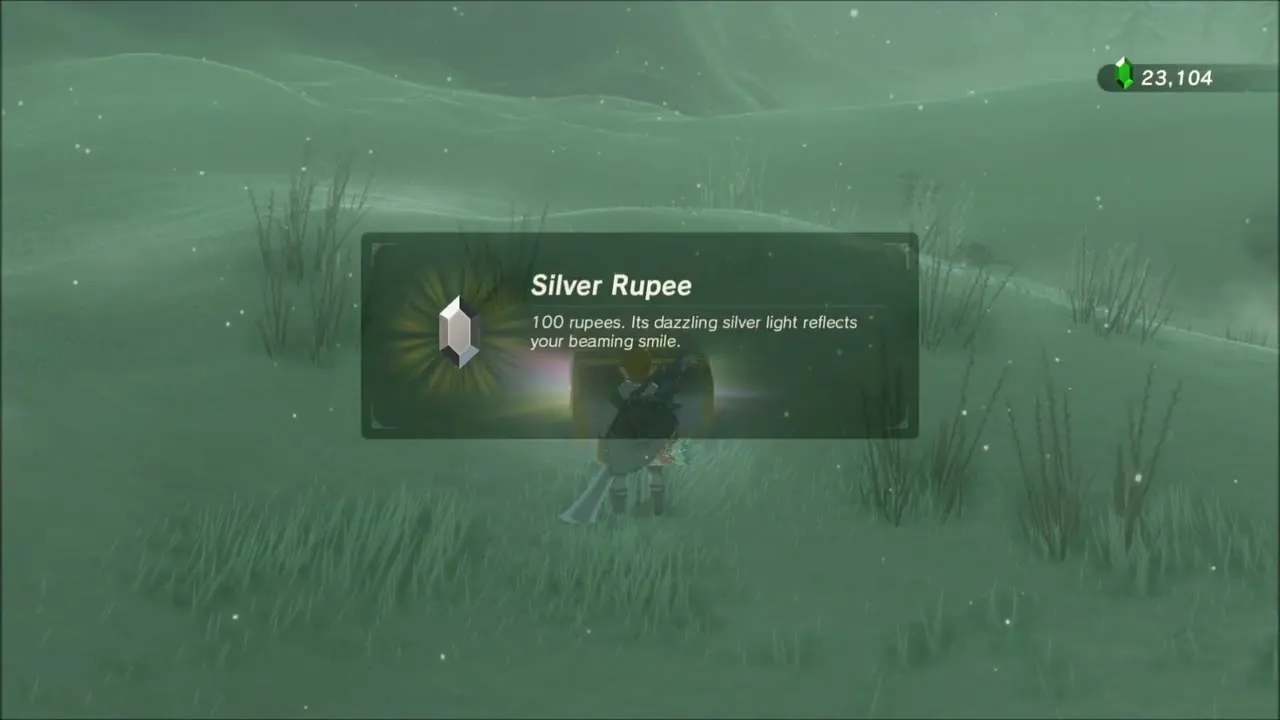
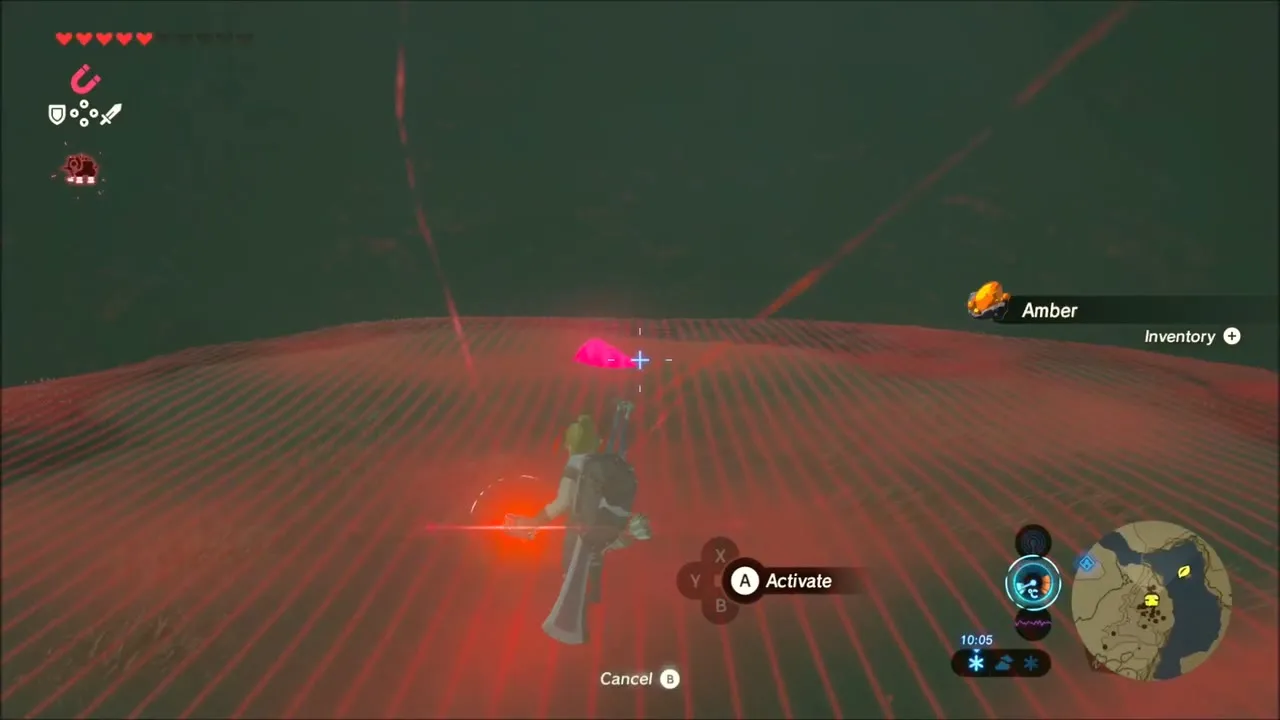
Magnesis is useful in the dark hollow further along. The chest there holds a Forest Dweller’s Bow, and the rock faces around it give Amber and Rock Salt when you mine them.

Korok seeds at the lake
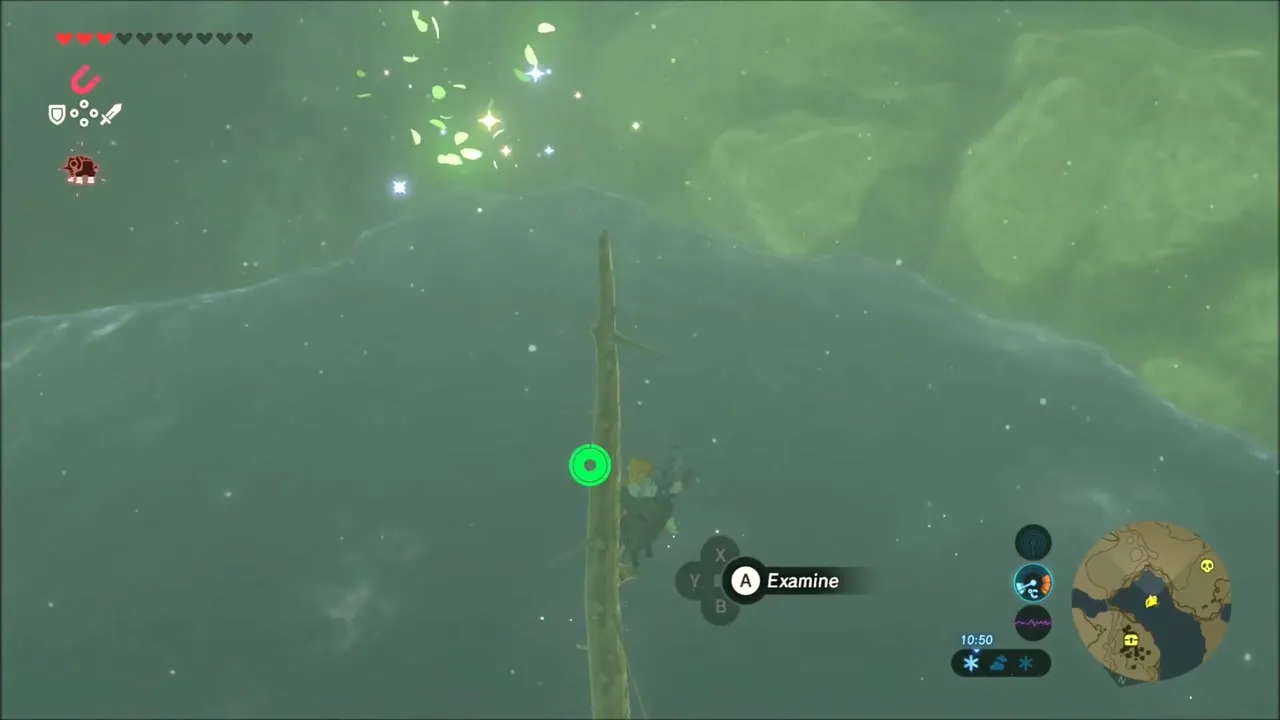
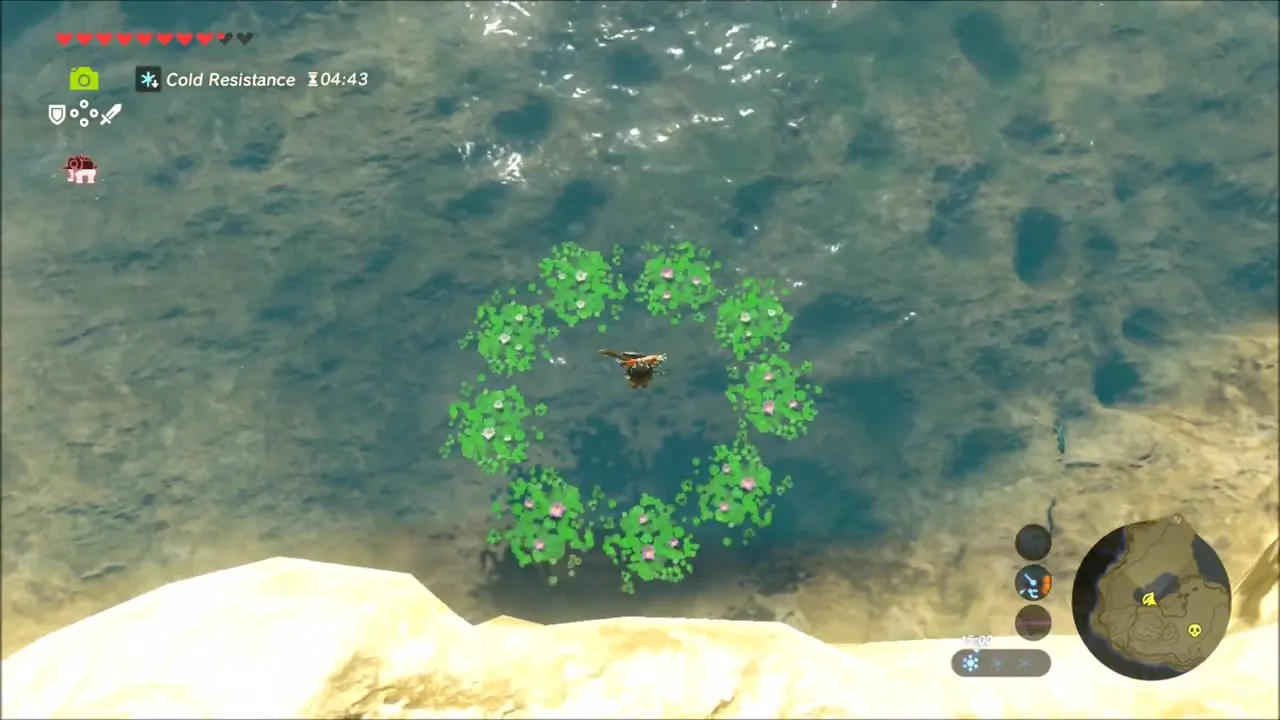
Two seeds sit around the water. The first Korok is on a tall bare trunk rising from the lake: climb it, examine the sparkle and the Korok pops out. A Hylian Shroom grows at the foot of the trunk. The second is in a pond on the sandy bank, where a ring of lily pads floats on the surface; the Korok appears in the middle of the ring. In the same water you can photograph and catch a Hearty Salmon.


Stone Talus in Tabantha Hills
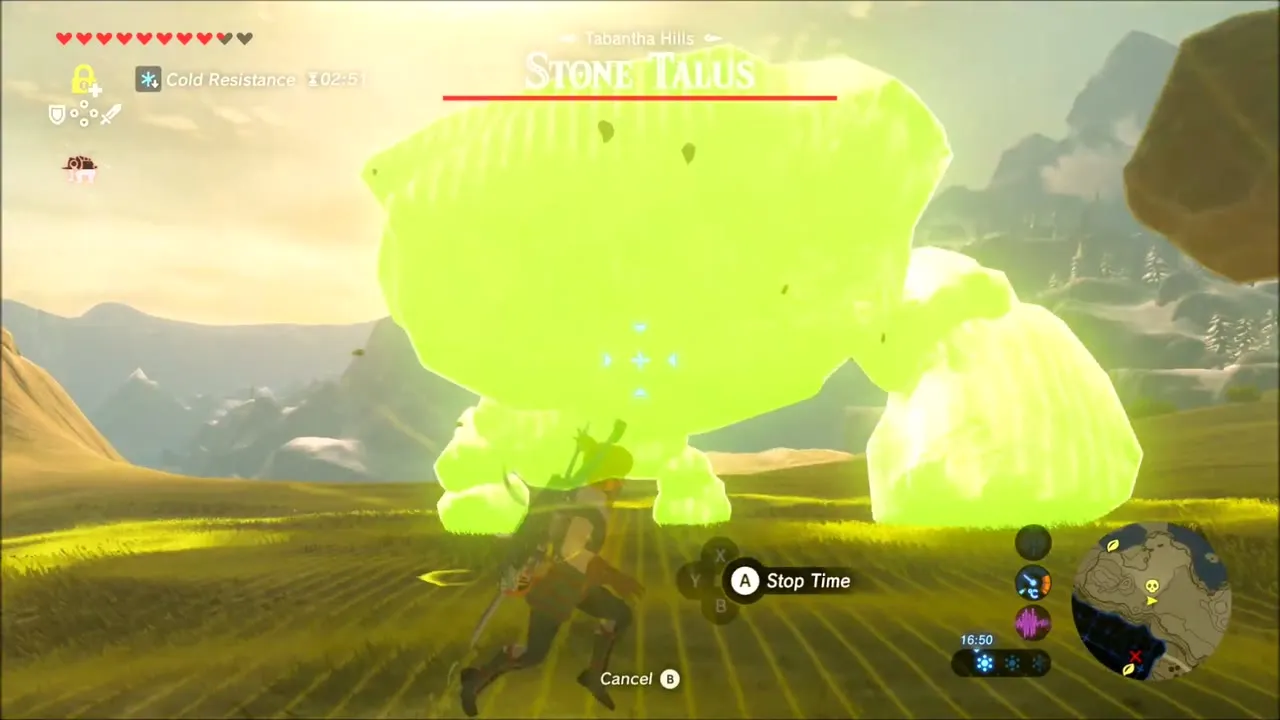
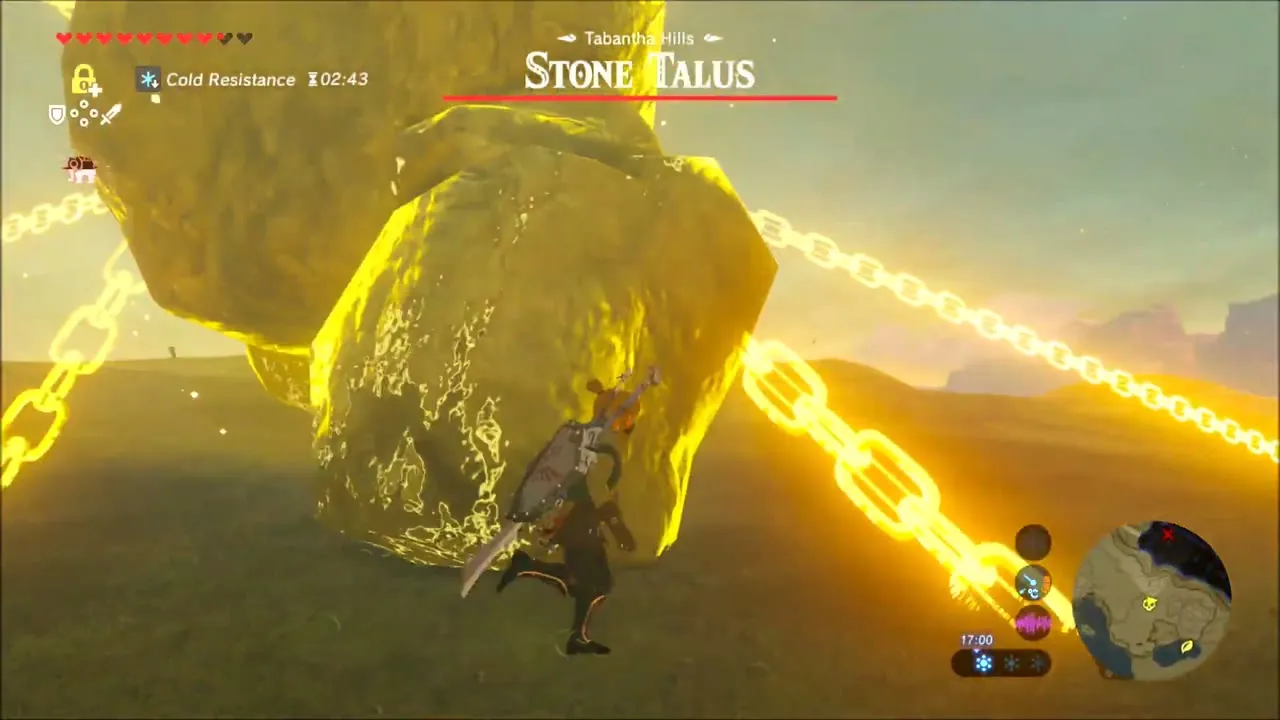
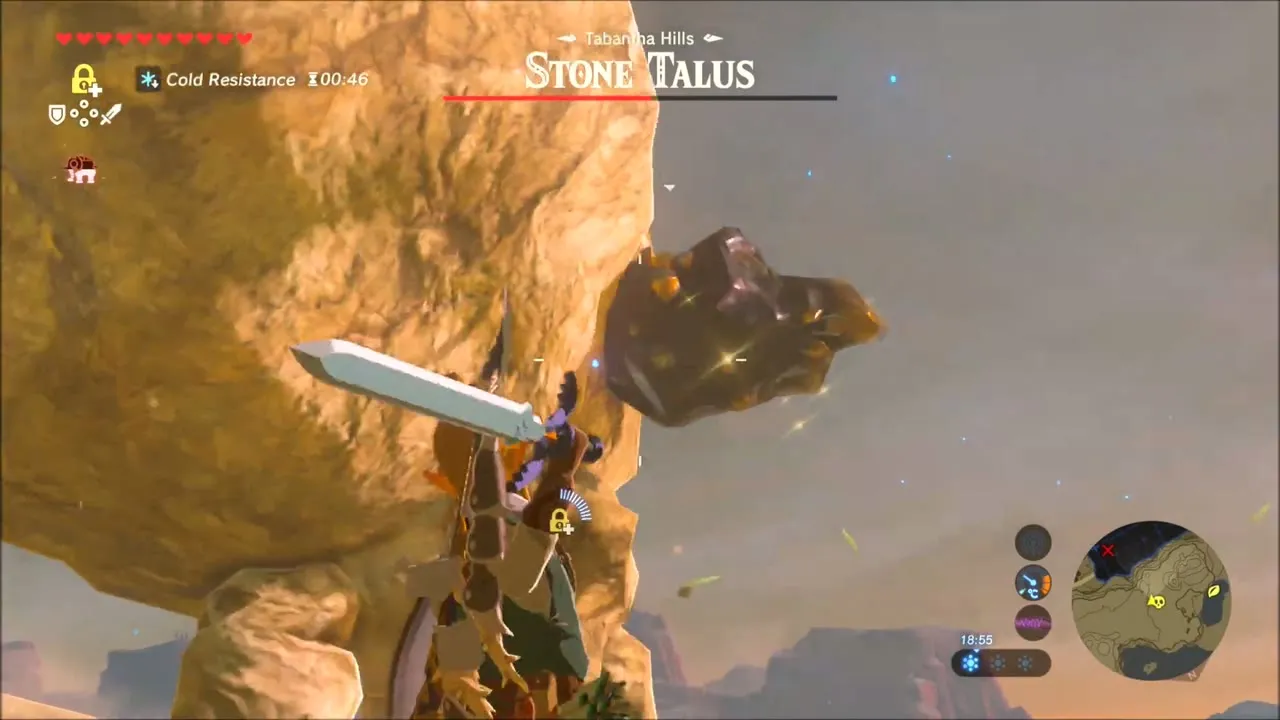
Cross the sandy hills, collecting the Topaz lying in the grass, to a Stone Talus in the Tabantha Hills. Freeze its arm with Stasis and pound it with a strong weapon until it falls, then climb on and smash the ore on its back. Gems such as Amber and Opal are the reward.

Falmark and the Ruined Building
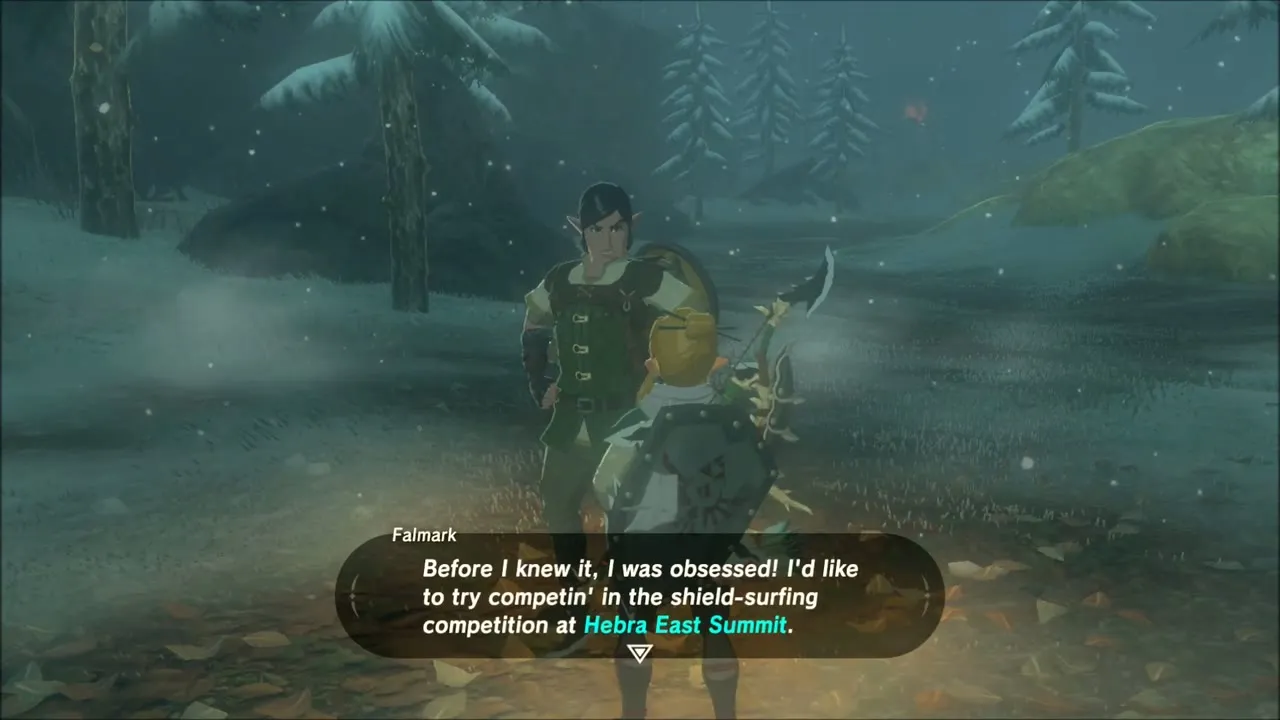
Back in the pines you meet a man called Falmark, who says he would like to enter the shield-surfing competition at Hebra East Summit (see Shield Surfing). Close by, near a fallen log in the snow, another Korok hands over a seed.


A collapsed wooden building stands further on in the dark. A Blizzard Rod lies in the wreckage, and if your weapon slots are full you have to drop something to take it. Magnesis highlights the metal pieces of the ruin. Past it, follow drifting green glimmers over a low snowy hill to a Korok sitting at the top, which gives another seed.


Hebra Tower and the Cliffs Above
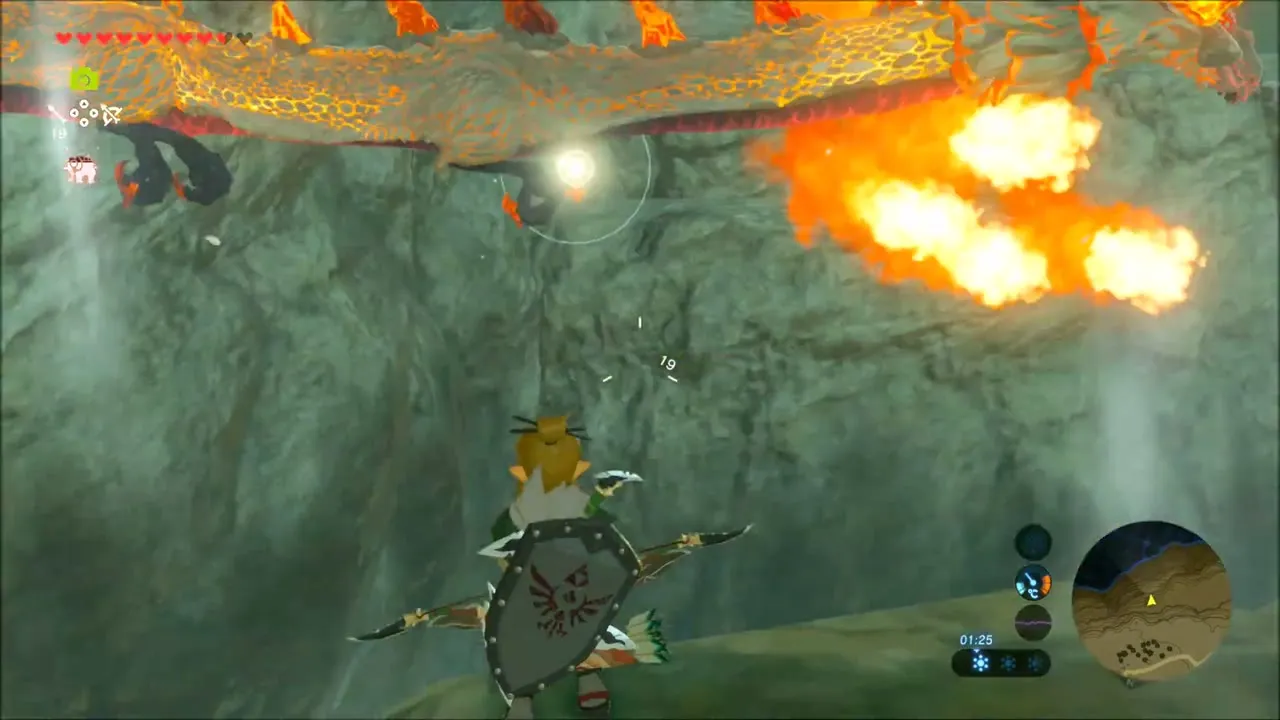
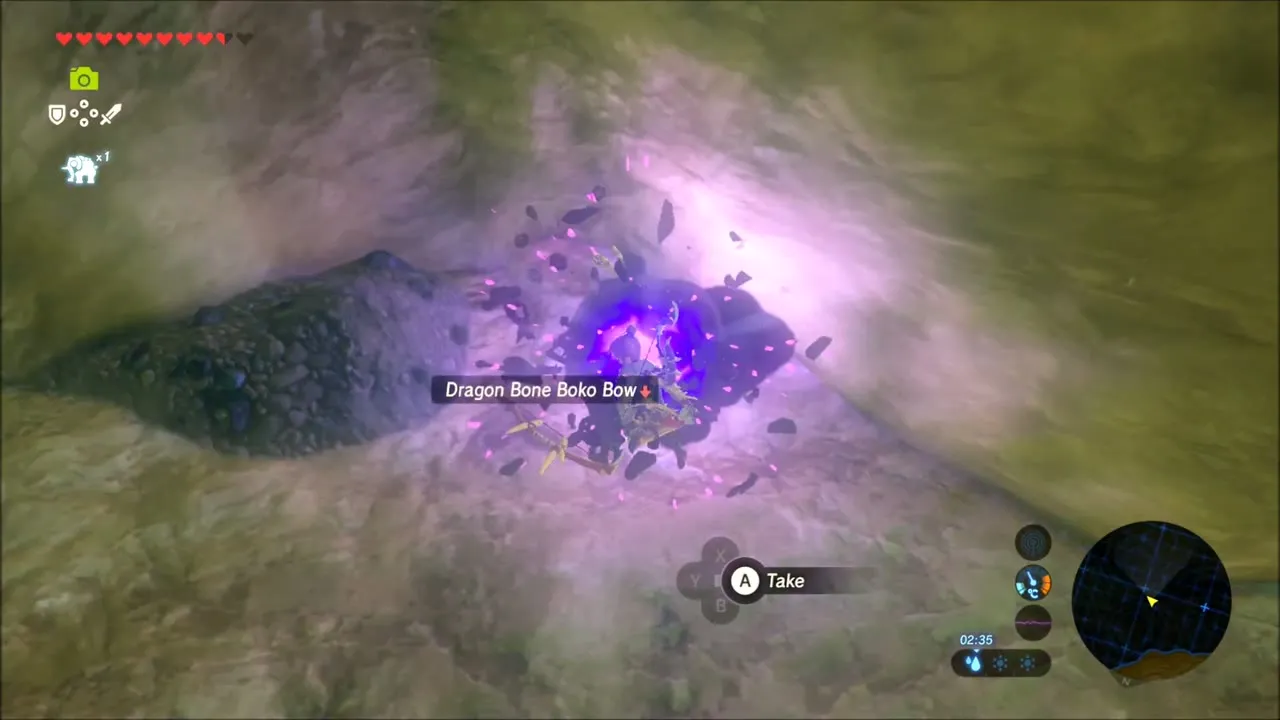
Dinraal flies along the rock face in this stretch of cliffs, which is a chance to farm its scales. A cave below has a campfire, ore veins that give Amber, Flint and Sapphire, and a Bokoblin that drops a Dragon Bone Boko Bow. Then warp to Hebra Tower (-2173, -2034, height 550) and glide out from it over the range.


Work your way up the sheer rock walls below, mining Rock Salt and Amber as you go. A cave full of Luminous Stones is on the route, and another deposit yields Ruby and Amber. On one ledge a Remote Bomb clears a rockfall that blocks the way up.


Royal Broadsword Chest on the Wooden Scaffold
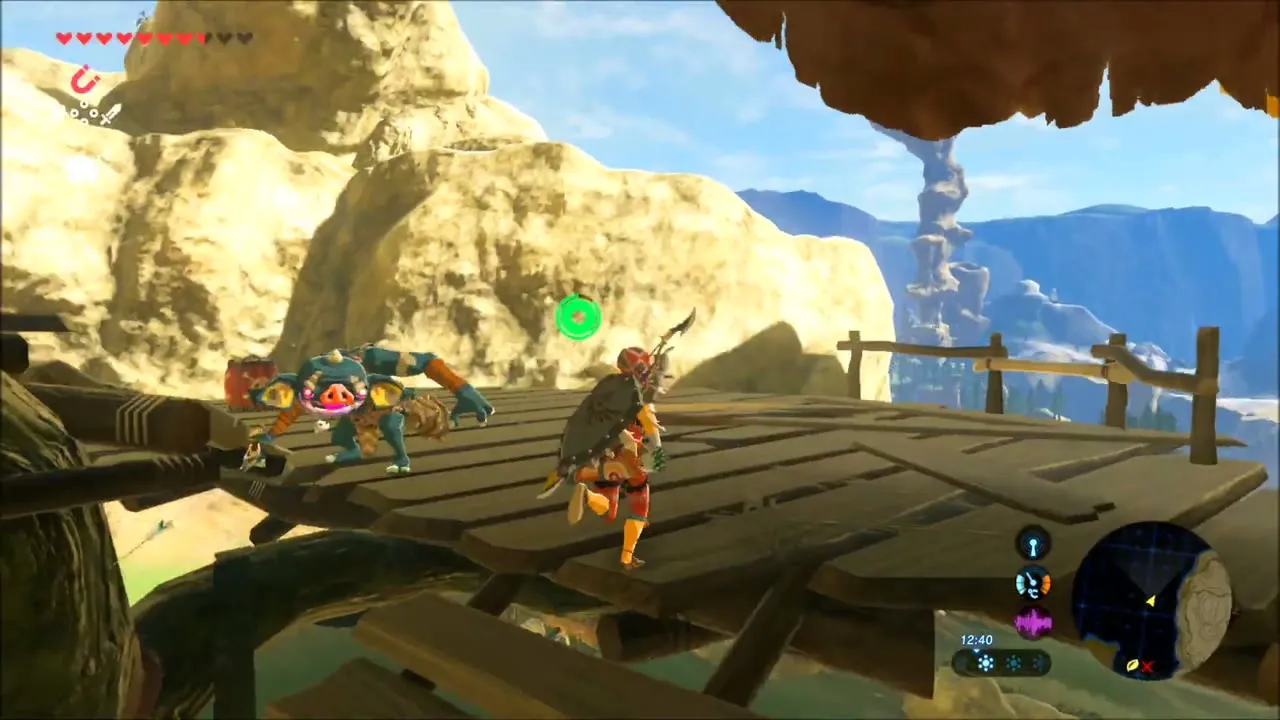
A wooden scaffold is built into the cliff face higher up. Clear out the monsters on its planks, then open the chest for a Royal Broadsword (tier set by difficulty scaling).


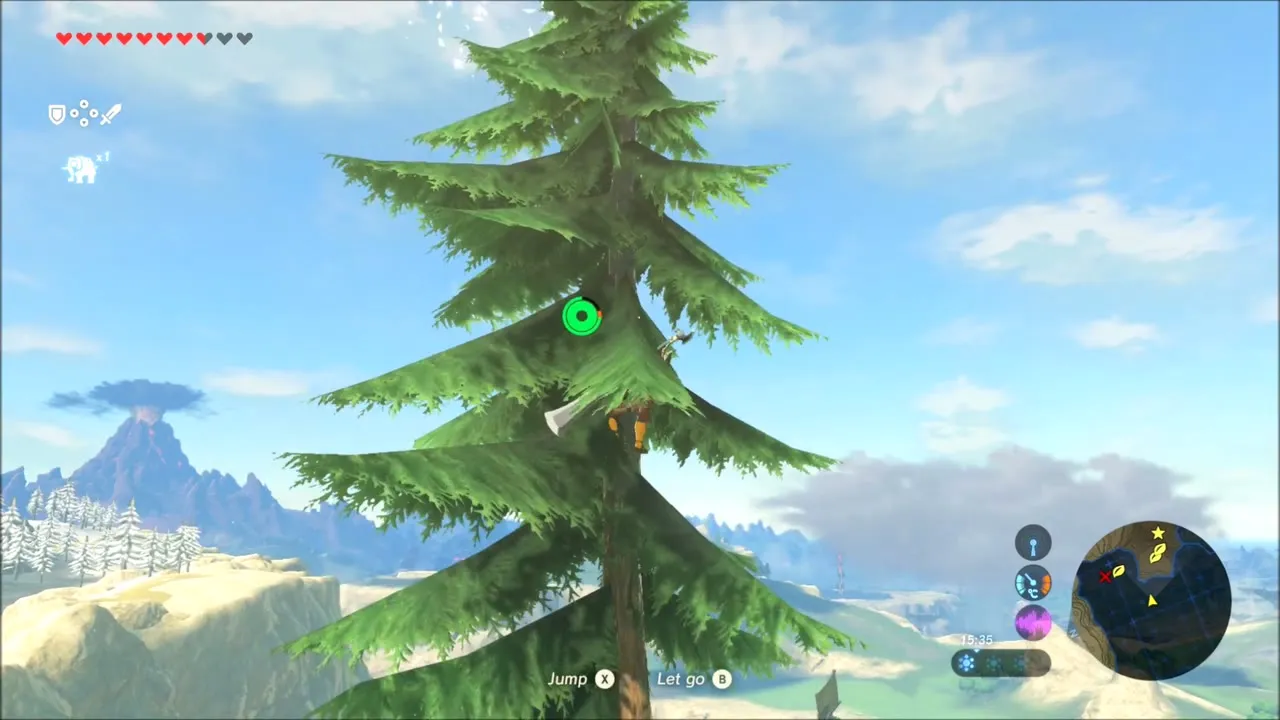
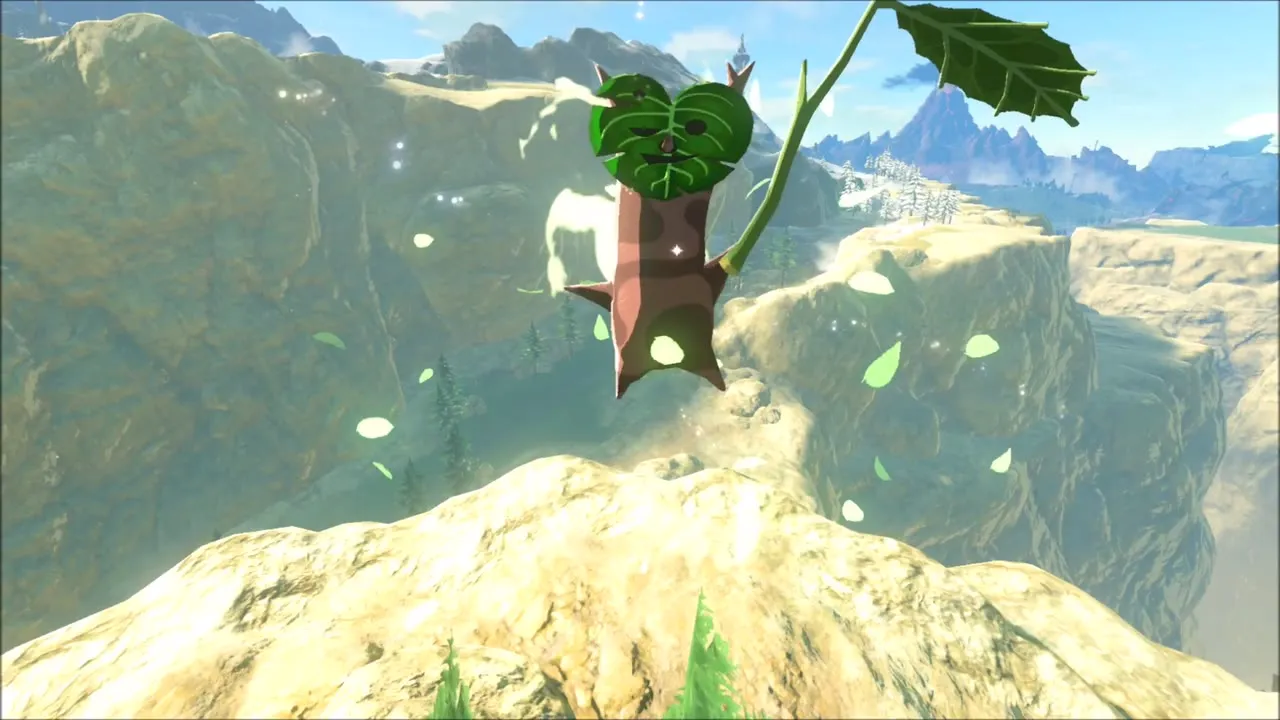
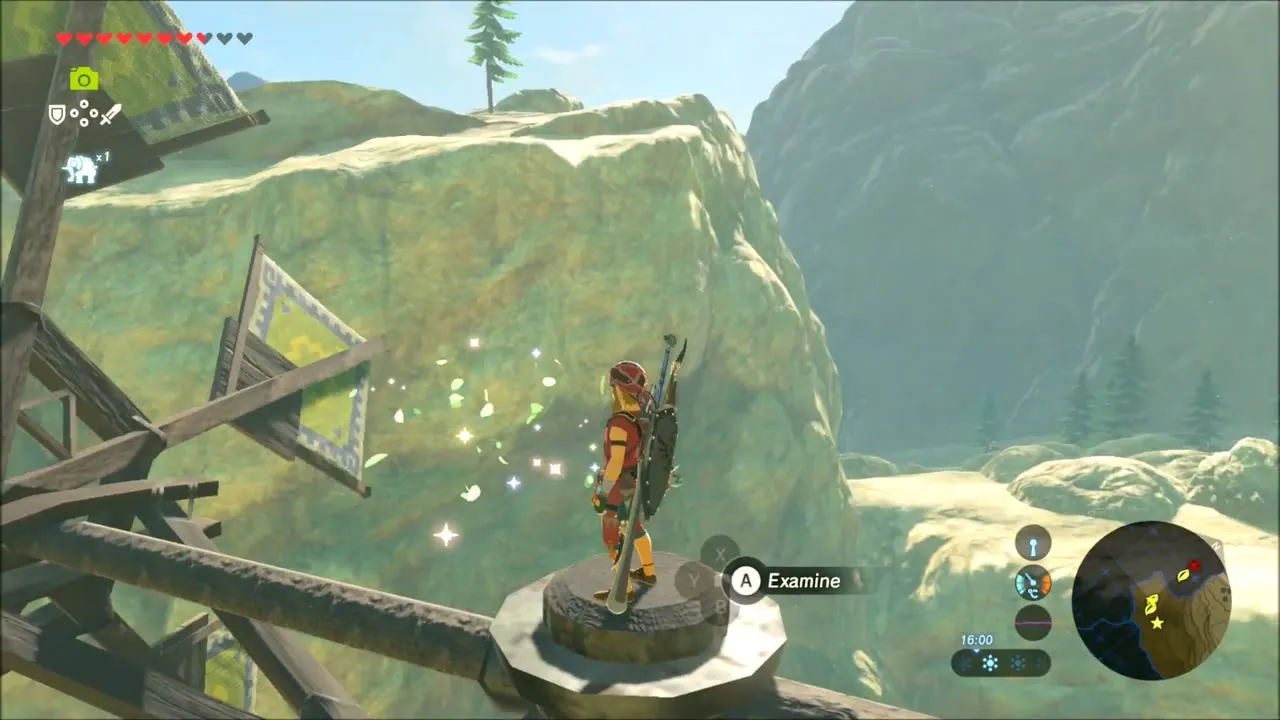
Two more seeds follow on the grassy ridge beyond, where wolves roam. Climb the lone pine at the edge of the drop and look for a Korok on the rocky peak beside it. A little further, a windmill hangs over the canyon: climb the post at its centre, examine the sparkle at the hub, and a Korok drops down for a seed.

Tanagar Canyon
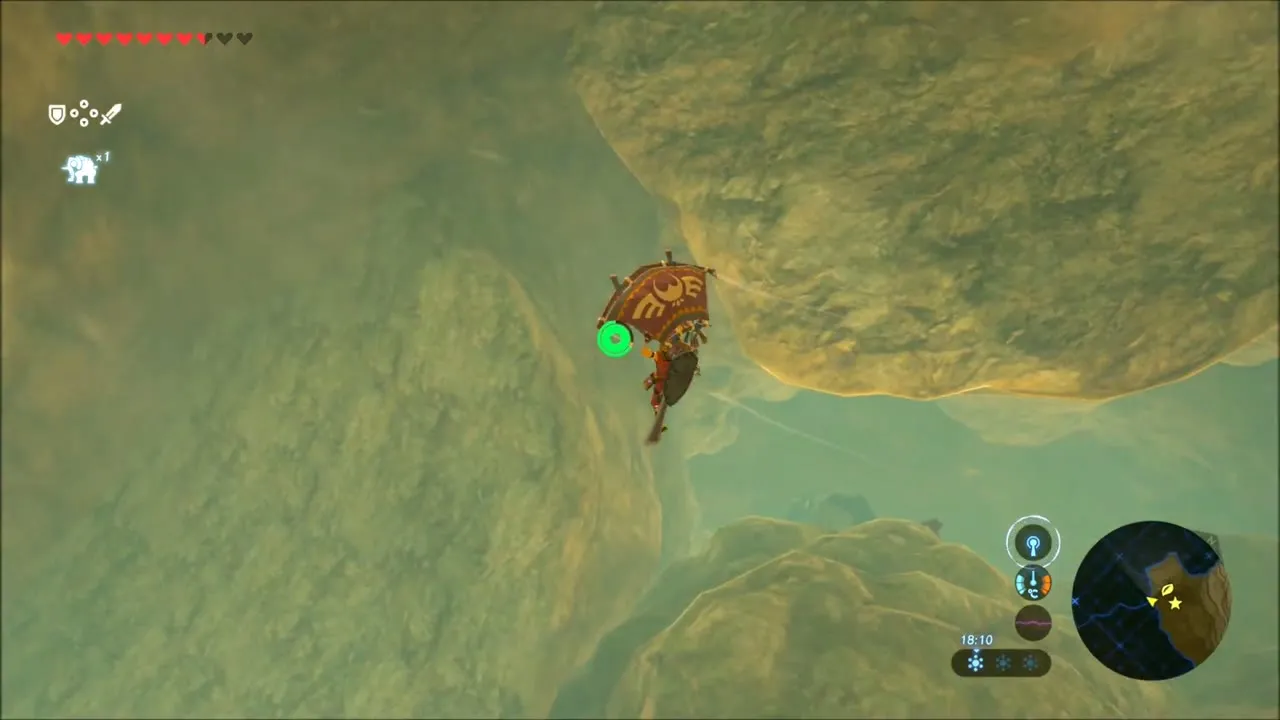
Glide down into Tanagar Canyon and climb along its walls. Follow the floating yellow lights to a Korok on a ledge for another seed, then keep gliding down to the canyon floor and the shrine.

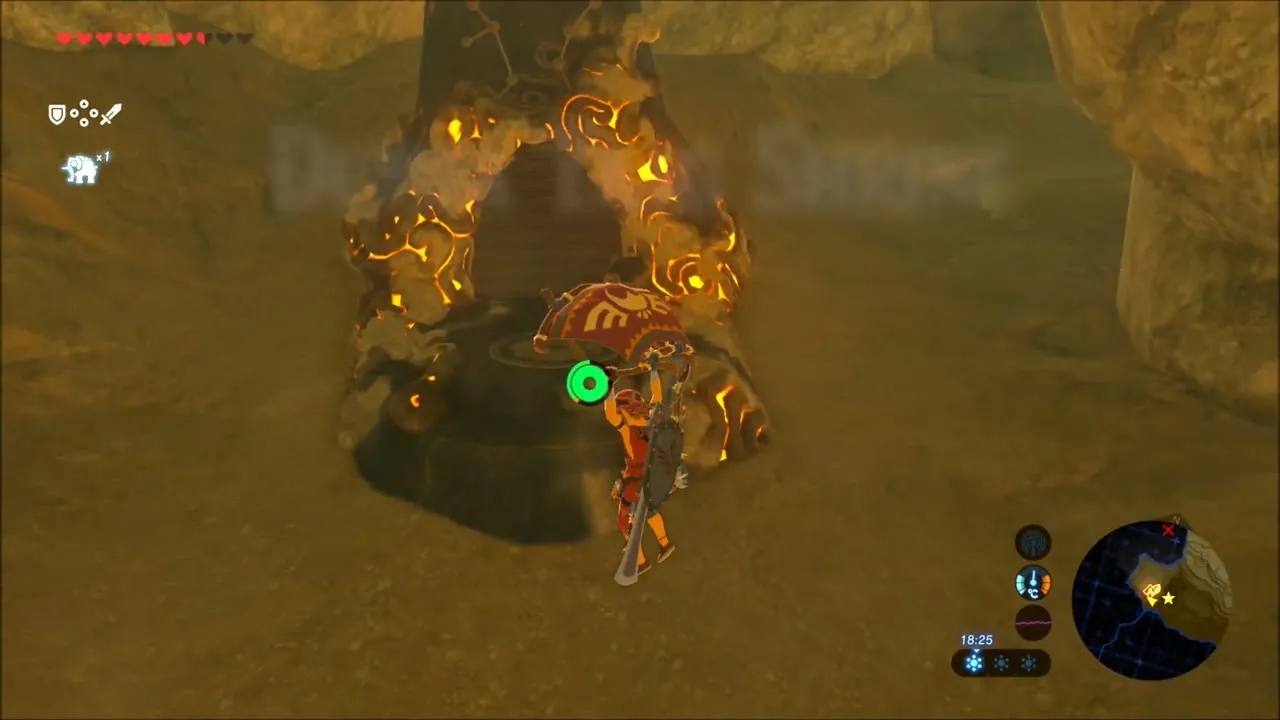
Dunba Taag Shrine: Build and Release
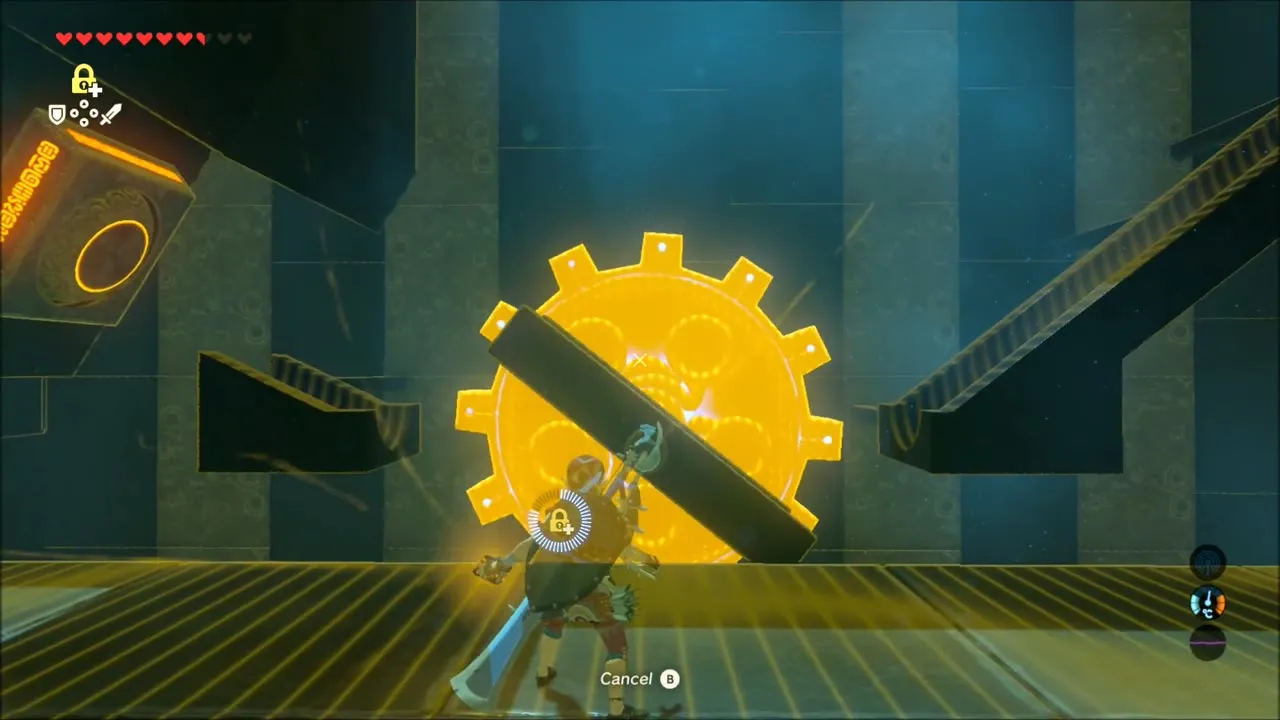
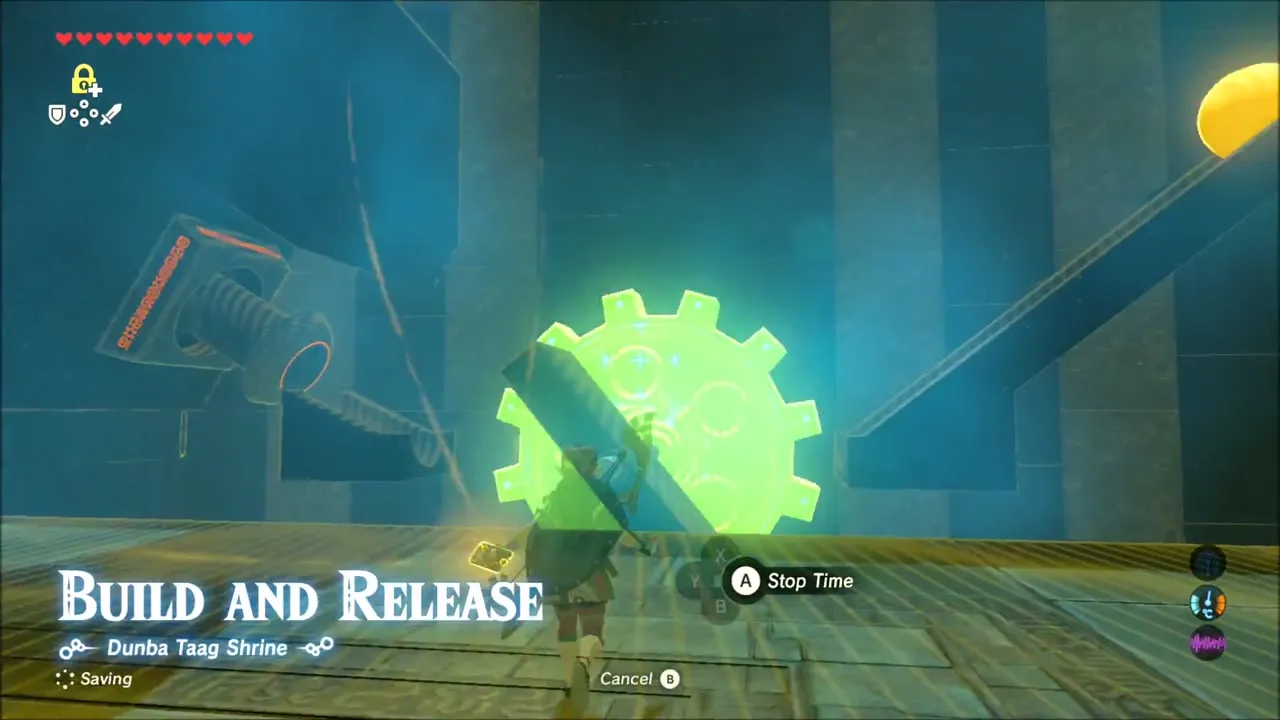
The Dunba Taag Shrine (x -2832, z -1577) is a Stasis trial at the bottom of the canyon. In the first room, freeze the cogwheel so the platform stays level and the boulder rolls onto the switch. In the next room, throw bombs at the rock cubes, then hit the switch with a Bomb Arrow, or freeze a barrel with Stasis and strike it hard. The gate it opens leads to a chest holding a Falcon Bow, and the monk waits at the end of the shrine with the Spirit Orb.
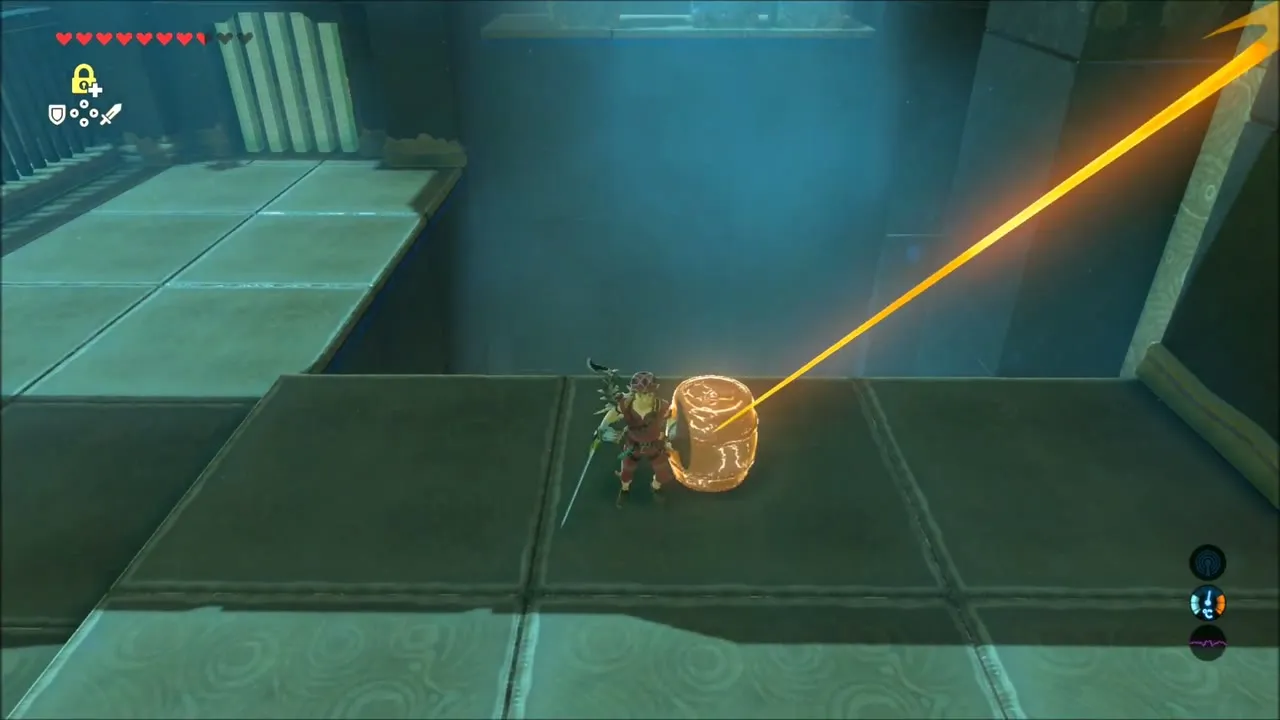
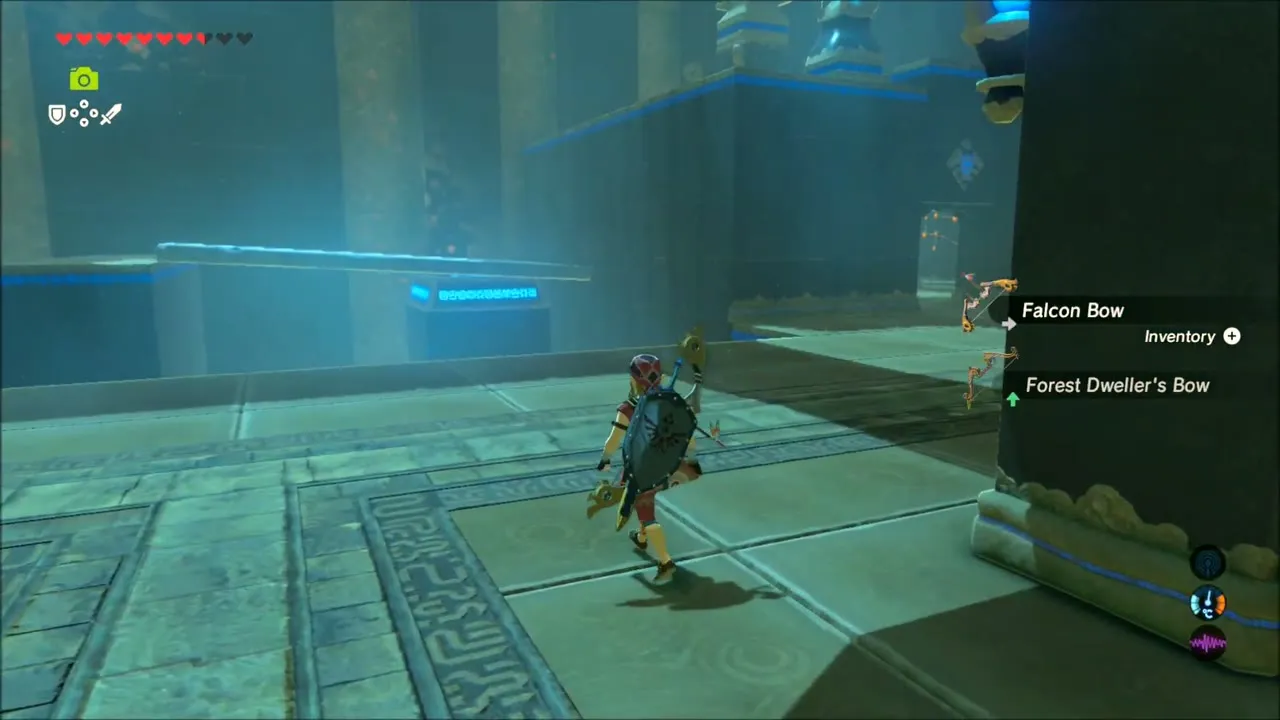
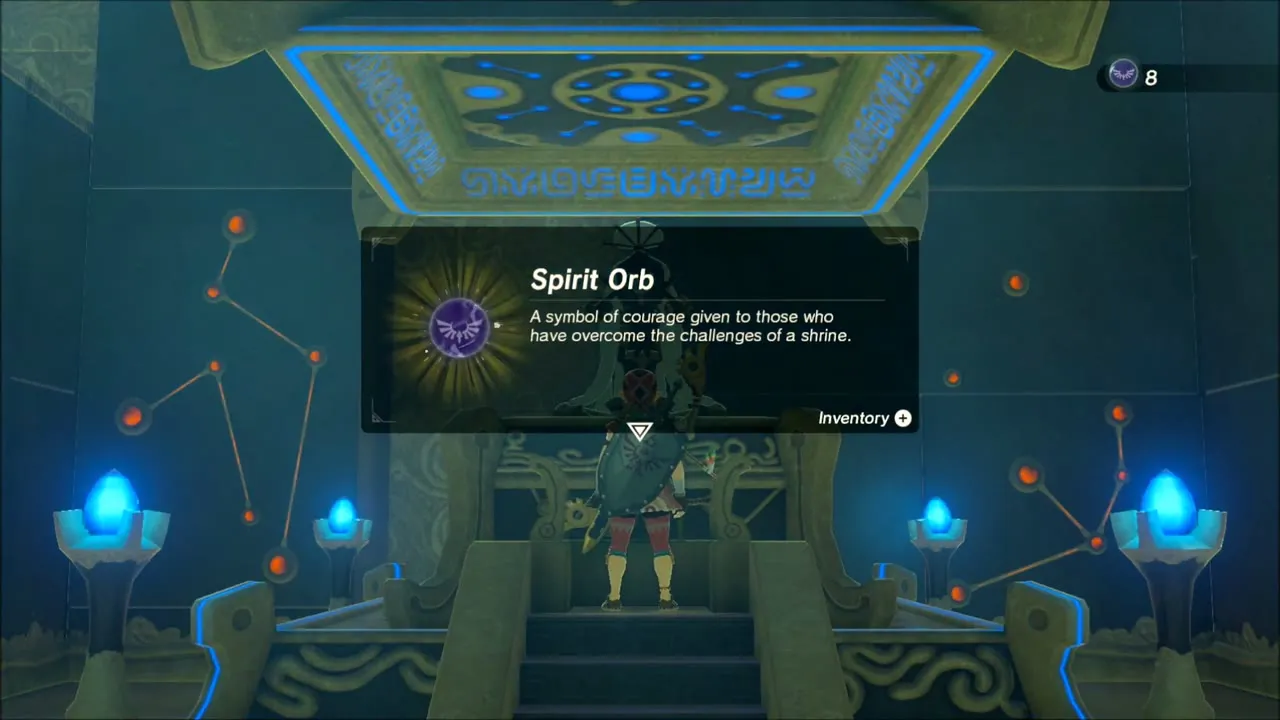
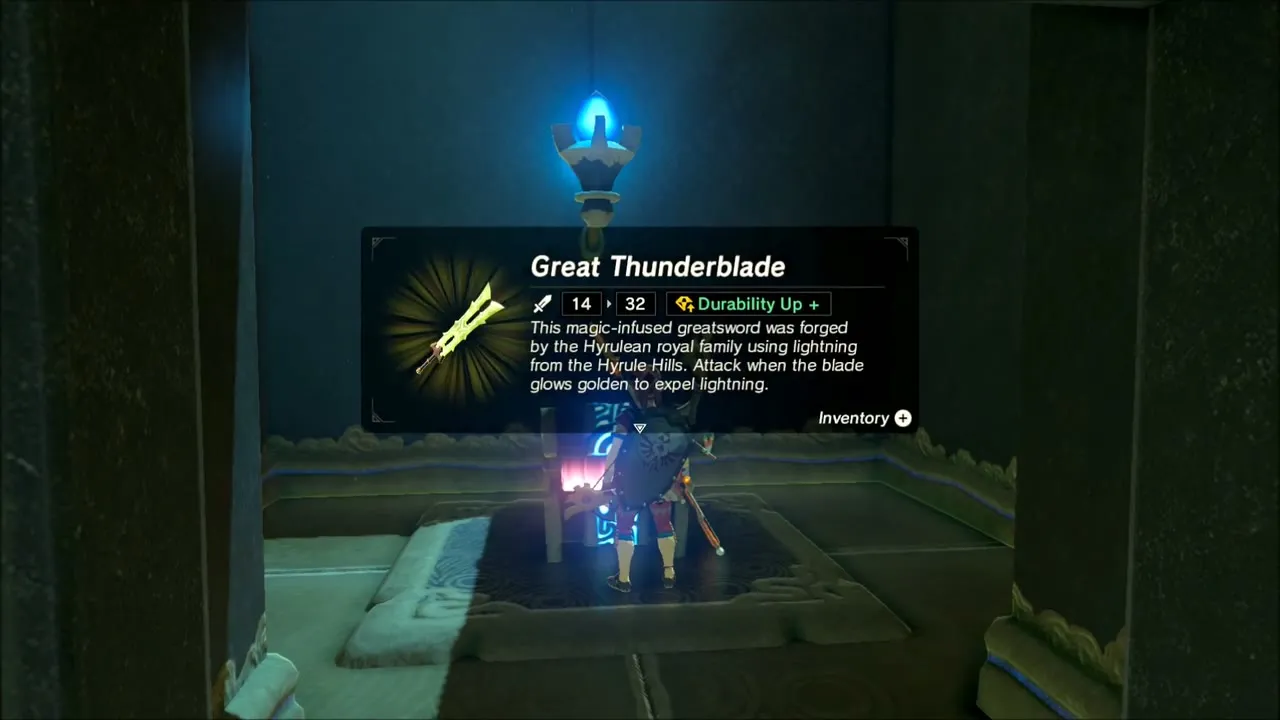
If you leave right after the orb, step back in to open the remaining chest. Push the large boulder to the bottom of its slope, place a remote bomb and a cube bomb at its base, freeze it with Stasis and detonate both so it flies onto the switch. That opens the gate to a Great Thunderblade. The big slab in the last room goes over when you hit a frozen barrel until its arrow turns red.



Hateno Village: Shops, Dyes and Cooking
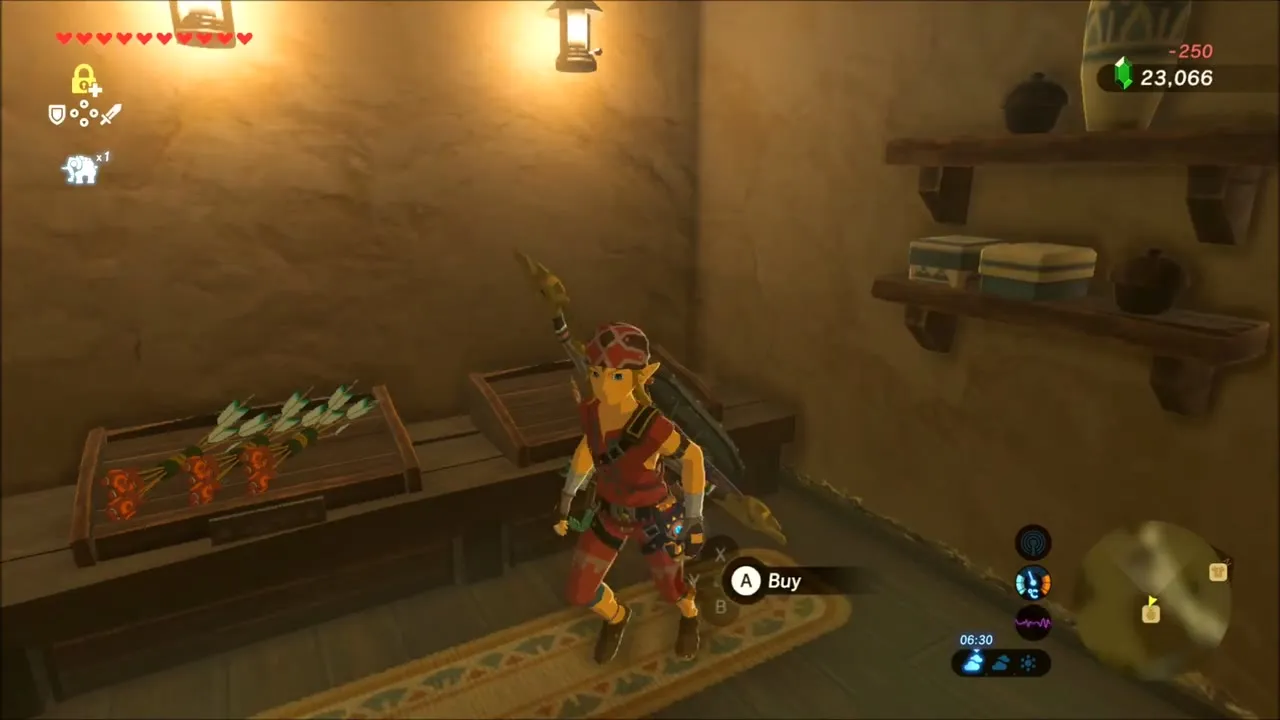
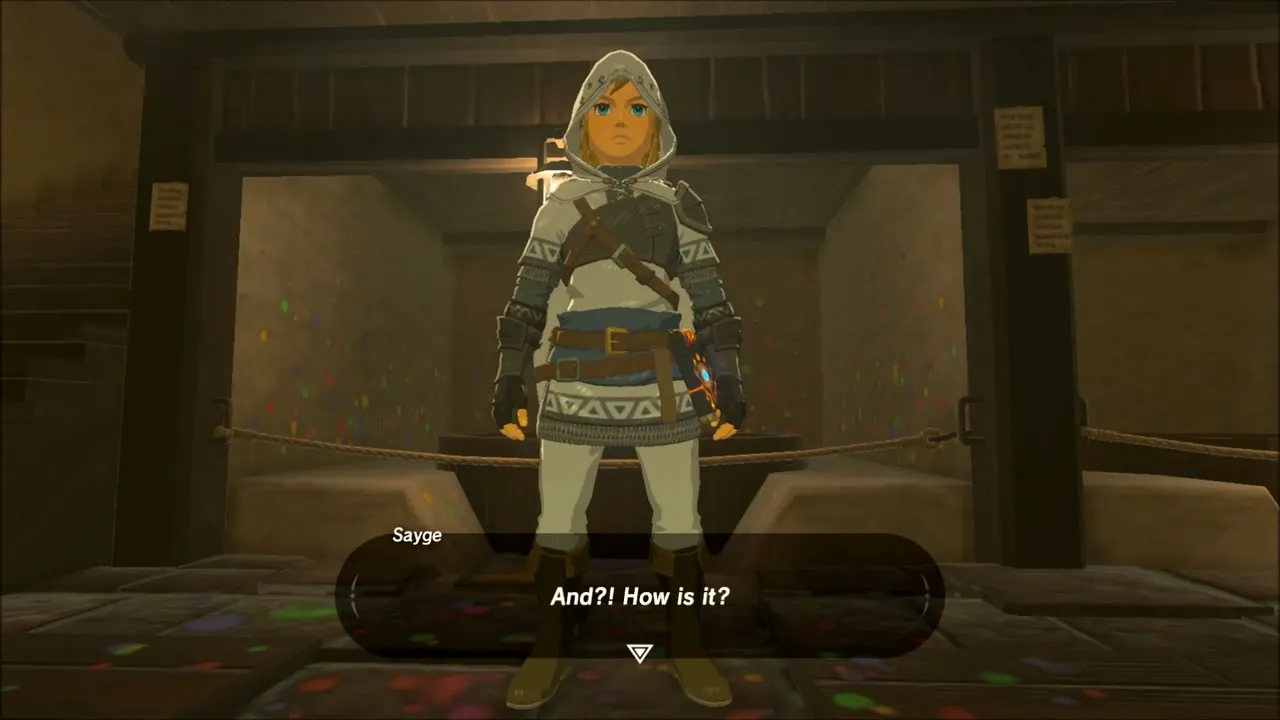
Warp to Myahm Agana Shrine in Hateno Village to restock. In the shops you can sell surplus Mighty Carp, Opal and Sapphire, and buy Bomb Arrows (ten for 350 rupees), Fresh Milk and Hylian Rice for cooking. At the dye shop Sayge re-dyes your armor in the colour you choose.
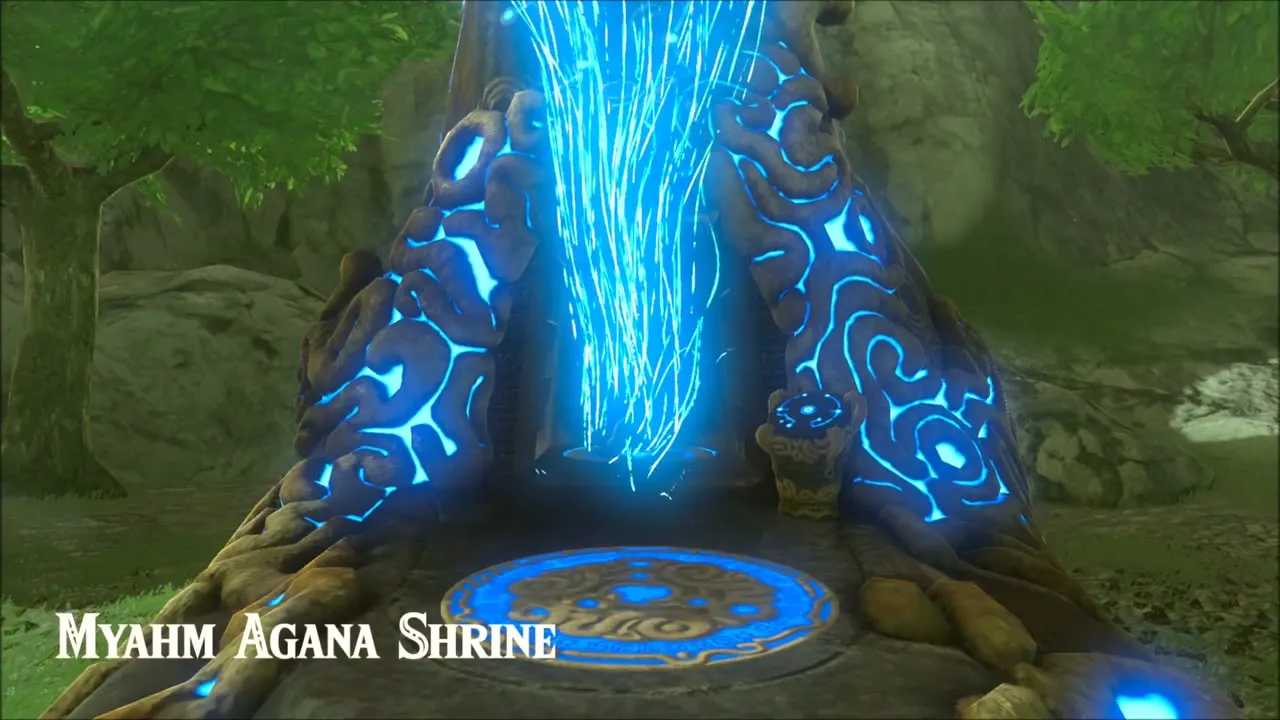

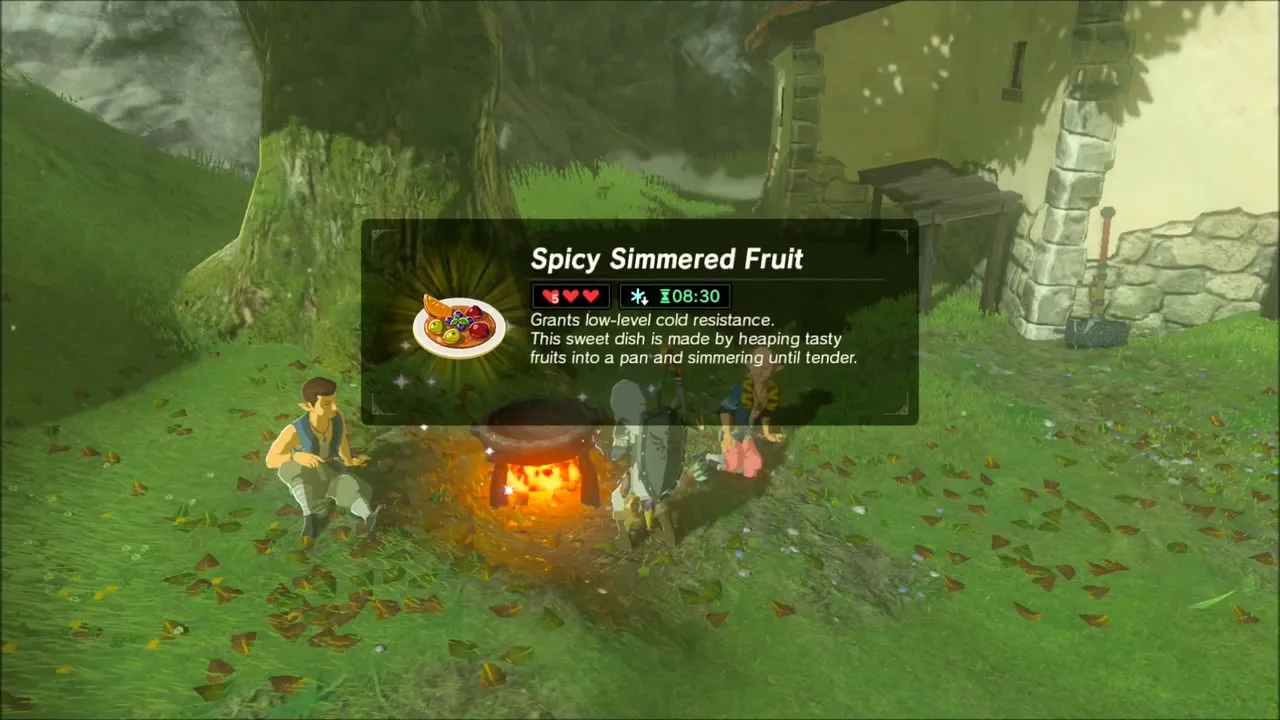
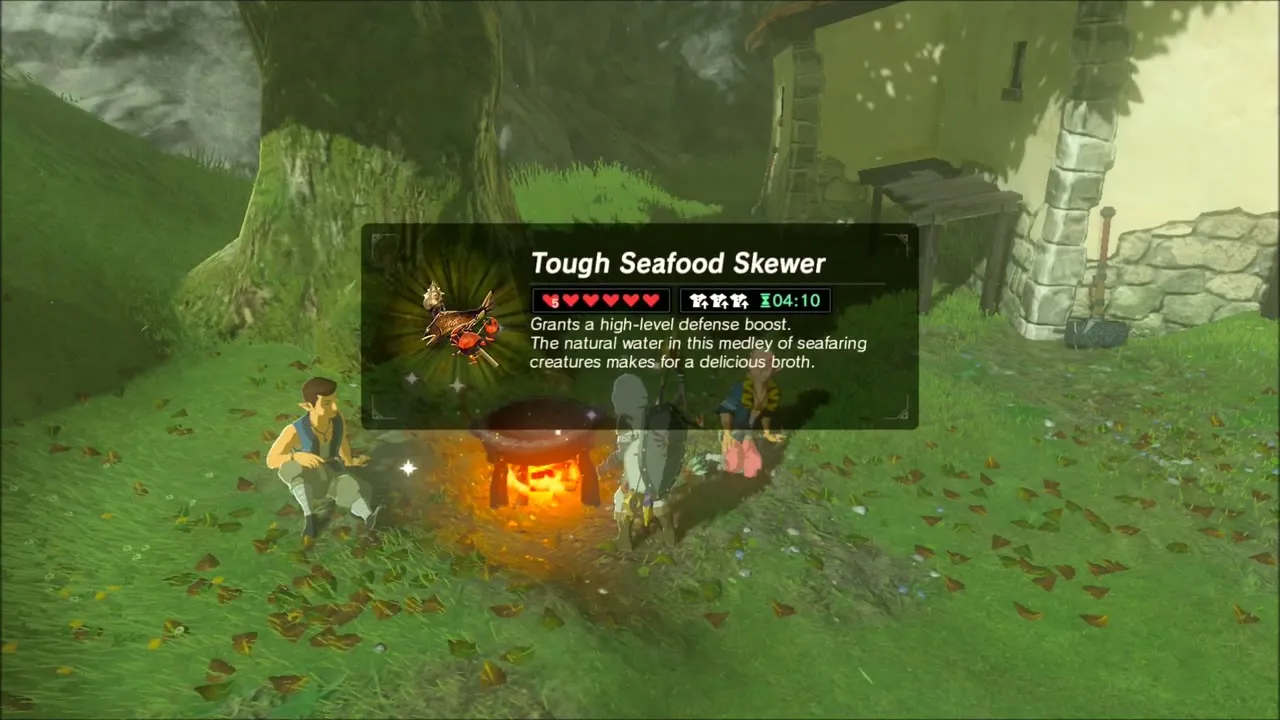
Cook at the pot under the big tree in the village. Good batches for the cold are Spicy Mushroom Skewers, Spicy Pepper Steak and Spicy Simmered Fruit, while Hearty and Tough Seafood Skewers and Mighty Simmered Fruit add extra hearts, defense and attack.


Snowfield Stable and Rin Oyaa Shrine
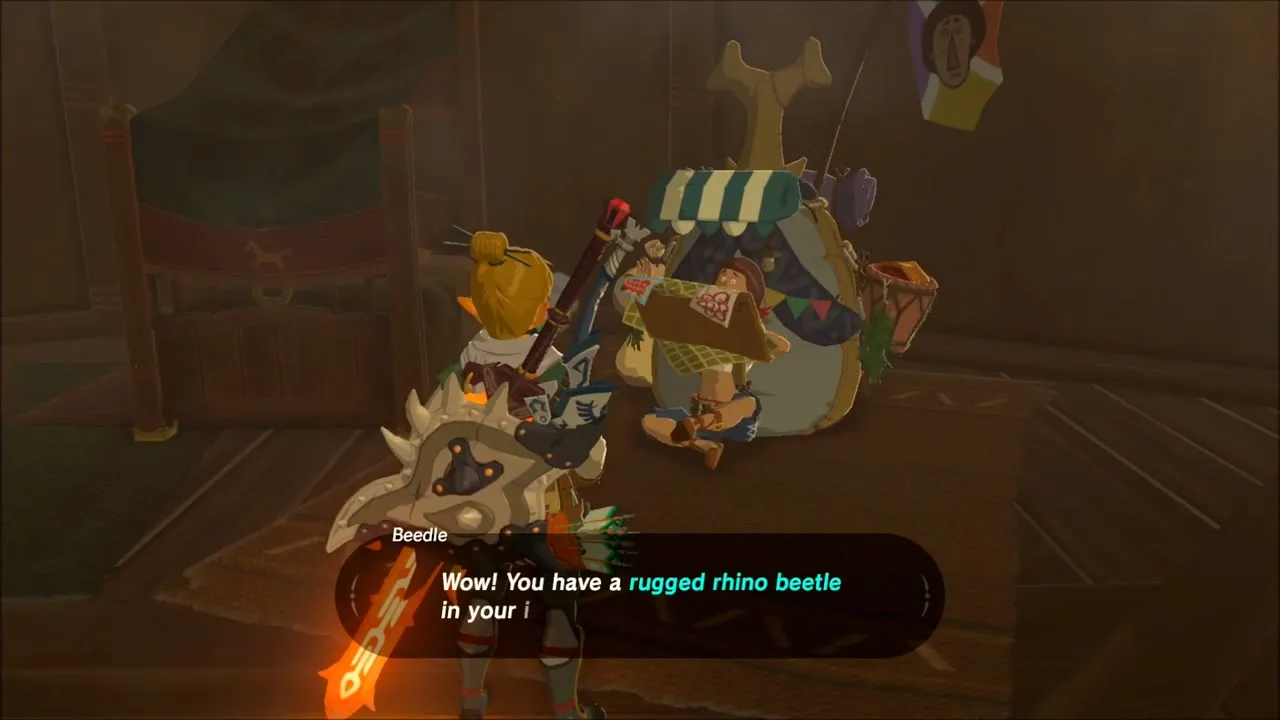
Warp to Rin Oyaa Shrine and walk to Snowfield Stable (x -1655, z -2572). The stable’s traveling merchant Beedle sells Arrows, Summerwing Butterflies, Warm Darners and Tireless Frogs. A cooking pot by the stable is a good place to make Spicy Elixirs before heading out.

Riding Through the Snow: Second Forest Dweller’s Bow and Kite Shield
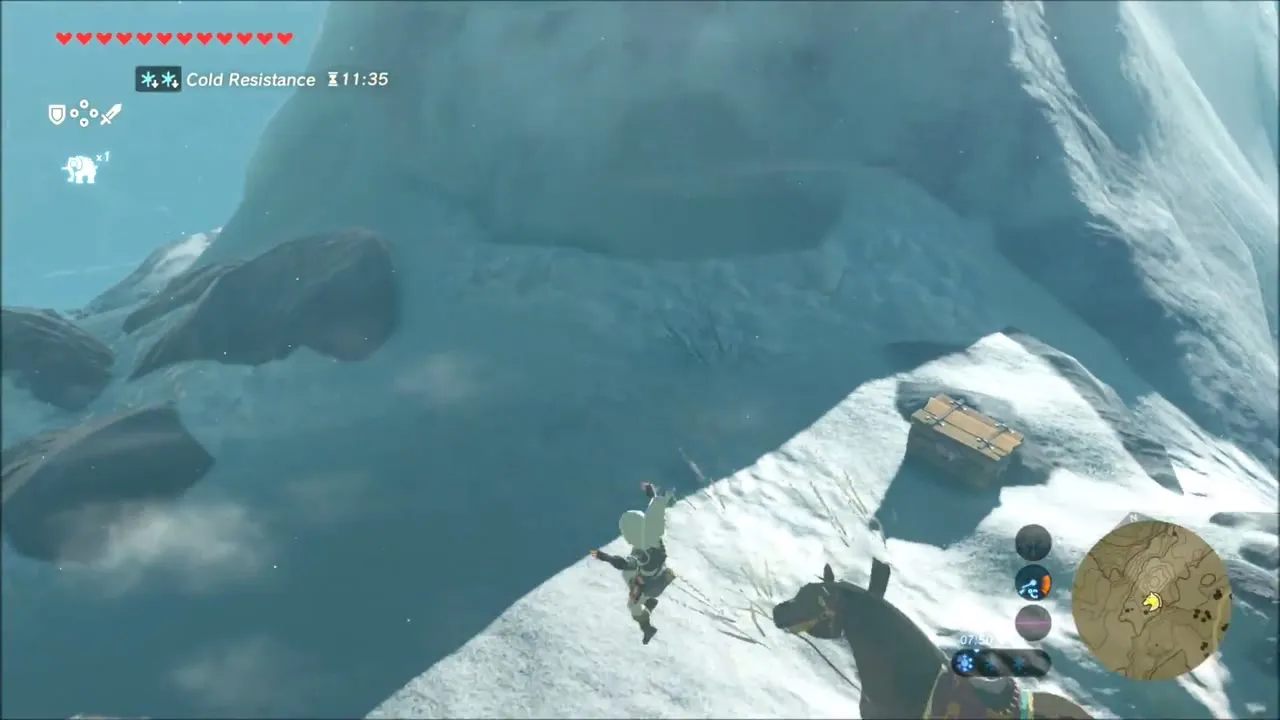
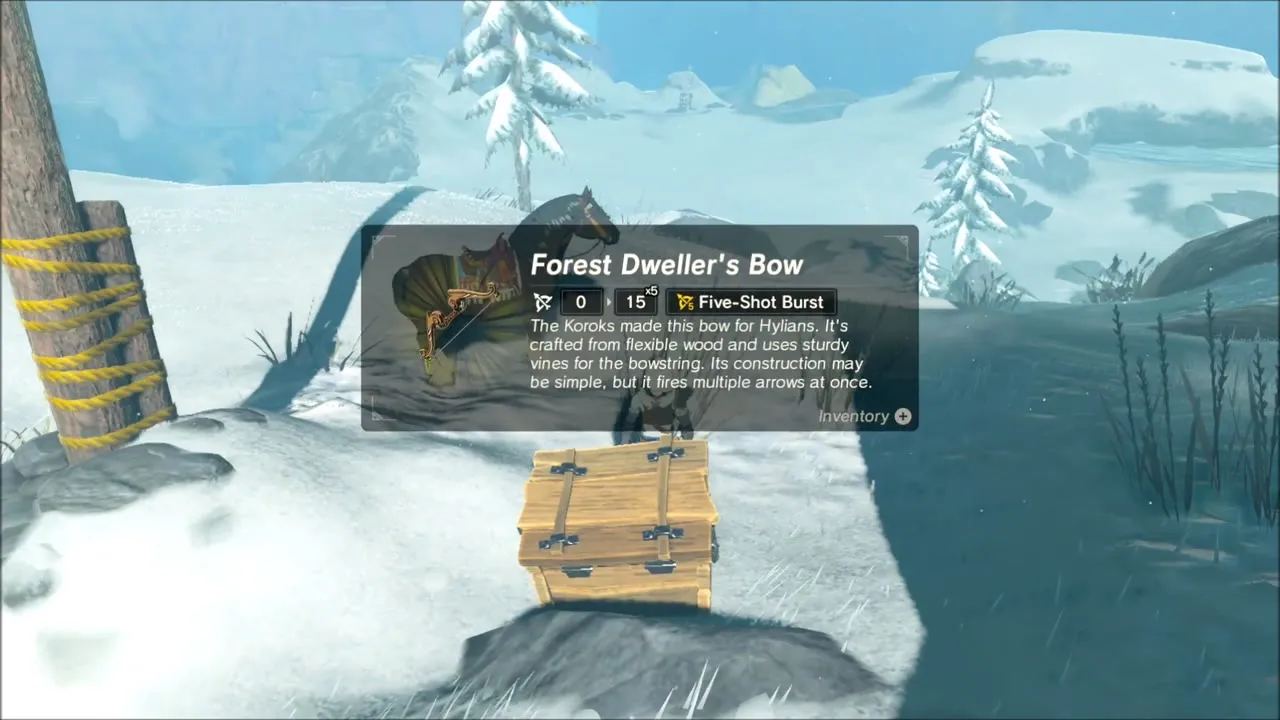
Ride out across the snowfield. A chest on a snowy rise holds another Forest Dweller’s Bow. After that, dismount at a campfire and head up the slope on foot. In a cave next to another campfire a chest holds a Kite Shield, the shield the Rito warriors favor for aerial combat.

Korok Seeds in the Blizzard
Beyond the cliff climb, a Korok waits on an open grassy slope for an easy seed, and another one is on a ridge crest in the rocks. In a snowy pine hollow a third Korok appears in a burst of green leaves.


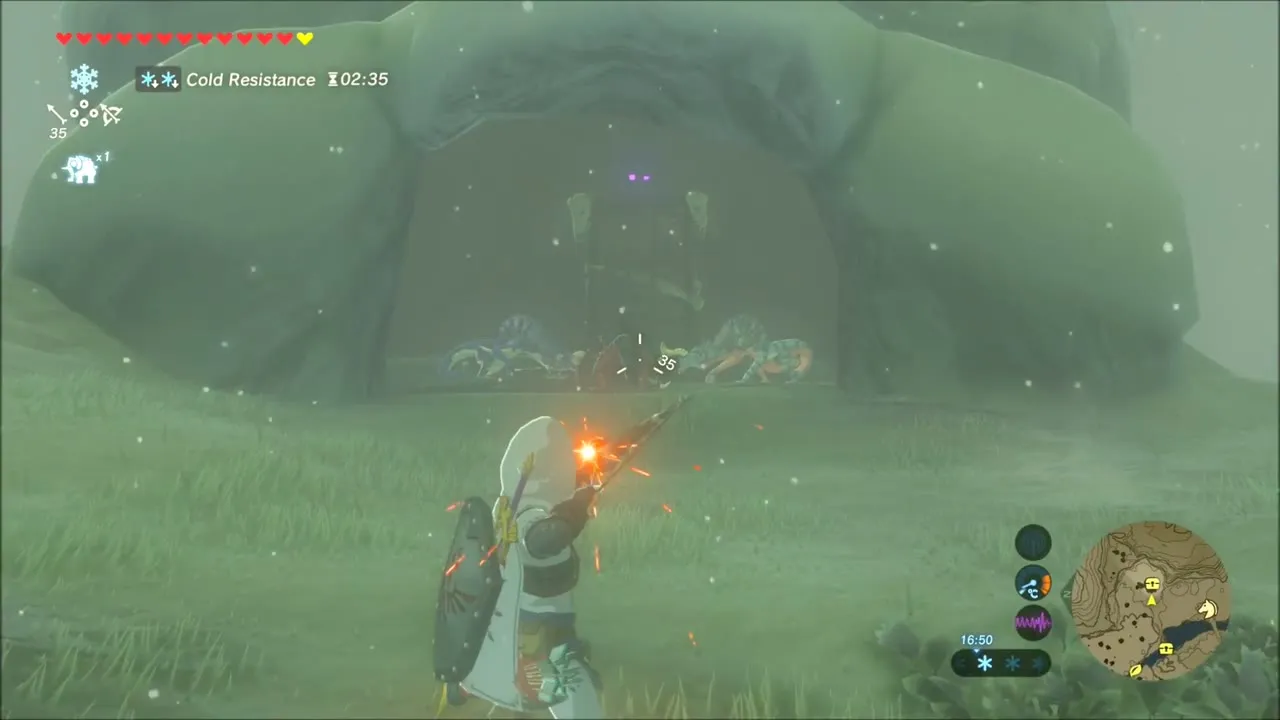
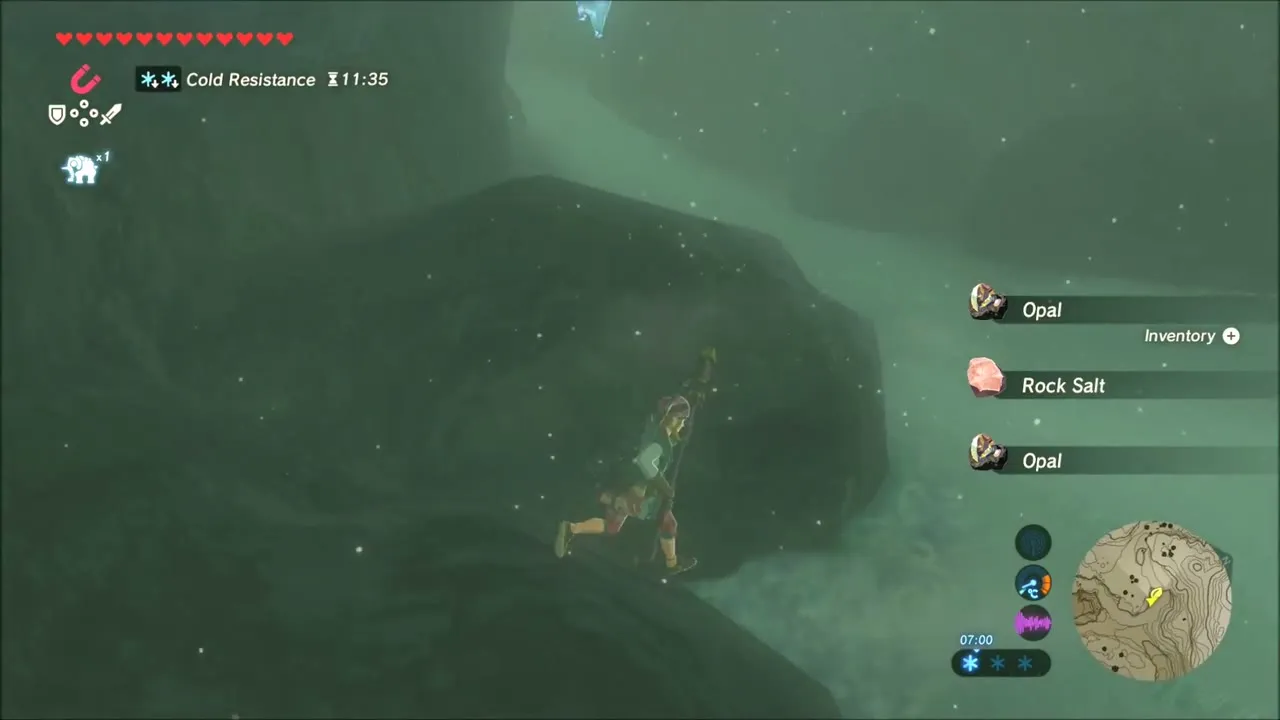
Lizalfos guard a cave in the hillside. Beat them to collect Lizalfos Horns, Talons and Tails. Further on, glide toward the yellow glow on the ridge for a seed, and look for a Korok hidden in a cave among Opal and Rock Salt deposits.



One more Korok is behind a block of ice in a cave. Drop wood next to the ice, light it and wait for it to melt, and the Korok behind it gives a seed.

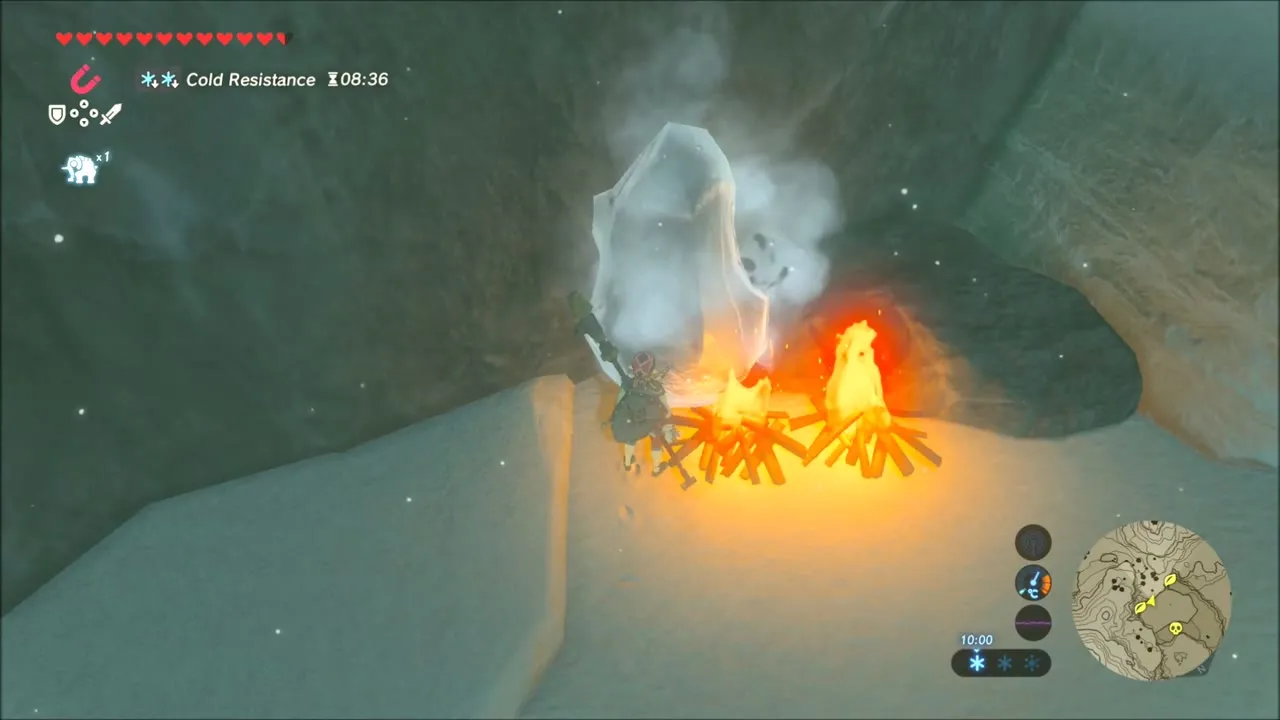

Frost Talus at Coldsnap Hollow
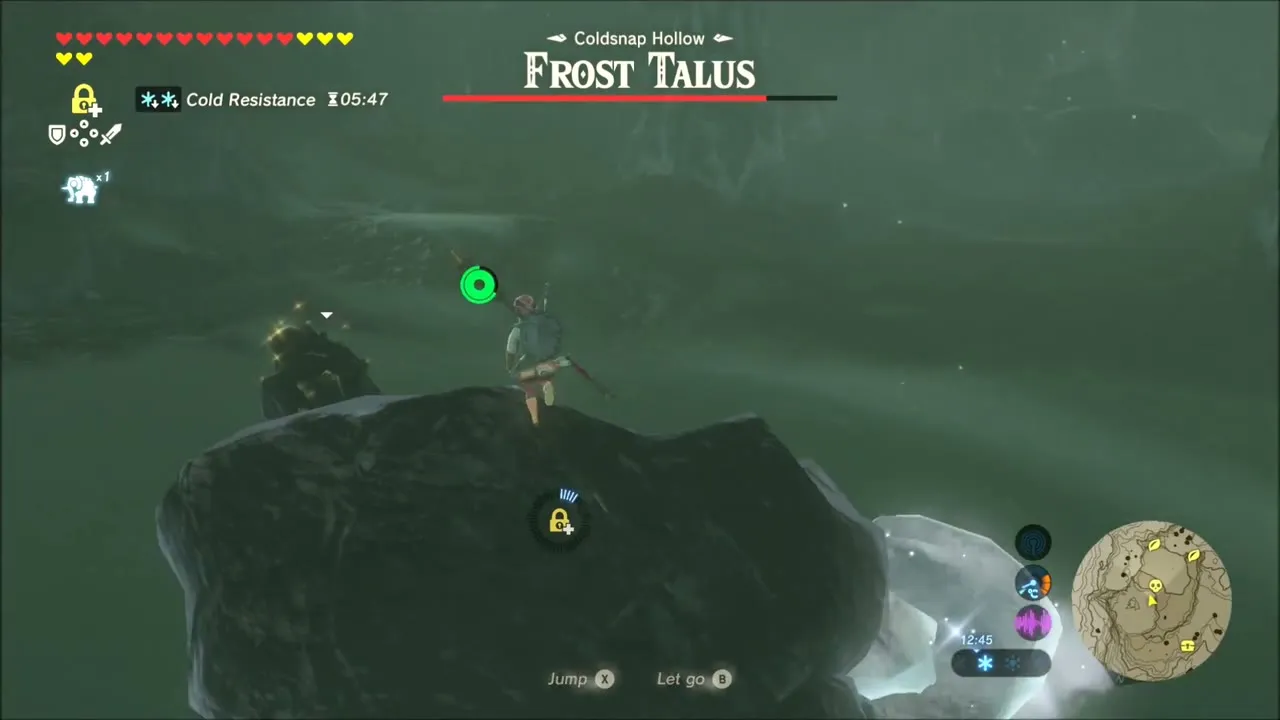
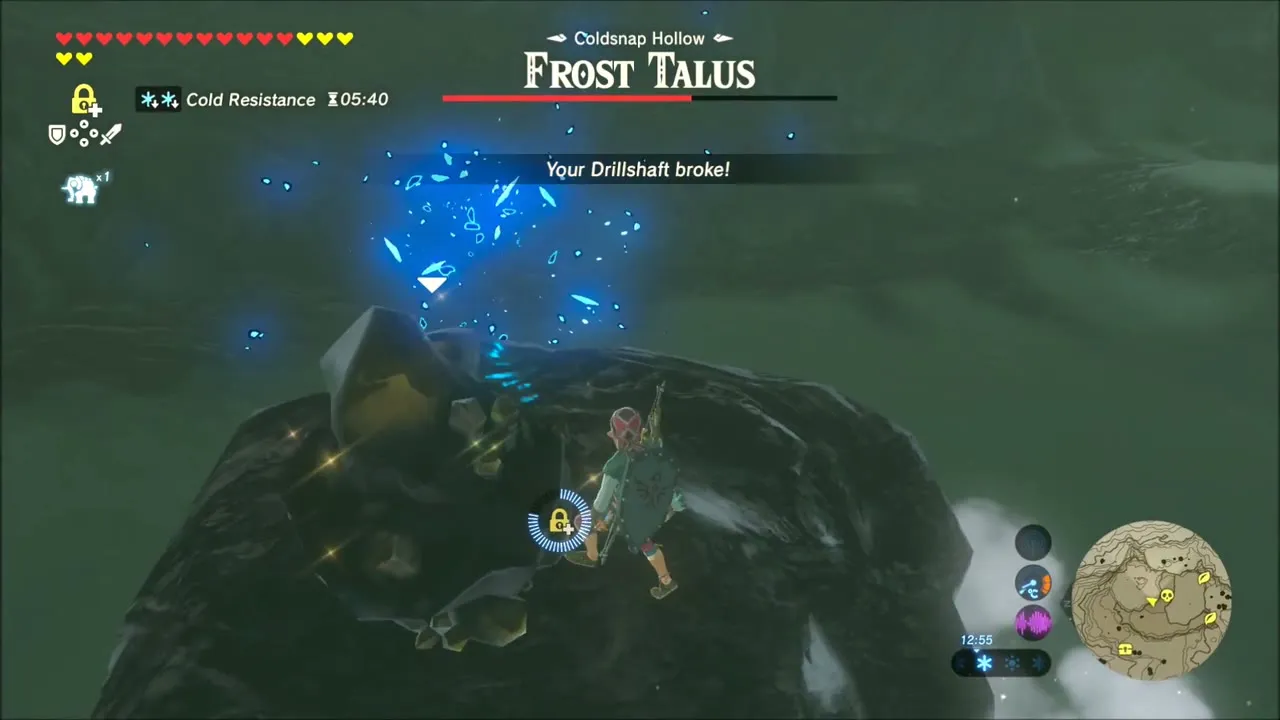
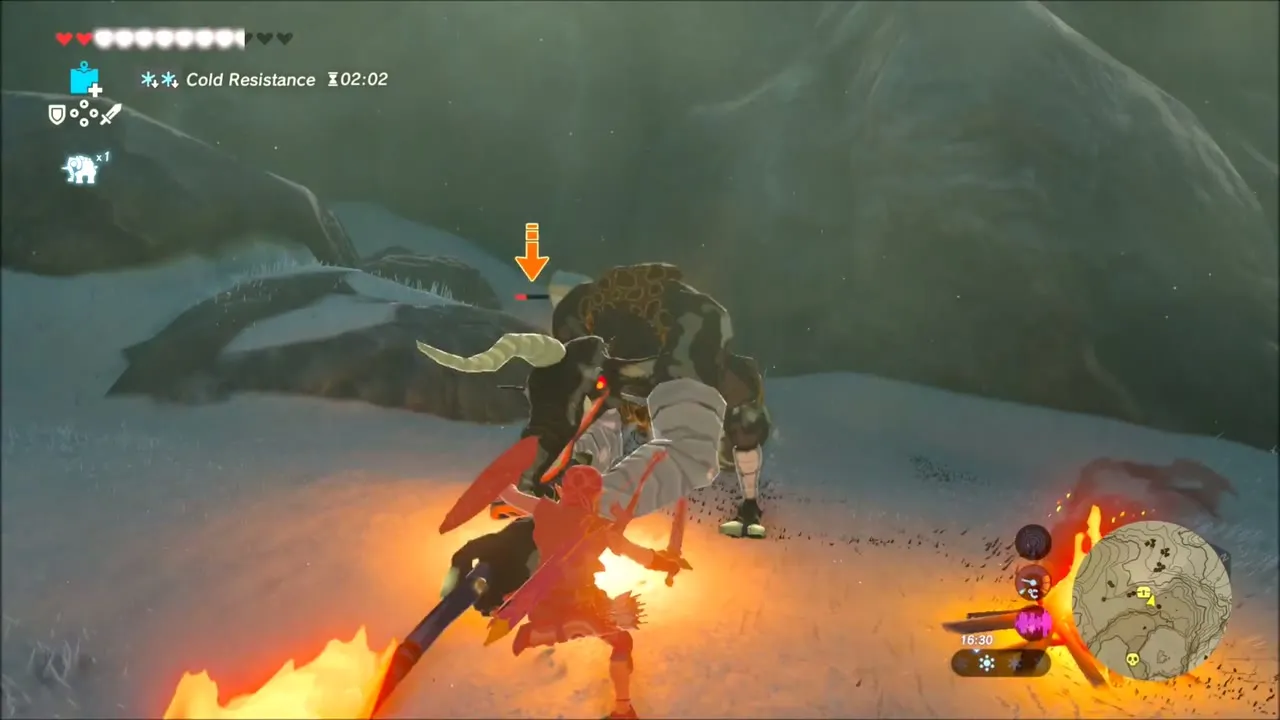
At Coldsnap Hollow a Frost Talus blocks the way. Touching it can freeze you, so stay clear and use Stasis on its arm, strike it hard, and climb up to break the ore on its back. It leaves Flint and Opal among its drops.


Moblin Camp and Chest by the Campfire
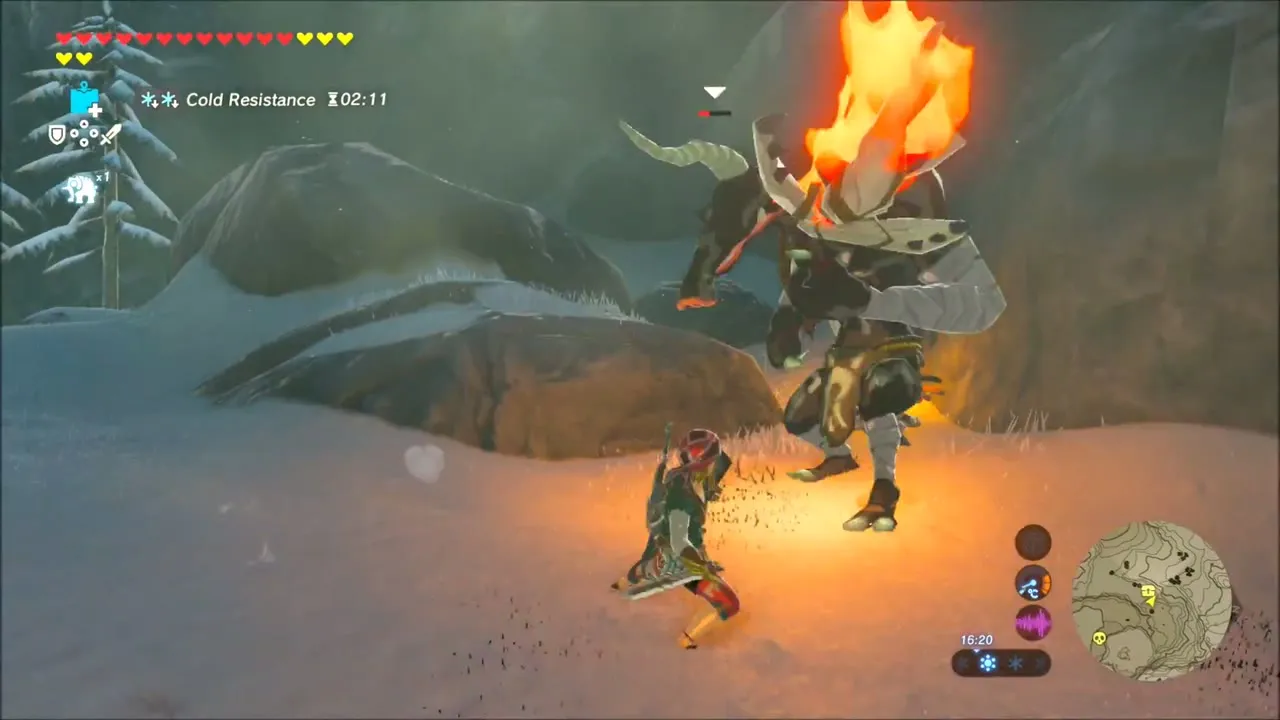
Further along a Moblin camp sits in a snowy hollow. Defeat the Moblins and open the chest beside their campfire. After that, climb past a rock shelf and glide down toward Selmie’s Spot.


Selmie’s Spot: Shield Surfing
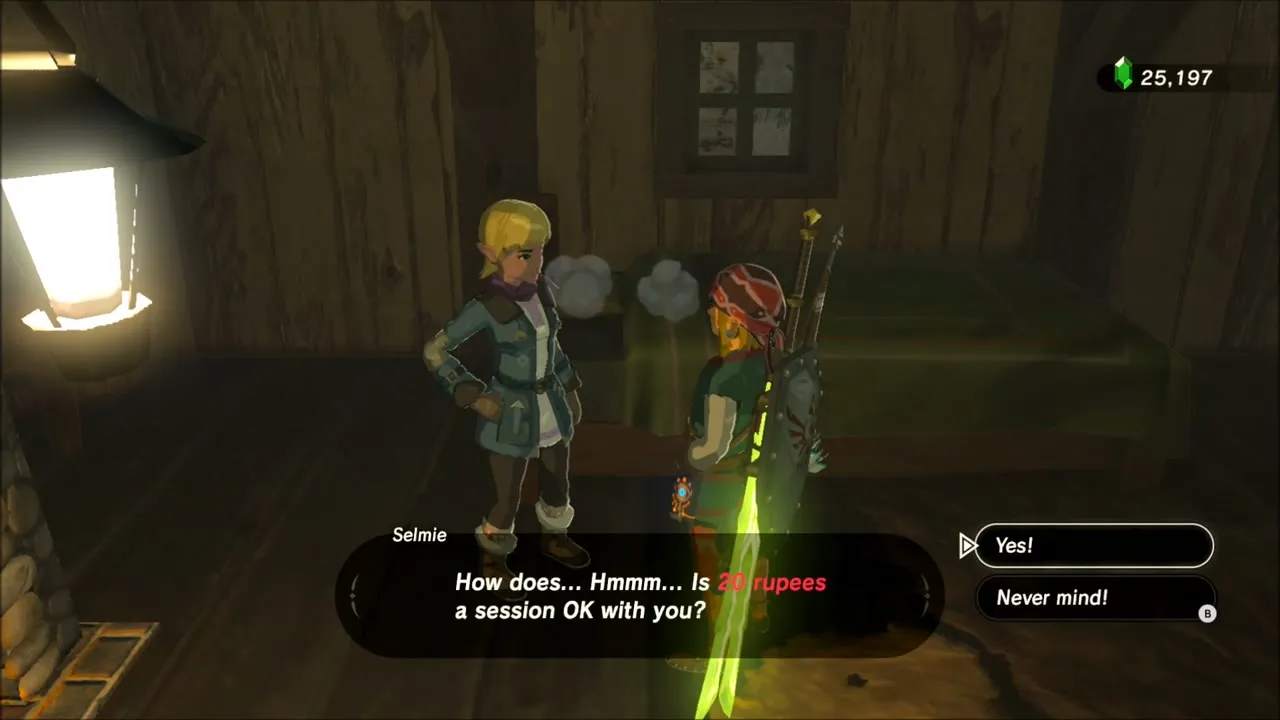
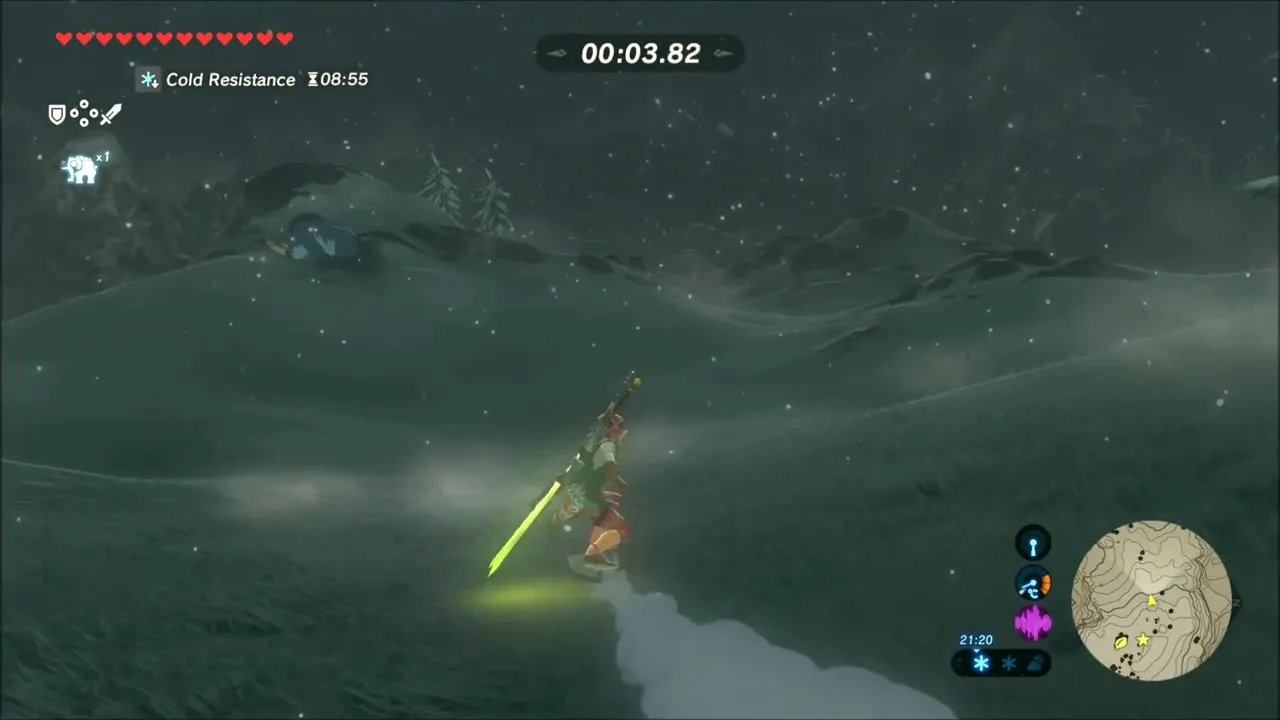
Selmie’s cabin sits on a snowy hill. Talk to him and pay the 20 rupee fee for Shield Surfing. He sends you down the slope on the Beginner course toward the big bridge; hop onto your shield, steer and glide where the slope drops. Each attempt costs another 20 rupees, and you can ask for the Advanced course after a good run.


Shada Naw Shrine: Red Giveaway
The Shada Naw Shrine (x -2998, z -3221) sits in a cave just north of Selmie’s Spot. Use Magnesis to pull the metal chest out of its nook; it holds a Great Frostblade.

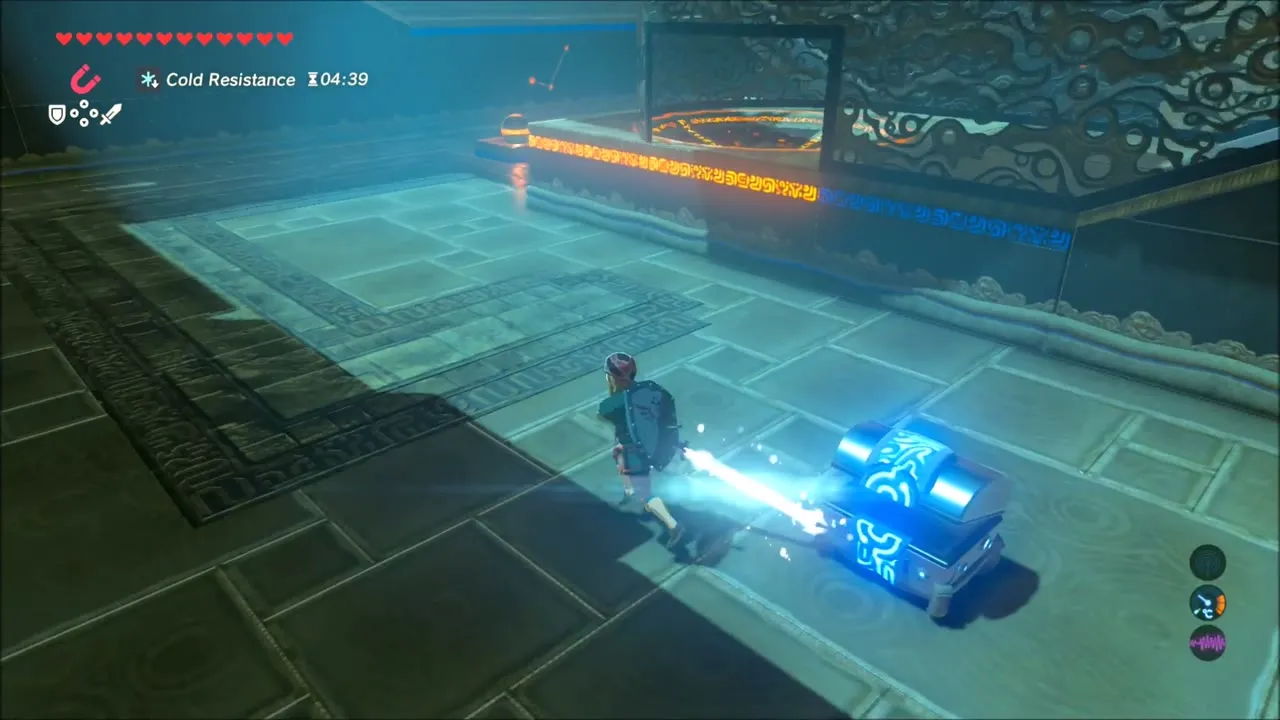
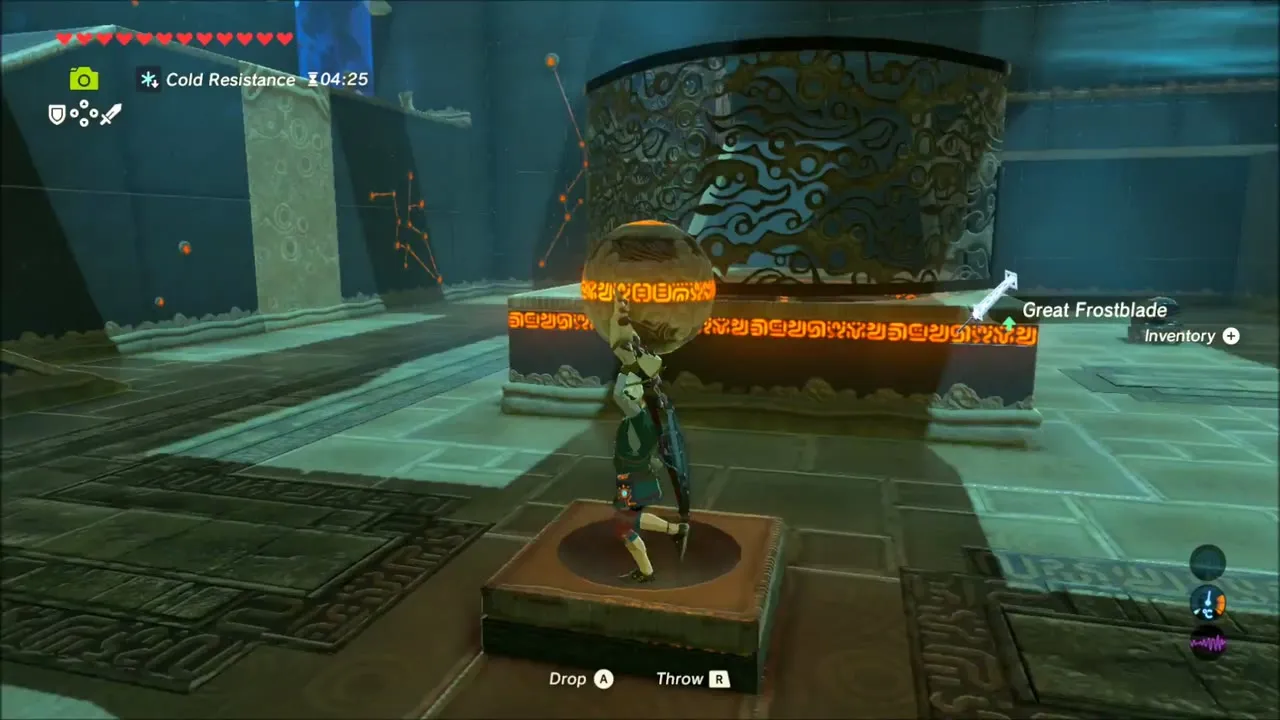
For the trial, extend the block in the south wall with Magnesis and set a metal block on top to make the stopper. Carry the orange orb up the ramp, wait until the floating platform in the middle is at the far wall, and drop the orb onto the ramp. It crosses the platform, hits the stopper and rolls into the receptacle, which raises the platform to Monk Shada Naw and the Spirit Orb.

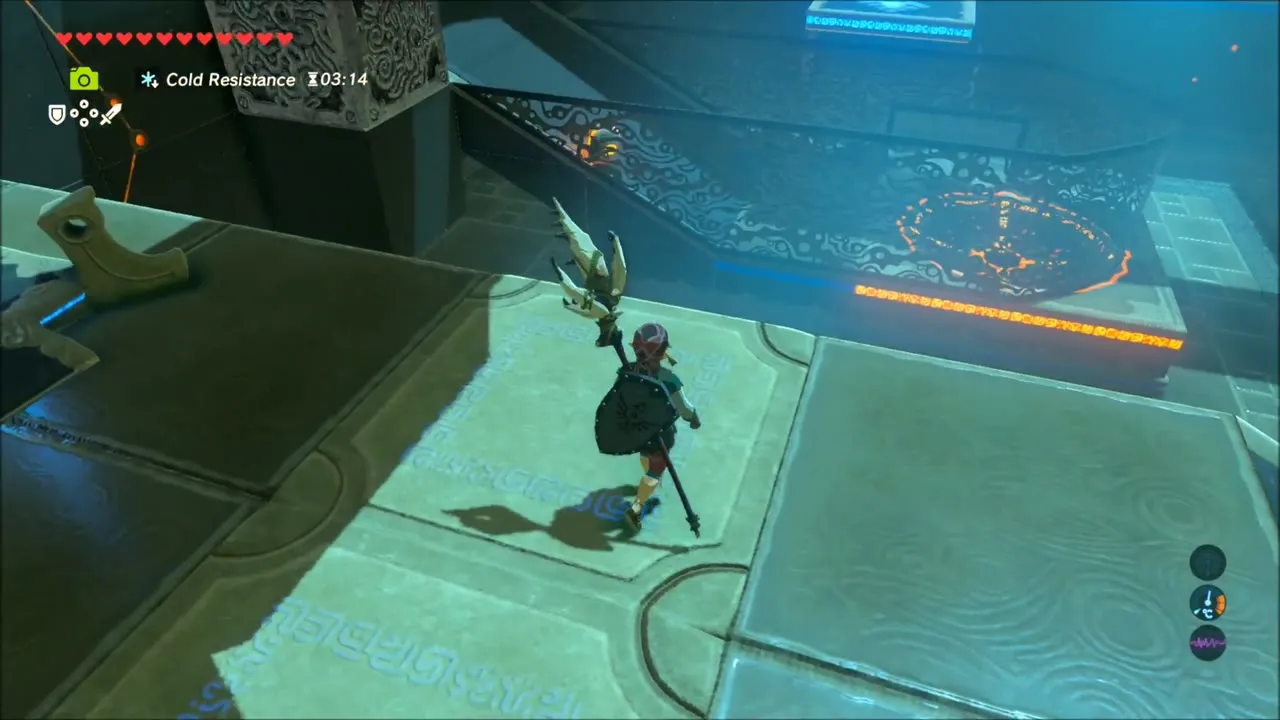
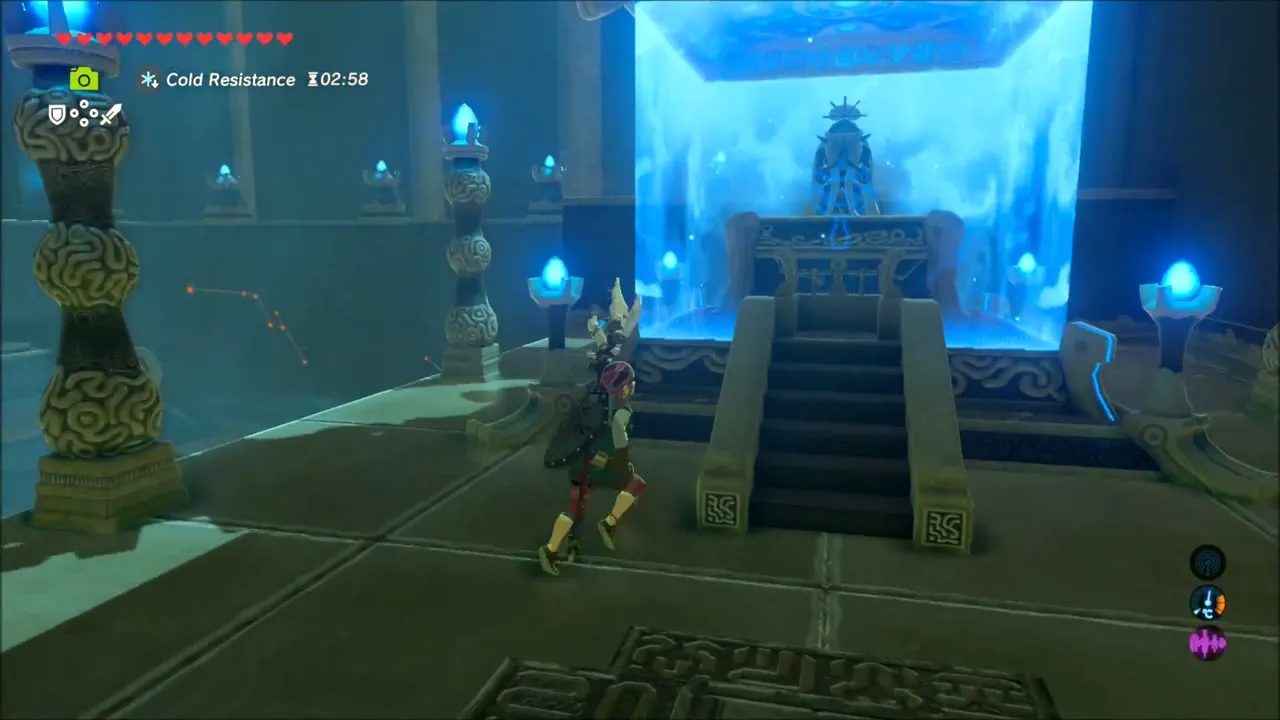

Hestu in Korok Forest and a Selling Trip to Hateno Village
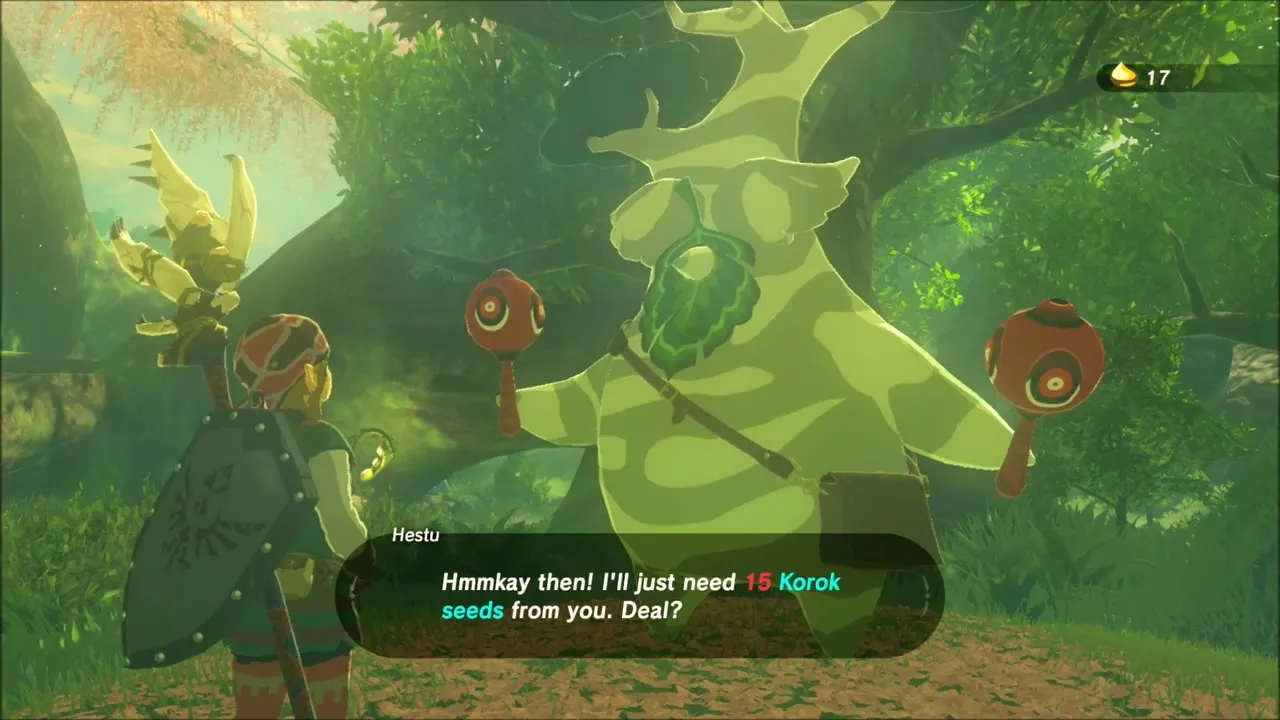
Before heading into the mountains, spend Korok Seeds on Hestu in Korok Forest. He trades extra inventory room for seeds, and paying him opens a new empty slot in your shield menu. A beam of light then carries you out of the forest.


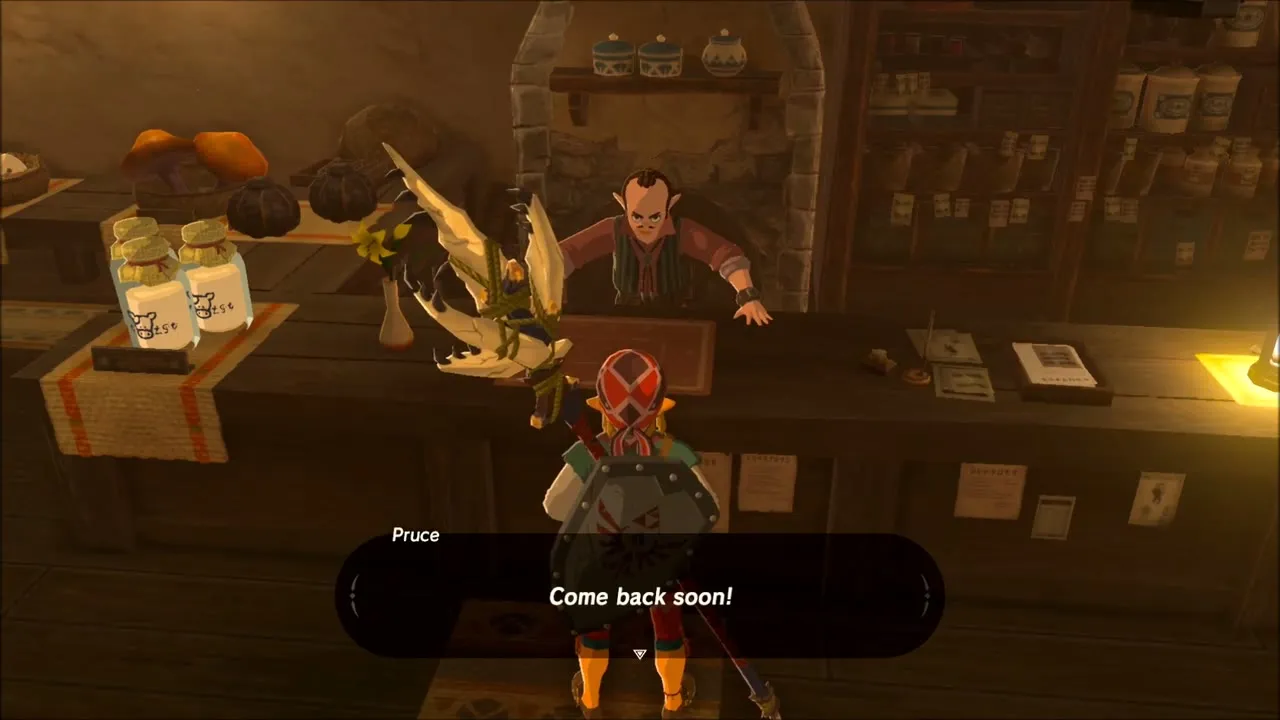
Fast travel to Myahm Agana Shrine and walk into Hateno Village to cash in your loot at Pruce’s general store. Pruce will sell you his whole stock of Bomb Arrows (five for 250 rupees), and he buys the gems you have been mining, such as Amber and Topaz, so sell the spares here. The Hateno Village walkthrough covers the rest of the town.


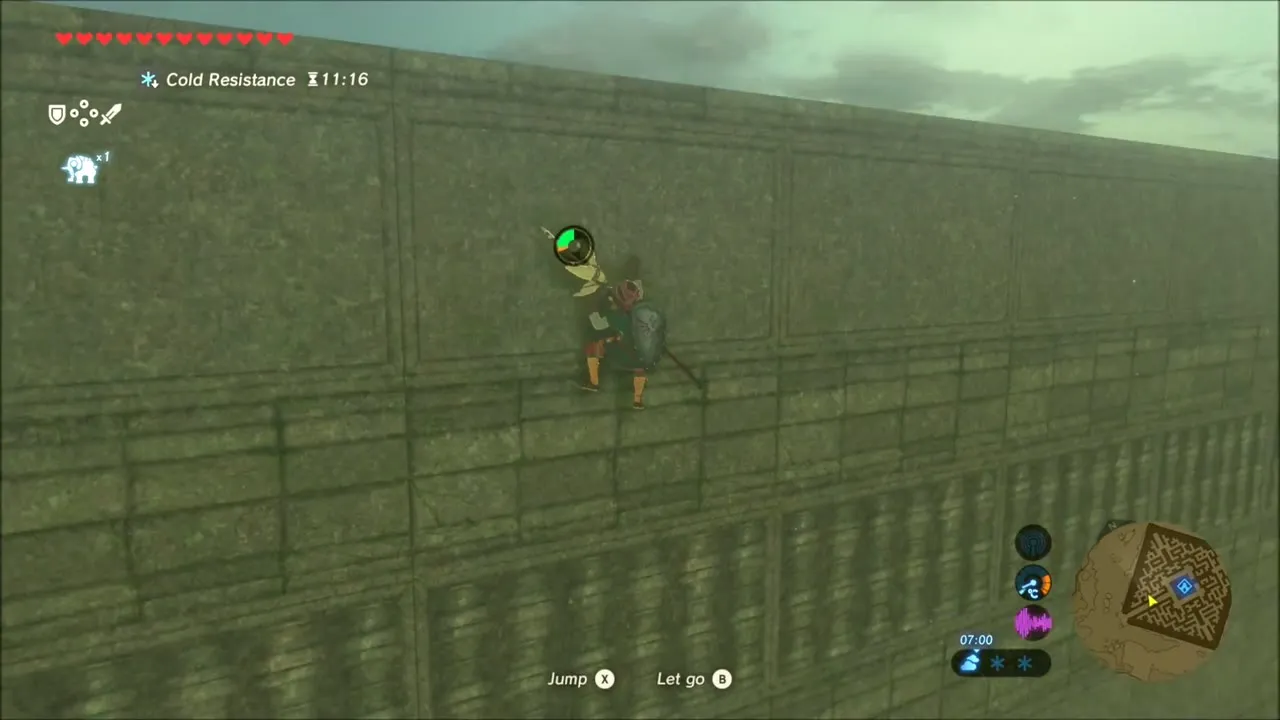
From the North Lomei Labyrinth into the Hebra Range
Warp to Qaza Tokki Shrine at the middle of the North Lomei Labyrinth. Skip the corridors: climb onto the top of the maze walls and walk across them, then open the map and place stamps on the spots you plan to visit around the Hebra Mountains.



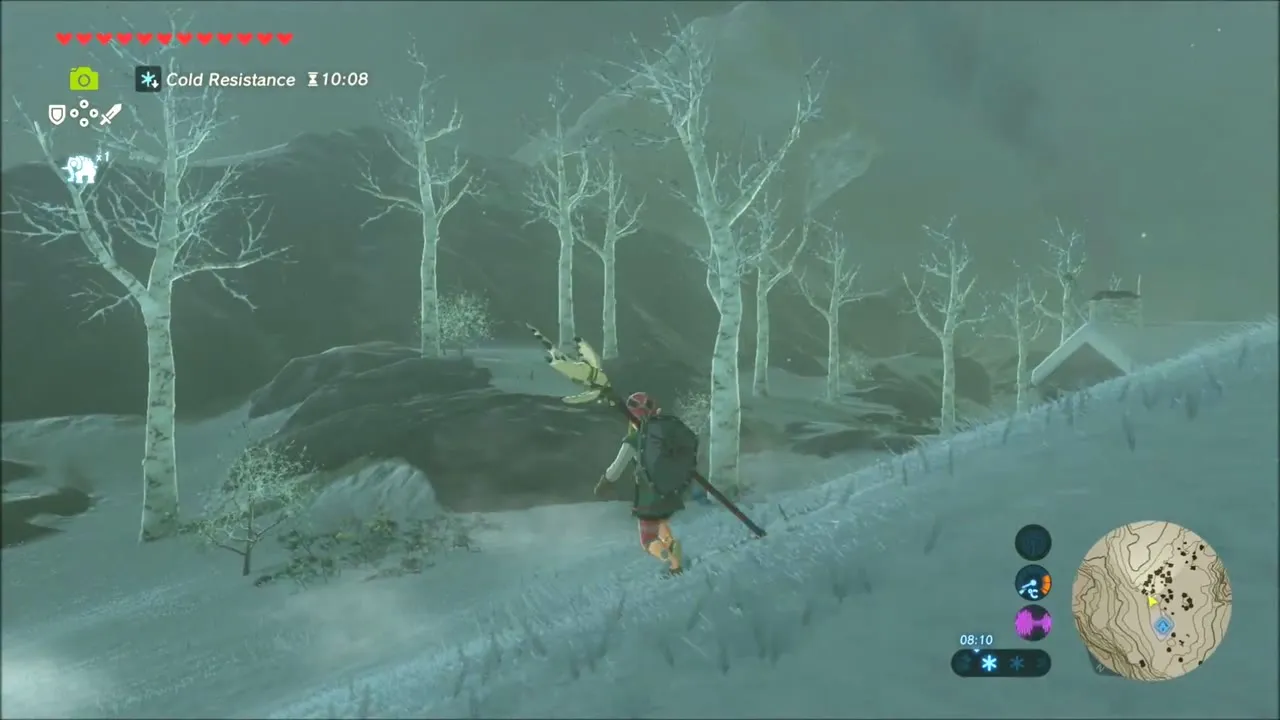
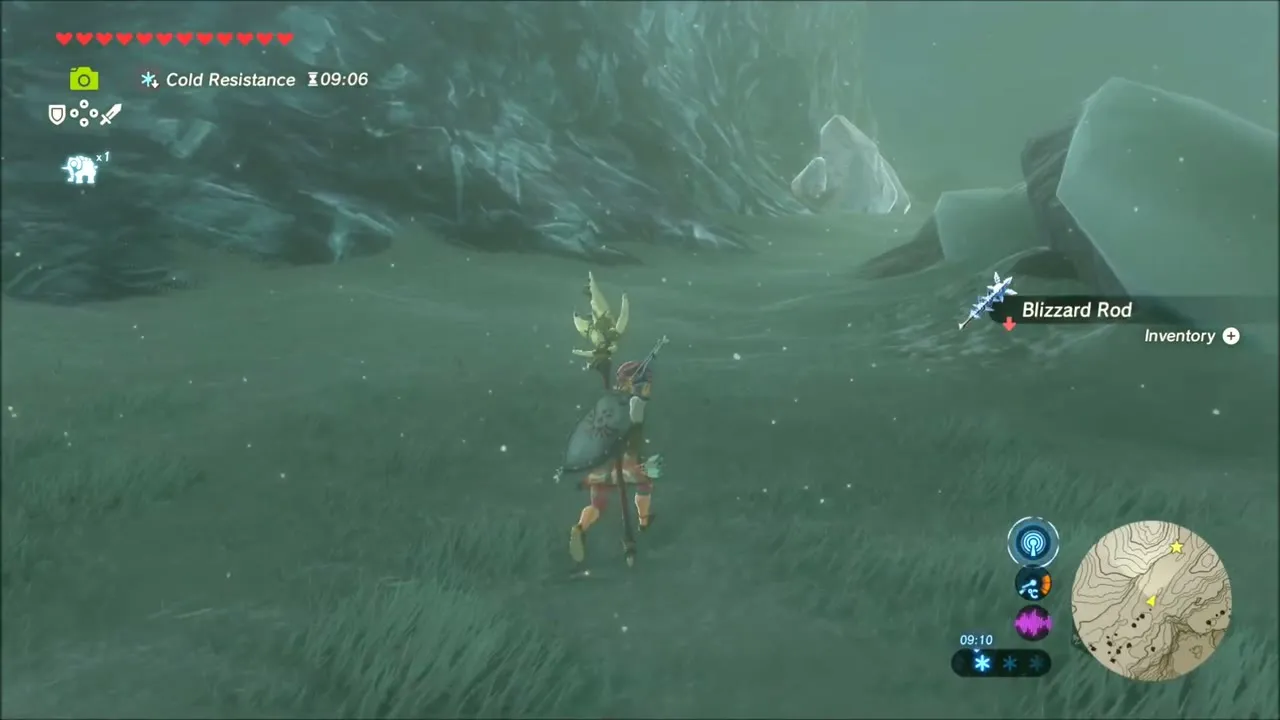
Fast travel into the Hebra range and cross the snowy birch woods toward the cave at the foot of Hebra Peak. Beside the first big block of ice lies a Blizzard Rod next to a bundle of wood, so take both; the wood will feed the fires you need next.


Goma Asaagh Shrine: A Major Test of Strength
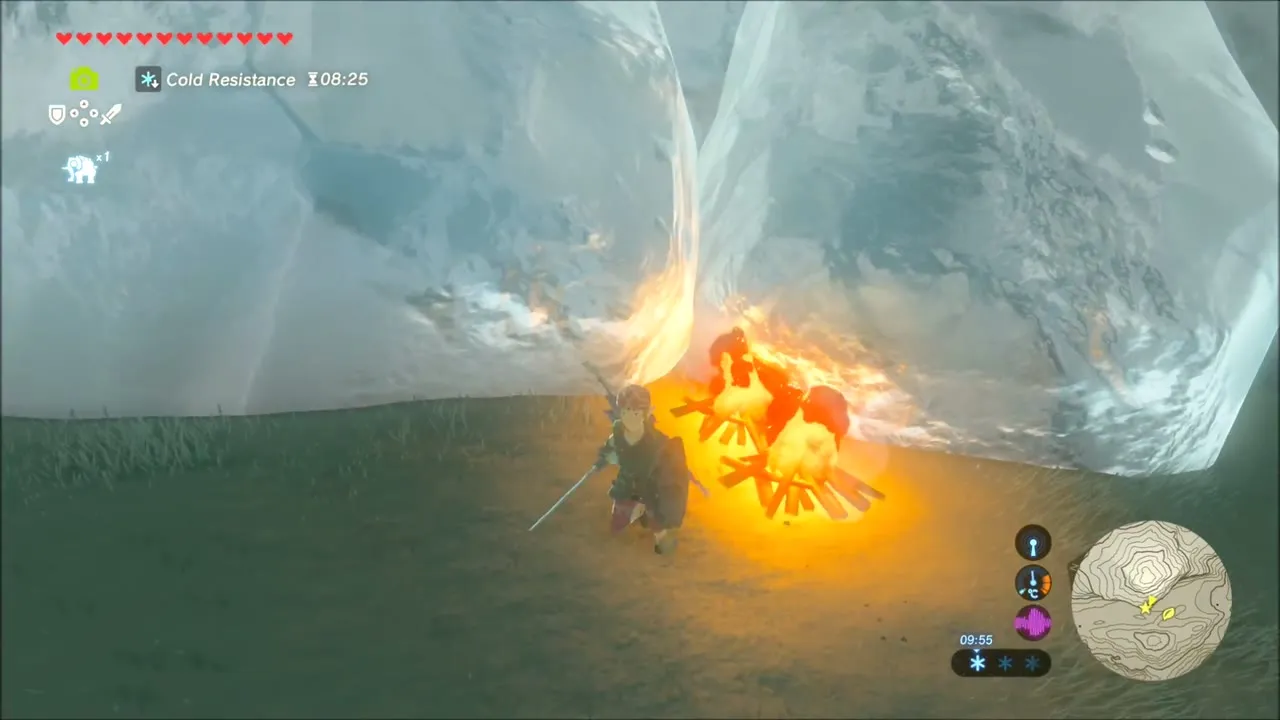
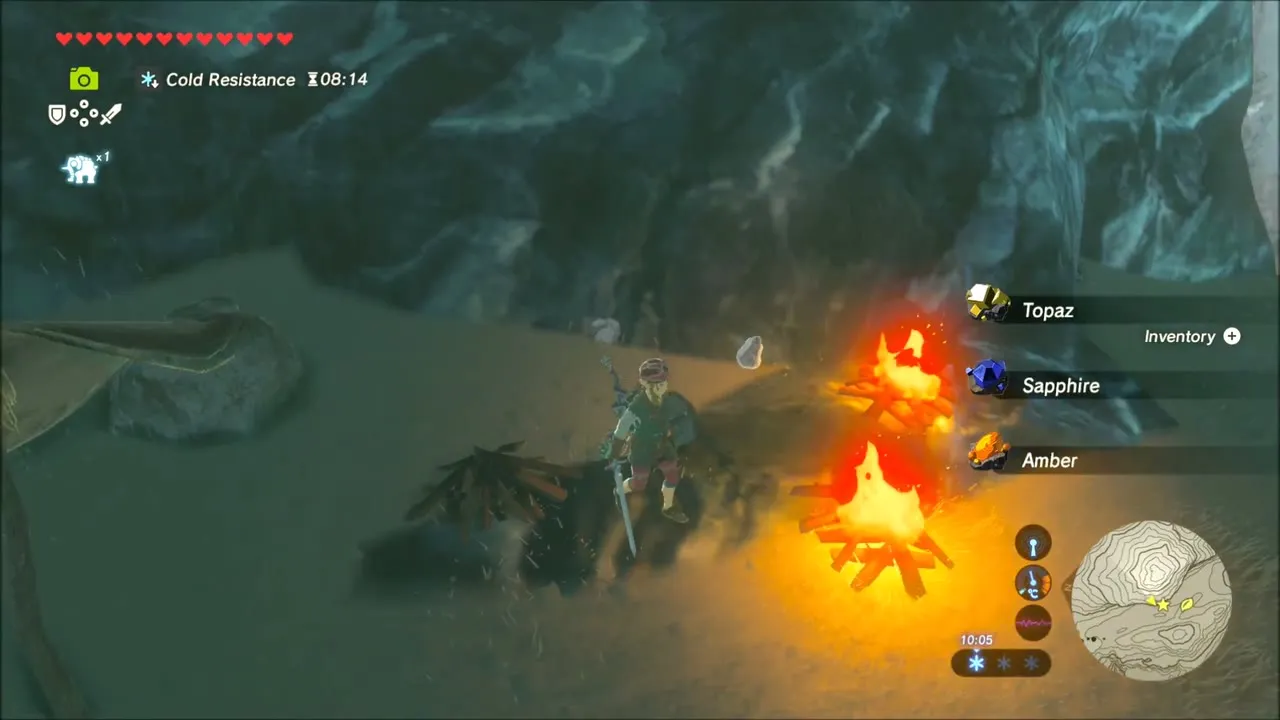
Drop the wood and light campfires beside the ice, and collect the Amber, Topaz and Sapphire that you find in the rocks around the camp.
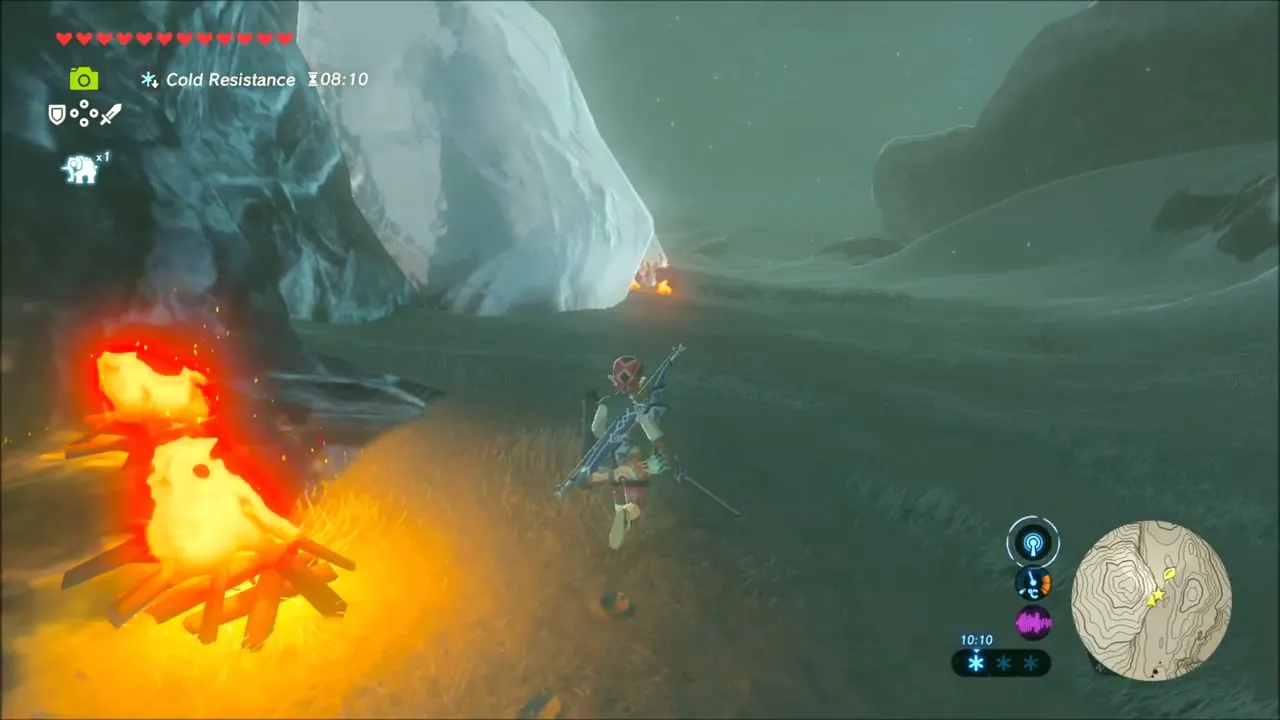
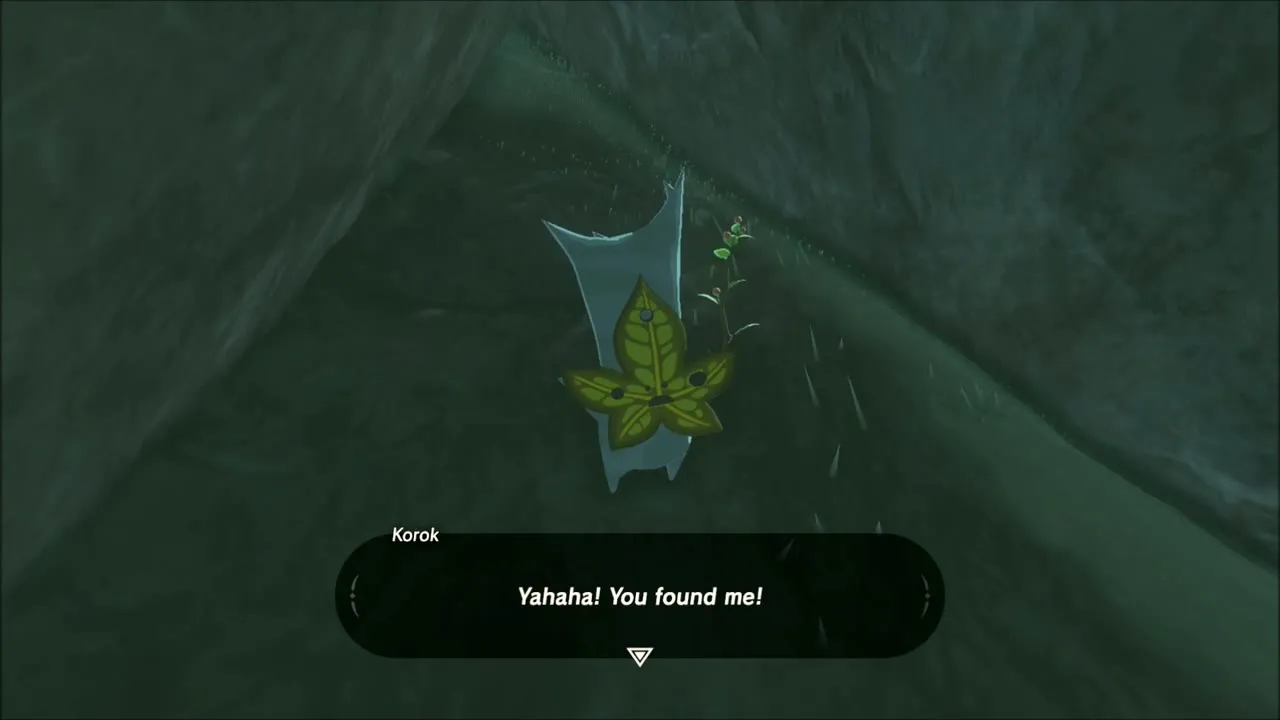
At the foot of the dark ridge nearby, pick up the rock wedged in the crevice. A Korok is hiding under it and pays you a Korok seed.

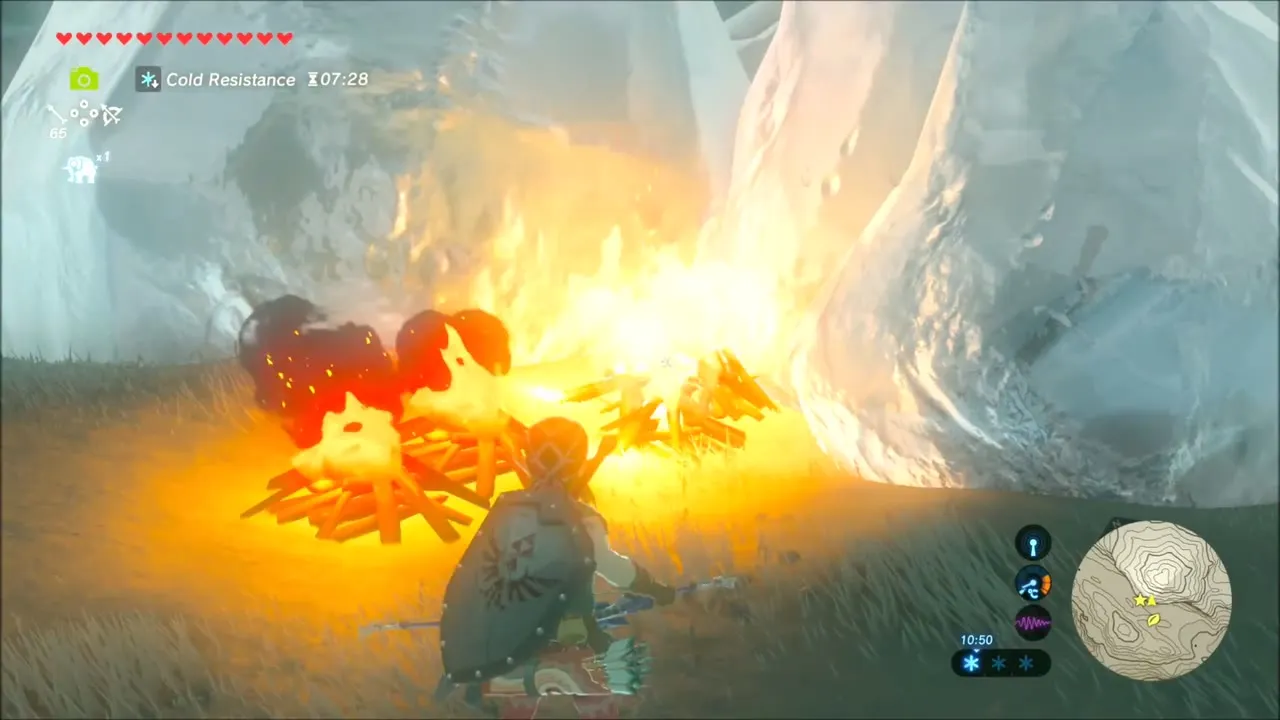
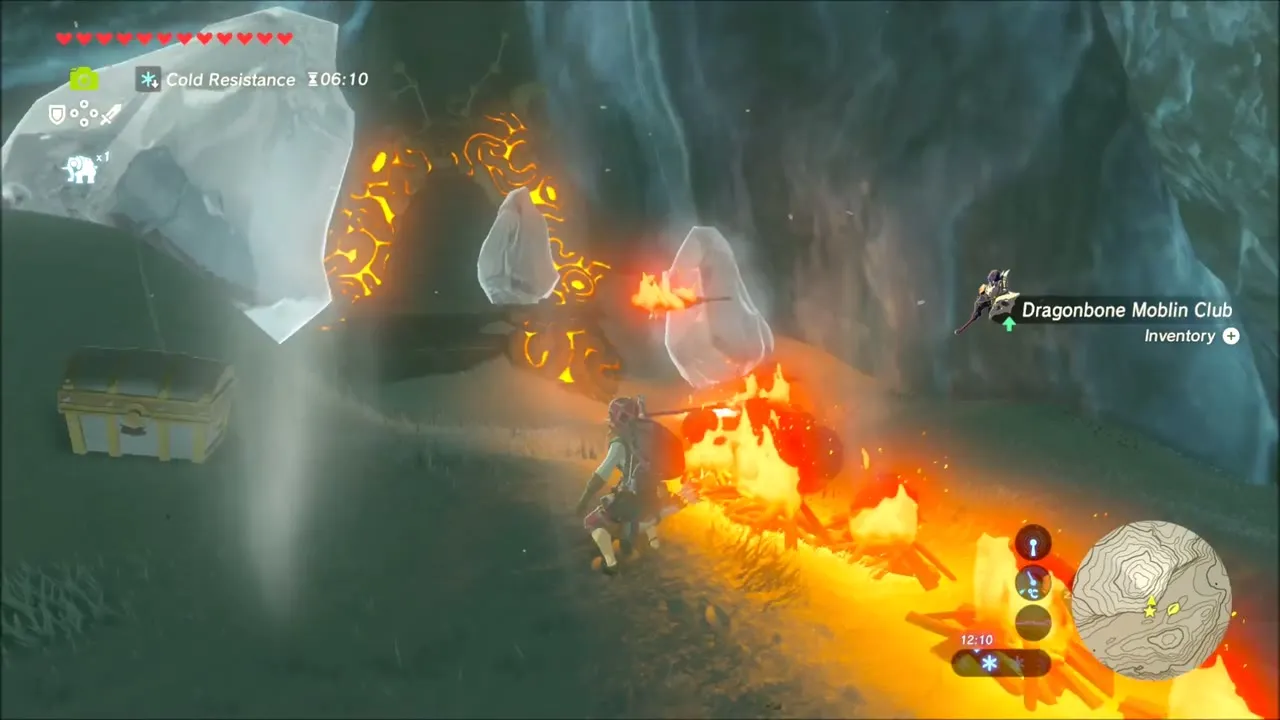
The shrine is sealed behind giant blocks of ice, so burn through them. Pile wood against each block and set it alight with a fire arrow or flaming weapon, then wait while the ice melts away. A Moblin camp stands in the cave, so fight the monsters while the flames work and open the chest that sits there once it is quiet.
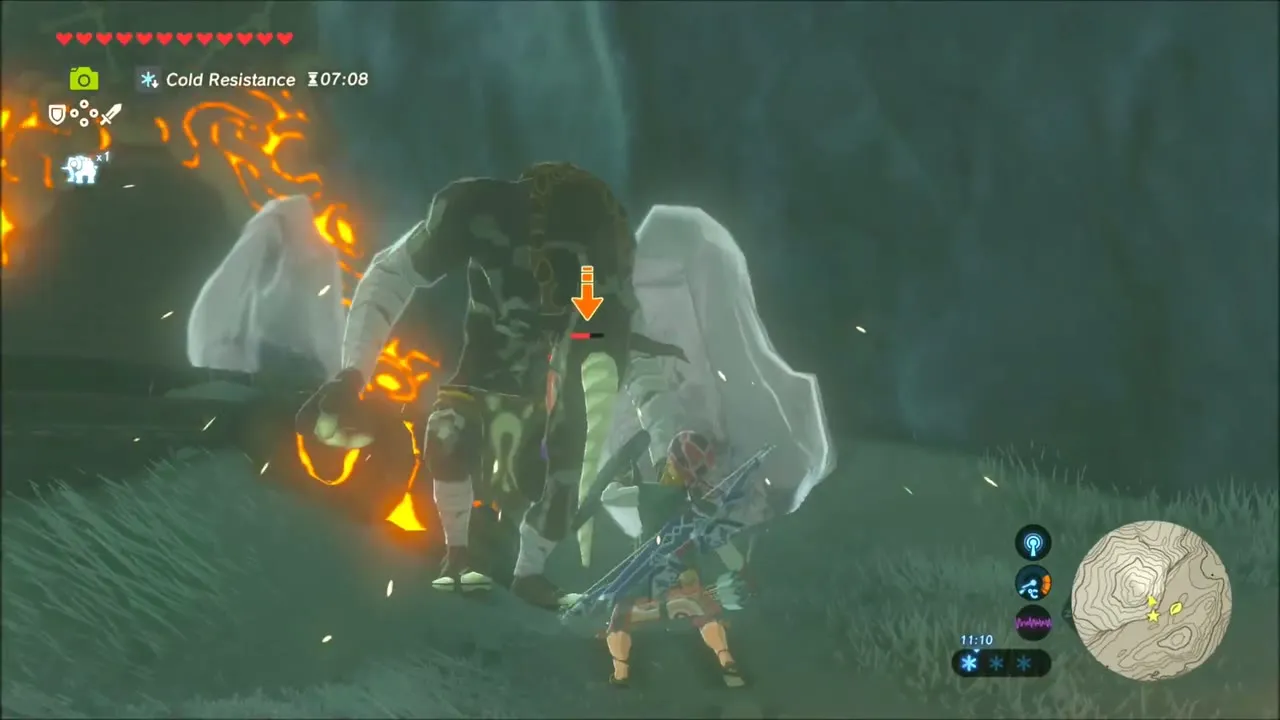
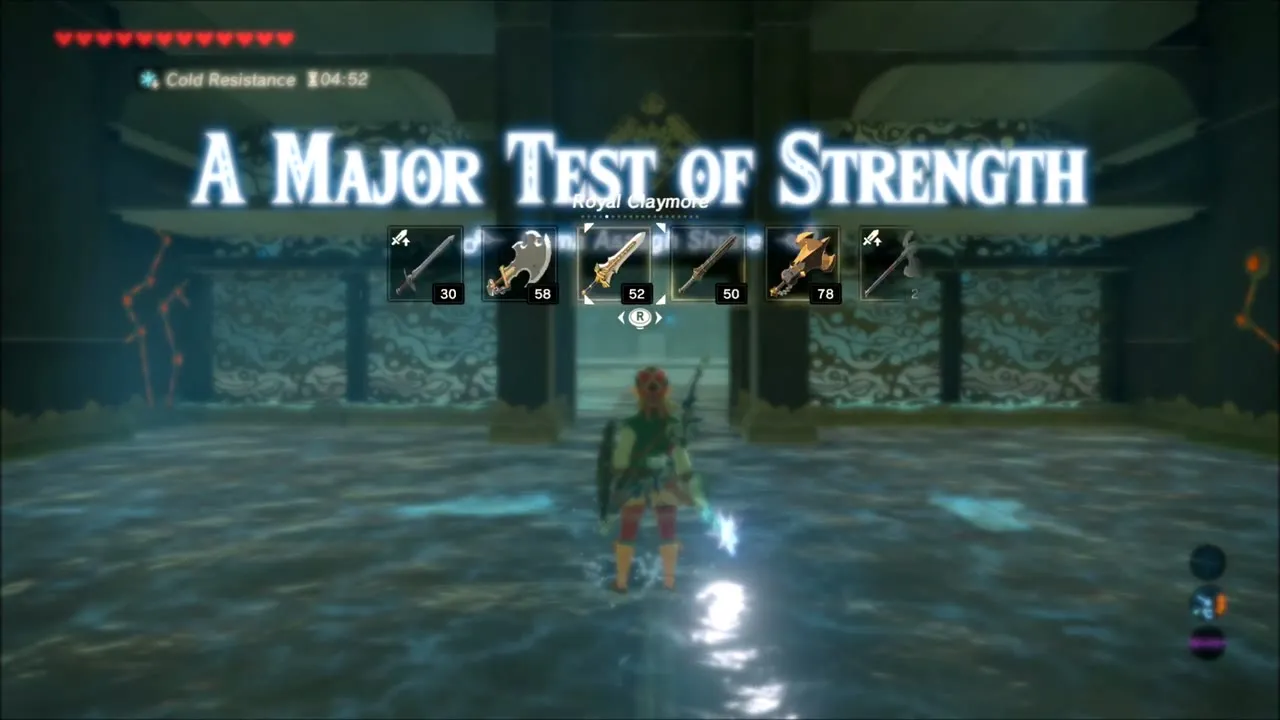
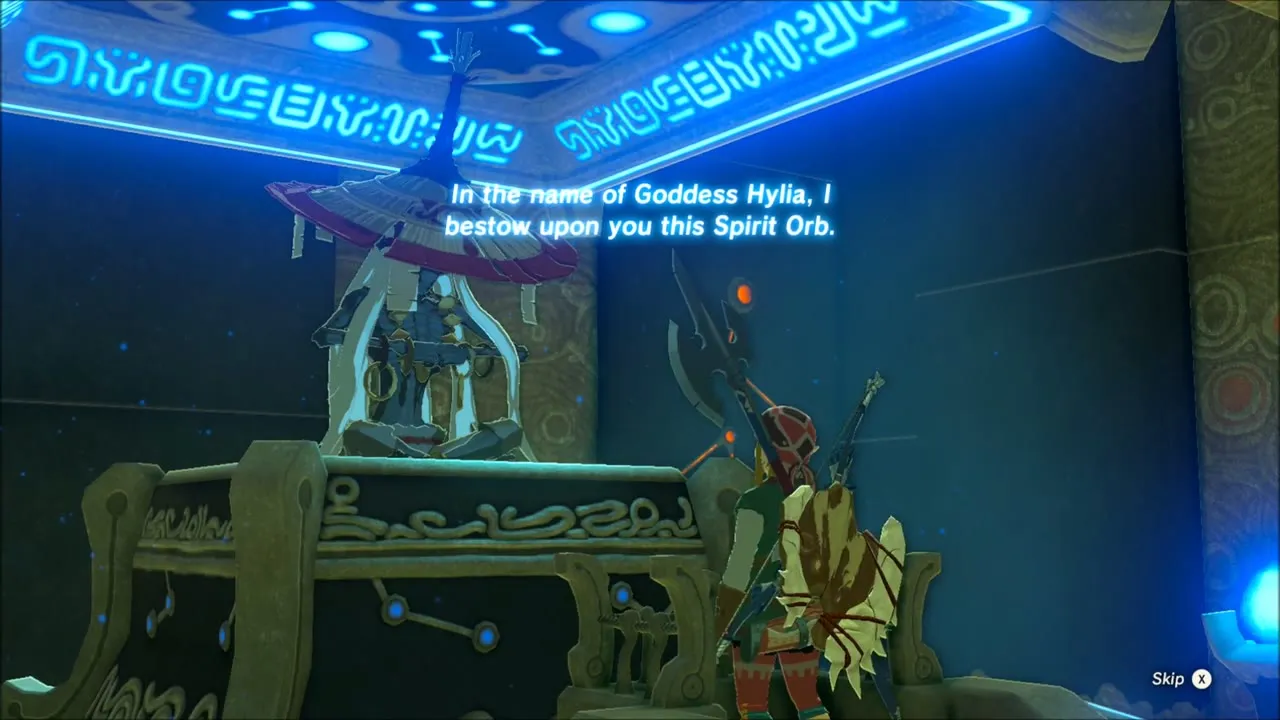
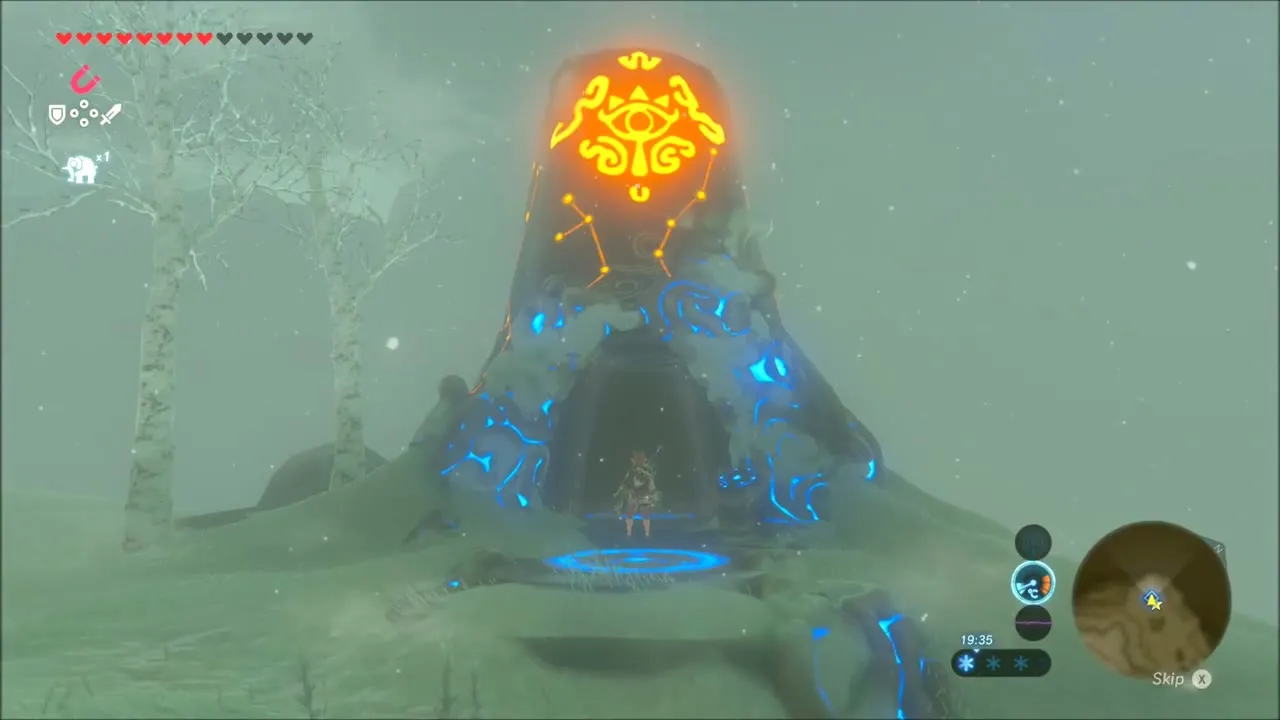
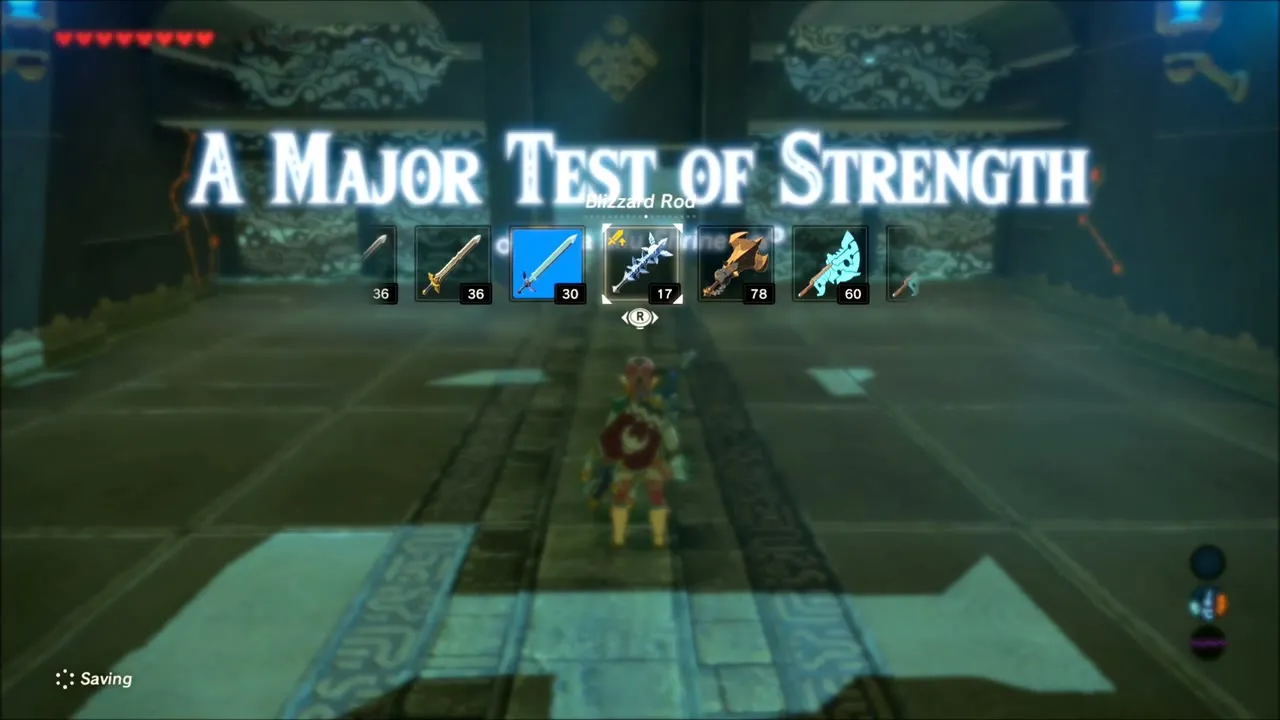
With the ice gone, step onto the Goma Asaagh Shrine pedestal (map position x -2793, z -2882, height 684). The trial, A Major Test of Strength, is a fight against a Guardian Scout IV. The arena has no pillars to hide behind, so freeze it with Stasis during its rush attacks and wear it down; when it spins its laser, glide over the beam on the updraft and strike from above.



The chest at the altar holds a Blizzard Rod, and the monk hands over a Spirit Orb after a short speech.



Hebra Peak Slopes: Shock Arrows, Koroks and a Bow Chest
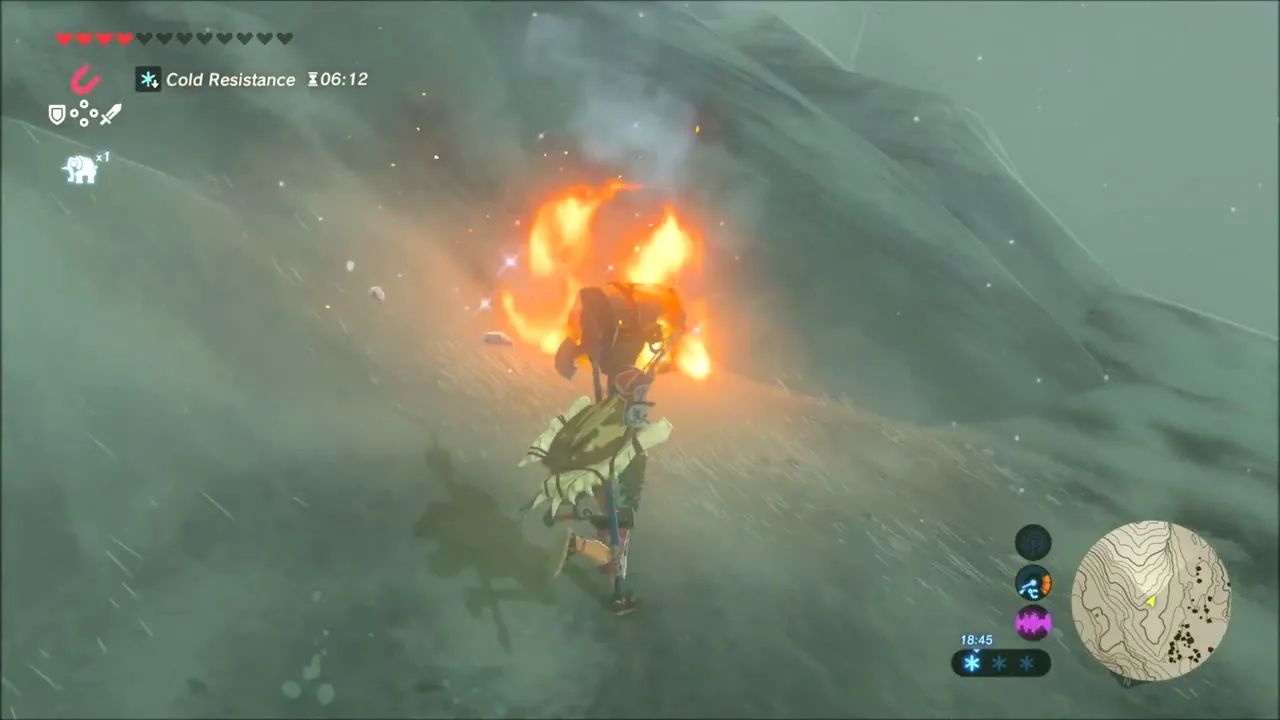
Fast travel on and work across the snowy slopes, fighting Lizalfos as you go. A chest on one of the ledges holds five Shock Arrows, which are useful against metal weapons and Guardians.


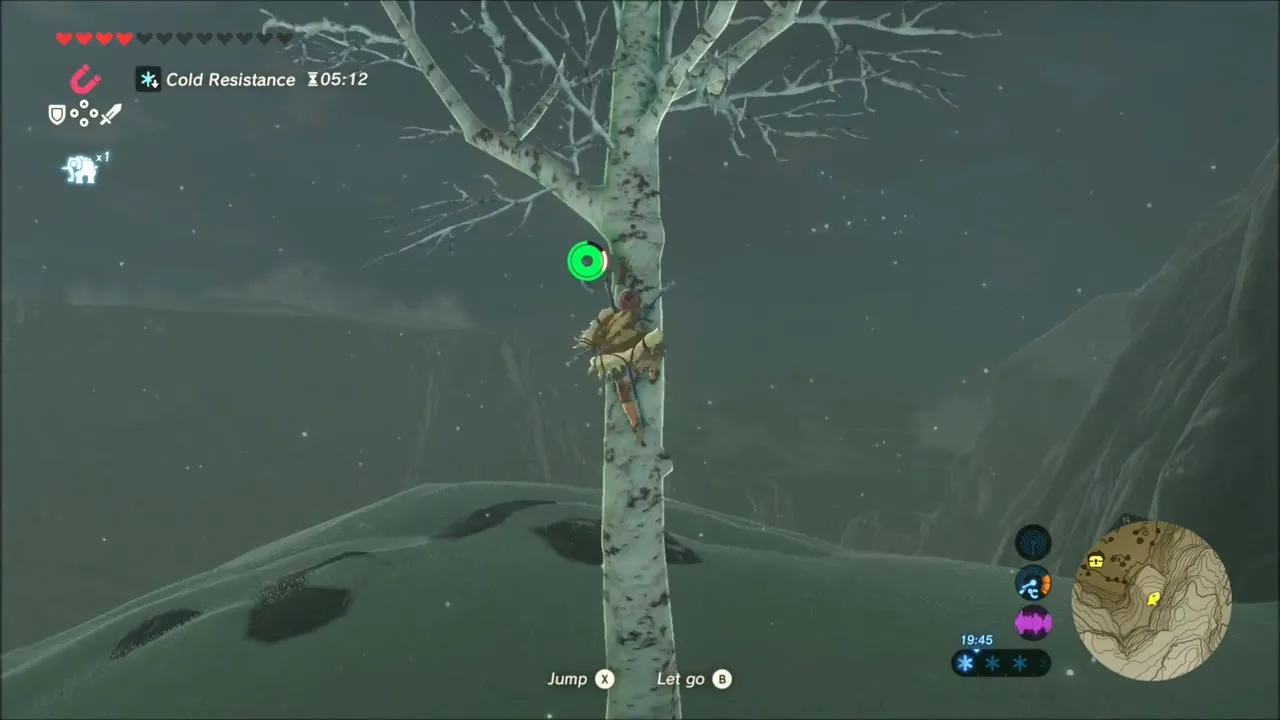
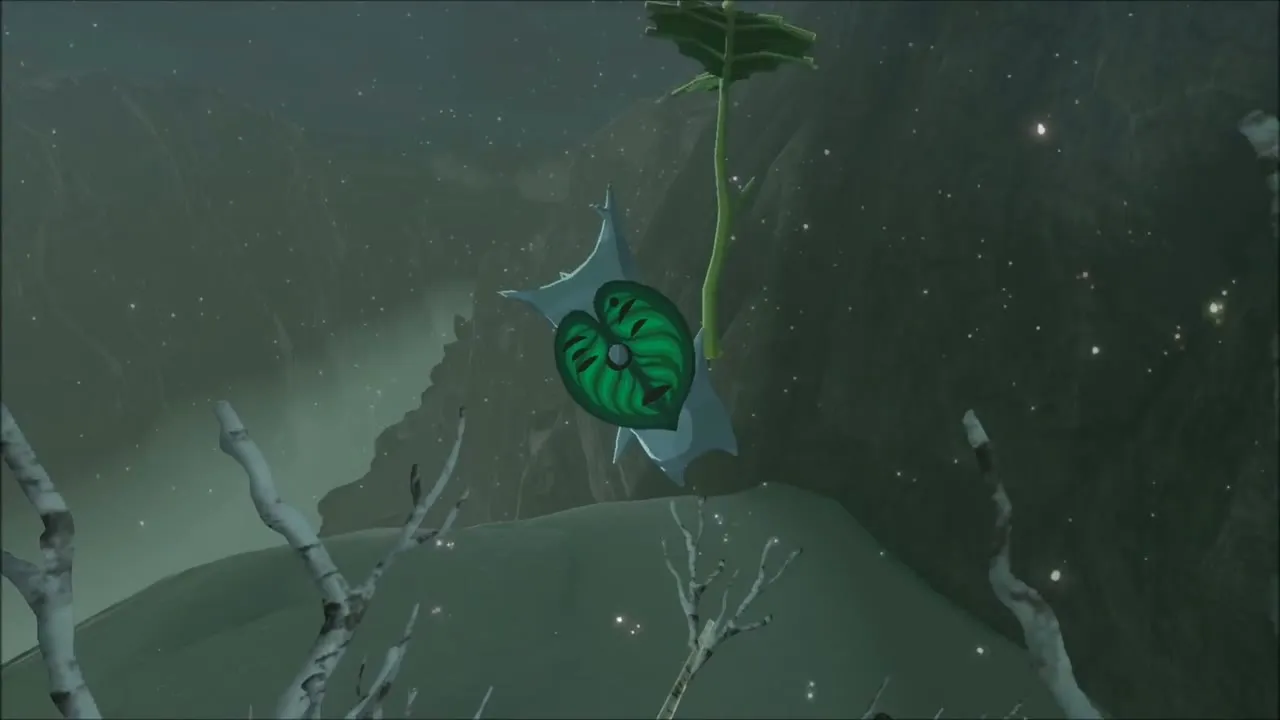
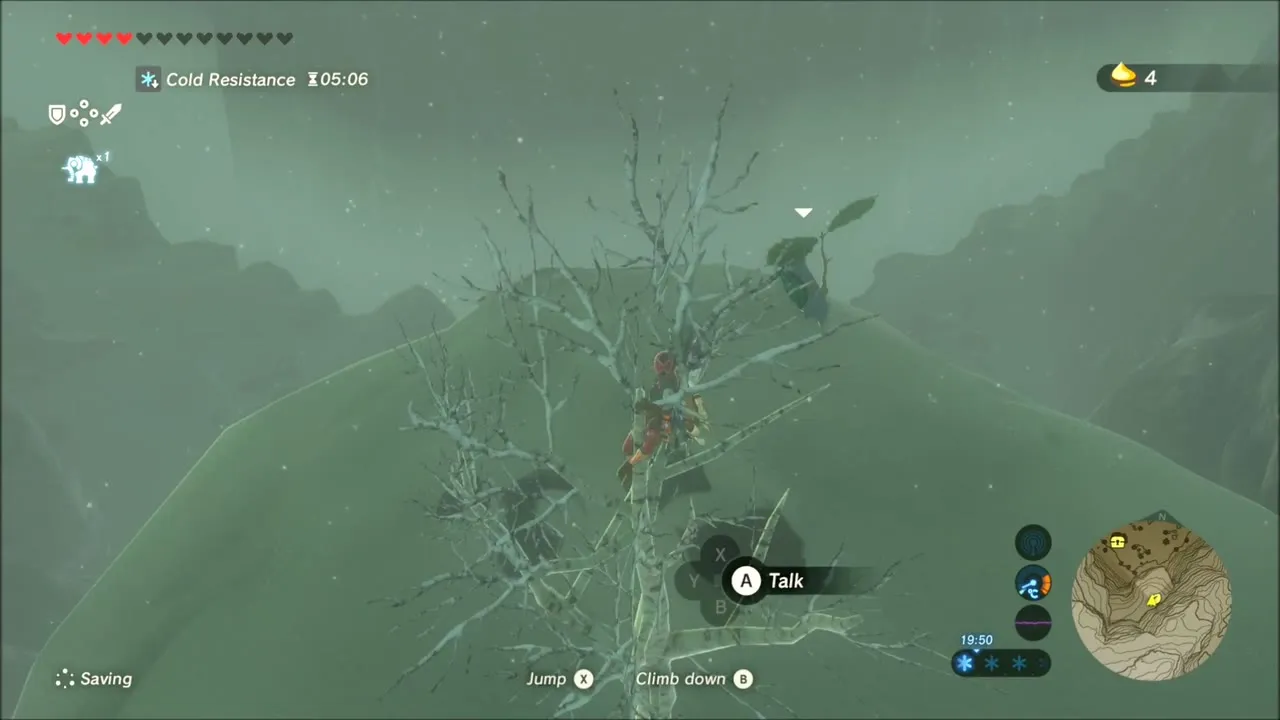
Further along, a bare tree rises out of the snow. Climb it and talk to the Korok perched in its branches for another seed.

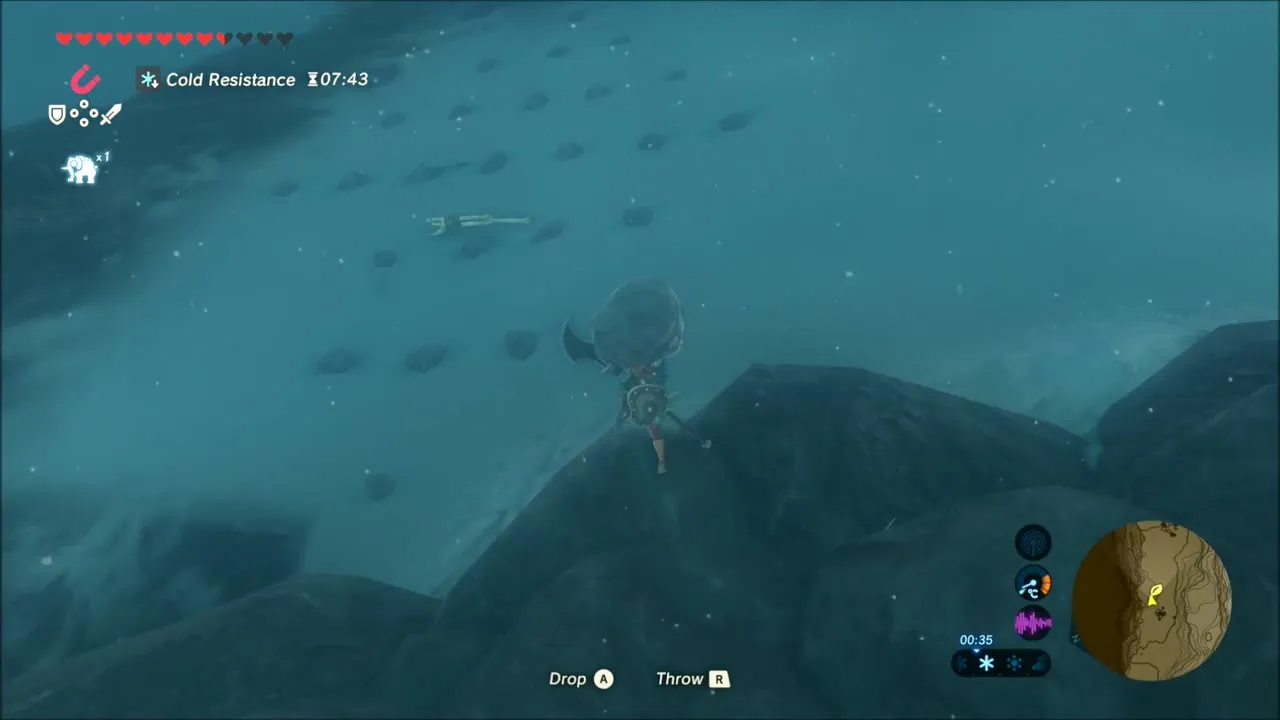
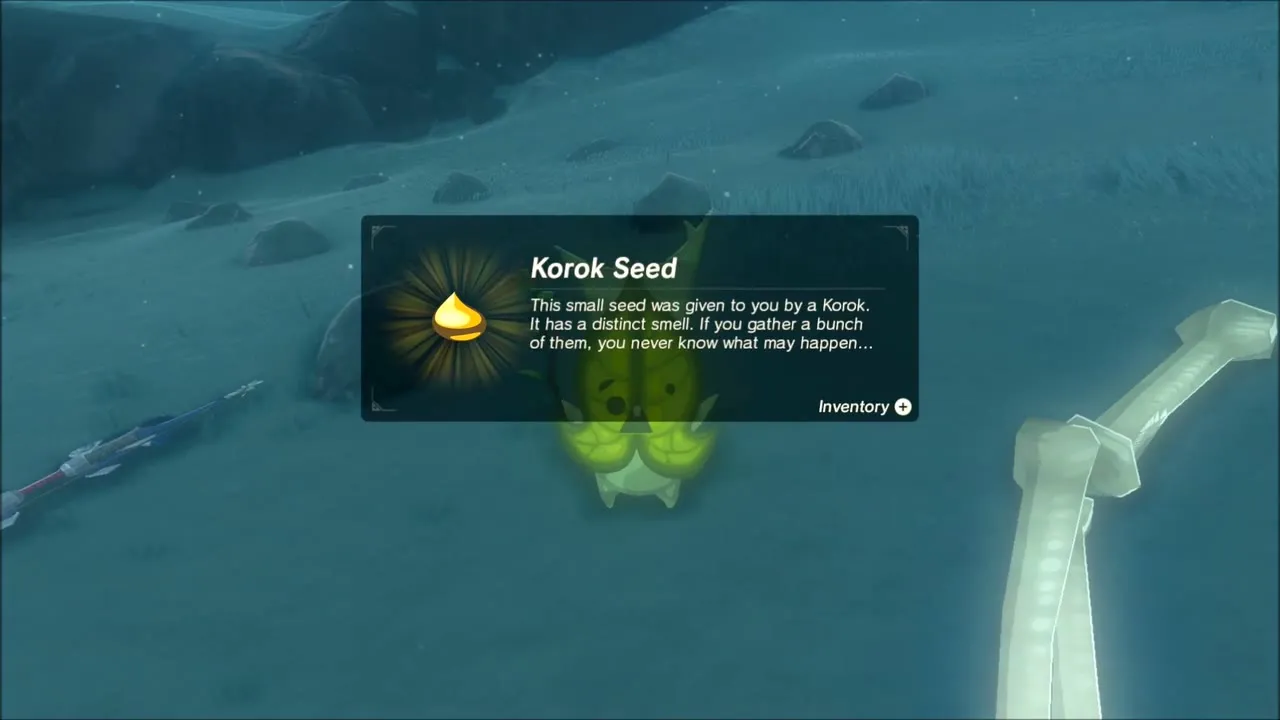
Beside the giant bones of a skeleton on the flat below, small stone lumps lie on the ground in a pattern with one gap in it. Pick up a loose rock from the nearby ledge, carry it over and set it in the gap, and the Korok appears.


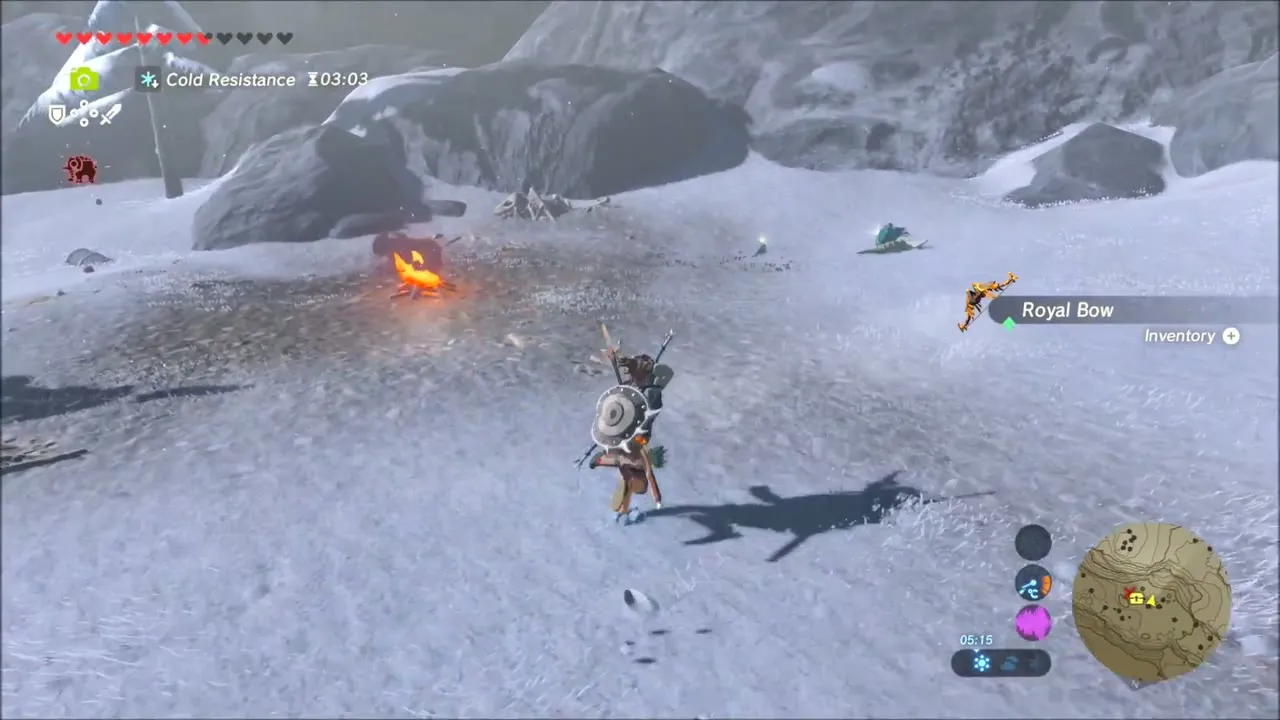
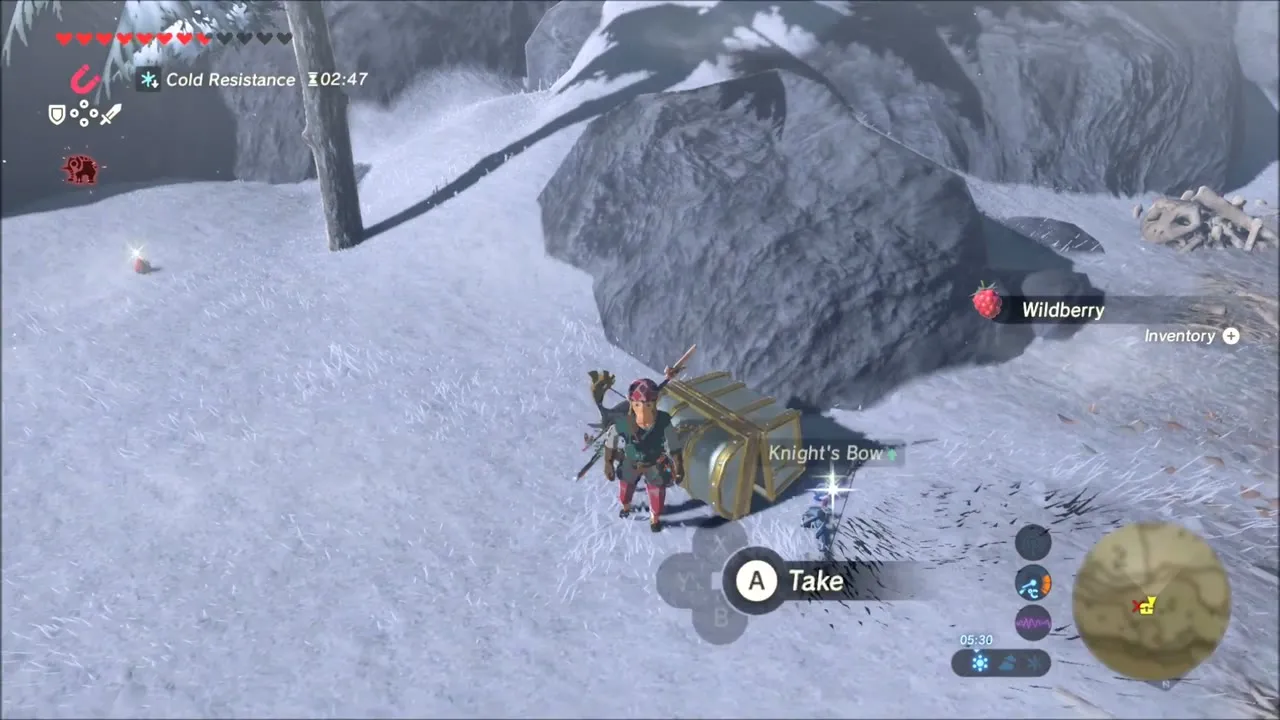
On a snowy slope near a campfire, a chest half-buried beside a large rock holds a Knight’s Bow.

Goflam’s Secret Hot Spring
Glide down into a cave in the cliff to reach Goflam’s Secret Hot Spring at (-3443, -3574). The warm water restores your hearts, and the ledges around the pool have deposits that give Topaz, Flint, Rock Salt and Amber. Swim across the pool and look up: a Korok hangs under the rock ceiling and gives you a seed, matching the Korok at about (-3496, -3581).


Korok seeds on the pine ridges
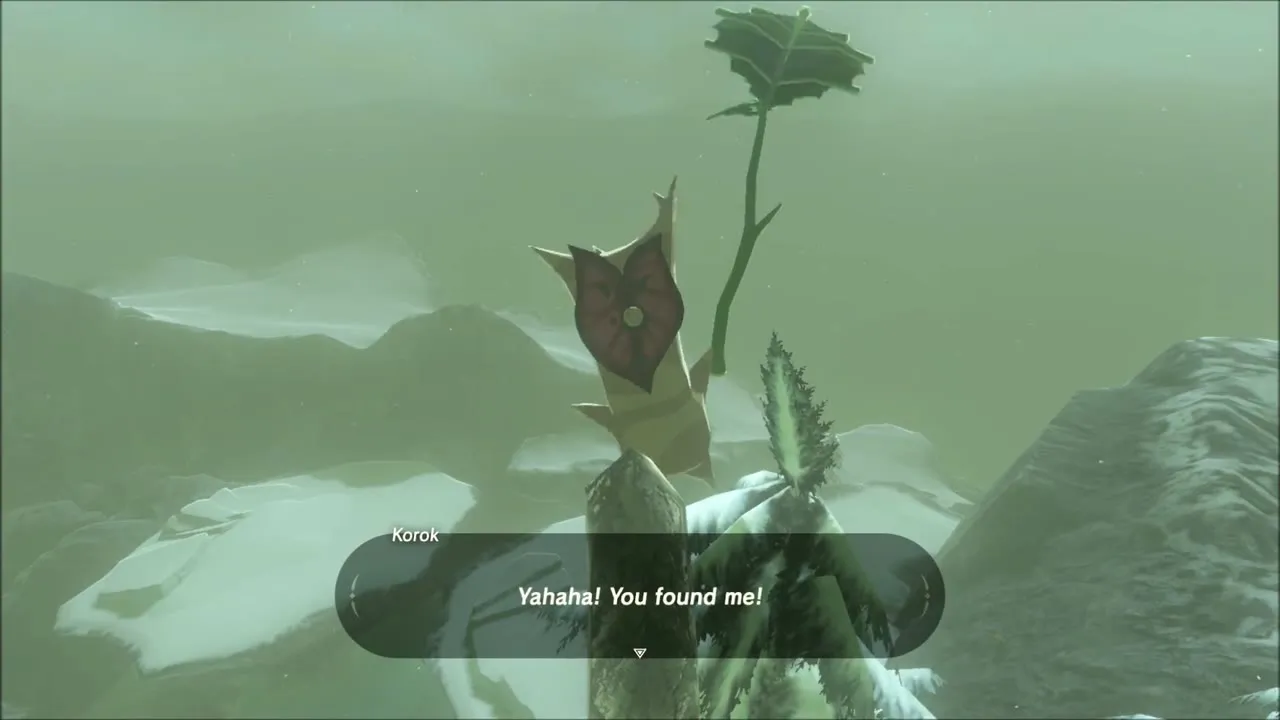
Back out on the snow, find a very tall pine with a bare trunk and climb it all the way up. A Korok sits at the top.
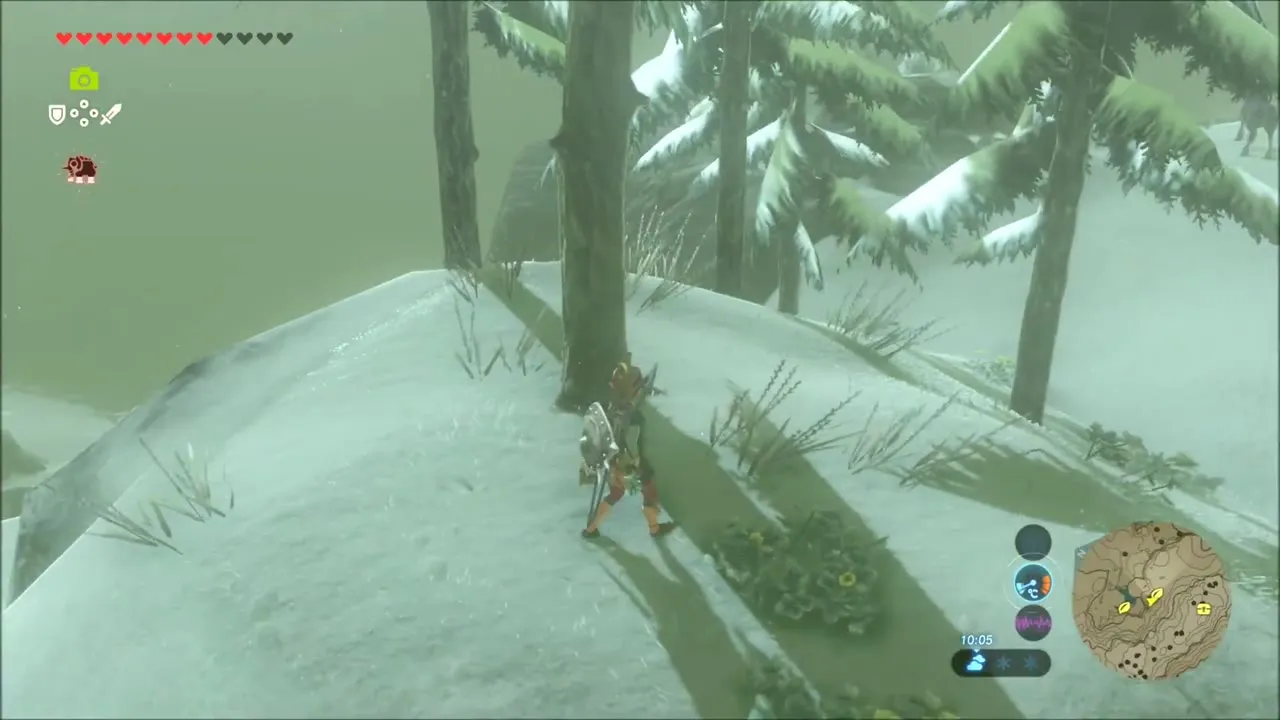

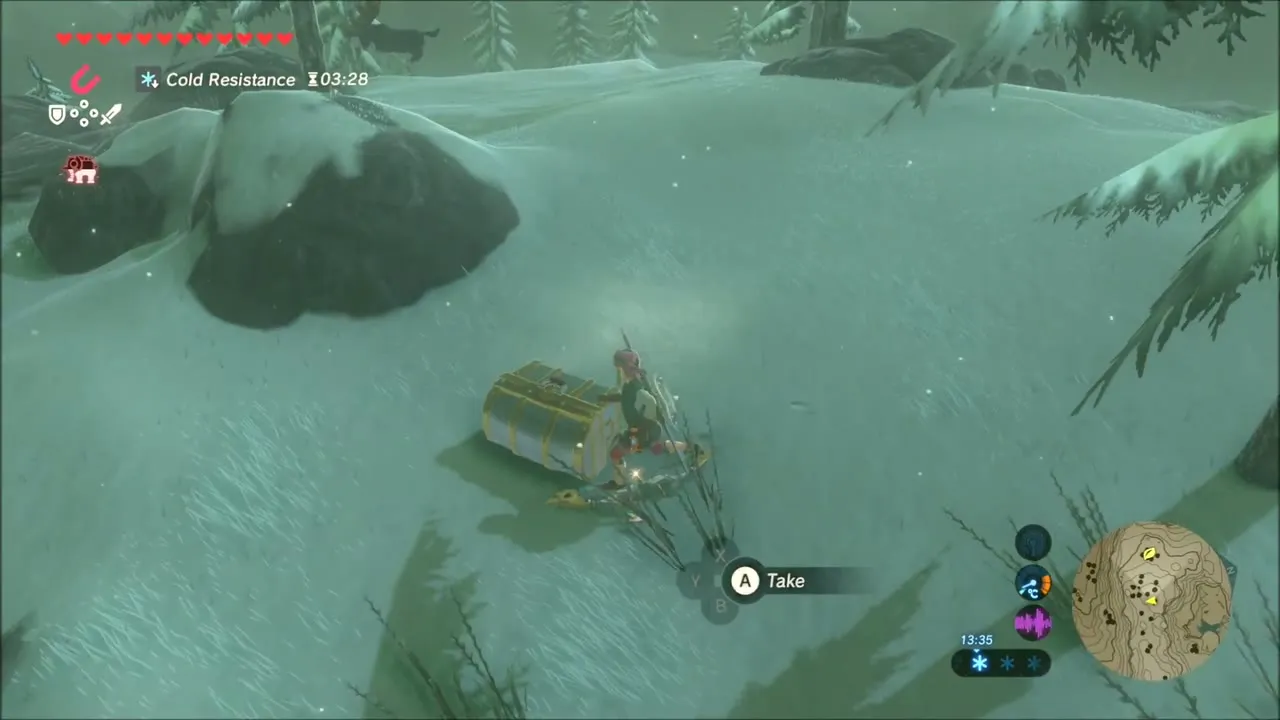
A chest on the next slope holds a Royal Bow. Make room in your bow menu first.

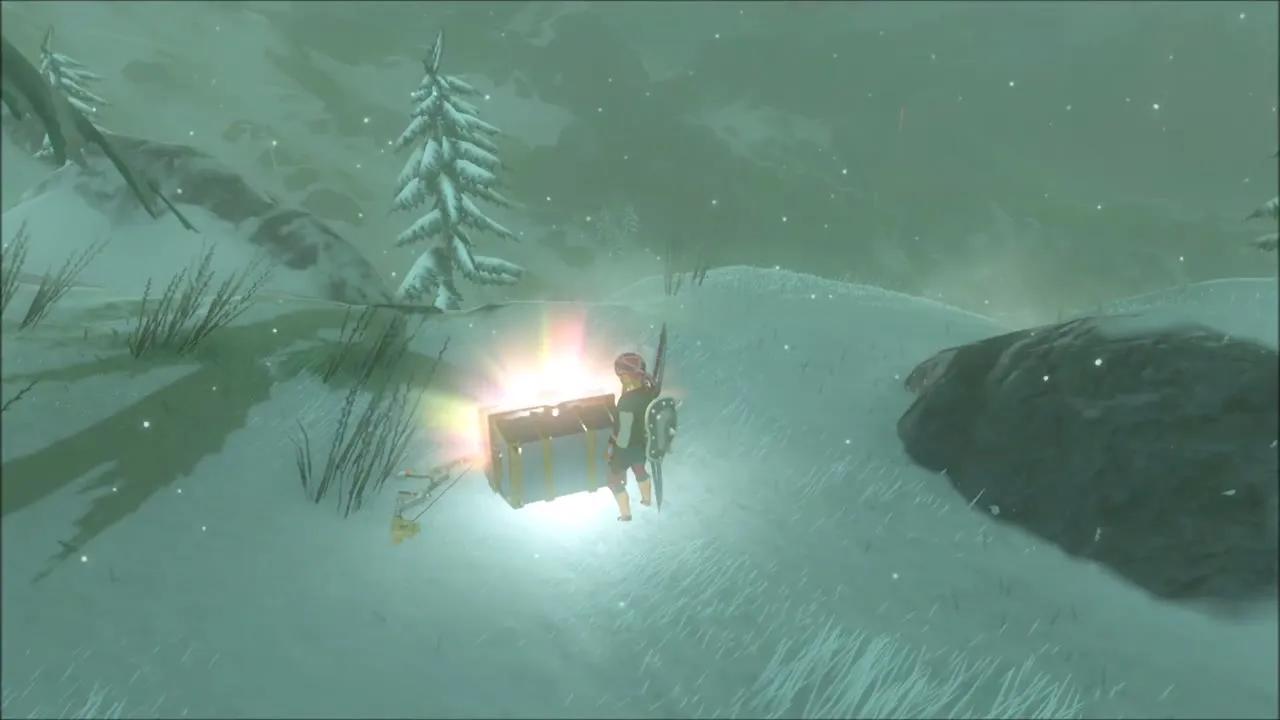
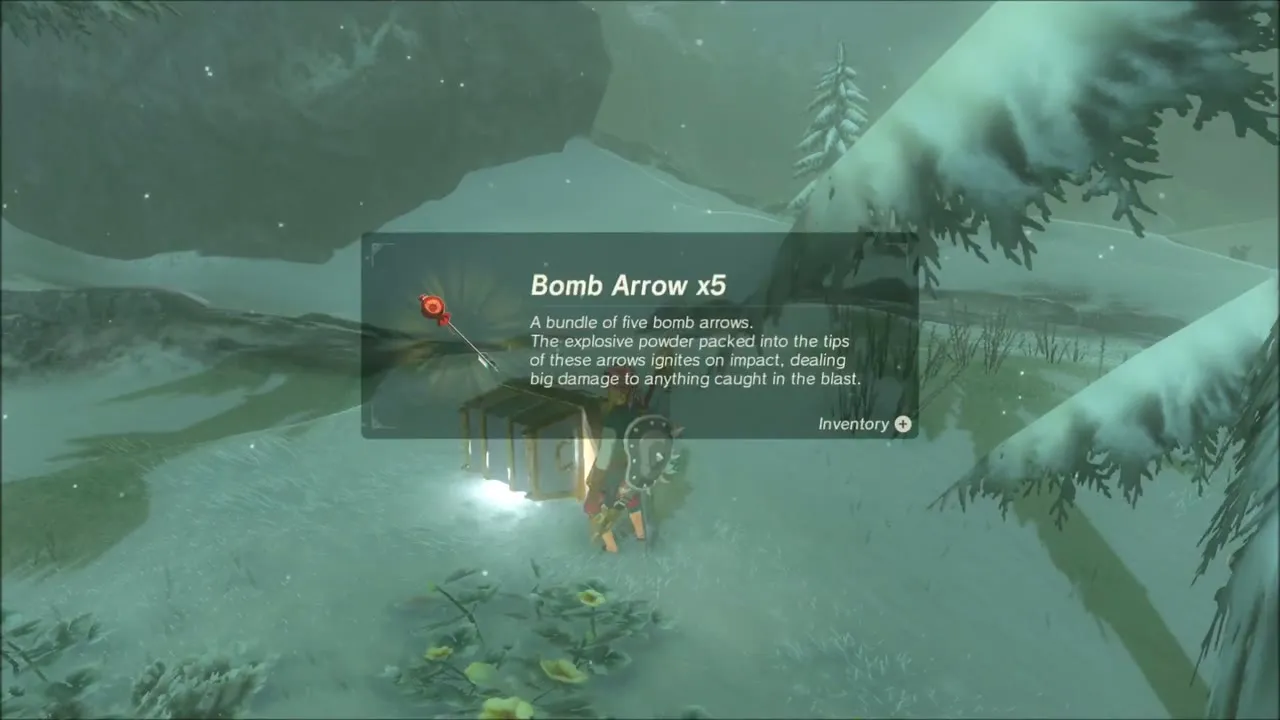
Nearby, a fallen log lies across a rock. Lift the log and set it aside to find the Korok behind it. Another chest on the slope below holds five Bomb Arrows.

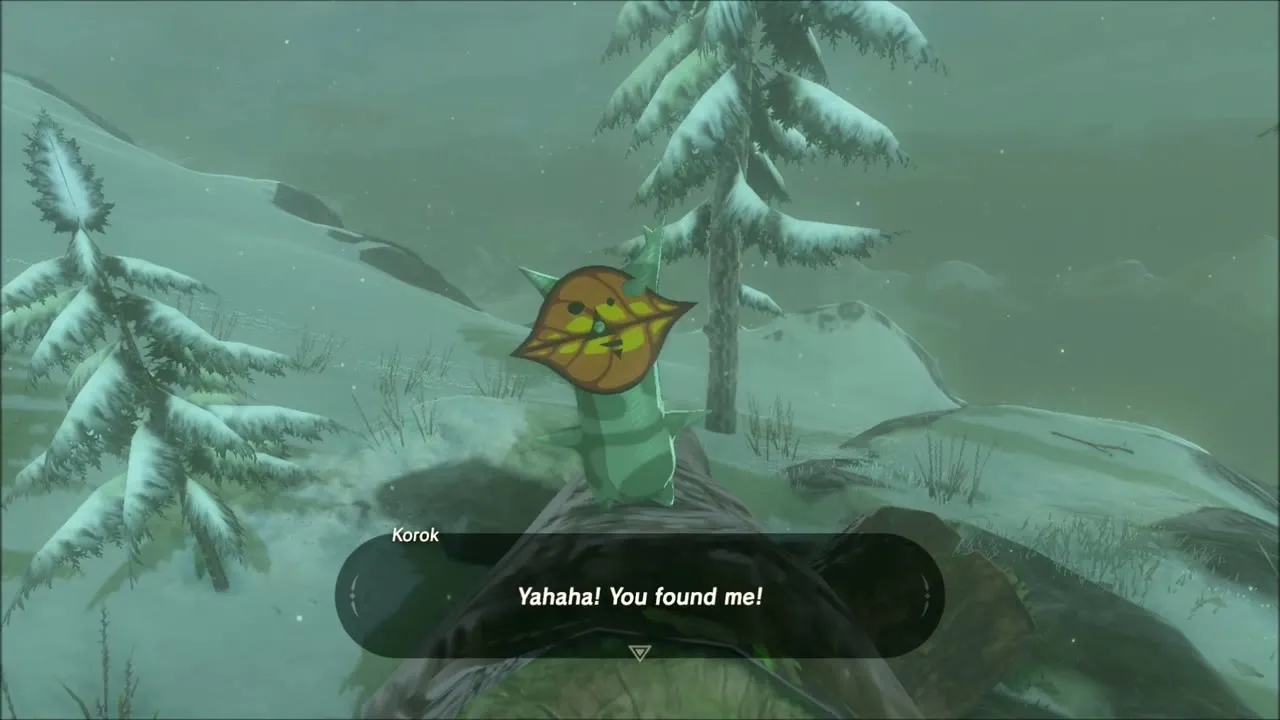
Climb the cliff above and glide to the tallest pine on the crest. Climb to its top and a Korok is waiting there.
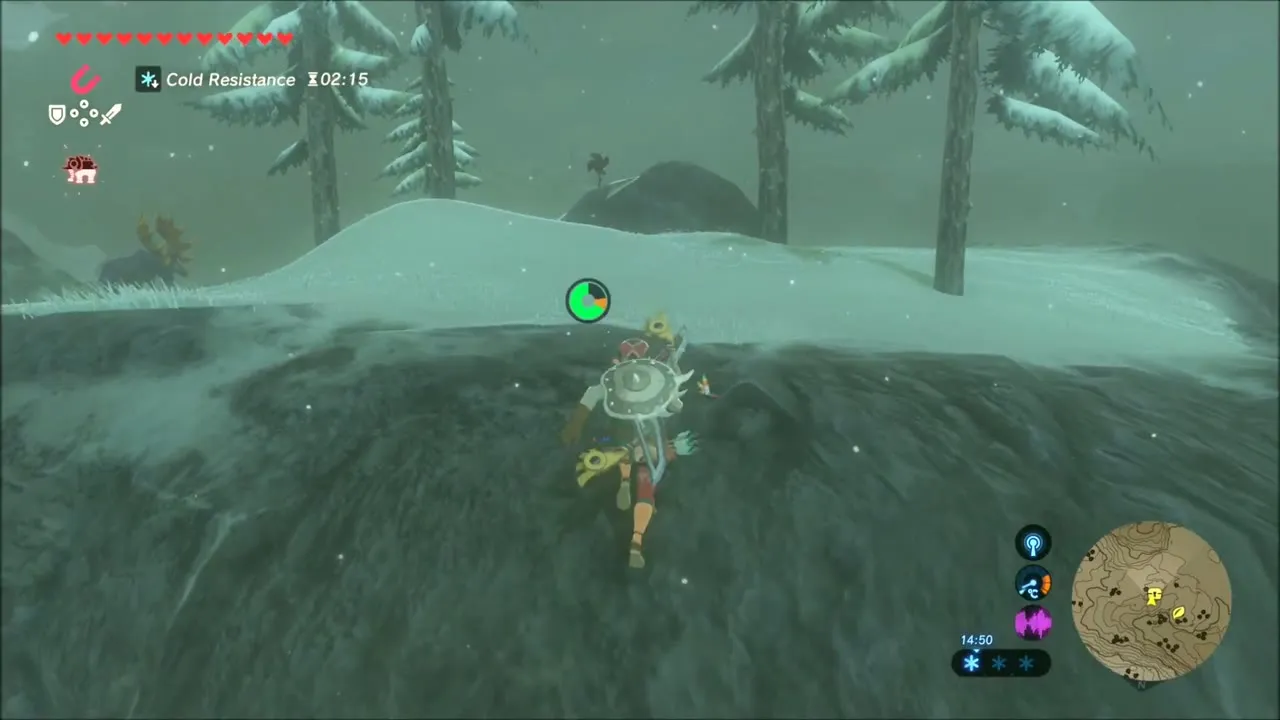


One more Korok stands on top of a lone snowy peak. Climb to the summit and it gives you a seed.
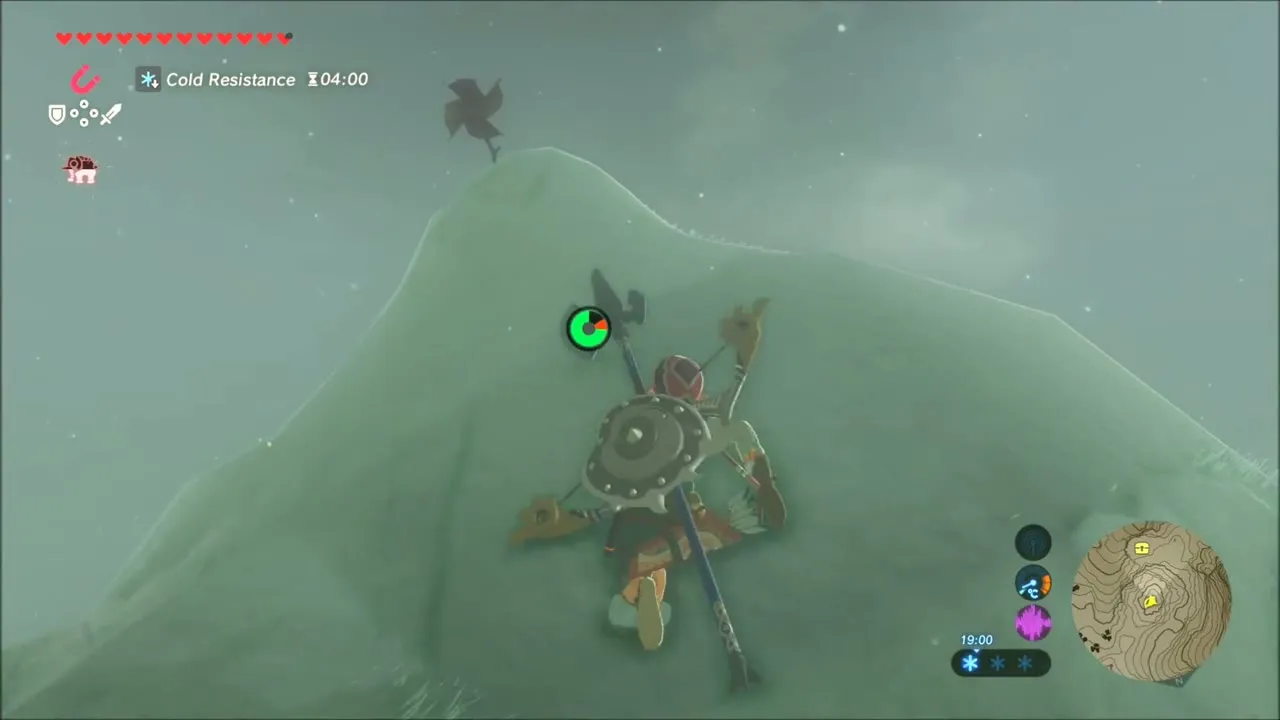

Mozo Shenno Shrine: A Major Test of Strength
Glide down over the dark valley to the cave on the cliff that holds the Mozo Shenno Shrine, beside Biron Snowshelf (map position x -3627, z -3038, height 434).
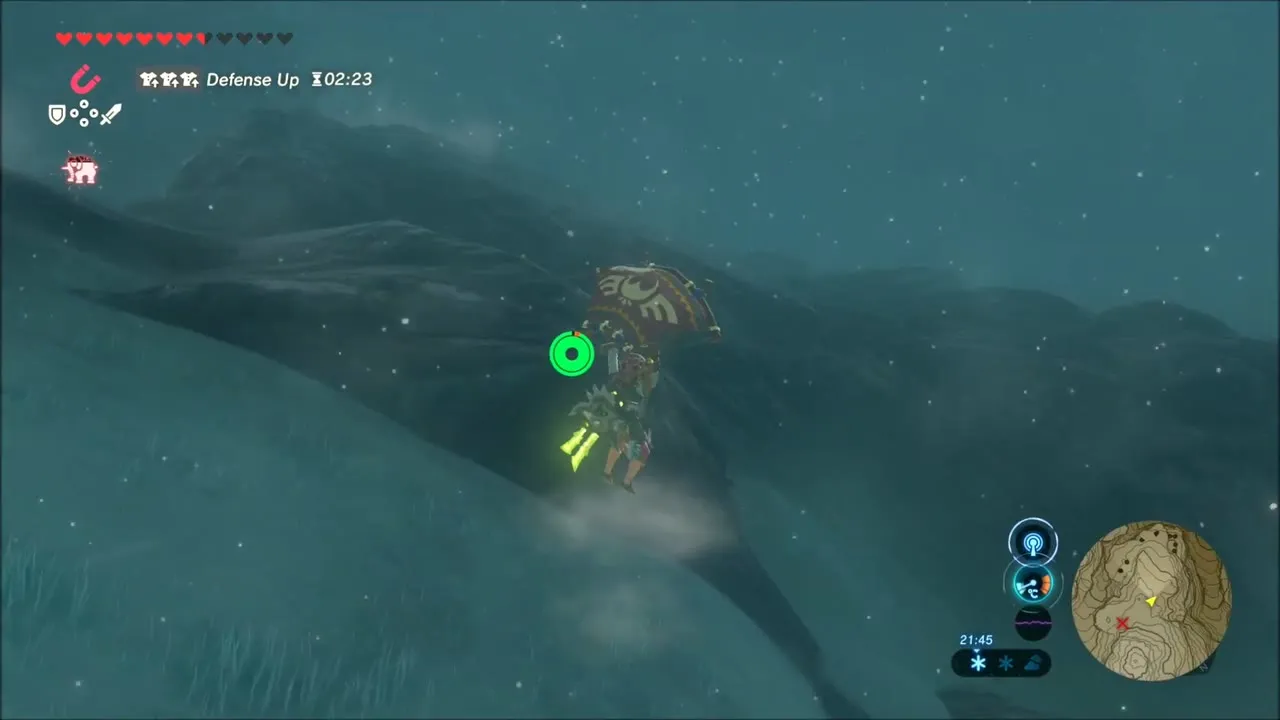


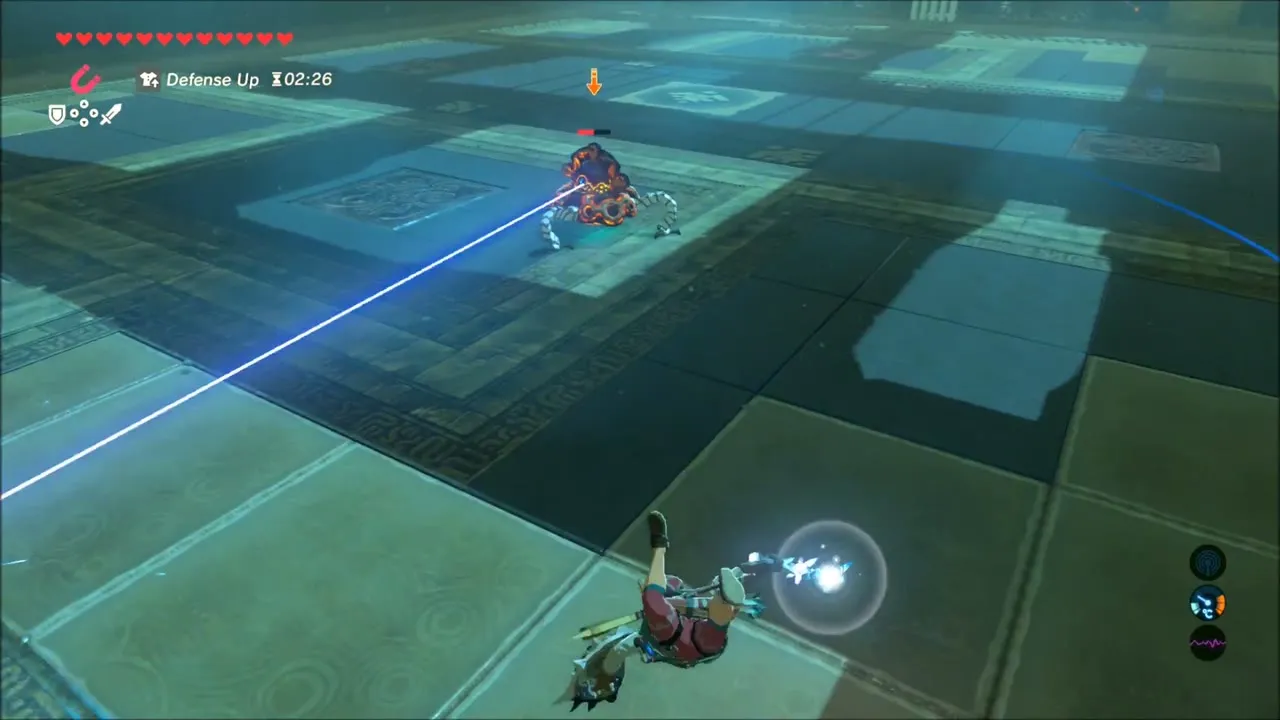
Mozo Shenno is another A Major Test of Strength against a Guardian Scout IV. Raise the metal blocks in the floor with Magnesis during its rushes, or freeze it with Stasis, then glide over its spinning laser and finish it.
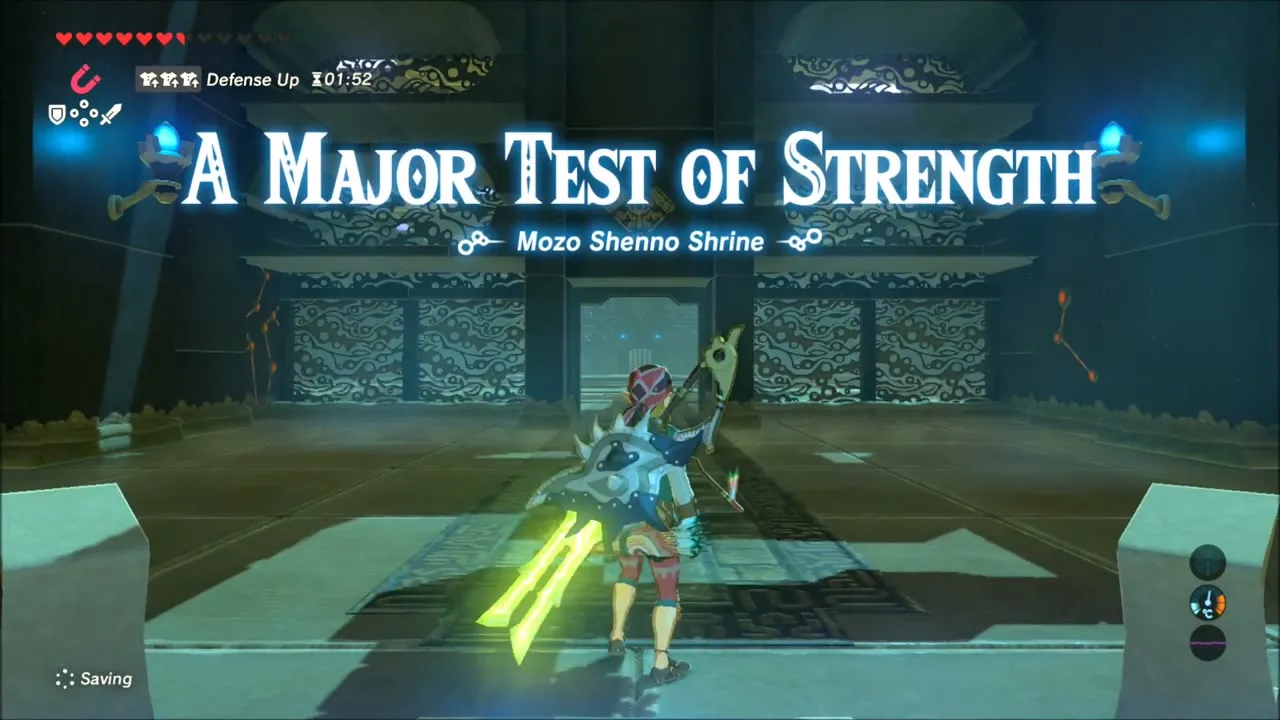

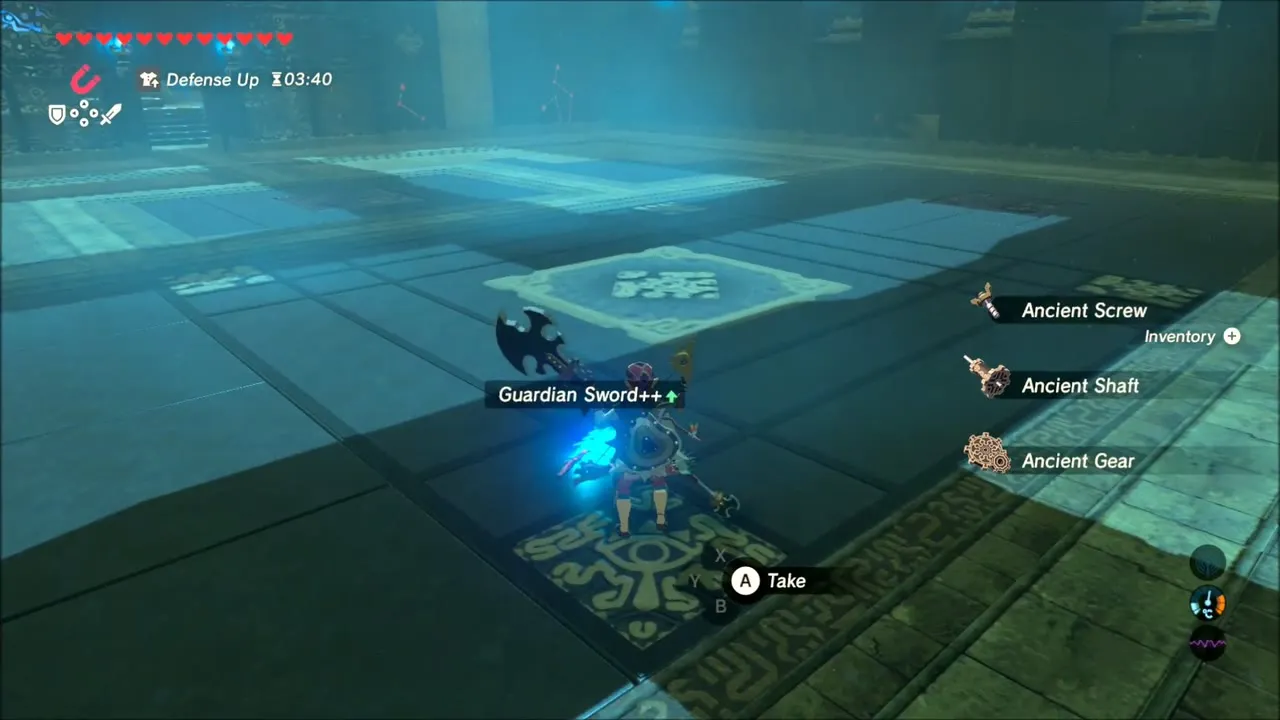
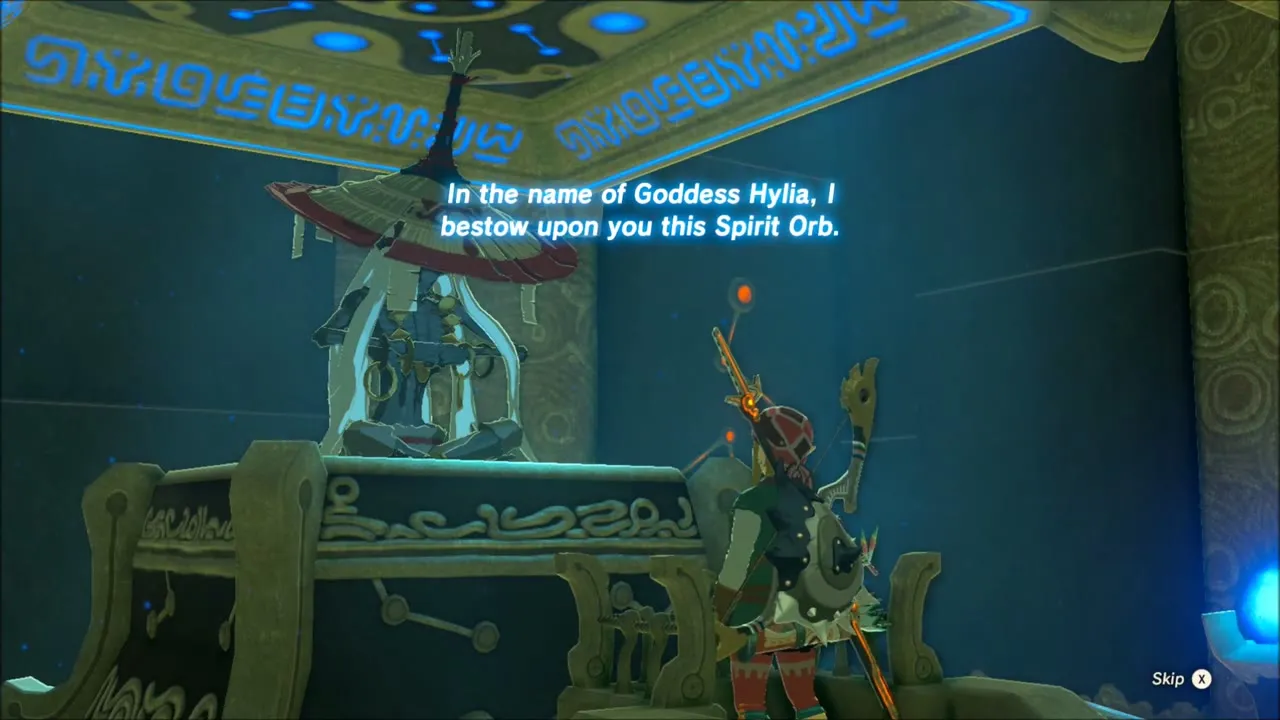
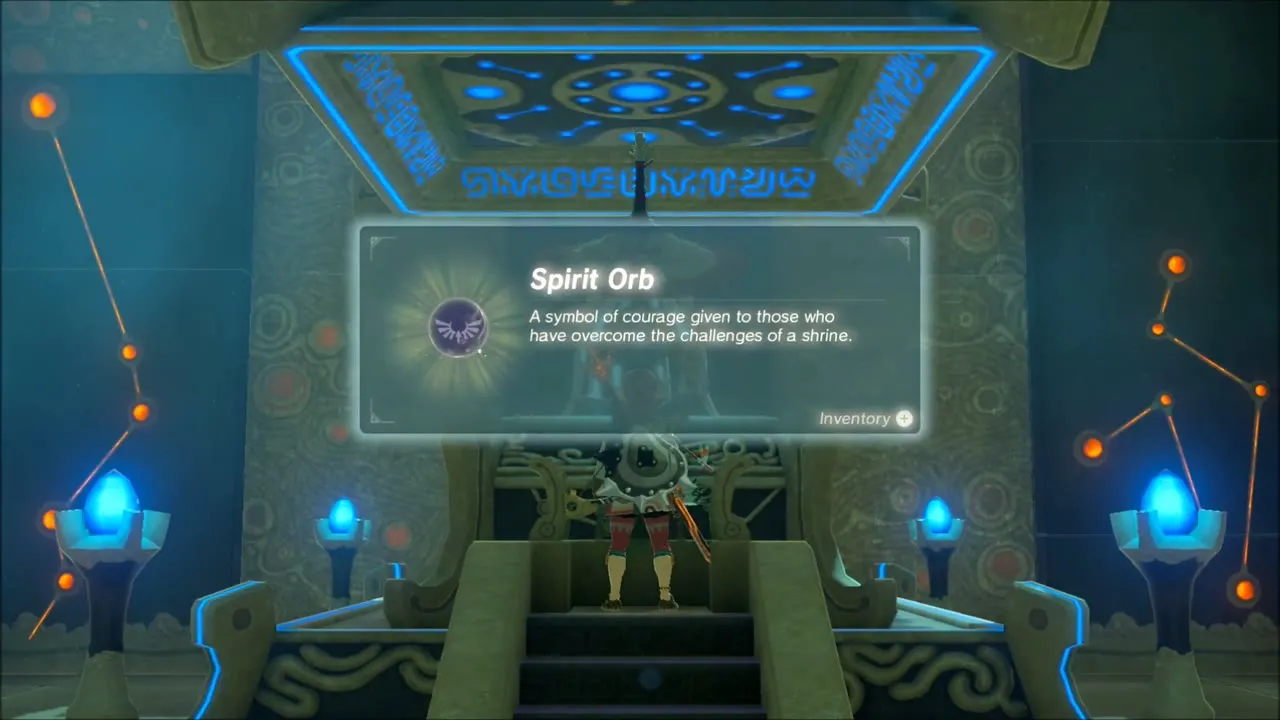
Open the chest in front of the monk for a Diamond, then take the Spirit Orb.


Leaving Mozo Shenno for the Far North-West
Leave the shrine, place stamps on the map for the next shrines in the north-west corner of Hebra, and cross the snowfield, defeating the skeleton monsters that attack you in the open.
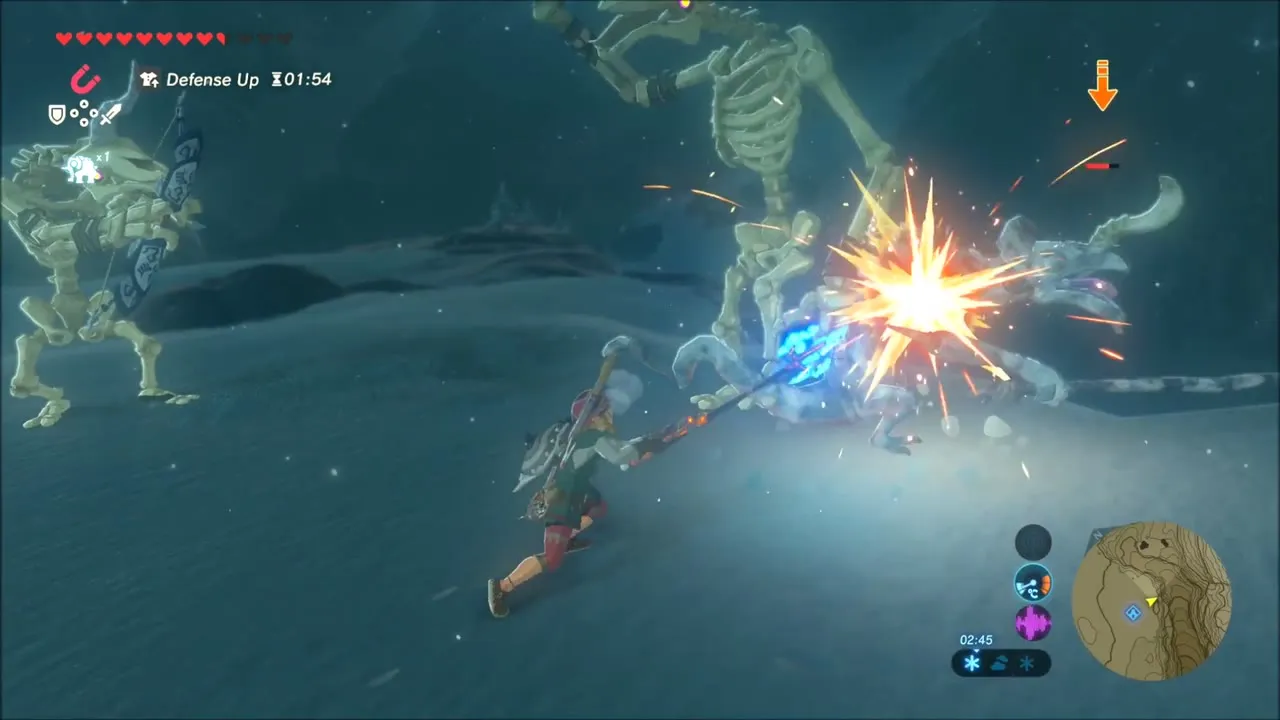
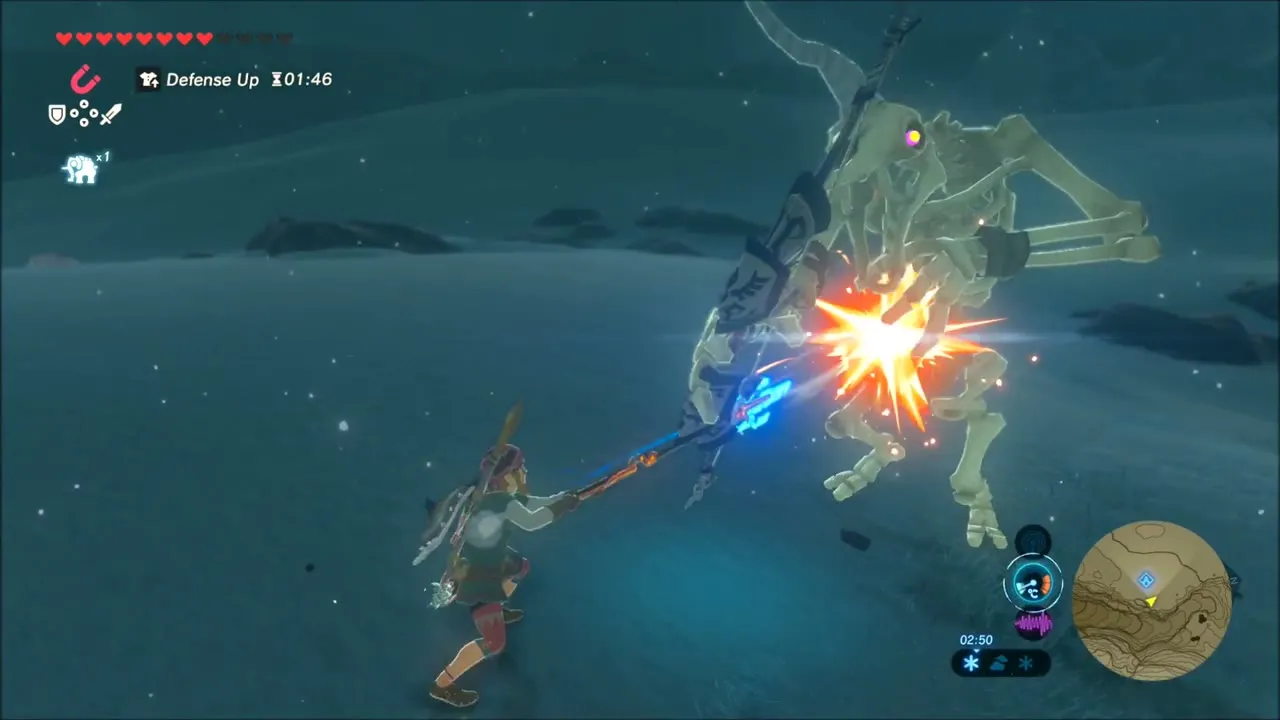
Keep heading north-west and fight the Moblins along the way. Mine the ore on the slopes for Amber, Rock Salt, Topaz, Ruby and Flint. The Master Sword runs low on energy after sustained fighting, so give it time to recharge.
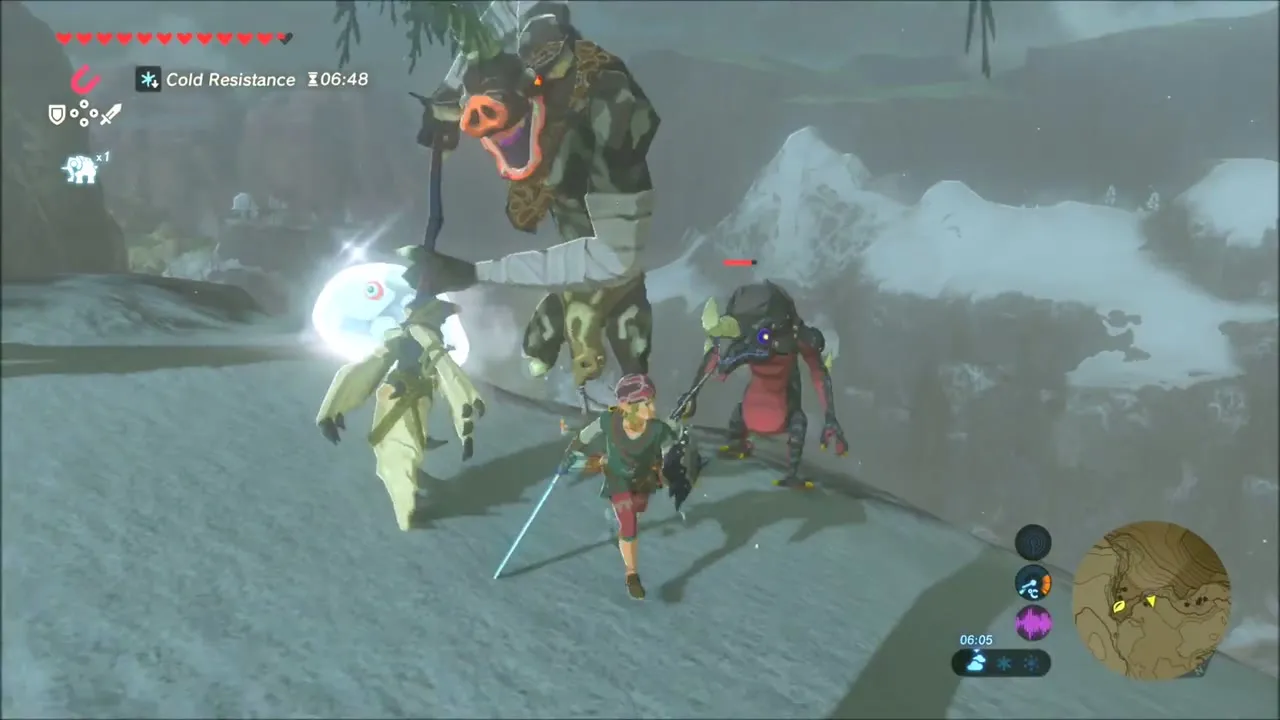
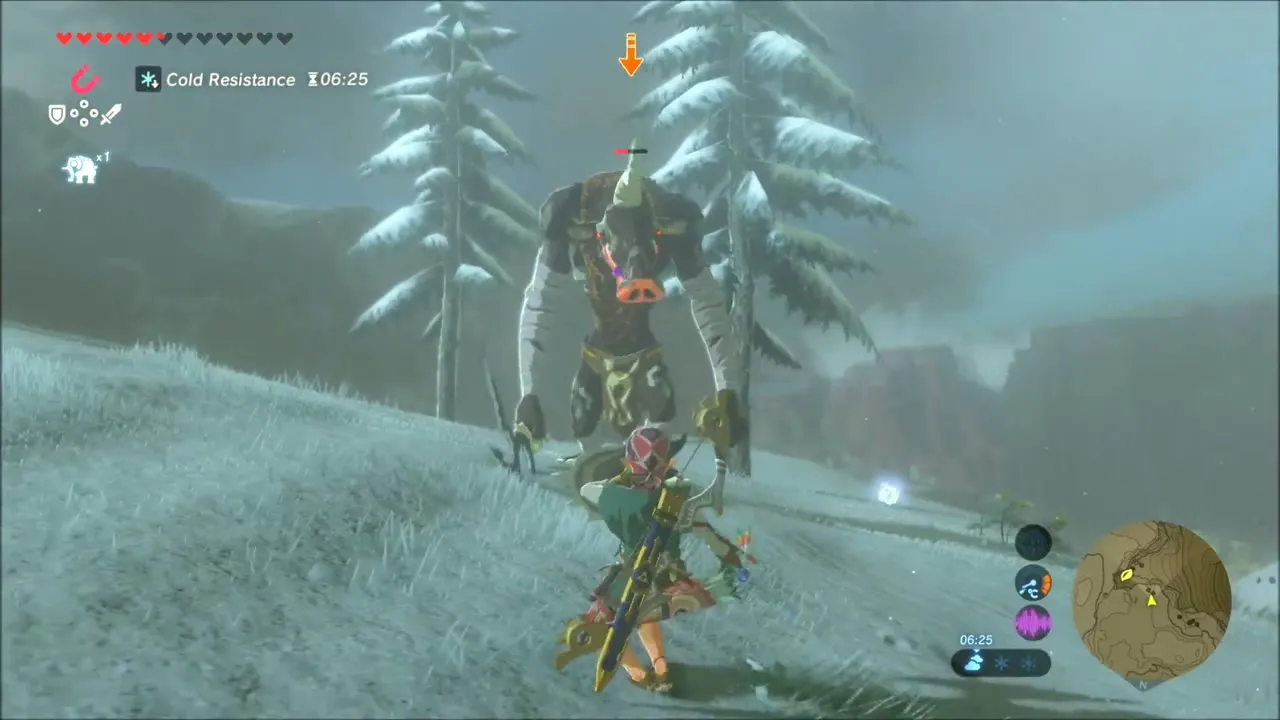


Further along the slope, a Korok is hiding among the pines. Find it for another seed.
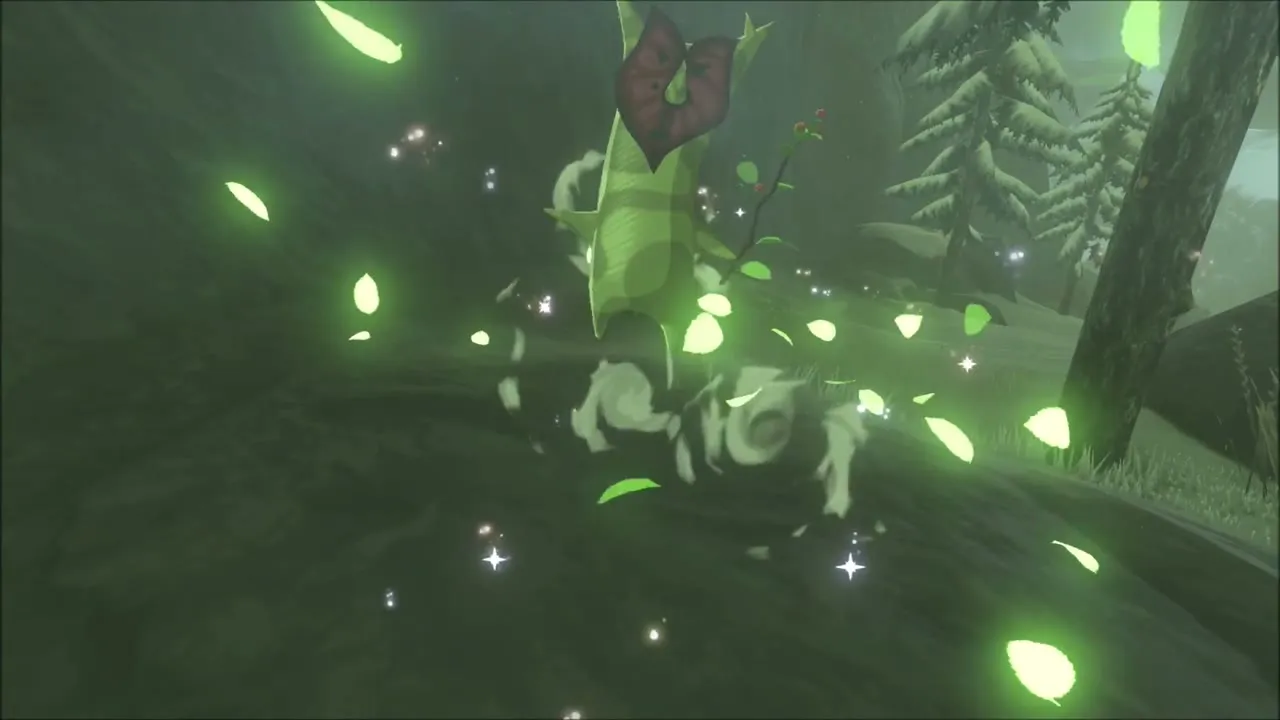

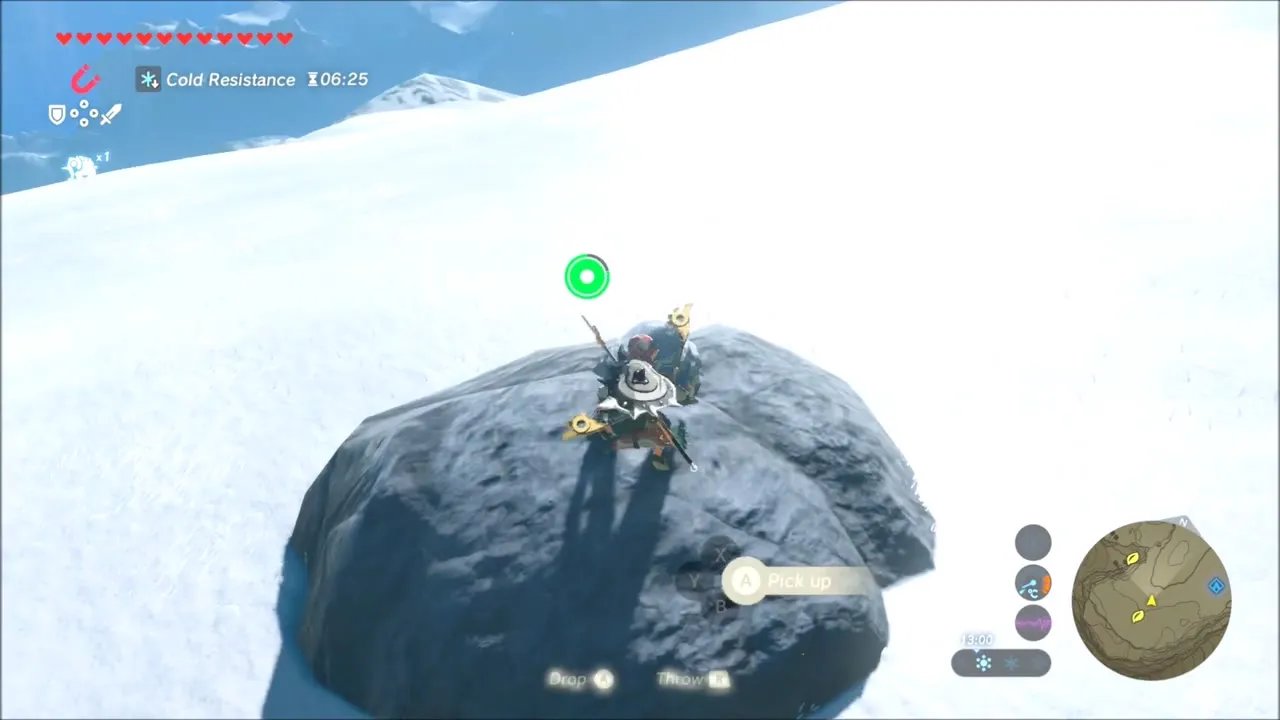
A lone boulder sits on the open snowfield. Climb to the top of it and a Korok is standing there.
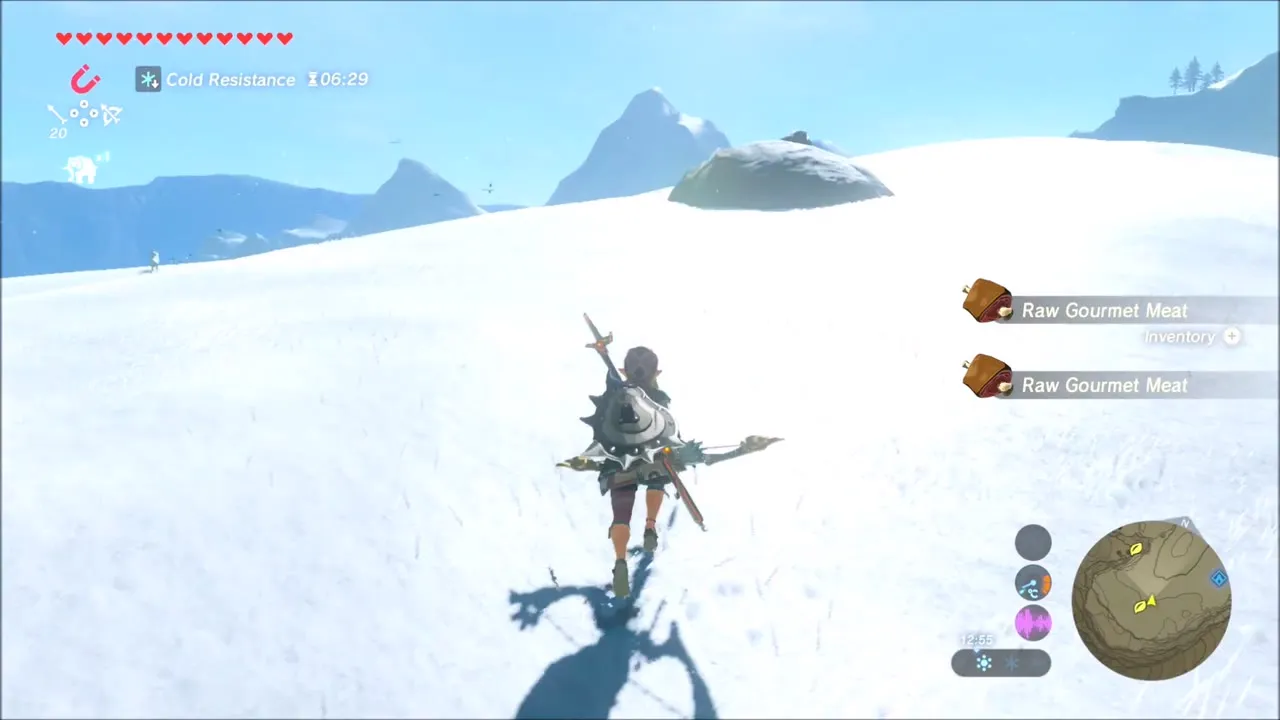

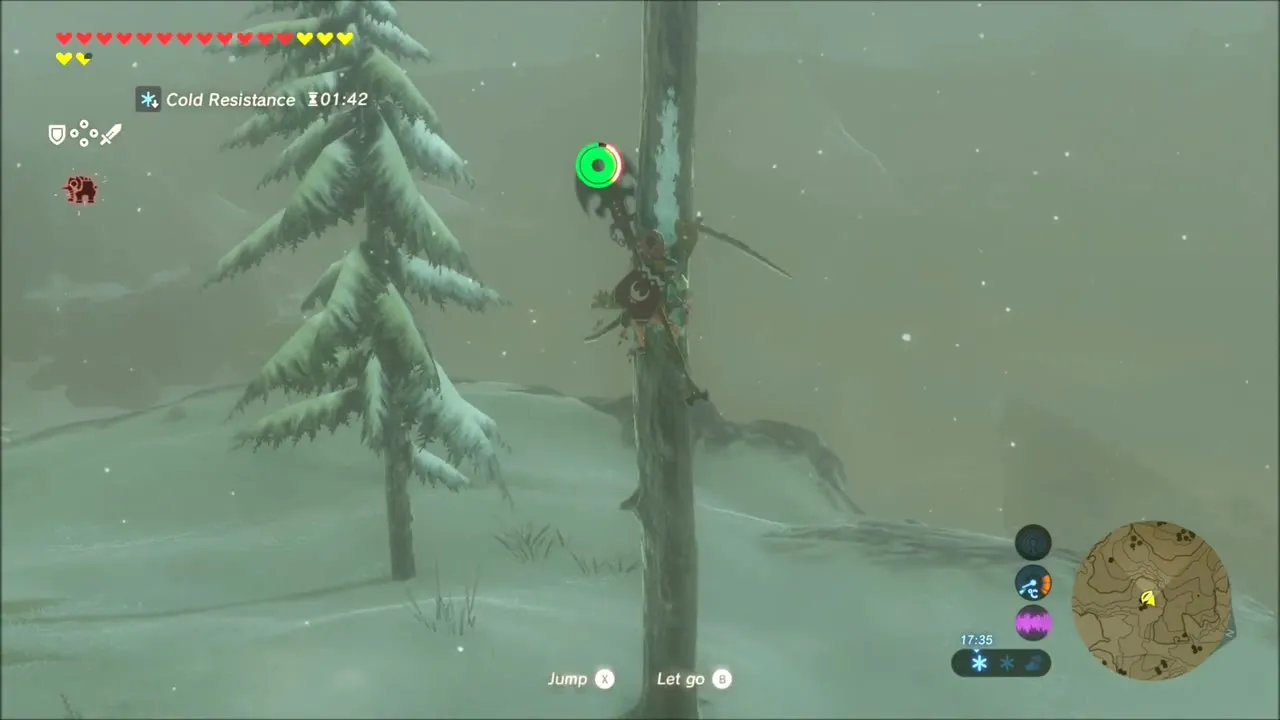
Climb a tall bare pole on the next ridge and talk to the Korok perched on top for another seed.

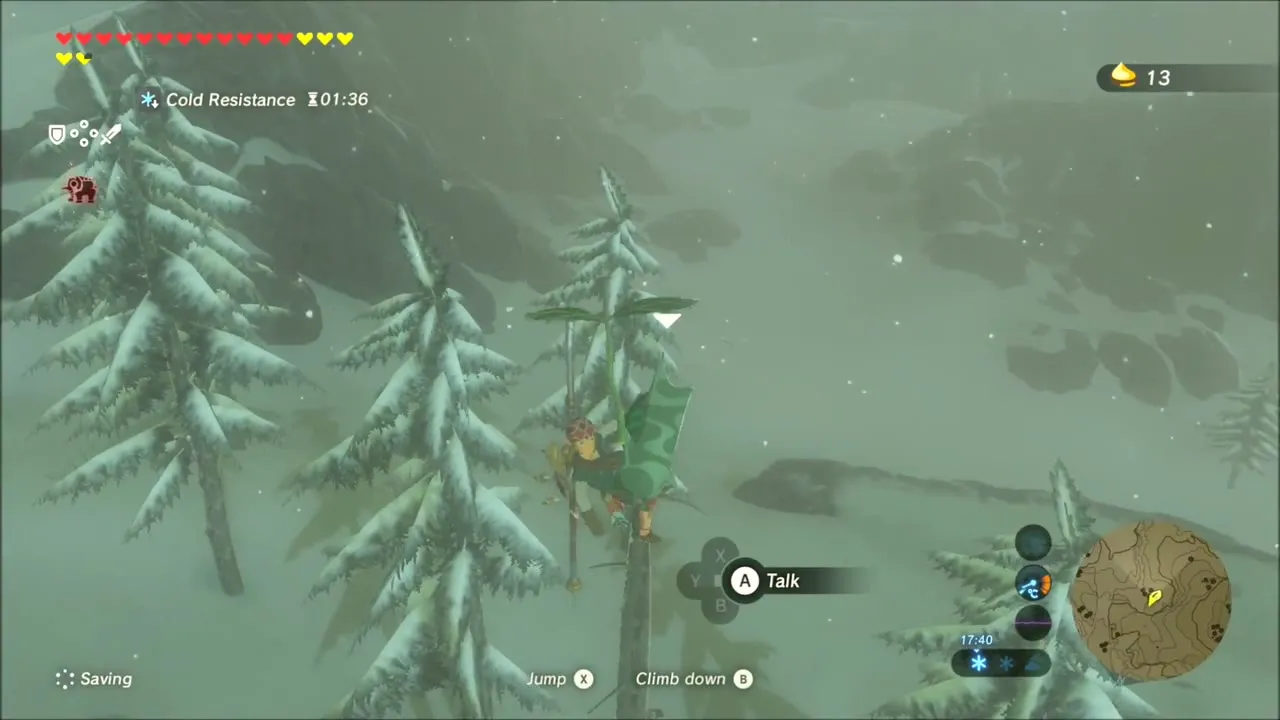
To Quomo Shrine: Ice Pillar and Snowball
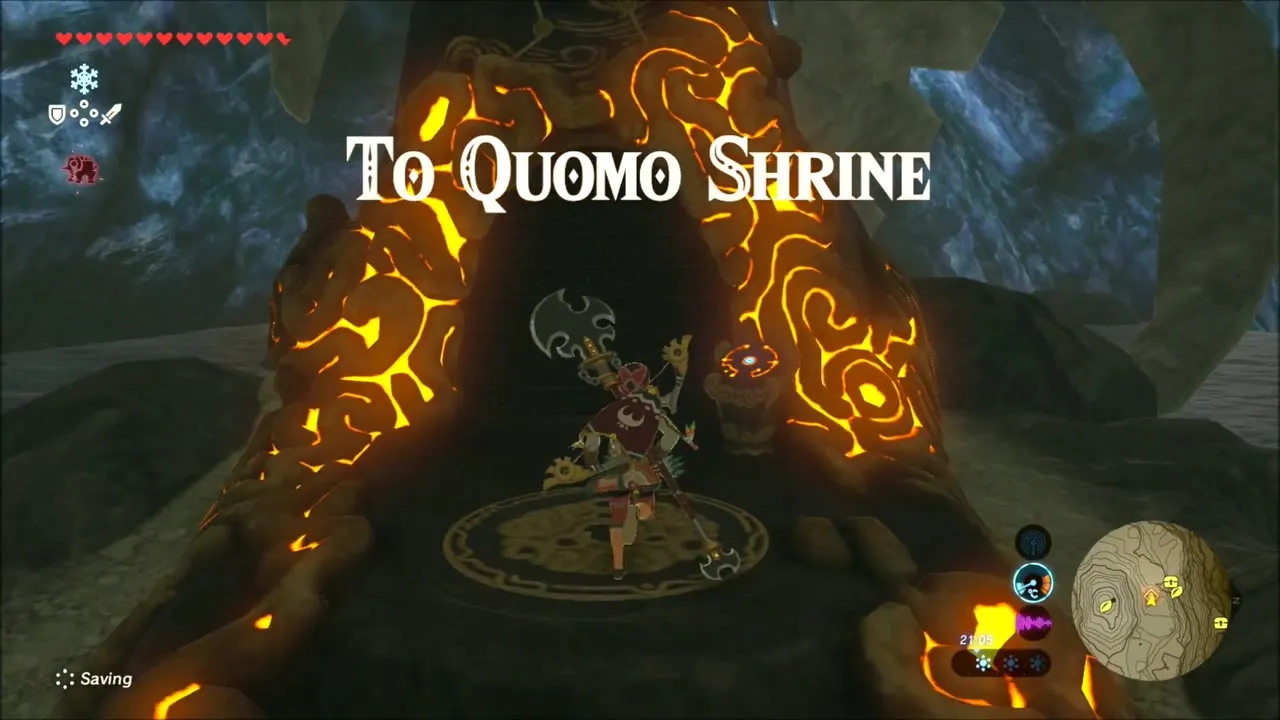
The To Quomo Shrine (map position x -4022, z -3712, height 301, below Hebra North Summit) is shut behind a pair of double doors at the bottom of a slope, beside a small square pond. Place a stamp on the map, glide down, stand at the pond and cast Cryonis to raise an ice pillar in front of the doors.
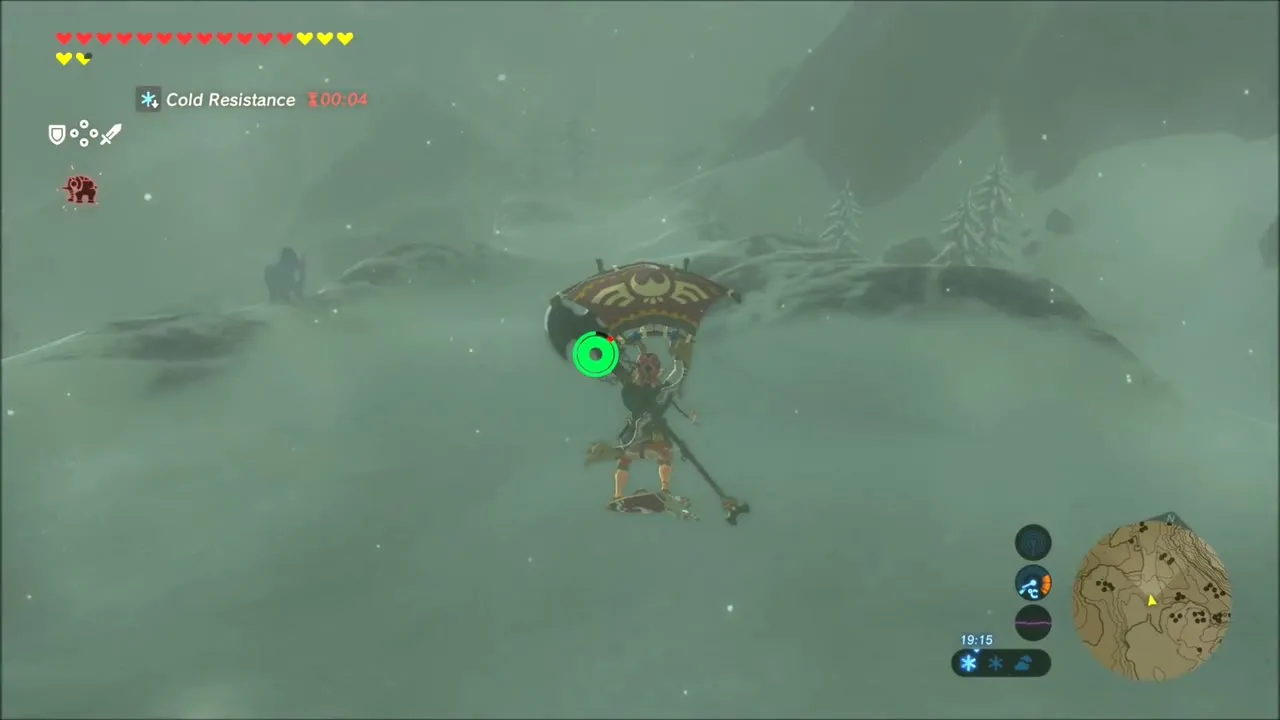

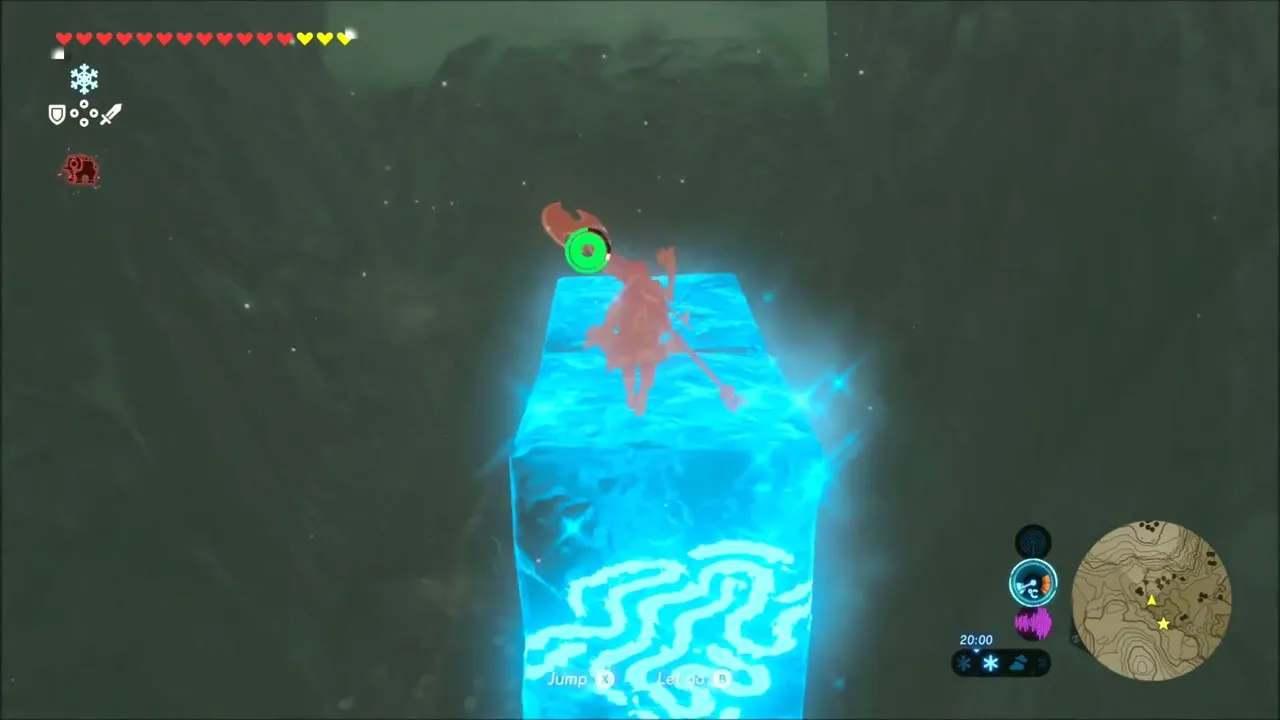
Climb the hill behind the pond to a large snowball and push it down the slope. It rolls over the ice pillar and smashes the double doors open.

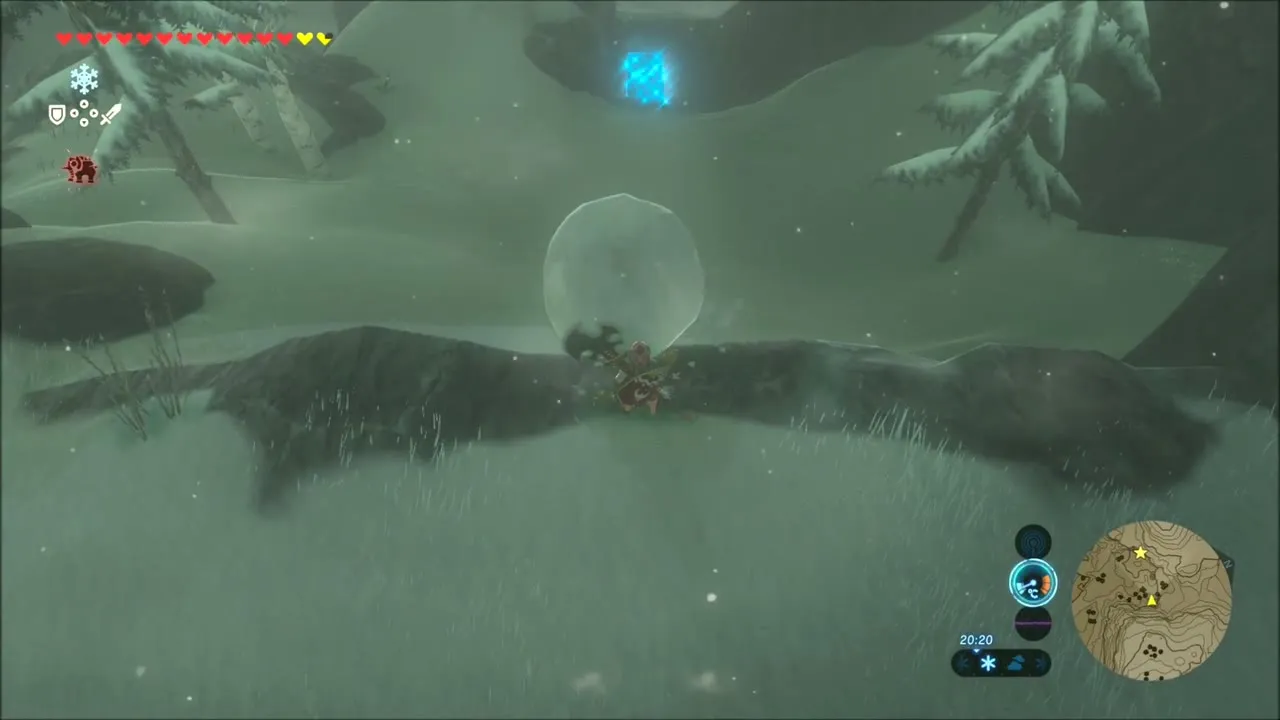

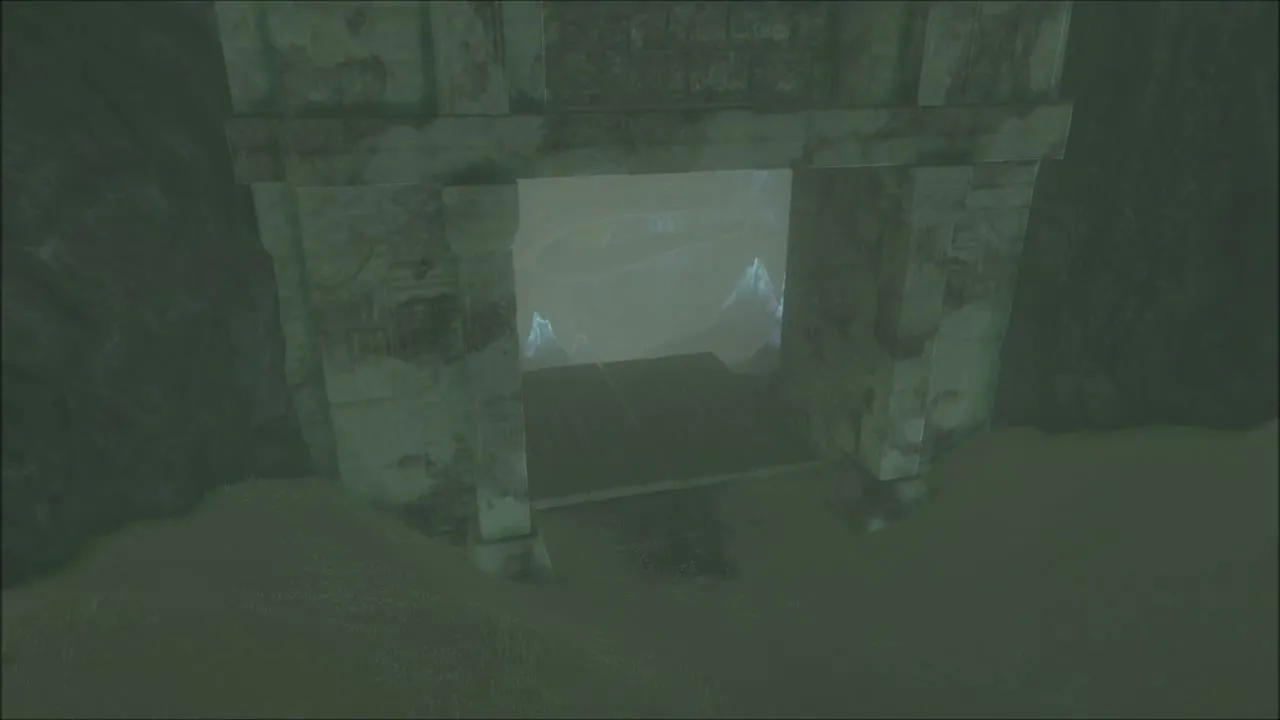
To Quomo is a blessing shrine with no trial. Walk in, open the chest for a Royal Claymore (tier set by difficulty scaling) and speak to Monk To Quomo for a Spirit Orb.


Heart Container, Dye Shop and Shopping in Hateno and Kakariko
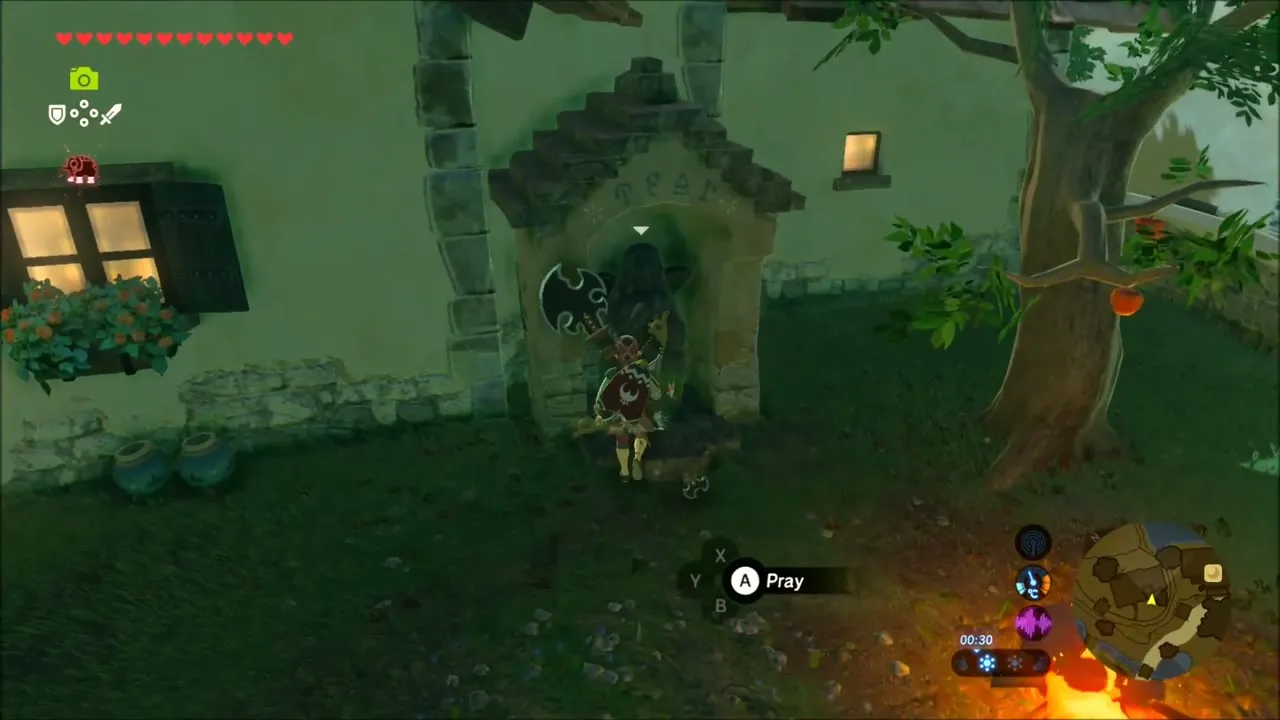
Fast travel to Hateno Village at dusk and walk up to the Goddess Statue. Pray at the statue and trade your Spirit Orbs for a Heart Container.
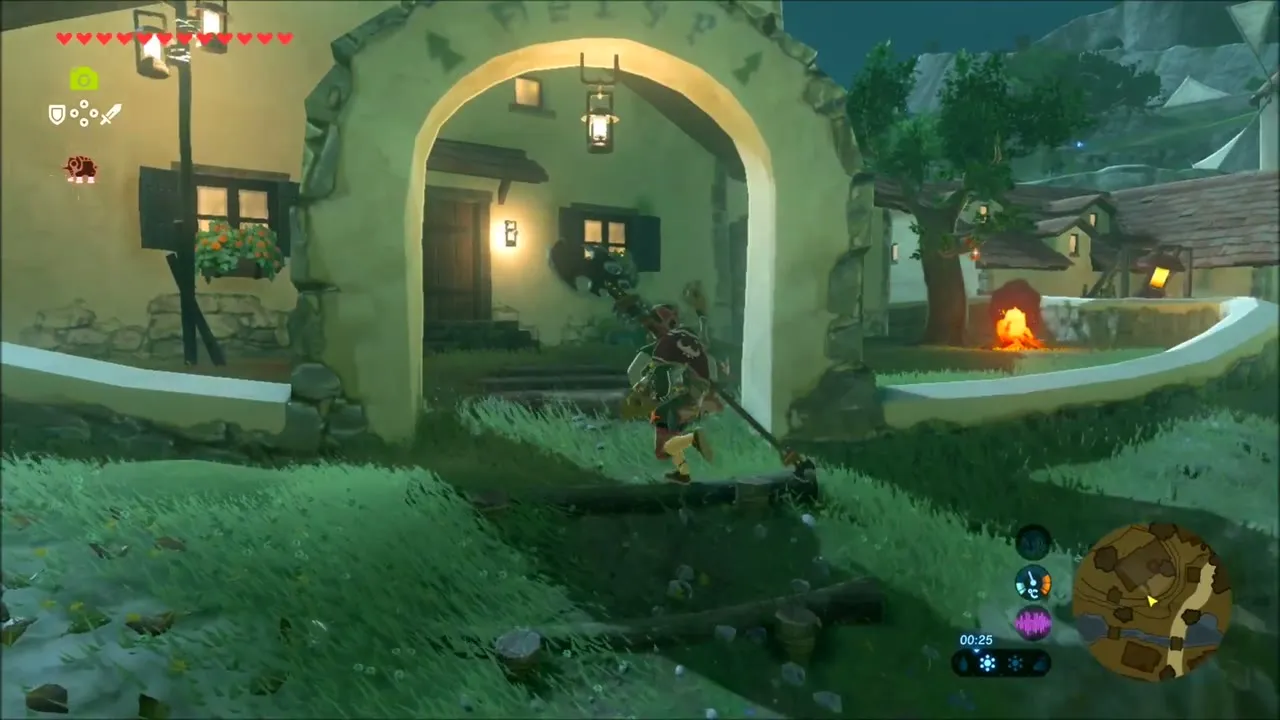
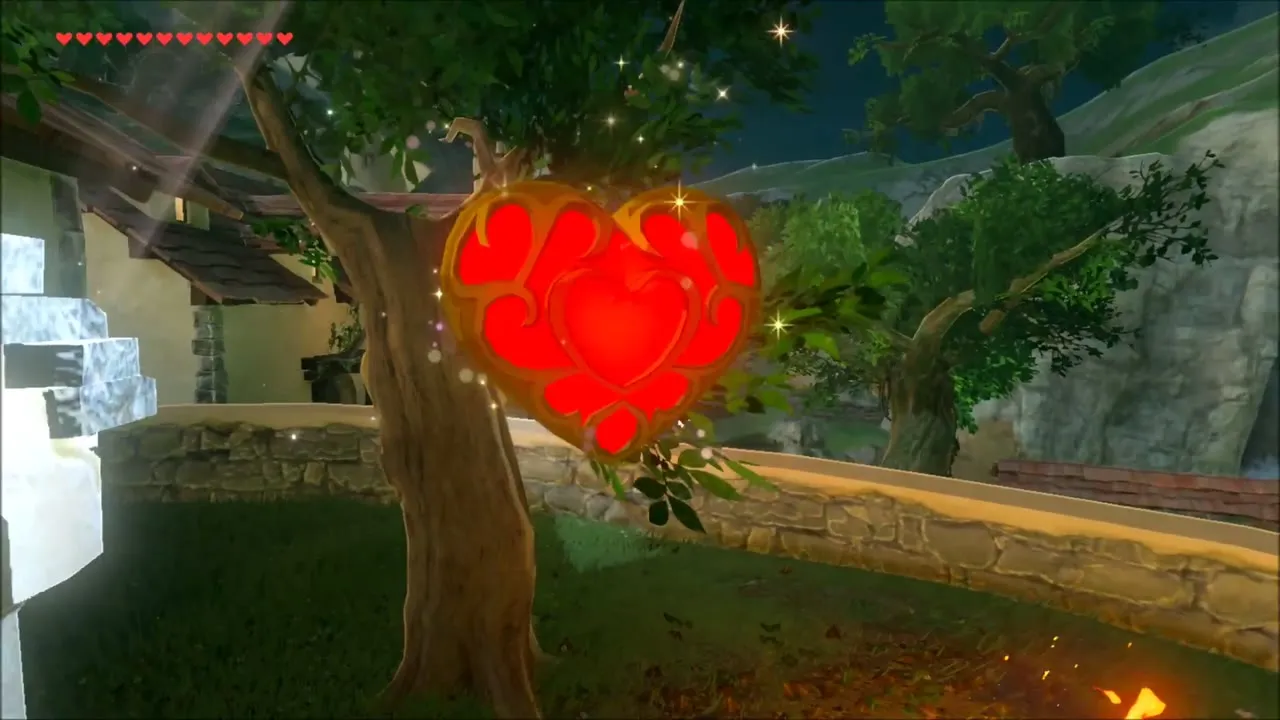
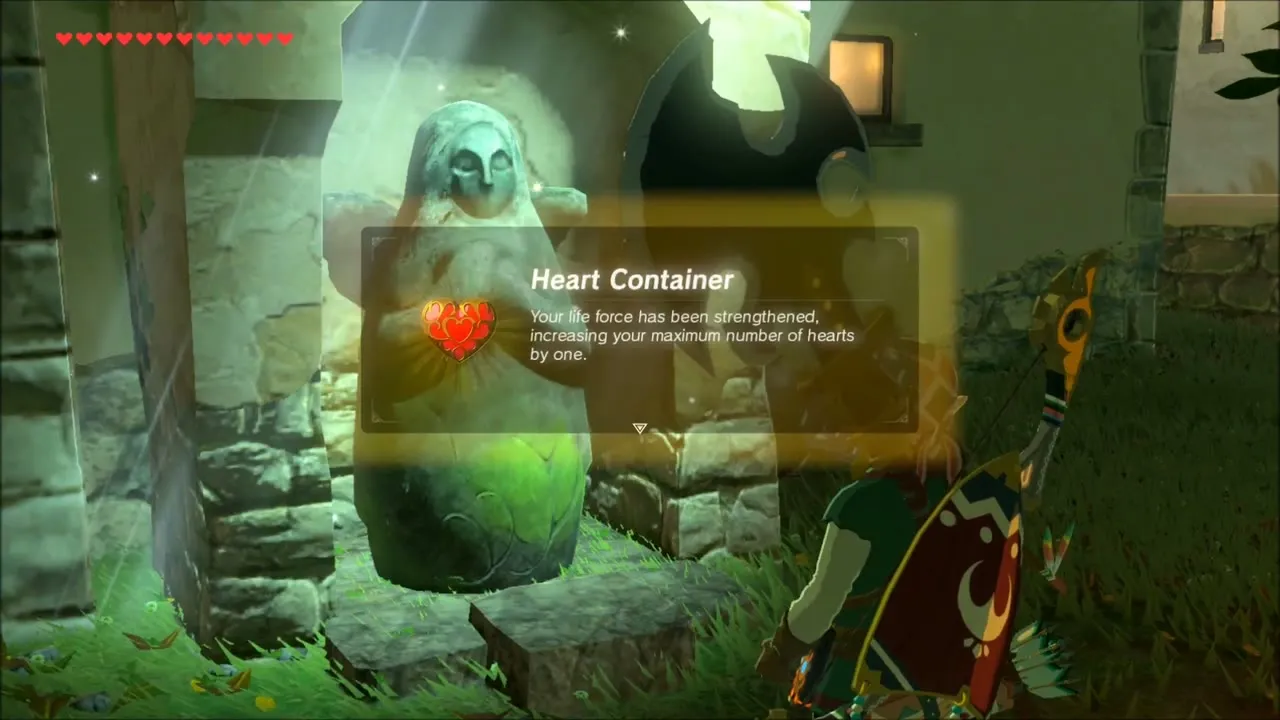
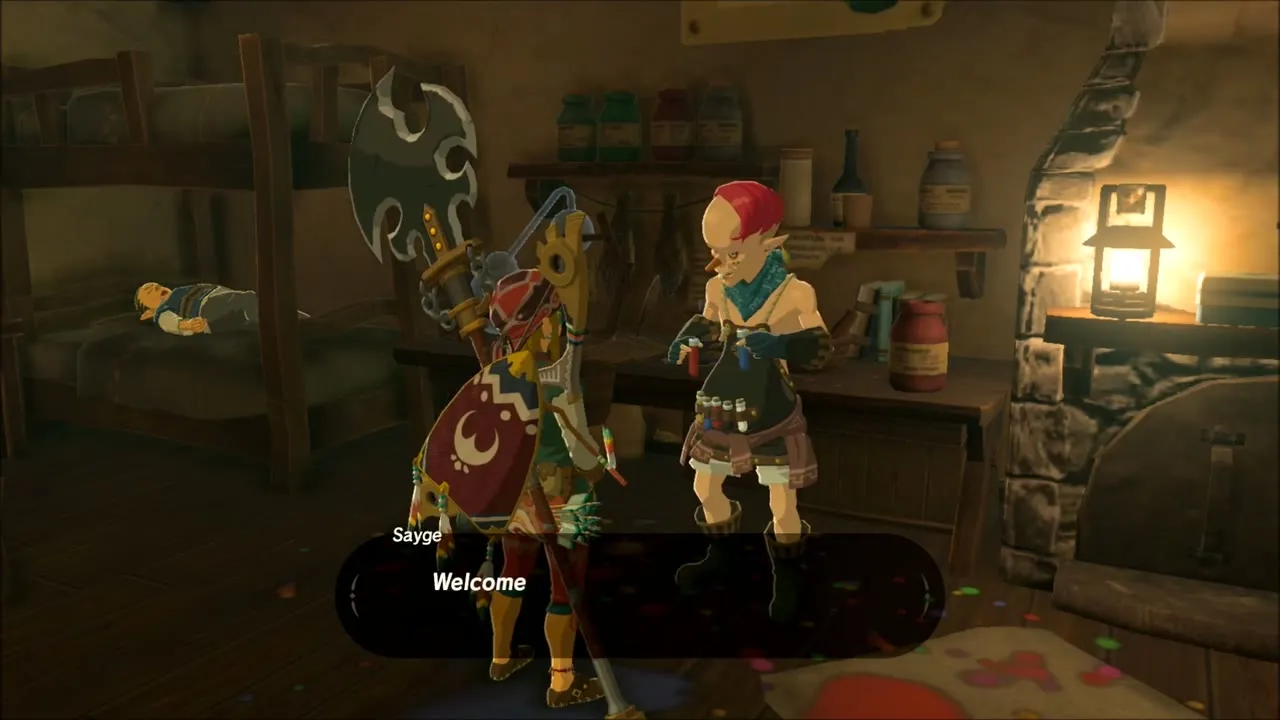
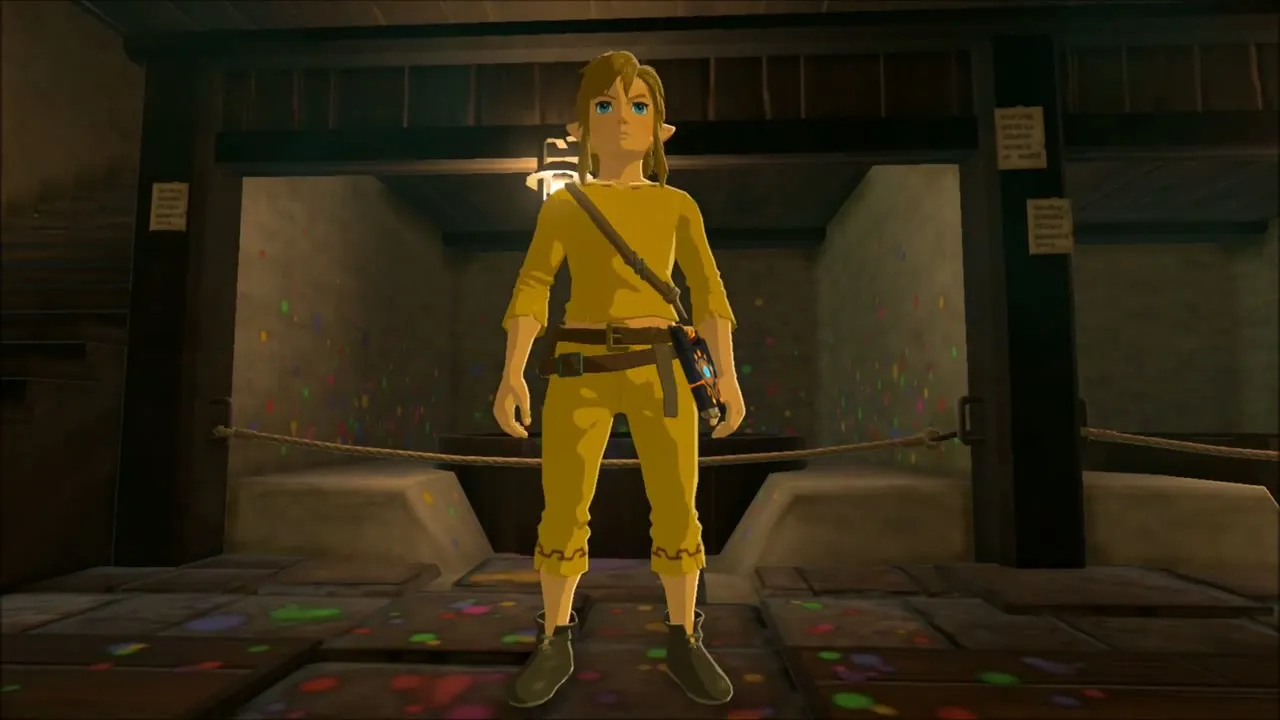
Stop at the Kochi Dye Shop, where Sayge will dye your clothes. Pick the piece of clothing, choose five ingredients for the dye (Mighty Bananas here) and you walk out in a new colour.
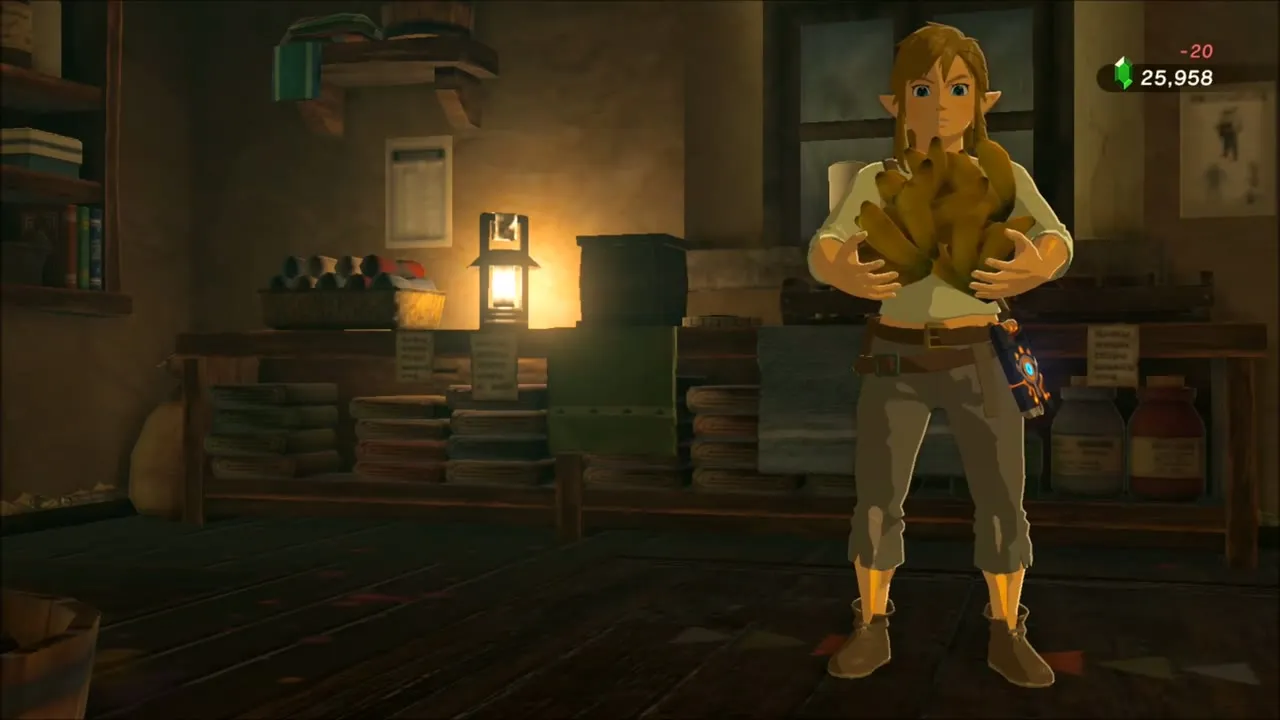
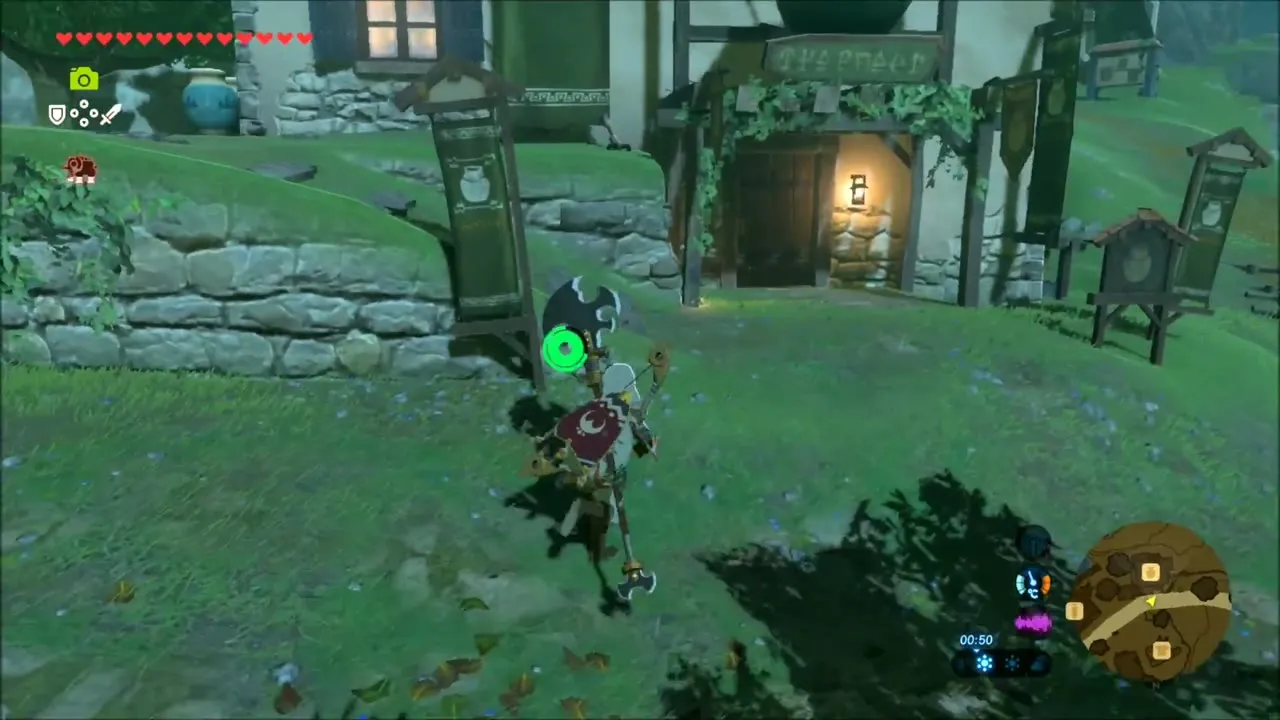
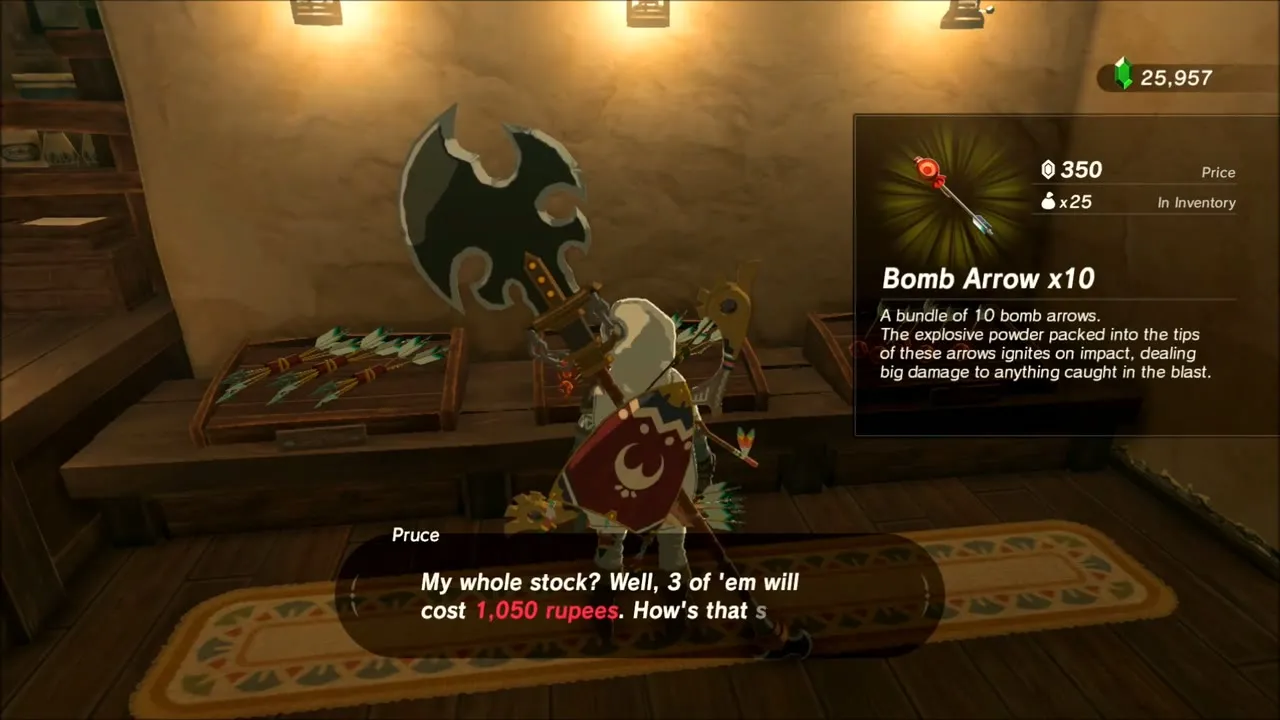
Pruce’s general store buys the gems you have collected, so sell the Ruby and other gems here. His Bomb Arrows come in bundles of ten at 350 rupees apiece.

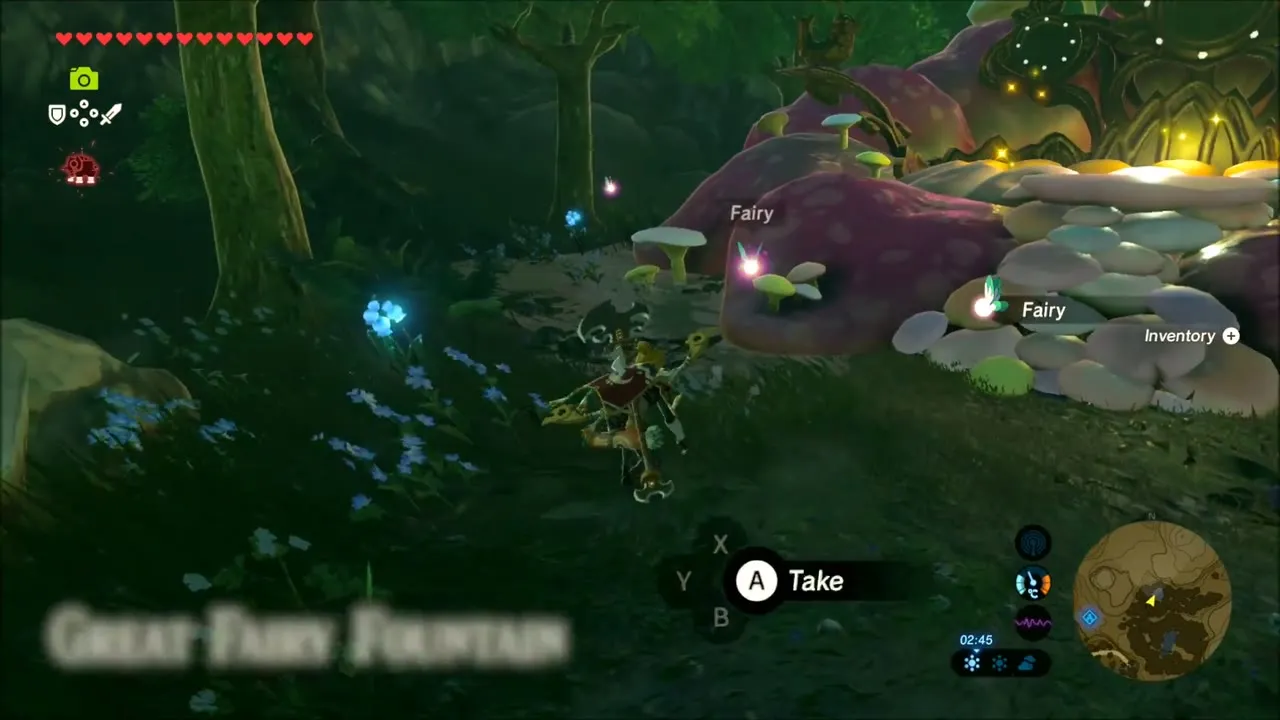
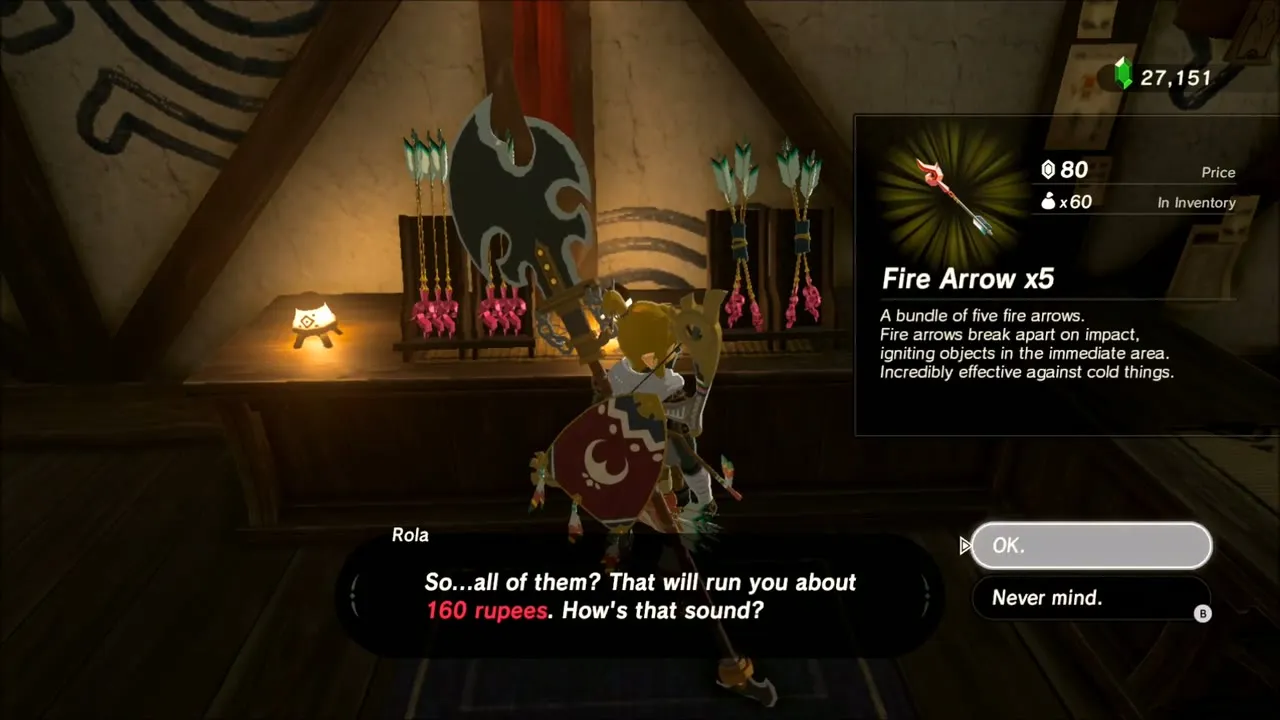
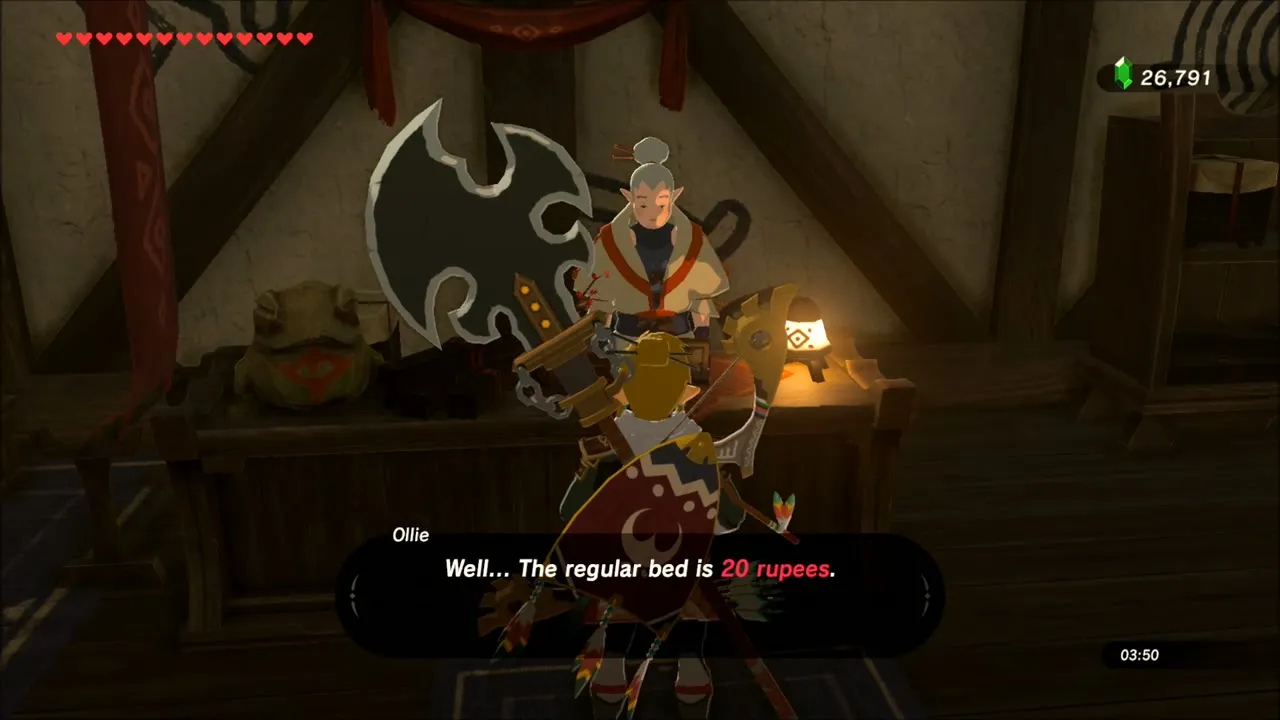
Hop to Kakariko Village. Near the village you catch a Fairy, and at Rola’s arrow shop you can buy Fire Arrows. Ollie’s inn offers beds at 20 and 40 rupees, but you leave without sleeping.
Hebra Great Skeleton: Leviathan Bones and a Korok Seed
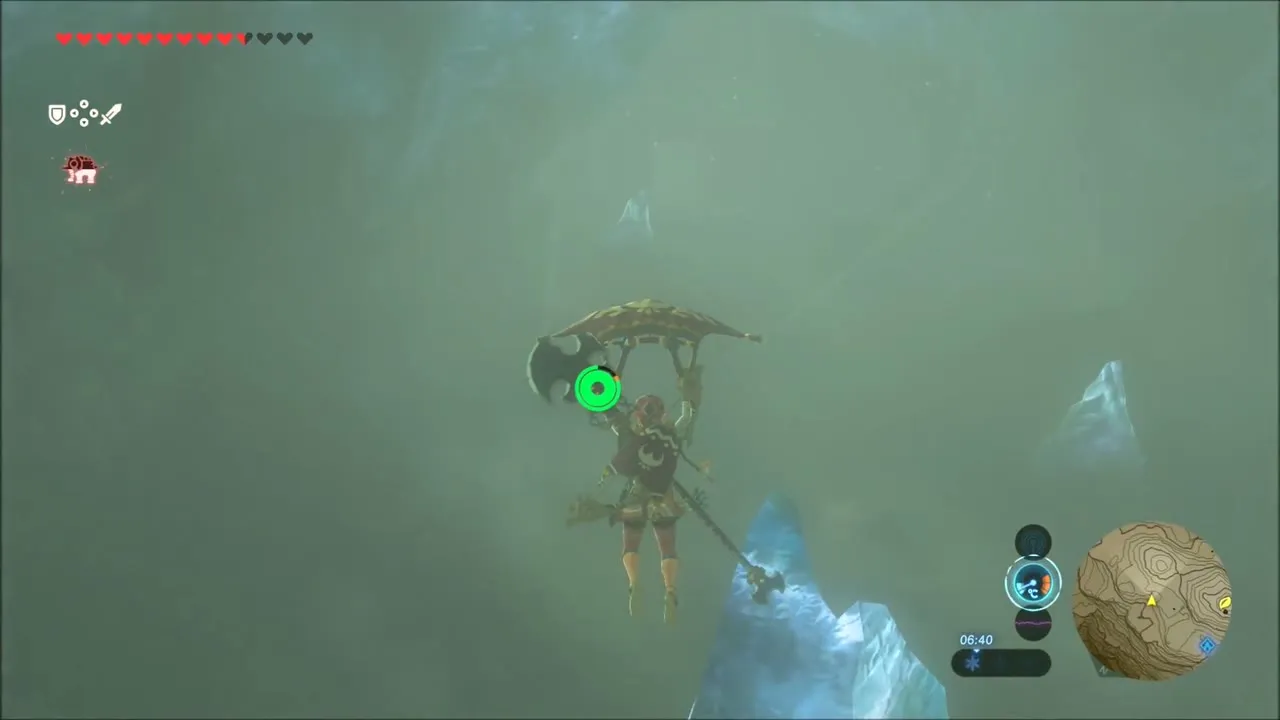
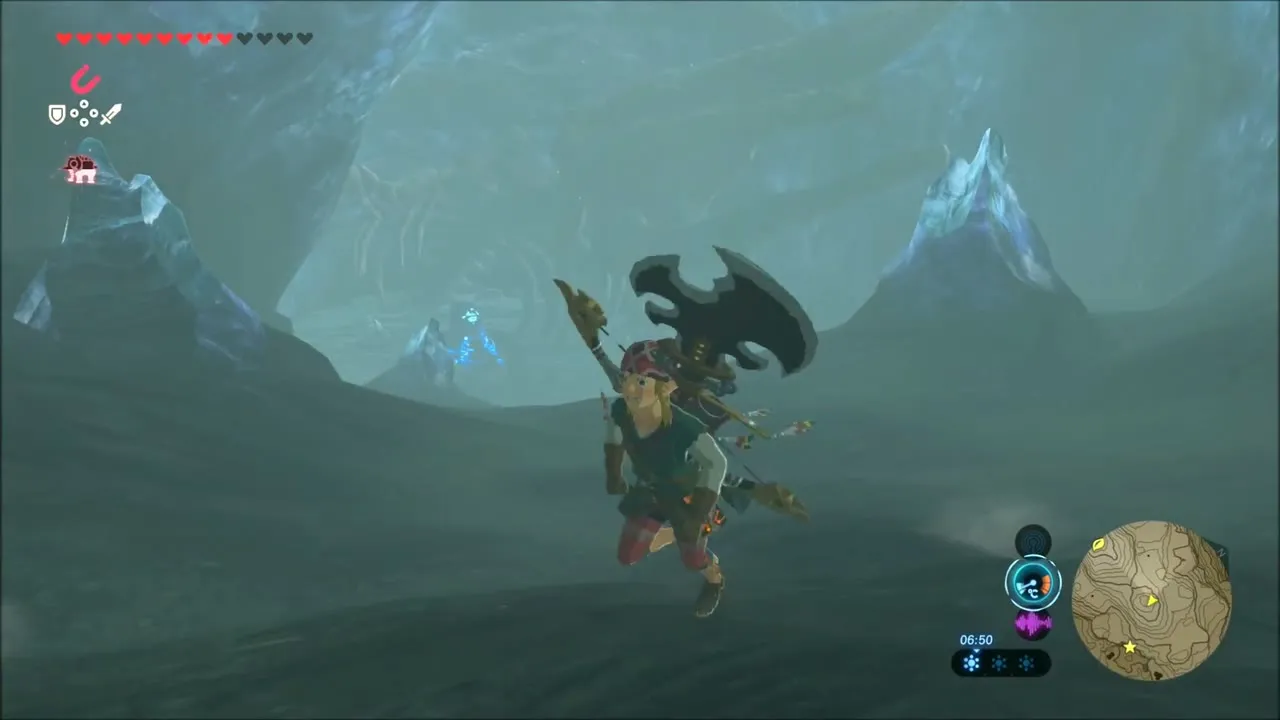
Back in Hebra, go to the cave of the Hebra Great Skeleton at (-4017, -3684), north-west of To Quomo Shrine. Swim the dark pool, then climb and glide across the giant bones; a Korok is tucked away on a stone ledge in the cave.


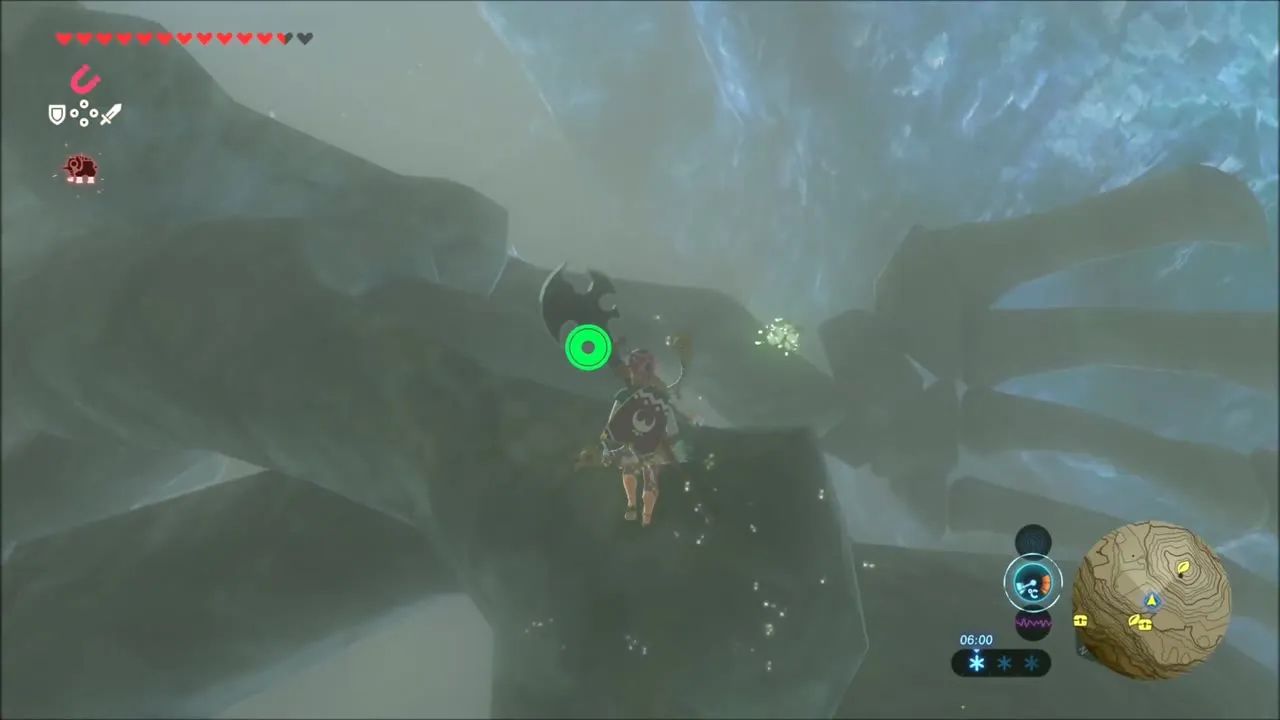

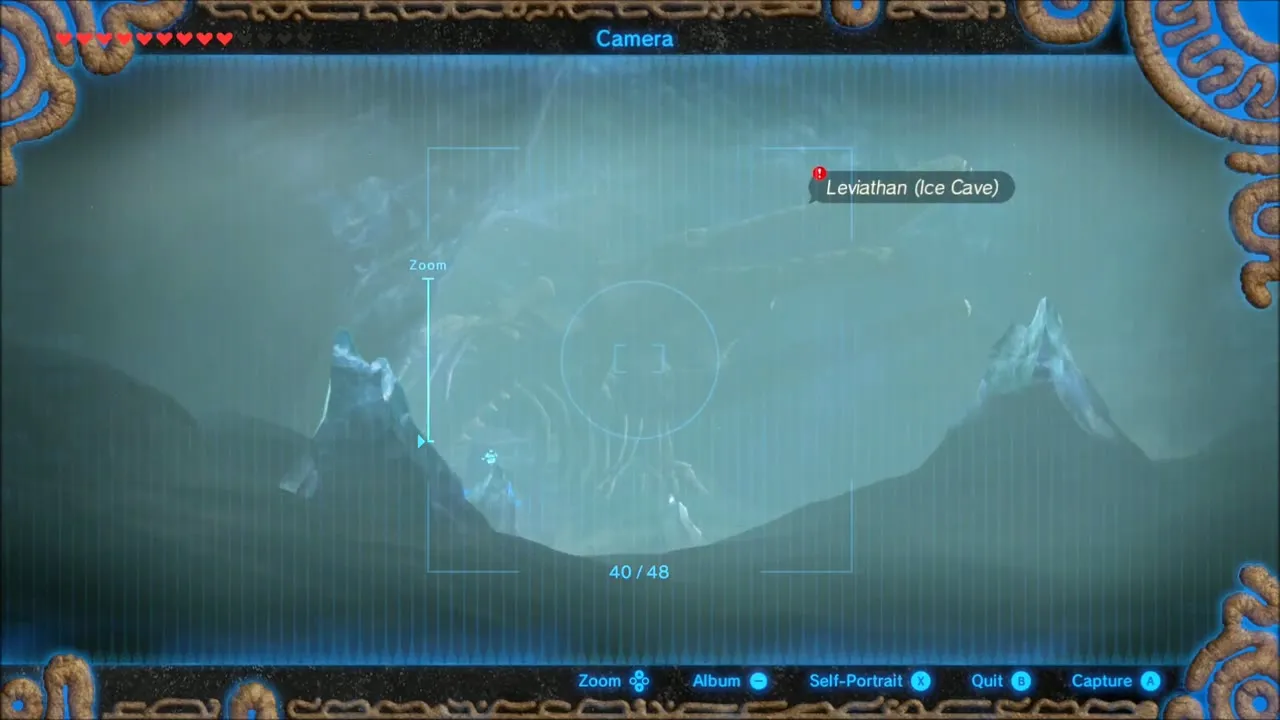
Inside the Leviathan’s ribcage, frame its skull in the Camera until the target locks and take the picture. That is the Hebra skeleton for the Leviathan Bones quest; you finish the quest by showing all three photos to Akrah at Serenne Stable.
Moblin Camp, Magnesis Korok and Hia Miu Shrine
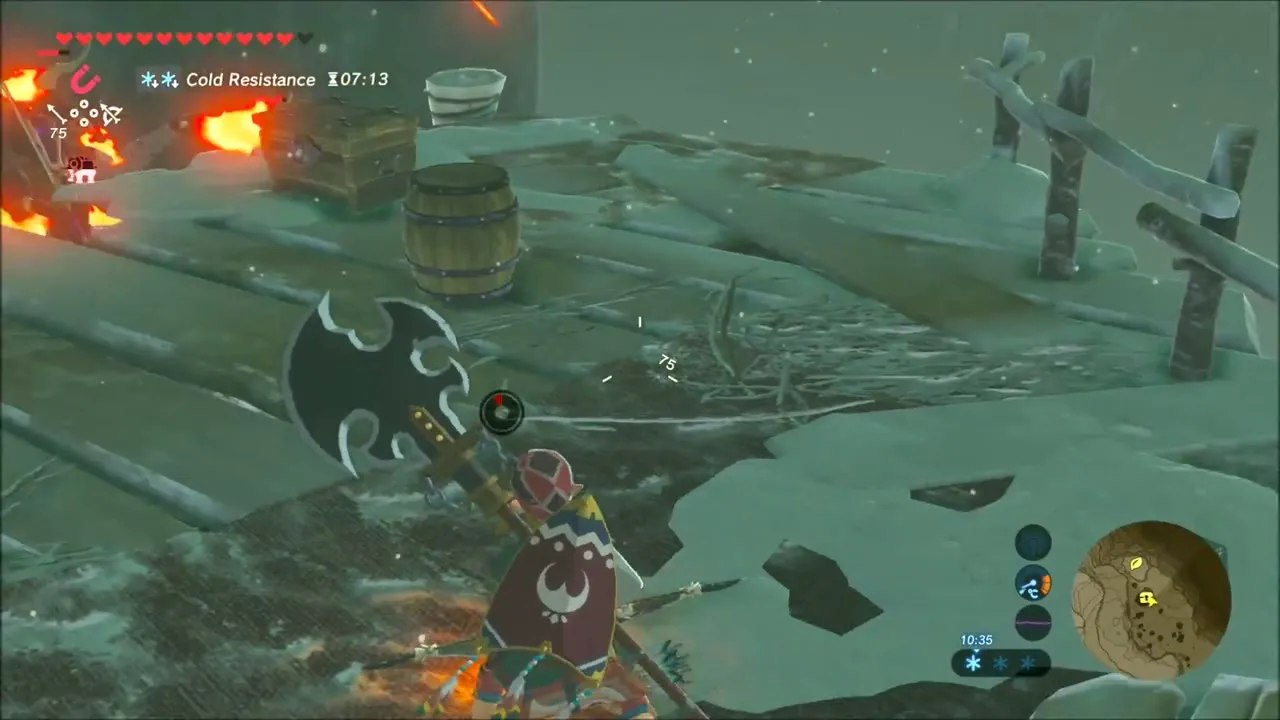
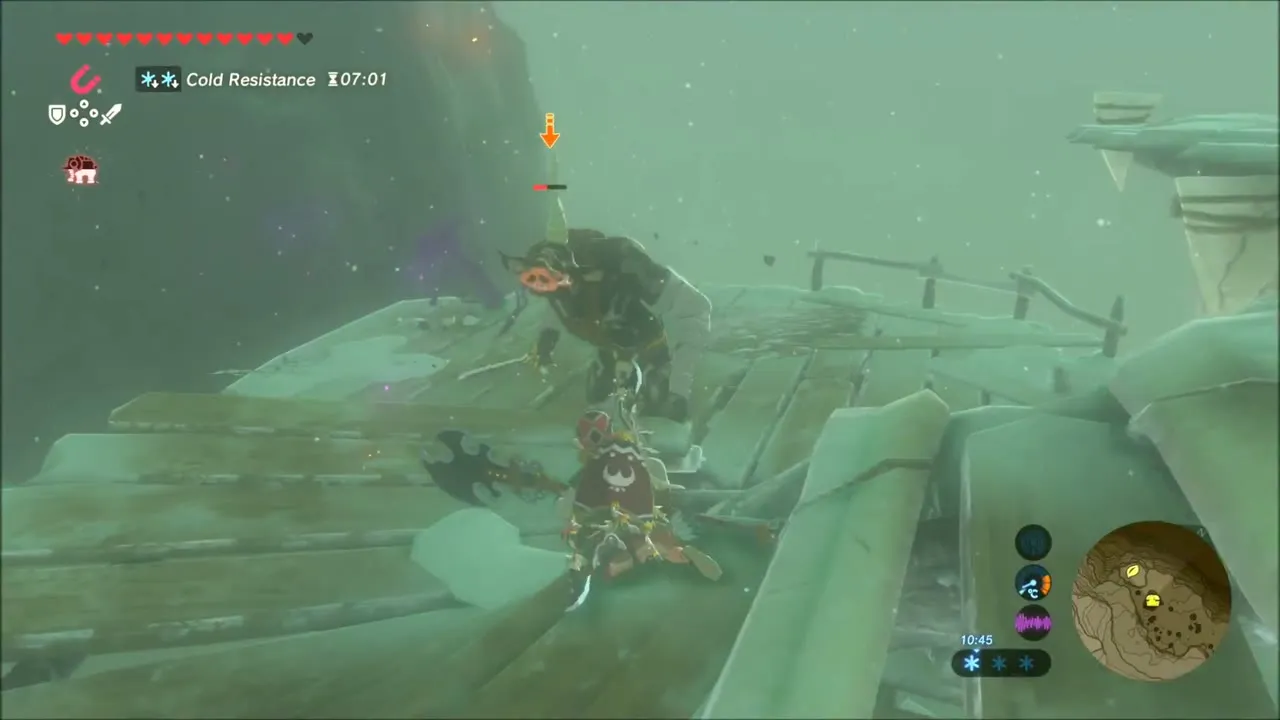
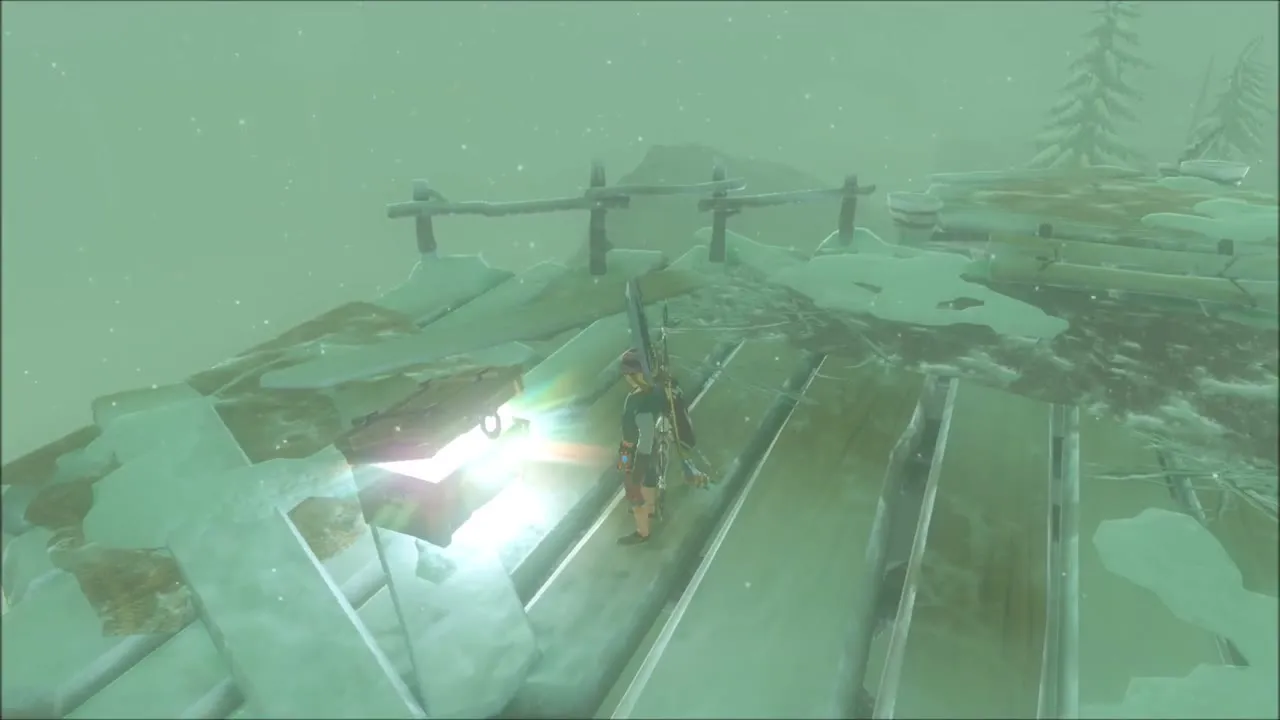
Fight through the Moblin camp on the wooden platforms in the pines. A chest on a platform holds five Fire Arrows.
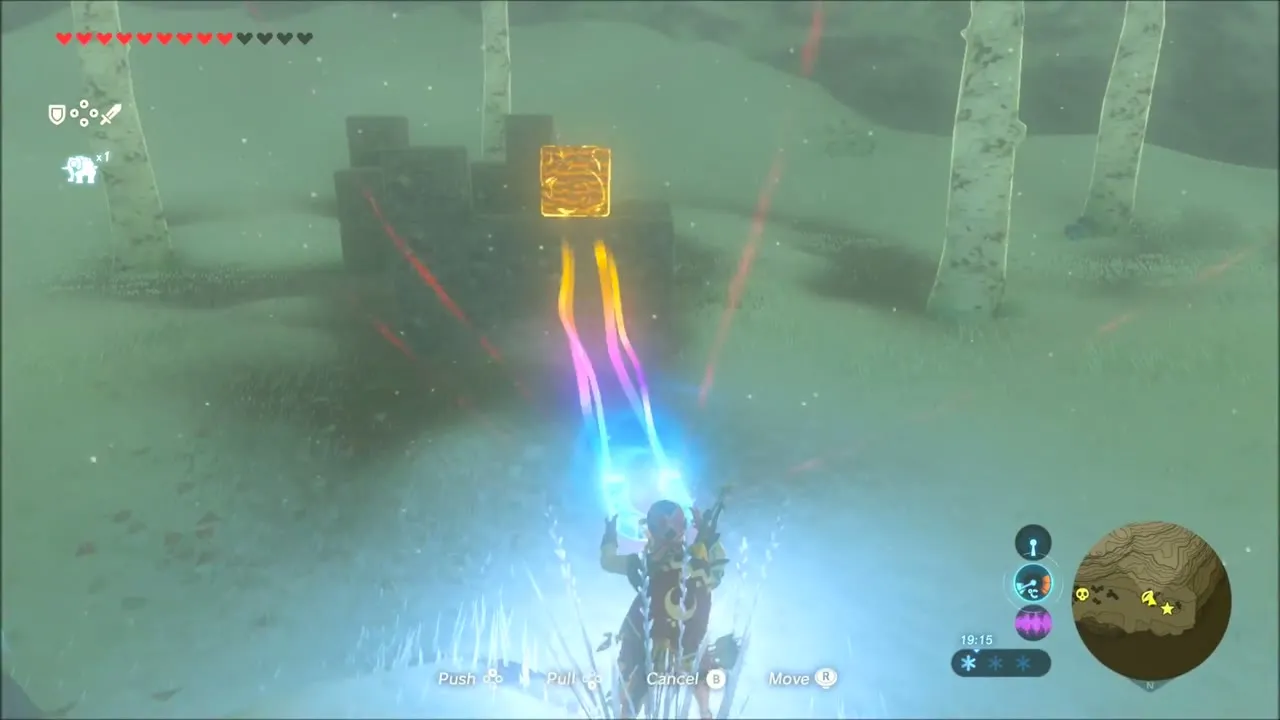
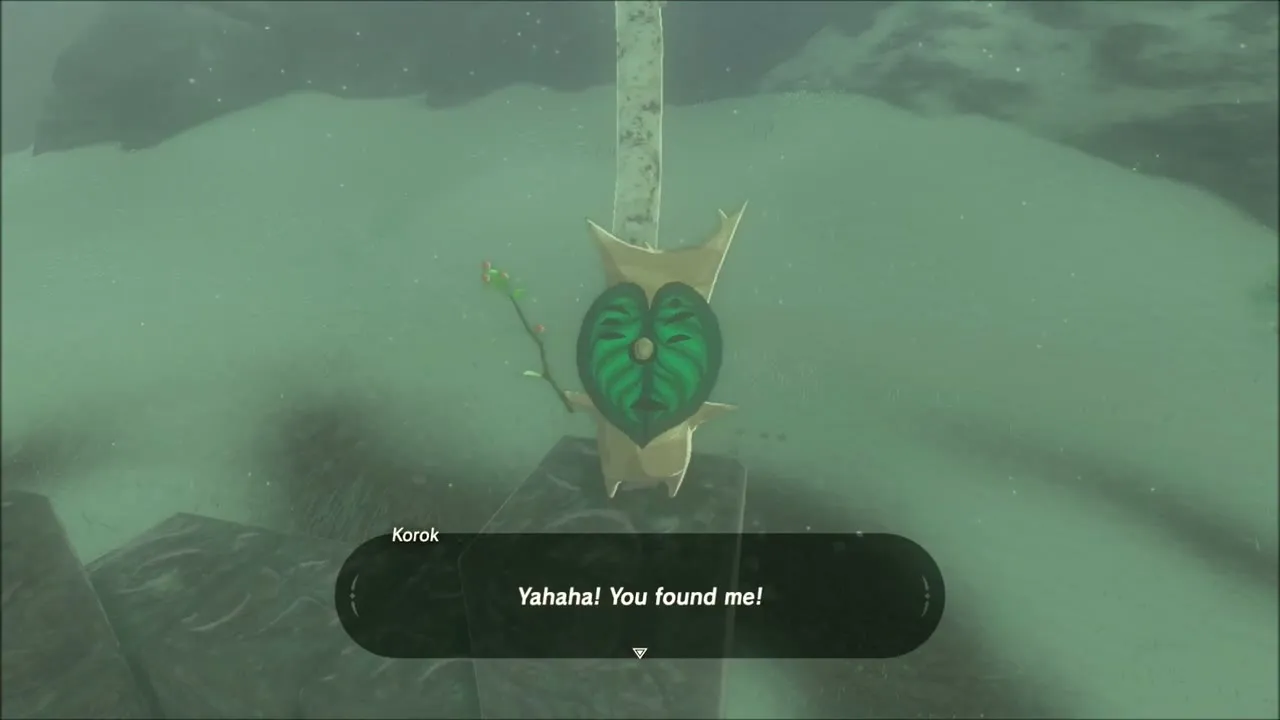
Among the dark trees, a stack of metal blocks stands on the snow. Pull the metal cube free with Magnesis and the Korok behind it gives you another seed.

The glowing door of Hia Miu Shrine (x -4446, z -3802, height 343) stands in the north-western corner of the map. Its trial, A Major Test of Strength, is another Guardian Scout IV. Raise a metal block with Magnesis to stop its spinning charge, step aside from the eye blasts, and glide over the laser when it spins.
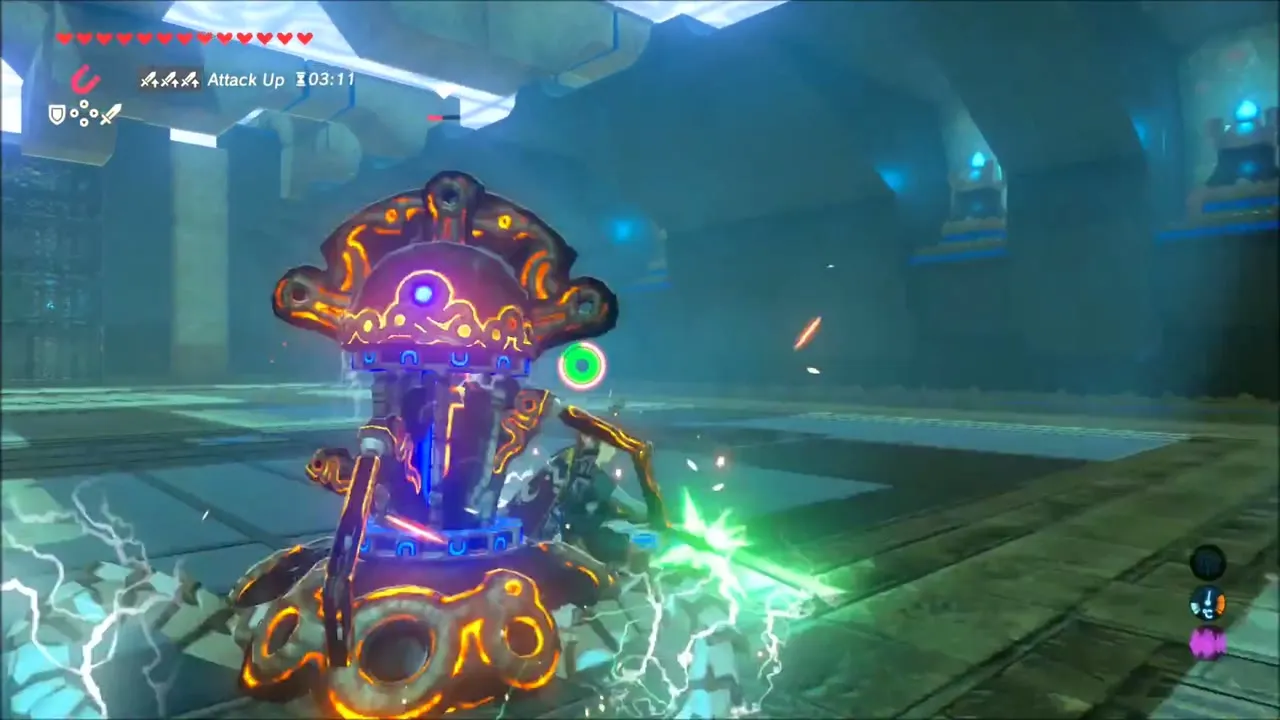
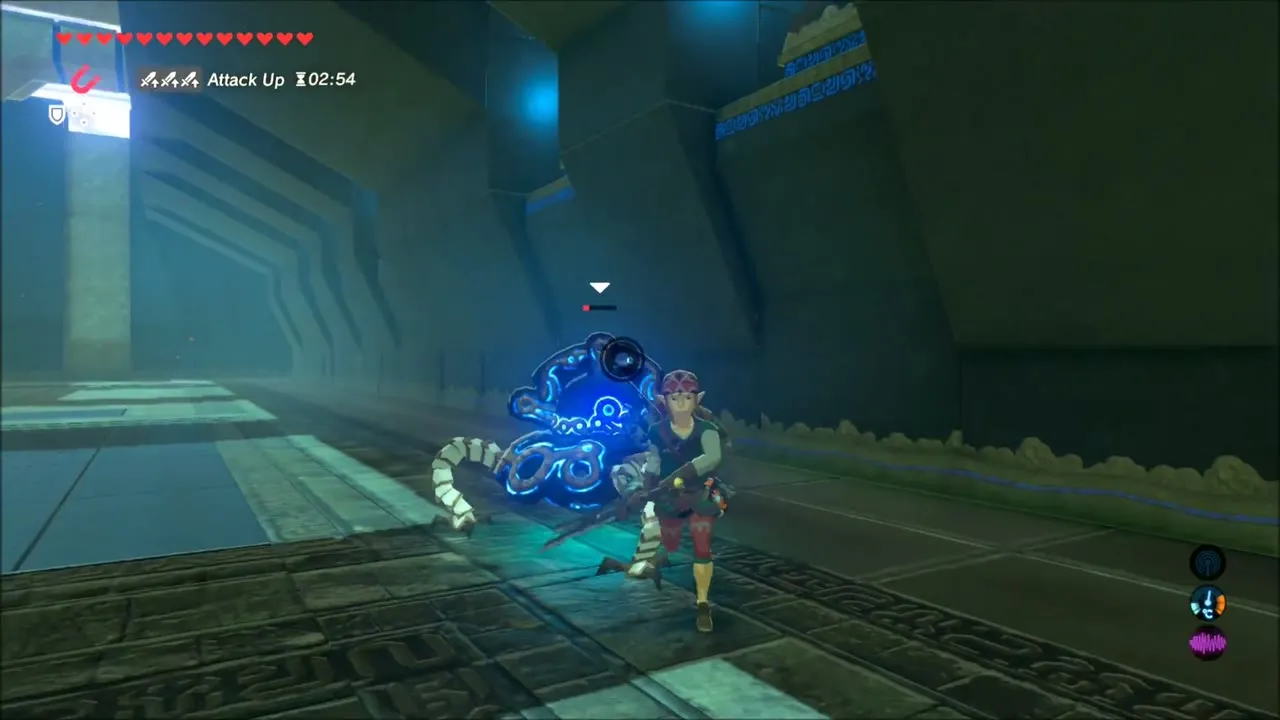
Beat the Scout, open the chest for a Sapphire and take the Spirit Orb from the monk.

West of Hia Miu: Cliffs, Hot Springs and Korok Seeds
Leave Hia Miu, climb out and glide down the cliff face; a fire arrow blasts the rocks in your way. A chest sits on a snowy ledge on the way down.
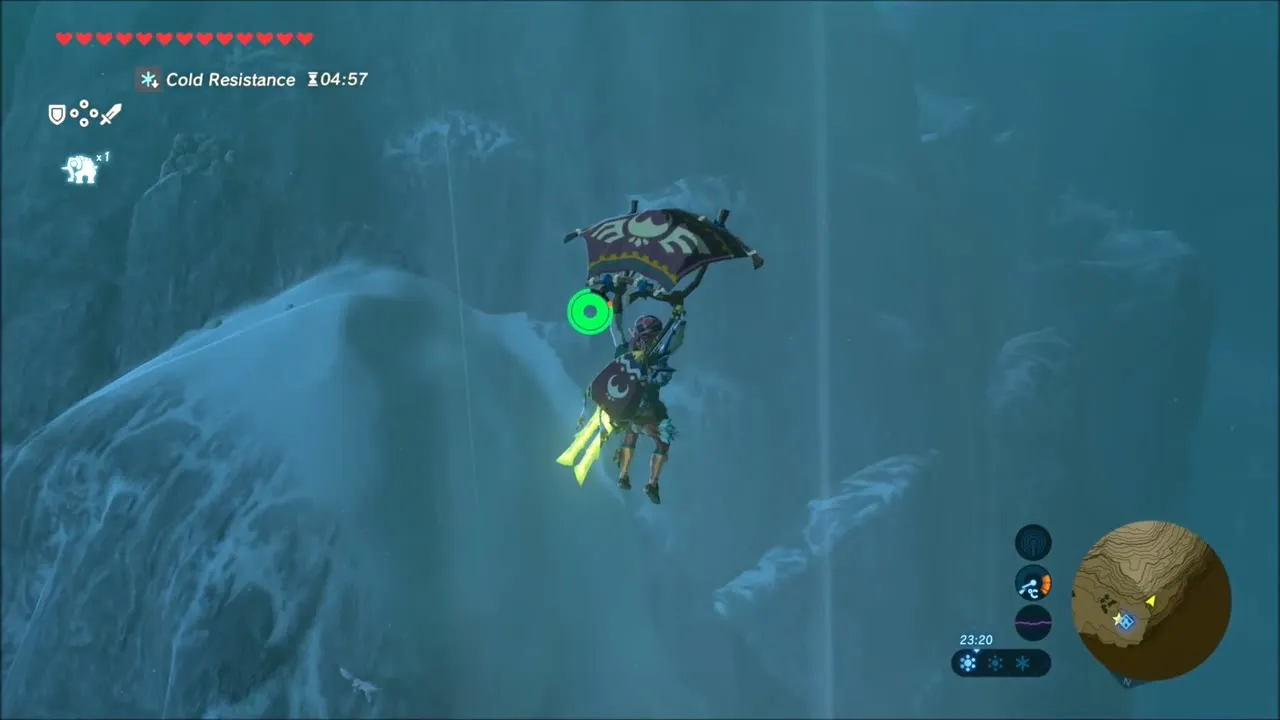

Press on through the fog to Sherfin’s Secret Hot Spring at (-4308, -3494), a hot spring cave with glowing Luminous Stones around it. Rest in the warm water if you need hearts.
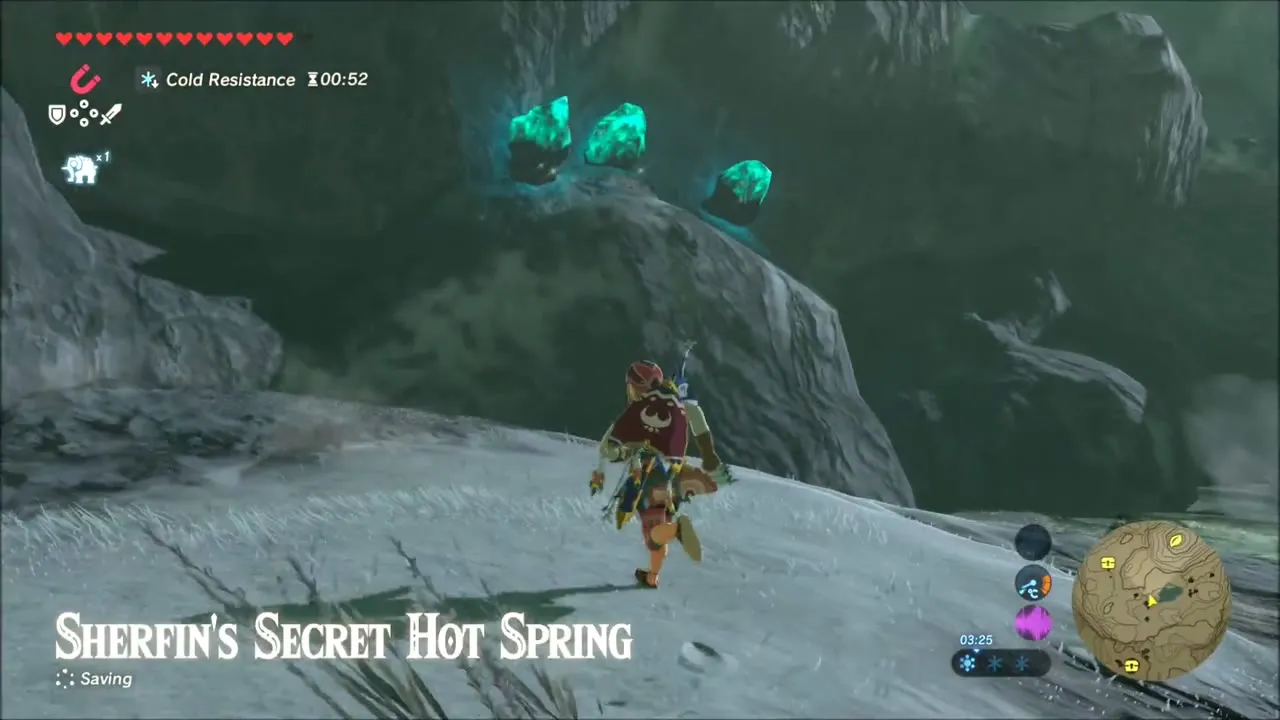


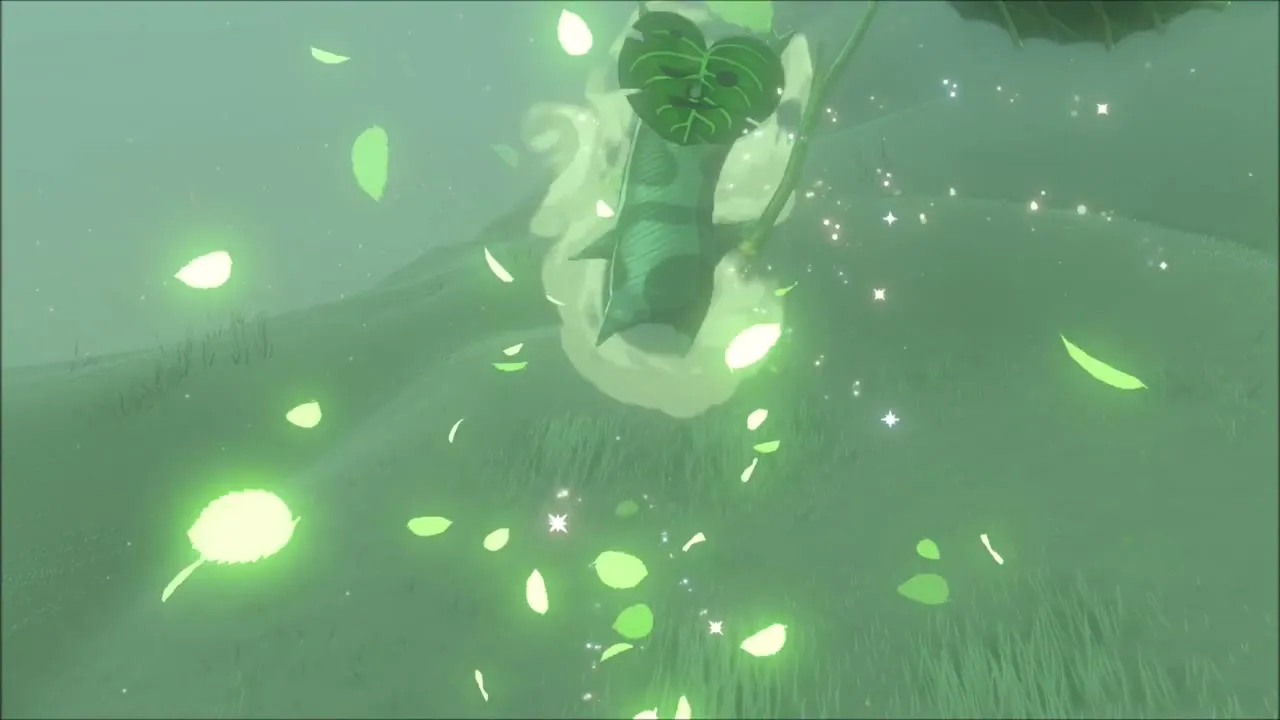
On the next hill, a Korok sits at the crest. Walk up to it for another seed.


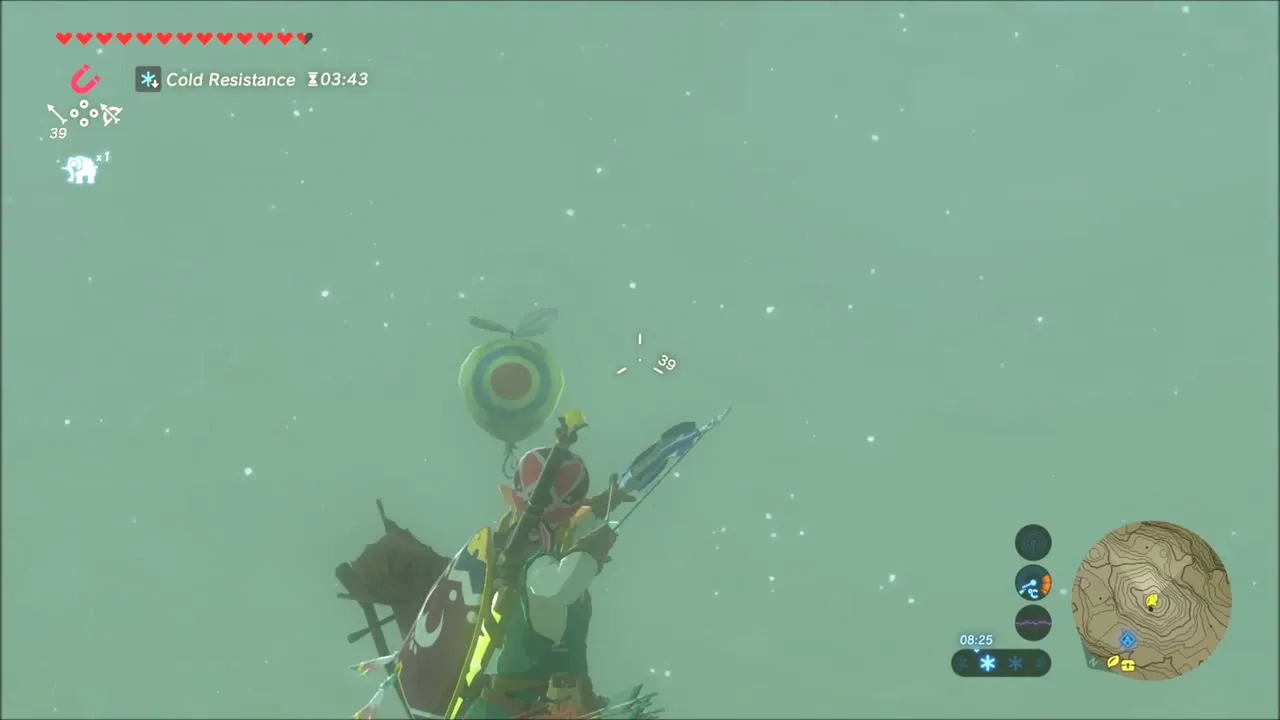
A floating target hangs in the air over the snow. Shoot it with an arrow and the Korok appears.
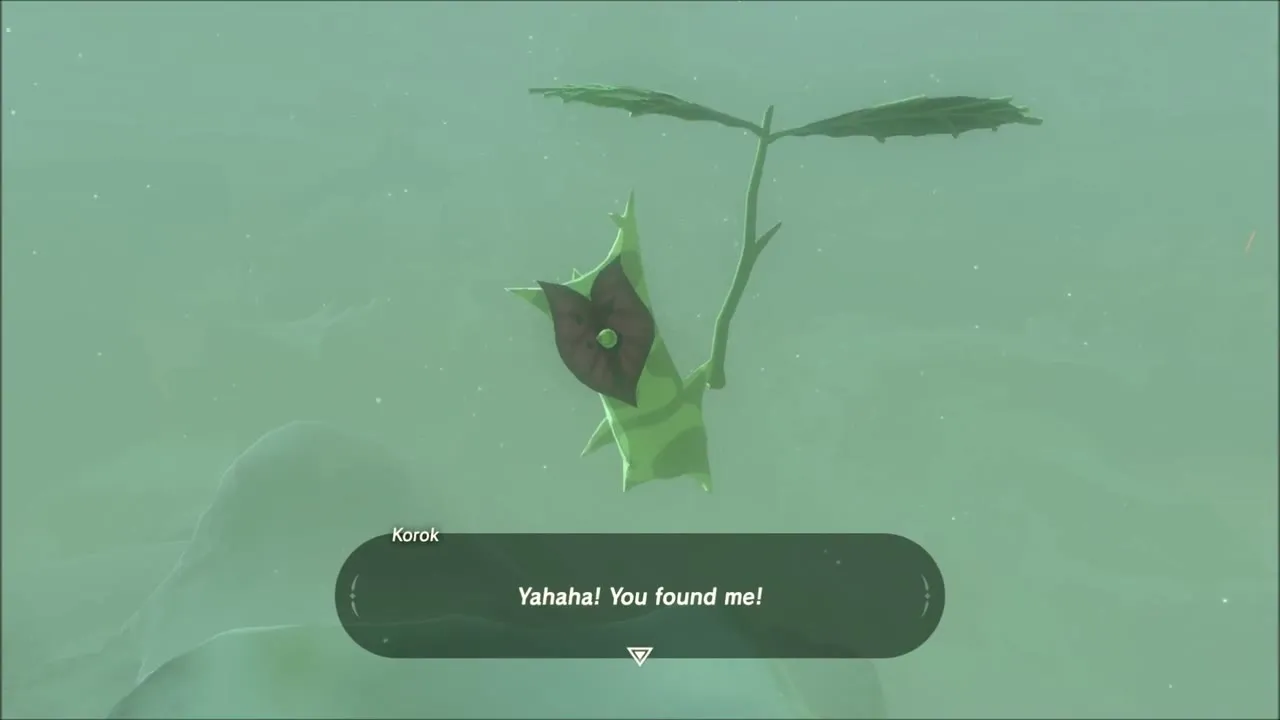
An ice cave with a chest sits further on. Melt the blocks of ice with a campfire to reach it; the chest holds a Royal Claymore (tier set by difficulty scaling). A fire arrow at another ice block reveals a Korok behind it.

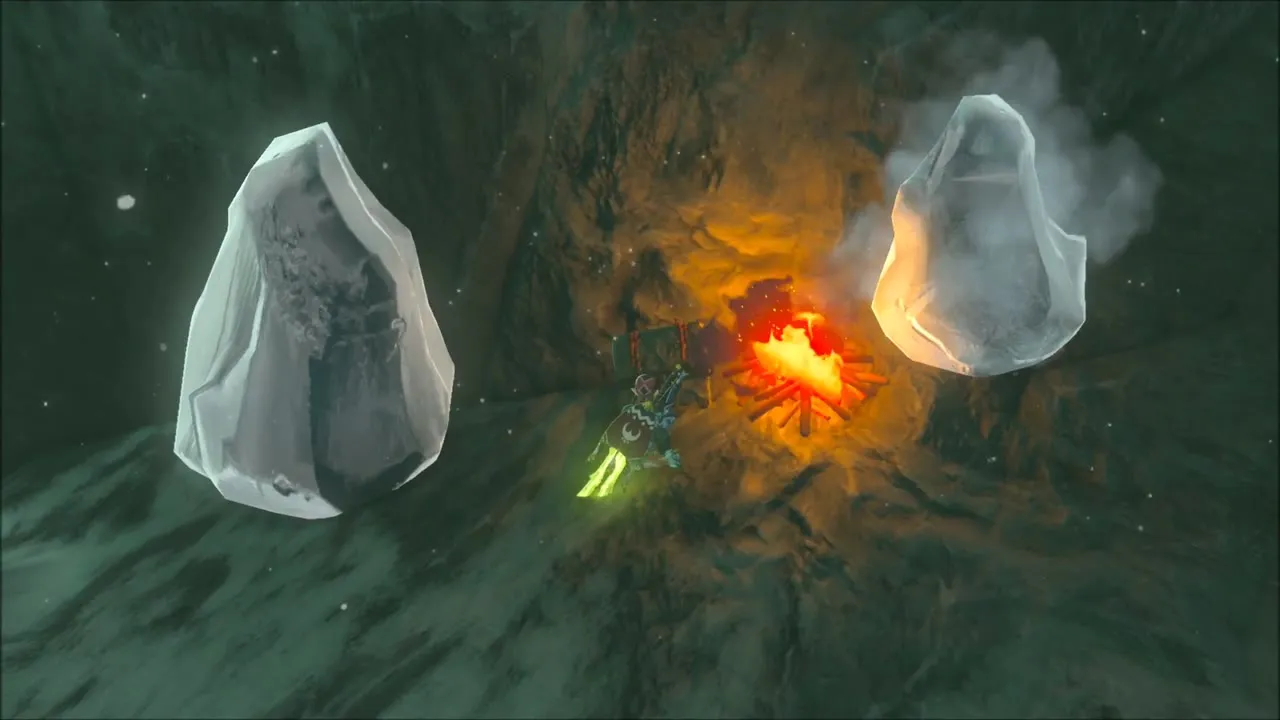


On the snowy plain, a ring of rocks has a gap in it. Carry a rock from nearby and place it in the gap to bring out the Korok.

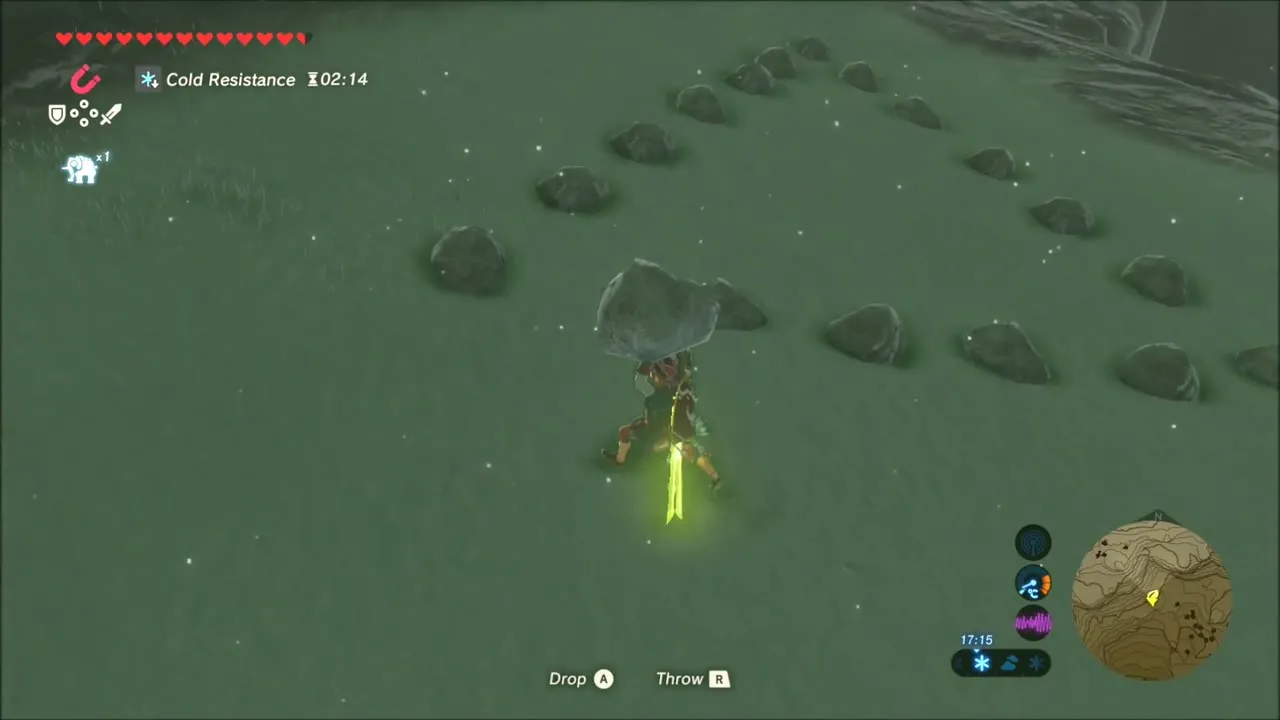
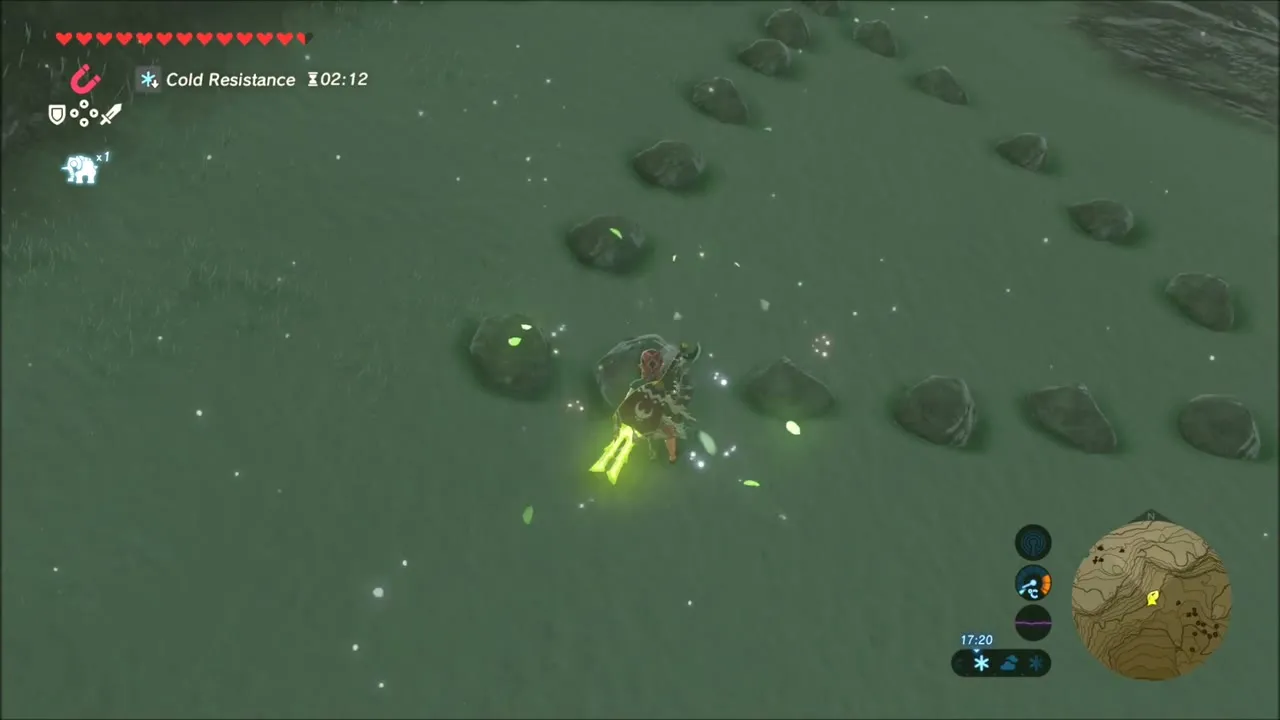

Climb the steep ridge ahead; a Korok sits at the top and gives you a seed.


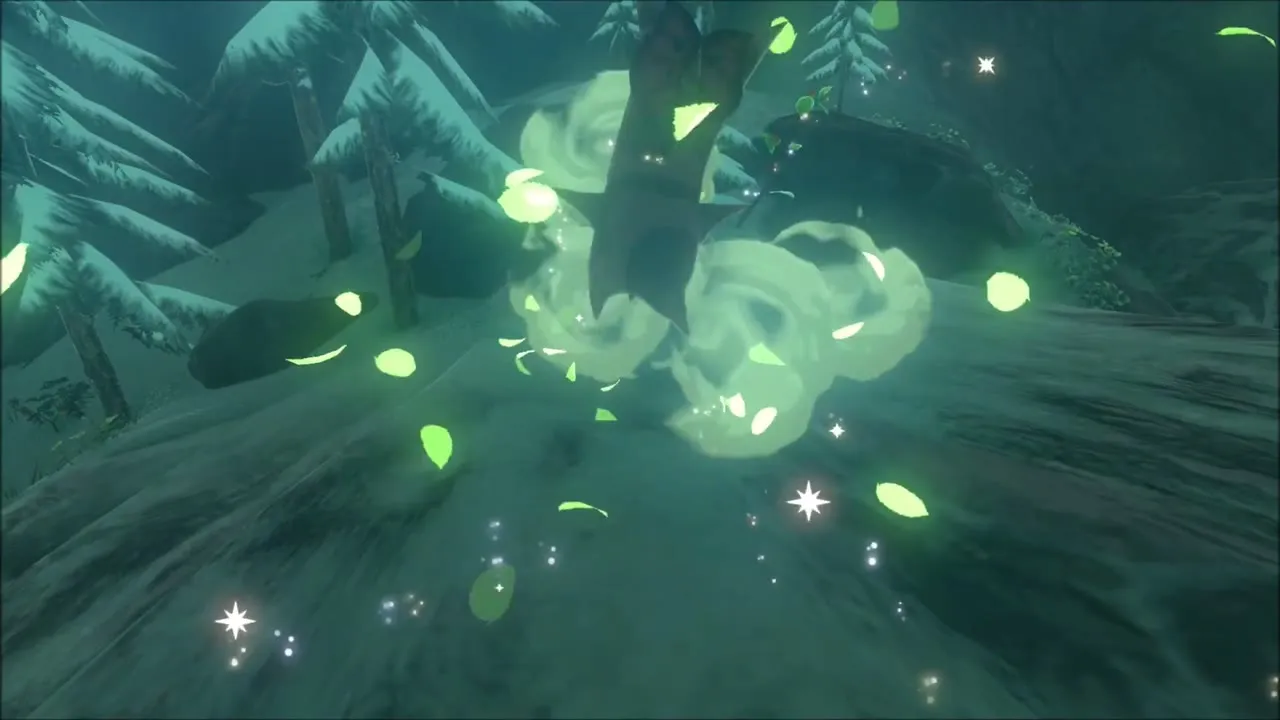
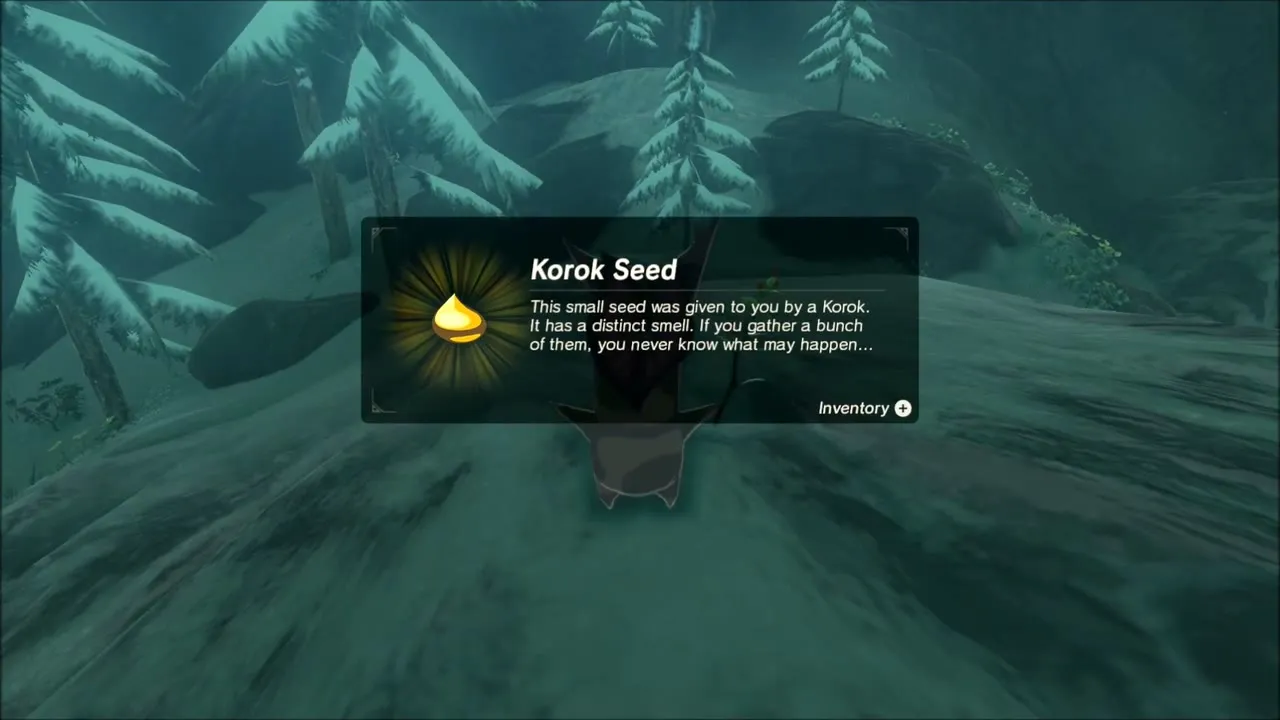
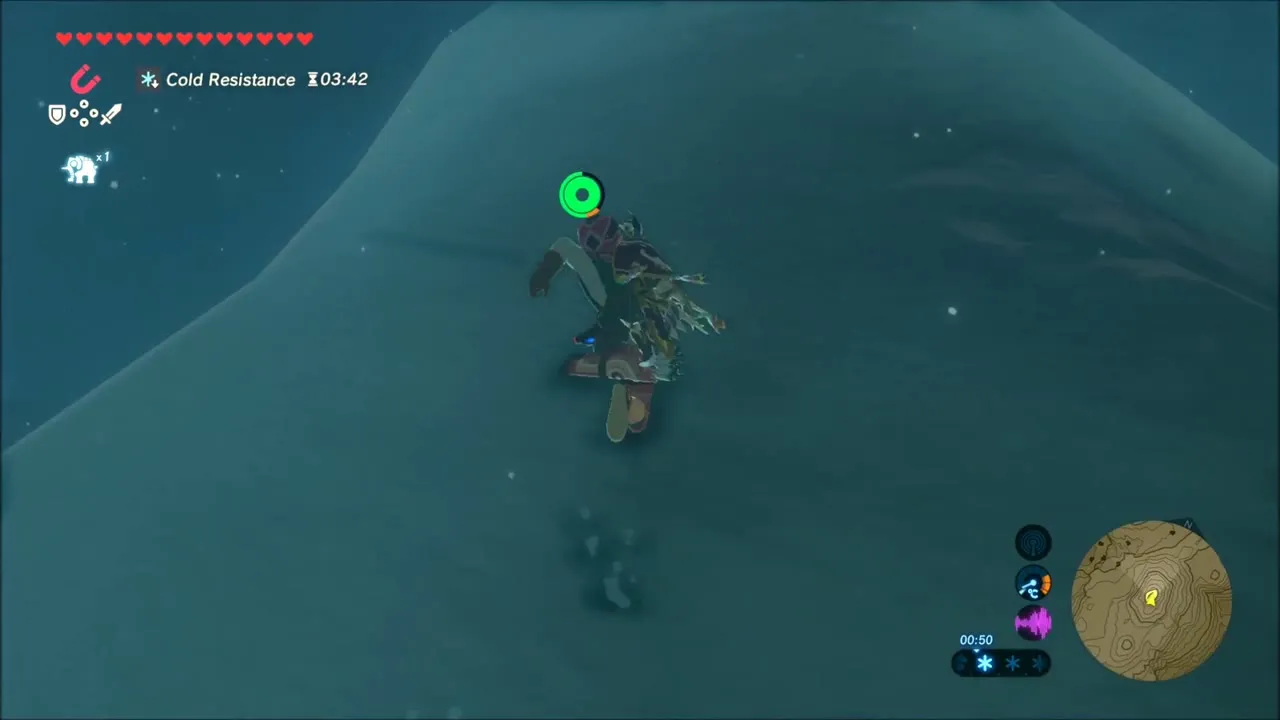
Climb to the summit of the big snow dome in the open snowfield. A Korok waits on top.
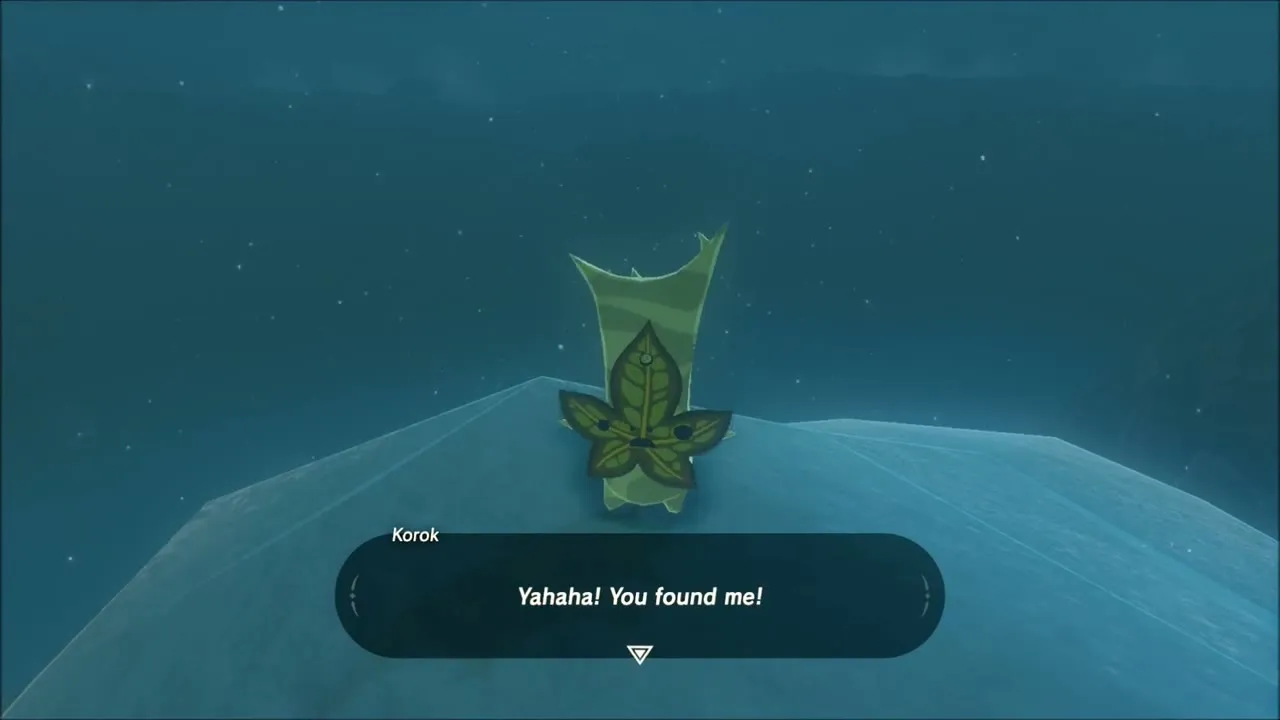

On the open grass of the plain below, a Korok stands in the open. Walk up to it for another seed.

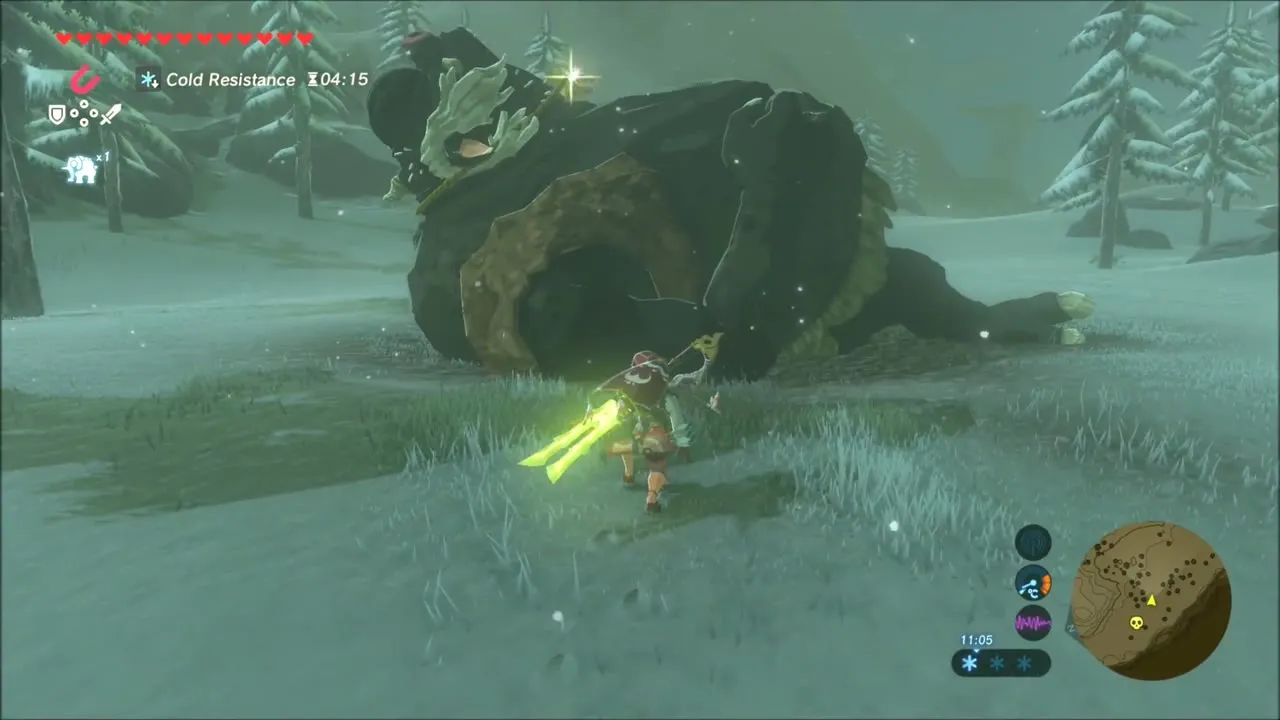
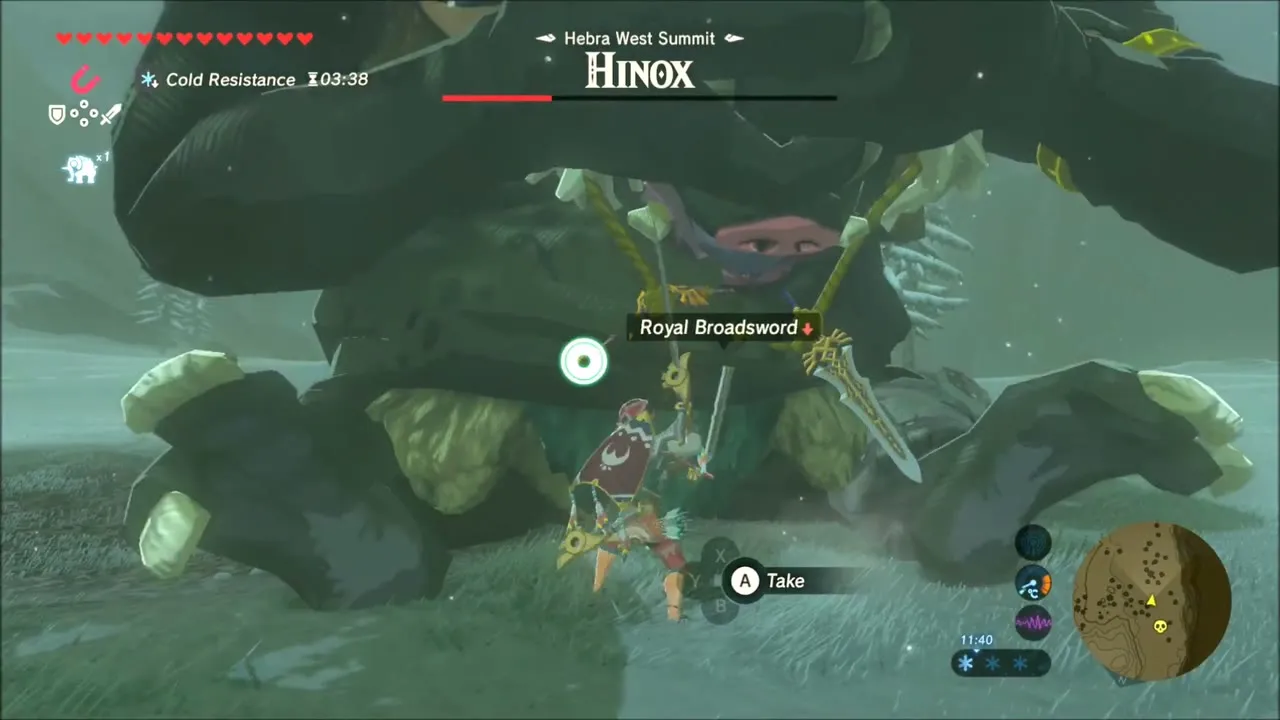
A Hinox waits at Hebra West Summit. Beat it, collect the weapons it drops (a Royal Broadsword is among them) and photograph it for the Compendium.

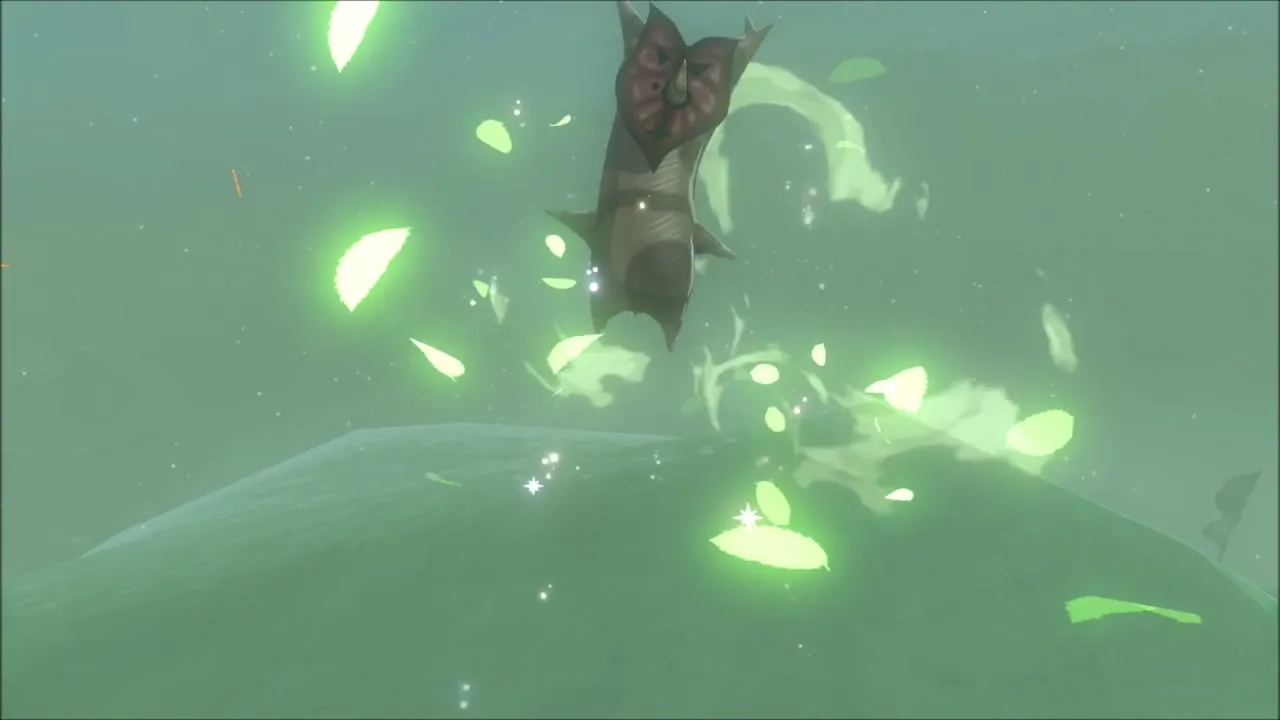
Cross the rolling snow hills. A Korok sits on a hilltop and gives you a seed.
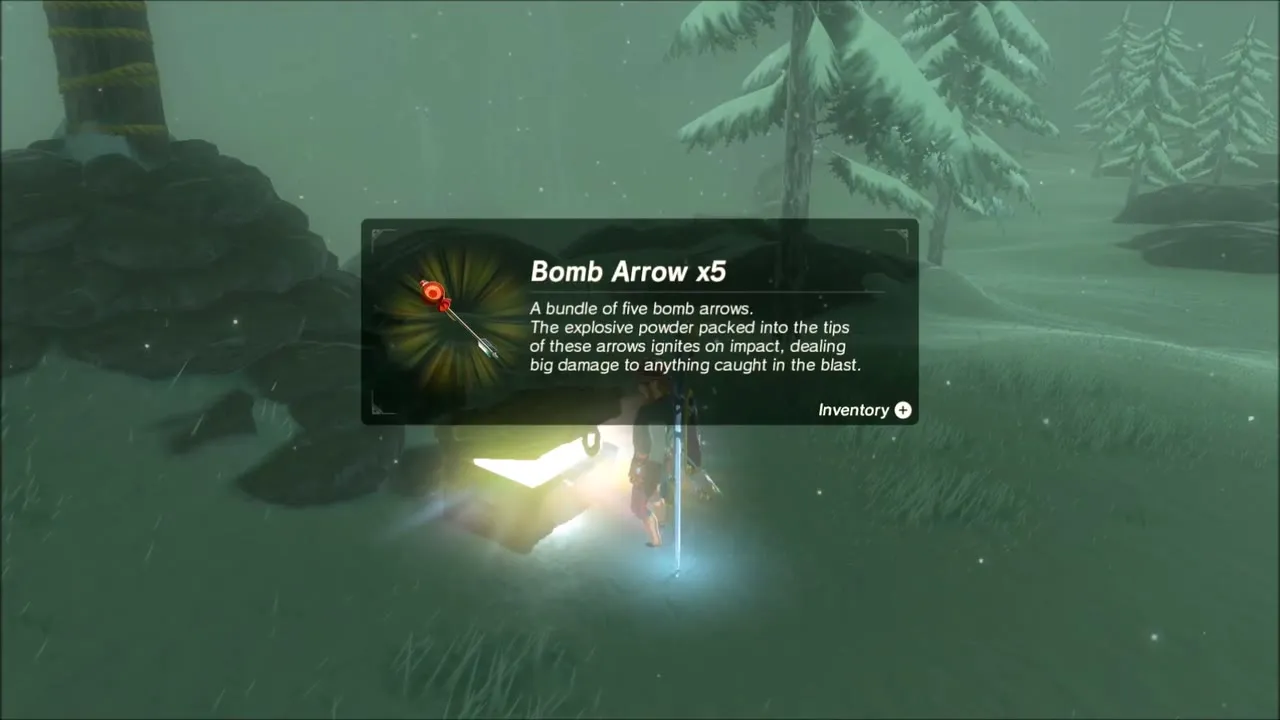
A chest on the next slope holds five Bomb Arrows.

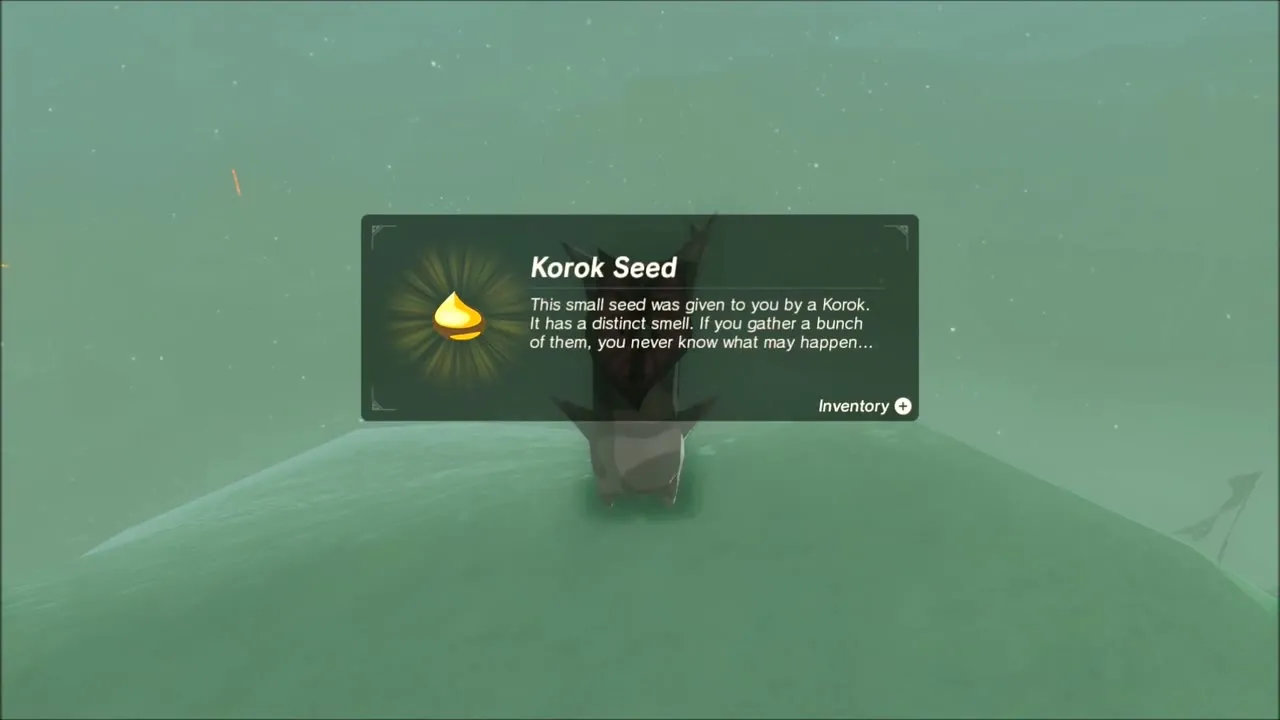
Glide down the slope into the fog and look under the rock overhang: a Korok hangs there upside down.


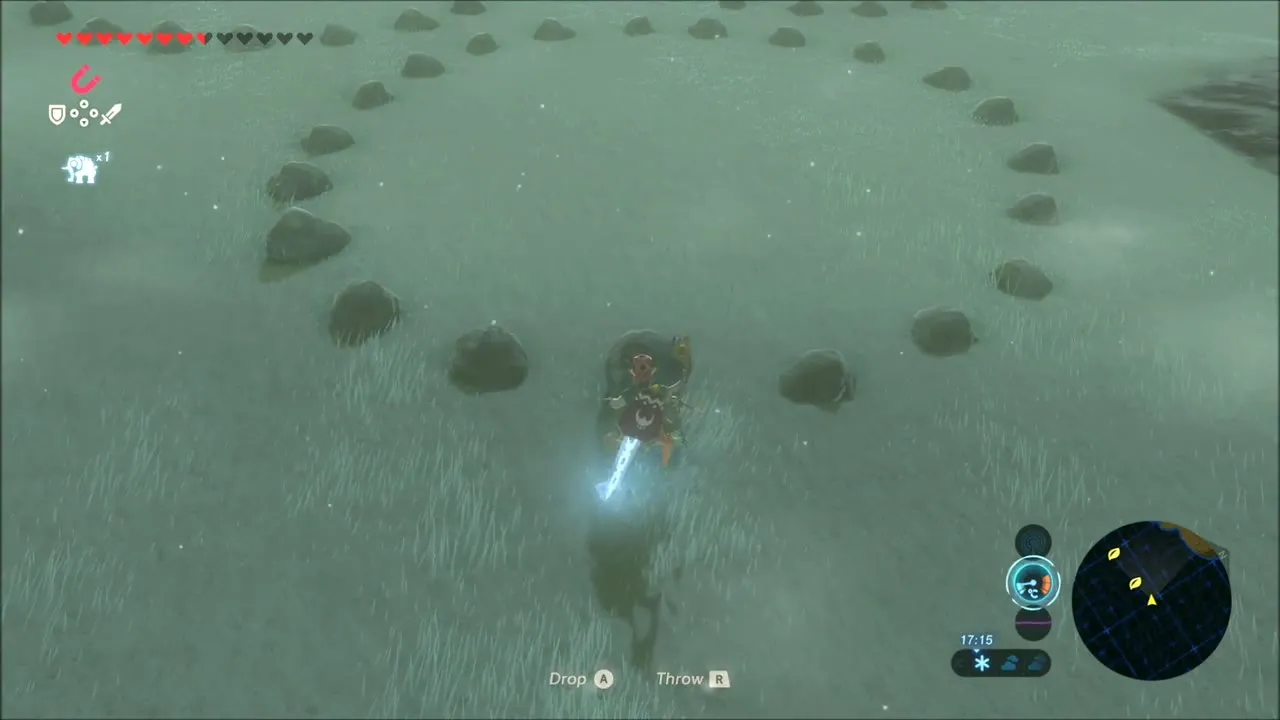
On the grass, a circle of rocks has gaps in it. Carry rocks from the nearby slope and drop them into the gaps; the Korok appears.
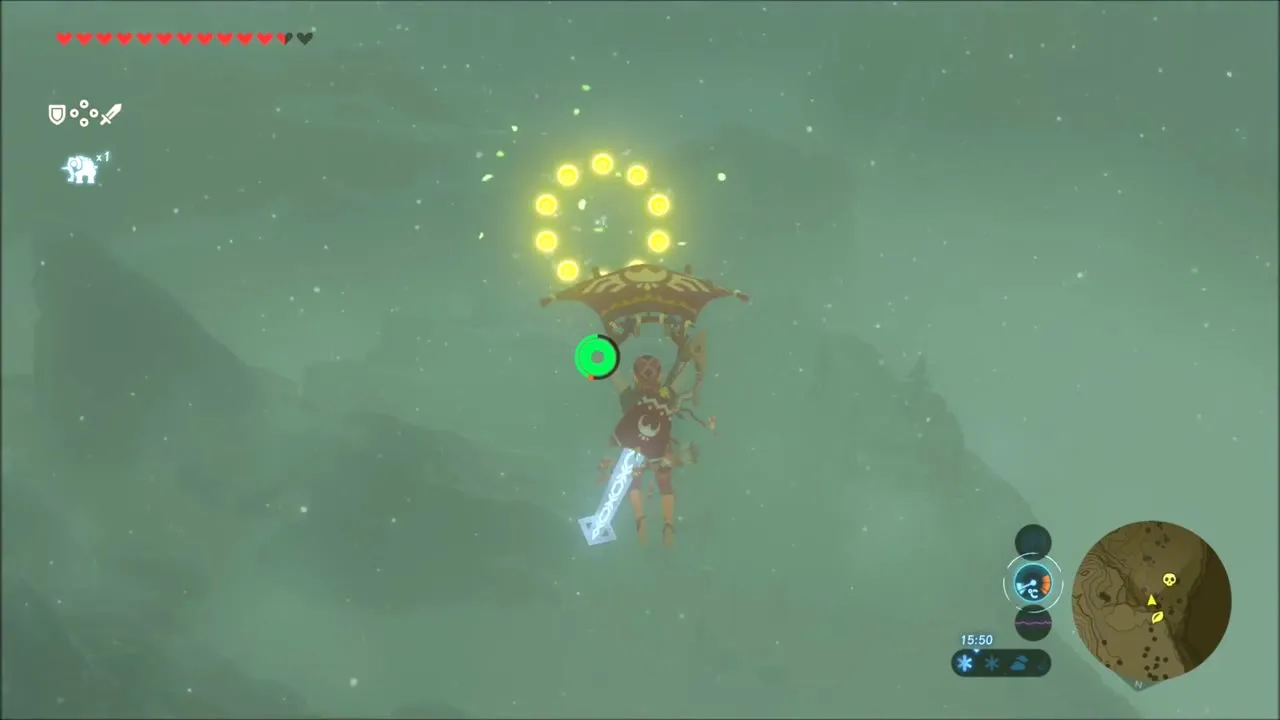
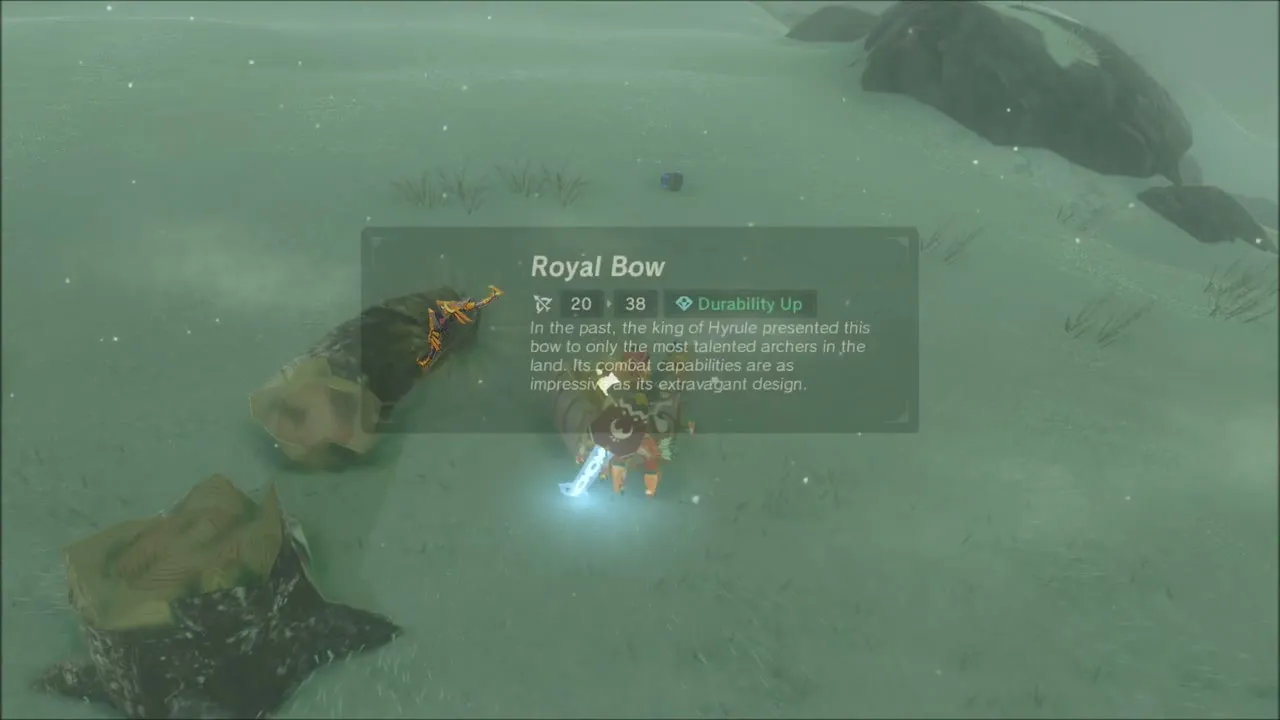
A floating balloon target hangs in the air. Shoot it with an arrow for a seed. A chest in the snow nearby holds a Royal Bow.

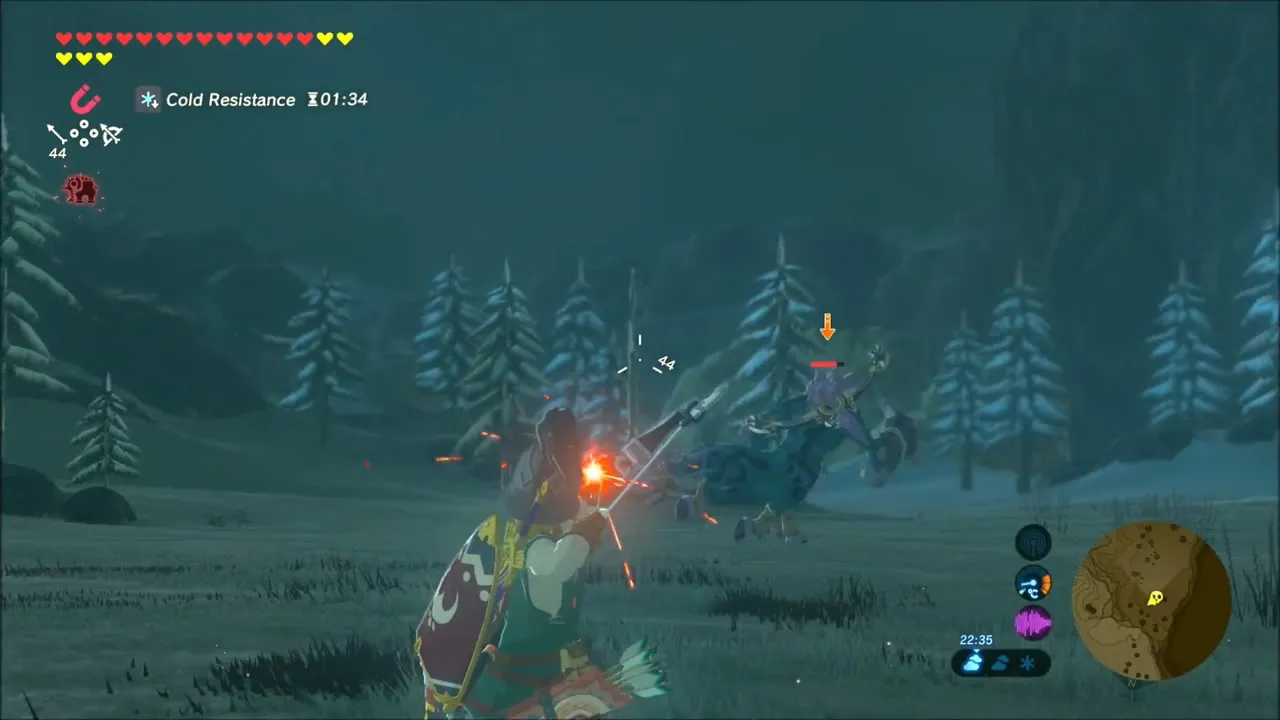
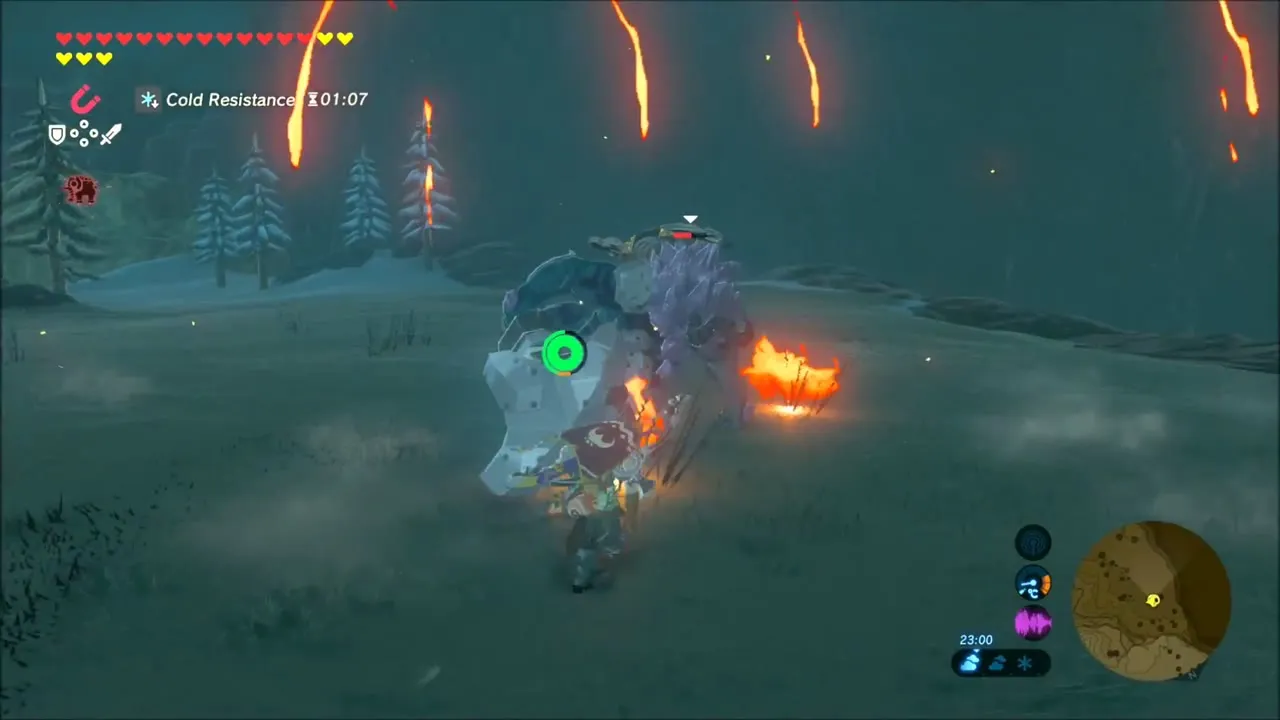
At dusk a Lynel attacks. Keep moving, shoot it with fire arrows and finish it with the Master Sword. It drops a Savage Lynel Bow and a Mighty Lynel Crusher.


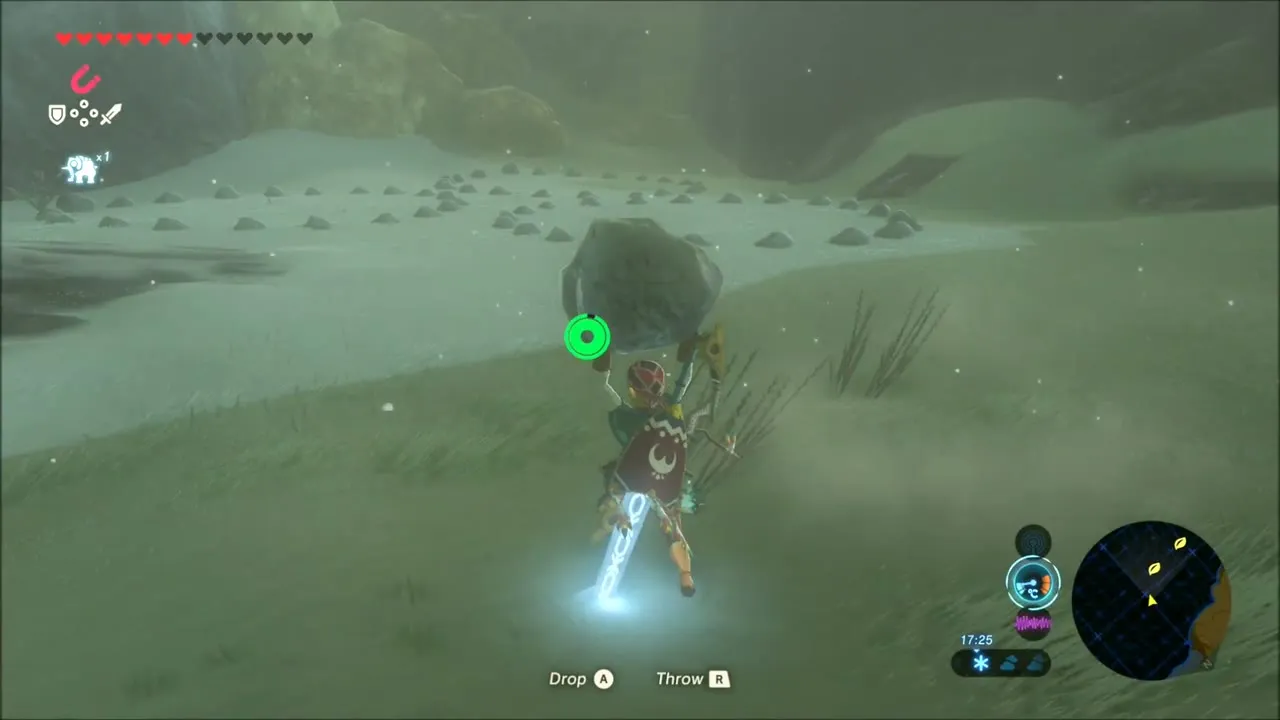
Climb the snow dome beside the ridge and pick up the stone at the top; a Korok appears. Another Korok is down on the slope: carry a rock across the field of small mounds, set it down, and the Korok comes out.


At the foot of a rock pile in a cave, throw a Remote Bomb and detonate it to open the rocks and reach the Korok behind them.


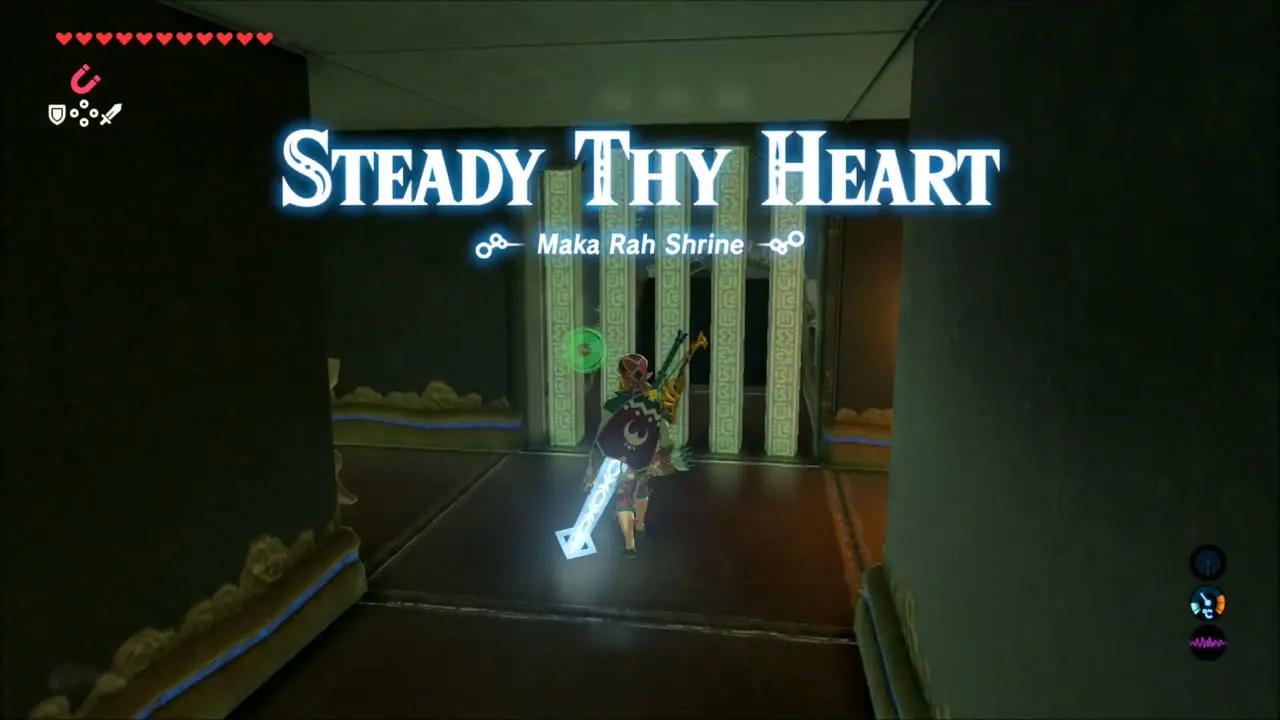
Maka Rah Shrine: Steady Thy Heart
Maka Rah Shrine (x -4059, z -2508, height 108) is hidden in the cliffs of Lake Kilsie. Bomb the piles of rocks around the lake to free updrafts, glide to the cave, drop in and swim a pool; two monsters ambush you before the shrine door.
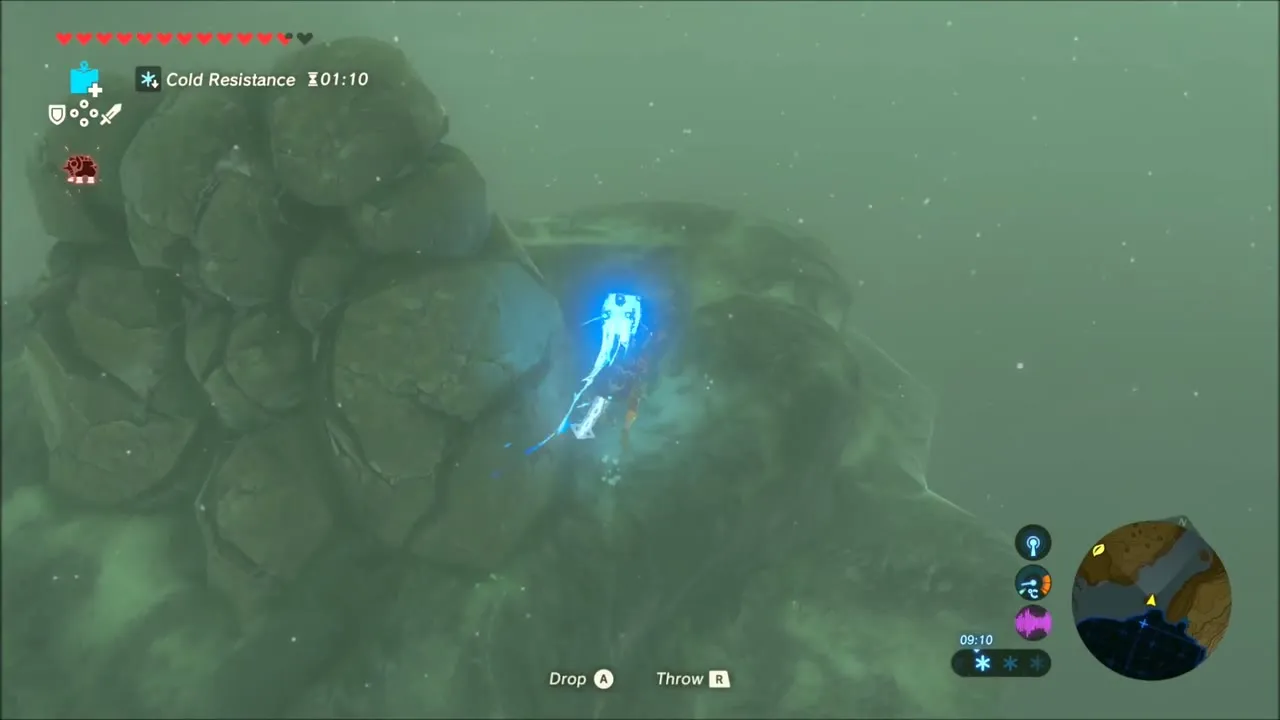


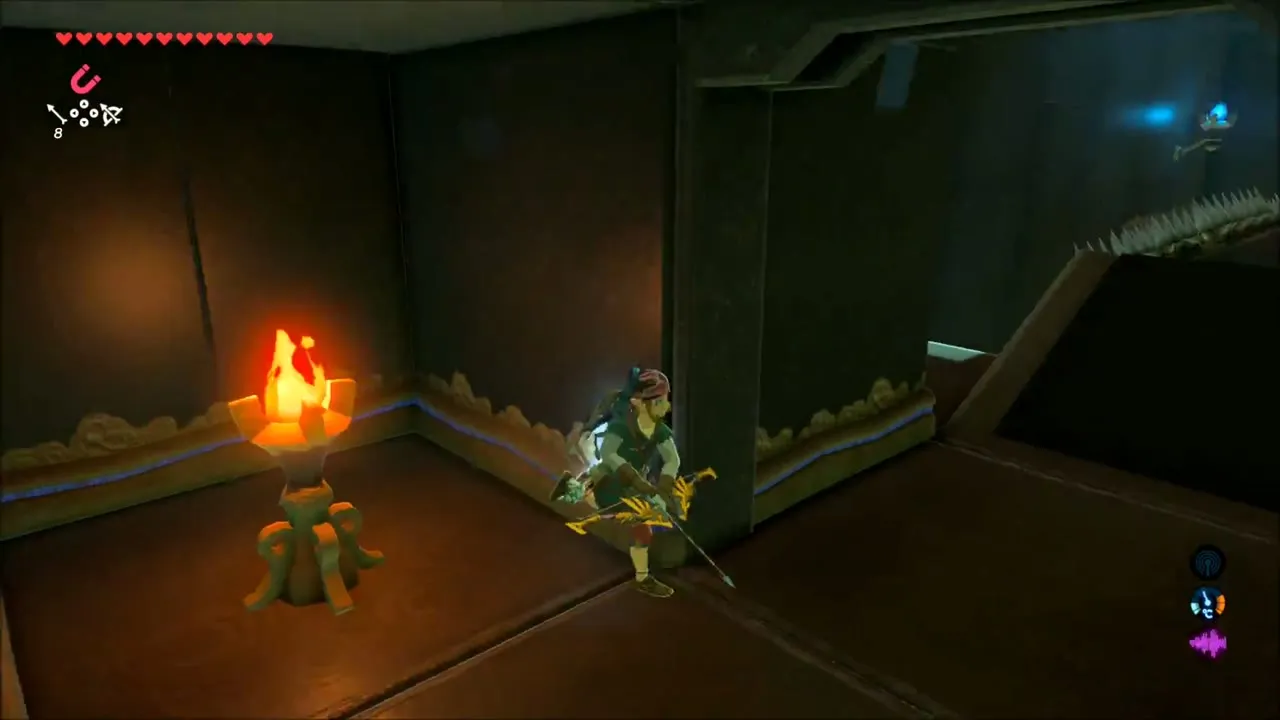
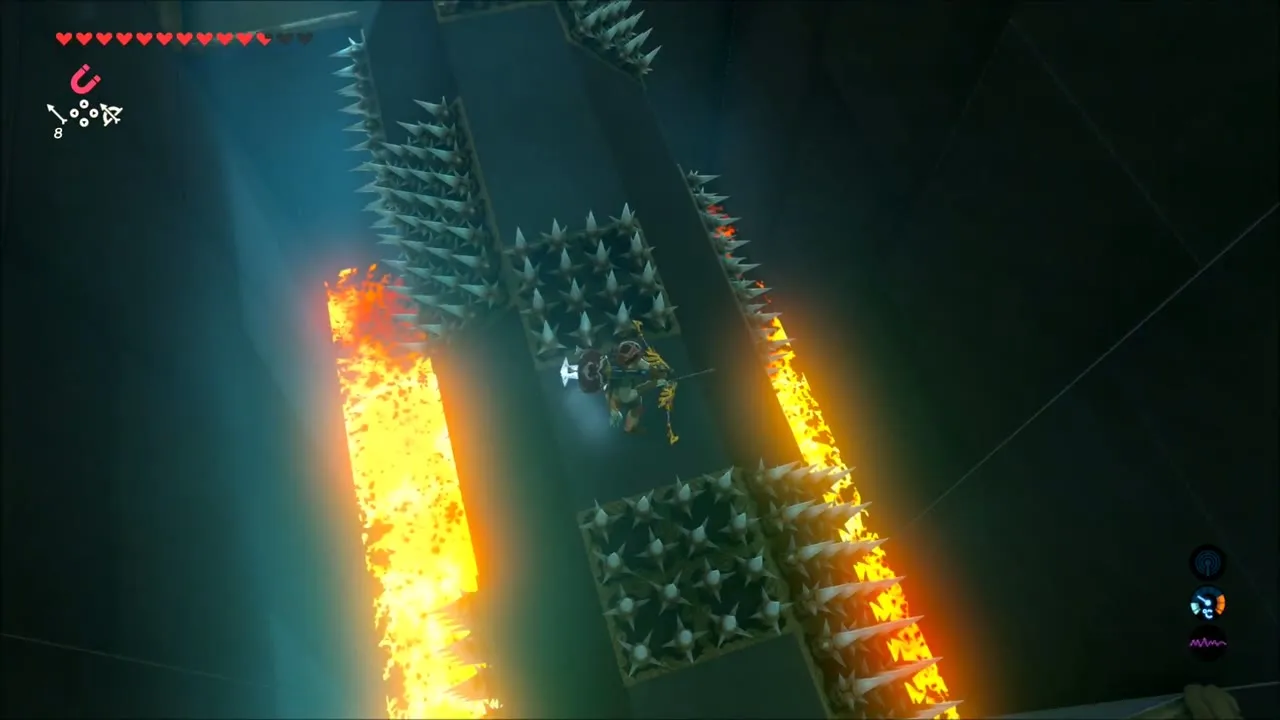
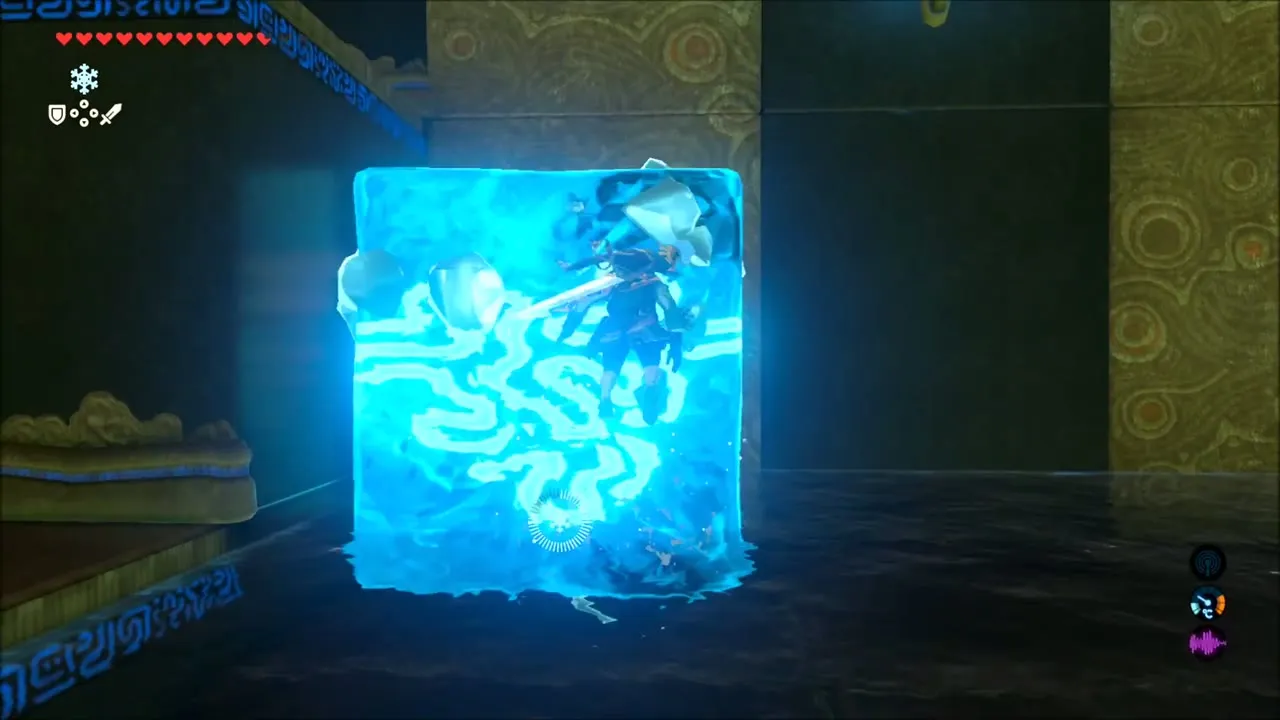
The trial is Steady Thy Heart. Light the torch with a fire weapon, cross the roller and stand on the switch, then fight the Guardian Scouts. Use Cryonis to climb, avoid the spiked roller, and use a Bomb Arrow on the breakable blocks to reach the last chests.
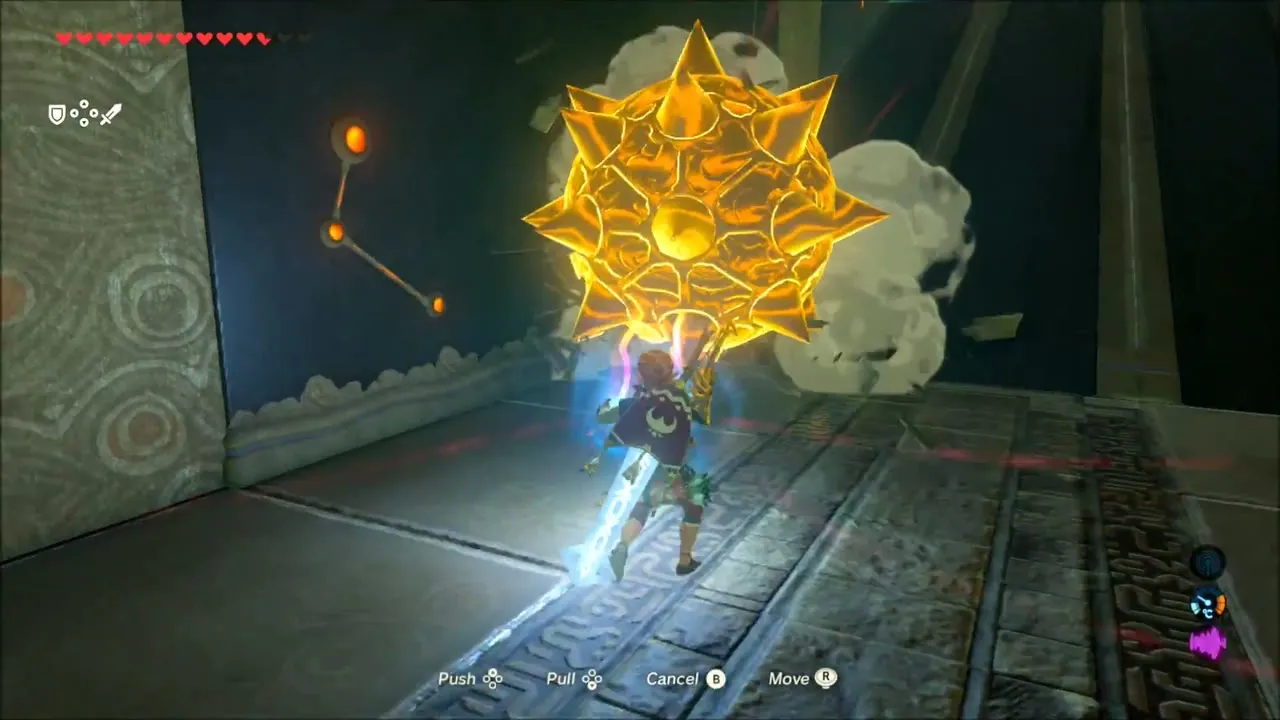
The chests hold arrows, a Diamond and an Ancient Core, and the monk awards the Spirit Orb.