100% Completion Walkthrough21 chapters
- Great PlateauAll 4 Shrines, the Paraglider and Korok Seeds
- Kakariko Village and Dueling PeaksSeek Out Impa, Shrines and Korok Seeds
- Hateno VillageHateno Tower, the Ancient Tech Lab, Link’s House and Shrines
- Zora’s DomainReach Zora’s Domain, Vah Ruta, Lanayru Shrines and Korok Seeds
- Faron and Lurelin VillageLurelin Village, Faron Tower, Shrines and Korok Seeds
- Korok Forest and Master SwordHow to Get the Master Sword, Lost Woods, Shrines and Korok Seeds
- Hebra MountainsHebra Tower, Snowfield Stable, Shrines and Korok Seeds
- Rito Village and Vah MedohVah Medoh, Tabantha Tower, Shrines and Korok Seeds
- Gerudo HighlandsGerudo Tower, Gerudo Summit, Shrines and Korok Seeds
- Gerudo TownForbidden City Entry, the Thunder Helm, Desert Shrines and Korok Seeds
- Vah Naboris and Gerudo DesertThunderblight Ganon and the Gerudo Desert Shrines
- Lake HyliaLake Tower, Farosh, Lake Shrines and Korok Seeds
- Akkala and Tarrey TownTarrey Town, Akkala Tower, Shrines and Korok Seeds
- Death Mountain and Goron CityGoron City, Vah Rudania, Eldin Shrines and Korok Seeds
- RidgelandRidgeland Tower, Shrines, Memories and Korok Seeds
- Central HyruleCentral Tower, Captured Memories, Shrines and Korok Seeds
- Hyrule Castlethe Hylian Shield, Saas Ko’sah Shrine, Zelda’s Diary and Memories
- Calamity GanonLast Side Quests, Destroy Ganon and the Final Boss
- All Hinox, Talus and Molduga LocationsEvery Hinox, Stone Talus and Molduga, for Kilton’s Medals of Honor
- Trial of the Sword and EX TreasuresThe Trial of the Sword and every EX Treasure location (DLC Pack 1)
- Champions’ BalladOne-Hit Obliterator, Champion Trials and the Final Trial
| Region | Hateno |
|---|---|
| Shrines | 9: Kam Urog Shrine, Myahm Agana Shrine, Muwo Jeem Shrine, Chaas Qeta Shrine, Tahno O’ah Shrine, Jitan Sa’mi Shrine, Dow Na’eh Shrine, Shee Venath Shrine, Shee Vaneer Shrine |
| Sheikah Tower | Hateno Tower |
| Korok seeds | 67 |
| Memories | Memory 1, Memory 2 |
| Towns and stables | Hateno Village |
This chapter of the 100% walkthrough covers the Hateno region in a route that collects everything along the way: 9 shrines, 67 Korok seeds, the Sheikah Tower and 2 memories, plus the quests, chests and minibosses you meet. Positions are map coordinates (x grows east, z grows south).
Fort Hateno Area: Stable Stop, Chests and Korok Seeds
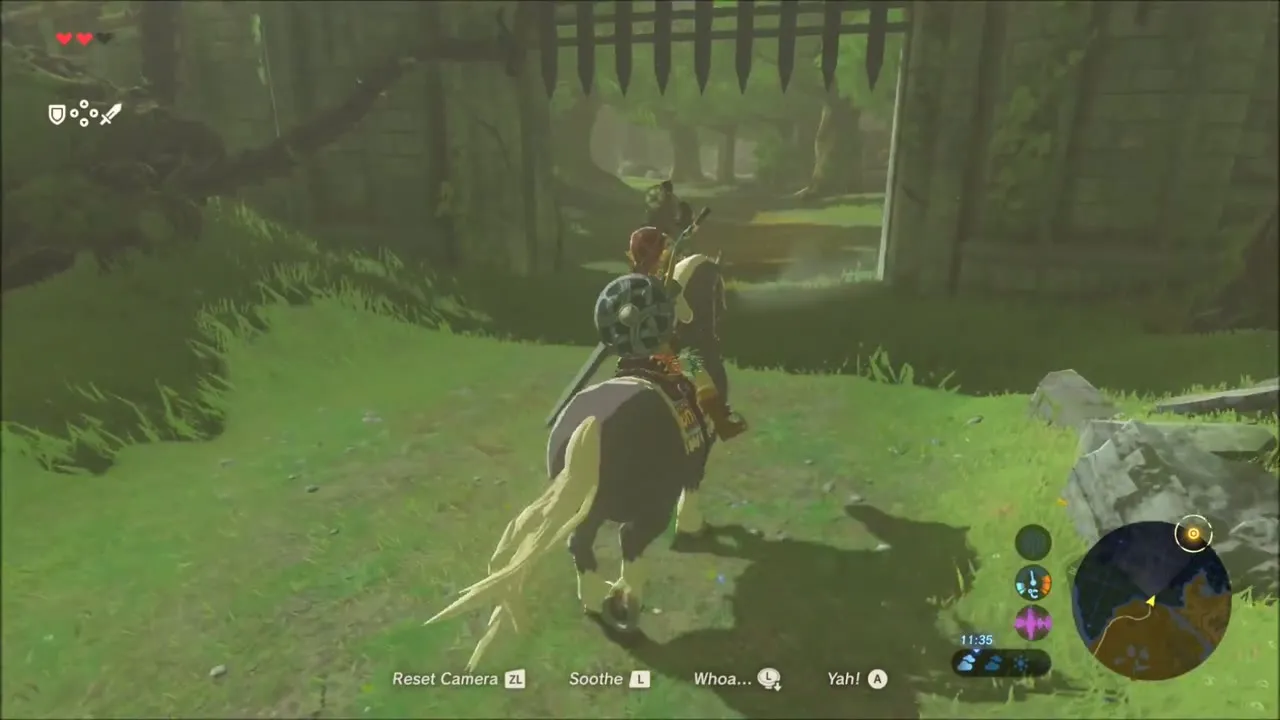
Before pushing on into the Hateno region, stop at the stable and sort out your mount: leave the horse you do not want in the stable’s care and pick the one you prefer from the roster when the stablehand asks which horse to take out. Then ride on to Fort Hateno, whose portcullis gate stands open over the road.

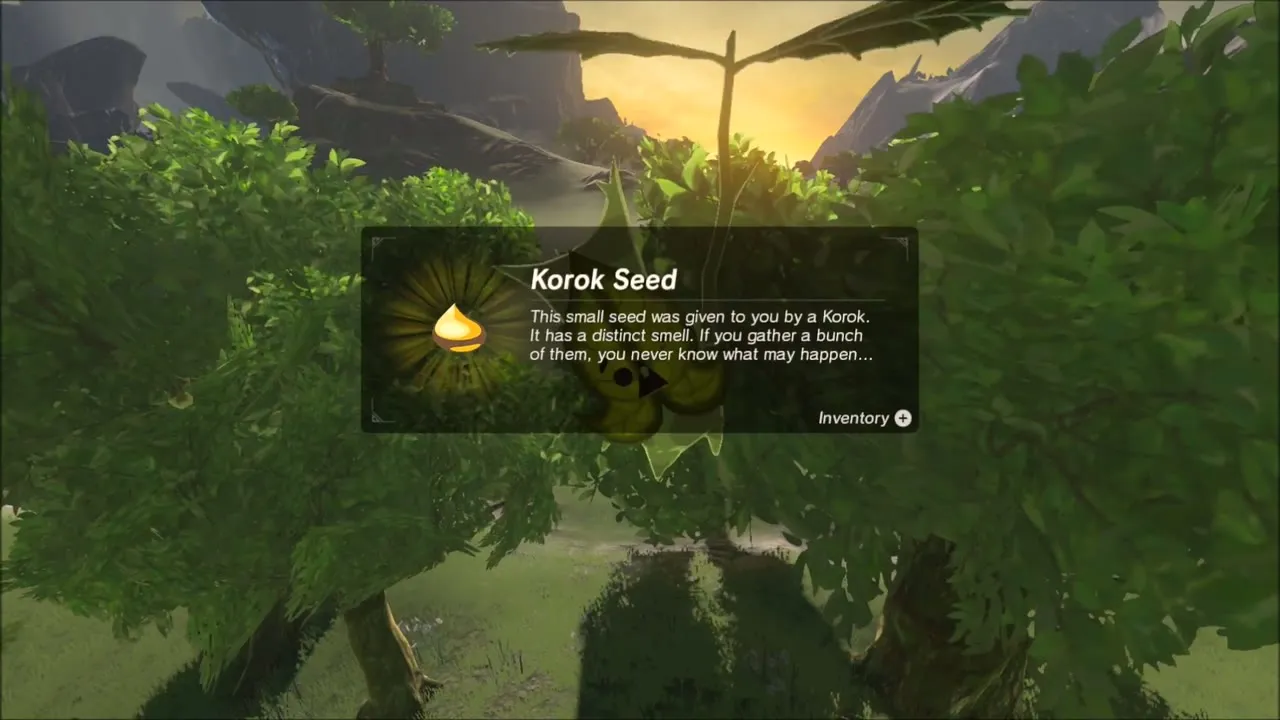
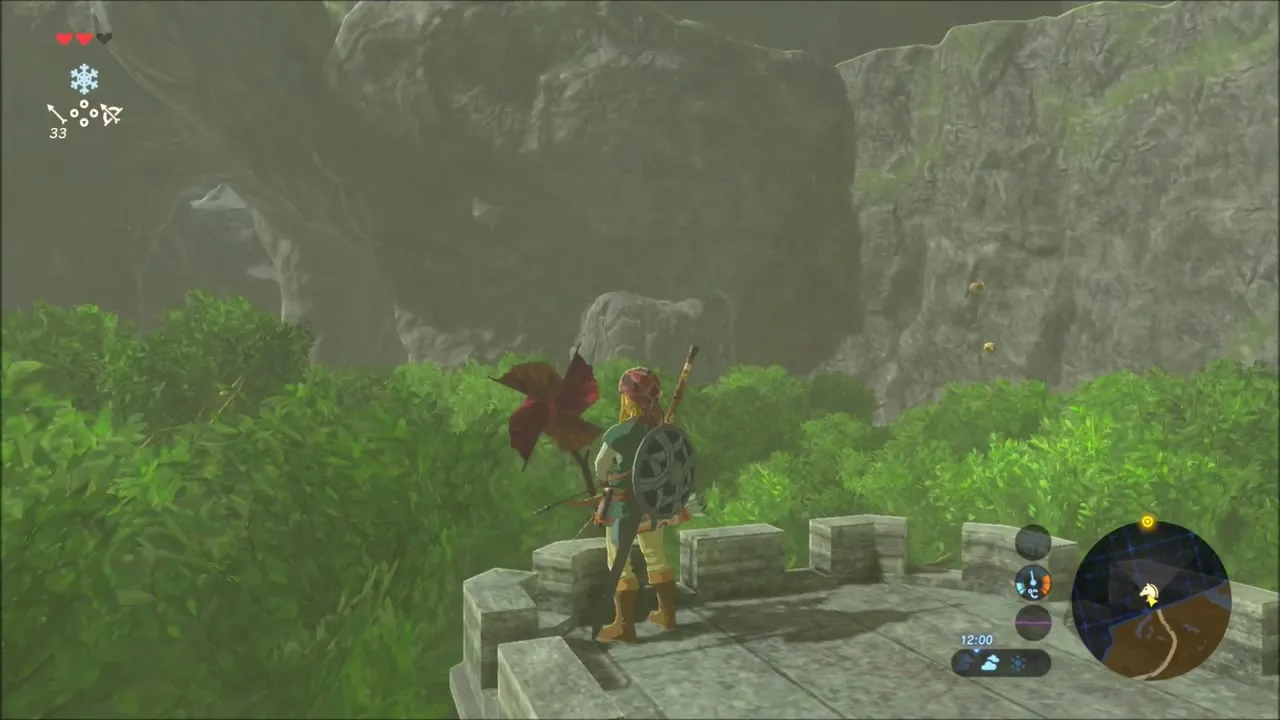
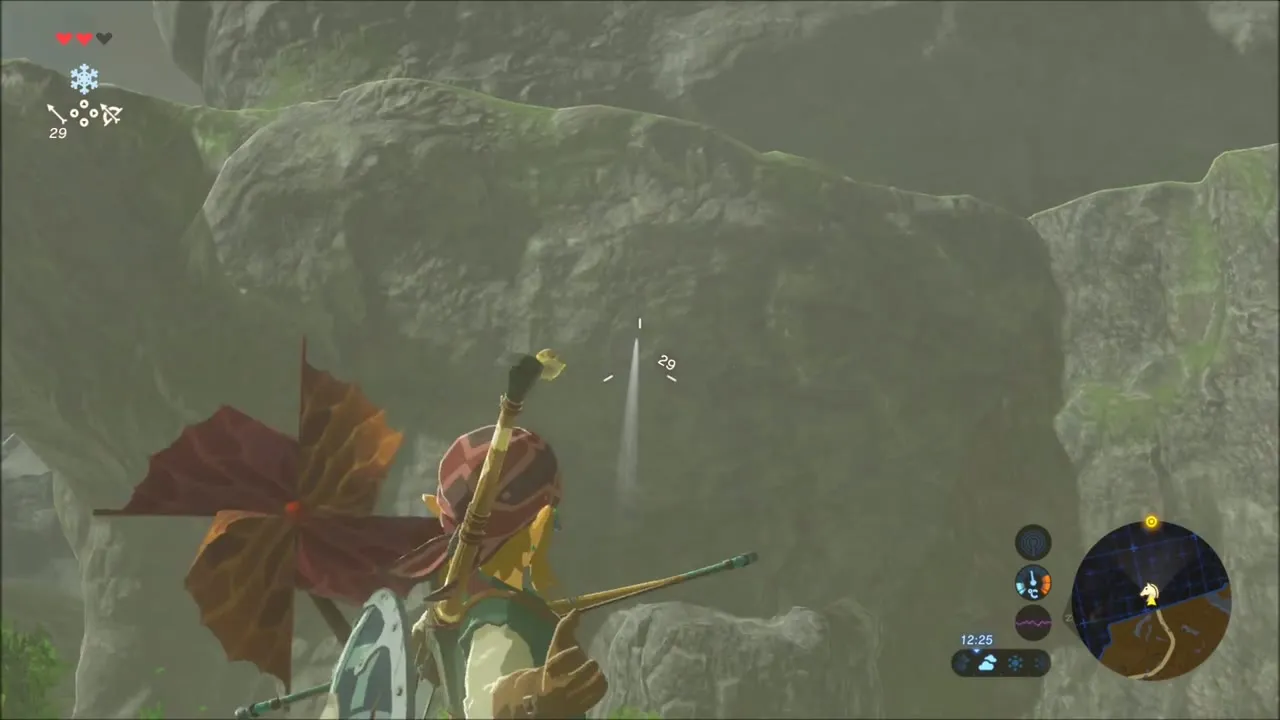
Korok seed on the Fort Hateno wall
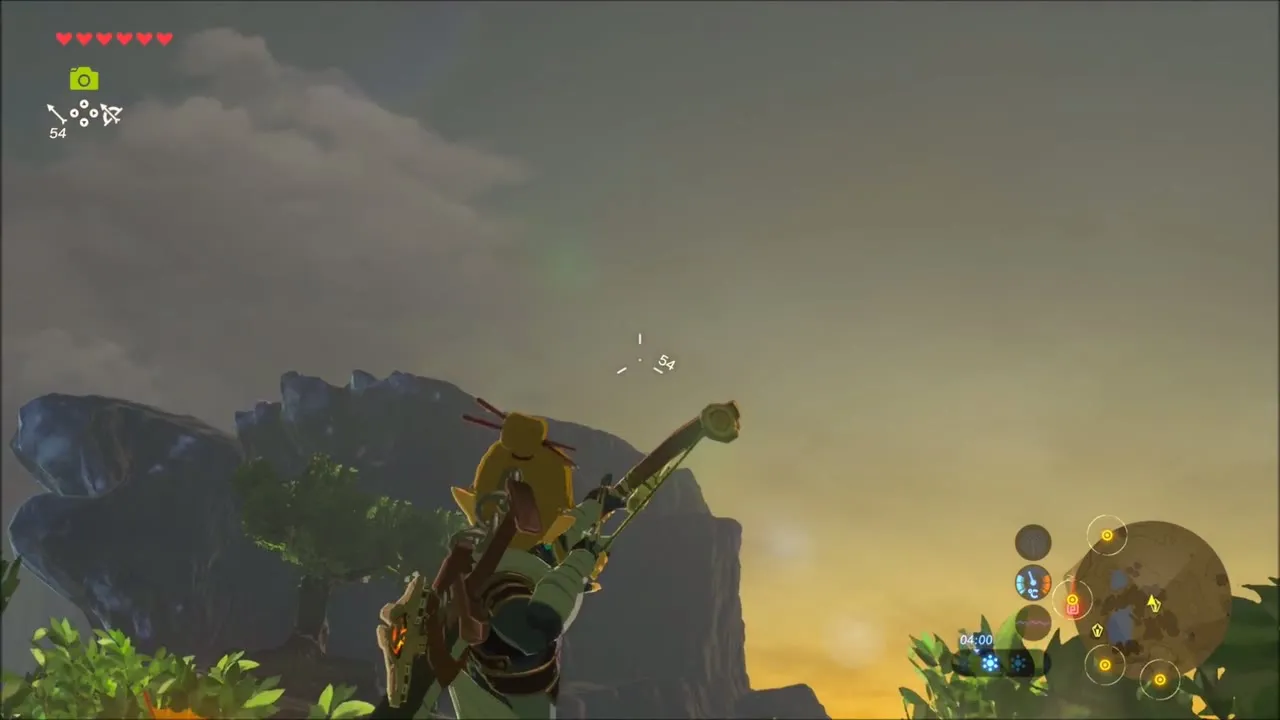
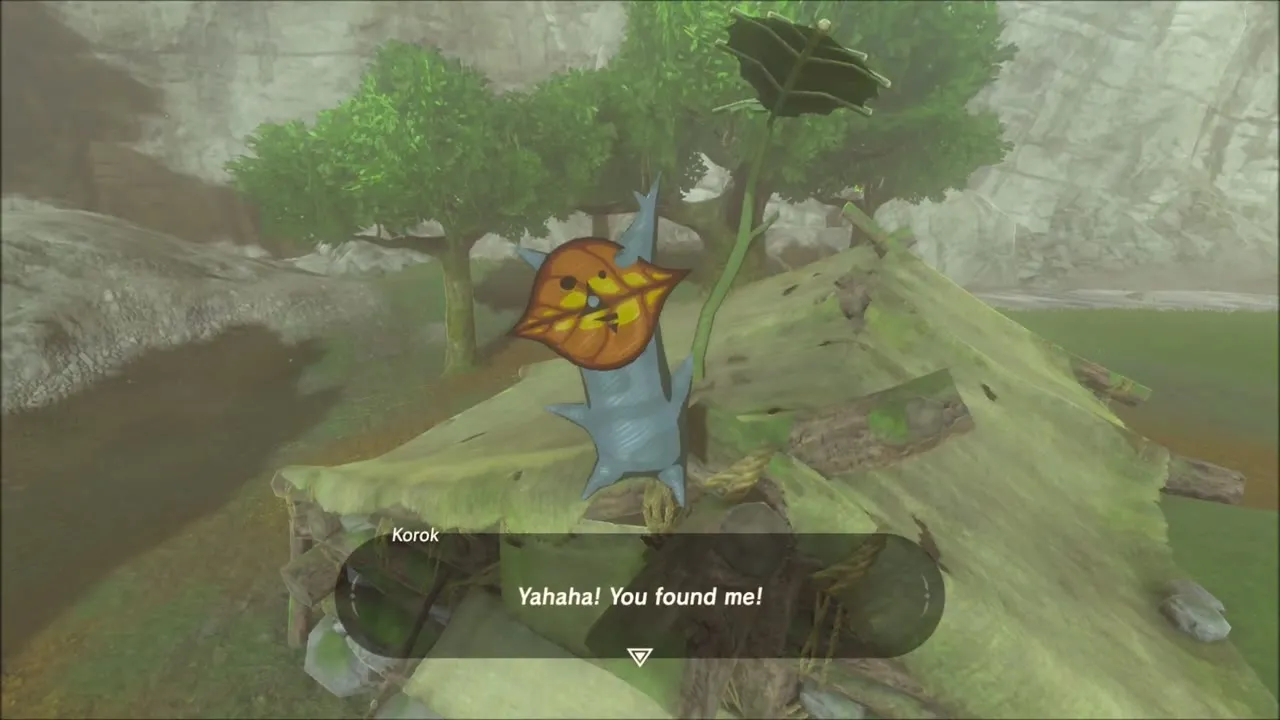
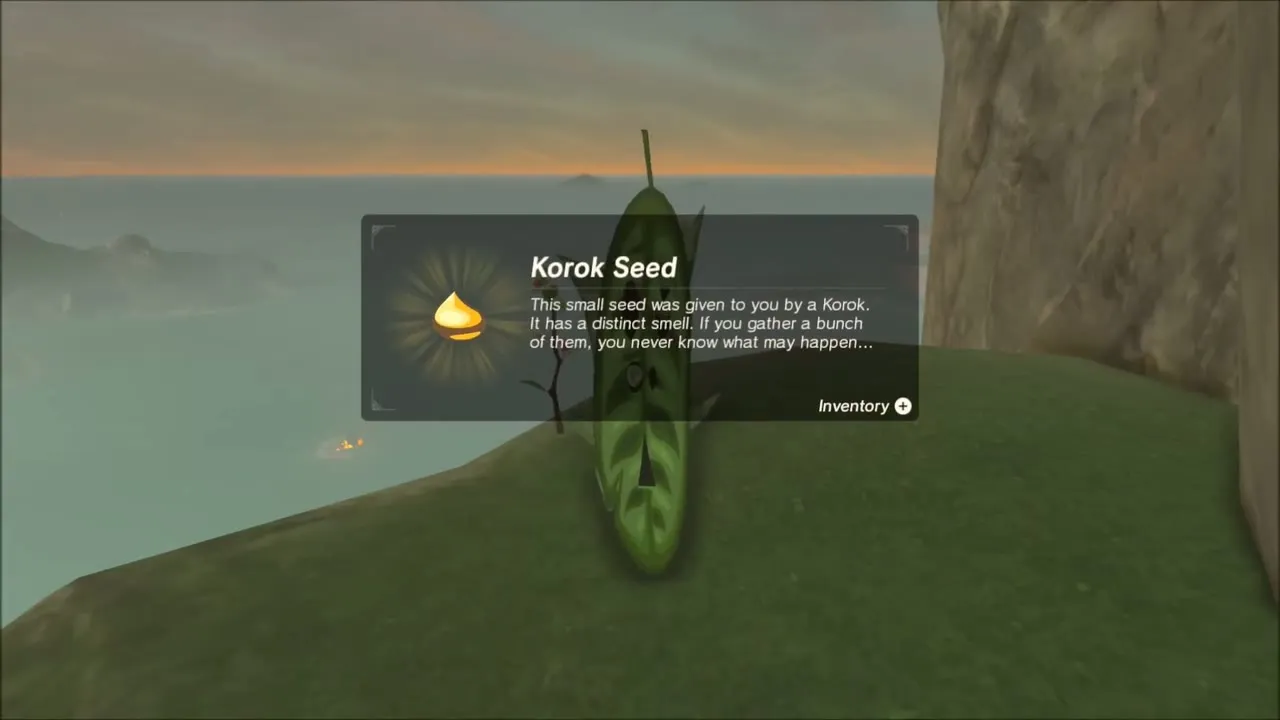
Climb onto the crumbling rampart of Fort Hateno and look across at the cliff face opposite. A small target is stuck high on the rock, so draw your bow and keep loosing arrows at it from the wall. Once it is hit, a Korok pops out of the trees below the fort and hands over a Korok seed.

Chests in the fort grounds
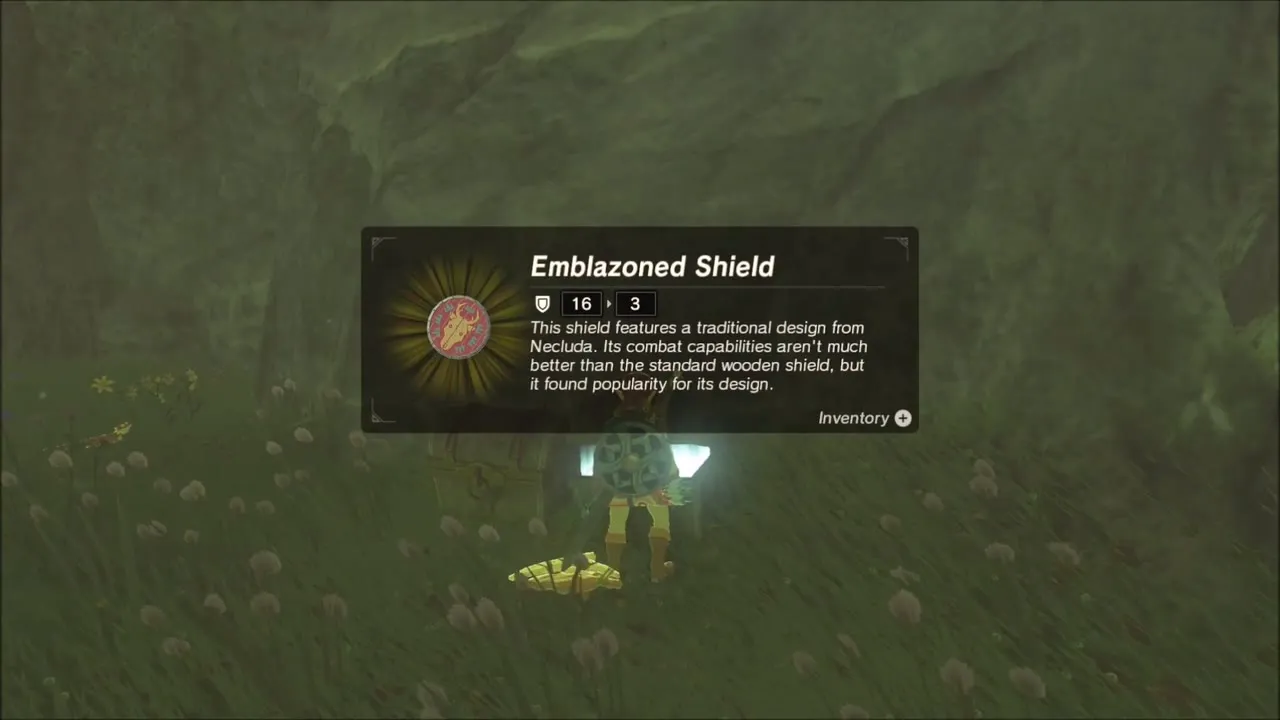
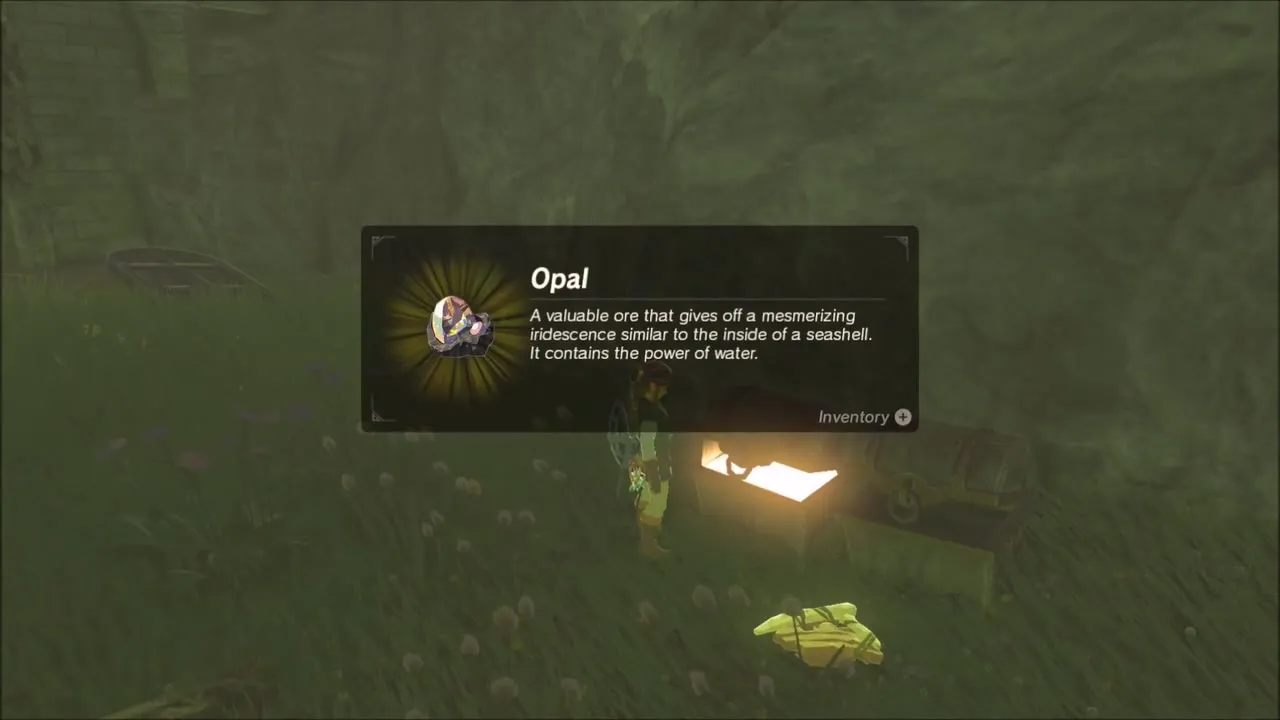
In the overgrown ground outside the fort, one chest holds an Emblazoned Shield and the chest beside it holds an Opal. Open both before you move on.
Korok seed: freeze the slab with Stasis
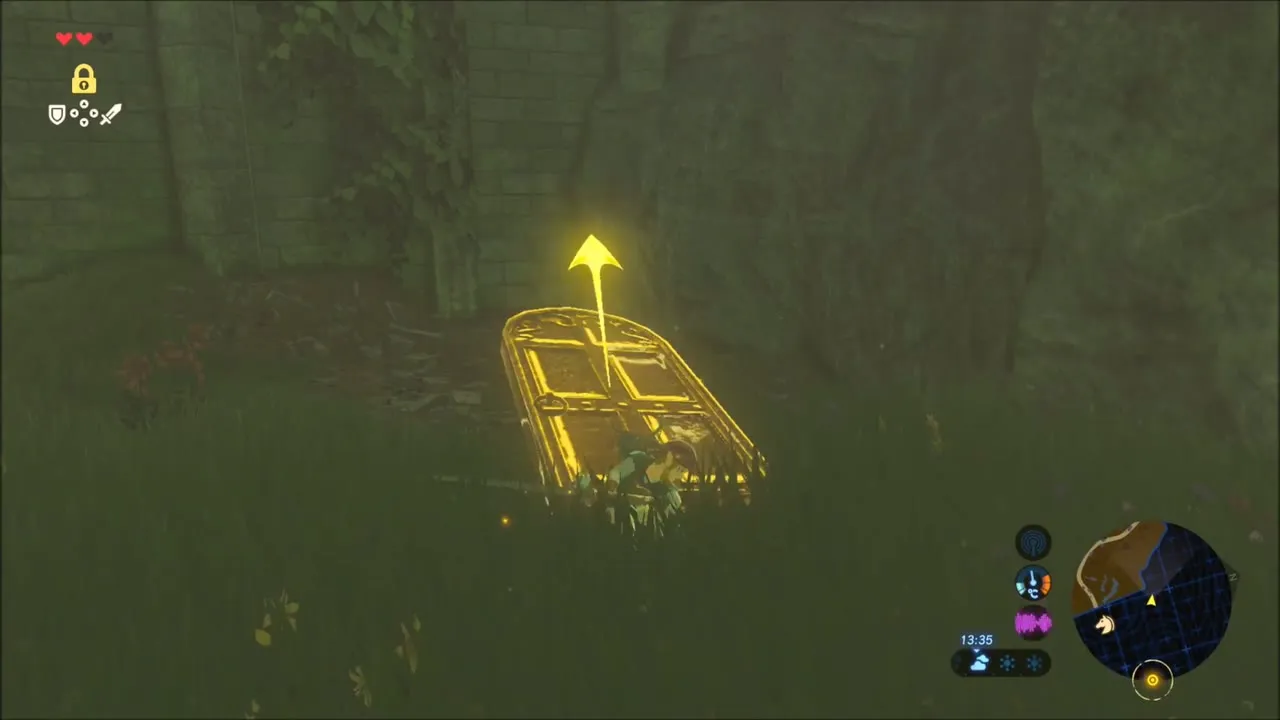
A few steps further, beside the old stone wall, a slab lies in the grass. Aim Stasis (Stop Time) at it and strike it so that it is flung away; the Korok that appears is good for another seed.


Korok seeds in the rocky hills
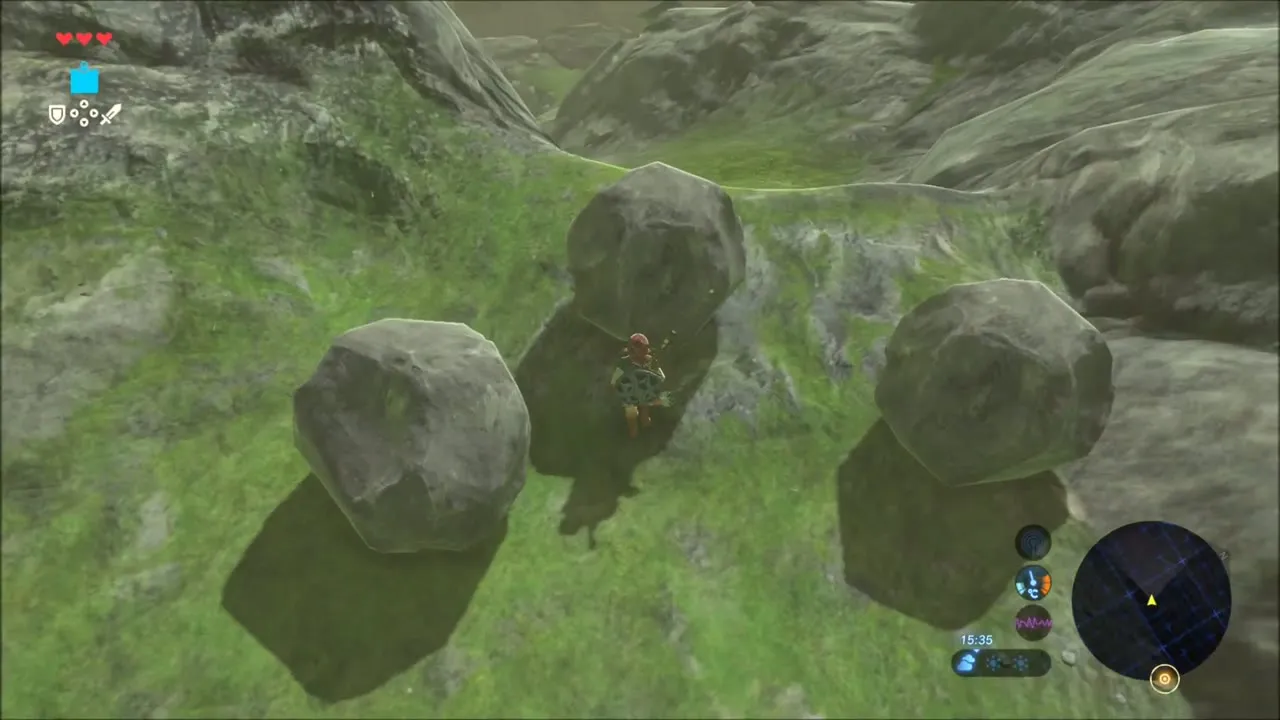
Head up into the yellow-grassed rocky slopes. Pick up the small rock lying on the slope and a Korok springs out of the ground there. Keep climbing and gliding on to a grassy ridge where several loose boulders sit; shove them aside and the next Korok is waiting on a rock shelf beside them.


Flint chest
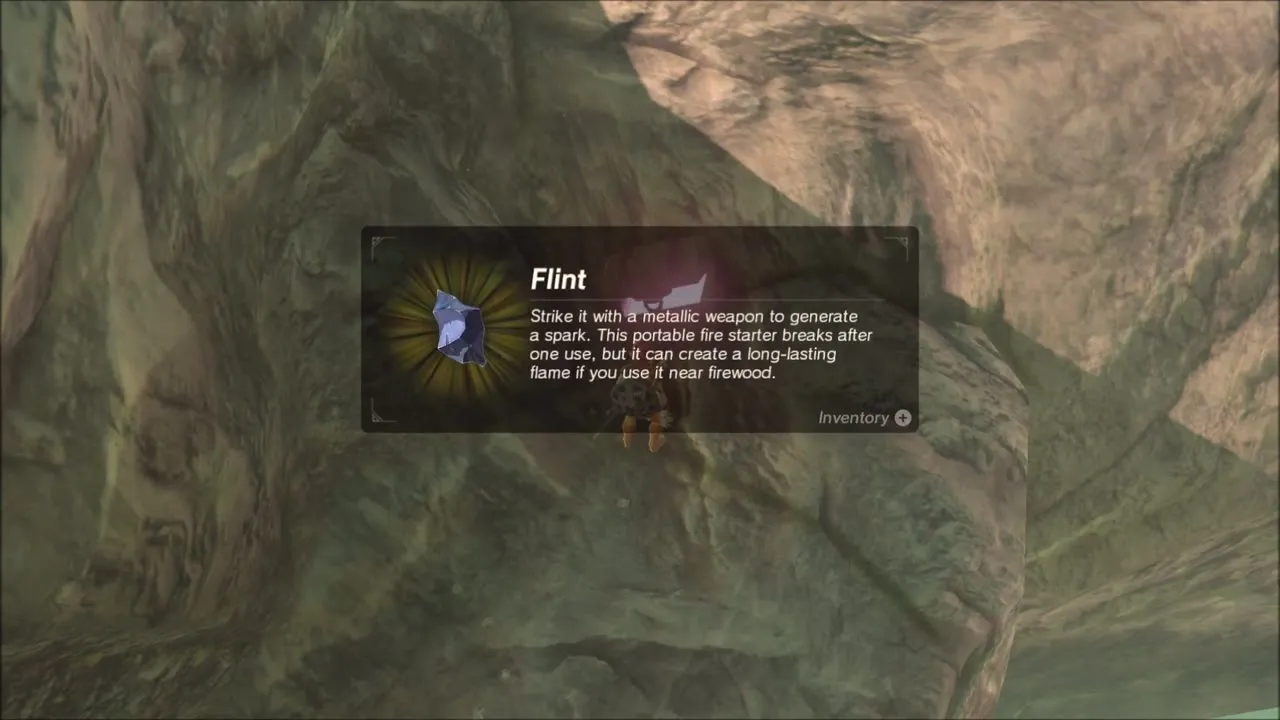
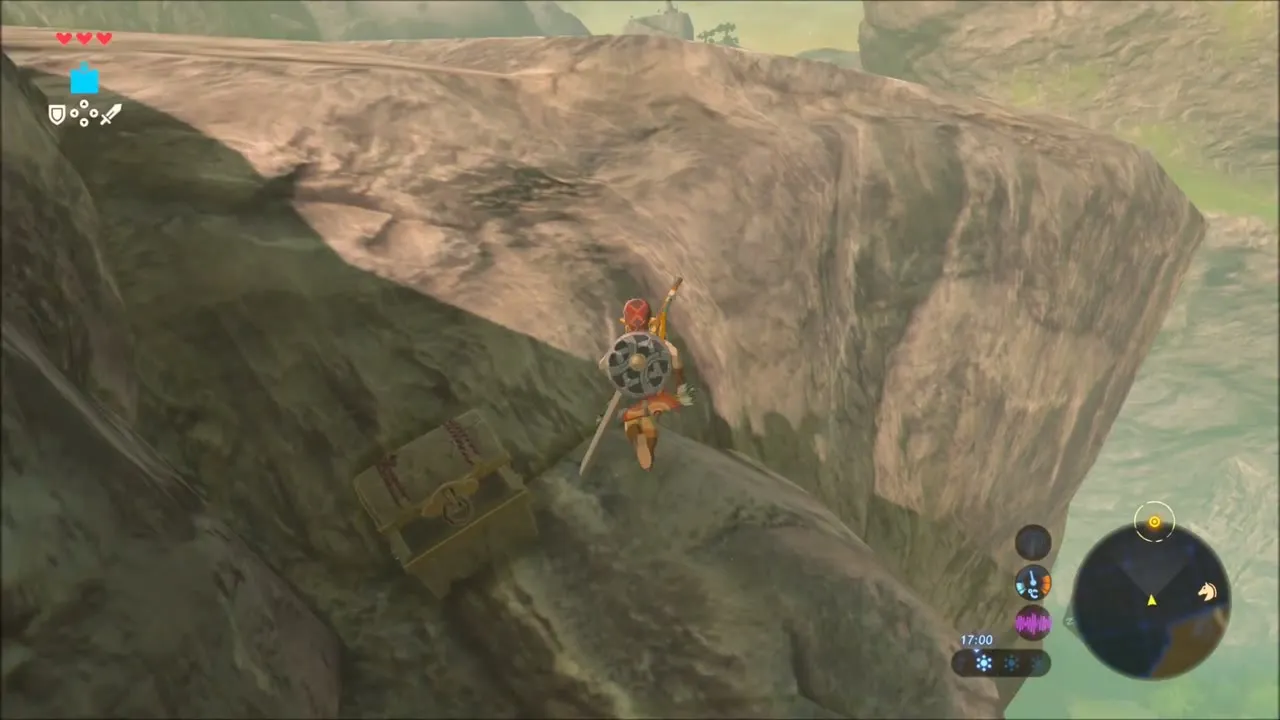
Follow the pale rock face around the hills until you find a cliff nook with a chest, which holds a piece of Flint.
The Cursed Statue and Kam Urog Shrine
Talk to Calip
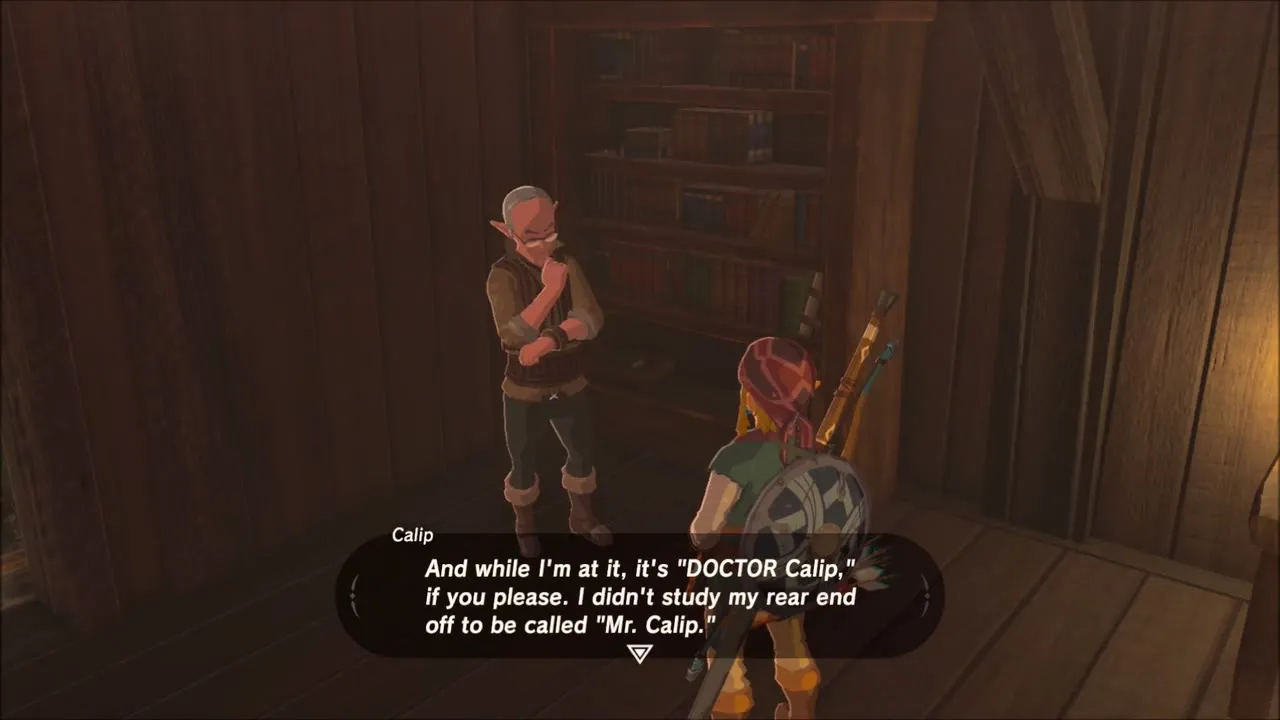
Walk into the wooded country by Fort Hateno and step into Calip’s hut. He insists on being called “Doctor”, and talking to him starts the shrine quest The Cursed Statue: you must shoot the statue whose eyes glow at night. The statues stand in the canyon north-west of Robred Dropoff.


Bokoblin camp and cave chests
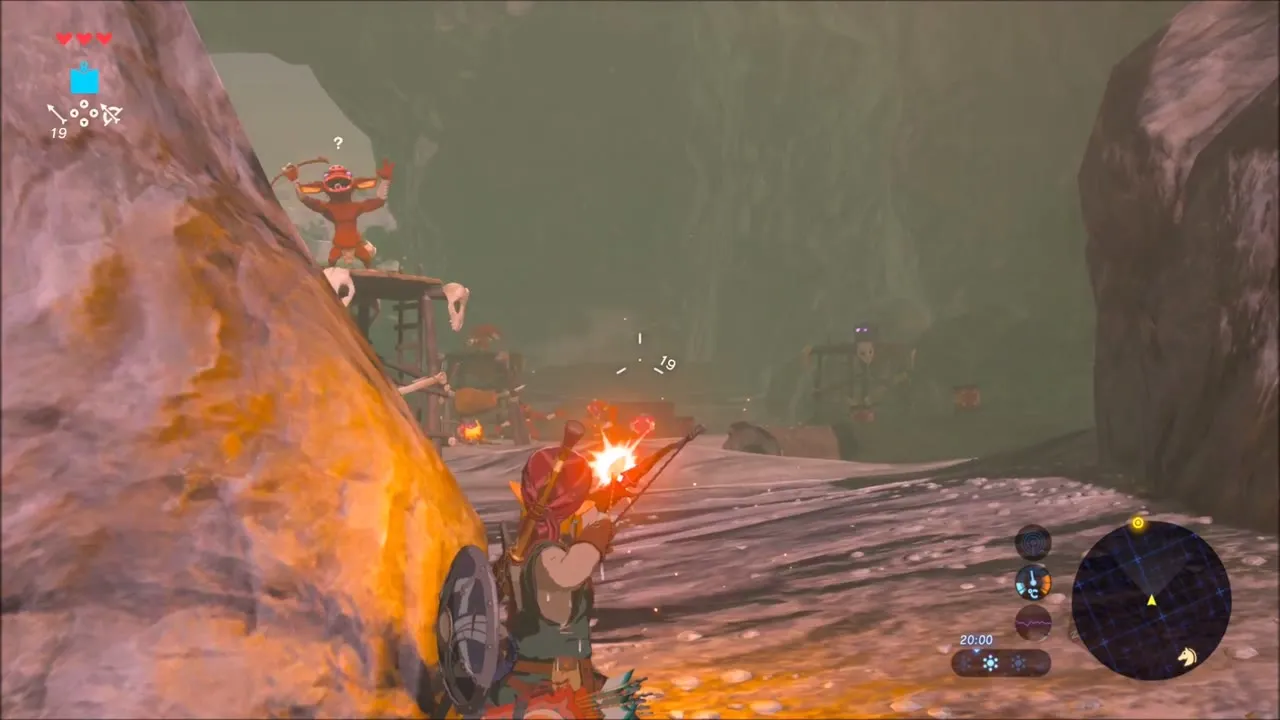
A Bokoblin camp sits in a rocky cave nearby. Fire Arrows make short work of its wooden lookouts and cooking fire, and a chest at the camp is yours once the Bokoblins are down. Collect the arrows and monster parts they drop before you leave.


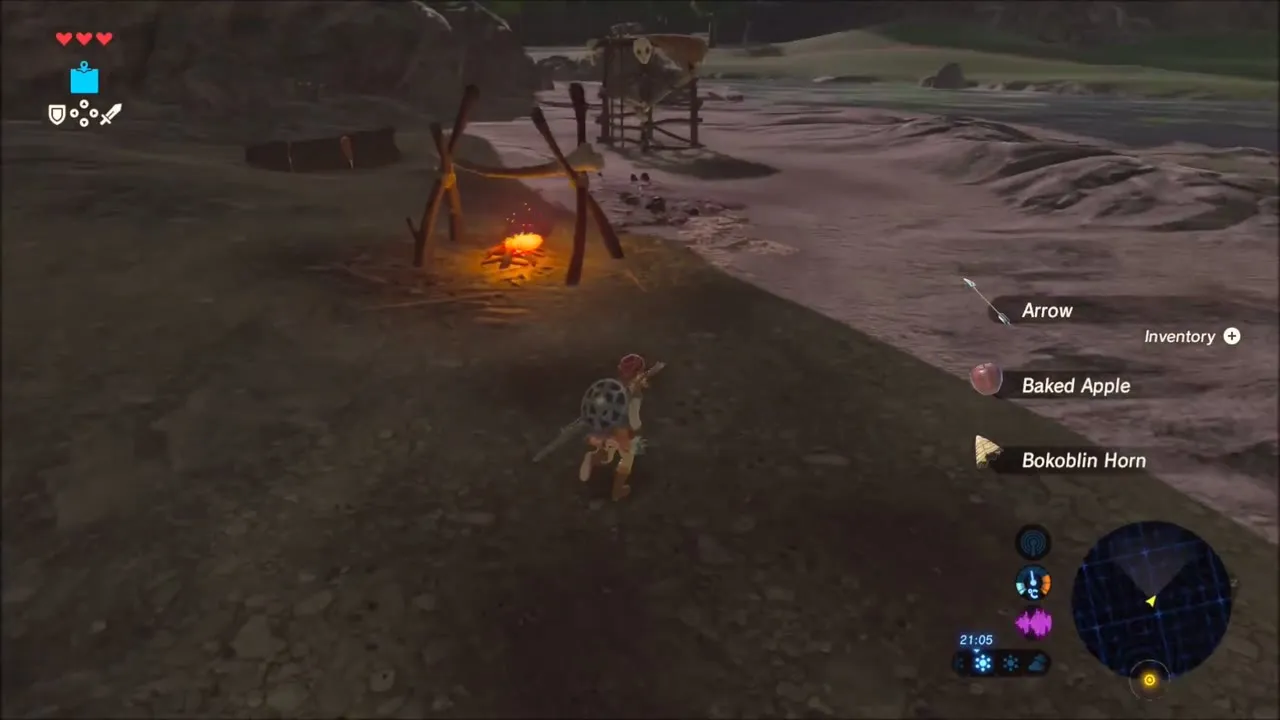
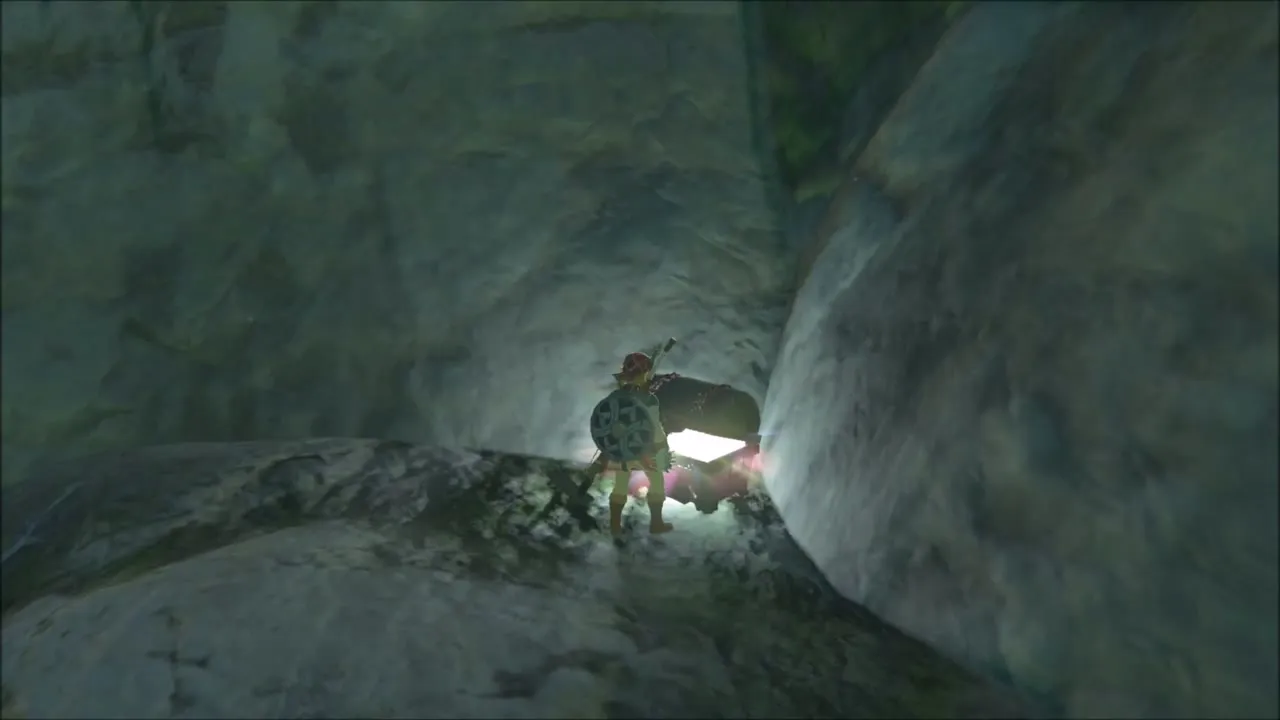
As night falls, work along the grassy hills above the canyon, dealing with the Bokoblins that roam the grass. A chest tucked into a cave along the way holds an Amber.

Korok seed in the statue cemetery
In the field of statues, a Korok hides at a pair of stone statues, one of which holds an apple on its offering dish. Take the apple and put it on the empty dish and the Korok pops out for a seed. It is close to the datamine position (2511, 1572).
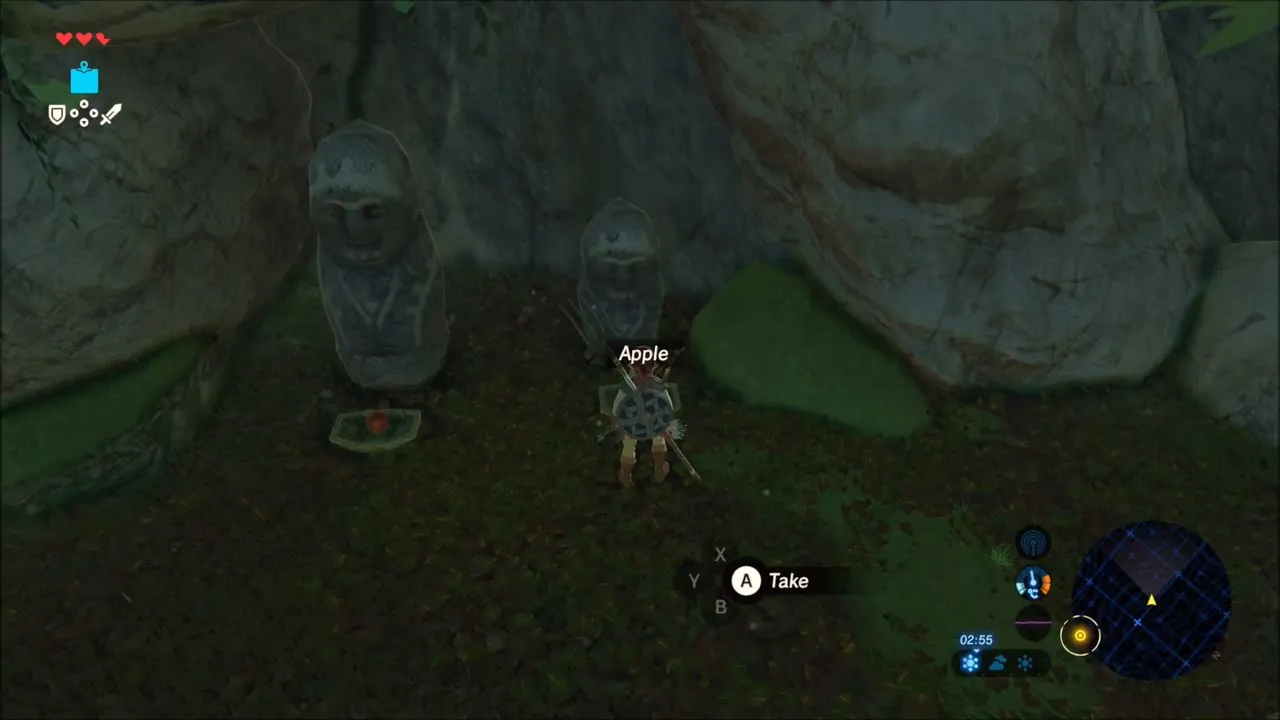
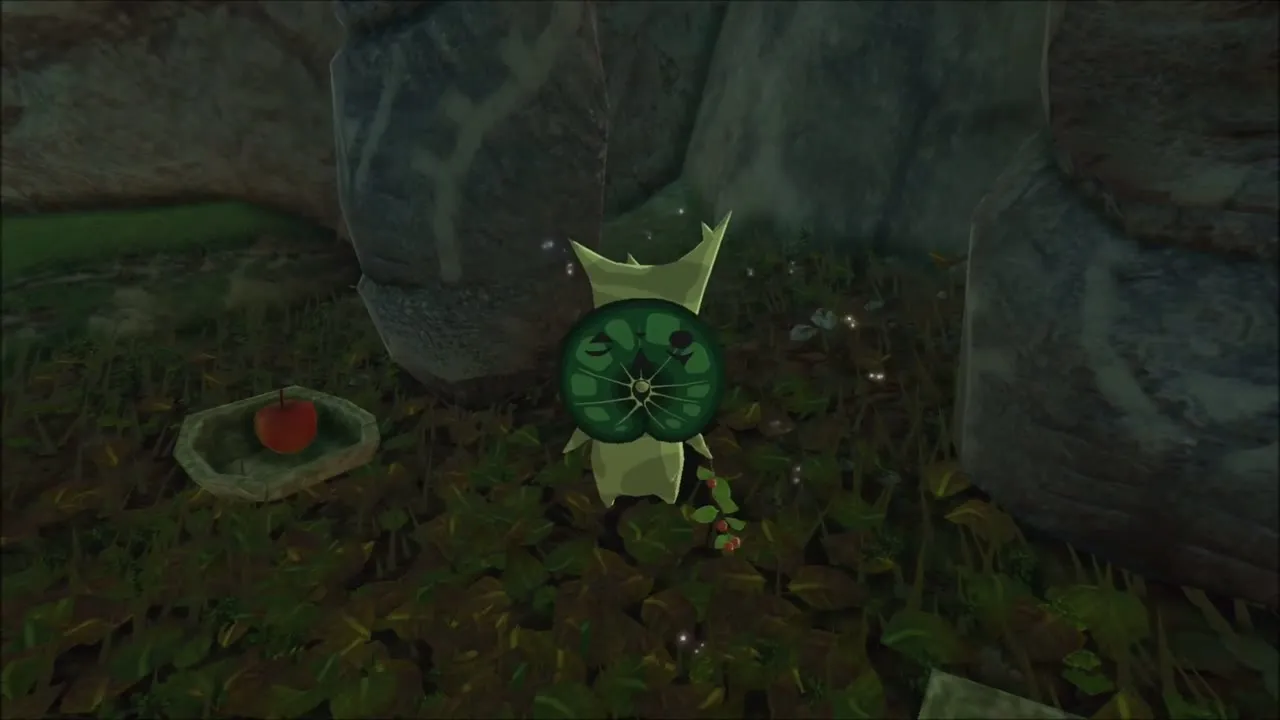
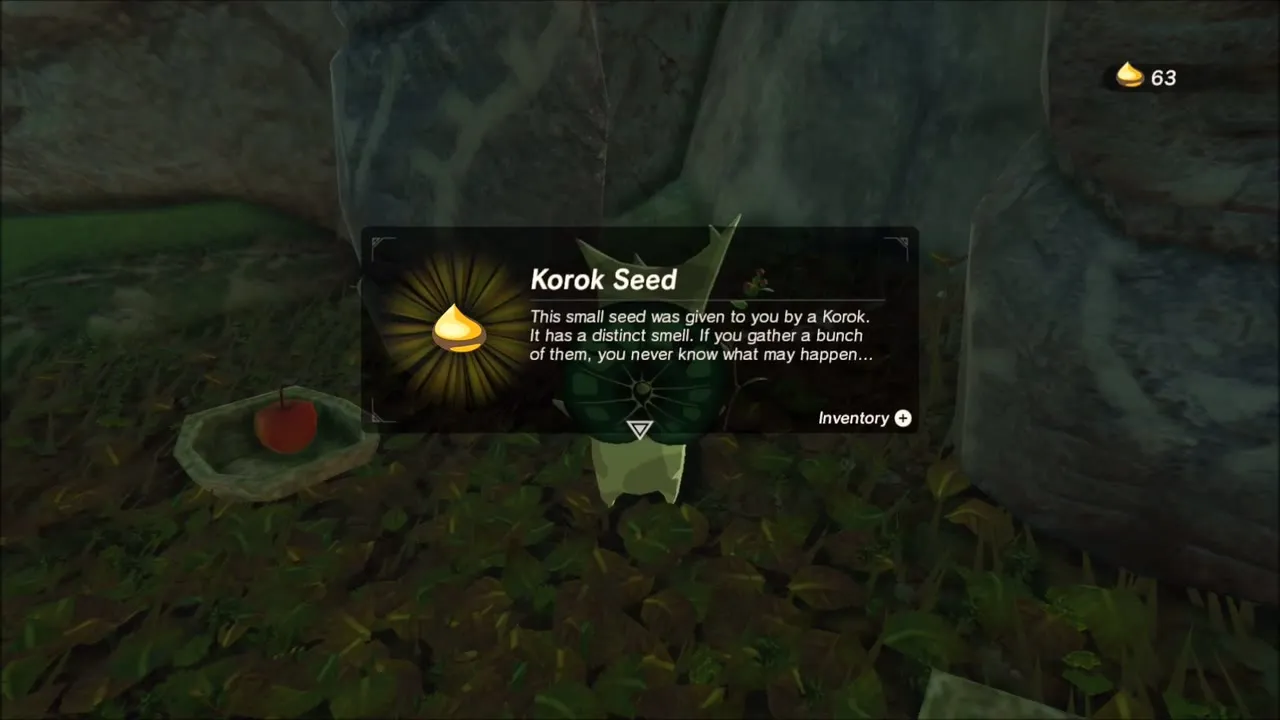
Find Kam Urog Shrine
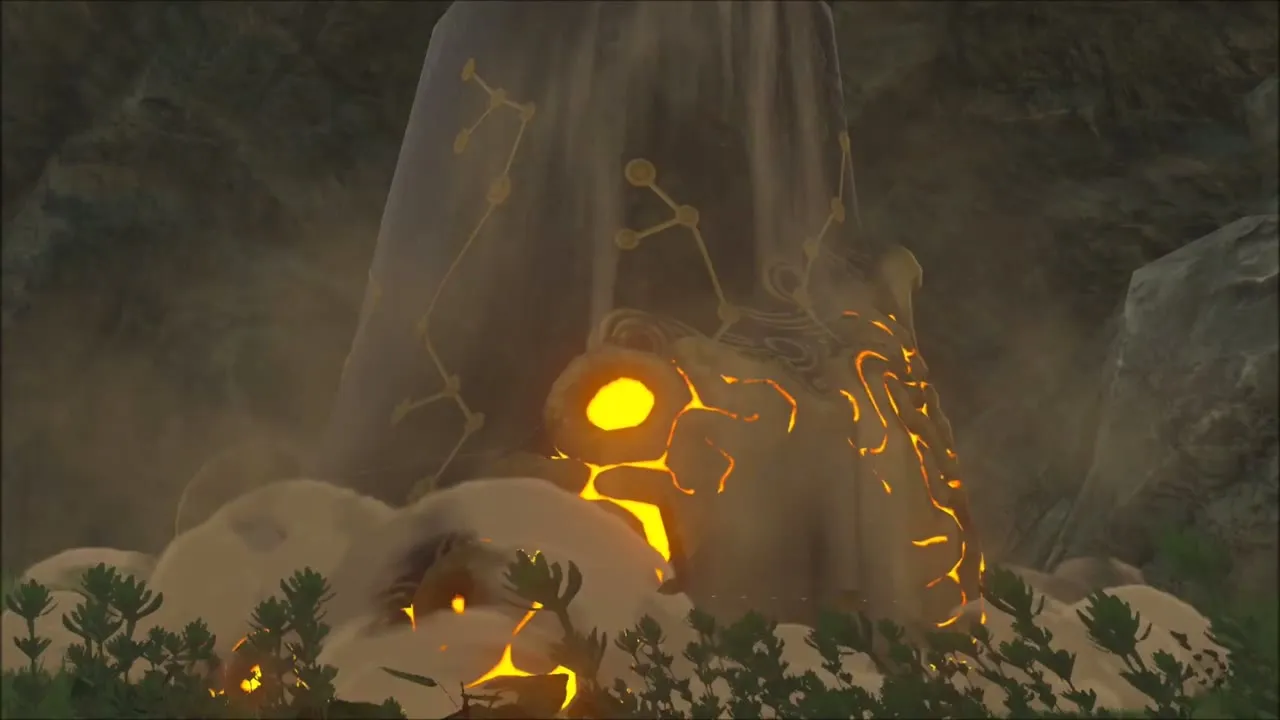
Walk through the statues and look for the one whose eyes glow in the dark. Shoot an arrow into it; that completes the quest and the Kam Urog Shrine rises out of the ground (x 2502, z 1496, height 128).
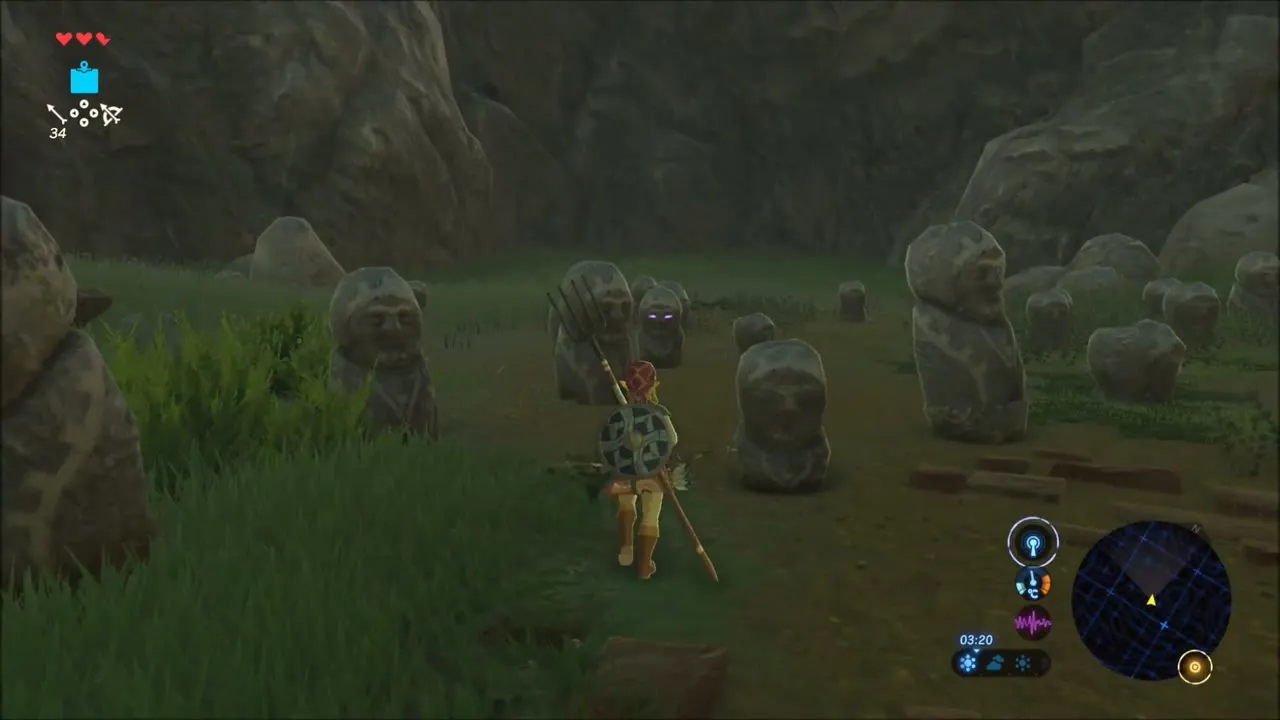

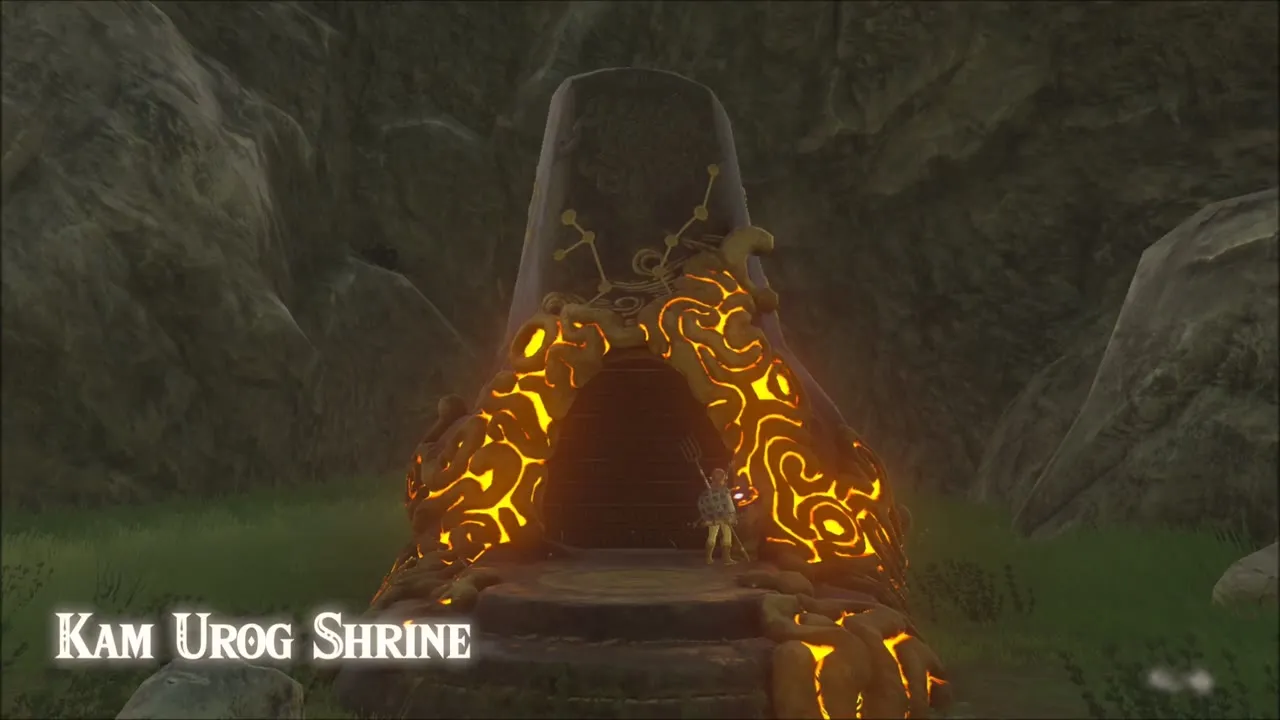
Kam Urog Shrine: Trial of Passage
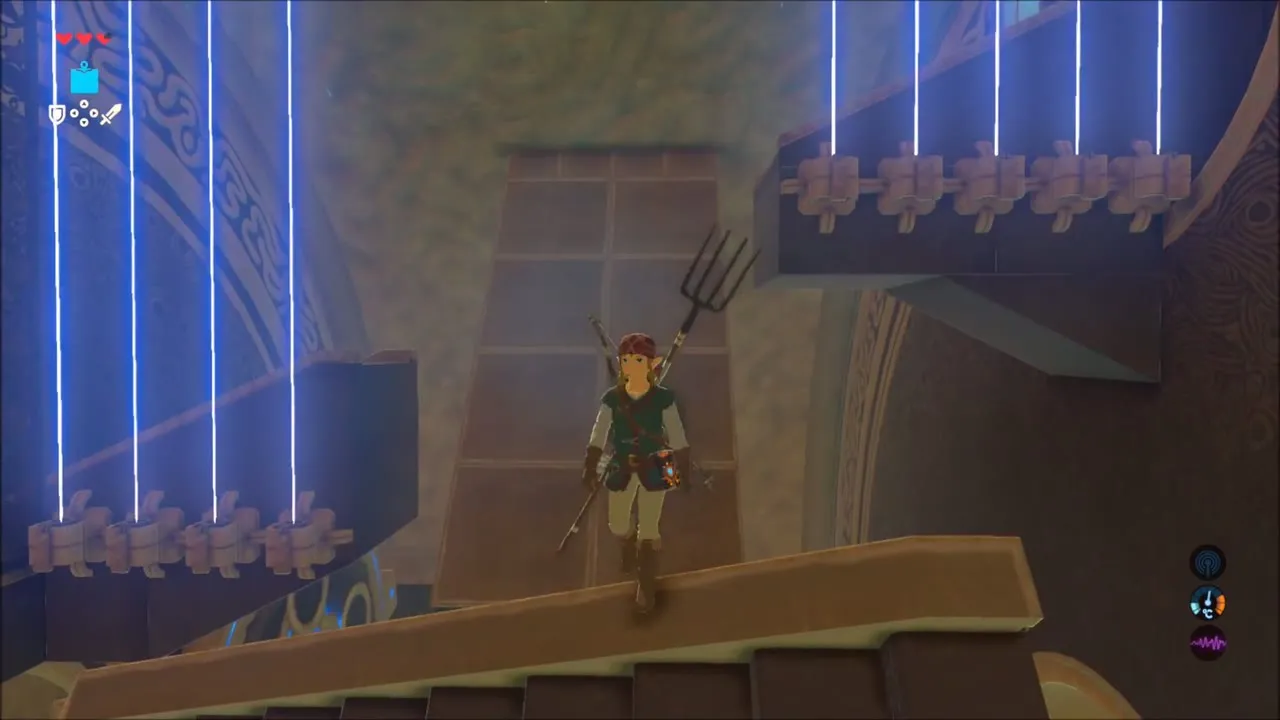
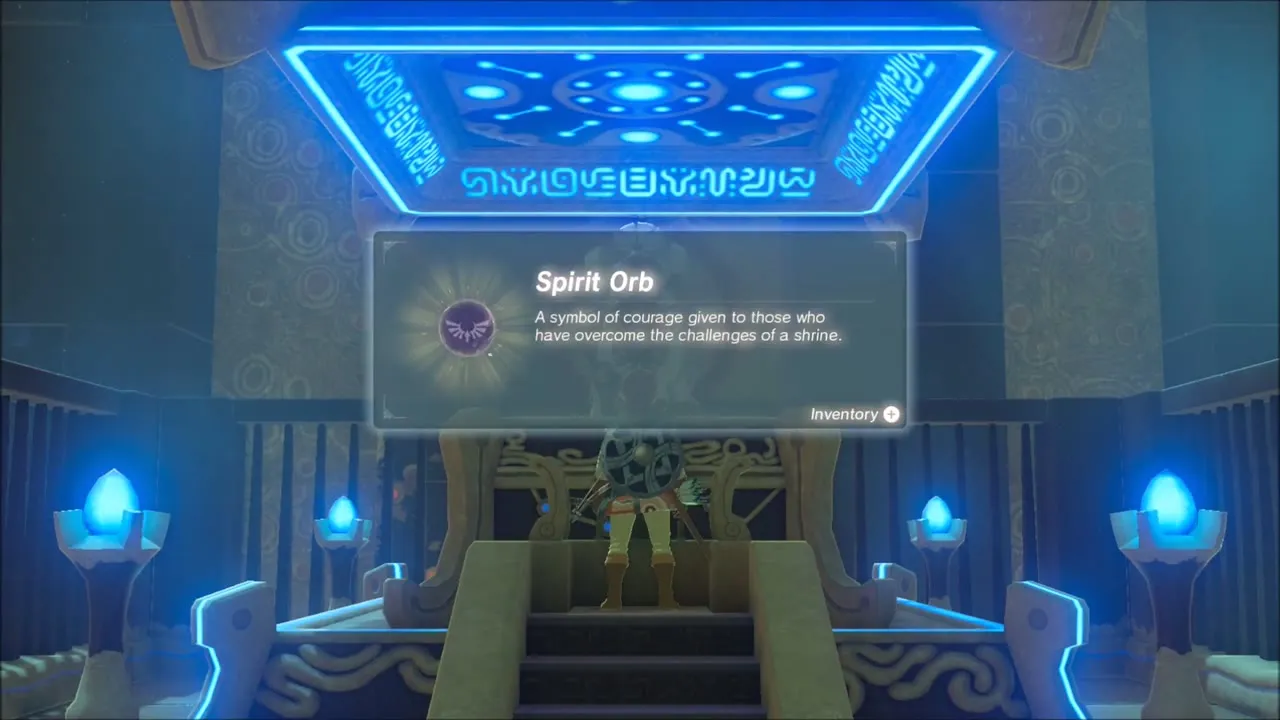
Inside, you must climb a huge turning clockwork wheel full of spiked balls and moving platforms. Chests on the way hold an Opal and a Soldier’s Spear (tier set by difficulty scaling), and Stasis freezes the wheel so you can run up to the monk. The altar gives you a Spirit Orb.



Cliffs of Quince: Stone Talus and Hateno Tower
Korok seed with Magnesis
Climb out of the canyon and glide to a grassy hillside. Part of the cliff there is a wall of stacked stone cubes, with a metal block among them. Use Magnesis on that block and pull it out to reveal the Korok.


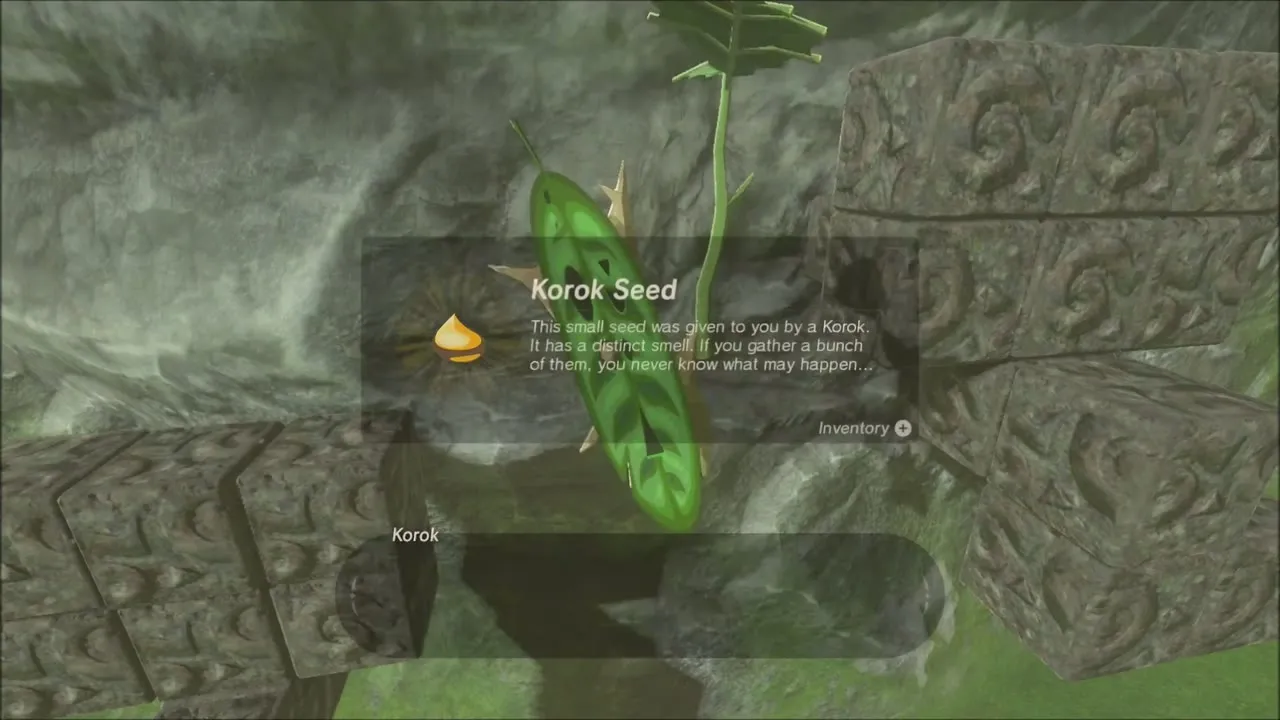
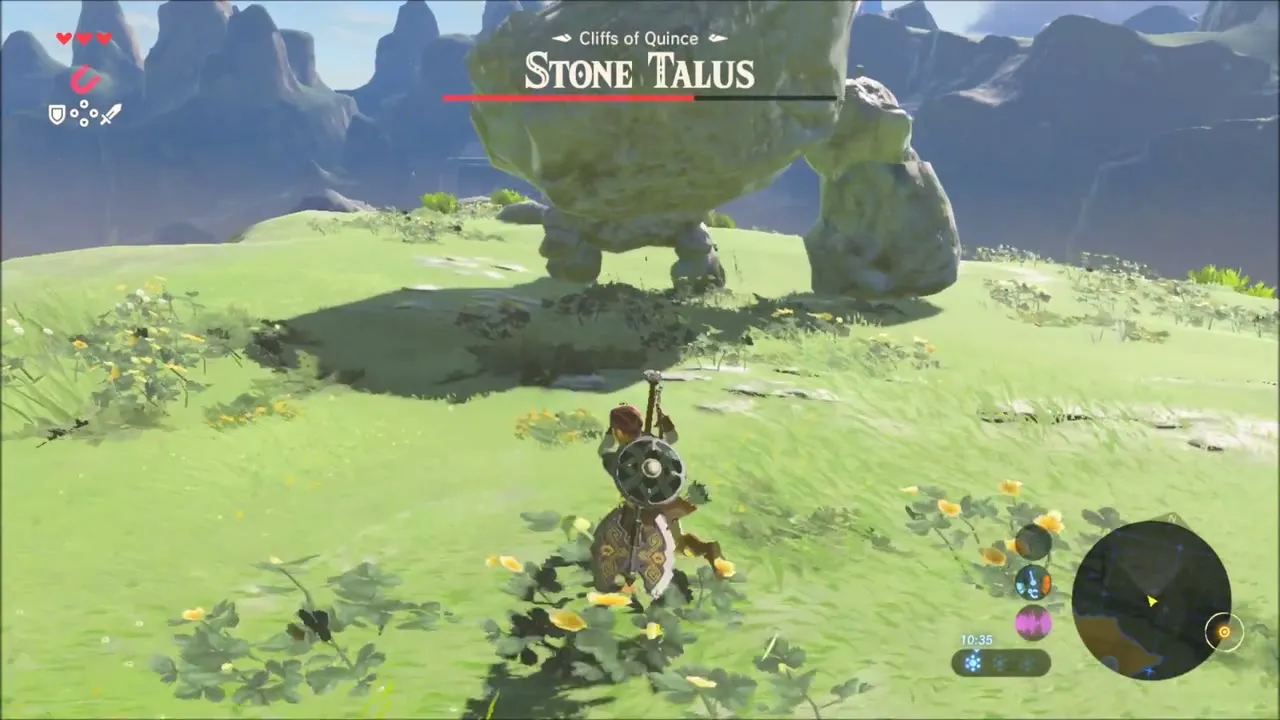
Stone Talus
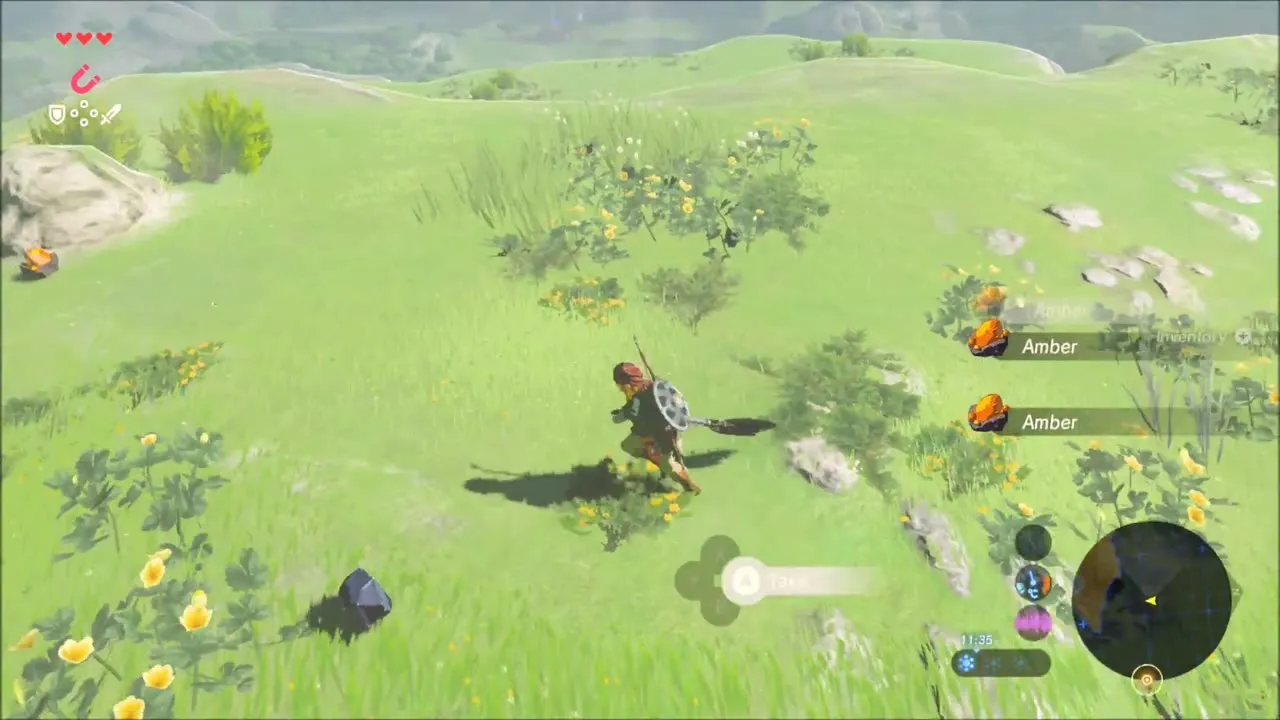
Further along, in the Cliffs of Quince area, a Stone Talus rises out of the grass. Climb its body and attack the glowing ore on its back; when it crumbles, Amber and an Opal are left among the rubble.
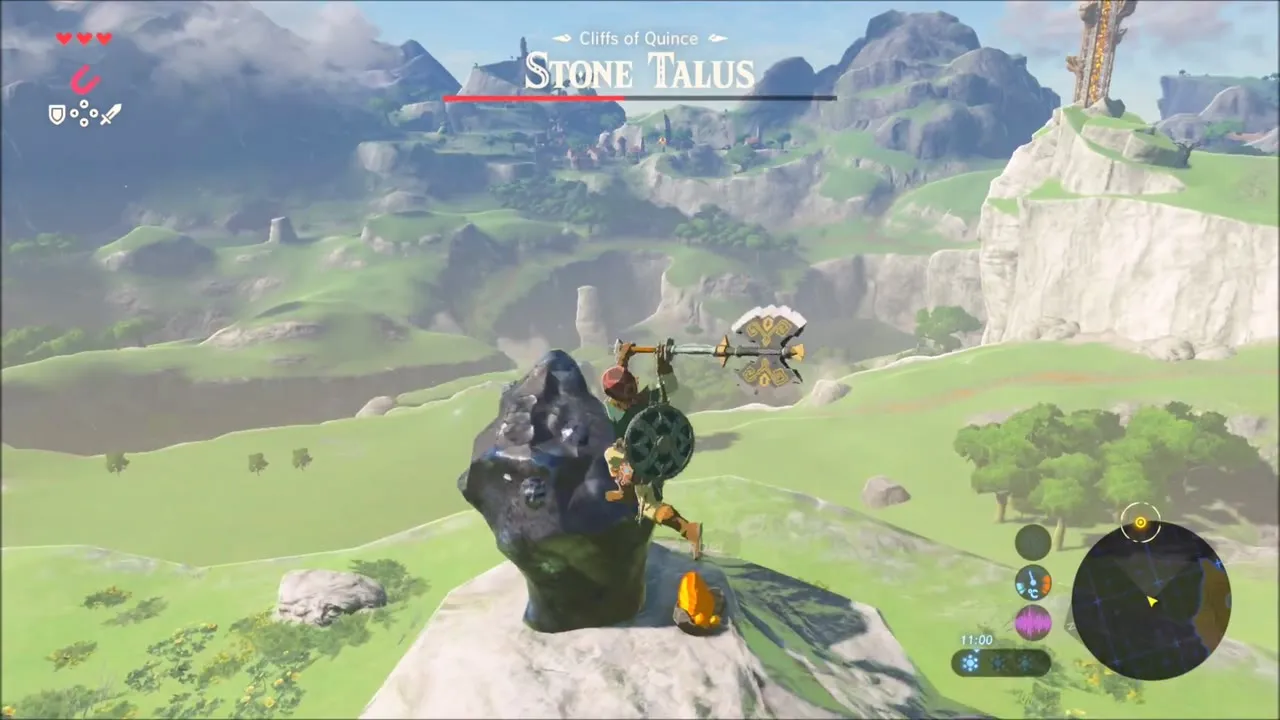

Light Hateno Tower
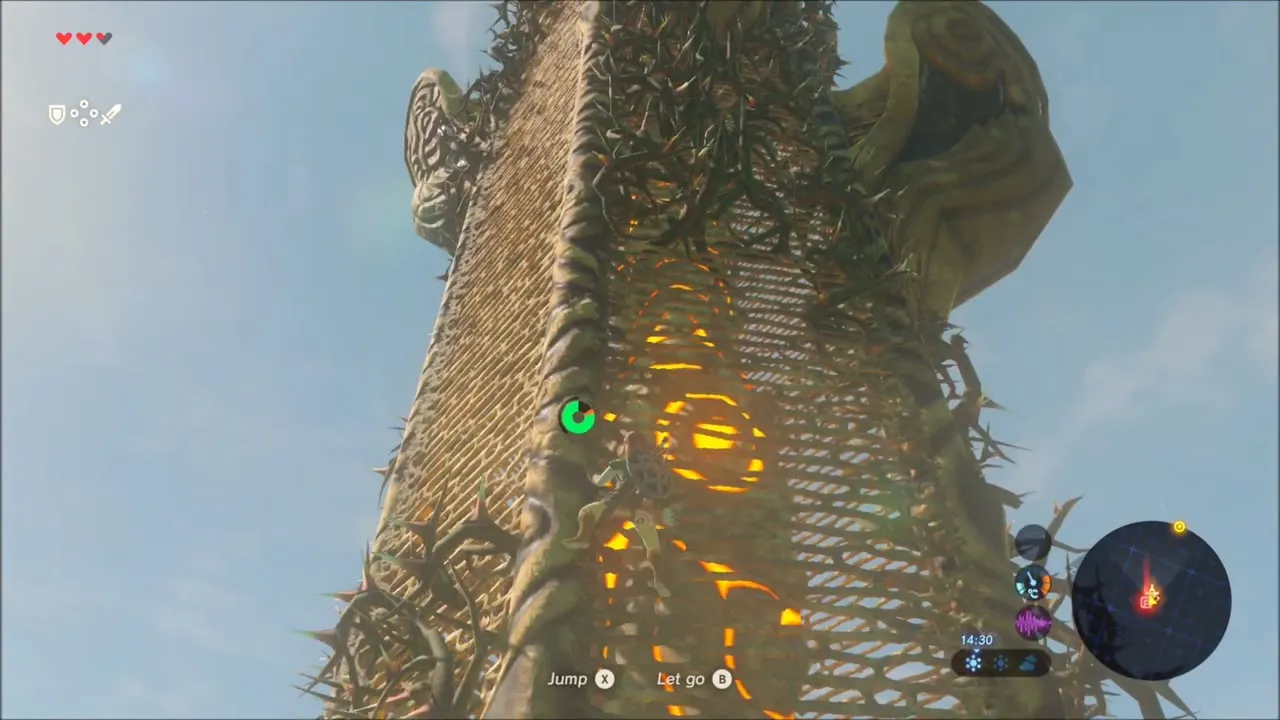
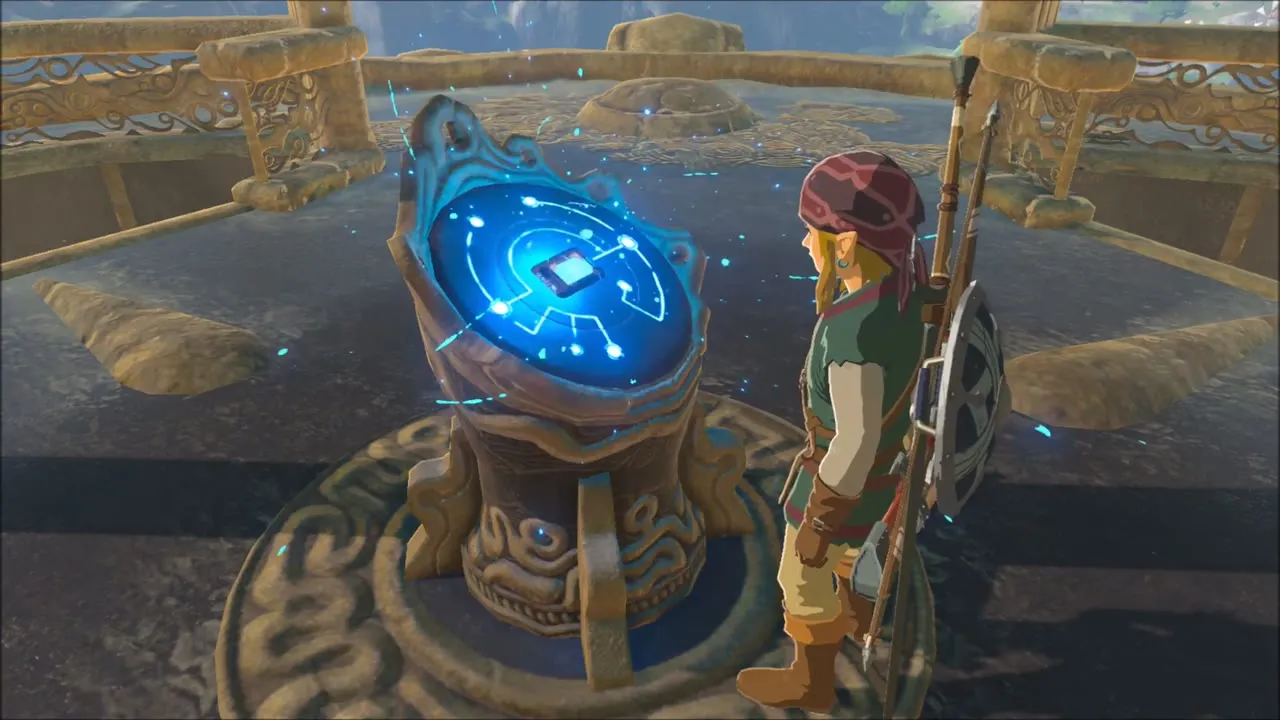
Follow the slope toward Hateno Tower (x 2736, z 2134), dealing with a Bokoblin and a Moblin on the way. The tower is wrapped in thorny brambles, so climb its face, step to the terminal at the top, and activate it to download the Hateno map.


Ruins by the Lake: Raft Chests and Korok Seeds
Korok seed with Magnesis at the ruined wall
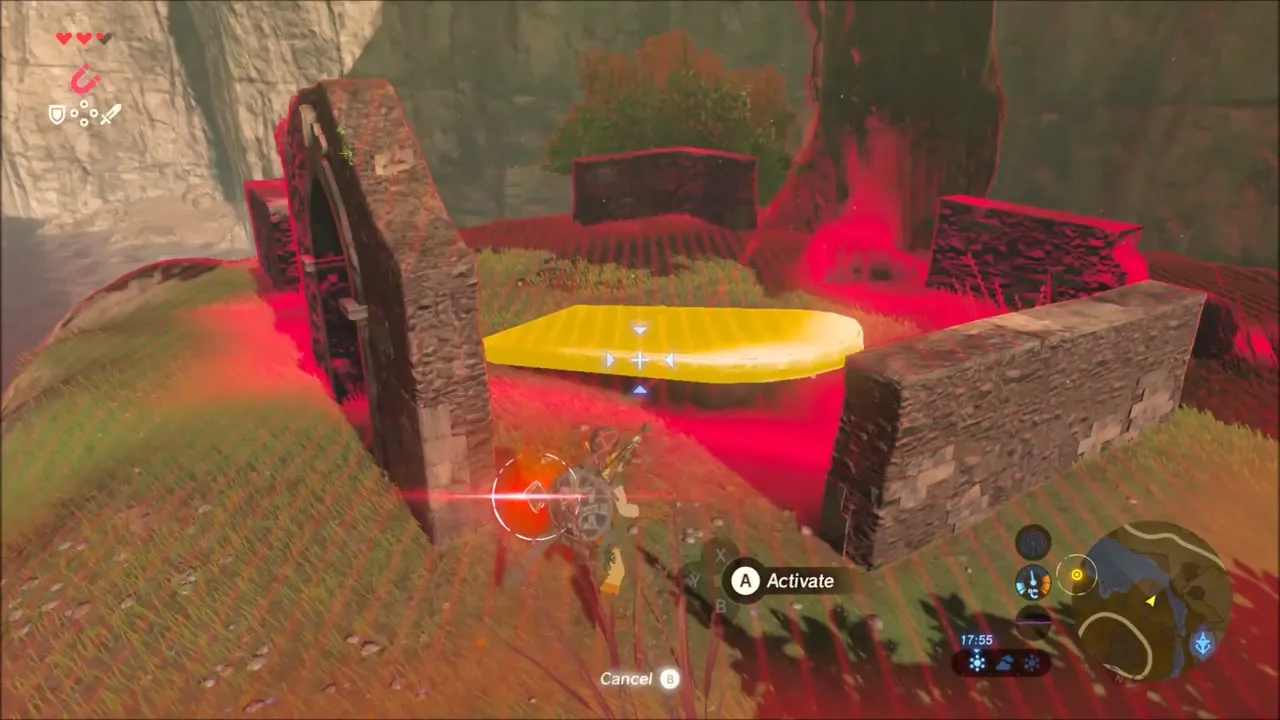
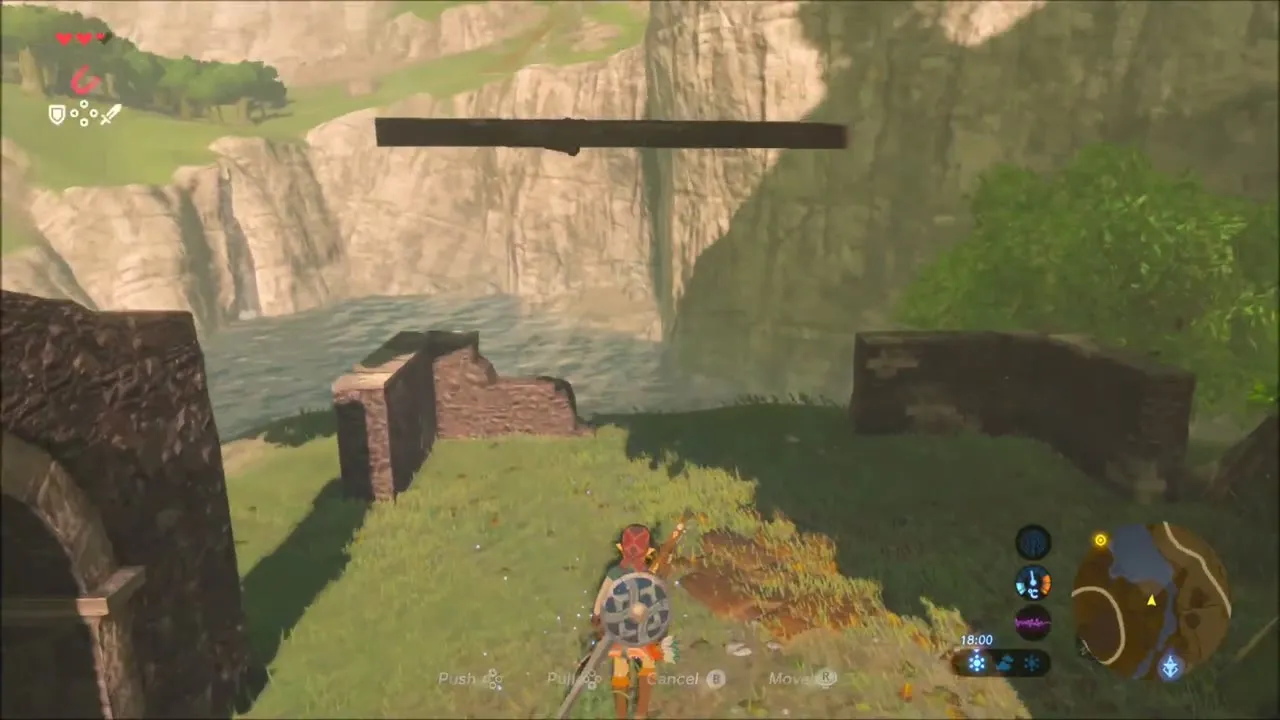
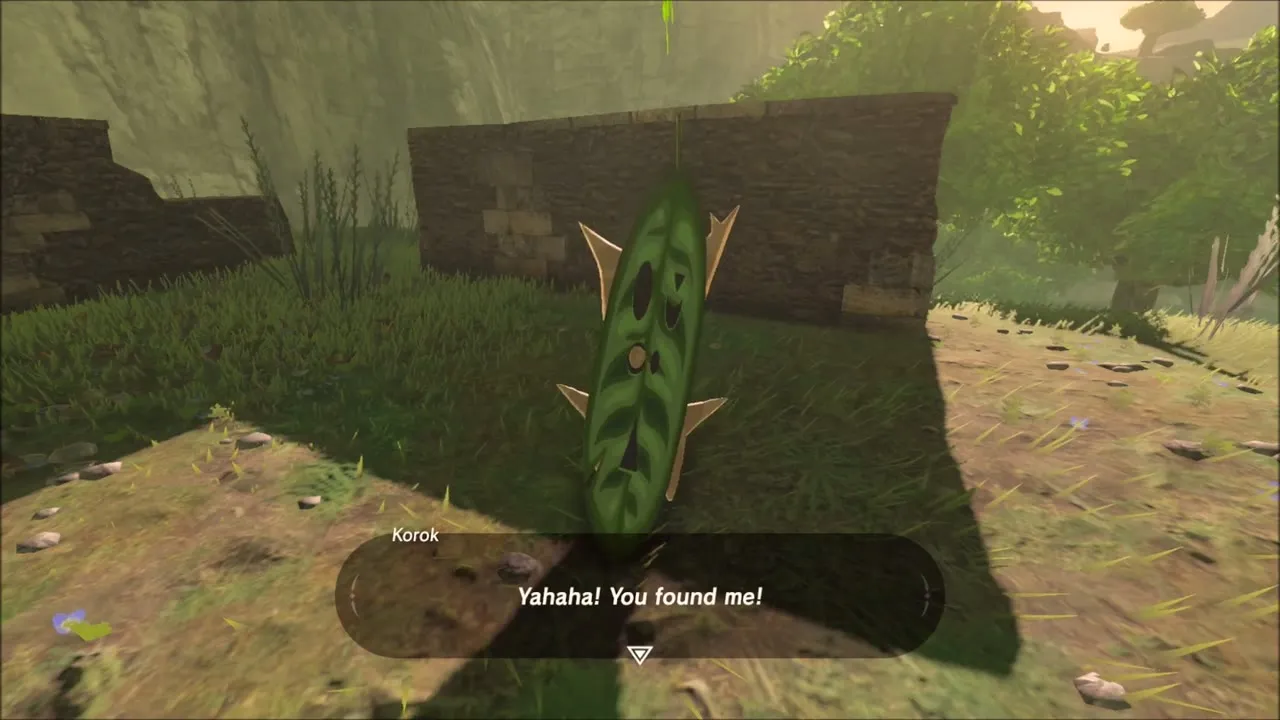
Glide down to the lakeside ruins and run through the broken buildings. Beside a ruined wall, grab a metal beam with Magnesis and move it aside; a Korok appears by the wall.
Raft chests: purple Rupee and Shock Arrows
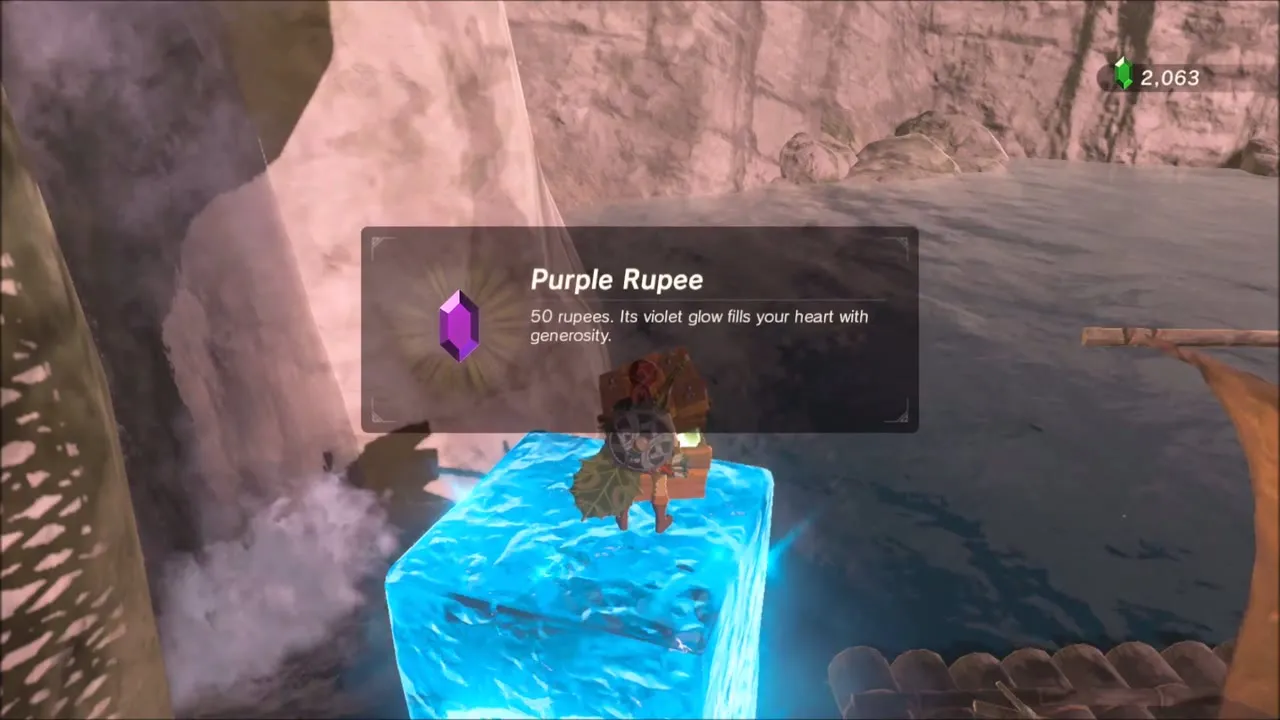
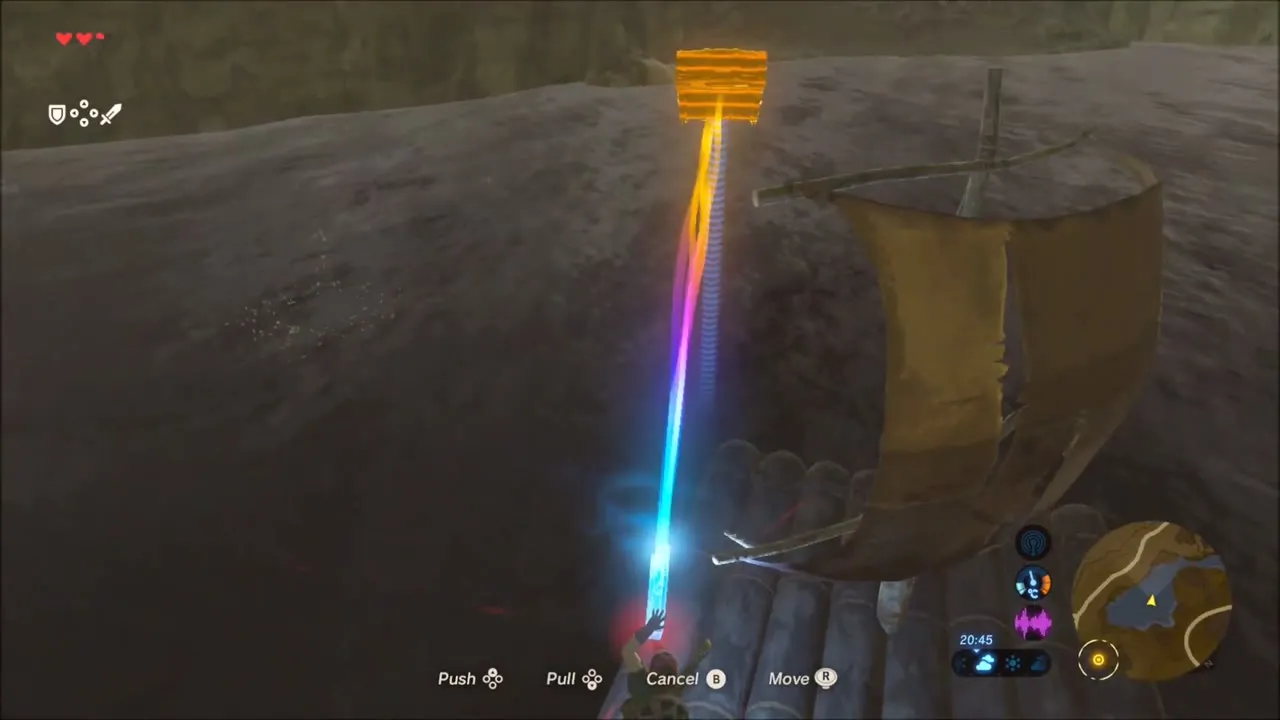
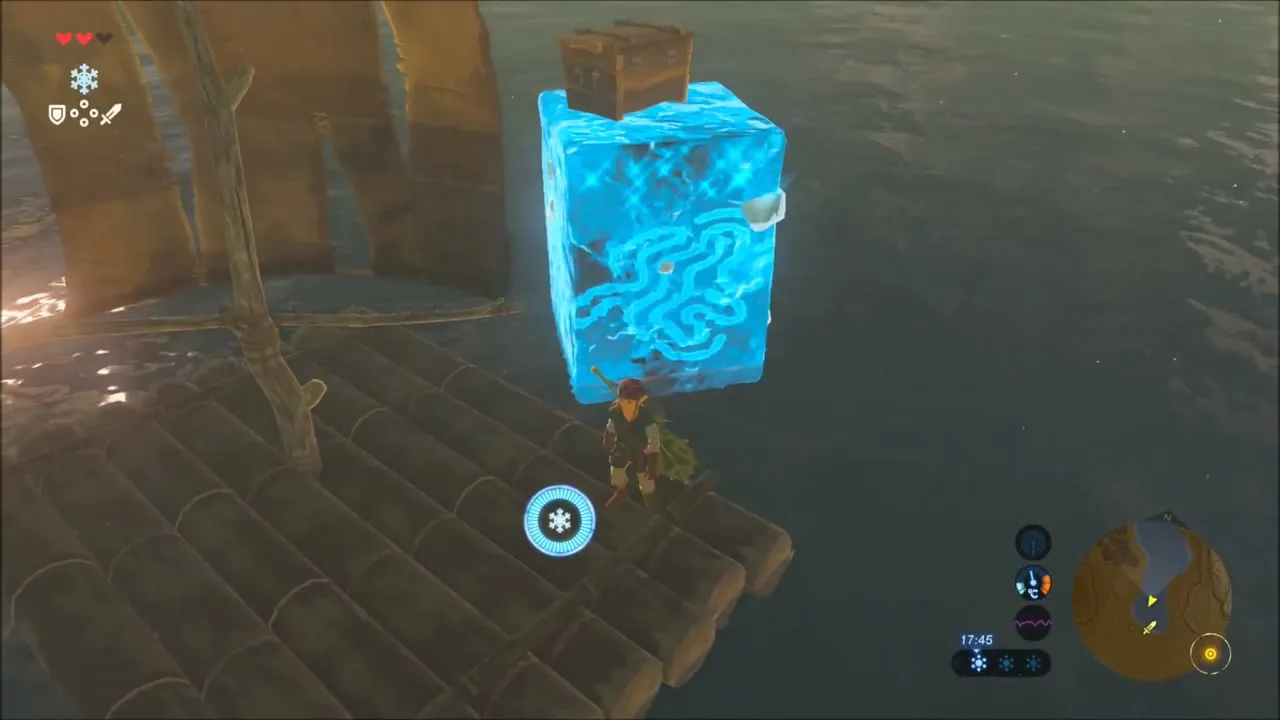
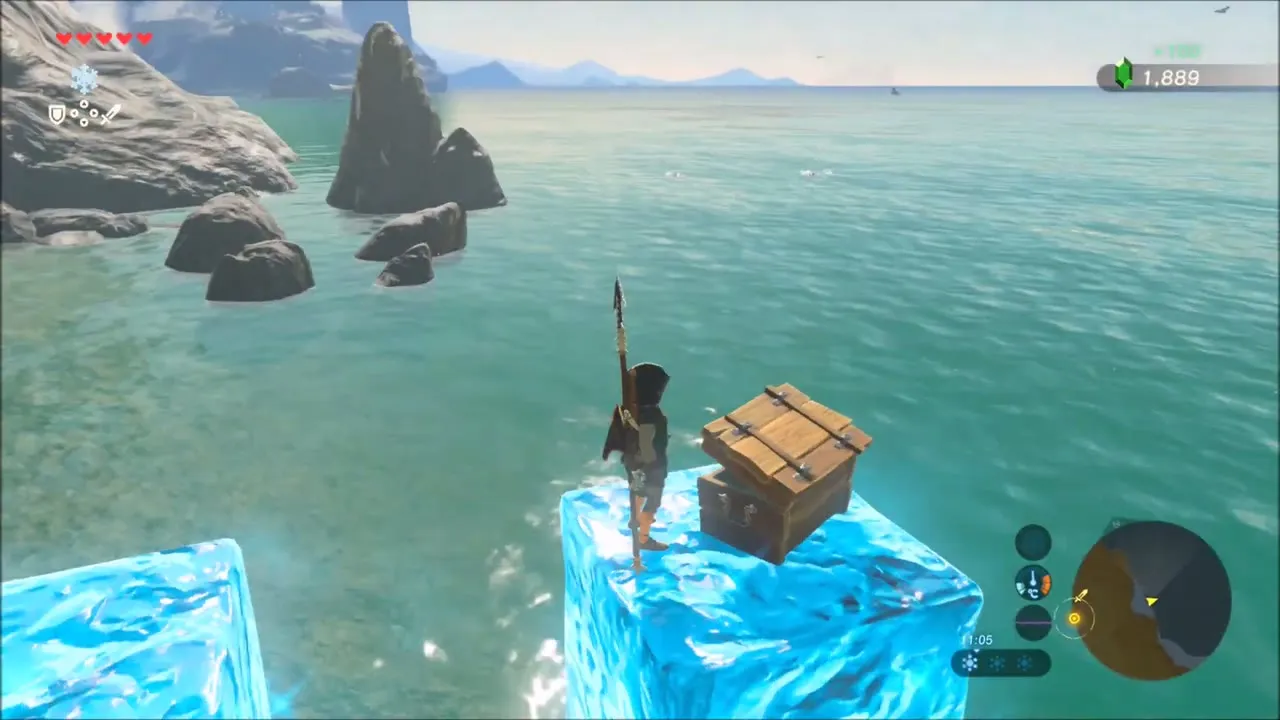
Take the raft out onto the water. A purple Rupee (50) sits out on the water: raise an ice block with Cryonis to stand on and reach it. Later, pull a chest out of the lake onto the raft with Magnesis and open it for Shock Arrows.

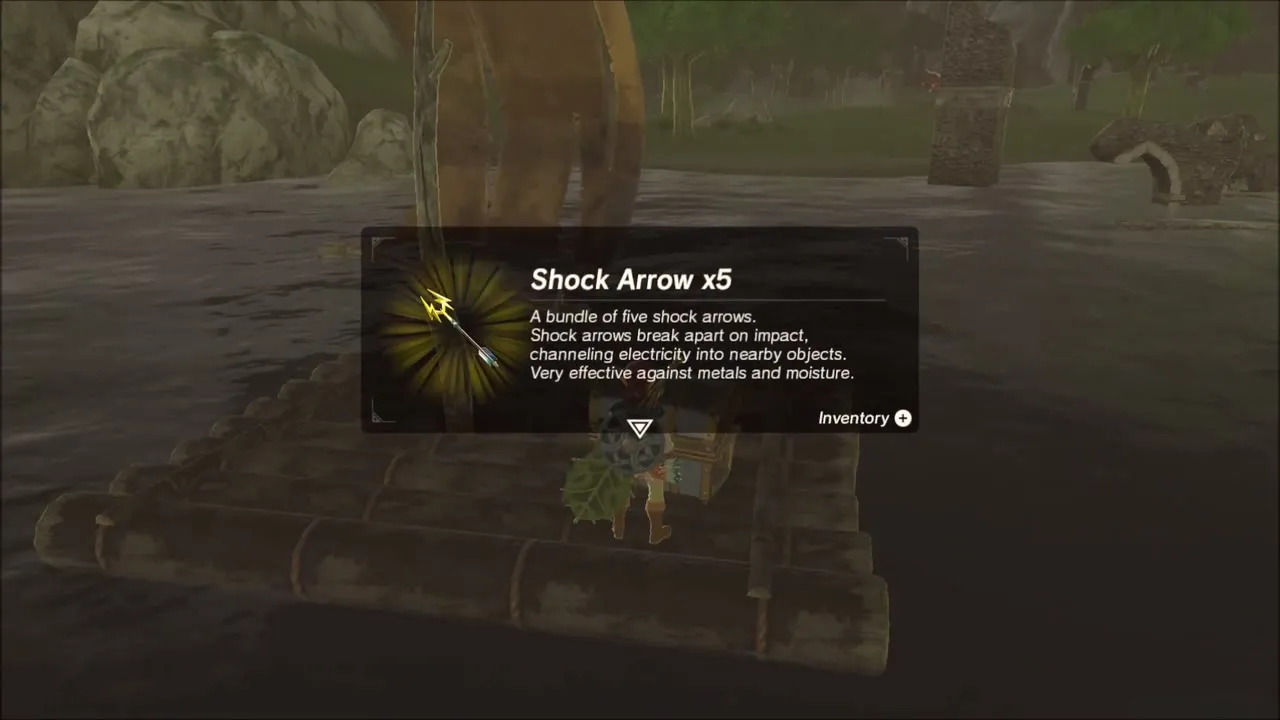
Octorocks and a shore Korok
Deal with the Octorocks in the water and land on the rocky shore. A Korok sits beside a boulder there for another seed.
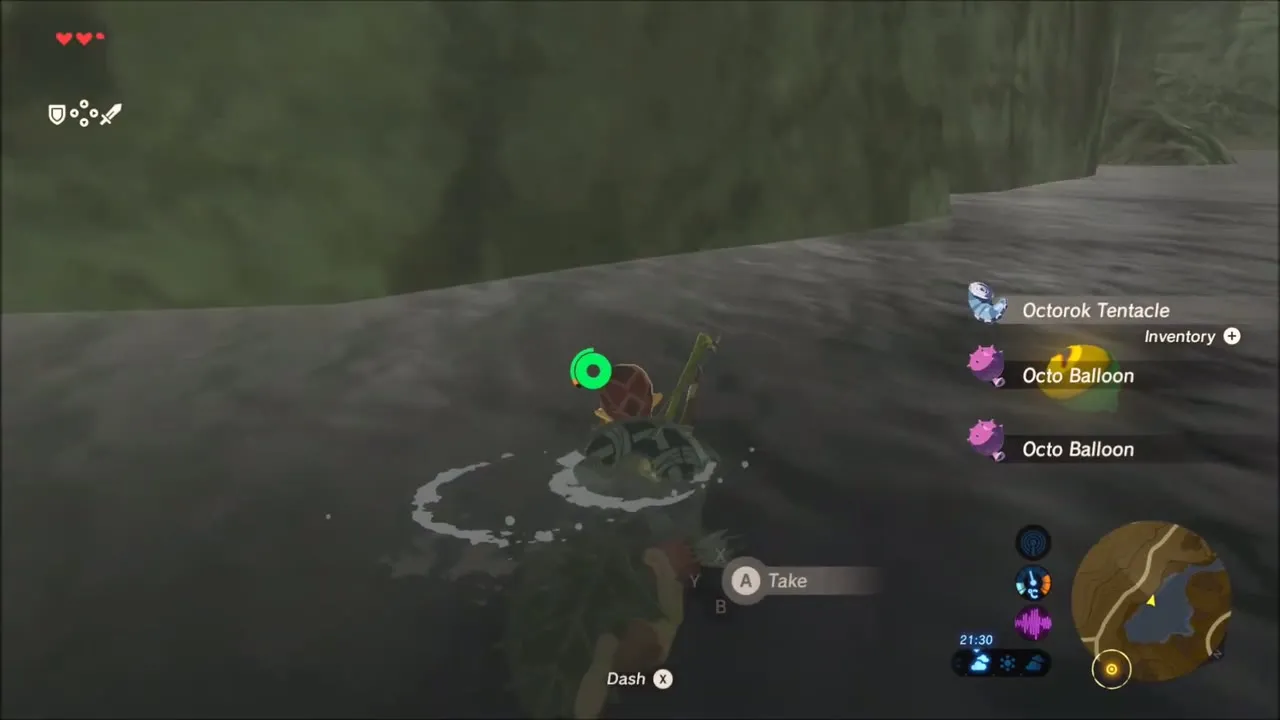
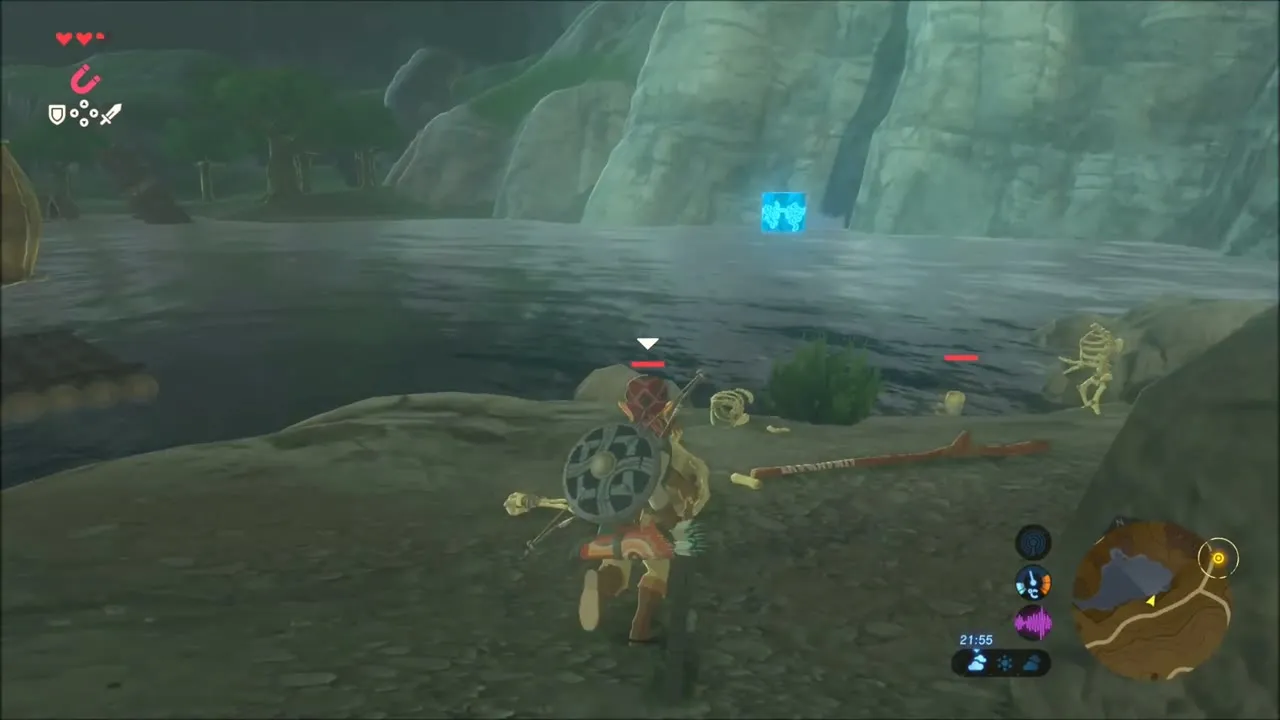

Korok seeds around the ruins and the river
Back on land, clear the monsters around the ruins. In the grass nearby, shoot the small target stuck on the cliff with an arrow, and a Korok appears on top of a mossy boulder.
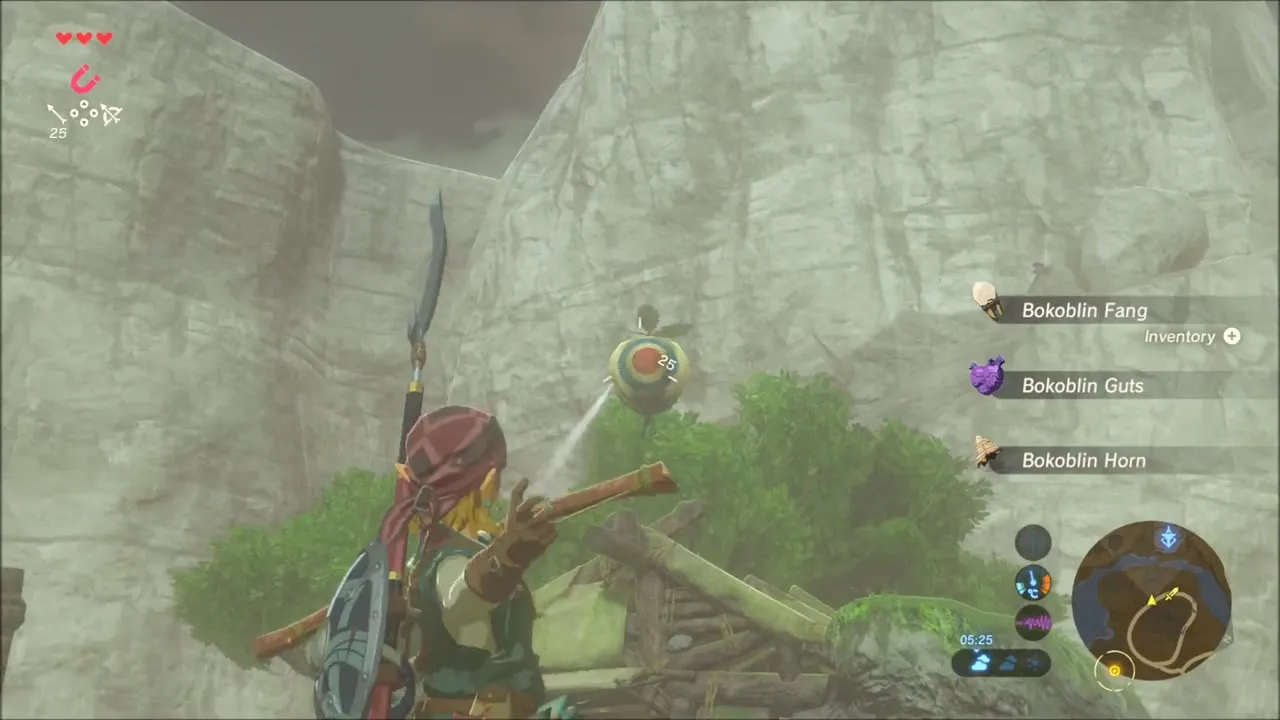
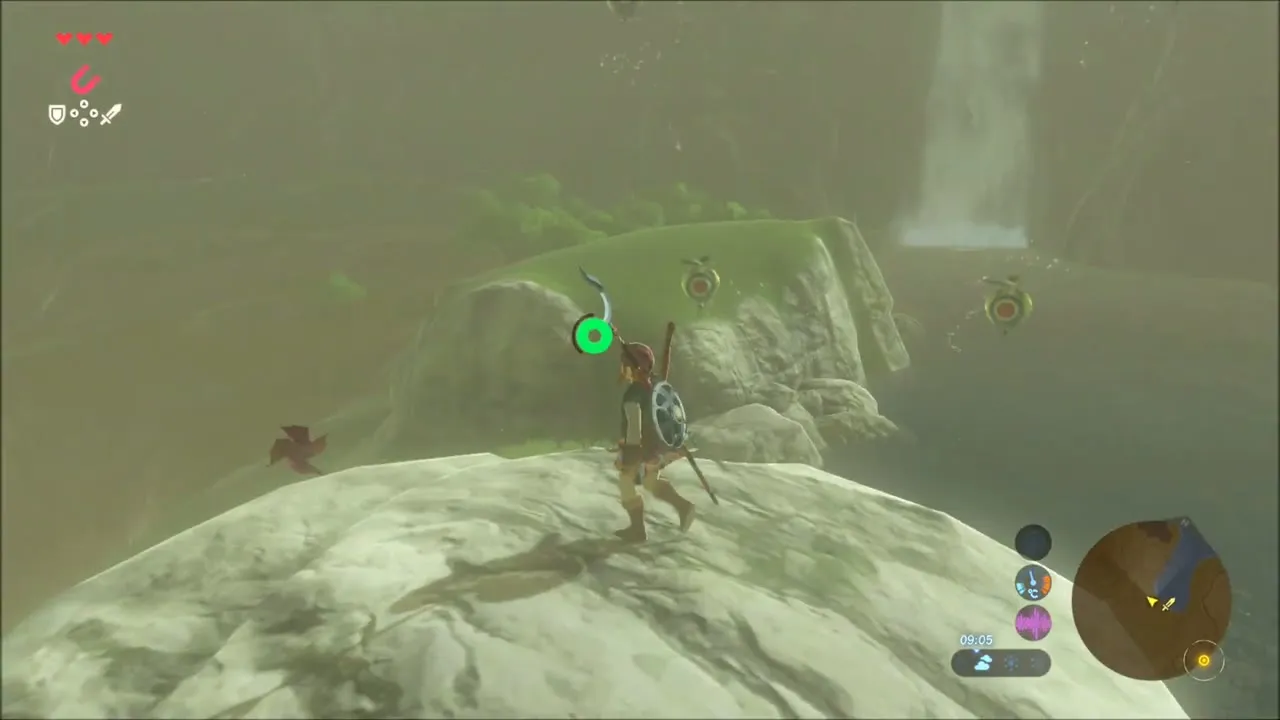
Climb the big white boulder at the water’s edge and look down; a Korok is waiting by the water below it.


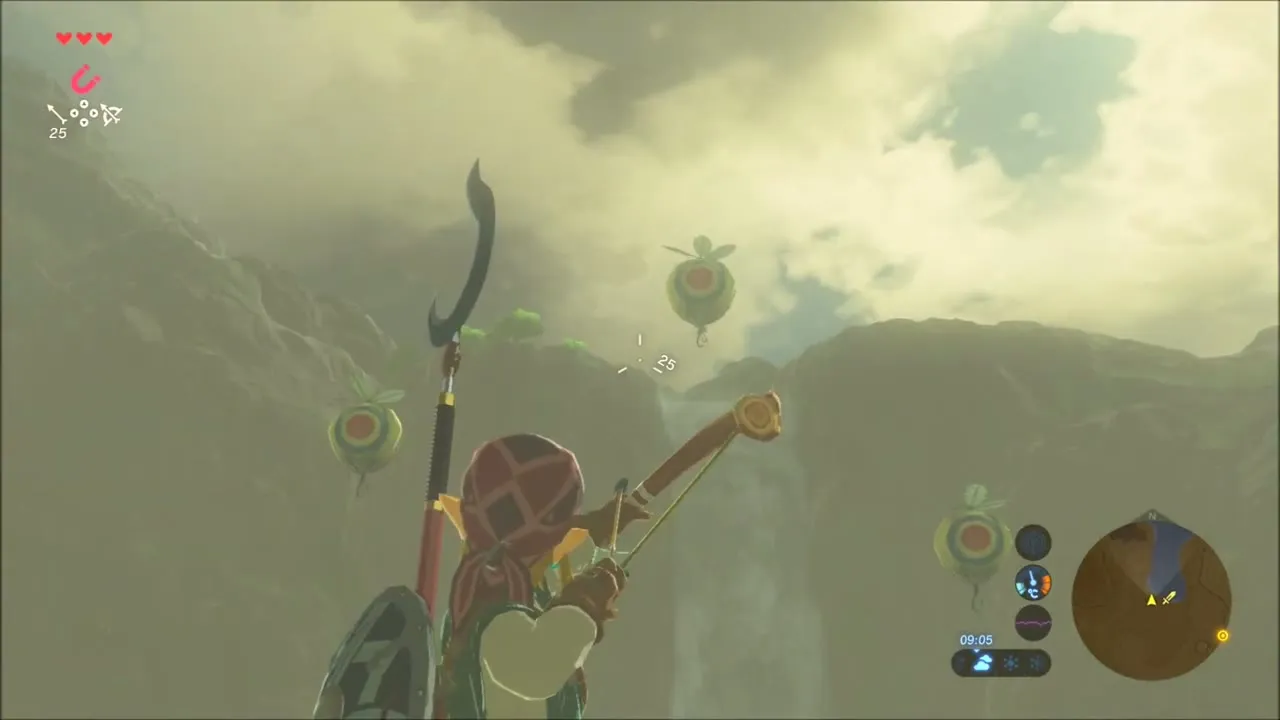
Climb the tall white rock pillar next to the waterfall lagoon, and shoot the small target on the far wall from its top. A Korok then appears at the edge of the pool.

Second raft crossing
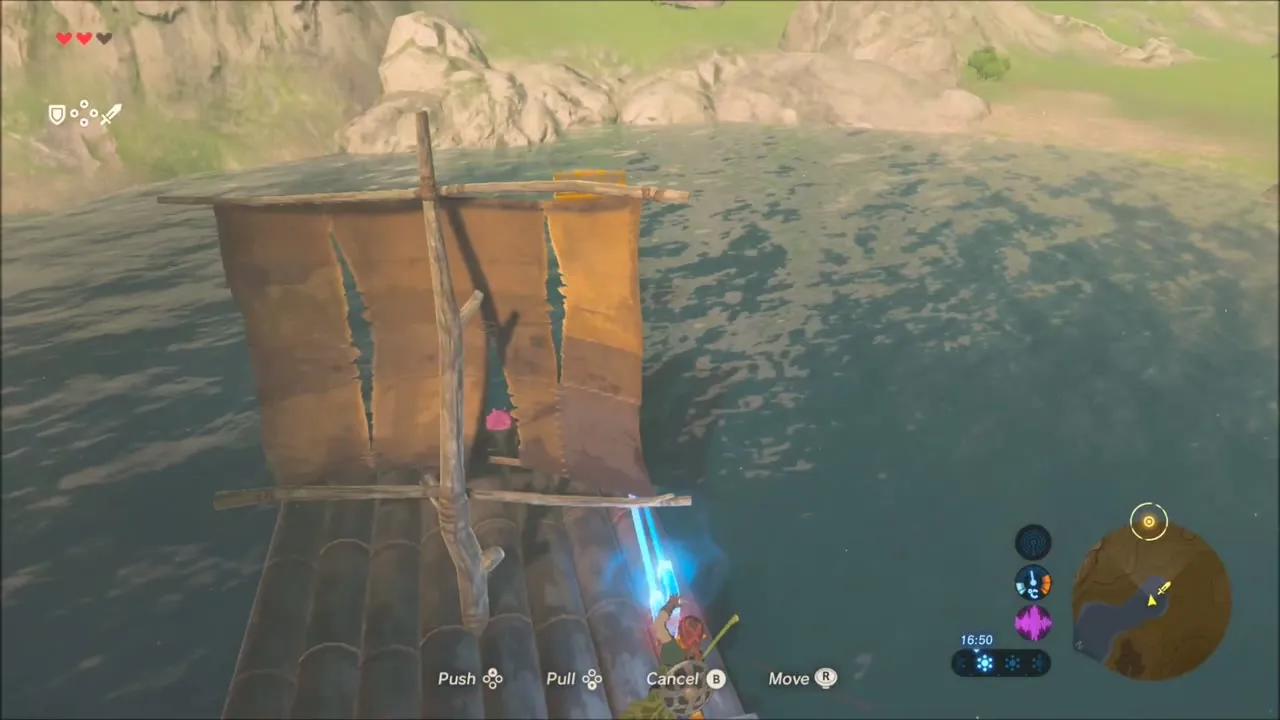
On the next lake, take another raft. Wave a large leaf like a fan to fill the sail, and use Magnesis and Cryonis to haul in the chests that float and sit on the water.

Korok seeds in the evening hills
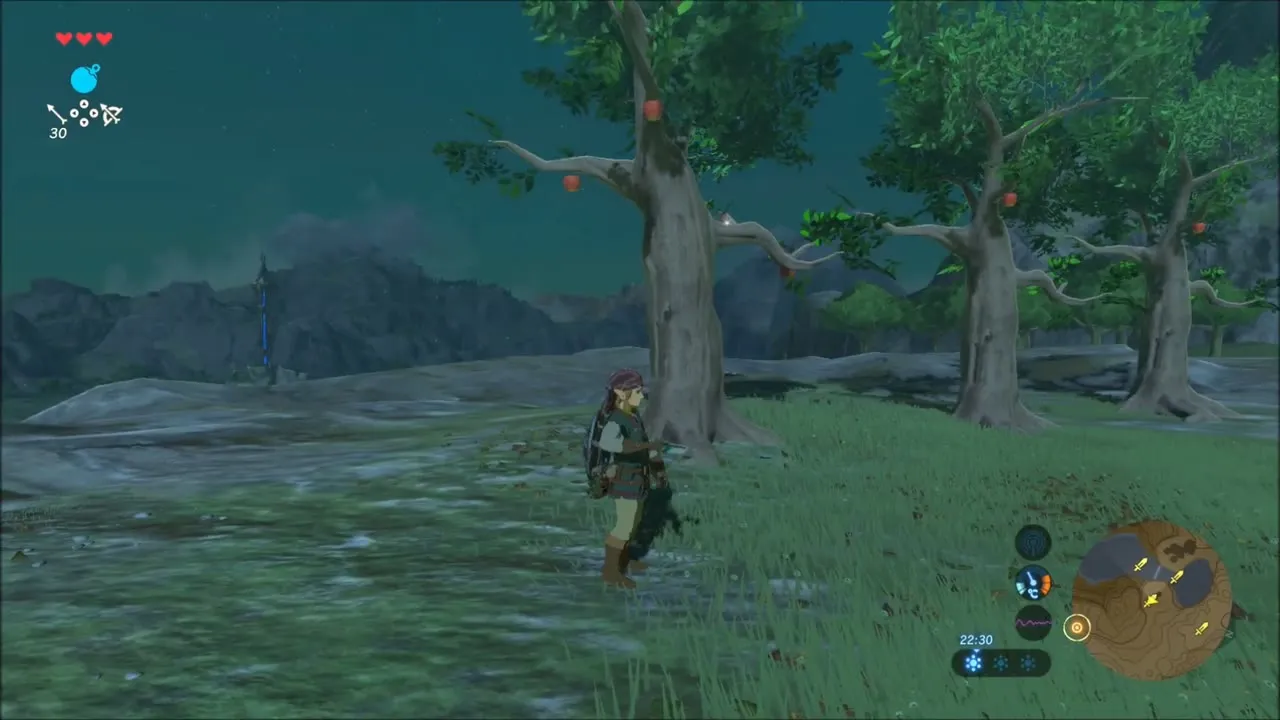
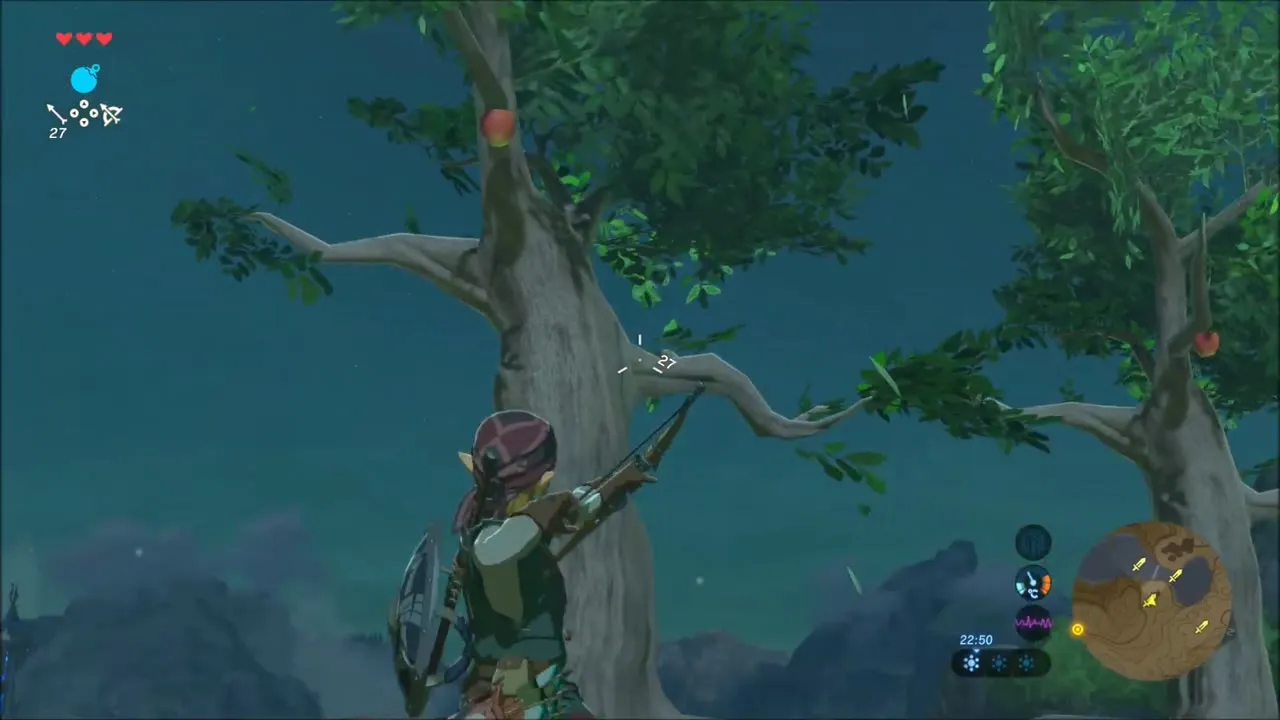
Beside a lone tree, an apple hangs from a branch. Shoot it with an arrow to make a Korok appear.


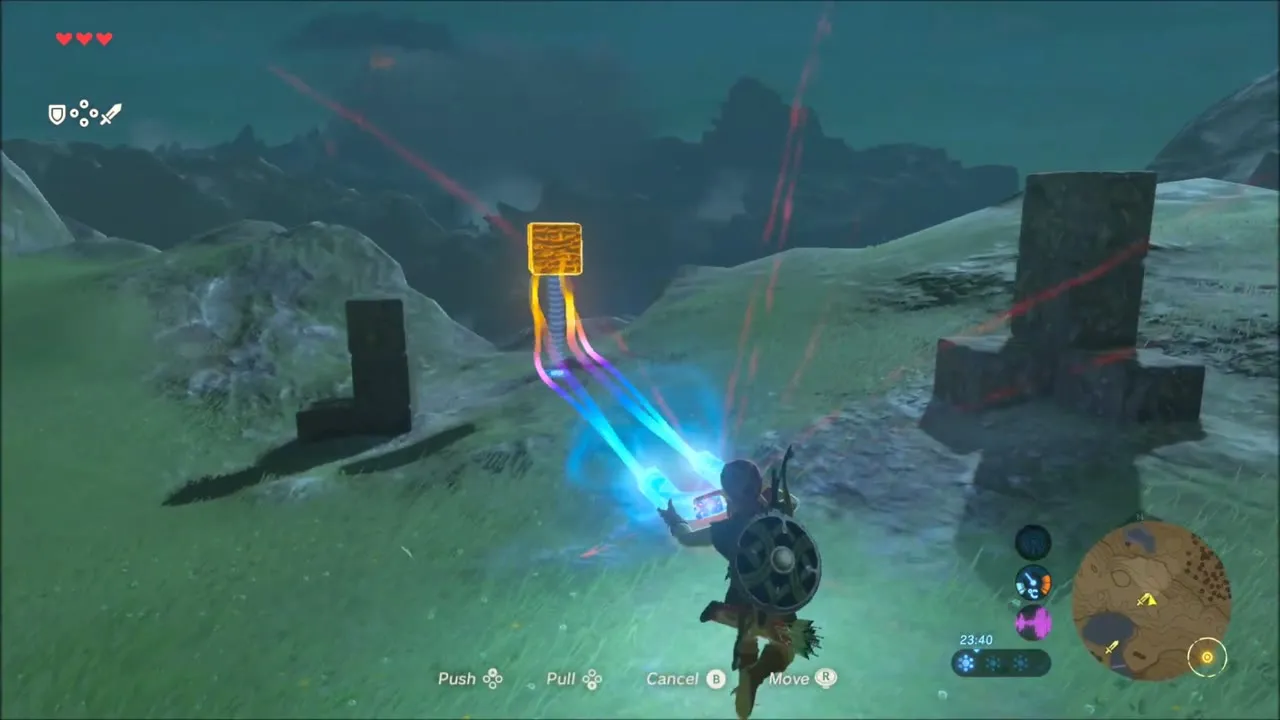
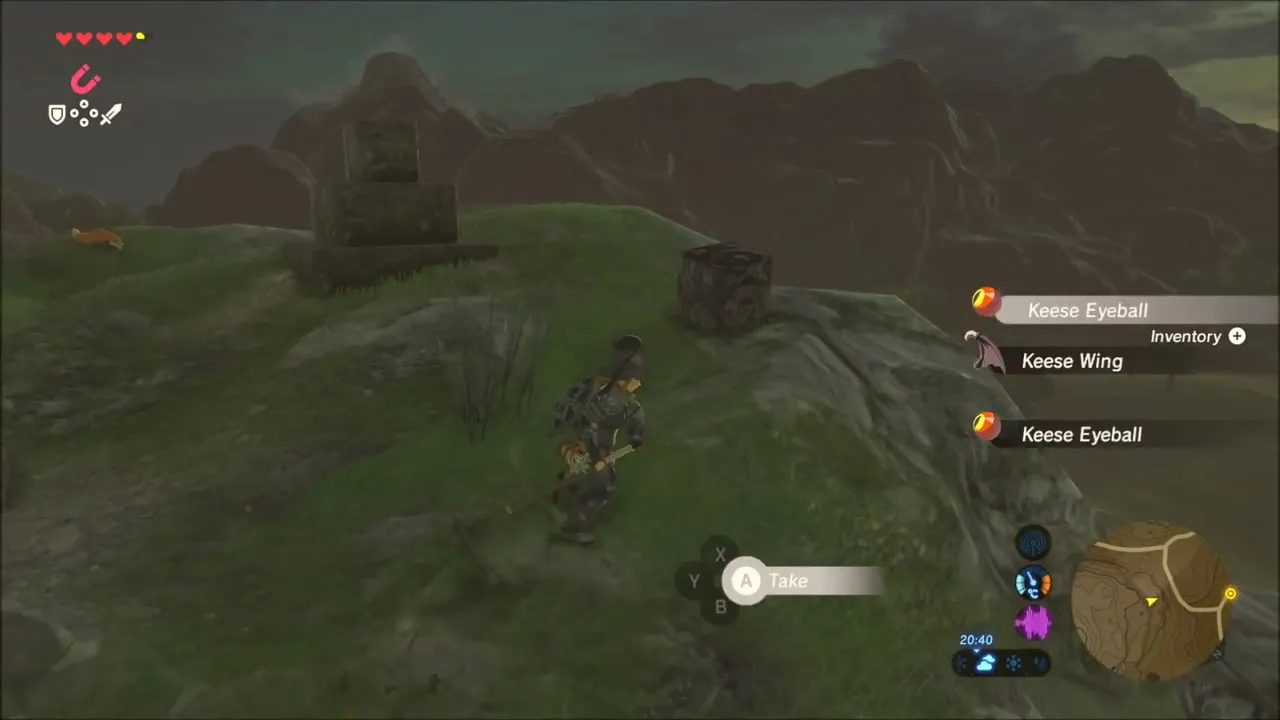
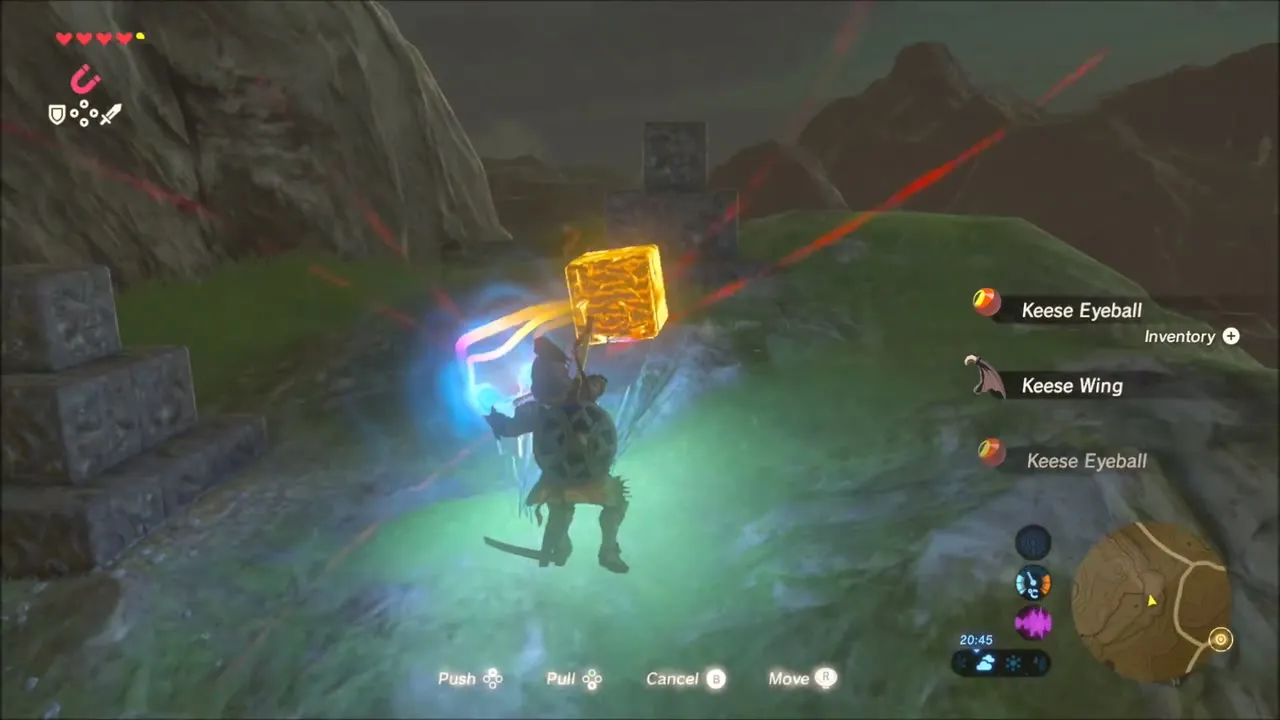
Higher on the hillside a few dark metal blocks stand in the grass. Use Magnesis to pull the loose orange block over and stack it with the others; the Korok then appears.


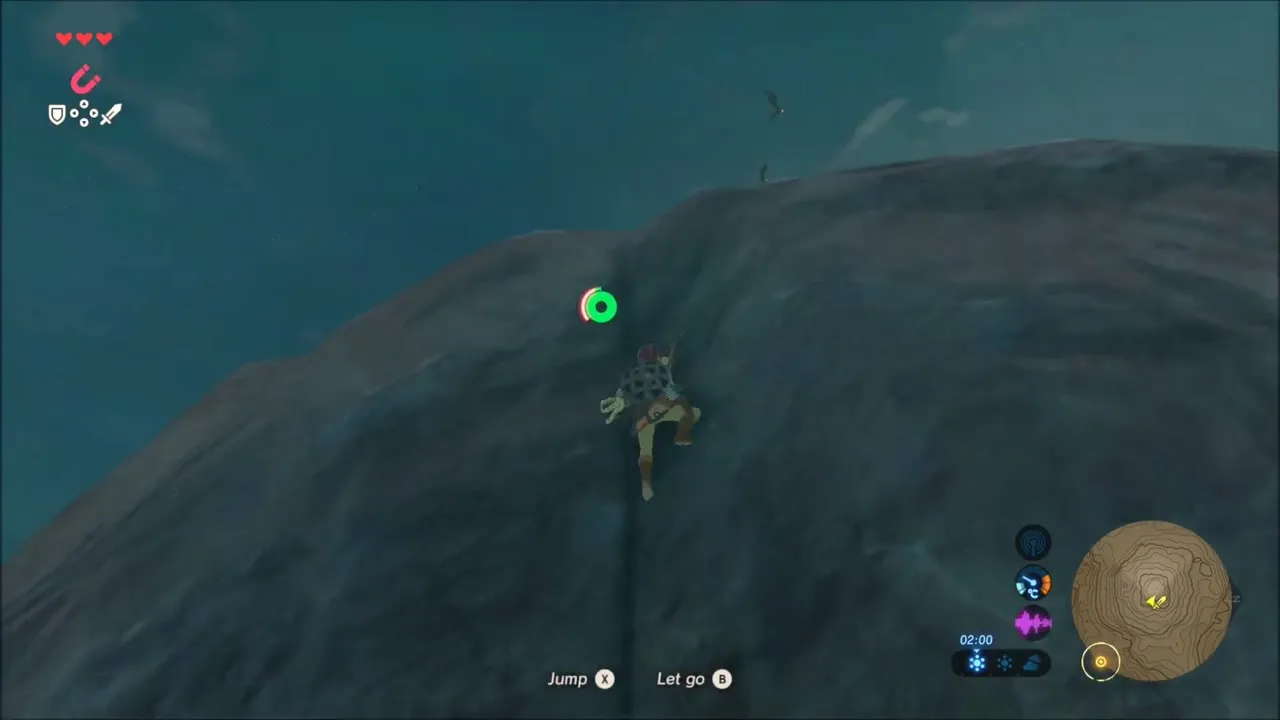
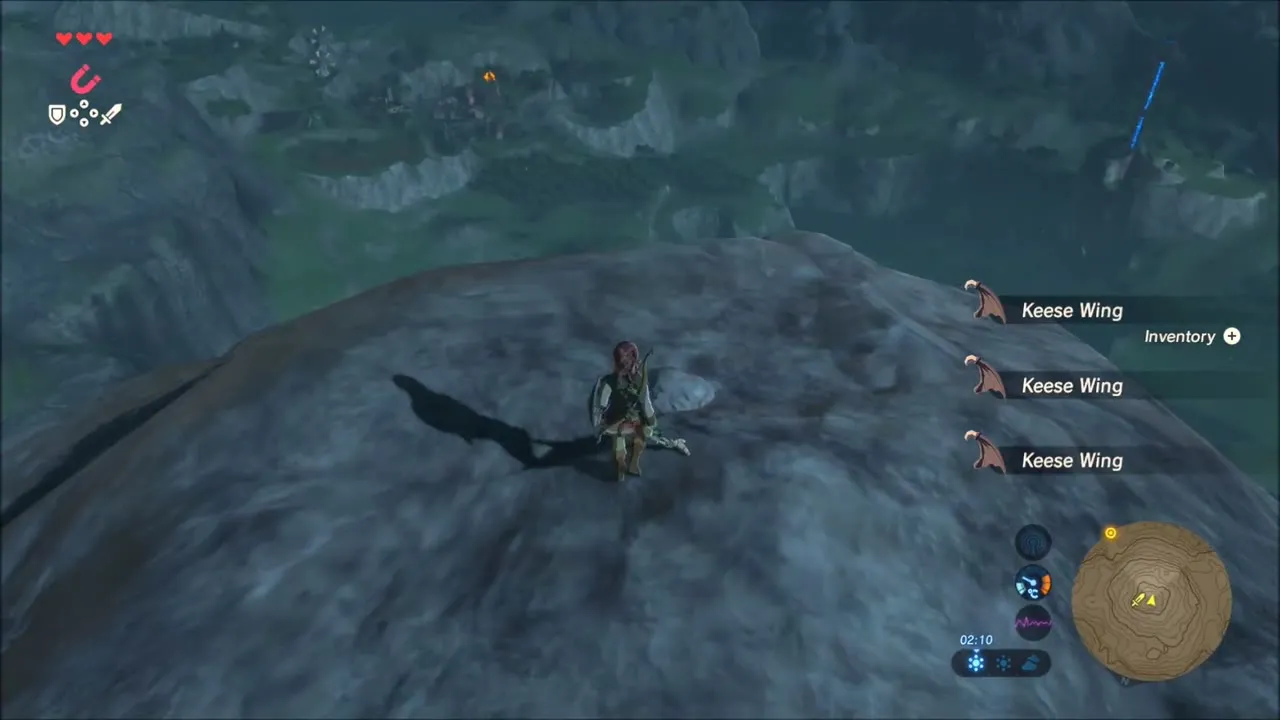
Climb the bare mountain top in the dark, fighting off the Bokoblins on the way. A Korok waits on the summit.


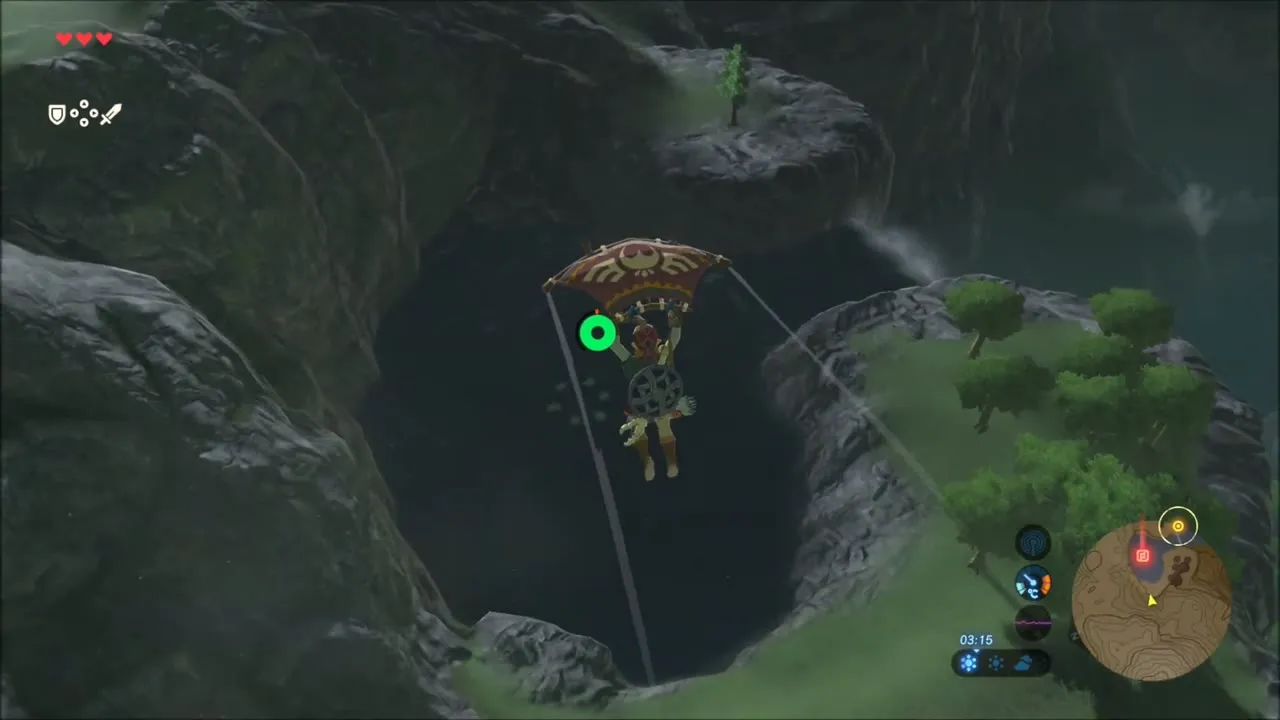
Glide down into the huge pit in the mountain. The pond at its foot holds one Korok, and another is hiding in a ring of lily pads in the water nearby: drop into the middle of the ring to reveal it.
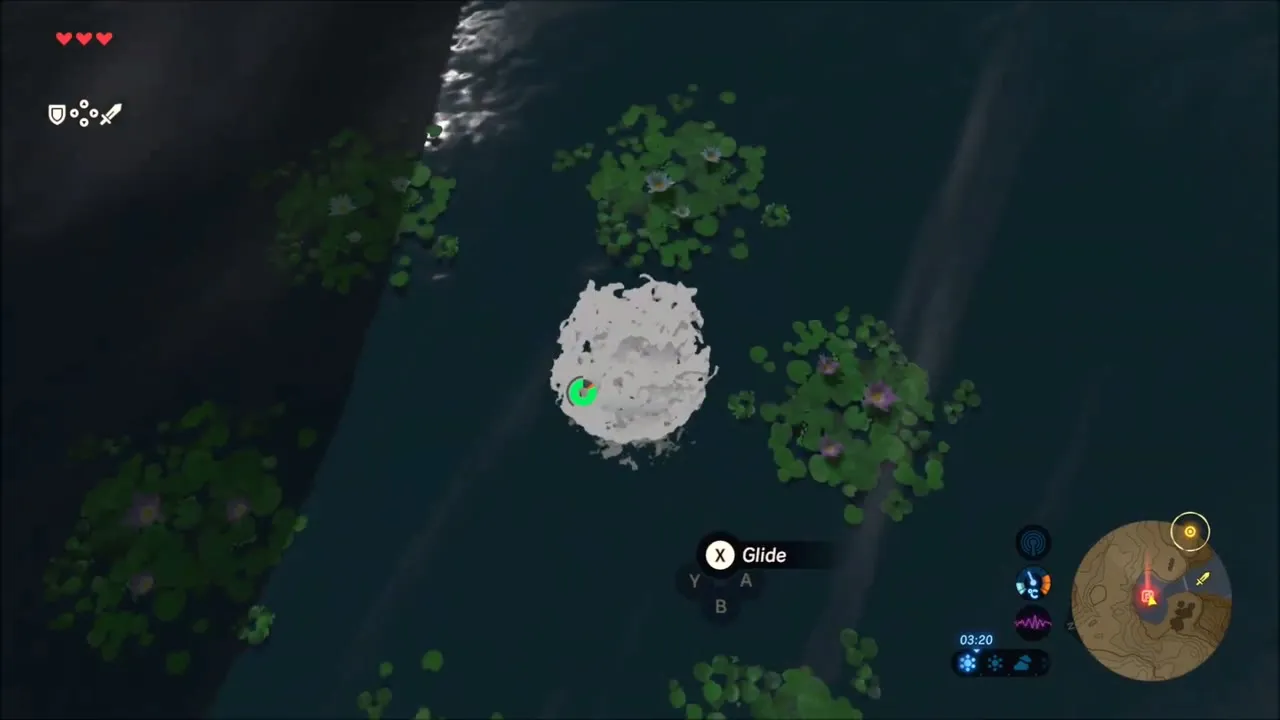
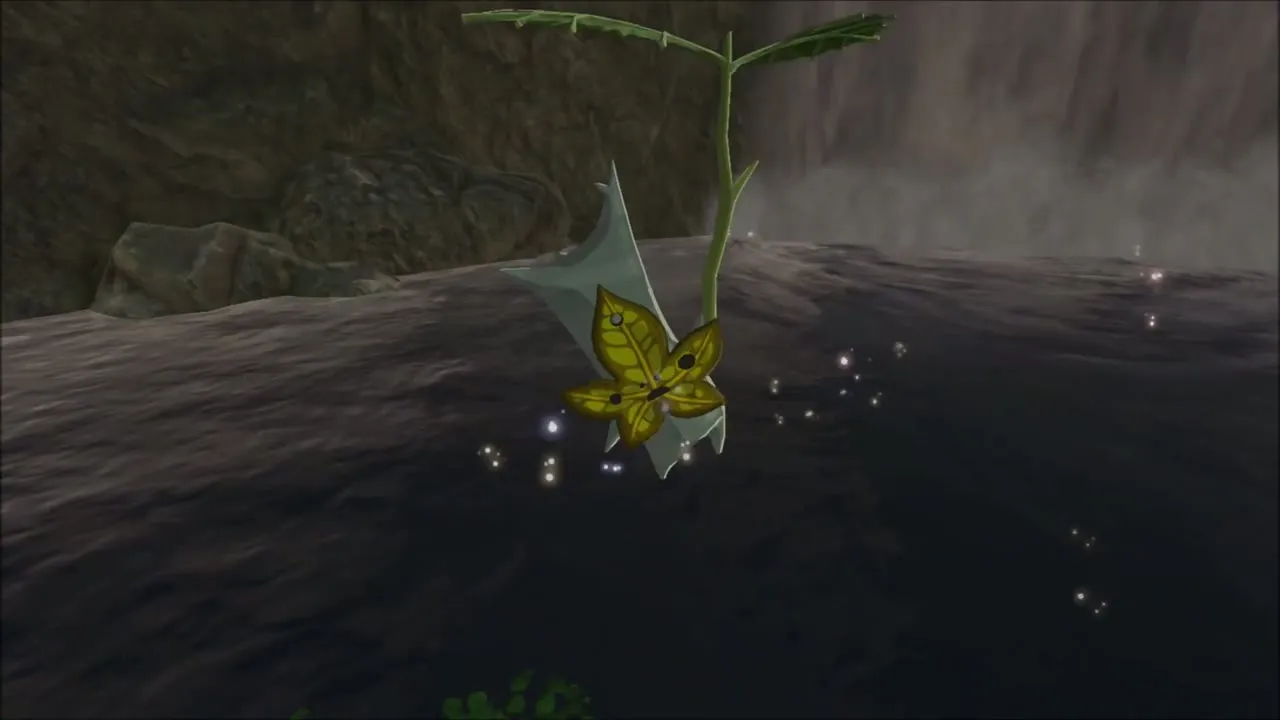
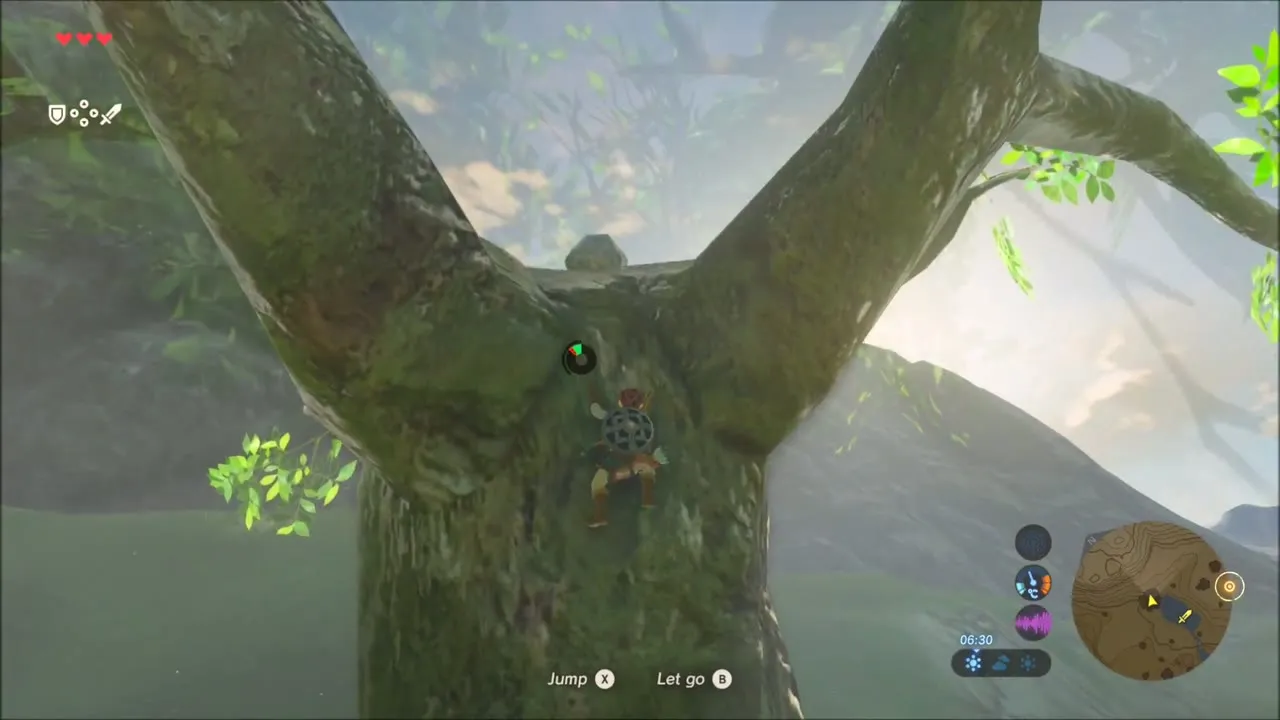
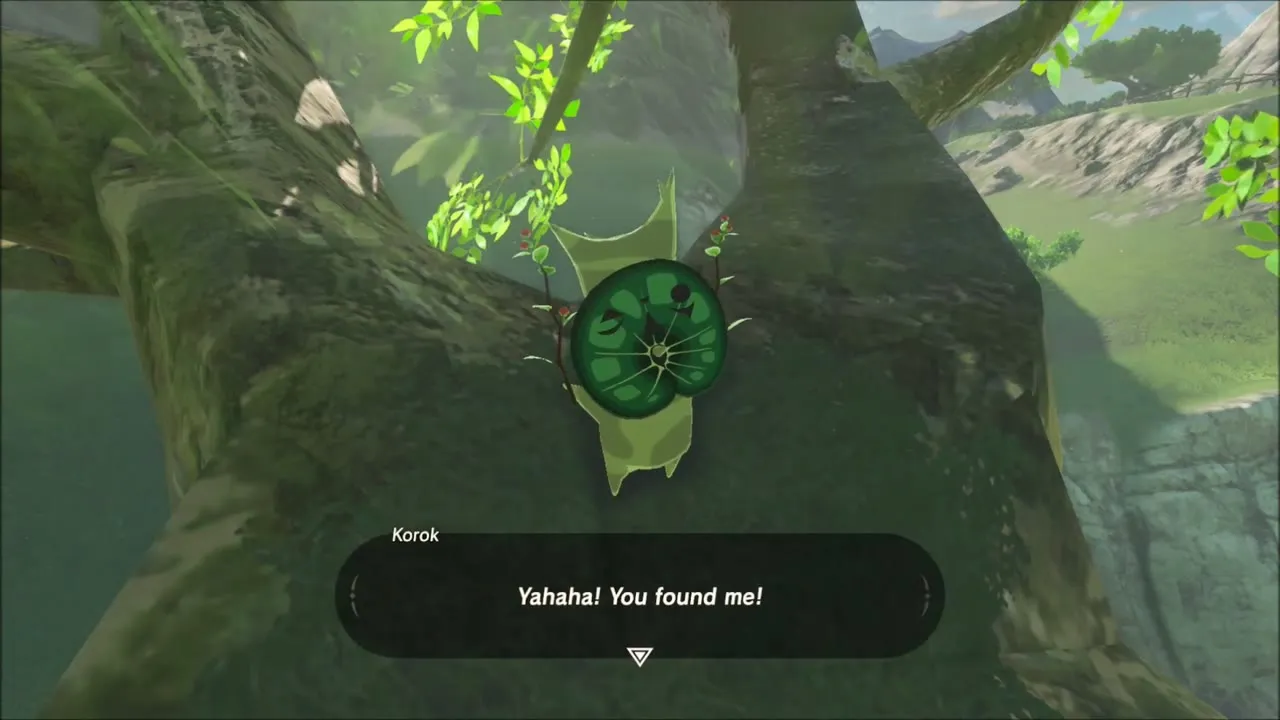
On the way down toward the village, climb the big tree beside the path. A Korok sits in the fork of its upper branches.
Hateno Village and Myahm Agana Shrine
Arrive in Hateno Village
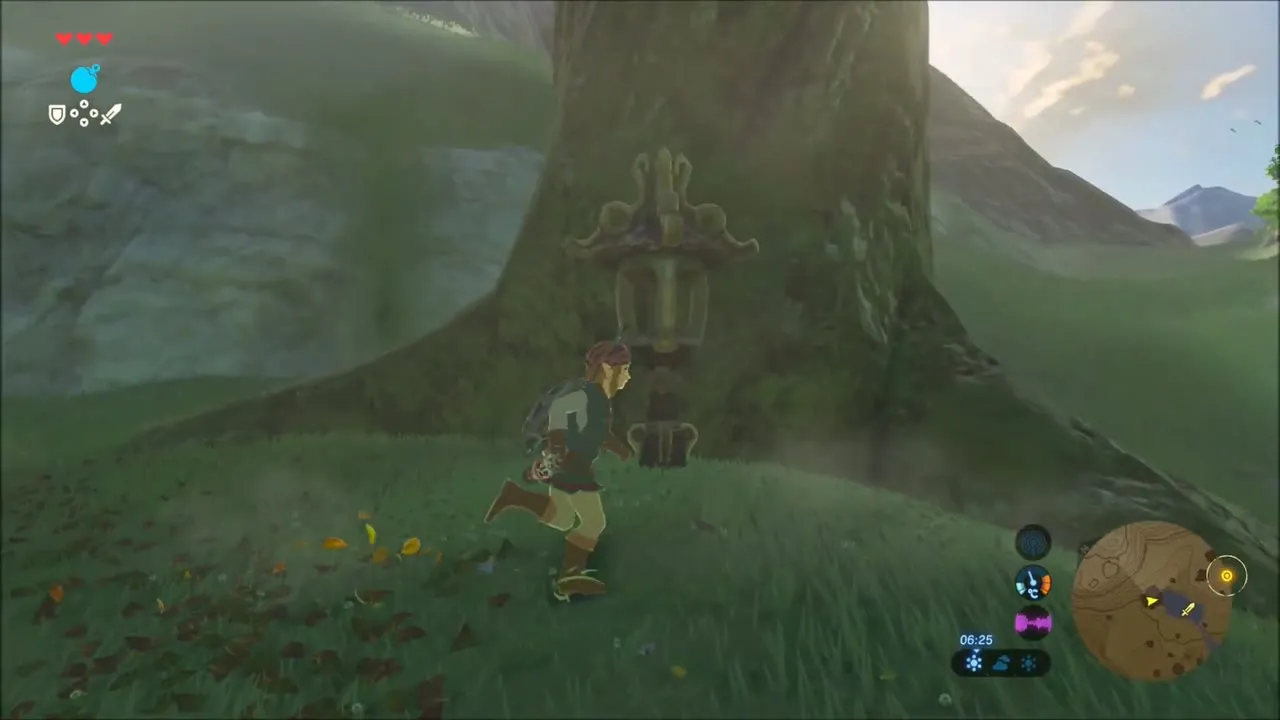
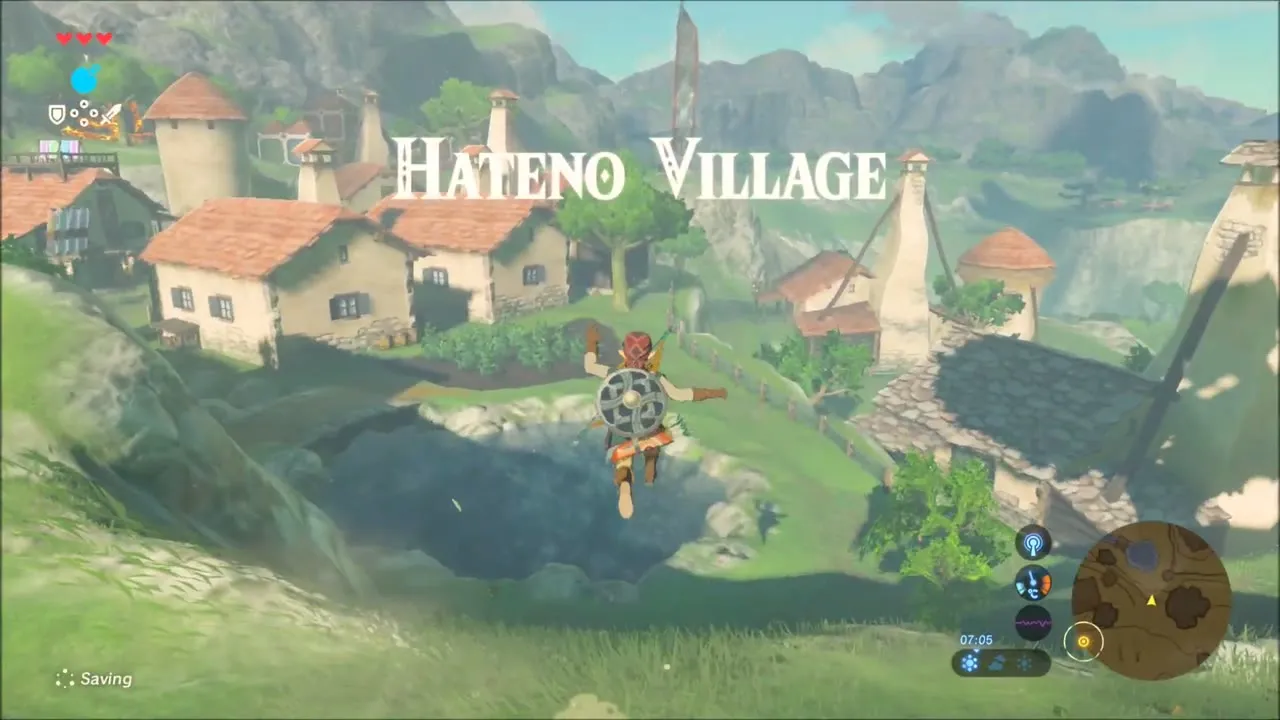
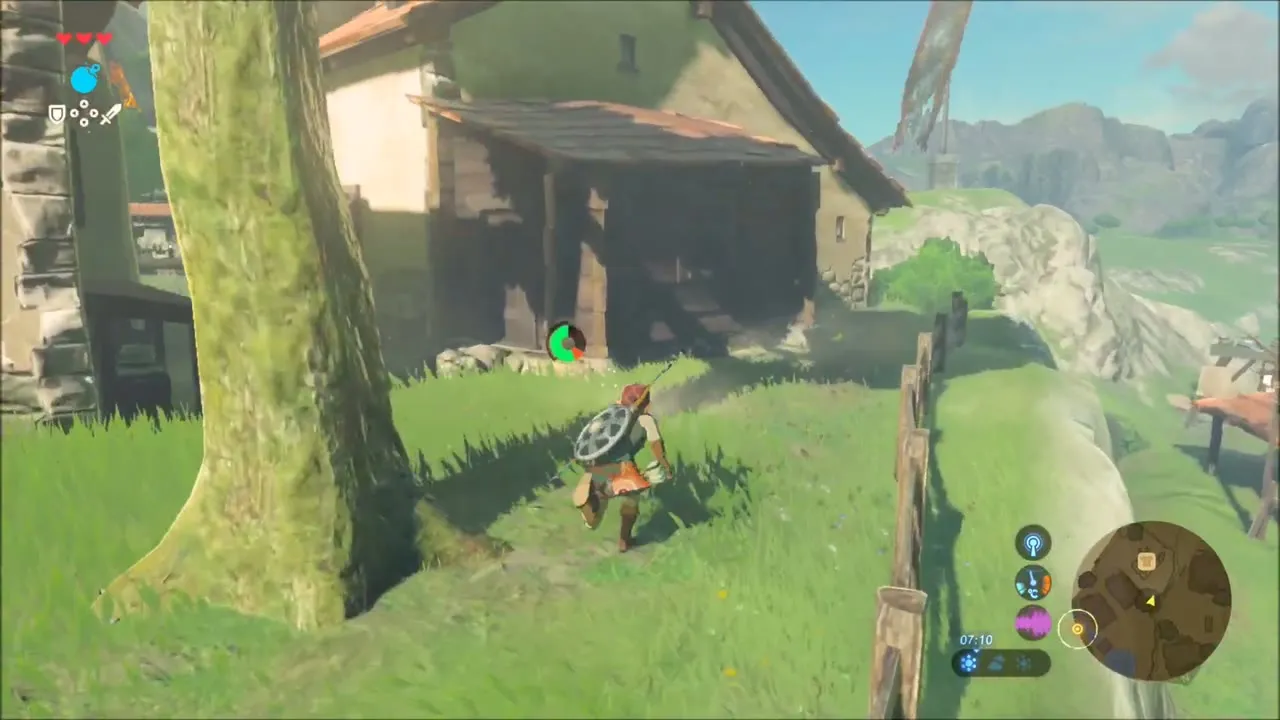
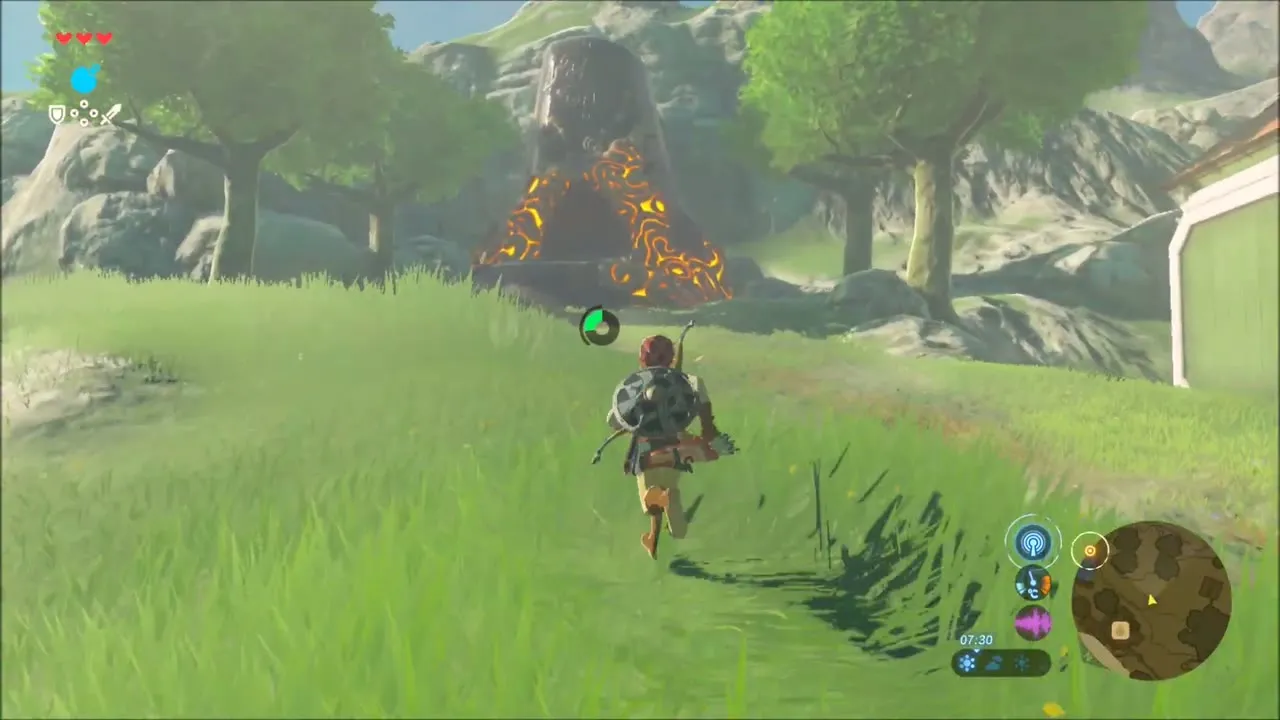
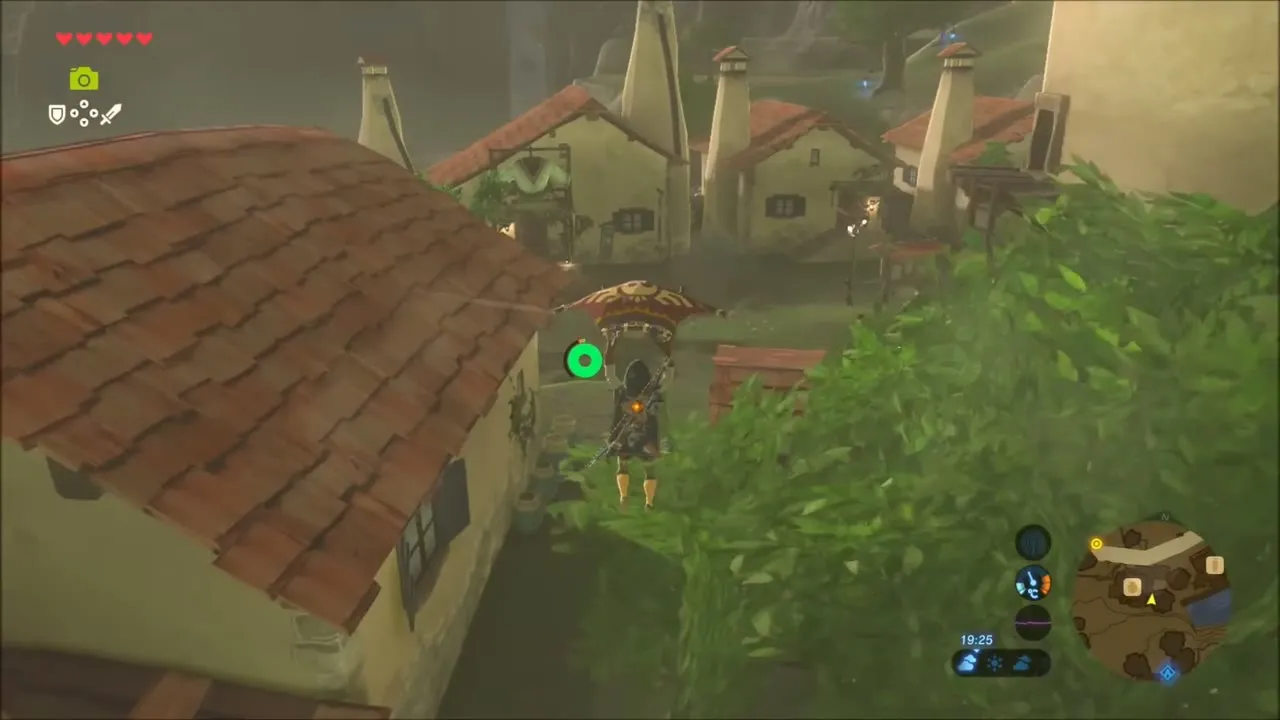
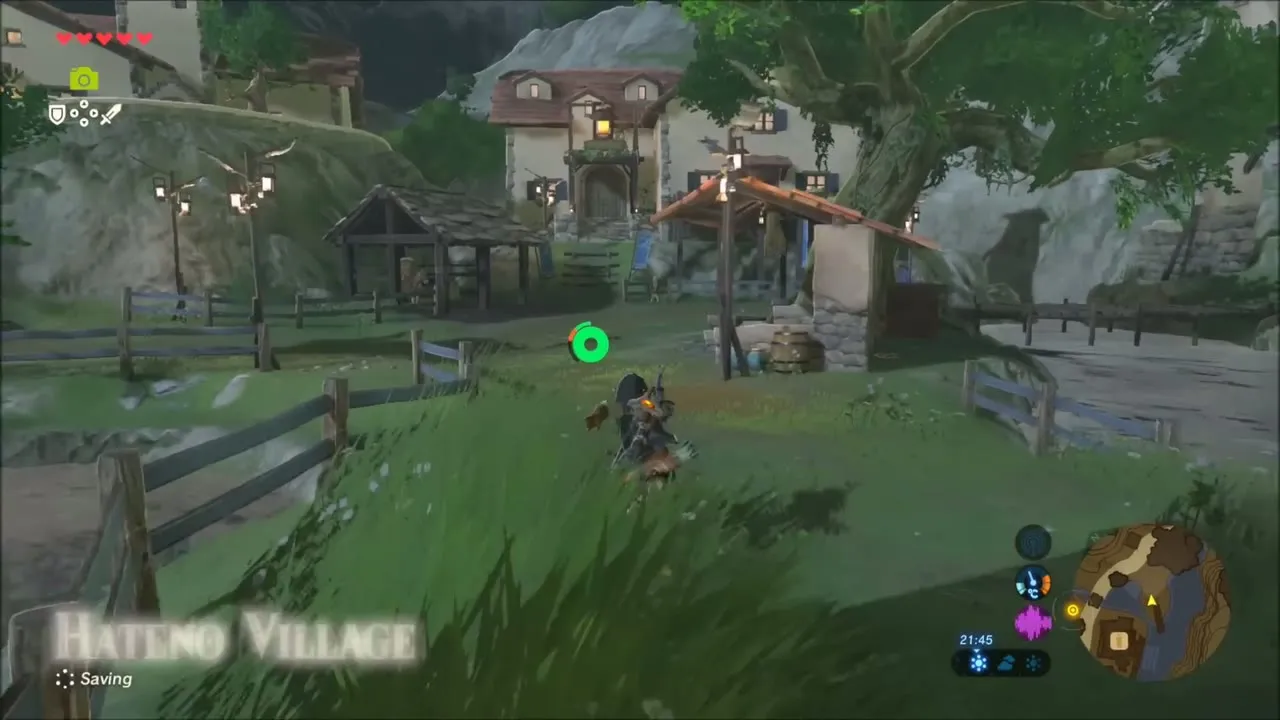
Follow the path down to Hateno Village (x 3593, z 2122) and walk in along the wooden fence. The Myahm Agana Shrine (x 3388, z 2215, height 256) is in the south-western part of the village; activate it to unlock a fast-travel point.
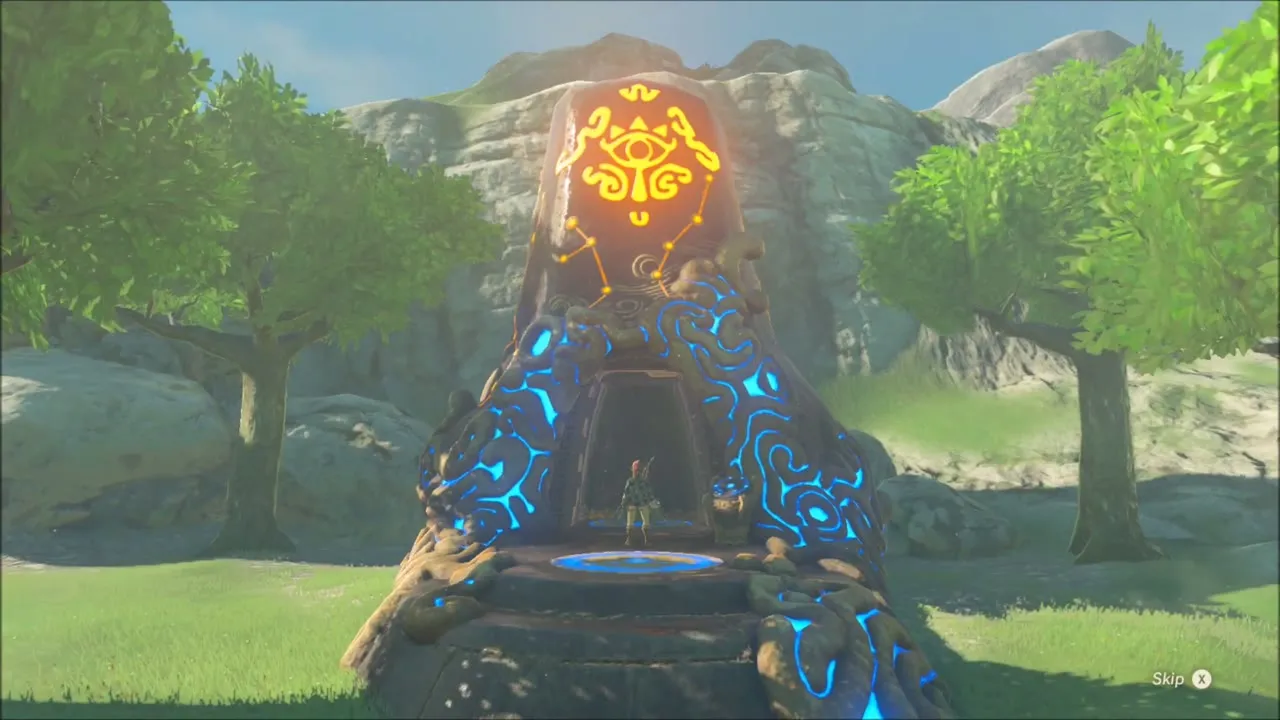
Myahm Agana Shrine: Myahm Agana Apparatus
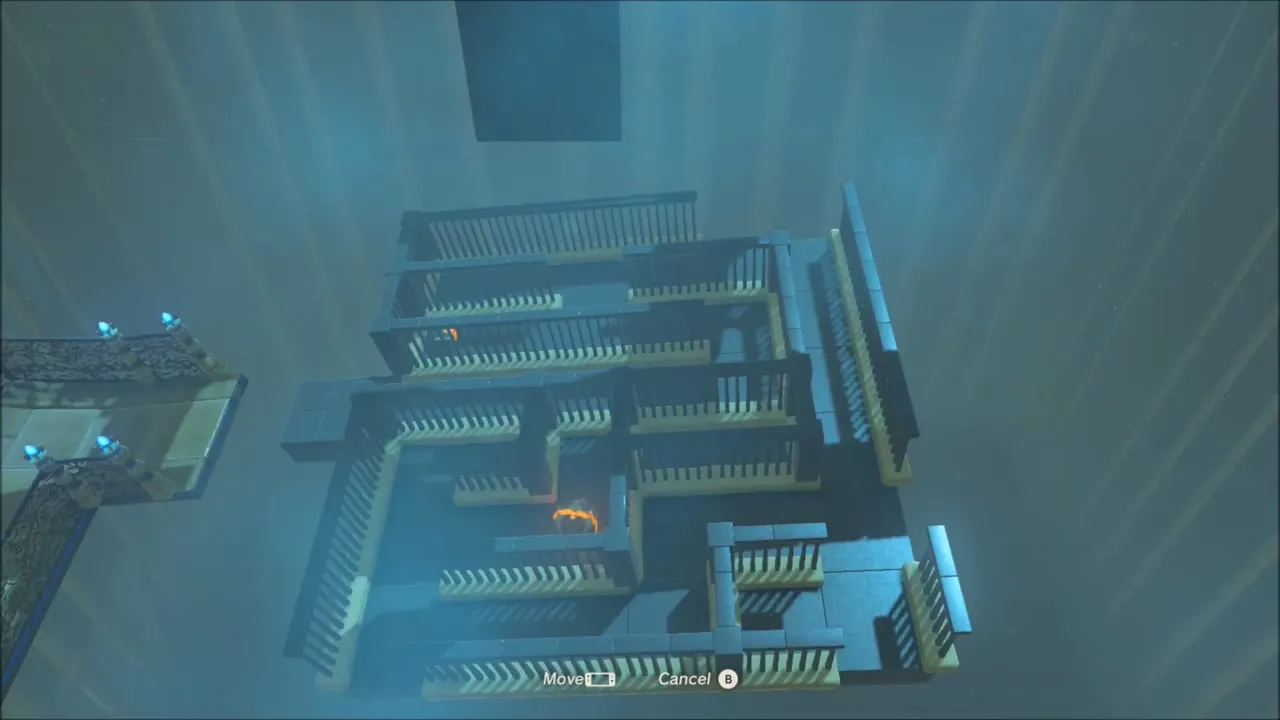
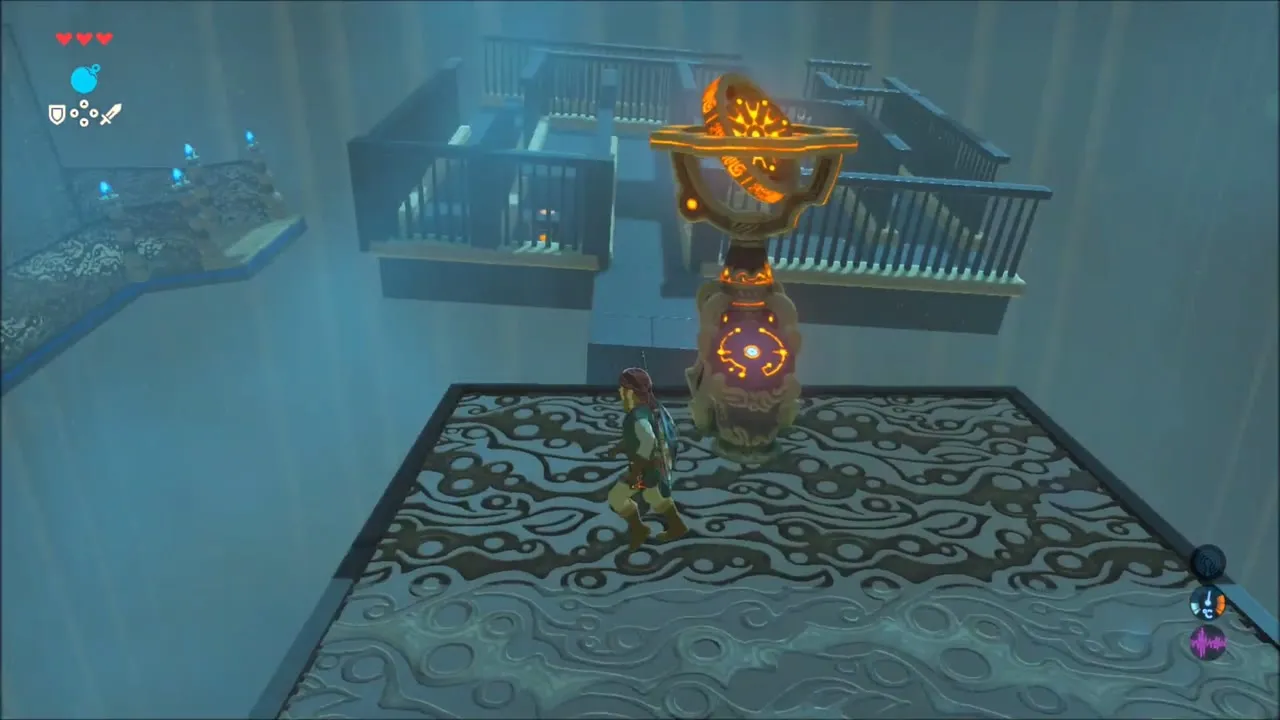
Inside the shrine you tilt a maze board with the motion controls to roll a sphere into the receptacle. A chest hidden in the maze holds a Phrenic Bow. Put the sphere in place and the monk gives you a Spirit Orb.

Hateno Village: Hylian Homeowner, Shops, Spring of Wisdom and Other Side Quests
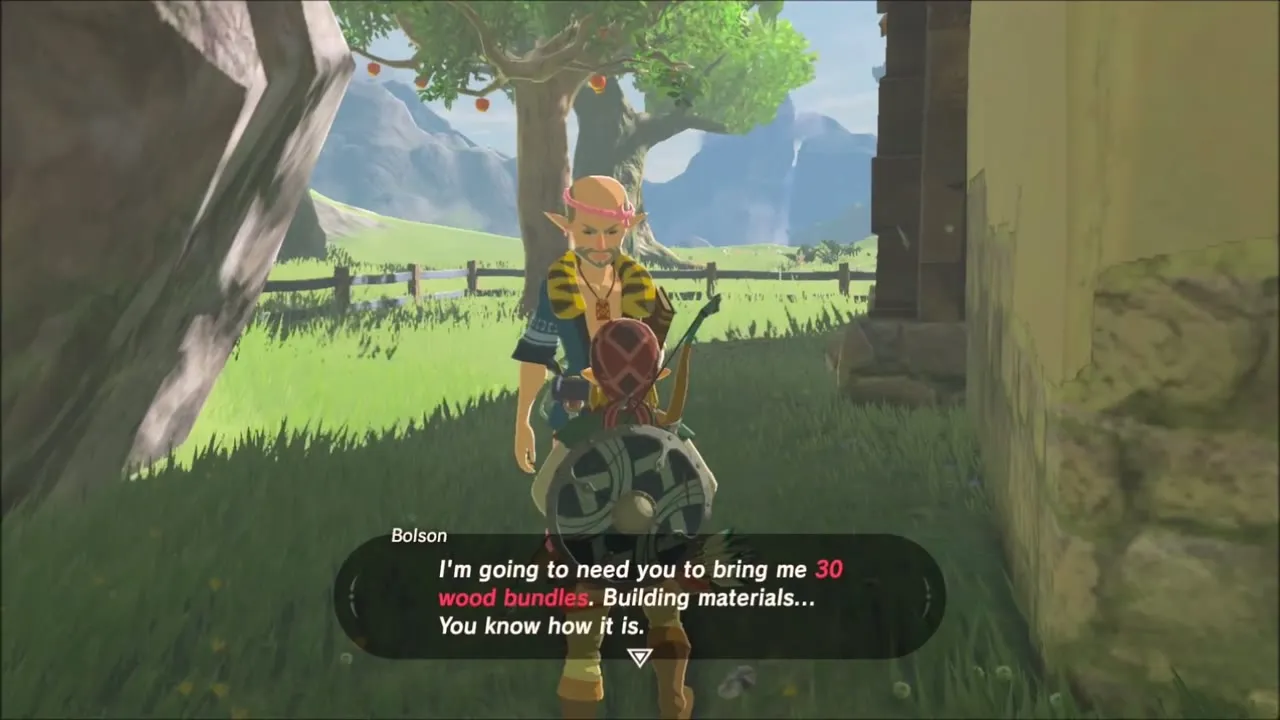
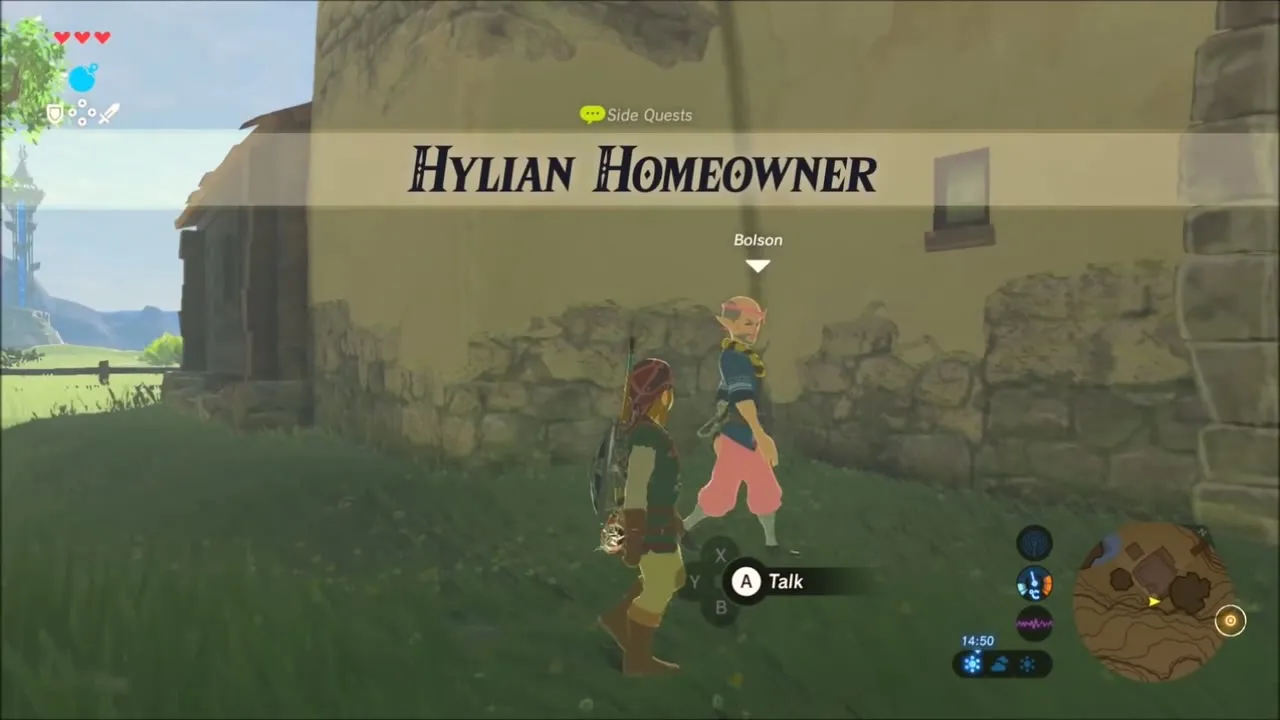
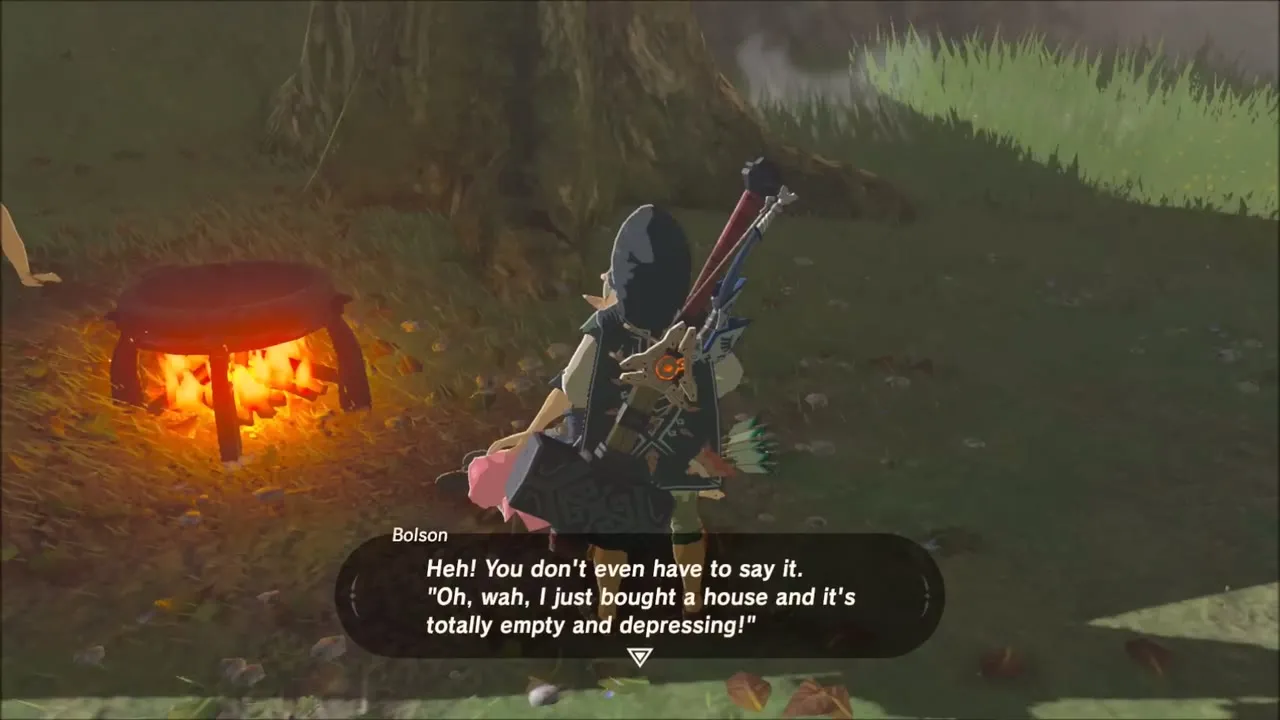
Once you are inside Hateno Village, start with the two builders who stand together near the edge of town. Talk to Hudson and then to Bolson, the man in pink trousers, to open the Hylian Homeowner side quest. Bolson sells a run-down house, but he wants 30 bundles of wood and 3,000 rupees before he will hand over the keys, so keep it in mind while you cut trees and collect rupees in the next stretch.

Korok seeds near Hateno: the flower-dotted hillside and the ravine rock
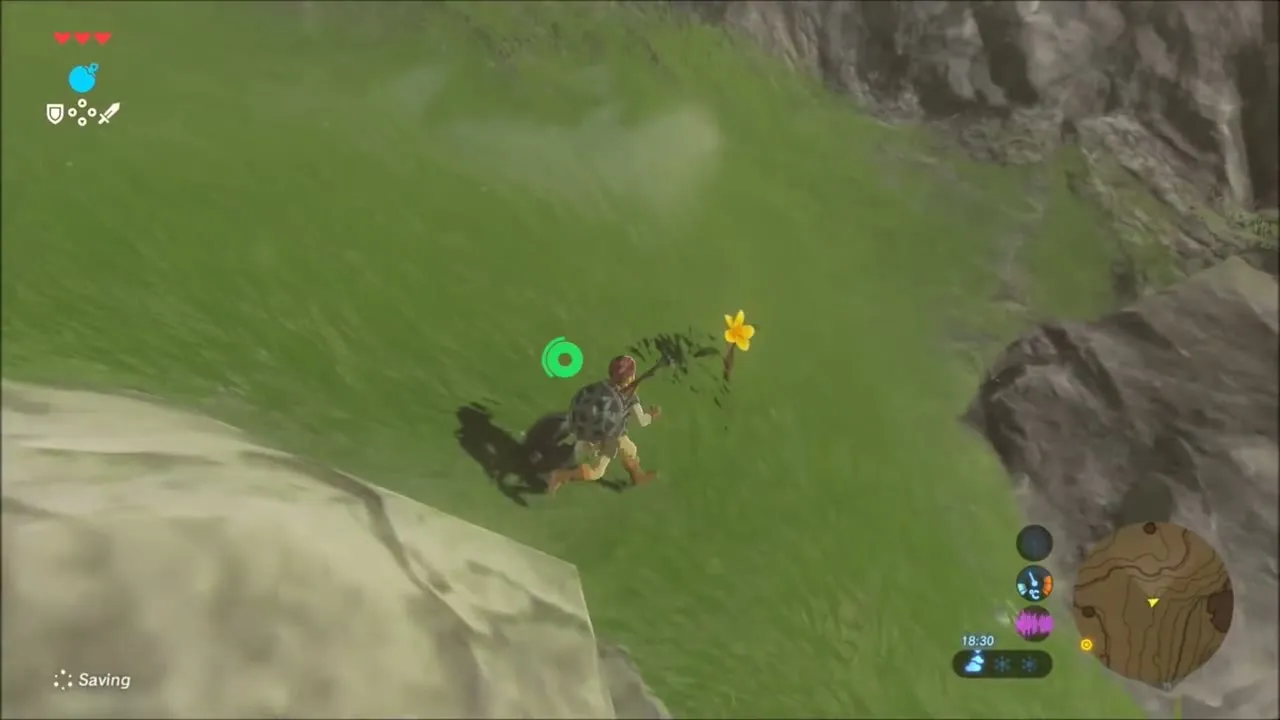
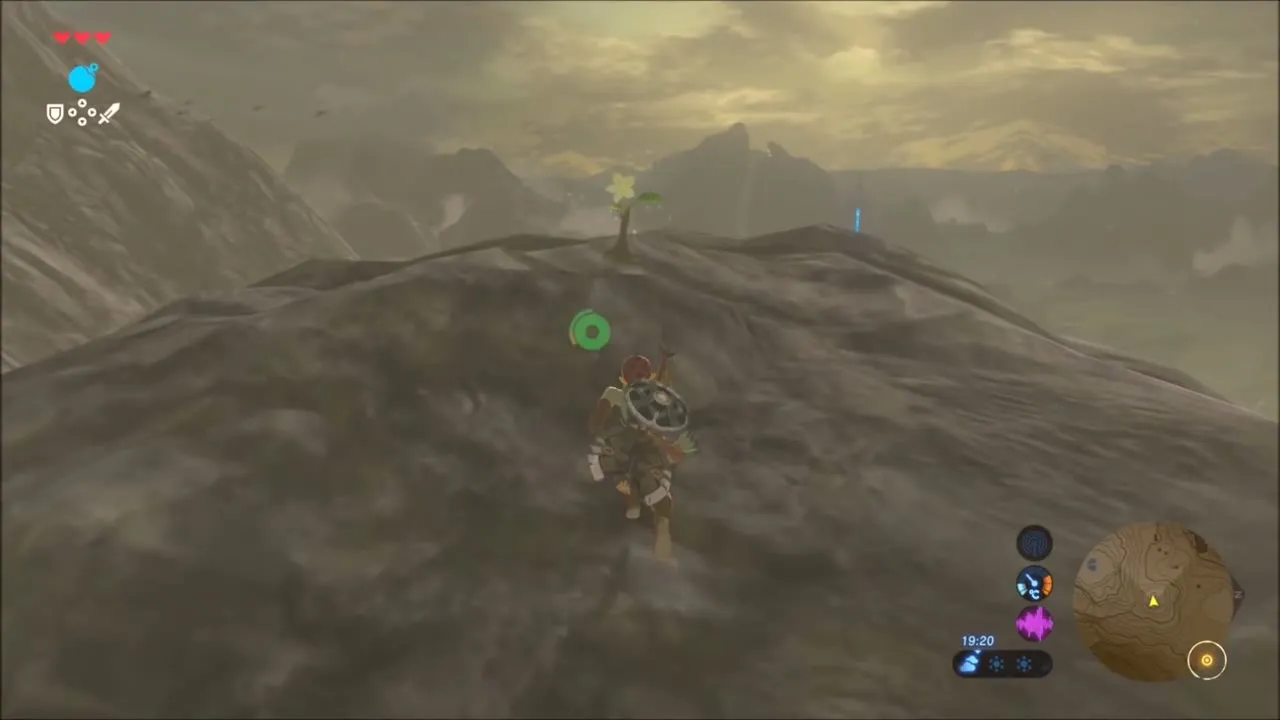
West of the village, climb the grassy slope up to a bare mountain ridge. Yellow flowers are scattered all the way up the hillside and over the rock at the top; follow them to the summit, where a Korok pops out of the stone and gives you a seed.
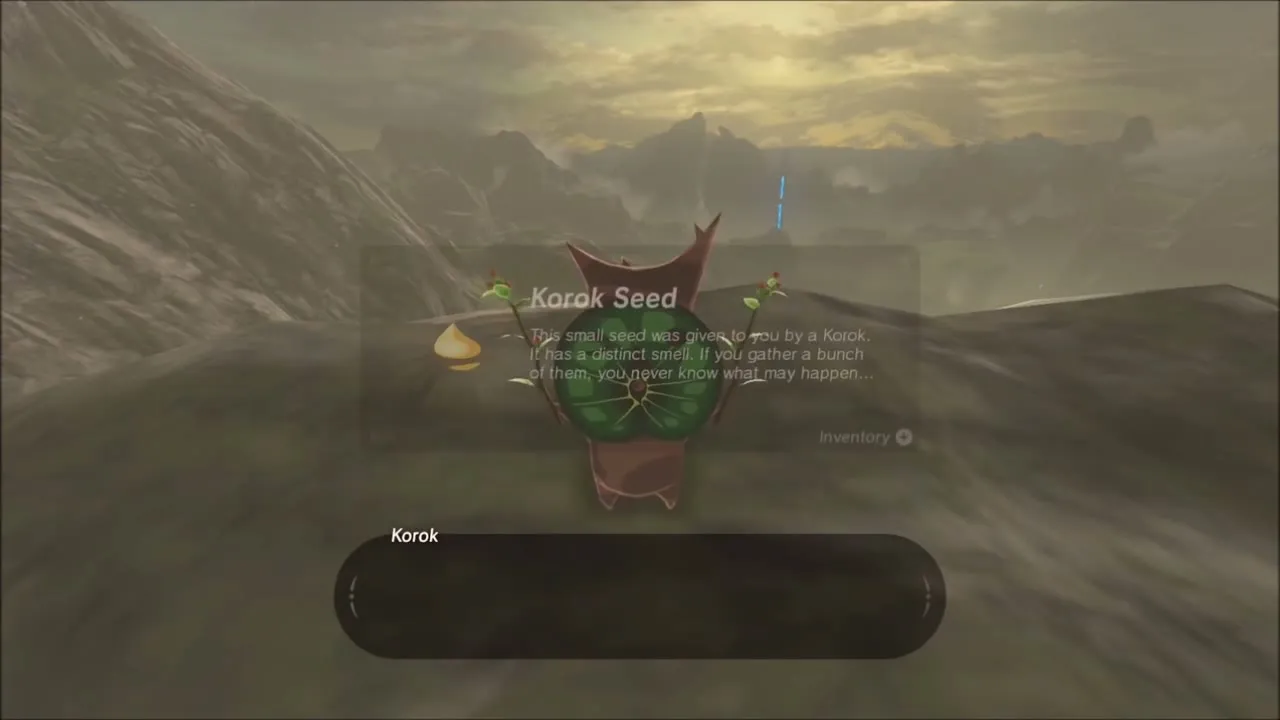
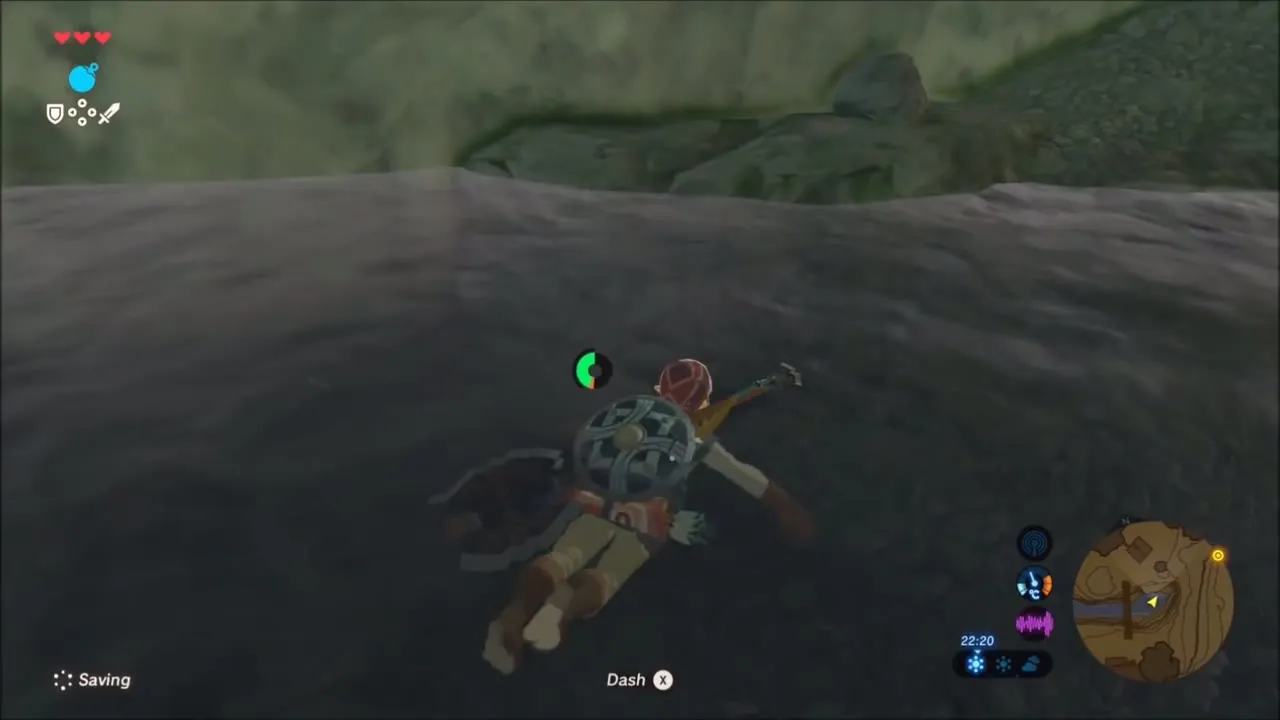
The second seed is in a ravine farther along. Glide down into the gorge, swim along the river and climb out onto the rocky shelf by the water. A loose rock lies on the ledge; pick it up and the Korok appears under it, leaving you a seed.



Hateno village shops: general store, clothing boutique and dye shop
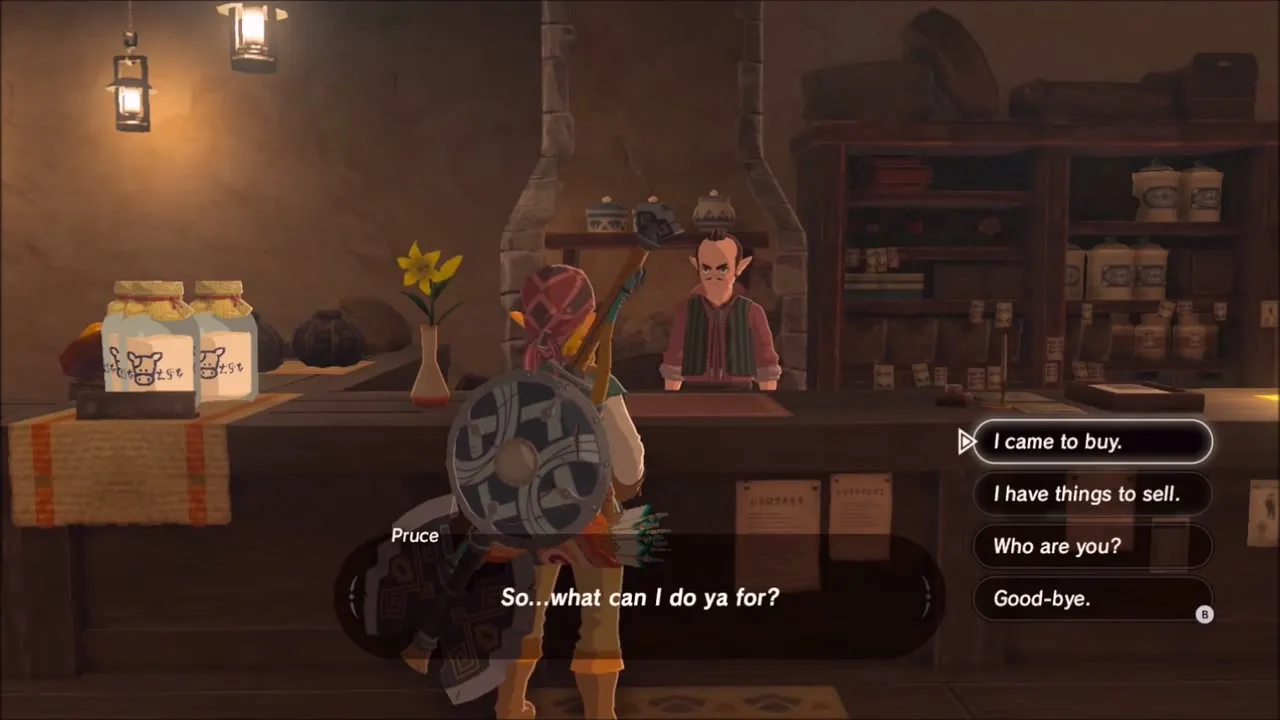
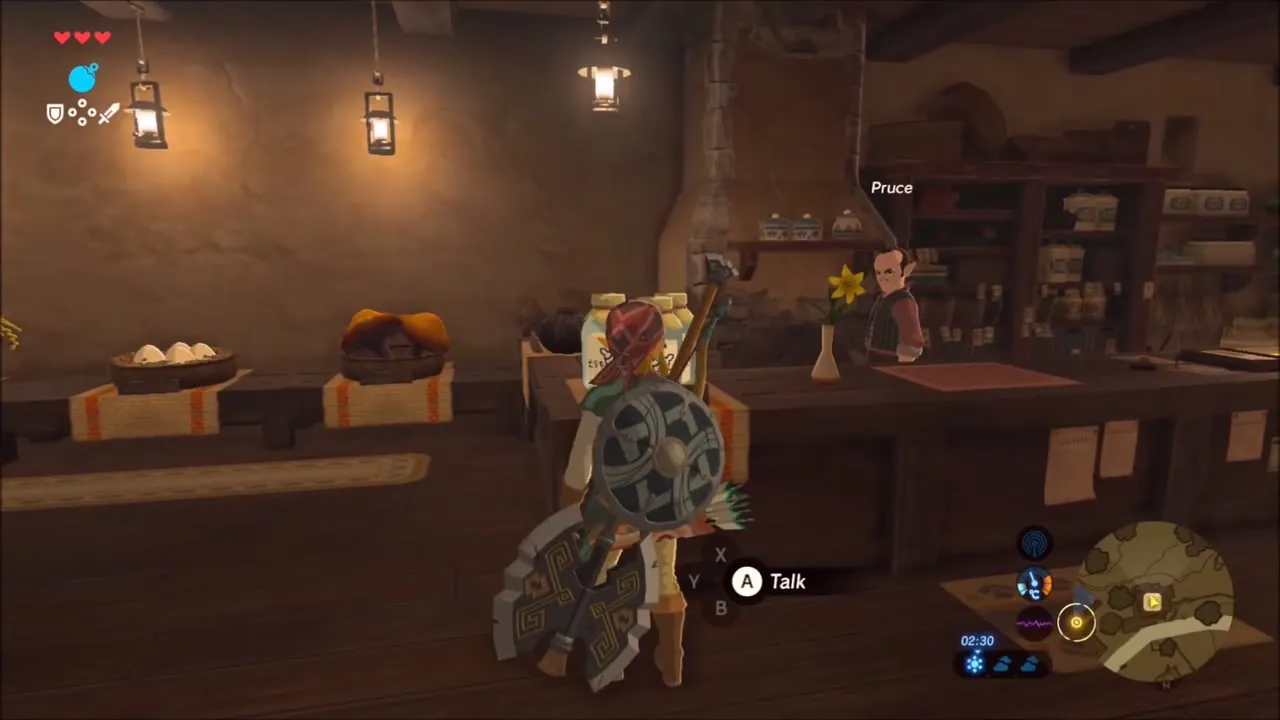
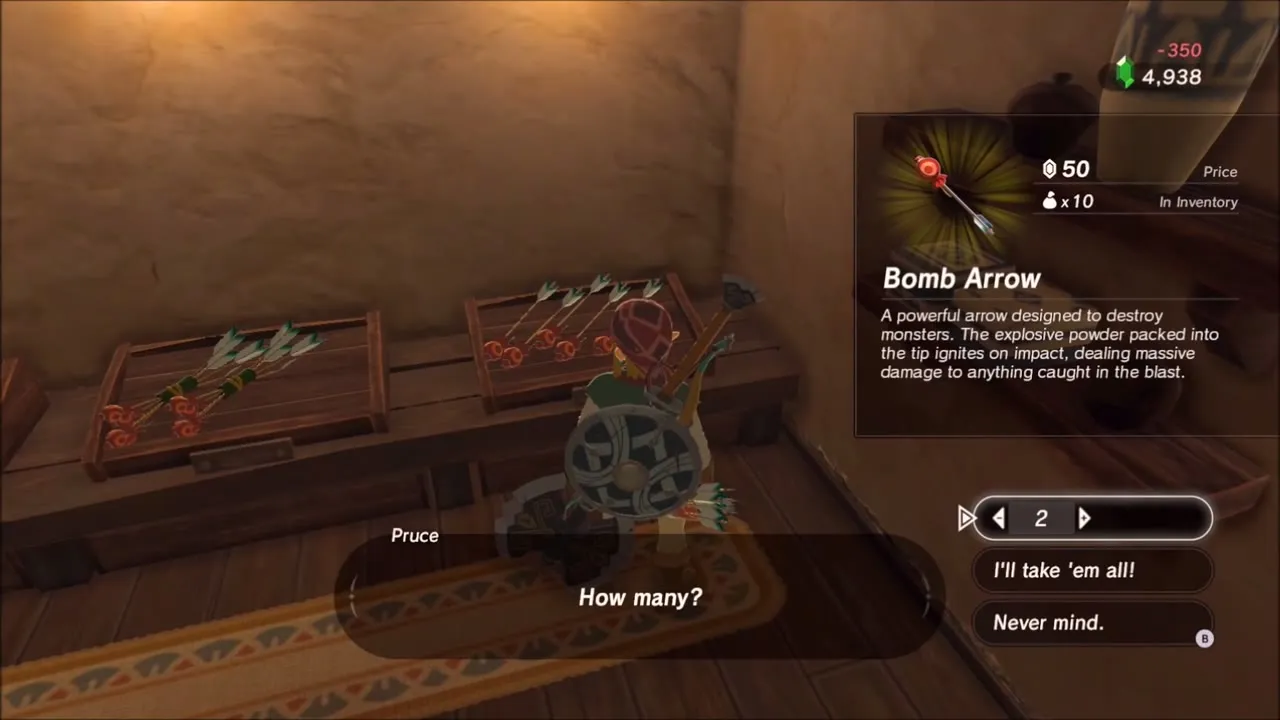
The general store (map position x 3361, z 2172) is run by Pruce, and it is the best place to cash in your loot: Link sells Amber and spare Bokoblin Horns here, and you can pick up Bomb Arrows from the shelf at 50 rupees apiece (a pair costs 100). Keep your stock of arrows topped up before you head for the hills.

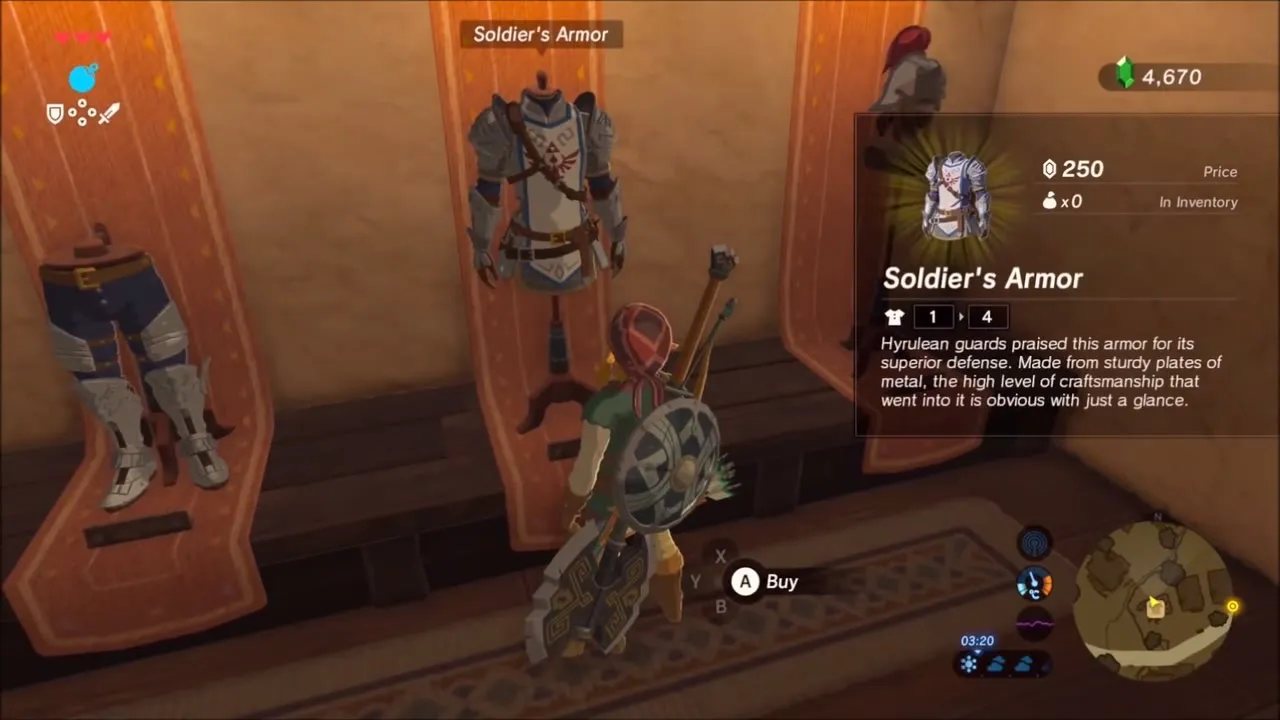
Up the stairs of the clothing boutique, Sophie sells a handful of outfits. The Hylian Hood costs 60 rupees, and the shop also stocks the Soldier’s Set: Link buys the Soldier’s Helm, Armor and Greaves here and wears them for the rest of the walk. The set has no special effect, but it gives dependable defence at a low price.


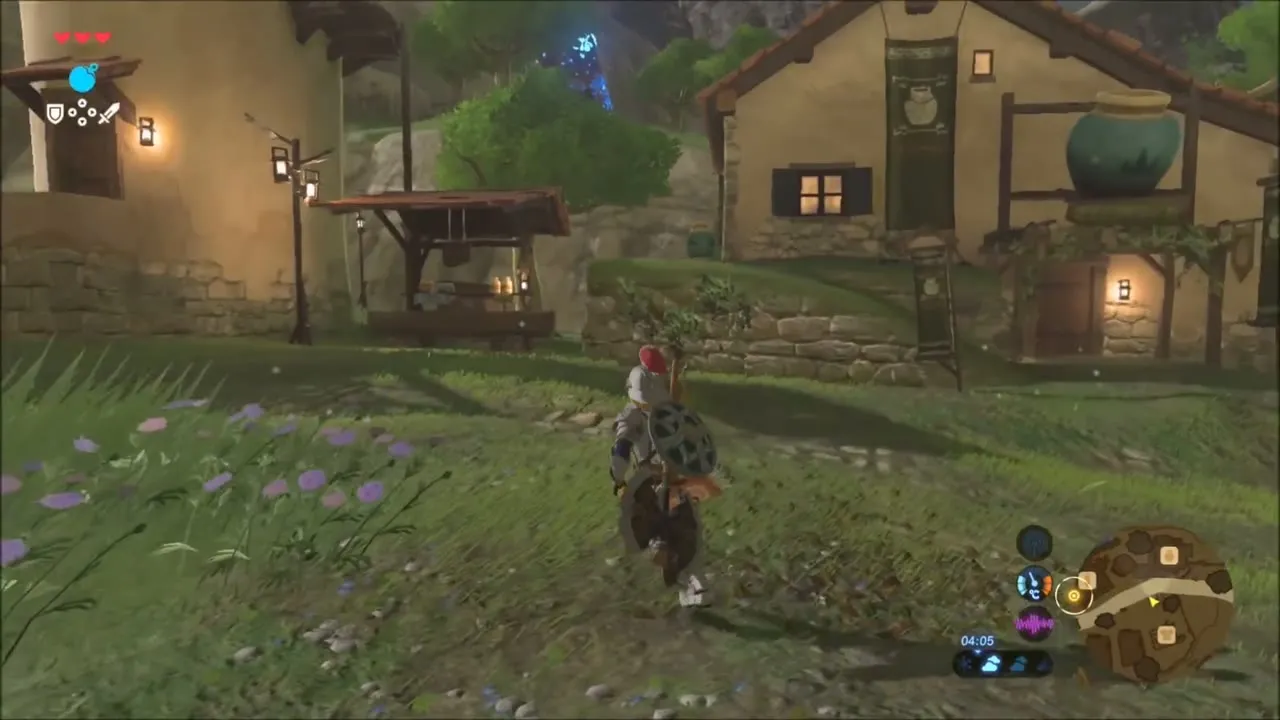
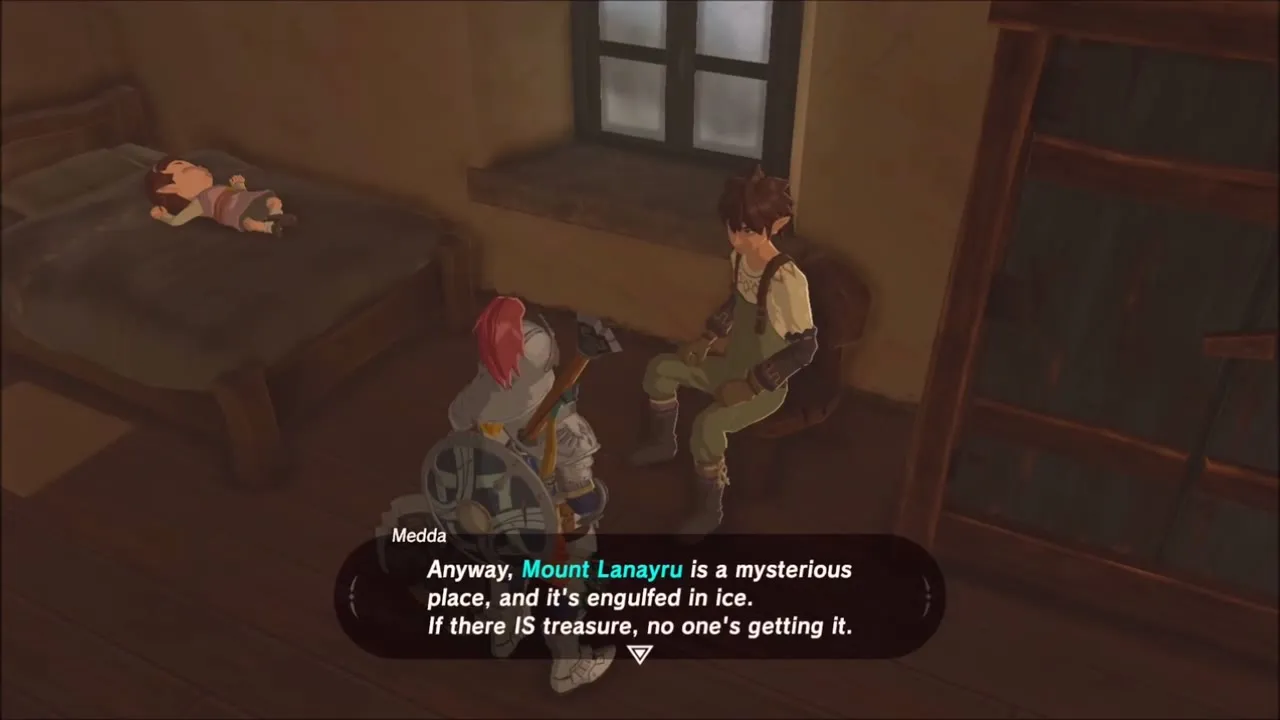
Go back out and talk to Medda to begin The Spring of Wisdom. He tells you about the frozen summit of Mount Lanayru and the spring hidden at the top; follow the quest to uncover Jitan Sa’mi Shrine. Nearby, Sayge at the Kochi Dye Shop can dye your armour if you want a new colour; Link tries black.

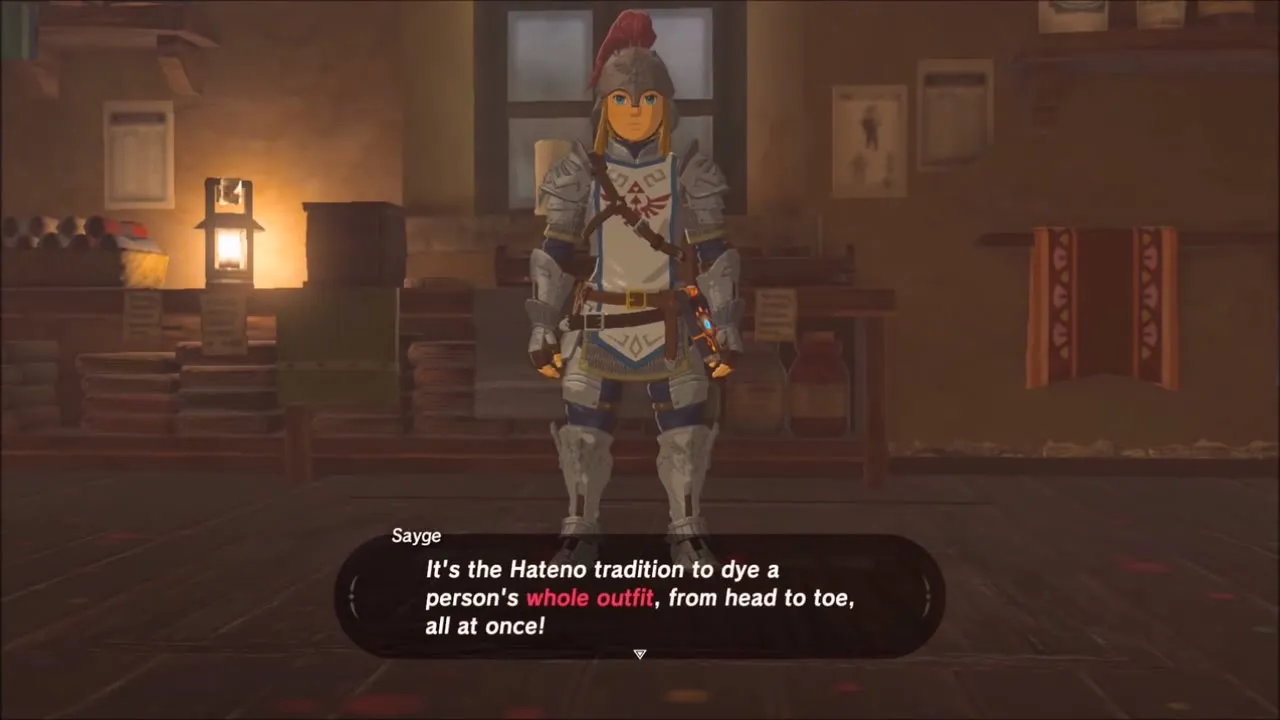
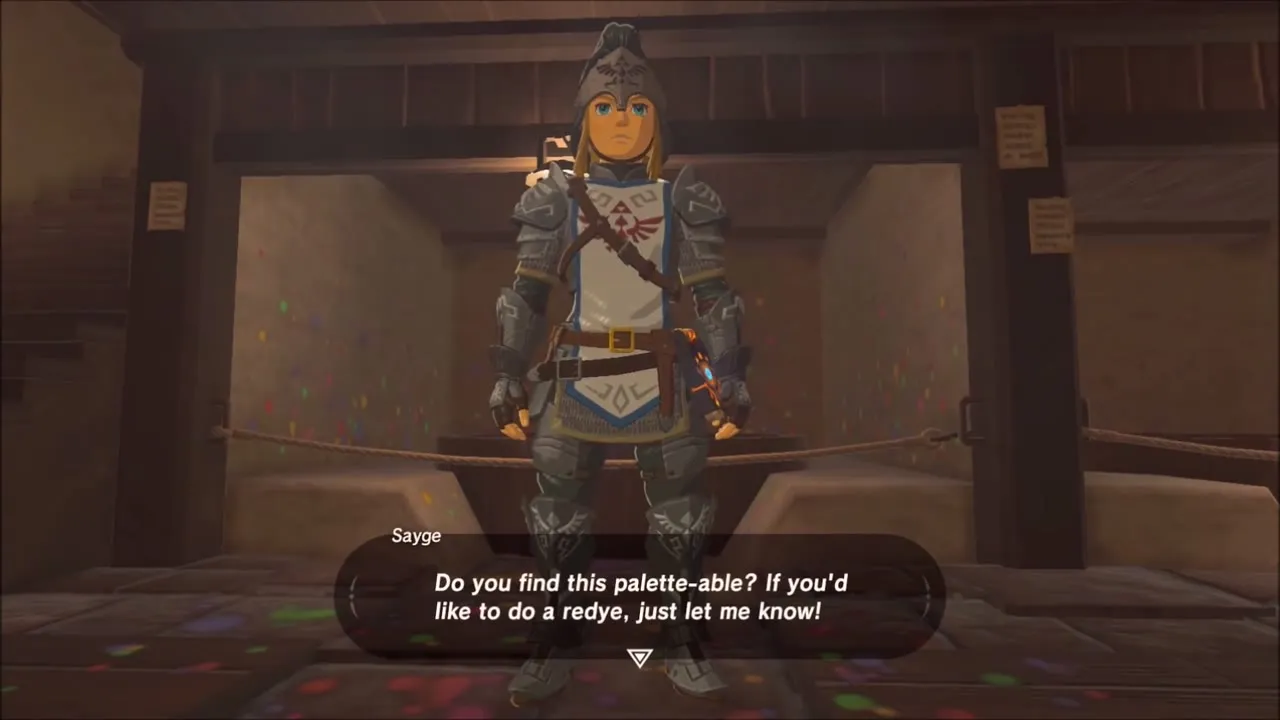
A Gift for My Beloved: Manny, Prima and the crickets
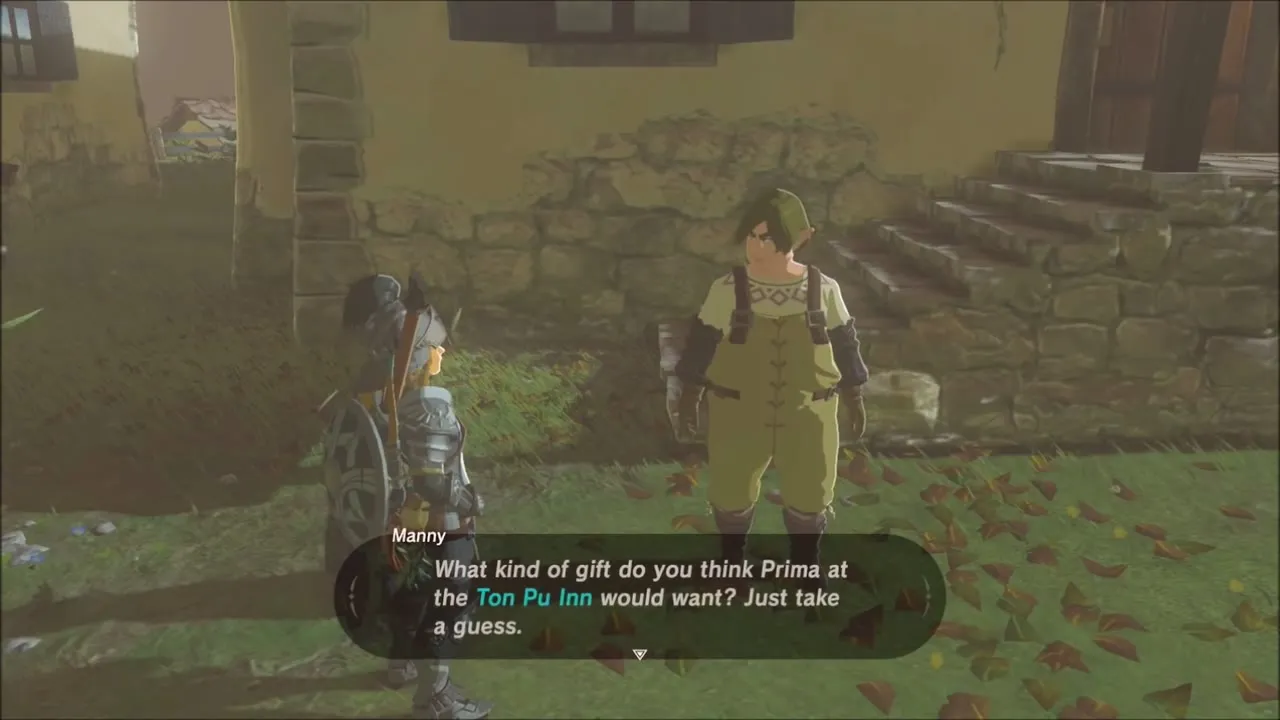
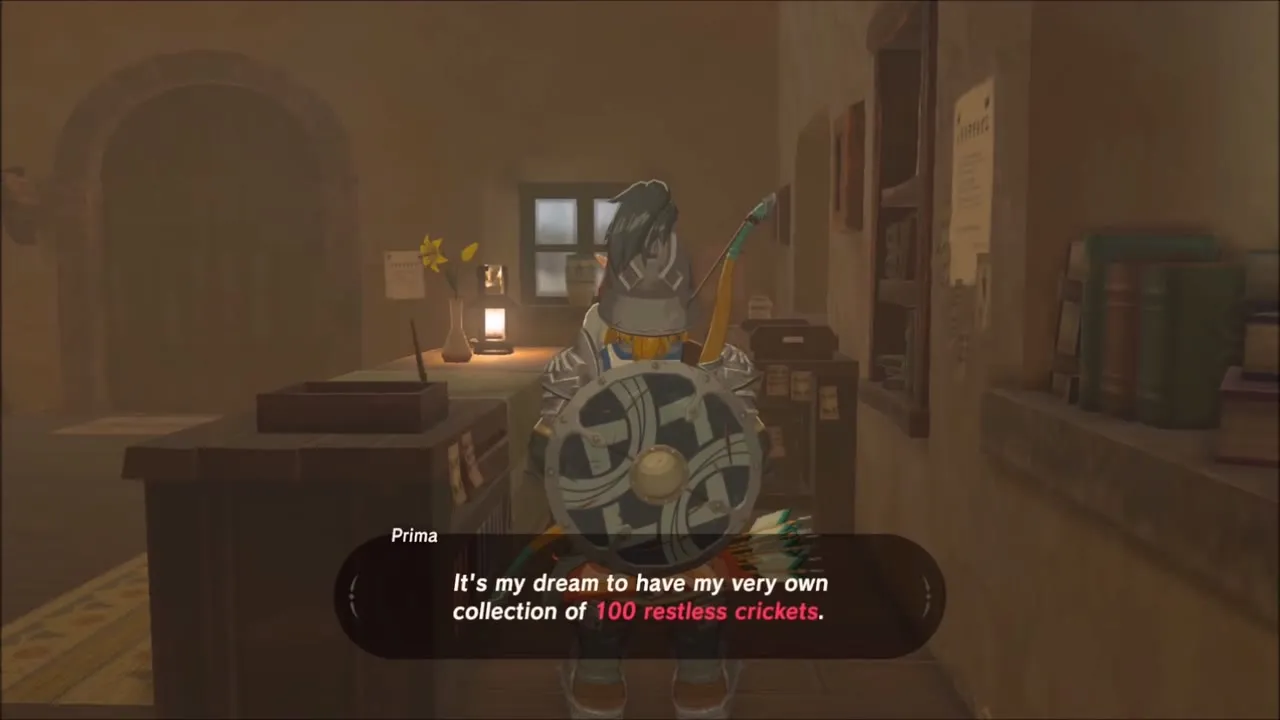
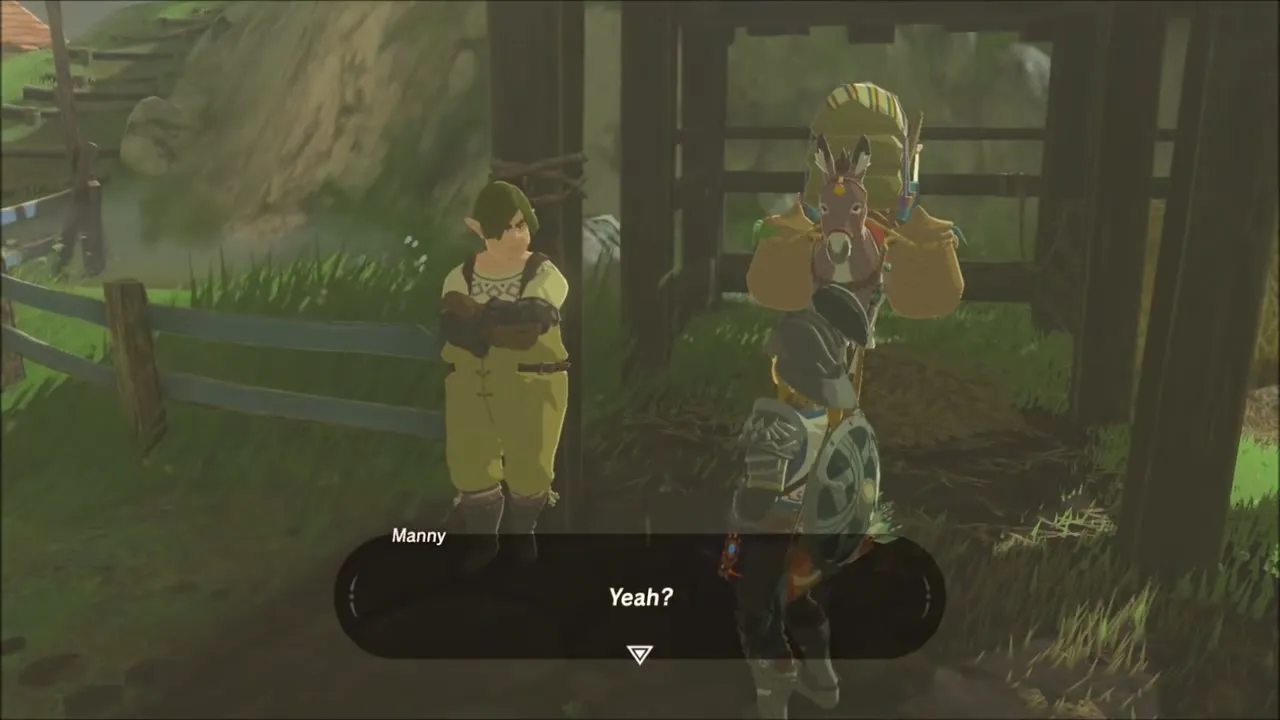
Near the inn, Manny asks what kind of gift Prima at the Ton Pu Inn would like. Walk into the inn and speak to Prima behind the counter. She tells you she dreams of owning a collection of restless crickets, which finishes the first task of A Gift for My Beloved. Go back and tell Manny; you can return later to deliver ten Restless Crickets for the Silver Rupee.

Secret of the Cedars and the Hateno Goddess Statue
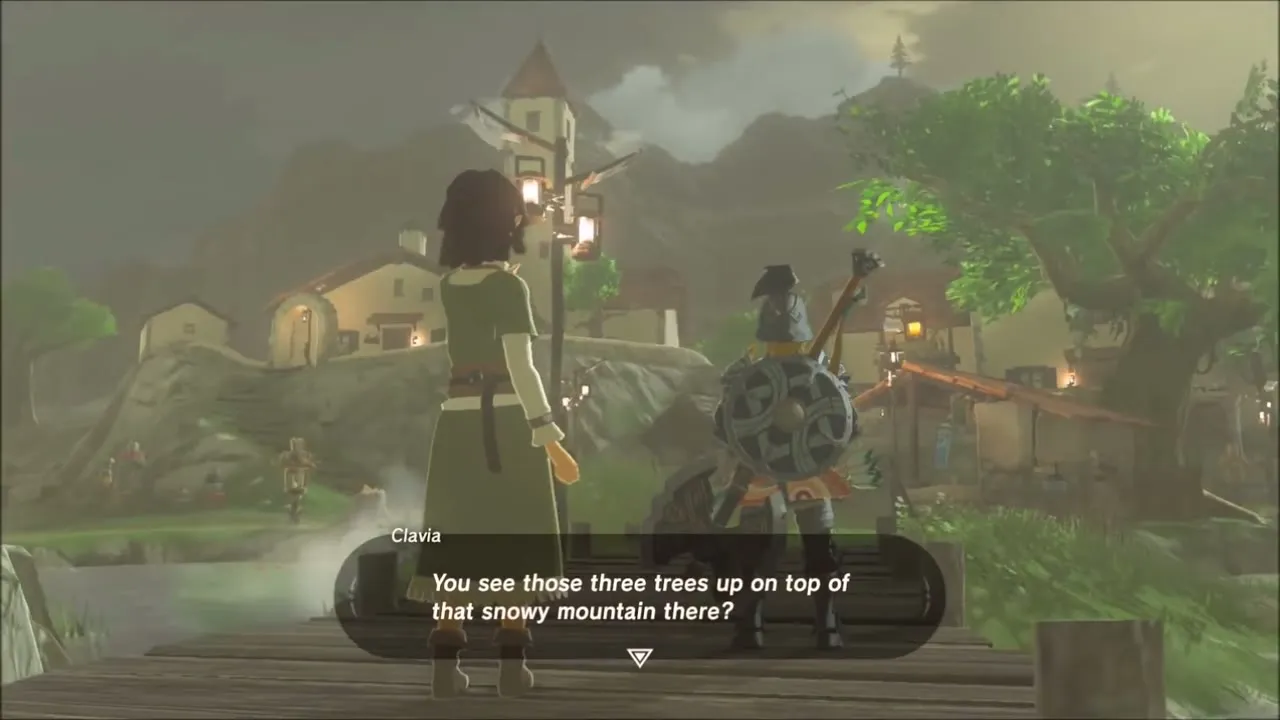
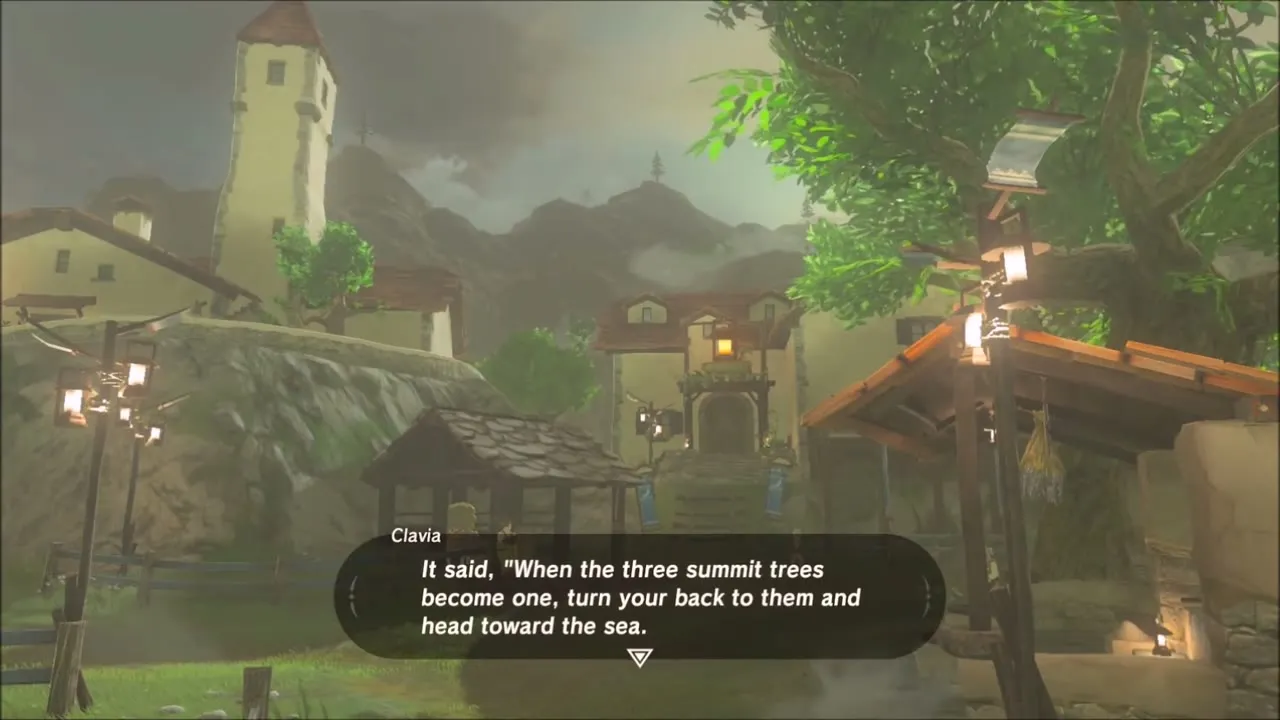
Walk down to the lake dock behind the dye shop and speak to Clavia, who gives you a riddle for the shrine quest Secret of the Cedars. Her legend says that when the three trees on the summit become one, you should turn your back on them and head toward the sea. This points you to Tahno O’ah Shrine, which needs cold resistance and bombs.


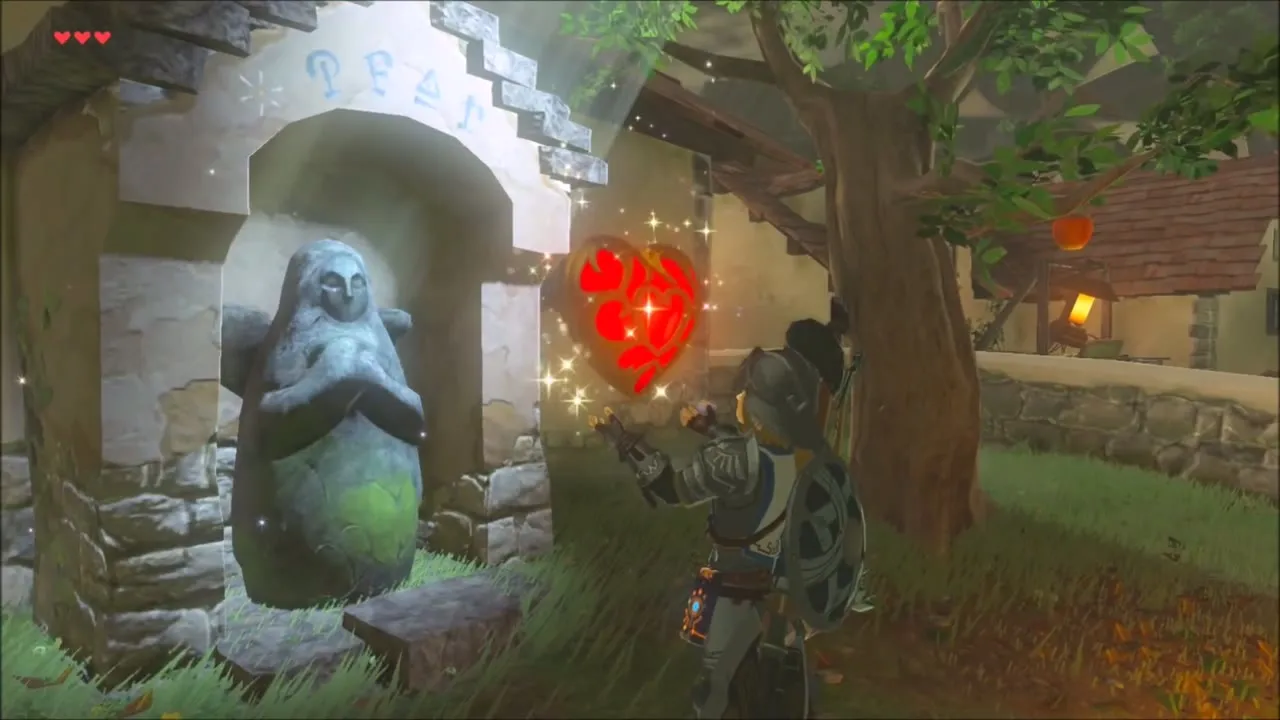
Pray at the Goddess Statue in the village garden to trade Spirit Orbs for a new Heart Container. Link walks away with an extra heart.



The Weapon Connoisseur: Nebb
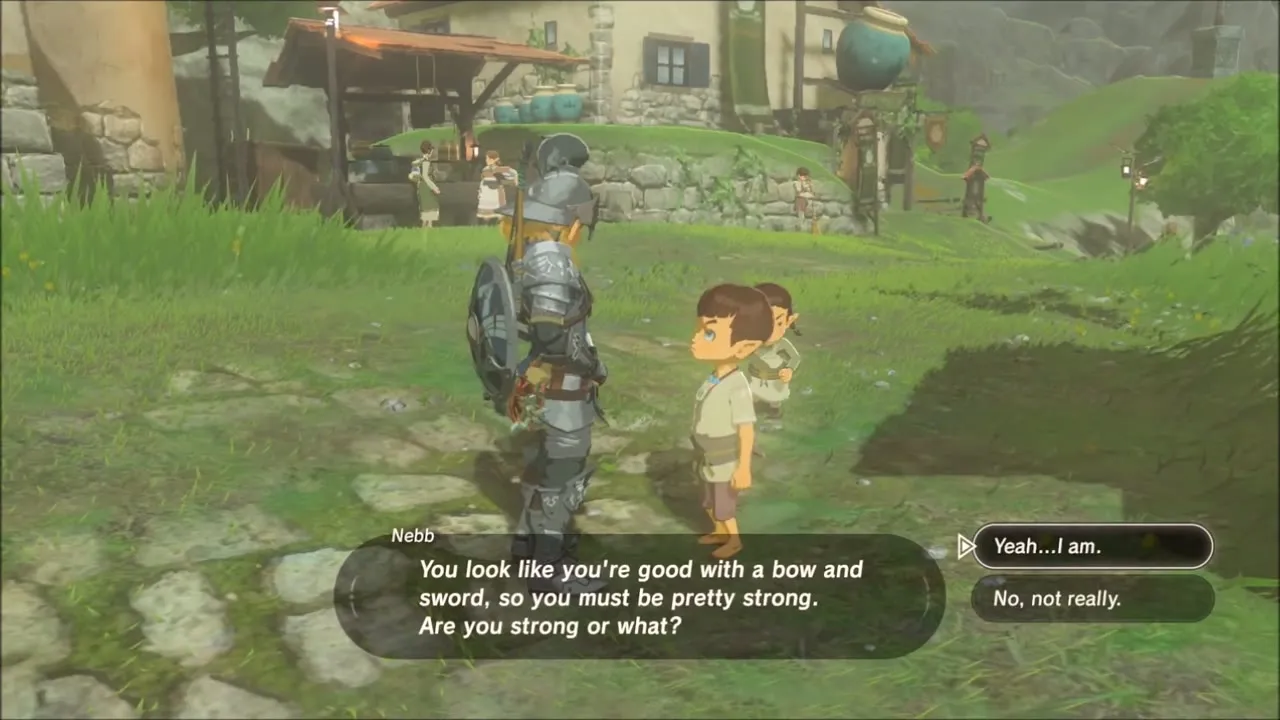
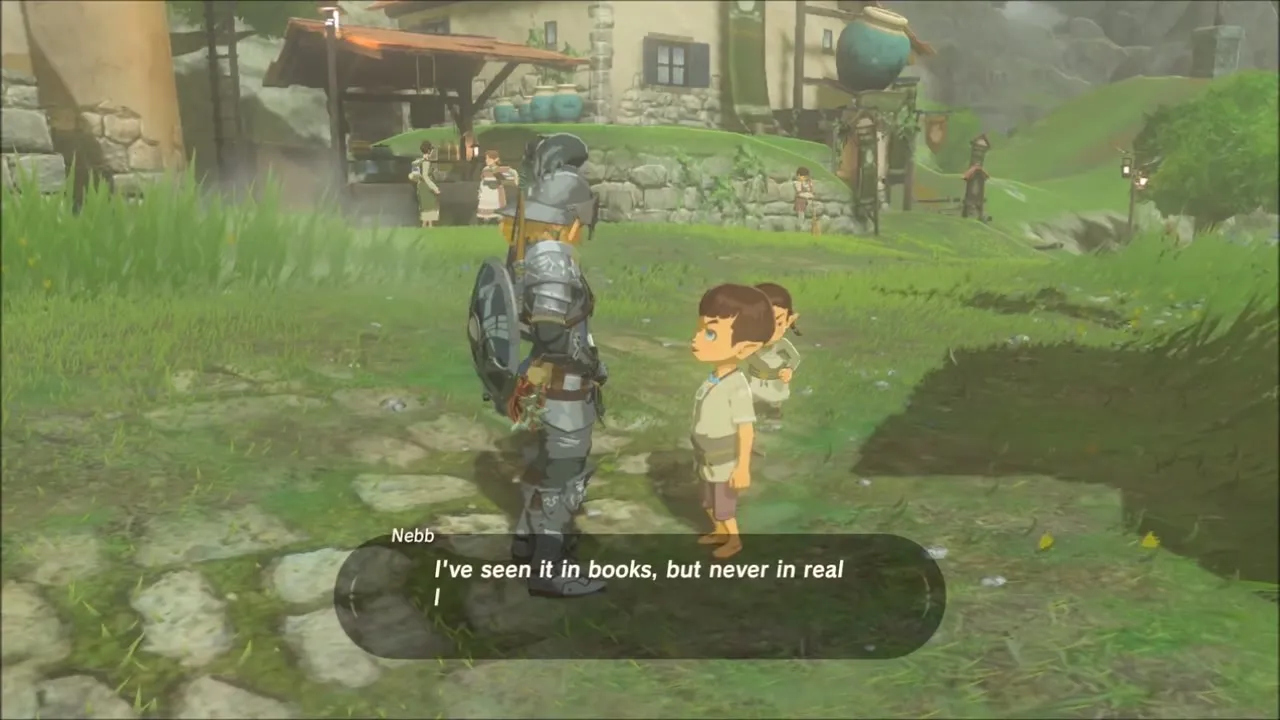
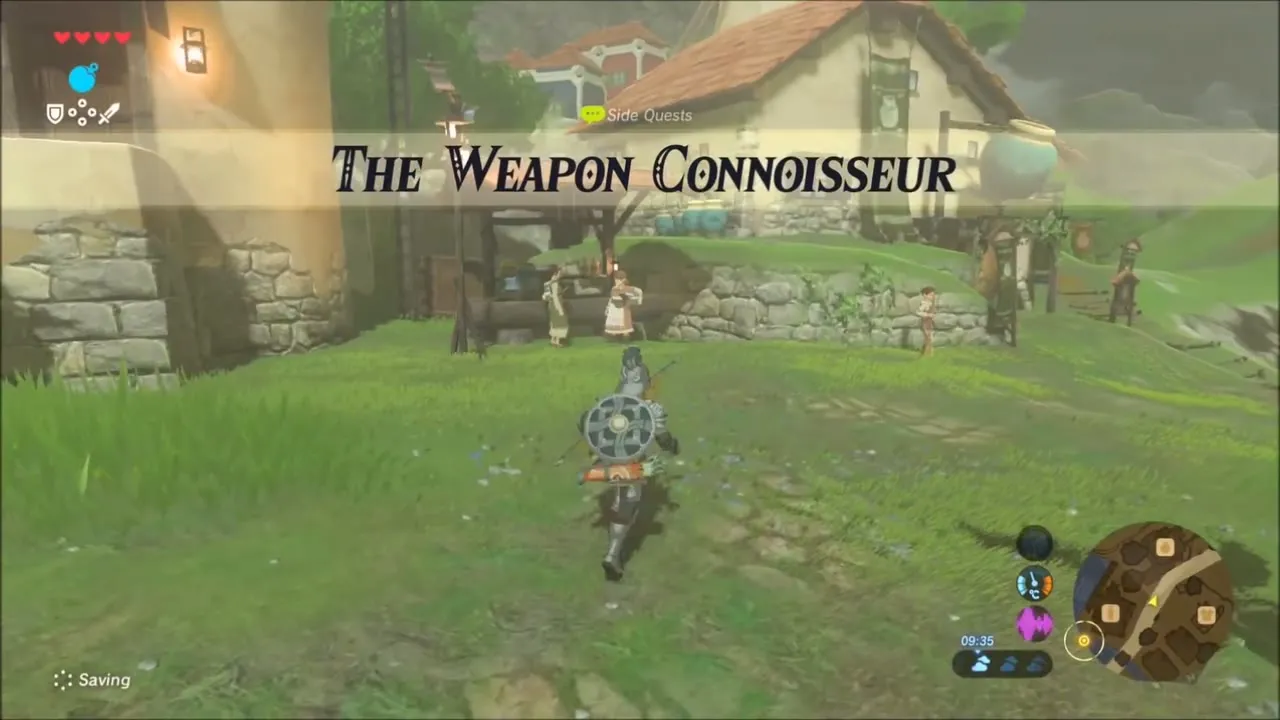
Down by the houses in the village centre, a boy named Nebb asks whether you are strong, then says he wants to see a particular weapon he has only read about. Talk to him to take on The Weapon Connoisseur; he names one weapon at a time and pays more for each, so you can collect them over the whole game.

The Statue’s Bargain: Teebo and the Horned Statue
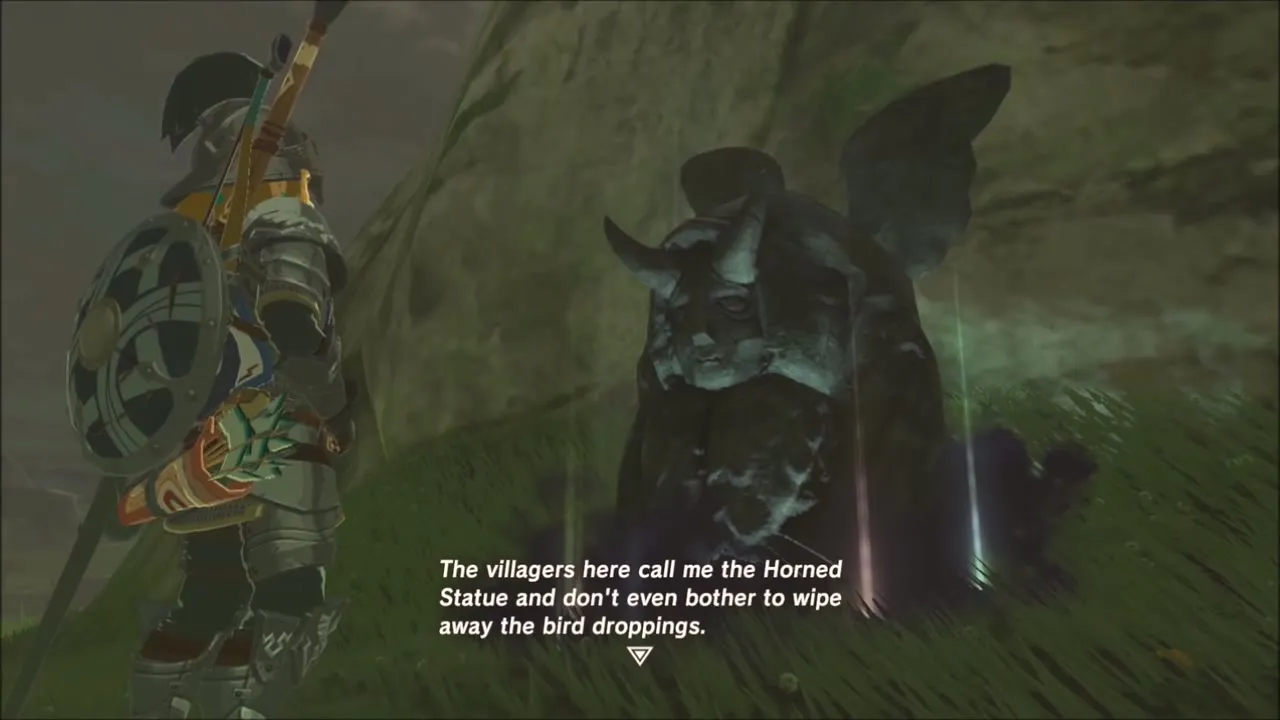
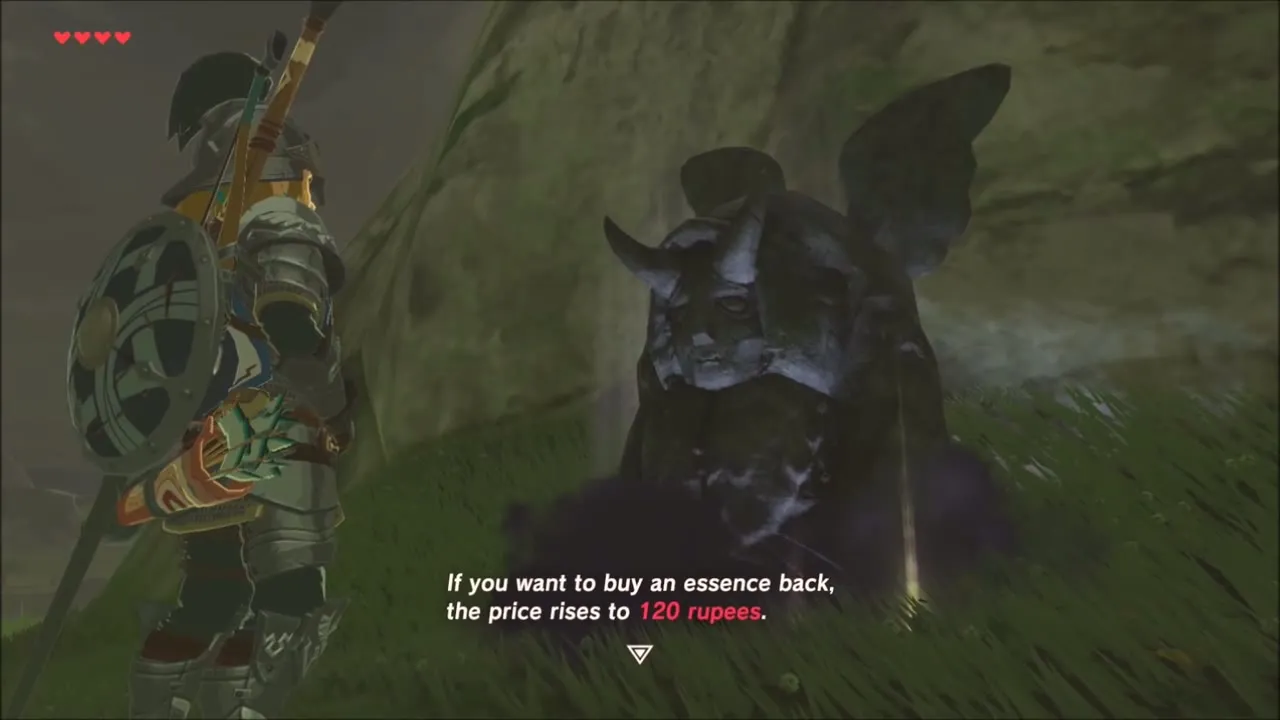
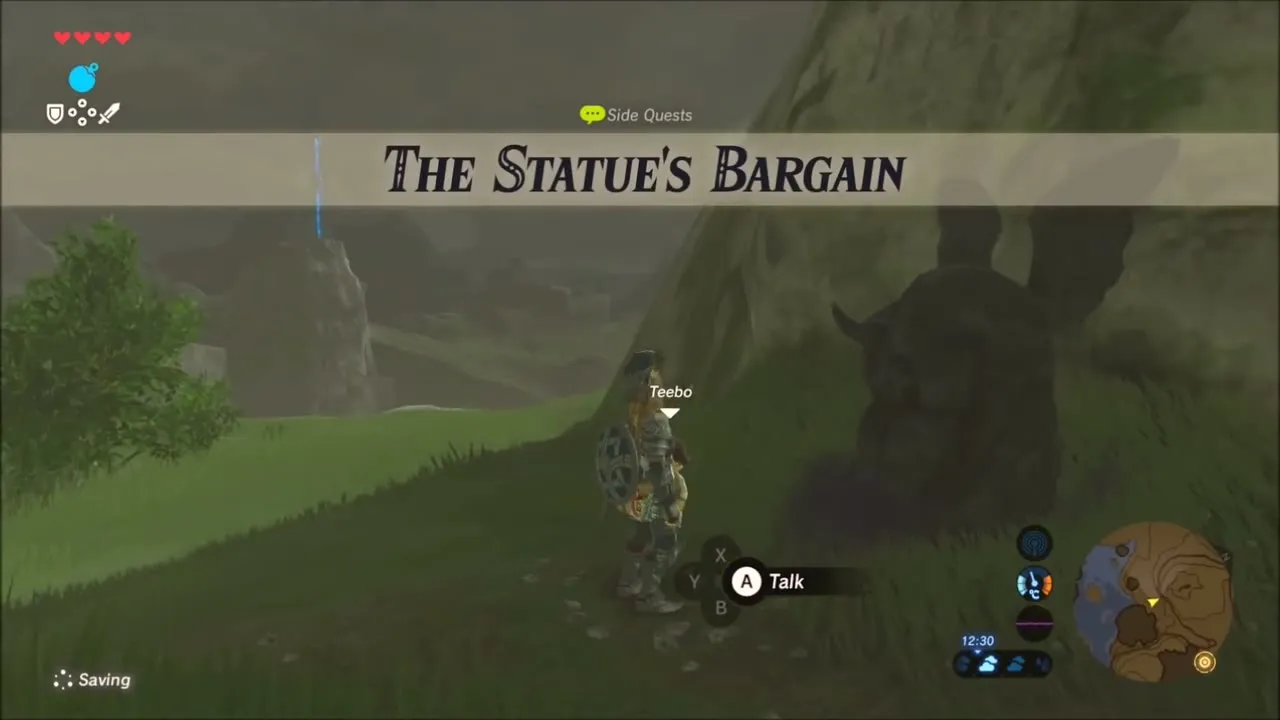
Teebo leads you to a horned stone statue on the path out of the village. Speak to it and it offers a deal, taking one of your containers in return for rupees. Take the swap and keep talking; the statue says that buying an essence back costs 120 rupees. Paying that price completes The Statue’s Bargain and lets you trade hearts for stamina (and the other way round) whenever you like.

Hylian Homeowner: wood and the house deed
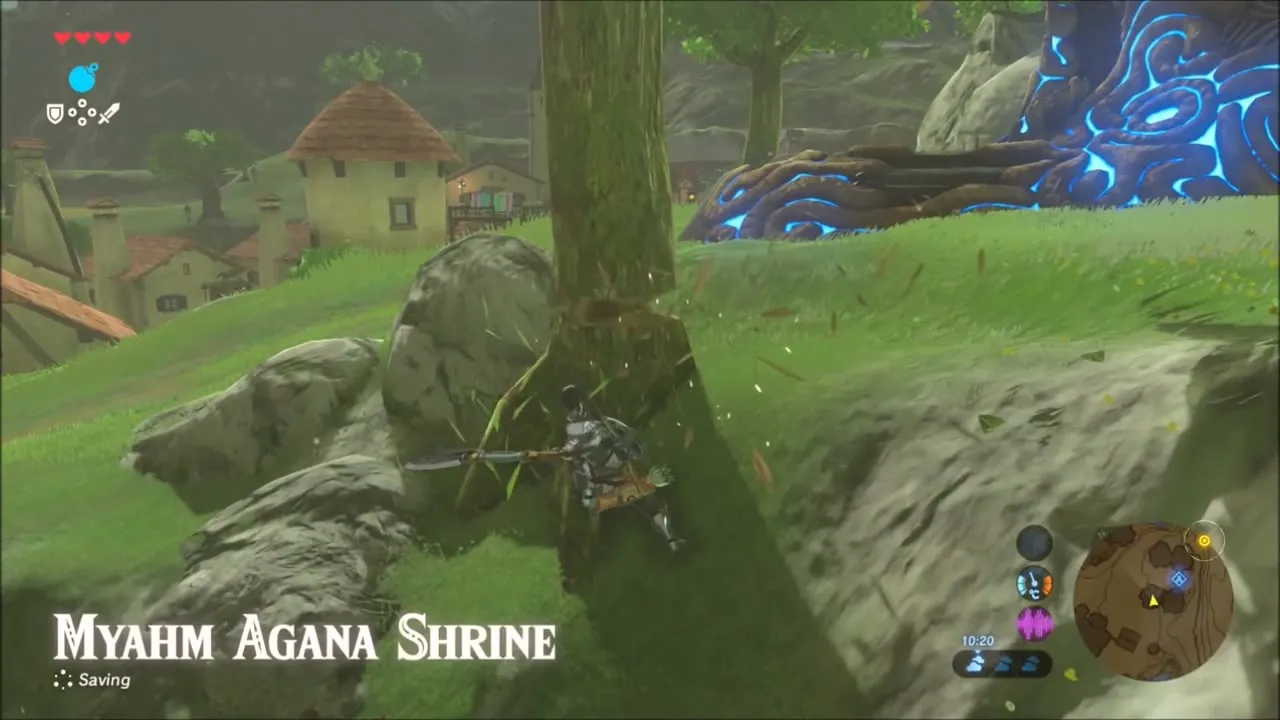
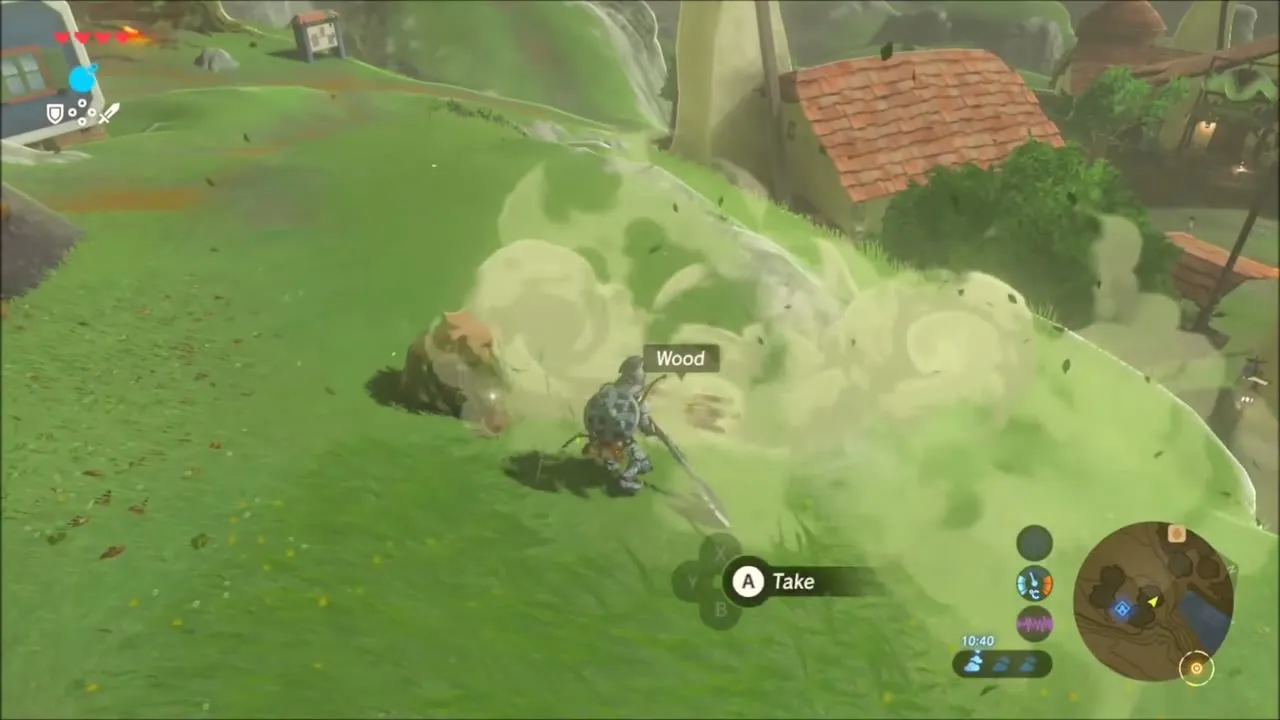
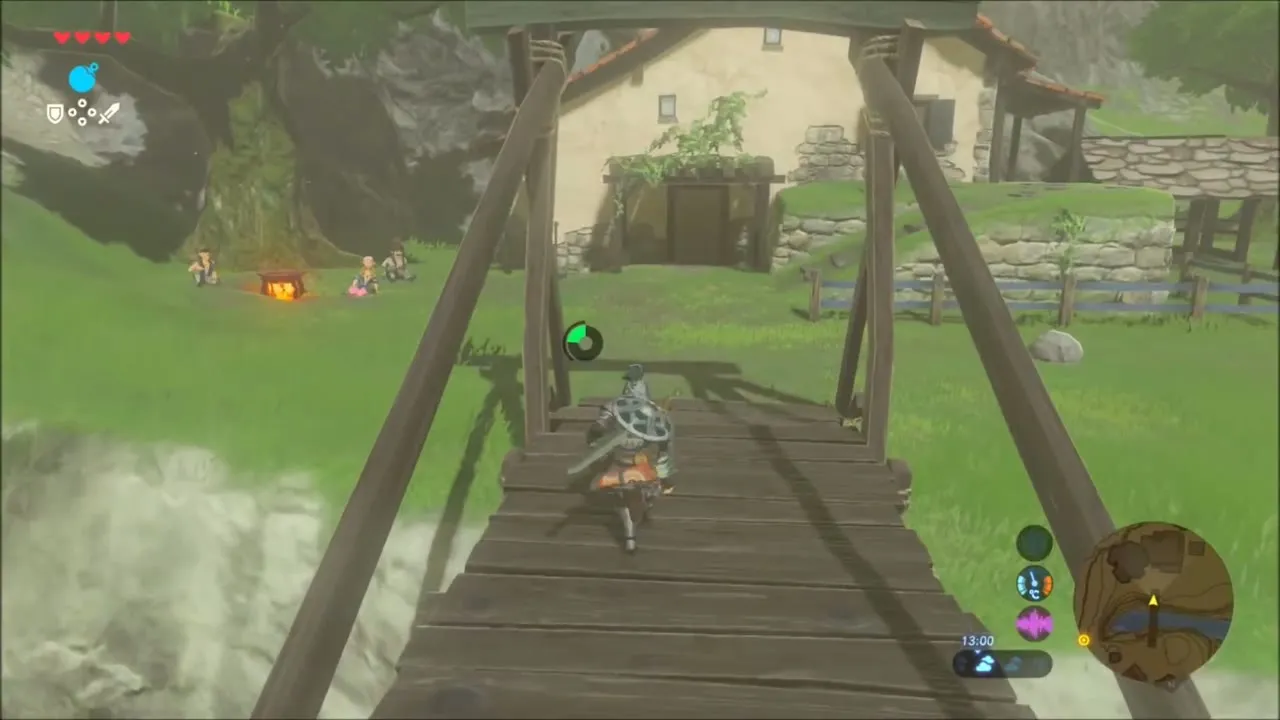
Chop down trees on the slopes by Myahm Agana Shrine and in the fields on the way back to collect the 30 bundles of Wood. Link also picks up Hylian Rice along the way. Walk back across the footbridge to Bolson, who sits by a cooking pot, and hand over the wood and 3,000 rupees; the quest log updates once the house is yours. You can buy upgrades for the house later. The Myahm Agana Shrine is right beside the path if you have not entered it yet; see Myahm Agana Shrine.


The Sheep Rustlers and the deer hunt
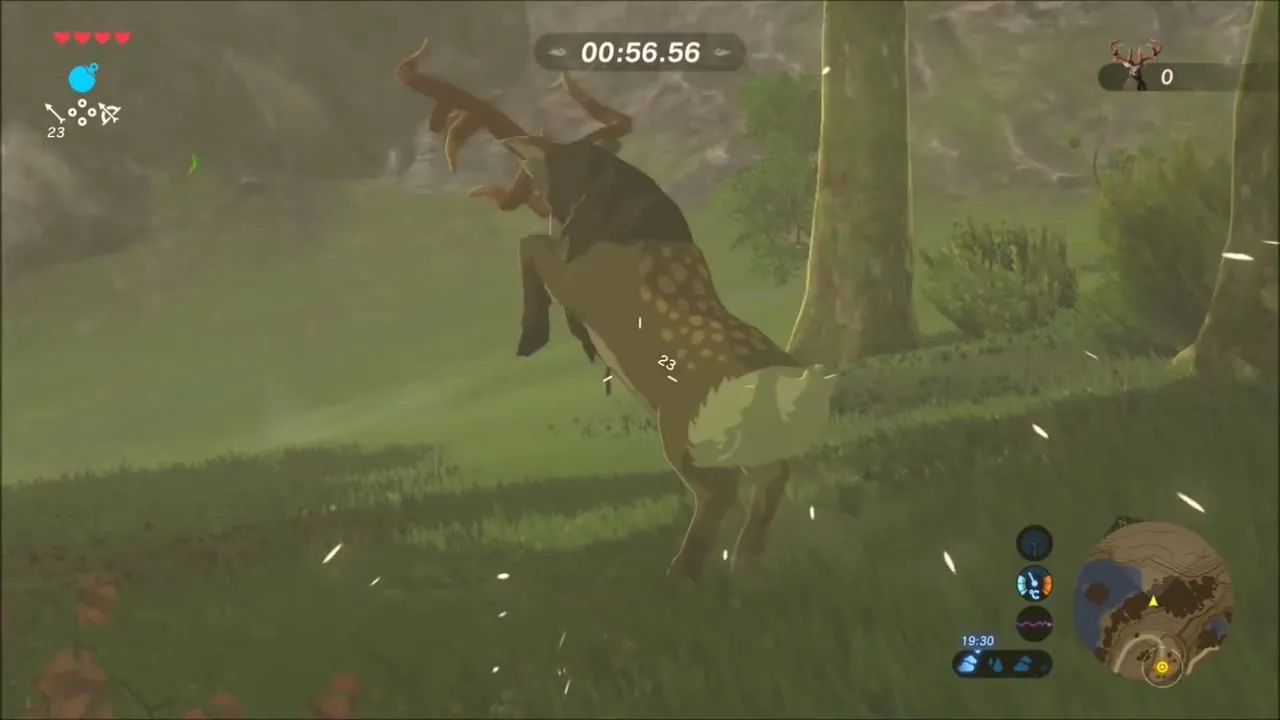
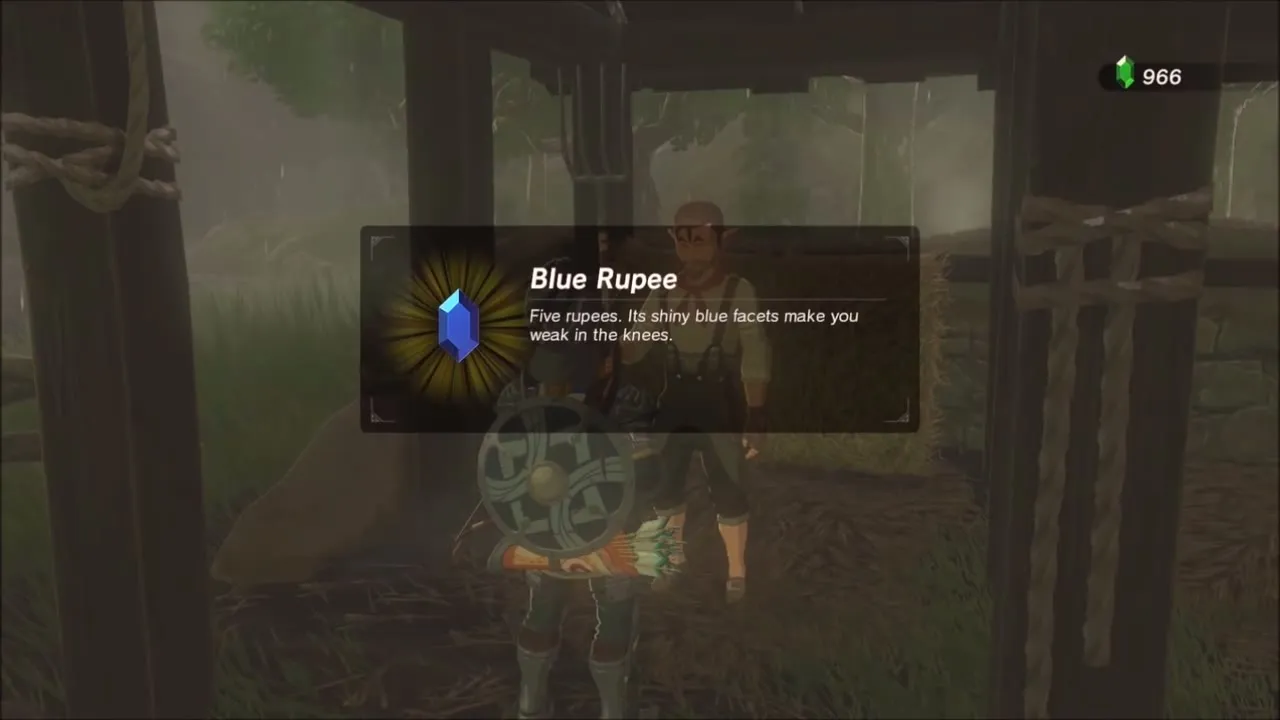
At the farm below the lab, Koyin asks for help with monsters stealing sheep, which starts The Sheep Rustlers. In the south of the village, Dantz runs the deer hunt: accept it, run into the forest and shoot as many deer as you can before the timer runs out. Link brings down six and returns to Dantz for a Blue Rupee (5 rupees).



Locked Mementos: the Blue Flame, Hateno Ancient Tech Lab and the Camera Rune
To start Locked Mementos, head into the woods beside the village and find the glowing blue Sheikah furnace. Take out a torch and light it on the furnace’s blue flame. The flame dies in rain, when you run or climb and when you put the torch away, so keep it in your hand and walk.
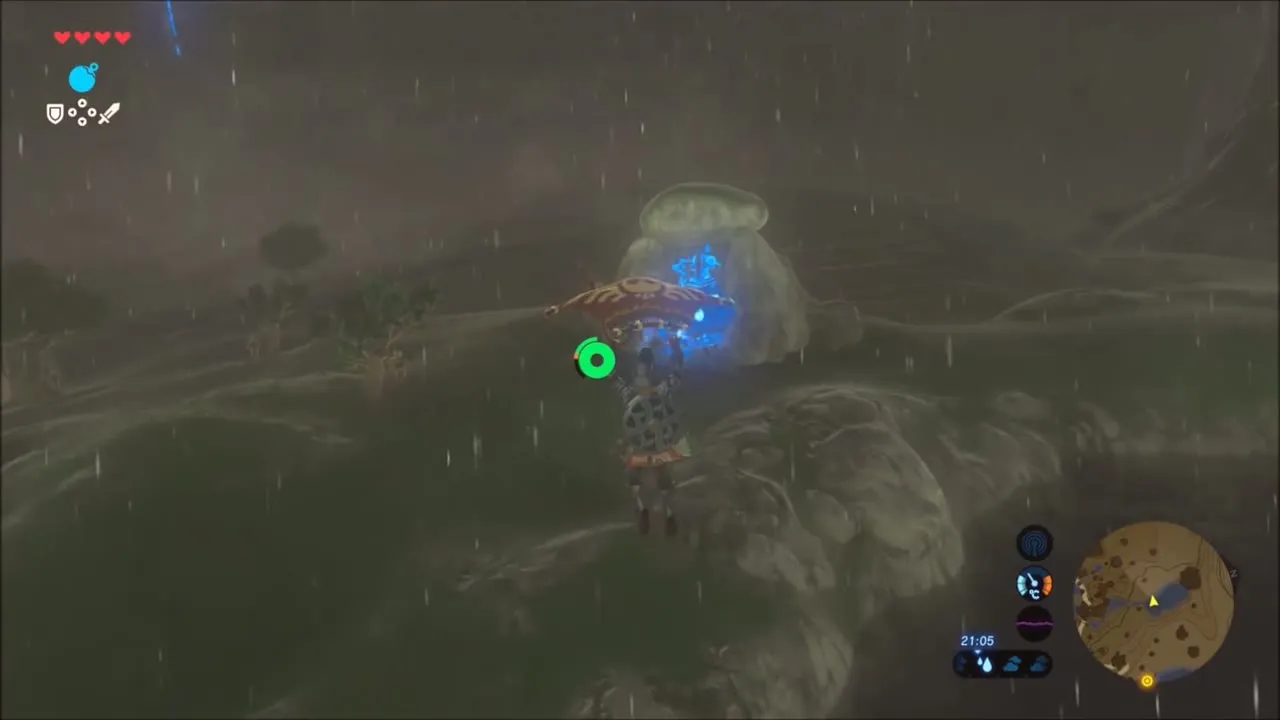
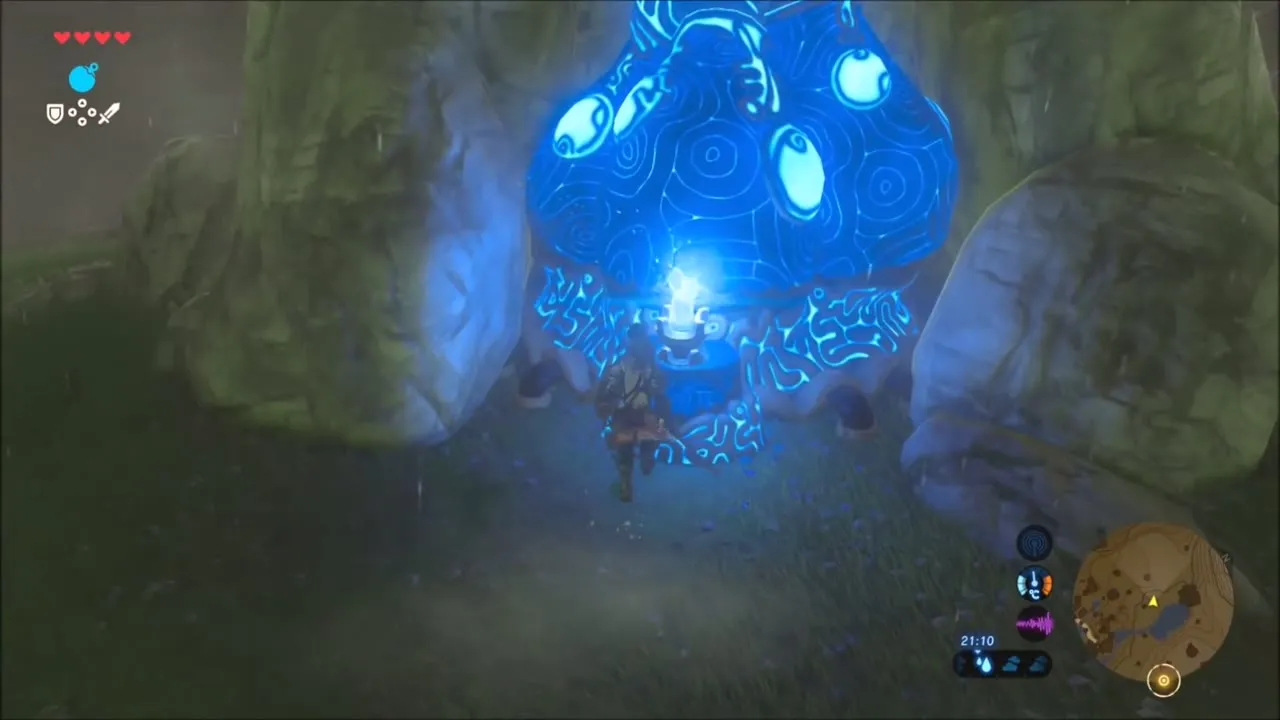
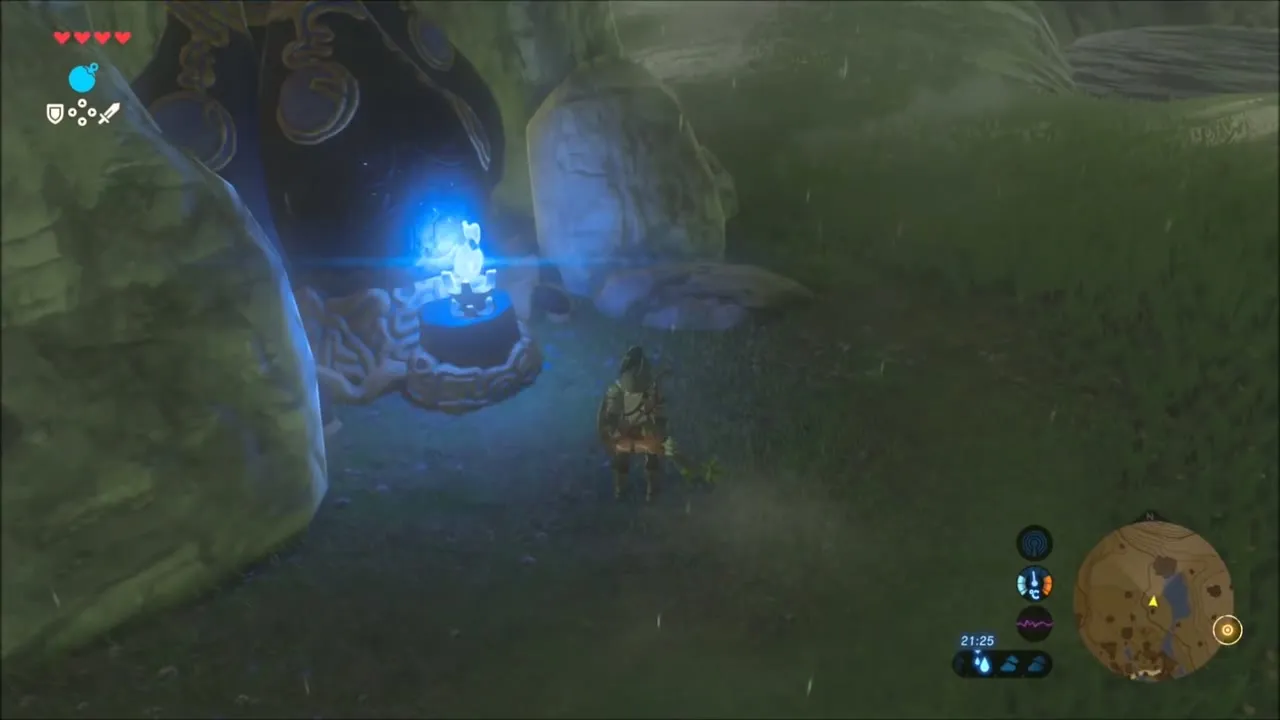
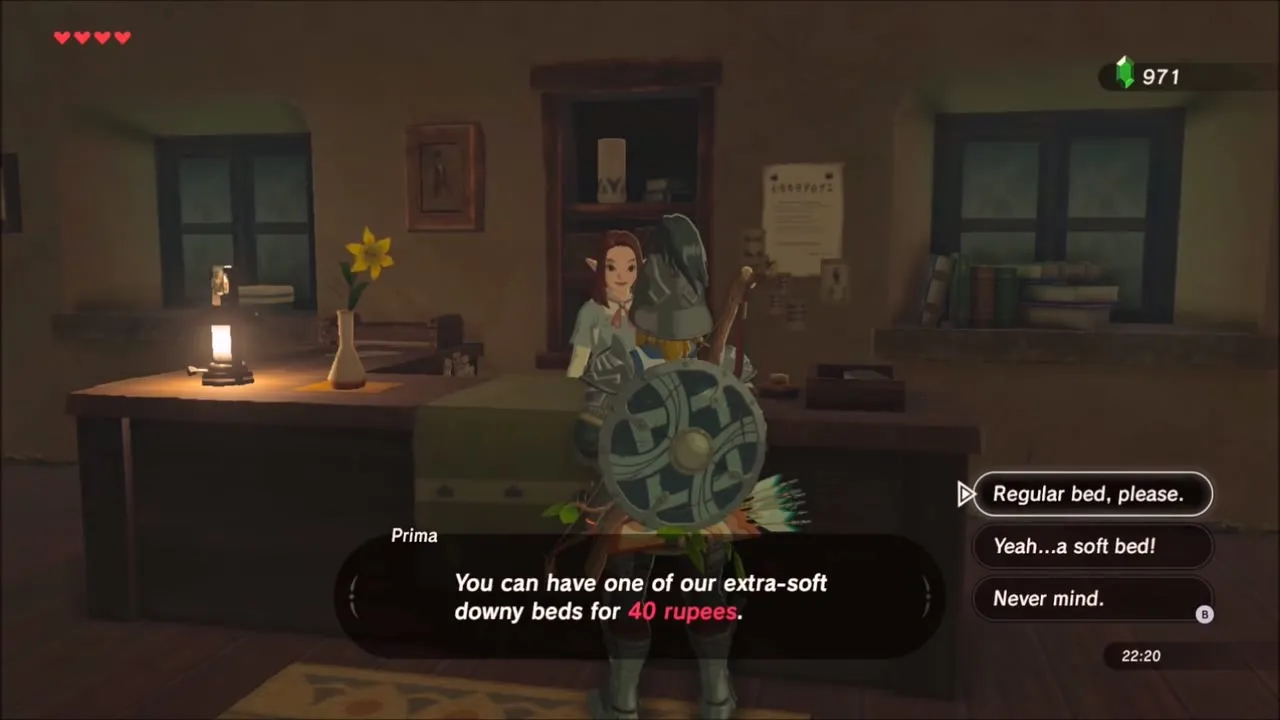
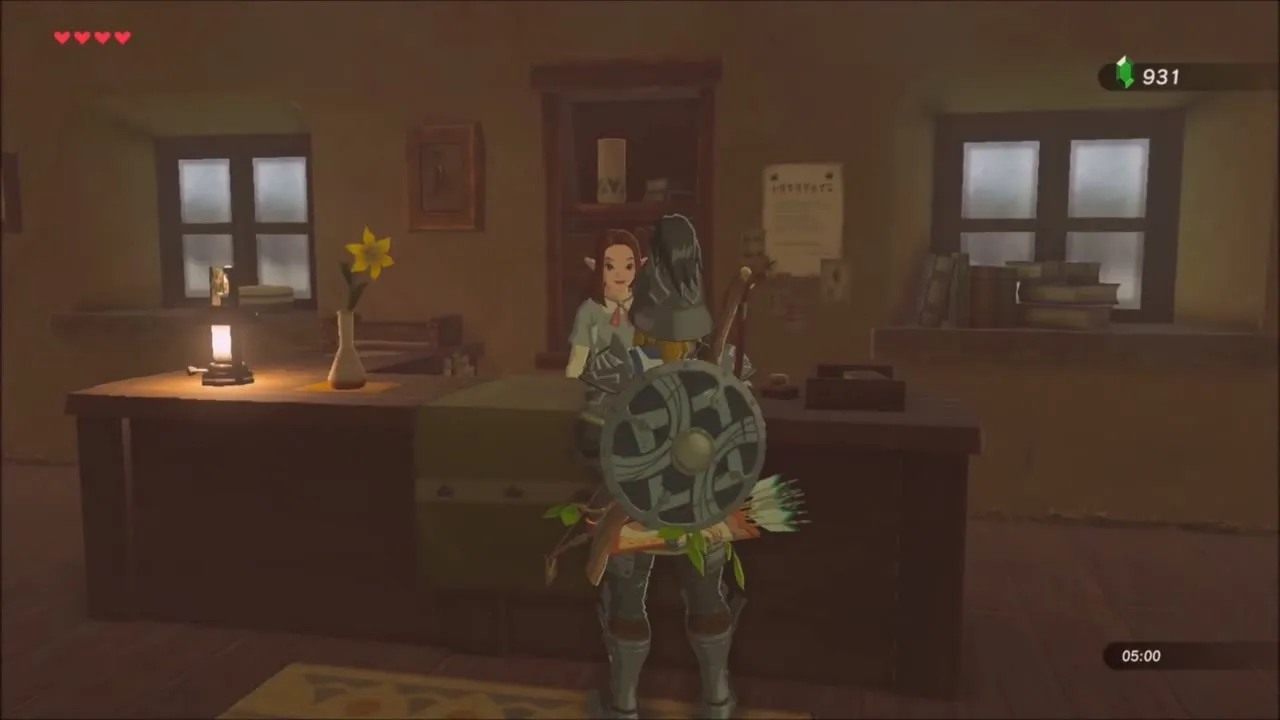
If it starts to rain, wait it out; Link rests a night at the Ton Pu Inn for a few rupees and sets out again in the dry. Stone lanterns stand along the road, and each can relight a dead torch. Carry the flame through the village and up the hill toward the lab, relighting at each lantern you pass.


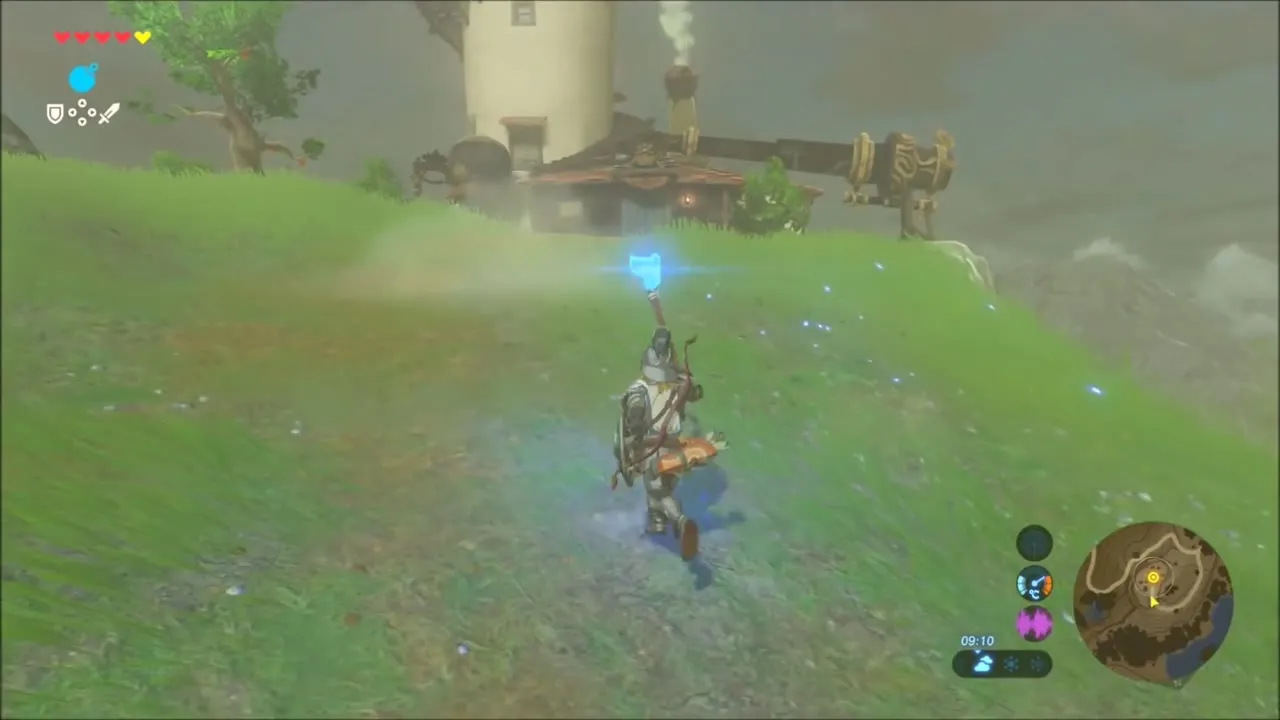
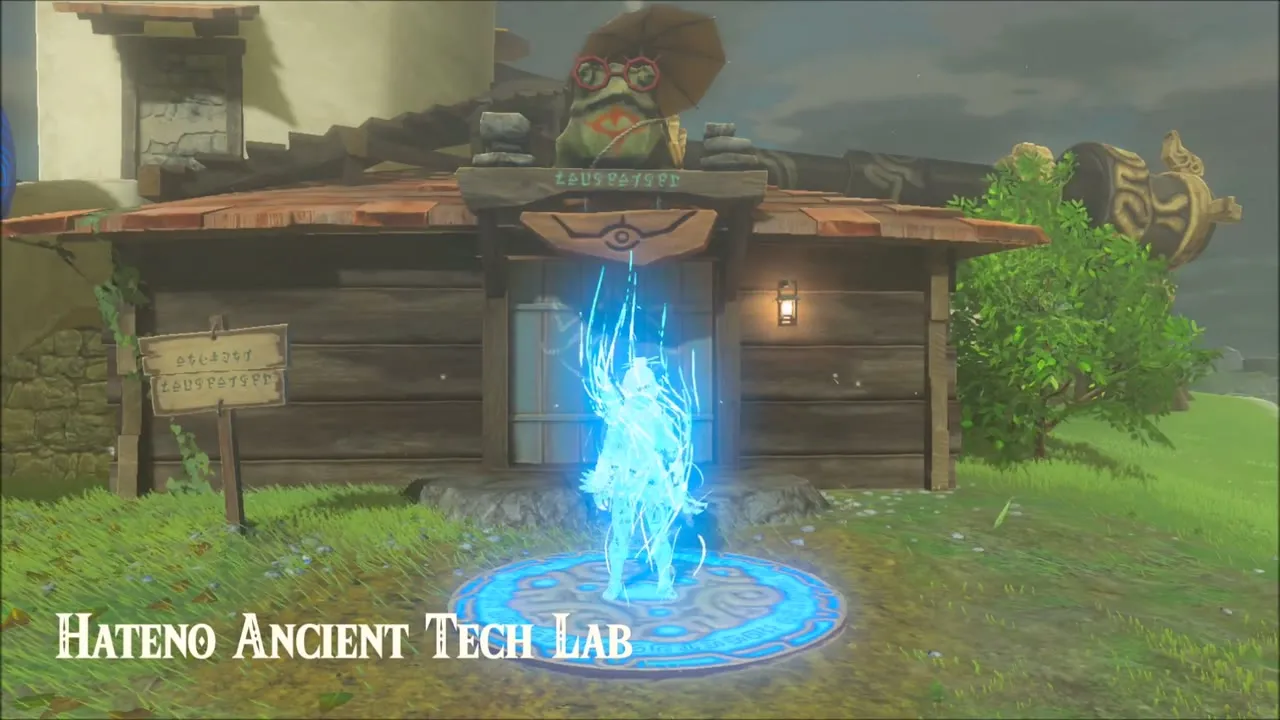
At the Hateno Ancient Tech Lab, light the furnace by the entrance with your torch. The Guidance Stone comes back to life and a message appears: Locked Mementos has updated. Step inside to meet Purah, the lab’s director, and her assistant Symin.

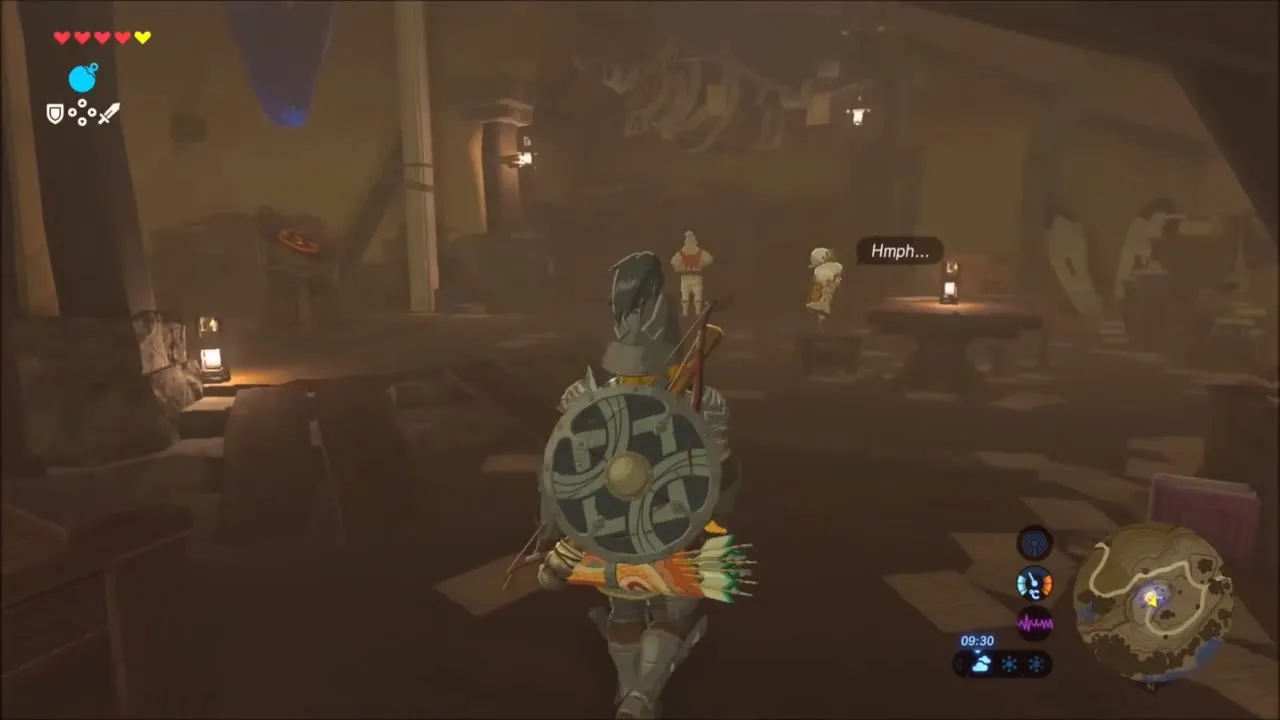

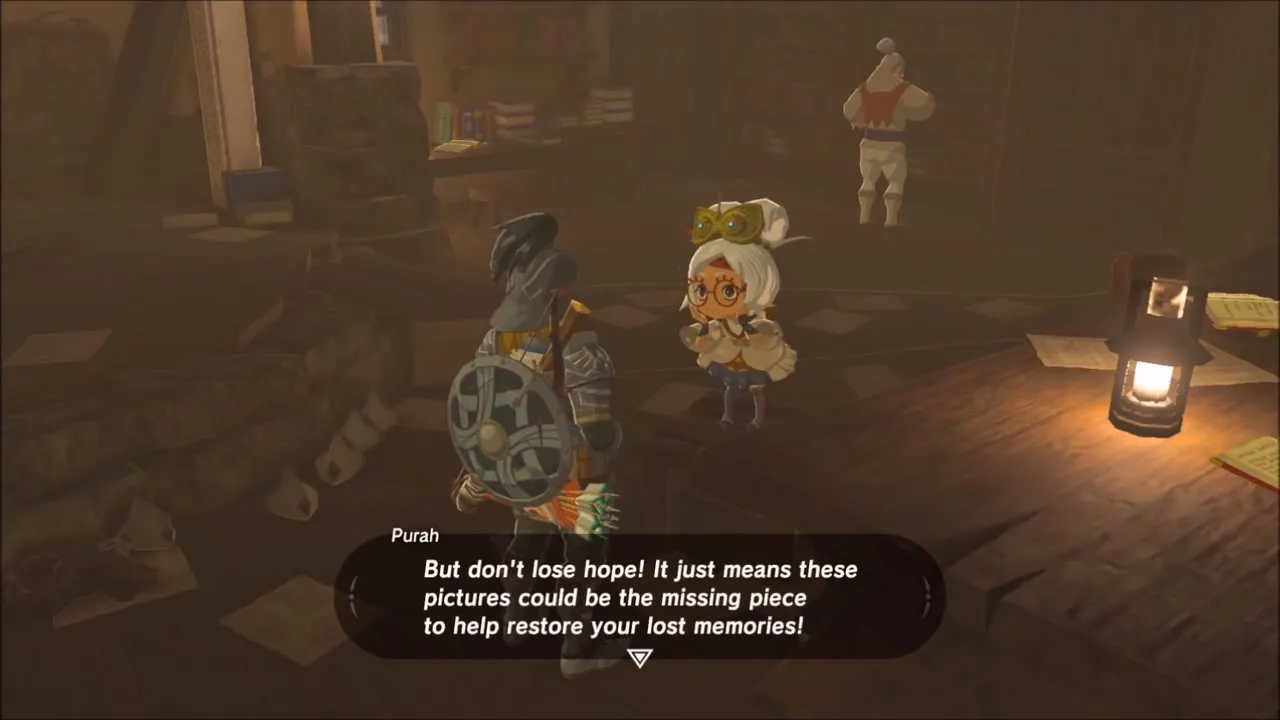
Purah confirms that Impa sent you to have the Sheikah Slate repaired and explains that her experiment on herself went wrong. She repairs your slate, which unlocks the Camera and the Hyrule Compendium. Open the Camera and take a photo of Purah, then show it to her; she says the pictures in your Album could be the missing piece. The lab also becomes a travel point, and Purah later offers Slated for Upgrades and Robbie’s Research. See Purah.


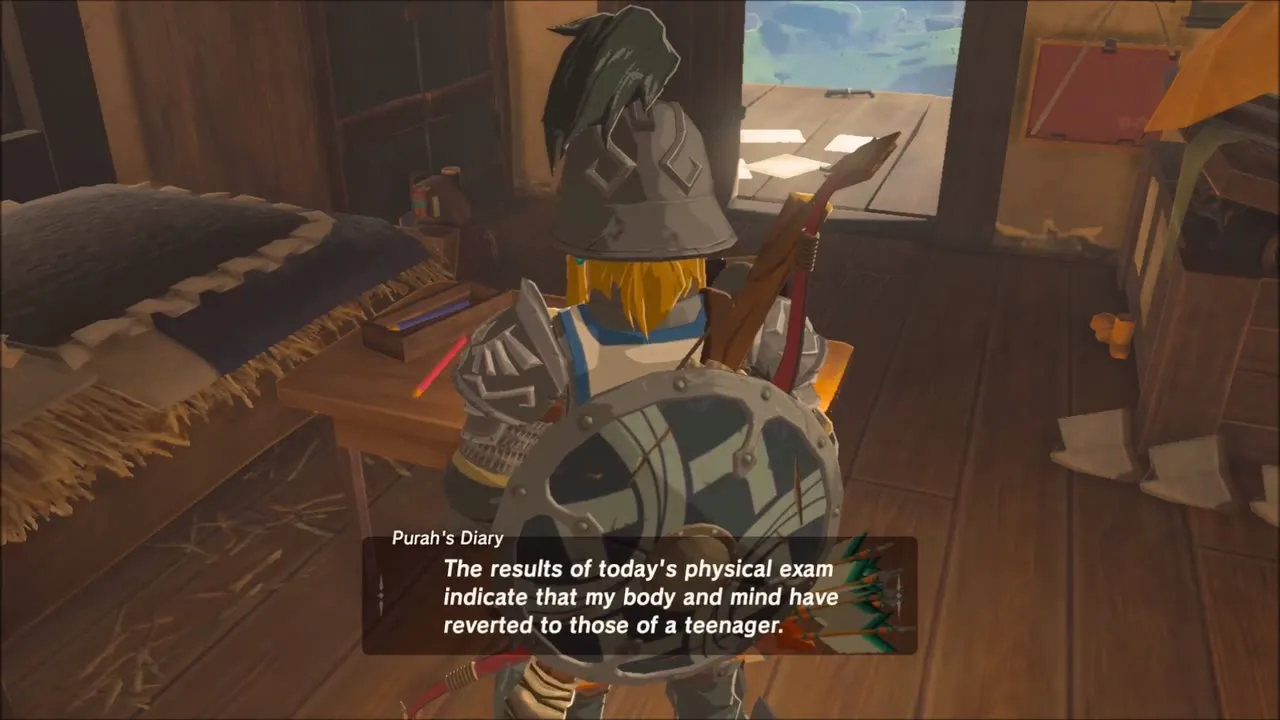
Purah’s research diary
Go upstairs in the lab and read Purah’s diary from the desk by the bed. Entries describe how she planned to meet the Calamity, how she made Symin run a check-up on her, and how an experiment left her with the body of a teenager. Walk across the room and look at the open Camera Manual on the desk too; it says that once the Hyrule Compendium is complete you can call yourself a camera pro.




Korok seeds around the Ancient Tech Lab
Climb the lab’s roof, up the front of the tower to the mossy rock at the top. A Korok is waiting on the crown of the rock, and talking to it gives you a seed. There is no puzzle; you only need to climb up to reach it.


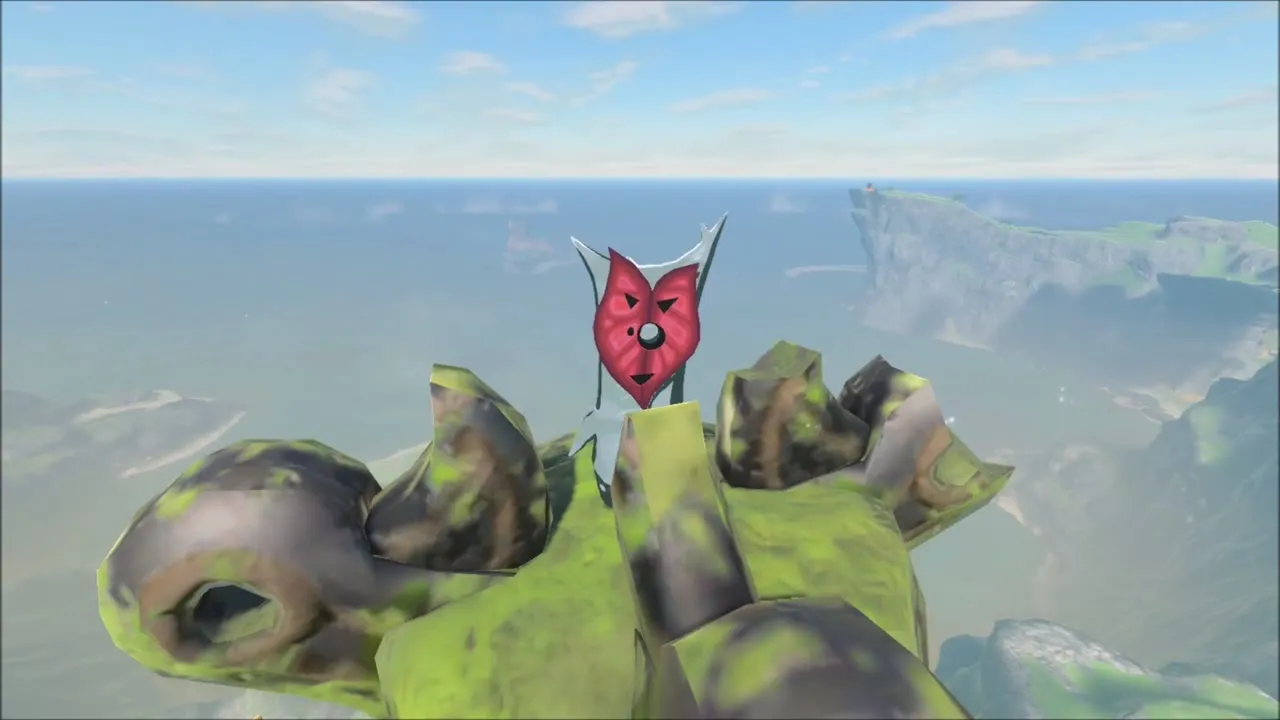
From the roof, glide out over the bay to a small islet with a single big tree. Land in the branches and a Korok sits on a bough in the foliage, ready to hand over a seed.
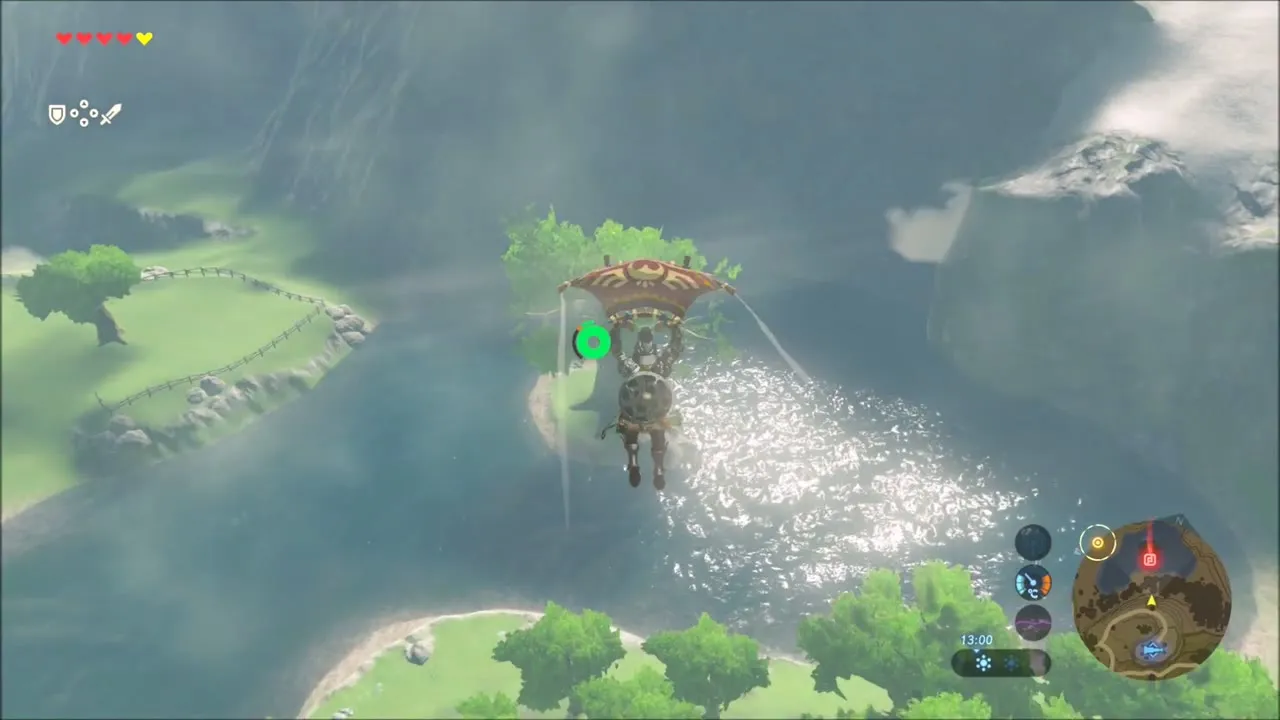

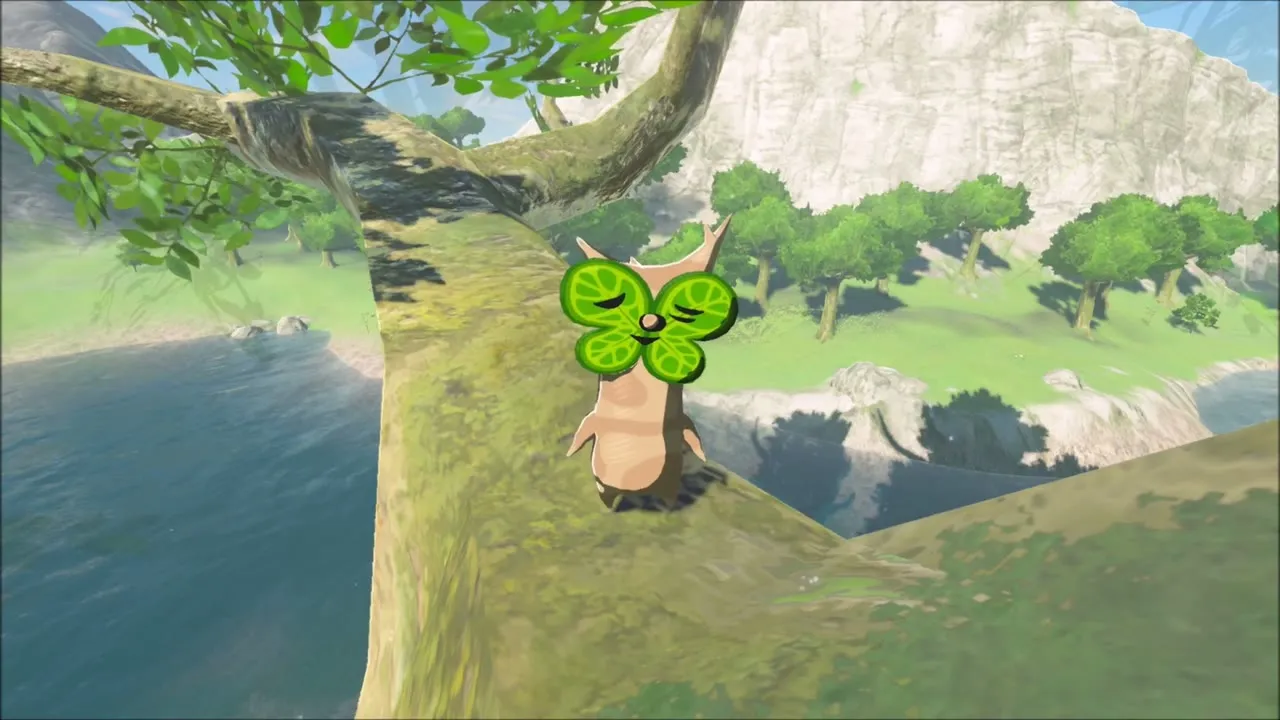
Nearby is a small pond among the trees. Lily pads form a ring on the water; glide down into the middle of the circle and the Korok appears above the water and gives you a seed.

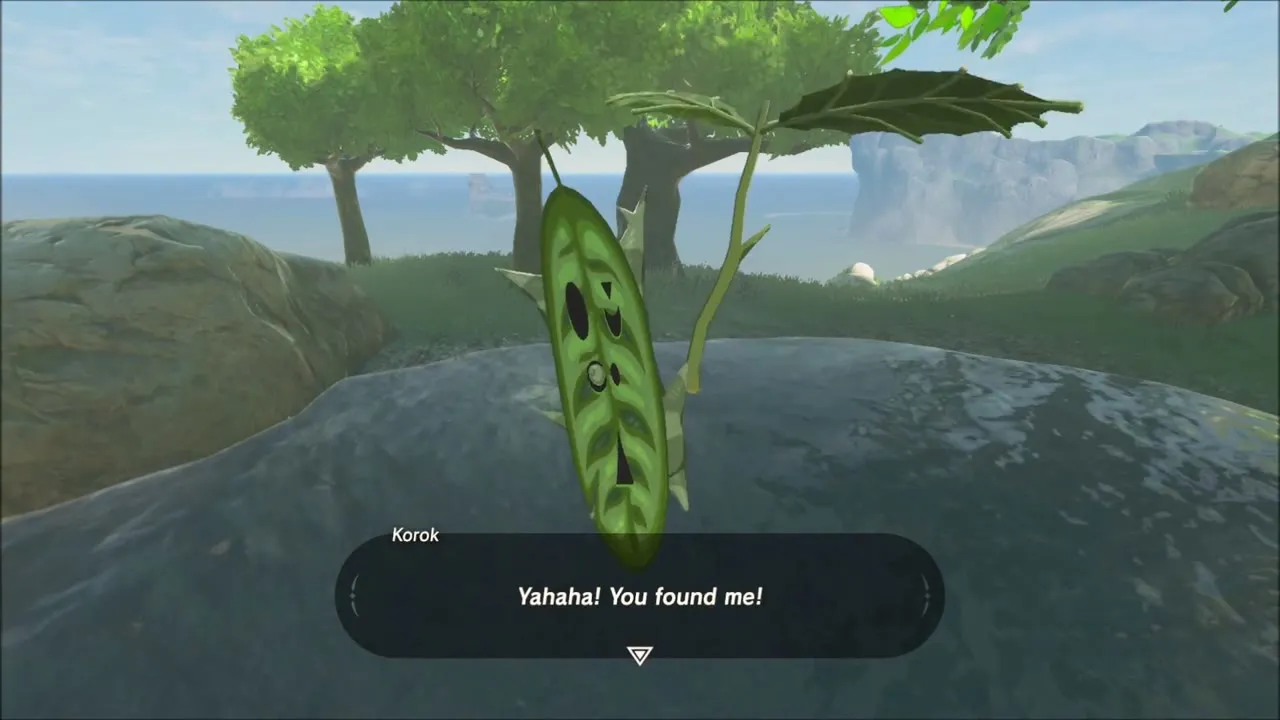
Korok seeds, a treetop camp and chests around Hateno
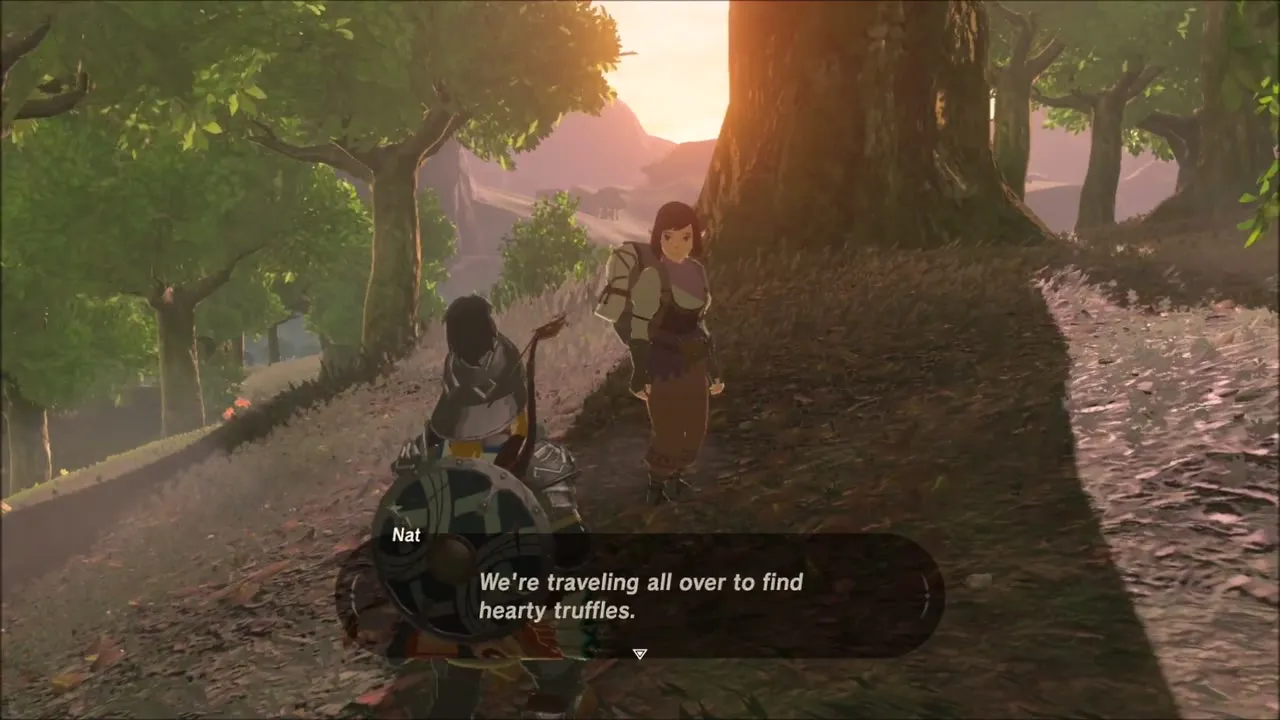
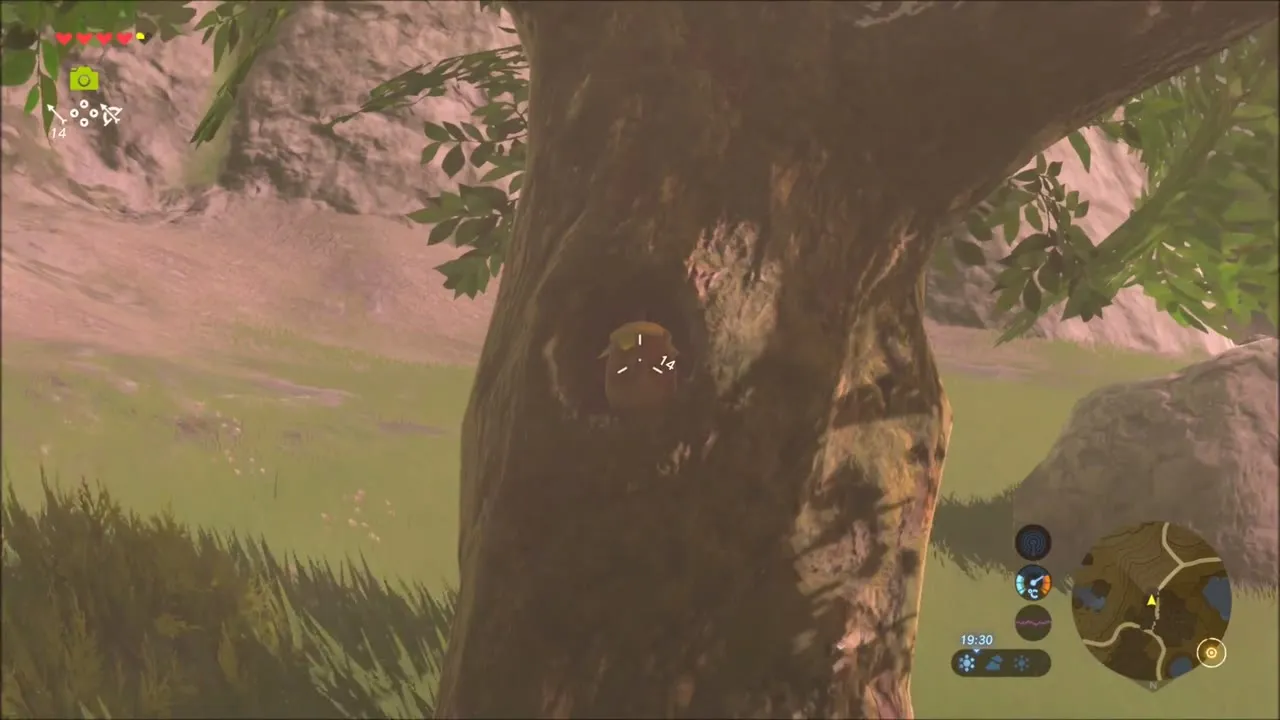
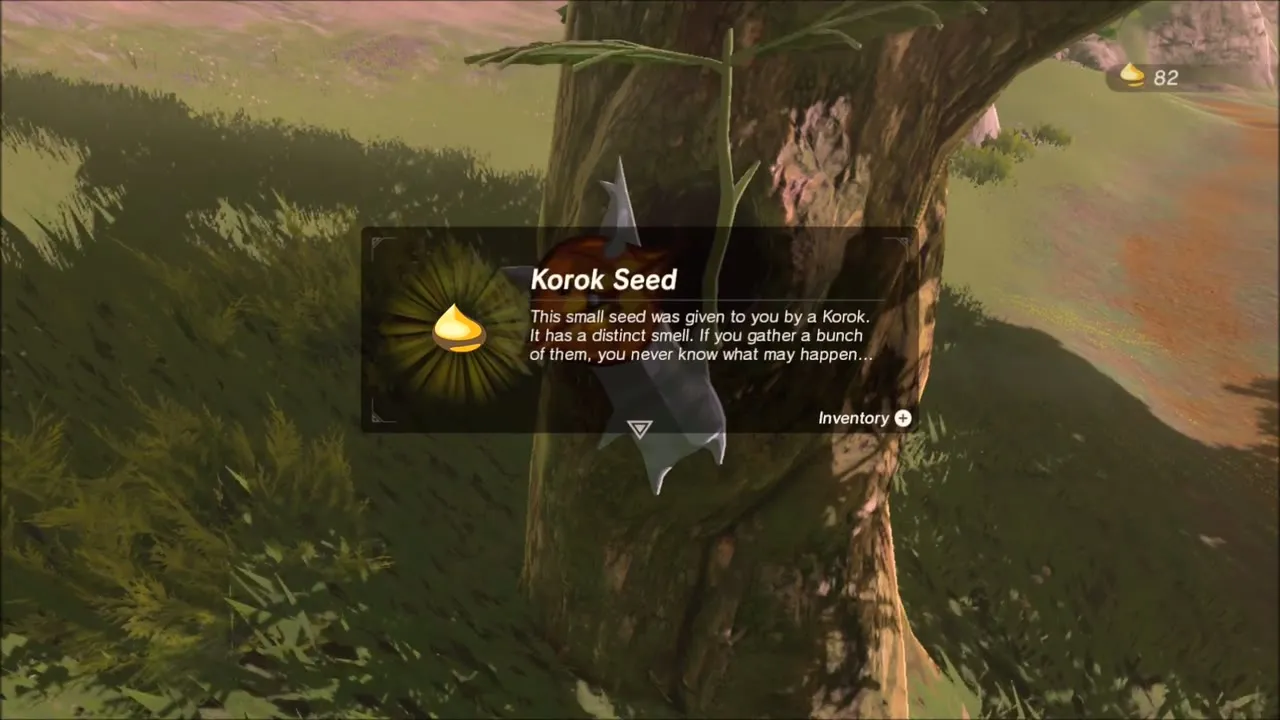
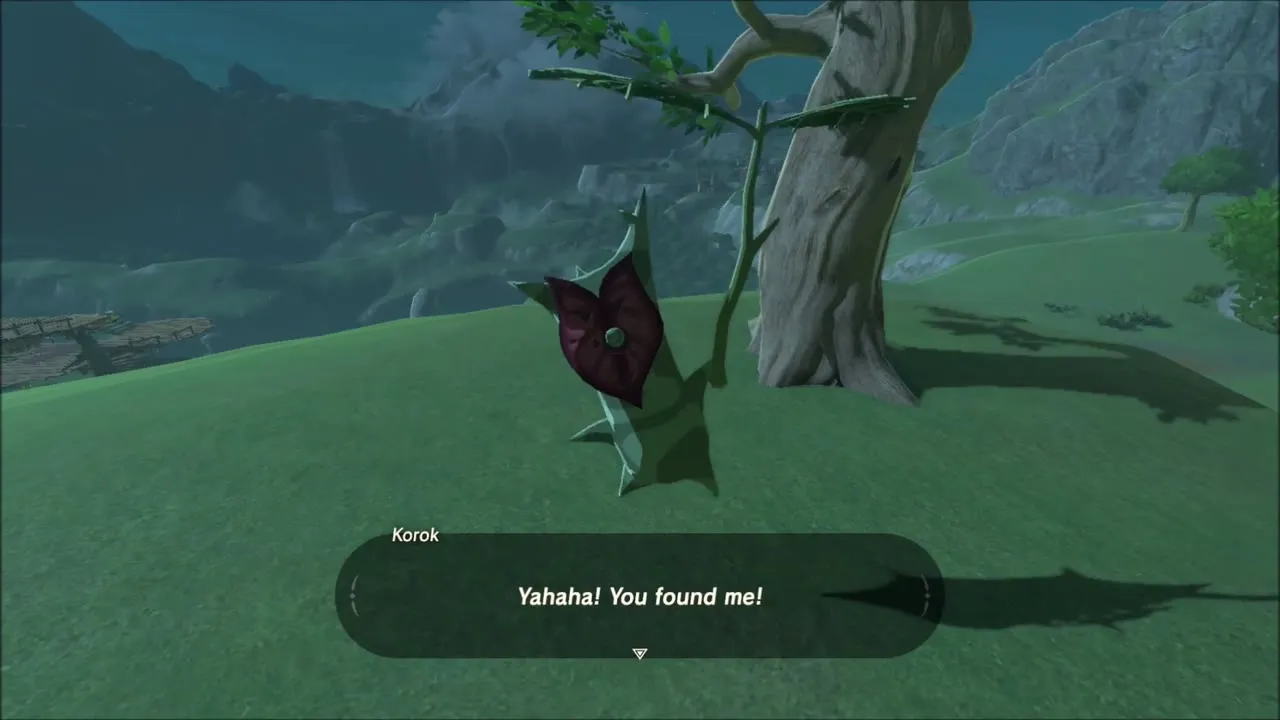
On the forest path, Link passes Nat and a friend, who are searching the countryside for Hearty Truffles. A little farther on, shoot an arrow into the knothole in the trunk of a tree on the slope; the Korok pops out and you get a seed.

On a hilltop farther on, a small pile of stone blocks sparkles. One block in the pile is metal, so aim Magnesis at it and lift it; the Korok appears and drops a seed.
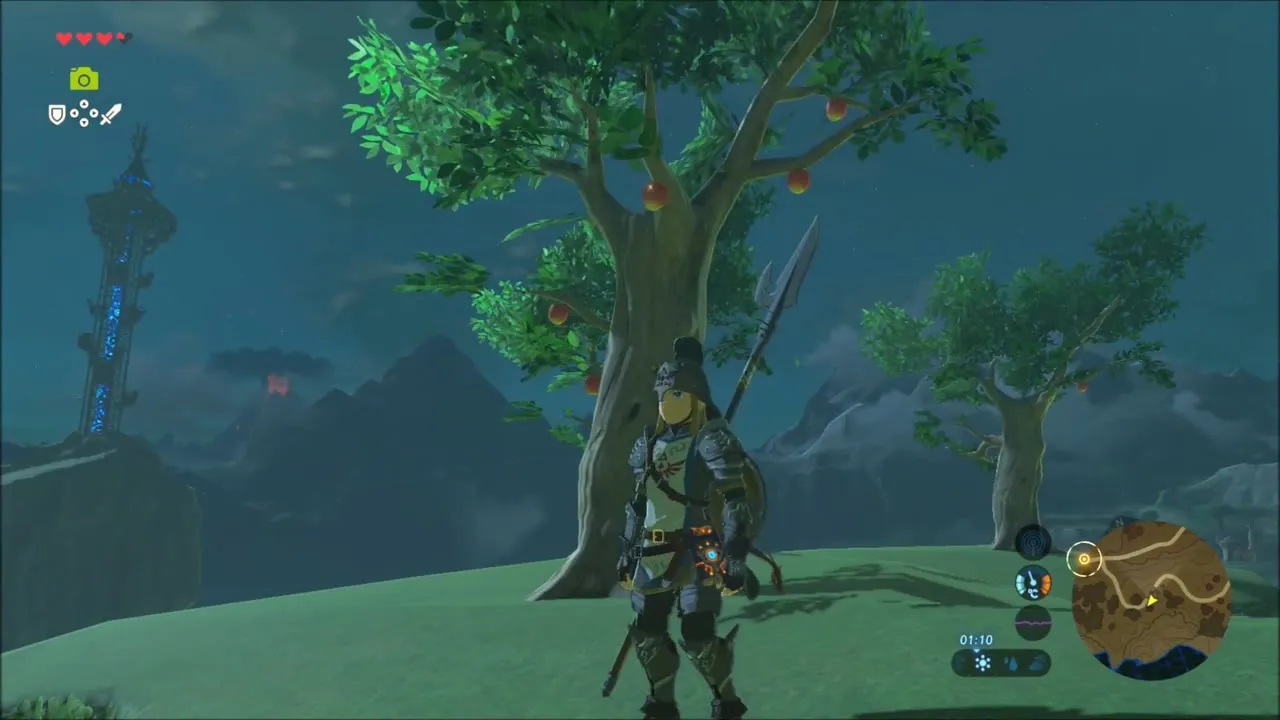
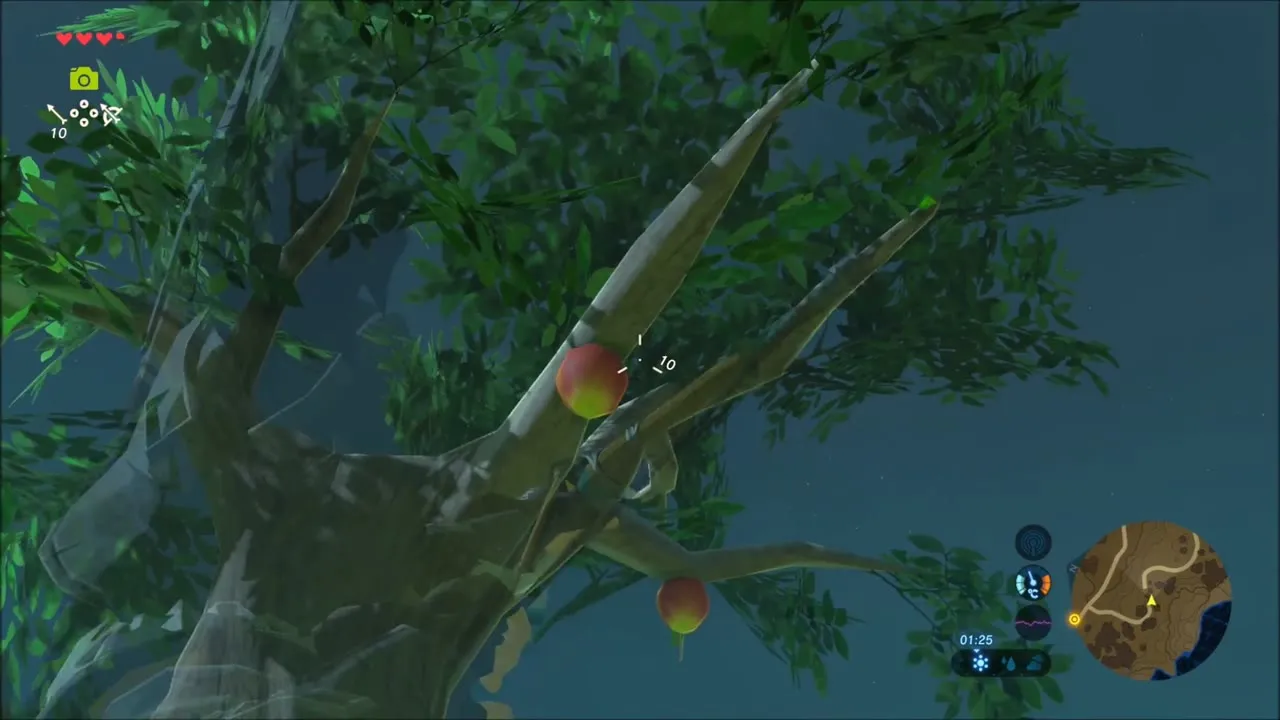
At night, a grassy hill has apple trees heavy with fruit. Use the Phrenic Bow to shoot the apples out of the tree, one after another, and the Korok appears and gives you a seed.
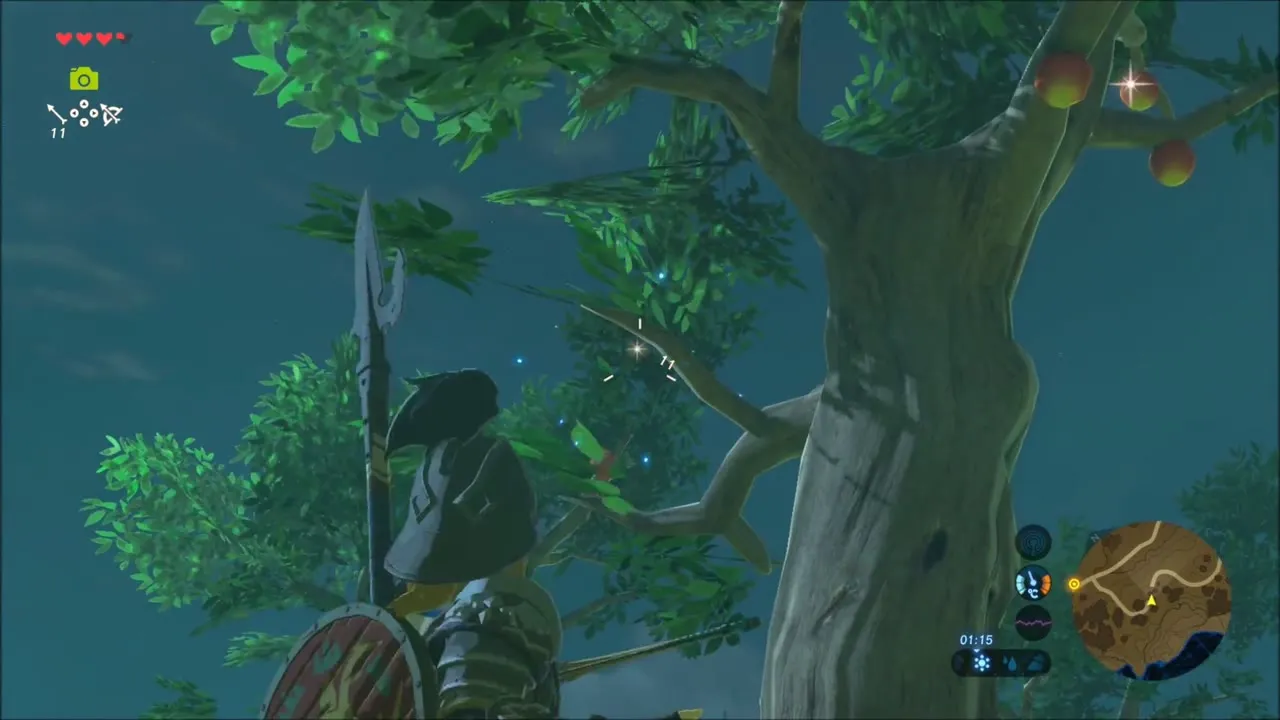
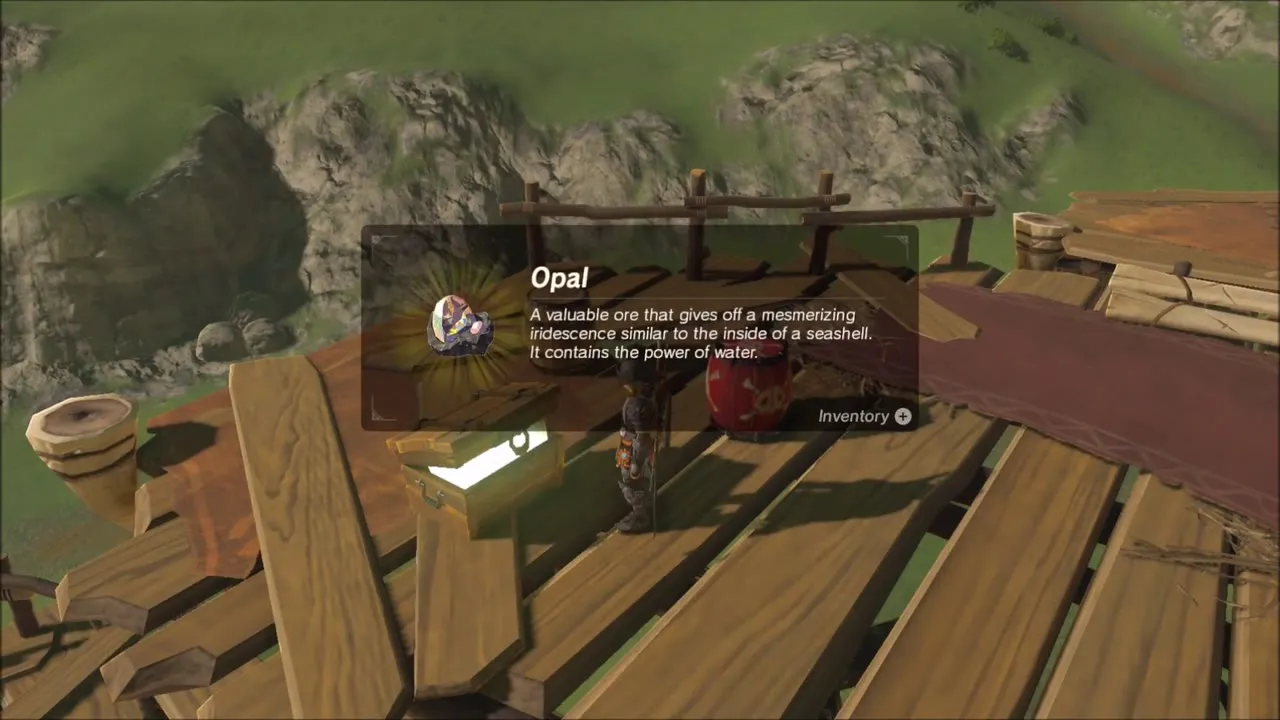
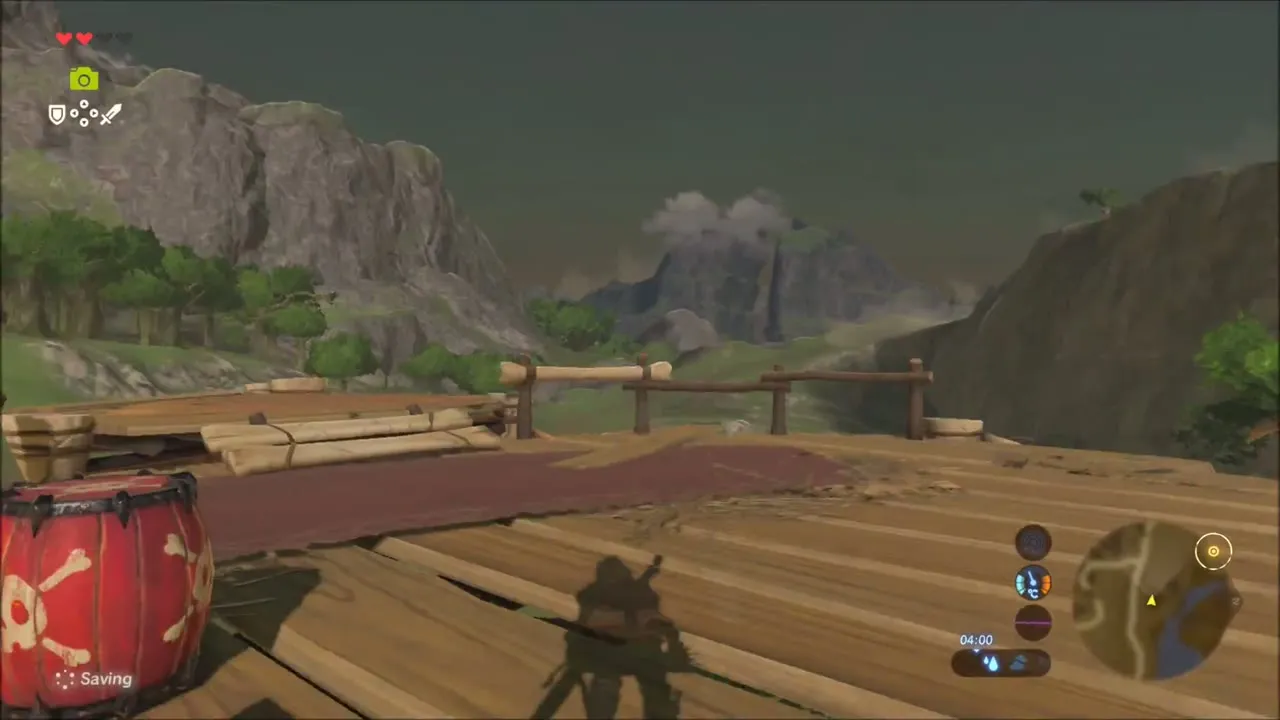
A Bokoblin and Moblin camp sits on wooden platforms built into the trees. Clear the camp, climb the ramps to the highest platform and open the chest for an Opal. A pair of barrels and a skull-marked drum stand on the same platform; take a photo of them if you want to fill out your Compendium.


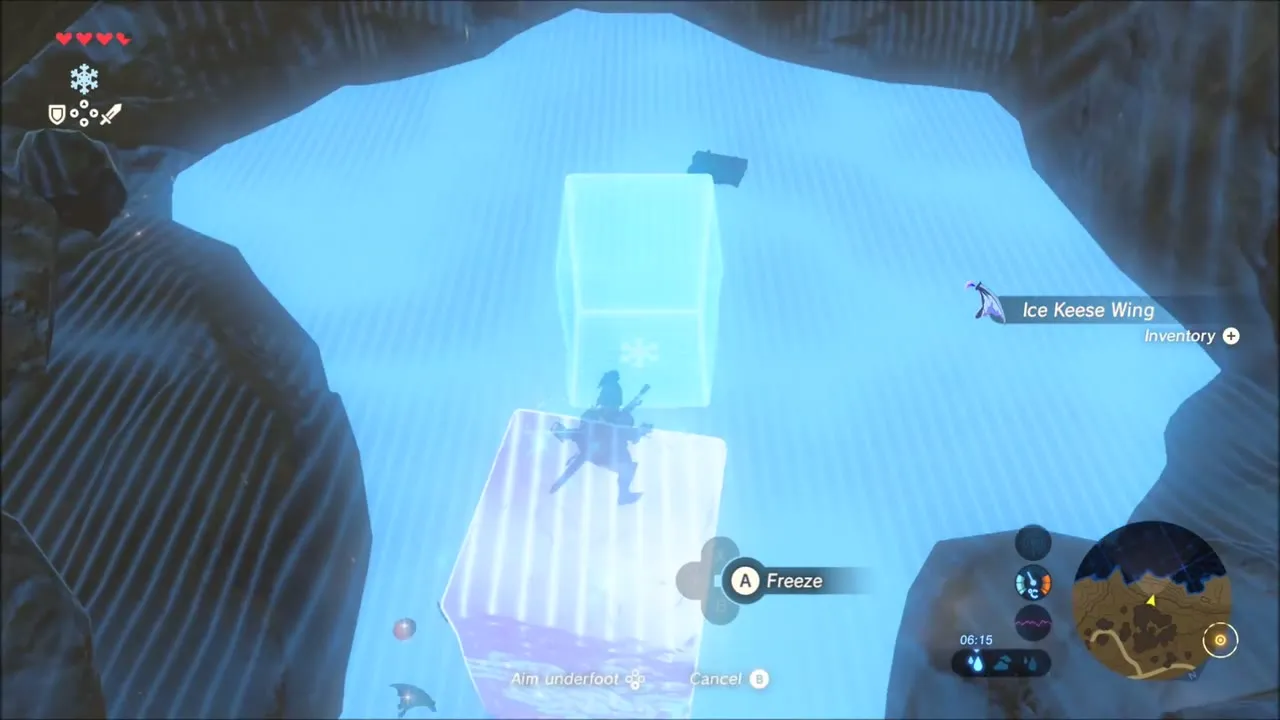
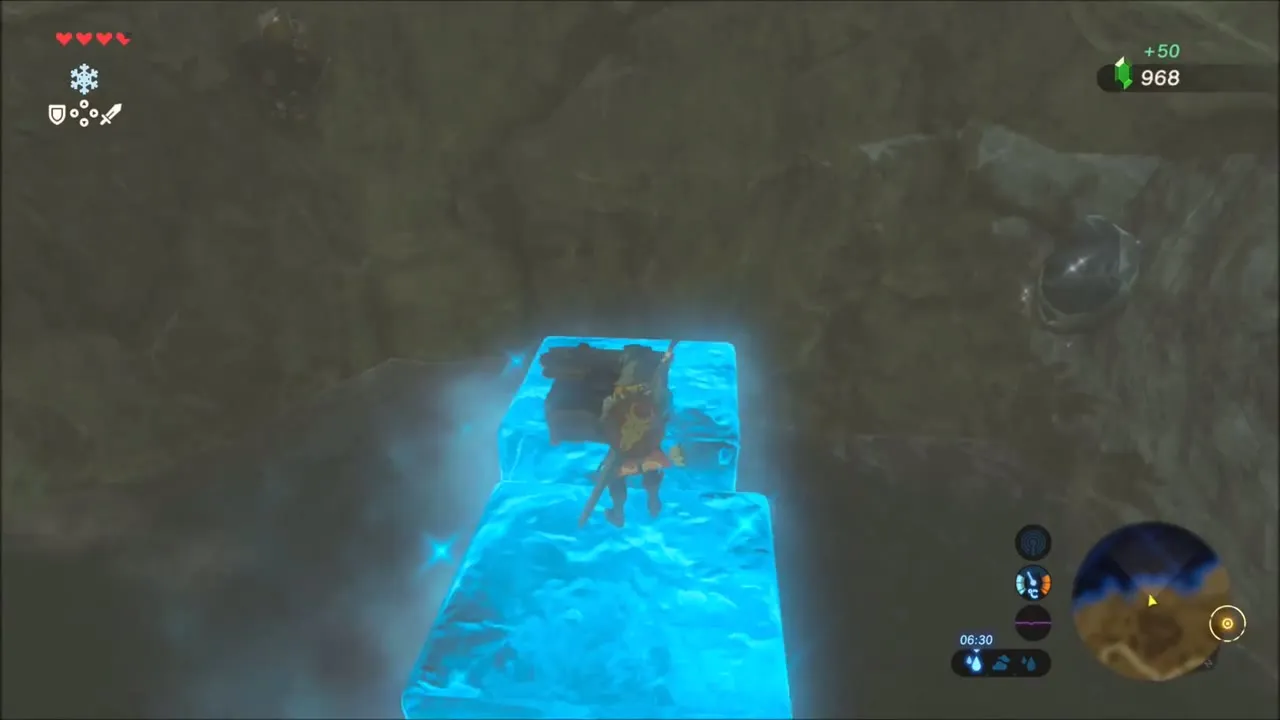
A cave holds Ice Keese and Luminous Stone deposits. Use Cryonis to raise ice pillars and climb up to a chest, which holds a Purple Rupee (50 rupees).

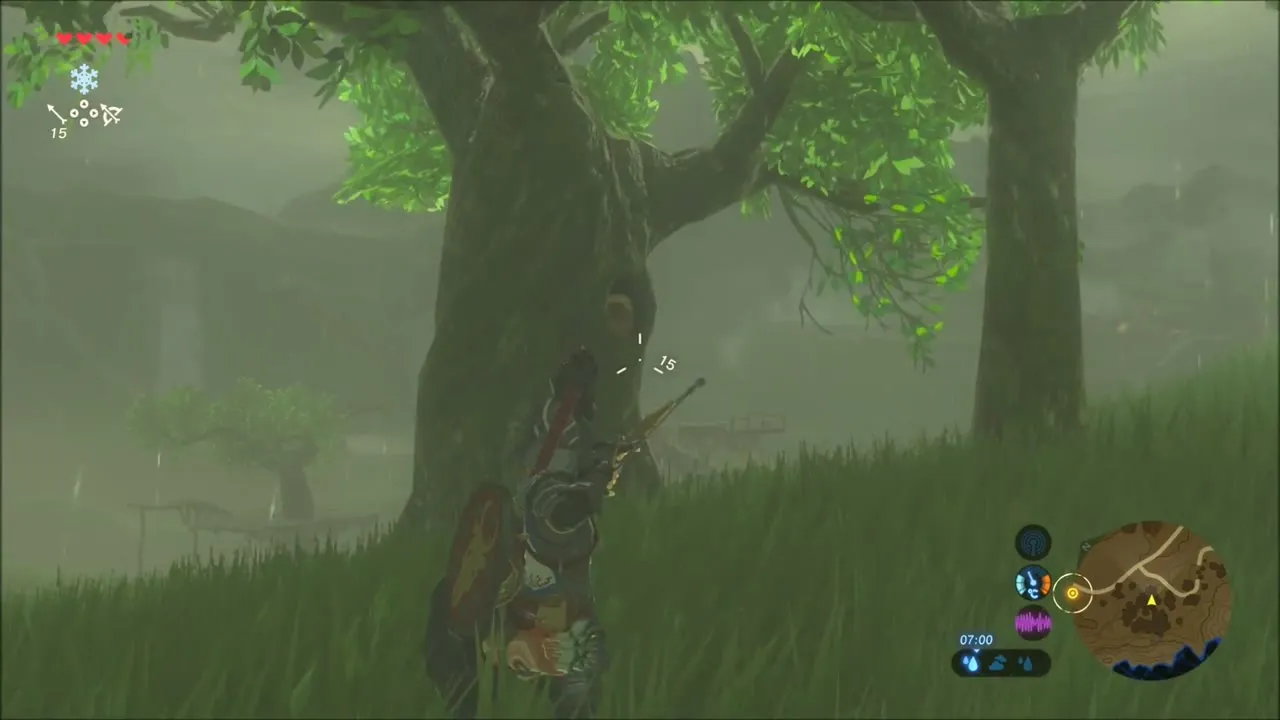
The last seed of this stretch is in the forest. Look for a big tree with a knothole in the trunk, aim an arrow into the hole and the Korok pops out for a seed.

River ravine chests: Eightfold Longblade and Phrenic Bow
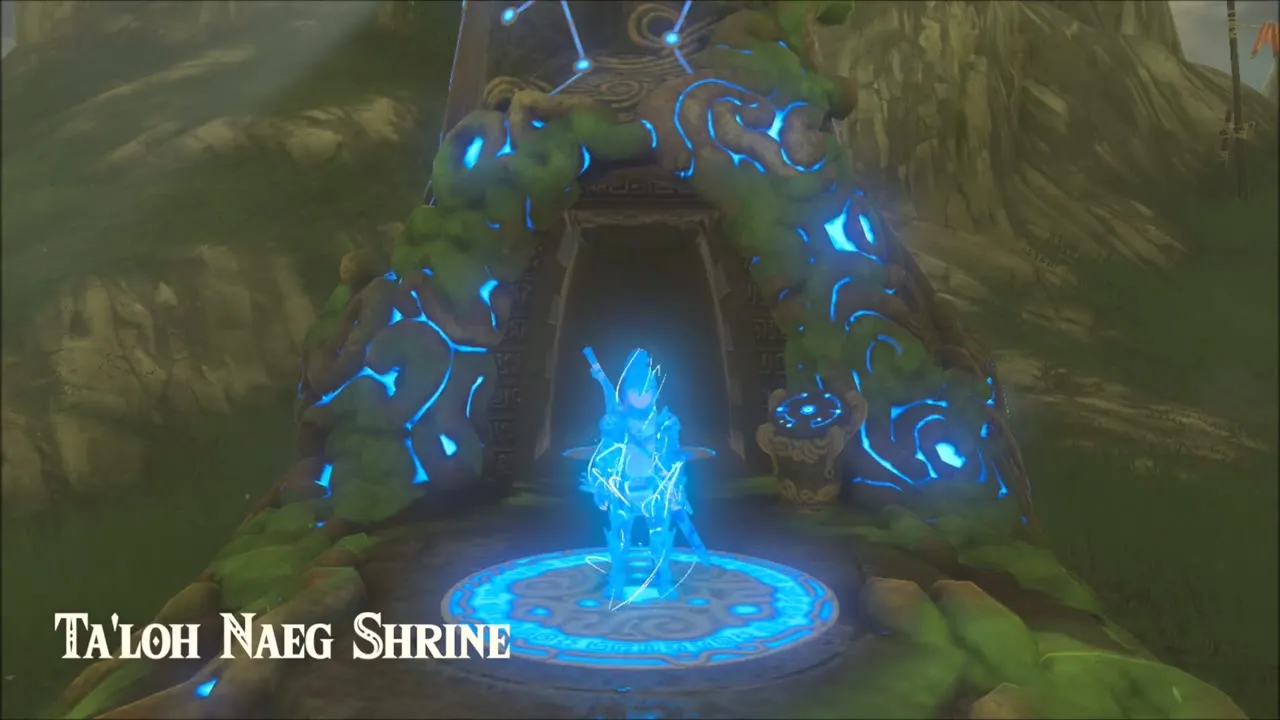
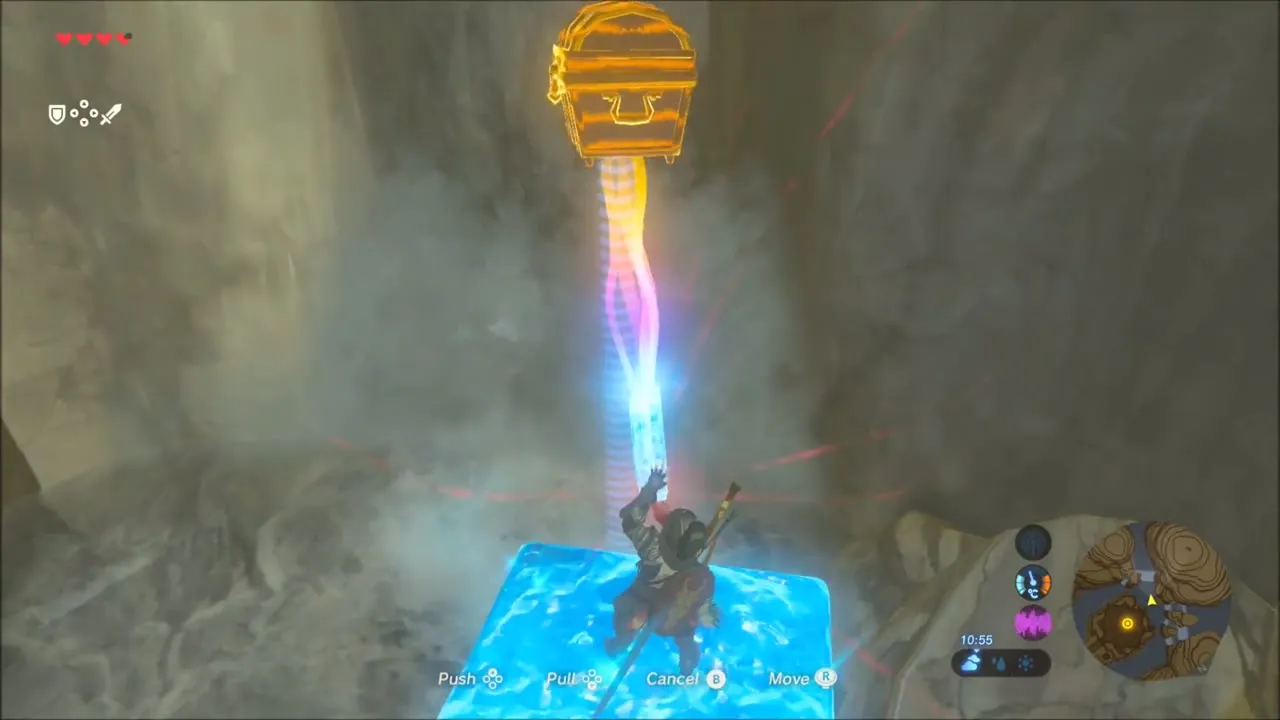
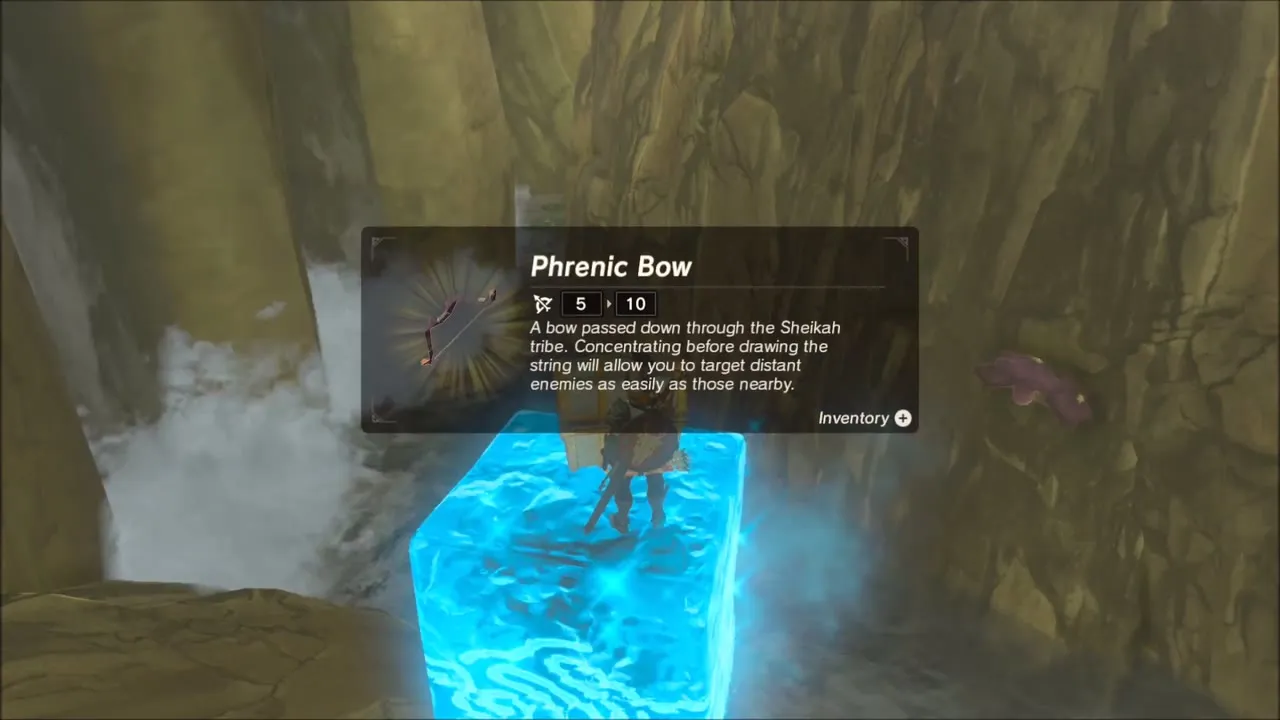
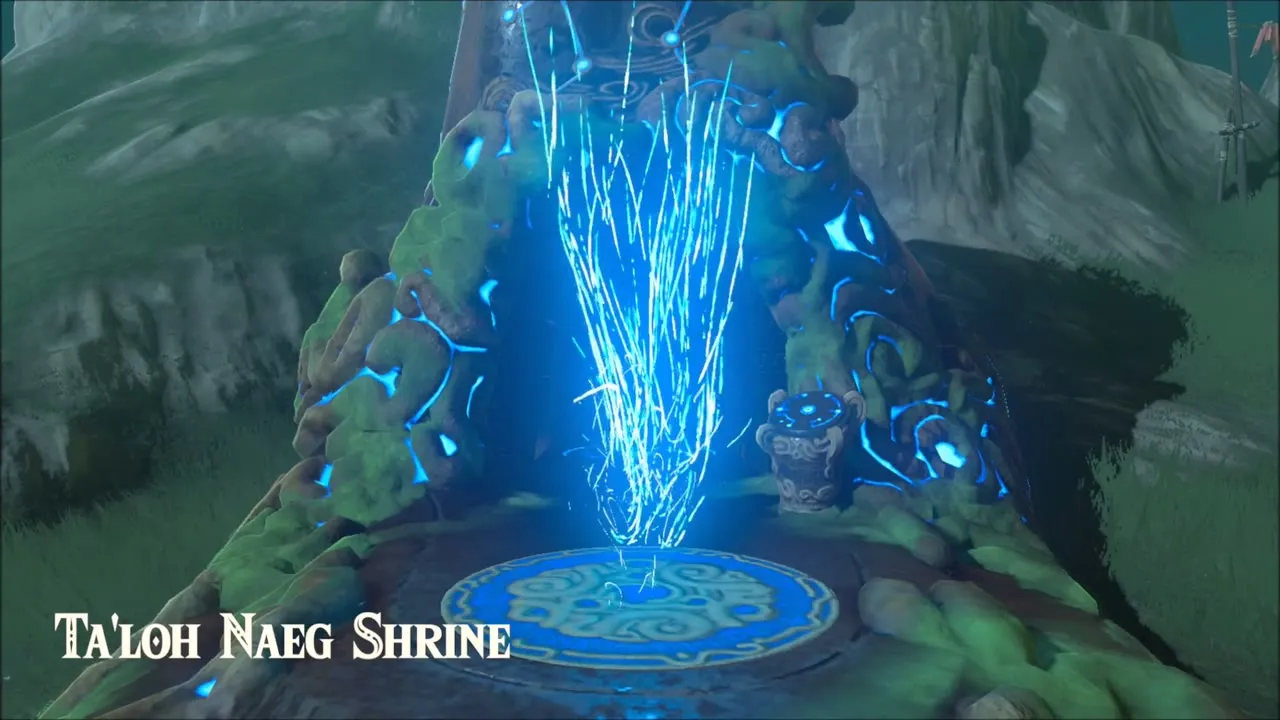
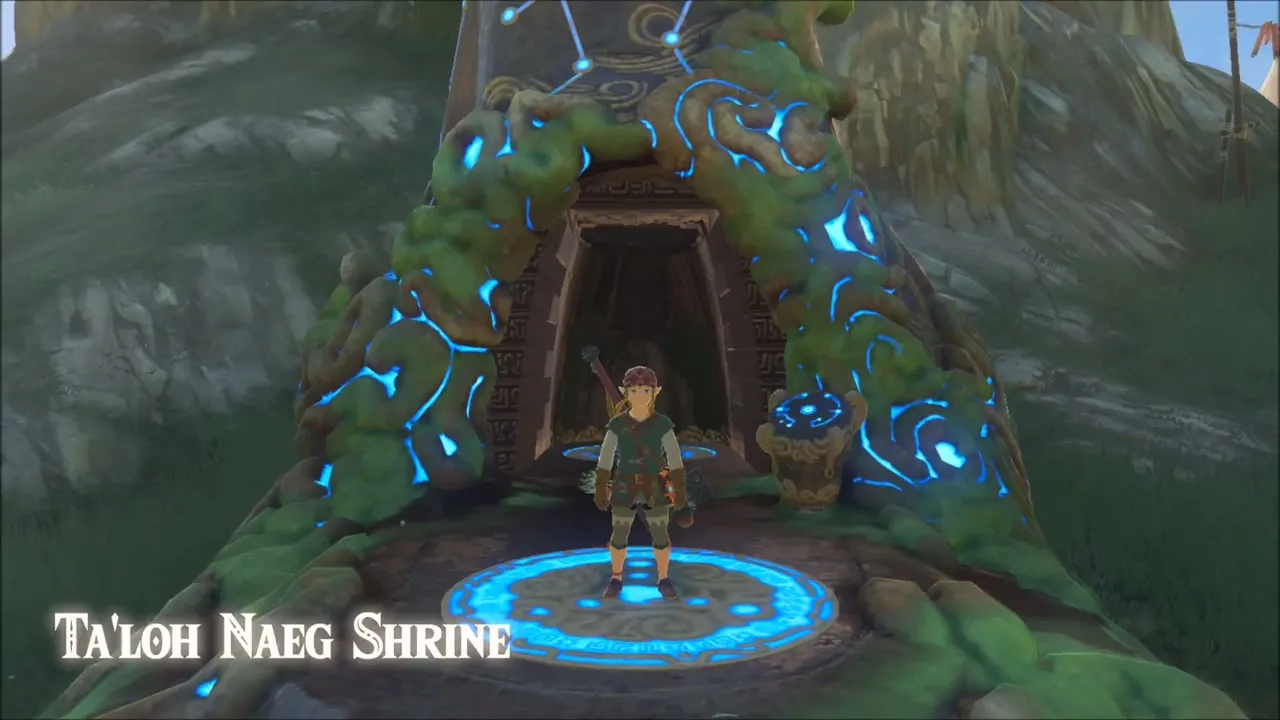
Warp to Ta’loh Naeg Shrine (x 1841, z 891) and drop off the hill to a river ravine with a waterfall. Two metal chests sit in the rapids at the bottom. Stand on an ice block made with Cryonis, lift each chest with Magnesis and pull it onto the block. Between them they hold an Eightfold Longblade and a Phrenic Bow, both scaling gear (tier set by difficulty scaling), plus a Rushroom you can grab at the end.


Captured Memories: show Impa the photo of Purah
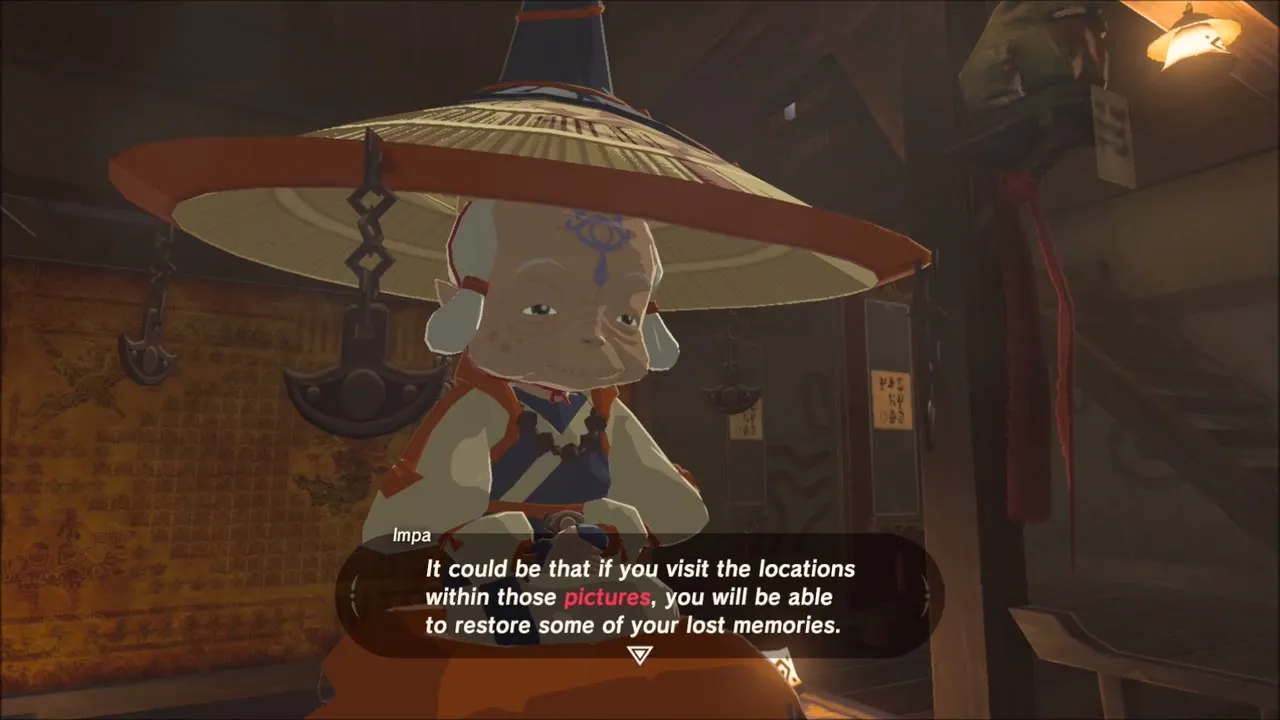
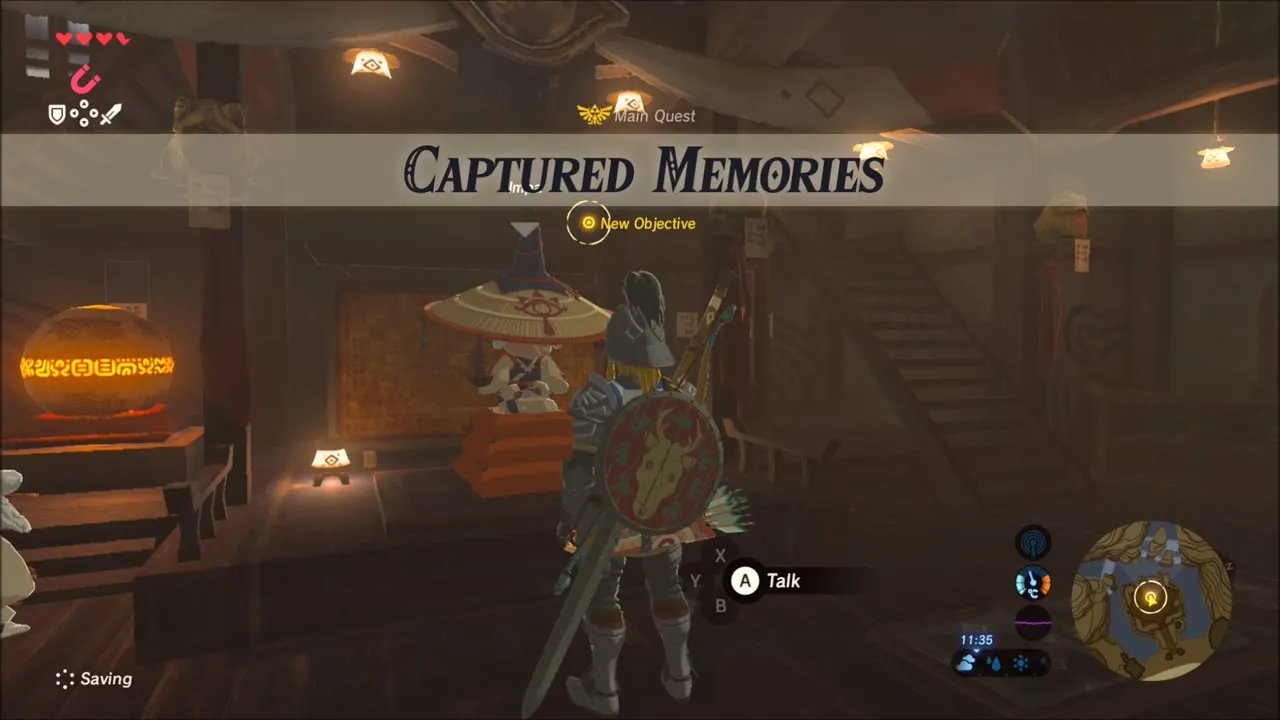
Return to Kakariko Village and talk to Impa in her house. She looks at the picture of Purah in your Album and tells you about the other photos Zelda took, which starts the main quest Captured Memories. The Album now holds the first picture, and the quest banner appears on screen. See also Impa.

Stealth Set Shopping in Kakariko Village
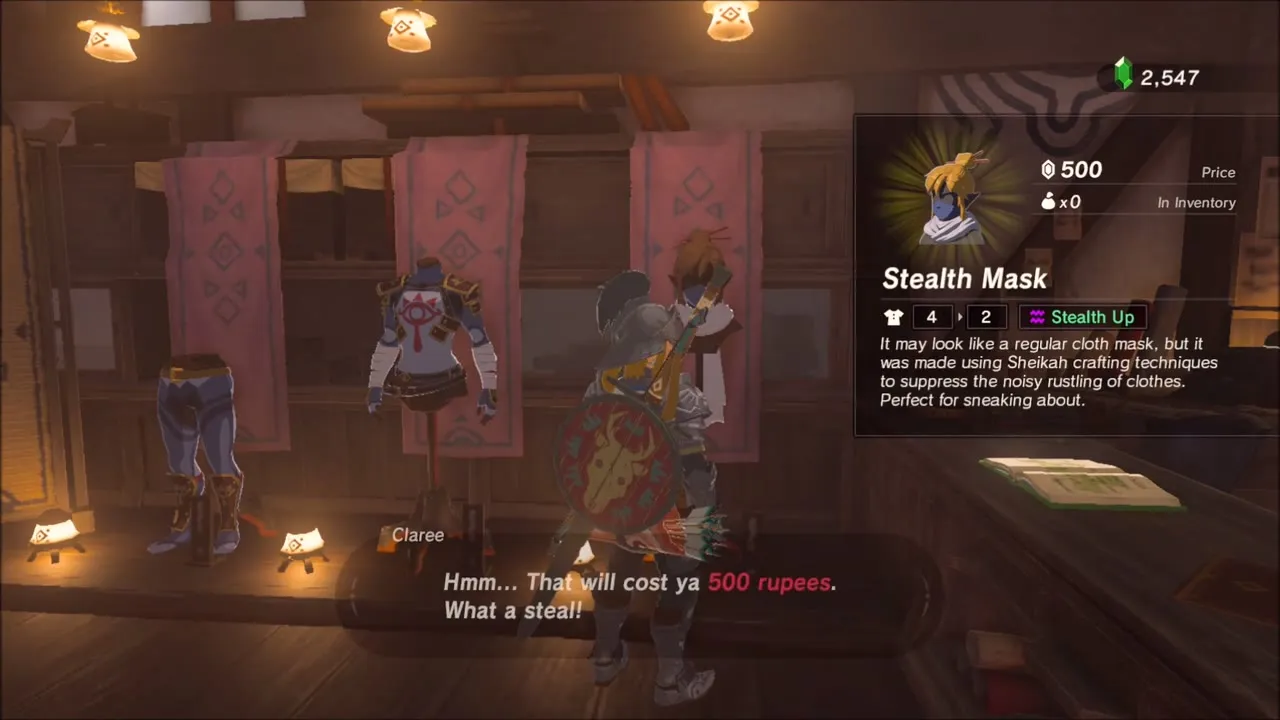
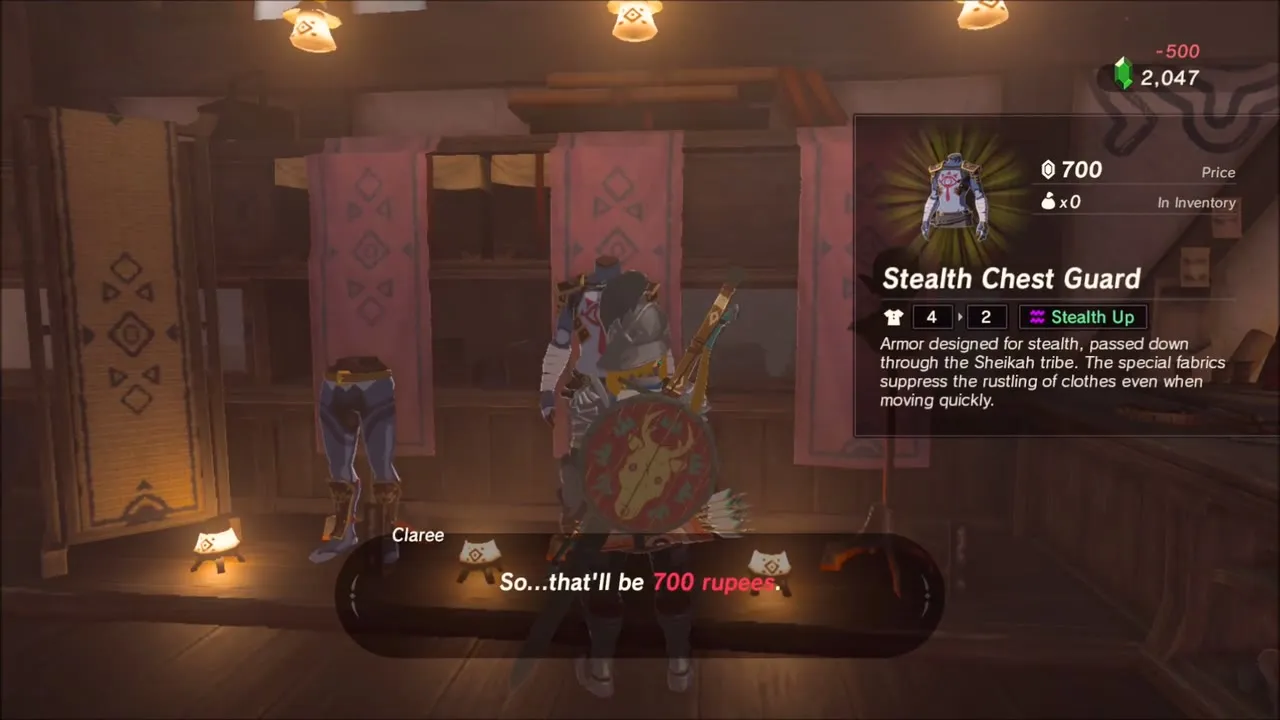
Before you head out, stop at the clothing shop in Kakariko Village. The shopkeeper buys spare materials, which is a quick way to top up your rupees, and sells the Stealth (Sheikah) set. The Stealth Mask costs 500 rupees, and the Chest Guard and Tights are sold beside it. Put on all three pieces: each one adds Stealth Up, and the full set also speeds you up at night. The set is covered on the Sheikah Set page.

Find the Fairy Fountain: Great Fairy Cotera Near Kakariko
Follow Pikango
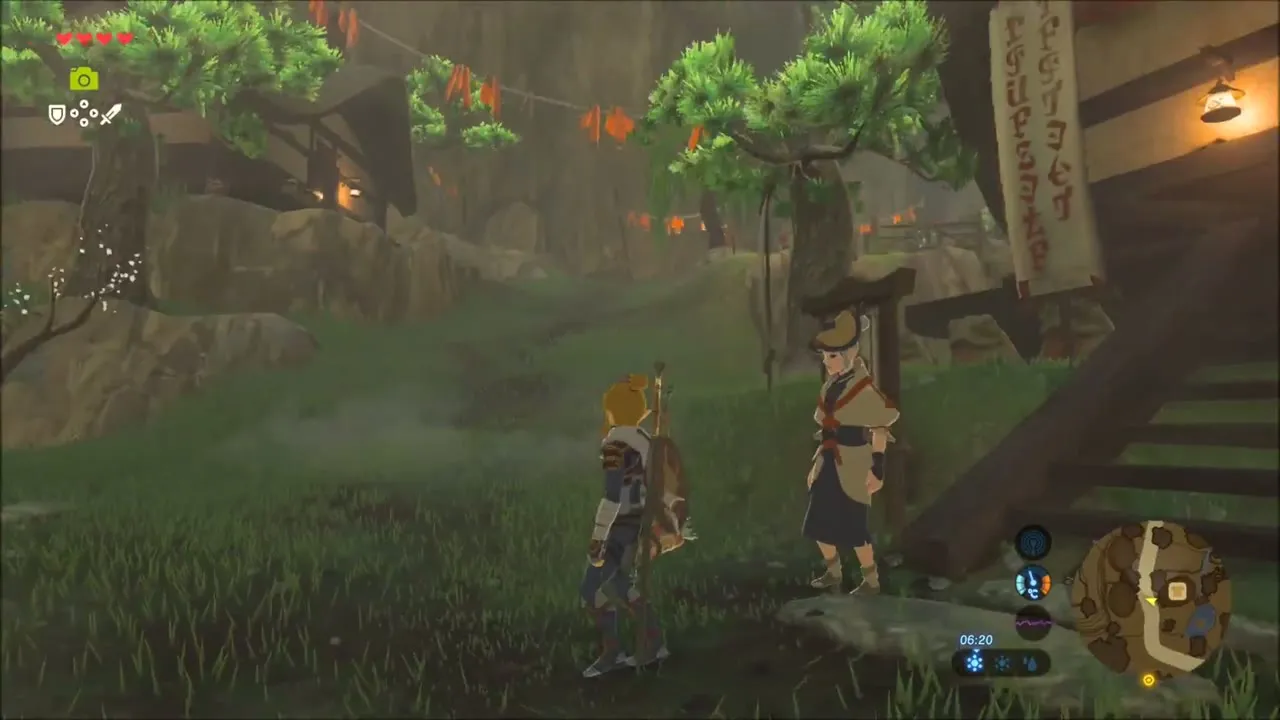
Talk to Pikango, the painter standing near the path out of the village, to start Find the Fairy Fountain. He is out of breath on the slope and tells you the fountain lies along the path that leads past the shrine, so carry on up the hill without him.


Meet Cotera and upgrade armor
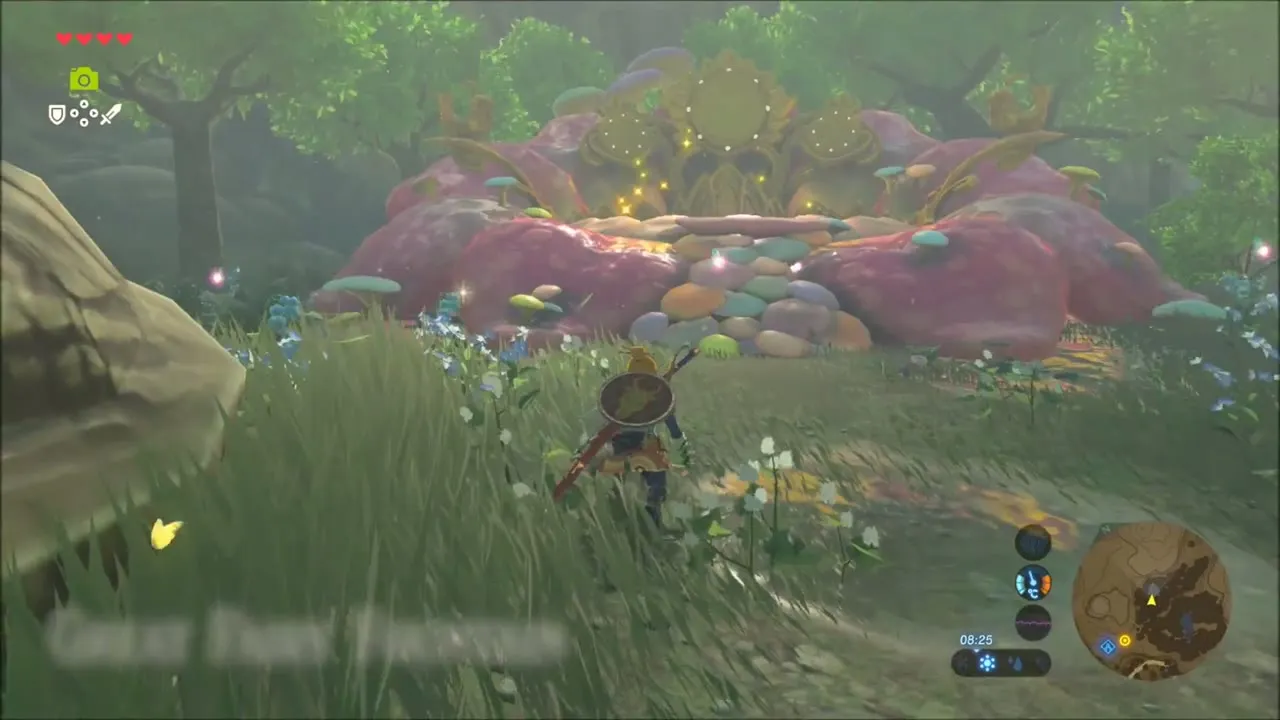
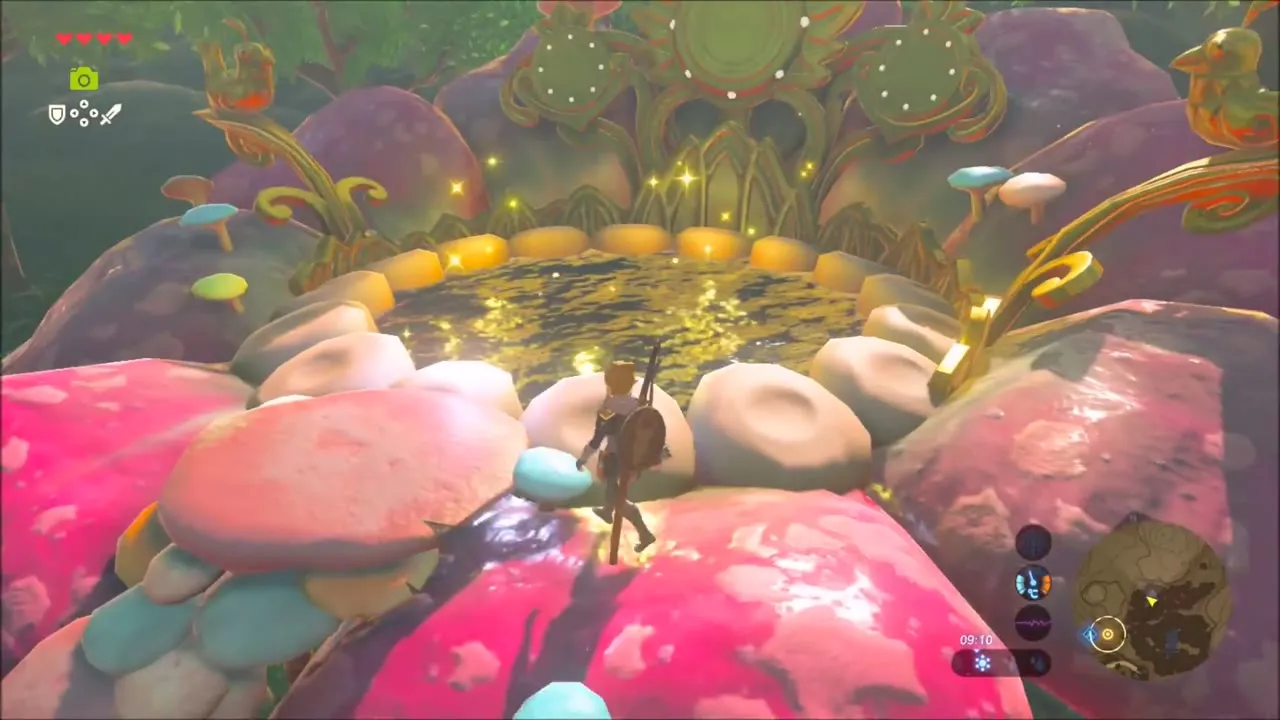
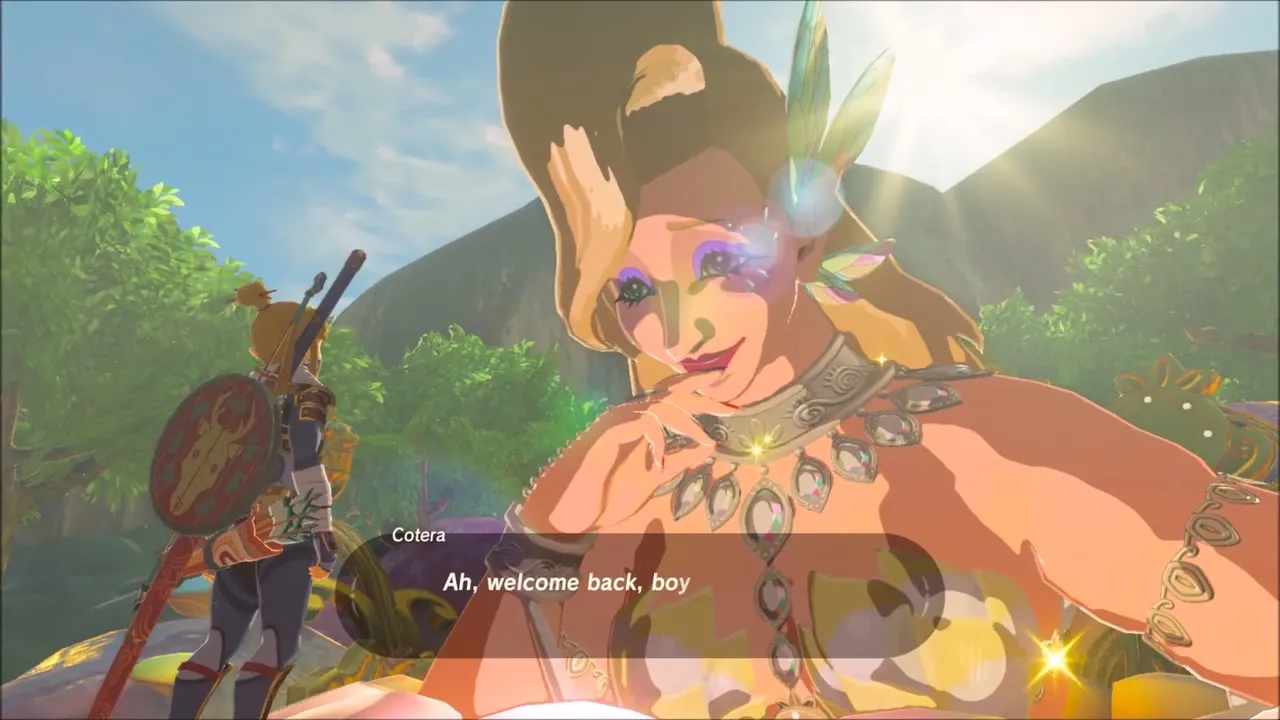
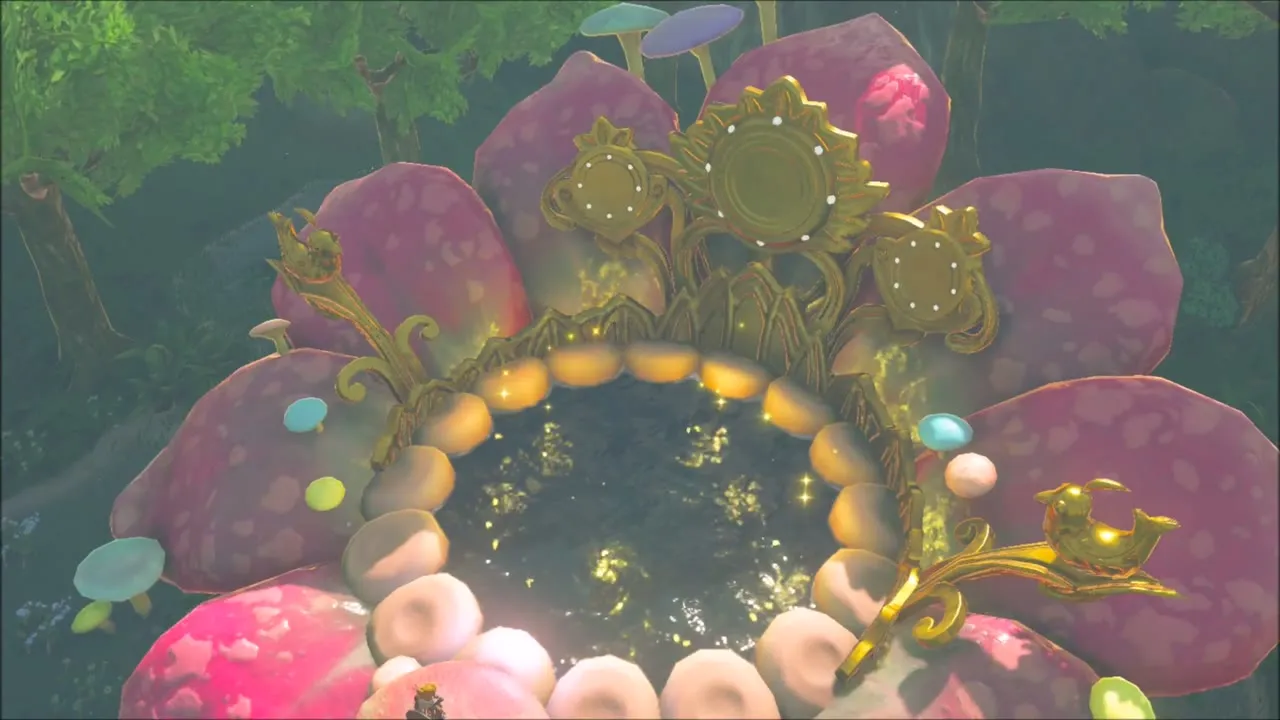
The path ends at a clearing full of giant pink mushrooms where Great Fairy Cotera waits. Photograph the glowing fountain with the Camera before you go in. Cotera enhances armor for materials, so put her to work on the Stealth pieces you just bought; the Stealth Tights, for example, ask for Blue Nightshade. The Great Fairies page lists what each upgrade costs.
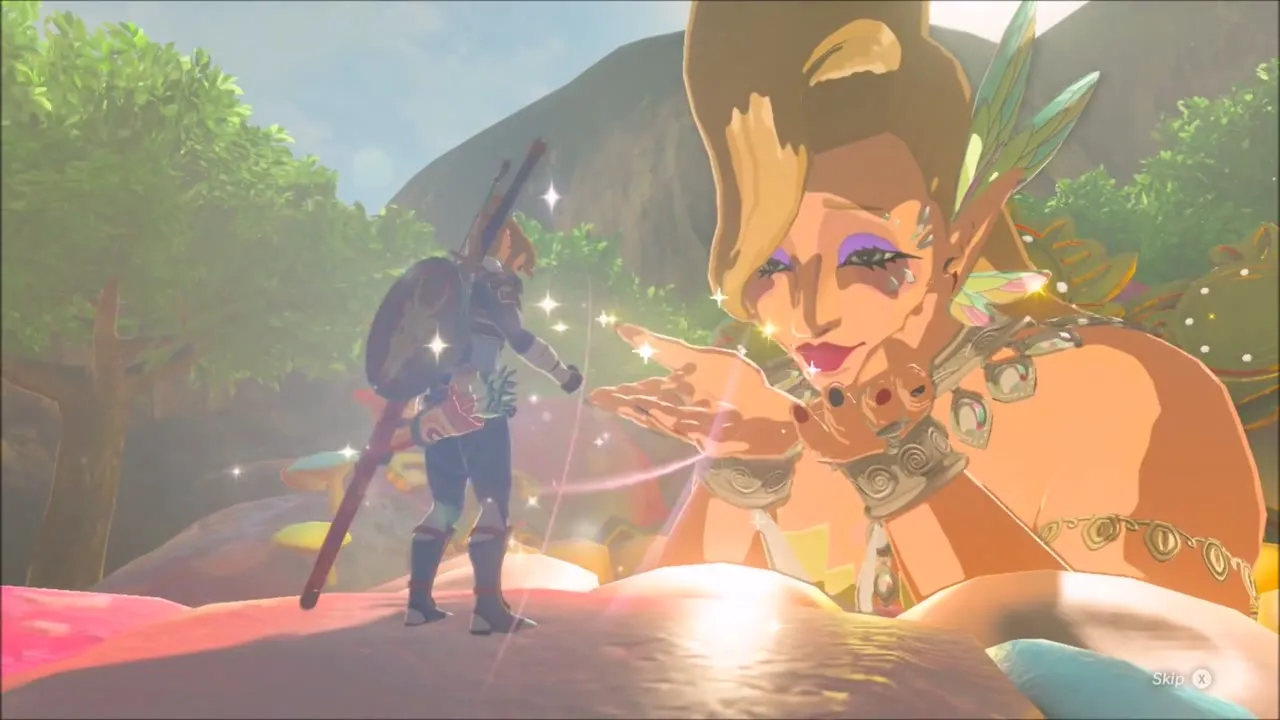
Show the photo to Pikango
Take a clean picture of the fountain in bloom, then walk back down and show it to Pikango. He asks whether there is a place you are looking for, since he has traveled all over Hyrule. This is how you get his hints for the photos in your album.


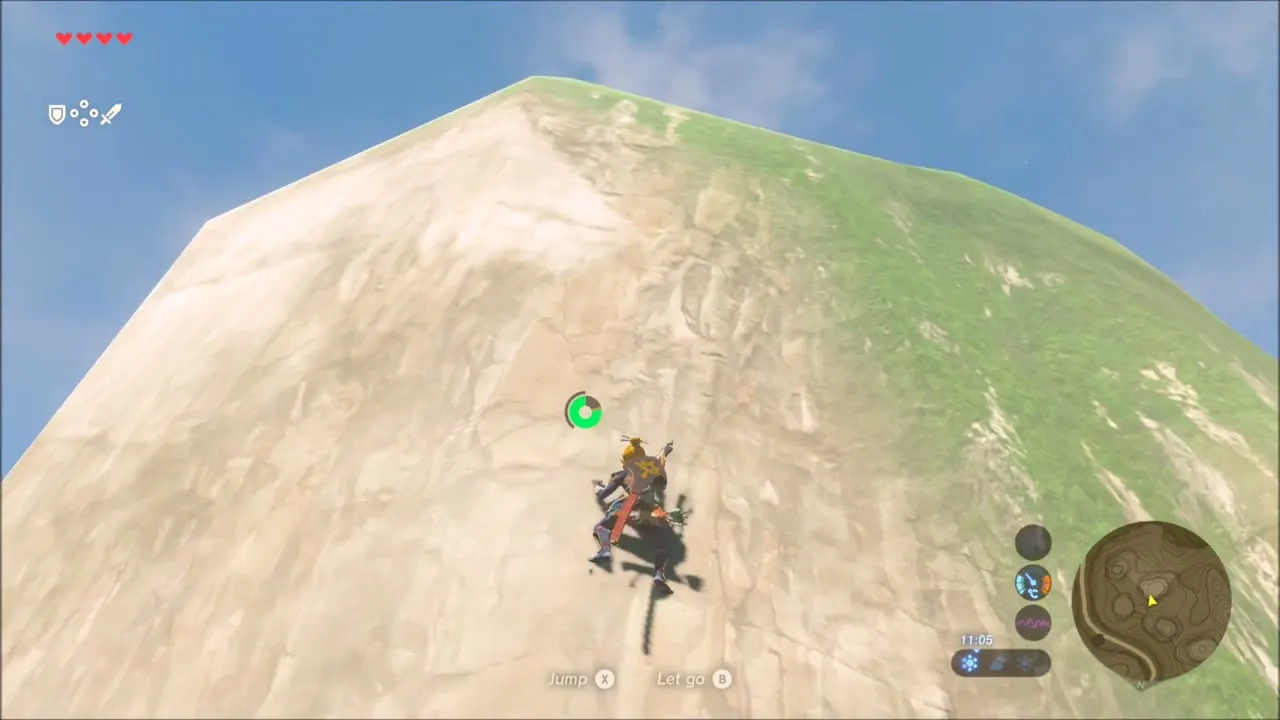
Hilltop Magnesis Chest and Dueling Peaks Tower
Climb a steep grass-and-rock peak, gliding between ledges whenever your stamina runs low. A metal chest sits on the summit: raise it with Magnesis and open it. Open your map and set a stamp for the spot, then look out over the Dueling Peaks and the plains below.

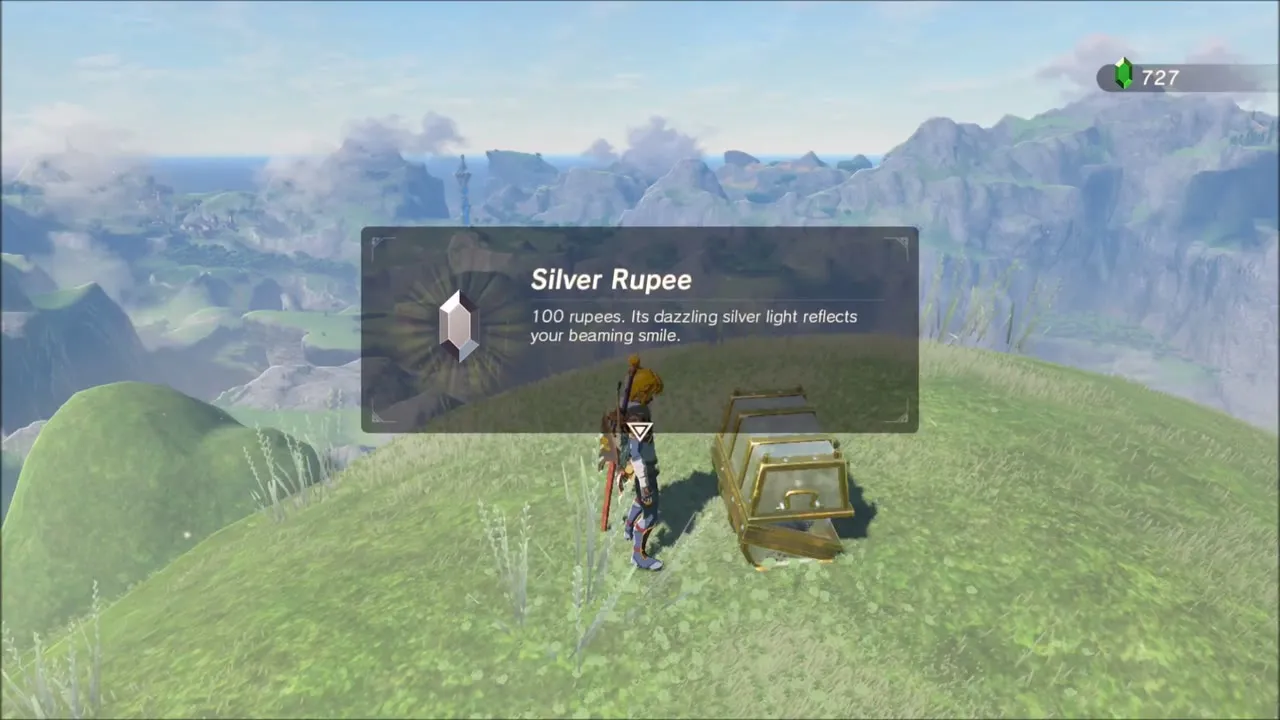
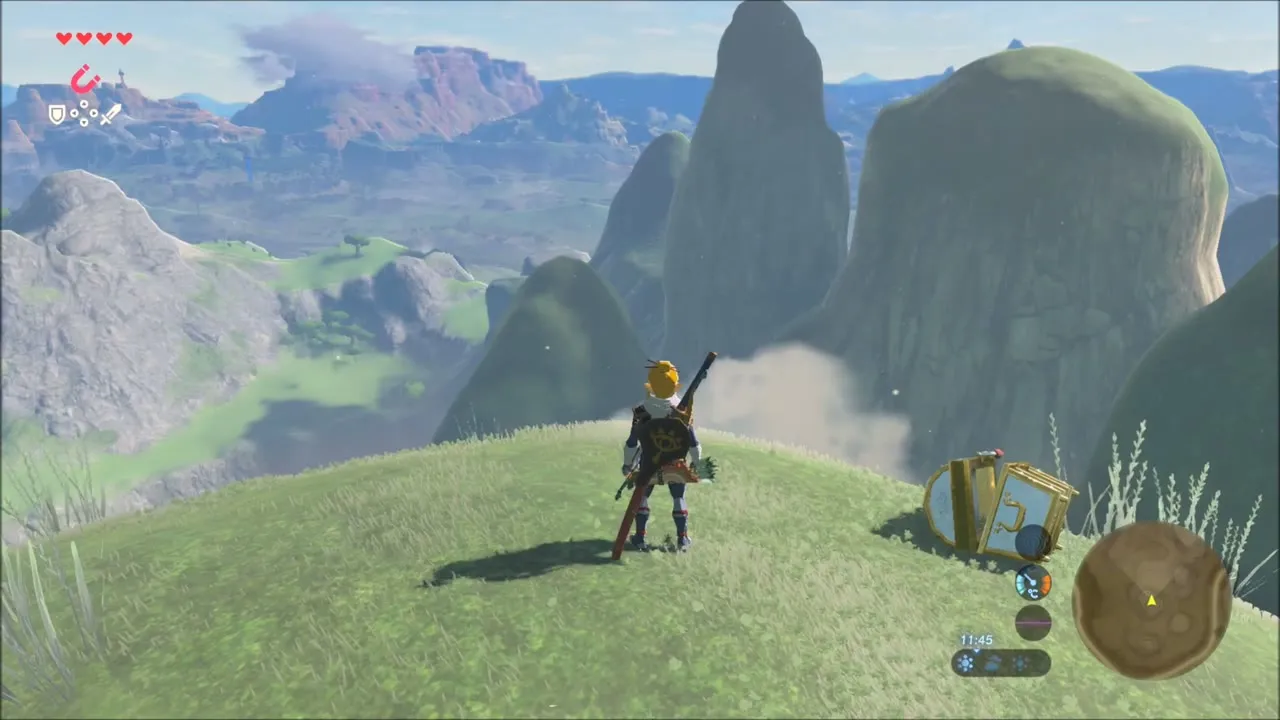
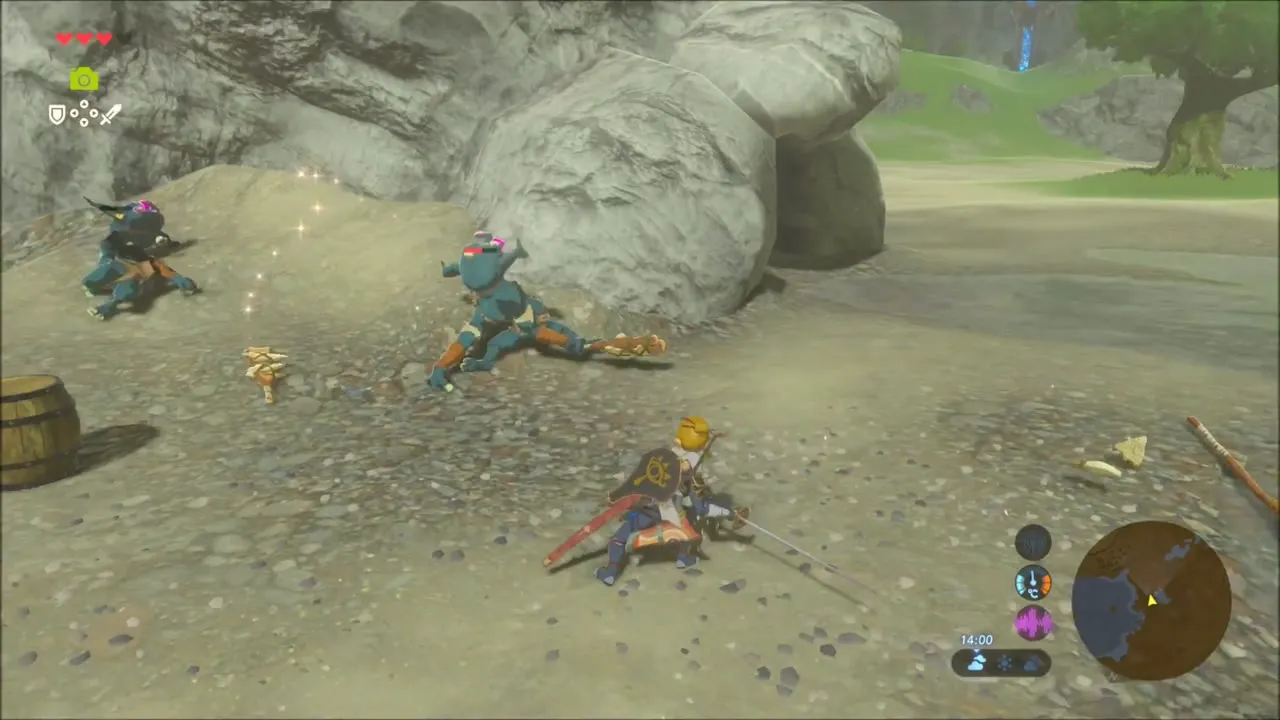
Warp to Dueling Peaks Tower and glide down toward the Bokoblin camp near its foot. Clear the Bokoblins and pick up the Bokoblin Horns and Fangs they leave behind, which are useful for armor upgrades.

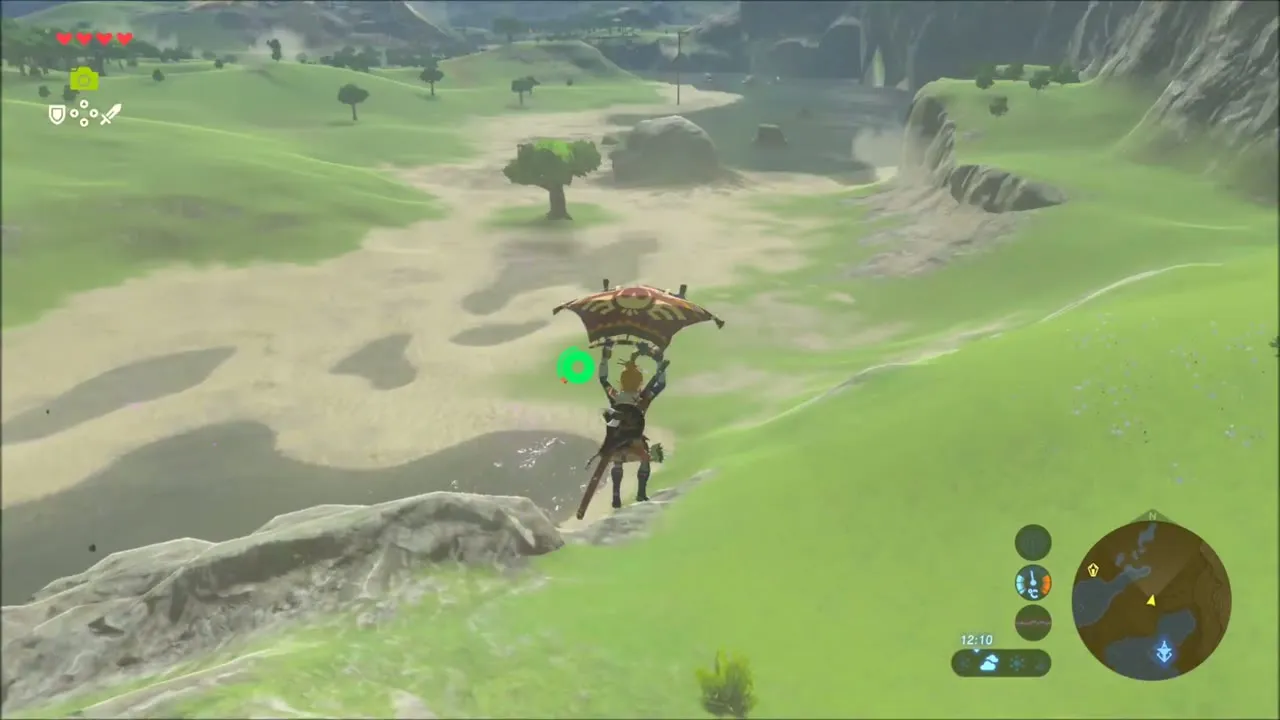

Hylia River Chests: Opal, Traveler’s Sword and Shock Arrows
Follow the river shore to a sandy beach and open the chest lying on the sand, which holds an Opal. Octoroks live along this stretch of shore, so you will pick up Octo Balloons and Octorok Tentacles if you fight them. Then stop at Riverside Stable, collect a horse and ride on to speed things up.
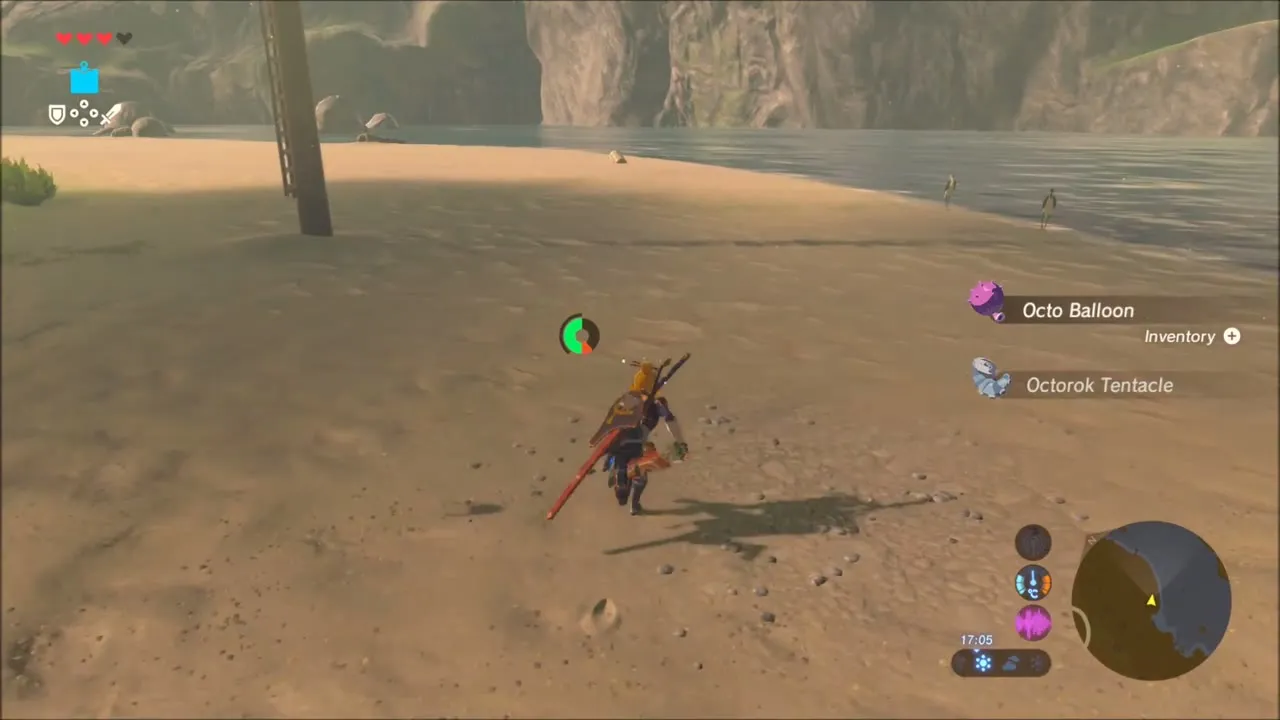


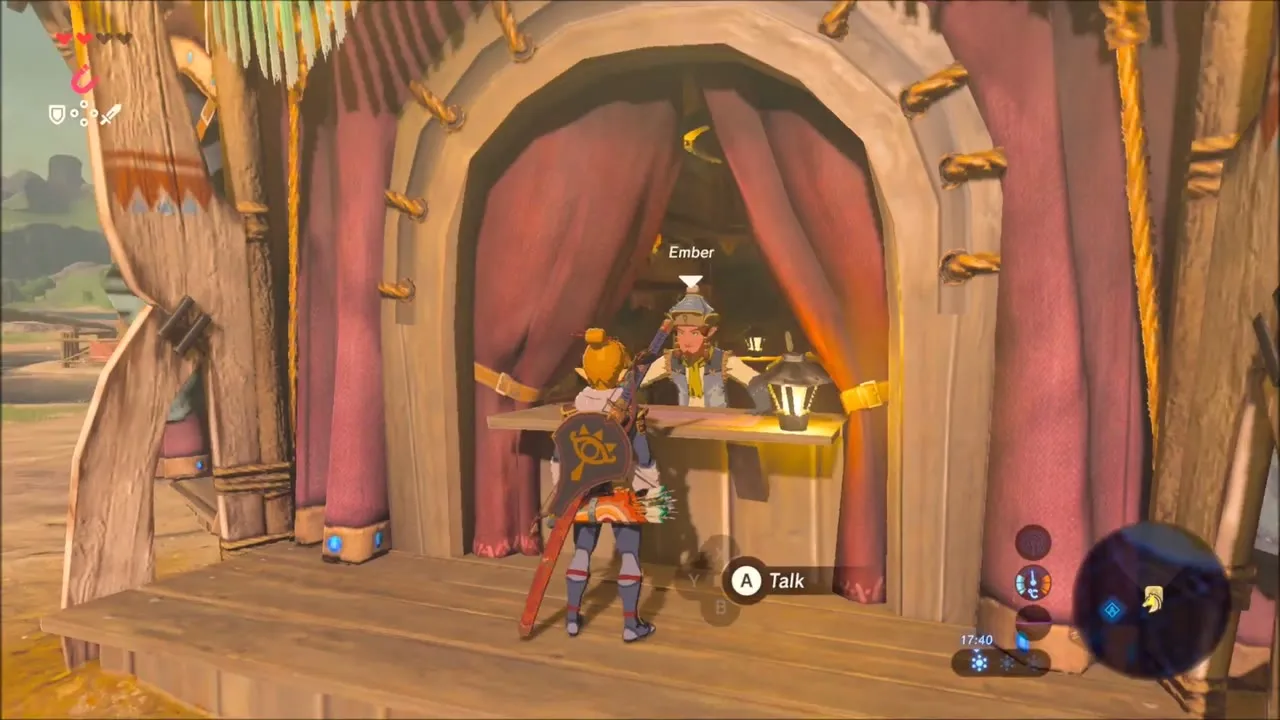
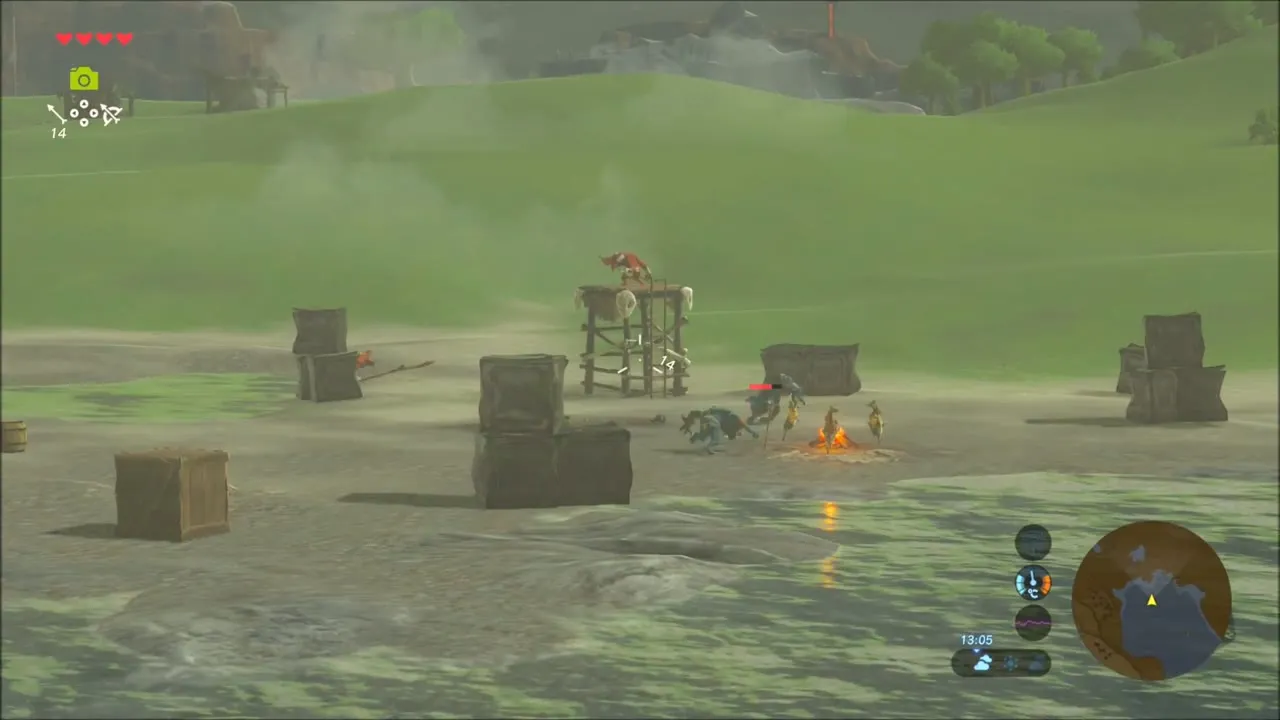
Further along the riverbank is another Bokoblin camp. Use Magnesis on the metal crates around it to look for loot, and cook the Seared Steak you find beside the campfire.


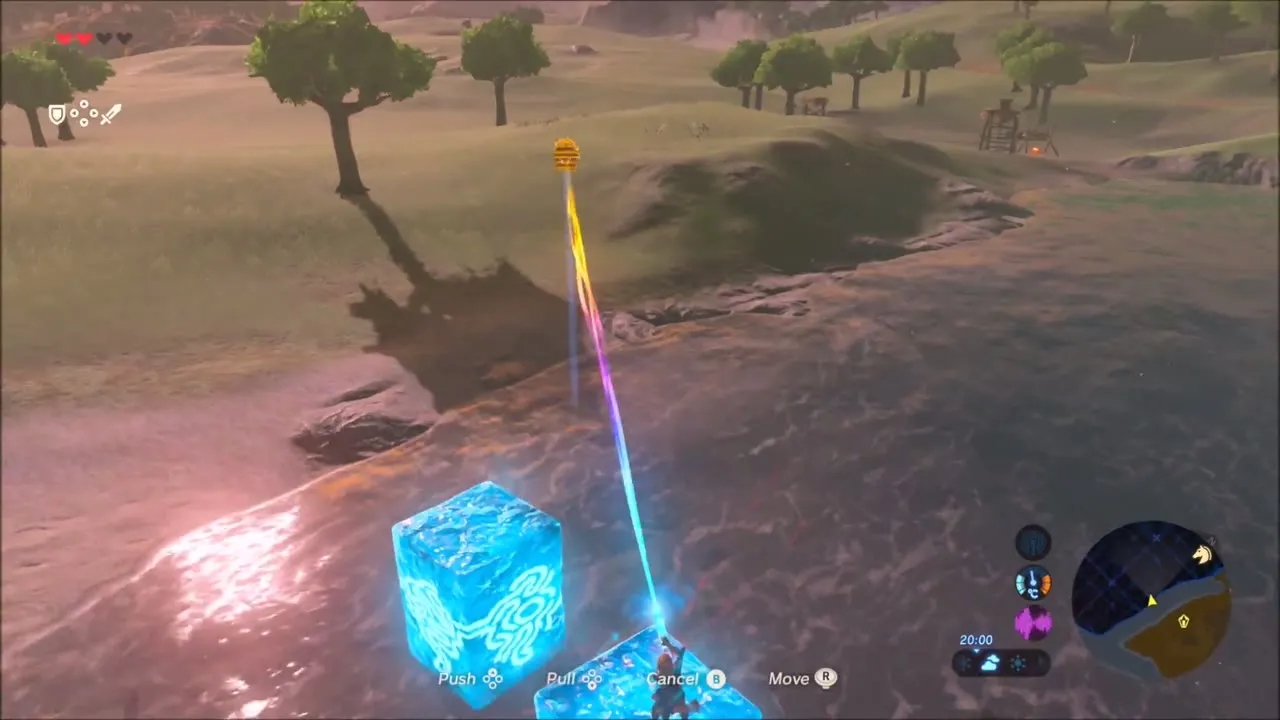
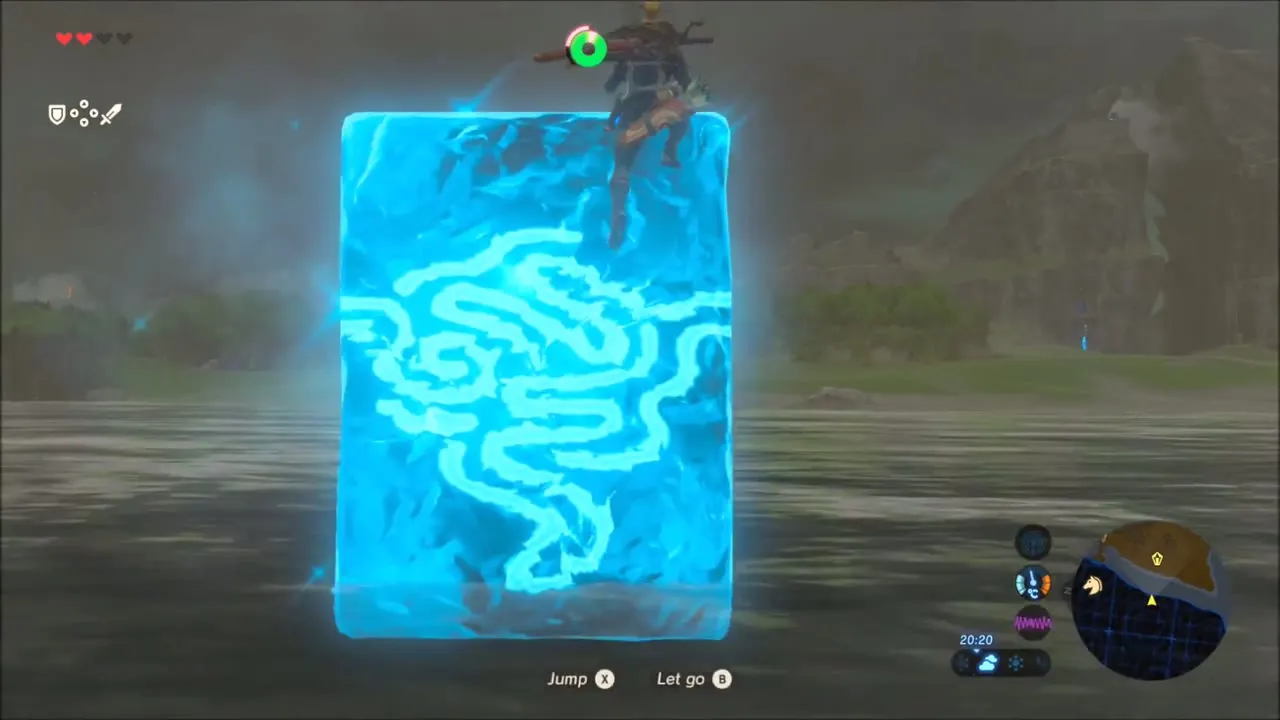
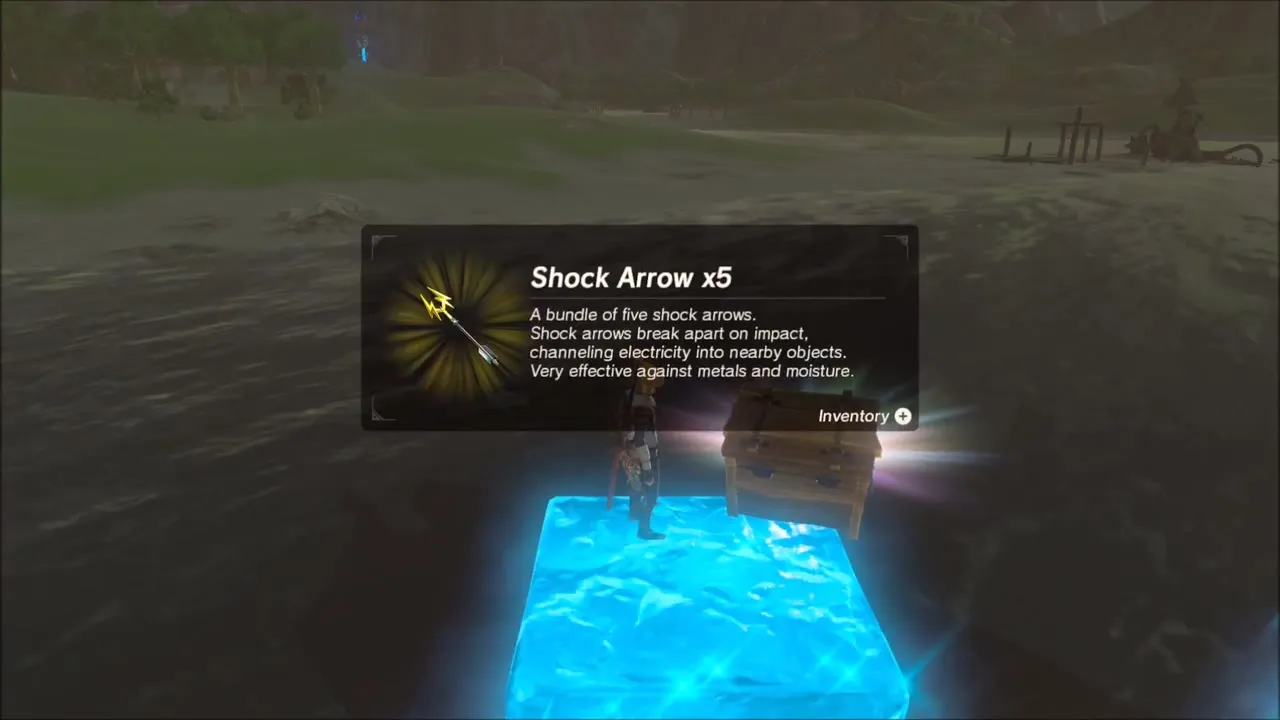
Several chests lie under the surface of the river. Aim Magnesis at a sunken metal chest to lift it out; this one holds a Traveler’s Sword (tier set by difficulty scaling). Another chest sits in deep water, so use Cryonis to raise an ice pillar beside it, climb up and open it for five Shock Arrows. A third chest further downstream sits on a pillar the same way.

Captured Memory 1: The First Photo
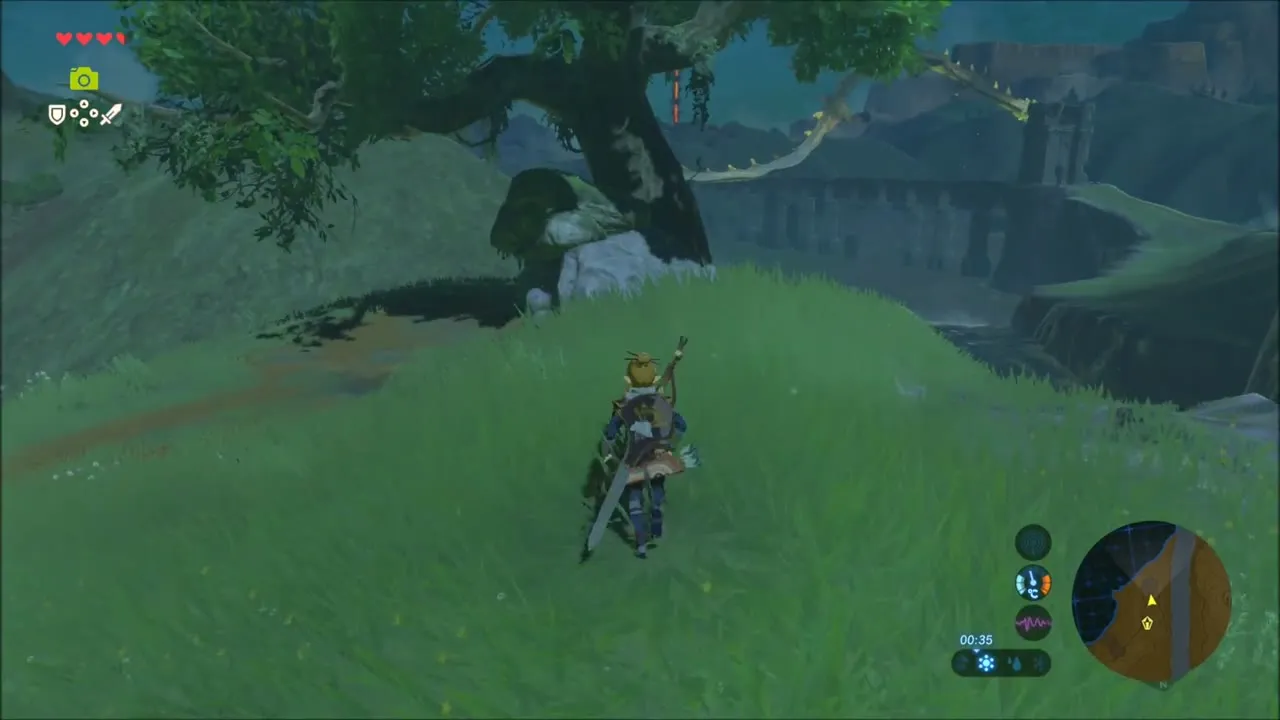
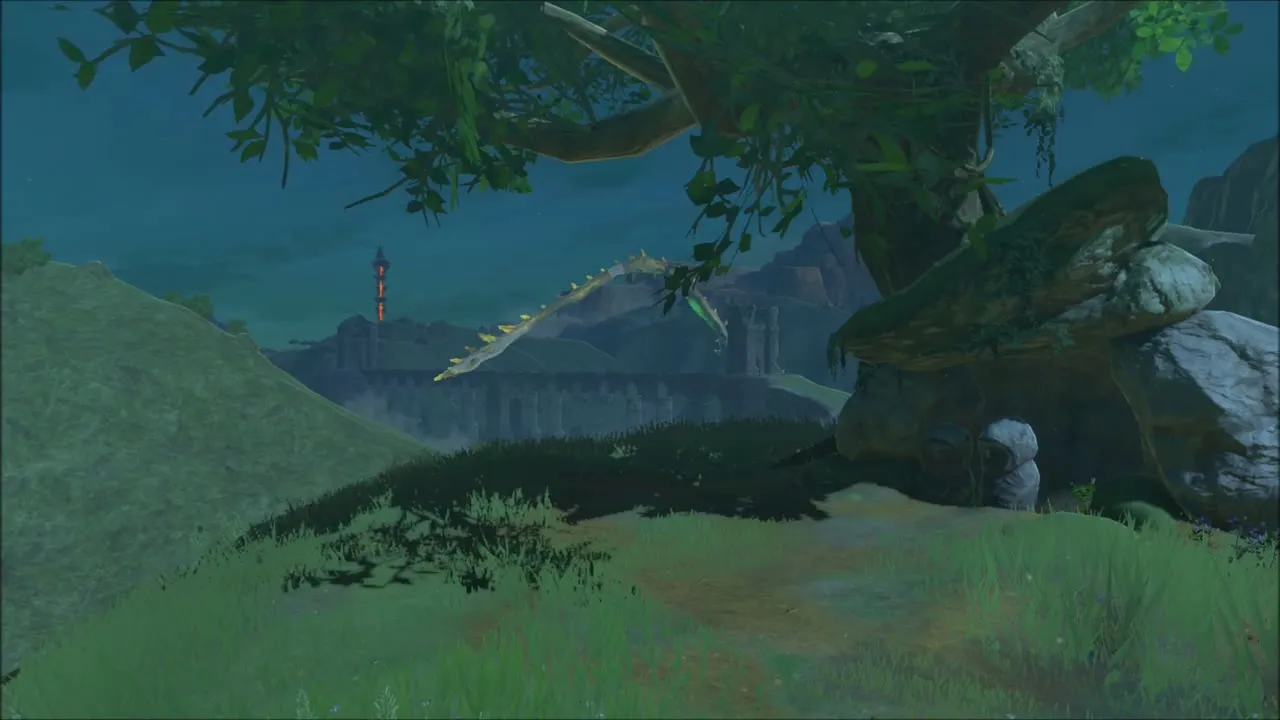
After dark, head for the location in the first photo in your album. Stand on the grassy rise beside a large tree that looks toward the Hyrule Castle walls, match the view in the picture, and step onto the glowing spot to Recall the memory. Zelda tells Link that his commitment to training is admirable, and when the cutscene ends the first memory is yours. See Memory 1: Subdued Ceremony for more.

How to Get the Champion’s Tunic from Impa
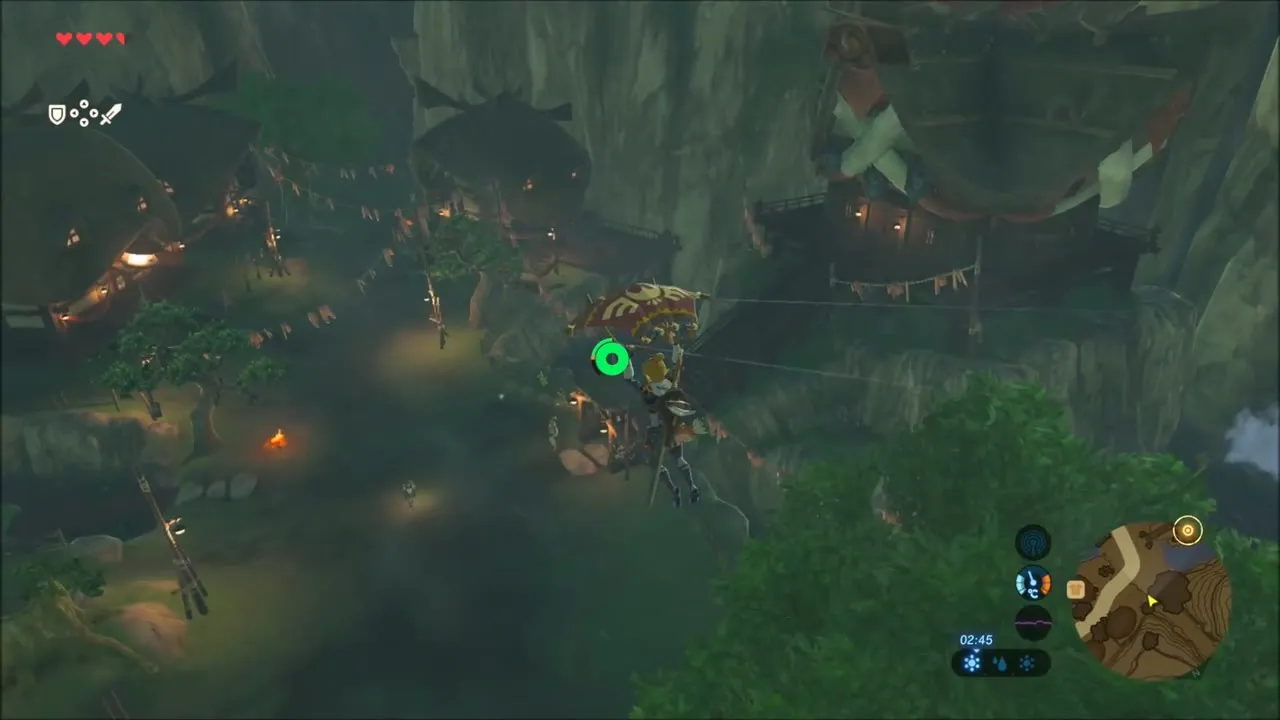
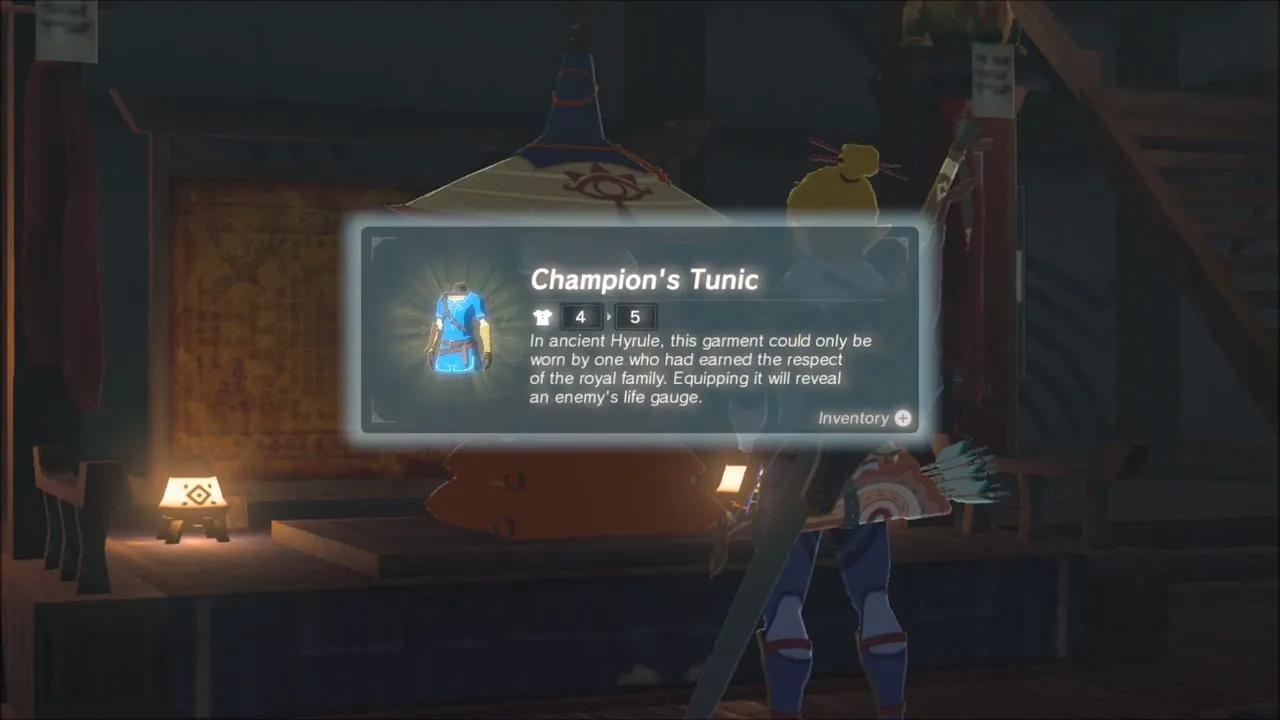
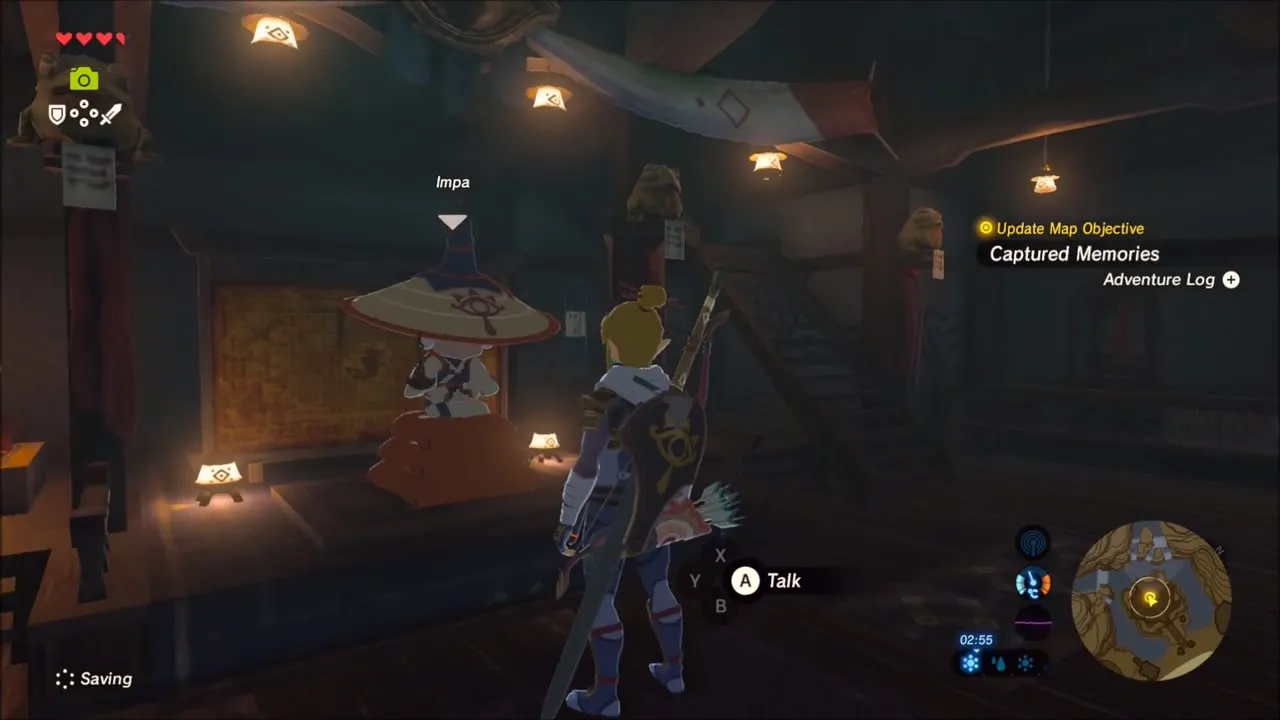
With the first memory recovered, warp to Ta’loh Naeg Shrine, glide down into Kakariko Village and go into Impa‘s house. She hands over something she has kept safe at the princess’s request, the Champion’s Tunic, and your quest log updates for Captured Memories. You do not need to finish the whole quest to receive it.
Kitano Bay to Loshlo Harbor: Down the East Coast
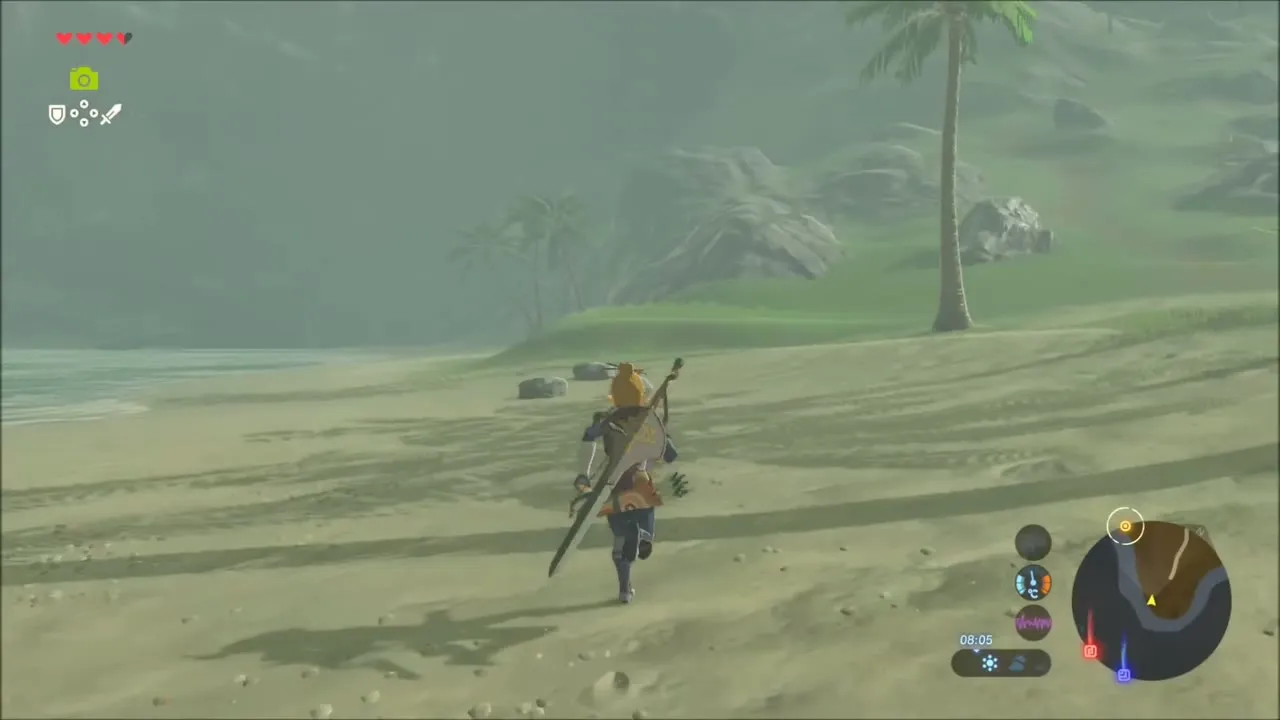
Restock, then set out from Kitano Bay and follow the shoreline south past Ebon Mountain toward Loshlo Harbor and the cape beyond it. Muwo Jeem Shrine is marked at the far southern tip of the coast.
Korok seed in the shallows: the rock circle
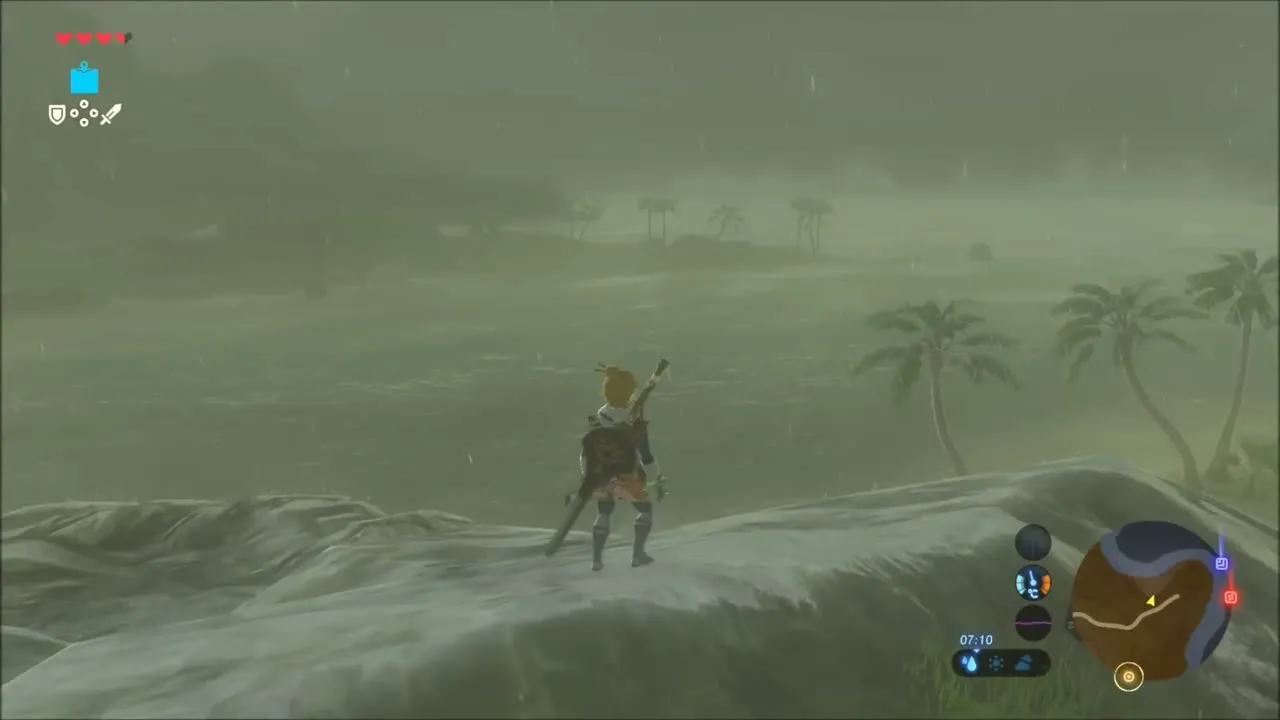
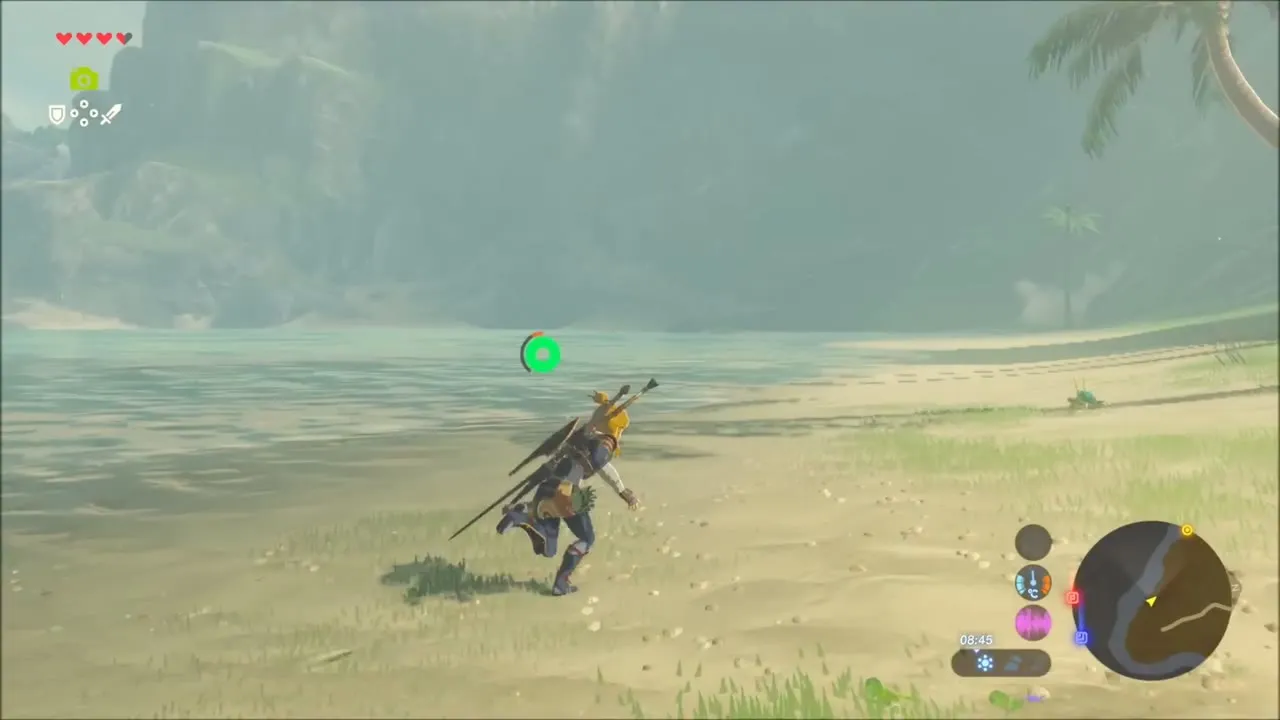
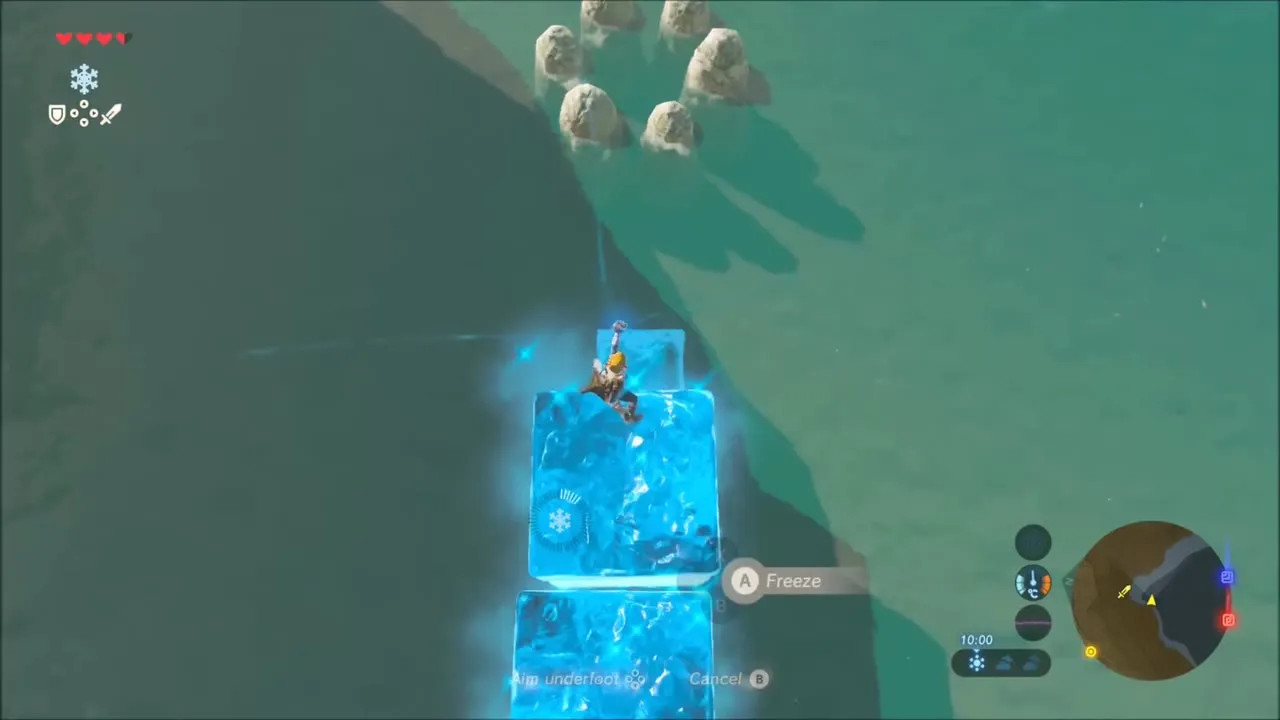
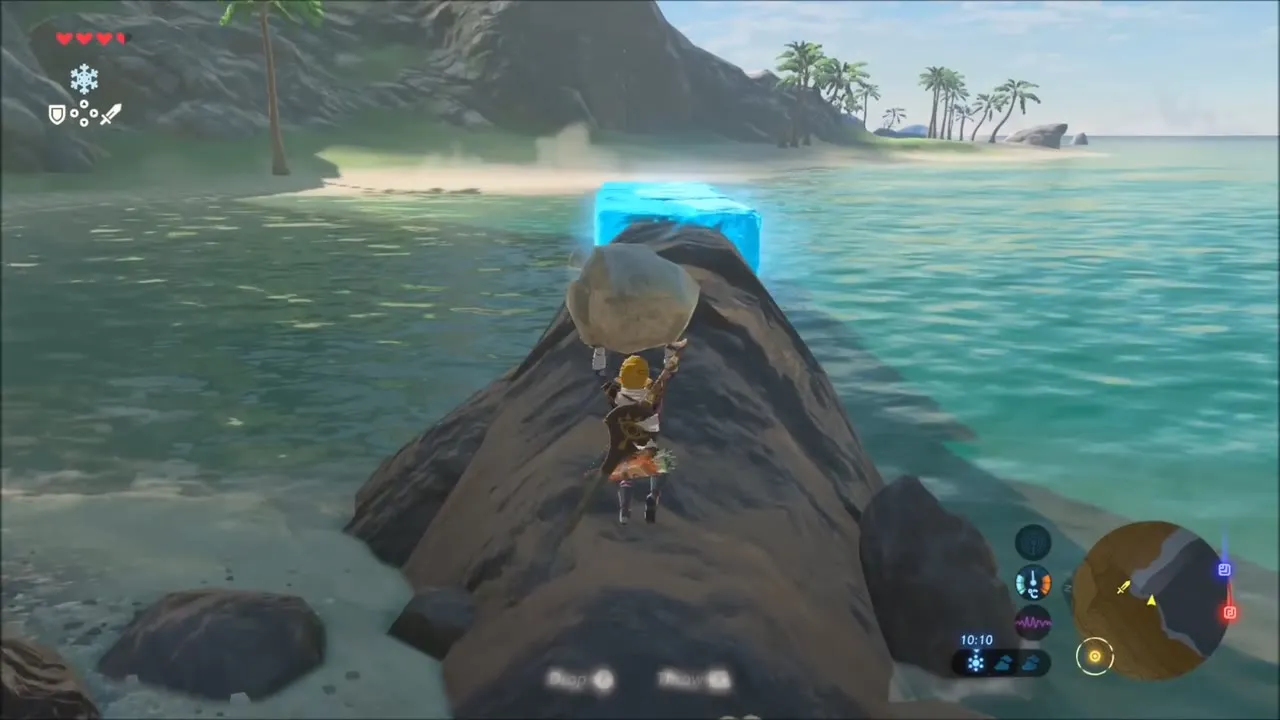
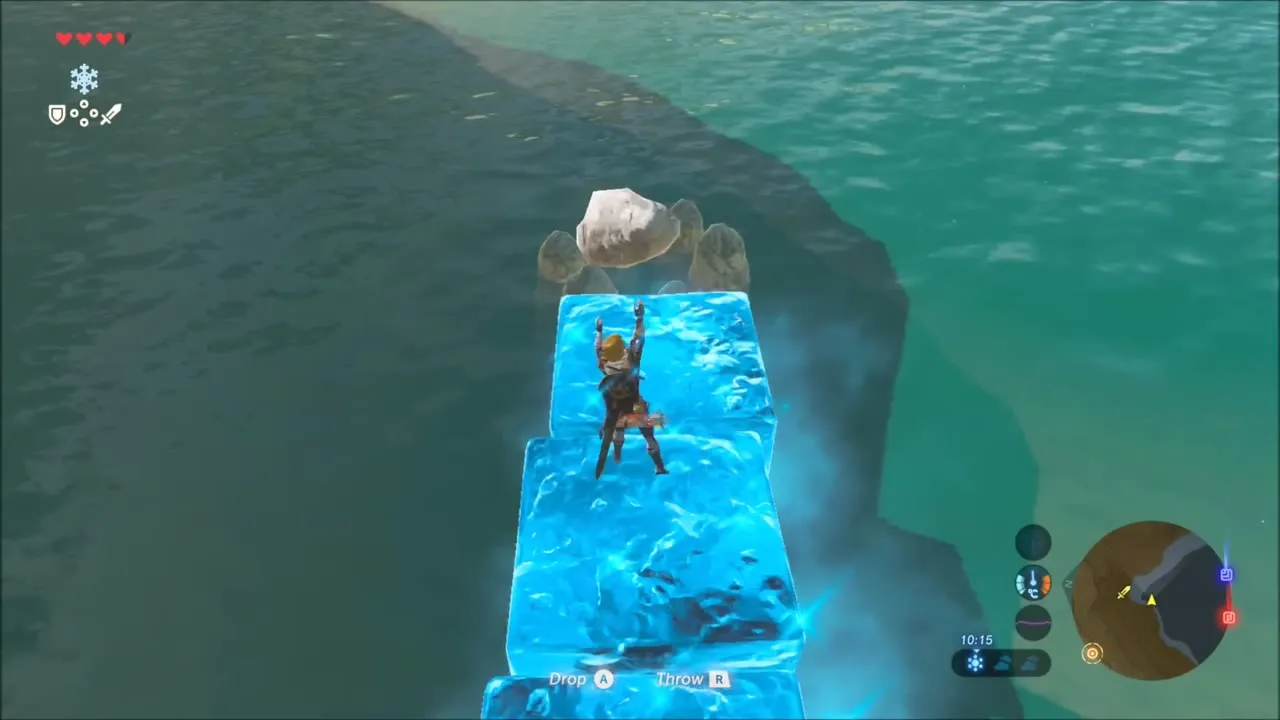
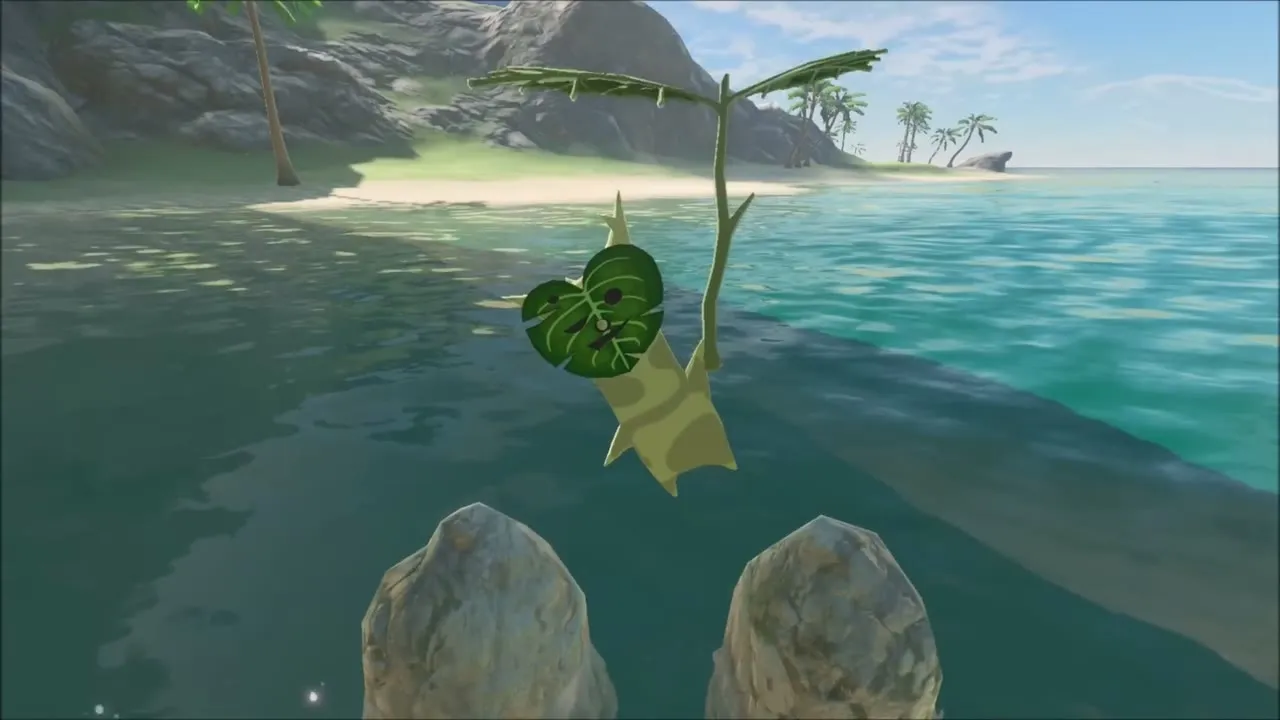
On a rocky beach, pick up a boulder and carry it to the water. A ring of rocks stands in the shallows with one rock missing. Use Cryonis to build an ice path out to it, set your boulder in the gap, and a Korok seed appears.
Kass’s song: The Hero’s Cache
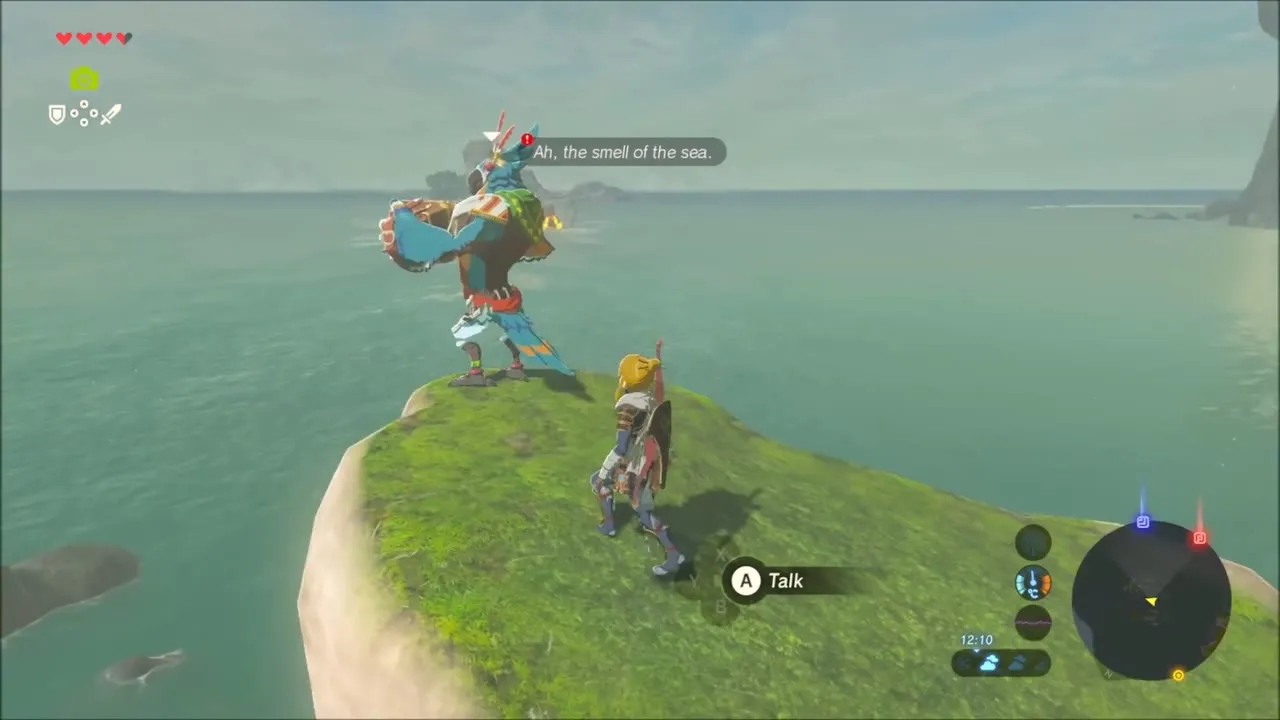
Kass plays his accordion on a small grassy rock pillar beside the water. Talk to him to hear a song about a hidden cache, which starts The Hero’s Cache. His lyric says the rock will point toward the cache, so come back with Magnesis later. On the way you can also photograph a Mighty Porgy in the bay for the Compendium.


Korok seed on the cliff
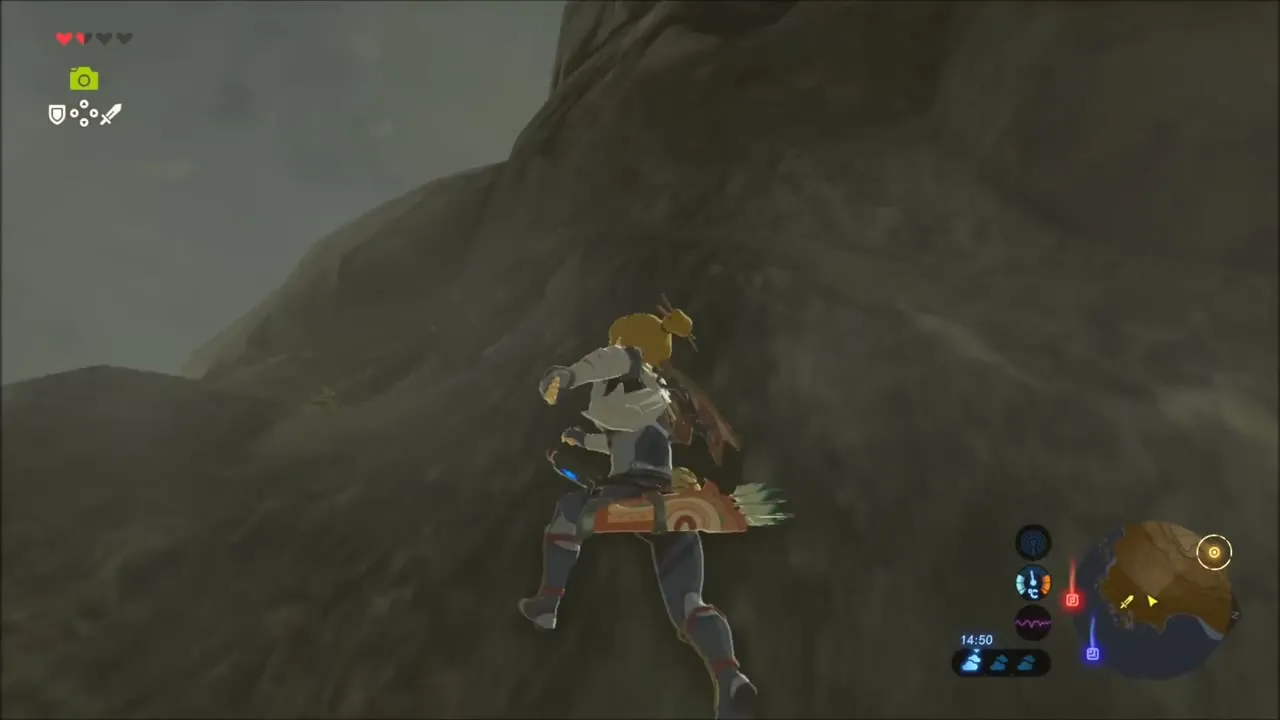
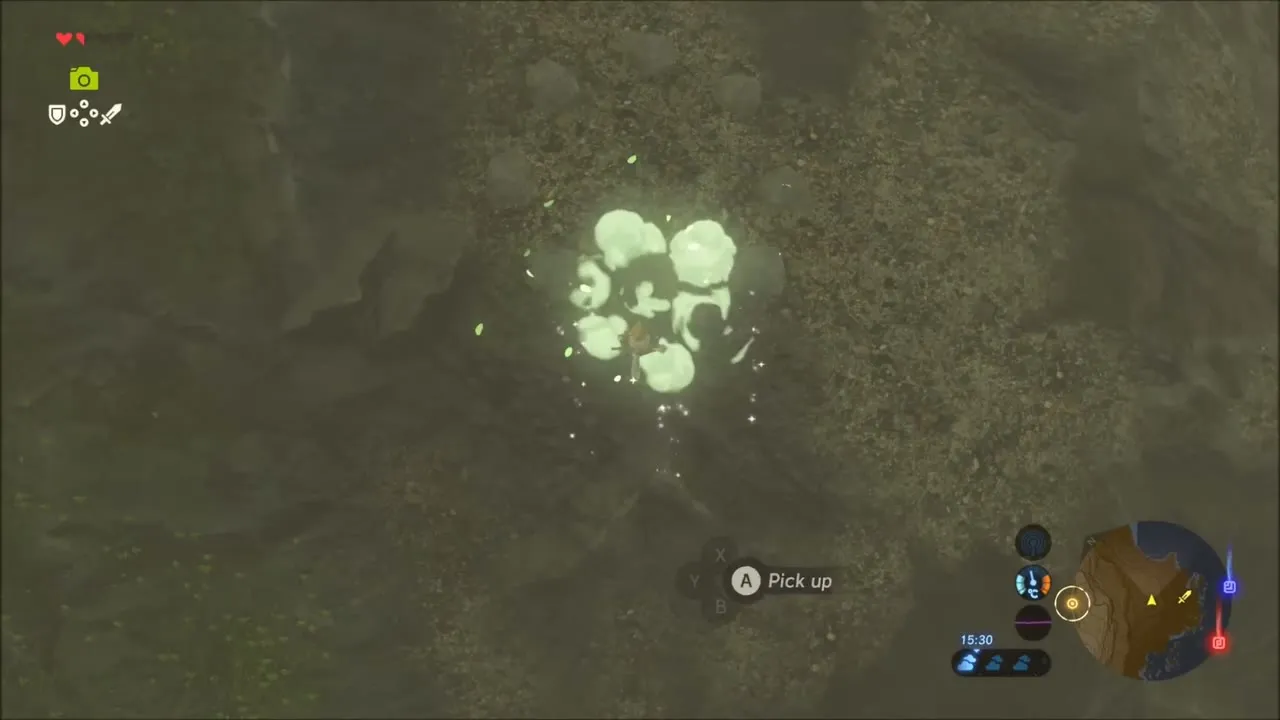
Climb the rock face above the sea, then pick up a loose boulder and carry it a short way along the ridge before setting it down. A Korok seed appears where you put it down.


West Loshlo Harbor Hinox and Coastal Ore
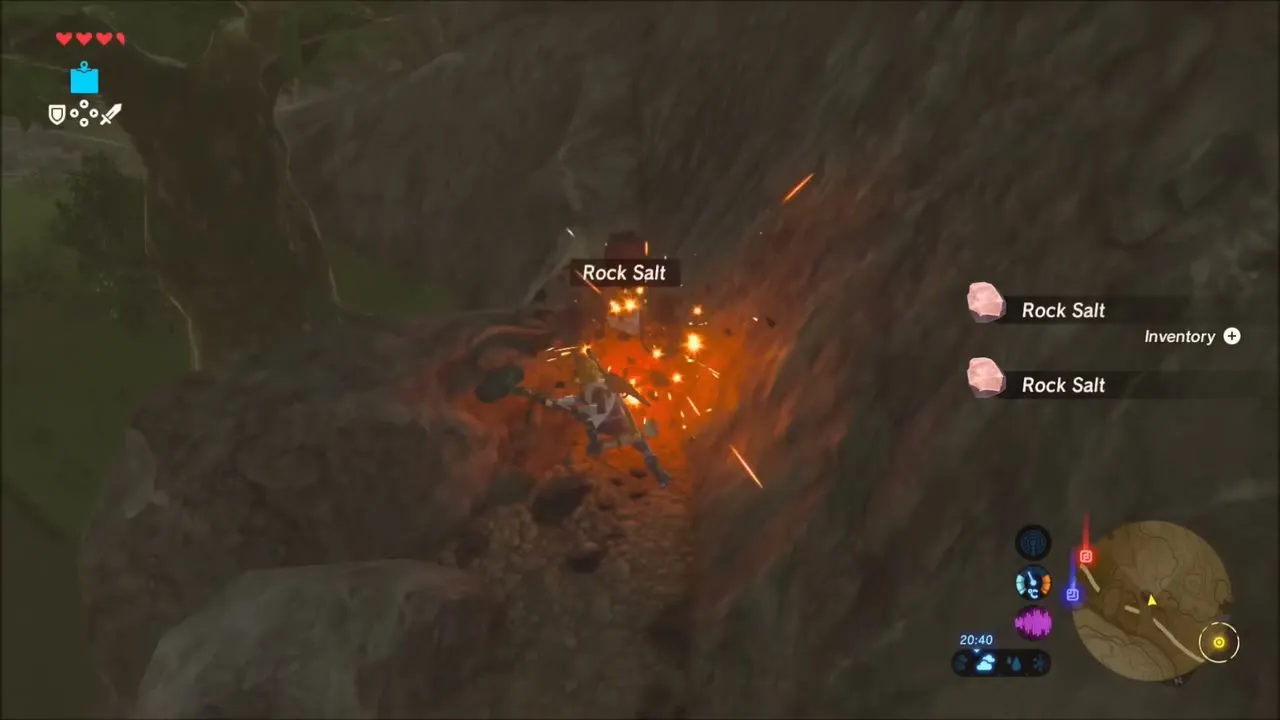
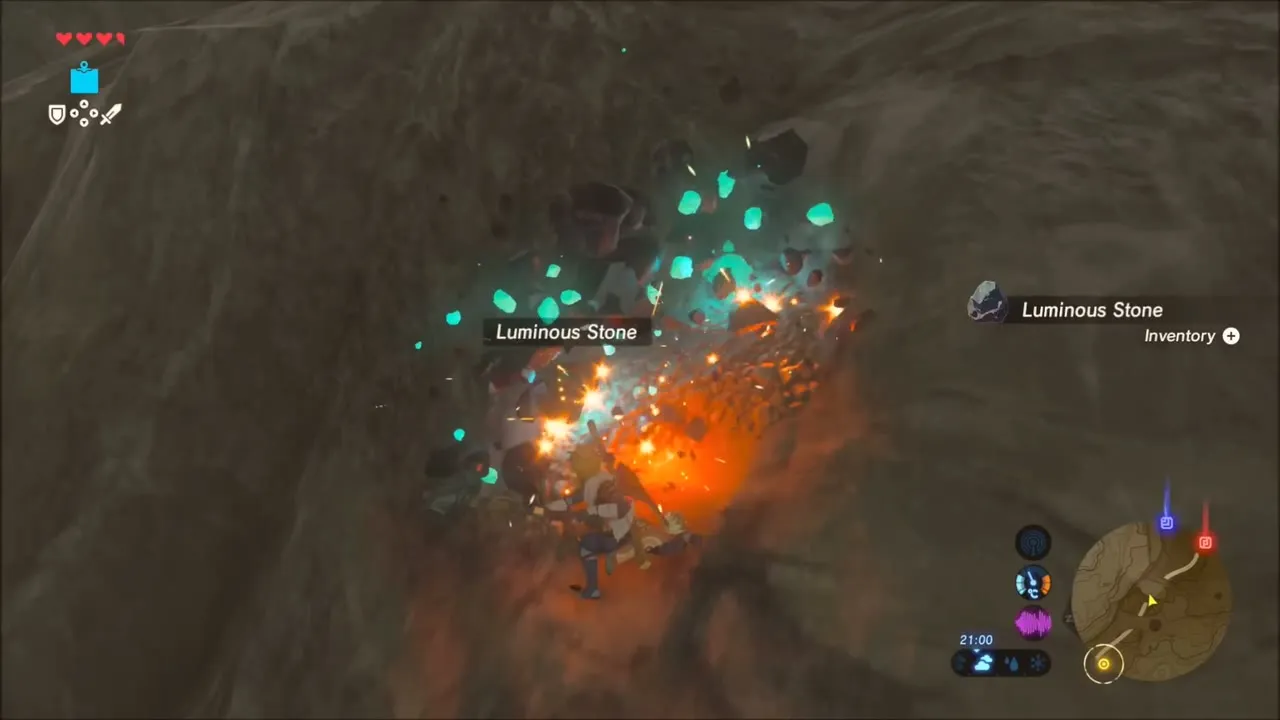
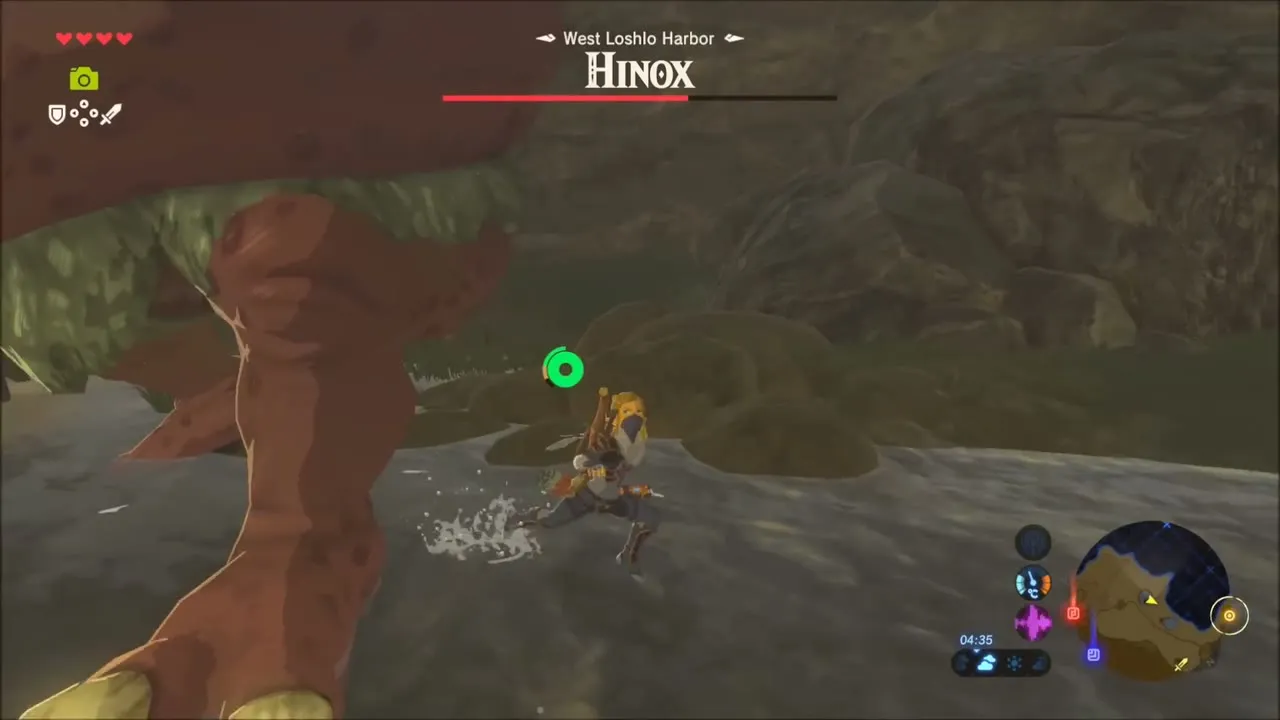
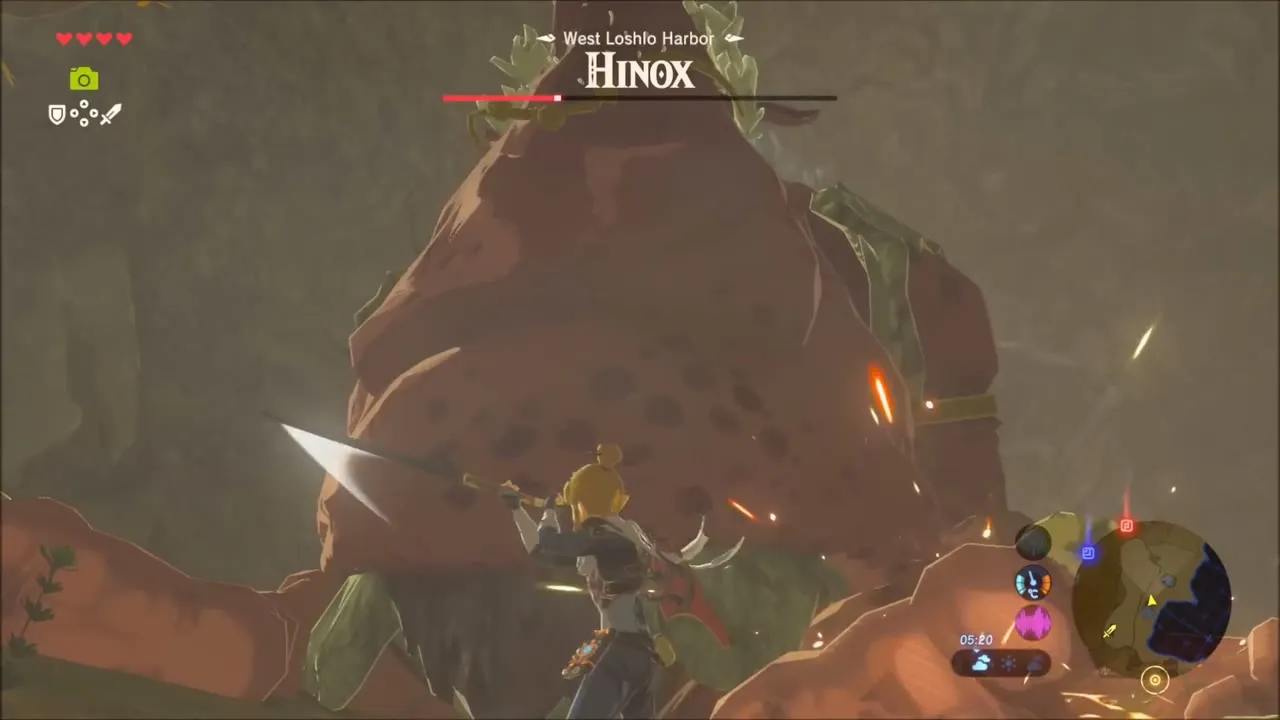
Keep following the coast and mine the ore deposits you pass; they give Rock Salt, Flint, Luminous Stone and Amber. Near West Loshlo Harbor you meet a Hinox. Keep moving around it, hit it in the eye when you can, and rush in to strike while it is dazed. Use fresh weapons, since the fight wears through several of them.

Korok Seeds on the Southern Cape
On a grassy bluff beside the sea, a Korok is hiding behind the trunk of one of the apple trees. Walk up to it and take the seed. A little further on, a second Korok is tucked into a dark hollow at the foot of a cliff, and it pops out once you reach it.
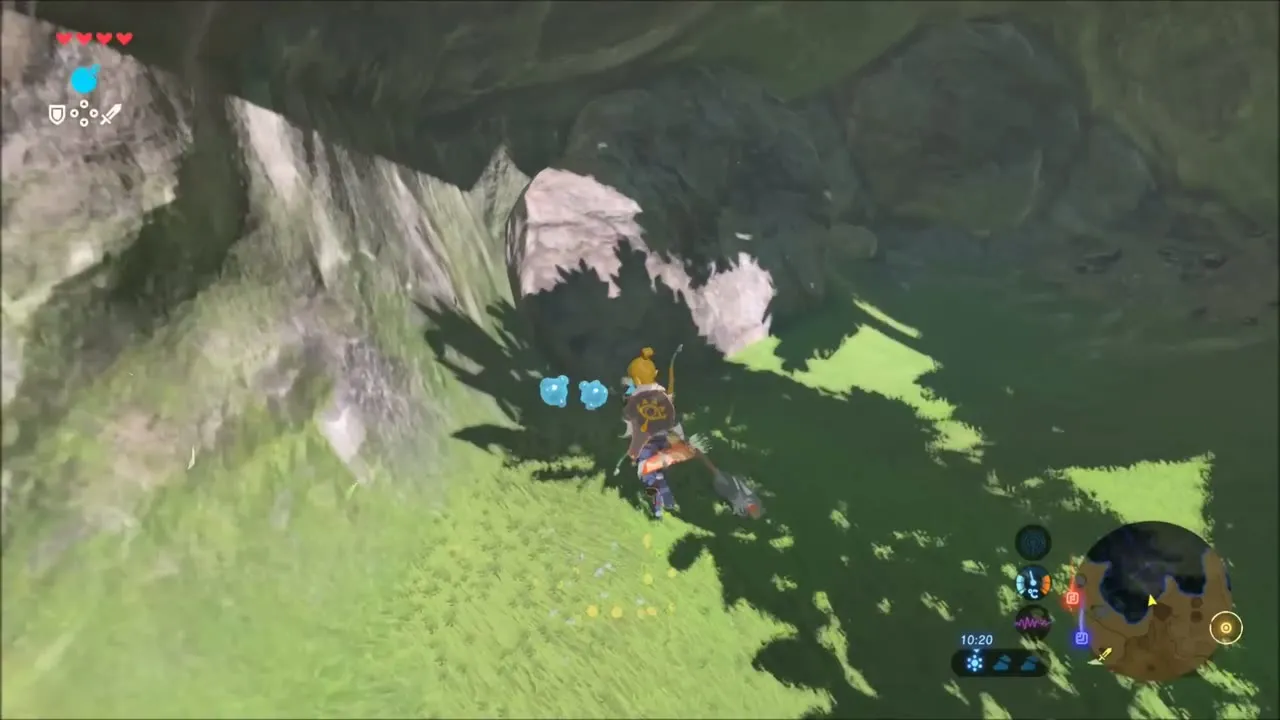

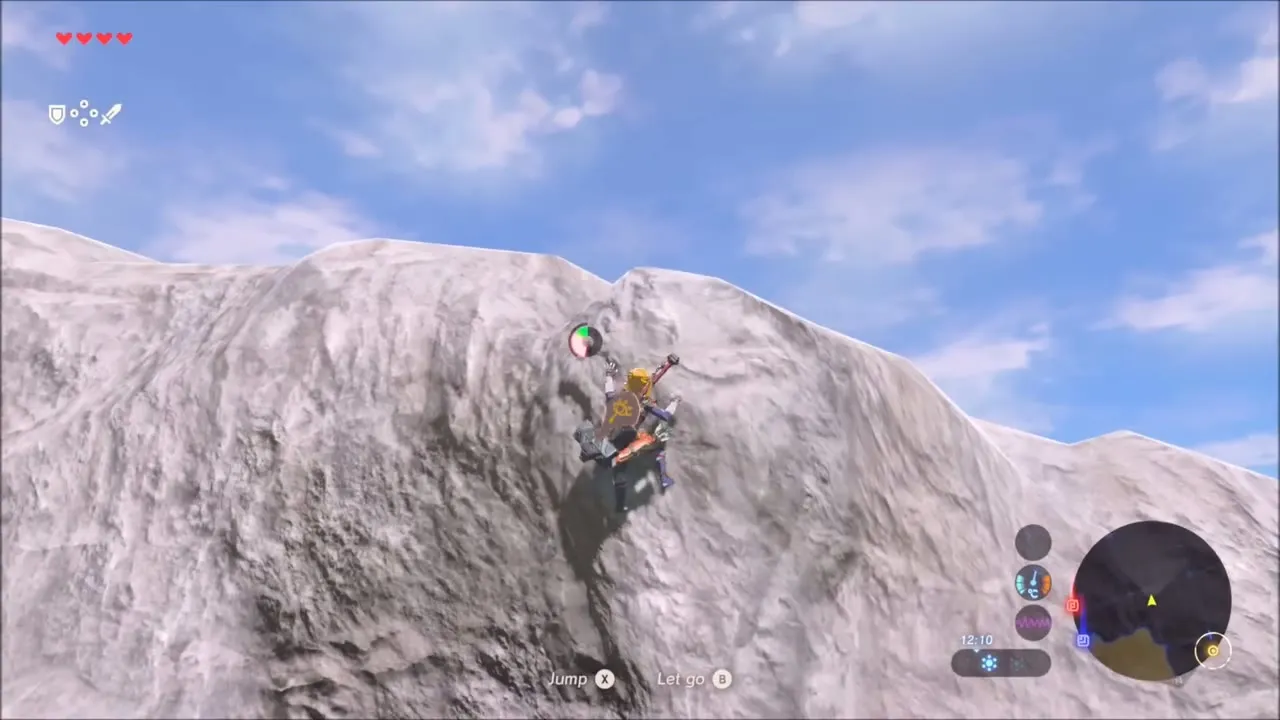
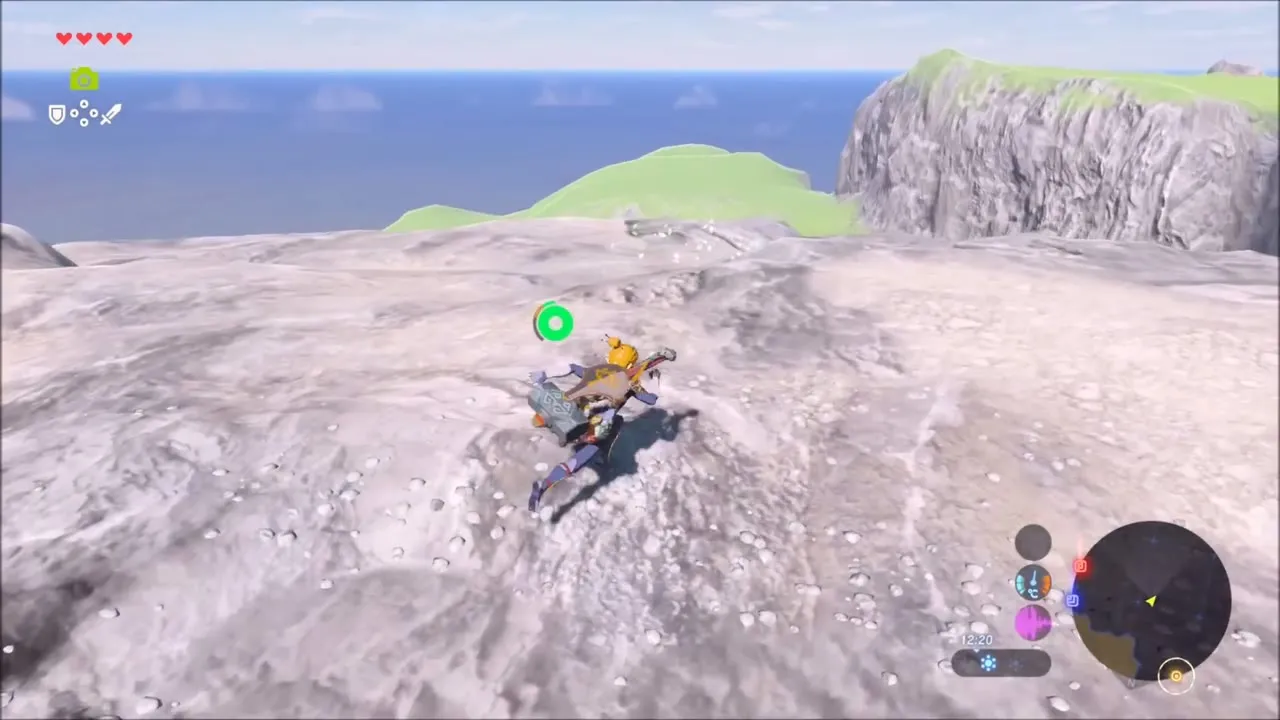
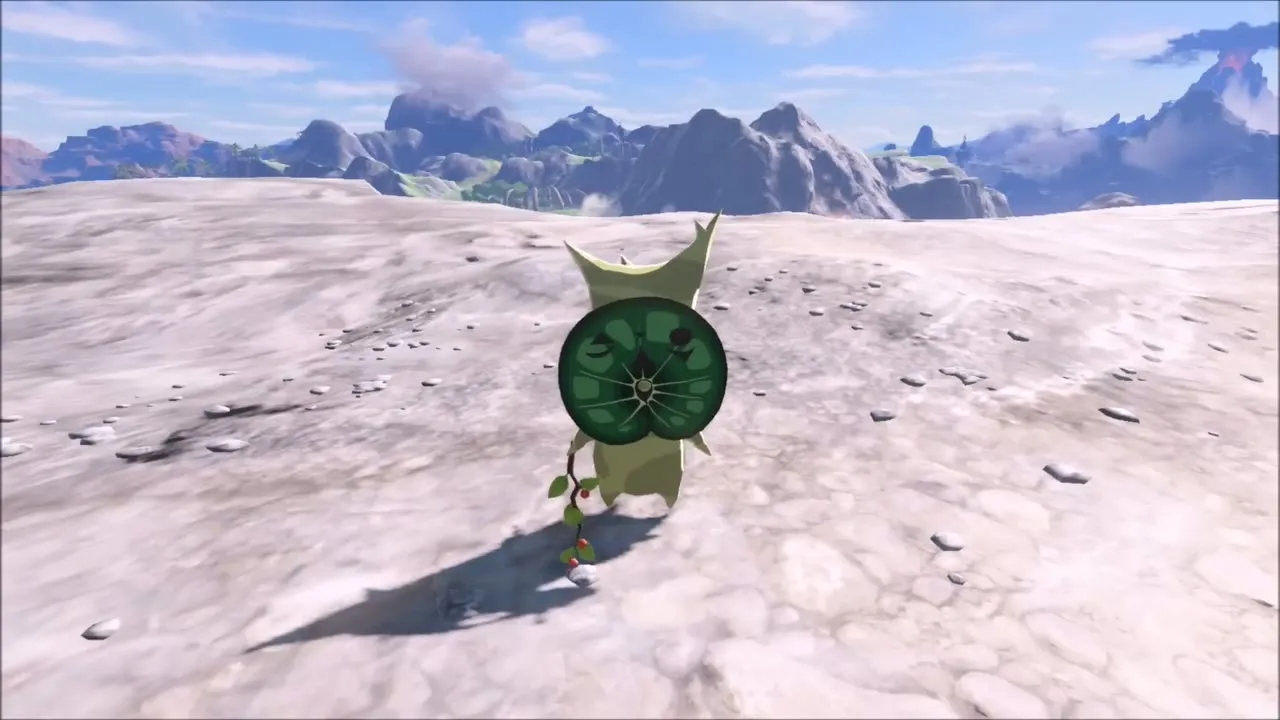
Climb the pale limestone outcrop above the sea. A Korok stands in plain sight on top, so there is no puzzle here: reach it and take the seed.

Skull-Shaped Bokoblin Camp
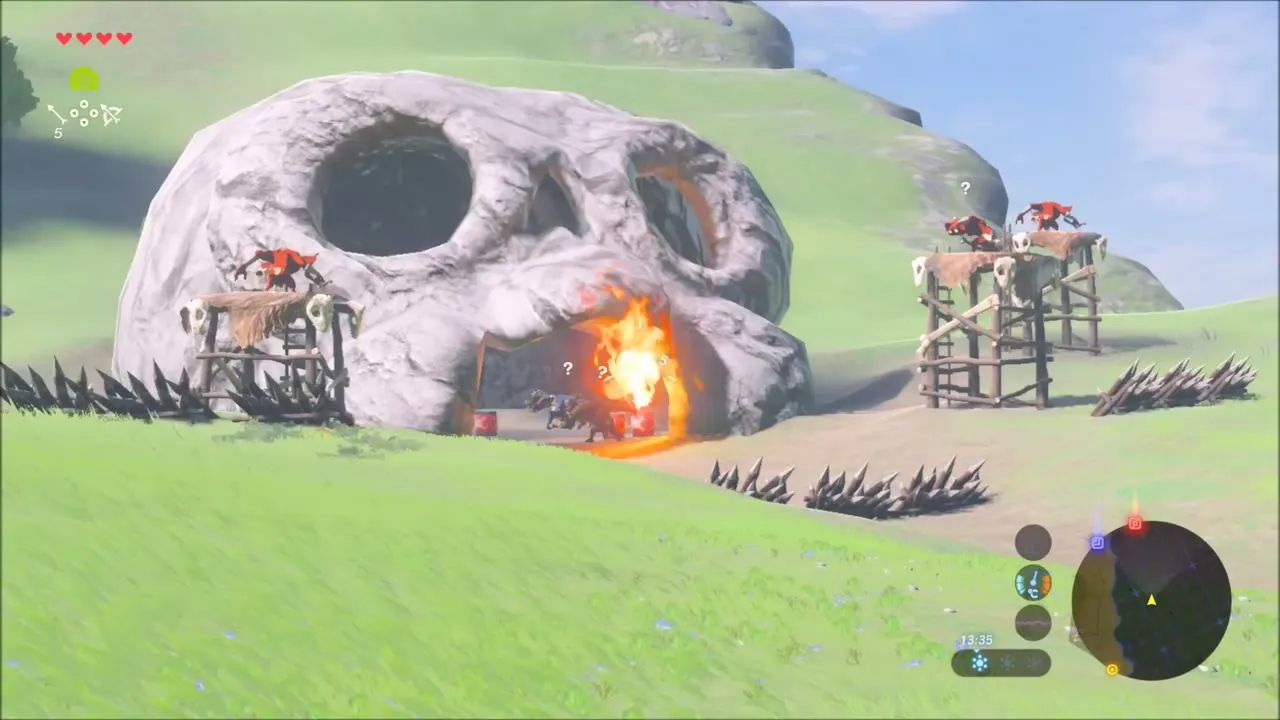
Inland from the outcrop, a Bokoblin camp has been built in a giant skull-shaped rock. Clear the Bokoblins outside, then go through the mouth and finish the rest in the cave. A chest sits on a wooden platform inside, and the camp drops Knight’s Broadswords, Spiked Boko Bows, Bokoblin Horns and Fangs.



Rock circle Korok seed
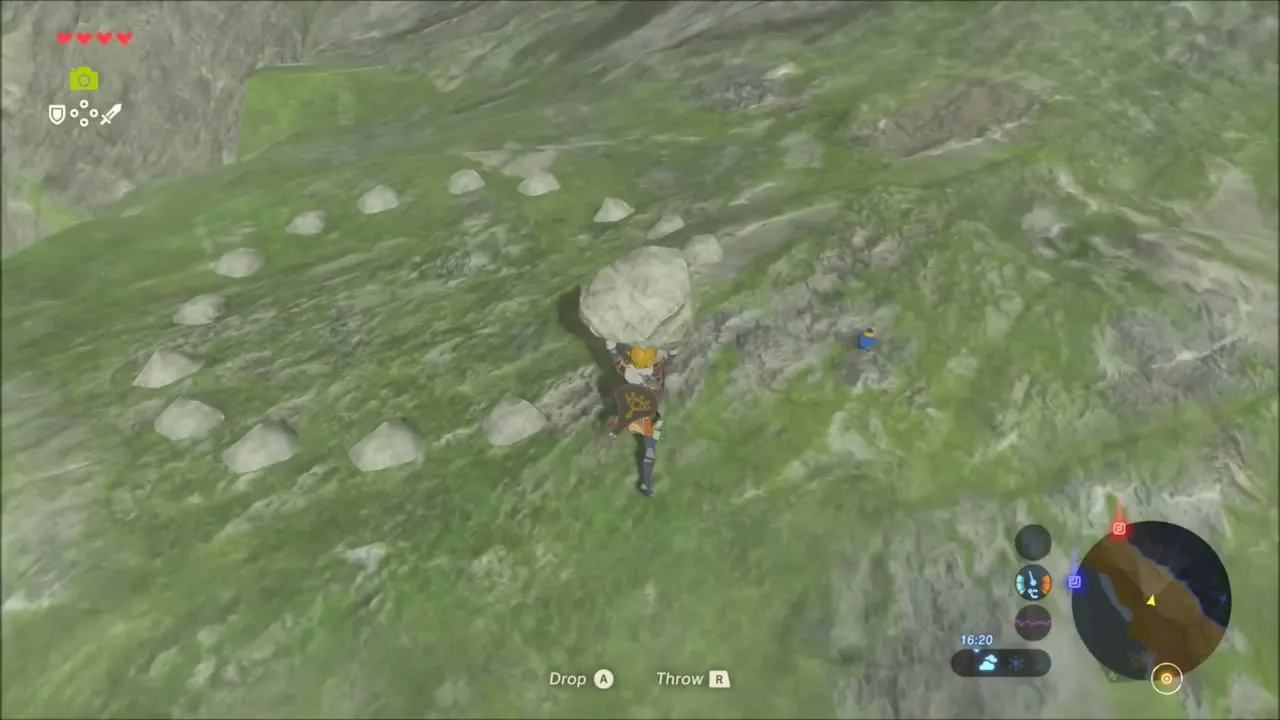
On the grassy slope past the camp, a ring of small stones has one gap in it. Carry a large boulder to the ring and set it in the gap to earn another Korok seed.

Korok Seed on the Sea Cliff
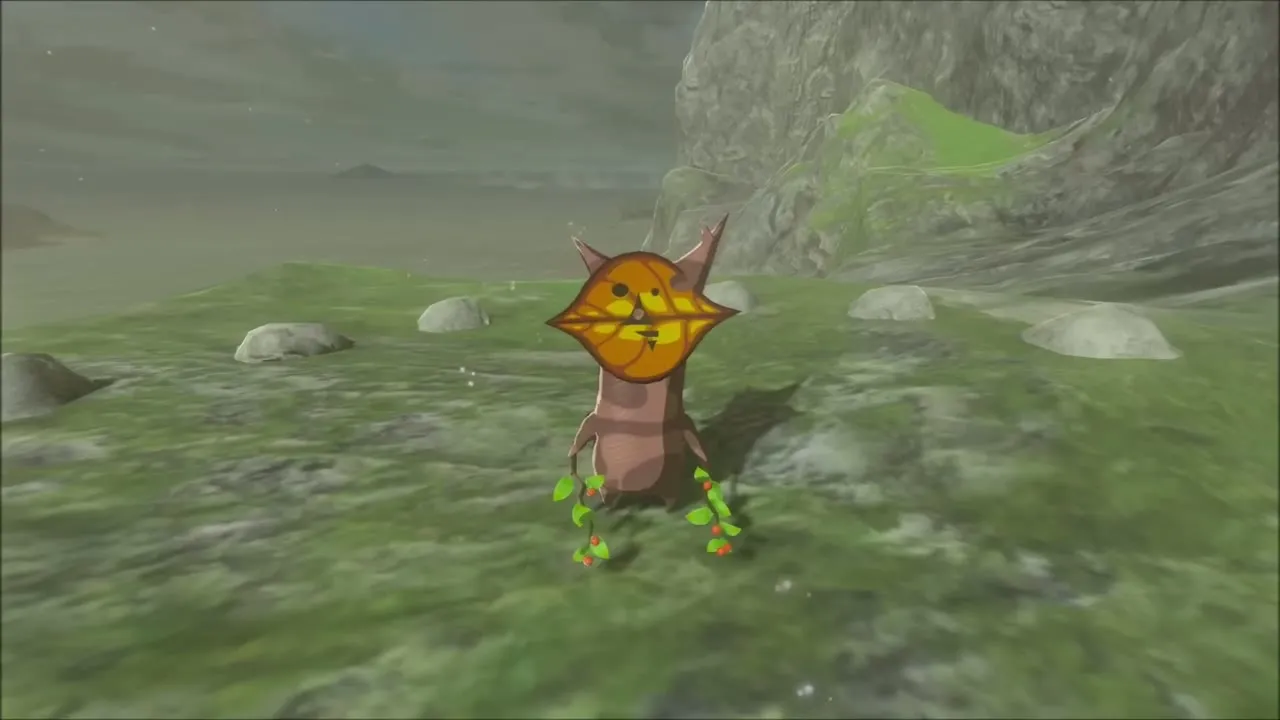
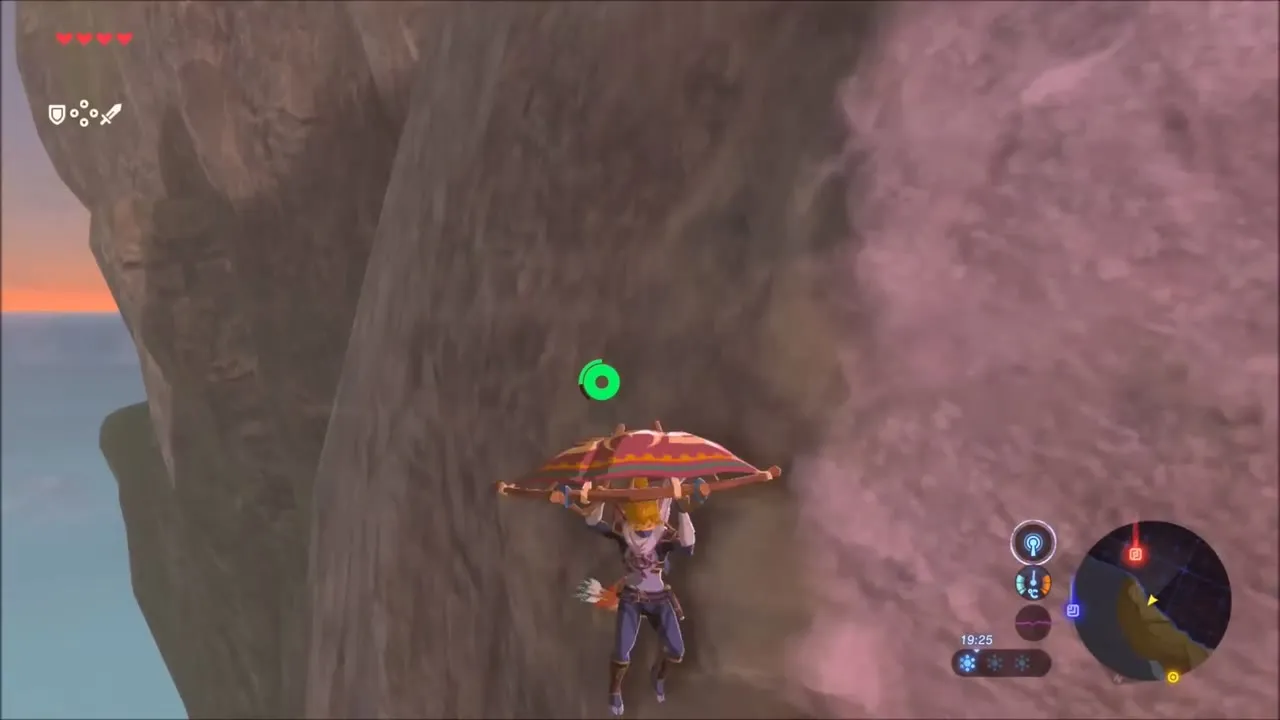
Near the south end of the cape, scale a tall pink-and-brown sea cliff, using the Paraglider to cross gaps. A Korok waits at the top and gives you a seed when you reach it. Muwo Jeem Shrine is close by.


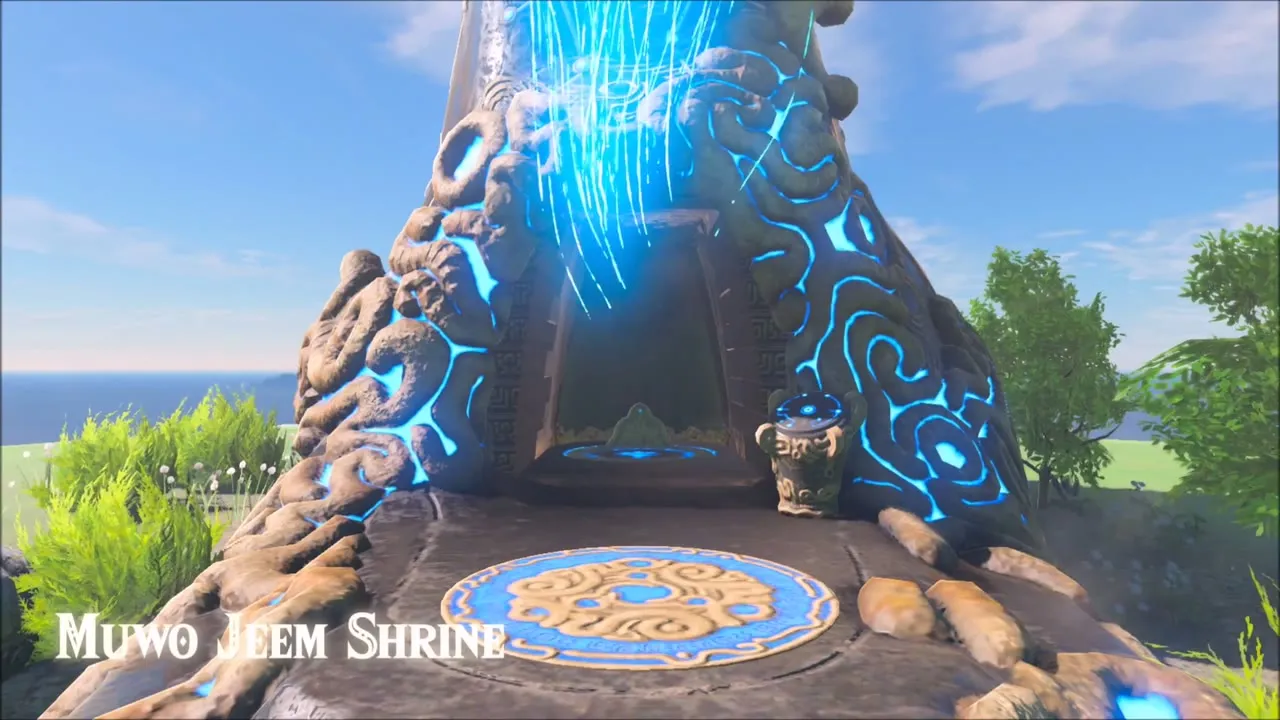
Muwo Jeem Shrine: A Modest Test of Strength
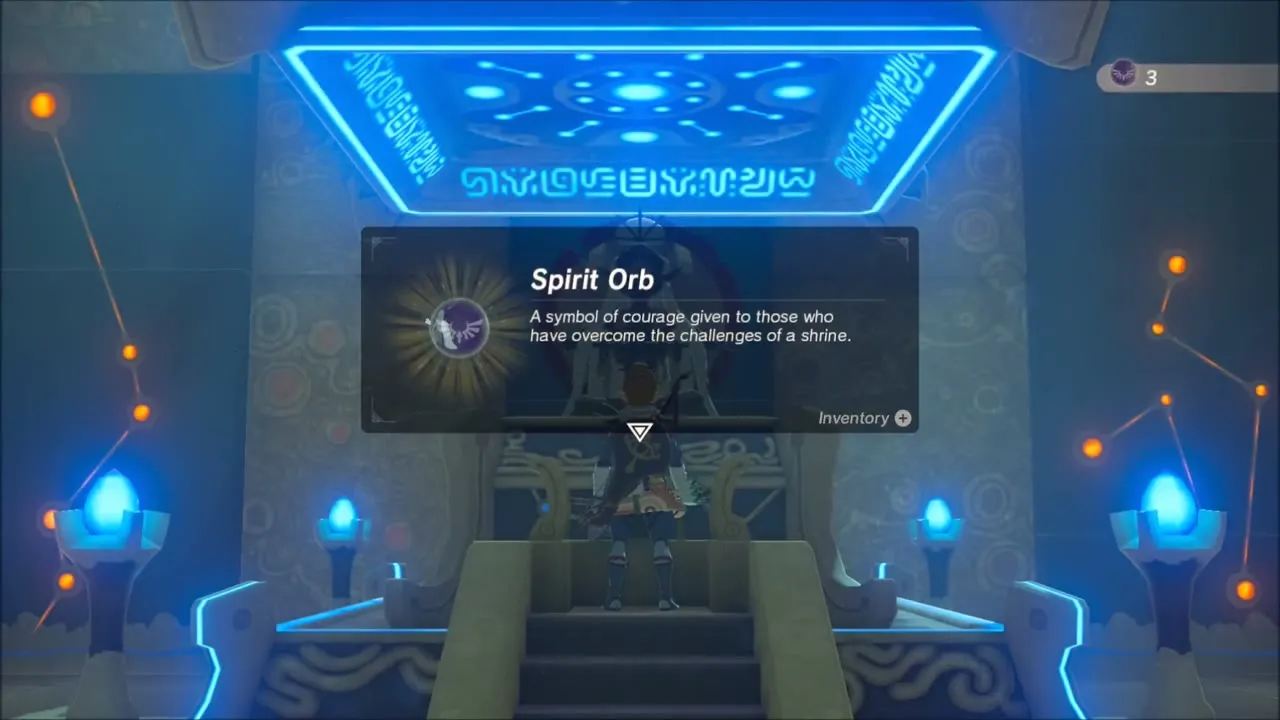
Muwo Jeem Shrine sits on the cape at (3657, 3308). Inside you fight a Guardian Scout III: dodge or parry its heavy swings, back away from its spinning laser and finish it before its final blast. Eating a Mighty Elixir first helps. Open the chest beyond for a bow (tier set by difficulty scaling), then speak to the monk for the Spirit Orb.


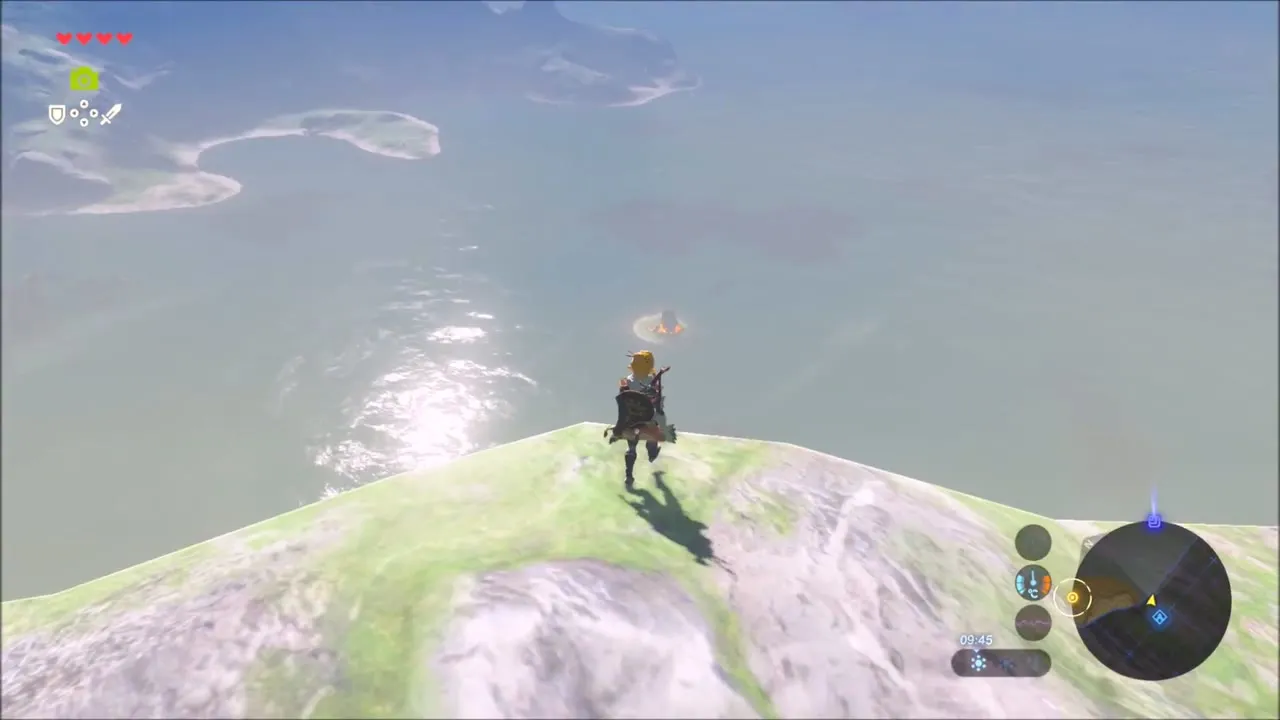
From Muwo Jeem Shrine to Tenoko Island
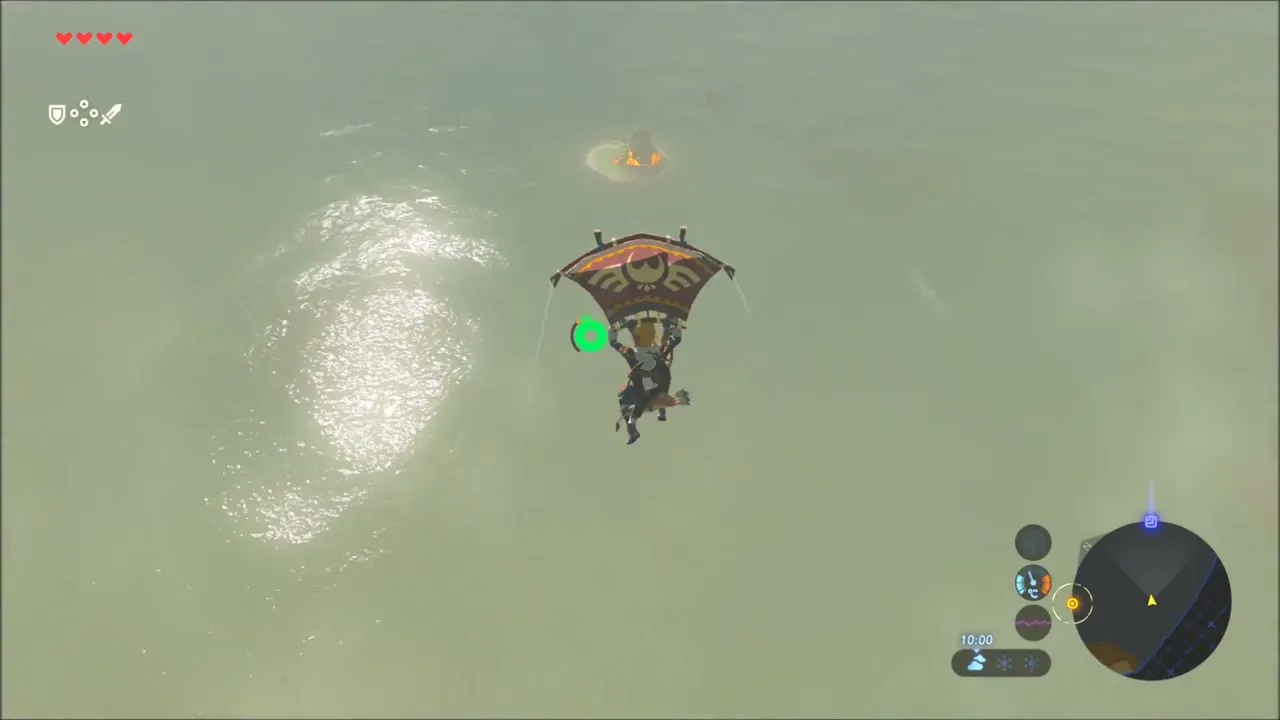
Start from the Muwo Jeem Shrine on the southern clifftop (3657, 3308). Walk to the edge of the grass beside it, jump and open the paraglider: the small island you are aiming for, Tenoko Island (4008, 2945), lies out over the water to the north-east, and the glide carries you across to its shrine.
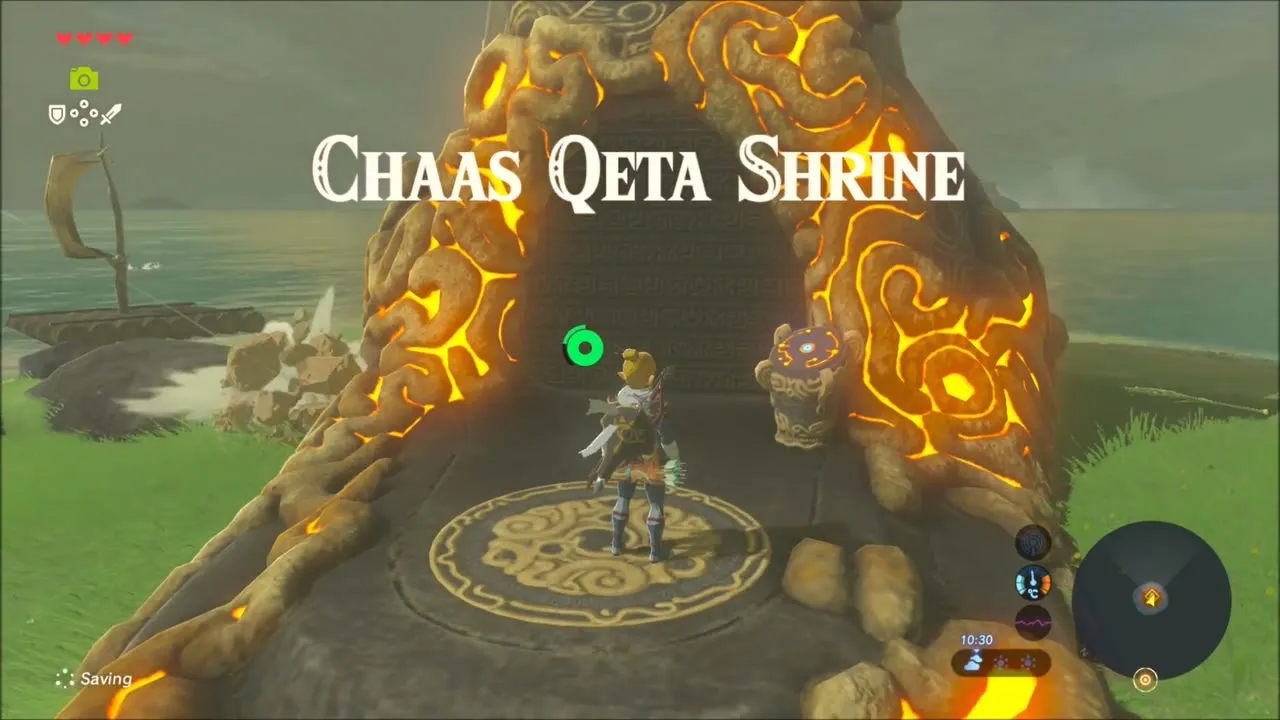
Chaas Qeta Shrine: A Major Test of Strength
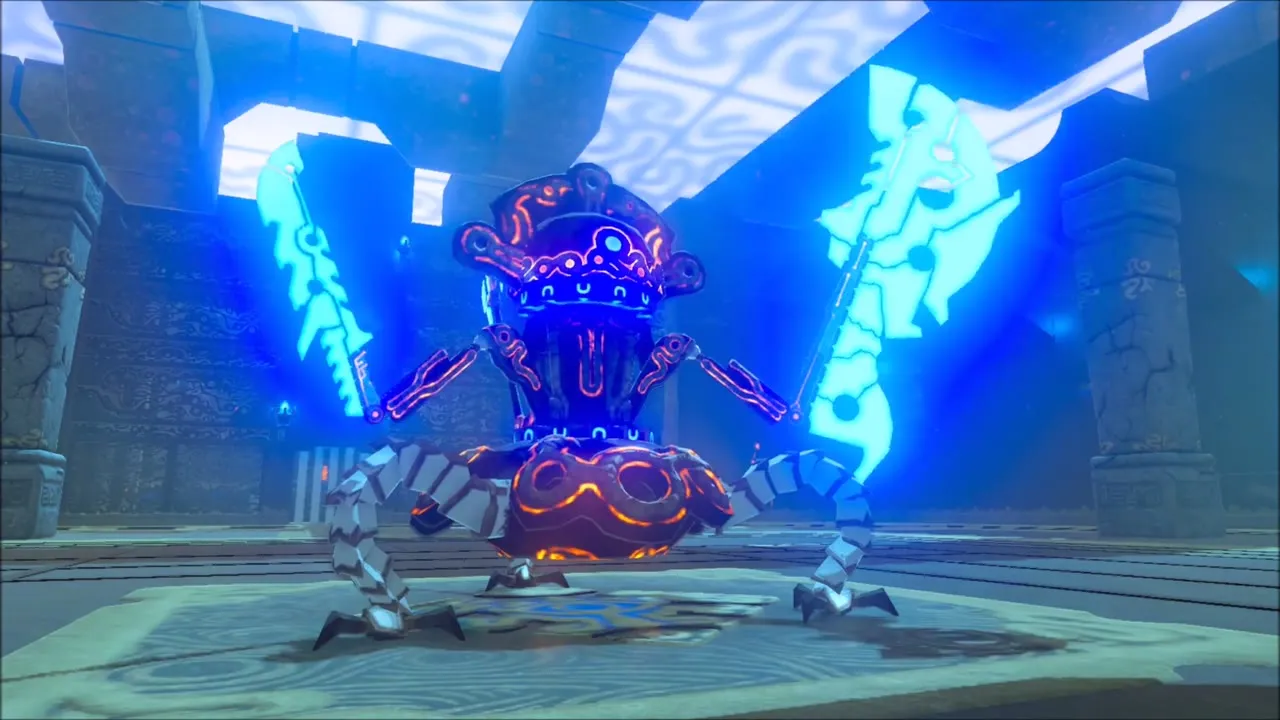
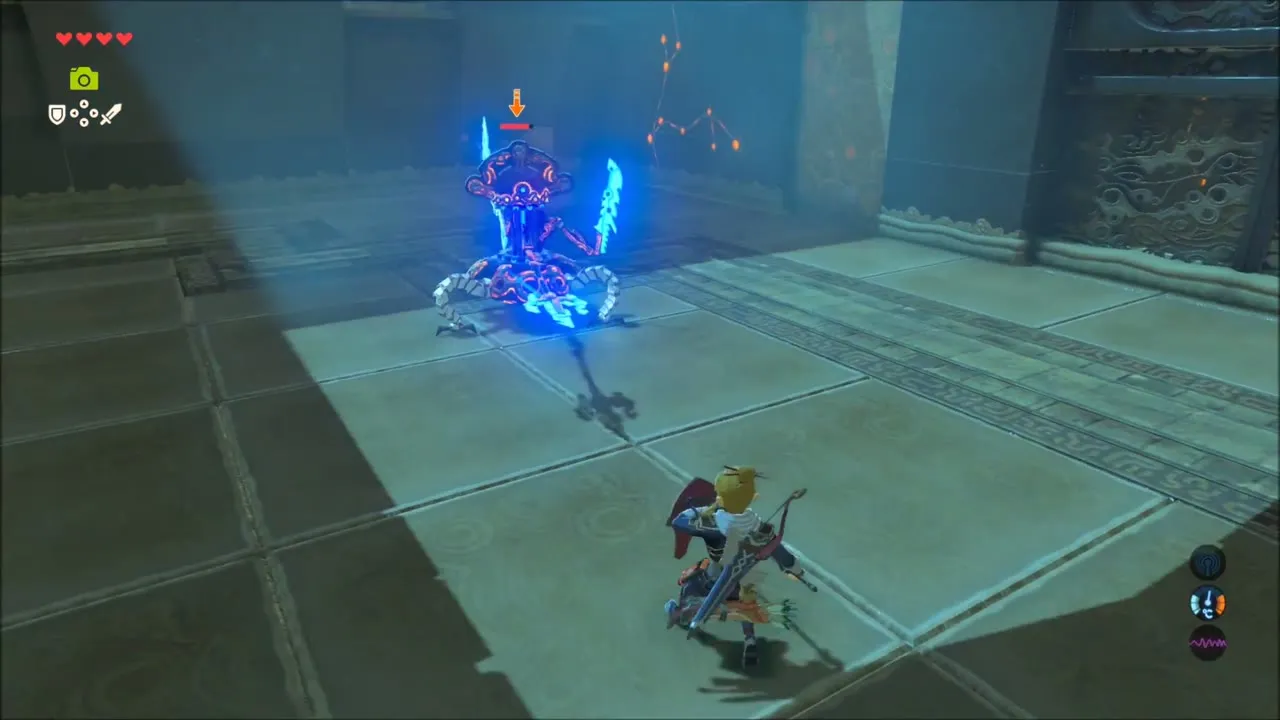
Chaas Qeta Shrine (x 4011, z 2990, height 120) is a straight fight against a Guardian Scout IV in a bare arena, so go in with sturdy weapons and plenty of food. Keep circling so its melee swings miss, and counter once a swing has finished; a well-timed shield parry can turn its attacks aside. When it crouches and spins its laser, ride the updraft over it with the paraglider and strike from above. Press hard at the end, since a low-health Scout switches to a laser that fires twice in a row.

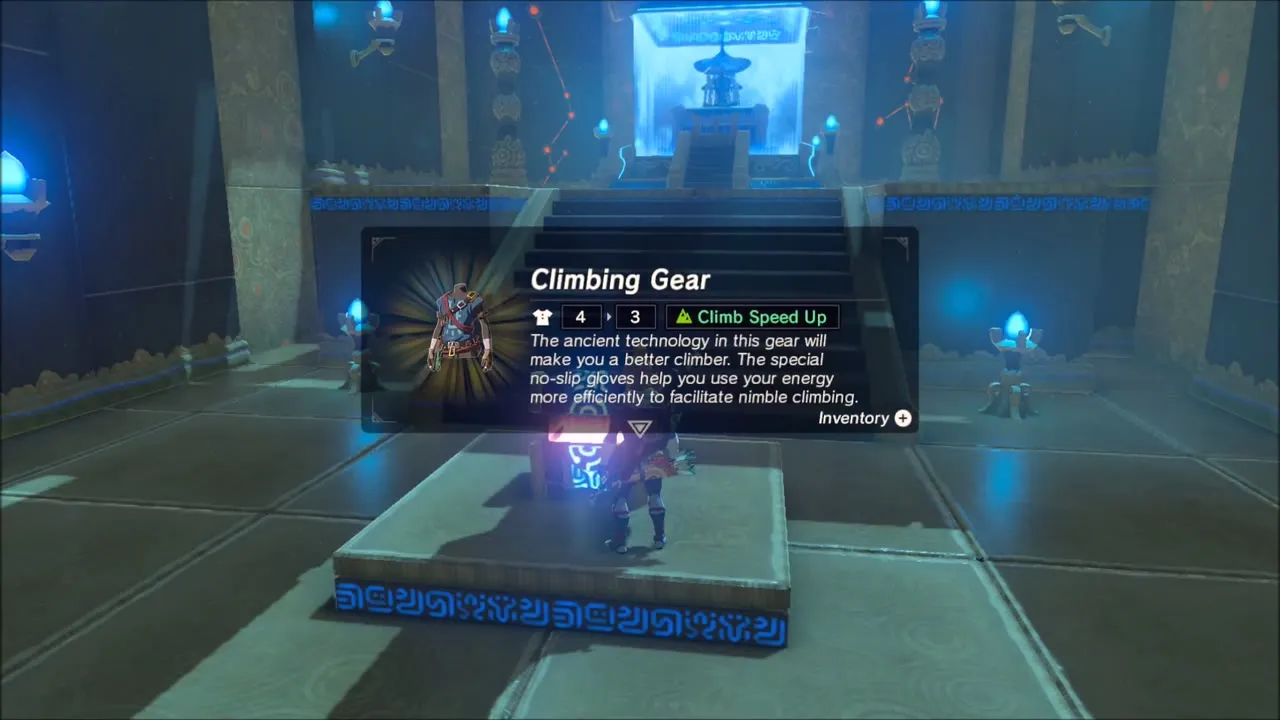
Chest: Climbing Gear
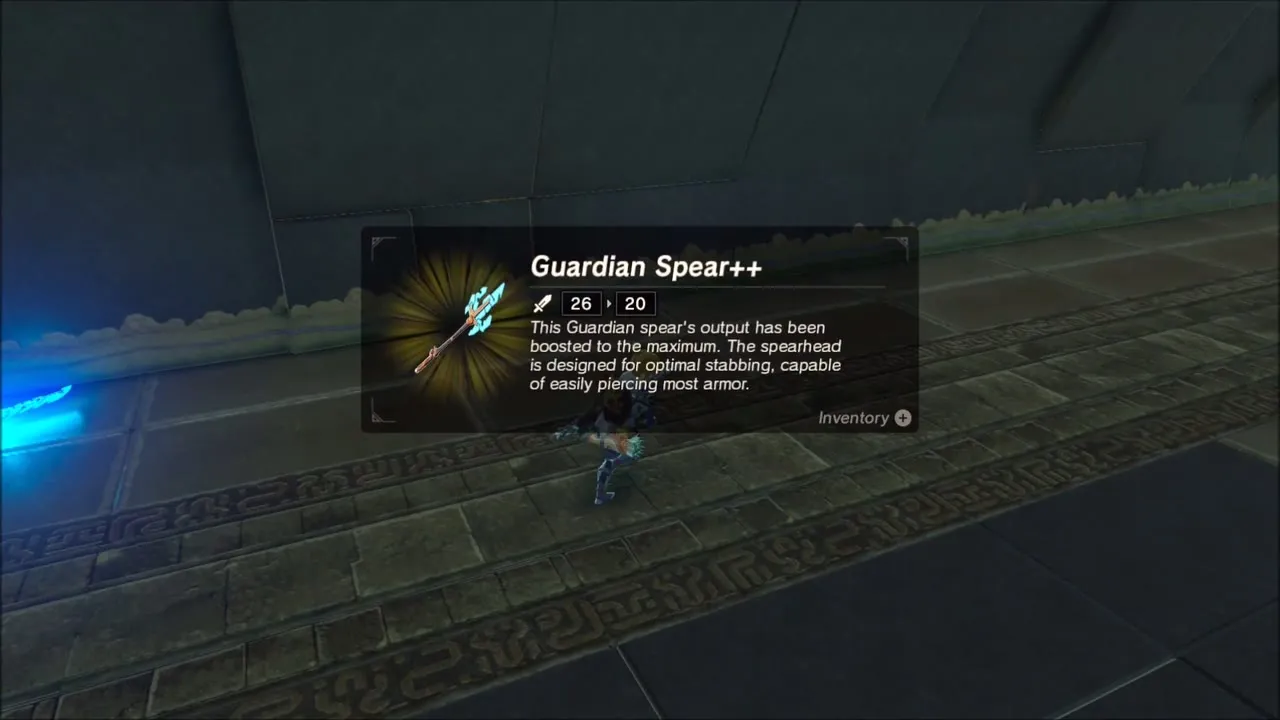
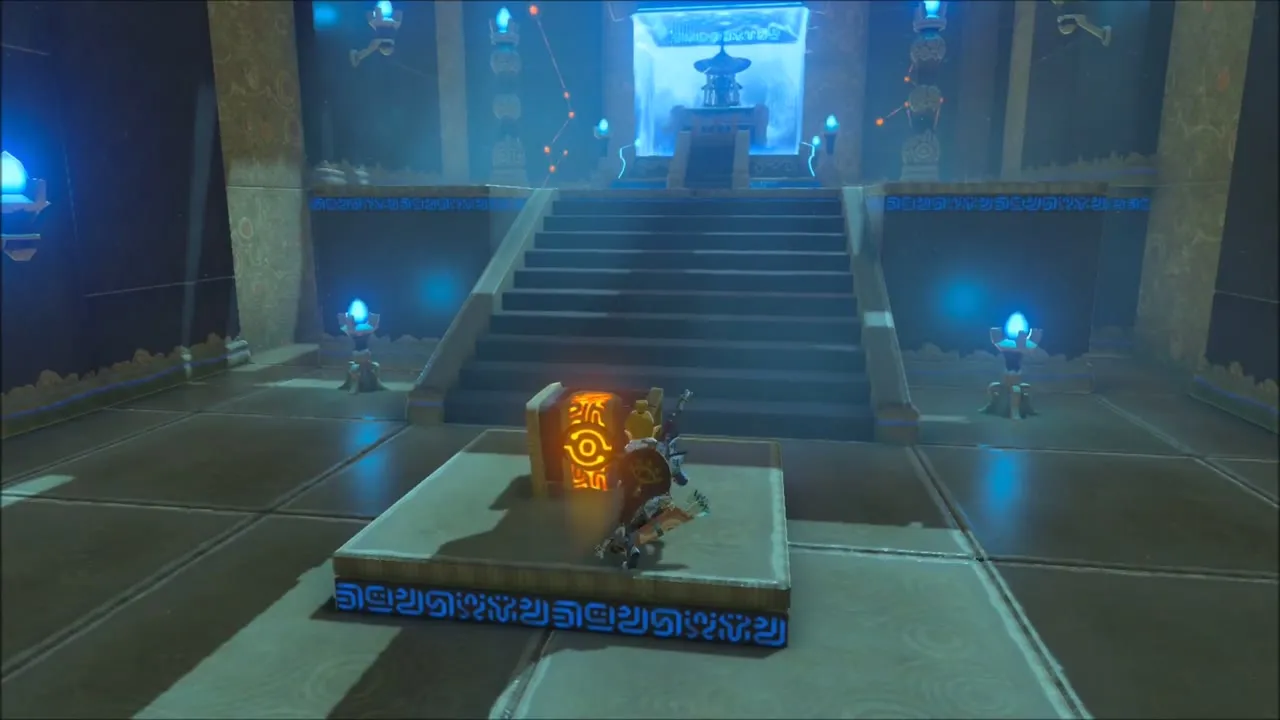
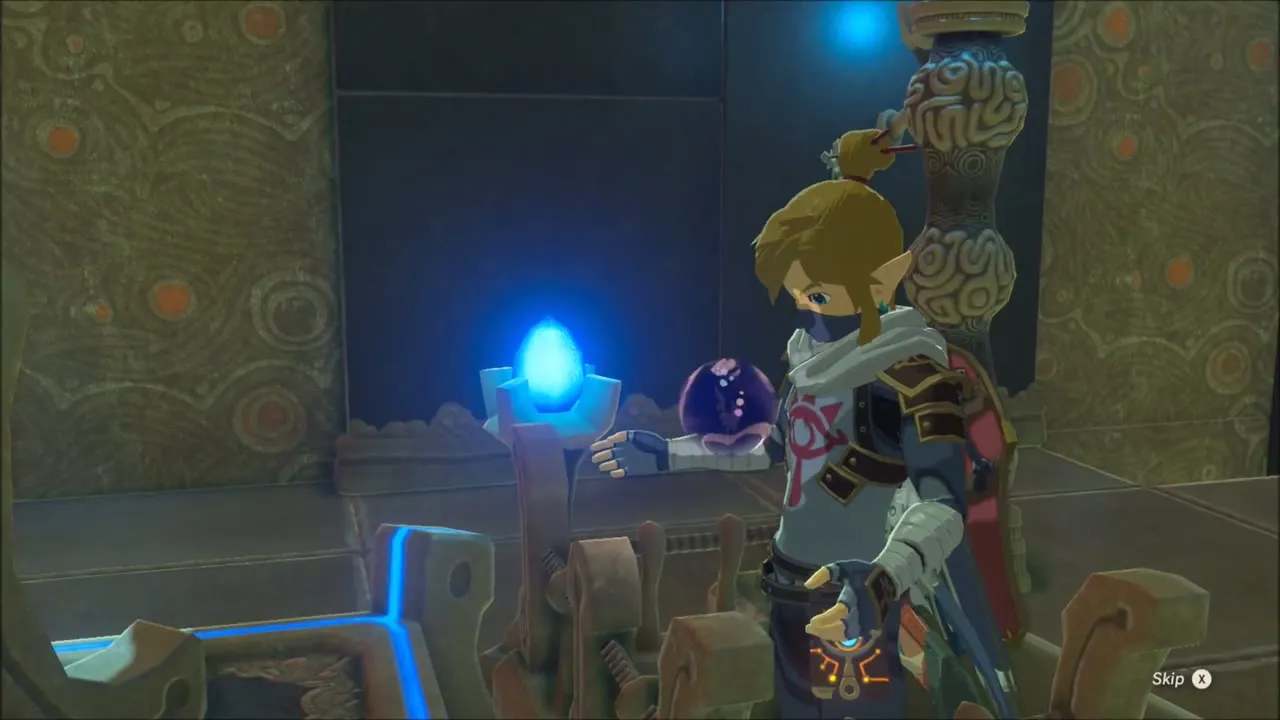
The fallen Scout leaves a Guardian Spear++ behind. Walk up the stairs into the next room and open the chest for the Climbing Gear (a chest piece that speeds up climbing), then speak to the monk at the altar to receive the Spirit Orb.

Across the bay to Hateno Beach
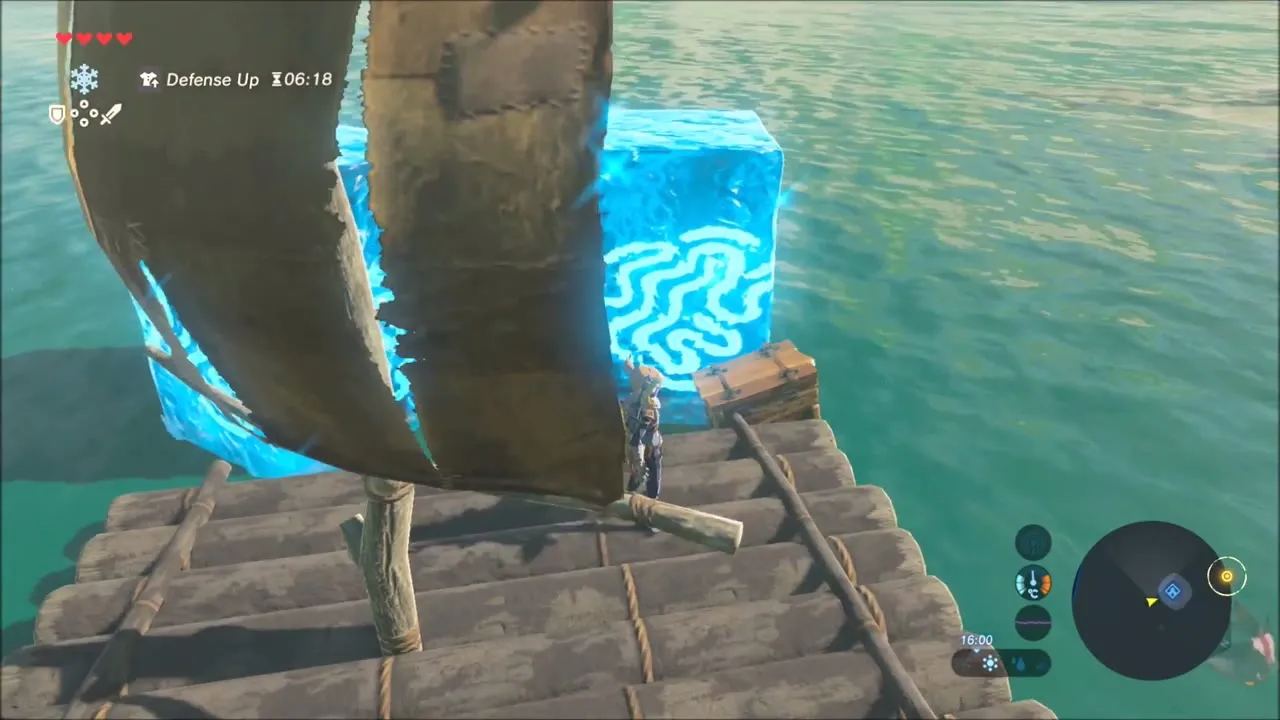
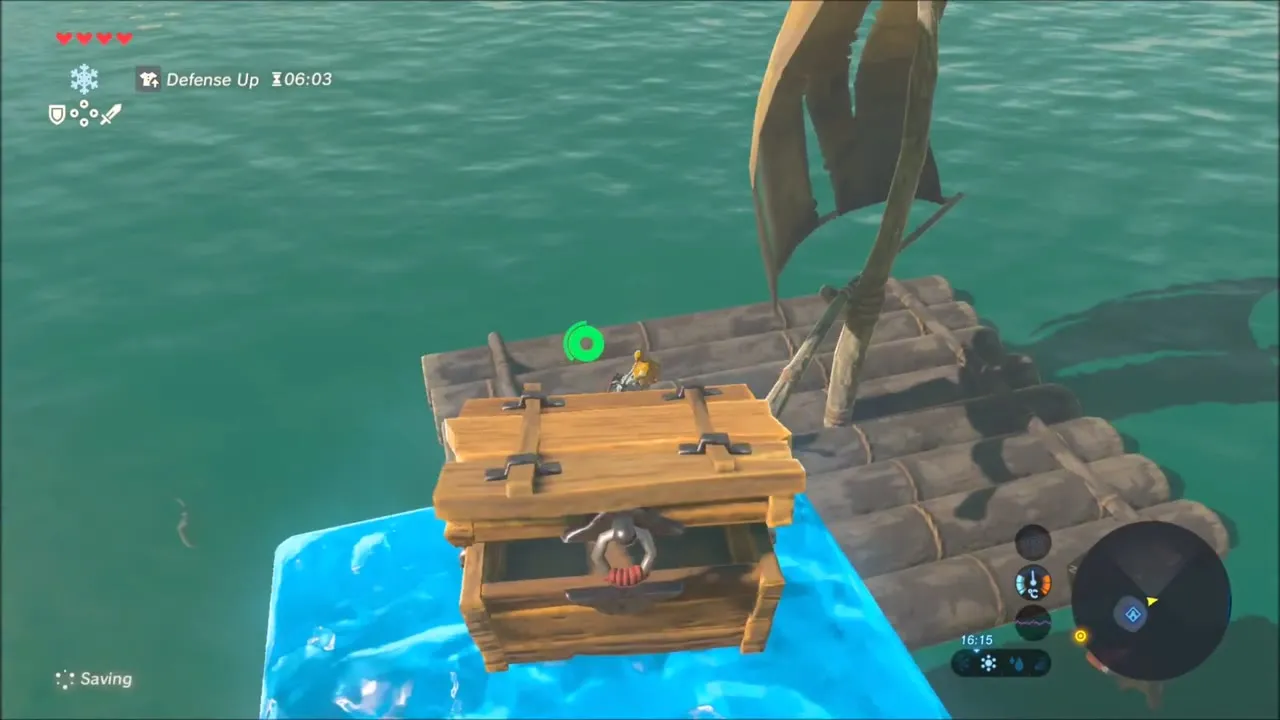
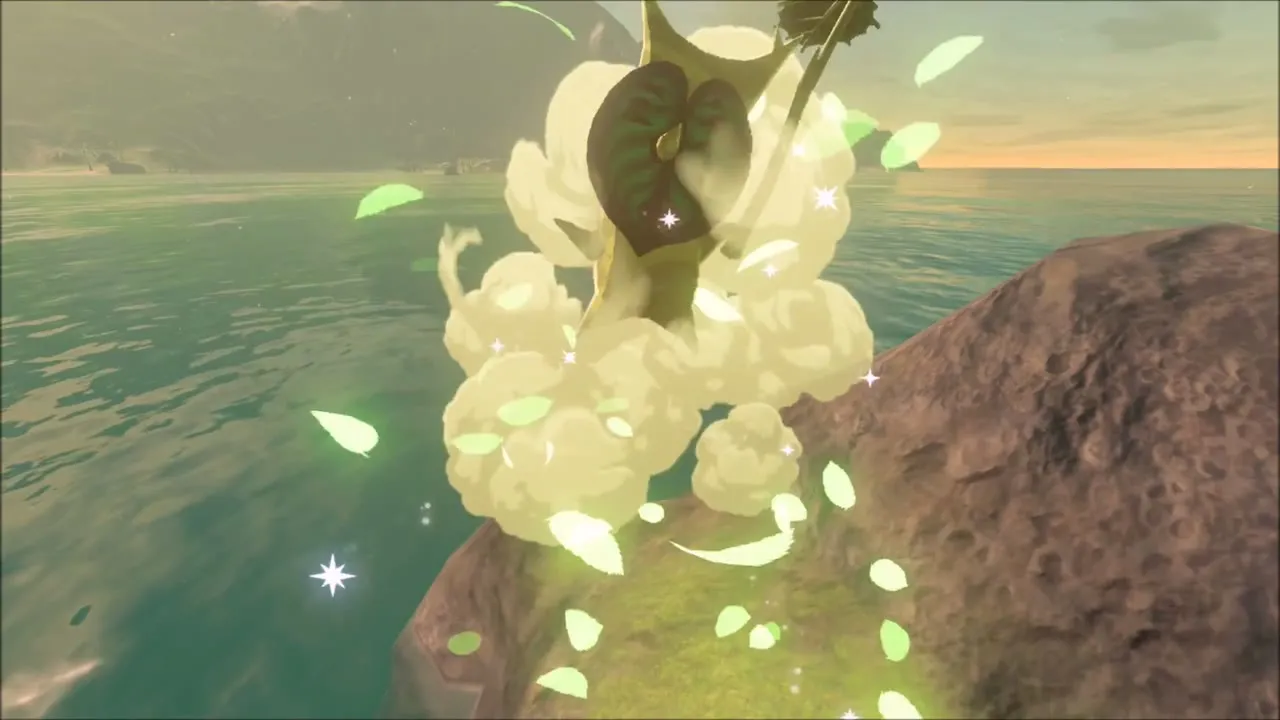
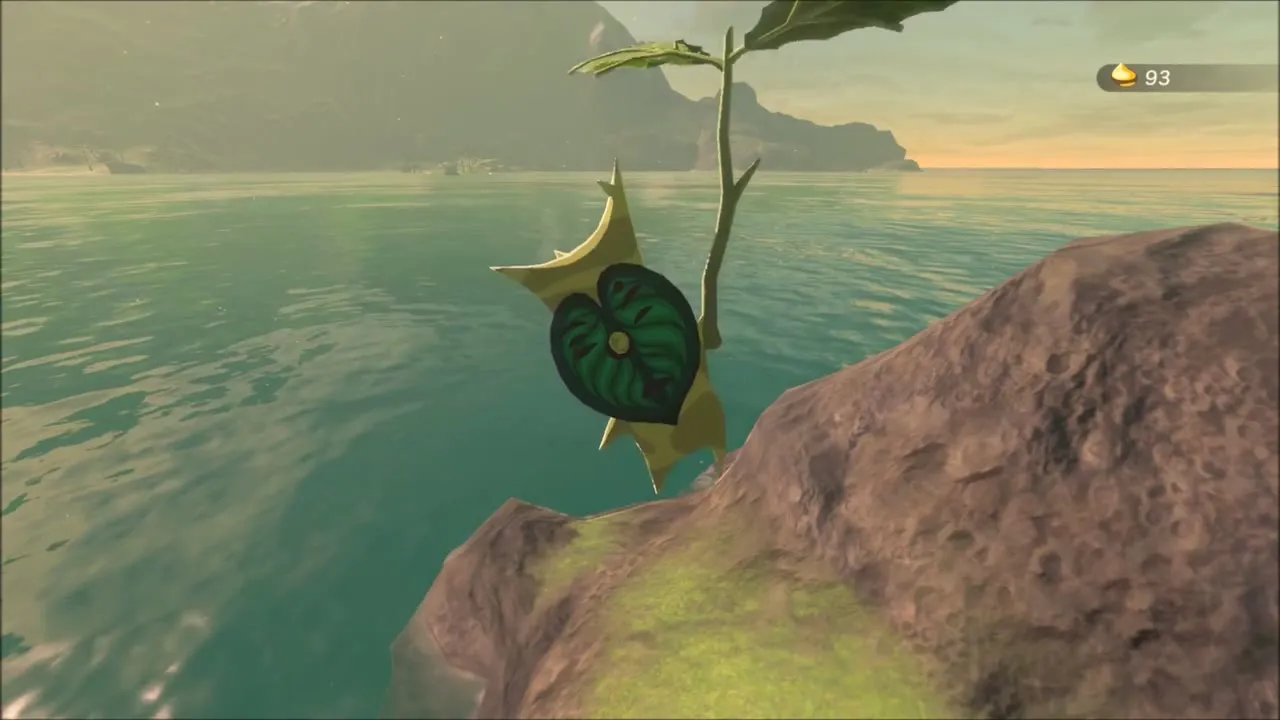
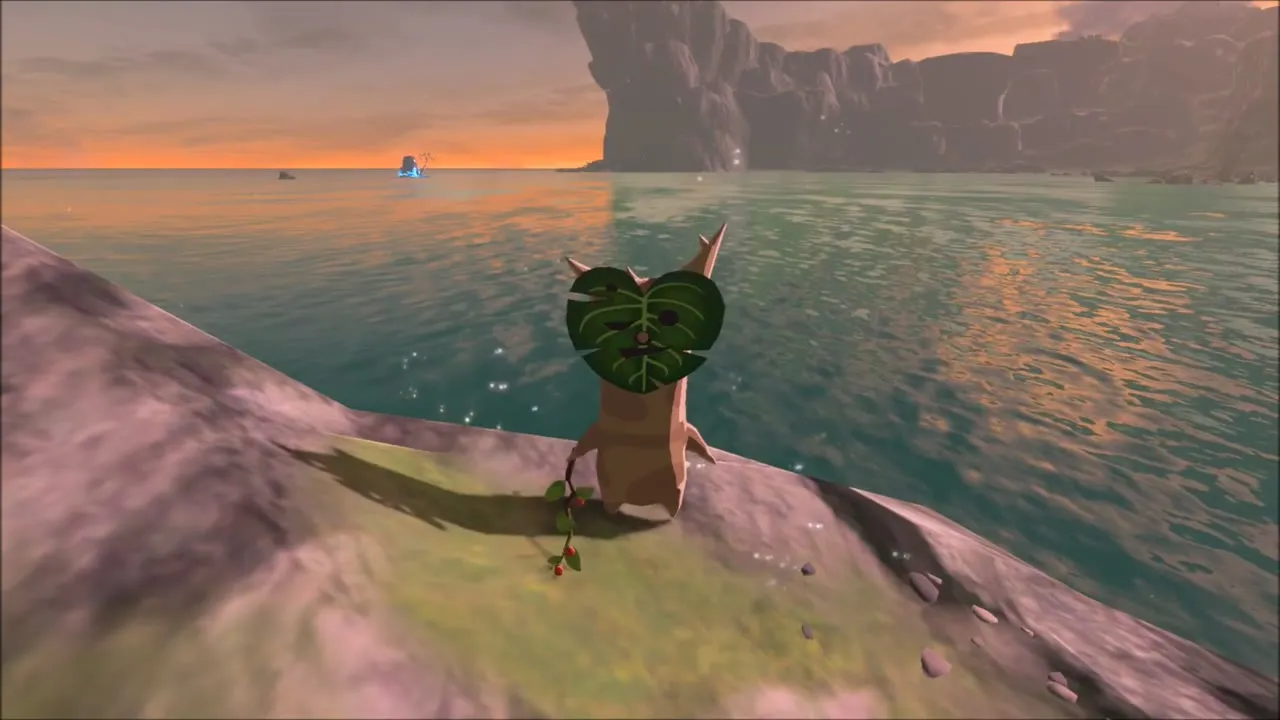
Leave the island on the raft, using the leaf in your hands to push wind into the sail. Close to shore a chest sits in the water: stand on the raft, aim Cryonis at it and raise a pillar of ice underneath to lift the chest to the surface, then open it. A little further on, a lone rocky islet holds a Korok. Sail up to it, climb out and talk to the Korok to collect the seed.

Korok seed on the rock and a sand-buried chest
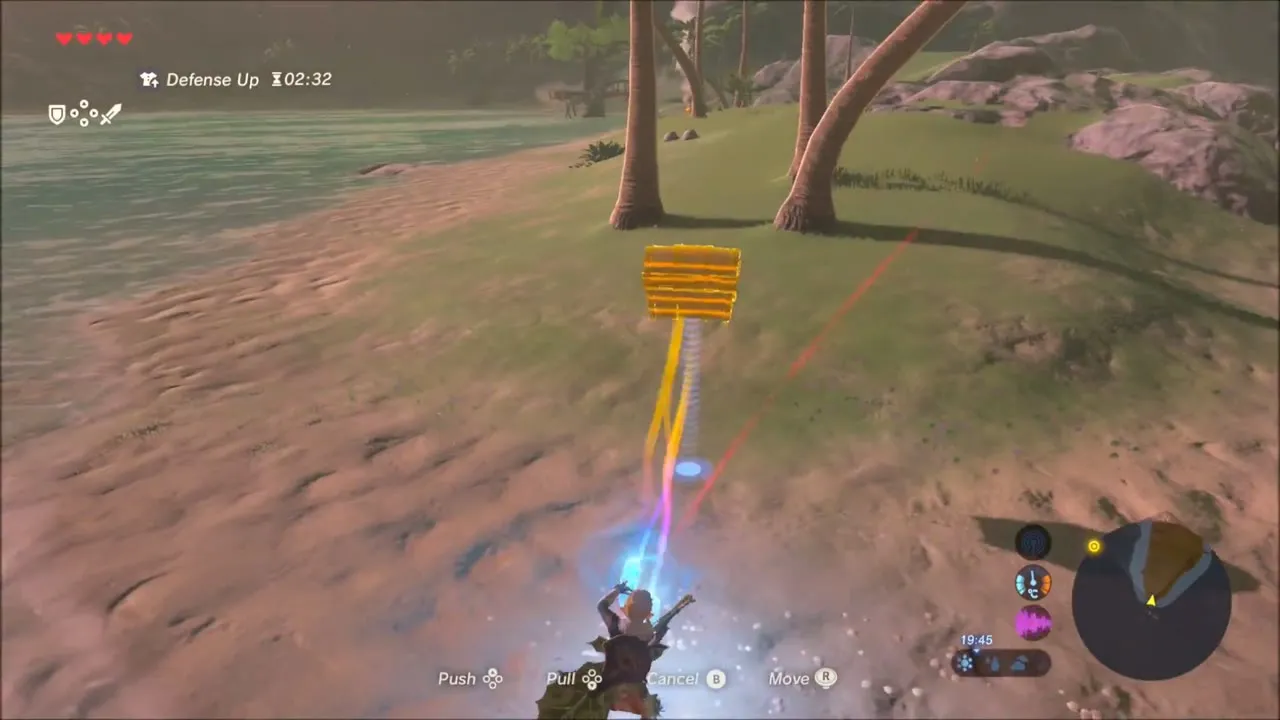
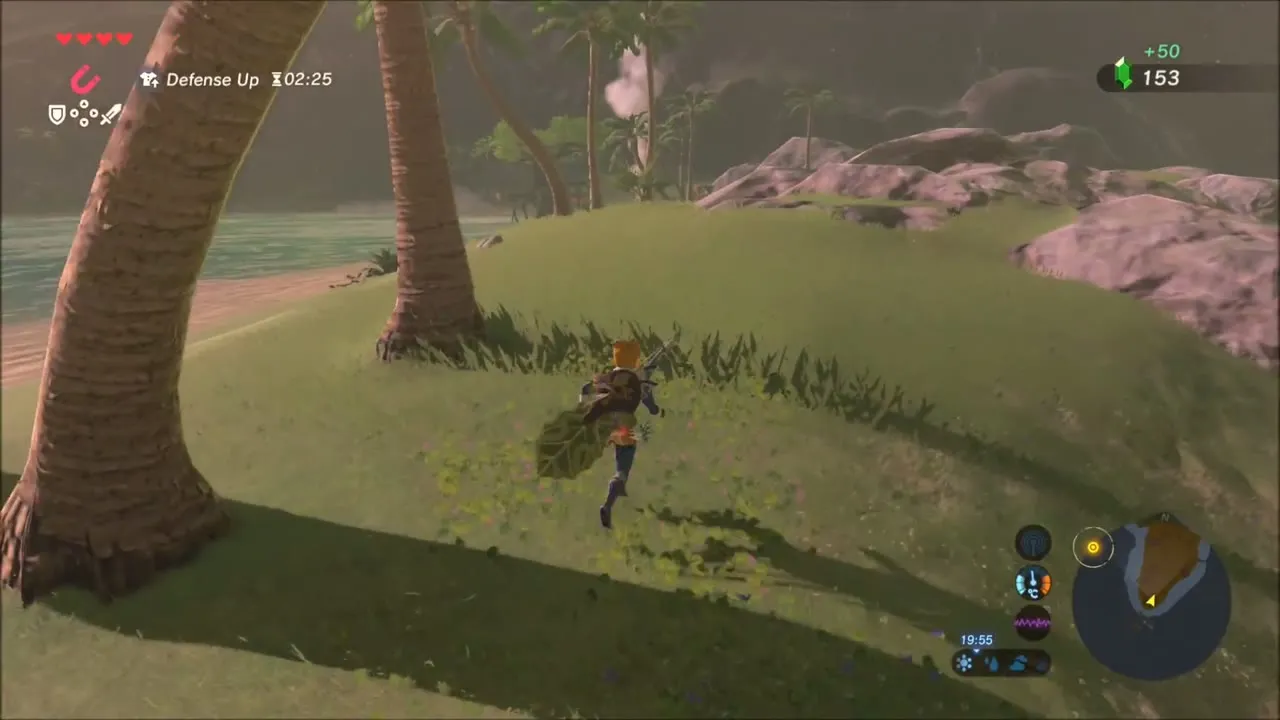
Keep sailing towards Hateno Beach (4017, 2315). Before landing, pull up beside the tall rock sticking out of the shallows, climb to the top and talk to the Korok standing there for another seed. On the palm-lined point beyond, a metal chest is half hidden in the sand: drag it free with Magnesis and open it for a Purple Rupee (50 Rupees).

The Sheep Rustlers camp at Hateno Beach
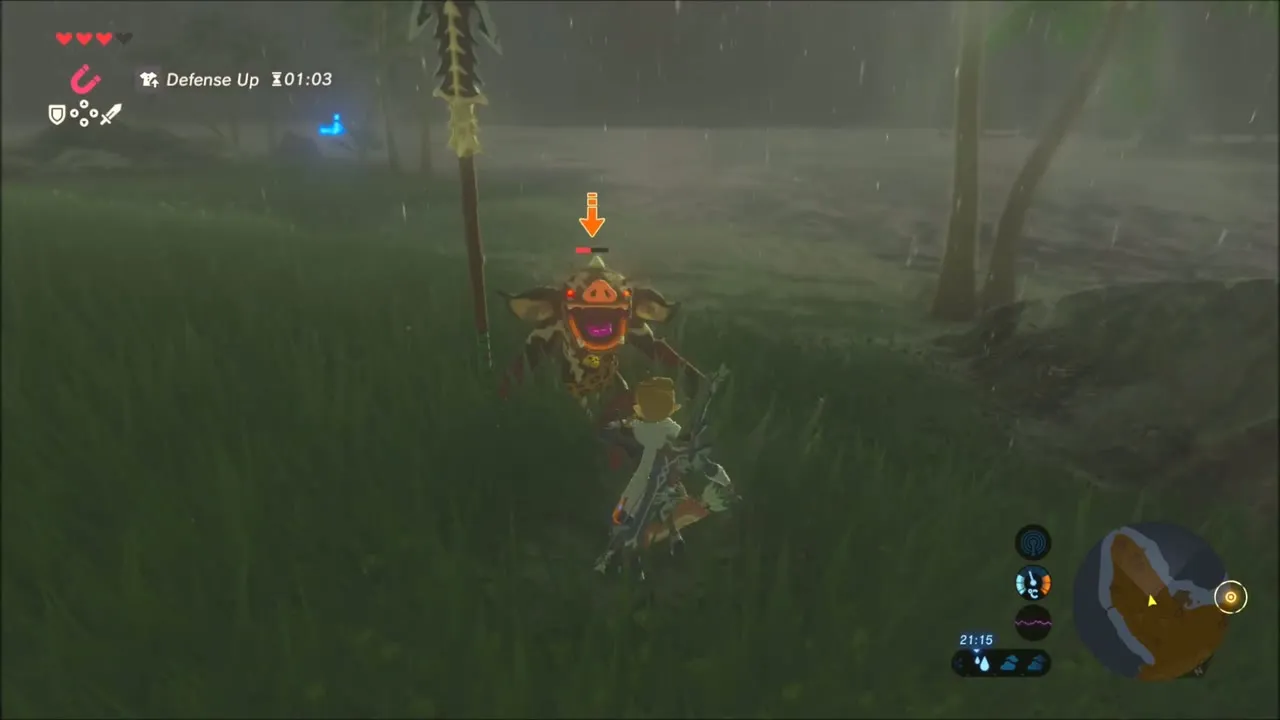
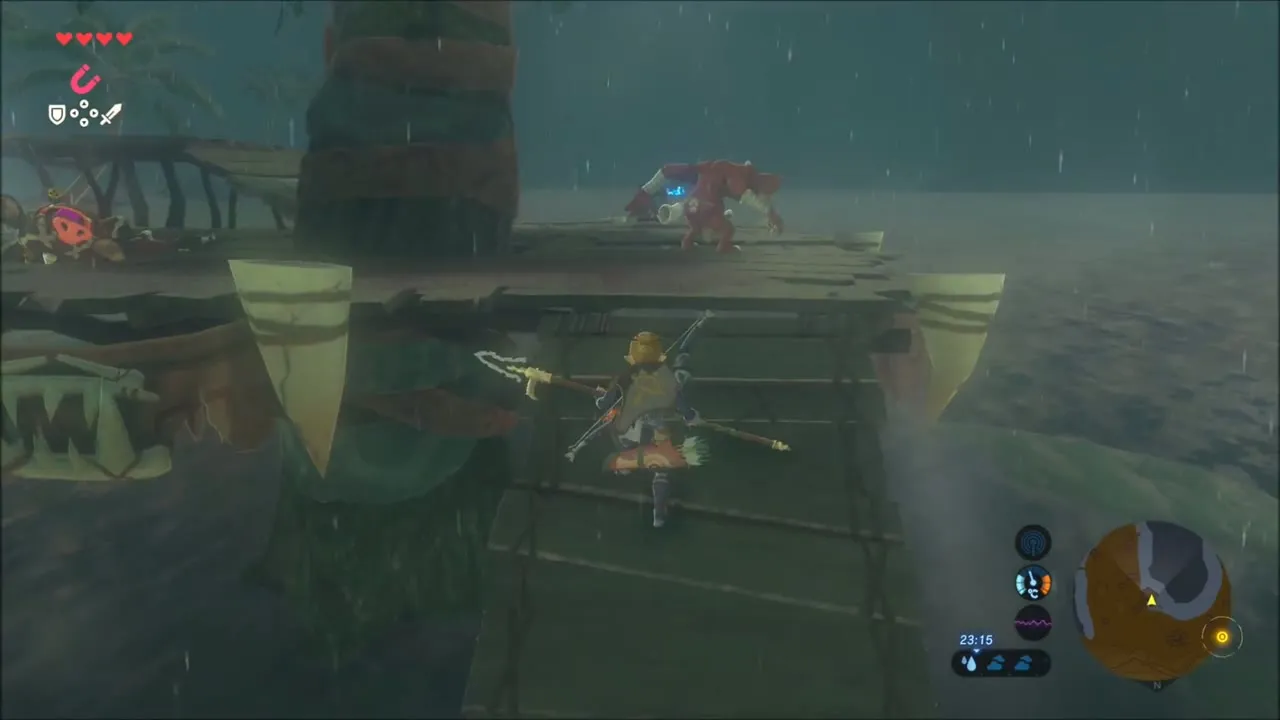
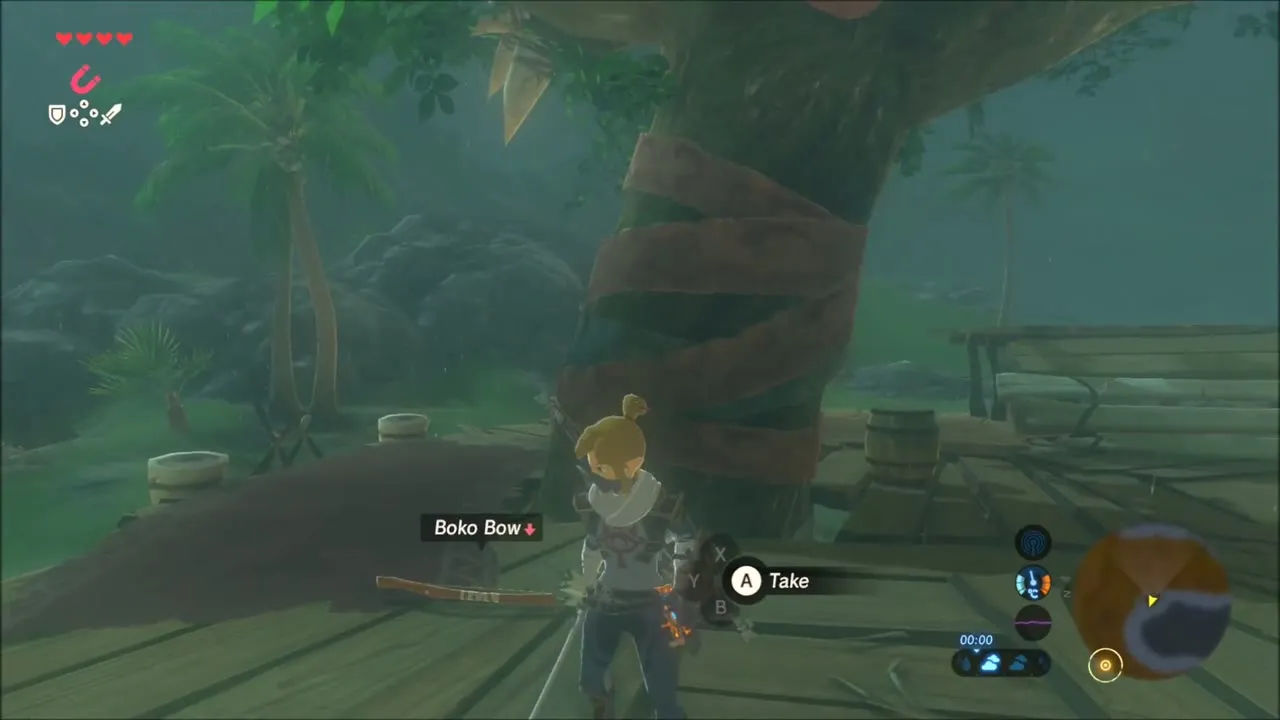
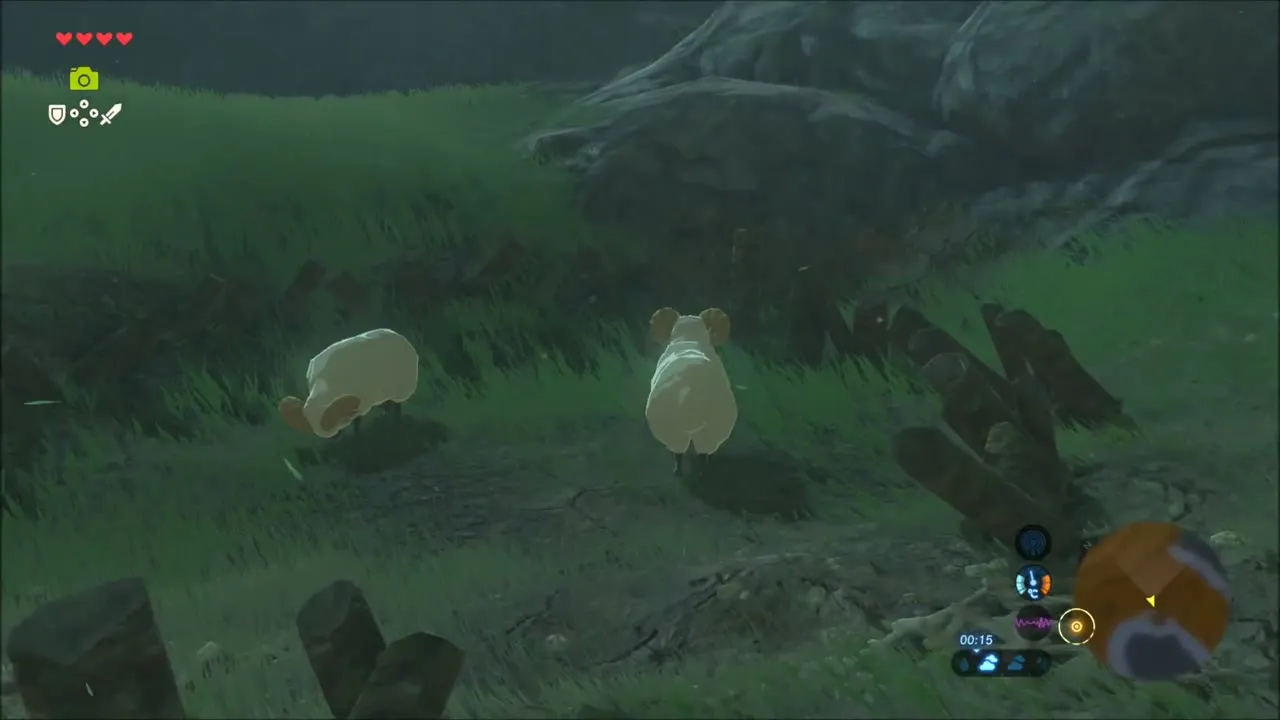
A monster camp covers the next stretch of the beach, with wooden platforms and a lookout tower. This is the target of The Sheep Rustlers, a side quest from Koyin in Hateno Village. Fight your way through the Bokoblins and Moblins on the ground and on the platforms, including the one in the lookout, and the quest log updates when the last one is down. Highland Sheep are penned inside the camp. Pick up the Boko Bow and arrows the Bokoblins leave behind.
Korok seed: the two statues and the Palm Fruit
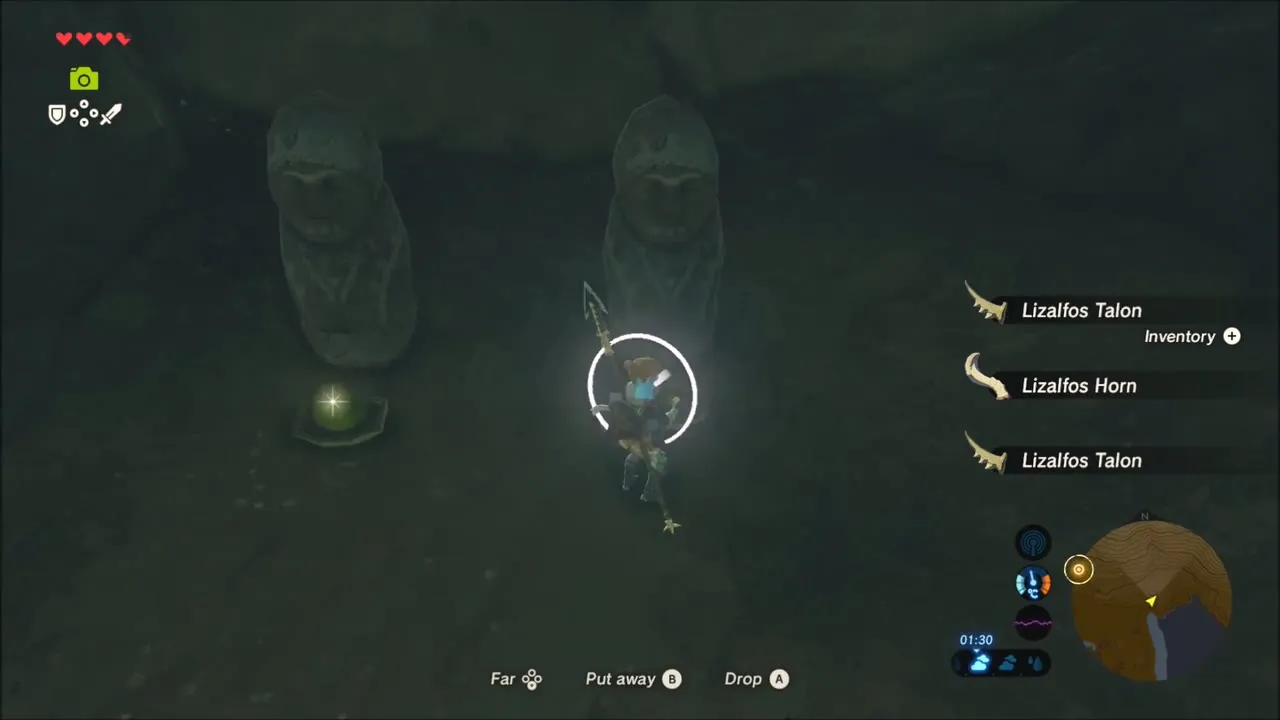
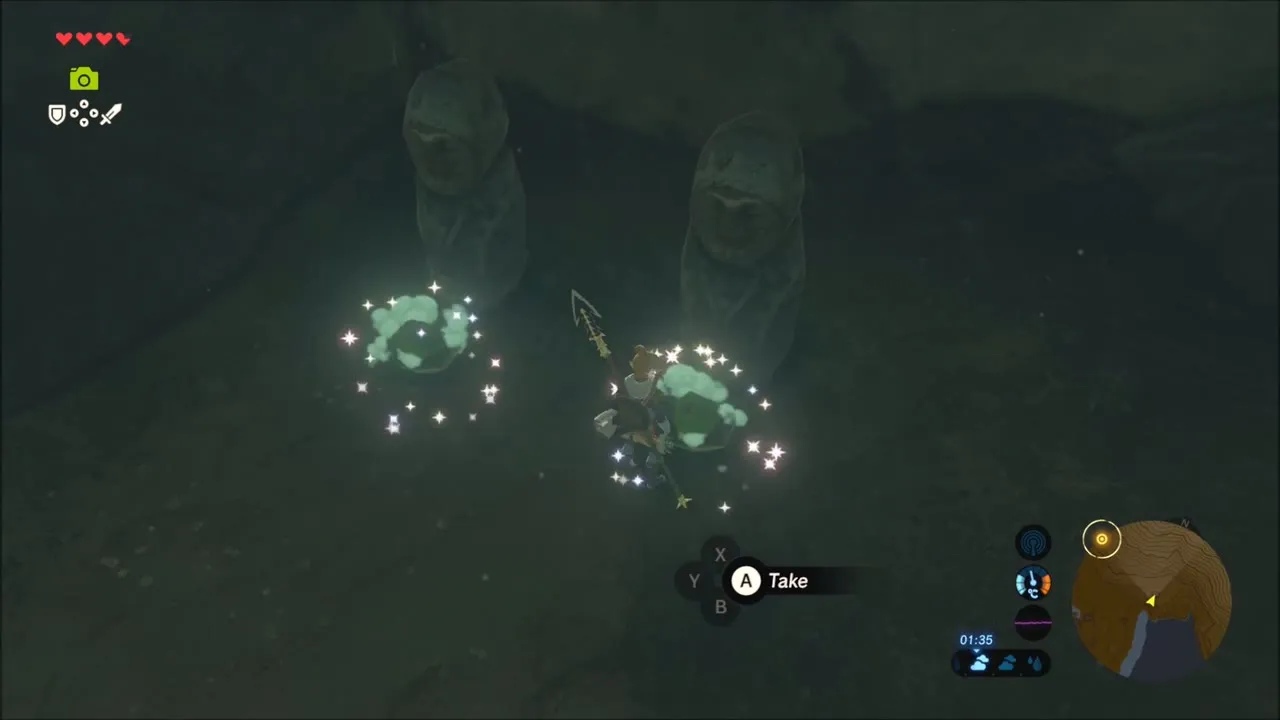
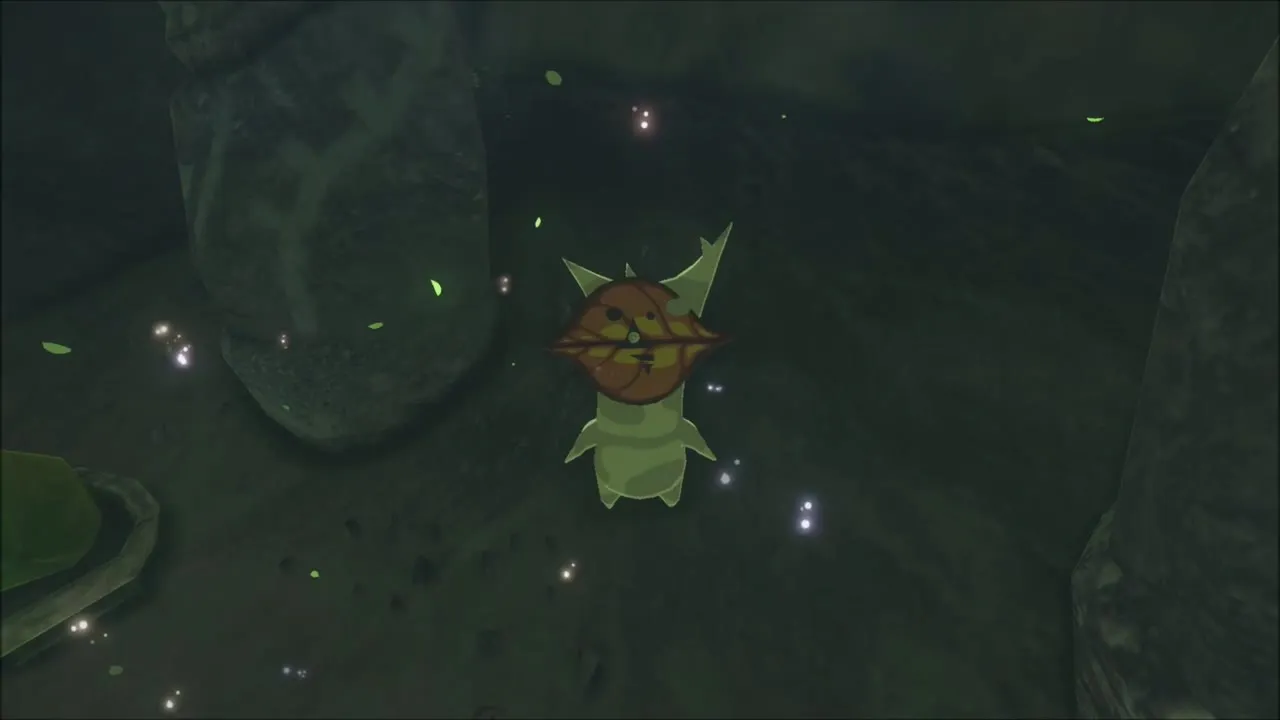
Further along the coast, a dark hollow is guarded by Lizalfos. Clear them out, then look at the two stone statues set side by side in the back. Each has a small dish at its feet, and only one holds a Palm Fruit. Pick the fruit up, carry it to the empty dish and set it down, and a Korok appears to hand over a seed.

Korok seeds on the eastern shore
Seed in the ring of stones
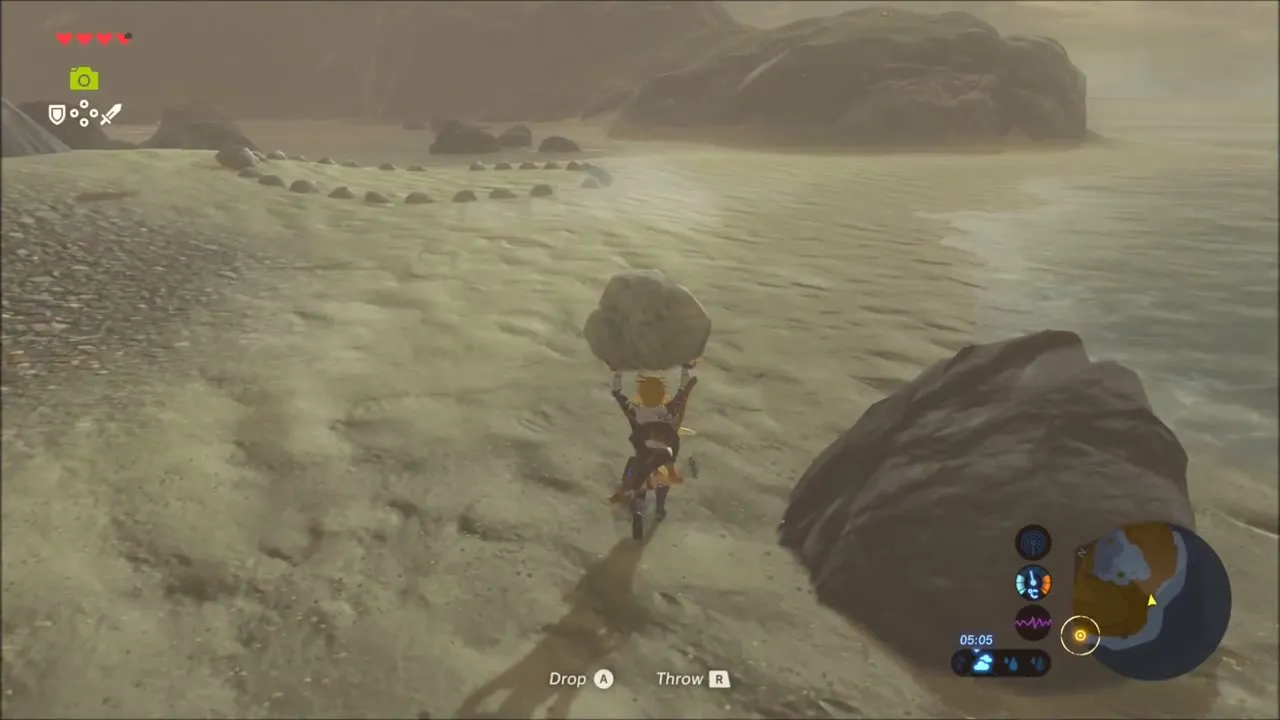
Along the beach, a circle of small stones lies on the open sand. Lift a rock from the shoreline, carry it into the circle and drop it in the gap in the ring to make the Korok appear.


Seed above the rocky peak
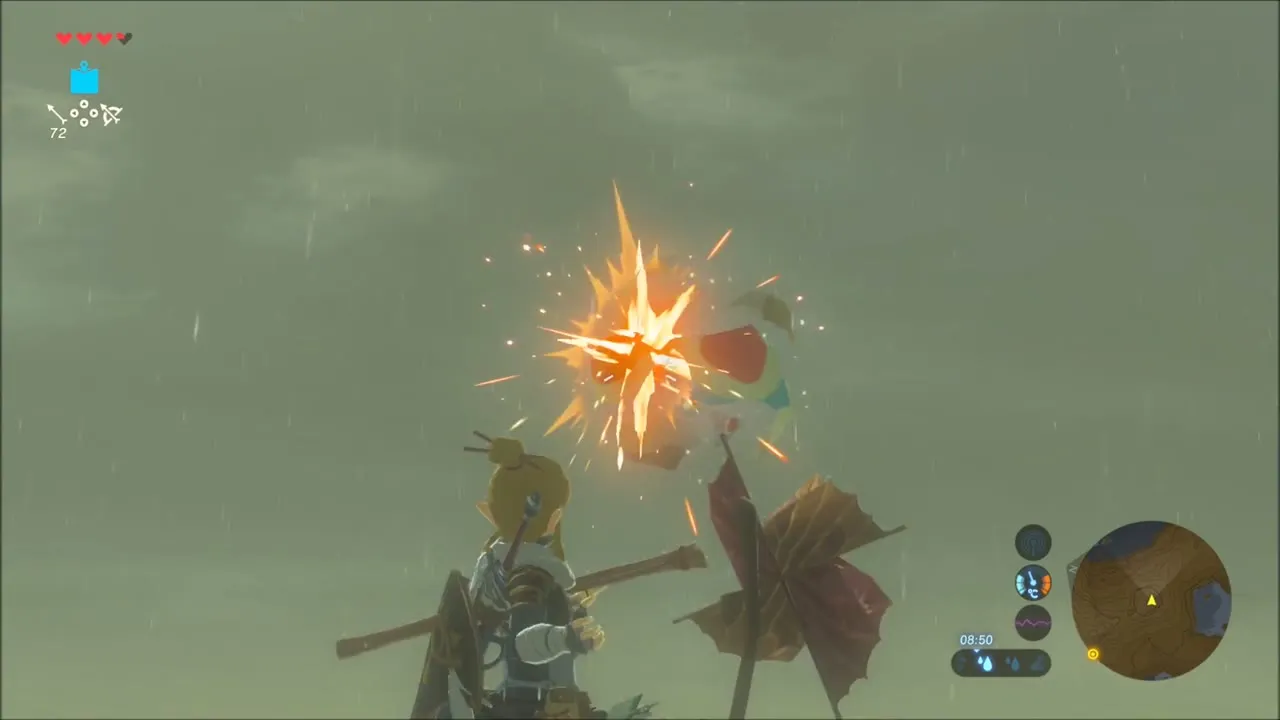
Climb the rocky headland until you reach the bare ridge near its top. A balloon hovers over the peak: take out your bow and shoot it, and the Korok attached to it drops down with its seed.



Seed in the shallows
Glide down from the headland towards the water. A Korok is waiting right in the shallows; walk up to it and talk to it for one more seed.
Stone Talus at Mapla Point
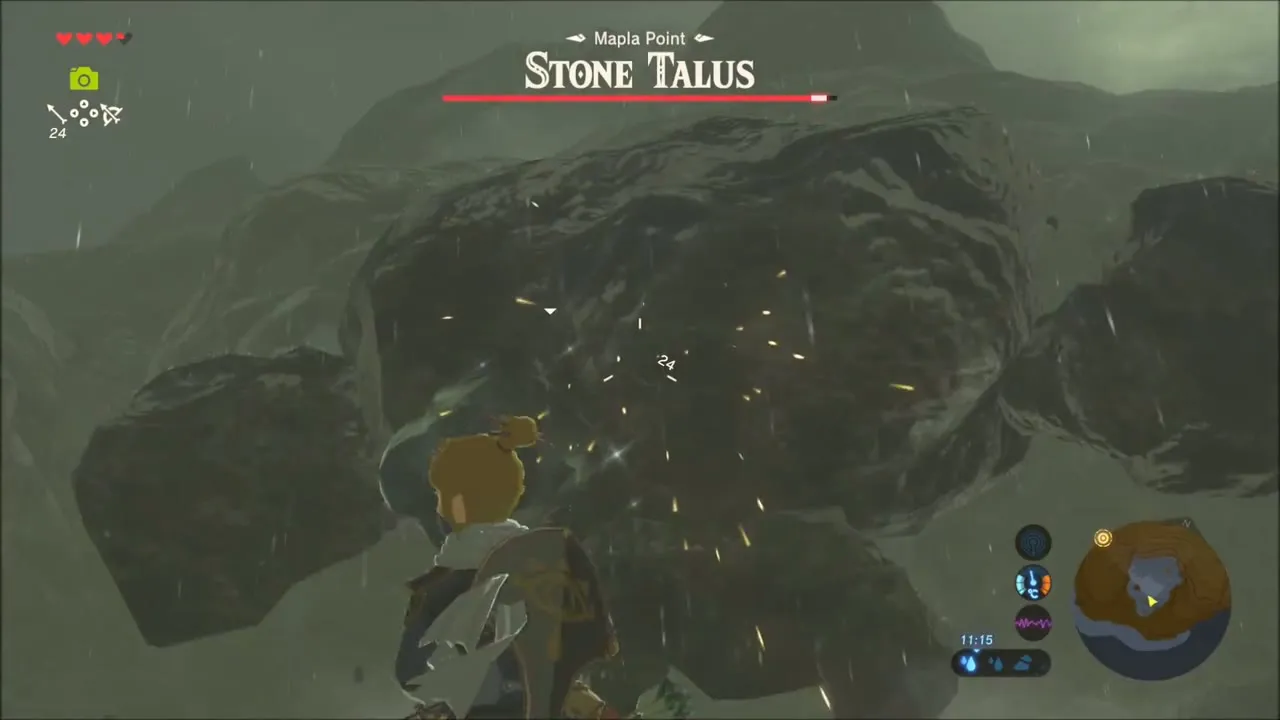
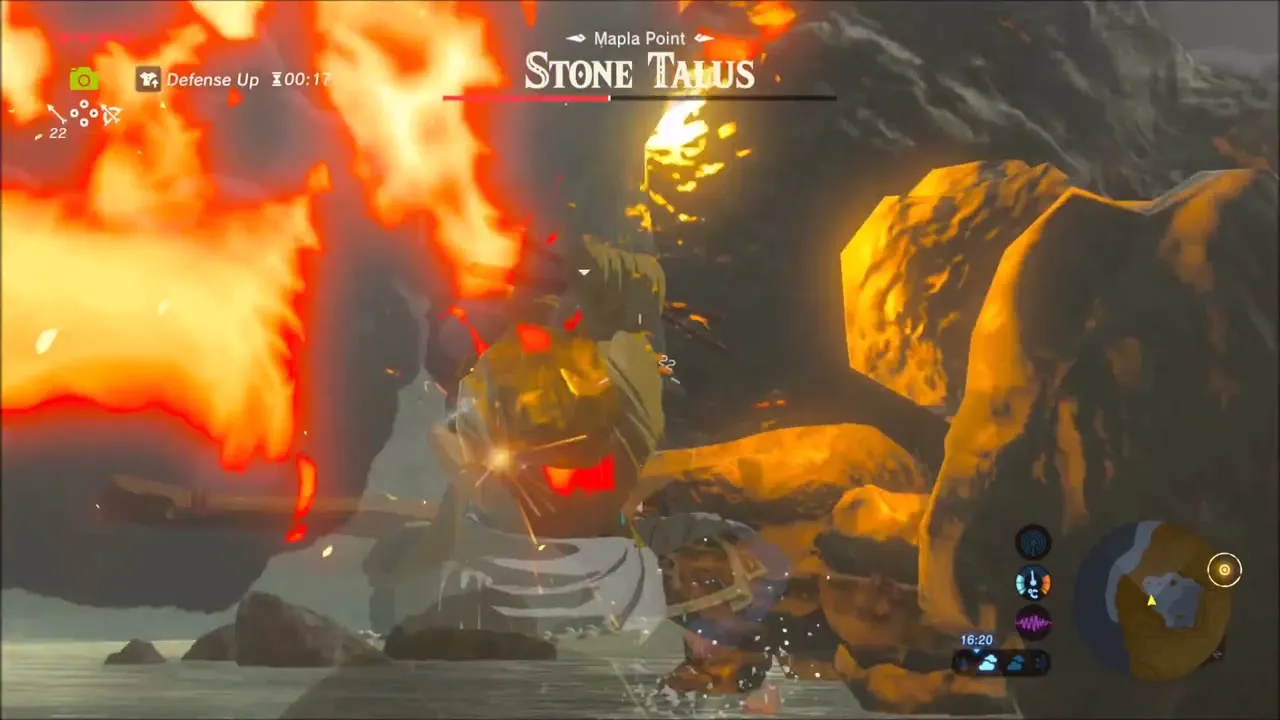
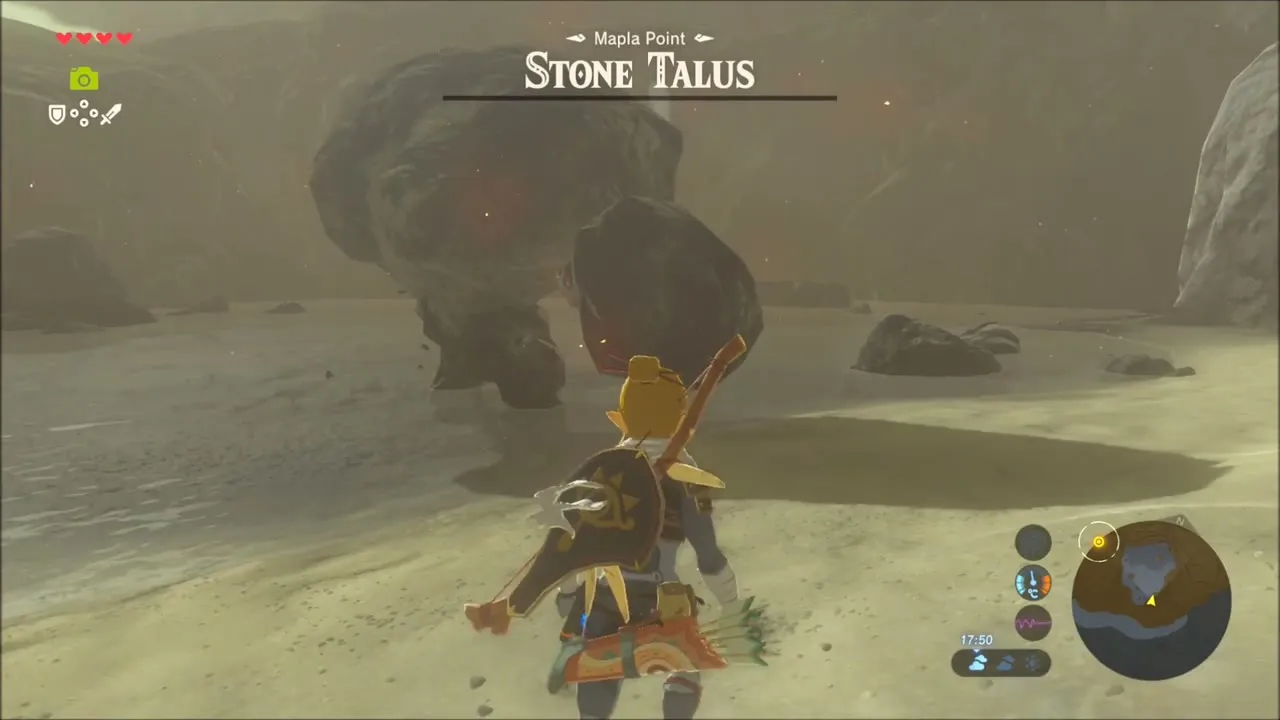
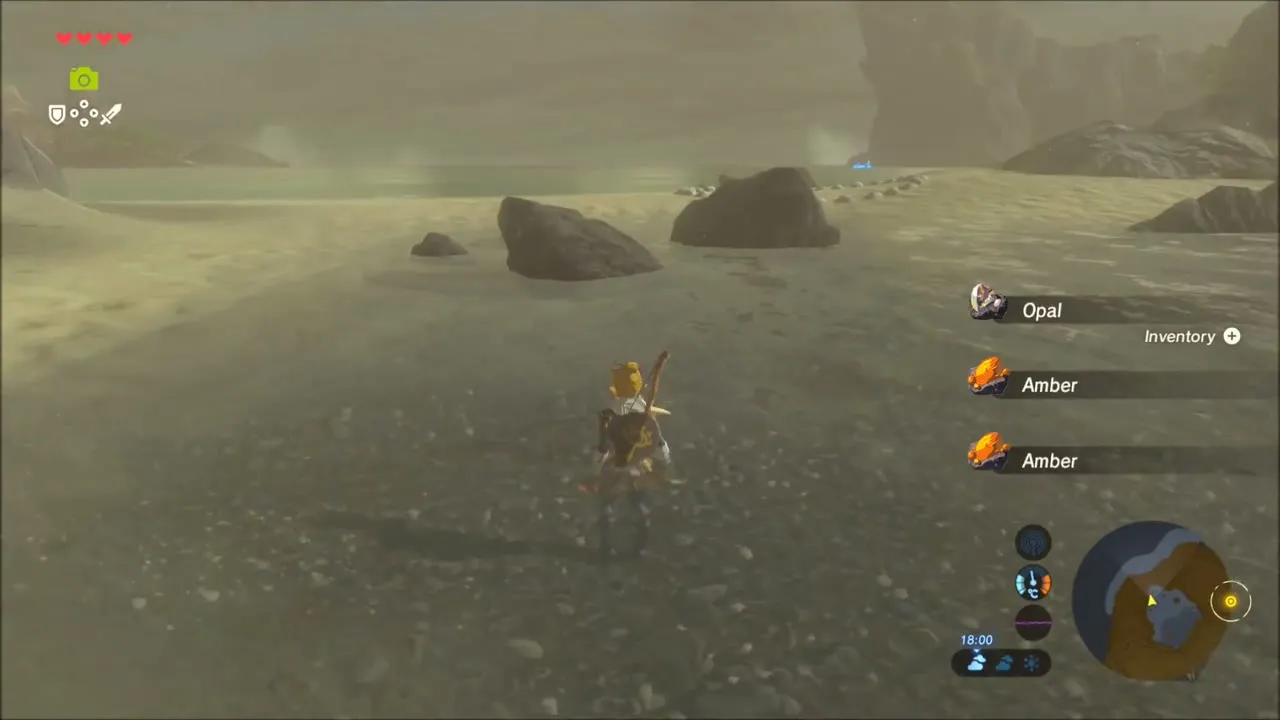
A Stone Talus stalks the shore of Mapla Point (4663, 2372). Stay out of reach of its swinging arms and thrown rocks, and use bomb arrows to blast it down and expose the glowing ore deposit on its body. Climb up and keep striking the ore until it collapses; the Talus finishes in a burst of fire and leaves Opal and Amber behind, which are worth selling.
Finish The Sheep Rustlers for Koyin
Travel back to the Hateno Ancient Tech Lab and glide down to Koyin’s house on the slope below it. Tell Koyin the monsters are gone and she hands over Fresh Milk as your reward (ten bottles), which completes the quest.



Heart Container at the Goddess Statue in Kakariko Village
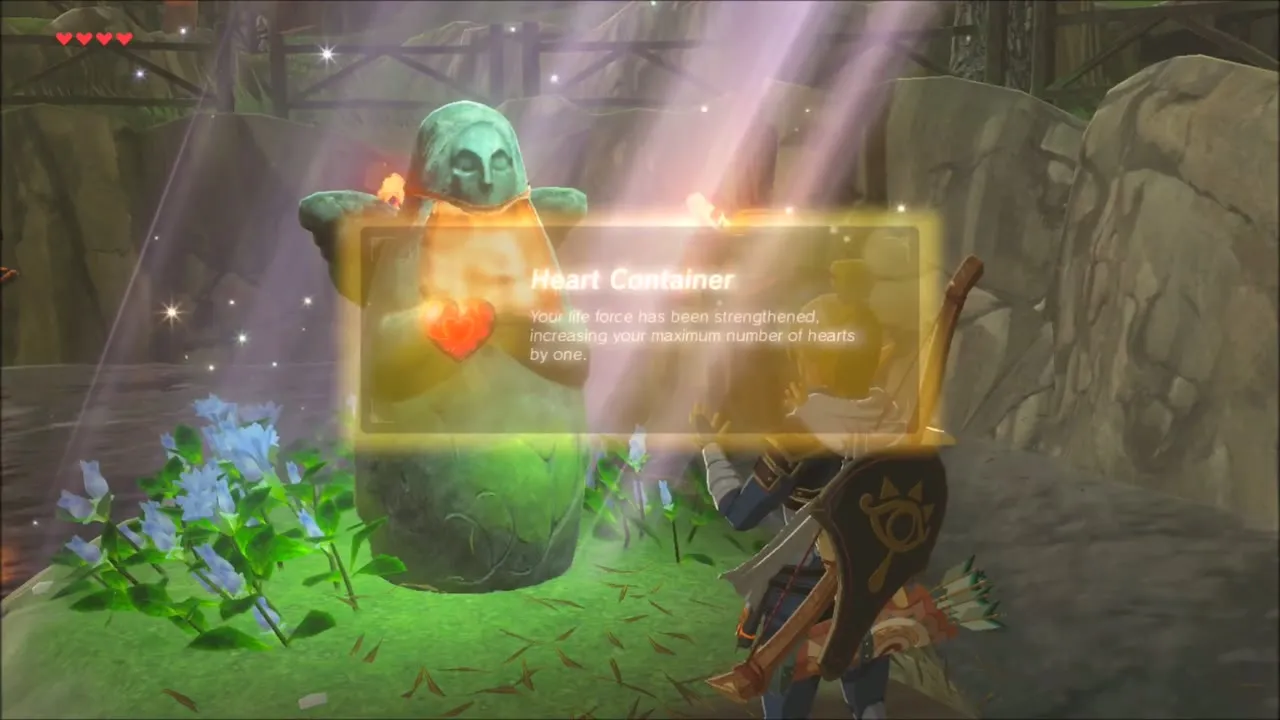
Back in Kakariko Village, pray at the Goddess Statue with four Spirit Orbs and trade them for a Heart Container. This raises your health to five hearts.


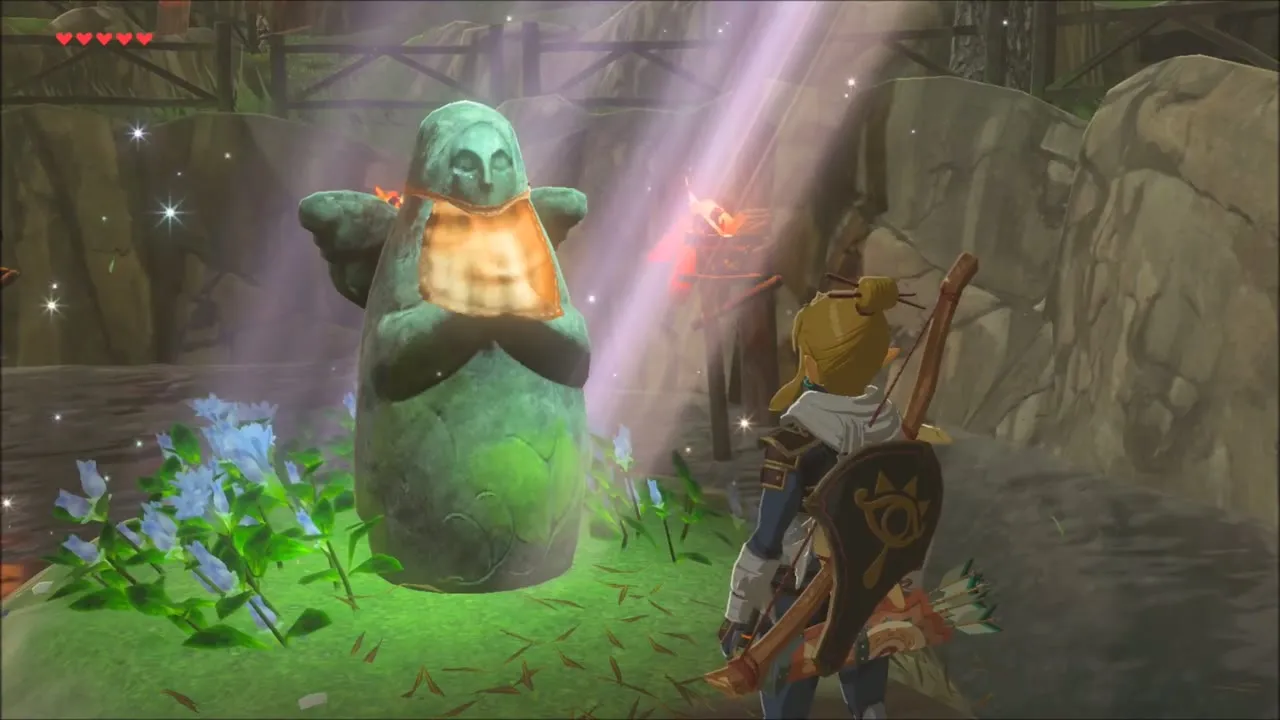
Arrows of Burning Heat: Rola’s torches in Kakariko Village
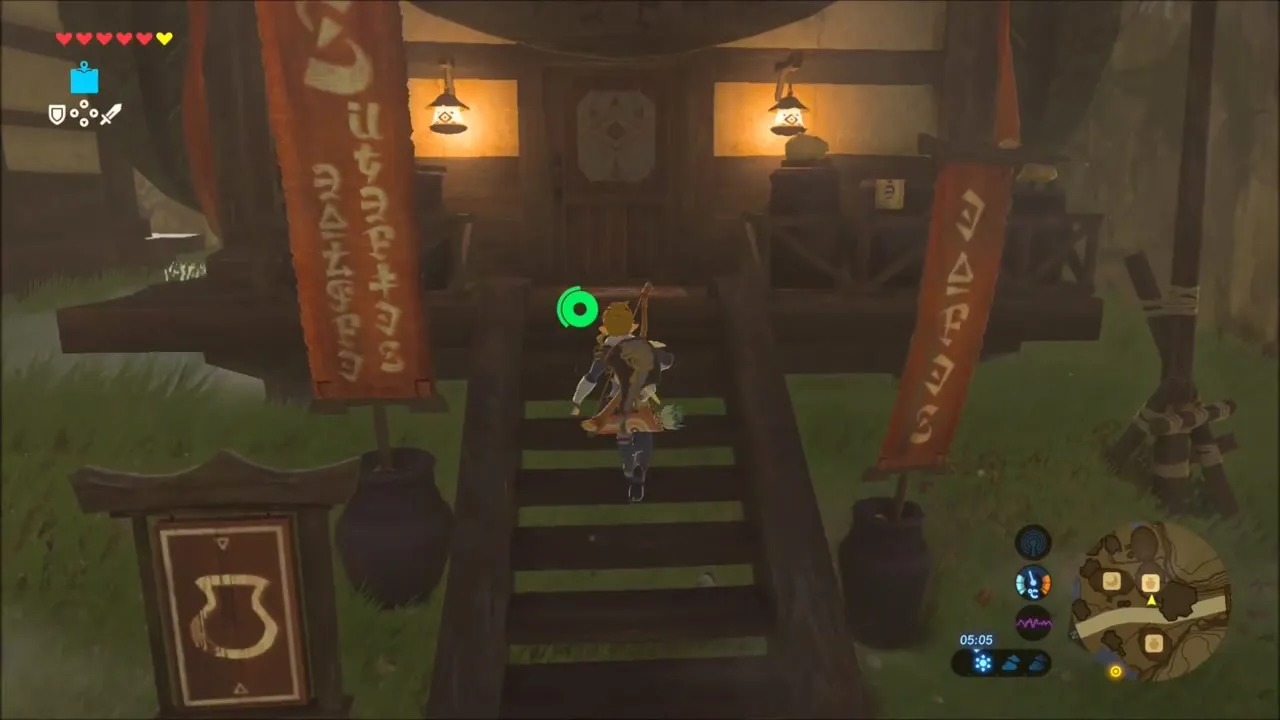
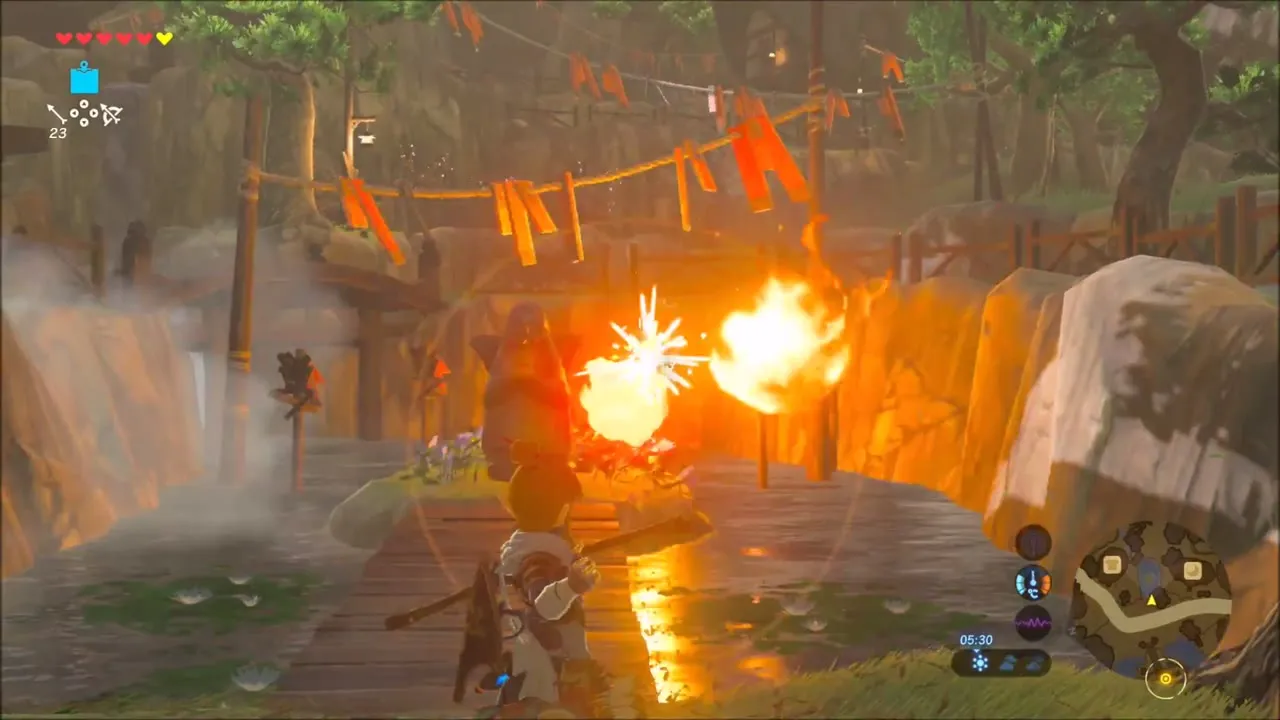
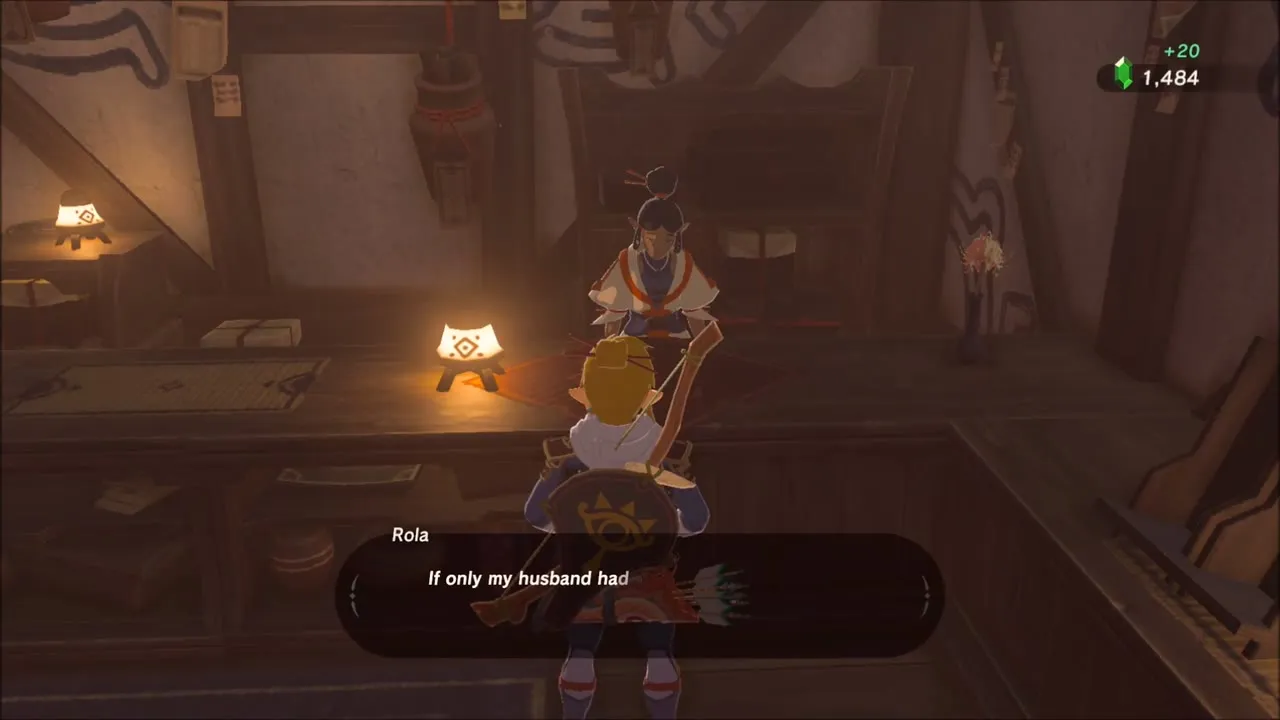
Climb the stairs to Rola’s shop and accept the challenge for Arrows of Burning Heat: light the torches around the Goddess Statue with flaming arrows. Light an ordinary arrow at a campfire, run back and shoot it at the first torch, then repeat for the rest. Report back to Rola and she pays you a Red Rupee (20 Rupees).


Cooking Spicy and Hasty Elixirs before the climb
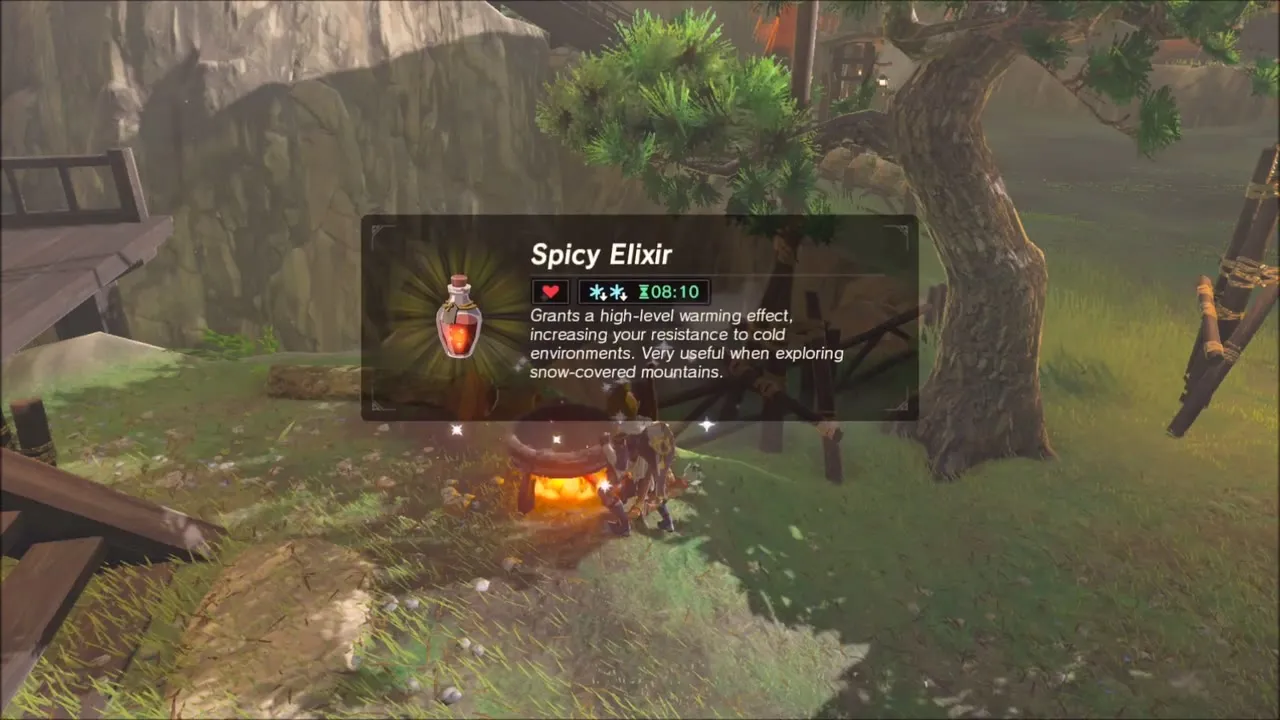
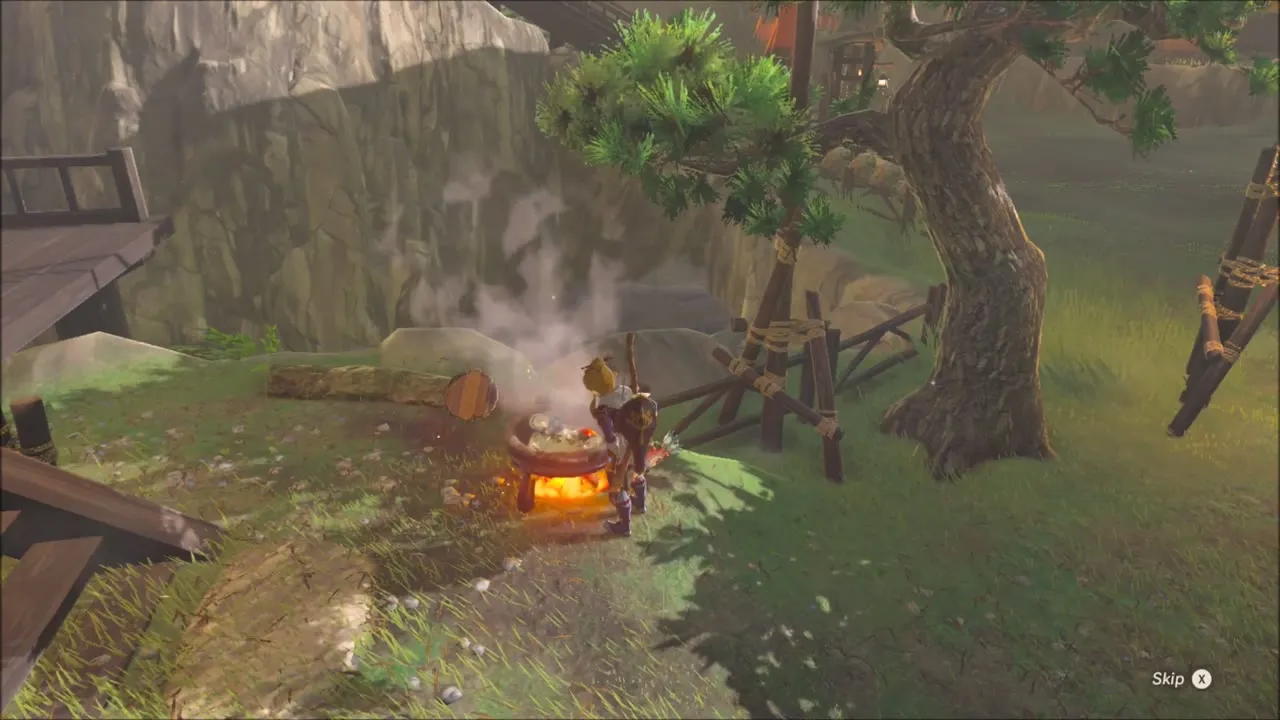
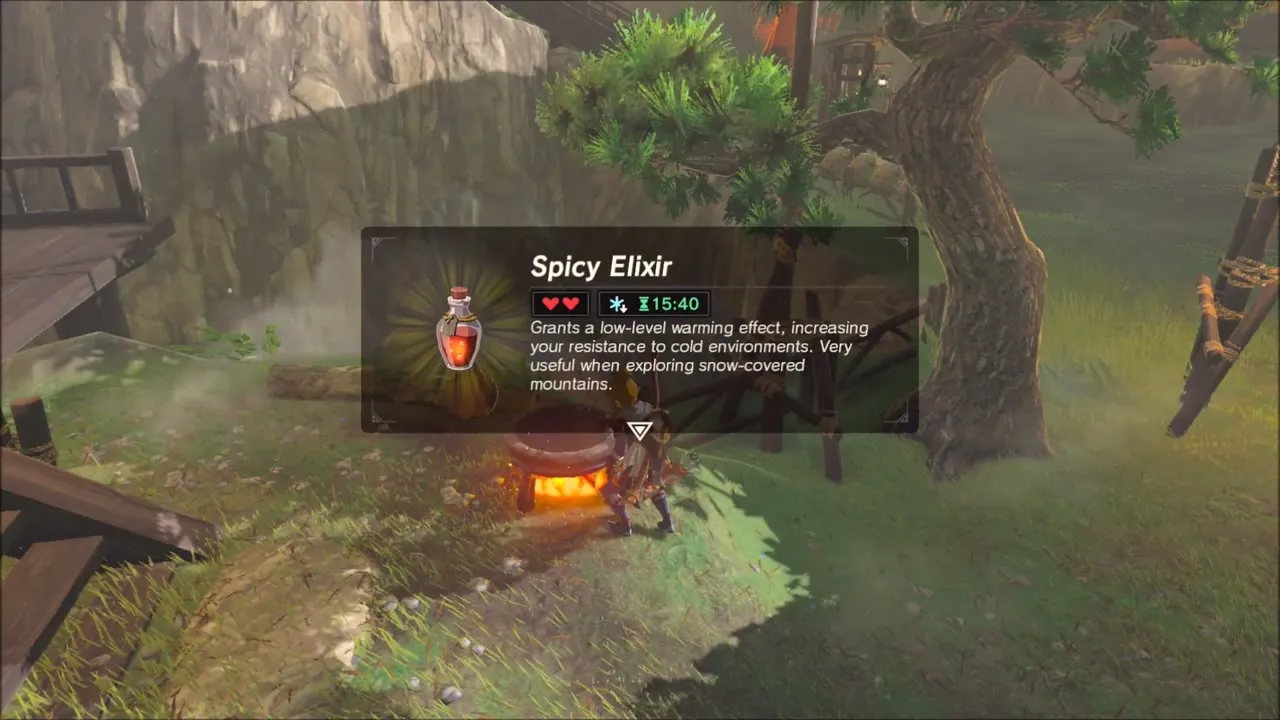
The next stretch of the Lanayru Range is freezing, so stock up before you go. At the cooking pot in the village, brew several Spicy Elixirs (they give you cold resistance) and Hasty Elixirs (a speed boost for running and climbing). Keep a few Hasty Elixirs for a Korok seed later on.

Climbing Walnot Mountain in the snow
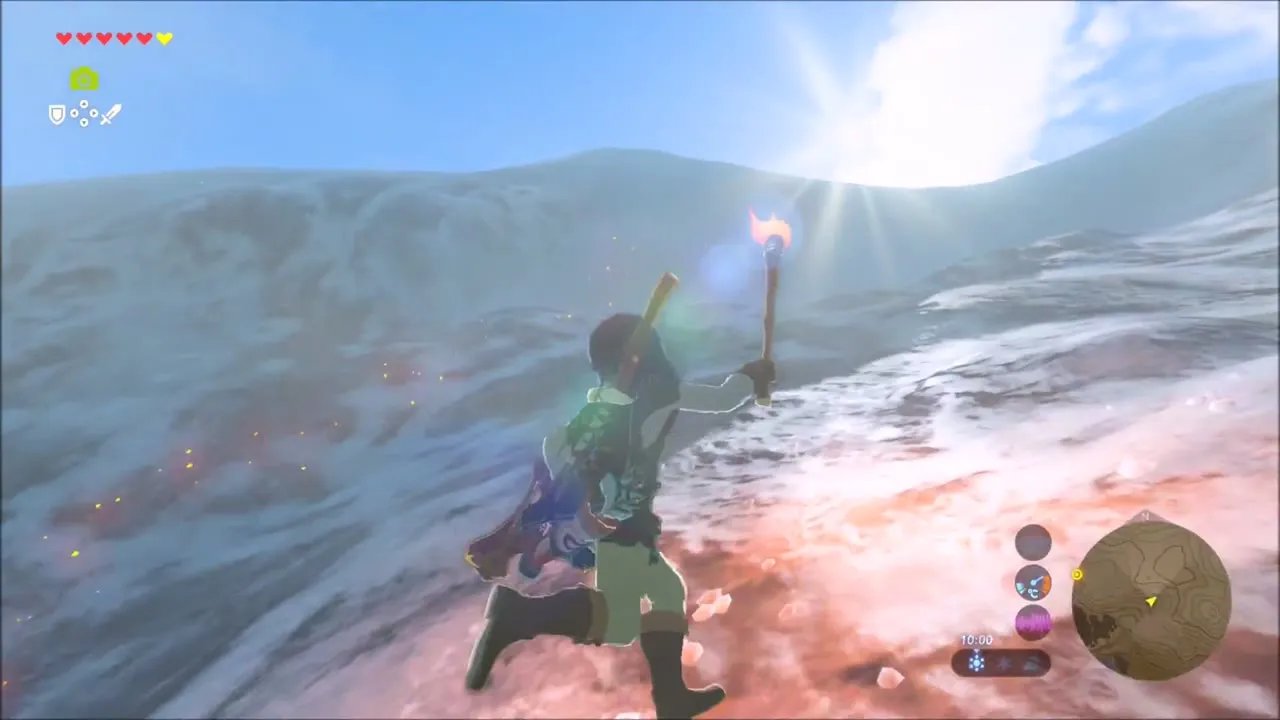
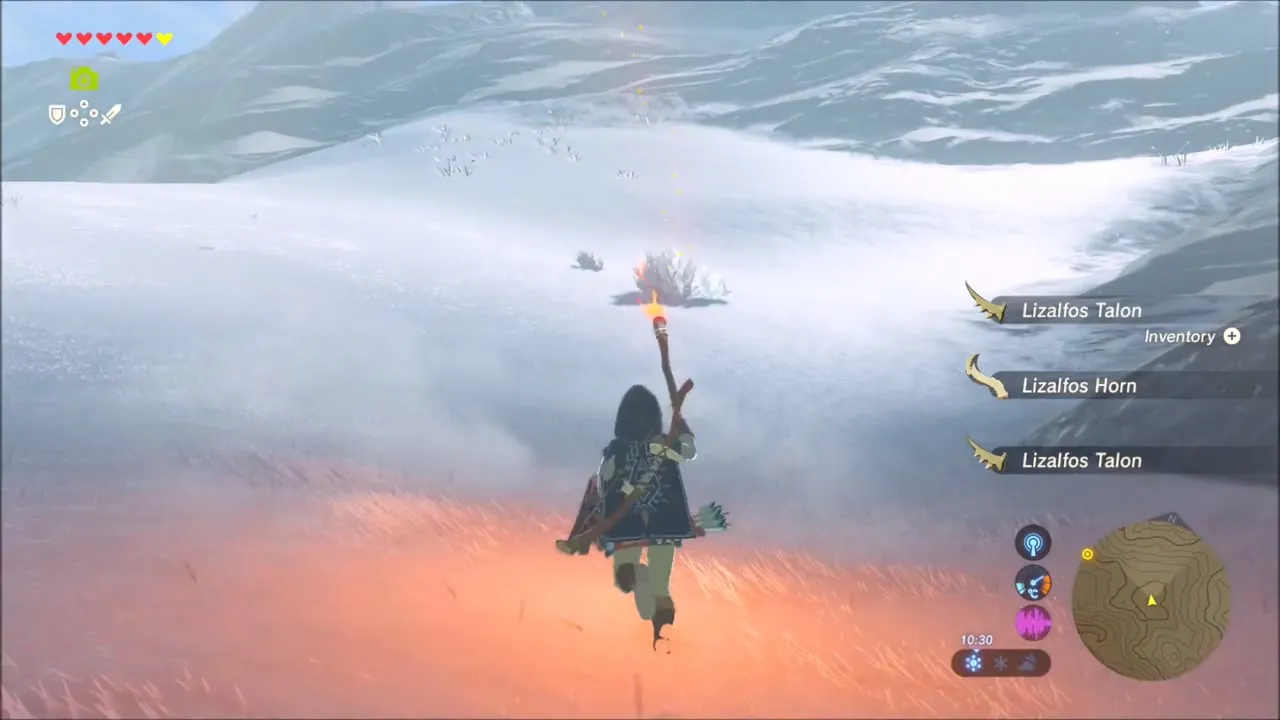
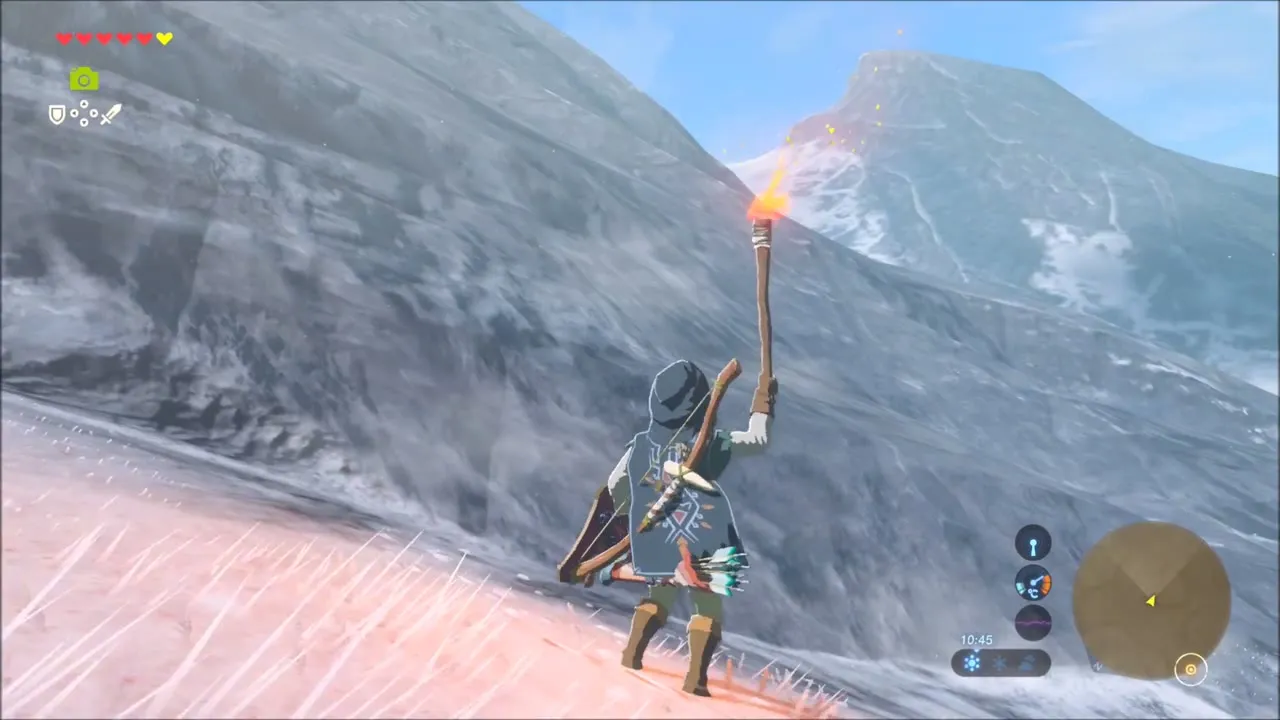
Fast travel to the Hateno Ancient Tech Lab, then head north-east into the mountains. As soon as the snow starts, hold a torch to stay warm and drink a Spicy Elixir for cold resistance when you hit the colder slopes. Walnot Mountain (4170, 1922) is the high ground you are climbing.
Korok on the snowy summit
On a bare summit near the top, a Korok waits in the snow. Walk up to it for an easy seed.
Korok seed: the lone pine and the ring of lights
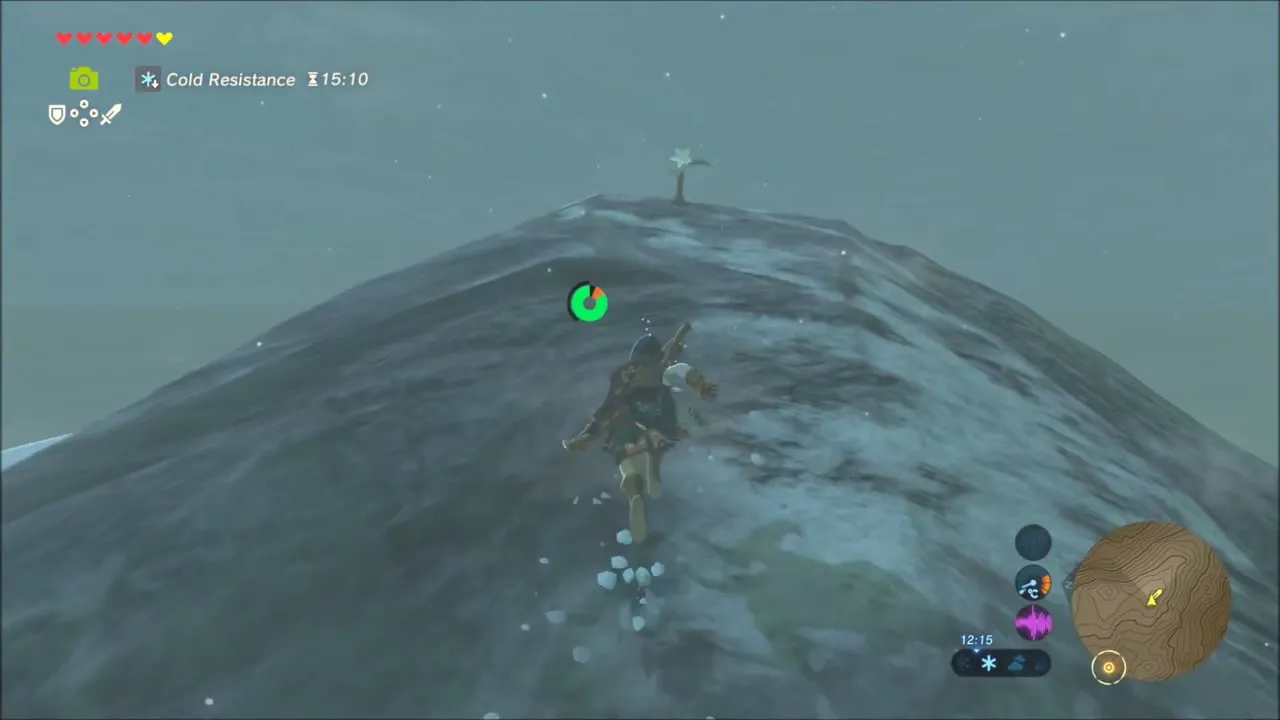
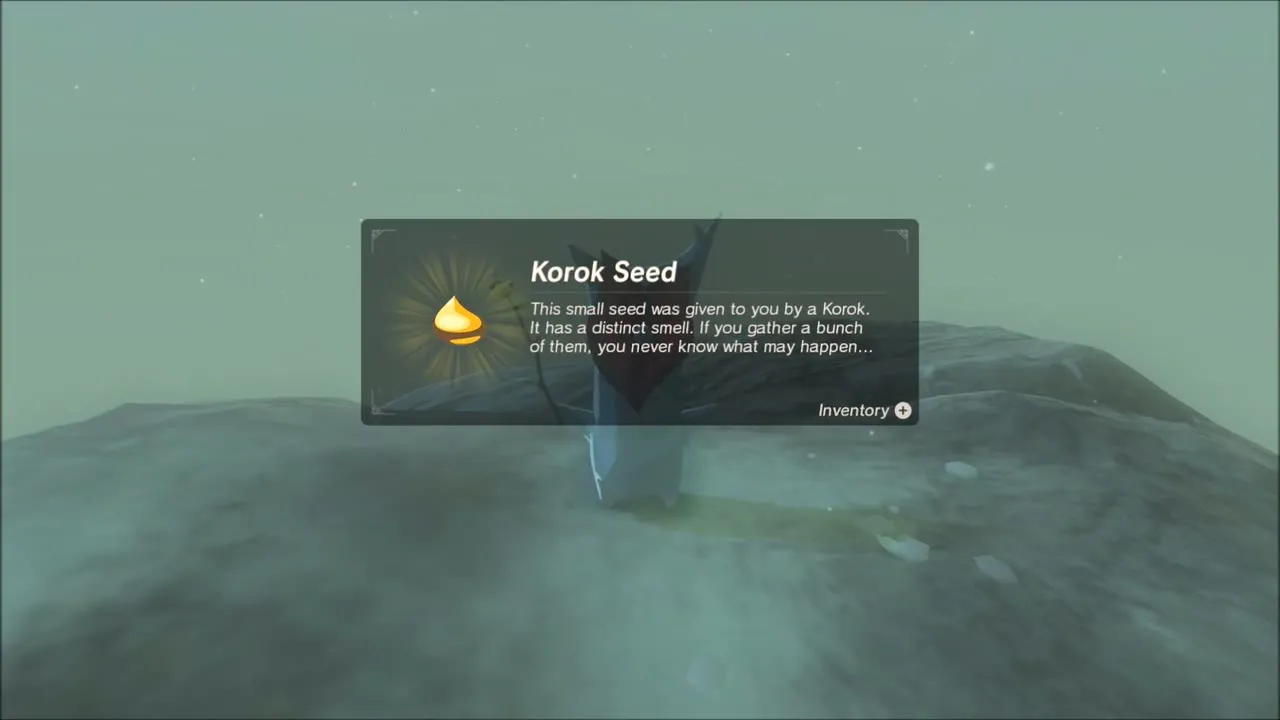
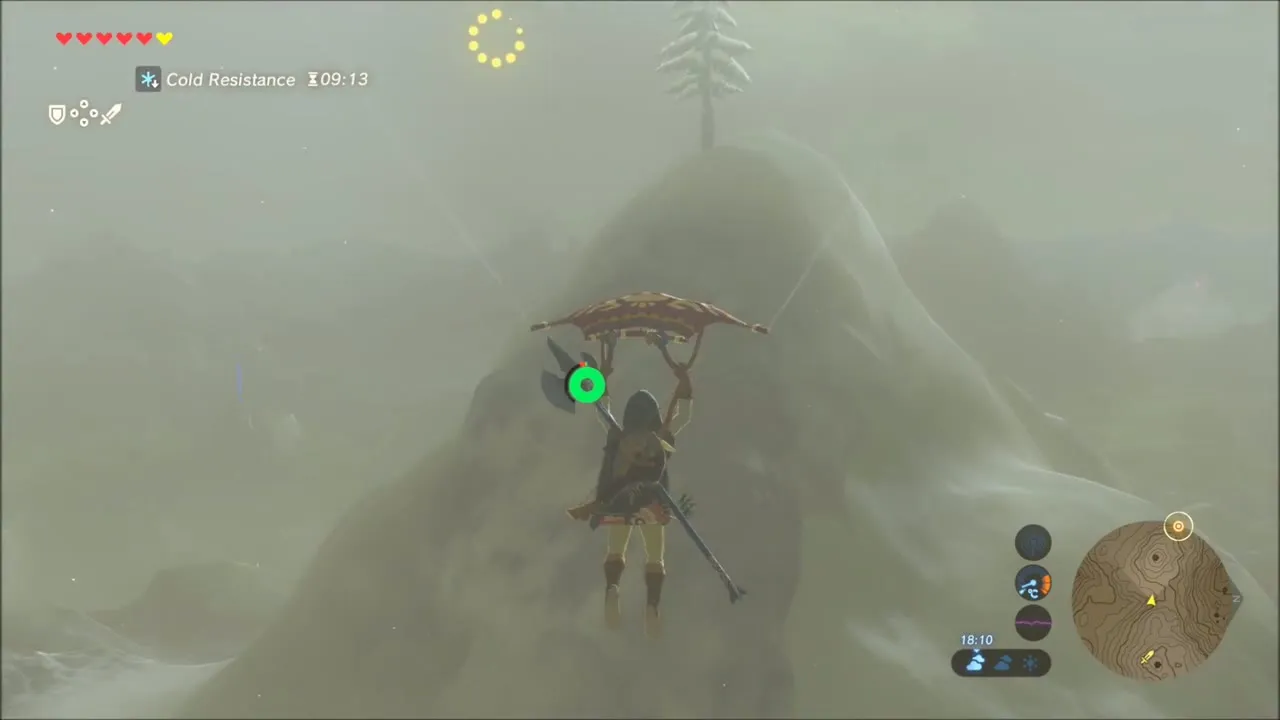
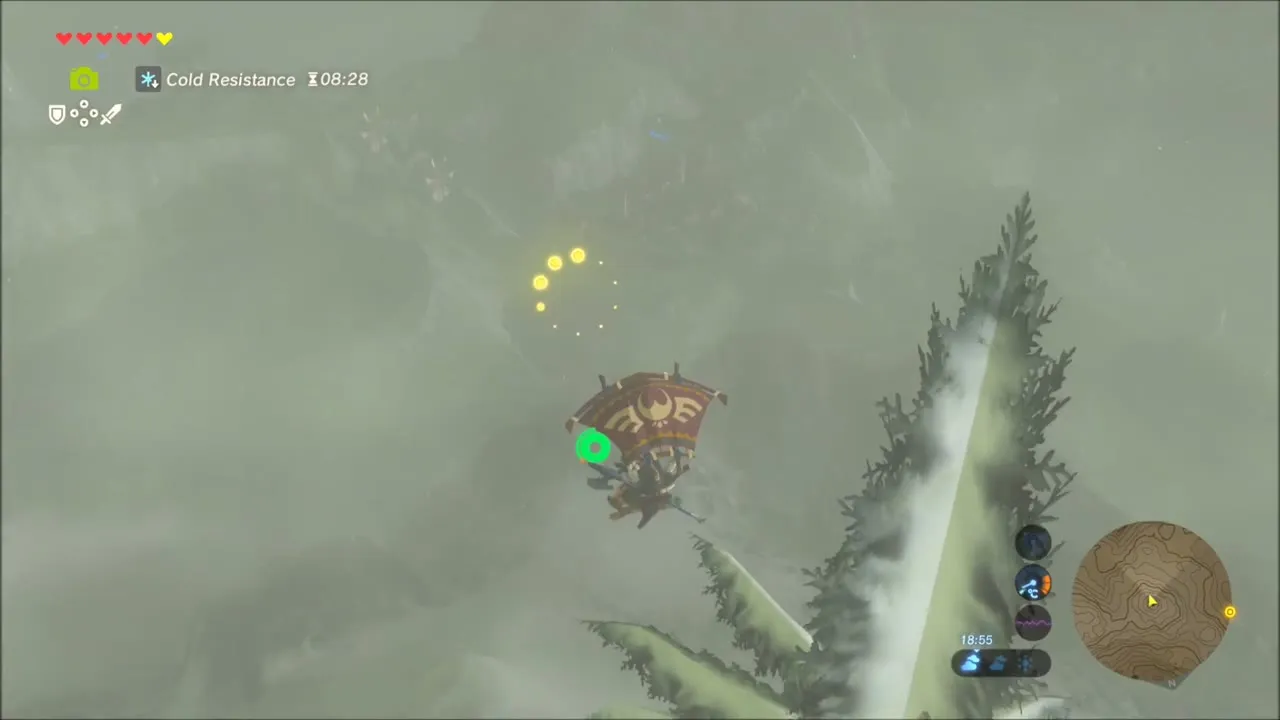
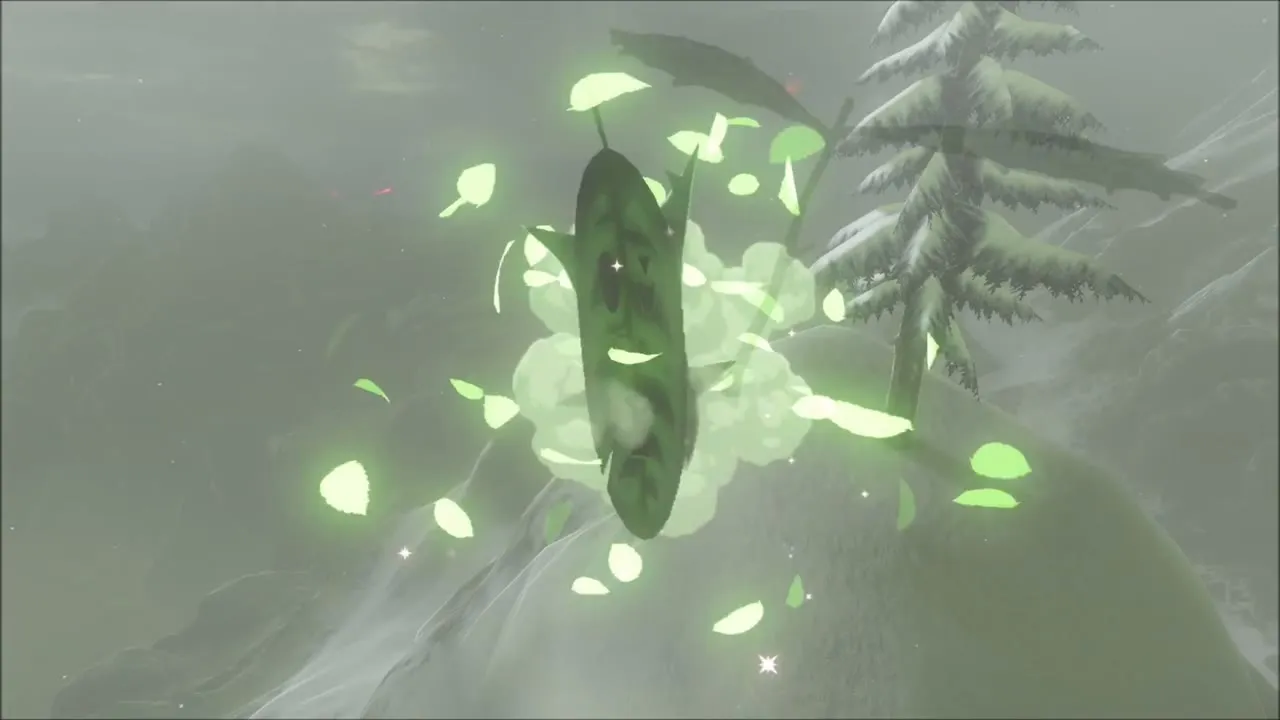
Higher in the range, a single pine tree stands on a rounded peak with a ring of yellow lights in the air above it. Climb the pine to its tip, jump off and glide through the ring of lights. The Korok appears on the peak and hands over its seed. If you miss the ring on the first jump, climb the pine again and retry.

Korok seed beside the tree
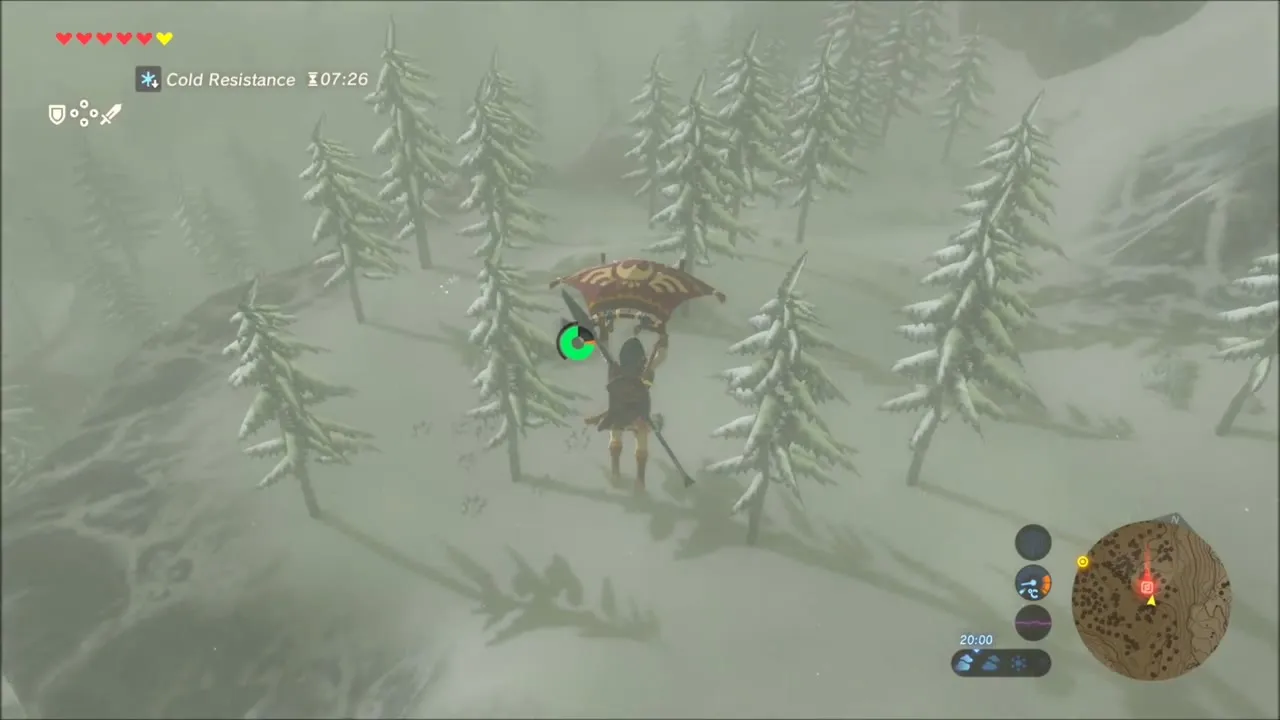
Glide down from the peak into the pine forest. Look for a Korok standing at the base of one of the pines in the snow and talk to it.


Korok seed: the Korok frozen in ice
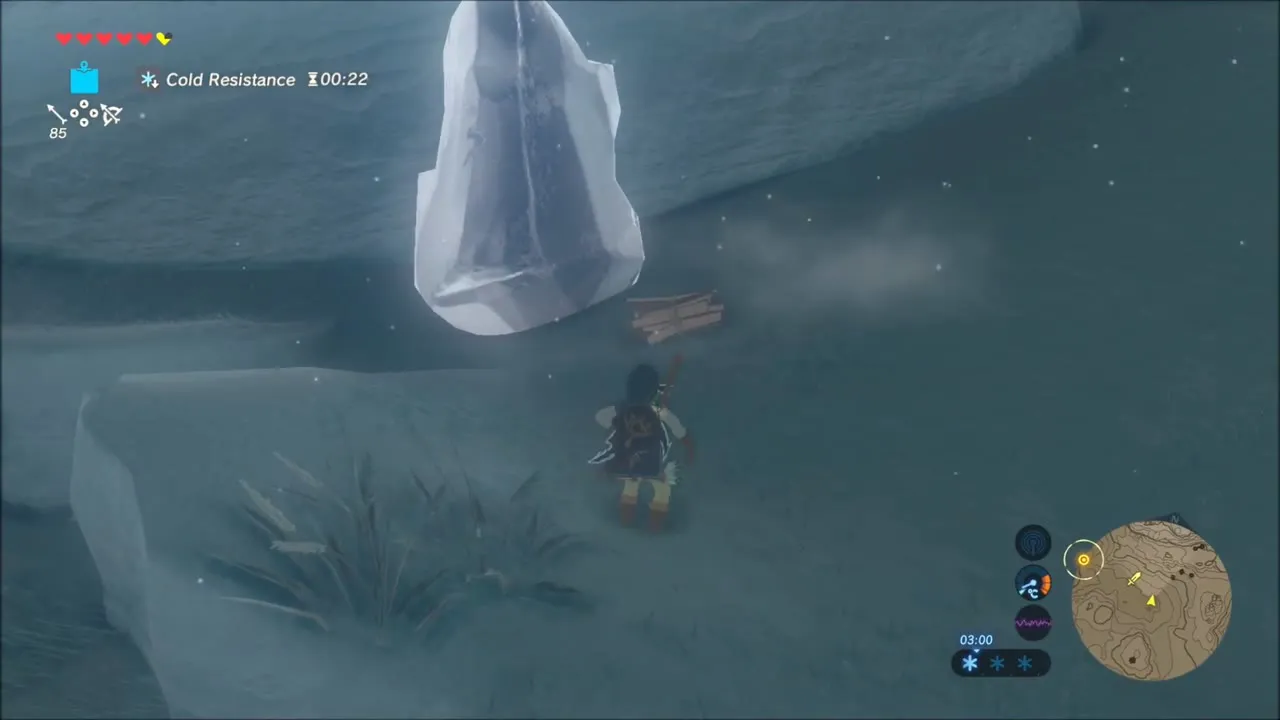
Further on, a Korok is frozen inside a block of ice. Collect a few pieces of wood, build a campfire right next to the block, and light it with a torch or Fire Arrow. The ice melts and the Korok drops its seed.


Korok seed: the race on the hilltop
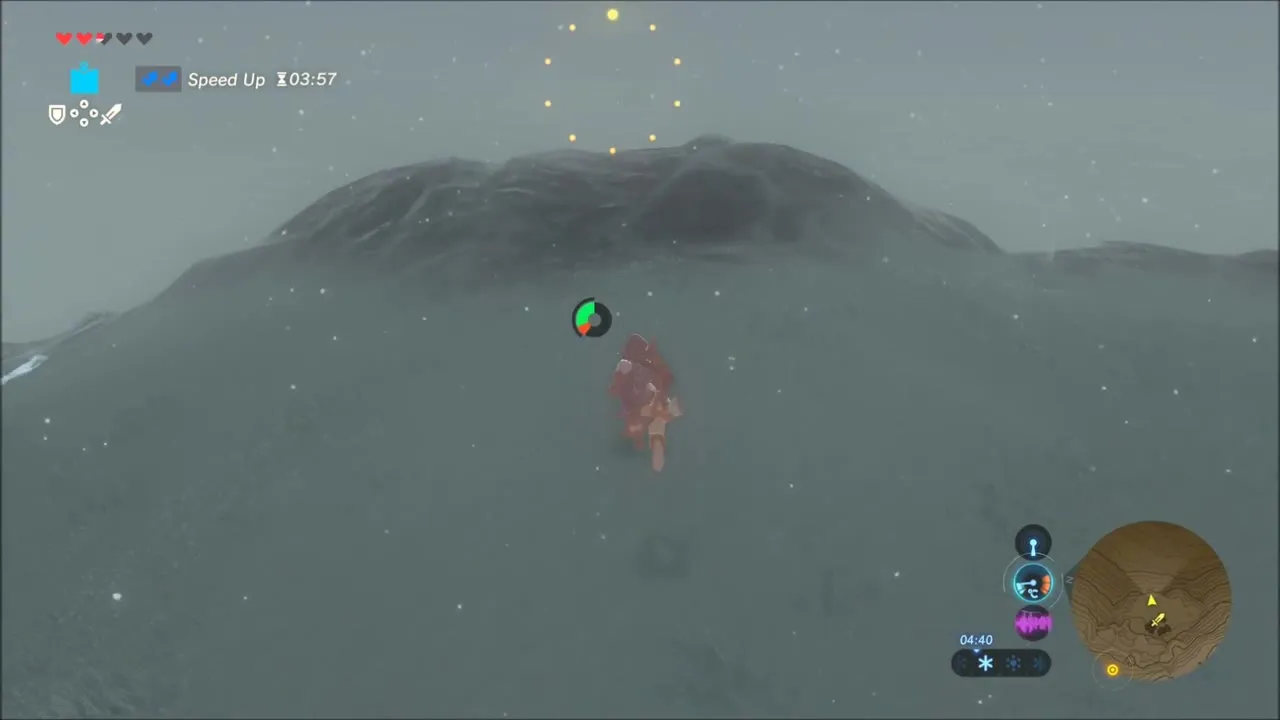
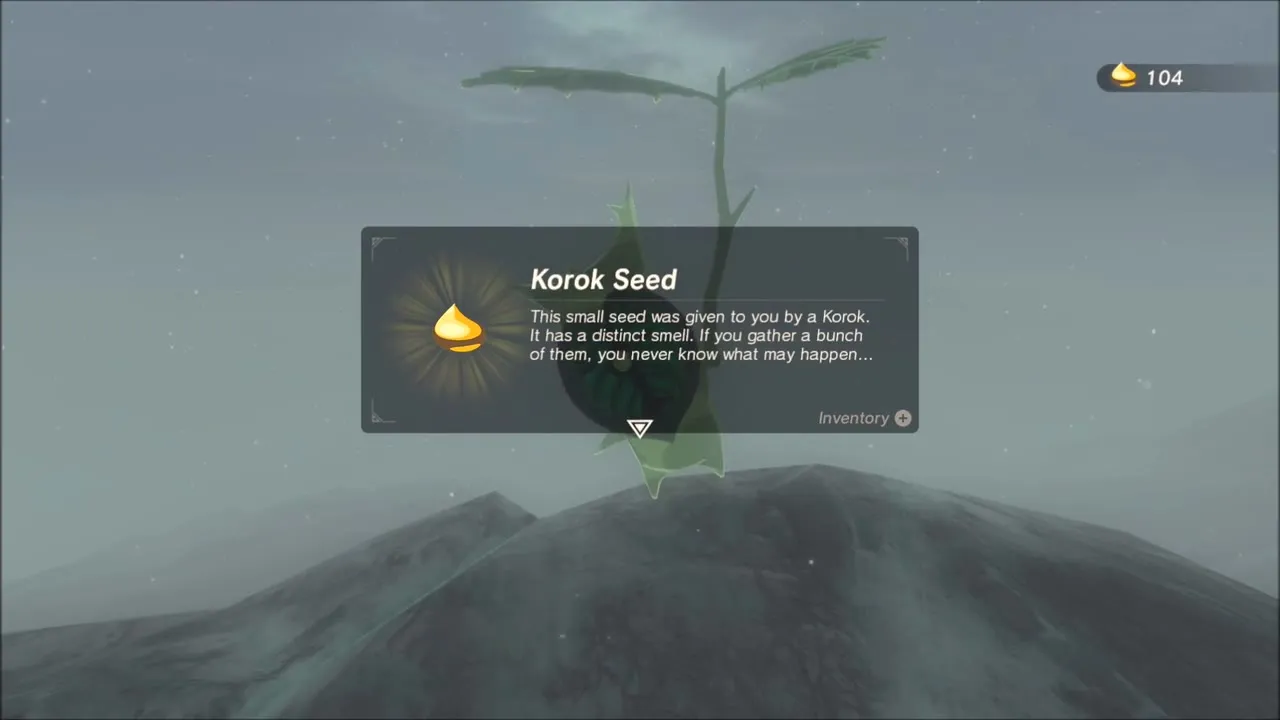
Drink a Hasty Elixir and sprint across the snow to the ring of yellow lights hanging over a rounded hilltop. Reaching the ring quickly makes the Korok appear and hand you its seed.


Tahno O’ah Shrine and the Secret of the Cedars
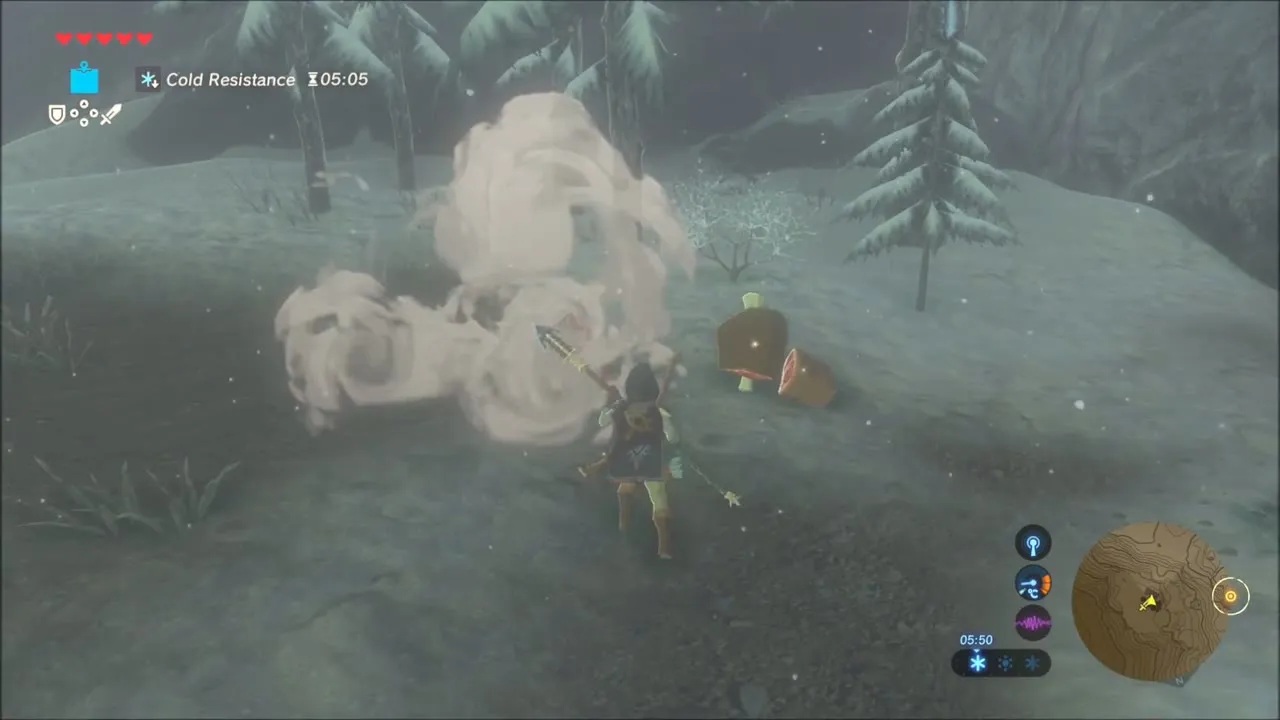
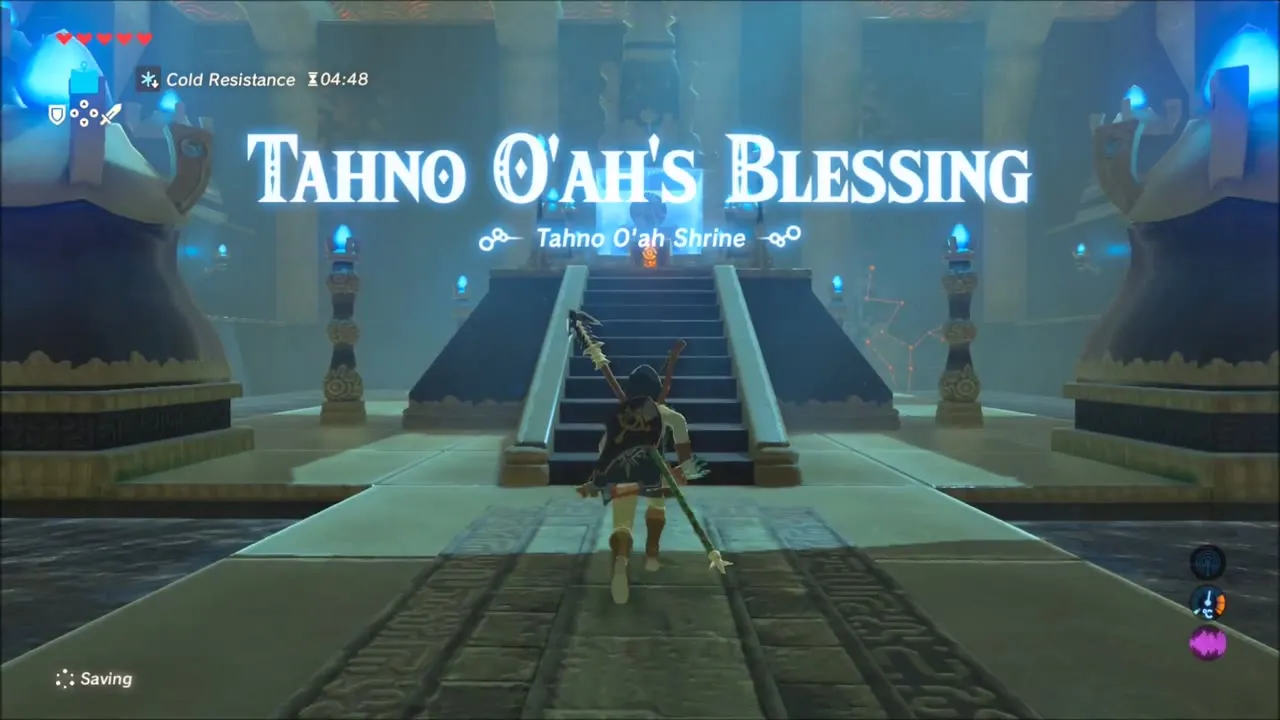
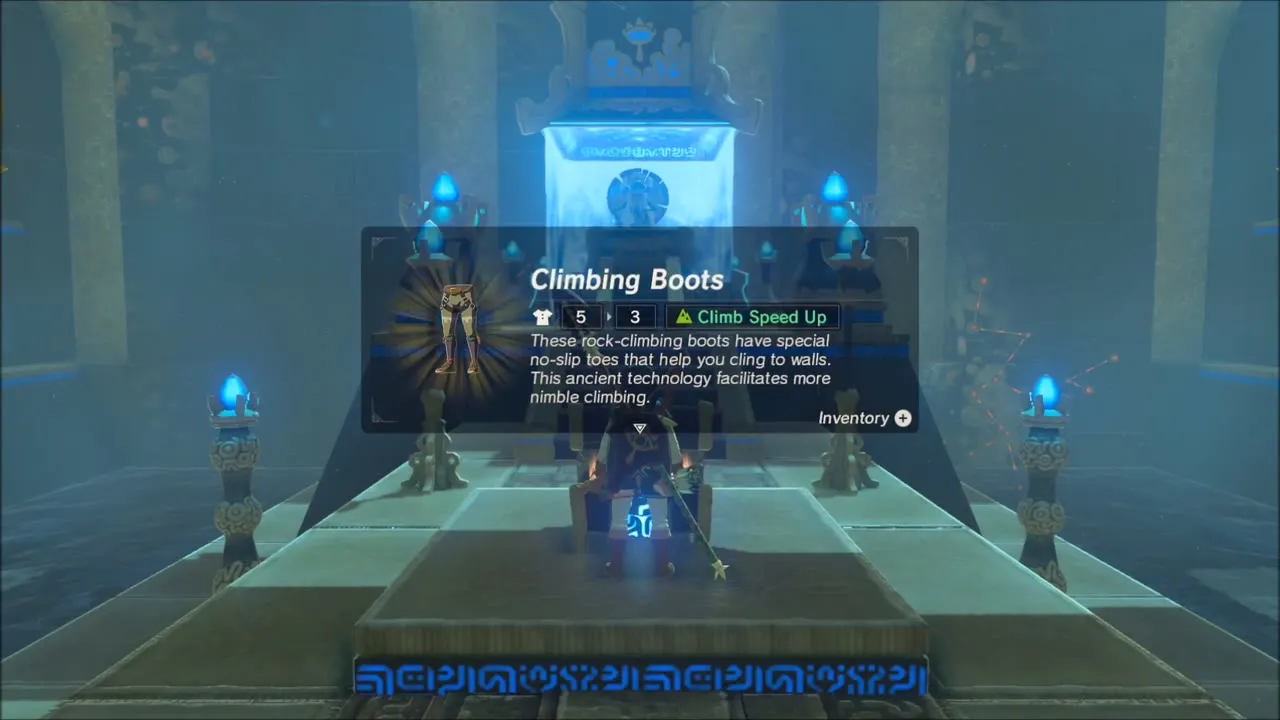
The slopes beyond lead to a cliff face with a cracked mound of rubble. Pick up a bomb, carry it to the rubble and blow the rock open; this is the end of Secret of the Cedars, a quest you take from Clavia in Hateno Village. The quest banner appears as you step into Tahno O’ah Shrine (Tahno O’ah’s Blessing, x 4183, z 1687, height 301), and it has no puzzle. Open the chest at the front of the shrine for the Climbing Boots (they give a climb-speed bonus), then speak to Monk Tahno O’ah to receive the Spirit Orb.

Mount Lanayru Coast: Korok Seed, Ore and a Silver Rupee Chest
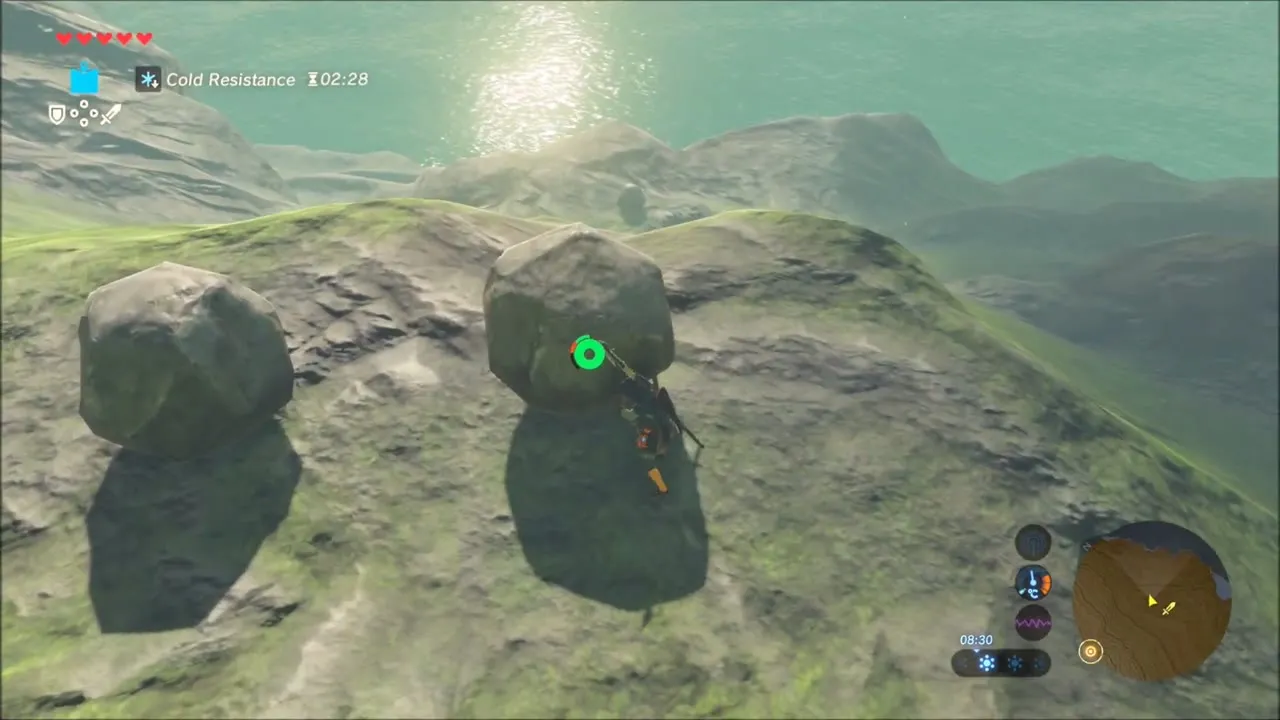
The climb up Mount Lanayru begins on the sea-facing slope at the foot of the mountain. Glide or run onto the grassy hill above the water and look for the boulders sitting on its crest. Push them off the ridge one after another so they roll down the hillside; once the crest is clear, a Korok pops out and hands you a Korok seed.

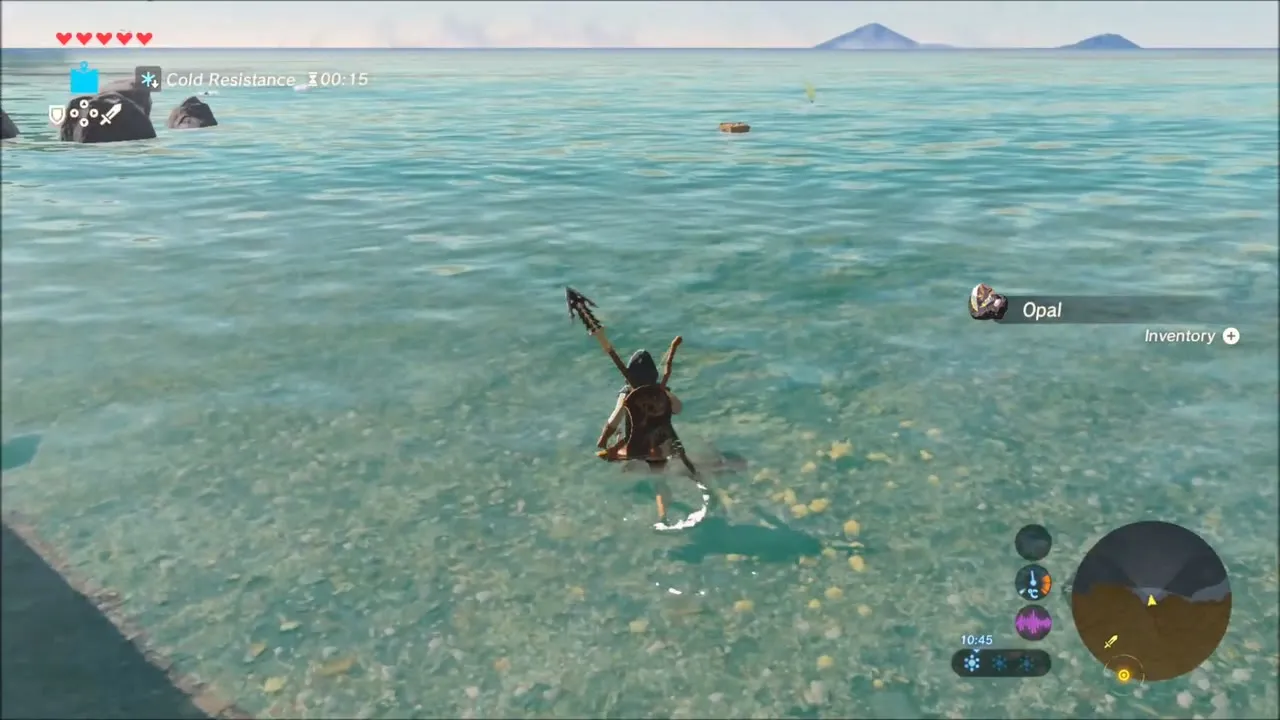
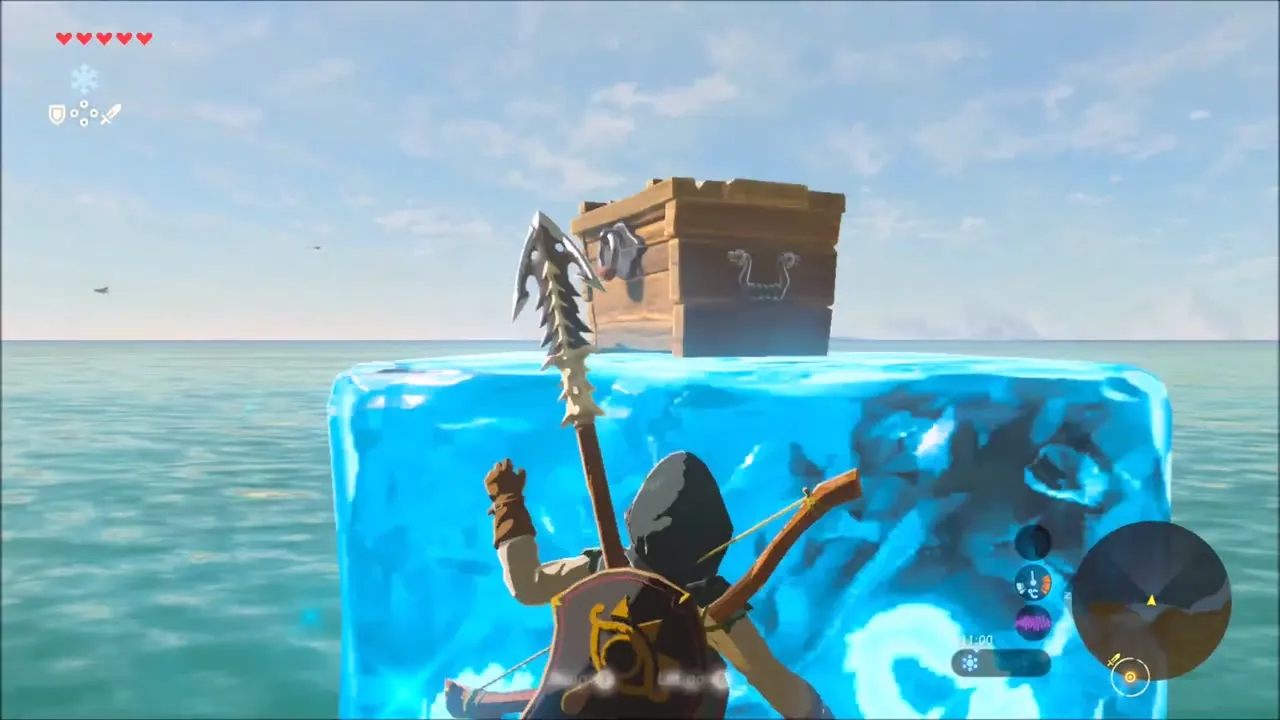
Drop down to the rocky shore and swim along it. The shoreline rocks hold ore deposits that give a Luminous Stone, Topaz, Amber, Opal, Sapphire and Rock Salt. A chest sits a short swim offshore: use the Cryonis rune on the water beneath it to raise an ice pillar that lifts the chest out of the sea, climb up and open it for a Silver Rupee (100 rupees).

Climbing Mount Lanayru: Korok Seeds in the Snow
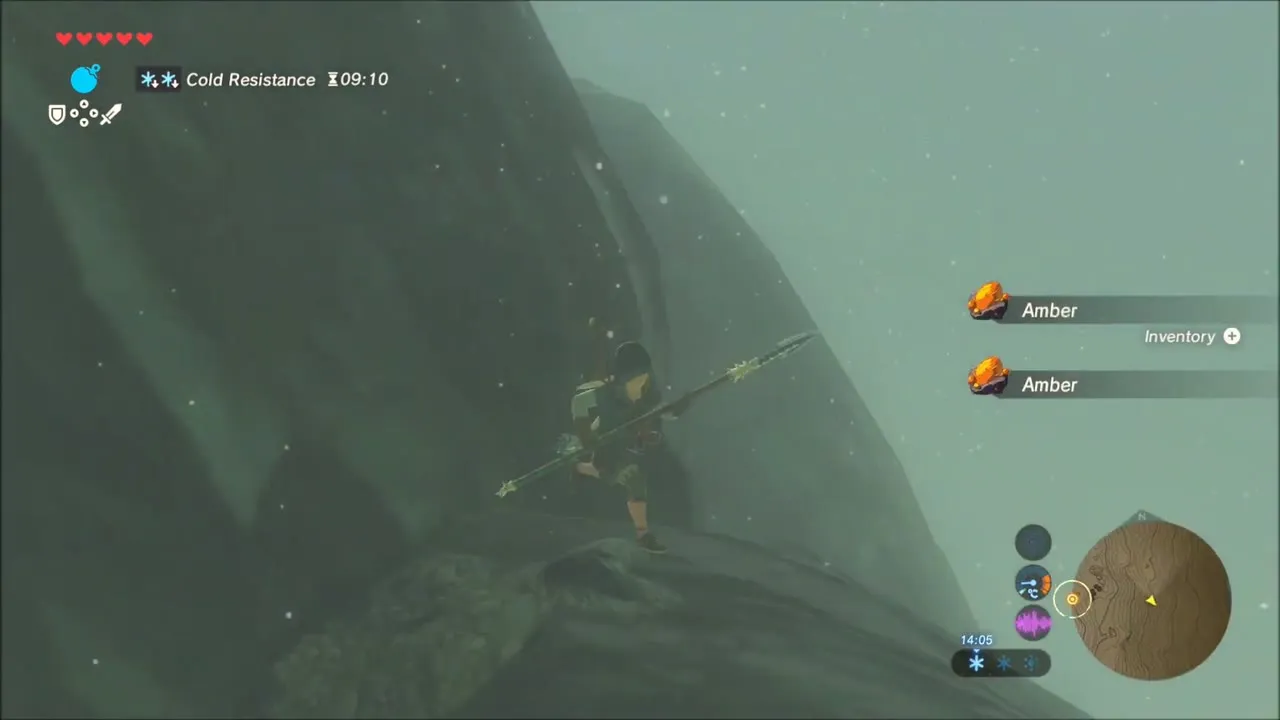
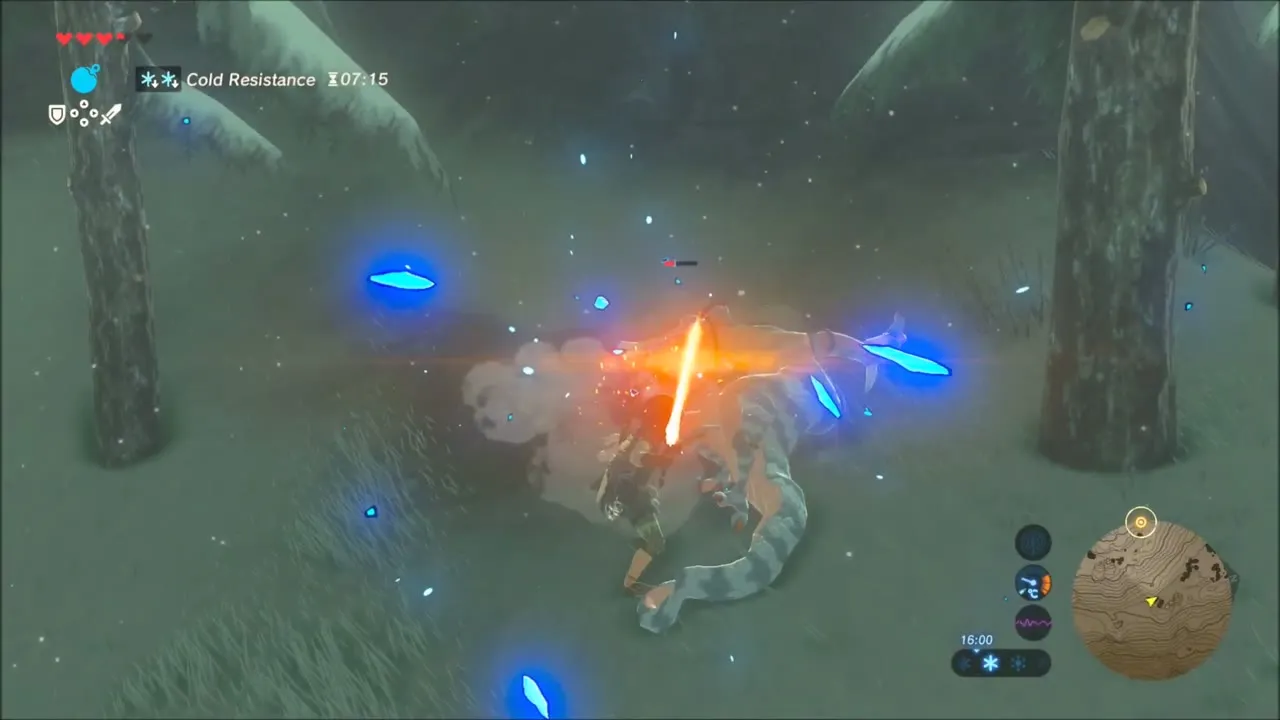
Head up the cliffs behind the shore, resting on ledges so your stamina holds. Higher up, snow sets in and a Cold Resistance timer runs down in the corner of the screen, so keep a warming dish or elixir handy and light a torch or a fire when the timer gets low. The pine forest on the lower slope is patrolled by Lizalfos; cut them down for Lizalfos Talons and Horns.


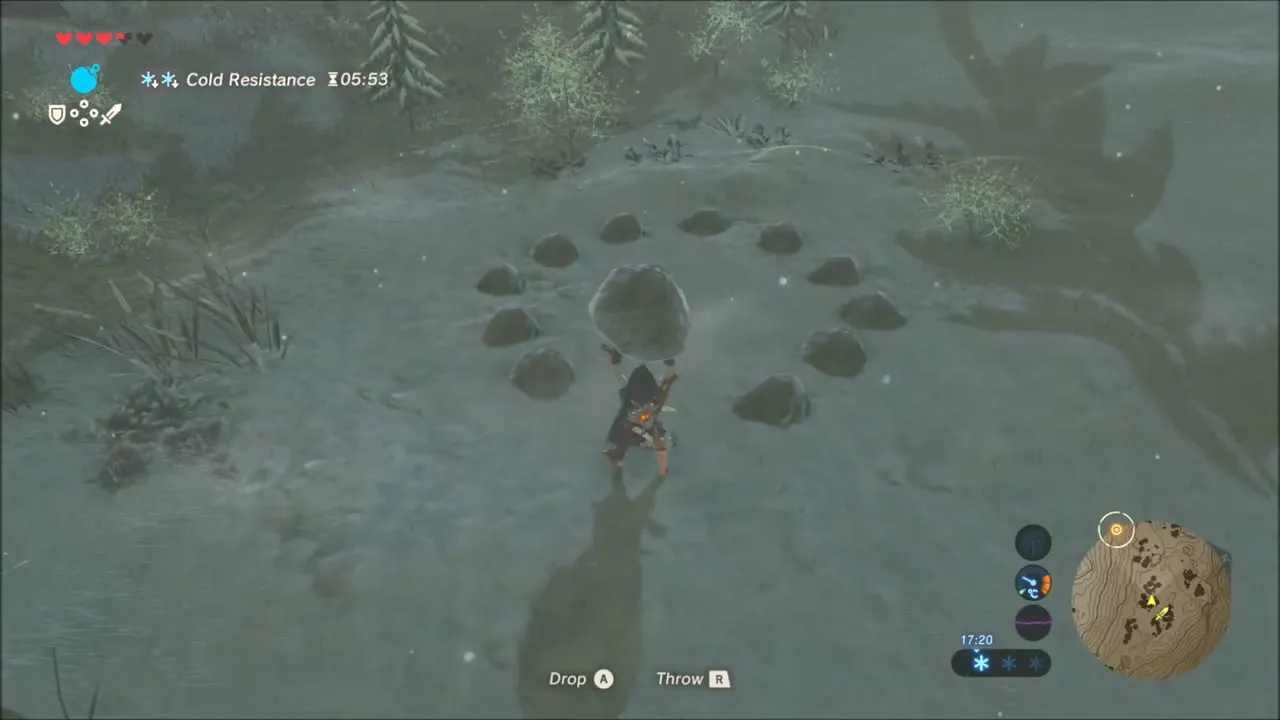
In the snowy forest you will find a ring of small stones with one stone missing. Pick up a boulder nearby, carry it to the gap and set it down in the ring. A Korok appears to thank you with another Korok seed.


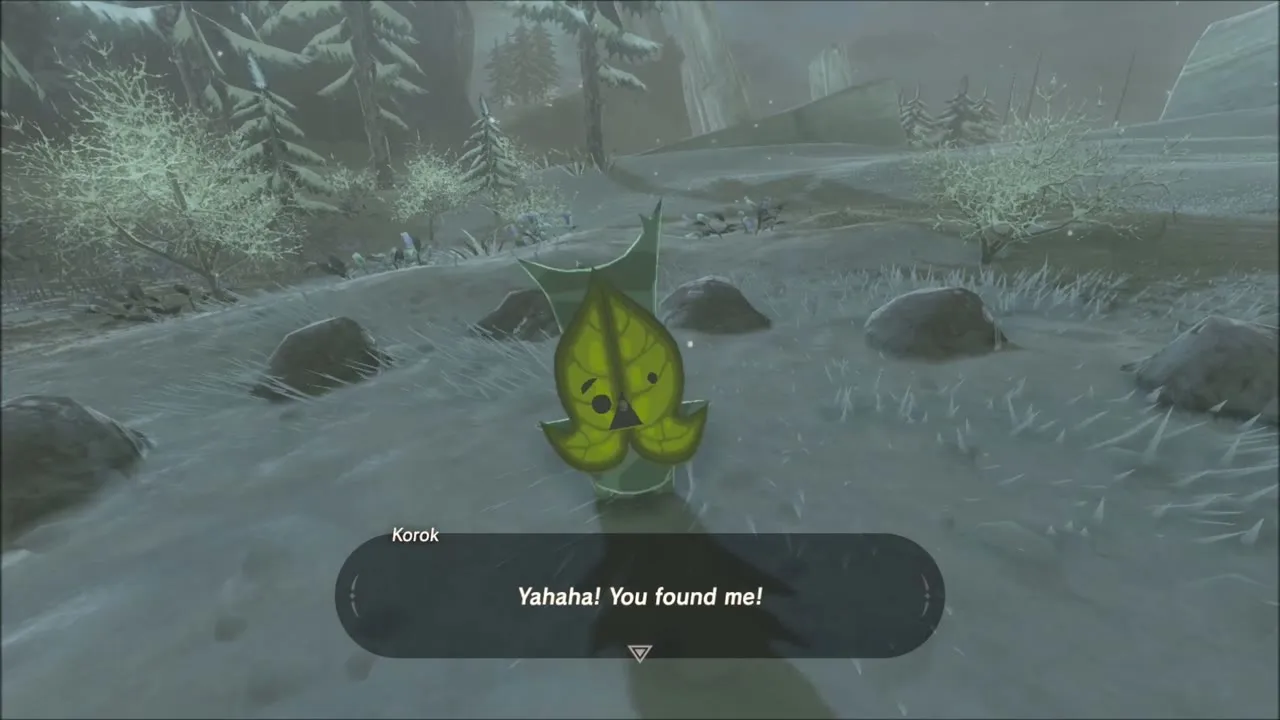
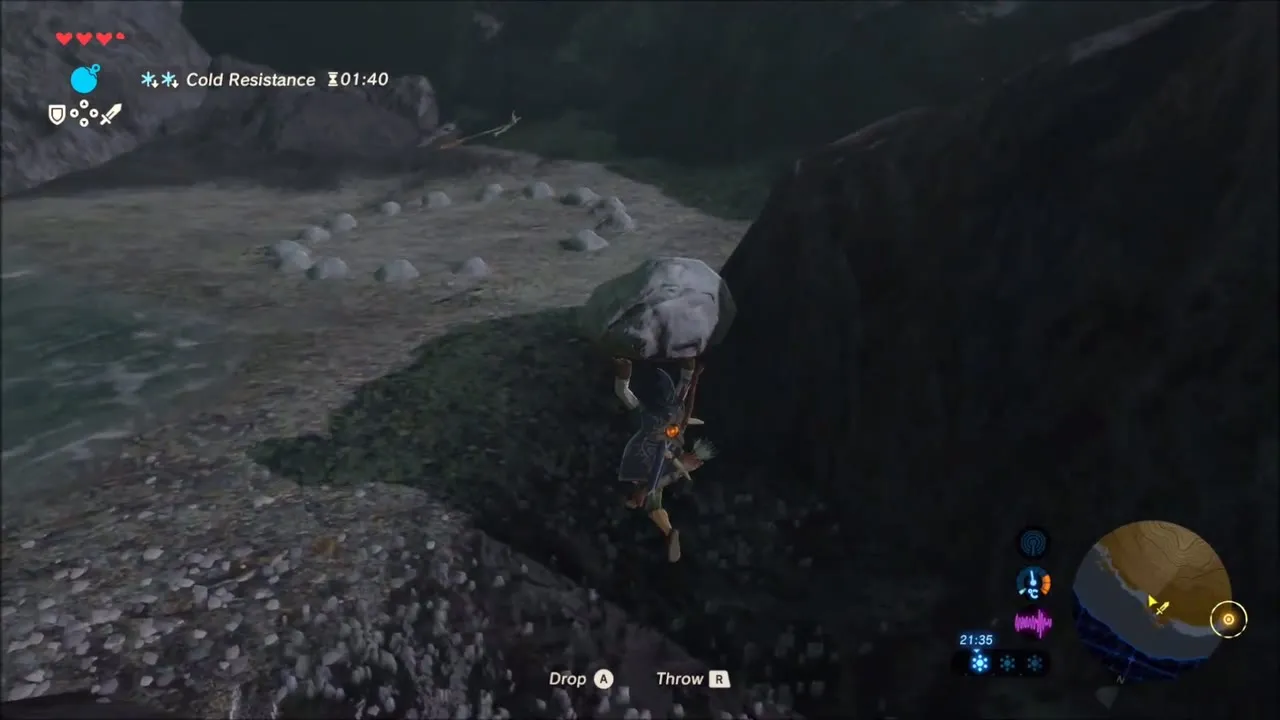
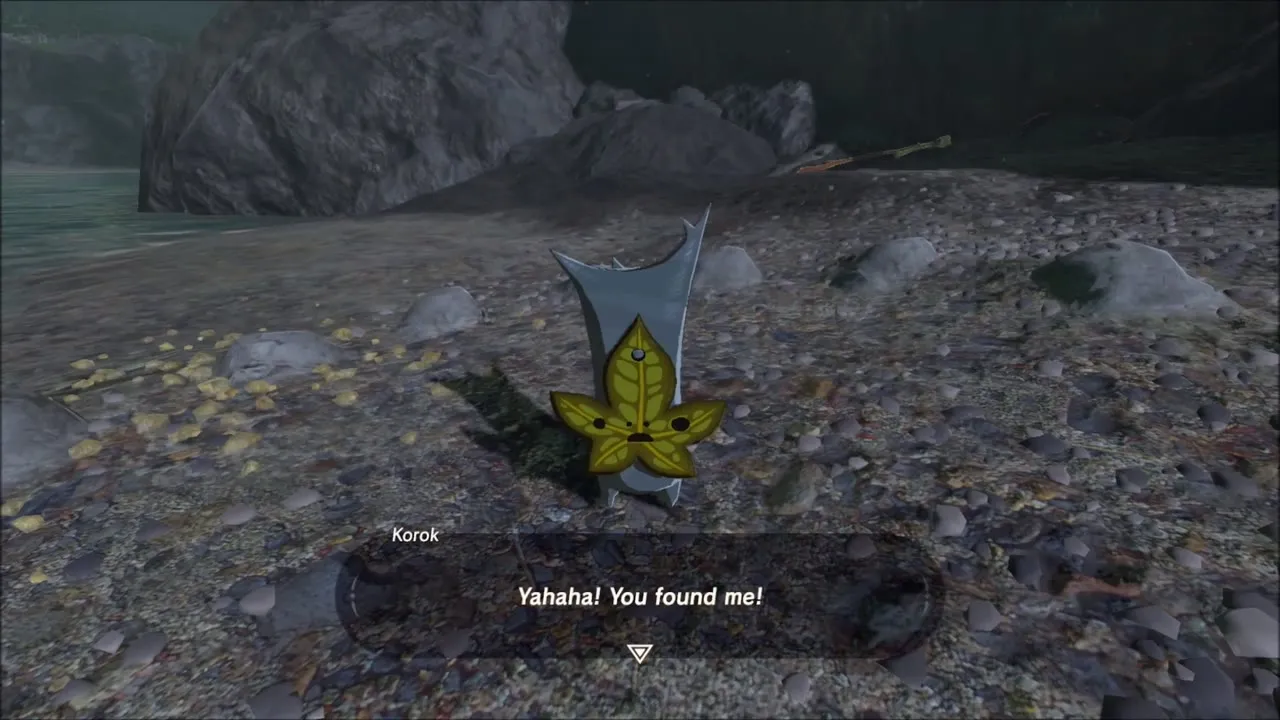
Further on, the route drops to a rocky cove beside the lake, where Keese and Bokoblins attack. Beat them, then look for another ring of stones with a gap on the pebble beach. Carry a boulder to the ring and drop it into place for a third Korok seed. On the slope above, watch for enemies that attack with electricity, since a shock makes you drop your weapon.
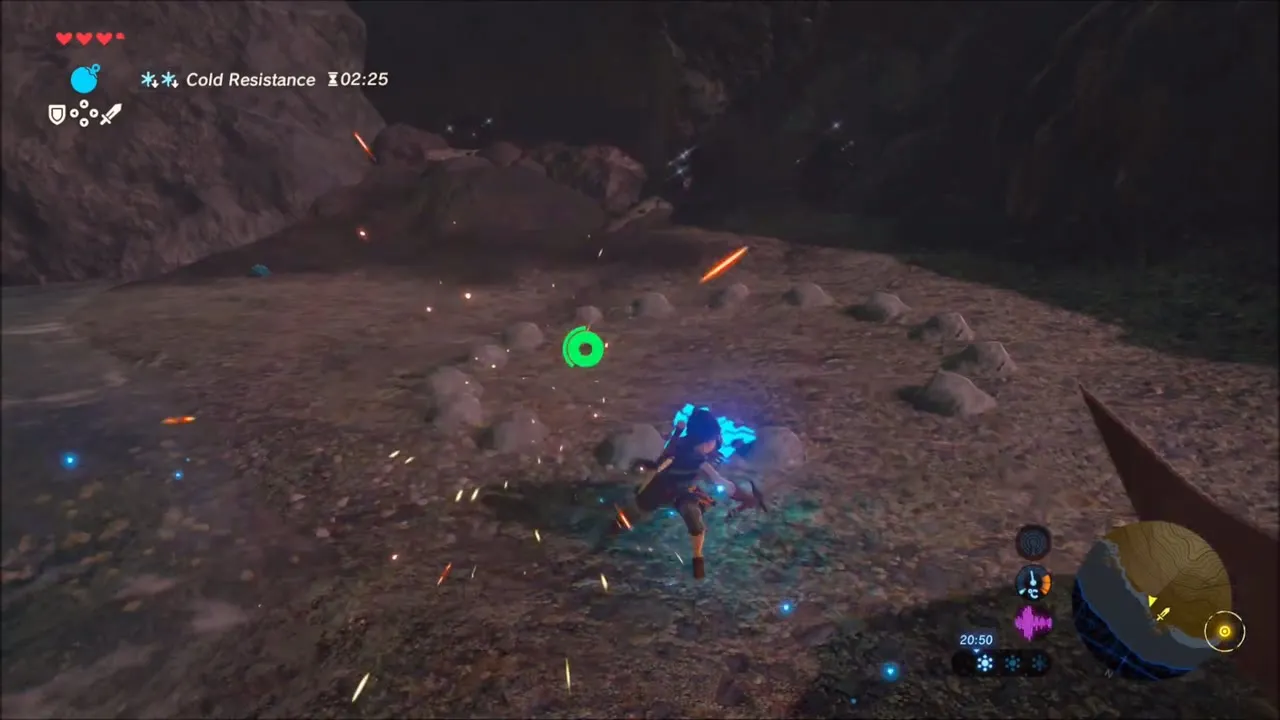

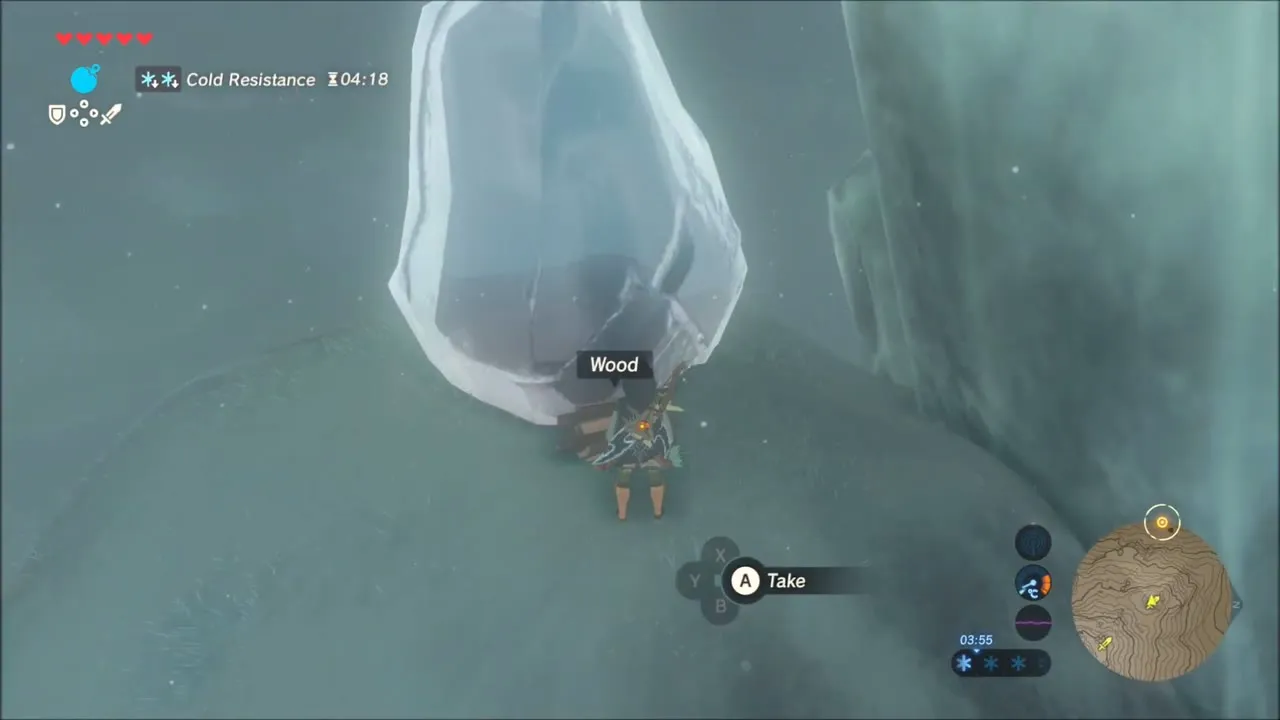
Close to the summit the snow is deep and the cold is brutal. Two Koroks are frozen inside large blocks of ice on separate mounds near the top. At each block, place a bundle of Wood beside the ice, light it with a torch to make a campfire and wait for the flames to melt the ice. Each freed Korok gives you a Korok seed. Warm up at the fires and paraglide across the gaps to keep moving upward.


Spring of Wisdom: How to Free Naydra
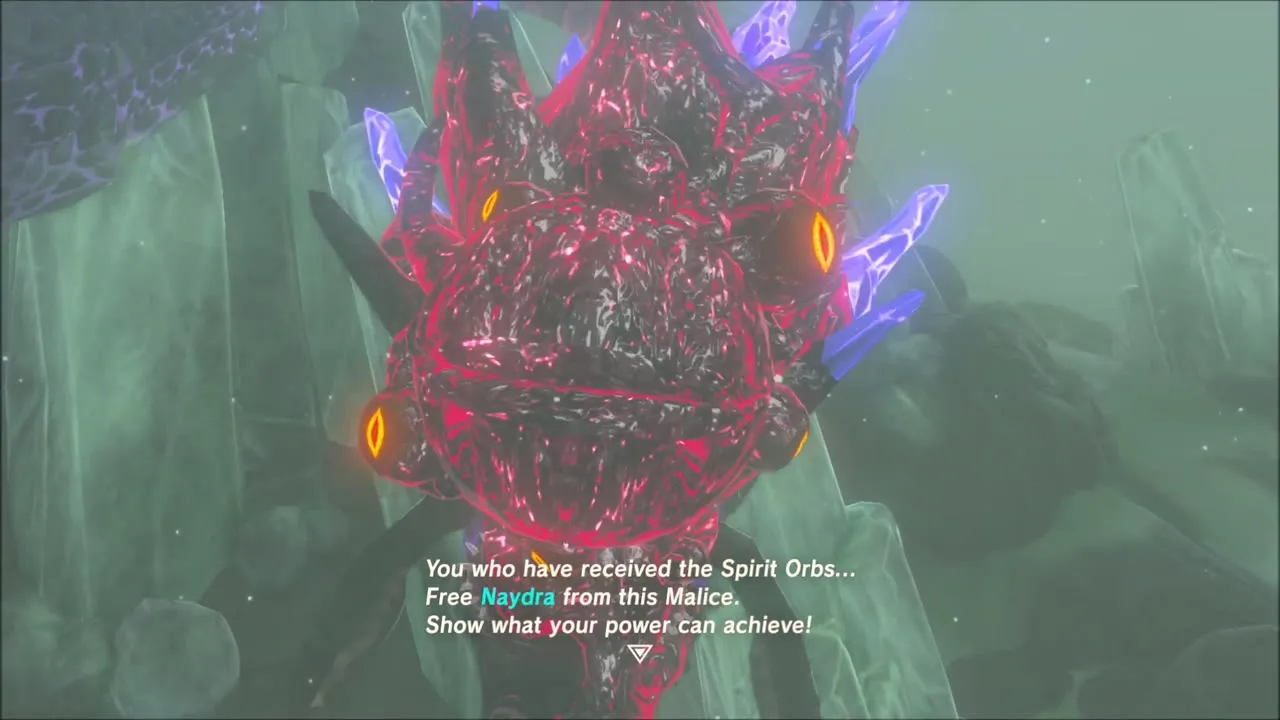
Follow the stone steps up to the ruined spring on the peak; the title card Spring of Wisdom appears as you arrive. A voice asks you to free Naydra from her Malice. She is a huge dragon coiled around the summit and covered in glowing Malice eyeballs. This is the Spring of Wisdom shrine quest. Naydra does not attack you, so bring plenty of arrows and take your time.
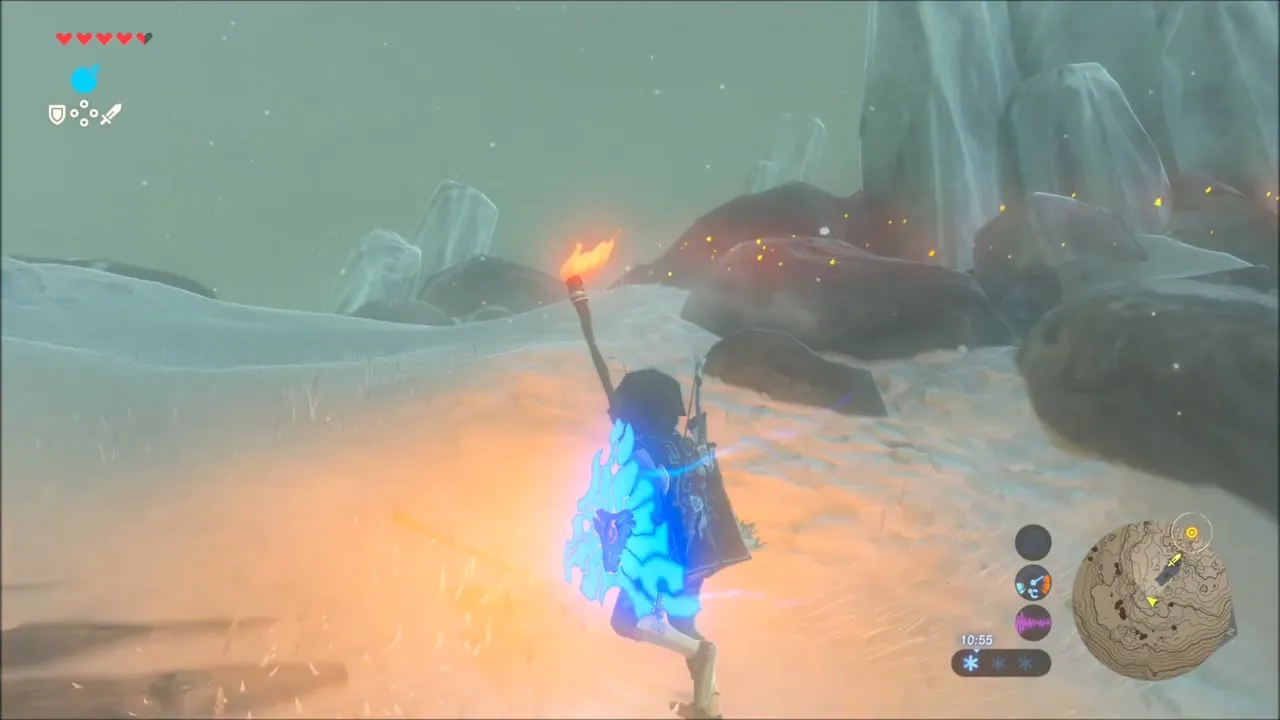
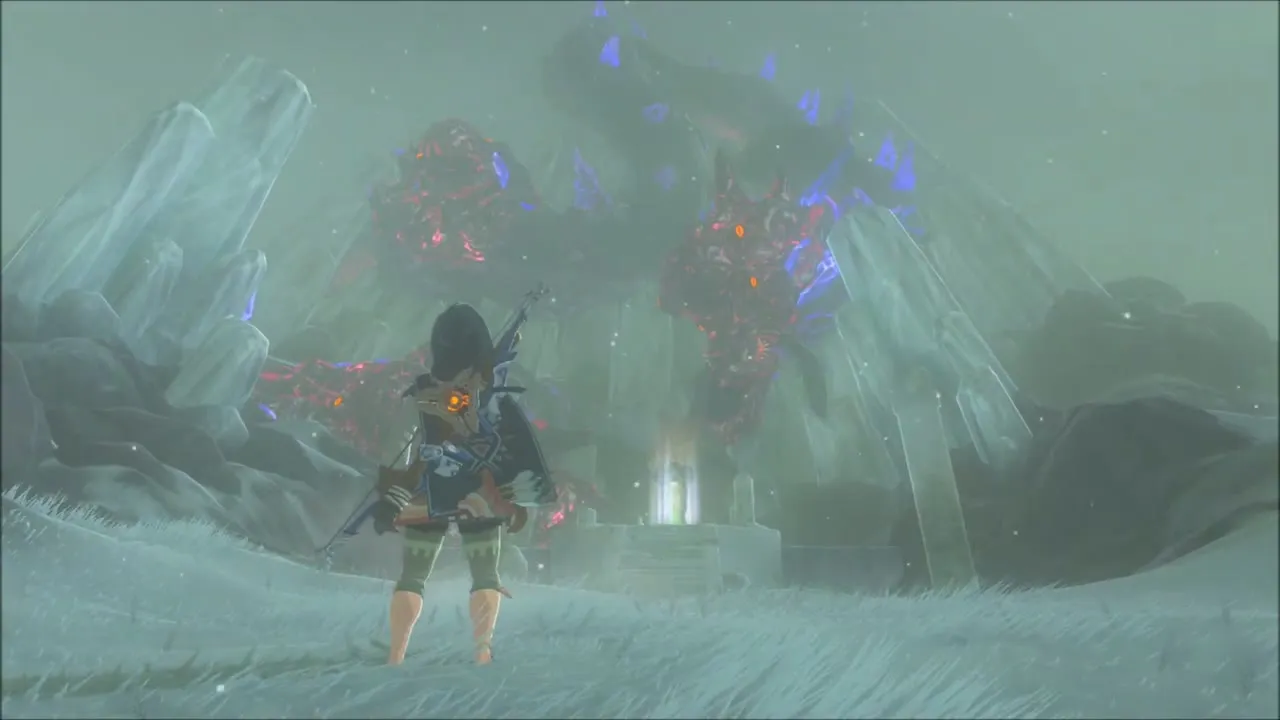
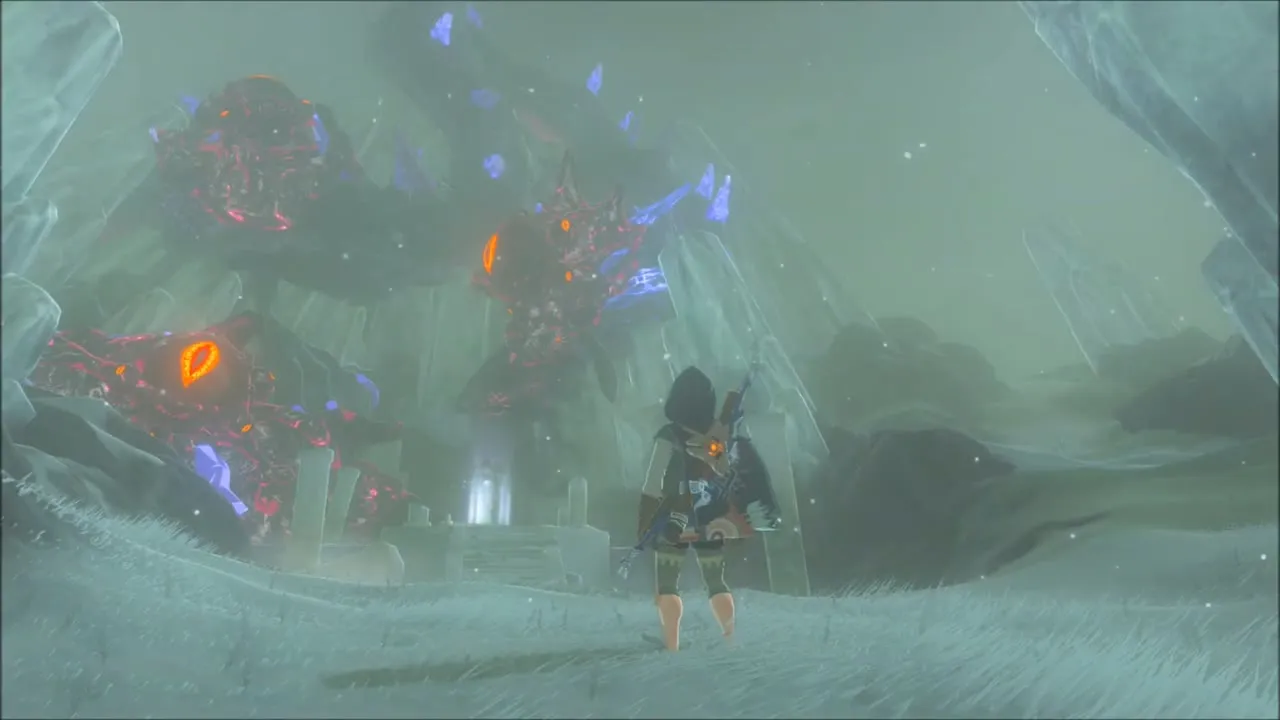
Shoot the first Malice eyeball while she is still, and she takes off into the clouds. Use the updrafts and the ridges of the peak to climb, aim from solid ground where you can, or paraglide close to her body and shoot the next eyeball in slow motion. Follow her down the mountainside by gliding after her and shoot the remaining eyeballs one by one. When the last one is destroyed the Malice is gone, Naydra glows with a pale blue-green light, and a cutscene returns you to the spring.


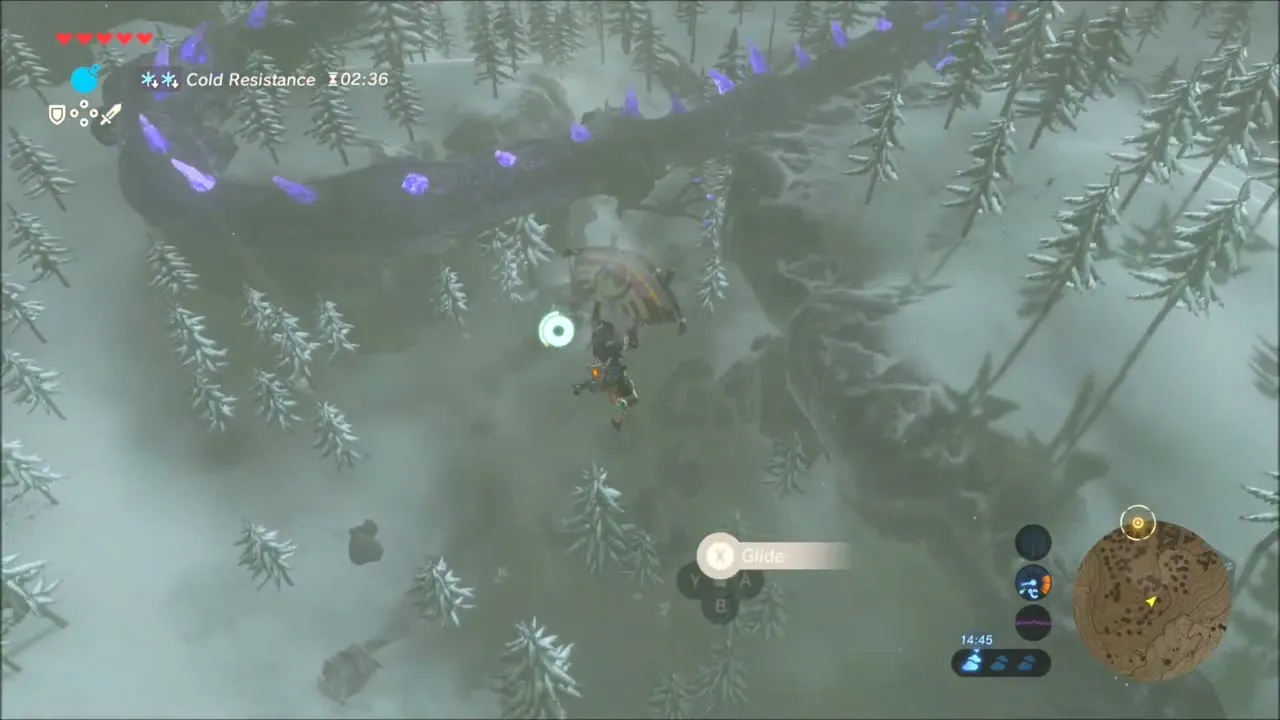
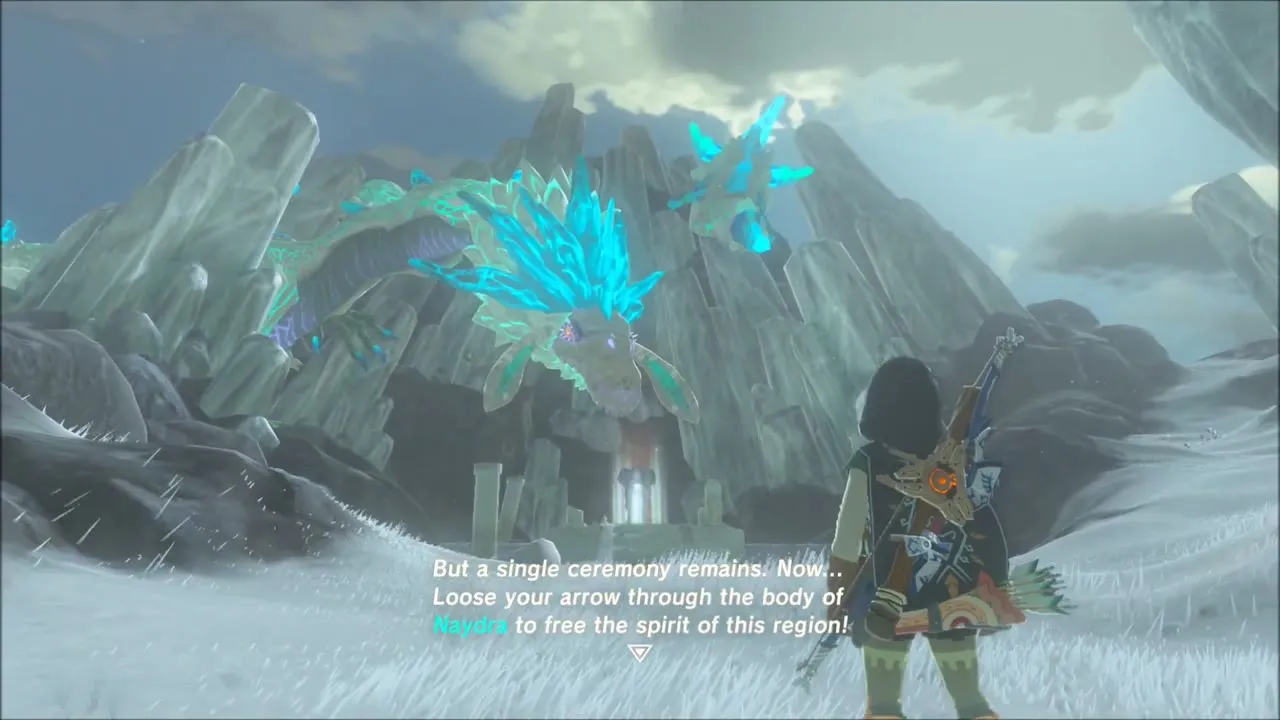
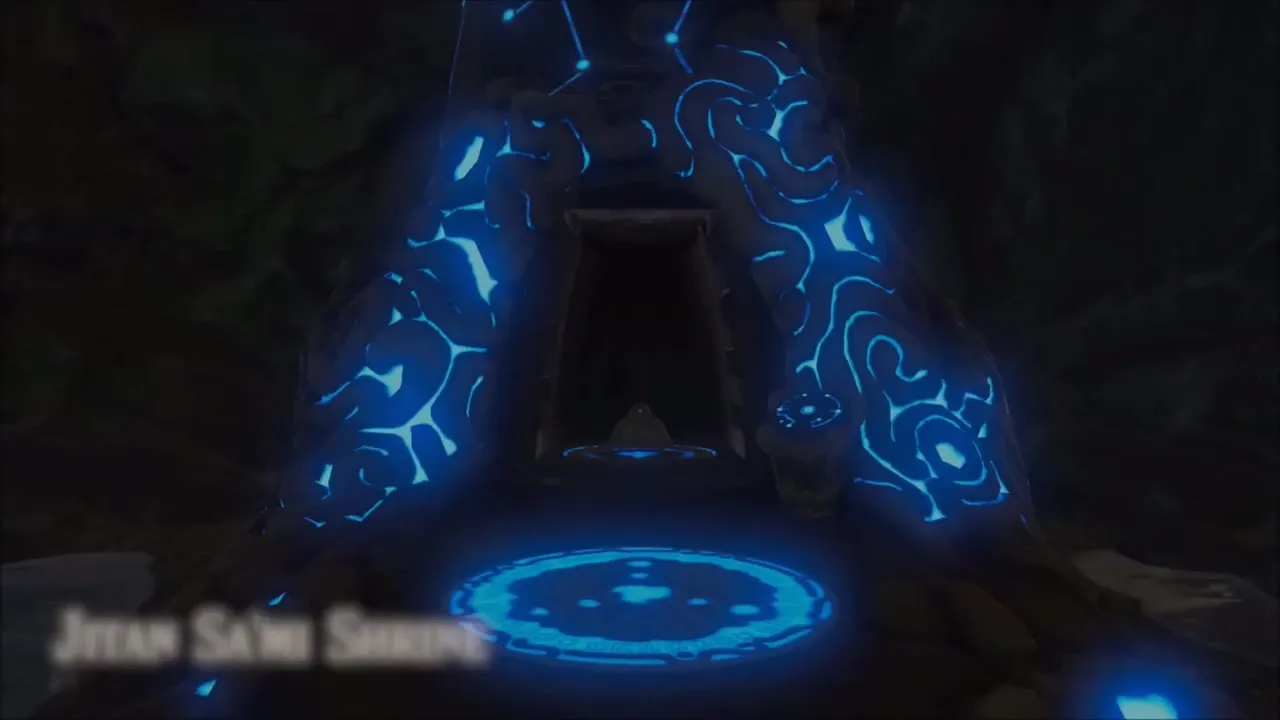
Shoot Naydra once more as she circles overhead and she drops one of her scales. Pick up the scale, carry it back to the pool in front of the goddess statue and throw it into the water. A voice thanks you for freeing Naydra, the entrance to Jitan Sa’mi Shrine rises behind the pool, and the shrine quest is updated in your Adventure Log.
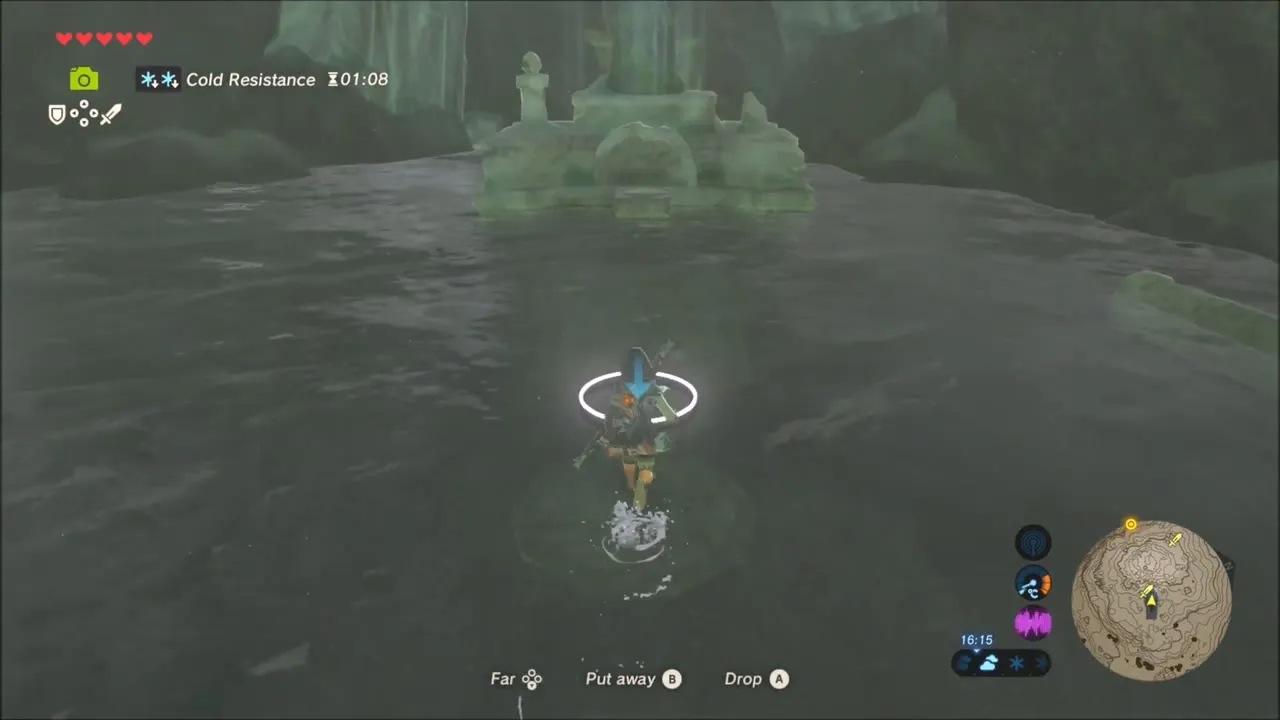
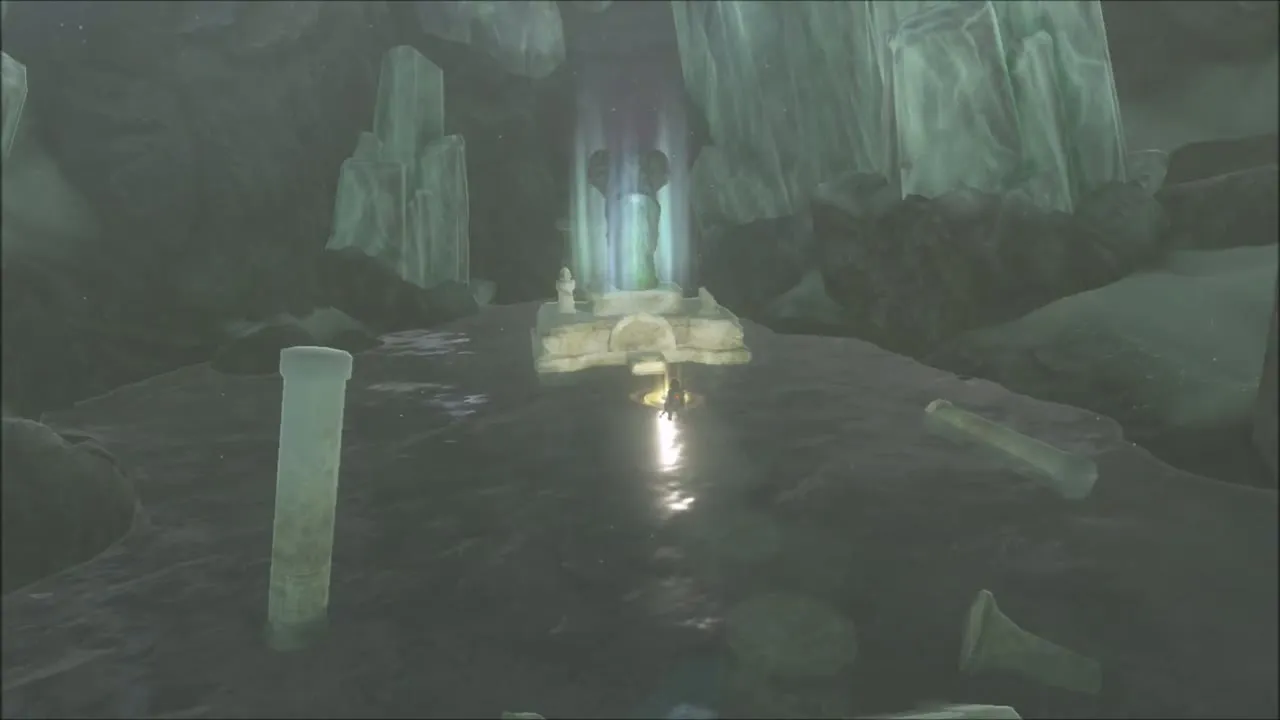
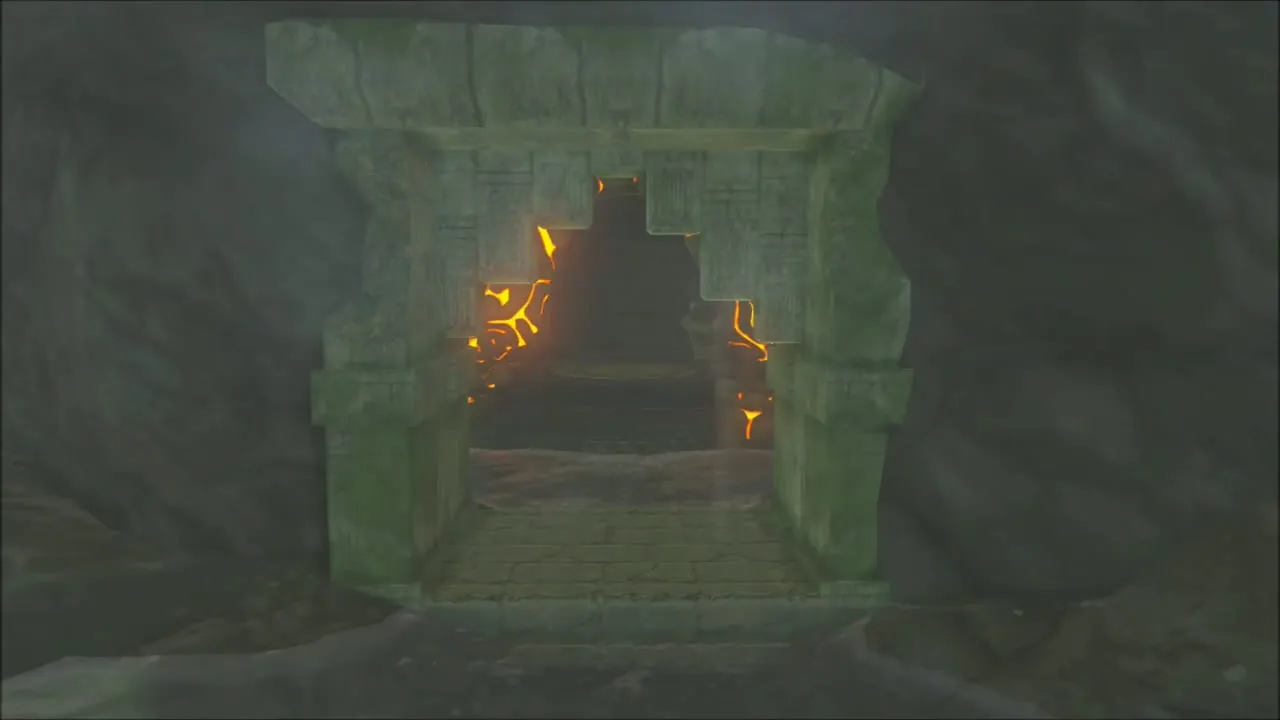
Jitan Sa’mi Shrine: Frostspear and Spirit Orb
Jitan Sa’mi Shrine (x 3883, z 1315) is a blessing shrine, so there is no puzzle to solve. Walk up the hall and open the chest in front of the altar for a Frostspear, then speak to the monk Jitan Sa’mi to receive the Spirit Orb. Afterwards you can photograph Naydra for the Hyrule Compendium.
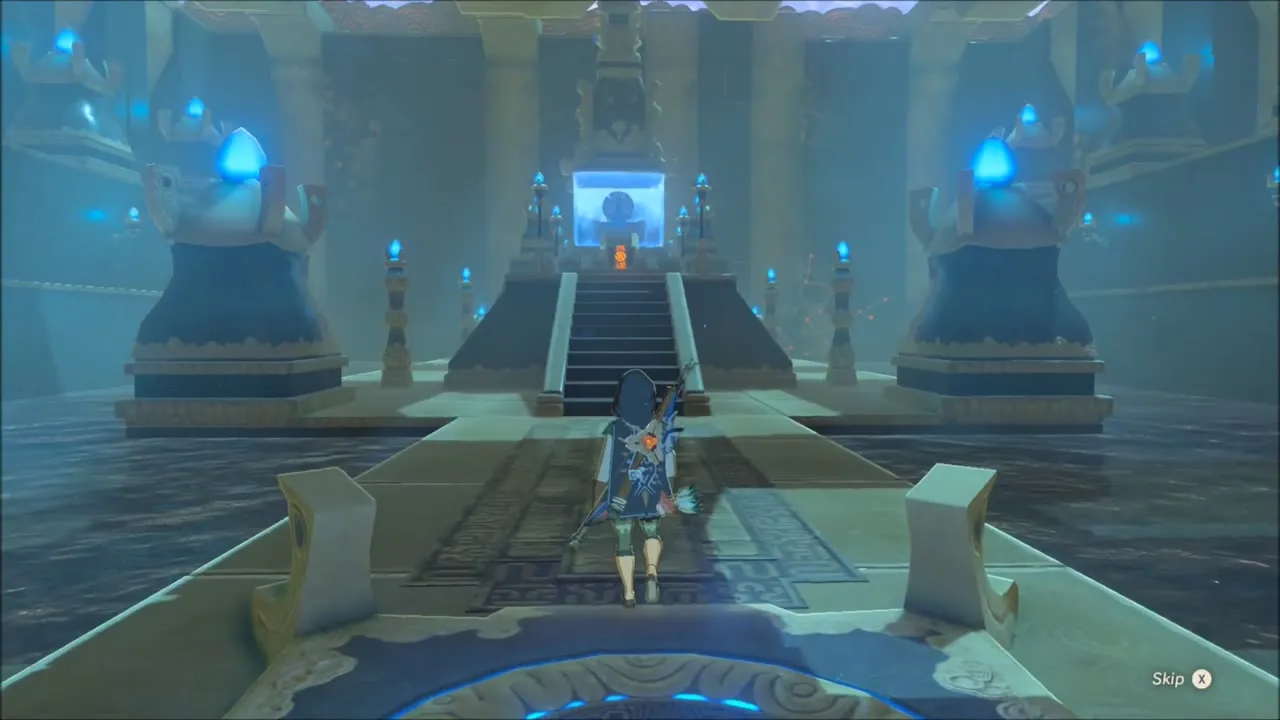
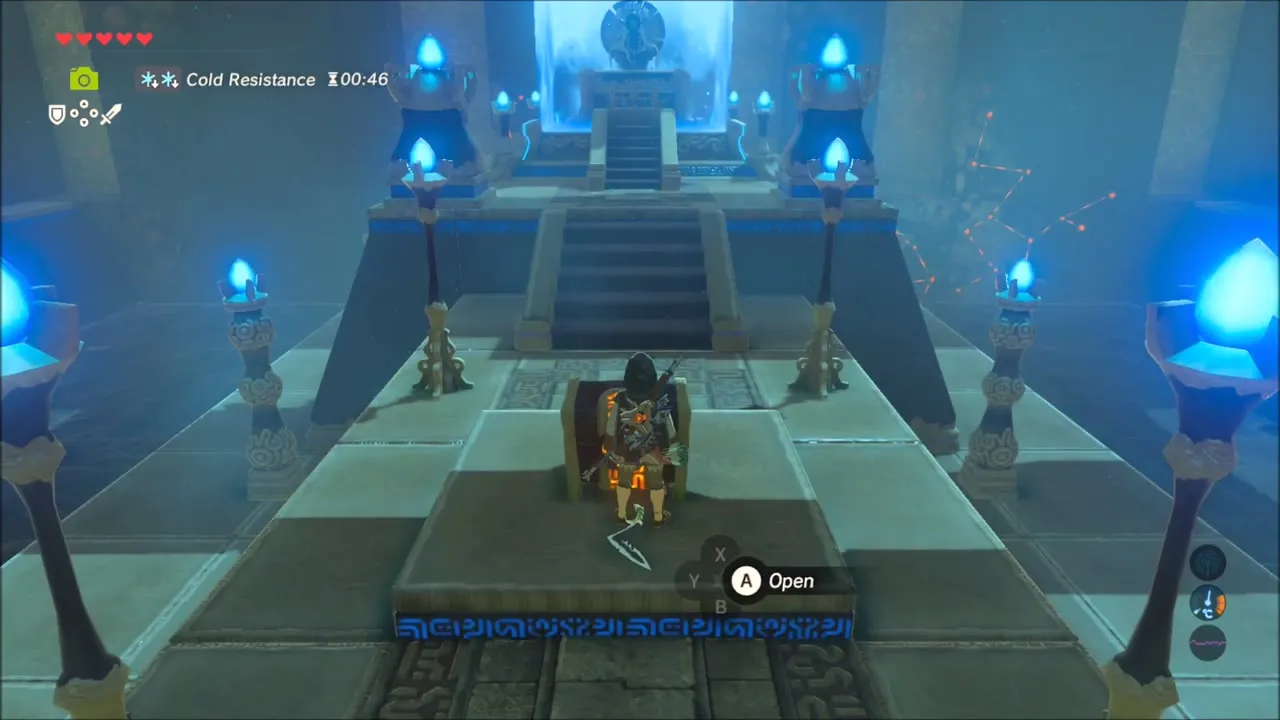


Hateno Village: Shopping, Cooking and the Inn
From the summit, warp to Myahm Agana Shrine and walk into Hateno Village. At Pruce’s shop you can buy his whole stock of Bird Eggs for 60 rupees, pick up Hearty Truffles and sell spare gems such as Sapphire.


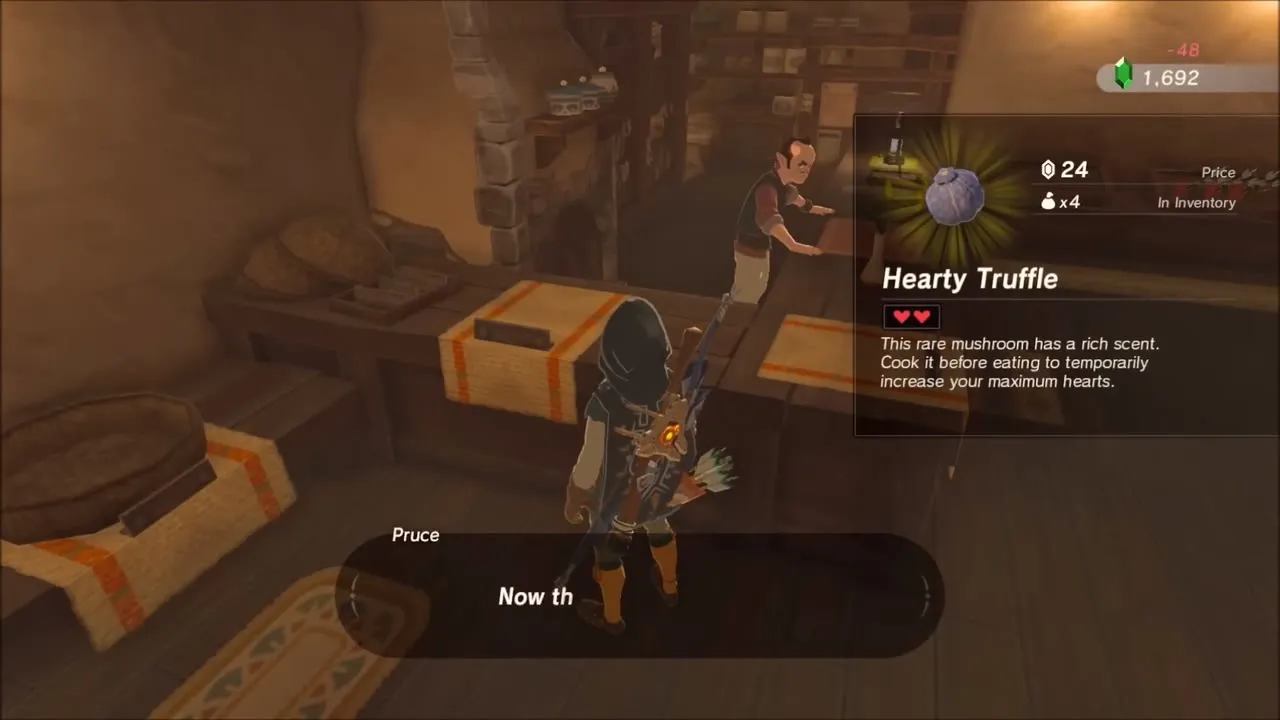
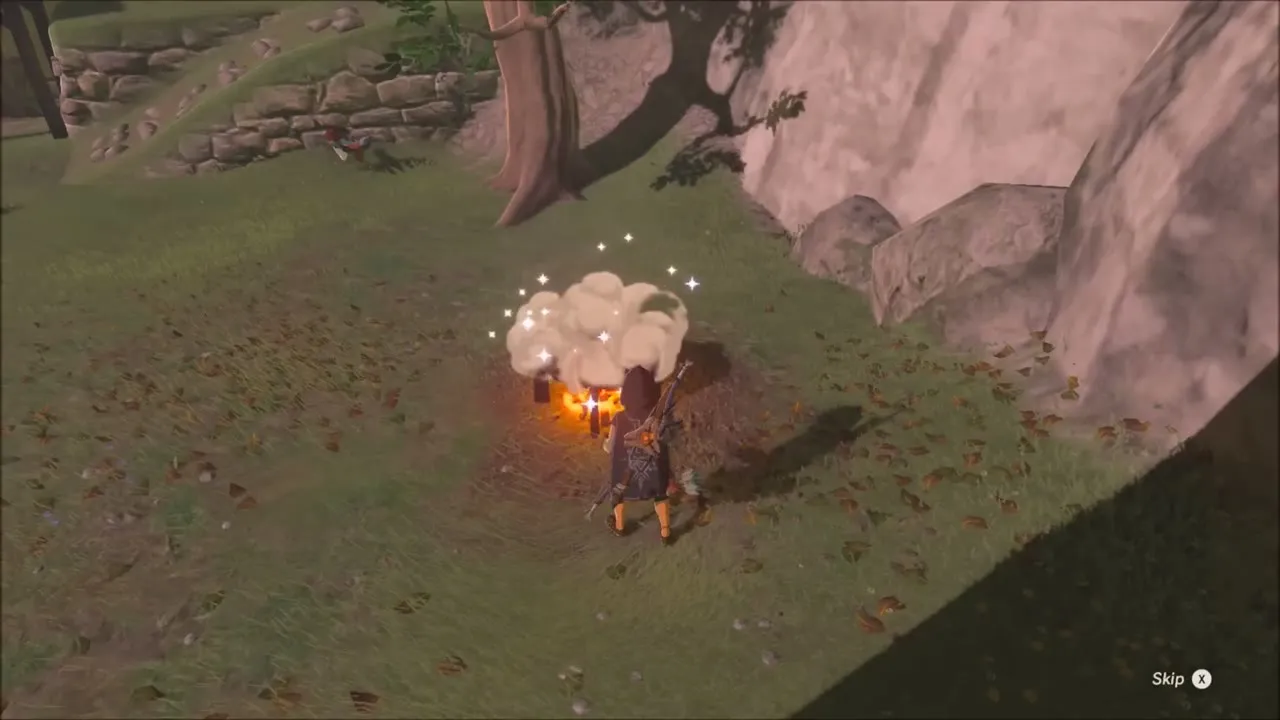
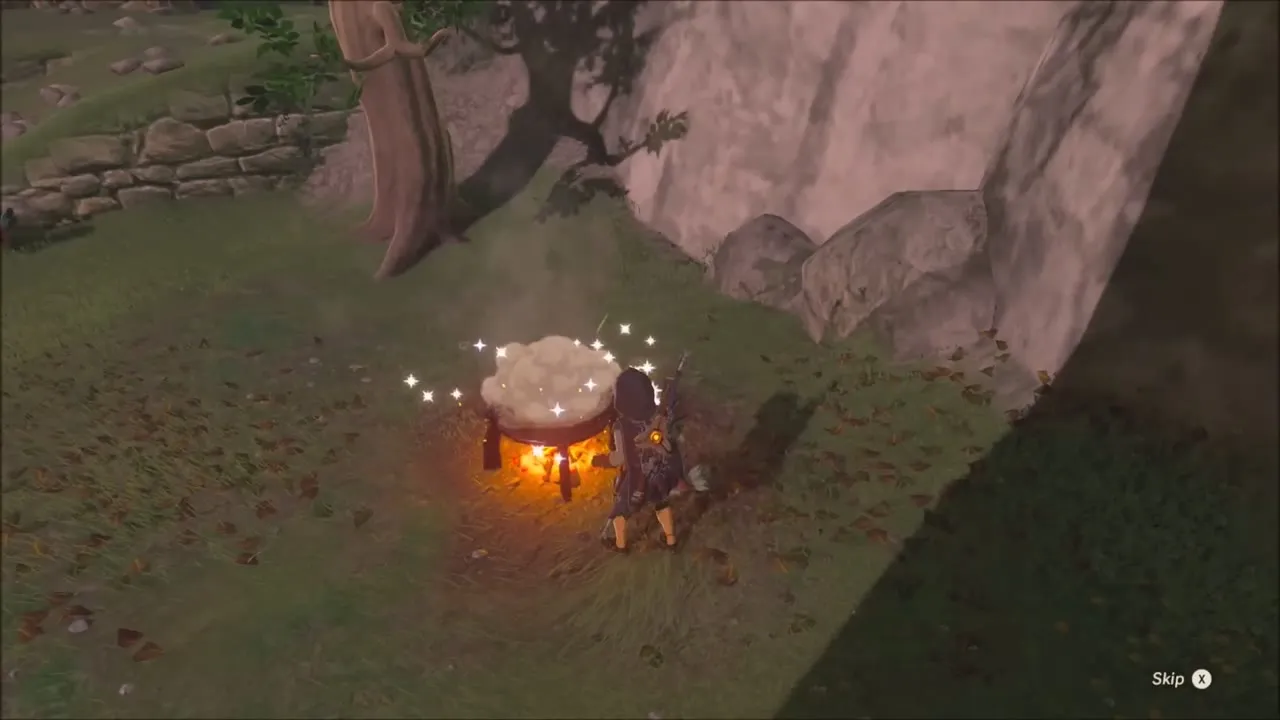
At the cooking pot on the hillside near the village, cook a batch of meals for the road: a Spicy Elixir for cold areas, Tough Fish and Mushroom Skewers for a defense boost, Mighty Seafood Rice Balls, and Mighty Fried Egg and Rice for an attack boost.


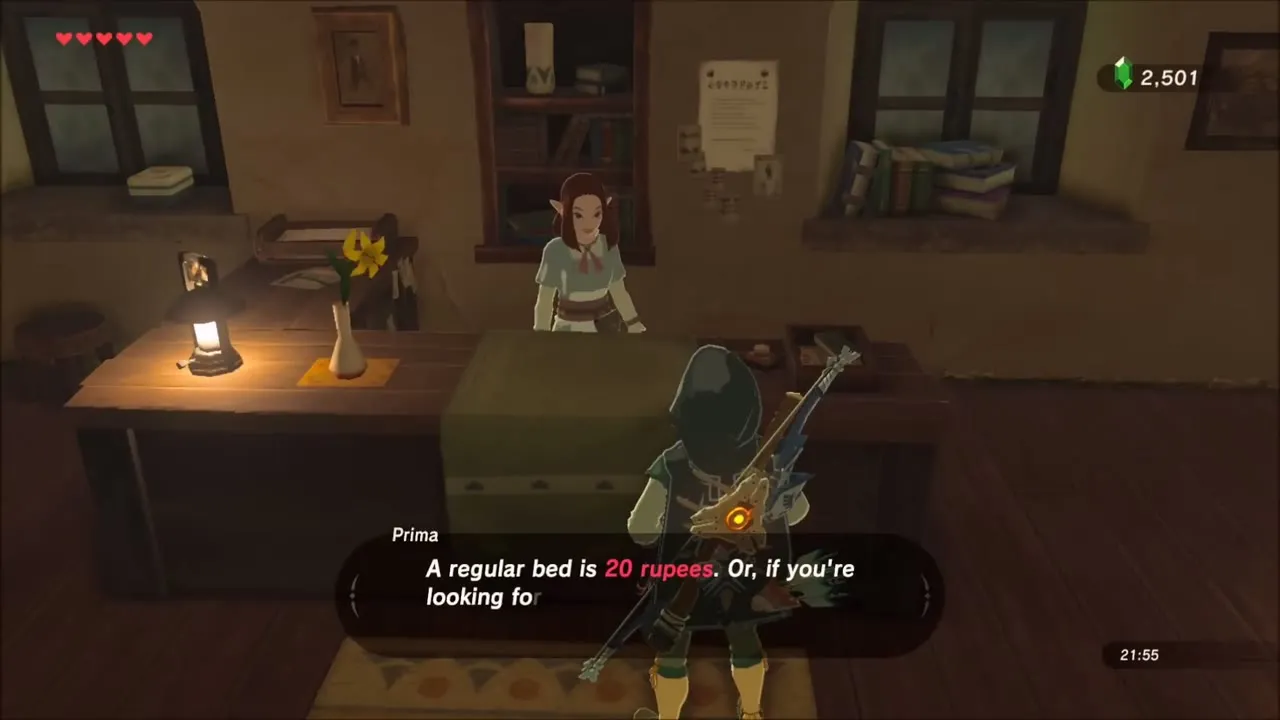
Back in town in the evening, go to Prima’s inn and take the Regular bed for 20 rupees to sleep through the night. A Blood Moon rises as you sleep, which restores the monsters around Hyrule.

Hateno Village Quests: Manny’s Crickets and From the Ground Up
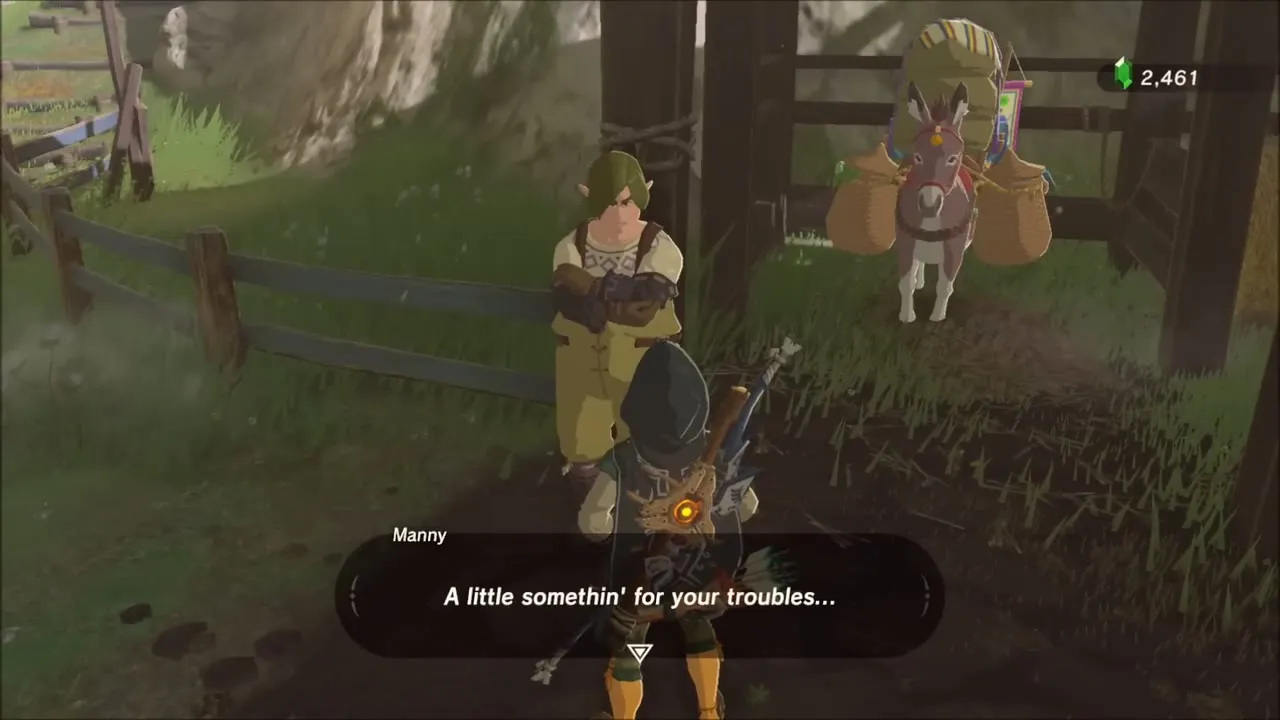
Outside, give Manny the Restless Crickets you have collected. He says he will take them to Prima for a date and pays you a Silver Rupee (100 rupees), which finishes A Gift for My Beloved.


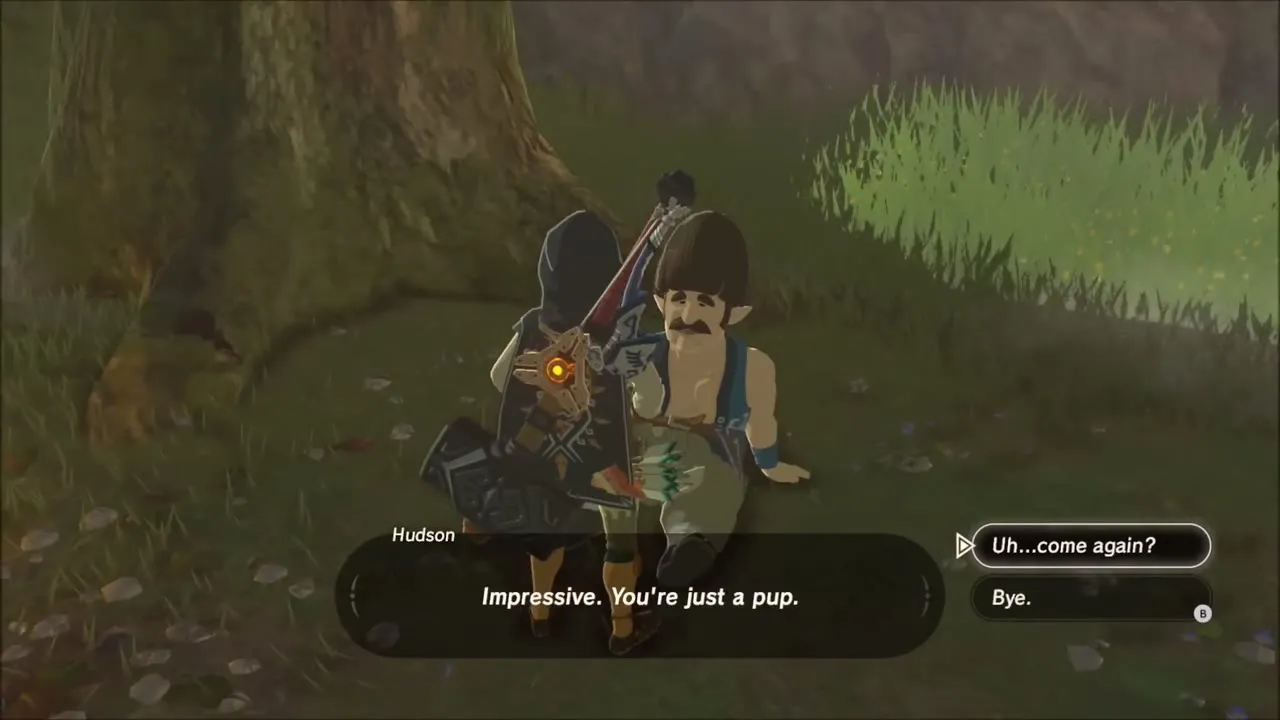
Cross the wooden bridge and talk to Hudson, who sits under the big tree. He is leaving Hateno to found a new town in the Akkala region, which starts the From the Ground Up side quest. Bolson, sitting by a campfire nearby, offers to build and decorate your house for a fee, and the Hylian Homeowner quest updates in your Adventure Log.


Down to Lanayru Road: Lynel and Purifier Lake Hinox
Warp back to Jitan Sa’mi Shrine and work your way down the mountain: climb across the cliff faces, use the Paraglider to cross gaps and land on the grassy slopes that lead to the road below.


A Lynel patrols the open ground along the road. Take a photo of it from a distance, then fight it by dodging its swings with a well-timed side jump for a Flurry Rush, shooting it with arrows and attacking while it recovers. It drops a Lynel Horn when it falls.


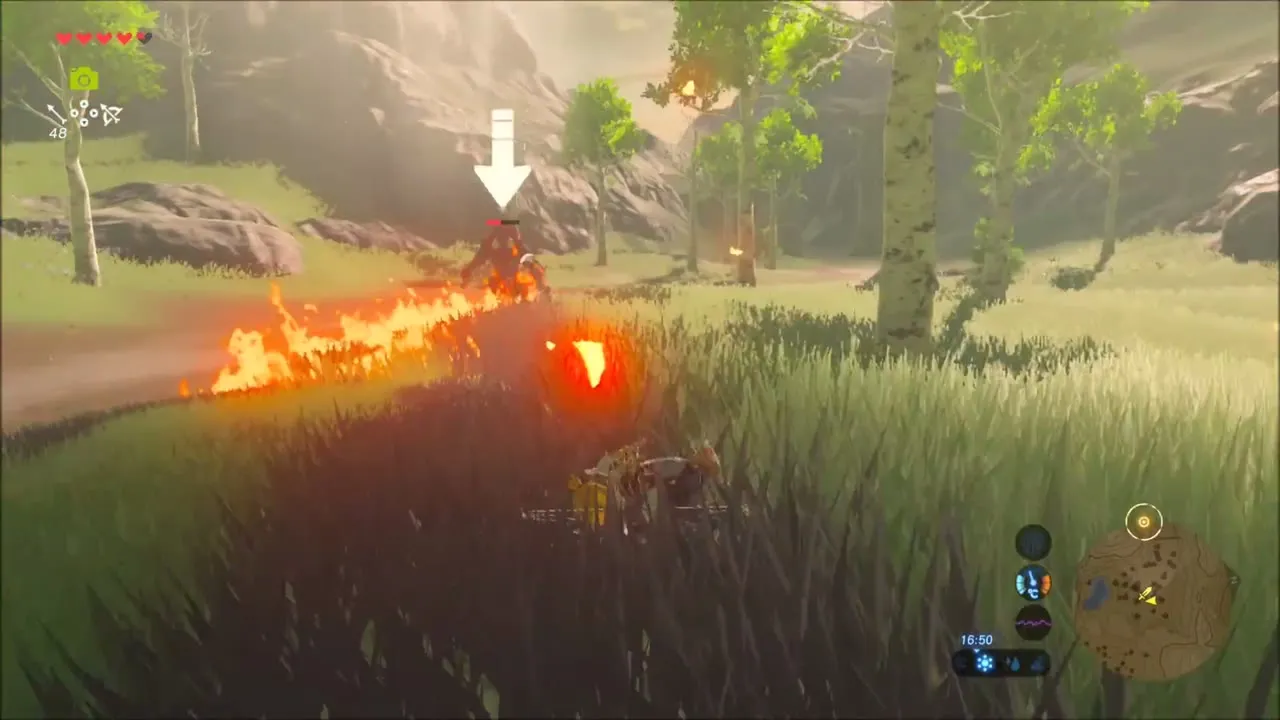

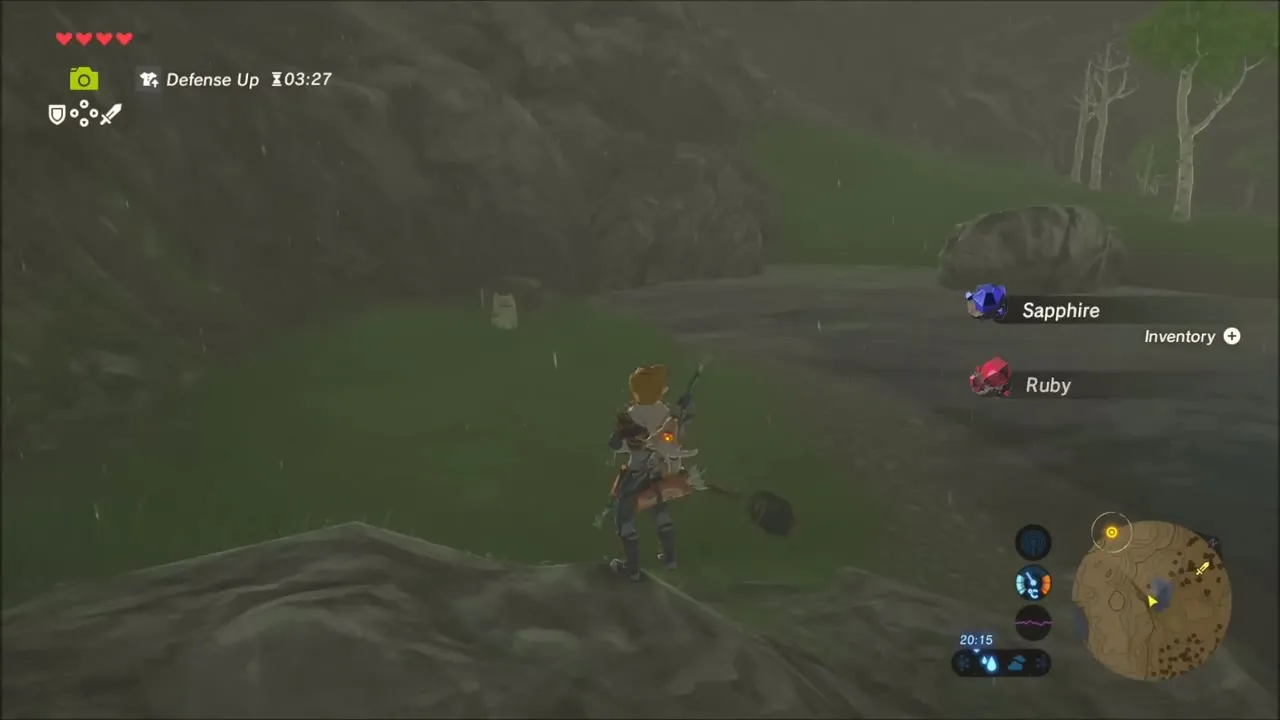
At Purifier Lake (x 3261, z 1314) a Hinox waits on the shore. Shoot Bomb Arrows at its eye and keep moving to avoid its swings. When it falls, loot the Traveler’s Sword and Traveler’s Bow it was carrying and its Hinox Toenail. Rocks beside the lake yield a Sapphire and a Ruby.


Lanayru Road East Gate: Captured Memory
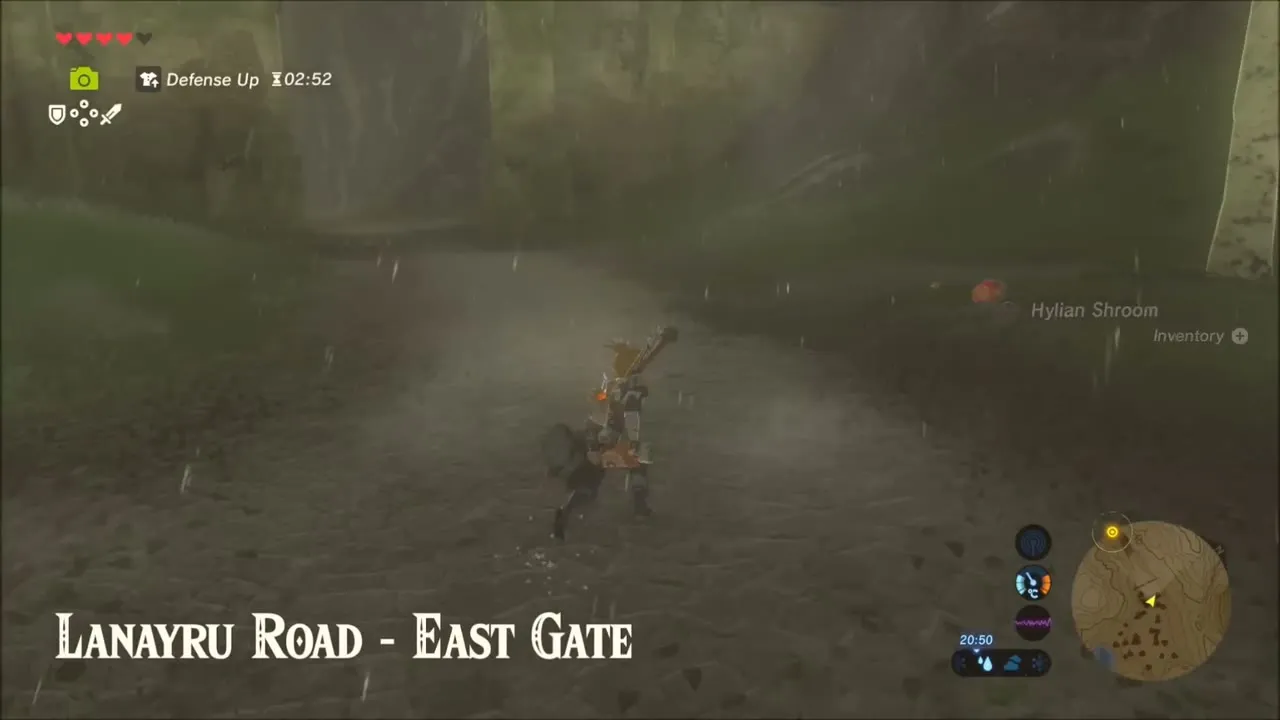
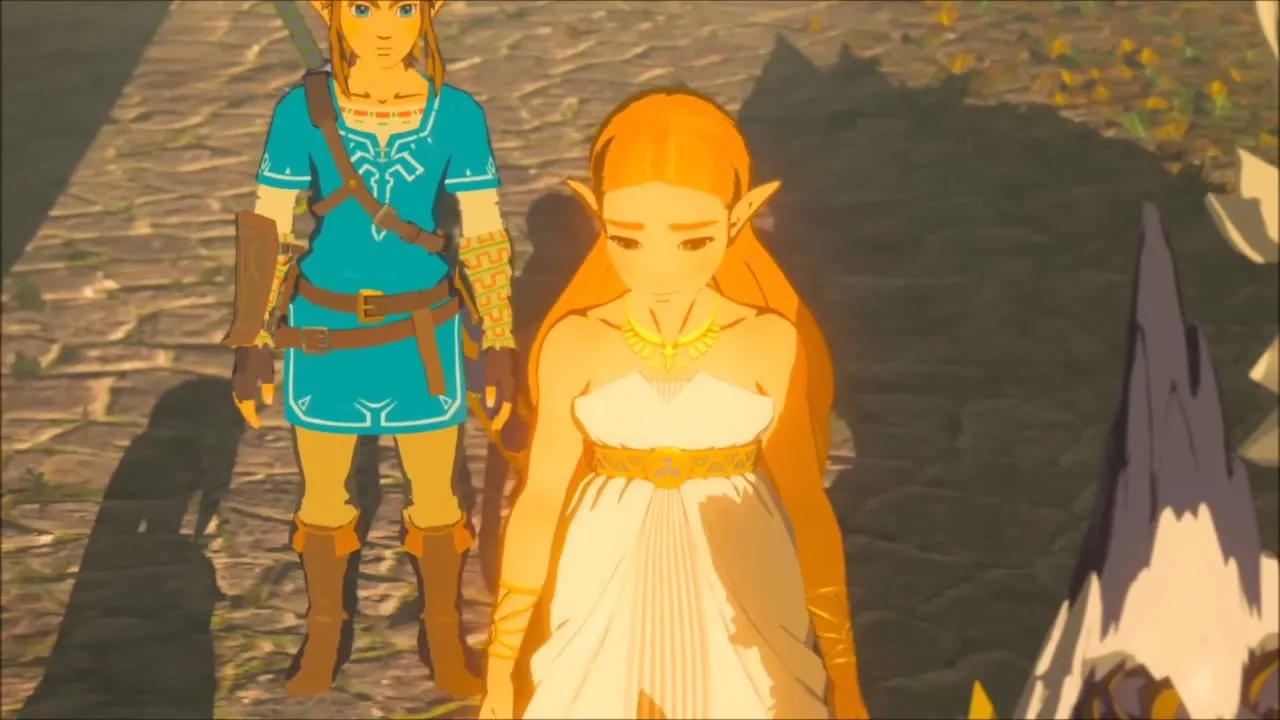
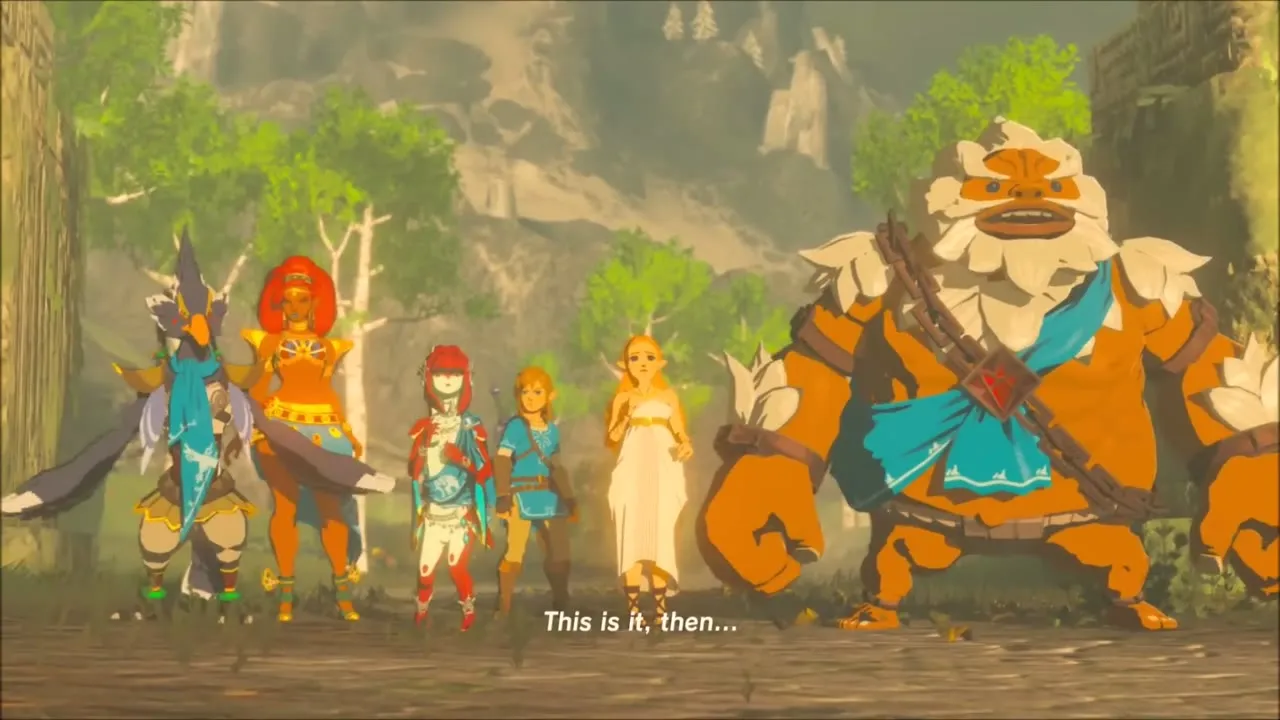
Follow Lanayru Road to the East Gate (x 3189, z 1156), a ruined stone arch across the path; the title card Lanayru Road – East Gate appears as you reach it. It matches the large-gate picture in the Album tab of your Sheikah Slate, so step onto the memory spot to play Memory 15, Return of Calamity Ganon, a scene of Link and Princess Zelda with the Champions Urbosa, Mipha and Daruk.


Lanayru Promenade: Korok Seeds, Fire Arrows and Shock Arrows
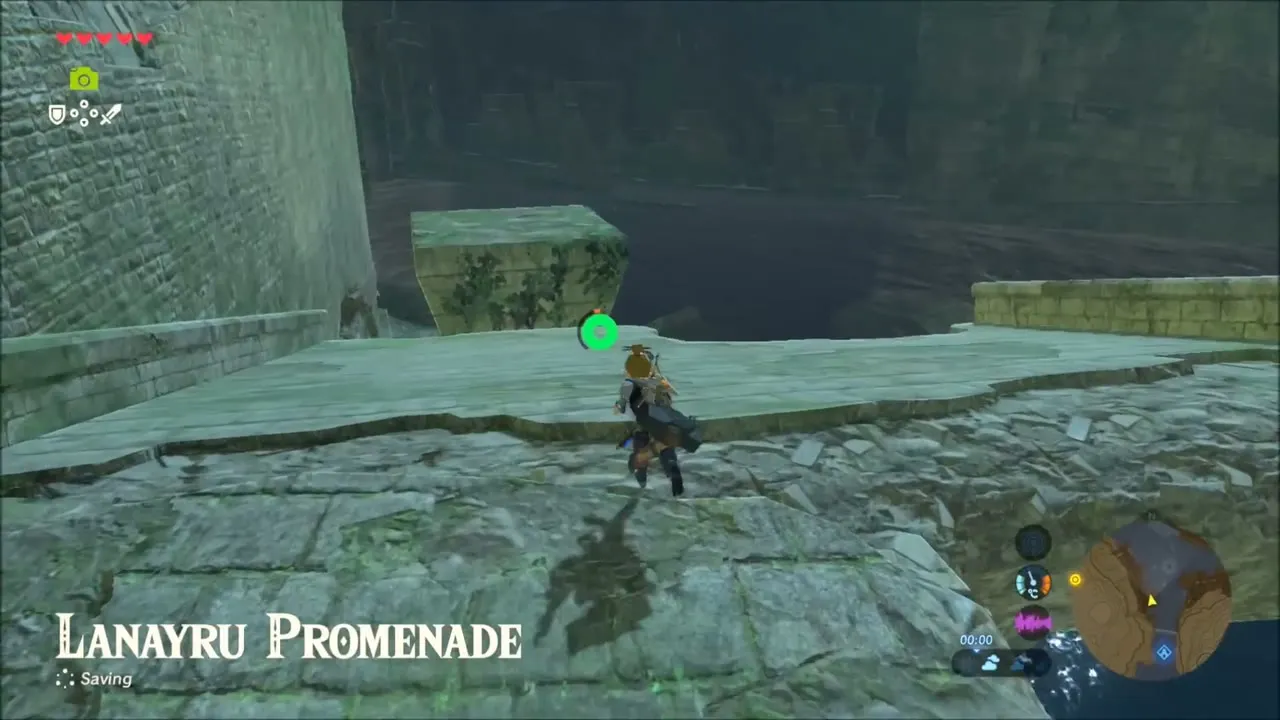
Continue along the road into the flooded ruins of Lanayru Promenade (x 2709, z 1164). Lizalfos and Bokoblins patrol the broken walkways, so fight them with bow and spear as you cross, collecting Lizalfos Horns and Bokoblin Guts.

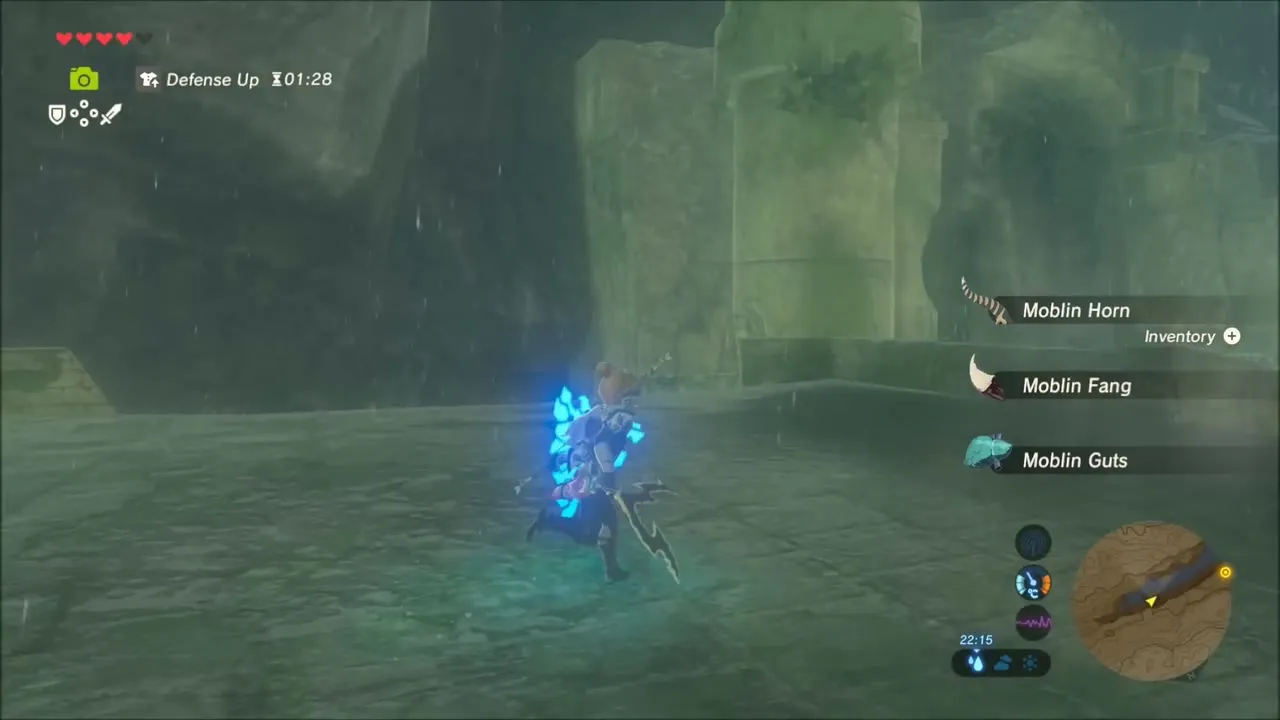


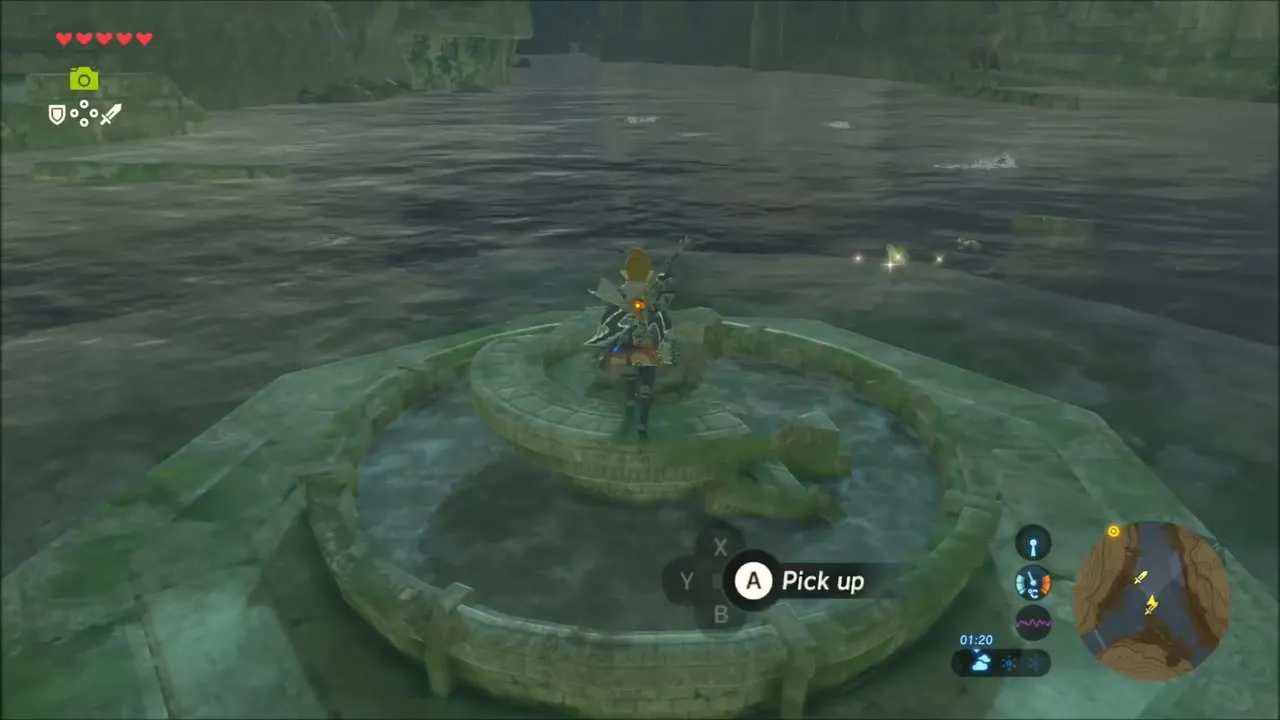
Glide onto the octagonal stone platform just beneath the water. A round stone ring on top of it holds a rock; pick up the rock and a Korok appears with a Korok seed.
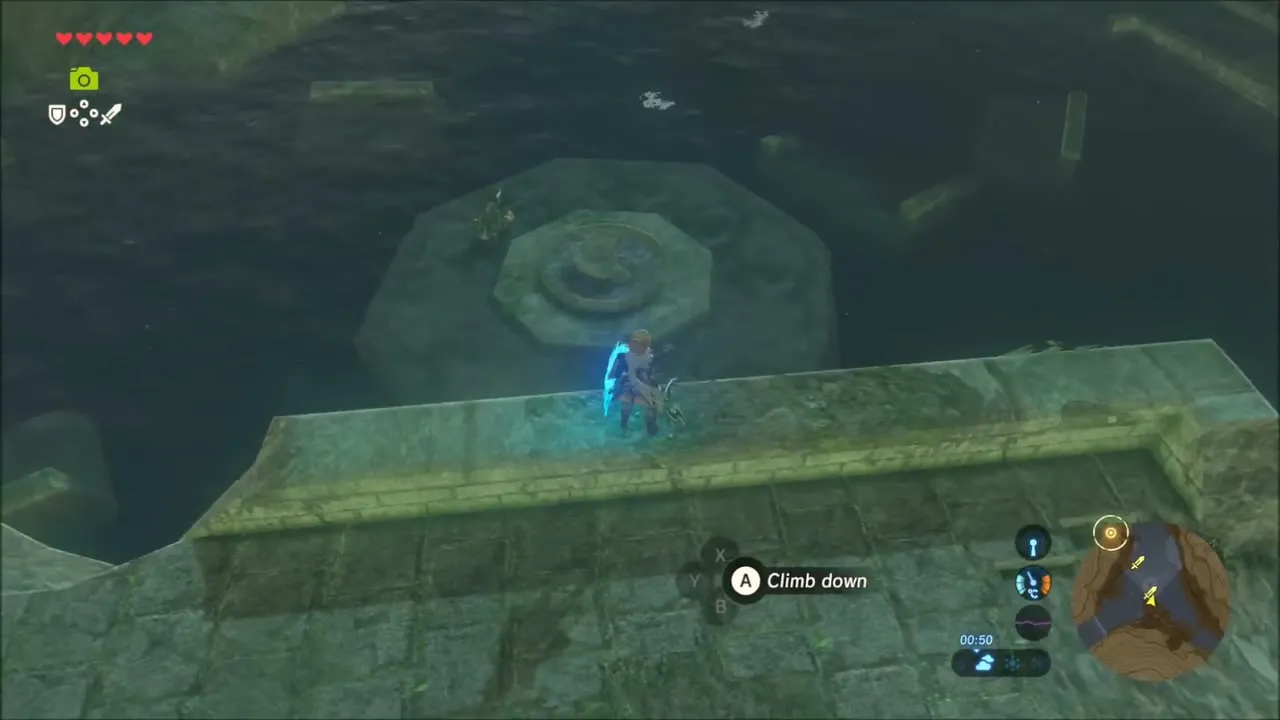

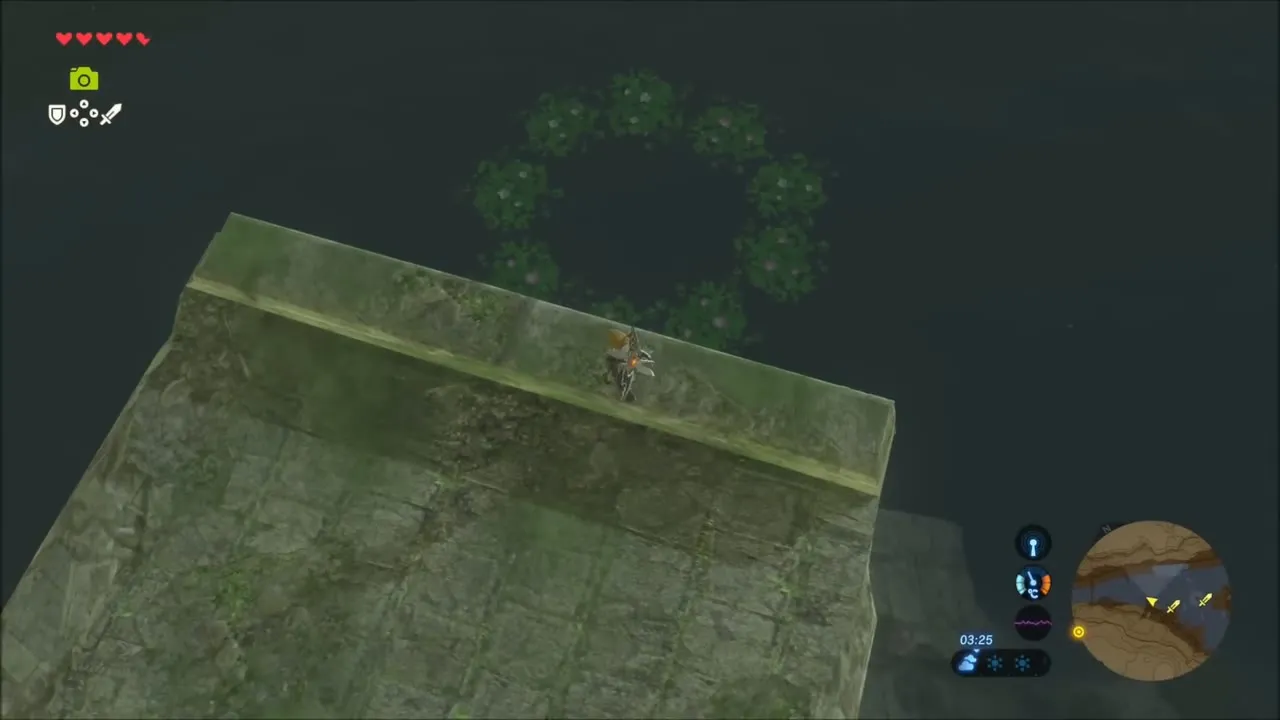
On a ledge at the water’s edge, open a chest for five Fire Arrows. Farther along, climb onto a stone slab and look down to find a ring of lily pads on the water. Swim to the middle of the ring and a Korok appears with a second seed. A chest on a ledge up the wall holds a Meteor Rod.


On the walkway at the far end, a chest sits among crates and barrels; open it for ten Shock Arrows. Green Rupees lie scattered in the water nearby.
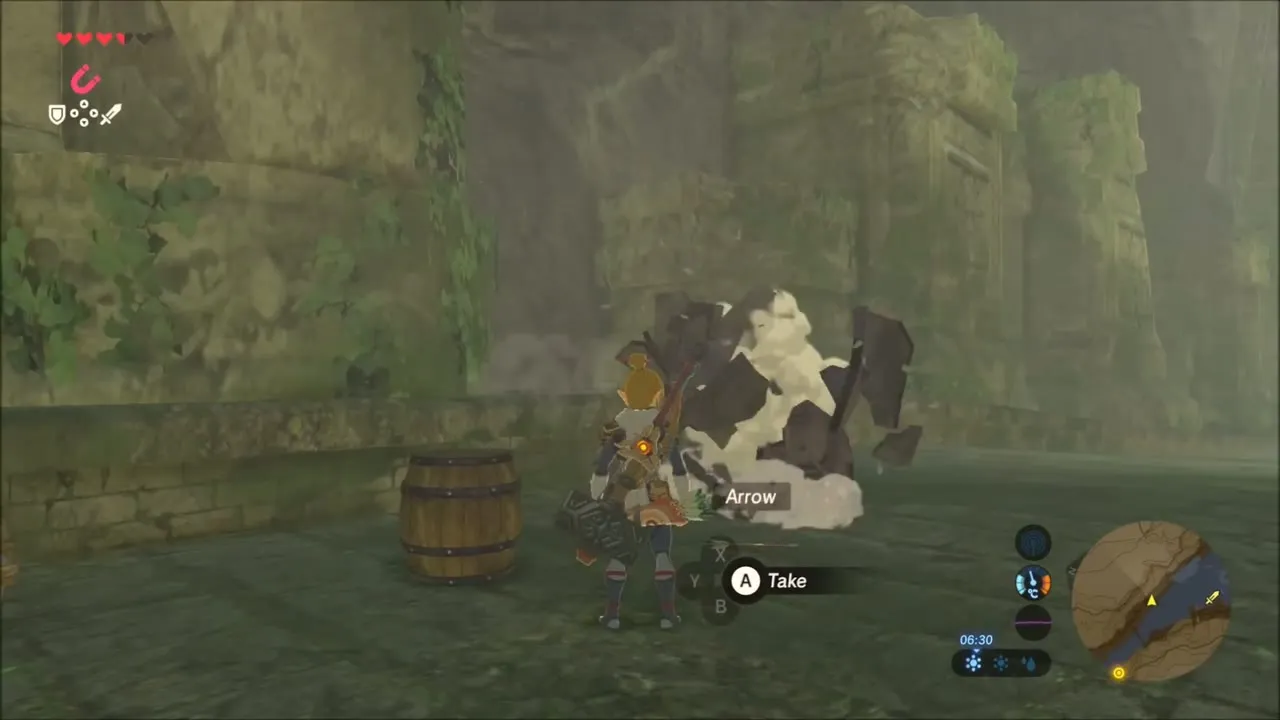
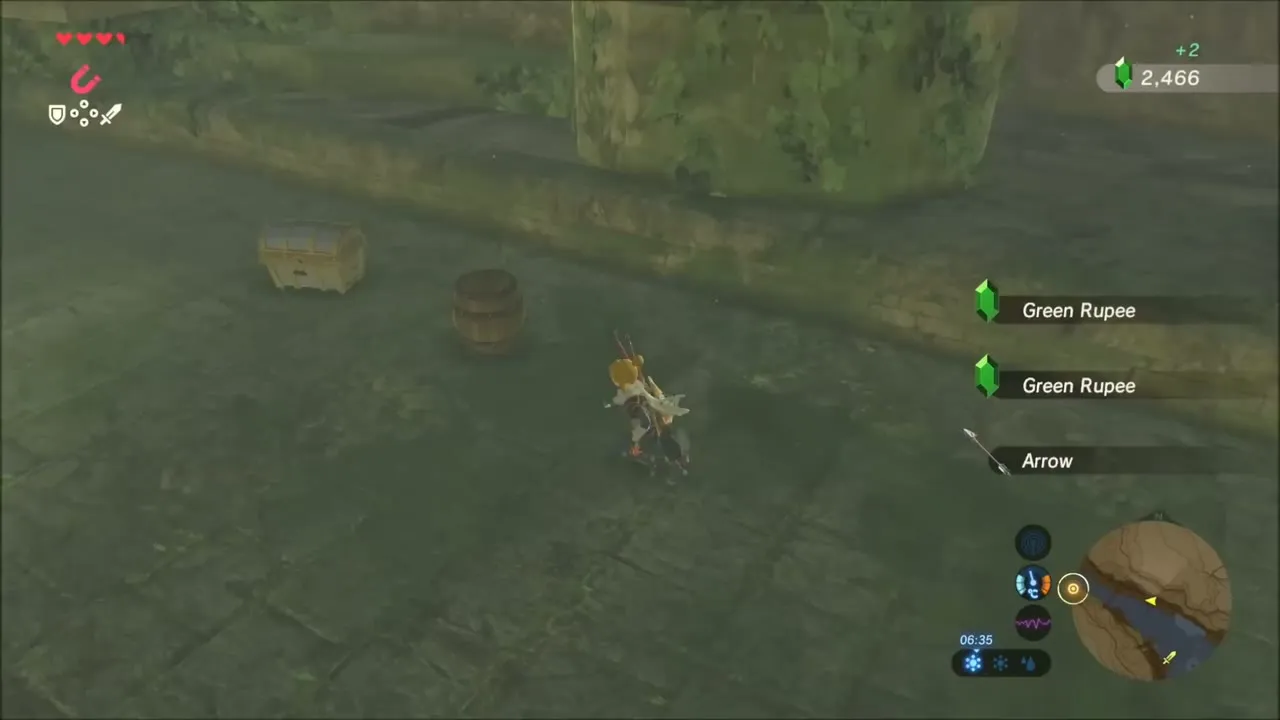
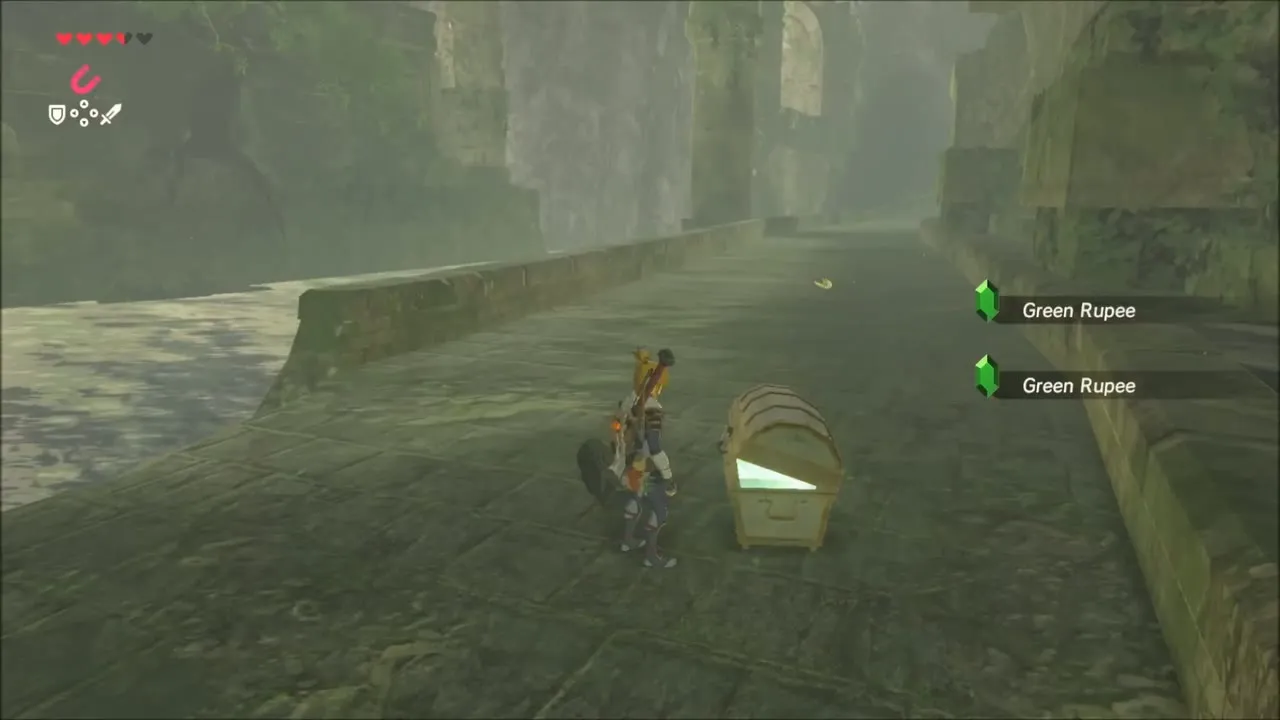
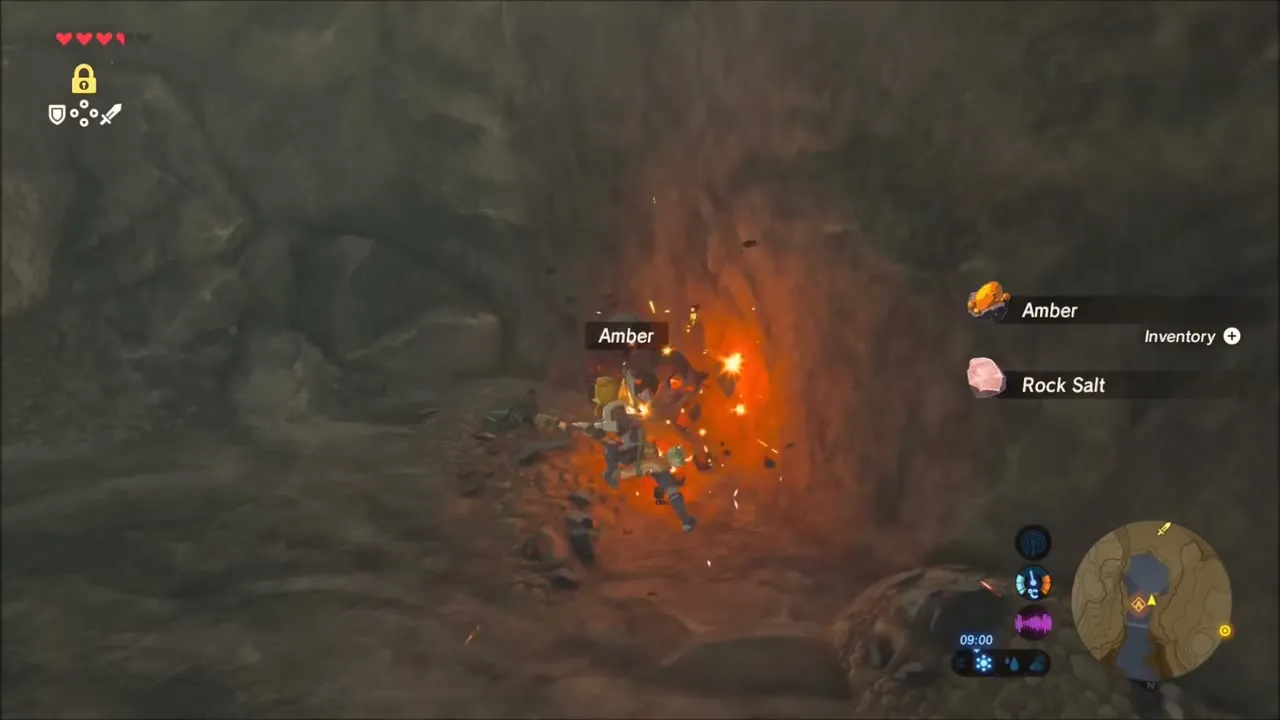
To reach the shrine, board the wooden raft moored beside the walkway and wave the leaf fan to blow the sail and push the raft across the water. Climb the ruined wall from the raft, then follow the tunnel behind the waterfall at the cliff to find Dow Na’eh Shrine (x 2697, z 1333); mining the rocks in the dark tunnel gives Amber, Rock Salt, Flint and a Luminous Stone.


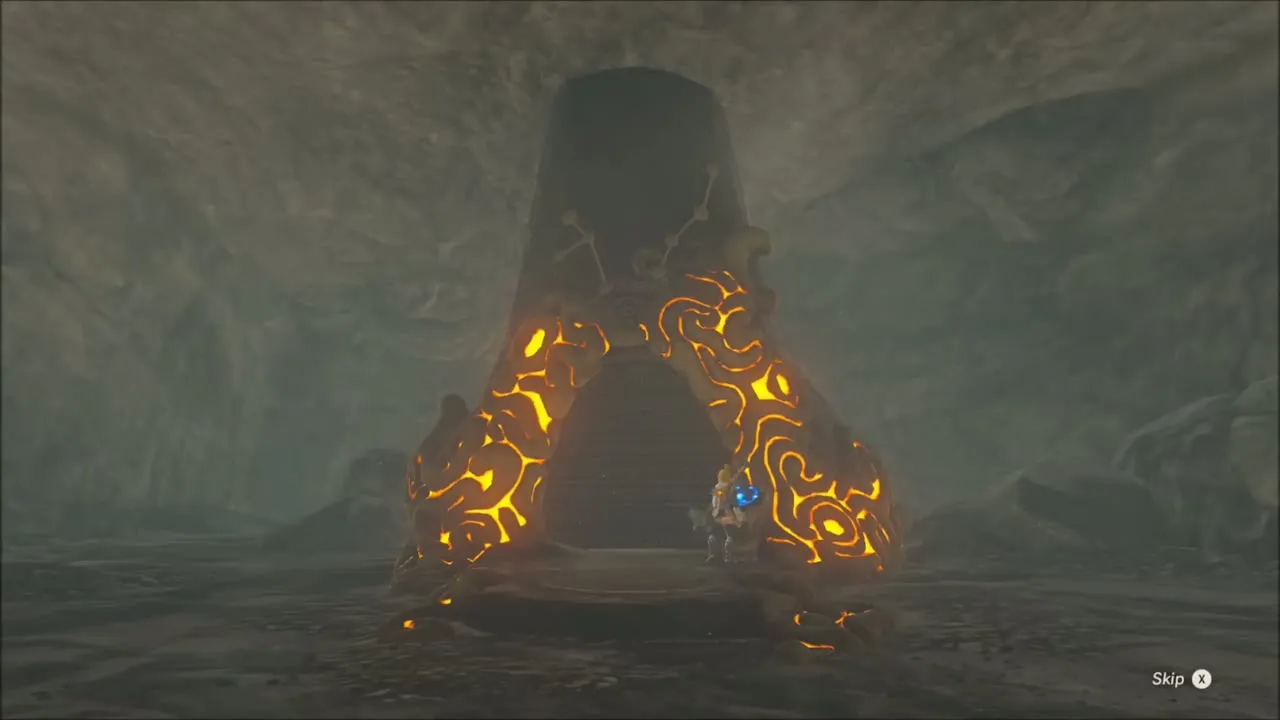
Dow Na’eh Shrine: Three Boxes Trial
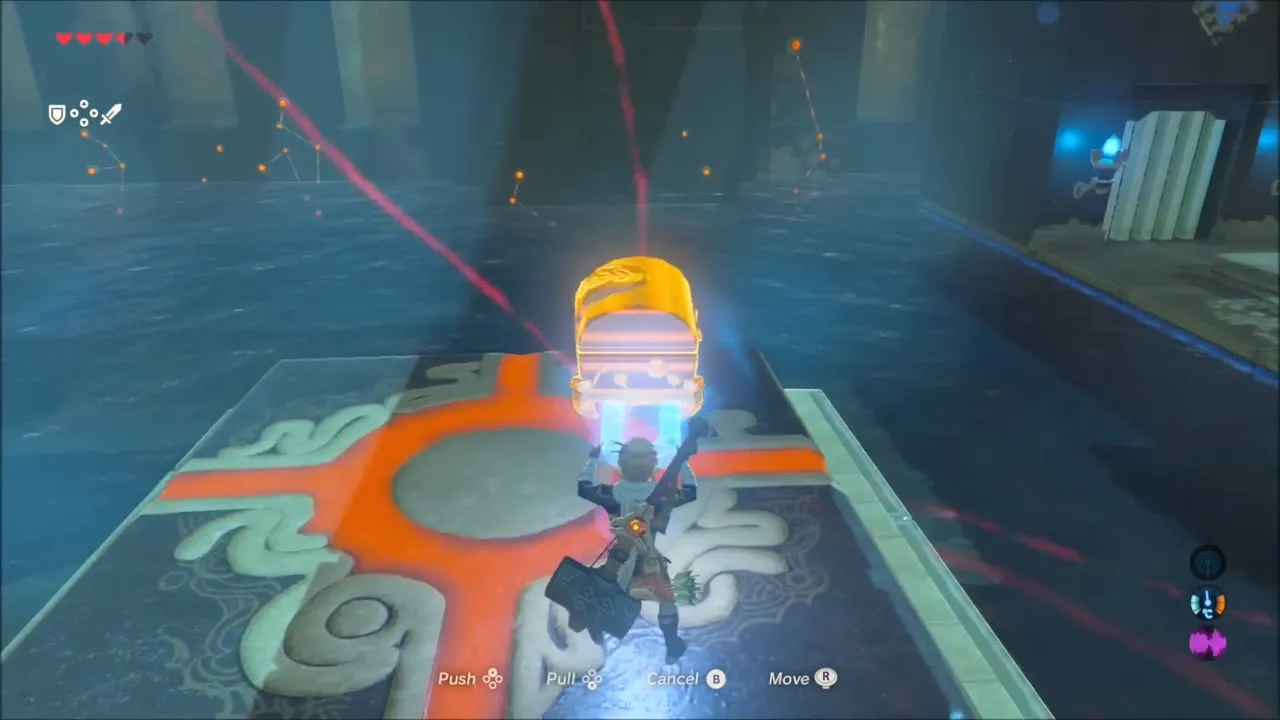
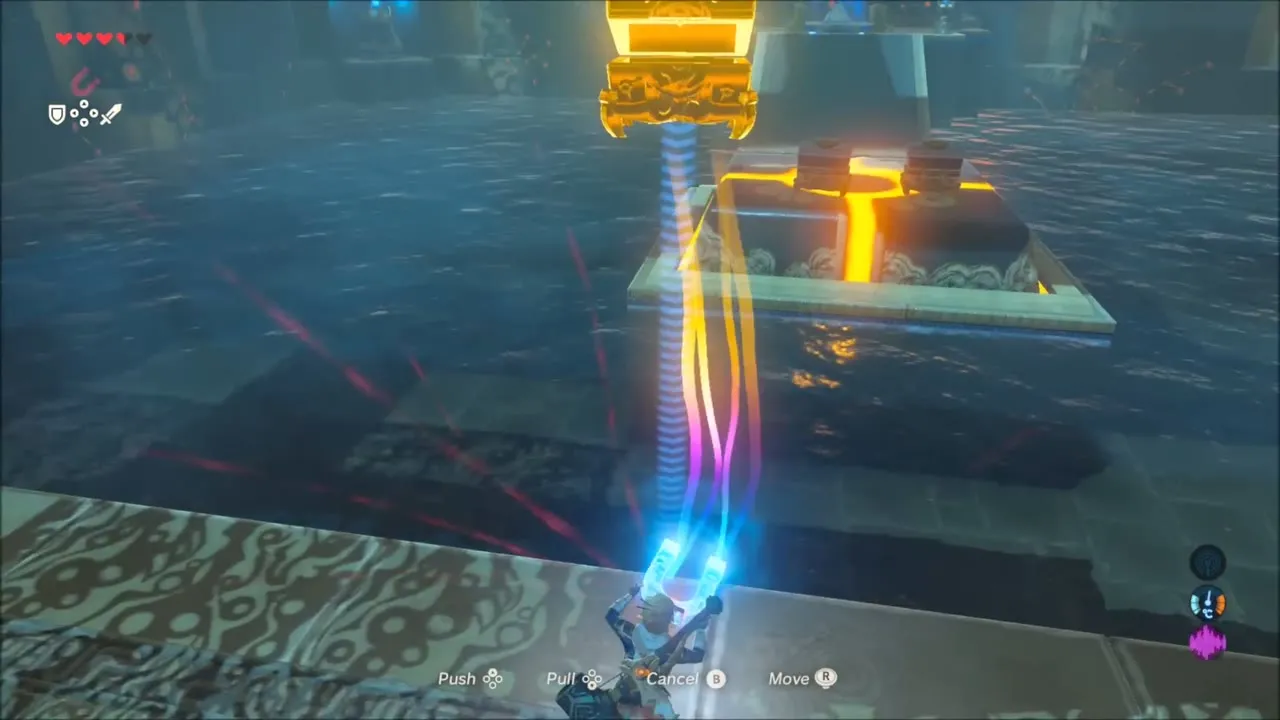
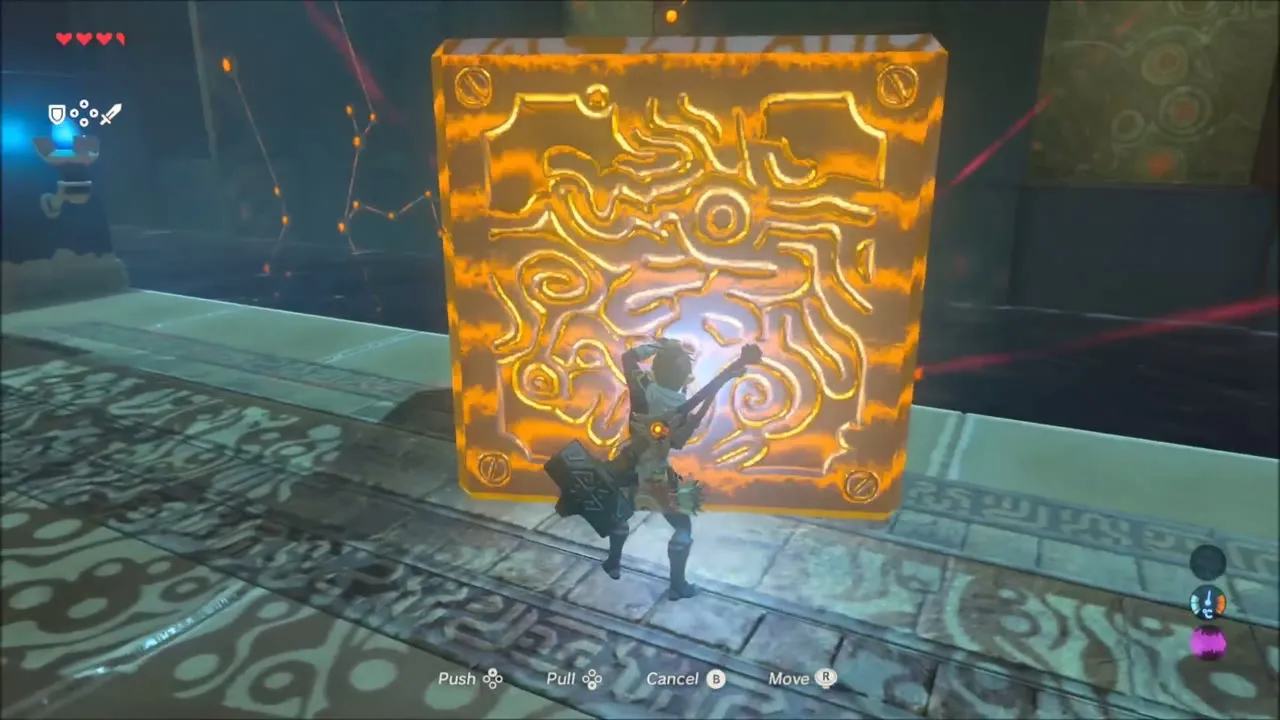
The trial in Dow Na’eh Shrine is Three Boxes, a Magnesis puzzle. Pull three metal chests onto the large floor button in the middle of the water room. The first lies in the water by the button and holds an Opal. The second hangs on ropes above it; cut the ropes so it falls, then pull it out for a Zora Sword. The third sits on a platform that rises and falls and holds an Amber. When all three rest on the button, a gate opens on a large metal block: ride it up the rising platform to reach the monk Dow Na’eh, who gives you the Spirit Orb. Leave through the tunnel behind the waterfall.
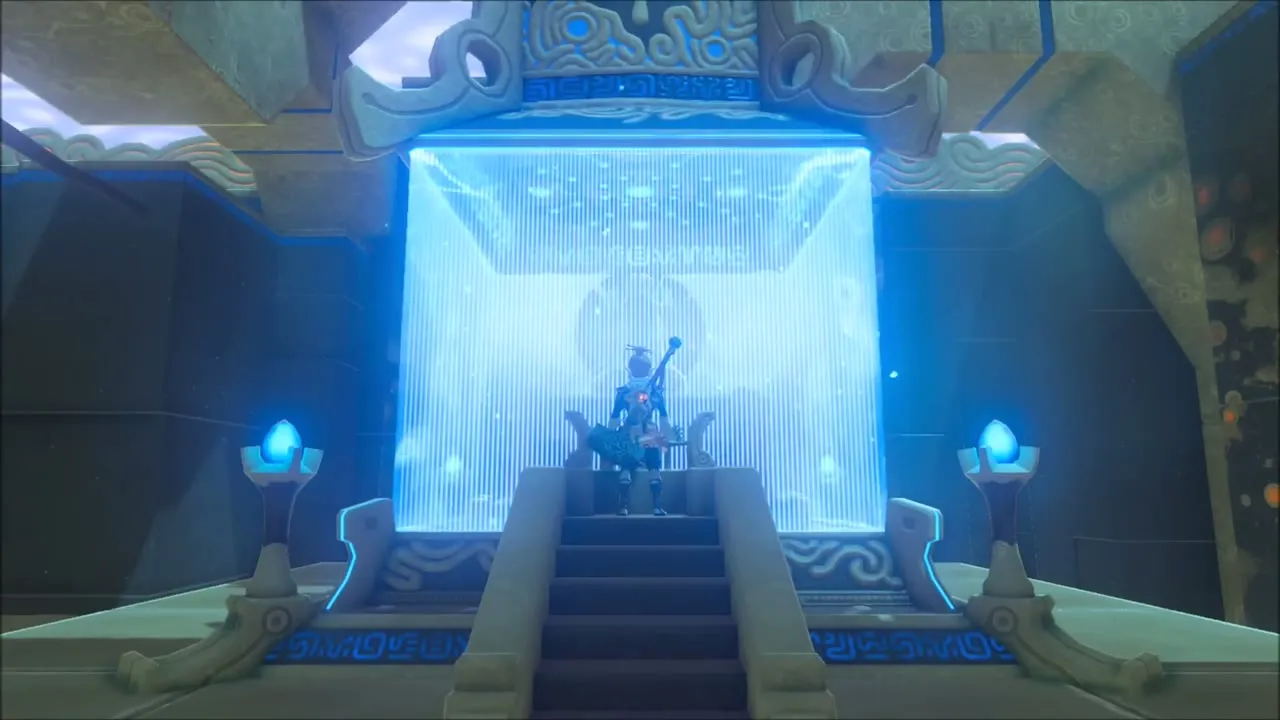
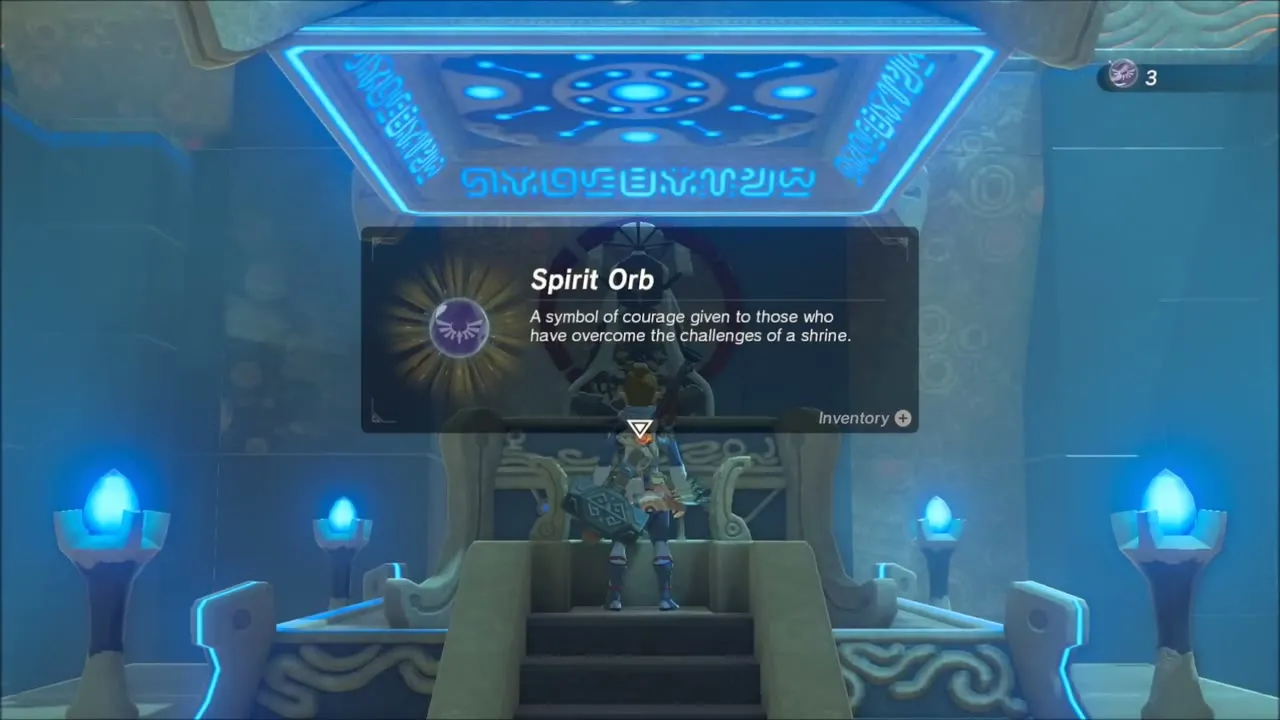
Hateno Village: Selling Loot, Buying Bomb Arrows and Furnishing Your House
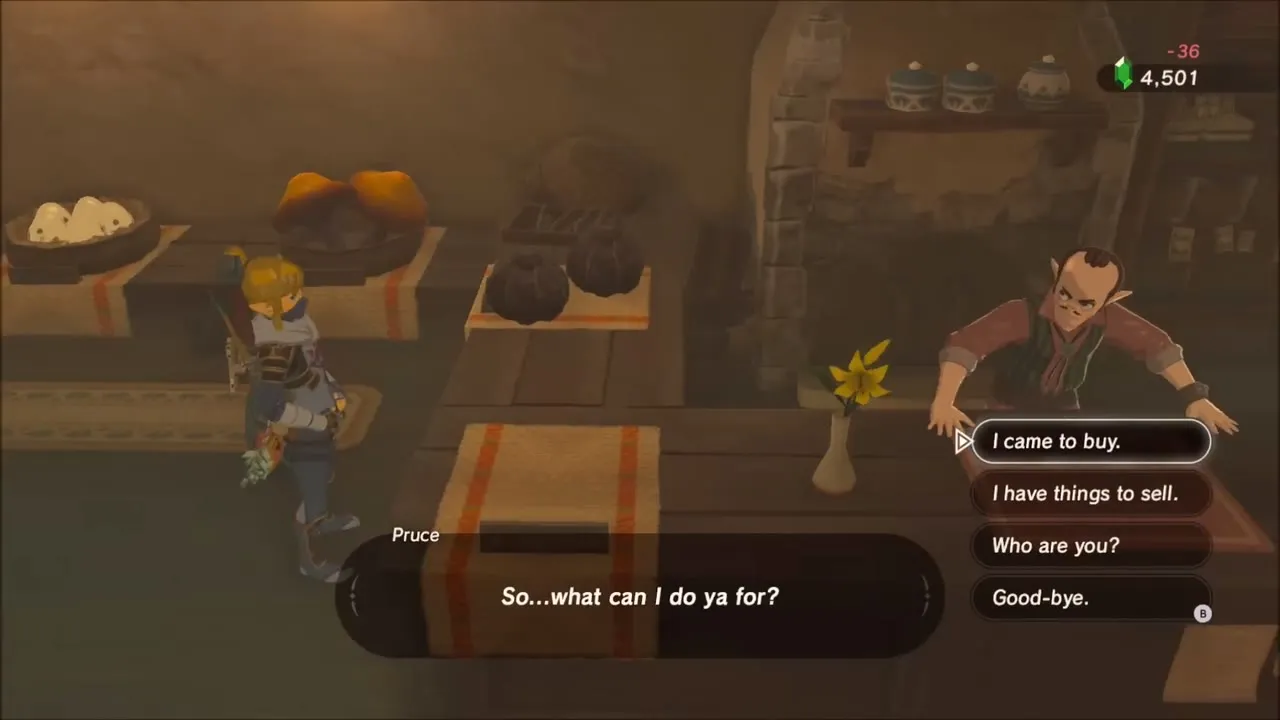
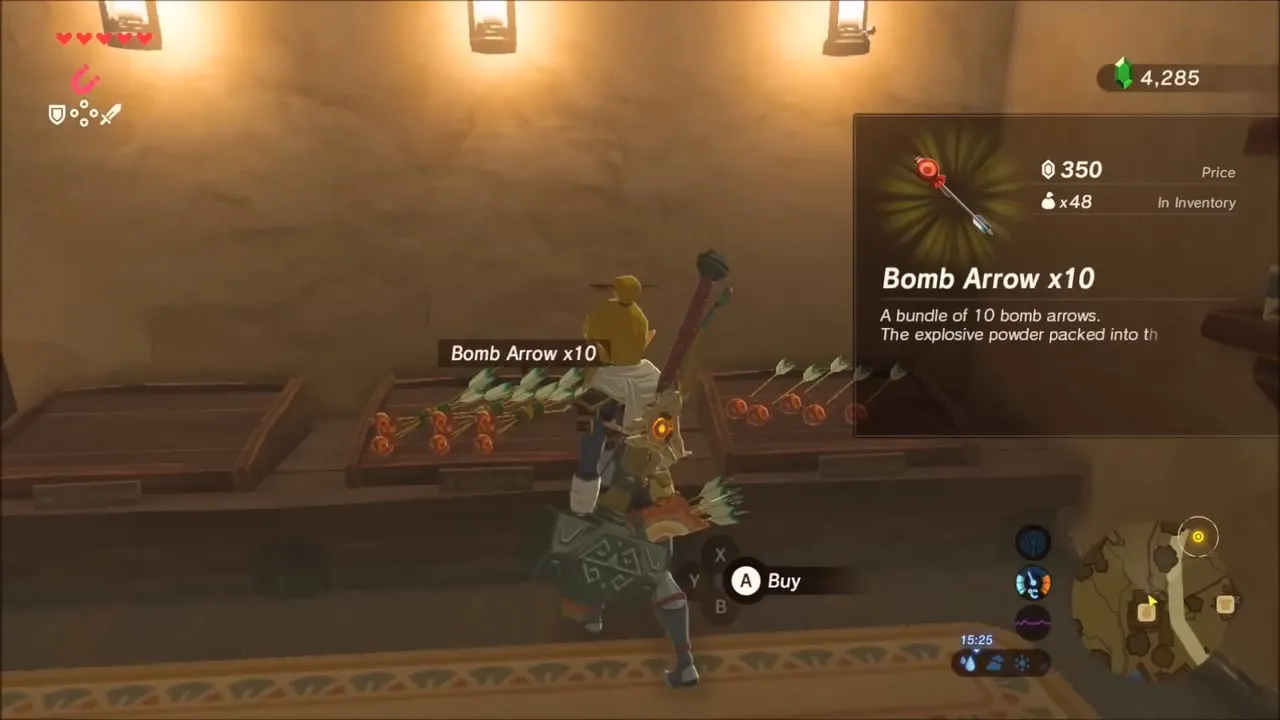
Start the day at Pruce’s general store in Hateno Village. He buys almost anything, so sell off spare gems and monster parts: an Amber, a Ruby and a pile of Bokoblin Fangs all go across the counter, and the rupees cover the rest of your shopping. The same shelves sell Bomb Arrows, which are handy to carry in bulk for the Guardians and Hinox later on.

Hylian Homeowner: Furnishing the House
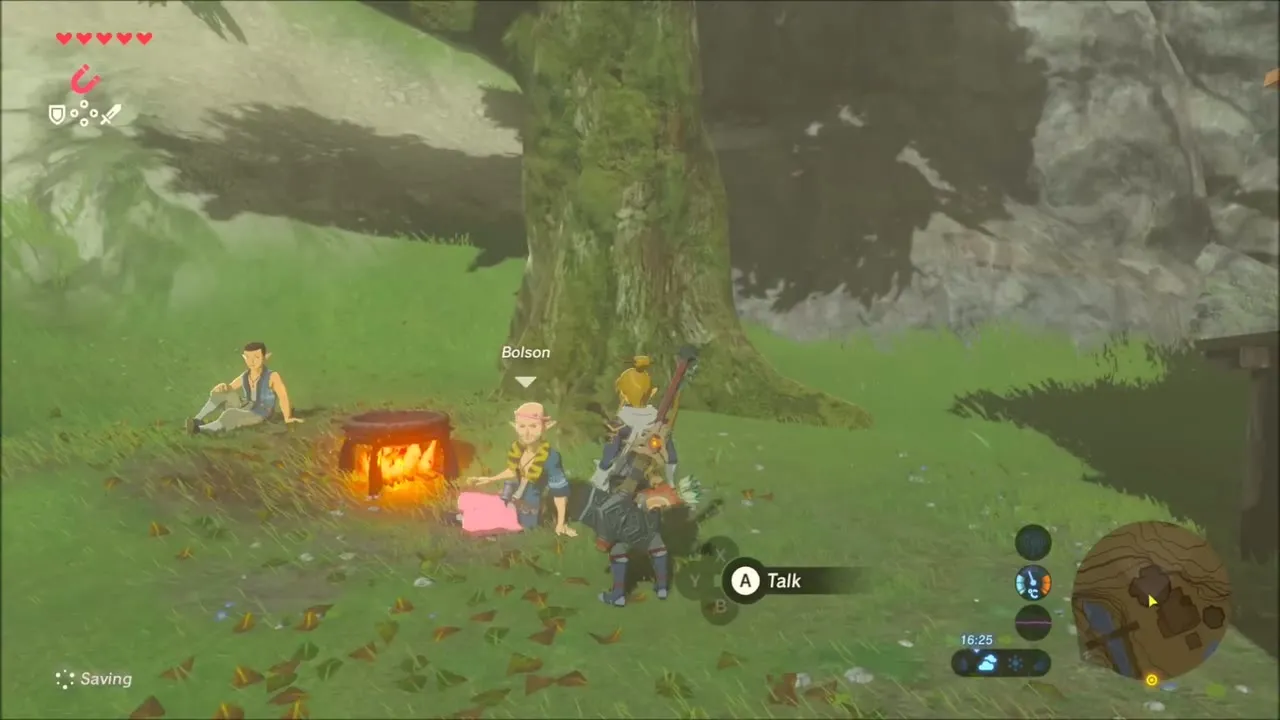
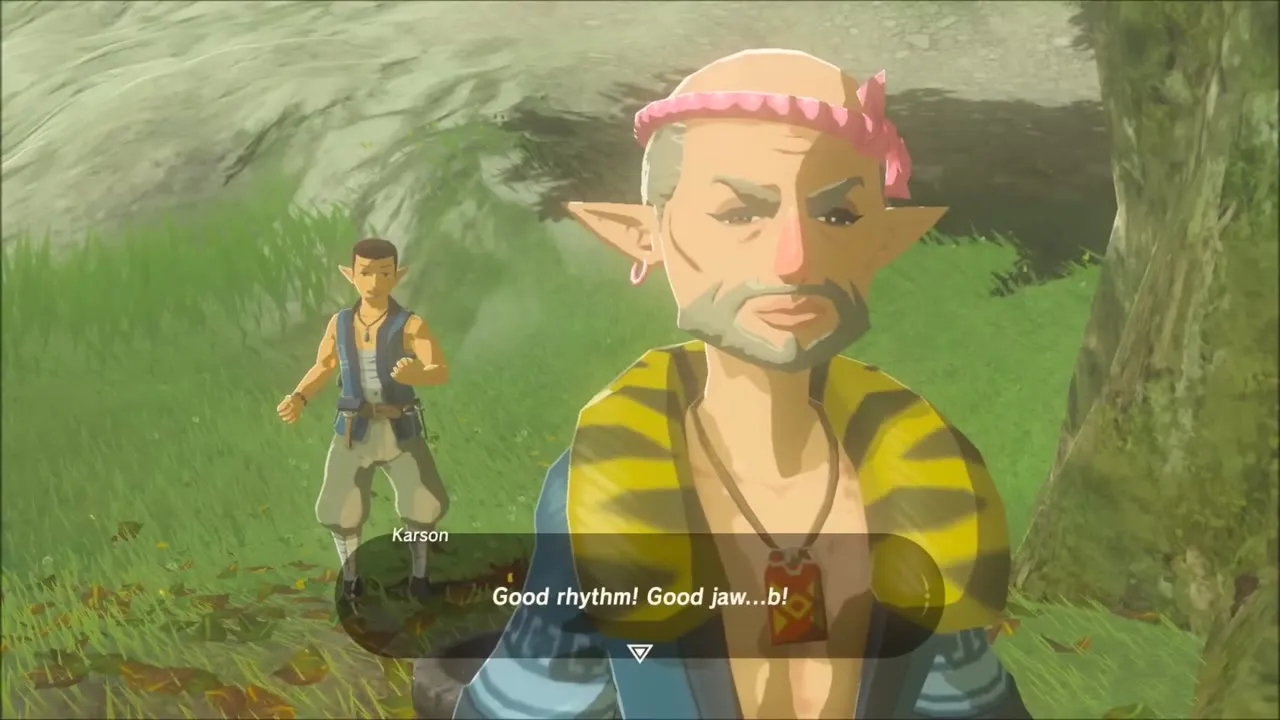
Walk over to Bolson and Karson, who are resting by a campfire under a big tree. Now that the house is yours, talk to Bolson and pick from his menu (gear displays, installations or house exterior) to continue Hylian Homeowner. Each upgrade he offers costs 100 rupees, and you can buy as many as your wallet allows before moving on.


The Hero’s Cache: Kass and the Sunken Chest in Kitano Bay
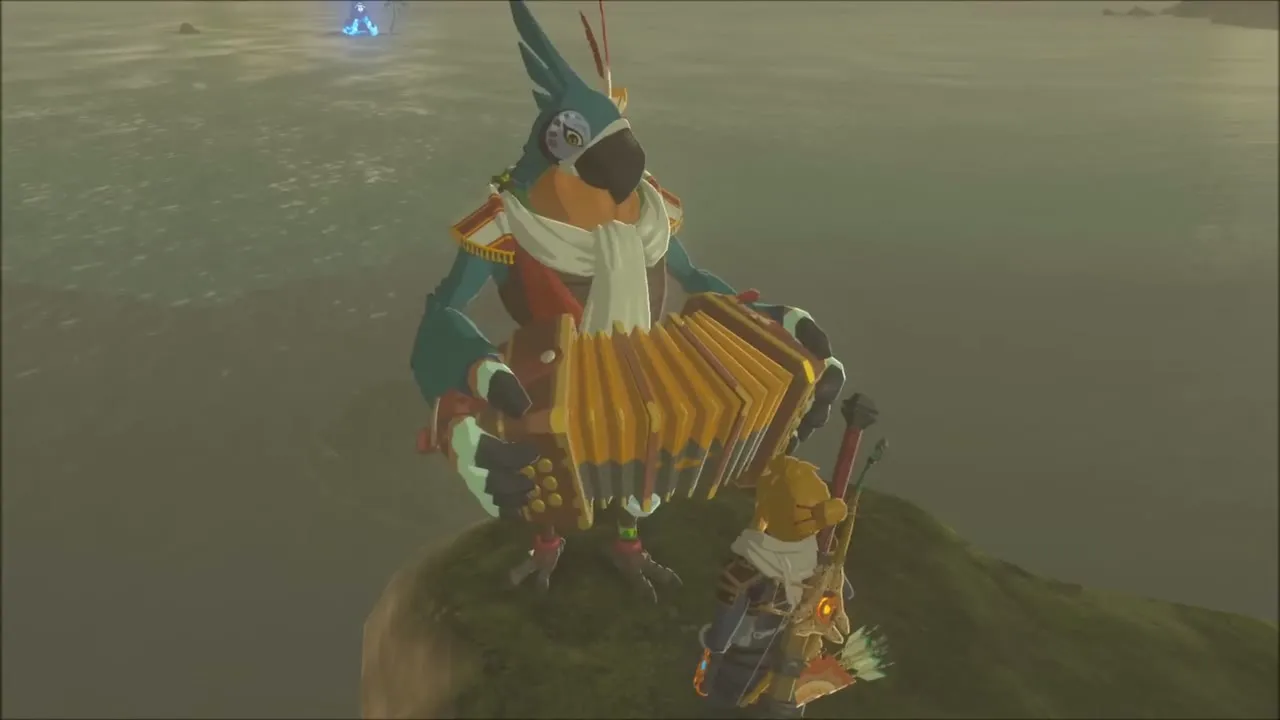
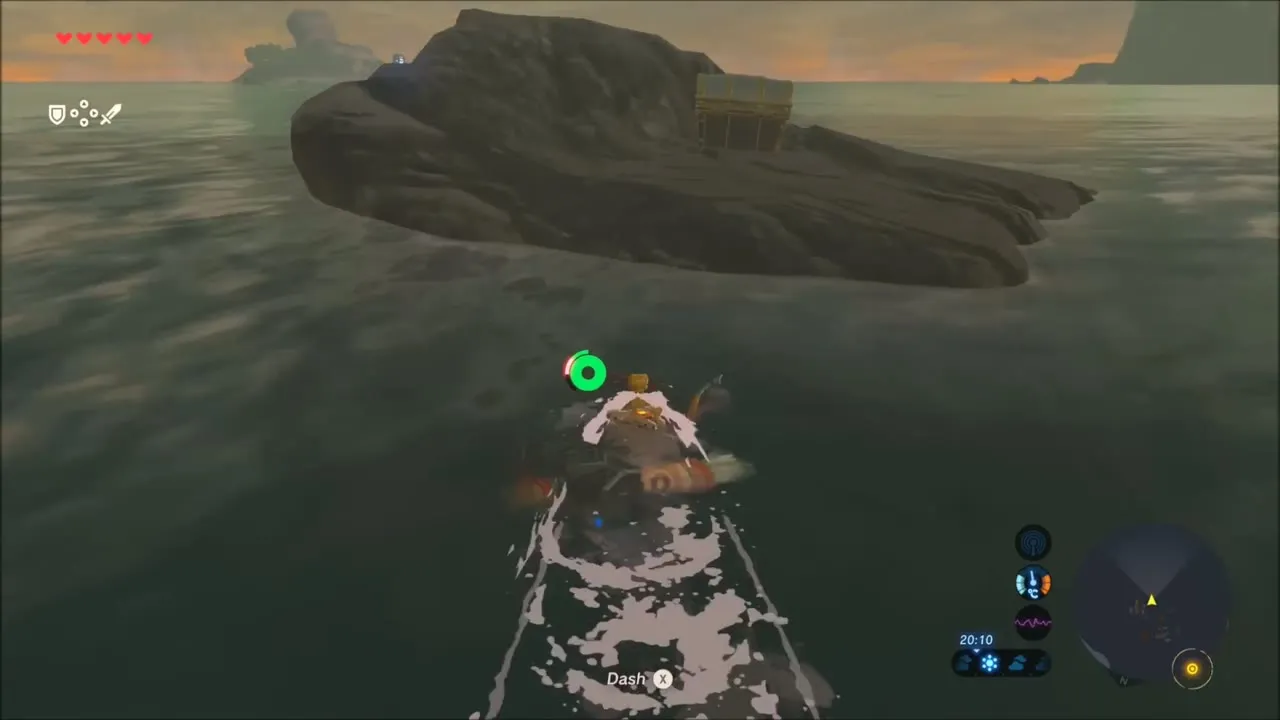
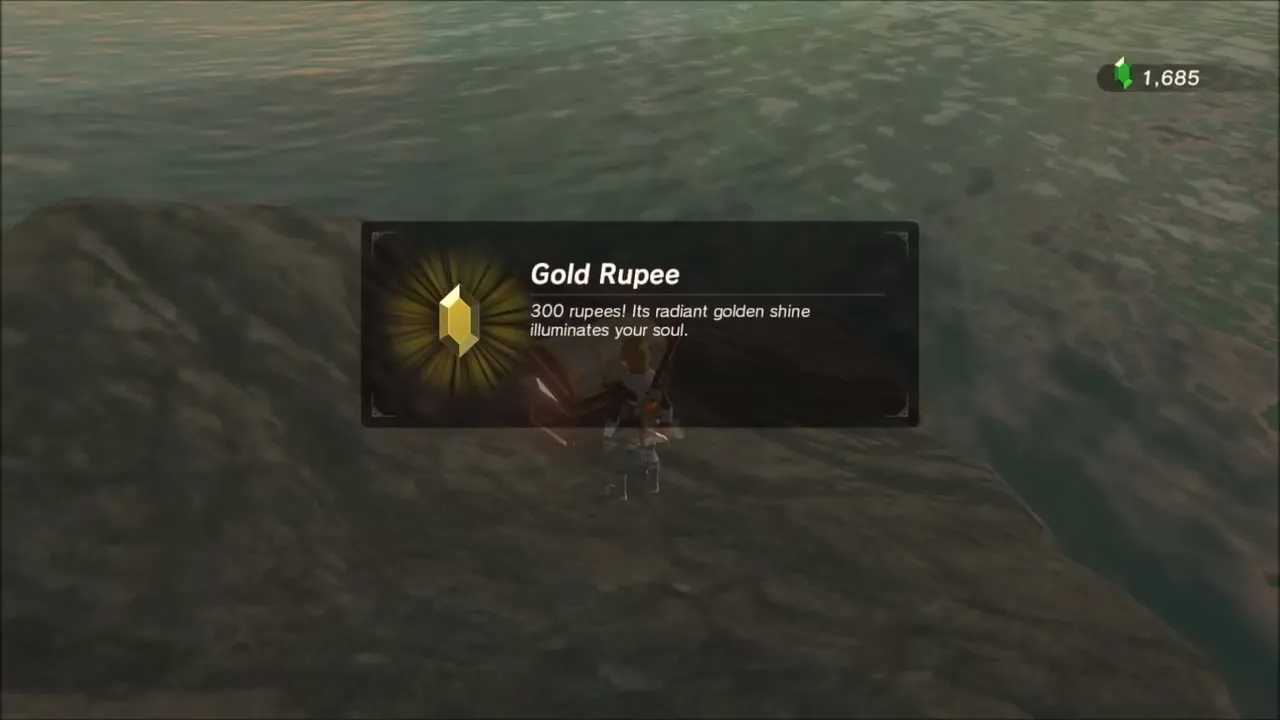
Glide out over the water to the rock pillars of Kitano Bay (x 3685, z 2503). Kass plays on one of them, and speaking to him starts The Hero’s Cache: his song says the hero’s savings amount to a single Gold Rupee. Look at the neighbouring pillar, use Magnesis on the chest lying at the waterline and drag it up, then open it for the 300-rupee Gold Rupee.

Hateno Ancient Tech Lab: Slated for Upgrades and Sunshroom Sensing
Upgrade the Sheikah Sensor and Remote Bomb
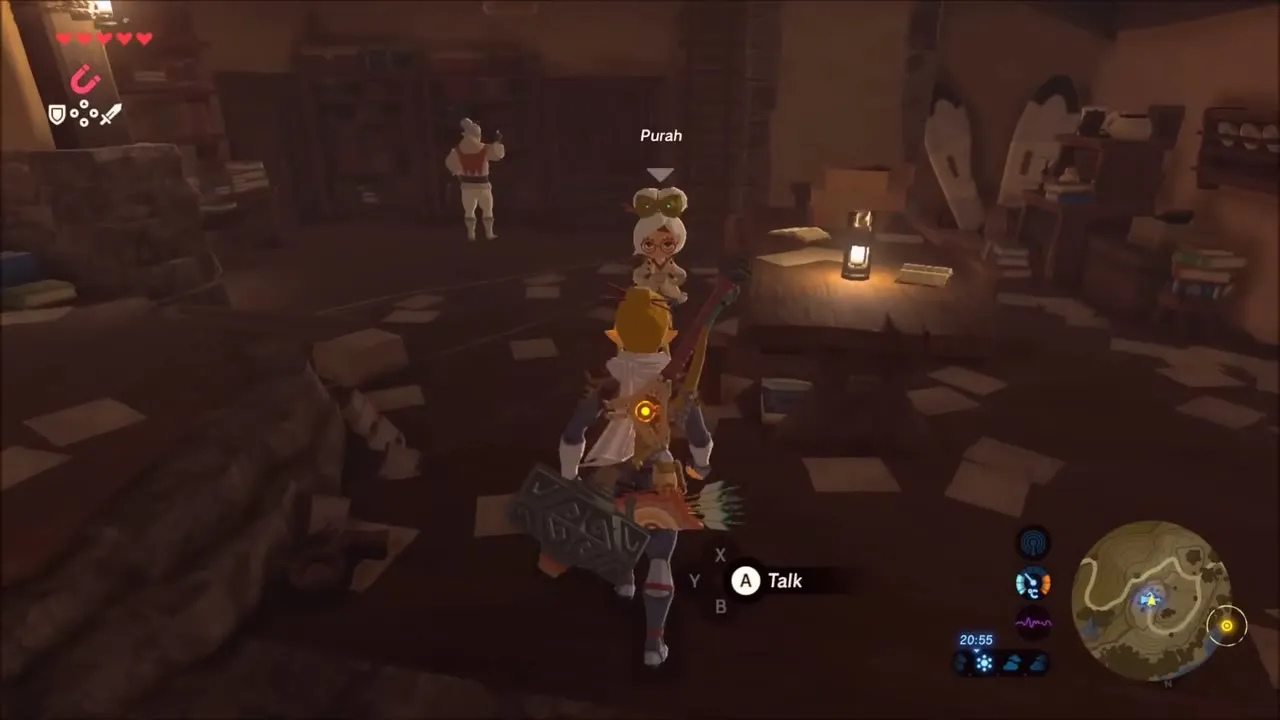
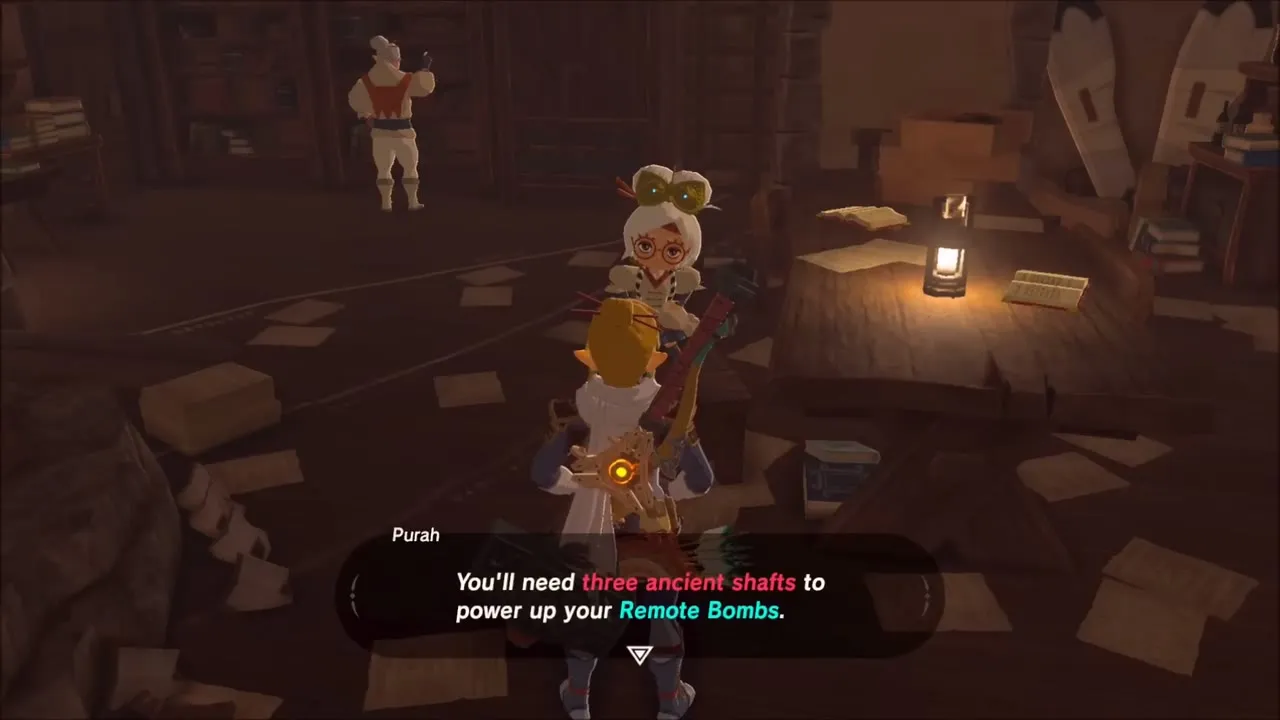
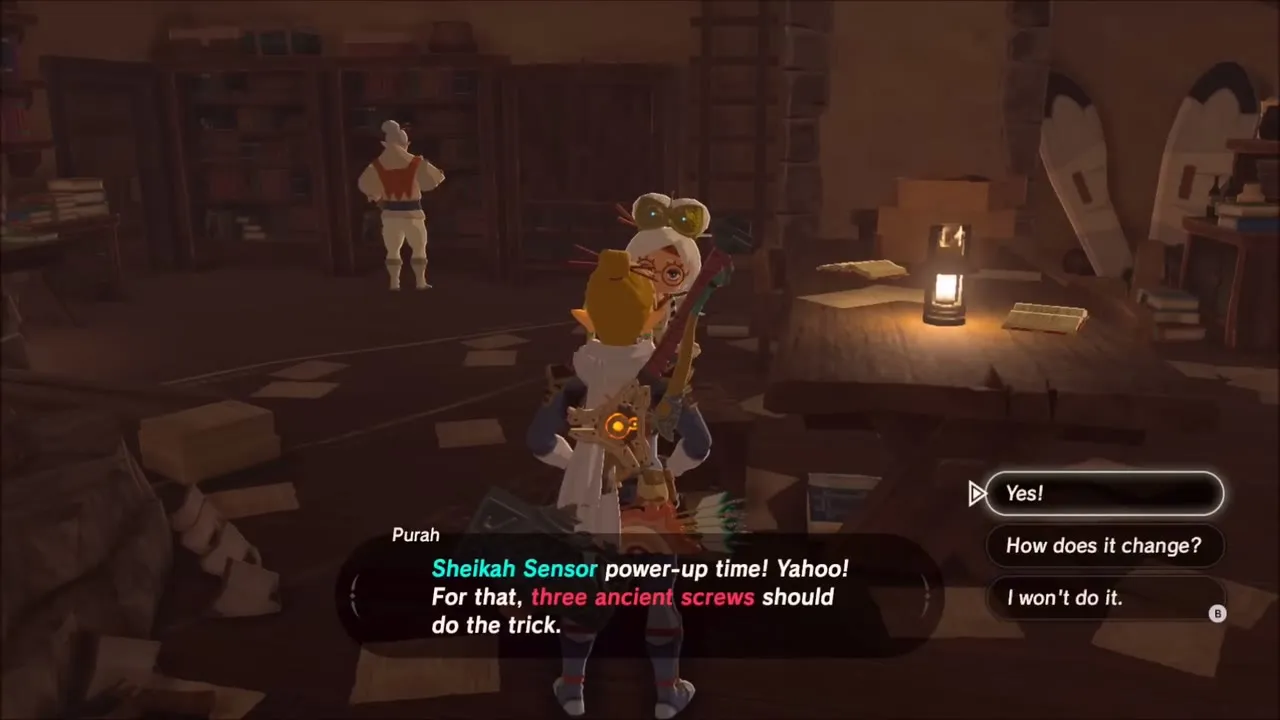
Climb to the Hateno Ancient Tech Lab at the top of the village and speak to Purah to start Slated for Upgrades. Hand over three Ancient Screws to upgrade the Sheikah Sensor, then three Ancient Shafts to upgrade the Remote Bomb. She explains that Stasis needs three Ancient Cores, which only active Guardians drop, so that upgrade waits until you have them.

Sunshroom Sensing with Symin
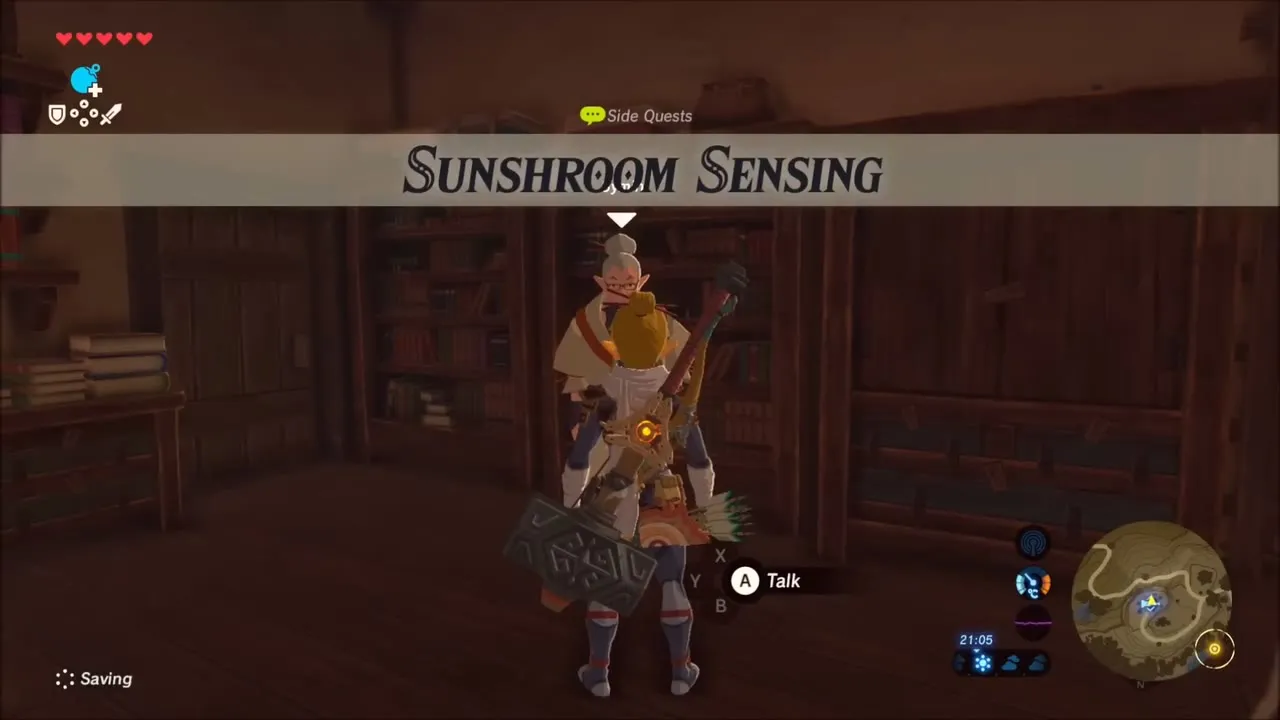
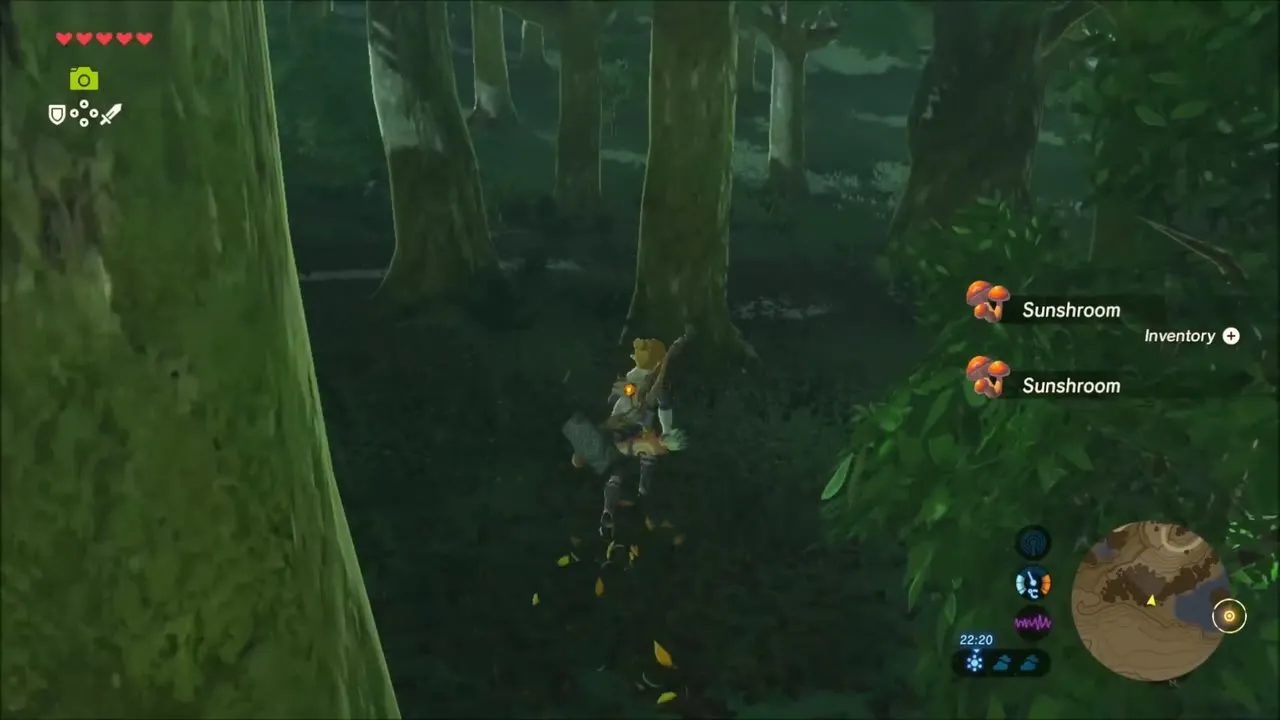
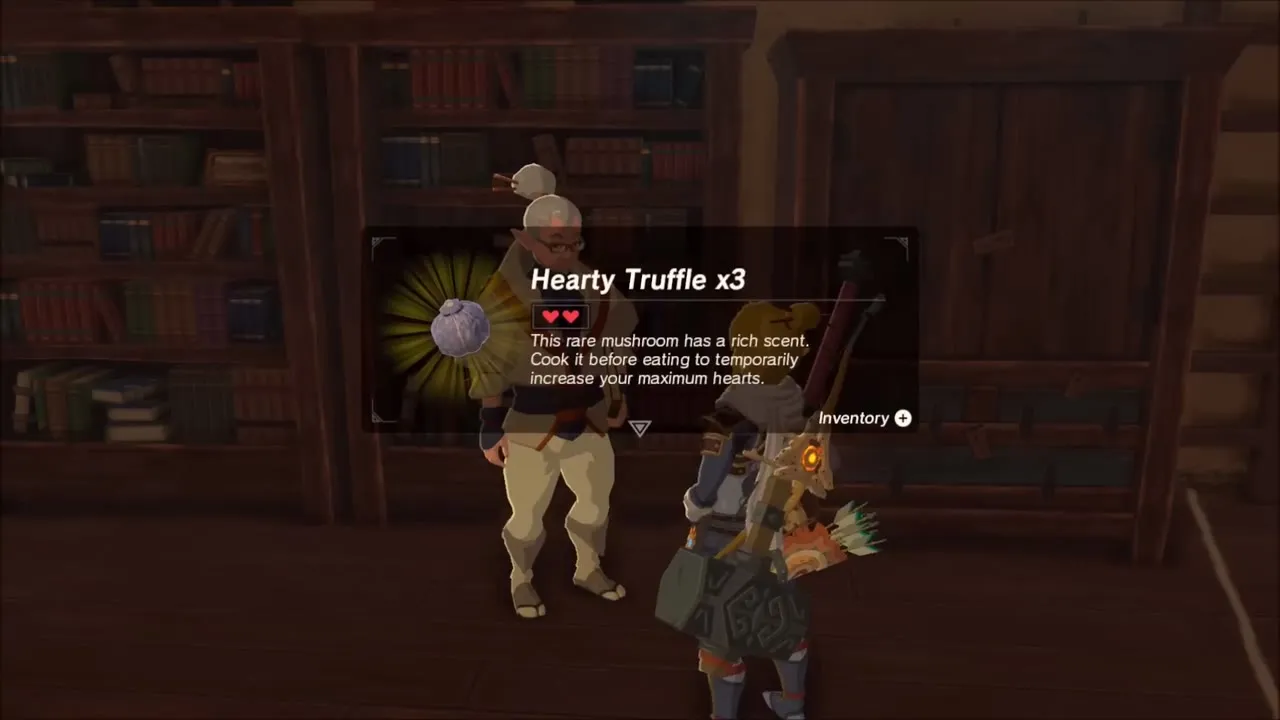
With the new Sensor ready, talk to Symin inside the lab to begin Sunshroom Sensing. Photograph the Sunshroom growing outside the lab so it enters the Hyrule Compendium, then set it as the Sensor’s target and follow the pings through the woods just outside the village (Retsam Forest, x 3853, z 2012) until you have picked three. Give them to Symin, who pays you with three Hearty Truffles and will sell you random Compendium photos from then on.

Meteor Rod, a Night Hinox and a Korok Seed on the Road North
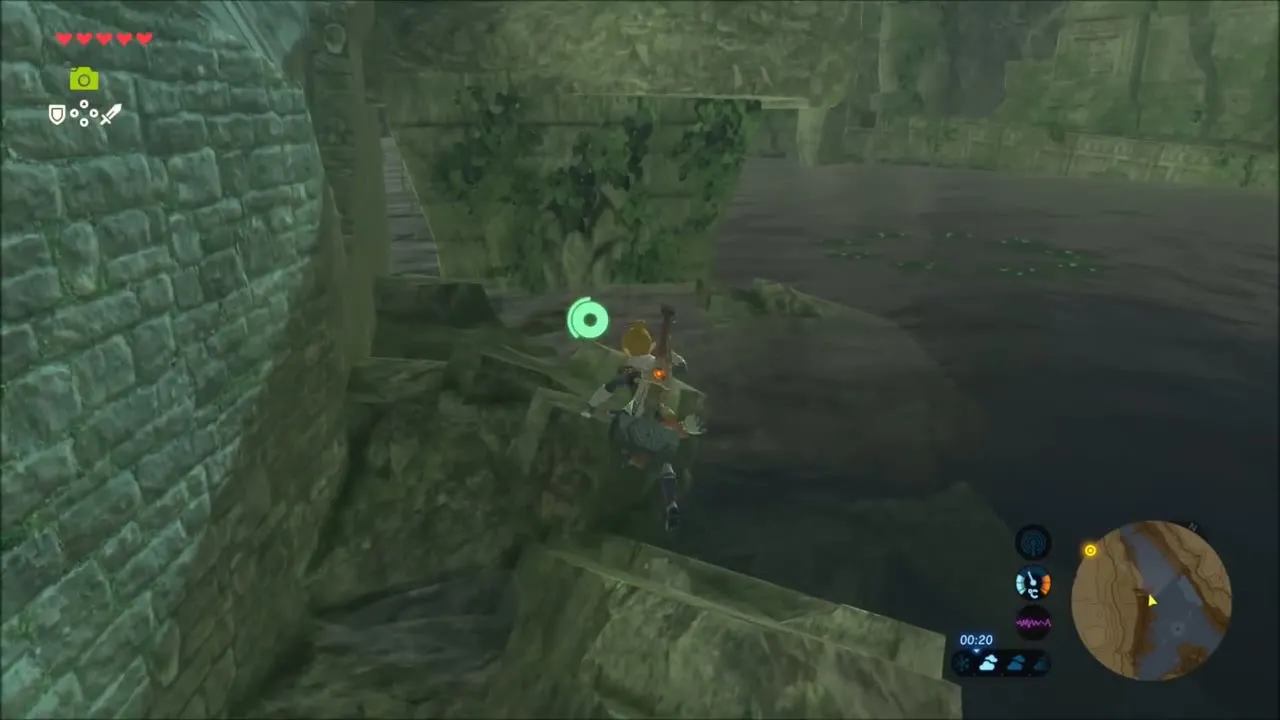
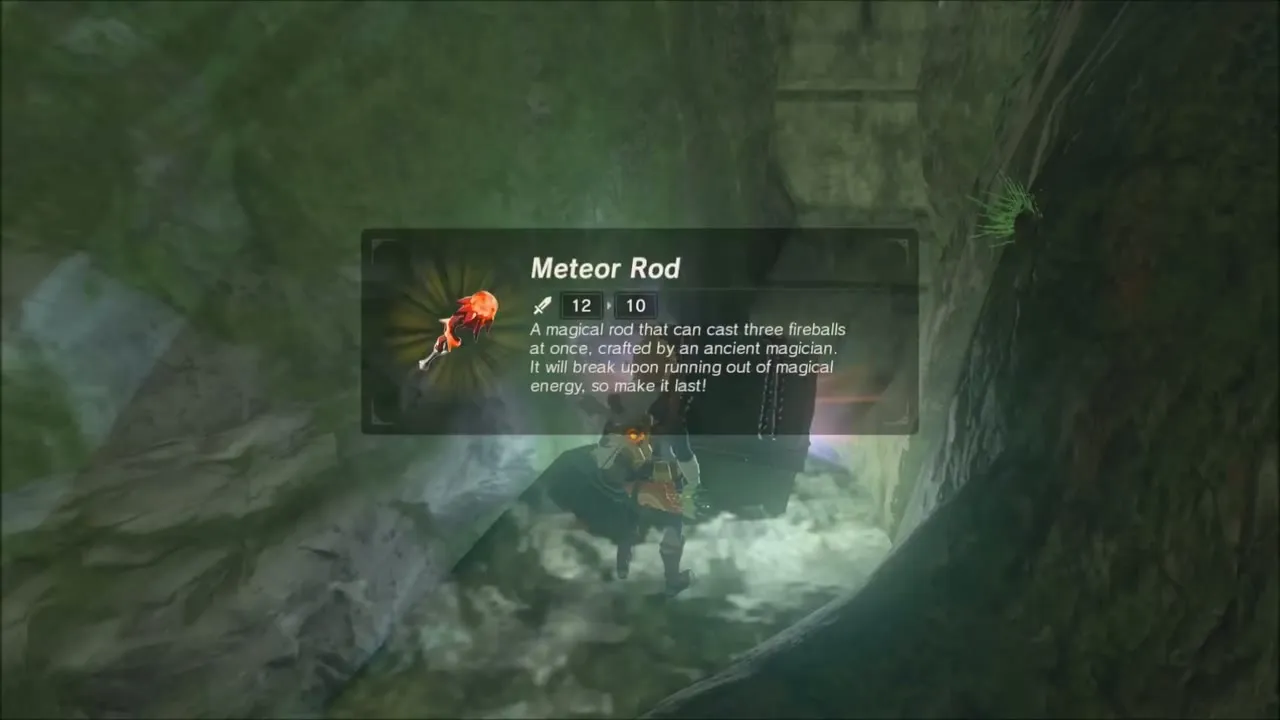
In a ruined stone building, glide across the gaps and climb the broken walls to reach a chest at the back. It holds a Meteor Rod, a magic rod that throws three fireballs at once and breaks when its charges run out, so keep it for emergencies.
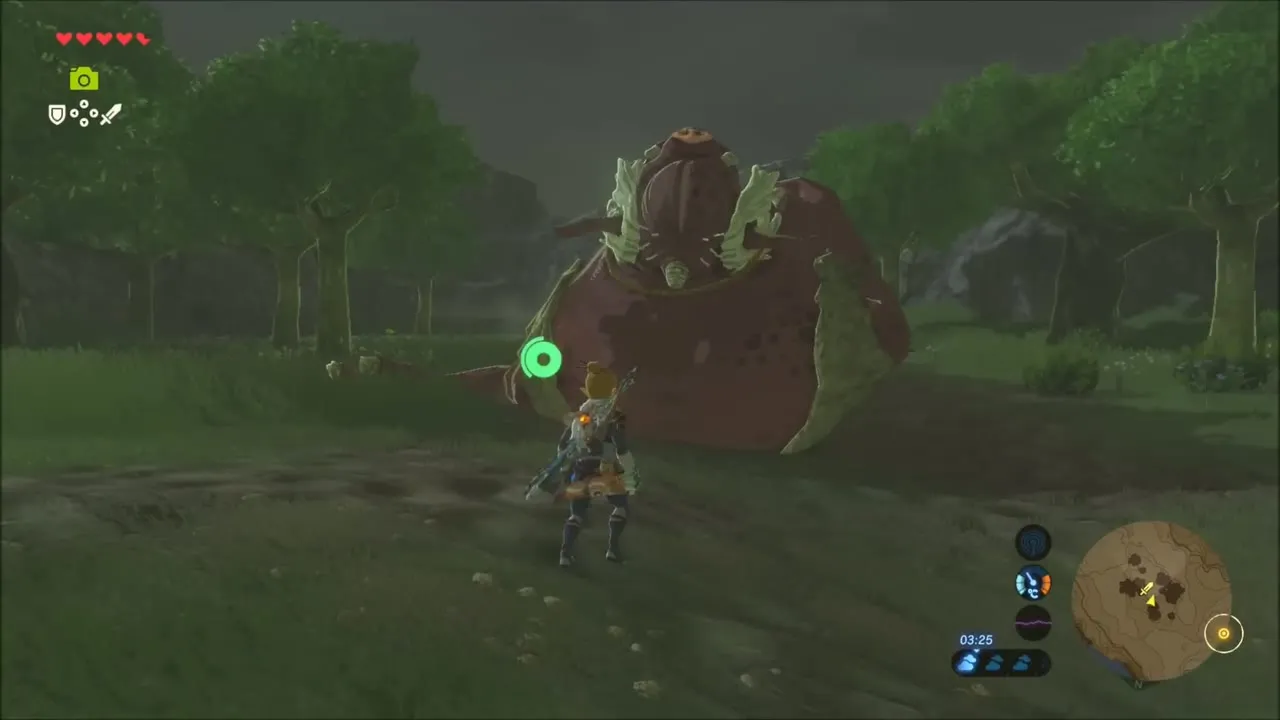
Out in the dark hills a sleeping Hinox is waiting. Glide in over the trees, fight it with your Zora Sword and bow, and collect what it leaves behind, including a Traveler’s Bow+ lying where it fell.


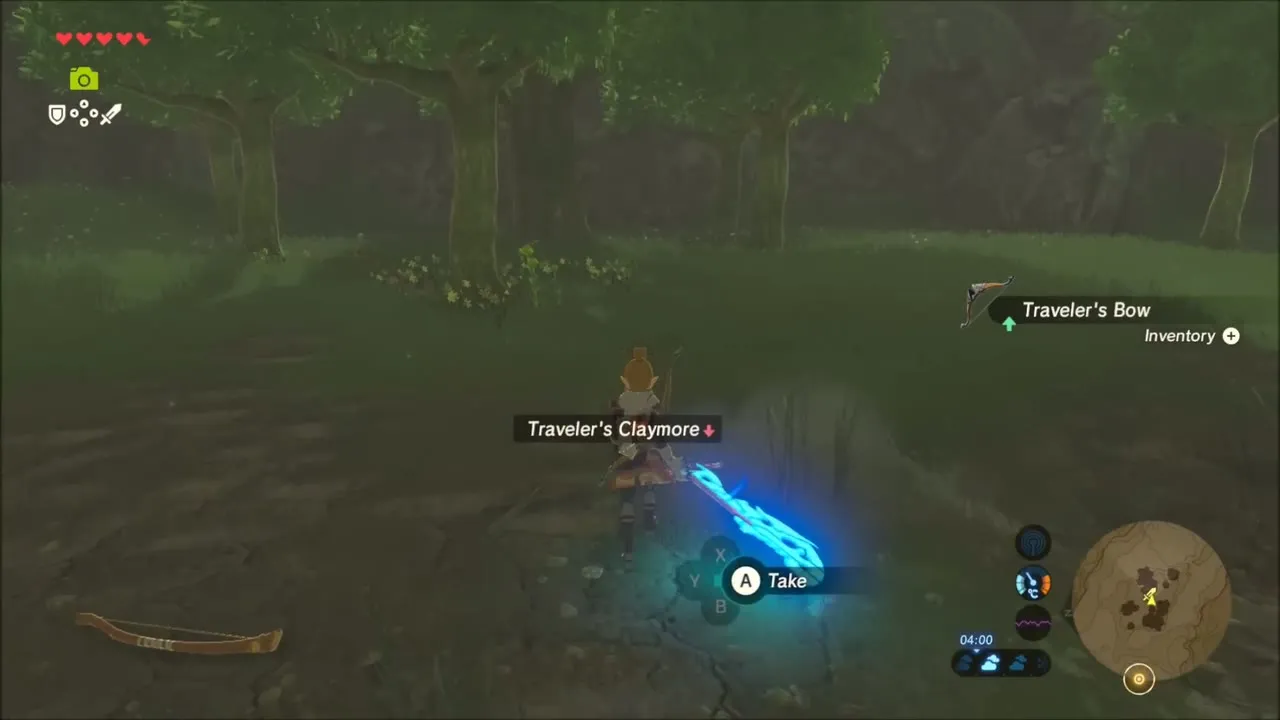
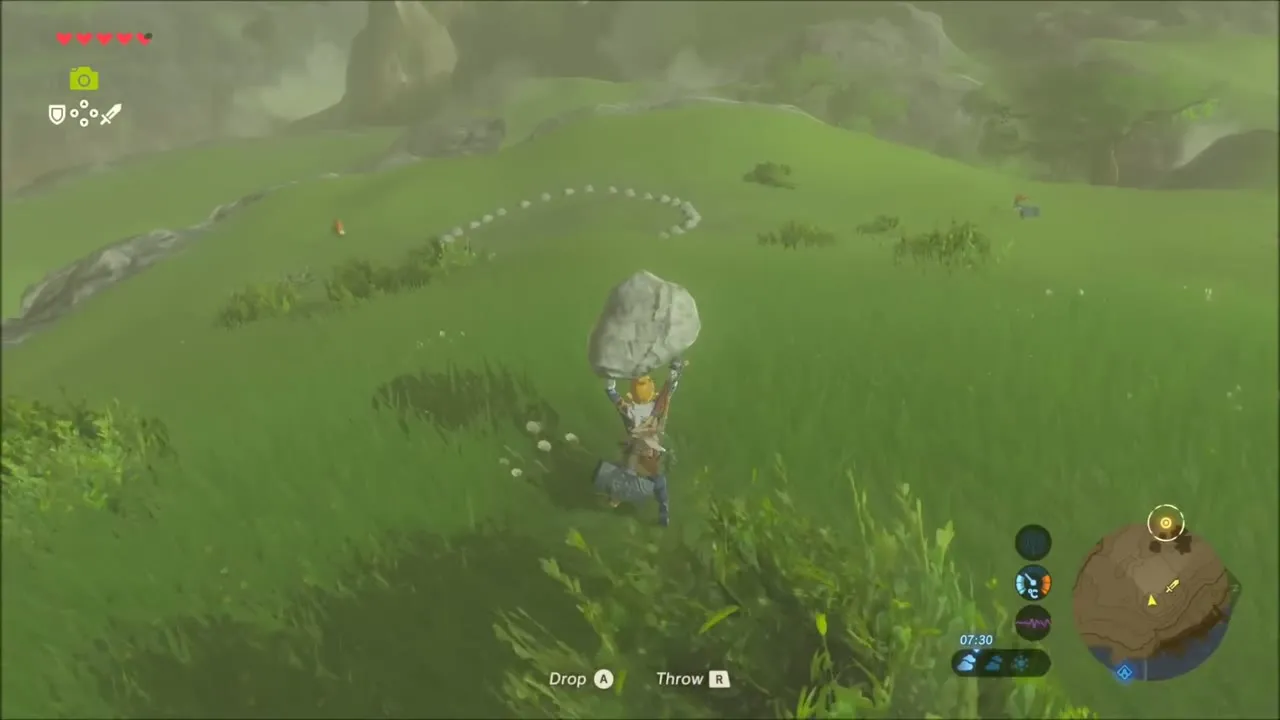
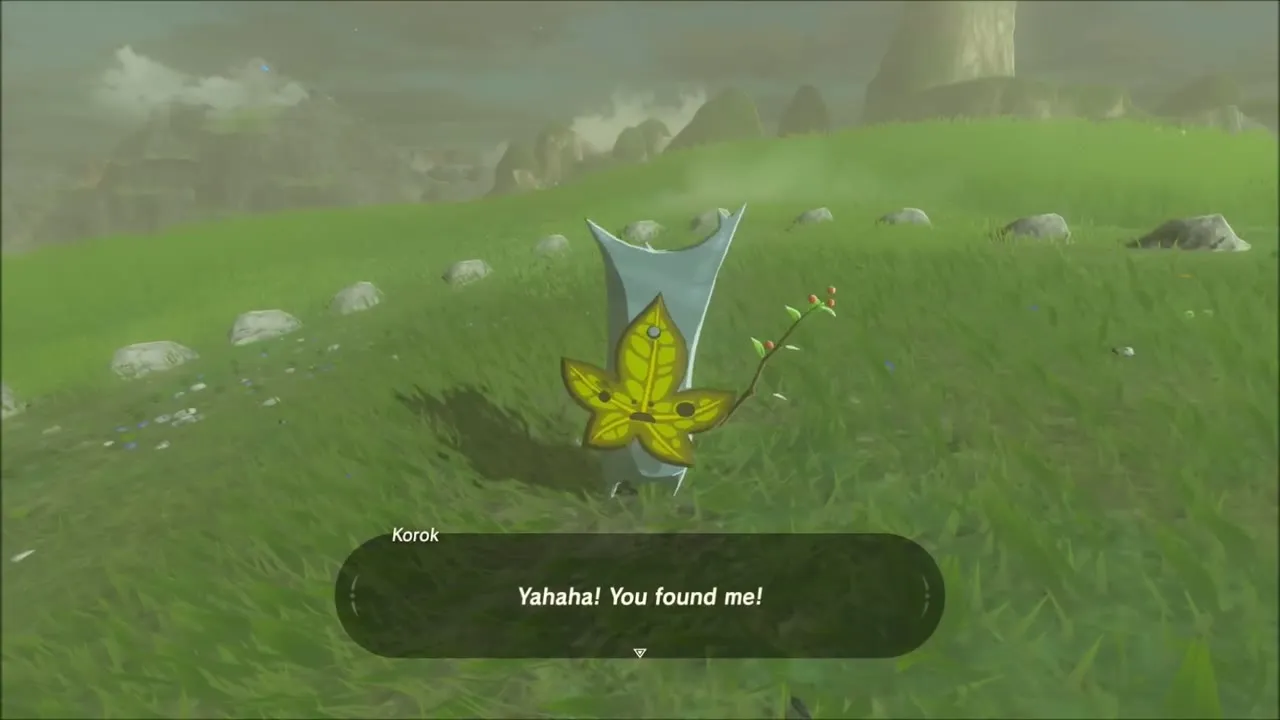
Korok seed on a hill in the Phalian Highlands, near (2527, 1258): on the grassy crown of a hill sits a ring of small stones with a gap in it. Pick up the loose rock beside the ring, carry it to the gap and set it down, and the Korok pops out with his seed.


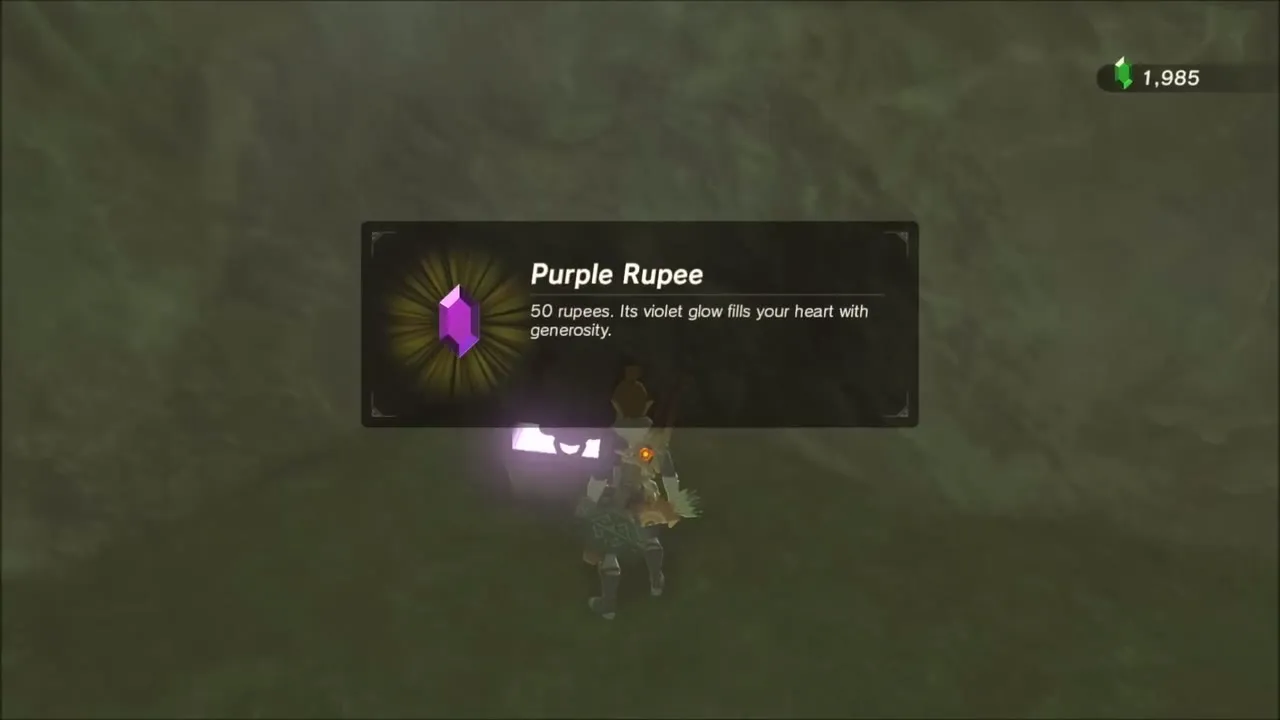
Further along, slip into a small cave under a rock wall and open the chest inside, which pays out a Purple Rupee (50 rupees).


Korok Seed at the Waterfall, the Fire Wizrobe and a Fire Rod
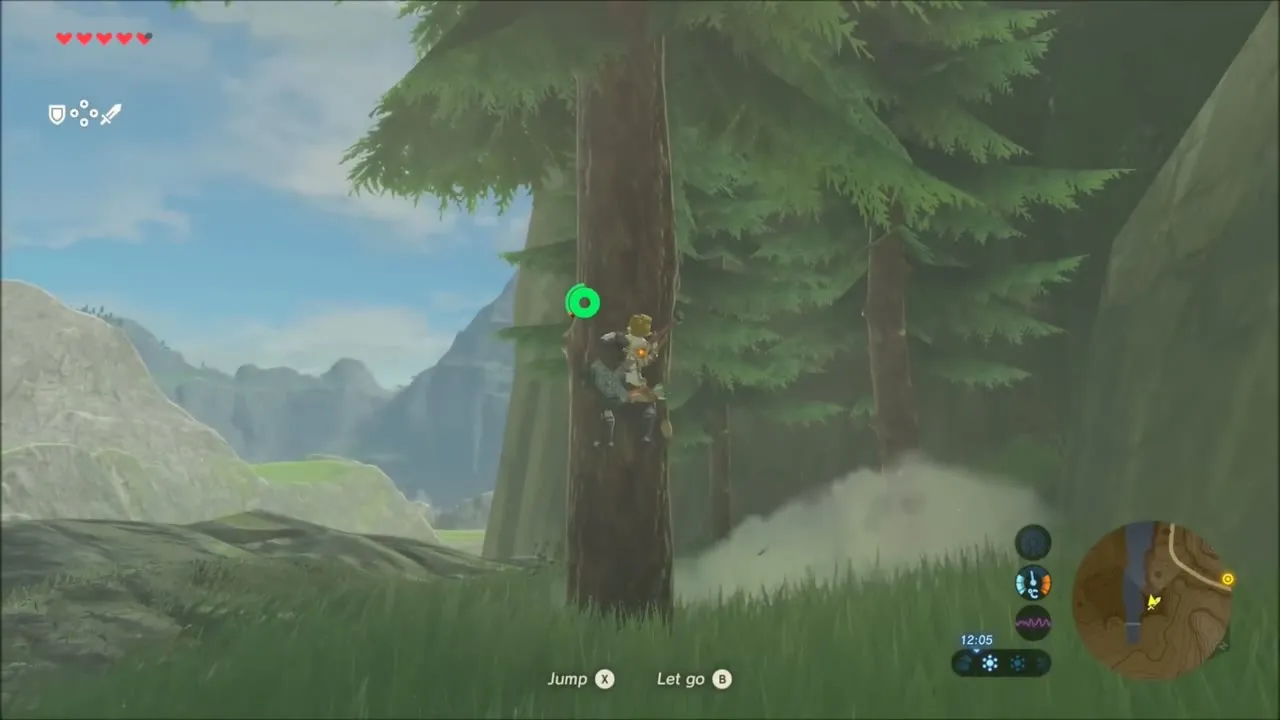
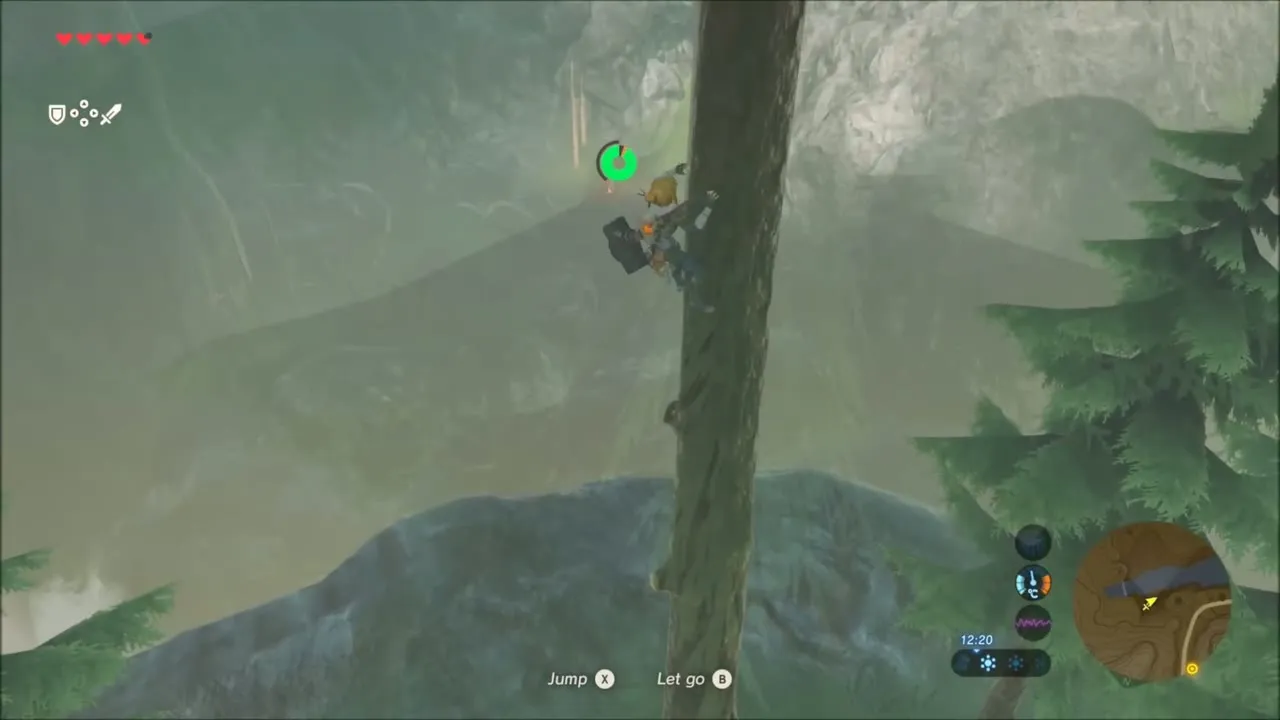
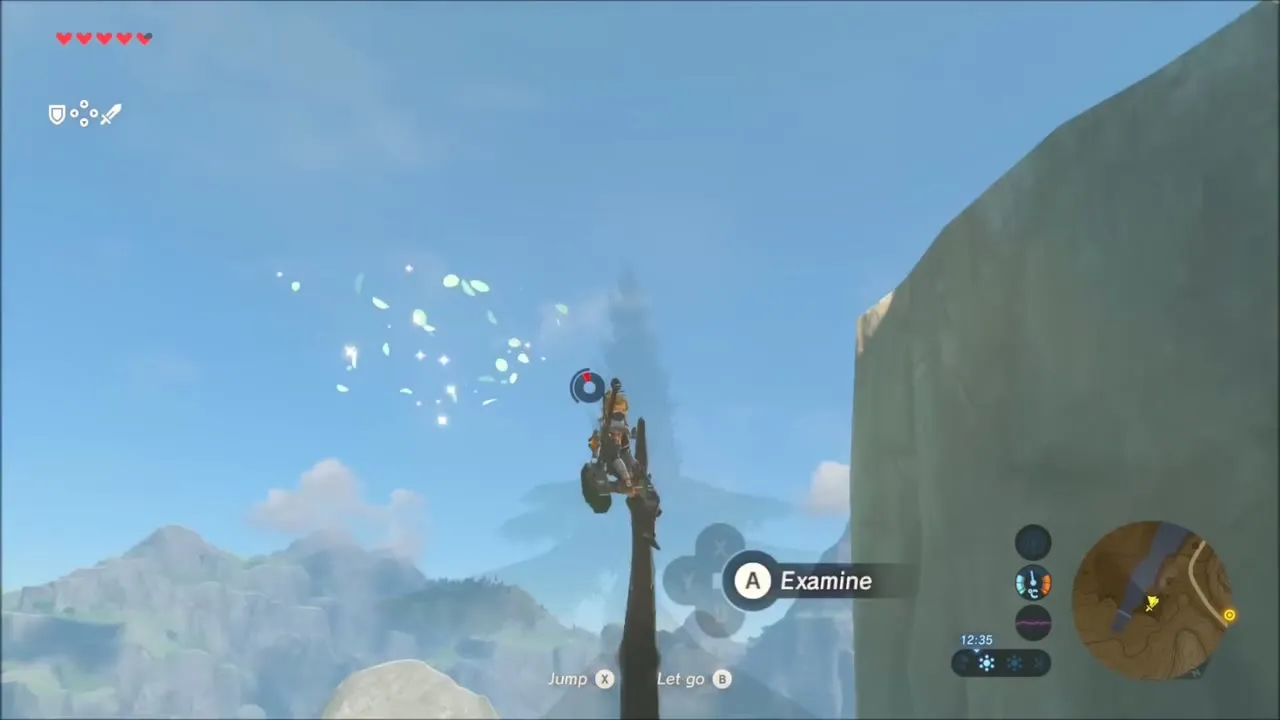
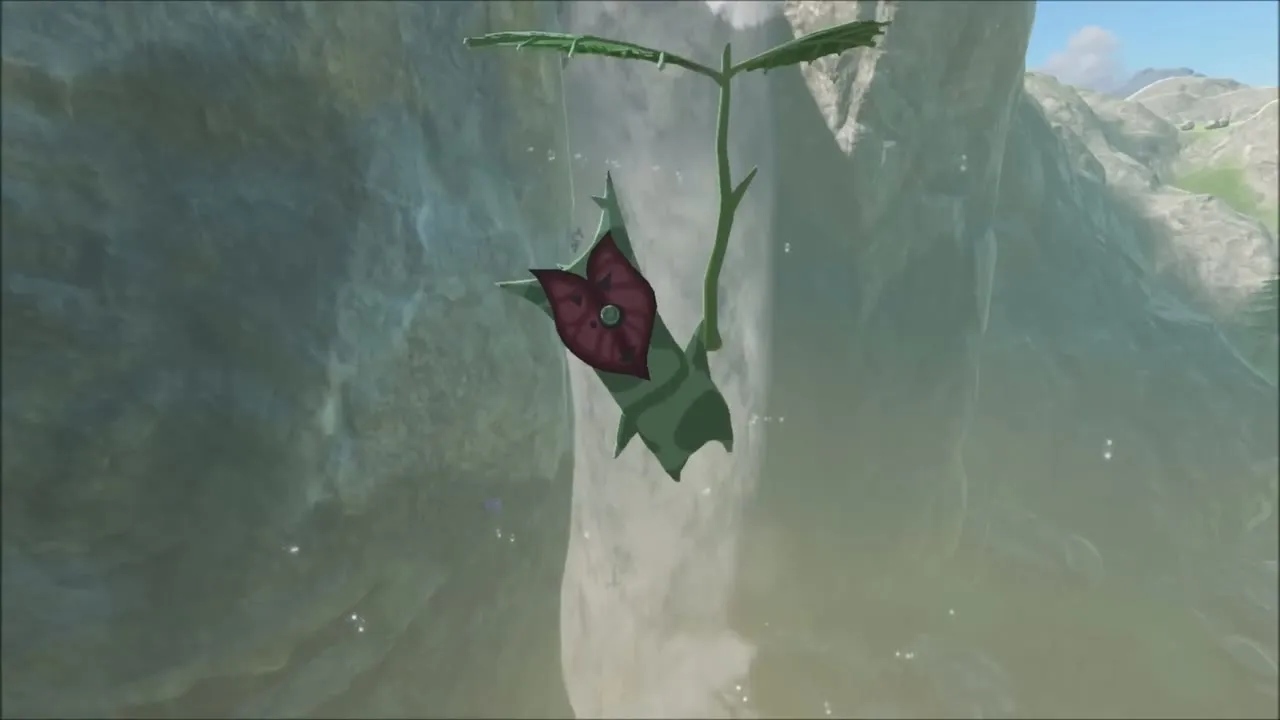
Korok seed on a waterfall tree: beside a waterfall, climb the tall fir tree all the way to its tip. The Korok is hiding at the very top of the trunk, so keep climbing until he appears and hands over a seed, then glide down toward the pool below.
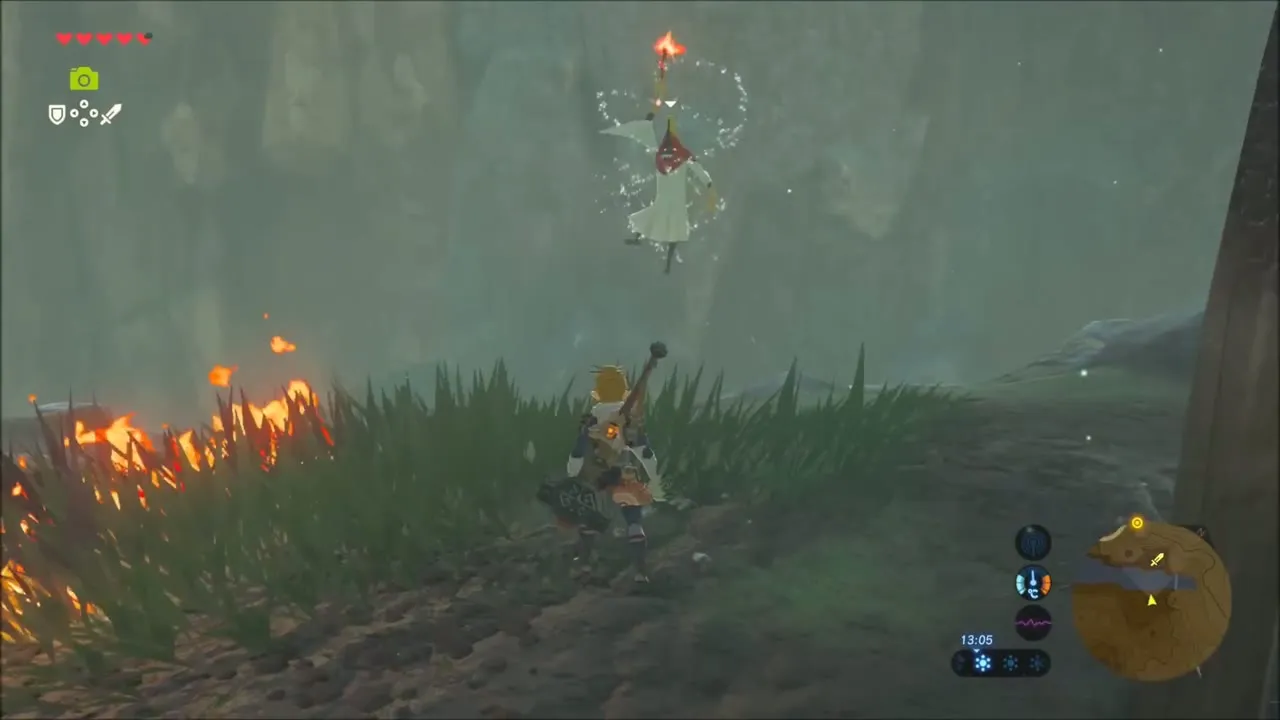
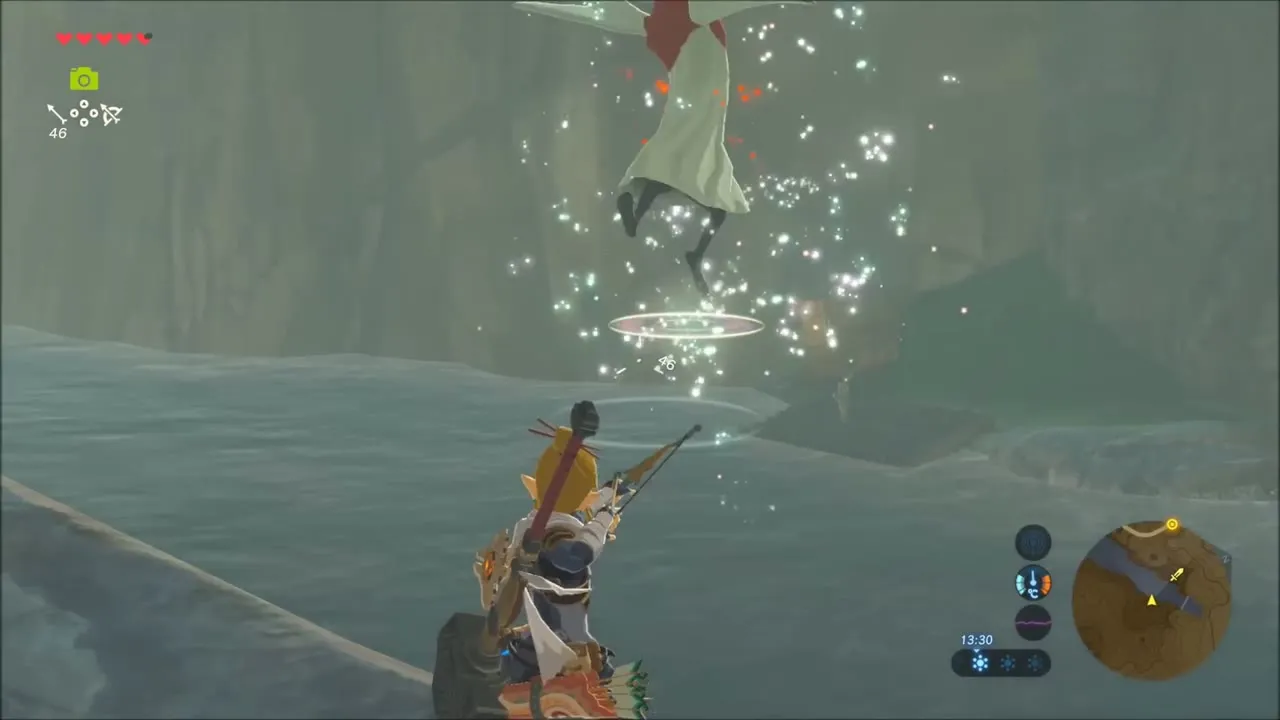
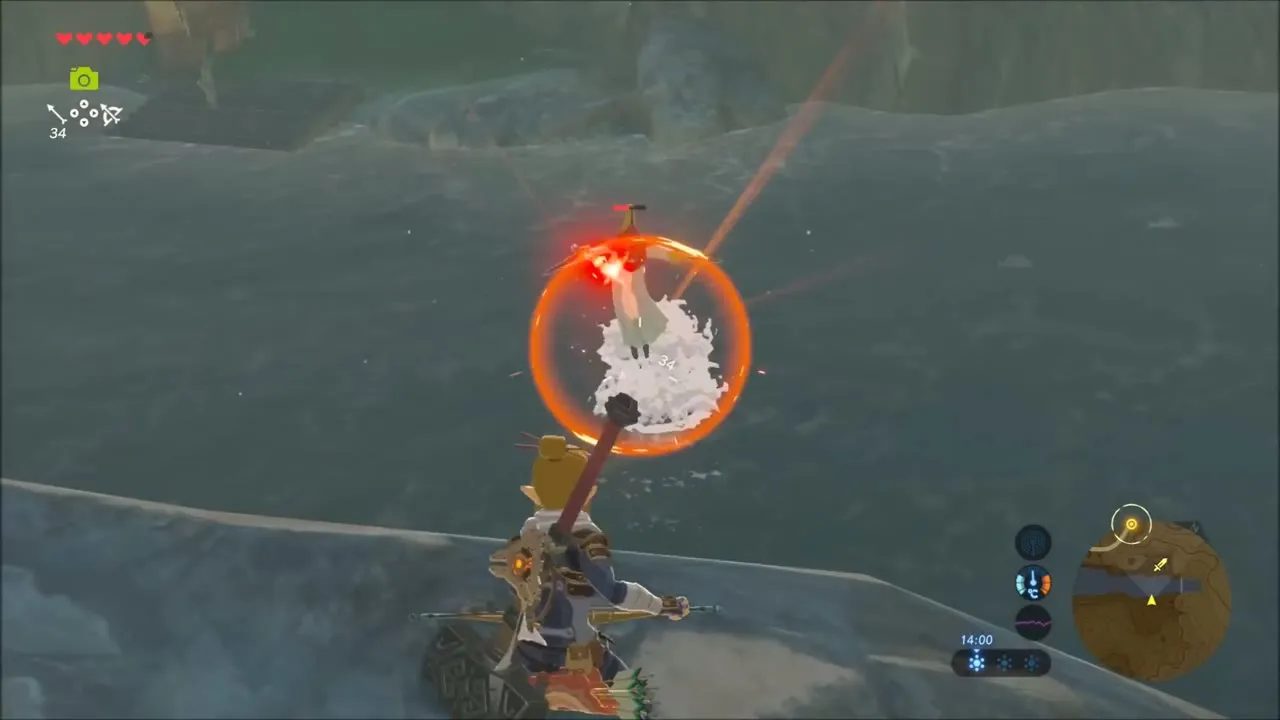
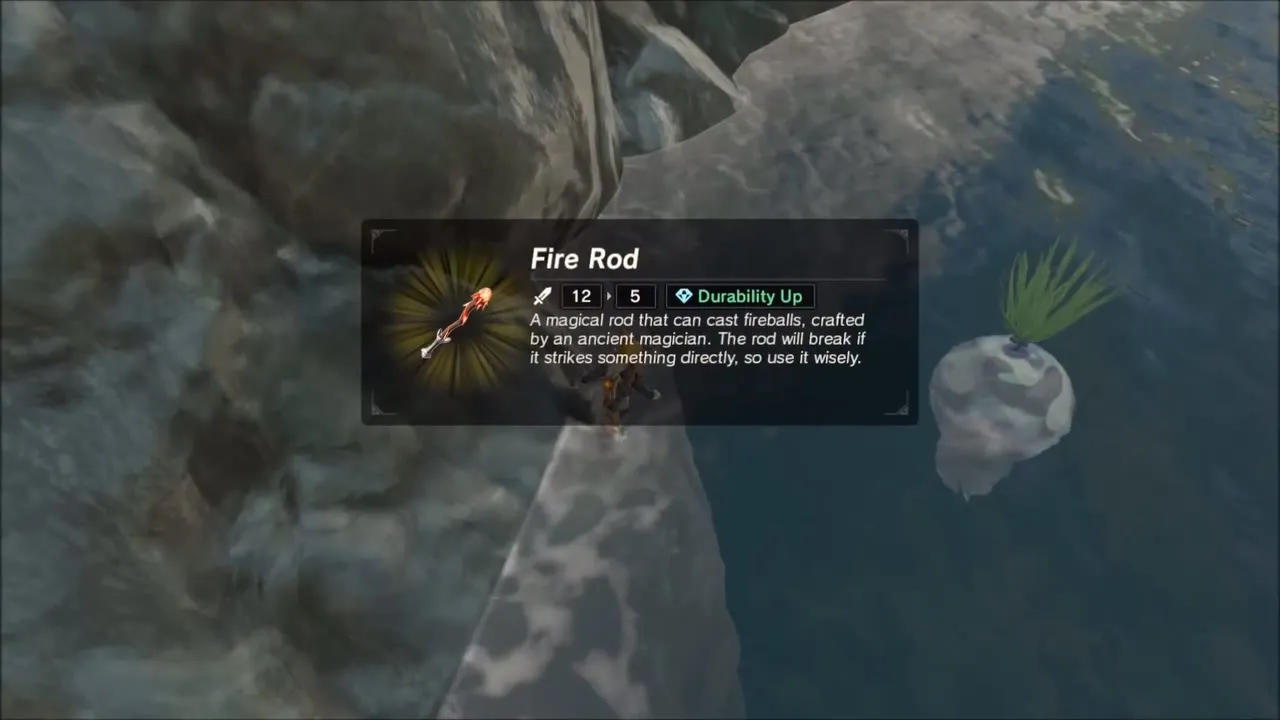
A Fire Wizrobe hovers over the water beside the falls. Keep your distance and shoot it down with arrows (shock arrows are in your quiver here), because its fireballs set the grass alight and can badly damage your bow. When it is gone, look around the rocky shelf for a Fire Rod to pick up.
Raft Down the River to Dueling Peaks Stable and Wild Horses
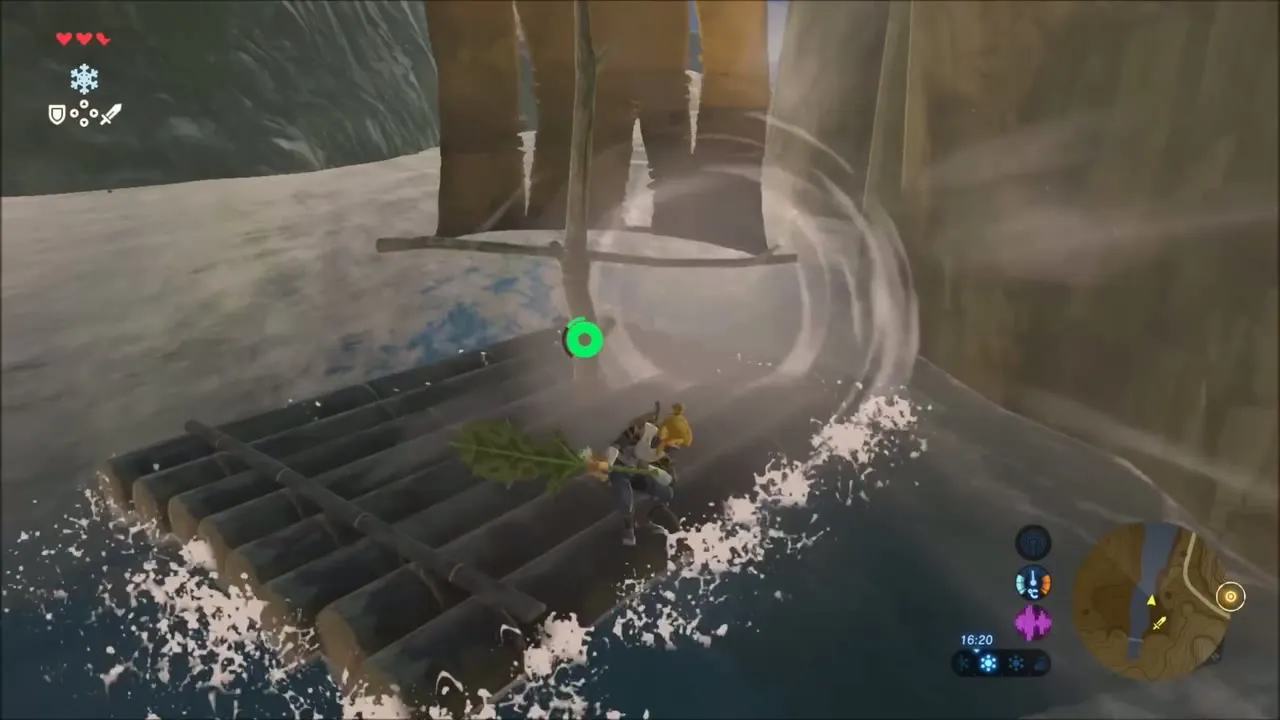
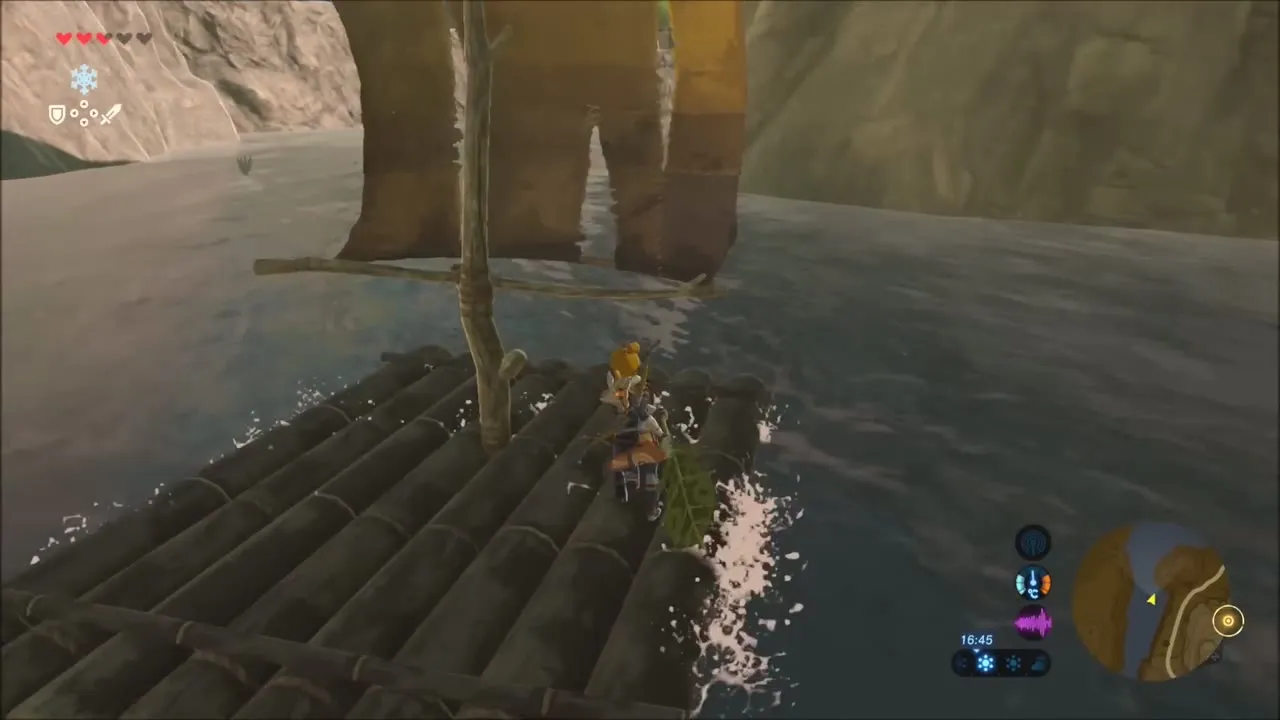
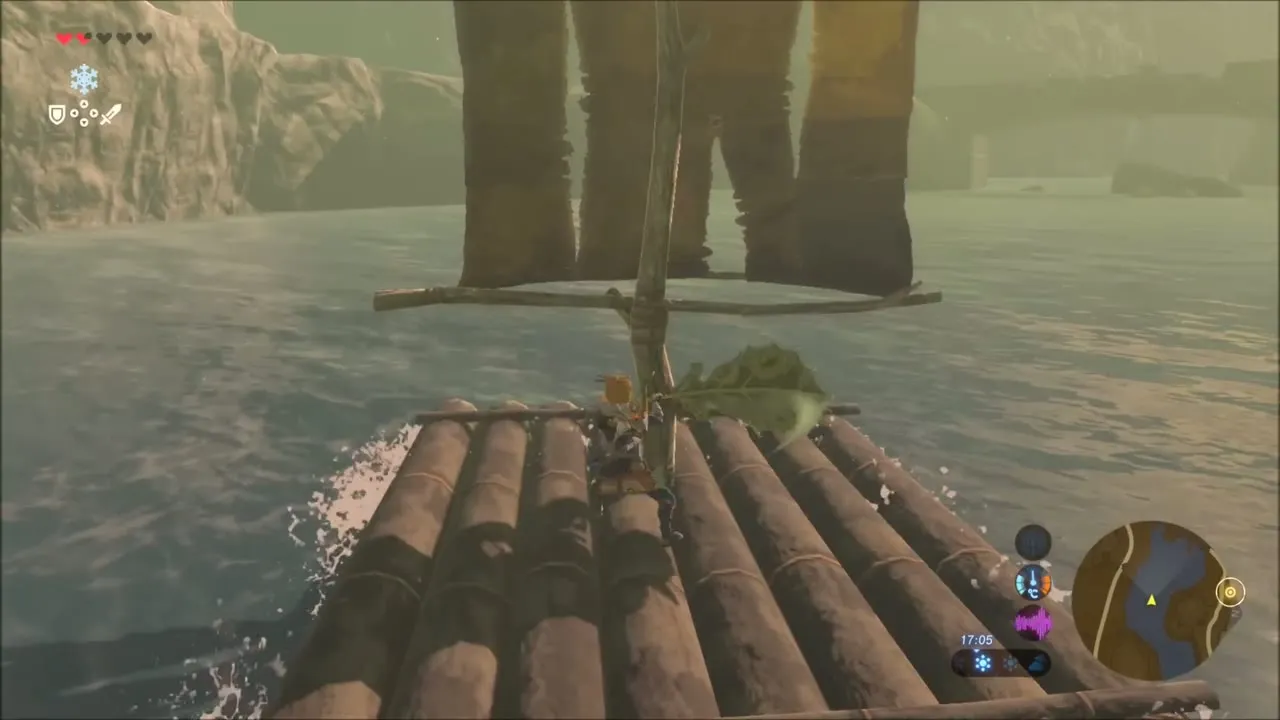
Climb onto the wooden raft and let the river carry you downstream, using the sail to steer around boulders. Step off near the road and follow the signposts to Dueling Peaks Stable, where Beedle‘s stall will buy more gems and Sagessa is cooking at the pot beside the stable.


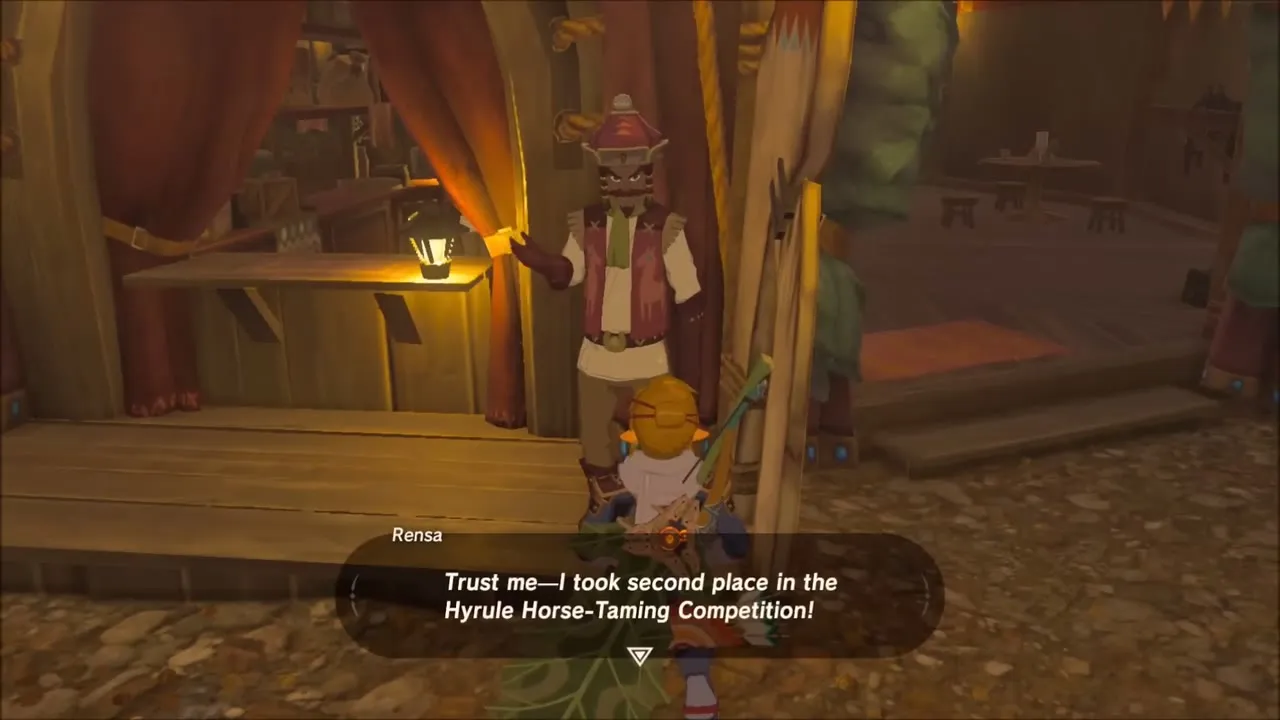
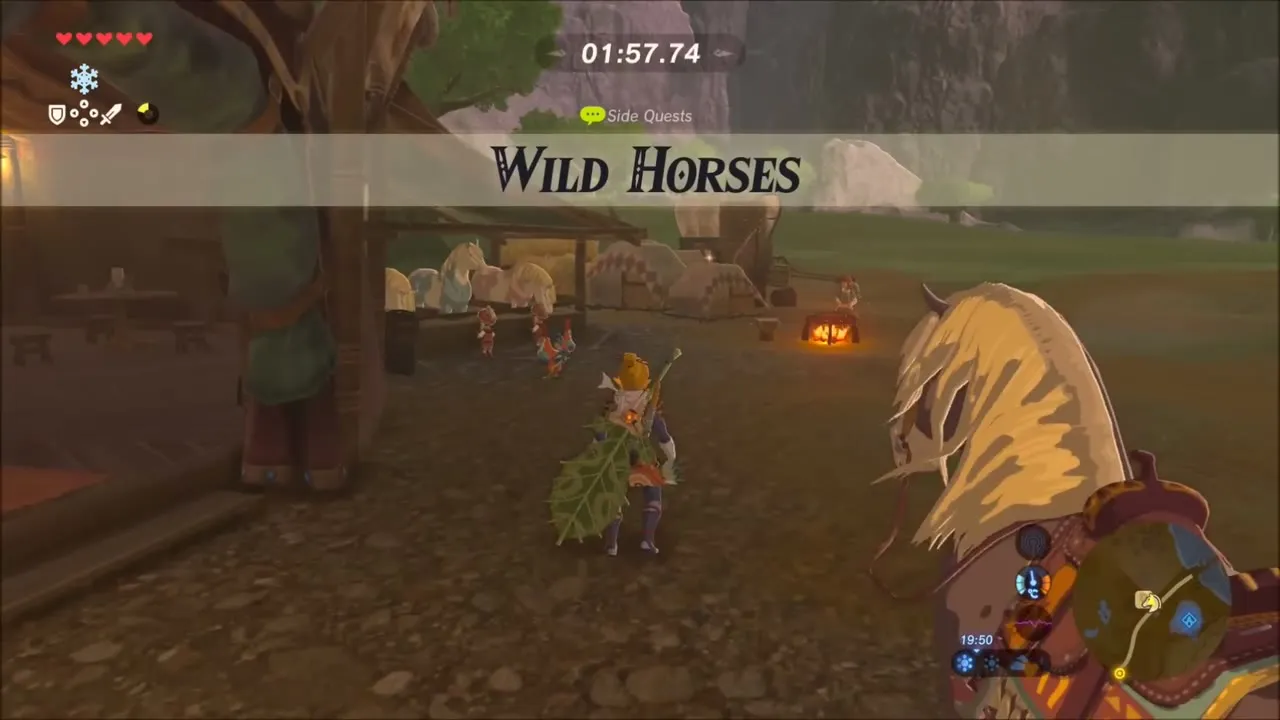
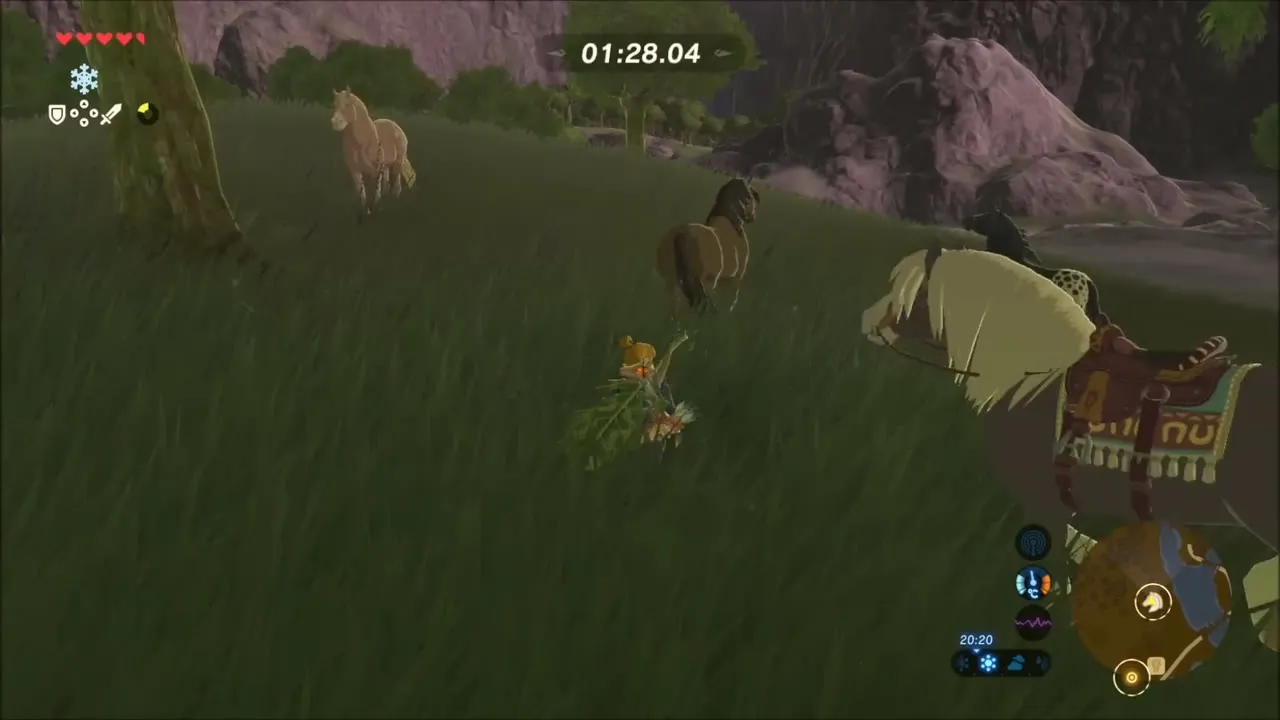
Talk to Rensa to take on Wild Horses. He starts a timer, so sneak up on a wild horse in the field, mount it, calm it until it accepts you and bring it back before the two minutes run out to earn a Purple Rupee (50 rupees).

Night Ambush: The Yiga Footsoldier
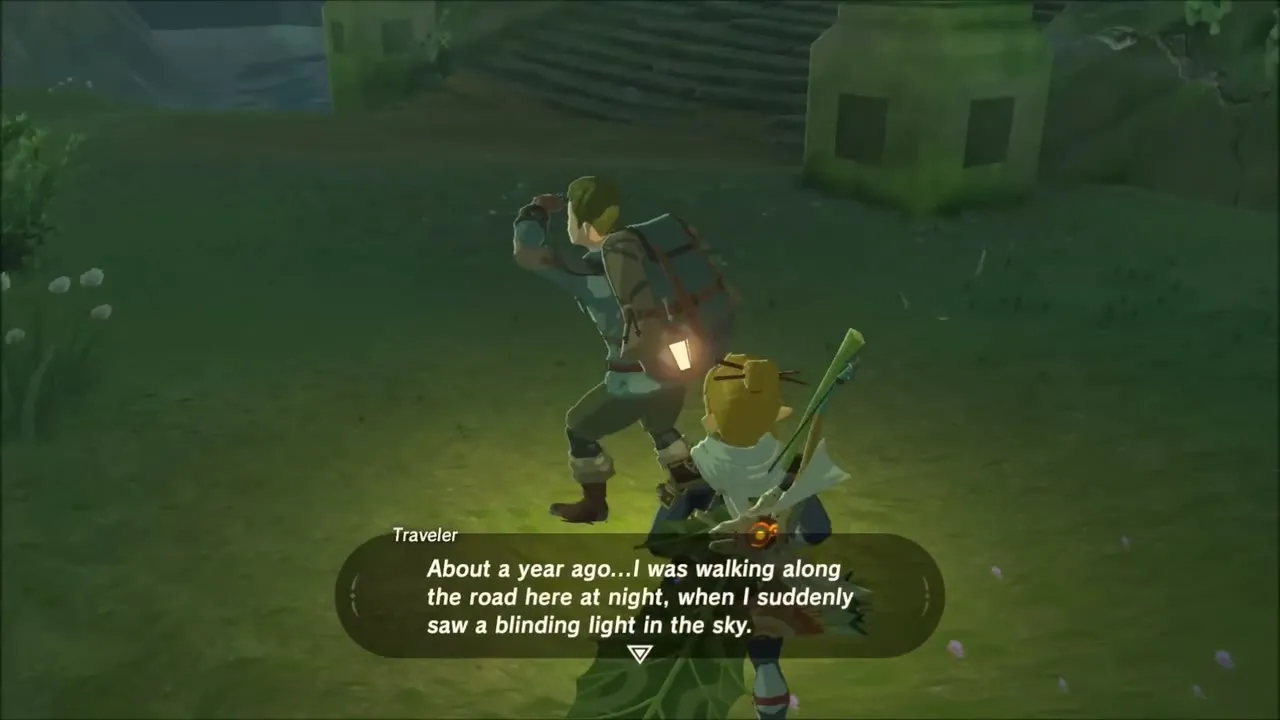
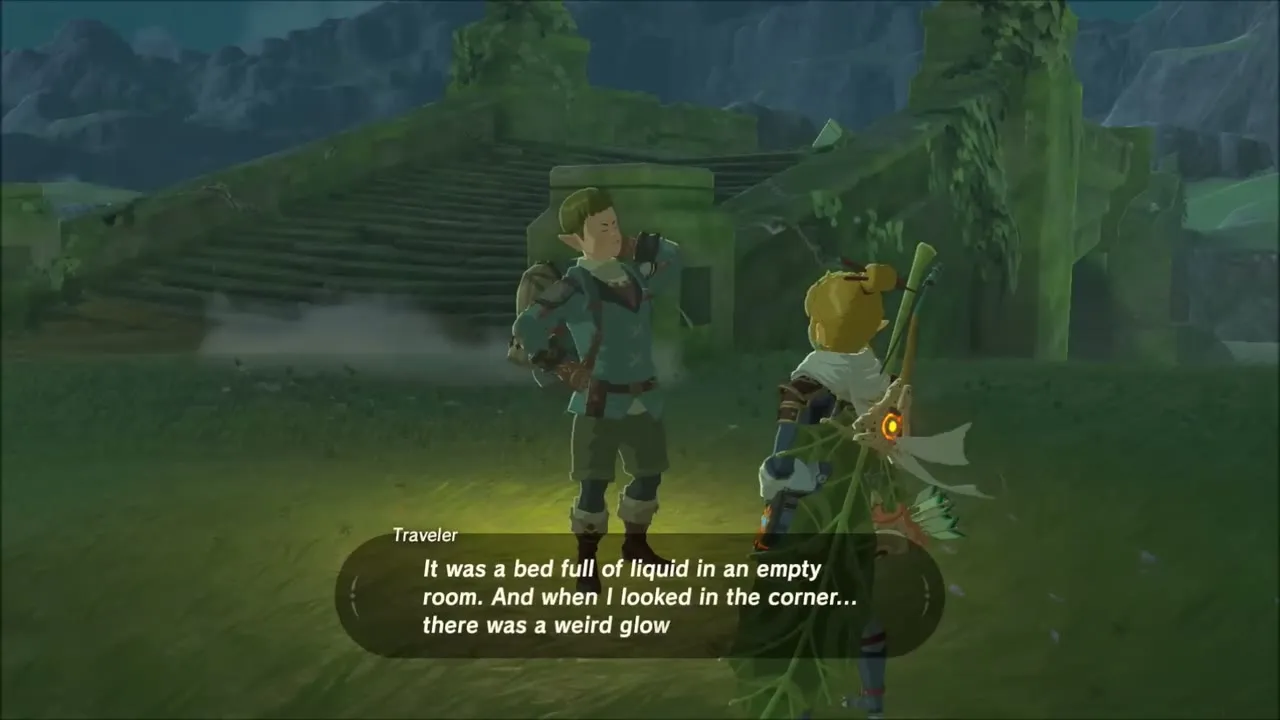
Riding on after dark, you meet a lone traveller who tells a rambling story about waking in a room with a bed of liquid and a shimmering object floating overhead. Do not wait for the ending: when he tells you your story ends here, hero boy, he is a disguised Yiga Footsoldier. Draw your weapon and fight; more Yiga appear in the grass nearby.


Free the Divine Beasts: Impa and the Choice of Vah Ruta
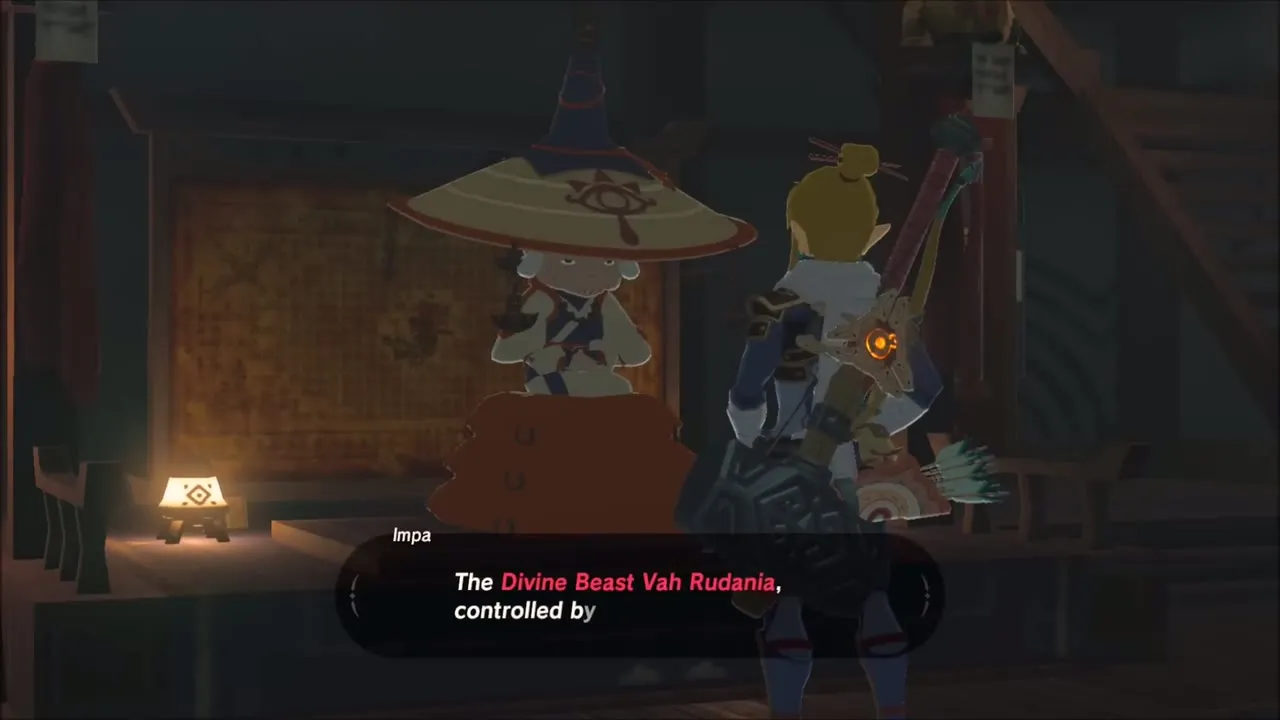
Ride to Impa in Kakariko Village. She tells you about the four Divine Beasts, including Vah Naboris, controlled by Urbosa of the Gerudo. This opens Free the Divine Beasts, and your map now shows a waypoint for each one. Start with the Zora quest, Divine Beast Vah Ruta, whose first task is Reach Zora’s Domain. It is a good moment to page through the Hyrule Compendium and check that the entries you have photographed so far have filled in.

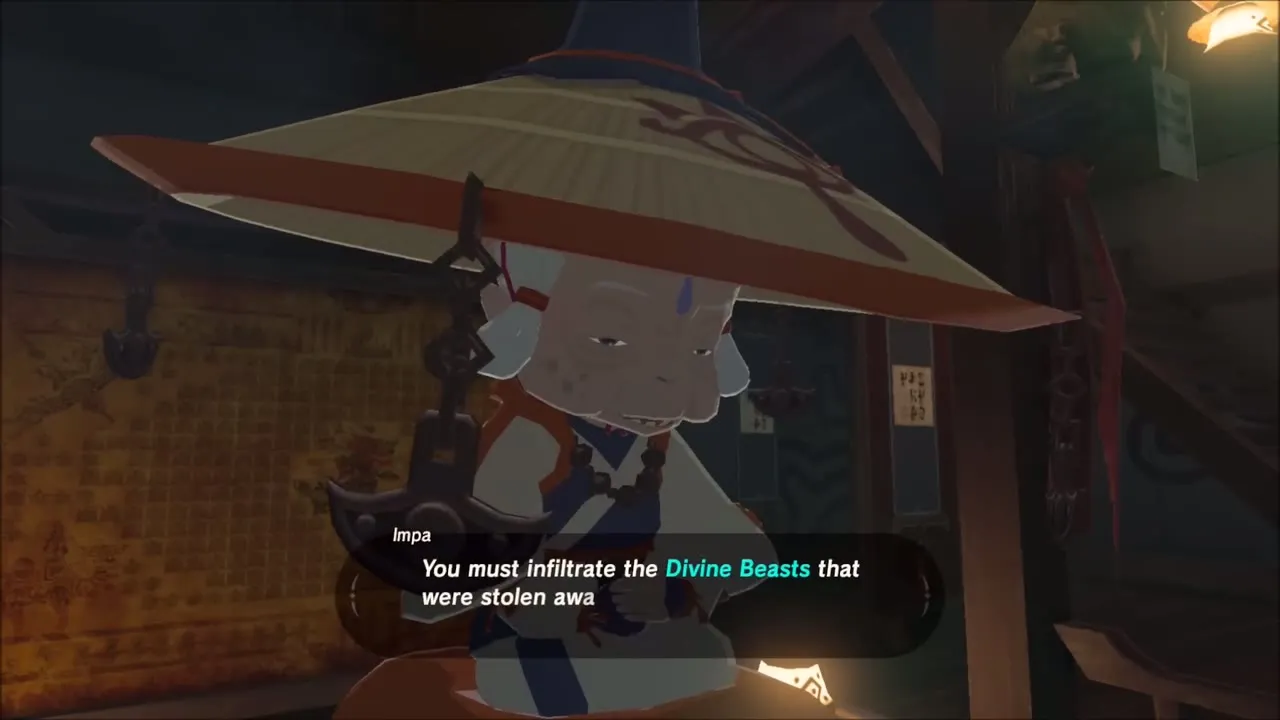
Kakariko Village: Restocking Before the Dueling Peaks
Before you leave Kakariko, visit its shops. Trissa sells Goat Butter and Rola sells arrows, including Bomb Arrows, so top up both before heading out.
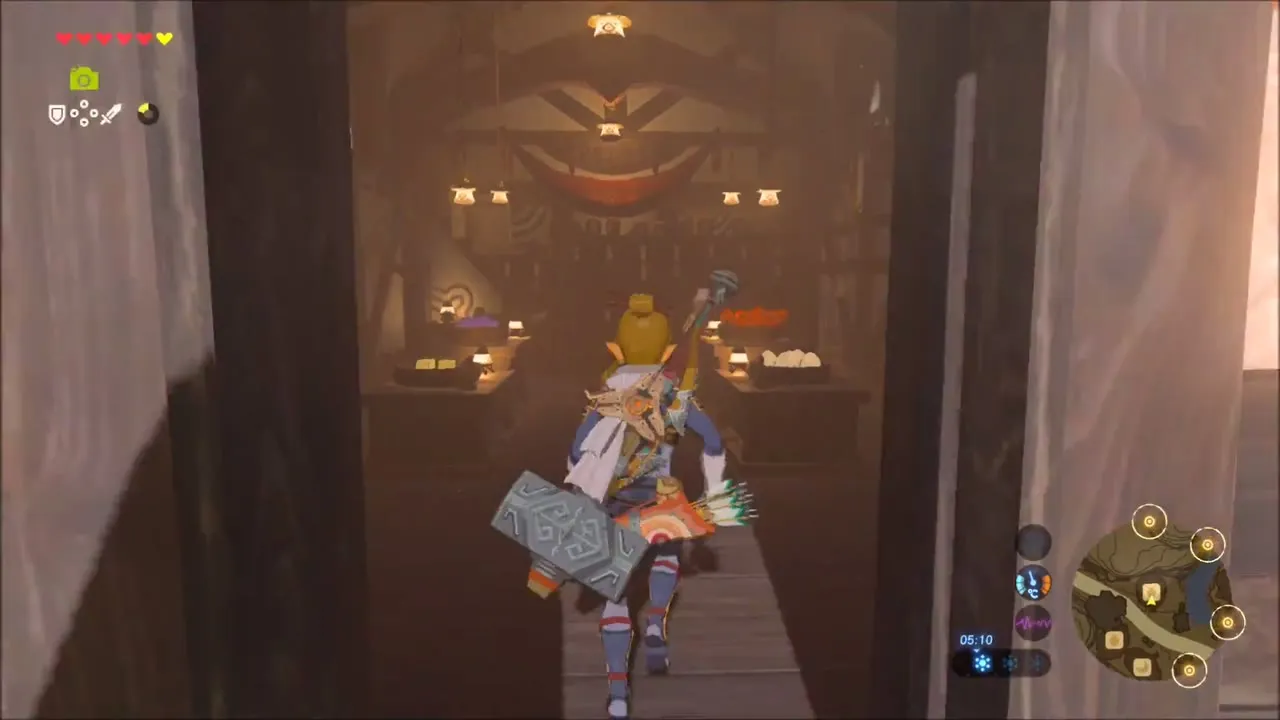

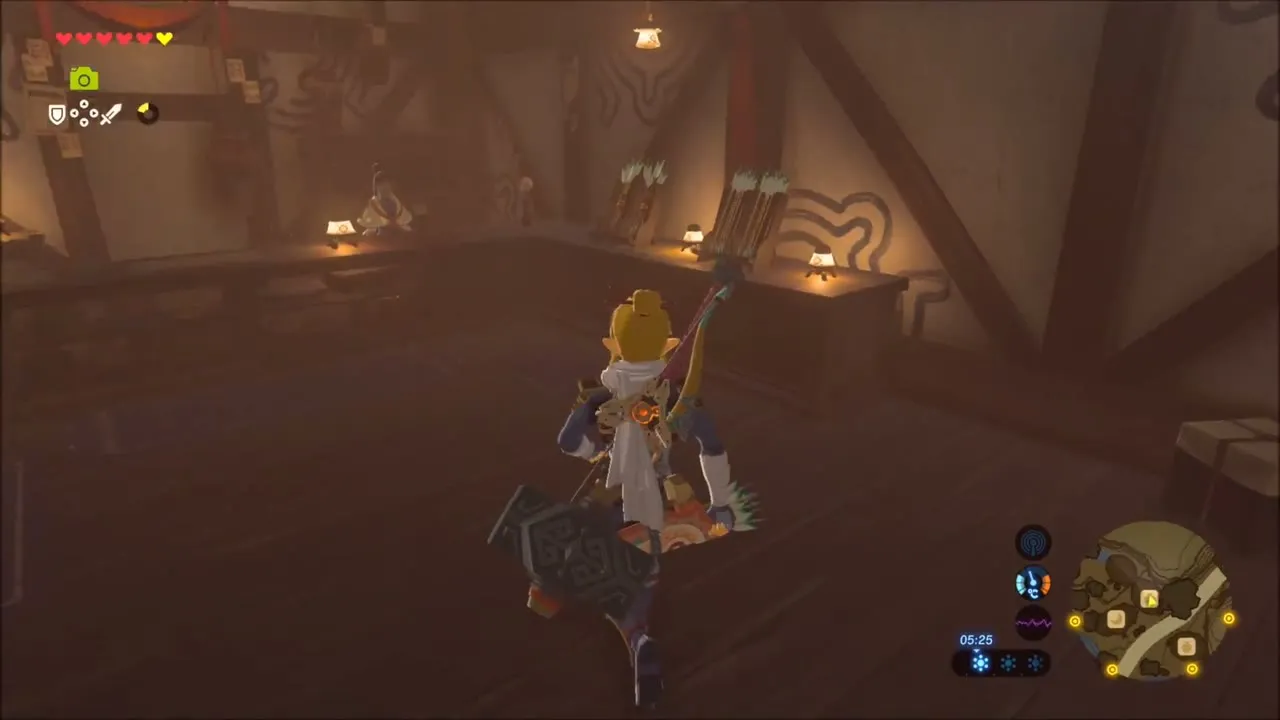

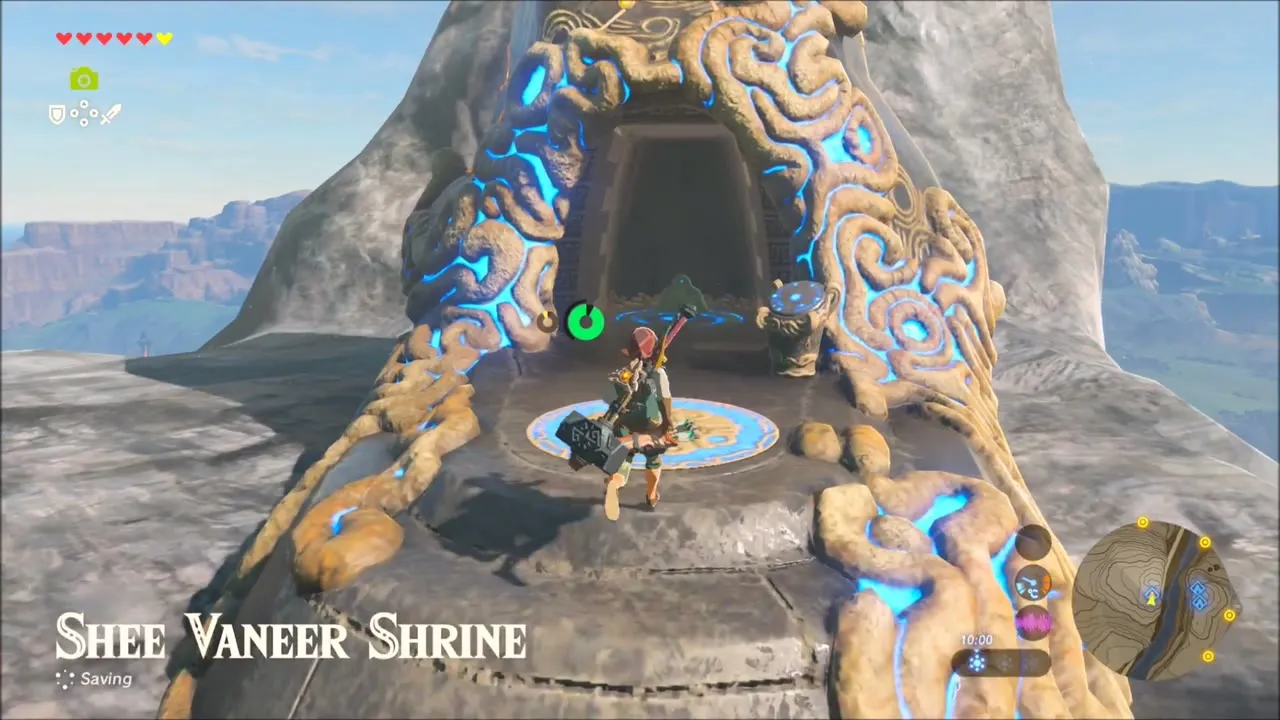
Shee Vaneer Shrine: Twin Memories (Southern Dueling Peak), First Visit
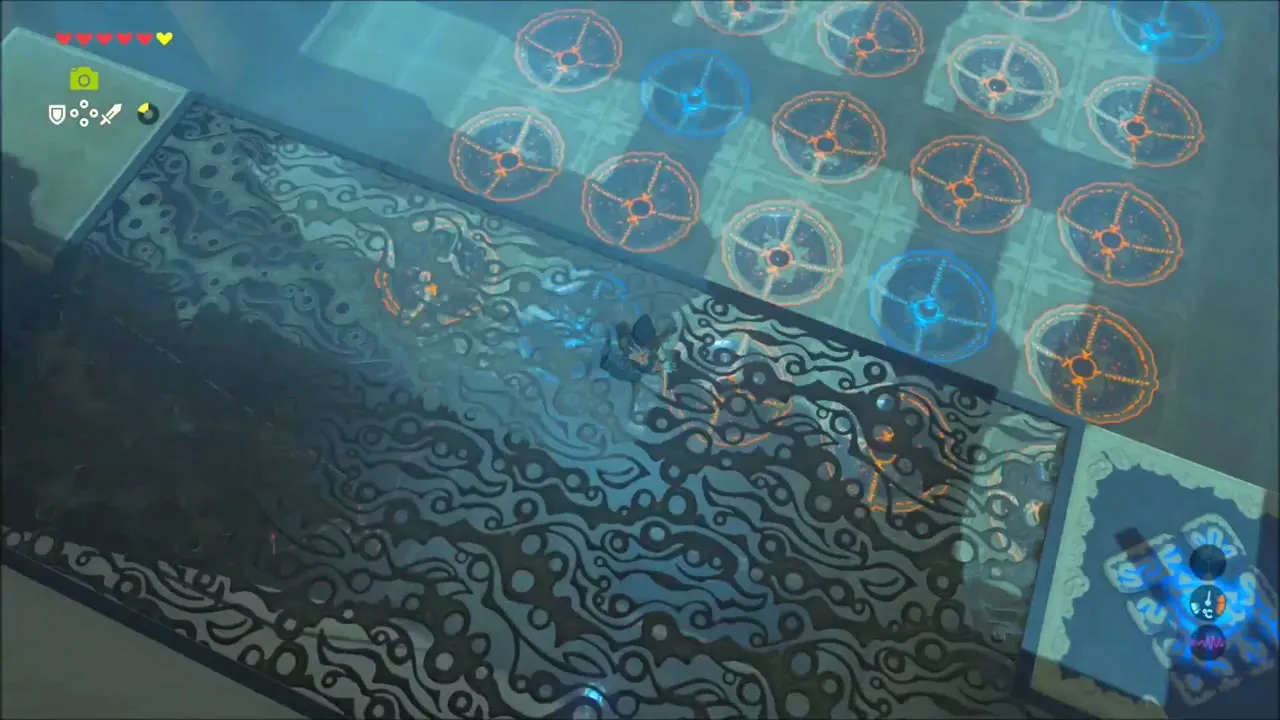
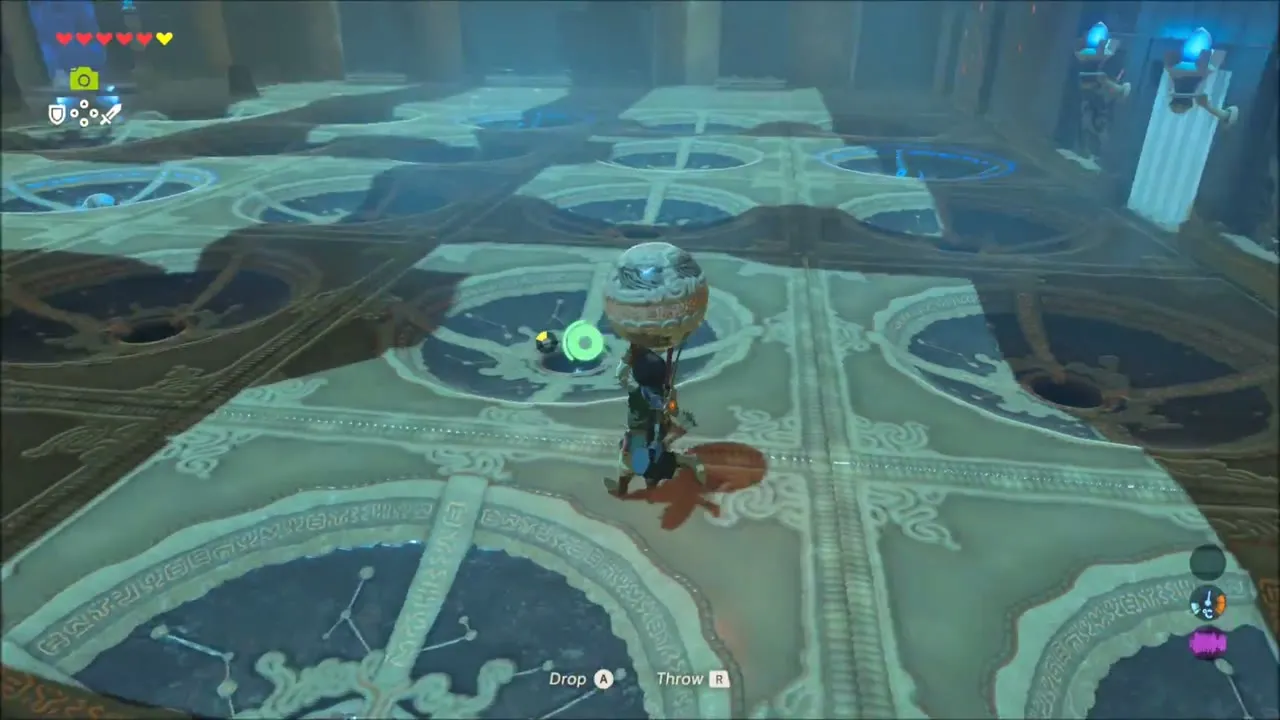
The two shrines on top of the Dueling Peaks are a linked pair with the trial Twin Memories, and each one’s layout is the solution to the other. Fast travel to Shee Vaneer Shrine (x 1266, z 1939) and read the sign: the shrines are connected. The floor is a 5 by 5 grid of bowl-shaped hollows with five spheres lit up, and the shrine warns you to commit the layout to memory. Take the elevator to the upper level and record exactly which five hollows hold spheres, then leave without moving anything.


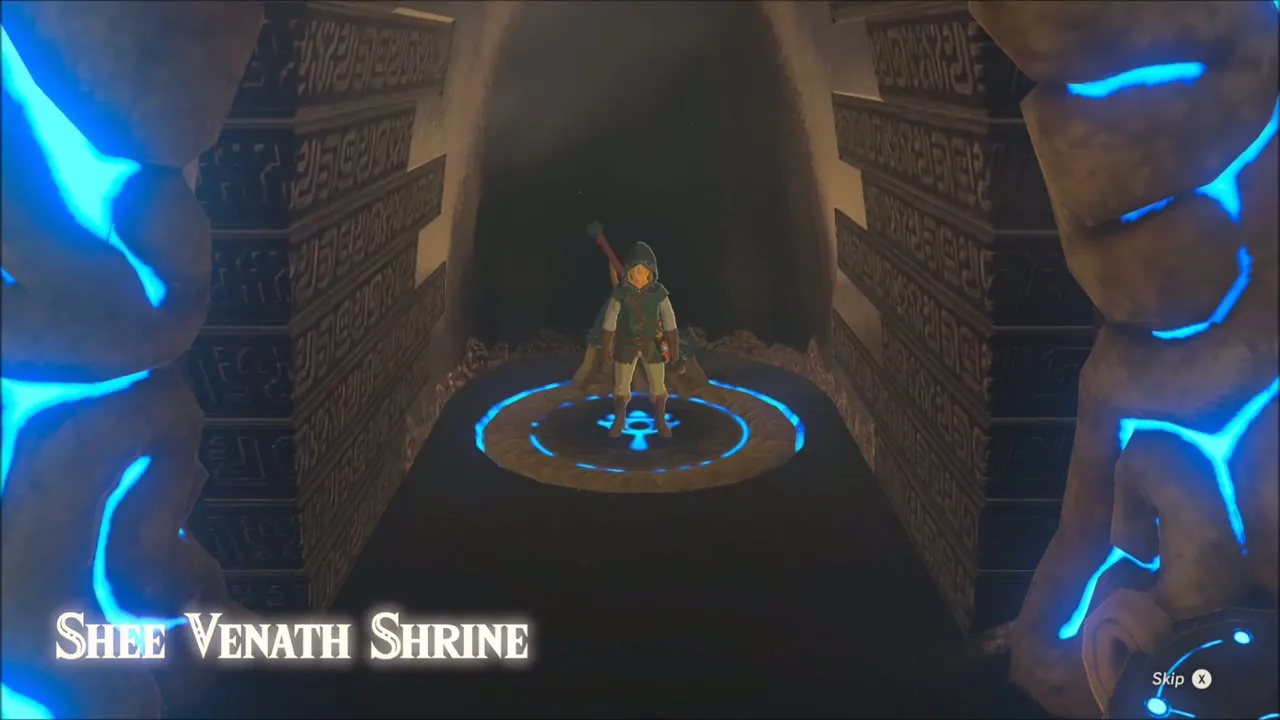
Shee Venath Shrine: Twin Memories (Northern Dueling Peak)
Climb across to the northern peak and enter Shee Venath Shrine (x 1245, z 1850). Check this room’s own starting pattern from the upper level first, because Shee Vaneer needs it. Back on the floor, pick up each sphere and drop it into the hollows you recorded at Shee Vaneer until the layouts match. The door opens and the monk gives you a Spirit Orb. The chest on the upper edge holds a Serpentine Spear, reachable by gliding around the rim.

Shee Vaneer Shrine: Twin Memories (Solution)
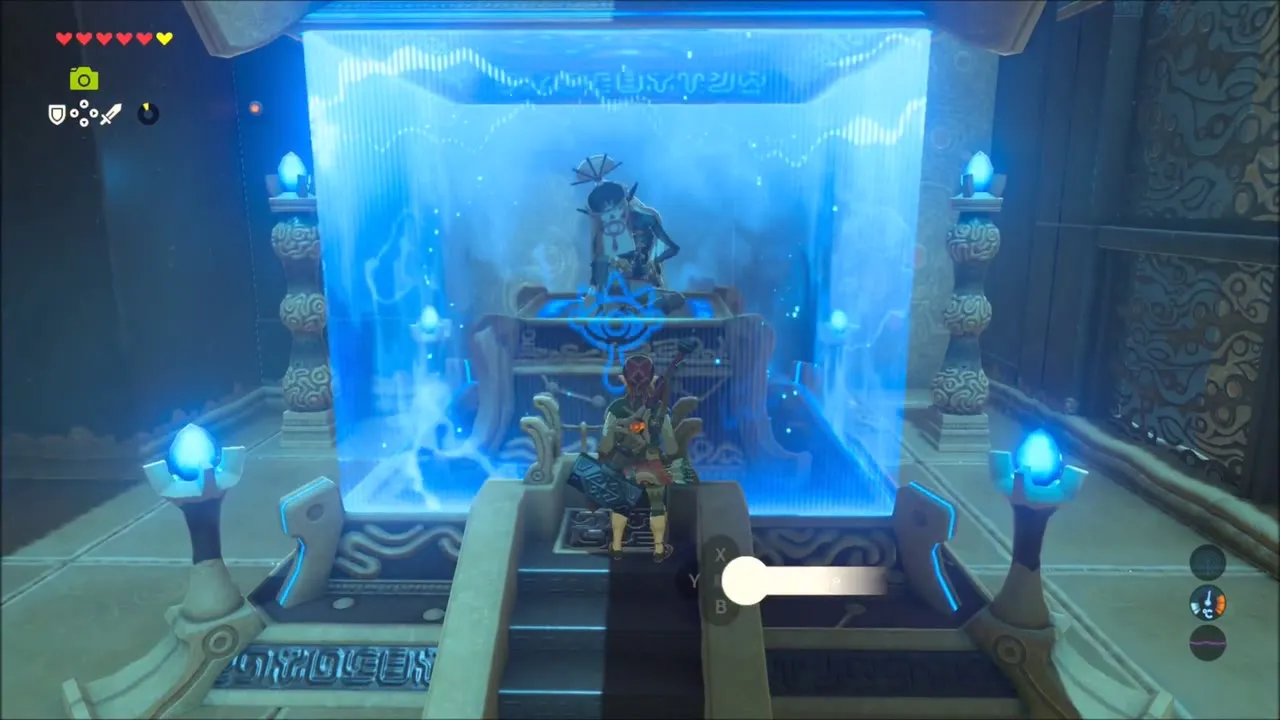
Make your way back across to the southern peak and go through Shee Vaneer Shrine again. Move its five spheres into the pattern you recorded at Shee Venath, one hollow per sphere, to open the gate and receive a second Spirit Orb from the monk. The chest on the upper edge contains an Eightfold Longblade (tier set by difficulty scaling), reached by gliding around the rim. You can do the two shrines in either order, as long as you recorded the first one’s pattern before changing the second.


Kakariko Village: Heart Container, Koko’s Kitchen and Cooking
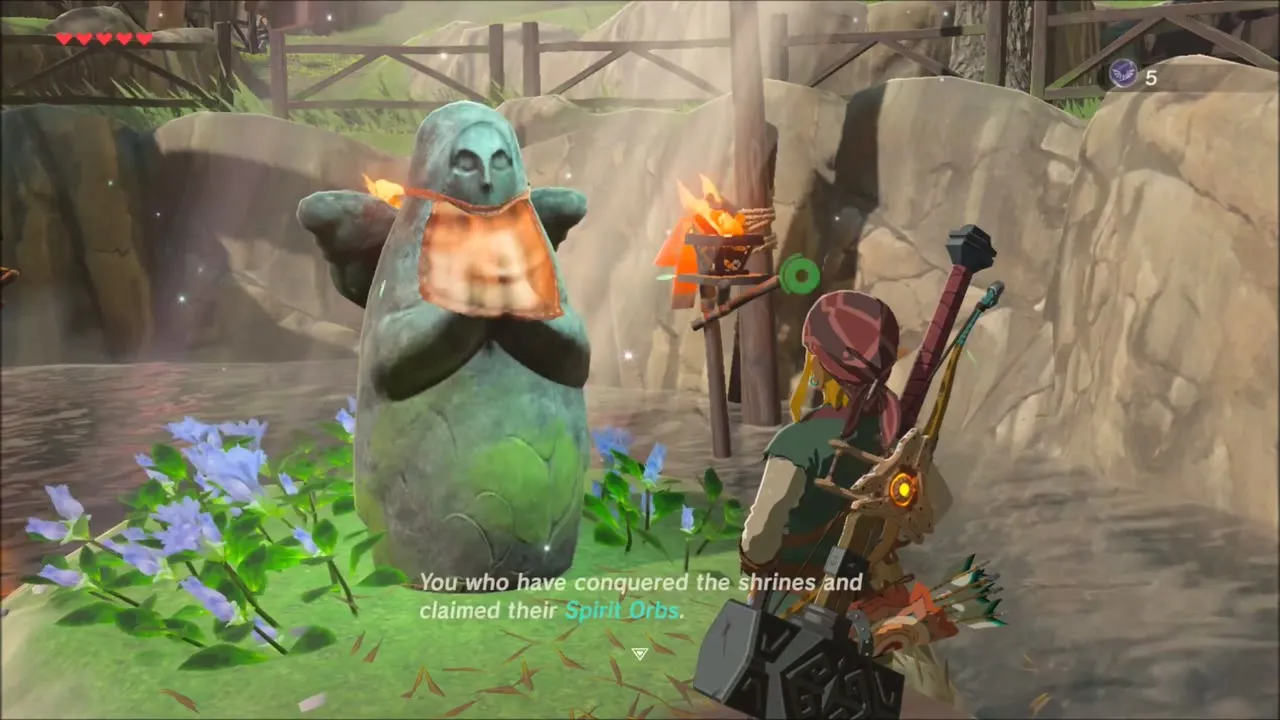
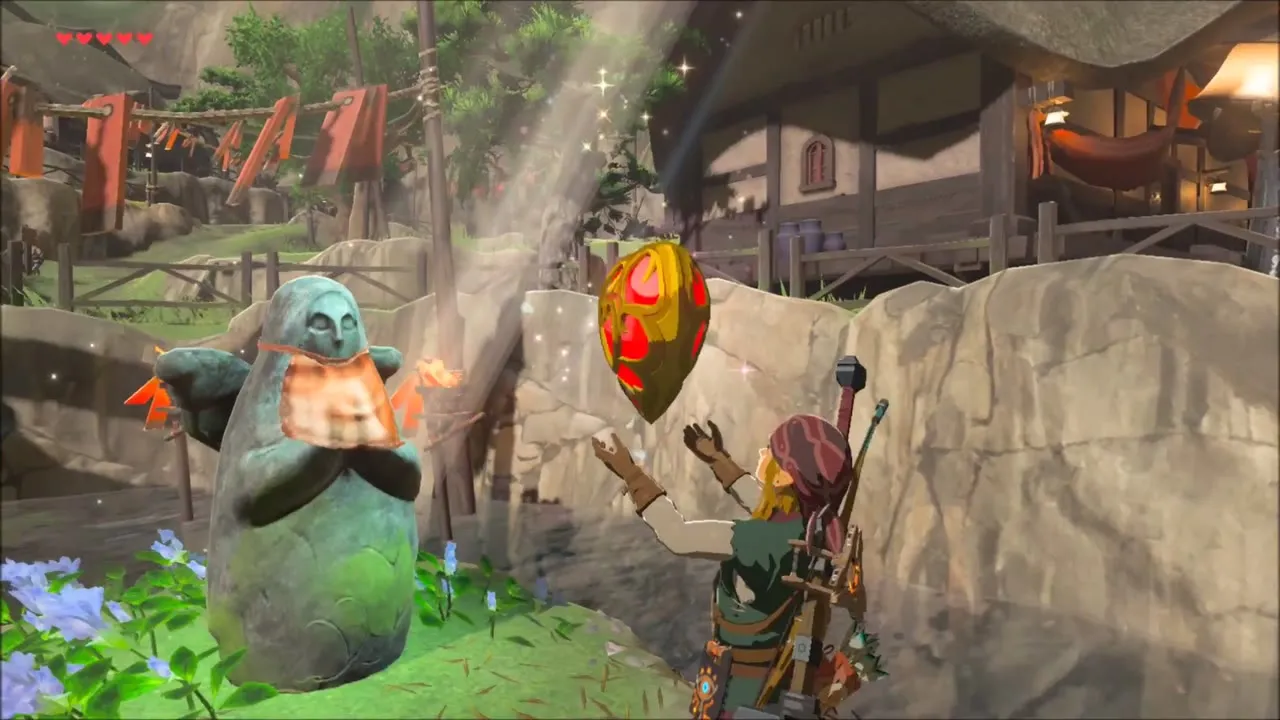
Fast travel to Ta’loh Naeg Shrine and walk down into Kakariko Village. Speak to the Goddess Statue beside the stream and trade your Spirit Orbs for a Heart Container, which adds a full heart to your health.

Go to the cooking pot in the west of the village, where Koko is out of Swift Carrots. This is Koko’s Kitchen: bring her a Swift Carrot (buy one from the shop beside the pot), and she cooks Hasty Veggie Cream Soup for you, a dish that boosts your movement speed.

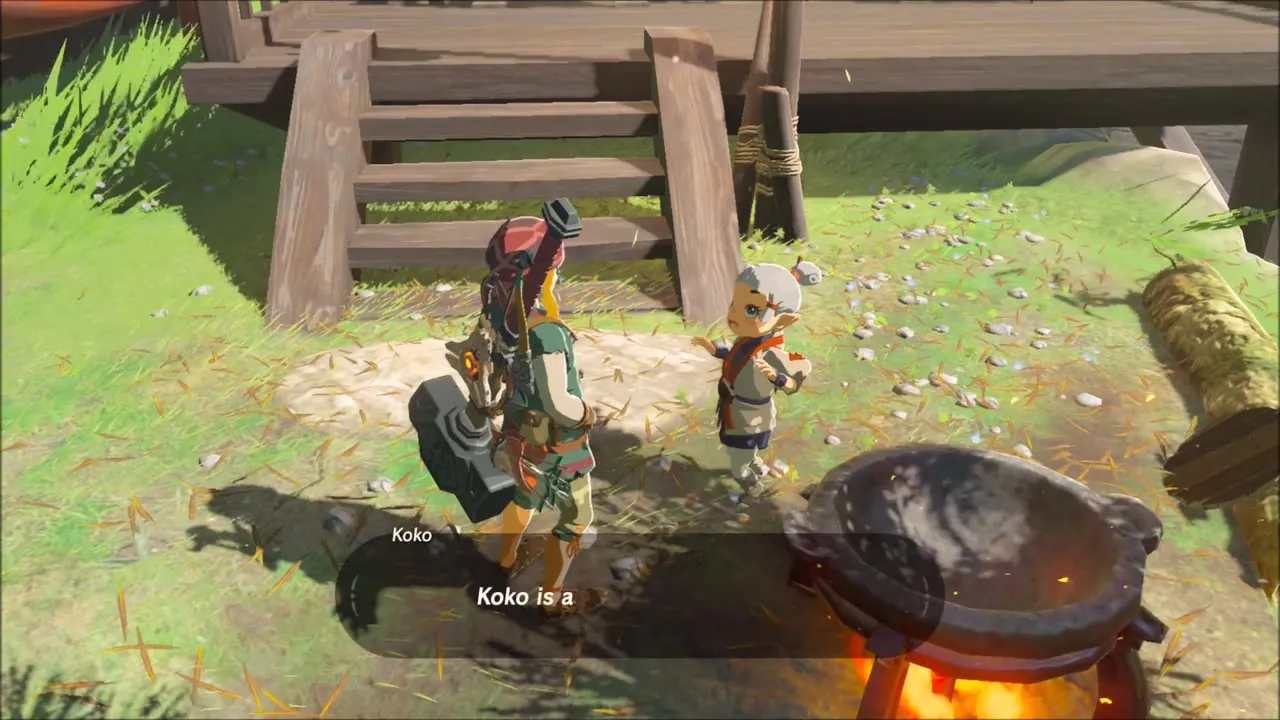


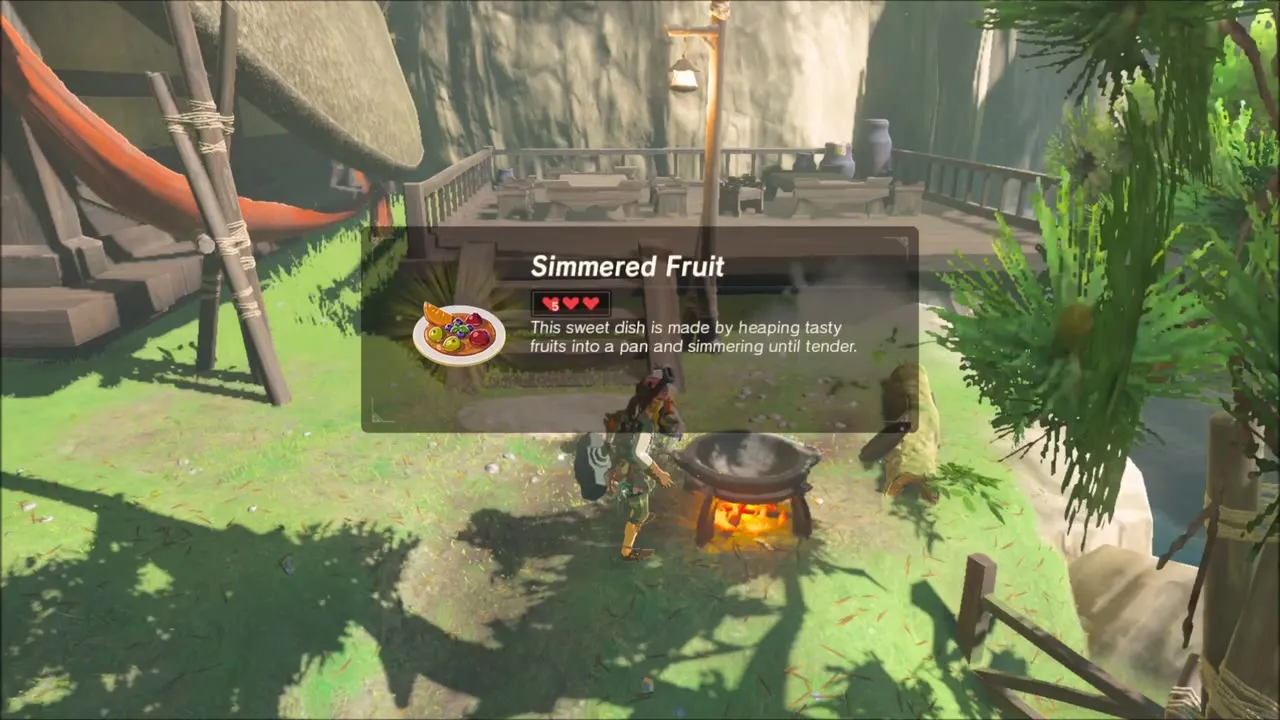
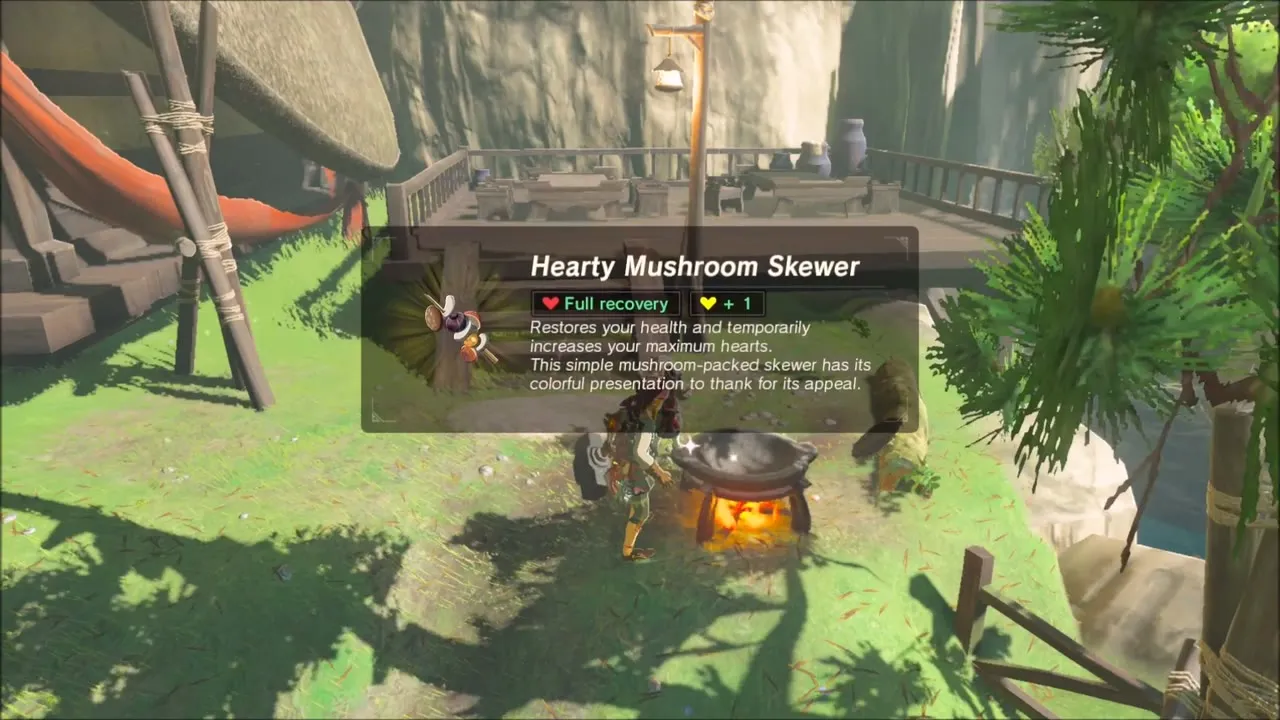
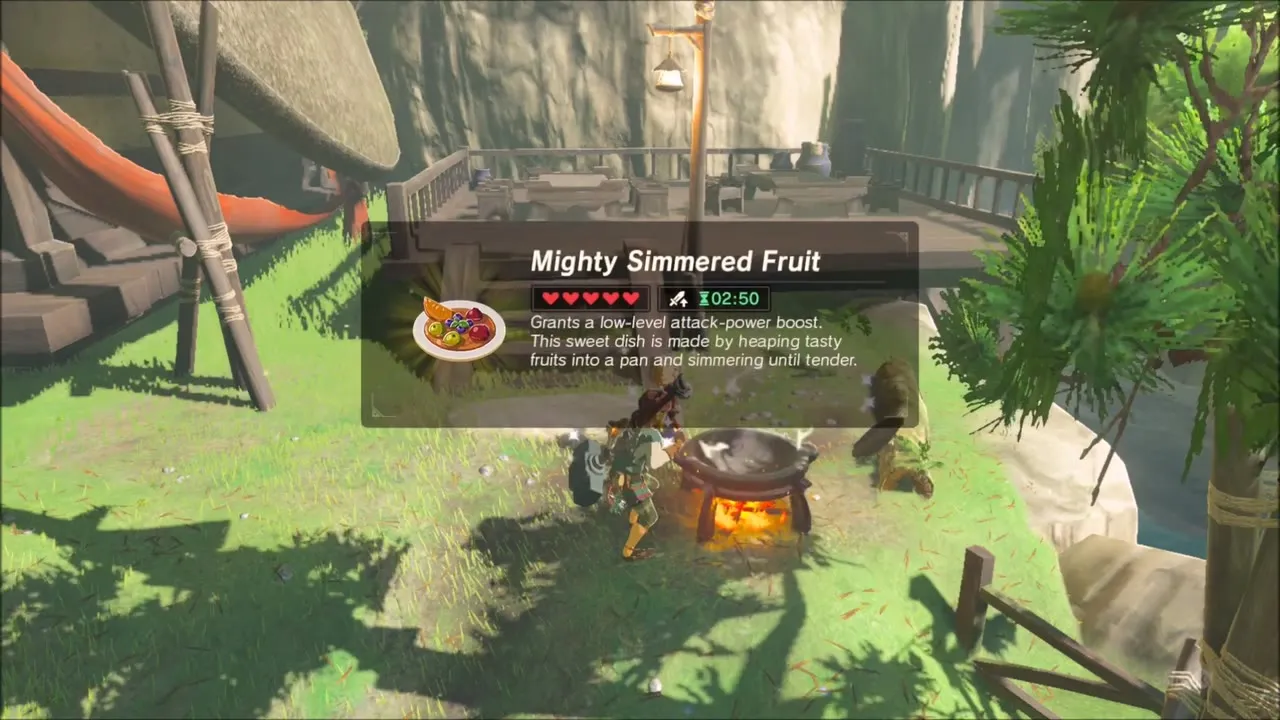
Use the same pot to prepare food for the trip: Simmered Fruit, Mighty Simmered Fruit, Hearty Mushroom Skewer, Steamed Fish and Mighty Steamed Fish, the last of which grants an attack boost. See Recipes for the ingredients of each dish.
Great Fairy Fountain: Upgrade the Climbing Gear and Climbing Boots
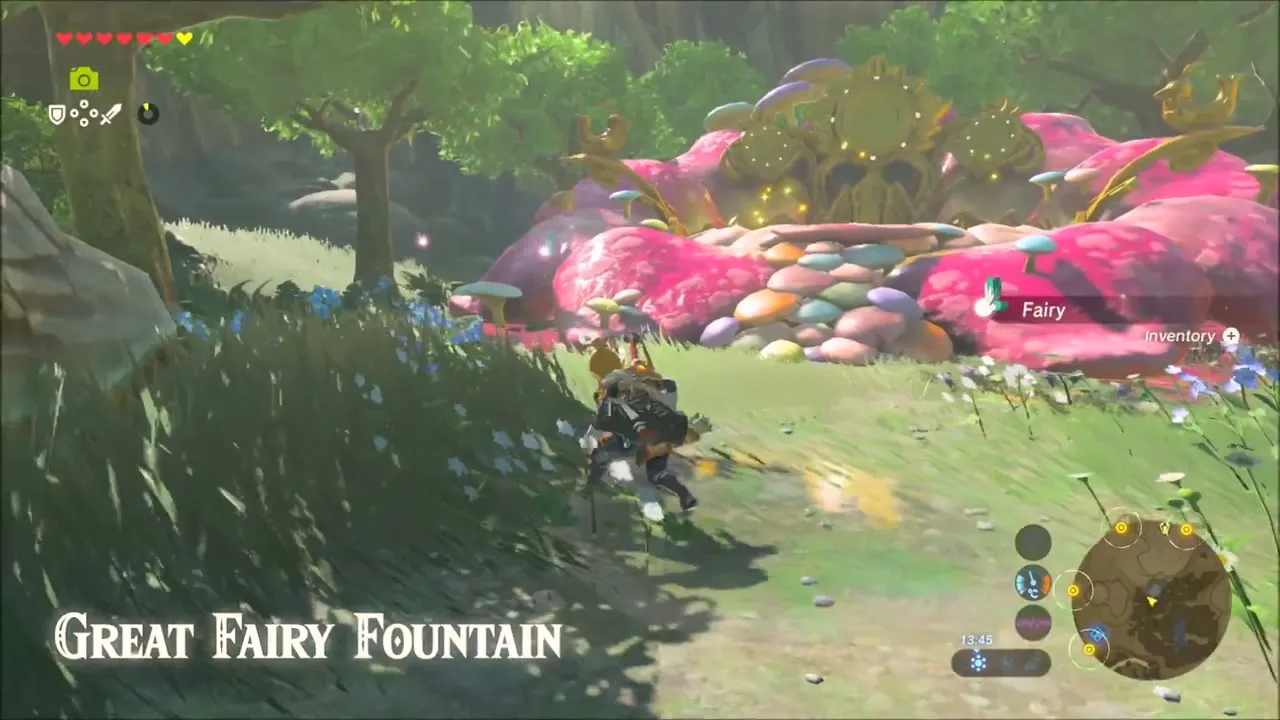
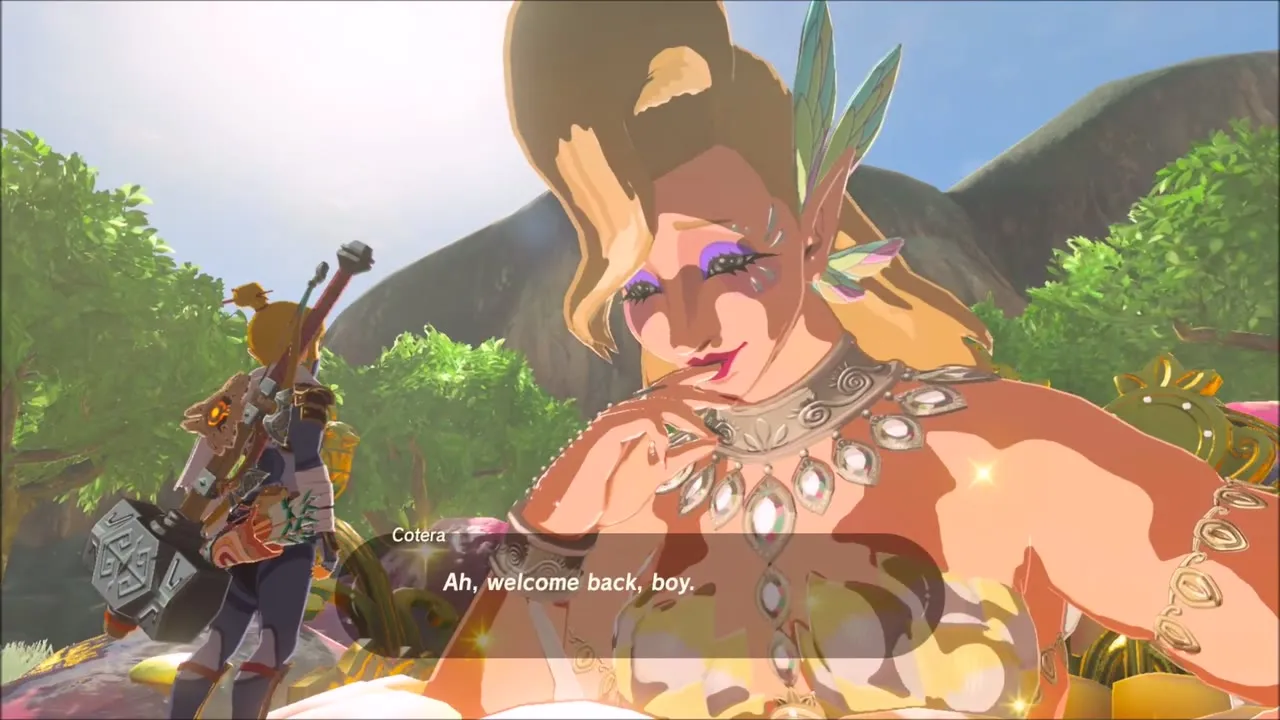
Head to the Great Fairy Fountain near Kakariko (x 1976, z 846). Cotera is already awake, so she welcomes you back and offers to enhance a piece of clothing. Give her the materials she asks for (Keese Wings and Rushrooms) to raise the Climbing Gear, then enhance the Climbing Boots too. Both raise your climbing speed. The Well-Worn Trousers cannot be enhanced. See Great Fairies for costs and upgrade levels.


Korok Seeds Near the Fountain and on the Hills Beyond
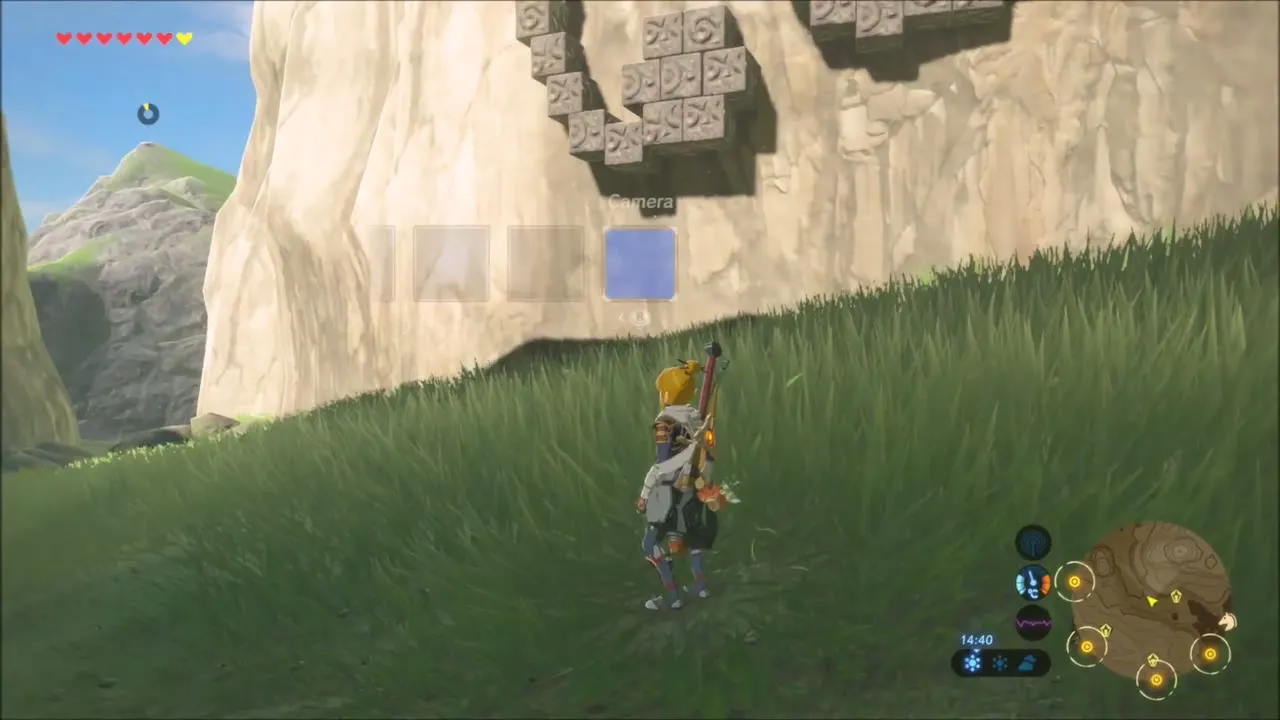
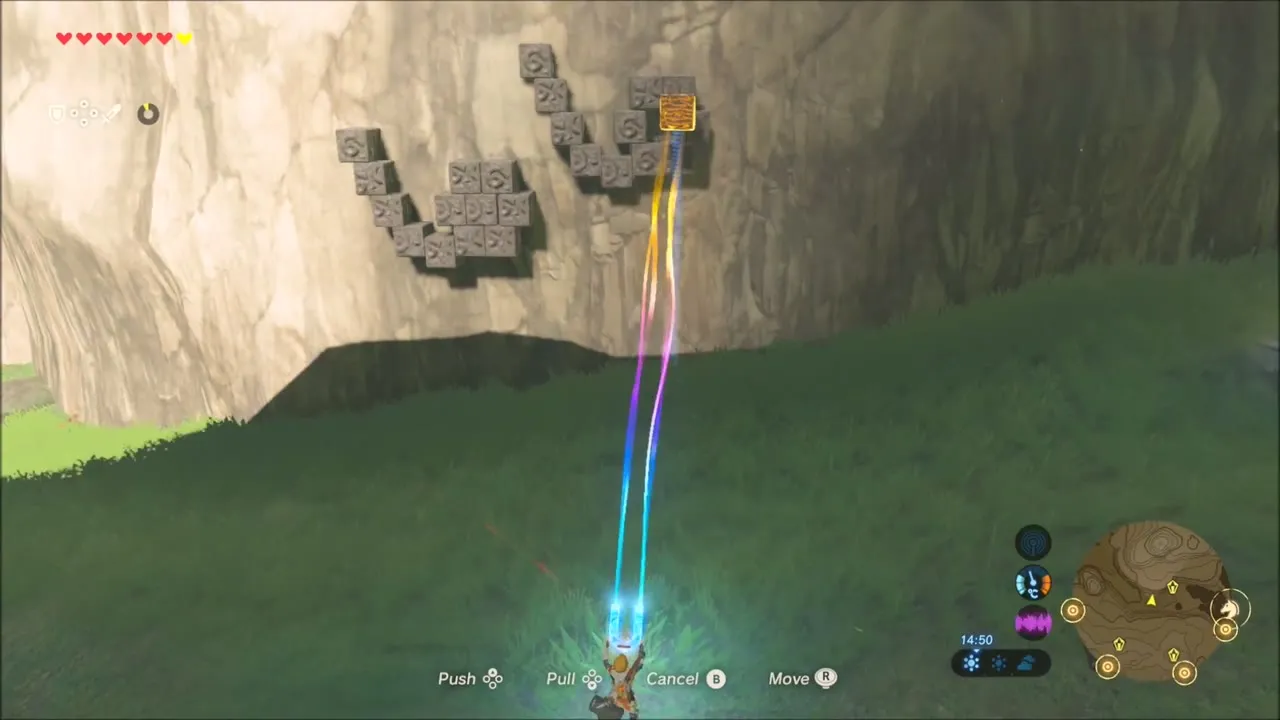
Korok seed on the cliff by the fountain: stone blocks are stuck to the rock wall in a stepped shape, and an orange metal block sits up at the top. Use Magnesis on that block and move it, then climb the blocks to the Korok at the top of the steps.

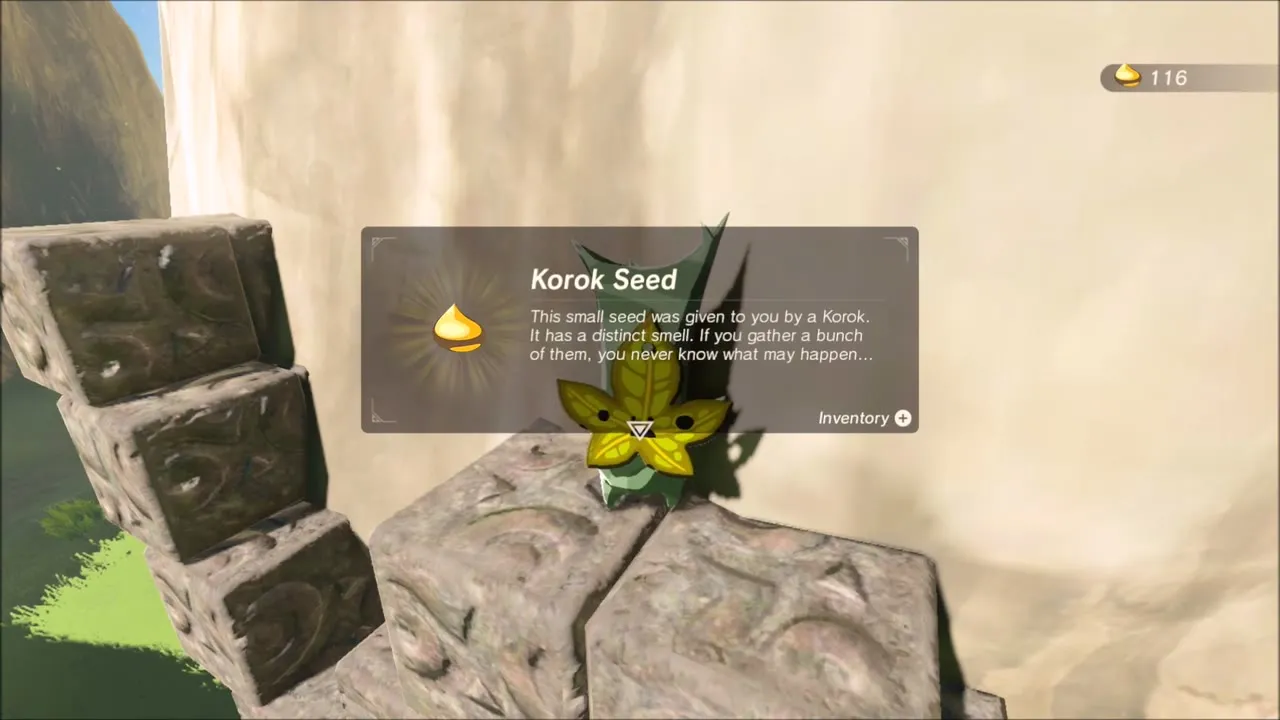
Korok seed on the long green slope: with the upgraded Climbing Boots, scale the grass slope above, shaking down apples from the trees as you pass. A Korok is hiding in the tall grass farther along; find him and he pays with a seed.

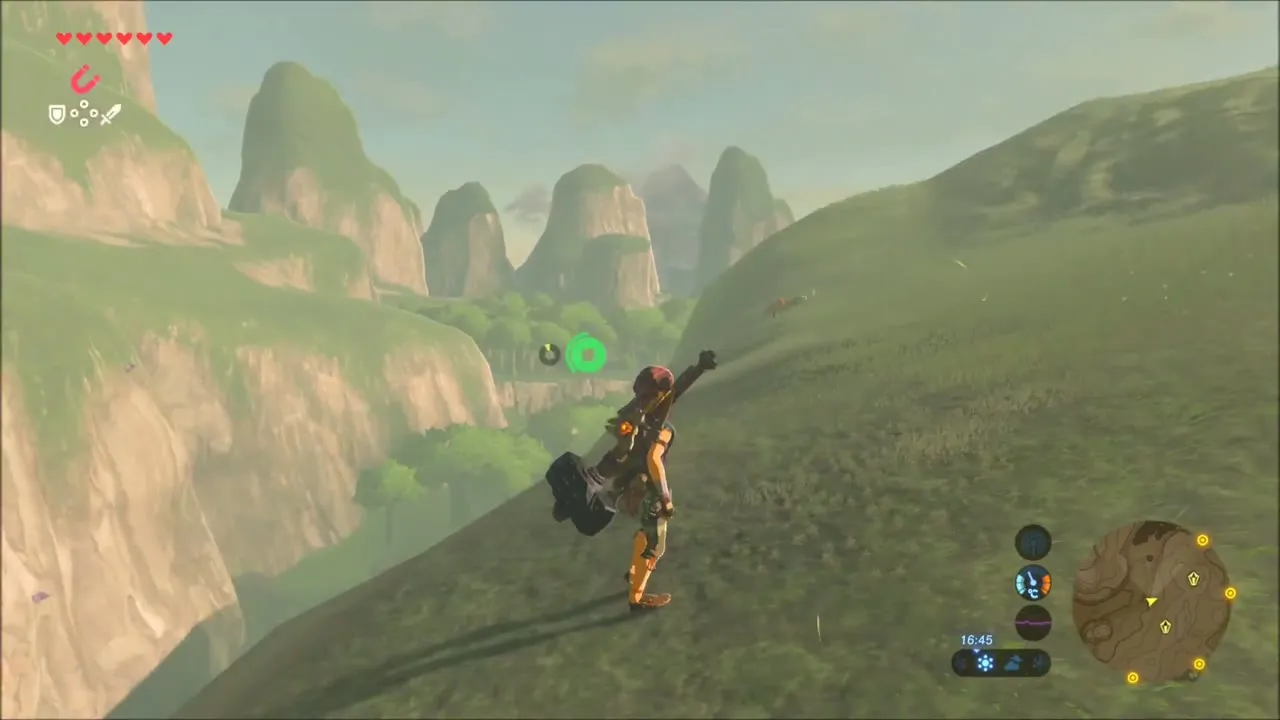

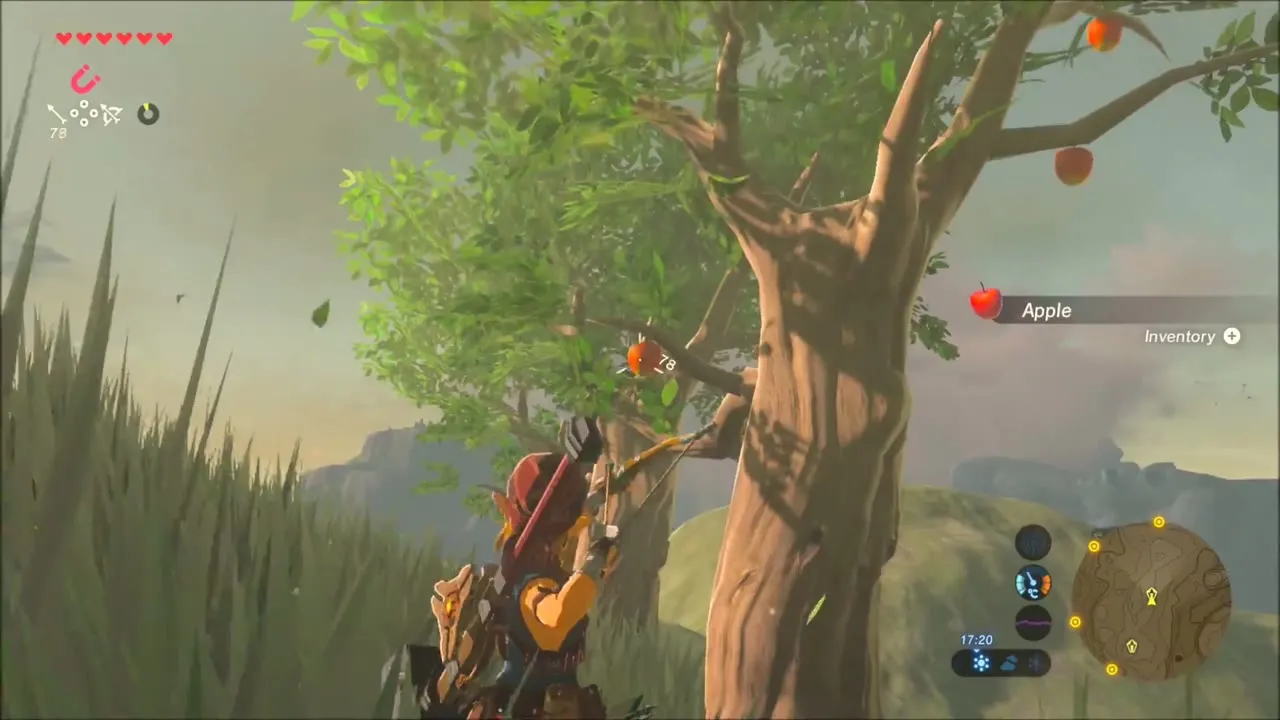
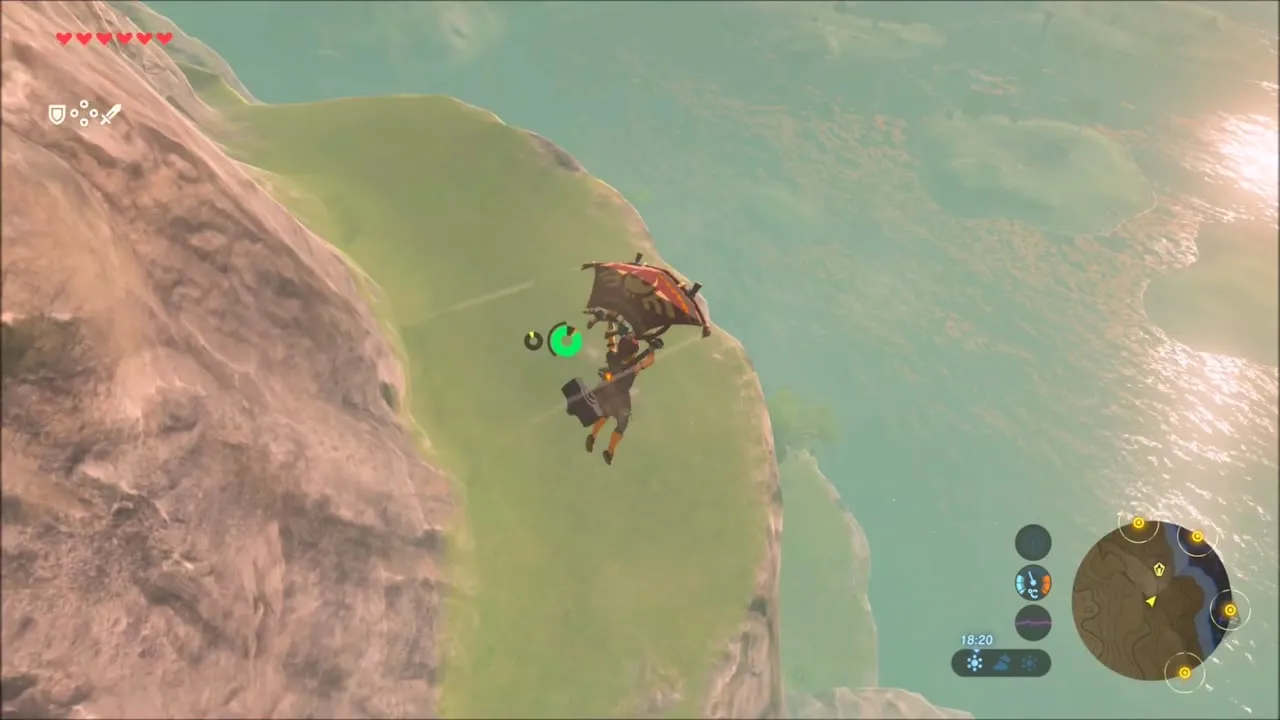
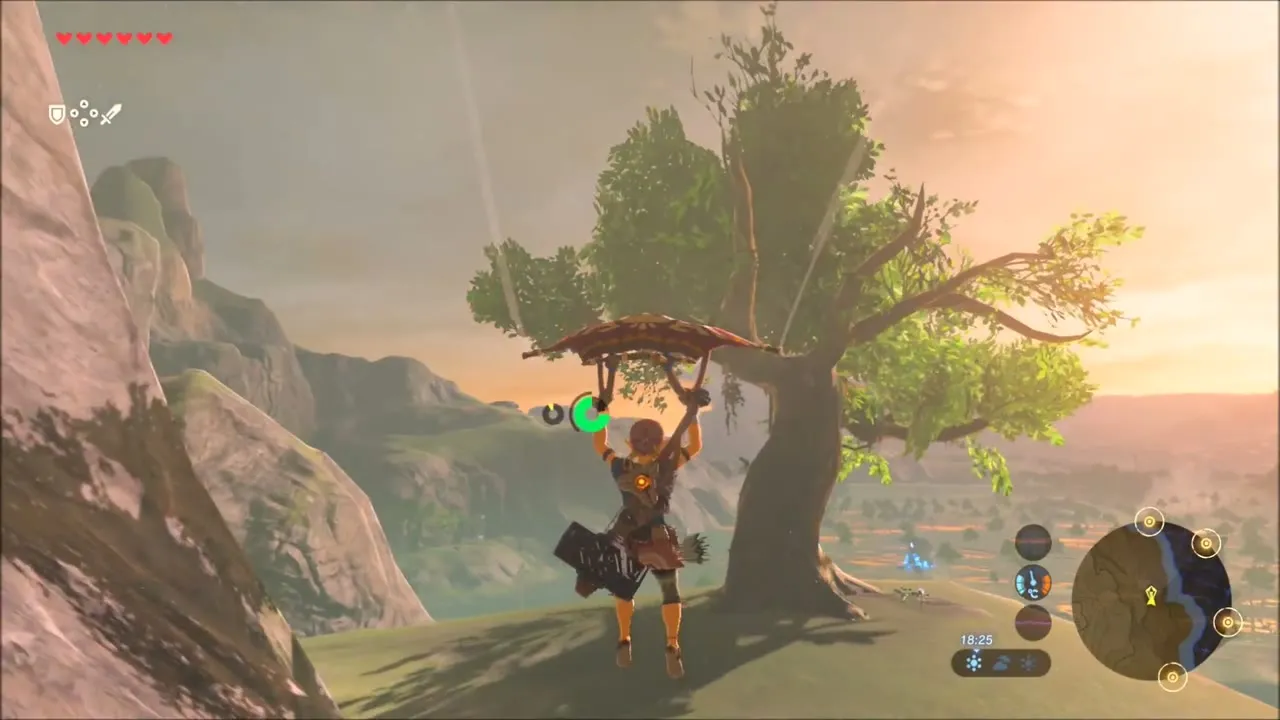
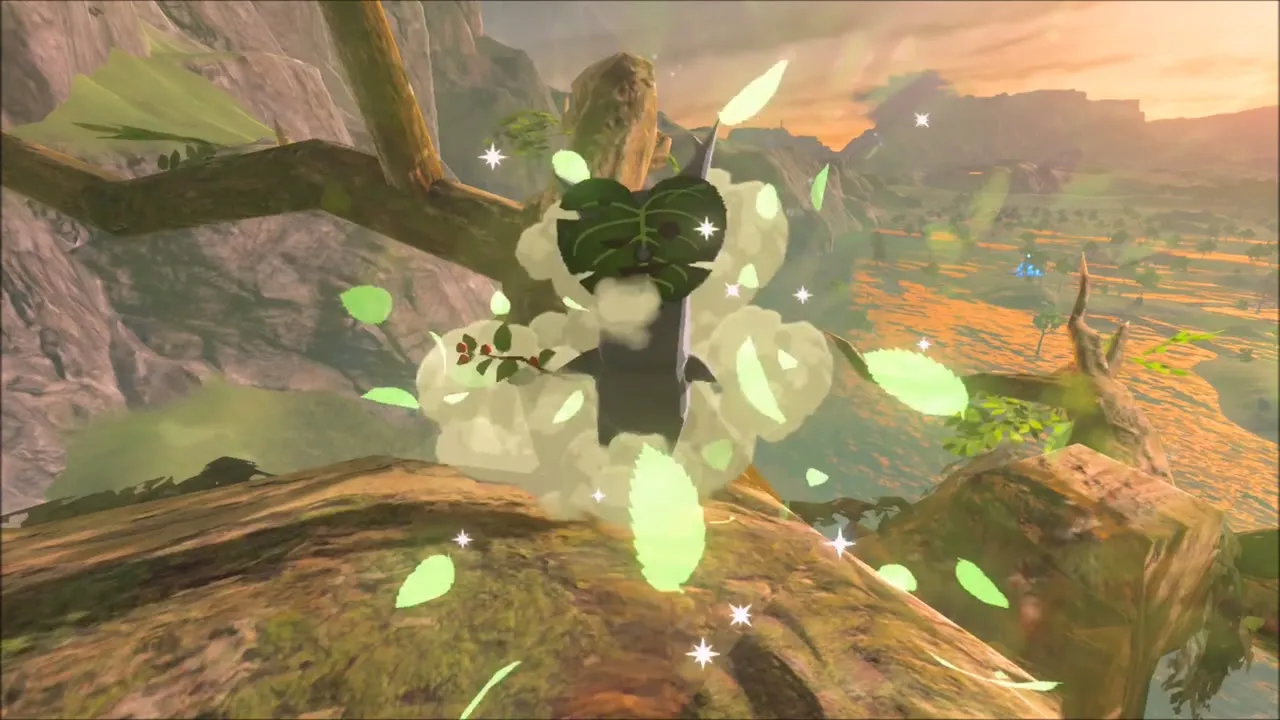
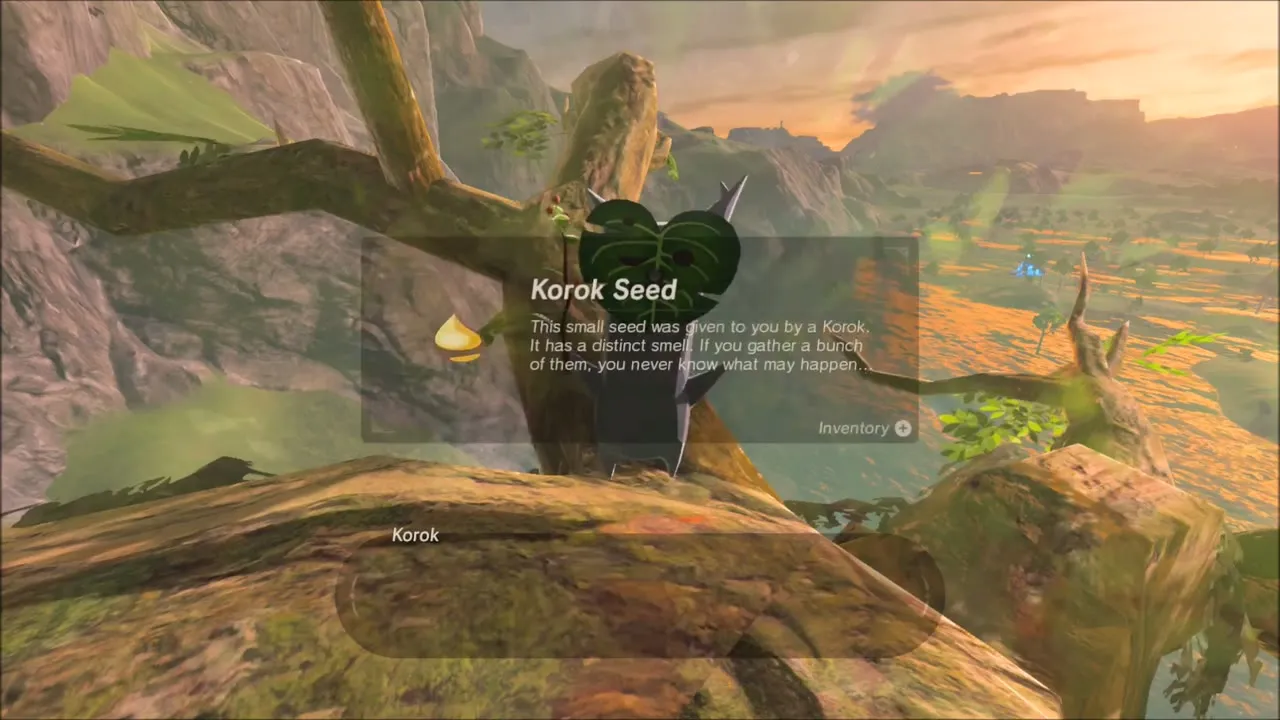
Korok seed in a lone tree: glide off the slope toward a tree standing at the cliff’s edge above the lake, climb it, and look among its branches to find the Korok for another seed.

A Star Fragment at Night
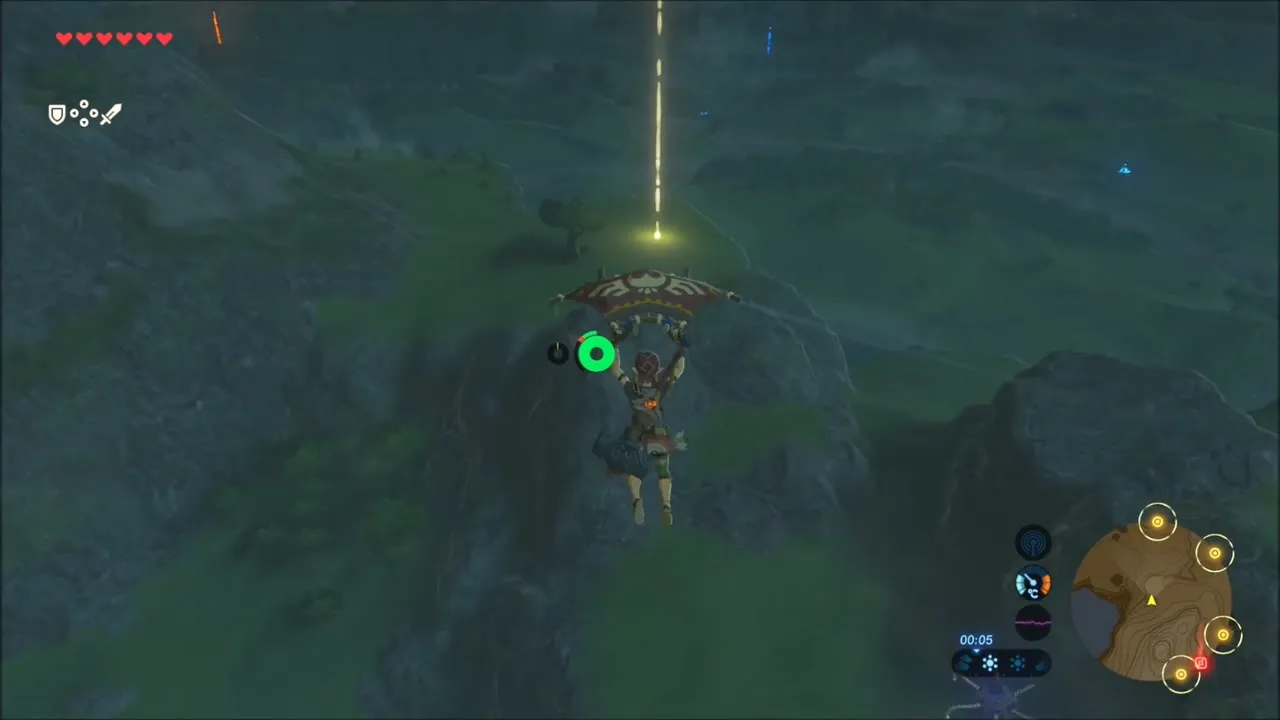
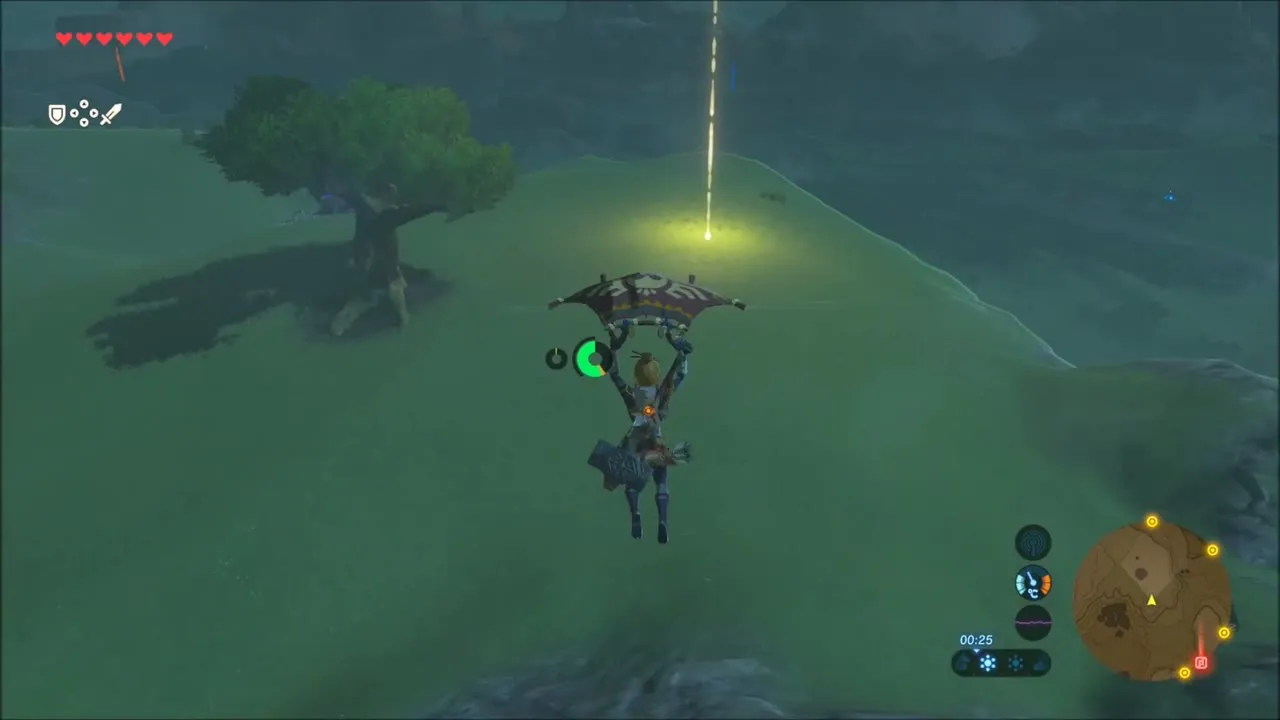
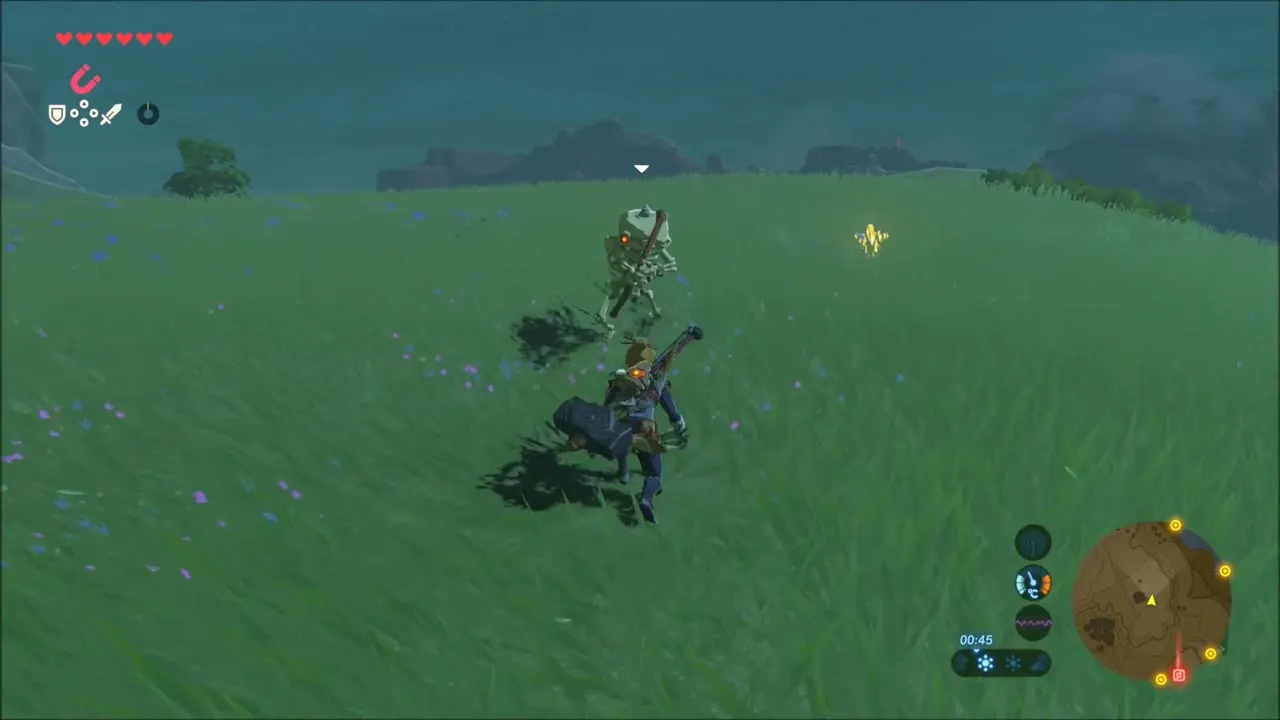
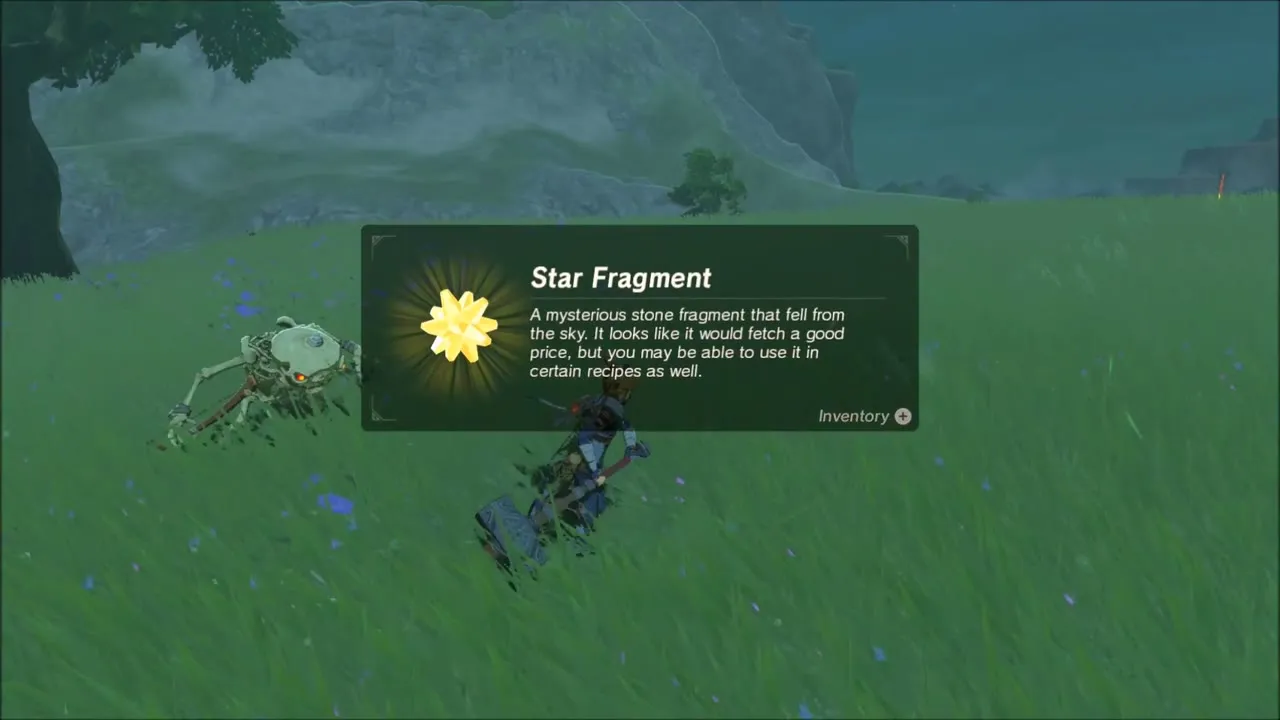
After dark, a falling star sends a yellow beam of light to the ground over the hills. Glide toward the beam and pick up the Star Fragment that has landed there; it is a rare item, so keep it.
Korok Seeds Around the Lanayru Road West Gate
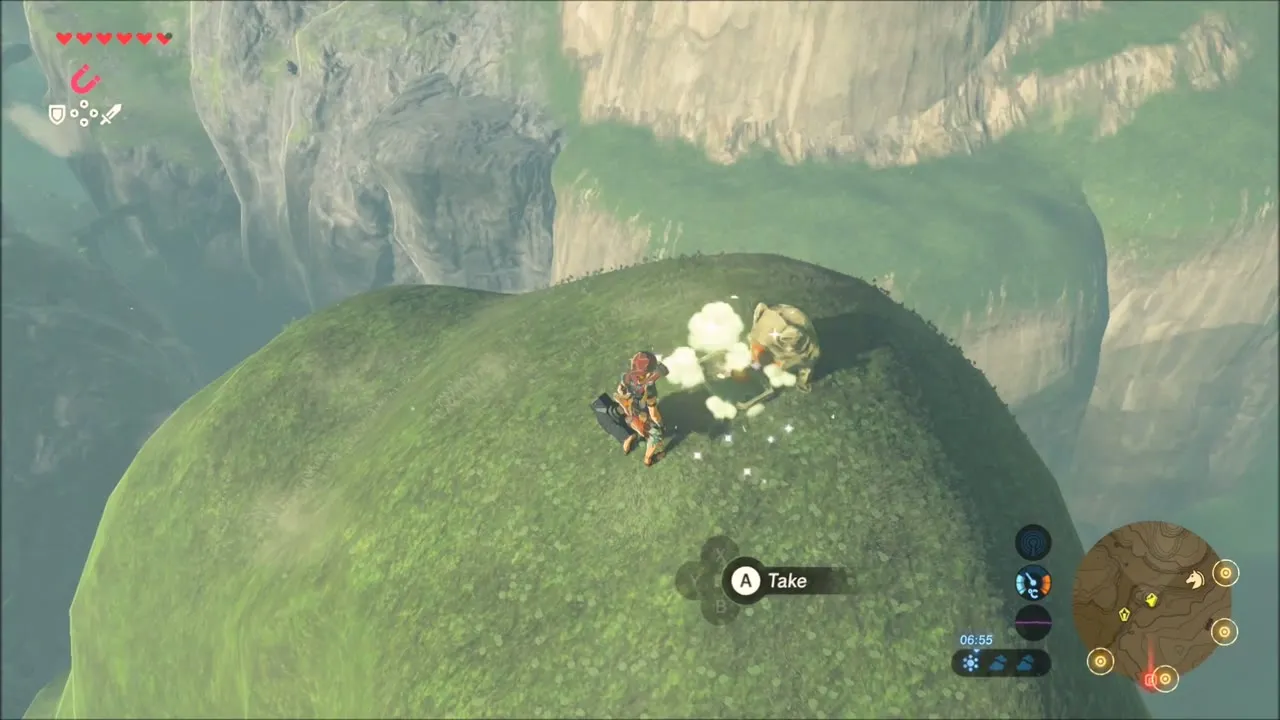
Korok seed on a rounded hilltop: on the summit of a green hill above a canyon a rock sits alone at the very top. Pick it up and put it down, and the Korok appears with his seed.


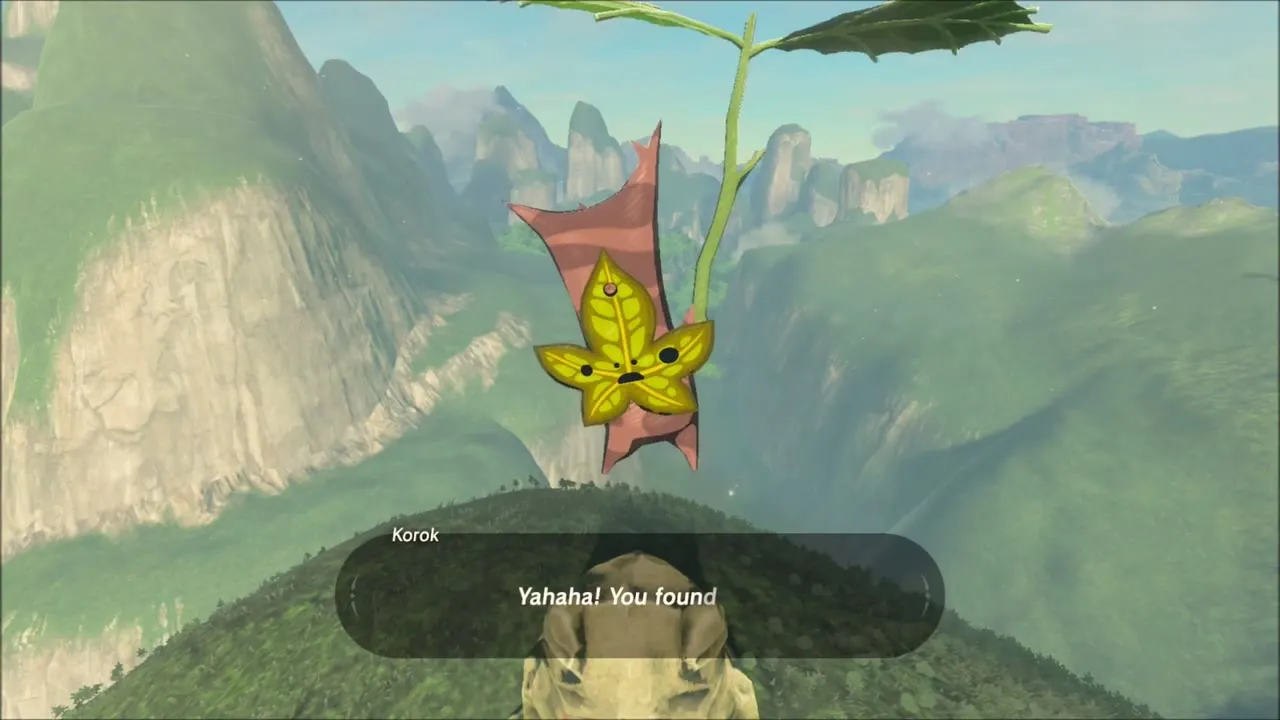
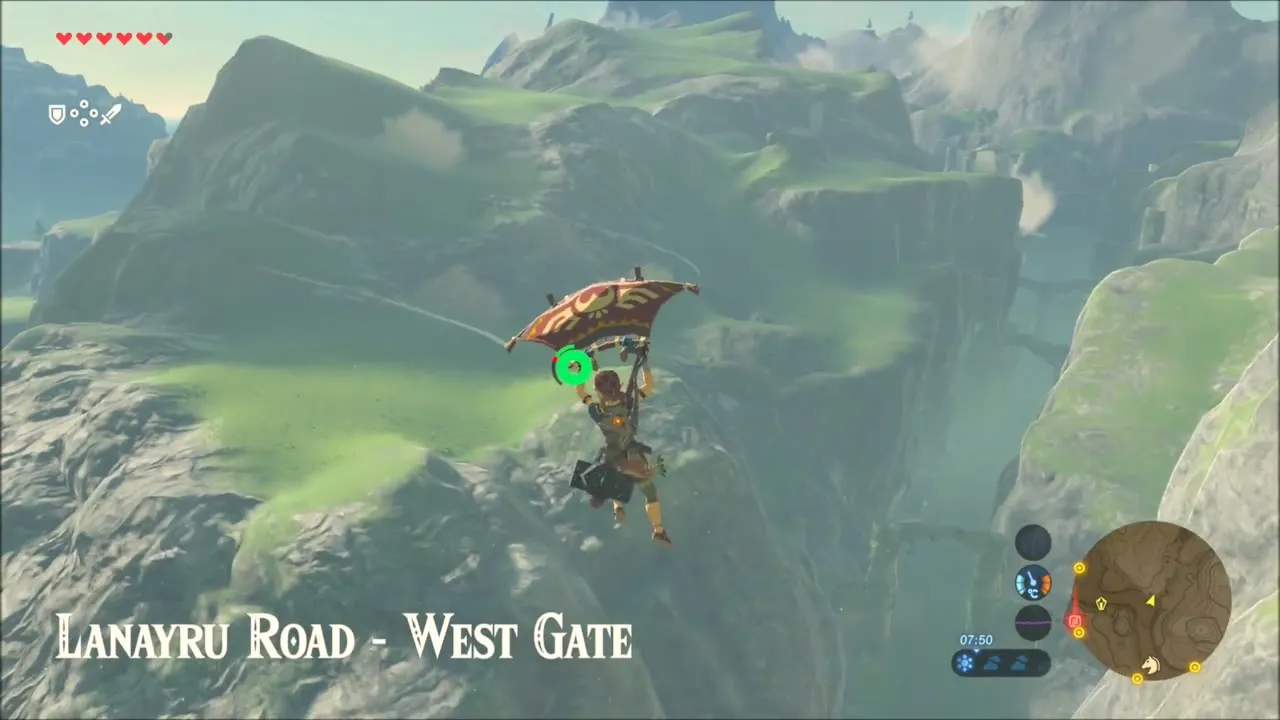
Korok seed near Lanayru Road – West Gate (x 2305, z 707): glide down off the hill into the valley, then climb the canyon wall. A Korok is sitting on a narrow rocky ledge near the top.


Korok seed on the grassy ridge: cross the stone arch and follow the ridge up past a pile of boulders, where a round rock rests on top. Lift it off to claim the Korok’s seed.
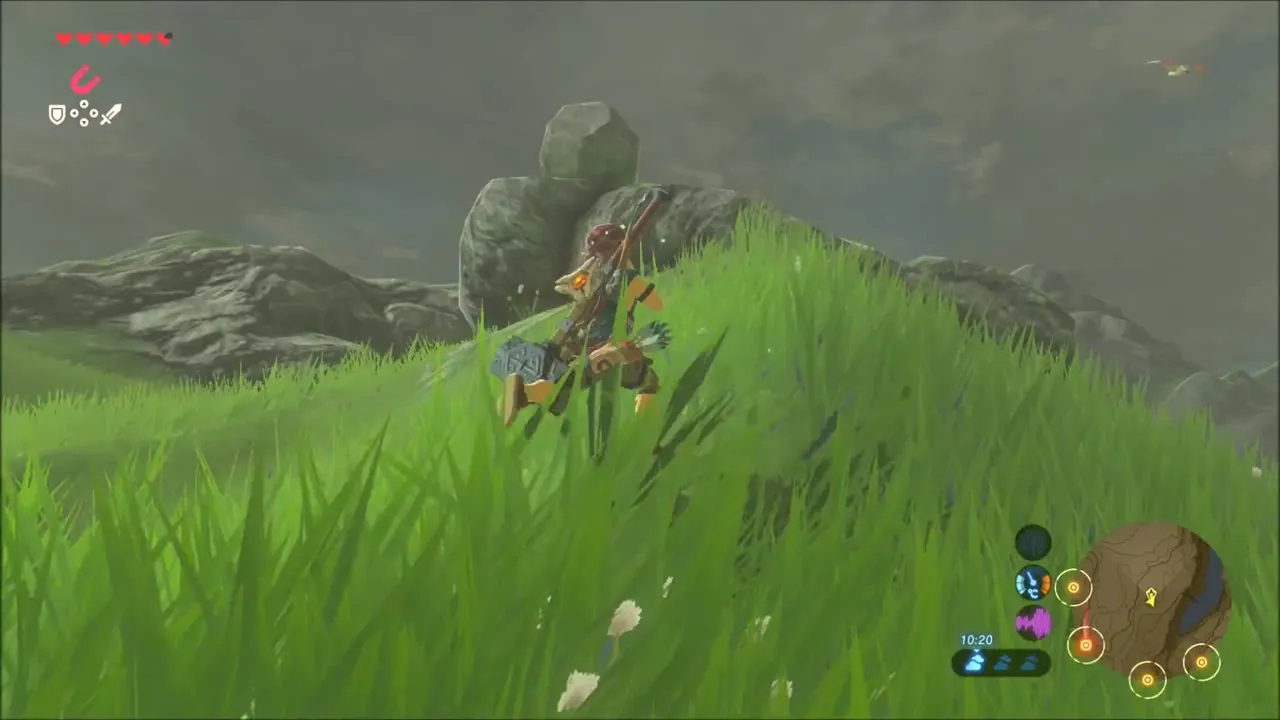
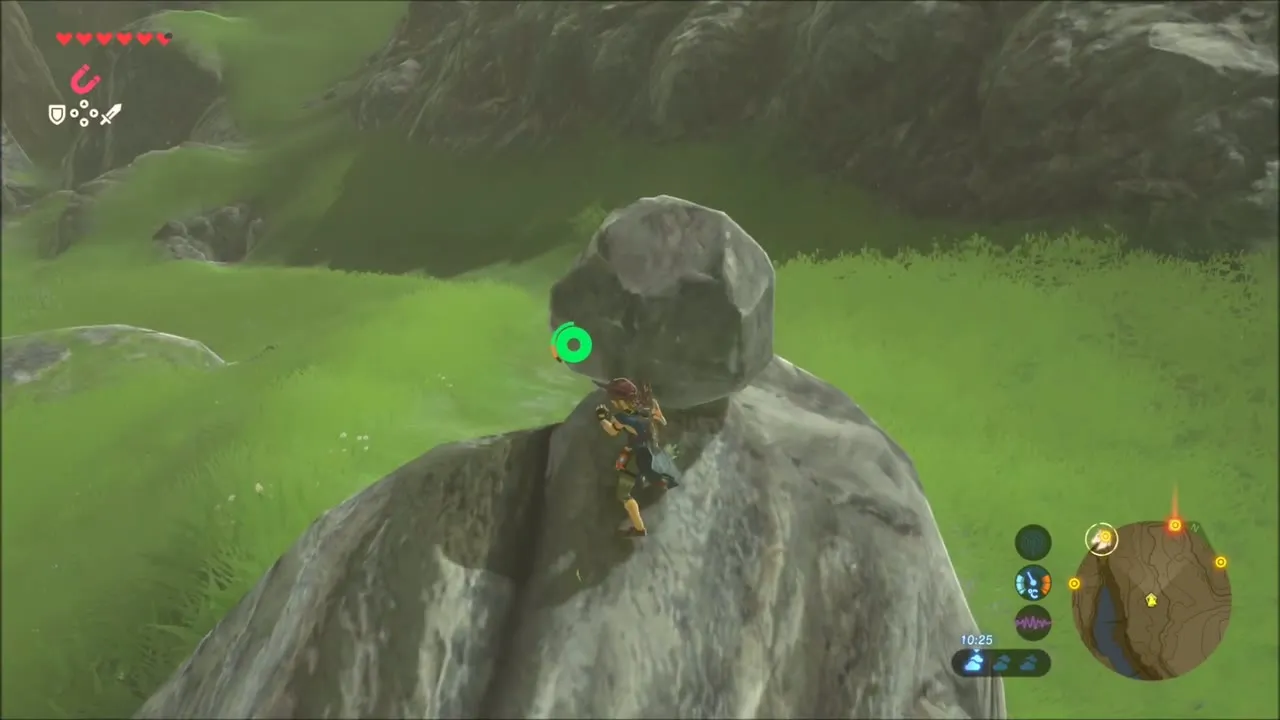
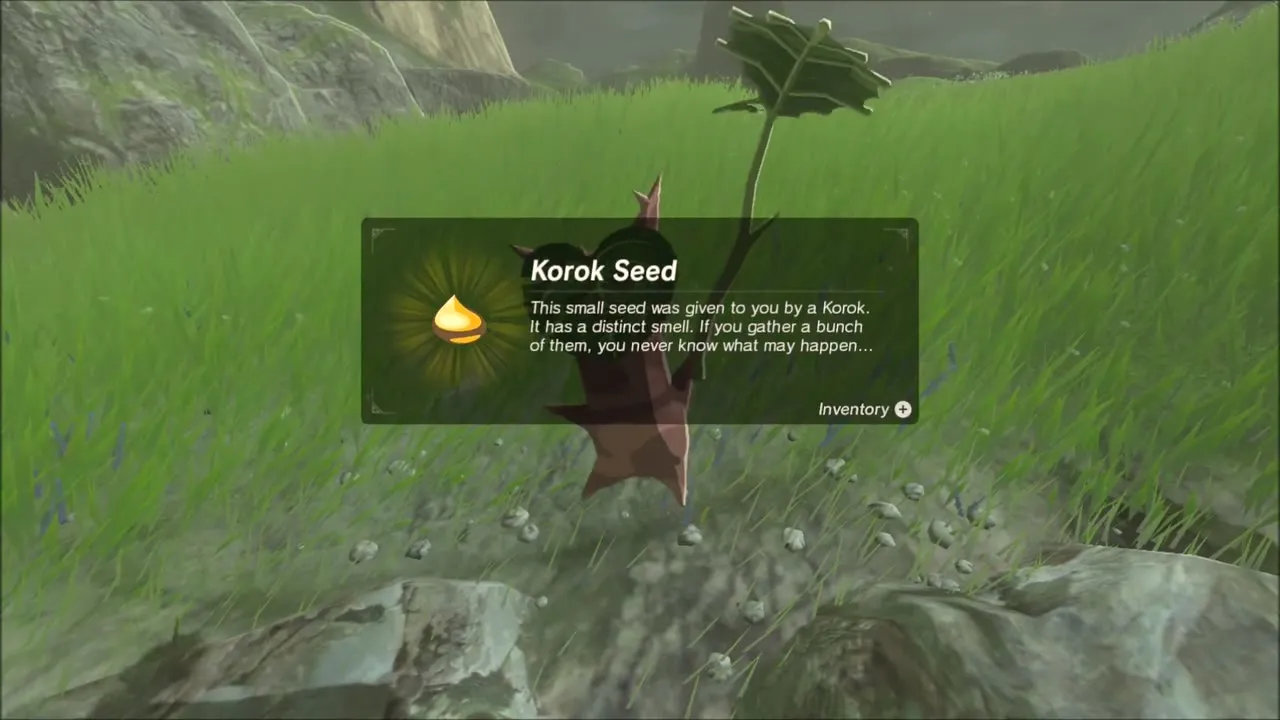
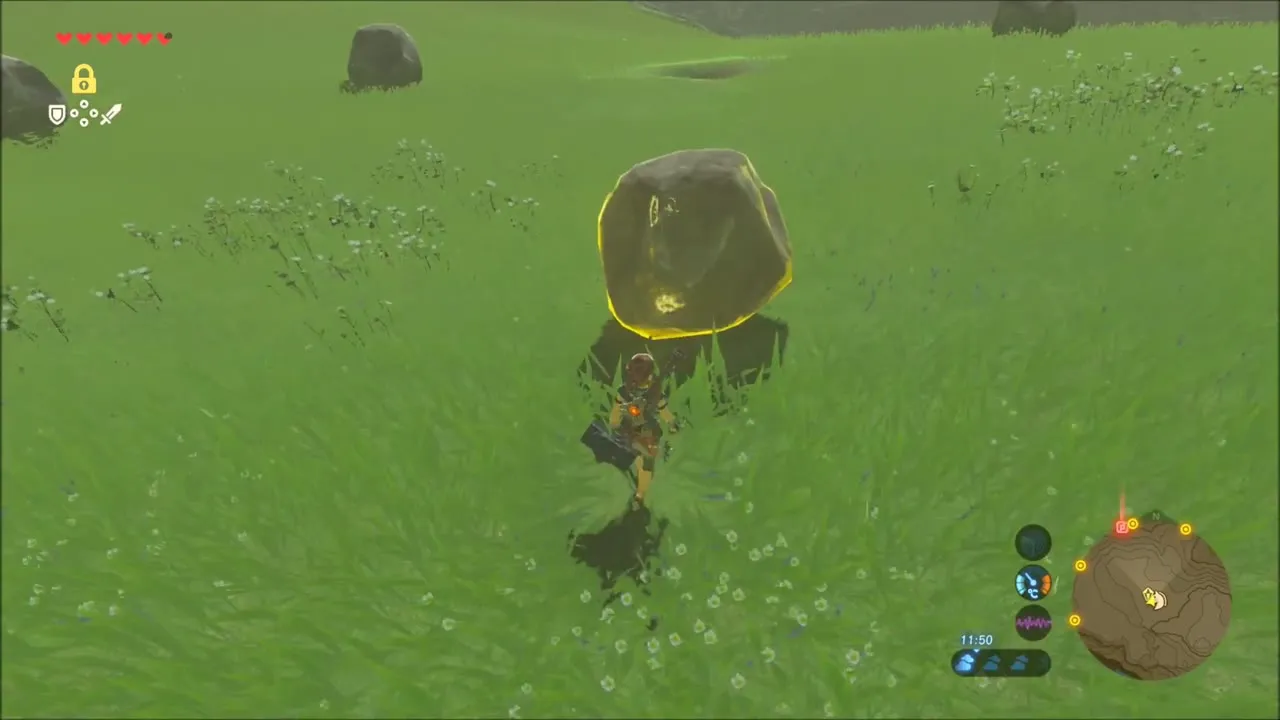
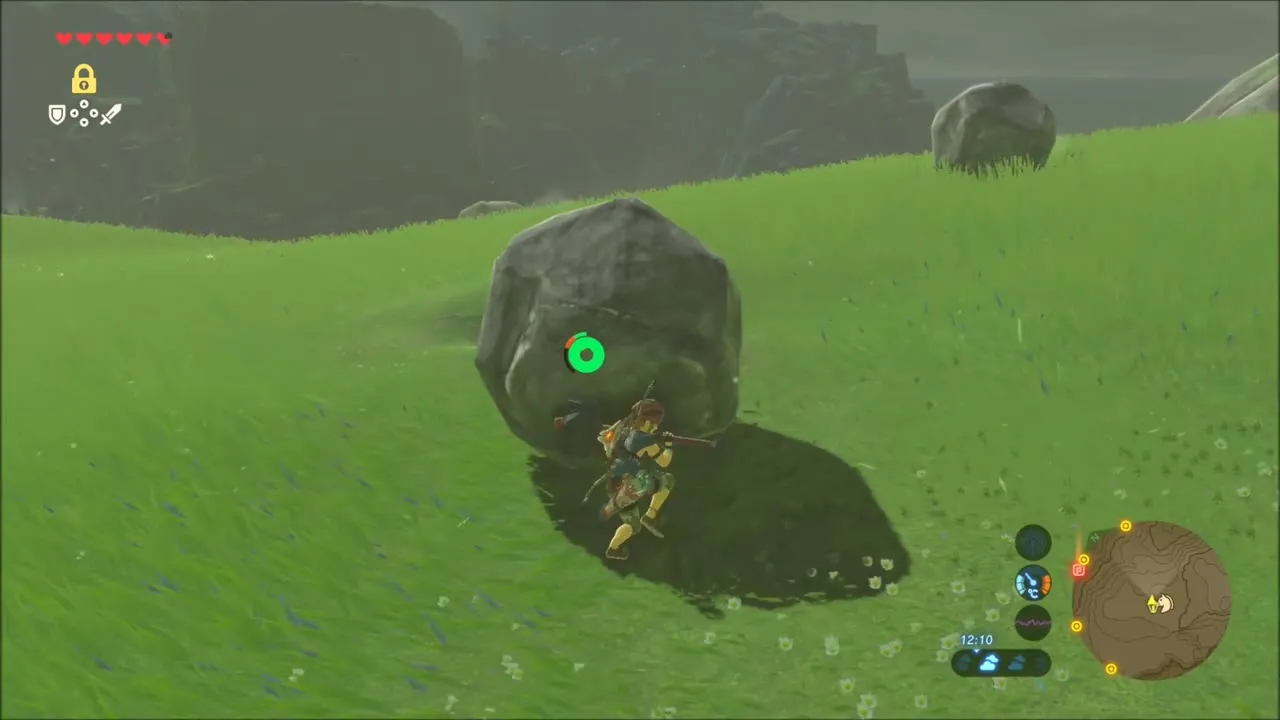
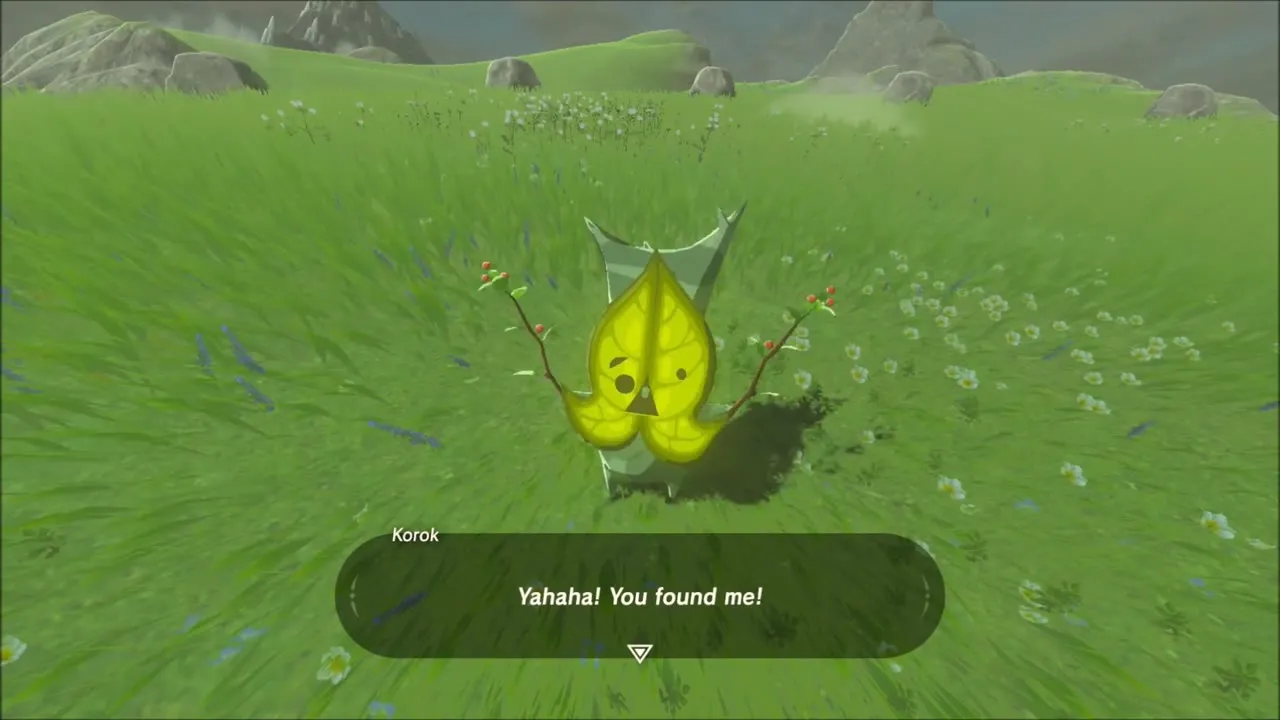
Korok seed in the open meadow: carry on along the grass to a field of scattered boulders. Lift the boulders until you find the one hiding the Korok and he gives you a seed.

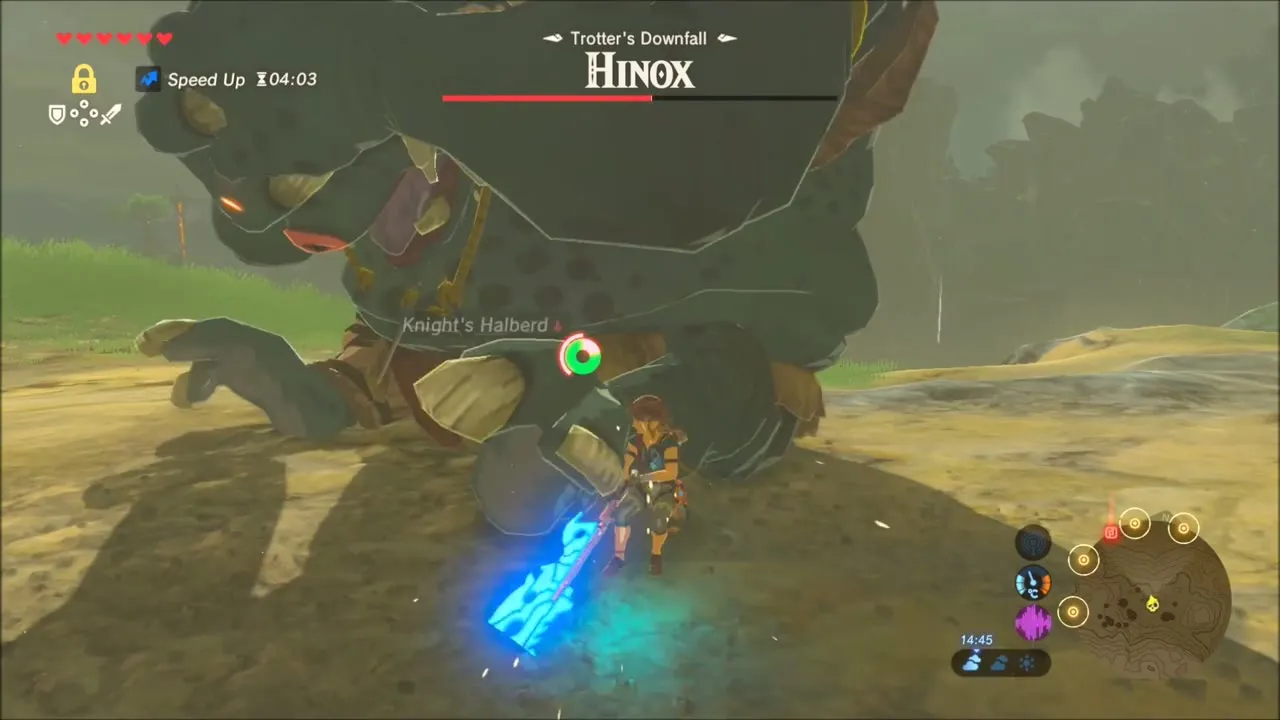
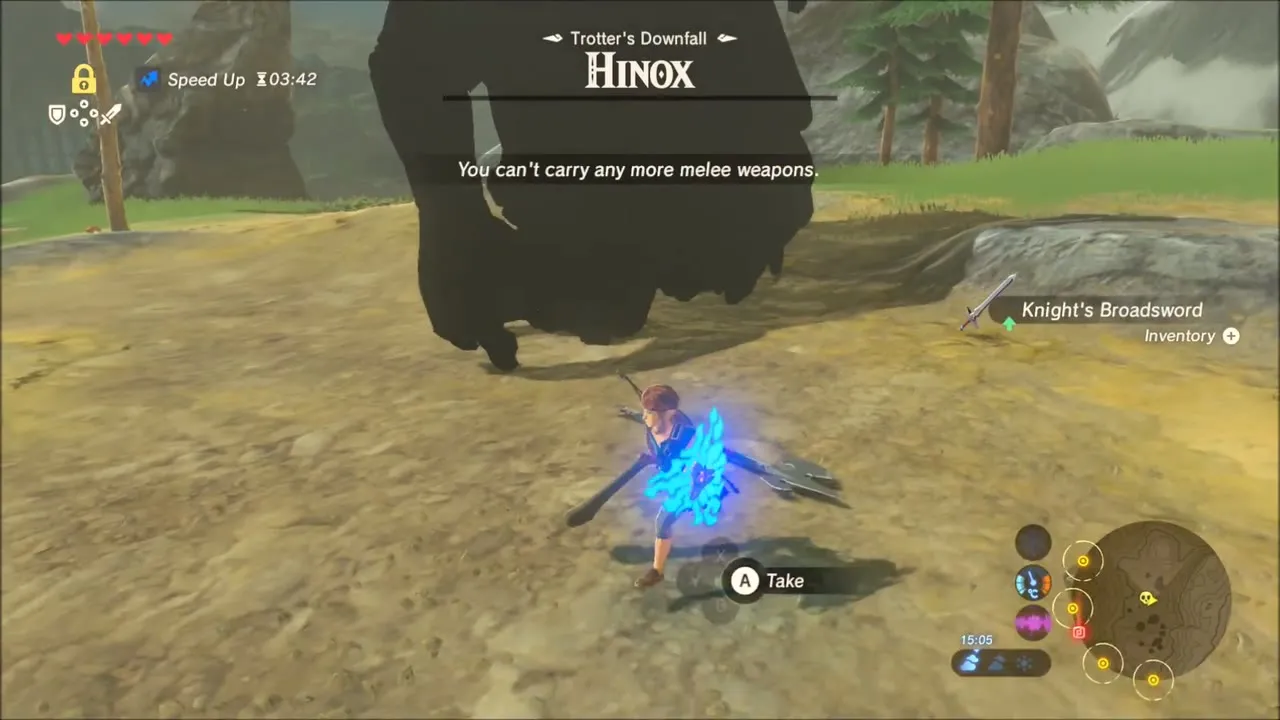
Hinox at Trotter’s Downfall
Head to Trotter’s Downfall (x 3089, z 830) and take on the Hinox that roams there. Keep out of its reach, shoot it from range and close in when it staggers. Afterwards pick up what is lying in its camp, including a Knight’s Halberd and a Knight’s Bow (both depending on difficulty scaling).


The Crowned Beast and the Remaining Korok Seeds
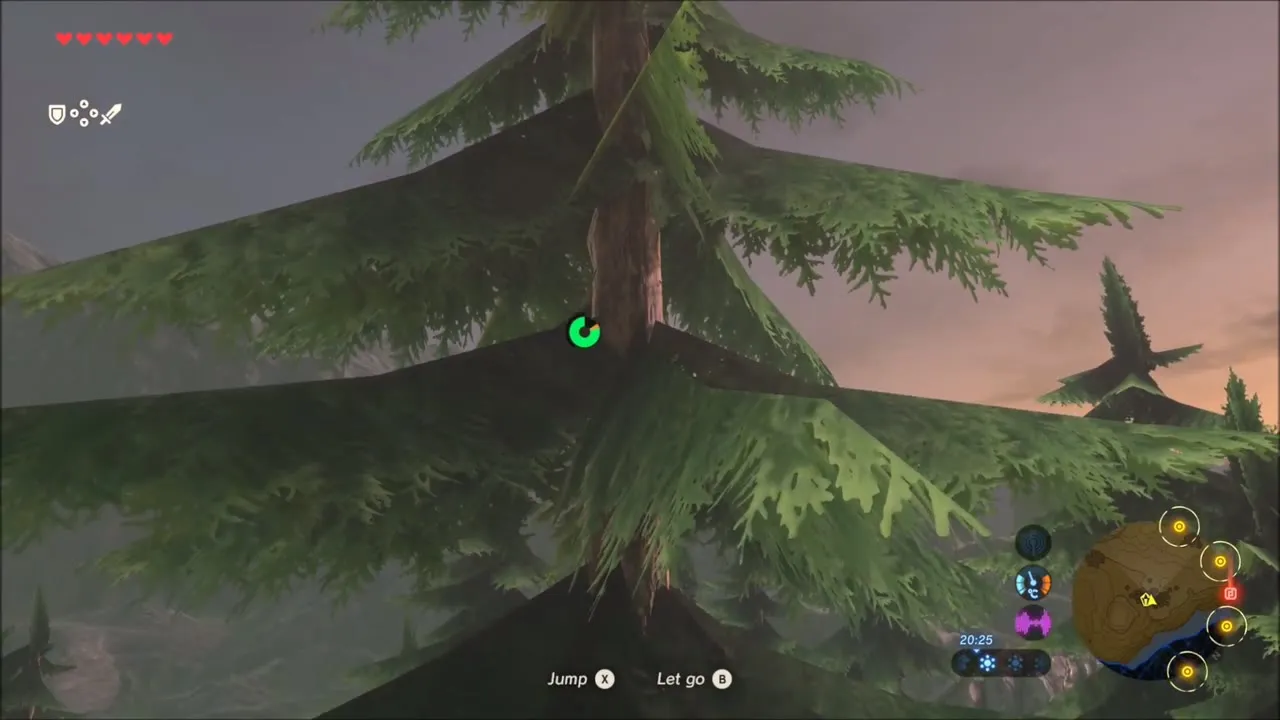
Korok seed at the top of a tall fir tree: at sunset, climb a tall fir all the way to its peak, using Stamina rests when needed, and the Korok appears at the very tip.


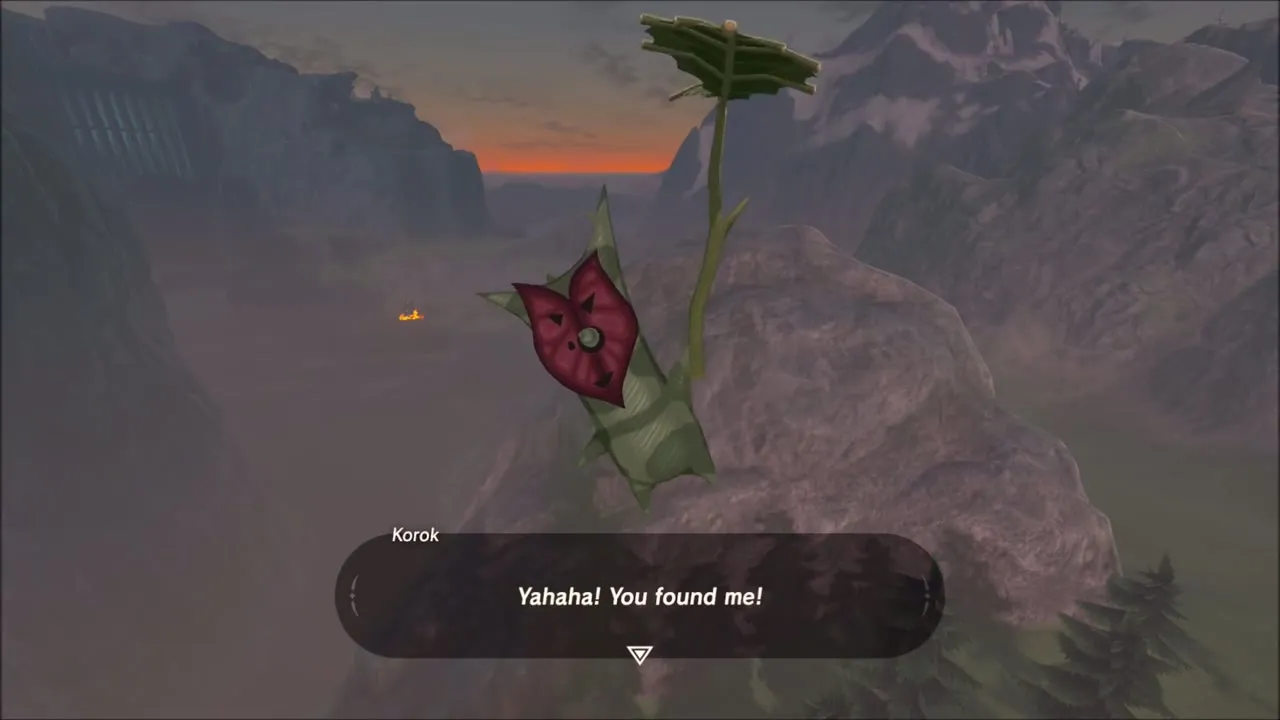
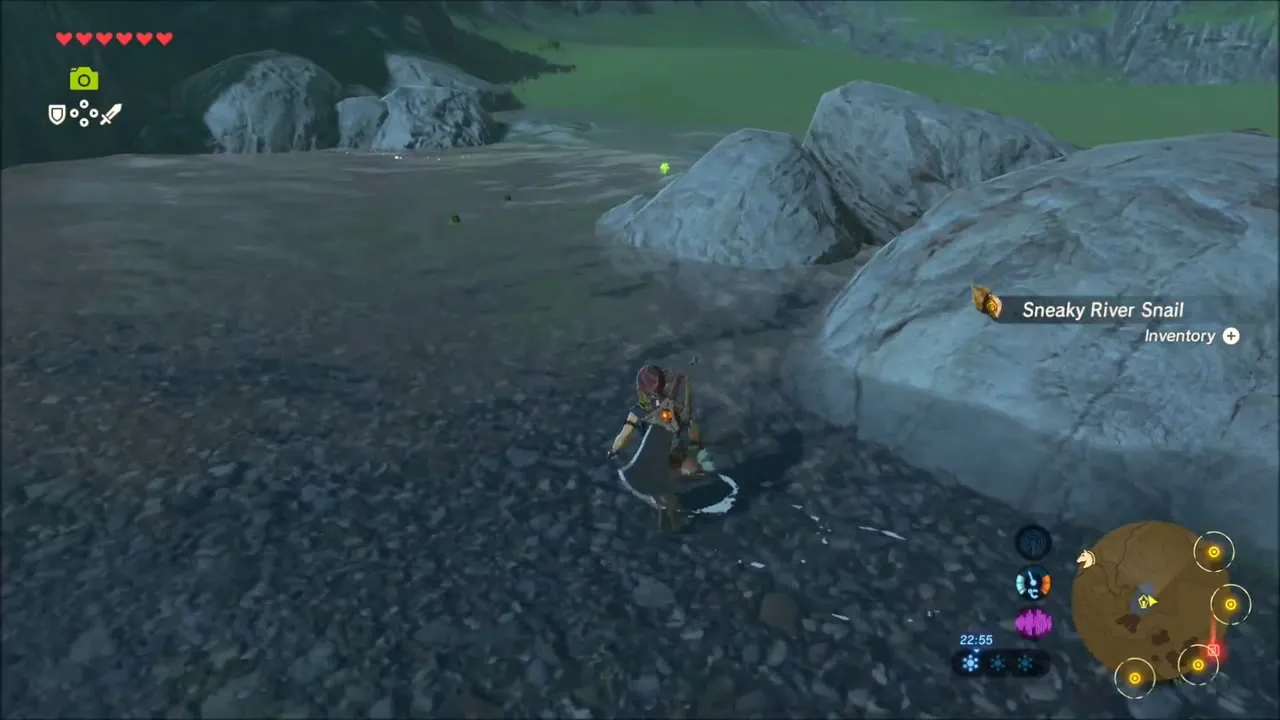
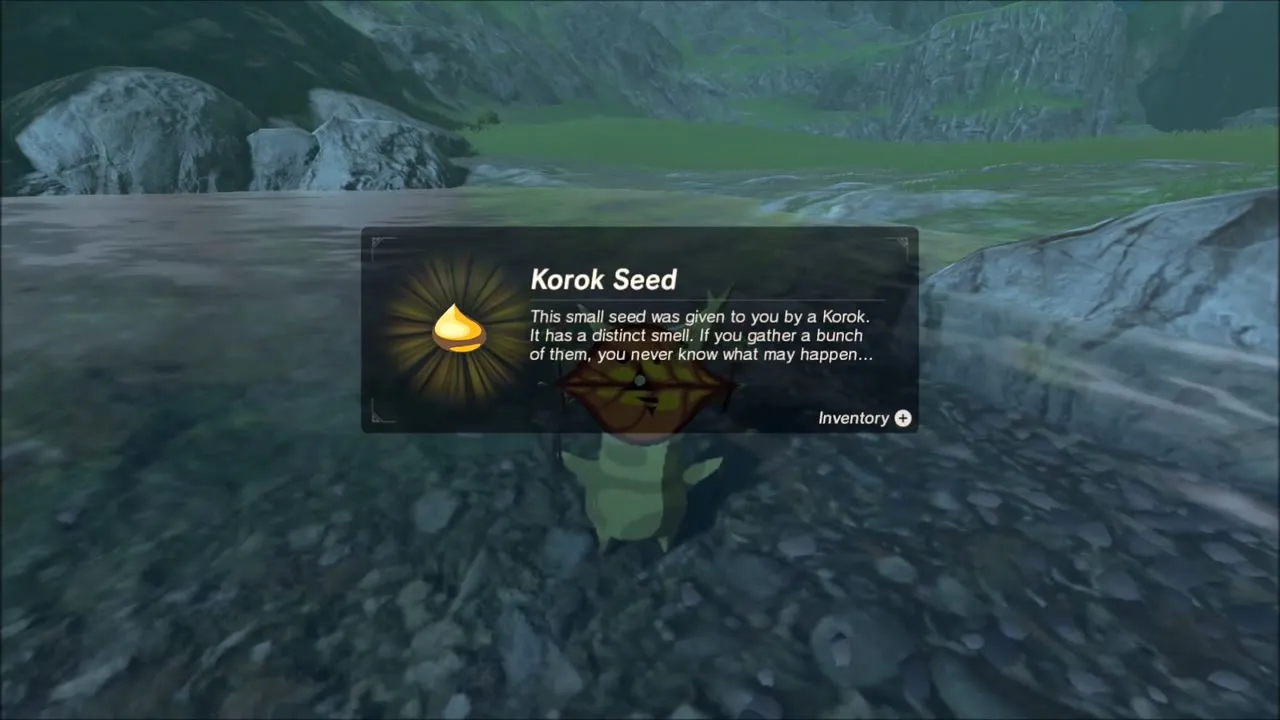
Korok seed on a gravel river bank: further on, follow the stony riverbed until a Korok appears for his seed.

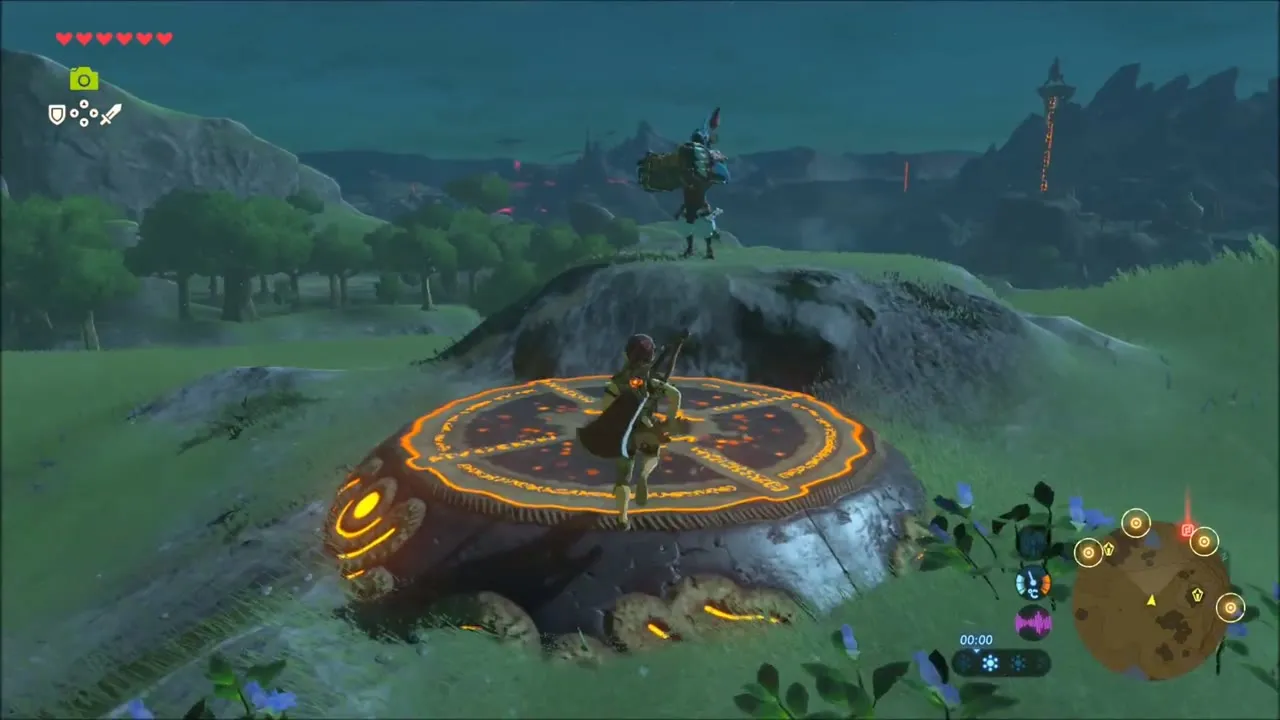
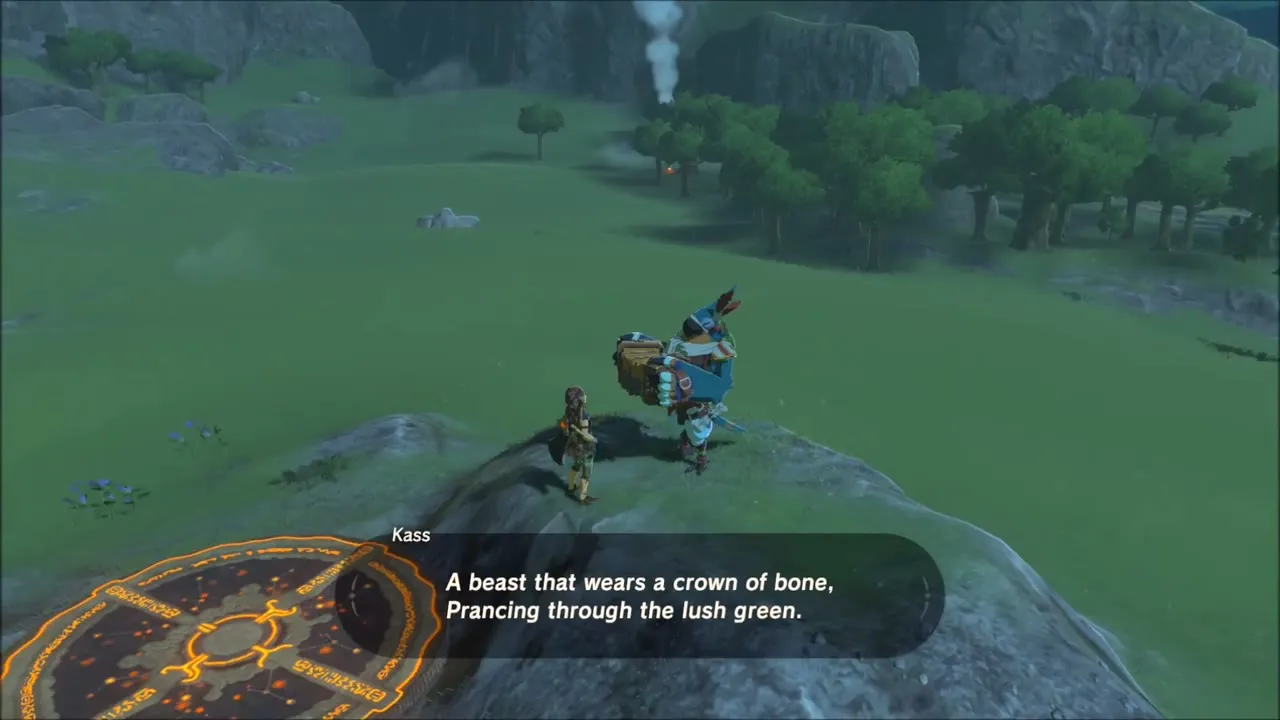
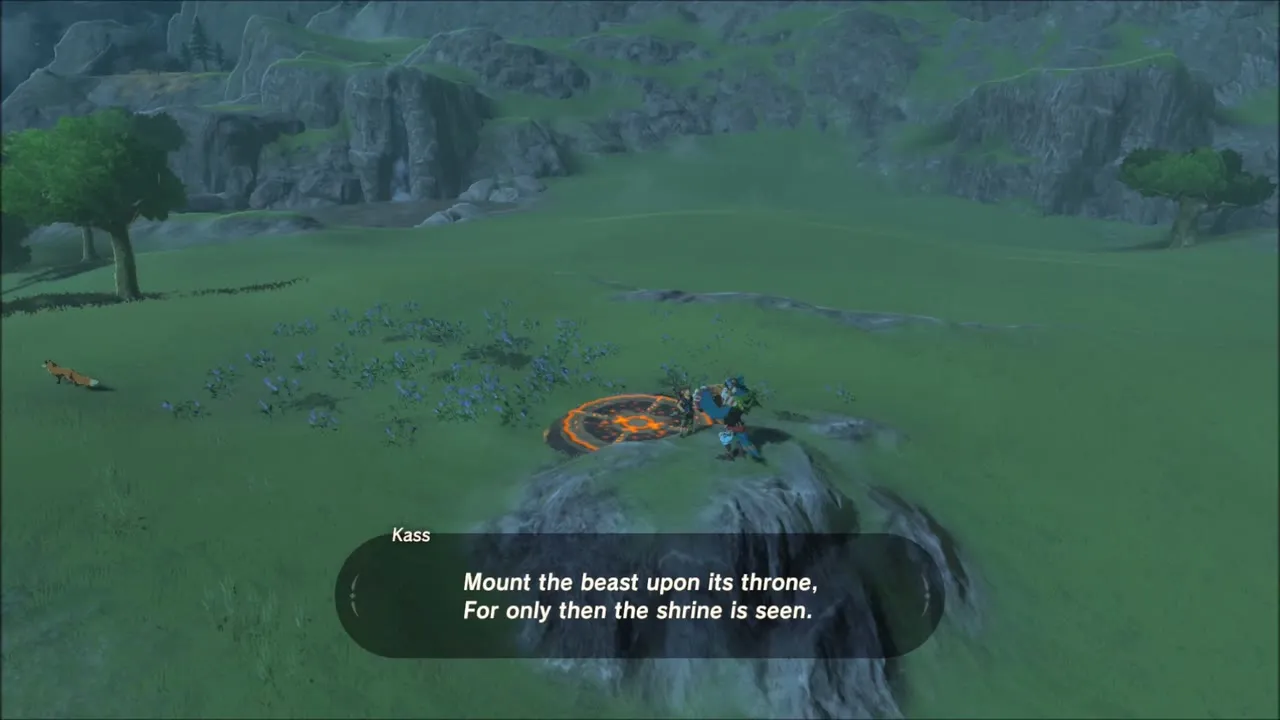
As evening falls Kass is standing on a rock, singing of a beast that wears a crown of bone and prances through the lush green. That is The Crowned Beast: mount a mountain buck on Rabia Plain and ride it onto the glowing pedestal beside Kass to raise Mezza Lo Shrine.

Korok seed in a big tree on a rocky shelf: climb into the thick tree and find the Korok sitting among its branches.

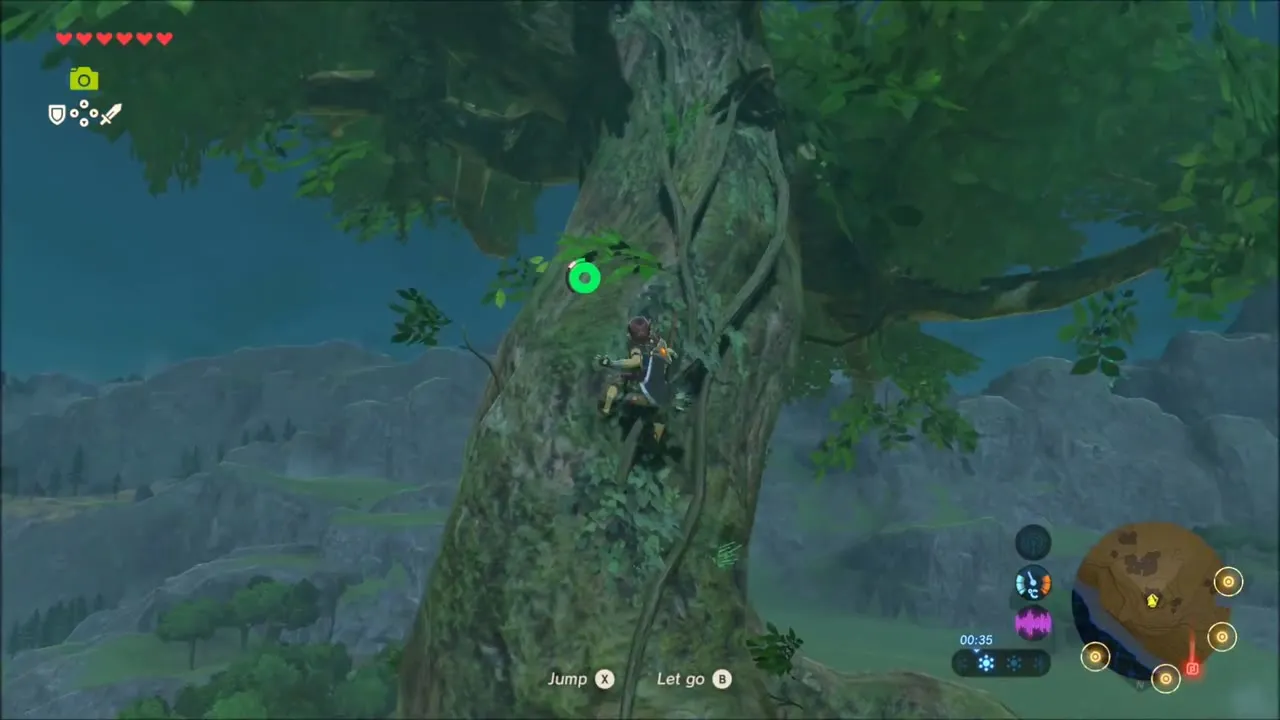

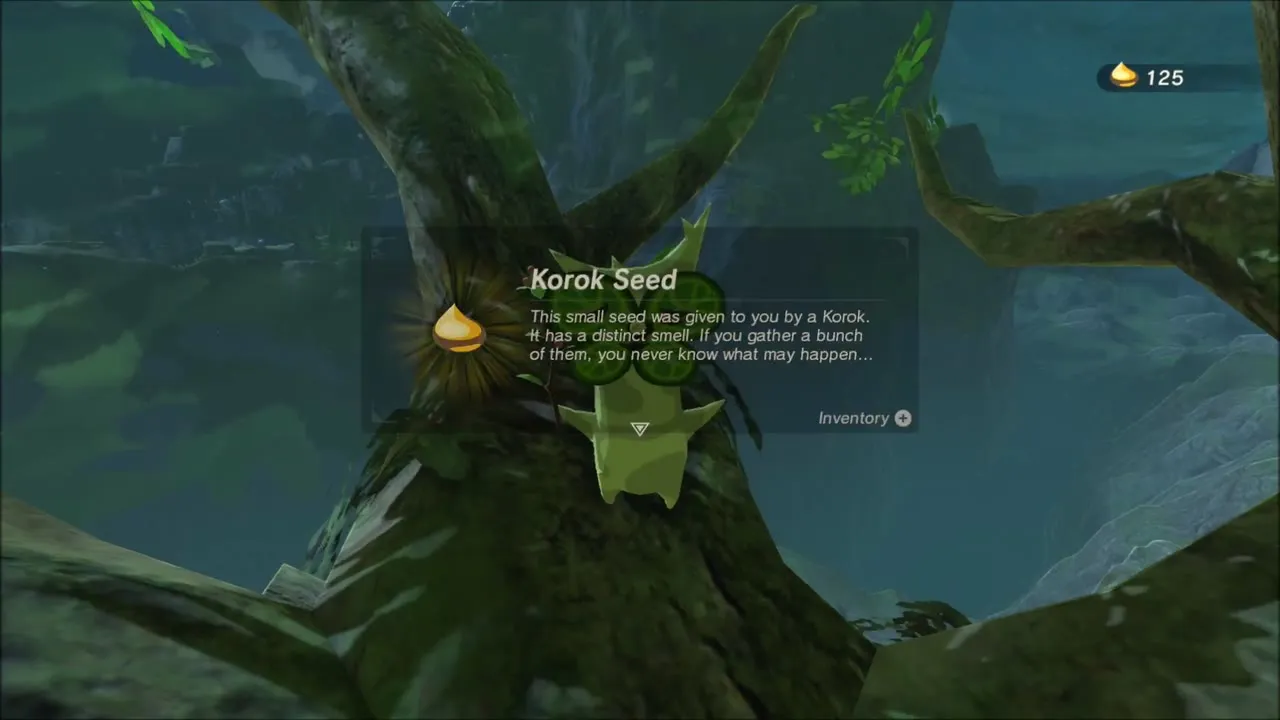
Korok seed in a forest tree: run through the forest to a big tree and a Korok clinging to its trunk gives you another seed.


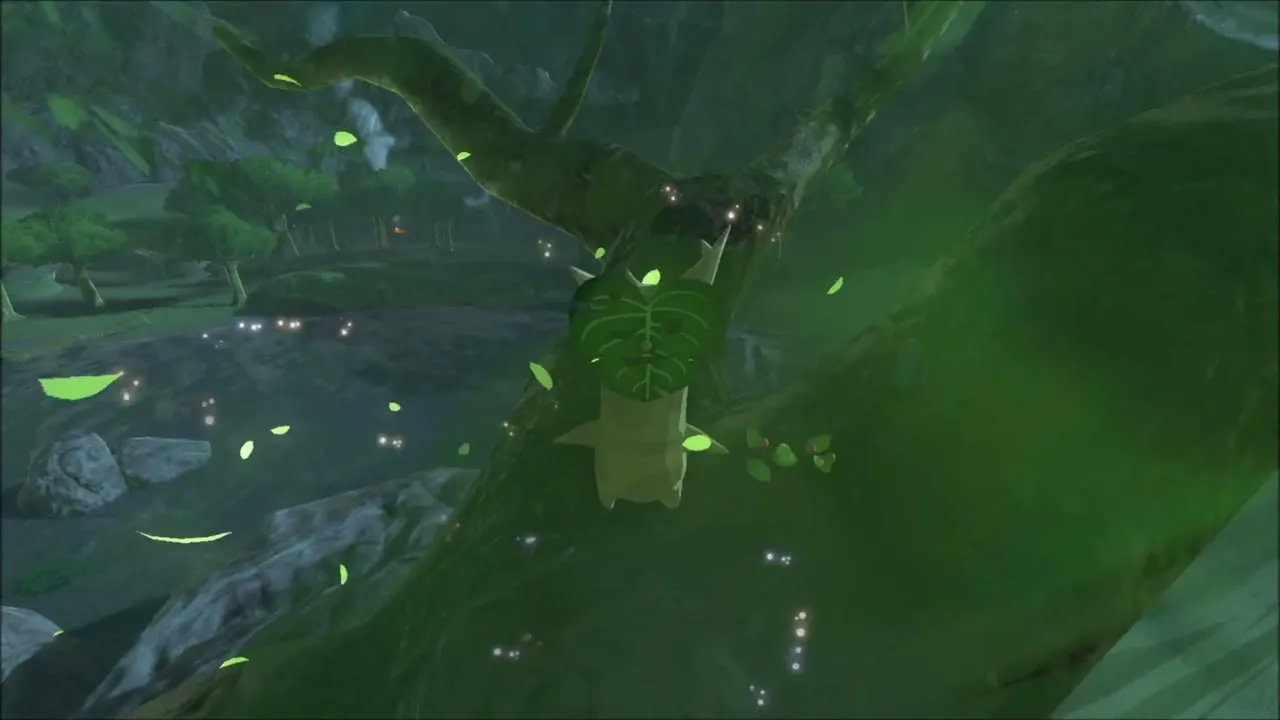
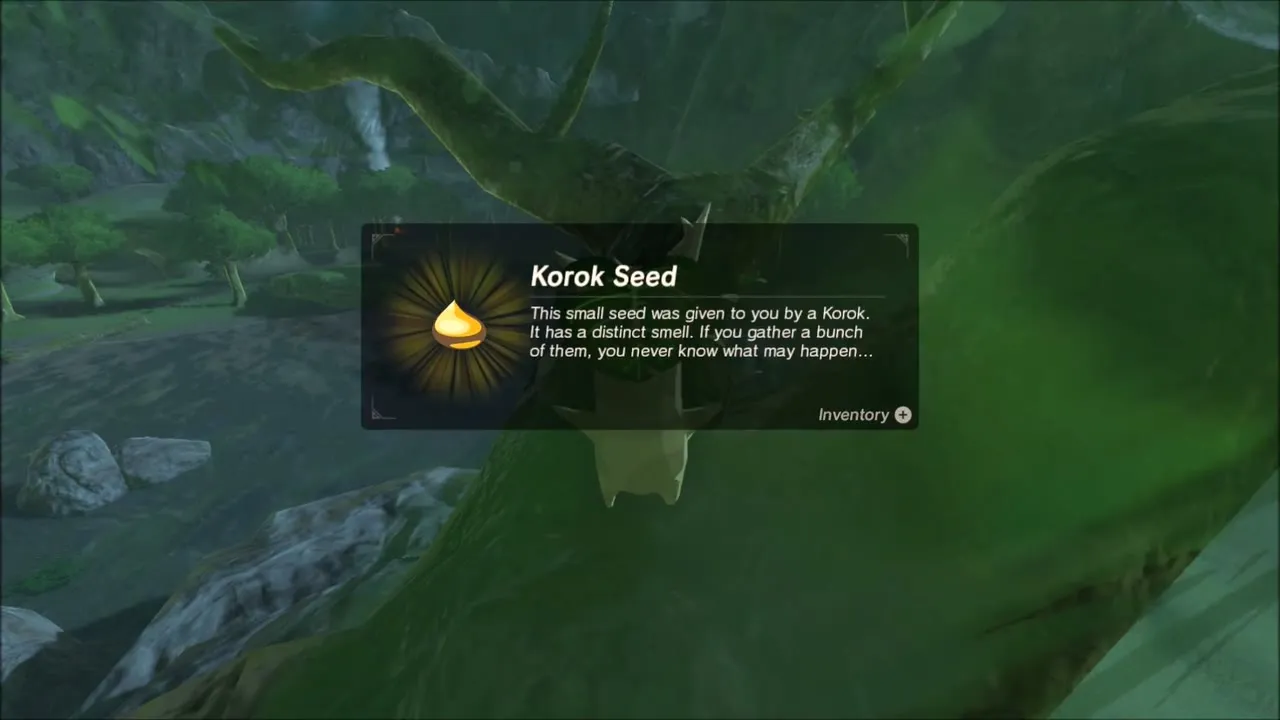
Korok seed on a bushy hilltop: pass through a natural rock arch and climb the grassy hill beyond, where you stand amid thick bushes. Shoot the small objects that fly through the air with your bow, and the Korok in the leaves pops out with his seed.