100% Completion Walkthrough21 chapters
- Great PlateauAll 4 Shrines, the Paraglider and Korok Seeds
- Kakariko Village and Dueling PeaksSeek Out Impa, Shrines and Korok Seeds
- Hateno VillageHateno Tower, the Ancient Tech Lab, Link’s House and Shrines
- Zora’s DomainReach Zora’s Domain, Vah Ruta, Lanayru Shrines and Korok Seeds
- Faron and Lurelin VillageLurelin Village, Faron Tower, Shrines and Korok Seeds
- Korok Forest and Master SwordHow to Get the Master Sword, Lost Woods, Shrines and Korok Seeds
- Hebra MountainsHebra Tower, Snowfield Stable, Shrines and Korok Seeds
- Rito Village and Vah MedohVah Medoh, Tabantha Tower, Shrines and Korok Seeds
- Gerudo HighlandsGerudo Tower, Gerudo Summit, Shrines and Korok Seeds
- Gerudo TownForbidden City Entry, the Thunder Helm, Desert Shrines and Korok Seeds
- Vah Naboris and Gerudo DesertThunderblight Ganon and the Gerudo Desert Shrines
- Lake HyliaLake Tower, Farosh, Lake Shrines and Korok Seeds
- Akkala and Tarrey TownTarrey Town, Akkala Tower, Shrines and Korok Seeds
- Death Mountain and Goron CityGoron City, Vah Rudania, Eldin Shrines and Korok Seeds
- RidgelandRidgeland Tower, Shrines, Memories and Korok Seeds
- Central HyruleCentral Tower, Captured Memories, Shrines and Korok Seeds
- Hyrule Castlethe Hylian Shield, Saas Ko’sah Shrine, Zelda’s Diary and Memories
- Calamity GanonLast Side Quests, Destroy Ganon and the Final Boss
- All Hinox, Talus and Molduga LocationsEvery Hinox, Stone Talus and Molduga, for Kilton’s Medals of Honor
- Trial of the Sword and EX TreasuresThe Trial of the Sword and every EX Treasure location (DLC Pack 1)
- Champions’ BalladOne-Hit Obliterator, Champion Trials and the Final Trial
| Region | Central Hyrule |
|---|---|
| Shrines | 7: Rota Ooh Shrine, Dah Kaso Shrine, Kaam Ya’tak Shrine, Namika Ozz Shrine, Lakna Rokee Shrine, Katah Chuki Shrine, Noya Neha Shrine |
| Korok seeds | 93 |
| Memories | Memory 9, Memory 10, Memory 11 |
| Towns and stables | Outskirt Stable |
This chapter of the 100% walkthrough covers the Central Hyrule region in a route that collects everything along the way: 7 shrines, 93 Korok seeds and 3 memories, plus the quests, chests and minibosses you meet. Positions are map coordinates (x grows east, z grows south).
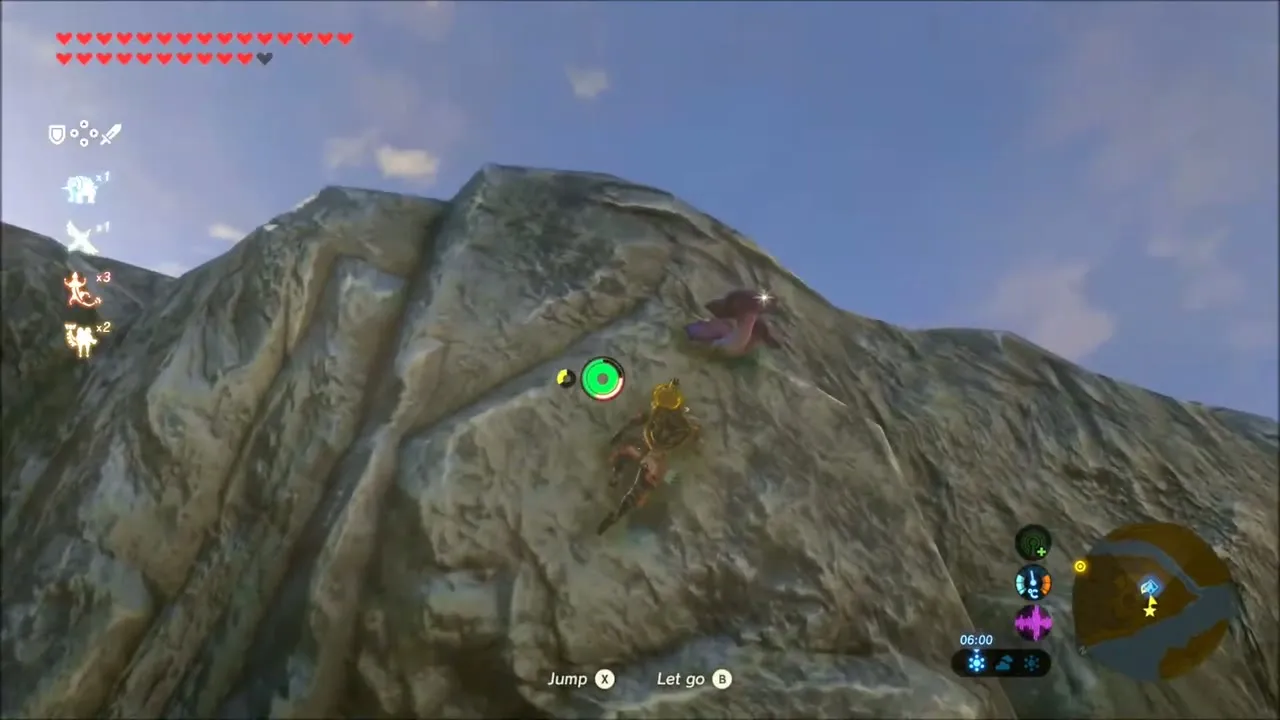
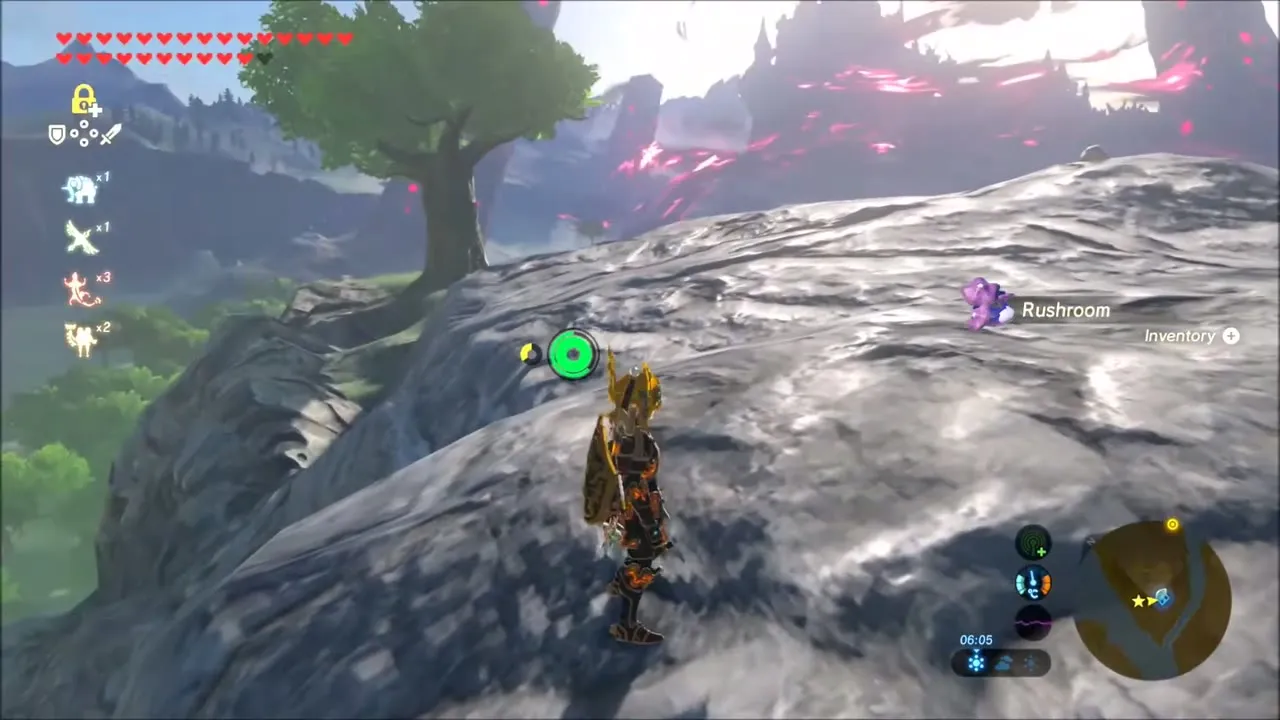
Korok Seeds on the Western Hills Above Regencia River
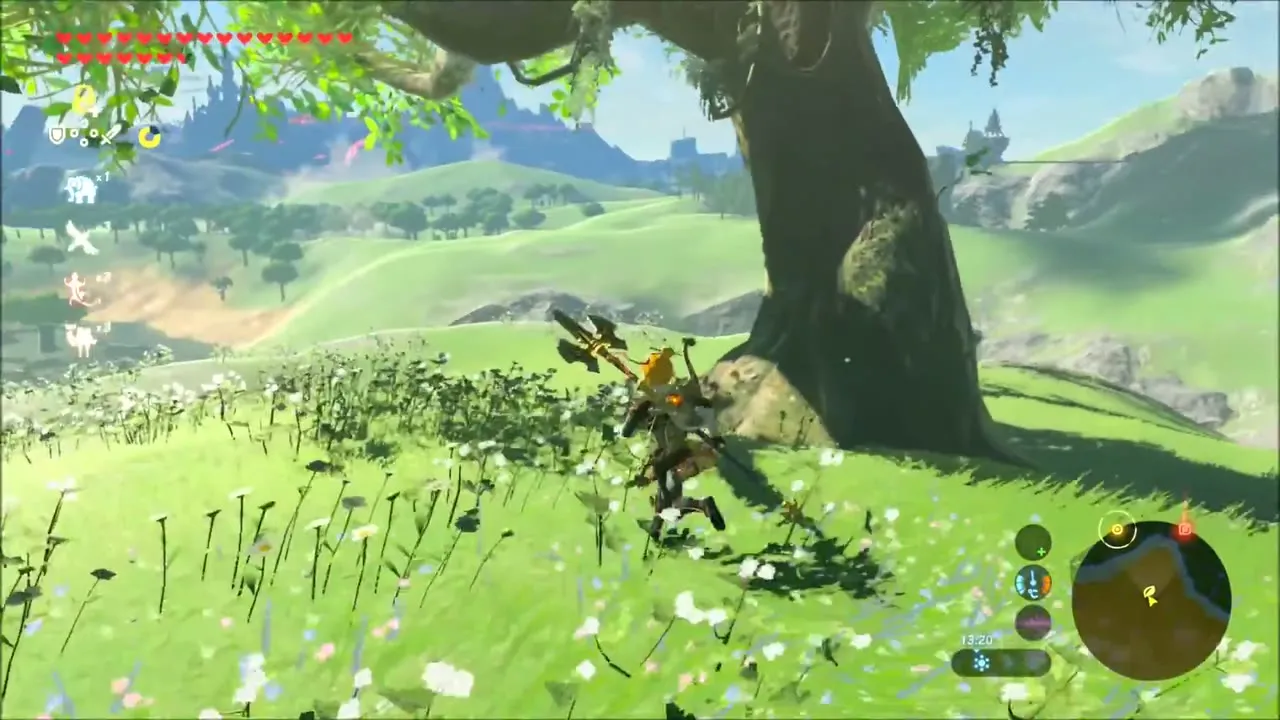
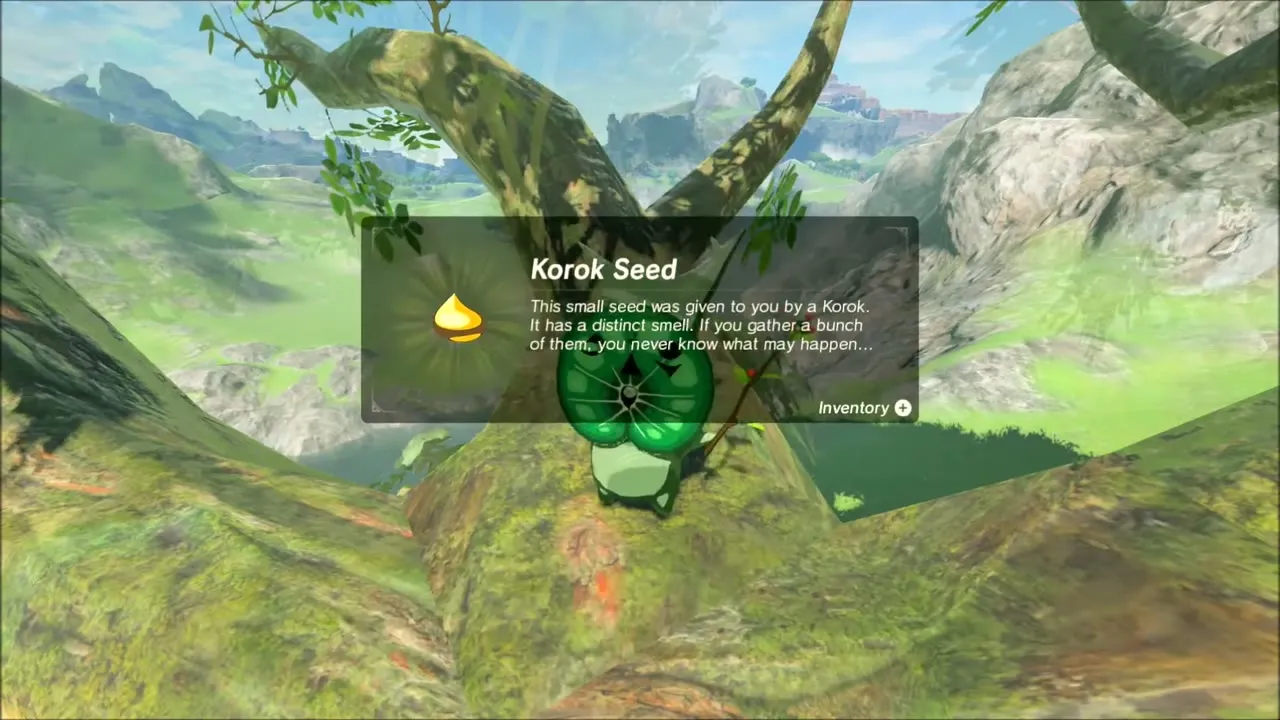
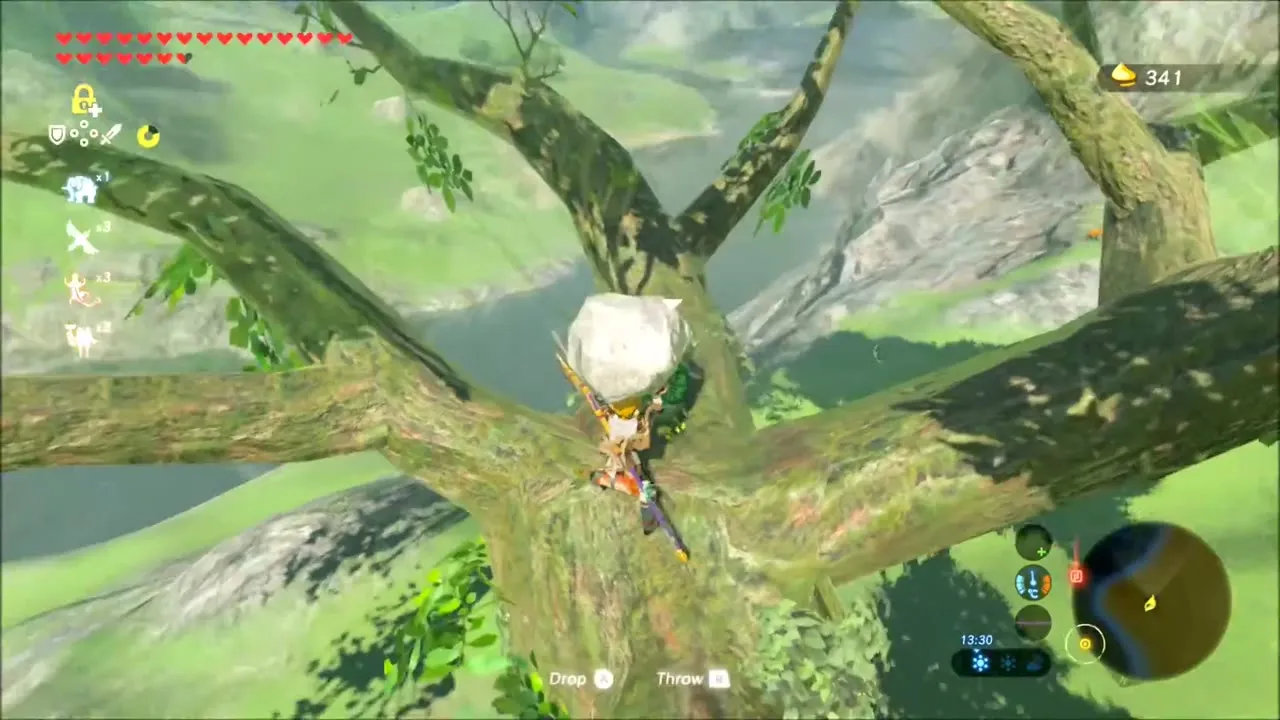
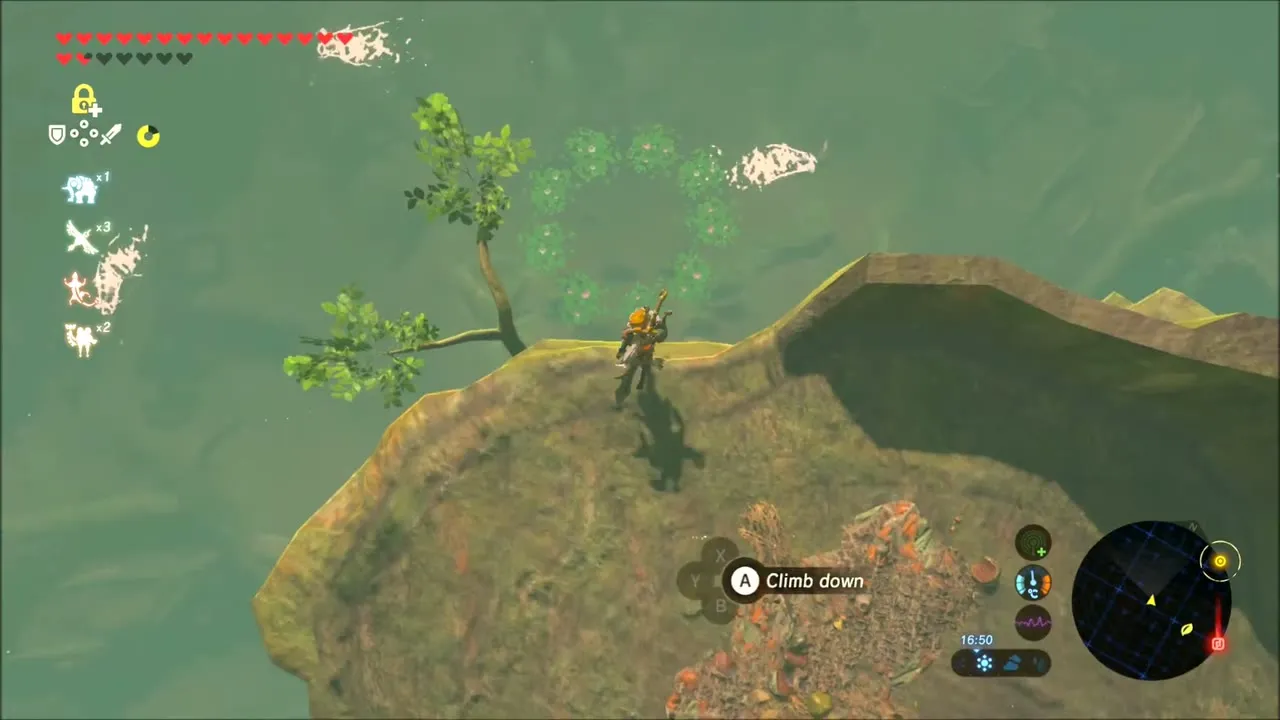
The first seed of this stretch is in a big tree on a grassy slope. Climb into it and follow the main branch: a loose rock lies on the limb, and lifting it brings out the Korok sitting in the fork, who hands over the seed.


Moblin camp and the lakeside Korok
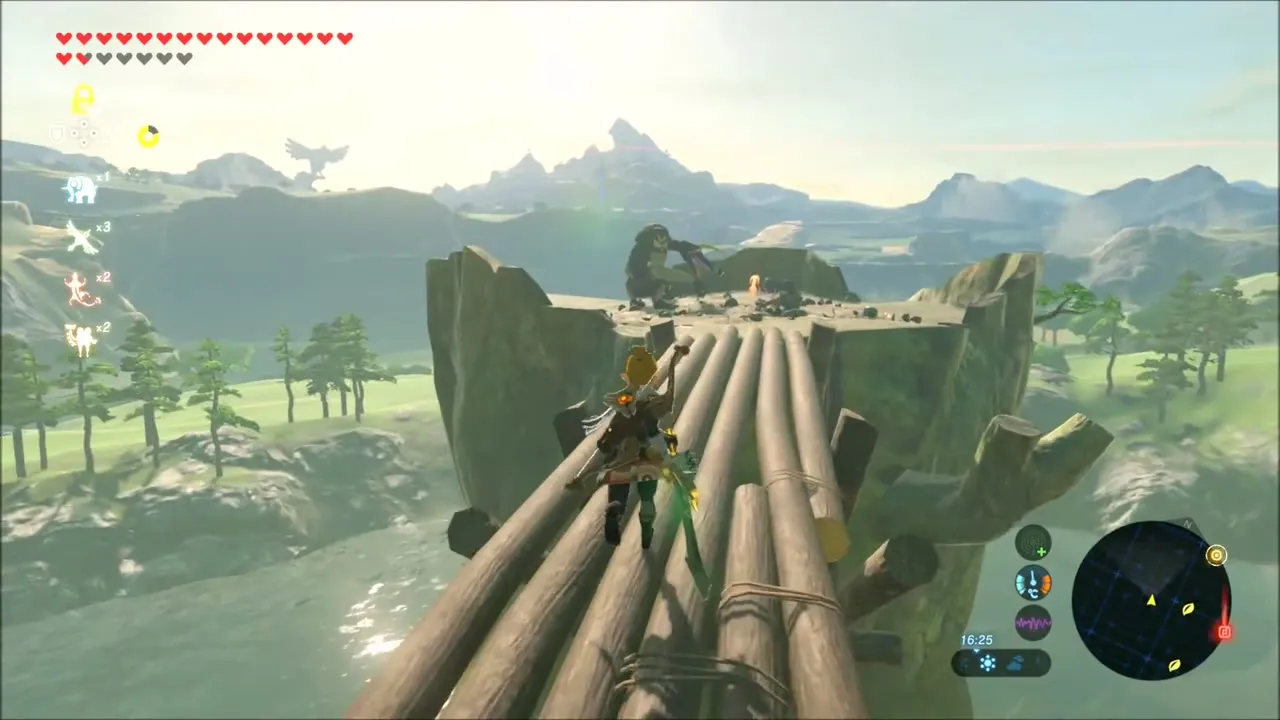
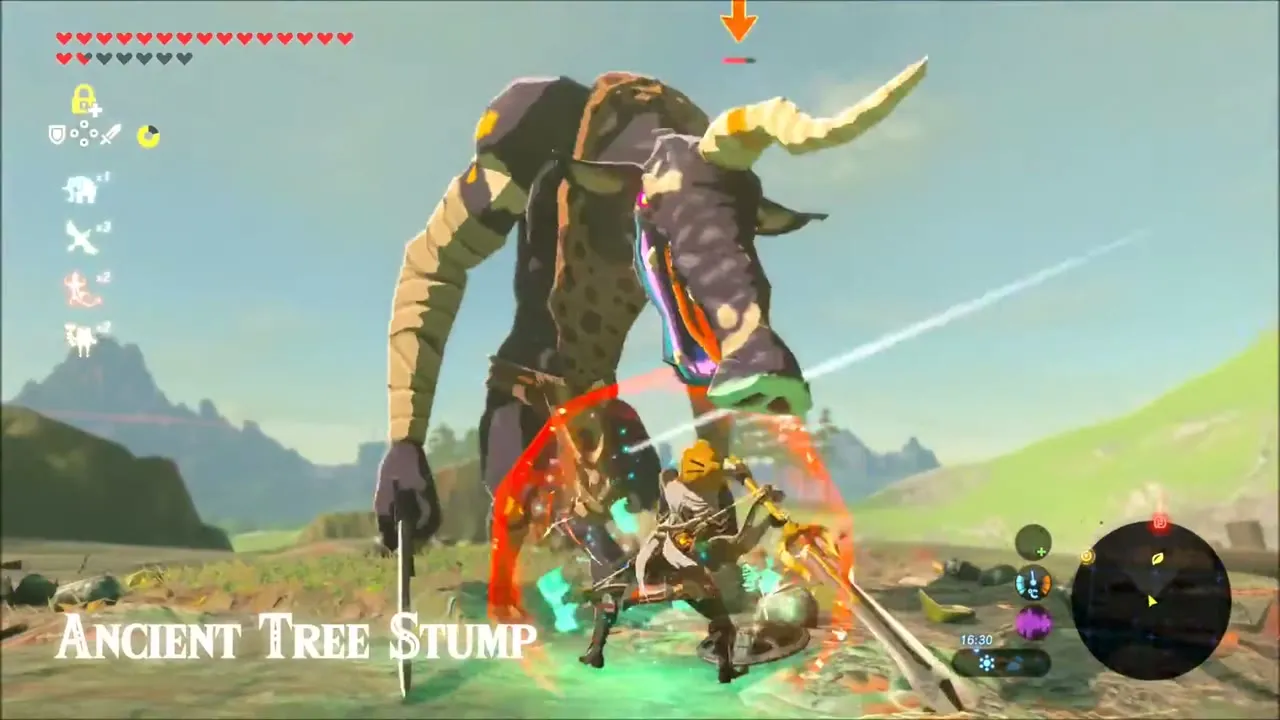
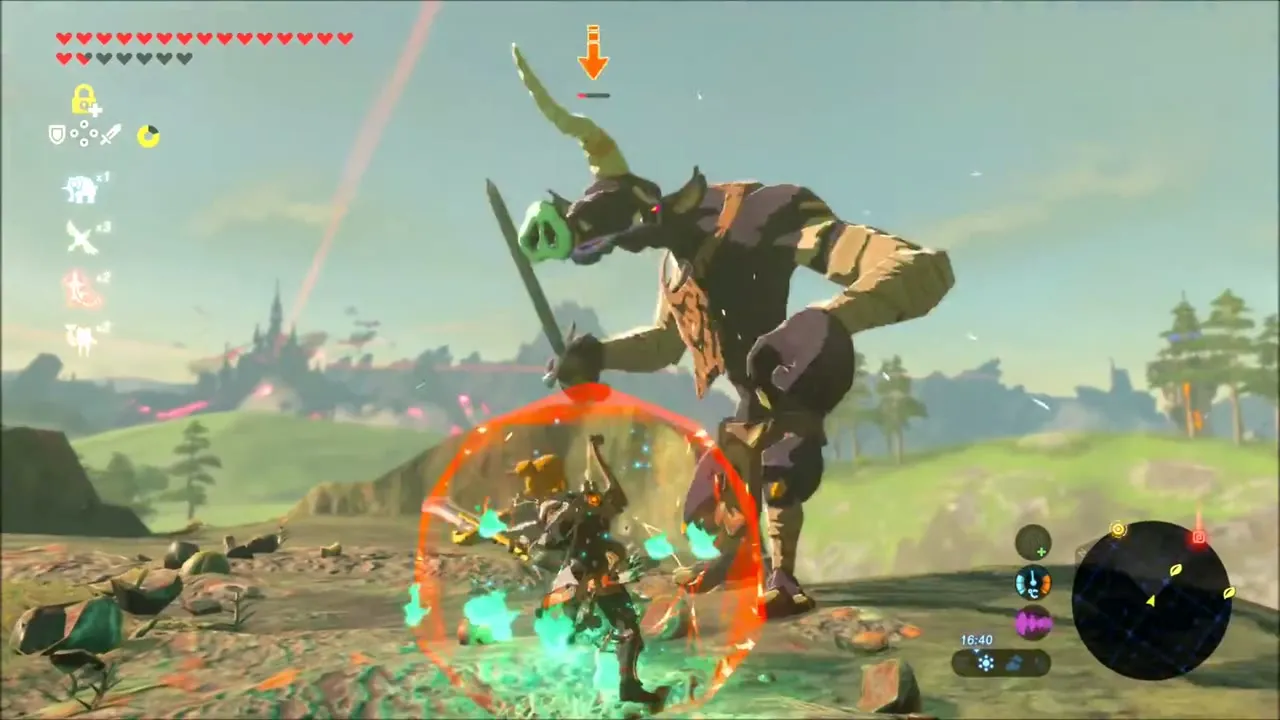
Keep heading toward the water and you reach a log platform on a rocky shelf where Moblins have set up camp. Clear them out and collect what they drop; a Great Flameblade is among the pickups here, and it becomes your main sword for the rest of the evening.

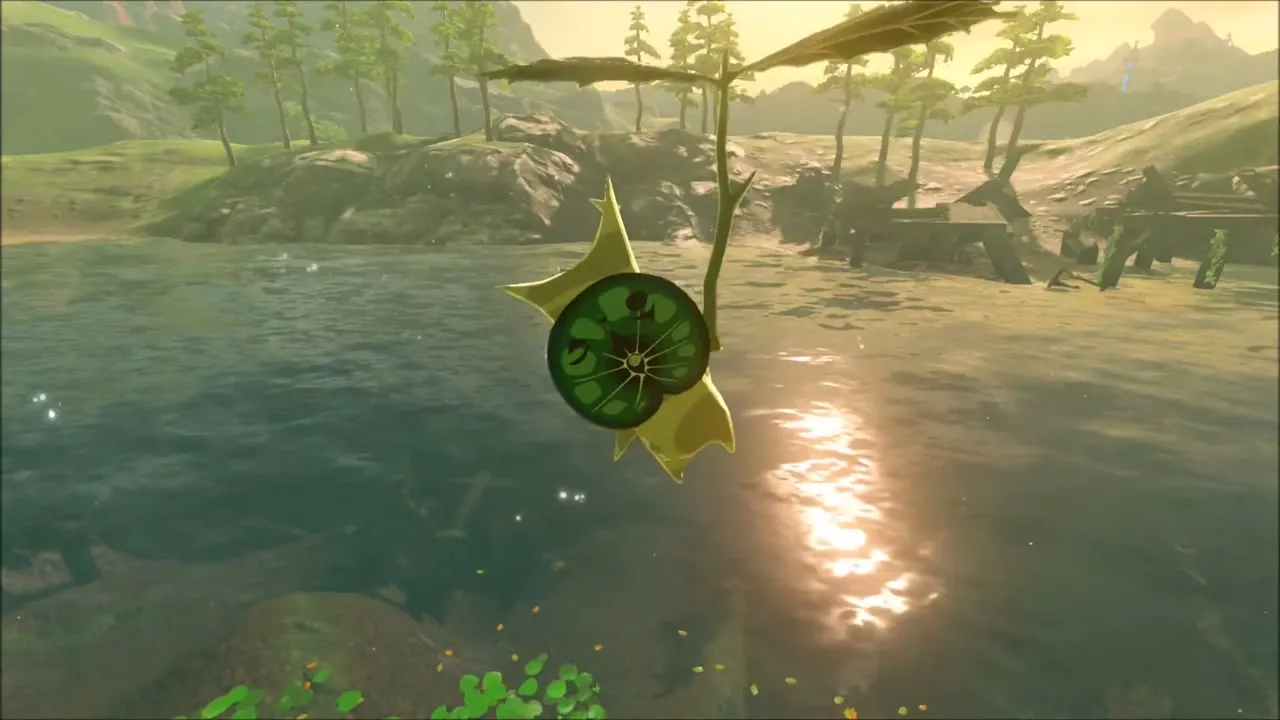
From the ledge beside the camp, drop into the lake and swim out onto the open water. A Korok floats on the surface a short way offshore; reach it and it pays out a seed.

Stone statue Korok near Sanidin Park
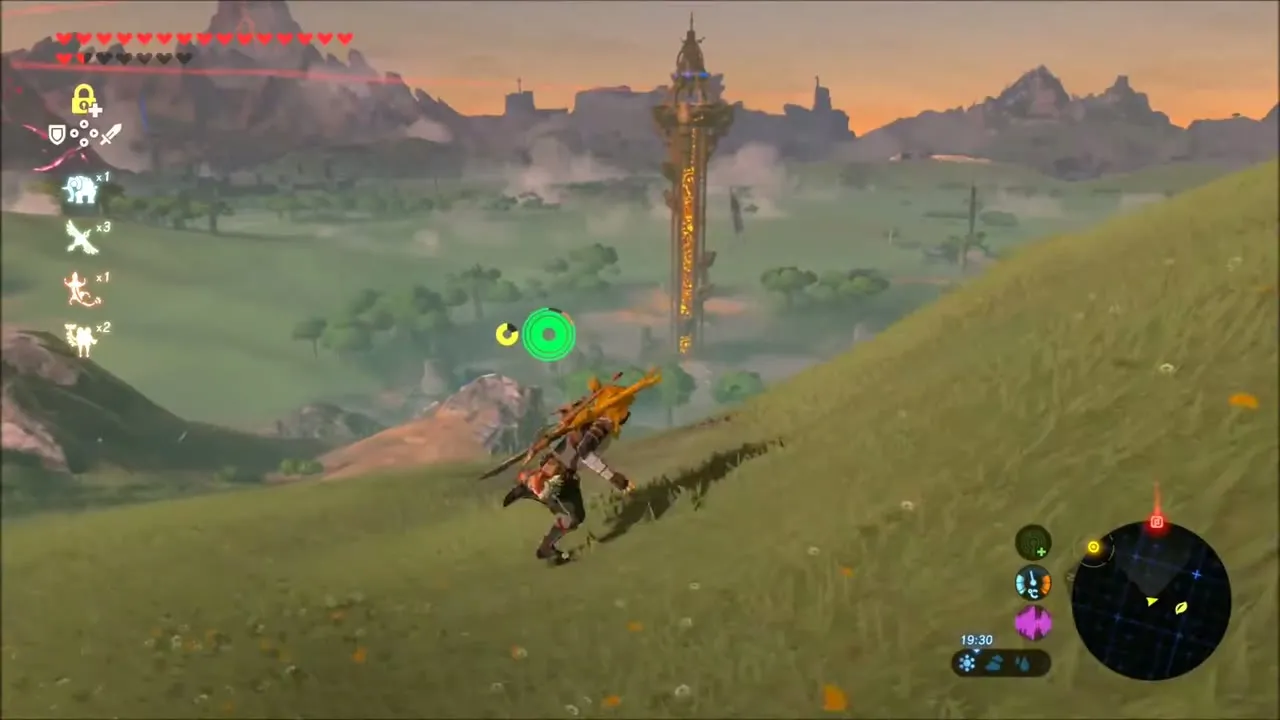
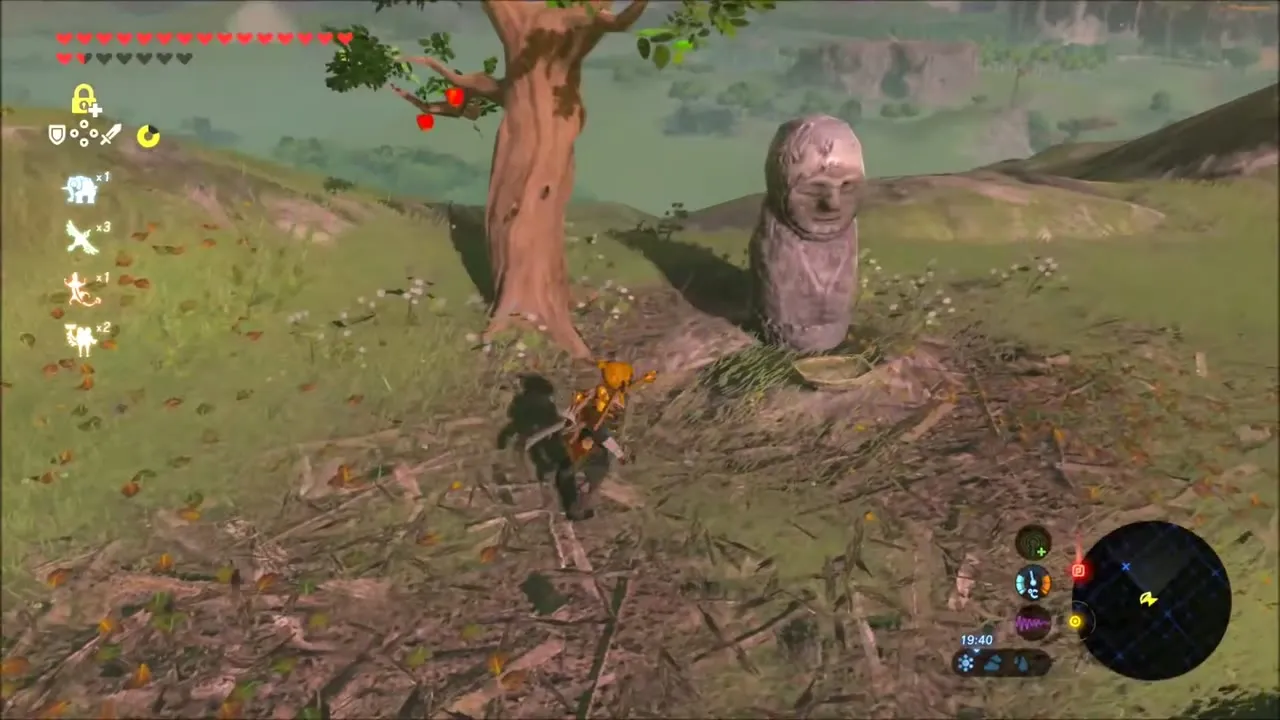
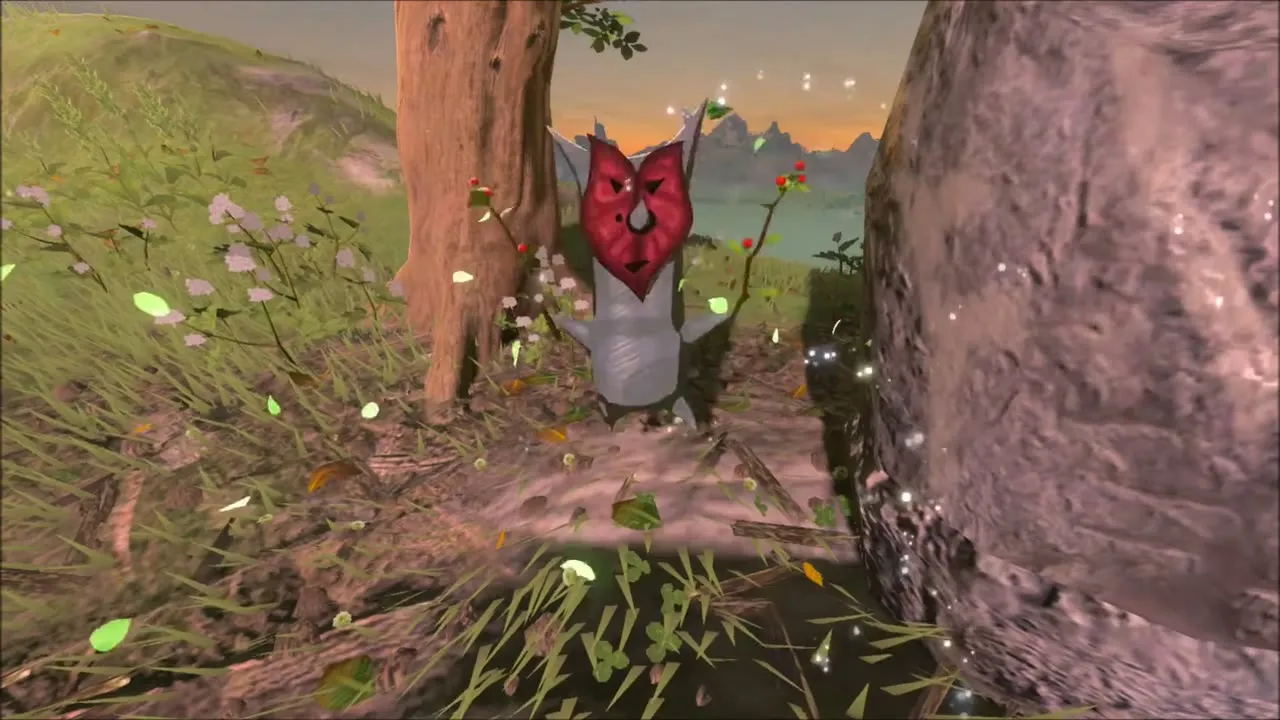
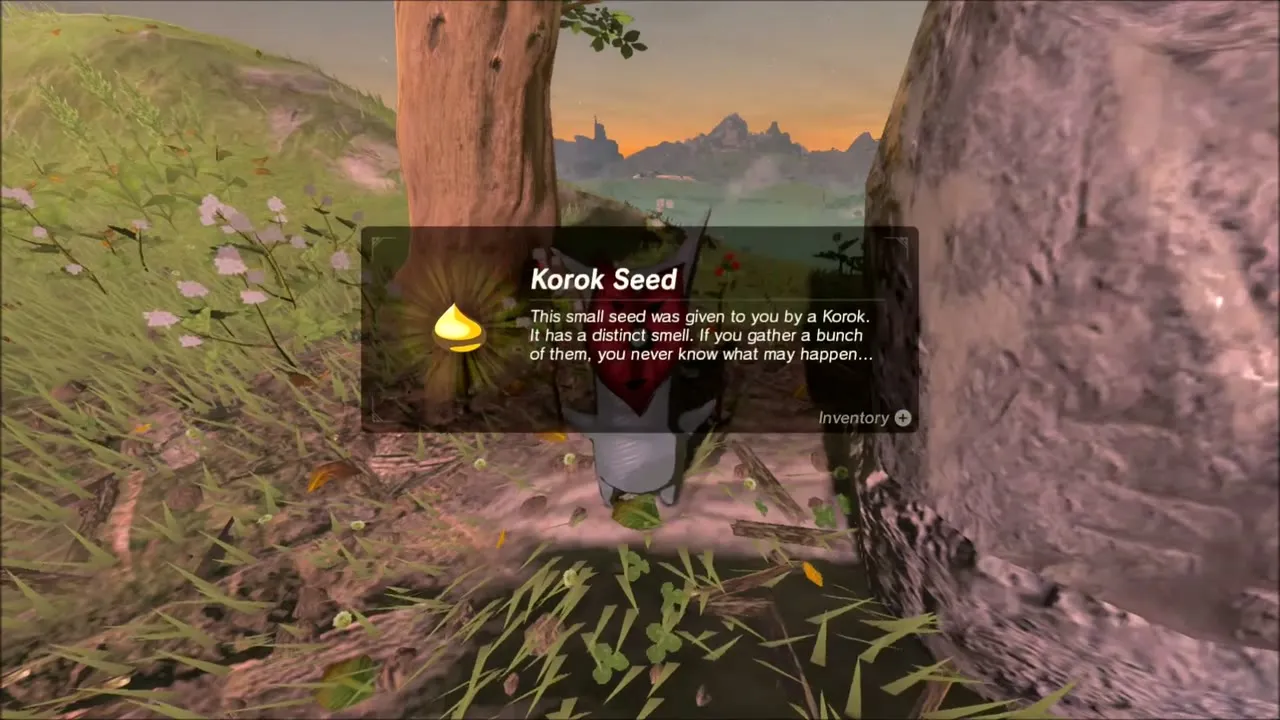
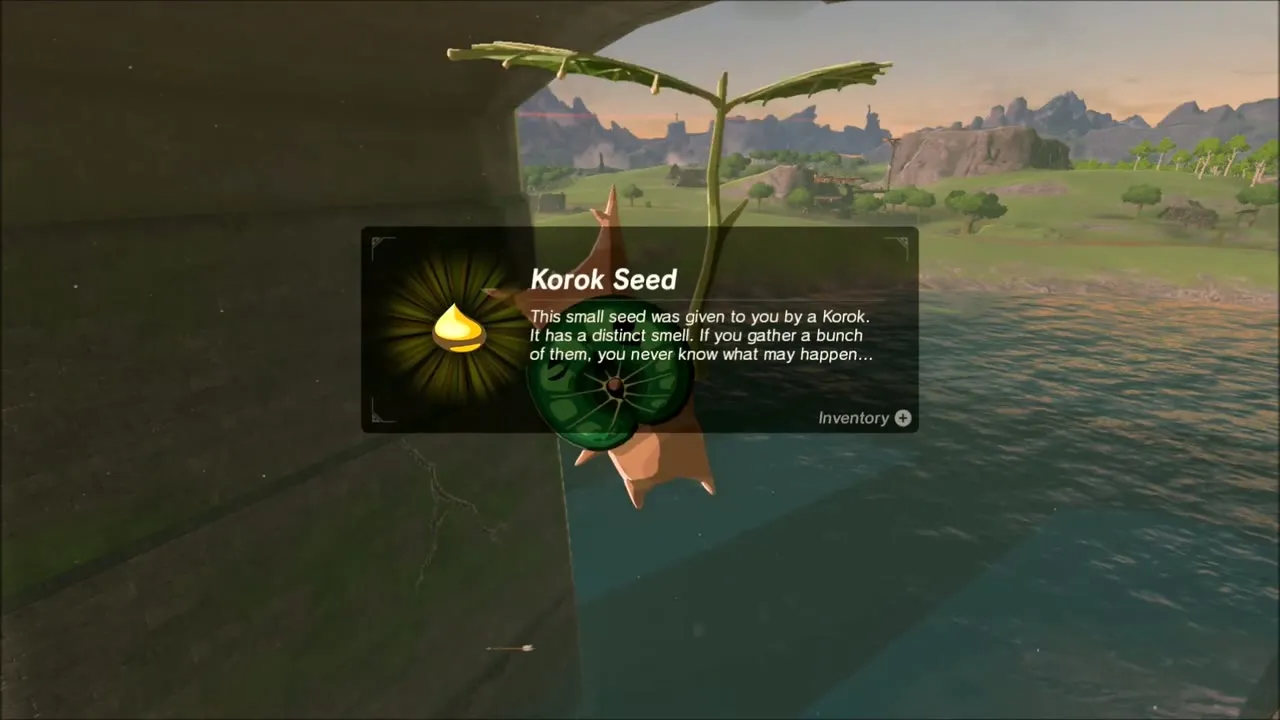
Work your way east and up the slopes toward dusk, with Central Tower visible across the valley. On a grassy knoll beside a single tree stands a stone Korok statue with a nest of twigs at its feet. Drop a piece of food into the nest in front of the statue, and the Korok behind the neighboring boulder shows itself and rewards you with a seed.

How to Activate Central Tower
Central Tower is the last of the Sheikah Towers. It stands in the middle of the region at (-789, 442), height 218. Reach its base, run up the glowing path that winds around the tower, step onto the platform at the top and use the terminal there. The tower fires its beam into the sky, you receive the complete map of Hyrule, and the tower becomes a fast travel point.


Beedle’s stall and the ancient equipment shop
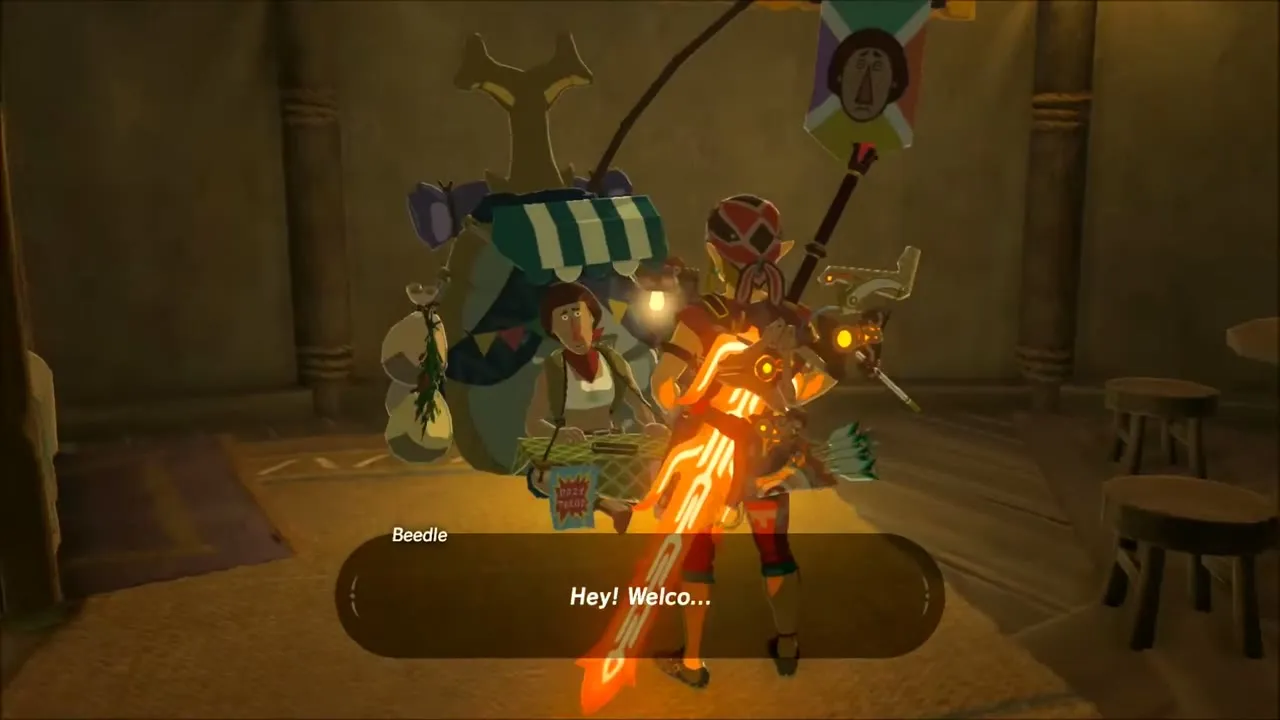
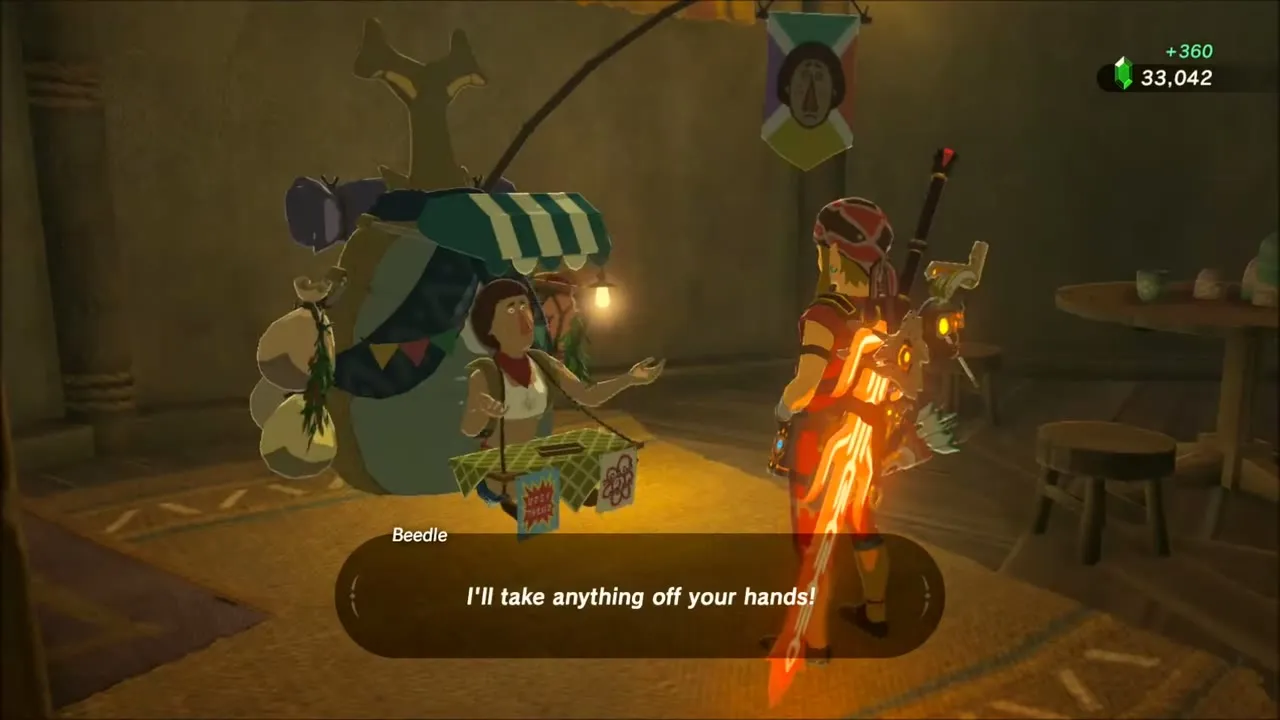
With the map unlocked, pin the remaining Korok and shrine locations, then stop at a Beedle stall to turn spare gems into rupees. Topaz, Sapphire and Amber sell well, so unload what you do not need to craft or upgrade with before moving on.
Later in Akkala, call in at the Akkala Ancient Tech Lab if you carry spare ancient parts. Its shop trades ancient arrows and Ancient equipment such as the Ancient Bow, Shield and Helm for materials and rupees.

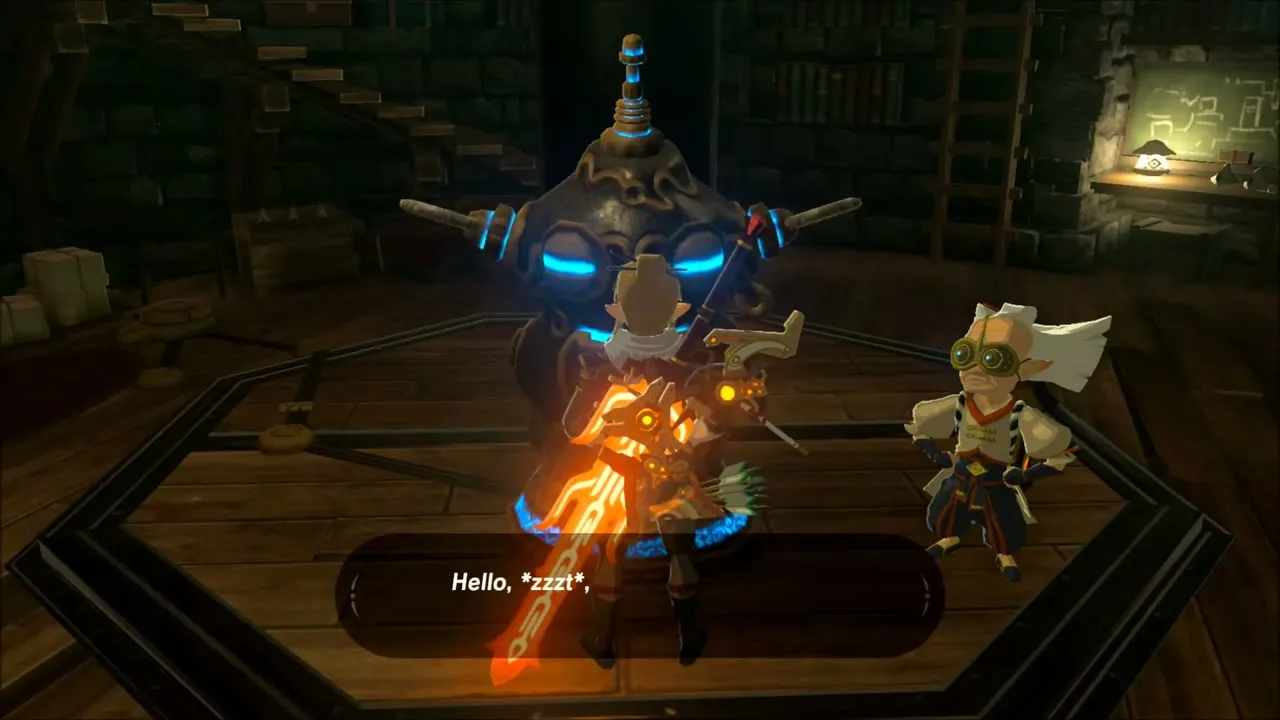
From the Ground Up: Kapson, Bolson and Karson, and Hudson’s Wedding
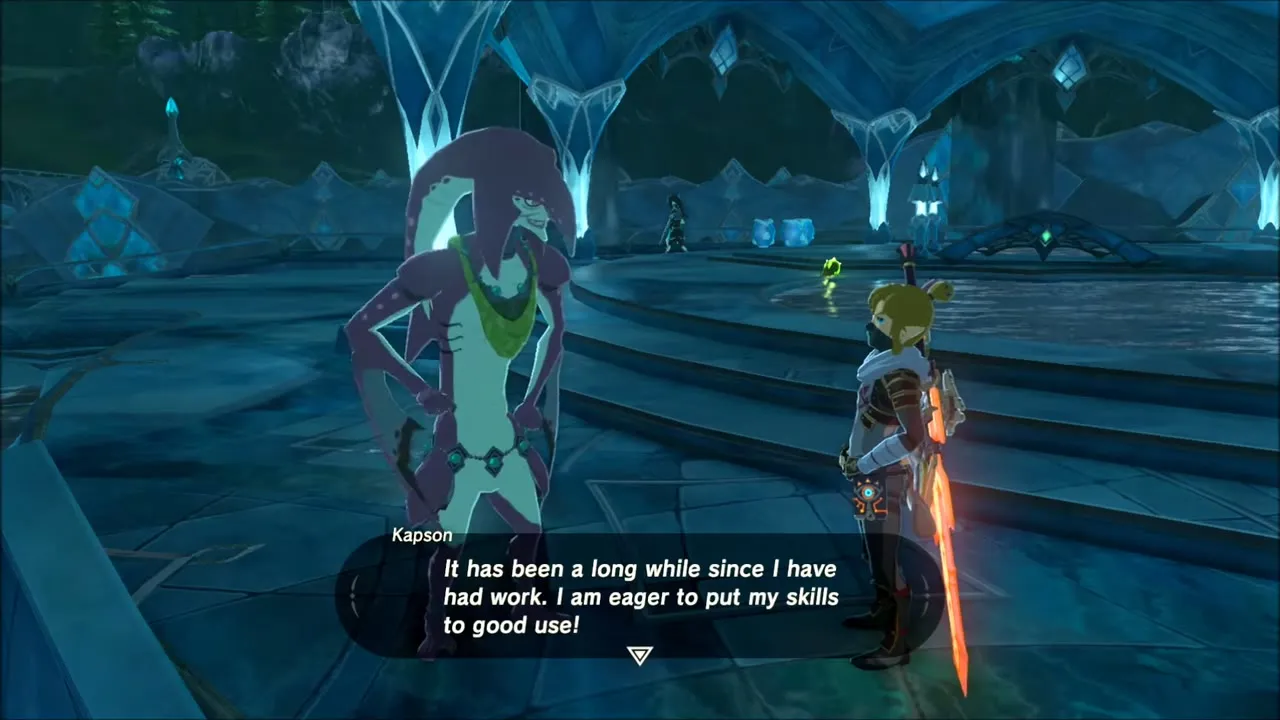
The Zora resident is next on the list in From the Ground Up. Travel to Zora’s Domain, climb the stairs toward the throne room and speak to Kapson, who is standing behind the stairs. He agrees to move to Tarrey Town, and the Zora task is done.


Next, head for Hateno Village and find Bolson and Karson by Link’s house. Invite both of them to the wedding, and that is the Hylian pair done.

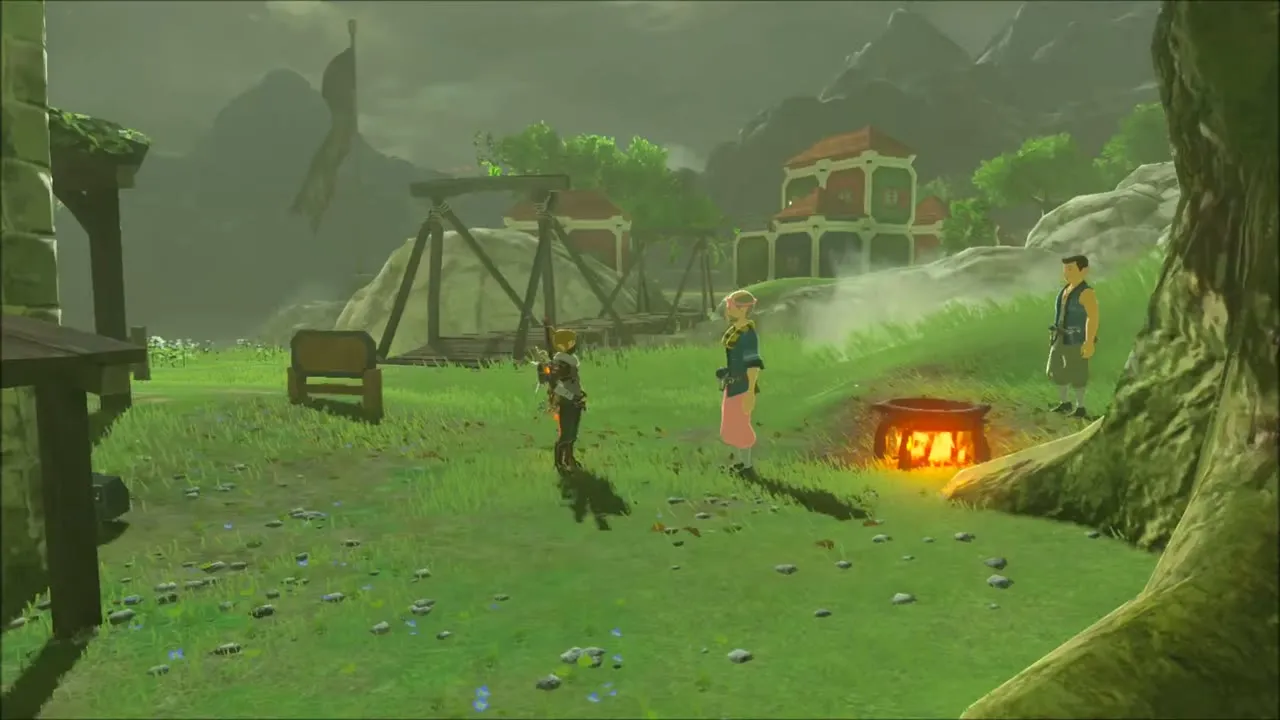

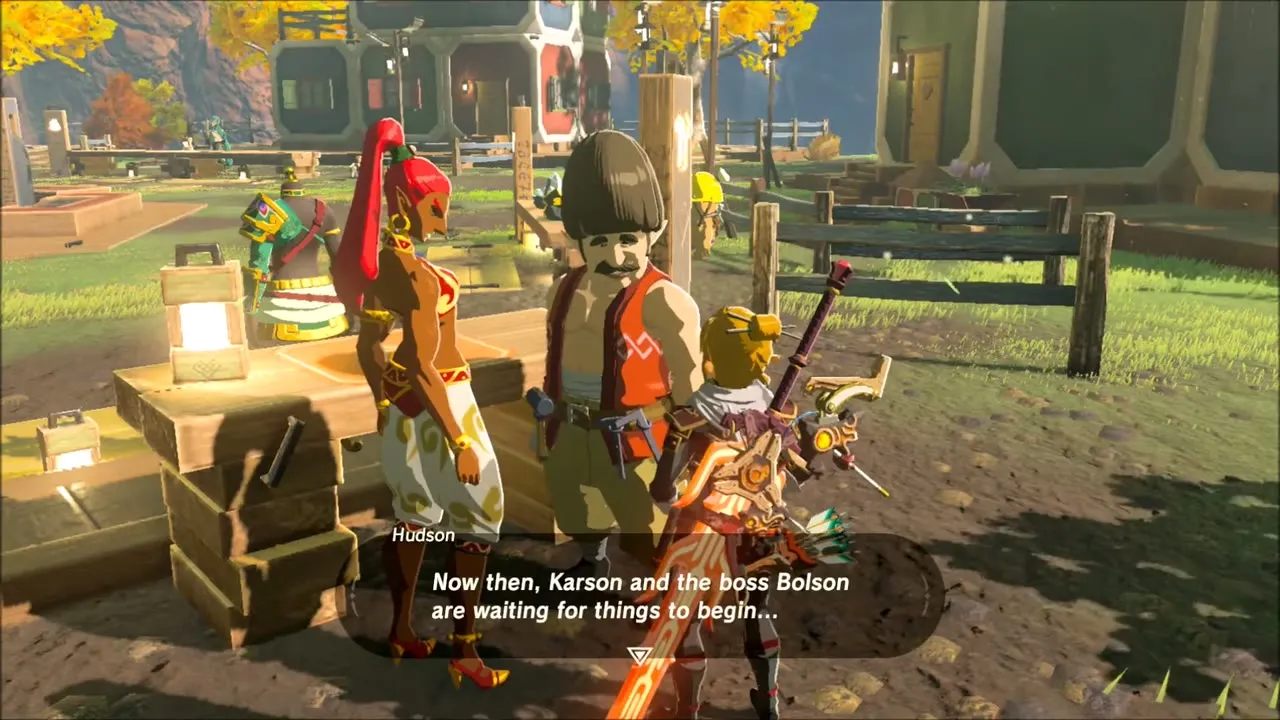
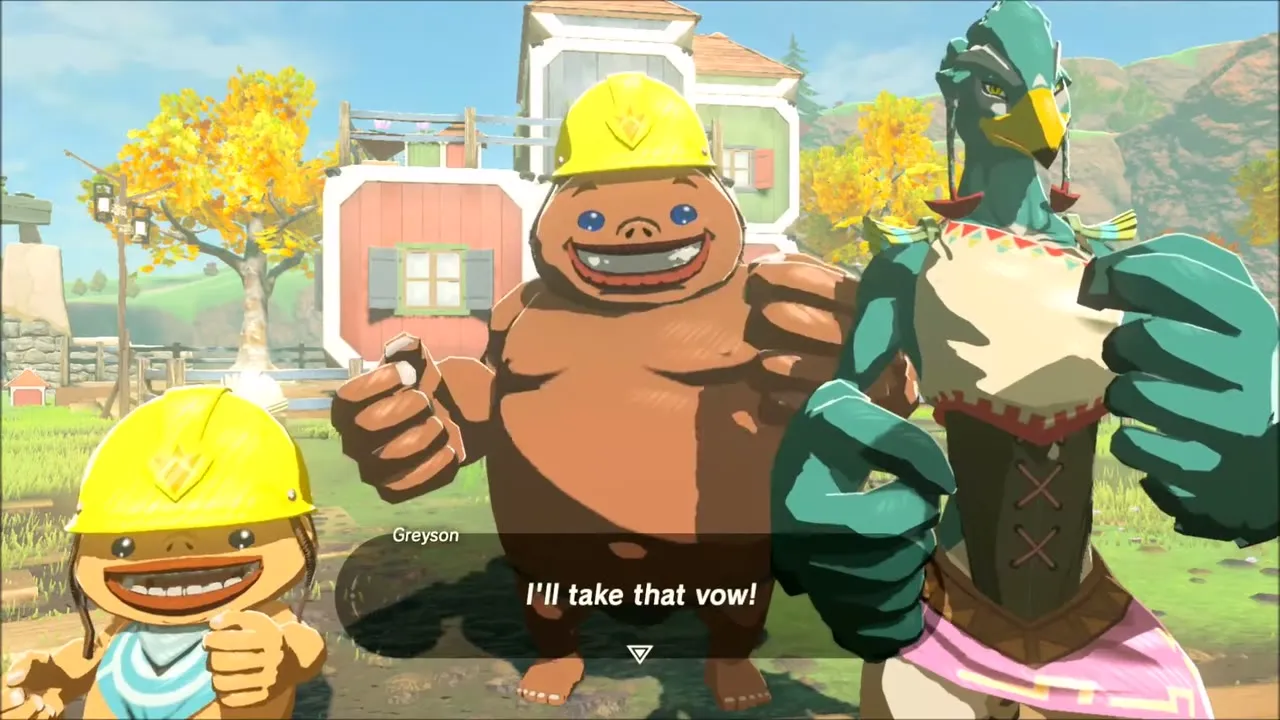
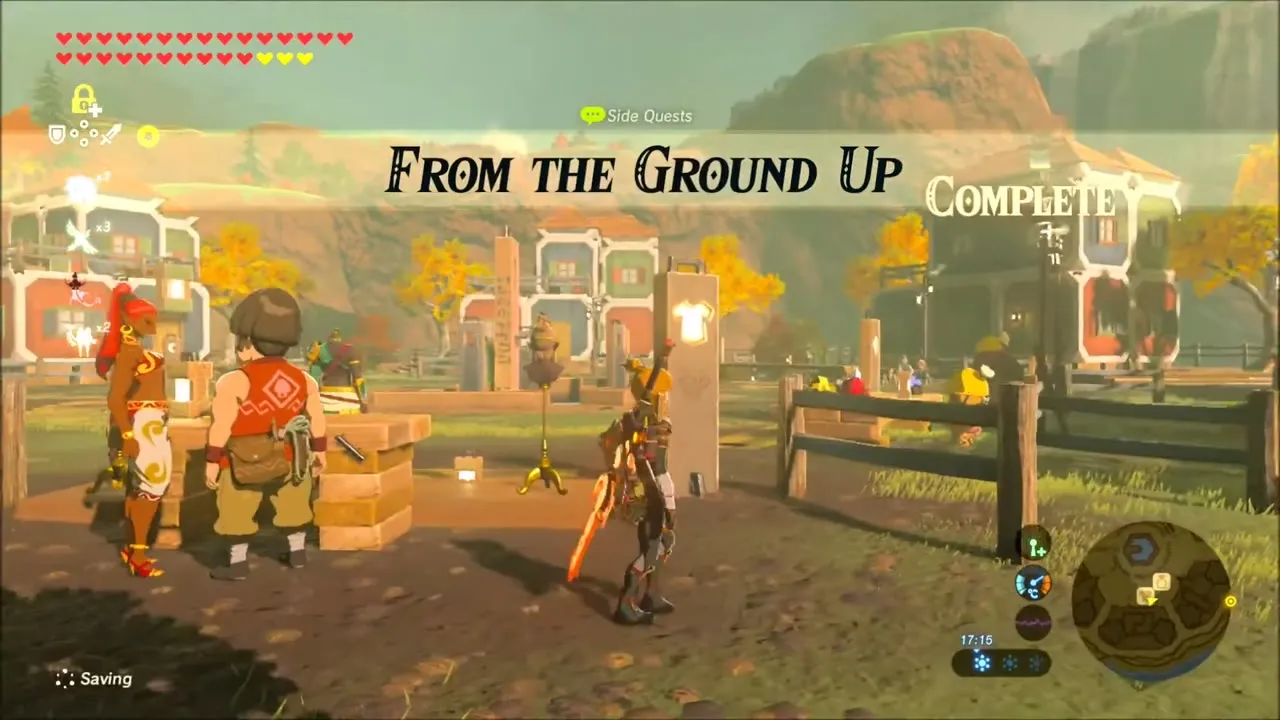
Back in Tarrey Town (3965, -1615), talk to Hudson. He thanks you for delivering the invitations and the ceremony begins: Hudson and Rhondson exchange vows in front of the new residents, Greyson among them. Talk to Hudson one more time once the wedding is over. The screen announces that From the Ground Up is complete, and you receive the three Diamonds the quest pays out.


Great Fairy Mija and Kilton’s Dark Armor
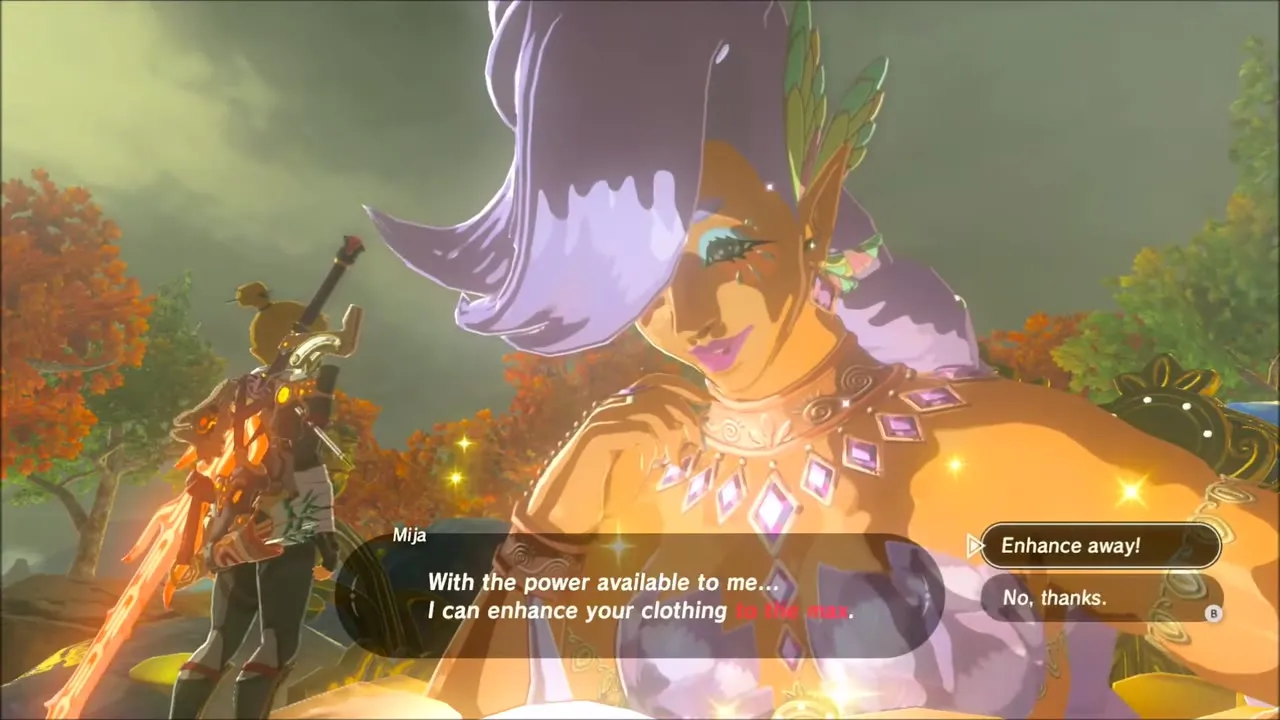
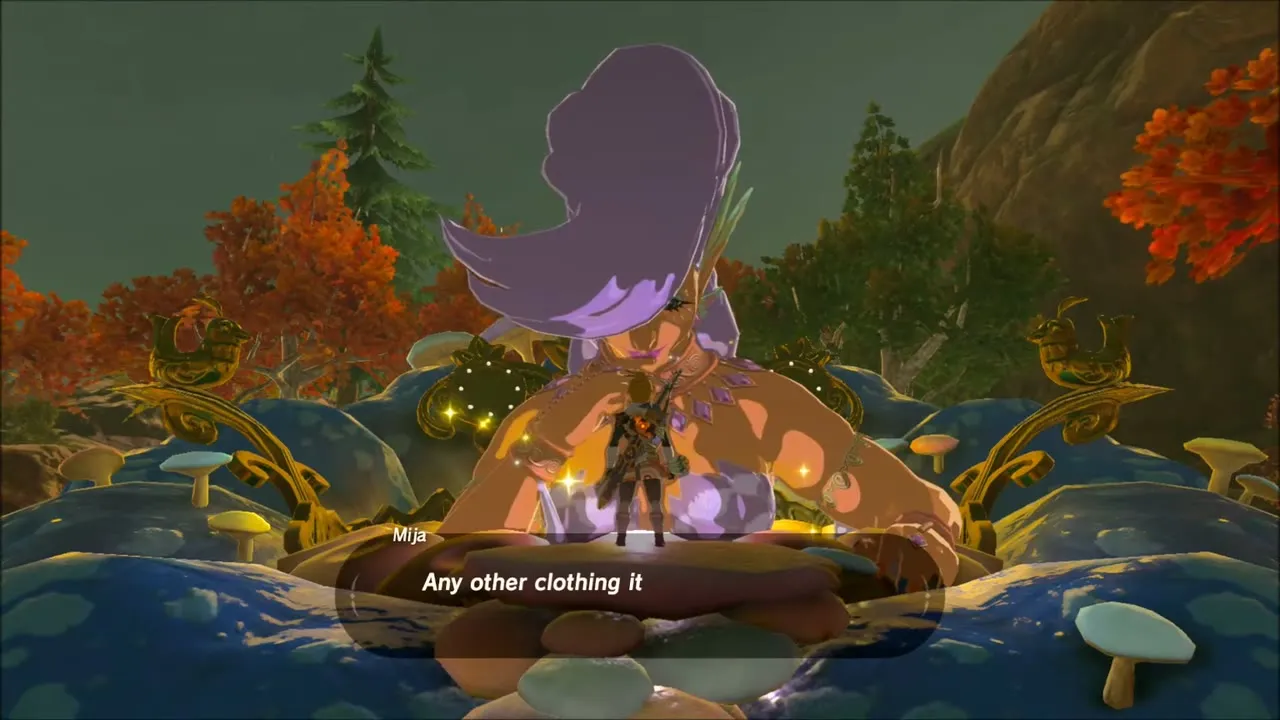
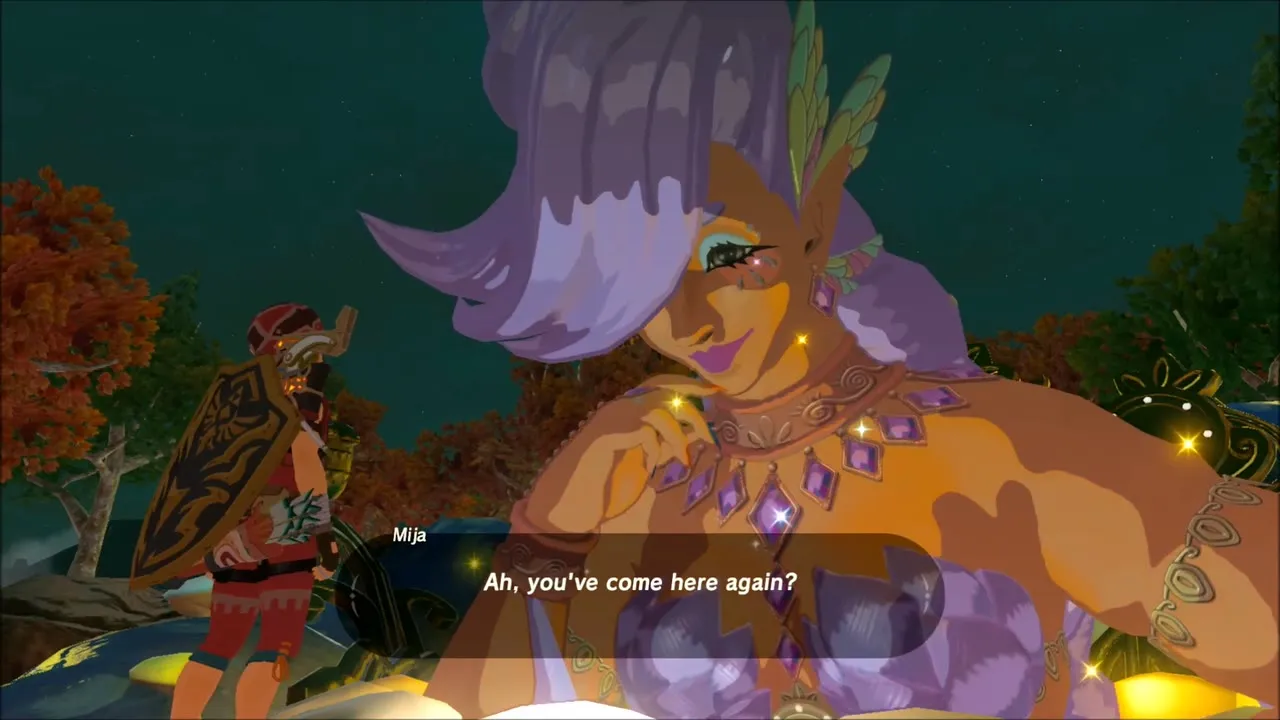
Lake Akkala is right beside the town, so visit Great Fairy Mija while you are there. Hand her armor to see what she can improve: her menu shows which pieces accept an upgrade and what each star costs, and pieces such as masks and the Well-Worn Trousers are flagged as unable to be enhanced.
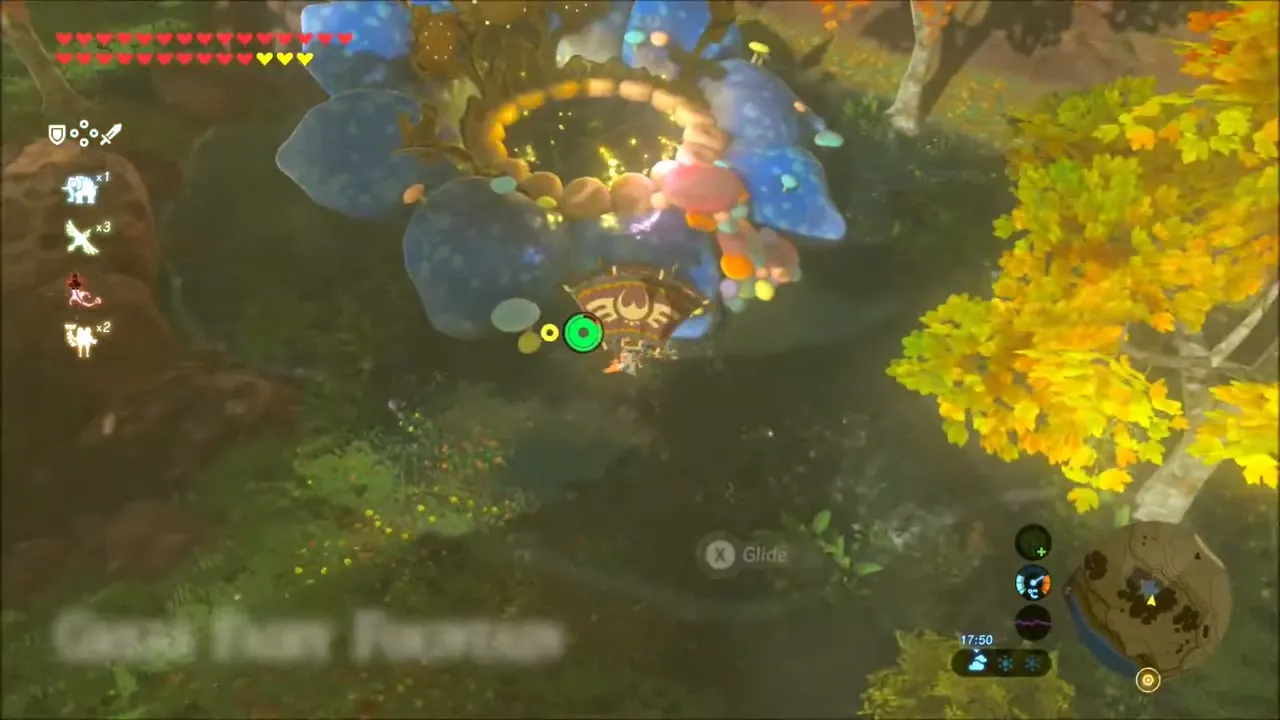


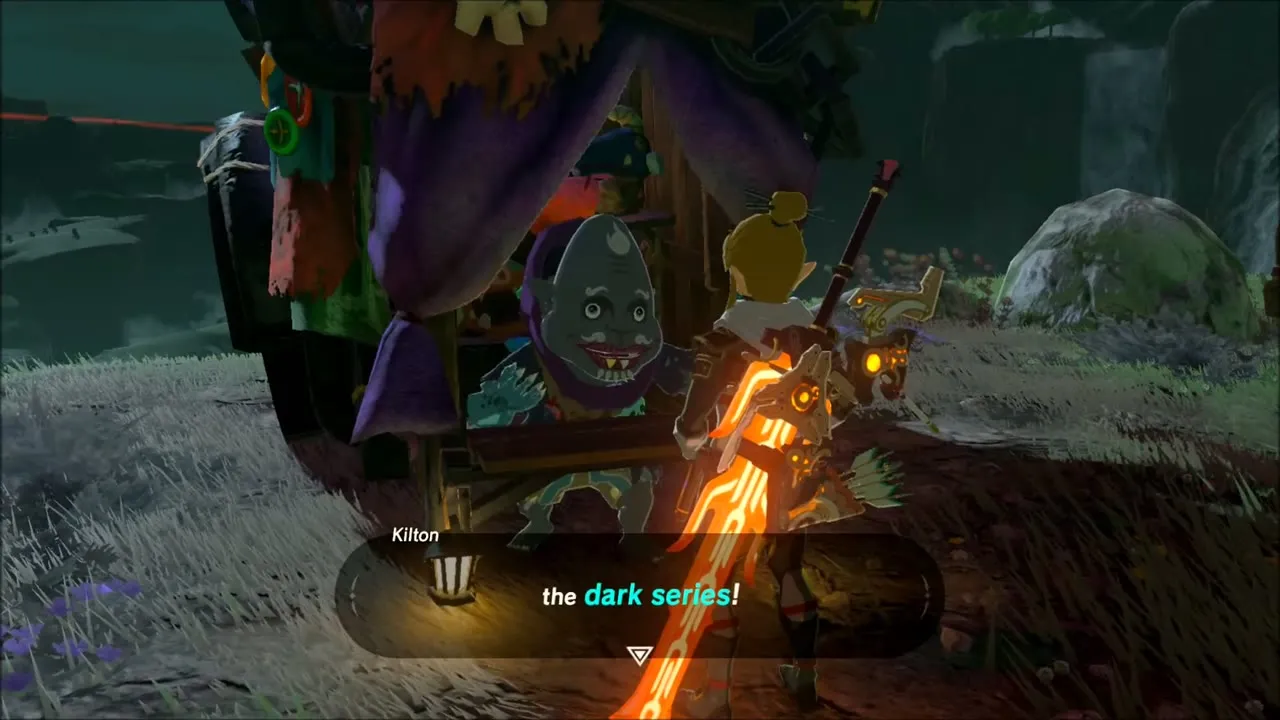
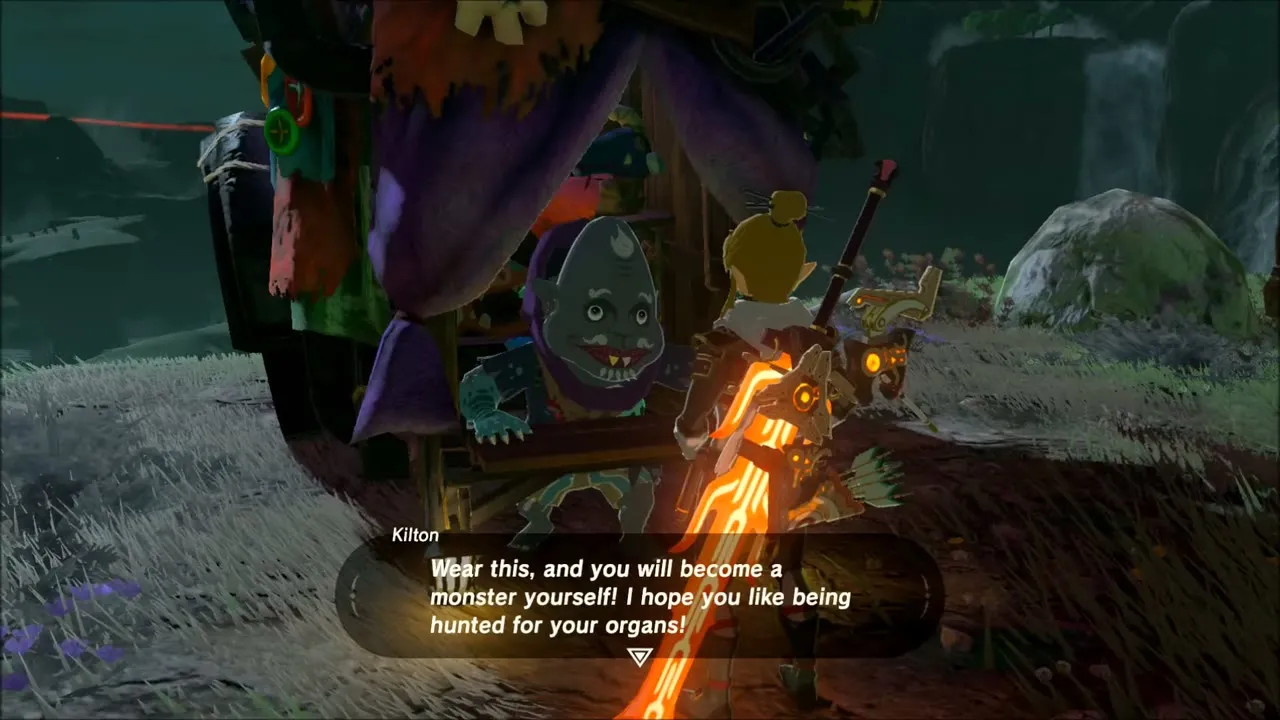
After dark, find Kilton‘s balloon stall. Once all the Divine Beasts are freed he sells the whole Dark set: the Dark Tunic and Dark Trousers for 999 Mon each and the Dark Hood for 1,999 Mon. Spend the Mon you have earned from monster parts and you leave with the full set.

Korok Seeds Near Gleeok Bridge and Aquame Lake
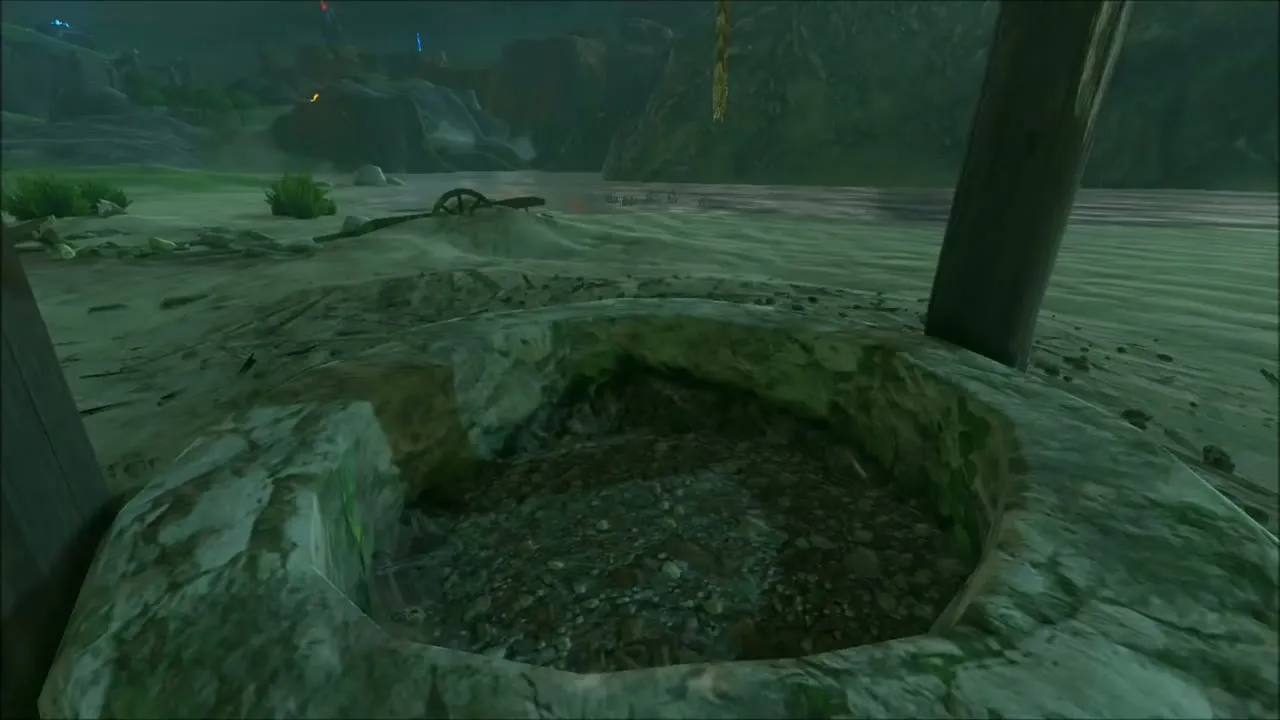
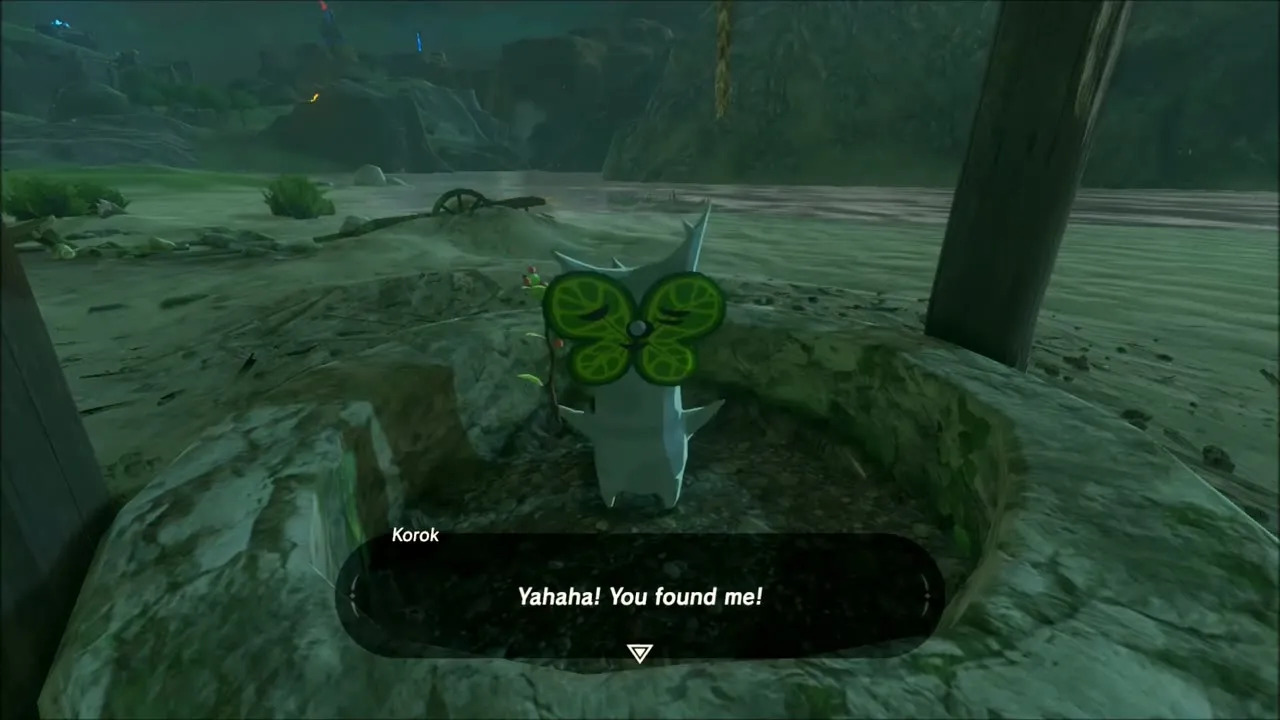
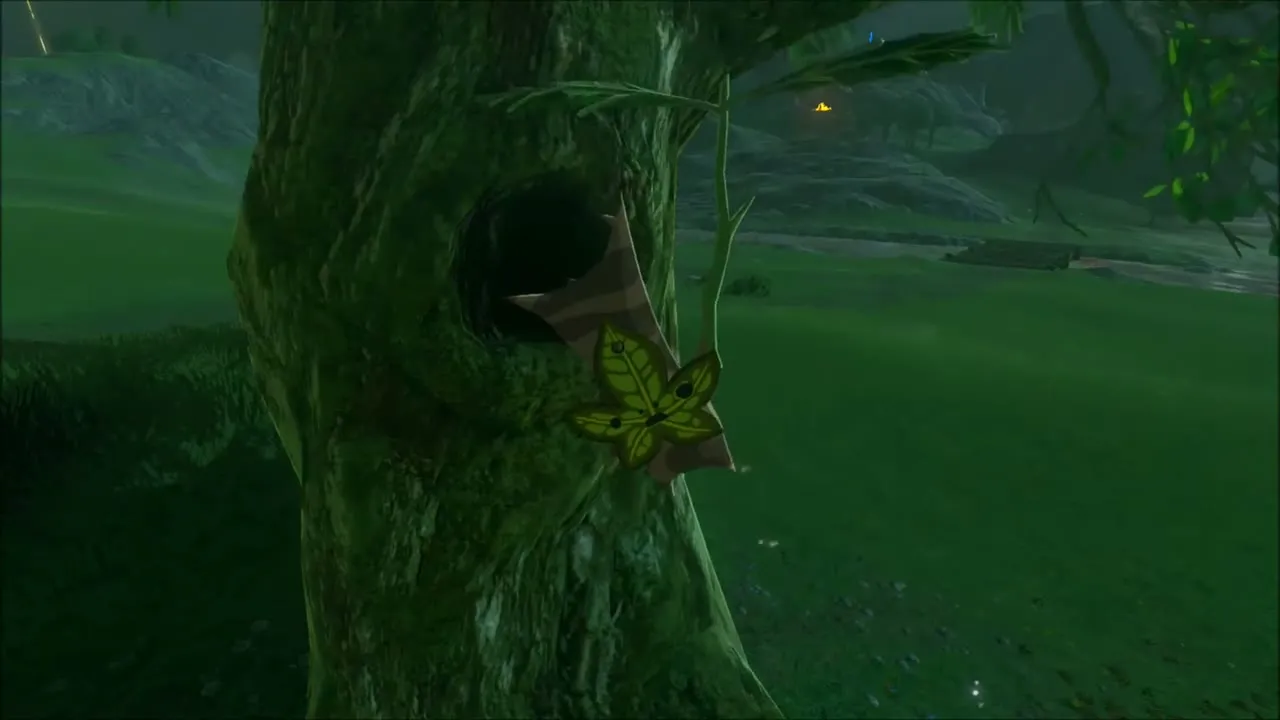
Fast travel back to Central Tower and head west into the river valley after dark. Near a ruined well house on the flats, a Korok is sitting inside a round stone hollow and gives up a seed when you find it. A little farther on, a tree trunk has a hollow in it with a burning brush pile nearby: draw your bow and shoot an arrow into the hollow, and the Korok on the trunk is revealed.

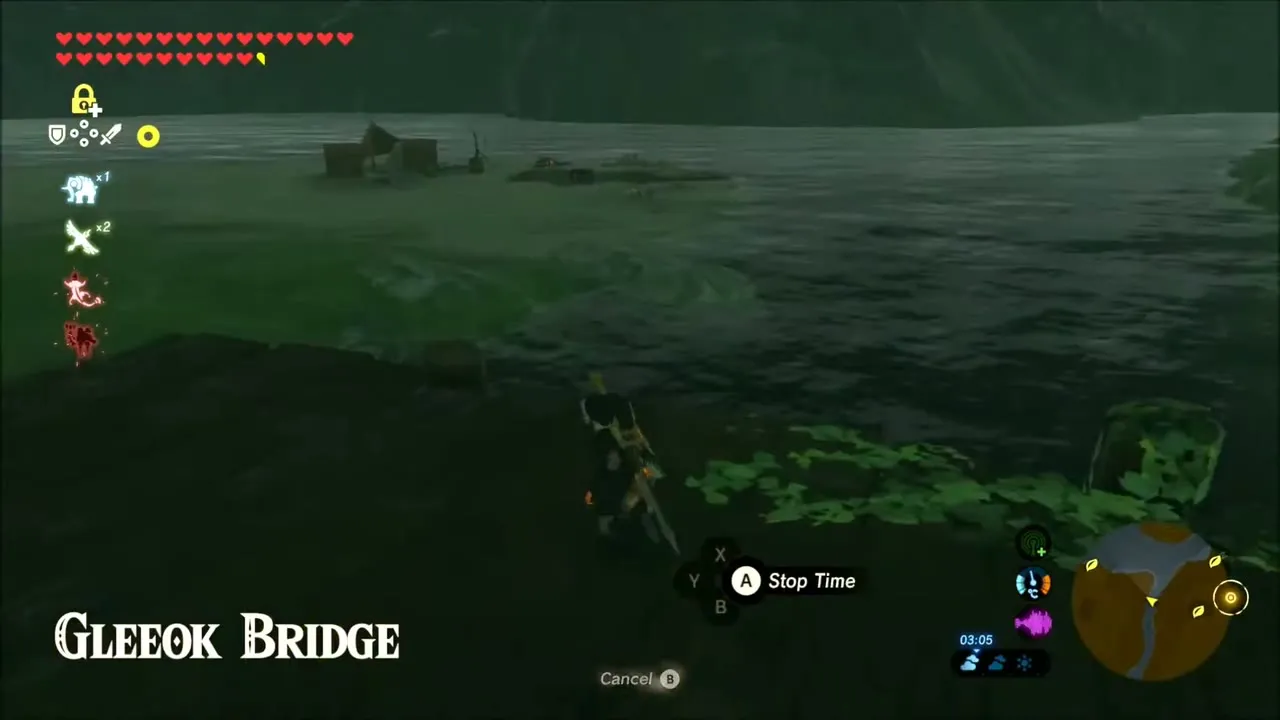
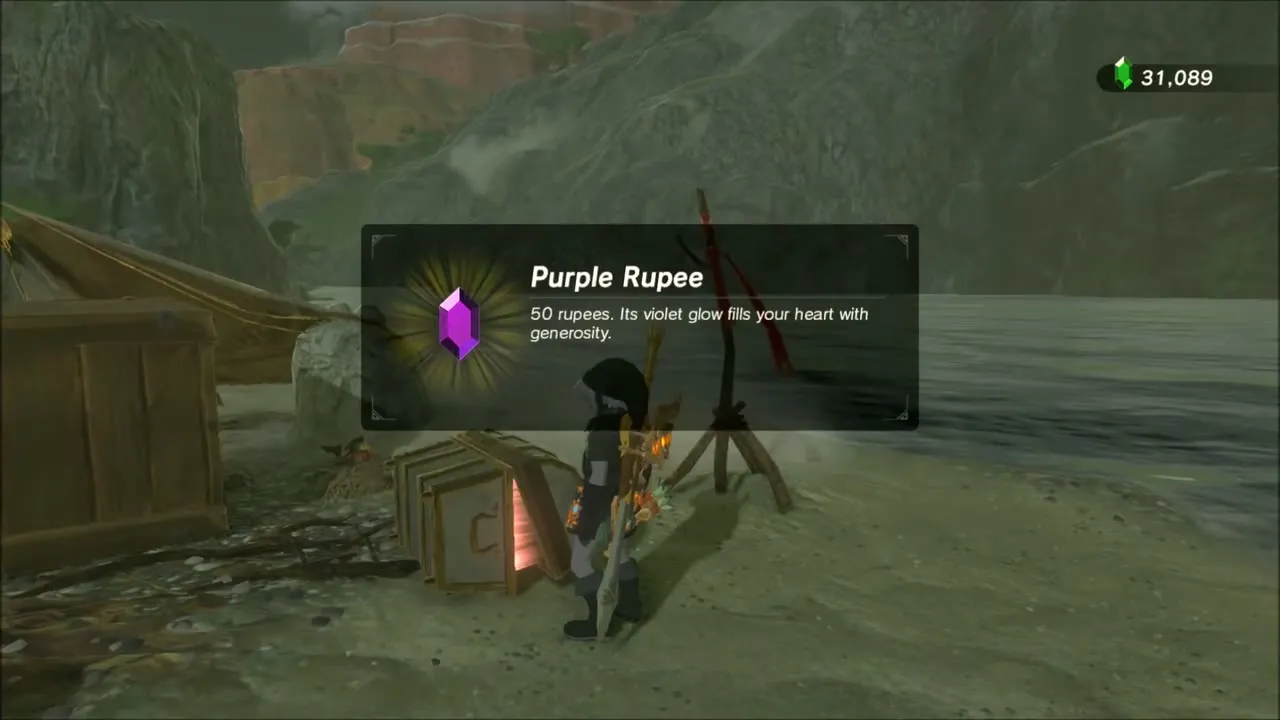
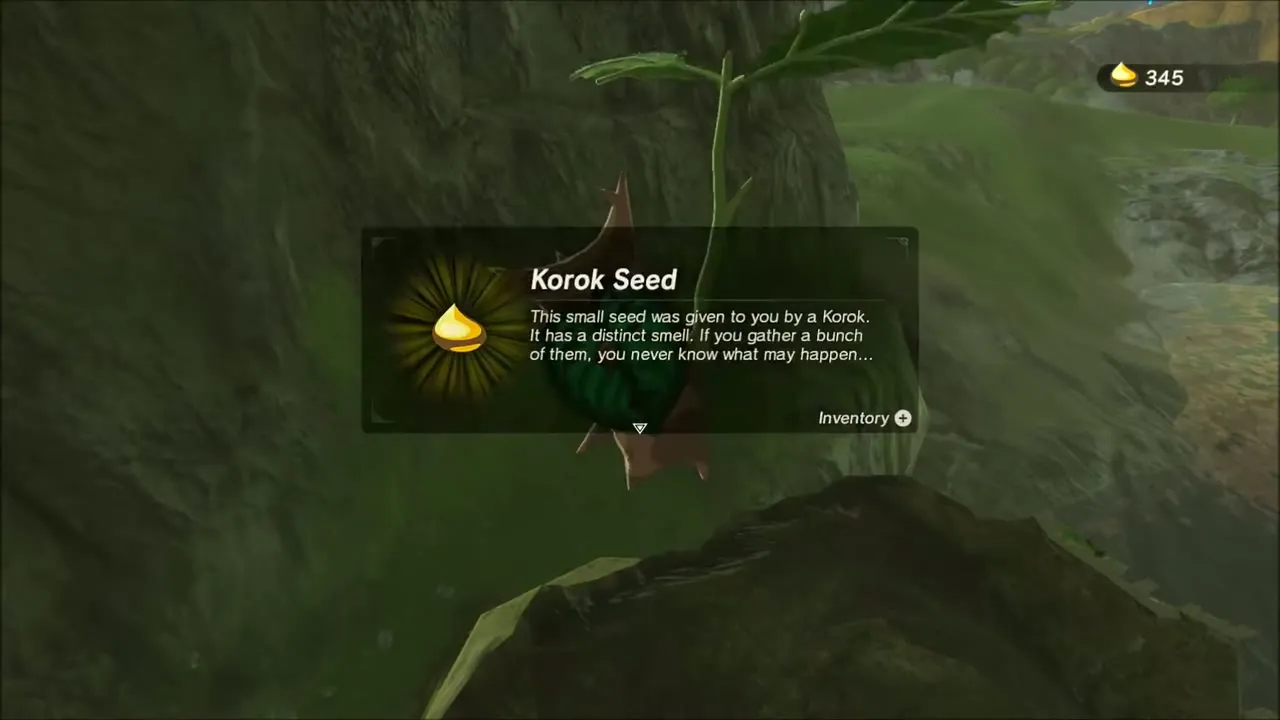
Gleeok Bridge (-1305, 810) is the landmark for the next stretch. A ruined camp on the shore has a chest holding a Purple Rupee. Farther along the water, a Korok sits against the cliff face; use Magnesis on the metal object beside it and the Korok appears and hands over a seed.

Further along the river, a cluster of upright stones rises out of the shallows. Raise Cryonis ice for footing, carry a loose rock out to the cluster, and a Korok pops up between two of the stones.
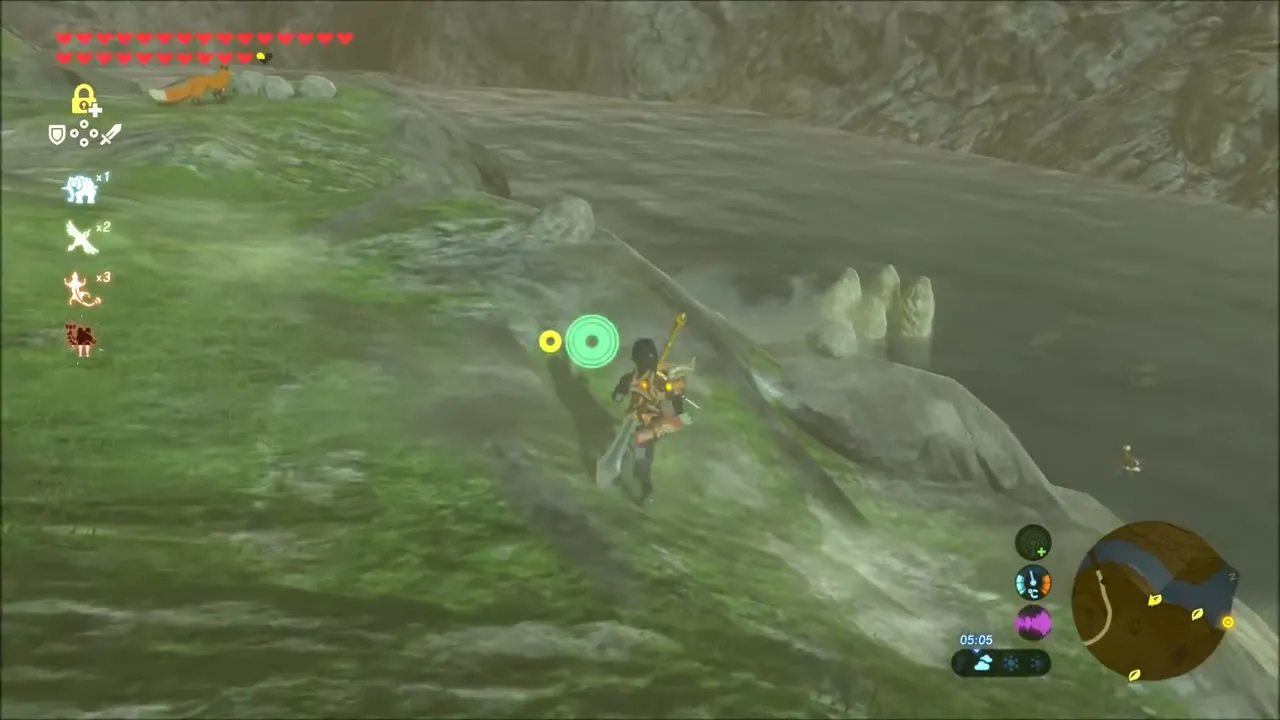
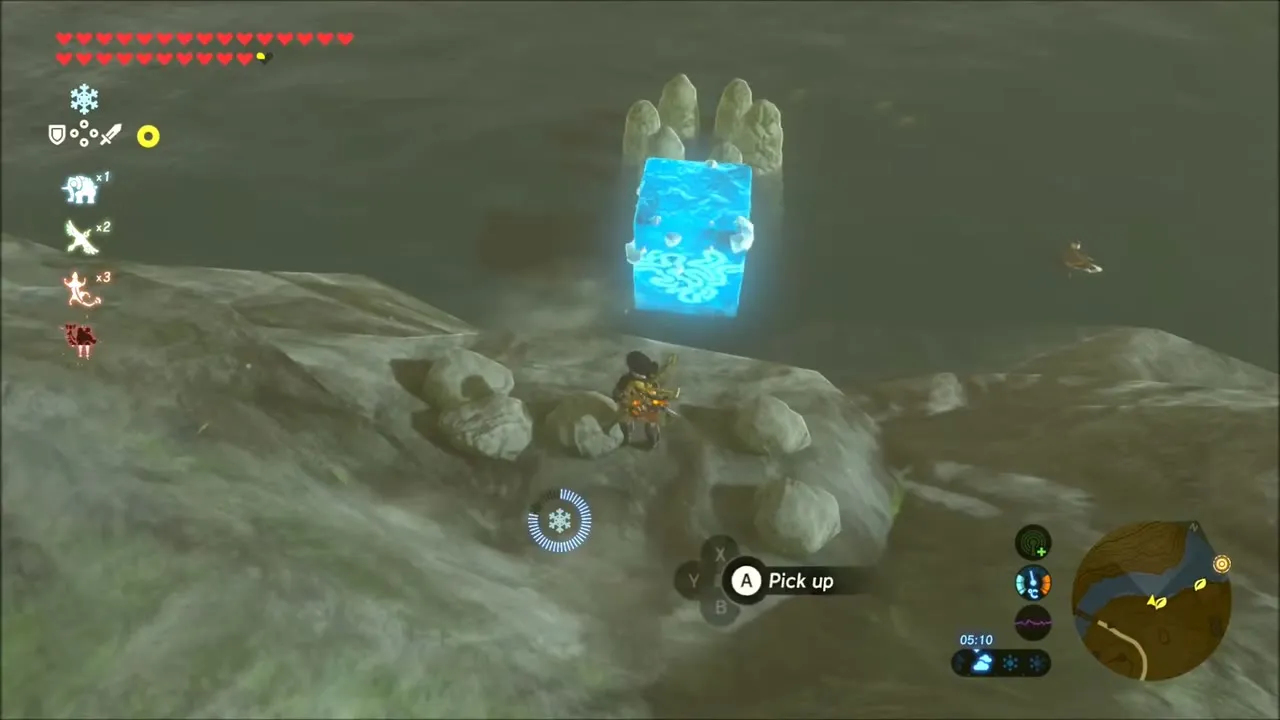
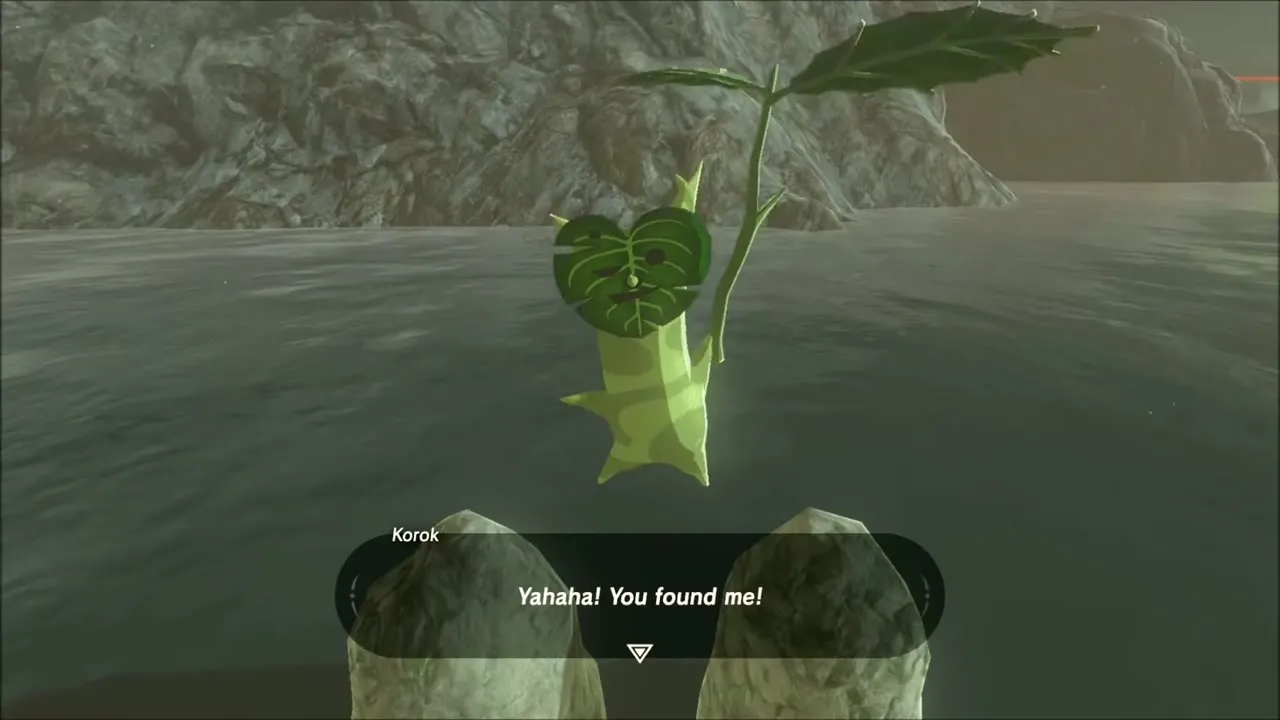
On the hills heading toward Outskirt Stable, a rocky mound hides a Korok under a rock that you can lift: pick up the rock and the seed is yours. A little farther on, climb onto the tree stump on the hillside above the forest and stand on it to collect the last seed of the night.

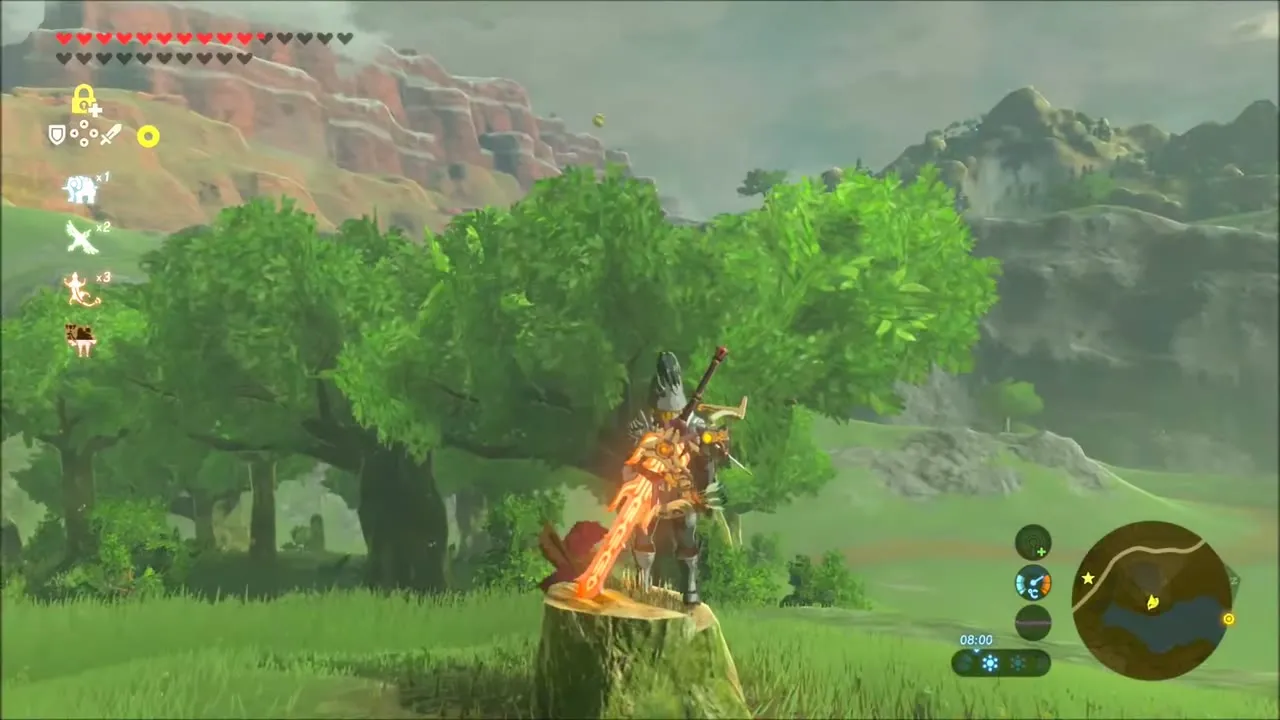
Outskirt Stable: A Rare Find and The Royal White Stallion
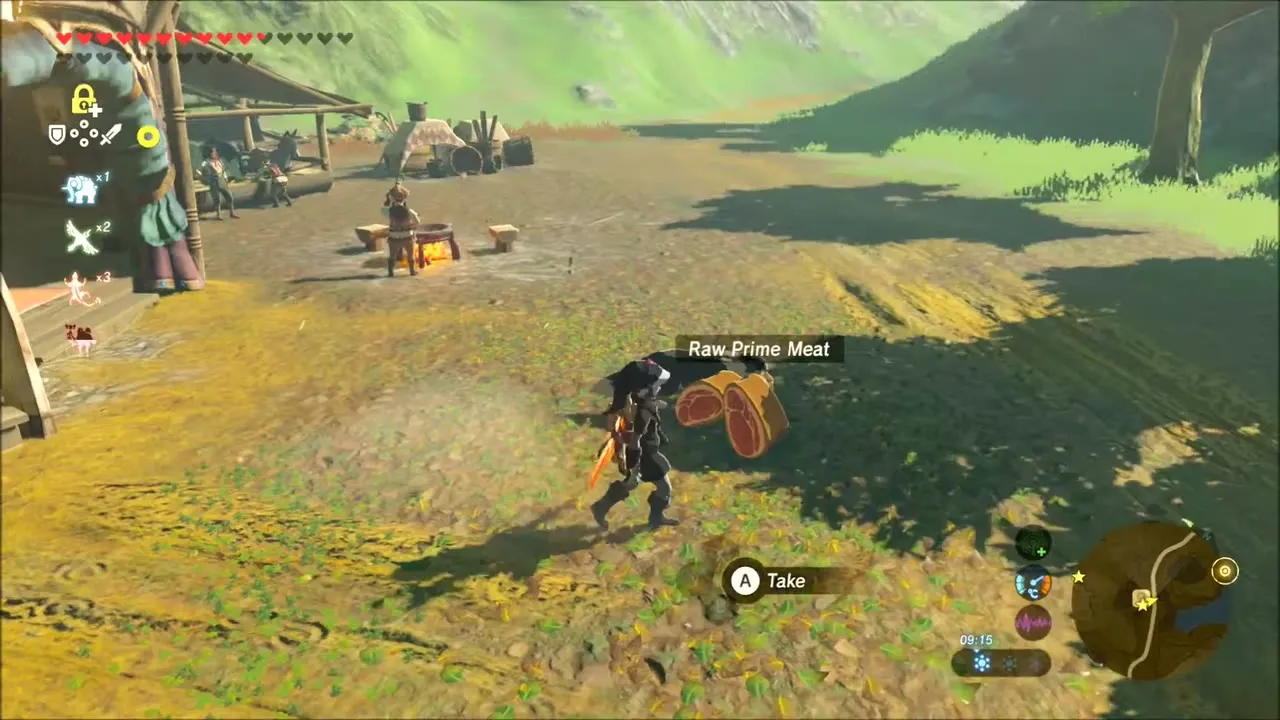
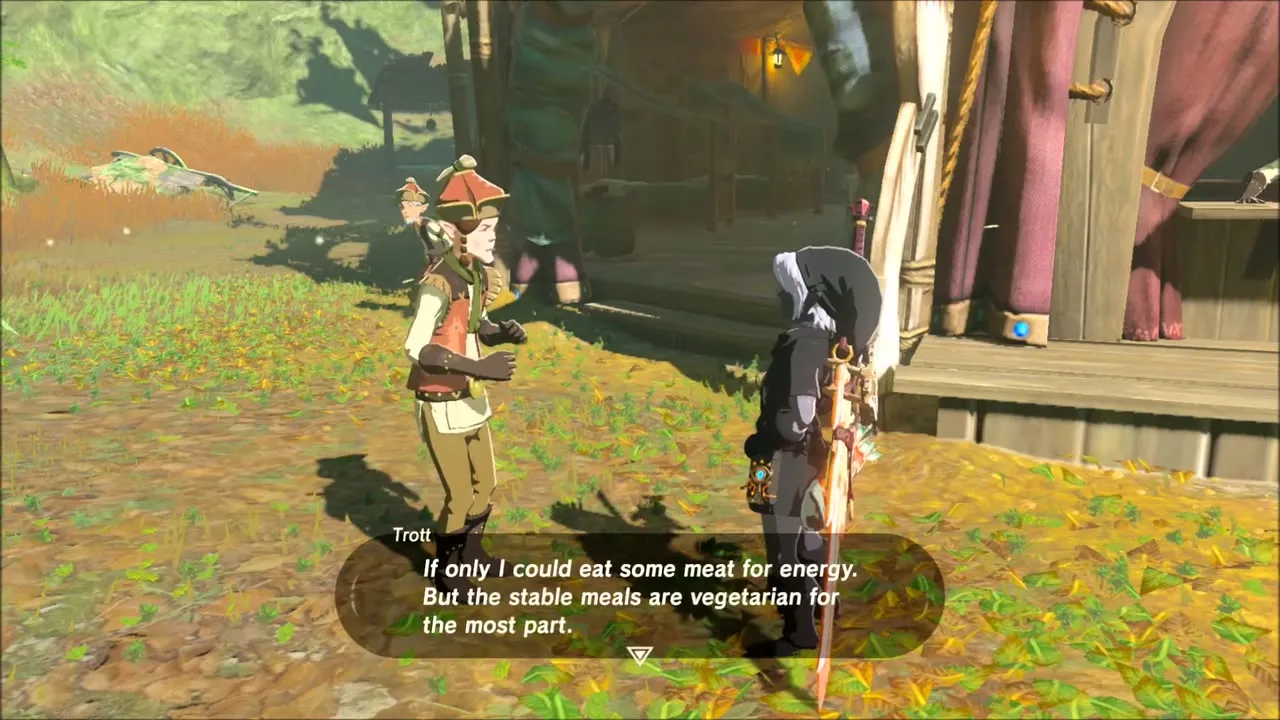
Outskirt Stable (-1449, 1269) lies just past Manhala Bridge. A chest beside the camp holds a Silver Rupee. Talk to Trott, who wishes he could eat meat for a change: this starts A Rare Find. Hand him a piece of Raw Gourmet Meat and he pays you 100 rupees.


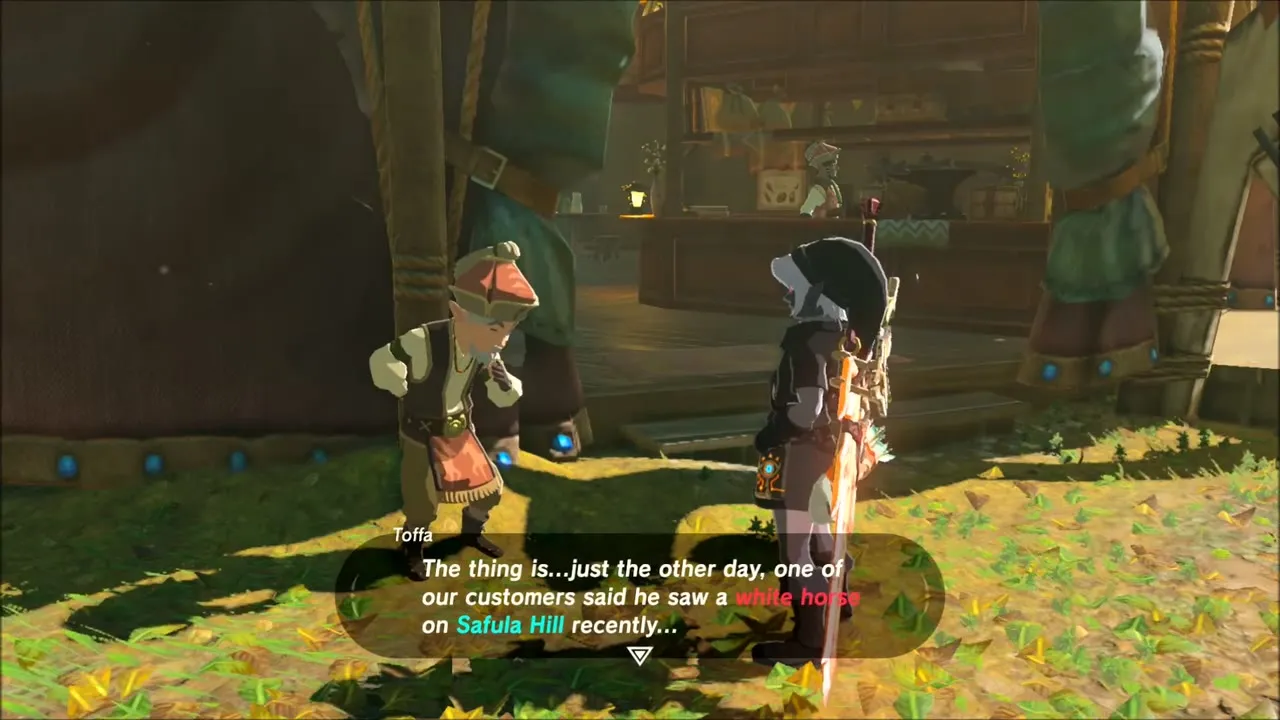
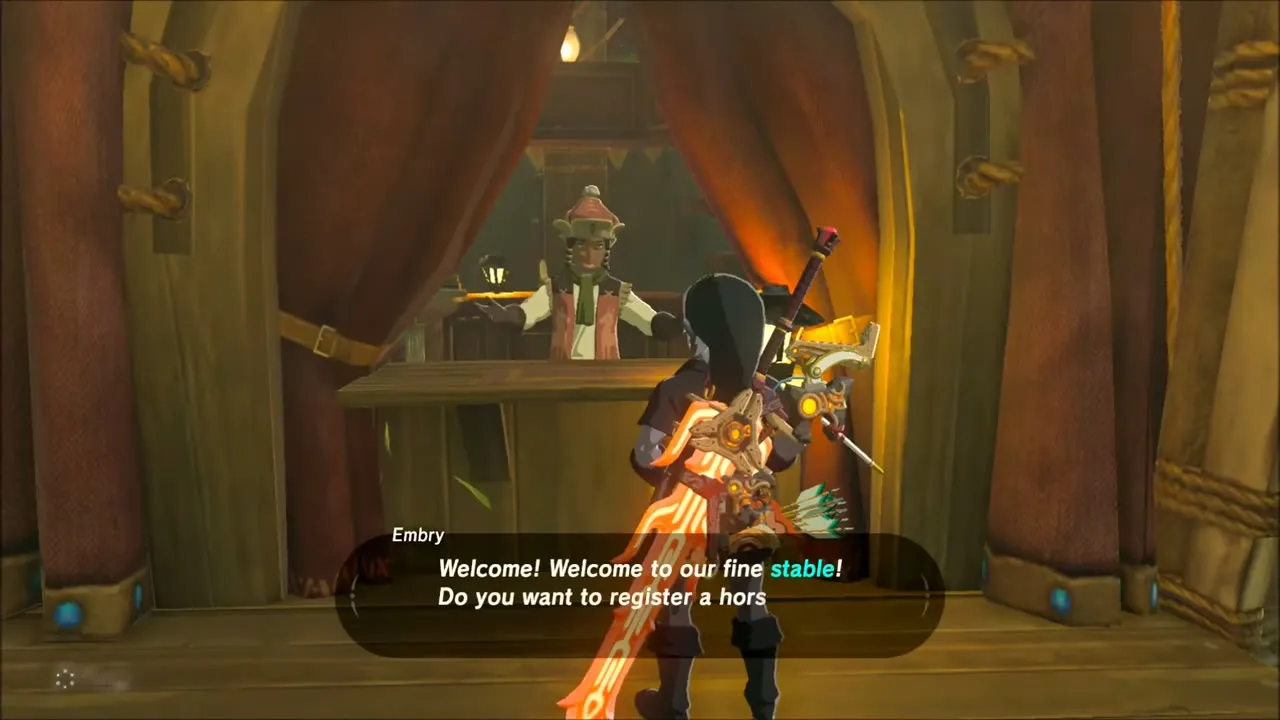
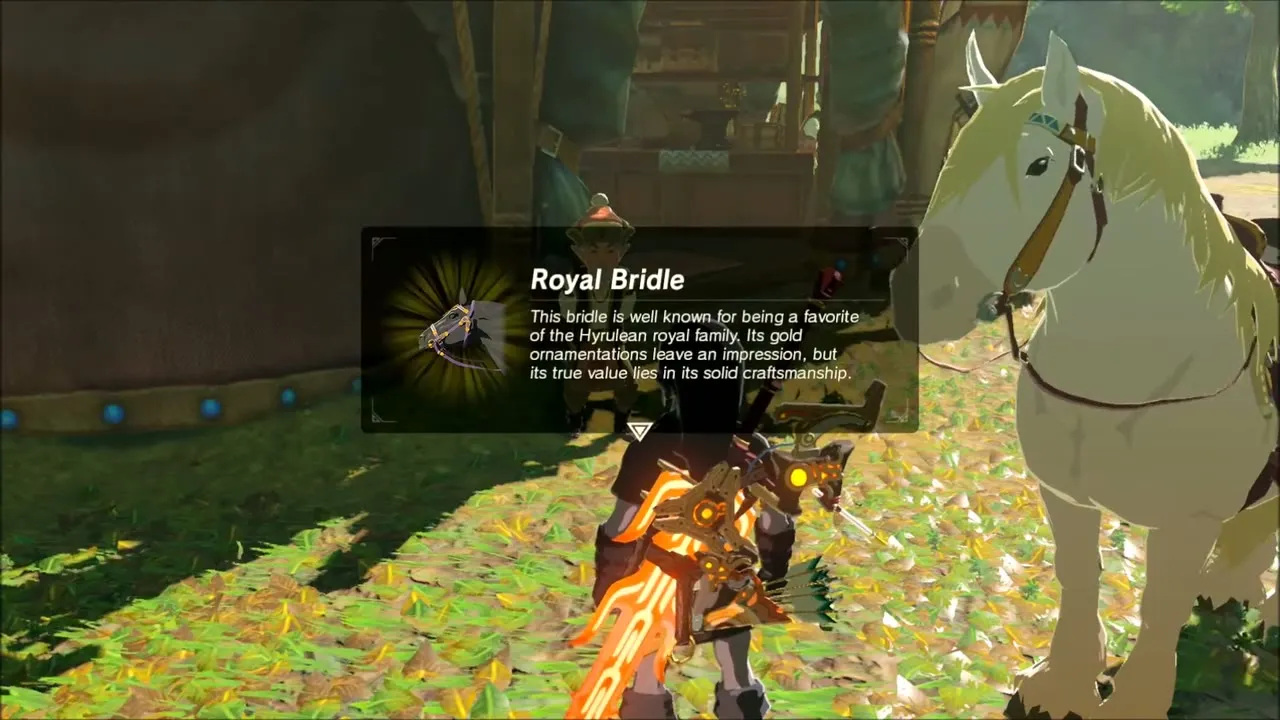
The other regulars here lead to The Royal White Stallion. Toffa tells you that Princess Zelda’s white horse was once seen grazing on Safula Hill. Register the white horse you caught at the stable counter with Embry, then ride it to Toffa. He is overjoyed and gives you the Royal Saddle and Royal Bridle.

Rota Ooh Shrine: Passing of the Gates
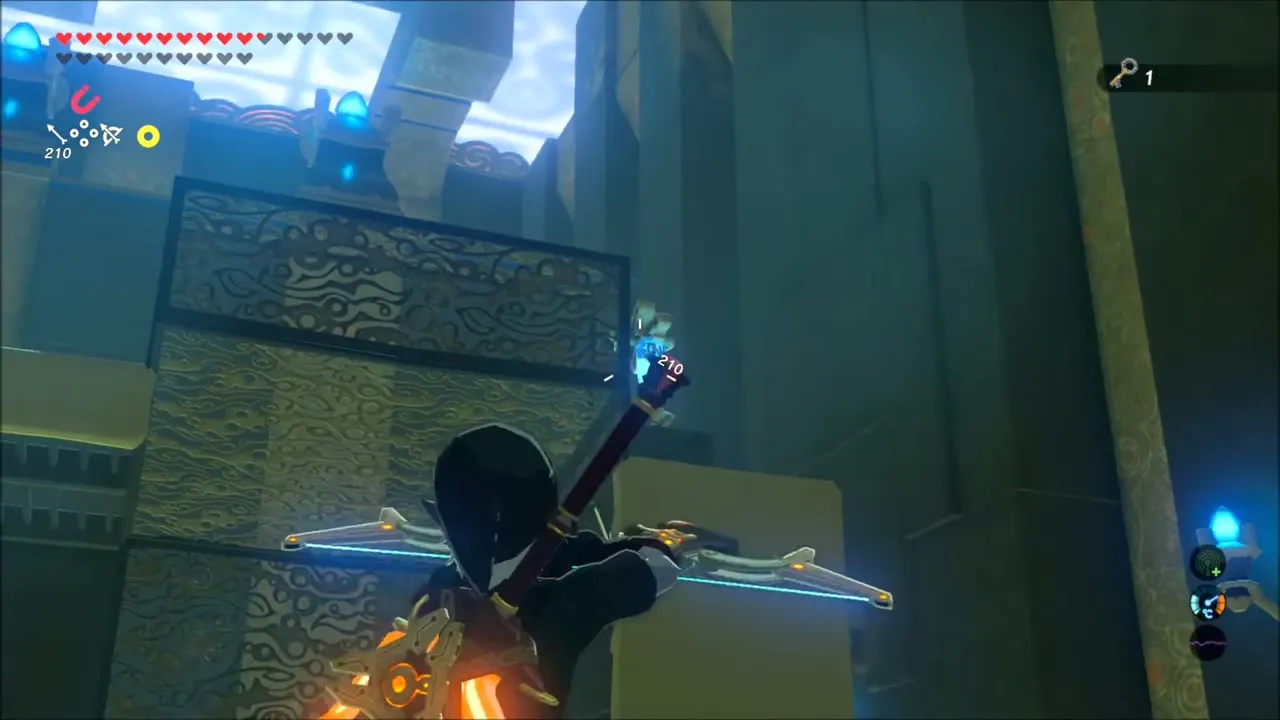
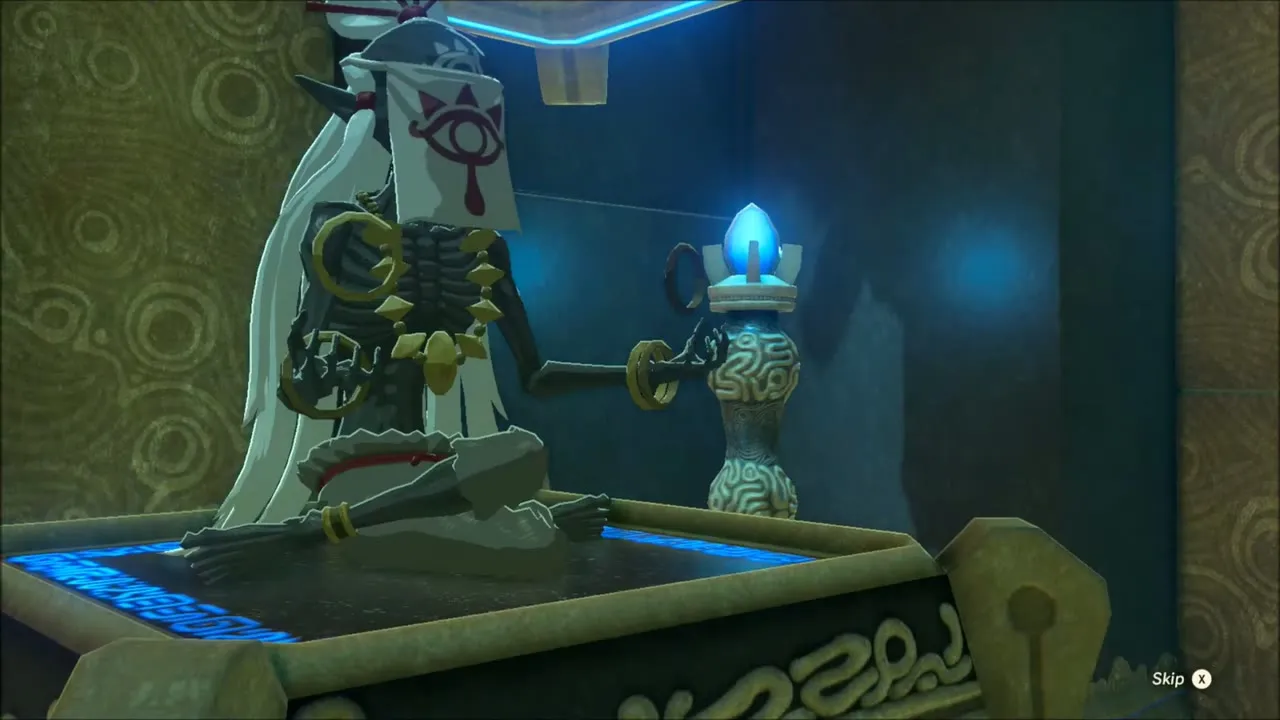
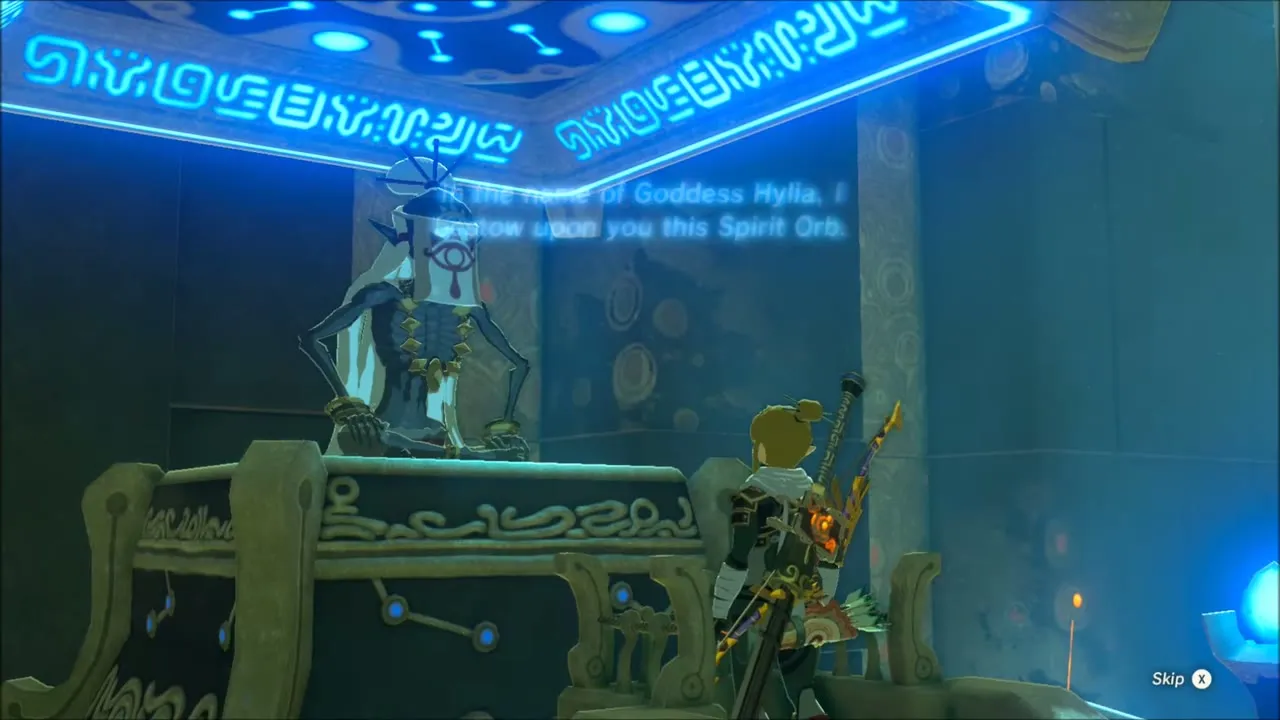
Rota Ooh Shrine is in the hills just west of Outskirt Stable, at (-1562, 1310), height 200. Go in and use your bow to shoot the switches that tilt the whole structure, take the Small Key from the side chest, carry the sphere to the receptacle, then glide to the ledge with the chest holding the Feathered Edge. The monk waits at the end for the Spirit Orb. Full solution: Rota Ooh Shrine.


Korok Seeds, Chests and a Hinox at Digdogg Suspension Bridge
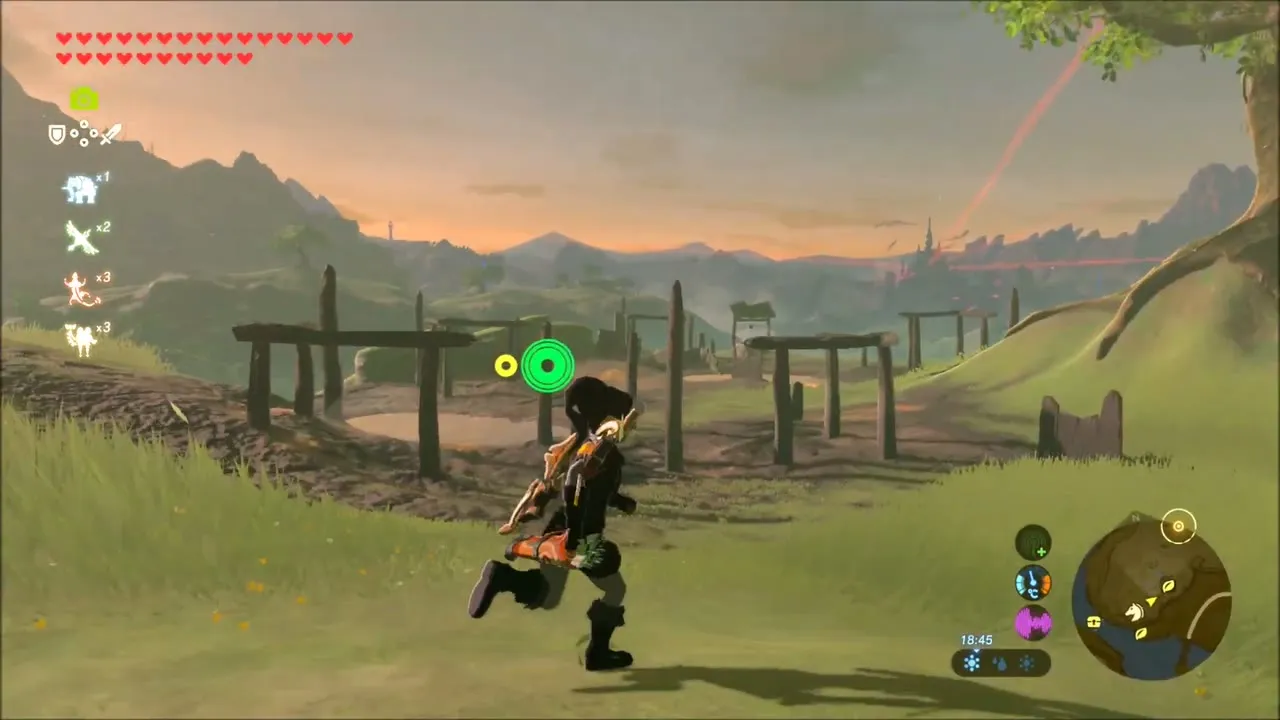
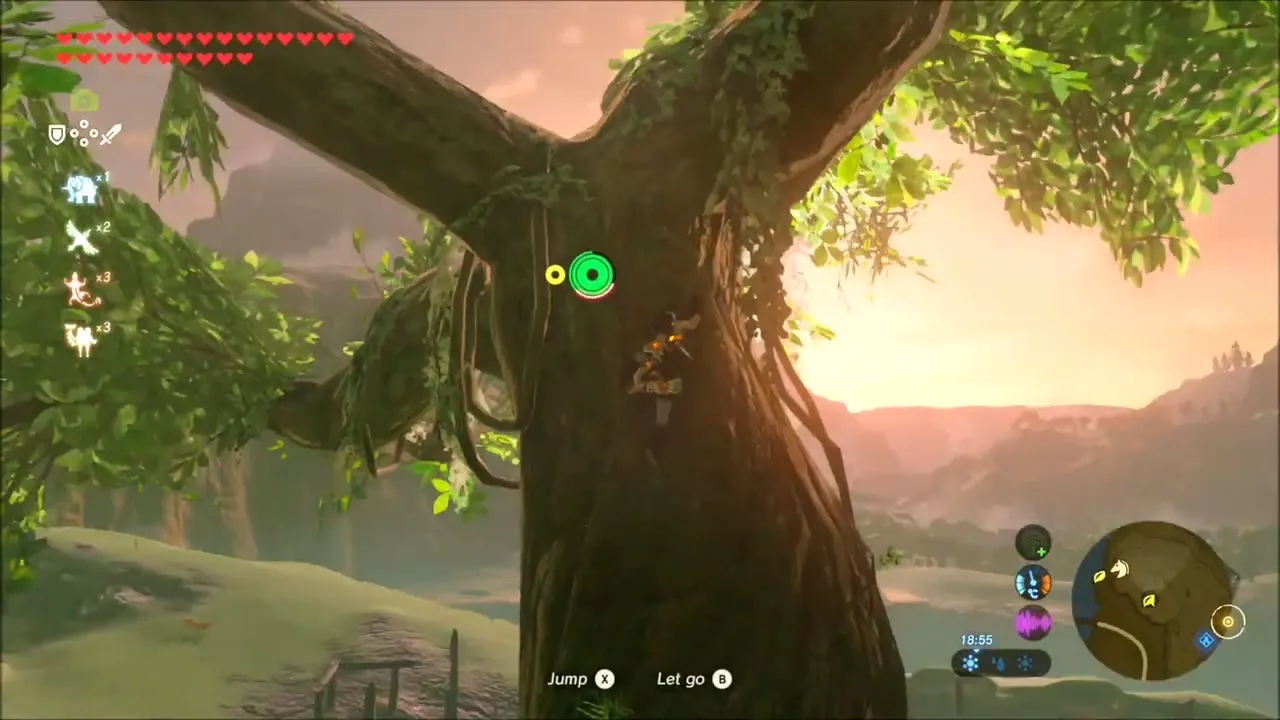
Ride the white horse toward the western cliffs, where you can look across at Hyrule Castle. A Korok hides in a lone tree on a hilltop beside the cliff edge, near some old fence posts. Climb the tree and the Korok drops a seed.

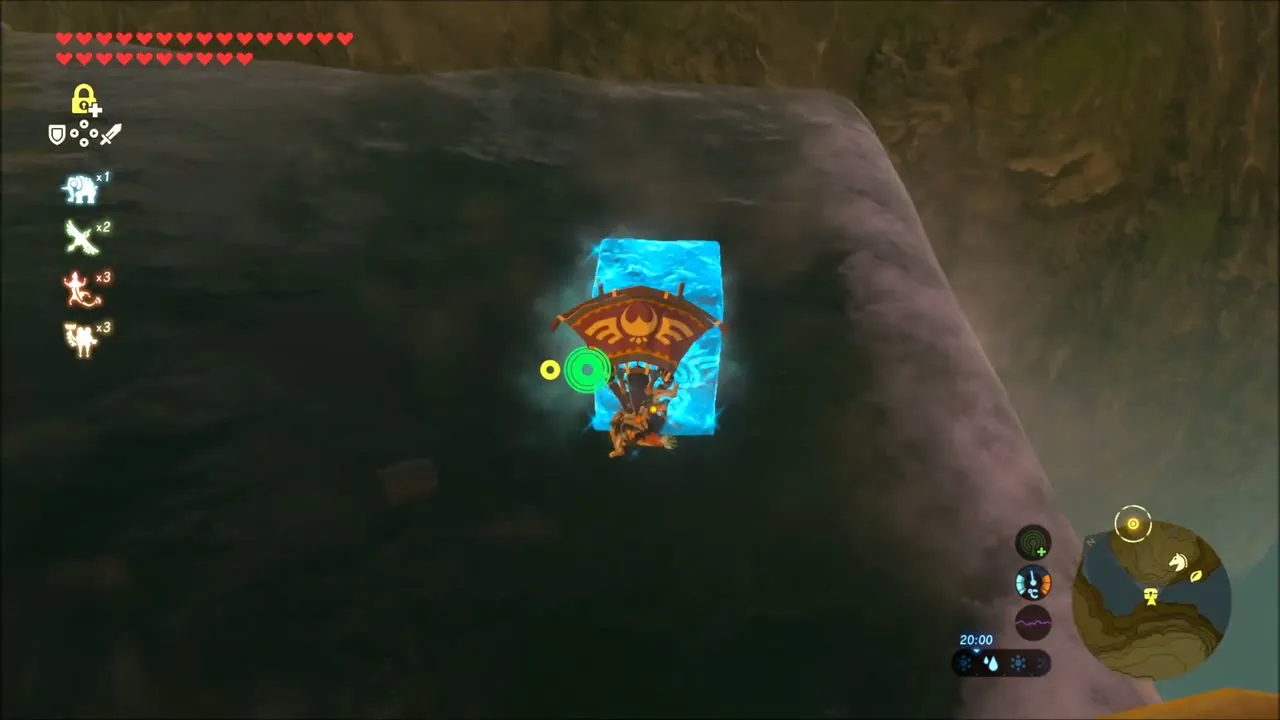
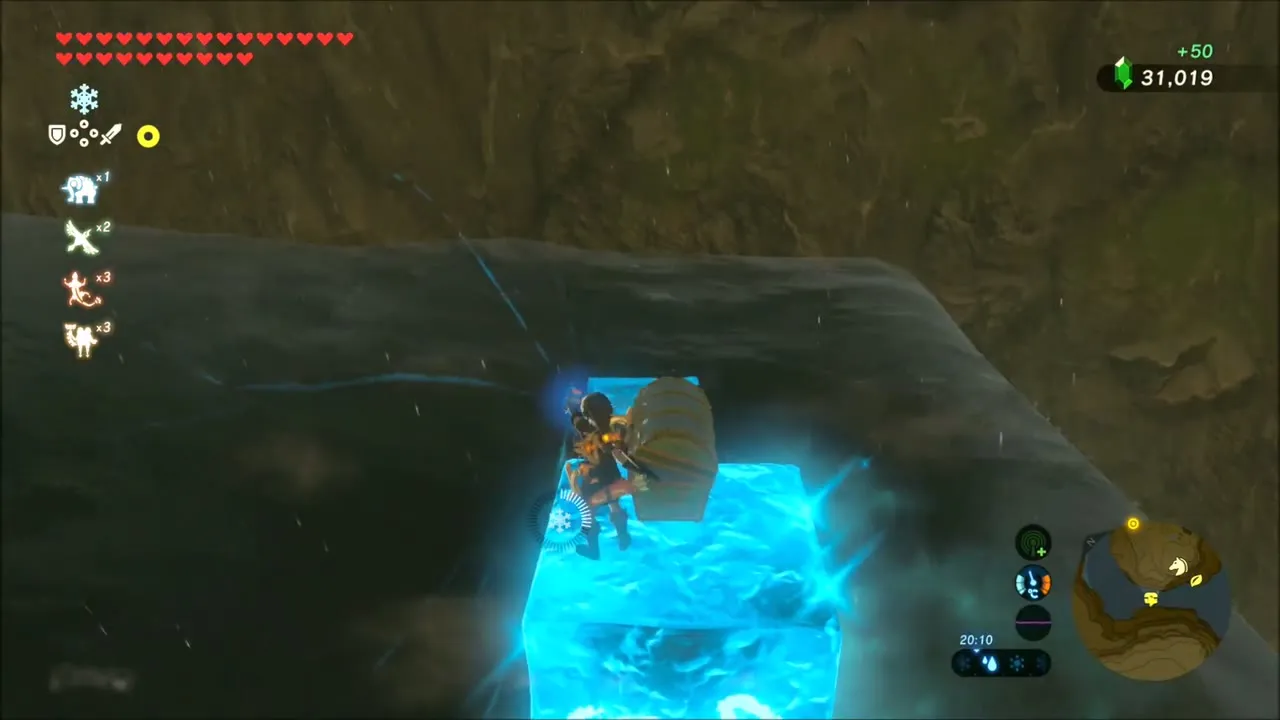
Below the cliff, a ravine holds a chest above the water. Raise Cryonis ice pillars to climb the cliff face, then use Magnesis to drag the metal chest over to your pillar and open it. After that, ride Revali‘s Gale up the wall and glide away.

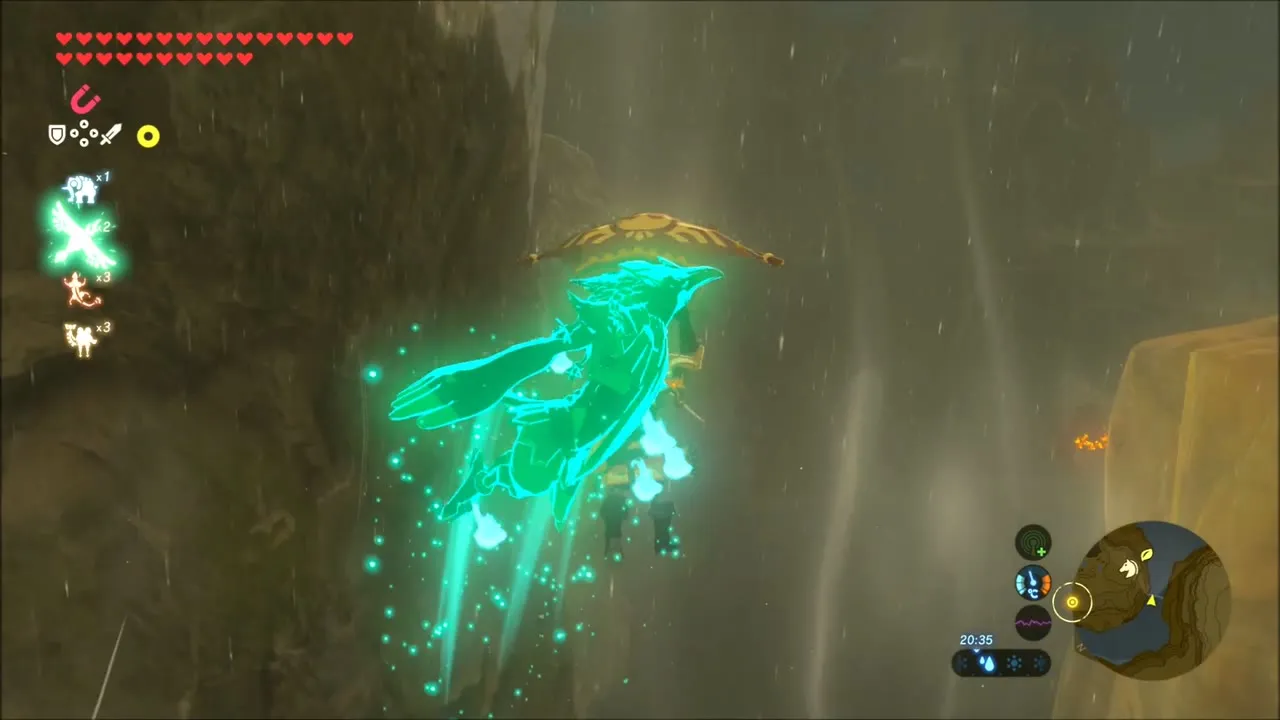
Glide down to the grassy knoll on the far side and look for two boulders you can lift. Under each rock a Korok appears a few seconds apart, so you leave this hilltop with two seeds.

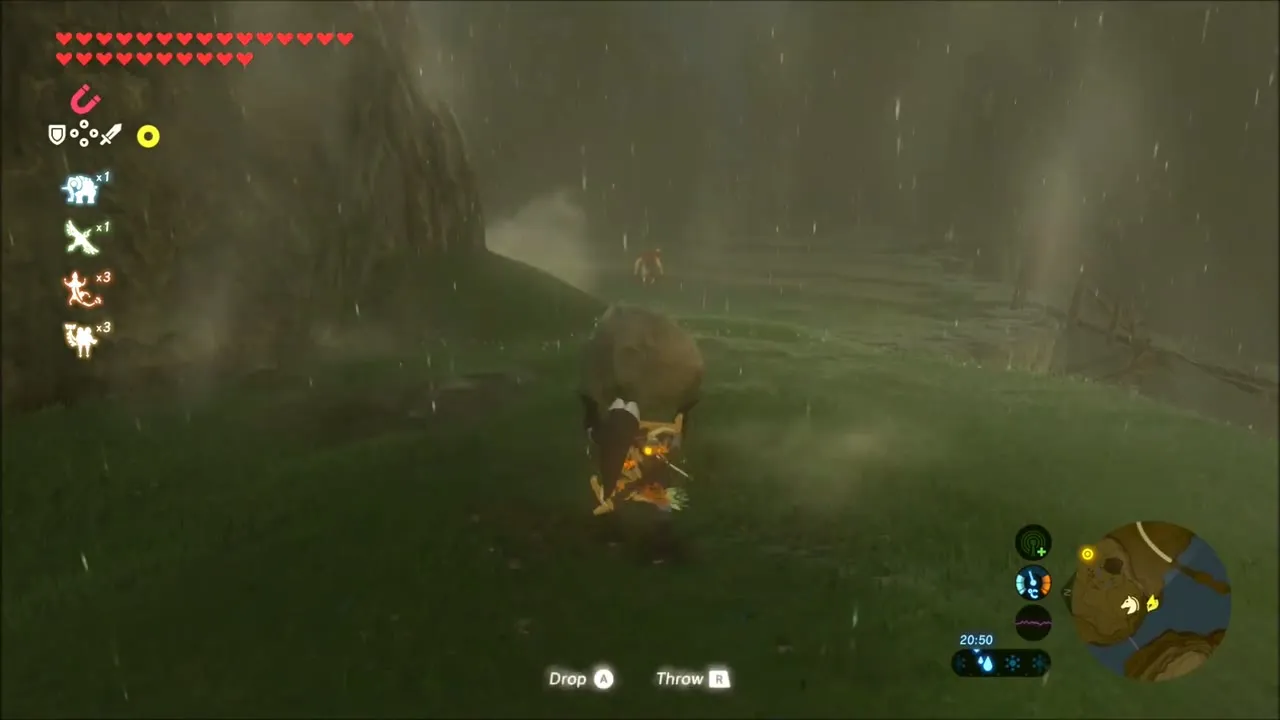

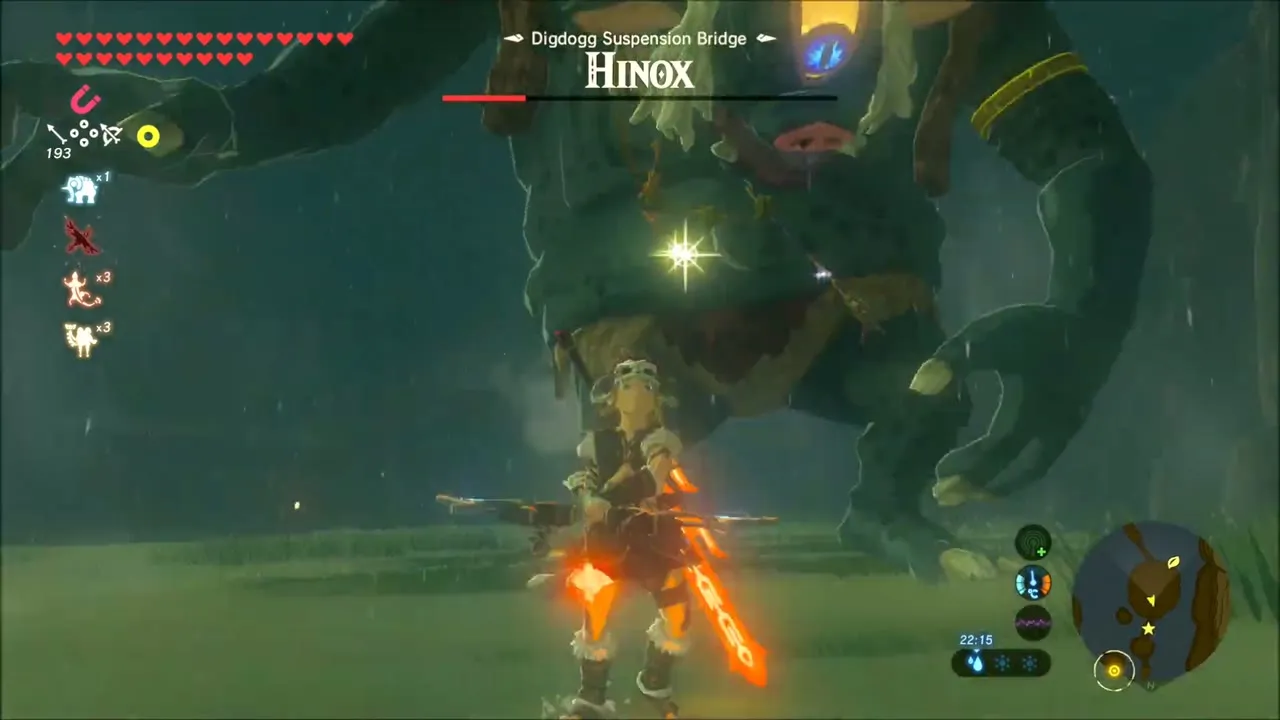
At night, the Digdogg Suspension Bridge (-1665, 1542) is the next landmark. A Hinox prowls the ground beside the water here. Burn it down with your flaming sword and arrows, then pick up the Hinox Toenail and Hinox Tooth it leaves behind. Out on the lake nearby, a Korok floats on the surface and pays out a seed.



Dah Kaso Shrine: A Minor Test of Strength
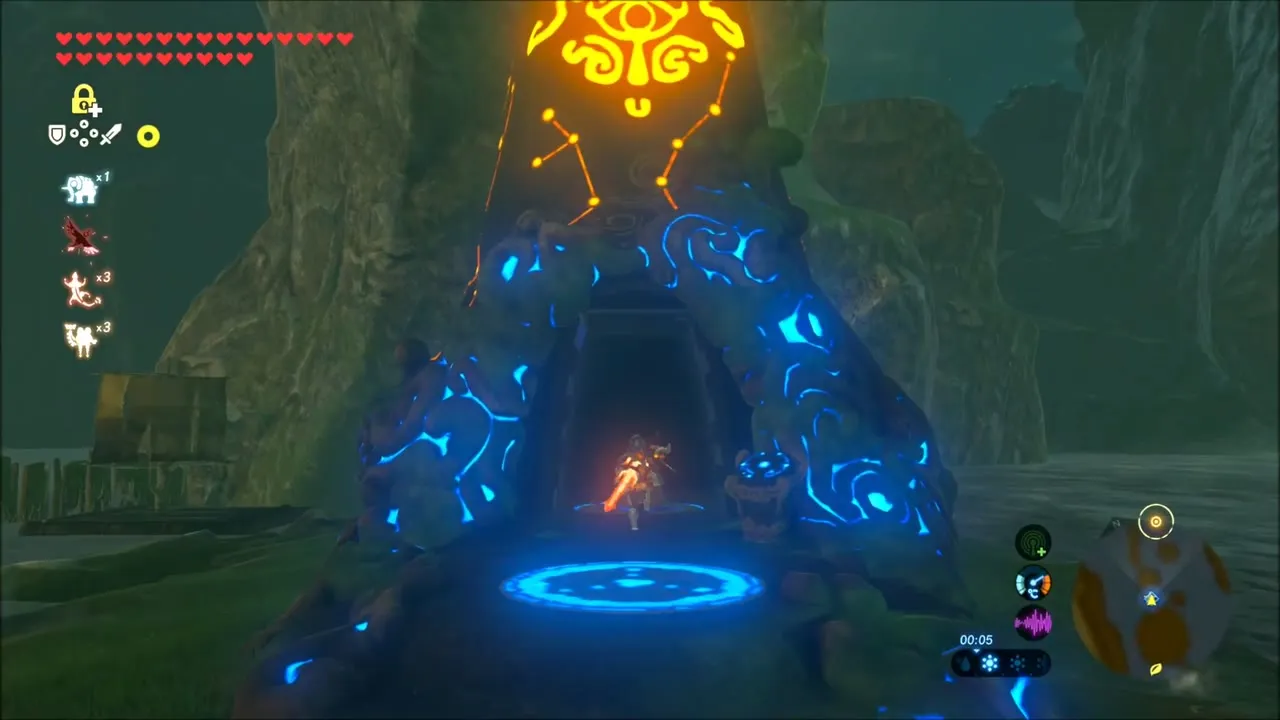
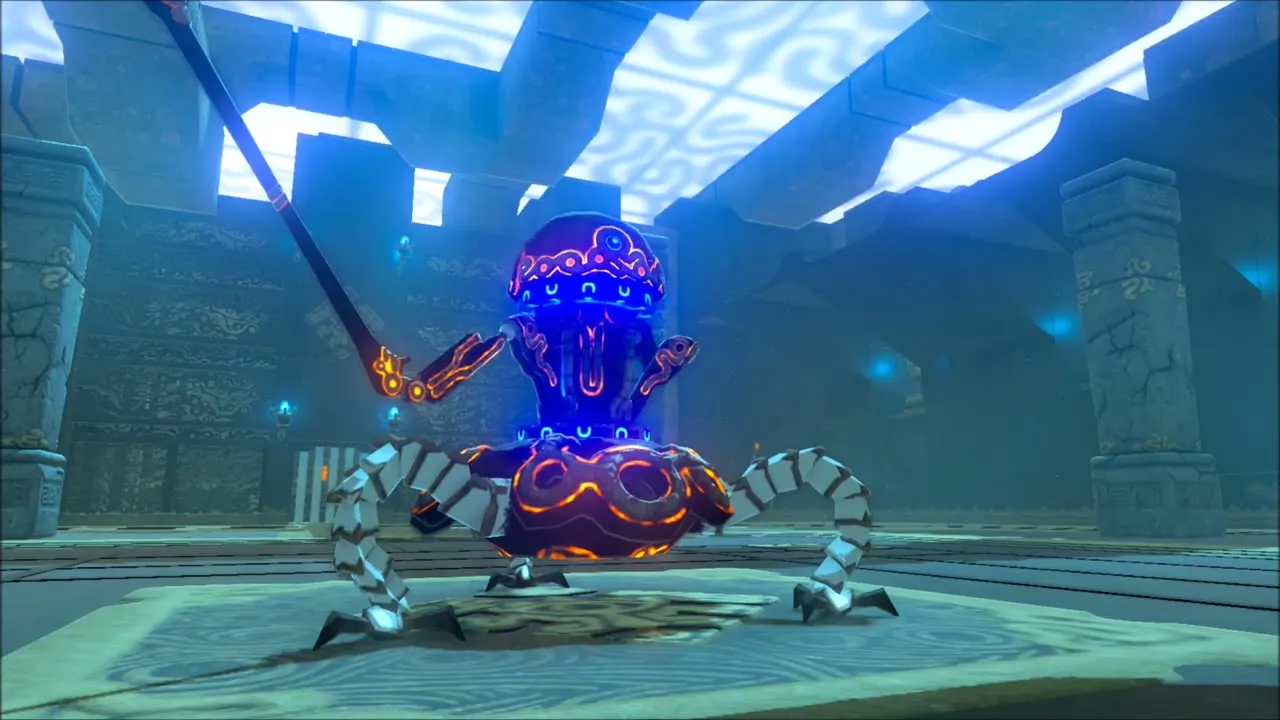
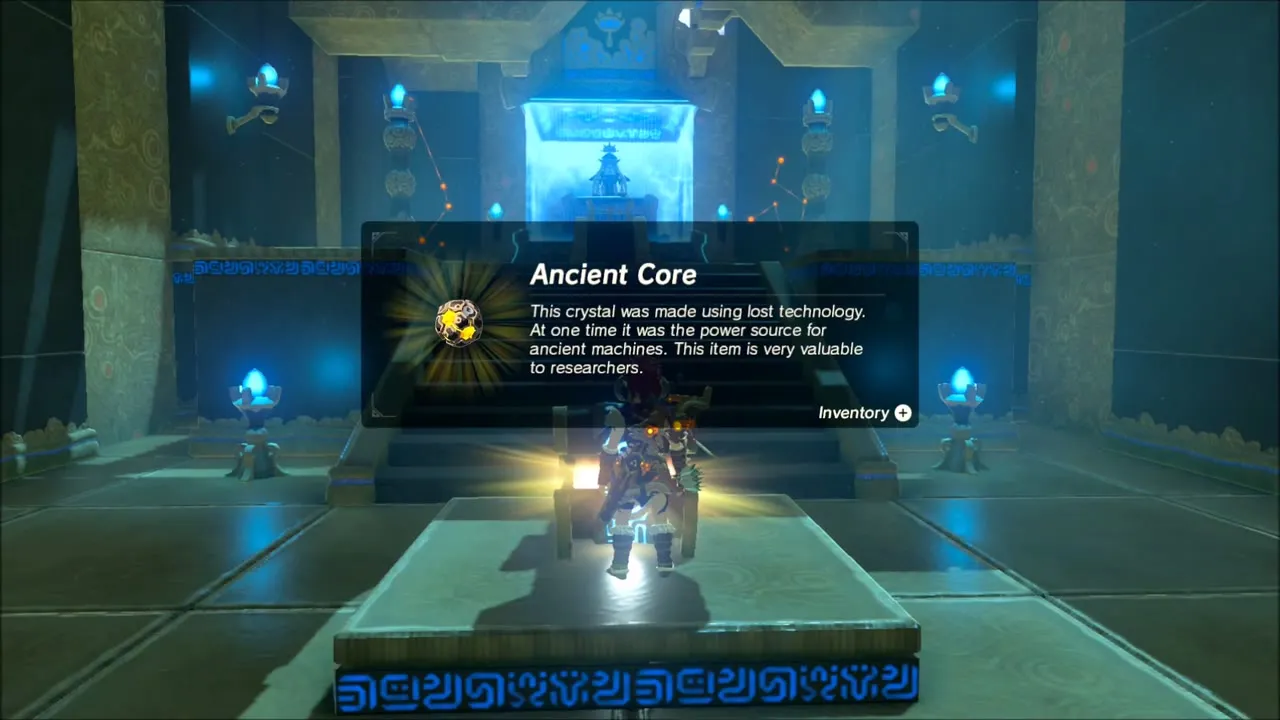
Dah Kaso Shrine is a combat trial at (-1696, 1701), height 82, below the Digdogg Suspension Bridge. A Guardian Scout fights you with its spear: sidestep its charges, shoot it from the updraft and survive the final blasts. The Ancient Core chest and the Spirit Orb are in the next room, where Monk Dah Kaso waits. The full walkthrough is on Dah Kaso Shrine.


Korok Seeds, a Lynel and Chests Around Aquame Lake and Coliseum Ruins
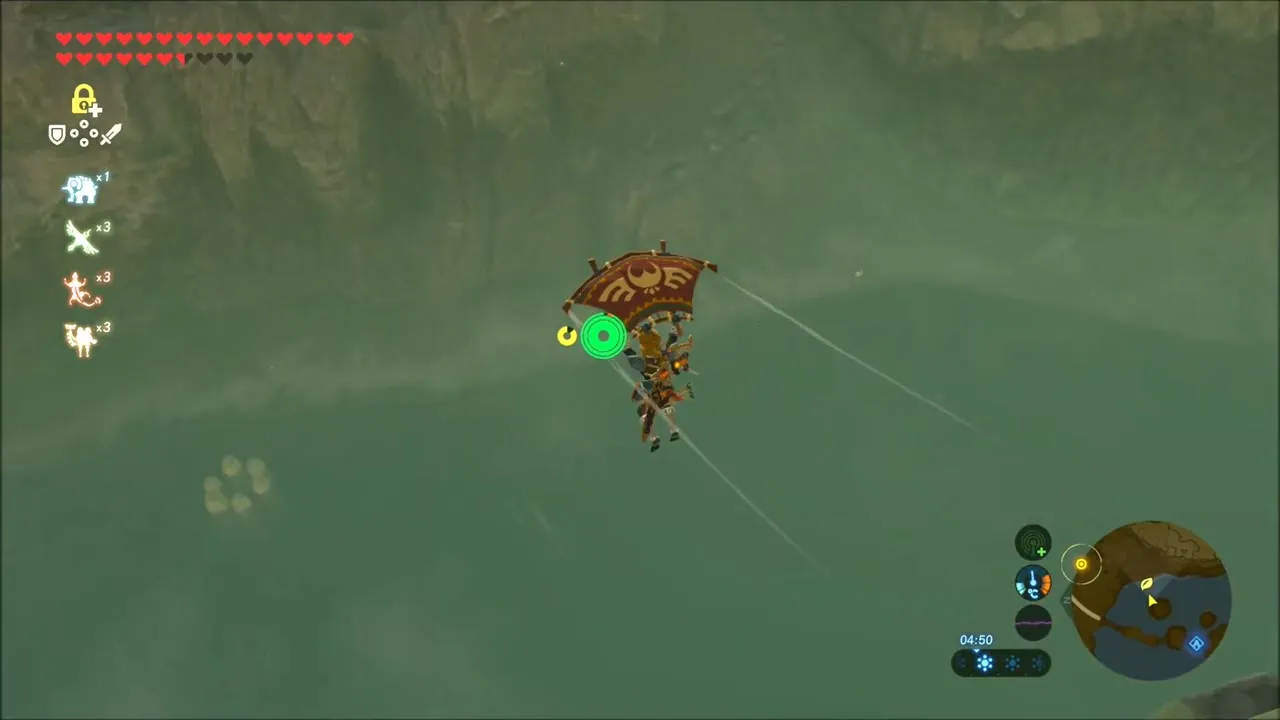
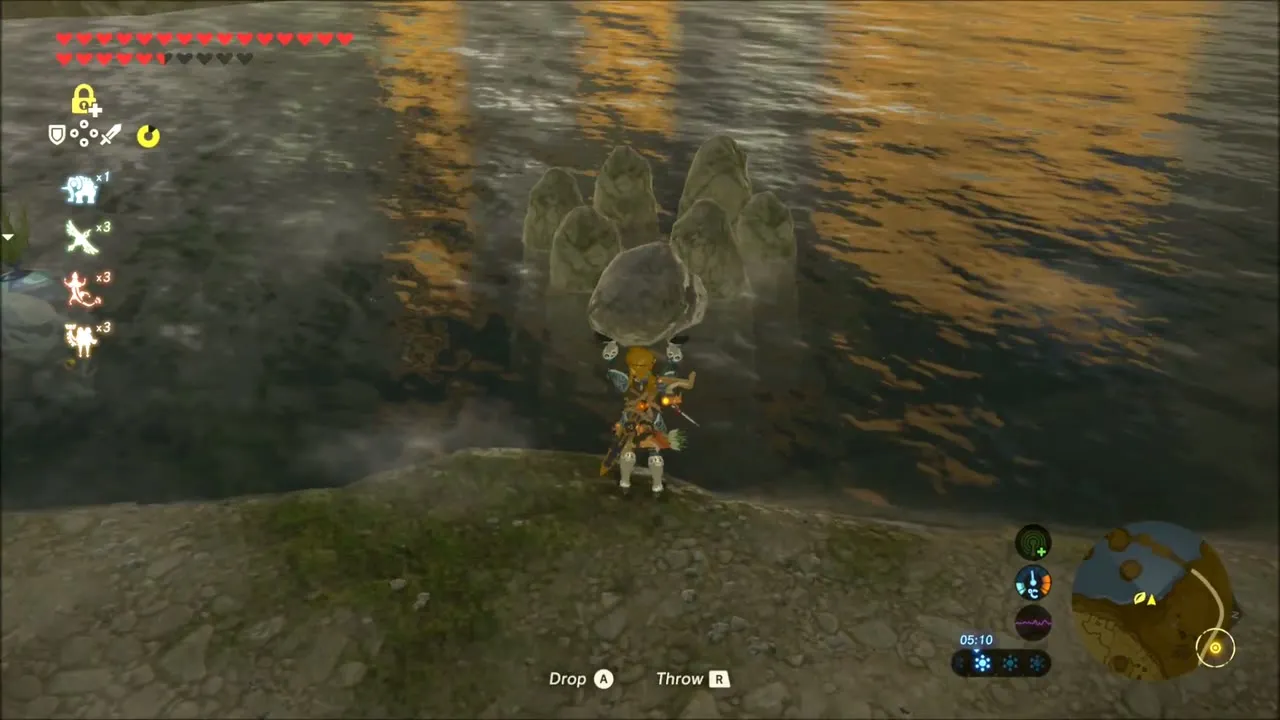
After a rest, check the map and move on to the valley and the lake shore. Glide down to the shore, where a ring of standing stones is missing a piece. Pick up the loose rock, set it in the gap, and the Korok pops up between the stones with a seed. A little later a second Korok clings to a ledge on the cliff above the lake; swim across and climb up to it.

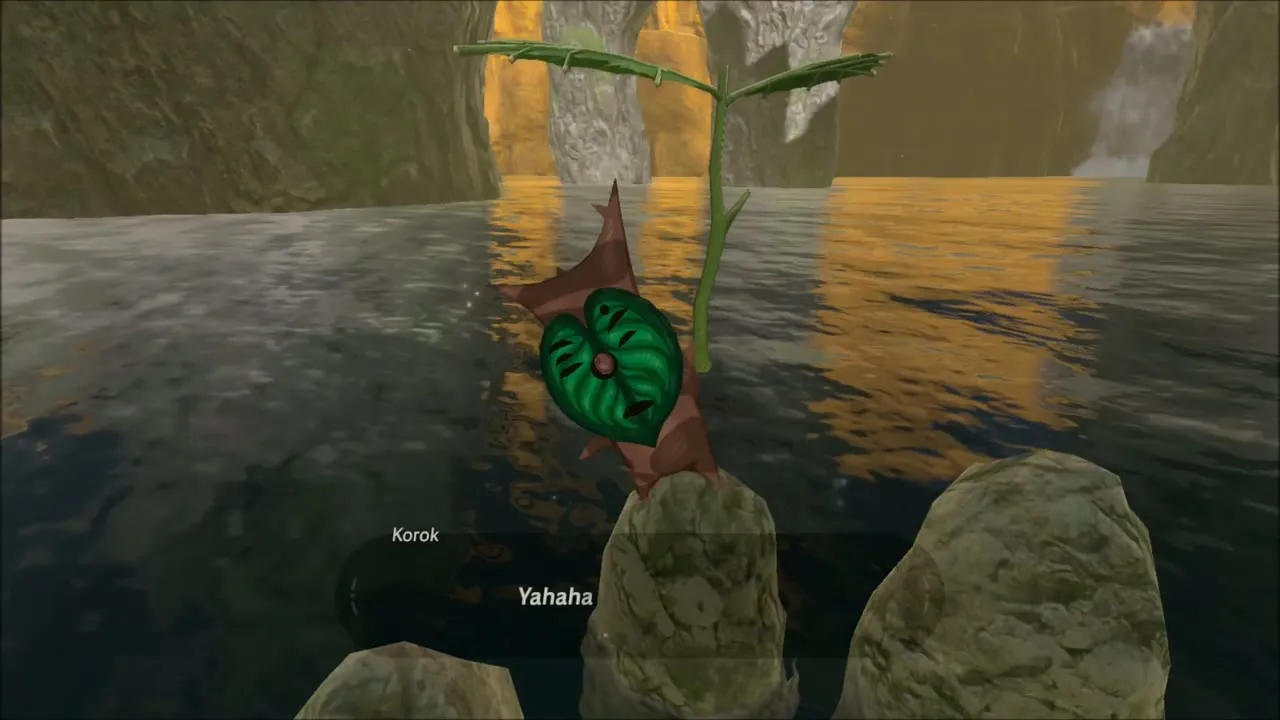
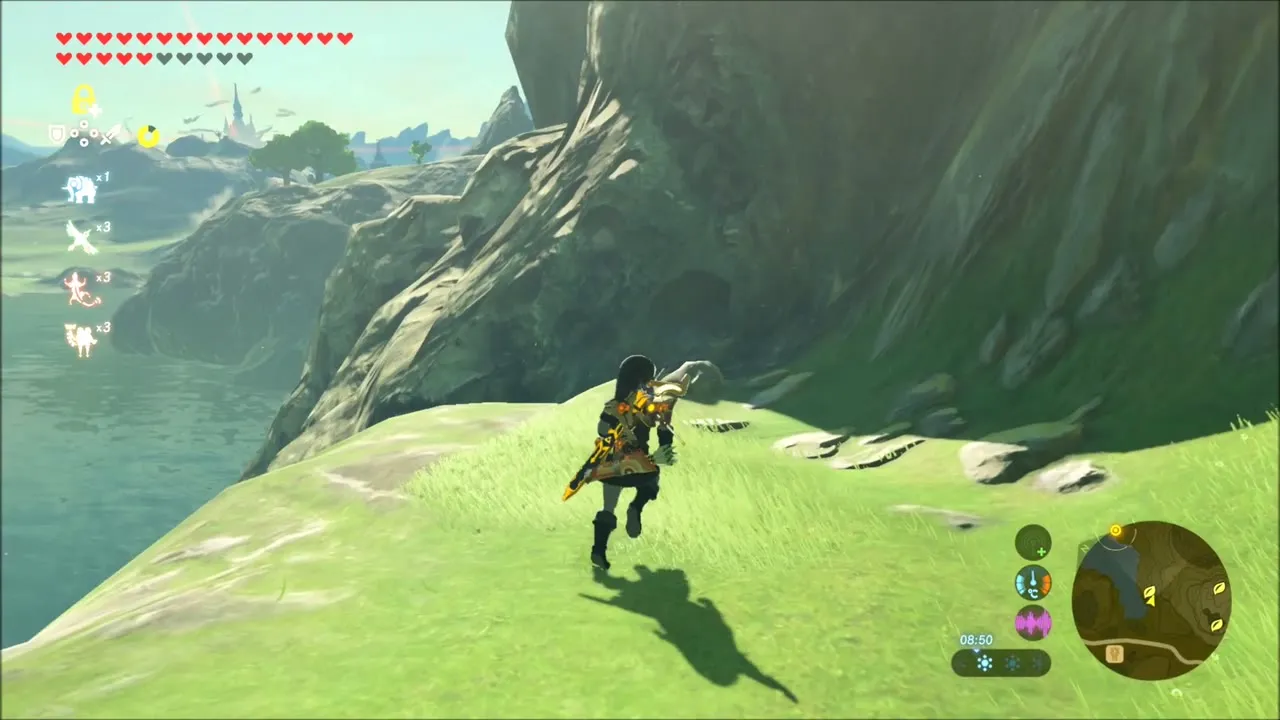
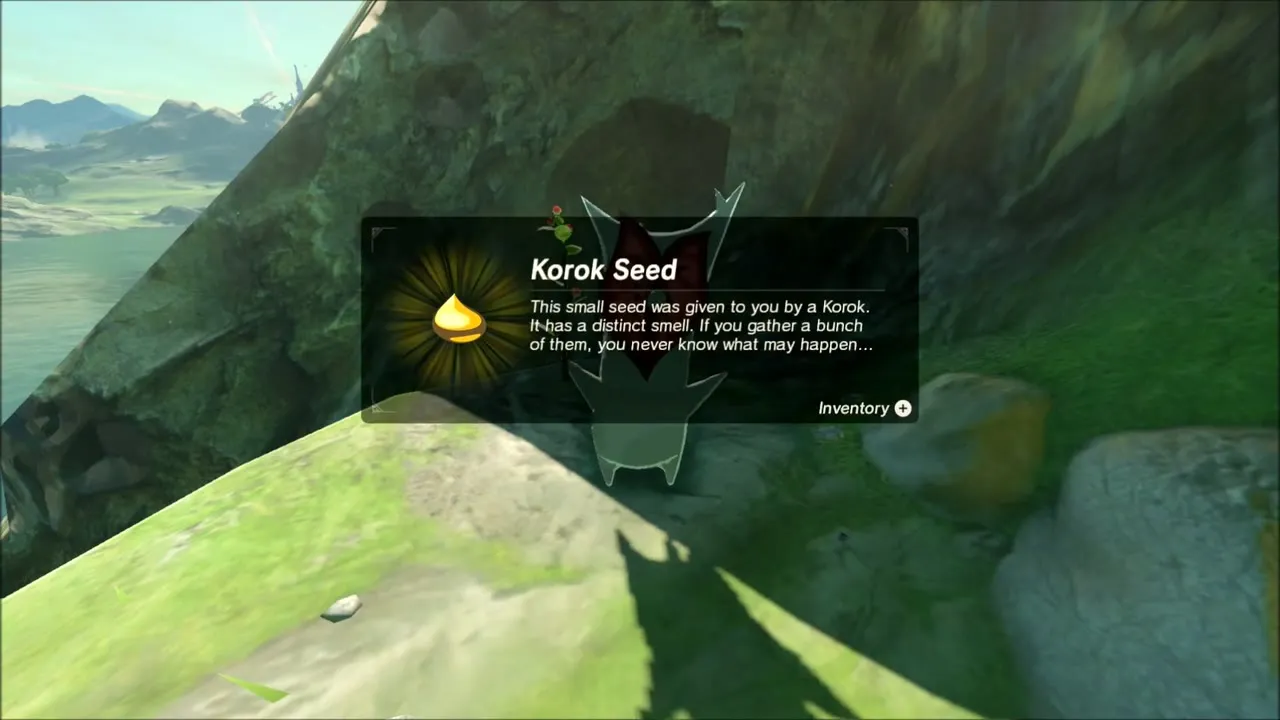
On the grassy ridge beyond, two more seeds are close together. A Korok waits in a hollow log, and another gives its seed when you lift and carry a boulder on the hilltop. Gather the Red Rupee lying on the slope above.


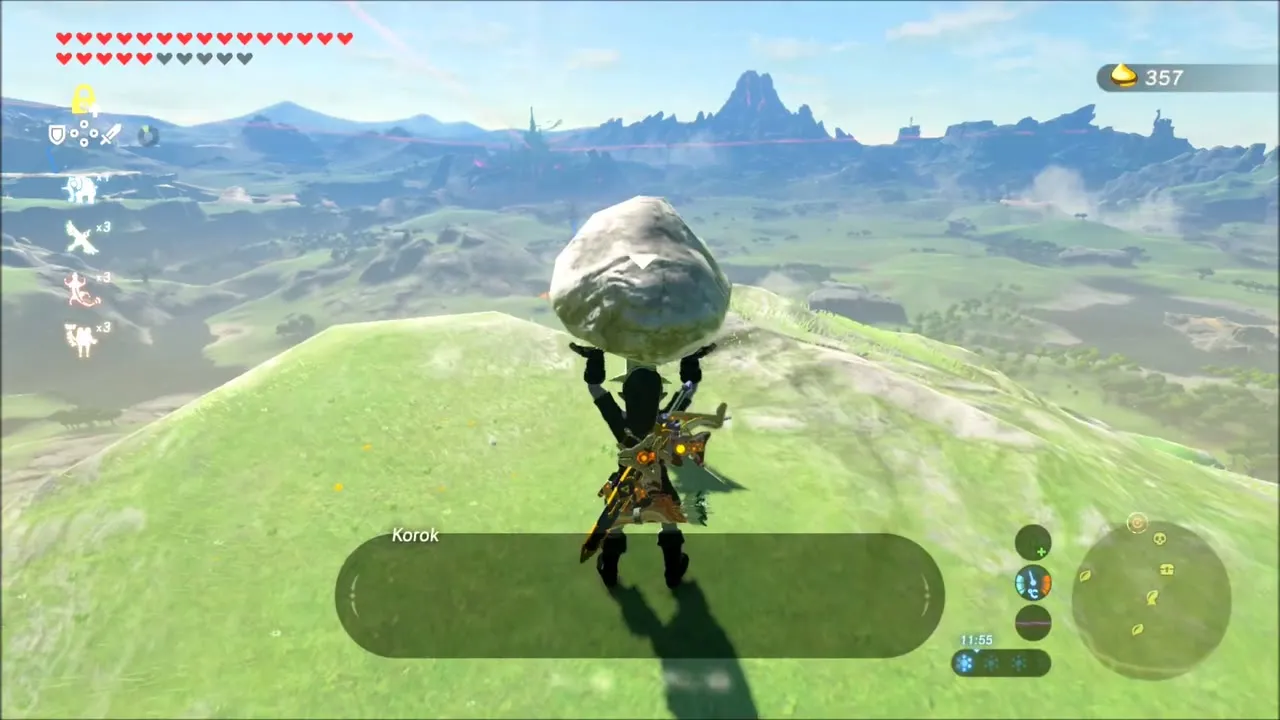
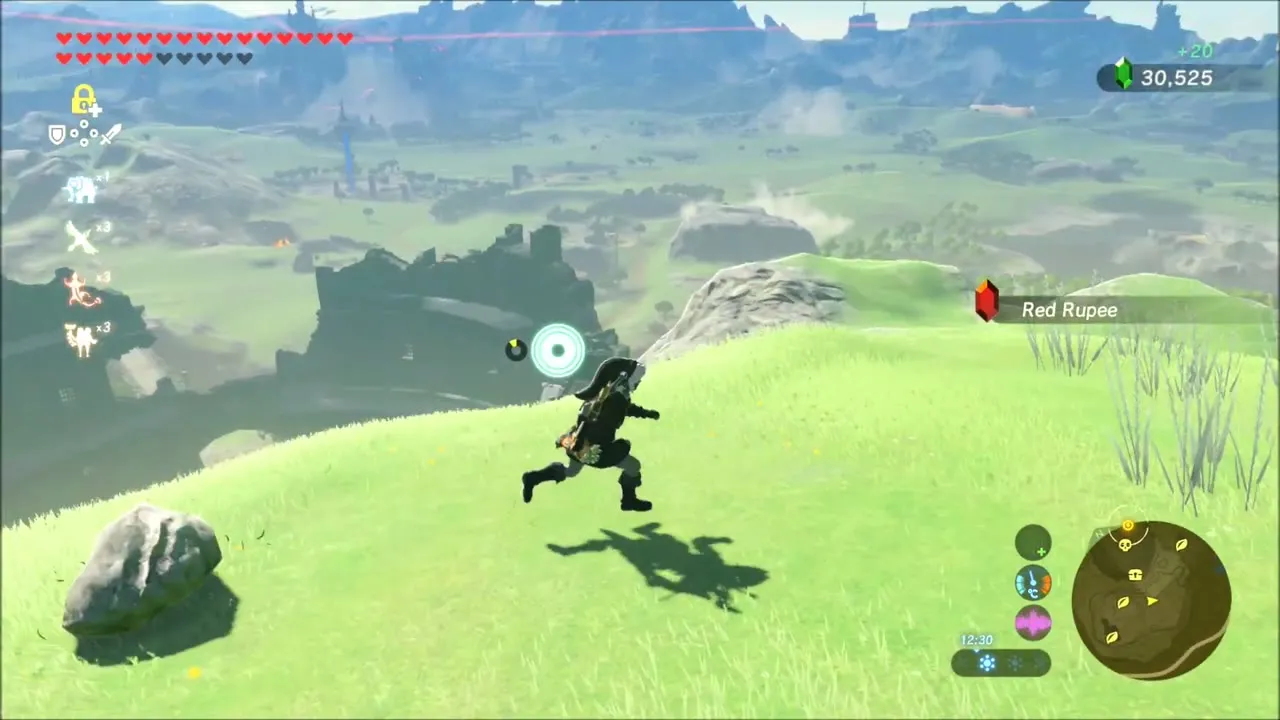
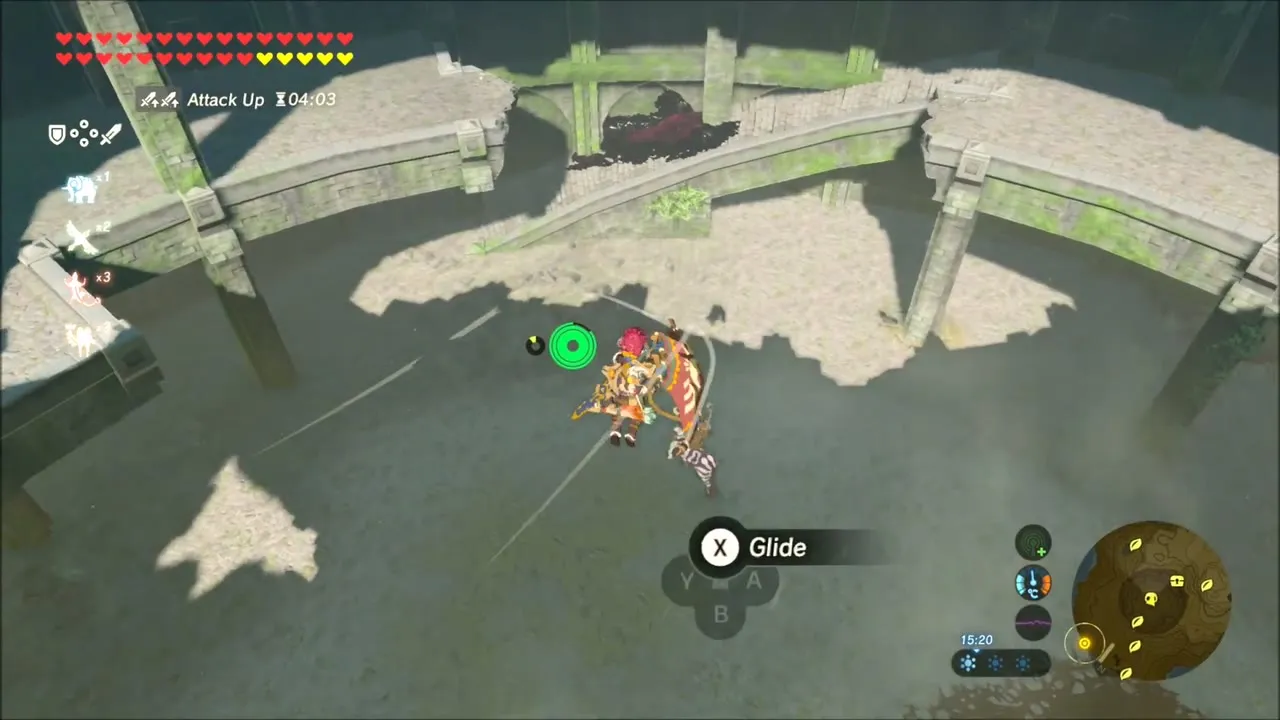
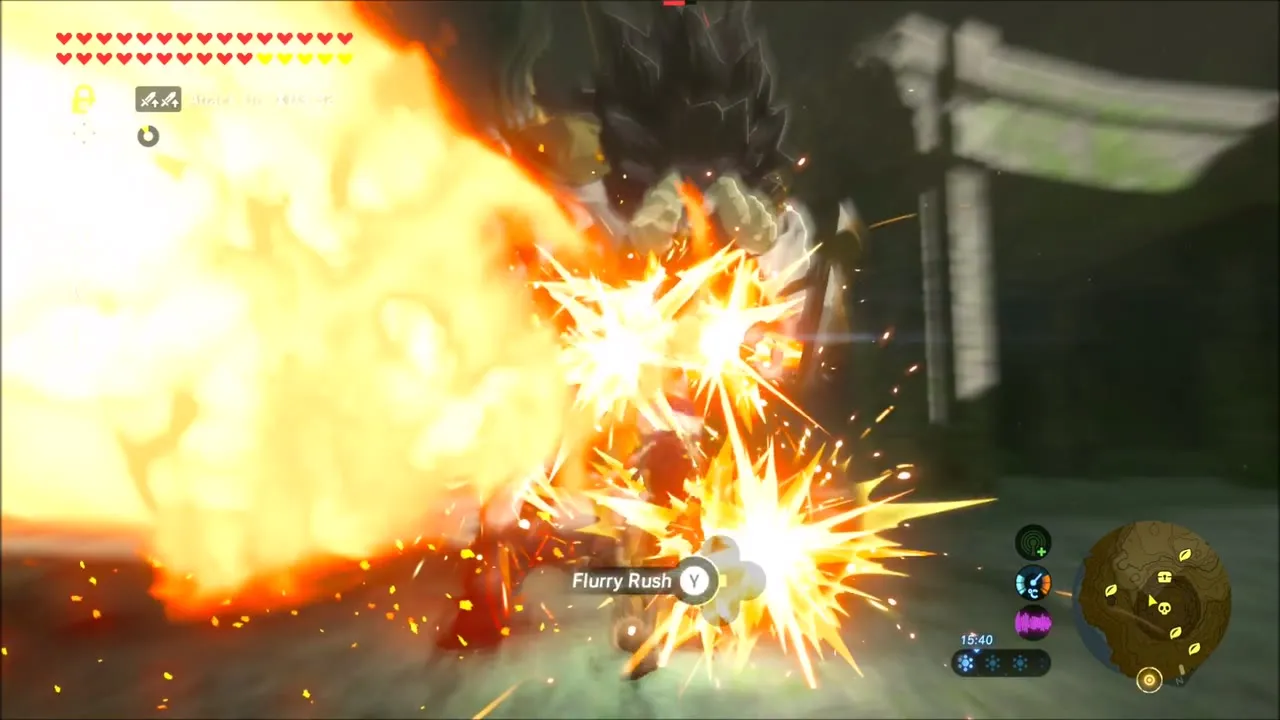
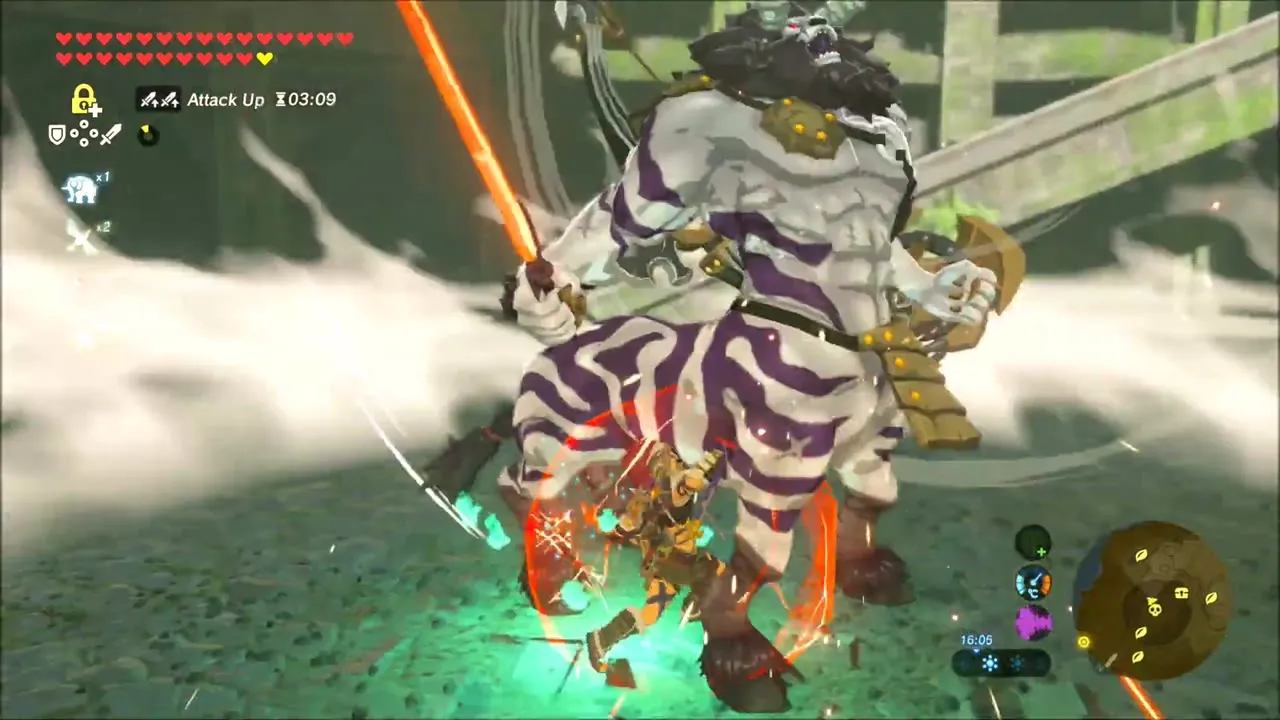
The Coliseum Ruins (-1151, 1263) mark the next stretch. In the flooded stonework you find two seeds close together, the first from a Korok standing in the shallow water. Drop into the arena to fight a Lynel: eat food that boosts your attack, wear the Ancient Helm and hit it with fire, shield parries and Flurry Rush. It drops a Savage Lynel Crusher and a Savage Lynel Shield.
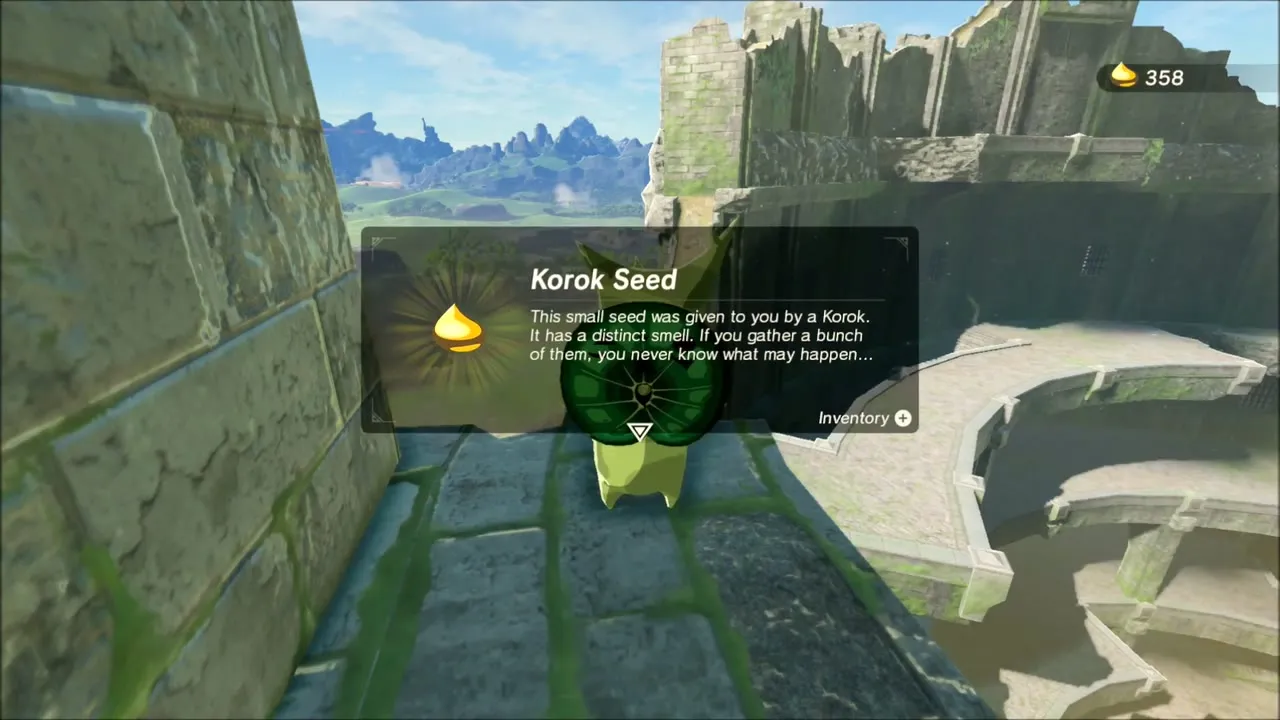

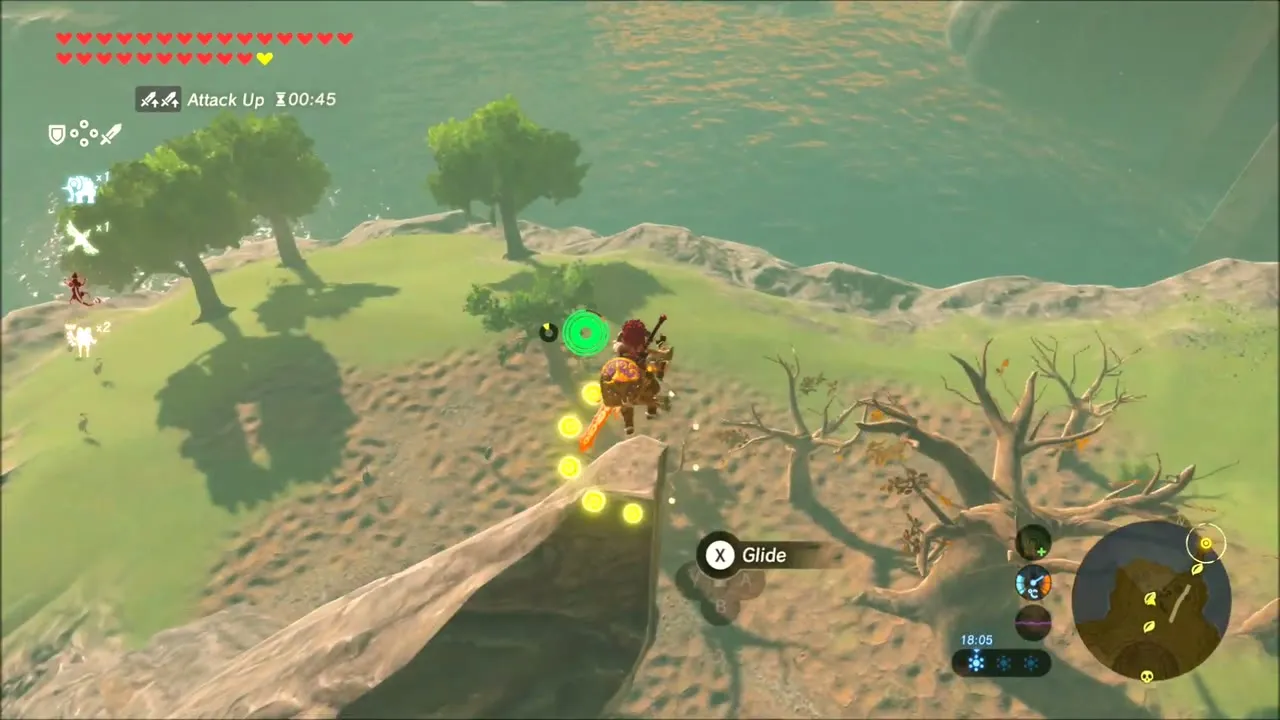
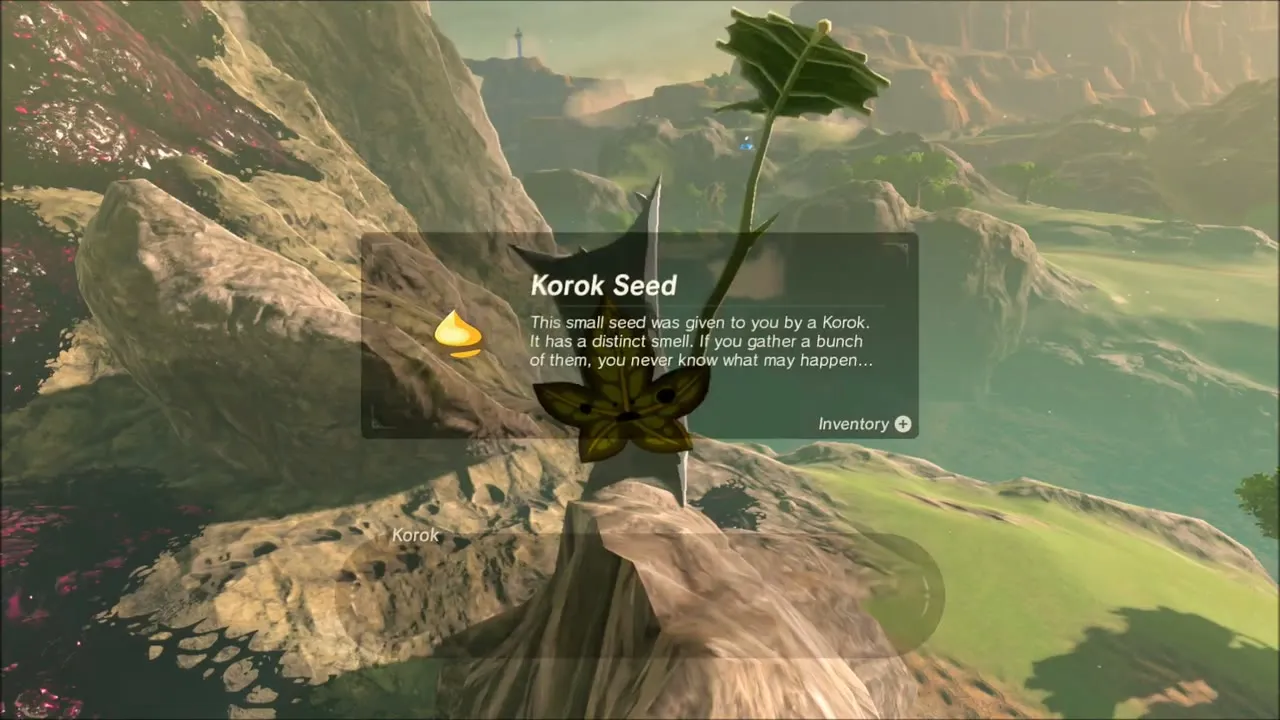
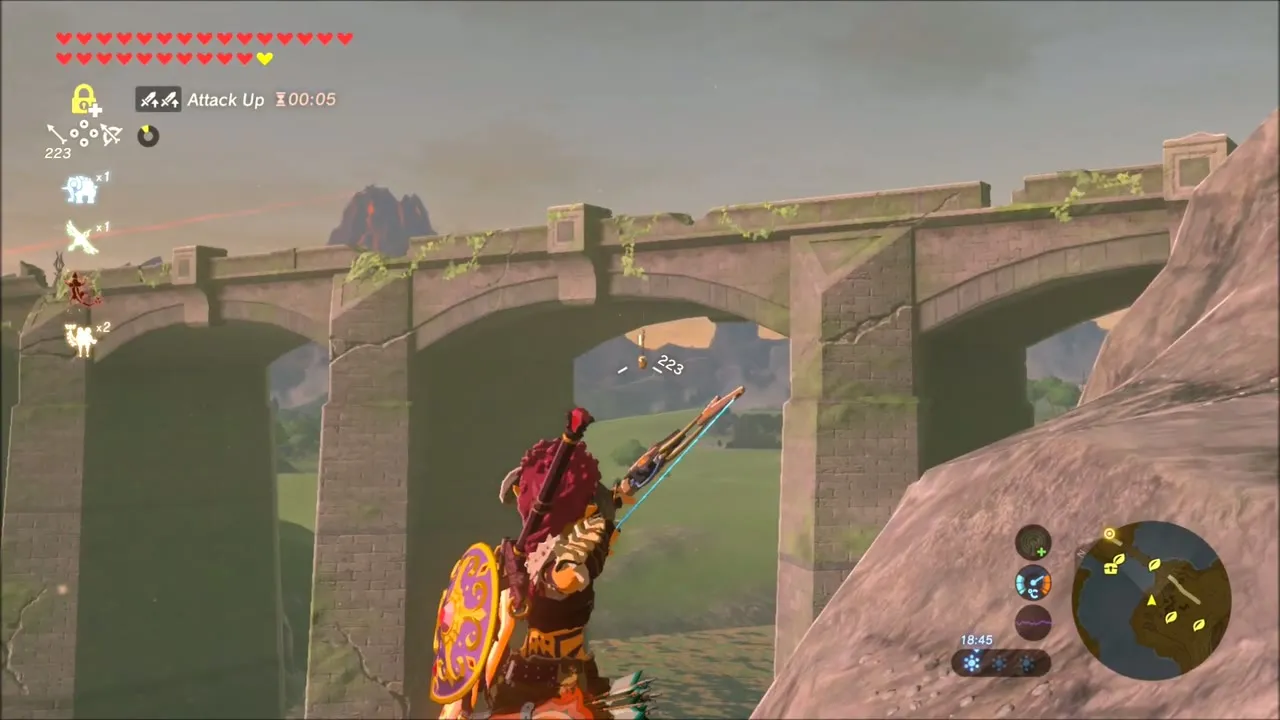
The slopes beyond the arena hold more Koroks. A Korok appears from a white blossom on a rocky shelf, and a second sits on a ledge just under the stone bridge: glide to the ledge and lift the rock there. More seeds are waiting on the grassy slopes just before the next shrine.

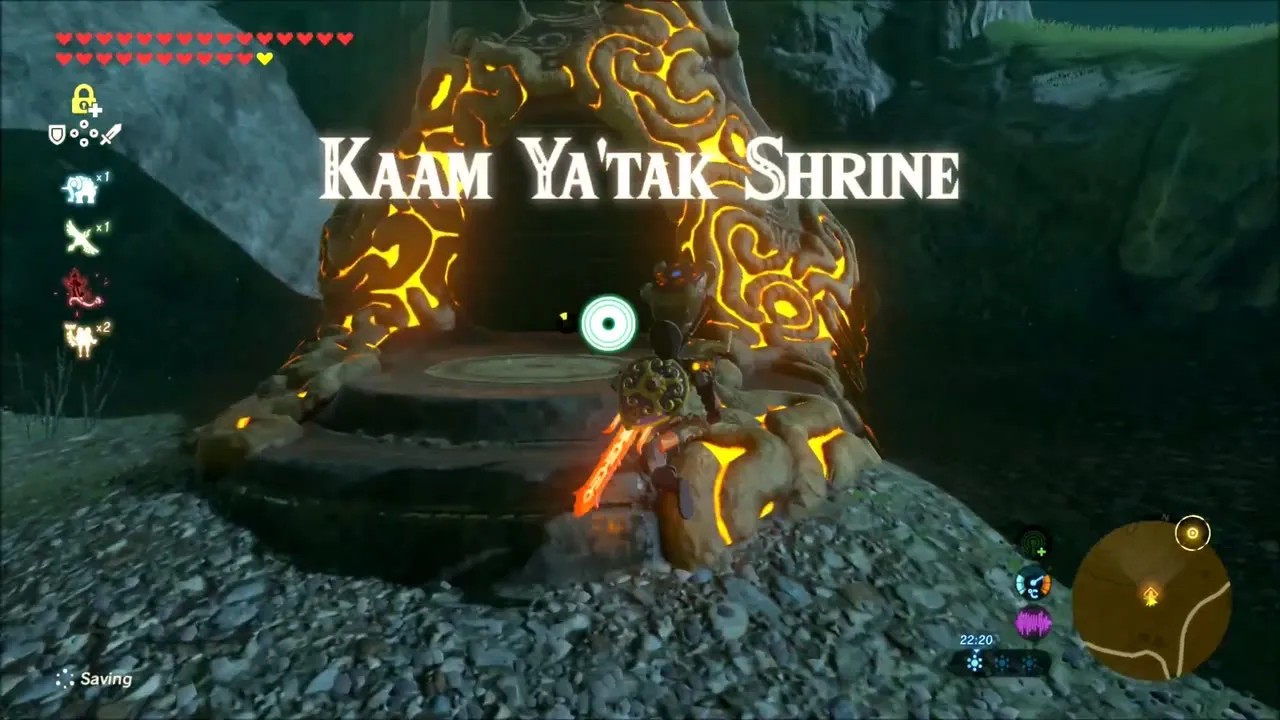
Kaam Ya’tak Shrine: Trial of Power
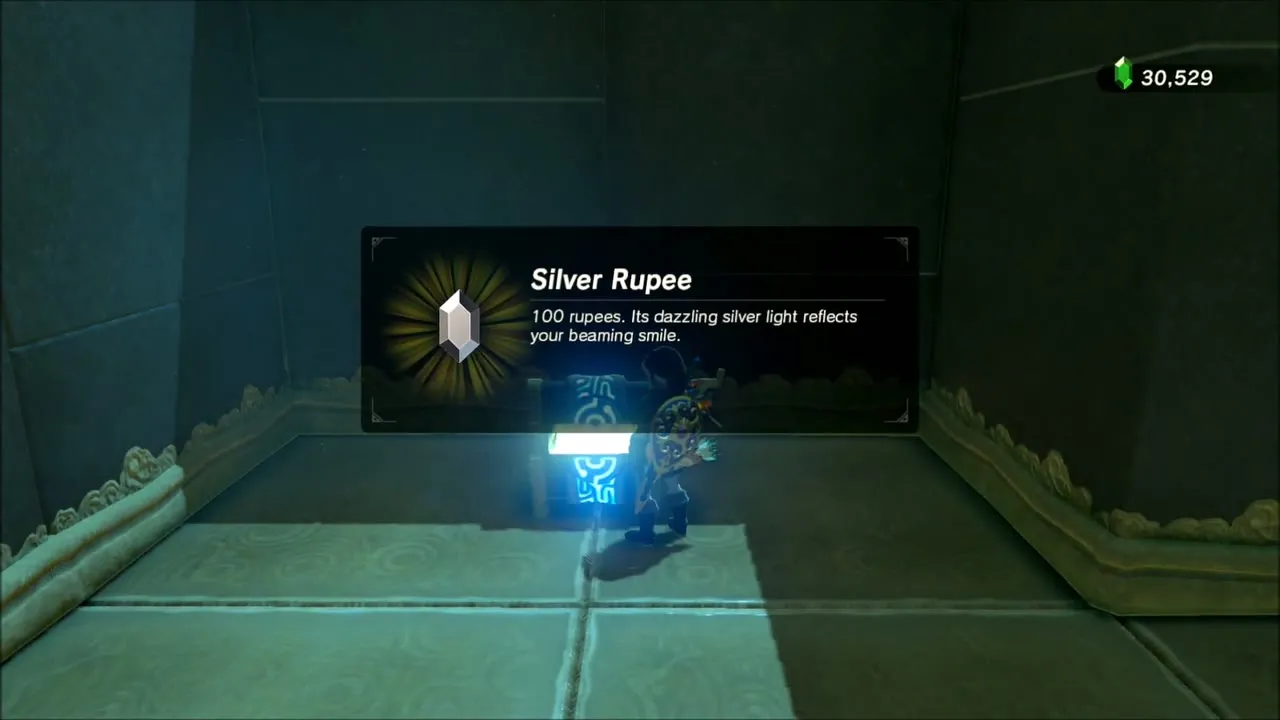
Kaam Ya’tak Shrine is south of Central Tower at (-968, 717), height 141, below Mount Daphnes. Doors open when you roll boulders into them, with spiked balls, Guardians and a hammer on the way. Use Magnesis, Stasis, fire and bombs as needed. The chests along the route hold the Edge of Duality, the Royal Broadsword, an Ancient Core, a Silver Rupee and a Diamond, and the Spirit Orb is waiting at the end. See Kaam Ya’tak Shrine for the full solution.



Windvane Meadow: Bokoblin Tree Camp
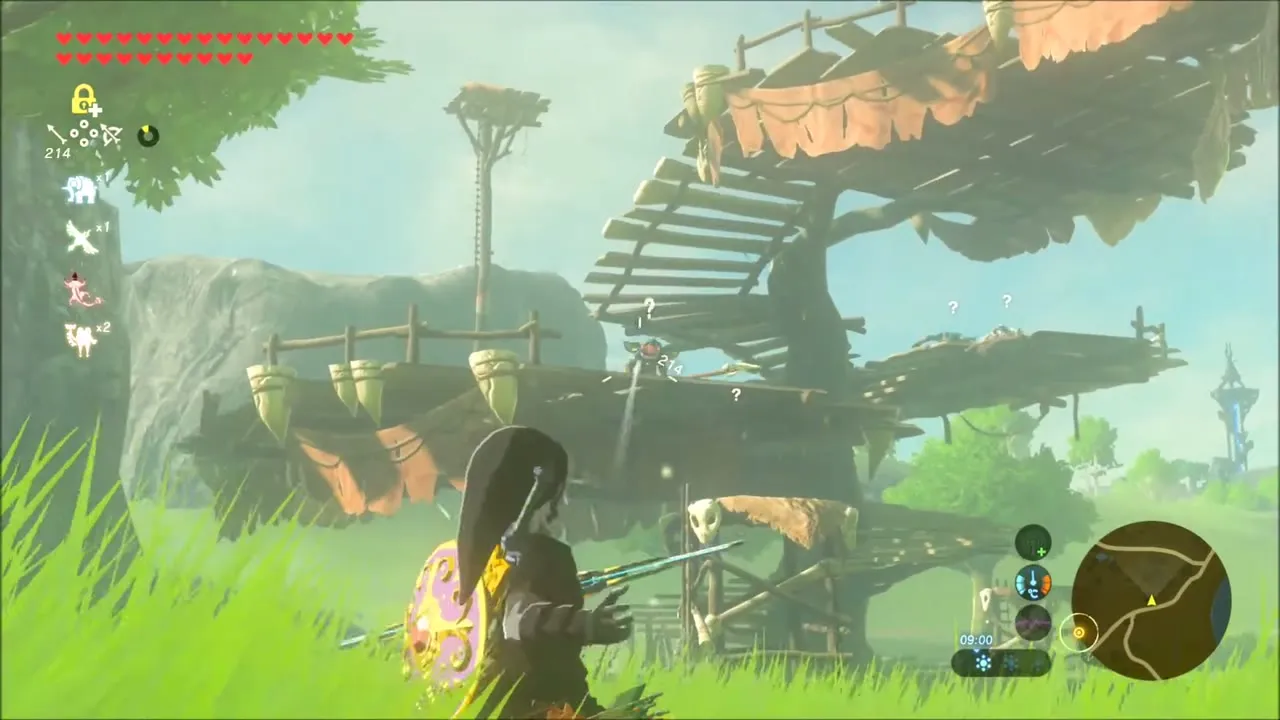
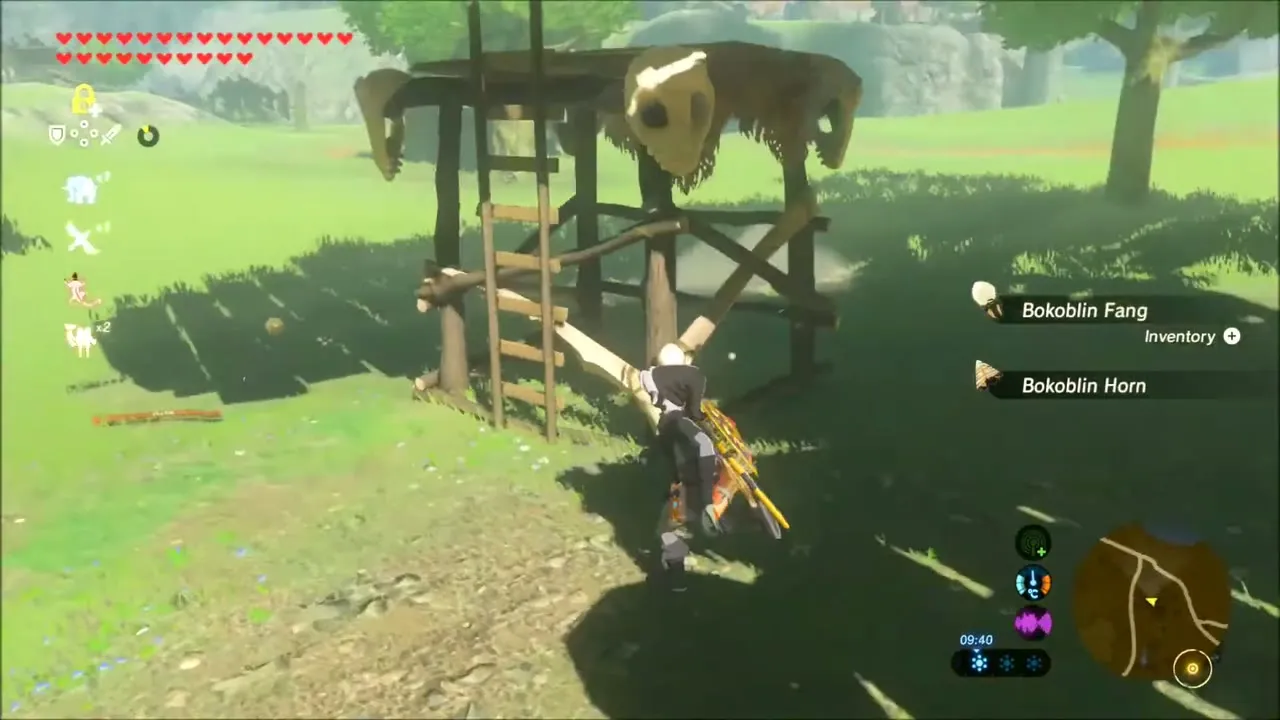
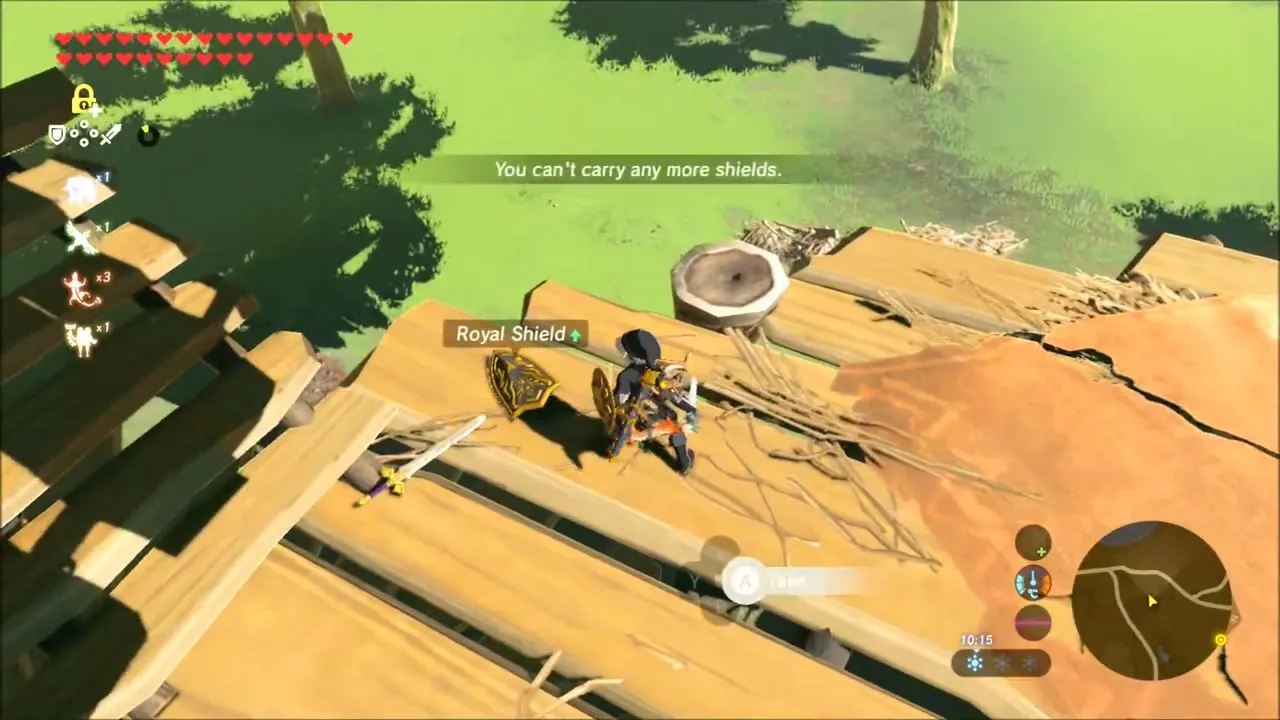
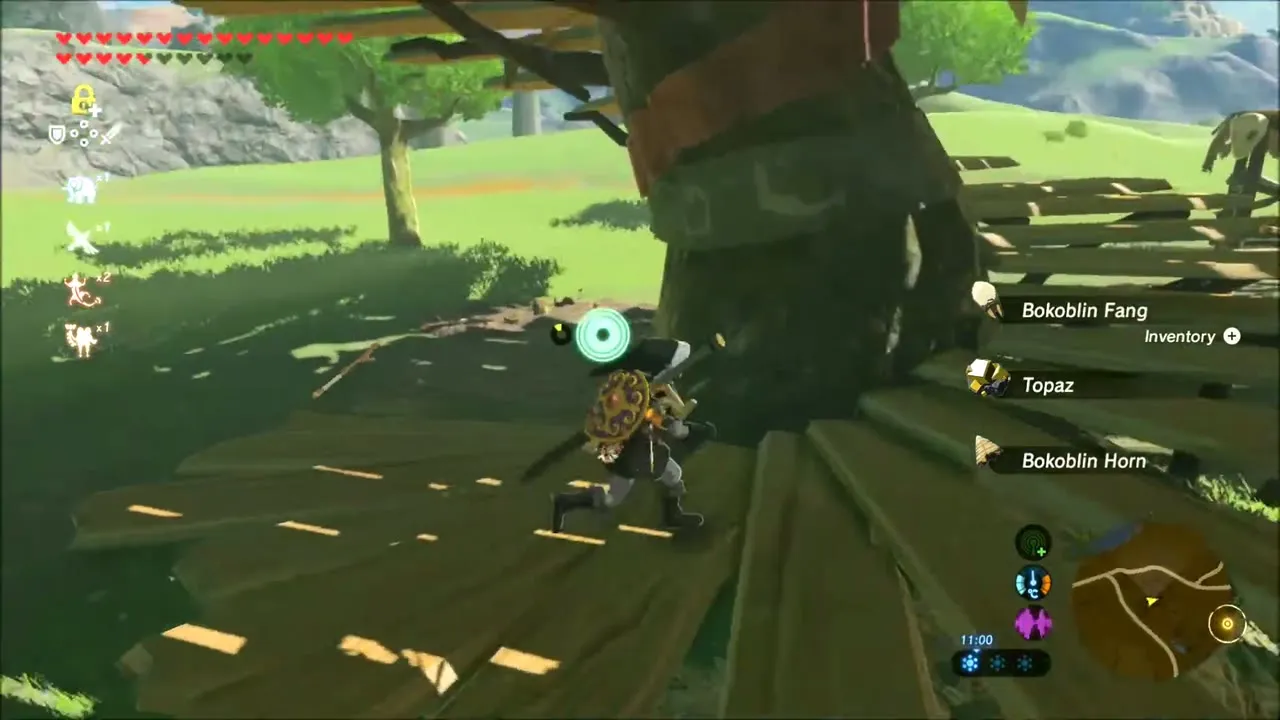
Open the map and stamp the unexplored ground between Windvane Meadow and the road that runs north-east toward Ranch Ruins. Walk in from the road to a Bokoblin camp built on wooden platforms around a big tree. Clear the Bokoblins and climb onto the boards: the camp drops Bokoblin horns and fangs, and a Royal Shield (tier set by difficulty scaling) lies on the planks. The royal weapons that camps like this carry fill your weapon slots quickly, so check what you can still hold before you pick up more.
Ruined walls and the first chest
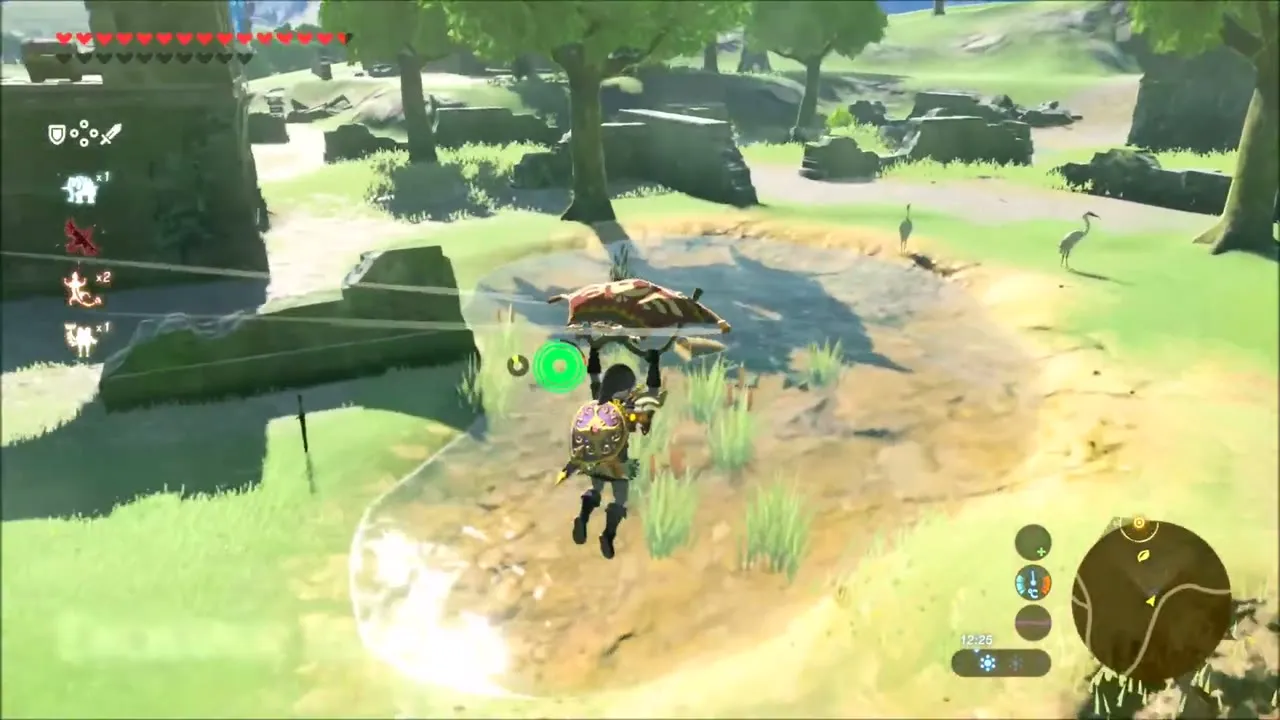
Glide off the camp to a flat rock and the broken walls and archways of the ruins beside it. A chest in a walled corner holds ten arrows. The grass and trees beyond hide several Korok seeds in this meadow, so keep scanning for the leaf swirl as you cross.



Kolomo Garrison Ruins: Two Korok Seeds
Burnt leaves in a walled room
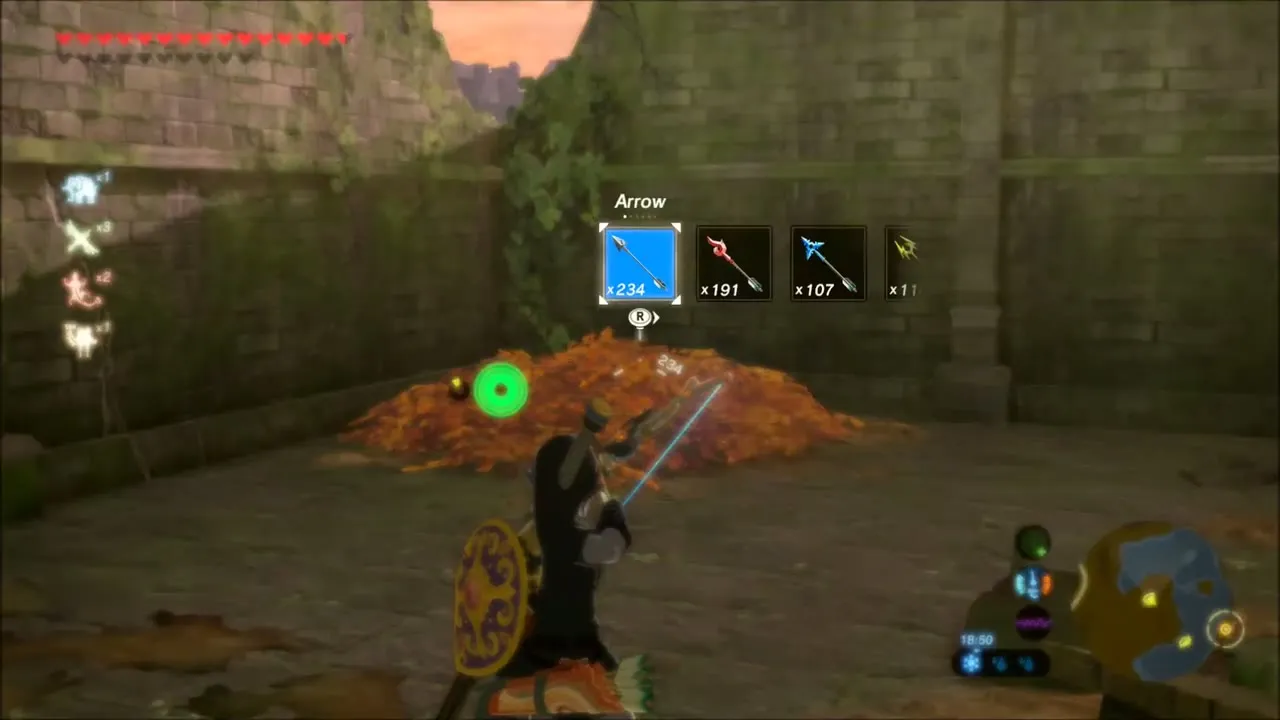
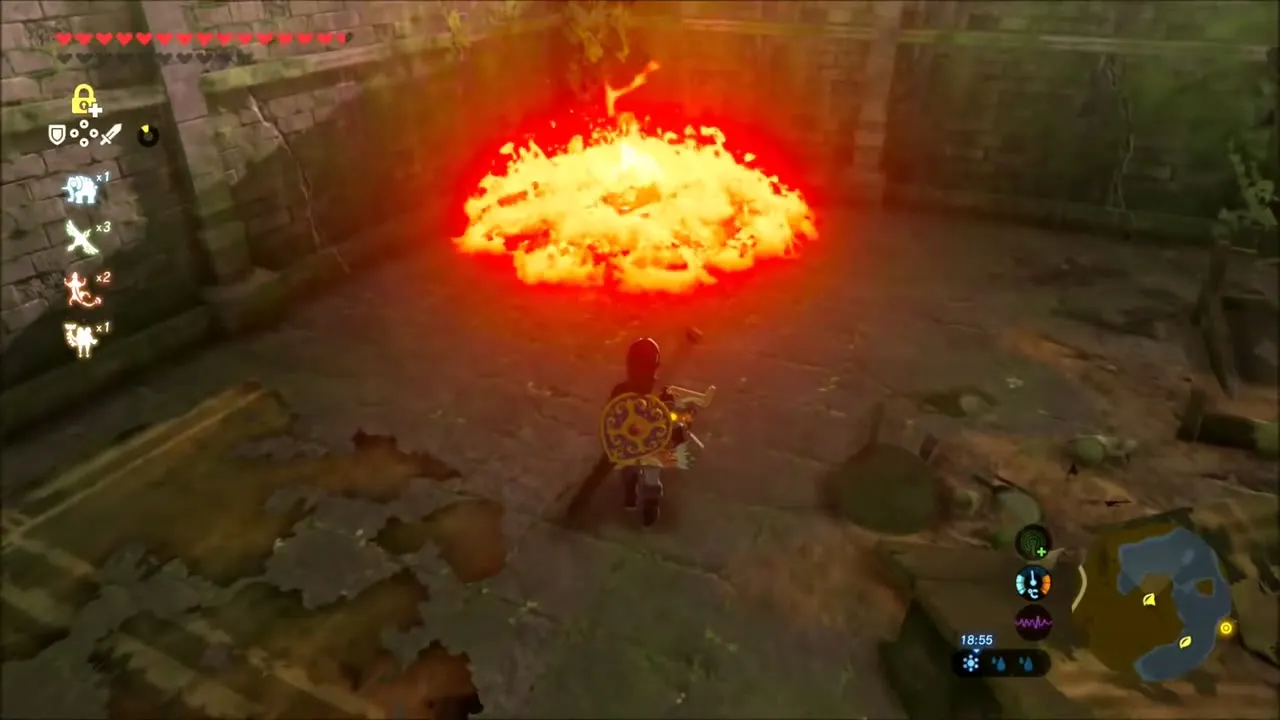
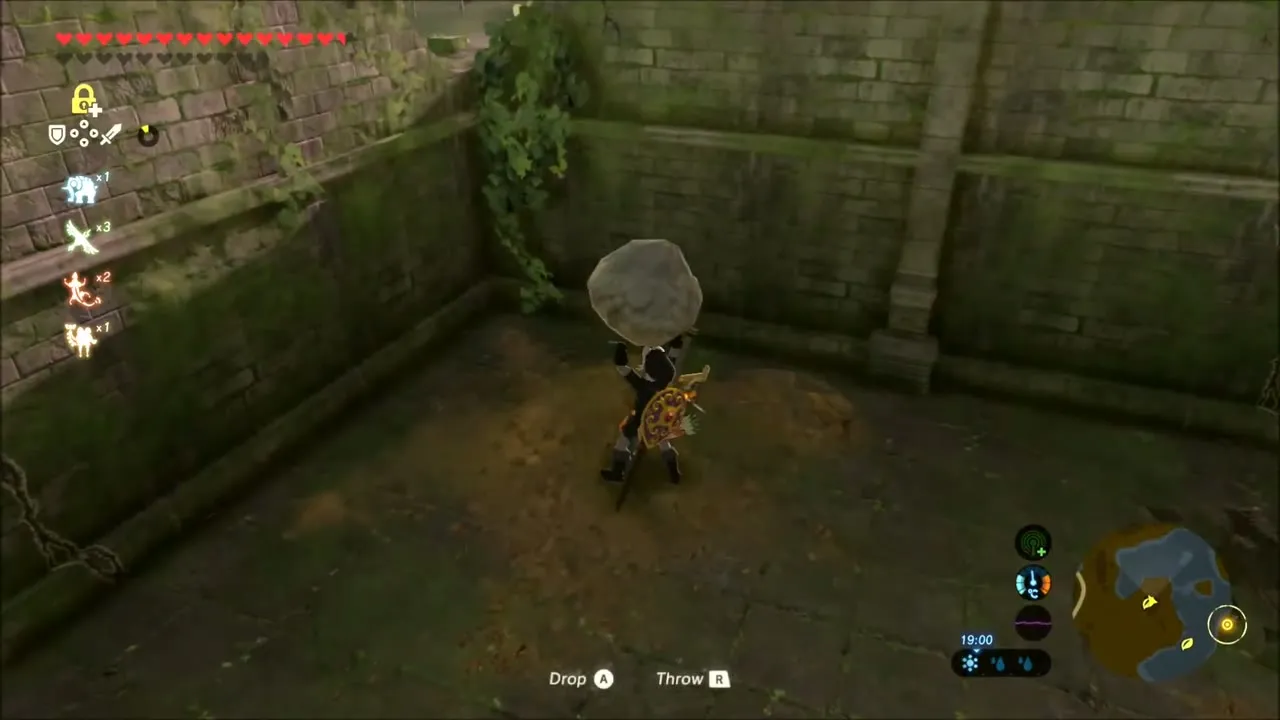
West of the meadow, near the Kolomo Garrison Ruins, drop into a walled stone room where a pile of dry leaves lies against the wall. Light the pile with a fire arrow. Once the leaves have burned away, pick up the loose rock in the room, and the Korok shows itself in the corner and hands over a seed.

Korok on the lily-pad rock
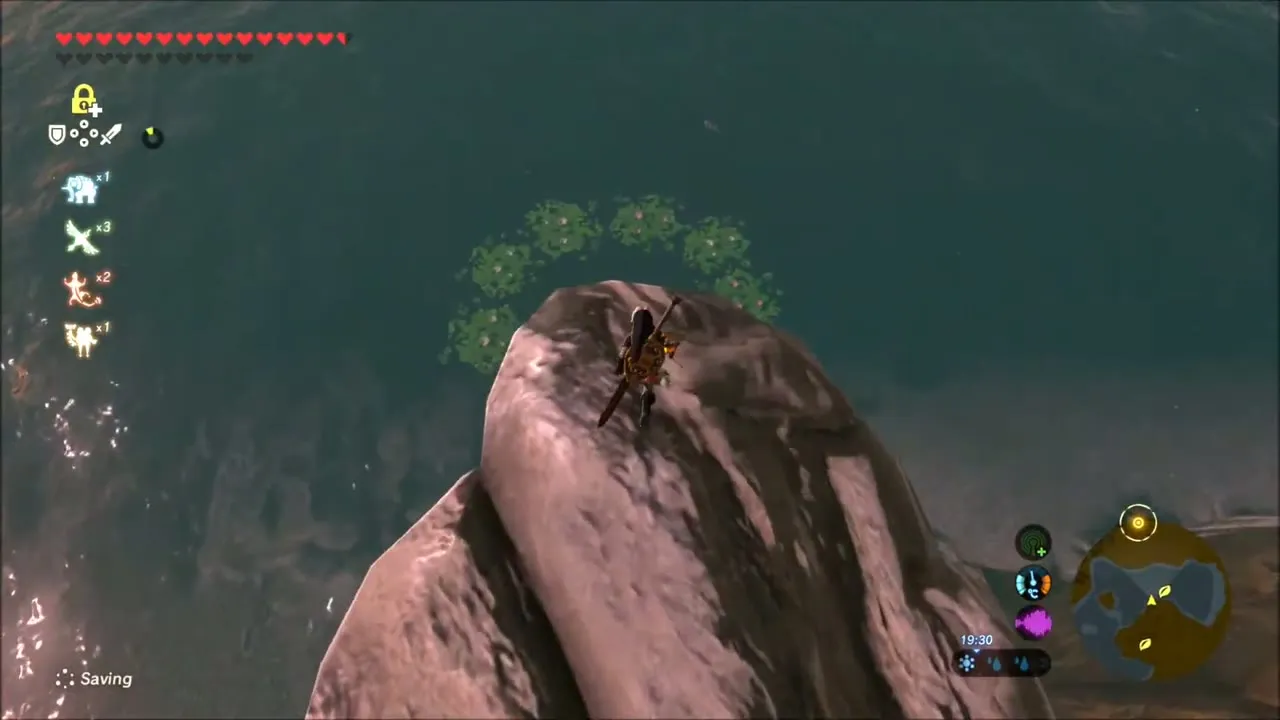
Then swim out into the lake to the rock that juts from the water inside a ring of lily pads. Climb to the top and a Korok drifts down over the water with another seed. This is the shore of Lake Kolomo, which you work around next.
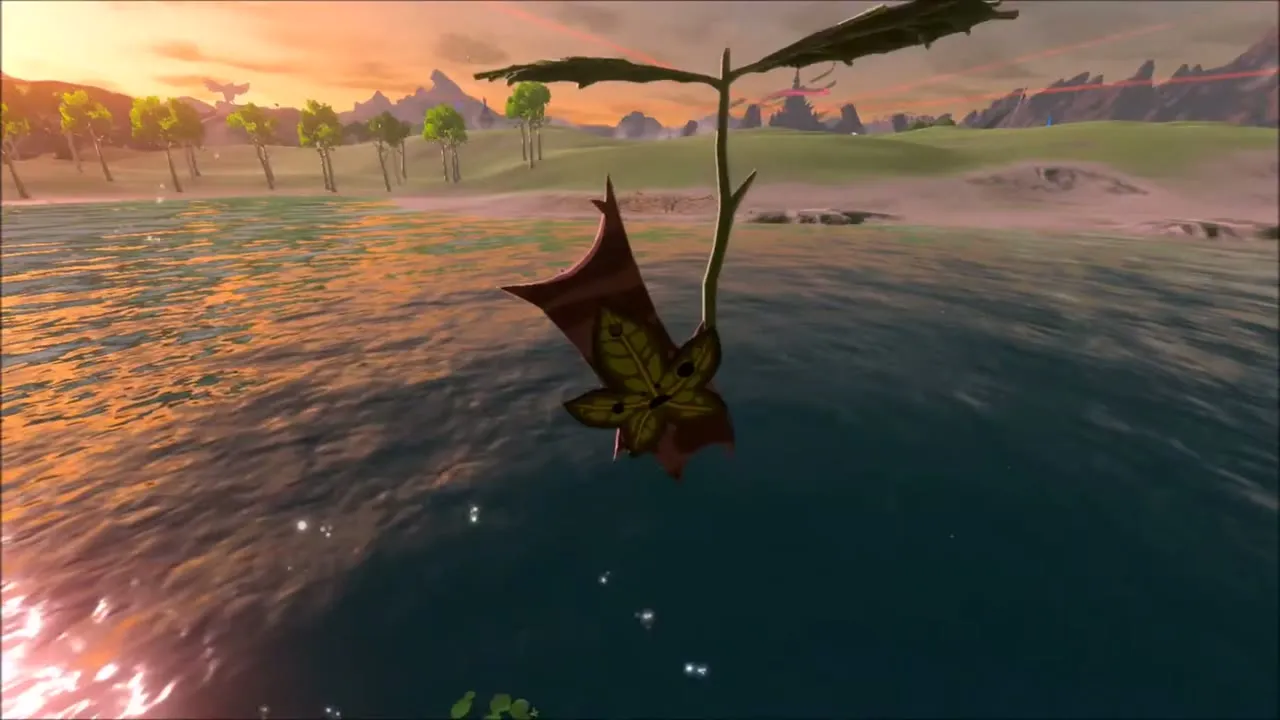
Lake Kolomo Shore at Night: Bokoblin Camp, Mils and the Blood Moon
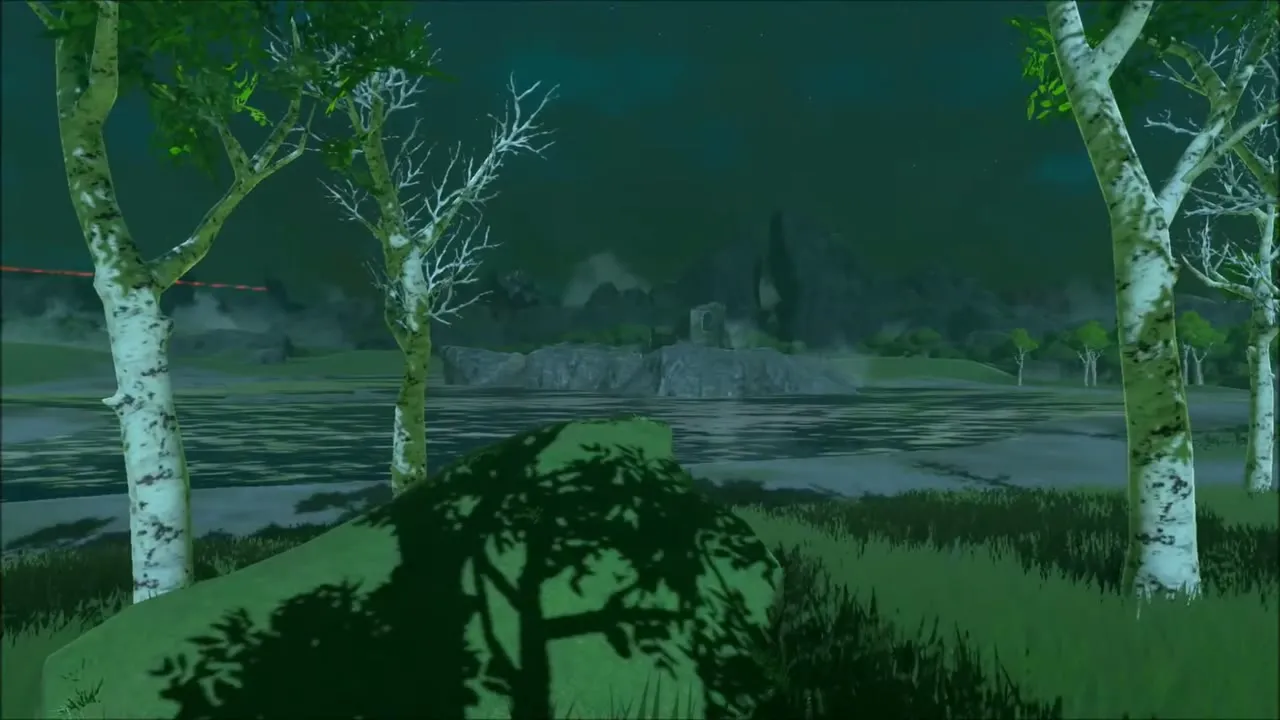
As evening falls, a Bokoblin camp on the shore throws fire and arrows at you. Shoot the Bokoblins from cover, then open the chest on the ground in their camp and pick up the arrows they drop. Further along, a night-time run through birch woods yields a Stamella Shroom, and by the old stone paving a villager called Mils tells Link, “Thank Hylia that Mina is safe.” Later that night the sky goes red as the Blood Moon rises so expect cleared enemies to return.


Captured Memory: Resolve and Grief at Lake Kolomo
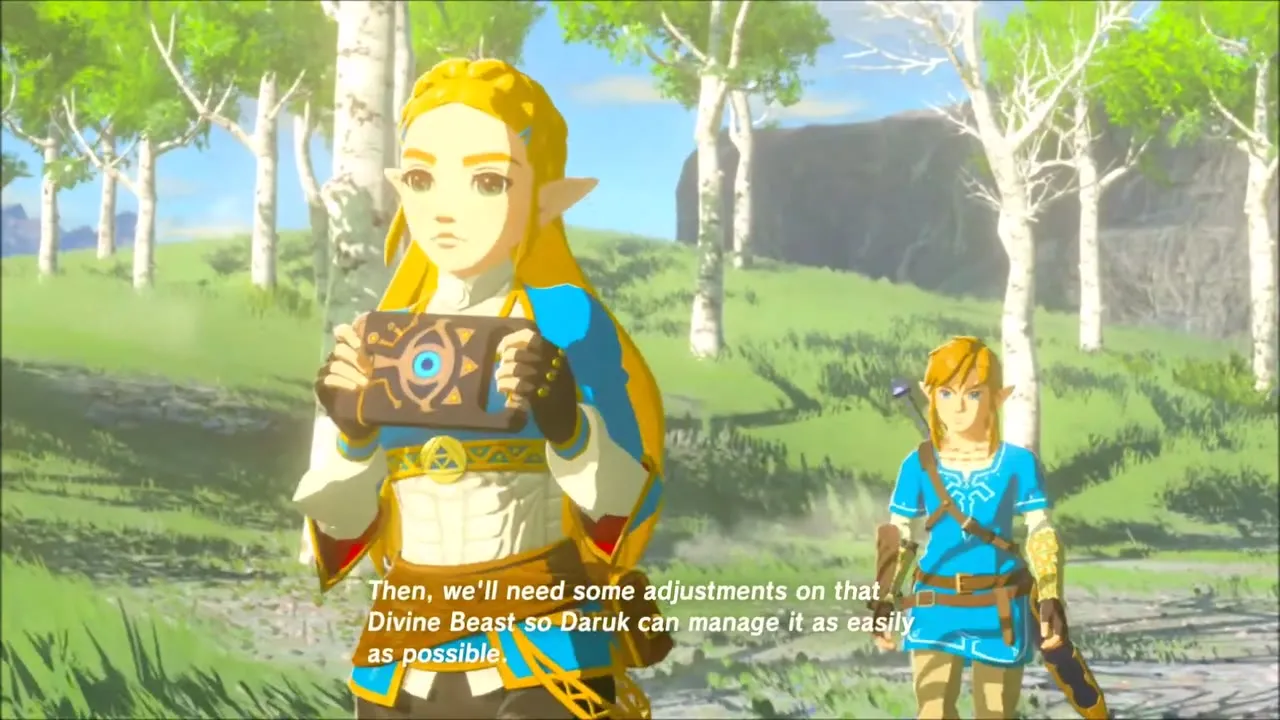
Follow the west bank of Lake Kolomo among the pale birch trees until you come to a small grassy ridge beside the water. Hold up the album photo to check the view of lake and mountains, then step onto the glowing spot. The Resolve and Grief memory plays: Zelda and Link talk about adjusting a Divine Beast so that Daruk can manage it, and about the Divine Beasts being the best hope against Calamity Ganon. The ridge has few enemies, so you can take your time.

Hyrule Garrison Ruins: Chests, Moblins and Pole-Climbing Koroks
Chests and a Moblin fight
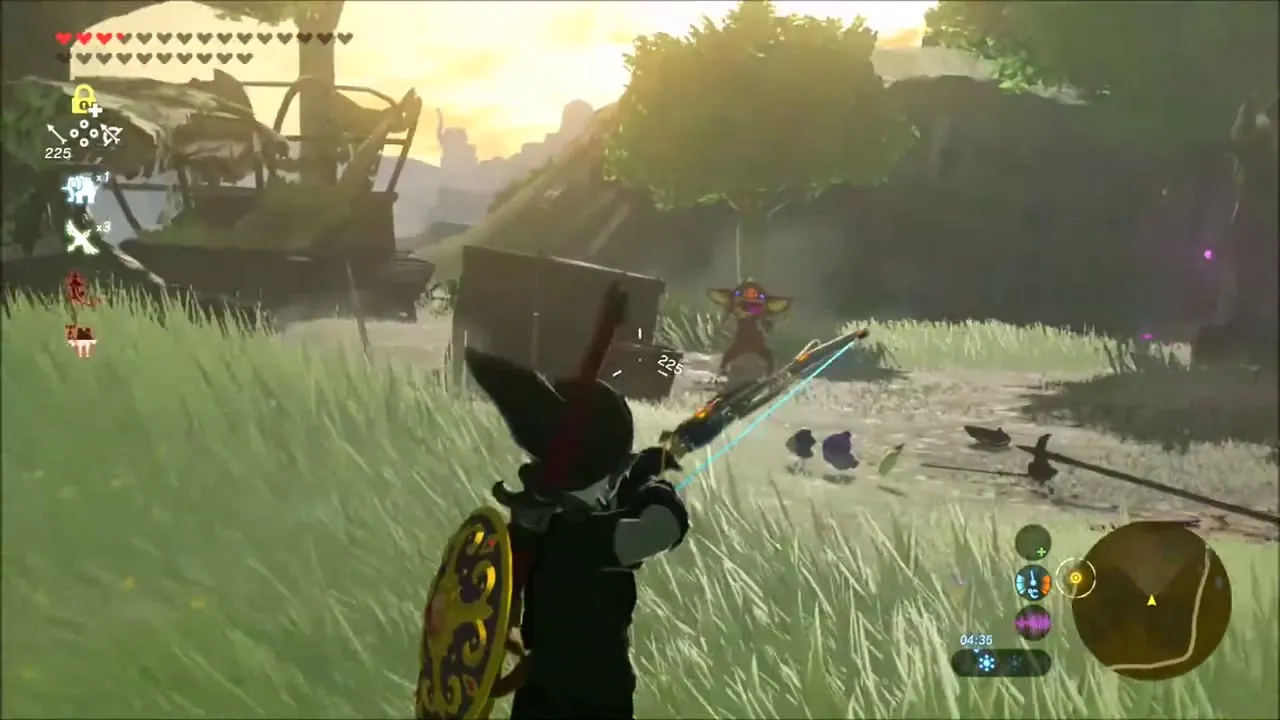
Move on across open ground to the ruins and hills east of the lake. A Bokoblin camp in the grass gives arrows and a Bokoblin horn, a chest on a low hill holds an Amber, and a Moblin fight in the open drops its horn and fangs. Another chest sits in the corner of a ruined wall.

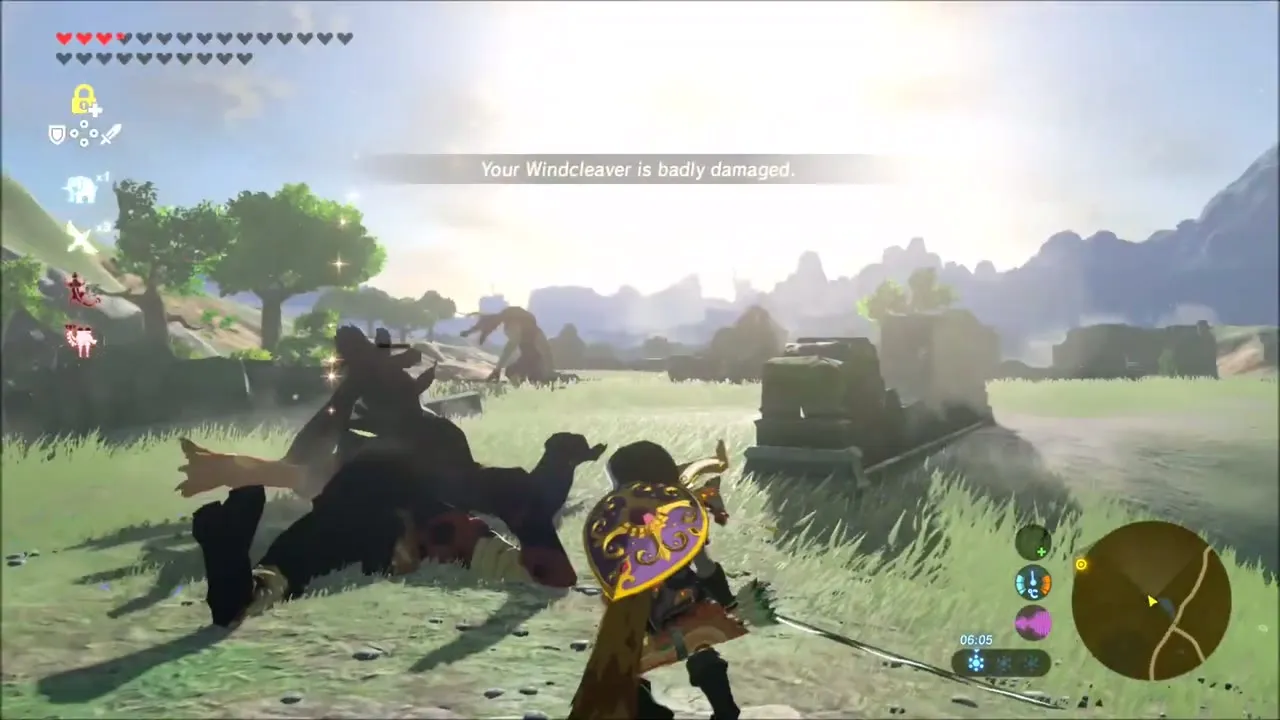
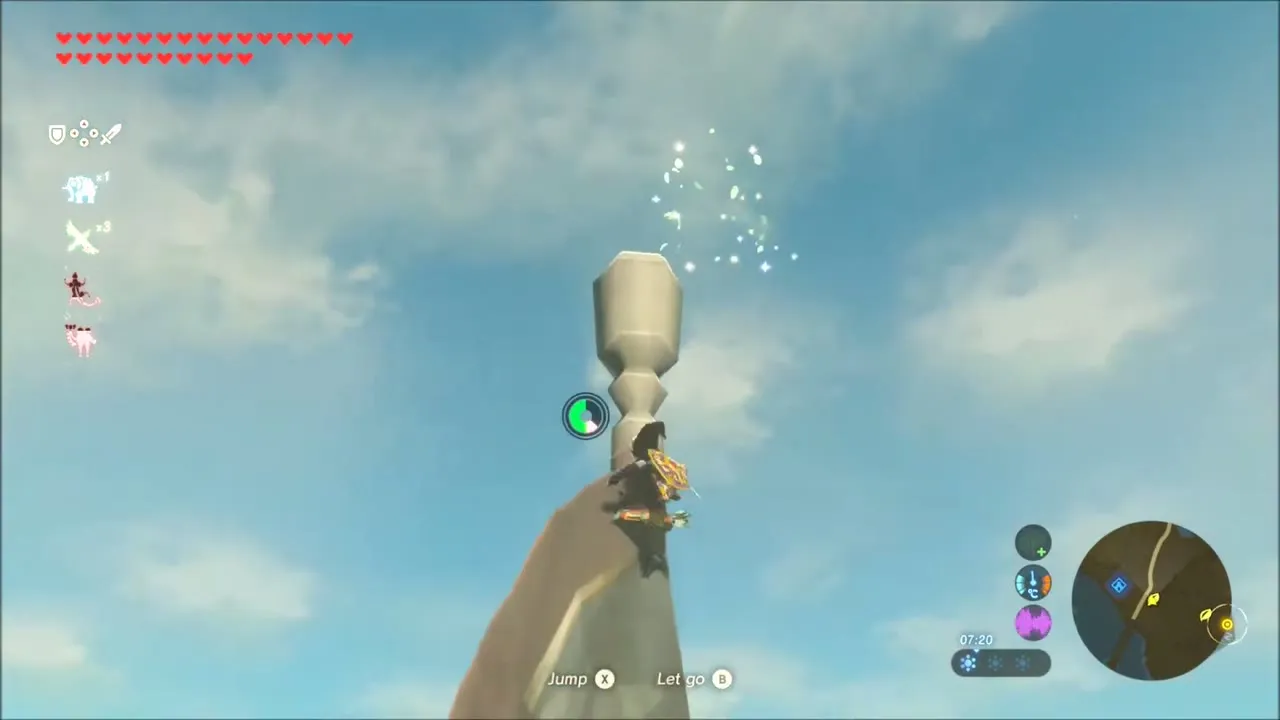
Korok seed on top of the stone pole
Near a cracked wall you find a carved stone block with a tall pole standing on it. Climb onto the block, jump onto the pole and keep climbing, jumping up the shaft until you reach the top. A Korok appears and gives a seed. The pole is a few steps from a chest, so loot it on the way back.

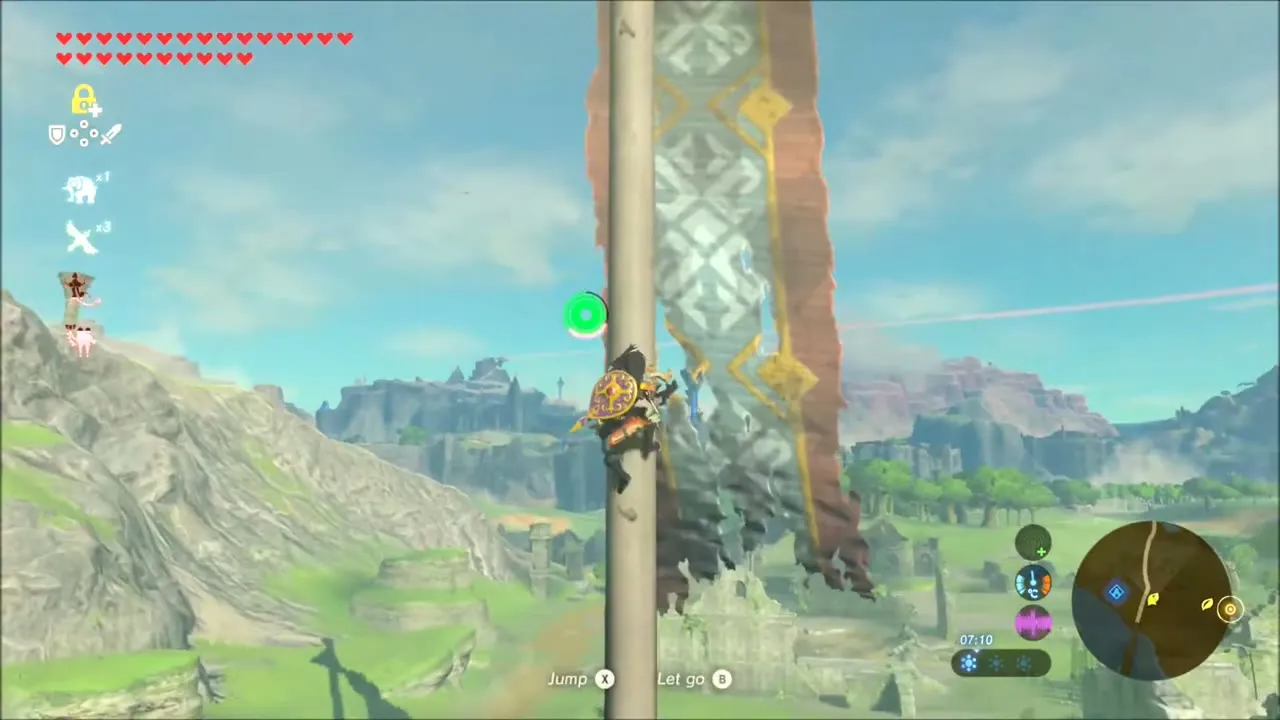

Seed from the ruined wall
A little further, where a ruined stone wall rises above the meadow, ready your bow and take aim at the ruined wall. After a shot the Korok appears and gives a seed.

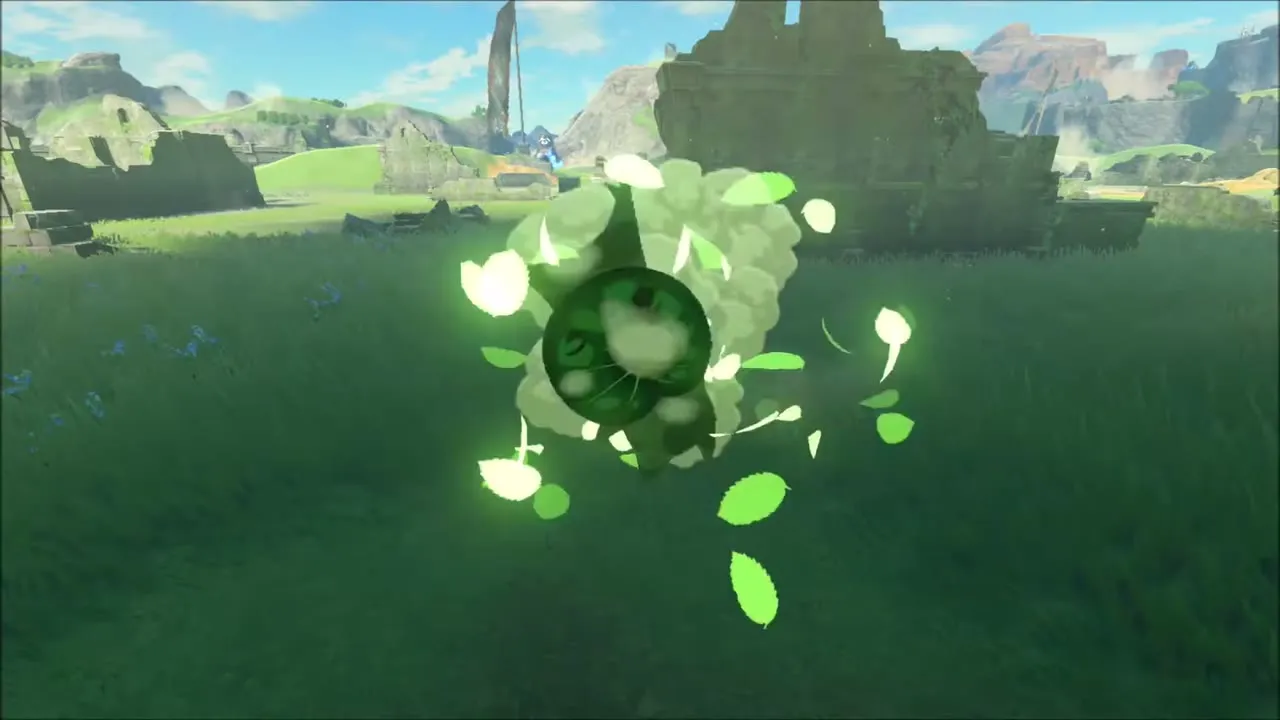
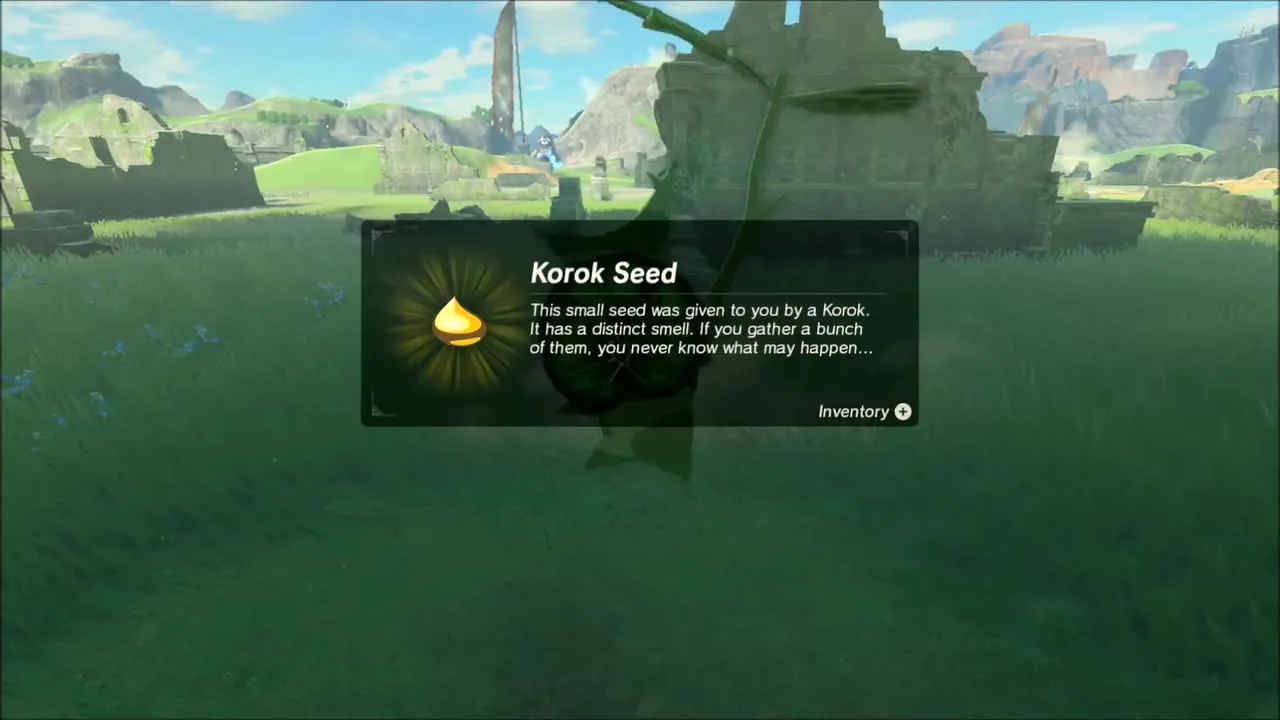
Korok Seeds in Trees: Tree Hollow and Rock on a Branch
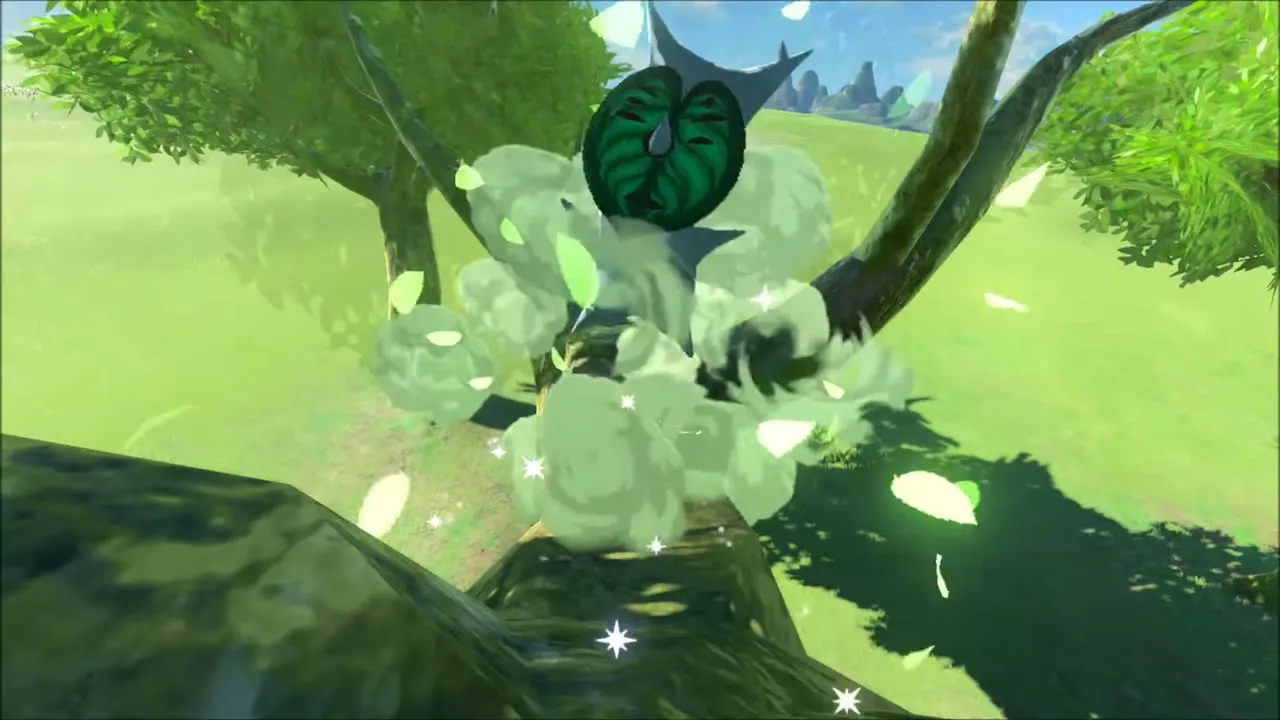
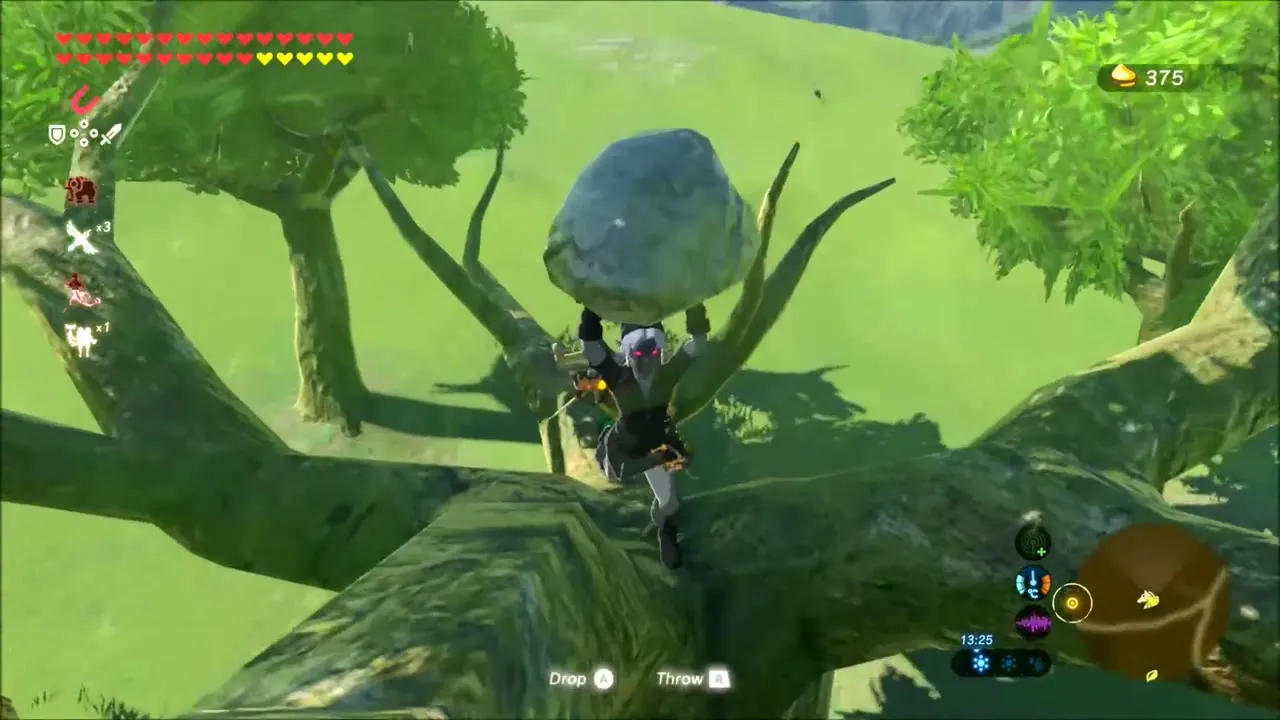
Ride up the grassy hill to the line of trees. Look for the tree with the dark hollow in its trunk and examine it: the Korok is inside the hollow and gives a seed. Further on, climb the trunk of another tree and pick up the stone lying in its branches. The Korok appears as soon as you lift it, and you can drop the rock again afterwards.


Hyrule Garrison Ruins: Guardian Fight and Pole Korok
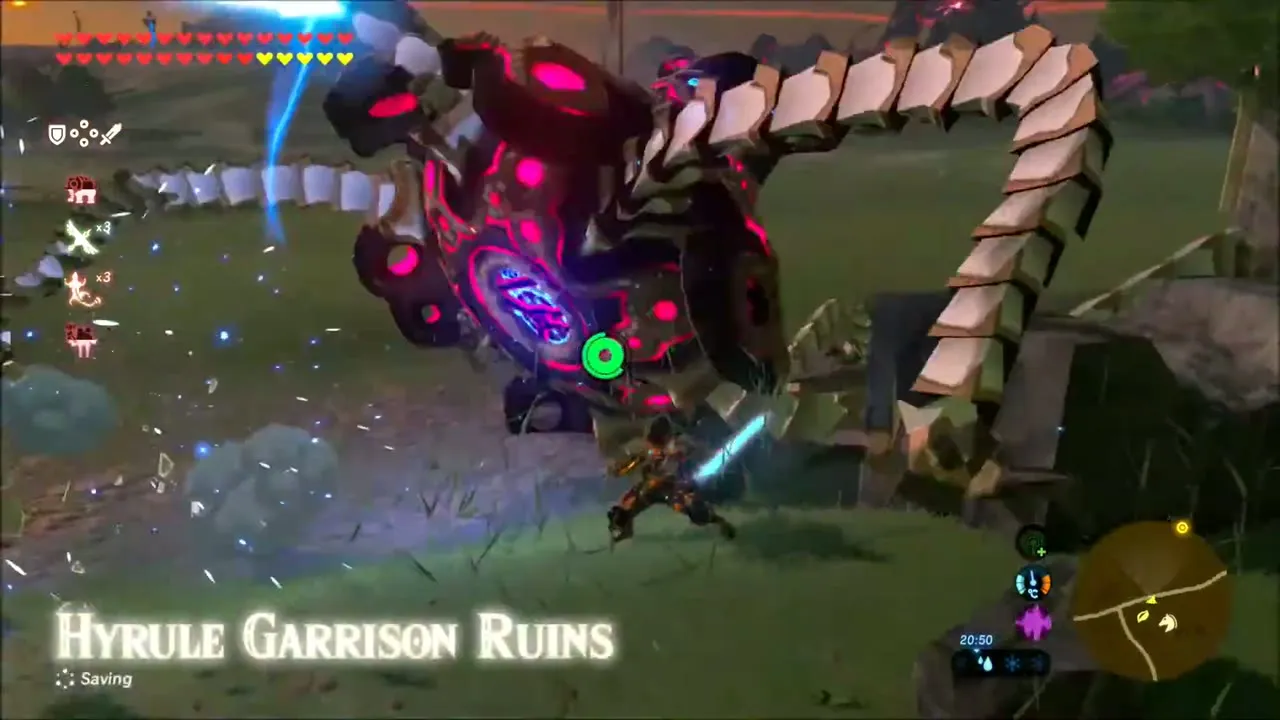
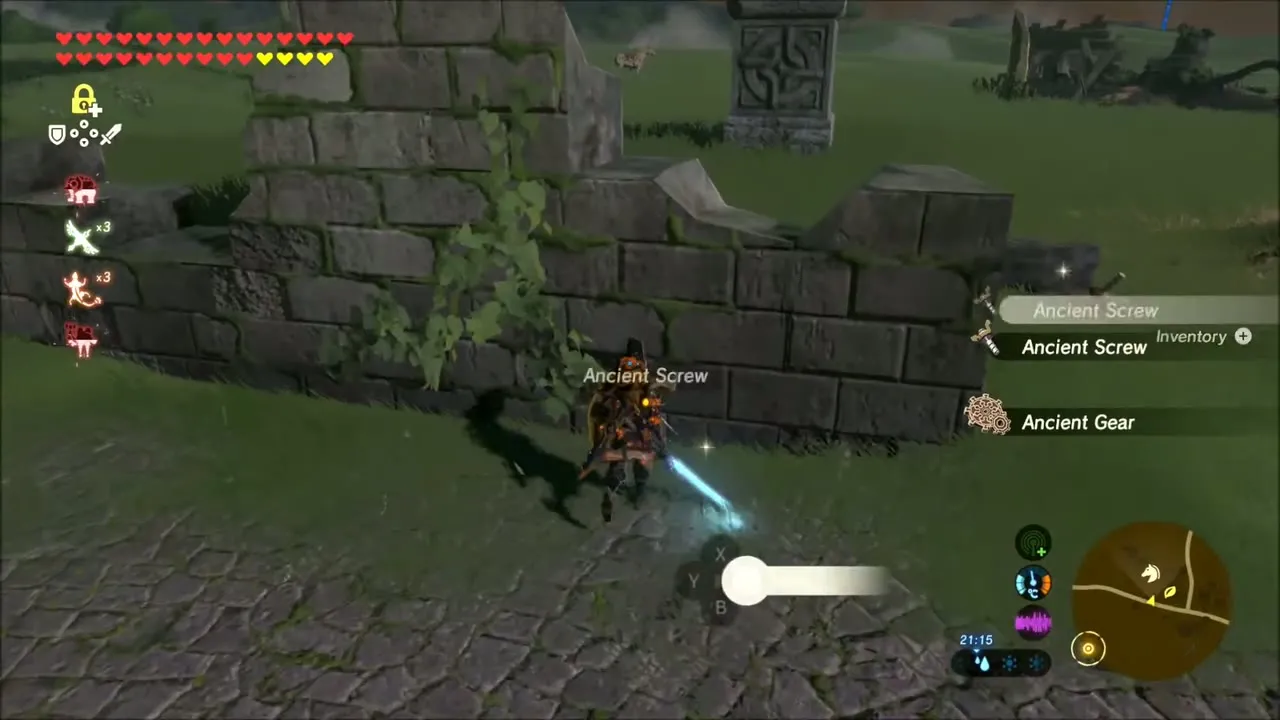
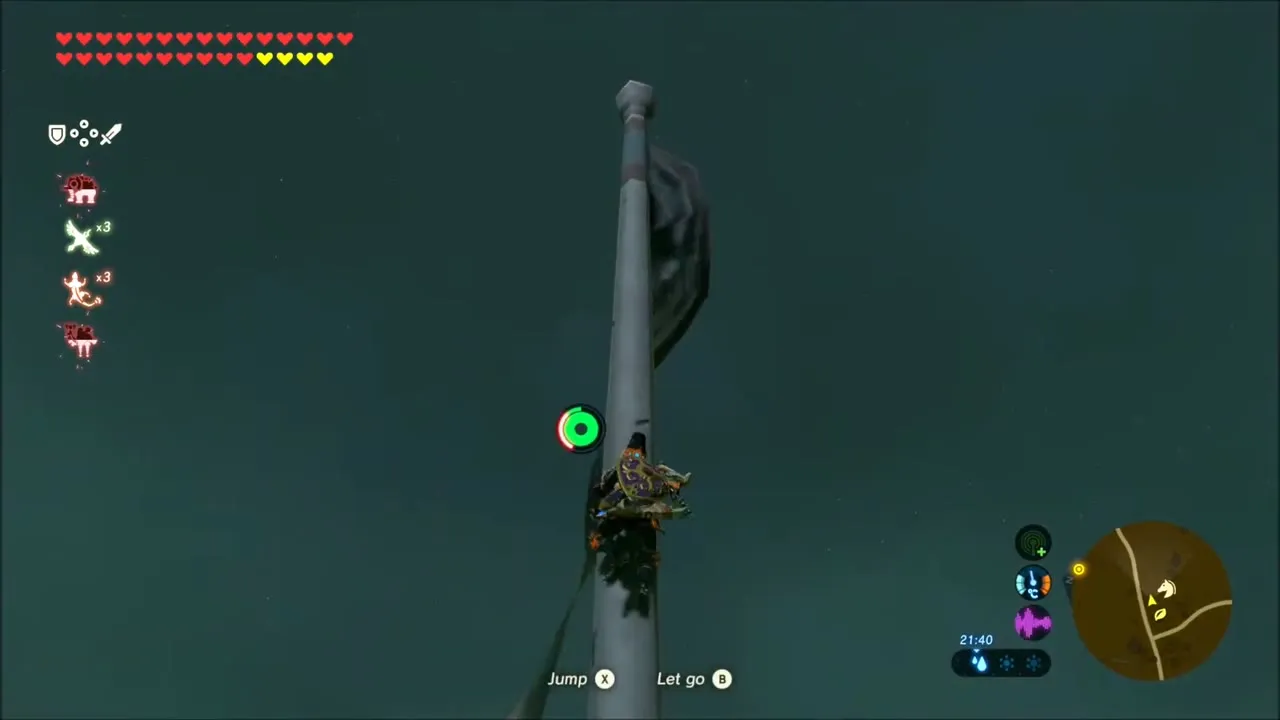
Further south-east, you reach the area whose title card reads Hyrule Garrison Ruins. A Guardian patrols the broken stone walls: strike its eye when it turns toward you and dodge the red laser, and then pick up the Ancient Screws, Gears and Springs it leaves behind. Search the ruined arches for chests. Beside the walls, another pole stands on a stone pillar: climb it to the top, where a Korok is waiting for you with a seed.


Guardian Stalker and Stasis
Nearby a Guardian Stalker walks the grass and a Forest Dweller’s Sword lies against the old wall. Take it out with Stasis, then shoot its eye. You can take a photo of it with the camera for the Compendium before it falls.


Road to Bottomless Swamp: Boulder Korok and Statue Korok
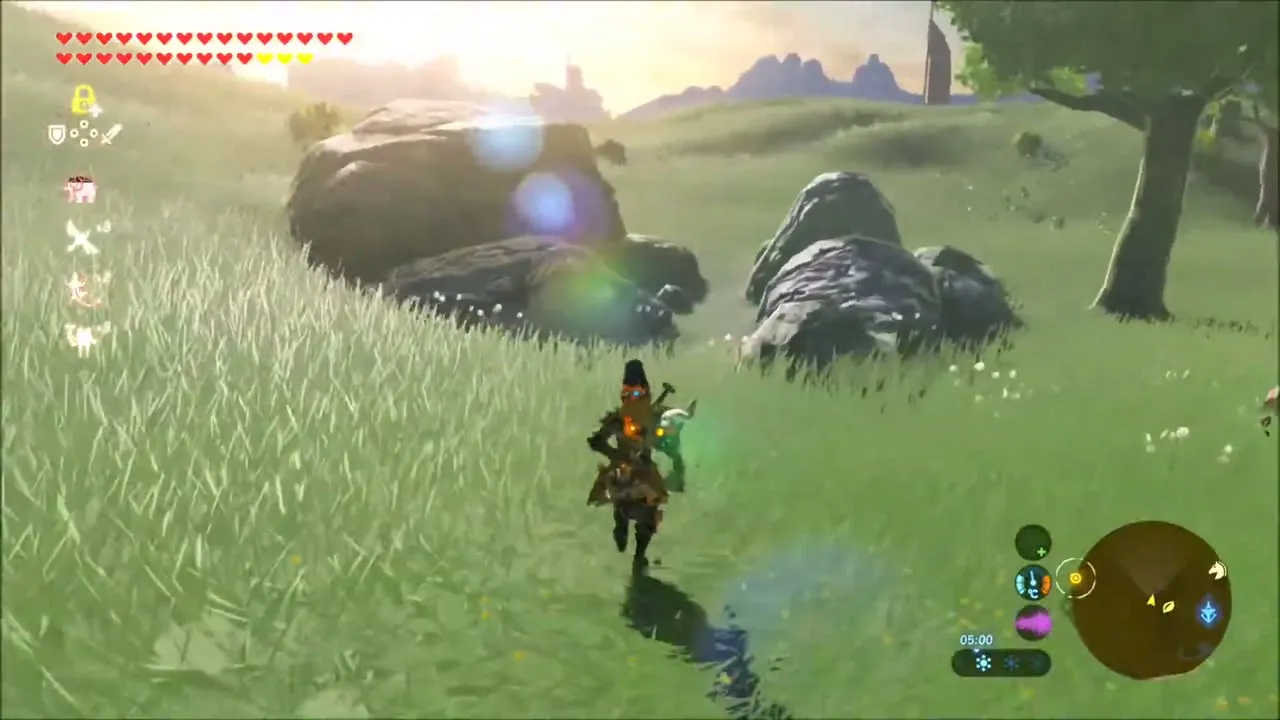
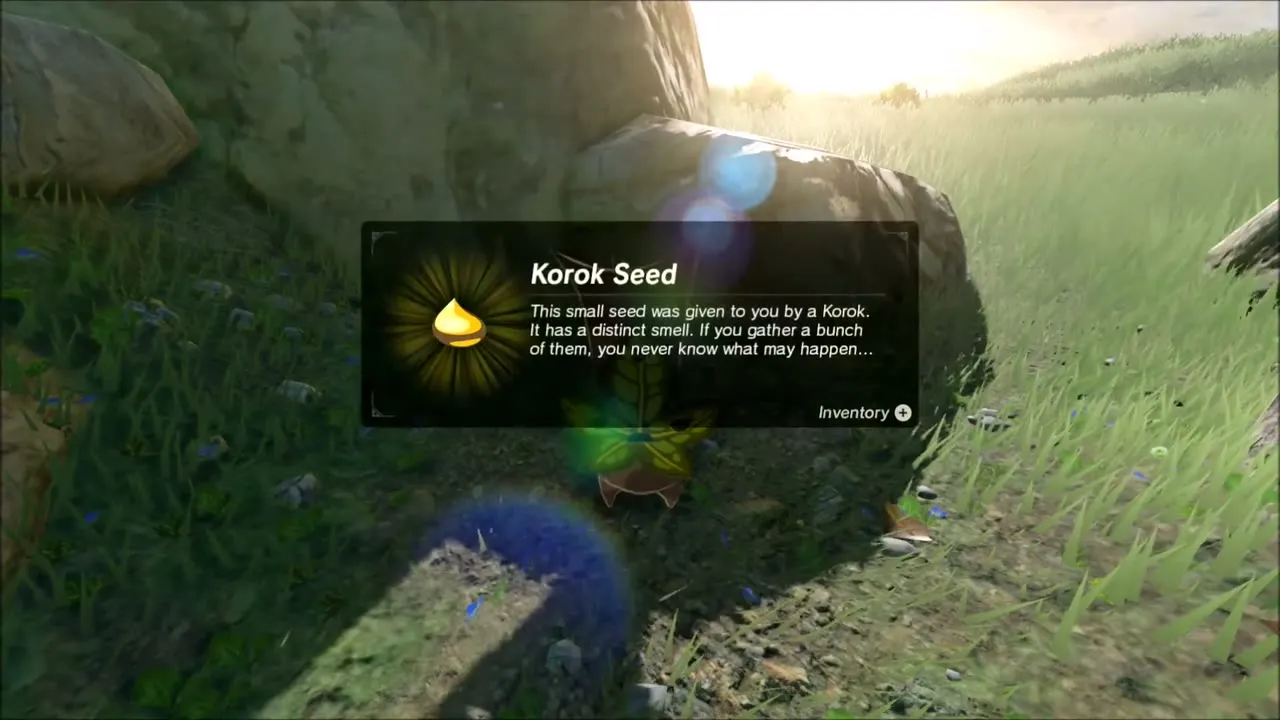
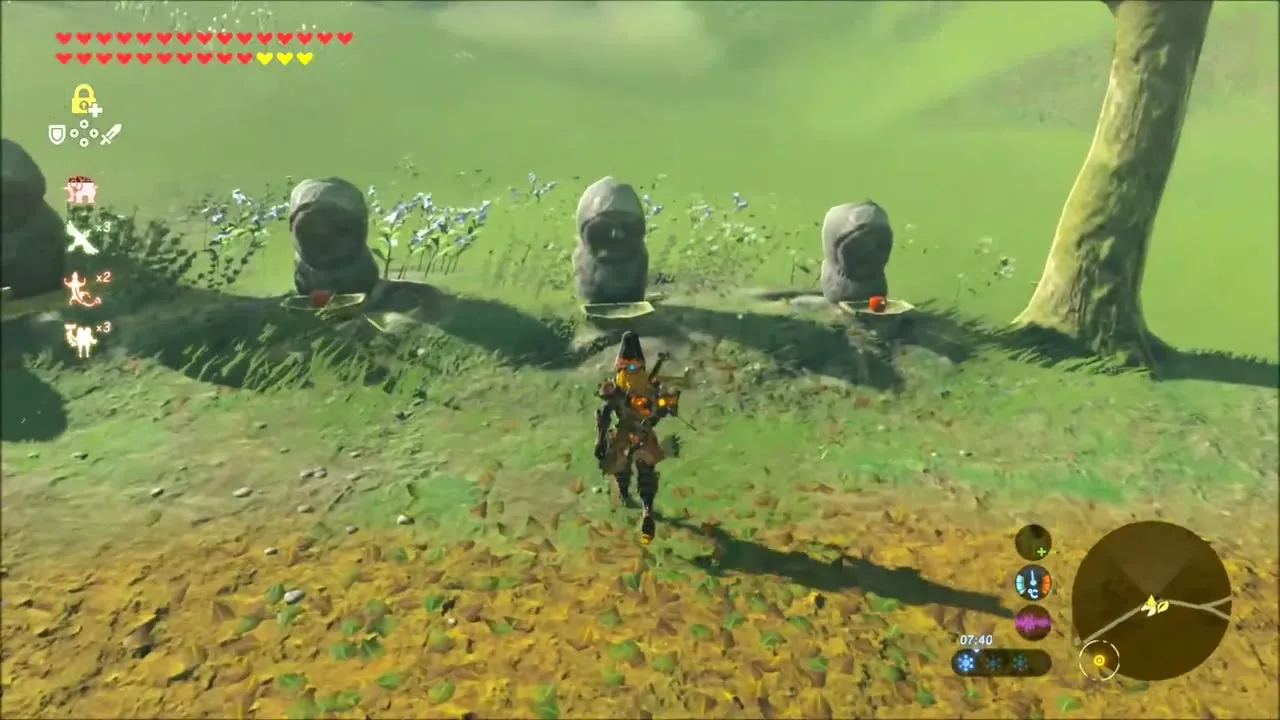
After a night’s ride along the road toward Bottomless Swamp, the first Korok is hiding beneath a boulder on a grassy slope. Lift the rock to uncover it. Soon afterward, beside the road, a row of small stone statues each holds a bowl, with apples in front of them. Examine the statue where the apples sit to get another seed.

Captured Memory: Despair
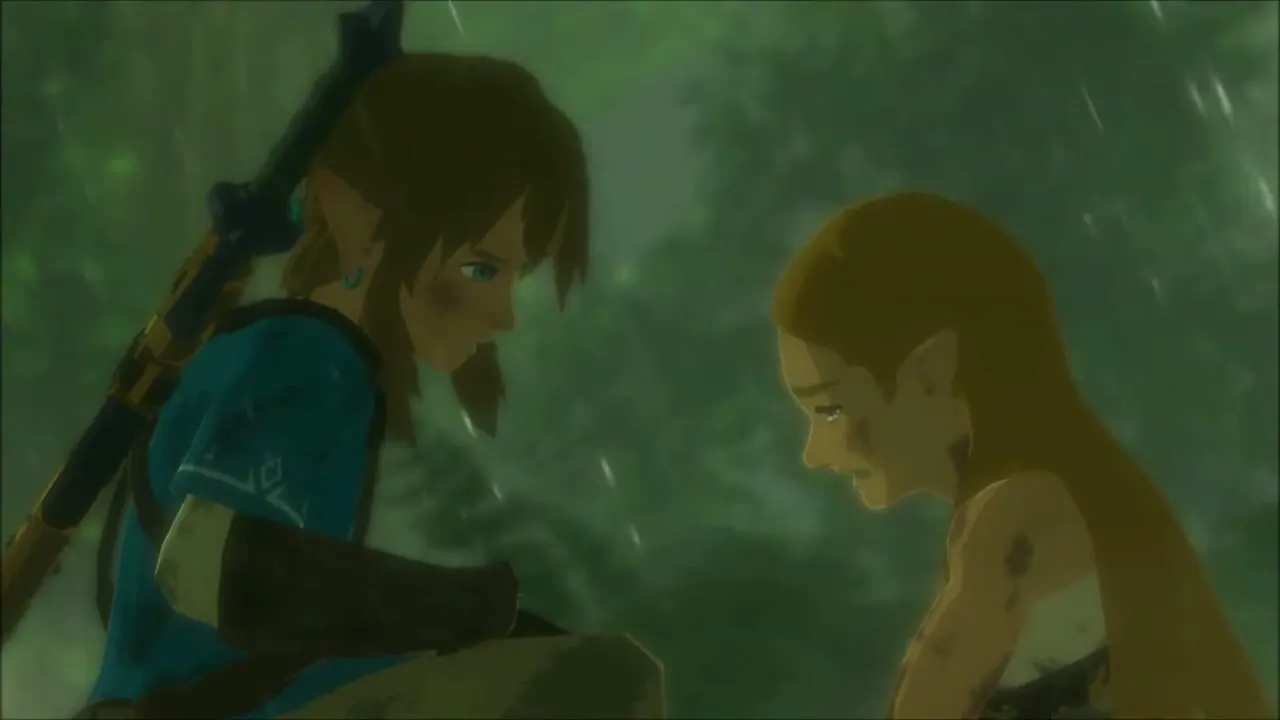
Keep going east to the forest clearing on the east bank of the Hylia River, north of Bottomless Swamp. Step onto the glowing spot to play the Despair memory. It is raining, and Zelda weeps beside Link, saying that their only hope of defeating Ganon was lost because she could not harness her cursed power.


Rocky Plateau: Talus, Cave Camp and Soldier’s Claymore
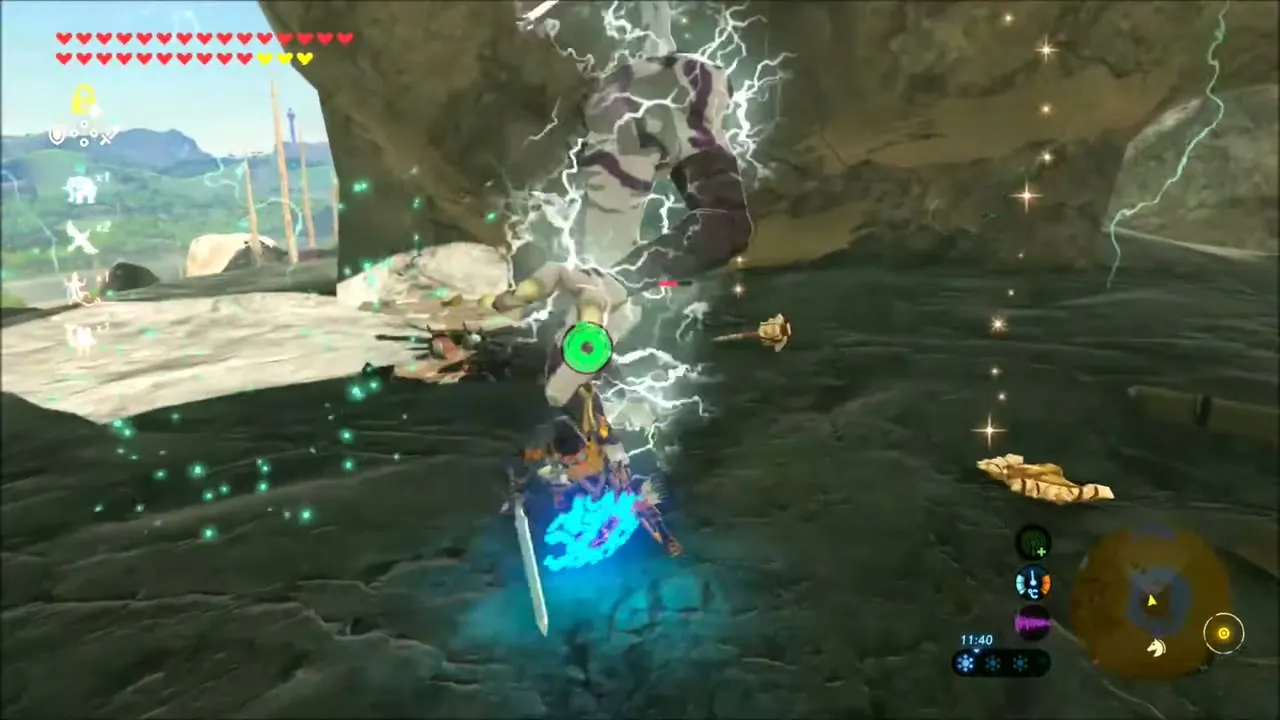
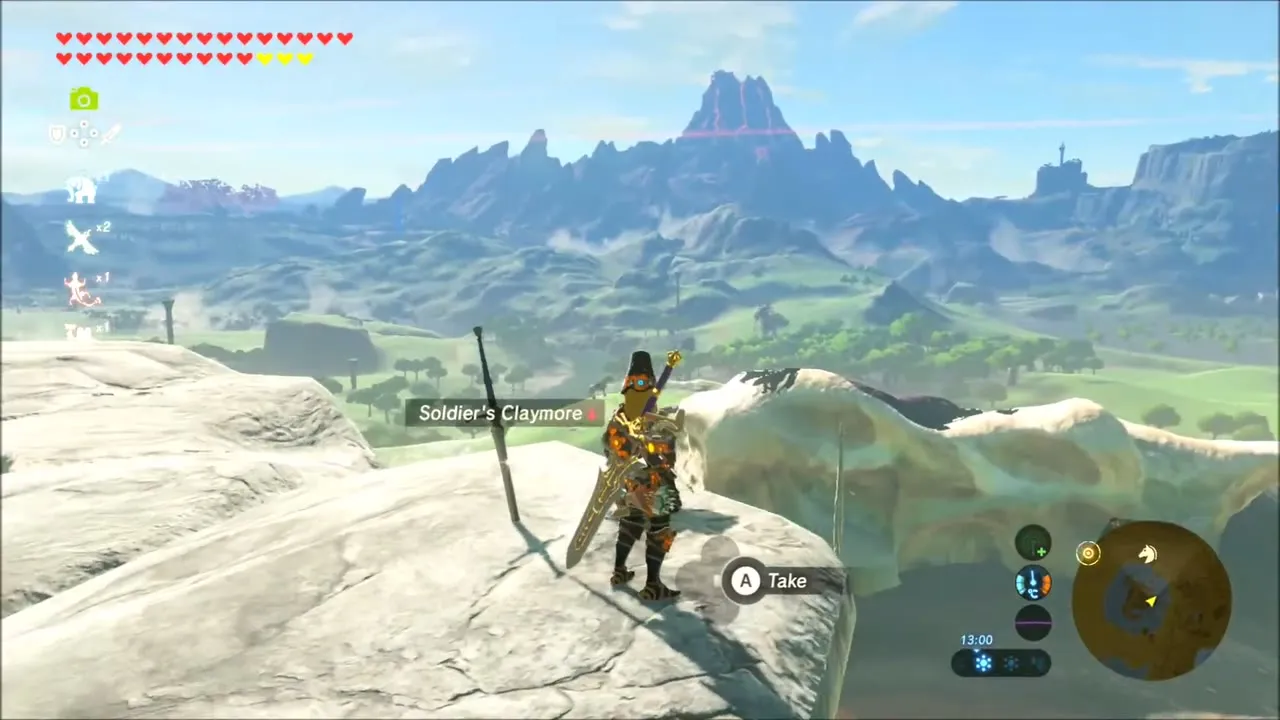
Ride south toward the white rock plateau and glide onto it. A Talus awakens on the rock: wait for it to expose its ore, break it up and finish it off. Next to the fight is a cave occupied by Bokoblins. Clear it, collect the horns and fangs, and open the chest that holds an Amber. When the Master Sword runs out of energy you can swap to a claymore from your pack. On the ridge above, a Soldier’s Claymore lies on the rock and gives you a view across Hyrule Field to the castle.

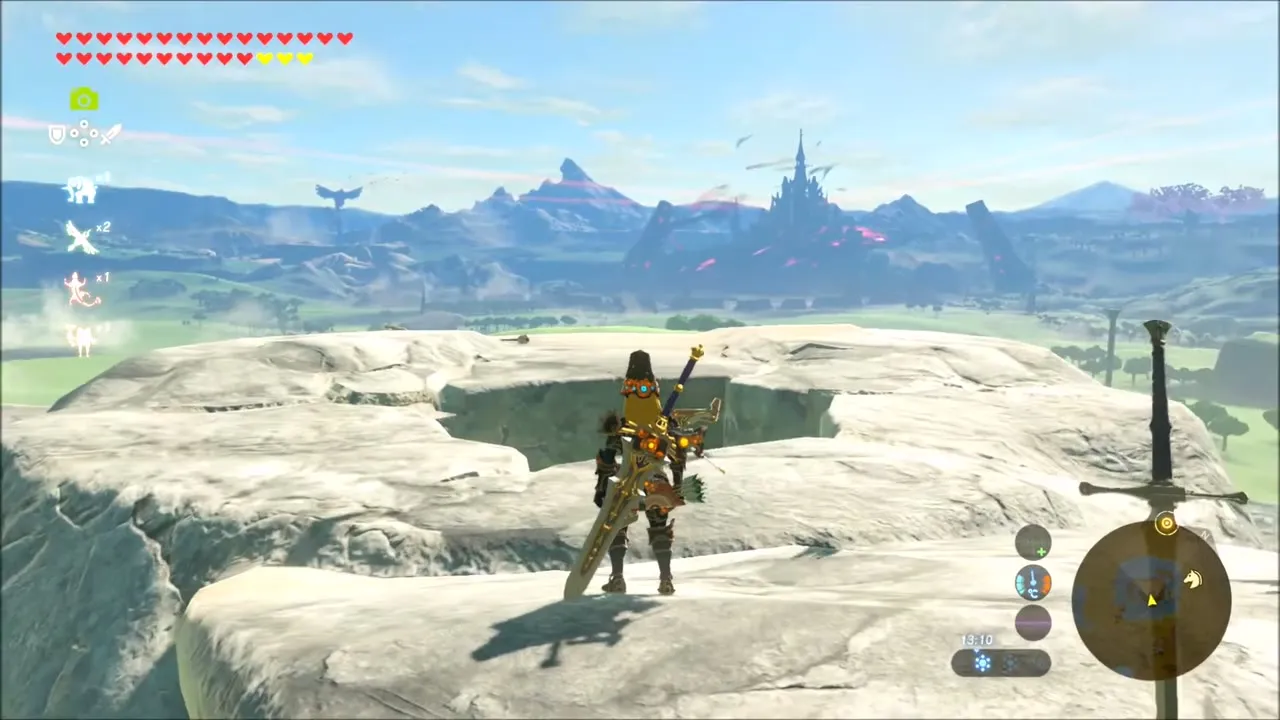
Crenel Hills: Map Stamps and the First Hinox
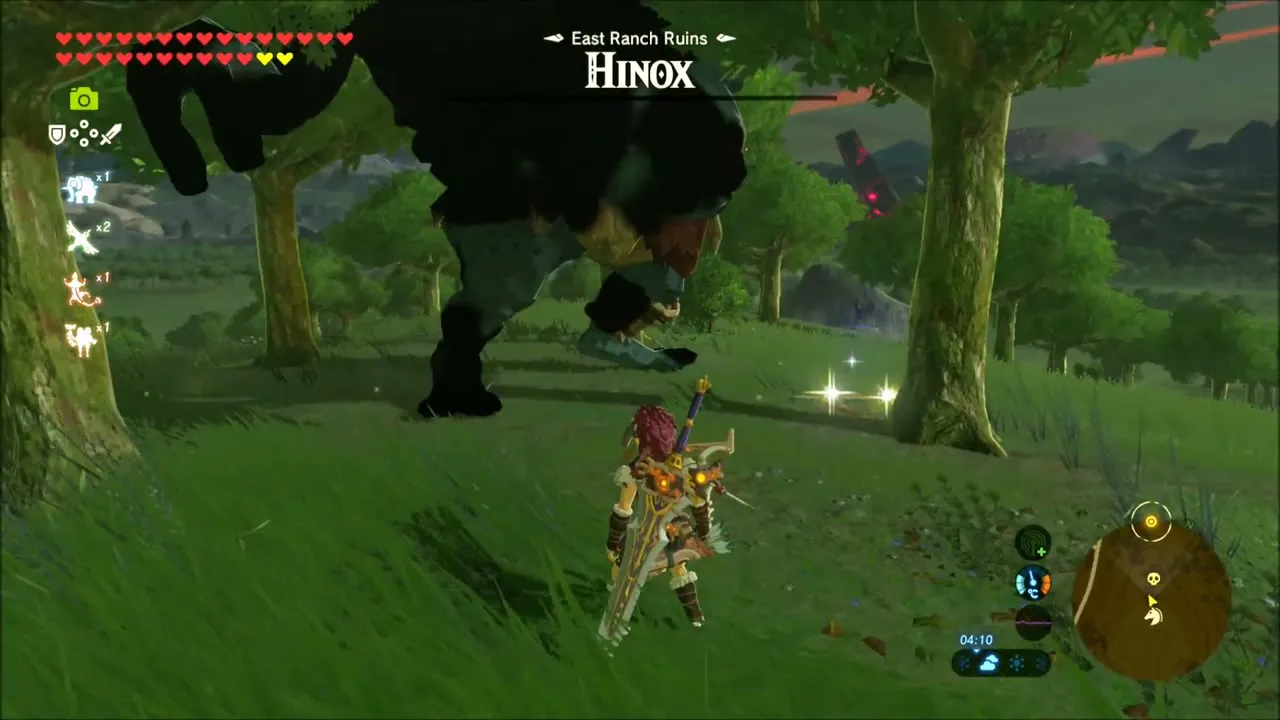
Set stamps around Crenel Hills and the Hylia River before you head north-east. Ride across the green plain to a Hinox. Shoot its eye with arrows to drop it, strike it on the ground, and pick up the arrows and Keese wings on your way, then watch out for the Guardian higher up the slope.
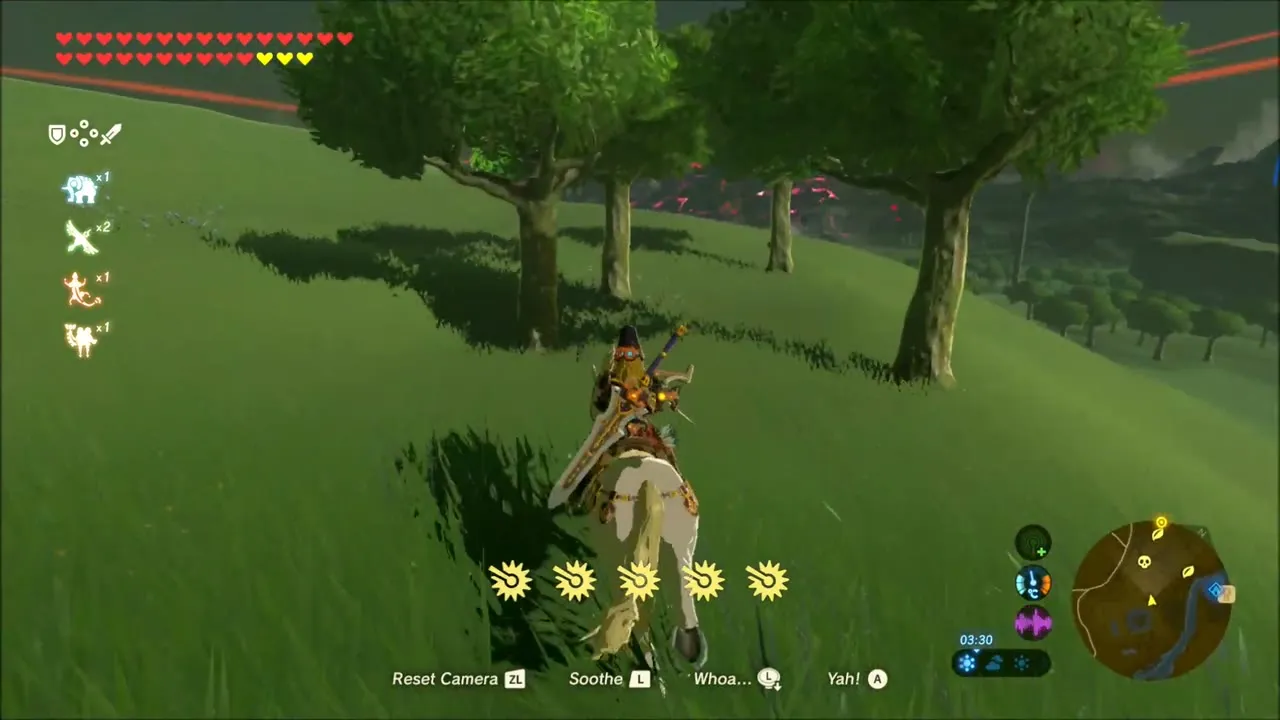


Crenel Hills Korok Seeds and the Giant Boomerang Chest
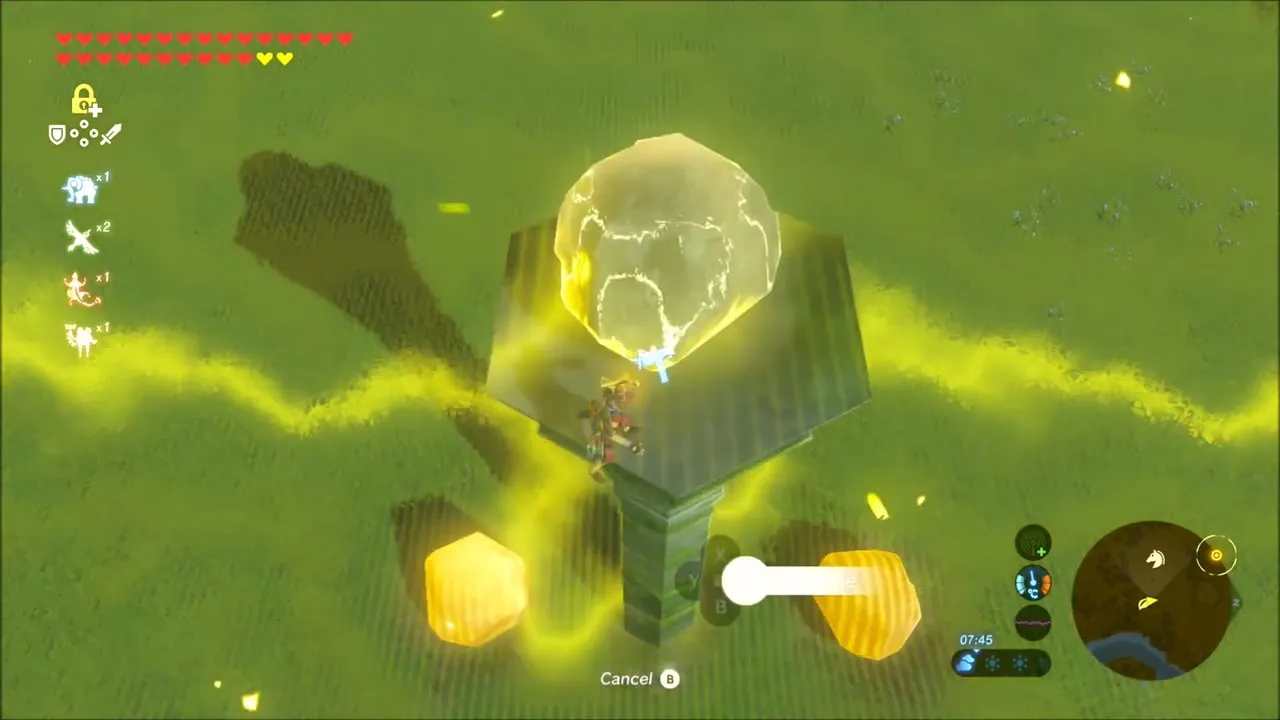
On the first hilltop you can pick up a rock lying on the grass, and a Korok seed is up here as well. Ride further and you reach a tall rock pillar with a chest at its base, which holds the Giant Boomerang. A boulder nearby is held in the yellow chains of Stasis.

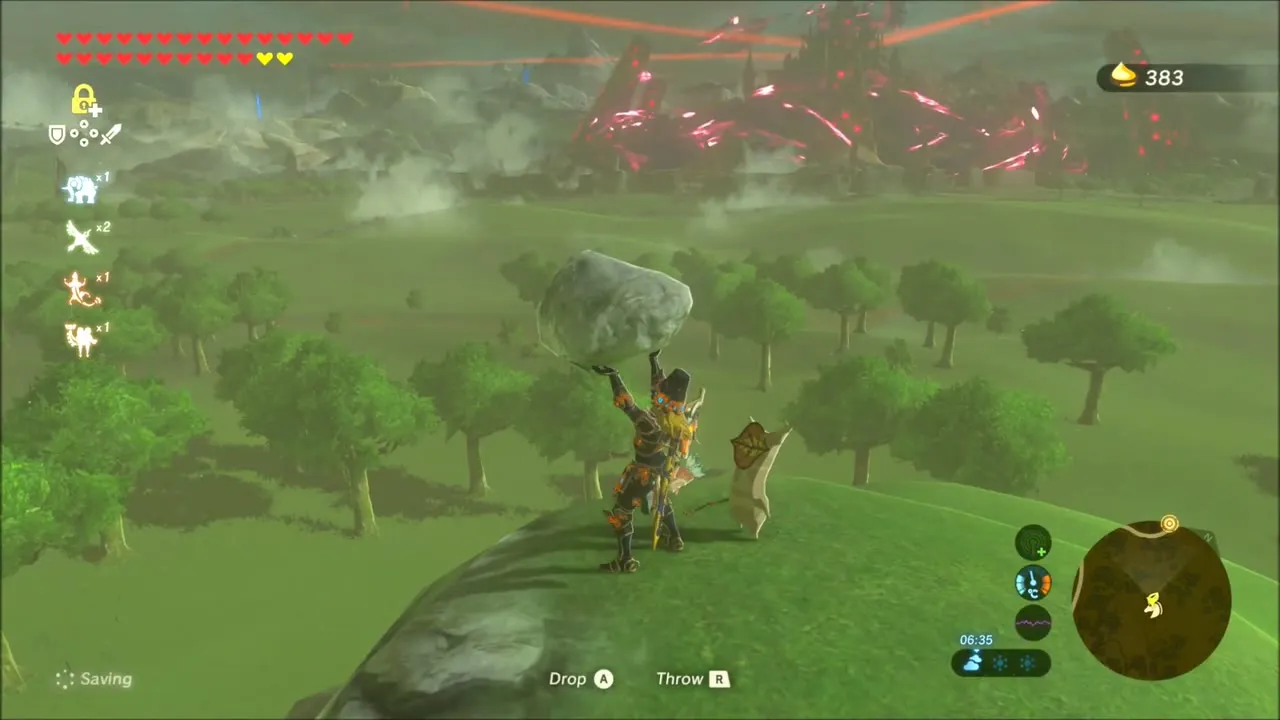

Mabe Village Ruins: Korok Seed, Rupees and Guardian Stalker
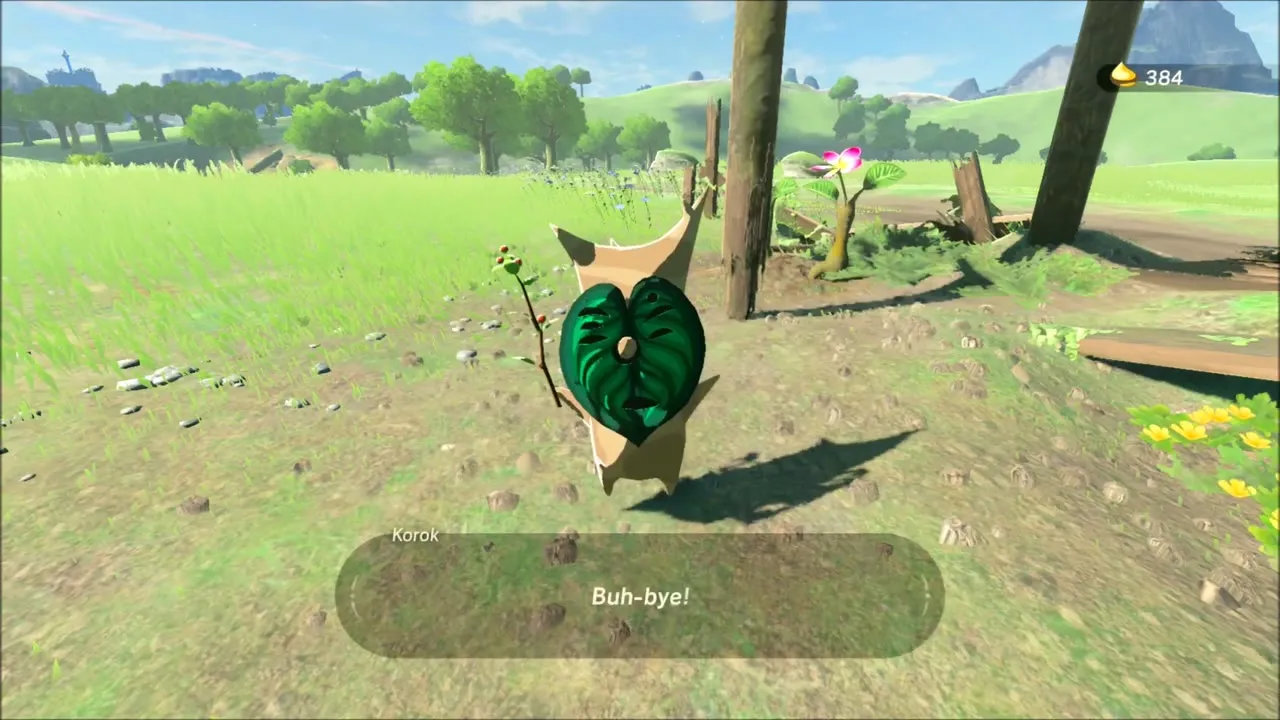
Walk on to the broken pavements of the Mabe Village Ruins (the title card appears as you arrive). Close to the road, a Korok with a pink flower at its side is hidden next to a wooden post and gives a seed. Blue and red rupees lie on the path. A Guardian Stalker patrols the ruin floor: use its pauses to approach, hit its eye, and loot the chests in the stonework afterwards, which include more arrows.

Hyrule Field at Dusk: Mighty Bananas, Second Hinox and Royal Broadsword
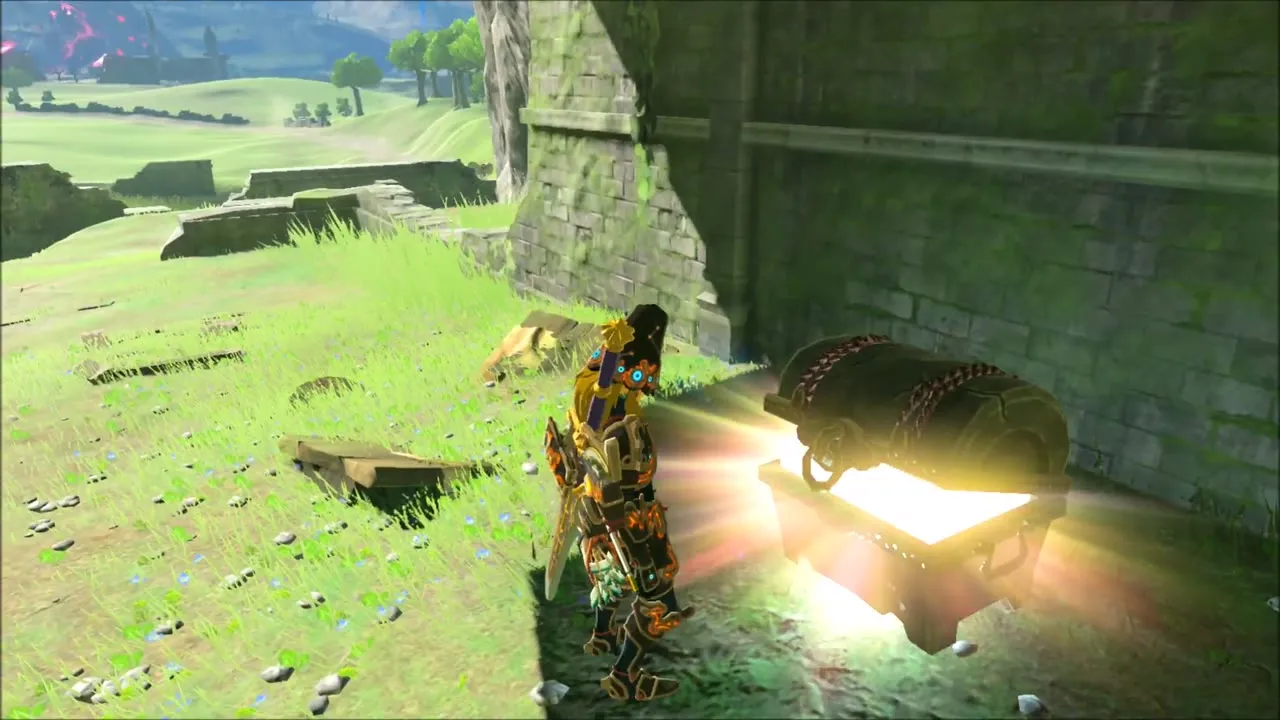
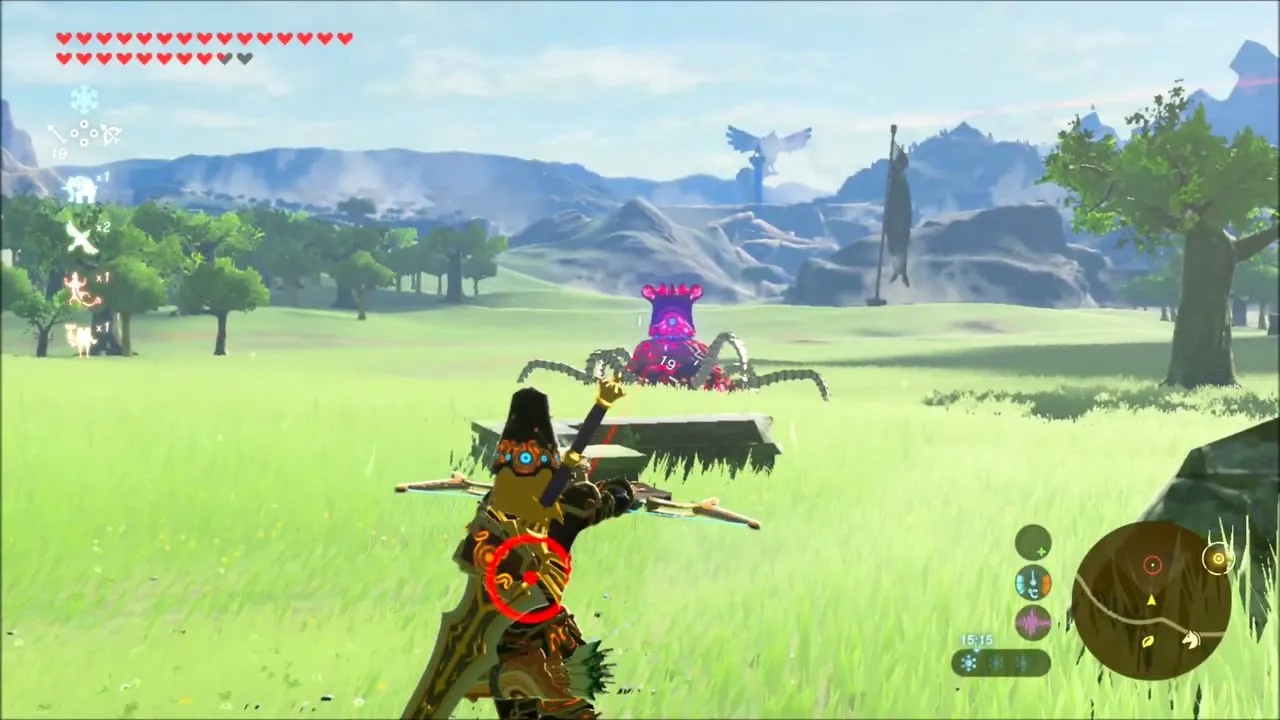
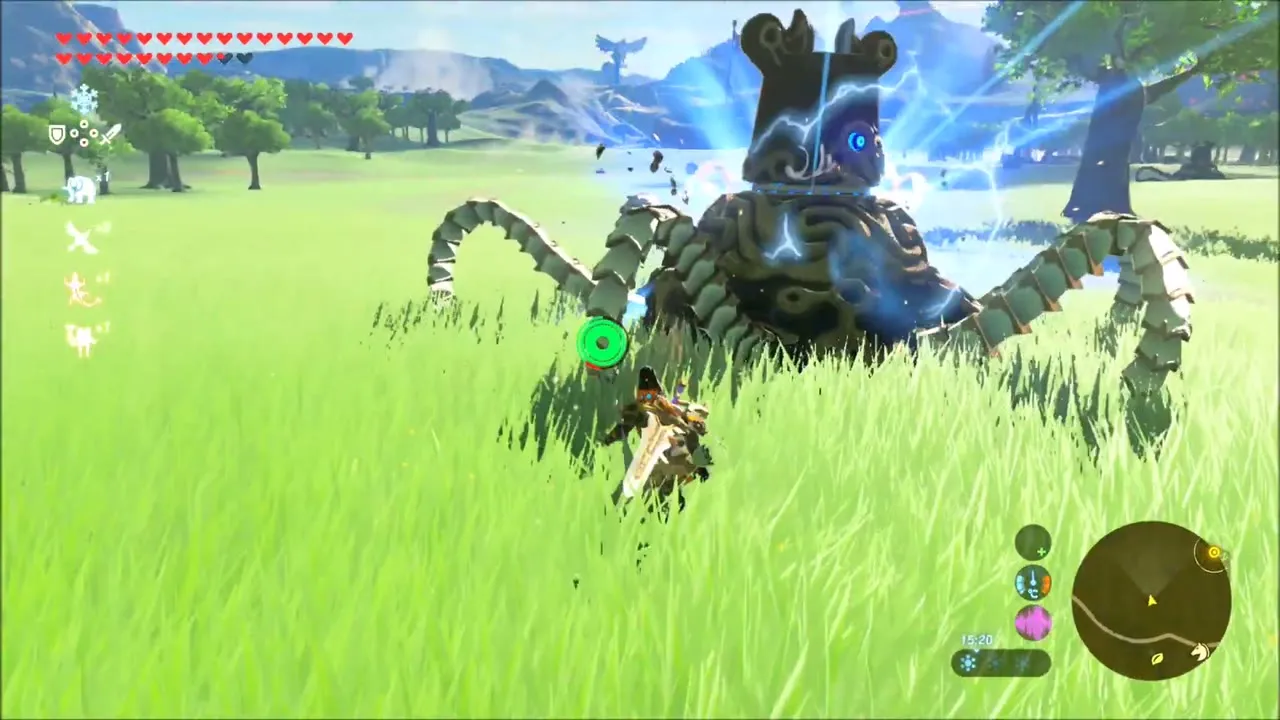
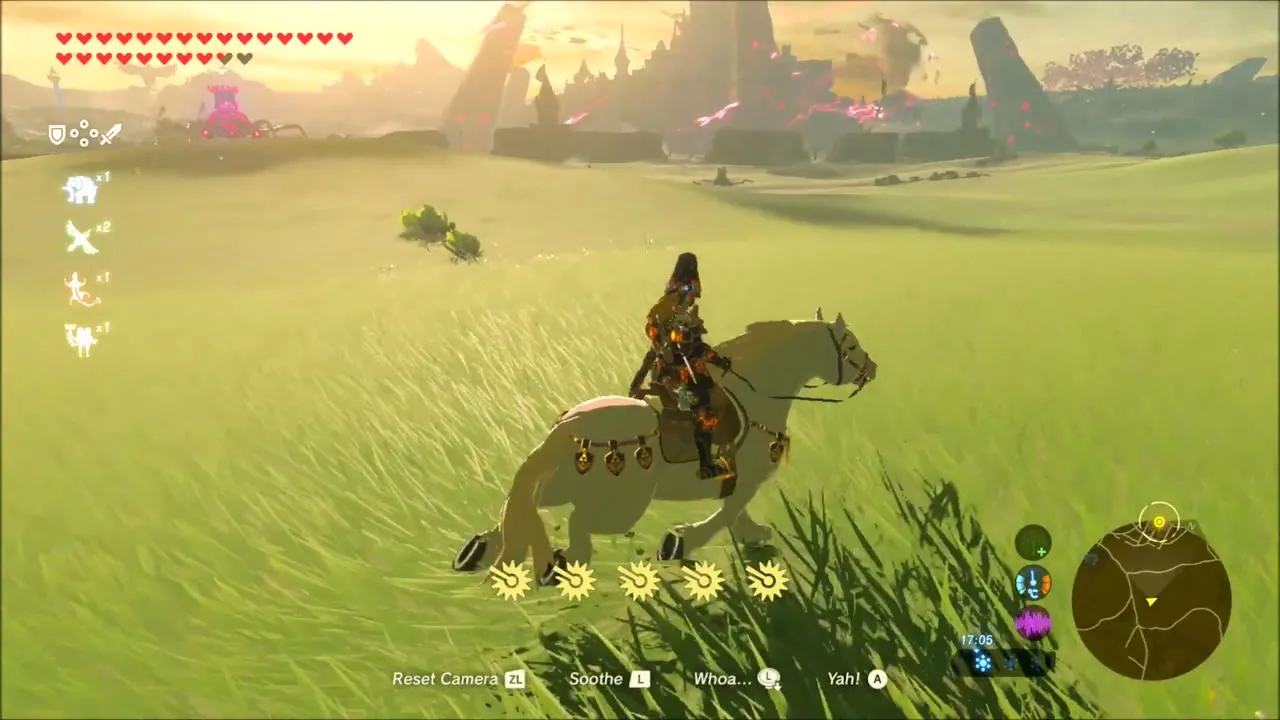
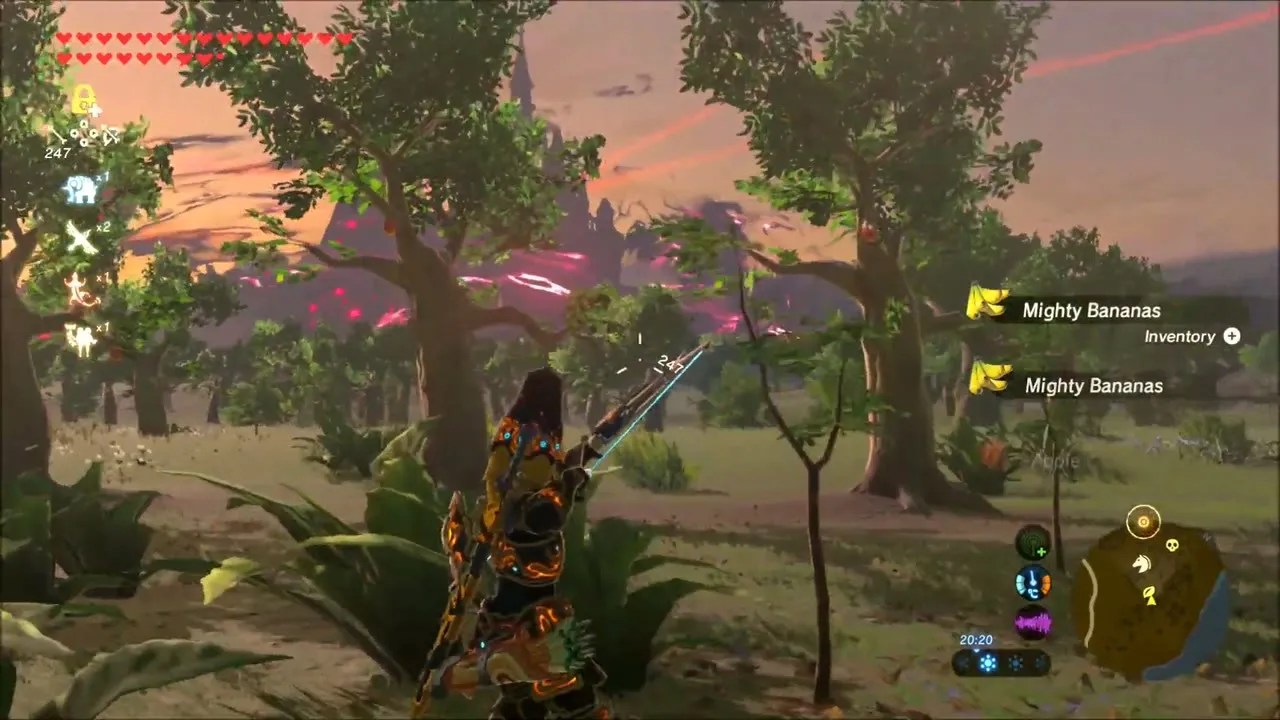
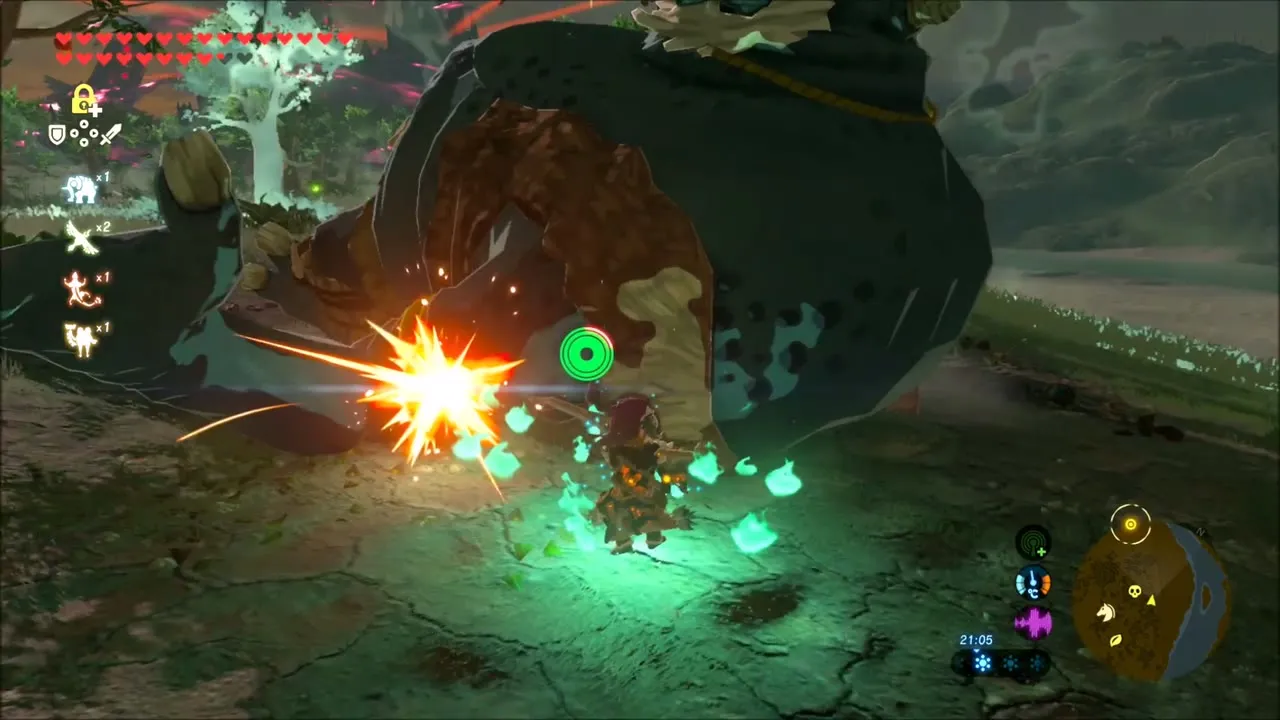
Ride toward the castle across the fields as the light fades. Fruit trees give Mighty Bananas and apples. A second Hinox sleeps in the grass: fell it with arrows and then break into the chest that sits near it, which holds a Royal Broadsword, and pick up a Savage Lynel Crusher (tier set by difficulty scaling).


Hylia River Bridge: Cryonis Ice Block and Korok Seeds
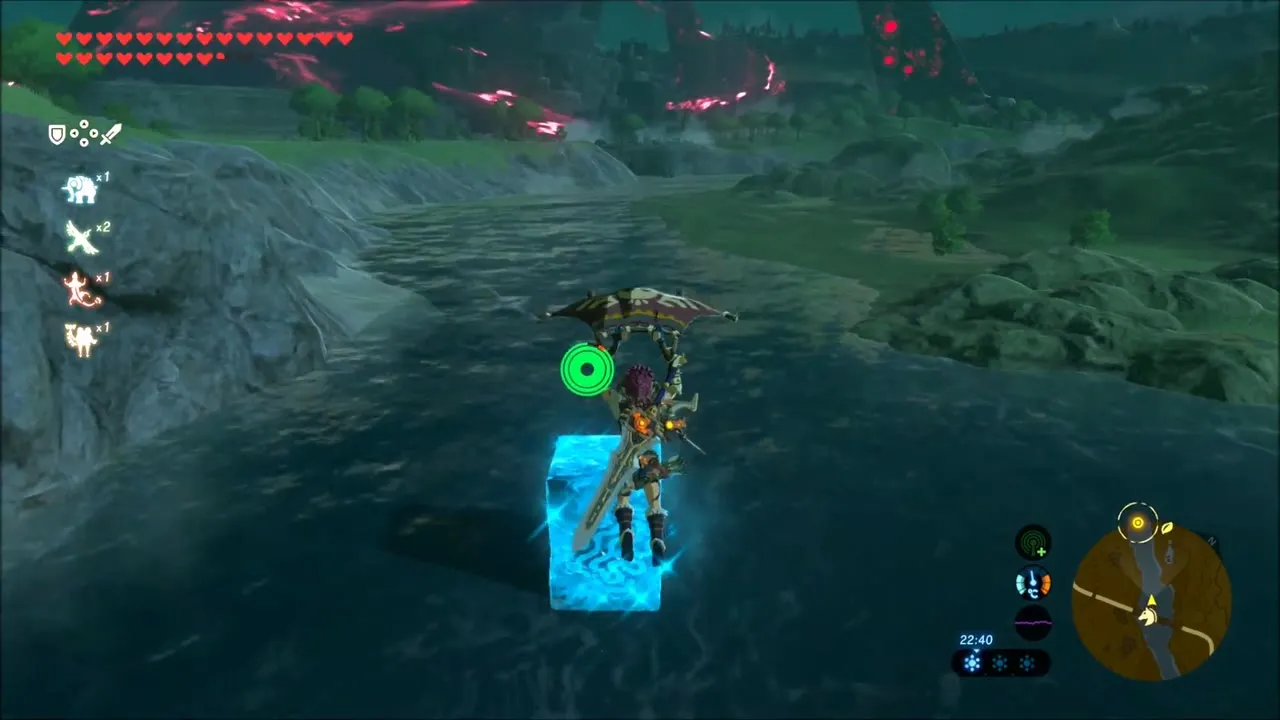
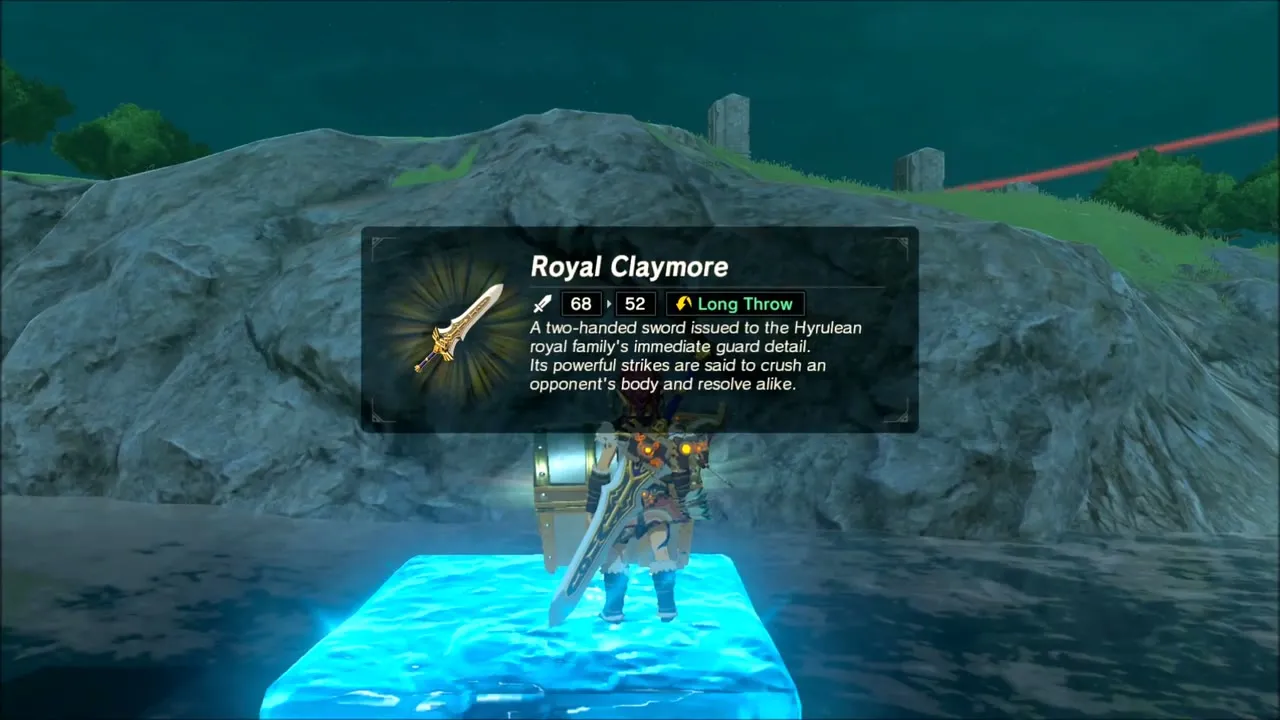
Follow the road to the bridge over the lake at the head of the Hylia River. At the water’s edge, use Cryonis to raise an ice block that carries you up to the rock above, and catch a Hyrule Bass in the shallows. On the hillsides above the lake you find several Korok seeds; climb the rocky outcrops and glide between them to reach them.


Crenel Hills: Korok Seed, Stasis Boulder and Cave Chests
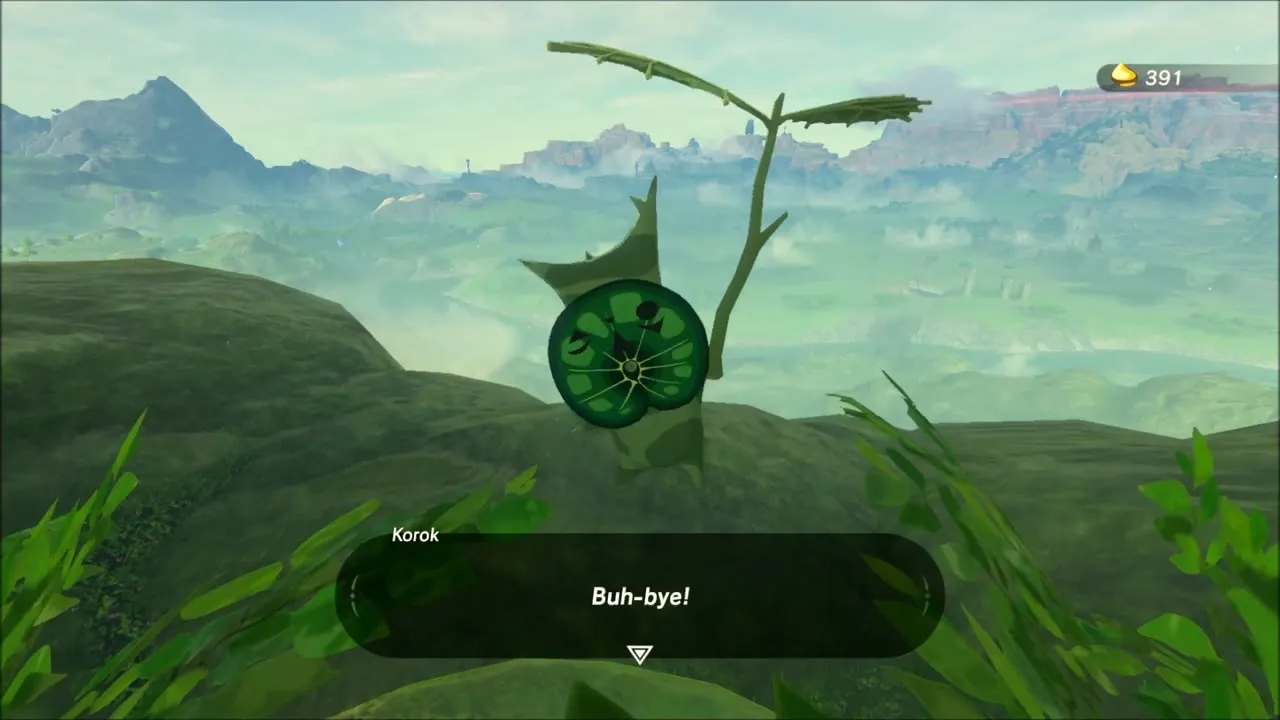
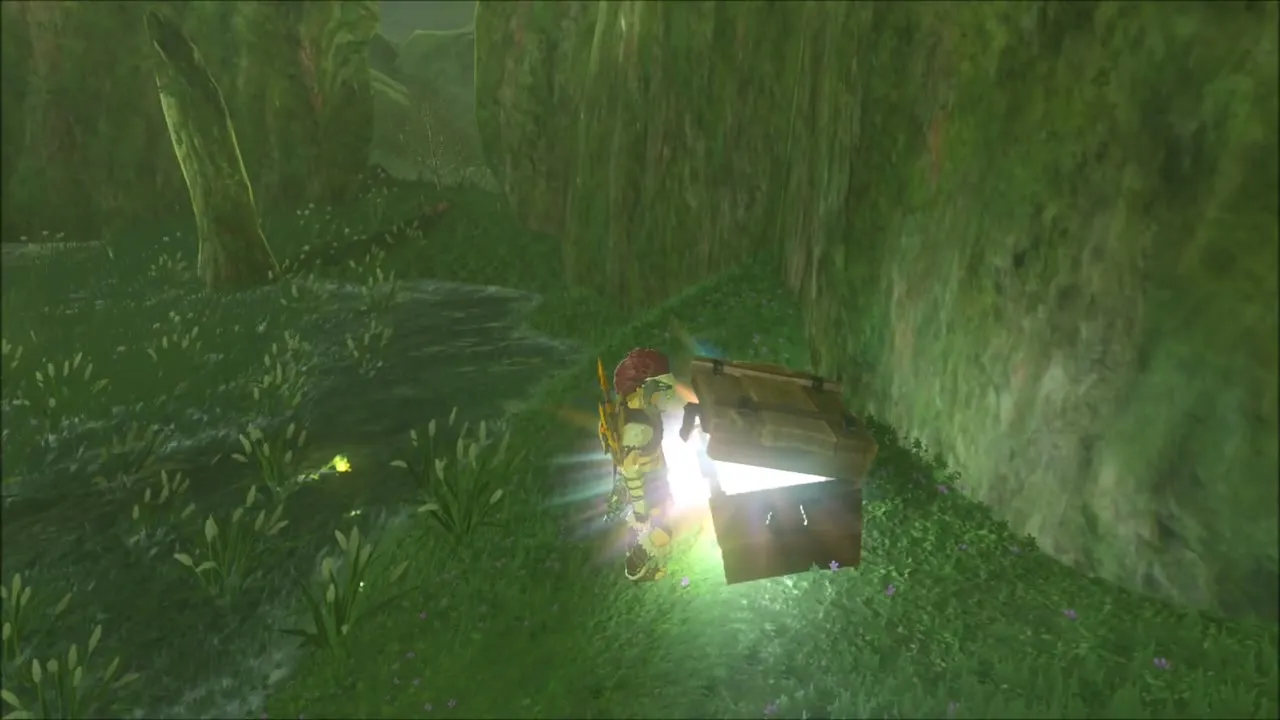
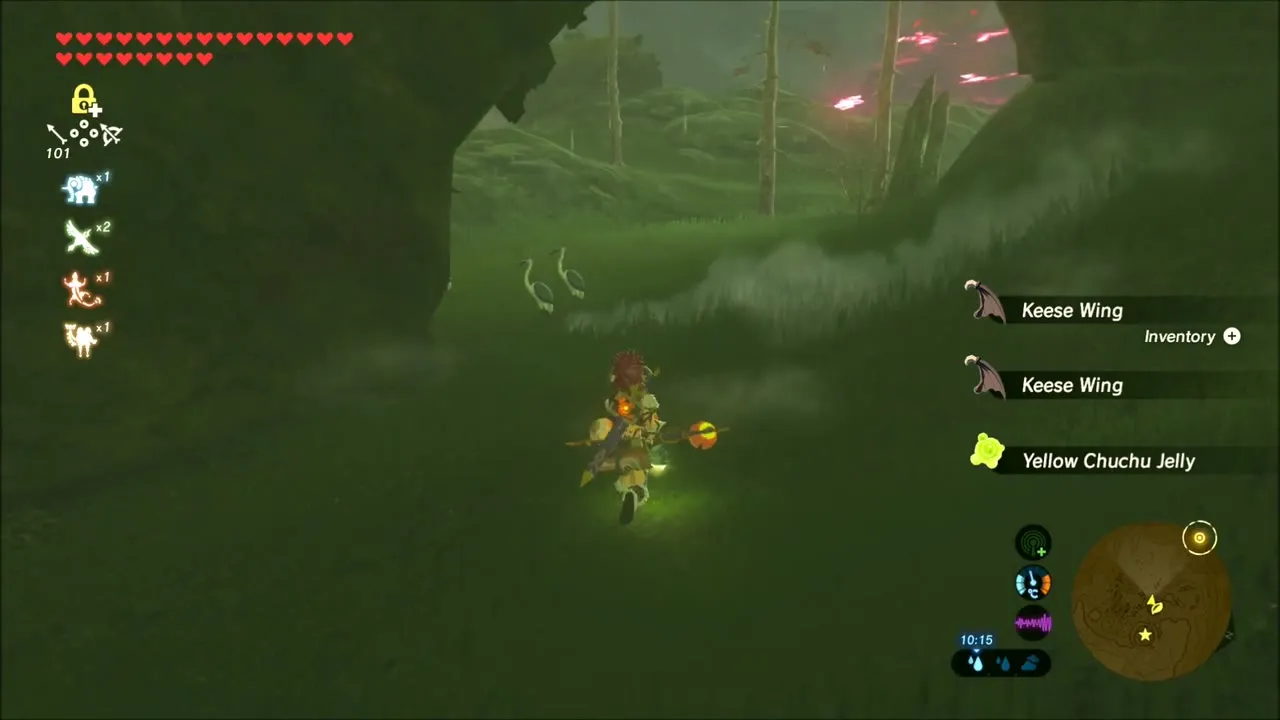
Return to the slopes of Crenel Hills. A Korok sits at a stump by a rock ledge, another on a hillside you reach by gliding down, and Stasis helps you move a boulder to open a path. Your Ancient Bow breaks in a fight with electric Keese, so keep a spare. Look for chests in the rock hollows and for a bomb-breakable boulder that hides Topaz and Amber. Yellow Chuchu Jelly drops in the fights here.
Namika Ozz Shrine: A Modest Test of Strength
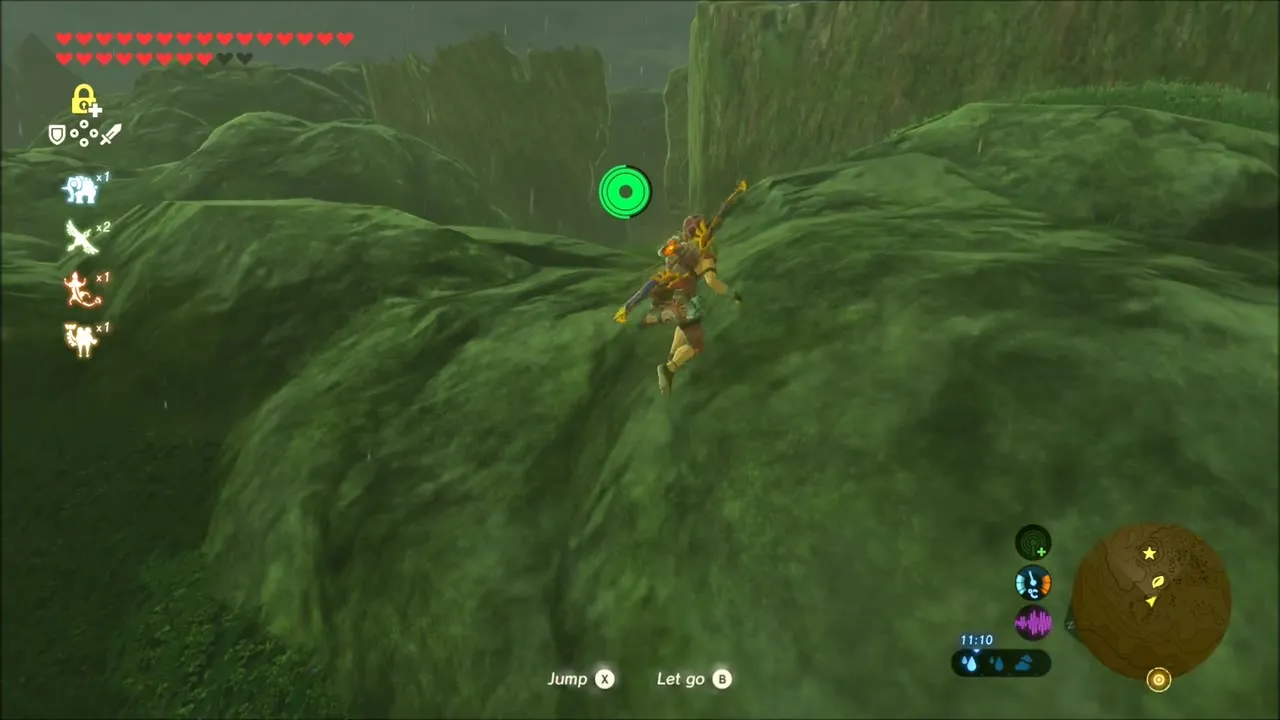
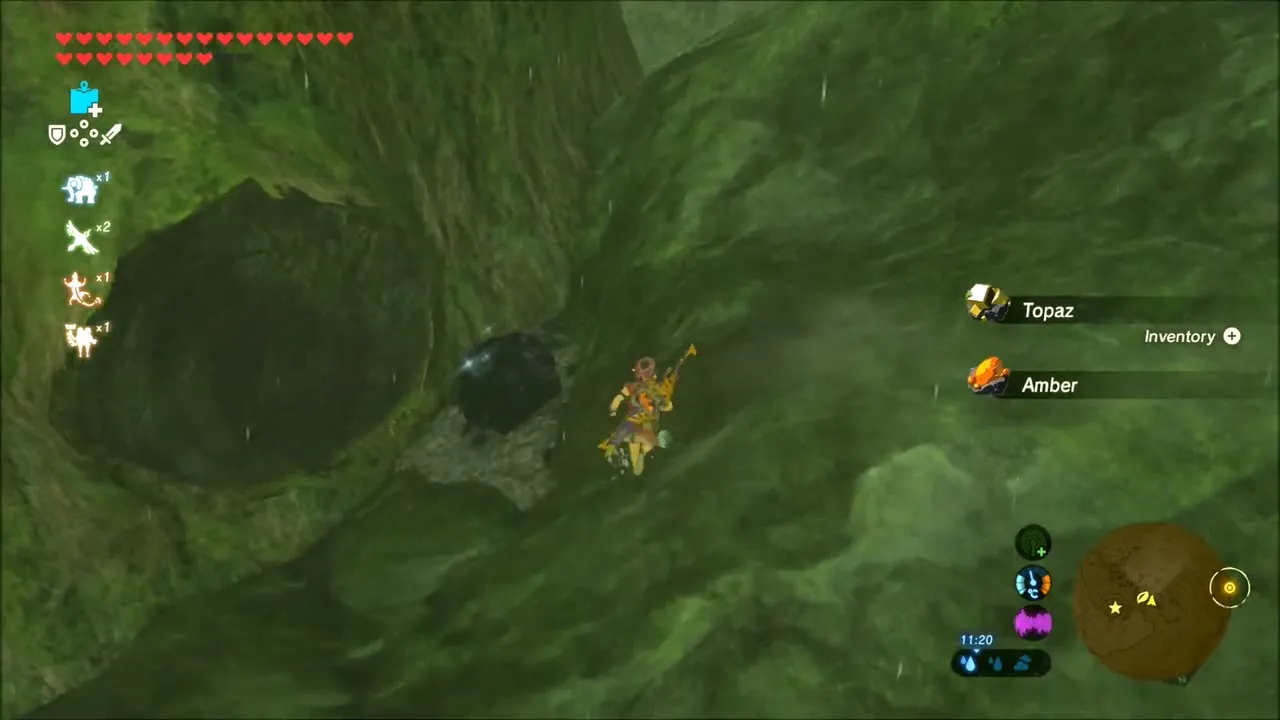
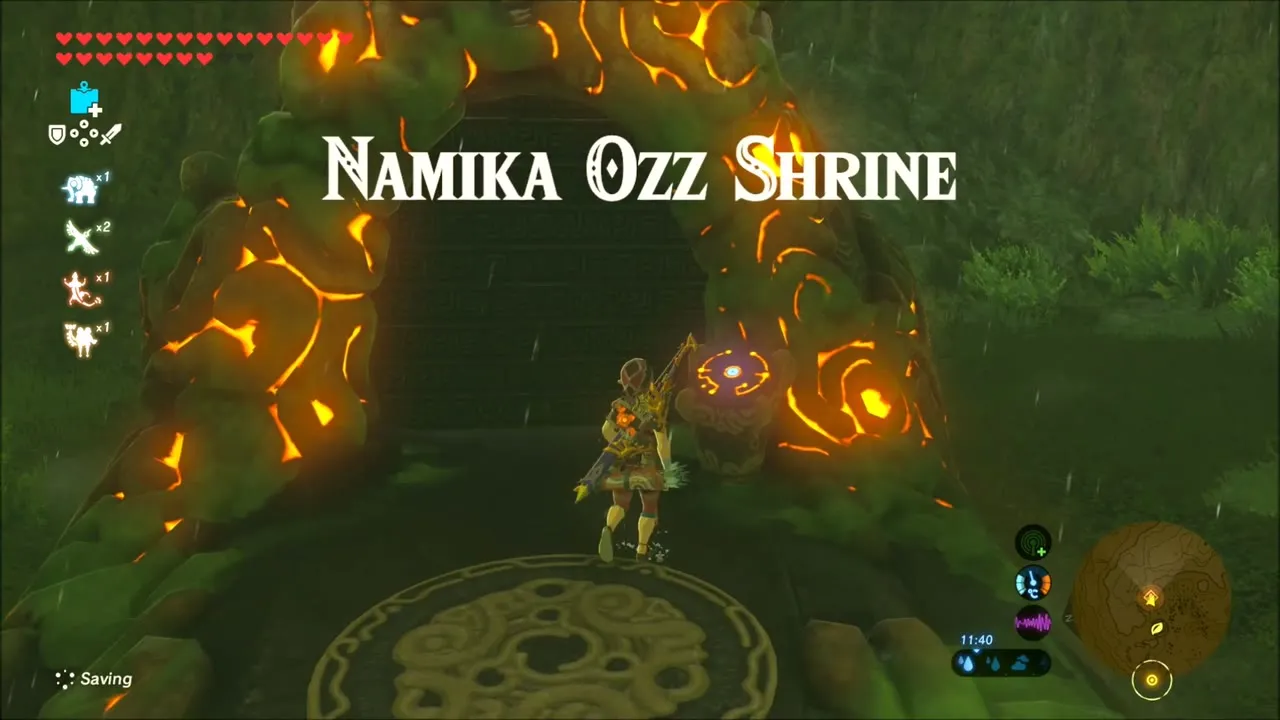
The way into Namika Ozz Shrine is a climb on top of Crenel Hills at (760, -821), inside a huge hollow tree trunk. Scale the grassy cliff, bomb the boulder that blocks a cave to break out Topaz and Amber, collect Flint, and glide into the hollow below. Step up to the shrine; the doorway lights up and its title appears.

Guardian Scout duel and Frostspear
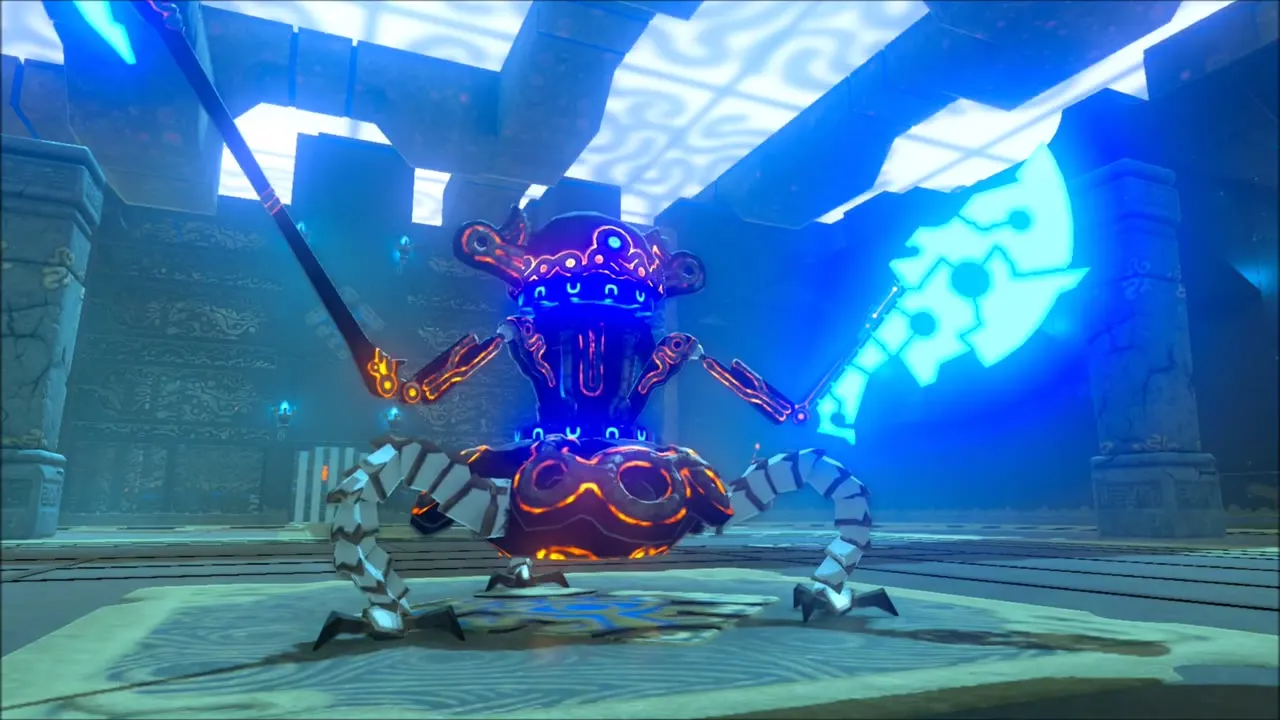
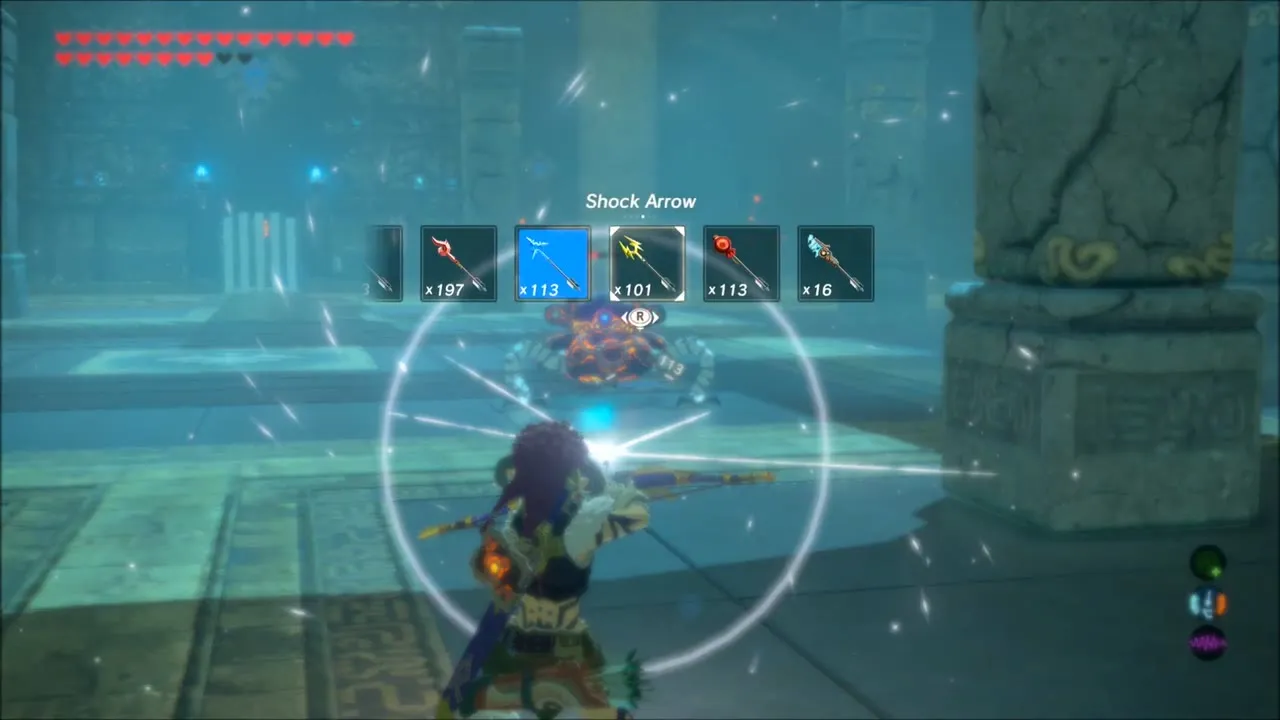
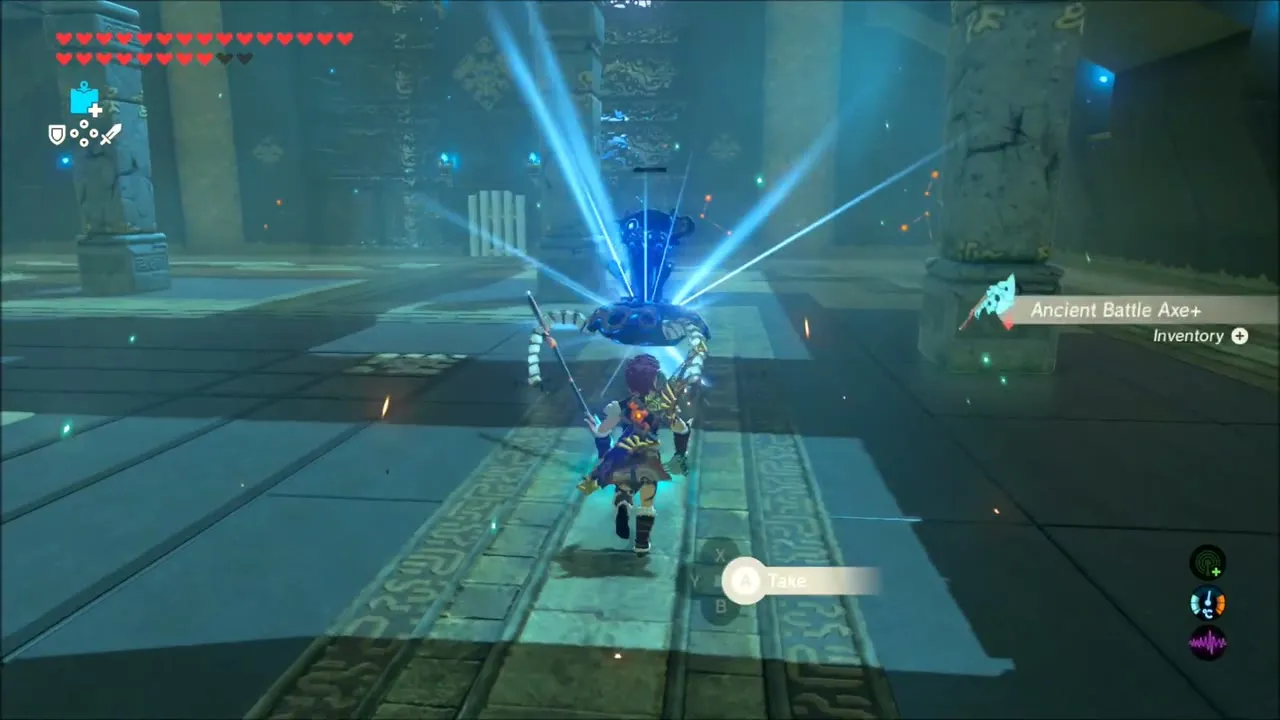
The trial is a duel with a Guardian Scout in a blue arena. Dodge its spear and axe strikes, shoot it with Shock Arrows, and finish it off to collect the Ancient Core, Spring and Shaft along with a Guardian Spear and an Ancient Battle Axe+ (tier set by difficulty scaling). The chest beyond the stairs holds the Frostspear, and the monk Namika Ozz then gives you the Spirit Orb.

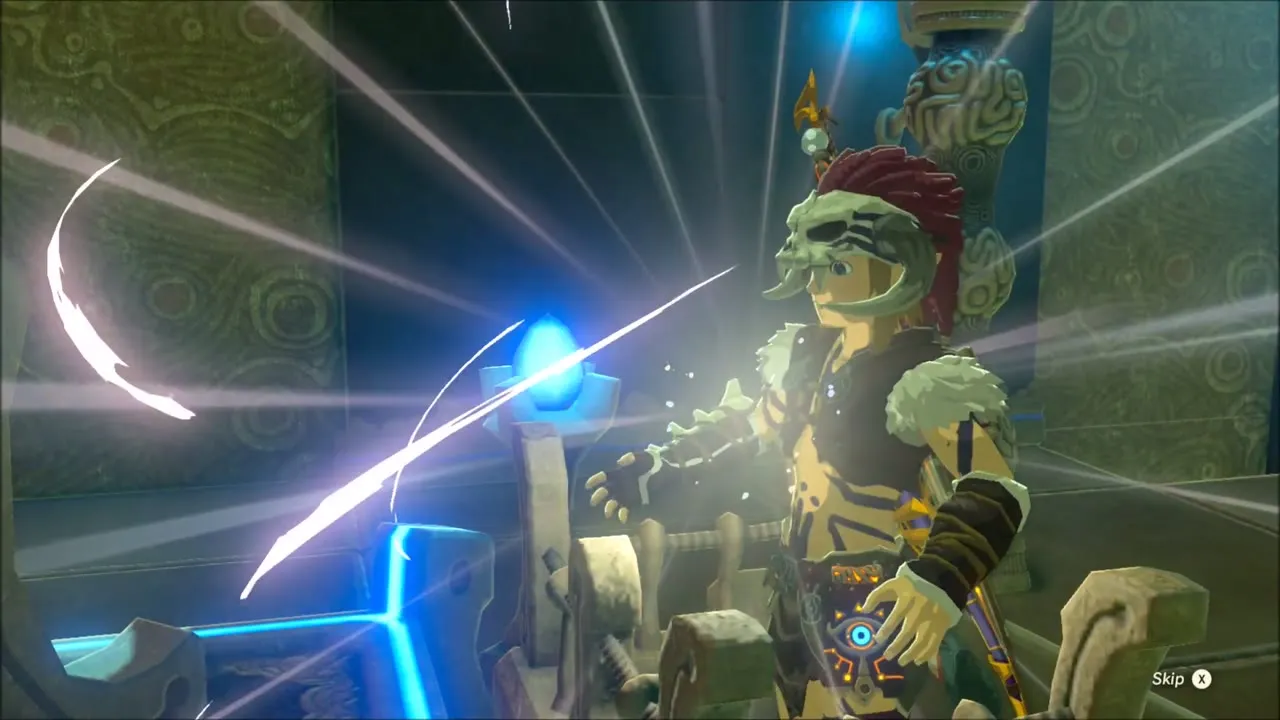
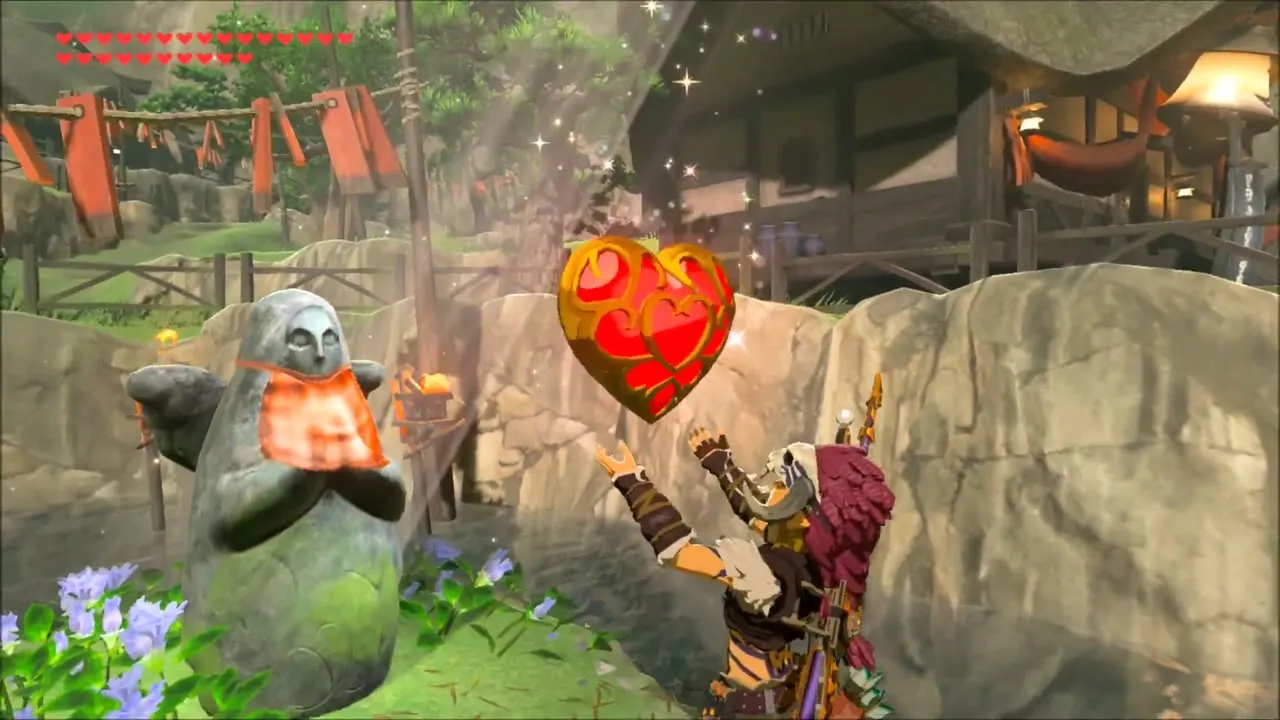
Trade orbs at the goddess statue
With the orb in hand, visit a Goddess Statue and choose between a Heart Container and a Stamina Vessel.

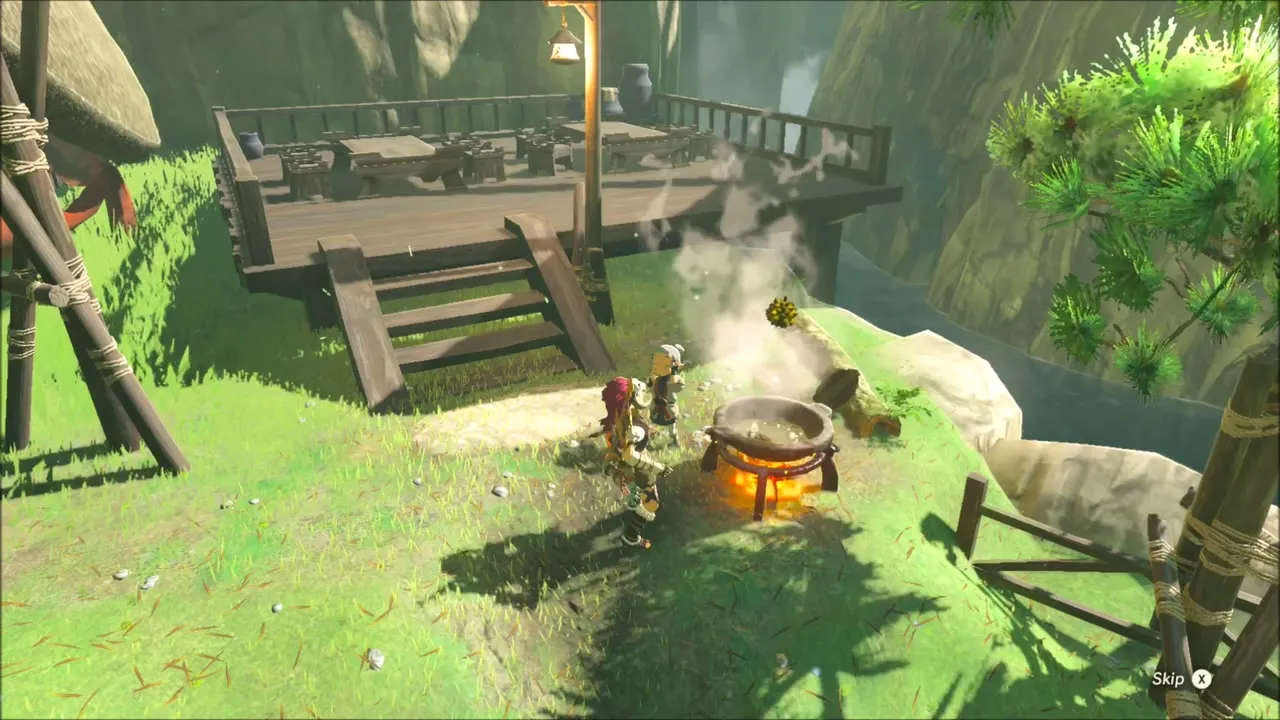
Cooking Hearty Dishes at the Stable
Walk to a cooking pot at a stable by a wooden platform and cook a batch of Hearty Simmered Fruit and a Hearty Mushroom Skewer. These meals refill your hearts and add extra yellow hearts for the tougher fights ahead.


By Firefly’s Light: Lasli’s Fireflies in Kakariko Village
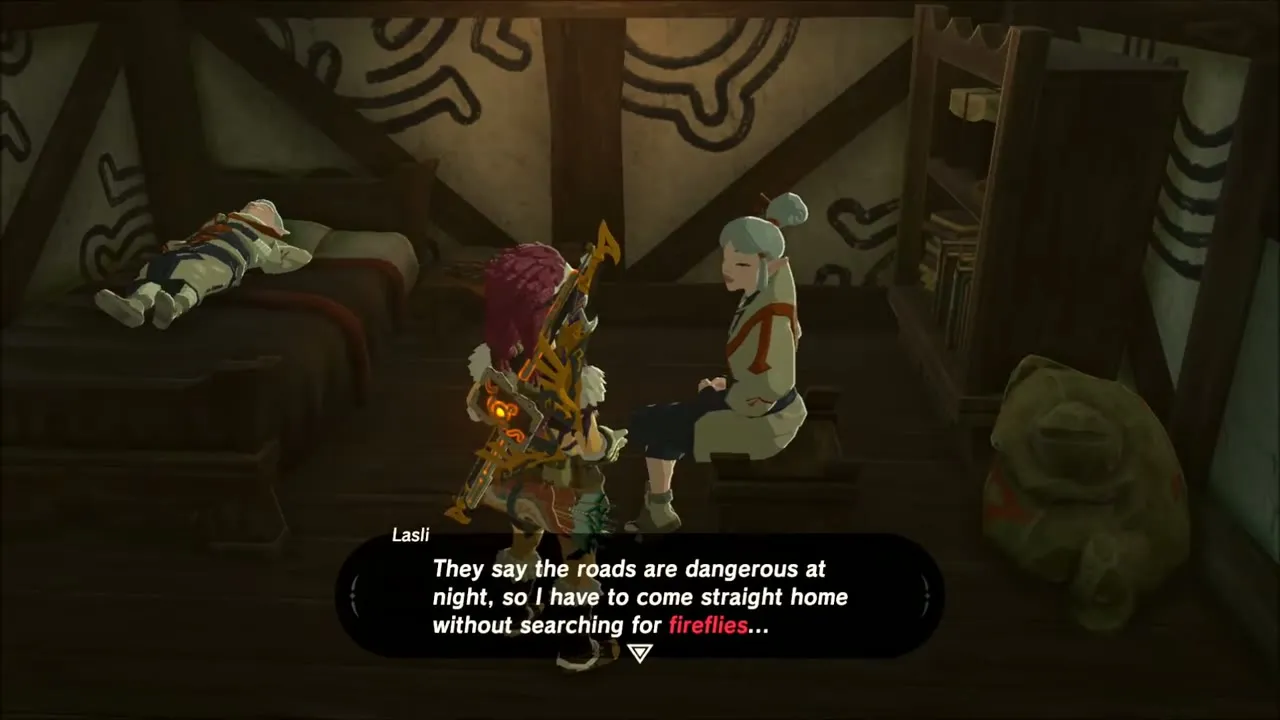
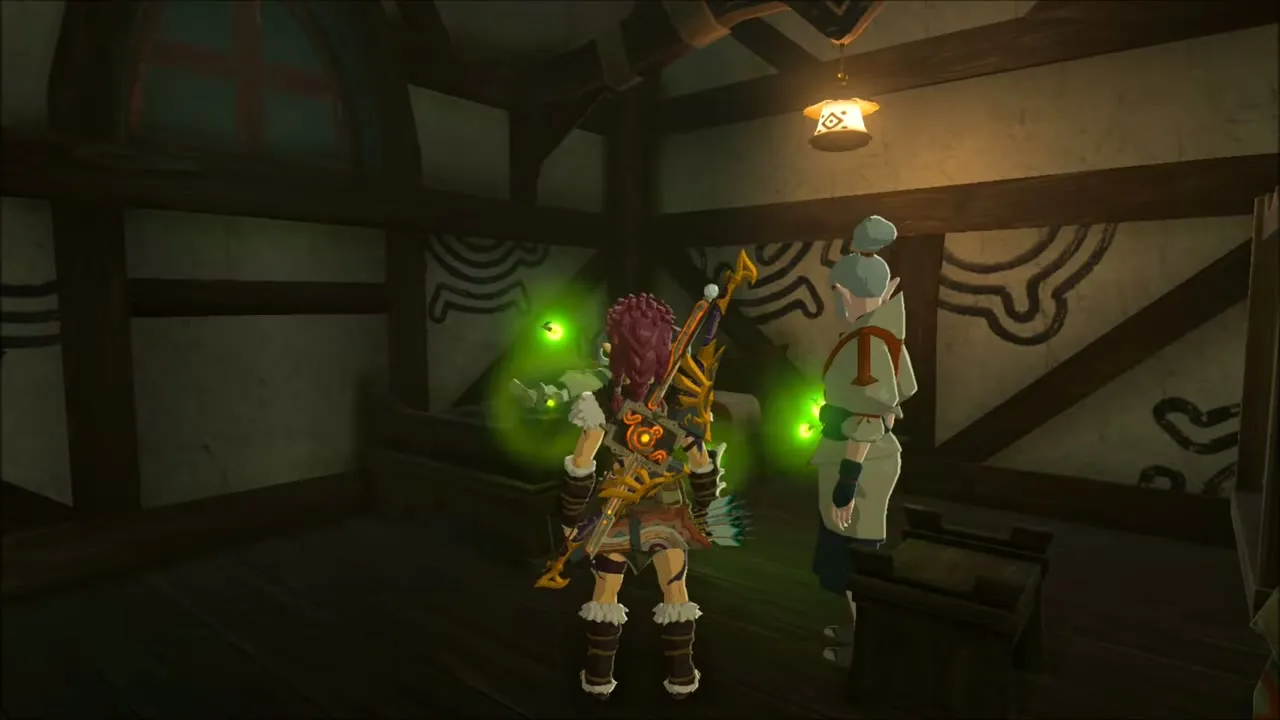
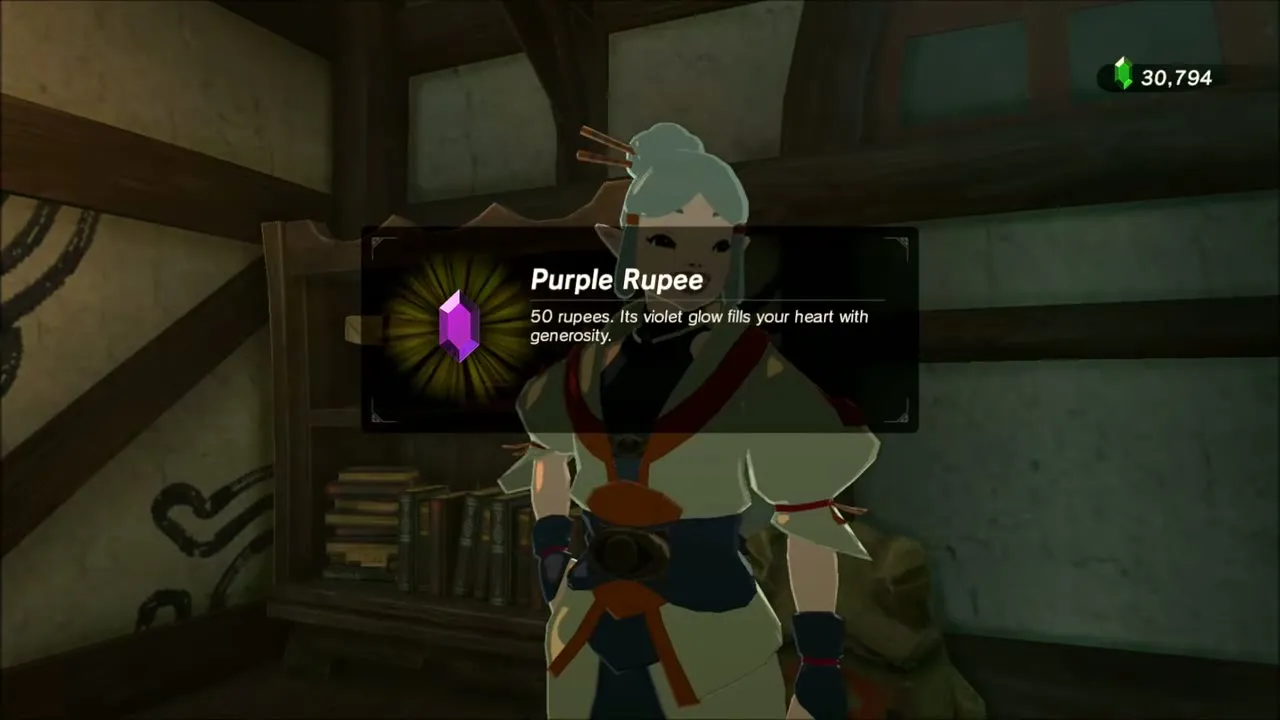
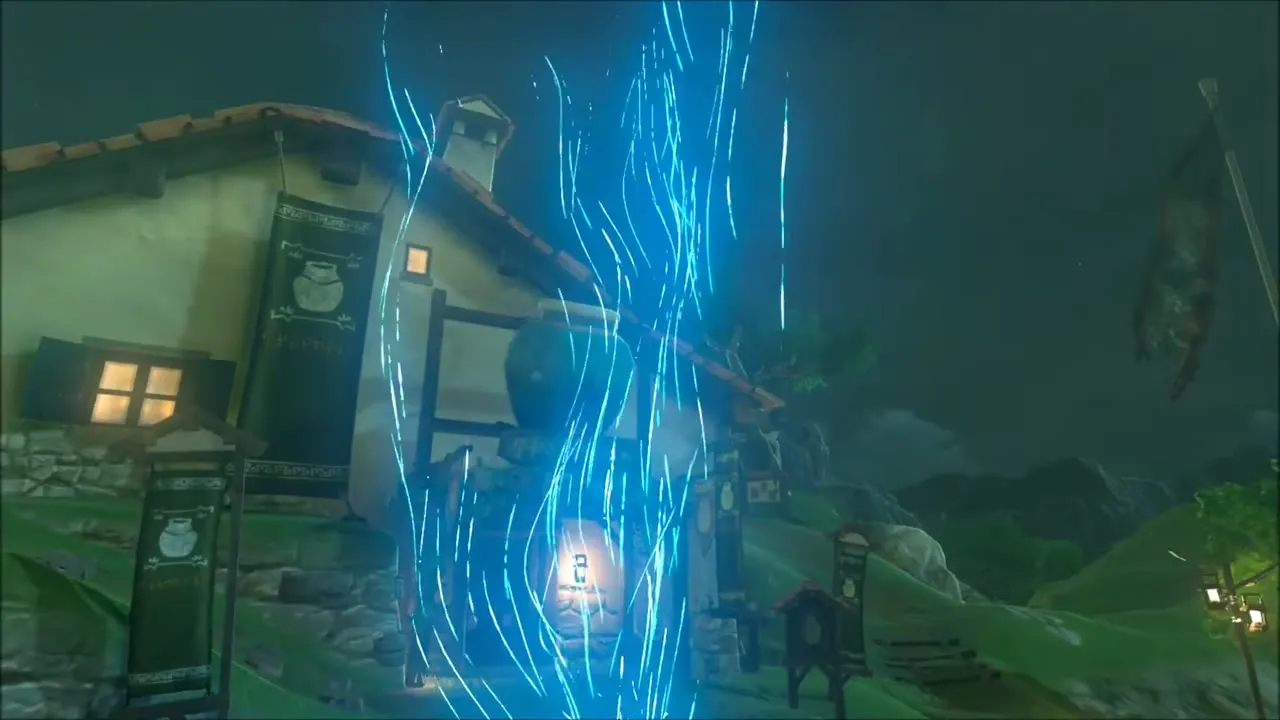
Start in Kakariko Village, where you stop by Impa‘s house and then take on the quests the villagers are waiting to hand out. The first job is By Firefly’s Light. Lasli misses the fireflies that used to drift around her home, so you catch glowing Sunset Fireflies at night, carry them to her house and release them beside her. The moment they float around the room she thanks you and pays out 50 rupees.
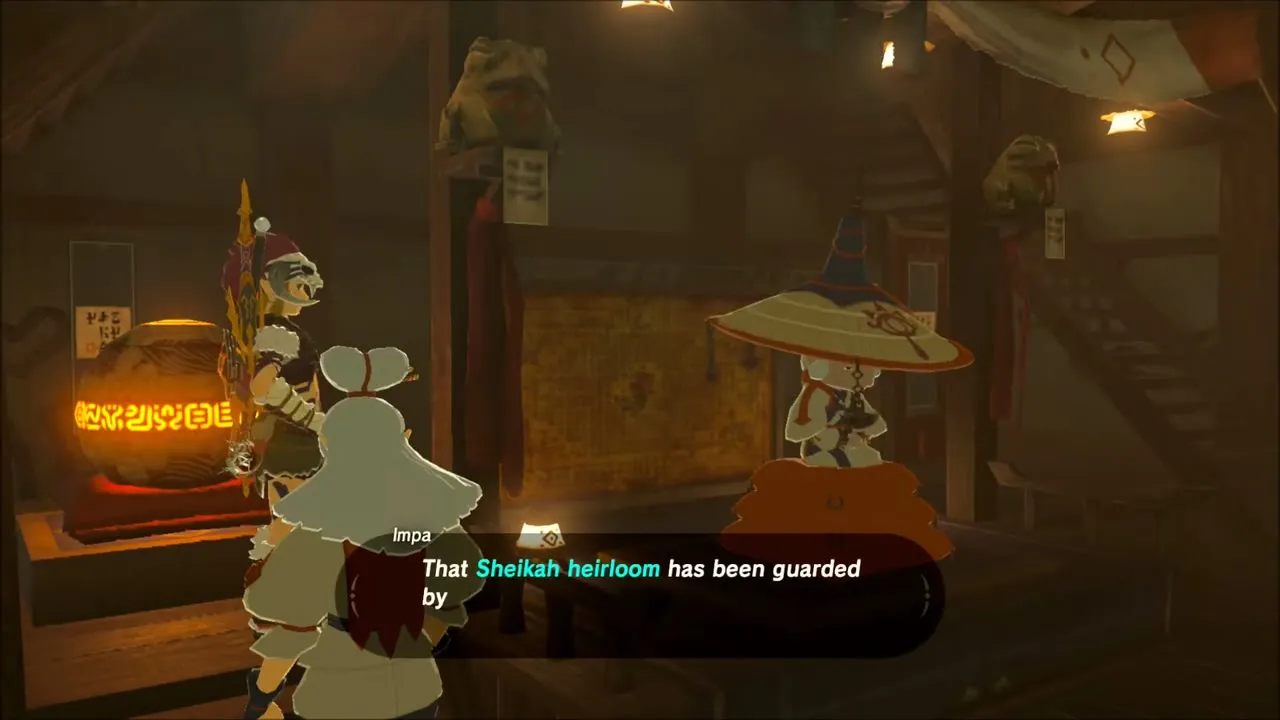
The Stolen Heirloom: Find the Thief and Reveal Lakna Rokee Shrine
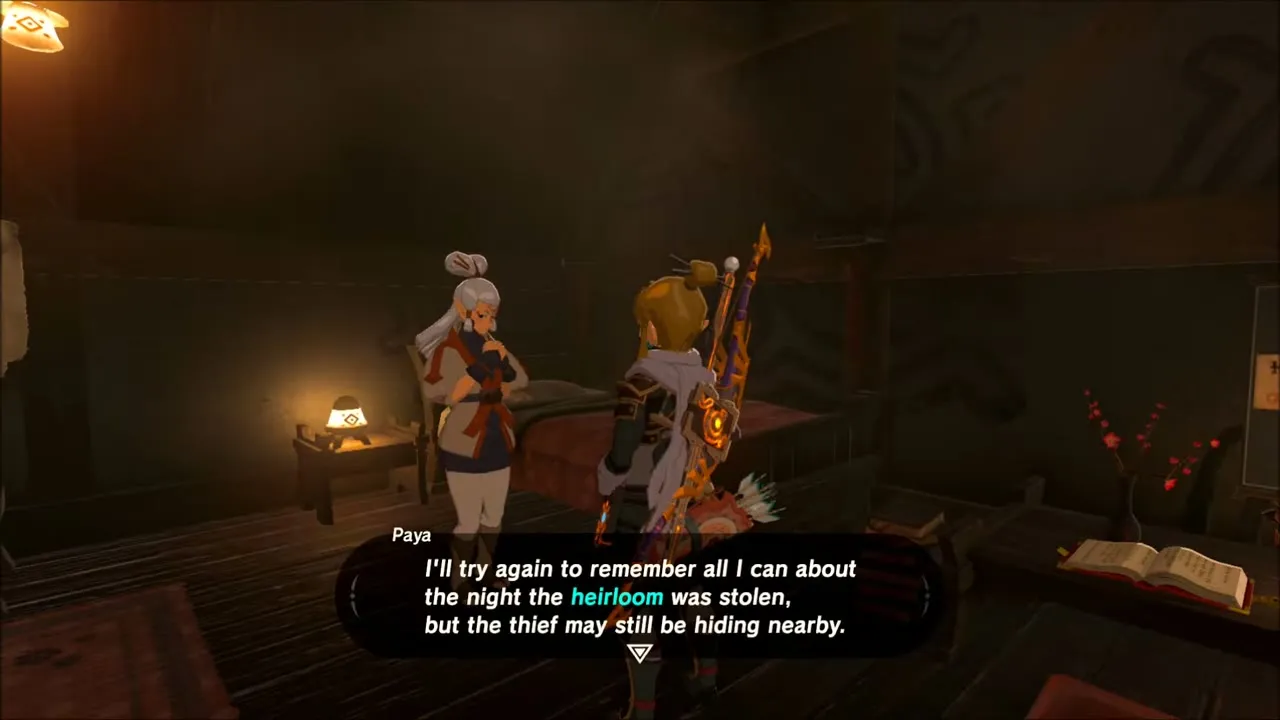
With By Firefly’s Light, Flown the Coop and Find the Fairy Fountain finished, the villagers finally open up and The Stolen Heirloom begins. Speak to Paya, who explains that she had cleaned the family heirloom every day from morning to dusk until it vanished, then question the other villagers, including Lasli and Melie. One of them admits to sneaking out at night, so sit by the fire in the village square and let the evening roll around.



Follow the guard into the woods
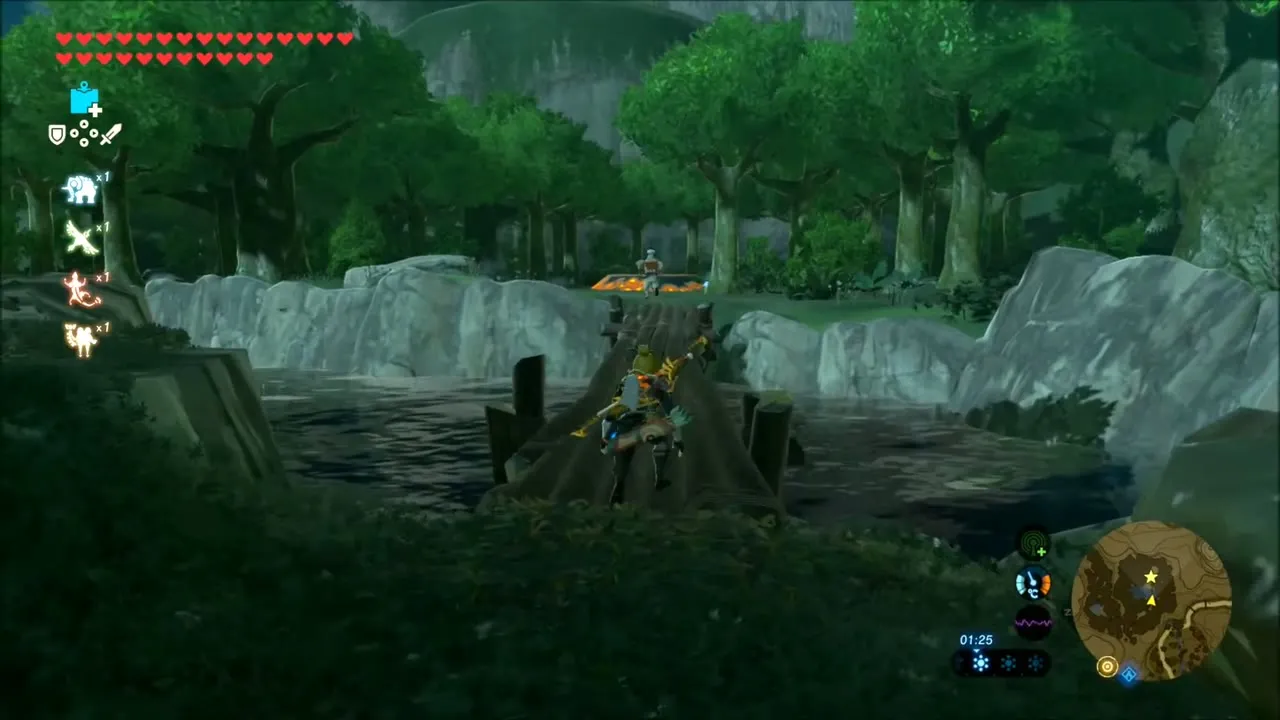
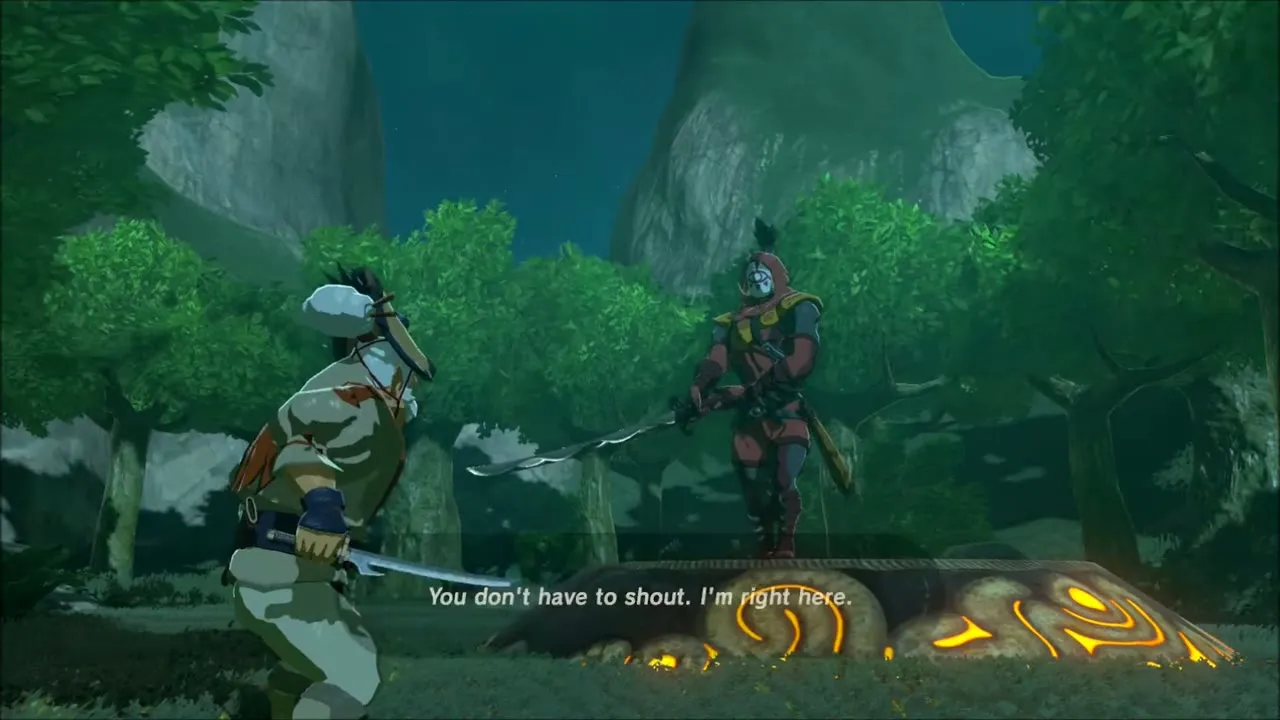
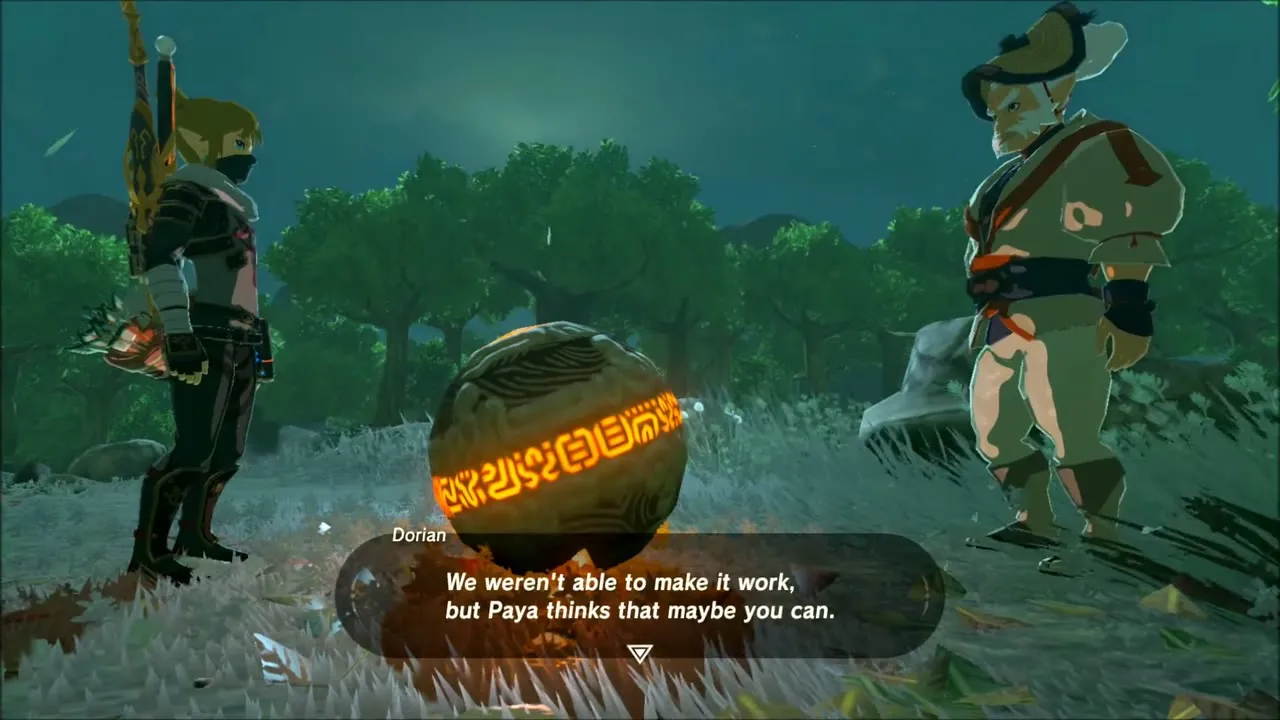
After dark the guard Dorian leaves the village. Trail him at a distance, staying out of his sight, until he reaches a clearing in the forest above Kakariko. A Yiga Blademaster steps out and attacks you instead of him. Beat the Blademaster, and Dorian admits the Yiga blackmailed him over his family, then hands over the heirloom orb and asks you to put it right.

Lakna Rokee Shrine
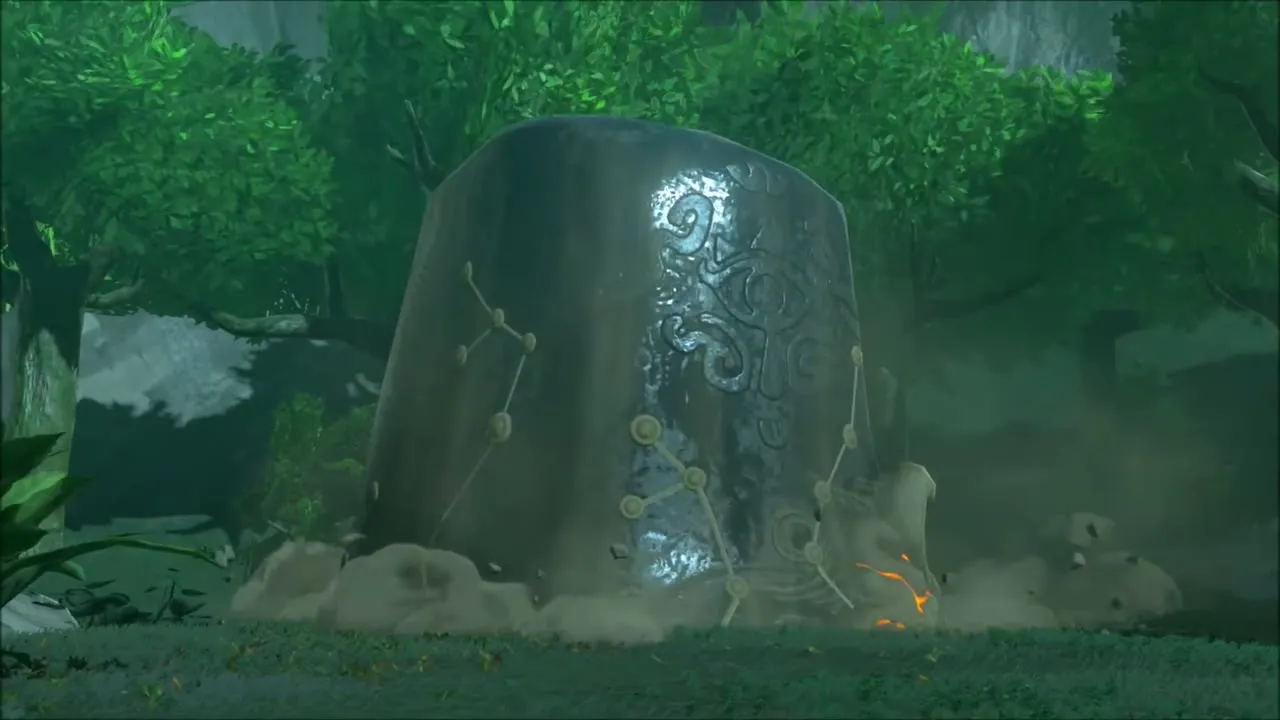
Carry the orb to the stone pedestal nearby and set it in place. The ground shakes and the Lakna Rokee Shrine (x 2040, z 972, height 295) rises out of the earth. It is a blessing shrine with no trial: walk in, open the chest for the Edge of Duality and take the Spirit Orb from the monk. Back in Impa‘s house you can speak with Paya and Impa again.


Gerudo Desert: Molduga Fights and Desert Chests
Leaving Kakariko, head out across the red canyon country toward the Gerudo Desert. Two Korok seeds lie along the canyon edge on the way: one is tucked against a canyon wall, and a second Korok stands waving on top of a tall rock pinnacle above the sand.


Cross the gate into Gerudo Town and walk through its market square before heading out onto the sands, wearing the Sand Boots to move across the dunes at speed.
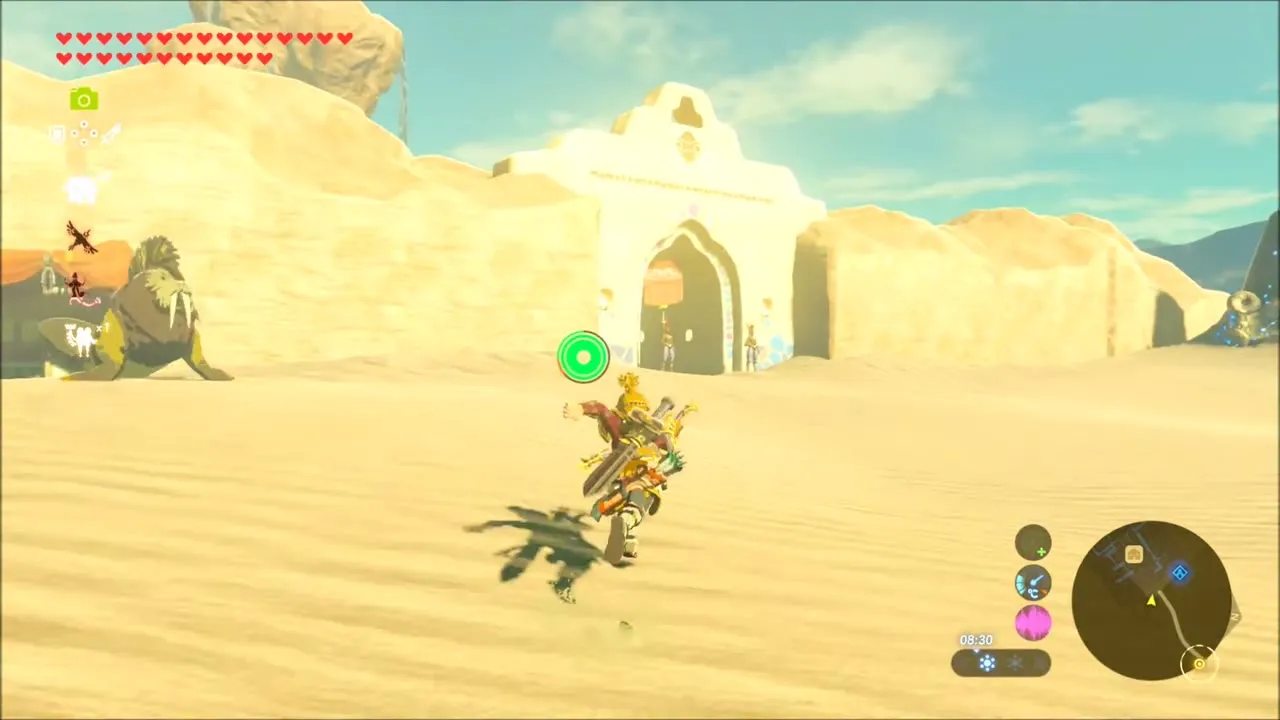

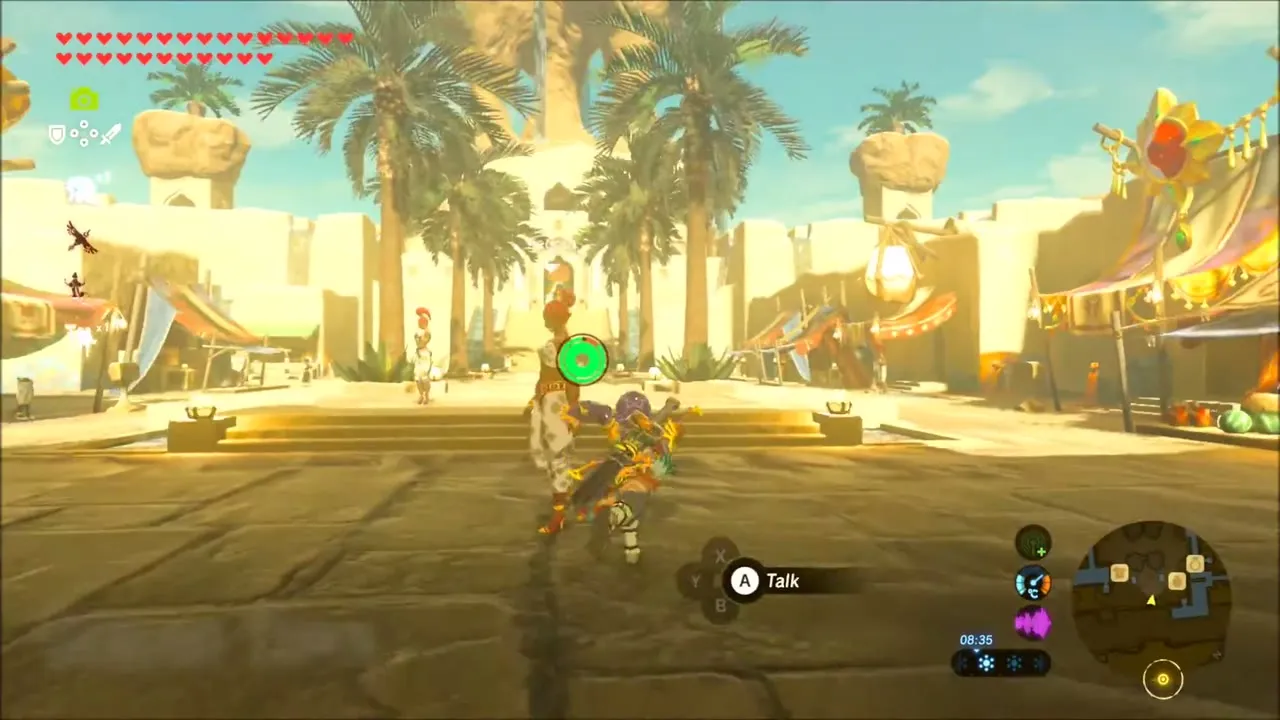
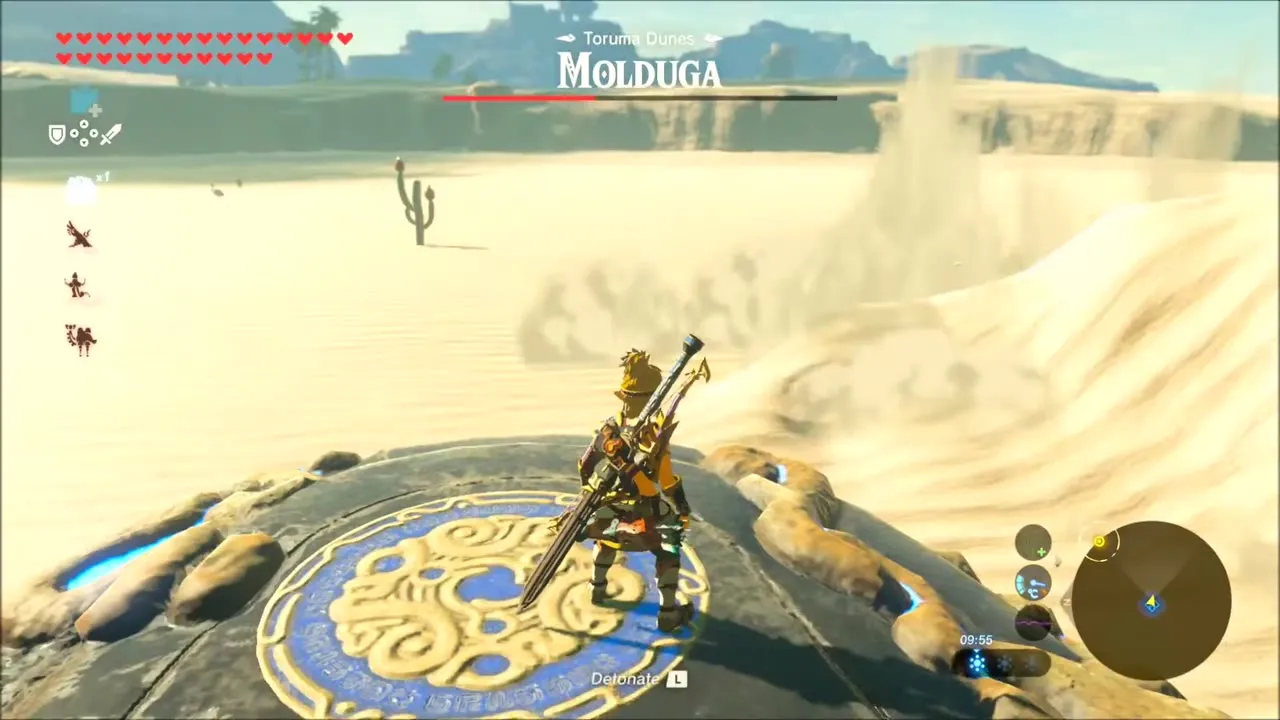
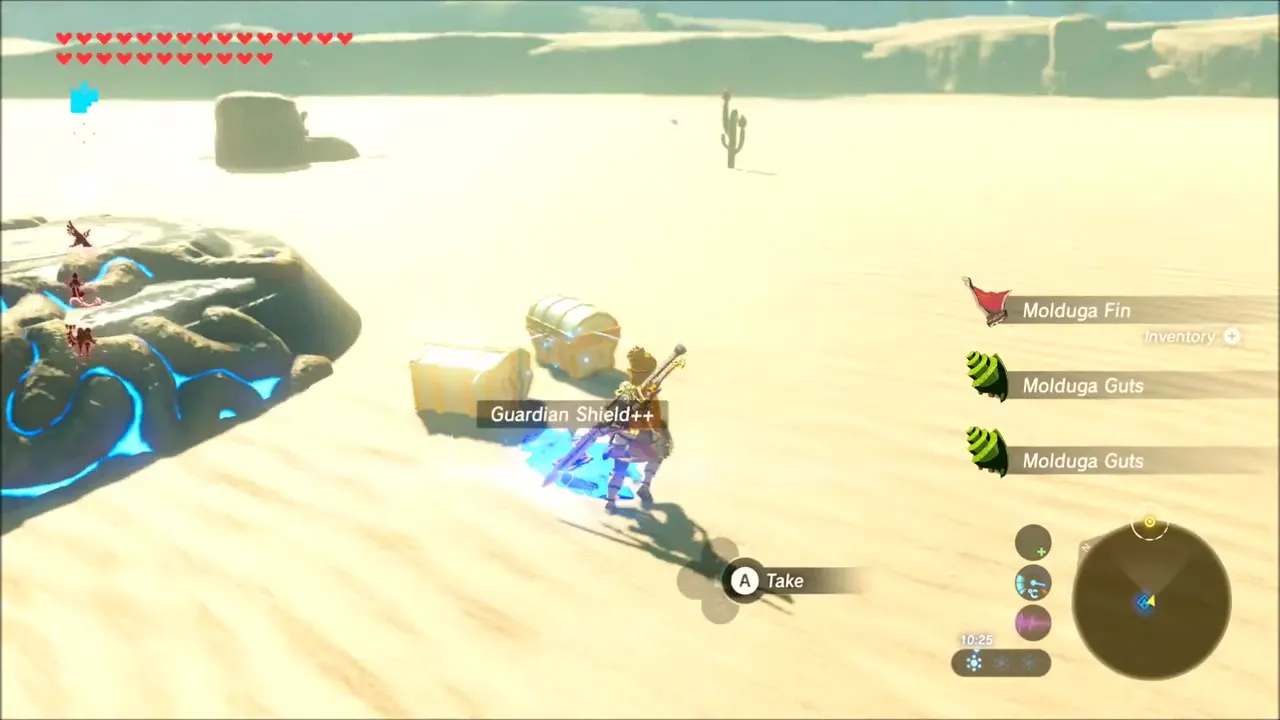
The big fight in this stretch is the Molduga. At Toruma Dunes, stand on the stone platform marked with the Molduga emblem, roll a bomb onto the sand and detonate it as the beast leaps, then rush in while it is stunned. The same routine works at North Dragon’s Exile, the Arbiter’s Grounds and the Southern Oasis, where you can farm Molduga Fins and Molduga Guts. Chests lie half-buried in the dunes beside the old rocks, and one of them gives Lizalfos Talons.


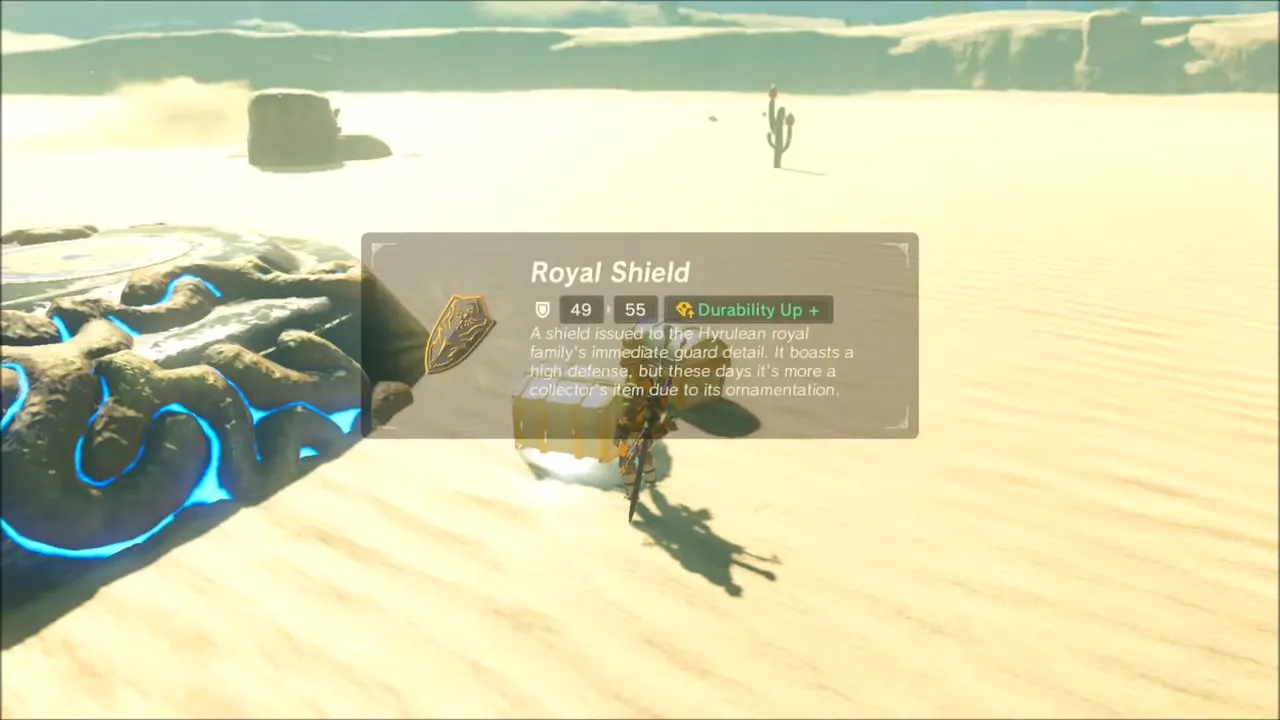
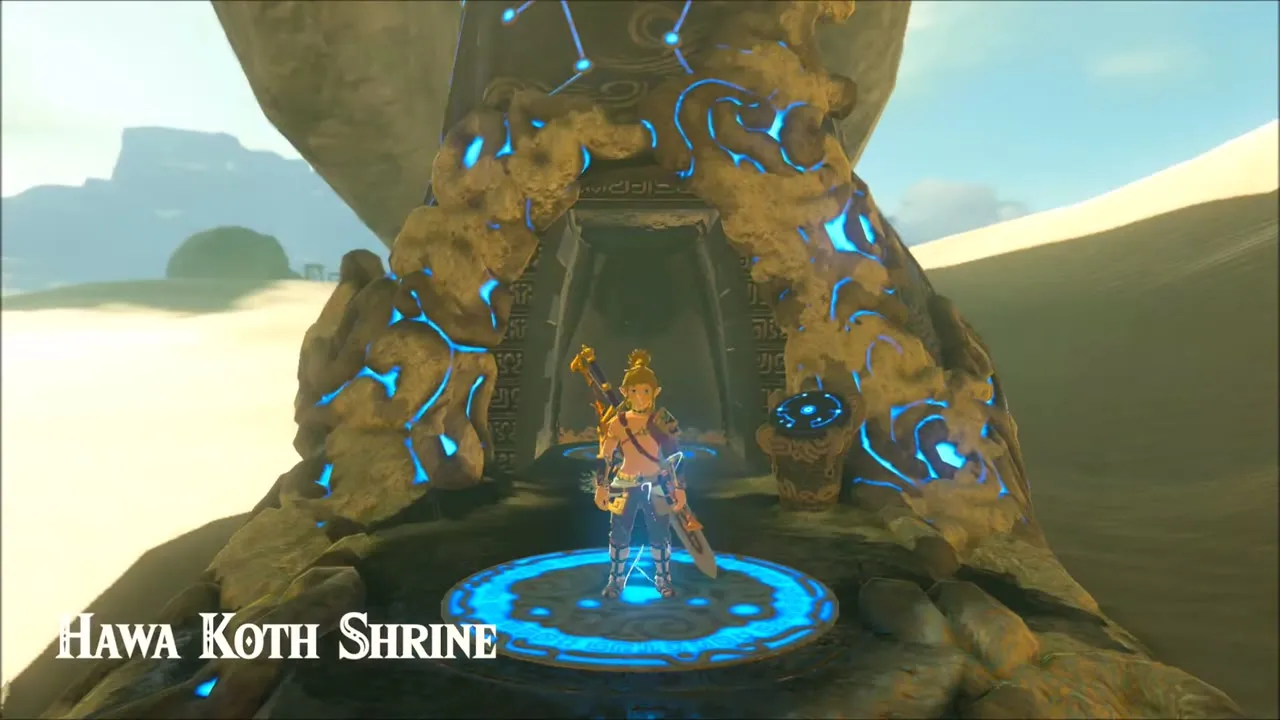
In the far south-west you pass the entrance of Hawa Koth Shrine while working the desert chests. A Golden Claymore turns up around the Southern Oasis and a Royal Shield comes out of a later chest.

Lurelin Palm Seed, Ne’ez Yohma Shrine and Butterfly Hunting
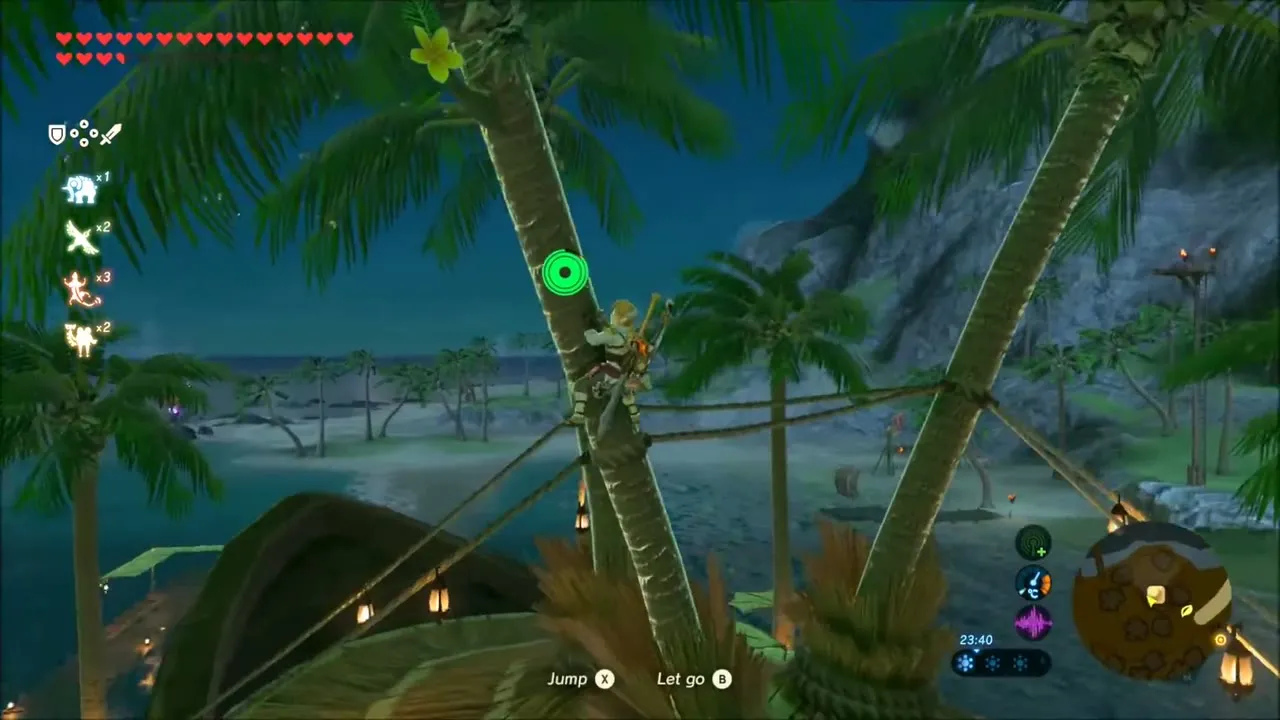
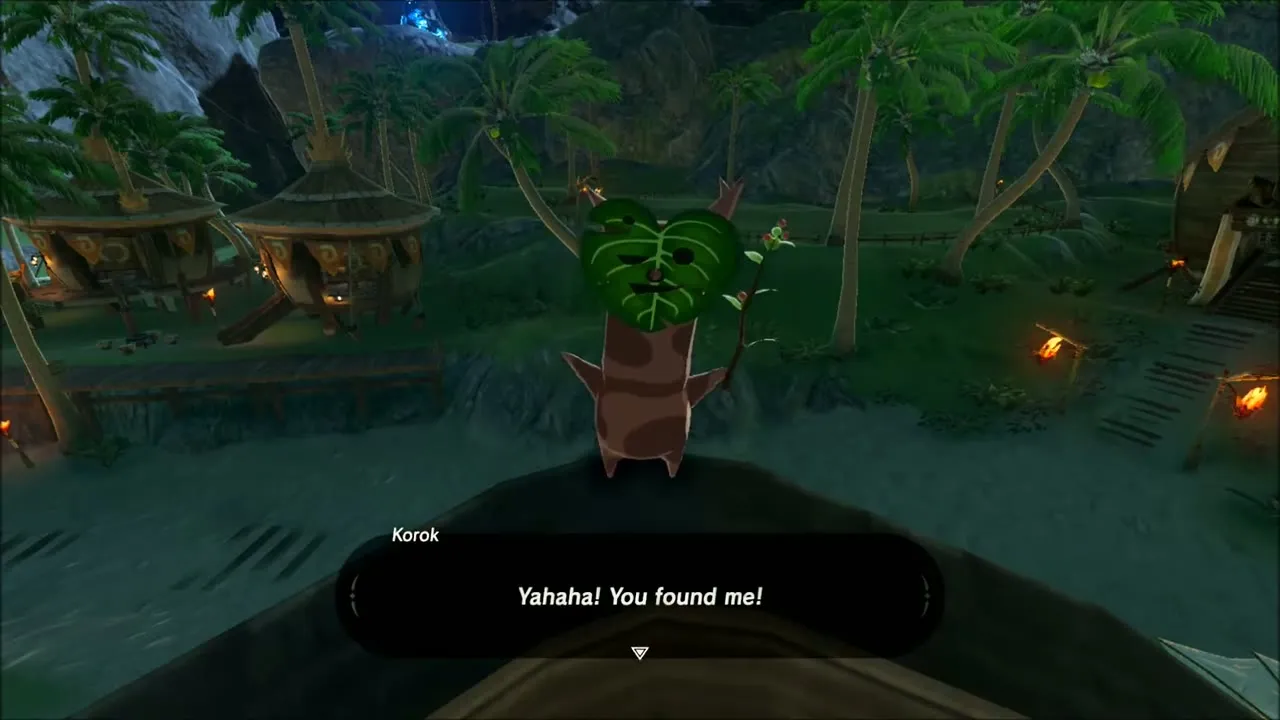
Late in the desert trip, fast travel to the south-east coast near Lurelin Village. A palm tree beside the thatched houses hides a Korok seed: climb it and the seed is yours. A cave and a snowy slope further along give a bit of climbing and gliding in the Climbing Gear before the next stop.


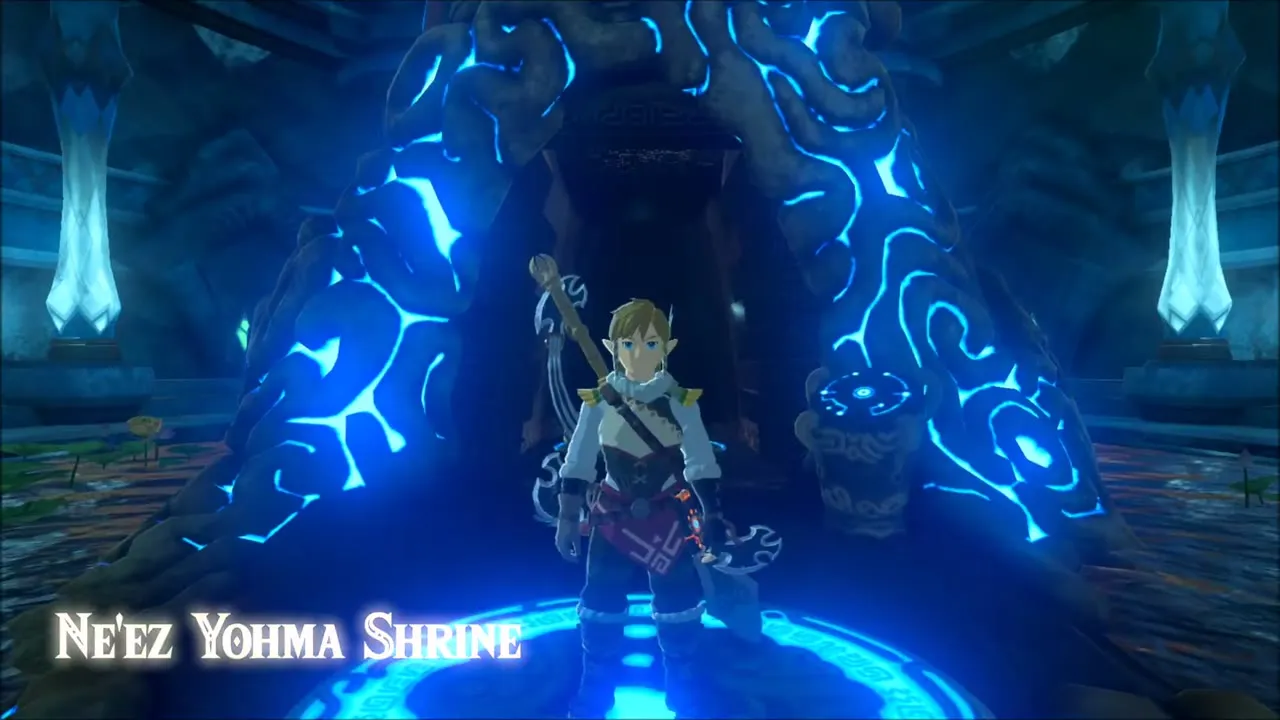
Travel to the Ne’ez Yohma Shrine (x 3323, z -518) in the Eldin foothills and use it as a starting point for the volcanic slopes. The rock there is warm and veined with lava, which is where Smotherwing Butterflies flutter. Catch the ones you need as you cross the ridge.

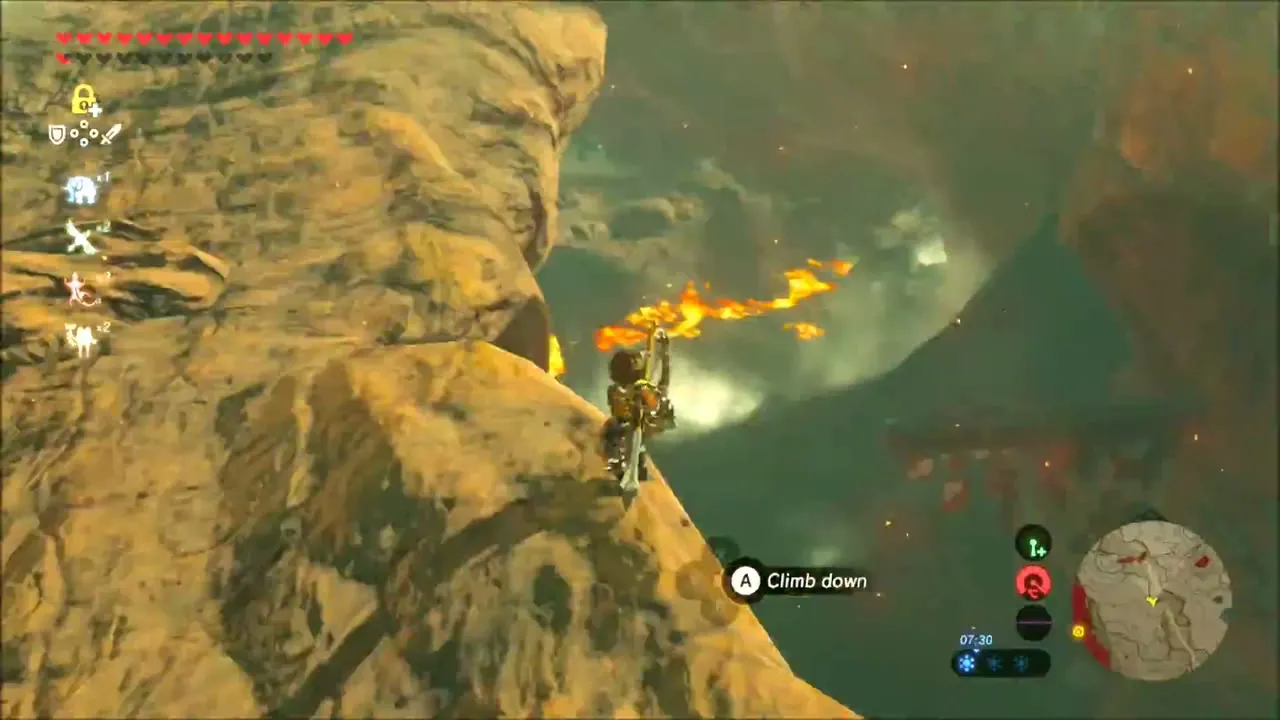
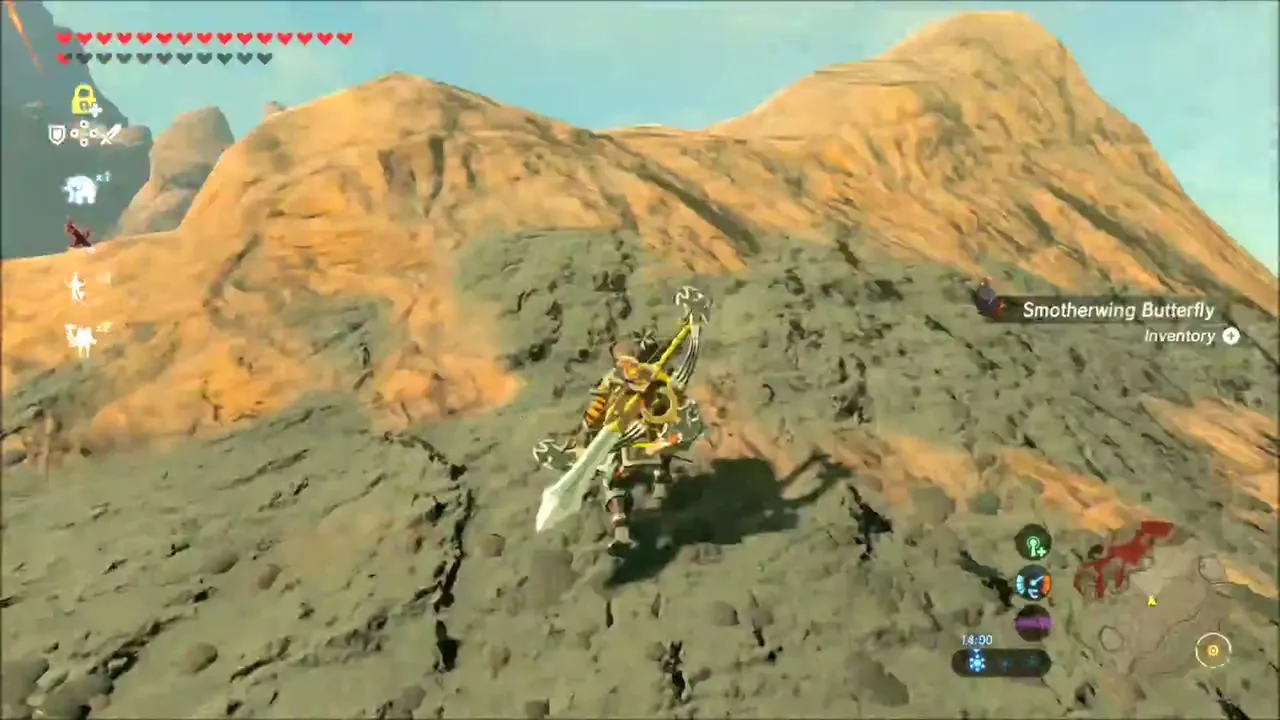
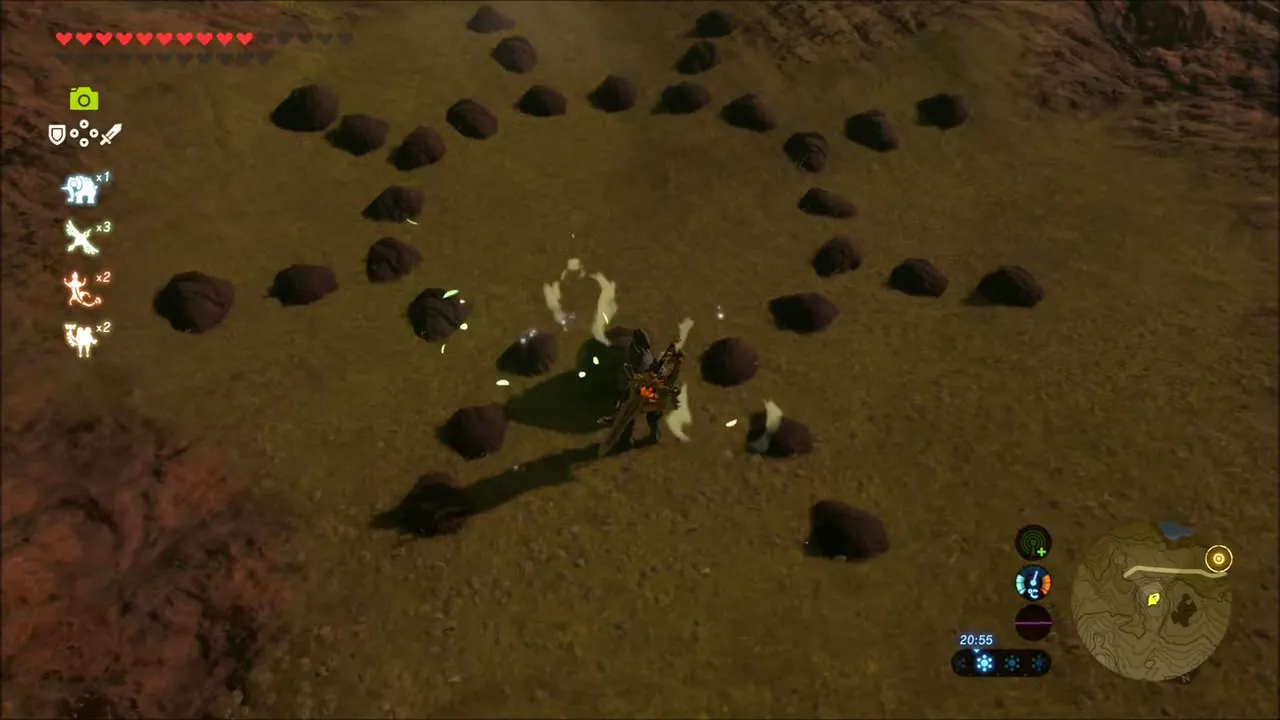
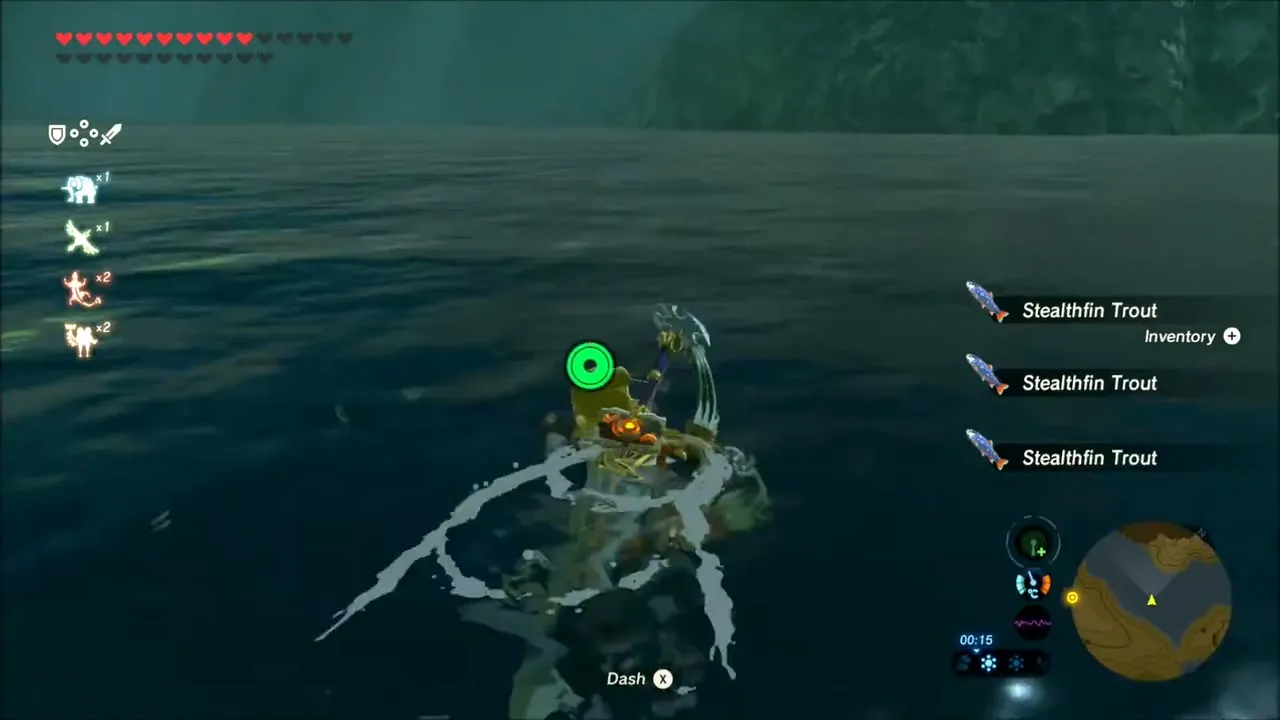
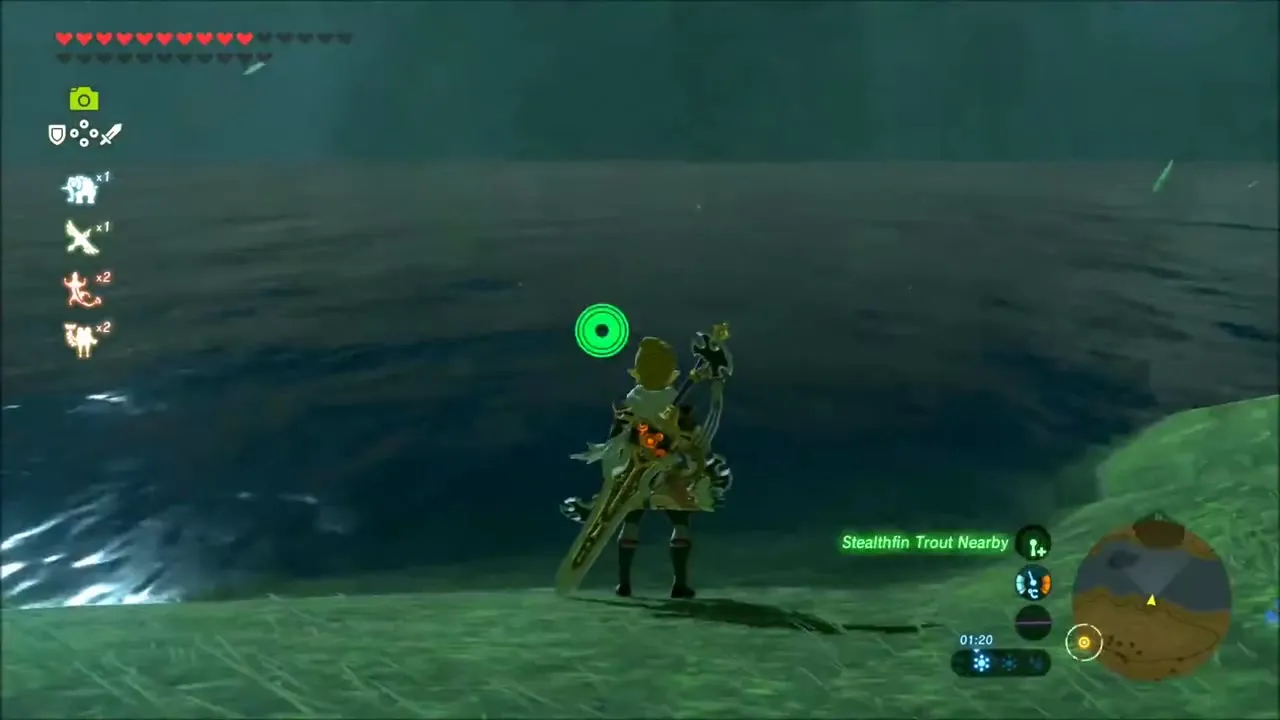
Another Korok seed turns up while you scramble over the rocks here, and on the way back down you can stop at the lake shore to fish for Stealthfin Trout.


Akkala: Ancient Arrows and the Great Fairy Mija
Further north, the Akkala Ancient Tech Lab shop lets you exchange Ancient Screws, Ancient Shafts and arrows for Ancient Arrows. Afterward you visit Lake Akkala and the Great Fairy Mija (x 4112, z -1378), who upgrades armor in her lakeside grove. See the Great Fairies page for all four.

Korok Seeds around Boneyard Bridge
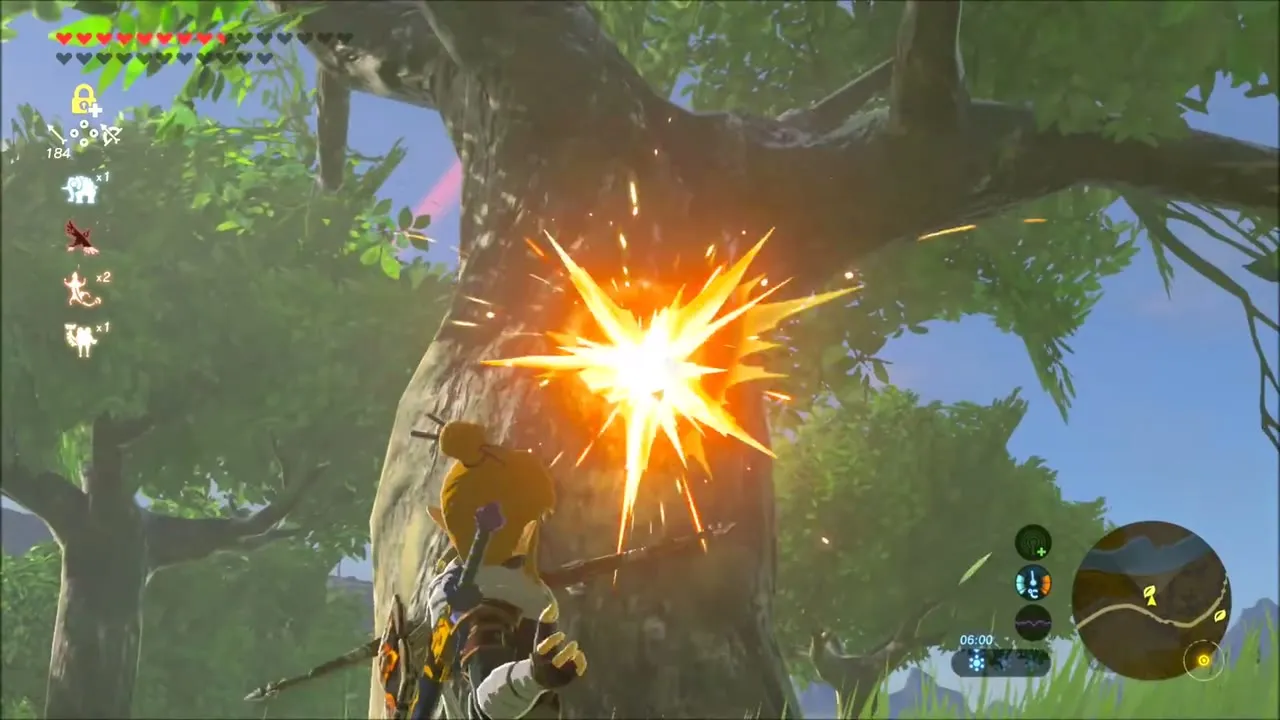
Heading into the green hills of Central Hyrule, look for a large tree with a dark knothole in the trunk. Fire a single arrow into the hole and the Korok pops out, giving you a seed.

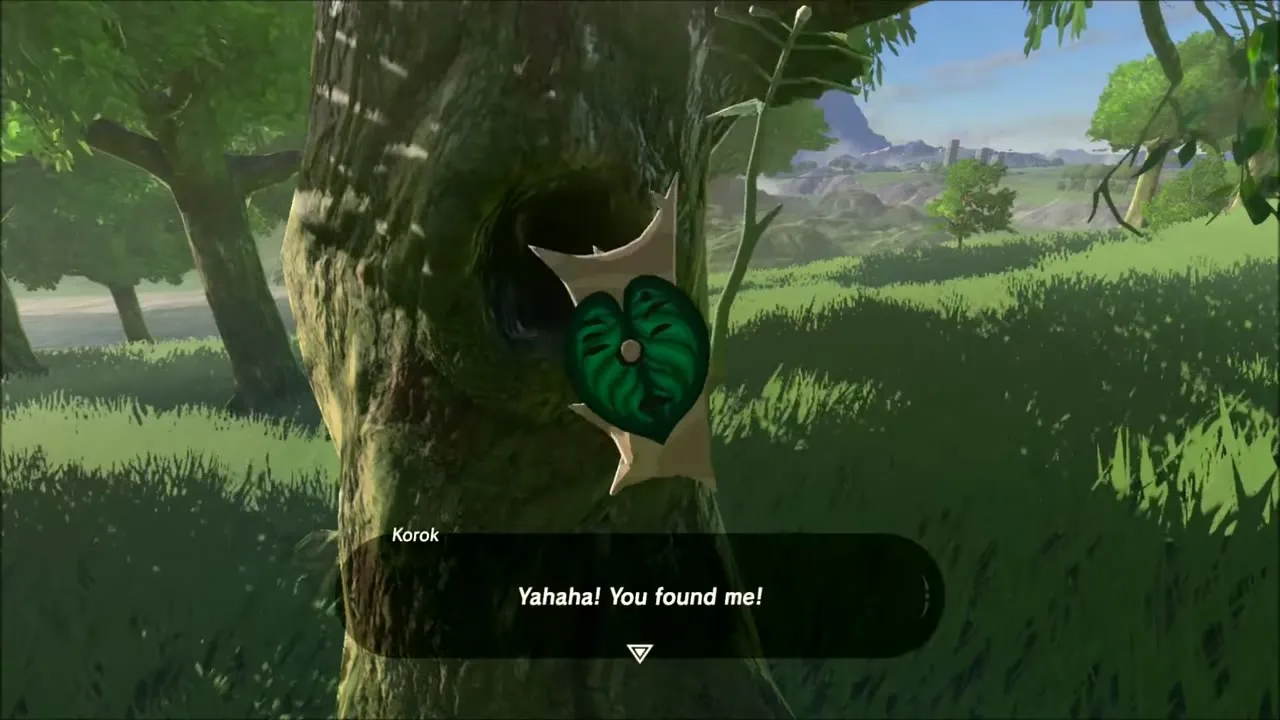
Further along there are two chests, and a Korok hiding in a ring of stones with a hole in the middle. After that you cross Boneyard Bridge (x 278, z -714), then ride across the plain on horseback and take down Guardians for Ancient Screws, Springs and Gears.



Sacred Ground Ruins: Subdued Ceremony Memory
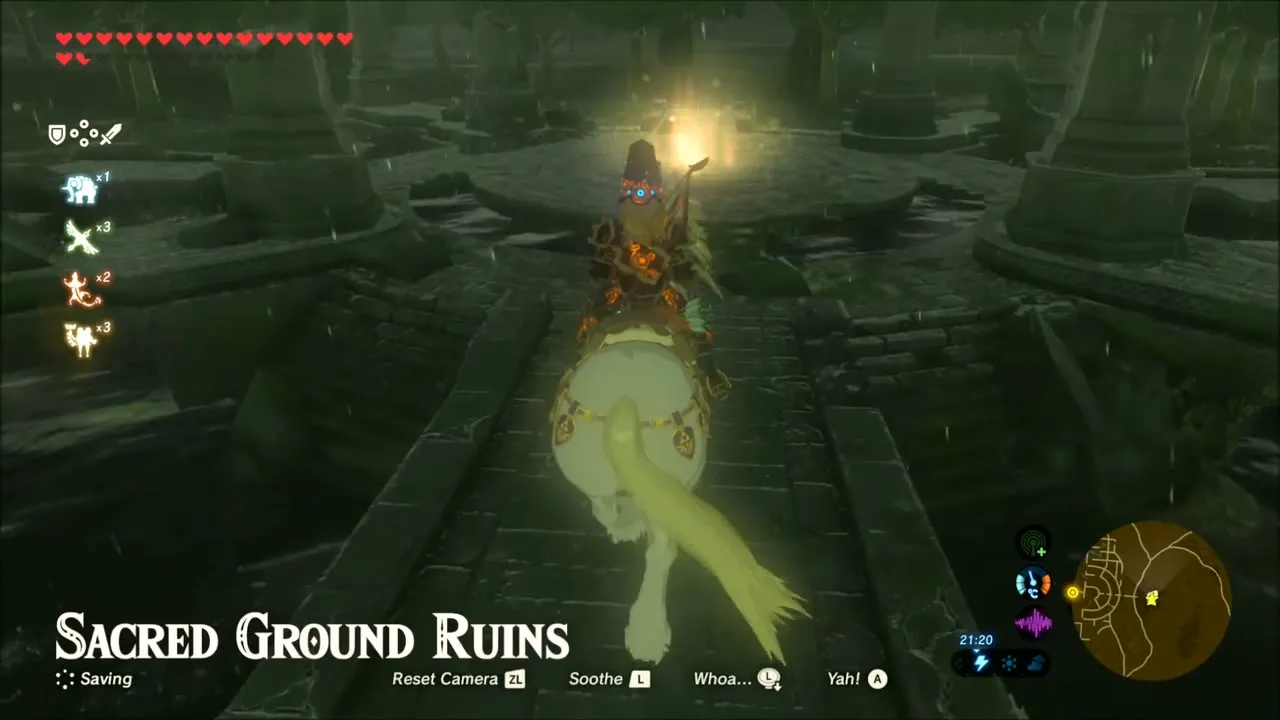
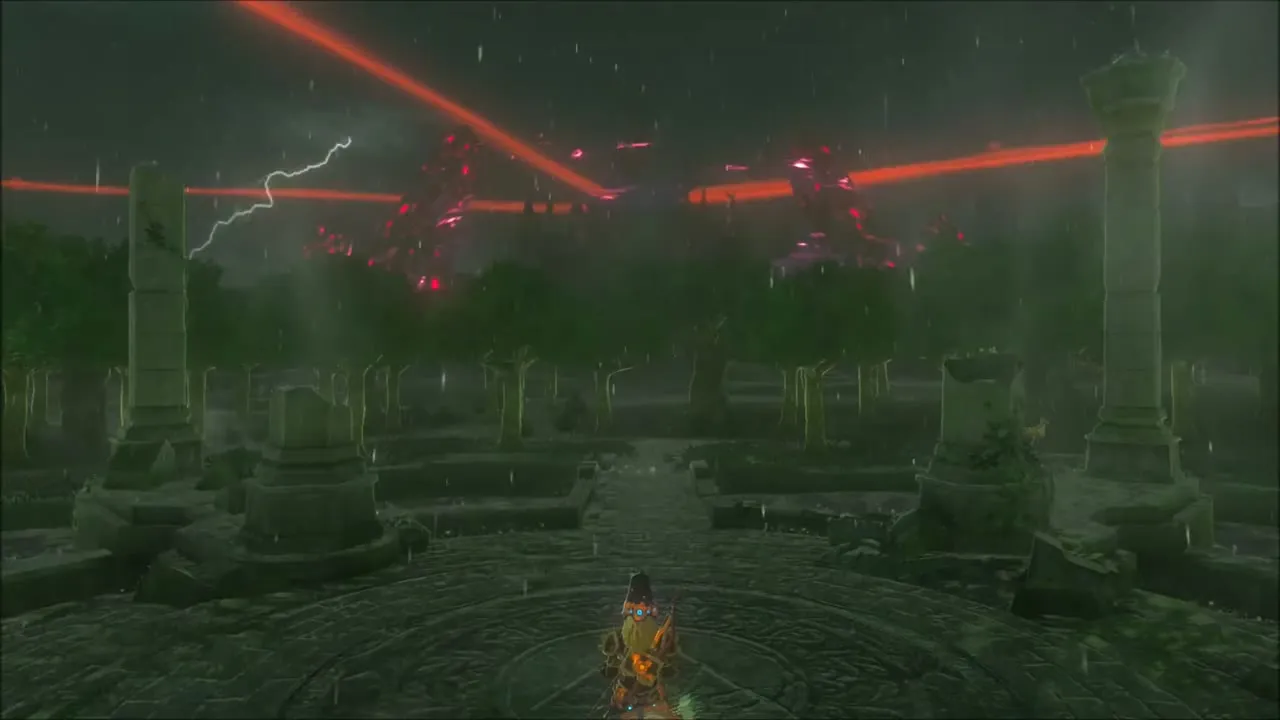
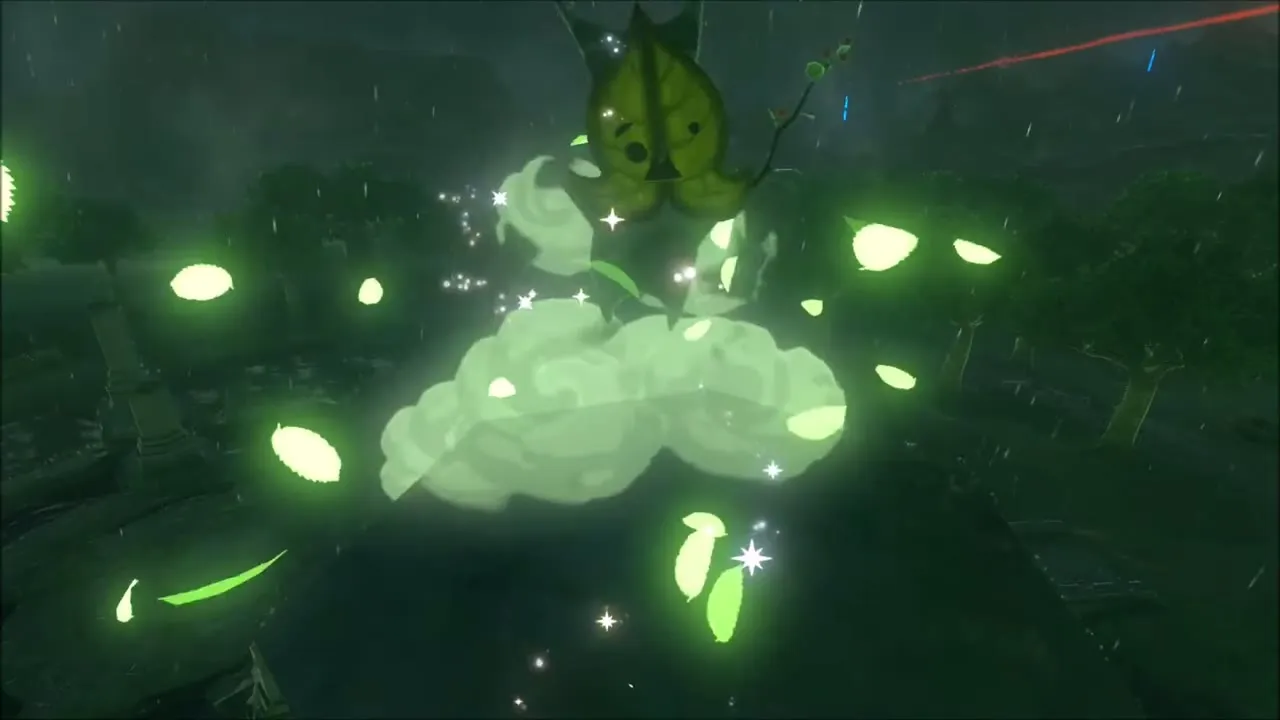
At night, in the rain, ride to the Sacred Ground Ruins just south of Hyrule Castle, a ring of broken pillars around a circular dais. Stand on the dais, where the view matches the album photo of two pillars with the castle behind them, and the cutscene plays: Memory 1, Subdued Ceremony. Zelda and the four champions speak to the kneeling Link in a ceremony that confirms him as her knight. Guardians patrol the ruins, so keep an eye out for their red lasers.


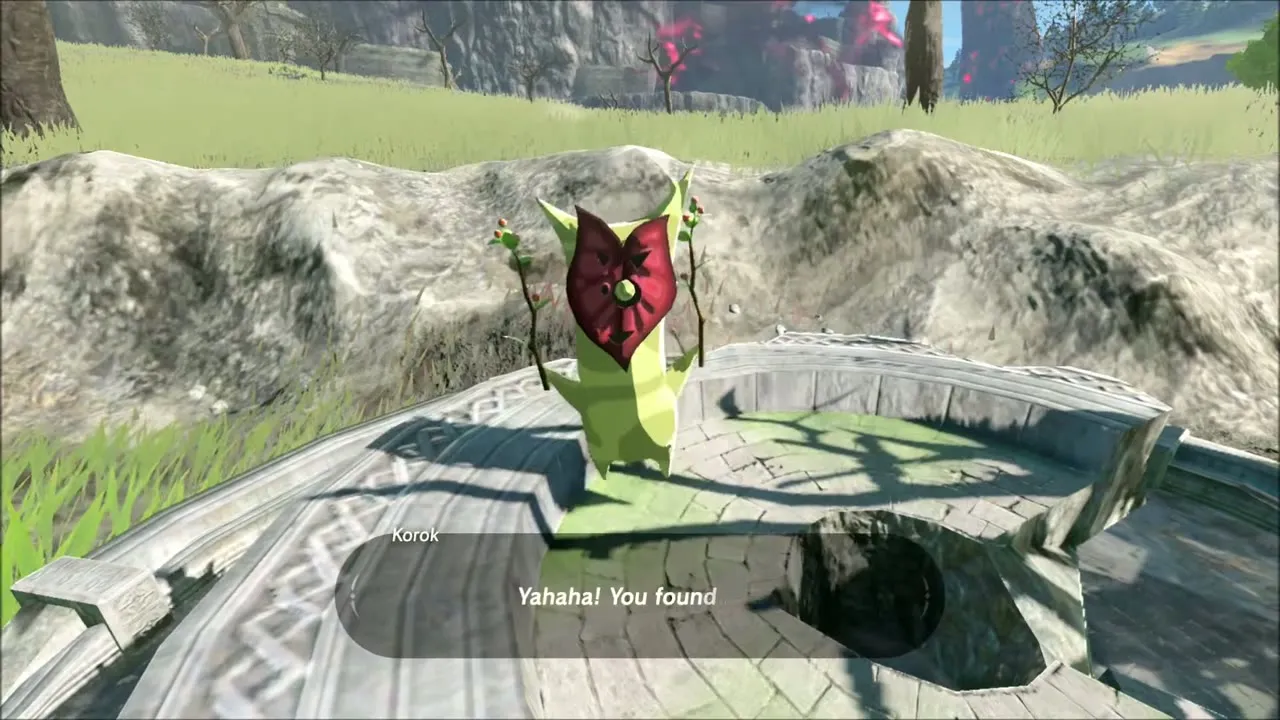
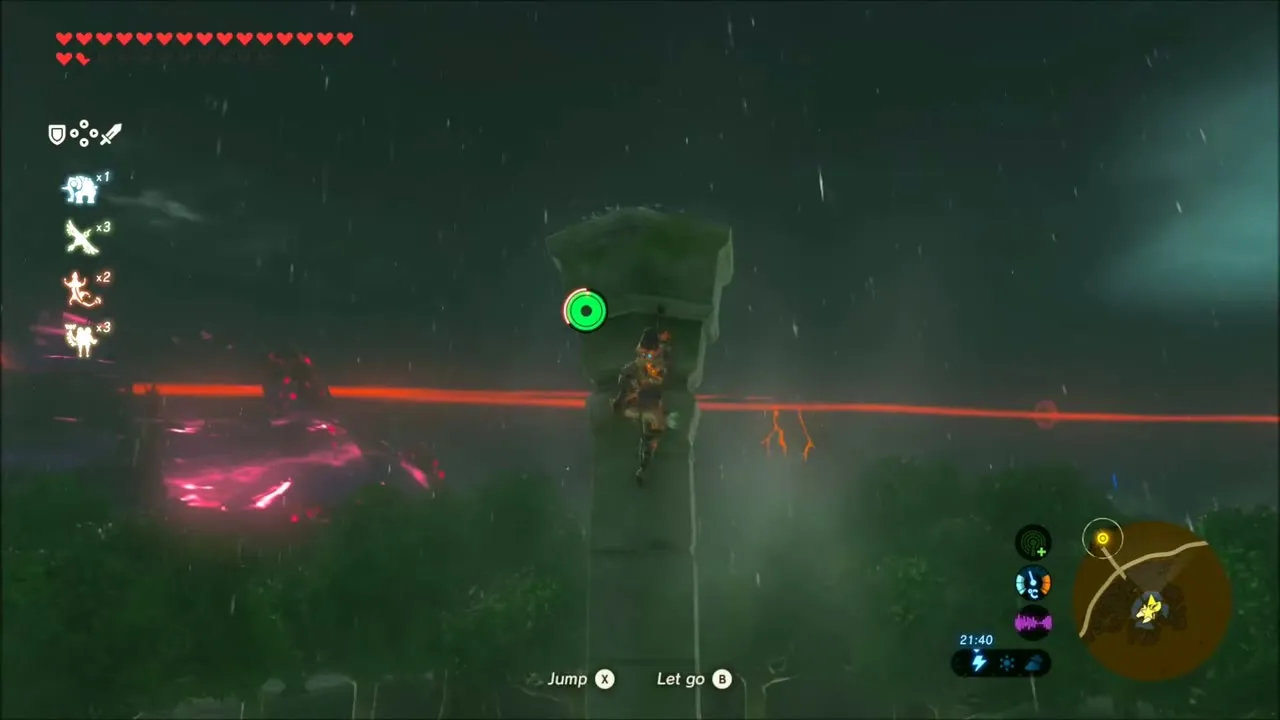
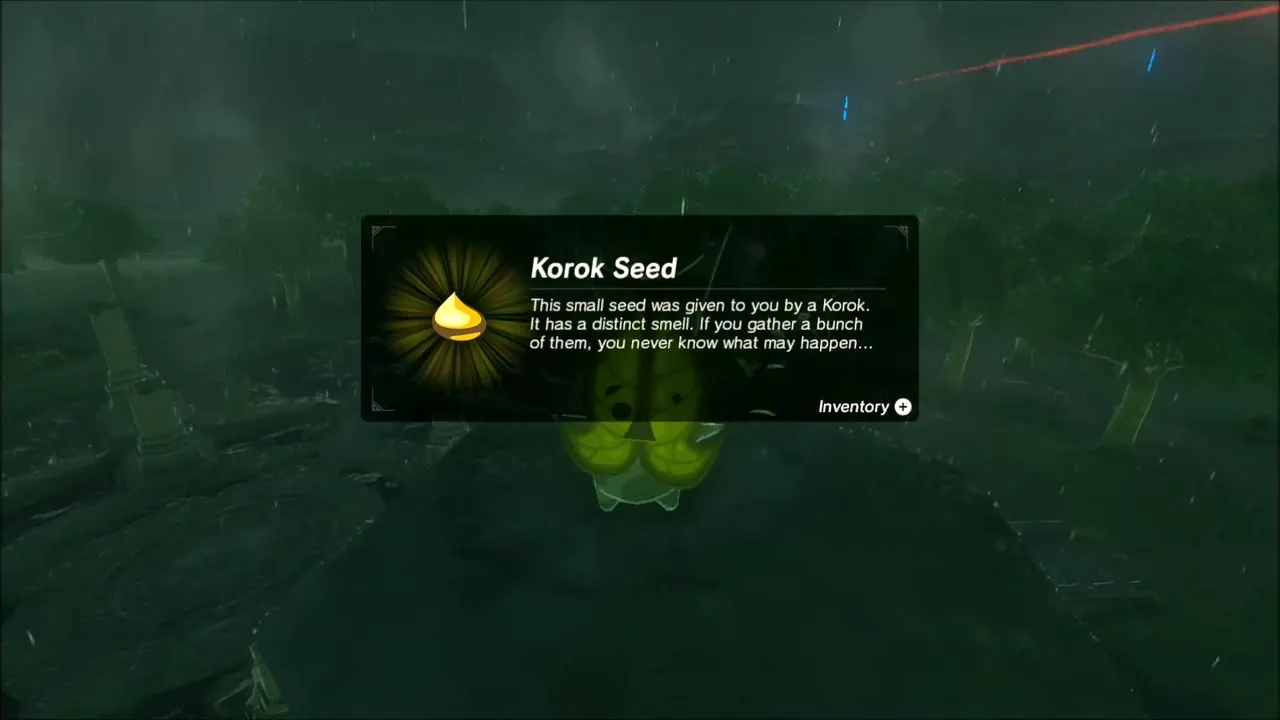
When the cutscene ends there is a Korok seed in the same ruins: climb one of the standing pillars and the seed is yours.
Giant’s Forest and Mabe Village Ruins: Korok Seeds
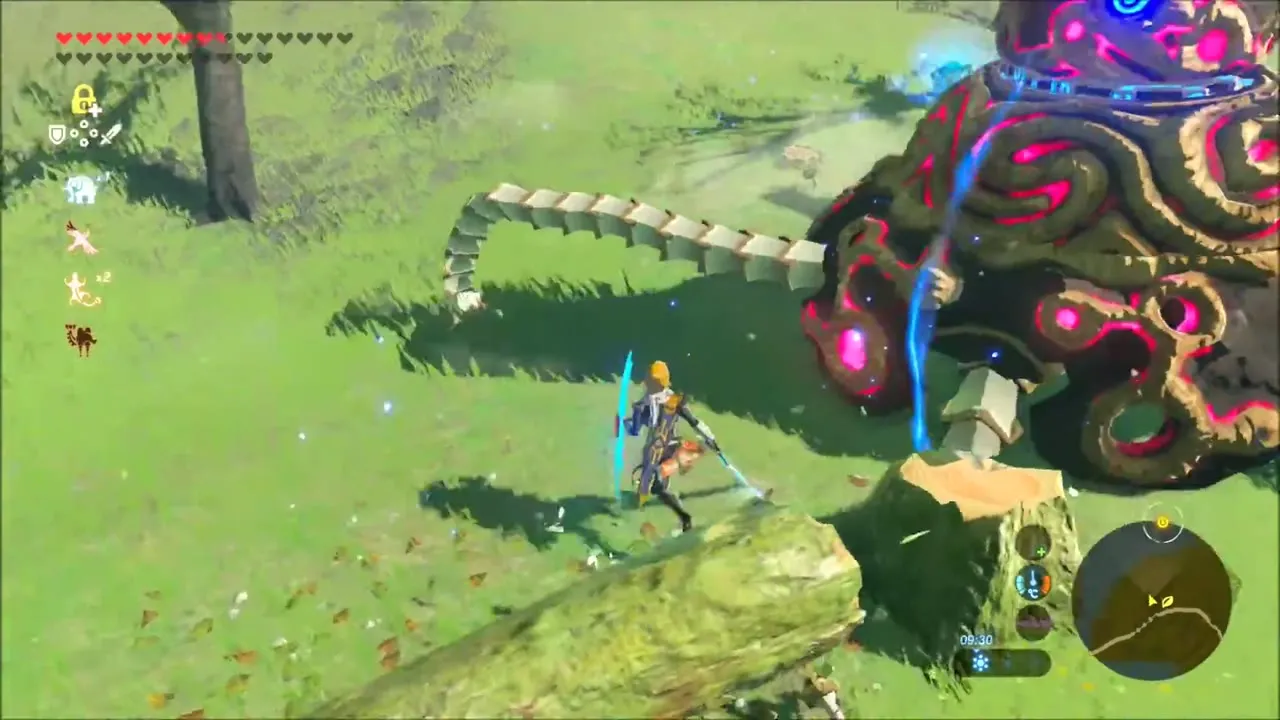
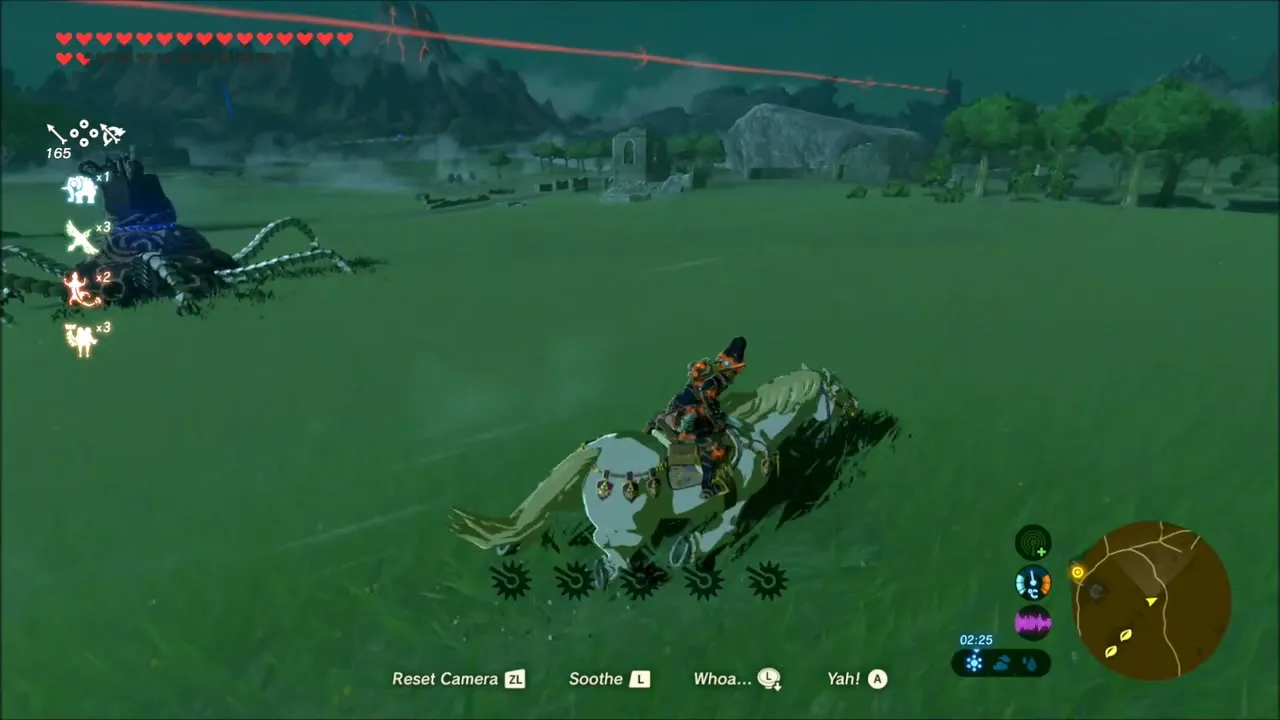
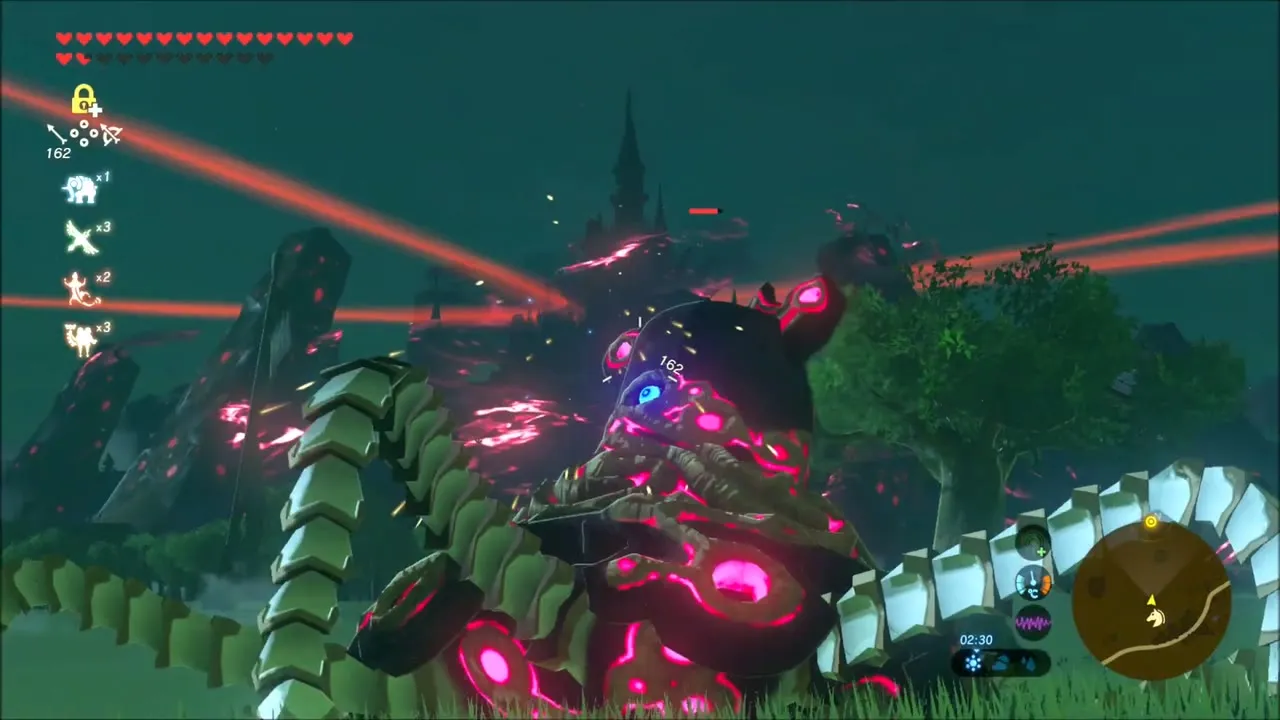
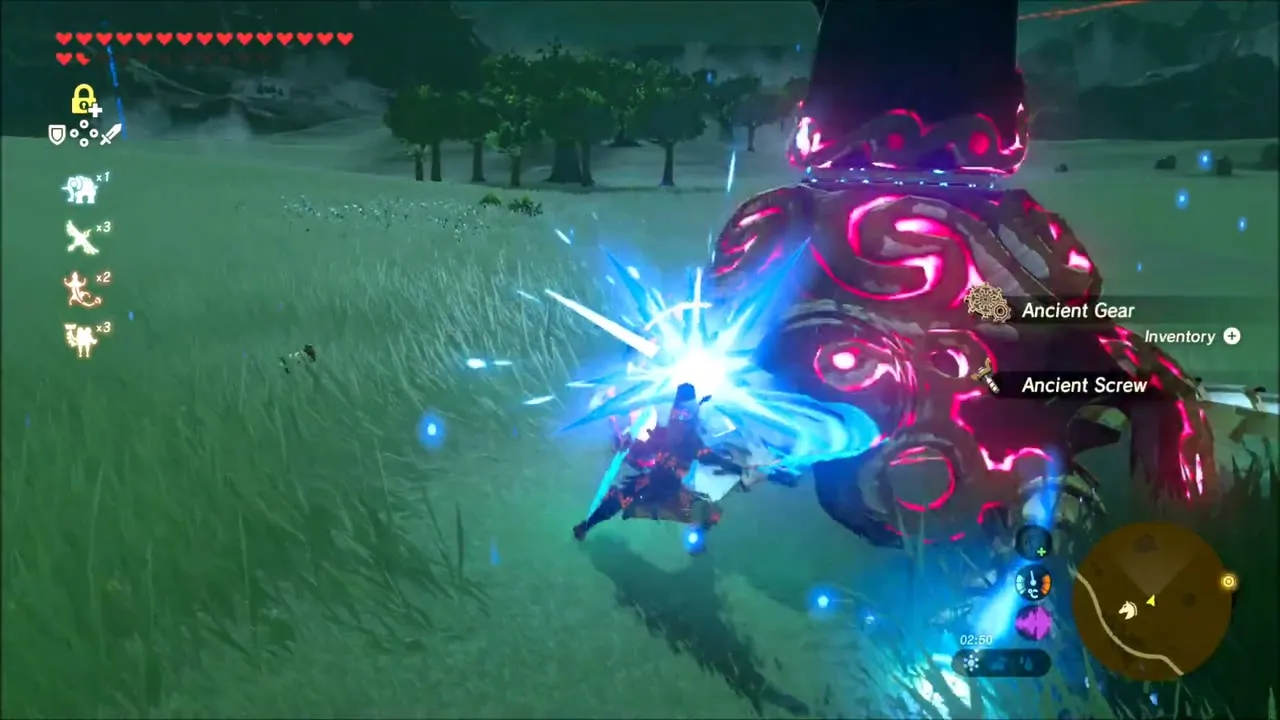
Start the next stretch by studying the map for Korok seeds and then work through the woods and ruins south of Hyrule Castle, around the Giant’s Forest and Mabe Village Ruins. A Guardian patrols the grass near the ruins; defeat it for its Ancient Springs, Screws and Shafts.

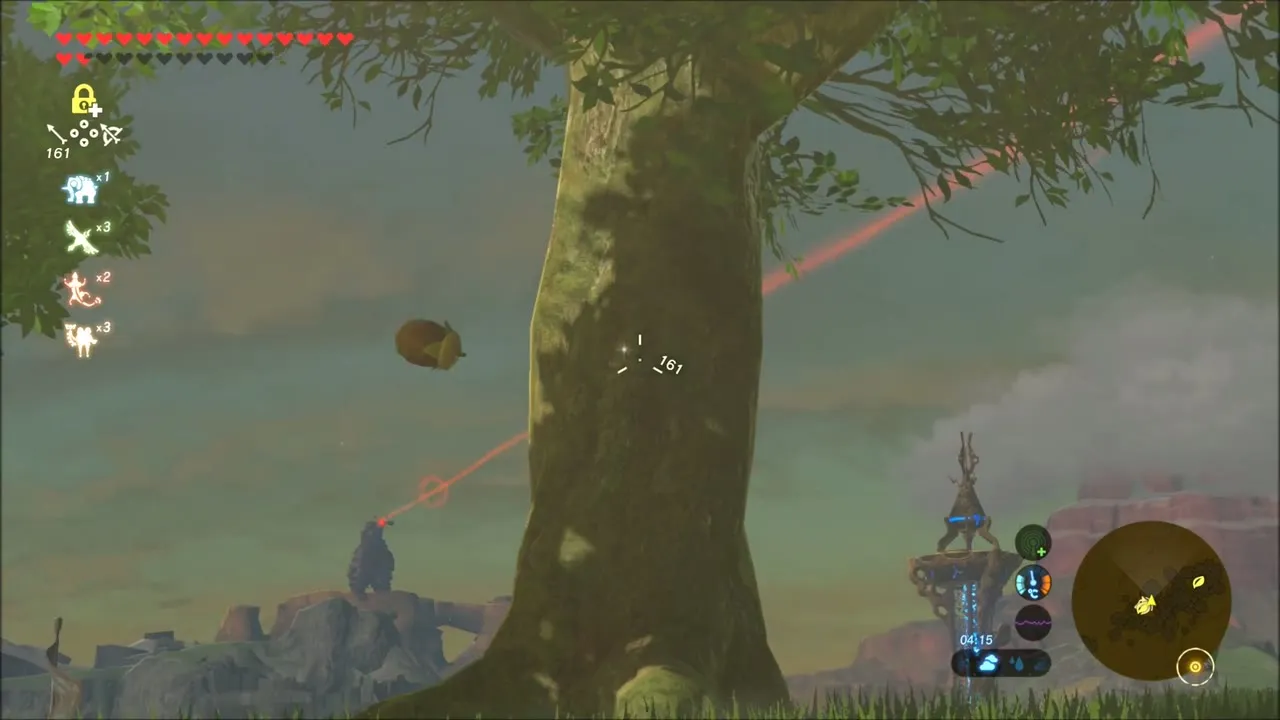
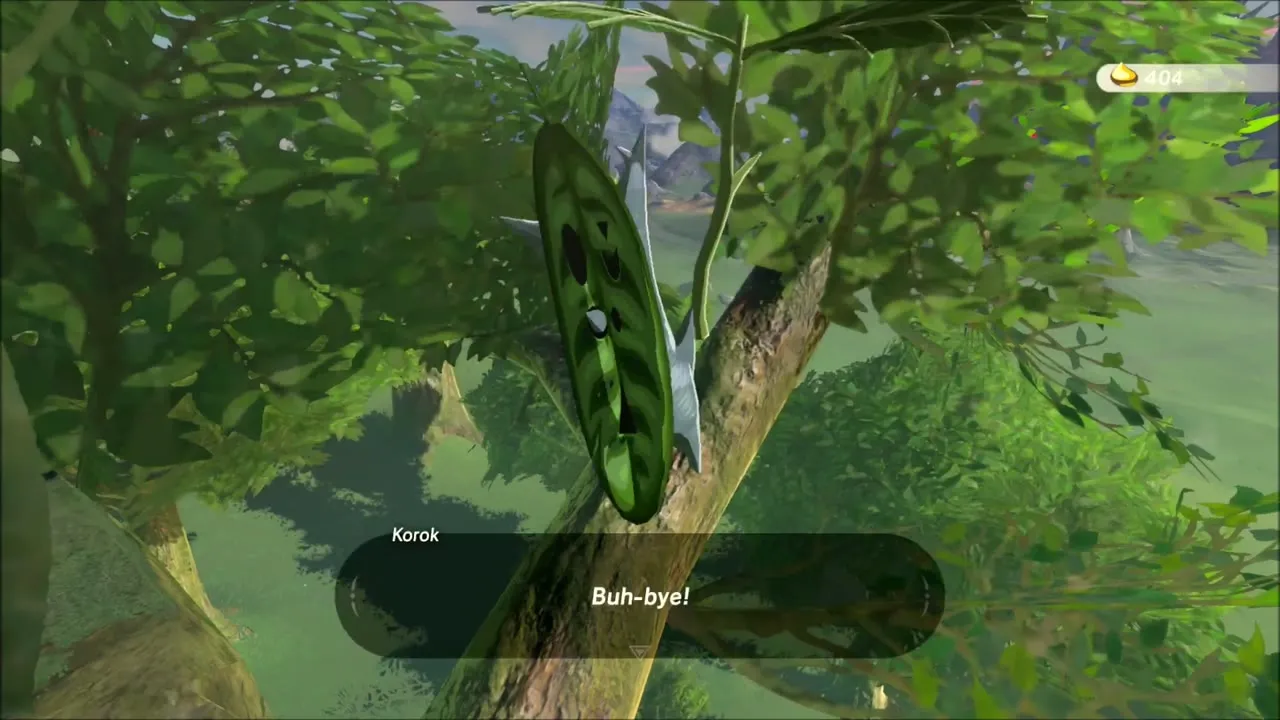
The woods hold several seeds. Near a tree stump, aim an arrow at the trunk of the big tree and a Korok appears and waves goodbye. Another Korok is tucked into the leaves of a tree, a third hides in tall grass, and a fourth is revealed when a swirl of leaves rises around a trunk.
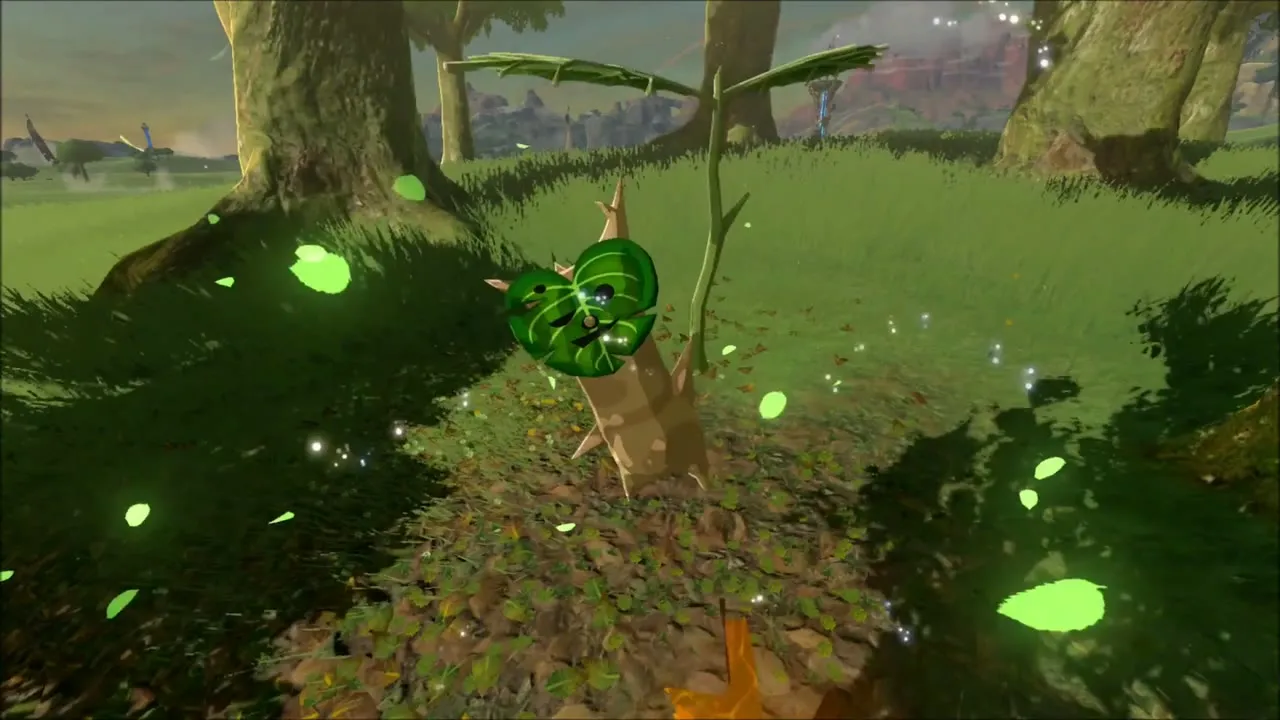

On the open grass of the meadow further east a lone Korok sits near some fallen leaves, and another is a short walk on across the hill. Pick up Hearty Truffles and Hylian Shrooms as you go.


Lakeshore Block Puzzle and Sage Temple Ruins
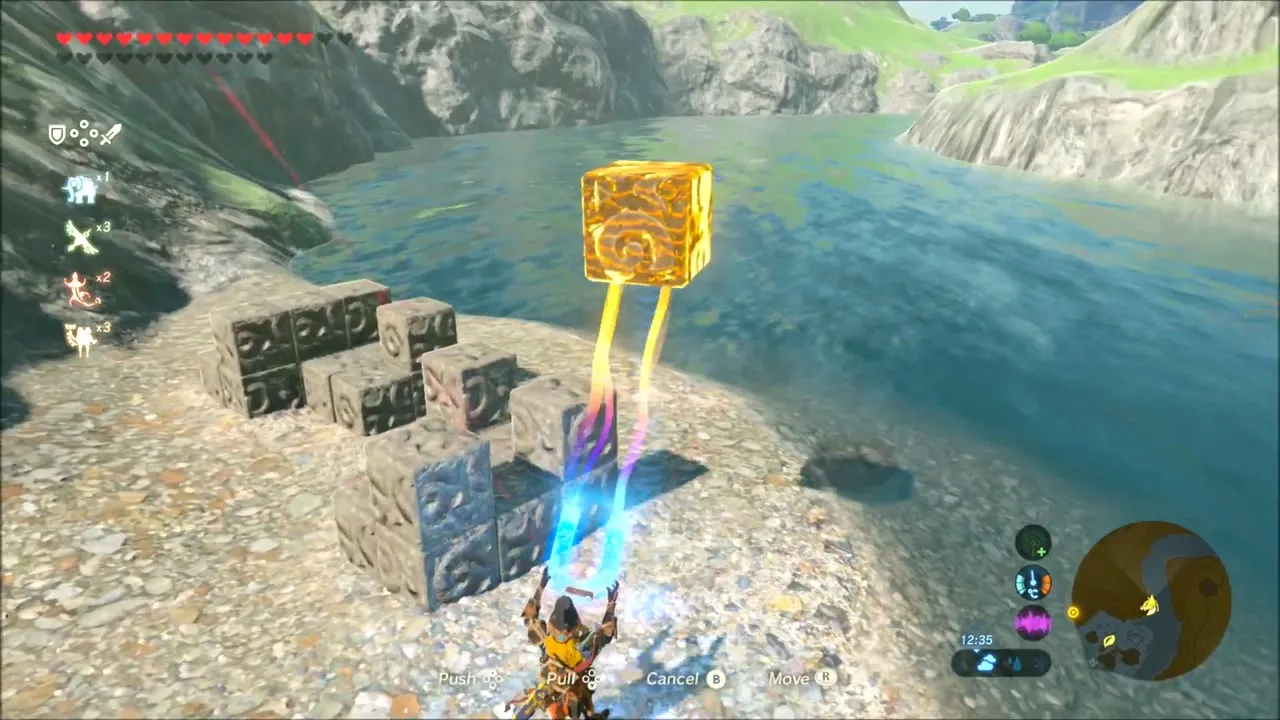
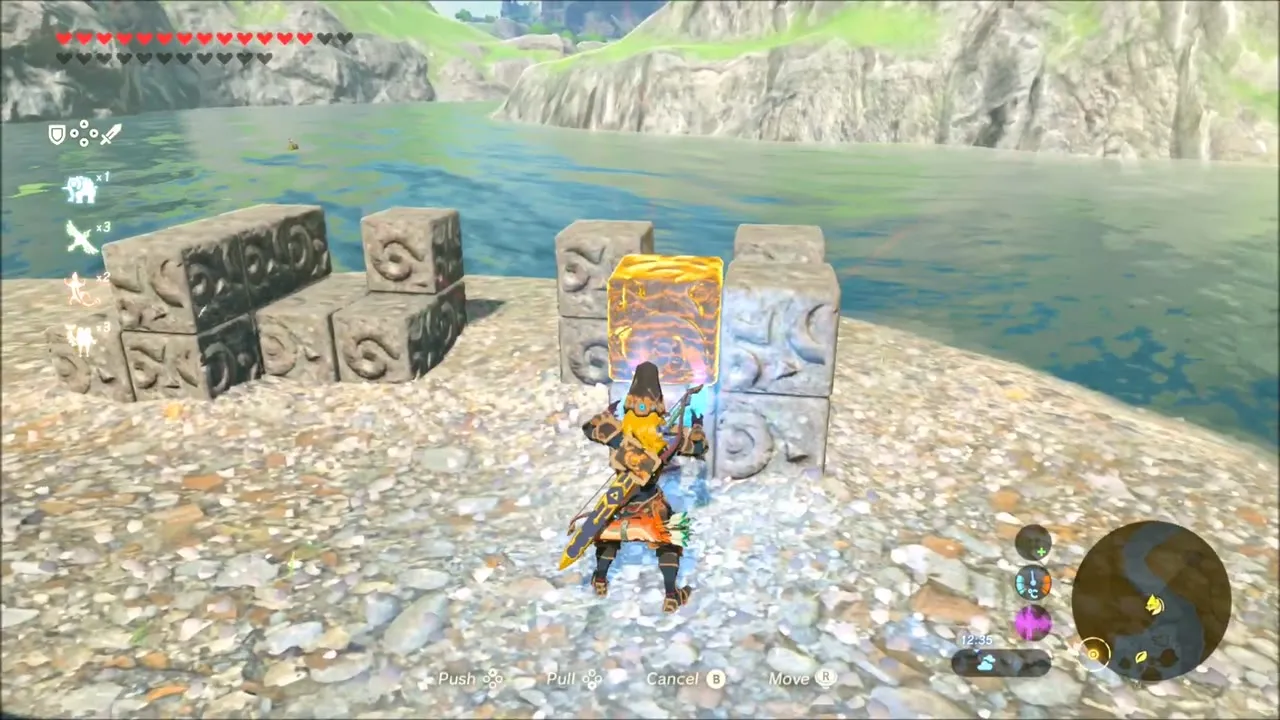
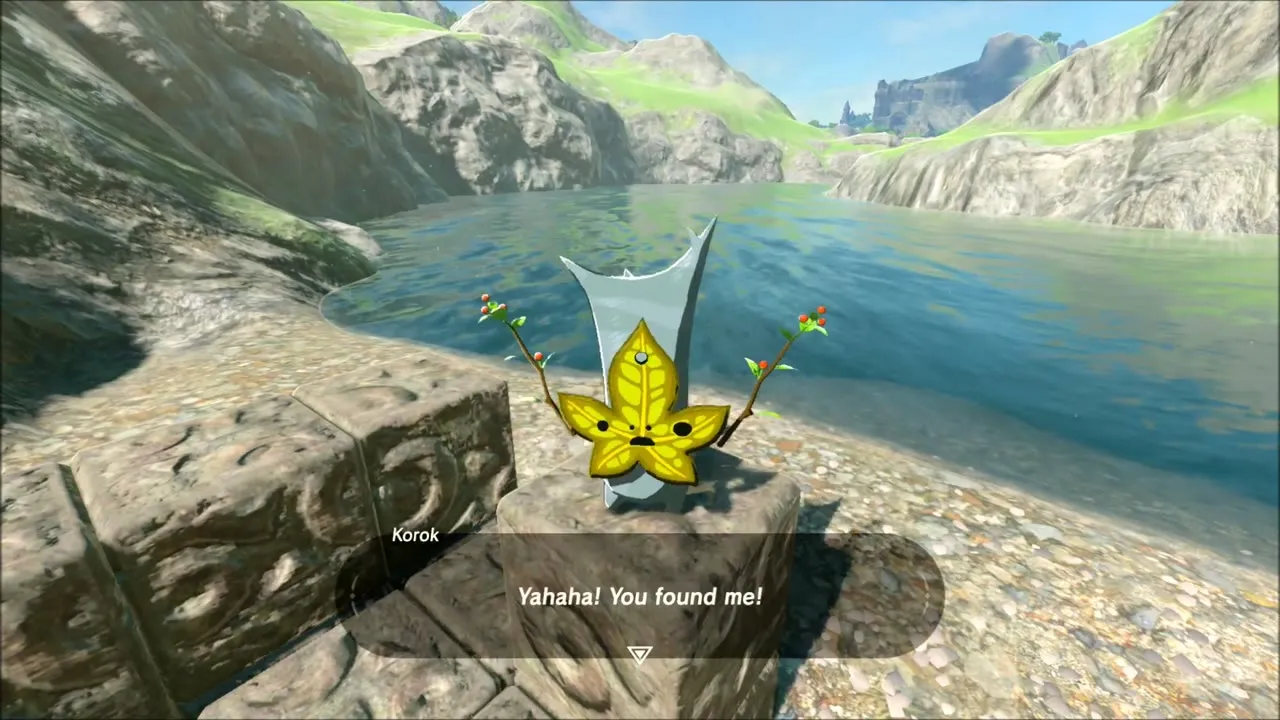
On the lake shore there is a stack of carved stone blocks next to the water. A gold-glowing metal block sits beside the pile: lift it with Magnesis and place it in the stack, and the Korok sitting on top of the blocks gives you its seed. A second pile of blocks on another stretch of shore uses the same blocks, and blue Chuchus drop Chuchu Jelly nearby.

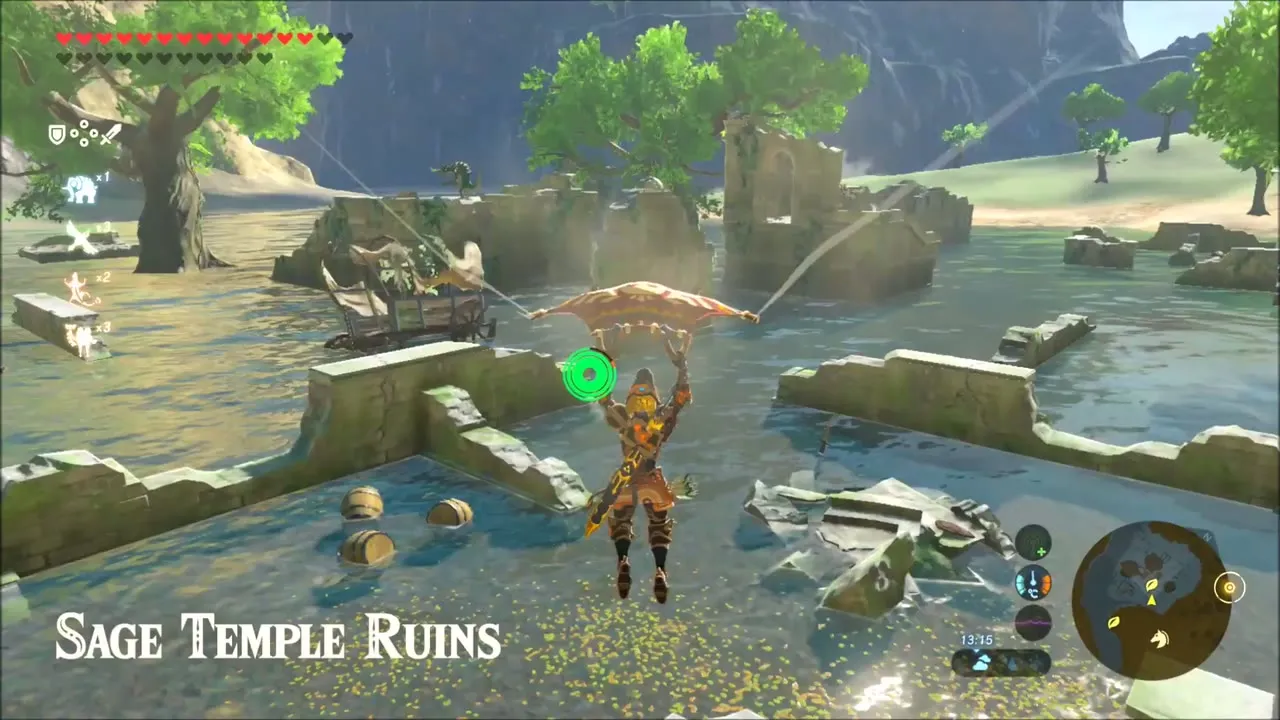
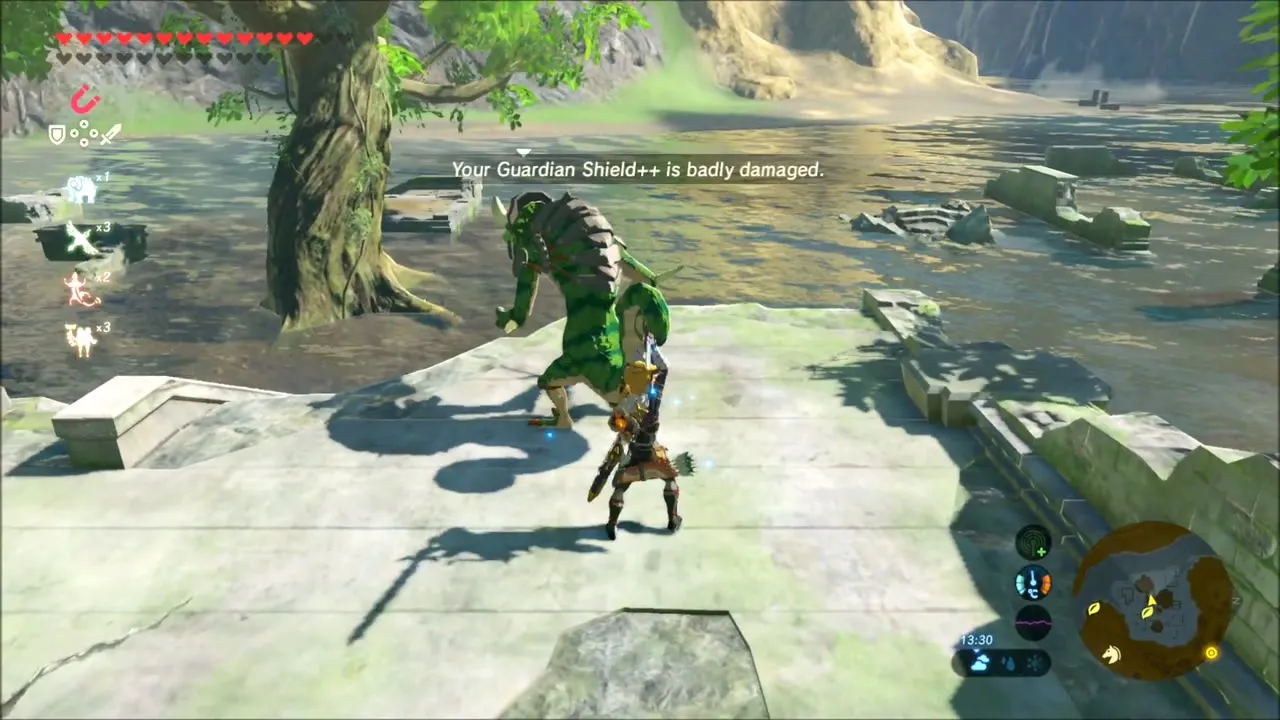
Ride on to the flooded Sage Temple Ruins. Glide to the broken walls, fight the lizalfos on the stonework, and wade the lily-pad courtyards, where a Royal Bow floats near the surface and can be picked up.

Hinox in the Forest: Royal Weapons
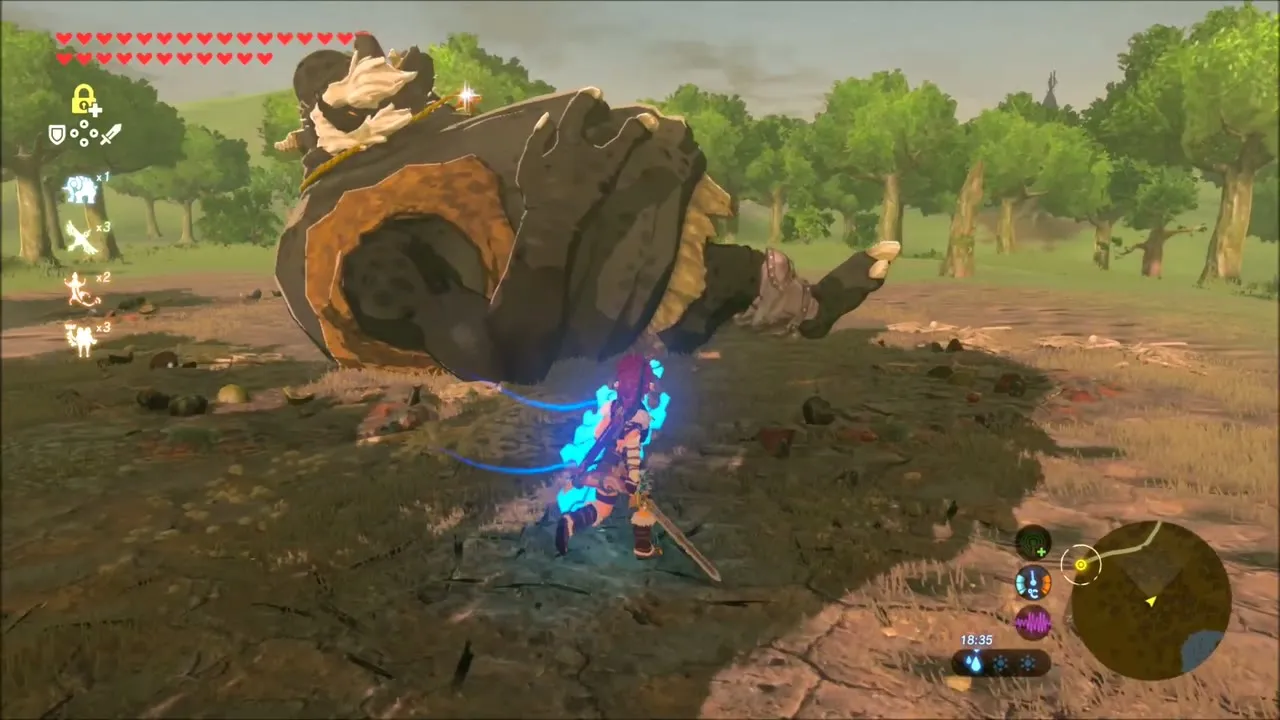
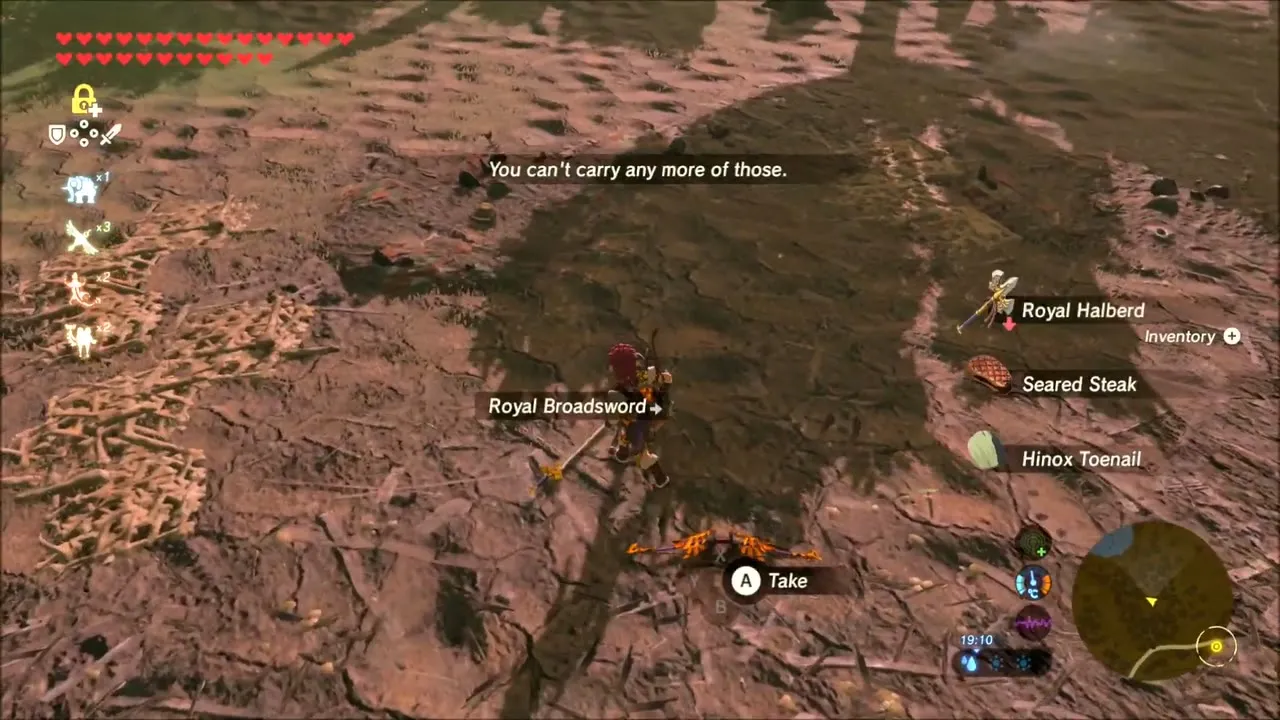
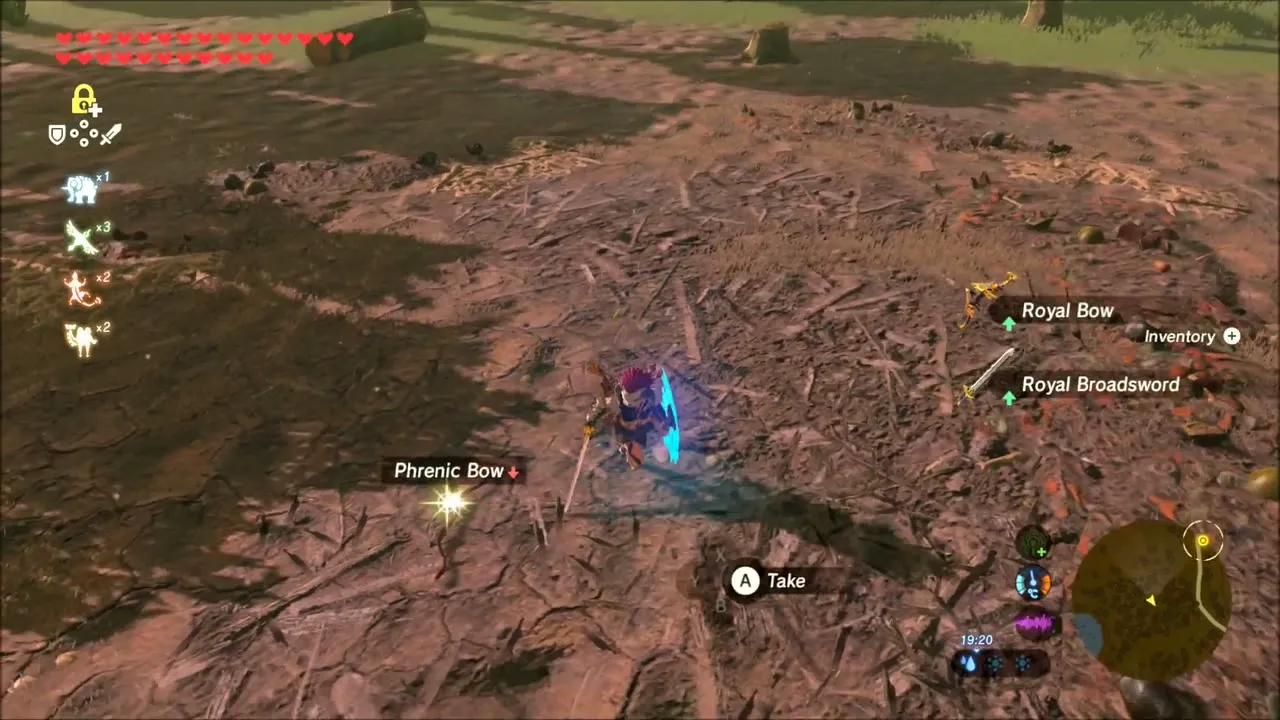
In a forest clearing a Hinox sleeps. Take it on with Fire Arrows and Shock Arrows, then hit it with flurries while it is down. Its drops and loot include a Royal Halberd, a Royal Broadsword and a Phrenic Bow, and an Opal turns up in your materials.

Katah Chuki Shrine: A Minor Test of Strength
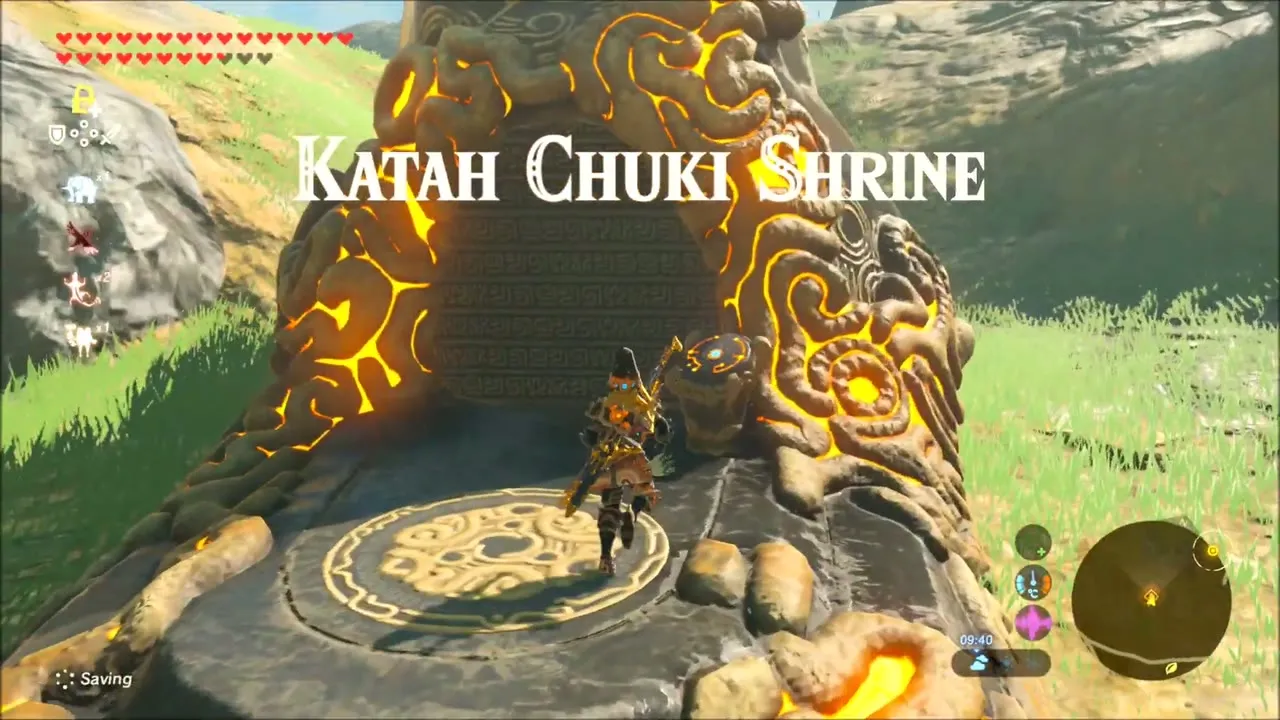
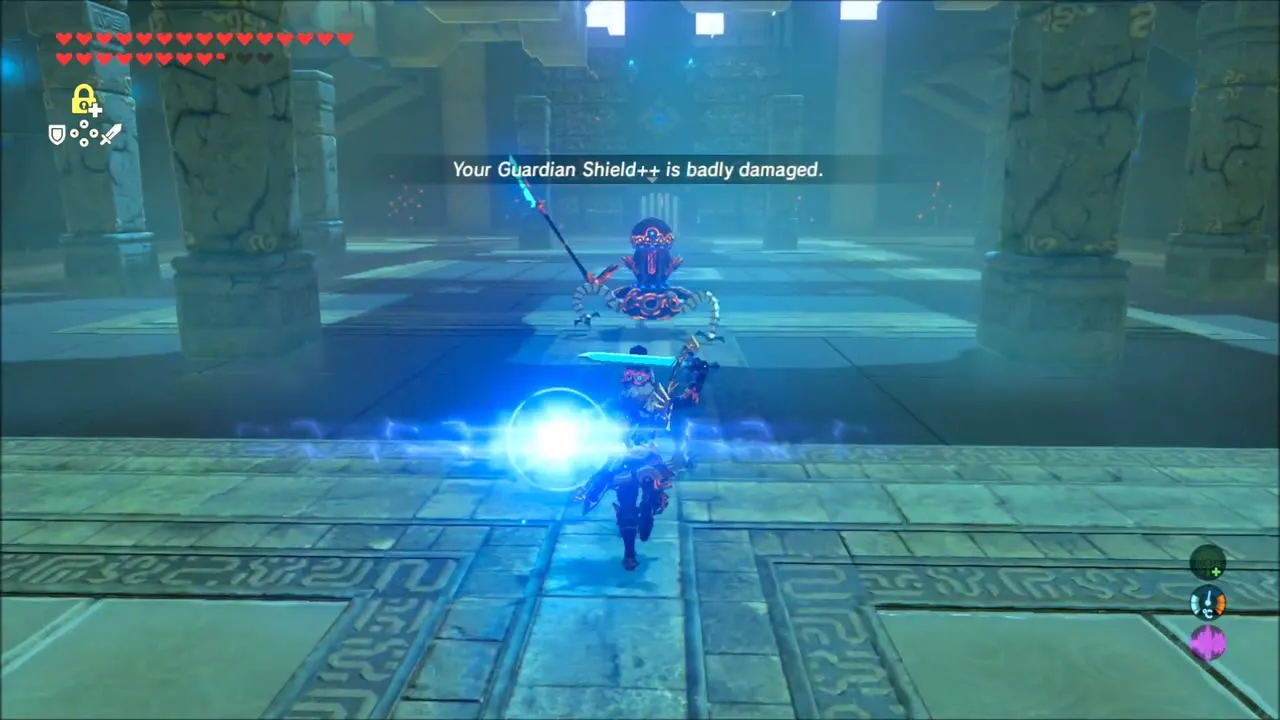
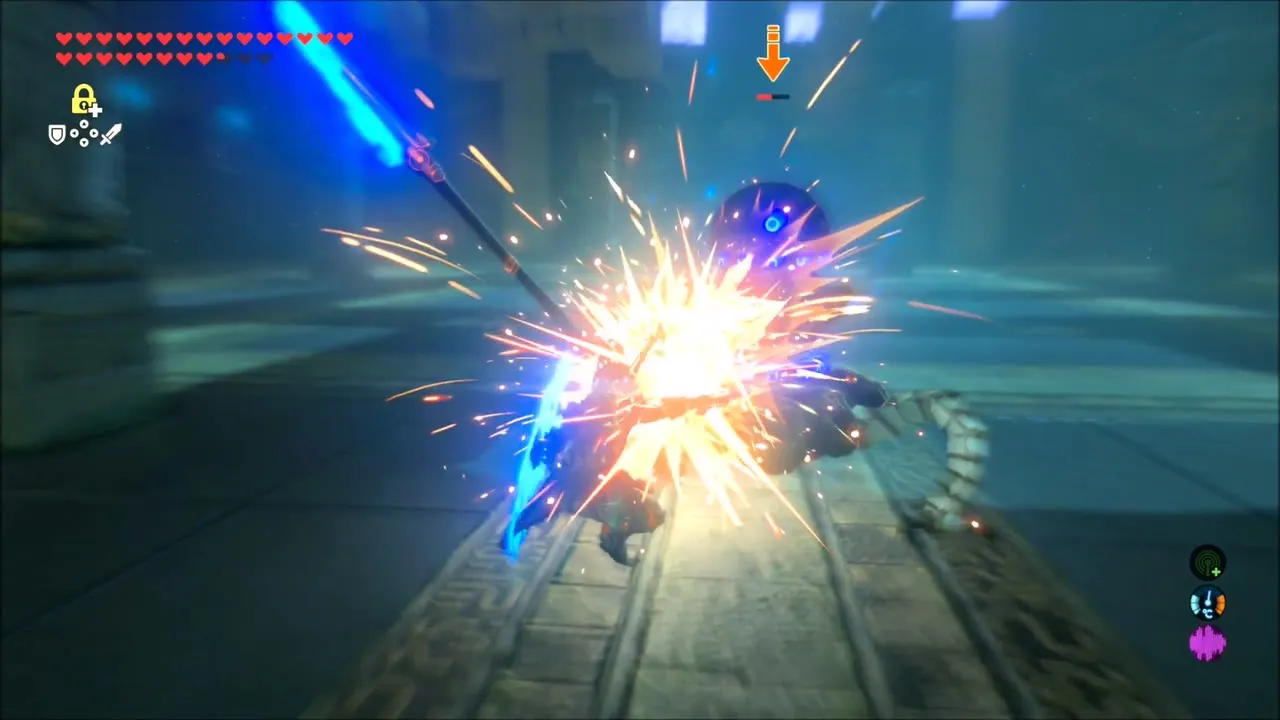
The Katah Chuki Shrine (x -636, z -344) stands in the Quarry Ruins, south-west of Hyrule Castle. Inside, a Guardian Scout II attacks with a spear: dodge, counter and glide over its laser sweep. Open the chest for the Royal Halberd and the monk grants the Spirit Orb.


Dragon Parts and Lynel Hunting
The next long stretch is devoted to farming dragon parts, using Speed Up food to keep pace on the hills and bridges.
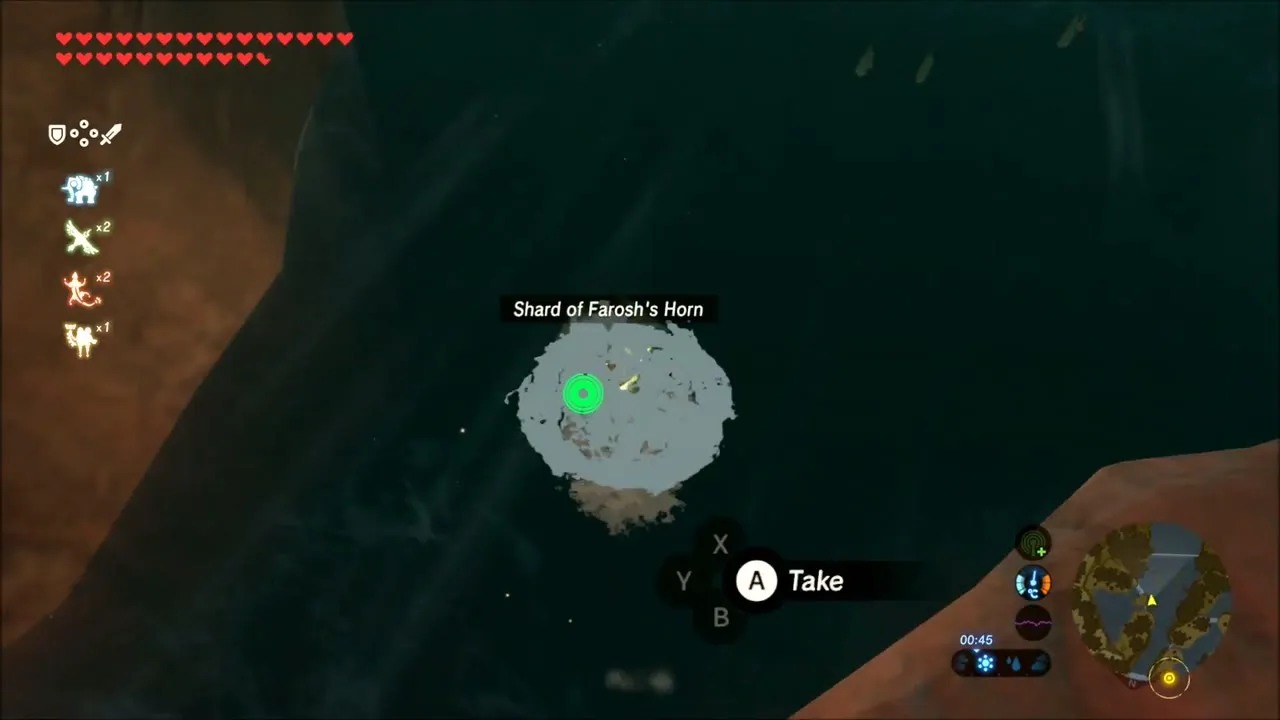

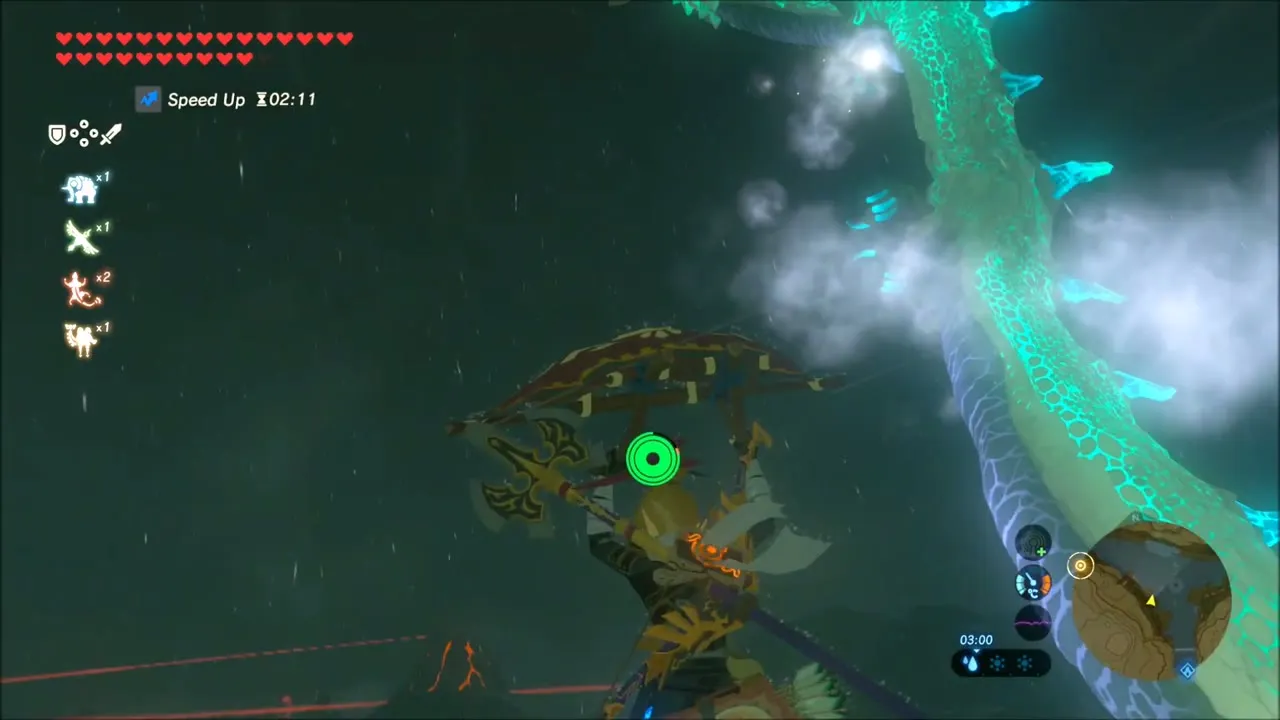

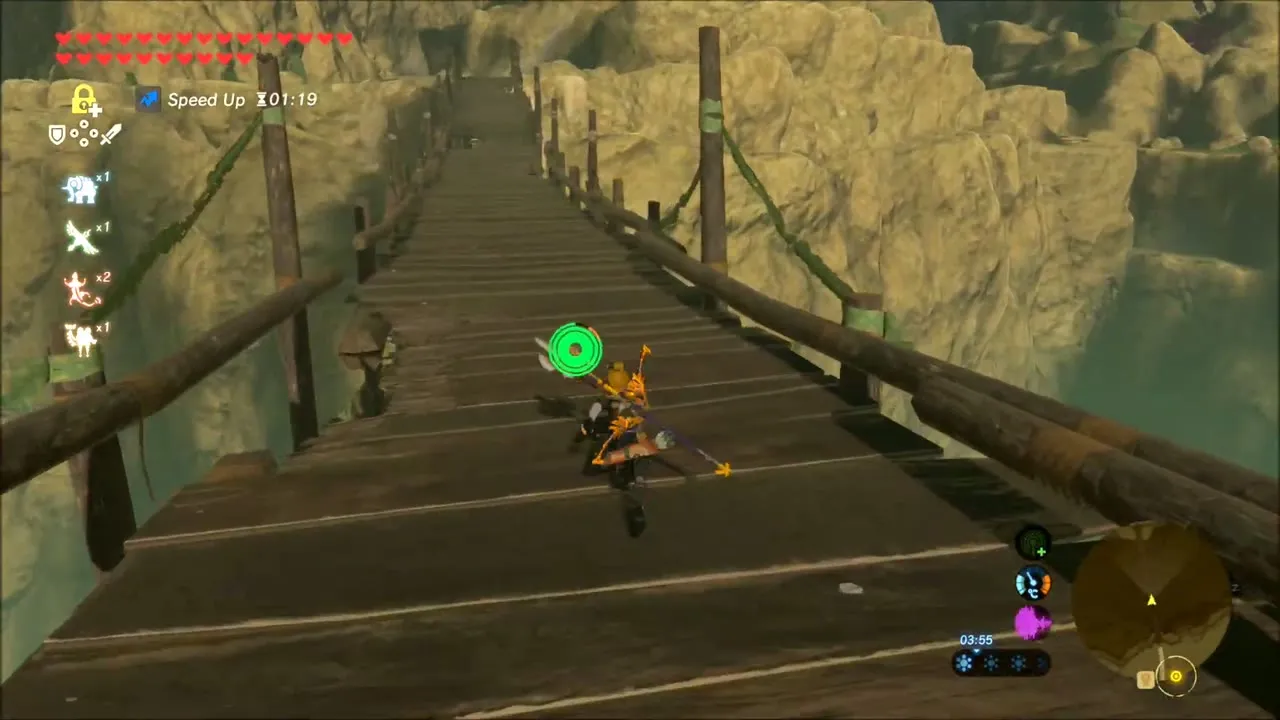
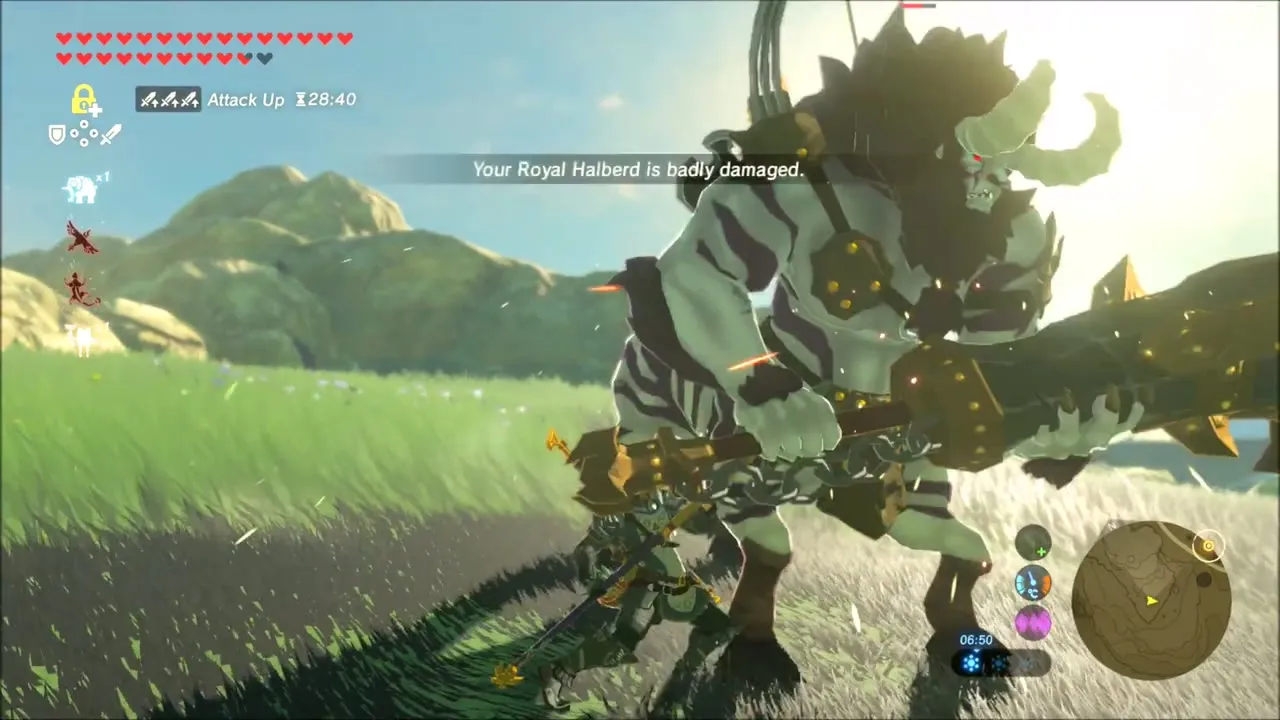
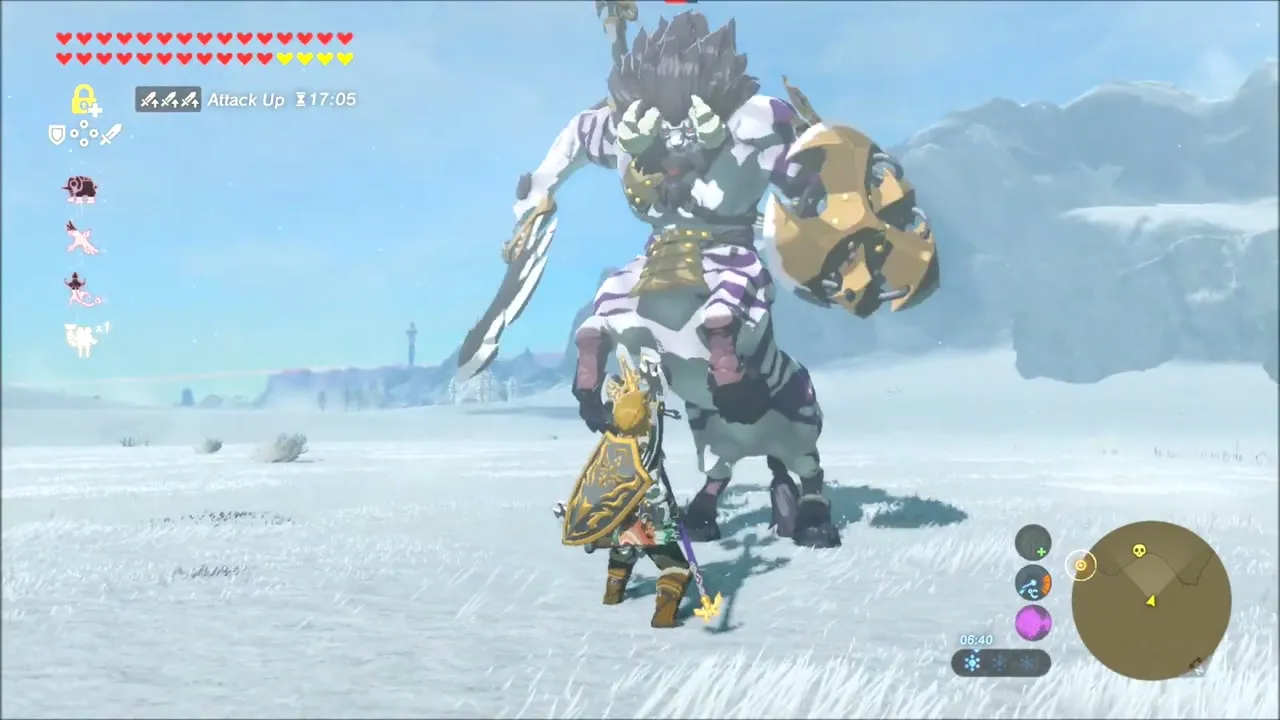
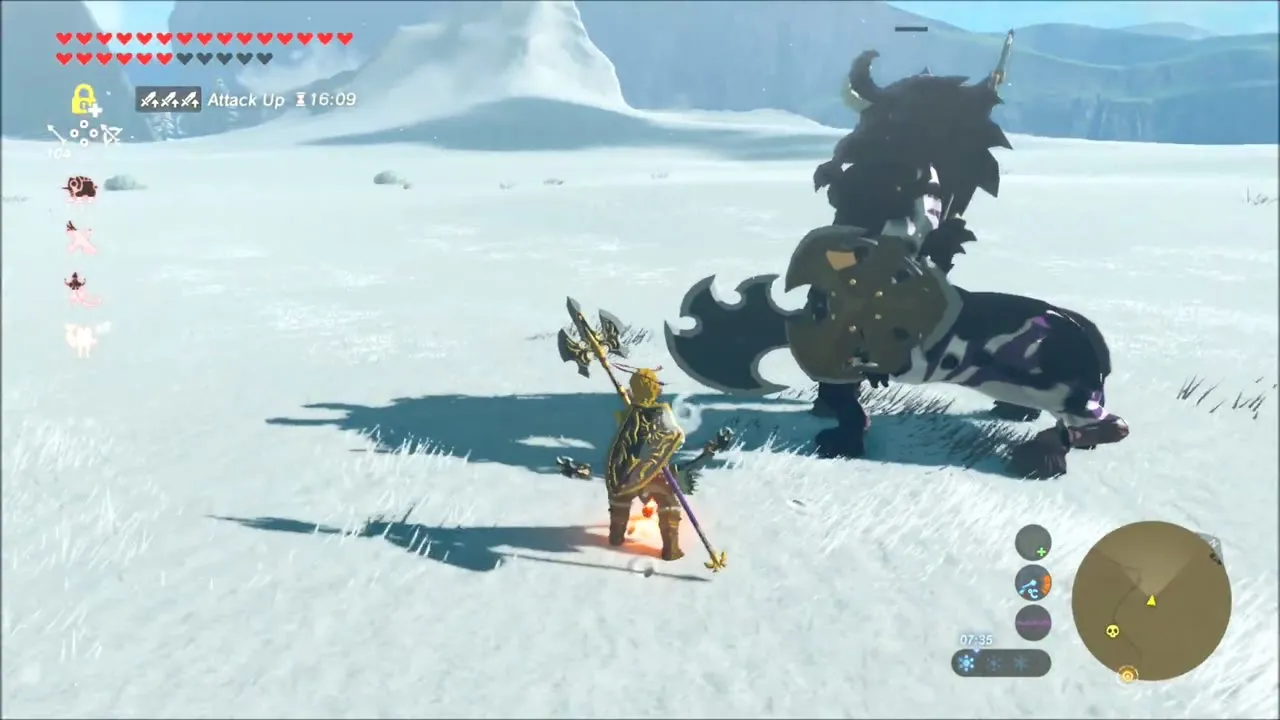
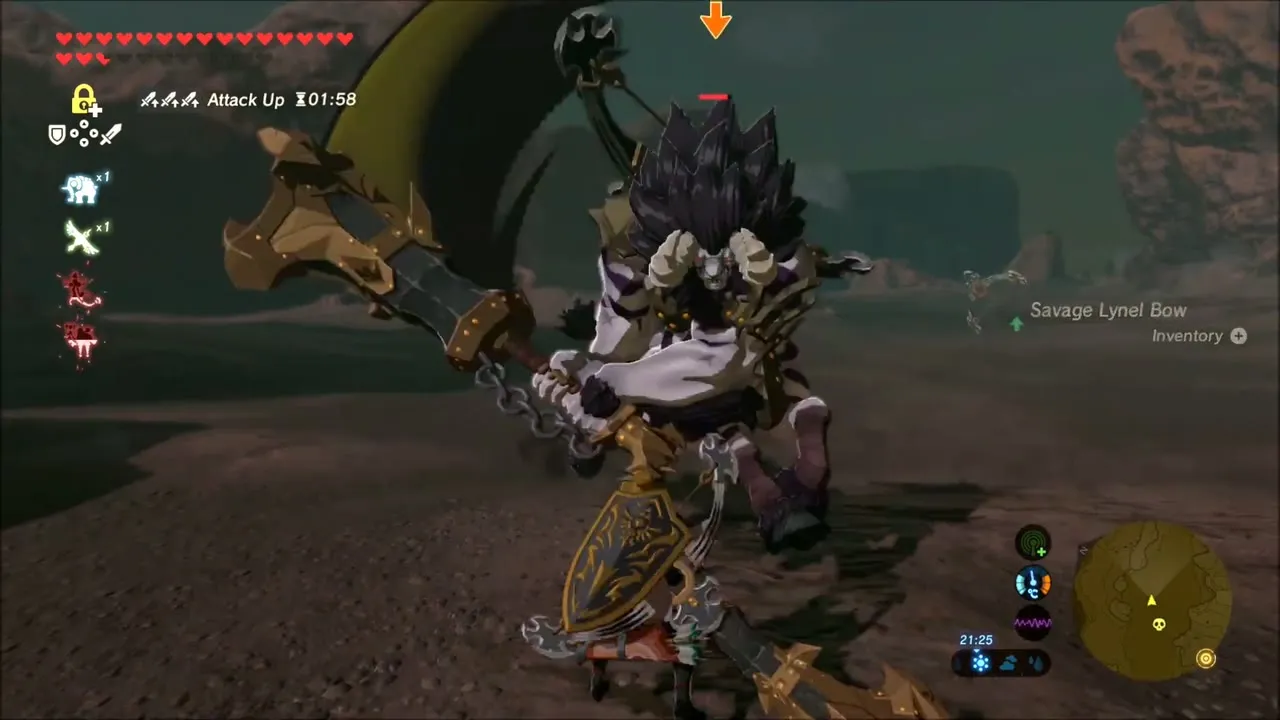
The Lynel run is a long series of fights, eating Attack Up food before each one: first on the grass beneath a red mesa, later on snowfields. A Savage Lynel Bow from one of the defeated Lynels ends up in your bow inventory.

Great Fairy Fountain: Armor Upgrade with Mija
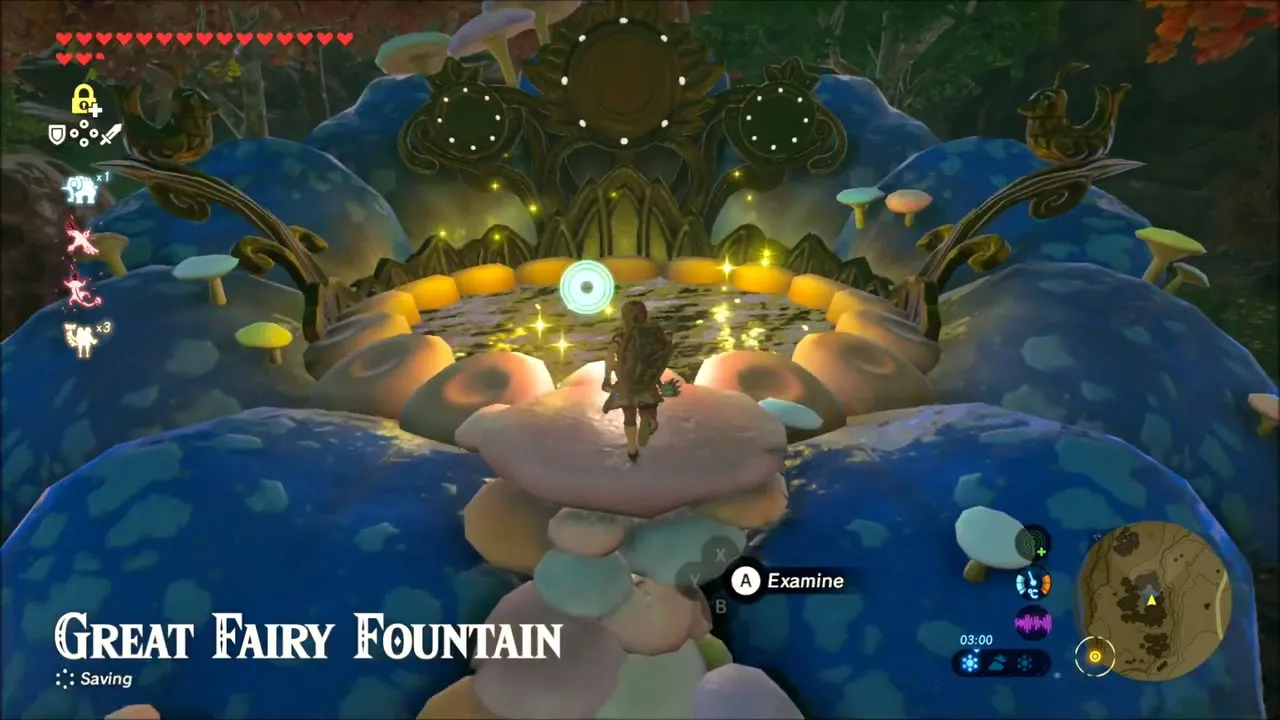
Finish at the Great Fairy Fountain, where Mija asks you to choose some clothes and then upgrades them.

Hyrule Castle Town Ruins: Guardians and Korok Seeds
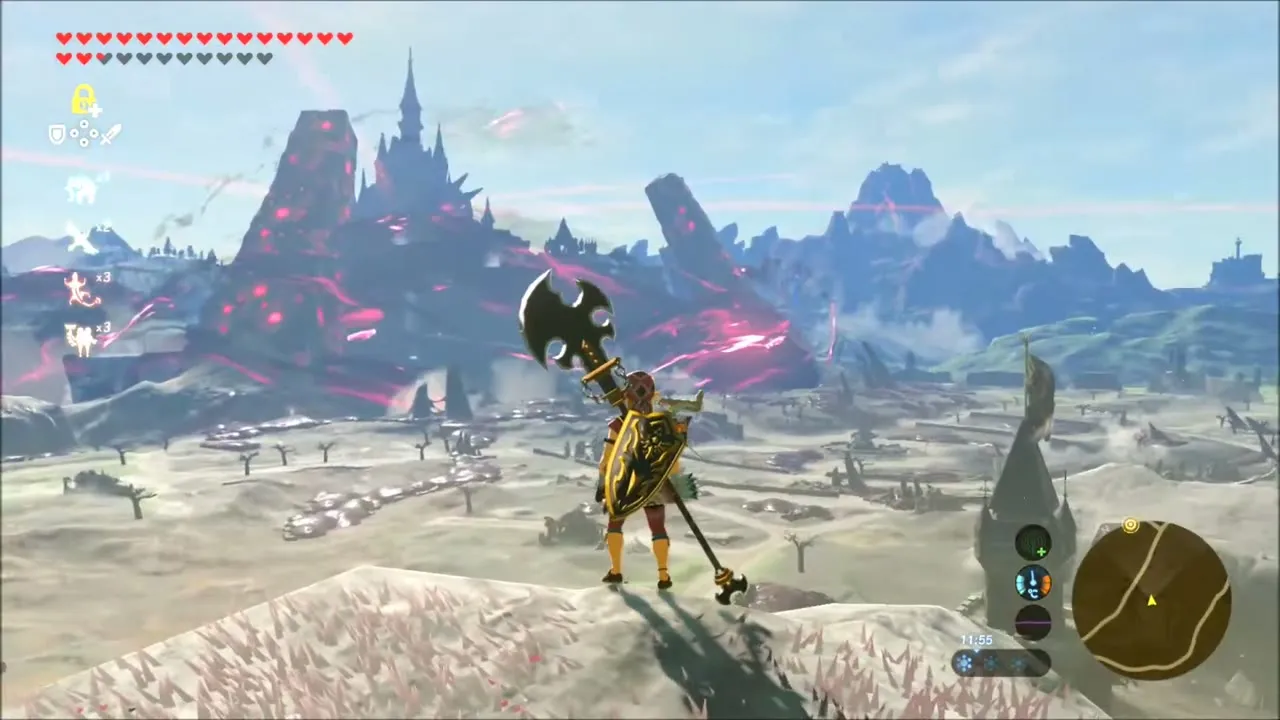
Move on to the western edge of Hyrule Castle Town and stand on a hill that overlooks the red Malice scar around the castle. A Guardian on the plain gives up Ancient Springs when you fell it.
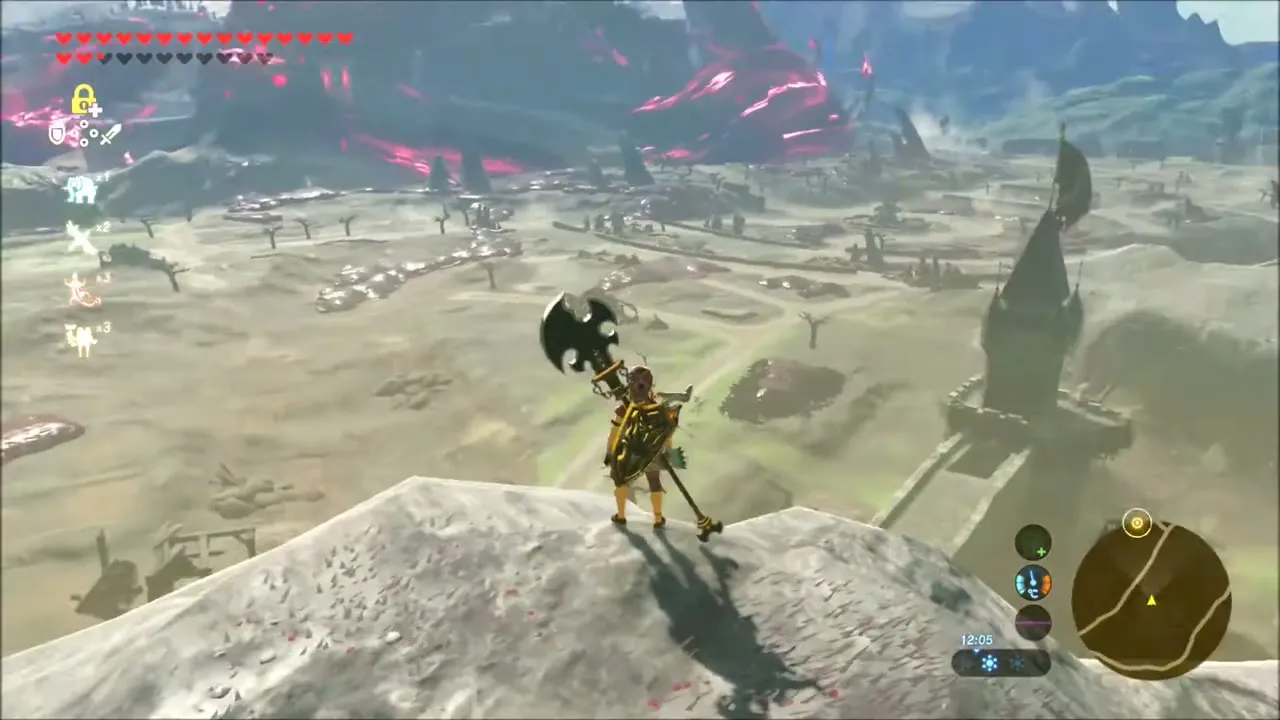
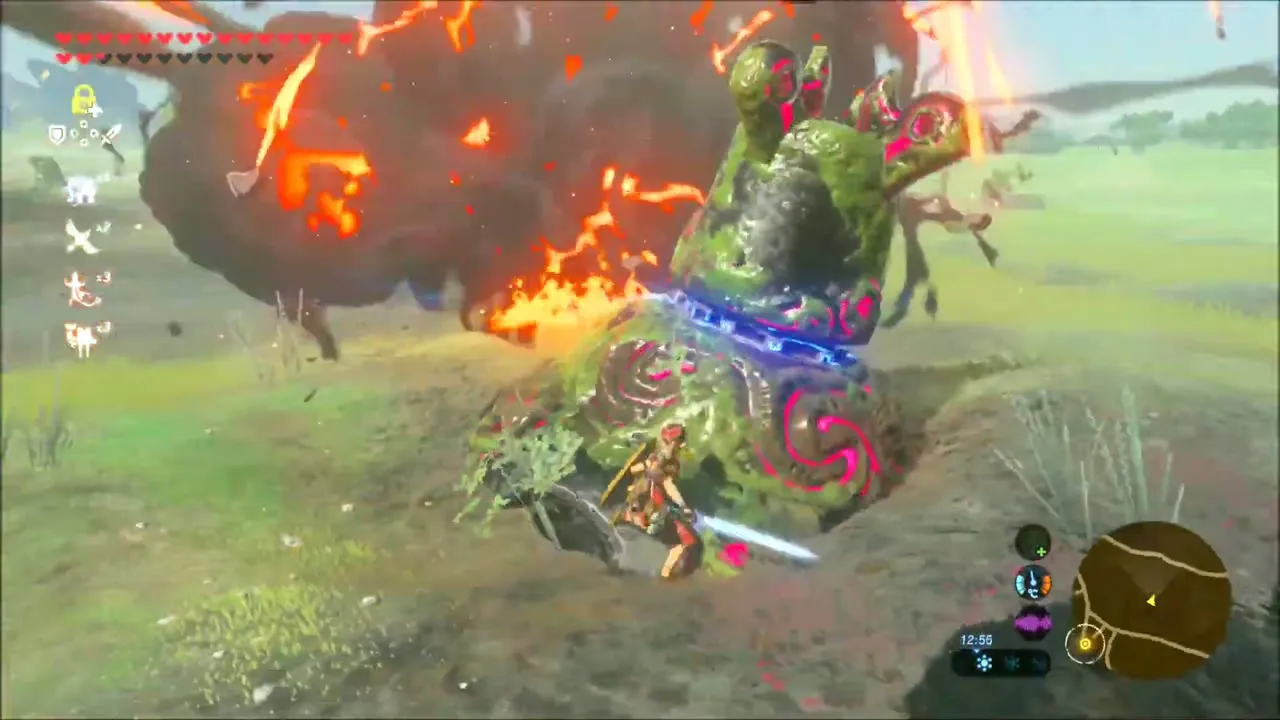
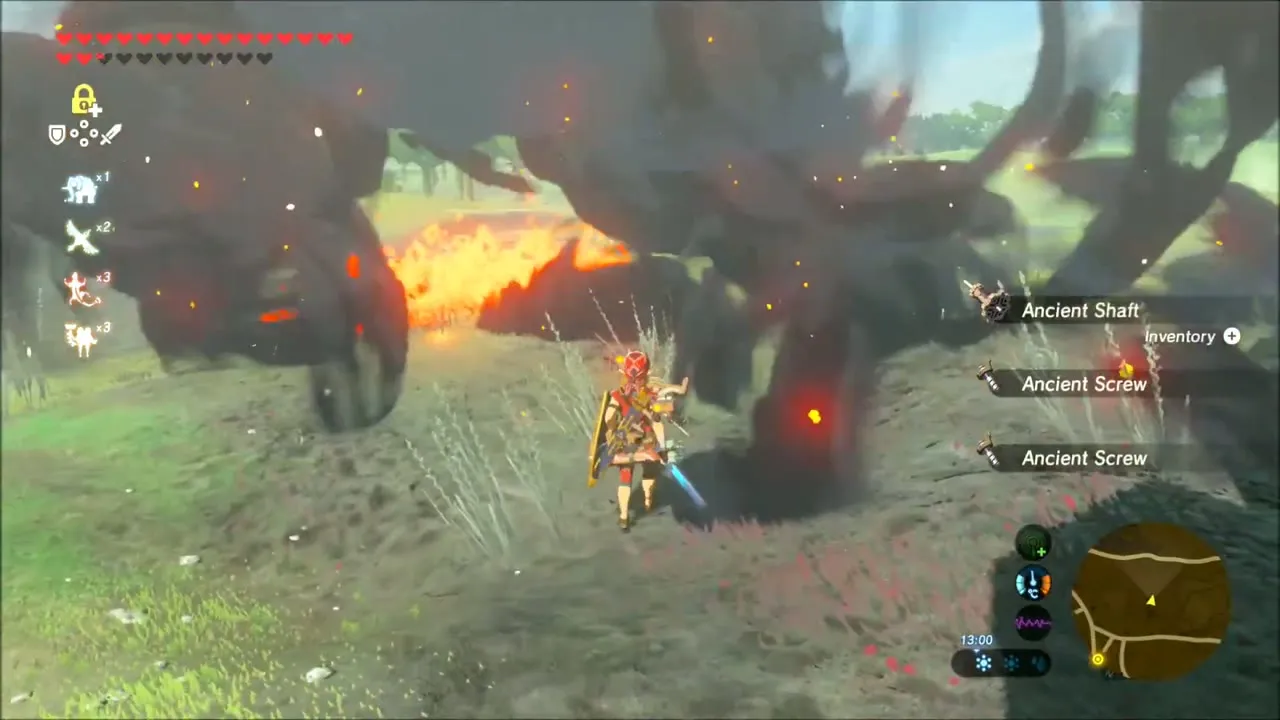
Parry a Guardian’s laser with your shield to bounce it back, then head up to the west gate of the town. A Korok sits near the arch of the big gate and gives its seed, and you can climb the wall beside the gate onto the upper rampart.
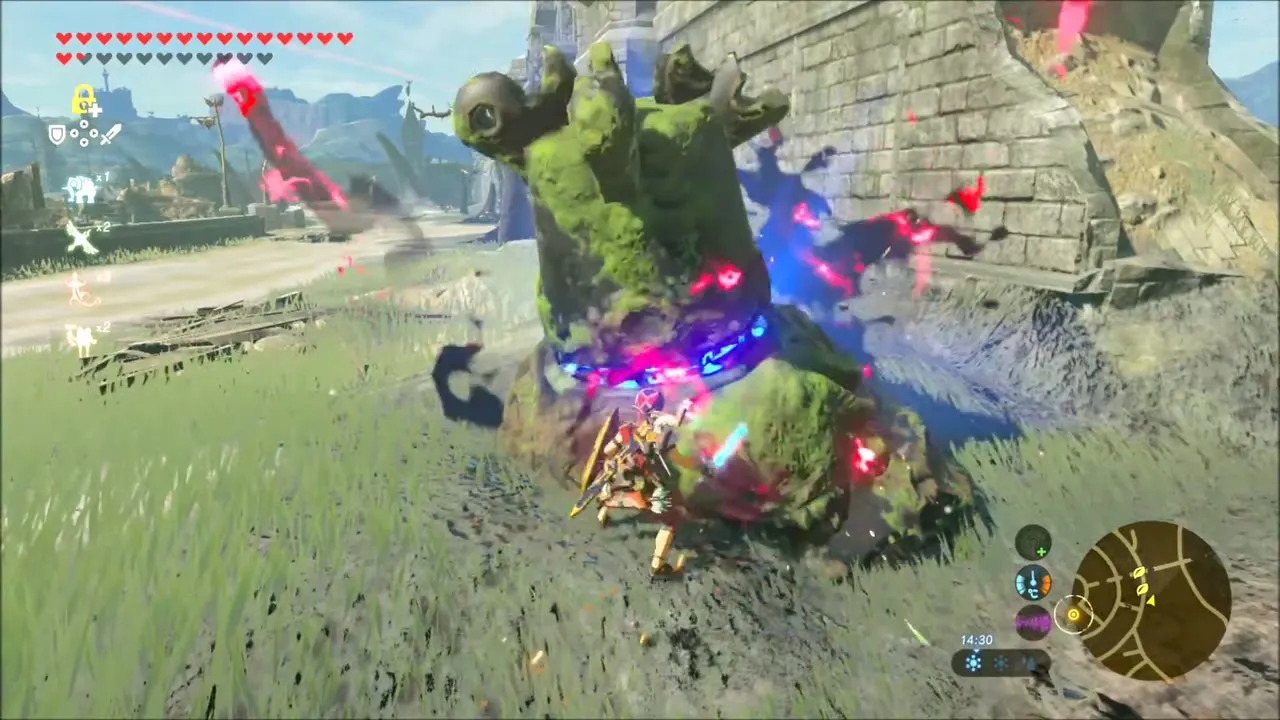
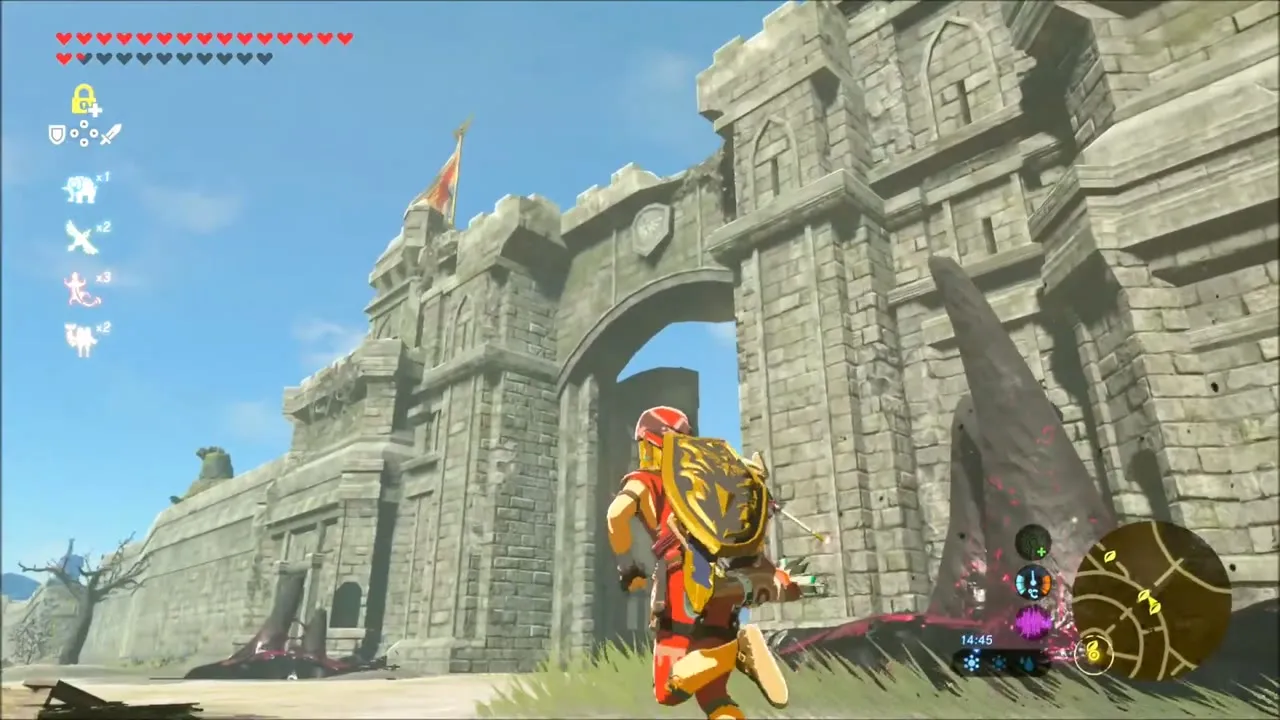

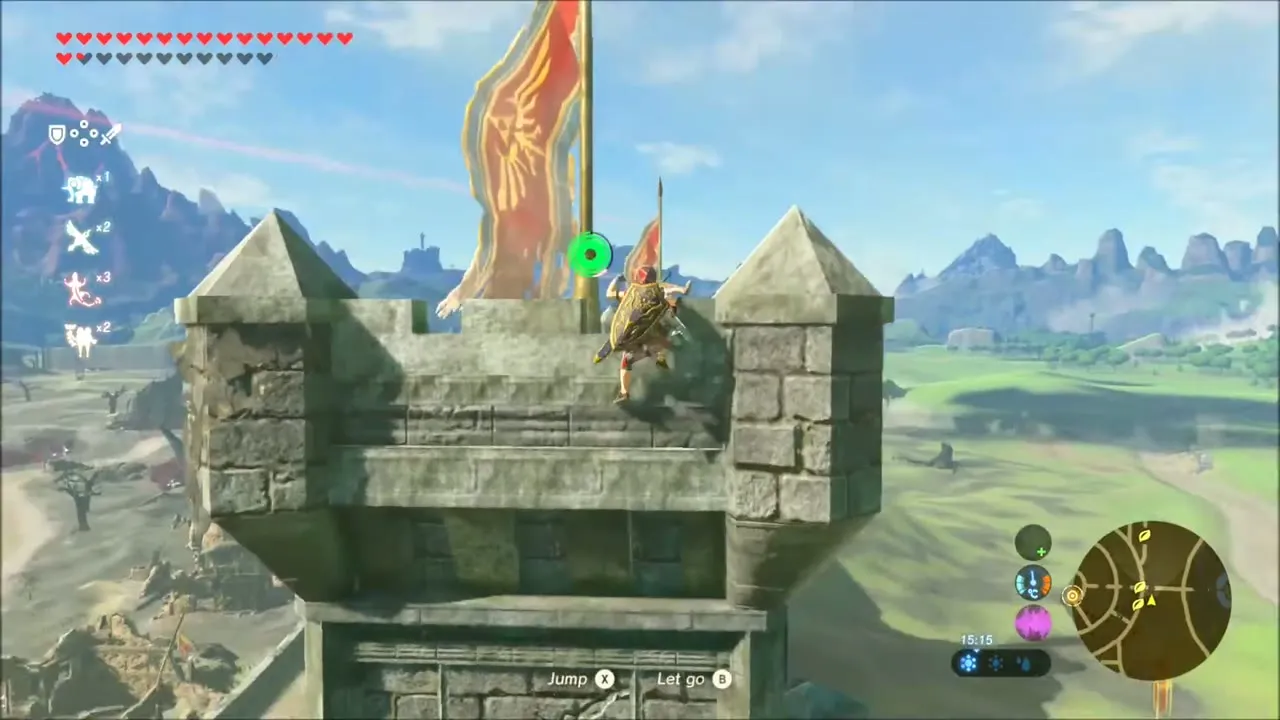
Inside the walls, Guardians patrol the ruined streets. Keep taking Ancient Screws and Shafts and glide from the rooftops. At the Castle Town Watchtower ruins another Korok seed is waiting.


How to Find and Tame the Lord of the Mountain
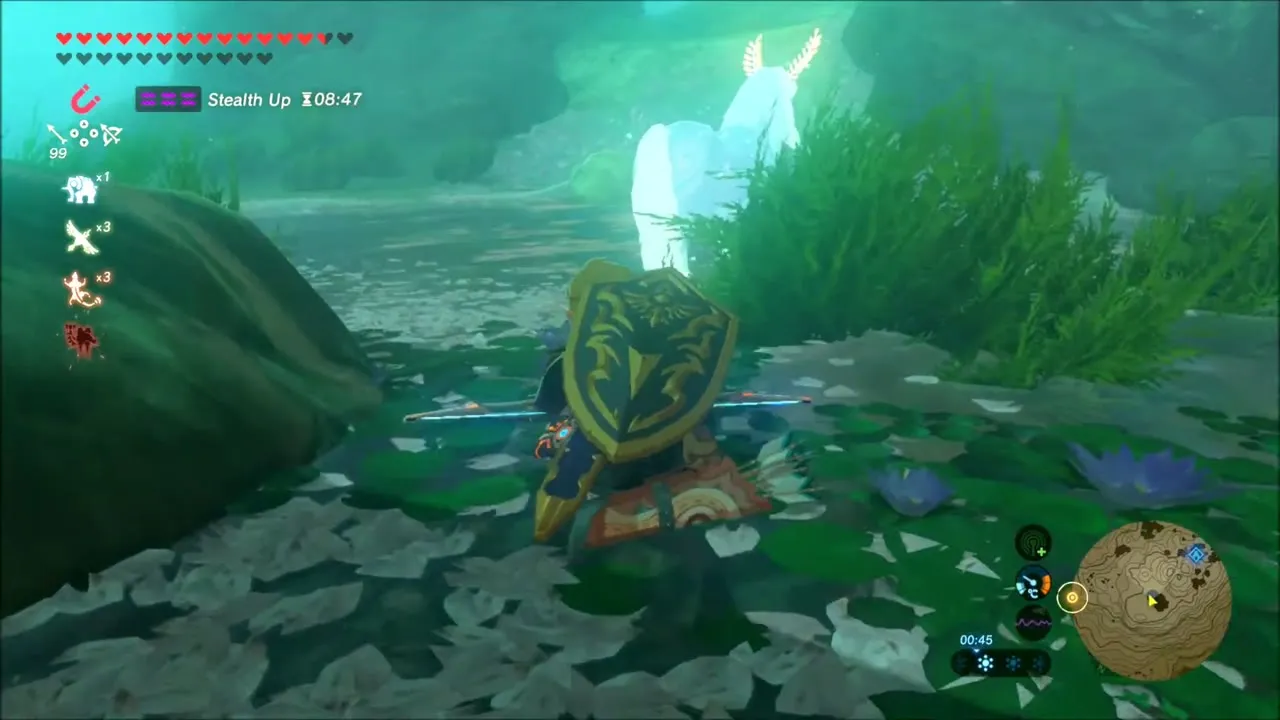
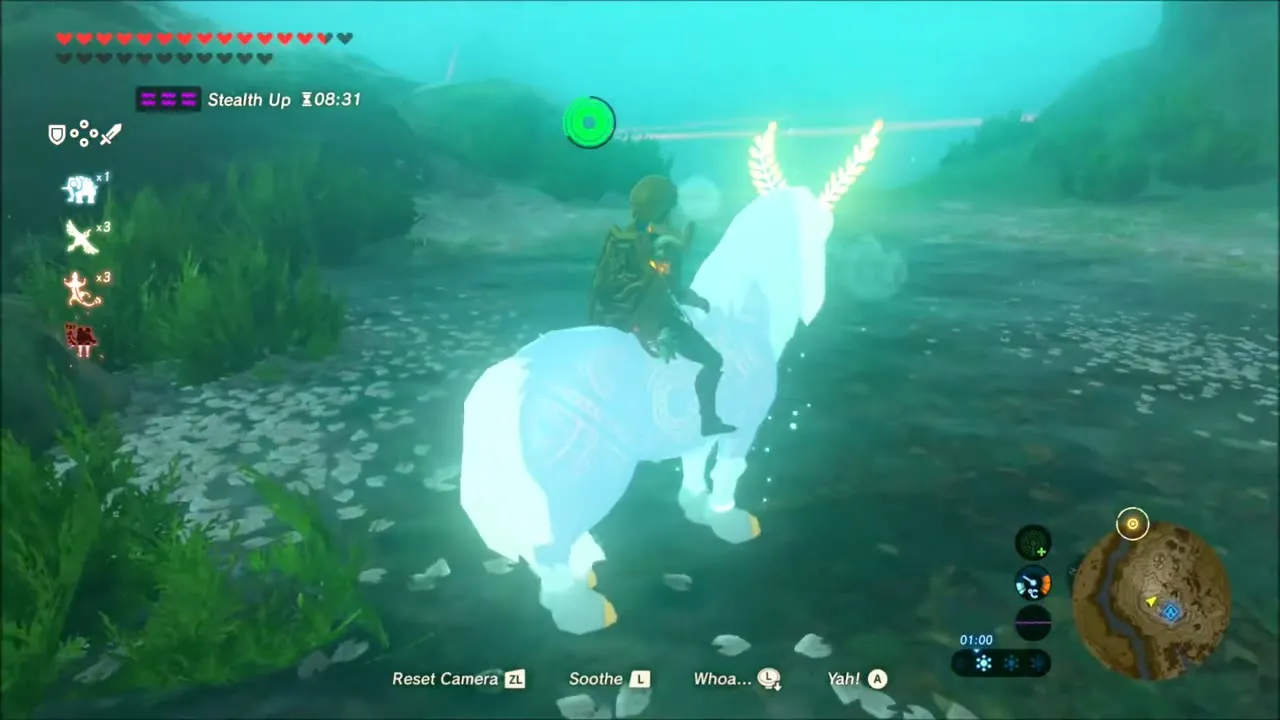
The next detour is the Lord of the Mountain, a glowing white horse with antlers that appears on Satori Mountain when a green beam of light shows over the peak. Sneak up, mount it and soothe it through its stamina wheel until it settles. It cannot be registered and vanishes if you leave it for long.


Castle Town: Korok Seeds, Chests and the Prison
Back in Hyrule Castle Town there is a chain of Korok seeds along the ruined walls and towers. You climb tall brick towers and wall tops, and one seed needs you to pick up a boulder and carry it a short way.


Chests are scattered through the same streets: a metal chest you pull free with Magnesis on an icy slope, and a Royal Shield among them. You pass the Castle Town Prison on a stormy night.


Noya Neha Shrine: A Minor Test of Strength
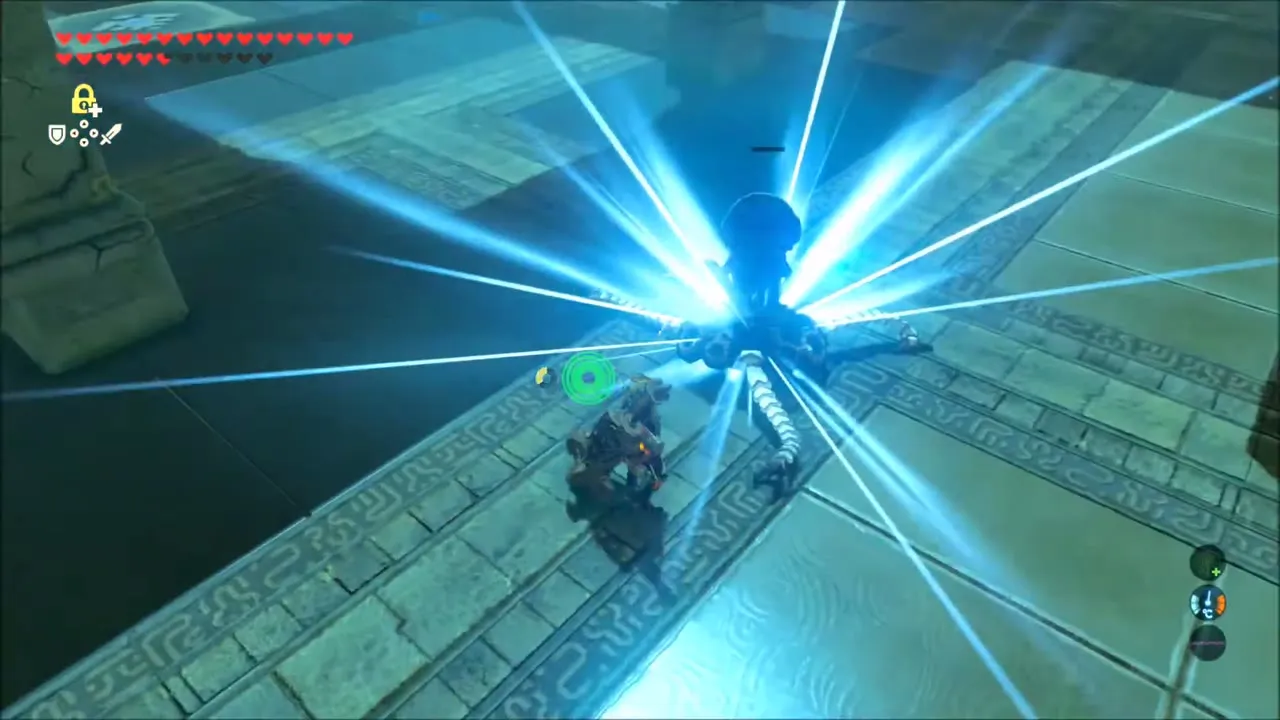
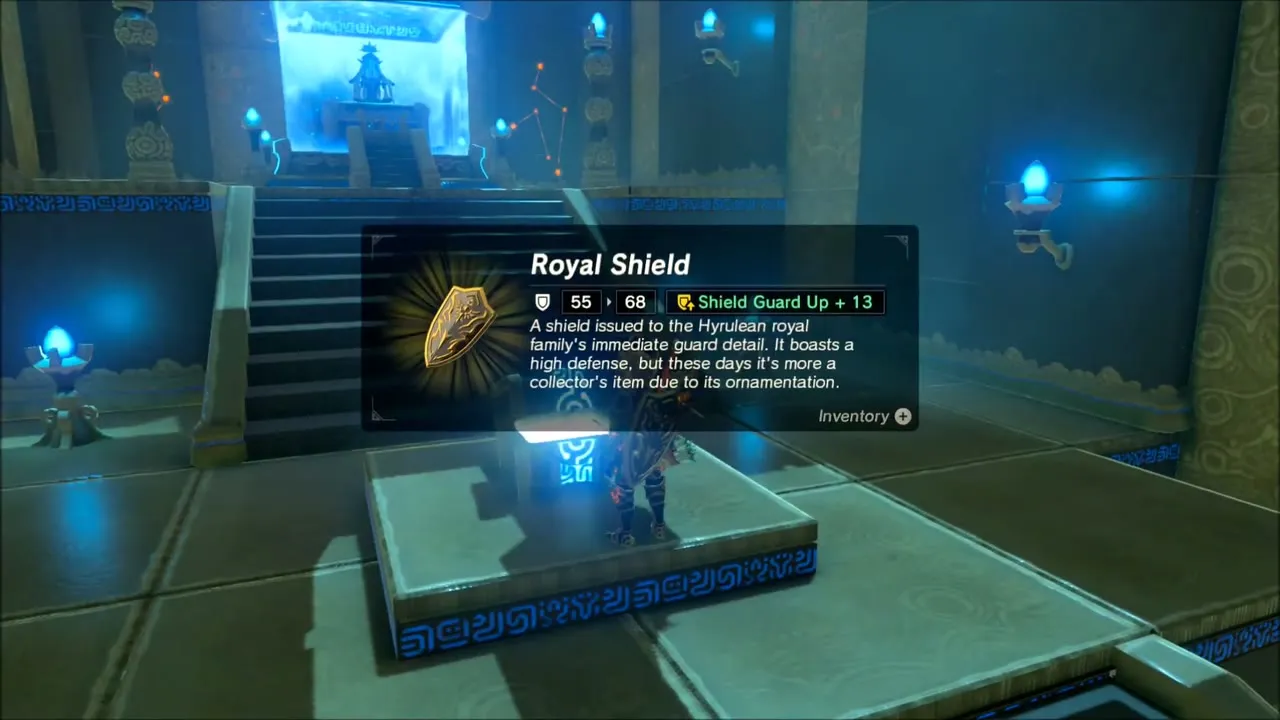
The Noya Neha Shrine (x -952, z -624, height 147) sits on the island north of the Quarry Ruins. Burn off the thorns that cover its entrance, then bomb the cracked rock behind them. Inside, a Guardian Scout II swings an Ancient Battle Axe at you: dodge each swing, counter, and glide over its laser. The chest holds a Royal Shield and the monk hands over the Spirit Orb.
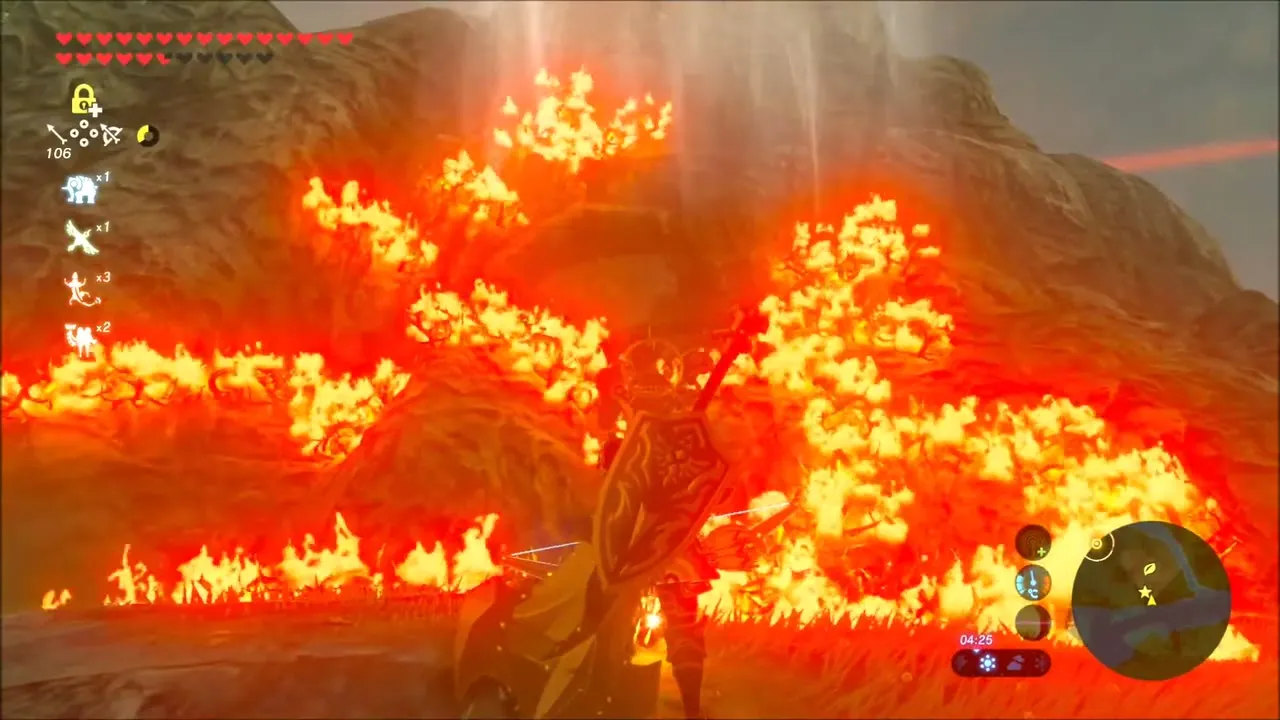


The last stretch climbs a rocky ridge above the shrine and ends with a wide view of Hyrule Castle and the Malice around it.