





















100% Completion Walkthrough21 chapters
- Great PlateauAll 4 Shrines, the Paraglider and Korok Seeds
- Kakariko Village and Dueling PeaksSeek Out Impa, Shrines and Korok Seeds
- Hateno VillageHateno Tower, the Ancient Tech Lab, Link’s House and Shrines
- Zora’s DomainReach Zora’s Domain, Vah Ruta, Lanayru Shrines and Korok Seeds
- Faron and Lurelin VillageLurelin Village, Faron Tower, Shrines and Korok Seeds
- Korok Forest and Master SwordHow to Get the Master Sword, Lost Woods, Shrines and Korok Seeds
- Hebra MountainsHebra Tower, Snowfield Stable, Shrines and Korok Seeds
- Rito Village and Vah MedohVah Medoh, Tabantha Tower, Shrines and Korok Seeds
- Gerudo HighlandsGerudo Tower, Gerudo Summit, Shrines and Korok Seeds
- Gerudo TownForbidden City Entry, the Thunder Helm, Desert Shrines and Korok Seeds
- Vah Naboris and Gerudo DesertThunderblight Ganon and the Gerudo Desert Shrines
- Lake HyliaLake Tower, Farosh, Lake Shrines and Korok Seeds
- Akkala and Tarrey TownTarrey Town, Akkala Tower, Shrines and Korok Seeds
- Death Mountain and Goron CityGoron City, Vah Rudania, Eldin Shrines and Korok Seeds
- RidgelandRidgeland Tower, Shrines, Memories and Korok Seeds
- Central HyruleCentral Tower, Captured Memories, Shrines and Korok Seeds
- Hyrule Castlethe Hylian Shield, Saas Ko’sah Shrine, Zelda’s Diary and Memories
- Calamity GanonLast Side Quests, Destroy Ganon and the Final Boss
- All Hinox, Talus and Molduga LocationsEvery Hinox, Stone Talus and Molduga, for Kilton’s Medals of Honor
- Trial of the Sword and EX TreasuresThe Trial of the Sword and every EX Treasure location (DLC Pack 1)
- Champions’ BalladOne-Hit Obliterator, Champion Trials and the Final Trial
| Region | Central Hyrule |
|---|---|
| Shrines | 1: Saas Ko’sah Shrine |
| Korok seeds | 26 |
| Memories | Memory 12, Memory 13 |
This chapter of the 100% walkthrough covers the Central Hyrule region in a route that collects everything along the way: 1 shrine, 26 Korok seeds and 2 memories, plus the quests, chests and minibosses you meet. Positions are map coordinates (x grows east, z grows south).
Reaching Hyrule Castle from the West: Water Reservoir and Castle Town Ruins
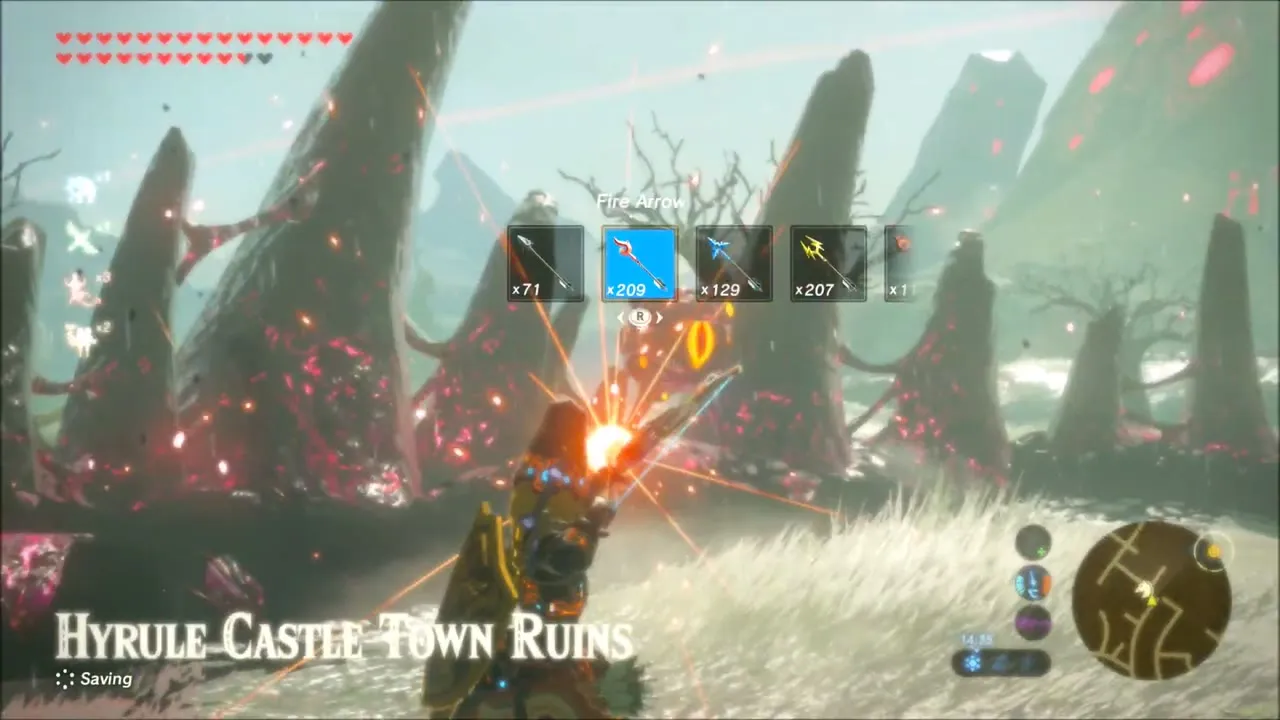
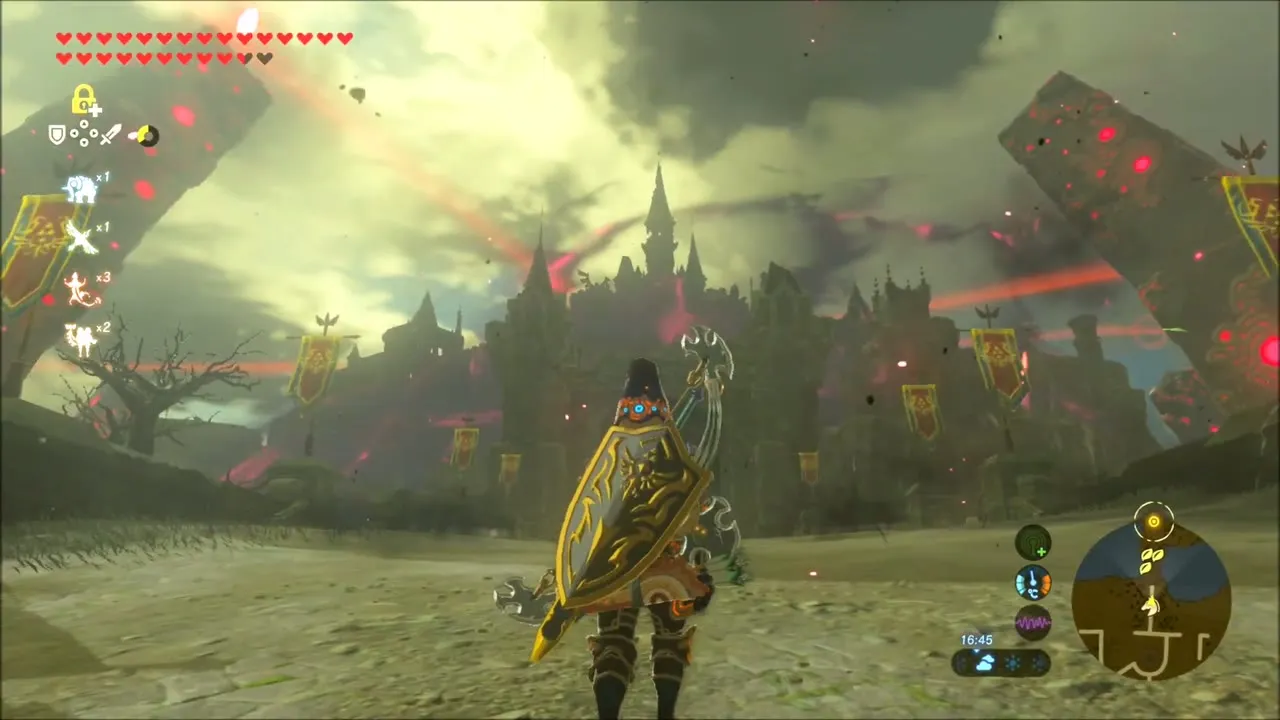
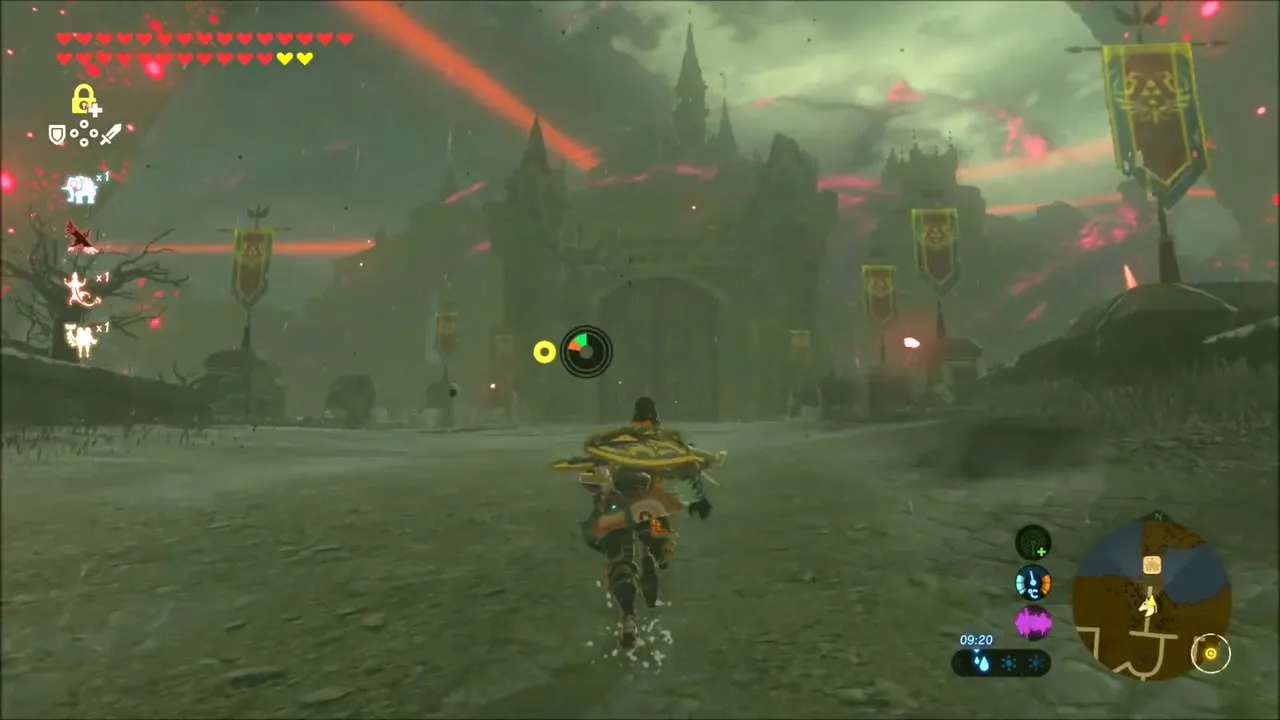
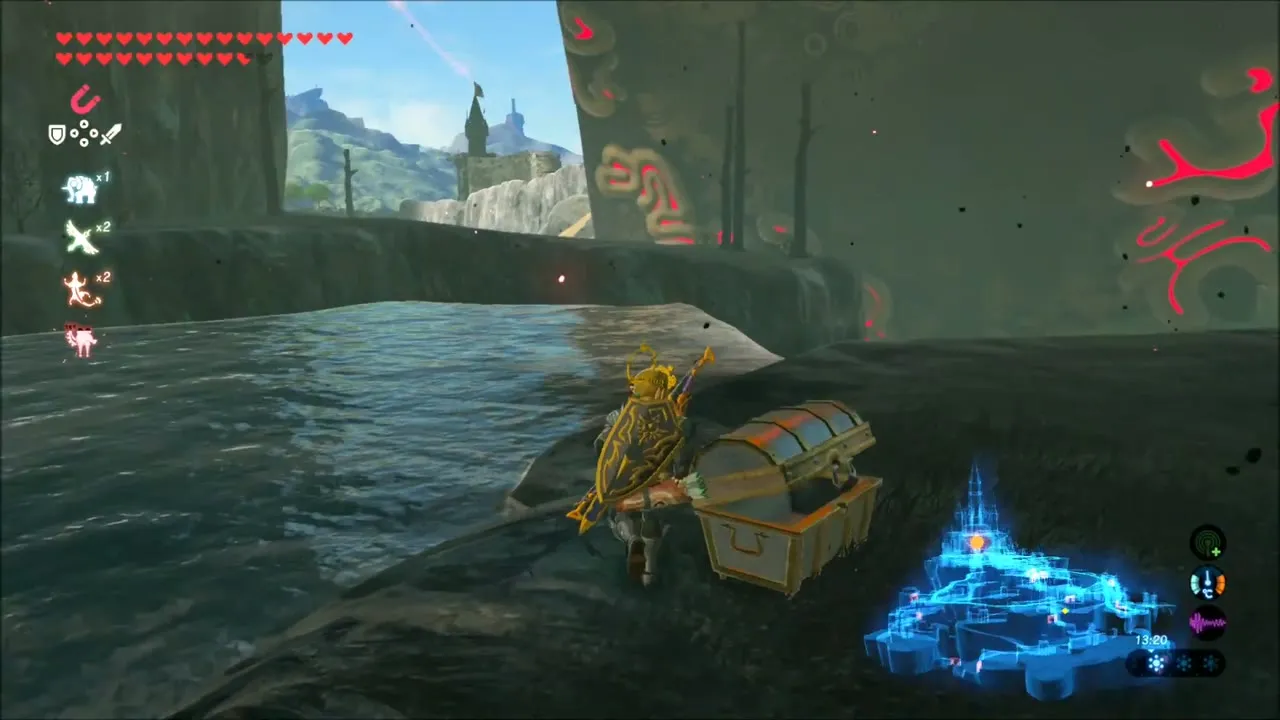
Come at Hyrule Castle from its western side. Ride east from the Water Reservoir (x -597, z -517) along the cobbled road toward Hyrule Castle Town Ruins. Two chests are worth the detour on the way: one sits on the bank of the reservoir, and another is hidden behind a stone wall that you can blow open with a bomb arrow. In the ruins, Malice-covered Guardian Stalkers wander the streets; they drop Ancient Screws, Springs and Gear, which you will want later for upgrades. Follow the road to the bridge head, where the walls of the castle and the red beams of its Guardian Turrets come into view.


Hyrule Castle Moat: Climbing the Outer Wall and Korok Seeds
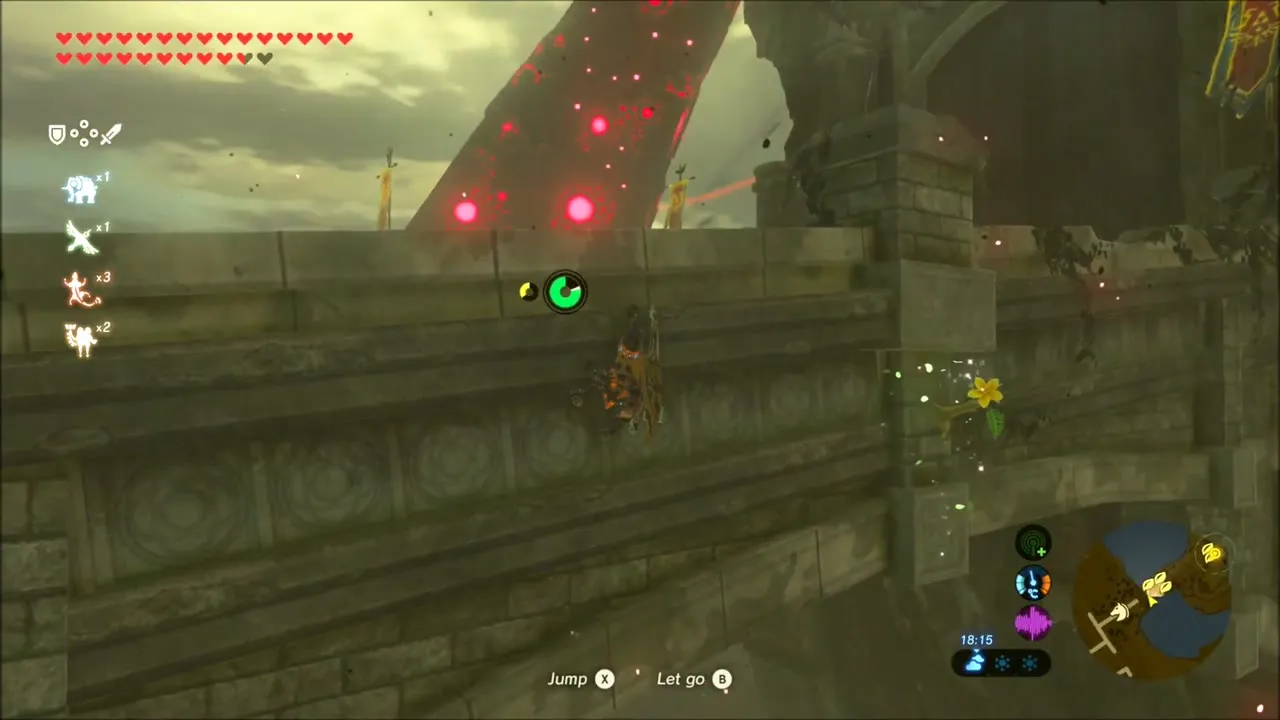
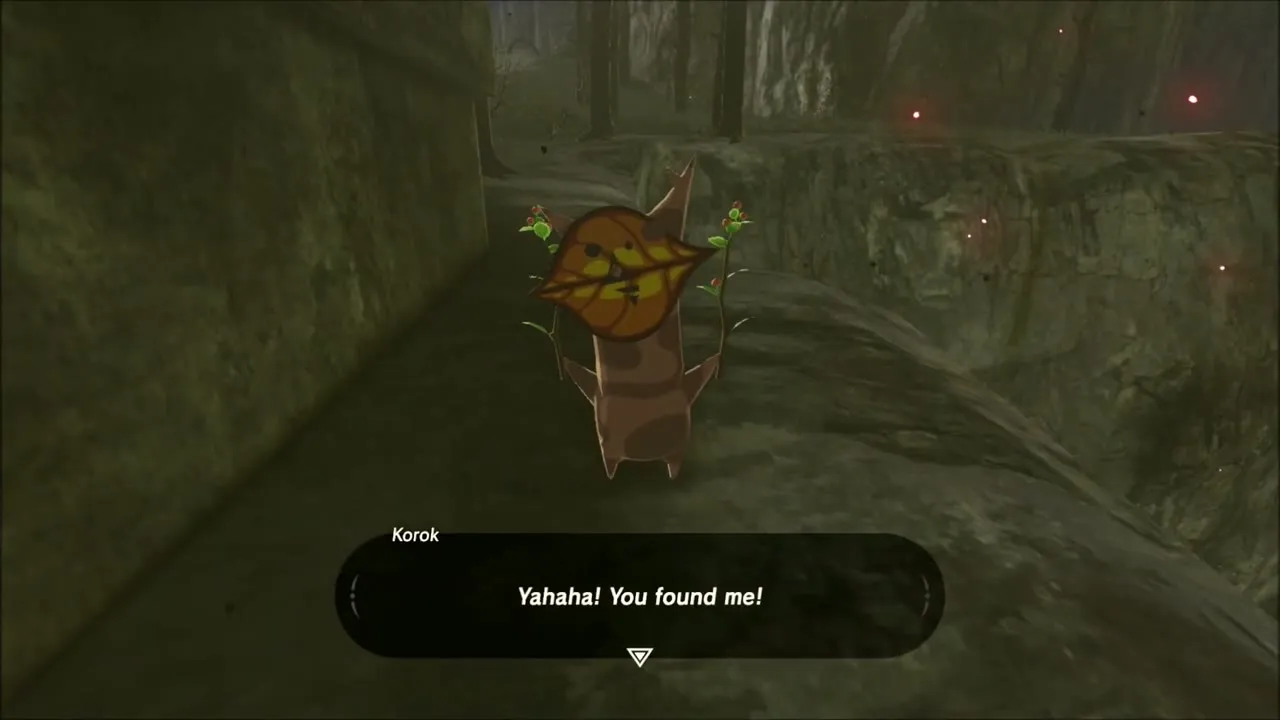
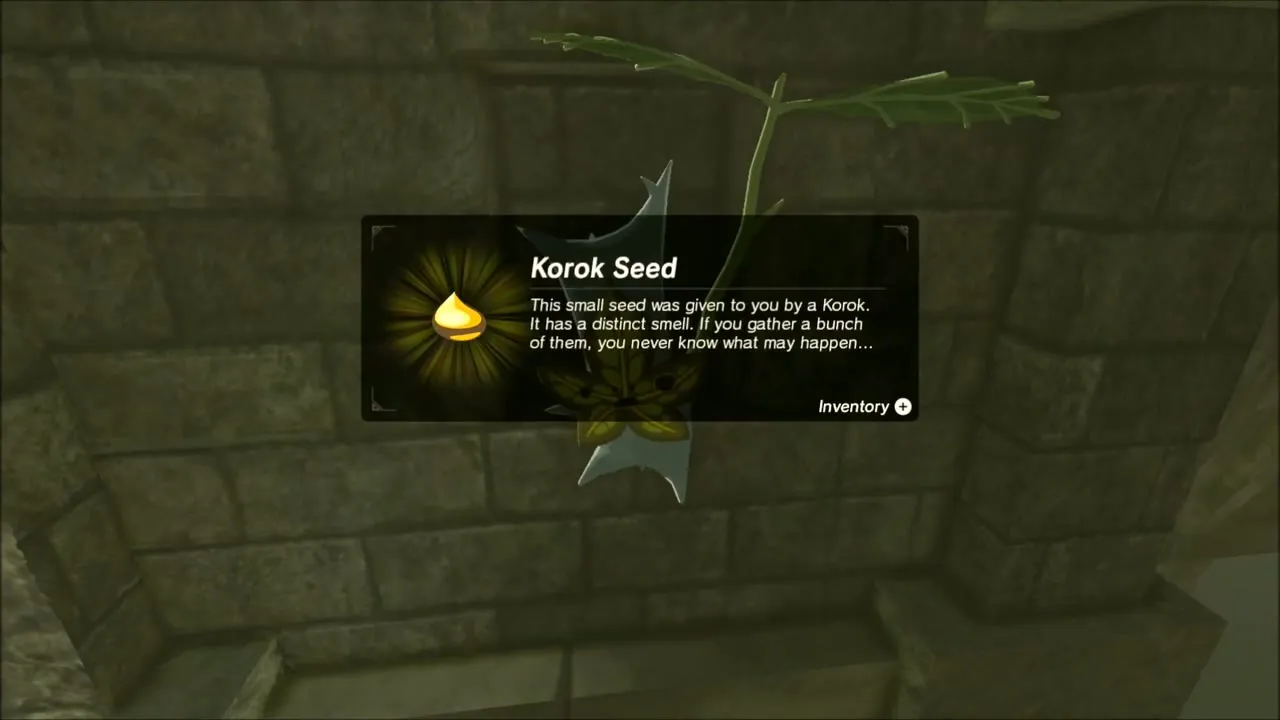
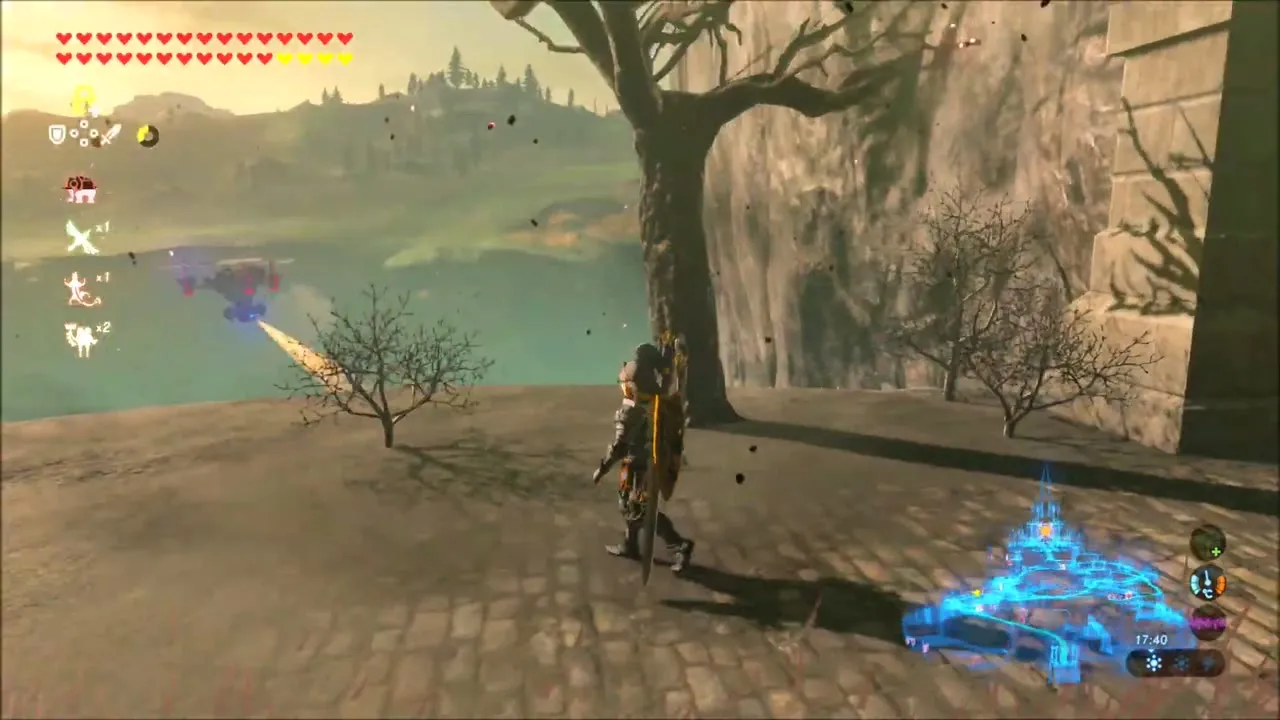
The “Hyrule Castle” title card appears as you reach the moat. A flying Guardian patrols here, so shoot or dodge it, then slip into the water and swim to the foot of the outer wall. Climb the wall instead of taking the road: the ledges hide several Korok seeds. One Korok sits on a narrow ledge beside the stonework, and another is perched against a brick wall higher up. Each gives its seed as soon as you reach it.


Ramparts and the Climb to the First Gatehouse
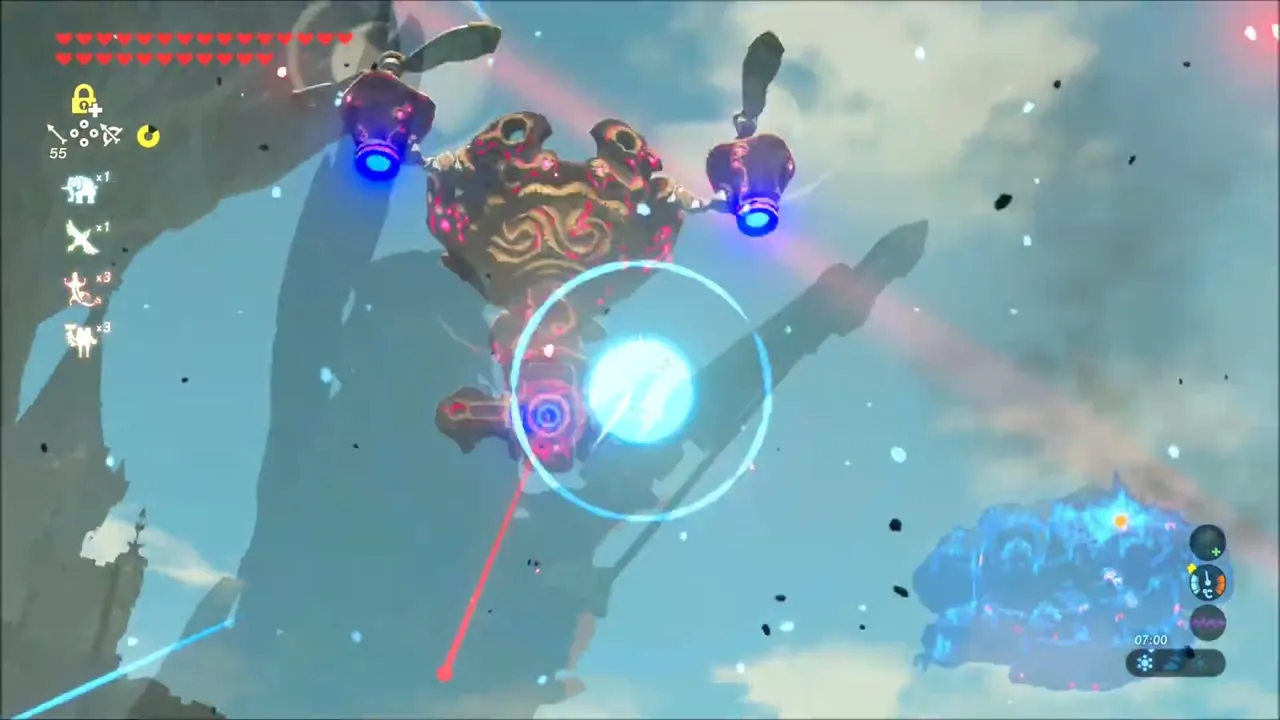
Keep working your way along the ramparts above the moat, hiding behind walls whenever a Guardian Turret‘s red beam locks on. The broken towers and ledges along this stretch hold chests and more Korok seeds, so search every ledge rather than rushing to the gate. A Guardian Skywatcher drifts around the cliffs, so shoot it down before gliding between the towers.
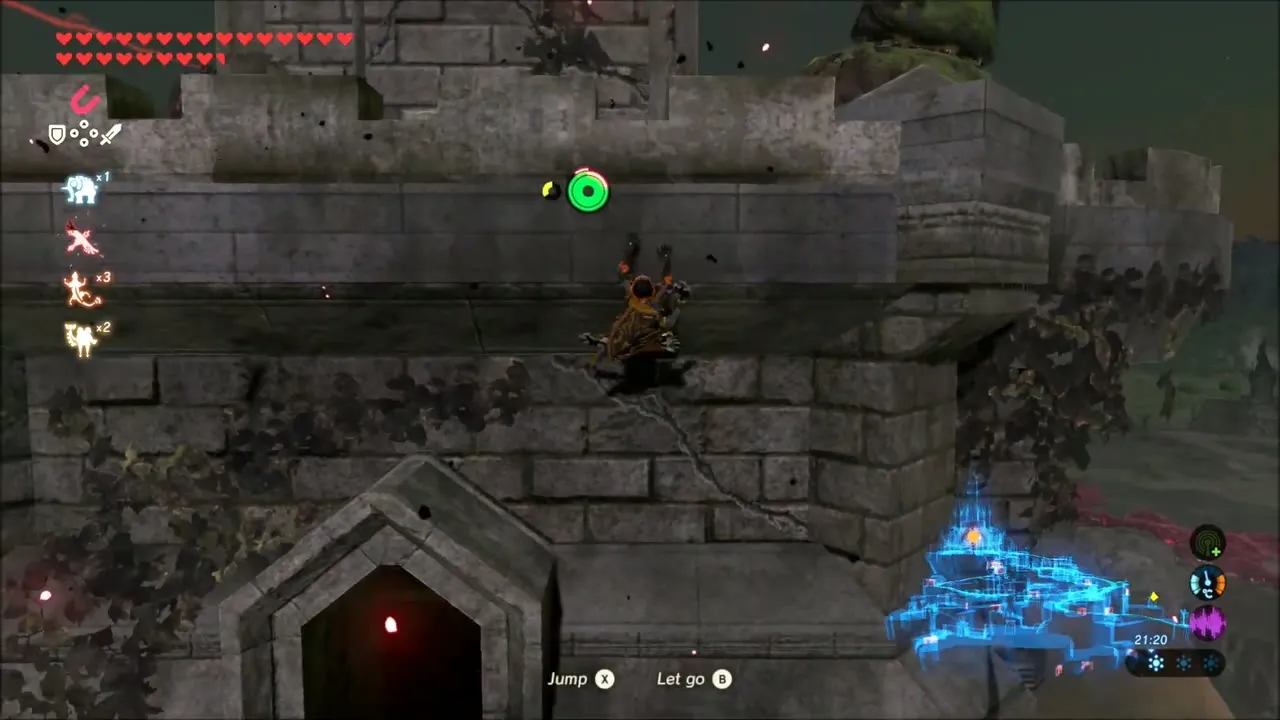

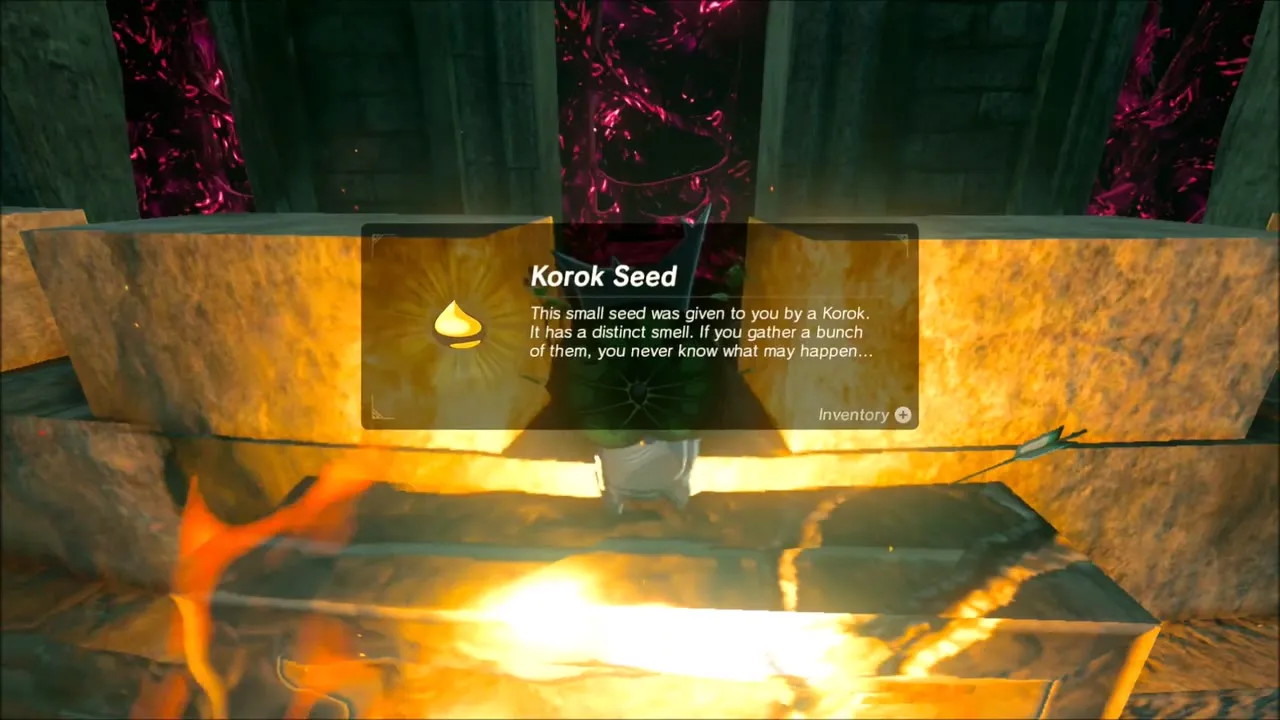
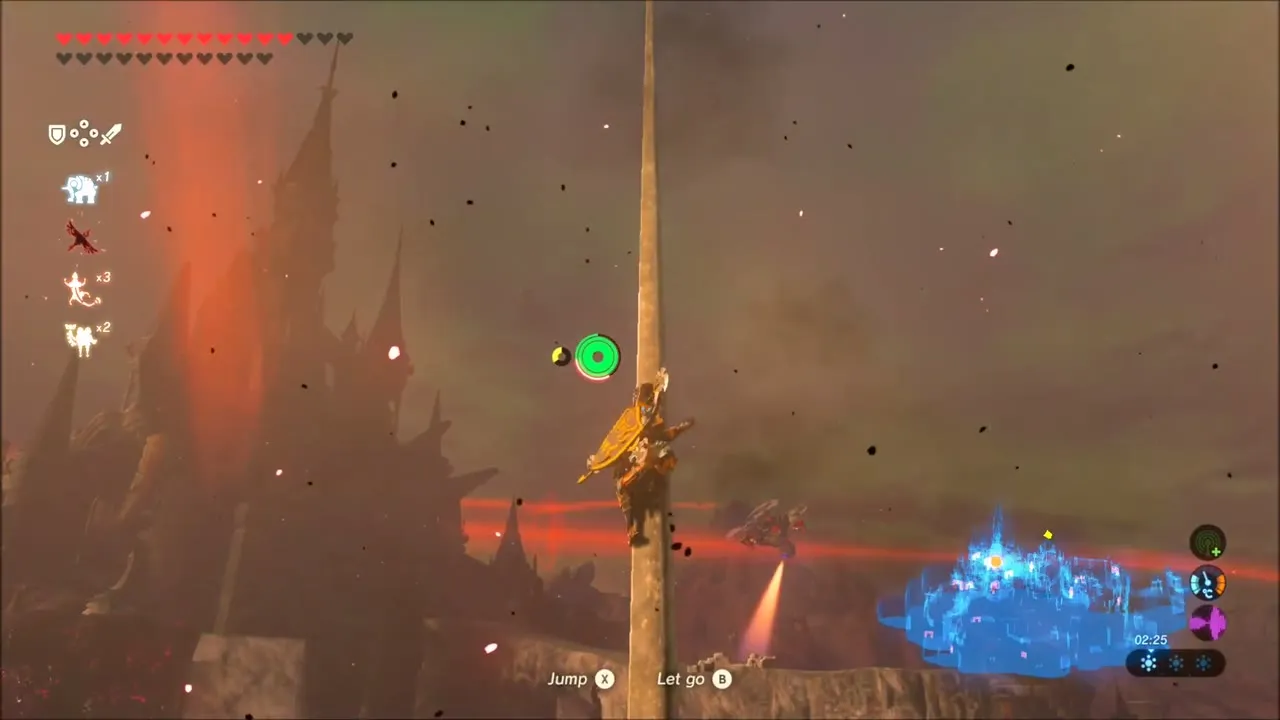
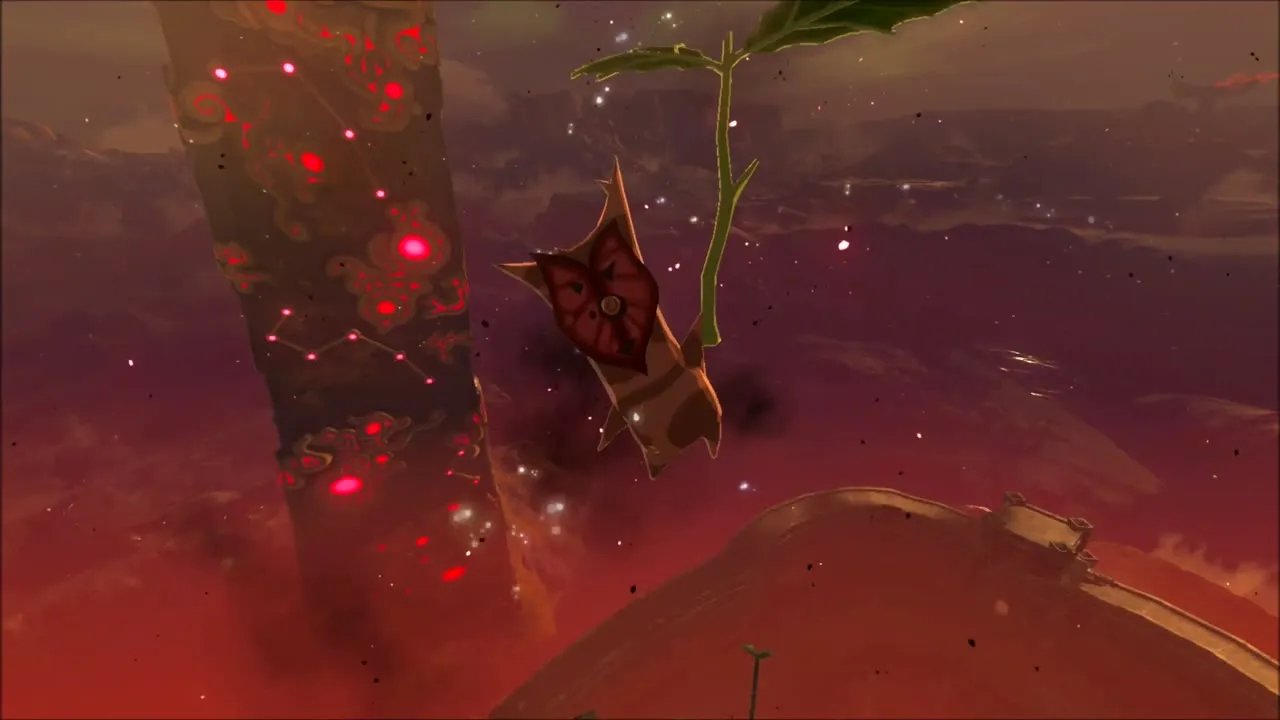
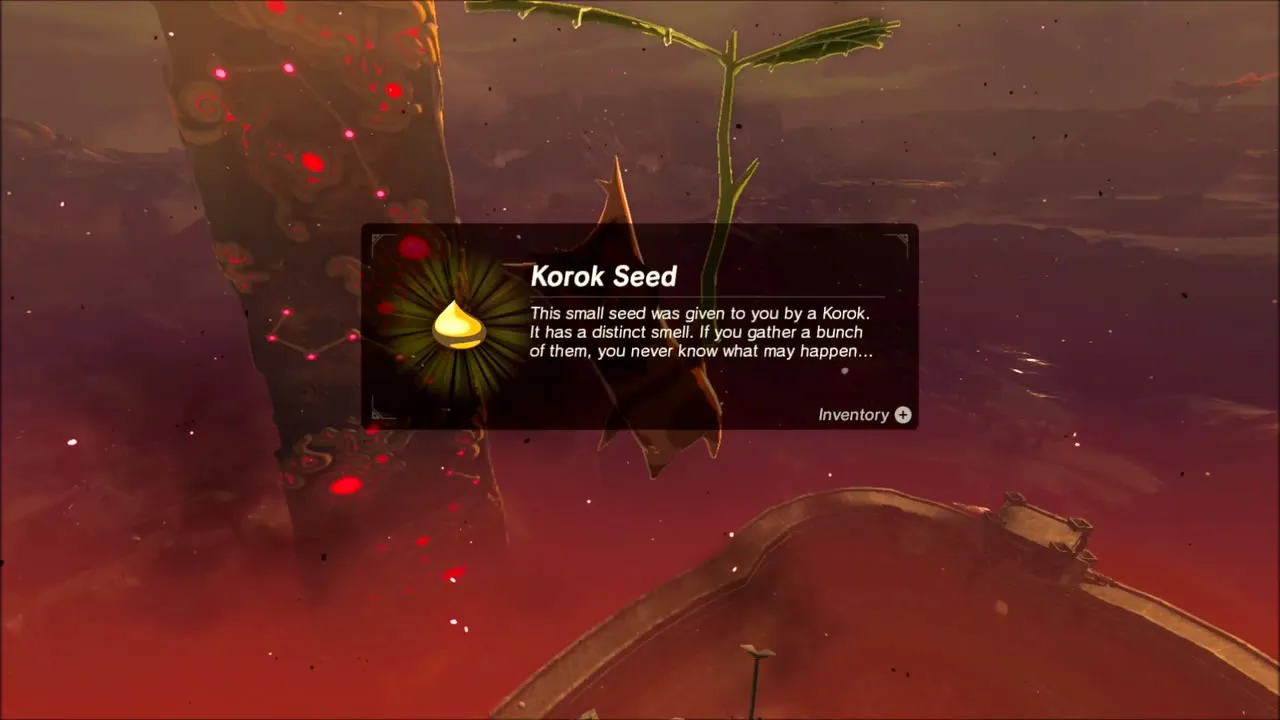
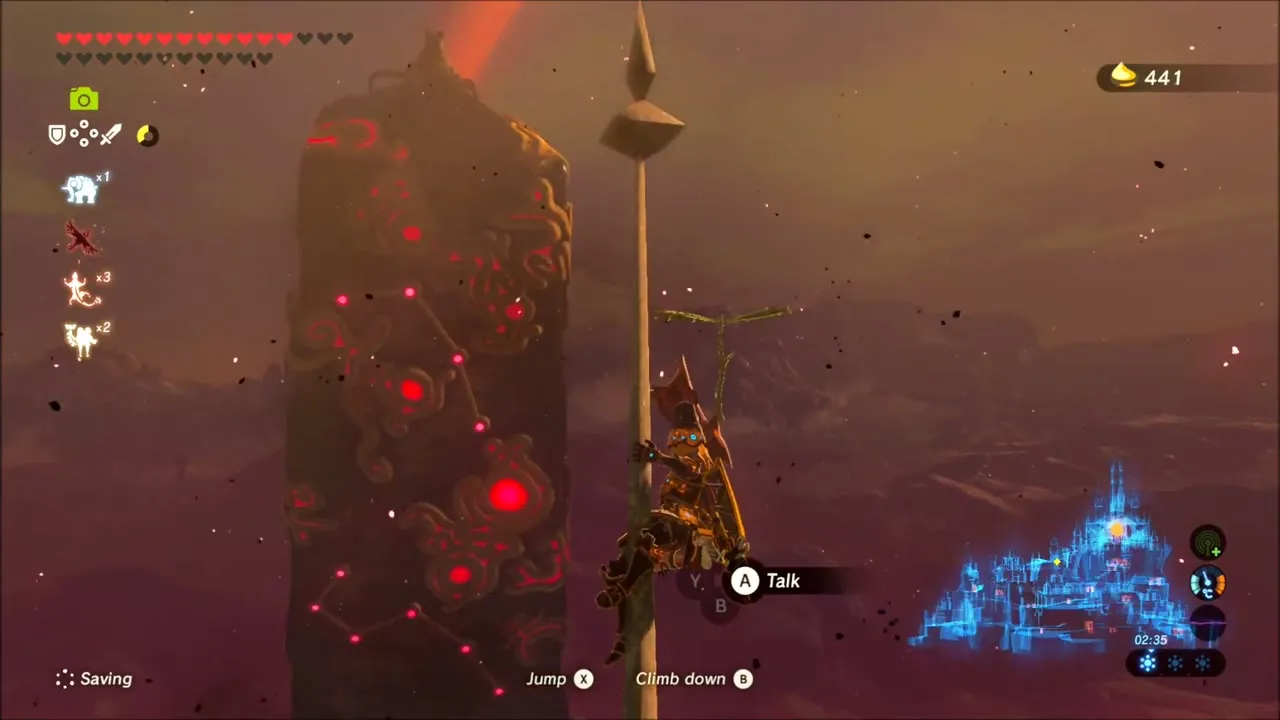
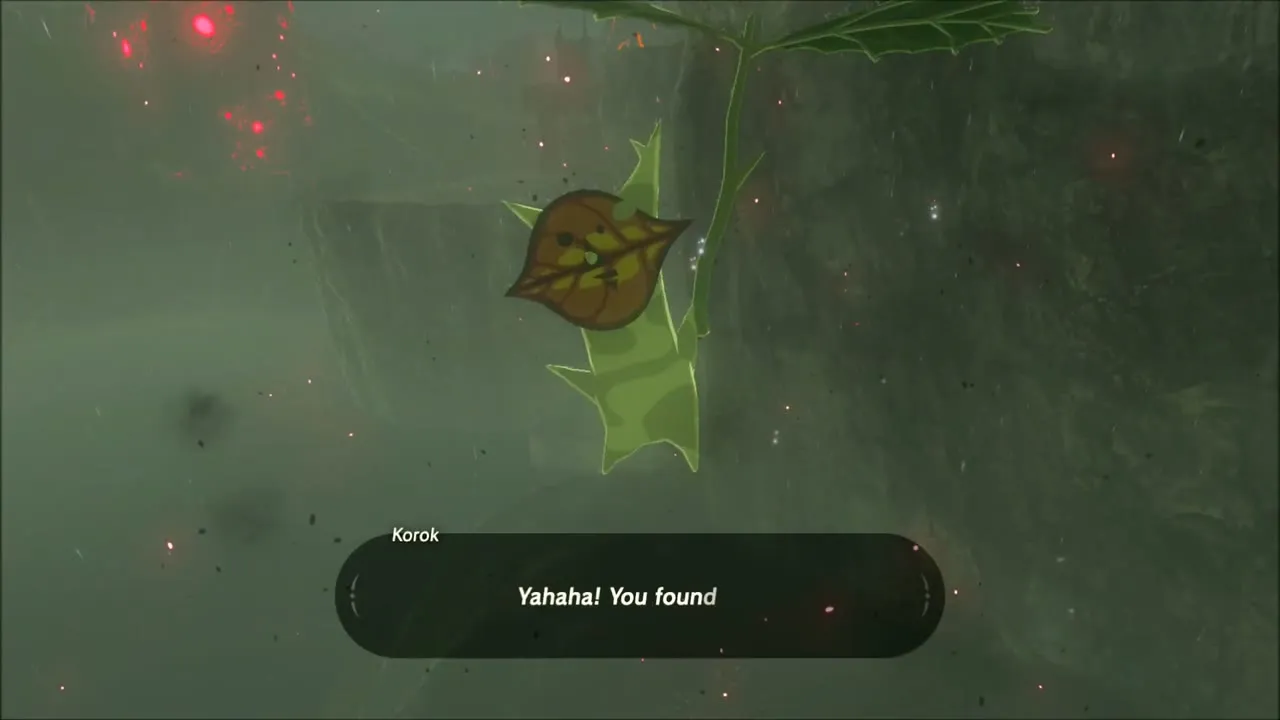
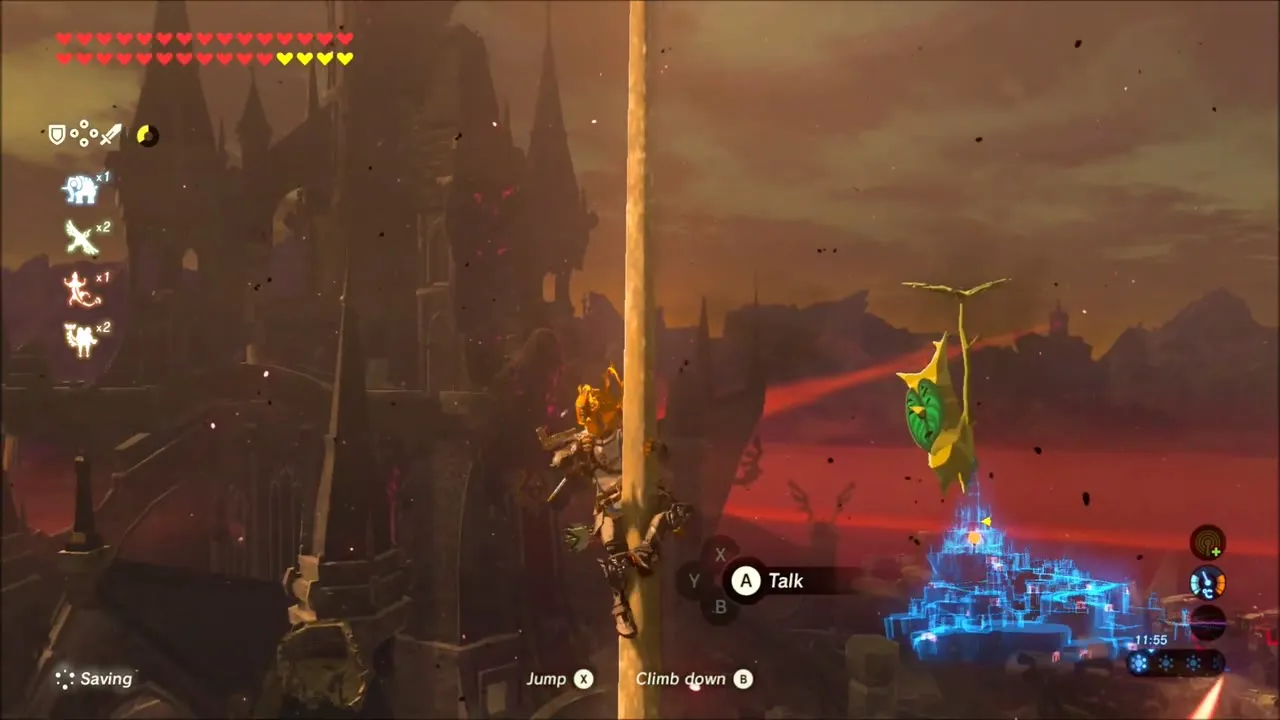
One Korok is perched at the very top of a tall spire above the rampart. Climb the pole, stand on its tip and talk to the Korok for its seed. It is easy to miss against the Malice-red sky.
First Gatehouse: Blue-Maned Lynel and Bomb Arrows
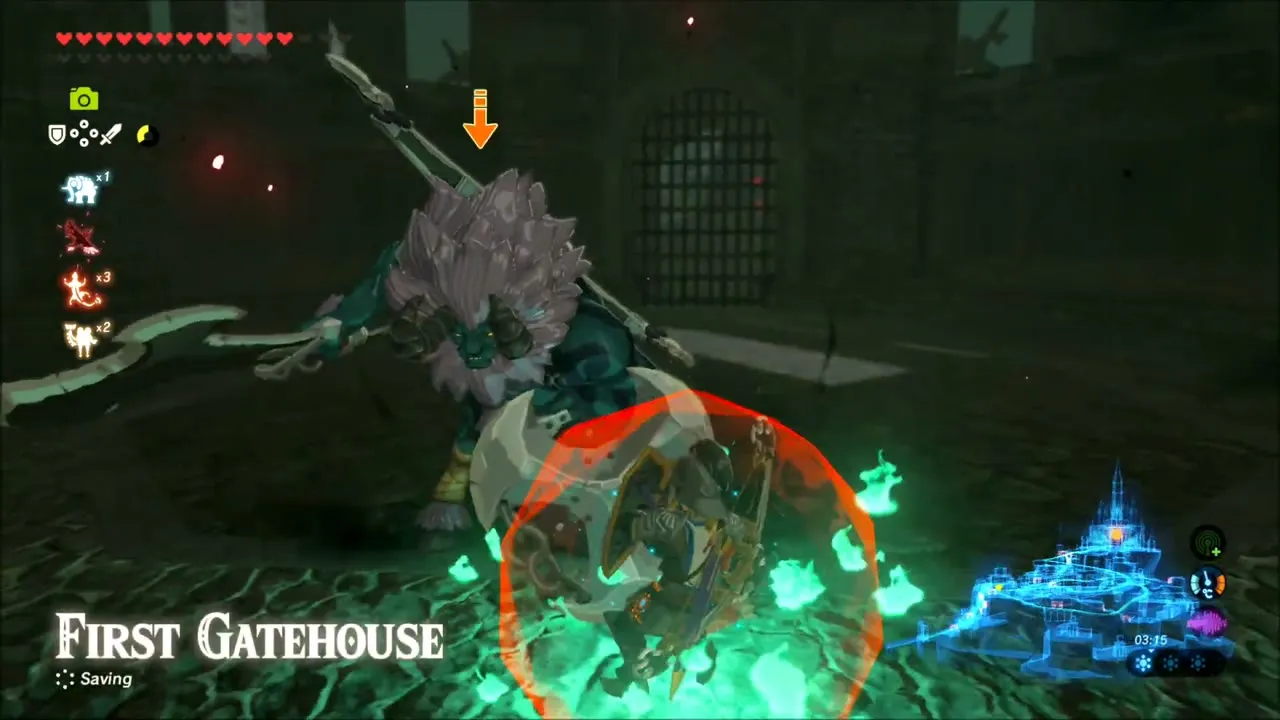
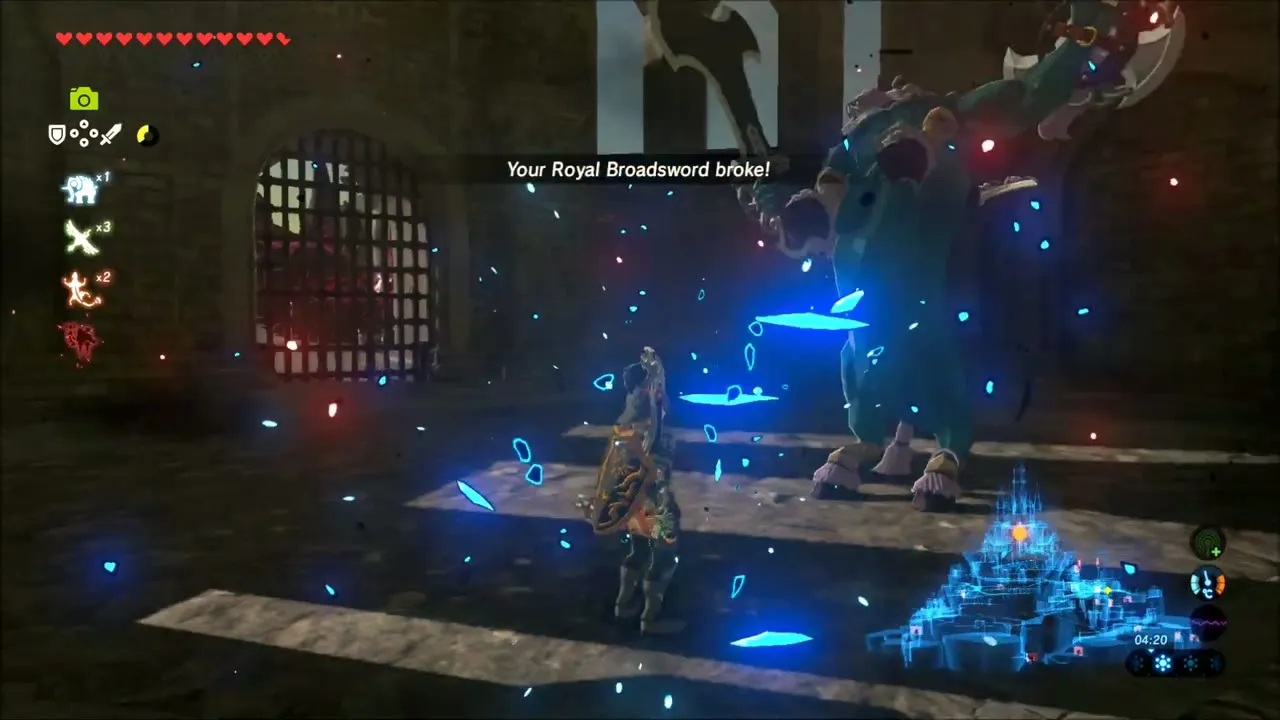
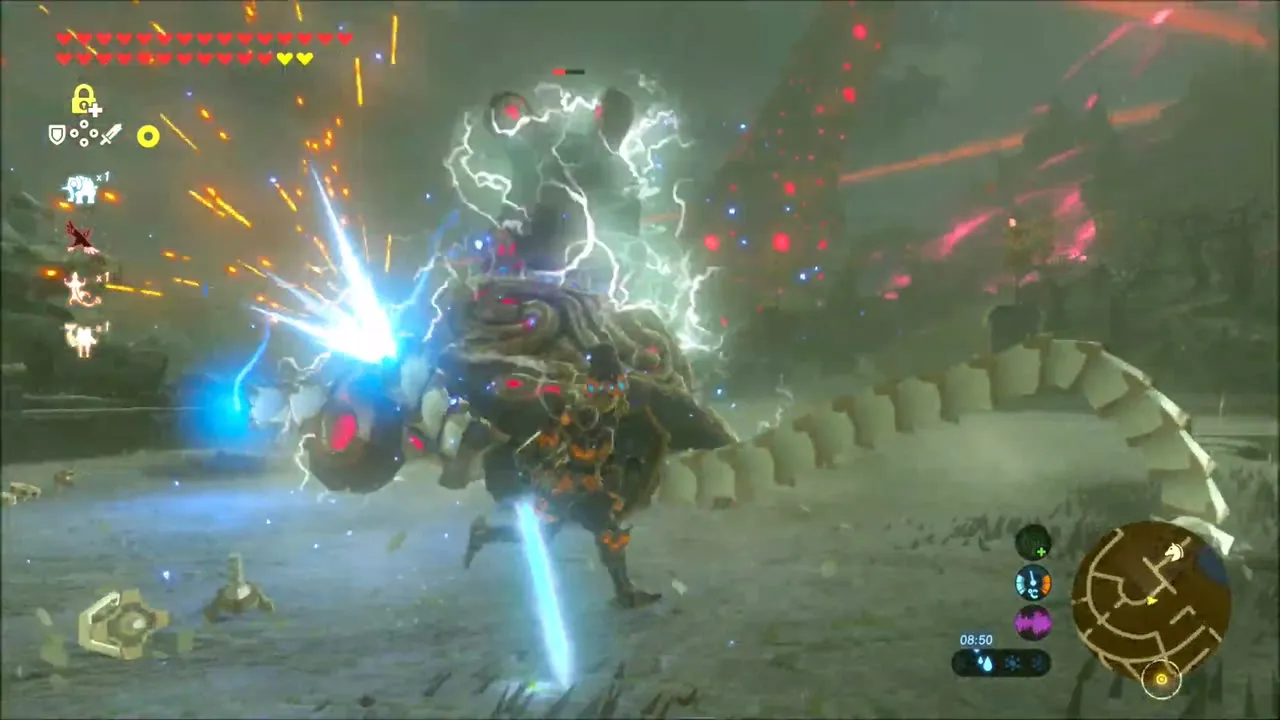
Walking into the First Gatehouse seals the gate behind you, and a Blue-Maned Lynel charges in. Keep moving, shoot it in the face to stun it, and finish it up close. Strong weapons are worth burning here: a Royal Broadsword breaks during the fight. When the Lynel falls, open the chest it guarded for 10 Bomb Arrows, the best tool you have against the castle’s Guardians.


Ramparts, Guardian Turrets and Skywatchers
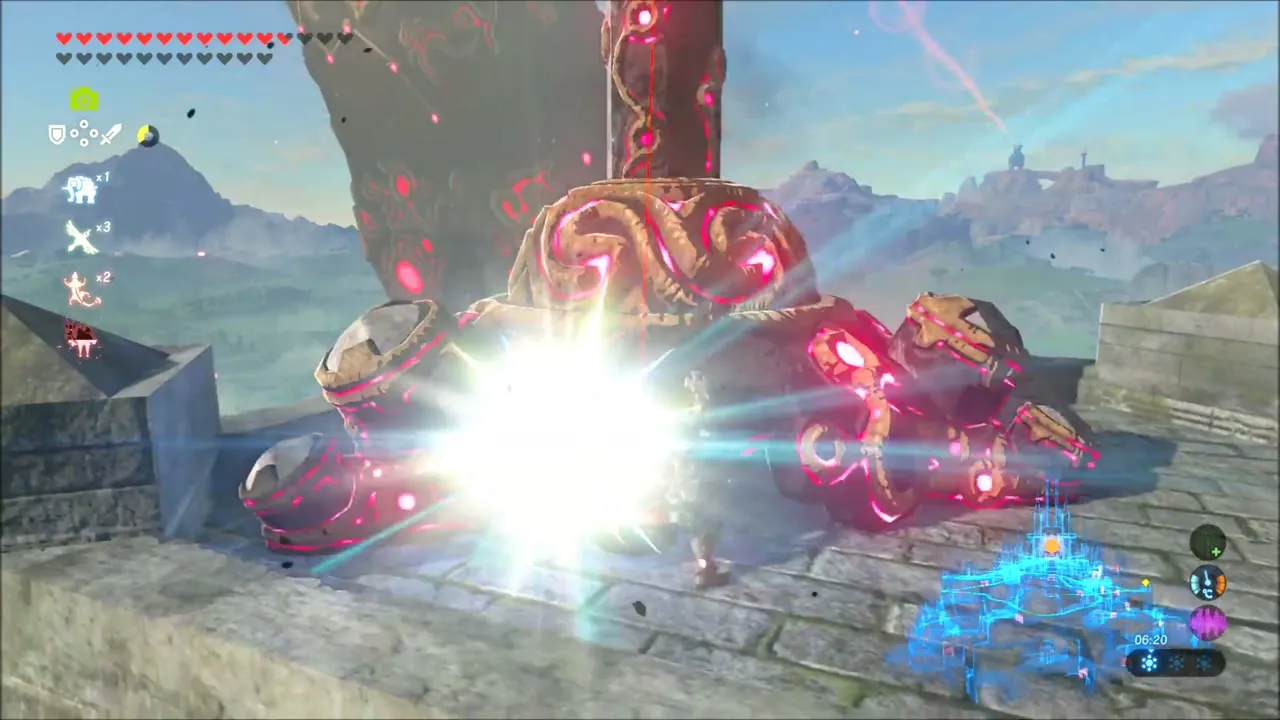
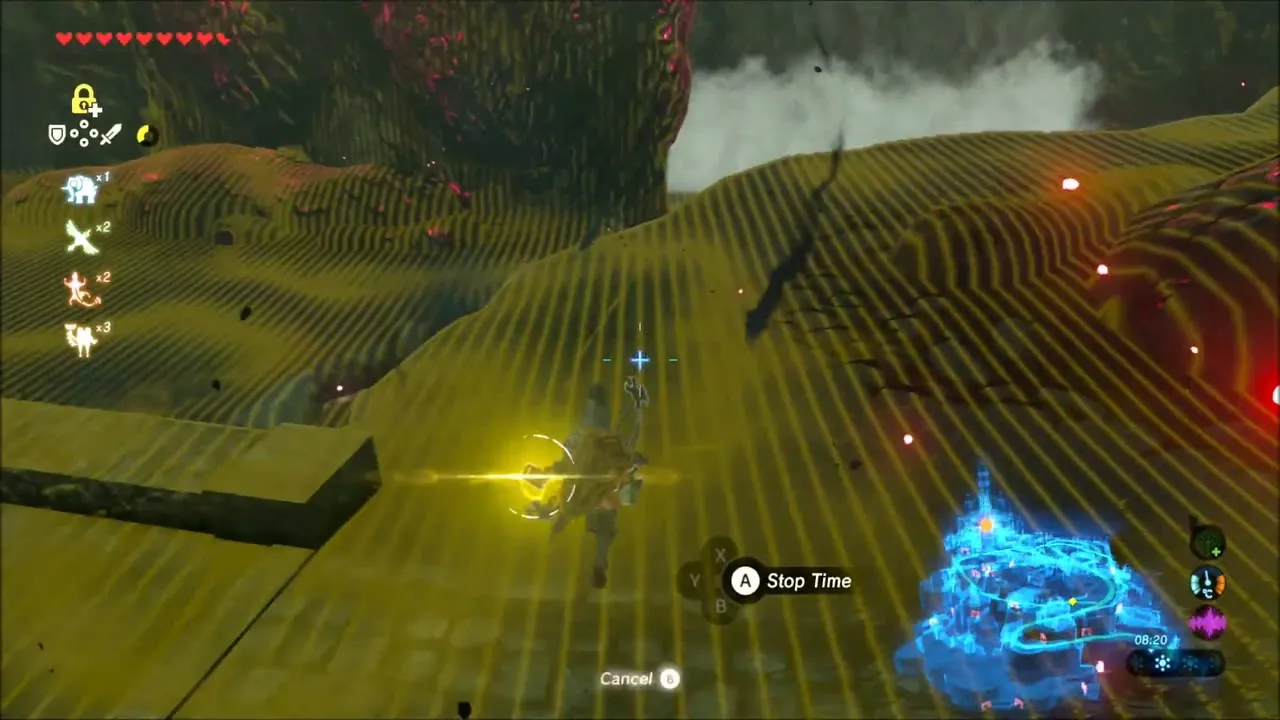
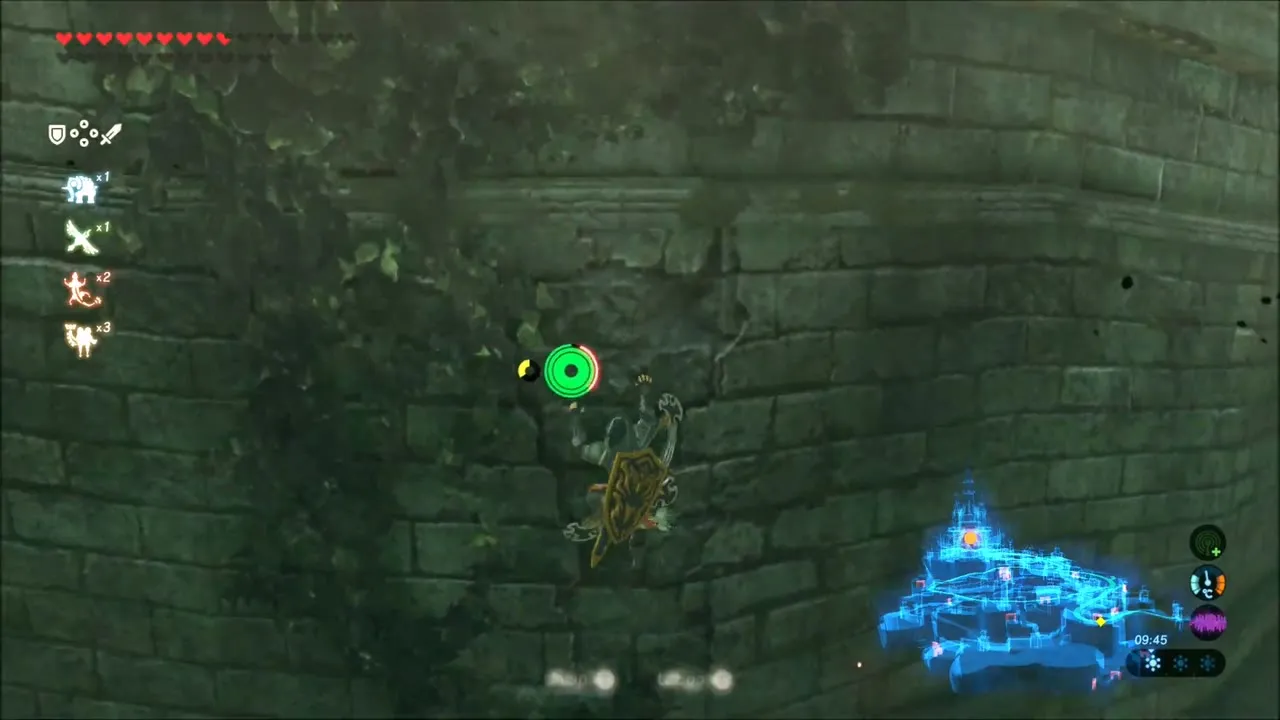
Back outside, climb onto the ramparts and take the Guardian Turrets out one by one. Shoot their eyes from cover or use Ancient Arrows, and use the dead trees and fallen stonework as shelter along the road. Further on, climb the cliff wall and glide to the next ledge, and use Stasis to launch yourself to the higher ledge until a doorway leads into the castle interior.

Guards’ Chamber: Lizalfos, Naydra’s Fang Shard and Chests
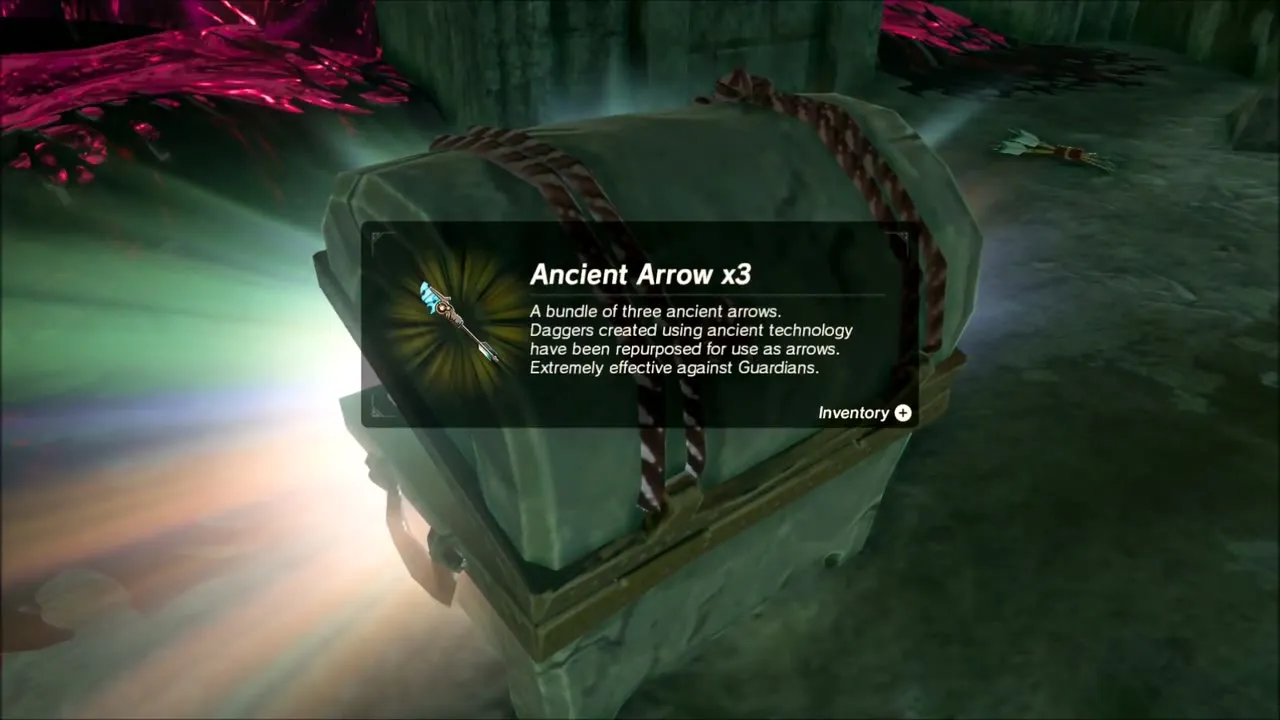
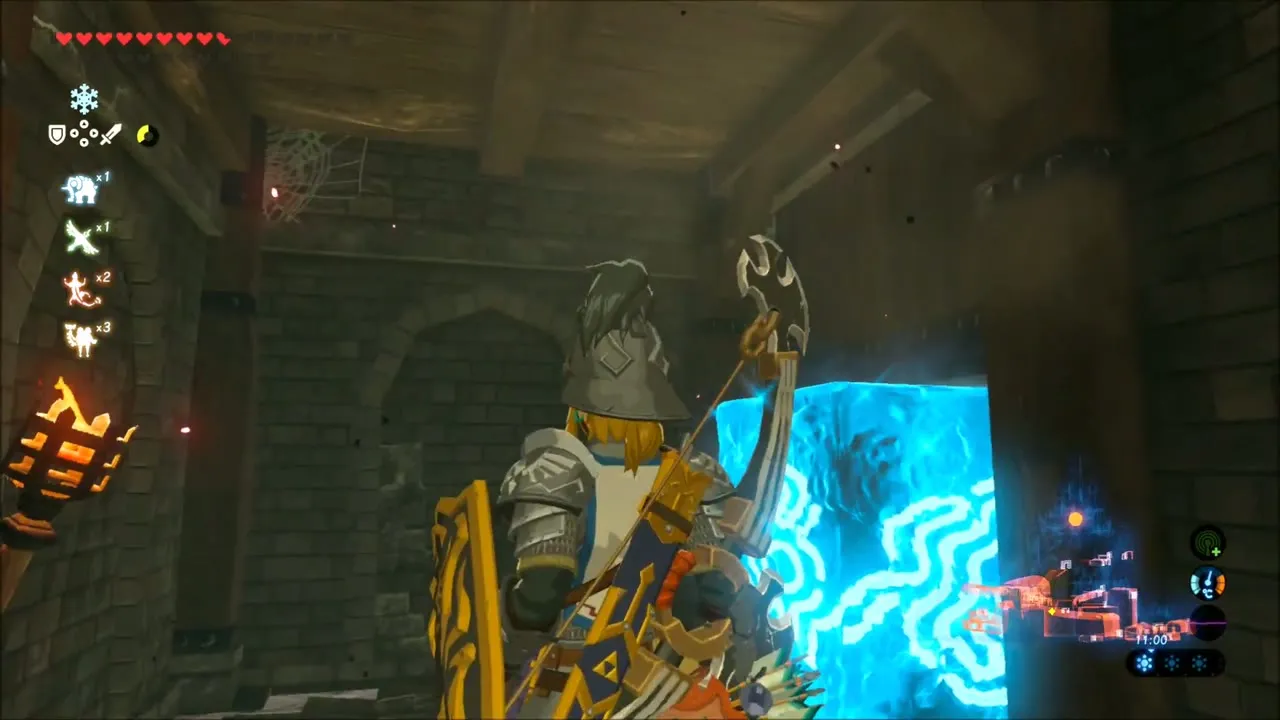
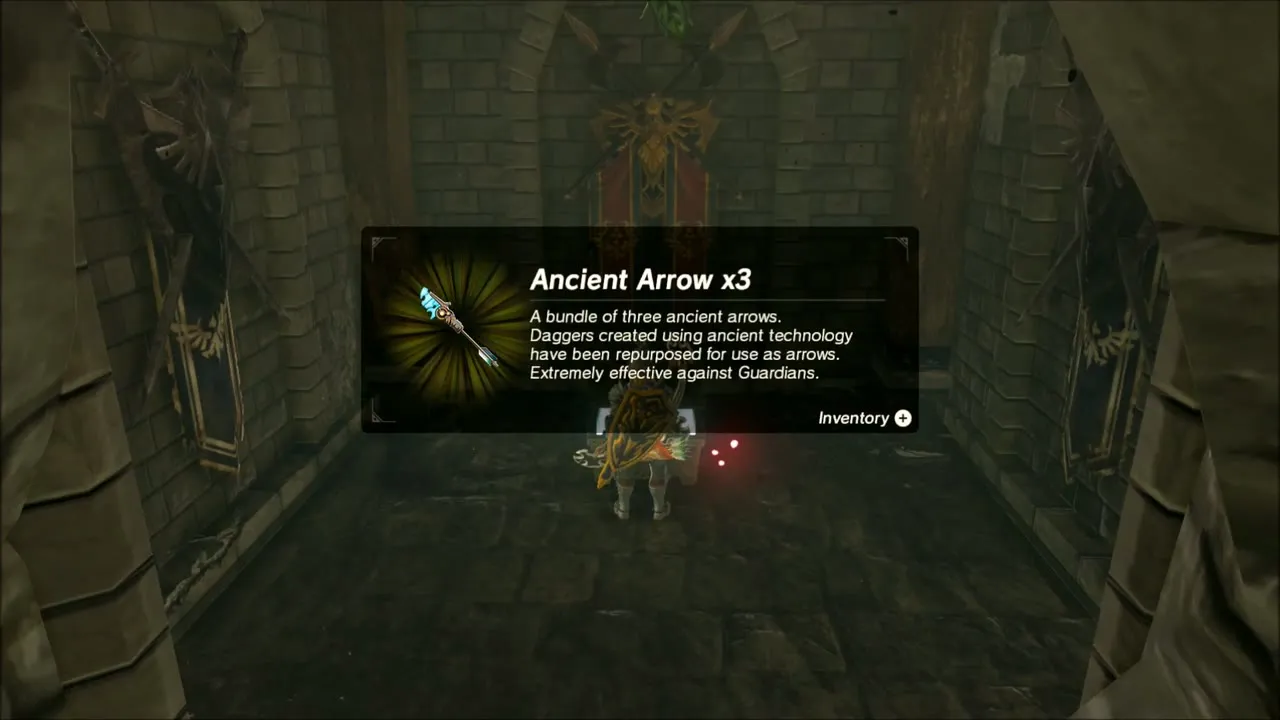
Just inside, the corridor is blocked by Malice. Raise a Cryonis block on the water to cross, and be ready for Lizalfos in the hall; they drop Lizalfos Horns, Talons and Tails. Further along, a Korok is hidden in a stone corridor and leaves a seed once you find it. Nearby, a chest holds 3 Ancient Arrows.

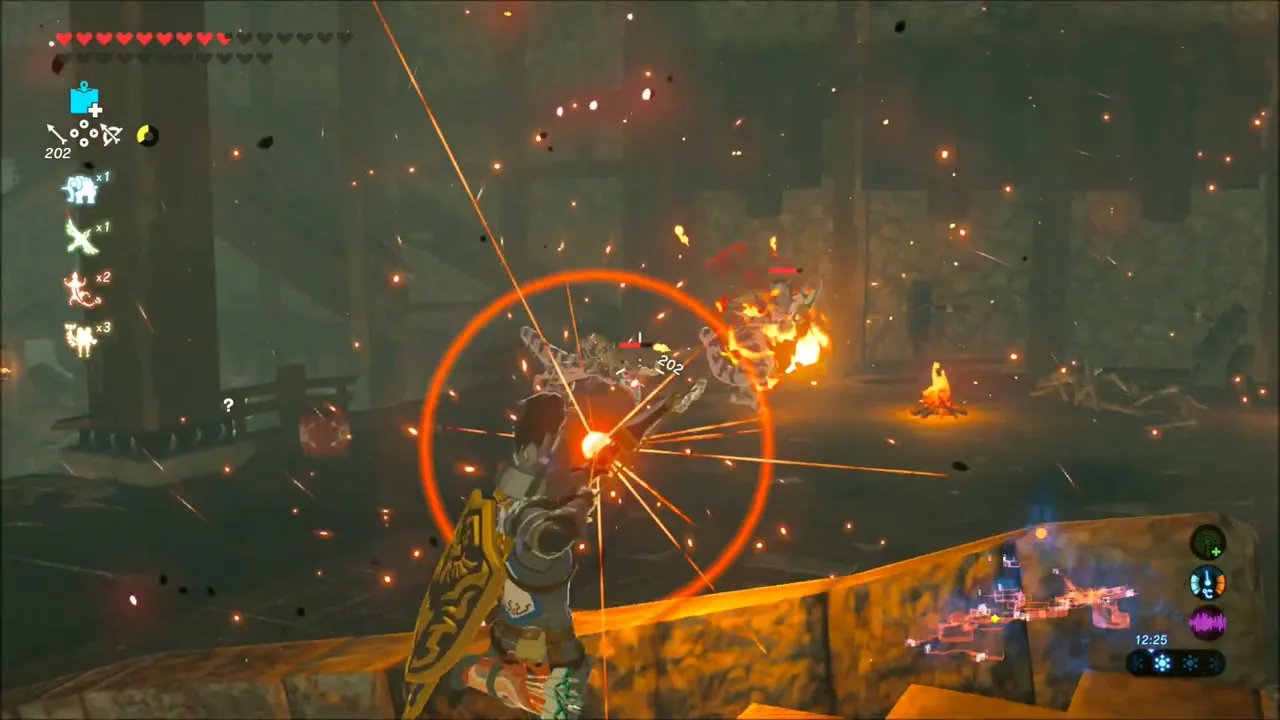
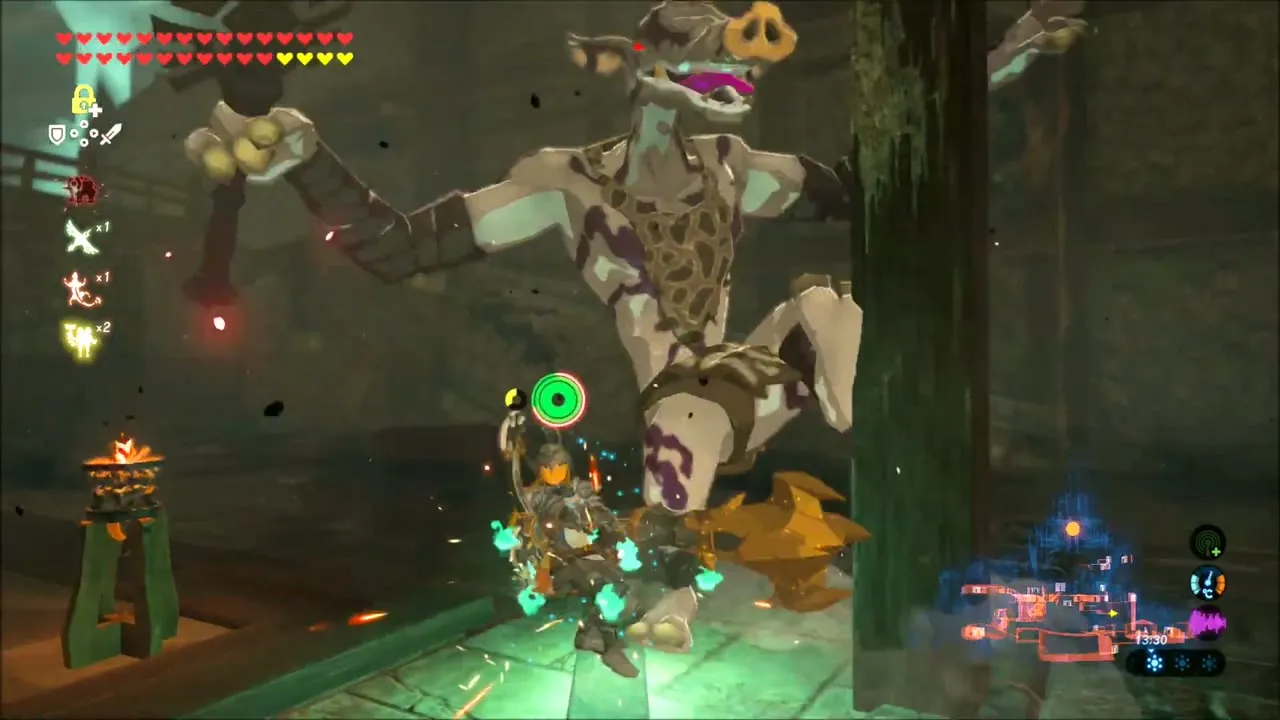
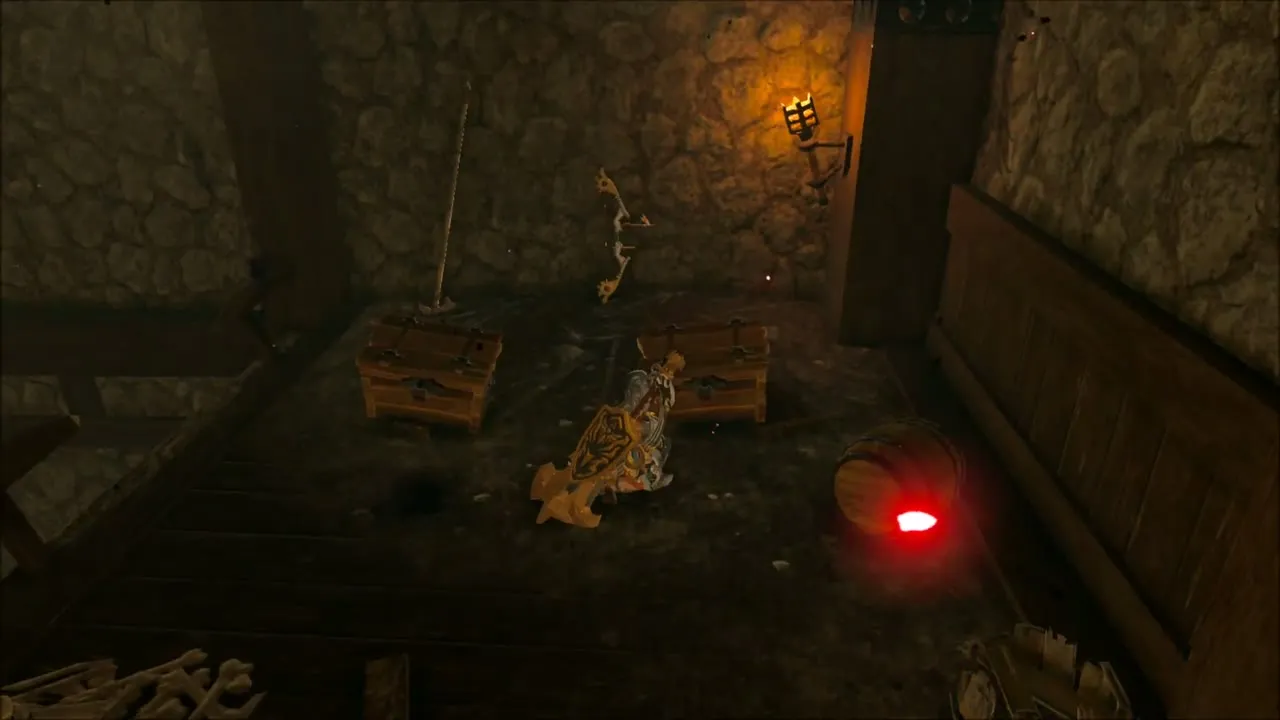
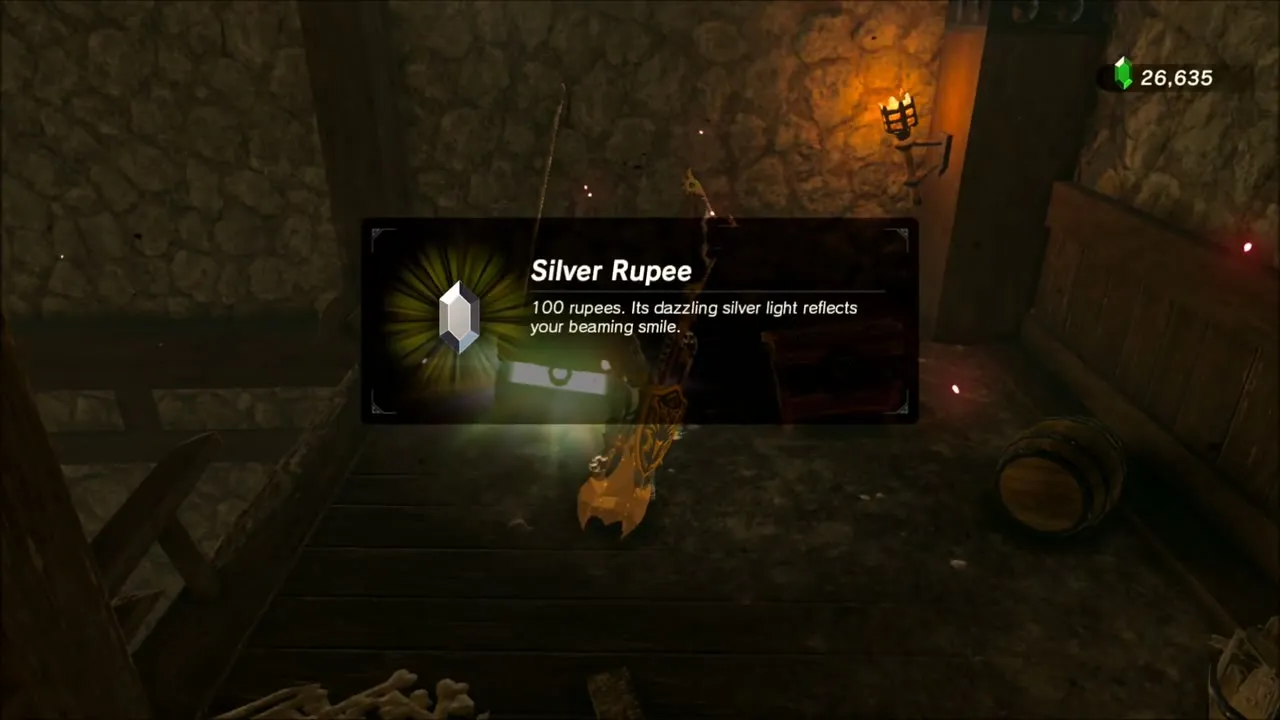
The next large room is the Guards’ Chamber. Lizalfos and a Moblin fight here among explosive barrels, so shoot a barrel to open the battle, then clean up. Search both the lower level and the upper level, reached by the broken stairs, for chests; one holds a Silver Rupee. Royal weapons lie around the room, so restock your inventory before moving on.
Mine Shaft: Korok Seed and Shard of Dinraal’s Fang
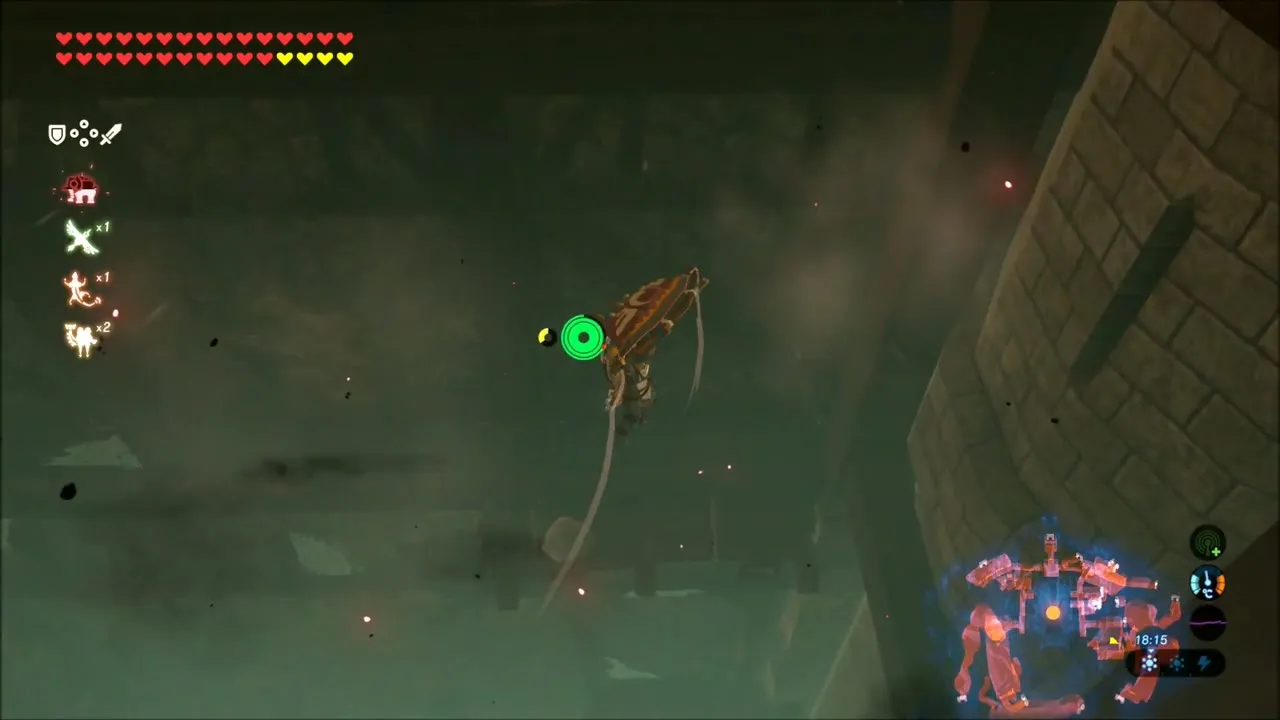
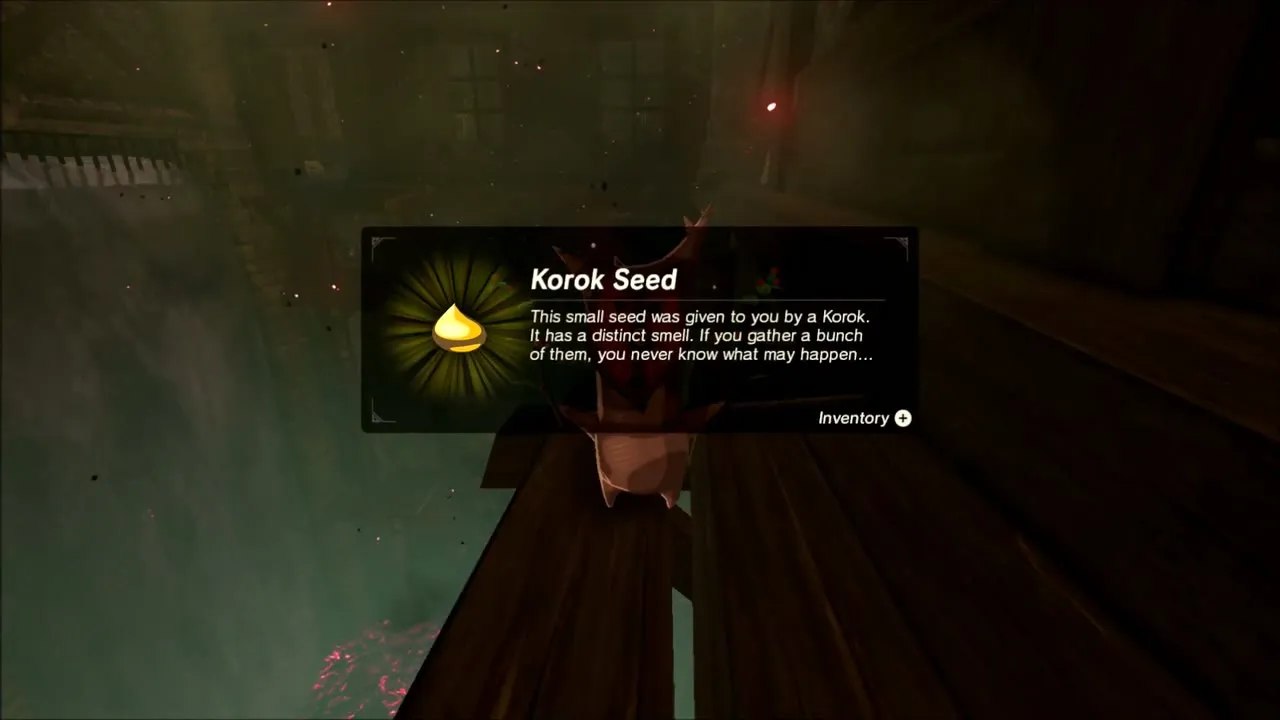
Leave the chamber, step out onto the high ledge, then head down into the mine shaft by gliding. Use Stasis on a moving platform to cross, and look for a Korok sitting on a wooden beam in the shaft. Near the bottom, a Lizalfos guards a small room: bomb it with a bomb arrow, then open the chest for a Shard of Dinraal‘s Fang.


West Passage Mines
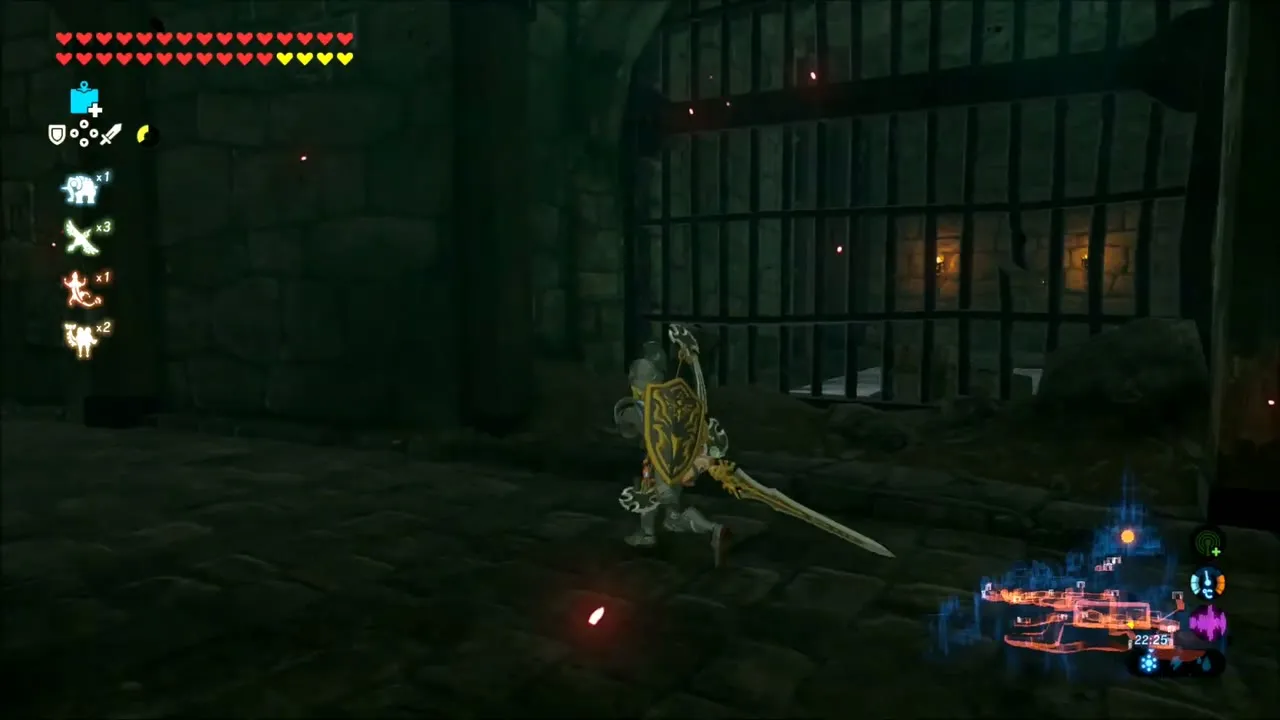
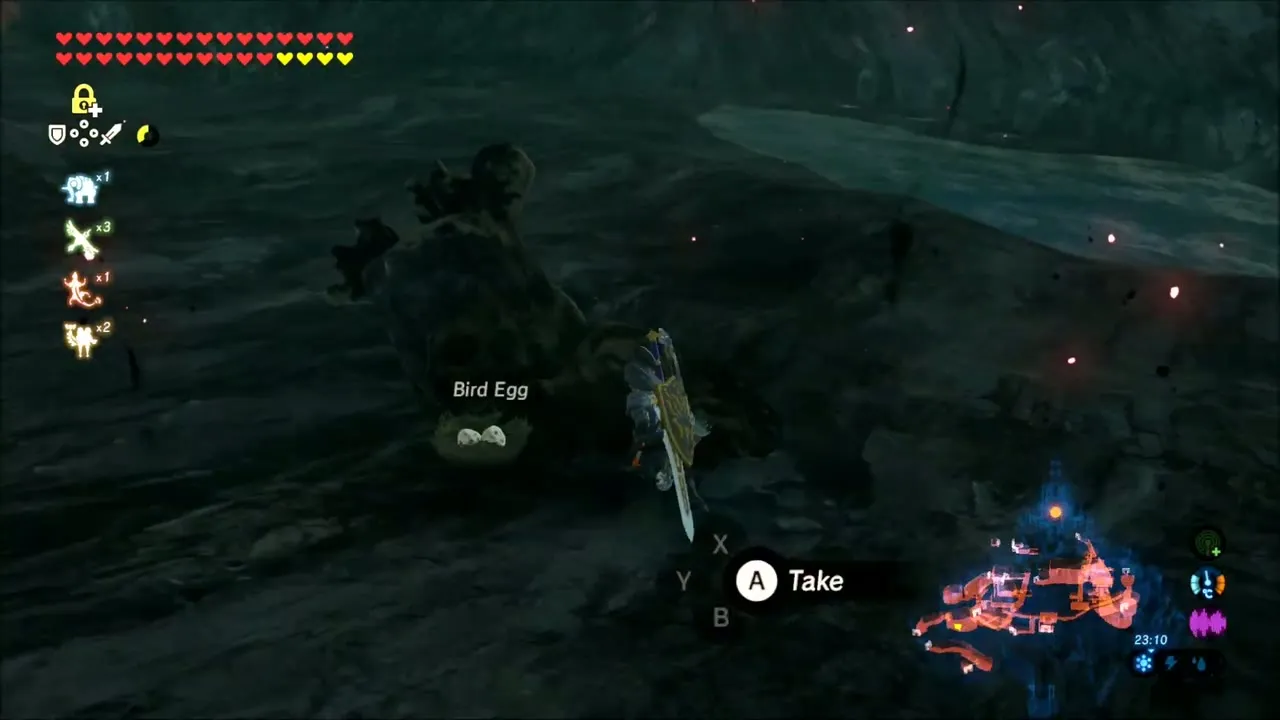
Continue through the iron gate and bomb the patches of pink Malice in the tunnel; the Master Sword‘s power is restored after you clear them. The “West Passage” title card appears further in. Wade through the water, grab any bird eggs and ingredients lying in the side nooks, and use Stasis on the wooden obstacles until the tunnel leads back outside.


Rainy Ramparts, Cryonis Blocks and Ice Arrows
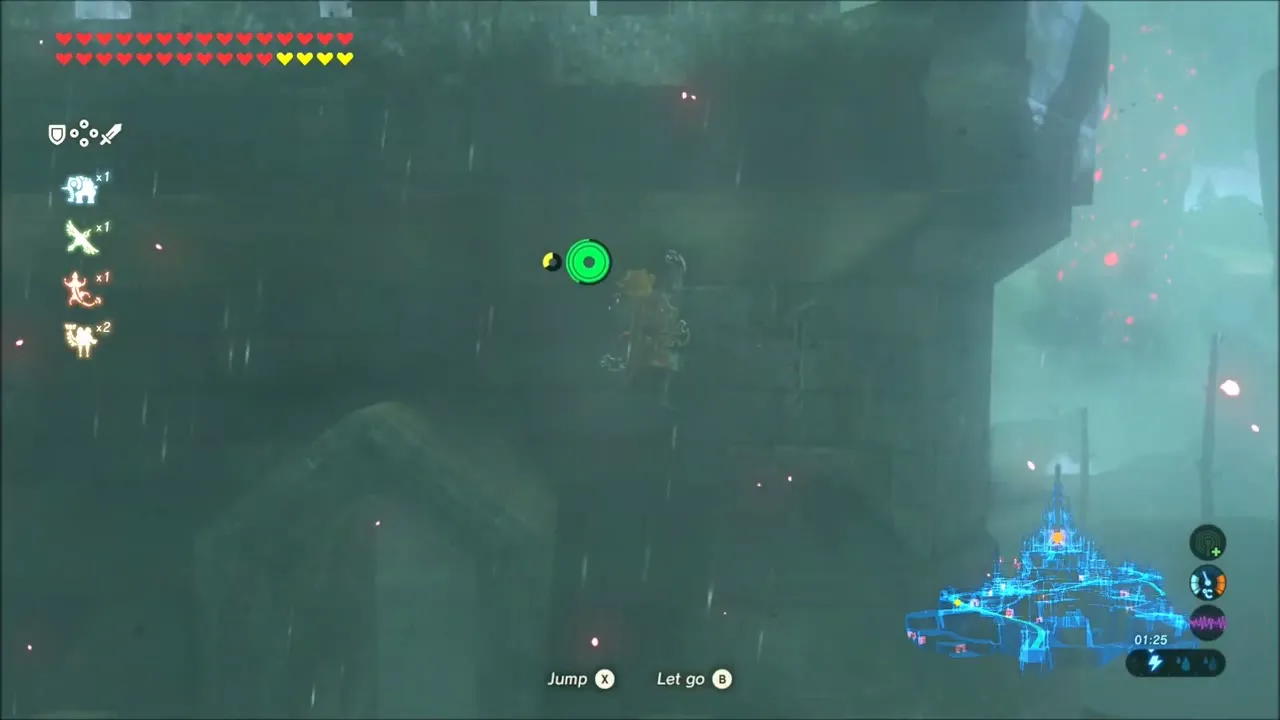
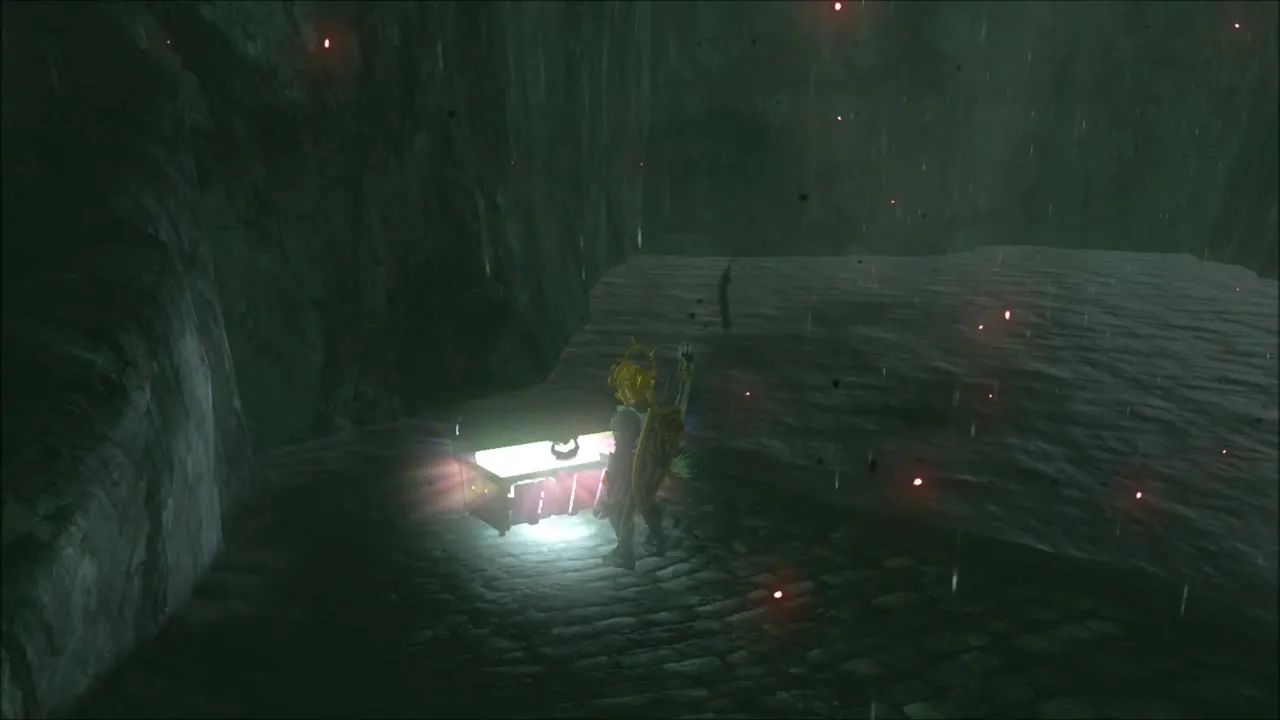
The tunnel opens onto wet ramparts. Glide between ledges, take down the Guardian Turrets, and check the chests on the wall tops: the chests along here hold Ice Arrows. Use Cryonis to raise a block over the Malice, and Magnesis on metal slabs, and keep climbing the wall beside the tower toward Zelda’s room.


Zelda’s Room: Royal Guard’s Bow and Zelda’s Diary
Inside Zelda’s room, a Royal Guard’s Bow hangs above the fireplace; take it if you have room.


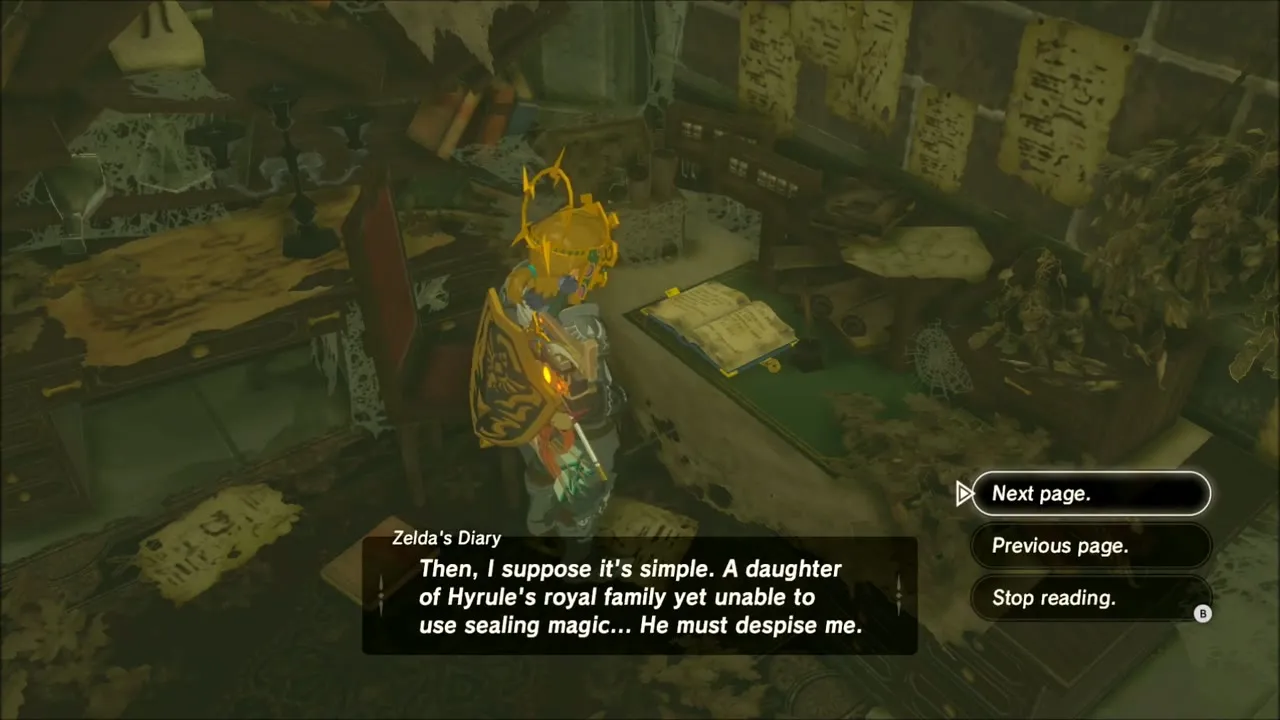
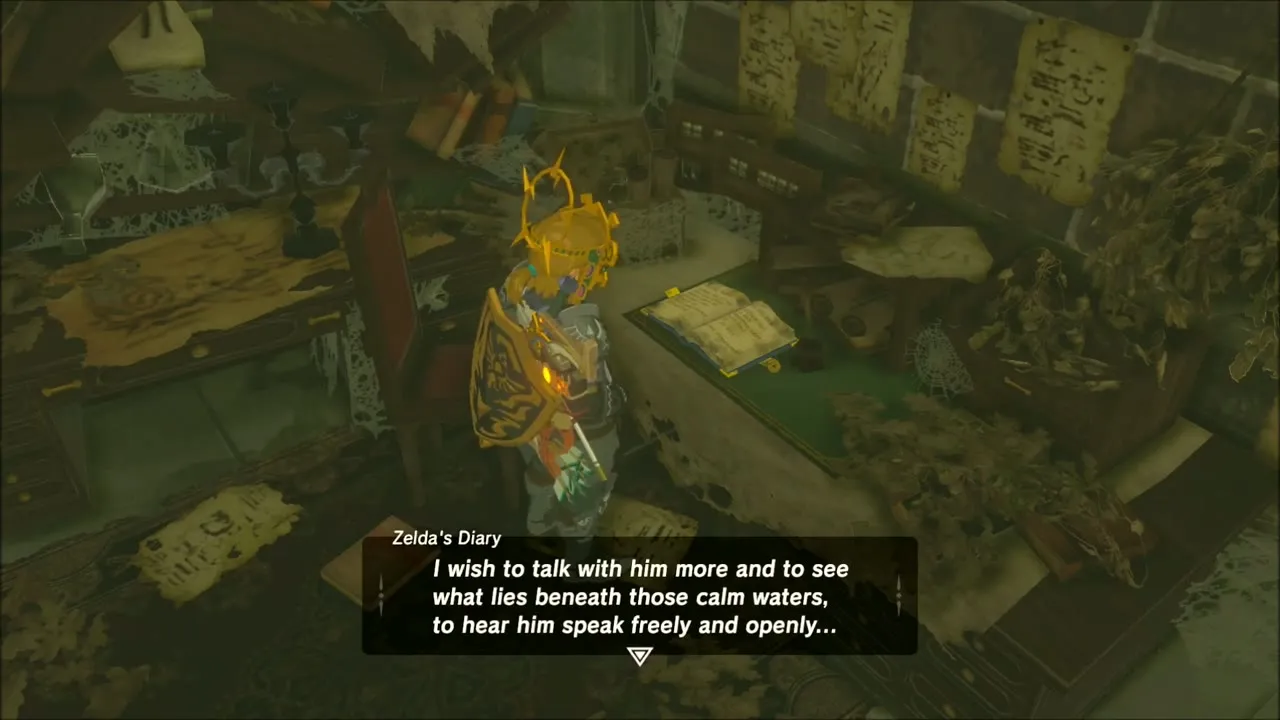
Zelda’s Diary lies on the desk in the corner. Reading it tells the princess’s side of the story: she writes that Ganon‘s return looms, that she must learn all she can about the relics, and that her inability to use the sealing magic frustrates her. She also records a dream of a woman haloed by blinding light, and her wish to talk to him about what lies beneath those calm waters. It is optional, but it is a good read.


Memory 12: Father and Daughter
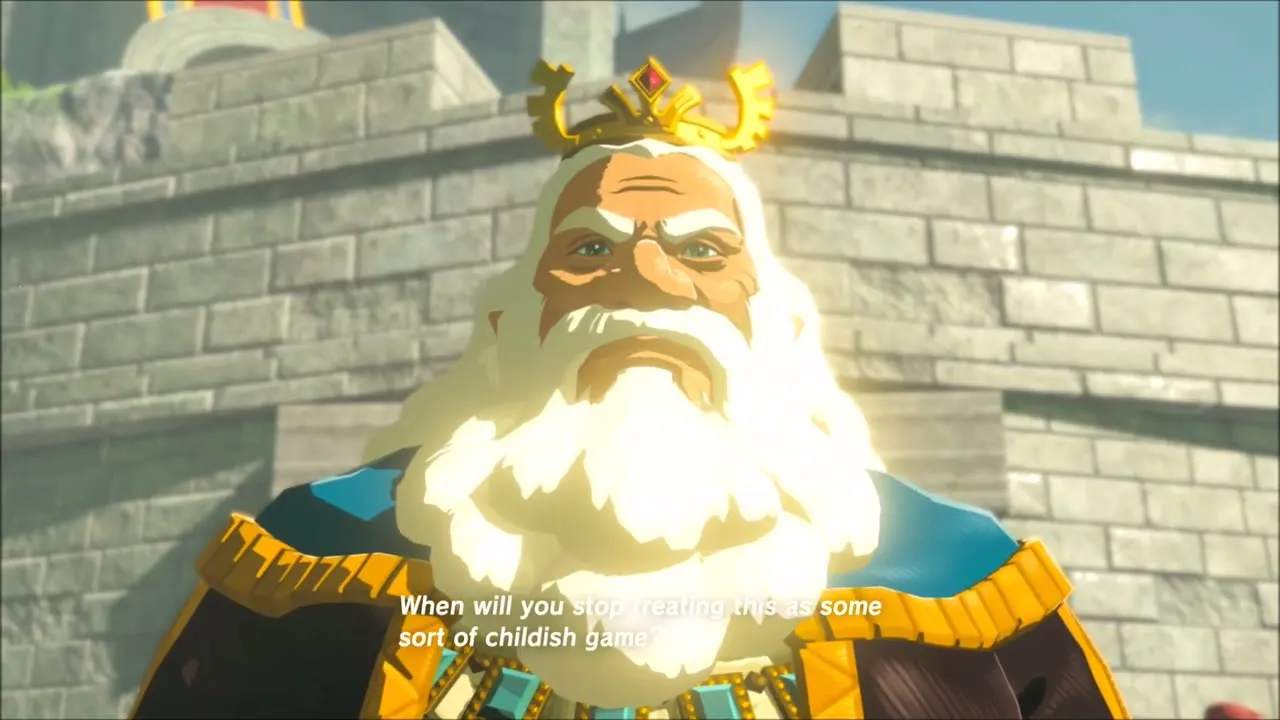
Leave the room and climb the stairs to the walkway between Zelda’s room and her study. Stand on the glowing spot at Memory 12, Father and Daughter (Hyrule Castle at x -254, z -611, height 170), where the Sheikah Slate’s album picture matches the view. The recovered memory shows Zelda looking out from the castle wall, and King Rhoam asking her what is troubling her.


Zelda’s Study: Research Notes
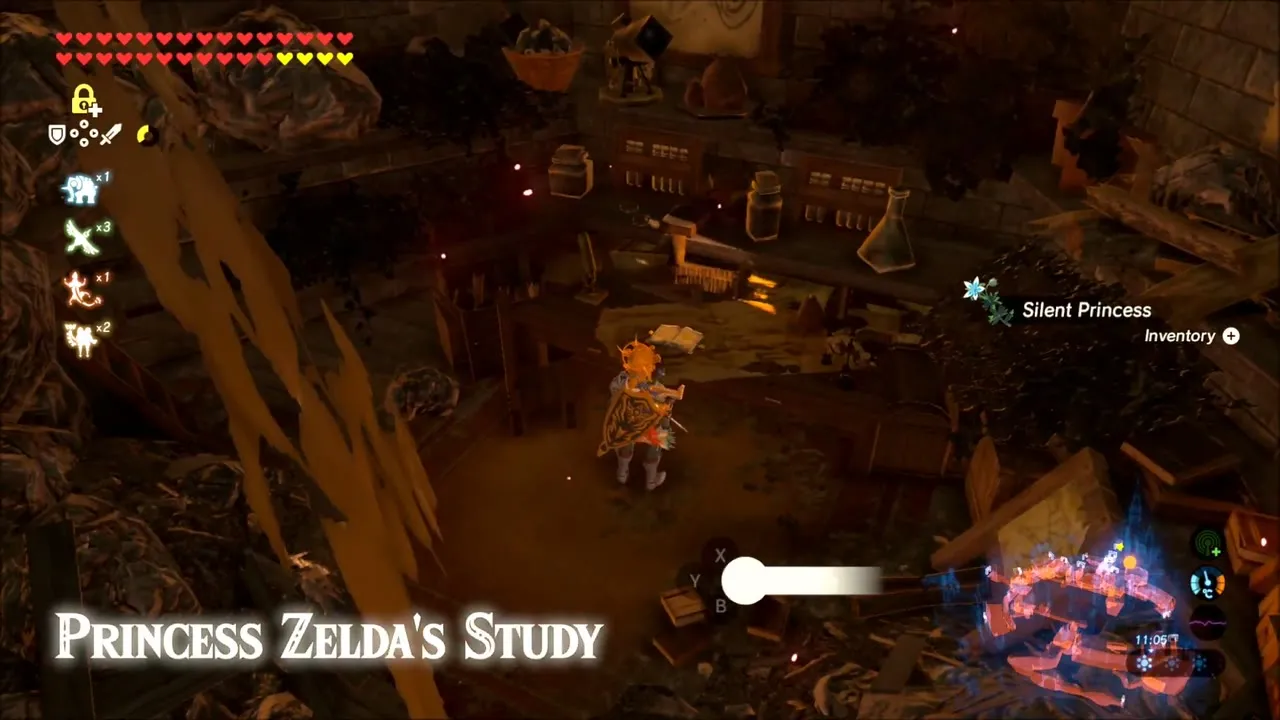
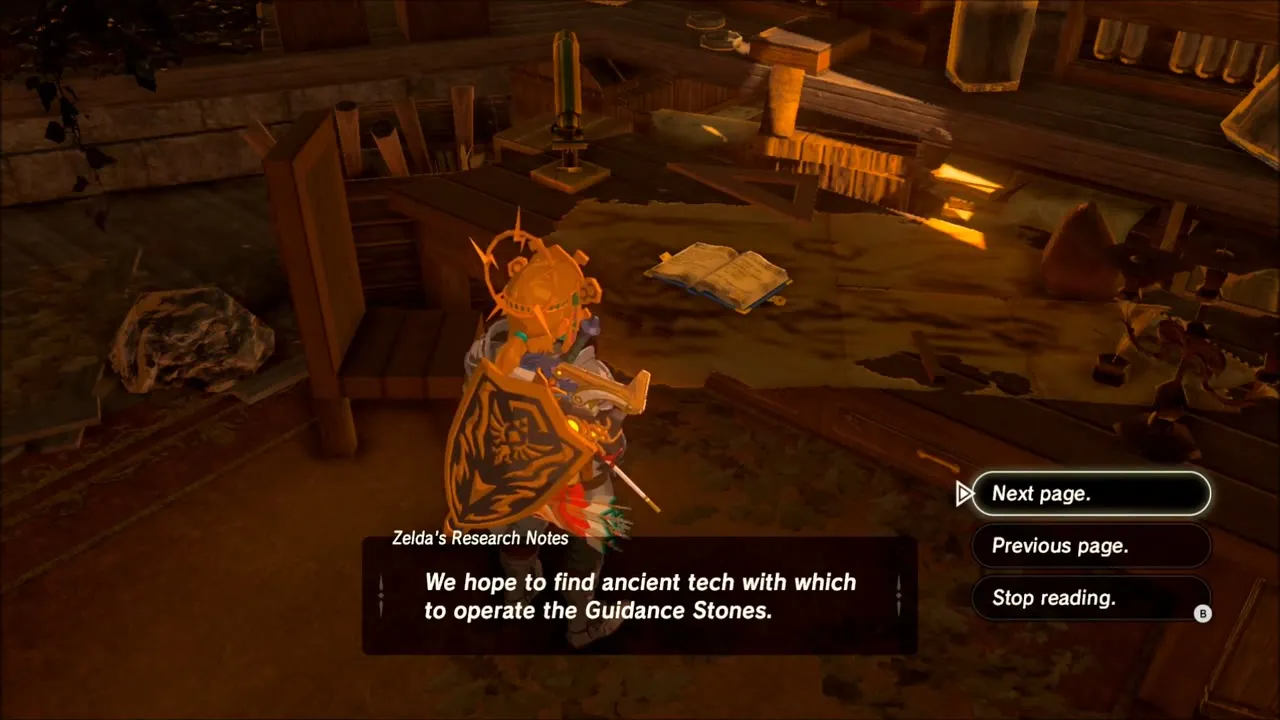
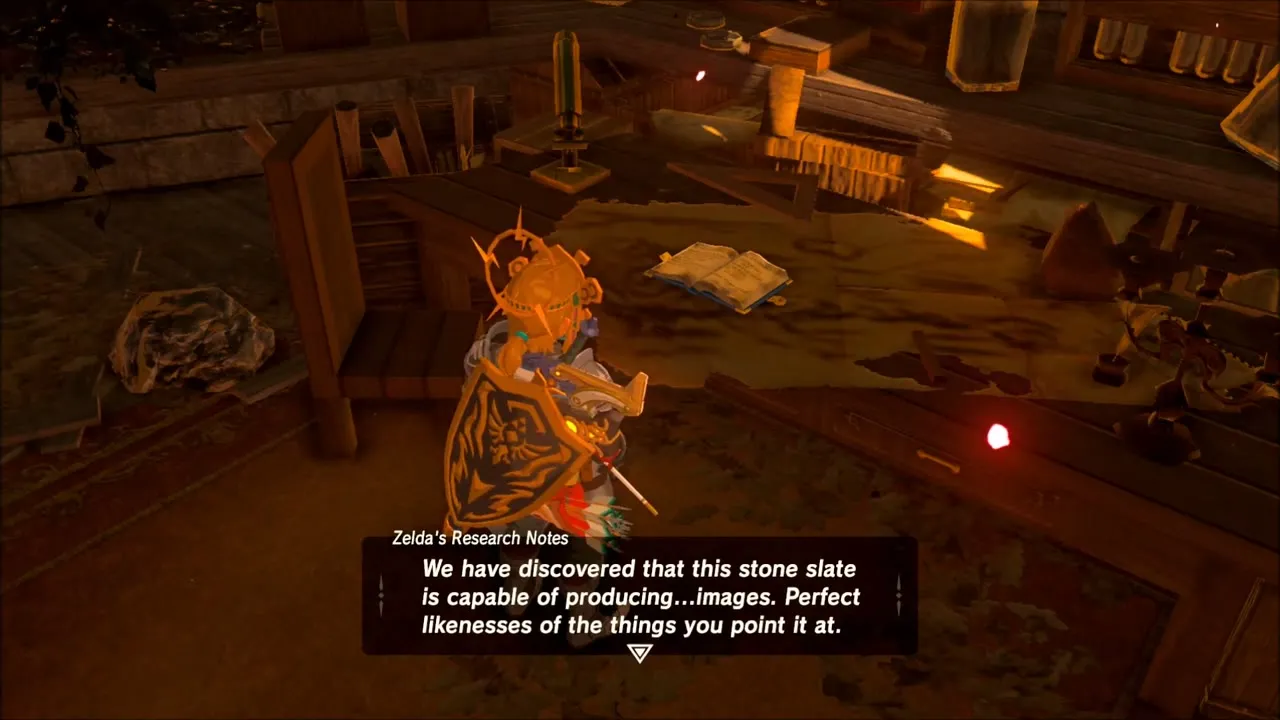
Walk on into Zelda’s study. Her Research Notes describe ancient technology that might control the Guidance Stone, the Sheikah Slate’s ability to produce images of whatever it is pointed at, the Guardians she had yet to find, and her talks with Purah about the Shrine of Resurrection.

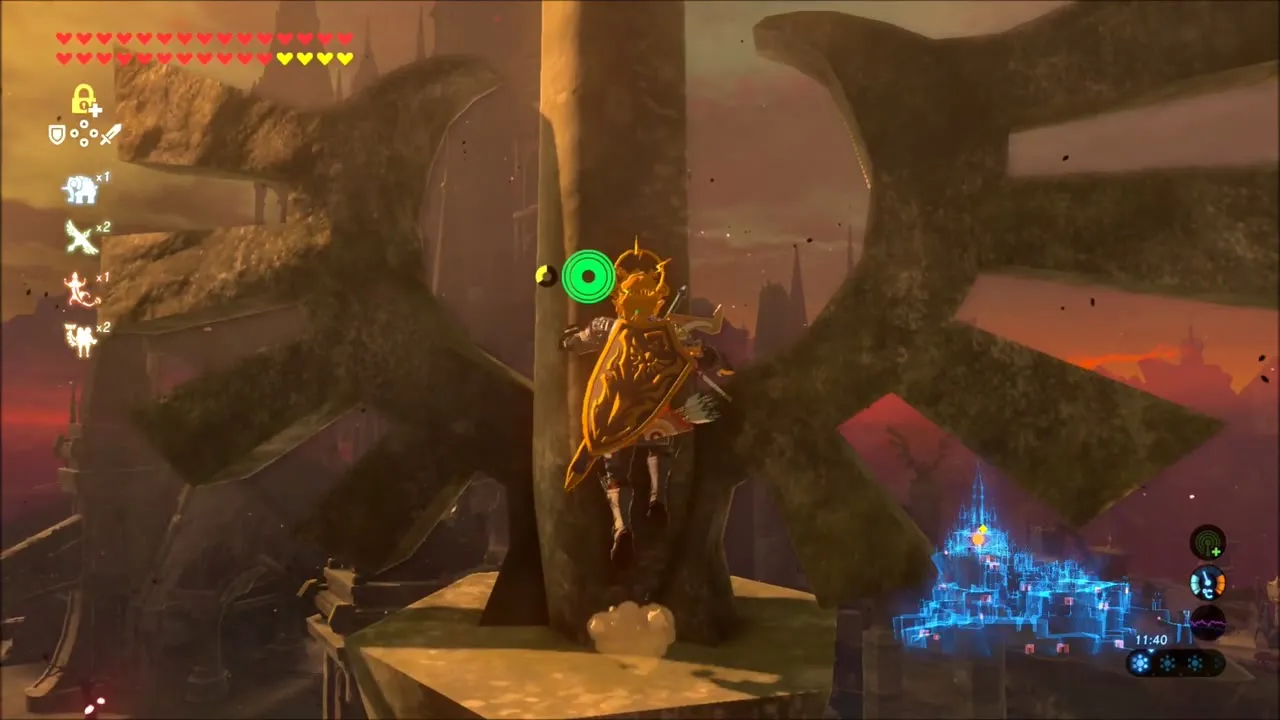
Outside the study, climb the tall pole on the tower. A Korok seed waits near the top of the pole, and a second Korok flies by just above it.


Before the Lockup: Mija’s Great Fairy Fountain
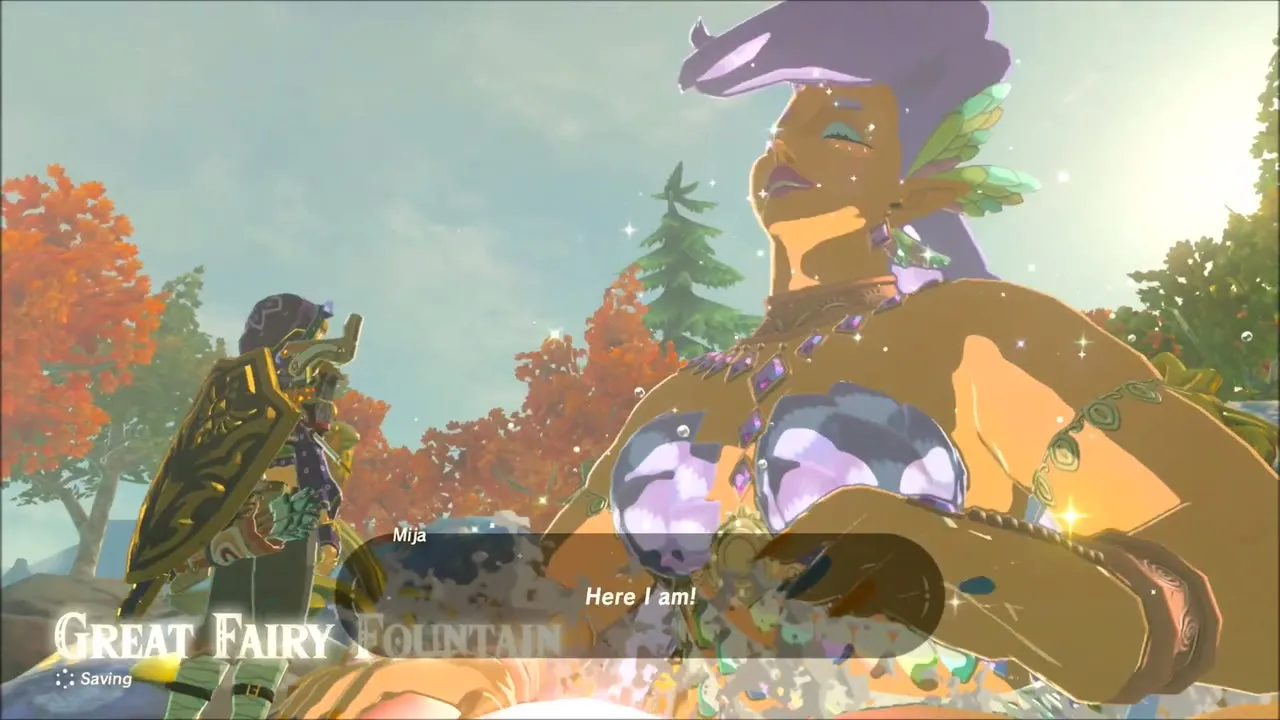
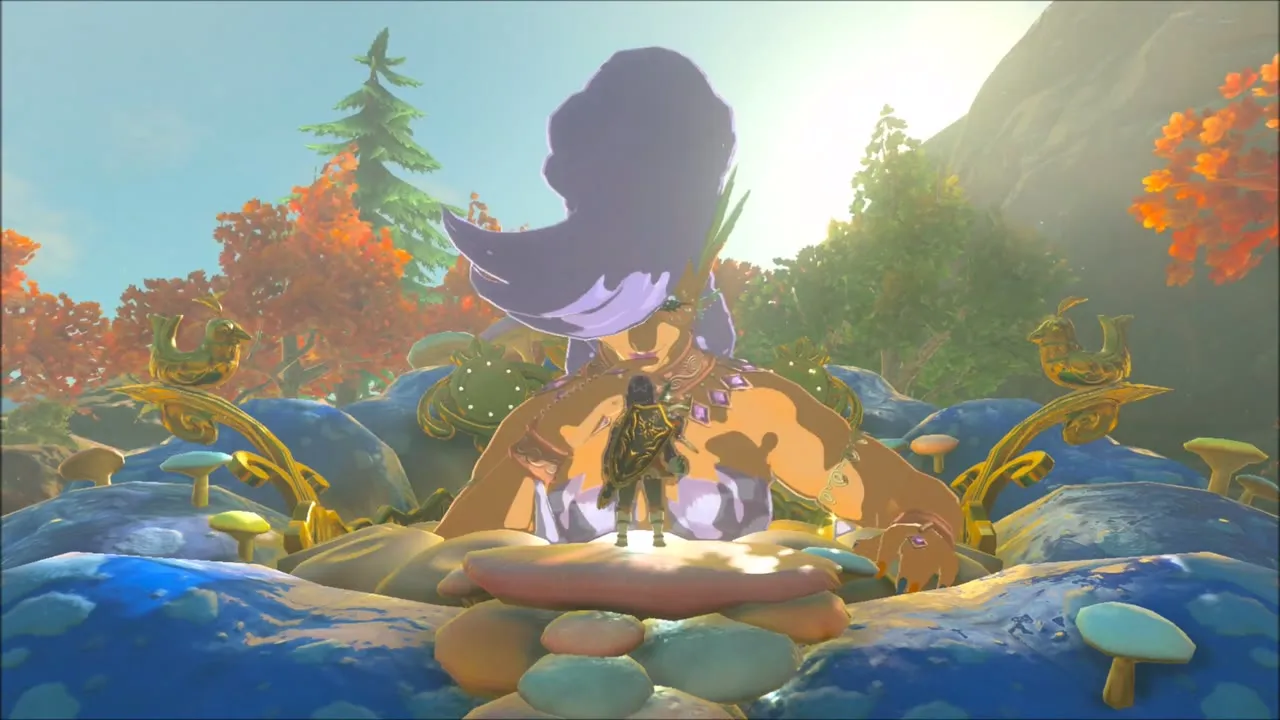
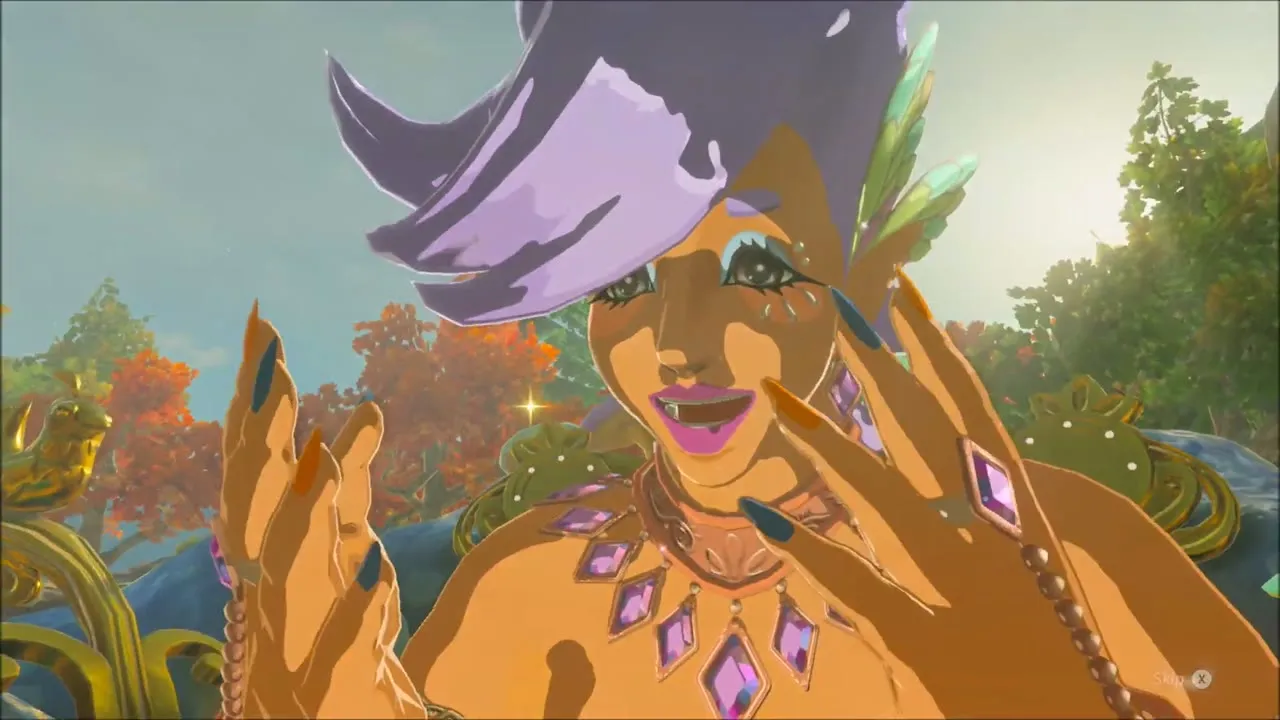
Before going back in, make a stop at Mija’s Great Fairy Fountain to upgrade your armor. The Great Fairy asks which piece you want to enhance and what materials it needs; here the Diamond Circlet is upgraded with Diamond and Flint, and she also offers to enhance the Radiant Tights, Sand Boots, Opal Earrings and Ancient Greaves if you have their materials.

Back to the Castle: Ruins and Moat
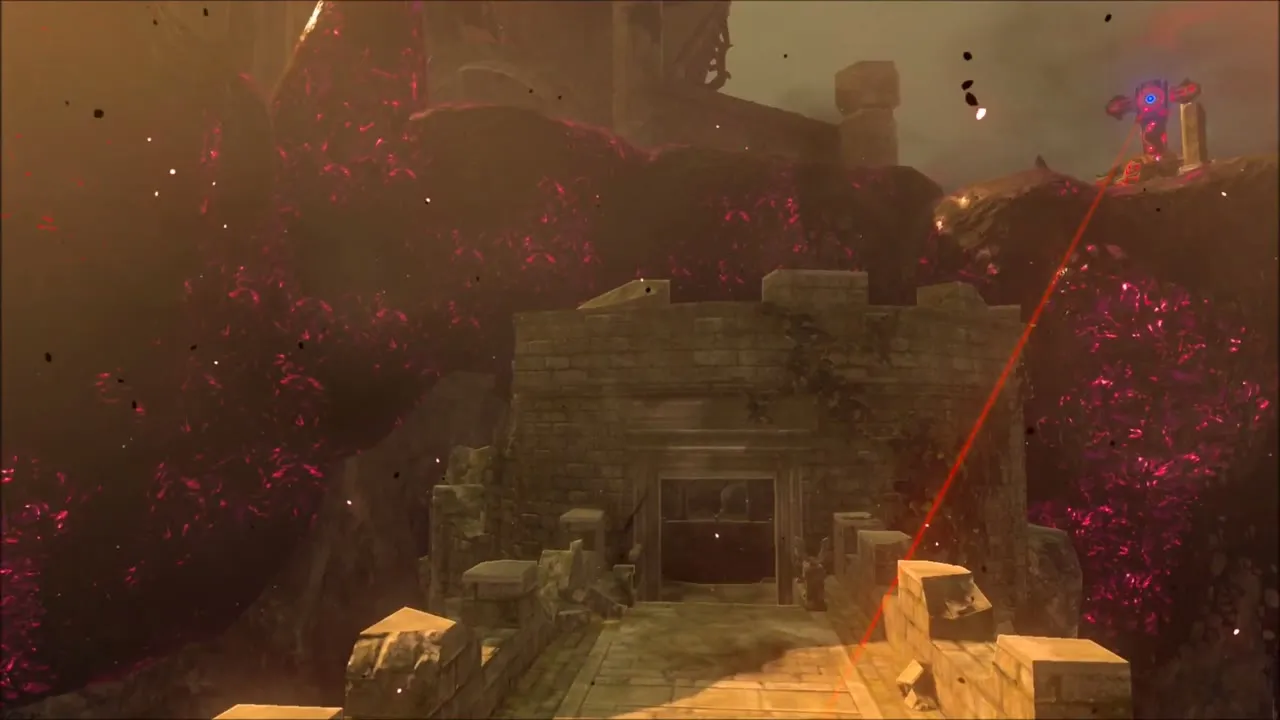
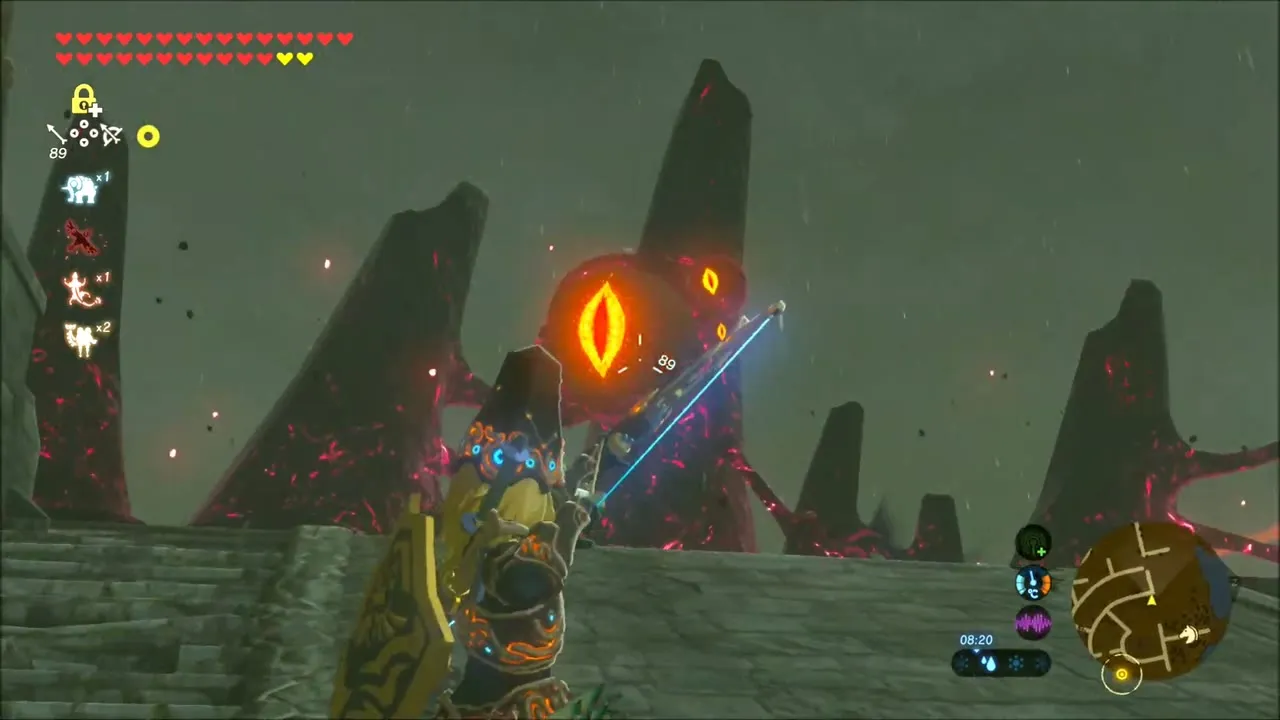
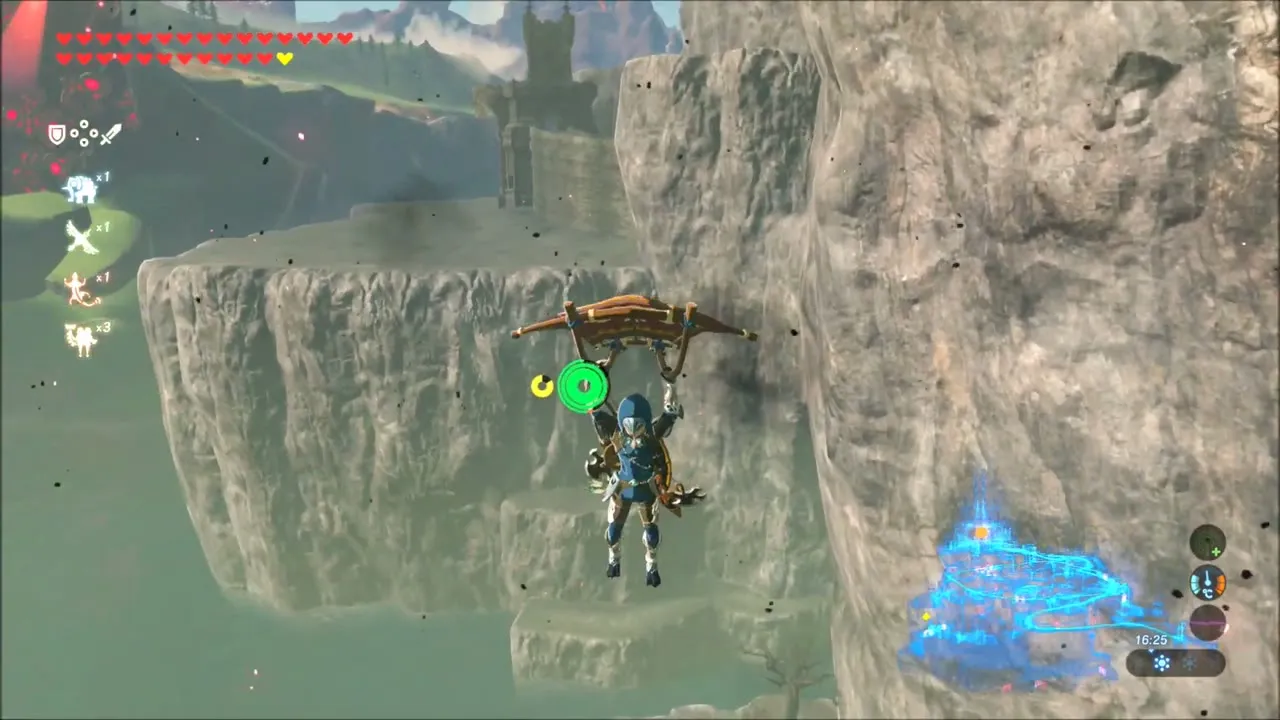
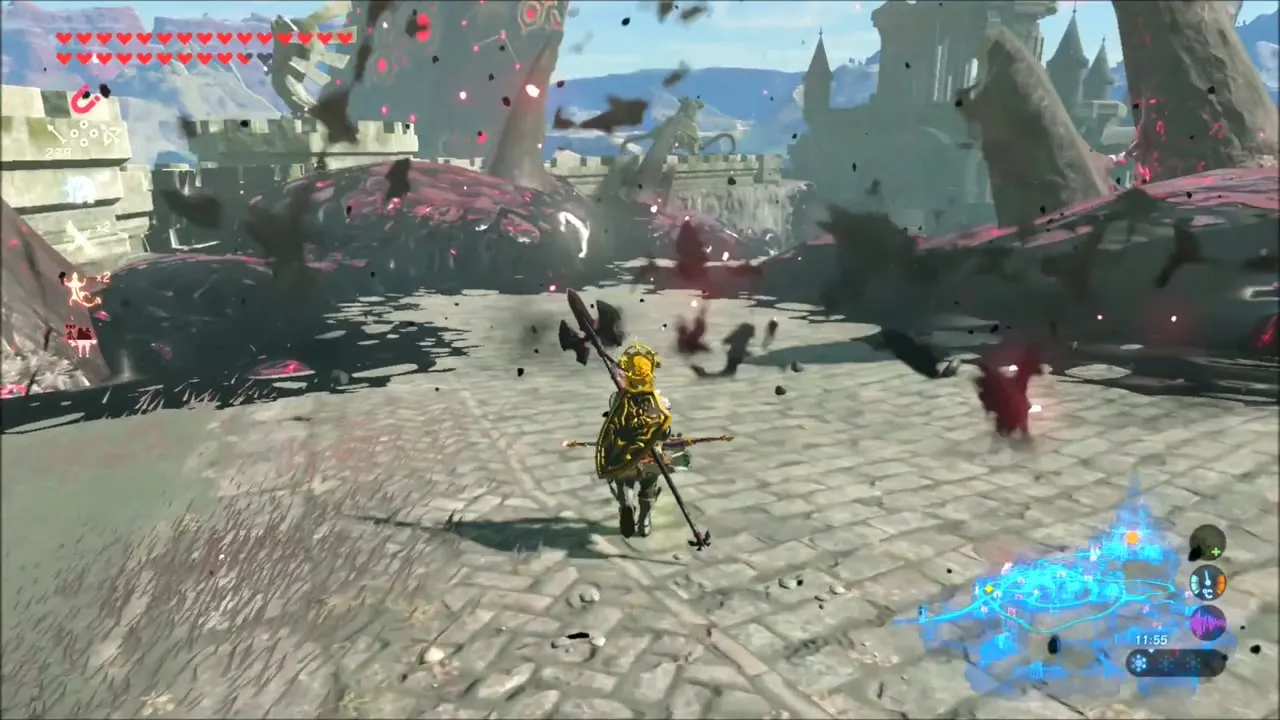
Return to the castle and cross the ruins again. Shoot the glowing eyes off the Malice walls, fight or avoid the Guardian Stalkers and Skywatchers, and take the ramparts, then glide off the high wall across the moat toward the Lockup entrance.
Hyrule Castle Lockup
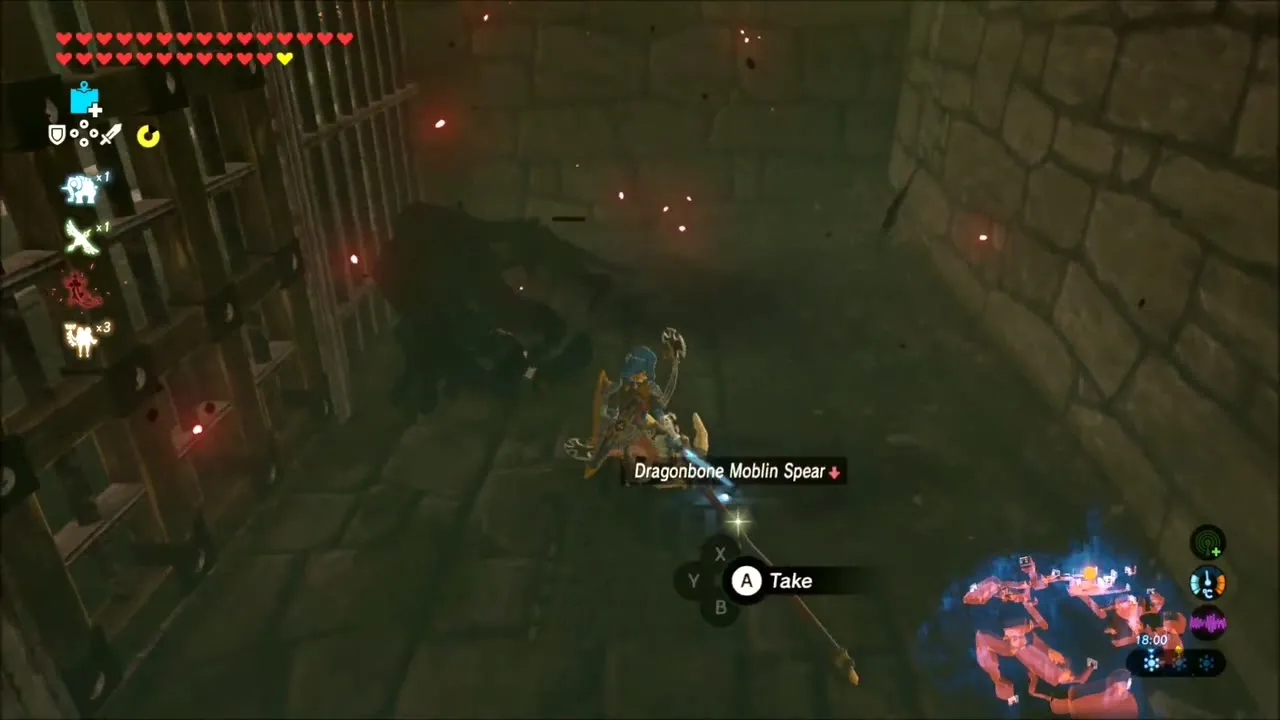
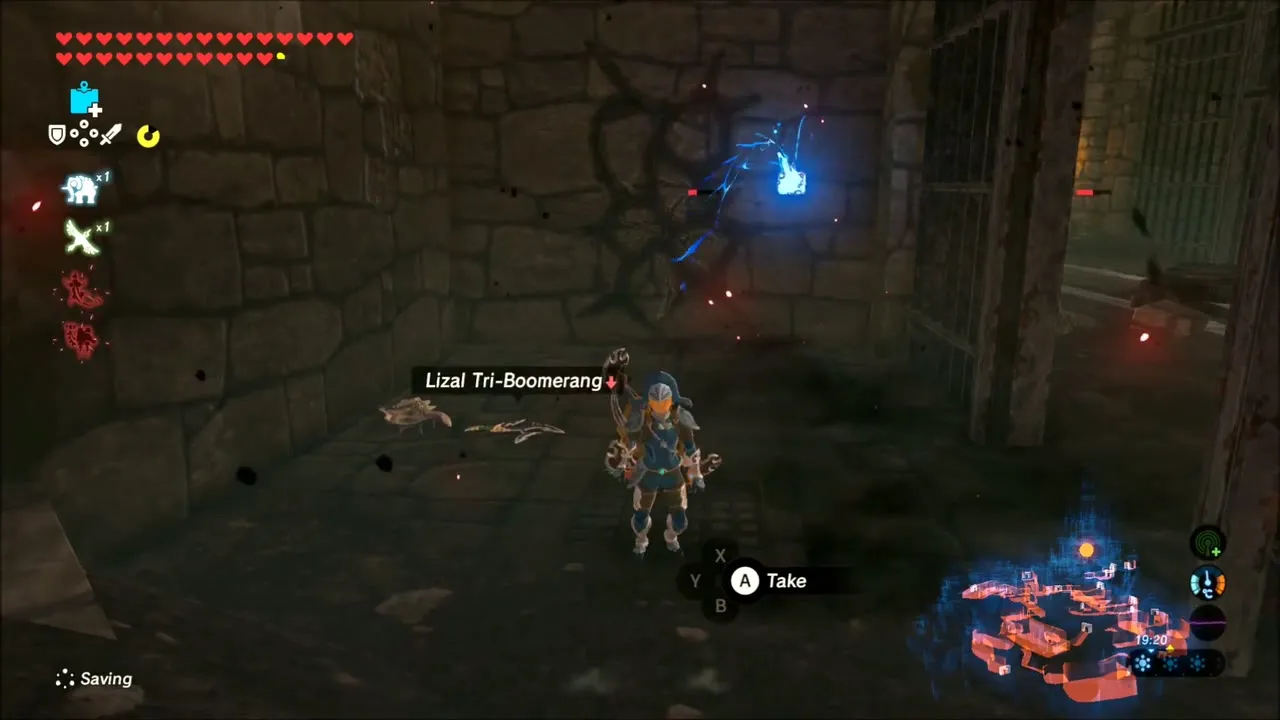
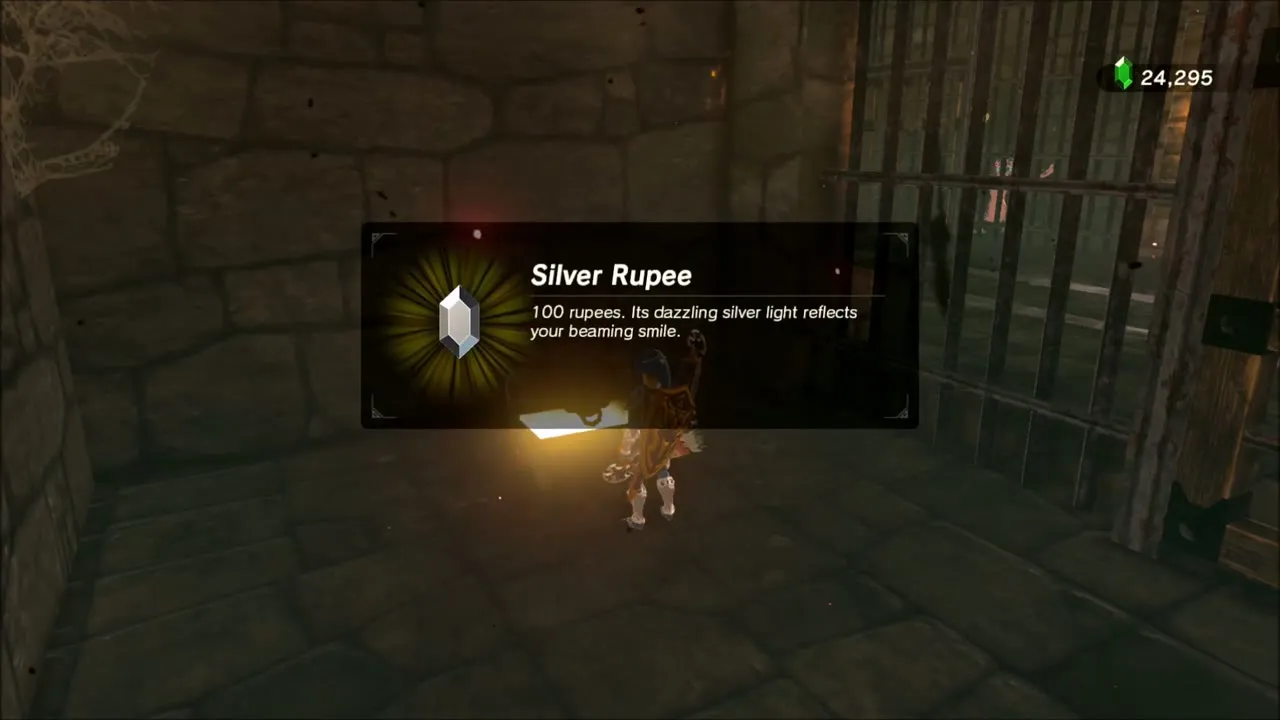
Luminous Stones mark the cave entrance to the Lockup. Inside is a long hall of cells holding Moblins and Lizalfos, who carry weapons such as a Dragonbone Moblin Spear and a Lizal Tri-Boomerang that you can take for yourself. Some cell gates open with a lever or a bomb; look for chests, including one that holds a Silver Rupee.


How to Get the Hylian Shield: Defeat Stalnox
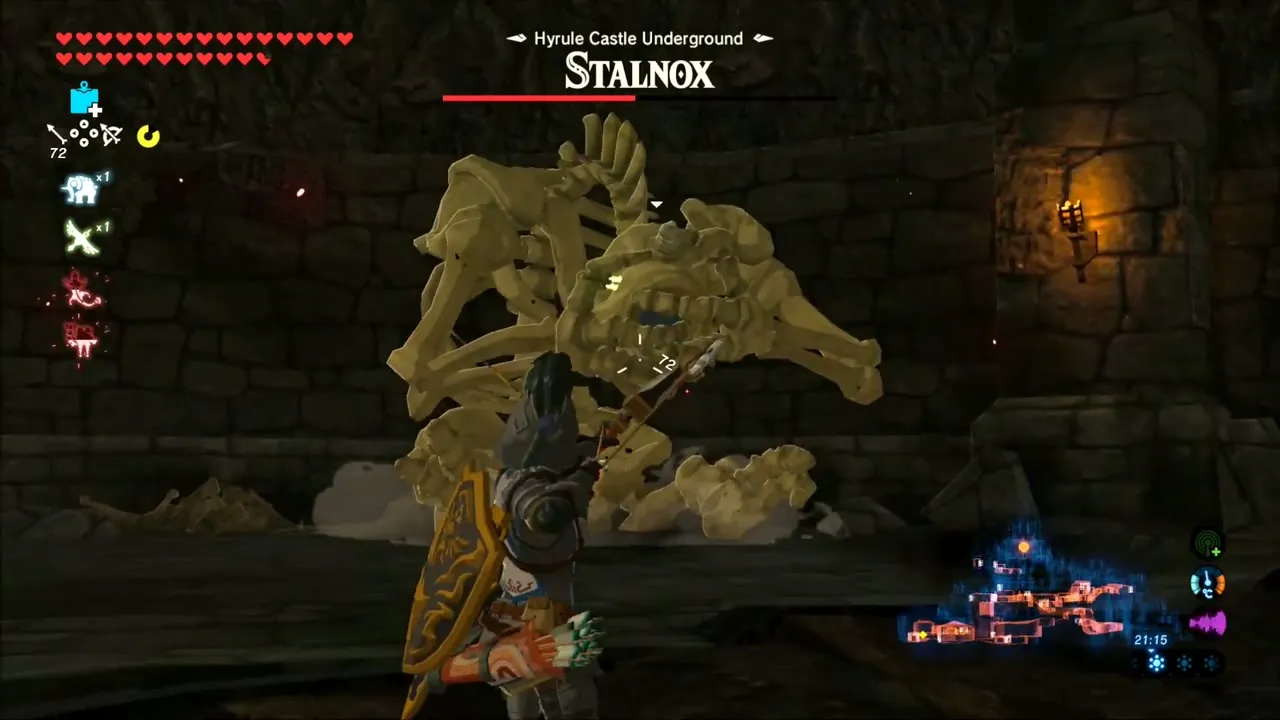
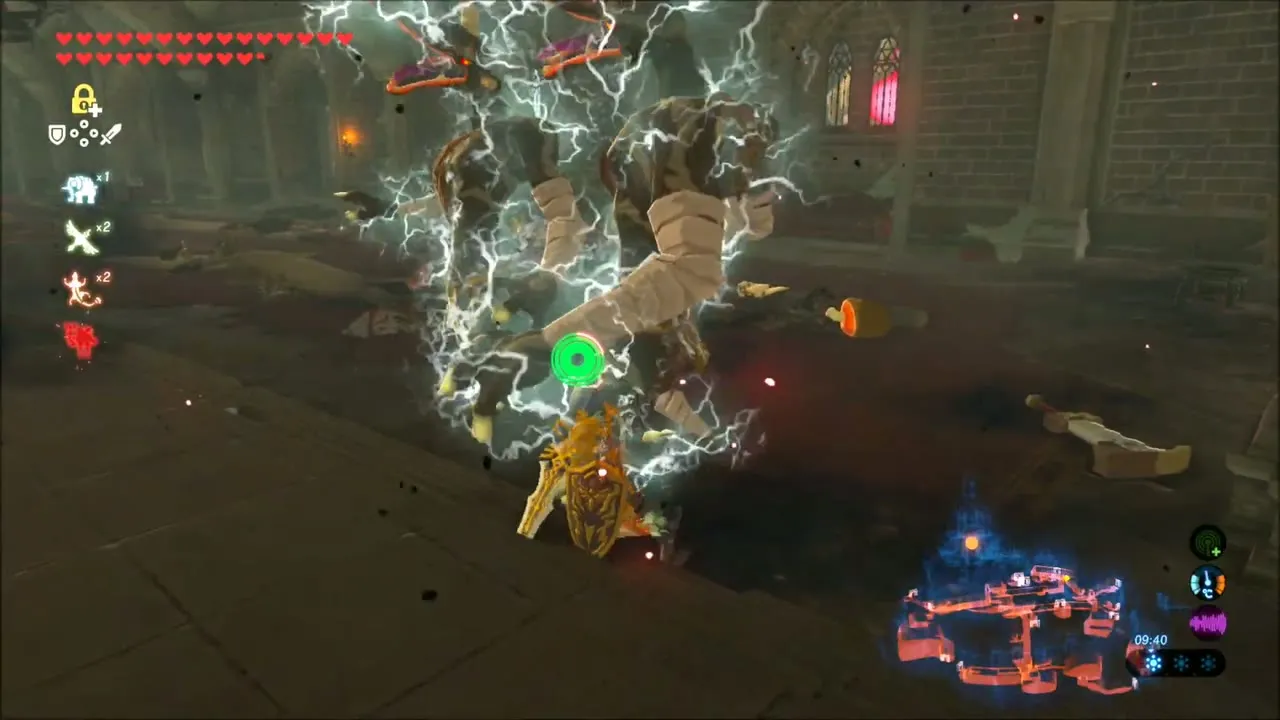
At the end of the Lockup, a passage leads to a round, bone-strewn room where a Stalnox rises. Shoot its eye with Bomb Arrows whenever it is not covering it, then run in and hit the eye while it is stunned. When it falls, a chest appears: open it for the Hylian Shield, which has a Shield Guard Up bonus of +35 and is the strongest shield in the game.



Hyrule Castle Docks
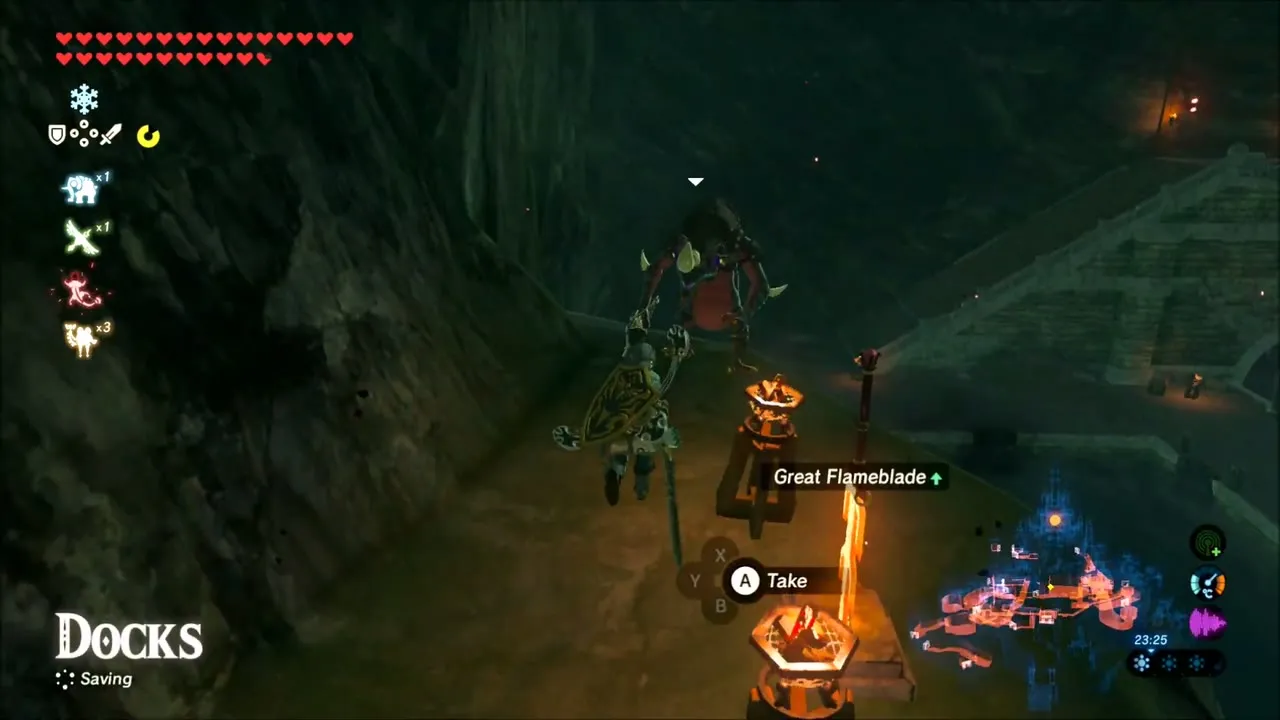
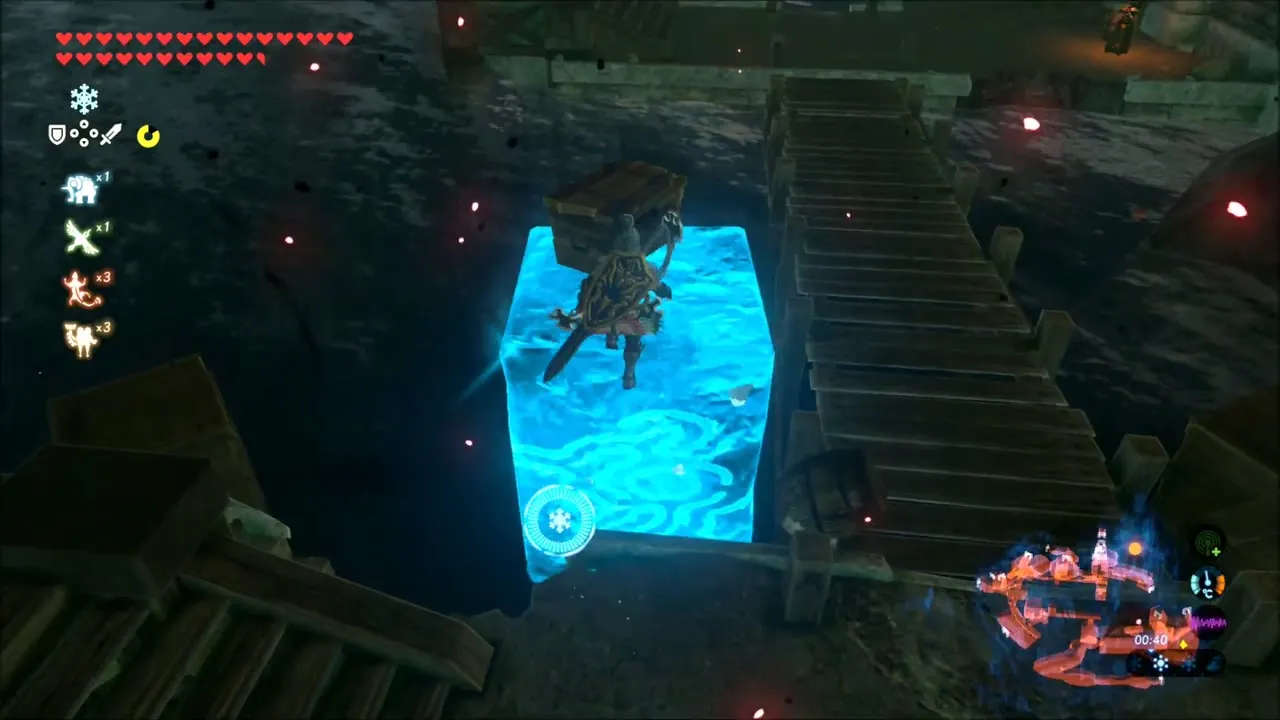
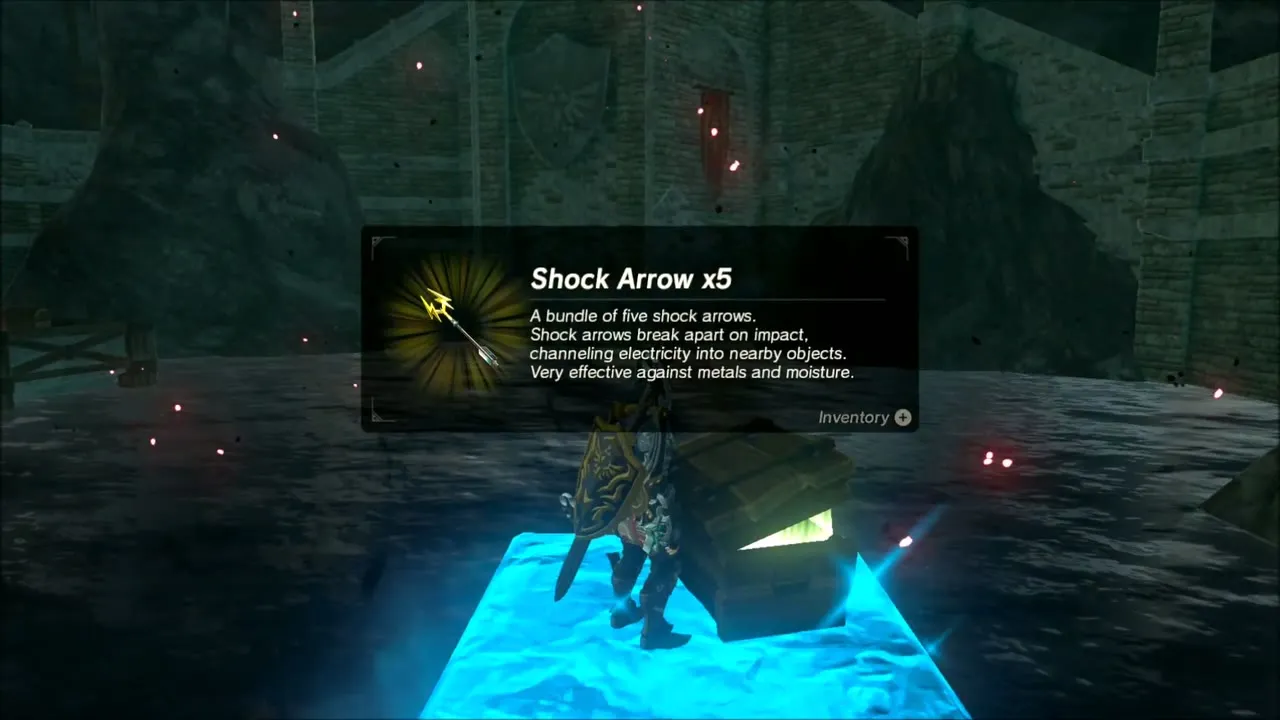
Head to the Docks. A torch here holds a Great Flameblade, and a lifted rock beside the water hides a Korok. Use Magnesis on the crates and Cryonis blocks on the water to reach the chests, which hold a Star Fragment, Ancient Arrows, Shock Arrows and a Gold Rupee.

Saas Ko’sah Shrine: A Major Test of Strength
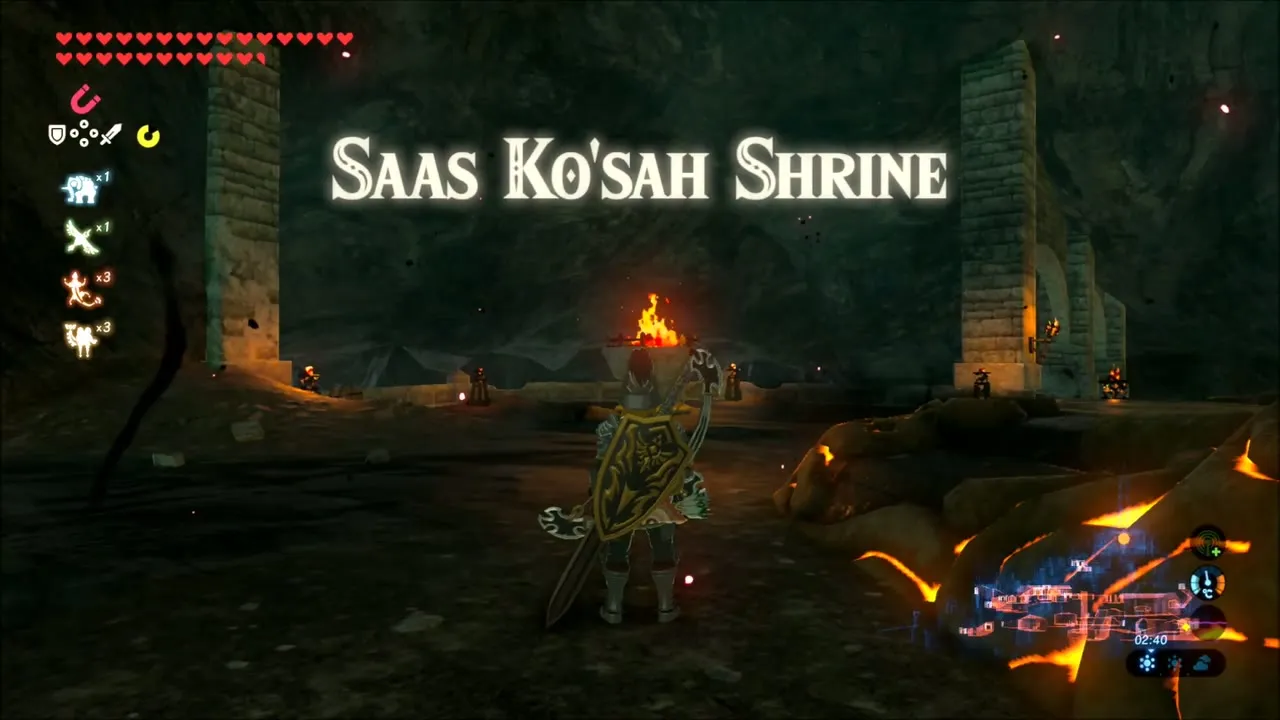
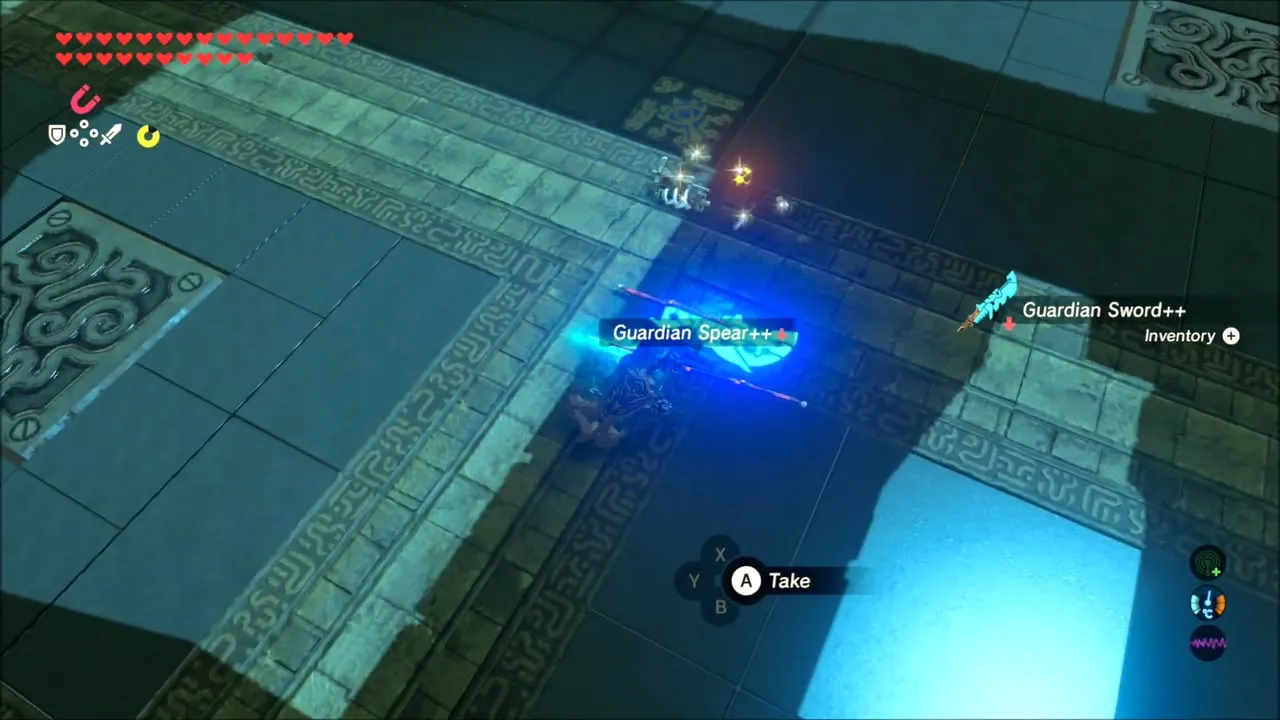
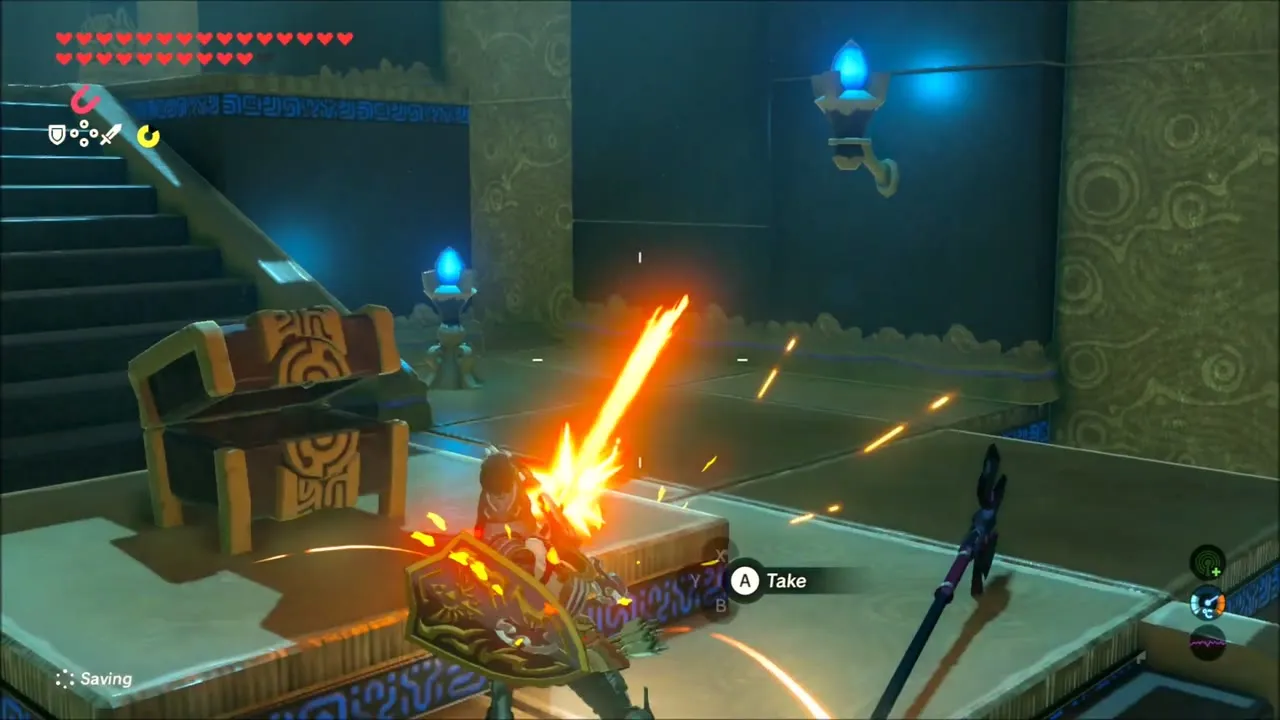
Light the large torch in the Docks to raise Saas Ko’sah Shrine (x -148, z -1159, height 153). Its trial, A Major Test of Strength, is a battle with a Guardian Scout IV in a room with Magnesis blocks; pull them up as cover, then hit it while it is stunned. Pick up the Guardian Sword++ and Guardian Spear++ it leaves behind, open the chest beyond the arena for the Flameblade, and speak to the monk for the Spirit Orb.


A Gift from the Monks
This is your 120th Spirit Orb. The monk tells you that you have conquered all the trials and sends you to the Forgotten Temple, and A Gift from the Monks begins. Leave the shrine and head back out into the castle.


Western Castle Exterior: Magnesis Door and Korok Seed
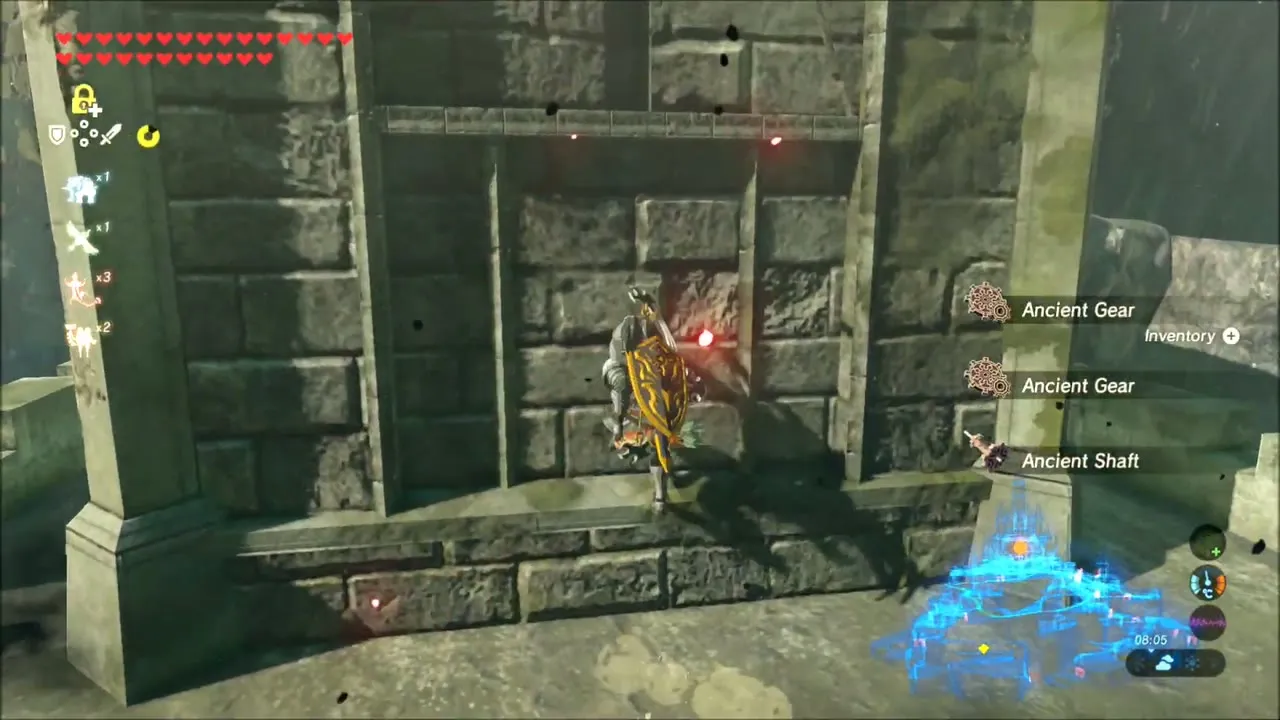
Back at the Docks, use Magnesis to move the metal block that closes the gate and walk out to the cliffs. Shoot the Guardians on the plateau with Shock Arrows and take their Ancient Gear and Shafts. A little further on you find a Korok seed beside a rock wall once you have cleared the Guardians nearby.

Mining Cave and Stone Talus
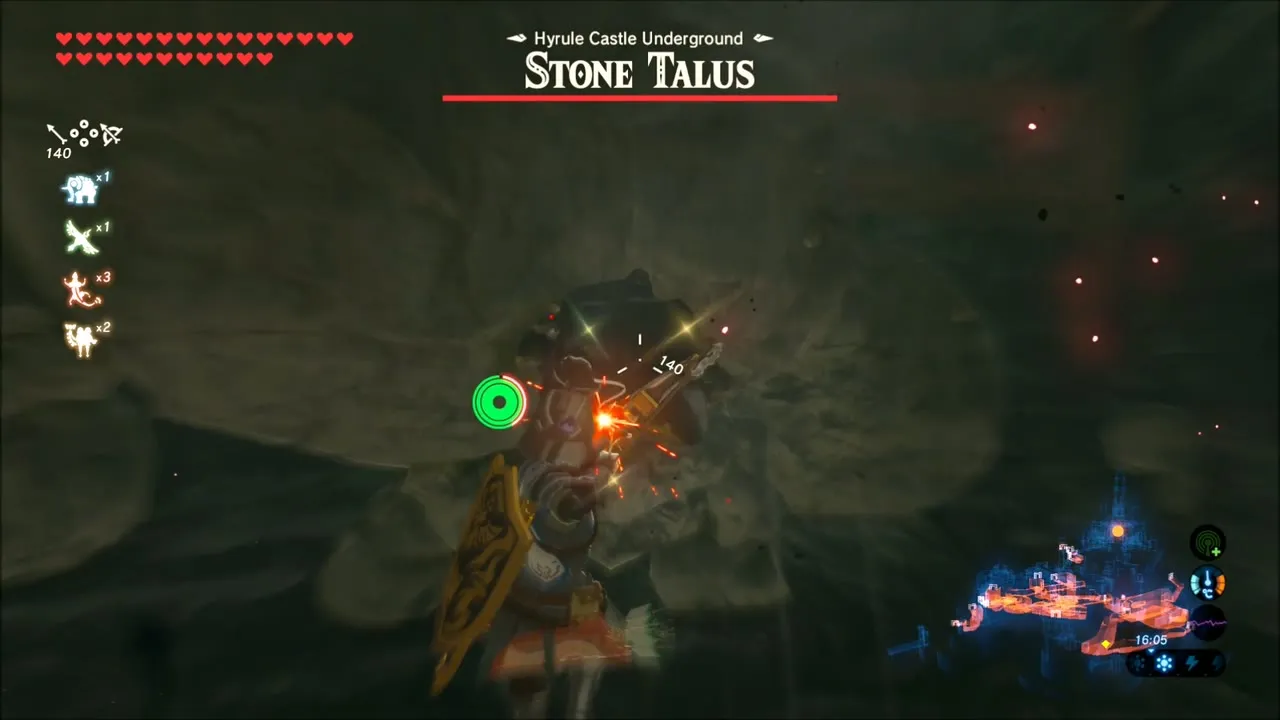
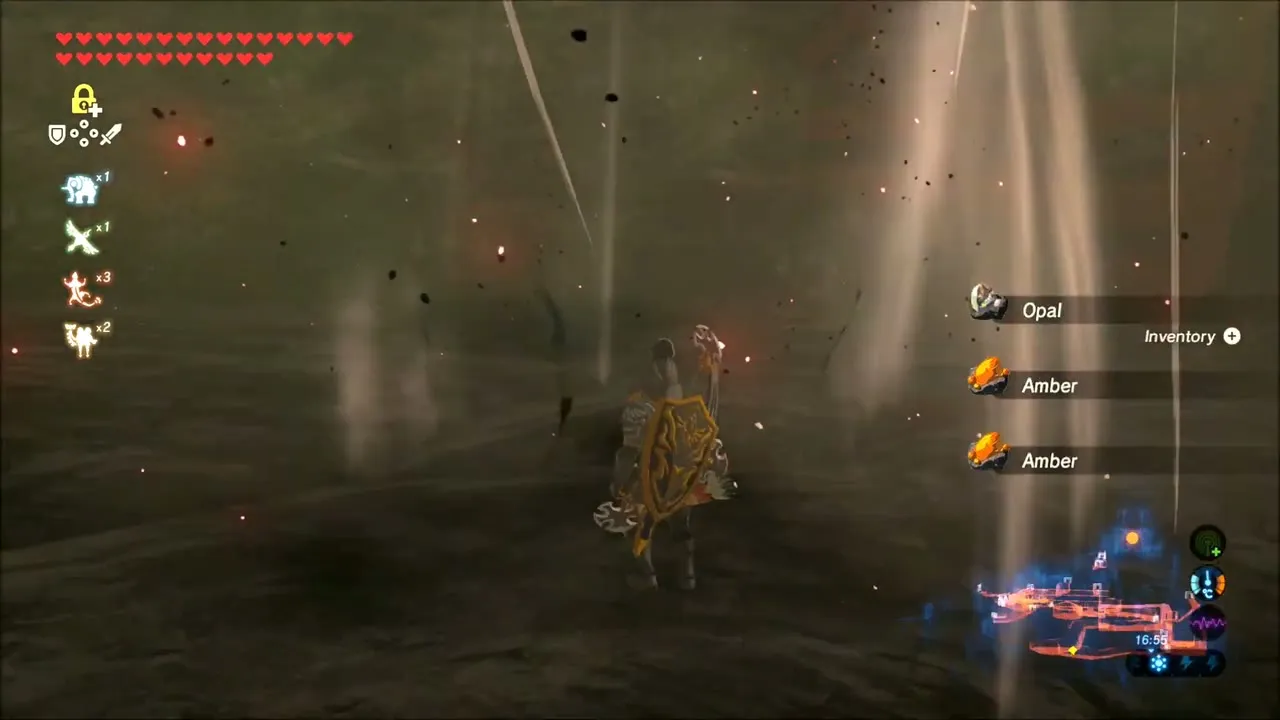
Follow the path into the cave. Use Magnesis on the Malice-covered objects and mine the ore deposits (they yield Flint and gems). Further in you meet a Stone Talus: shoot the glowing weak point on its back, then strike it, and it drops Opal and Amber.


Library: Magnesis Bookcase and Chests
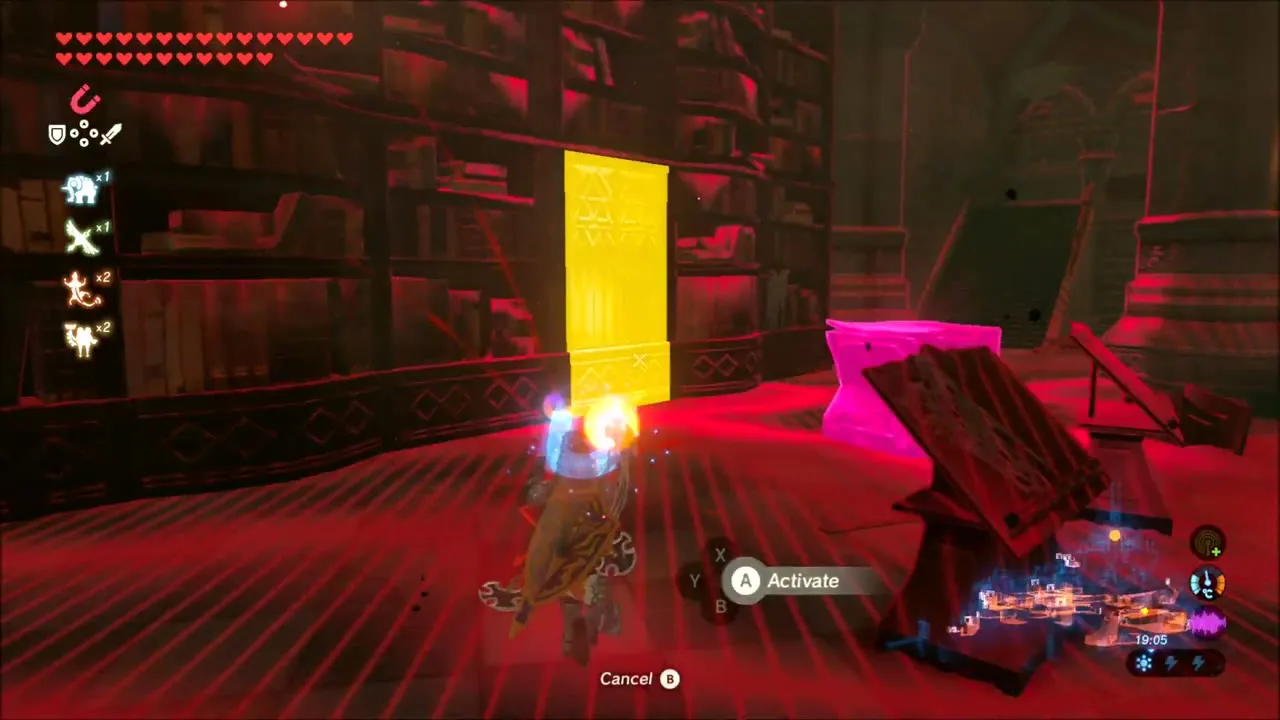
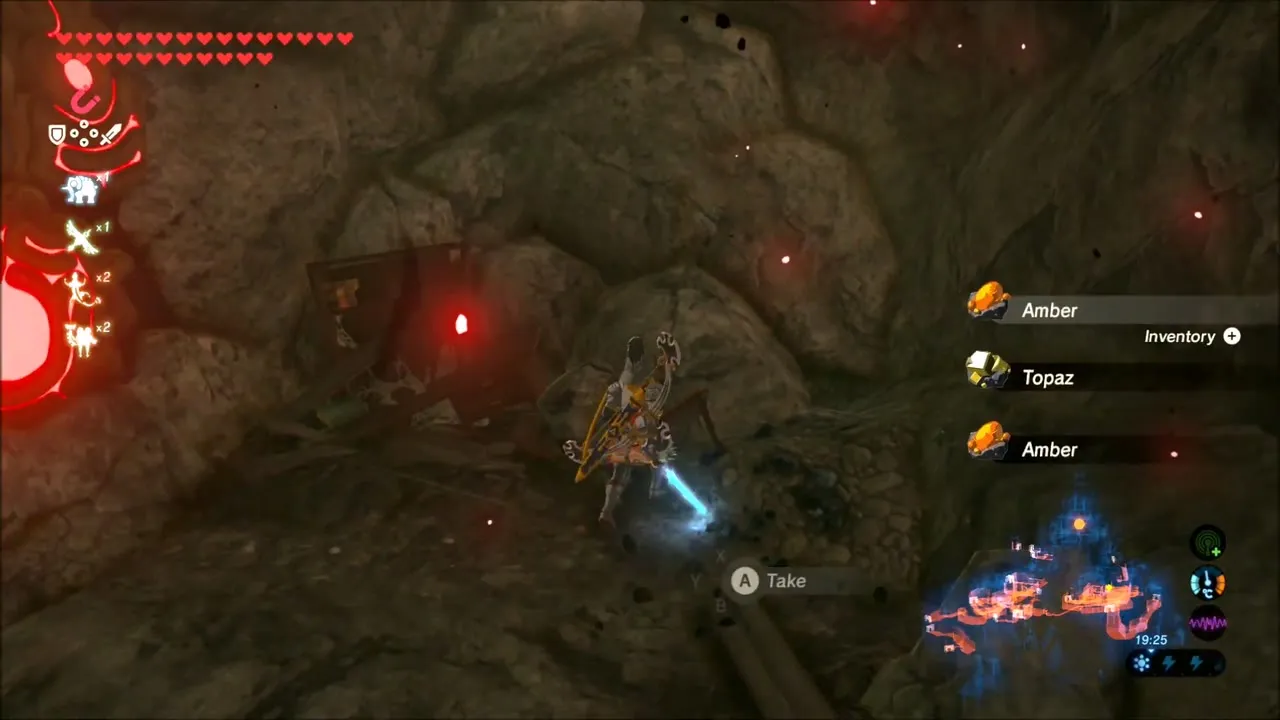
In the Library, fight the beast waiting in the first hall, then use Magnesis on the fake bookshelf and the golden door to find a Silver Rupee chest and a chest with Amber and Topaz.


King’s Study: King Rhoam’s Journal
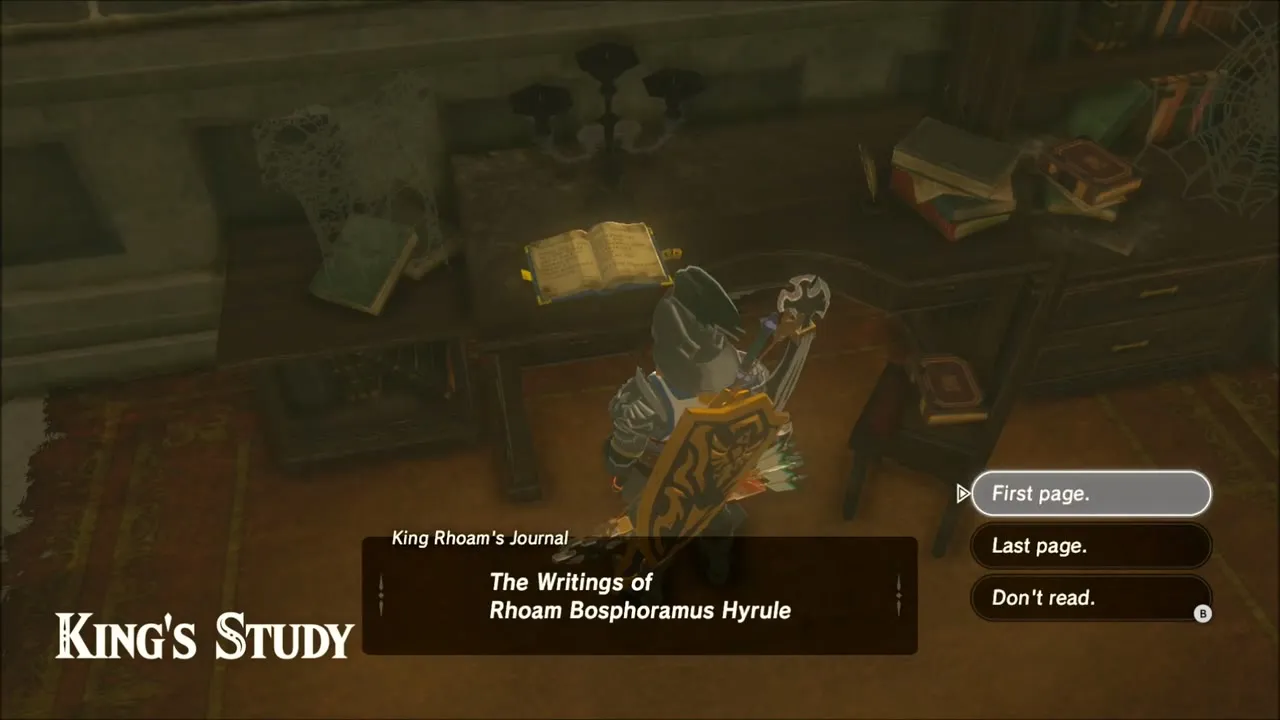
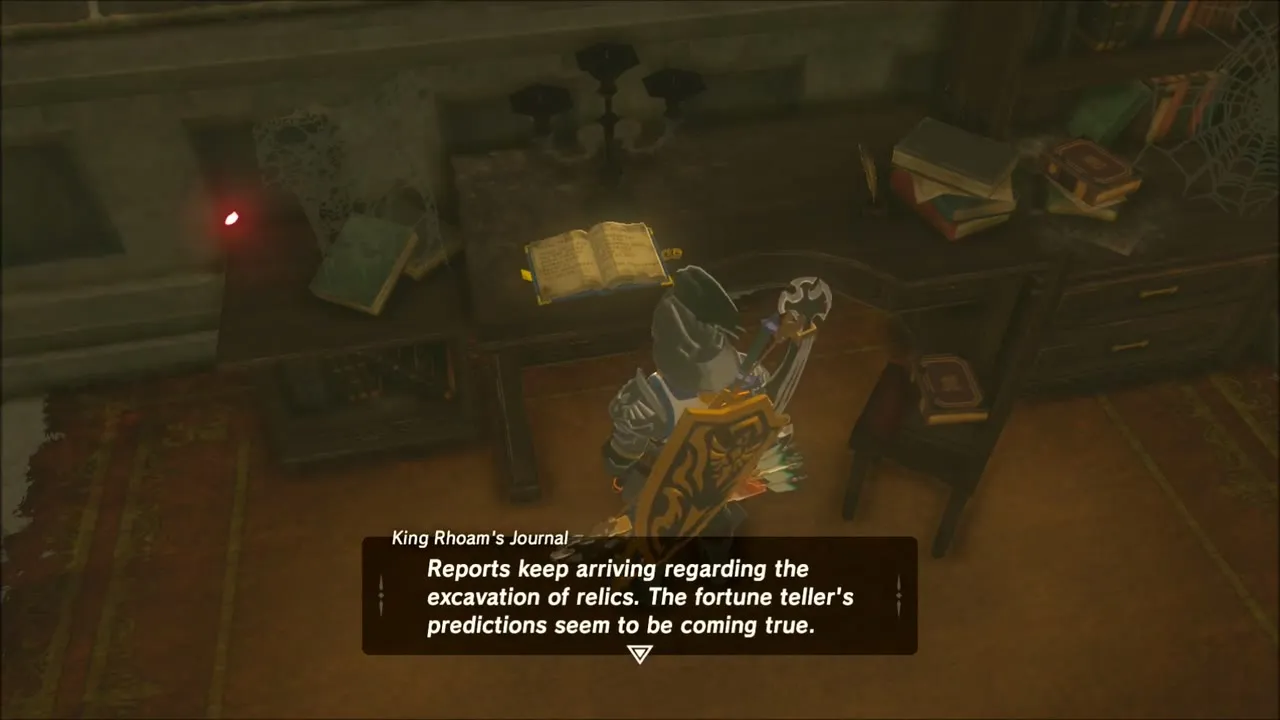
Take the passage behind the bookshelf to King Rhoam‘s study. His Journal sits on the desk. It mentions reports of relics being excavated, the fortune teller’s predictions coming true, the princess’s strength at the age of six, and that Zelda had gone to the Spring of Wisdom.


Naydra’s Scale and a Korok Seed Behind the Library
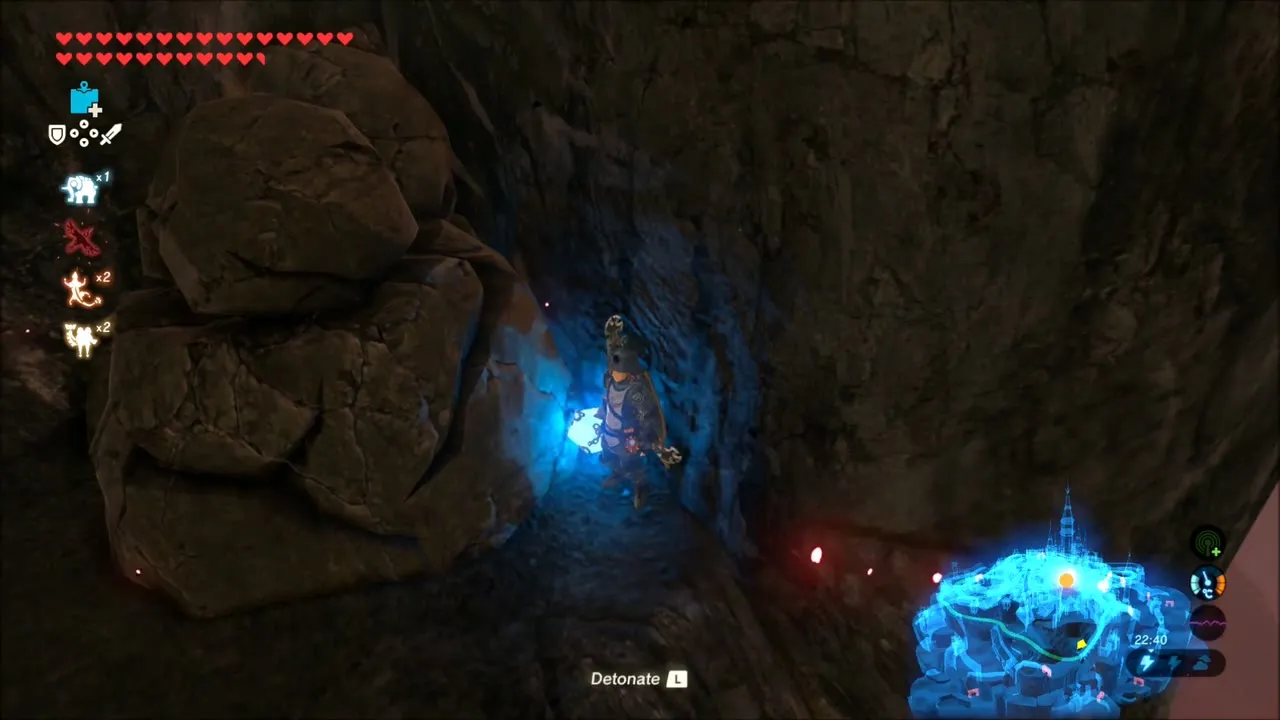
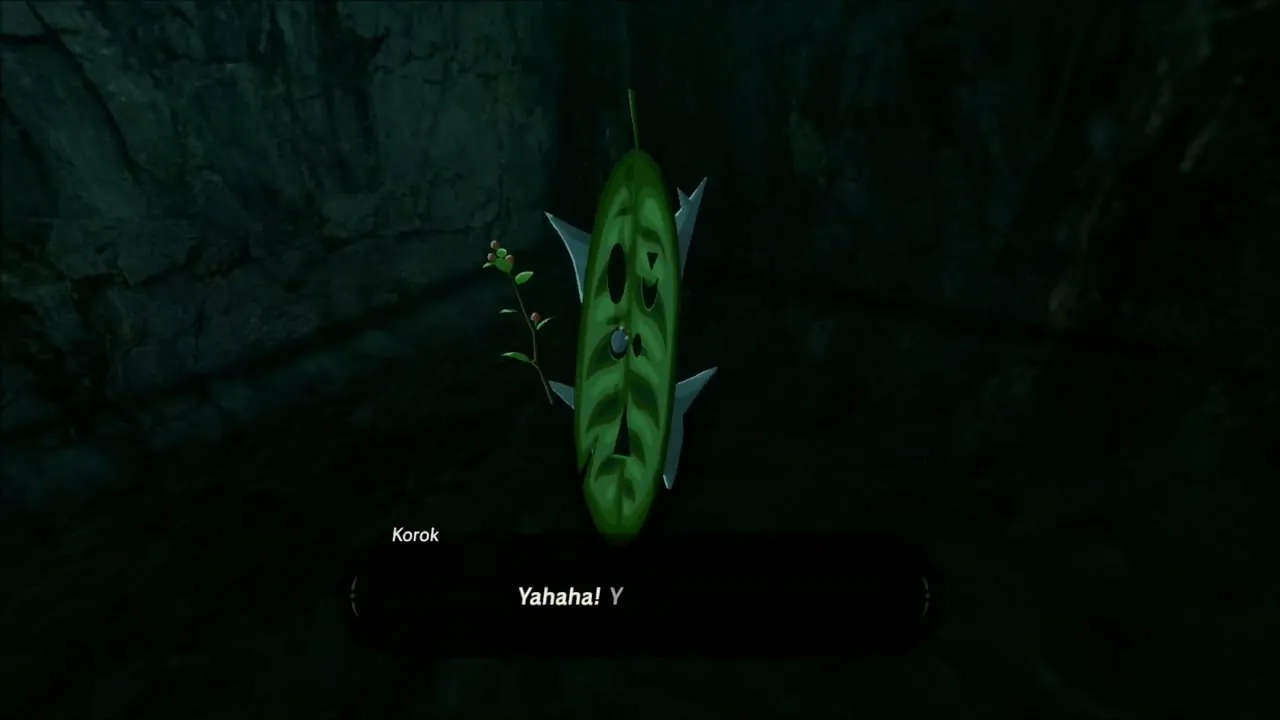
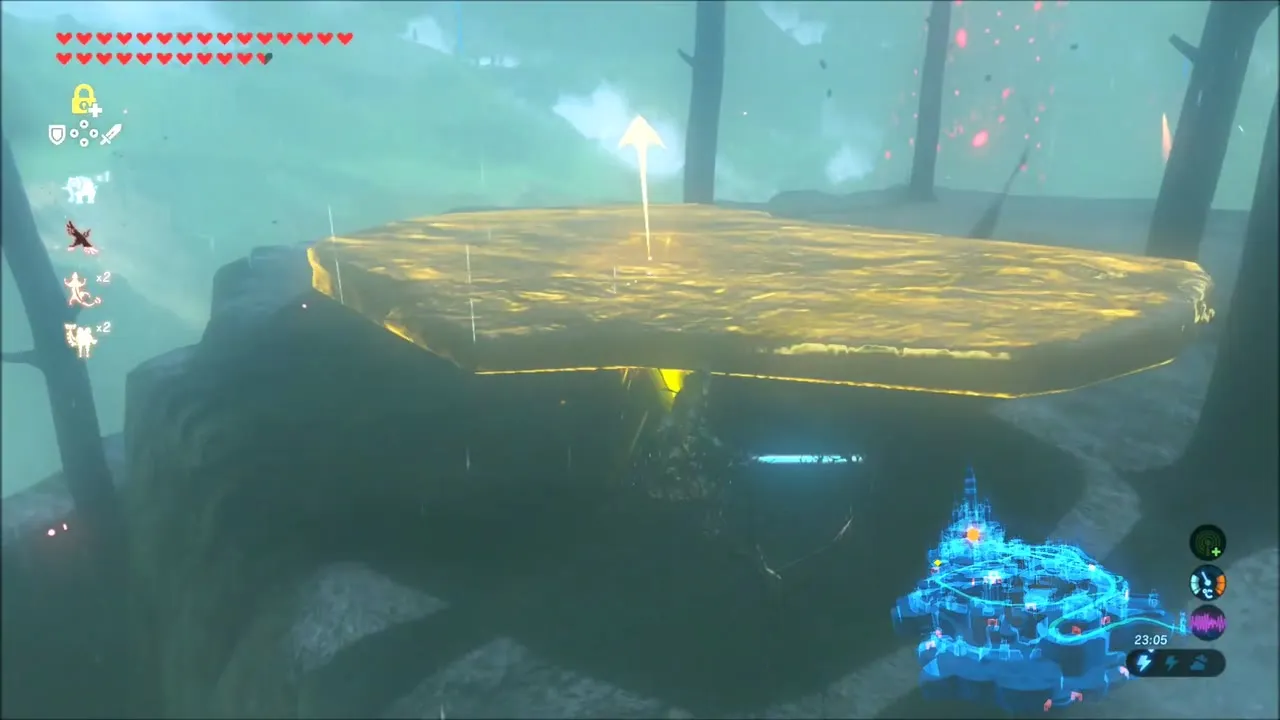
Head out the back of the Library and down the rainy passage. A Korok is hidden under a rock in the cave: lift the boulder for its seed. A little further on, use Stasis on the slab by the plateau to open the chest that holds Naydra‘s Scale.

A Royal Recipe and The Royal Guard’s Gear
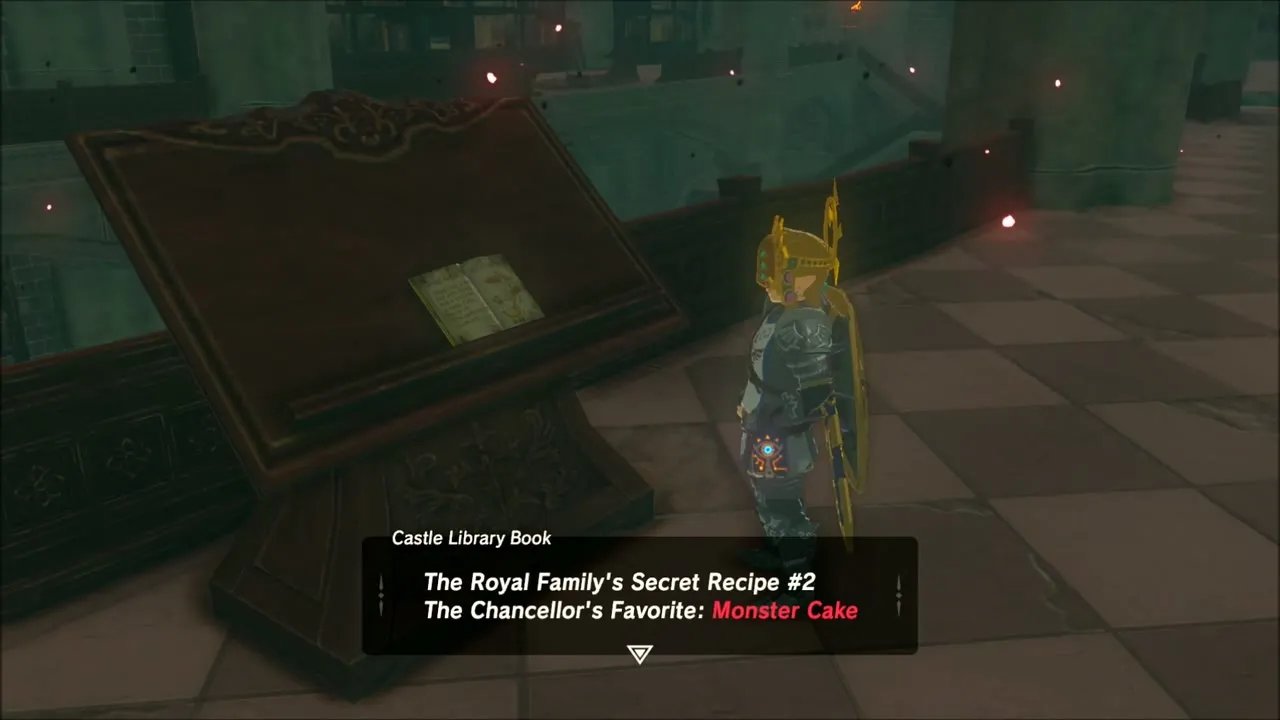
Back in the Library, read the Castle Library Book on the lectern: “The Royal Family’s Secret Recipe #2” is the Chancellor’s favorite, Monster Cake. That completes the first task of A Royal Recipe; the second is to cook a dish for Gotter. Further on, a Royal Claymore and a Royal Guard’s Spear lie in a side room, which completes the first task of The Royal Guard’s Gear; show one to Parcy later.


Statue Hall Korok Seed
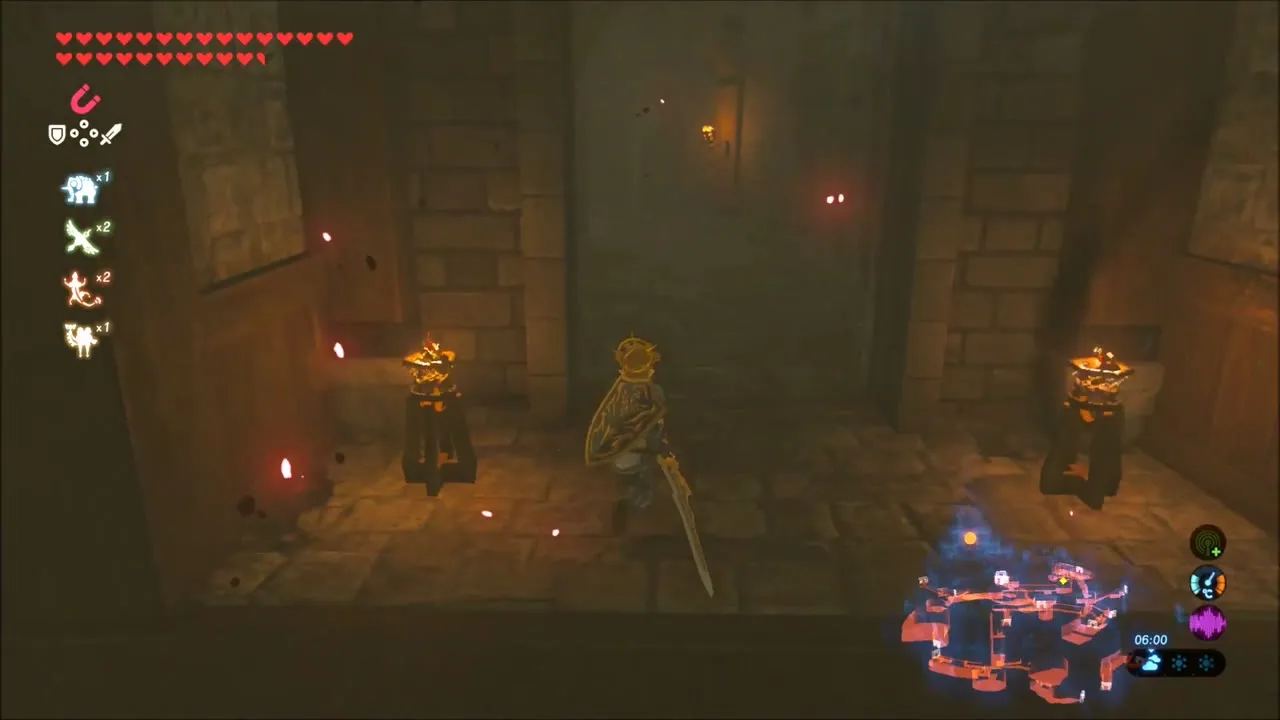
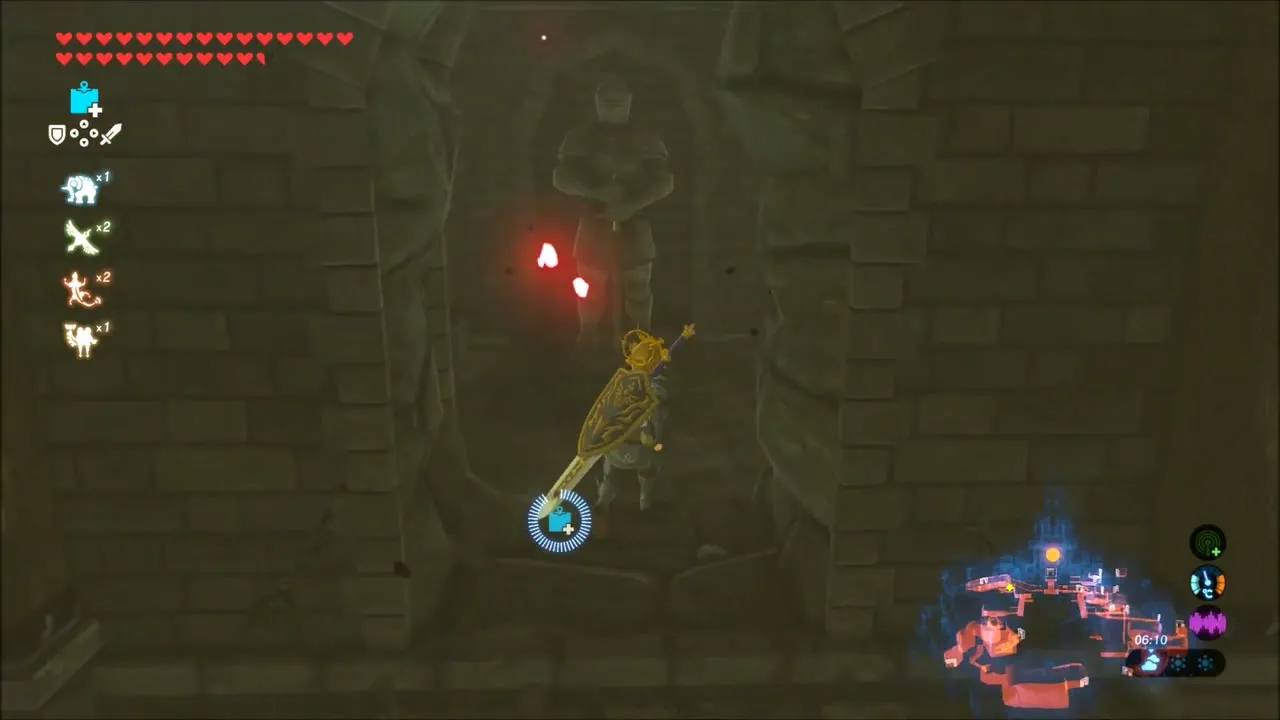
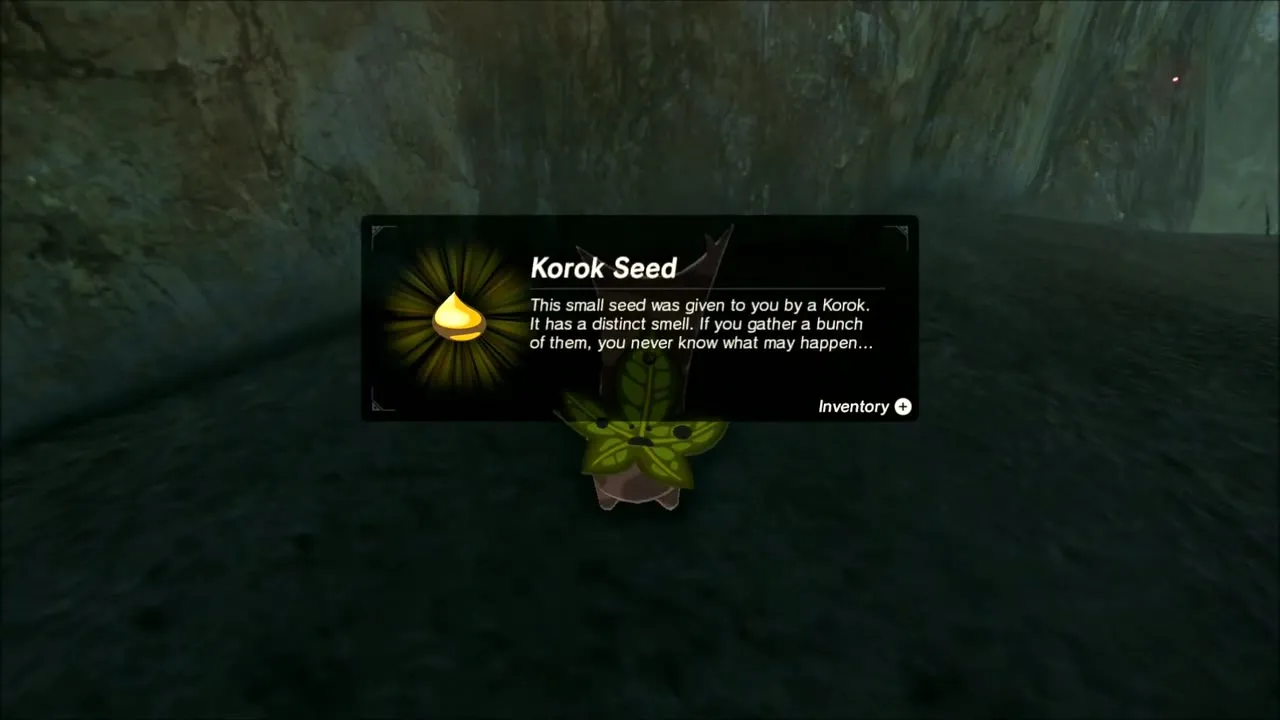
In a dark hall lined with armor statues, a Korok shows itself and gives you a seed.

Castle Exterior: Moblins, Chests and a Korok Seed
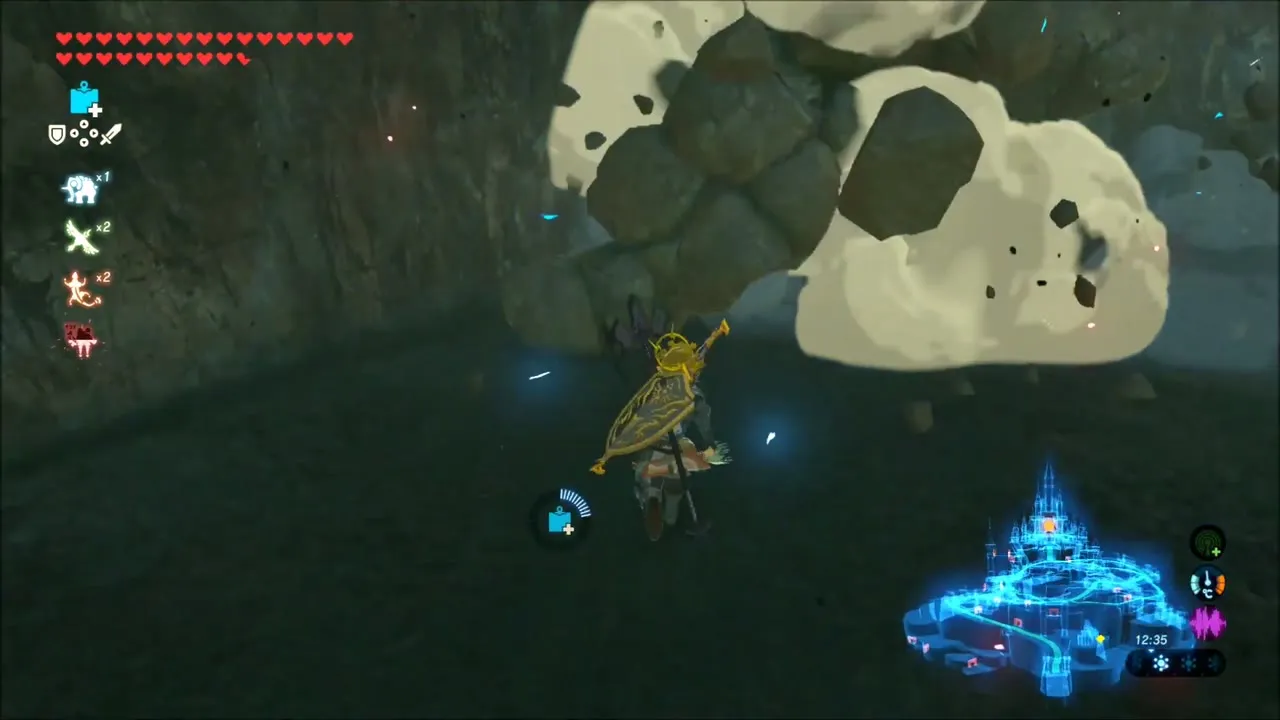
Fight through the lower corridors past a Moblin and several Lizalfos, then step out onto the outer wall. A bomb will clear a rock pile on the cliff outside to reveal a Korok. Along the moat, a chest by the water holds a Sapphire.
Ramparts: Lynel, Arrow Chests and Royal Guard’s Spear
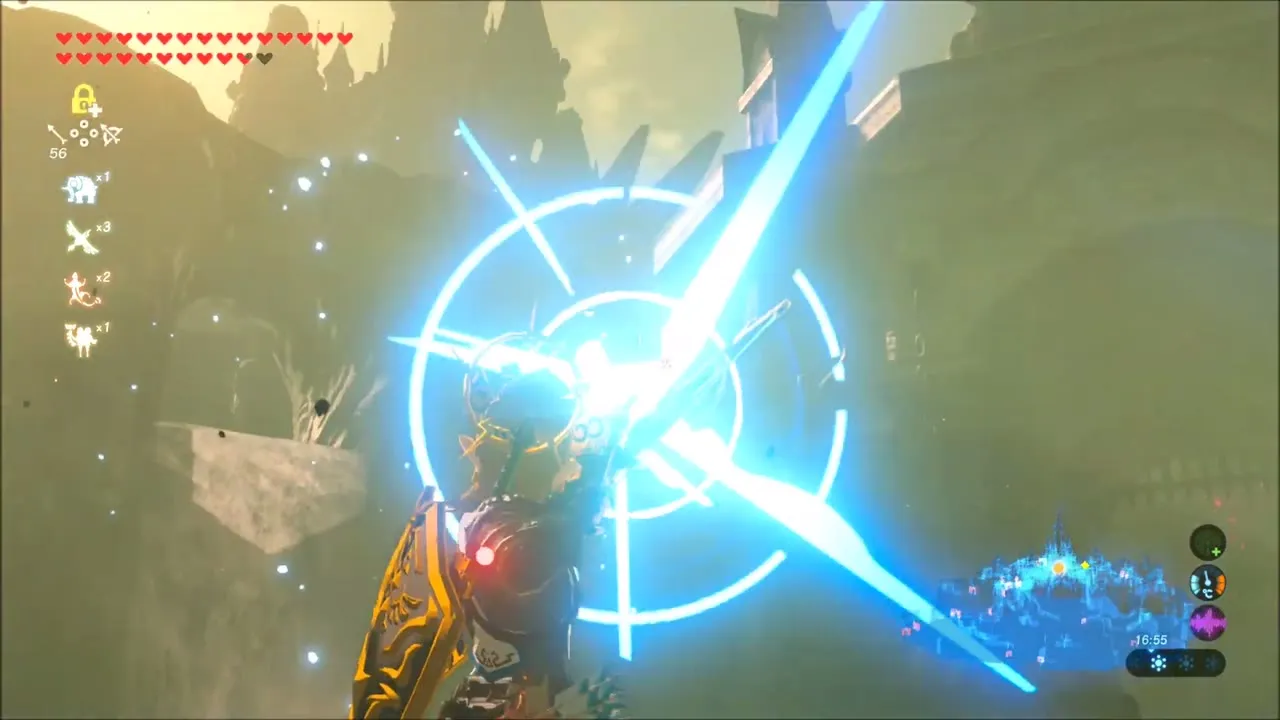
Climb around the castle’s ramparts, destroying Guardians on the way; a Guardian’s beam can be parried straight back at it with a shield. Chests along the ramparts hold Ancient Arrows and a Royal Guard’s Spear, among other loot. A Lynel also guards part of the castle, so be ready to parry its charges.



Spire Korok Seeds and the Western Towers
Climb a pointed spire and stand on its tip for a Korok seed. Equip an Ancient Battle Axe++ for the Guardians on the next walls, then keep climbing the towers beyond. More Koroks wait on the spire tips here, and the last one is high on a tower, so keep climbing until you reach it.


Collecting the Leftover Shrine Chests
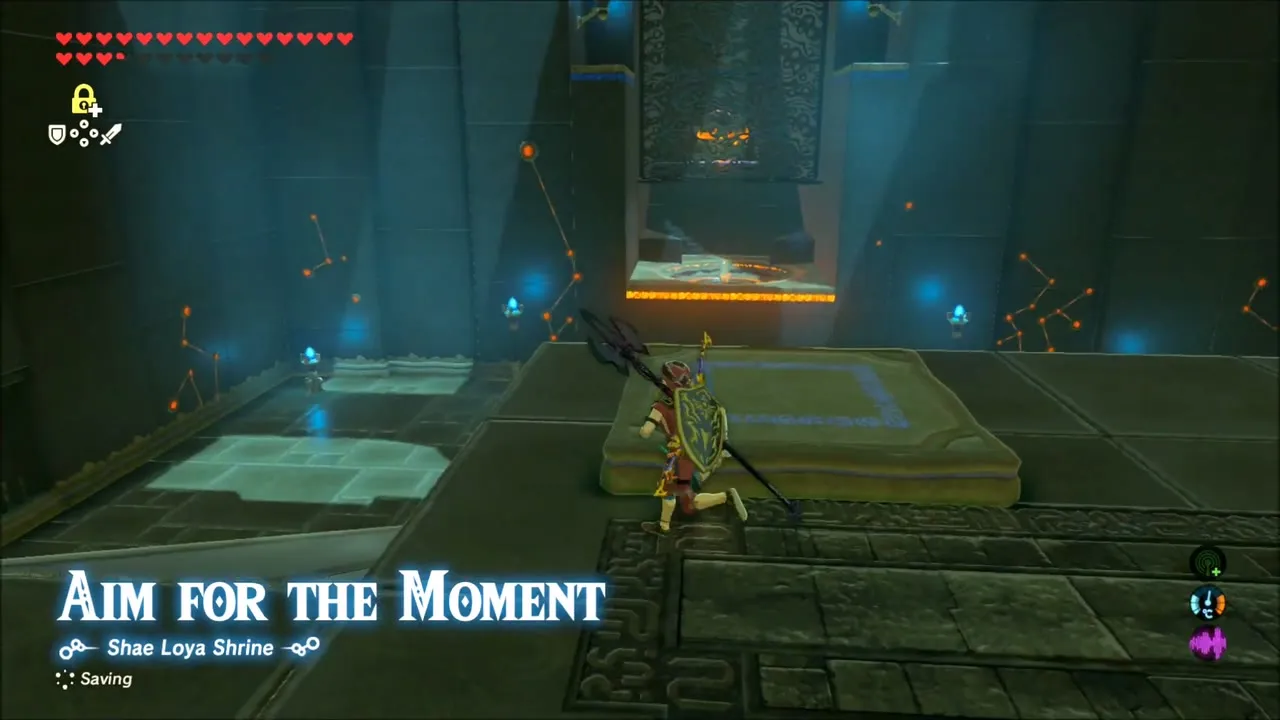
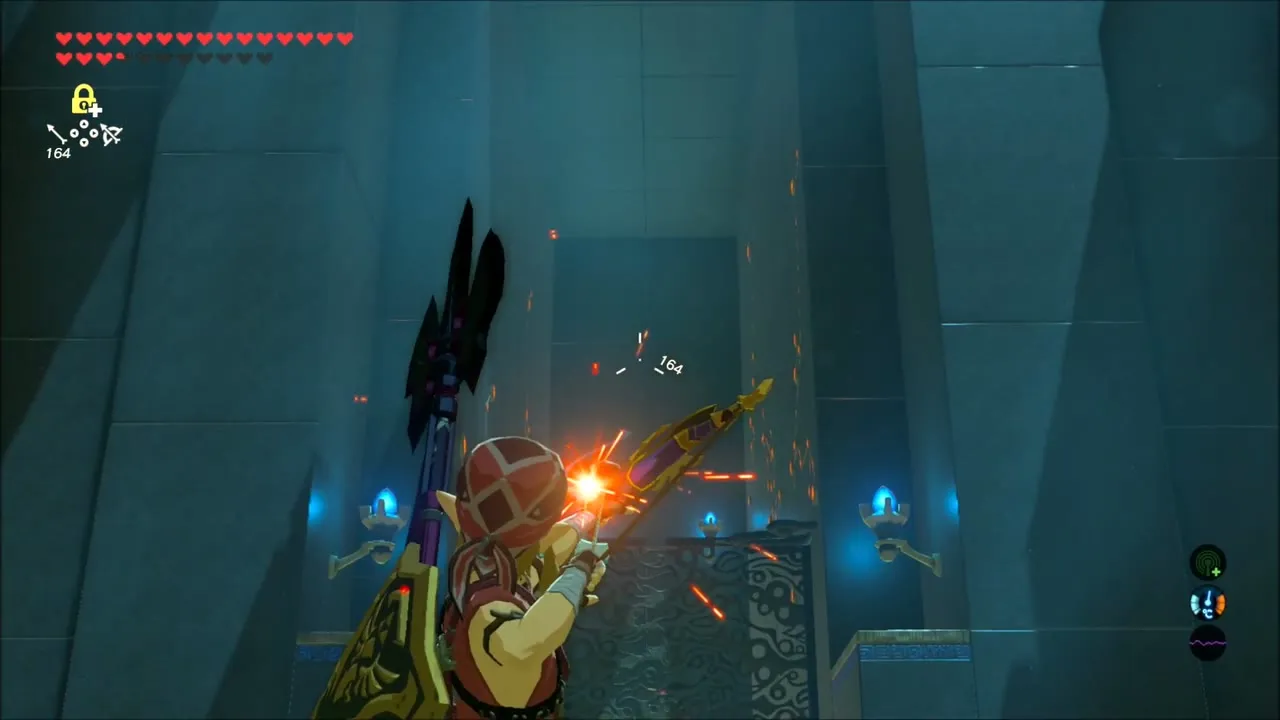
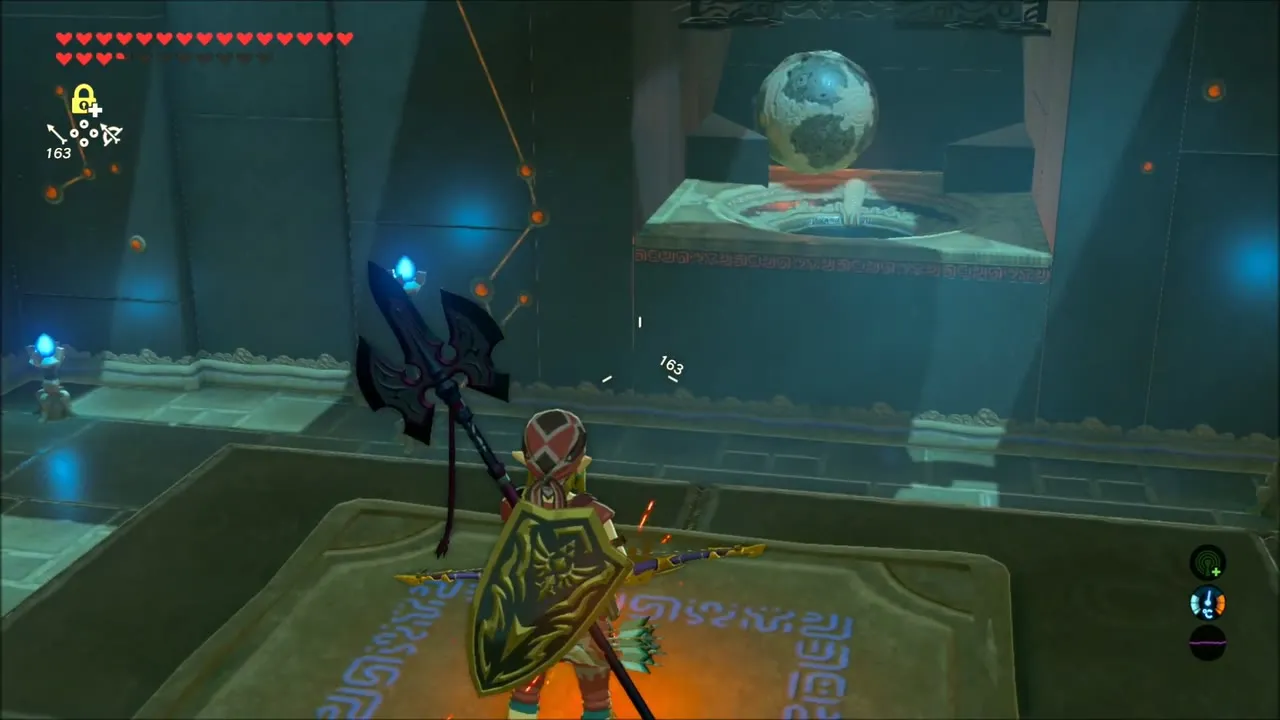
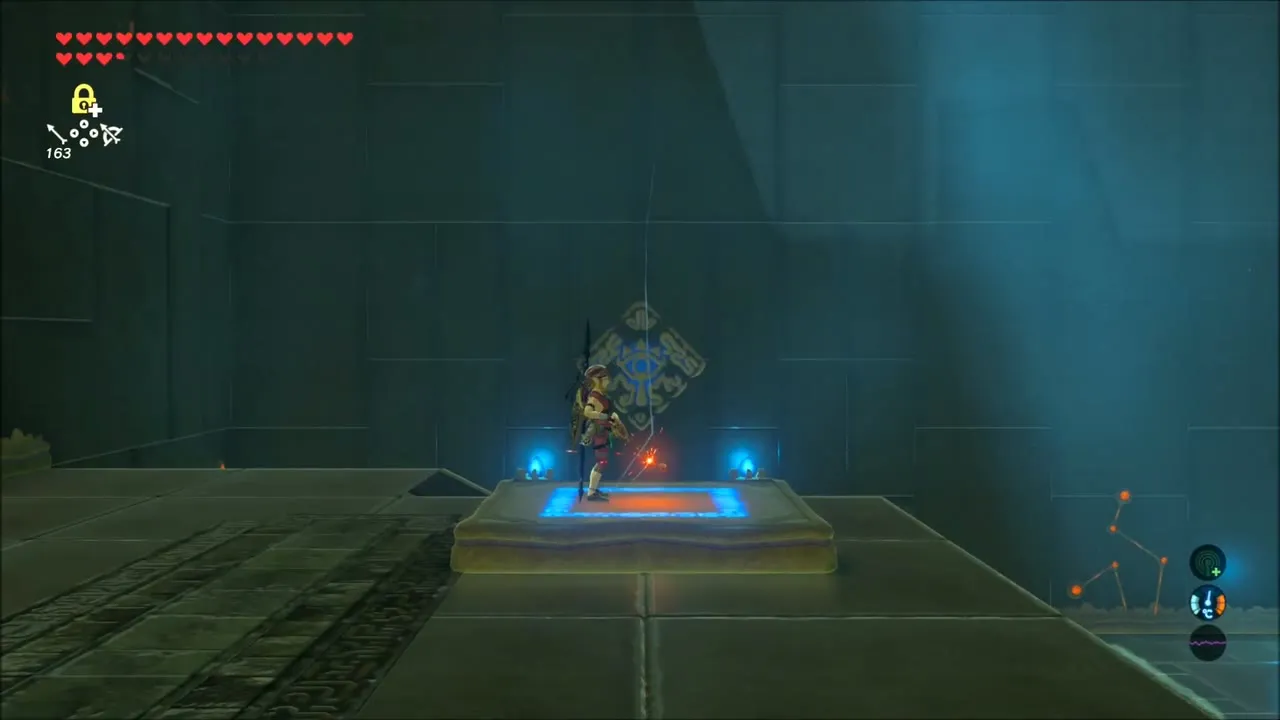
With the main quest closing in, this stretch goes back for treasure skipped on the first visit to the shrines. Start on the north-western tip of Hyrule Ridge at Shae Loya Shrine (Aim for the Moment). The Sheikah Slate’s Stasis rune does the work: freeze the sphere in mid-air, strike it to build momentum, and let it roll into its receptacle to enable the launcher, and the platforms beyond hold the chests.
Kuh Takkar and Sasa Kai
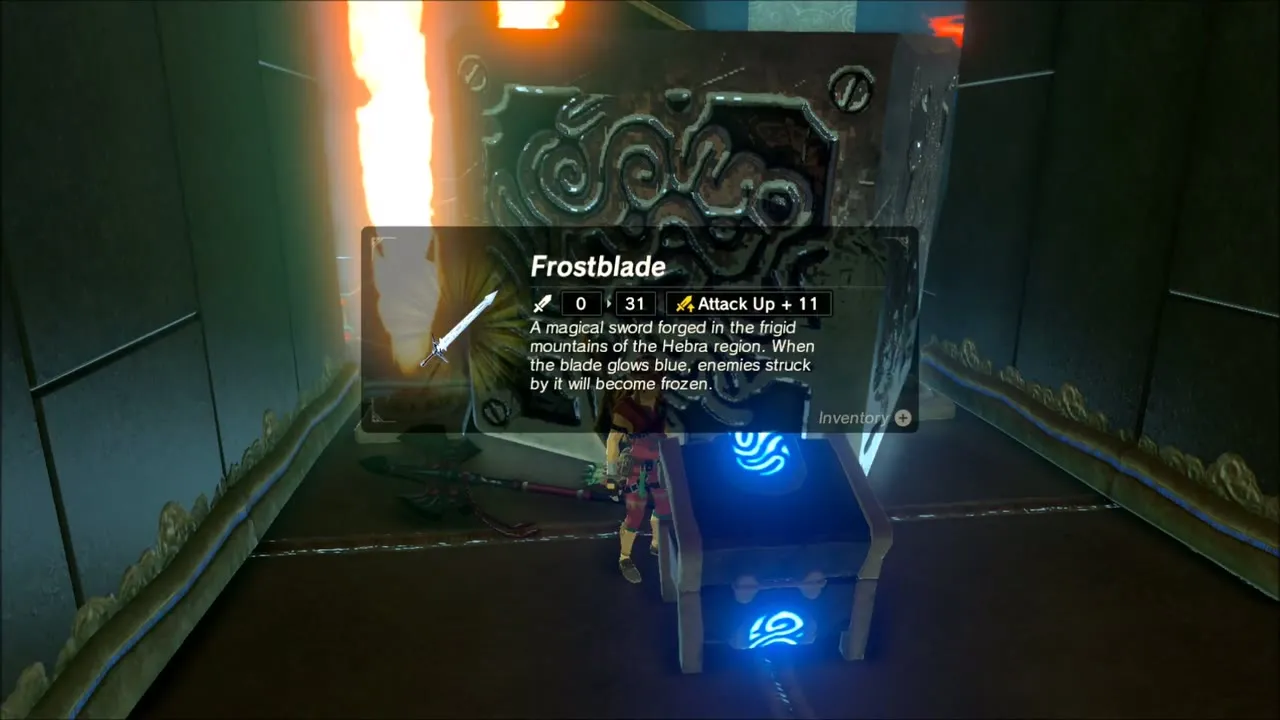
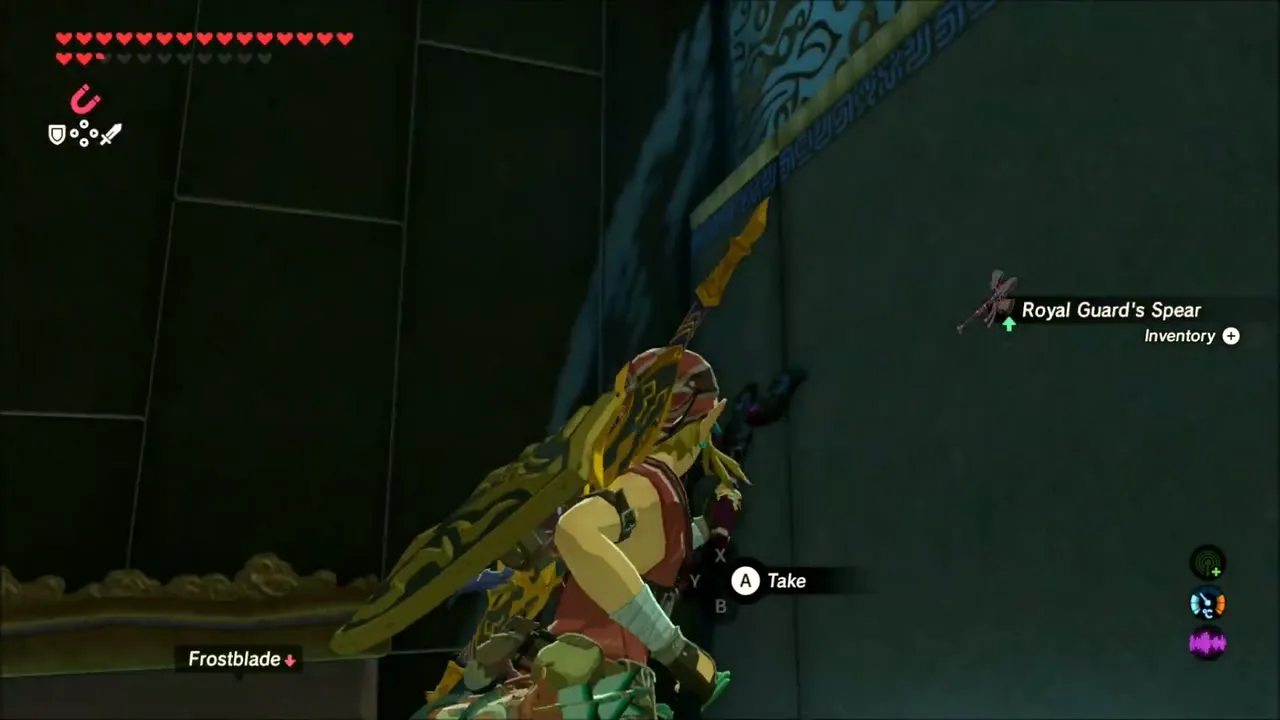
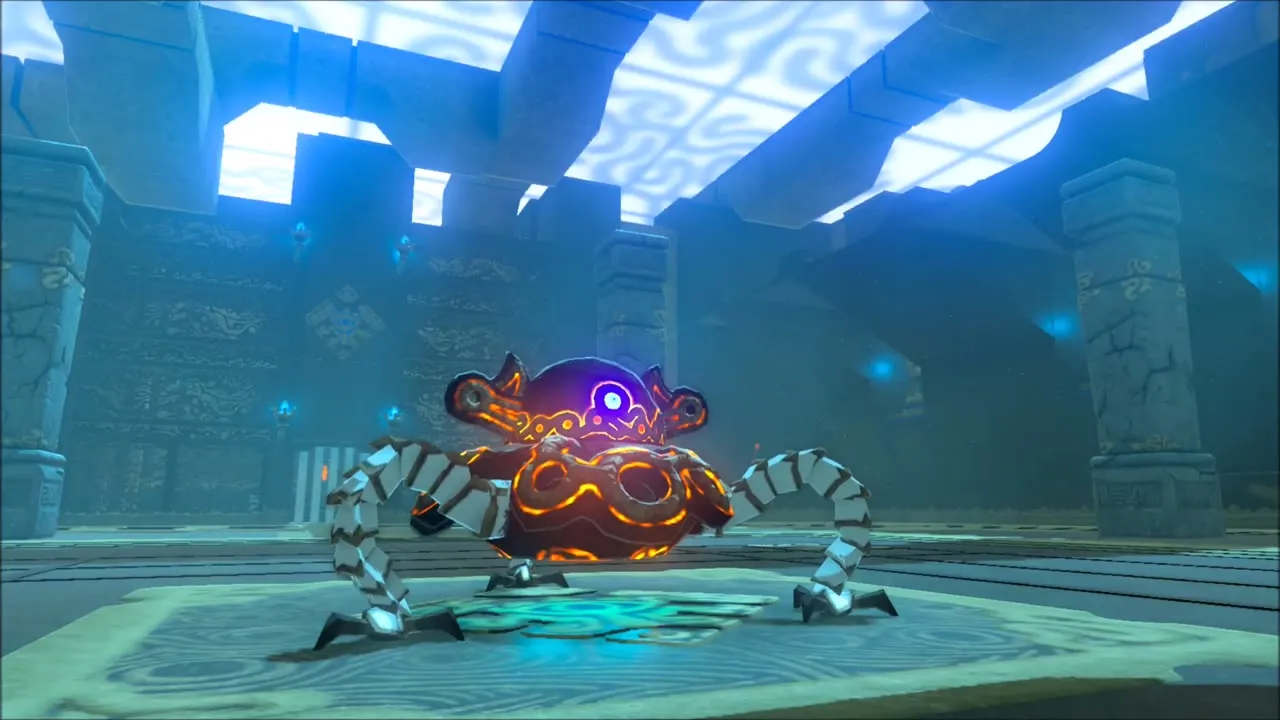
Warp to Kuh Takkar Shrine in the Gerudo Highlands (Melting Ice Hazard). Slide the ice block into place and climb it to reach a cut-out side room with chests; on this visit they held a Royal Guard’s Spear and a Frostblade. A short hop away, Sasa Kai Shrine (A Modest Test of Strength) ends in a combat arena. Win the fight in the arena and the chest behind it holds an Ancient Battle Axe++.

Dako Tah and Ka’o Makagh
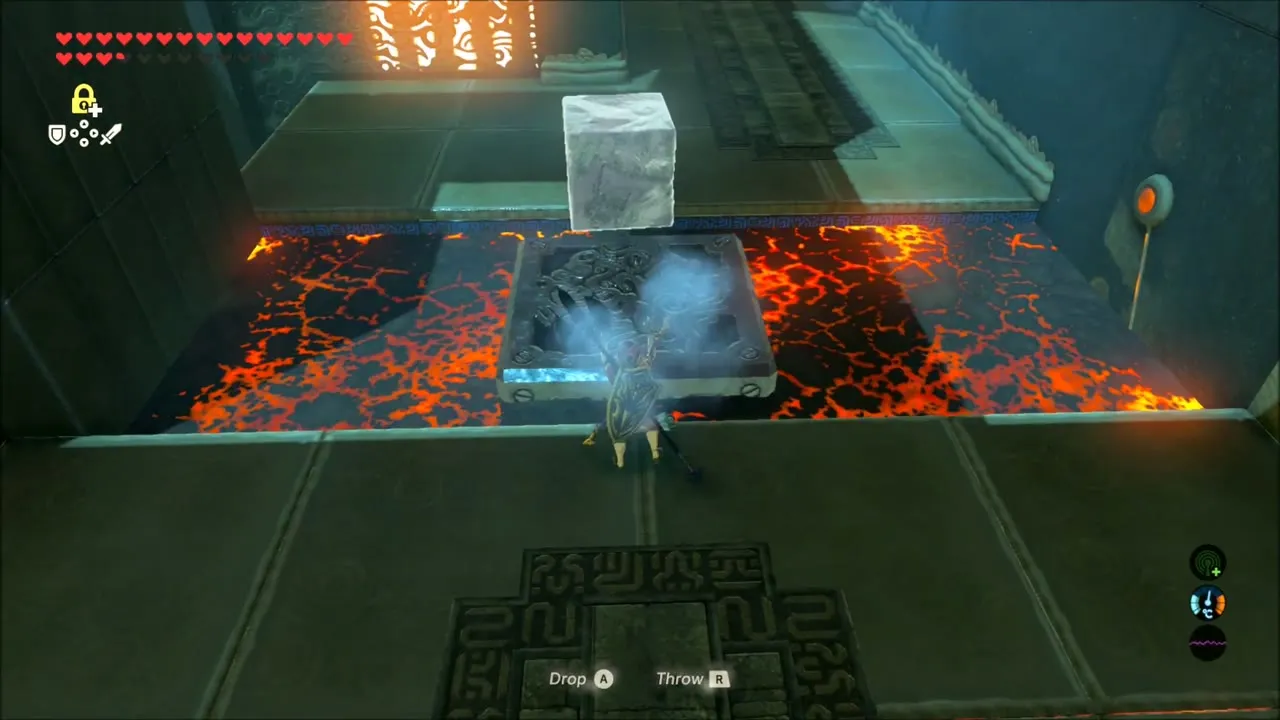
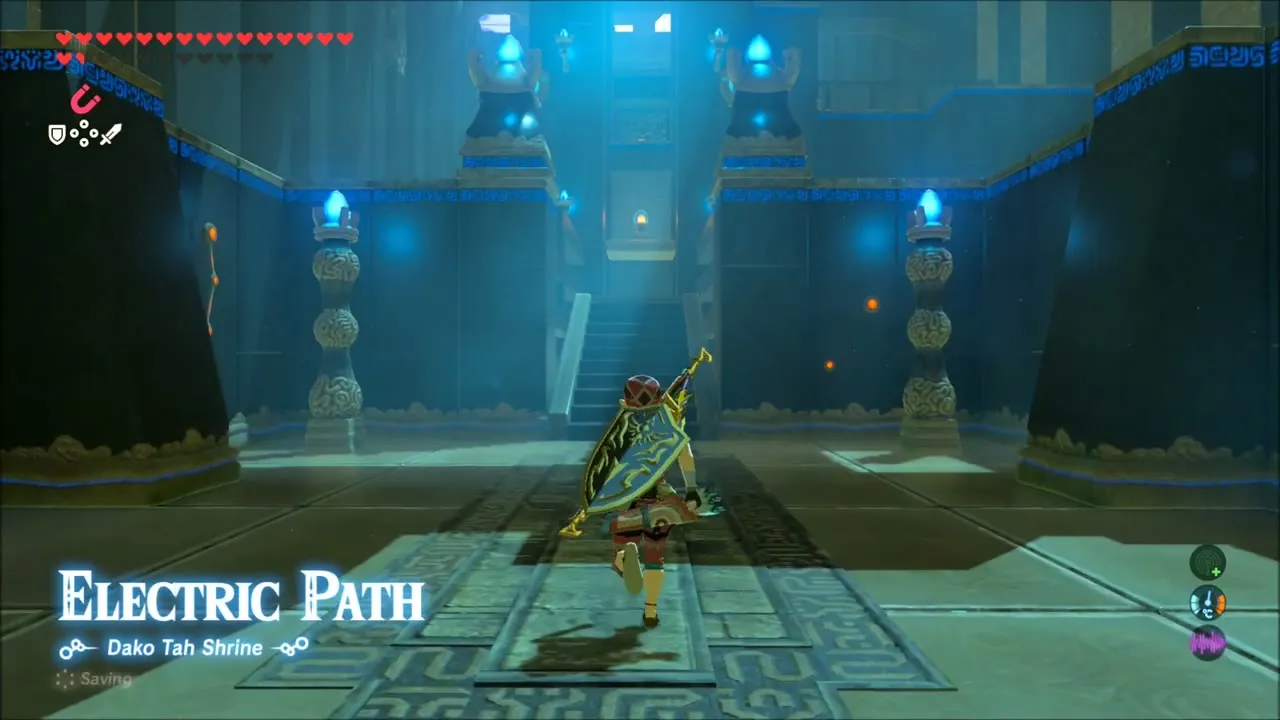
Dako Tah Shrine (Electric Path) sits in the Great Cliffs of the Gerudo Wasteland. Carry the electric cage on Magnesis from rail to rail to power each platform; one chest in the run gives an Ancient Battle Axe++, and the shrine walkthrough covers the rest. Afterwards head to Ka’o Makagh Shrine (Metal Doors Open the Way) just south of Highland Stable to clear out the chests behind its doors; its chests hold a Traveler’s Bow, a Gold Rupee and an Opal.


Tutsuwa Nima, Sah Dahaj, Mo’a Keet and Kayra Mah
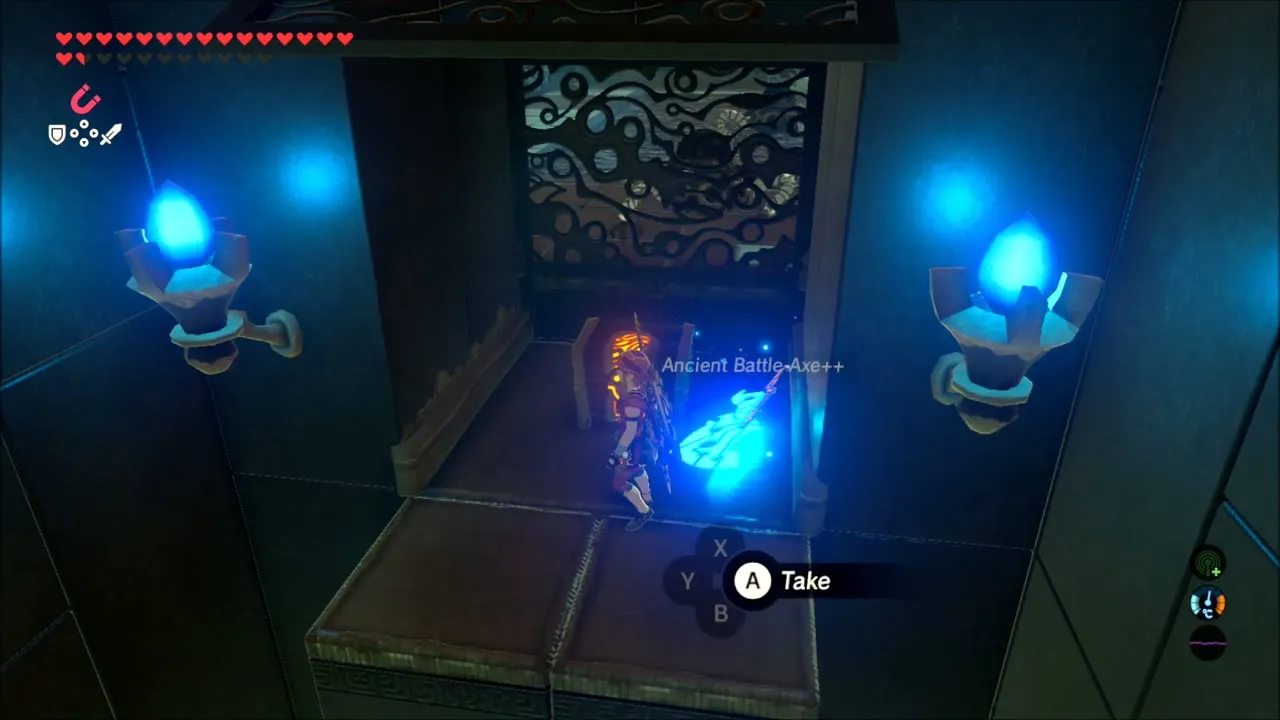
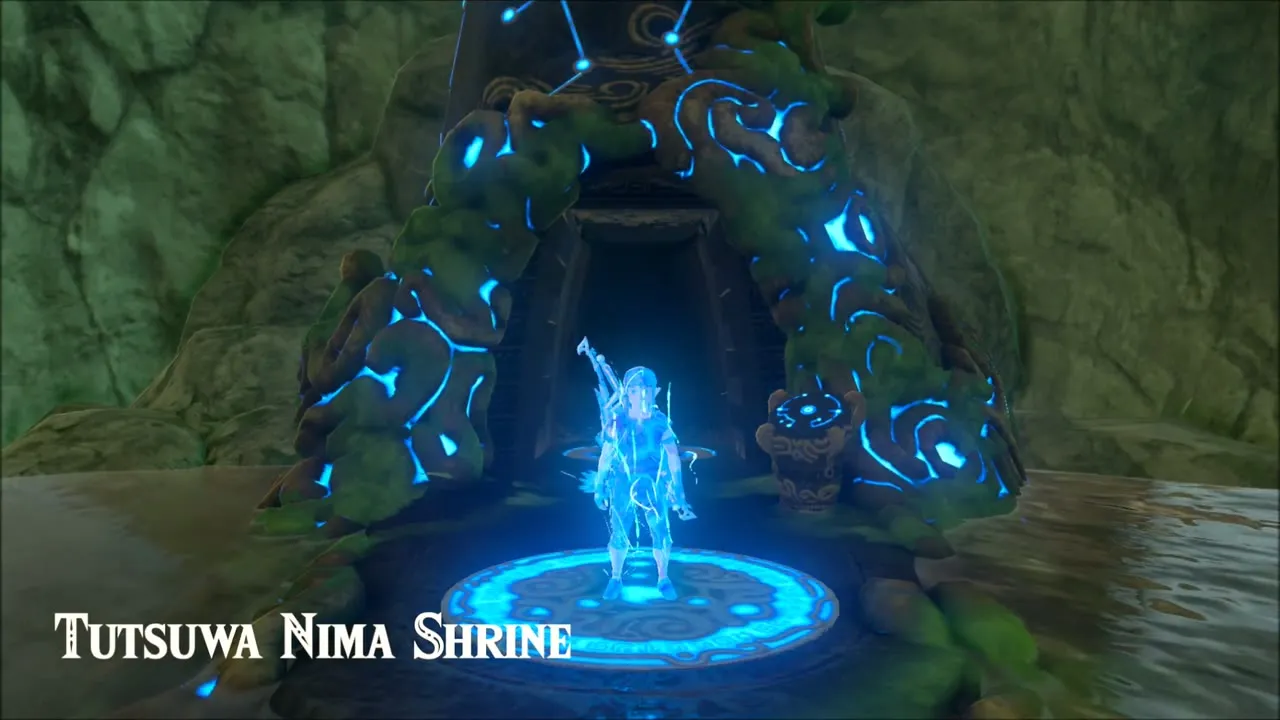
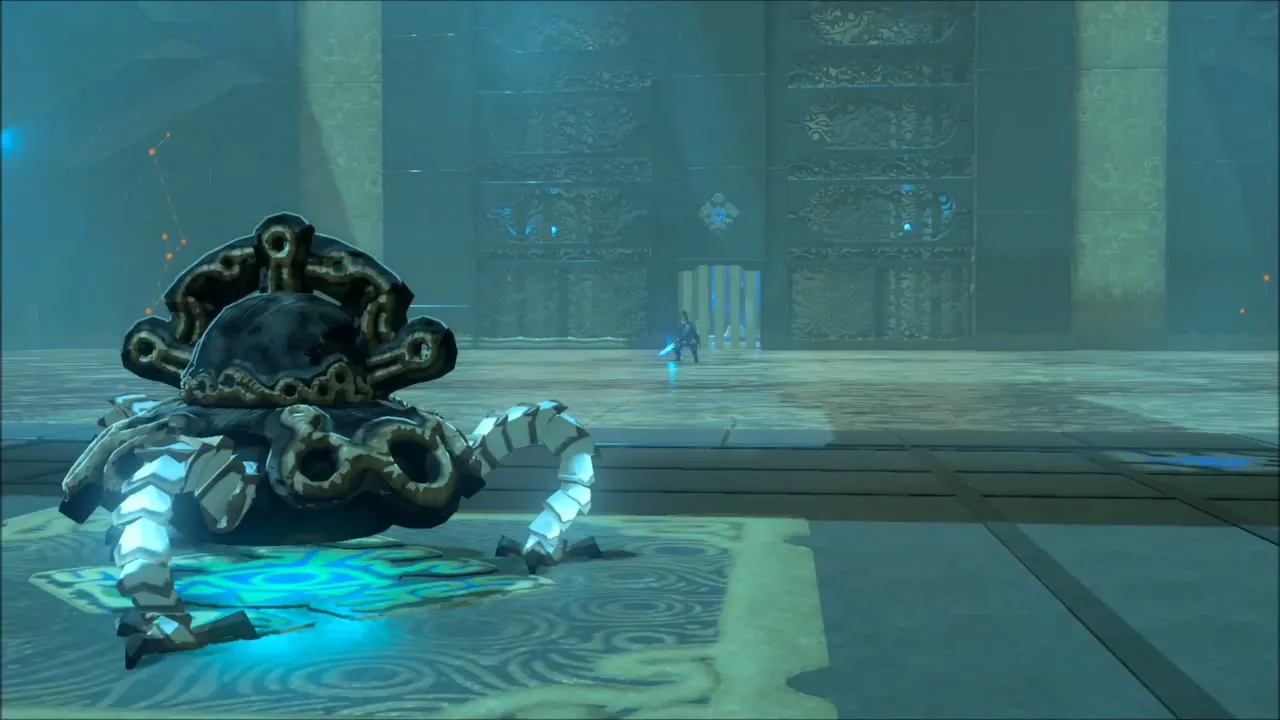
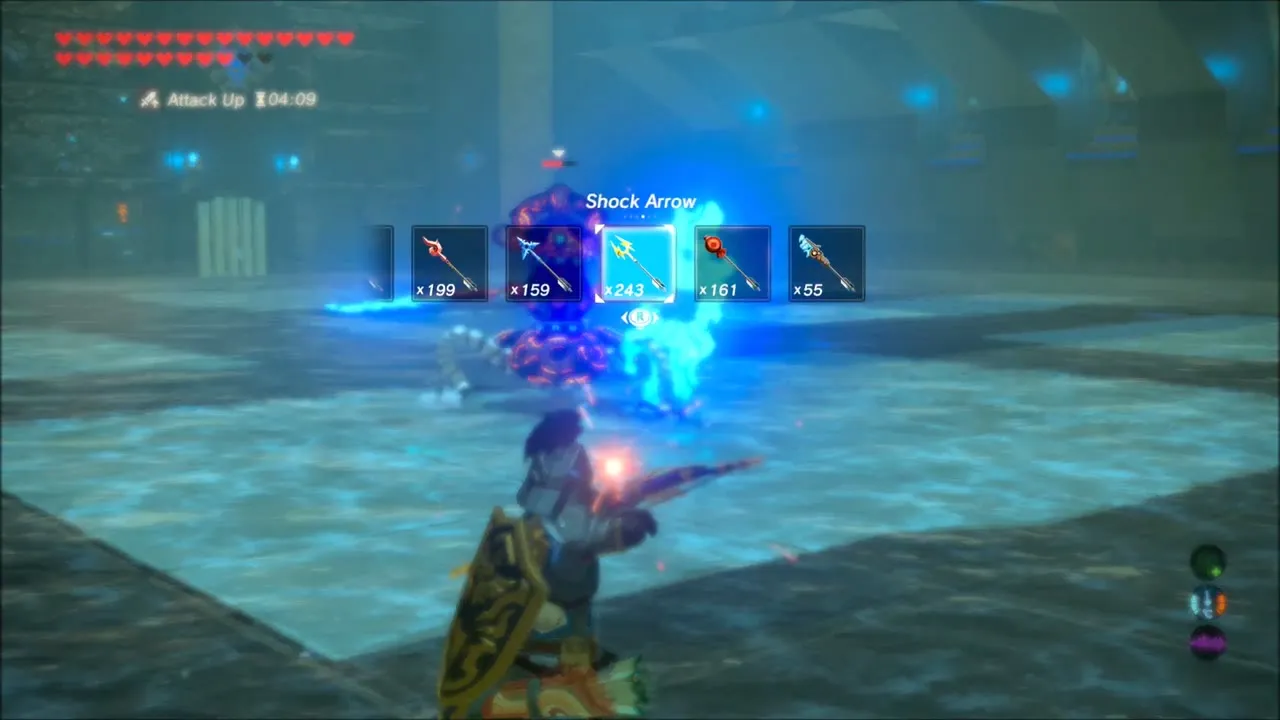
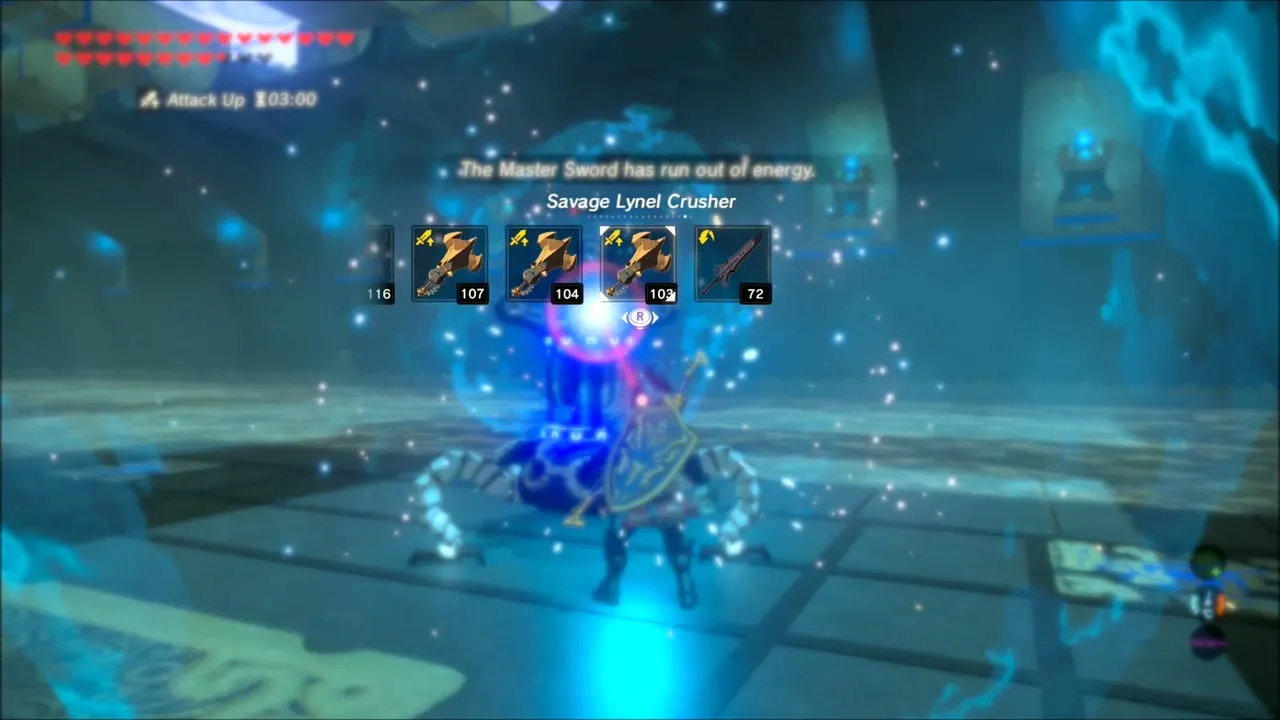
At Tutsuwa Nima Shrine in Akkala (A Major Test of Strength), eat an attack-boosting dish first, because the fight is against a Guardian Scout IV. Shock arrows and flurry rushes bring it down; the Master Sword runs dry mid-fight, so keep a spare weapon ready. The chest beyond the arena sits on a raised pedestal in front of the stairs.
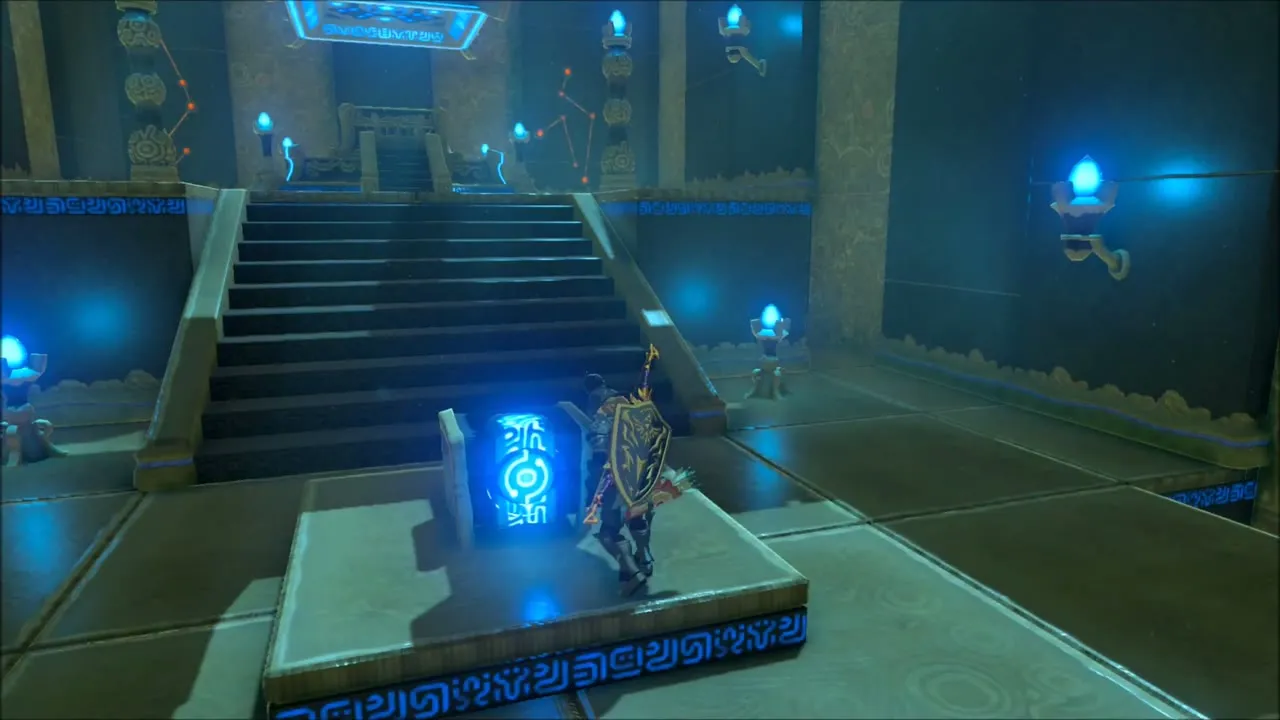
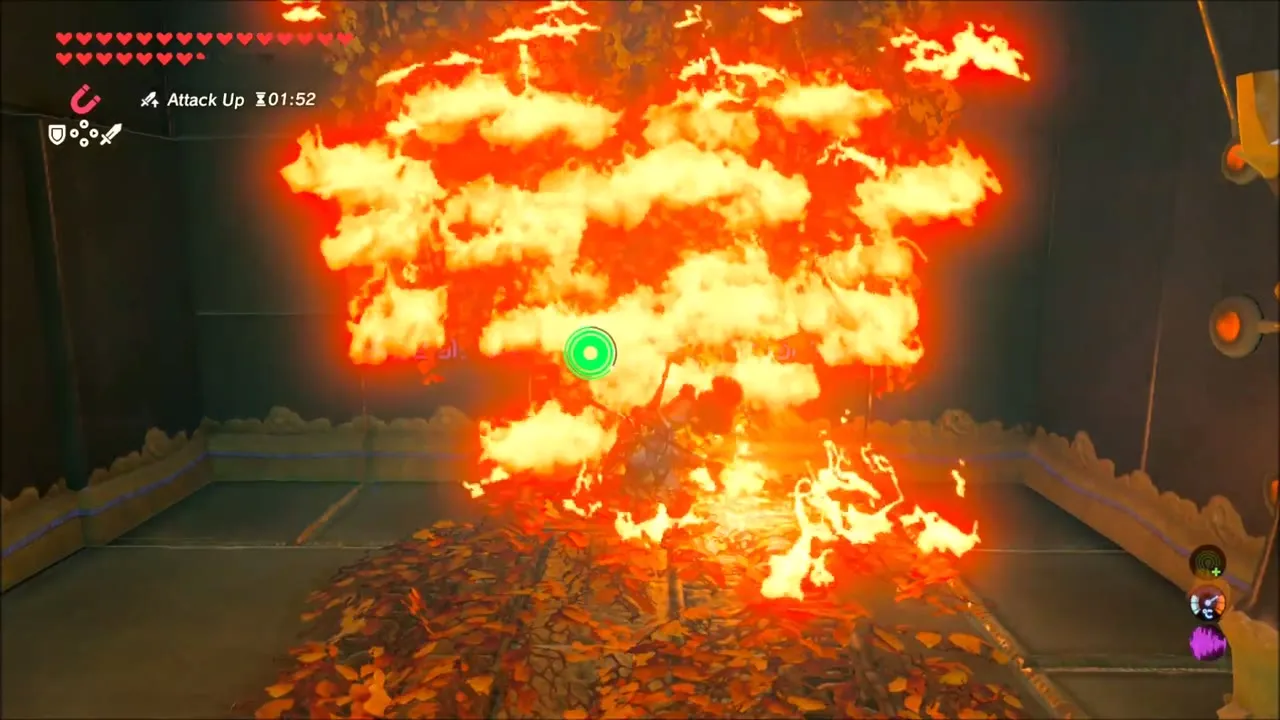
Back in Eldin, the next four shrines go quickly. At Sah Dahaj Shrine (Power of Fire) burn the leaf pile with a fire weapon, then drop the lamps so the chest falls into reach. Mo’a Keet Shrine (Metal Makes a Path) has another chest to pick up, and Kayra Mah Shrine (Greedy Hill) is a climb up a ramp full of rolling boulders; it only appears once the Eldin shrine quest is done.

Shae Mo’sah and Shora Hah
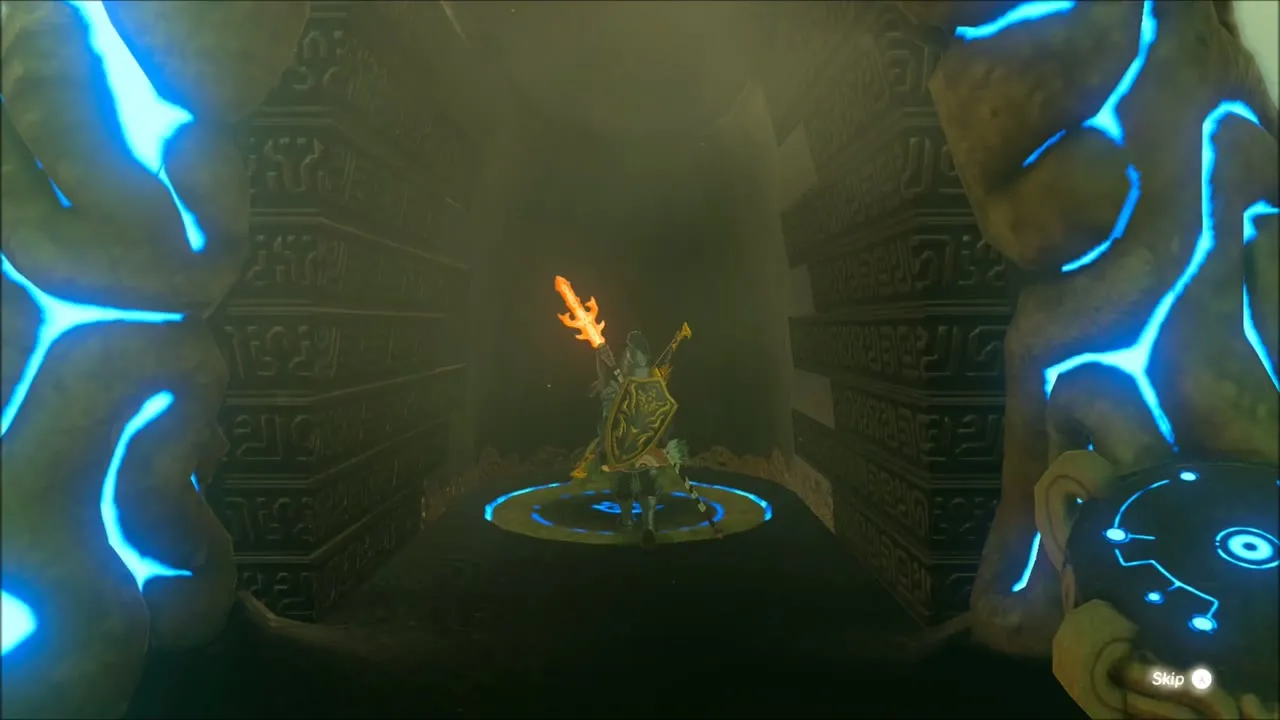
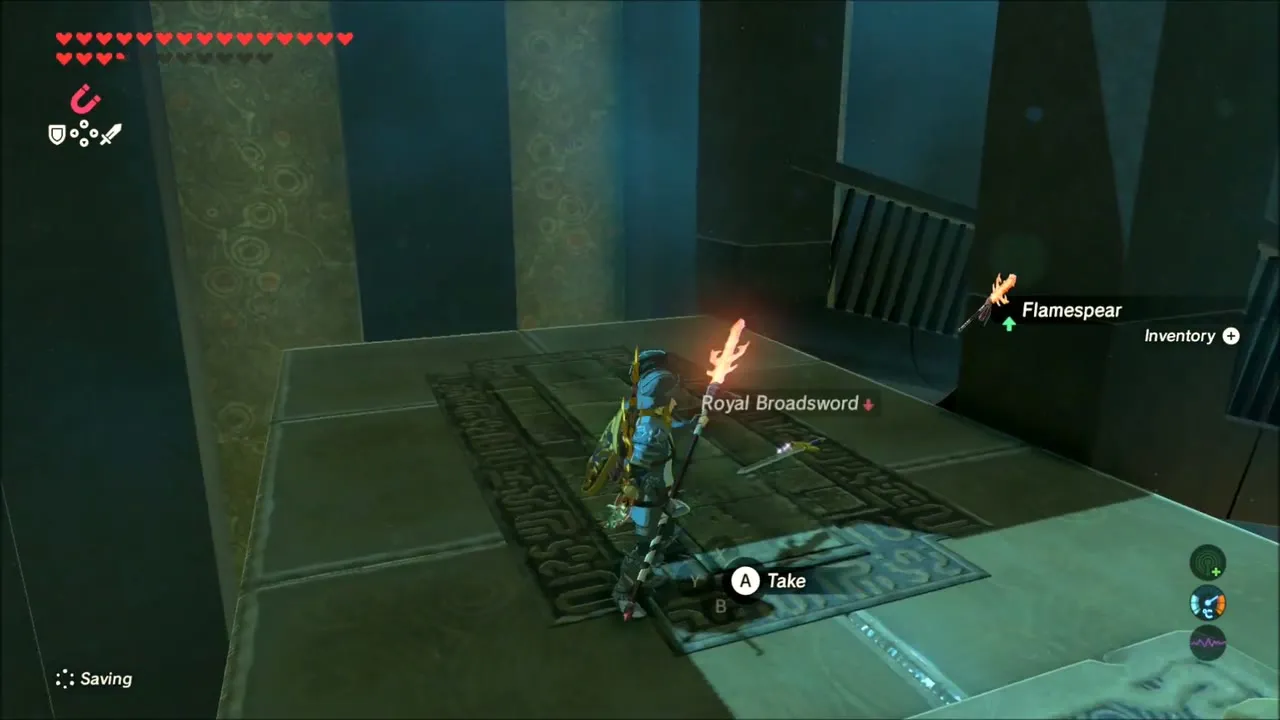
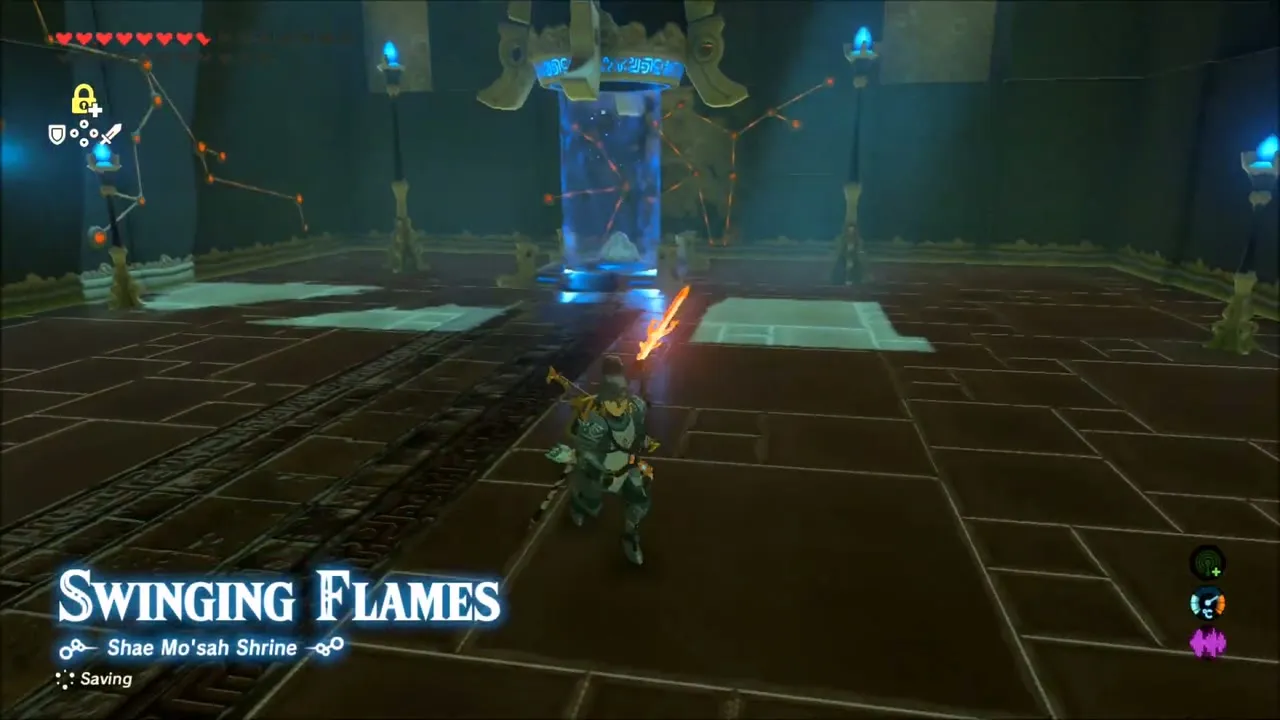
Two more fire shrines close the chest run. Burn the foliage in Shae Mo’sah Shrine (Swinging Flames), where you will want a heat-resistant dish. Then go to Shora Hah Shrine (Blue Flame) at the far north of Eldin, carry the blue flame from torch to torch with Magnesis and Stasis, and open the chests along the way; one of them holds a Royal Bow.



Cleff’s Gem Sales and Hestu’s Gift
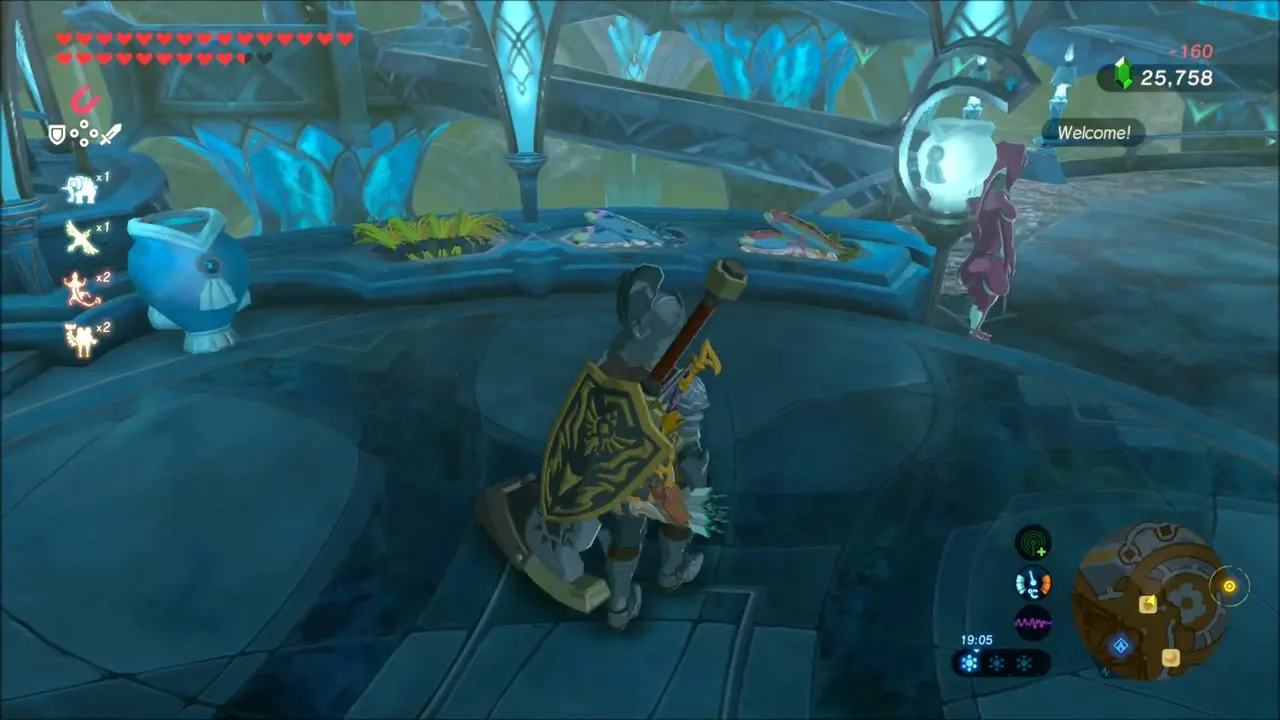
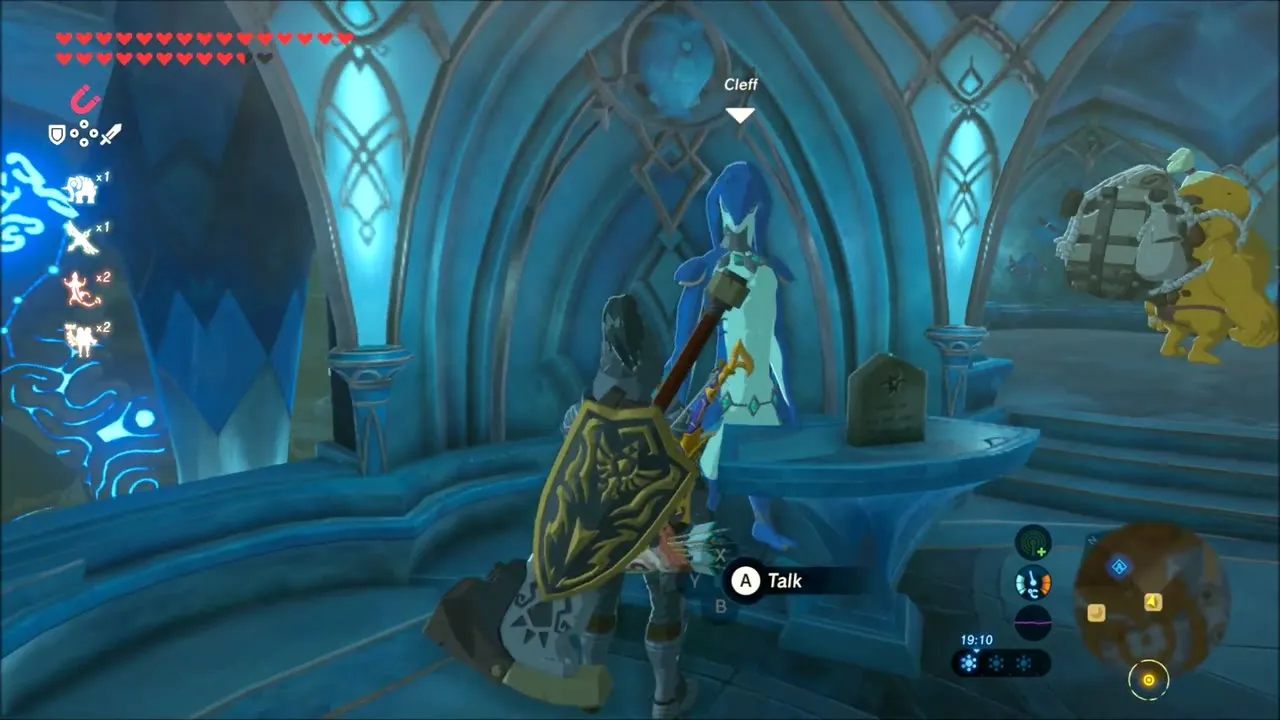
To pay for armor upgrades, stop at Cleff’s shop in Zora’s Domain and sell off the gems you have been carrying: amber, rubies, sapphires and Swift Violet. Cleff quotes a price for each stack, and your wallet jumps from roughly 25,900 rupees to just over 30,500.

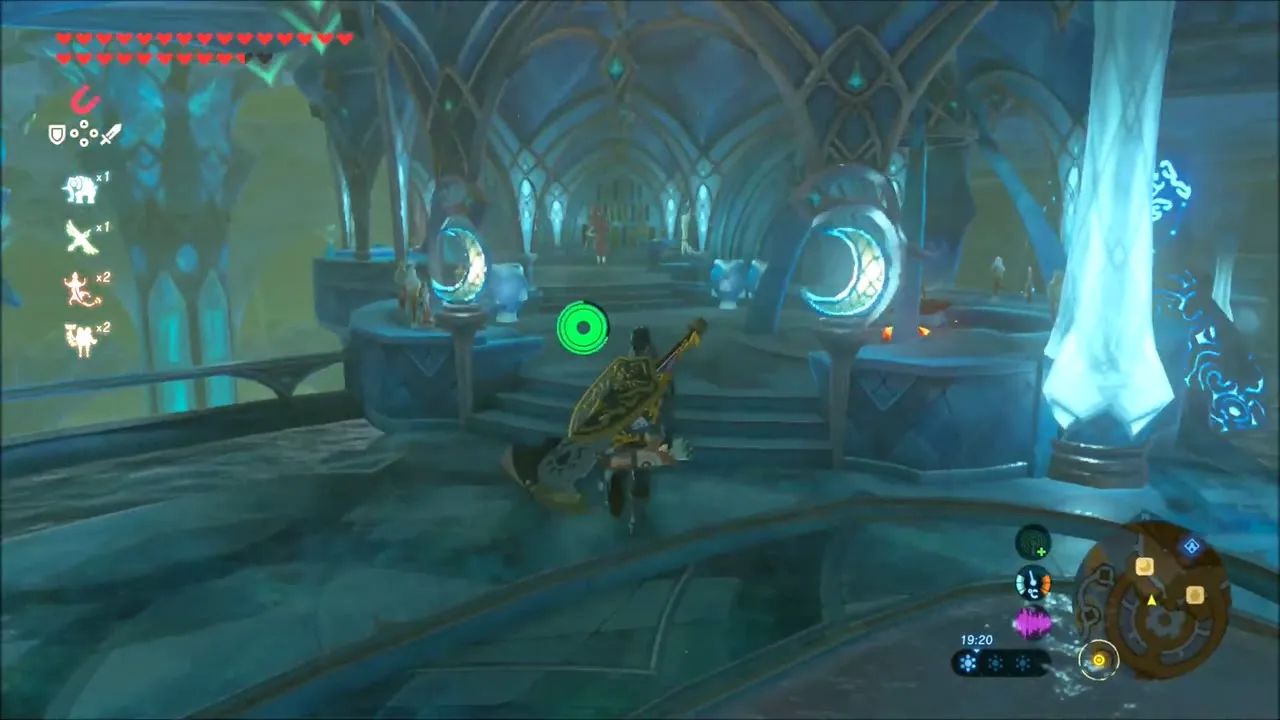
Then visit Hestu in Korok Forest and hand over your seeds. Once the seeds are in, he gives you Hestu’s Gift, a golden lump that the description admits “smells pretty bad”. It is a key item and does nothing in combat; see Hestu for every reward he gives.


A Gift From The Monks: Armor of the Wild at Rona Kachta Shrine
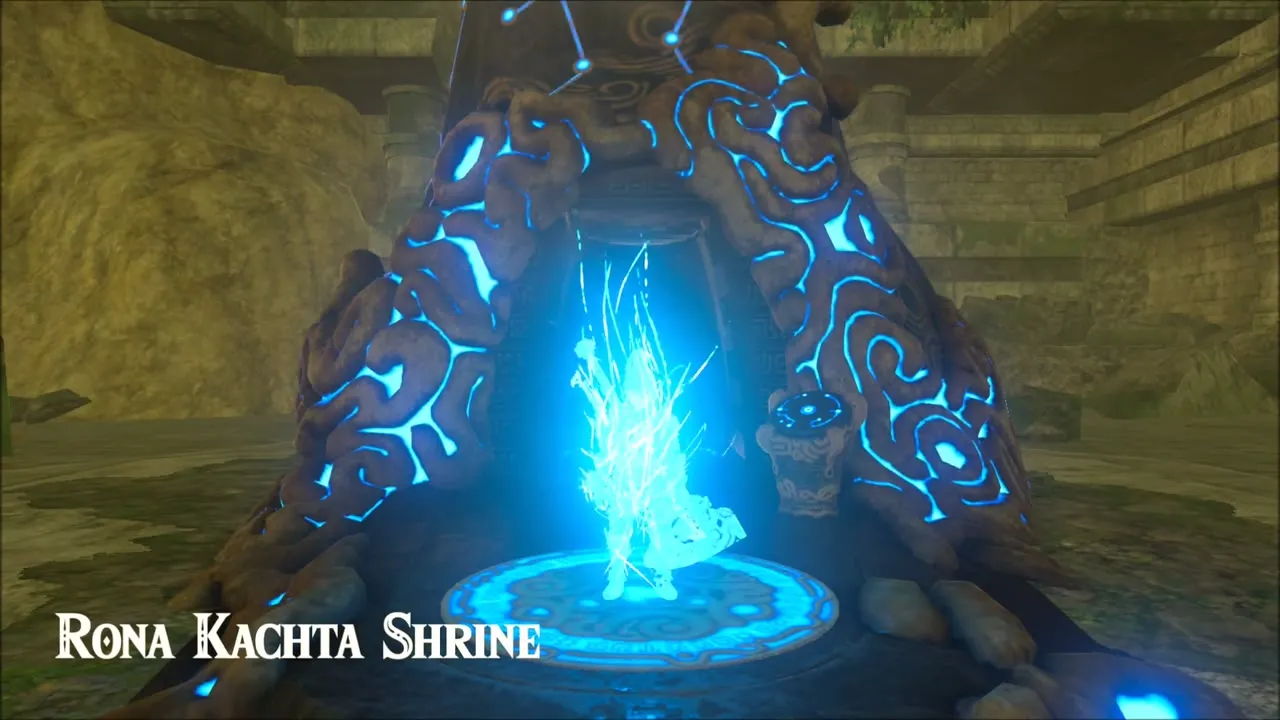
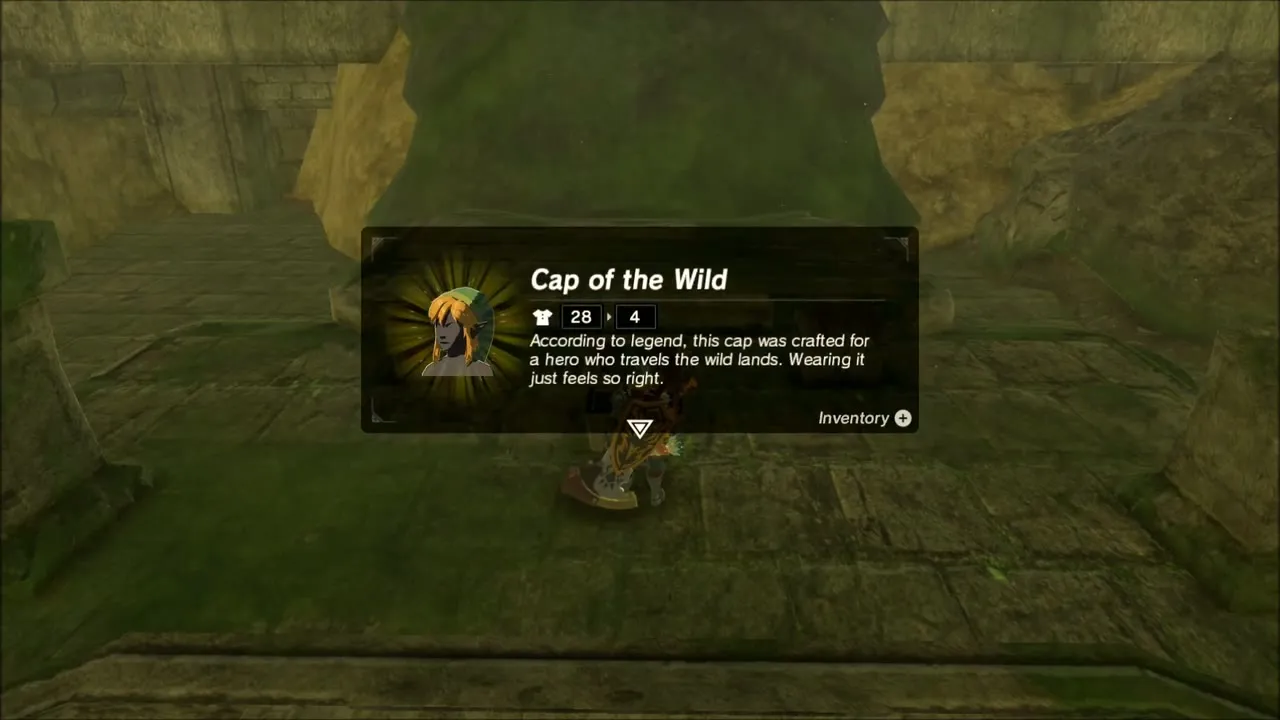
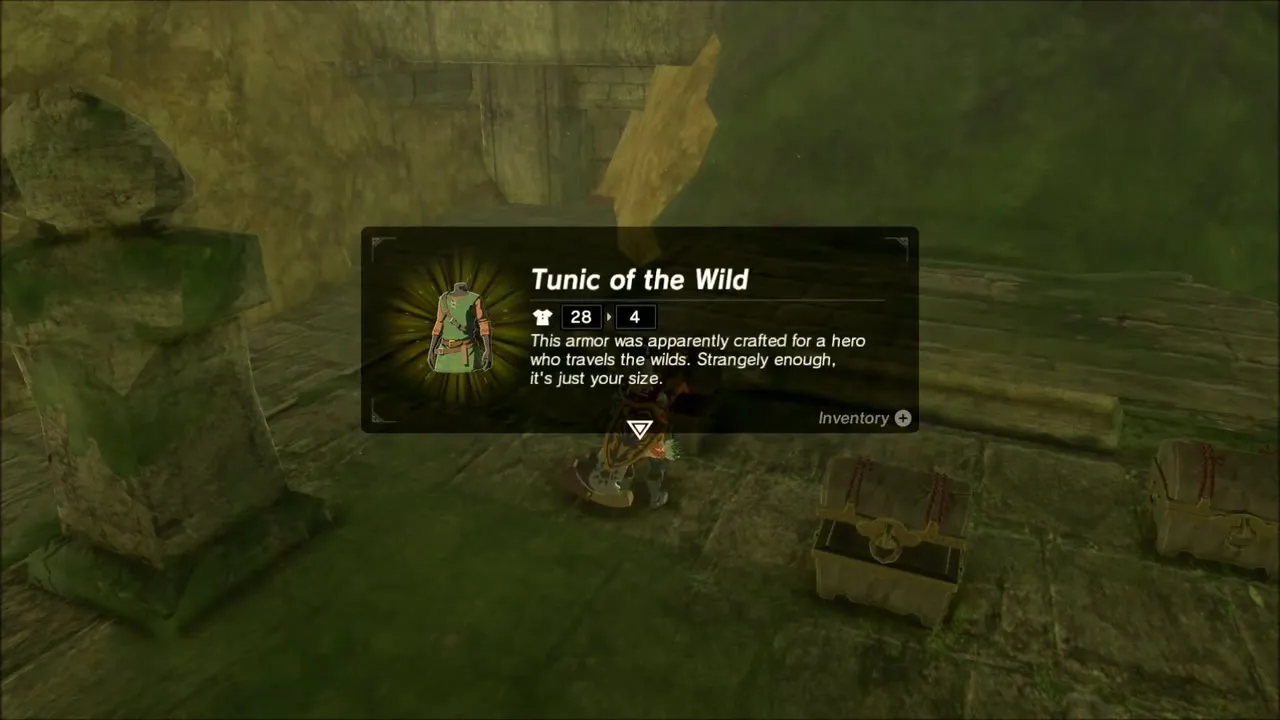
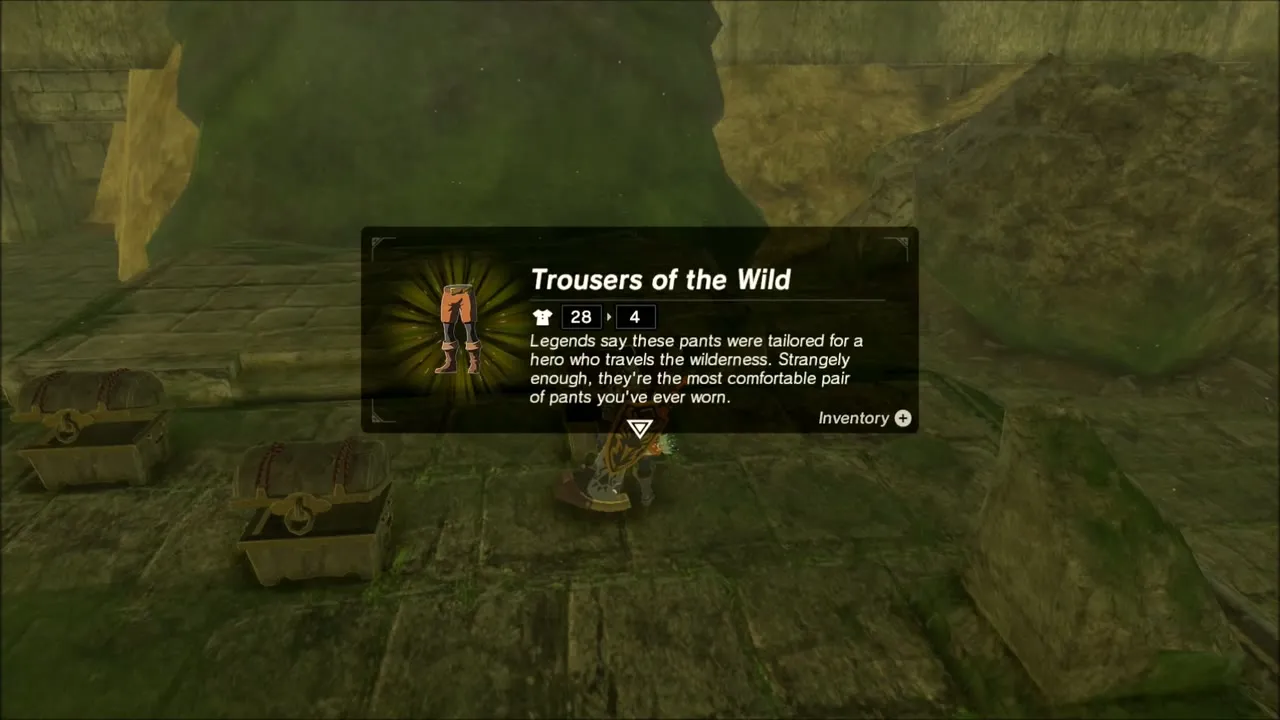
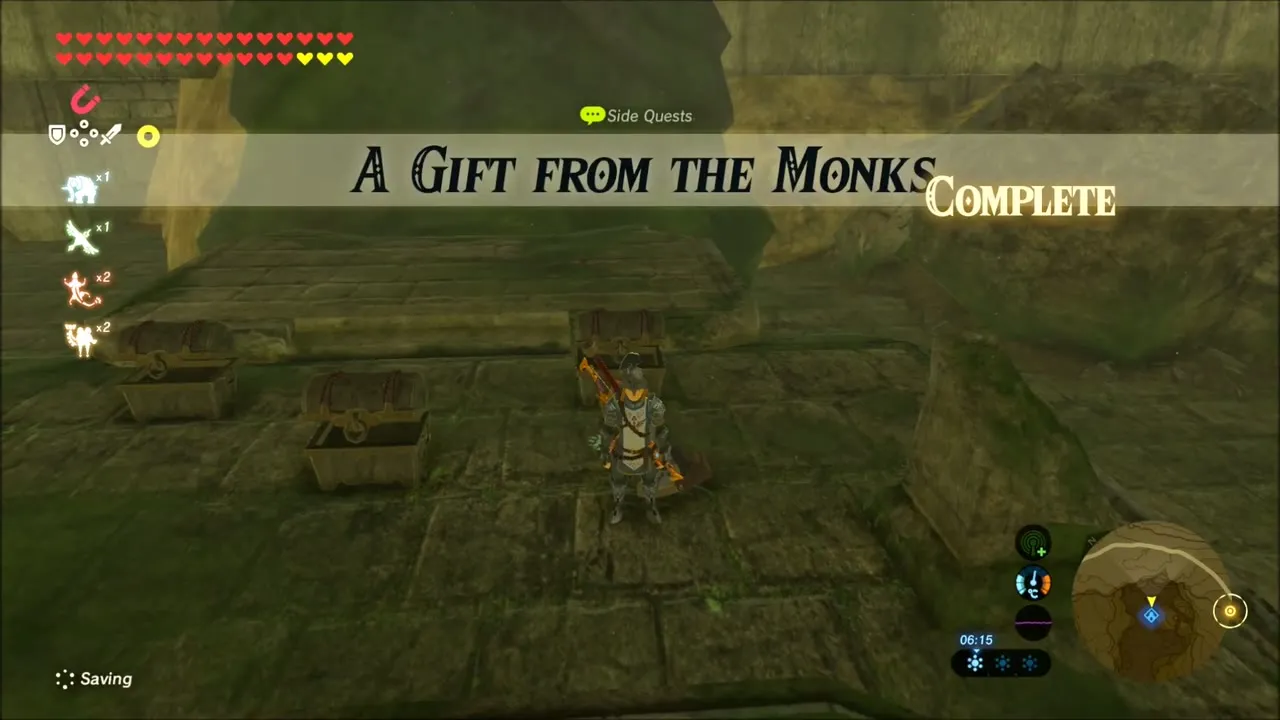
With all 120 shrines done, the monks leave you a present. Warp to Rona Kachta Shrine in Tanagar Canyon and walk behind it into the Forgotten Temple. Three chests wait at the foot of the Goddess Statue and contain the Cap of the Wild, the Tunic of the Wild and the Trousers of the Wild, together the Armor of the Wild. Finishing the quest is A Gift from the Monks. Put the pieces on to see Link’s classic green outfit.
Impa and Memory 13
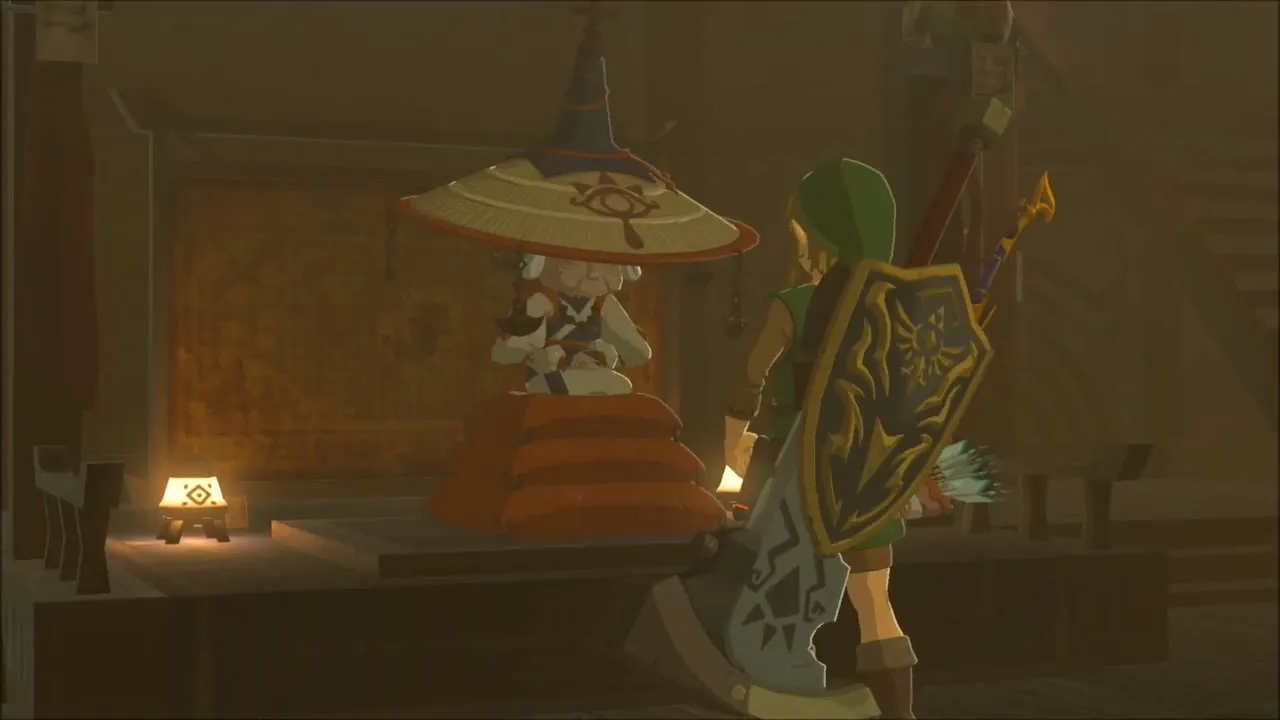
Warp to Ta’loh Naeg Shrine and walk down to Kakariko Village to speak with Impa in her house. She has one more photograph from Zelda, shows it to you, and tells you the place can be reached from the village in half a day.


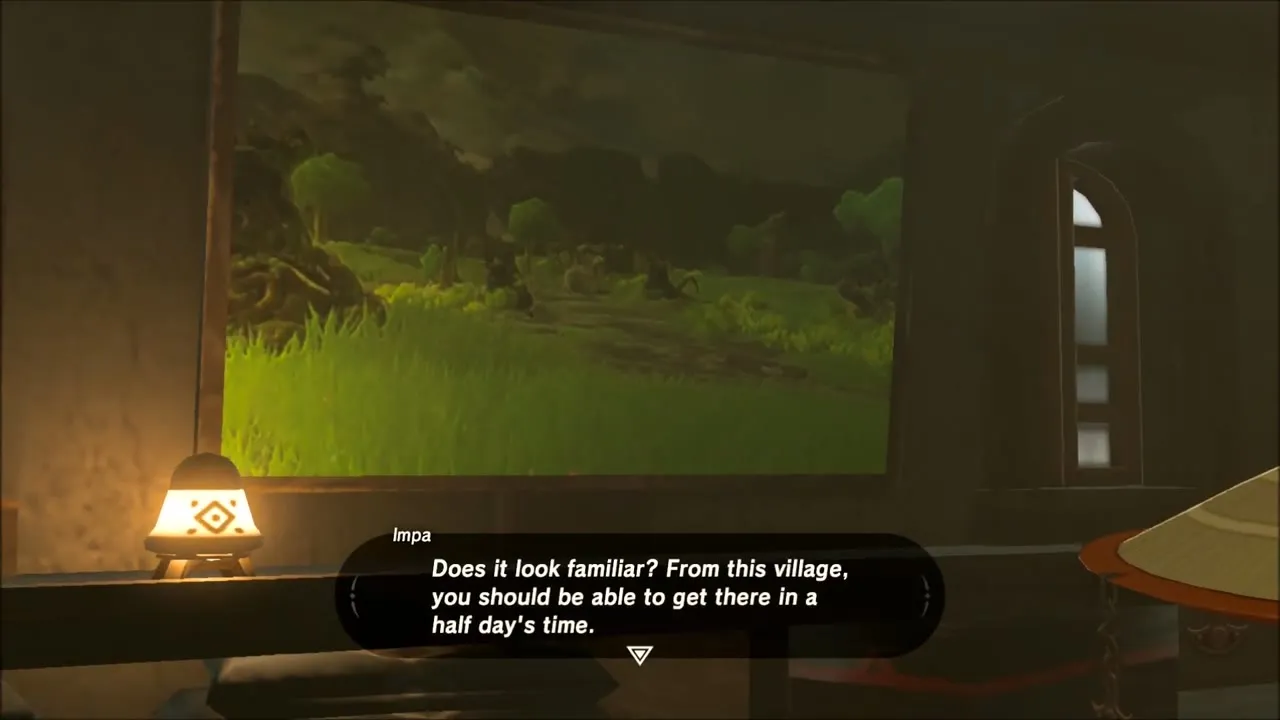
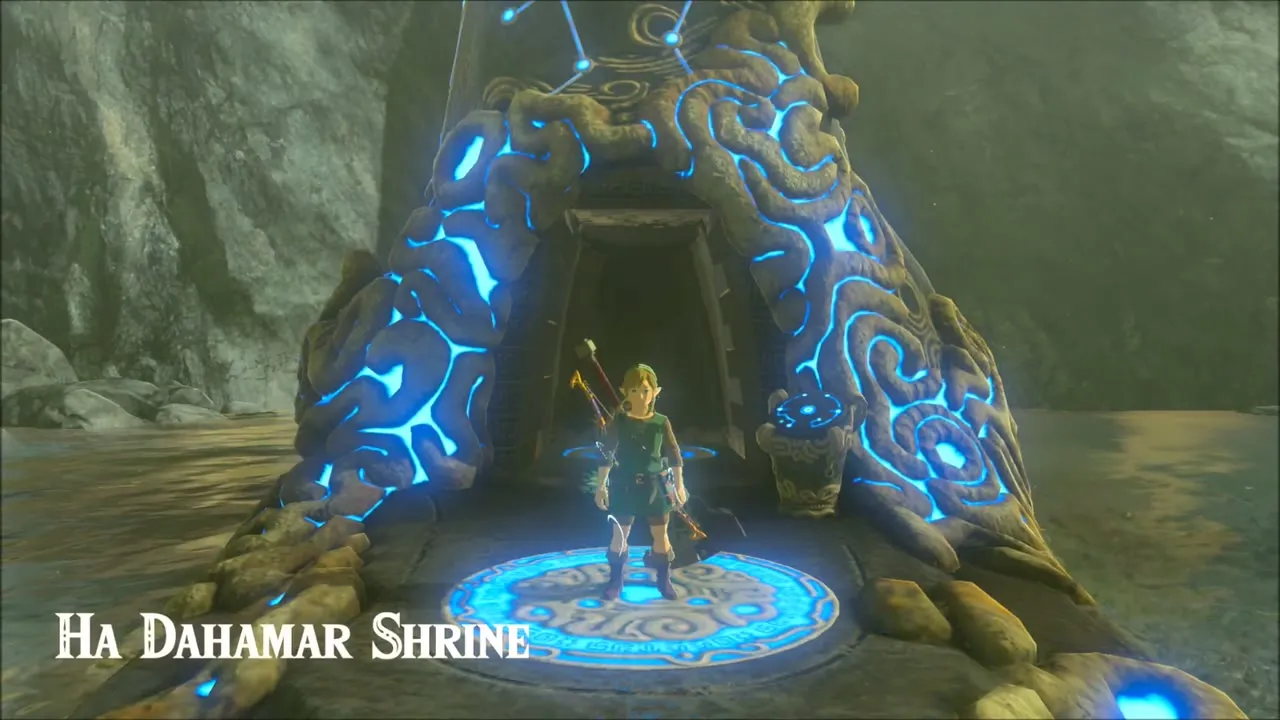
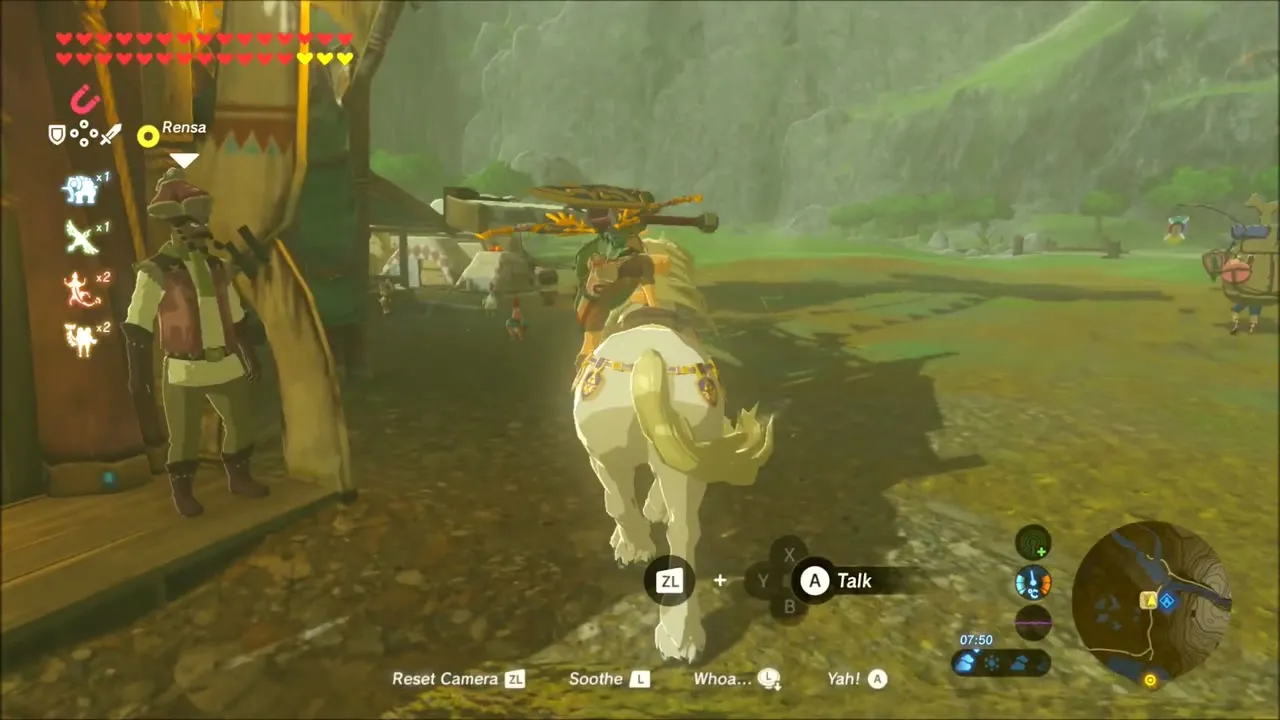
Study the photograph, then fast travel to Ha Dahamar Shrine, fetch a horse from the stable and ride out across the grass to the field in the photograph. Memory 13 is a ruined meadow dotted with the husks of fallen Guardians, with a tower far in the distance.

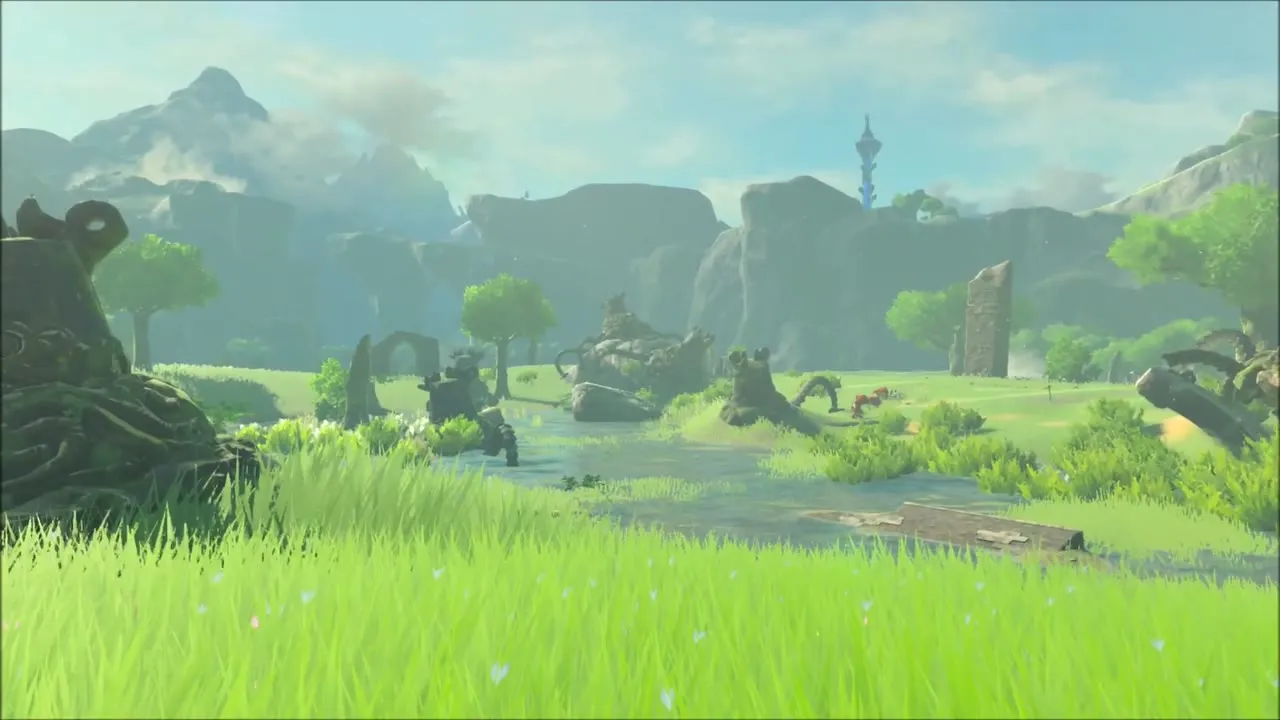
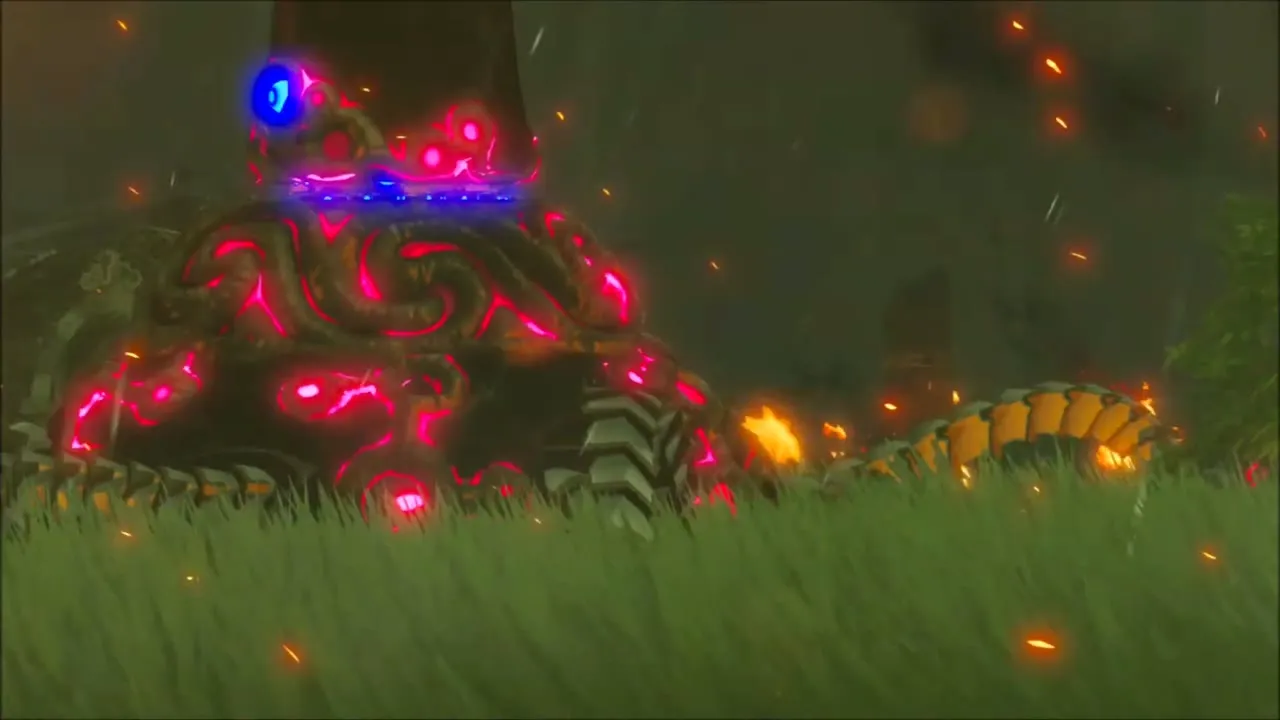
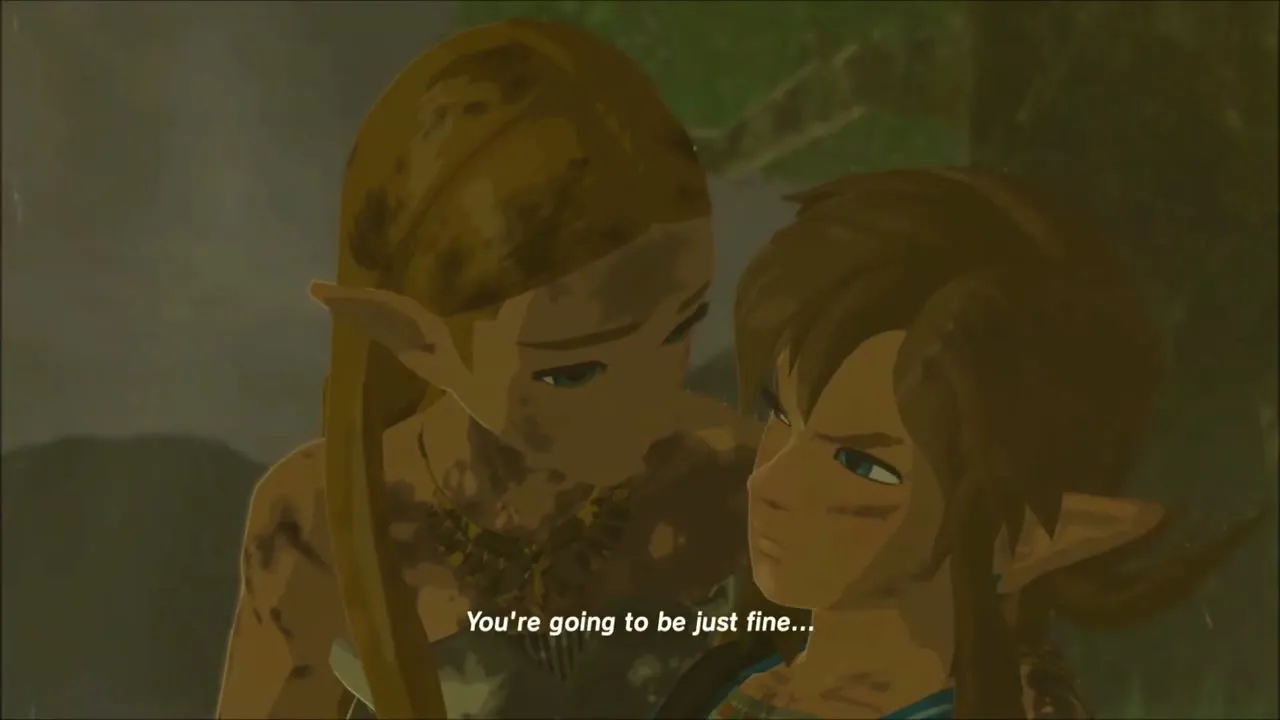
Standing on the marked spot starts the memory: a Guardian lurches to life, Zelda and Link are covered in dust, she calls out for her princess, and two Yiga Clan members whisper “Is that clear?!” in the background. When it ends, open the Adventure Log to find Memory 13 recorded among the others, finishing the Captured Memories task of recalling Memory 13.


Armor Upgrades and Material Farming
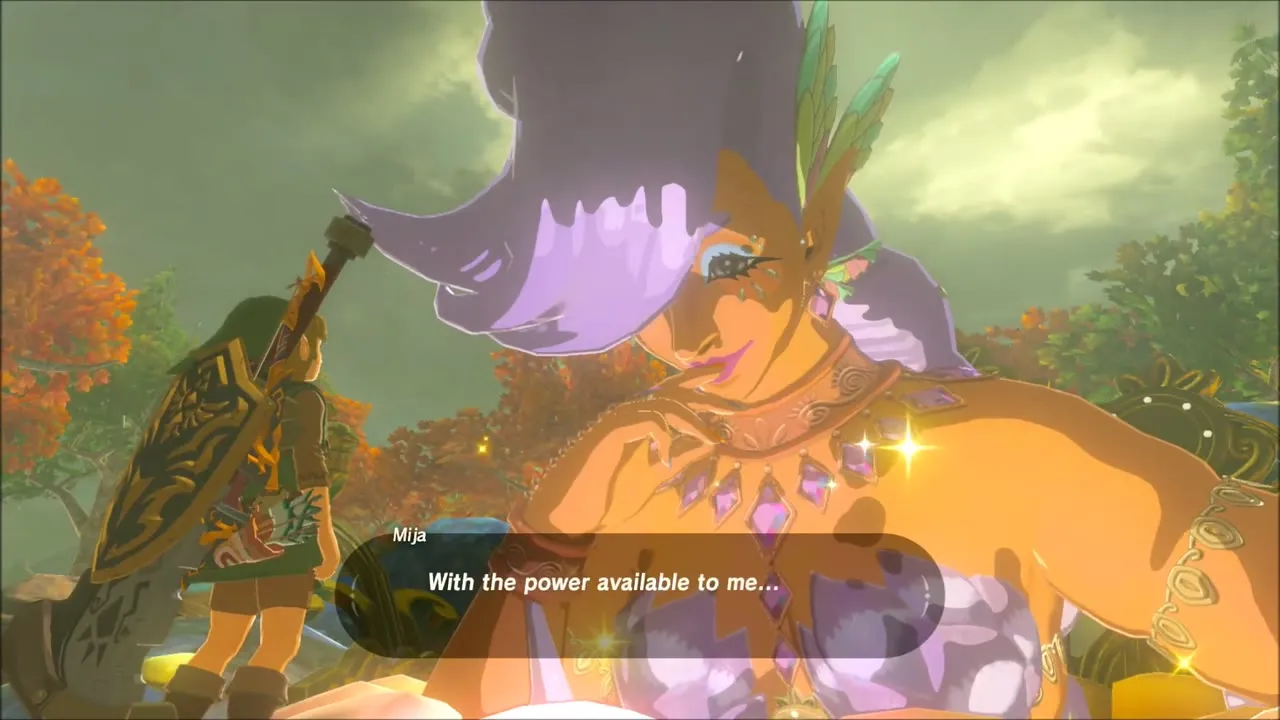
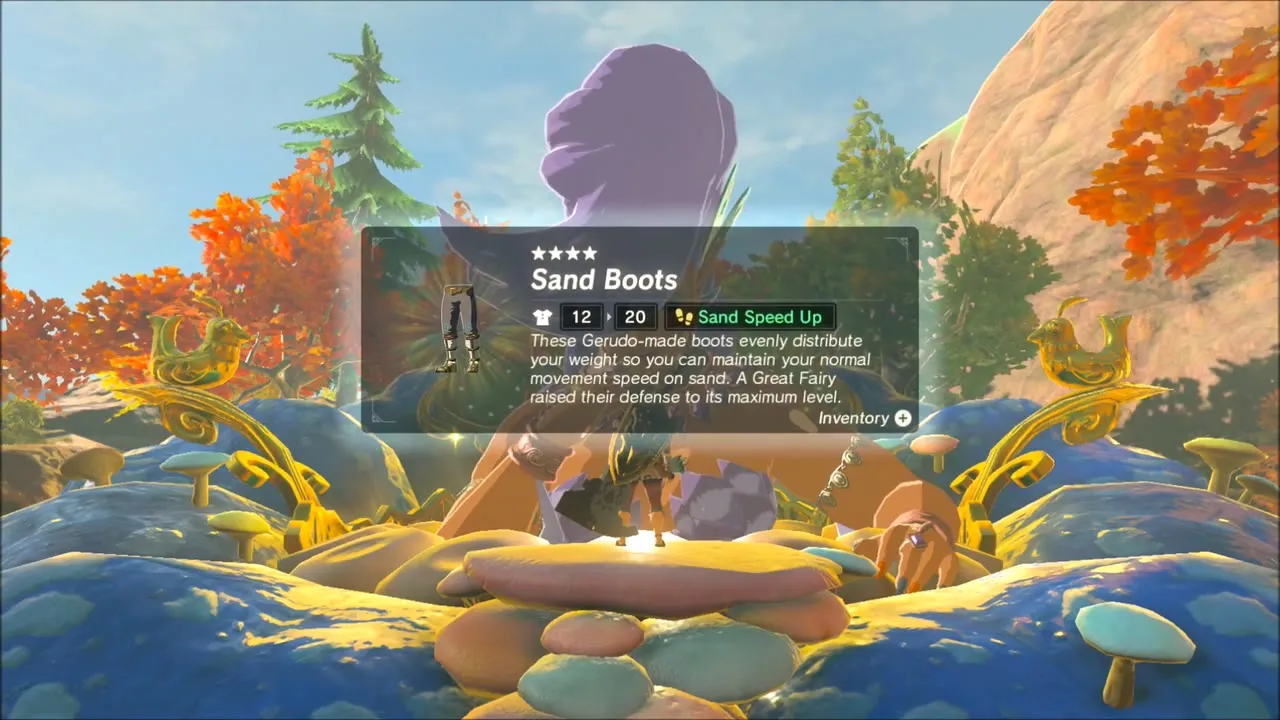
The rest of the session is shopping for upgrade materials. Visit Mija at her Great Fairy fountain and enhance Sand Boots, which need Swift Violet, so now you know what to gather first. Items such as the Hylian Hood cannot be enhanced, so only choose pieces that show a materials list.


Swift Violet and Courser Bee Honey
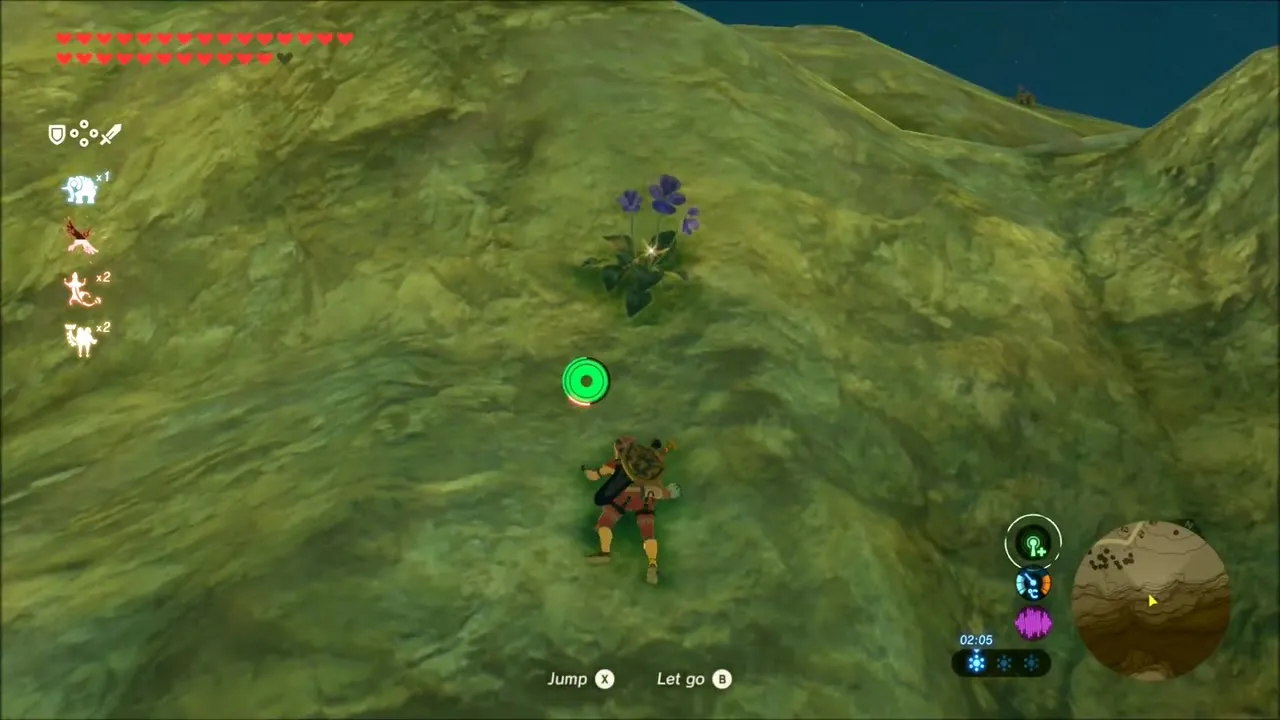
Swift Violet grows on the cliffs of the Gerudo Highlands and Hebra mountains. Glide and climb along the rock faces for them, checking the compendium so the sensor can track the plant; along the way you may also meet Dinraal circling overhead, whose claws are needed for the Trousers of the Wild. Courser Bee Honey is the other ingredient to hunt for.



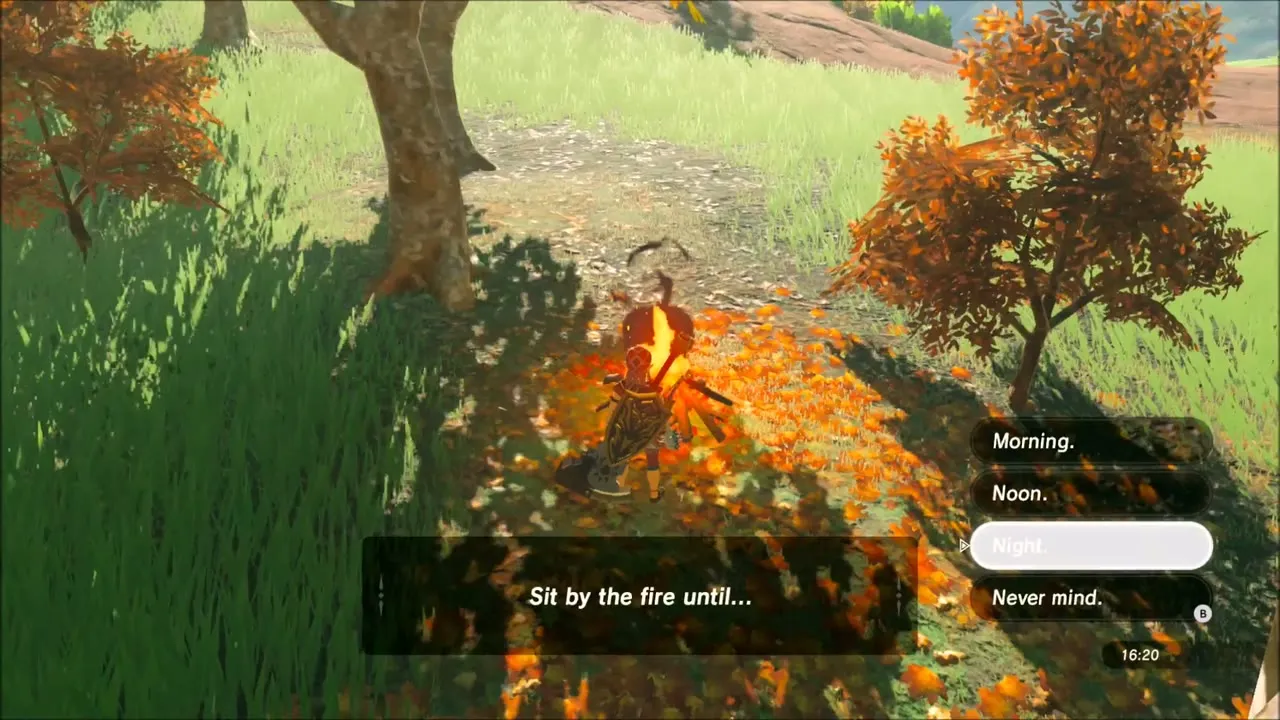
Back at Mija’s fountain, the Trousers of the Wild want one pair of trousers, five Courser Bee Honey and two Dinraal’s Claws. The honey is the missing piece, so after waiting out the time of day at a campfire, set out again and search the overgrown ruins for it.


Gerudo Desert: Lizalfos parts and Molduga
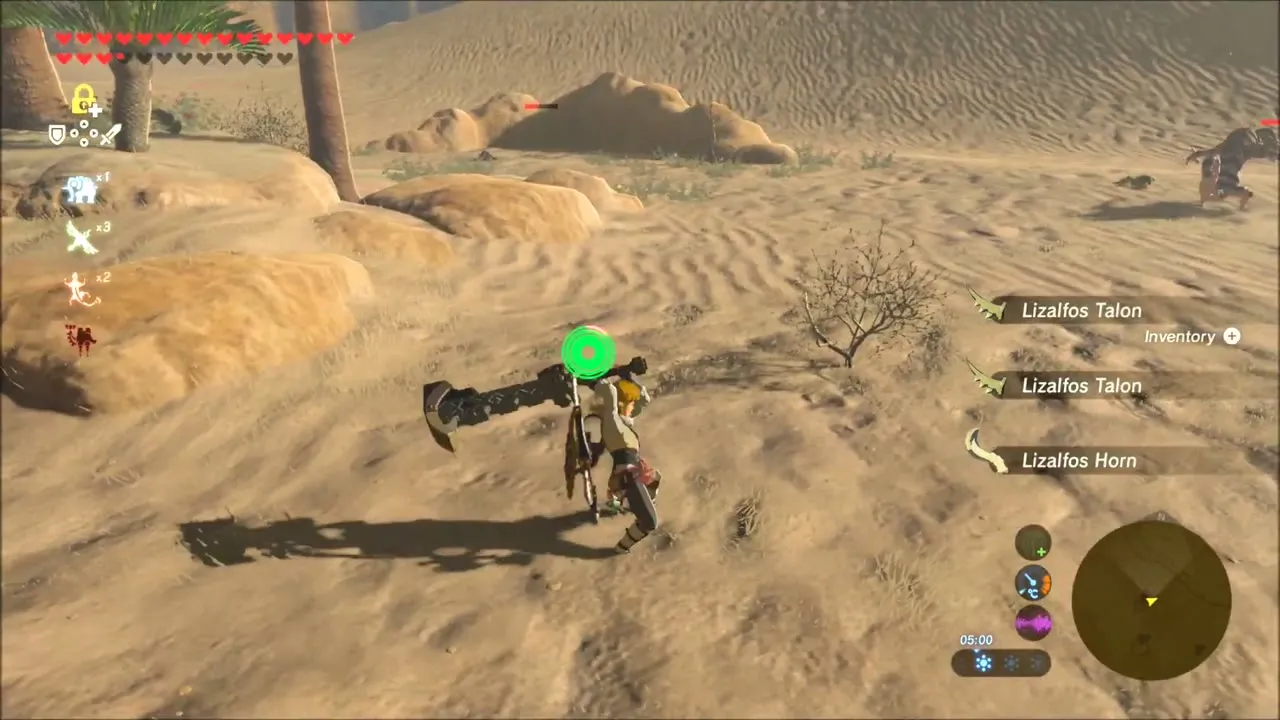
The last farming trip heads into the Gerudo Desert. Shoot Lizalfos for their horns, tails and talons, and fight a Molduga, which surfaces from the sand and will break an ordinary weapon quickly; bring a stack of spares.


With the parts collected, check your bows (a Royal Bow is in the pack) and return to Mija. Plain clothes such as the Old Shirt show “Cannot Enhance”, so only offer her gear that lists materials.


