100% Completion Walkthrough21 chapters
- Great PlateauAll 4 Shrines, the Paraglider and Korok Seeds
- Kakariko Village and Dueling PeaksSeek Out Impa, Shrines and Korok Seeds
- Hateno VillageHateno Tower, the Ancient Tech Lab, Link’s House and Shrines
- Zora’s DomainReach Zora’s Domain, Vah Ruta, Lanayru Shrines and Korok Seeds
- Faron and Lurelin VillageLurelin Village, Faron Tower, Shrines and Korok Seeds
- Korok Forest and Master SwordHow to Get the Master Sword, Lost Woods, Shrines and Korok Seeds
- Hebra MountainsHebra Tower, Snowfield Stable, Shrines and Korok Seeds
- Rito Village and Vah MedohVah Medoh, Tabantha Tower, Shrines and Korok Seeds
- Gerudo HighlandsGerudo Tower, Gerudo Summit, Shrines and Korok Seeds
- Gerudo TownForbidden City Entry, the Thunder Helm, Desert Shrines and Korok Seeds
- Vah Naboris and Gerudo DesertThunderblight Ganon and the Gerudo Desert Shrines
- Lake HyliaLake Tower, Farosh, Lake Shrines and Korok Seeds
- Akkala and Tarrey TownTarrey Town, Akkala Tower, Shrines and Korok Seeds
- Death Mountain and Goron CityGoron City, Vah Rudania, Eldin Shrines and Korok Seeds
- RidgelandRidgeland Tower, Shrines, Memories and Korok Seeds
- Central HyruleCentral Tower, Captured Memories, Shrines and Korok Seeds
- Hyrule Castlethe Hylian Shield, Saas Ko’sah Shrine, Zelda’s Diary and Memories
- Calamity GanonLast Side Quests, Destroy Ganon and the Final Boss
- All Hinox, Talus and Molduga LocationsEvery Hinox, Stone Talus and Molduga, for Kilton’s Medals of Honor
- Trial of the Sword and EX TreasuresThe Trial of the Sword and every EX Treasure location (DLC Pack 1)
- Champions’ BalladOne-Hit Obliterator, Champion Trials and the Final Trial
| Region | Dueling Peaks |
|---|---|
| Shrines | 11: Bosh Kala Shrine, Ree Dahee Shrine, Wahgo Katta Shrine, Hila Rao Shrine, Daka Tuss Shrine, Ta’loh Naeg Shrine, Ha Dahamar Shrine, Shee Vaneer Shrine, Shee Venath Shrine, Toto Sah Shrine, Shrine Key |
| Sheikah Tower | Dueling Peaks Tower |
| Korok seeds | 64 |
| Towns and stables | Kakariko Village, Riverside Stable, Dueling Peaks Stable |
This chapter of the 100% walkthrough covers the Dueling Peaks region in a route that collects everything along the way: 11 shrines, 64 Korok seeds and the Sheikah Tower, plus the quests, chests and minibosses you meet. Positions are map coordinates (x grows east, z grows south).
Road East: East Post Ruins and Proxim Bridge
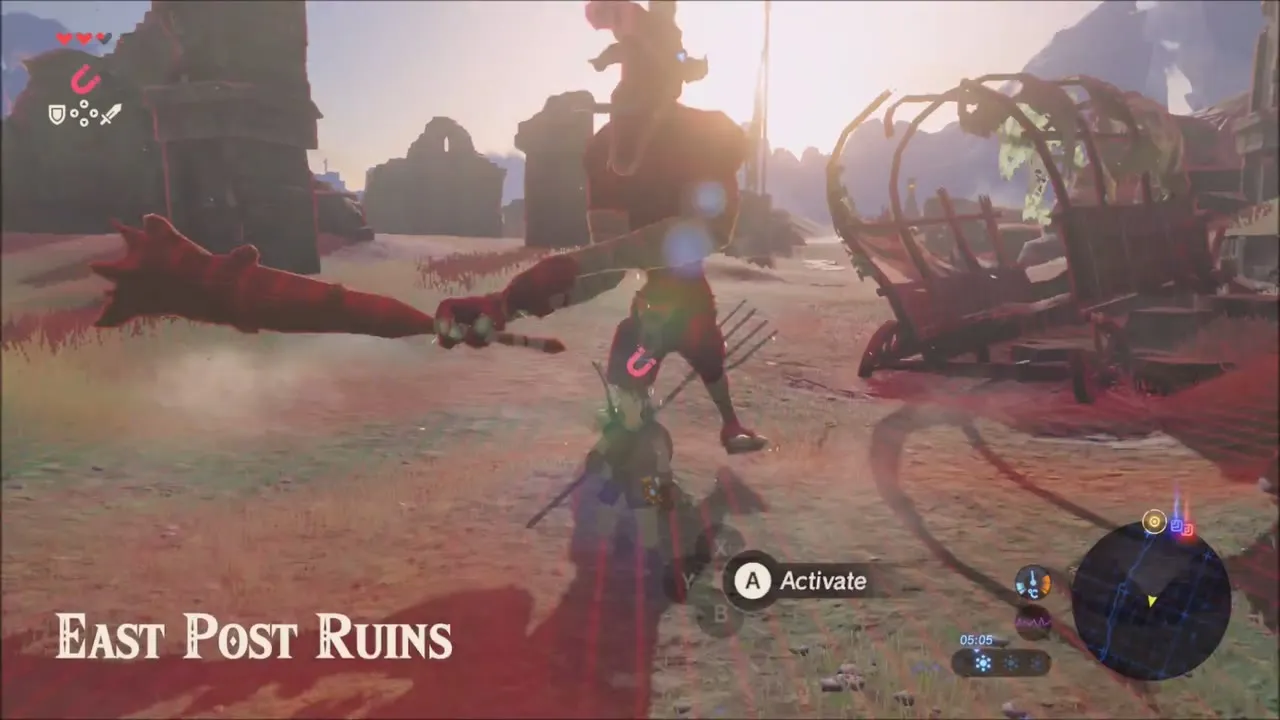
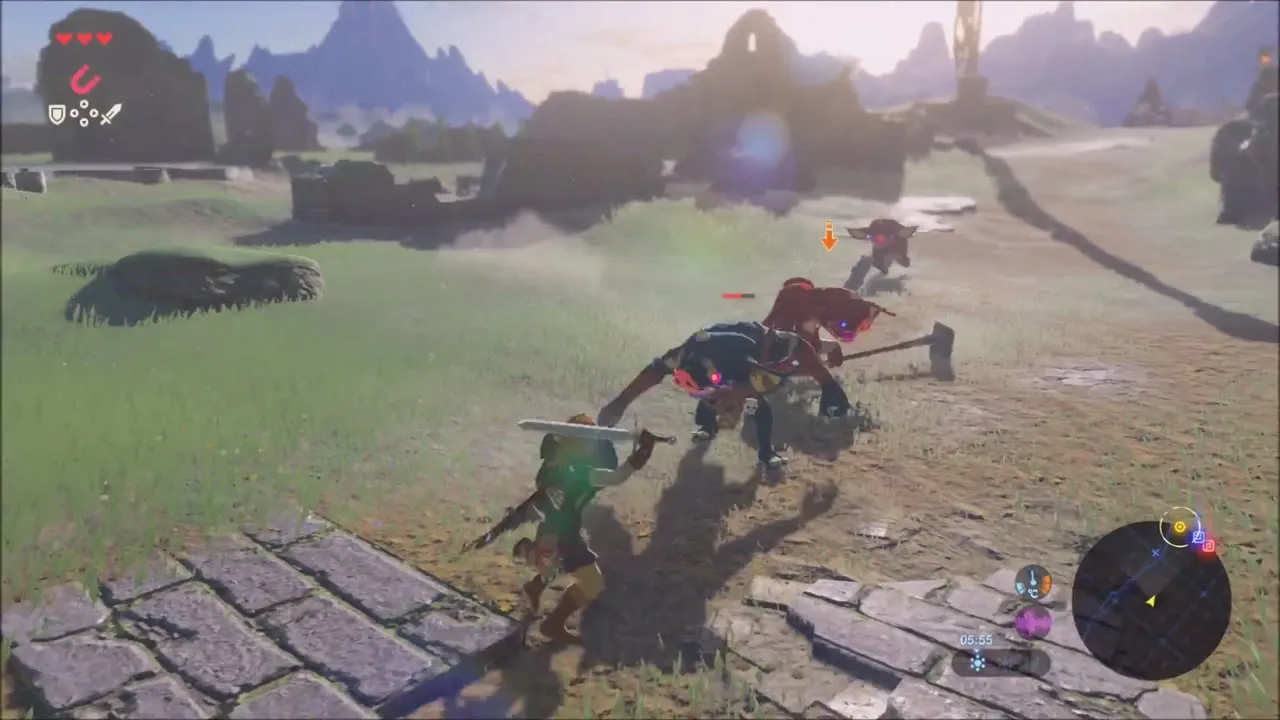
Follow the road east. A signpost points to Dueling Peaks and Hateno Village one way and Lake Hylia the other; take the Dueling Peaks road. At the East Post Ruins (x 31, z 1565) a Moblin and a few Bokoblins ambush travellers around a wrecked cart, so fight them with the weapons you have collected; they drop Bokoblin Horns and Moblin Fangs. Further along, the soldier Brigo stands on the stone bridge and warns you about the Guardians around Hyrule Castle and the blue beams of light they fire.


Bosh Kala Shrine: The Wind Guides You
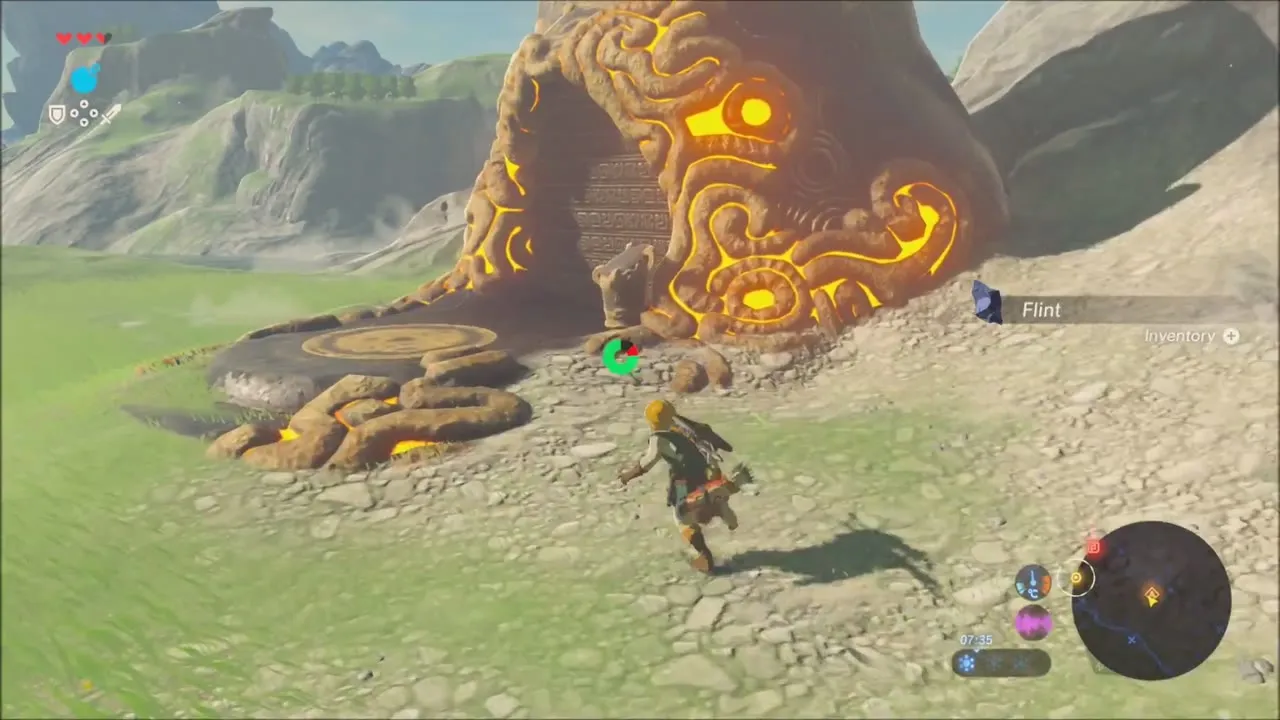
A short walk past Brigo, a glowing shrine is set into the grass beside the road. This is Bosh Kala Shrine (x 87, z 1658, height 136). Walk up to the entrance and activate it with your slate.

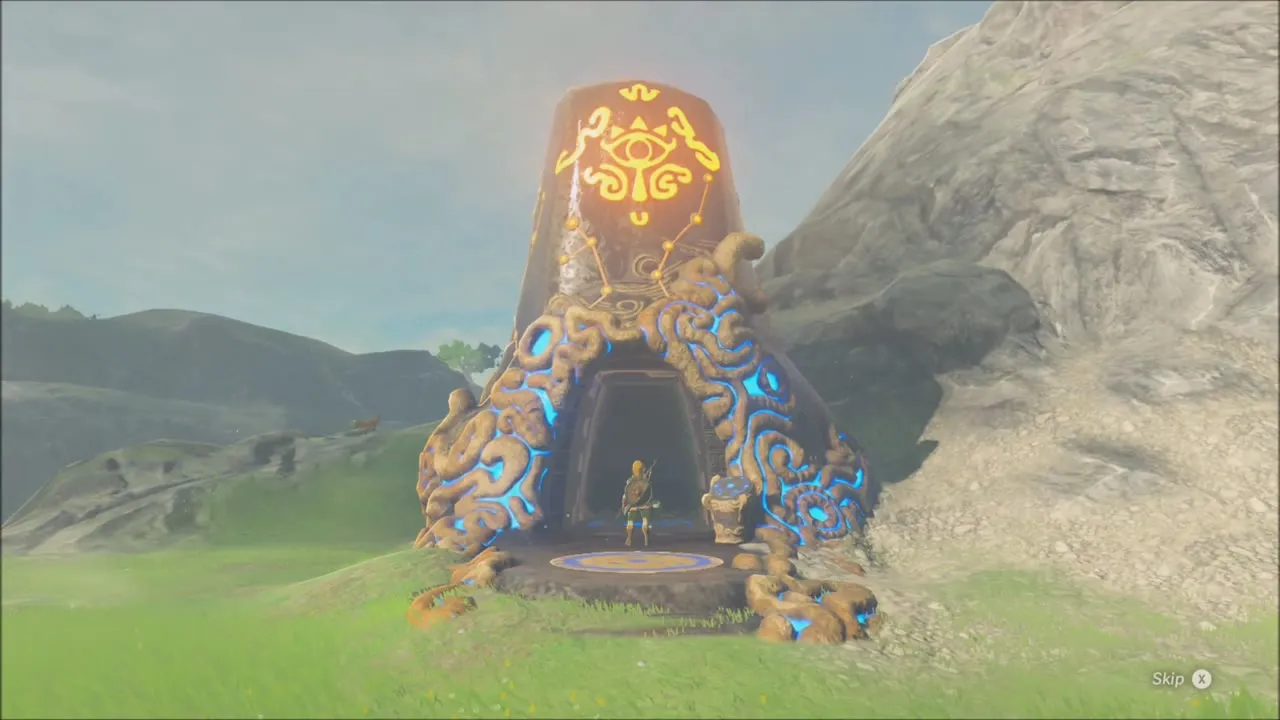
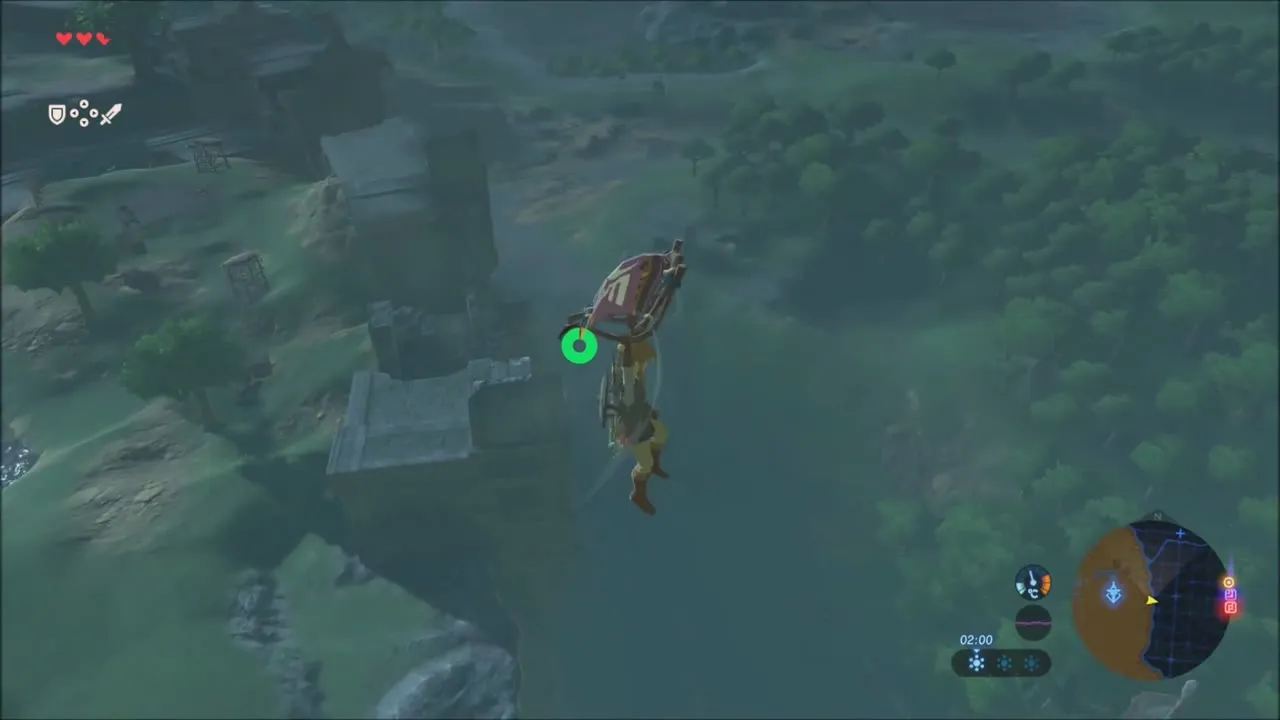
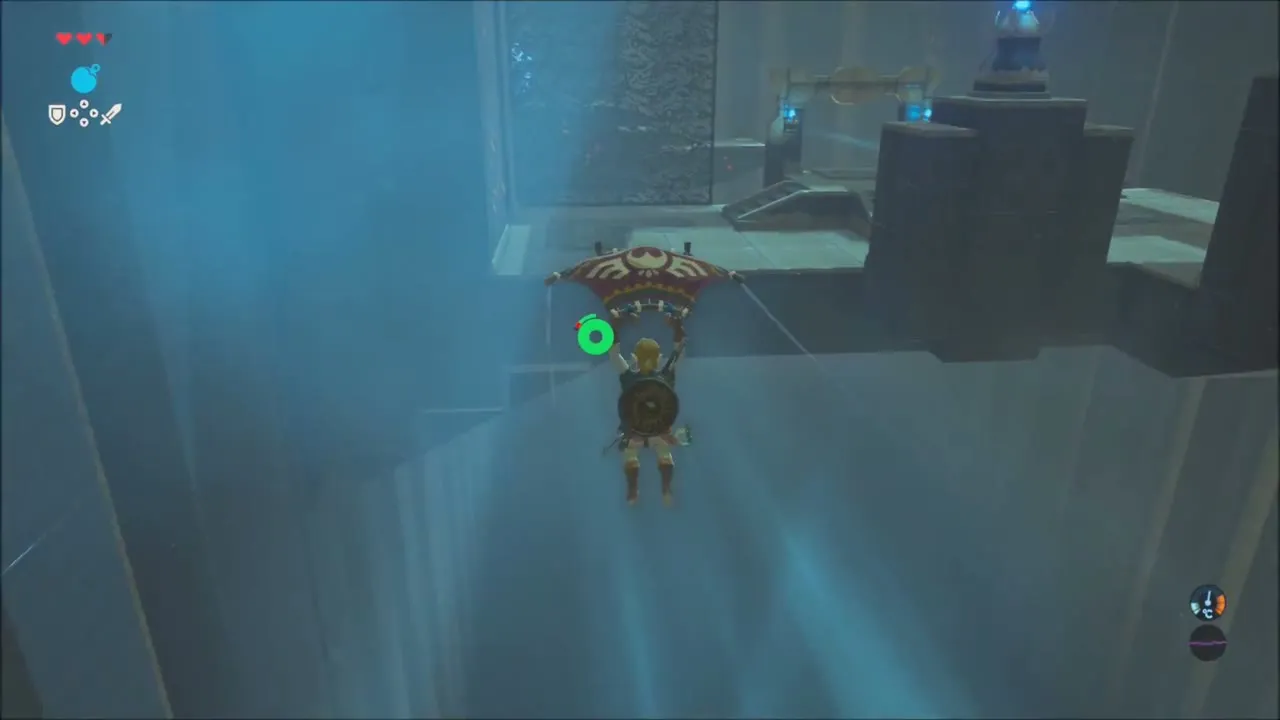
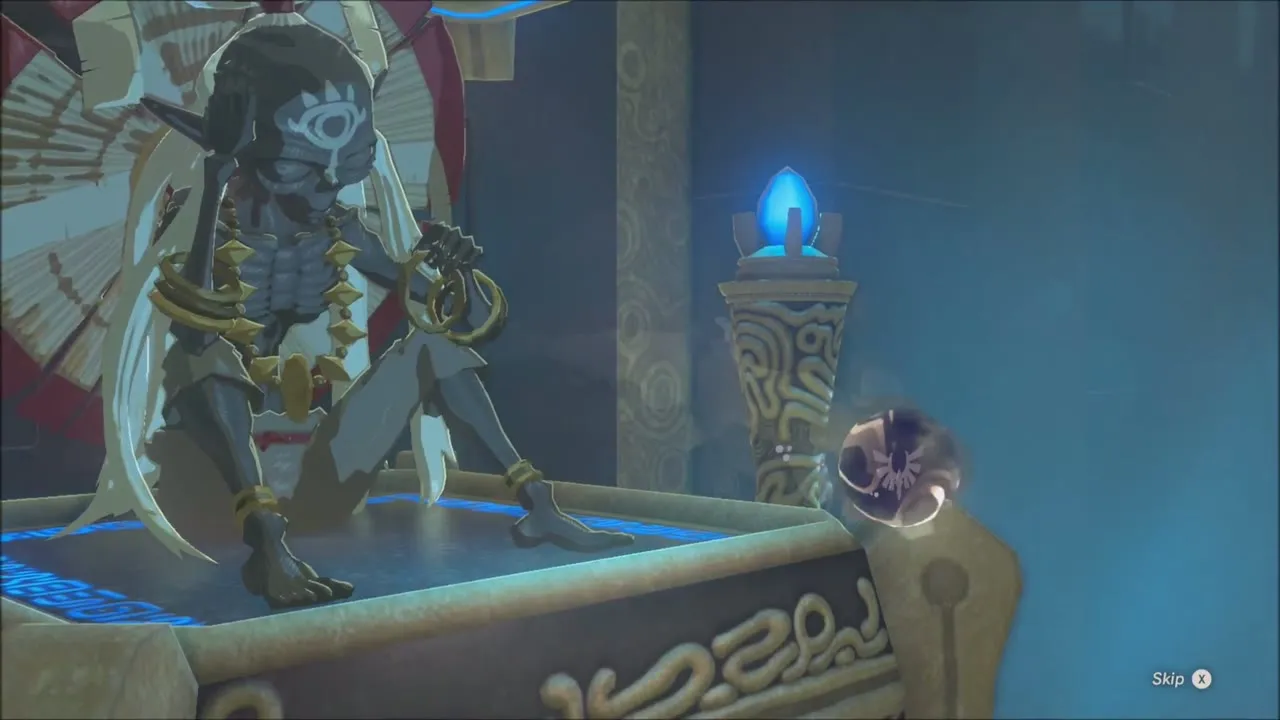
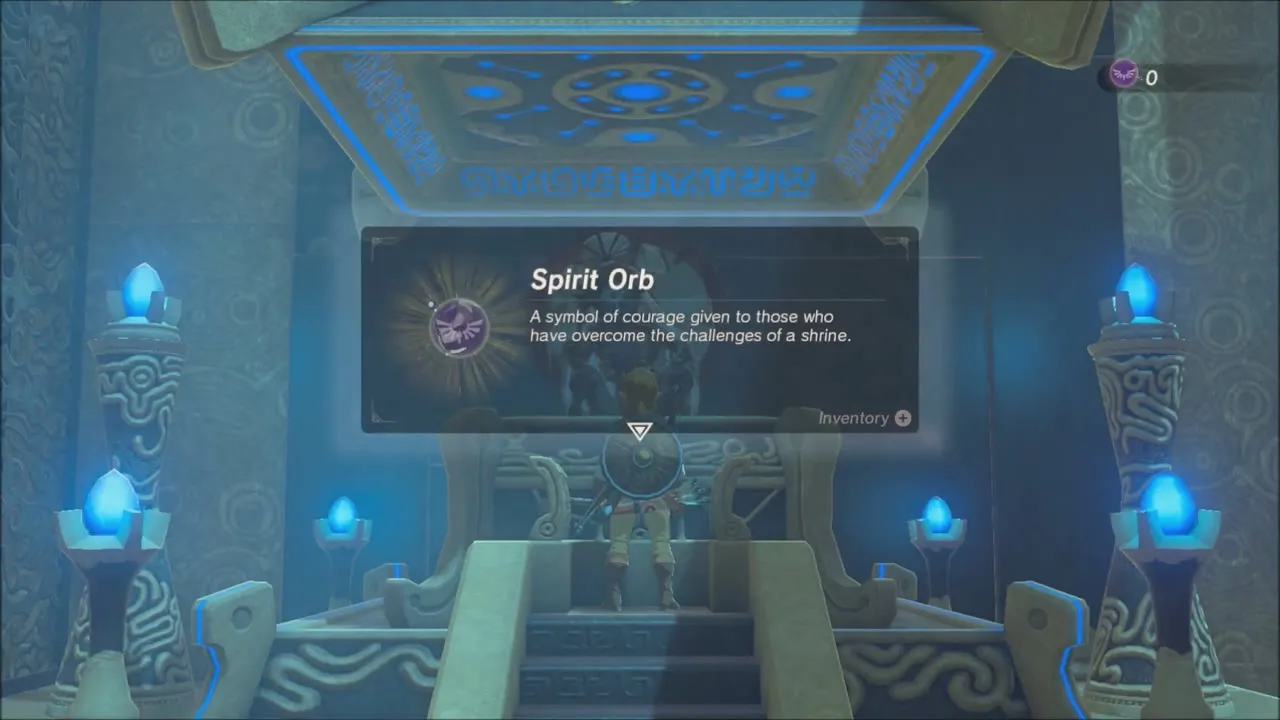
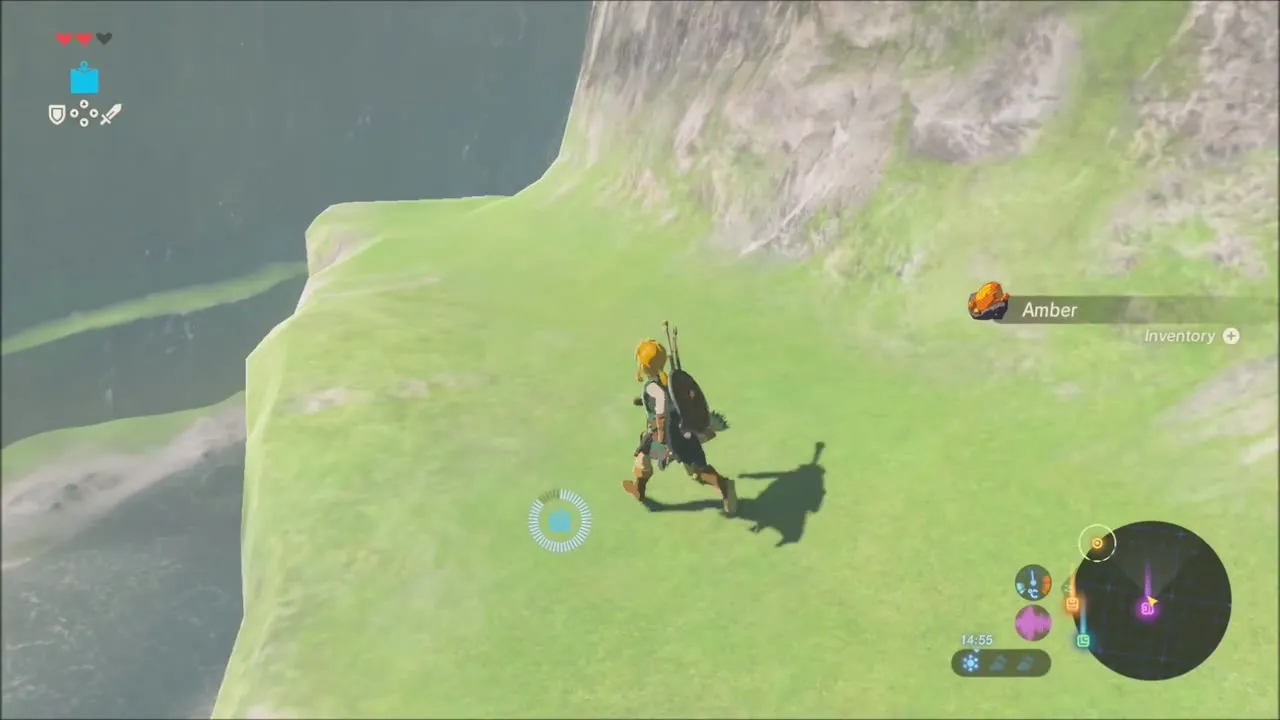
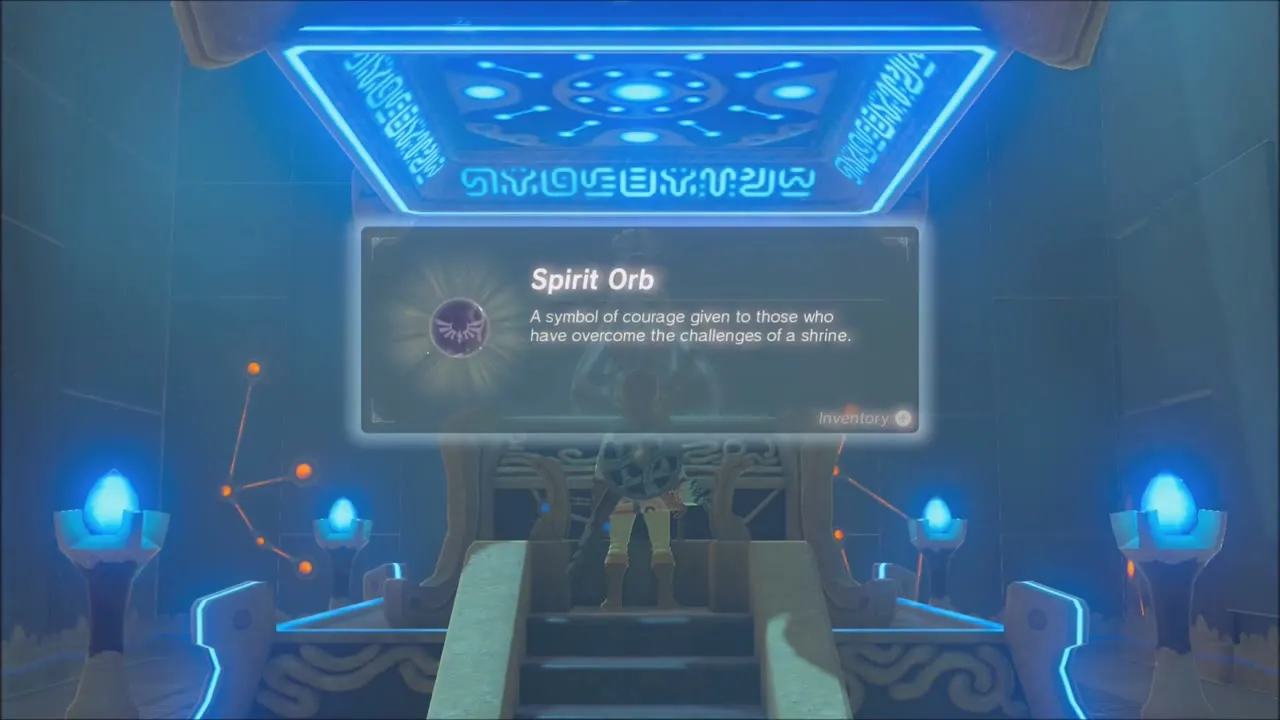
Bosh Kala is a Paraglider trial. Climb the stairs on the left, jump off and open the glider so the fans carry you across each gap. On the second jump drift to one side to reach a chest on a small ledge that holds a Soldier’s Claymore, and look for a chest holding an Amber on the first crossing. At the end, climb to the monk Bosh Kala and accept your fifth Spirit Orb.


Korok Seeds and Chests East of Bosh Kala Shrine
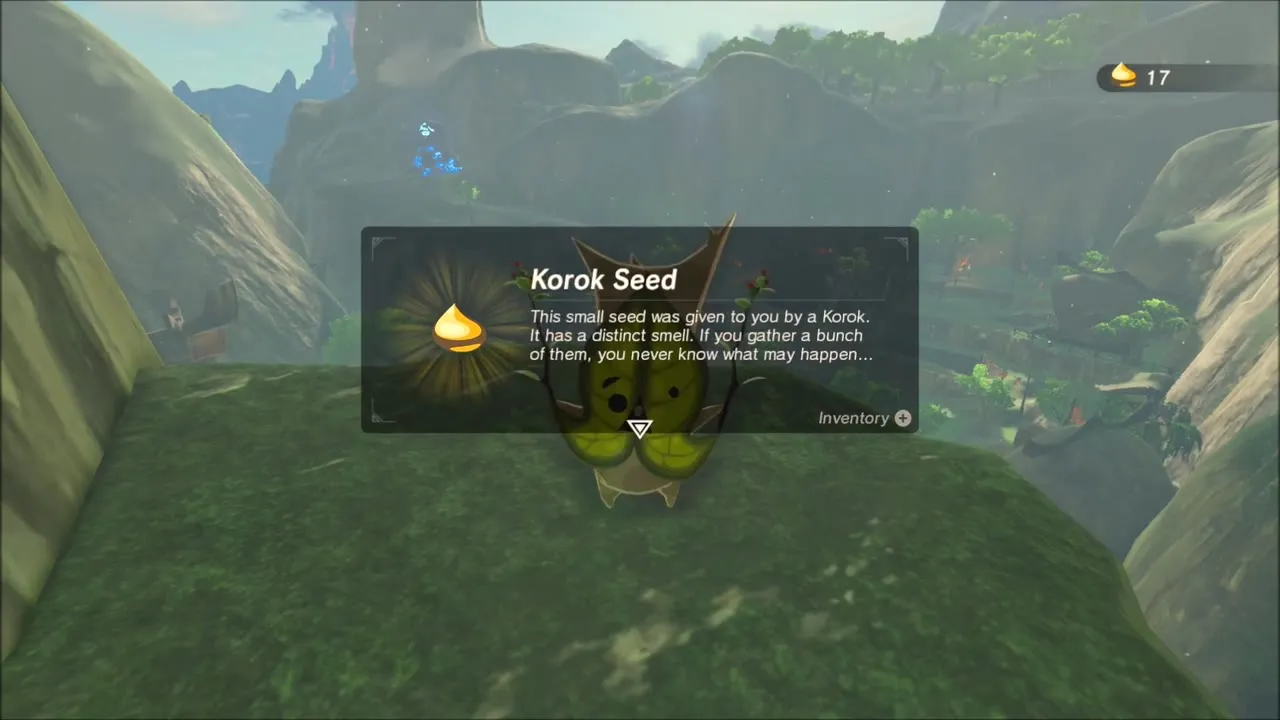
Leave the shrine and climb the hill ahead. Near the cliff edge above the water stands a ring of upright stones with one gap in it. Lift the loose rock lying nearby, carry it to the ring and set it into the gap: a Korok appears and gives you a seed (Korok seed 1 of 6 on this stretch).
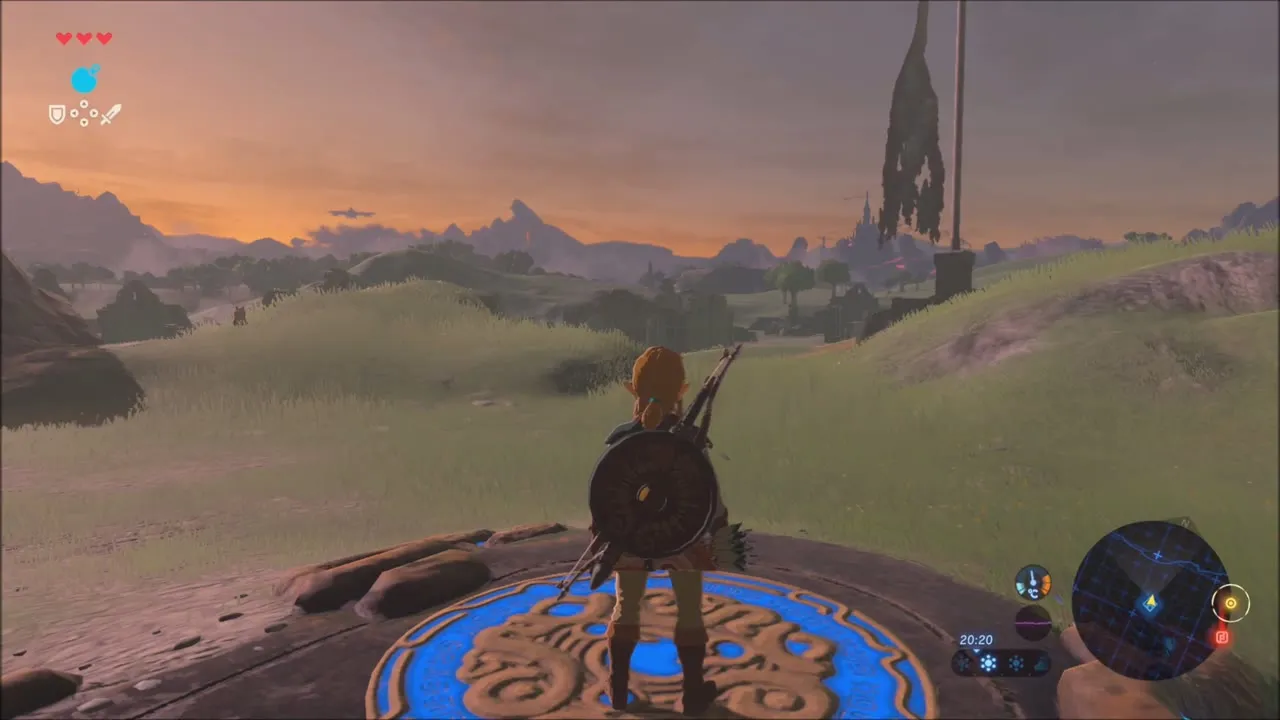


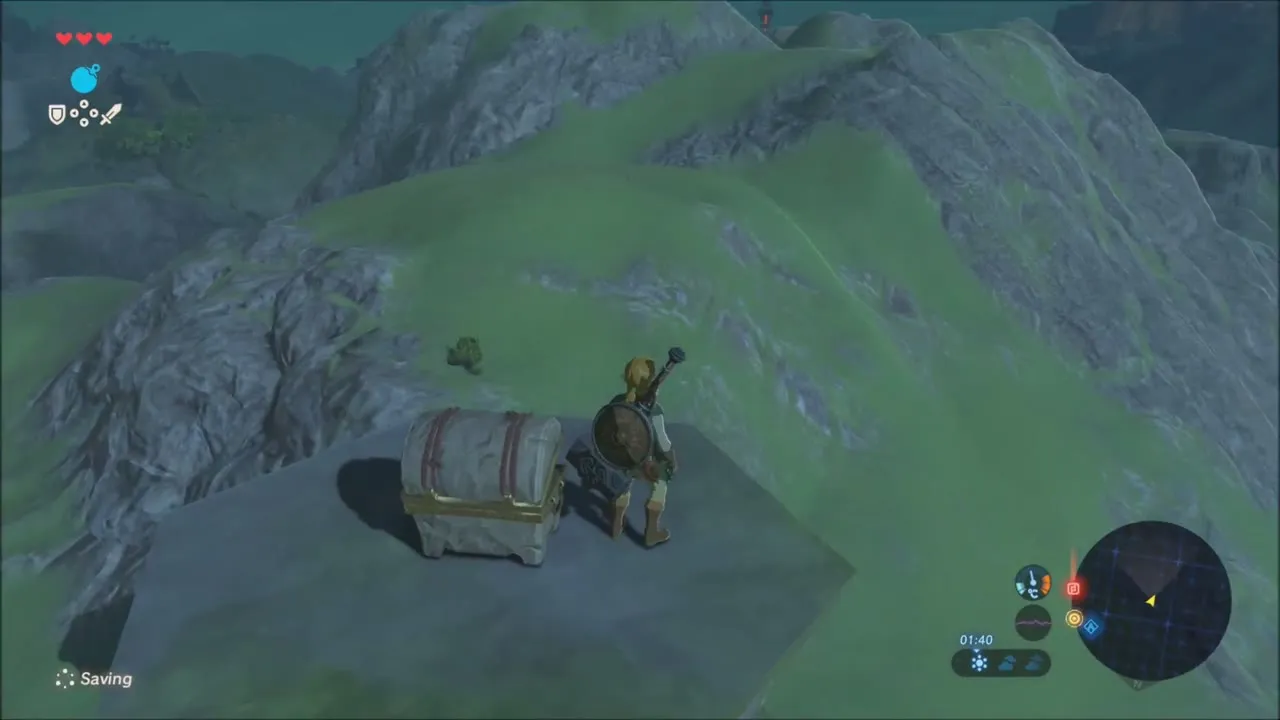
Back down the slope, hit the dark ore deposit in the rock face to collect an Amber. Nearby a tall stone pillar rises from the grass. Climb it to the top, where a chest holds a Sapphire.

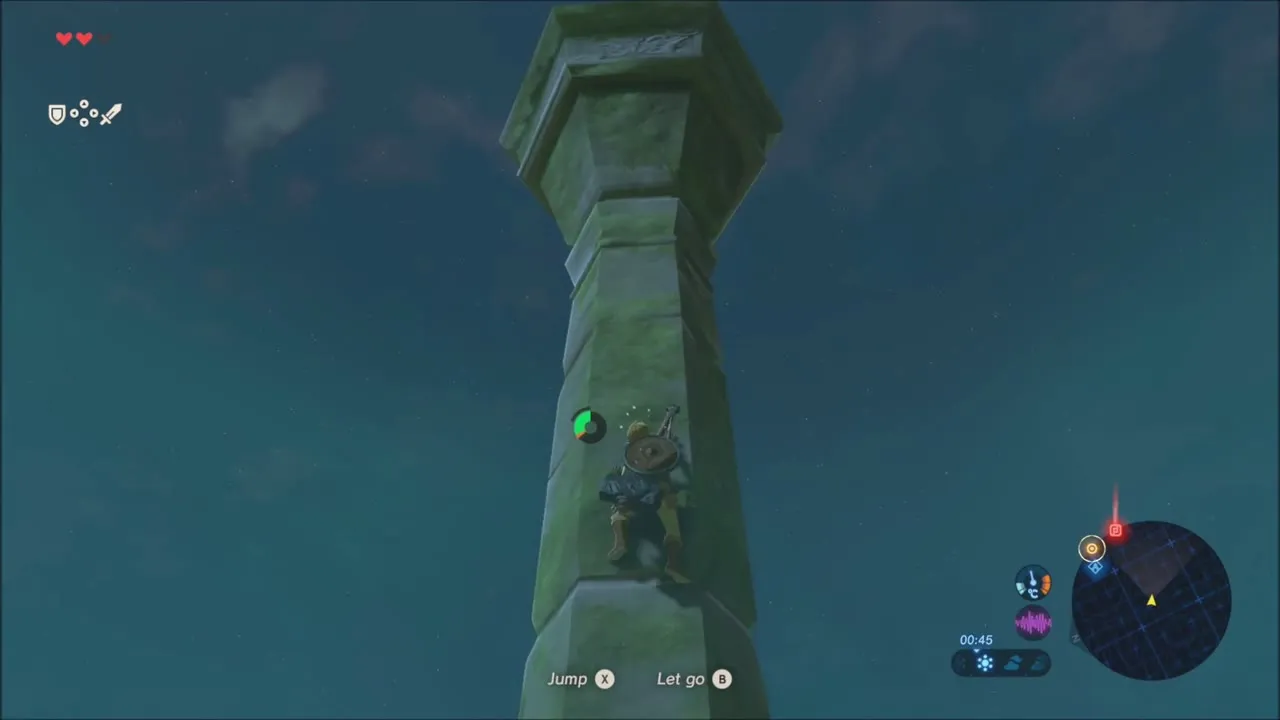
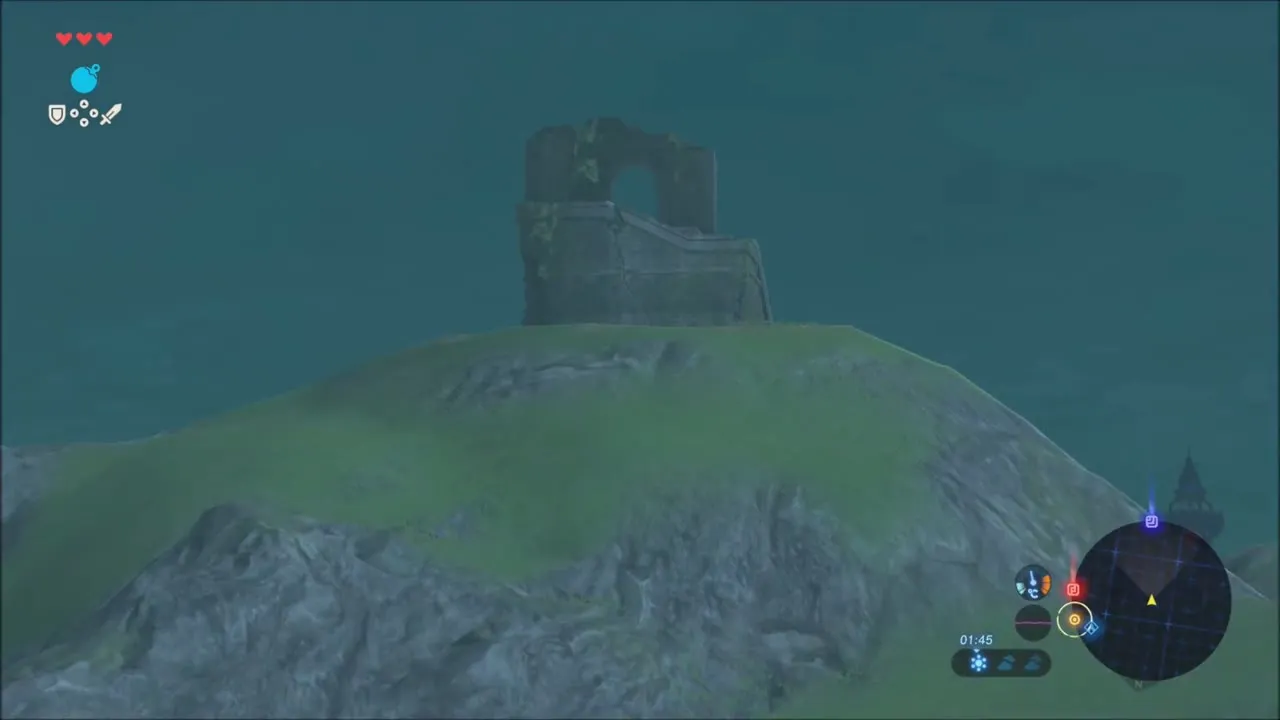
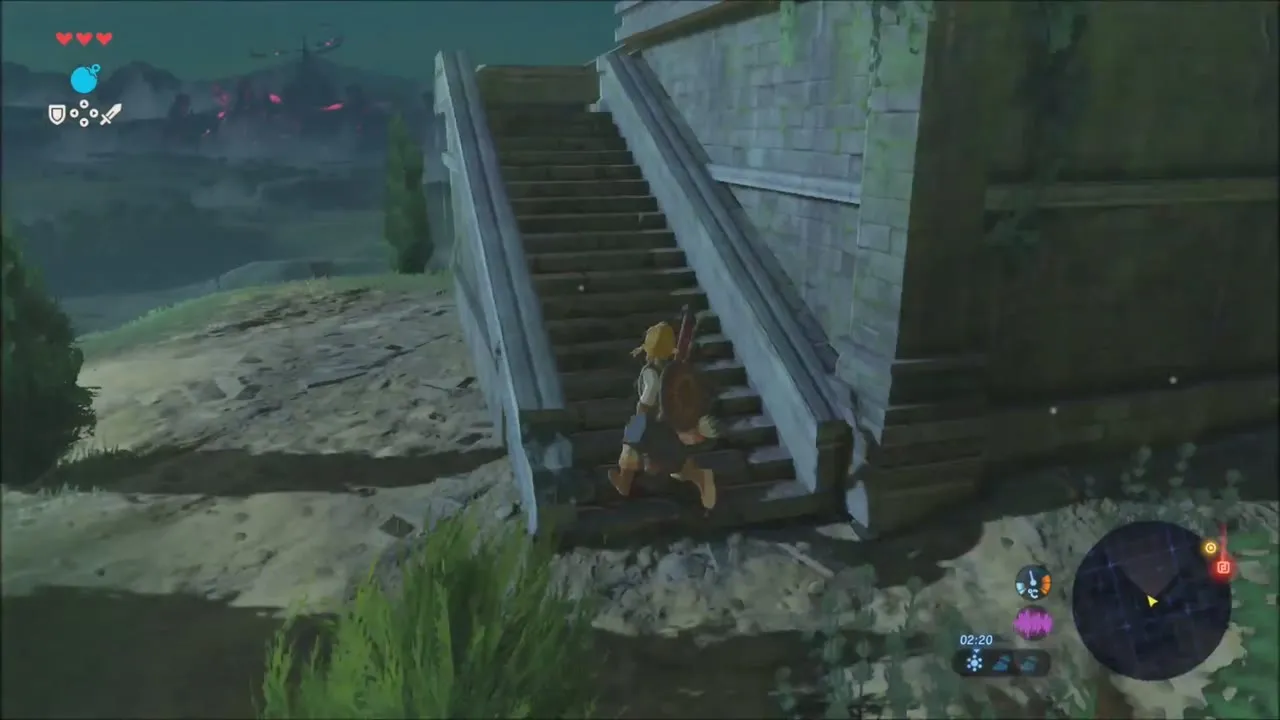
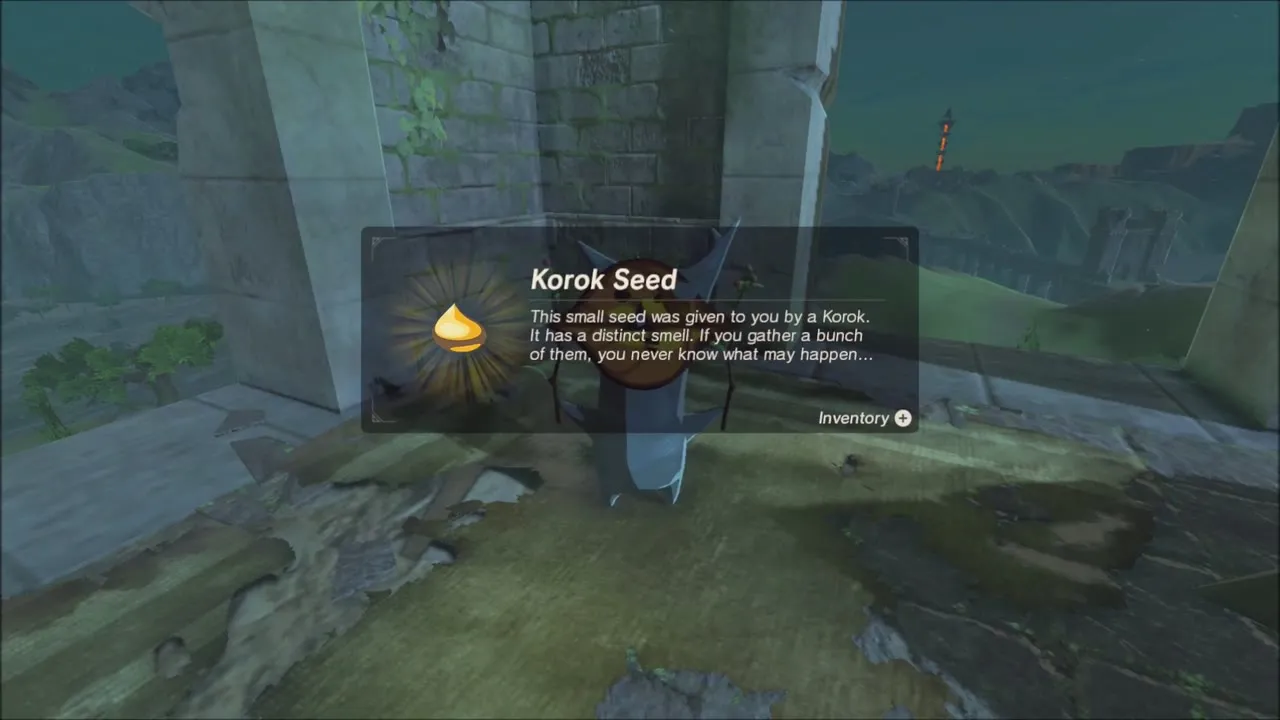
Use the scope to spot a ruined tower on a hilltop and glide over to it. Climb the staircase to the upper floor, pick up the boulder lying on the floor and set it down; a Korok appears in the corner of the ruins and gives you a seed (Korok seed 2 of 6).

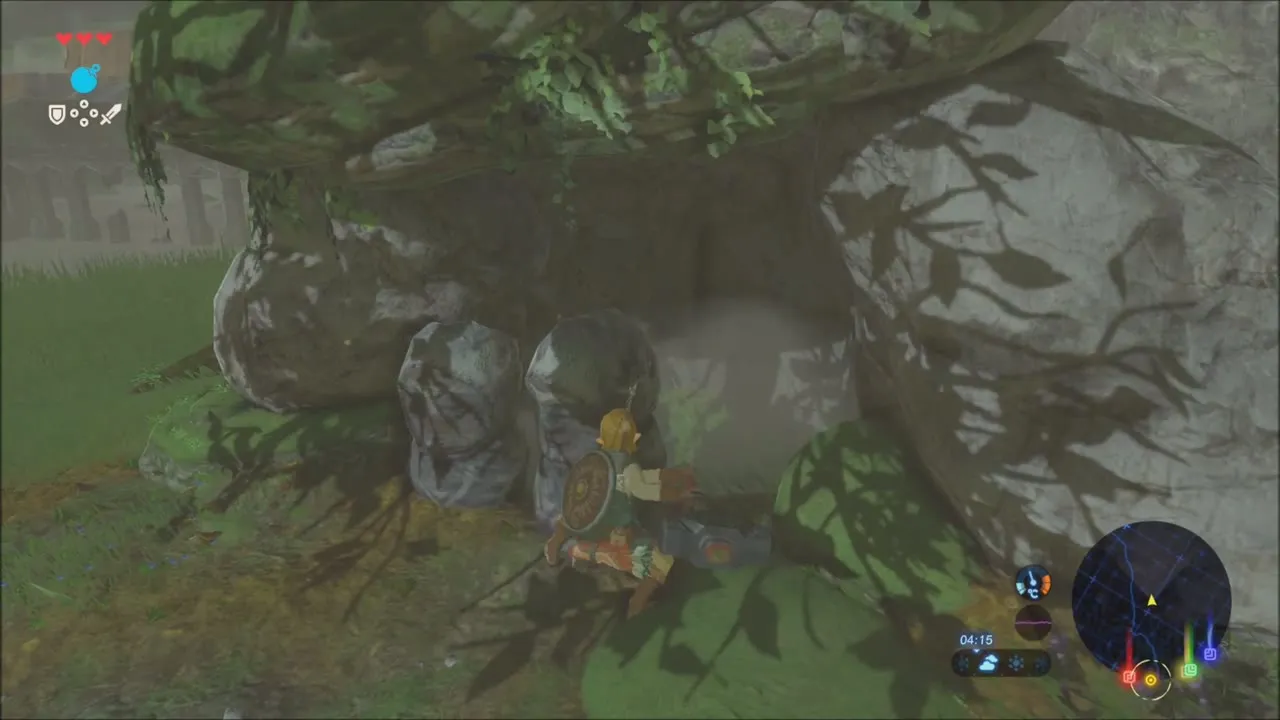
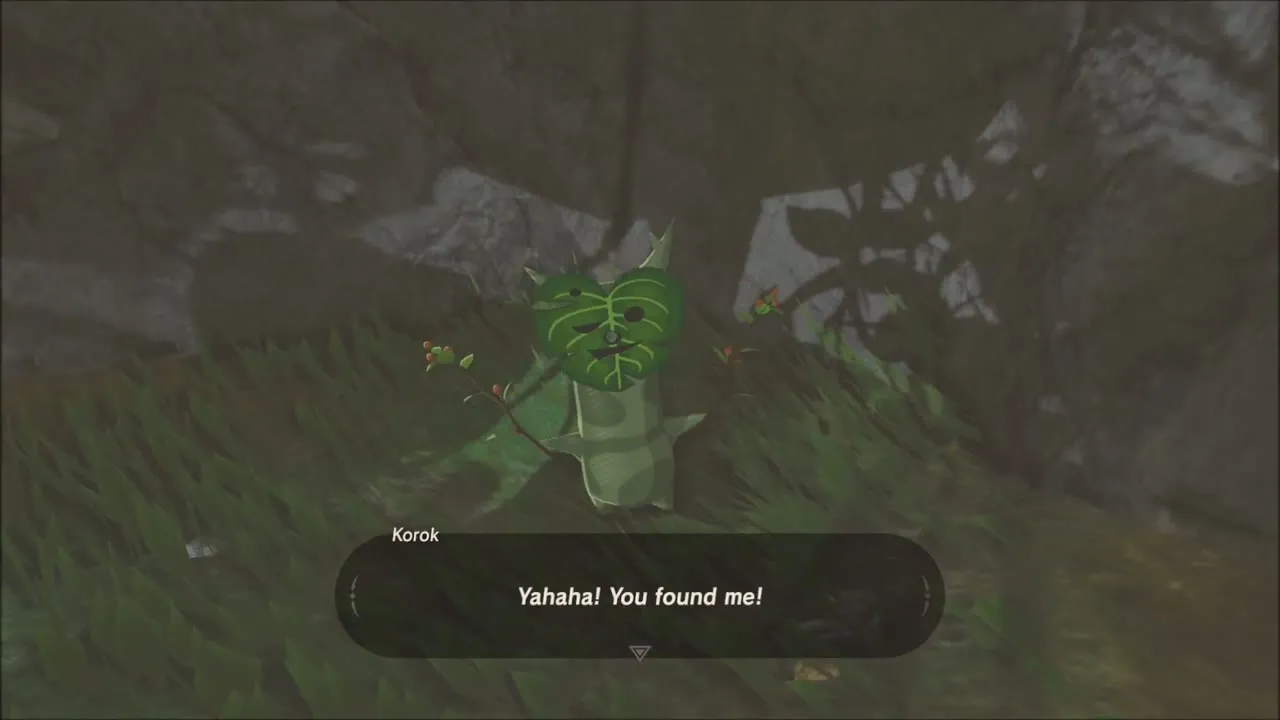
Glide on to a hill with one large tree. A pile of small rocks is stacked in front of a boulder at the tree’s foot. Clear the rocks away and a Korok jumps out and hands over a seed (Korok seed 3 of 6).

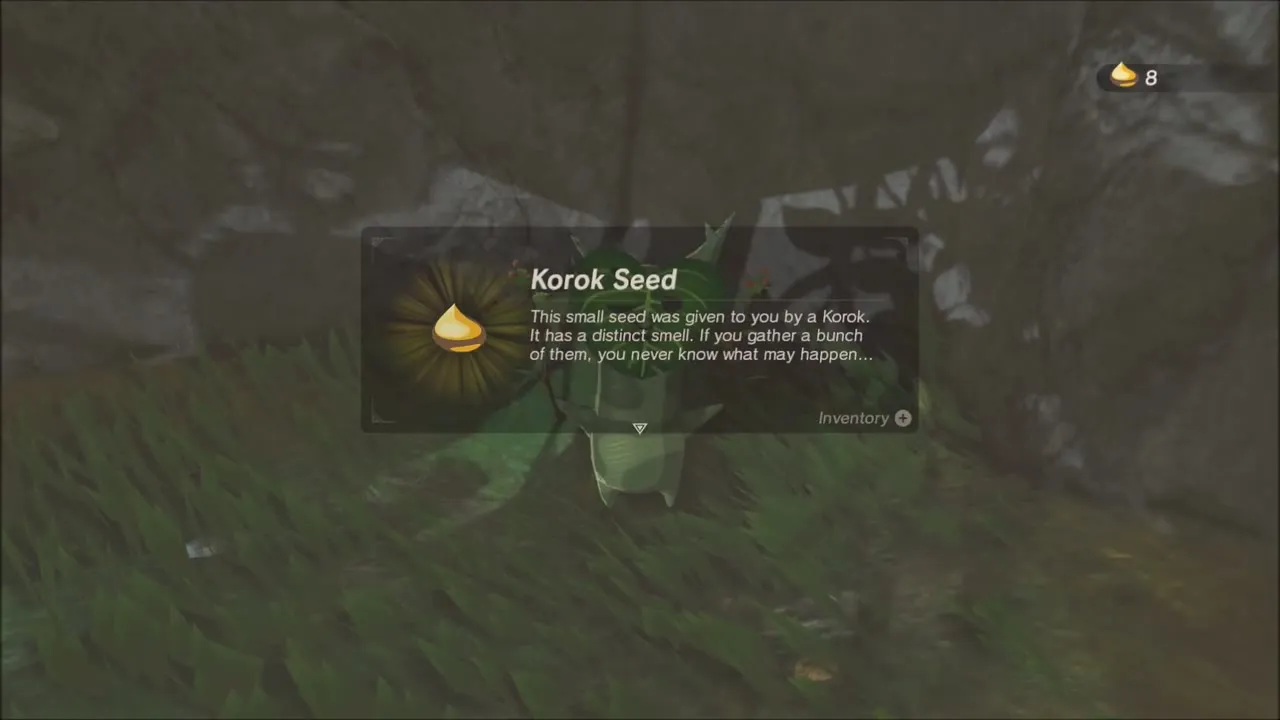
Keep going over the grass to a mountain and climb its steep face to the top. A line of floating target balloons rises over the summit: draw the bow and shoot each one to make the Korok appear and give you a seed (Korok seed 4 of 6).


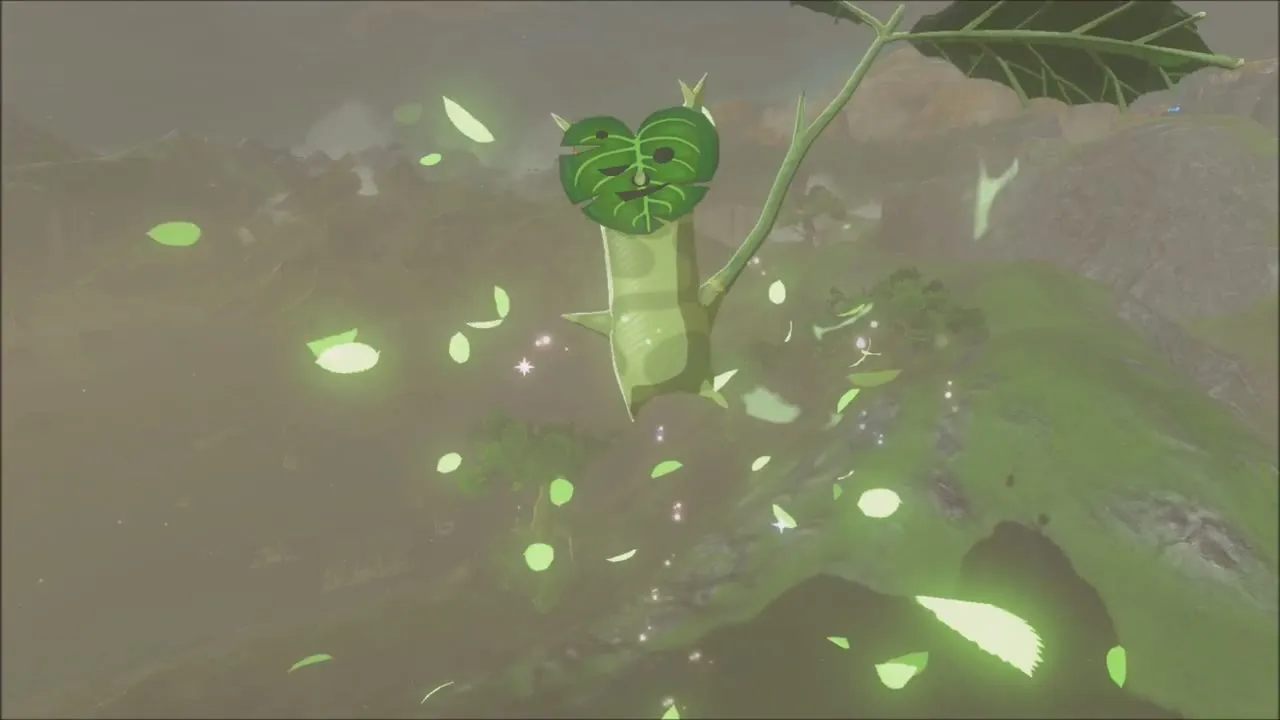
Glide through the natural stone arch on the next hill and land in the hollow below it. A trail of yellow flowers starts on the ground here. Run along the flowers over the ridge and up the rocky slope; the trail ends at a Korok who gives you a seed (Korok seed 5 of 6).
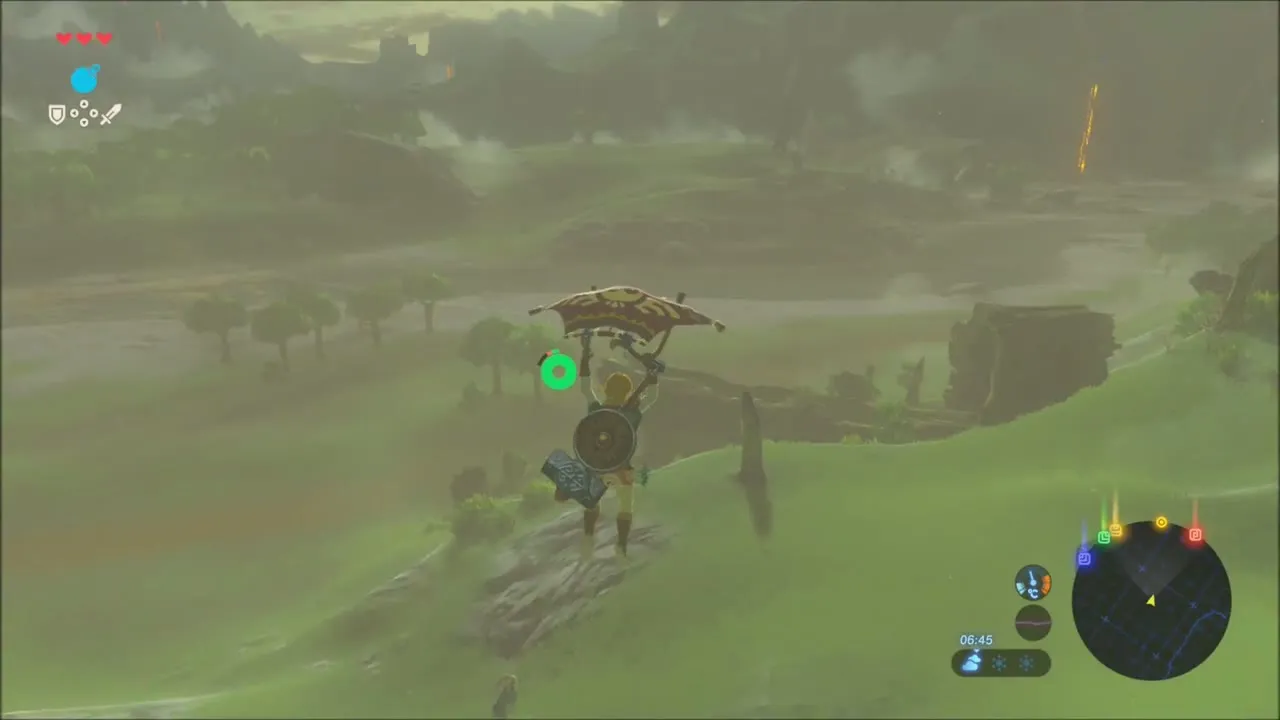


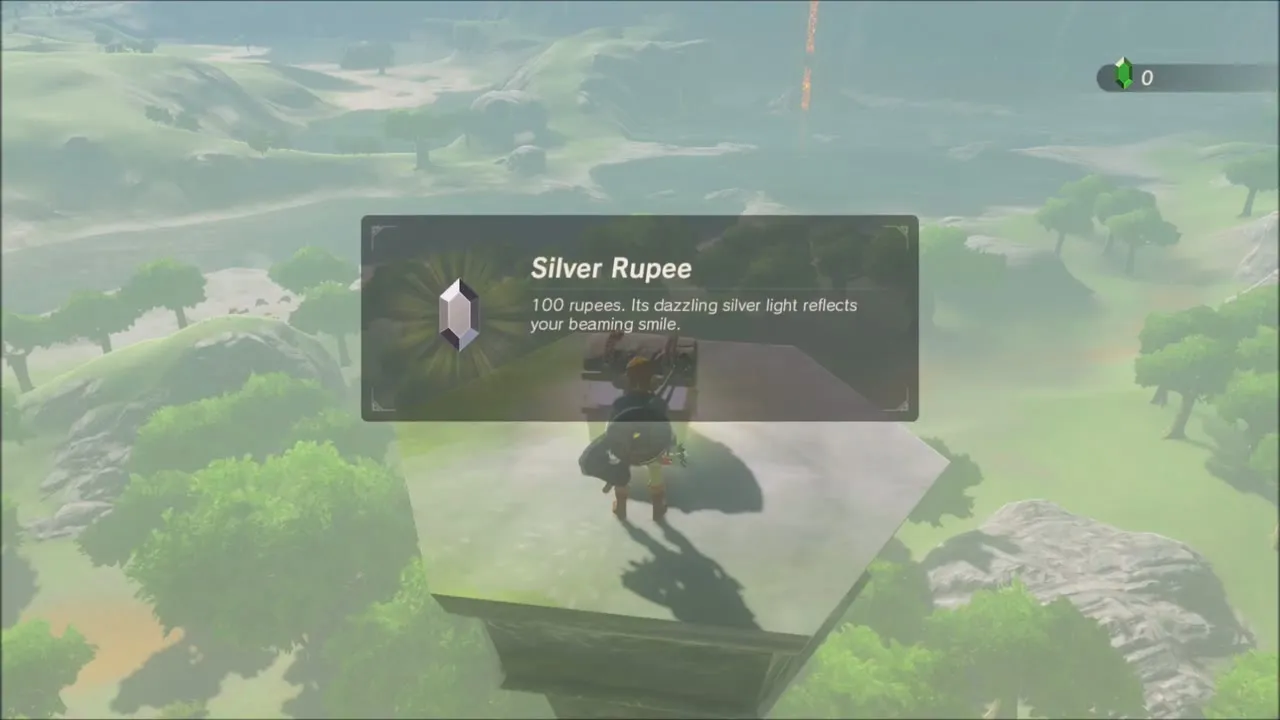
Another tall pillar stands on a ridge ahead. Climb it and open the chest on top for a Silver Rupee, worth 100 Rupees.


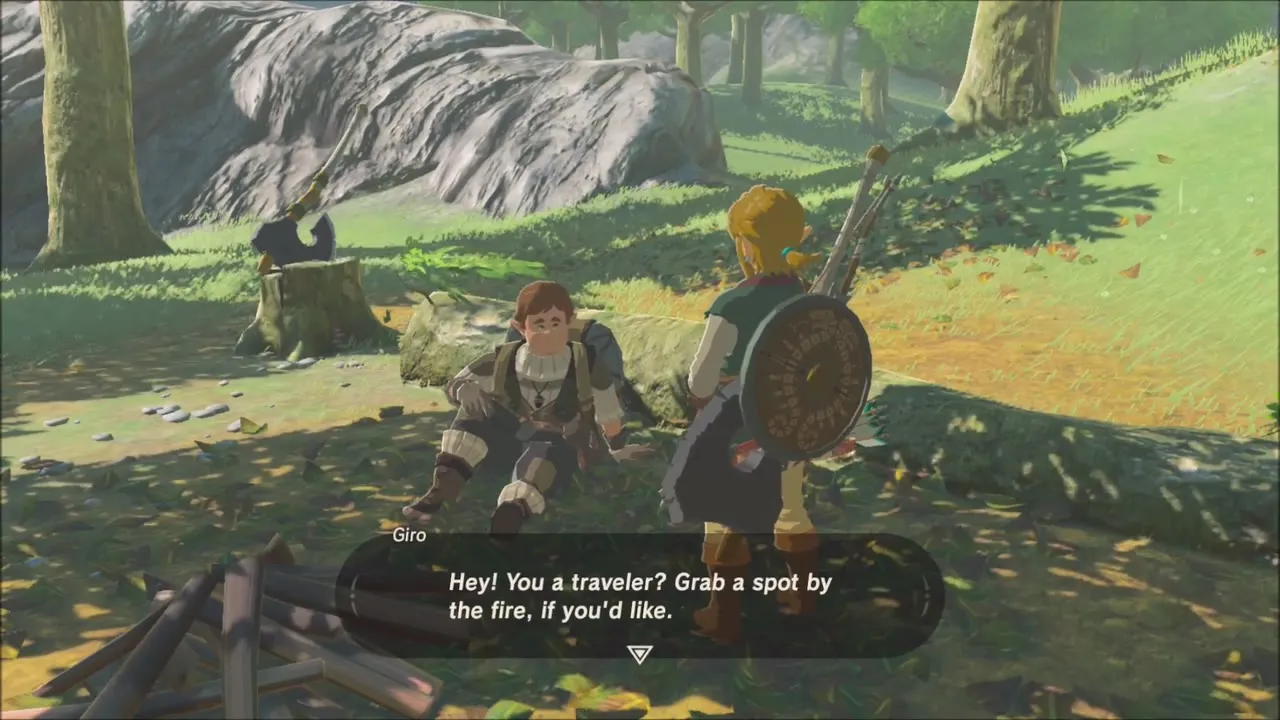
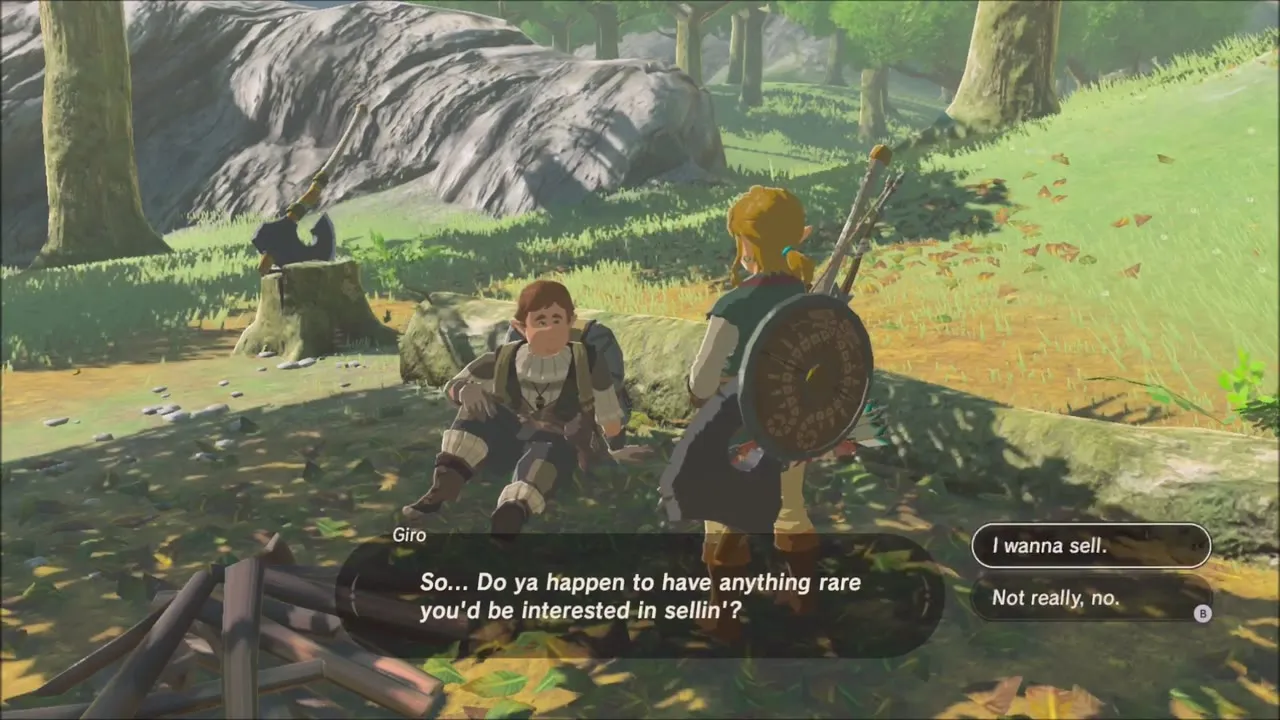
Further on, a traveling merchant named Giro sits under the trees. He buys rare materials, so this is a good place to sell spare gems and monster parts such as a Ruby or a Keese Wing.
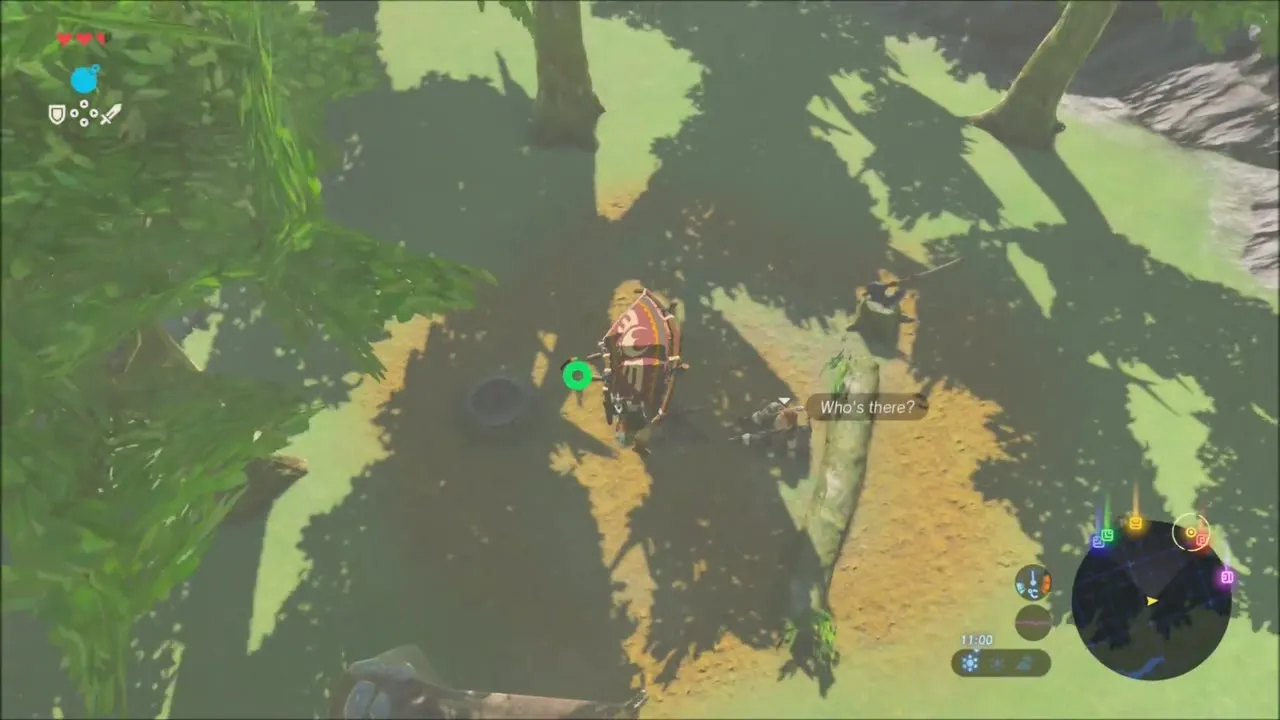
Climb the rocky hill beyond the merchant. Another set of balloons floats above the summit: shoot all of them with the bow to make the Korok appear and give you the last seed of this stretch (Korok seed 6 of 6).


Ree Dahee Shrine: Timing Is Critical
Follow the river east. Hit the ore deposit on the way for Flint, then continue along the shore to a rock wall where an Amber lies on the ground. The glowing entrance of Ree Dahee Shrine (x 1273, z 1844, height 151) is just beyond.


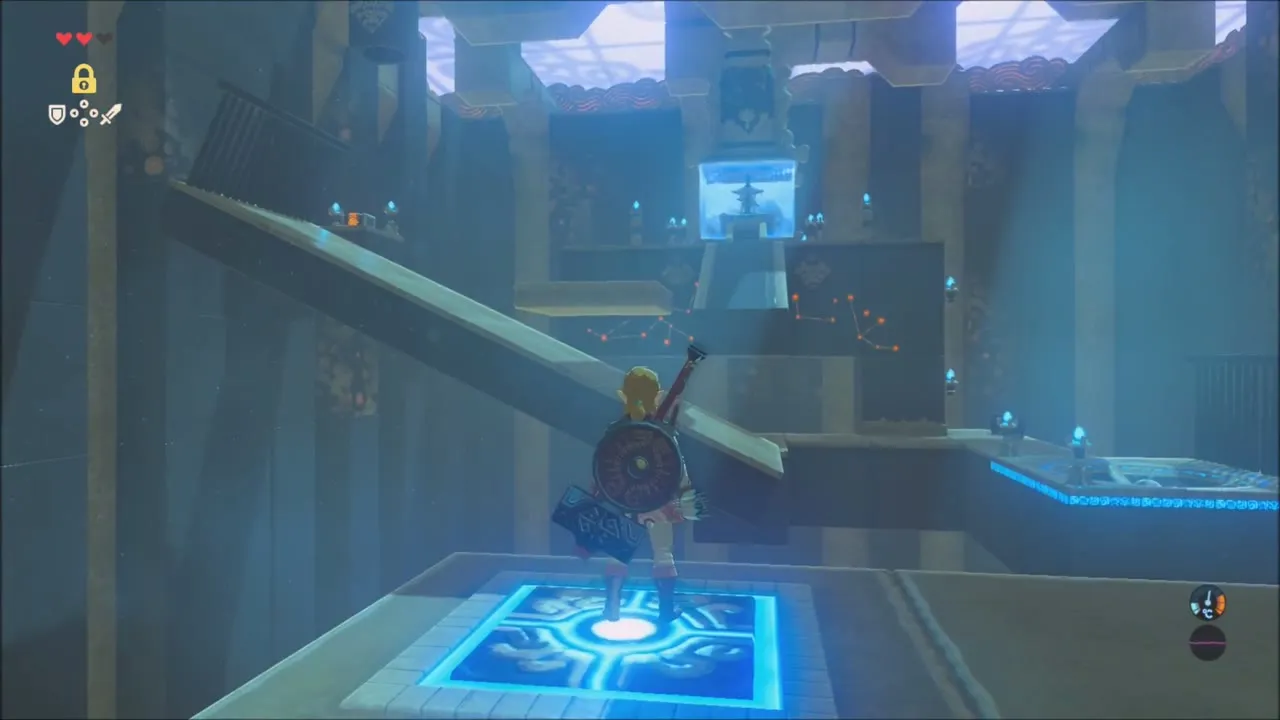
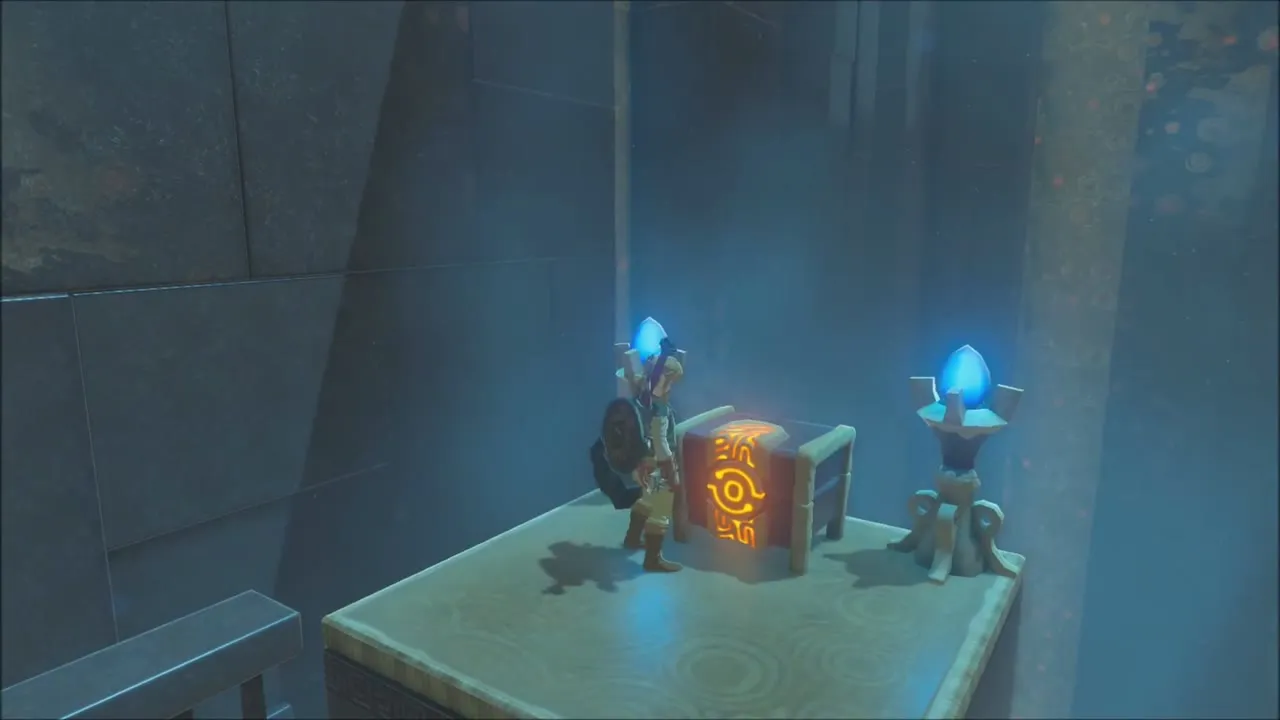
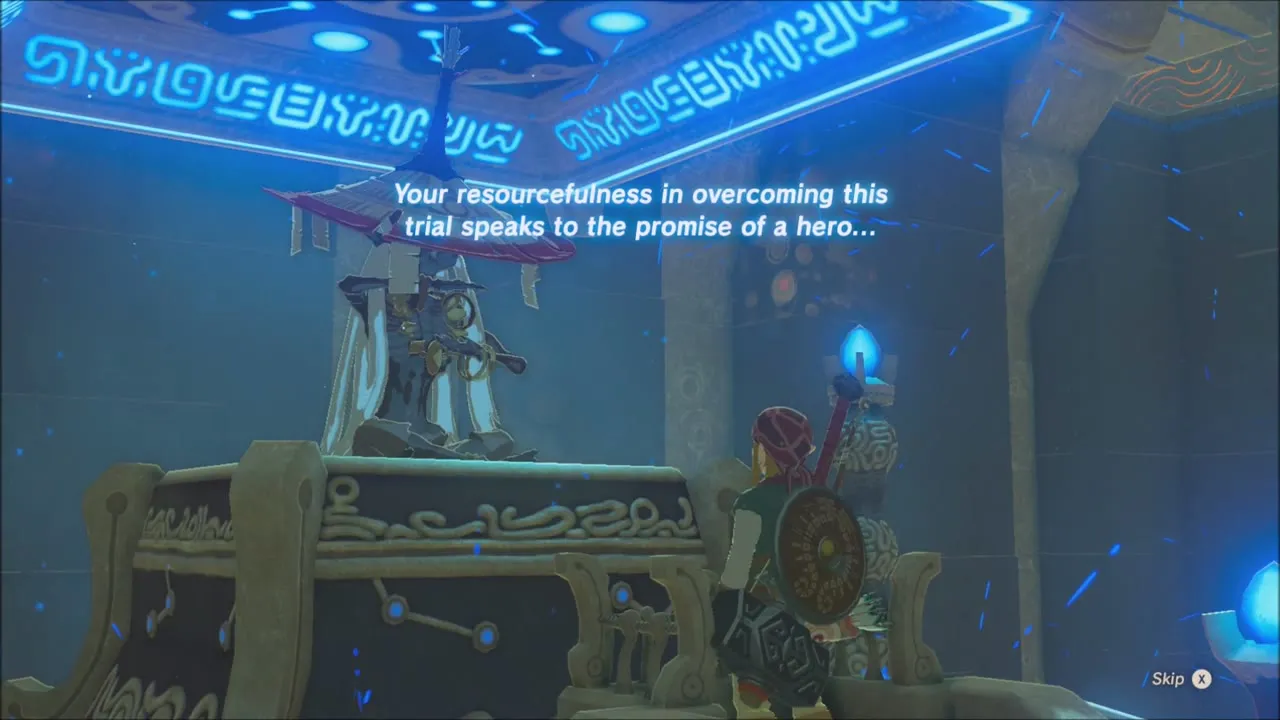
Ree Dahee is a timing trial: stand on a floor switch to tilt a slab, then step off at the right moment so the slab swings back and the ball rolls into its receptacle. Metal barrels near the last receptacle can weigh down the switch and open the way to a chest with a Climber’s Bandanna. Speak to the monk Ree Dahee at the end for your sixth Spirit Orb.


Dueling Peaks Tower: Sheikah Sensor and Regional Map
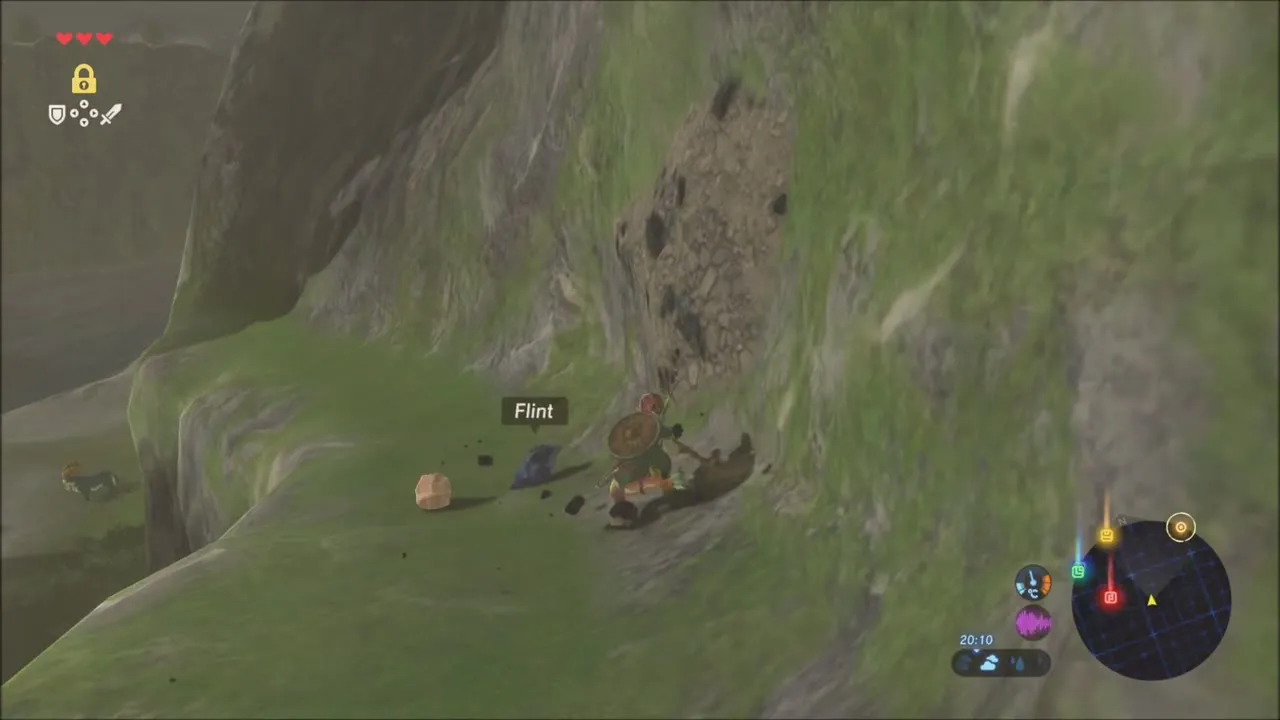
Leave the shrine and climb the hill and cliff face toward the tower (x 1017, z 1714). On the slope you can pick up Rushrooms and Flint.


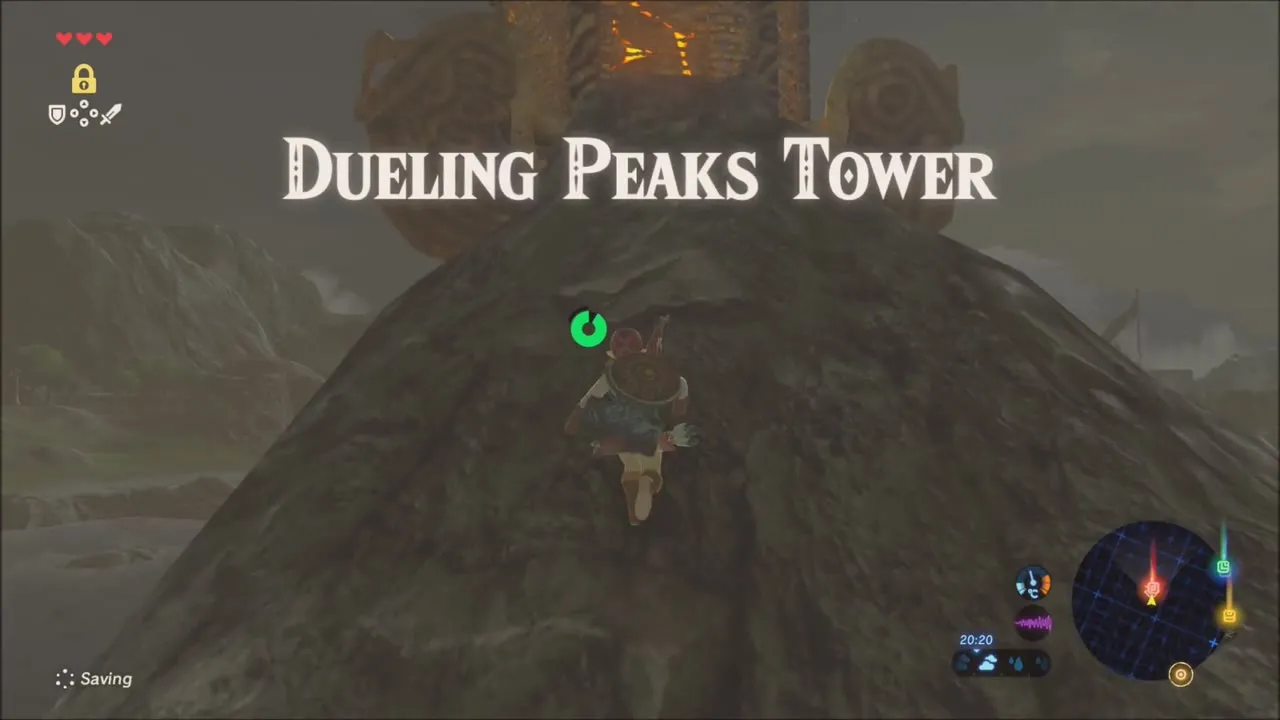
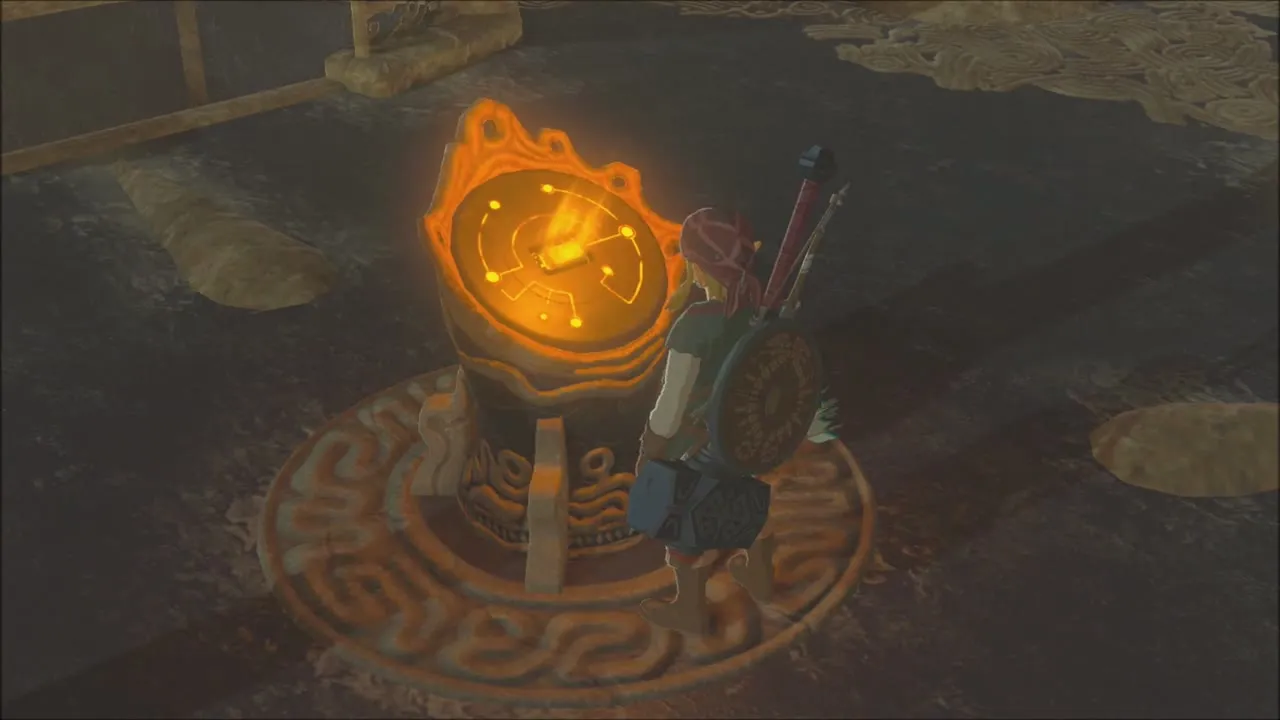
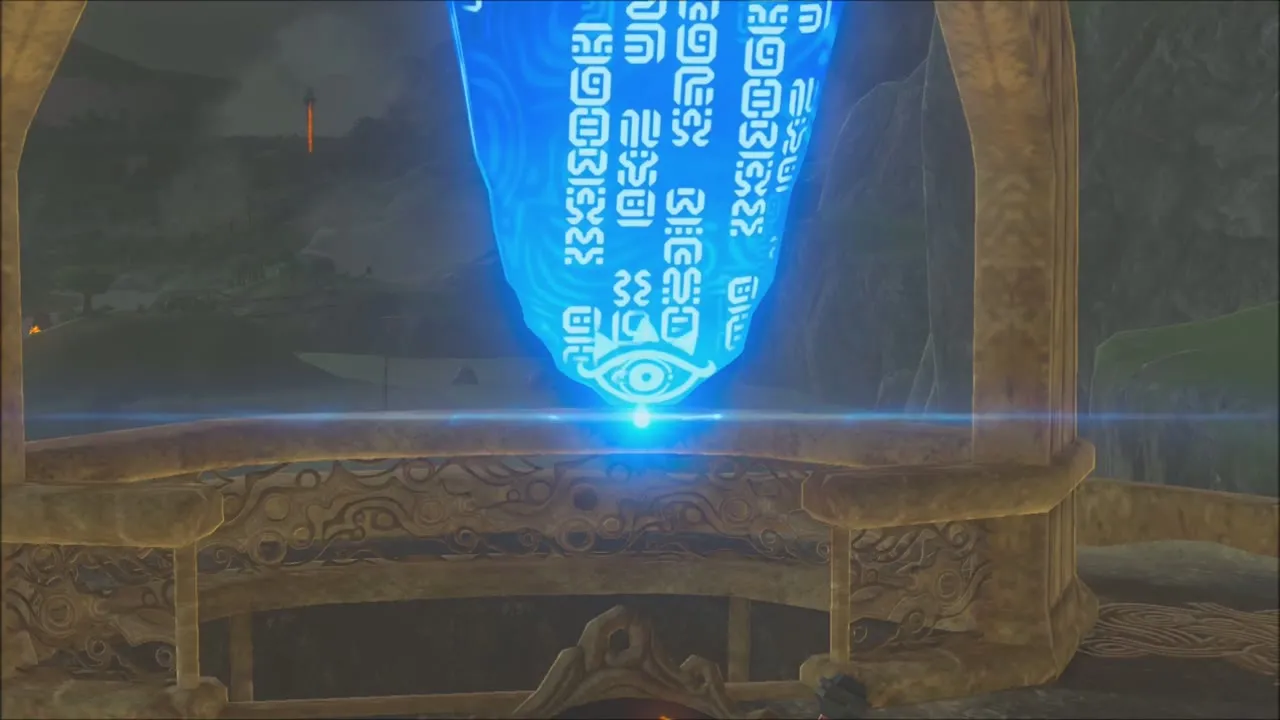
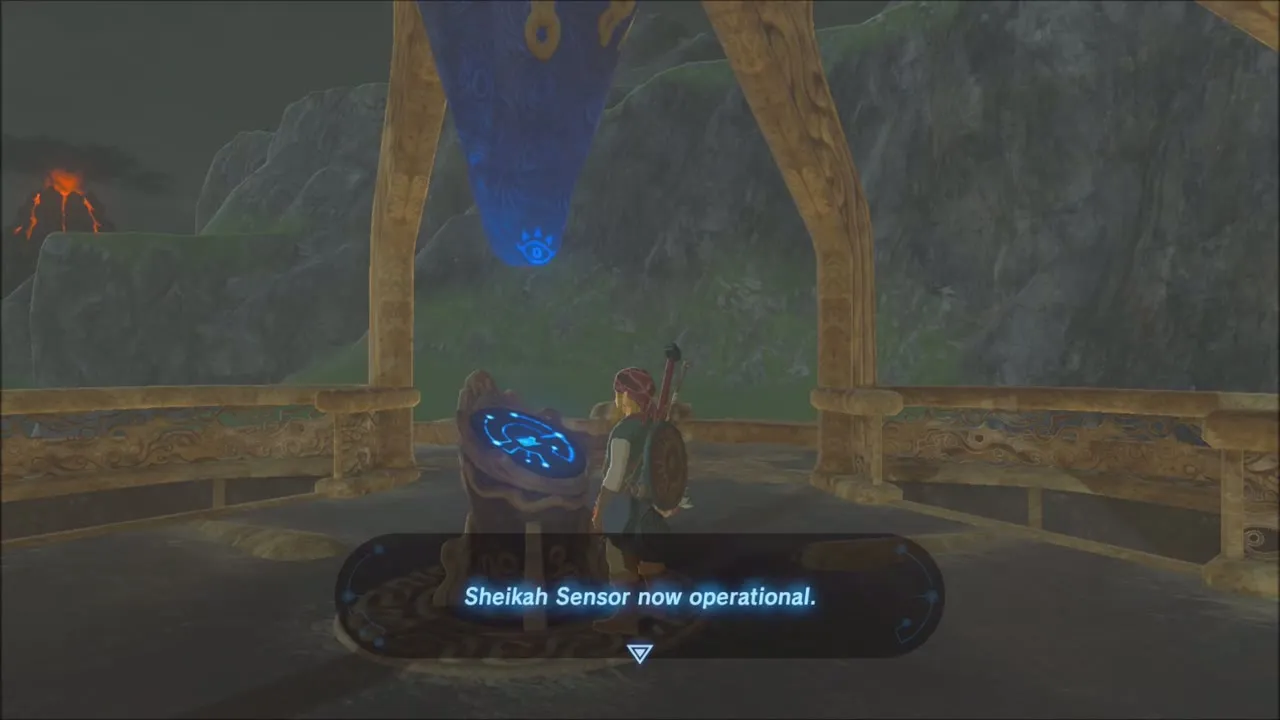
Climb the Dueling Peaks Tower to the top and step onto the platform to activate it and download the regional map. The tower also gives your slate the Sheikah Sensor, which detects nearby shrines.

Hylia River Bokoblin Camps: Soldier’s Shield and River Chests
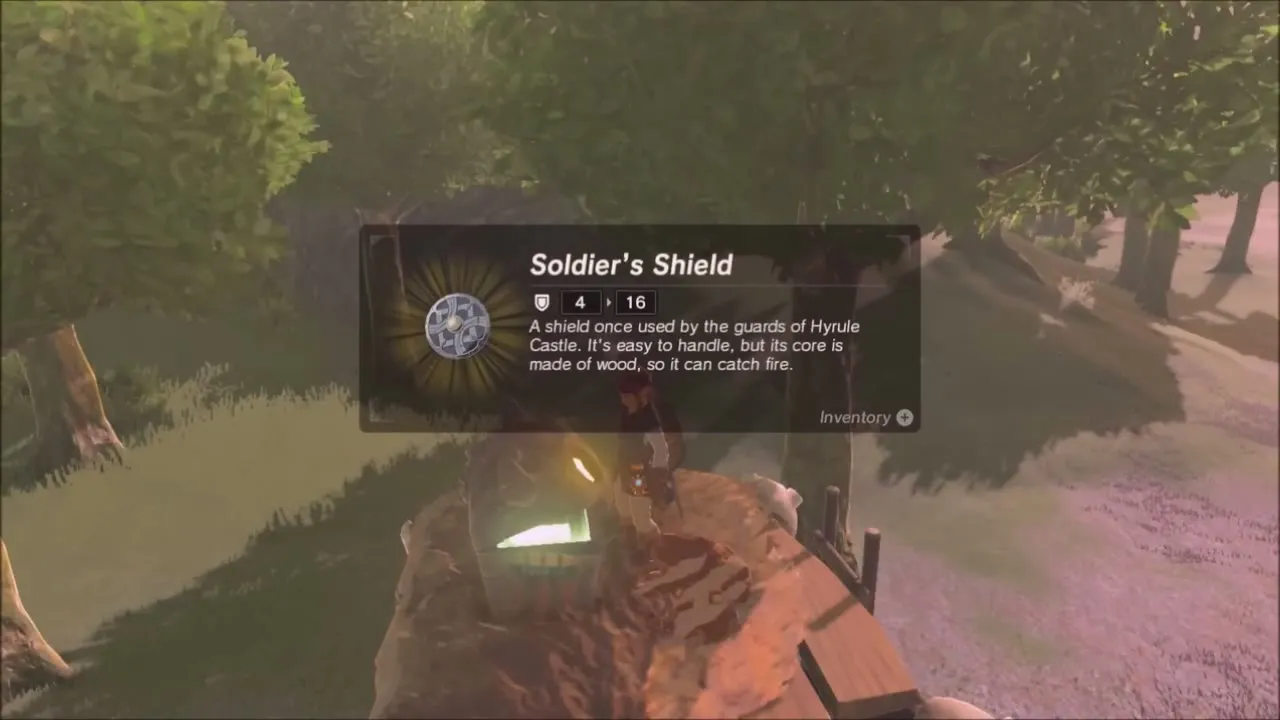
From the stretch of Hylia River south of Owlan Bridge, head north along the water and clear the Bokoblin camps on the shore. The first is a wooden lookout with a handful of Bokoblins around a fire. Beat them and open the chest on the little platform beside the tower for a Soldier’s Shield, a plain guard’s shield that is easy to hold but burns, so put it away near flames.
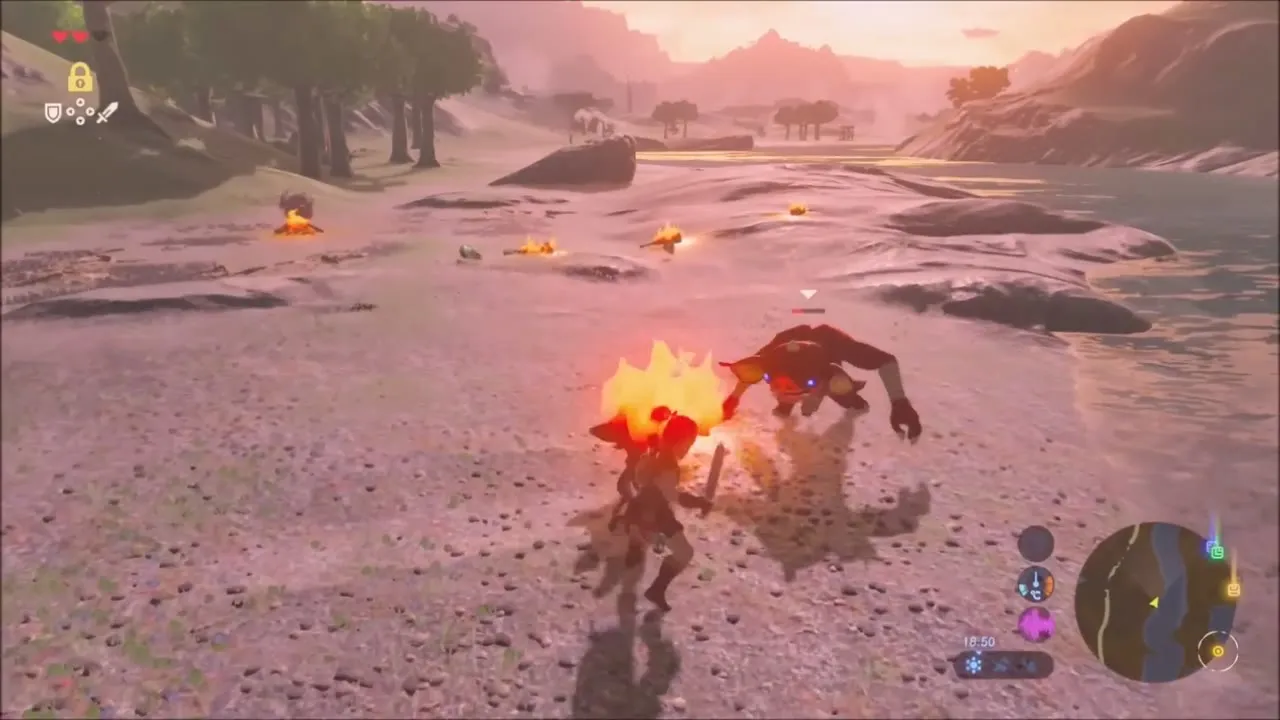

A second camp sits by the water a short way on. Kill the Bokoblins around the cook fire, then look out over the river: a chest rests on a half-sunken log raft right beside the camp. Glide or swim to it and open it before you carry on.


Night and the Blood Moon
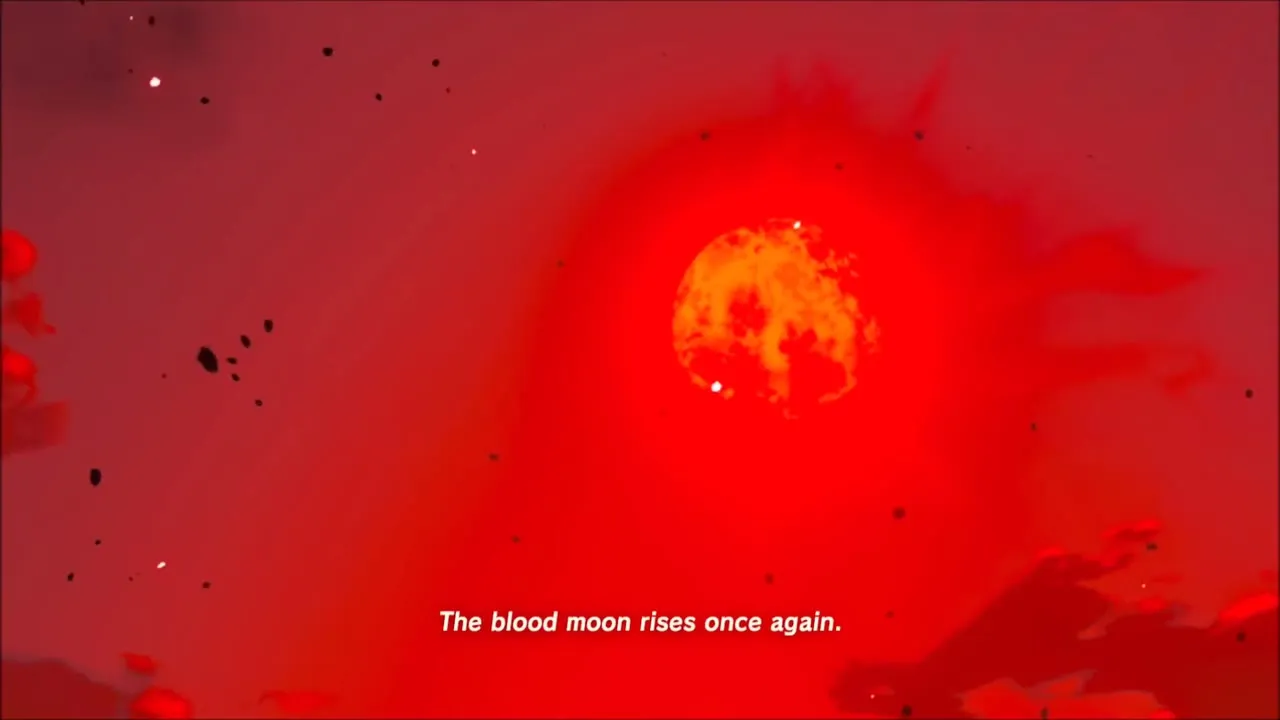
If you reach this stretch after dark, the sky can turn red and the Blood Moon rises, bringing back every monster you have killed so far. Cleared camps refill, so you can farm Bokoblin drops again, but there is no need to stay: keep moving along the bank and use trees for cover.

Lake camp, stone pillars and a tree platform
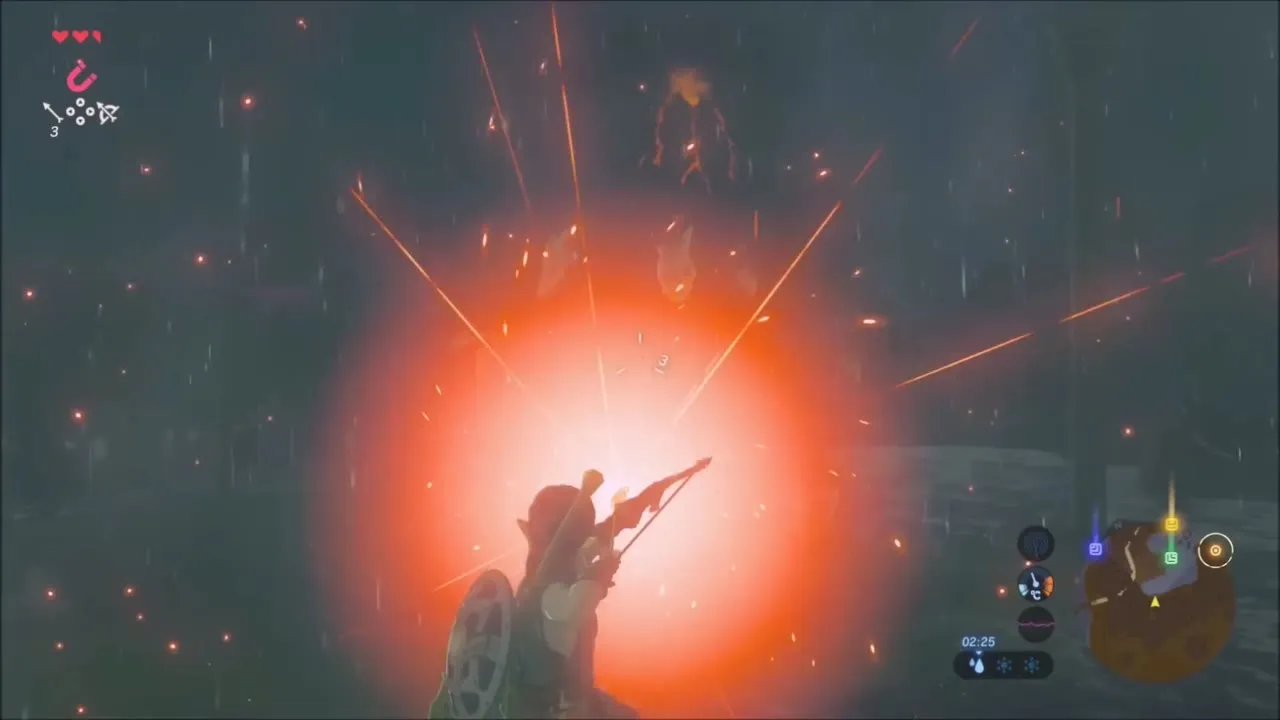
Further north a camp is built on rafts out on the water. Scope it from a rock on the bank, then shoot the Bokoblins from shore with fire arrows and glide over once they are down to pick up what they drop.

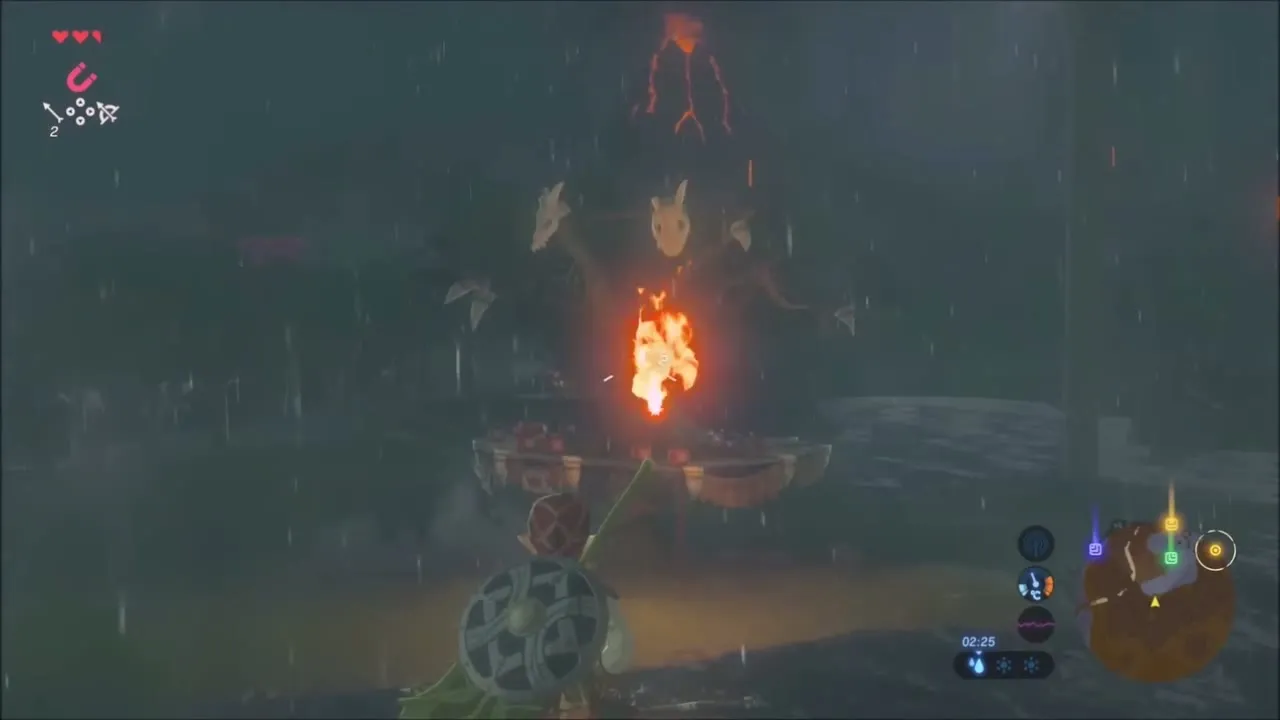

Past the lake, tall ruined stone pillars rise out of the shallows. Climb the tallest one: a chest sits on its flat top,.



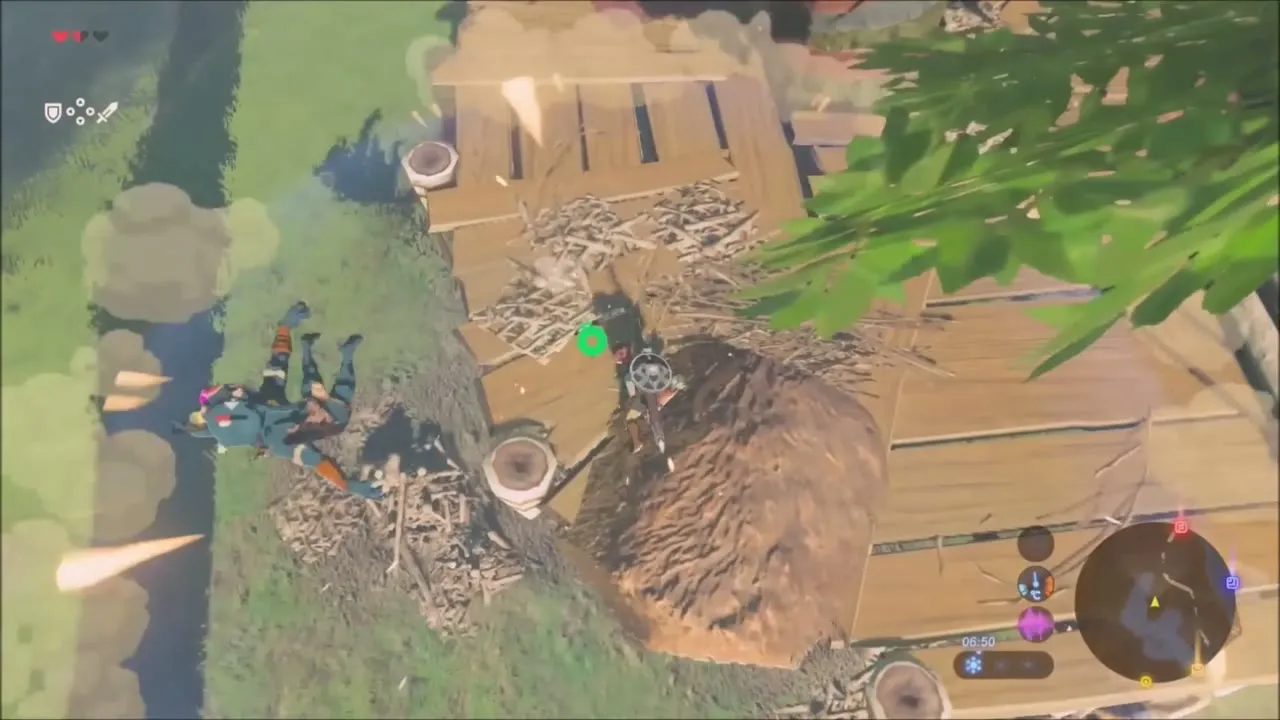
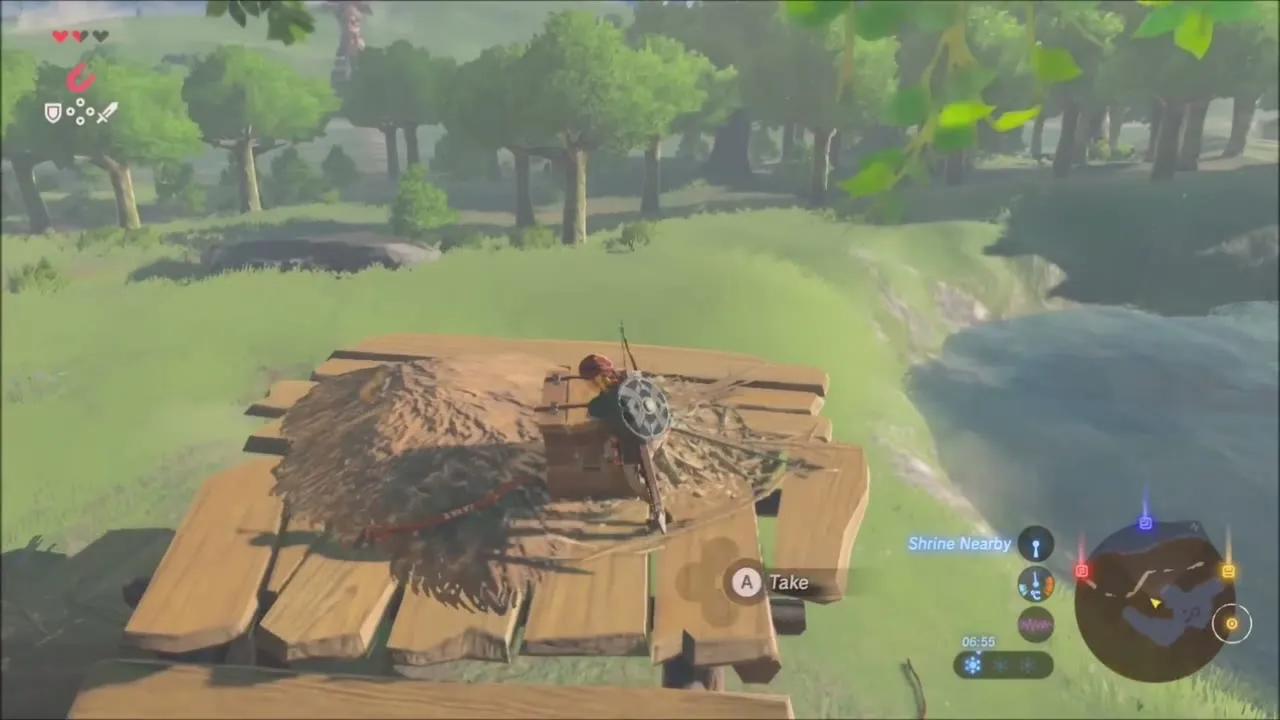
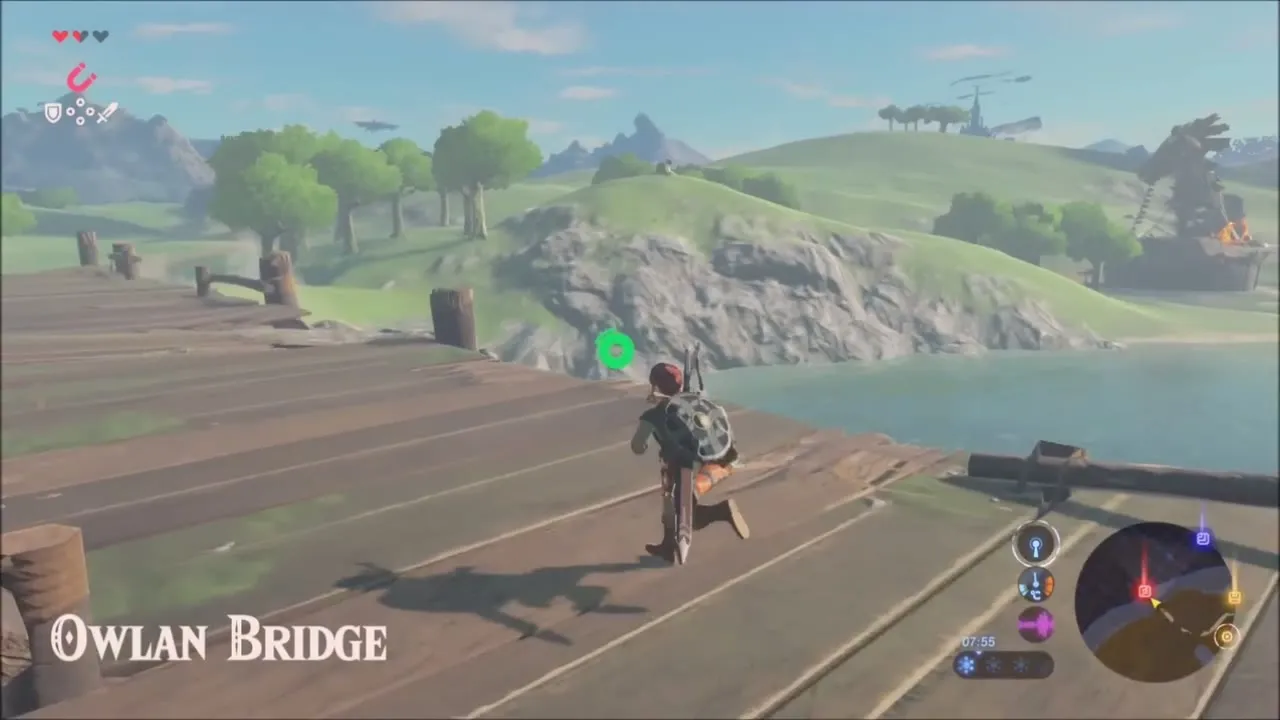
That camp is a wooden platform wrapped around a big tree beside the river. Climb up, defeat the Bokoblins and open the chest on the planks for a Traveler’s Bow. After this, follow the path north across Owlan Bridge (x 326, z 1273) to Riverside Stable.


Riverside Stable: A Royal Recipe and The Royal Guard’s Gear
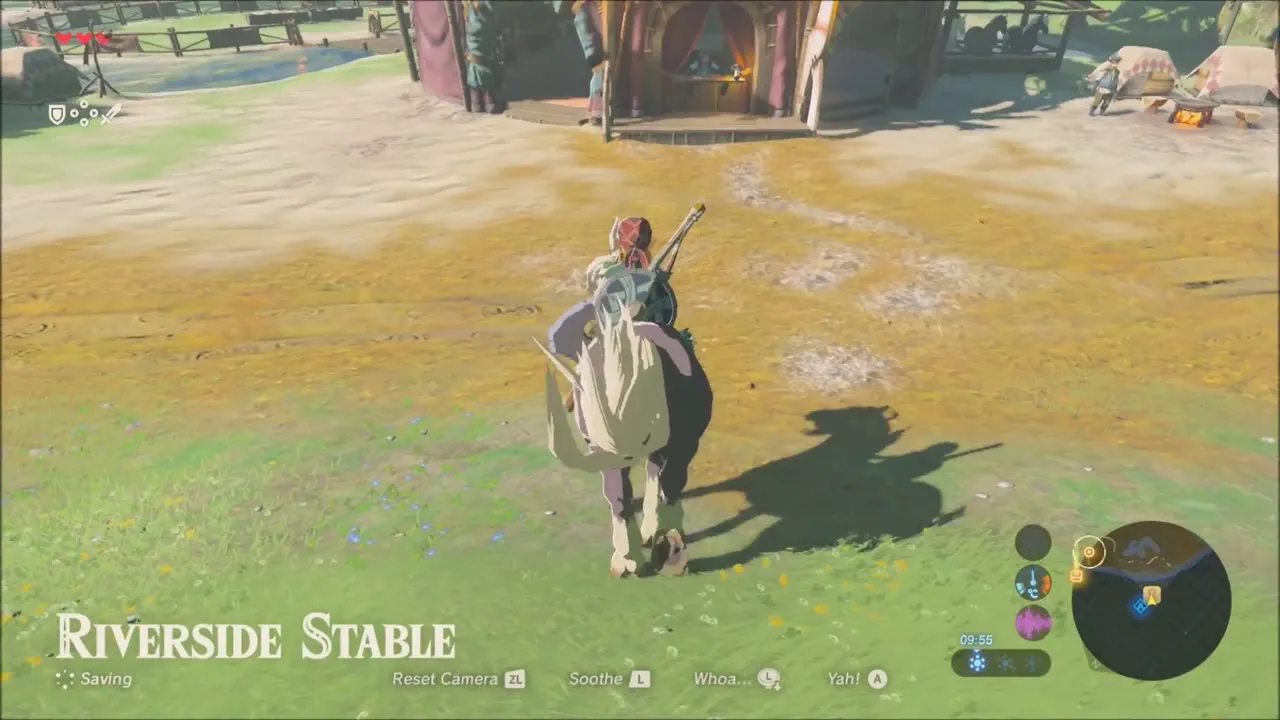
Riverside Stable (x 339, z 1095) is the first stable on this side of the river, and its name card appears as you ride in. Talk to Gotter, who stands by the cooking pot. He starts A Royal Recipe: he wants a Monster Cake or Fruitcake cooked from recipes found in Hyrule Castle‘s library. You cannot do it yet, so simply take it on.


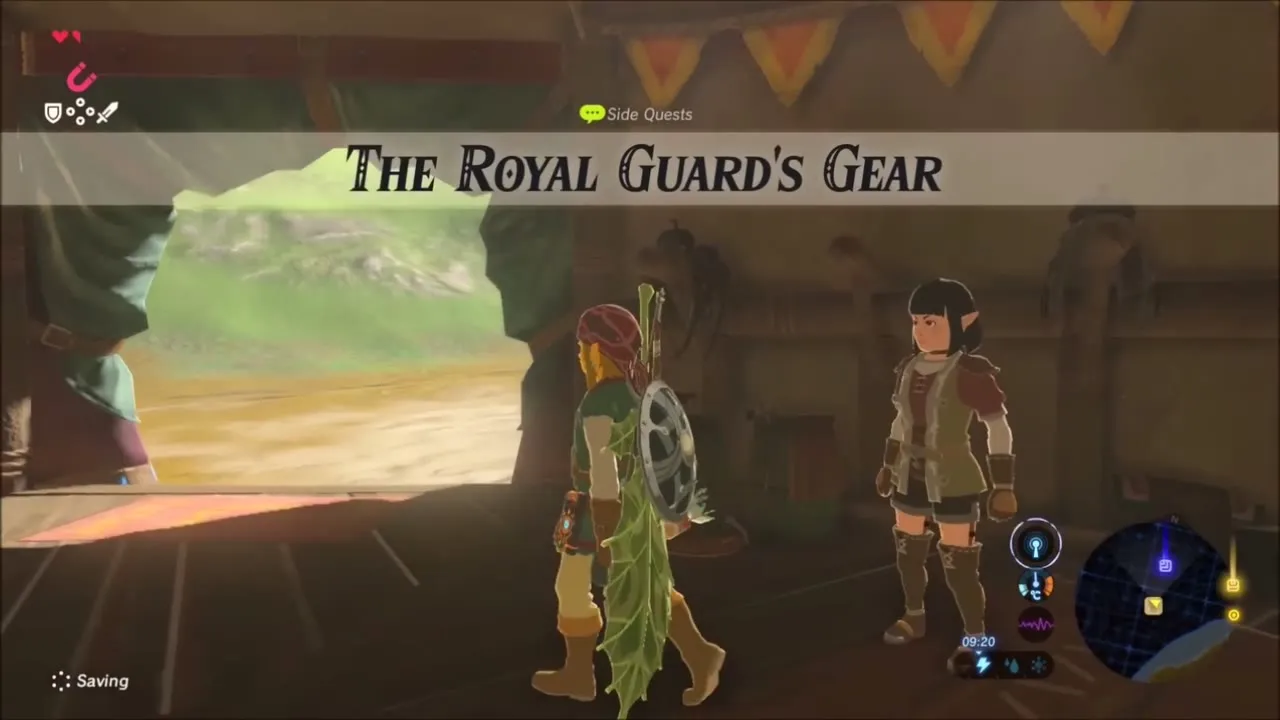
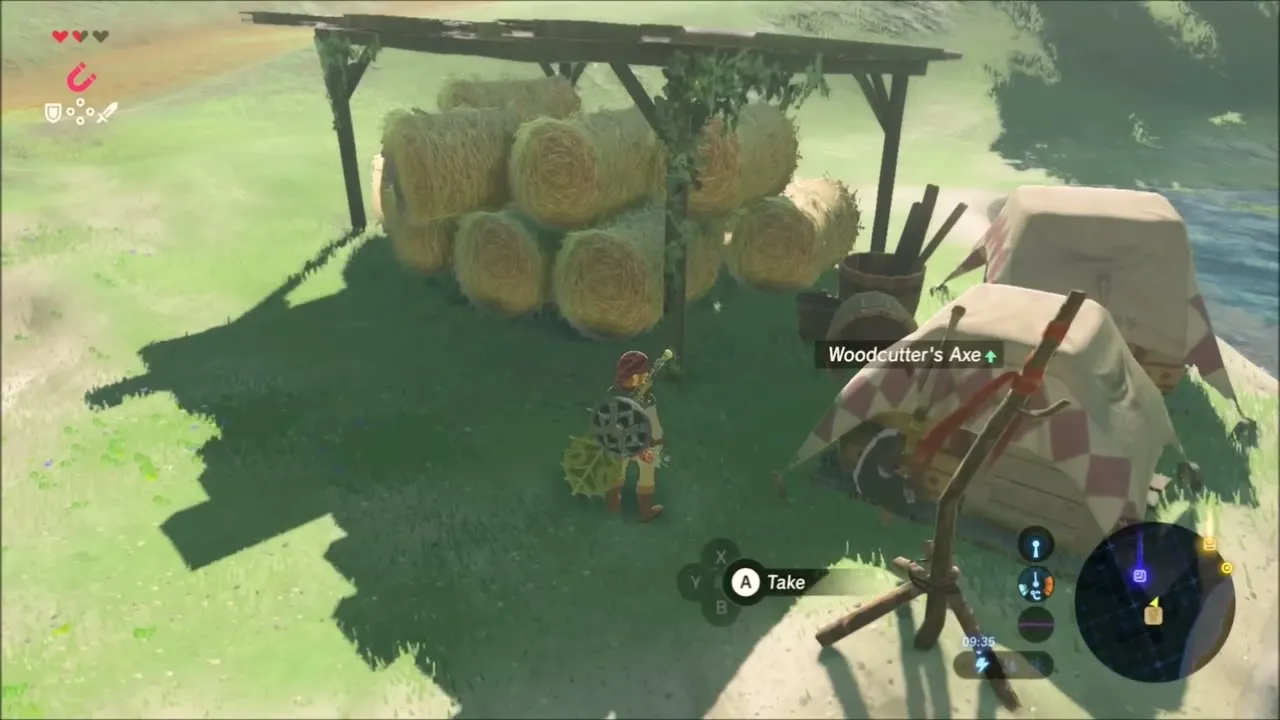
Parcy, inside the stable building, starts The Royal Guard’s Gear. She pays 300 rupees for a Royal Guard weapon, which you can only find in Hyrule Castle, so keep this one for later. Outside, a shed full of hay holds a Soldier’s Broadsword and a Woodcutter’s Axe you can pick up on your way out.


Wahgo Katta Shrine: Metal Connections Trial
The Wahgo Katta Shrine (x 346, z 1008, height 136) lies a short ride up the road from the stable. Its title card shows as you reach the entrance. Step onto the pedestal to enter and begin the Metal Connections trial, which is all about Magnesis.


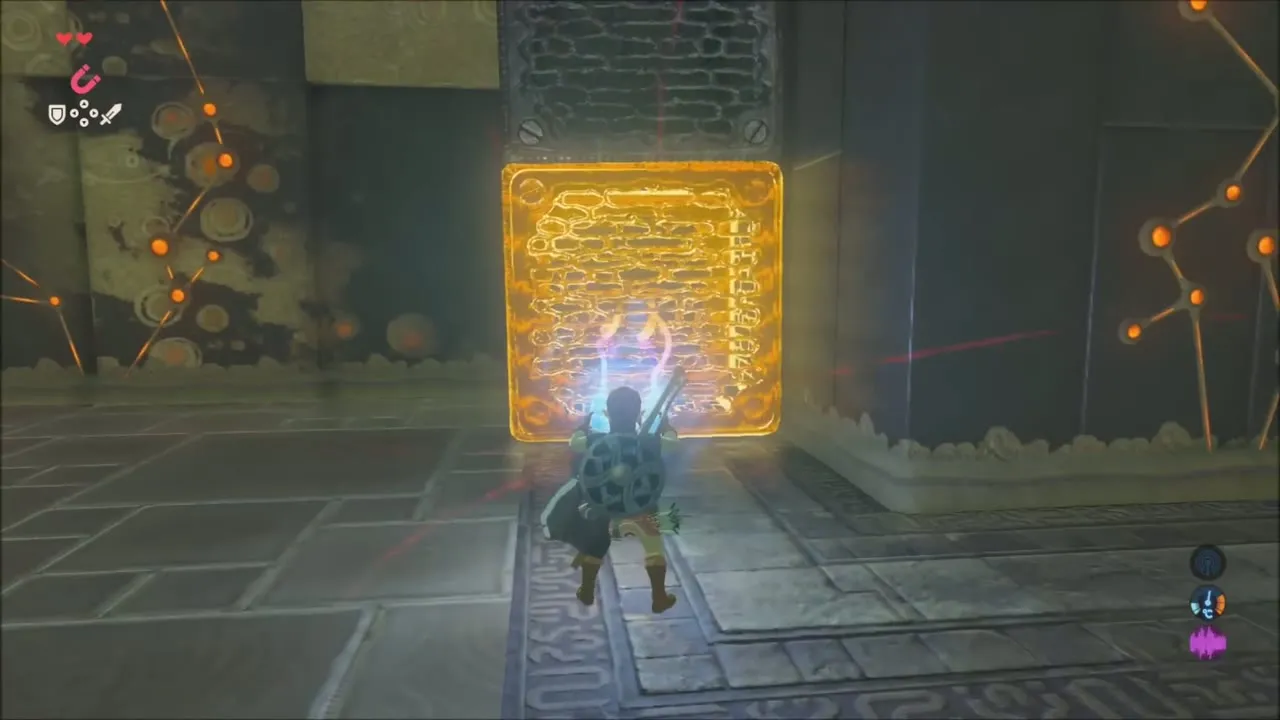
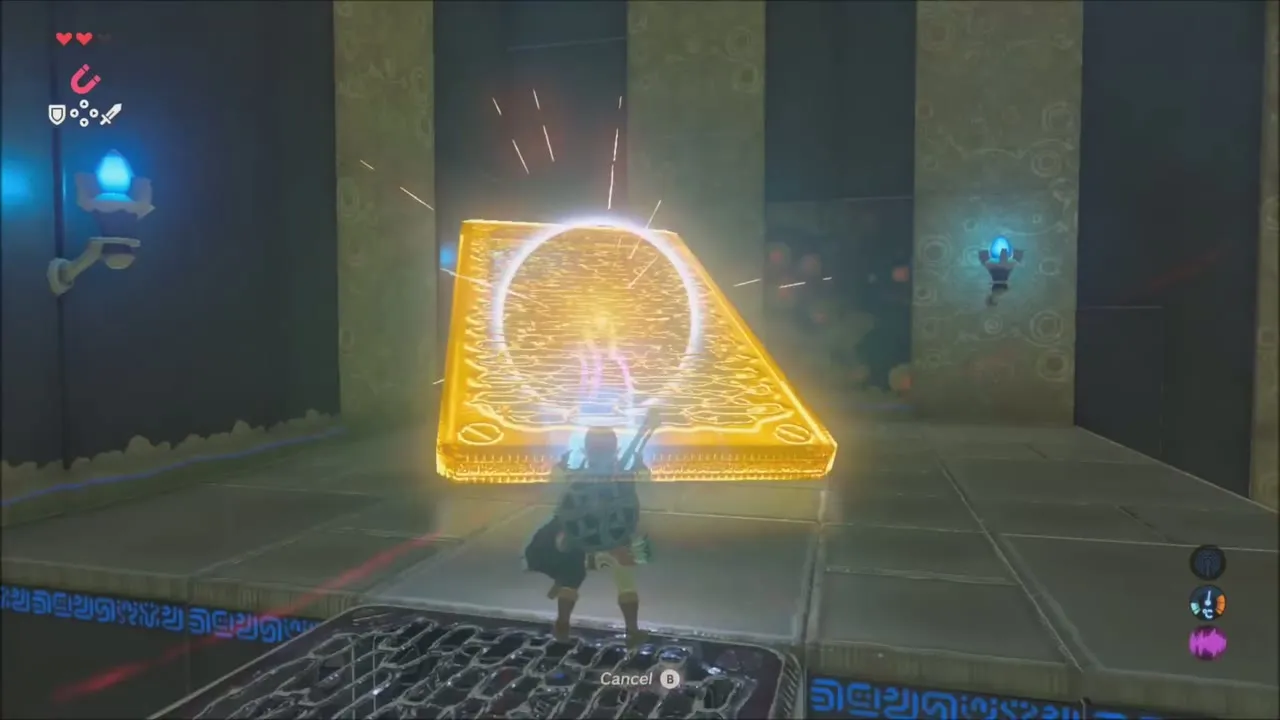
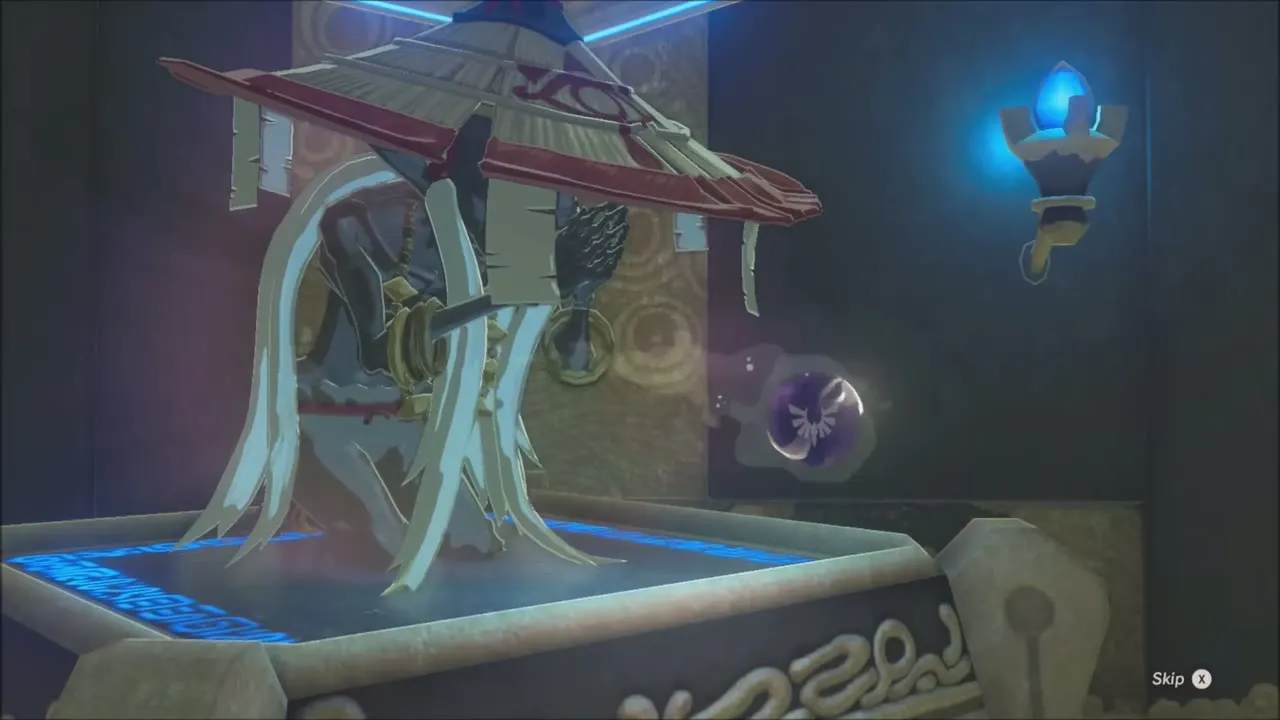
Use Magnesis to rearrange the metal crates and to tilt the large metal slab. Stack the crates and climb them before you move on, because a platform at the top holds a chest with Amber. Then use the crates and the slab to span the gap to the monk’s ledge, and cross. Wahgo Katta hands you your Spirit Orb.

Catch a Horse and Shop at Riverside Stable
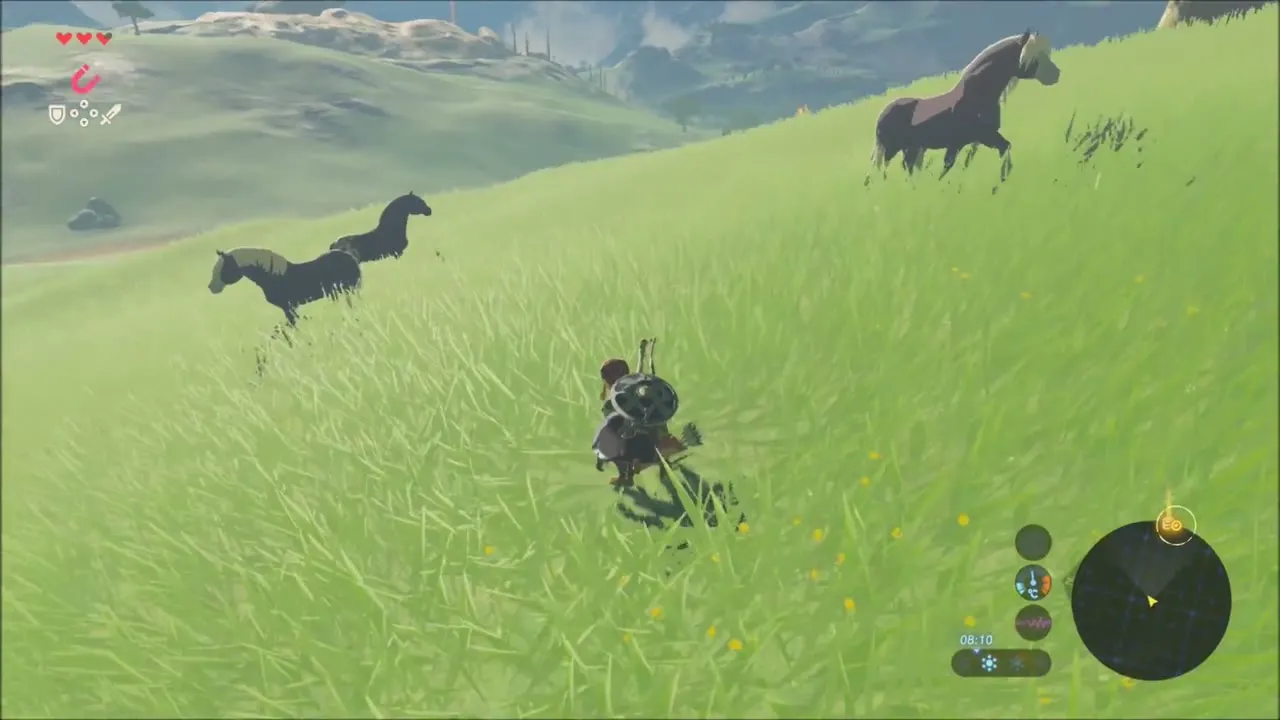
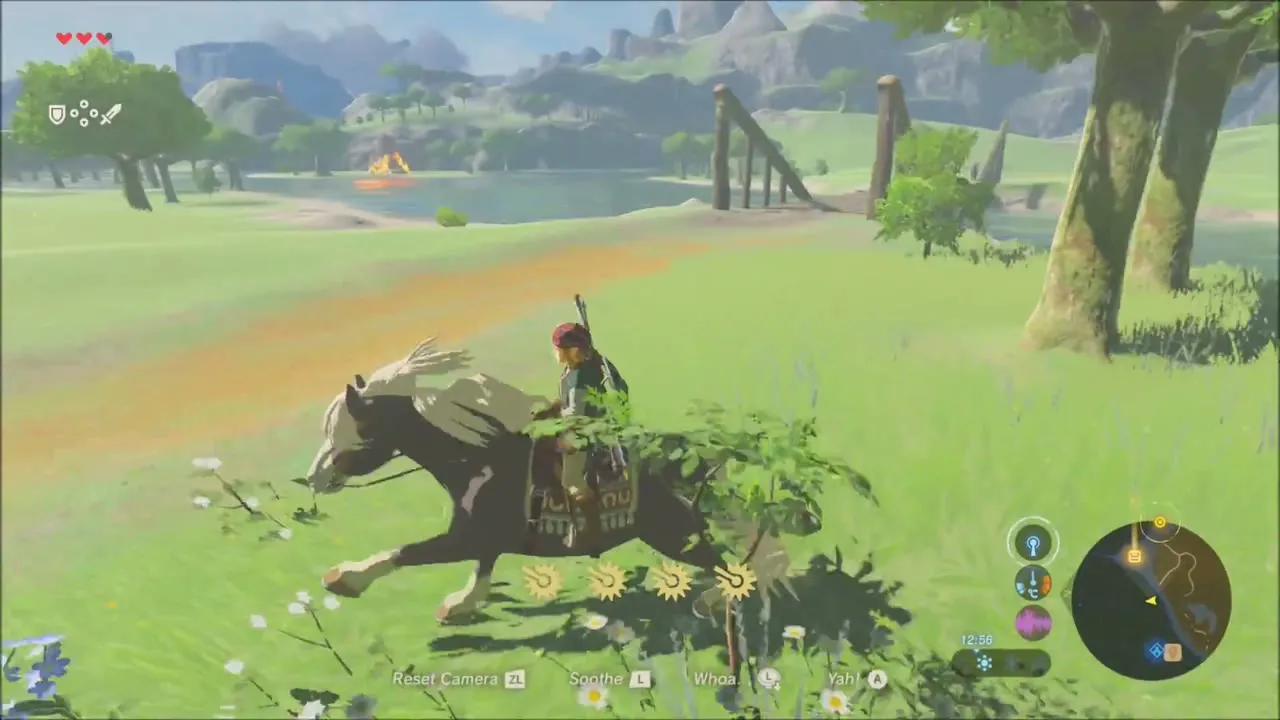
Before leaving the area, catch a horse. Find a wild horse in the long grass, mount it and keep calming it with the Soothe button until it settles down under you. Riding it to the stable also saves you a long walk to the next shrine.


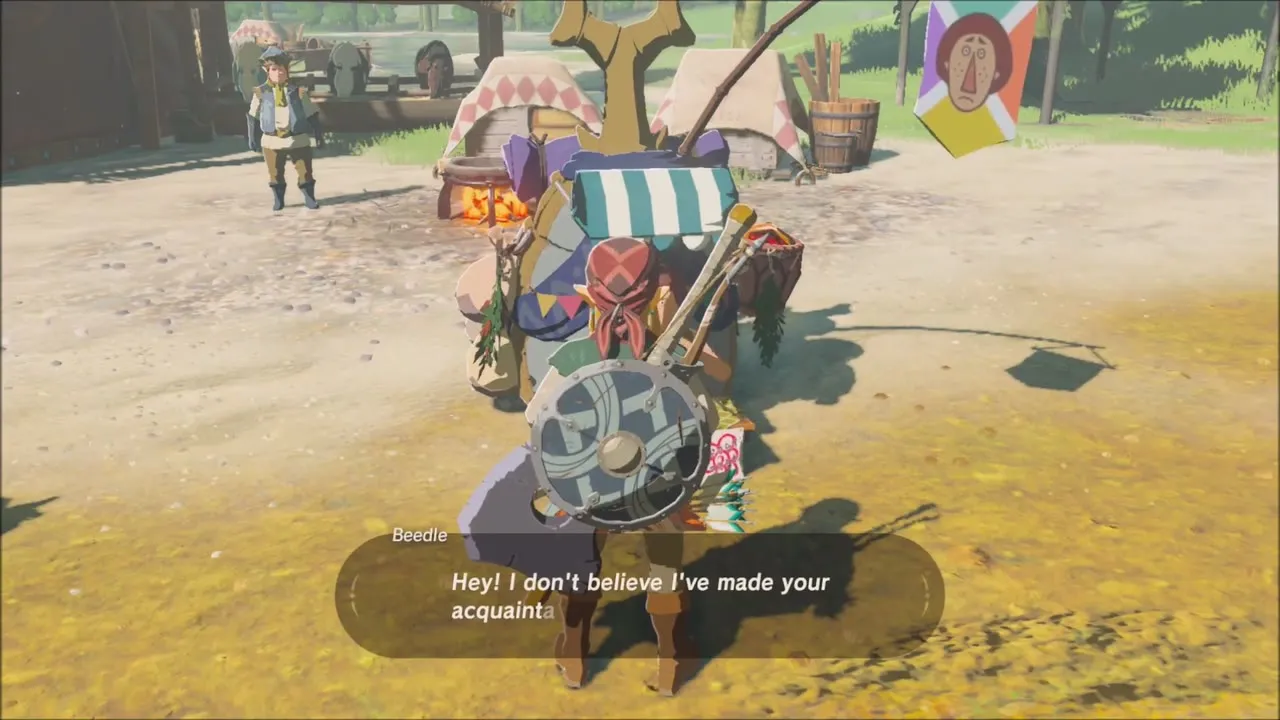
Ride back to Riverside Stable and talk to the keeper at the counter: you can register your new horse here, see its stats and give it a name. Beedle‘s tent stands in the yard, and his stock includes arrows, Thunderwing Butterflies, Electric Darners and Tireless Frogs, so top up your arrows before heading on. See the horses page for how horses are stabled and bonded.

Hila Rao Shrine on Floret Sandbar: Drifting Trial
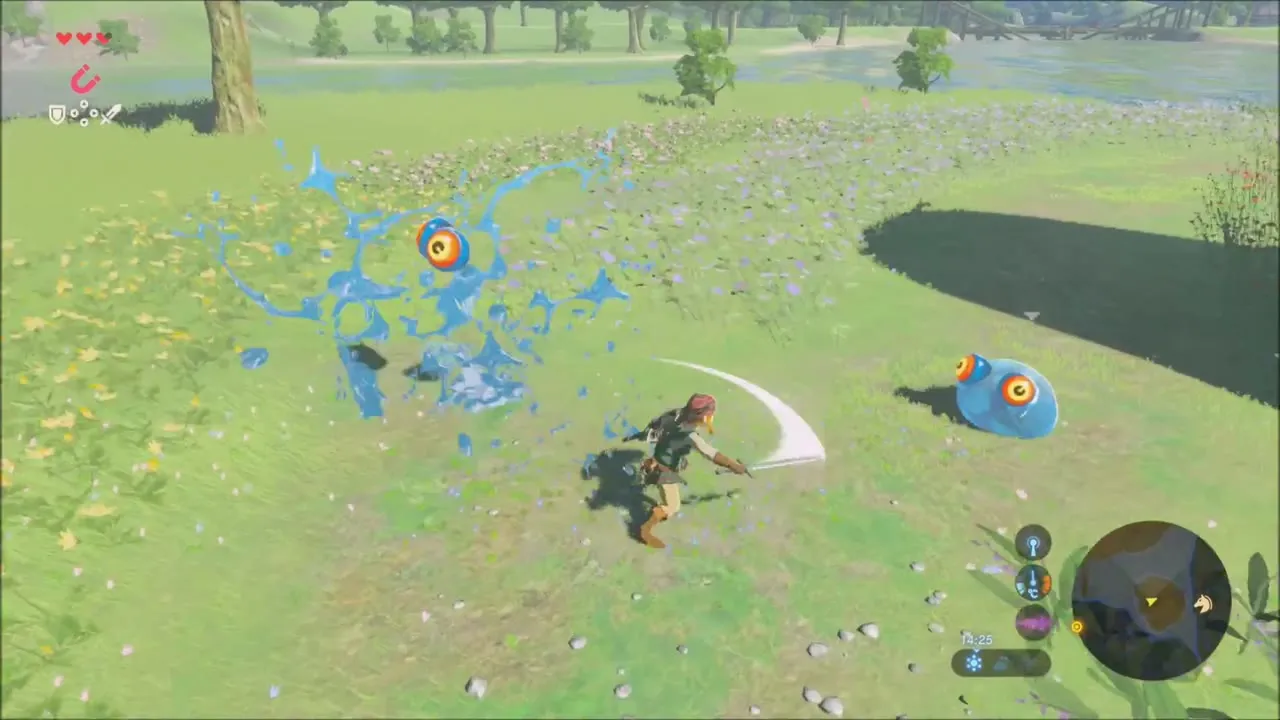
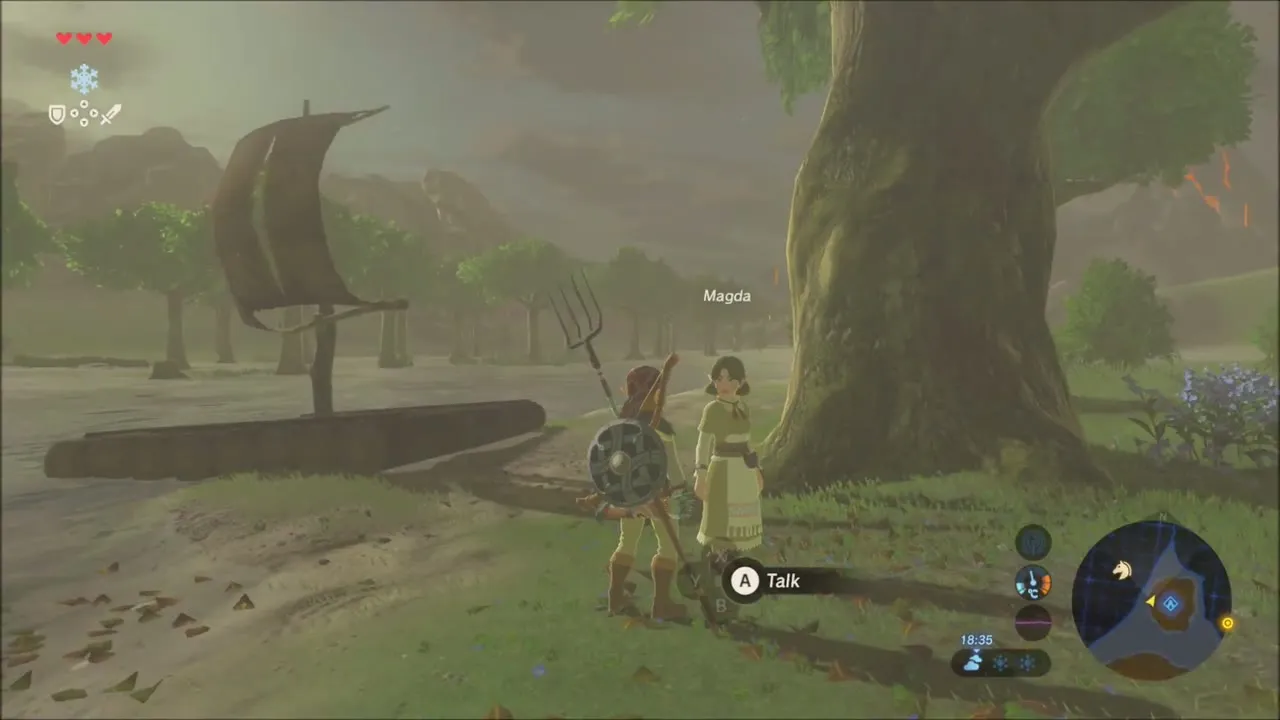
The Hila Rao Shrine (x 854, z 839, height 130) sits on Floret Sandbar. As you ride across the flower beds to the sandbar, a woman named Magda asks you to stay off the flowers, which starts the shrine quest Watch Out for the Flowers. Walk only on the path and avoid touching any flowers: if you trample them three times, Magda loses her temper and sends you back damaged. Take Chuchu Jelly from the enemies on the way, then step into the shrine.

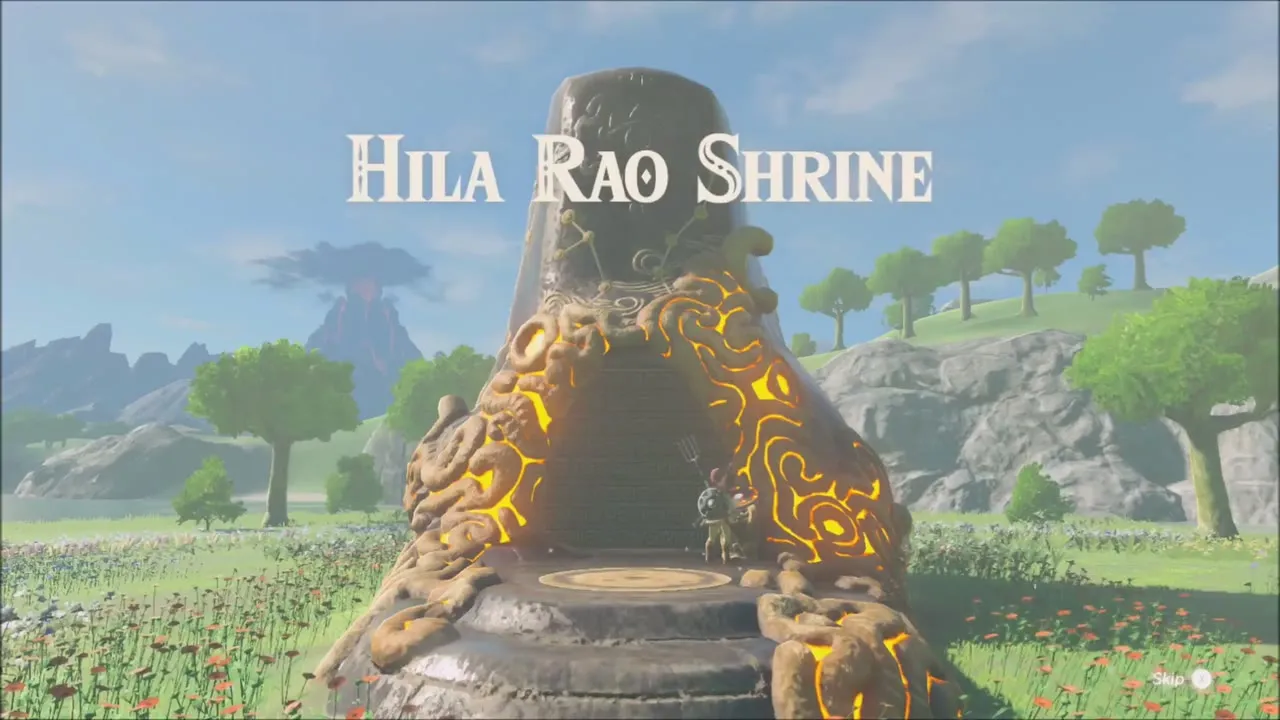
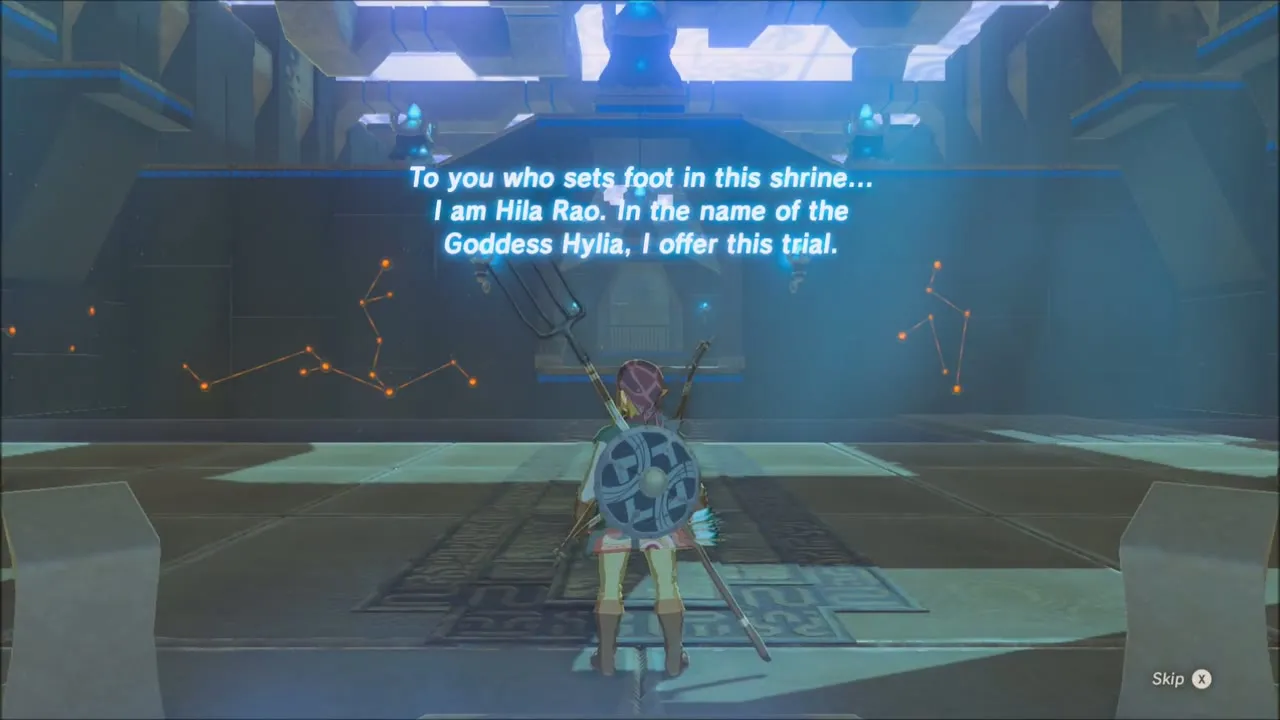
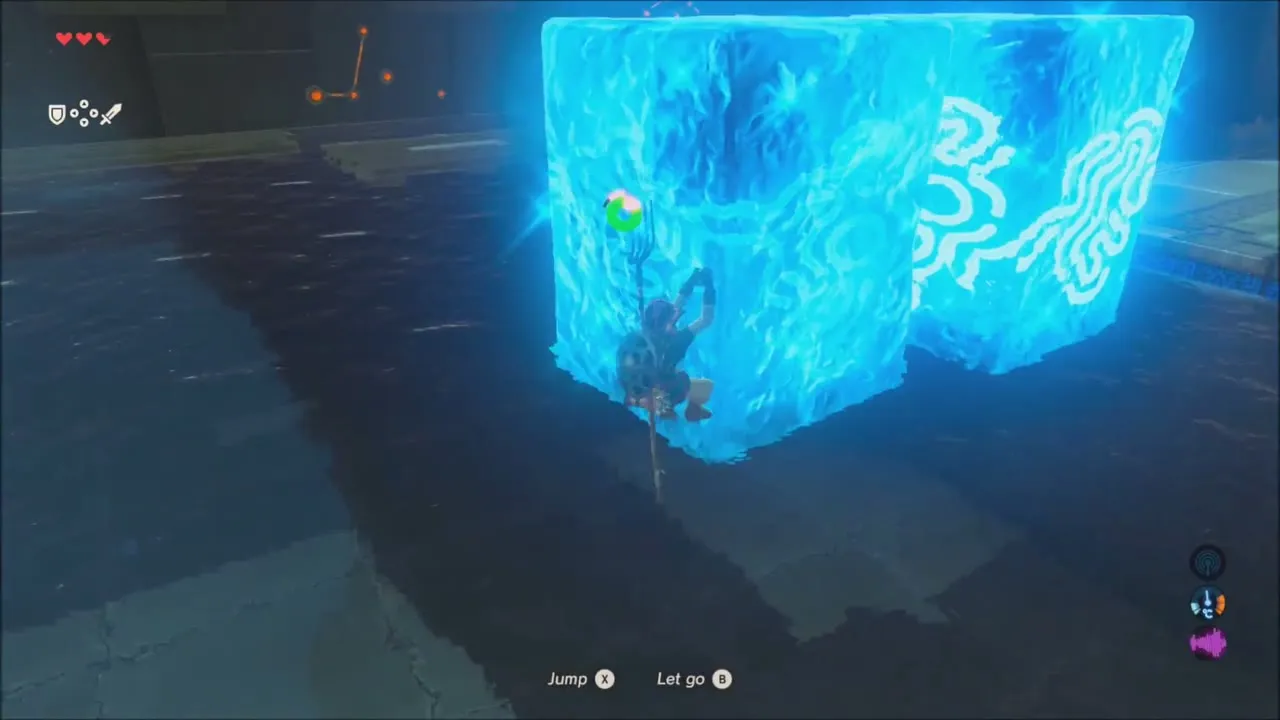
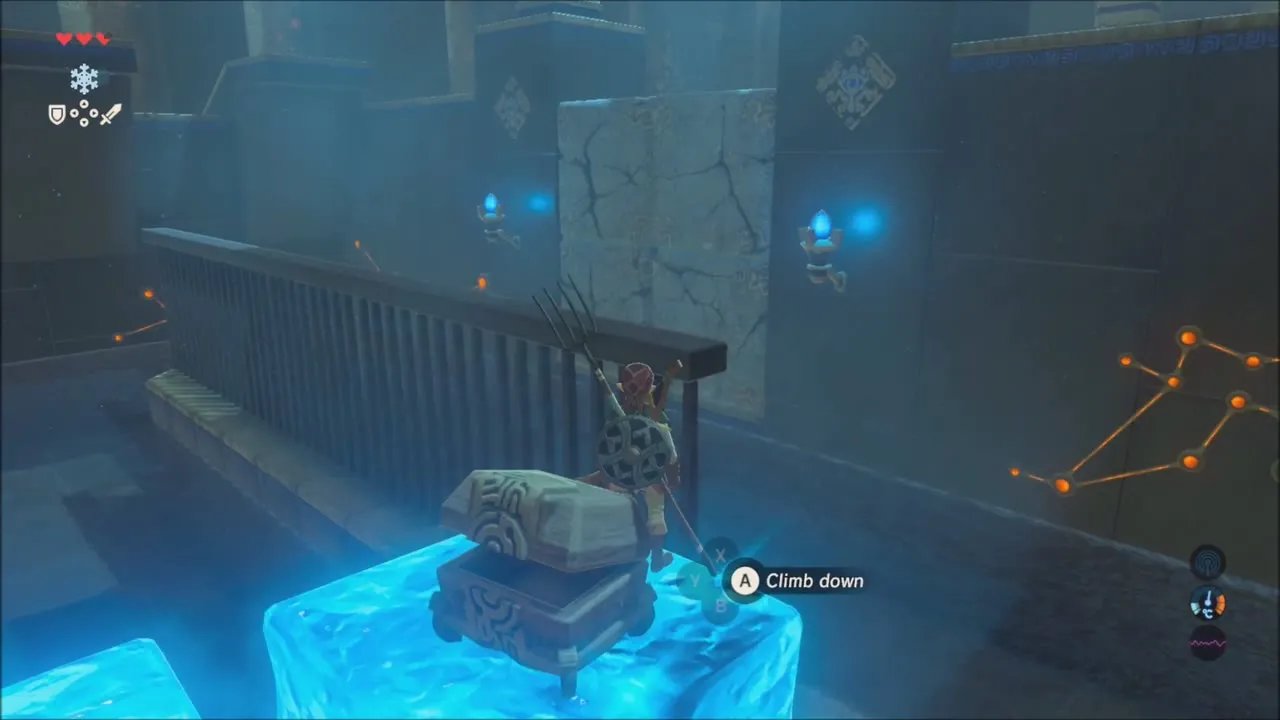
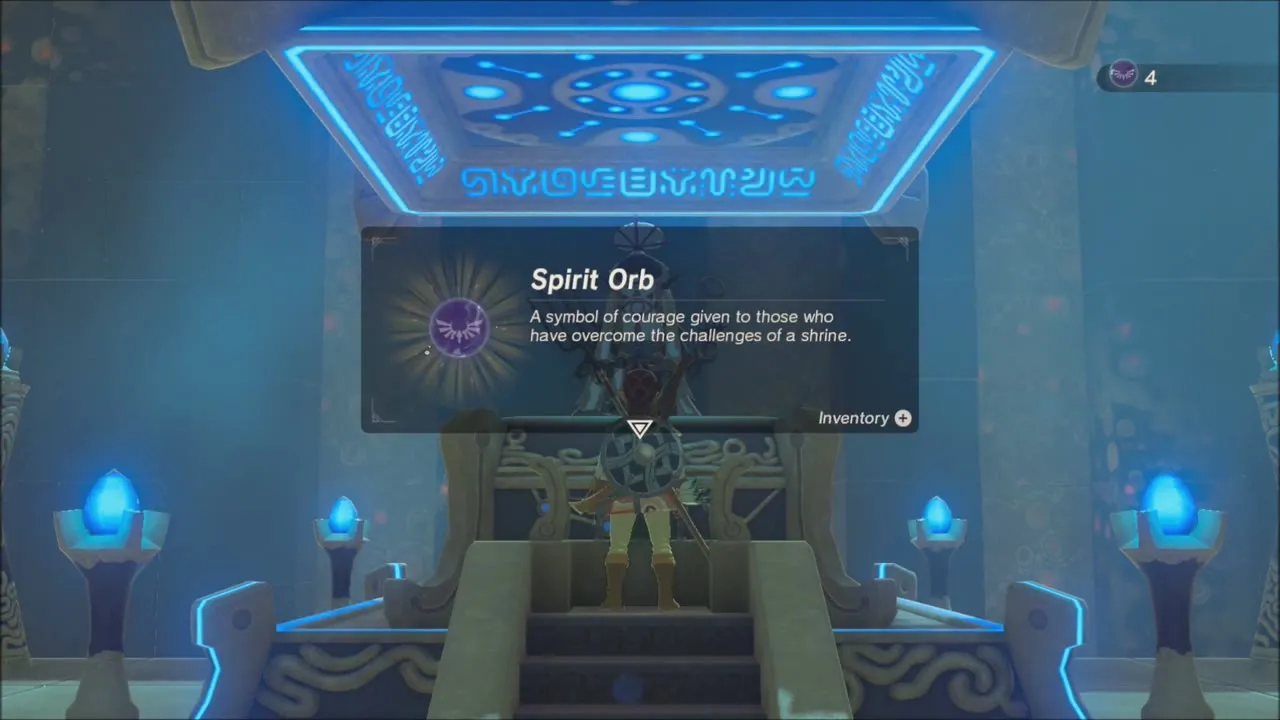
Inside, the trial is Drifting. Step onto the drifting plank to cross the first room, then hop the floating planks. In the last room use Cryonis to freeze ice blocks out of the water, climb them, and open the chest for Ice Arrows. Cross to the monk Hila Rao for the Spirit Orb.
Camps, a Bone Cave and Horwell Bridge Toward Lanayru
Back outside, Magda is still standing by her flowers. Follow the river past a camp on the flats, where a rusty shield lies in the dirt, to a hill of giant bones. A dark cave runs into the hill: fight through the Bokoblins inside, using fire arrows, and open the chest at the back for a Silver Rupee worth 100 rupees.
Ride on toward Horwell Bridge (x 681, z 977). A girl named Leekah is standing on the bridge. Talk to her and she thanks you with an offer of a reward. After that, keep riding east over the grassland.
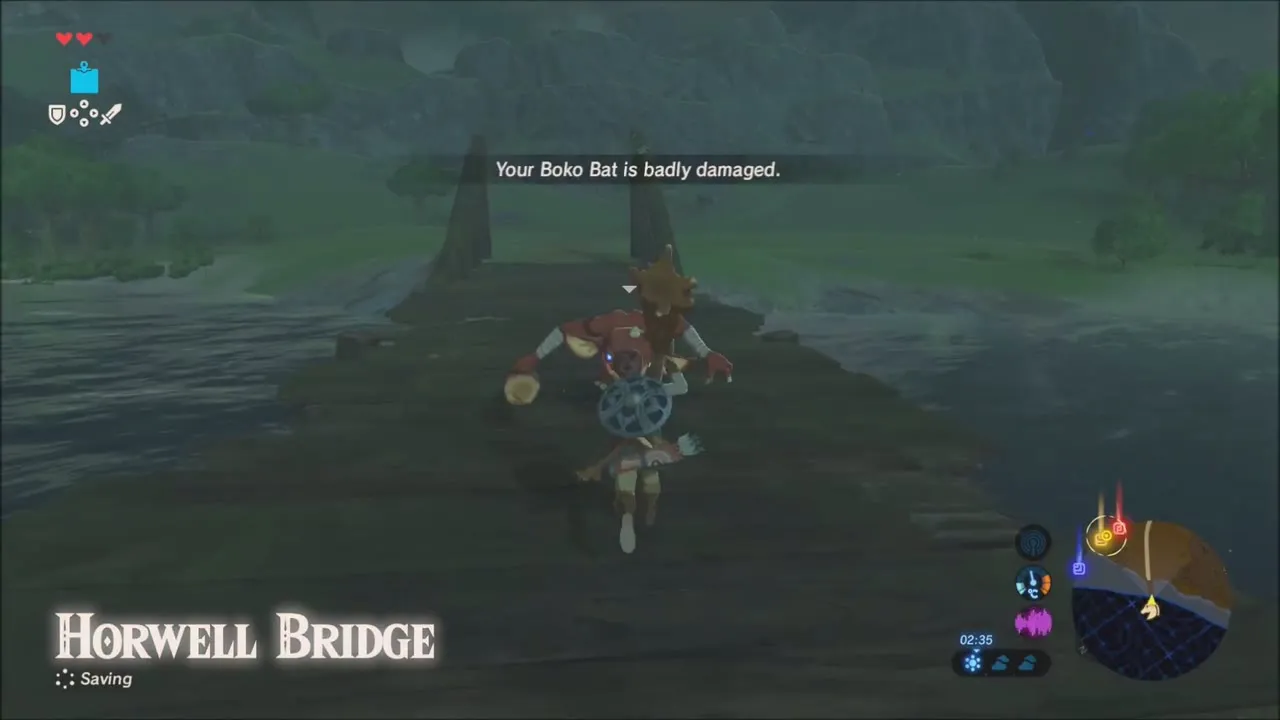
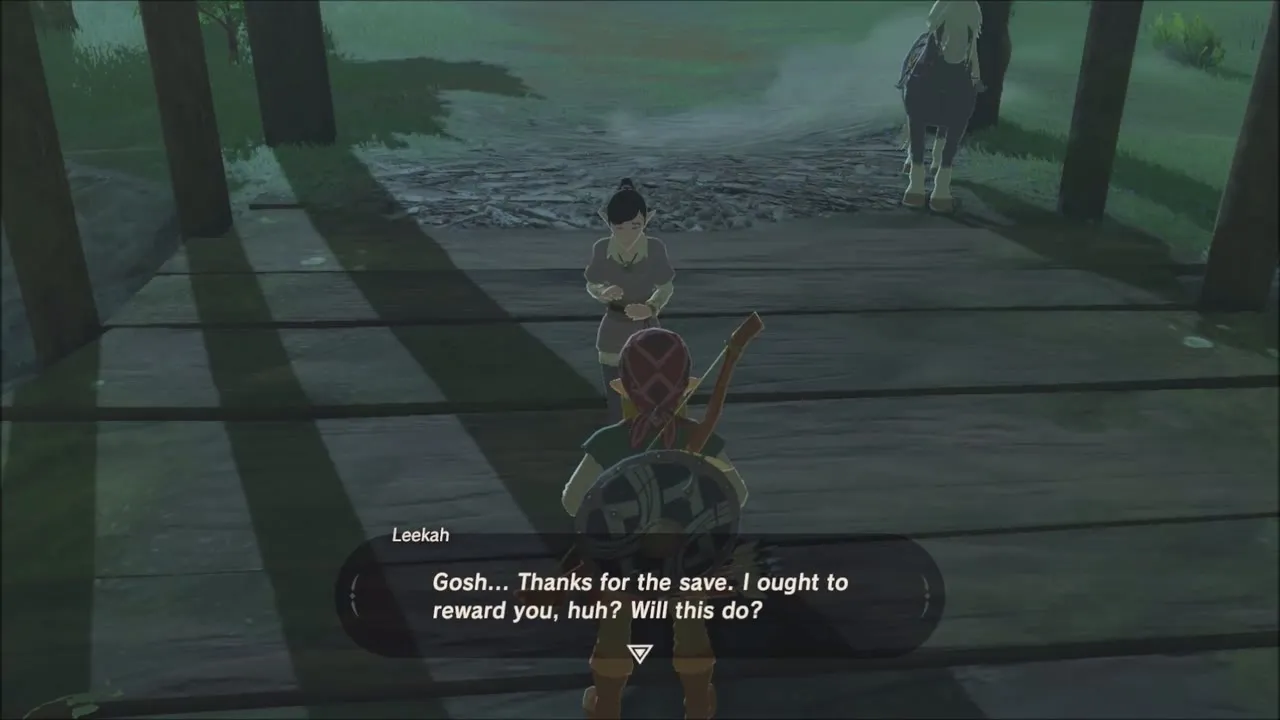
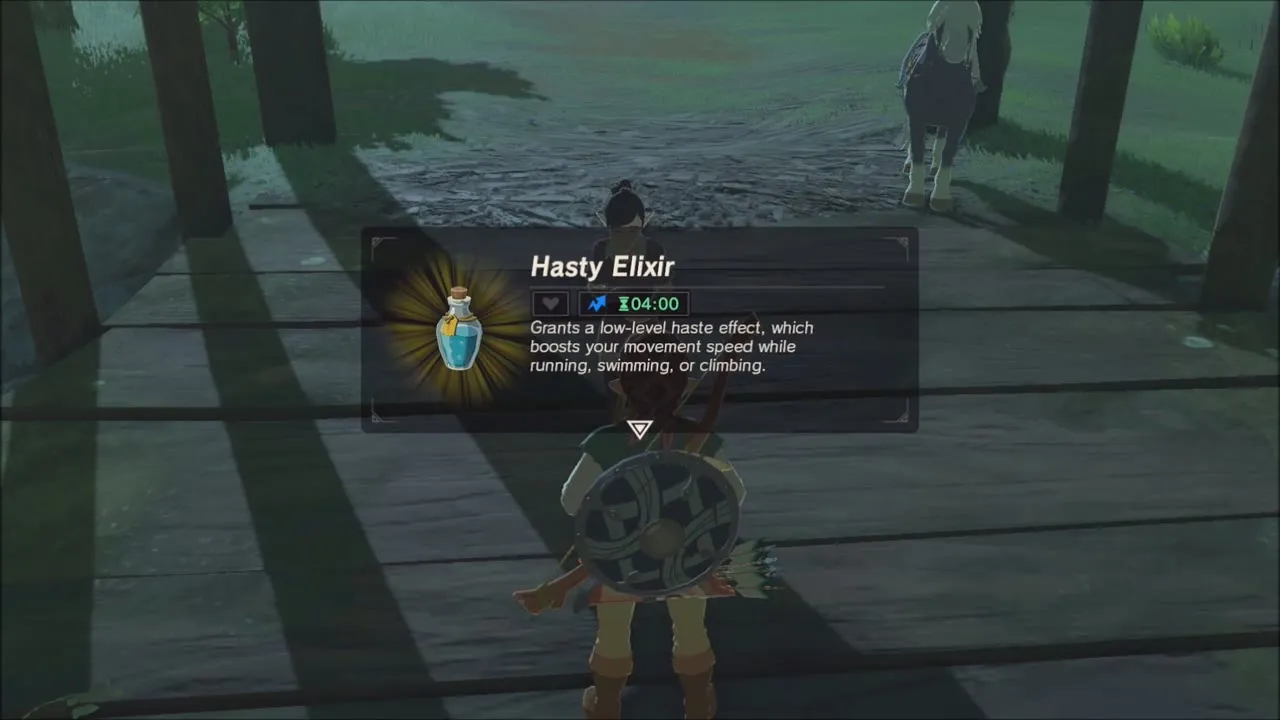
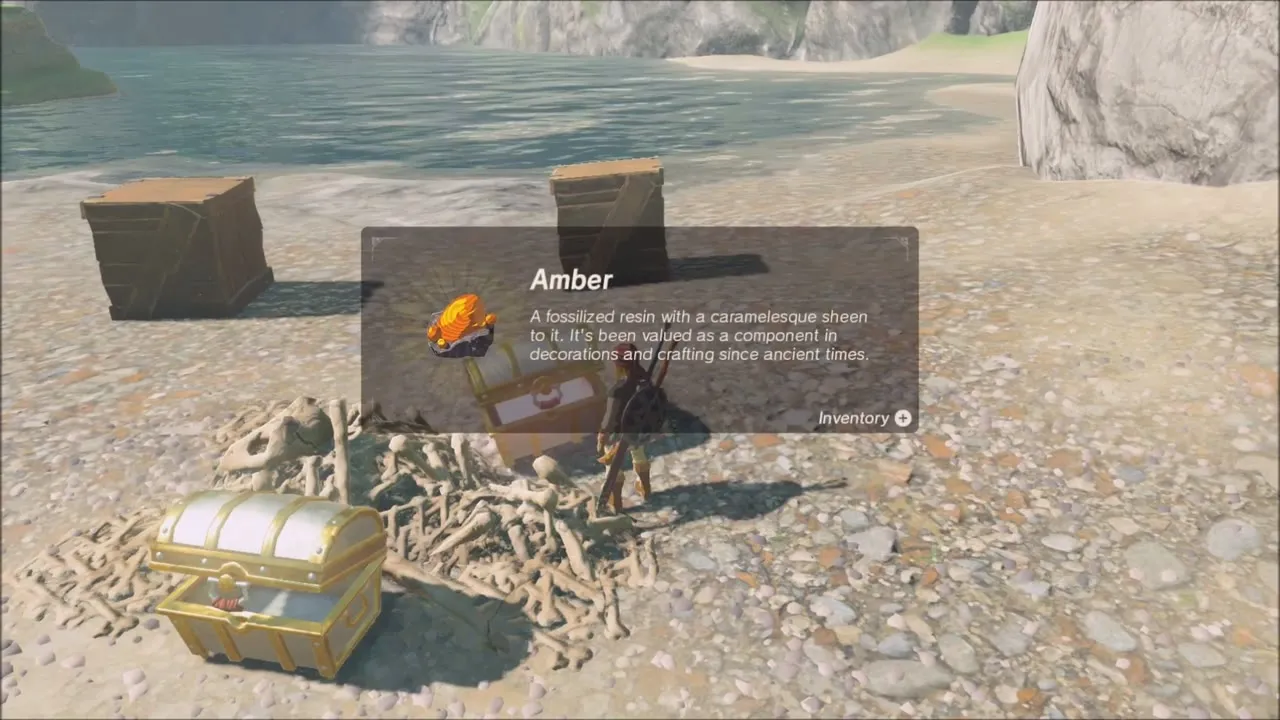
The next camp has several wooden lookouts and plenty of Bokoblins, so fight from range. Search the sand: a chest in a pile of bones next to two barrels holds Amber. Use Magnesis to drag the metal crates out of the shallows beside the camp, where a Green Rupee is hidden among the debris.
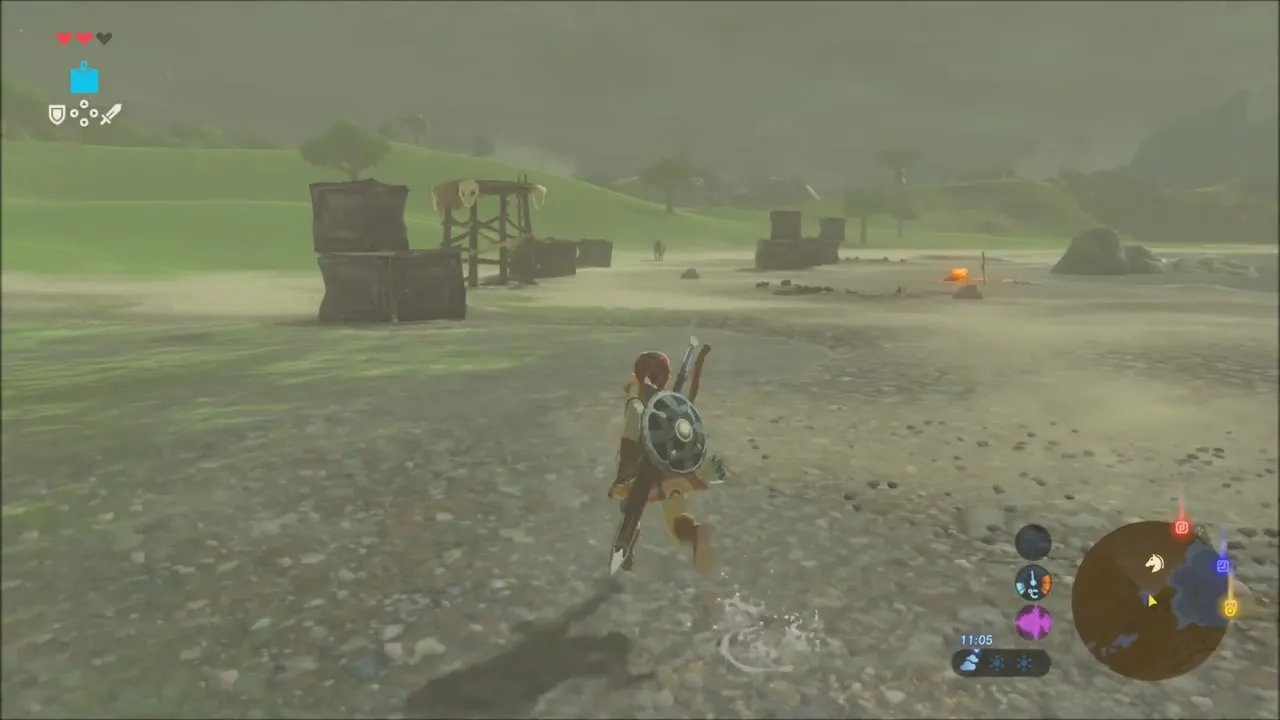


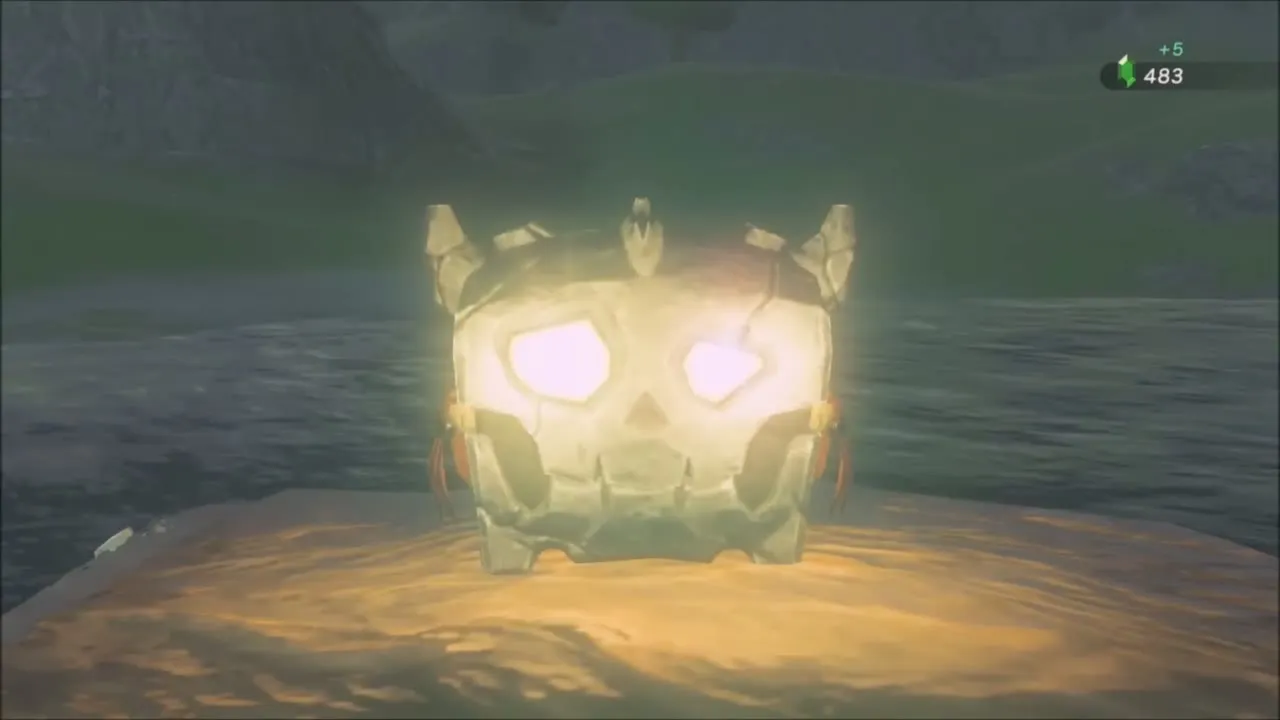
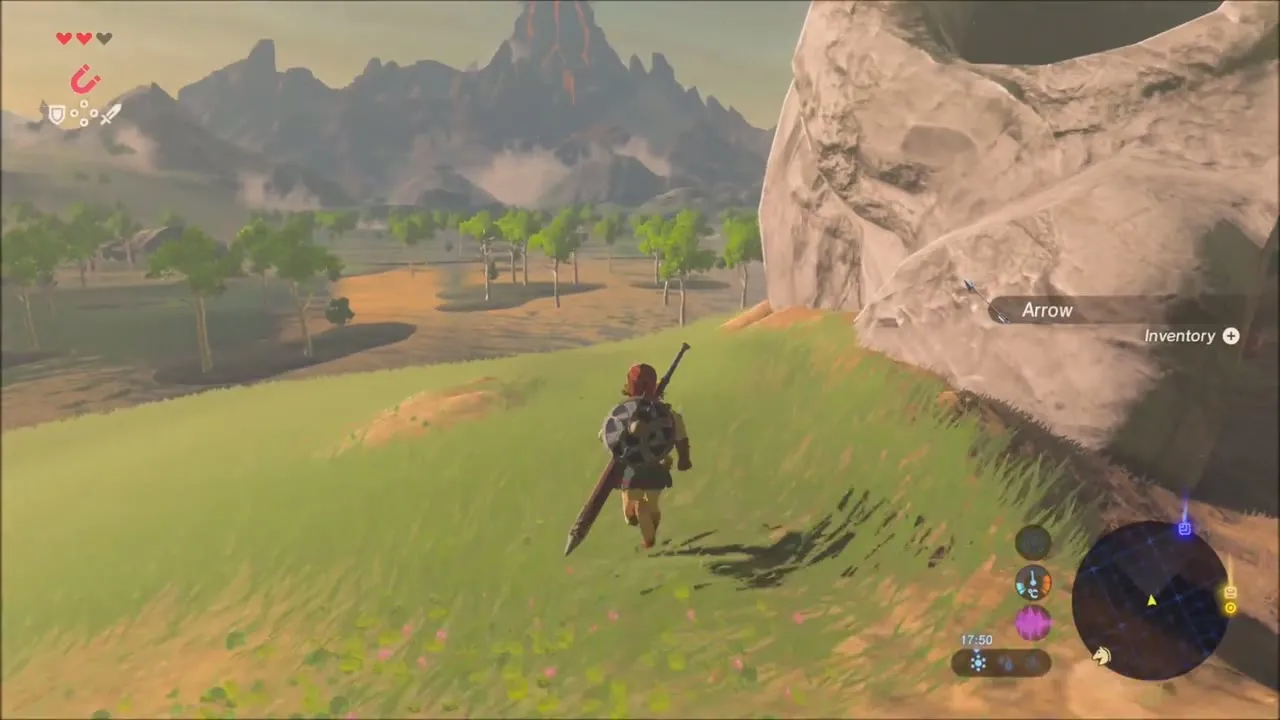
Further east, a huge skull-shaped rock marks another camp. Climb the rock and enter the cave beneath it to find a chest with arrows inside, then keep walking east toward Lanayru as the sun sets.


Daka Tuss Shrine: Sunken Scoop Trial
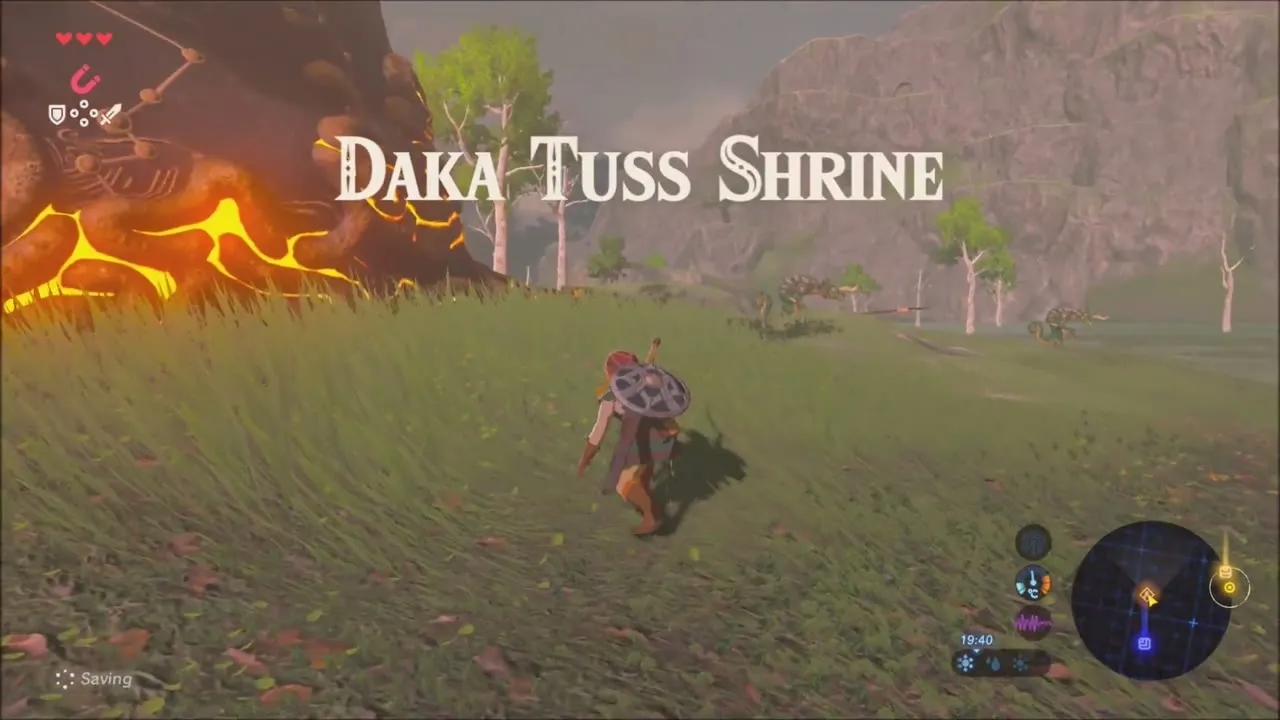
Daka Tuss Shrine (solution page, x 1602, z 463, height 131) stands on an island in the marshes south-west of Lanayru Tower. Lizalfos patrol the shore, so approach carefully, then enter and listen to the monk’s greeting for the Sunken Scoop trial.
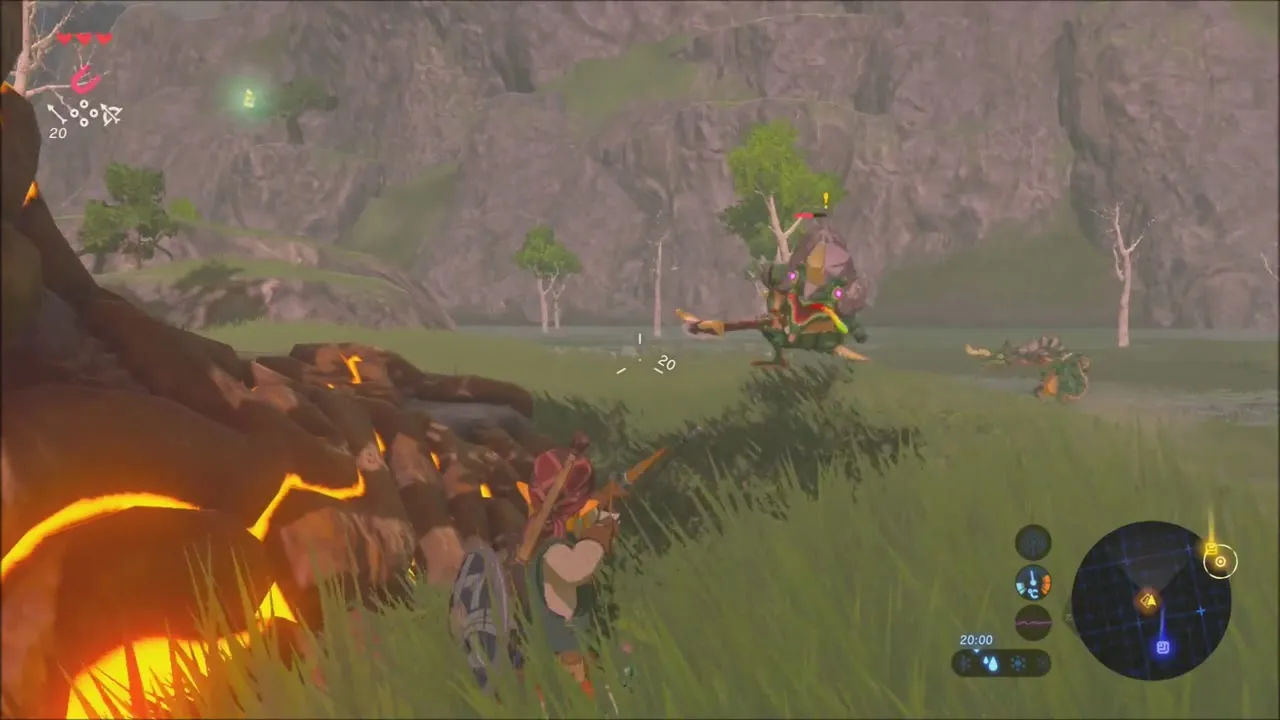

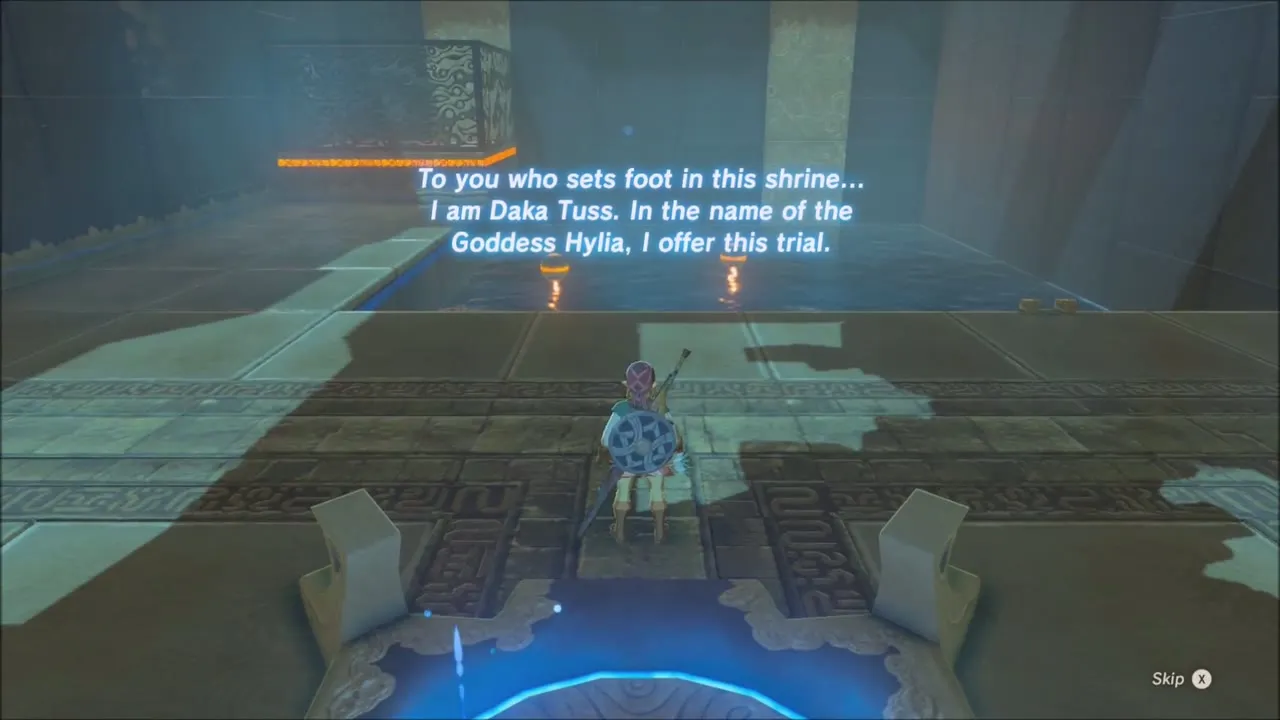
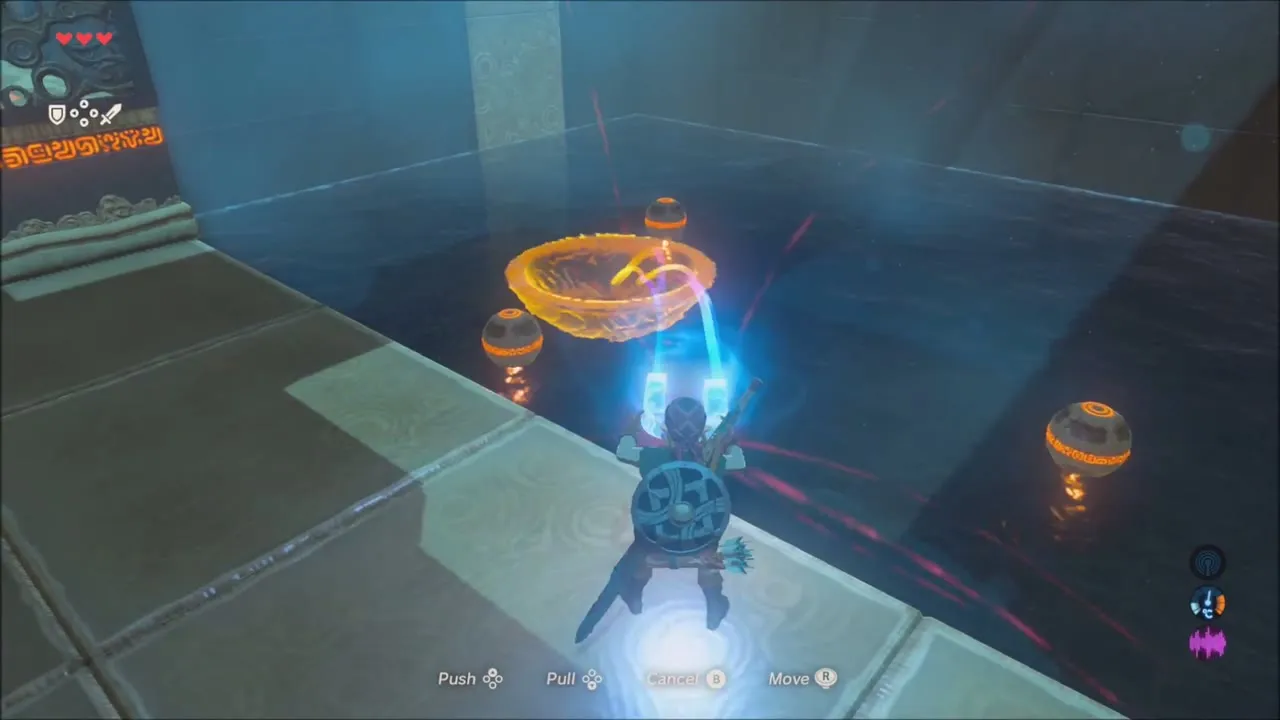
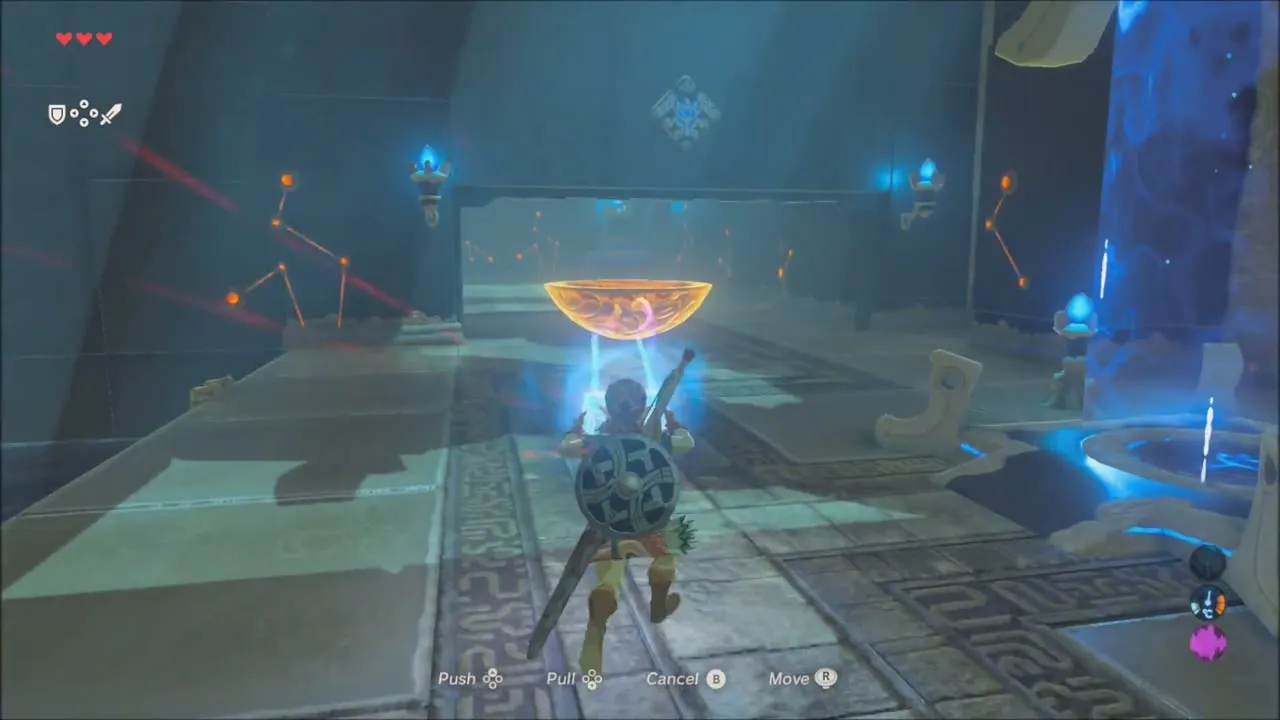
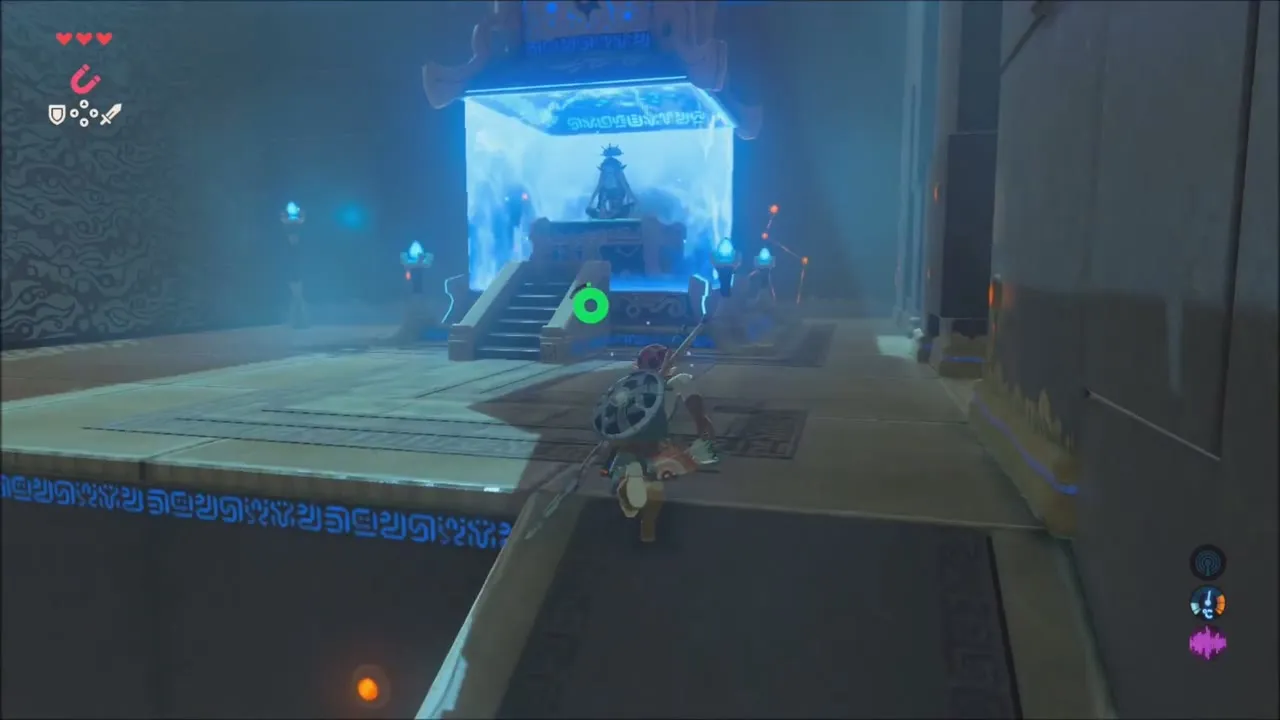
In the first pool, use Magnesis to lift the big metal bowl, scoop up a sphere and tip it into the receptacle. Repeat the idea in the second room, then drop the bowl back on the underwater switch to drain the water. The drained first pool reveals a chest with a Silver Longsword, and the steps in the pool lead up to the monk, who gives you the Spirit Orb.
Korok Seeds on the Road to Kakariko Village
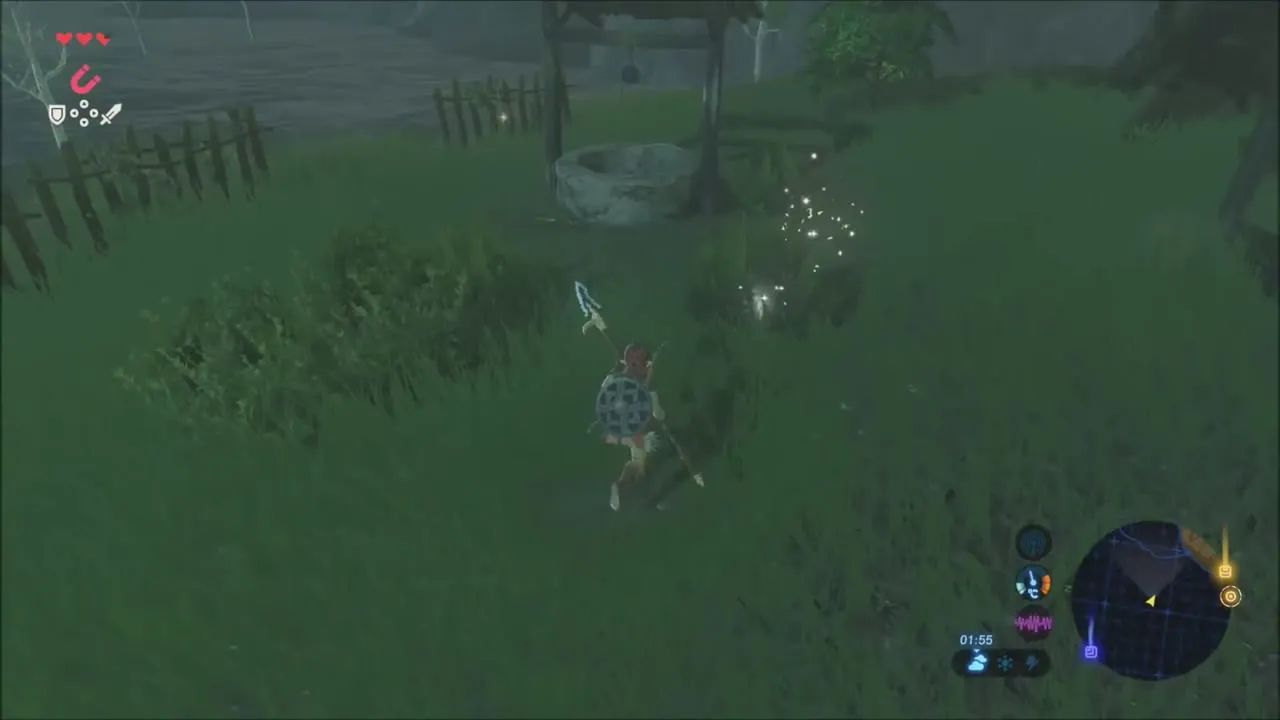
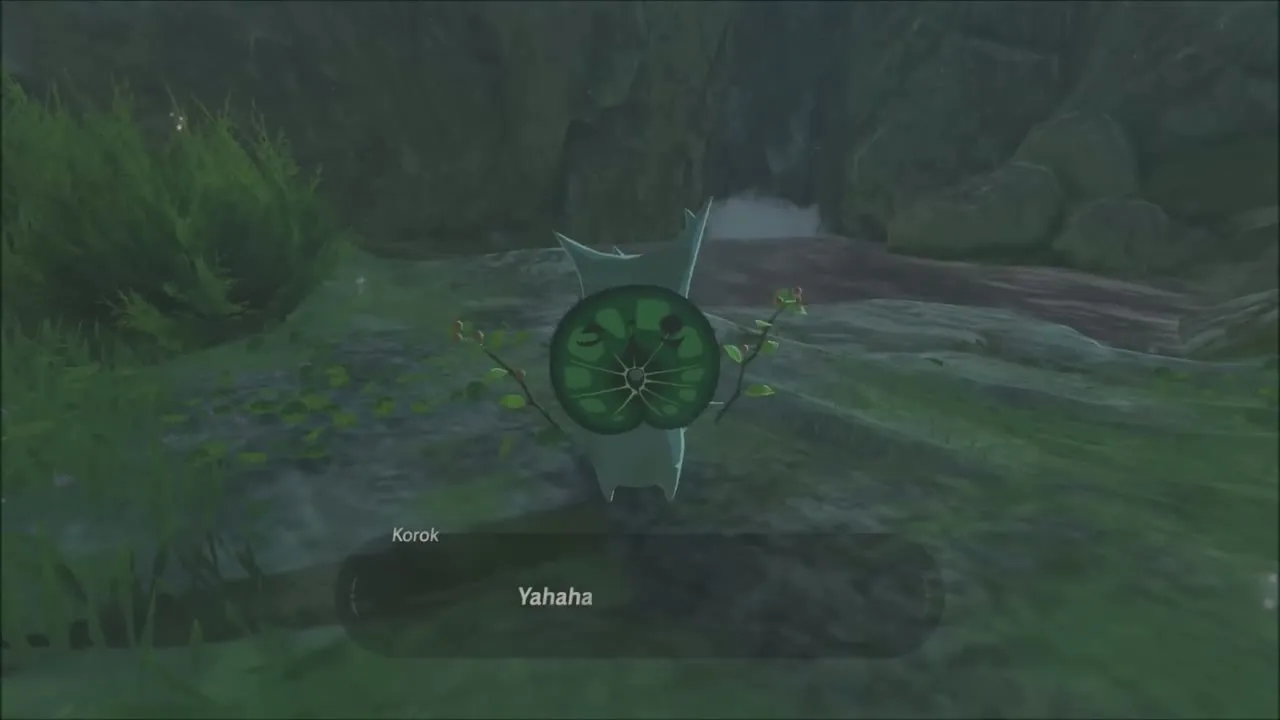
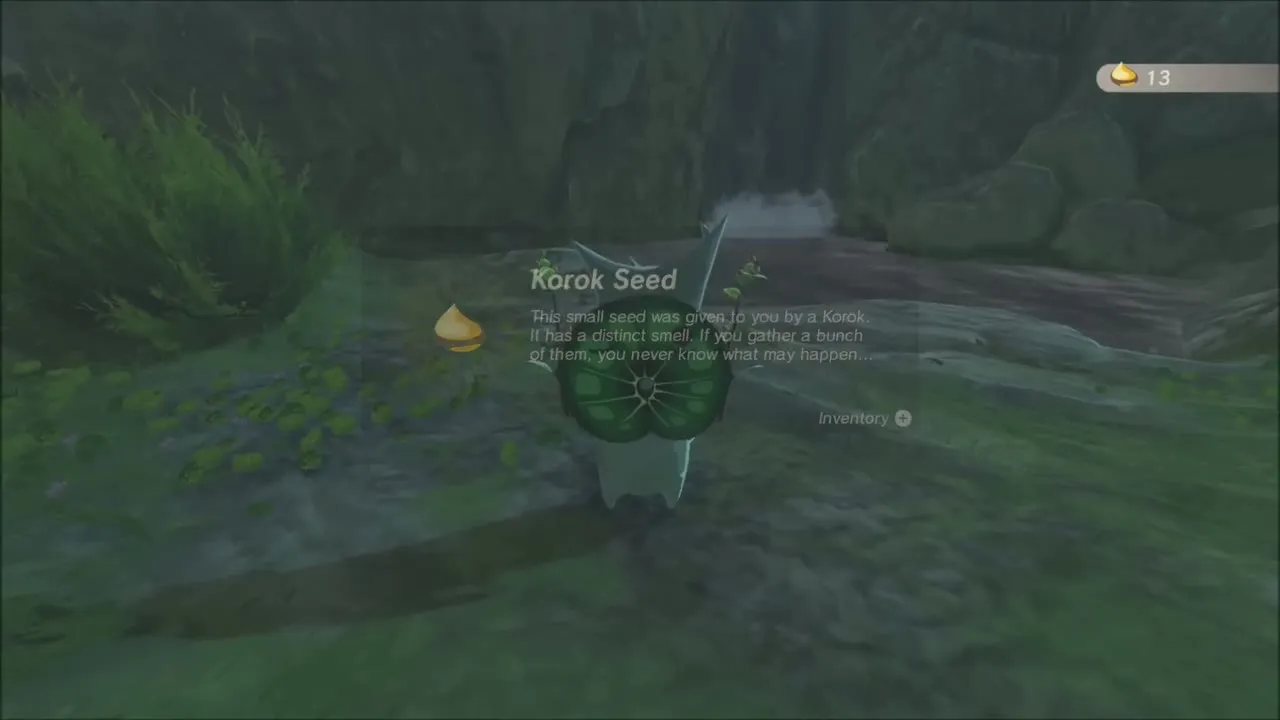
Rain is falling as you work along the valley toward Kakariko Village, so watch your footing on the wet grass. Near a ruined hut and an old stone well, a Korok is tucked away beside a stream. Find it for a Korok Seed.
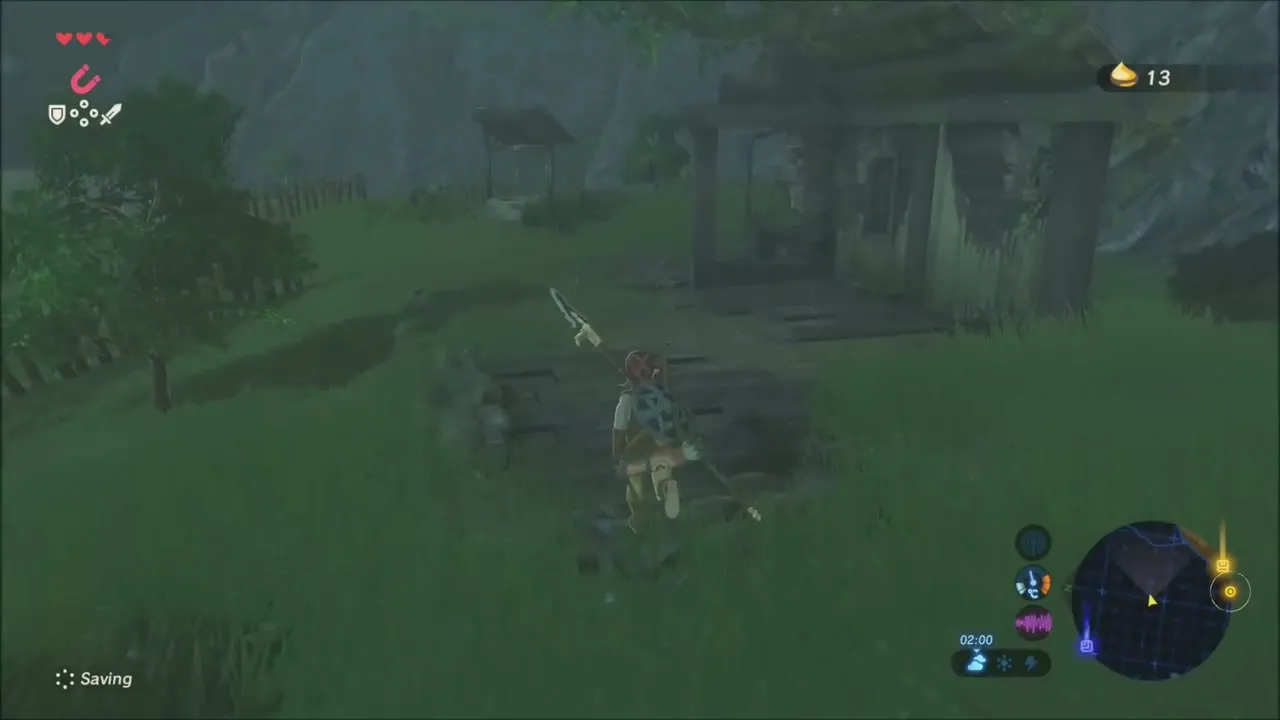
Hilltop boulder Korok Seed
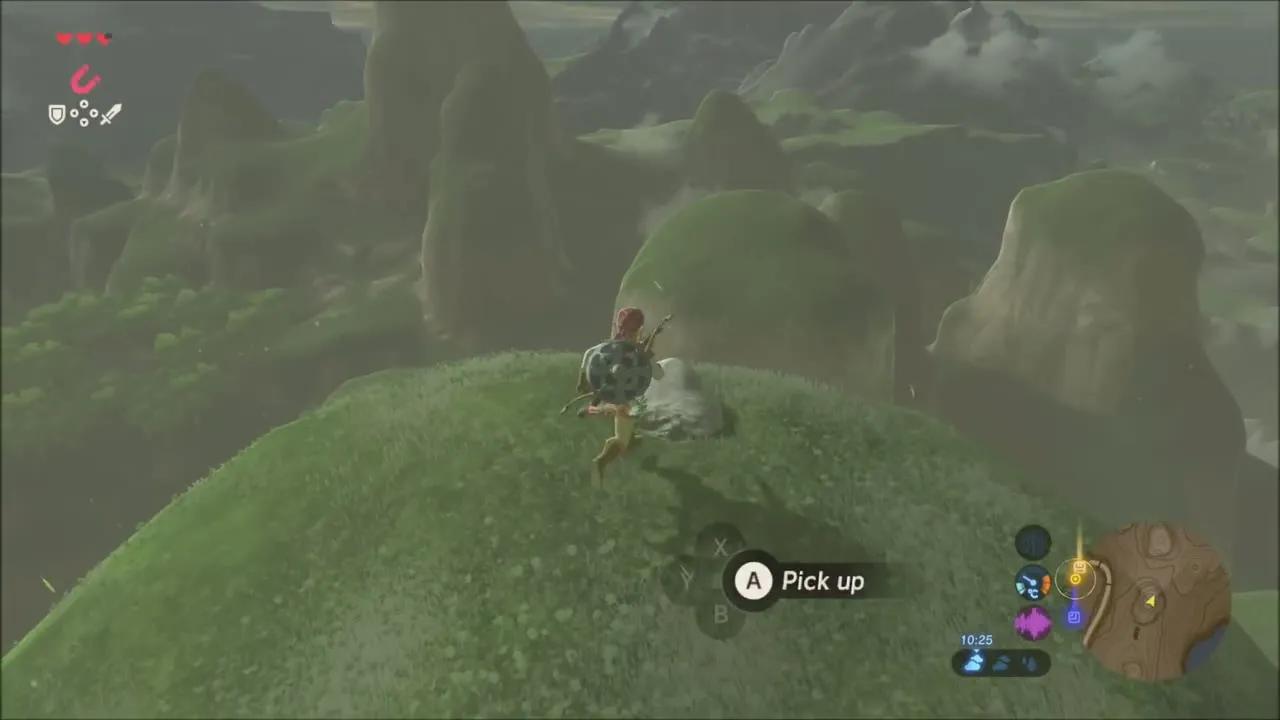
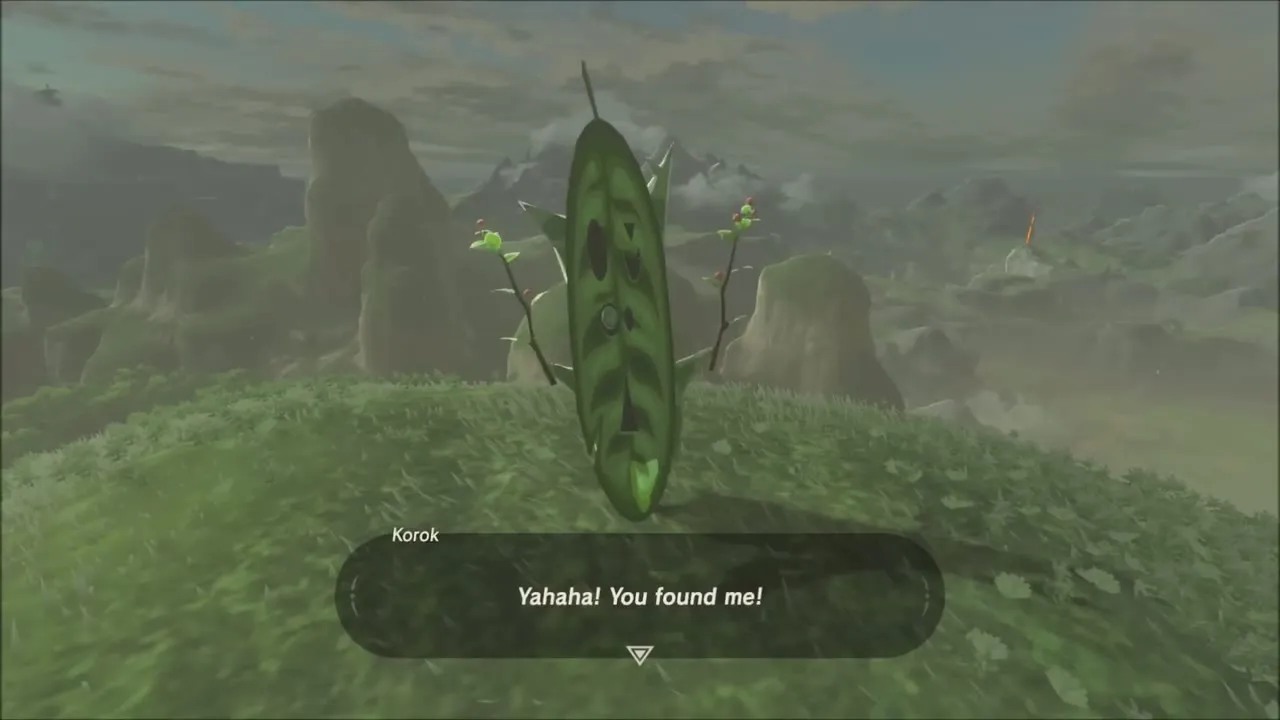
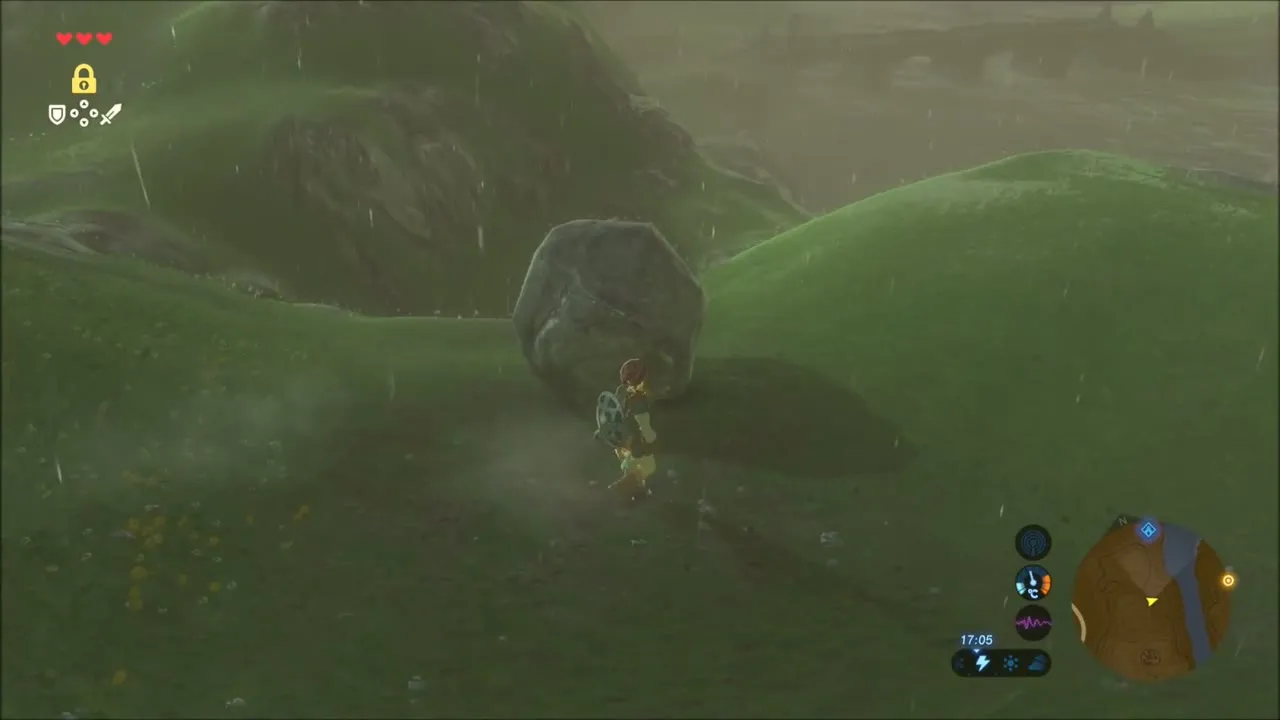
Farther on, climb one of the round green hills that stand above the valley. A single boulder sits on the summit. Pick it up and the Korok underneath pops out and hands over a Korok Seed. From the top you can see the cliffs around Kakariko Village and the orange glow of a Sheikah shrine below.


Ta’loh Naeg Shrine: Combat Trial Walkthrough
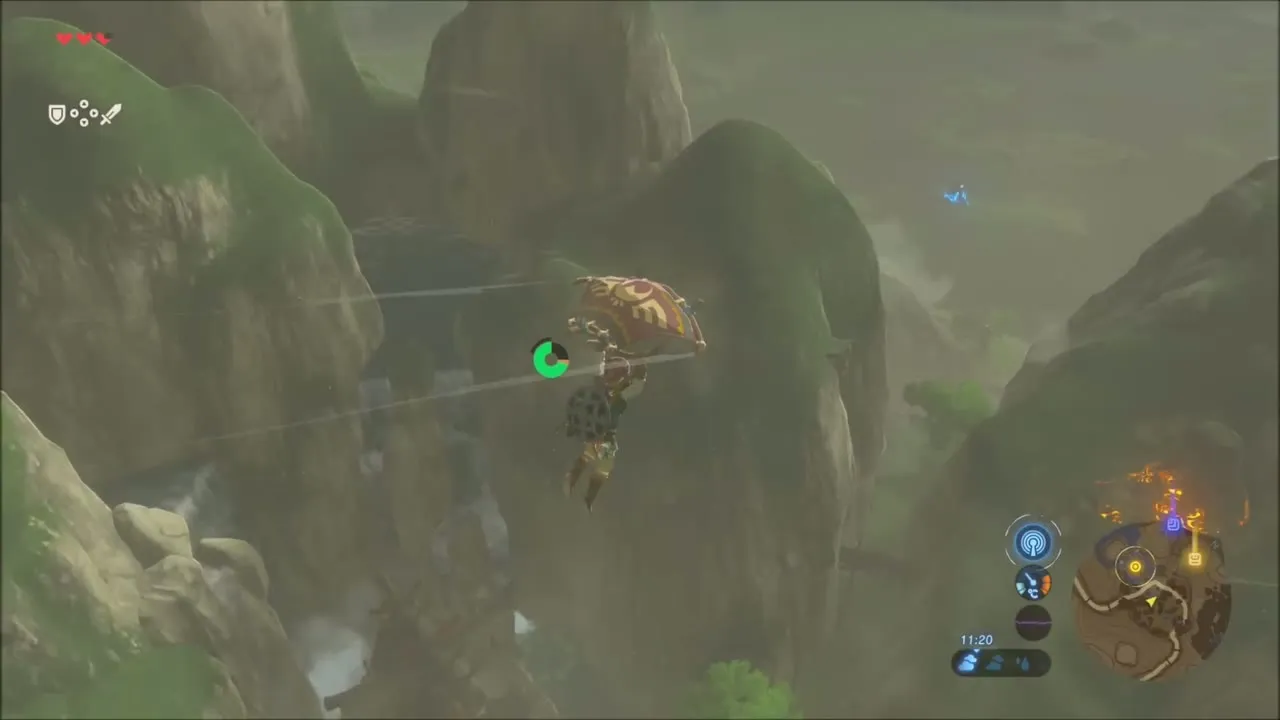
Glide down from the hilltop toward Kakariko Village (the village sits at x 1806, z 985). The shrine you land beside is Ta’loh Naeg Shrine (x 1841, z 891, height 273), a short way north of the village. Step into the doorway and the title card reads “Ta’loh Naeg’s Teaching”.

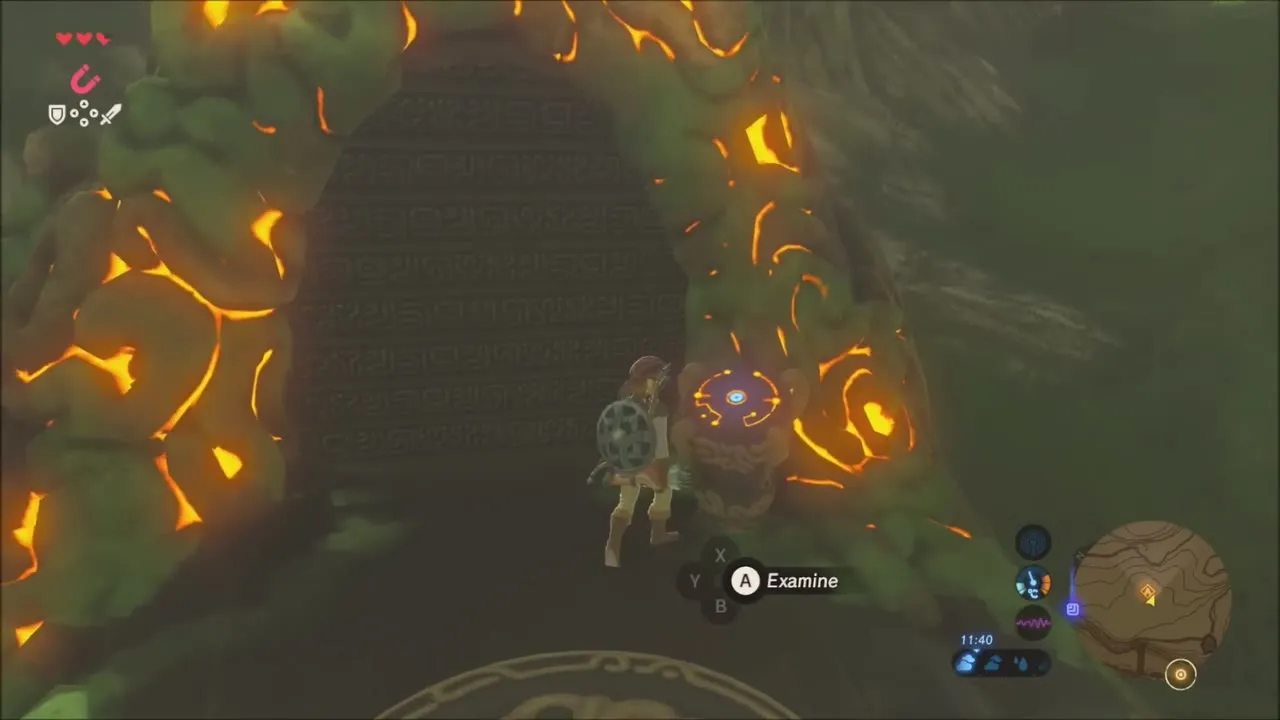

Chests in the entry hall
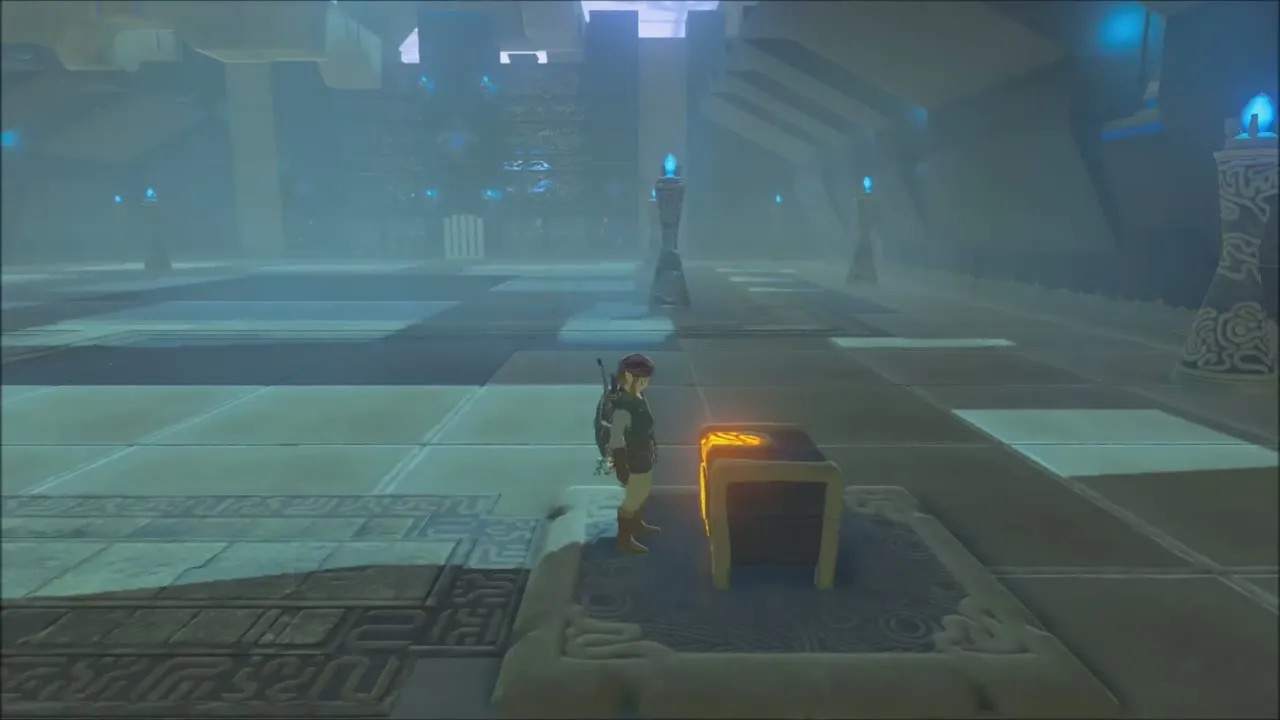
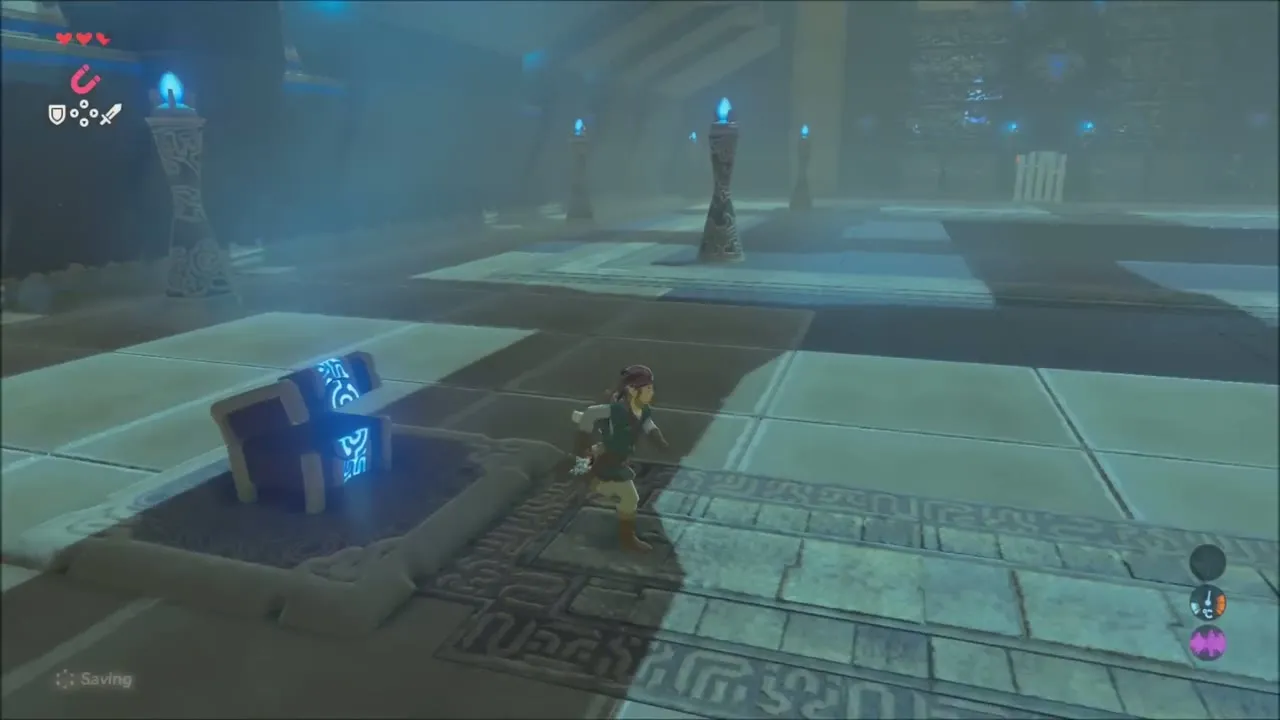
Two chests wait in the first room. One holds a Shield of the Mind’s Eye and the other an Eightfold Blade, both scaling gear (tier set by difficulty scaling). Grab them before you take on the trial.

Beat the Guardian Scout
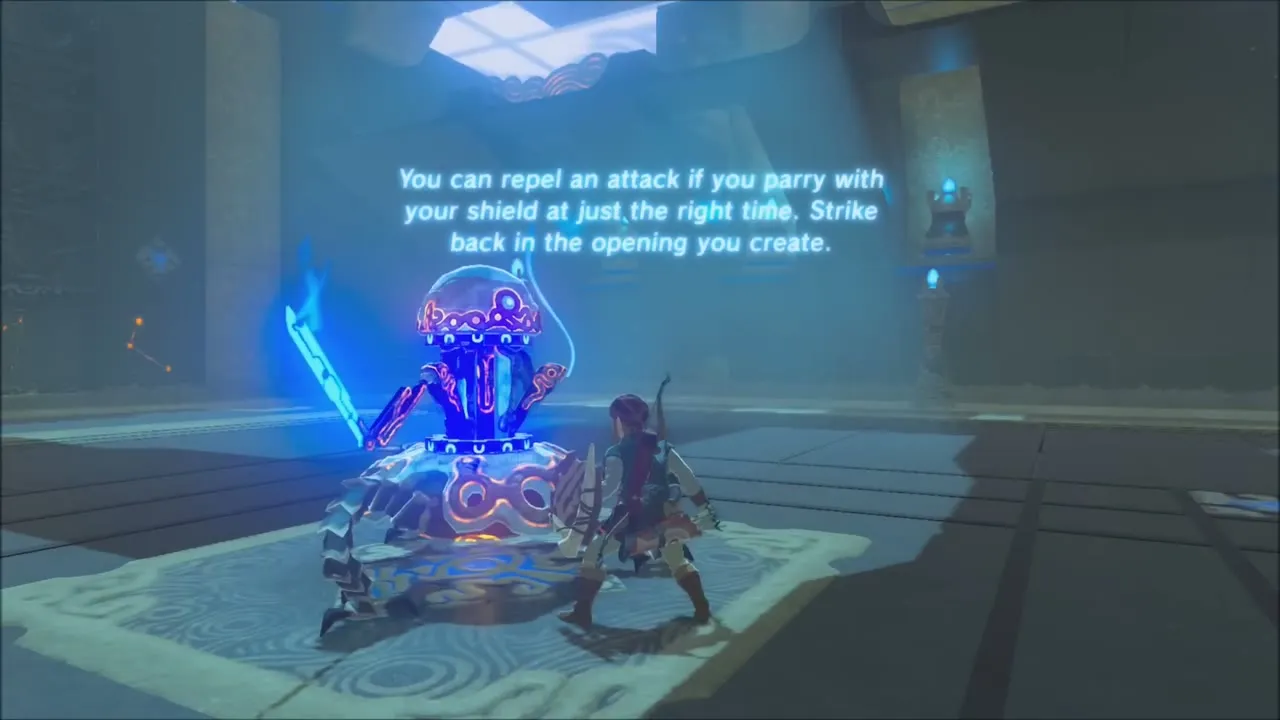
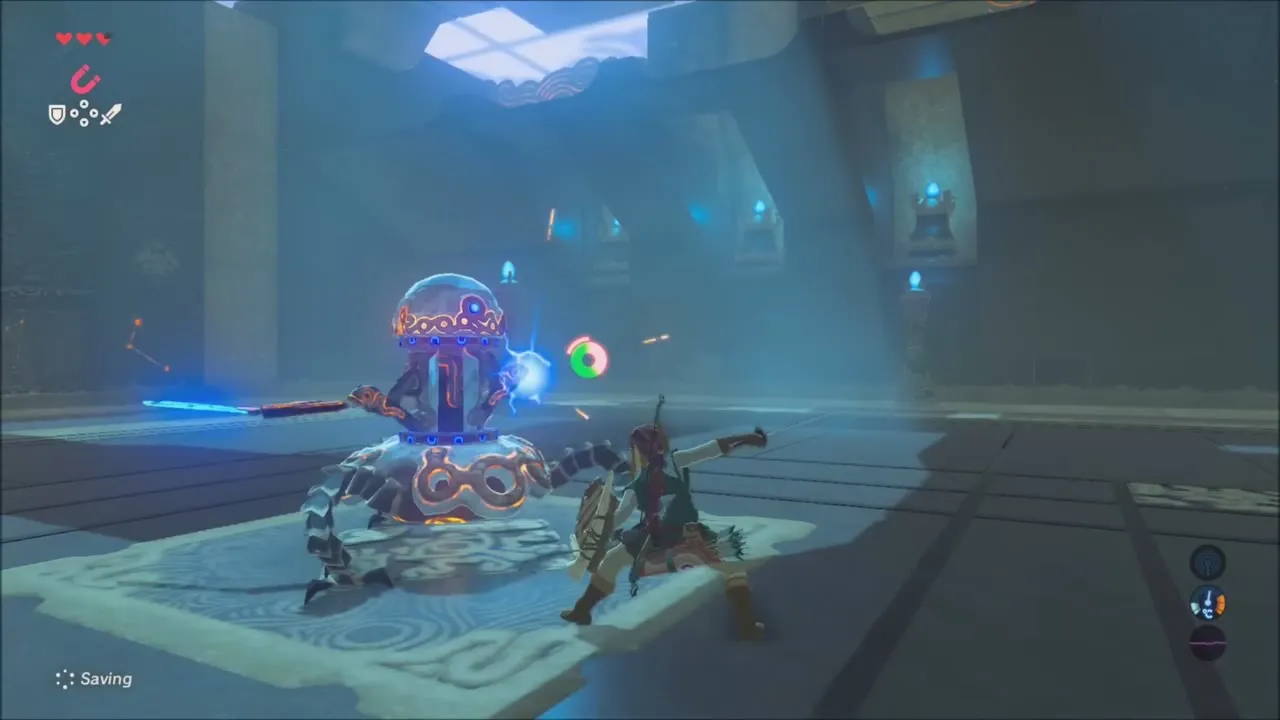
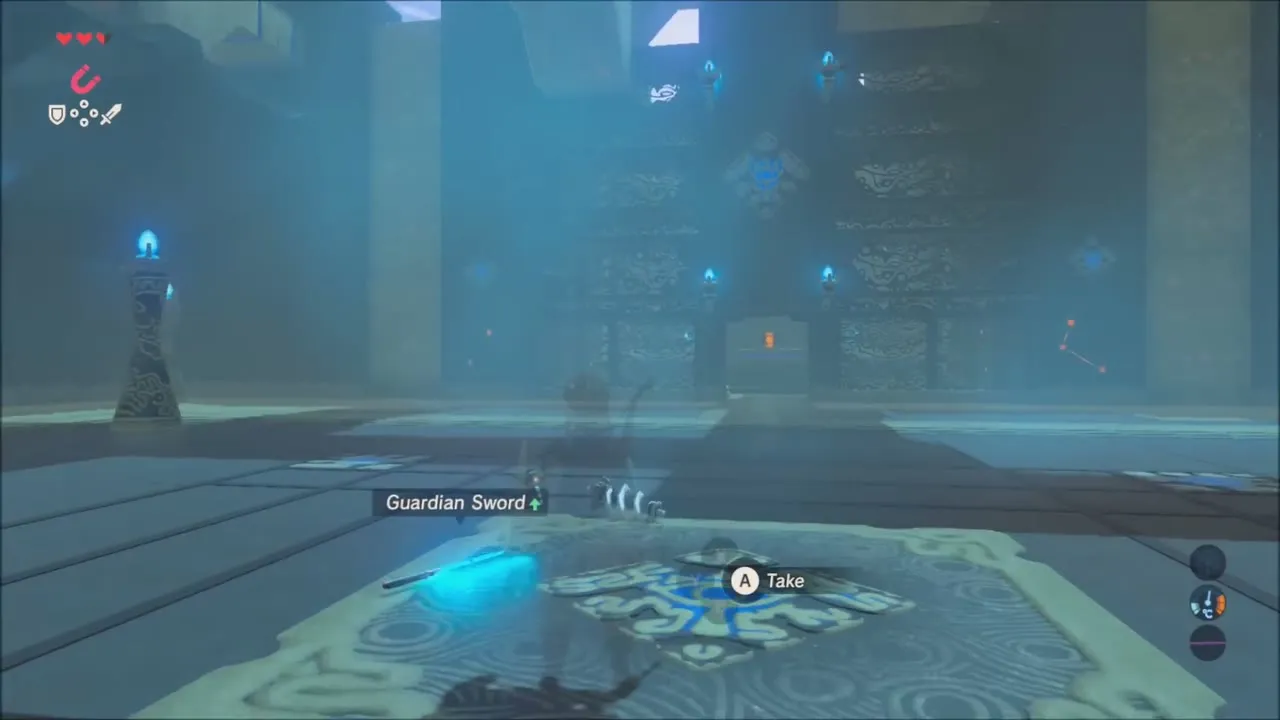
A Guardian Scout with a glowing blade steps onto a floor plate, and the shrine asks you to land four techniques on it: a side hop, a backflip, a perfect guard and a charged attack. Dodge sideways or backward just as its swing lands to start a flurry rush. Raise your shield at the last instant to parry, then strike in the opening, and finish with a fully charged attack. The Scout drops ancient parts and a Guardian Sword.


Opal and Spirit Orb
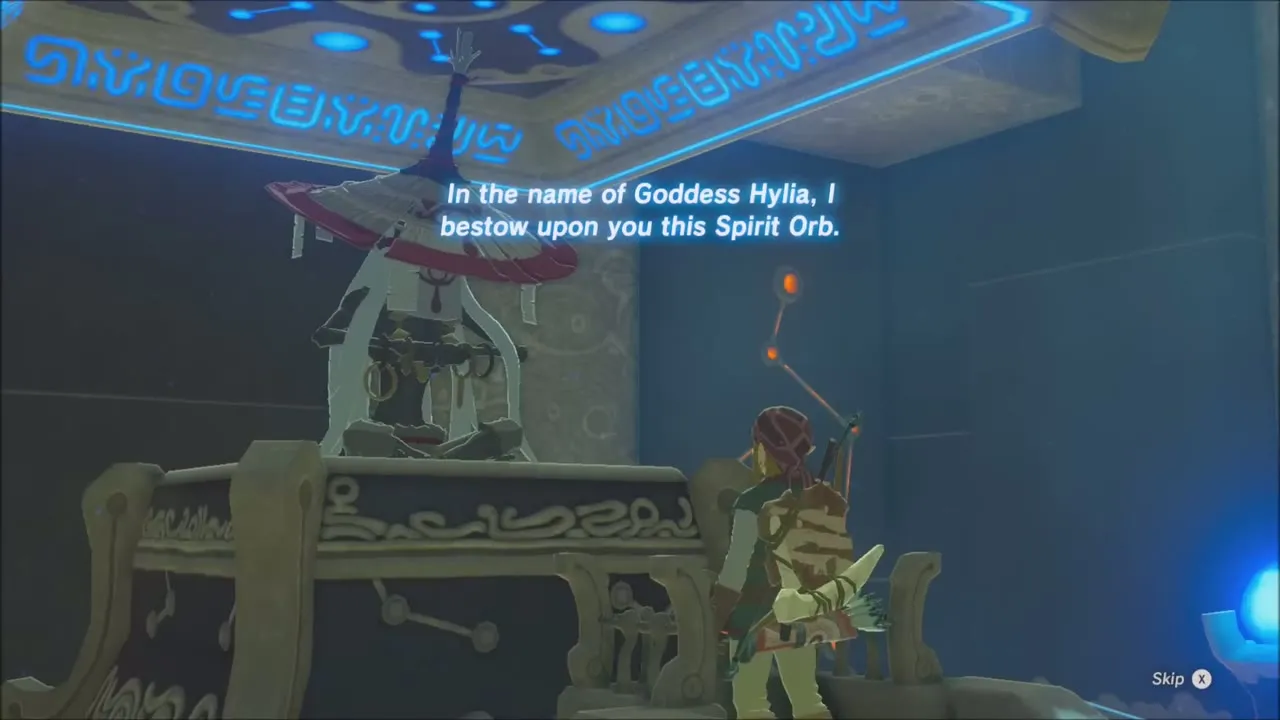
The doors to the far hall open. A chest at the foot of the stairs holds an Opal. Walk up to the monk Ta’loh Naeg to receive your Spirit Orb.



Kakariko Village: Meet Impa
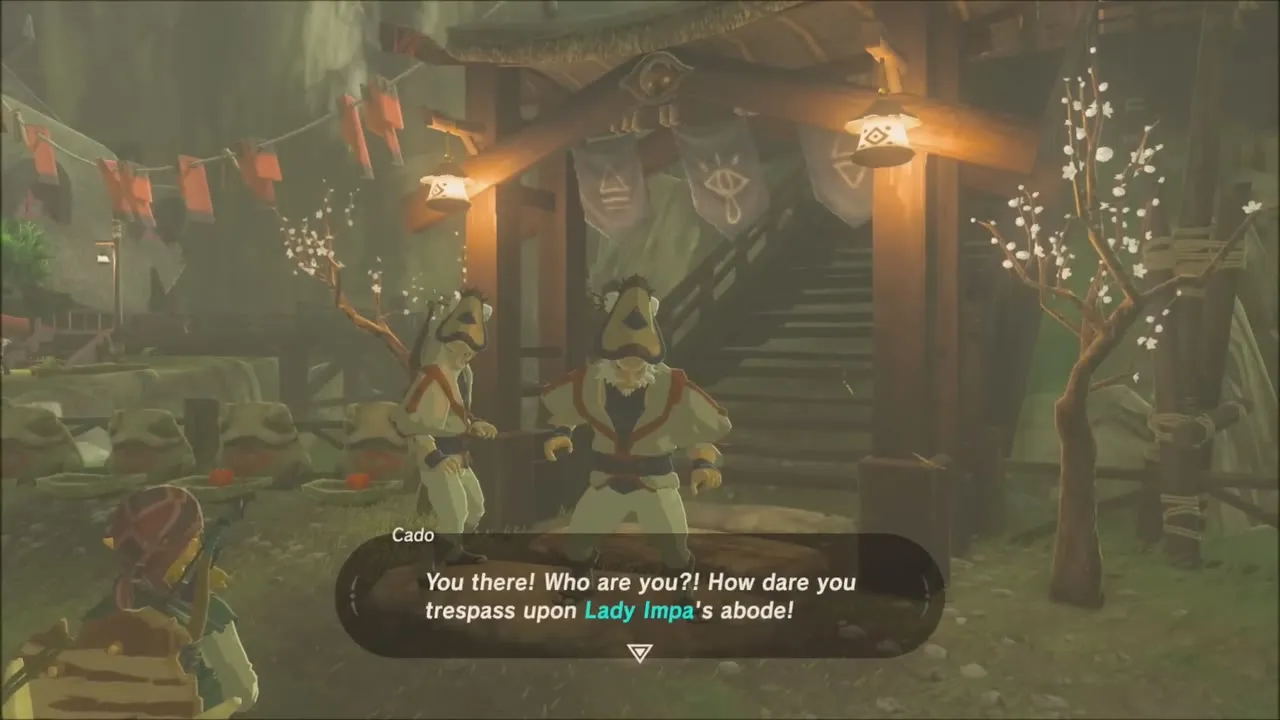
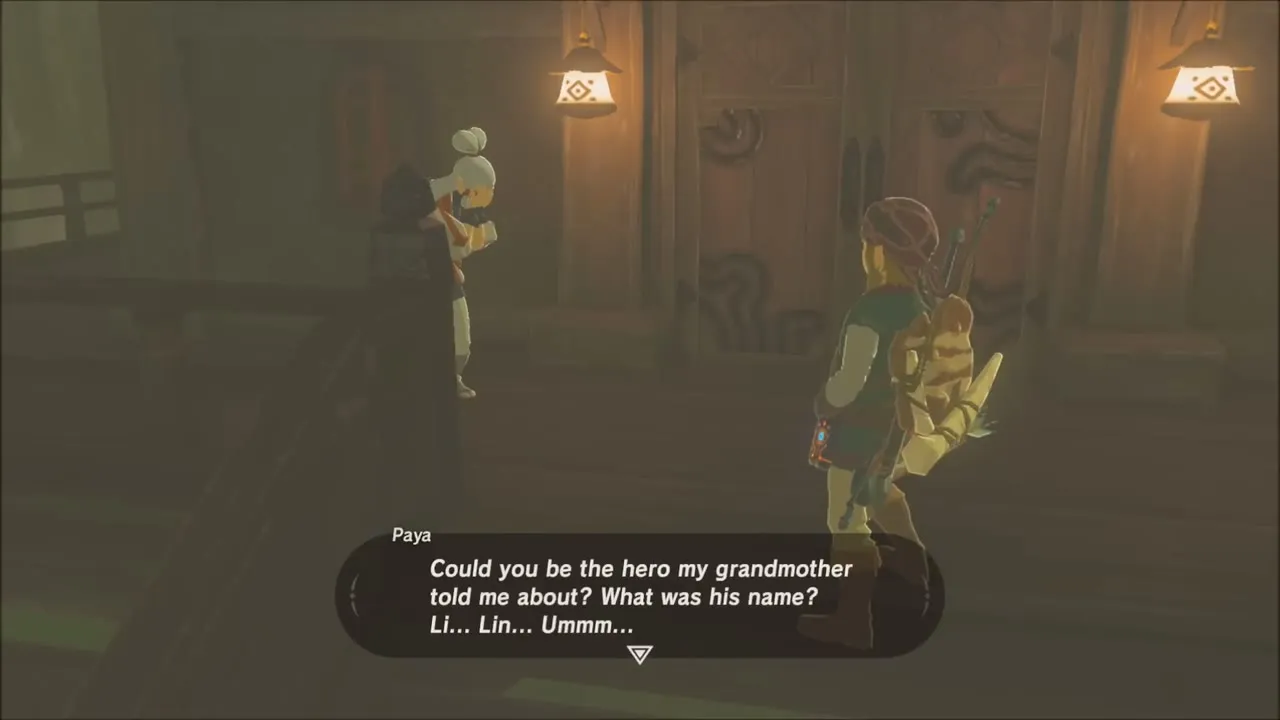
Back outside, run down to the village gate, where two guards stand either side of the stairs. Paya, Impa‘s granddaughter, stops you by the door and asks whether you are the hero her grandmother spoke about. Then head for Impa’s house at the top of the village.

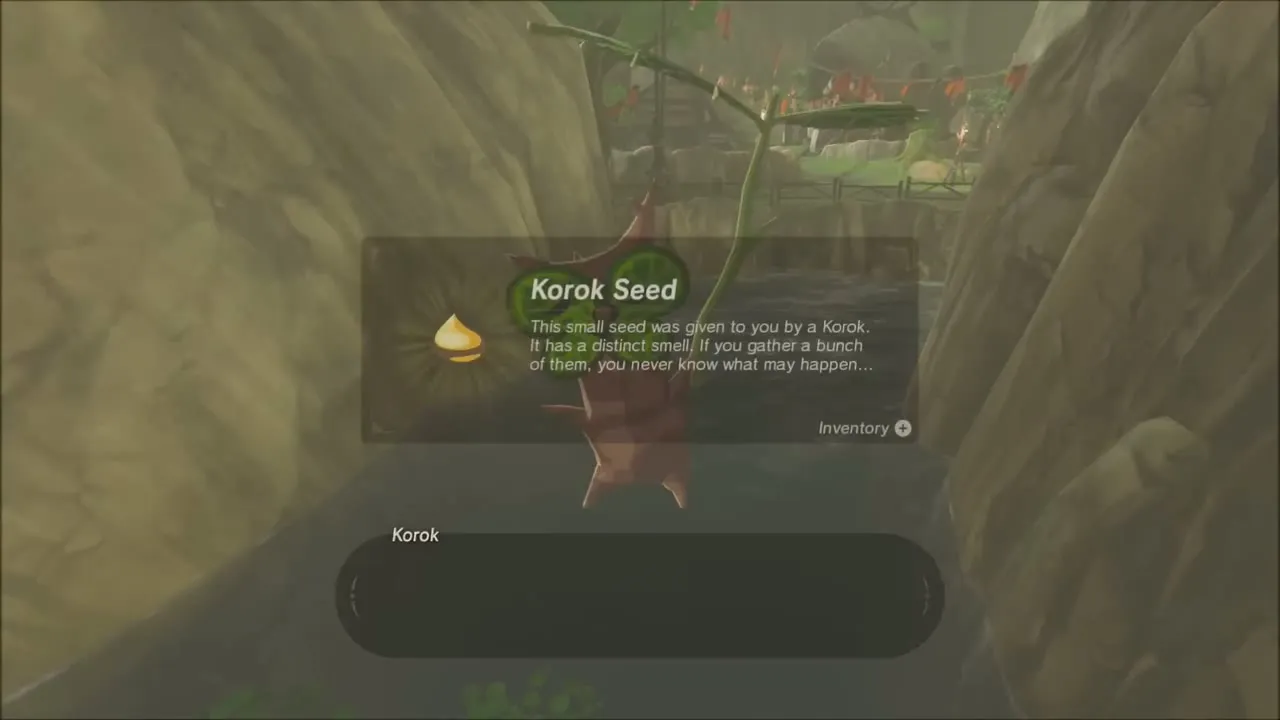
Before you go in, drop to the lower path by the stream and look under the wooden bridge. A Korok is hidden there for a Korok Seed.

Seek Out Impa
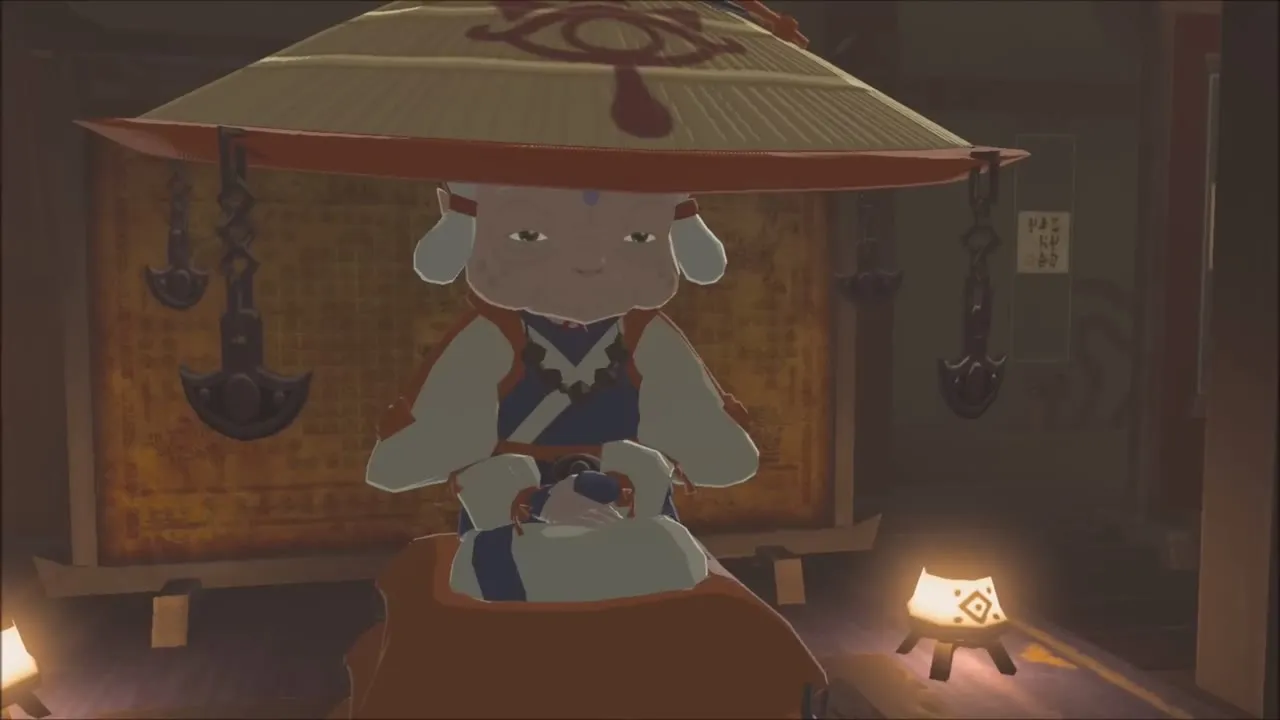
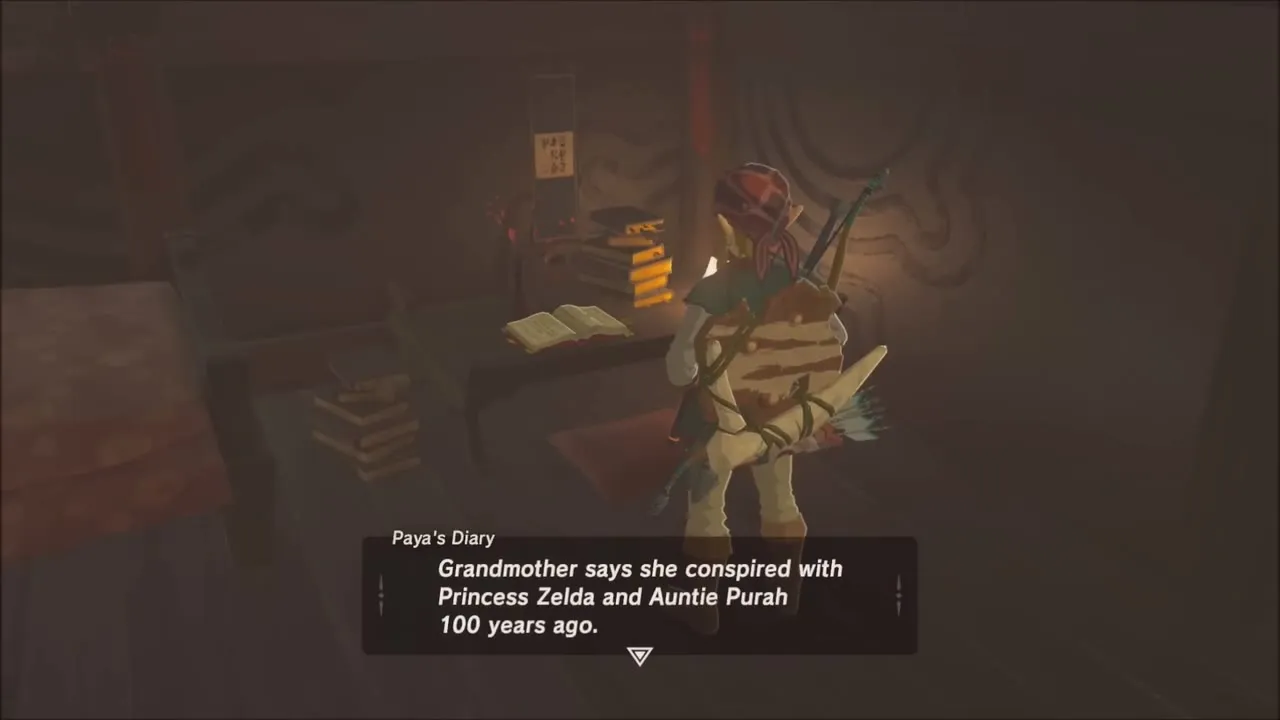
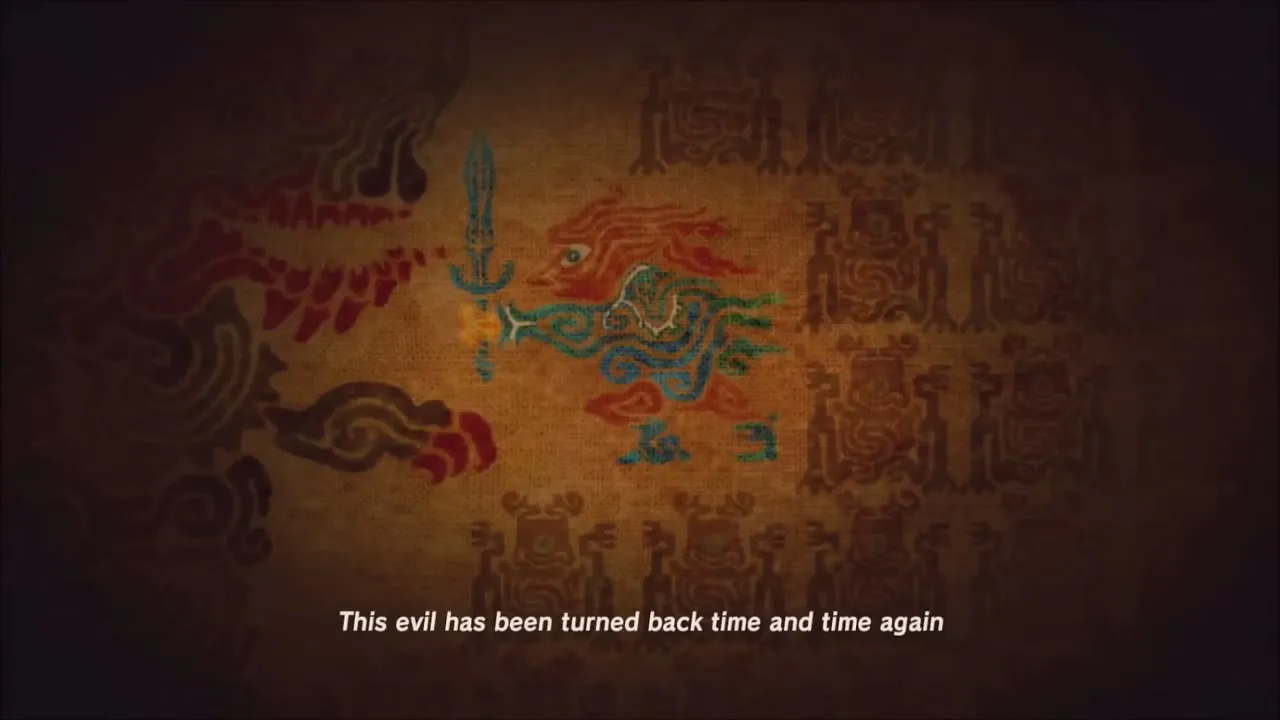
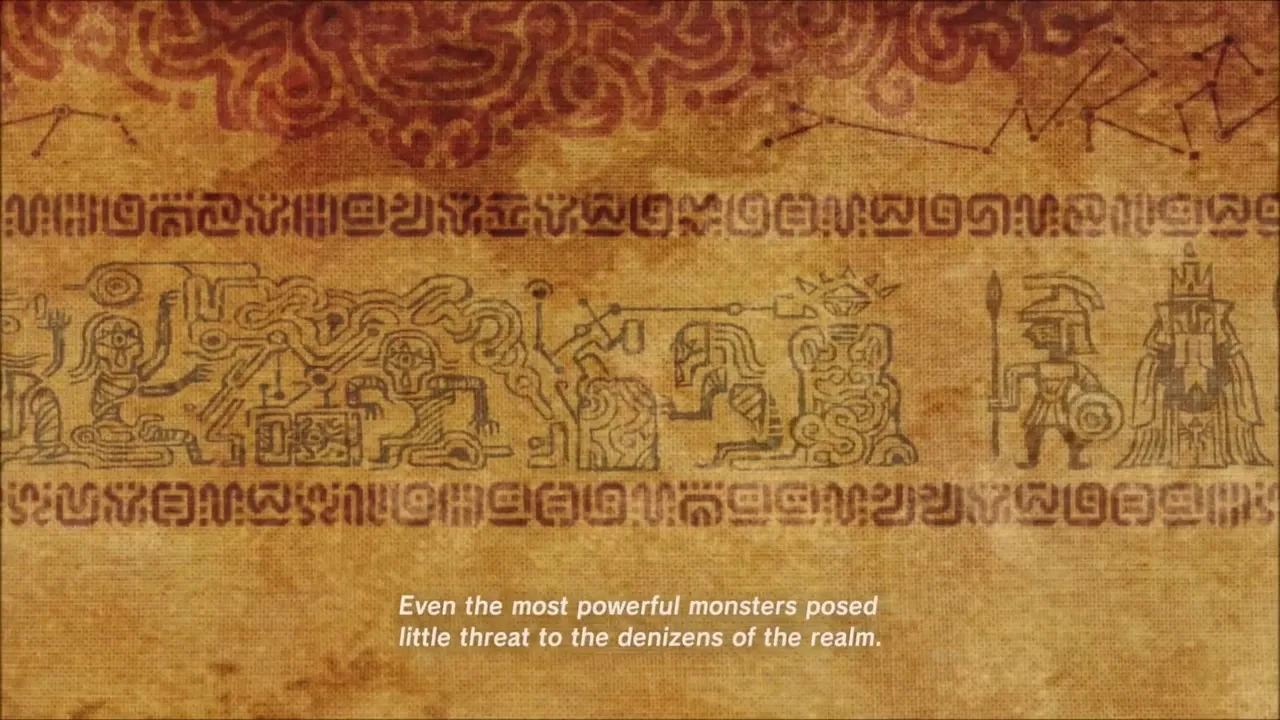
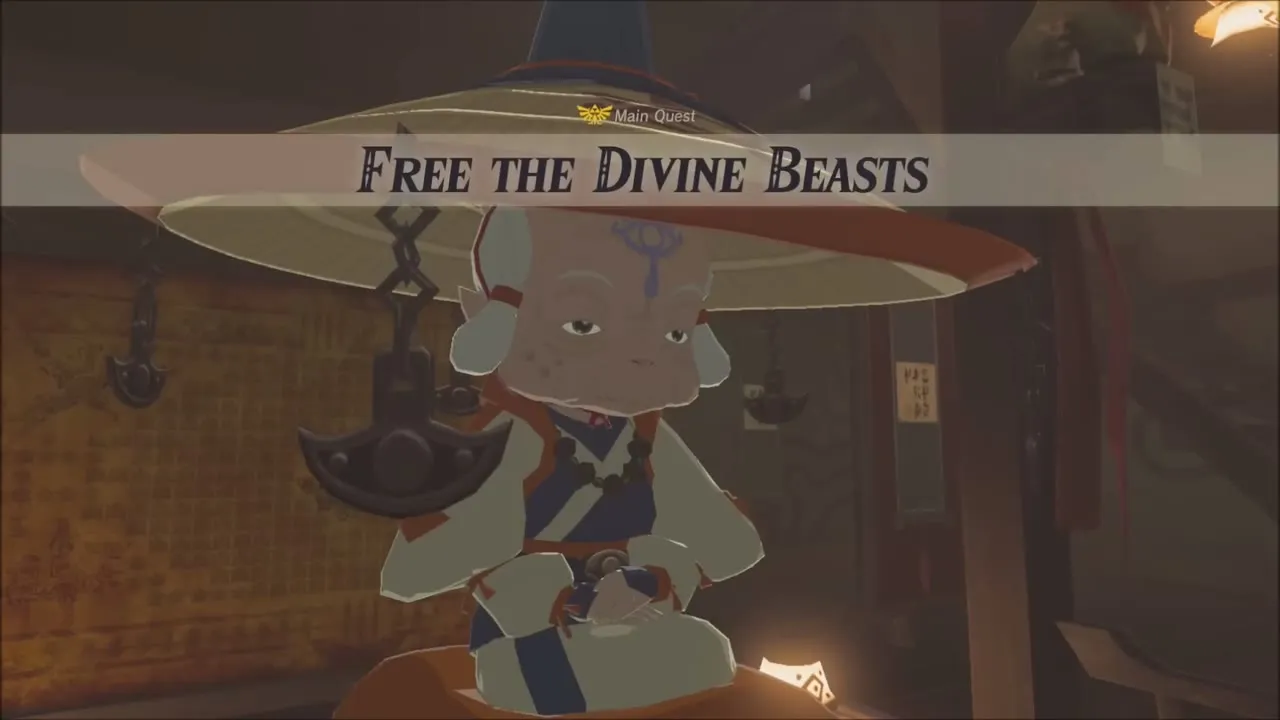
Inside, Impa greets you with “It has been quite a long time” and speaks of Zelda, Paya’s diary and the Calamity Ganon that she and the ancient Sheikah prepared for. Her tale finishes Seek Out Impa and starts Free the Divine Beasts, in which you must take back the four Divine Beasts that Ganon stole 100 years ago. More about her is on the Impa page.
Locked Mementos
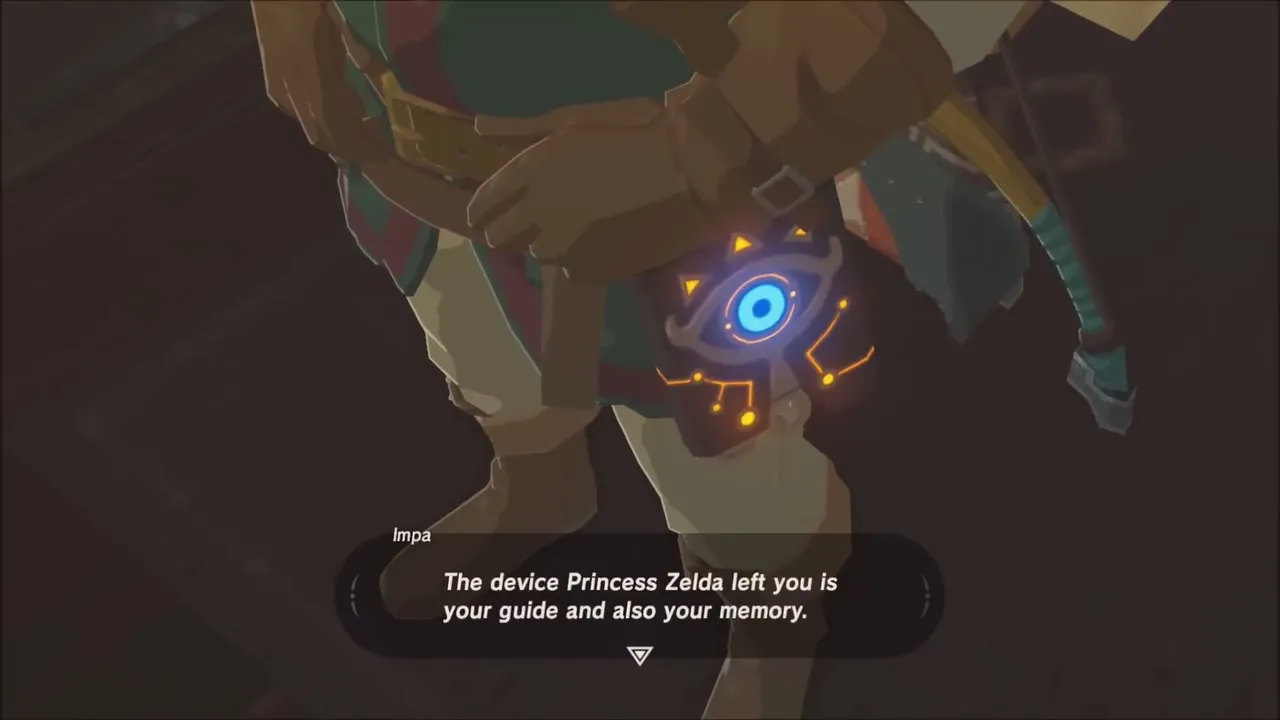
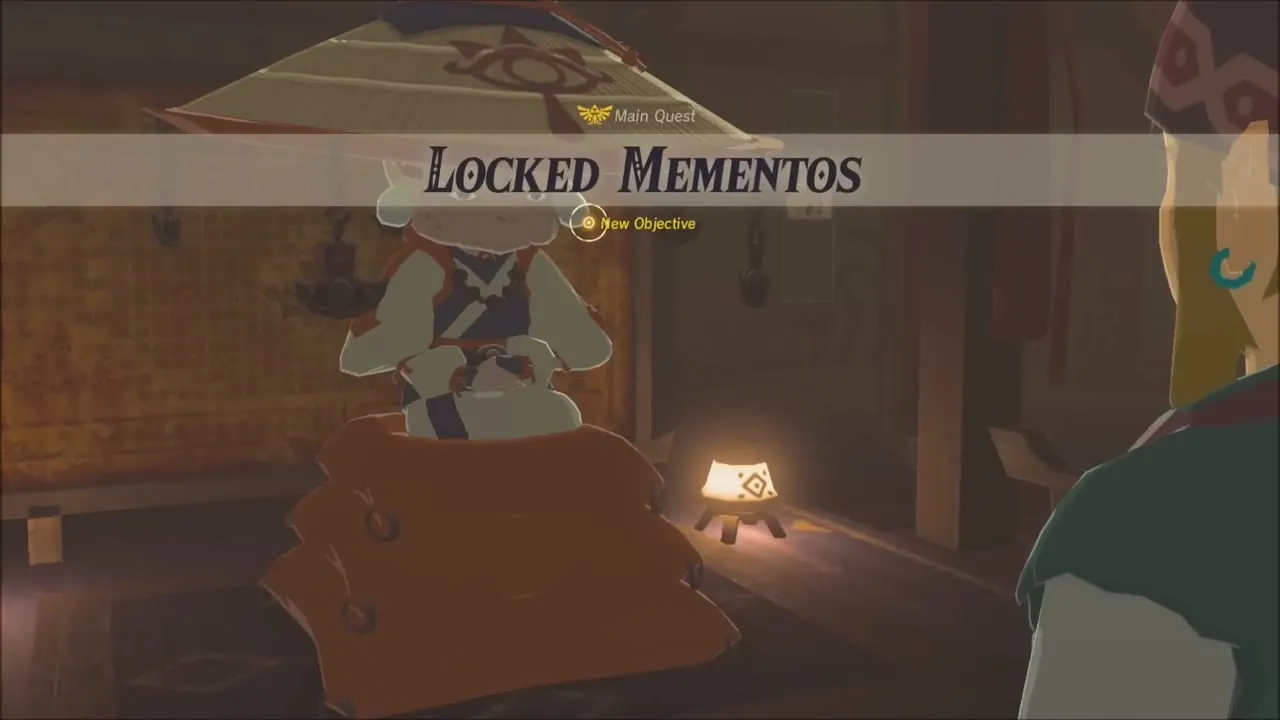
Impa then points out that the Sheikah Slate is missing features and says someone at the research lab in Hateno Village may help. That begins Locked Mementos. You can set out for Hateno right away or keep exploring Kakariko and the Dueling Peaks region first.

Kakariko Village: Shops, Hylian Tunic and Korok Seeds
Korok Seed at the apple statues
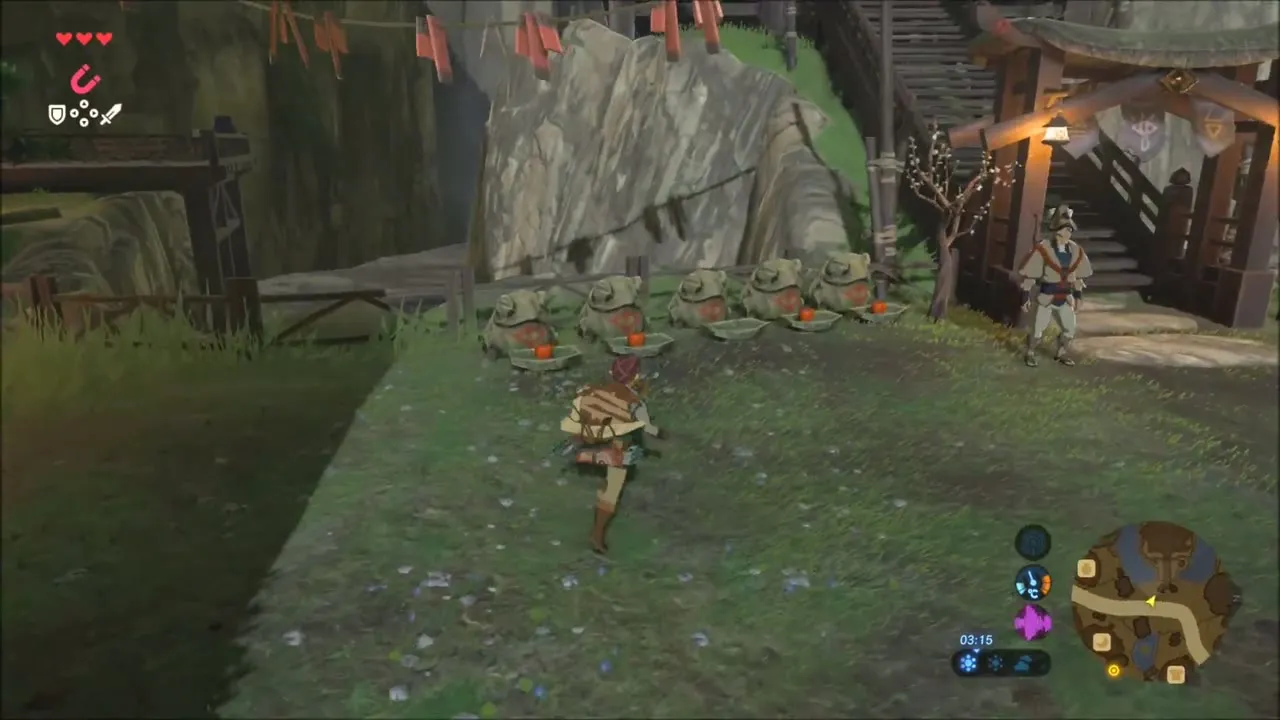
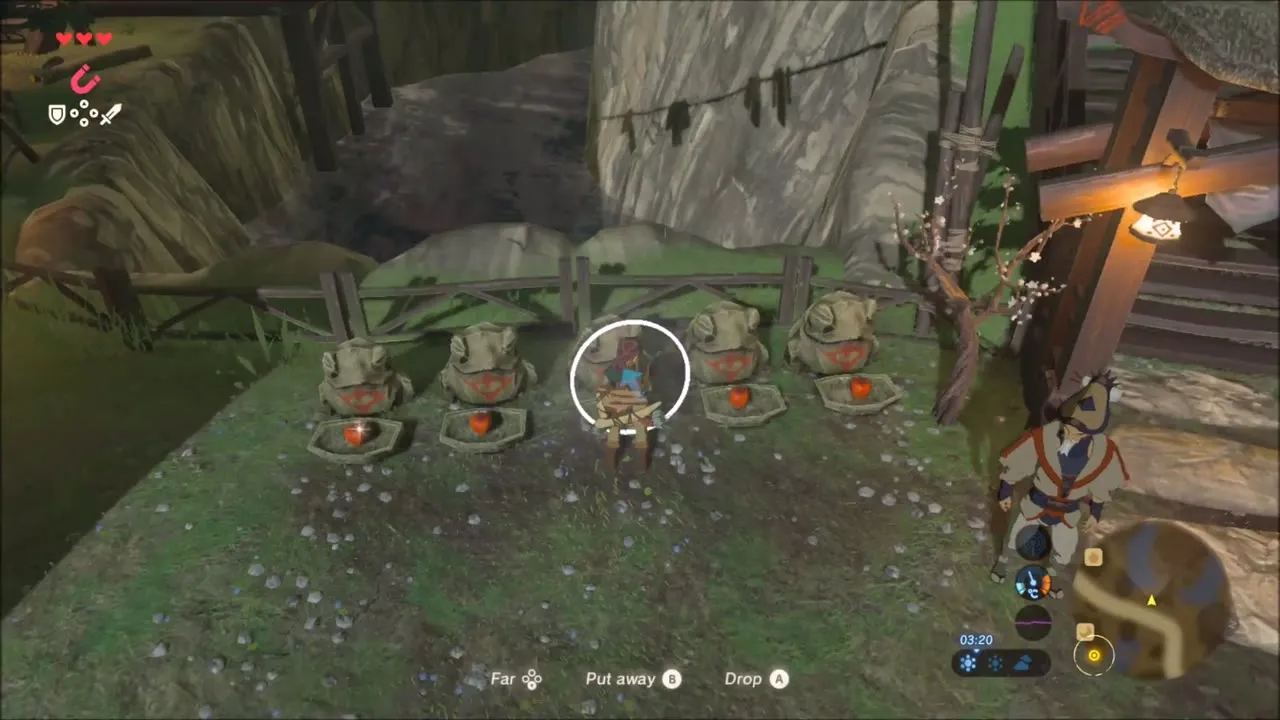
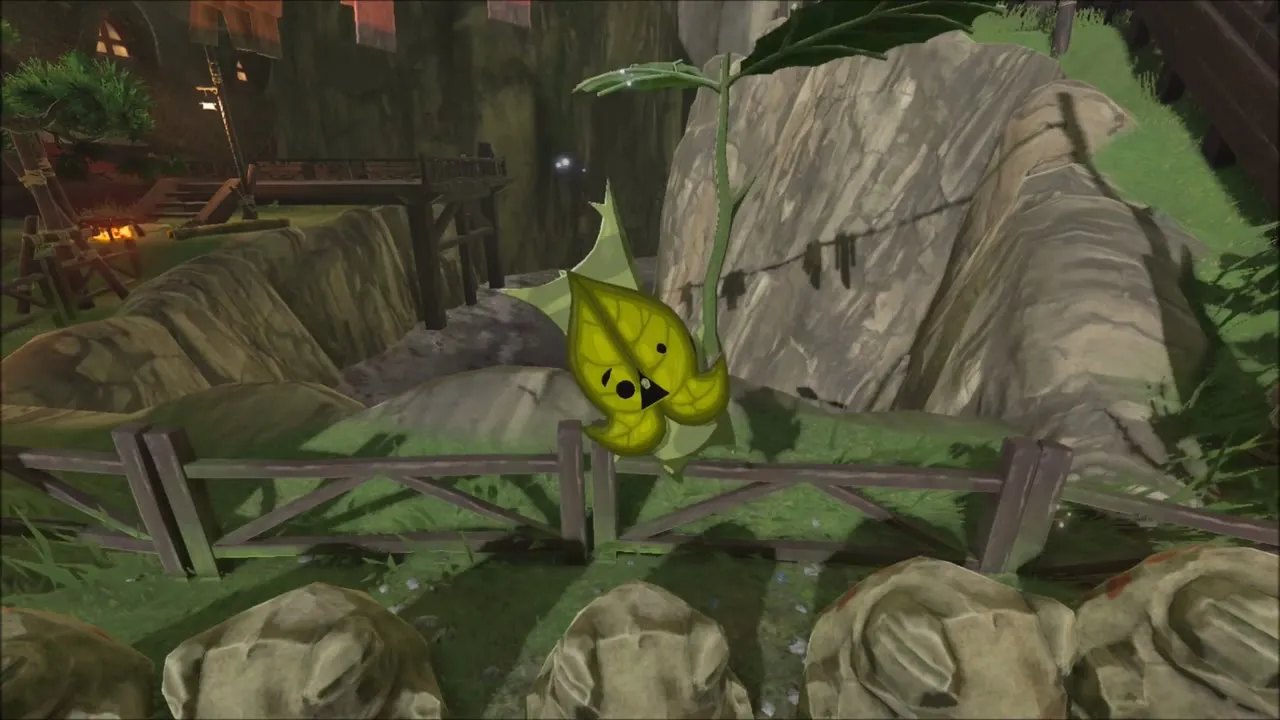
On the lawn near the swordsman Steen, five small stone statues stand in a row, each with an apple offering except one. Hold an apple from your inventory and set it on the empty statue. A Korok appears and gives you a Korok Seed.
Hylian Tunic and other shops
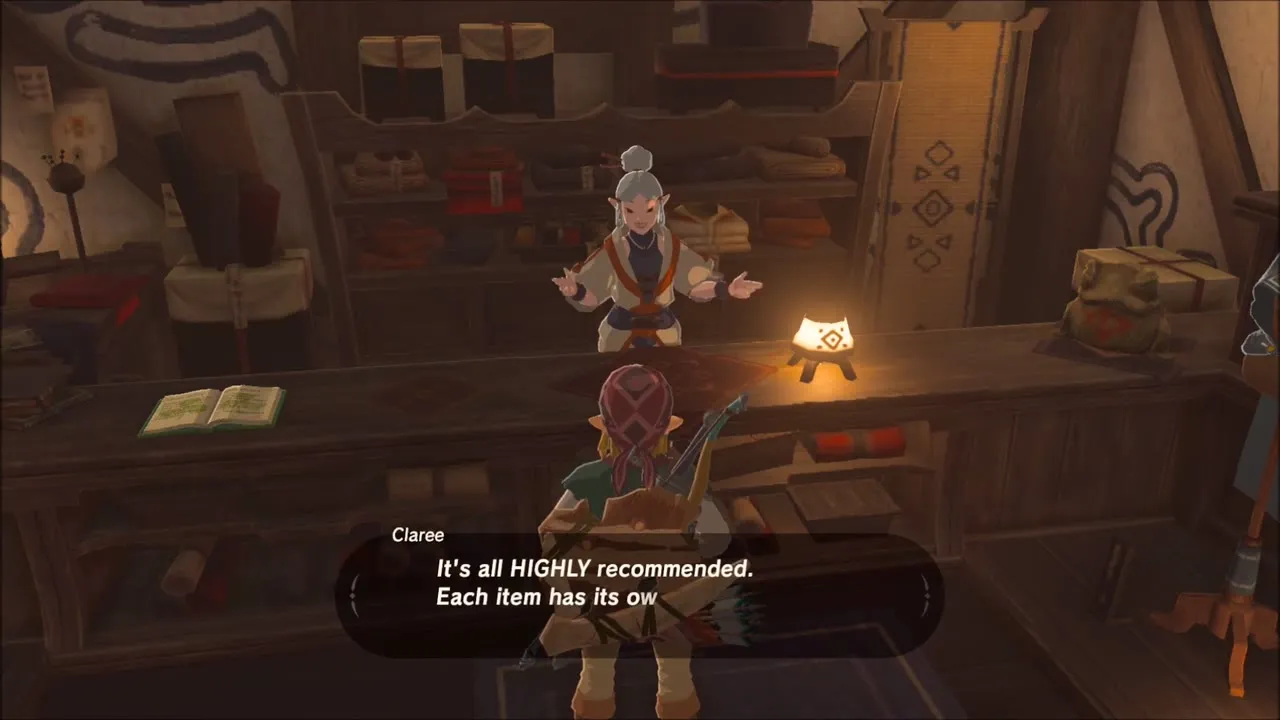
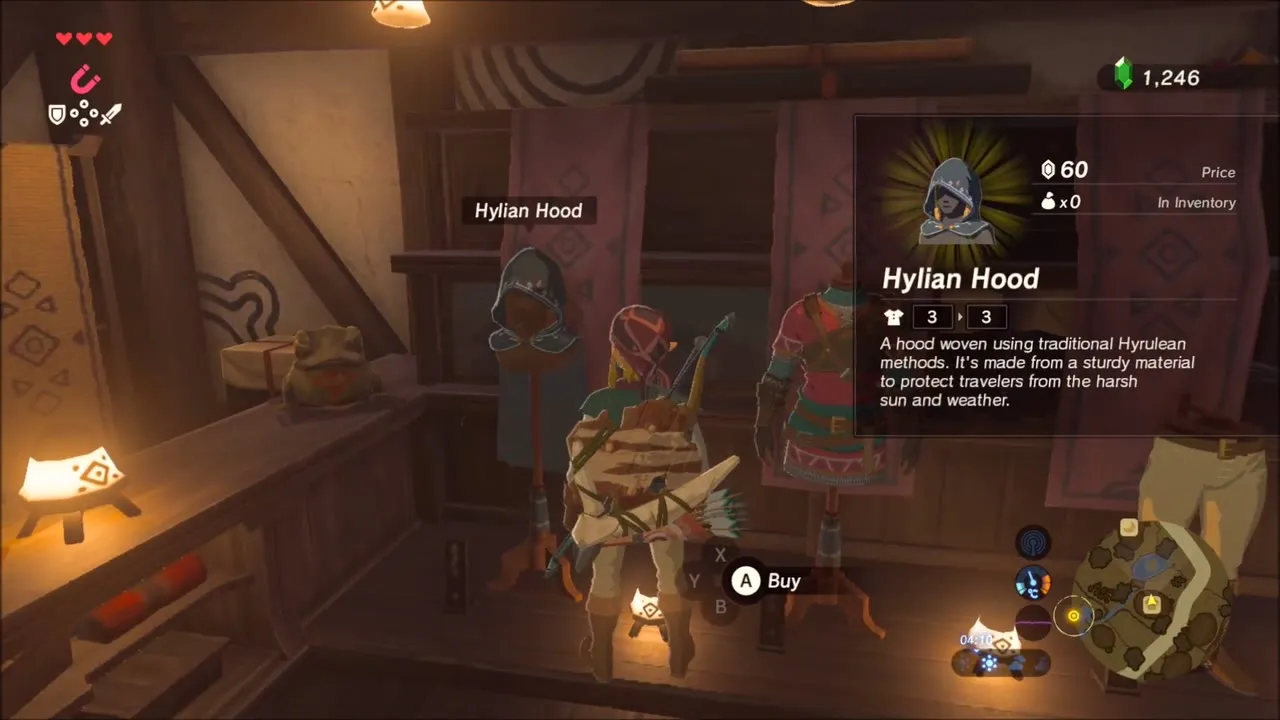
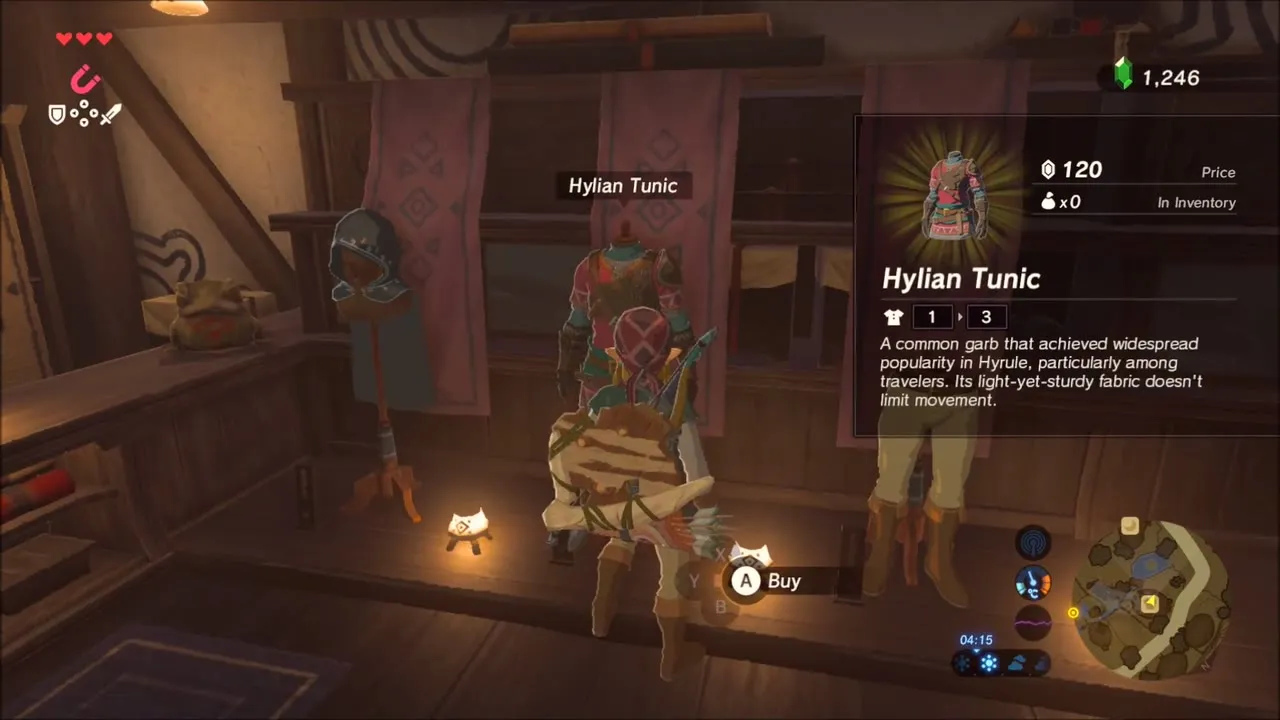
Claree’s shop sells clothing: the Hylian Tunic costs 120 rupees, the Hylian Hood 60 and the Hylian Trousers 90, and she also buys items you do not need. The archery shop sells arrows at 5 rupees each, and at the inn a regular bed costs 20 rupees and a soft bed 40.
Stamina Vessel at the Goddess Statue
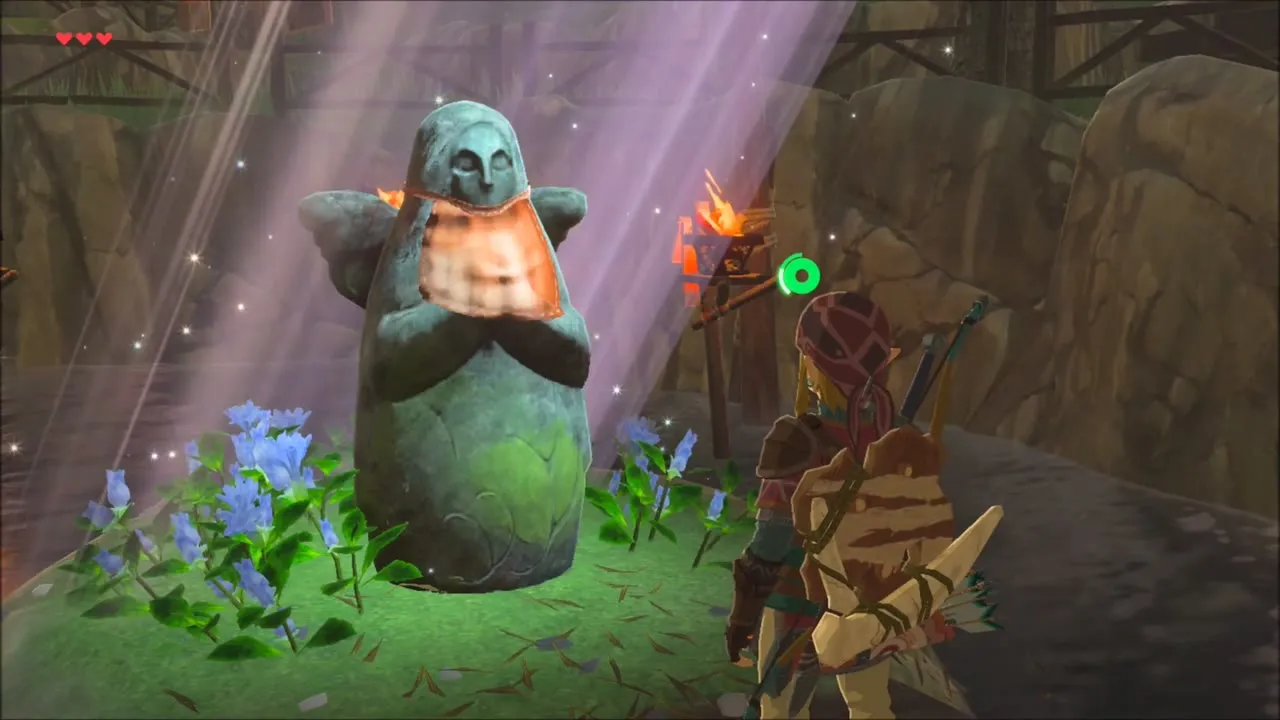
The Goddess Statue in the village trades Spirit Orbs for a Heart Container or a Stamina Vessel. A Stamina Vessel is a good first pick, since climbing drains your stamina wheel so often.


Two Korok Seeds above the village
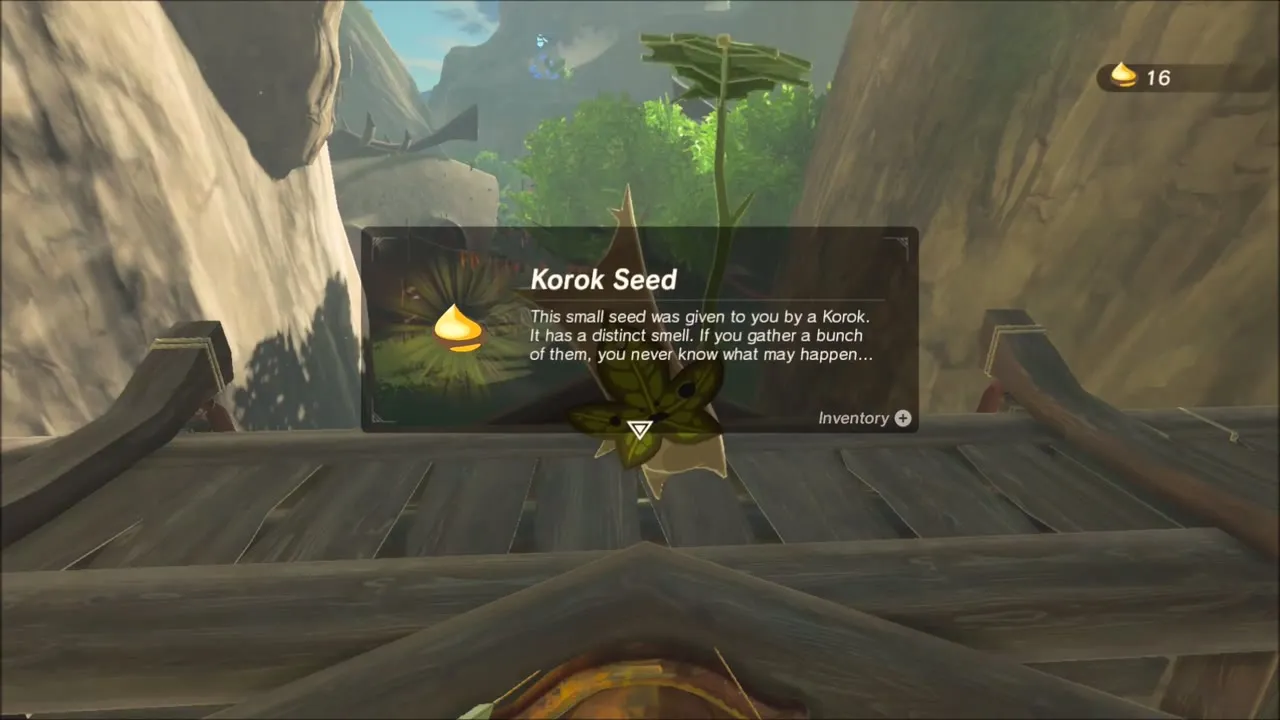
Beneath one of the wooden gates with hanging banners that frame the paths around the village, a Korok sits on the crossbeam. Climb or glide up to it for a Korok Seed.


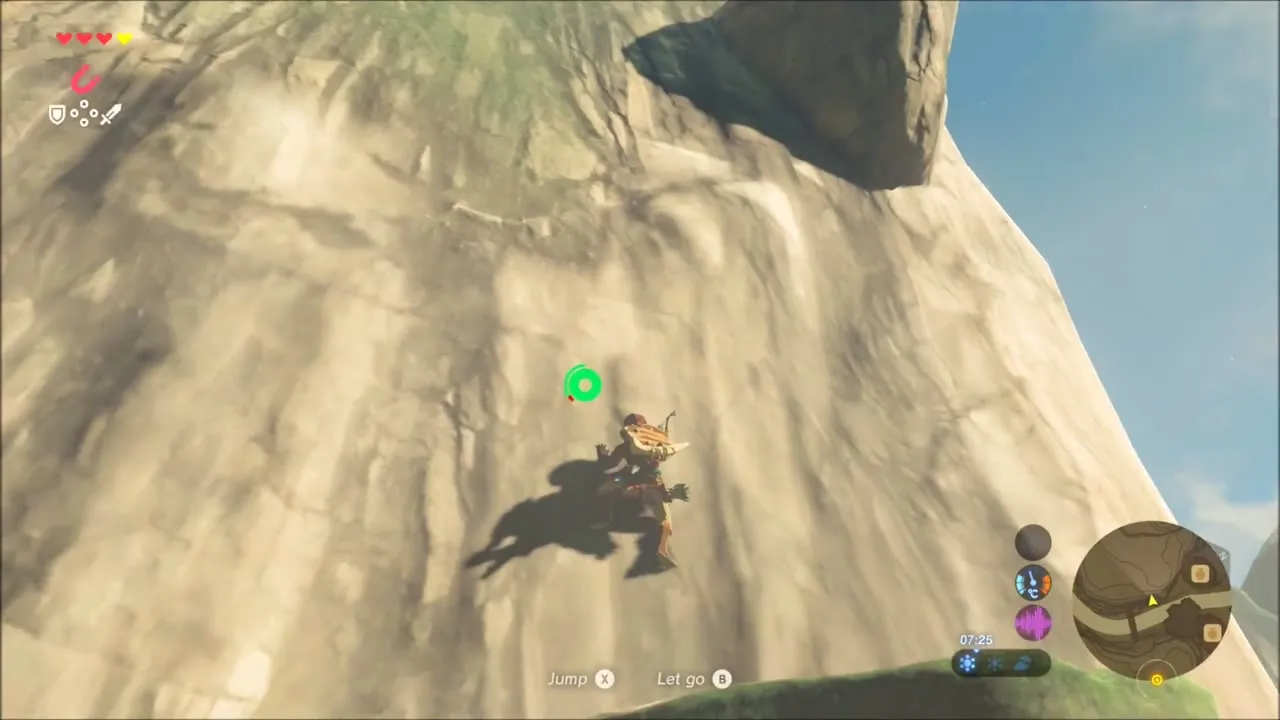
Then climb the sheer cliff above the village. Near the top is a grassy ledge with a rock on it. Lift the rock and the Korok underneath gives you a Korok Seed.

Cotera Great Fairy Fountain Location
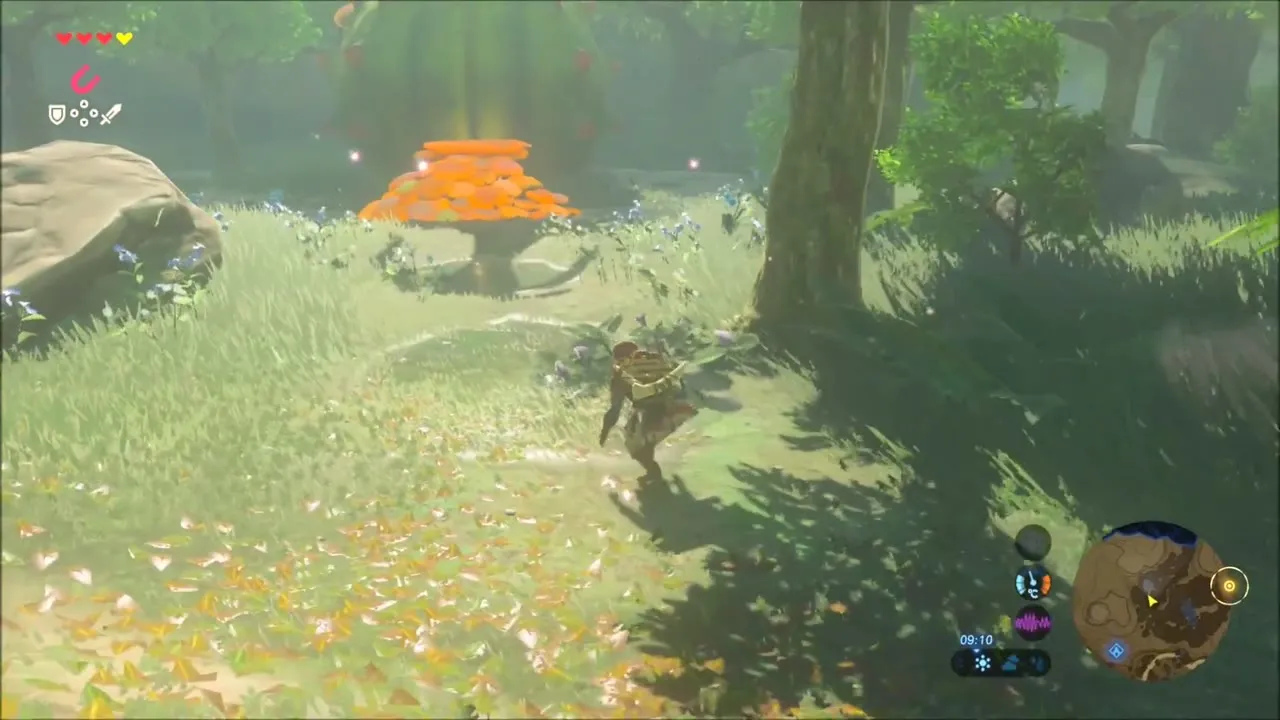
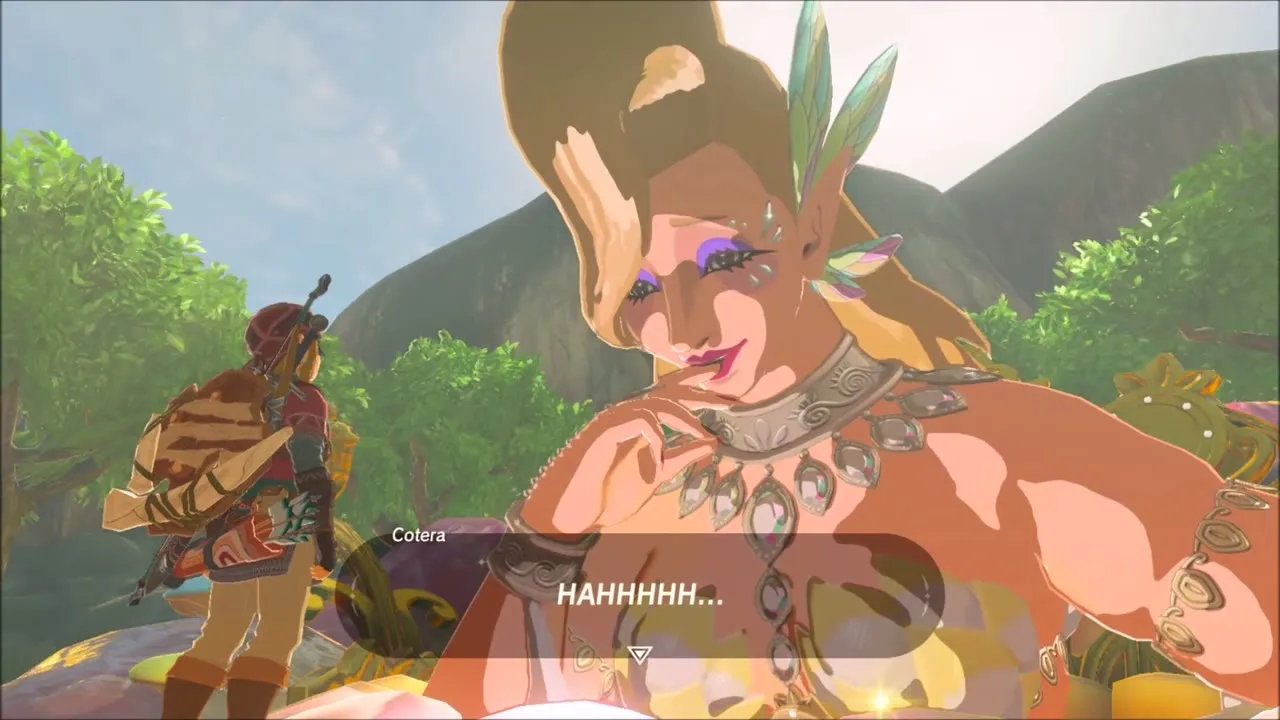
Follow the forest path north of the shrine to a giant spiky flower on the hillside (about x 1976, z 846, map square G-5). This is Cotera. Pick the Blue Nightshade growing around the clearing, then talk to her and pay the rupee fee to wake her. The fee depends on how many Great Fairies you have already woken, and once she blooms you can upgrade armor here with materials.


Six Korok Seeds on the Hills and Peaks Near Kakariko
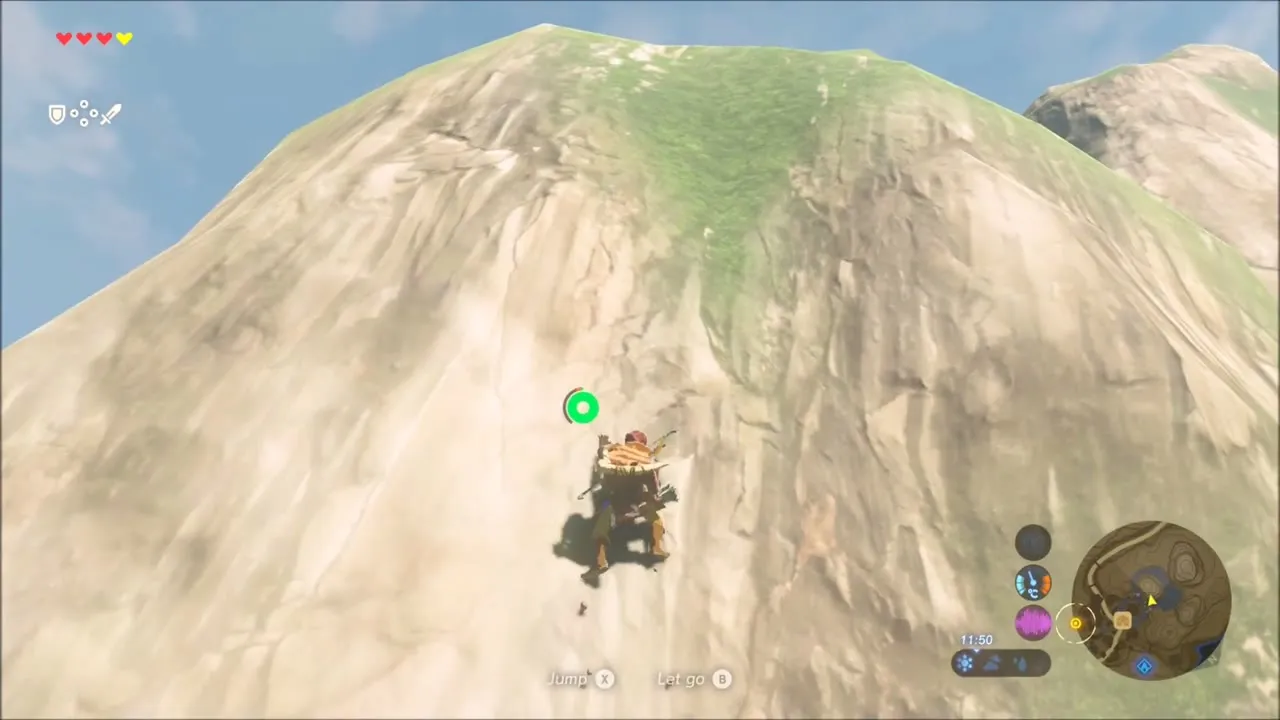
The hills and rock spires beyond the fountain hide a run of seeds. Climb the steep, grassy peak for a Korok Seed. Another seed is on another hill: carry the boulder off the summit and the Korok appears.
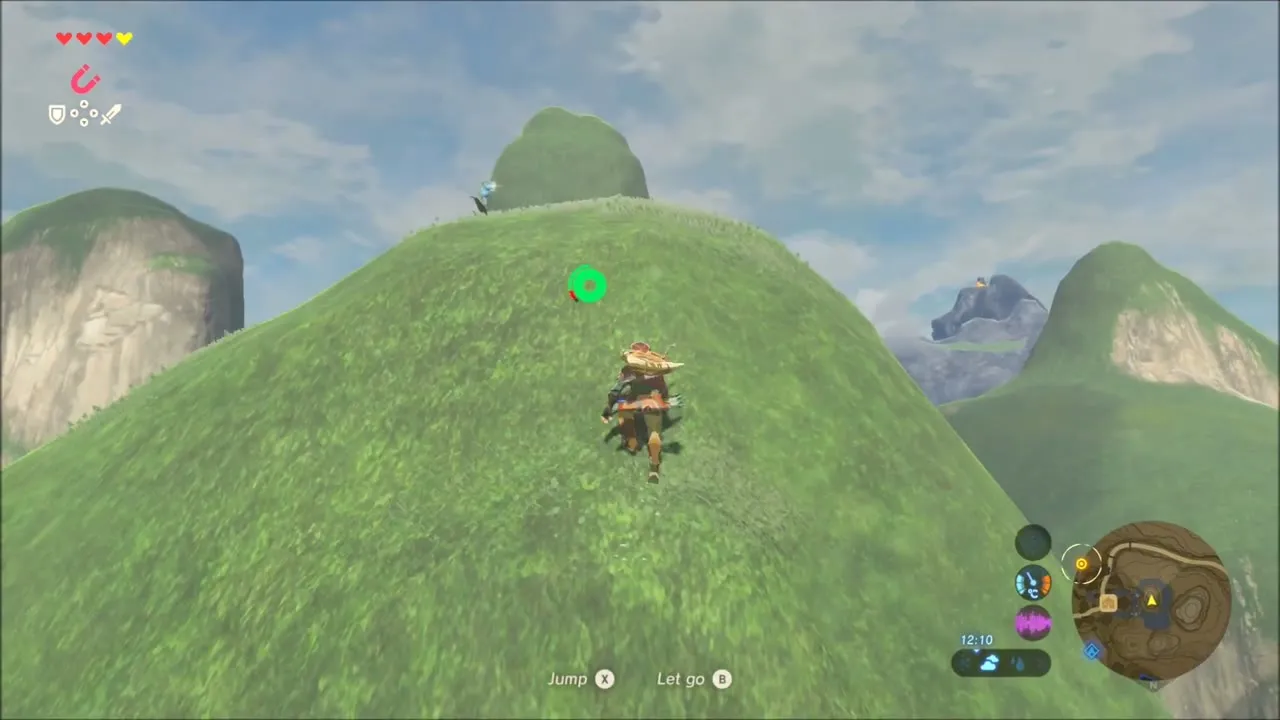
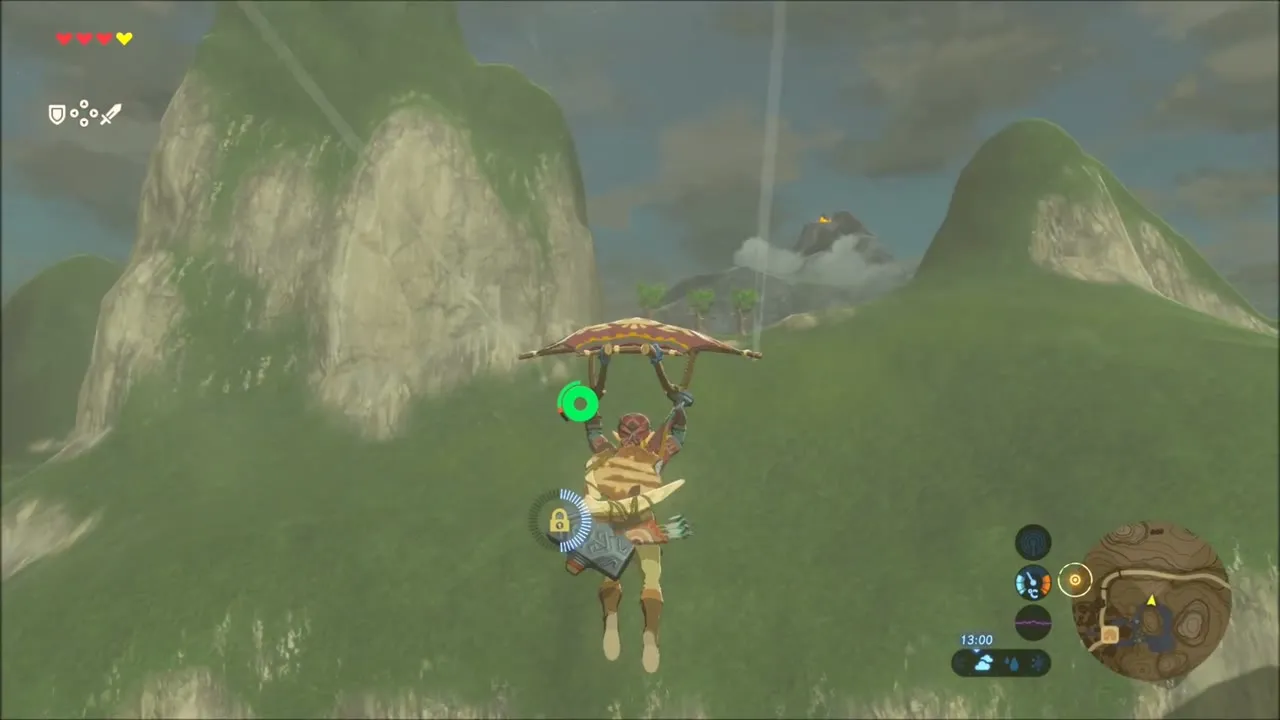

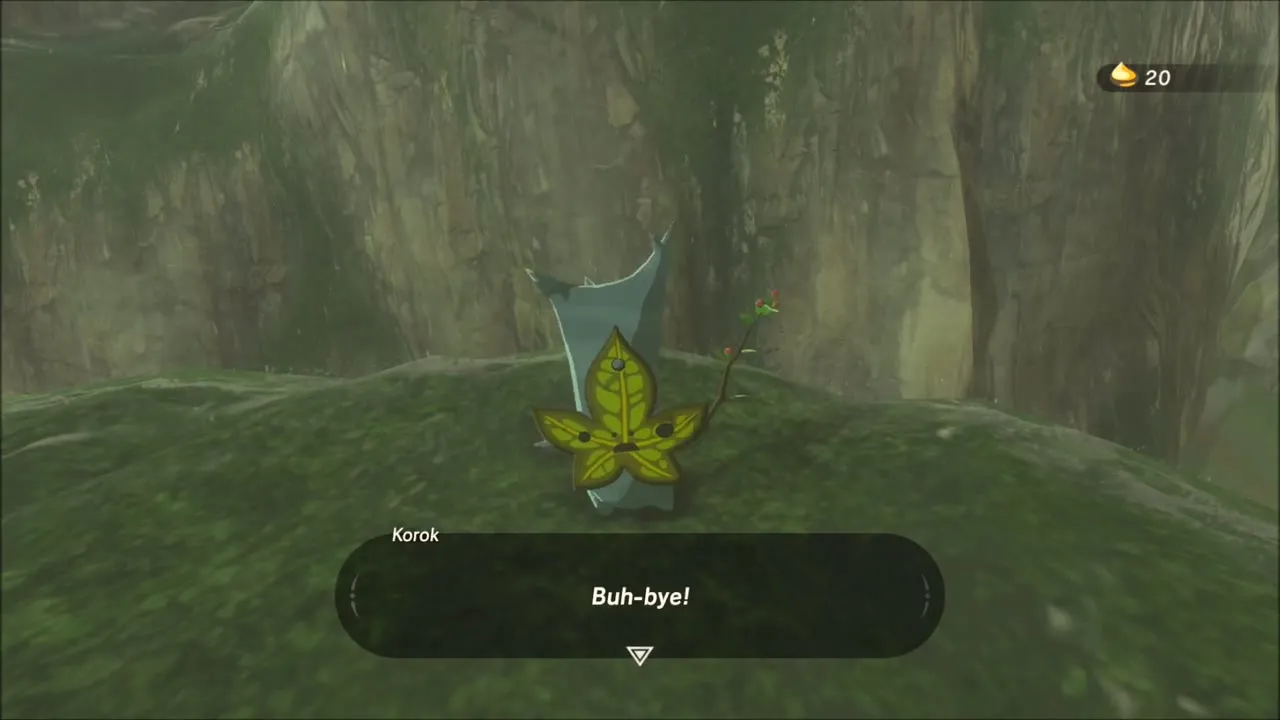
Back toward the road, glide onto the crossbeam of another wooden gate for a Korok Seed. A little farther along, a Korok hides beside a cliff wall in a narrow valley. Find it for a Korok Seed.


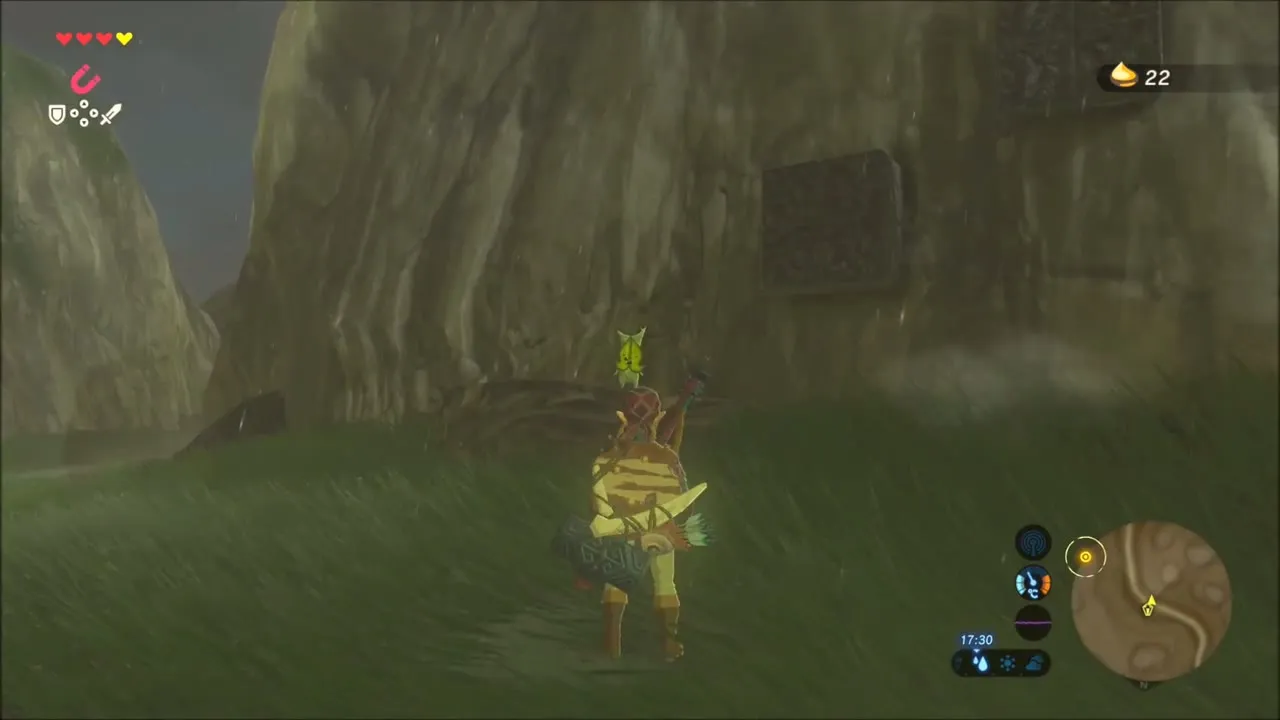
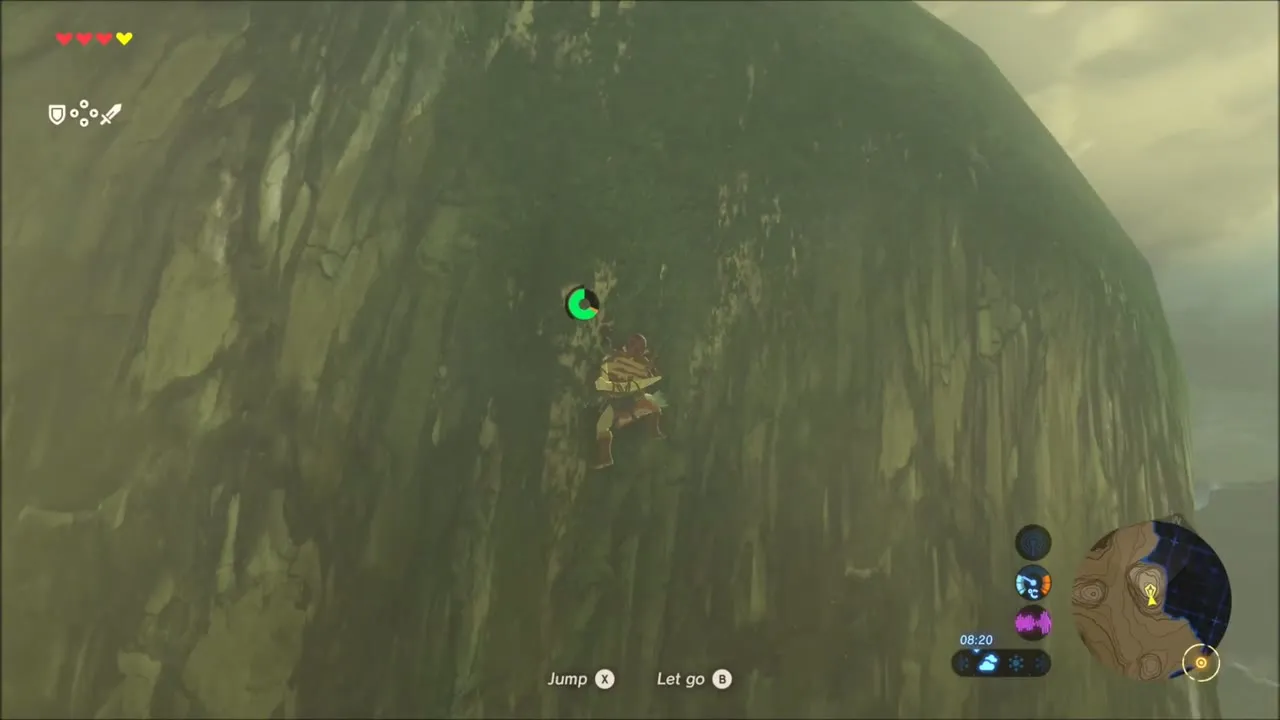
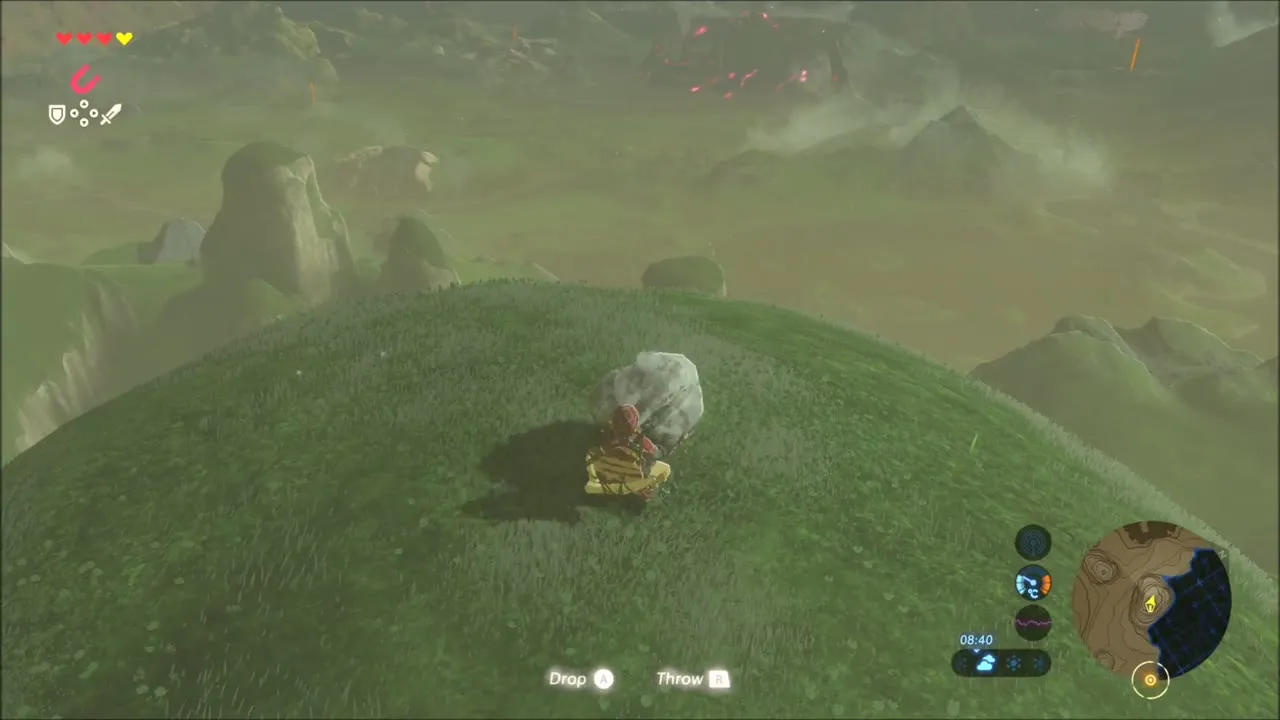
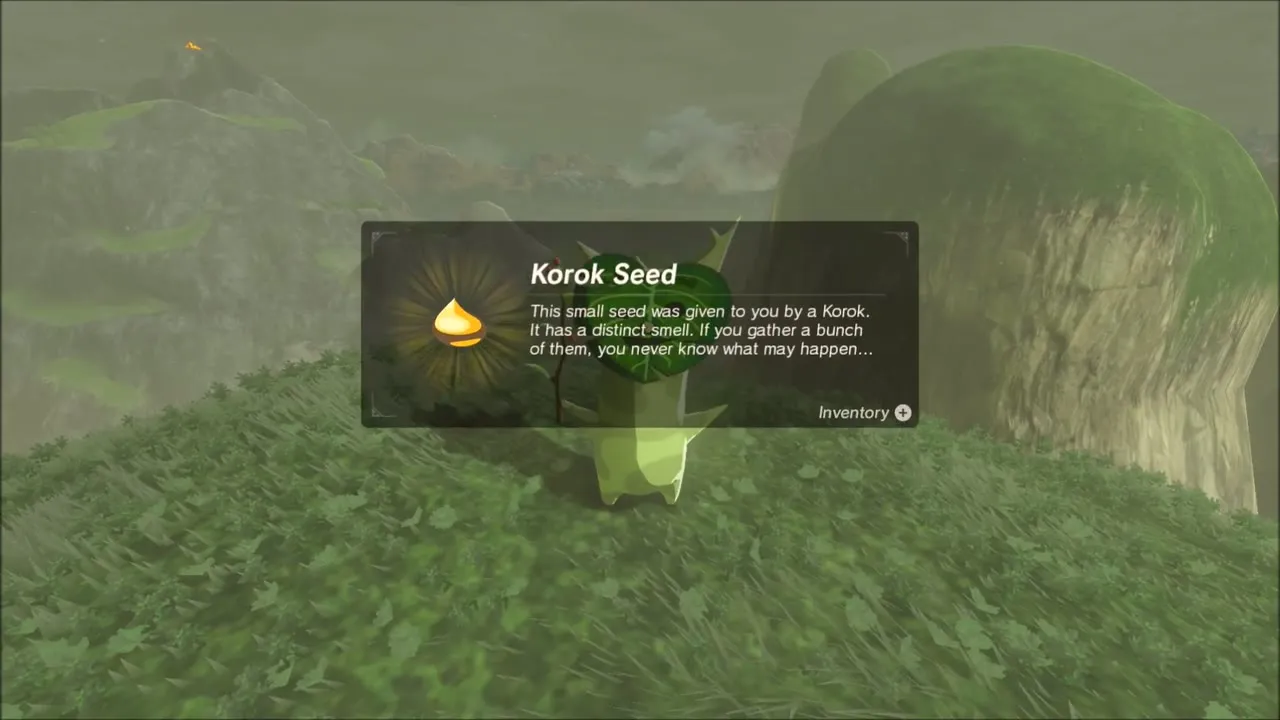
For a Korok Seed, climb a tall green peak and pick up the boulder at the top. A Korok Seed is on a second round hill: lift the rock on the summit and the Korok hops out. From here you can spot a shrine on a distant peak, which needs a memory unlocked before it opens, and a chest worth coming back for.


The Priceless Maracas: Hestu’s Maracas Quest
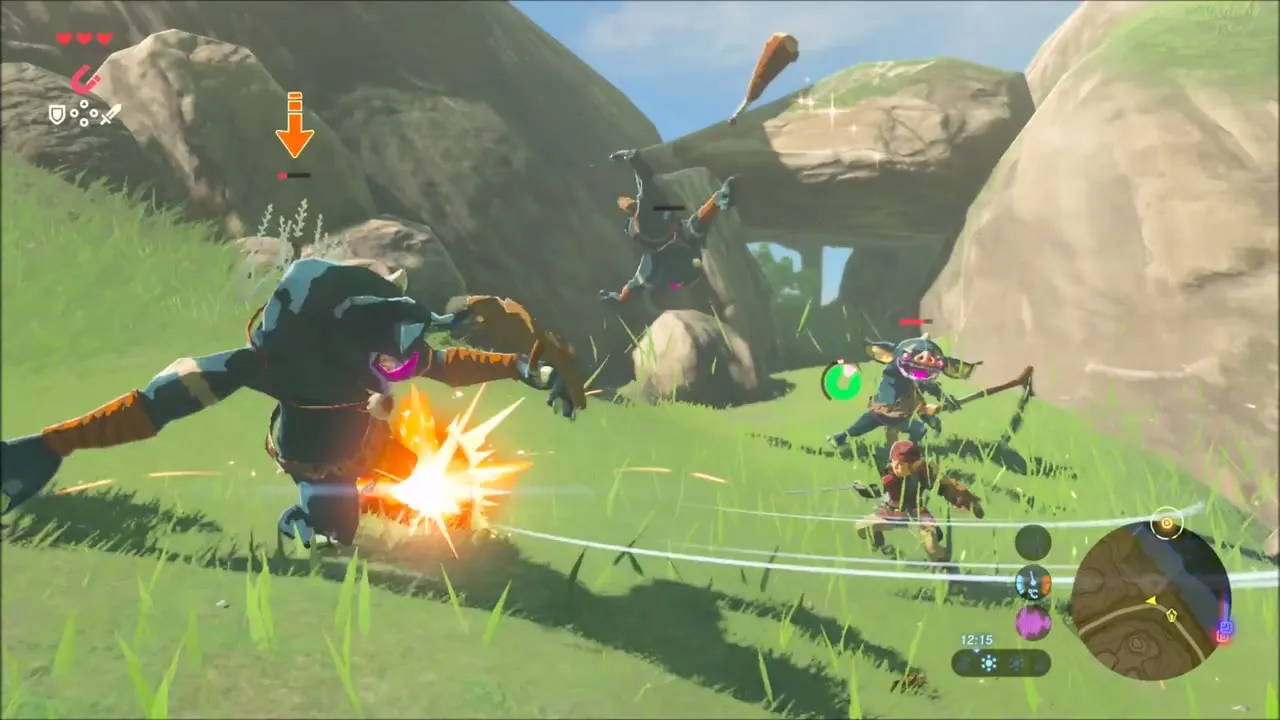
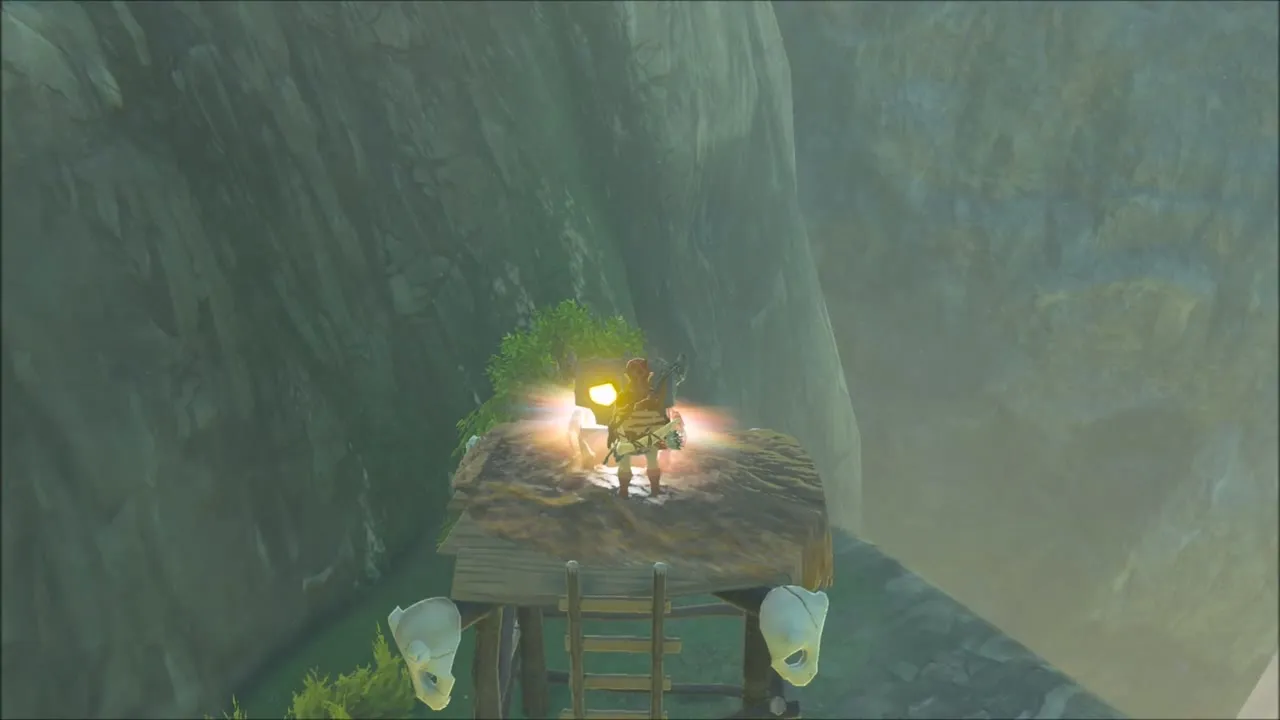
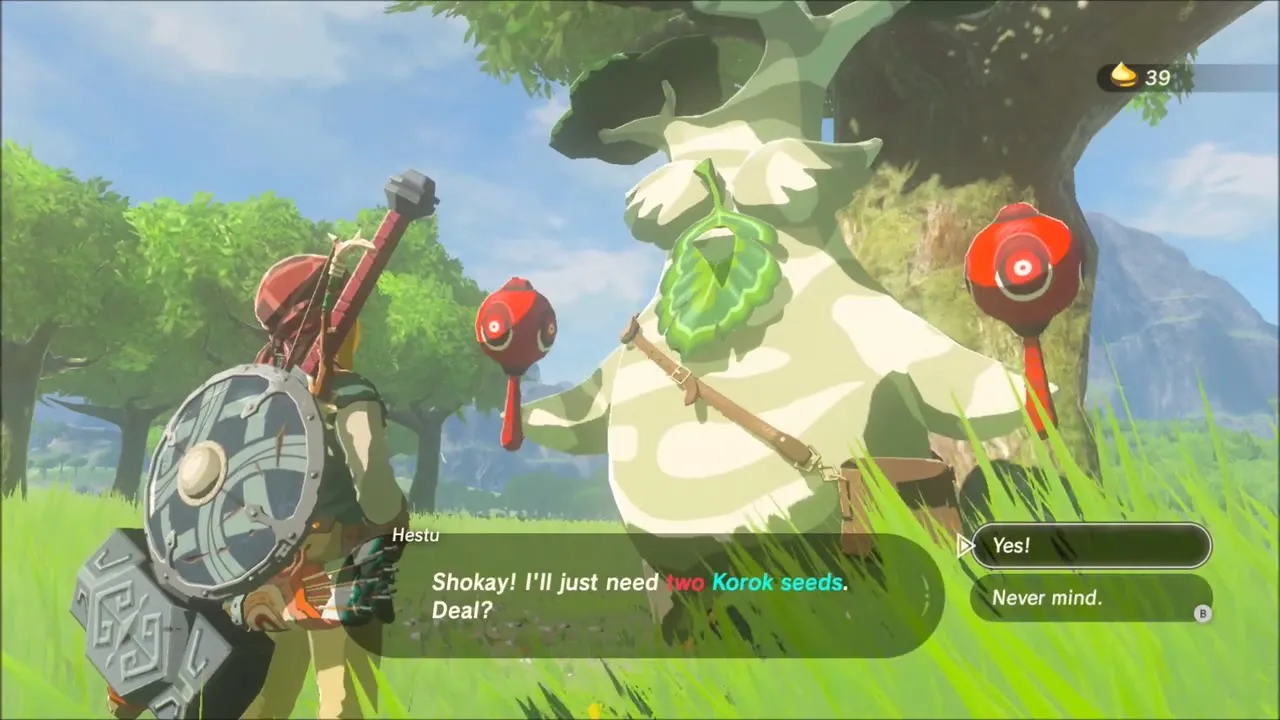
On a grassy hillside you meet a giant Korok beside a tree. Choose “I can see you” and Hestu tells you that monsters have stolen his maracas, which starts The Priceless Maracas. The thieves are Bokoblins camped under a stone arch on the slope below. Clear them out, including the archer on the lookout tower, take the maracas back and return them to Hestu.


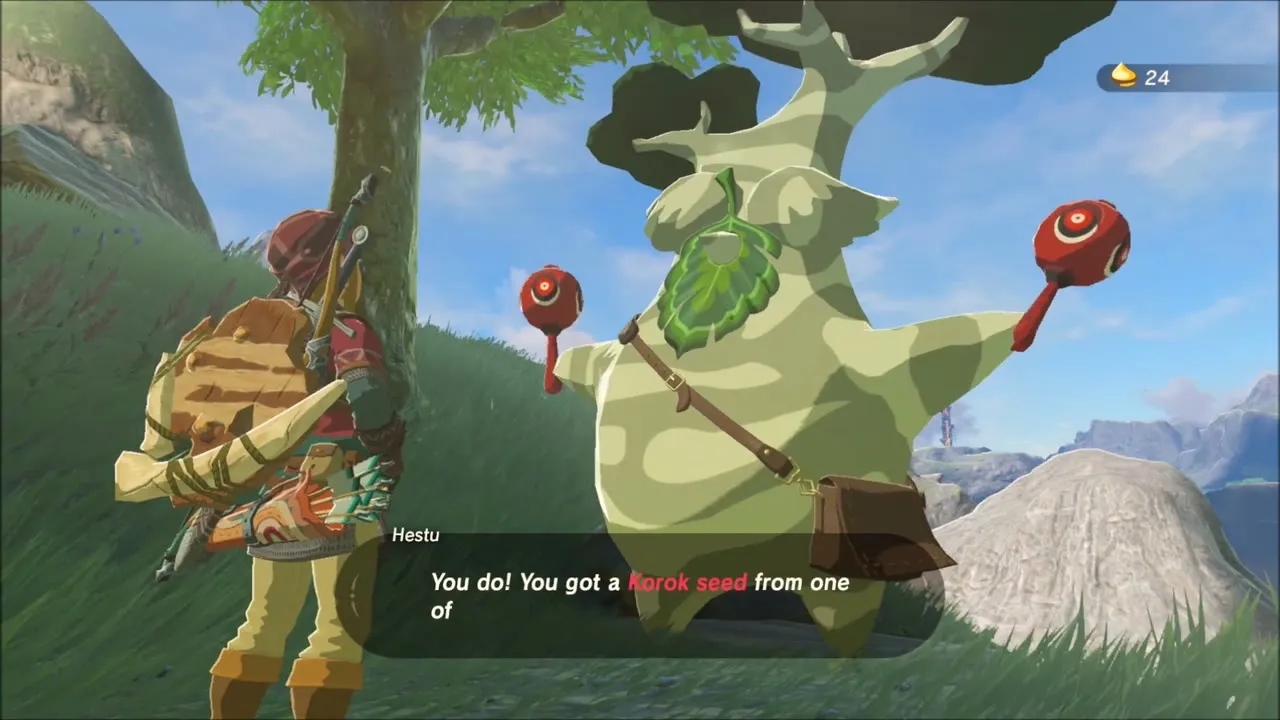
Expand your inventory with Korok Seeds
Hestu shakes the maracas and finds that something is still missing: Korok Seeds. He offers an inventory upgrade for two seeds, and asks for more with each later upgrade. Hestu moves around Hyrule as you progress, so trade your seeds whenever you meet him.



Yiga Ambush Near the Ruins and the Rock-Ring Korok Seed
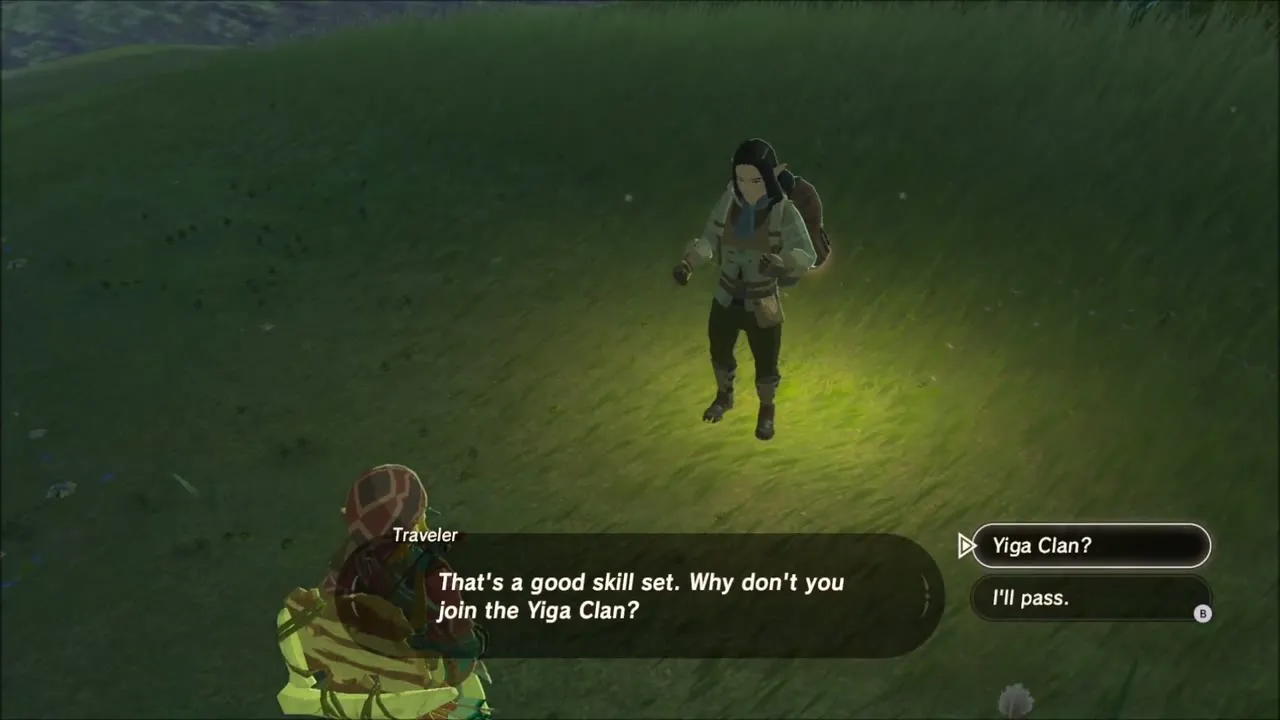
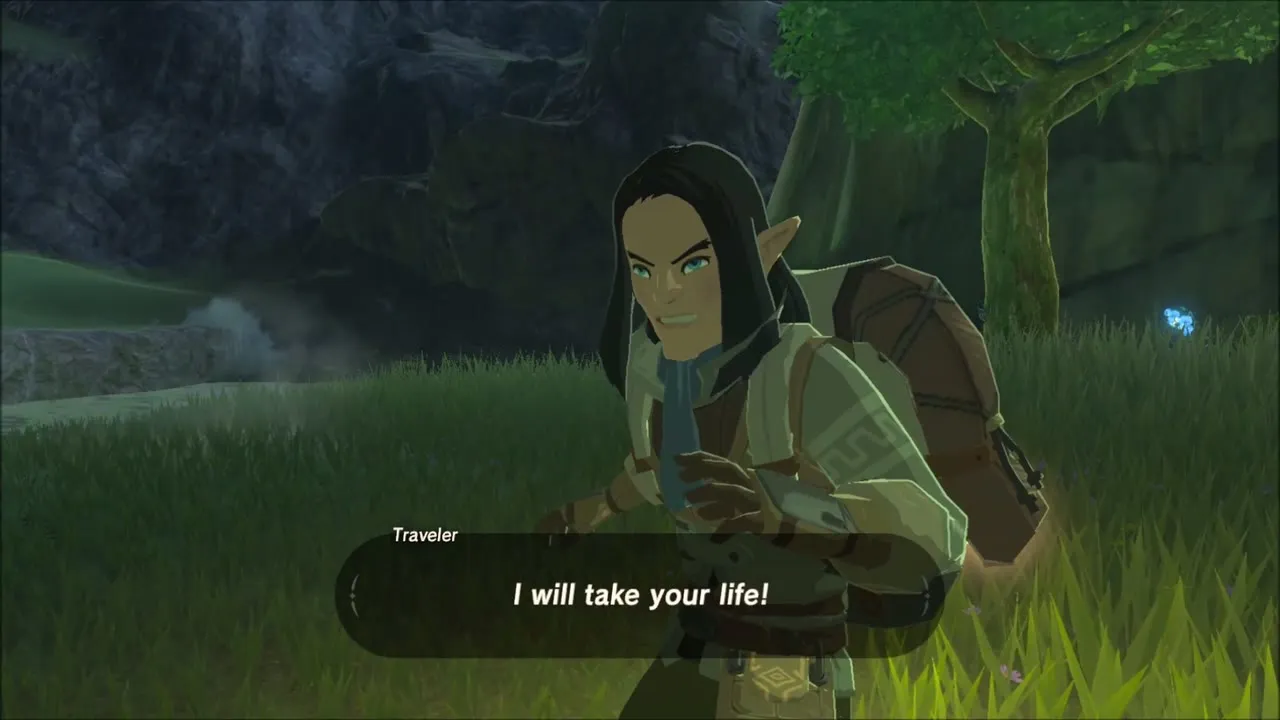
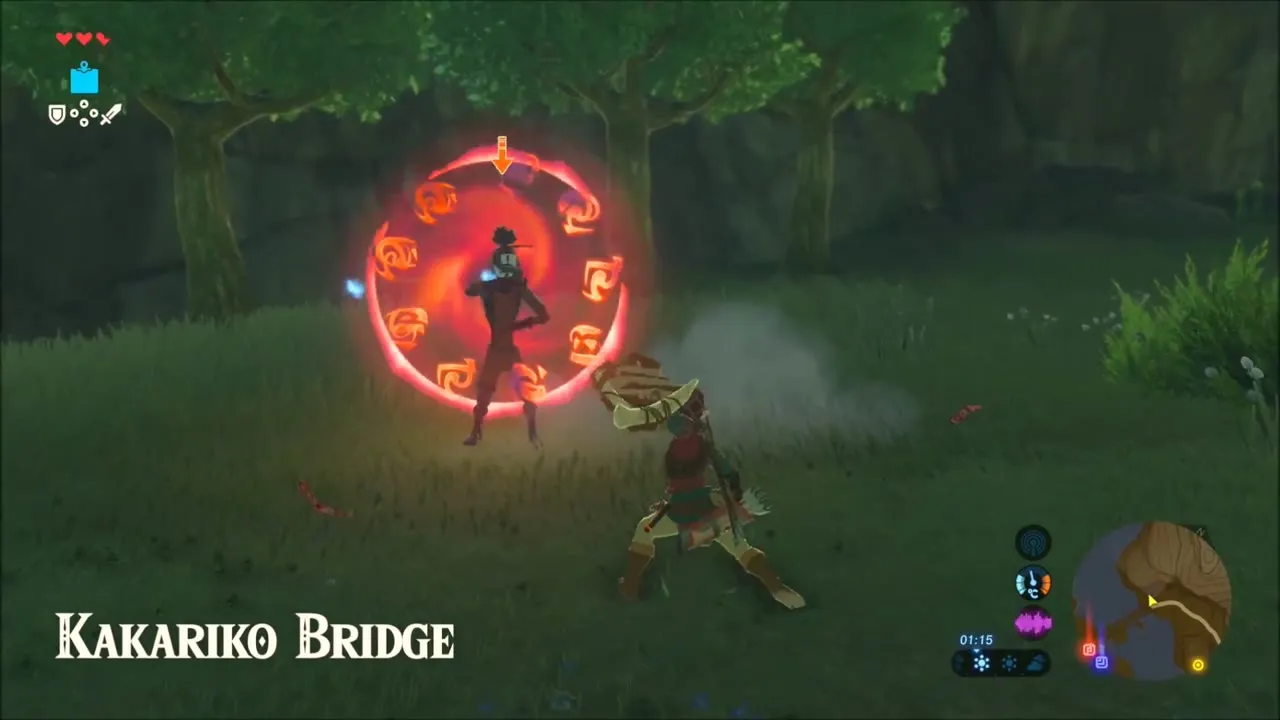
After dark, a lone traveler waits beside a flight of ruined stairs and starts a conversation. He praises your fighting skill and invites you to join the Yiga Clan. Turn him down and he drops the act: the “traveler” is a Yiga Footsoldier, and more of the clan jump out of the grass to back him up. Fight them one at a time with your sword and shield and keep moving so the group cannot surround you. Blue Nightshade and Hyrule Herb grow in the dark grass nearby once the fight is over.

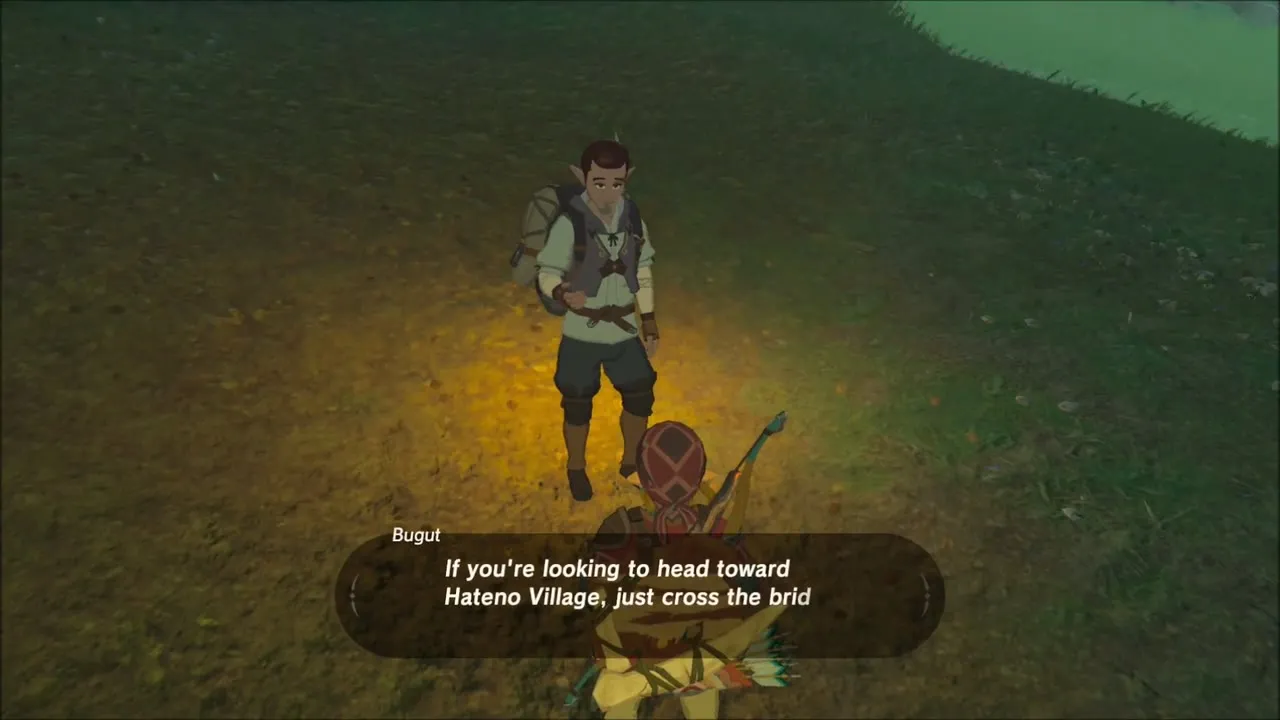
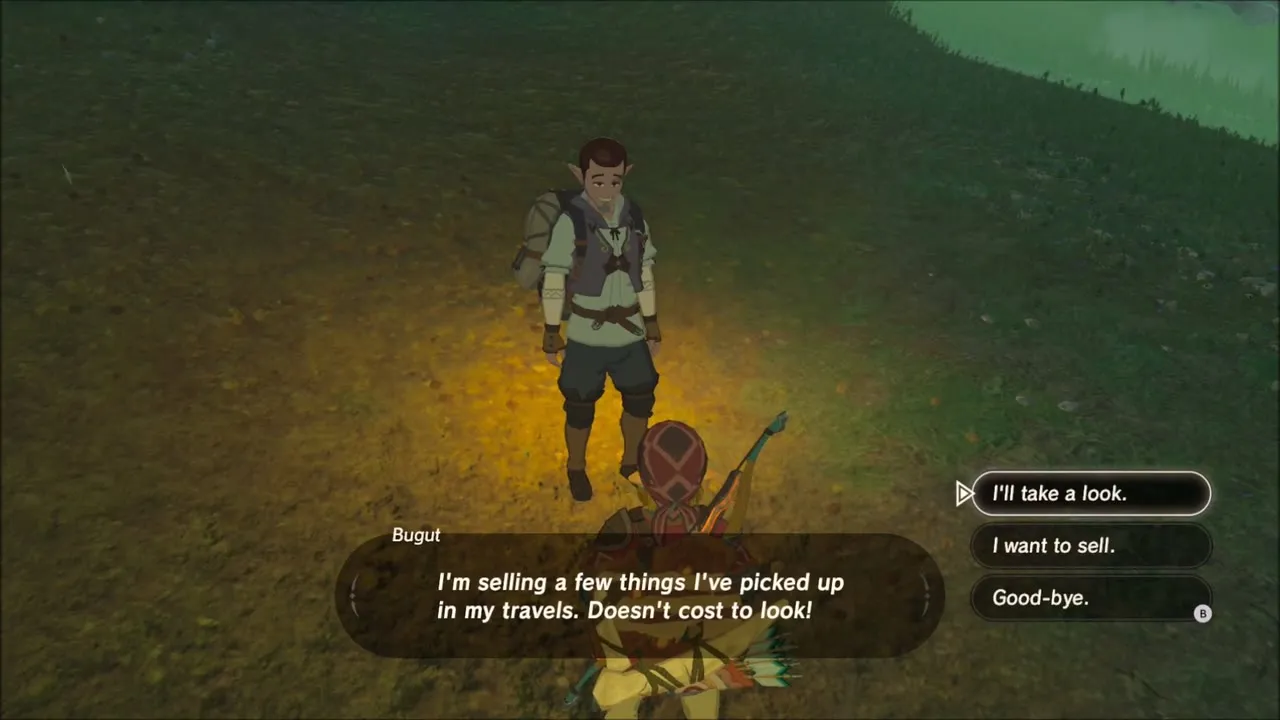
A little farther along, a wandering merchant named Bugut has set up beside the road. When you pass he is selling Energetic Rhino Beetle, Staminoka Bass, Stamella Shroom and Bright-Eyed Crab, and he buys materials too, so stop if you need cooking ingredients.
Korok Seed: Stone Carried to the Ring in the Water
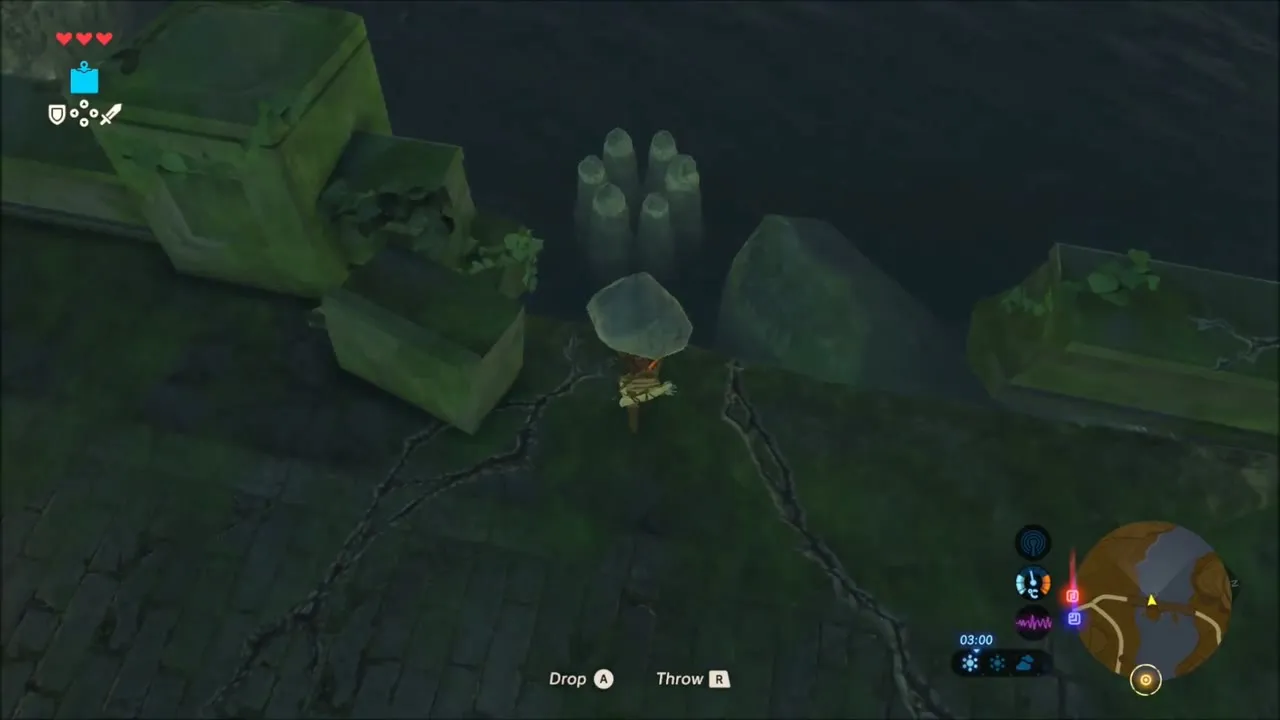
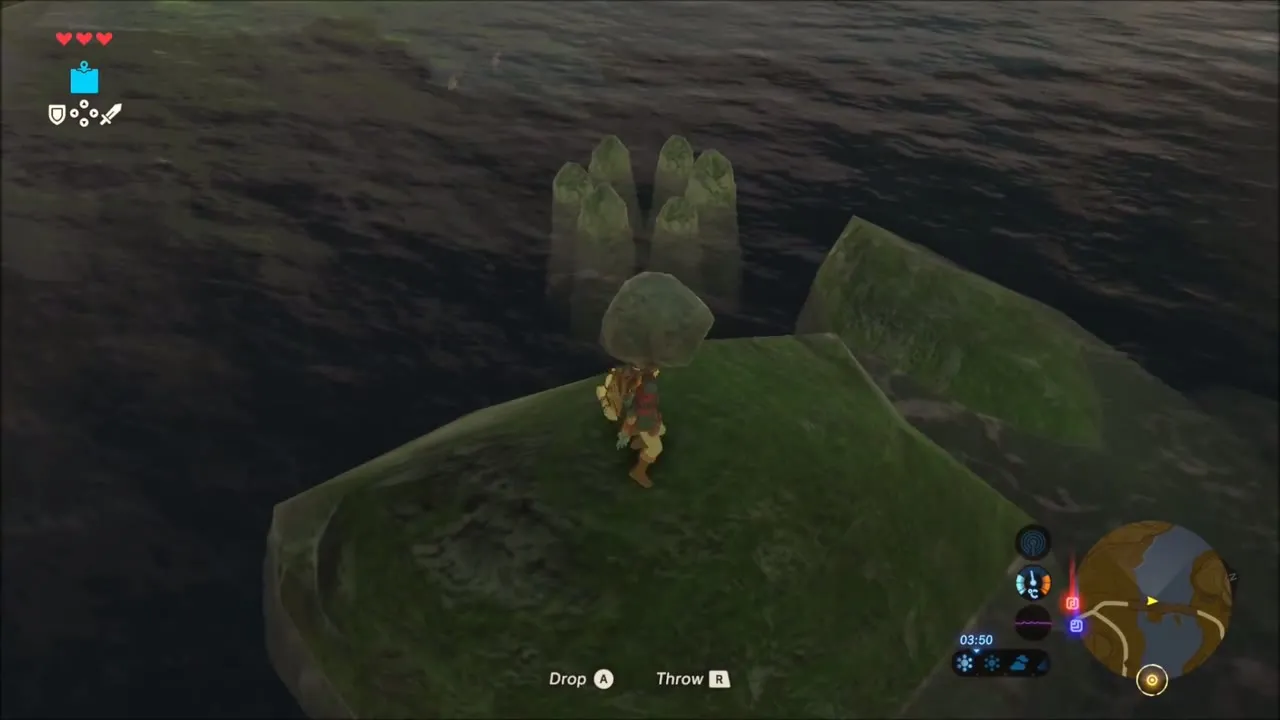
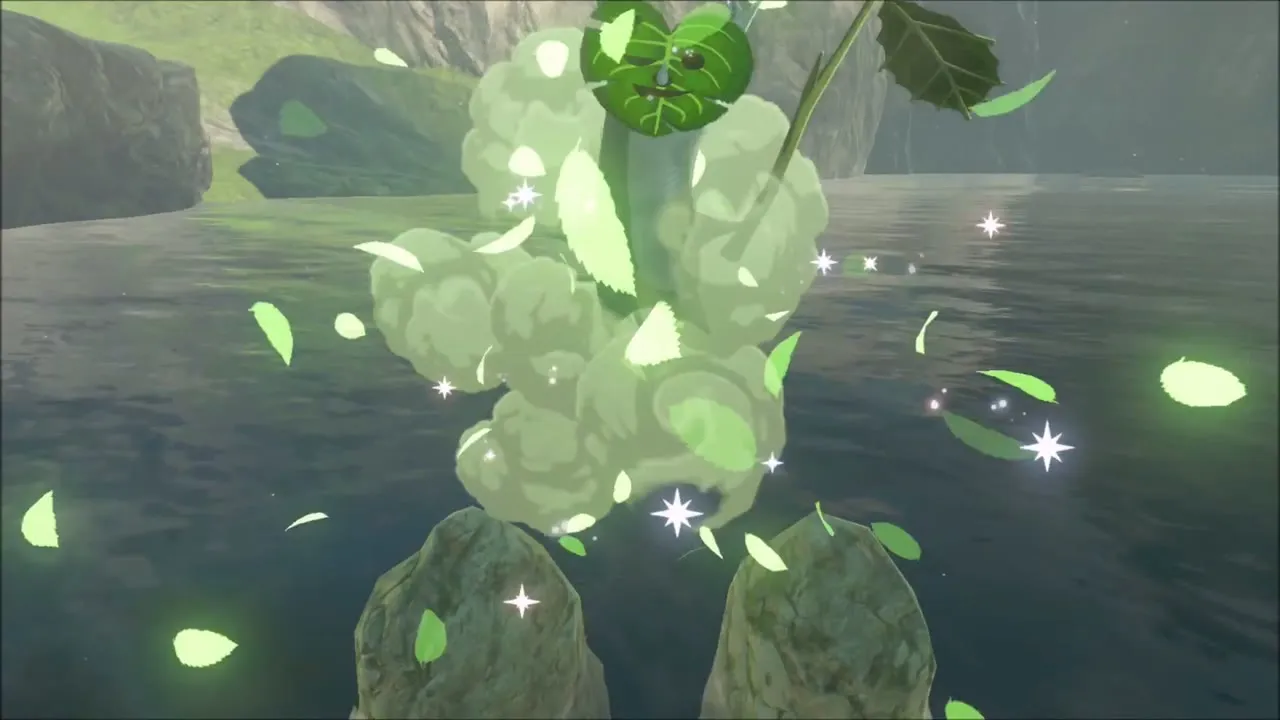
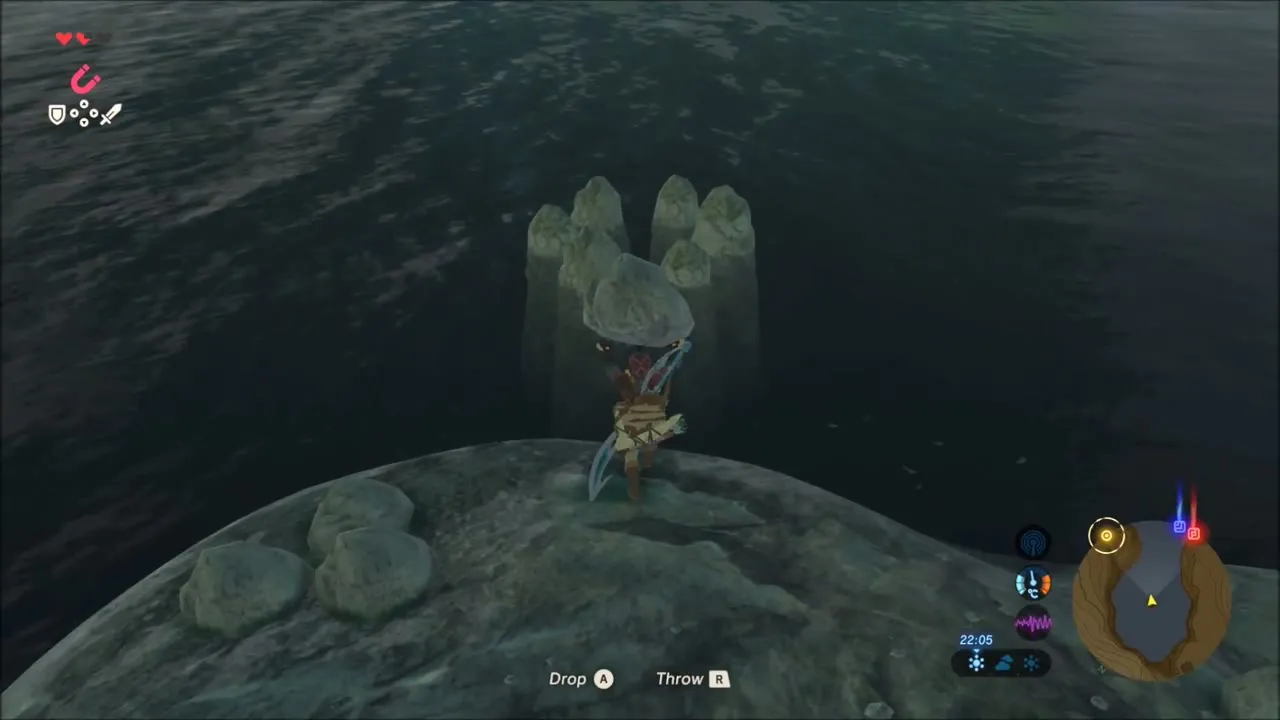
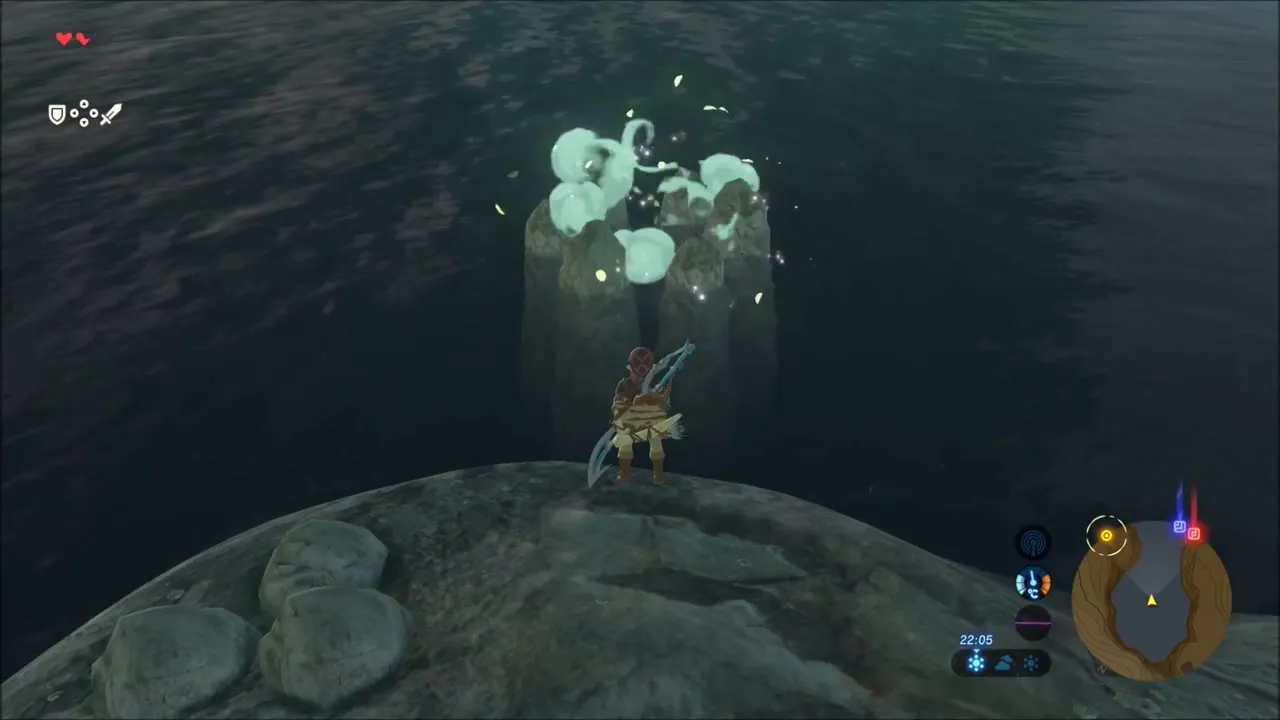
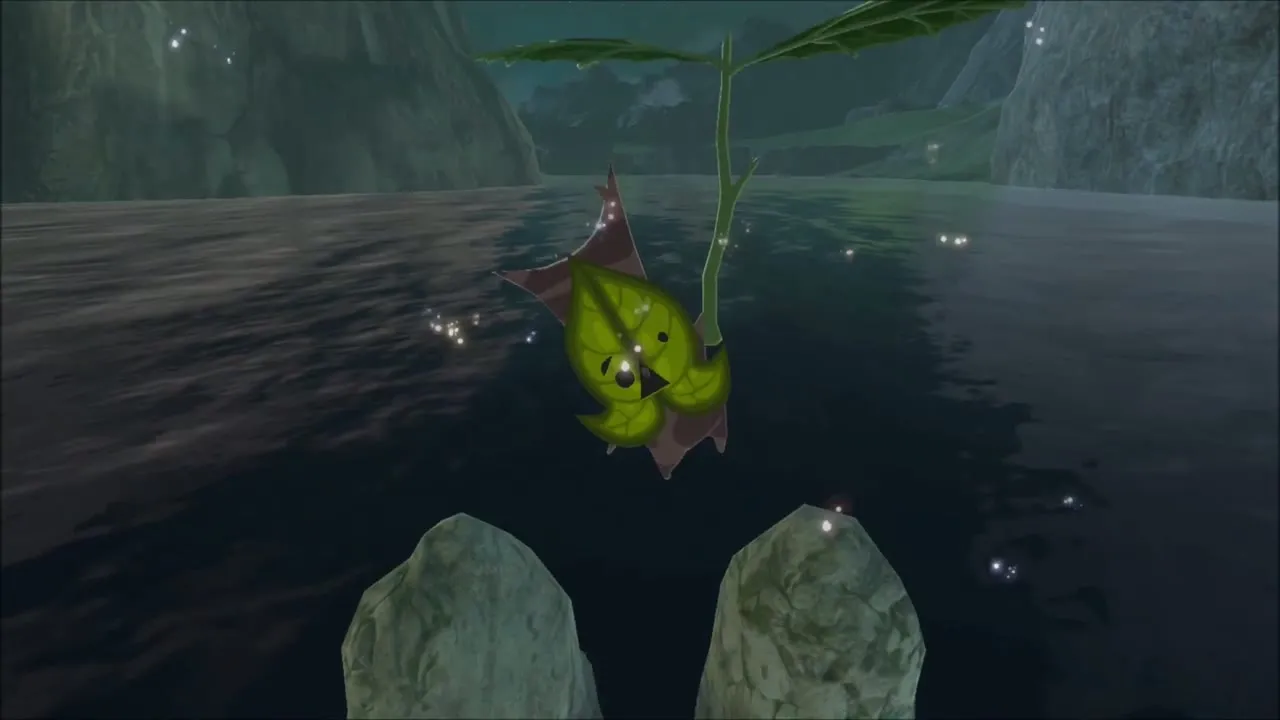
Follow the ruined stone walkway out to the water’s edge. A loose rock sits on the broken brickwork, and a ring of short stone posts stands in the shallows below. Pick the rock up, carry it along the ruin without dropping it, and throw it so that it lands inside the ring. Leaves burst out and a Korok hands over a seed. This is the first Korok Seed of this stretch; the whole region is listed on the Dueling Peaks Korok Seeds page.

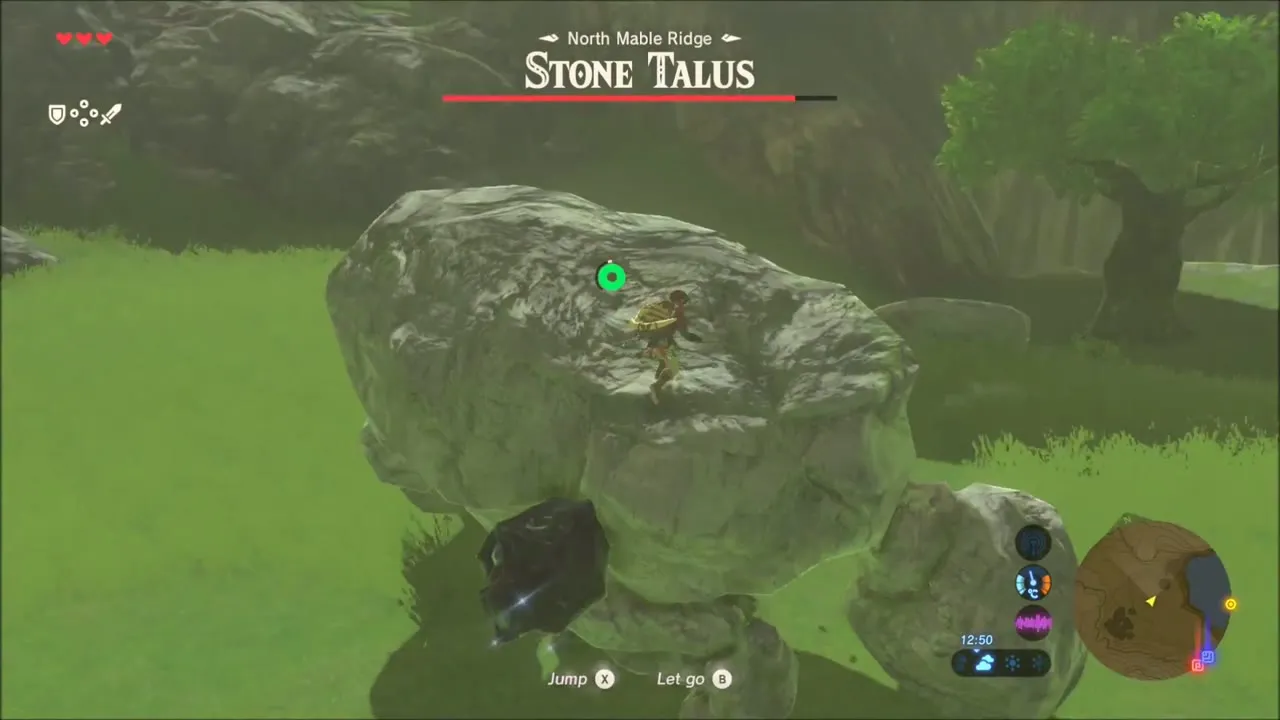
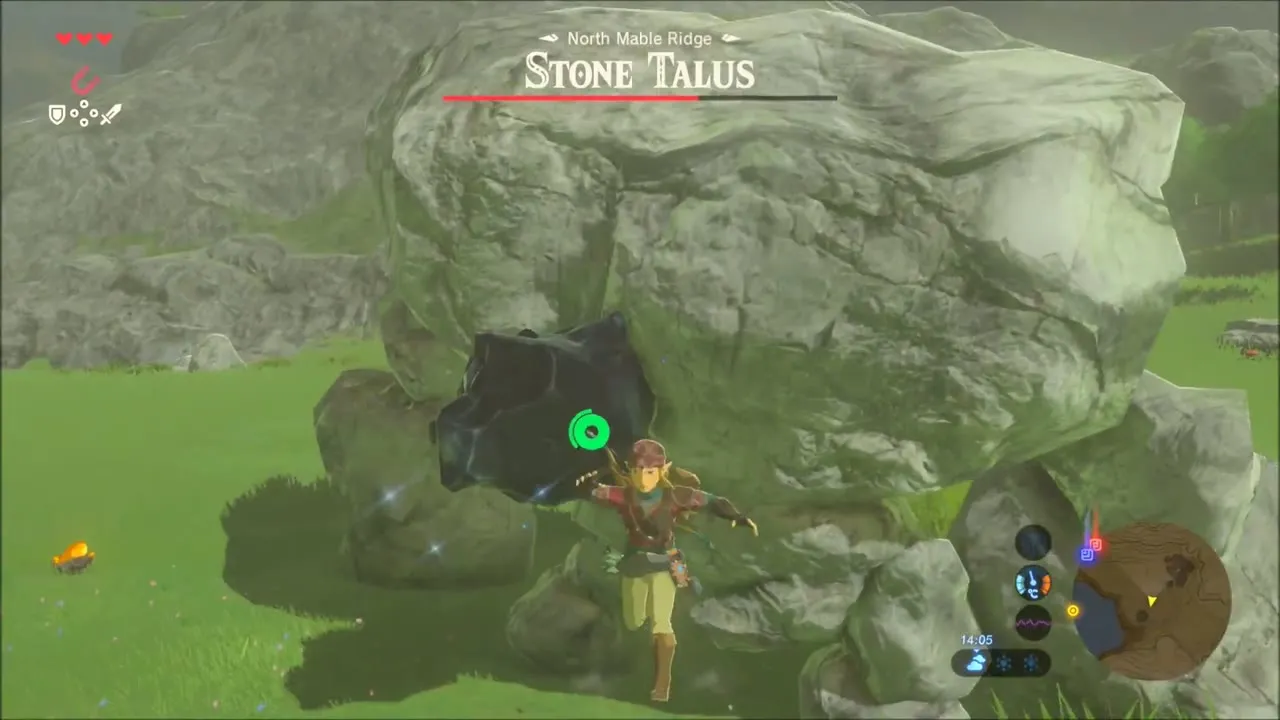
Stone Talus at North Mable Ridge
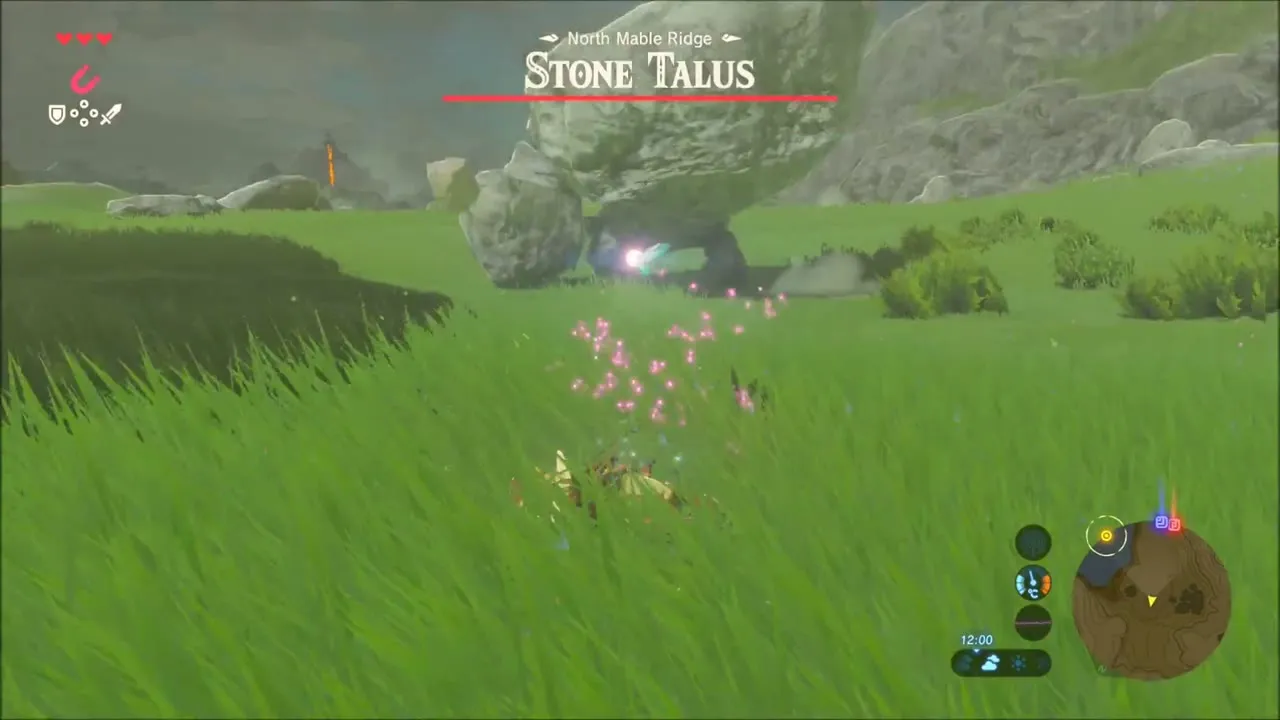
Climb the cliff on the north side of the water and cross the grass of North Mable Ridge. A rock pile standing in the open is a Stone Talus. Stay out of the way of its stone fists, climb onto its back, and look for the dark ore deposit growing from the rock. Strike the ore with repeated heavy swings until the Talus collapses. The rubble contains Opal, Amber, Flint and Ruby, so pick up everything before you leave. Hylian Shroom, Hightail Lizard and Stamella Shroom grow among the trees just beyond the fight.

Luminous Stone Chest at the Bokoblin Camp
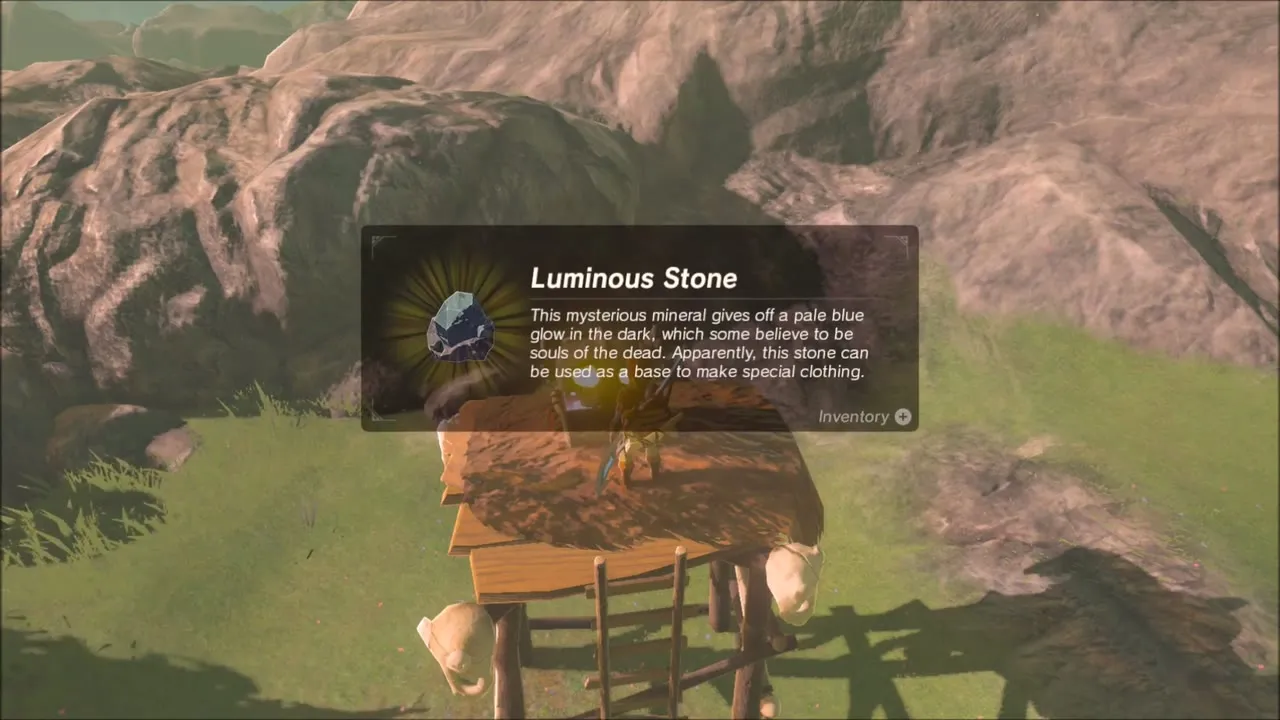
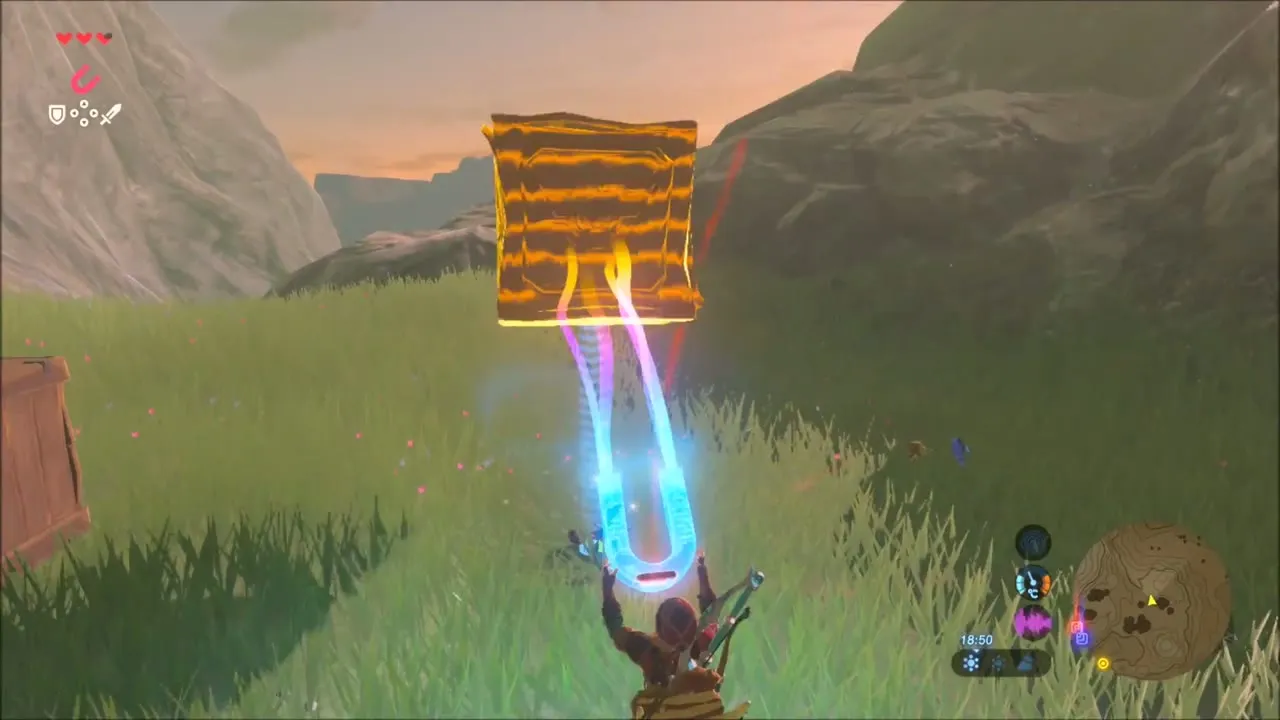
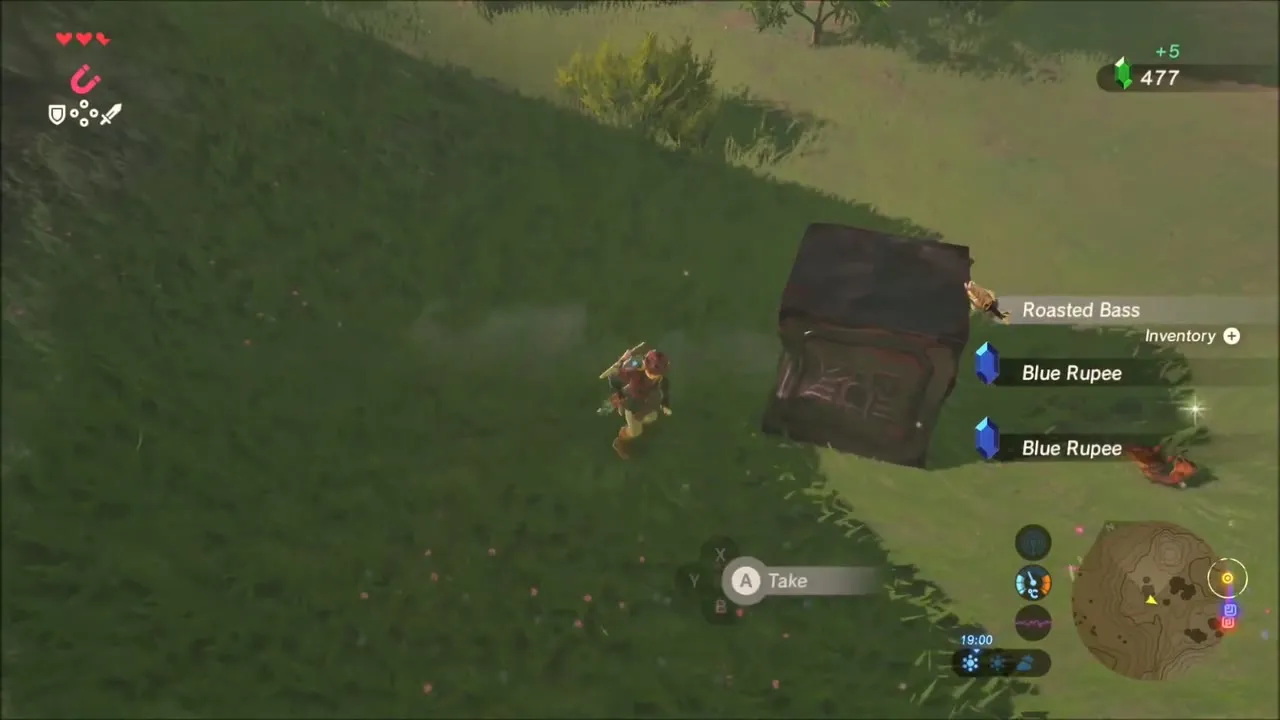
Continue over the grassy hills to a Bokoblin camp built from wooden platforms decorated with bones. Defeat the Bokoblins and climb the watchtower platform: the chest on top holds a Luminous Stone, a pale-blue mineral that glows in the dark. Use Magnesis on the metal crate lying in the camp and pull it toward you. Opening it gave a Blackened Crab, a Roasted Bass and a Blue Rupee.

Korok Seeds on Lake Siela: Lily Ring and Rock Ring
Make your way back to the lake in the valley as night falls. On its north-west side, a mossy ledge hangs over a ring of lily pads in the water. Glide down through the ring and the Korok pops out of the lily pads with a seed. It sits near (1554, 1297).
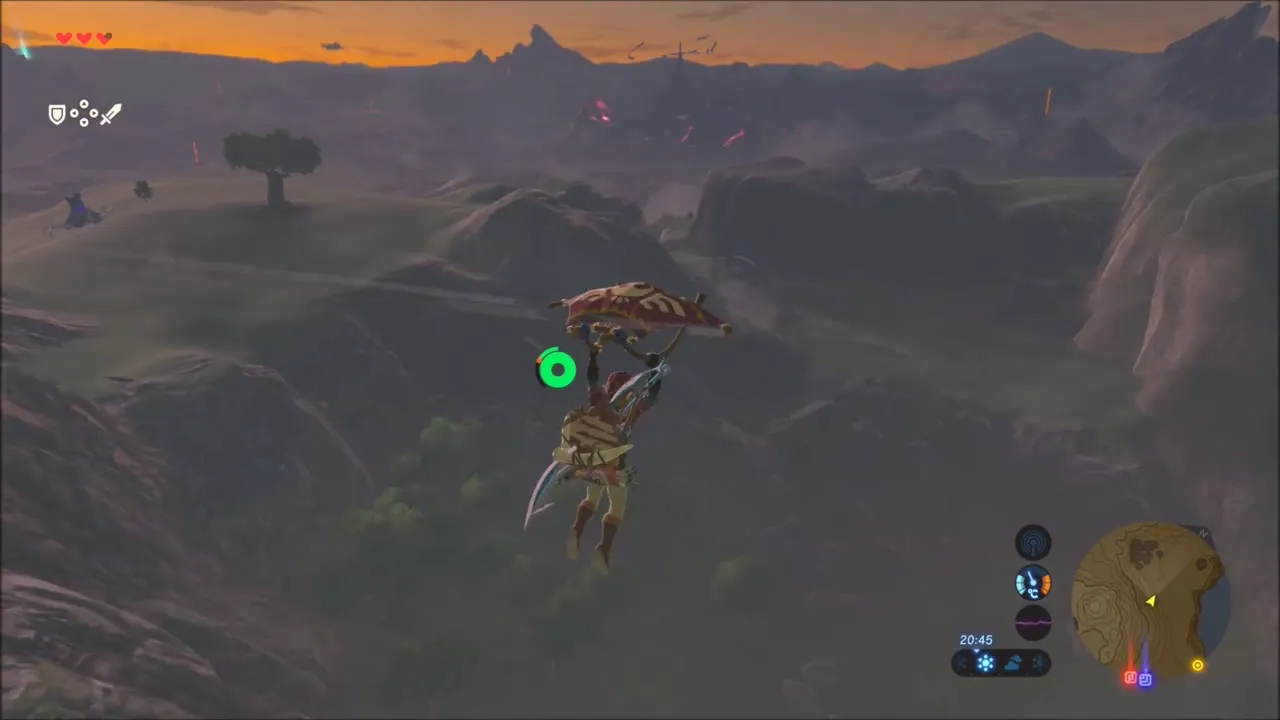

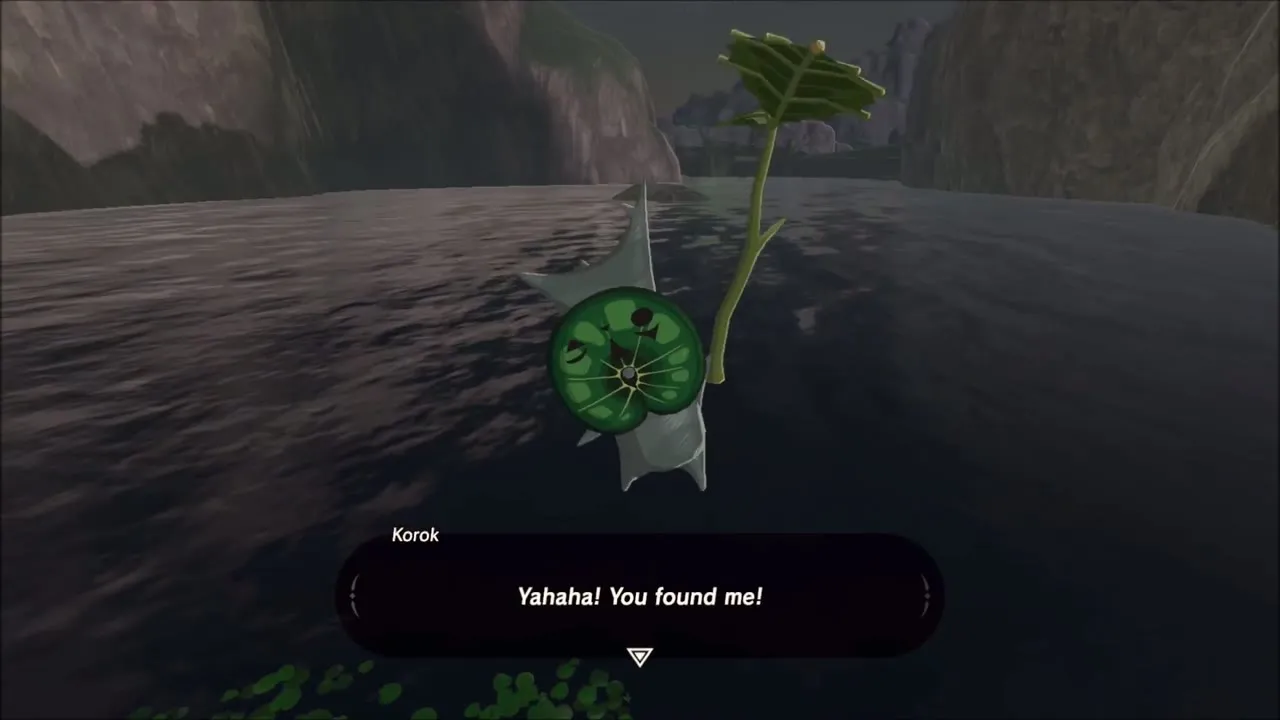

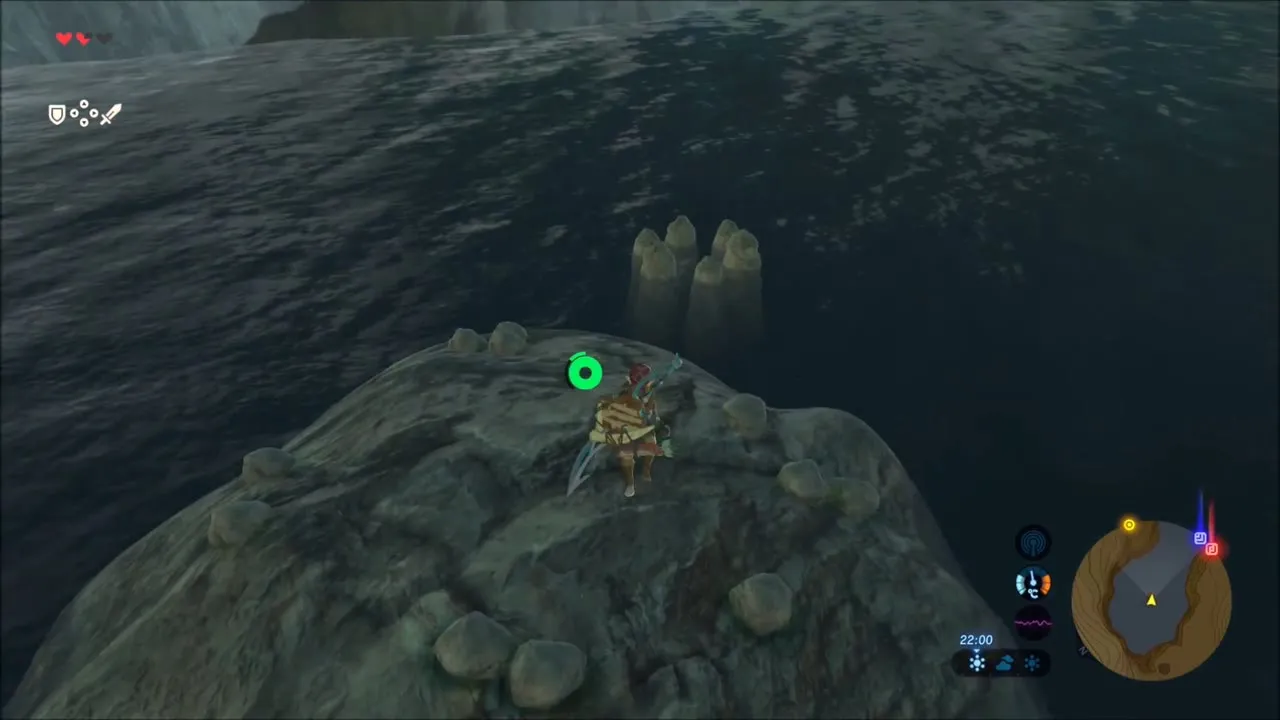
Swim out to the rocky island in the middle of the lake. A small rock rests on the island and a ring of stones pokes out of the water close by. Pick the rock up, take it to the island’s edge and throw it into the ring to bring out the Korok, near (1639, 1376). That is three Korok Seeds since the start of this stretch.
Boomerang Chest at the Riverside Bokoblin Camp
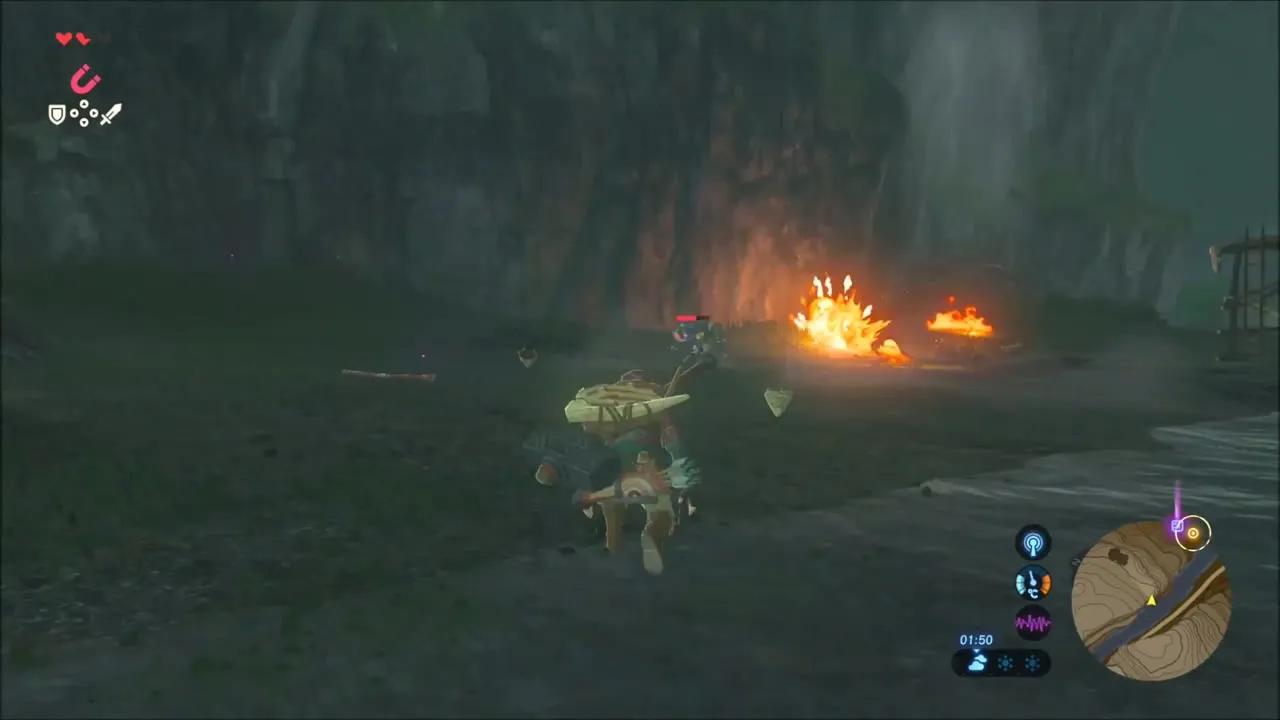
Follow the river east in the dark, past skeletons that roam the shore. Another Bokoblin camp sits on the riverbank beside a tall wooden lookout. Beat the Bokoblins around the campfire, climb the lookout and open the chest on top for a Boomerang, the throwing weapon the Koroks used long ago.
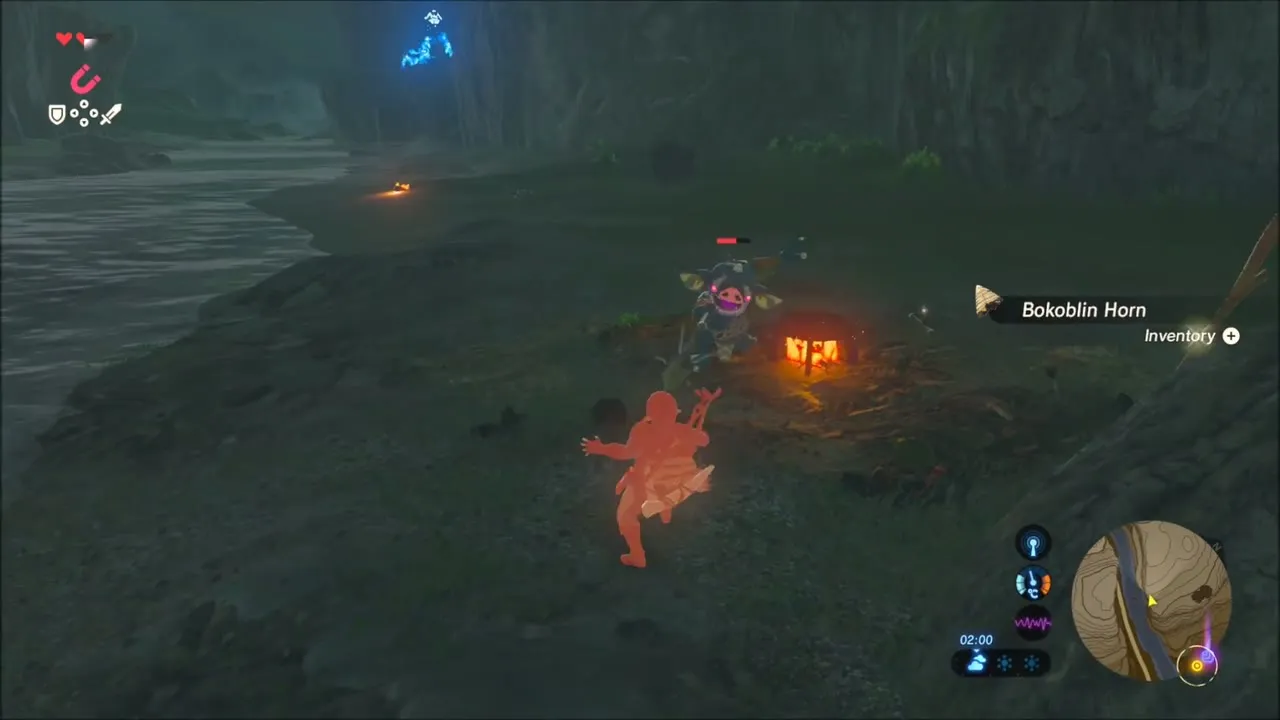

Dueling Peaks Stable
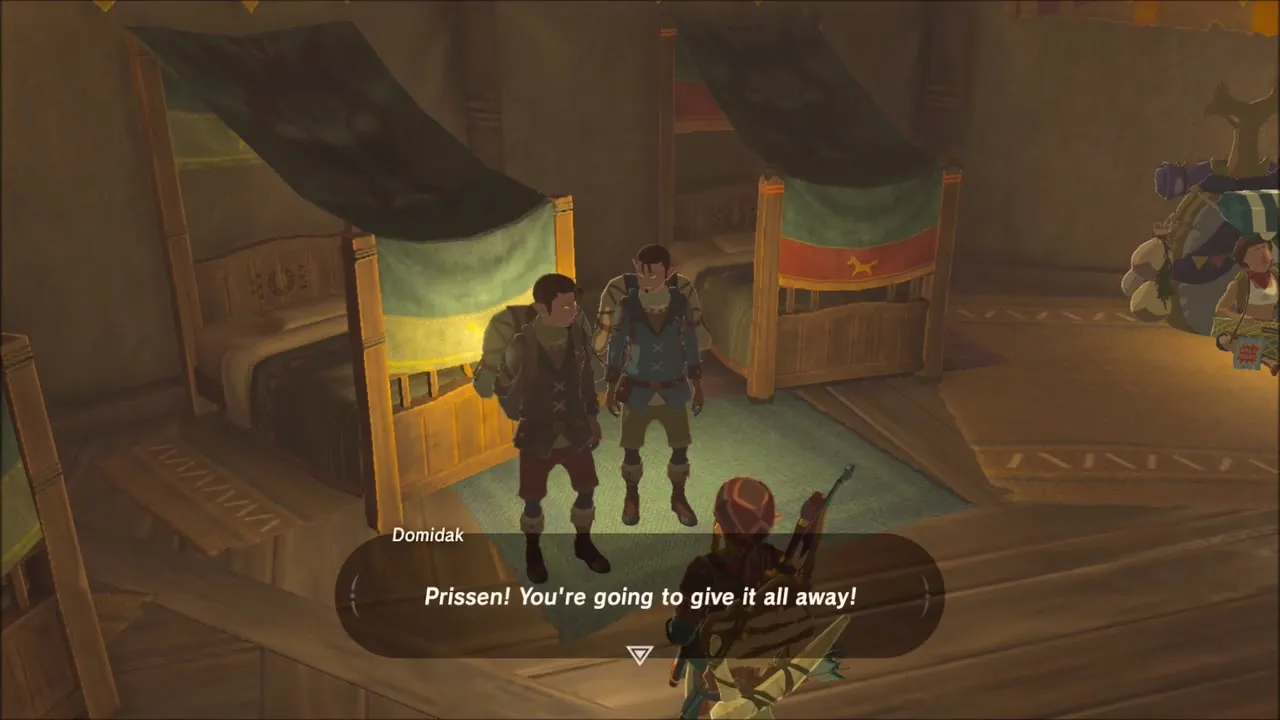
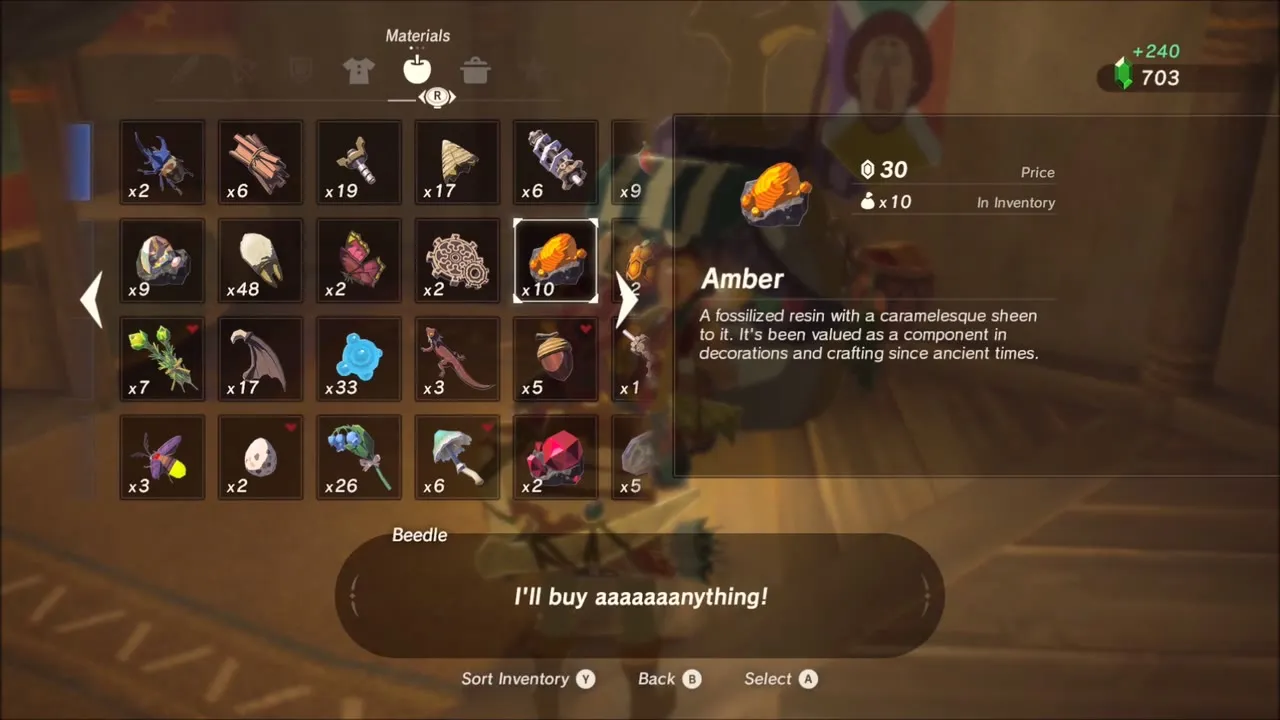
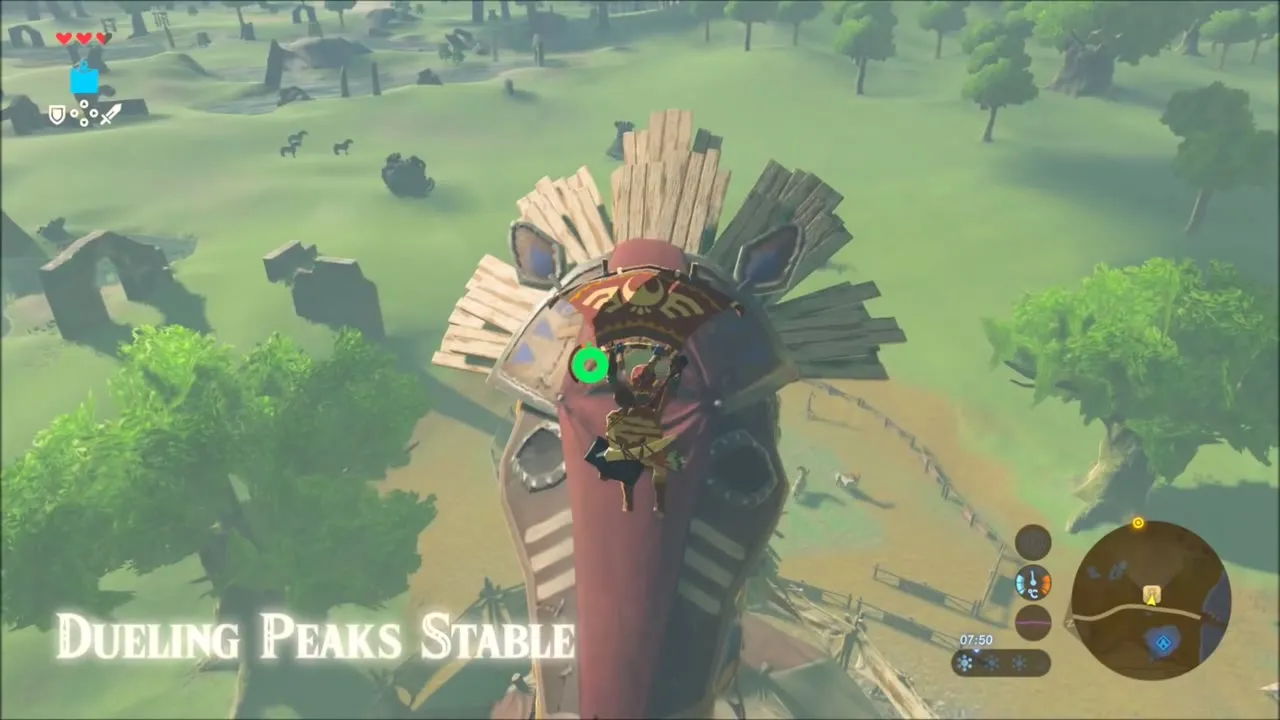
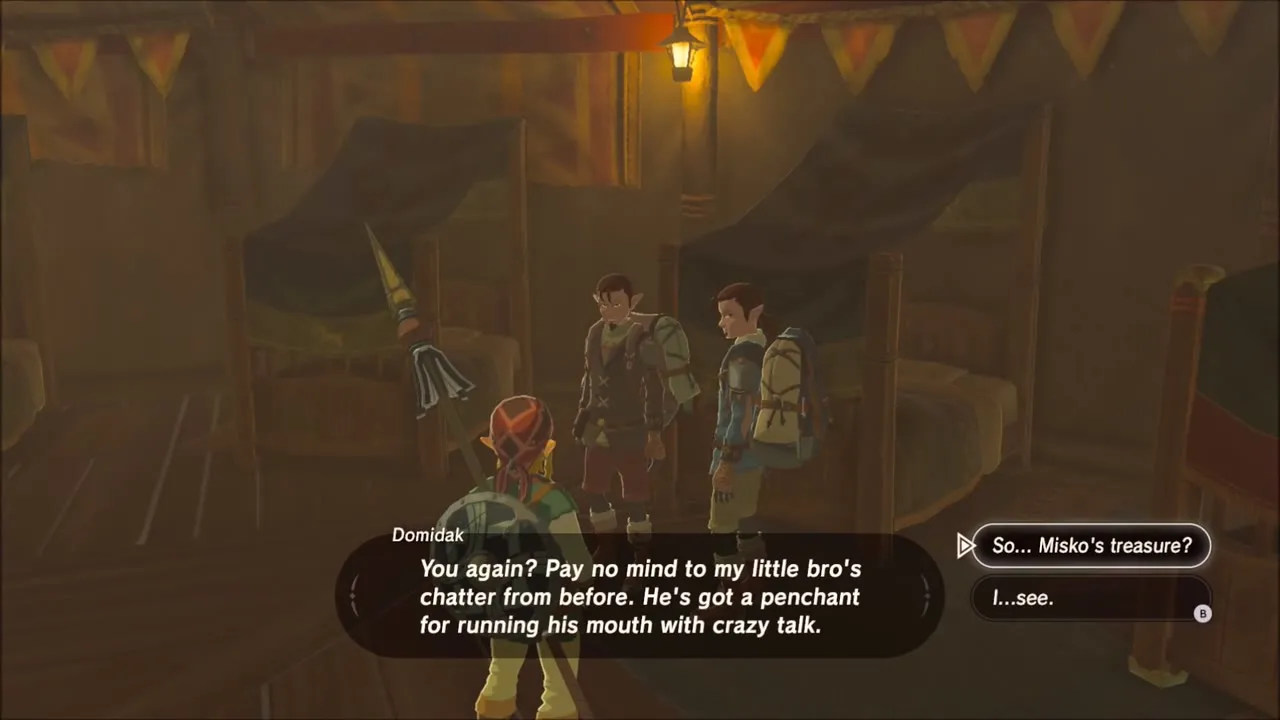
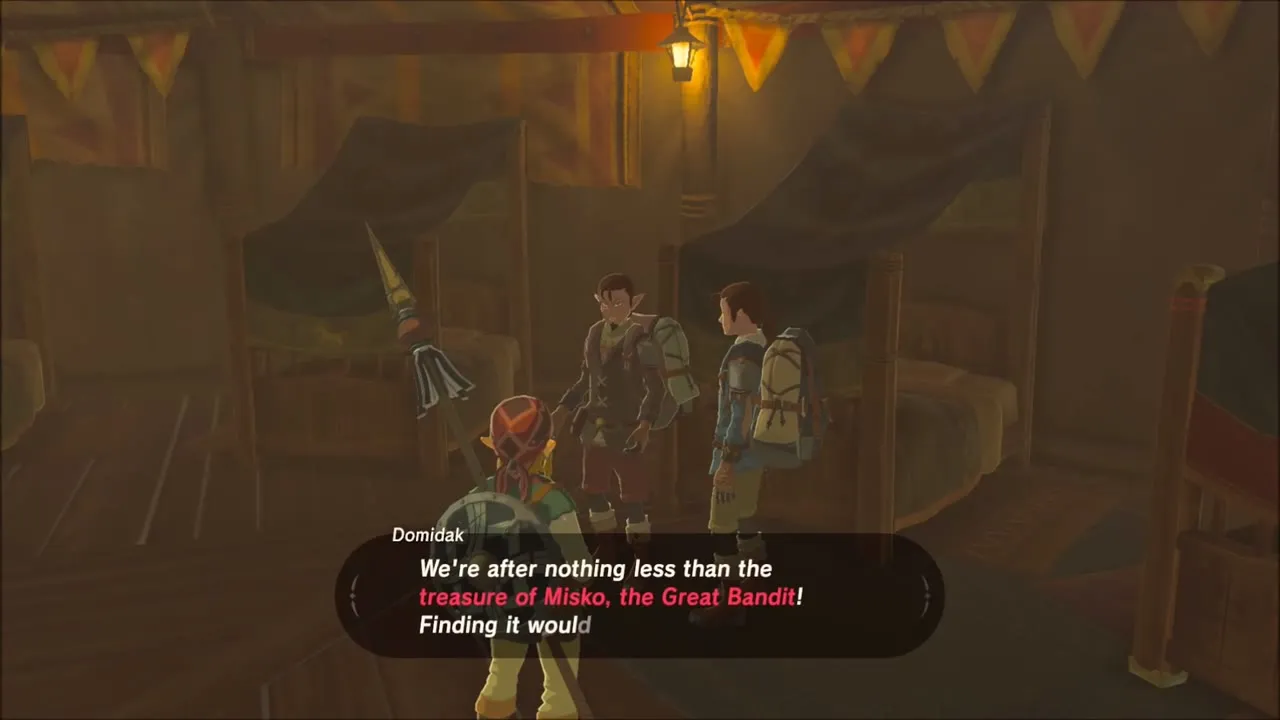
Keep following the river to Dueling Peaks Stable (1761, 1926). Inside, the researcher Hino and a treasure hunter named Domidak are talking about the blood moon and the treasure of Misko the Great Bandit. Beedle runs the shop: you can sell spare materials to him, and he offers a trade of a meat and rice bowl for something you carry.


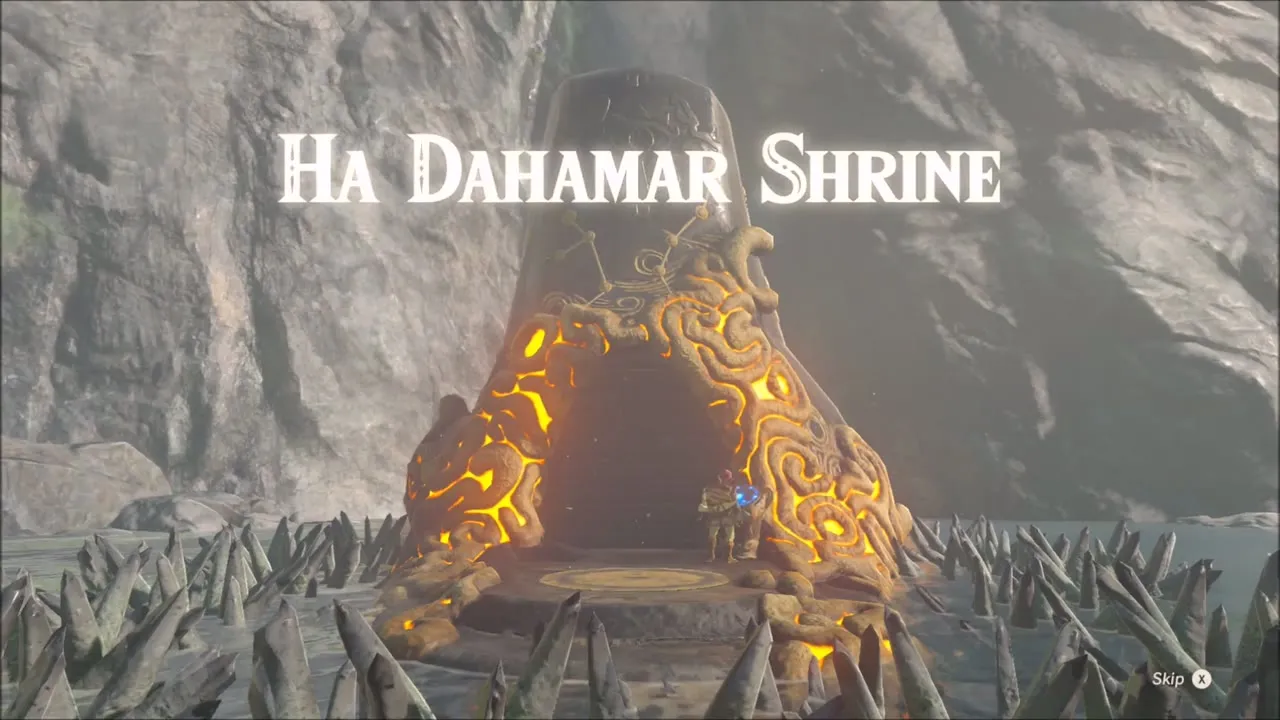
Ha Dahamar Shrine: The Water Guides (Cryonis)
Glide from the stable across the road to Ha Dahamar Shrine at (1663, 1922). The trial is called The Water Guides and relies on Cryonis. Raise an ice pillar in the first pool to climb it, then aim at the second waterfall: ice forms on the falling water itself and gives you steps up. A chest sits on a high platform. Reach it with two more ice steps and open it for a Purple Rupee.


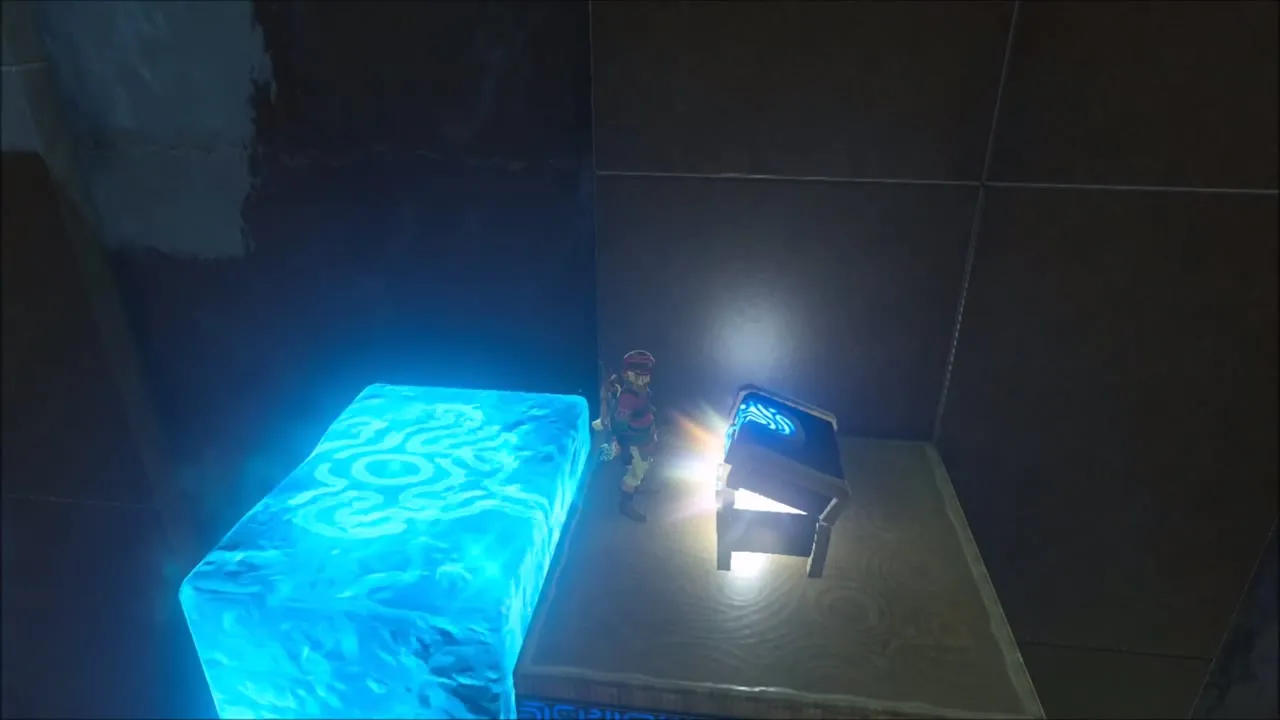
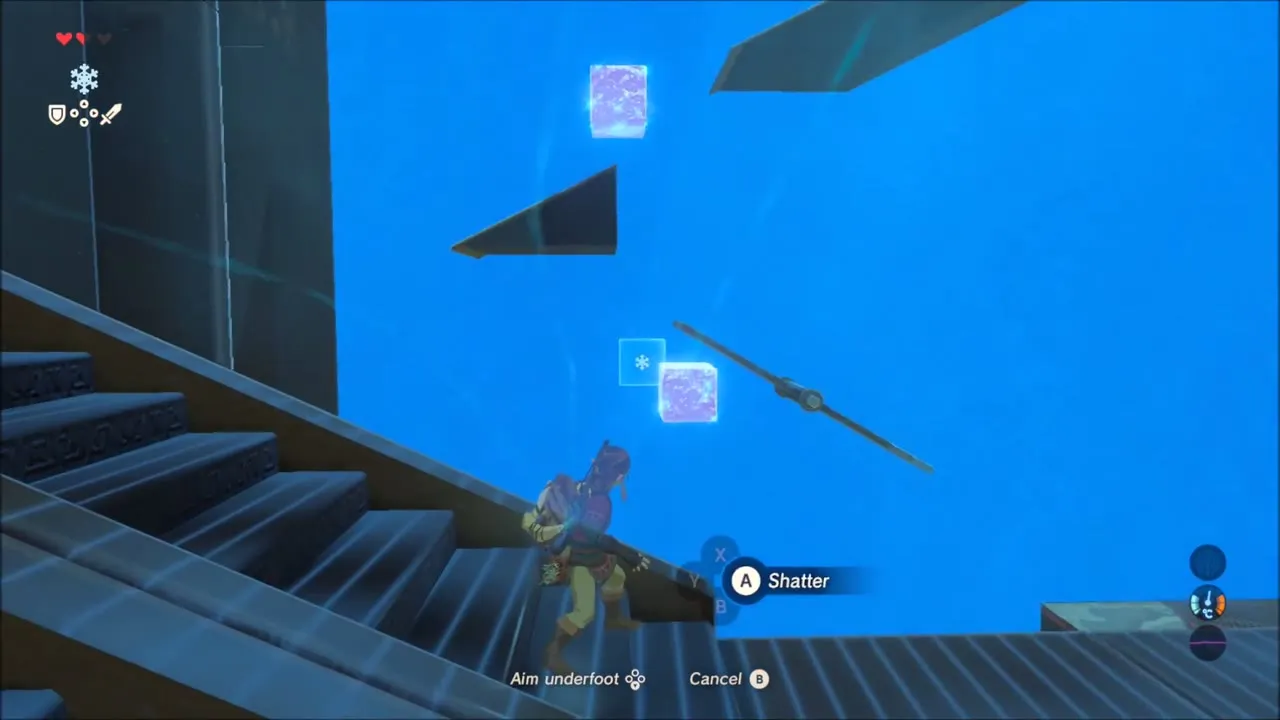
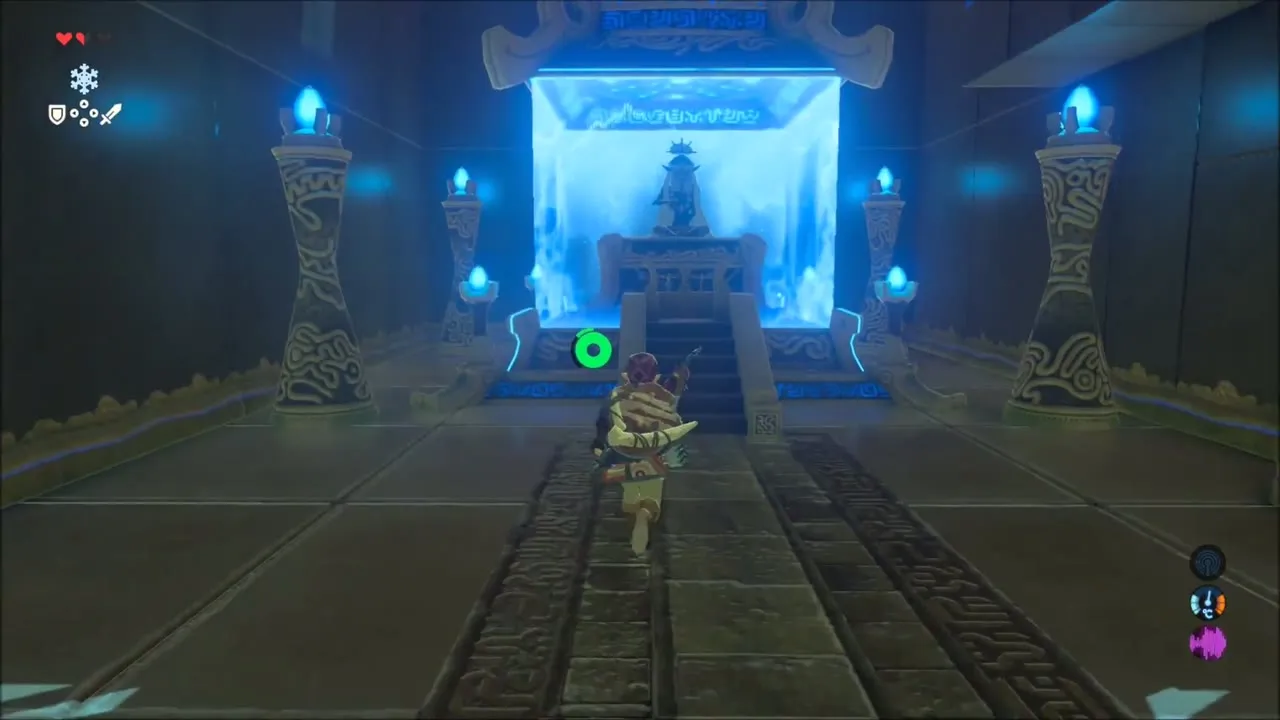
The way forward is blocked by a sphere resting on slanted plates. Place a block of ice above the first triangle to stop the sphere and push it down, and another under the right-hand slope to send it onto the next ramp. A last block at the end of the final slope lets it roll into the receptacle on the far wall. The gate opens and the monk gives you a Spirit Orb.


Cliff Korok Seed and Chest Near the Stable
Climb the cliffs behind the stable. Mine the Amber deposit on the rock face as you go, then glide back down over Dueling Peaks Stable to the grassy shelf where a Korok hides against the cliff wall. A wooden platform inside a cave mouth in the cliff holds a chest.



Korok Seeds on the Dueling Peaks
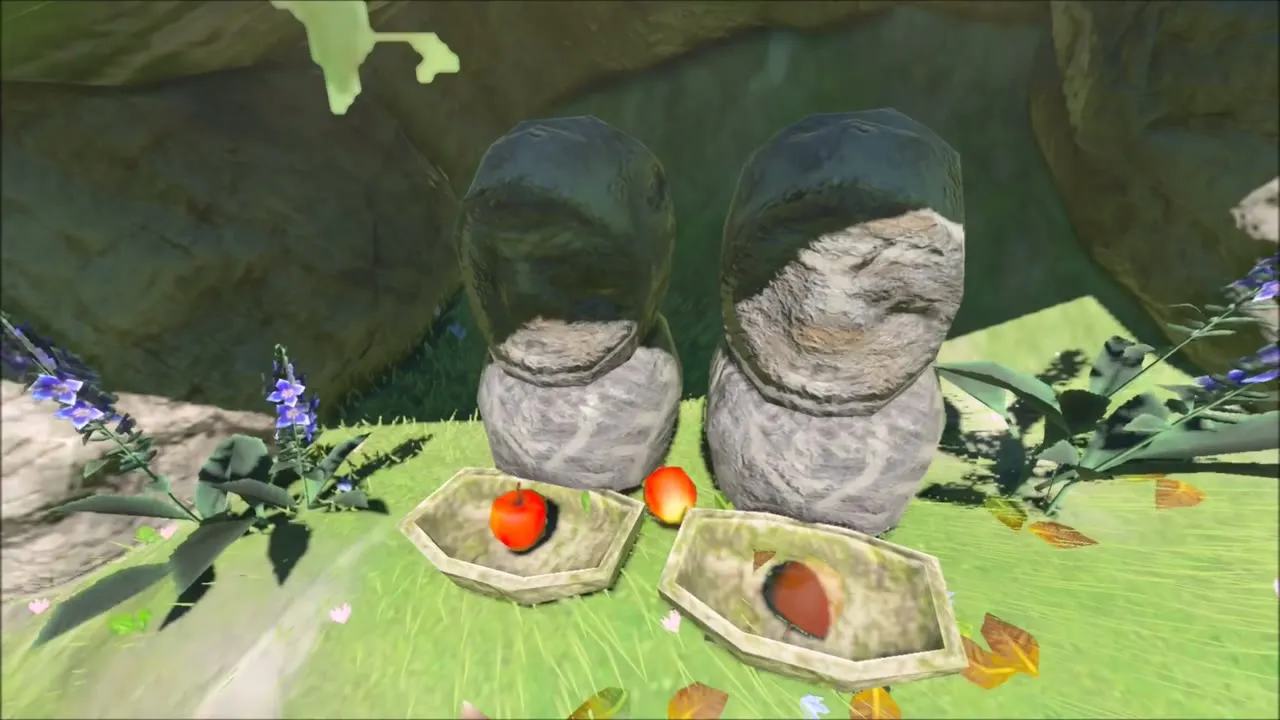
Climb the Dueling Peaks again, onto the high shelves of grass. Under a stone overhang, two statues hold bowls on a small altar, one with an apple in it. Put an apple in the empty bowl and a Korok appears beside the altar.


A little higher you reach a hillside with three loose boulders. Push one down the slope so that it rolls between the two trees at the foot of the hill, and a Korok shows up on the grass above. Keep climbing, and on a rocky ledge higher still another Korok is waiting, which brings the total to three seeds on this climb.


Shee Vaneer and Shee Venath Shrines (Twin Memories)
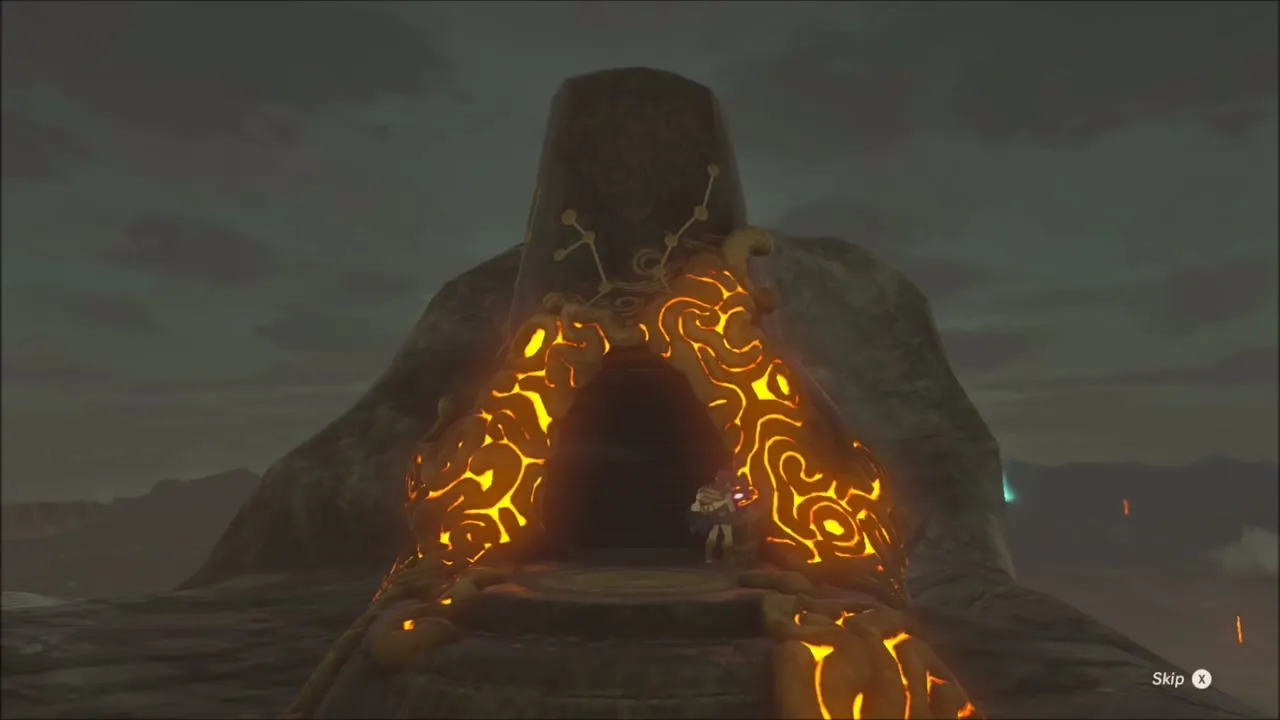
Shee Vaneer Shrine (1266, 1939) is set into the summit of the southern Dueling Peak. Walk in through the glowing arch to register it as a fast-travel point, then leave. The trial is called Twin Memories and is linked to the second shrine on the other peak, so the puzzle opens later in the route and is not solved here.


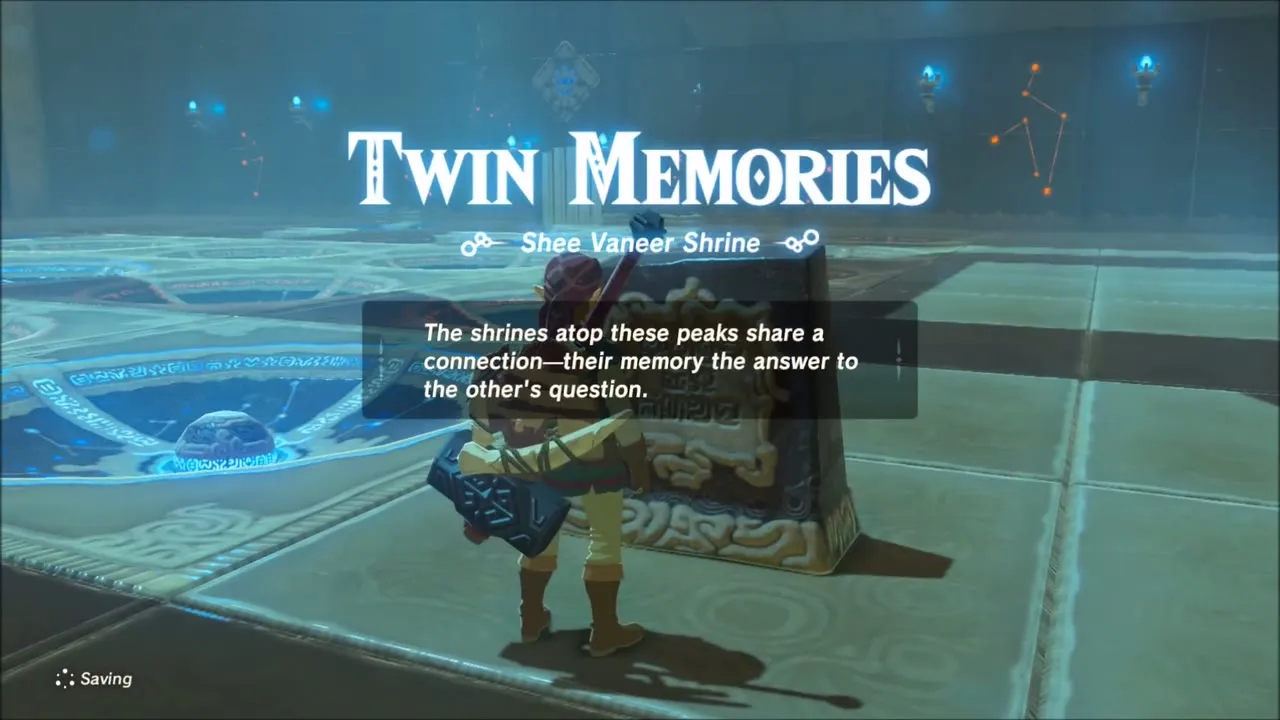
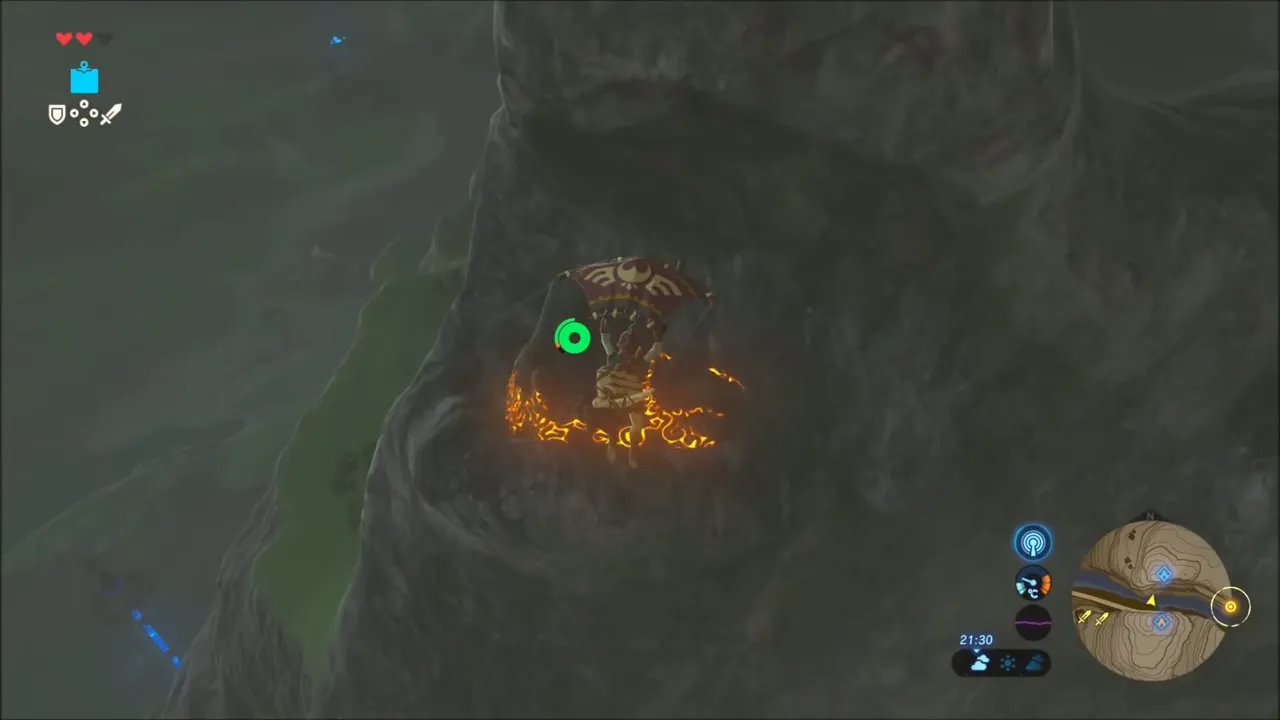
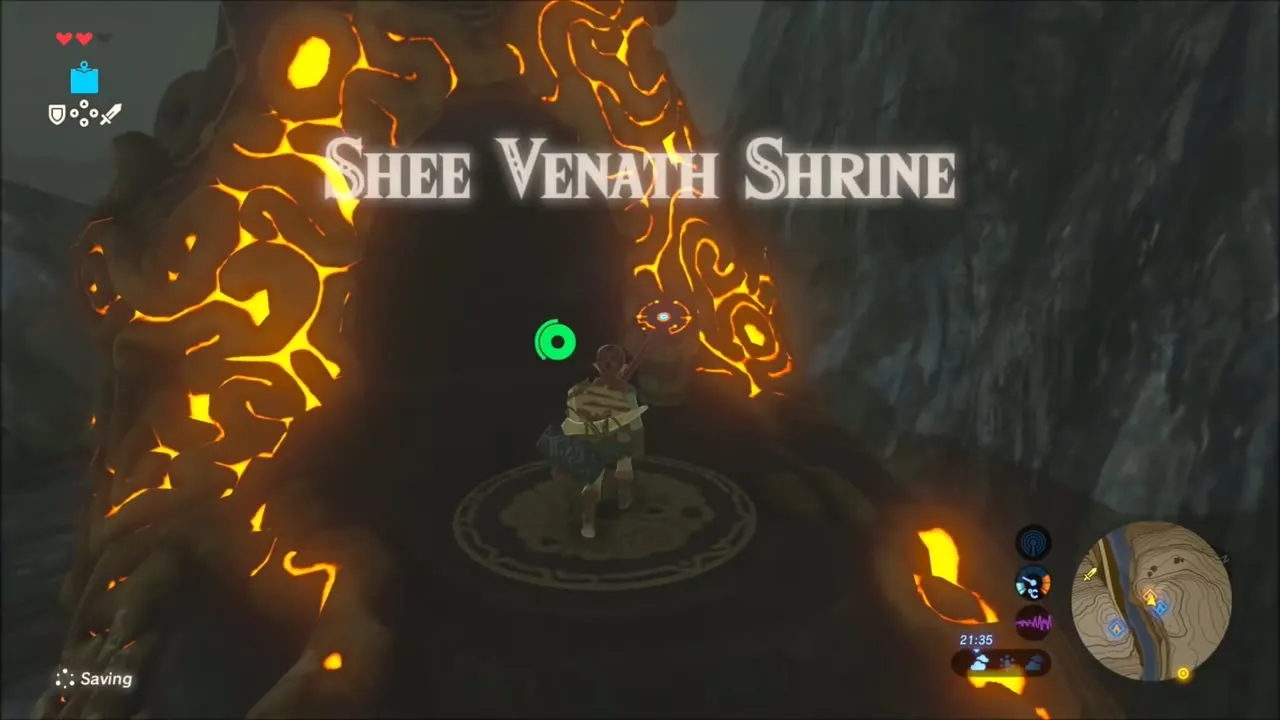
Beside the shrine, on the very top of the peak, a small altar with two statues needs an apple in its empty bowl: place one for another Korok Seed, at about (1245, 1942). Then glide north to Shee Venath Shrine (1245, 1850) on the opposite peak. Register it in the same way and leave. Its Twin Memories puzzle also opens later.

Korok Seeds by the River: Rock Mound, Flower Trail, Island Rock
Glide off the peaks and land on a grassy knoll above the water. A small rock sits on top; lift it and a Korok pops out and gives you a seed. Keese Wings and a Hyrule Bass can be picked up along the shore.


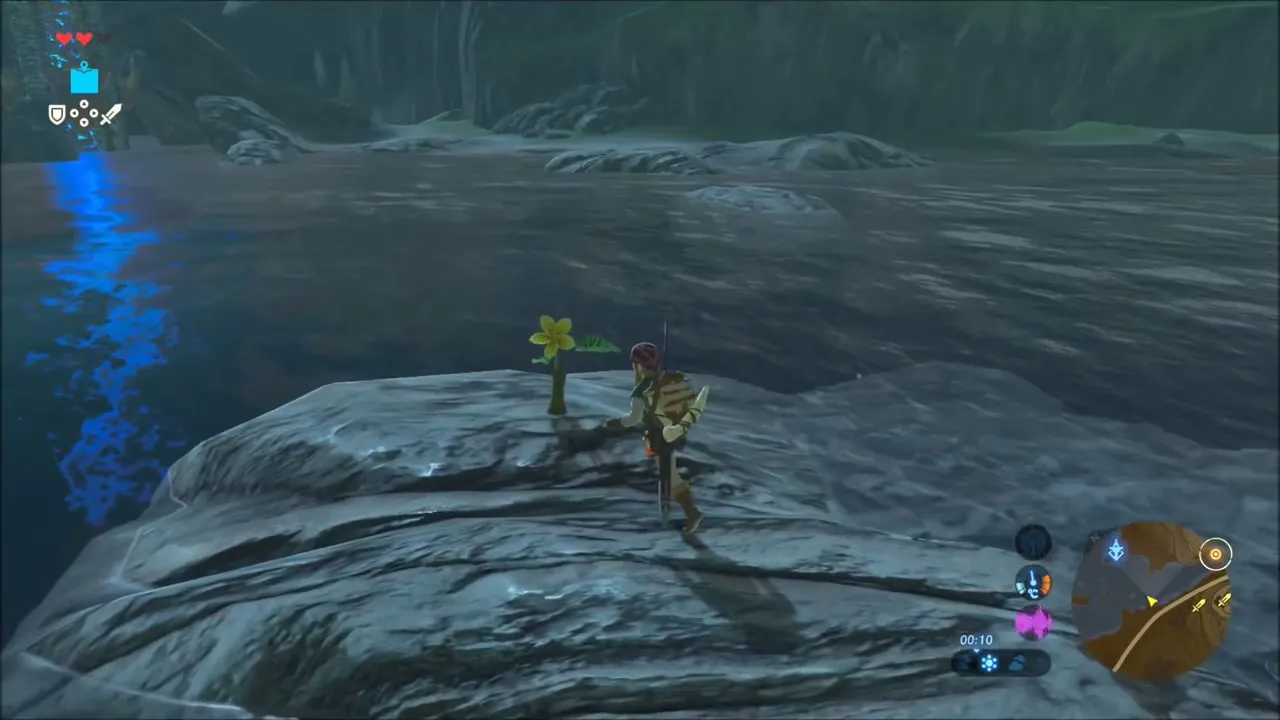
Swim out into the river south of the Dueling Peaks Tower (1017, 1714). A single yellow flower grows on a rocky island. Follow the flowers from island to island across the water and the trail ends at a Korok on the far shore. A chest sits on the pale sand nearby, among scattered Bokoblin and Keese drops.

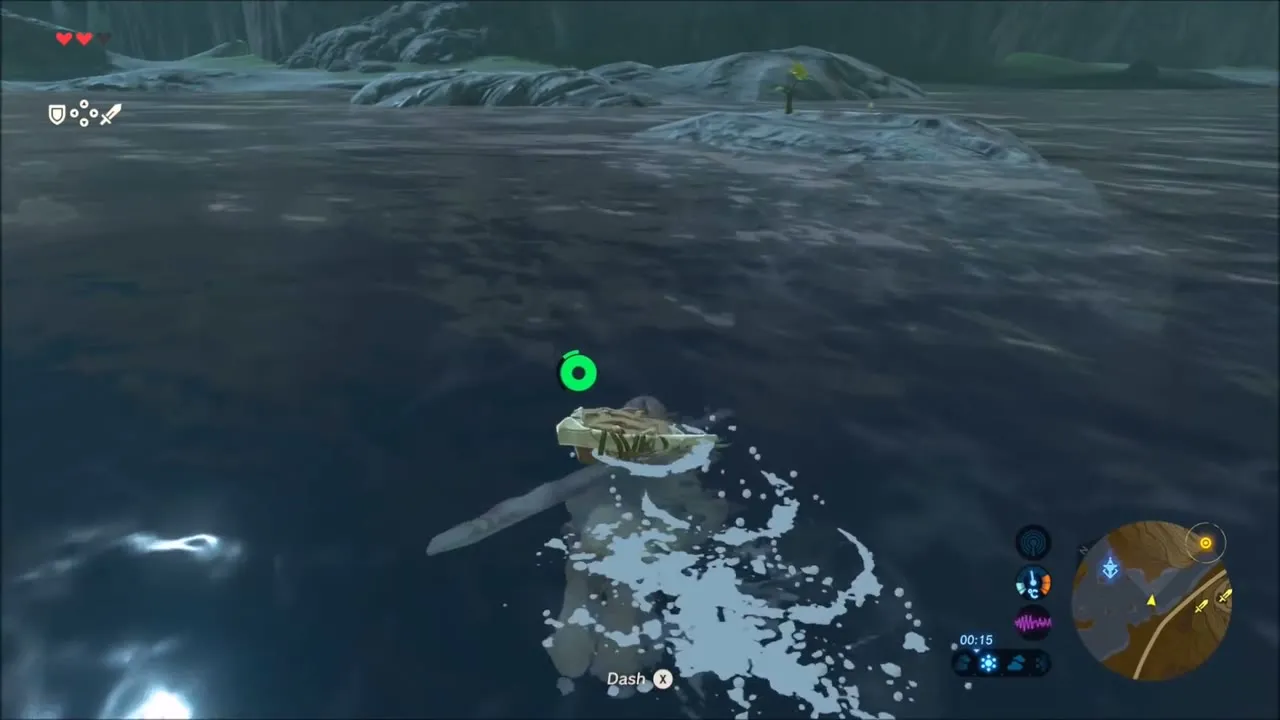
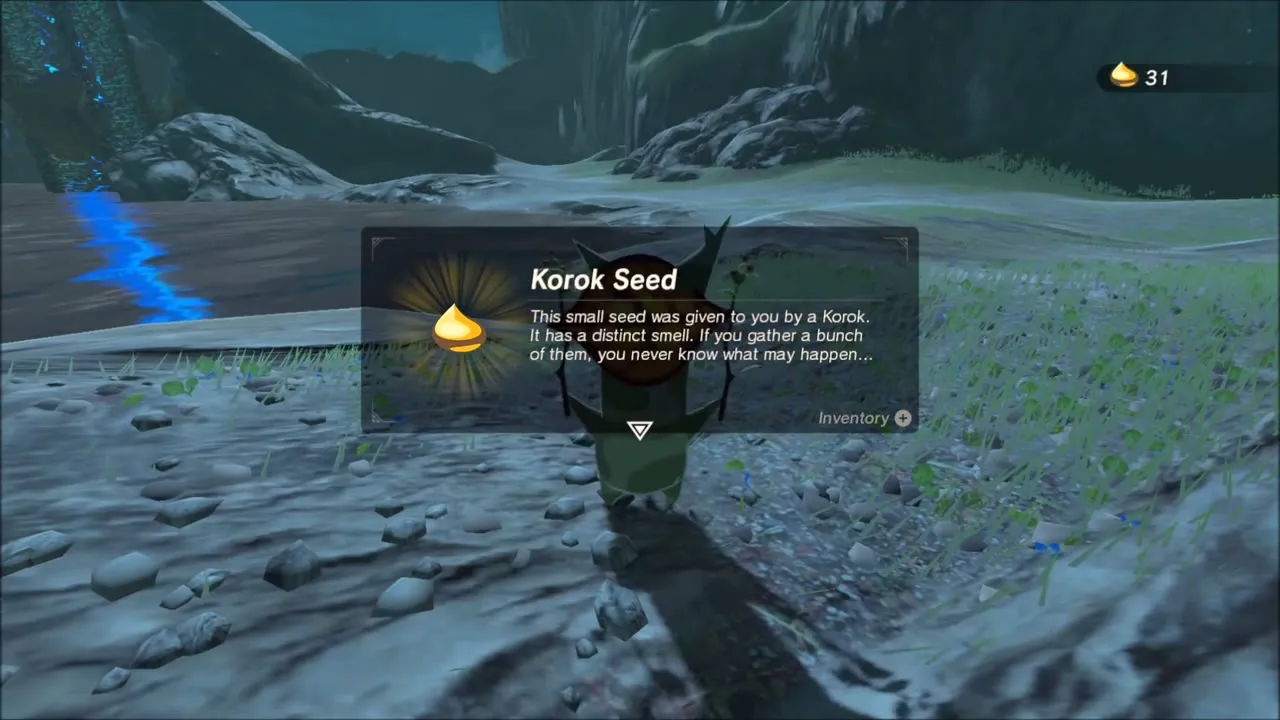
Climb the Dueling Peaks Tower and look out over the area before gliding down to the lake. A tiny round island in the water holds a lone rock: swim there, pick the rock up and the Korok behind it appears.

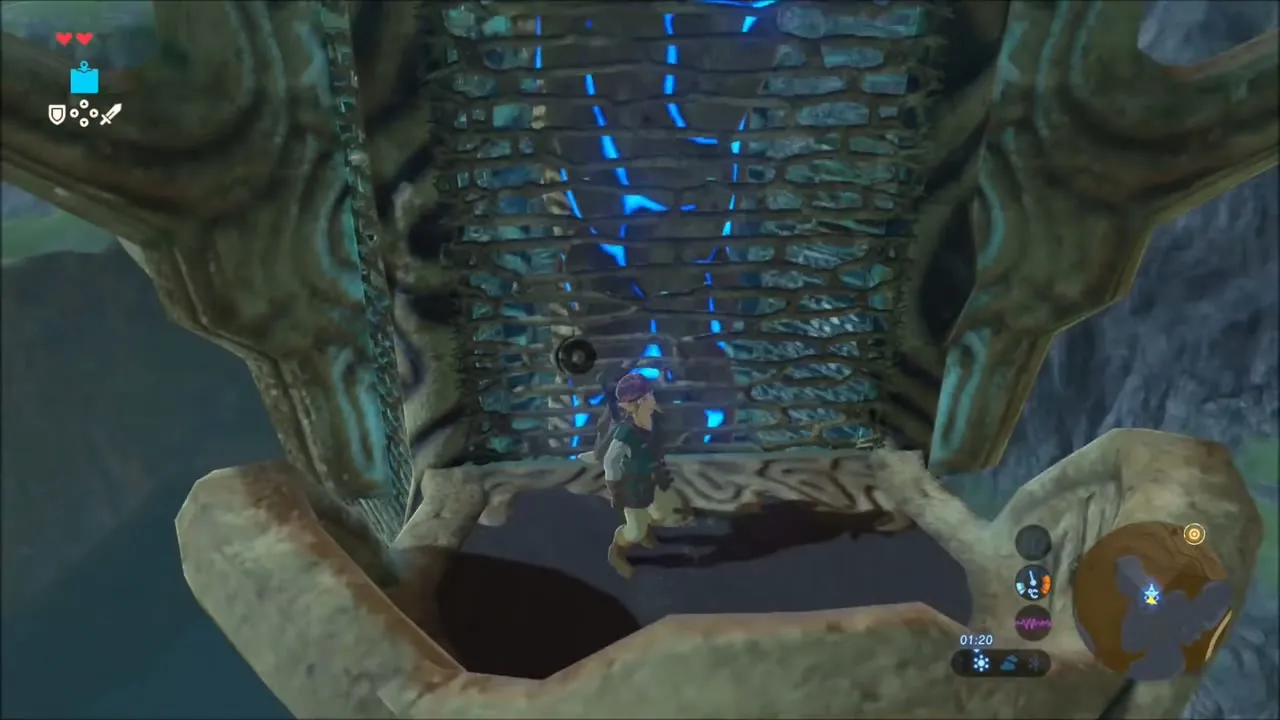
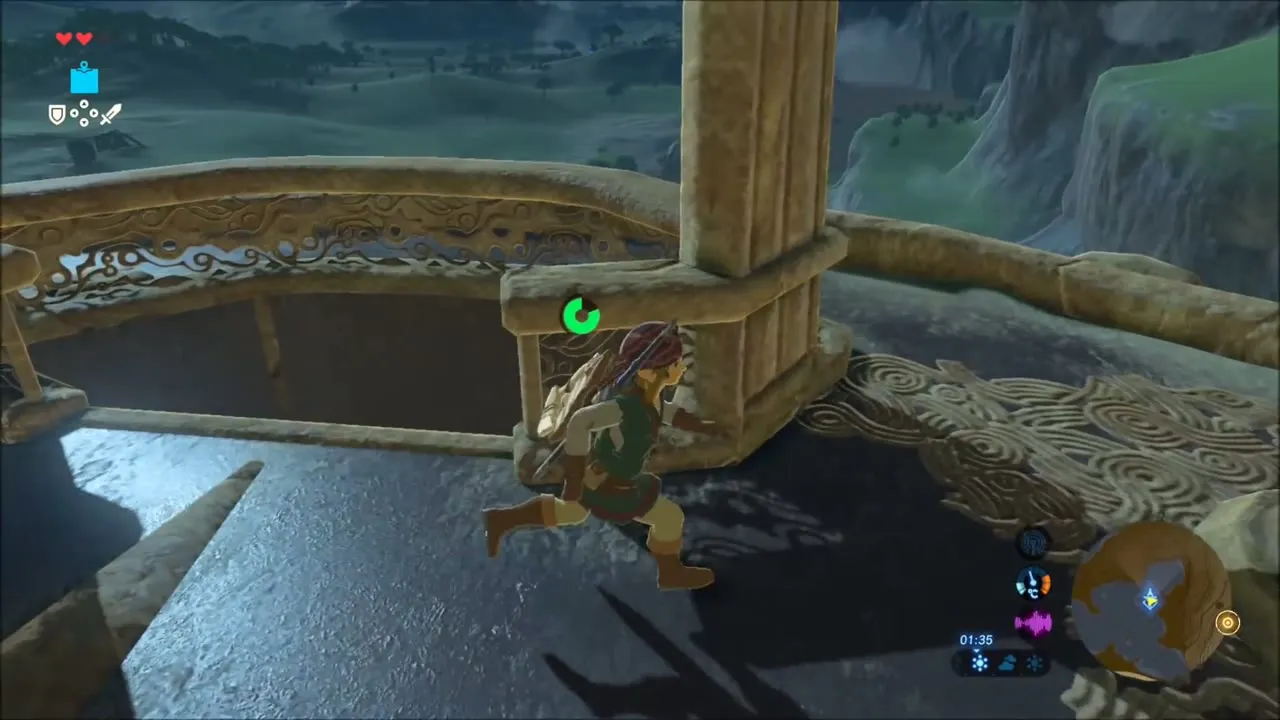

Korok Seeds: Flagpole and Boulder Hole
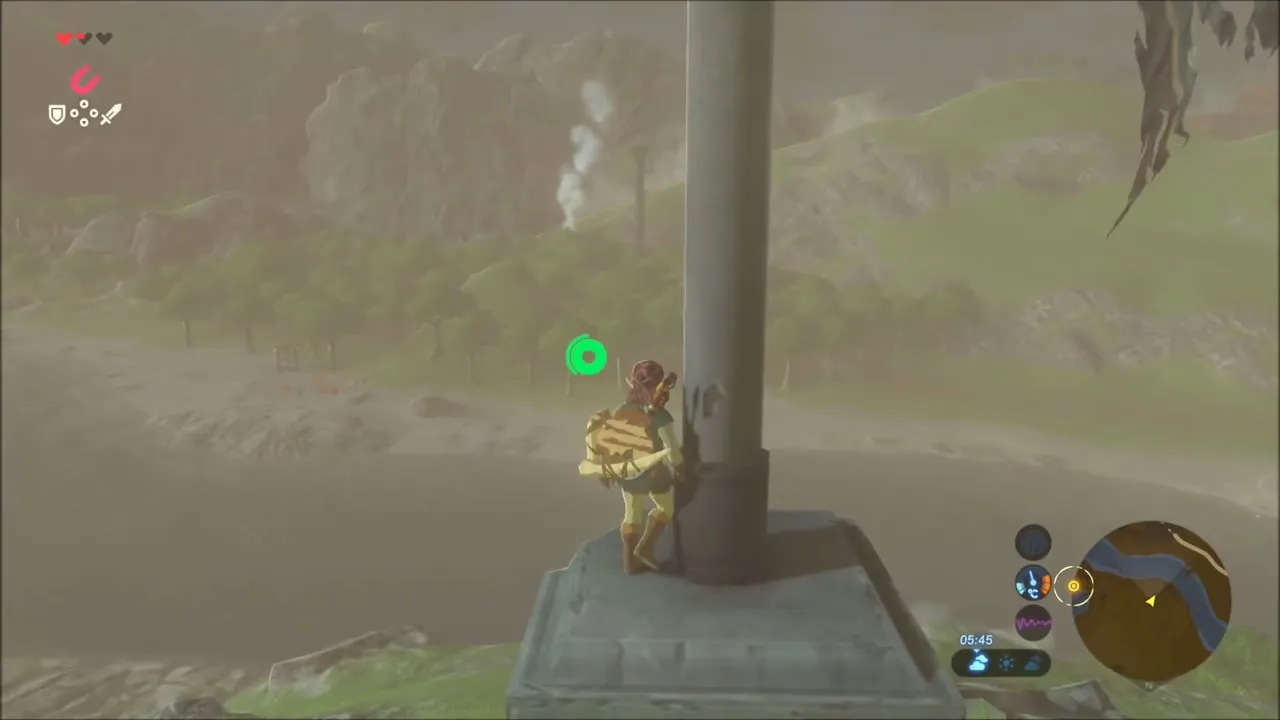
A tall flagpole stands on a stone base on the hills around (671, 1638). Climb it to the top and sparkling dust at the tip reveals a Korok who gives you a seed.


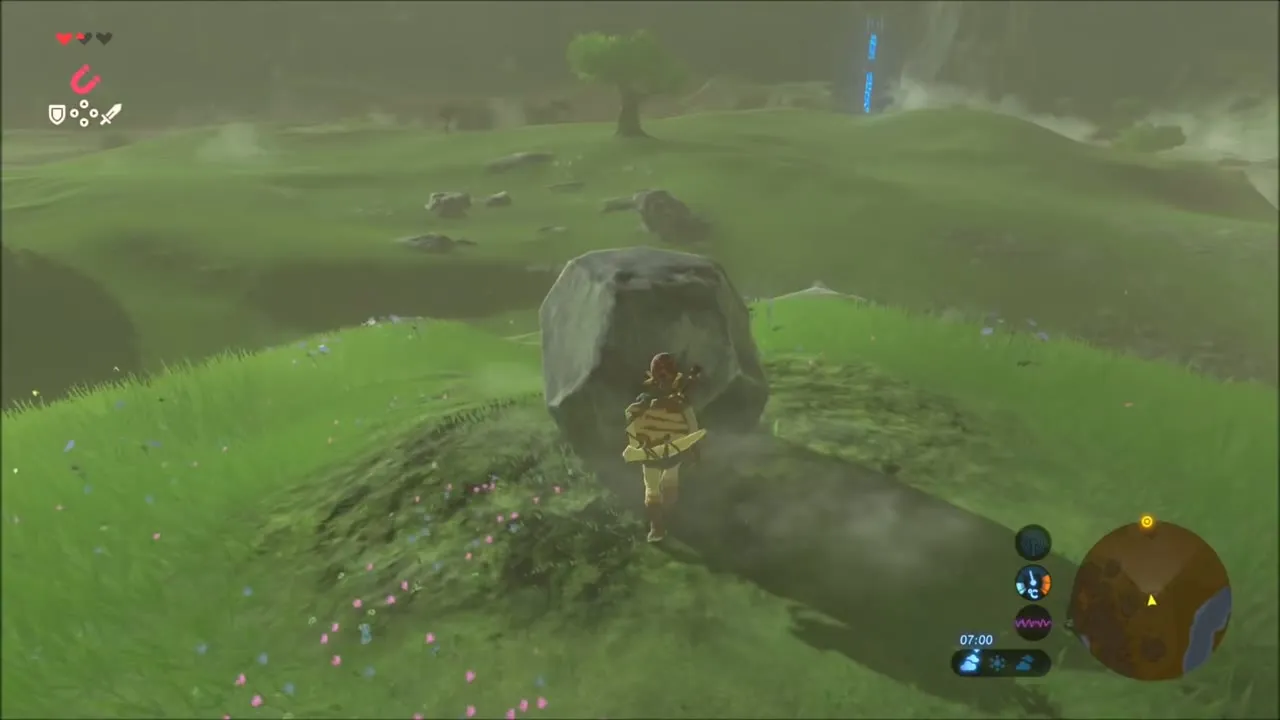
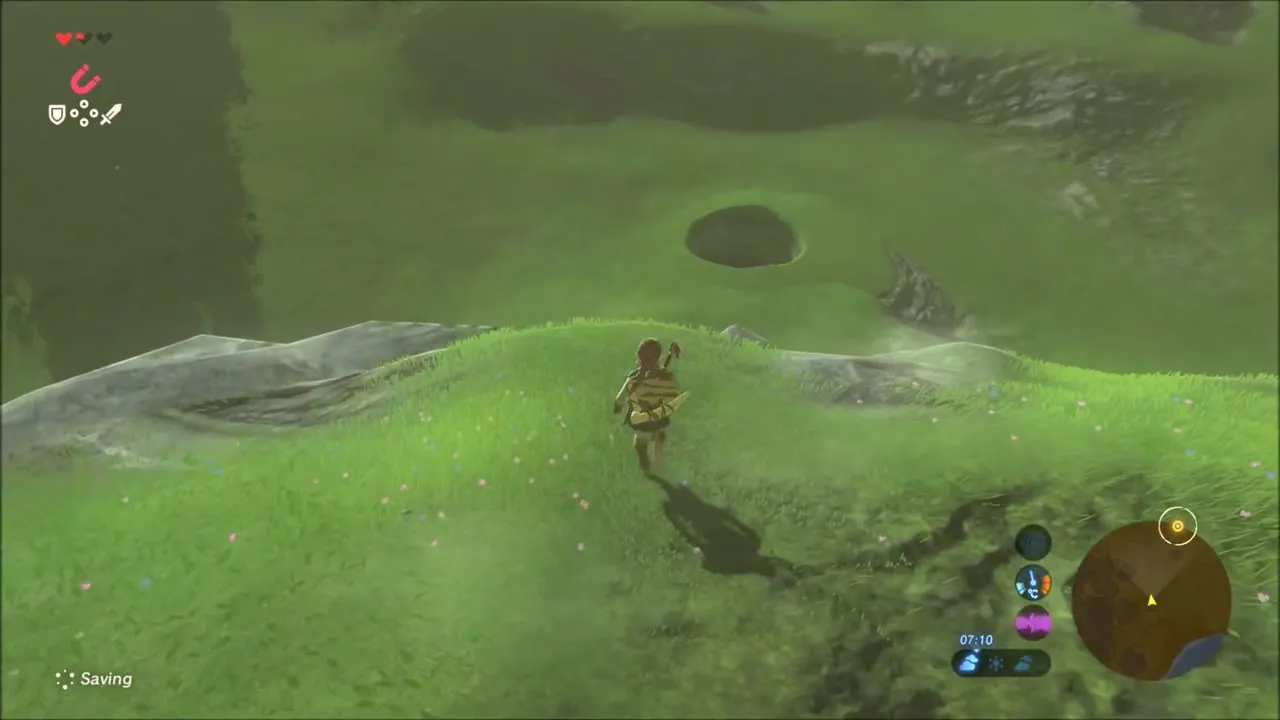
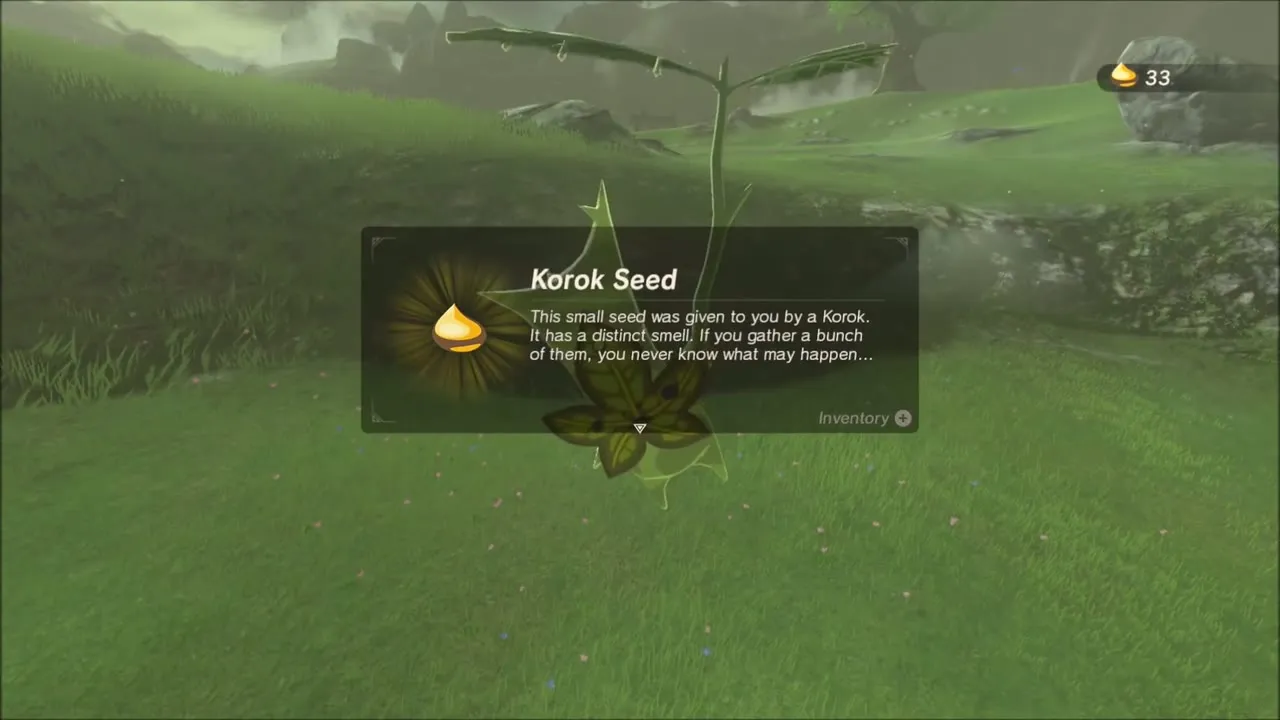
On the hillside farther on, a boulder rests on a slope above a round hole in the ground. Push the boulder downhill so that it drops into the hole, and the Korok comes out. That is three seeds along this stretch of the river.

Stone Talus at West Nabi Lake
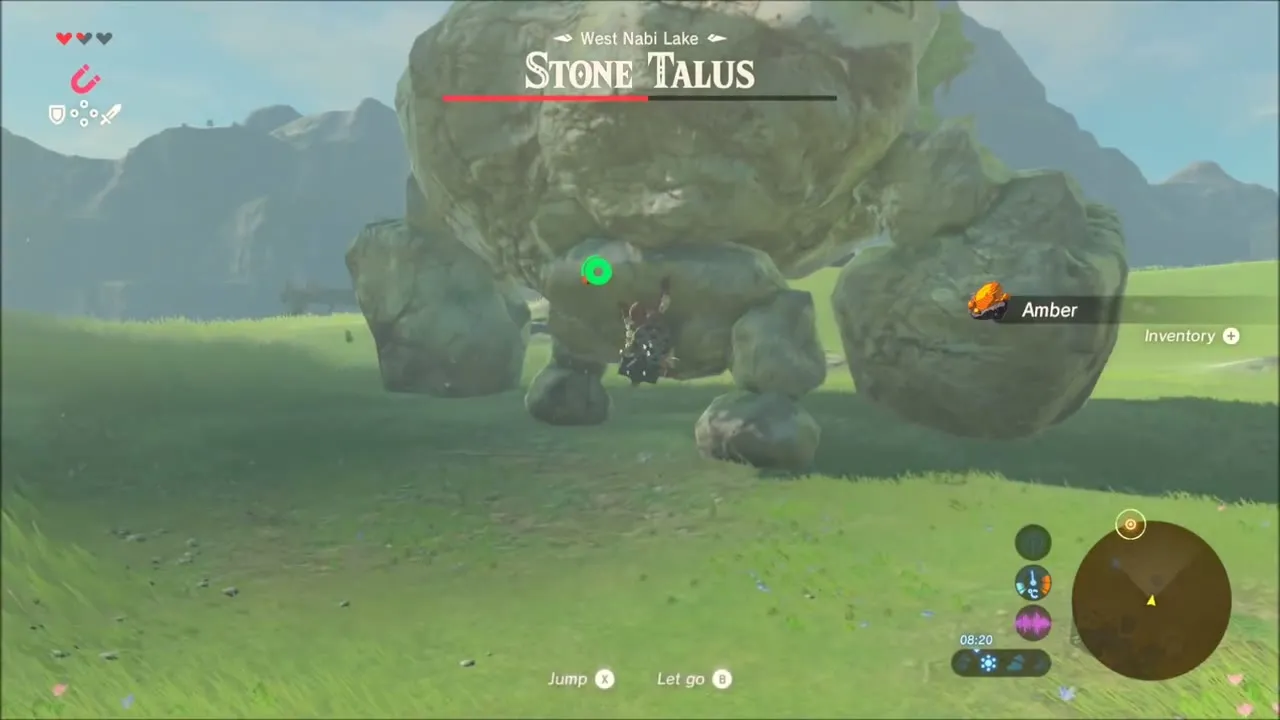
A second Stone Talus stands by West Nabi Lake. Knock it down, climb onto its back and hit the ore until it falls apart. Amber and Flint spill onto the grass, so gather all of it before moving on.



West Nabi Lake Rafts and Treasure Chests
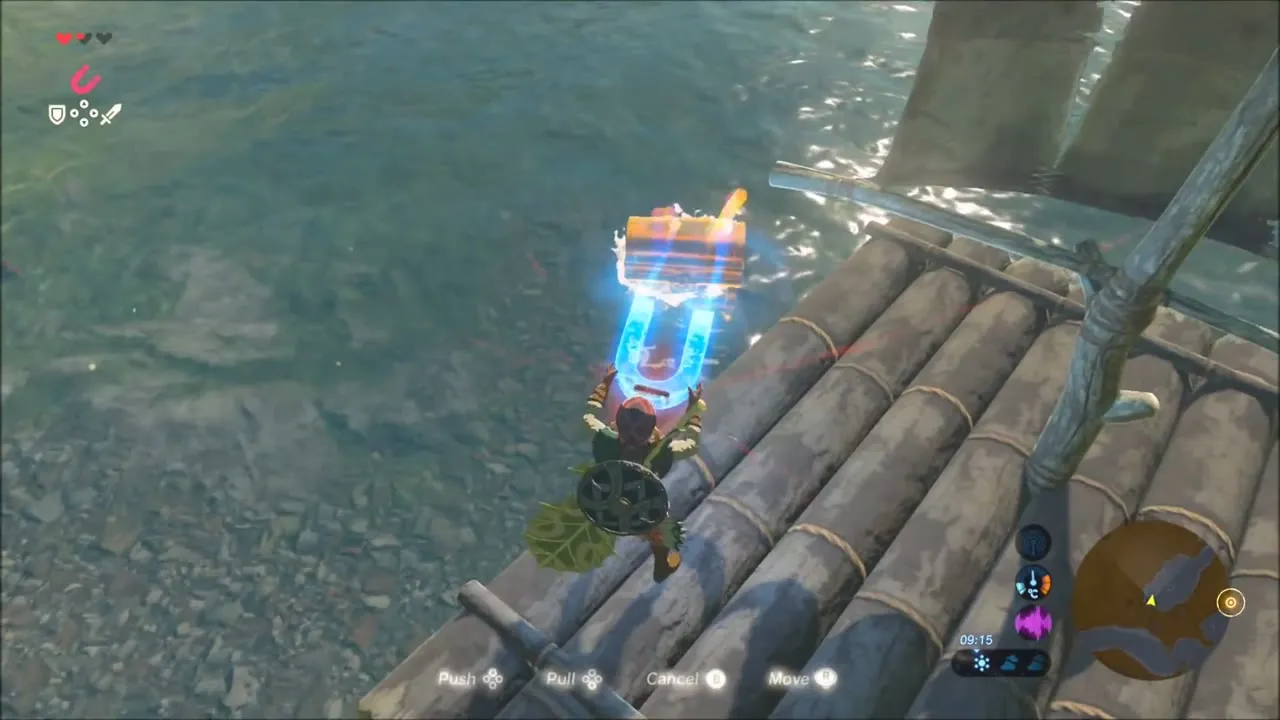
Glide onto the rafts moored on the lake. Chests sit on and around them: some are ready to open, others float in the water, and Magnesis lets you drag a metal chest onto the planks. One chest holds Amber and another a Soldier’s Spear (tier set by difficulty scaling). Sail the raft across the lake to reach the rest.

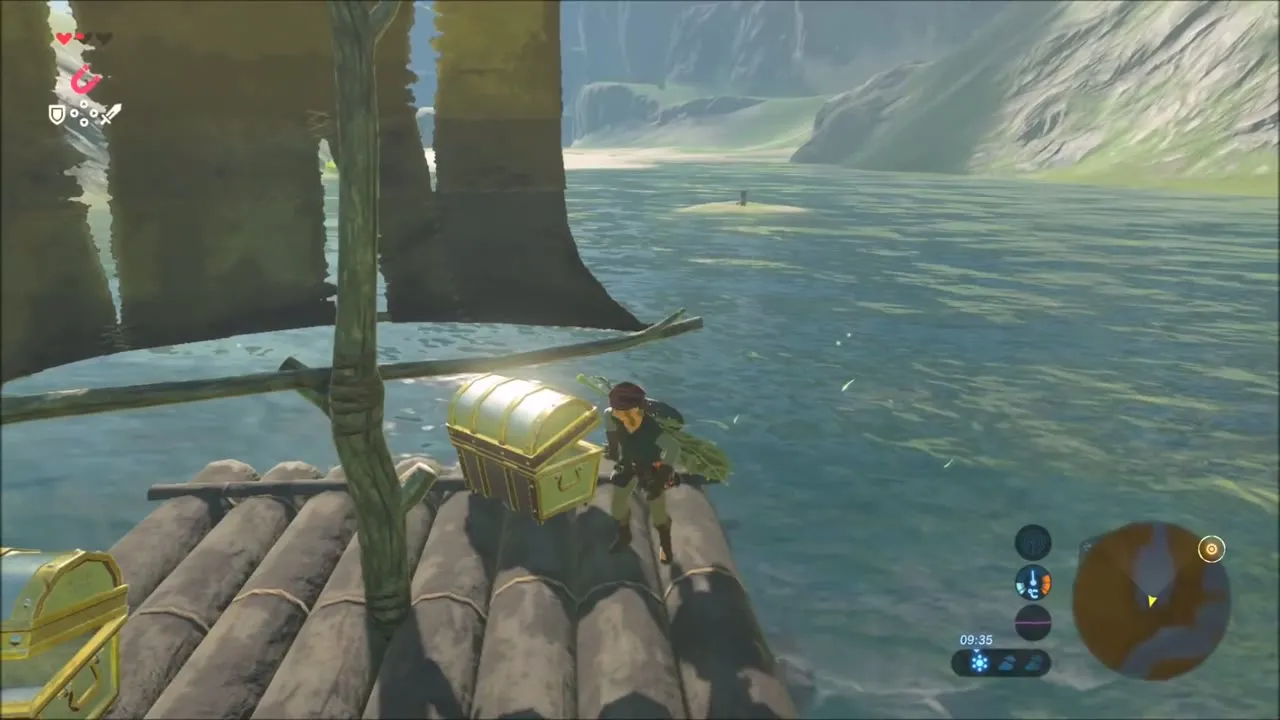


Korok Seeds in the Woods: Moved Rock and Lily Pond
Walk on into the trees. In the grass at the edge of a grove a rock lies beside a tree. Lift it and leaves swirl up as the Korok shows itself.
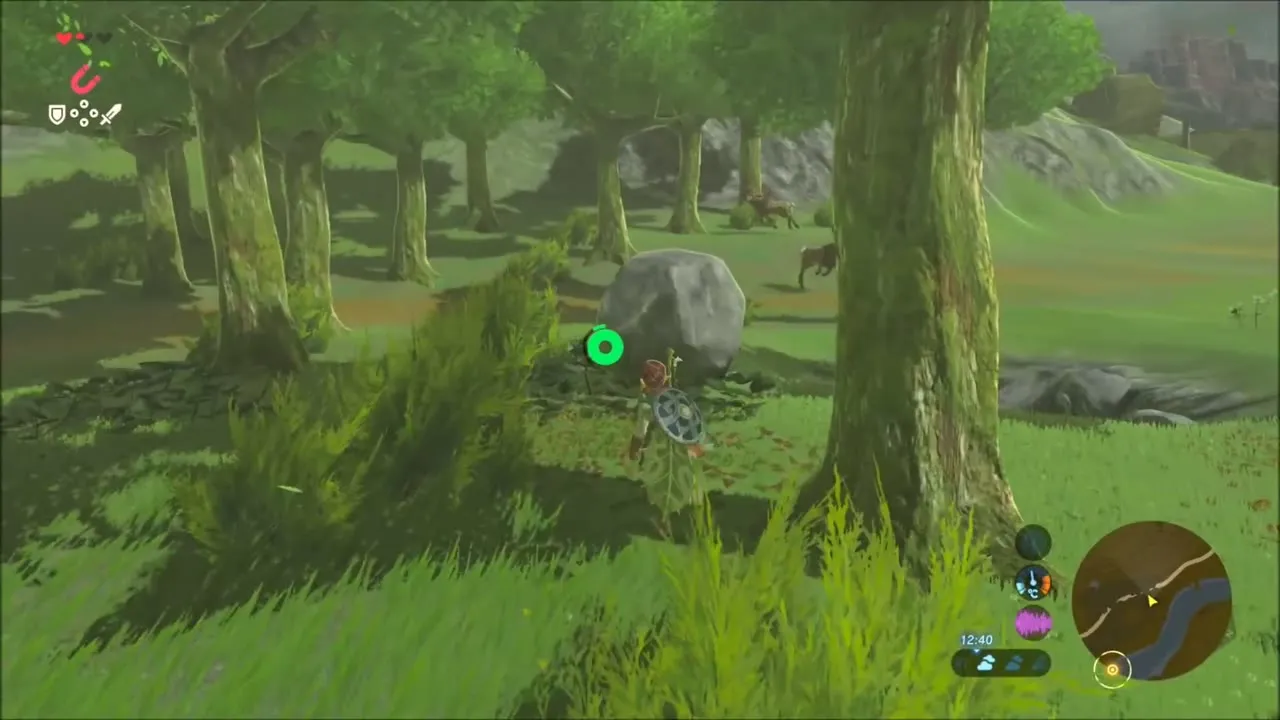


Farther on is a dark hollow with a pond covered in lily pads. Walk up to the water and leaves burst from the pads as another Korok pops out.


Riverbank Chests: Opal and Purple Rupee
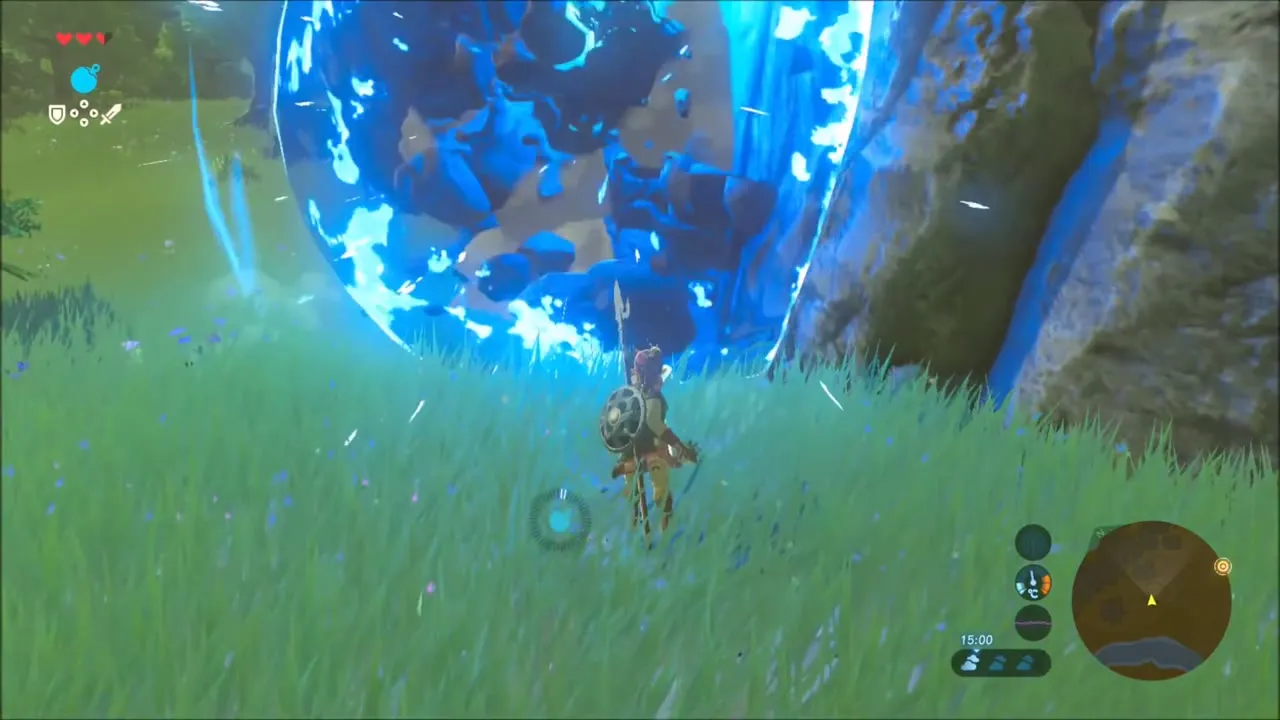
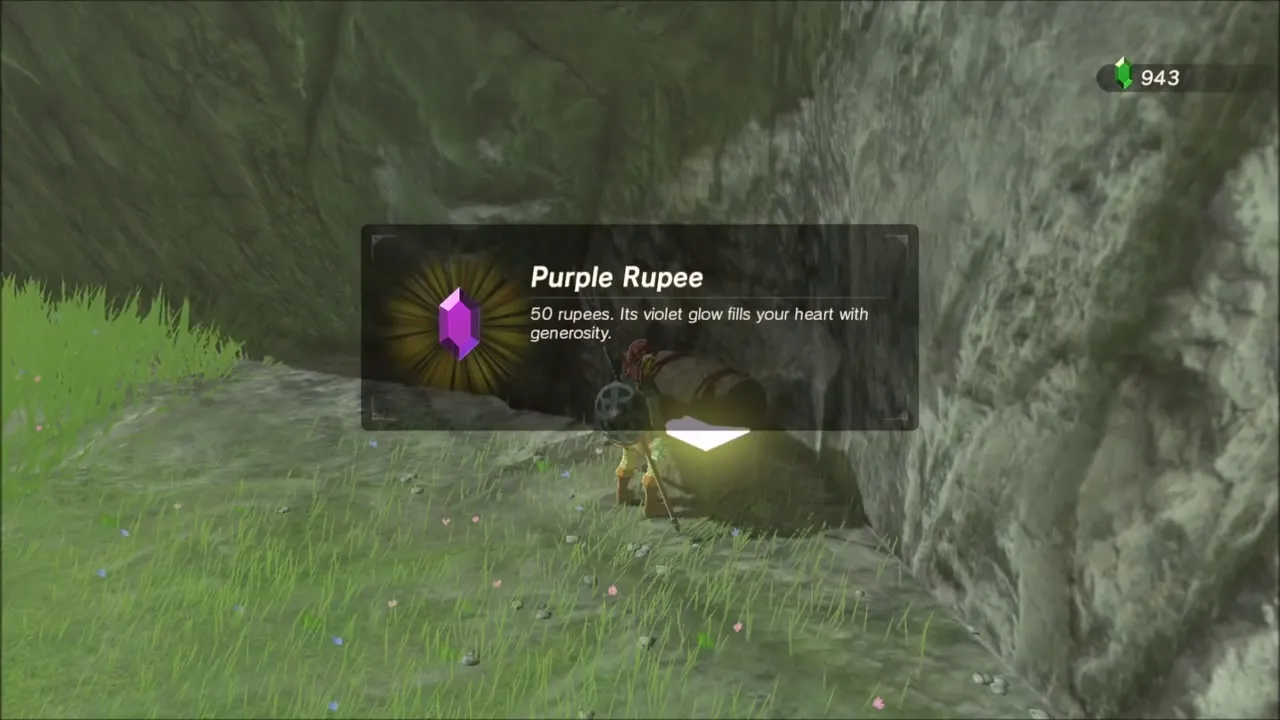
Follow the shore. A chest at the water’s edge, beside a stranded log, holds an Opal. Farther on, a pile of cracked rubble blocks a nook in a cliff face. Blow it open with a bomb and the chest inside gives a Purple Rupee.
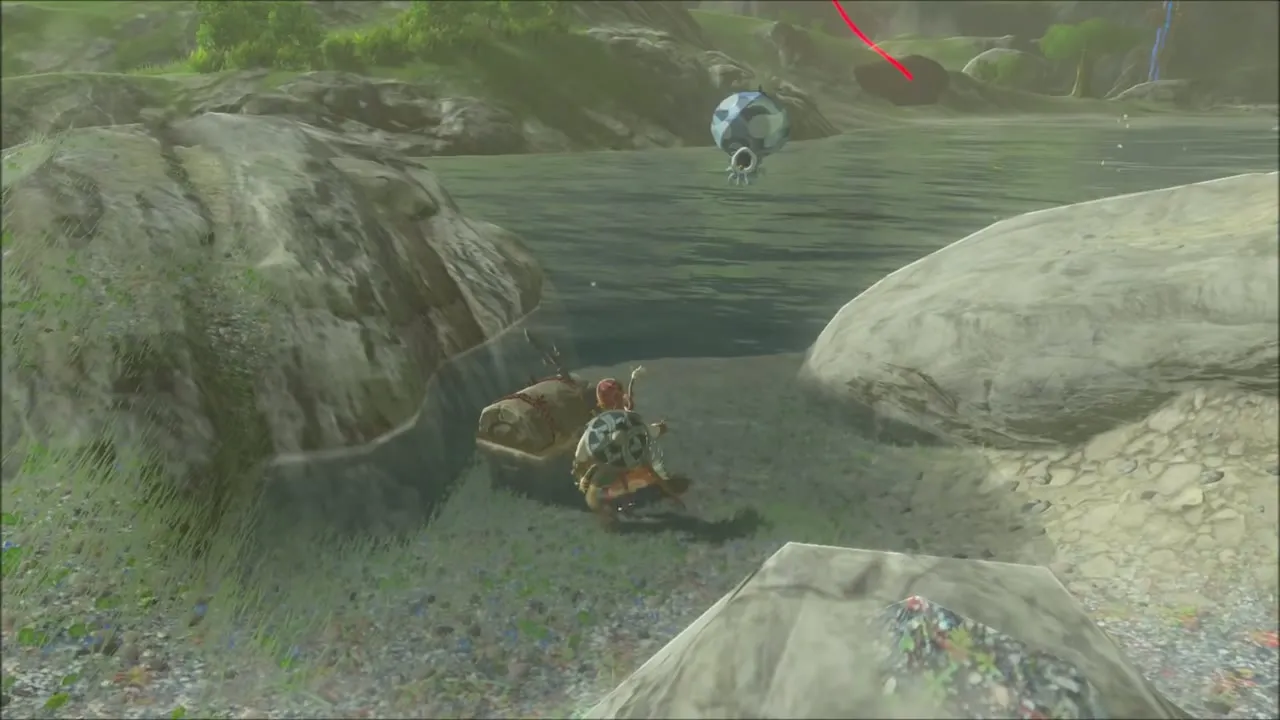
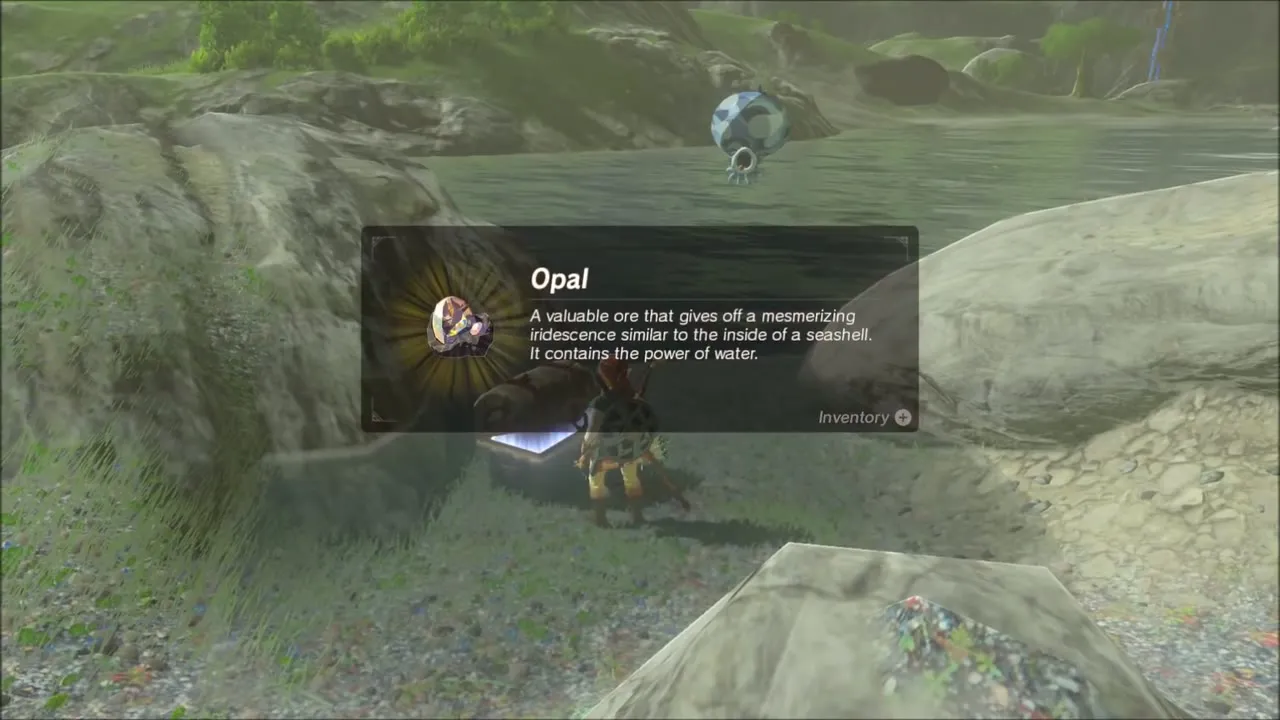
Korok Seeds: Tree Crown and Hollow Stump
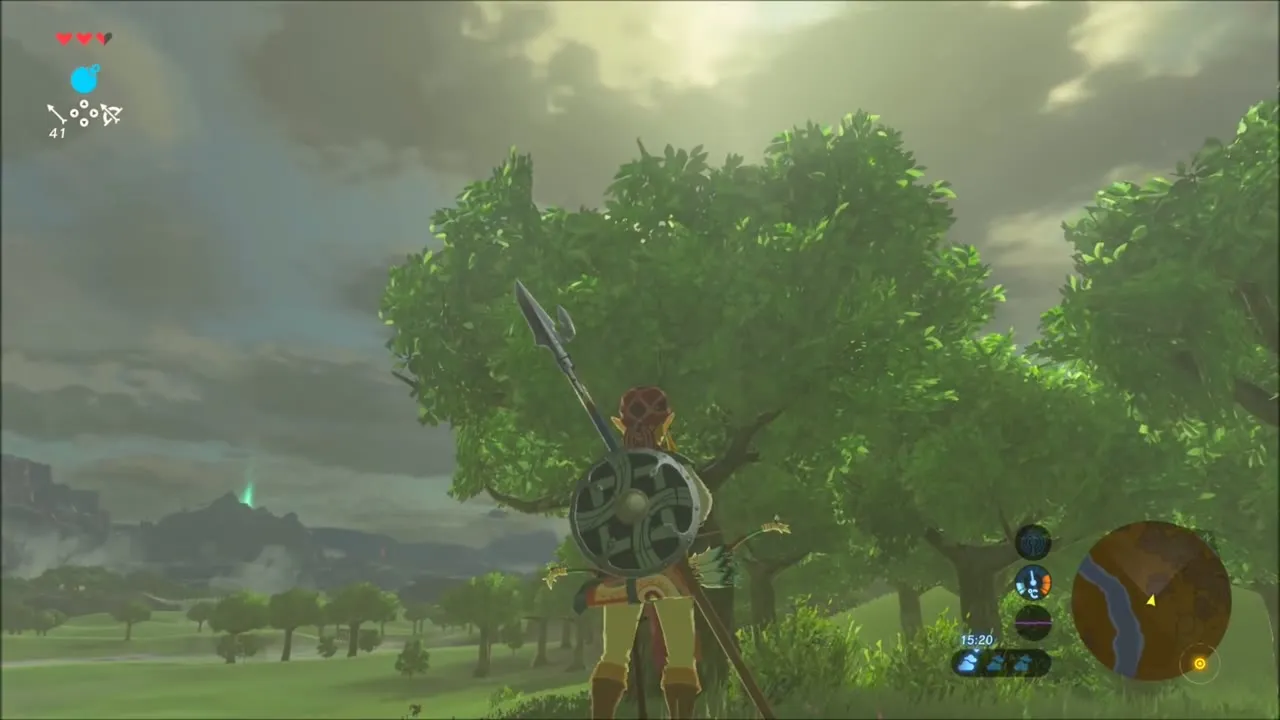
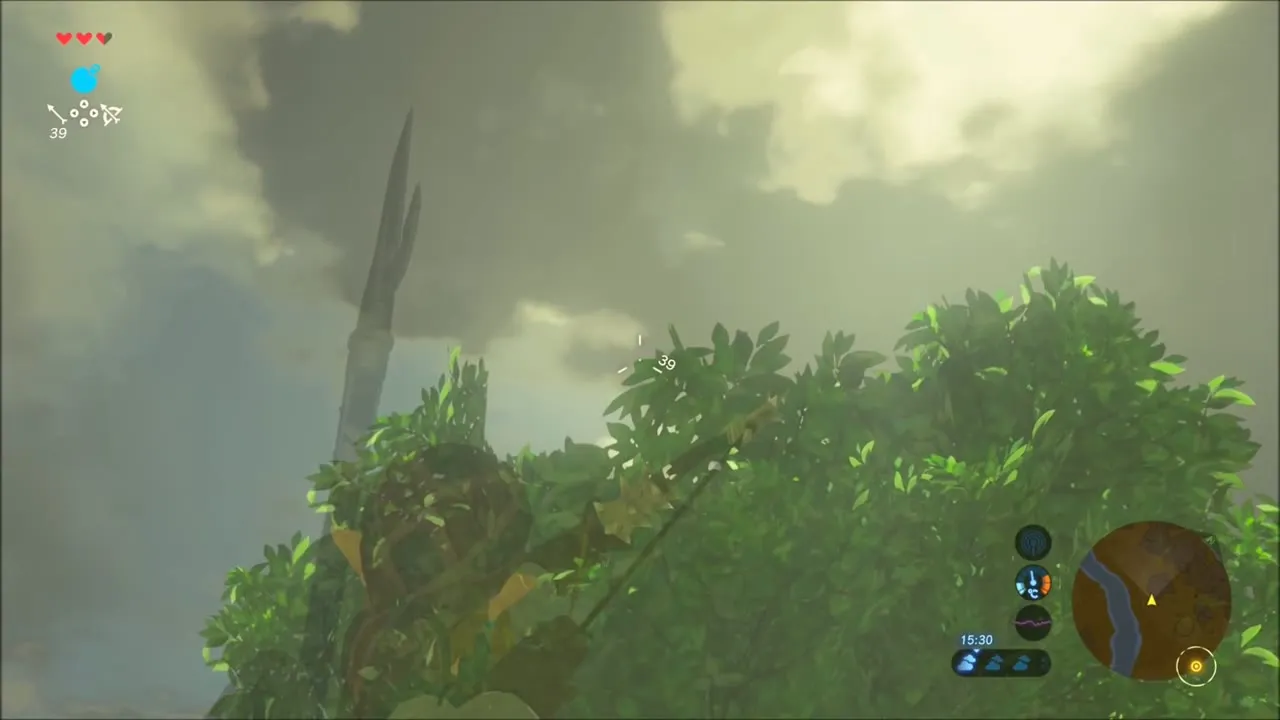
Near the woods by the lake stands a thick tree. Climb into its leafy crown and move the stone resting among the branches. The Korok appears at the foot of the tree and gives you a seed.
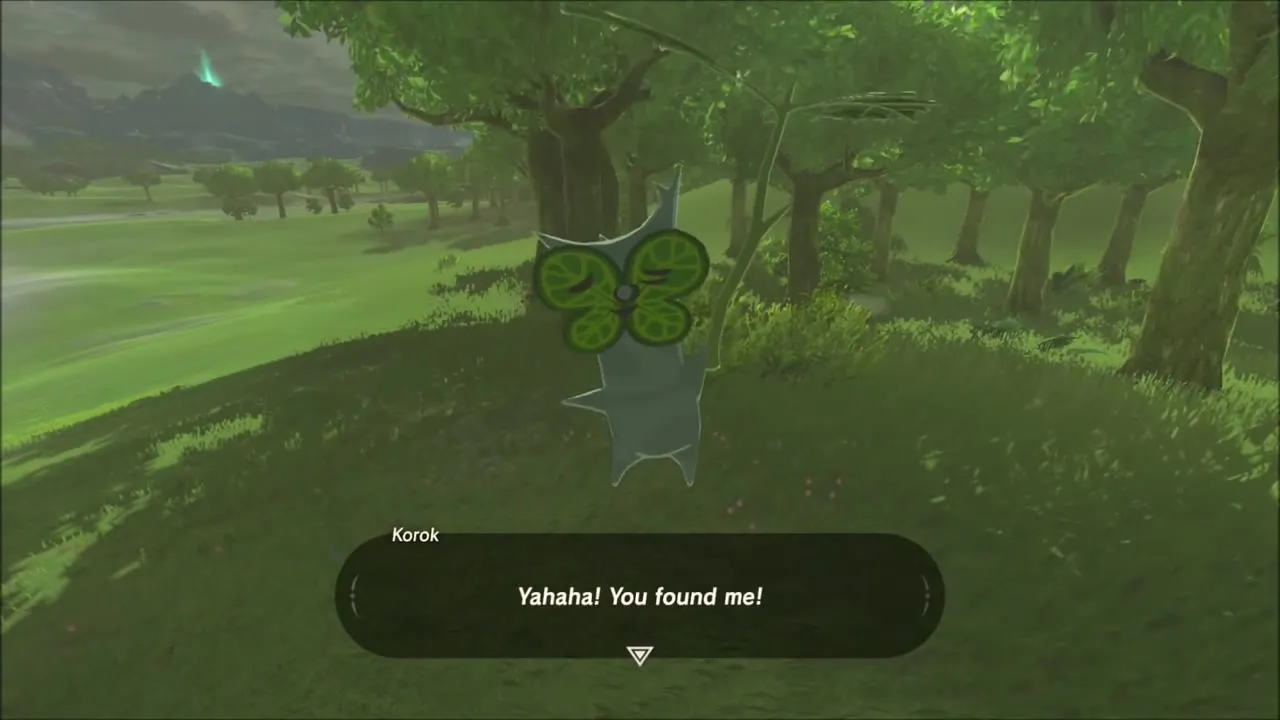
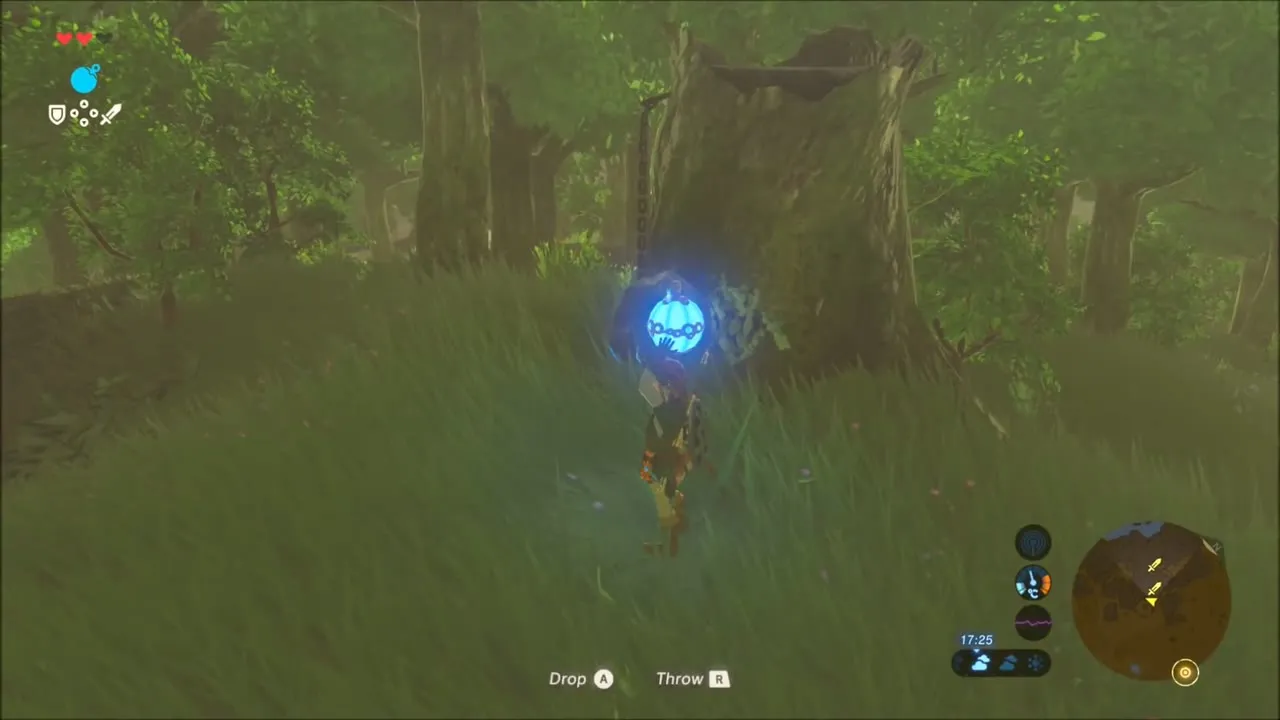
Deeper in the forest, a hollow tree stump hides another Korok. Take the stone out of the stump and a seed is yours.


Korok Seed Under a Frozen Boulder
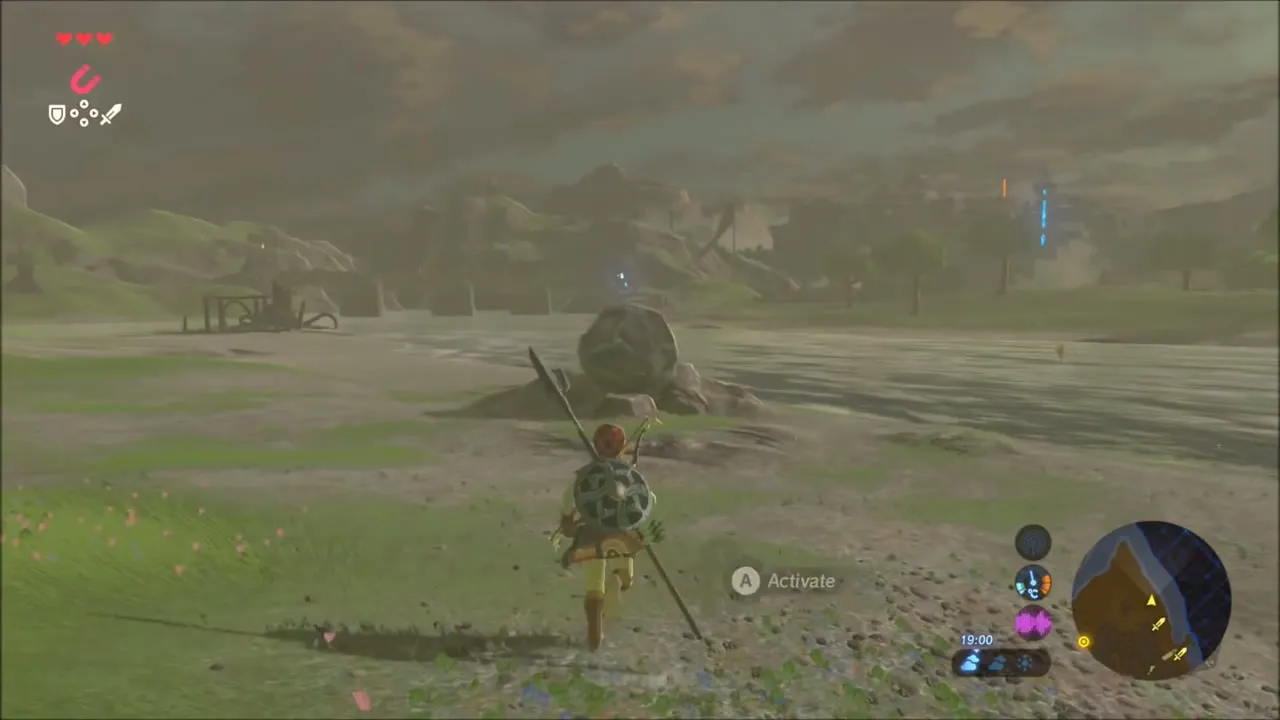
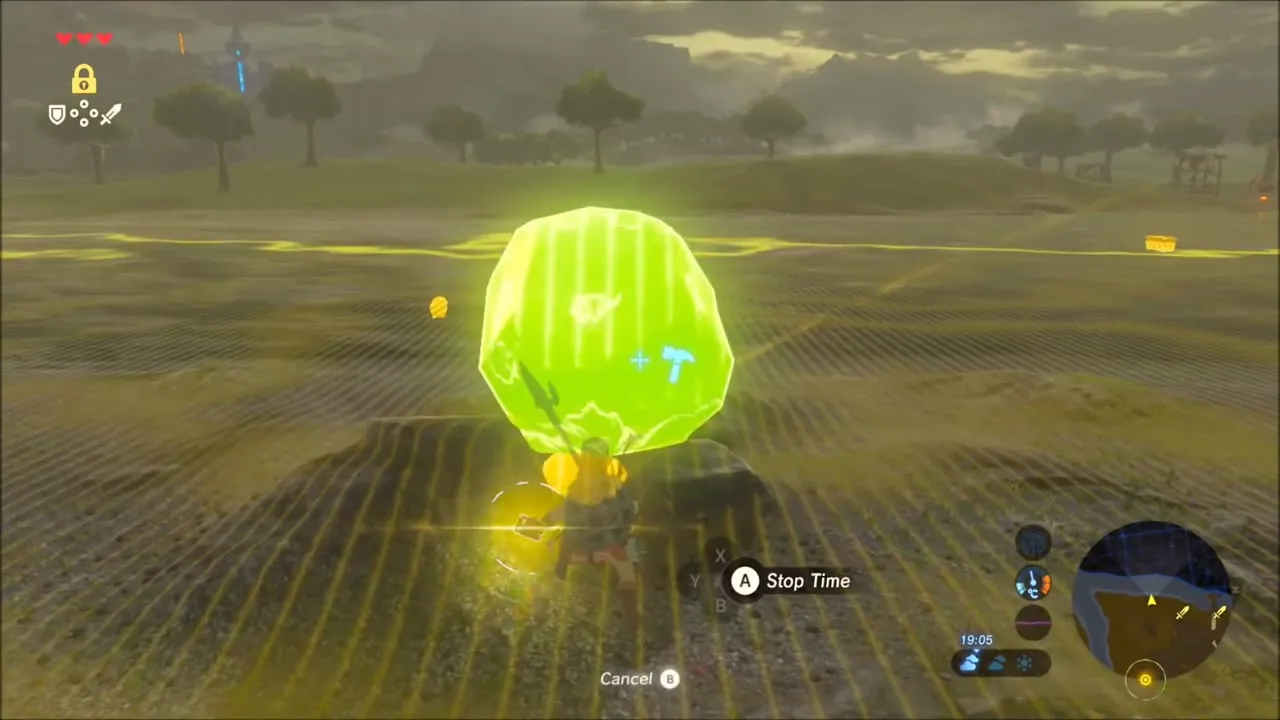
On the open plain beyond the trees, a big grey boulder sits on a mound. Stop it with Stasis, hit it several times so that it stores energy, then let it fly. The boulder launches off its spot and exposes the Korok curled up beneath it.


Korok Seeds at Owlan Bridge
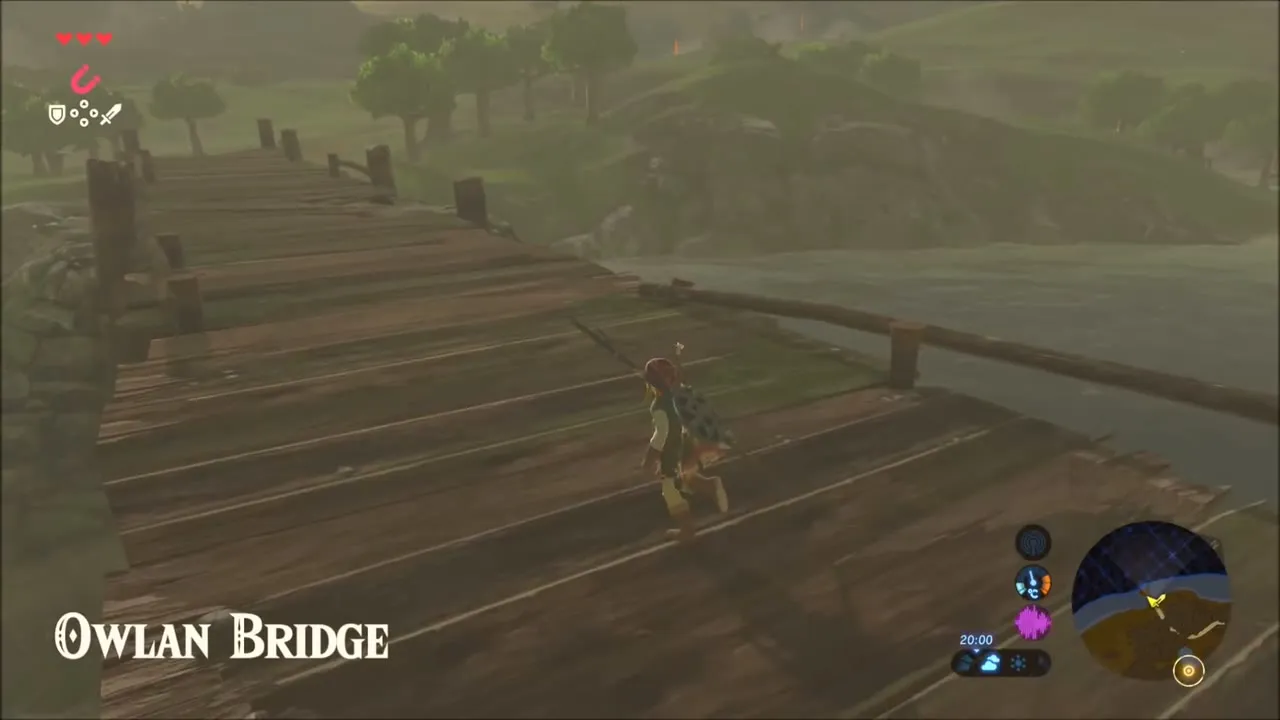
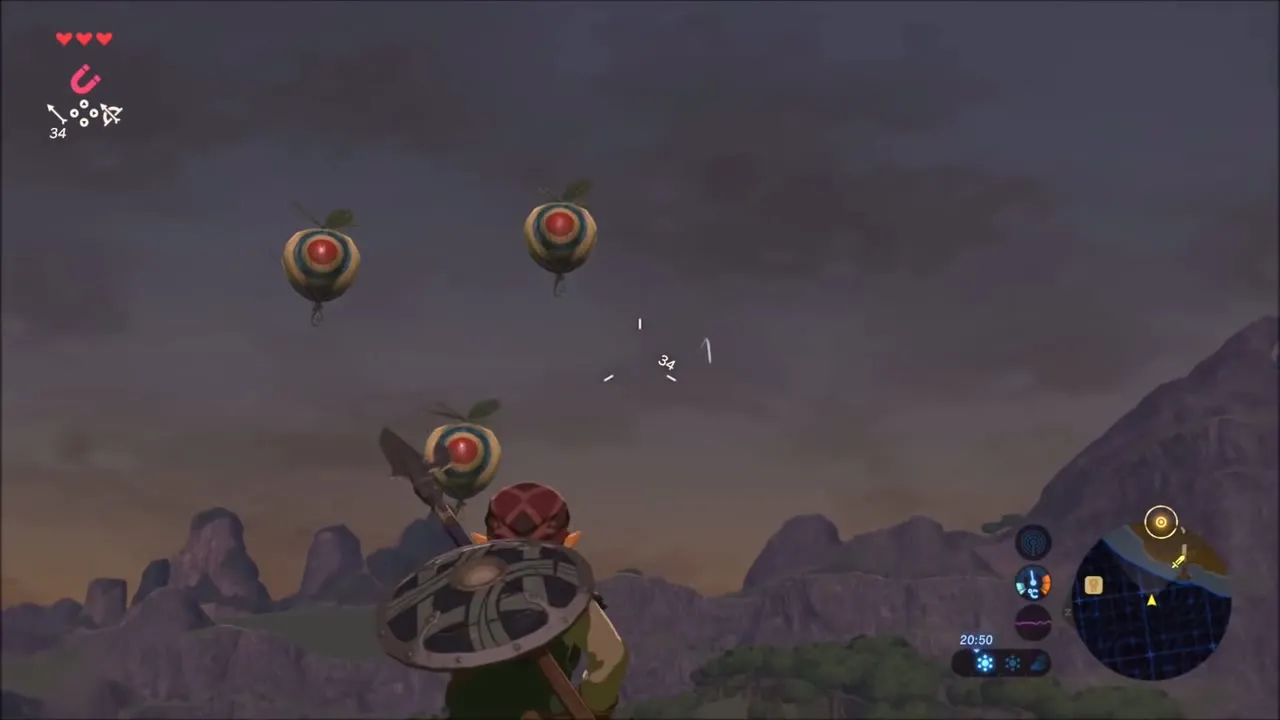
Cross the wooden Owlan Bridge and drop onto the south bank of the river. Several nuts float in the air above the water and show up as targets when you aim. Shoot each one with your bow and the Korok appears.

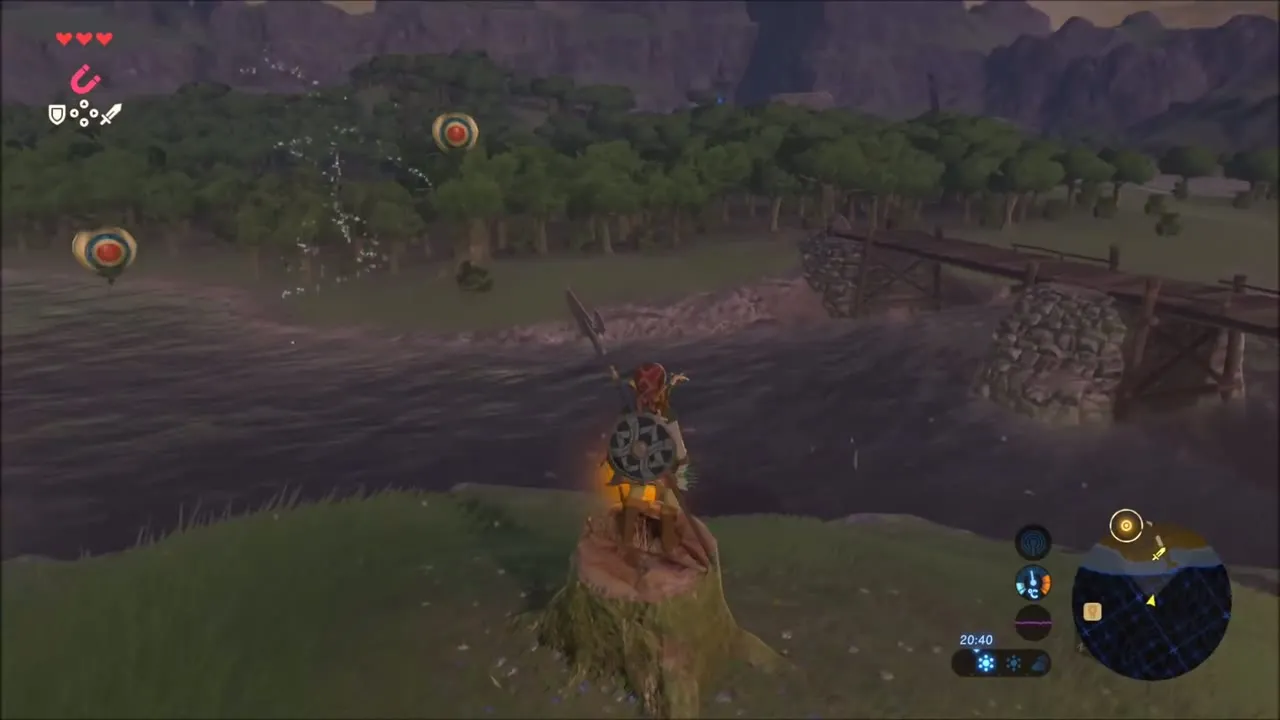
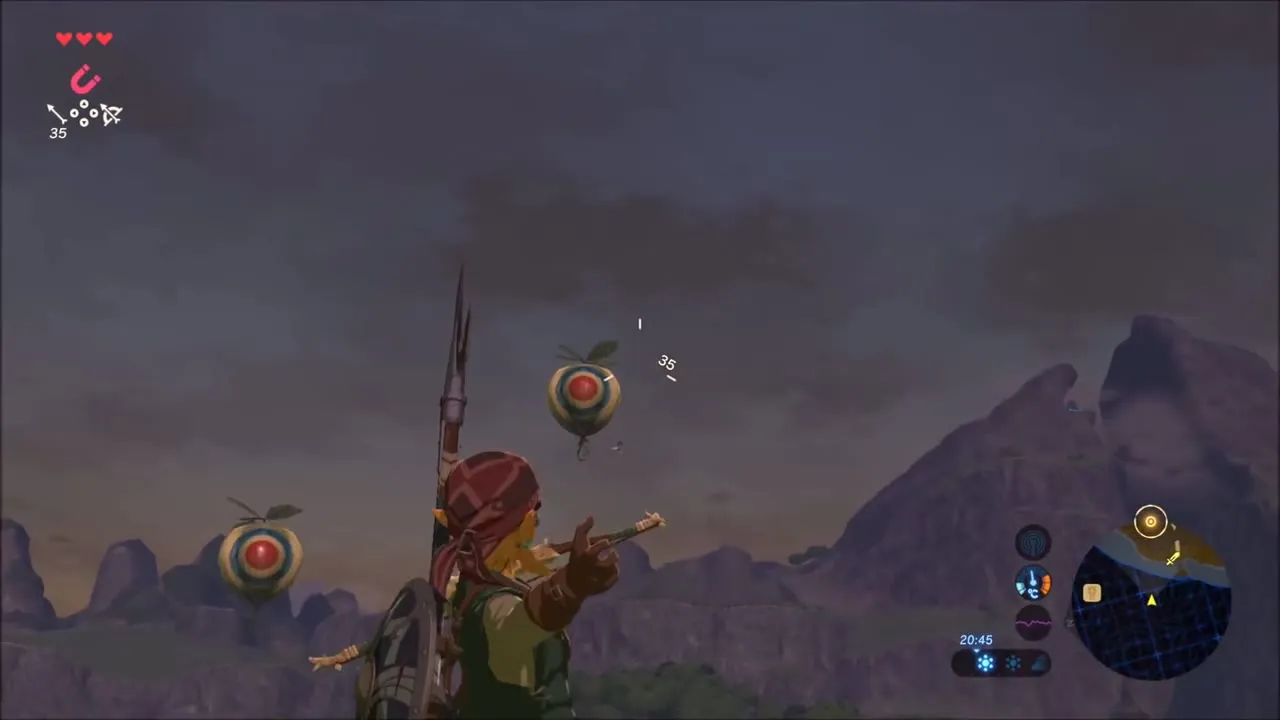
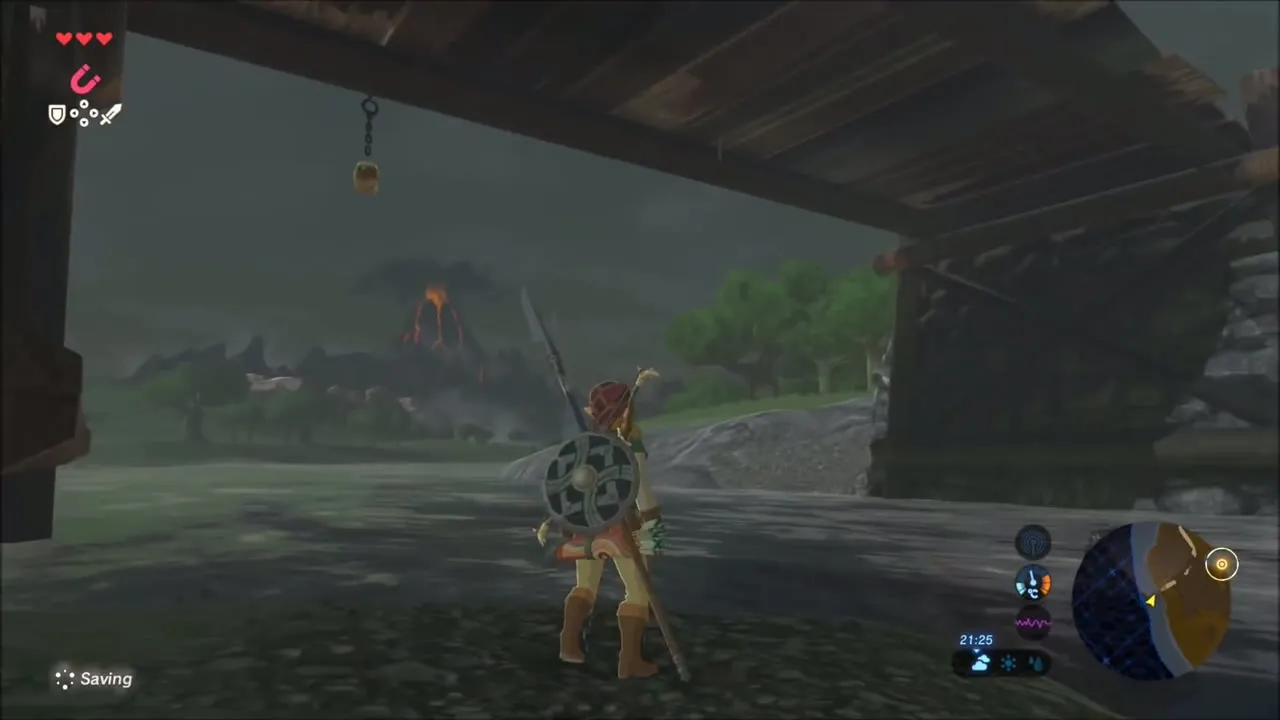
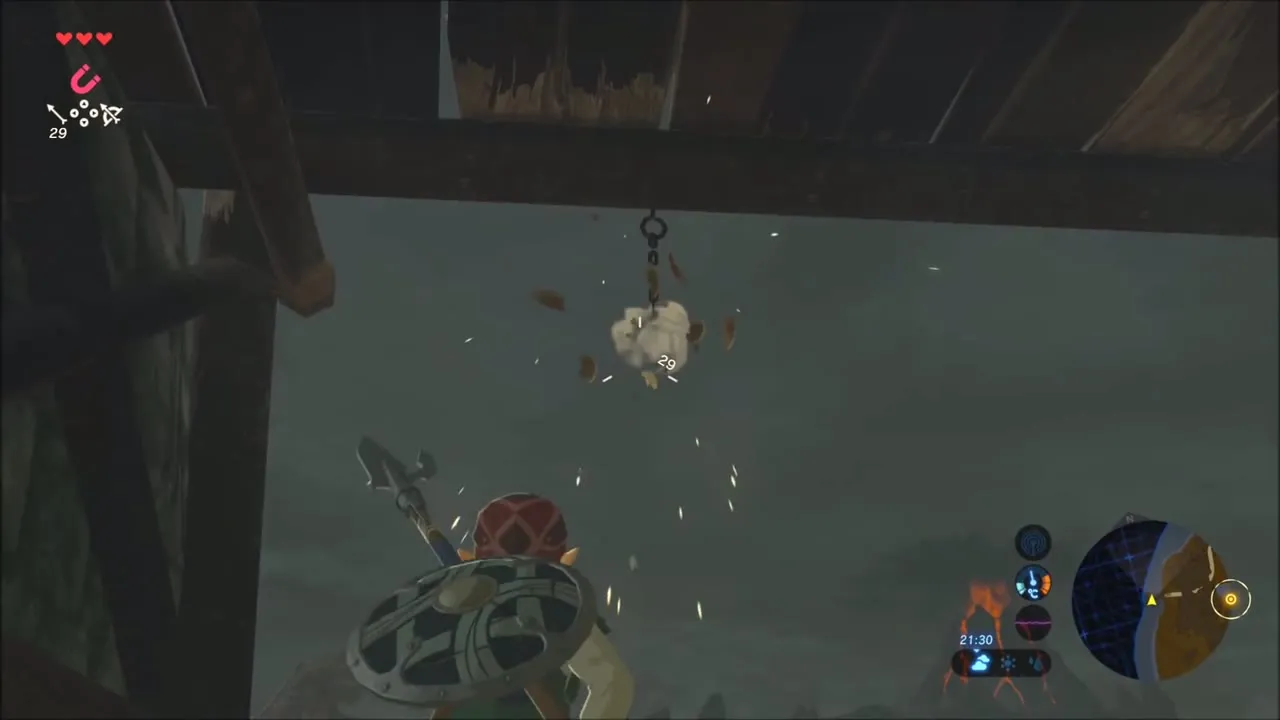
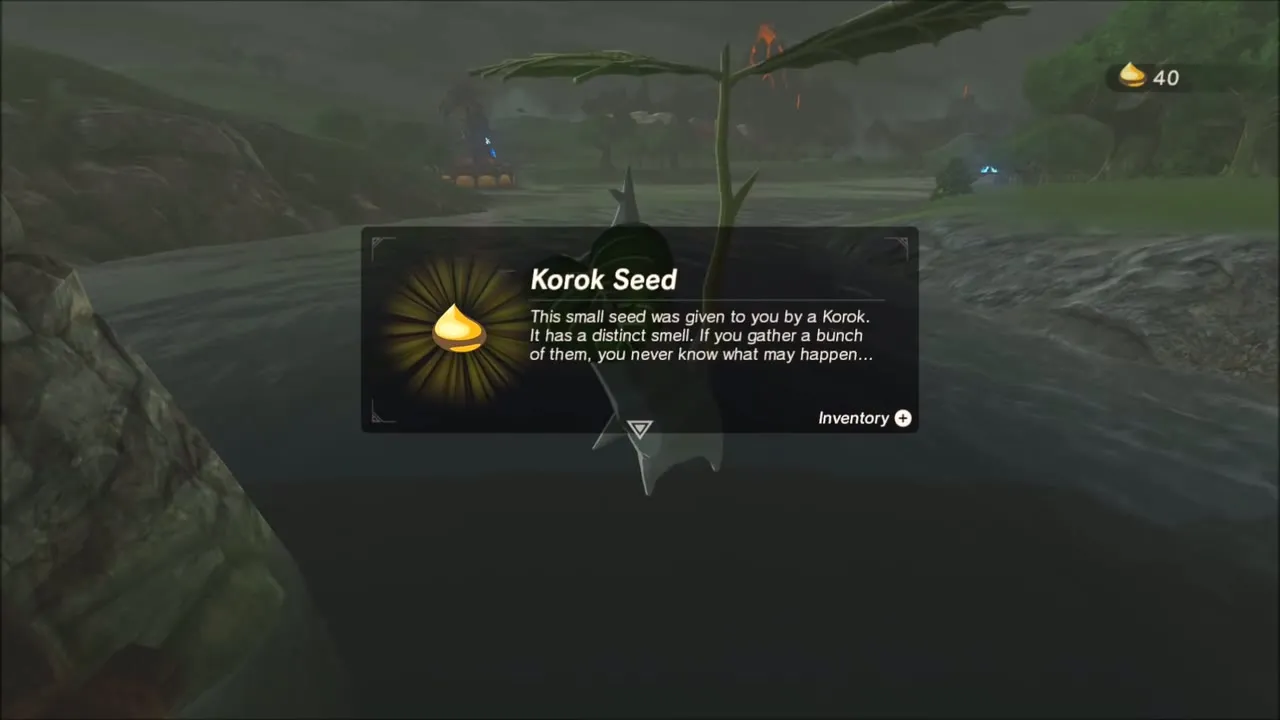
Swim under the bridge, where a single nut hangs from a chain. Shoot it with an arrow and another Korok appears. It is easy to miss, so check beneath the bridge before you leave.

Last Korok Seeds: Rock in a Tree and Islet in the Water
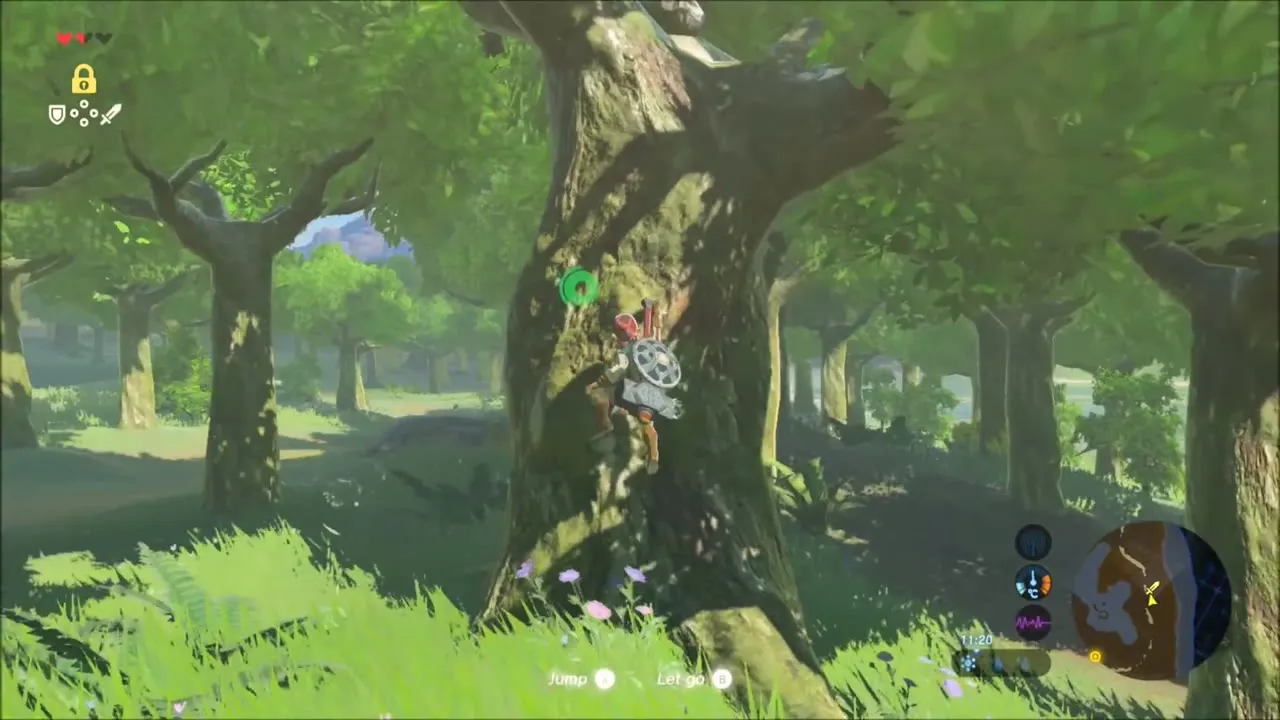
In the dark woodland, a big tree has a small rock tucked on one of its branches. Climb up, lift the rock off, and the Korok appears on the branch.
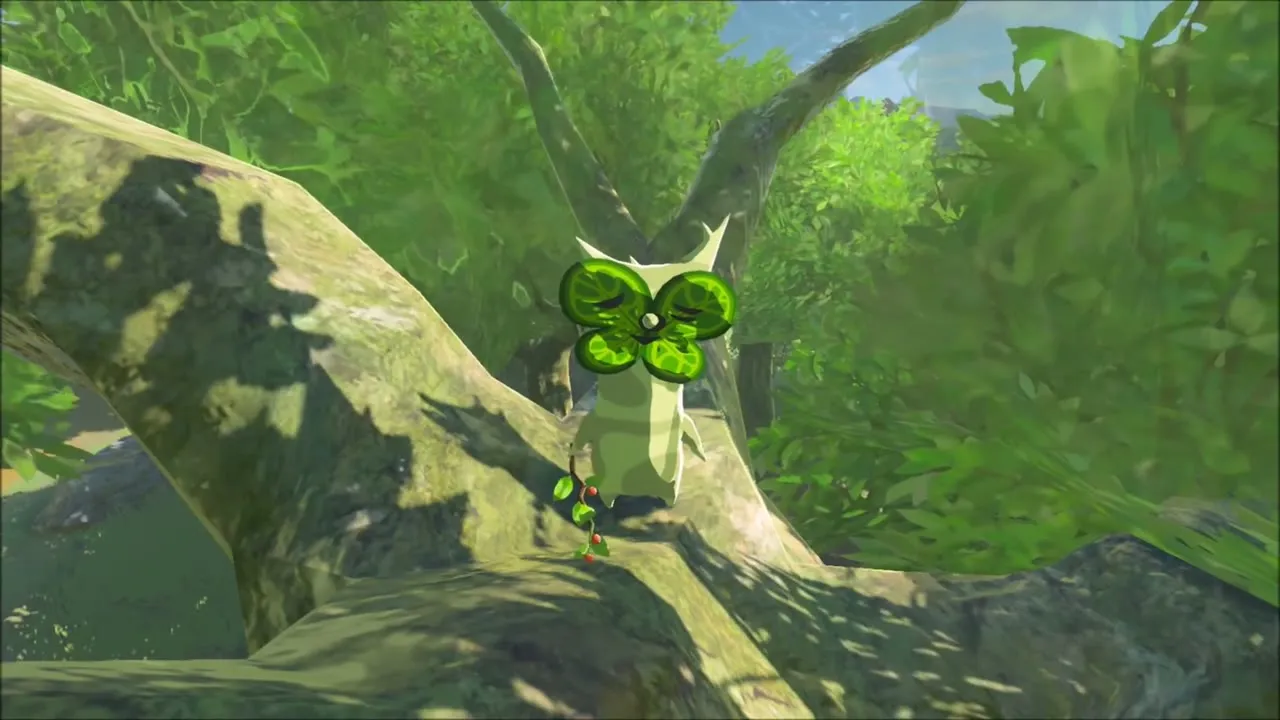
Finally, head back toward the water. A little islet in the shallows has a stone on it. Reach it, lift the stone and the Korok gives you the last seed of this stretch, which makes 19 seeds across these peaks, lakes and woods.
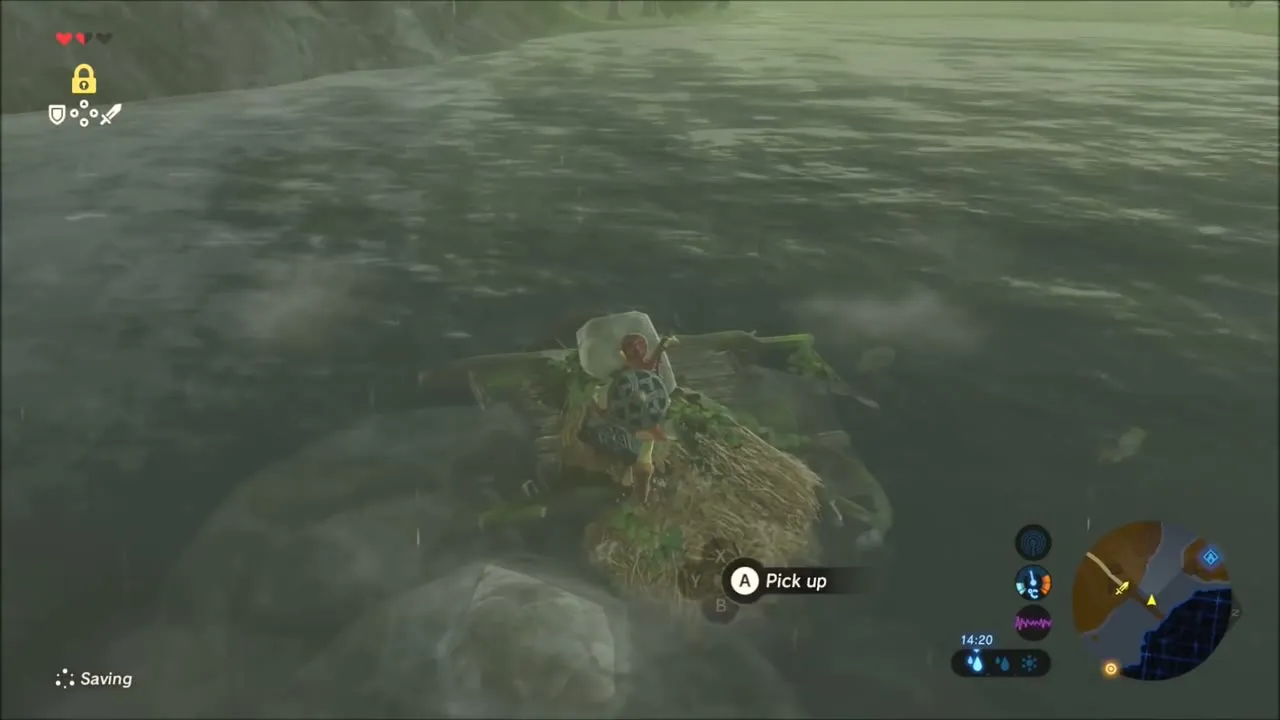
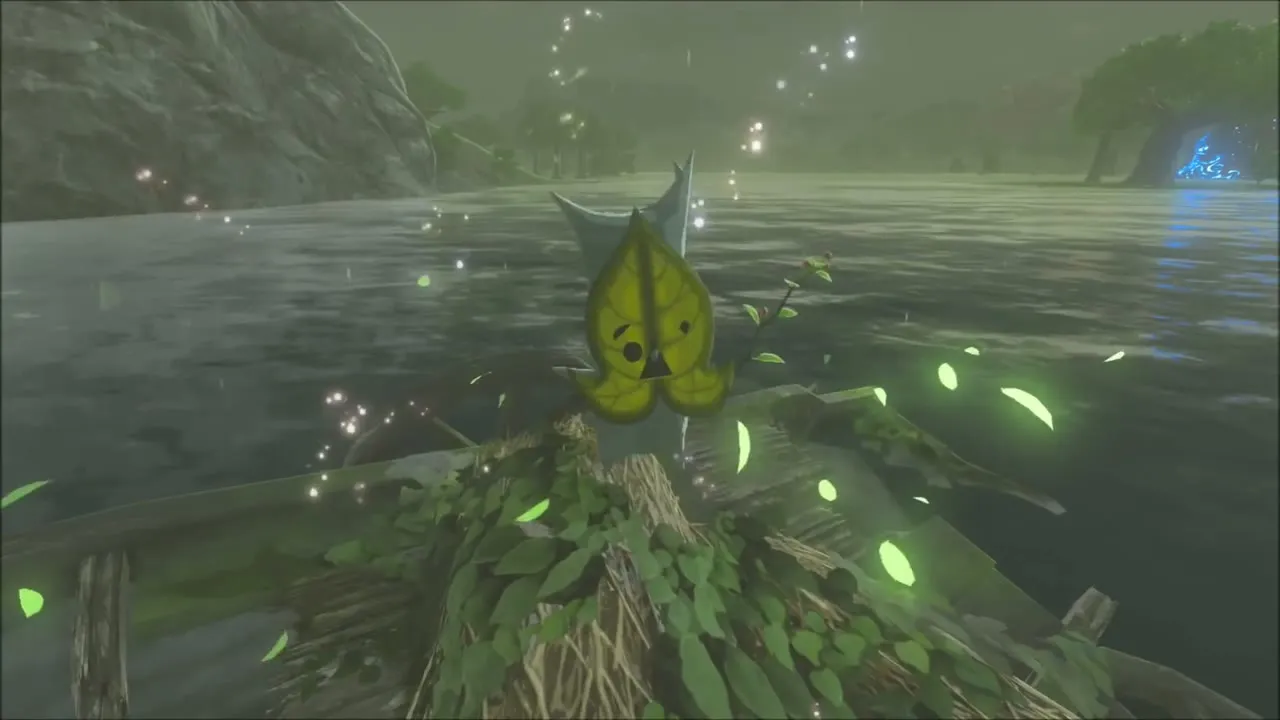
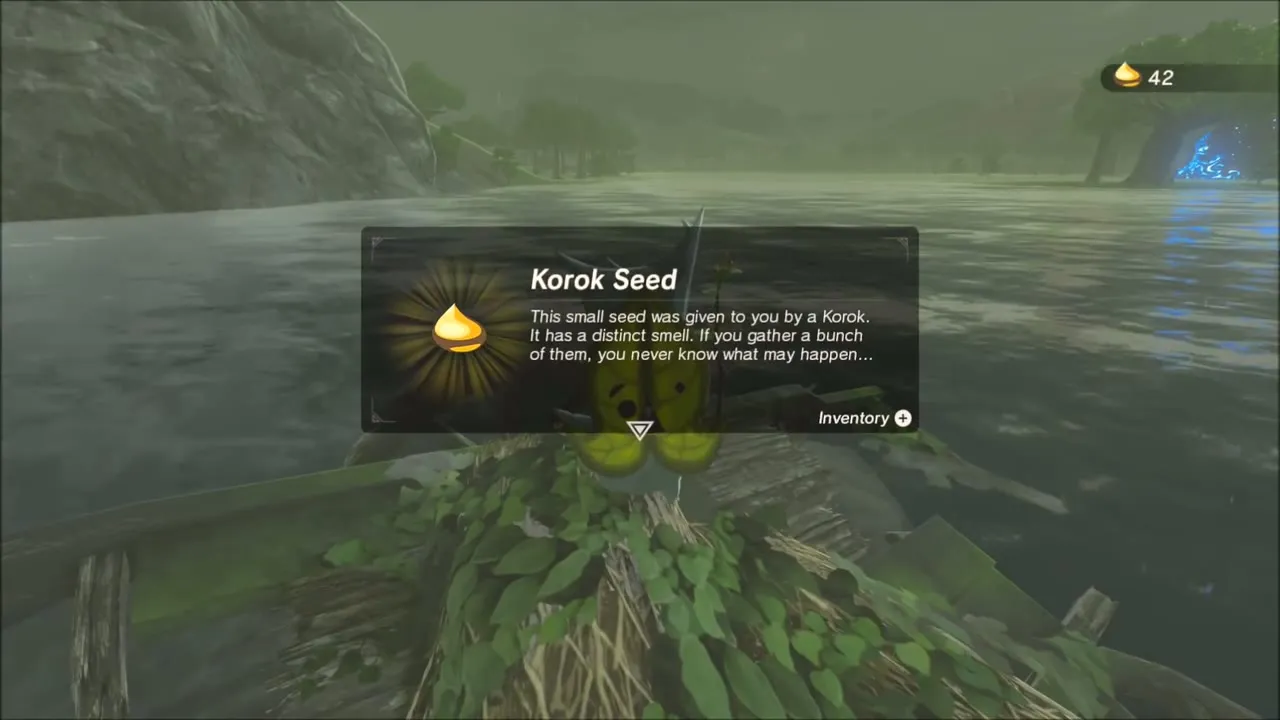
Hestu’s Second Location: Spend Korok Seeds Near Riverside Stable
Hestu has left his first spot and now waits on the west bank of the Hylia River, northeast of Riverside Stable and a little north of Owlan Bridge. Hand over seeds to widen your pouches: here the shield and weapon slots both get another row. The price climbs with every upgrade, so keep a few seeds back for the next round.
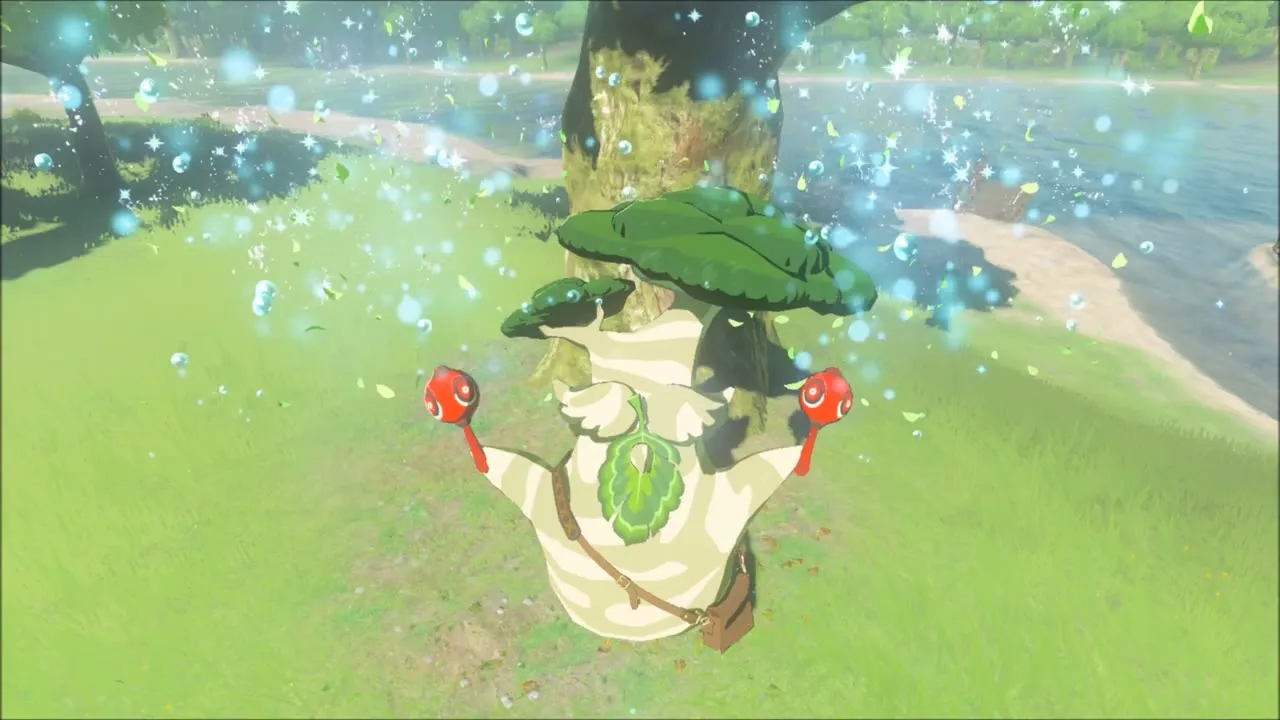

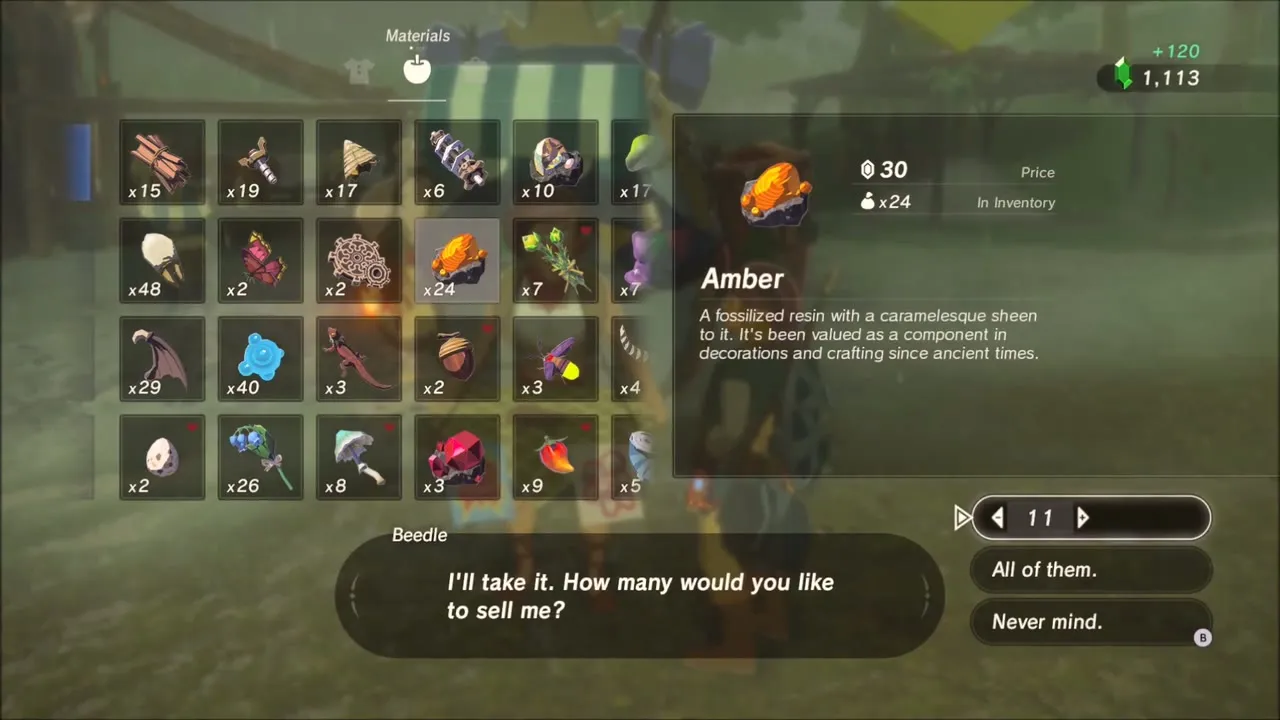
The traveling merchant Beedle has set up beside the stable. Sell him spare materials such as Amber and Wood and see what he will take for monster parts; he also stocks arrows.


Proxim Bridge Korok Seeds and the Opal Chest
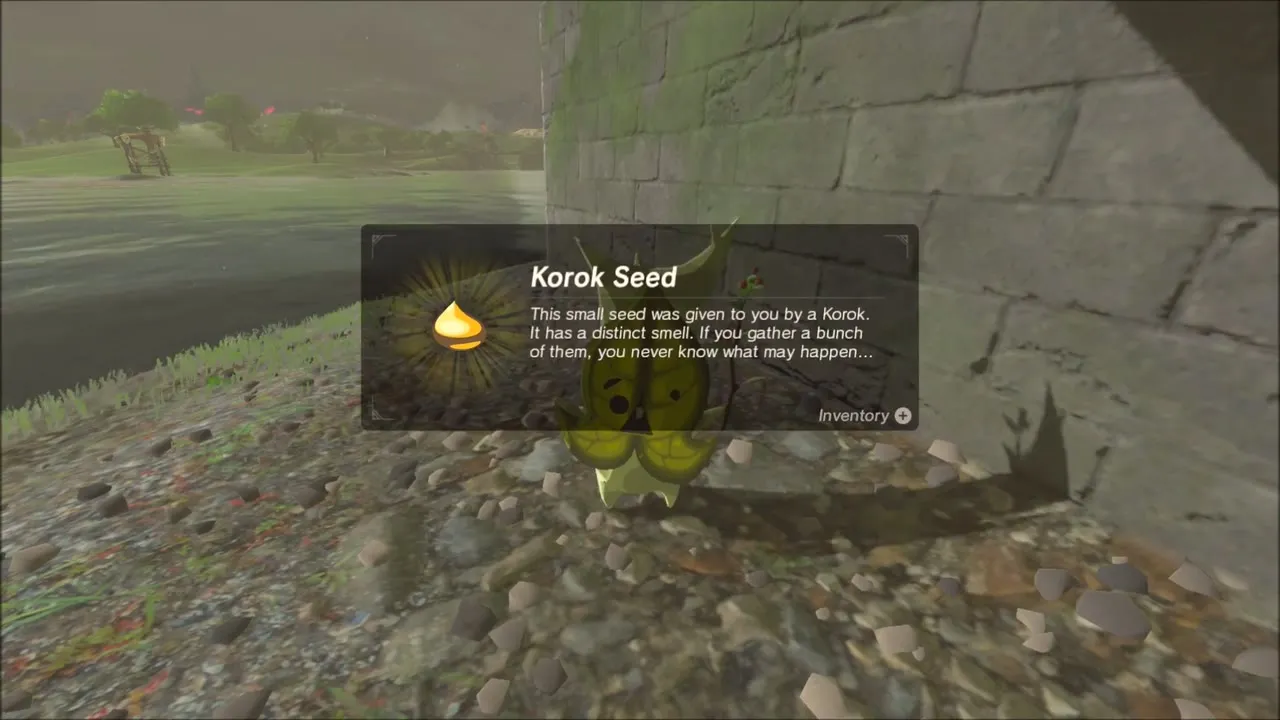
Fast travel to the riverbank near Proxim Bridge and climb the grassy slope on the west side. Two seeds are close together. On the hillside, roll the loose boulder down the slope and into the pit below it, and a Korok pops up with a seed. A little further on, a gravel flat holds a short row of carved stone blocks with a gap in it. Pull the metal cube into the gap with Magnesis and a second Korok pays out.


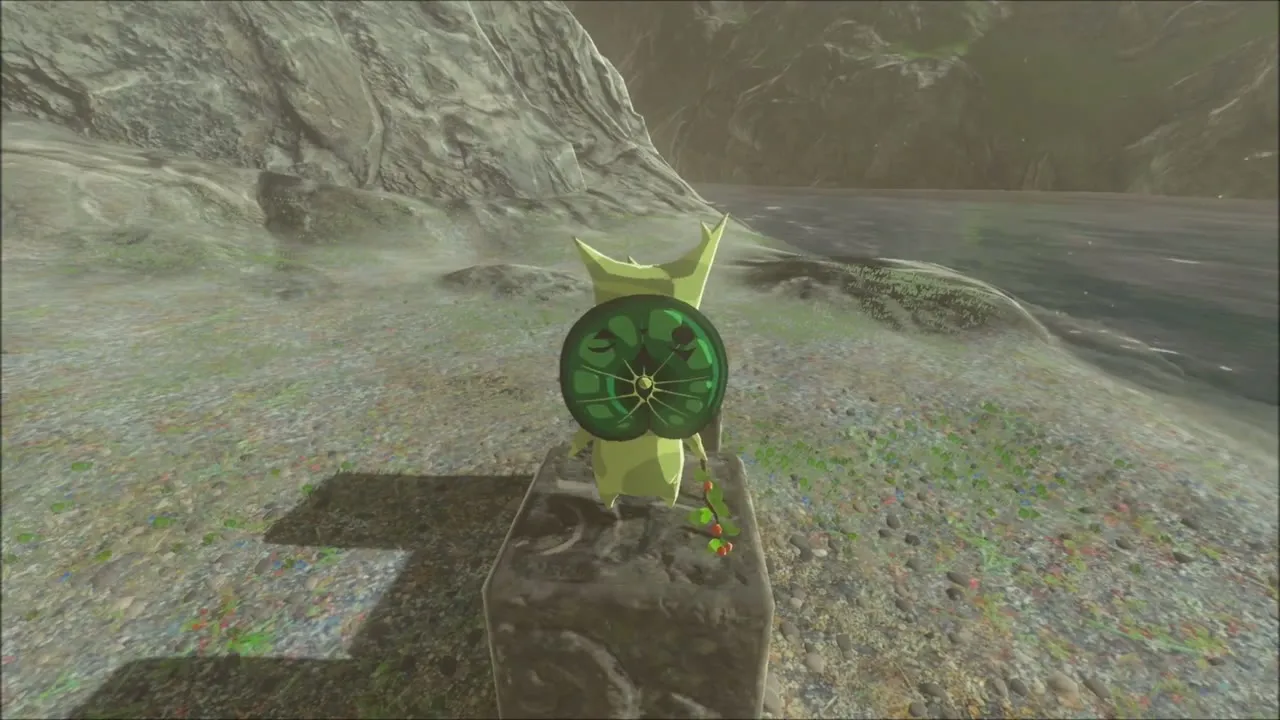
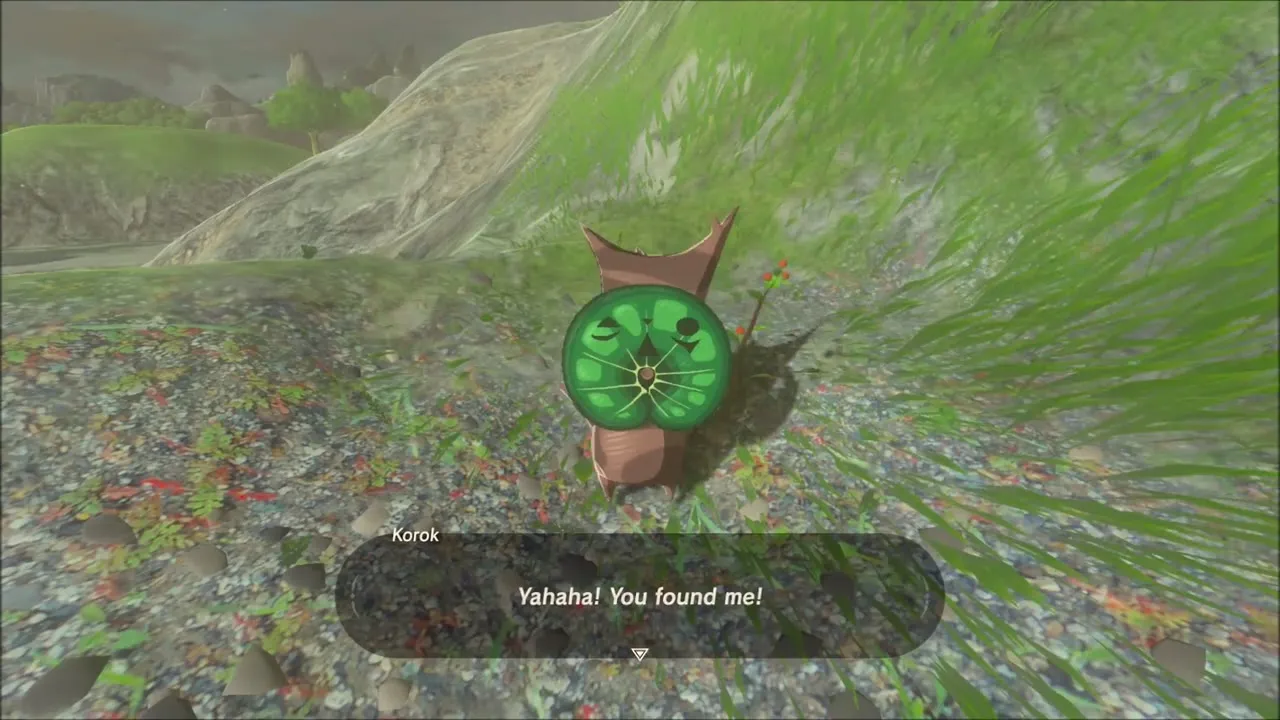
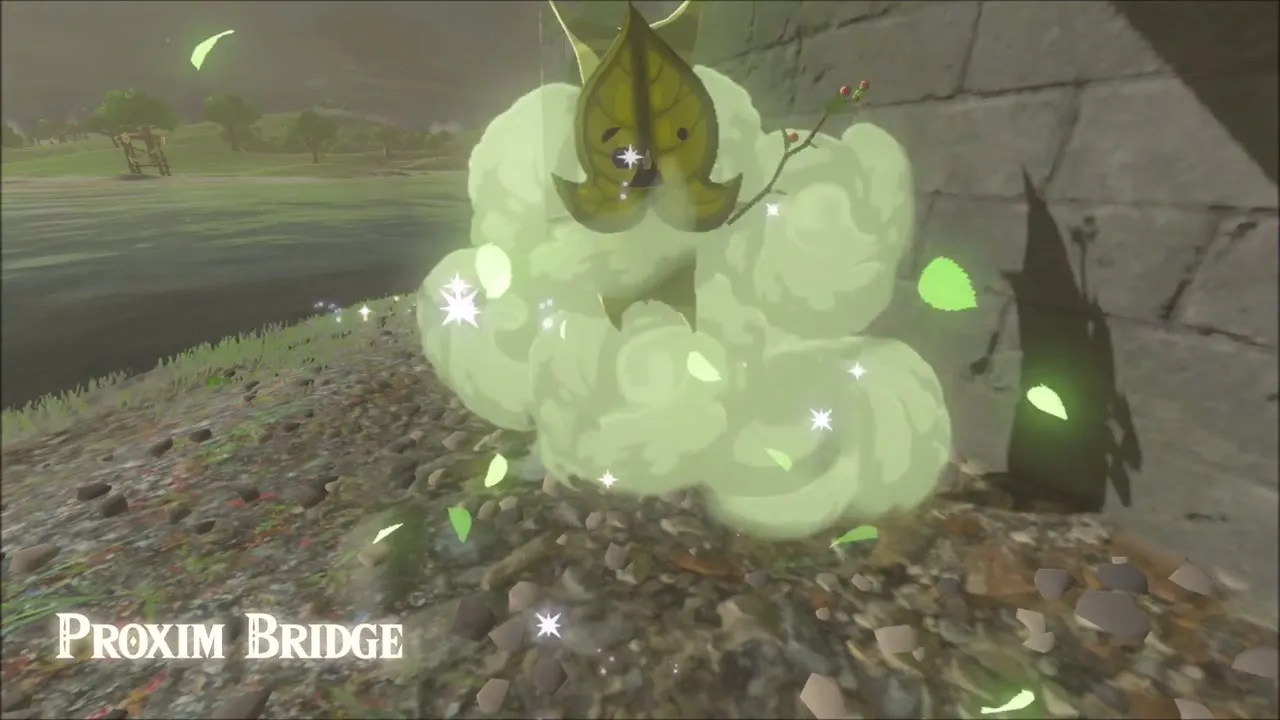
Two more are on the way down. A Korok hides in the tall grass on the hillside above the shore, and when he is done a rock sits beside him on the narrow shoreline path. The fourth is tucked against the stone pier of Proxim Bridge itself, around (232, 1601), and you only notice him when you walk right up to the pillar. That is four seeds before you have crossed the water.

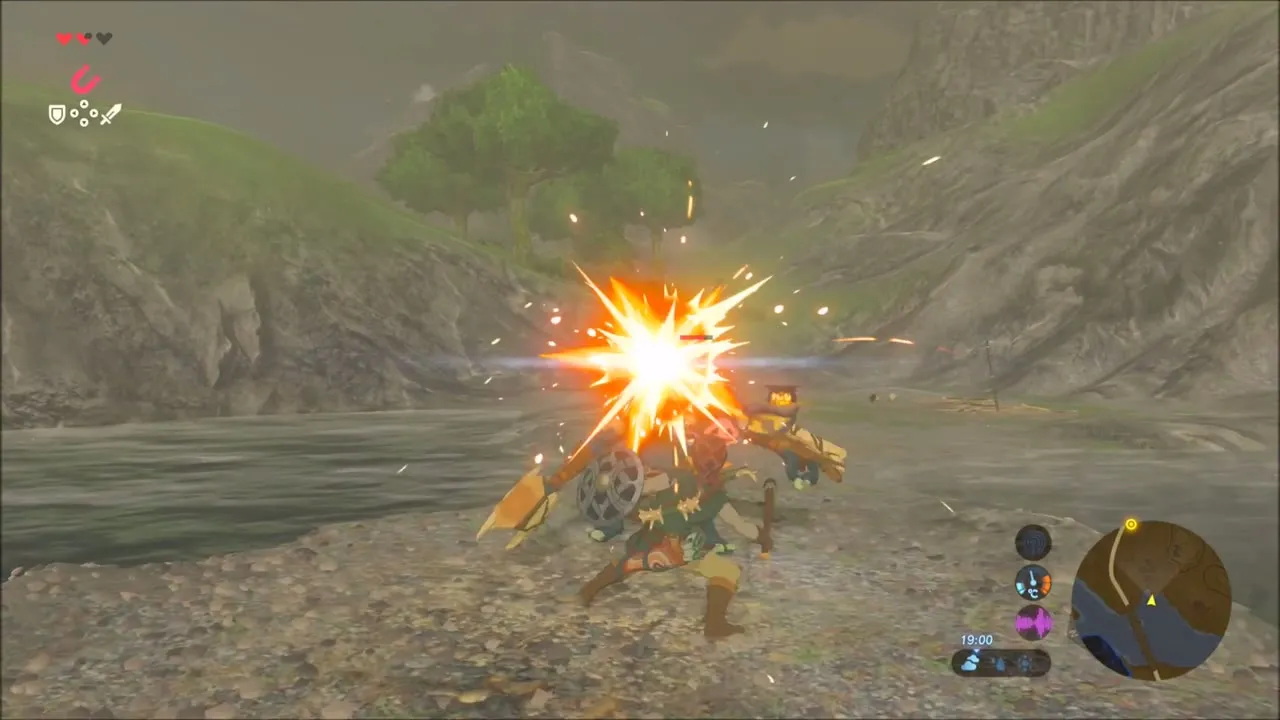
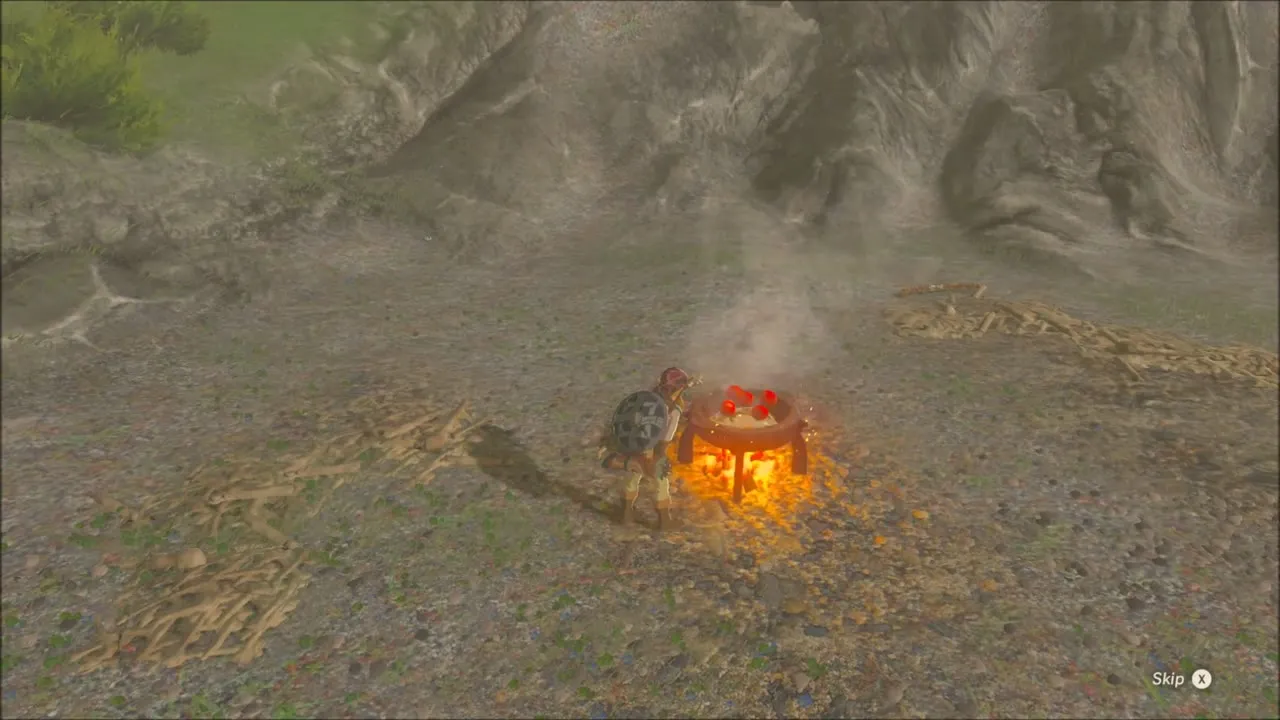
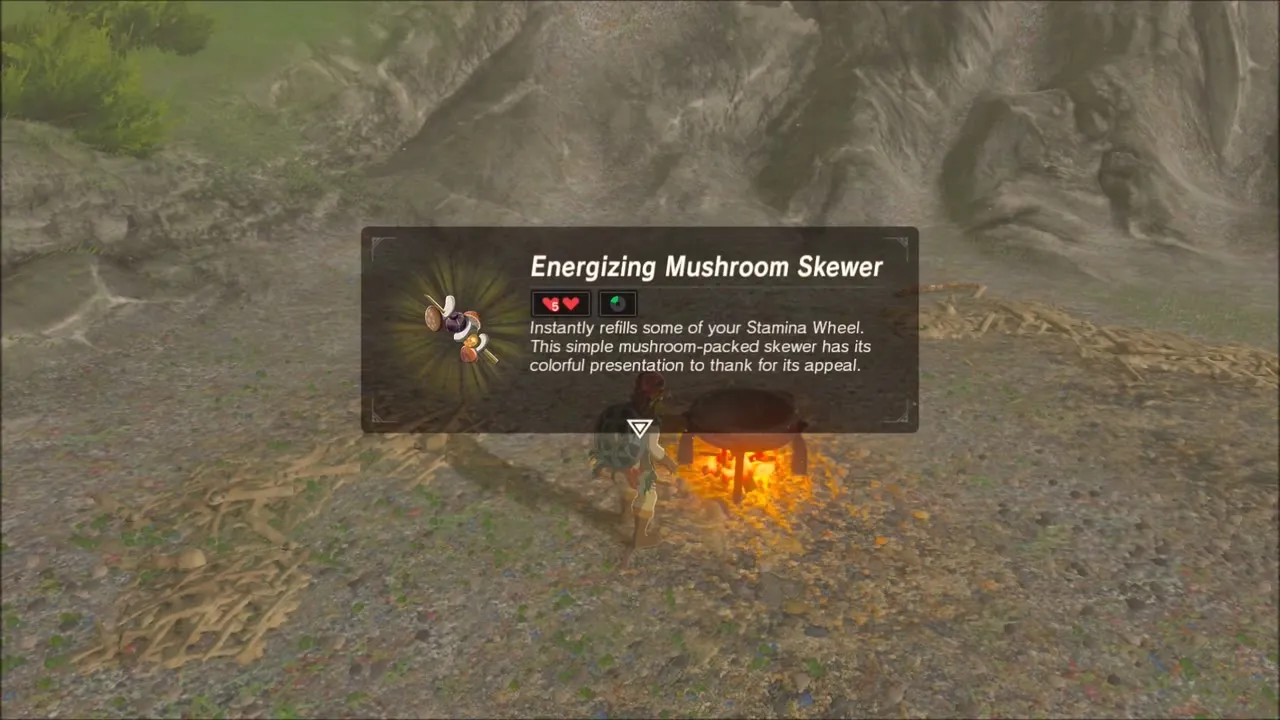
Swim or glide to the far shore: a chest on the rocky bank holds an Opal. A Bokoblin group is camped nearby, so clear it with the Boomerang and a club and collect the horns and fangs. The rain makes this a good place to light a campfire and cook. With mushrooms, fruit and herbs you can make an Energizing Mushroom Skewer, which restores stamina, as well as Mushroom Skewers, Simmered Fruit and a Spicy Elixir.

Korok Seeds East of the Great Plateau and Ja Baij Shrine
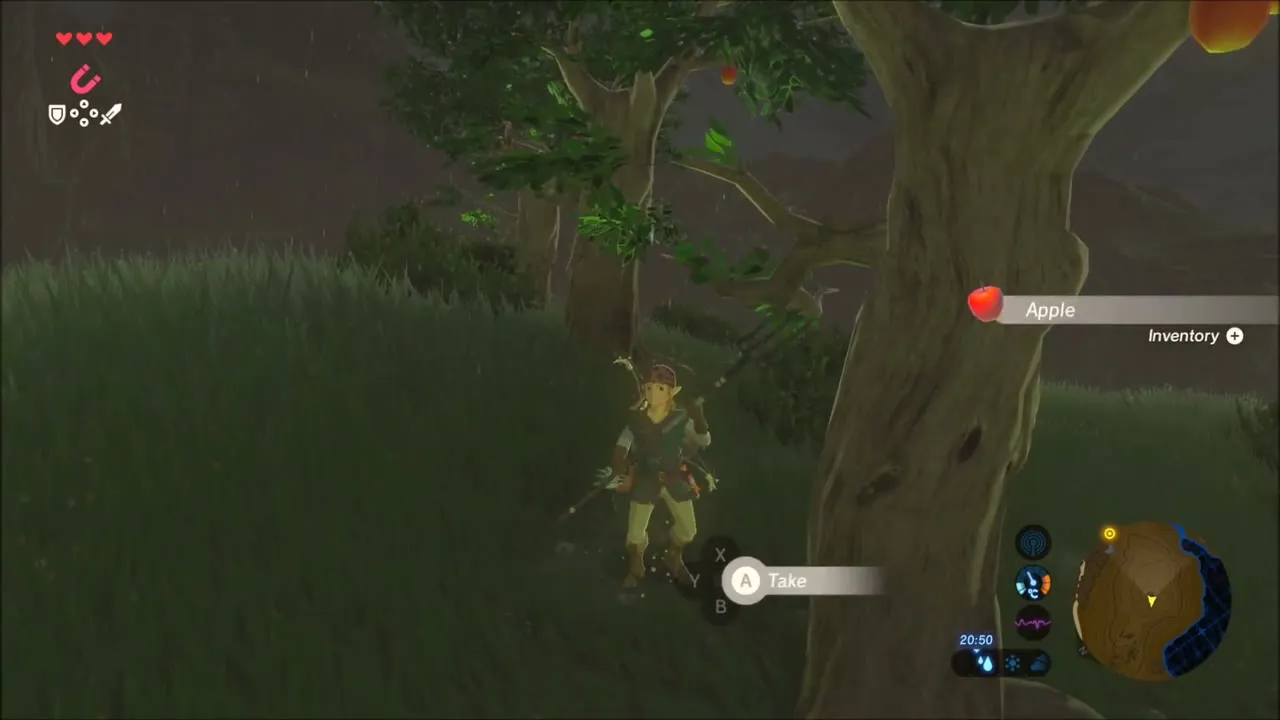
Glide up the rain-swept hills north and west of the bridge. One Korok is in the grass slope beside an apple tree, so shake the tree for apples while you are there. Another waits further on in the dark grass near a cave mouth under a rocky shoulder. That is two more seeds.
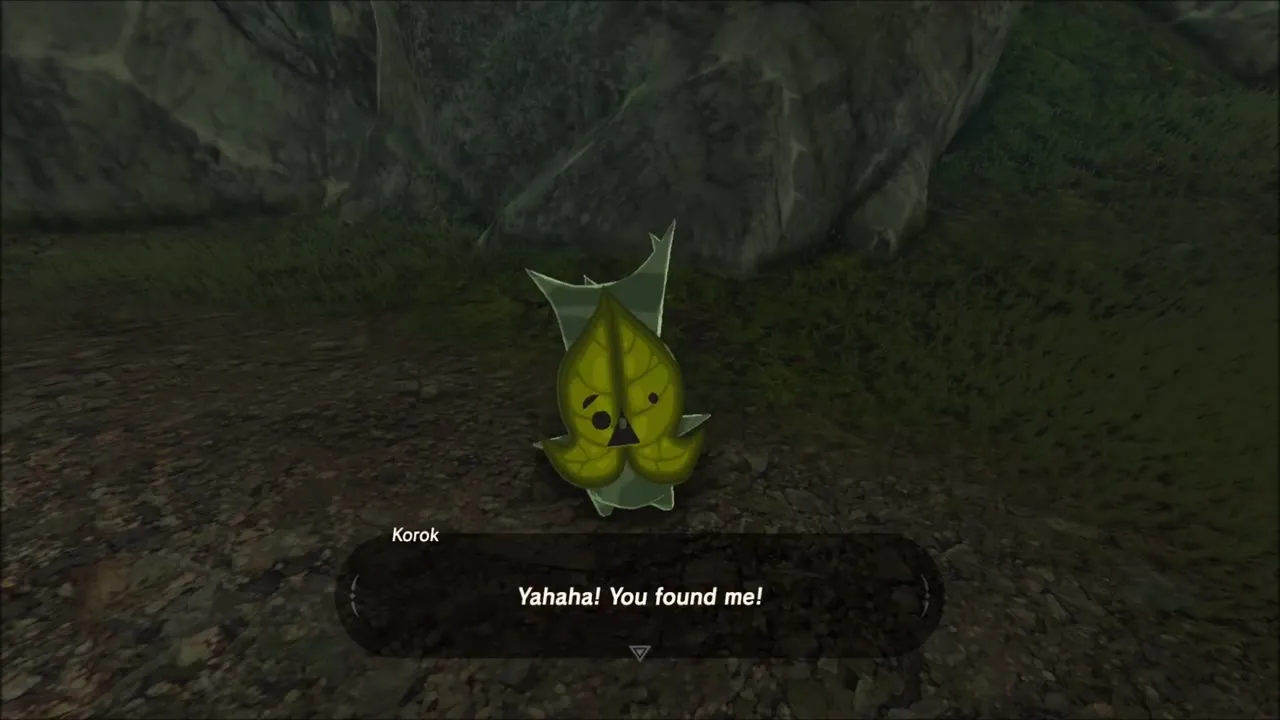
Ruined walls at the foot of the Great Plateau shelter a Korok among the stones. Clear the Keese and Bokoblins in the ruin first, then he shows himself. A dragon passes overhead in this area, and the Sheikah Scope lets you watch it. Activate Ja Baij Shrine (-448, 1990) here so you can fast travel back; the Ja Baij Shrine page has the Bomb Trial solution. Just past the shrine, another Korok stays hidden in the ruined stonework, close to the datamined seeds at (-423, 1993) and (-423, 2022).

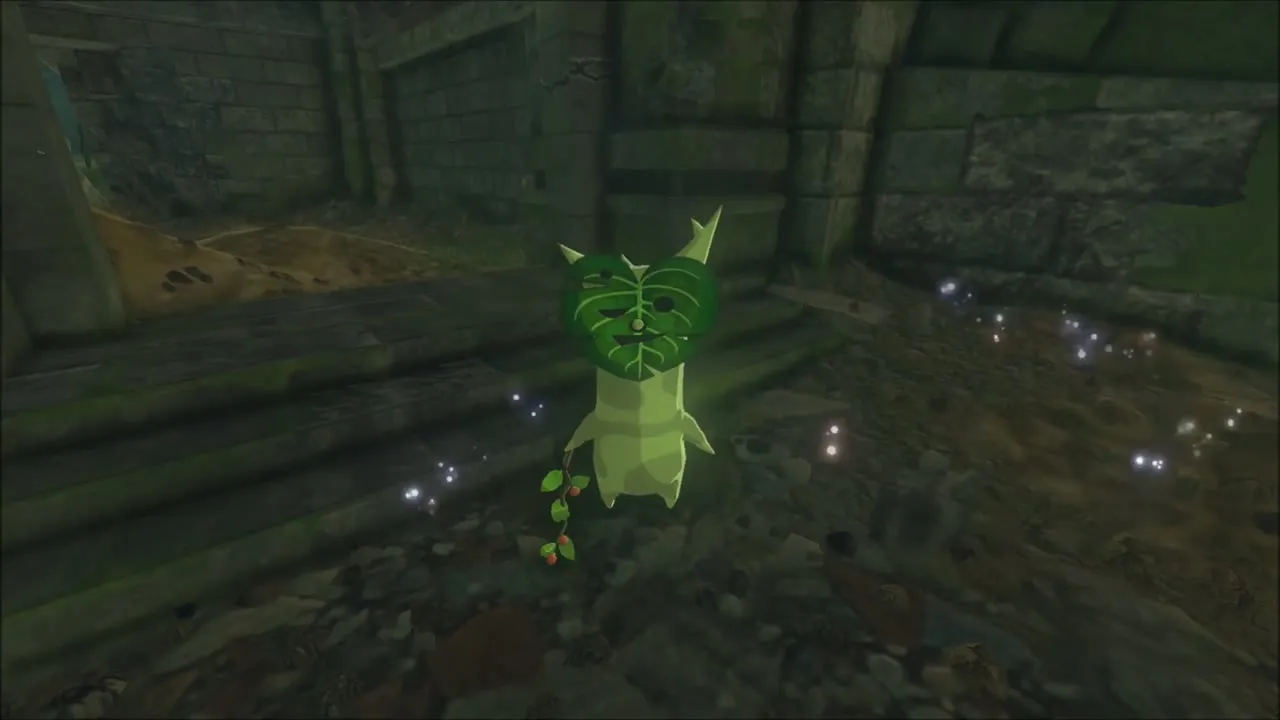


Great Plateau Korok Seeds: Birch Grove, Temple of Time and Shrine of Resurrection
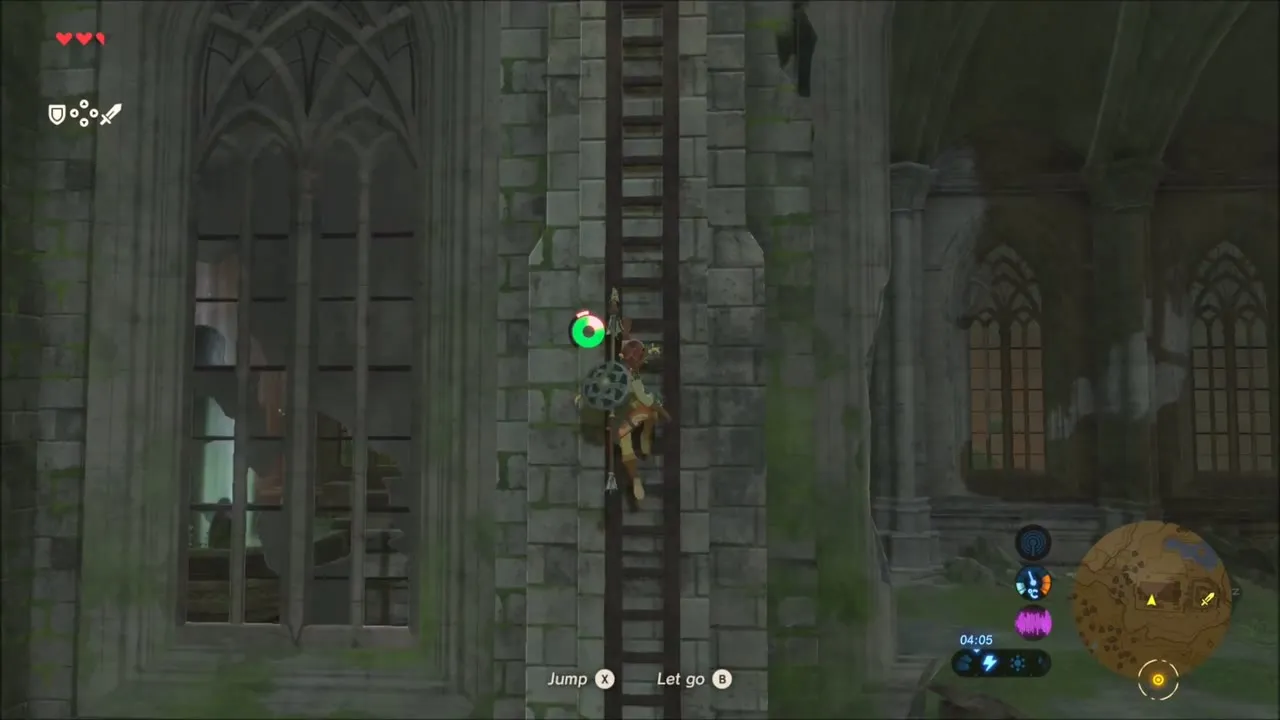
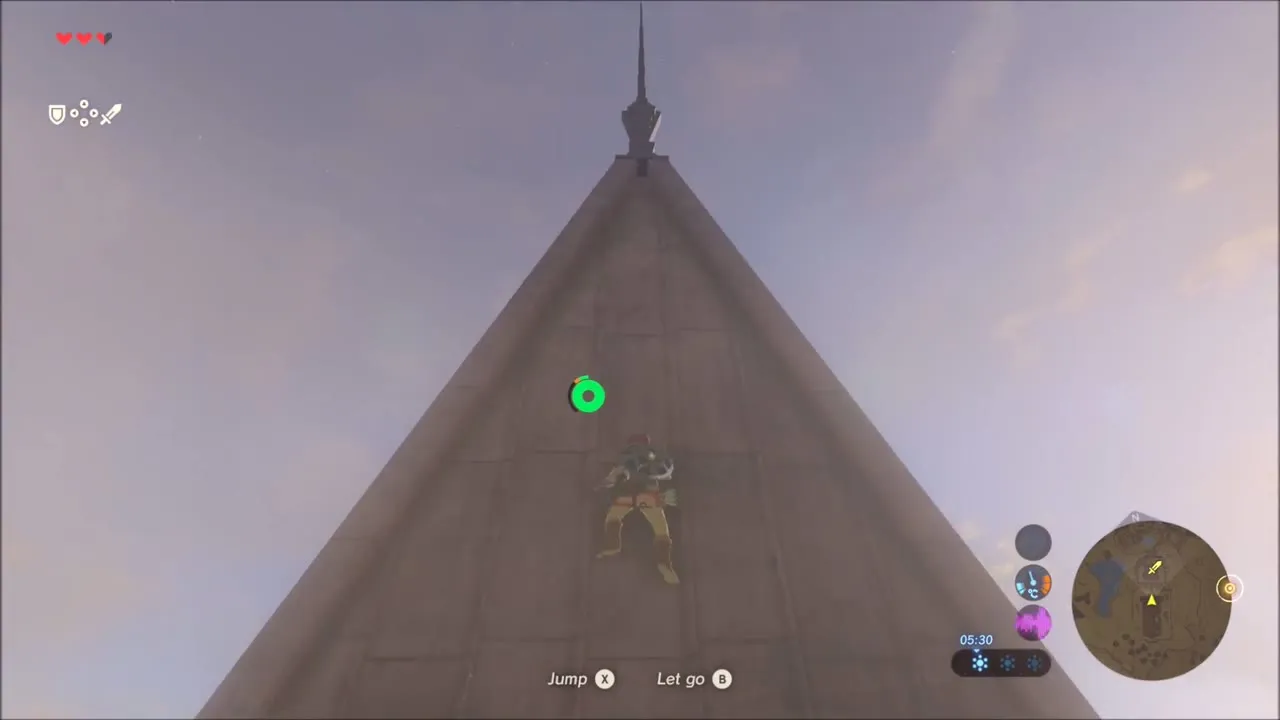
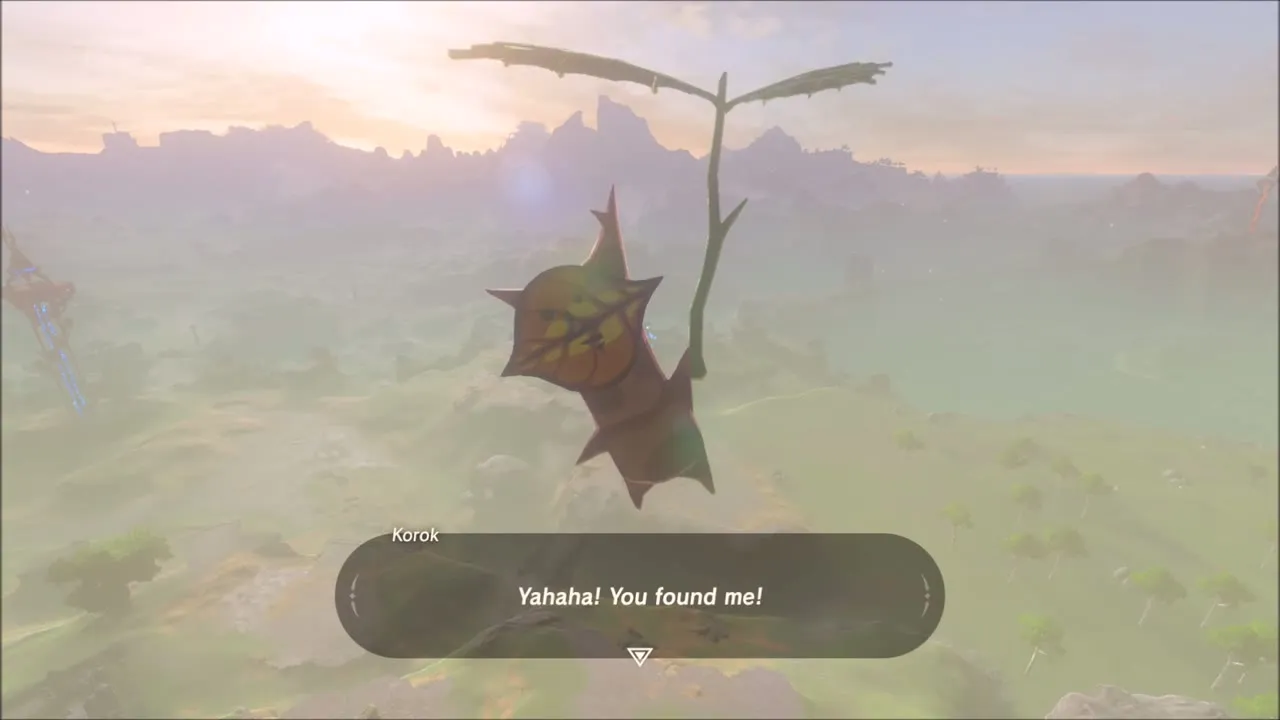
In a birch grove beside a collapsed timber hut, examine the glittering spot on the ground and a Korok bursts out. Then go to the Temple of Time (-819, 2005), climb the ladder inside and scale the roof. At the very peak of the pointed roof a Korok hangs from his leaf; take the seed and paraglide down.
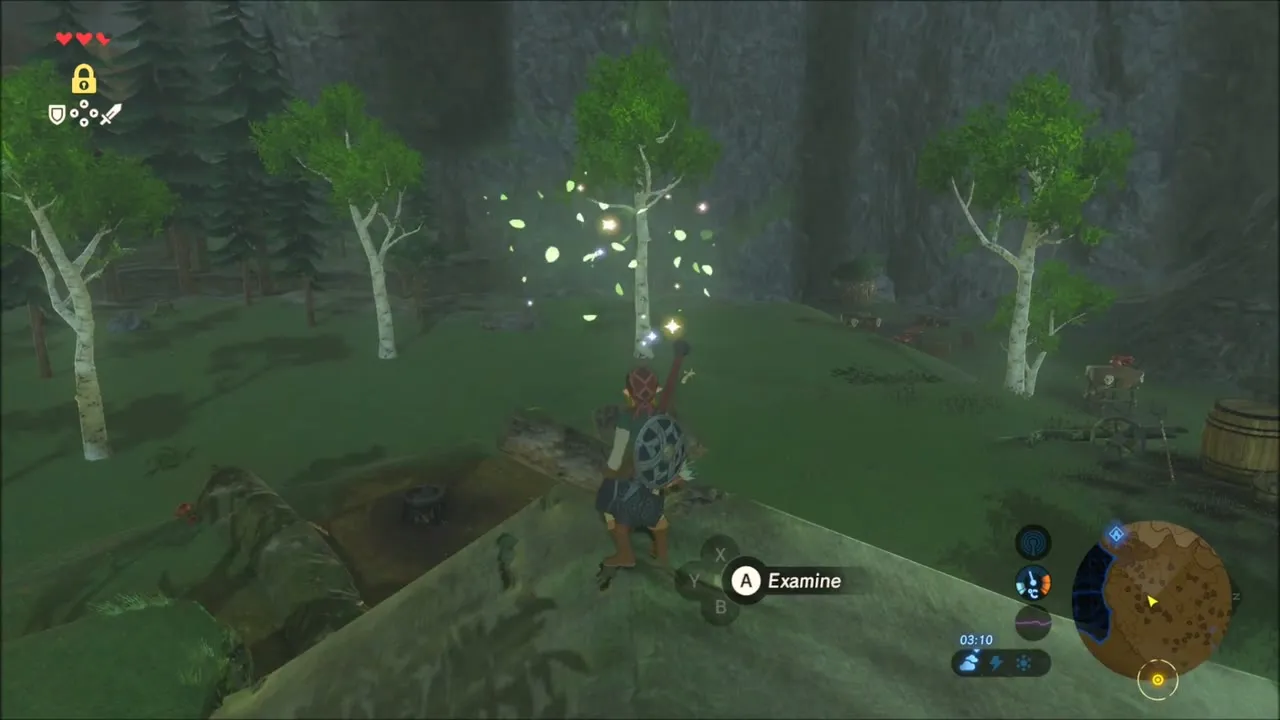
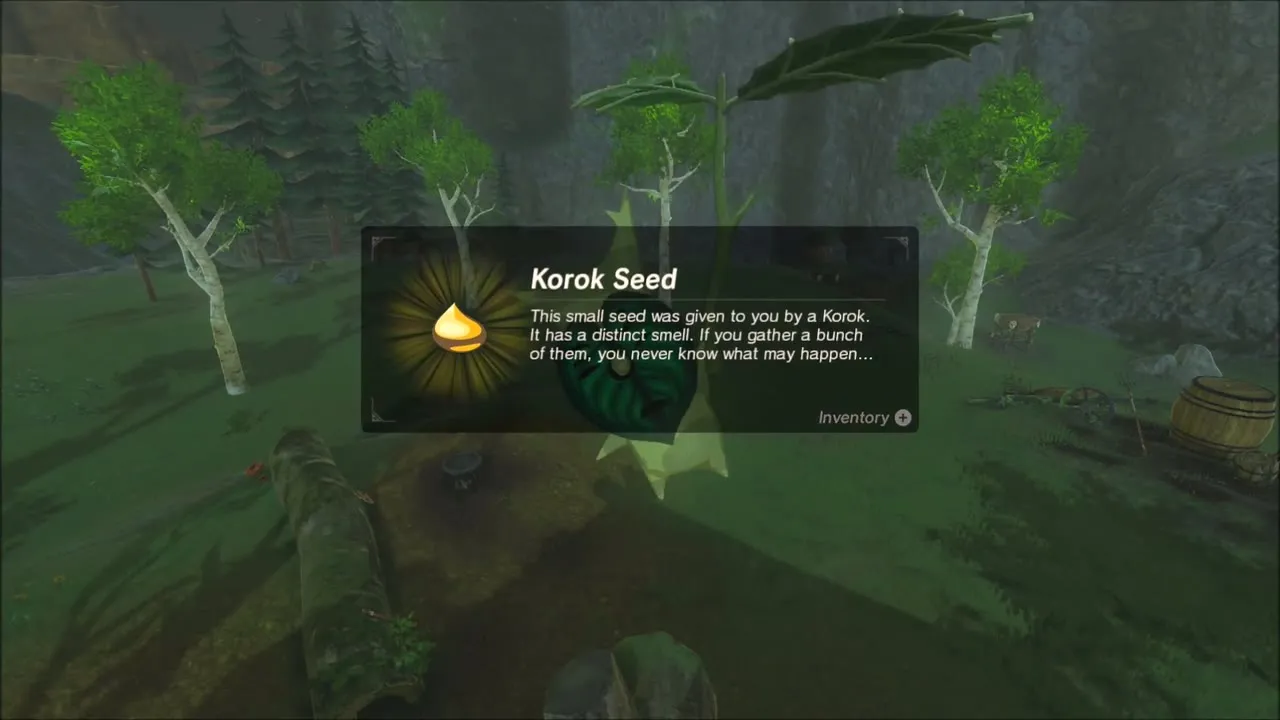

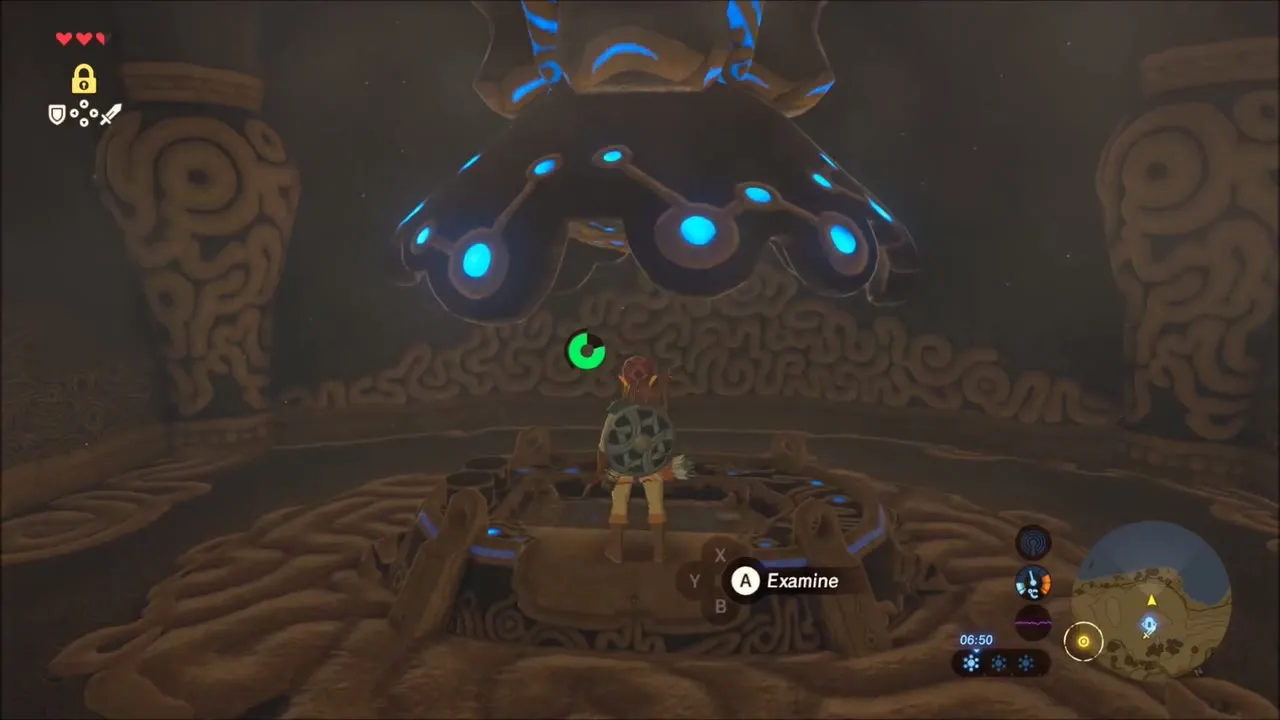
Inside the Shrine of Resurrection, a Korok seed sits at the pedestal in the first chamber. Grab it before you take the stairs back up into daylight.


Back outside, a Korok is hidden in a pile of fallen leaves at the foot of a tree. A second one is beneath a pair of leaning boulders that form an arch: lift the small stone under the arch and he appears. Each gives one seed.

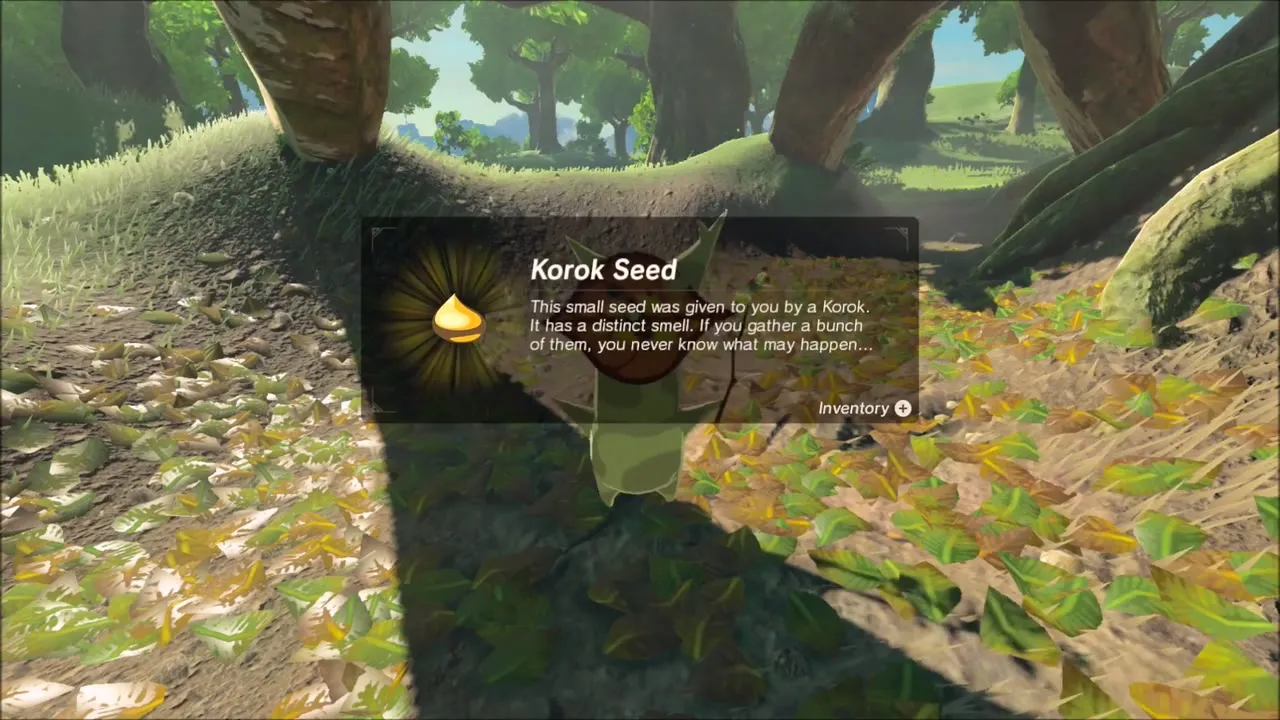

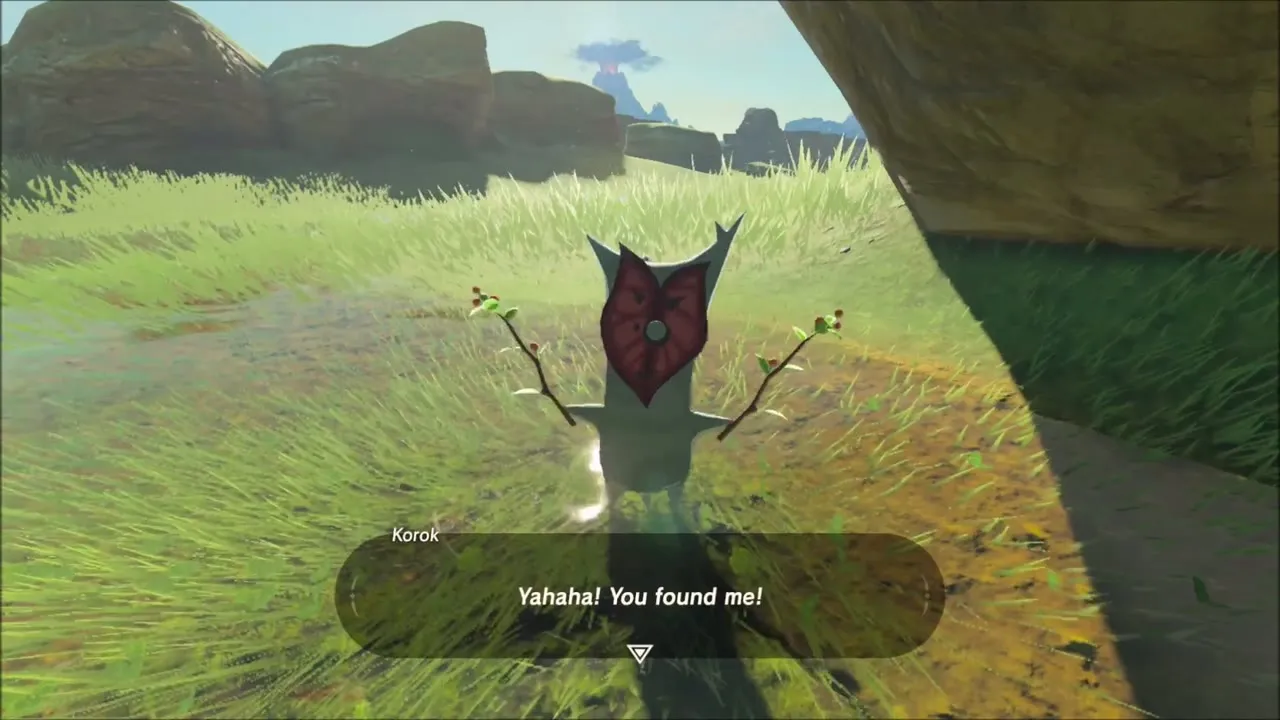

Owa Daim Shrine and the Snowy Ruin Korok Seeds
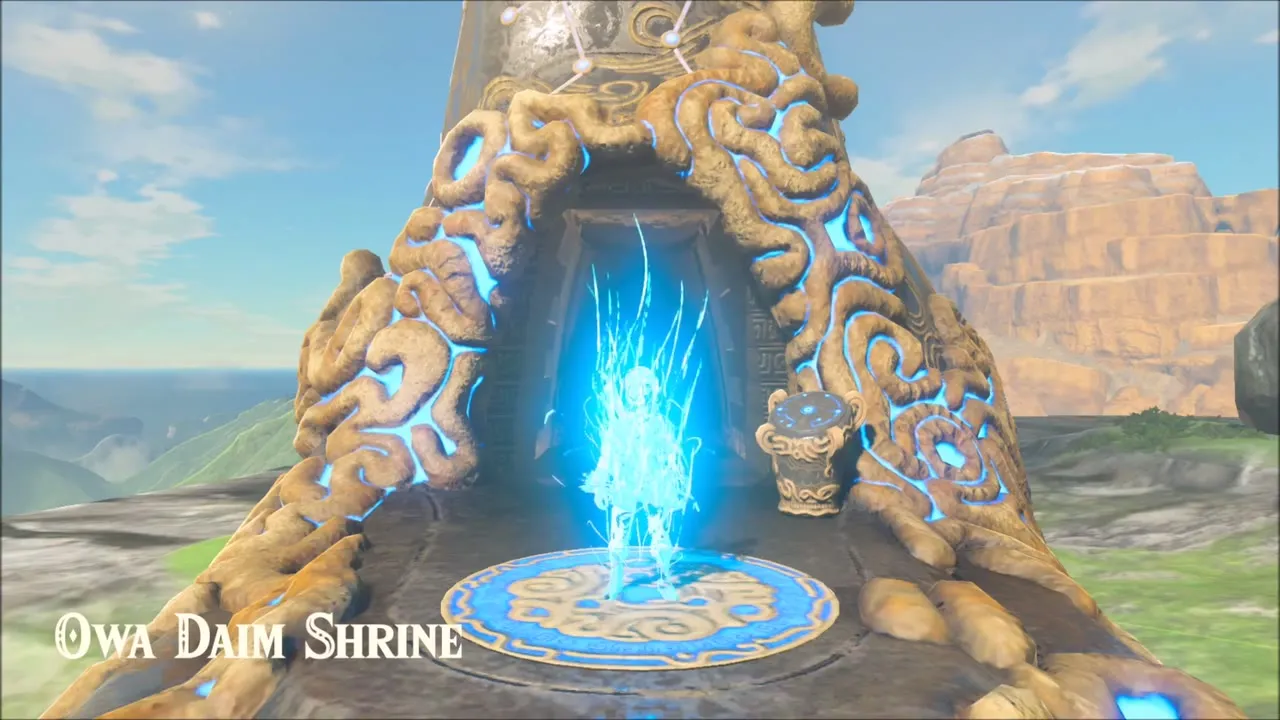
Fast travel to Owa Daim Shrine (-925, 2320) on the snowy slopes; its Stasis trial is on the Owa Daim Shrine page. In a ruined wall nearby, a Korok sits in a dark hollow. The next is in the same ruin under a stone slab: freeze the boulder with Stasis, batter it until it flies off, and a Korok is waiting underneath. A third sits in a small pool in the ruin’s corner.
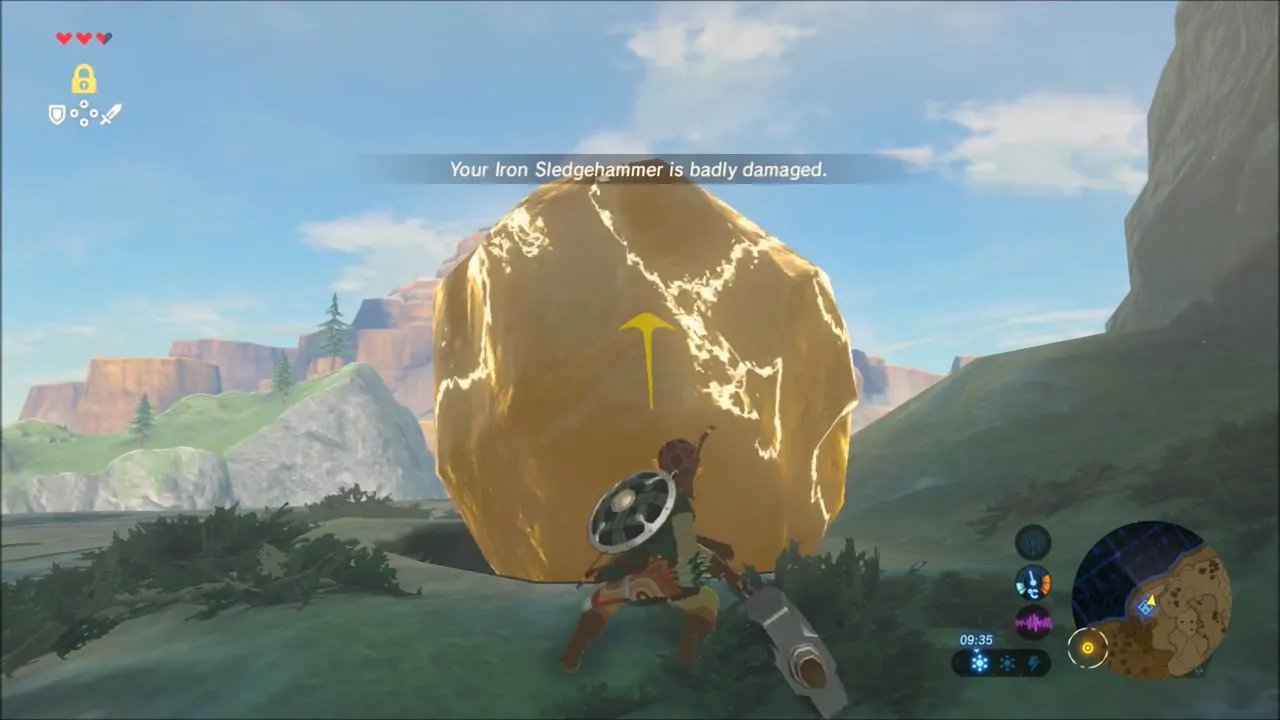
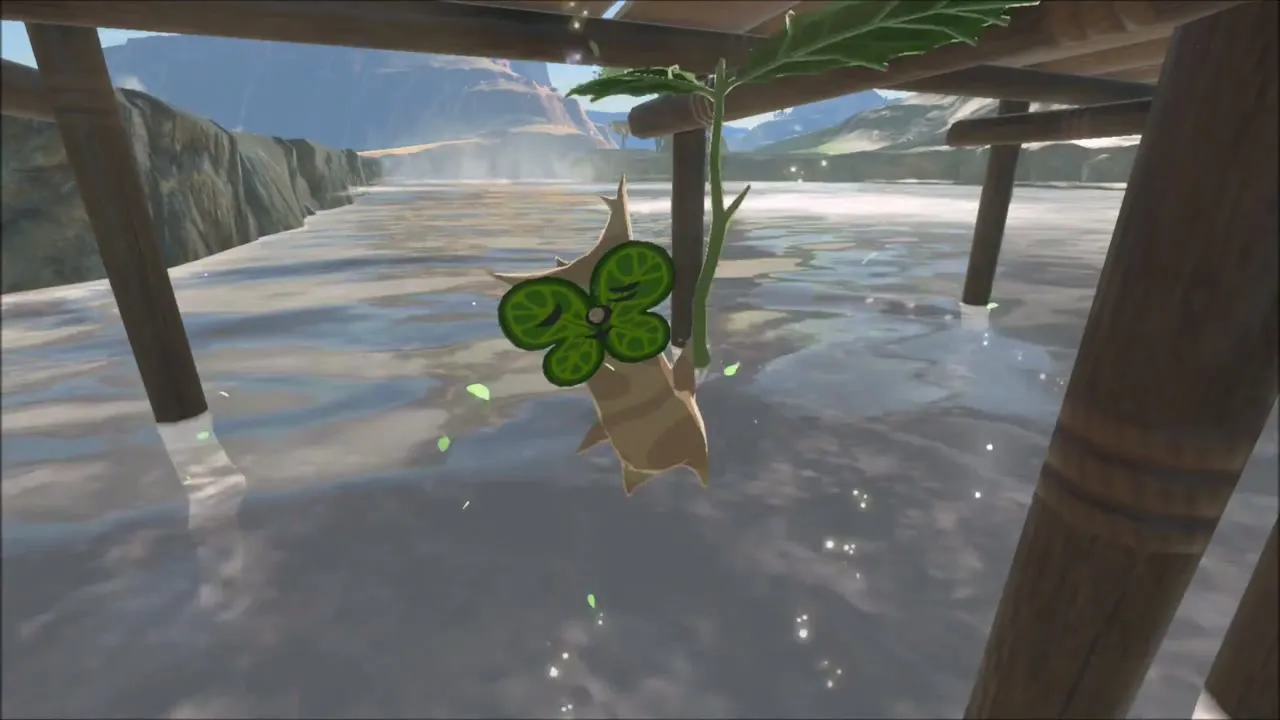
Cross the snow to a circle of small stones that has one stone missing. Carry a loose rock from the slope and drop it into the gap to complete the ring and call out a seed. On the frozen lake, a Korok hangs under the wooden pier, so duck beneath the planks along the shore.



Hila Rao Shrine Area: Raft, Lake Chests and the Island Korok
Fast travel to Hila Rao Shrine (854, 839), close to Floret Sandbar, and follow the water south. A raft on the bank carries you down the river, and several chests sit on rock outcrops in the water, so swim from rock to rock and open them.


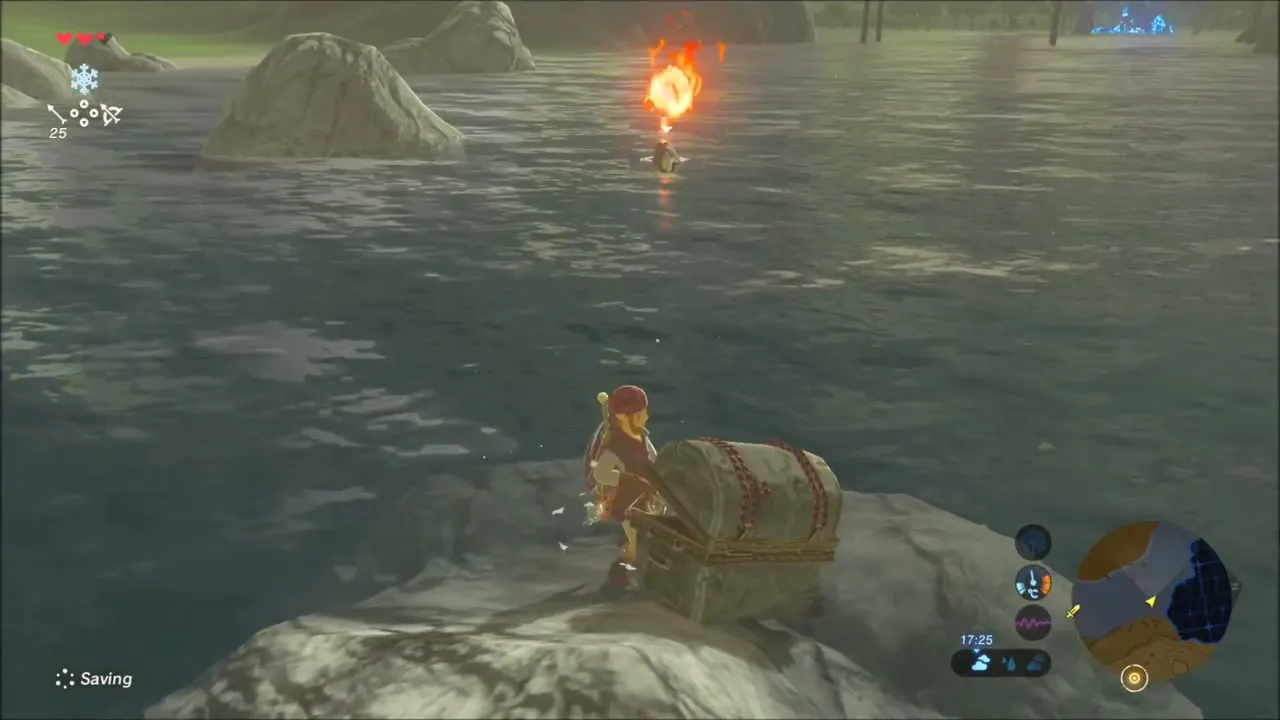

Further south, a small grass-topped rock rises out of the lake. Swim to it and climb up: the Korok on top gives you a seed.


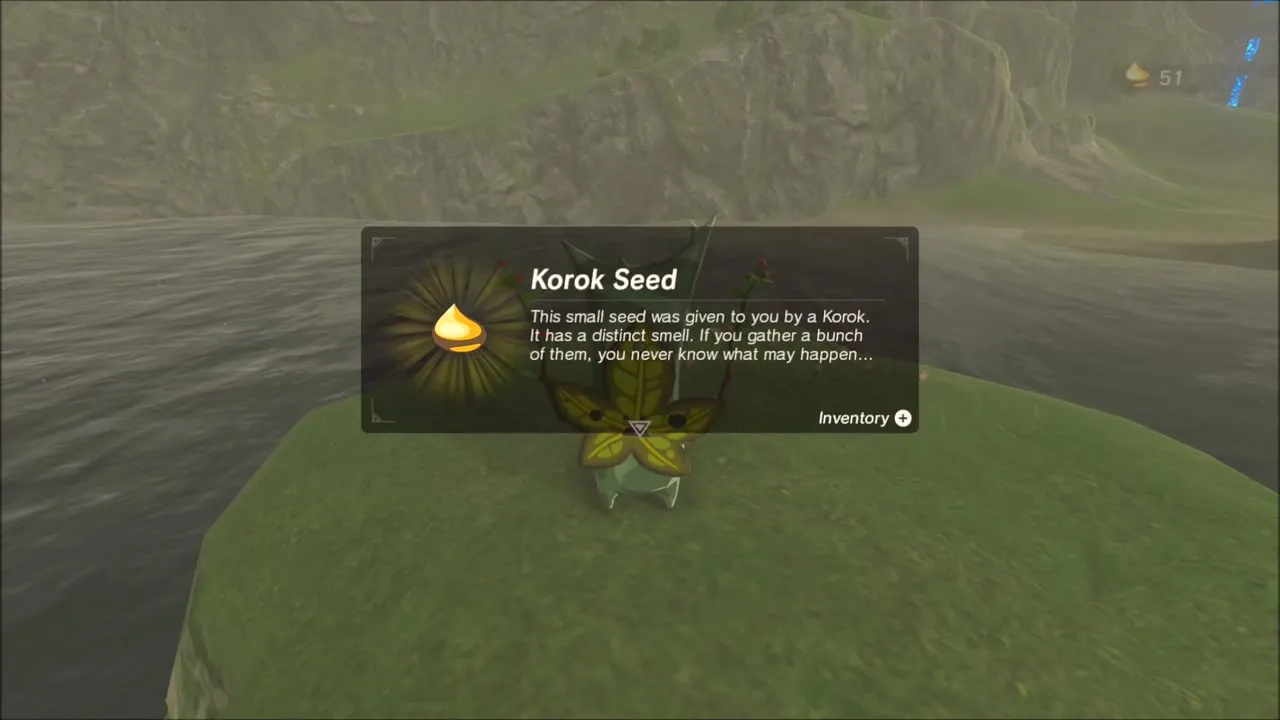
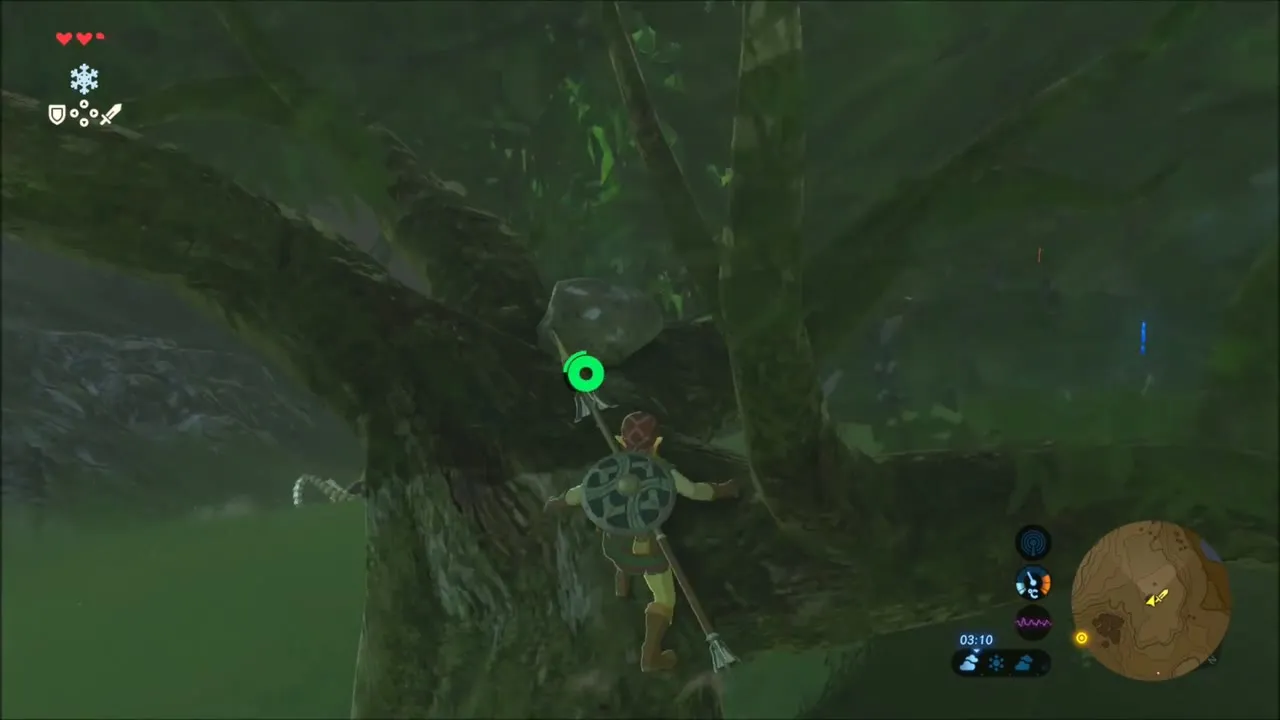
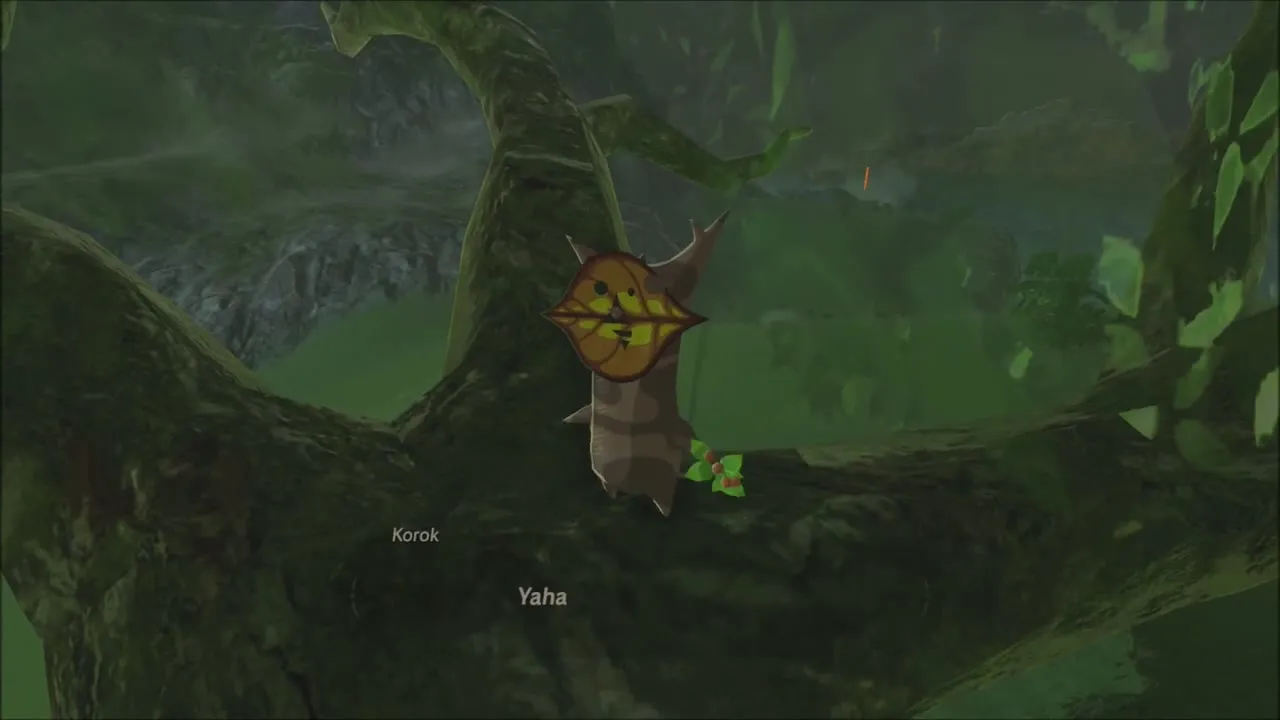
Whistle for your horse and ride south and east. A Korok sits on a broken wooden structure beside an old fence, and another is on a branch of a big tree on the hillside above, reached by climbing the trunk after crossing the rocky ground. Glide down to Dueling Peaks Stable (1761, 1926) to finish this long stretch. In all you collect about twenty seeds across it.


Misko, the Great Bandit: Buy the Riddle at Dueling Peaks Stable
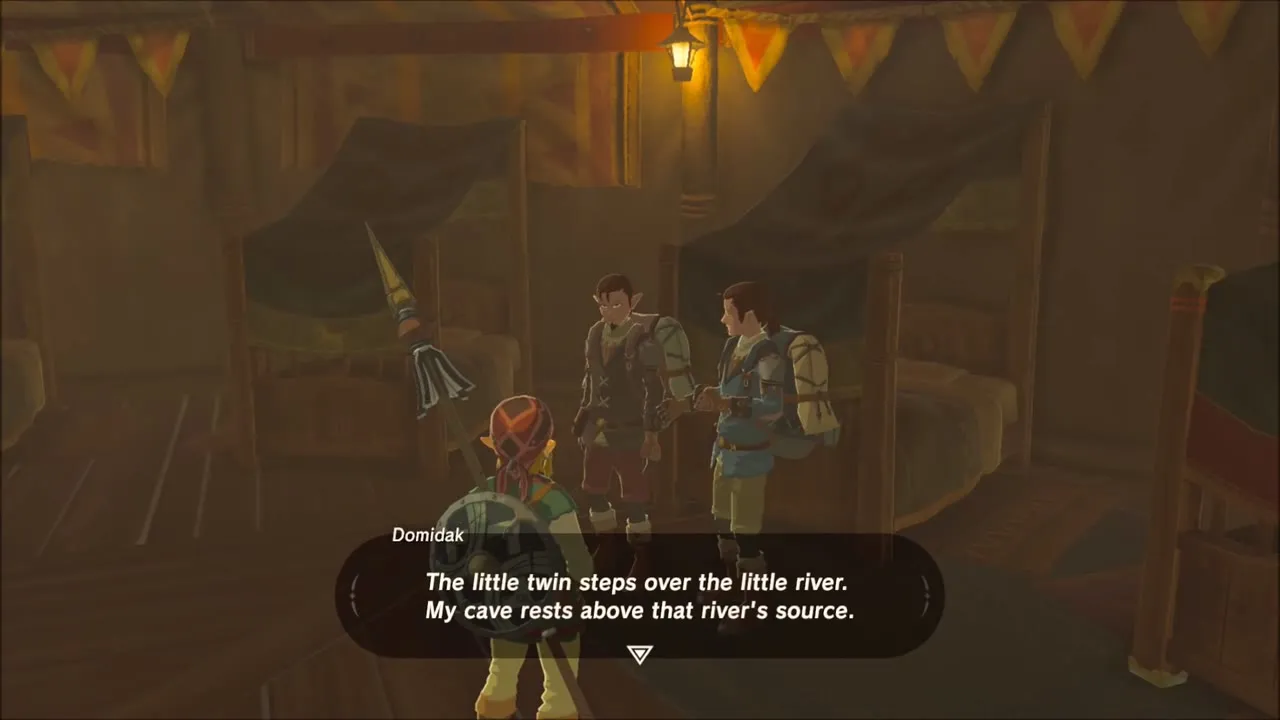
Talk to Domidak and Prissen in the stable to start Misko, the Great Bandit. Pay for the hint and you learn that the little twin steps over the little river and that the cave rests above that river’s source. In practice, follow the stream by Little Twin Bridge up to its waterfall.

Chests and Camps South of the Stable
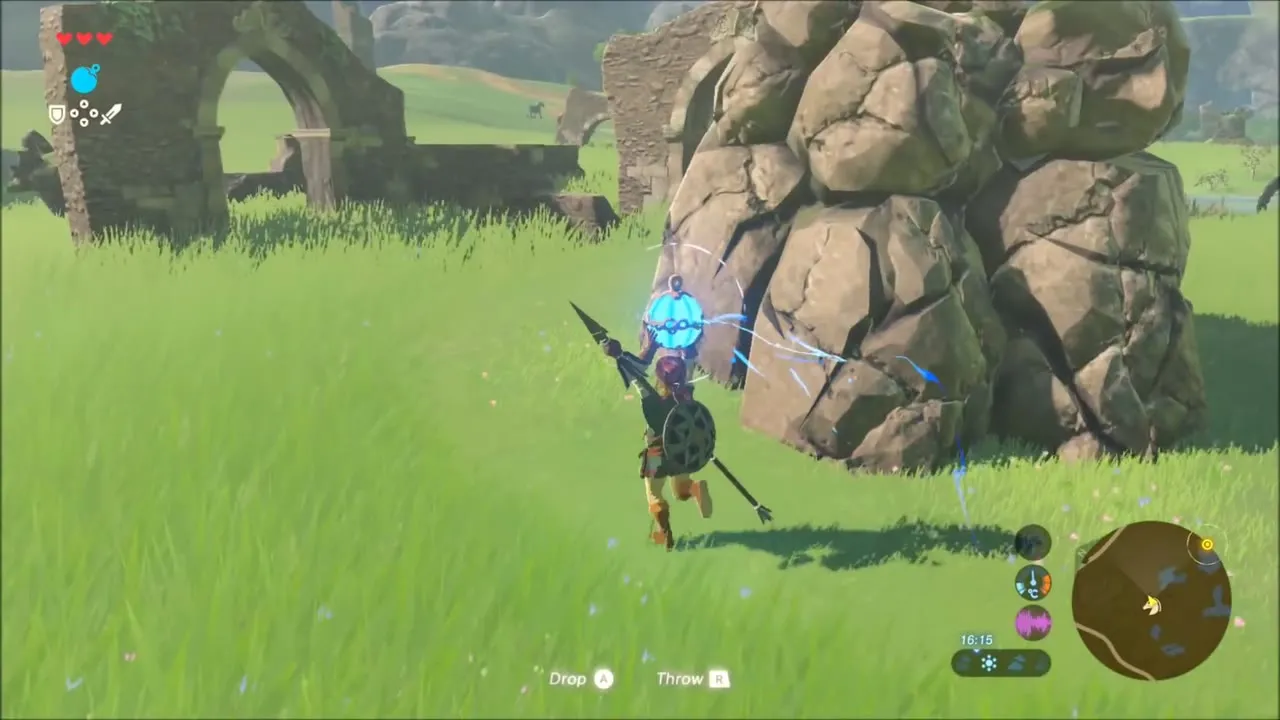
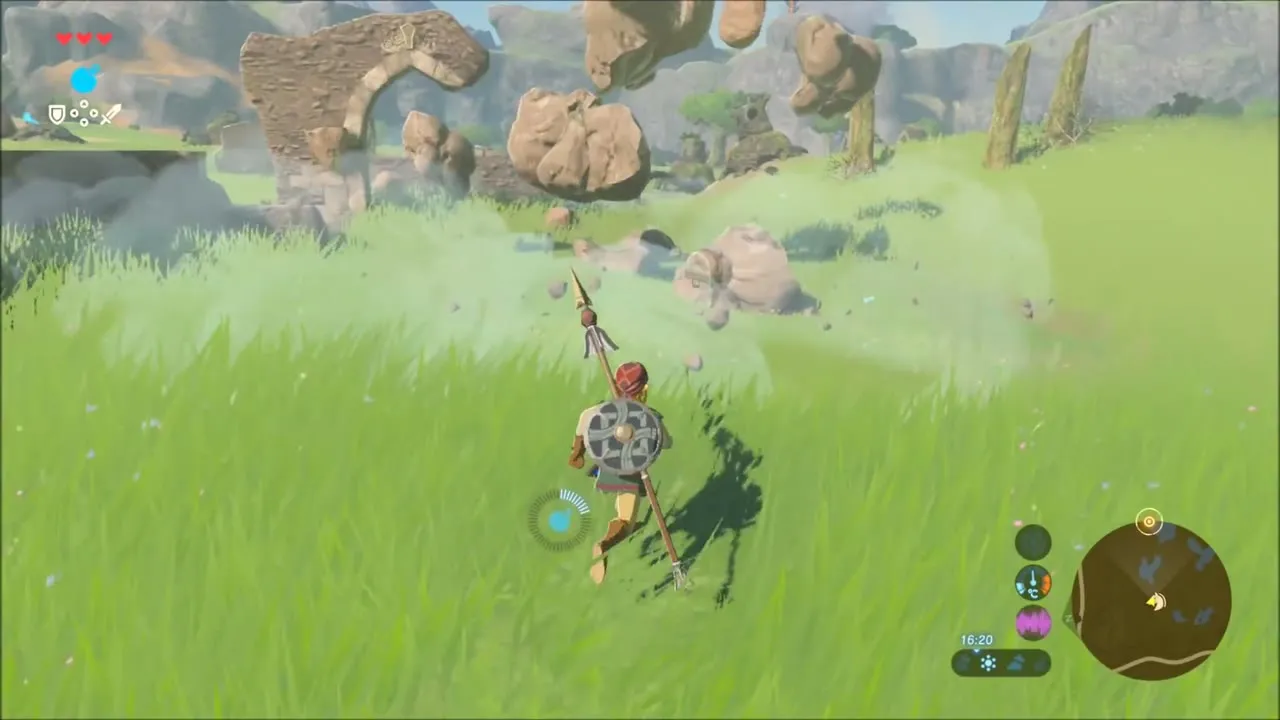
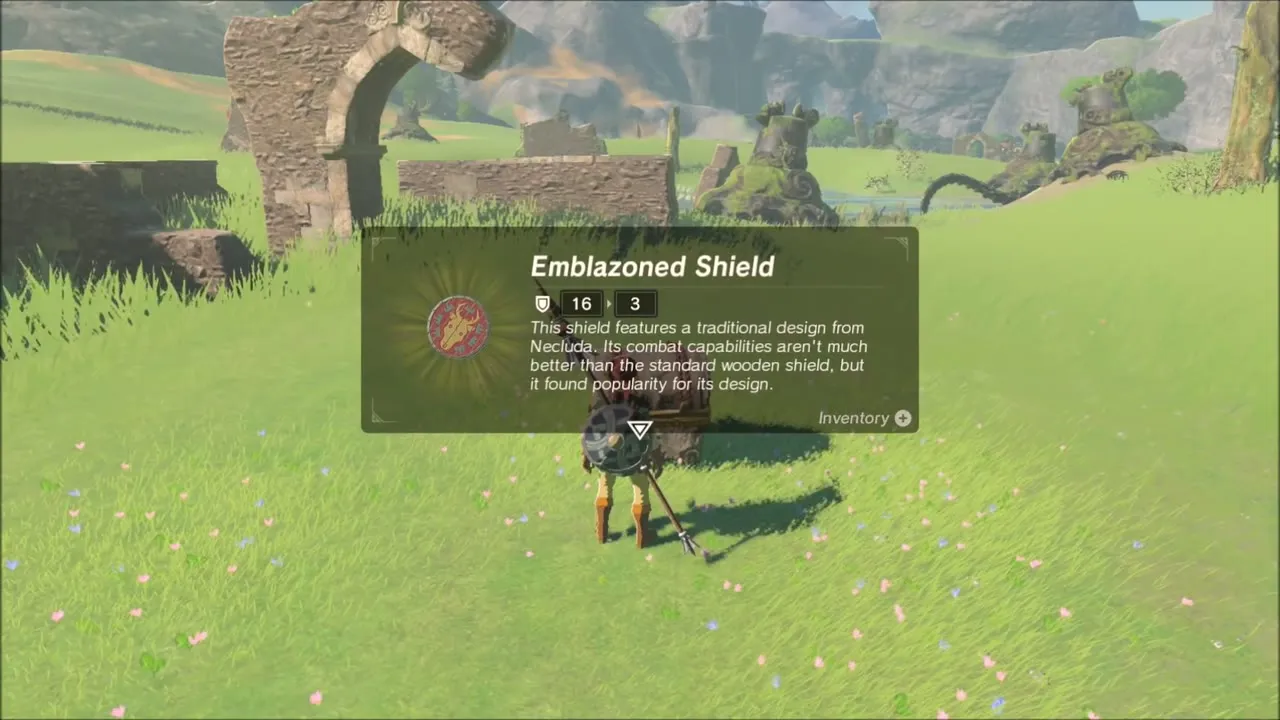
Ride across the plain. Beside a ruined arch, a pile of boulders hides a chest: set a remote bomb against it, detonate and open the chest for an Emblazoned Shield.
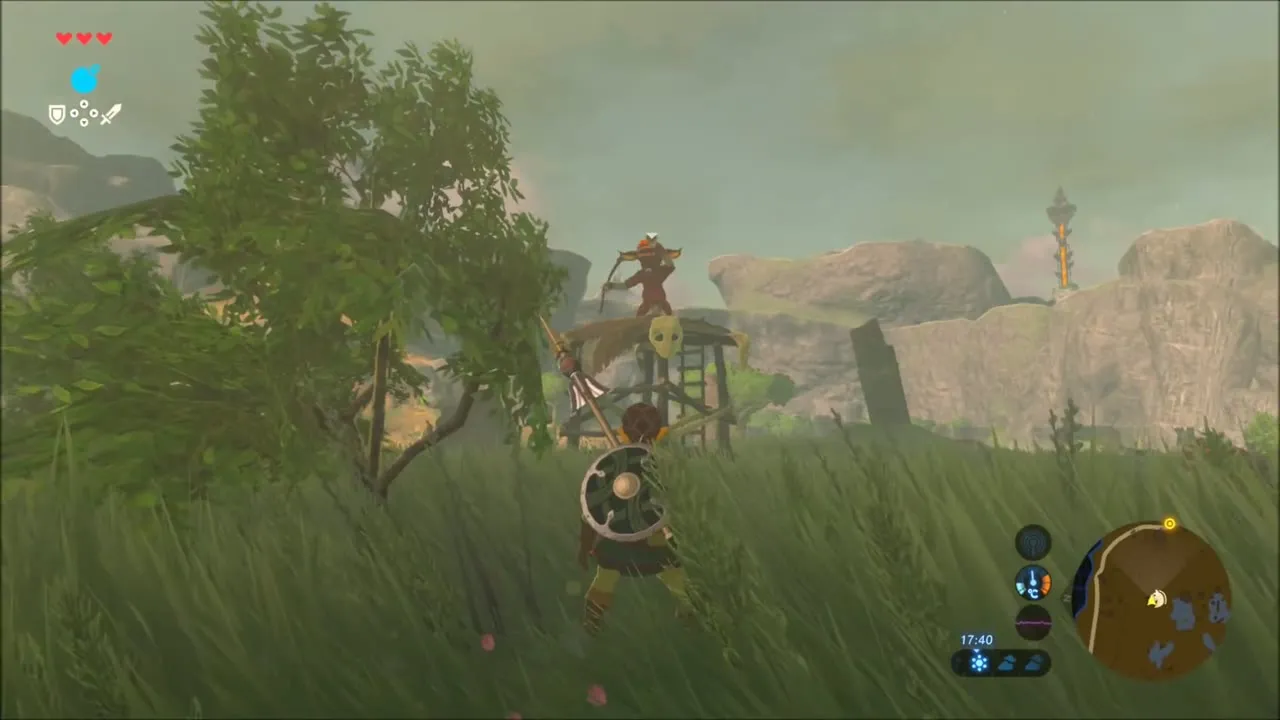
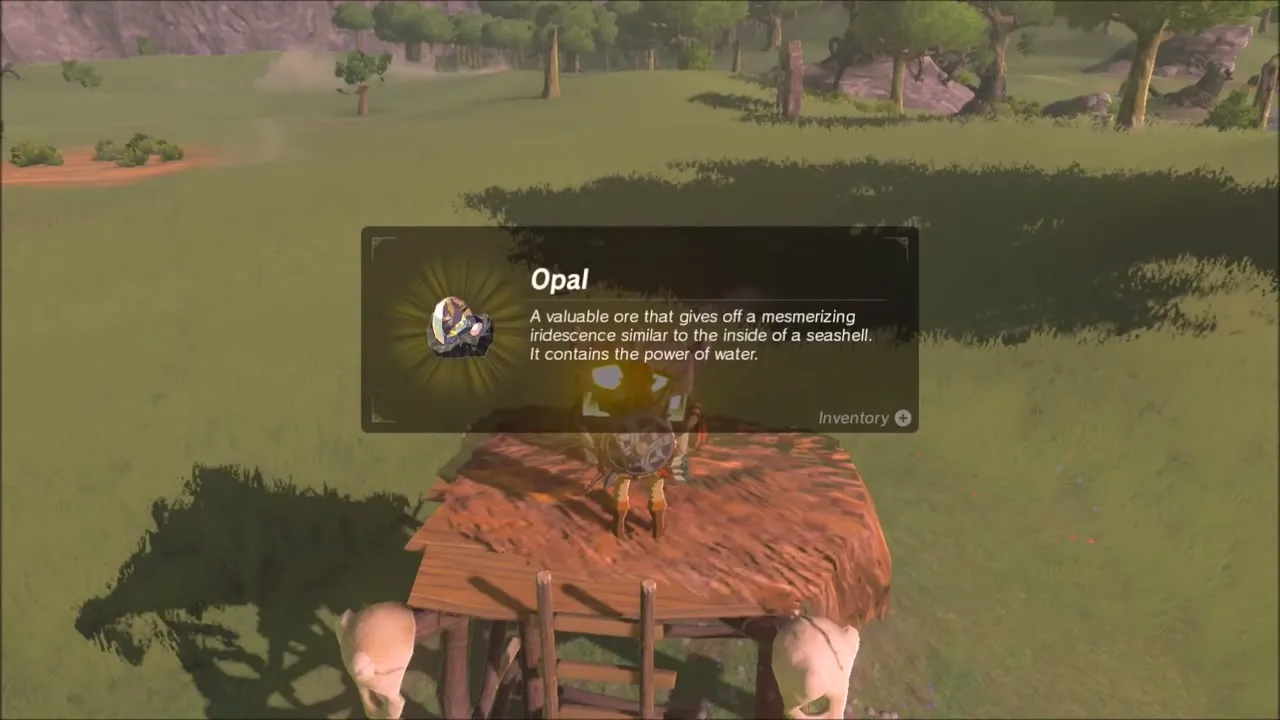
A Bokoblin camp with a lookout tower stands a little further on. Take down the guards and climb the tower: the chest on top holds an Opal. Fallen enemies drop a Soldier’s Broadsword and Soldier’s Shield along with horns and fangs.


Korok Seeds in the Forest Toward Hickaly Woods
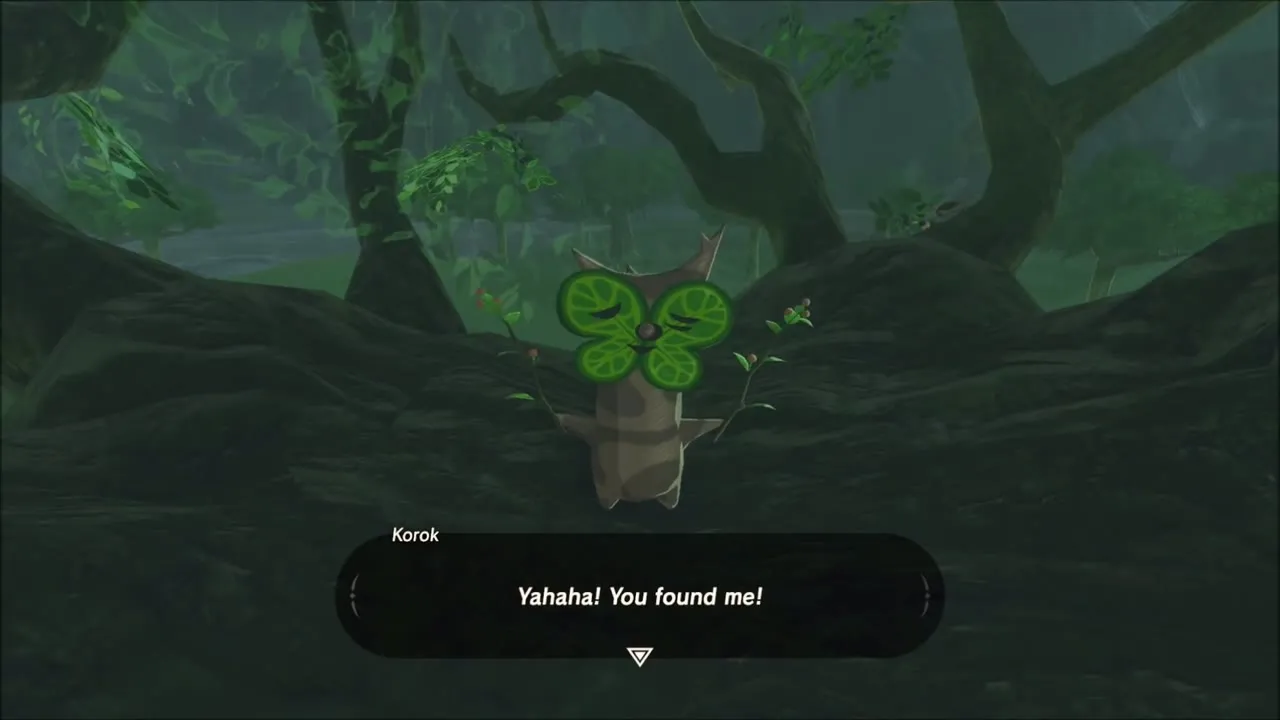
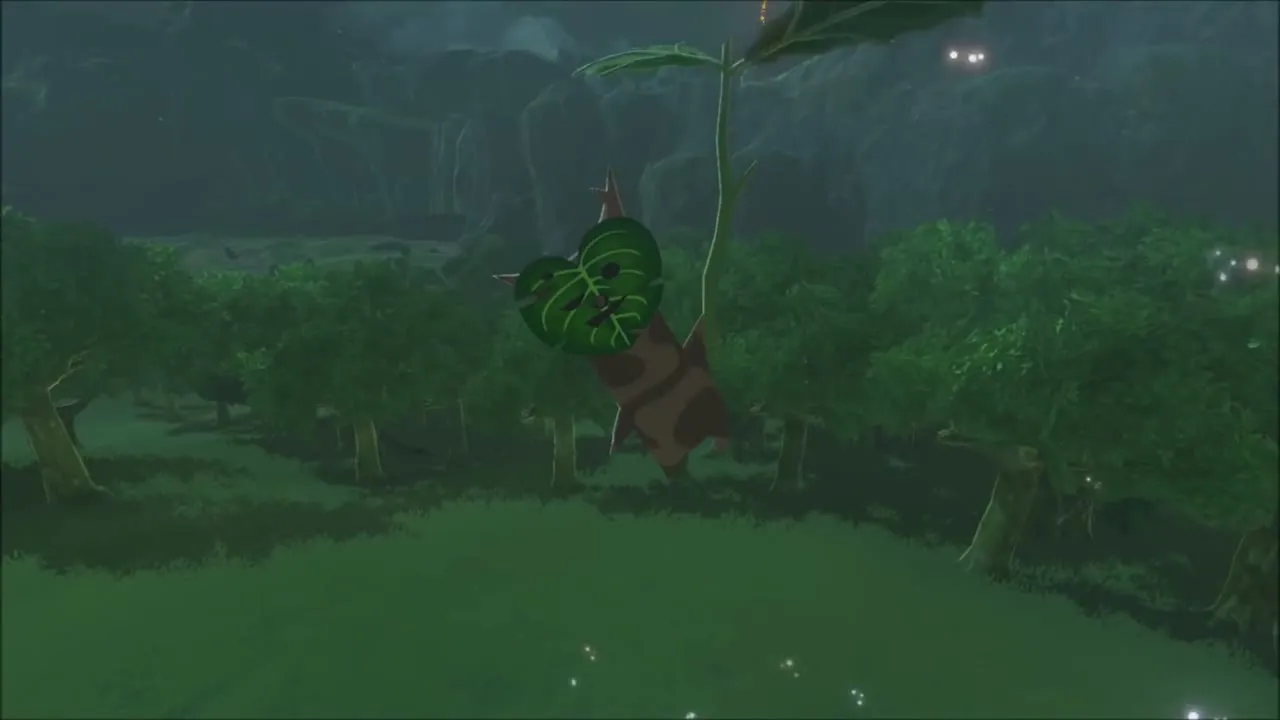
Ride on to the big forest, climb a huge tree and search its branches for a Korok. A blood moon rises around here, so expect monsters to respawn. Afterwards, a Korok with a leaf hangs above the forest on the hillside beyond.
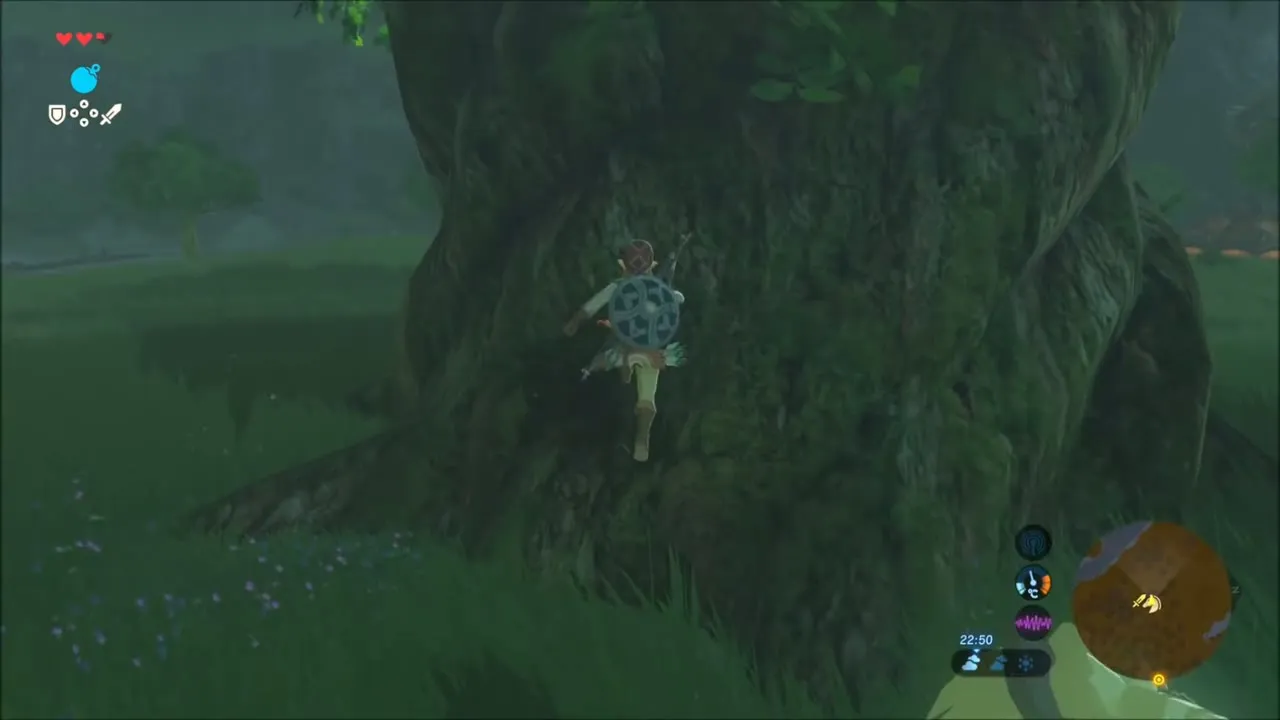
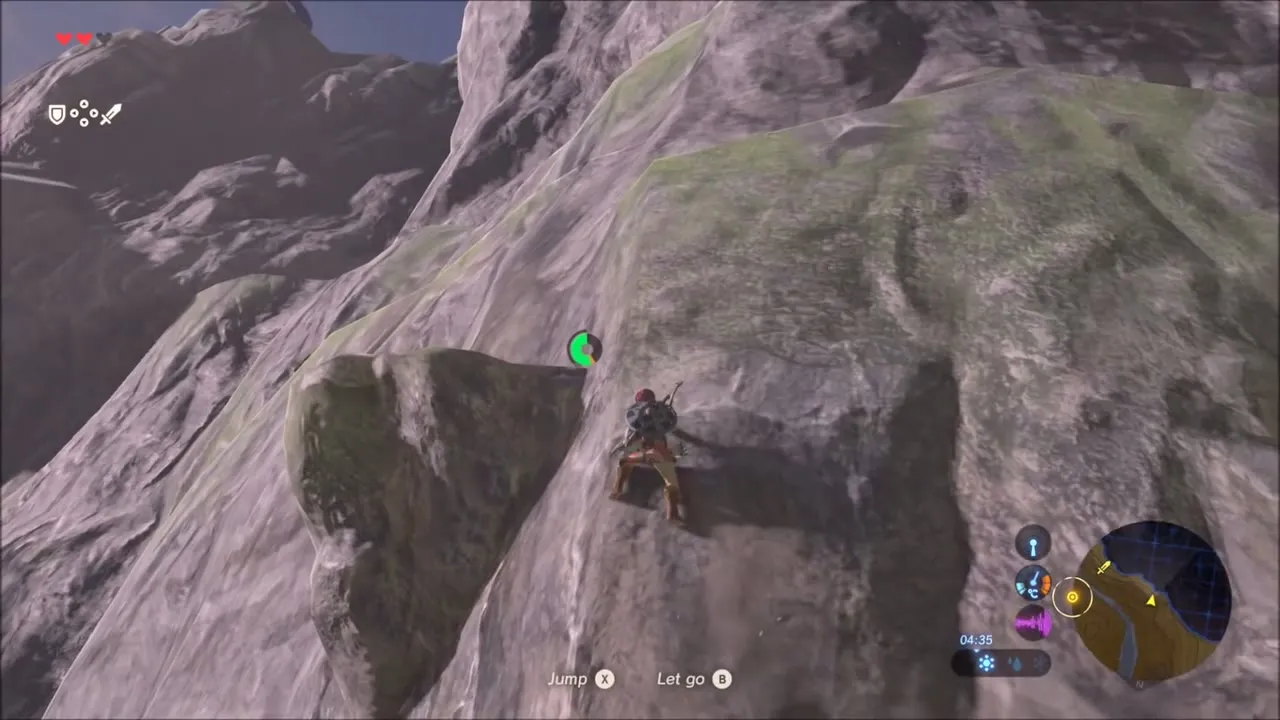
Climb the tall rocky peak to the north. Pull yourself up the cliff to the summit, where a Korok stands near a loose stone you can lift.
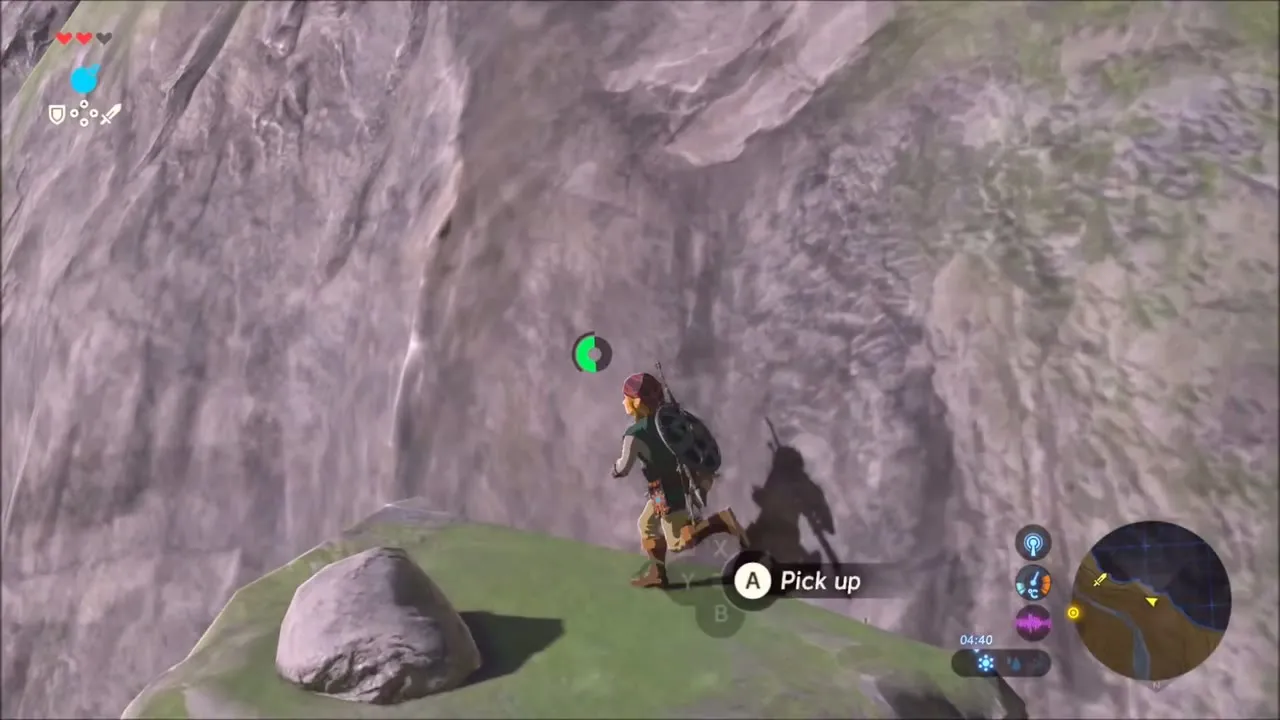

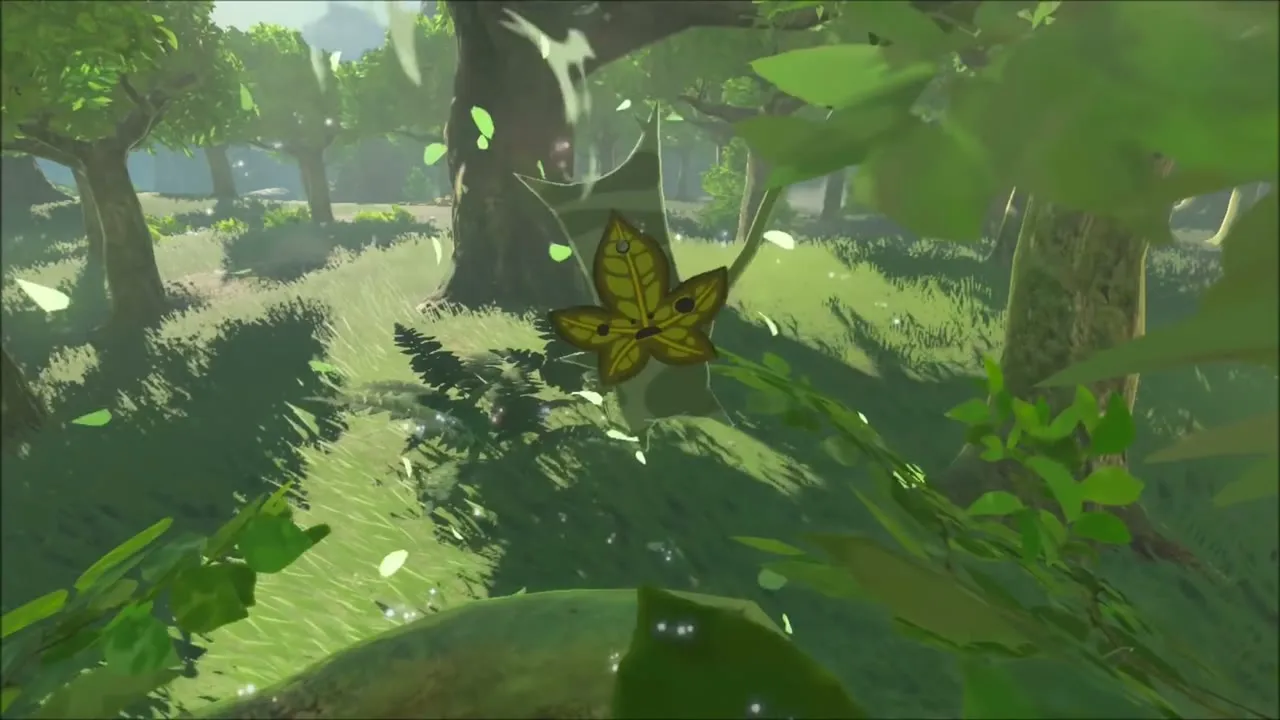
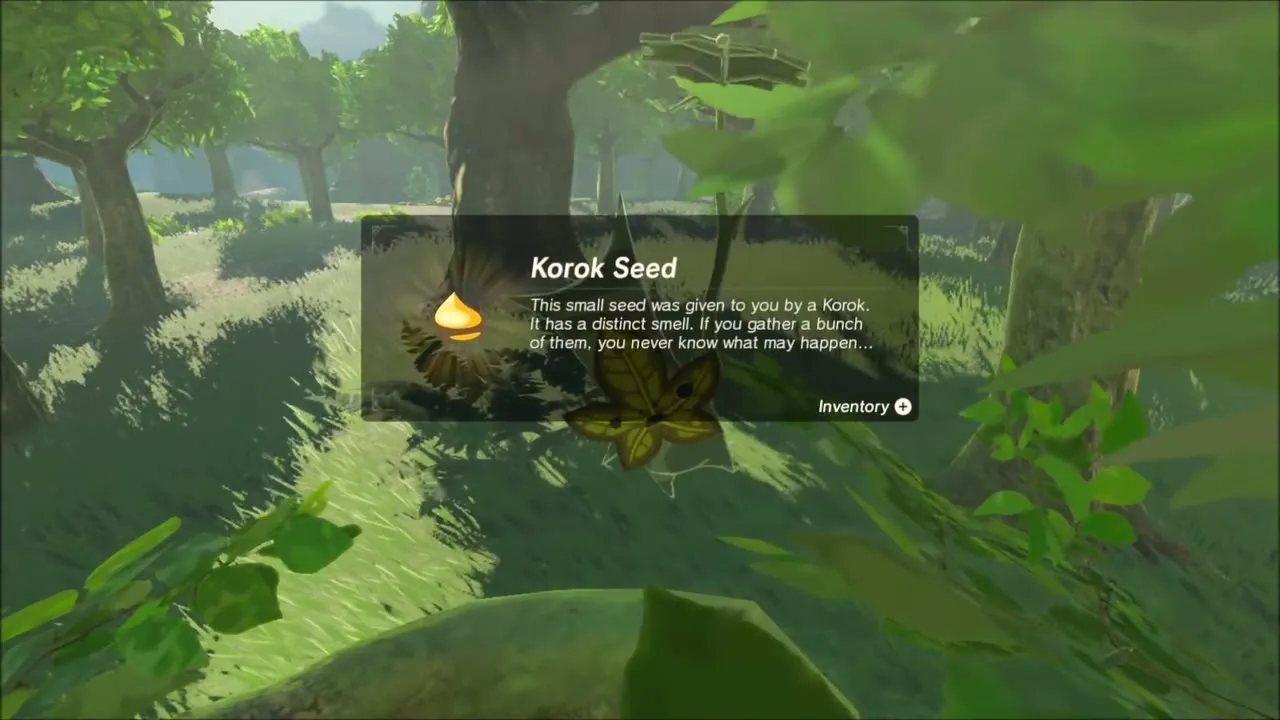
Down by the river, a Korok hides in a leaf-covered thicket under the trees. Another stands on a mossy island in the middle of the water: glide or swim out to him. Together with the earlier three, that is five seeds in this stretch.
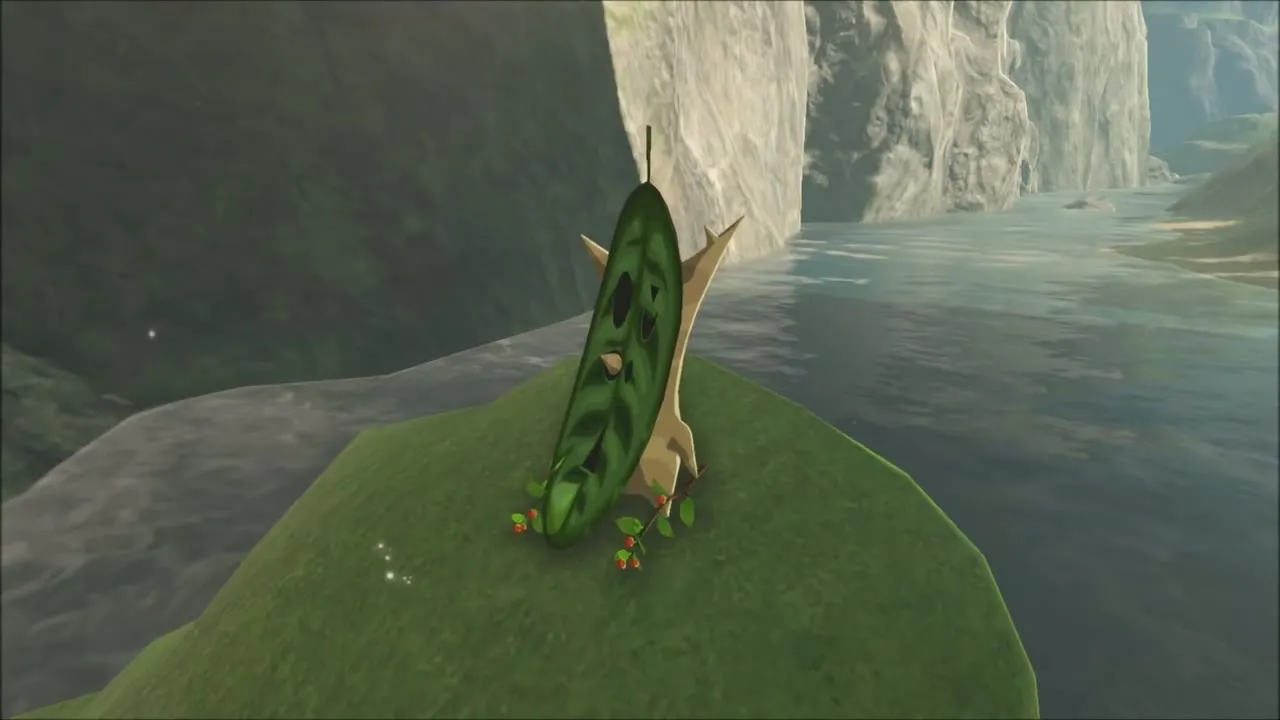
Misko’s Cave: Climb the Waterfall and Bomb the Wall
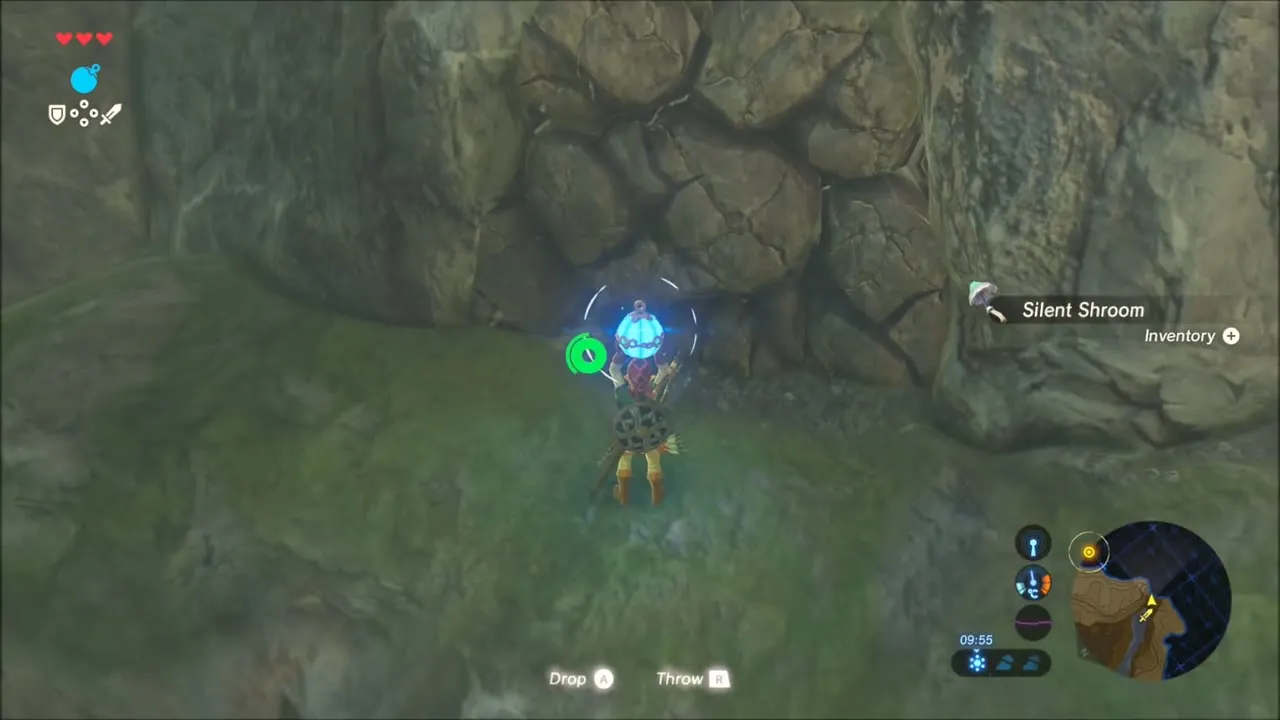
Follow the river to the waterfall and climb up beside it, using the Silent Shrooms on the cliff for stamina-free grip. At the top, bomb the cracked wall to open the cave and loot the chests: a Soldier’s Spear, a Toasted Hearty Truffle and a Sapphire among them. The Flameblade sits behind a second wall inside.

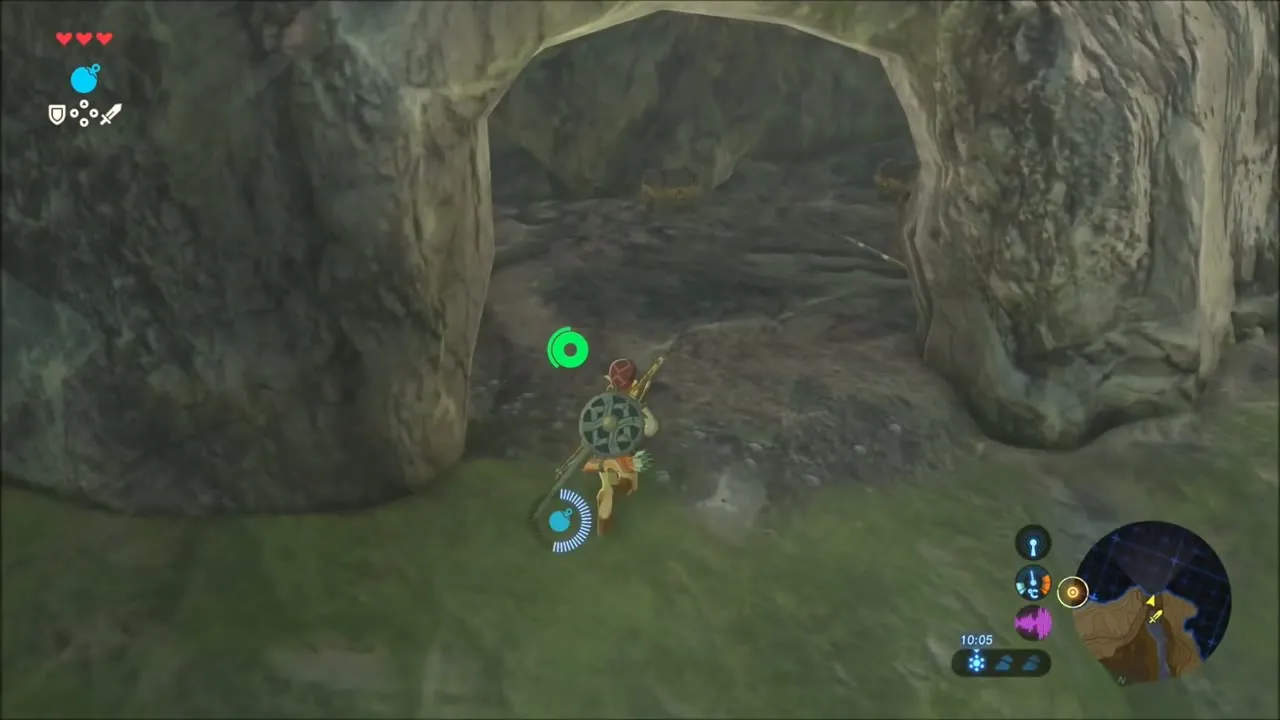

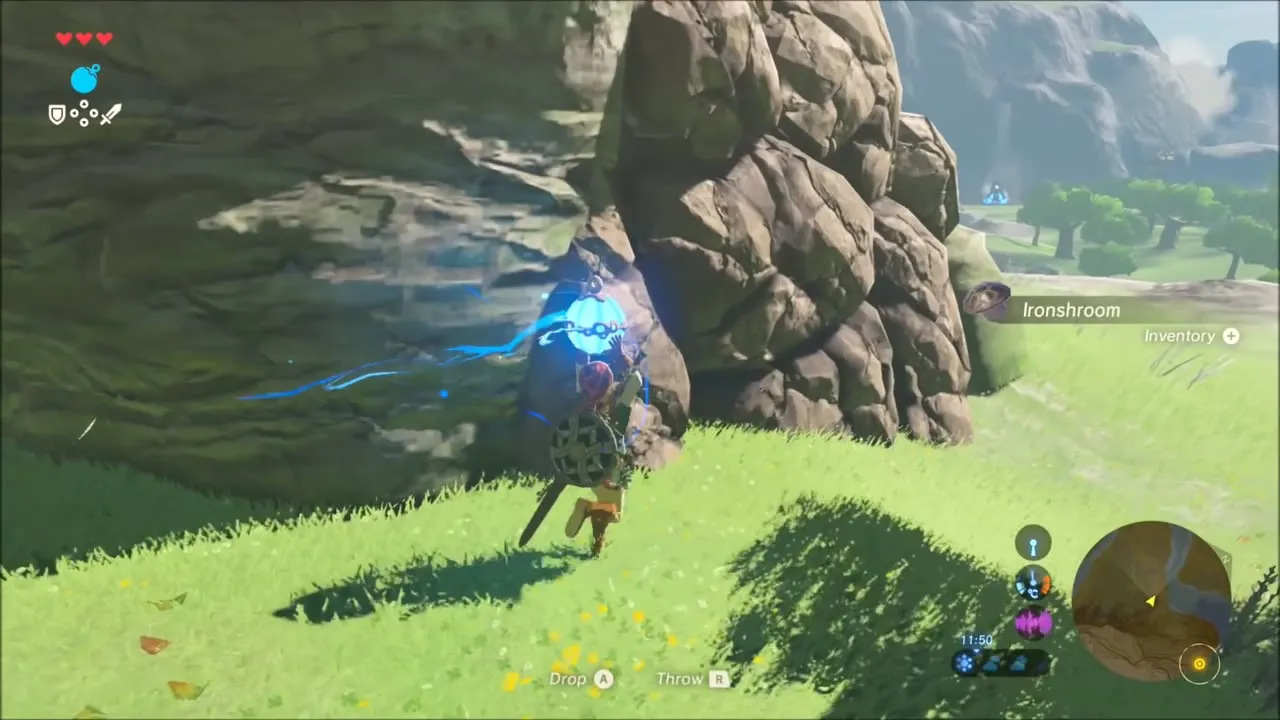
In the woods further on, bomb a rock beside the path to open a small cave whose chest holds a Purple Rupee.
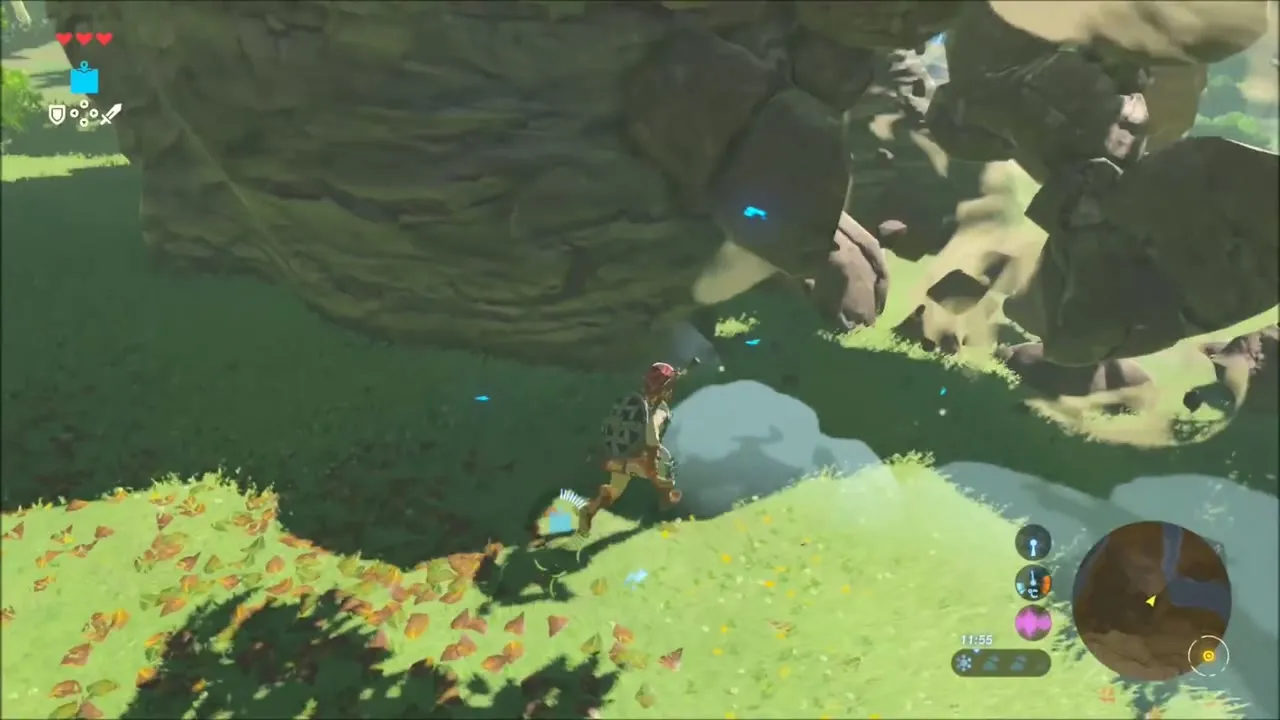

Toto Sah Shrine: Toto Sah Apparatus Walkthrough
The entrance sits in the cliff at the water’s edge. Use Cryonis to raise an ice pillar and climb to the glowing entrance, then step inside. Map position (1847, 2474); the Toto Sah Shrine page has the rest.

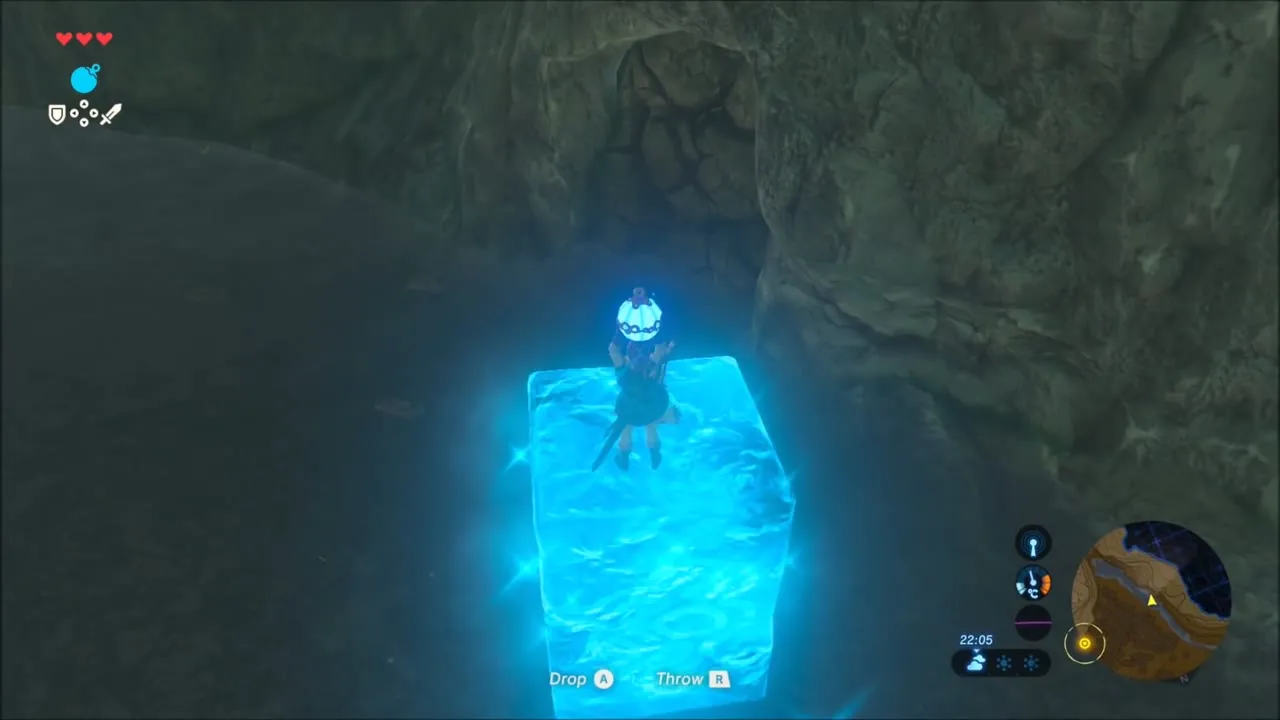
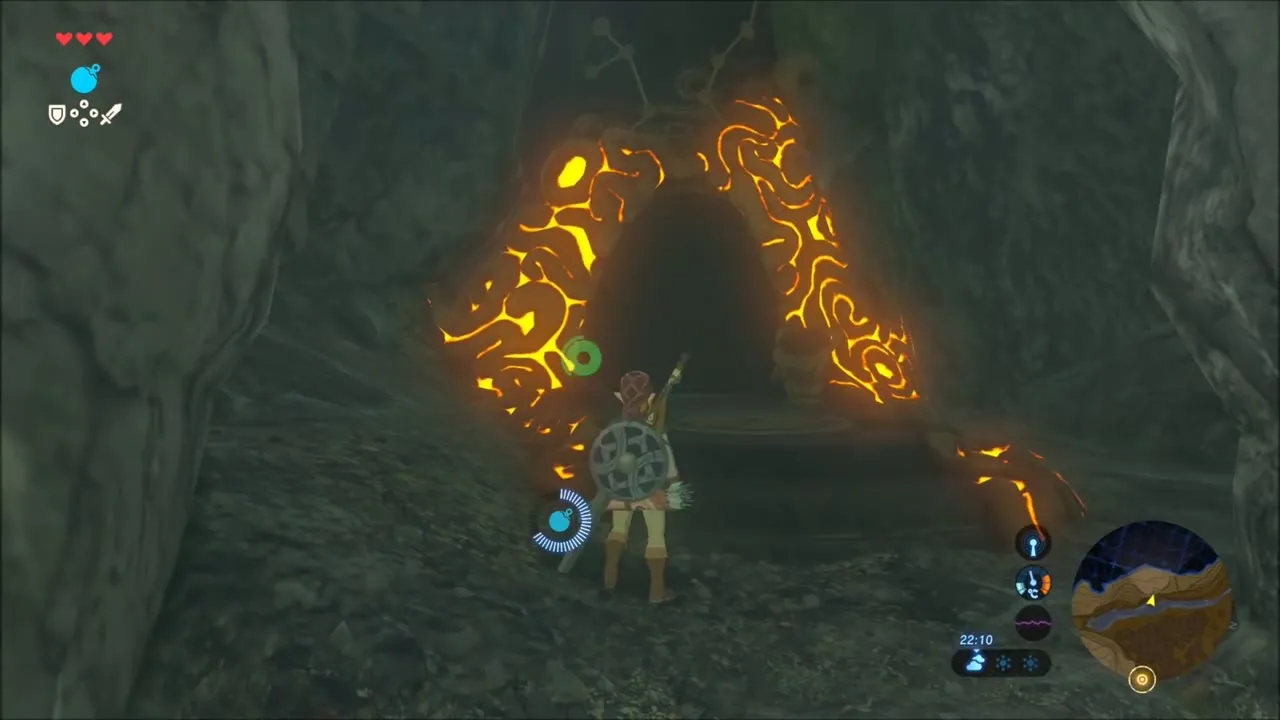

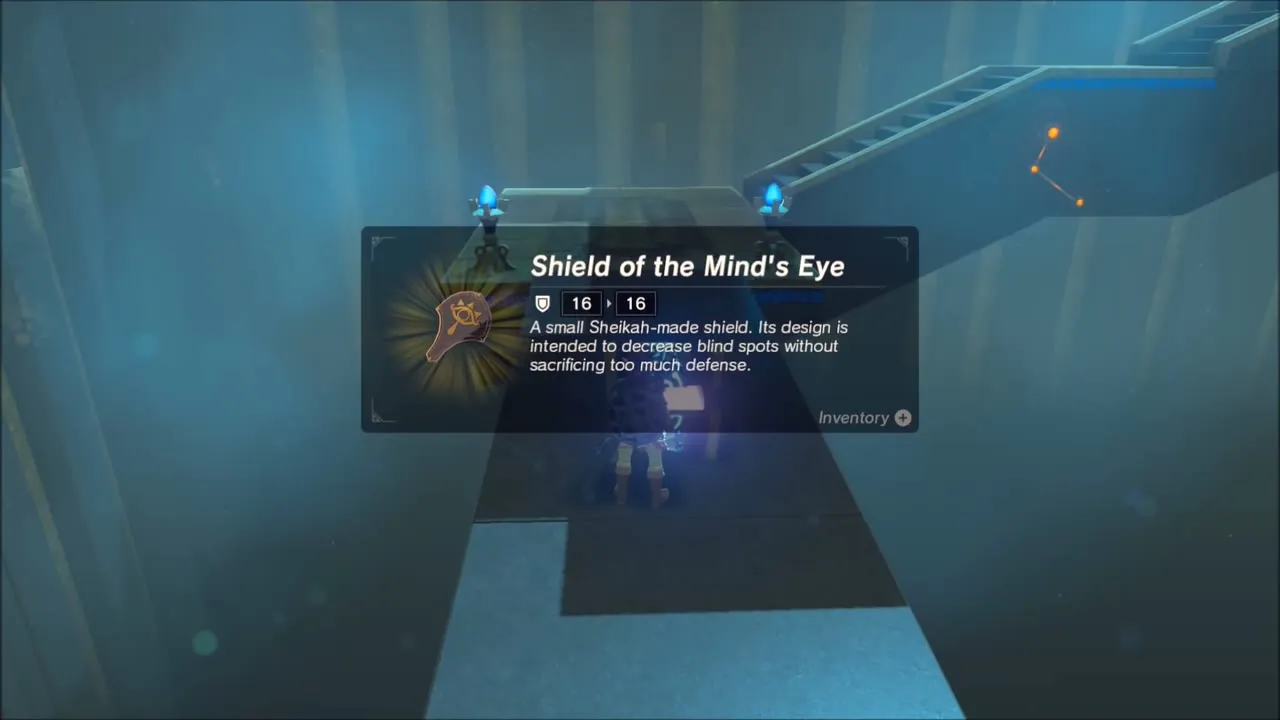
Activate the first machine and position the platform so you can walk onto it. The chest on that platform holds the Shield of the Mind’s Eye.
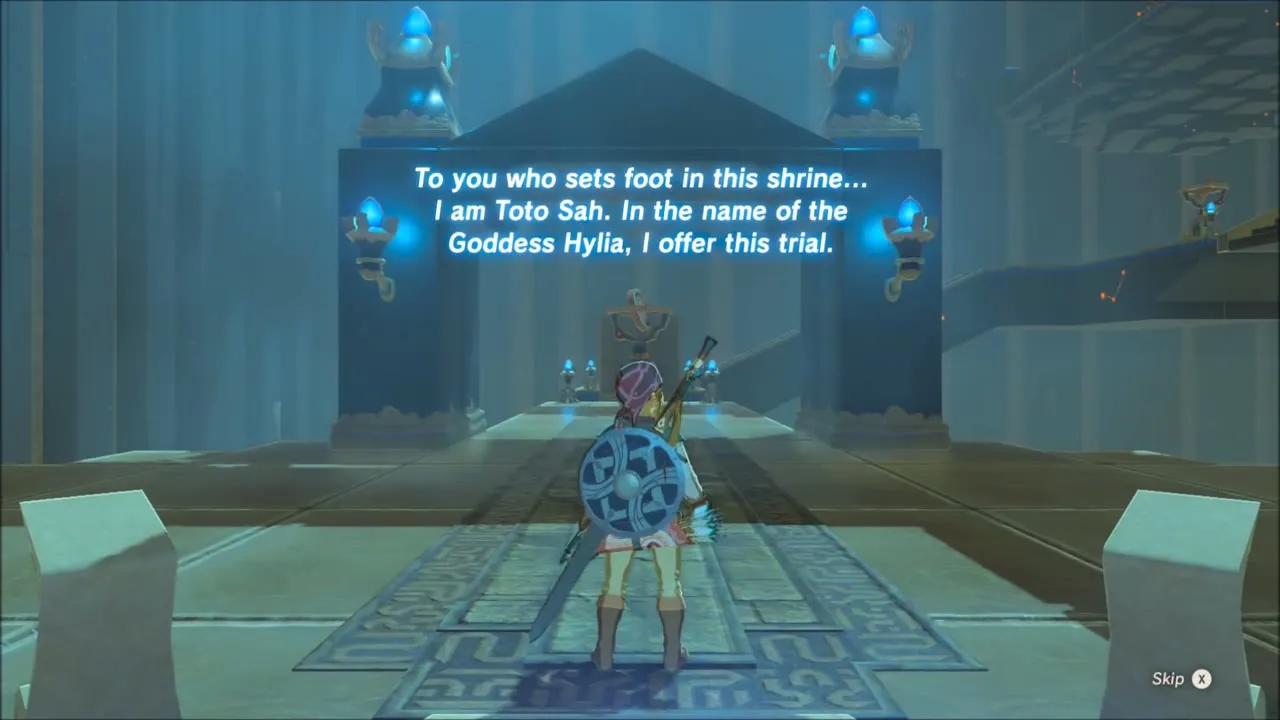

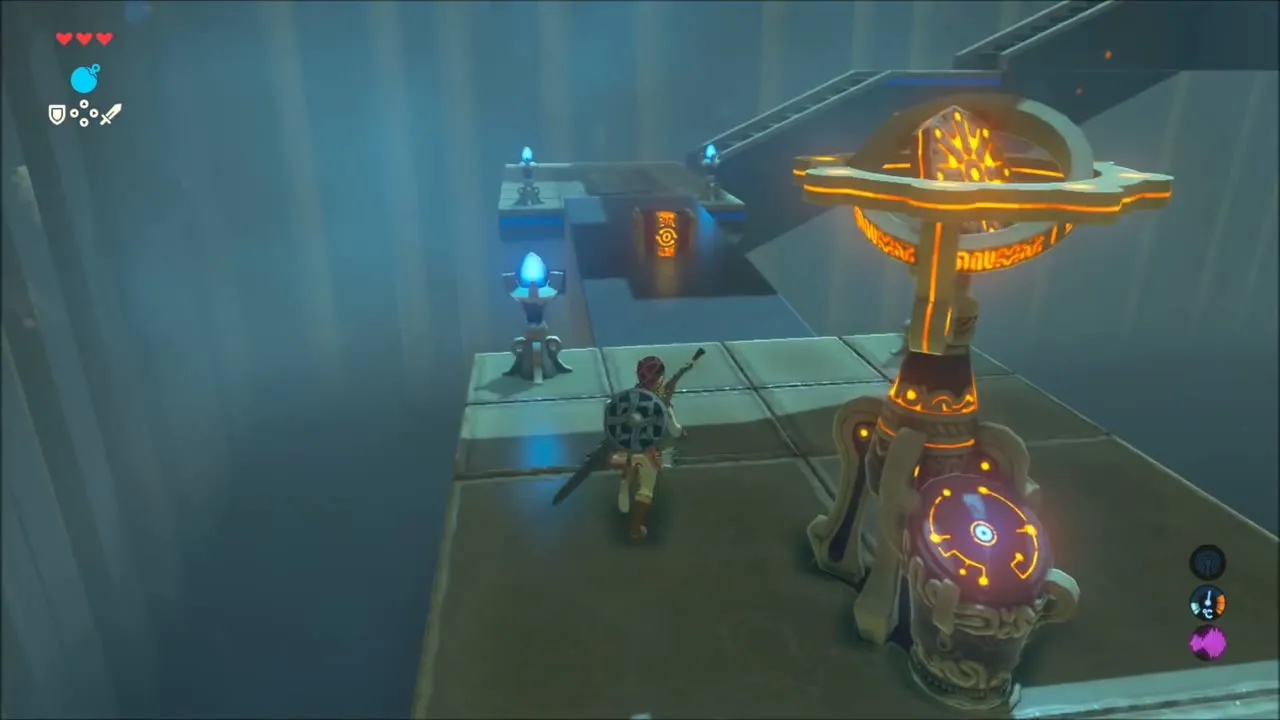
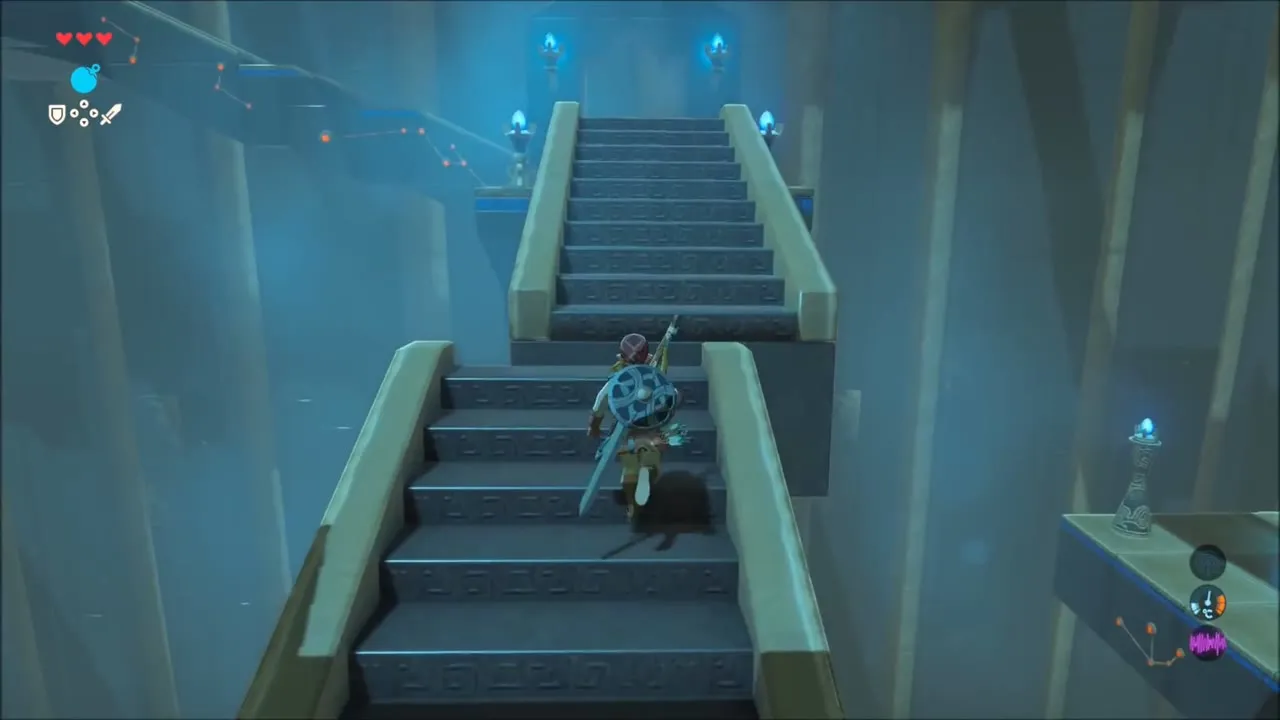
The second machine rotates a stairwell: line the sections up and climb. The third turns a large cross-shaped maze. Rotate it until you can reach the chest, which holds a Small Key.

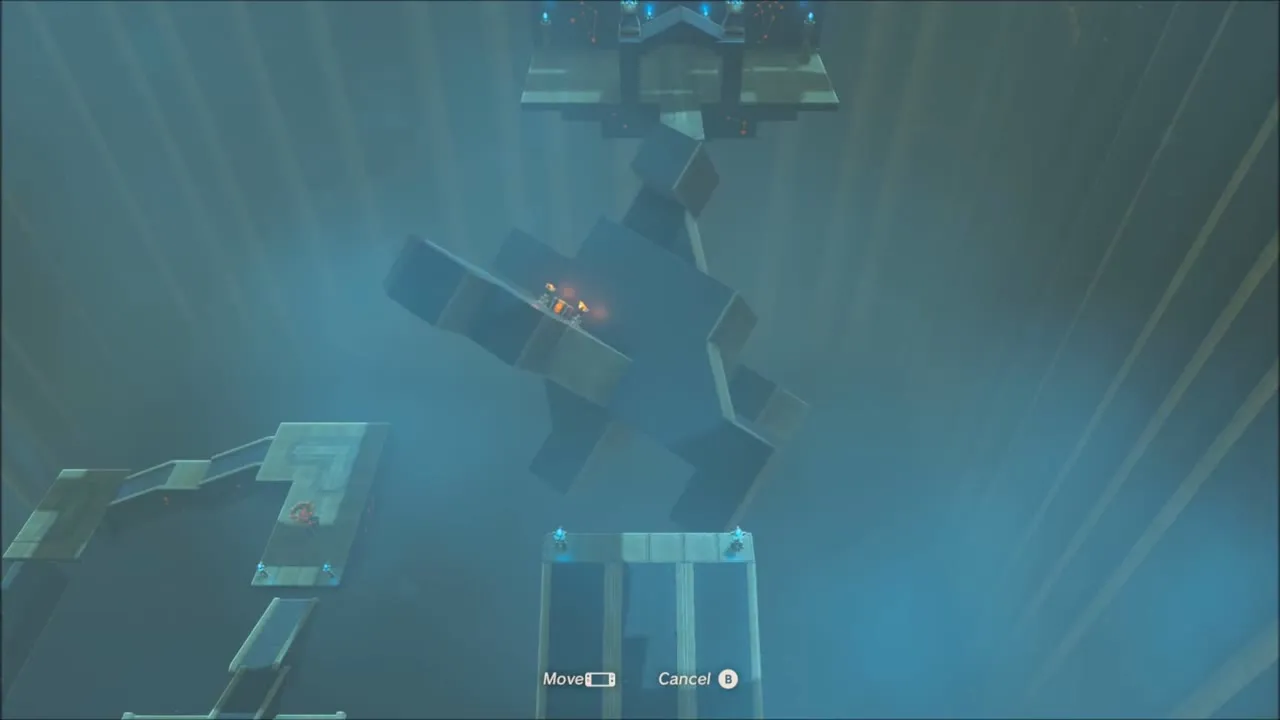

Turn the maze once more so it bridges the gap, cross, unlock the door with the key and walk up to the monk. He rewards you with a Spirit Orb, your twelfth.