100% Completion Walkthrough21 chapters
- Great PlateauAll 4 Shrines, the Paraglider and Korok Seeds
- Kakariko Village and Dueling PeaksSeek Out Impa, Shrines and Korok Seeds
- Hateno VillageHateno Tower, the Ancient Tech Lab, Link’s House and Shrines
- Zora’s DomainReach Zora’s Domain, Vah Ruta, Lanayru Shrines and Korok Seeds
- Faron and Lurelin VillageLurelin Village, Faron Tower, Shrines and Korok Seeds
- Korok Forest and Master SwordHow to Get the Master Sword, Lost Woods, Shrines and Korok Seeds
- Hebra MountainsHebra Tower, Snowfield Stable, Shrines and Korok Seeds
- Rito Village and Vah MedohVah Medoh, Tabantha Tower, Shrines and Korok Seeds
- Gerudo HighlandsGerudo Tower, Gerudo Summit, Shrines and Korok Seeds
- Gerudo TownForbidden City Entry, the Thunder Helm, Desert Shrines and Korok Seeds
- Vah Naboris and Gerudo DesertThunderblight Ganon and the Gerudo Desert Shrines
- Lake HyliaLake Tower, Farosh, Lake Shrines and Korok Seeds
- Akkala and Tarrey TownTarrey Town, Akkala Tower, Shrines and Korok Seeds
- Death Mountain and Goron CityGoron City, Vah Rudania, Eldin Shrines and Korok Seeds
- RidgelandRidgeland Tower, Shrines, Memories and Korok Seeds
- Central HyruleCentral Tower, Captured Memories, Shrines and Korok Seeds
- Hyrule Castlethe Hylian Shield, Saas Ko’sah Shrine, Zelda’s Diary and Memories
- Calamity GanonLast Side Quests, Destroy Ganon and the Final Boss
- All Hinox, Talus and Molduga LocationsEvery Hinox, Stone Talus and Molduga, for Kilton’s Medals of Honor
- Trial of the Sword and EX TreasuresThe Trial of the Sword and every EX Treasure location (DLC Pack 1)
- Champions’ BalladOne-Hit Obliterator, Champion Trials and the Final Trial
| Region | Downloadable content |
|---|---|
| Shrines | 15: Yowaka Ita Shrine, Rohta Chigah Shrine, Ruvo Korbah Shrine, Etsu Korima Shrine, Keive Tala Shrine, Kihiro Moh Shrine, Mah Eliya Shrine, Sato Koda Shrine, Kee Dafunia Shrine, Rinu Honika Shrine, Kamia Omuna Shrine, Sharo Lun Shrine, Noe Rajee Shrine, Shira Gomar Shrine, Kiah Toza Shrine |
This chapter of the 100% walkthrough covers the downloadable content in a route that collects everything along the way: 15 shrines, plus the quests, chests and minibosses you meet. Positions are map coordinates (x grows east, z grows south).
Yowaka Ita Shrine: Clear the Forest of Spirits Camp with the One-Hit Obliterator
The Divine Beast Tamer’s Trial sends you to four enemy camps on the Great Plateau, and the first one in this stretch is in the Forest of Spirits on the plateau’s north side. While the One-Hit Obliterator is in your hands every hit kills, but it also leaves you with a single heart, so food will not heal you. Stock up on meals that raise stamina or sneaking speed instead, and keep a shield and a bow equipped, because those are the tools that keep you alive at range.


Sneak in and thin out the Bokoblins
The camp circles a huge fallen tree in the dark of the forest, and you only need to kill every armed Bokoblin to raise the shrine; Keese and Chuchus do not count. Approach in the dark and take the archers on the tree and the stump first with arrows, using shock arrows against the clustered Bokoblins, then lure the spear and club carriers to you one by one. When the last Bokoblin falls, Yowaka Ita Shrine (Collected Soul) rises beside the tree at (-942, 1672).
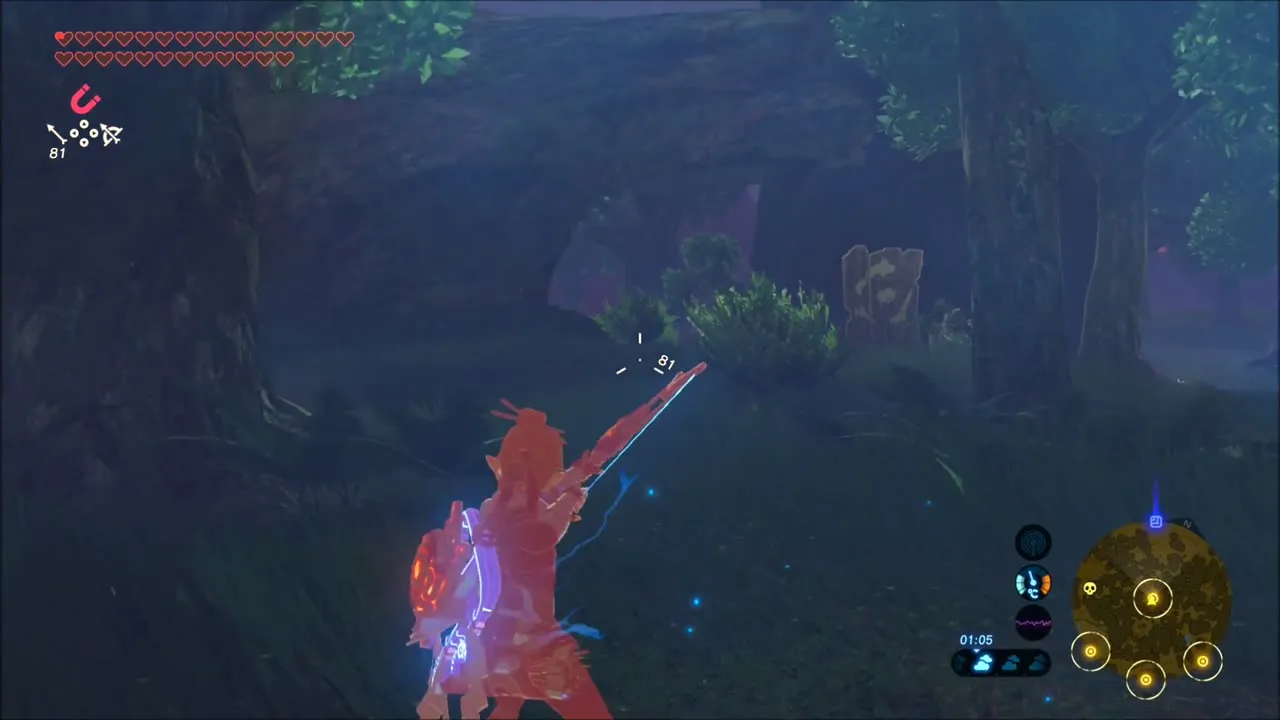
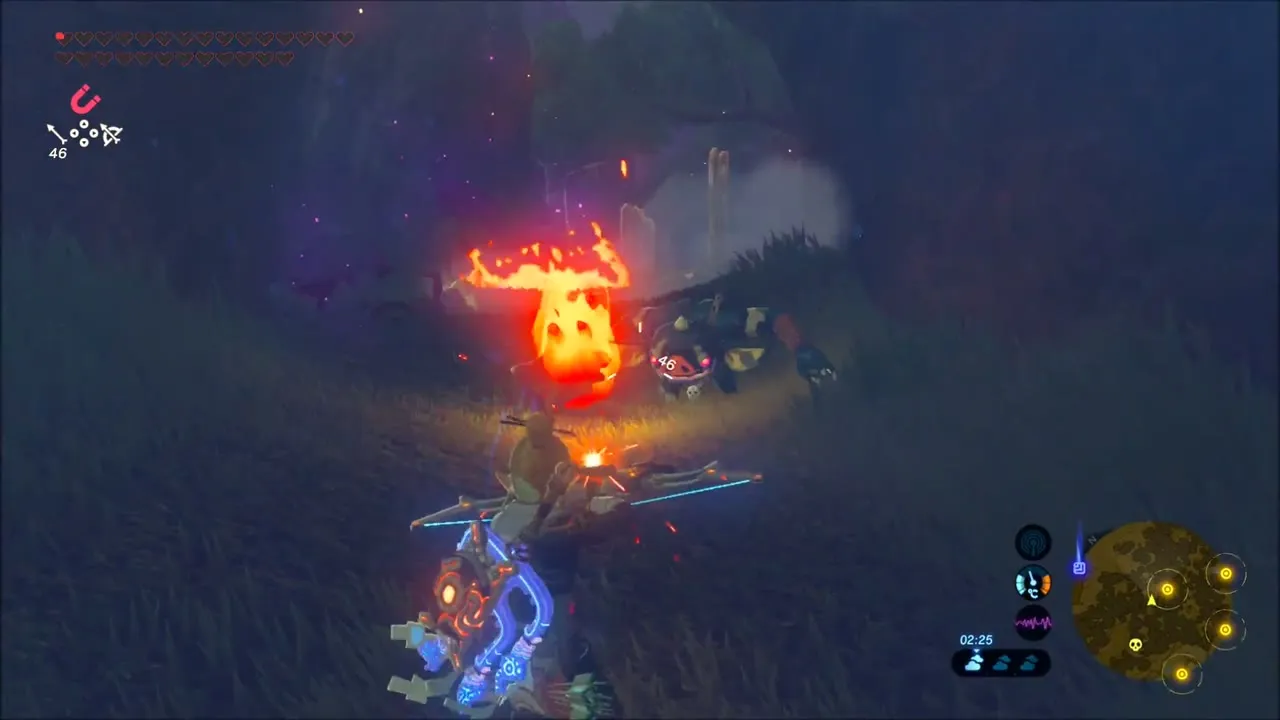
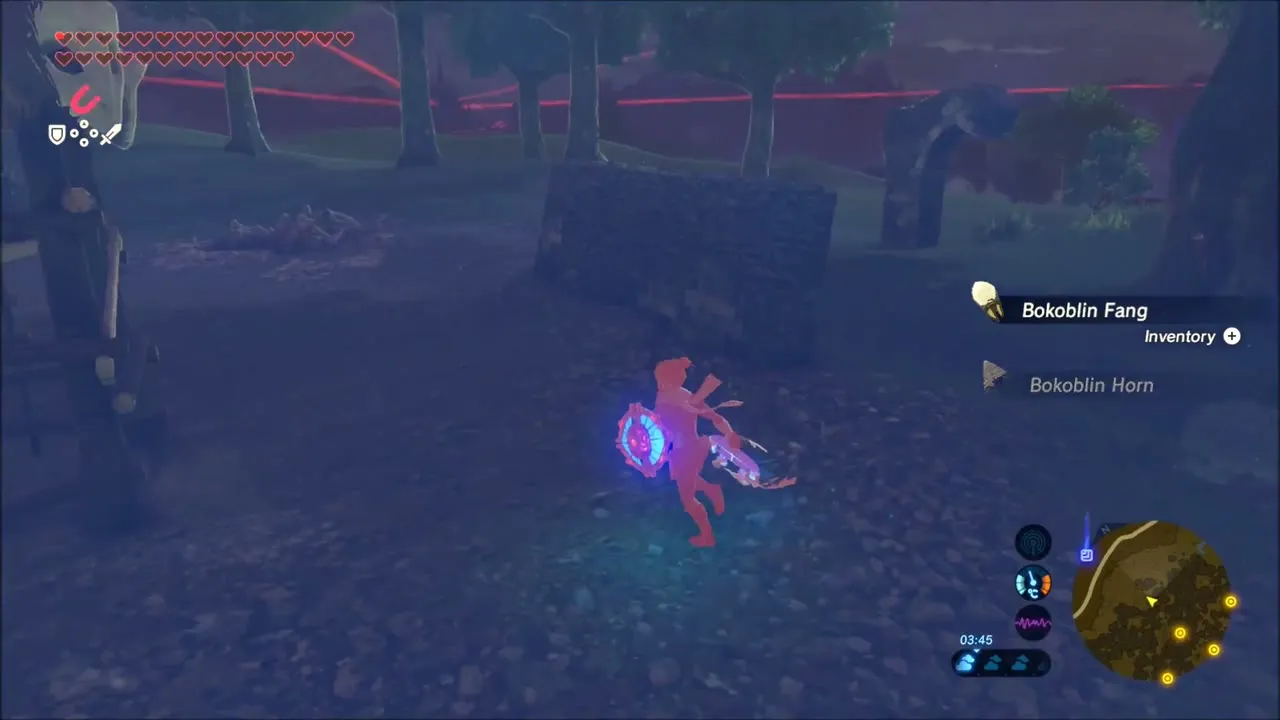
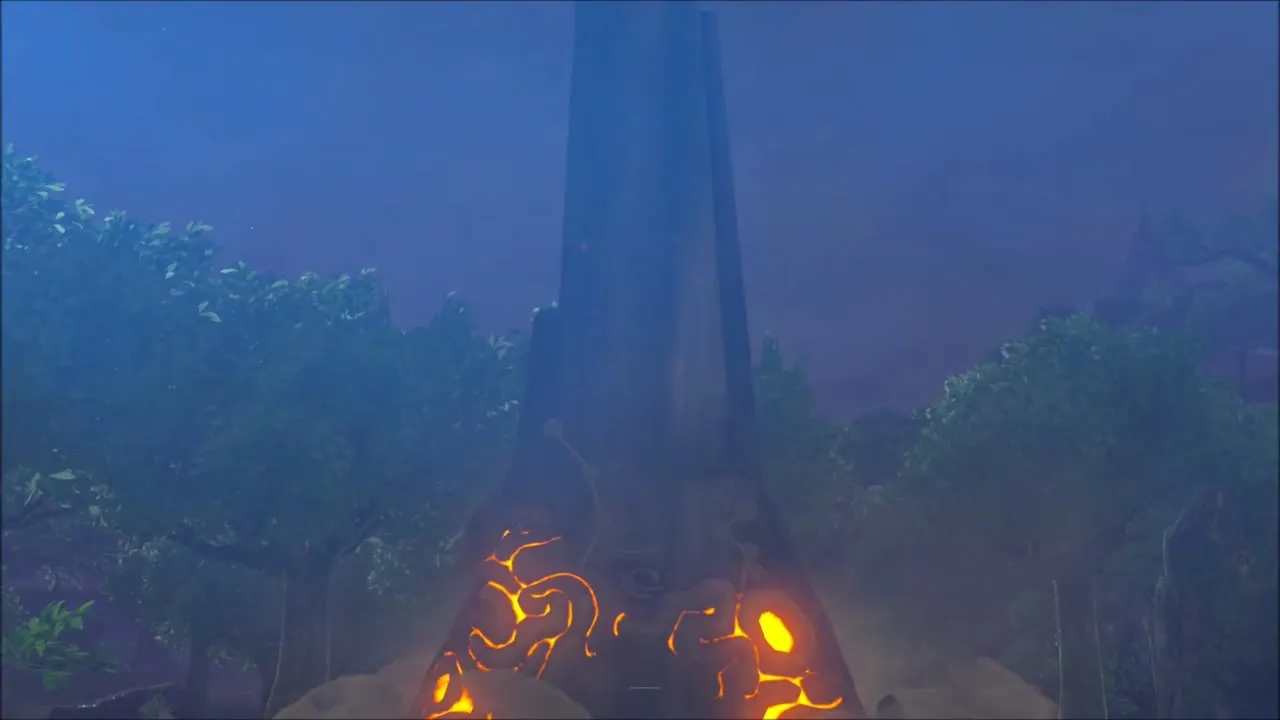
Yowaka Ita Shrine: Collected Soul Walkthrough
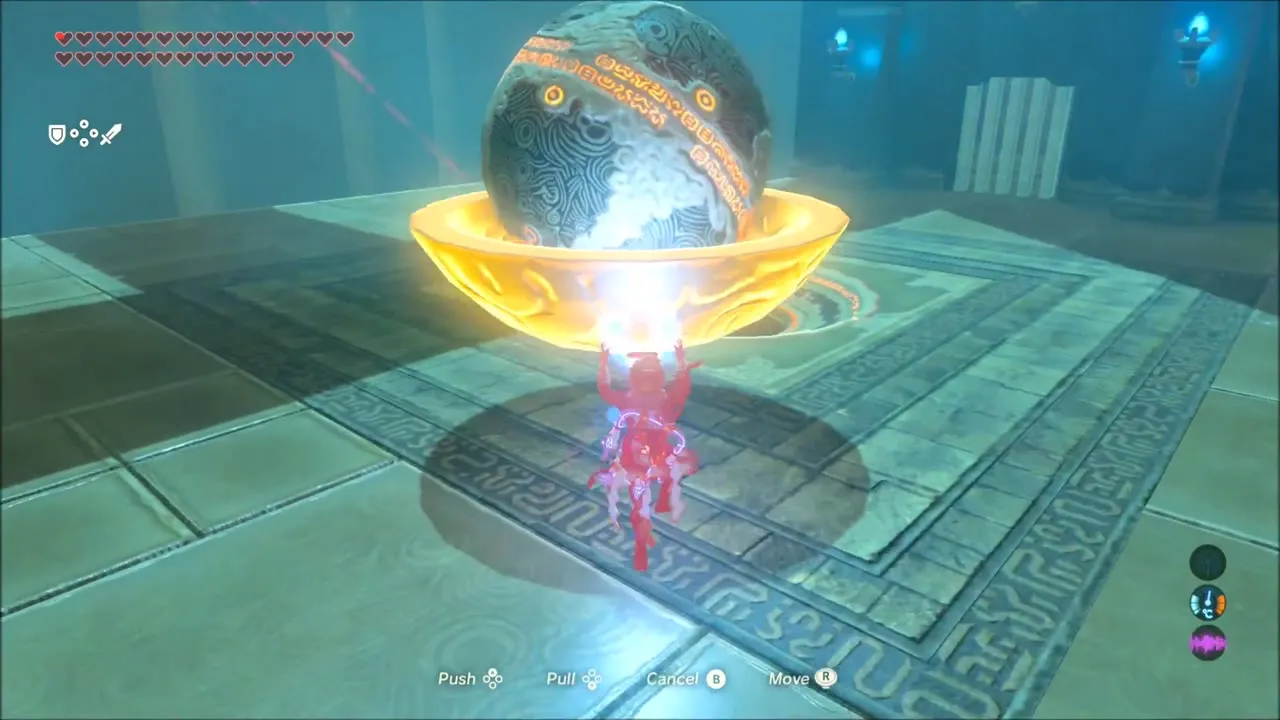
Inside, you still have only one heart, so treat the rolling balls and spikes in the opening rooms with respect. Hug the sides, hop up onto the ledges and use the catwalks along the walls to get through. At the next area lift the metal bowl with Magnesis and hold it under the chute at the top of the slope, where balls and objects roll down together.

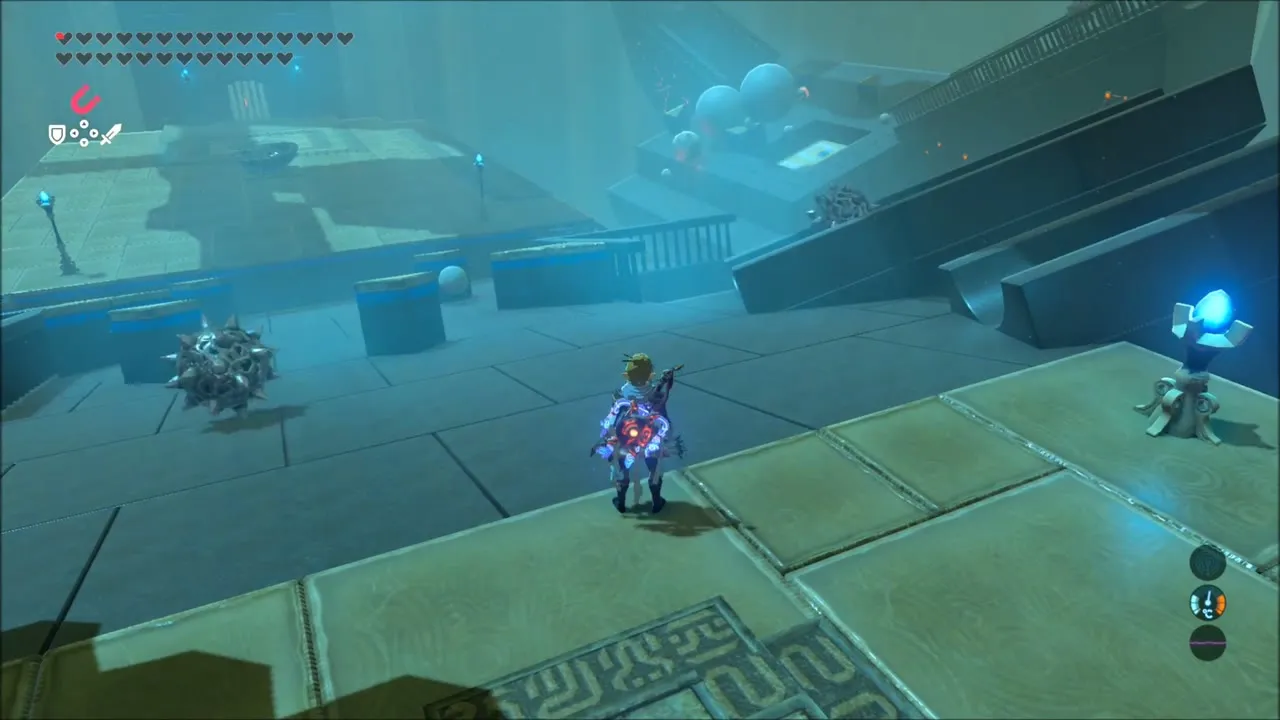
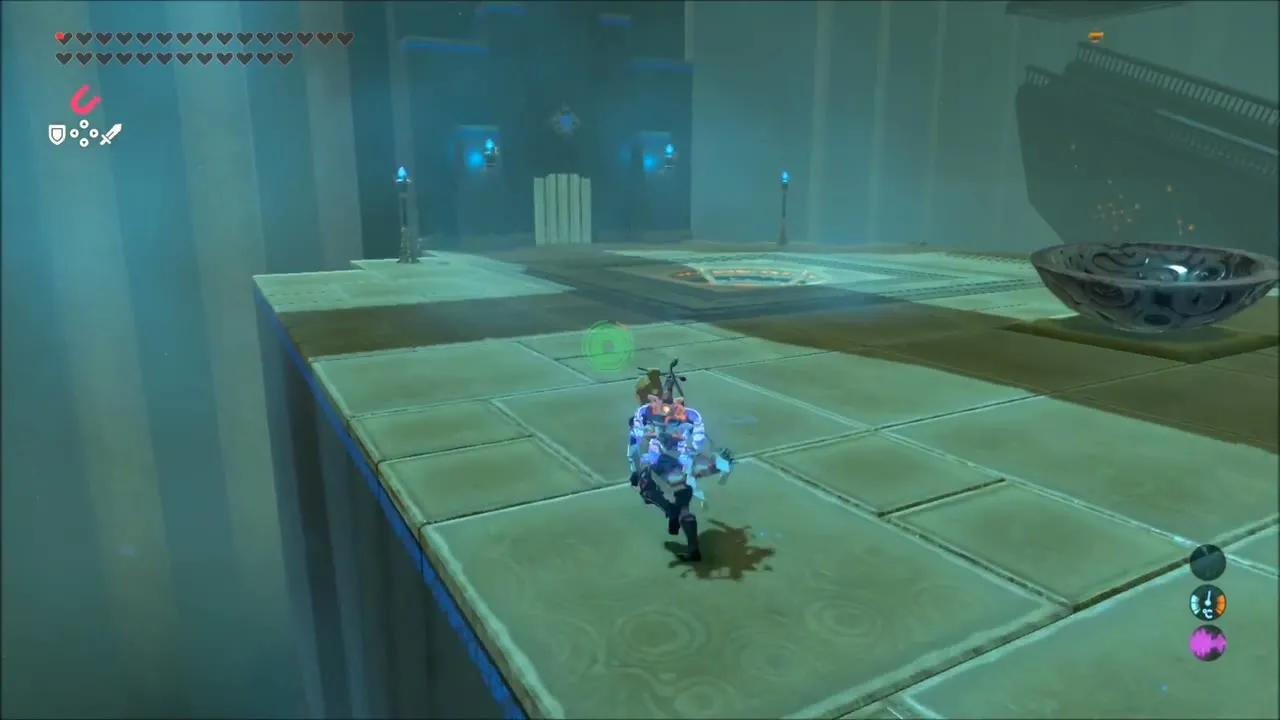
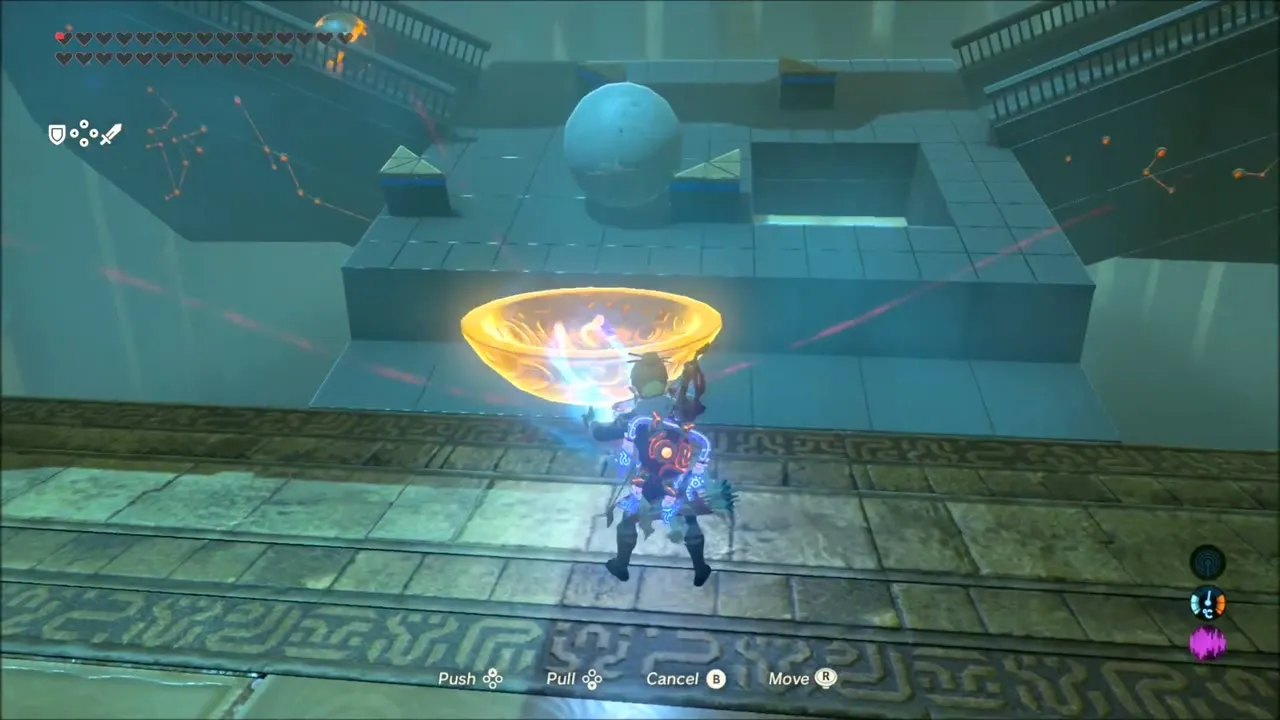
Catch the orb and the bomb arrows
Slide the bowl under the small orb and bring it down gently, because a jerk will throw it back out. Among the things that fall is a chest holding 5 Bomb Arrows, which is worth grabbing. A bigger orb can also be carried to a socket to open a side door; that door leads to another chest, which is easy to come back for later.
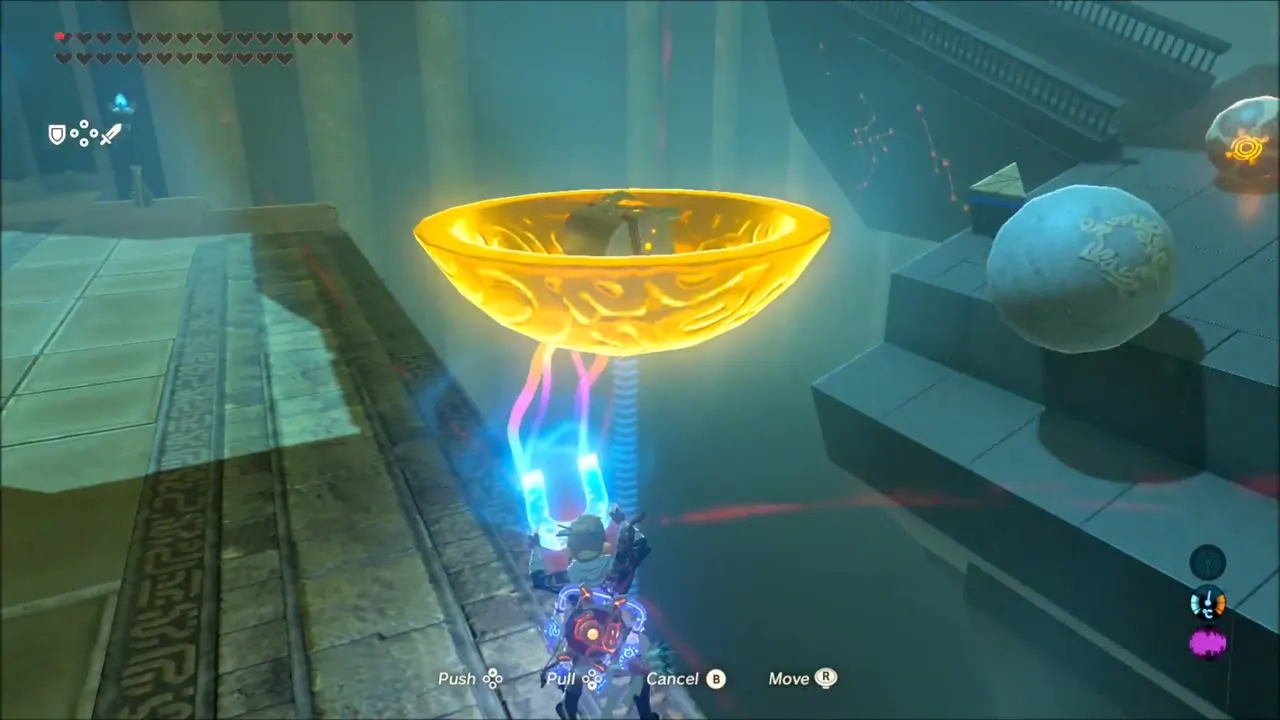
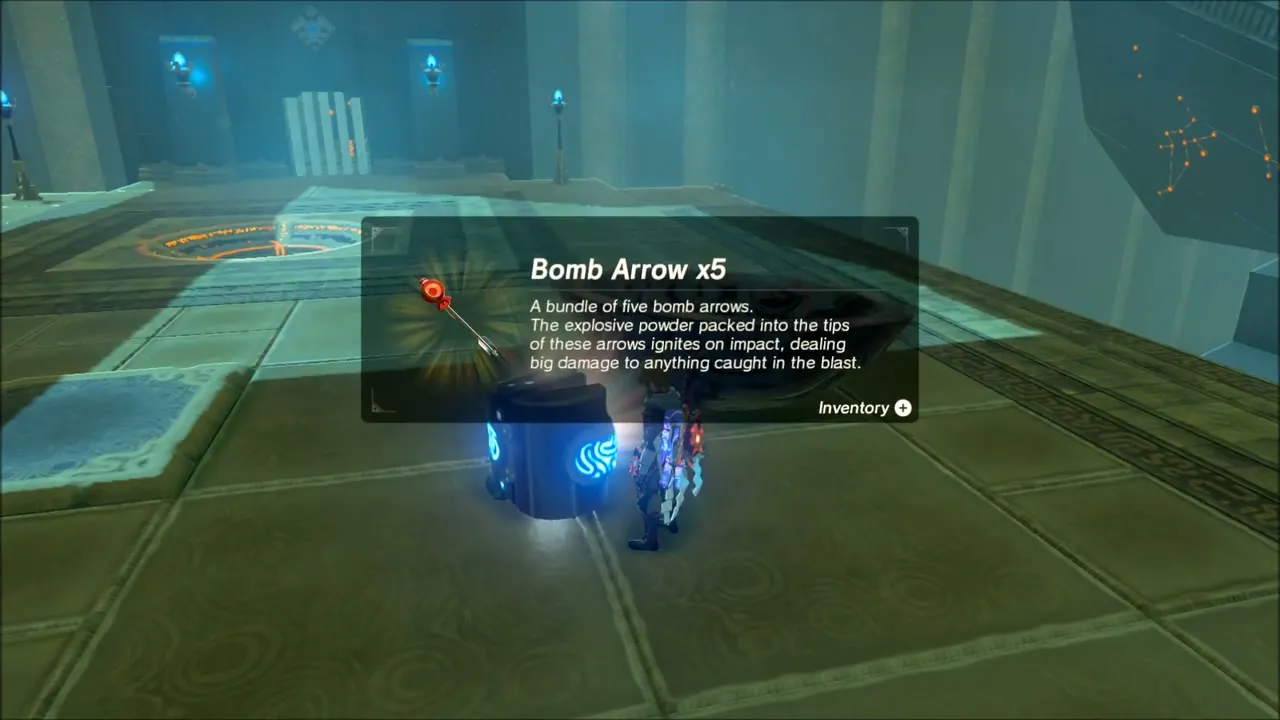
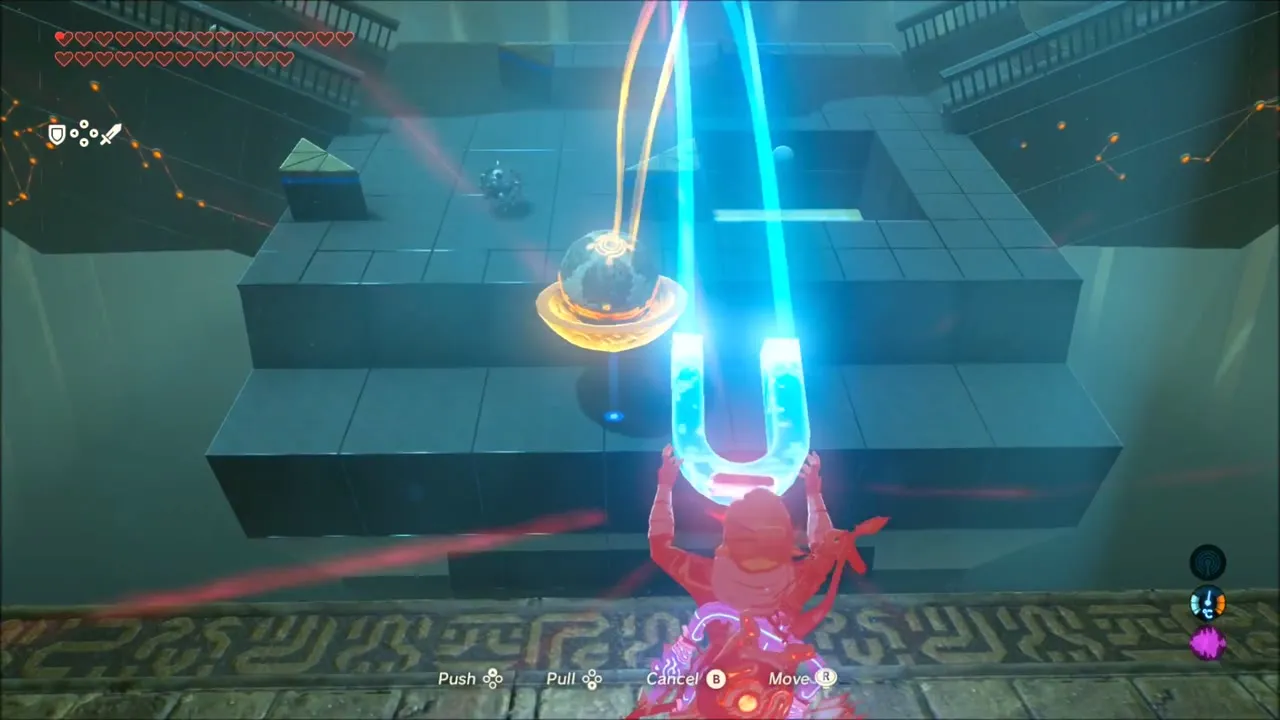

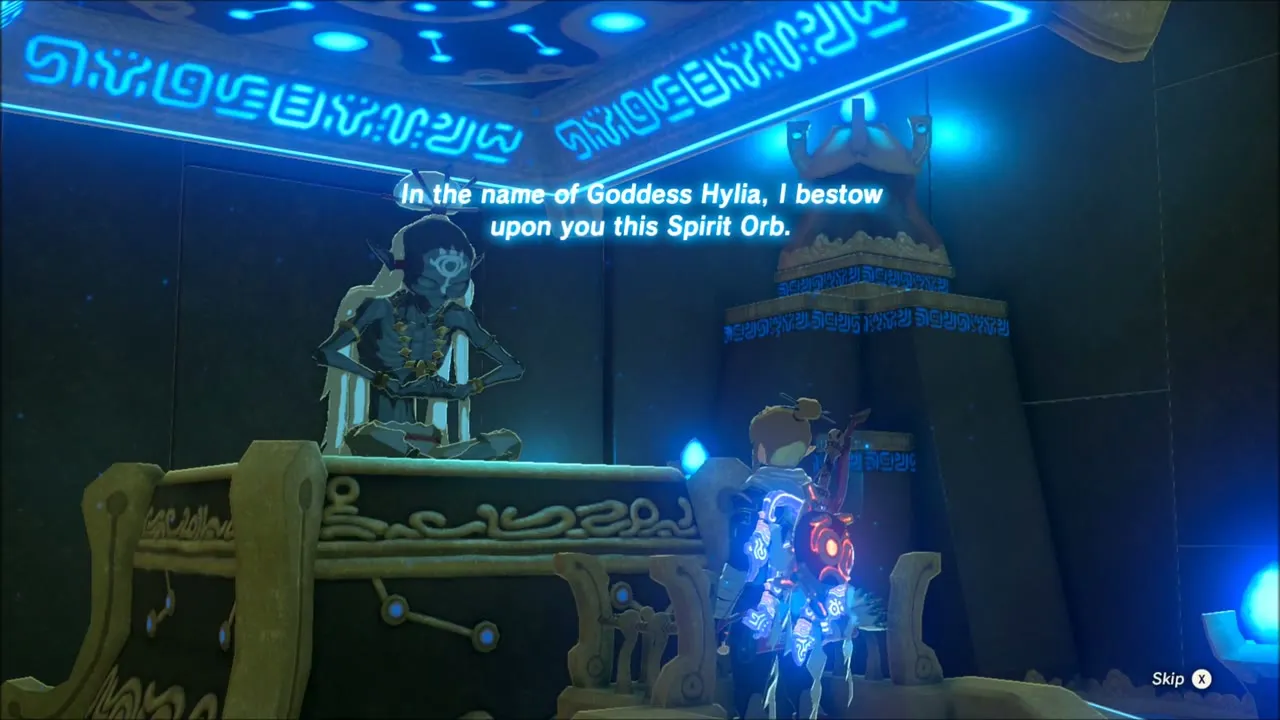
With the small orb still in the bowl, go back to the moving slope and extend the bowl across the gap as a bridge so you can walk over without keeping Magnesis active. Drop the orb in its holder on the far side, and the monk gives you a Spirit Orb.


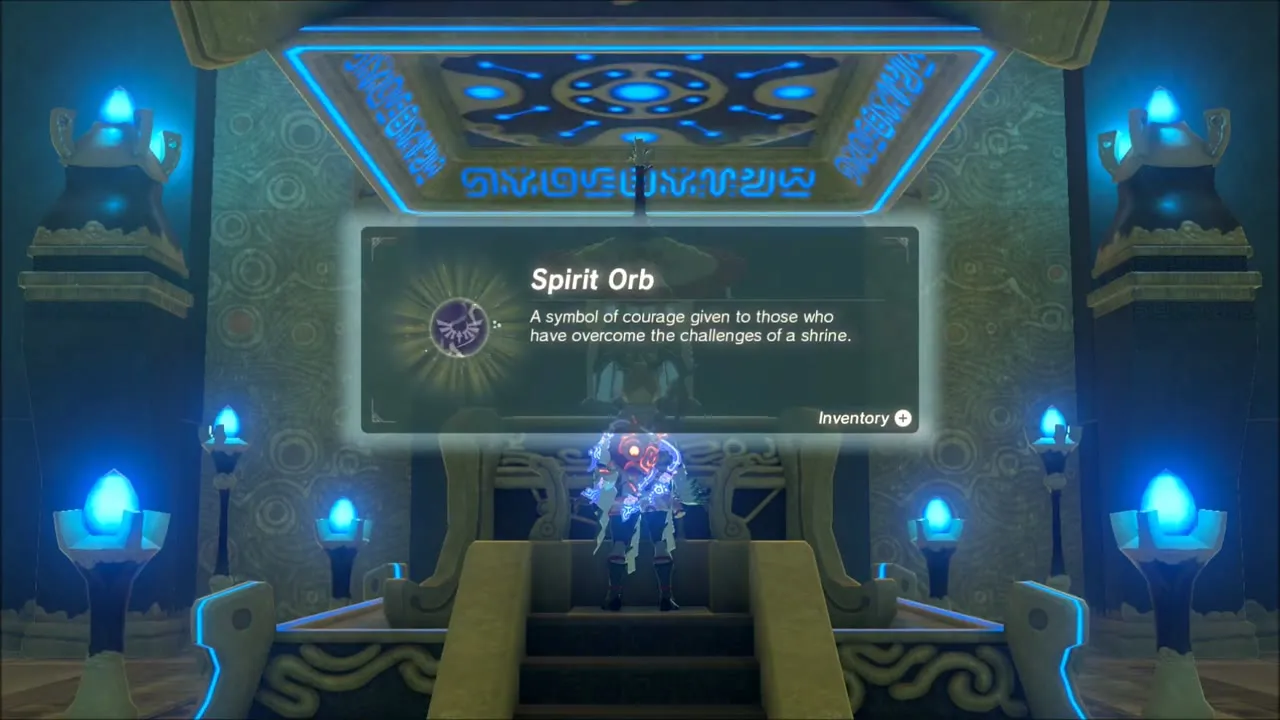
Rohta Chigah Shrine: Defeat the Lizalfos Camp near the Eastern Abbey
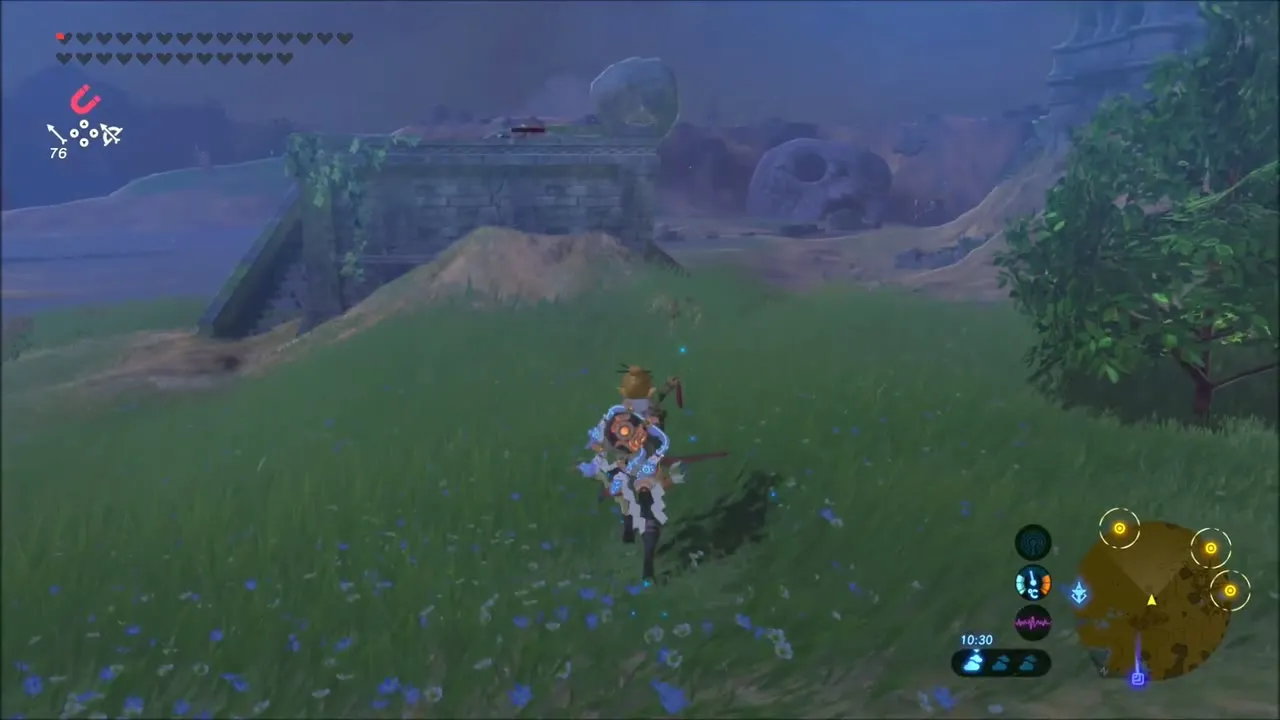
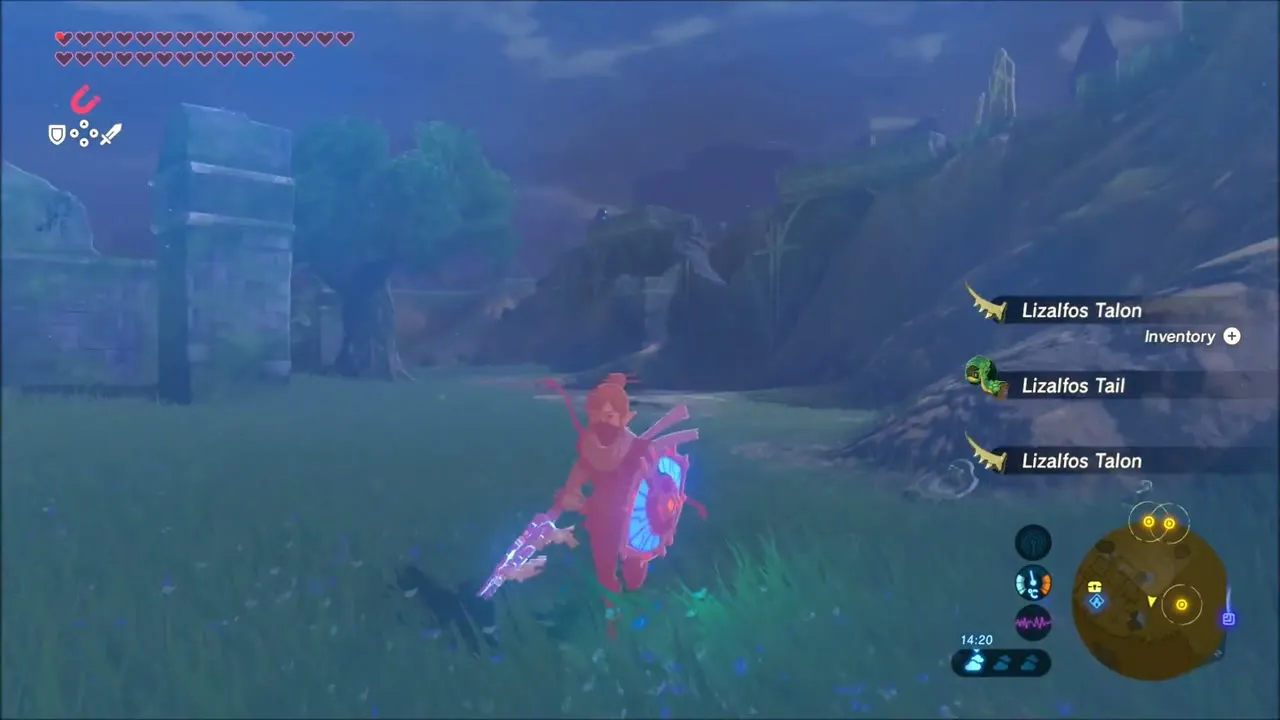
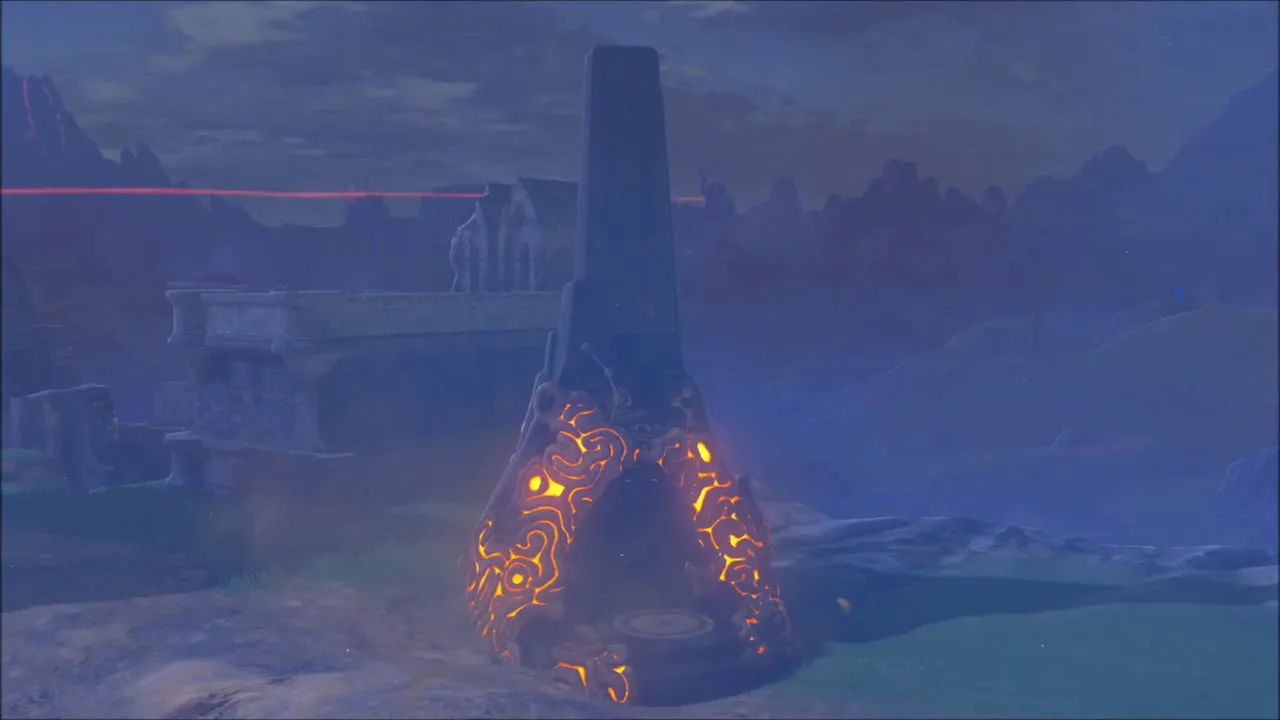
The second camp stands to the north of the Eastern Abbey, below the Great Plateau Tower. The Lizalfos here are quicker than the Bokoblins, so shoot the archers from range first, use shock arrows when you can, and pull the rest apart in small groups so you never face more than one or two at once. Shock arrows and bombs are handy against clusters. Then clear the last Lizalfos and Rohta Chigah Shrine (Stop to Start) appears at (-518, 1799).

Spikes, Stasis and the Forest Dweller’s Shield
The first hall is a field of bouncing spikes with a few loose metal platforms. Use Magnesis to arrange them into a walkway, taking care with the big metal box, and climb to the ledge on the right to open a chest with a Forest Dweller’s Shield.
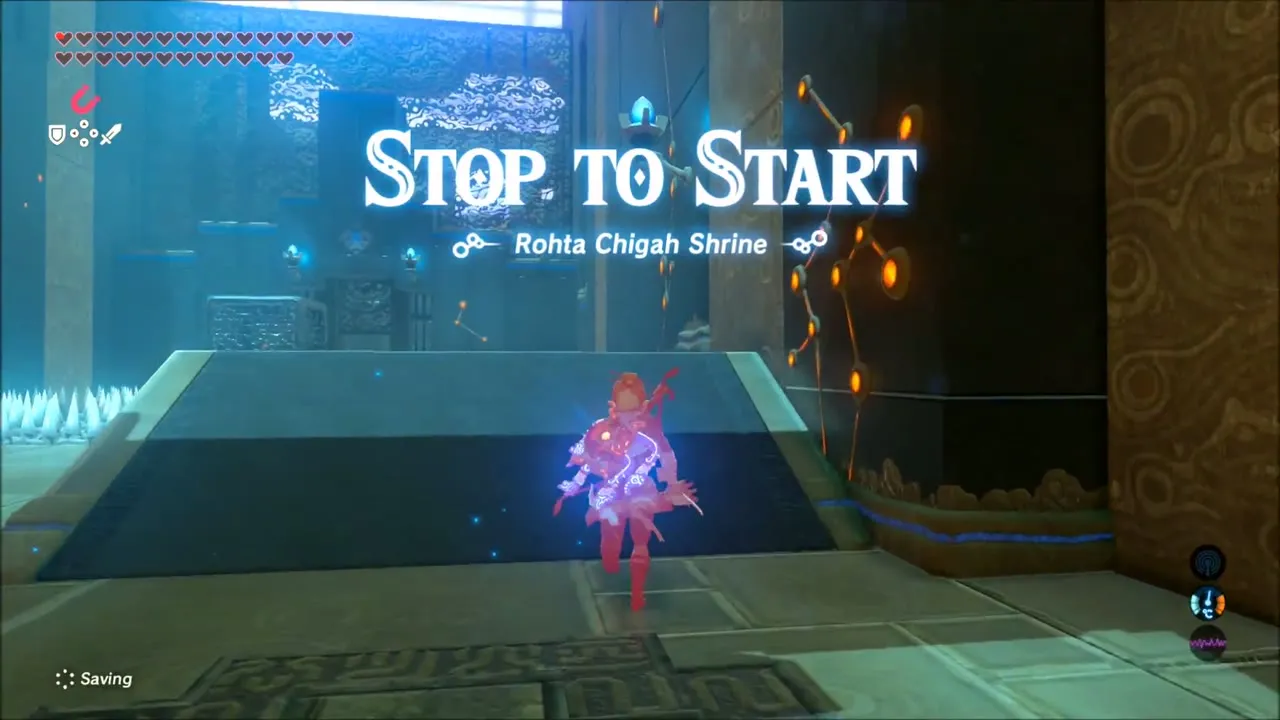
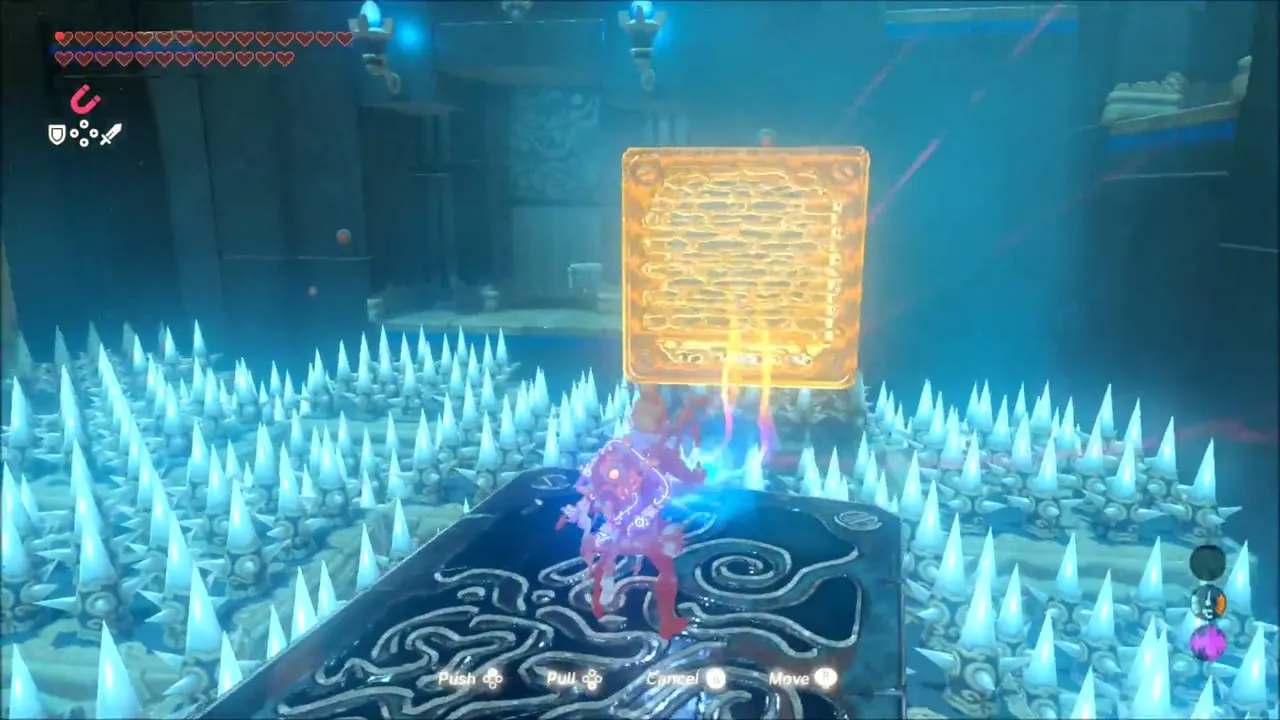
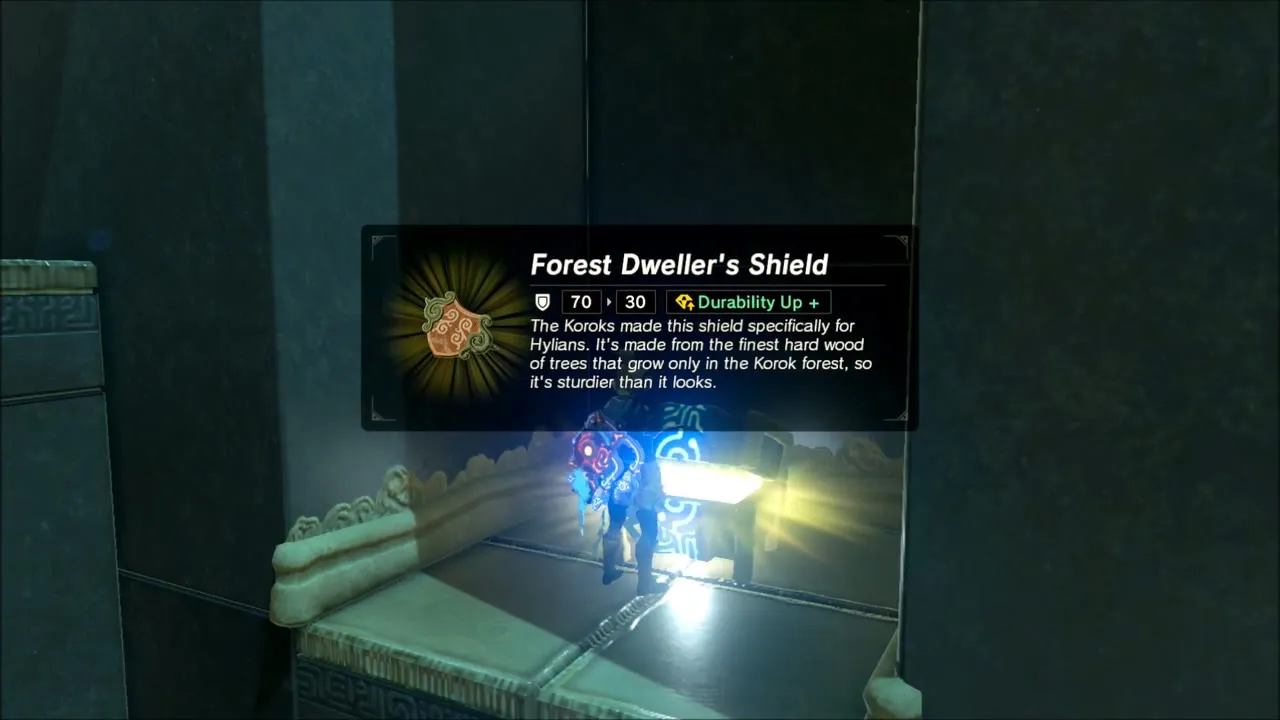
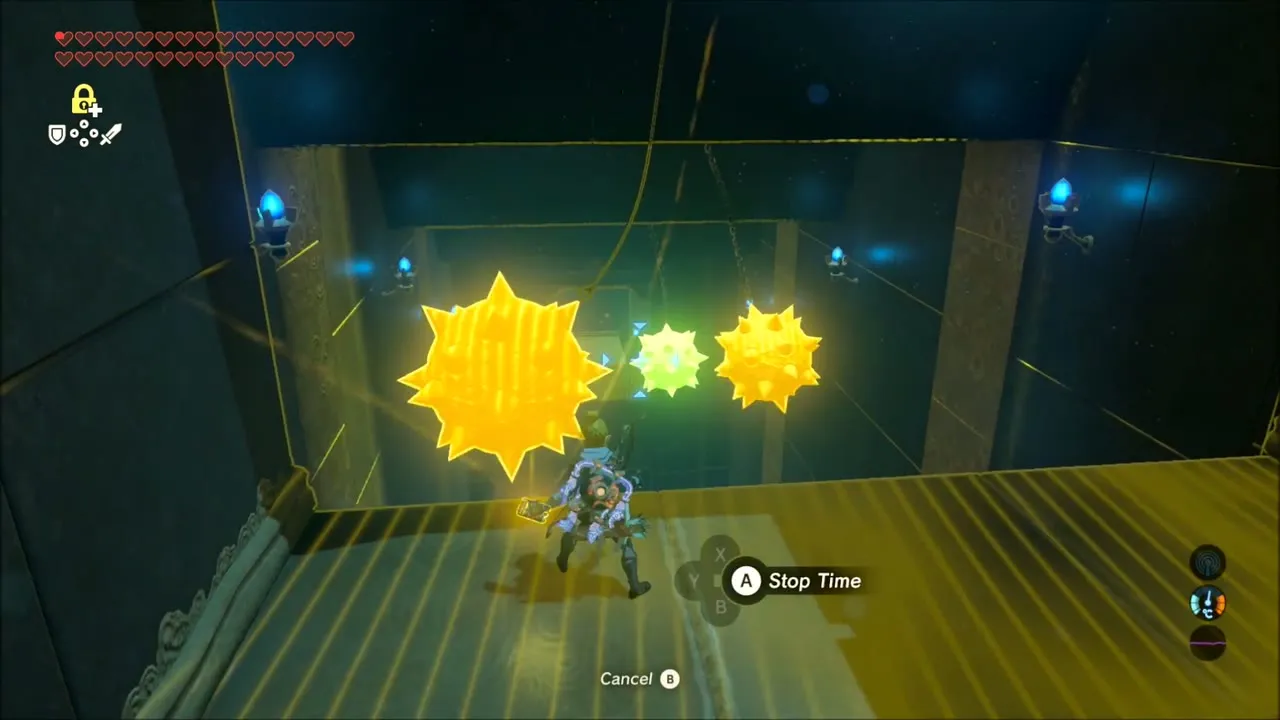
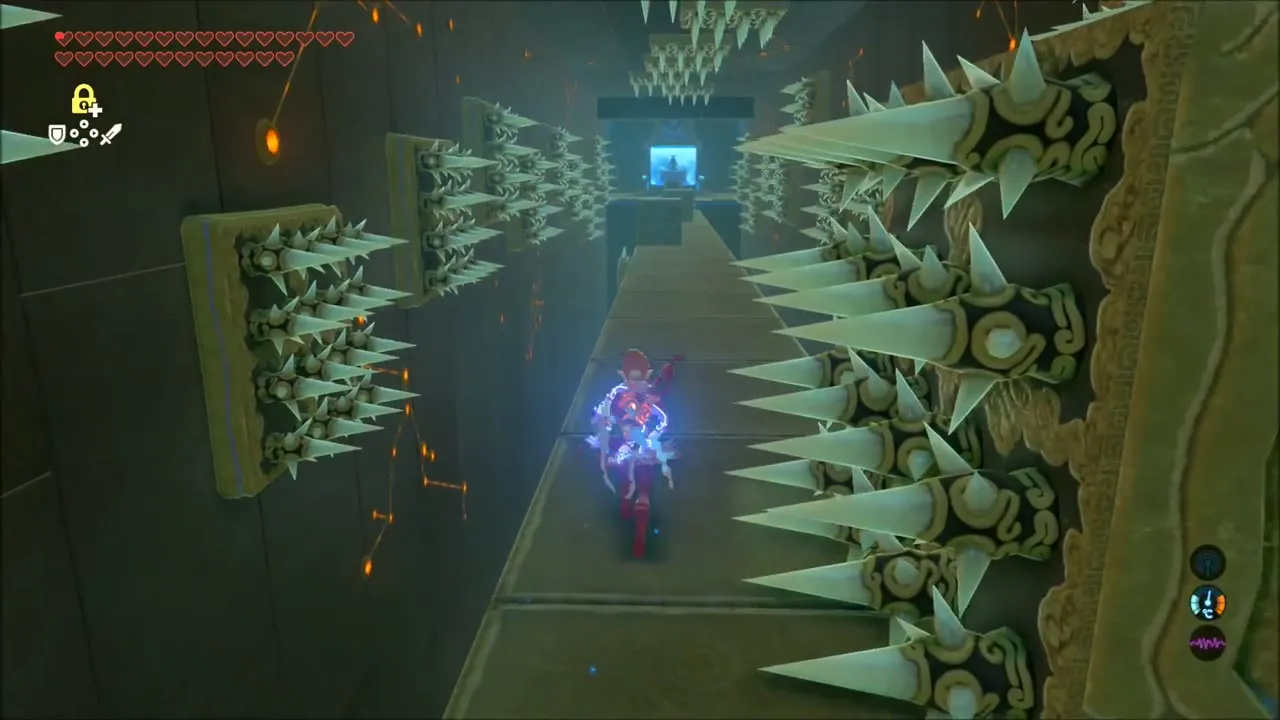
The rest of the shrine is a timing test. Stasis stops the spiked gears and one of the conveyor belts so you can cross, and then you glide between the spiked balls hanging from the ceiling. Drop down and a wall of spikes chases you toward the monk, who hands over the second Spirit Orb.


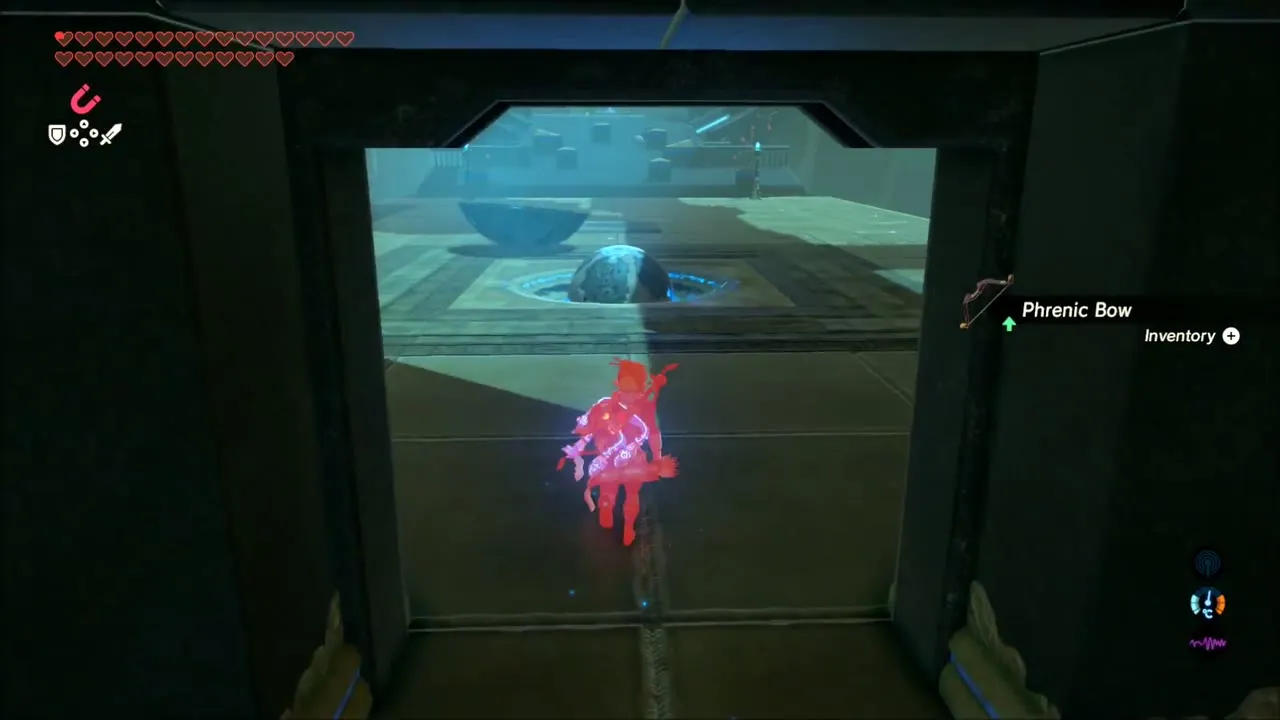
Phrenic Bow Location in Yowaka Ita Shrine
Warp back to Yowaka Ita and return to the bowl room to finish the optional chest. Use Magnesis to carry a large orb in the bowl to its socket; the door opens onto a small vault with a Phrenic Bow.


Kass on the Great Plateau
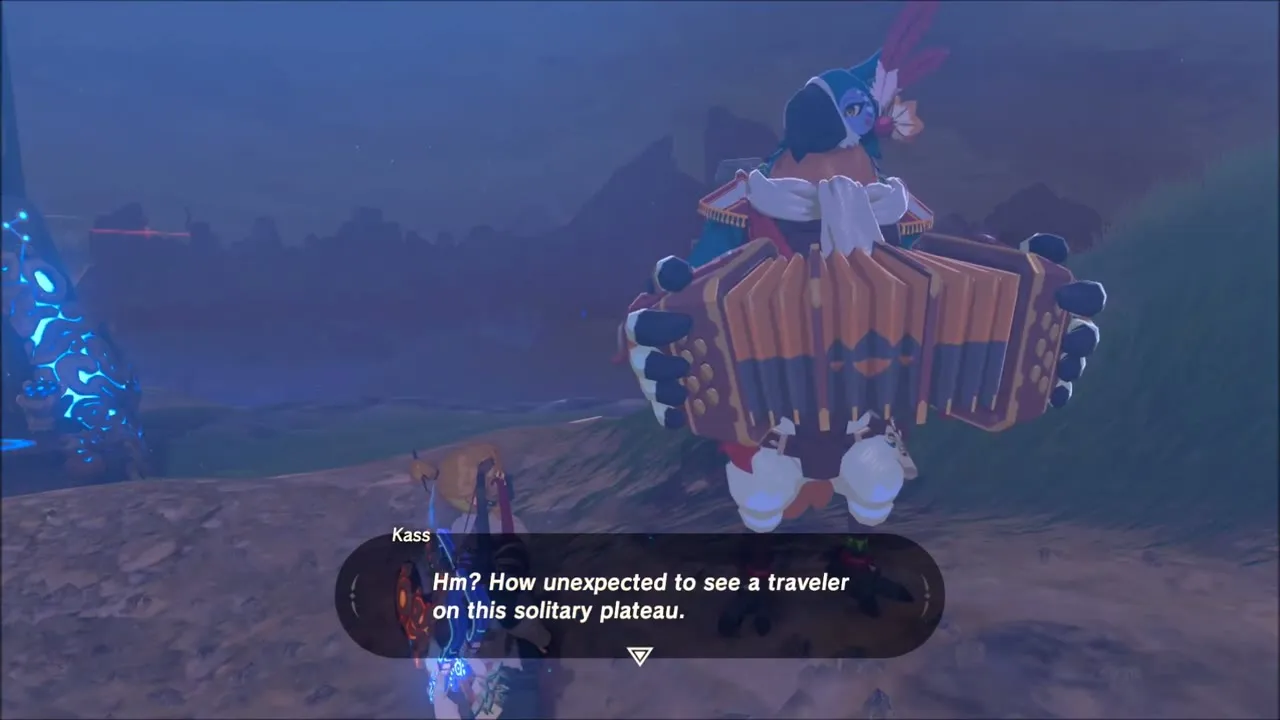
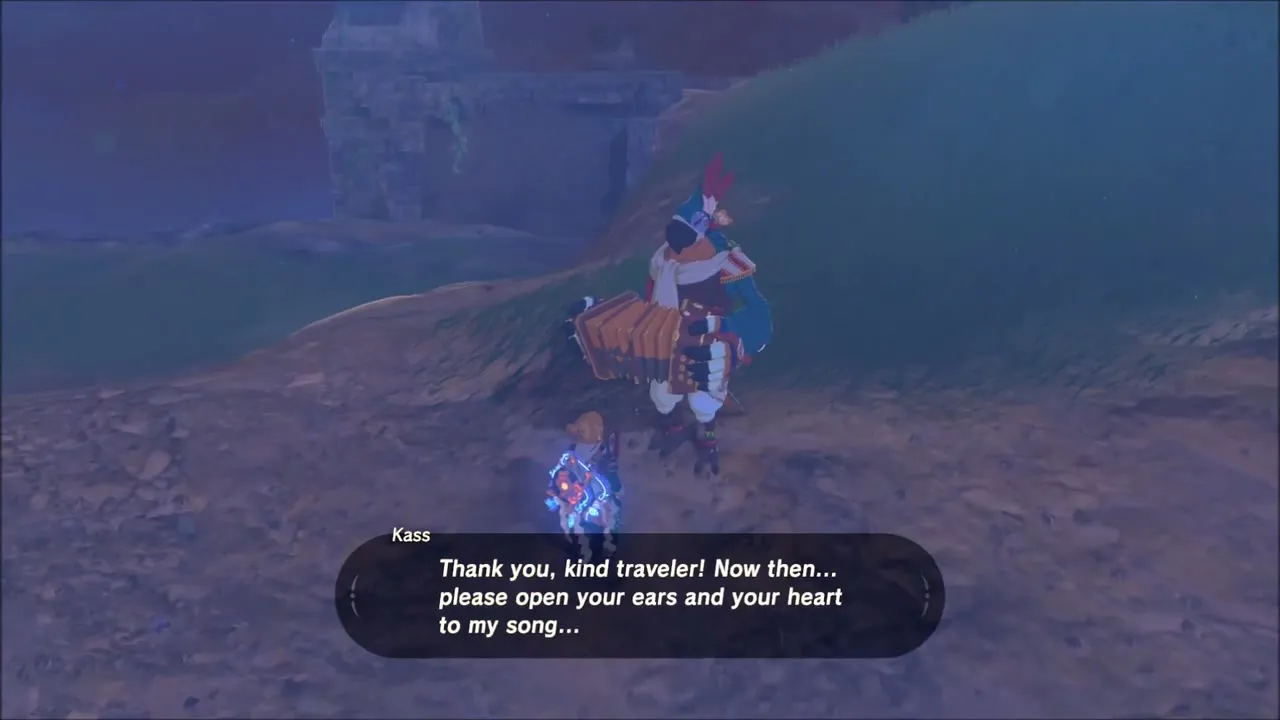
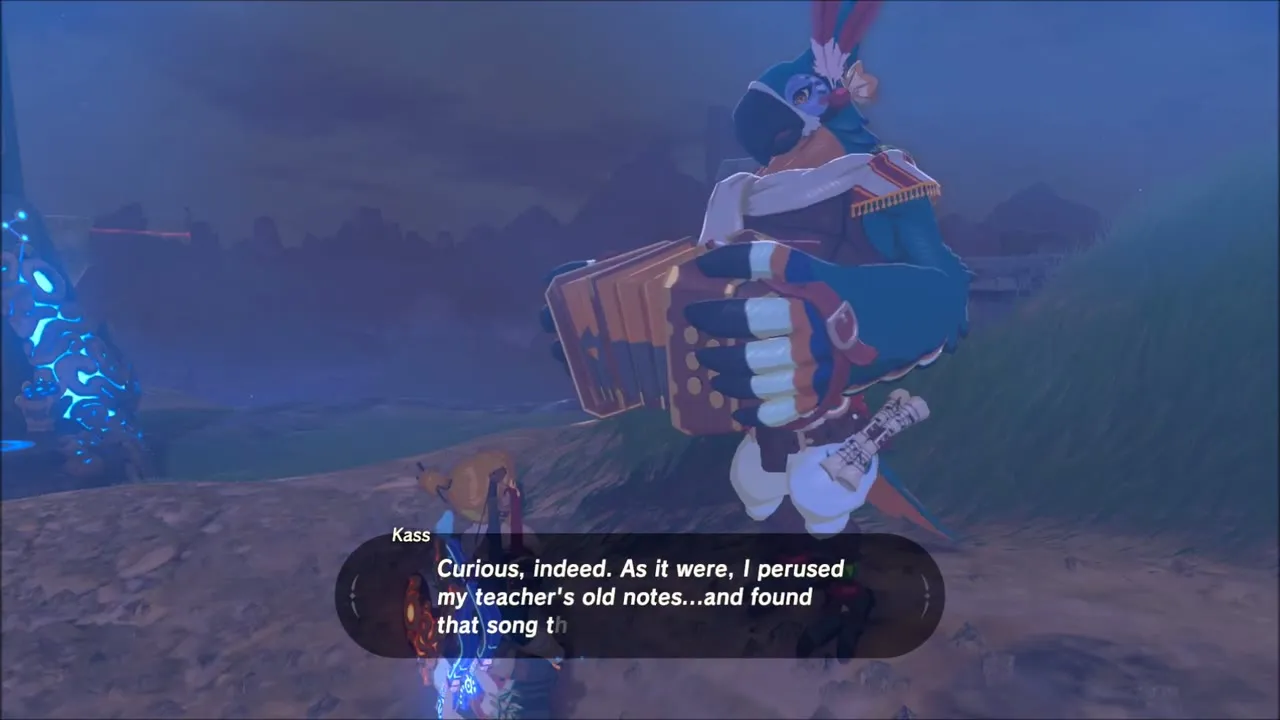
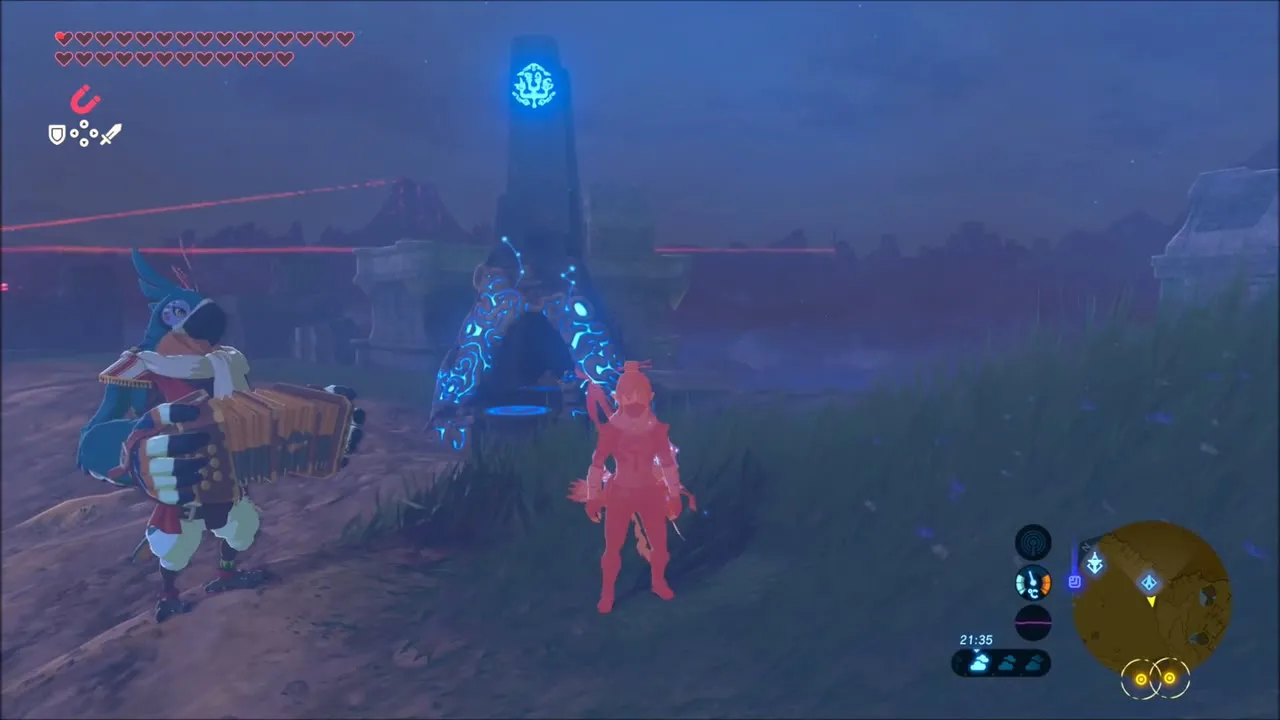
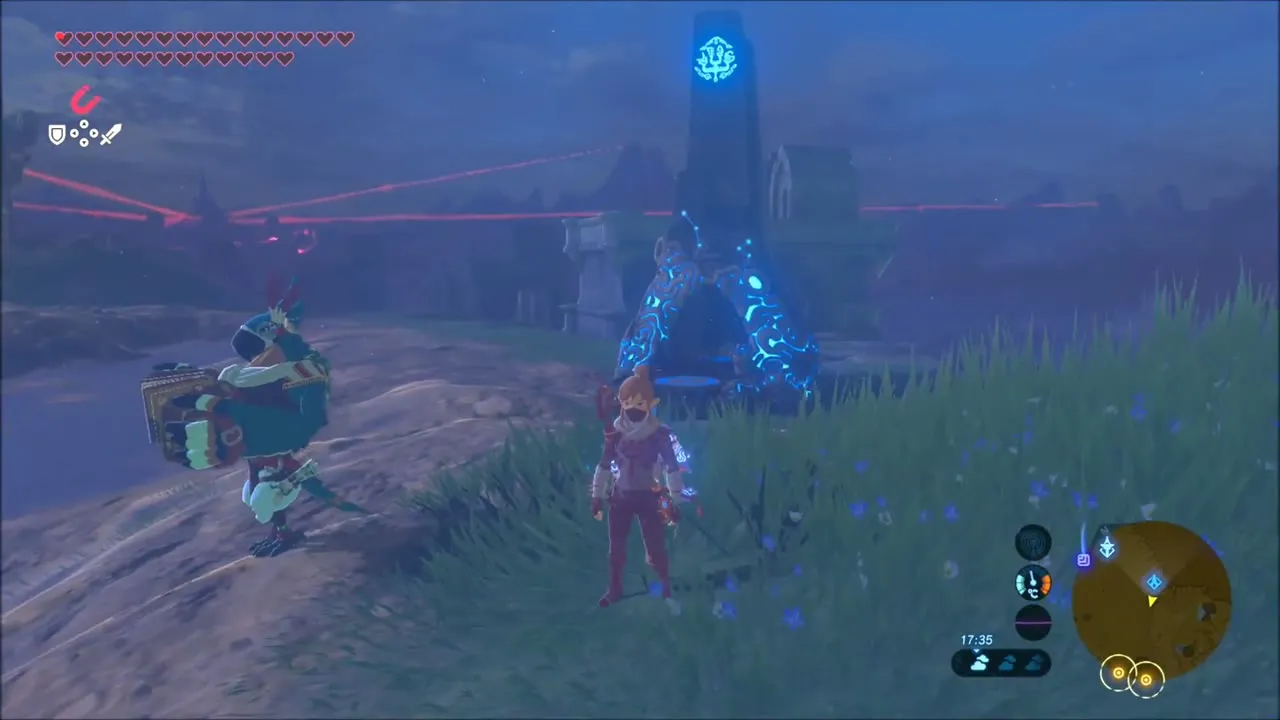
Back on the plateau at night you run into Kass. He offers to play his song; say yes and listen to his new verse, which is about a sound that could startle a horse.

Ruvo Korbah Shrine: Clear the Camp South of the Temple of Time
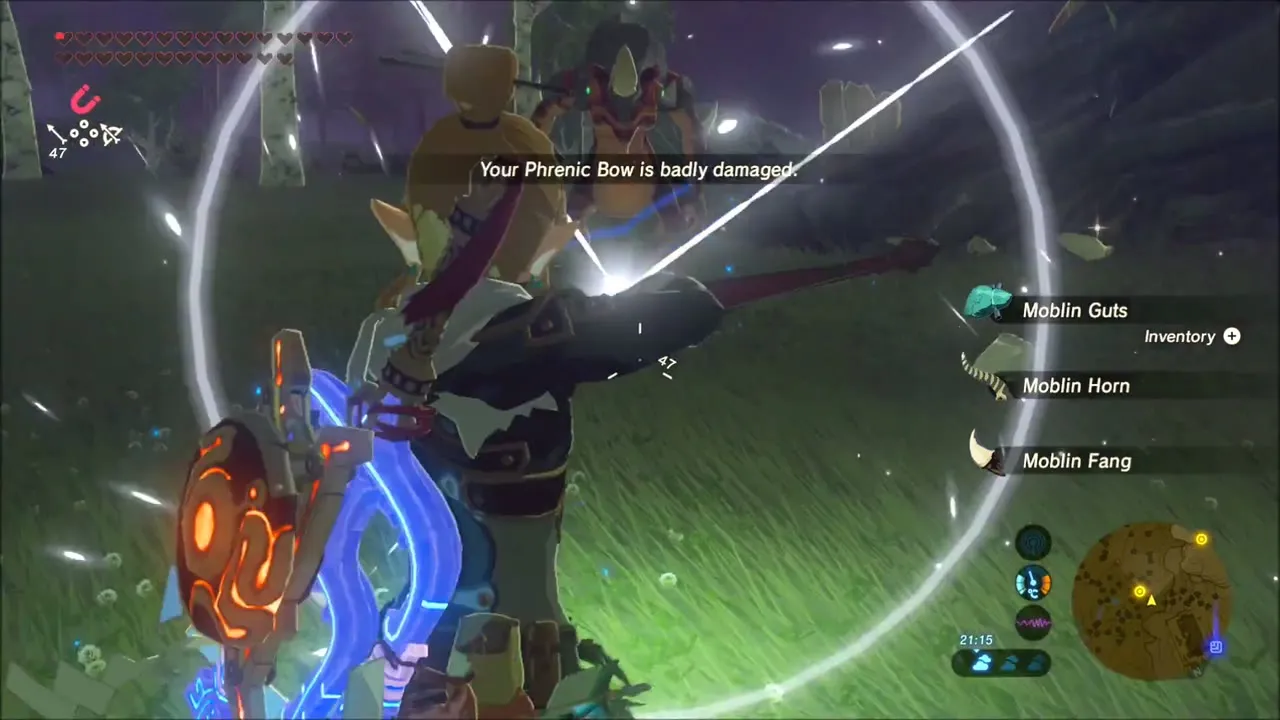
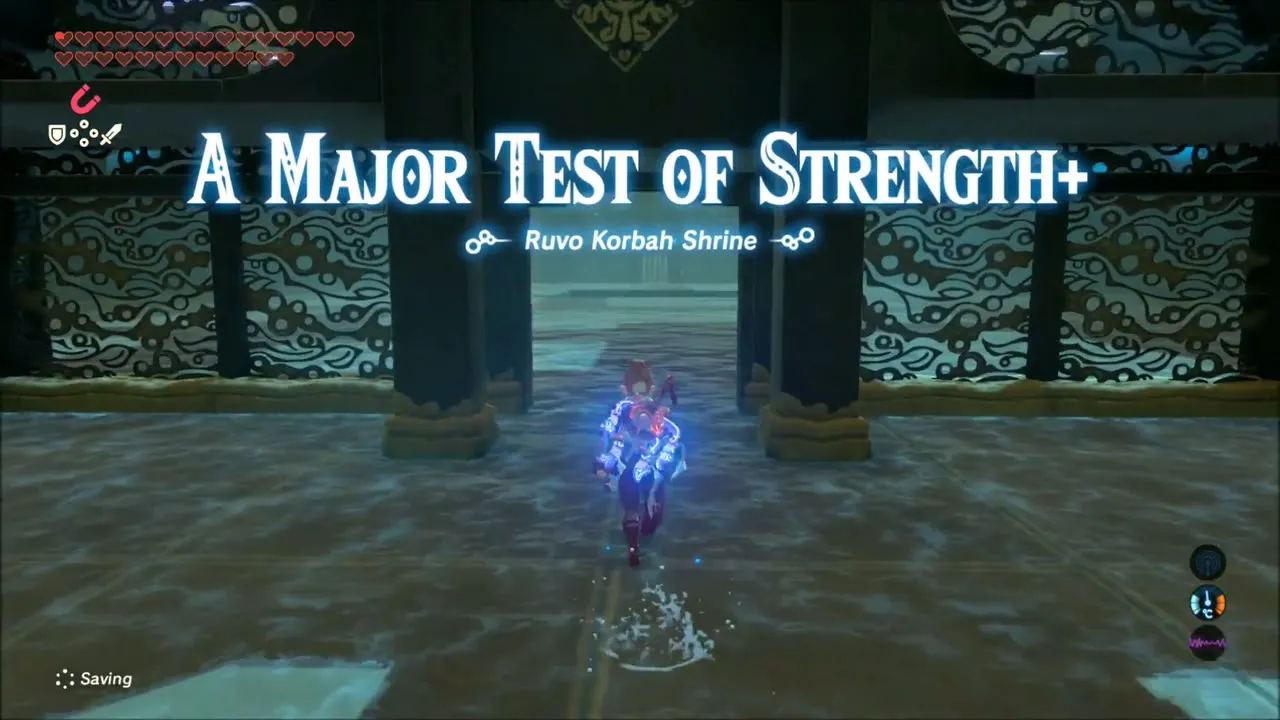
After Kass has finished his tune the trial continues south, toward the field around the Temple of Time. Another camp waits there, with a mix of Bokoblins, Lizalfos and a Moblin. Take down archers first, kill what you can from a distance, then fight the rest one at a time. When they are all gone, Ruvo Korbah Shrine (A Major Test of Strength+) rises at (-834, 2145).


Ruvo Korbah Shrine: A Major Test of Strength+ Walkthrough
The first Guardian
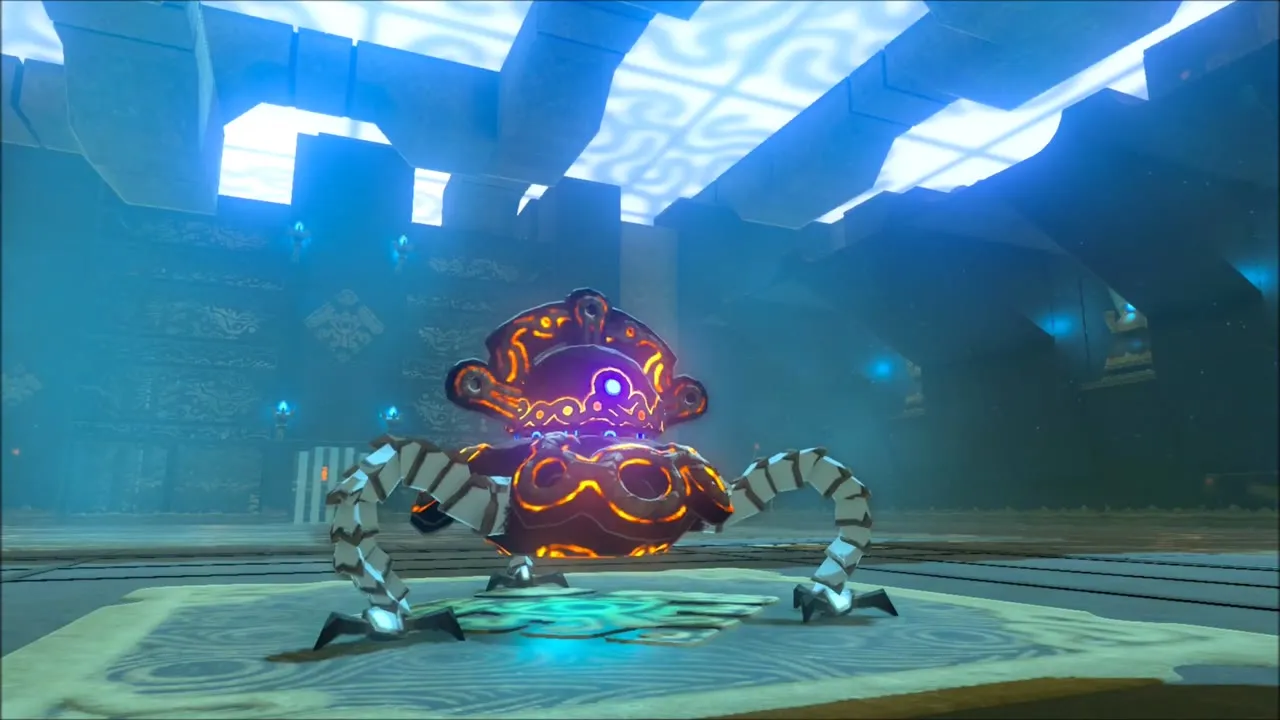
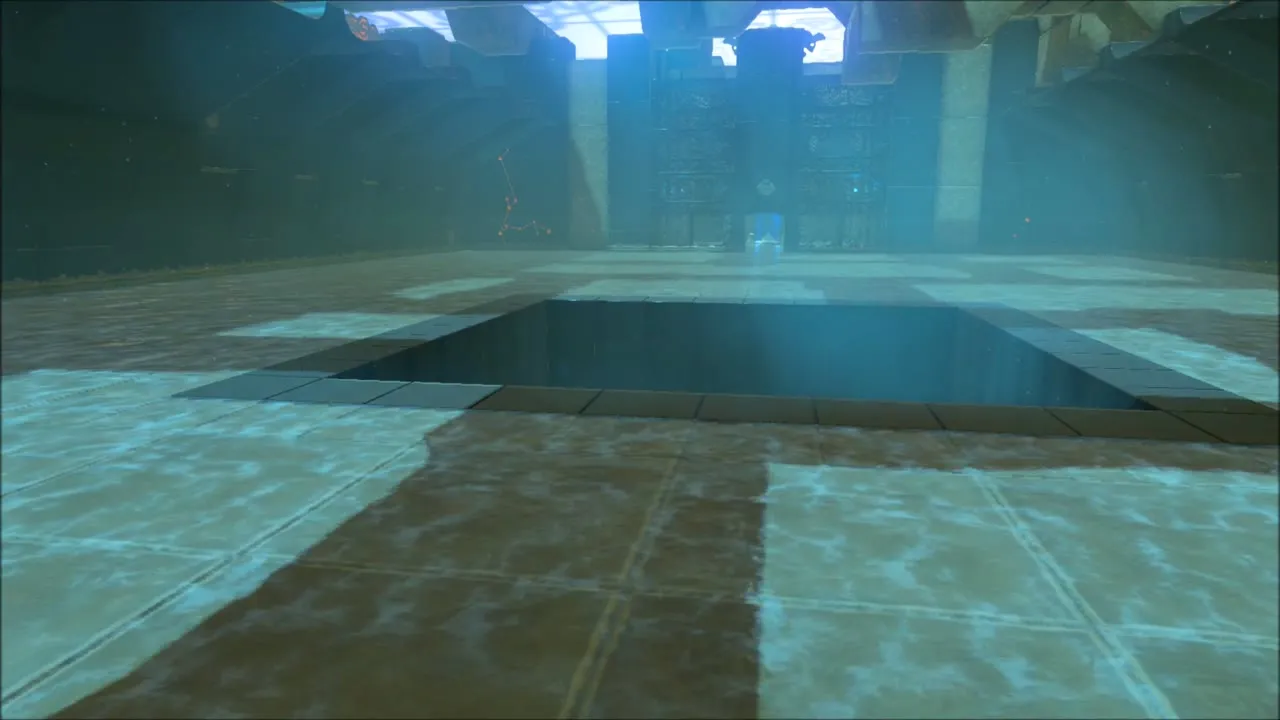
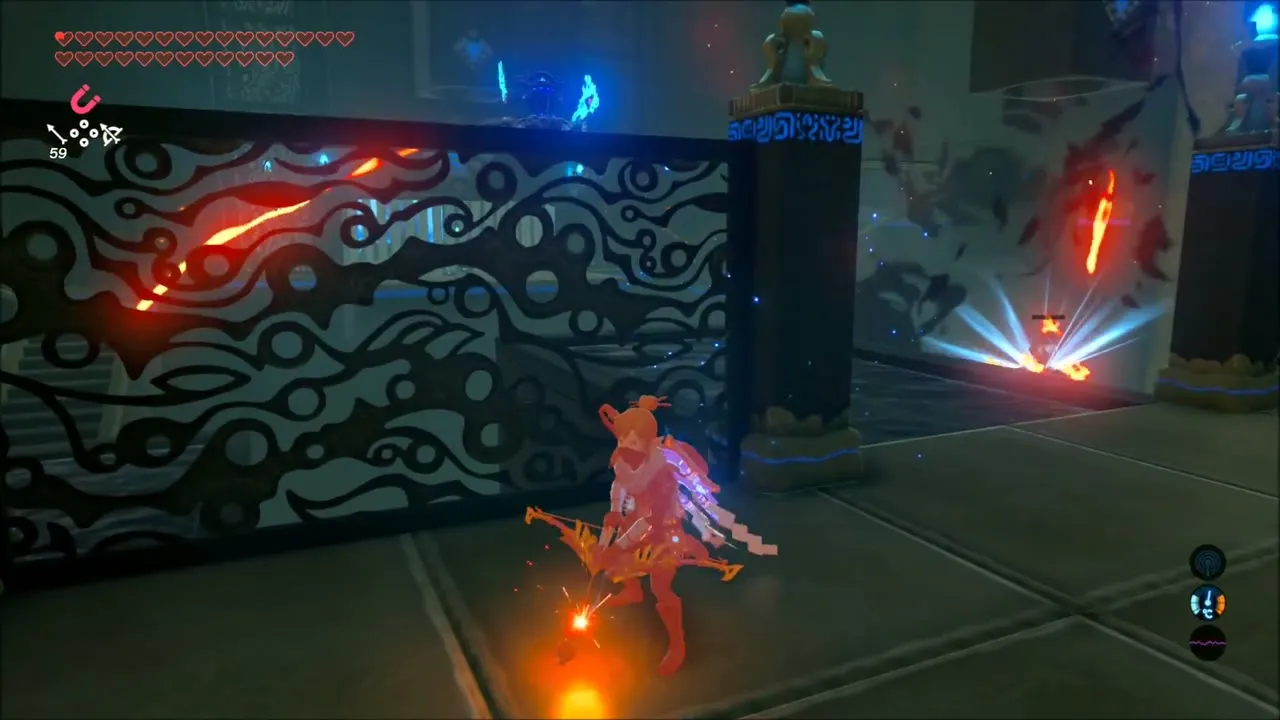
The shrine is a combat trial in a flooded hall. A Guardian waits at the start; keep your shield up, strafe around its shots and rush in when it pulls back to attack. A chest in the room holds 10 Bomb Arrows. There is no monk to greet you, so step on the plate where he would normally stand to lower the floor and open the way down.

Small Guardians and the Giant Ancient Core
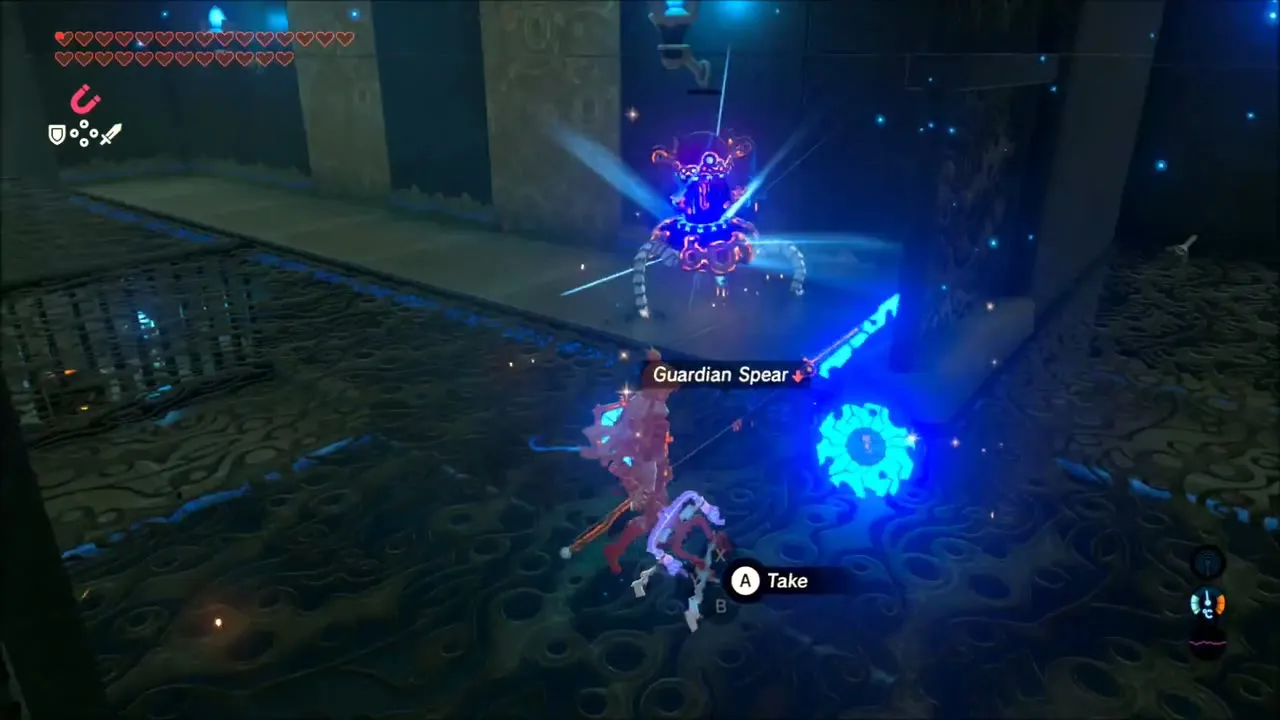
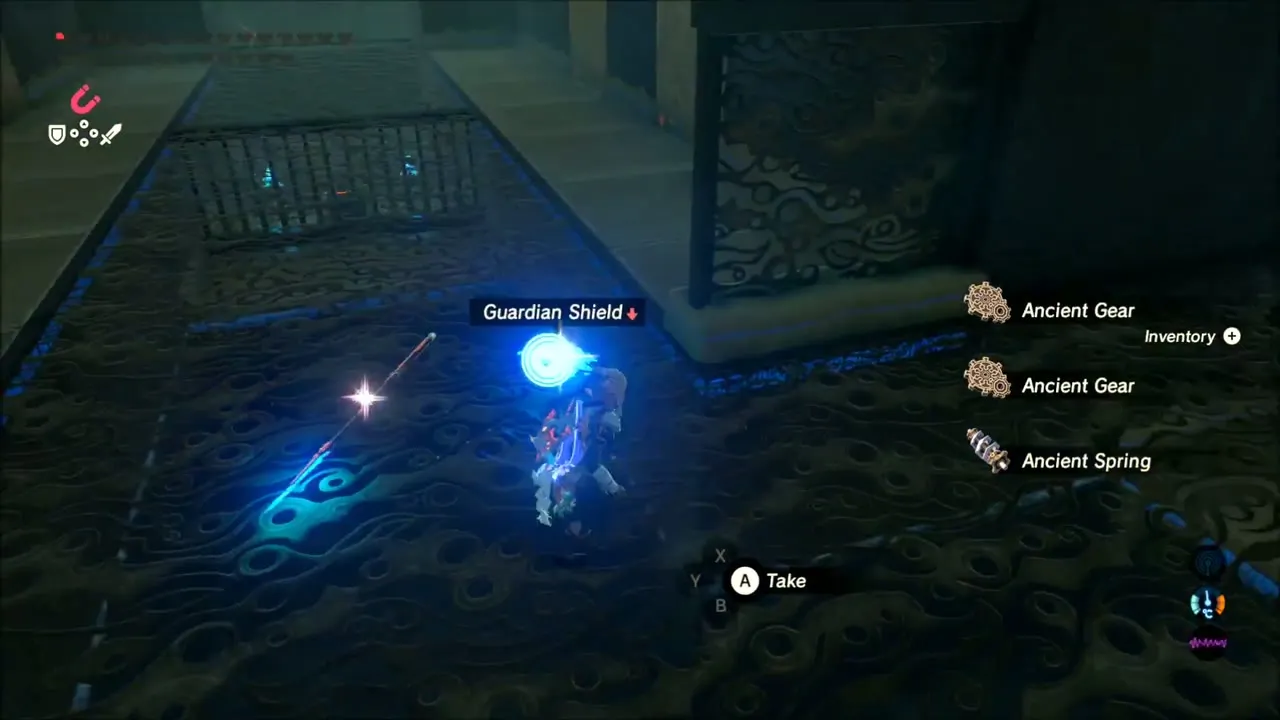
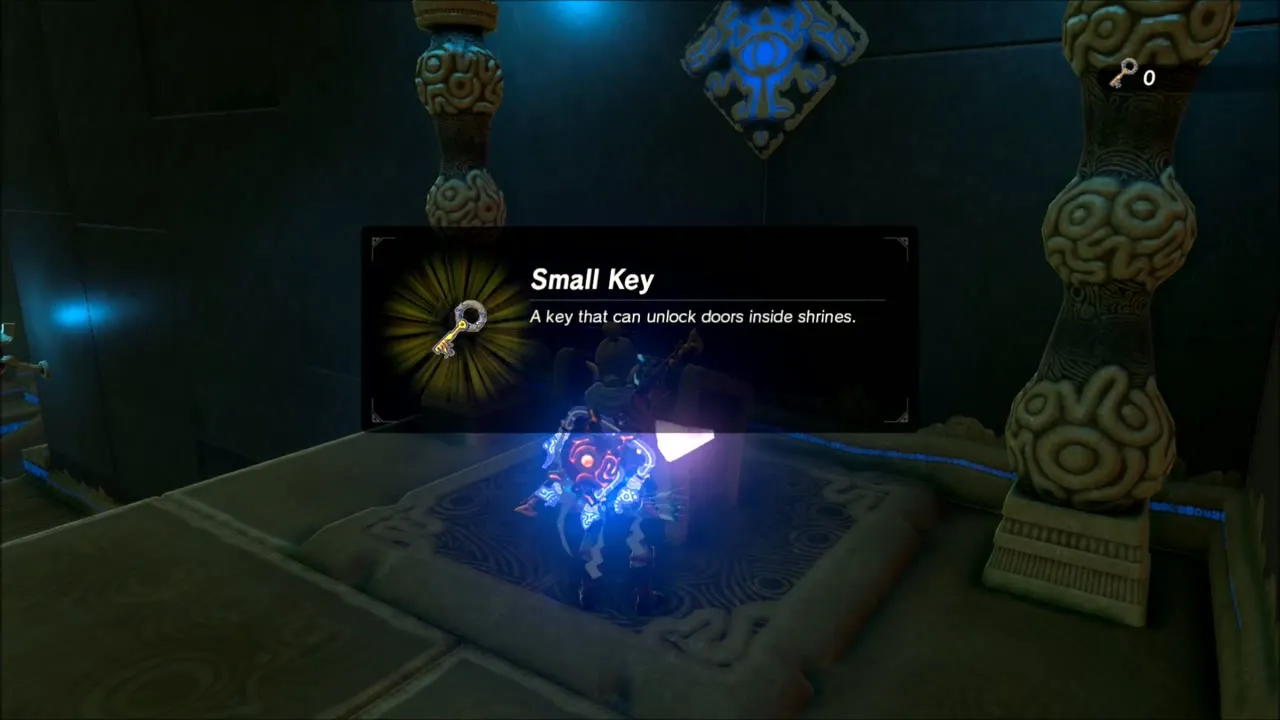
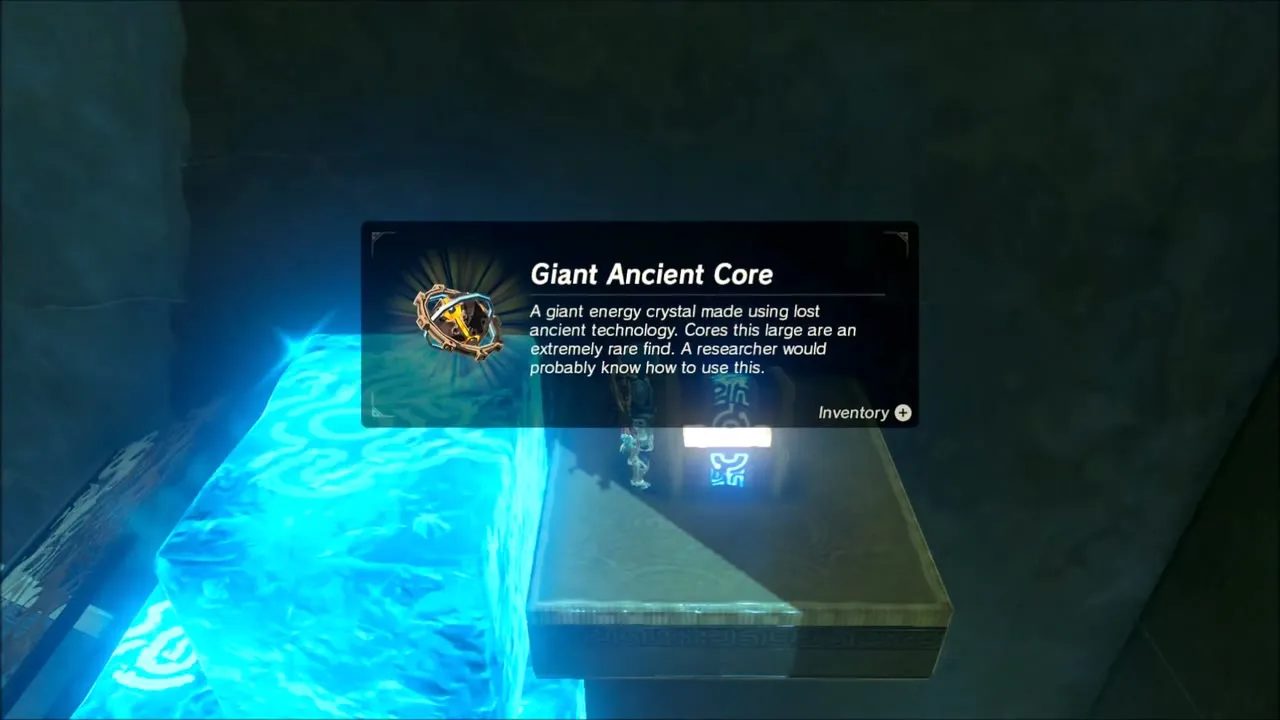
The stairs lead to a stretch of small Guardians. Block their shots and retaliate, climb to the catwalk for the rest, and pick up the Ancient parts they drop. Underneath the catwalk a chest holds a Giant Ancient Core, and another room has a chest with the key you need for the locked door.

Guardian Scouts and the Spirit Orb
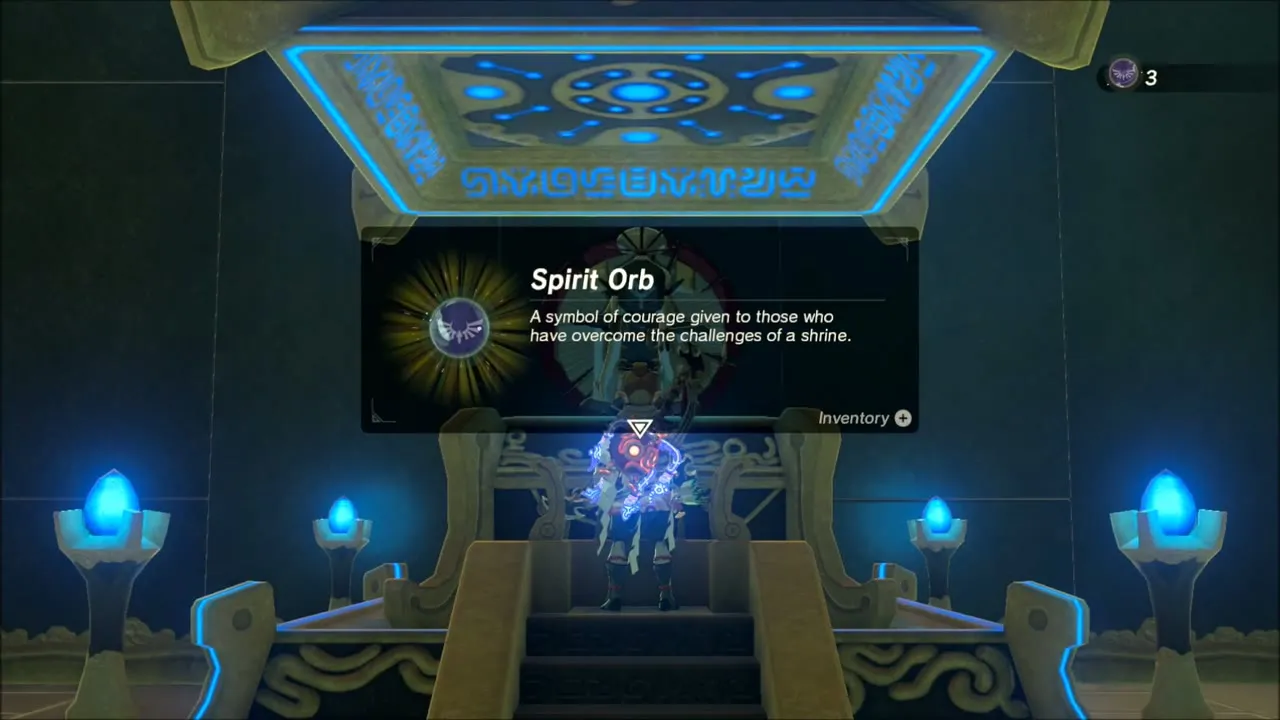
The final room drops several Guardian Scouts on you at once. Use arrows from cover, take out the low one first, then the rest, and the gate opens so the monk can give you the third Spirit Orb.


Etsu Korima Shrine: Clear the Camp on Mount Hylia
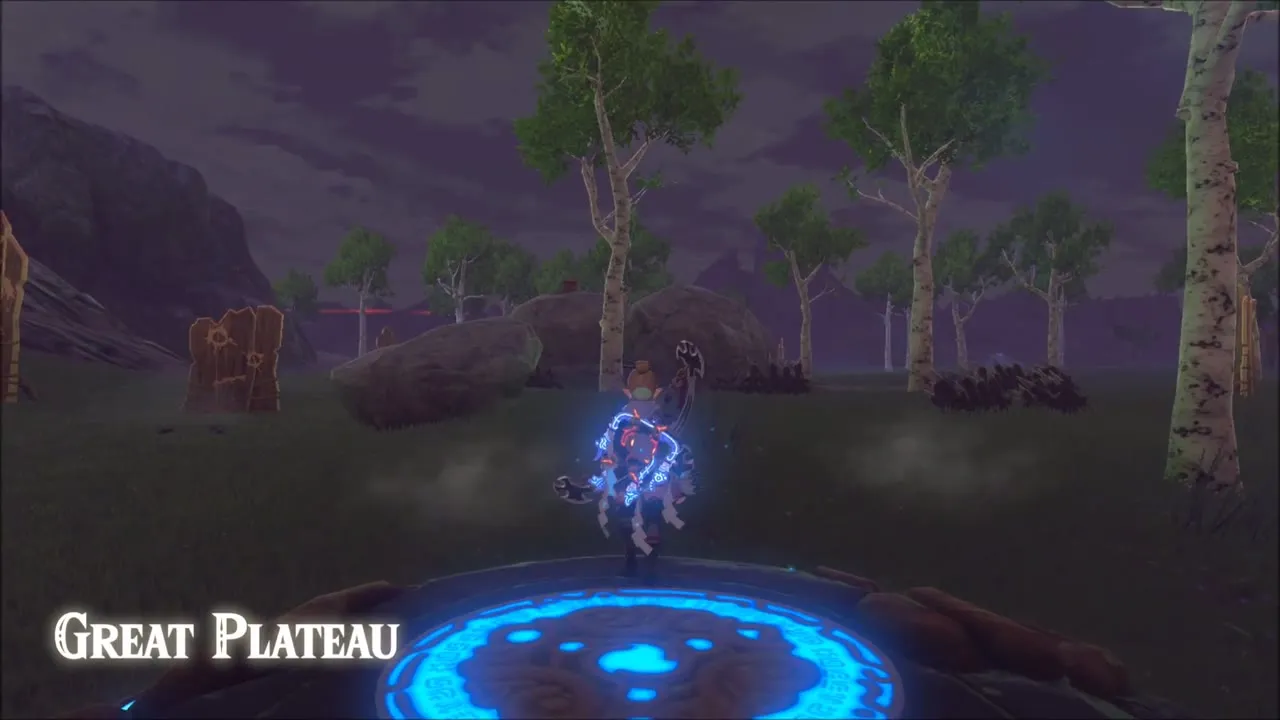
The fourth camp is on the cold slopes of Mount Hylia, south of the summit and above the River of the Dead. Warp to the Great Plateau and head up the slopes of Mount Hylia. Dress for the cold, and watch your stamina on the steep rock faces; Keese circle the ledges on the way up. Look for a ridge overlooking the camp and settle in there.
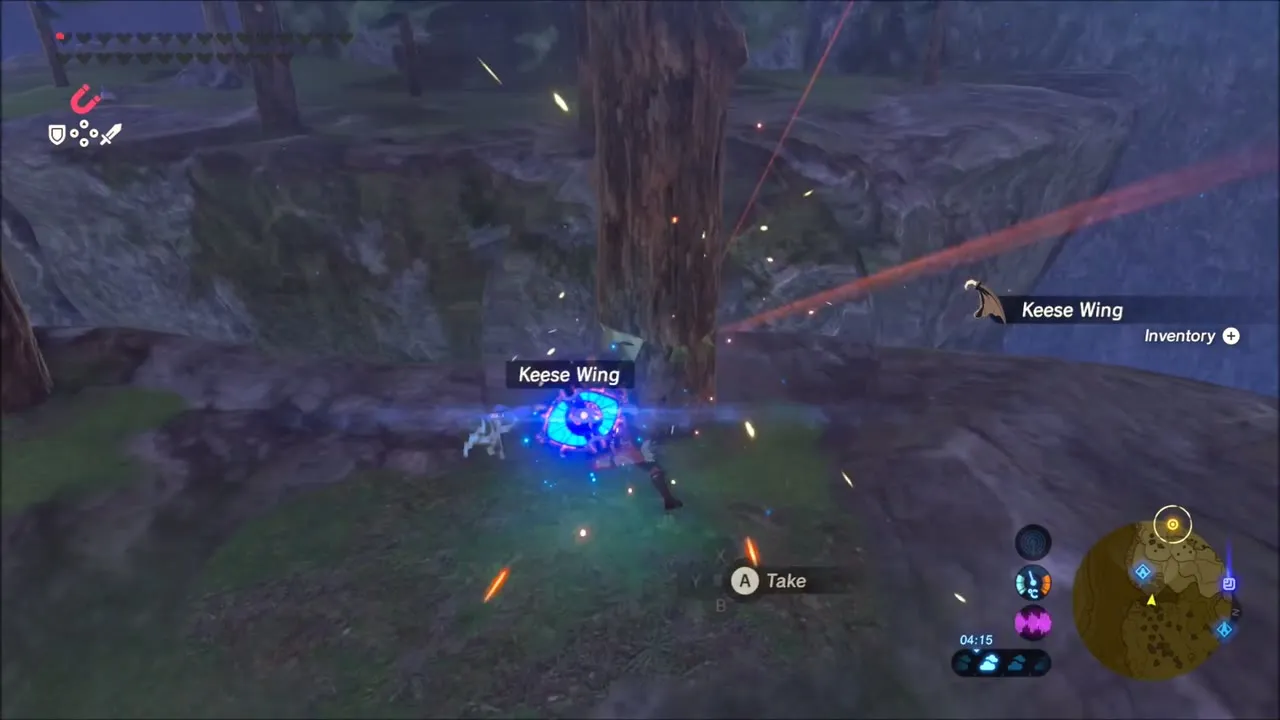
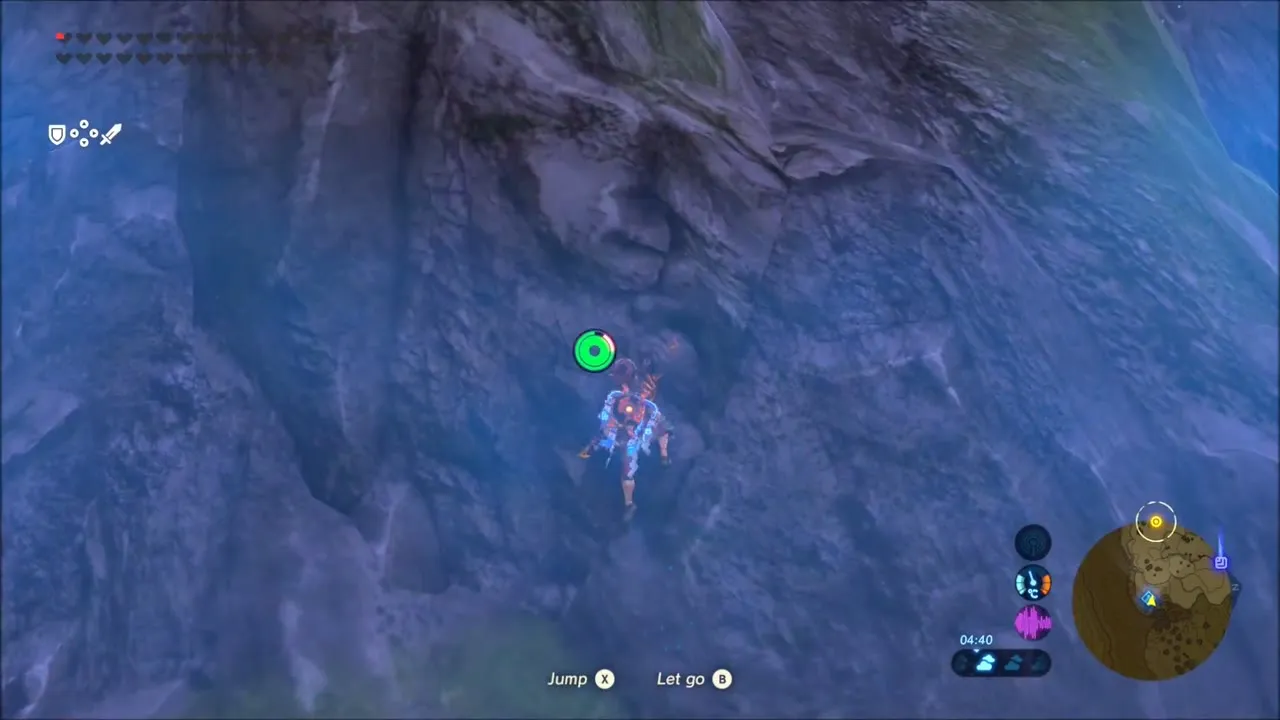
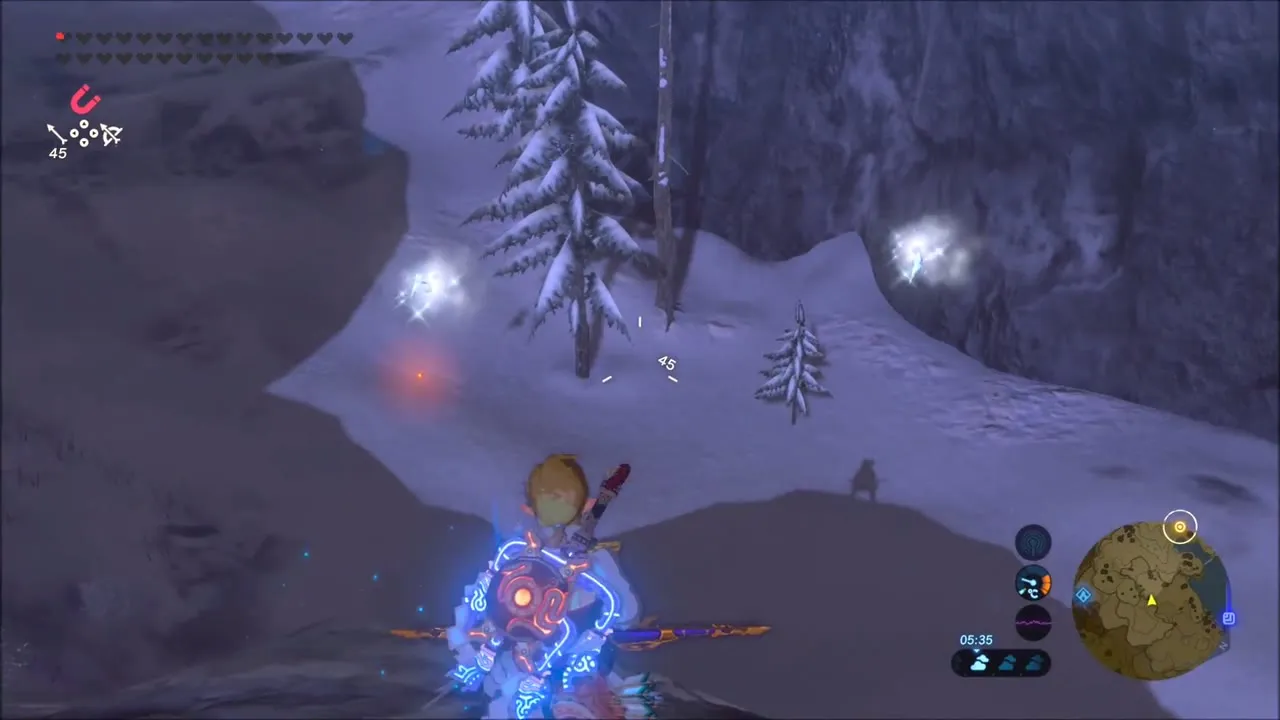
The camp holds Moblins, Frost Lizalfos and a Blizzrobe. Pick off what you can from the ridge, use fire arrows on the Blizzrobe, and then take the Lizalfos and Moblins one at a time, keeping out of view of the Moblin that carries ice arrows. Once everyone is down, Etsu Korima Shrine (Path of Light) appears at (-1216, 2111).

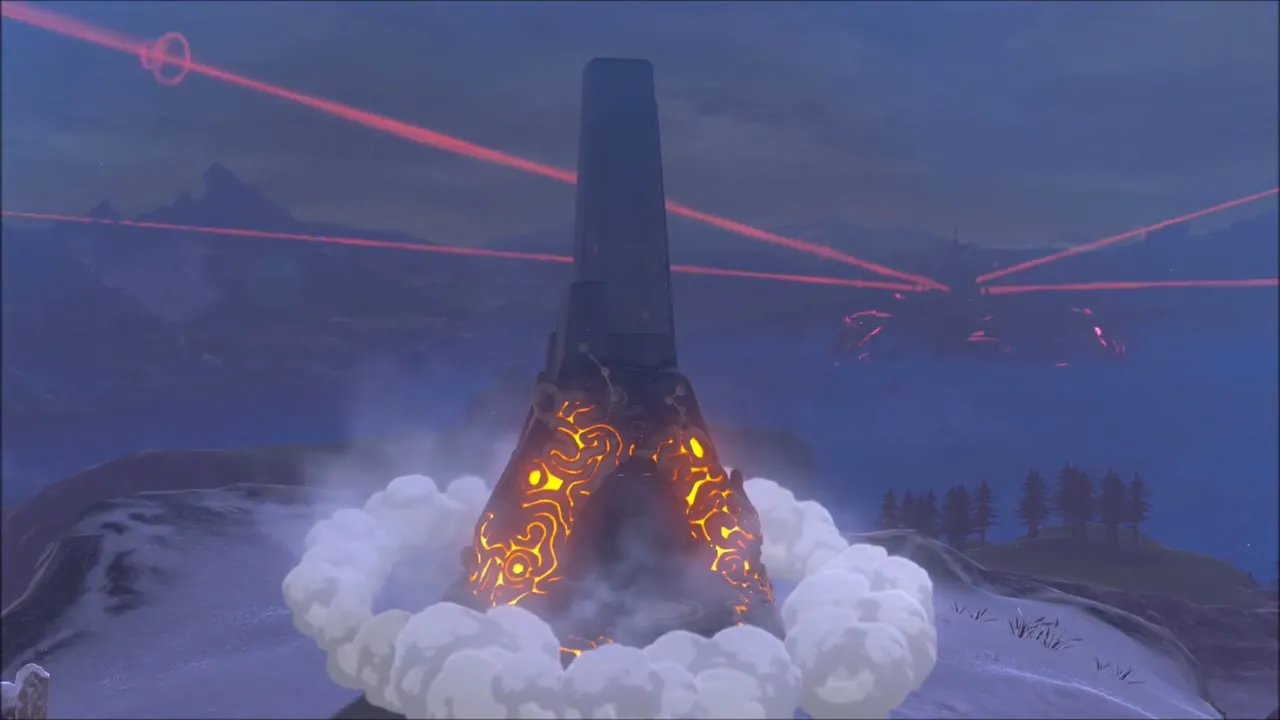

Etsu Korima Shrine: Path of Light Walkthrough
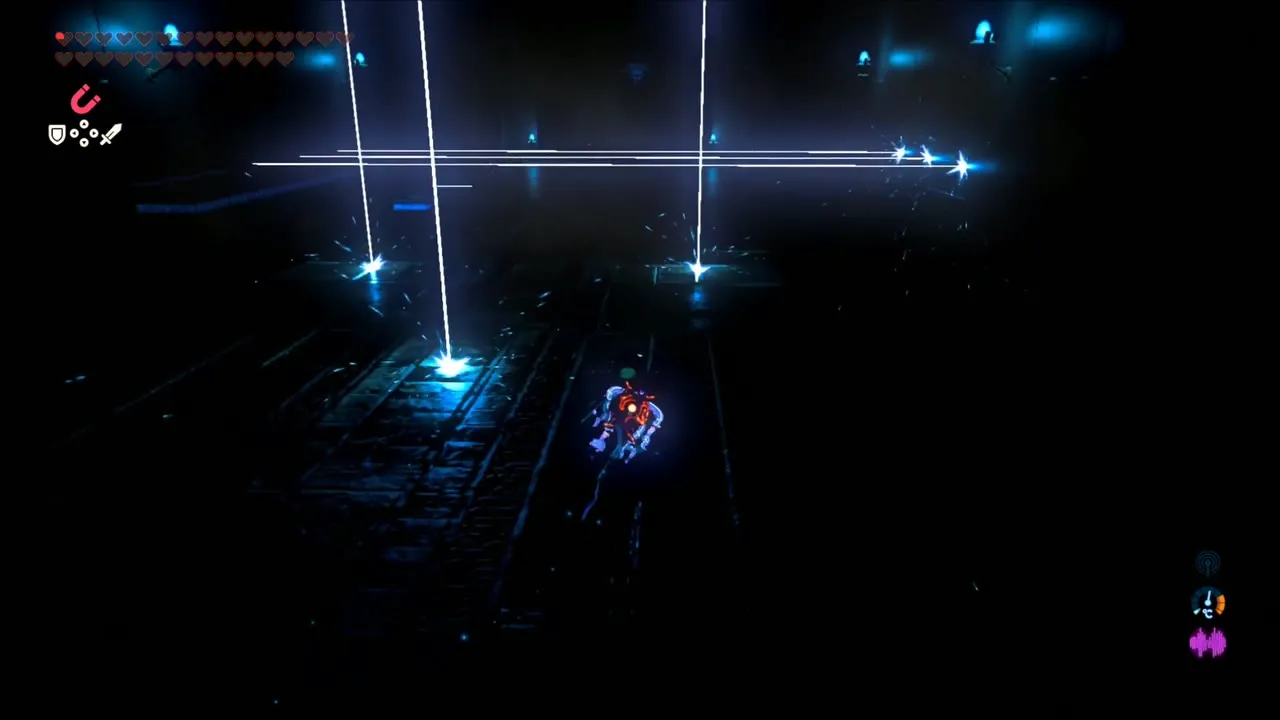
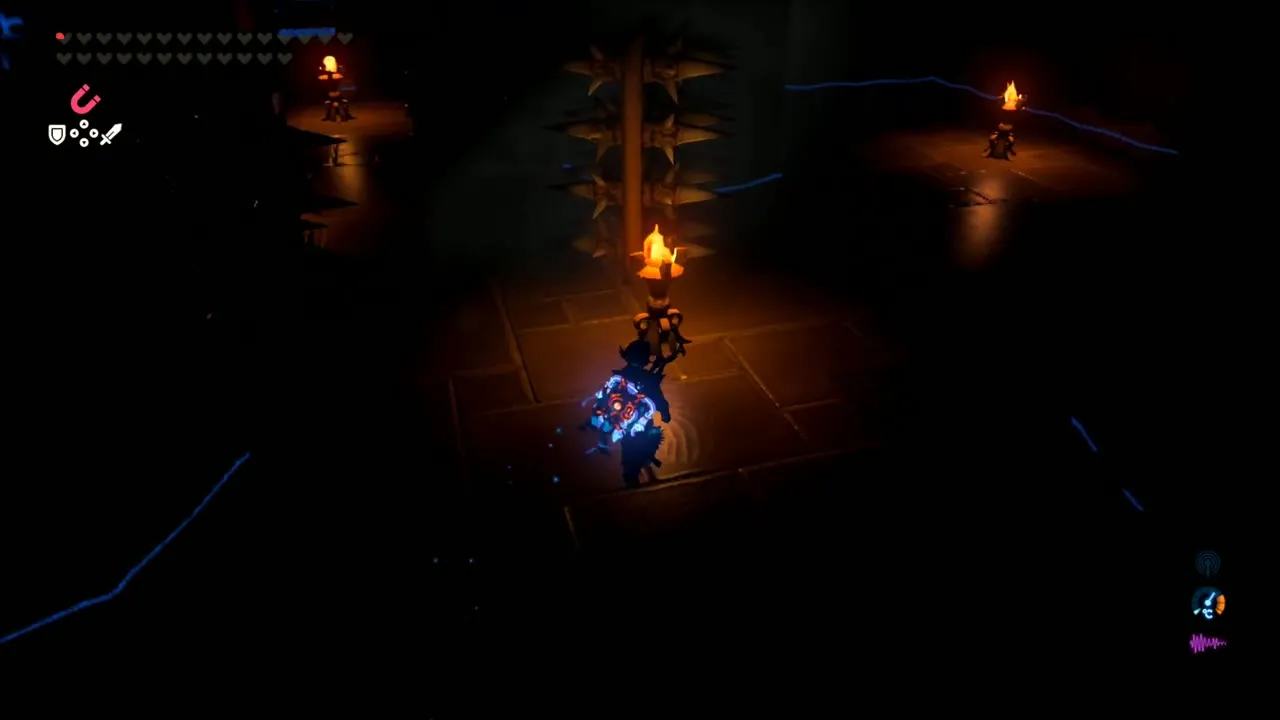
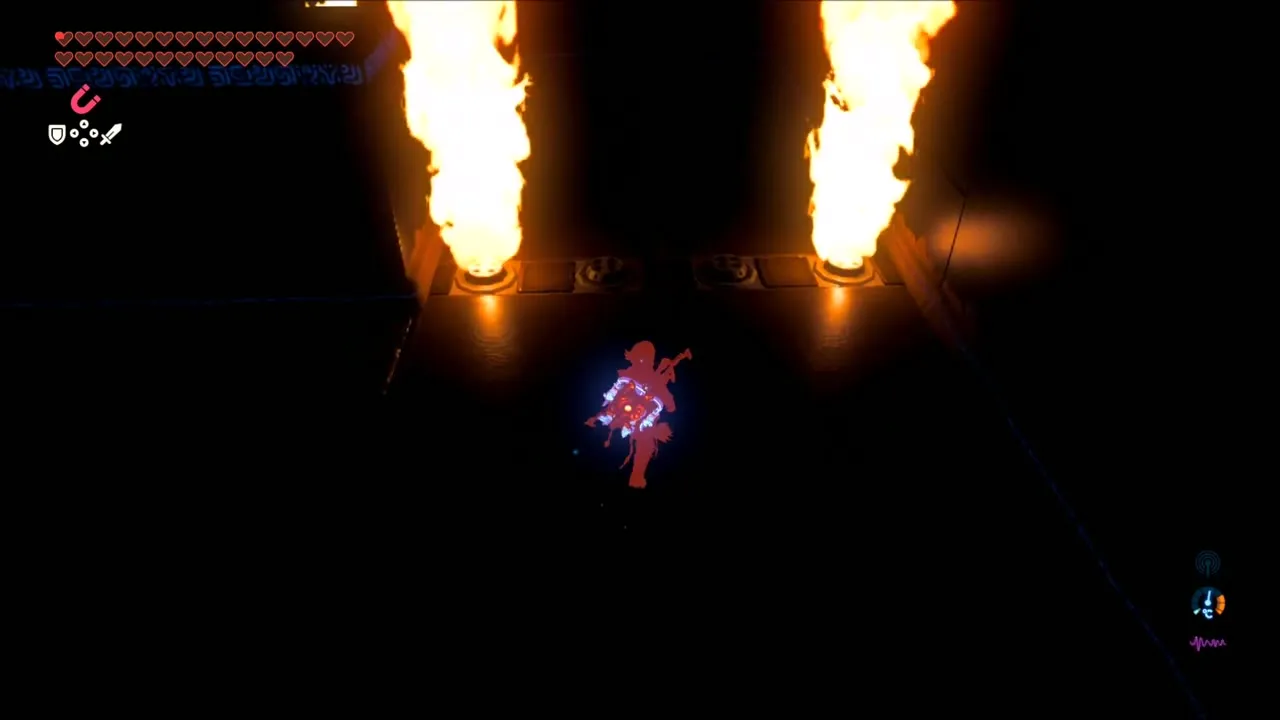
The shrine is almost pitch dark. Run around the first lasers, duck the next ones and time the last on its moving platform. Down the stairs, big spiked walls sweep the floor, and torches mark the safe spots; a wooden ledge nearby can be reached by burning the leaves, and it holds a chest with 300 Rupees. A path lined with flame pillars comes next, then three Guardian Scouts emerge from the dark, so hit one first and raise your shield for the rest. Climb the long stair to the monk for the fourth Spirit Orb.

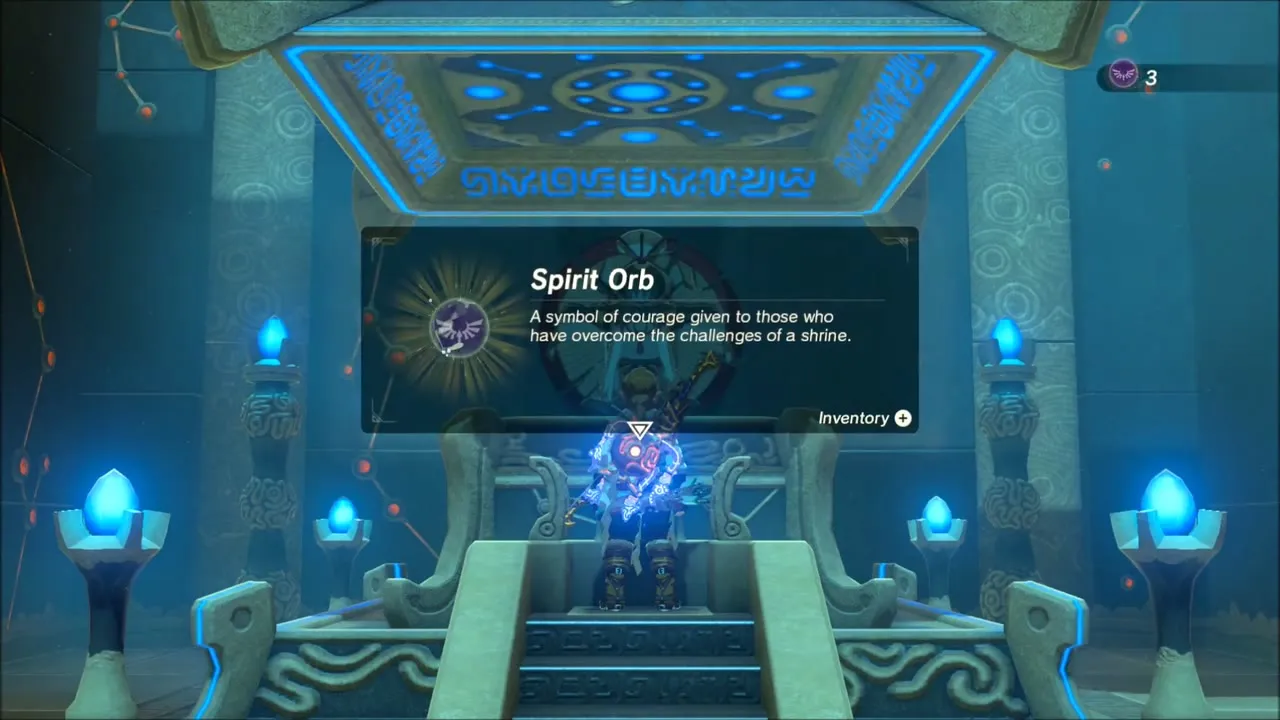
The Monument on the Mountain Peak: The Four Trials Are Done
With the four Spirit Orbs in hand, you are carried to a glowing Sheikah monument. It tells you that you have proved your power and that a new journey awaits, then directs you to four far-off places revealed on your map, each connected to one of the Champions. That ends the Divine Beast Tamer’s Trial; from the snowy peak you set out for the first of those places, the desert.
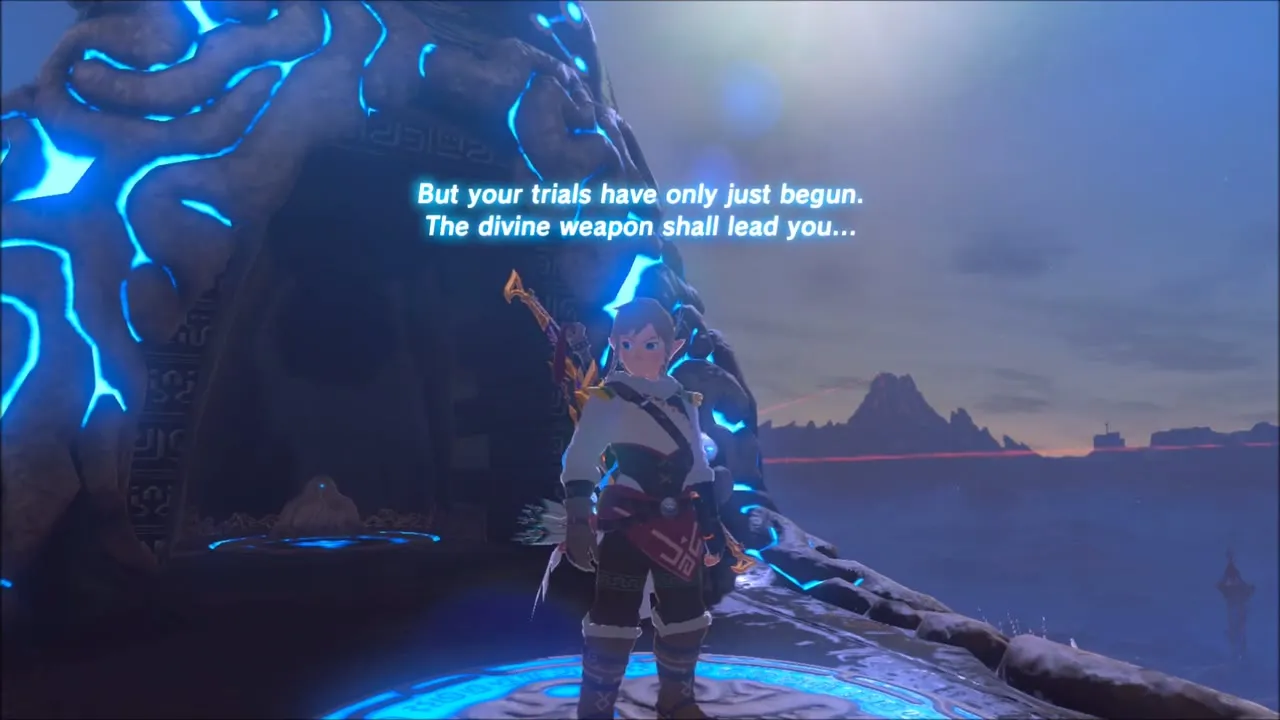

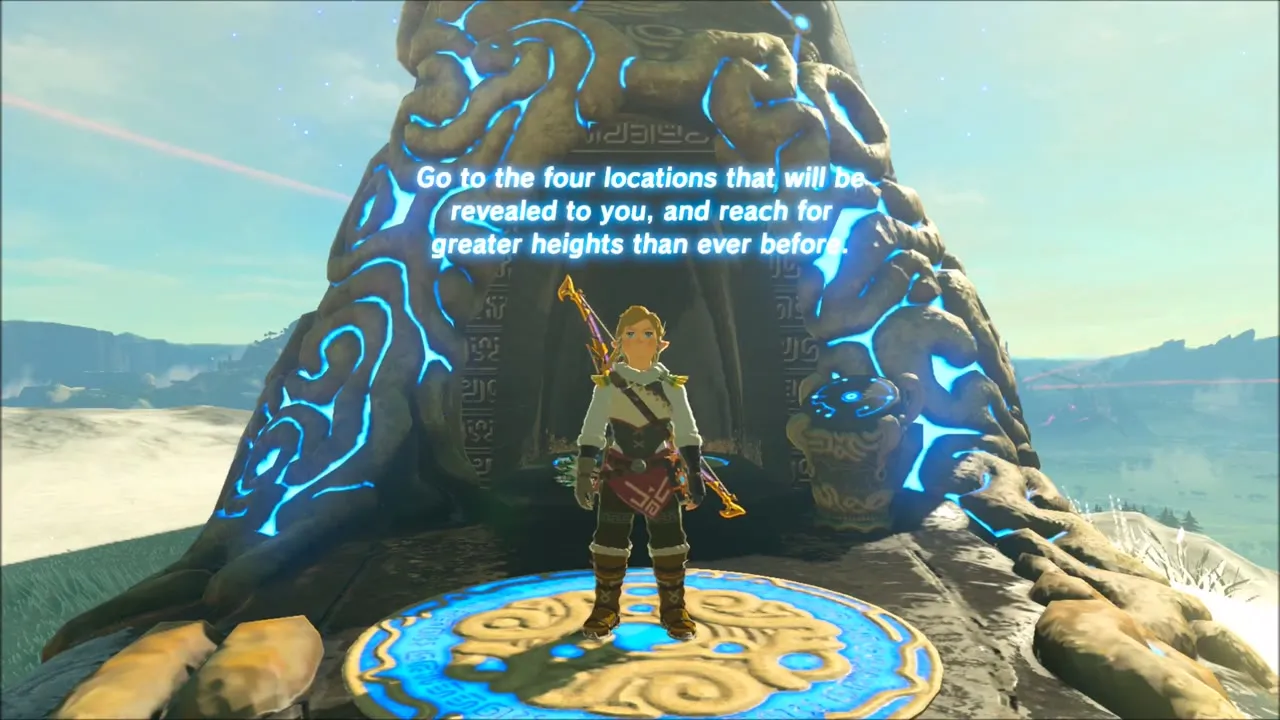

Urbosa’s Song Start: Find the Monument and Kass in the Gerudo Desert
Warp to the Divine Beast Vah Naboris Travel Gate and head out across the sand. The monument is on East Gerudo Mesa, not far south of Vah Naboris. Climb the cliffs to a ledge that faces the small mesa and glide across to it.

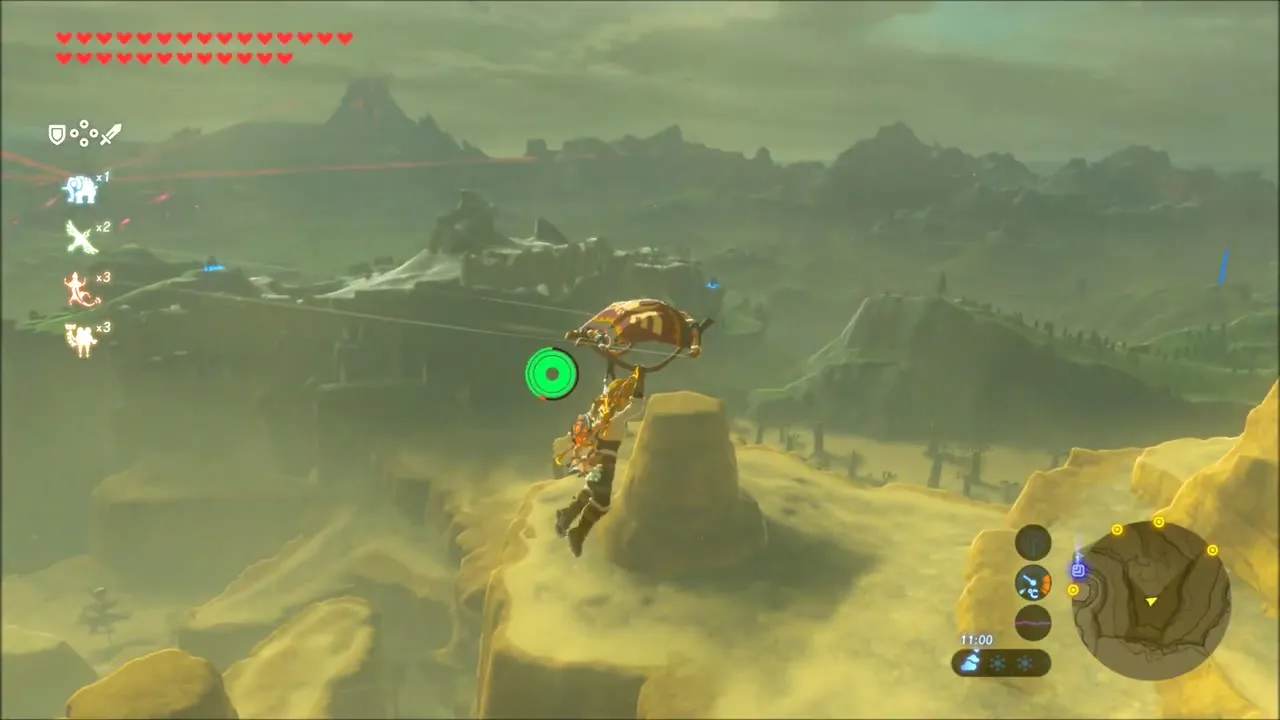


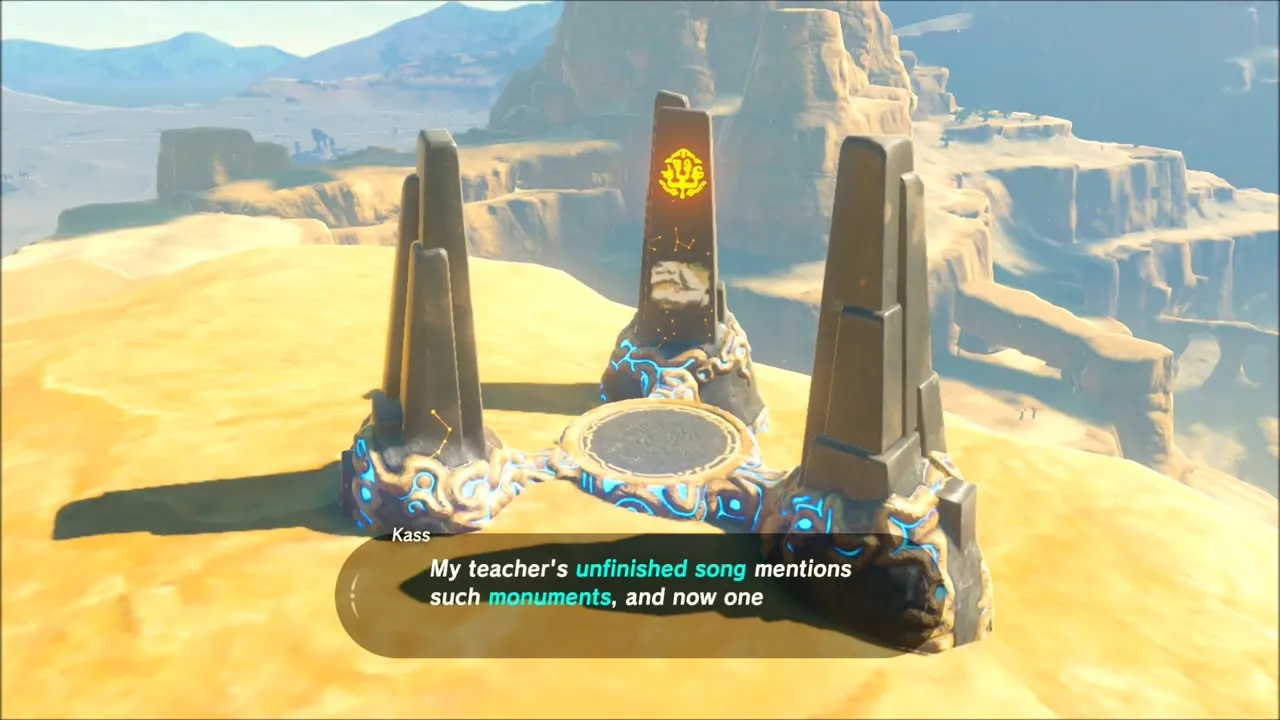
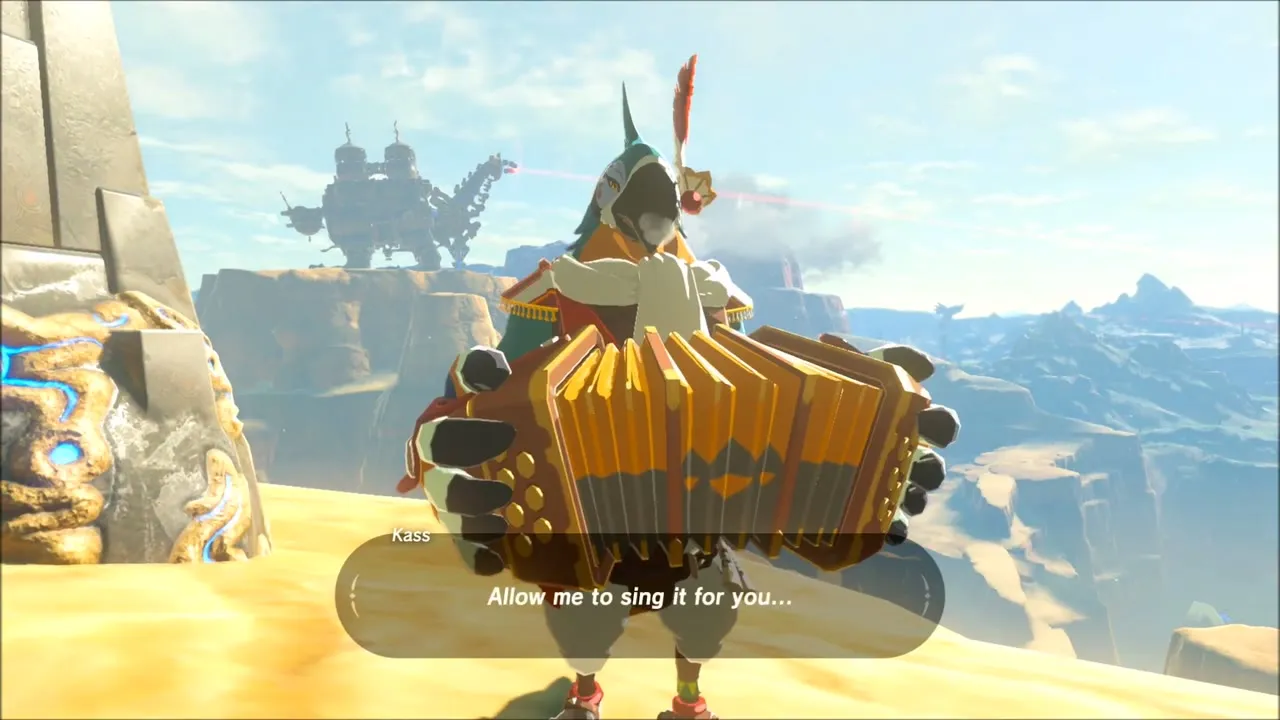
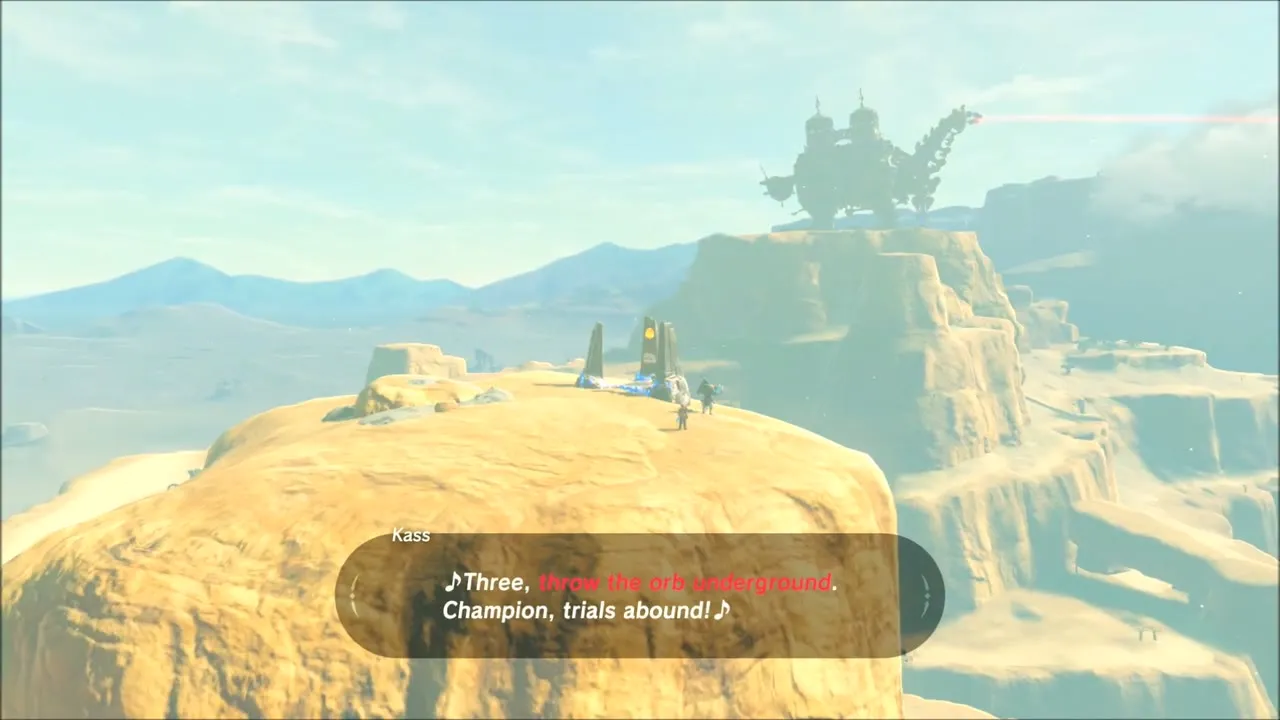
At the pedestal you find Kass, who is working on his old teacher’s unfinished song. He explains that the song mentions monuments like this one. The three obelisks on the pedestal show map locations of the shrines you must uncover, and his verse counts out the trials: fight the brute of sand, chase rings upon the land, throw the orb underground.
How to Beat the Molduking in the East Barrens
The first trial is “fight the brute of sand”, which unlocks Keive Tala Shrine. Leave the mesa and cross the dunes by glider and sand seal, heading for the East Barrens, and climb onto one of the stone pillars standing in the sand.

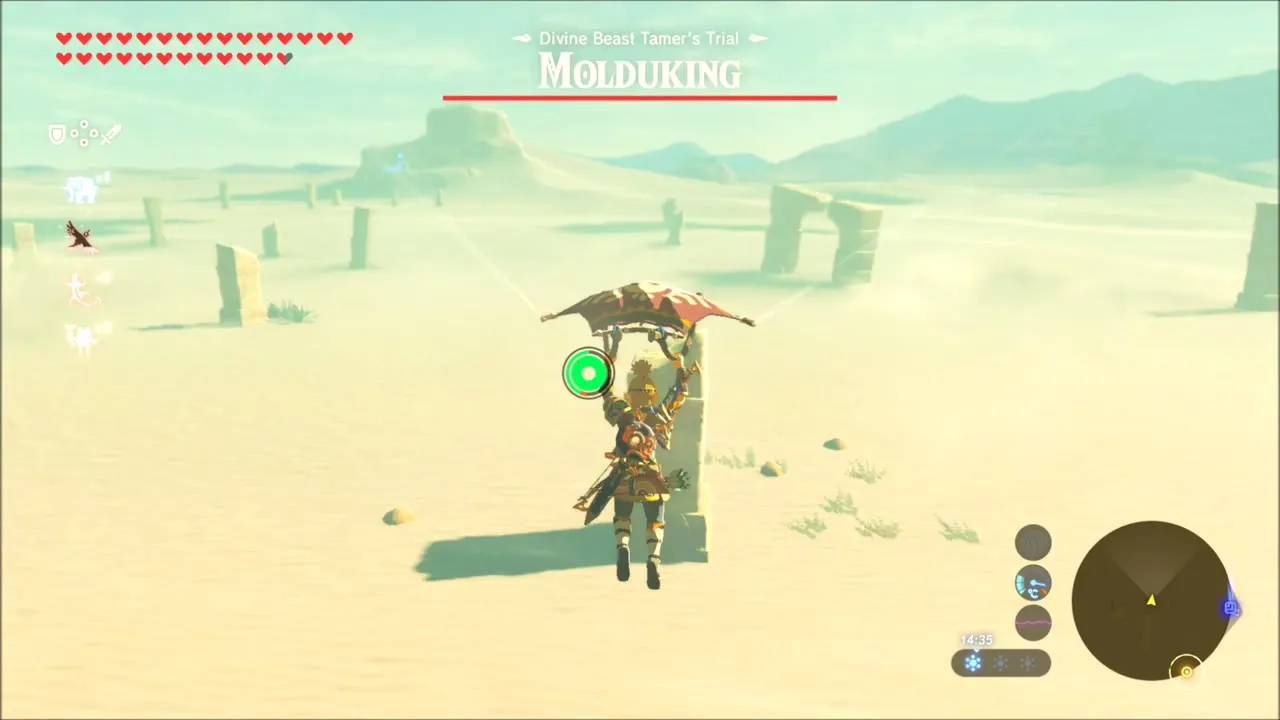

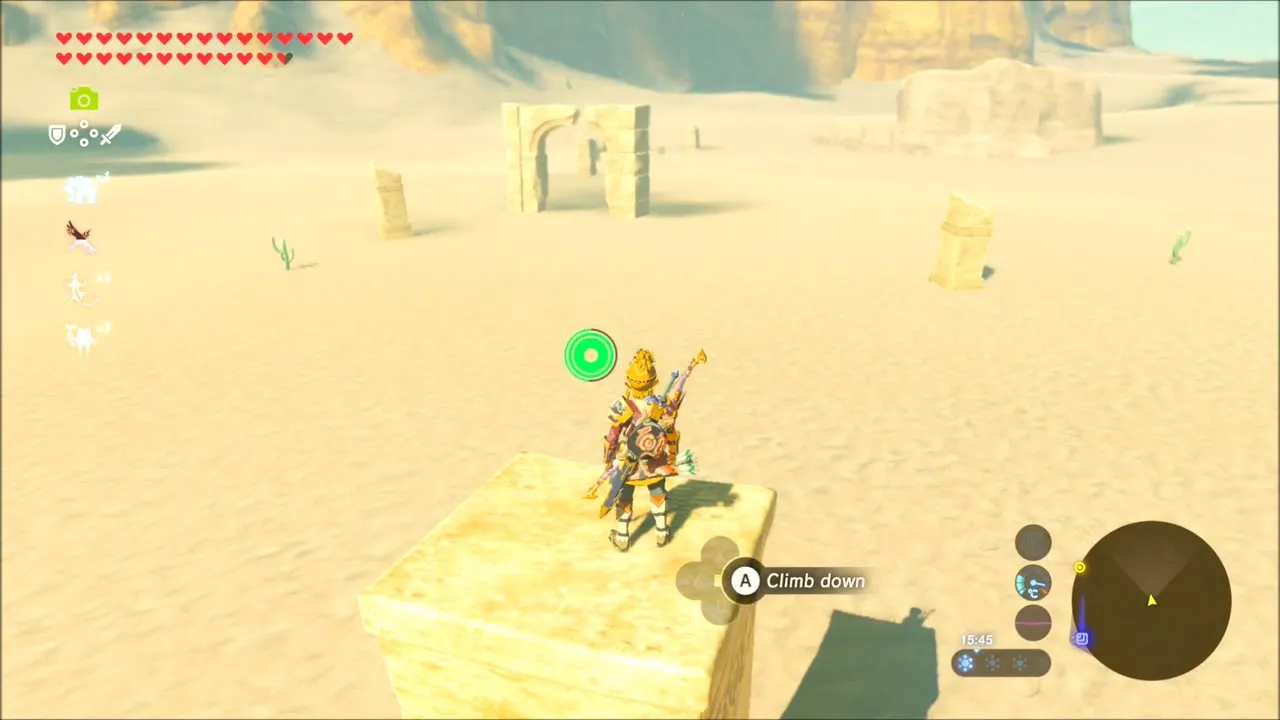
The Molduking is a larger version of the Molduga. From the top of a ruined pillar or stone block, throw a bomb into the sand to draw it out, then detonate the bomb as it leaps up to swallow it. That stuns it, so shoot or strike it while it is down. Back off when it thrashes, since it can kill you very quickly. Thunder weapons and shock arrows are especially effective.


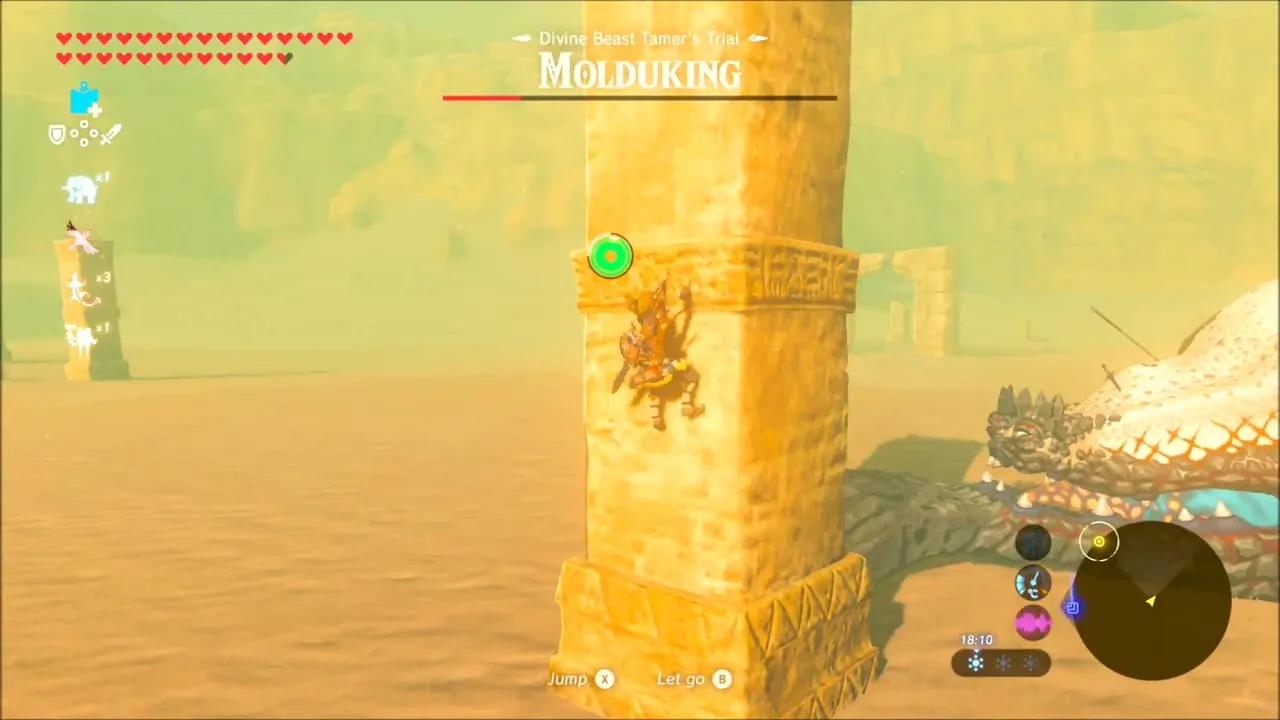

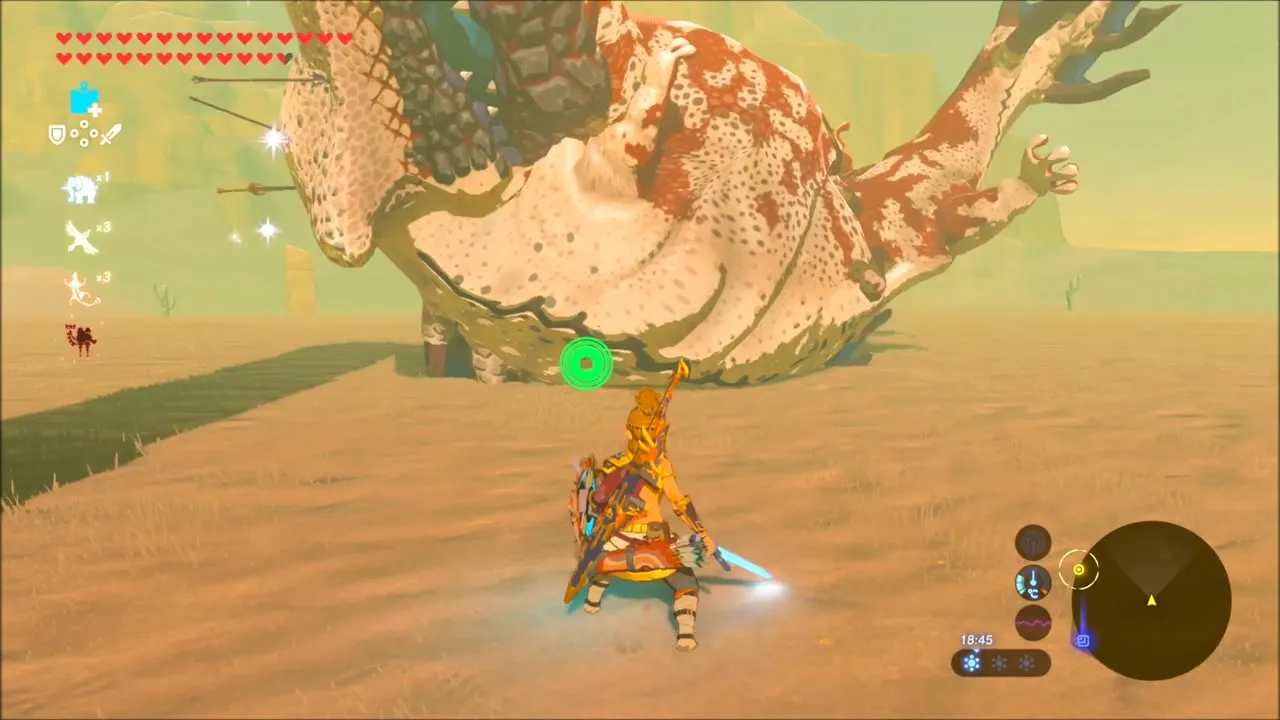
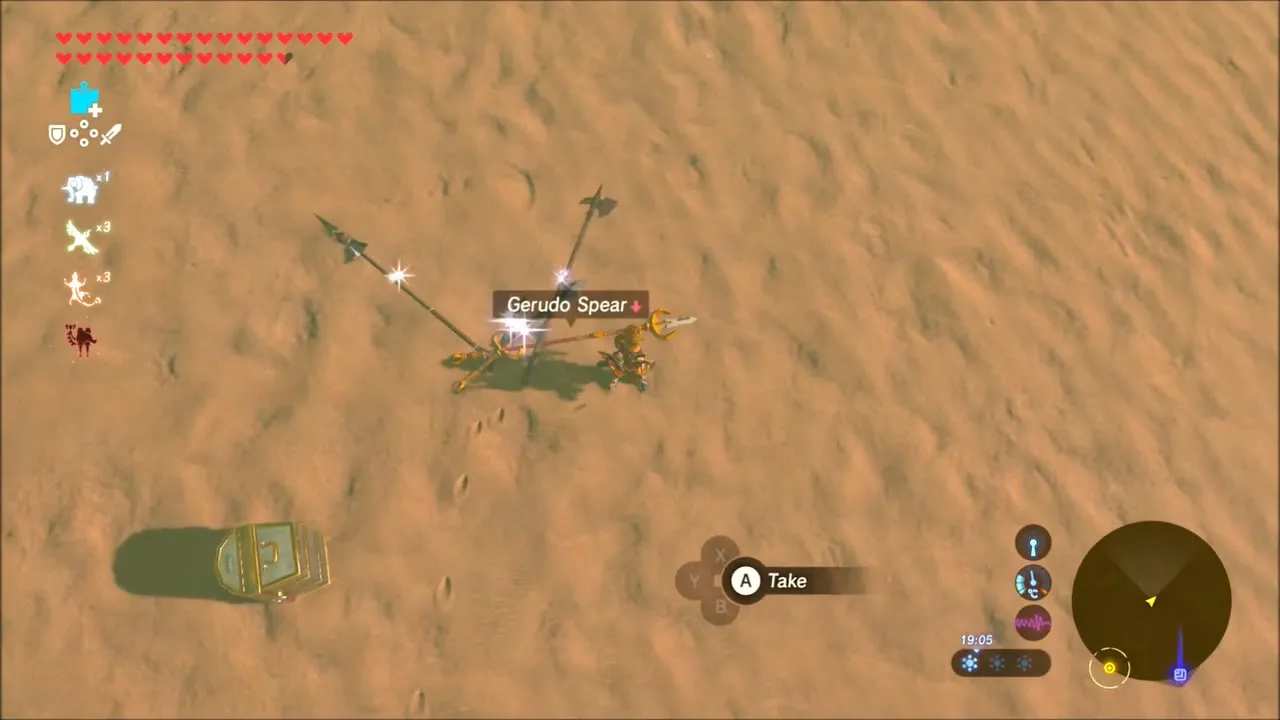
After enough bombs and arrows it flops over dead. Loot what it leaves behind, such as a Gerudo Spear, and the shrine rises at (-2340, 3901).


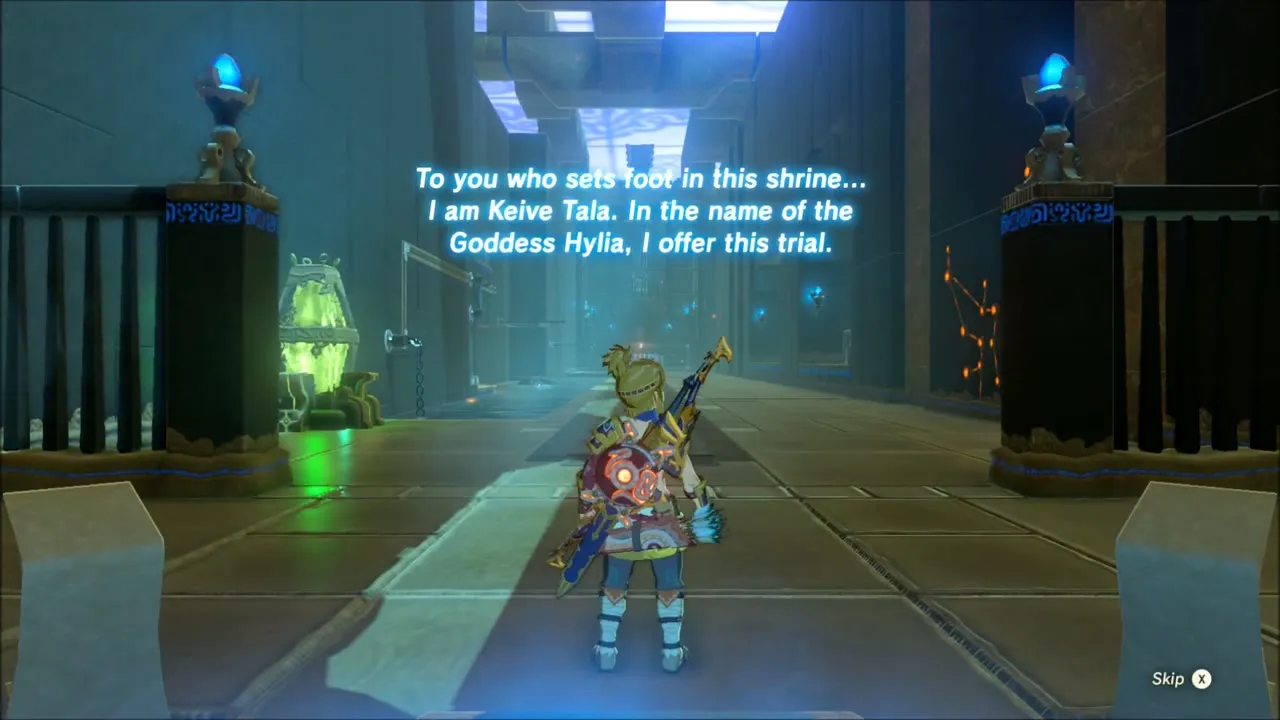
Keive Tala Shrine: Big or Small Walkthrough
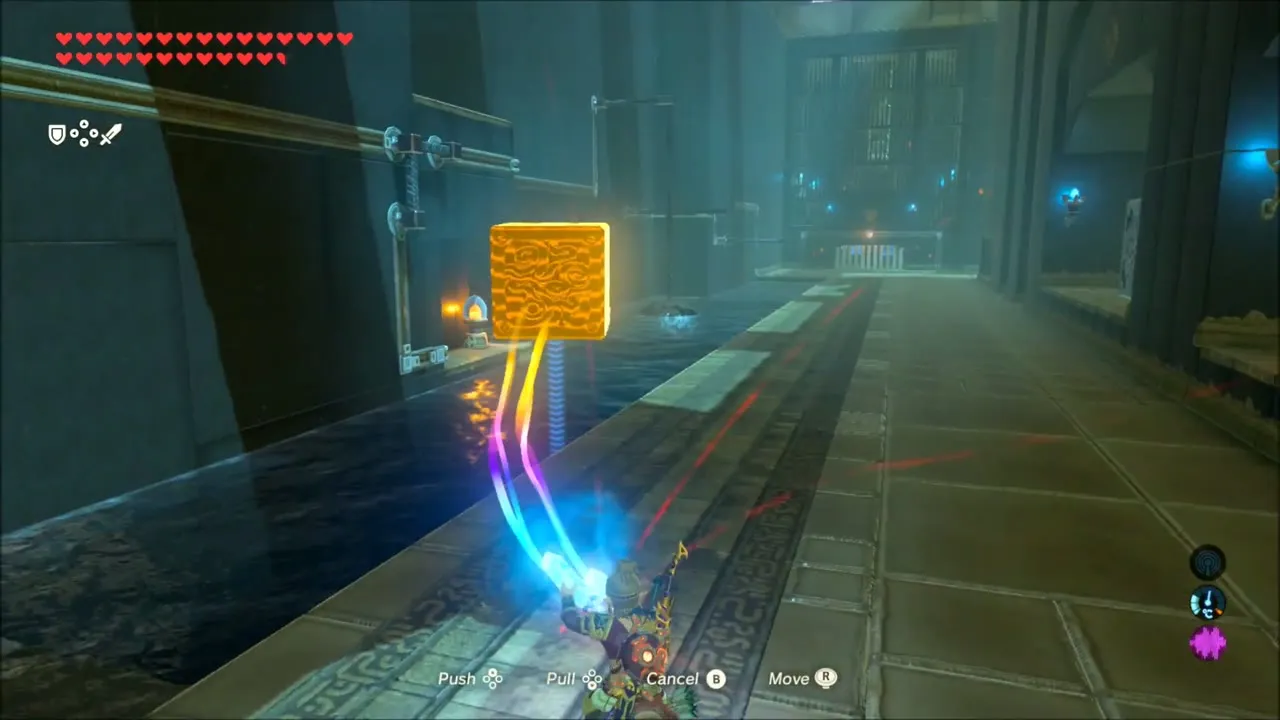
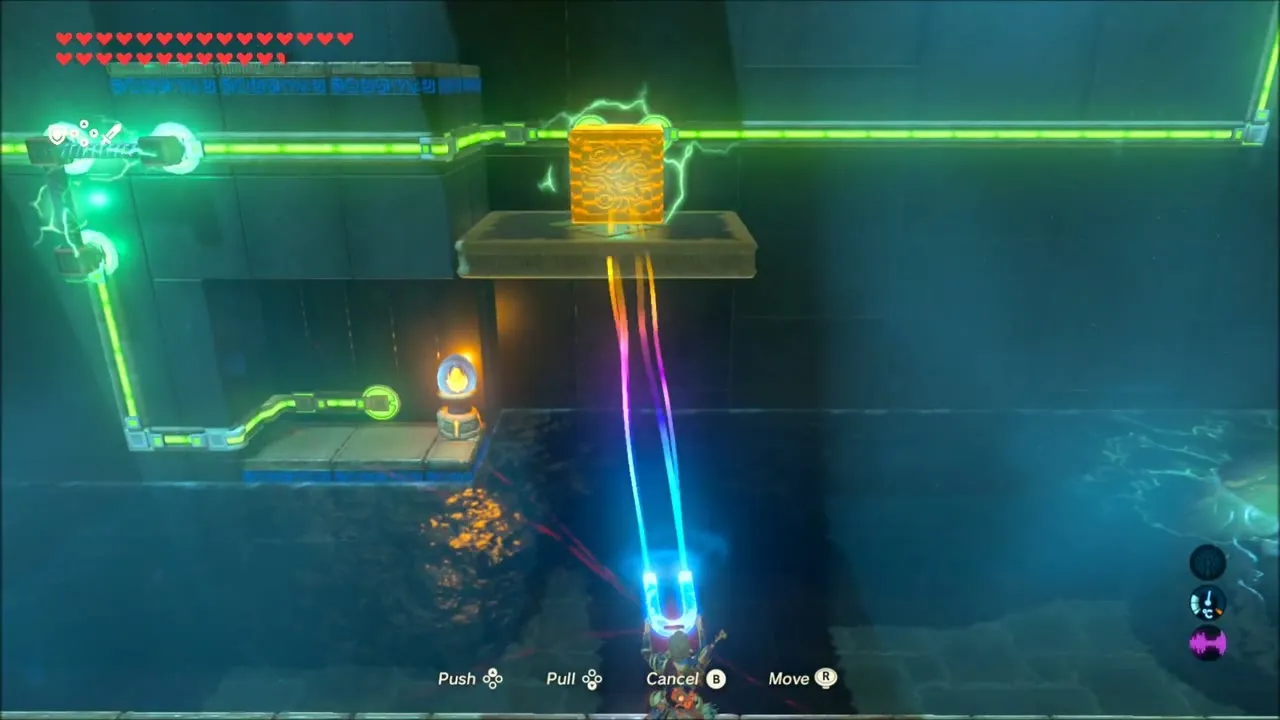
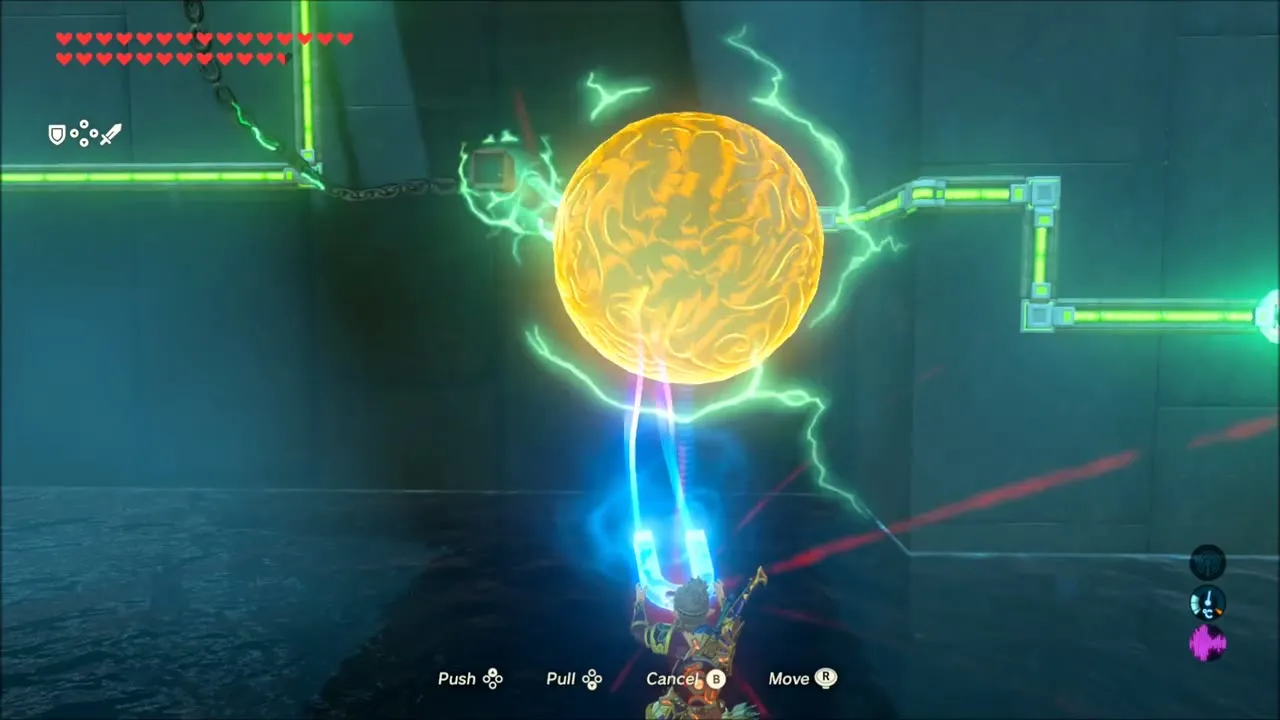
A power line runs along the hall, and you complete it with metal objects. Set a small metal box in the water between the two chained balls so they connect. Drag another small box to the orange switch to raise a moving platform, then take the box off and place it on the platform to link the lines. Use Magnesis to hang the big ball and chain over the nearby pole, then place the giant metal box under the line with the help of a Cryonis block so that the gate to the monk is powered.
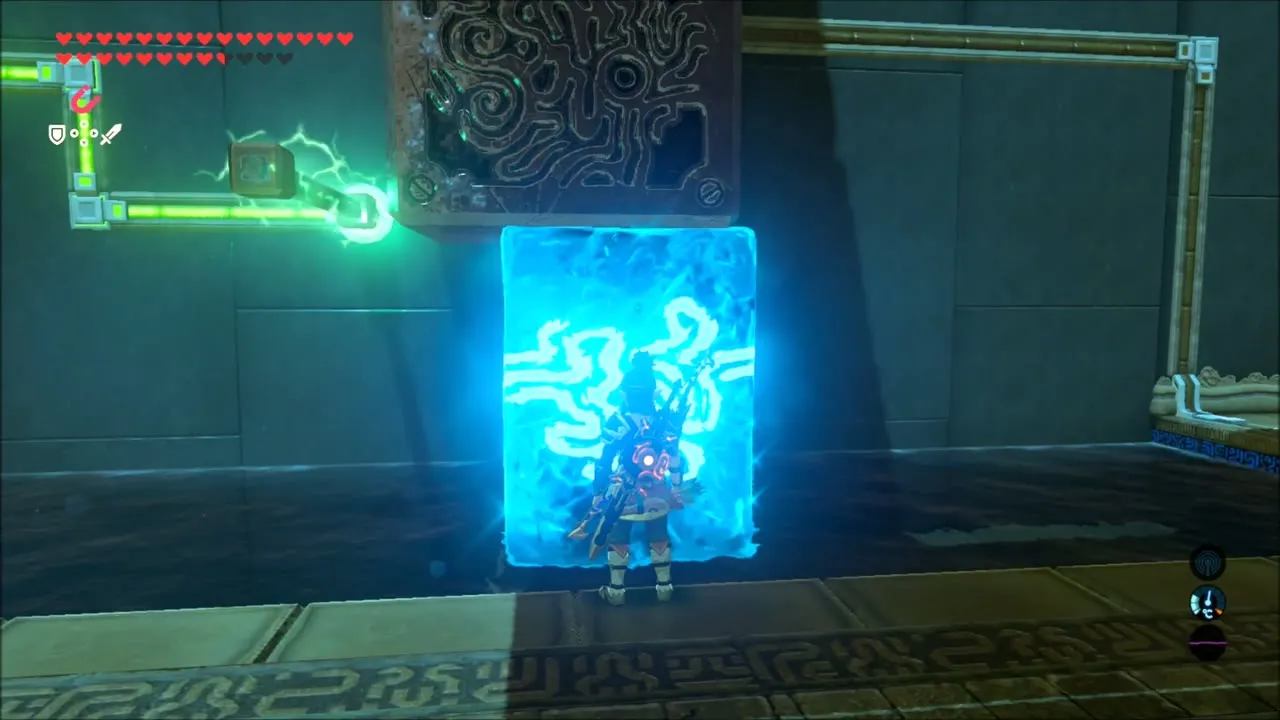
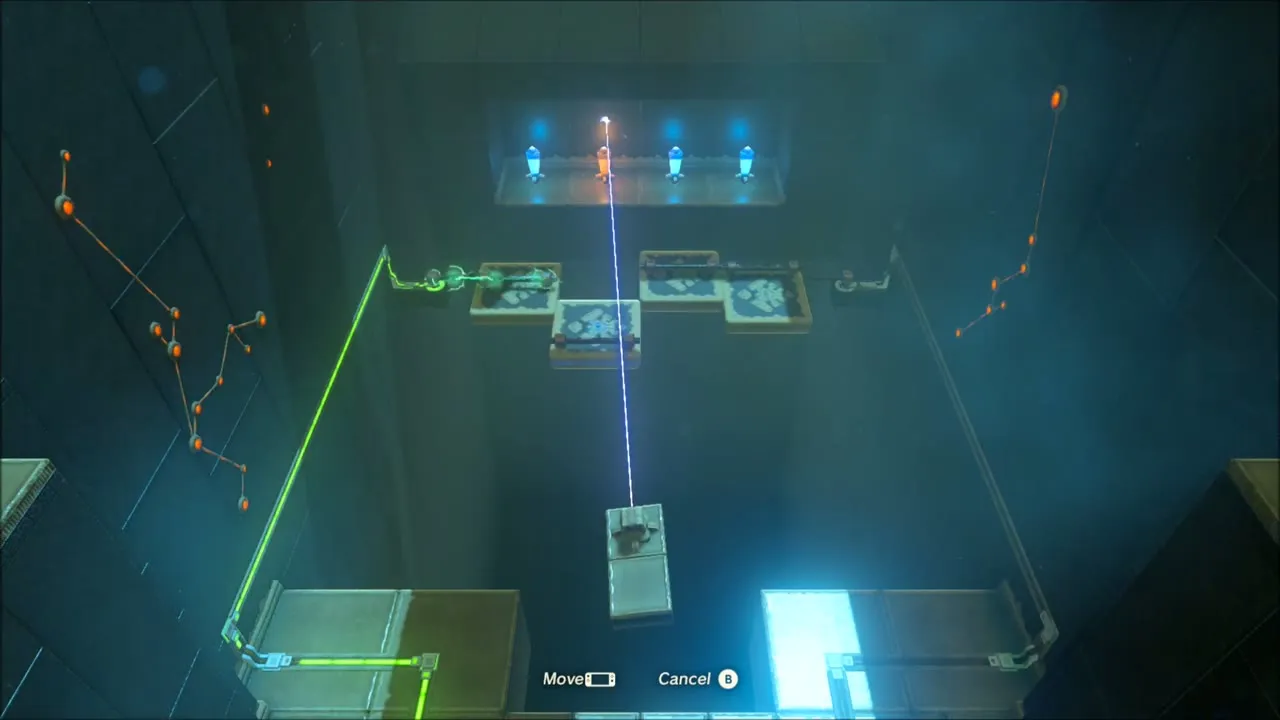
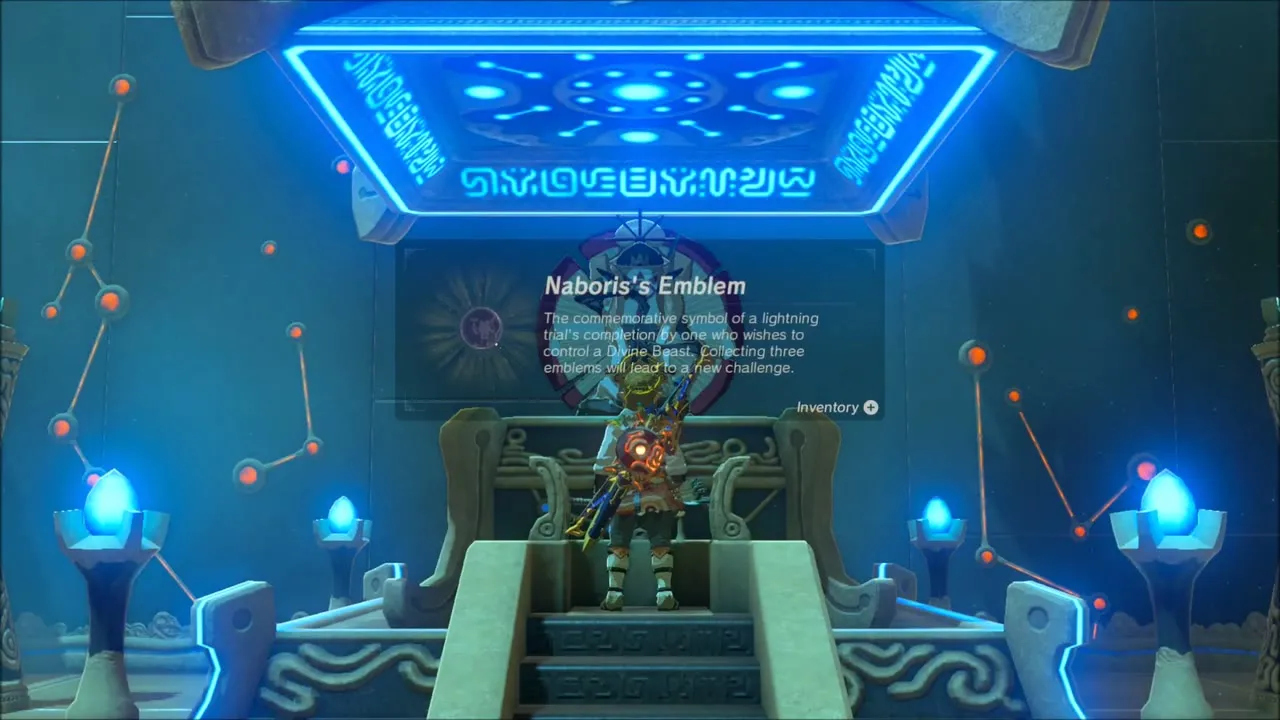
For the optional chest, take control of the laser machine beside the monk and aim it at the switch on the moving metal platforms, so they stop at the right height and form an electrified bridge. Beyond it is a chest holding a Radiant Shield. Then talk to the monk for Naboris’s Emblem, one of the three emblems needed for the challenge at the Divine Beast.


Takama Shiri Shrine: Chase the Rings in the Sand
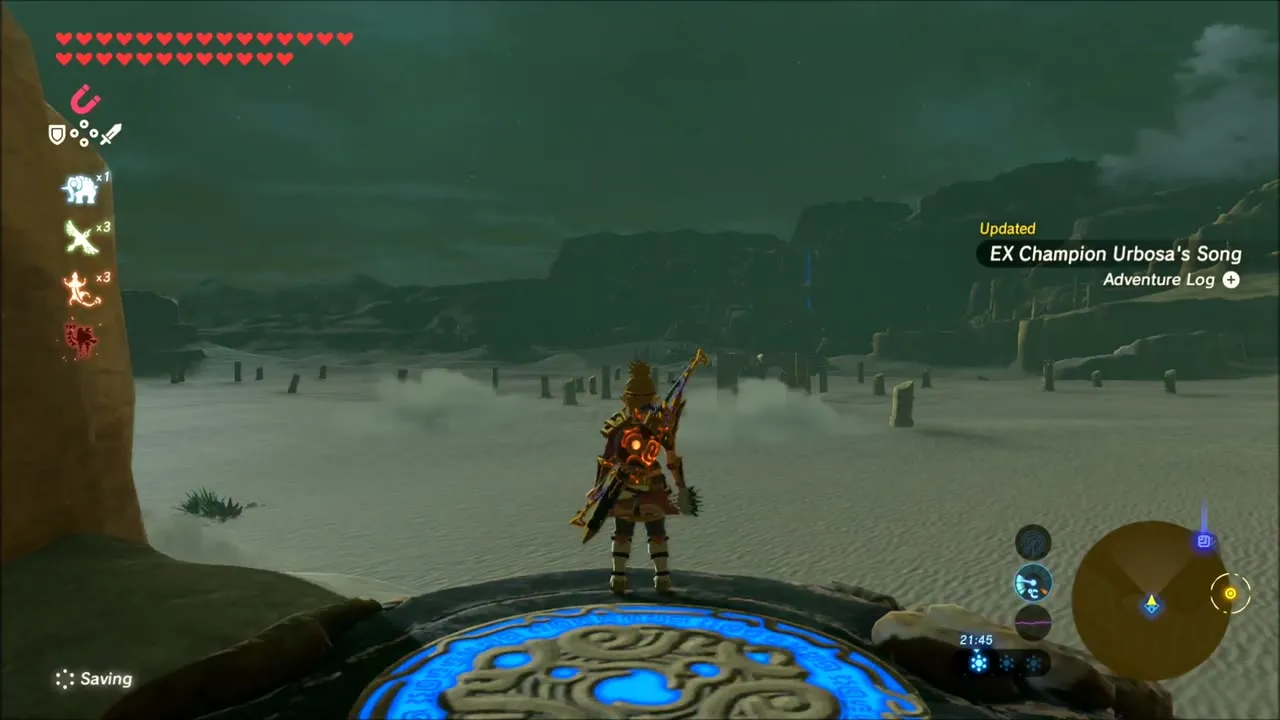
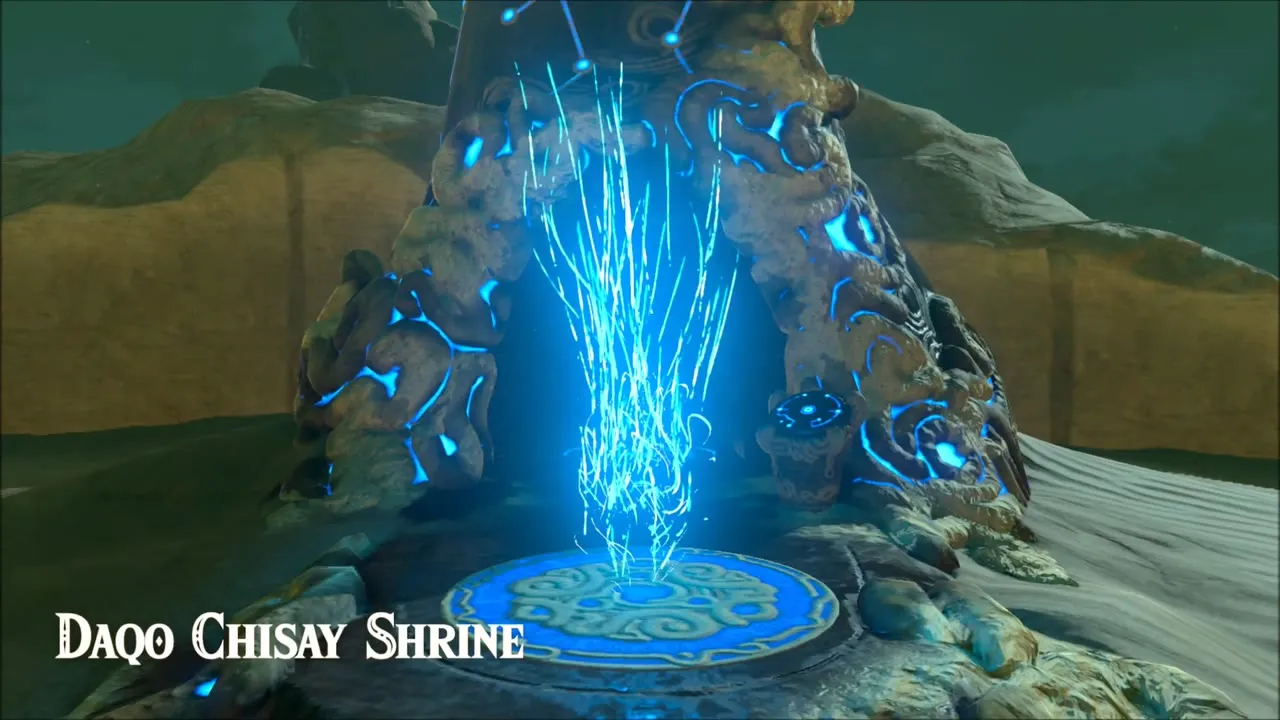
The second verse sends you after rings in the sand west of Gerudo Town. Warp to Daqo Chisay Shrine, take a sand seal and ride west until you spot a glowing ring. A Gerudo named Essa claims one of the seals as her own, so take a different one. Follow the rings, one after another, along the dune ridge while Lizalfos swim through the sand to ambush you.


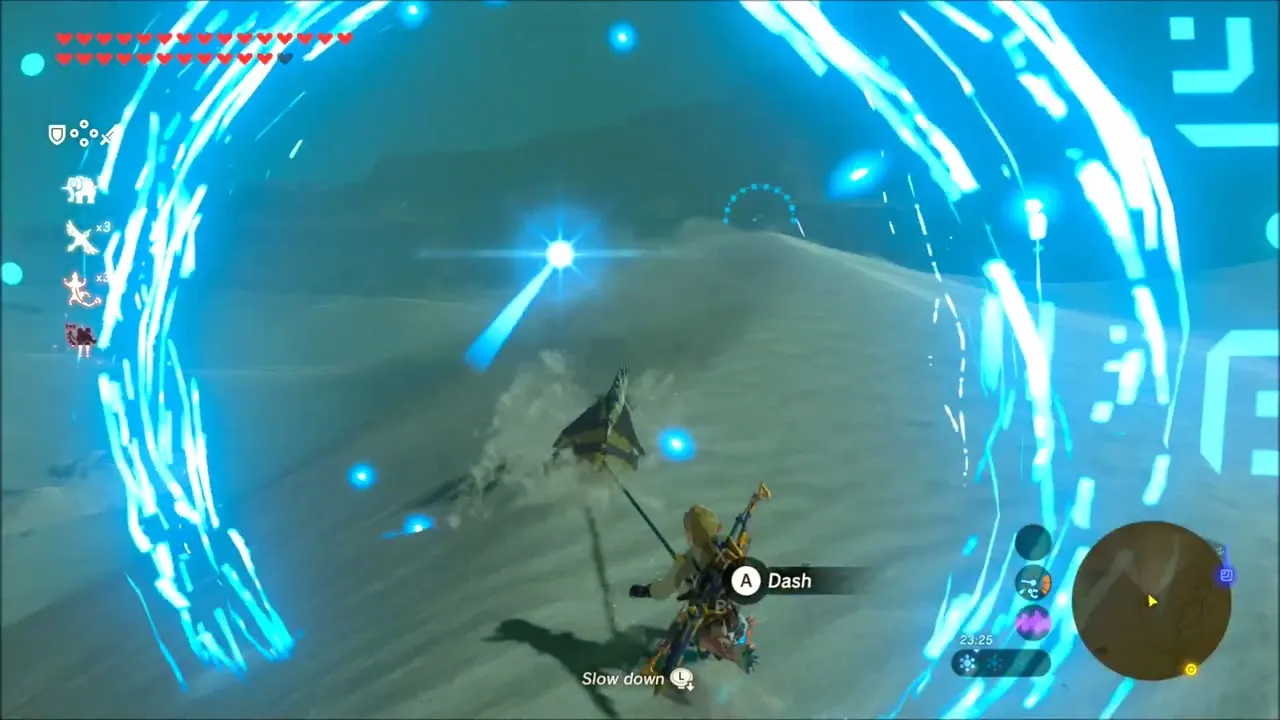
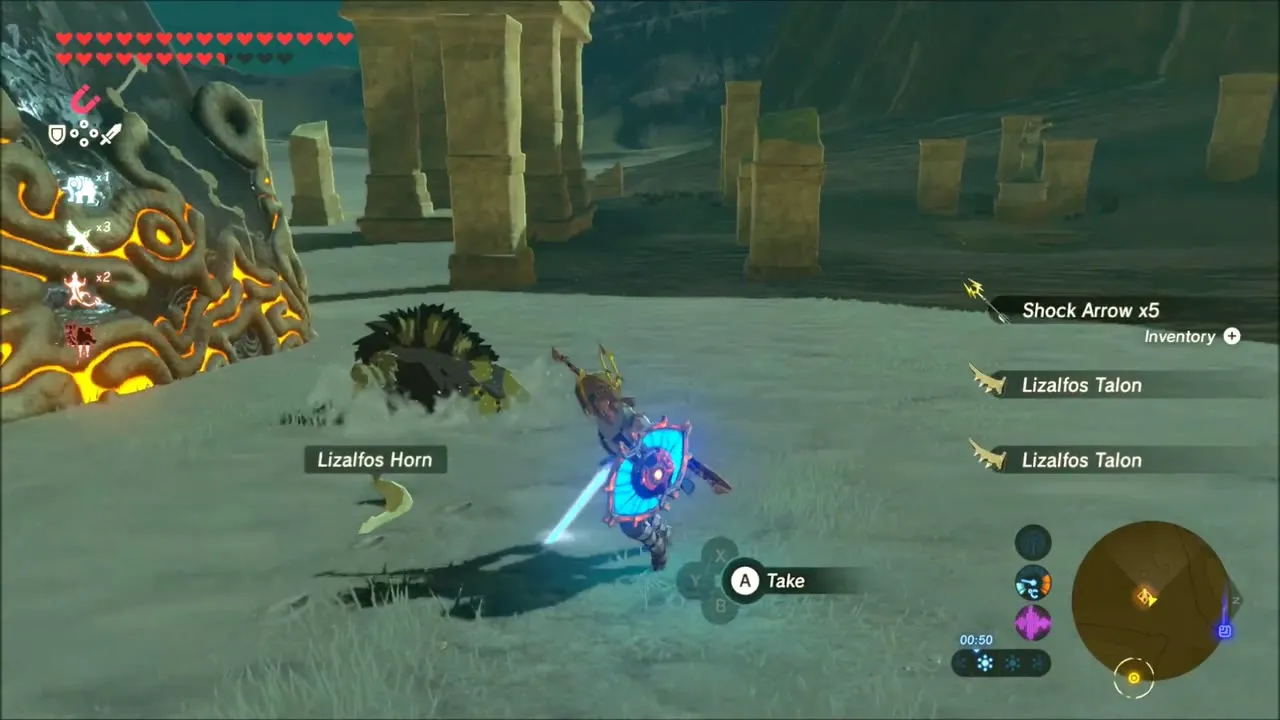
The rings lead down past ruined statues to the end of the trail. Once you finish, Takama Shiri Shrine appears at (-4894, 2156), with a Lizalfos waiting nearby. Defeat it and you pick up a Lizalfos Horn, Shock Arrows and a Lizalfos Talon.


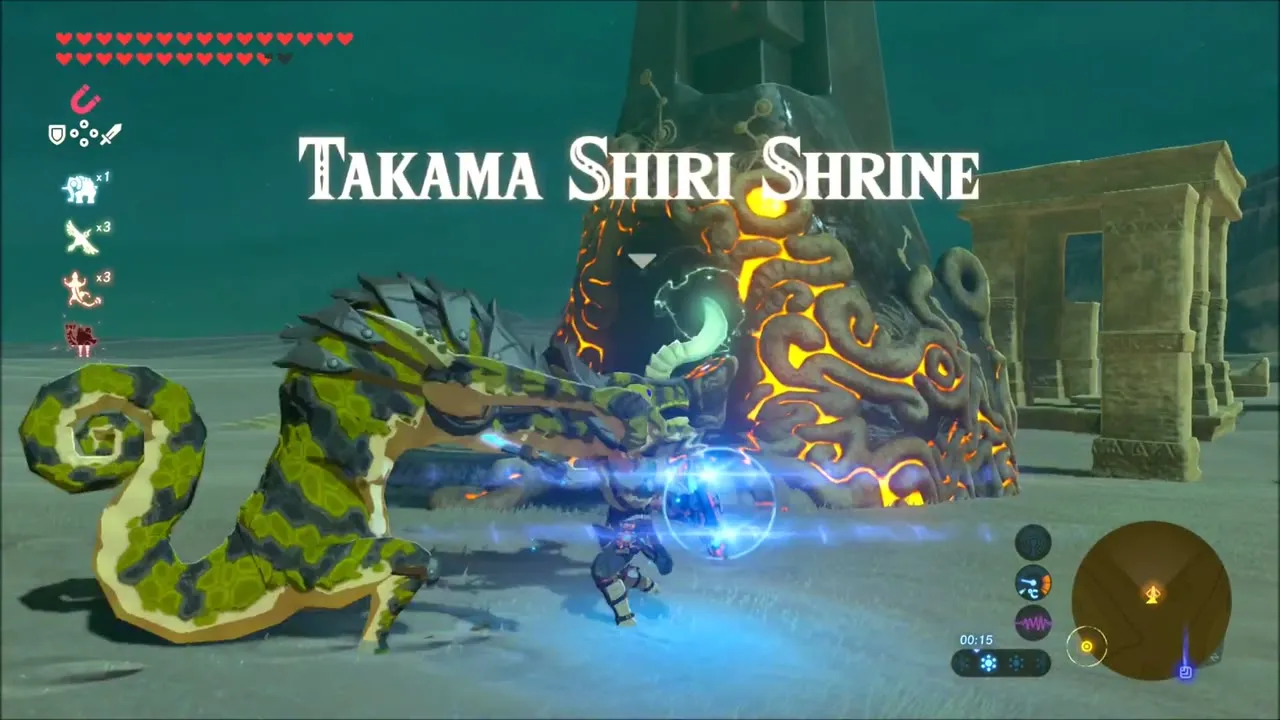
Takama Shiri Shrine: Dual Purpose Trial and Naboris’s Emblem
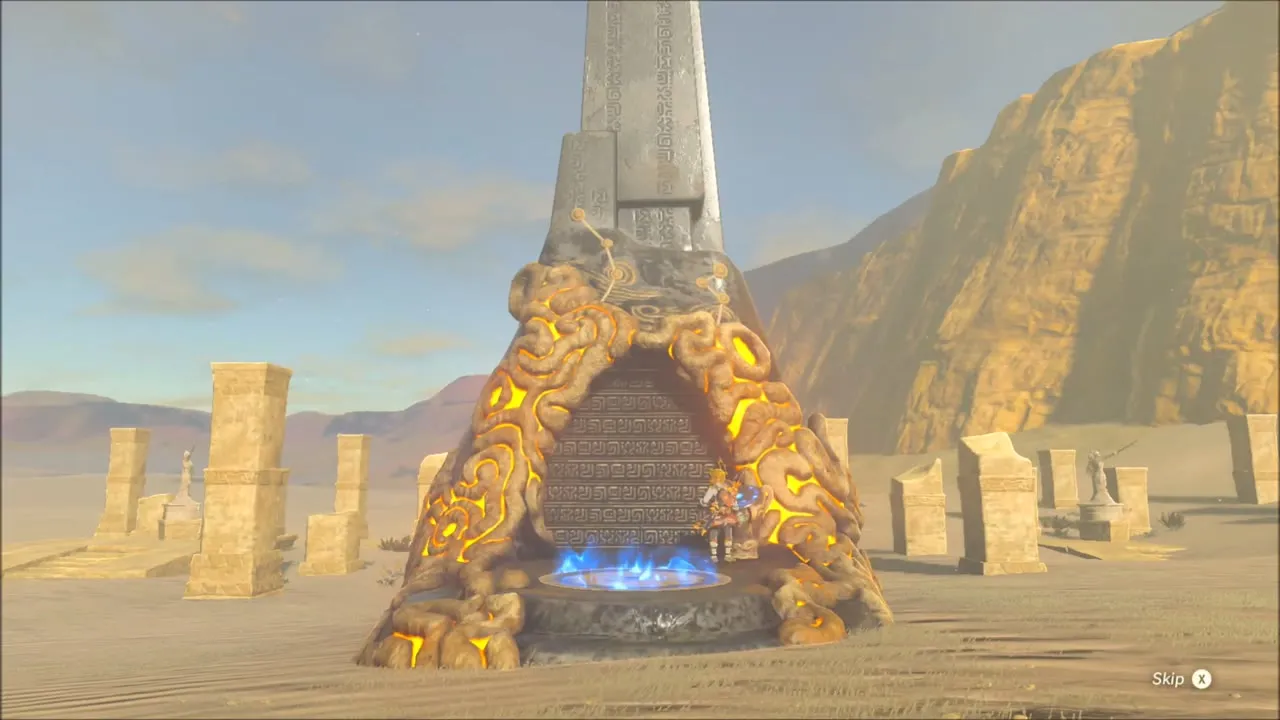
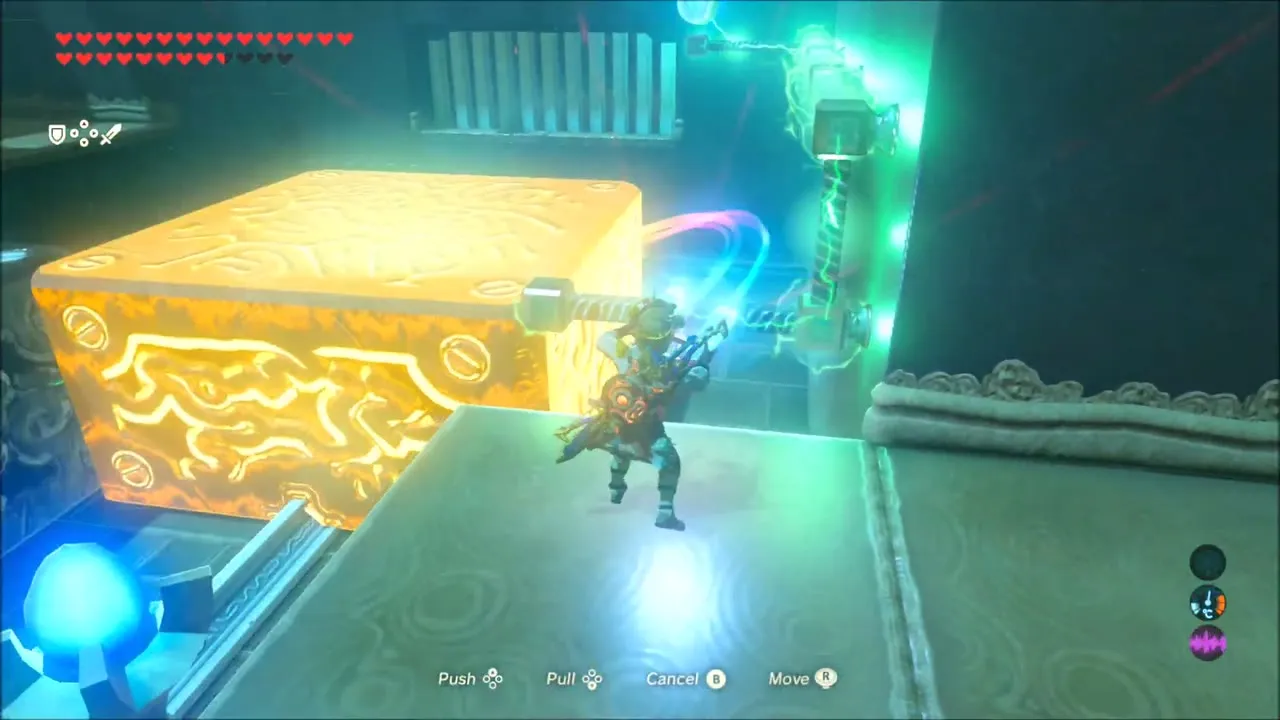
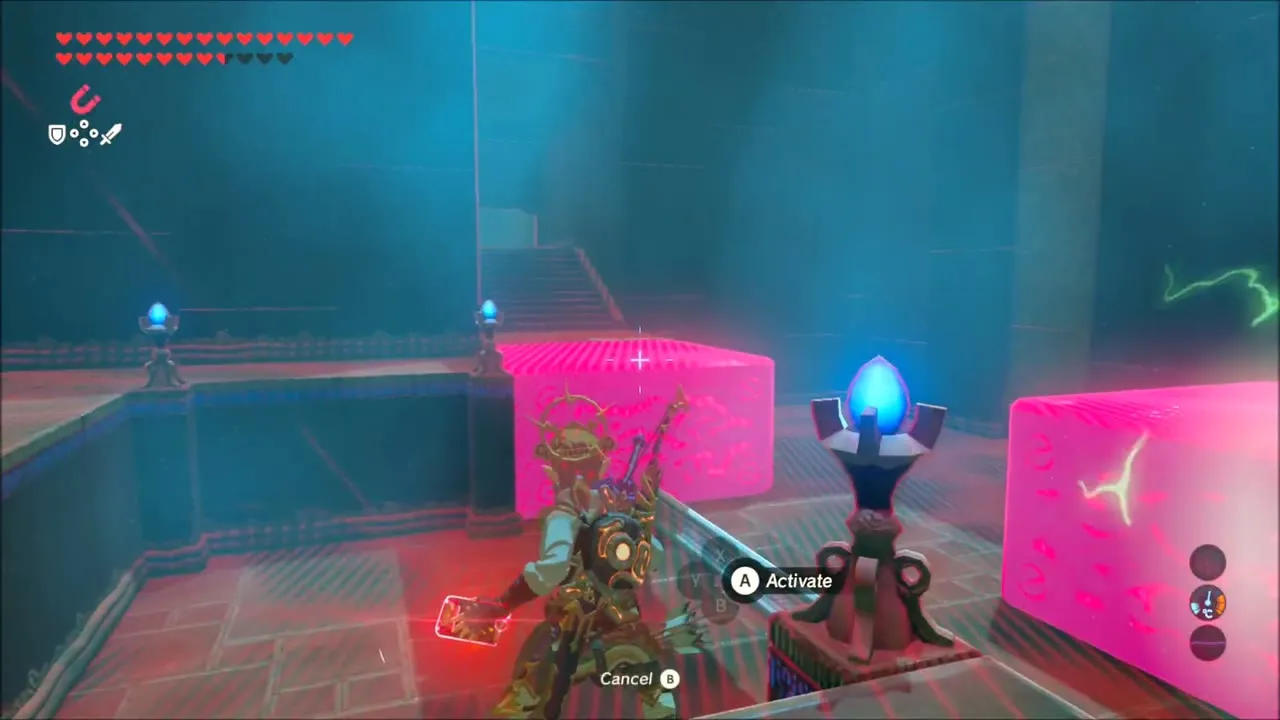
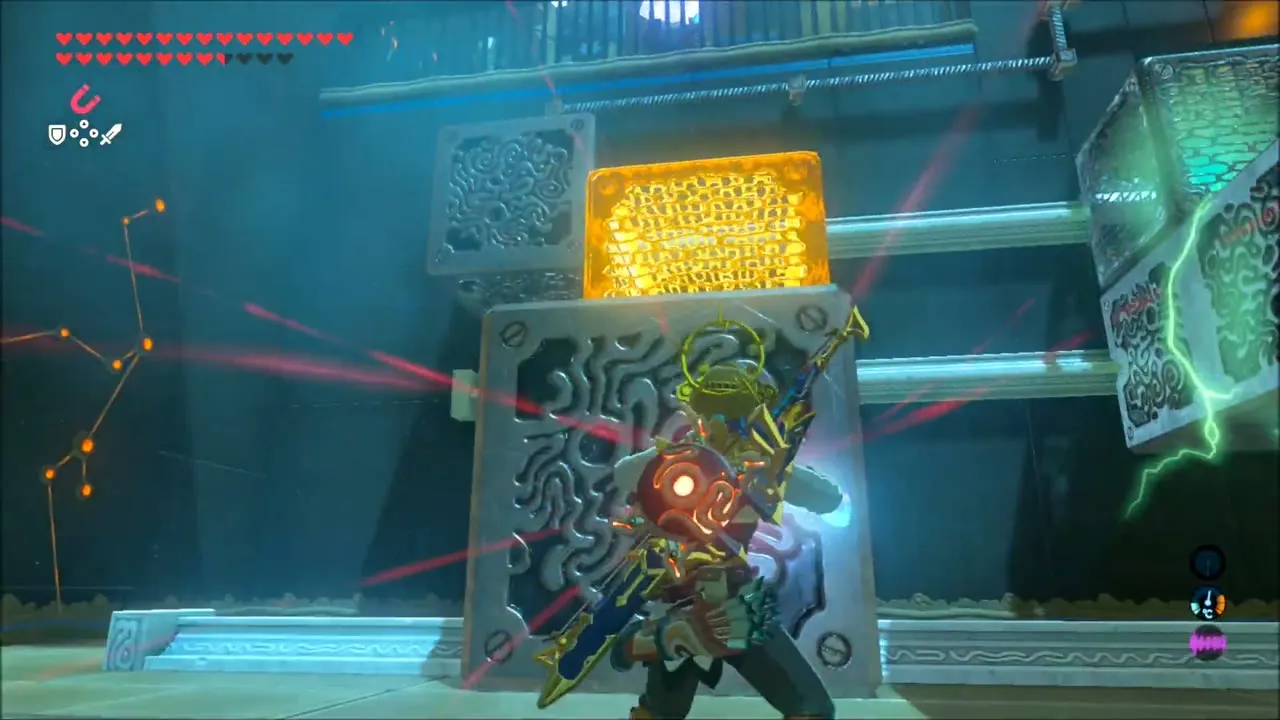
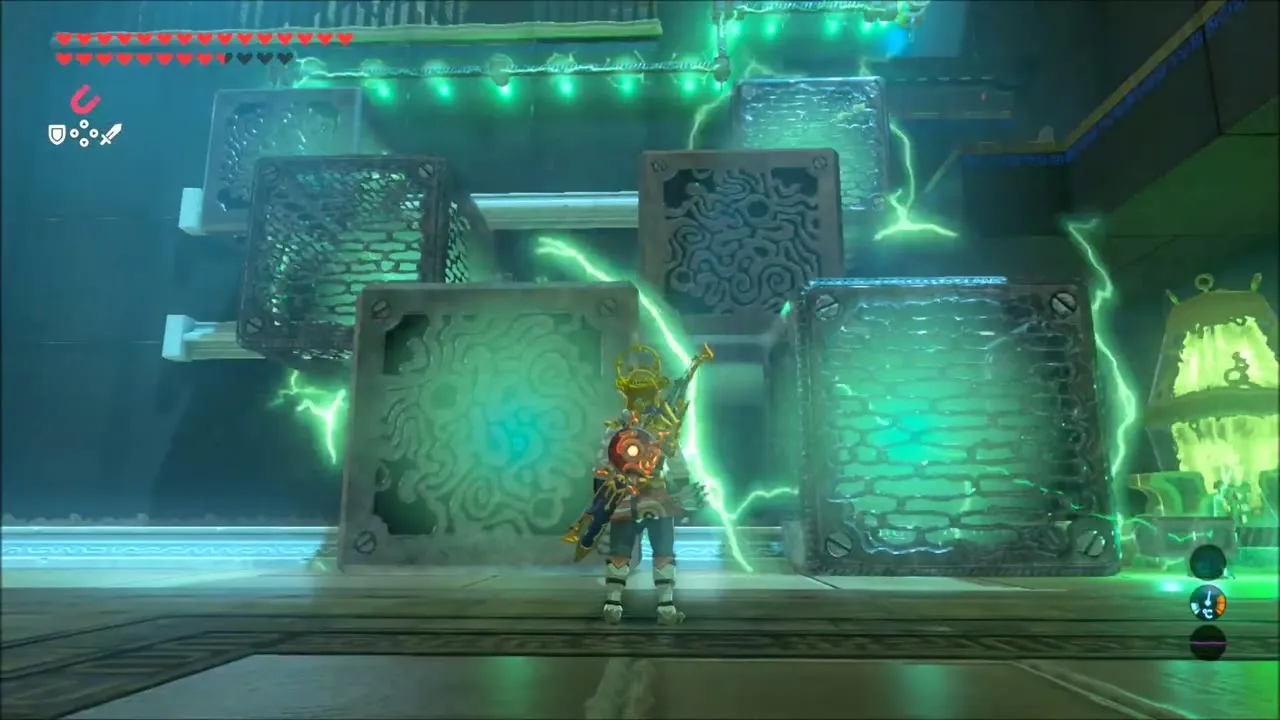
The second trial of Urbosa‘s Song is the Takama Shiri Shrine (x -4894, z 2156), which rises out of the desert once you have chased the rings west of Gerudo Town. Its trial, Dual Purpose, is an electricity puzzle: floors, gates and stair blocks carry current, so you use Magnesis to slide metal platforms and blocks into new positions and make a path that does not shock you. Keep shifting the metal pieces until the live rods no longer touch the spots where you need to walk.

Royal Bow chest and the monk
Behind the stack of metal stair blocks is a gated alcove with a chest. Form a triangle of metal blocks that carries you over the gate and down onto the electrical pad, and the chest opens to give you a Royal Bow. Build the stairs back at the front with the climbable blocks, keeping them clear of the live pylon in the corner, and speak to the monk at the top for Naboris’s Emblem, the second of the three emblems you need.


Kihiro Moh Shrine: How to Get the Sacred Orb from the Yiga Clan Hideout
Reach the hideout
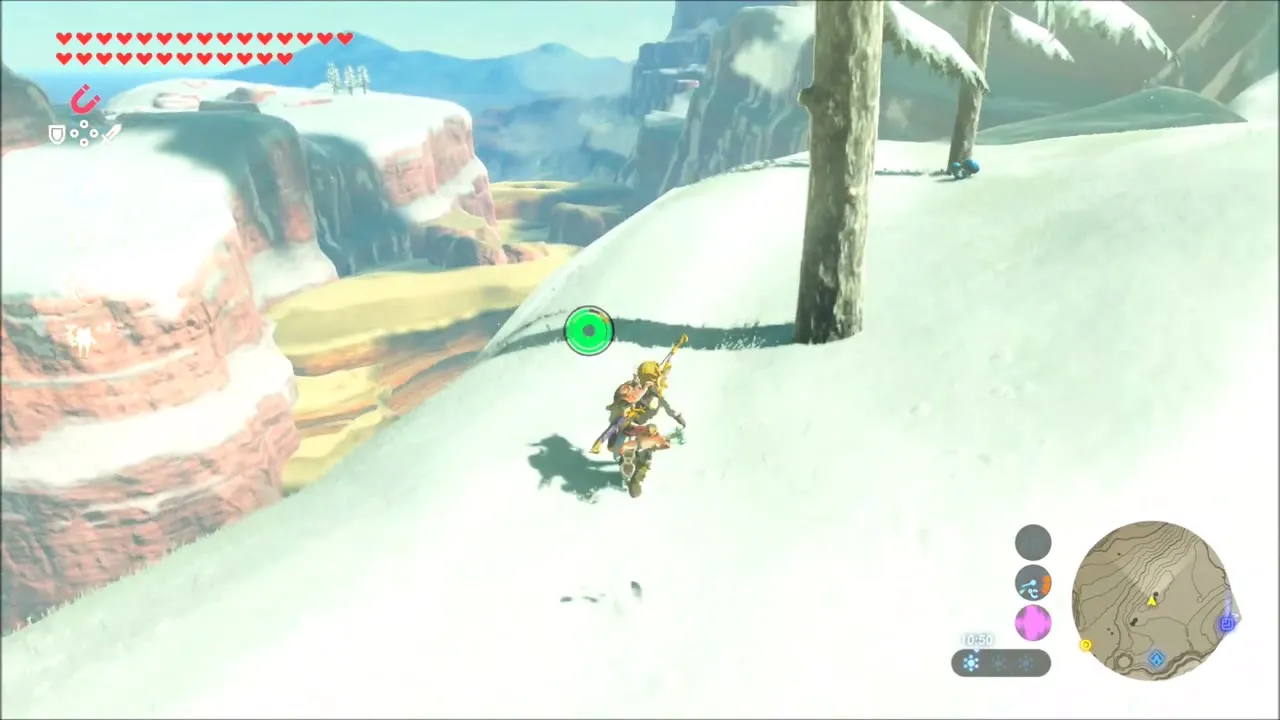
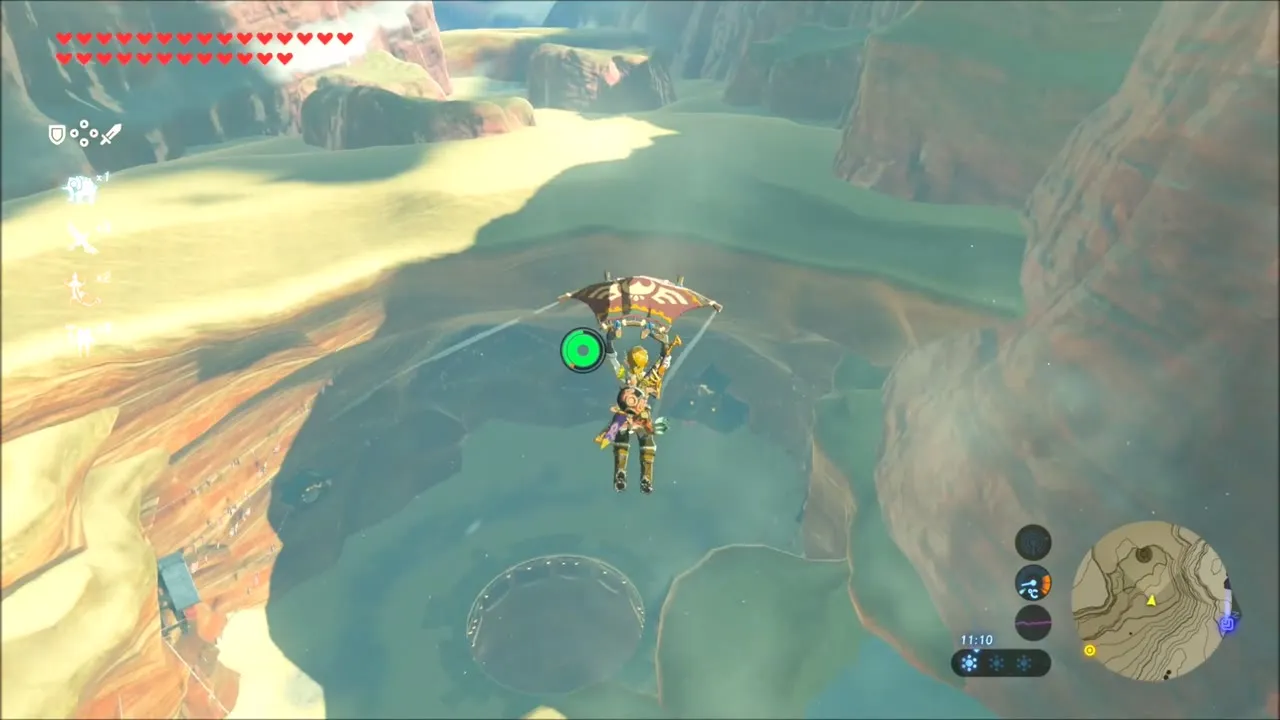
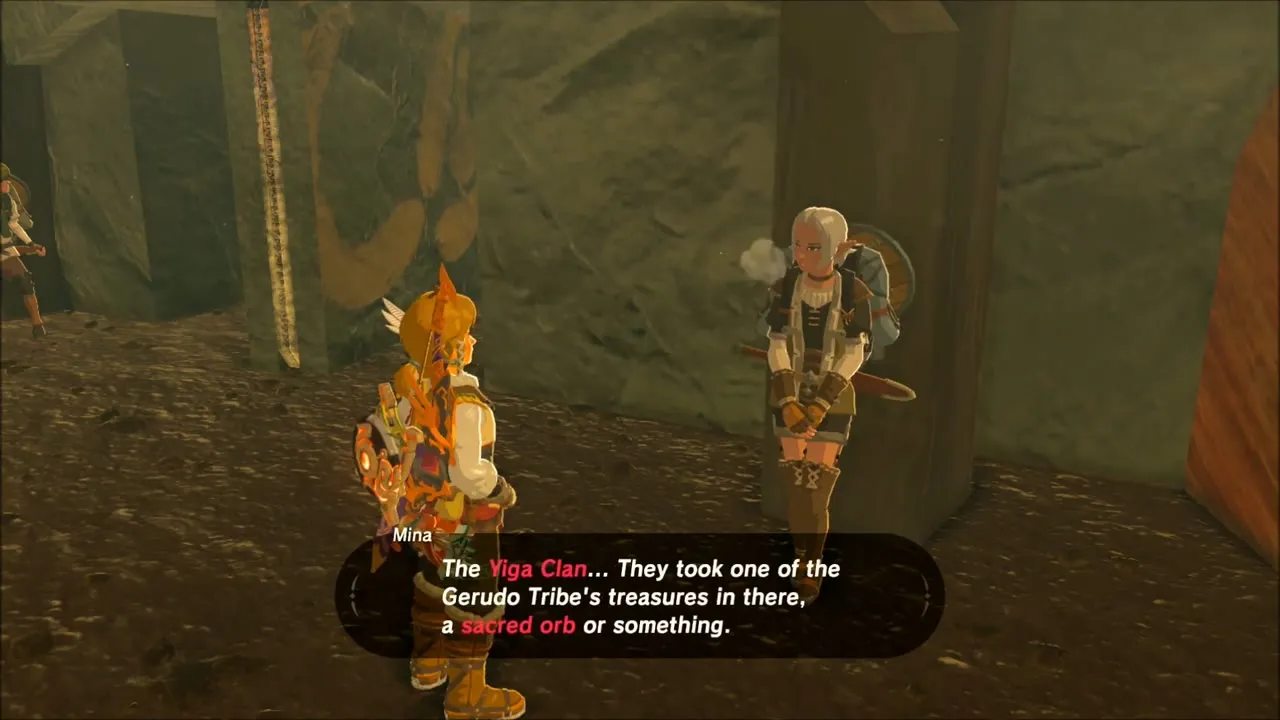
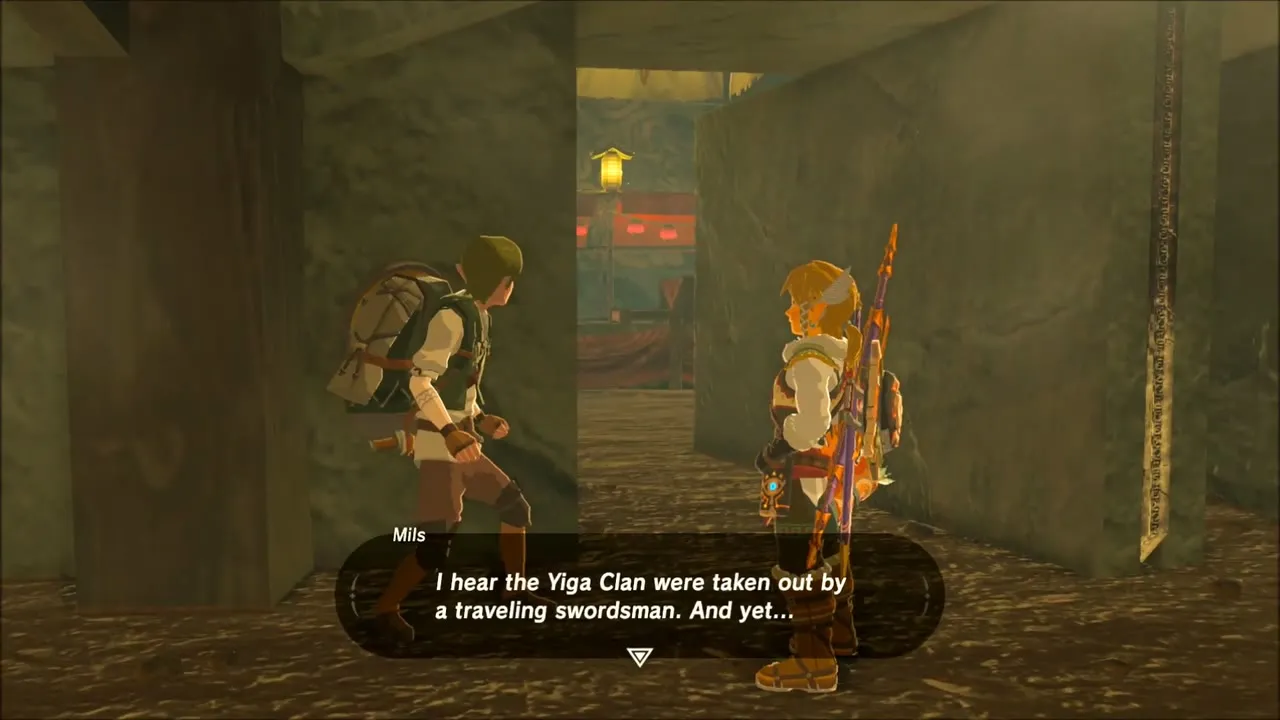
The last line of Kass‘s poem says to throw the orb underground. Head to the snowy Gerudo Highlands and the arena near the Gerudo Tower where Master Kohga fell into the huge pit, then glide down to find the twins Mina and Mils. They have reopened the gate into the Yiga Clan Hideout and tell you the sacred orb is kept in a second-floor storage room.

Steal the orb
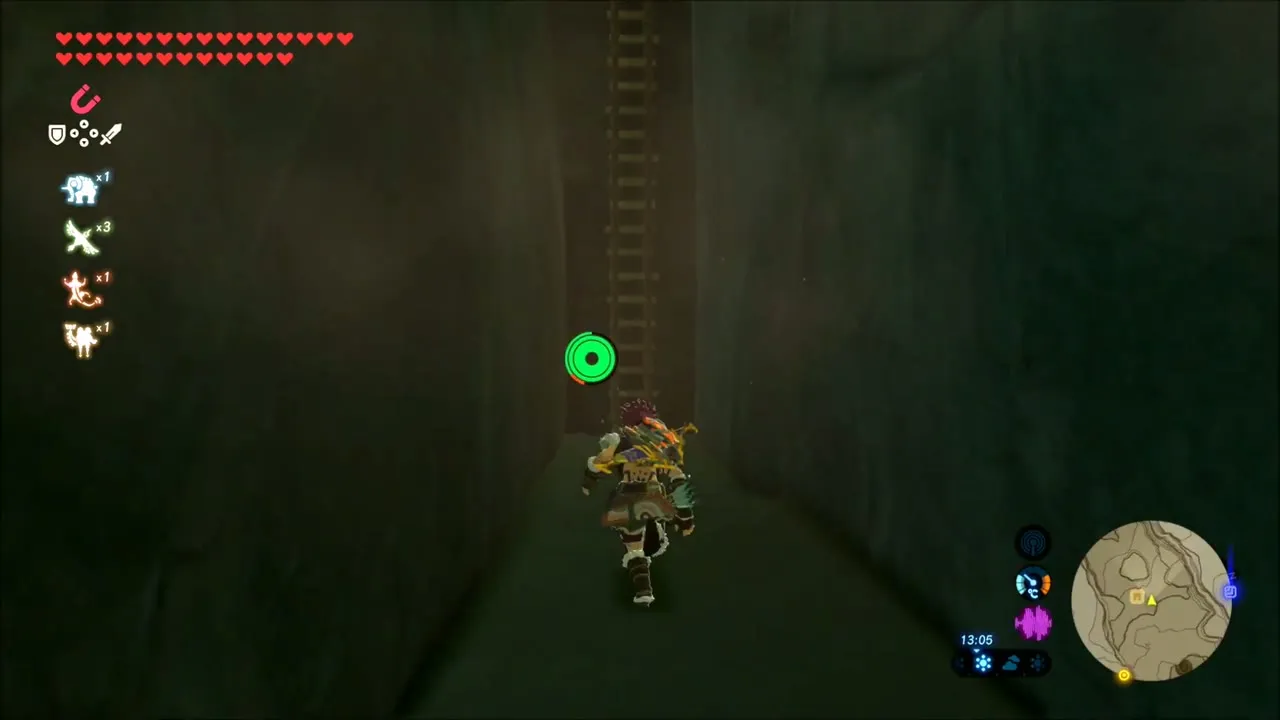
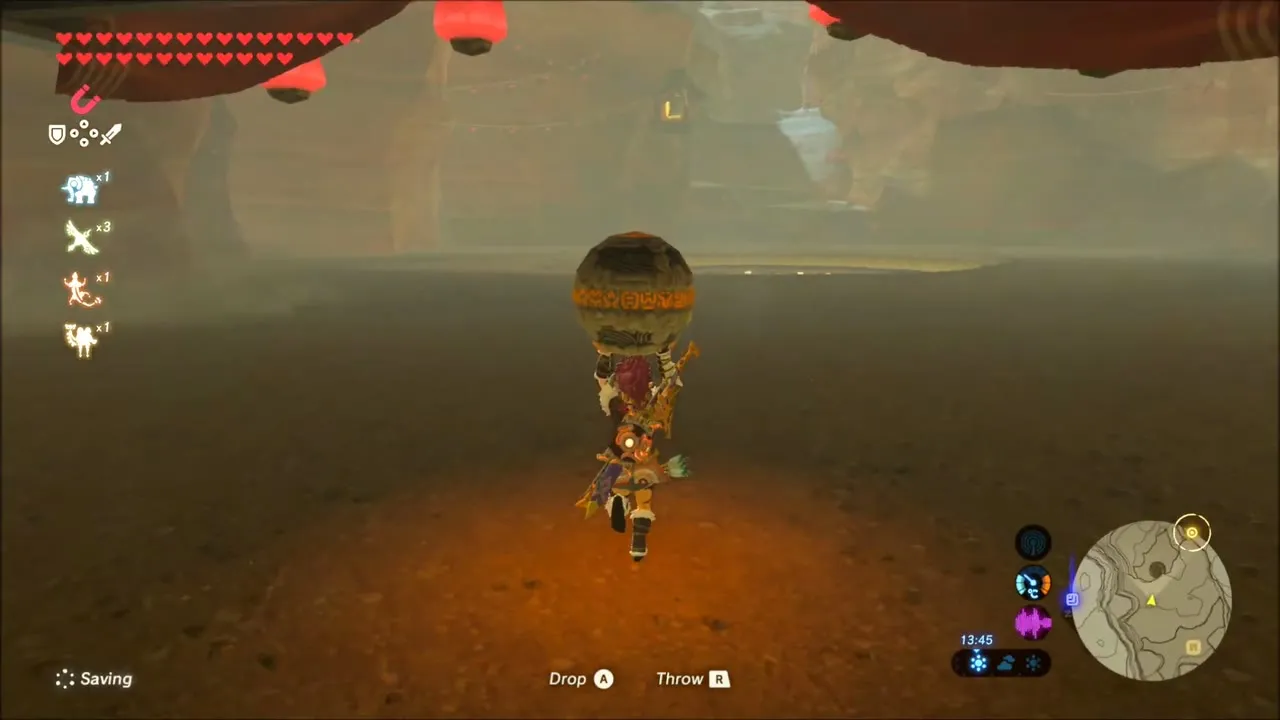
Several Yiga Blademasters patrol the hideout, so keep to the right side, slip past each one, and climb the ladder to the rooftops. Cross them to the second-floor doorway and take the orb from the storeroom. Leave through an open window on the way back and use cover to avoid the guards, then carry the orb out of the hideout.



Throw the orb into the pit
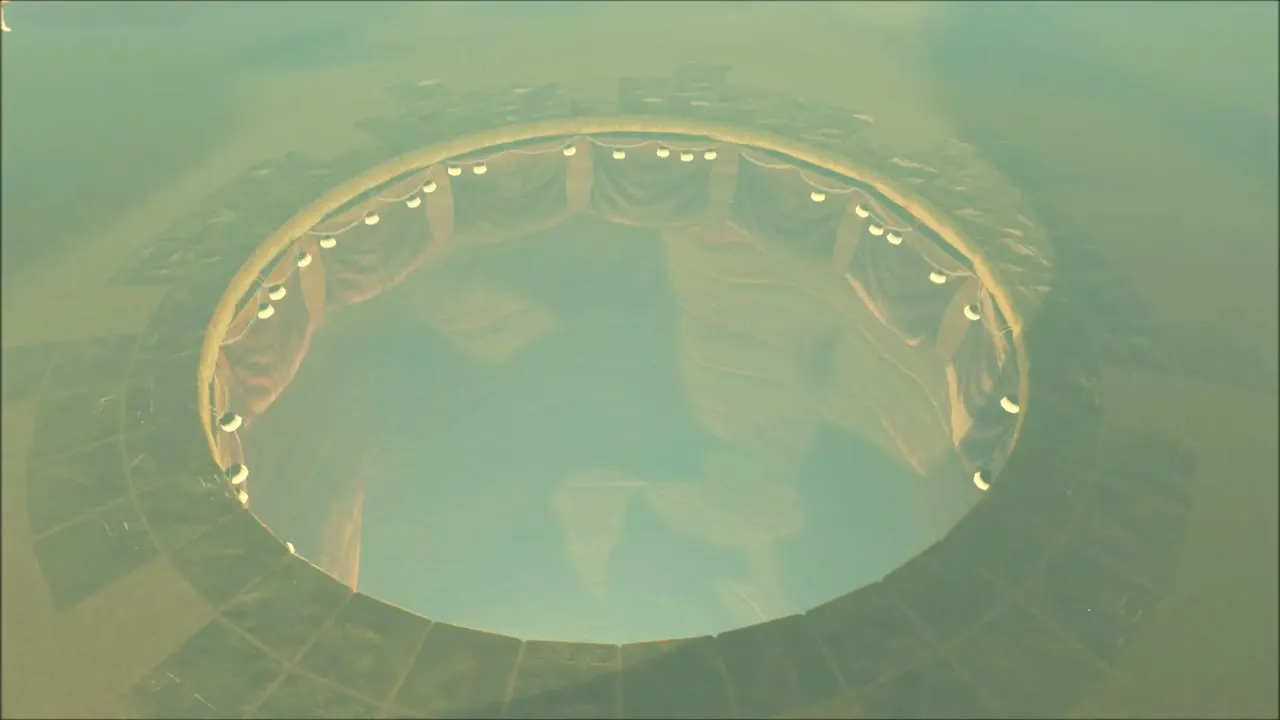
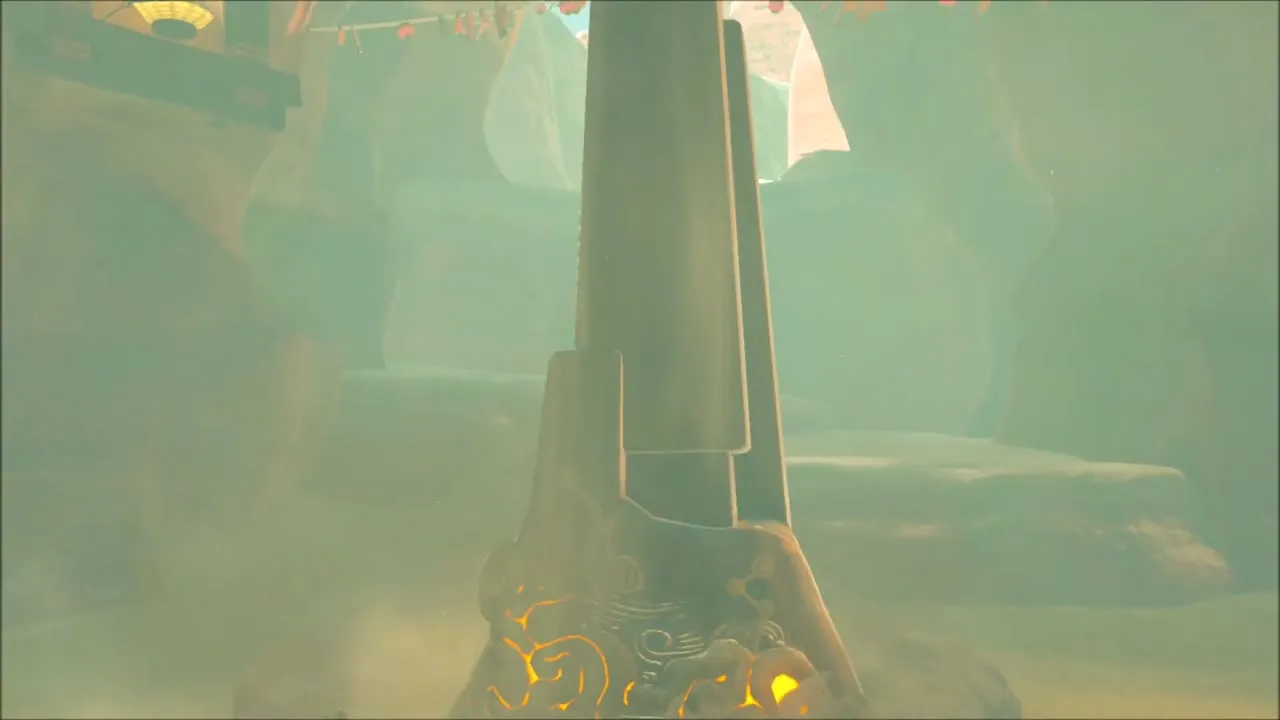
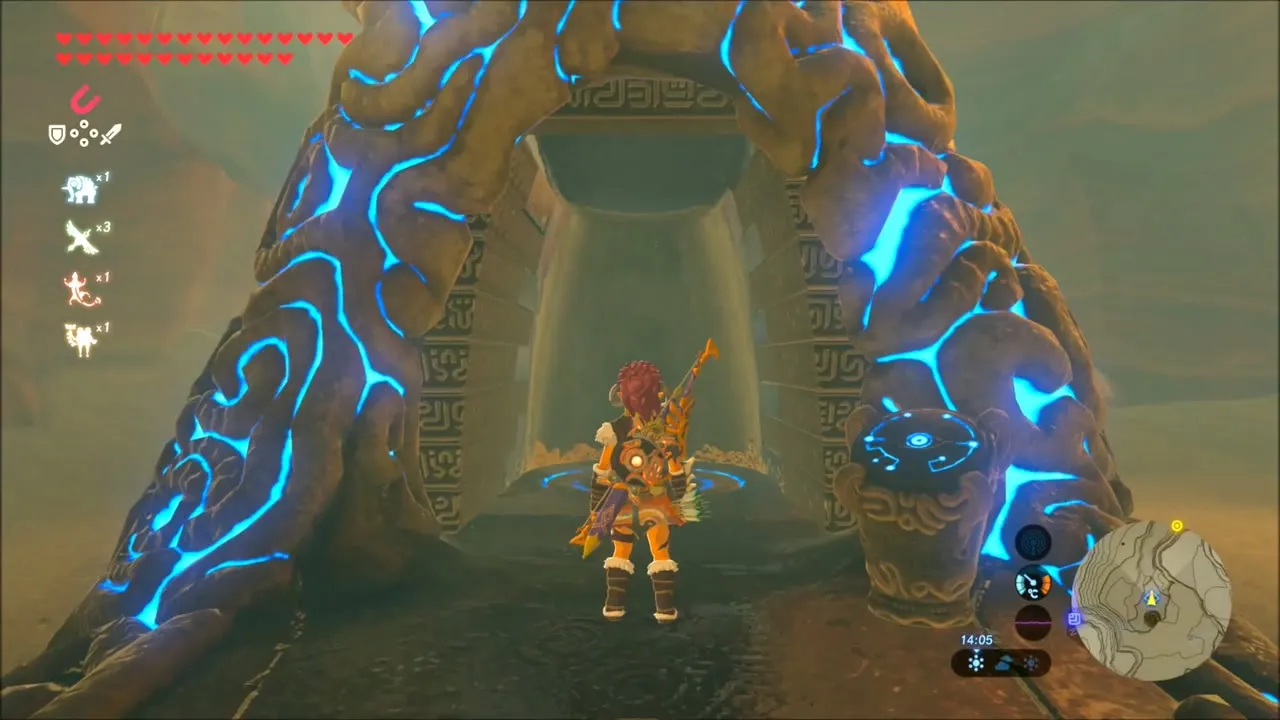
Back at the great round pit, throw the orb down into it. The Kihiro Moh Shrine (x -3392, z 1347, height 451) rises from the sand beside the pit; step onto its pedestal to enter.


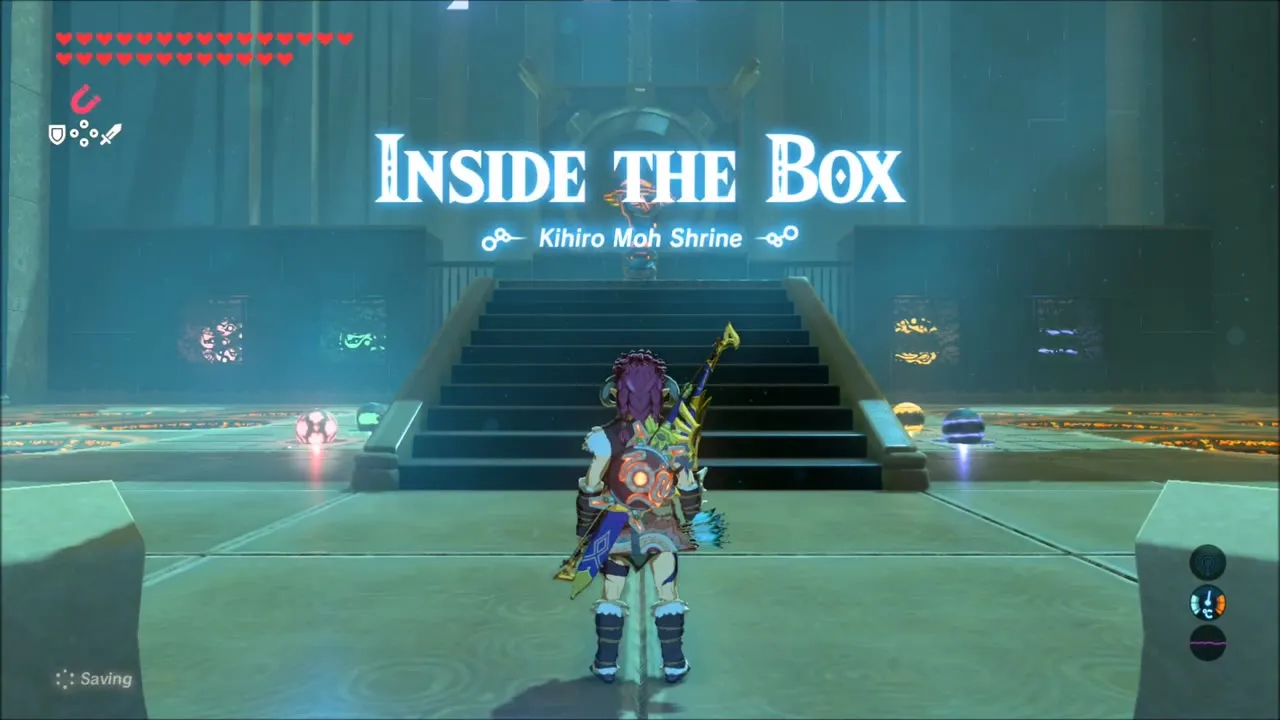
Inside the Box trial
The trial is called Inside the Box. Use the apparatus at the front to look into a big box and shake it, then count the coloured orbs: 4 blue, 1 red, 2 yellow and 2 green. Each coloured slot has torches beside it, and you place that many orbs of the matching colour in it. When the slots are right, the gate to the monk opens.
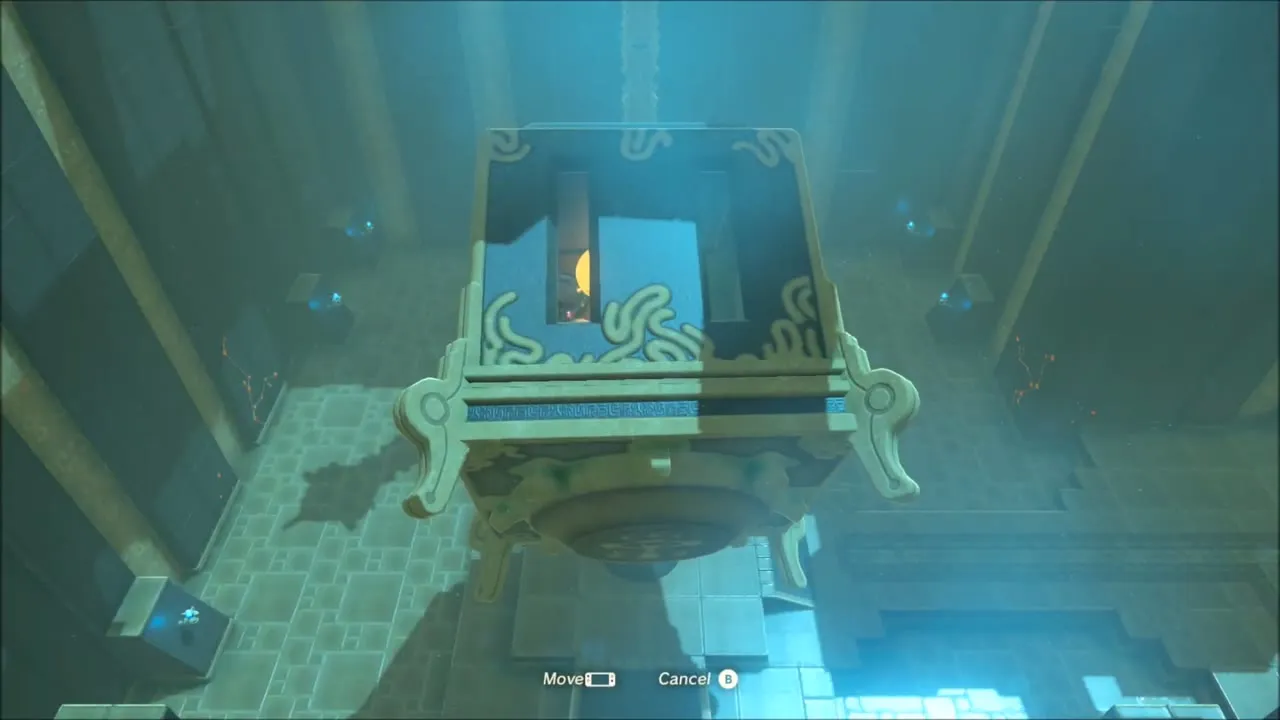


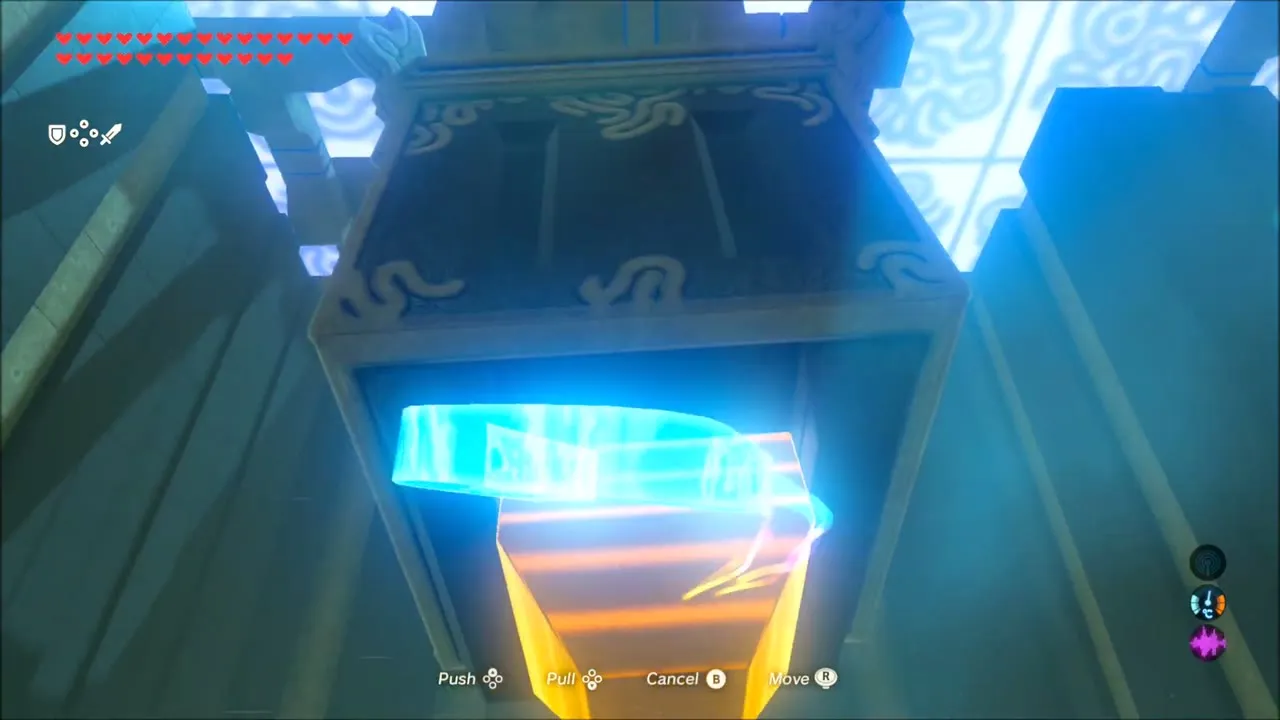
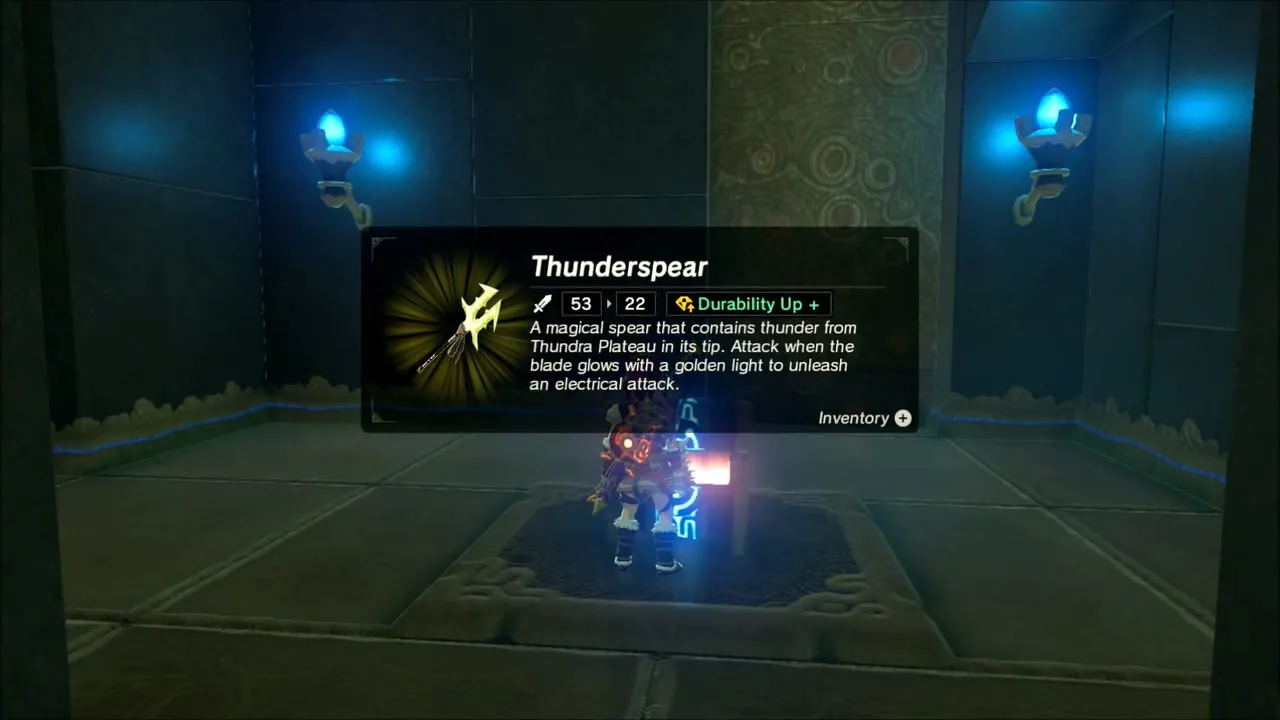
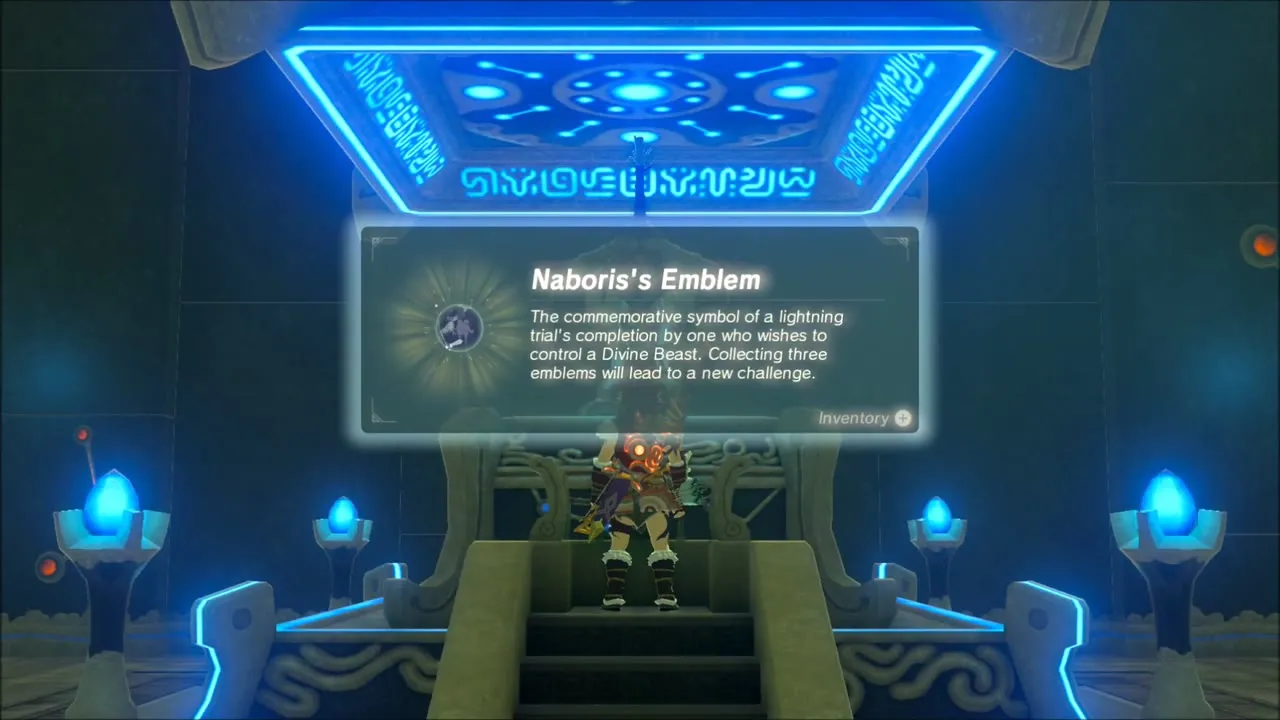
For the bonus chest, note that some orbs in the box do not glow. A slot to the right of the monk asks for the number of colourless orbs, which is 3. Use Magnesis on the bottom of the box to push the cover out so the metal orbs fall to the floor, and carry one to the slot. A chest appears with a Thunderspear. Then speak to the monk for the last Naboris’s Emblem.

Vah Naboris Champion Trial: Defeat Thunderblight Ganon Again
With all three emblems, travel back into the desert and walk up to Vah Naboris. Instead of being turned away, you are offered the Champion’s trial: a voice invites you to face the Divine Beast’s trial in an illusory realm.
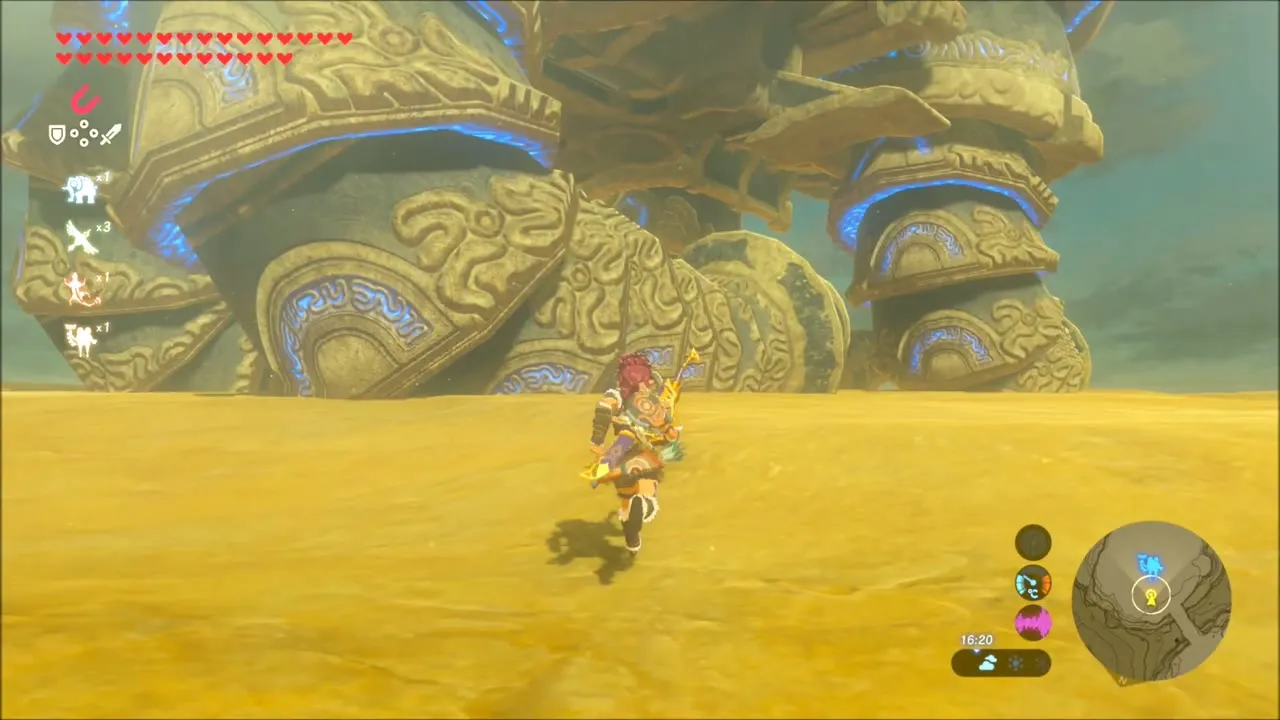

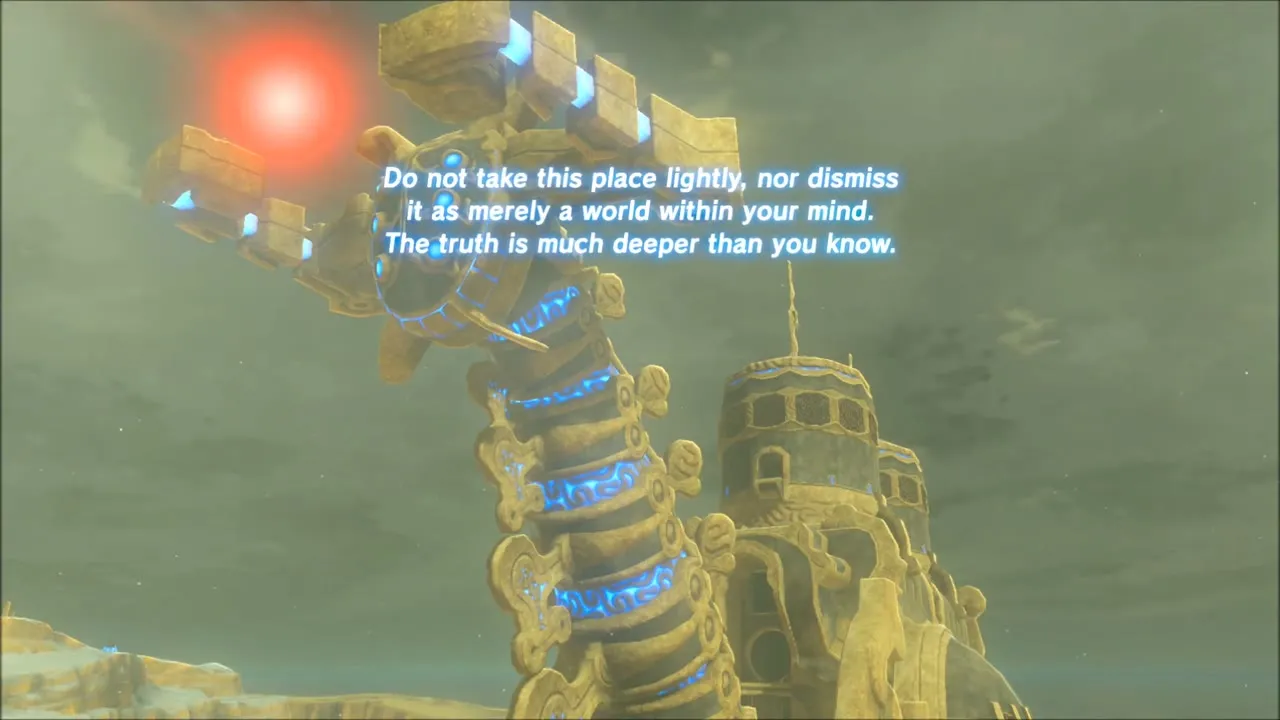

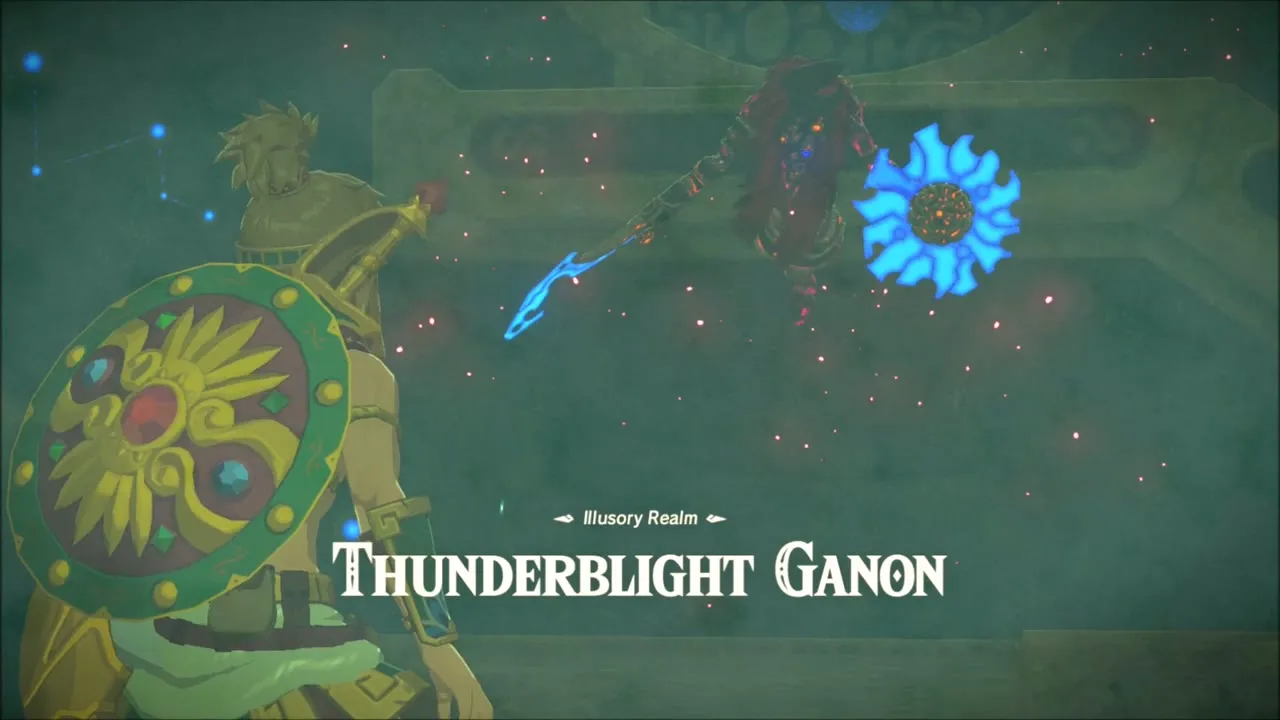
Thunderblight Ganon in the illusory realm
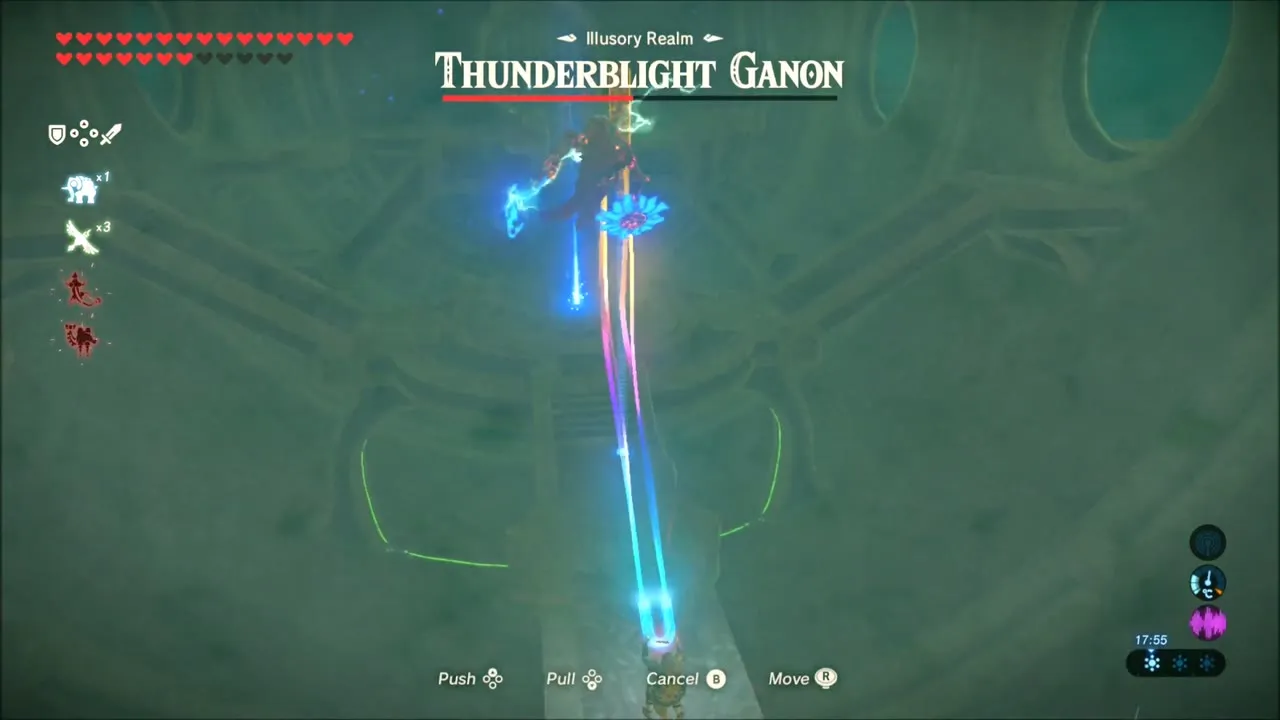
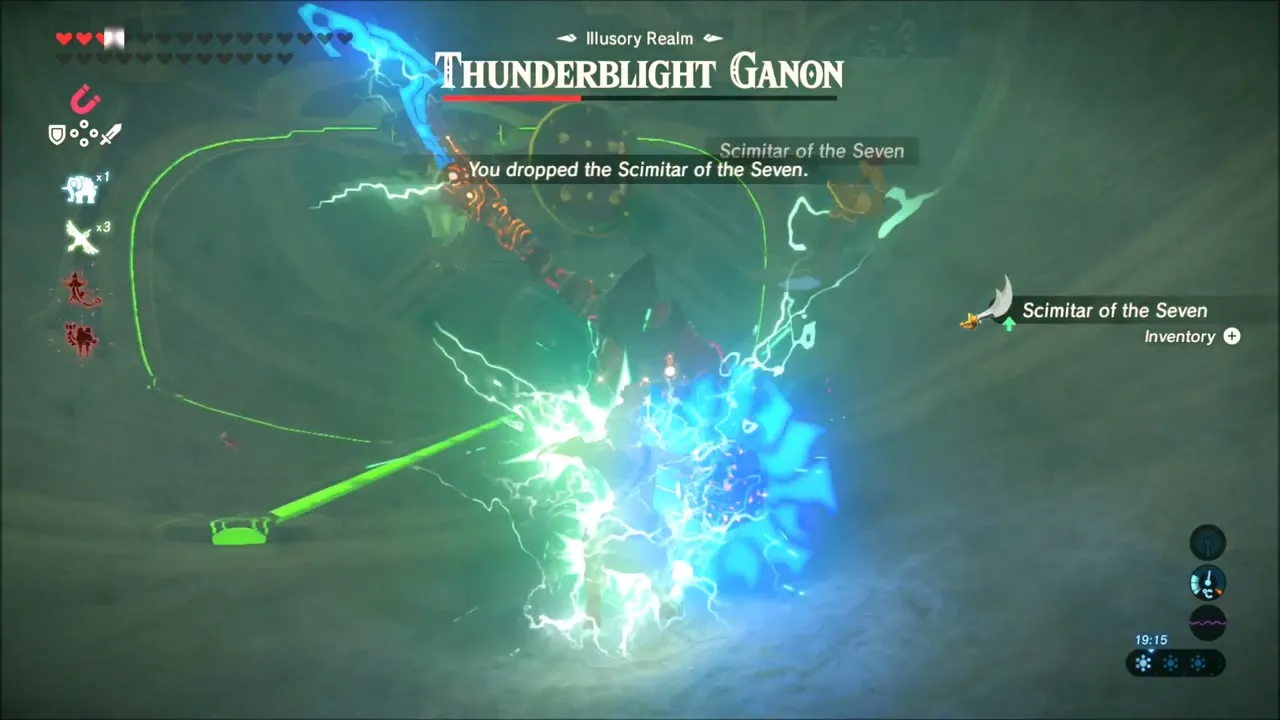
You enter with only your hearts, stamina and runes, plus the gear provided: the Scimitar of the Seven, the Daybreaker, a shield and Desert Voe armor, along with a little food. Thunderblight Ganon still dashes in for fast strikes, and a well-timed dodge or a perfect parry stuns him so you can hit hard. In his second phase, stick a metal object beside him with Magnesis so that he shocks himself, then attack while he is stunned. Wait out his electrified attacks before countering, and parry his eye laser with the shield.

Reward: Urbosa’s Fury
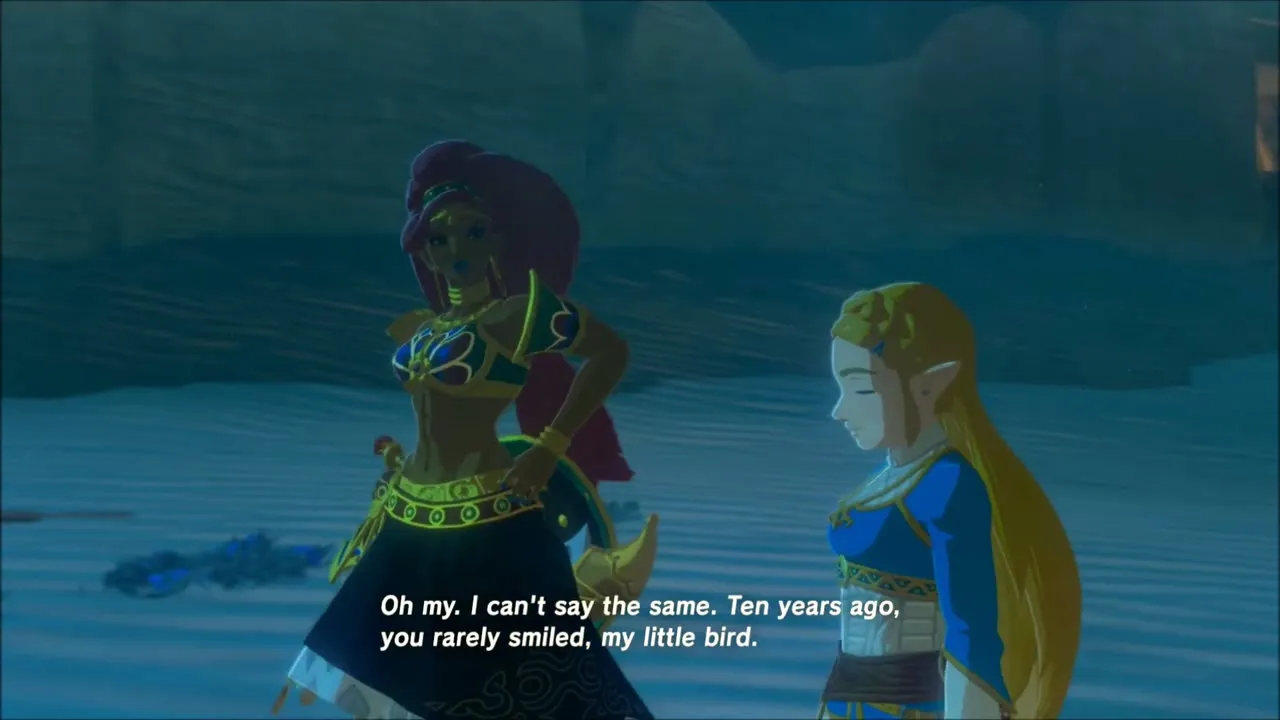
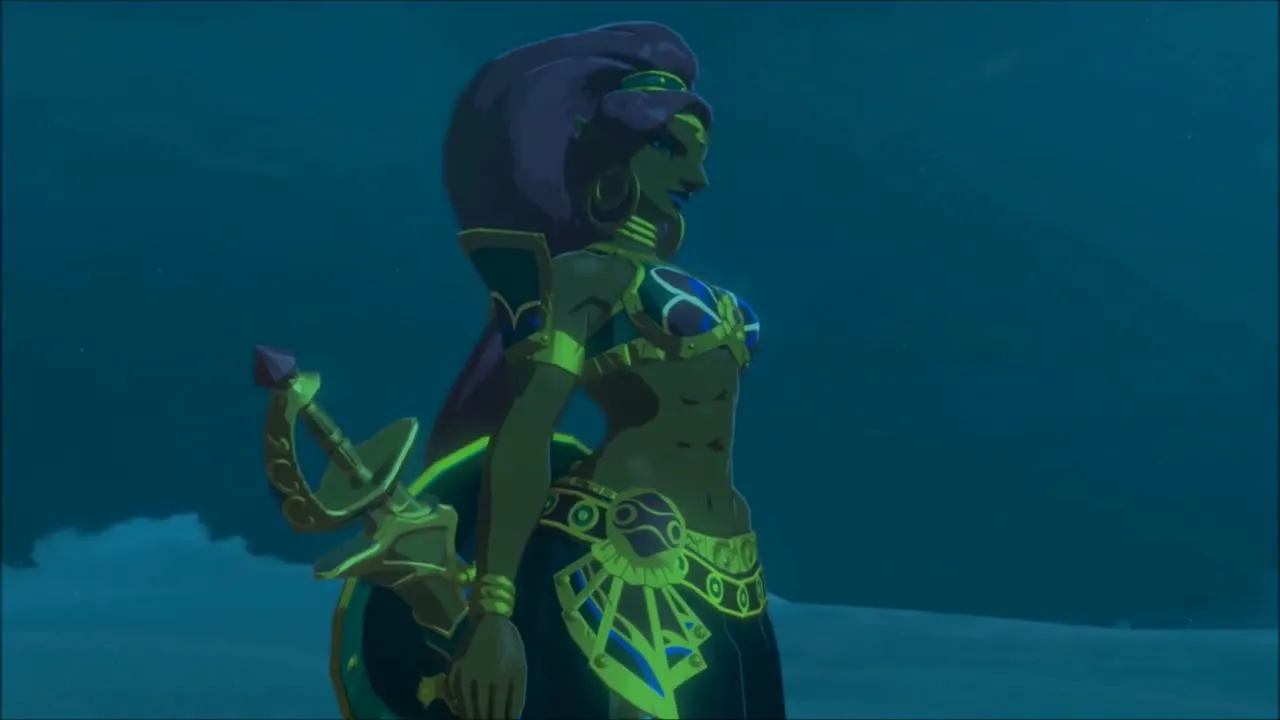
When Thunderblight Ganon falls, you are returned to the desert and Kass sings his song for Urbosa, which triggers a flashback of the Champion with Zelda in the desert at night. The reward is that Urbosa’s Fury recharges much faster, so you can wield it far more often.


Mipha’s Song: Find the Trial Monument near Zora’s Domain
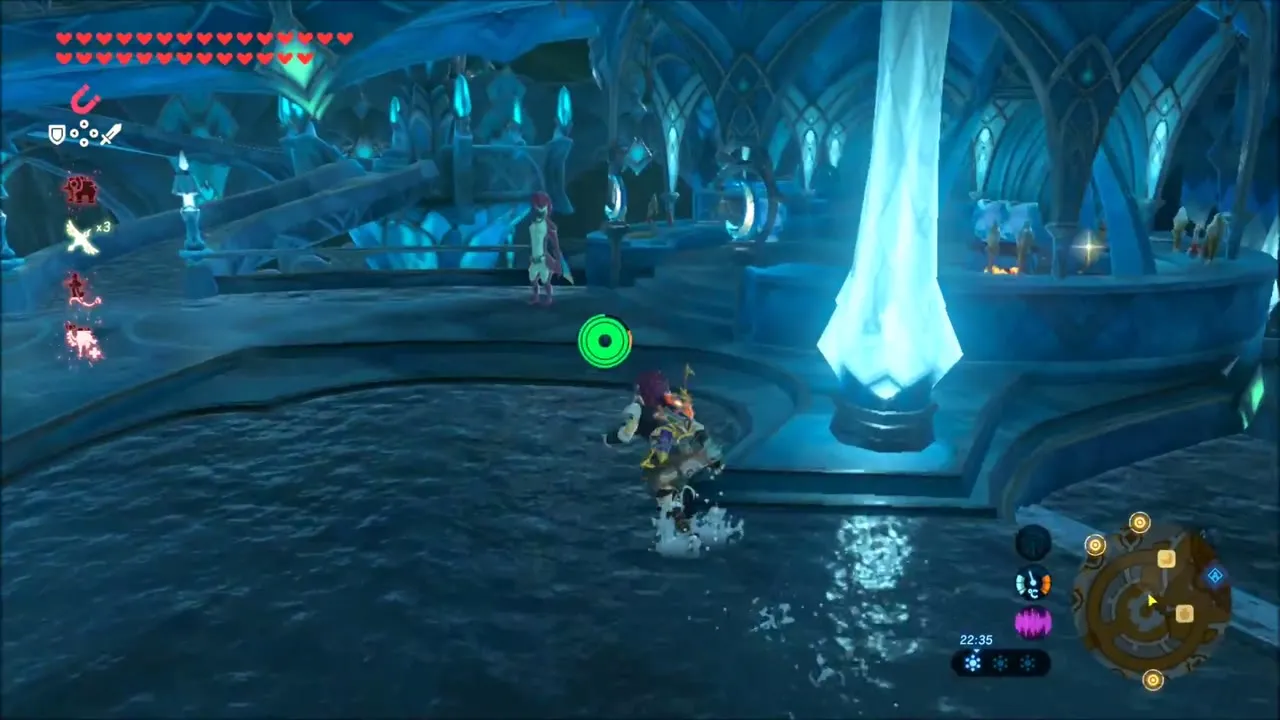
Set out from Zora’s Domain
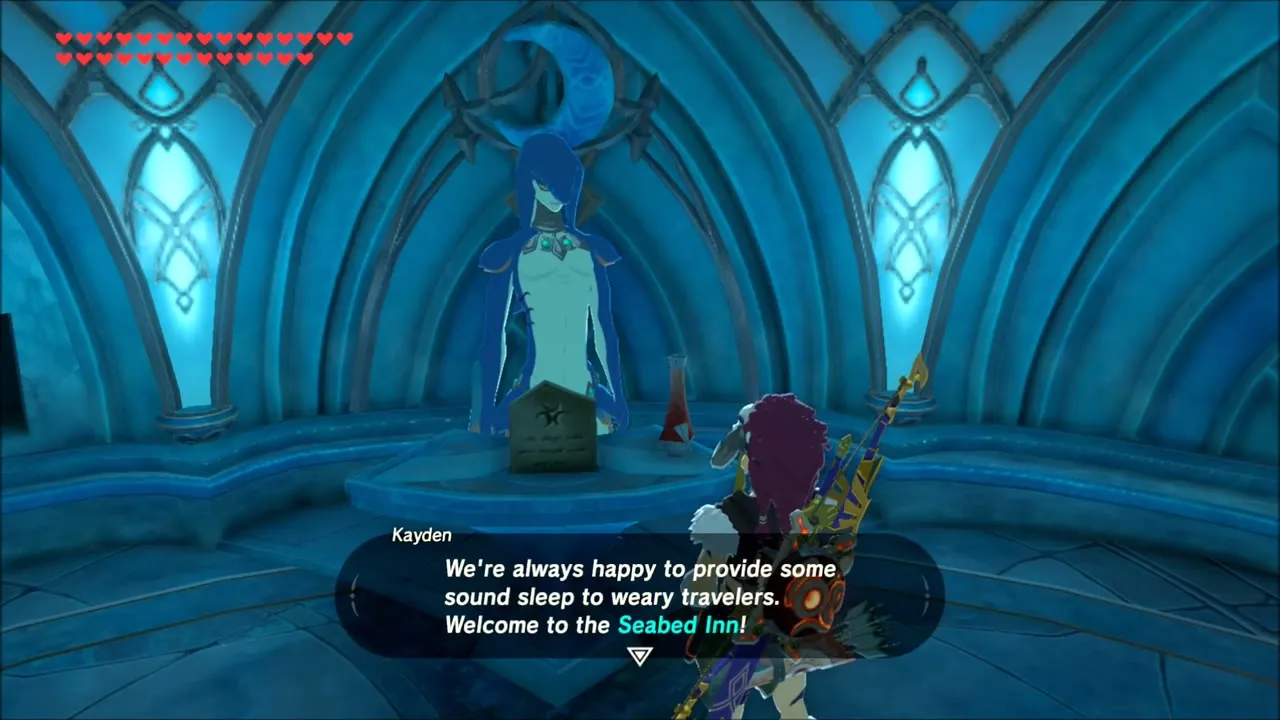
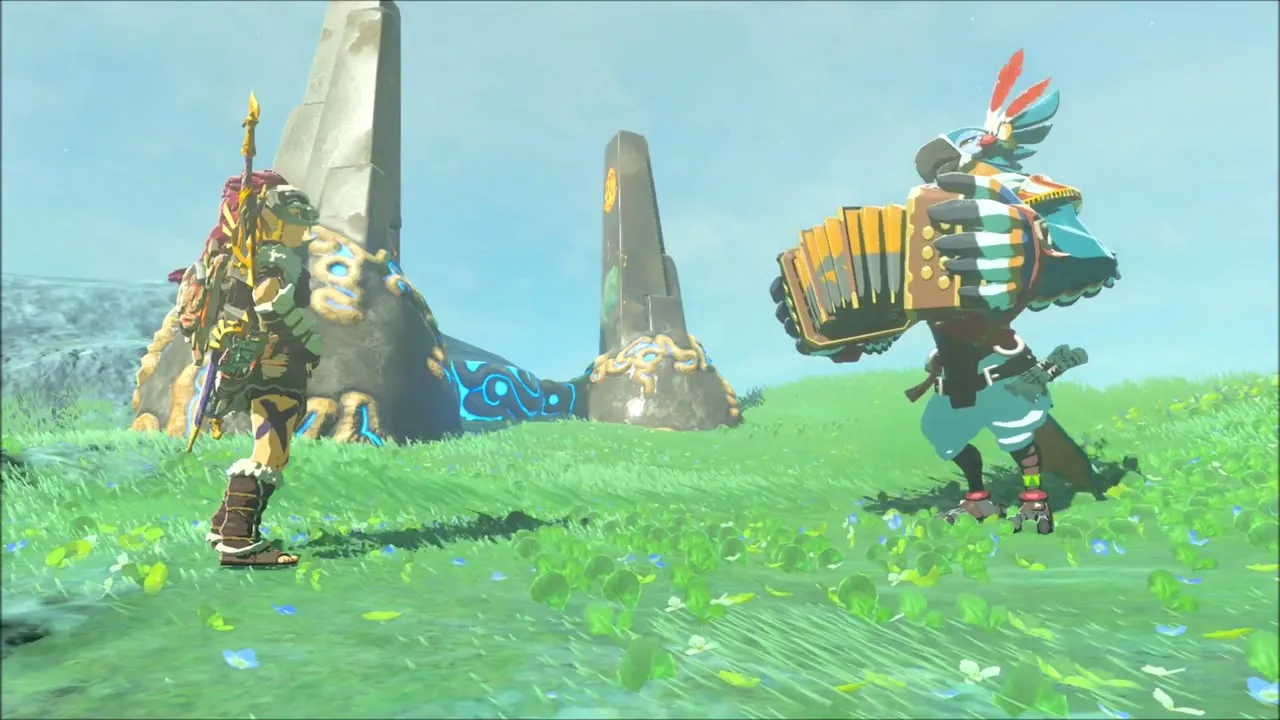
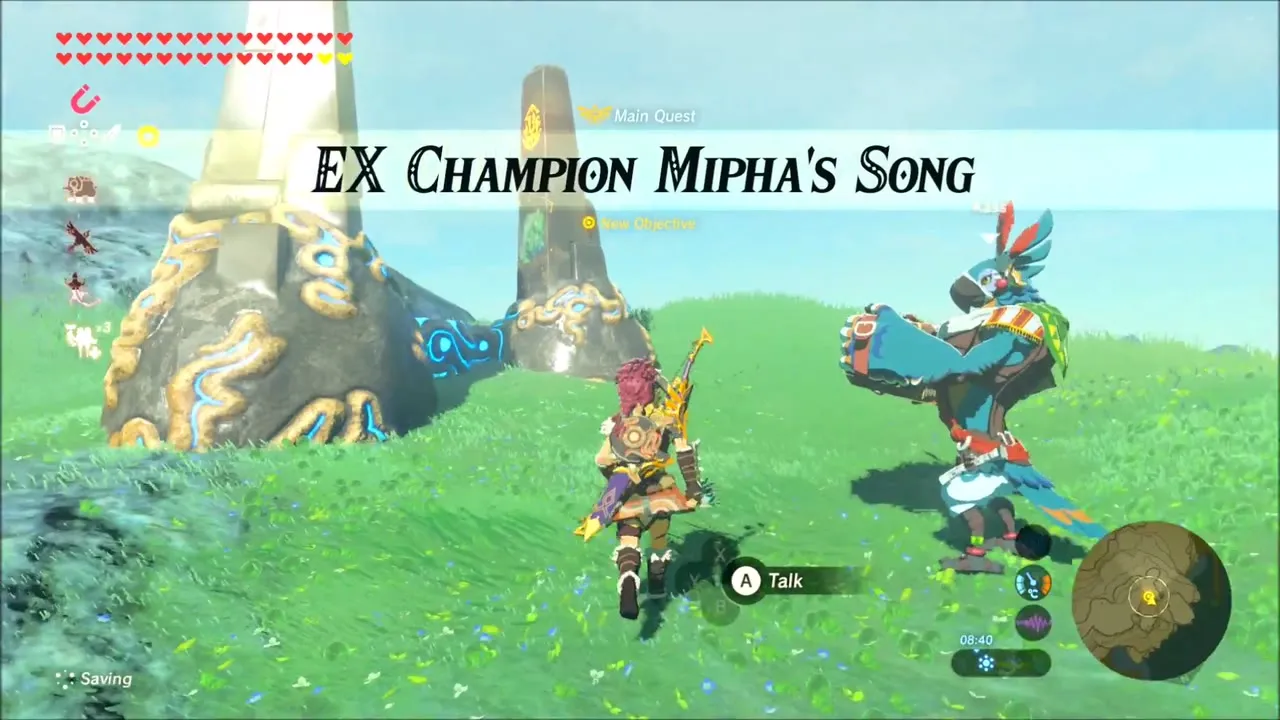
Mipha‘s Song is the Zora trial of the Champions’ Ballad. Pass through Zora’s Domain, rest at the inn if you want daylight, and leave across the bridge towards the grassy ground by Mikau Lake. A trial monument stands there, and Kass is waiting beside it.
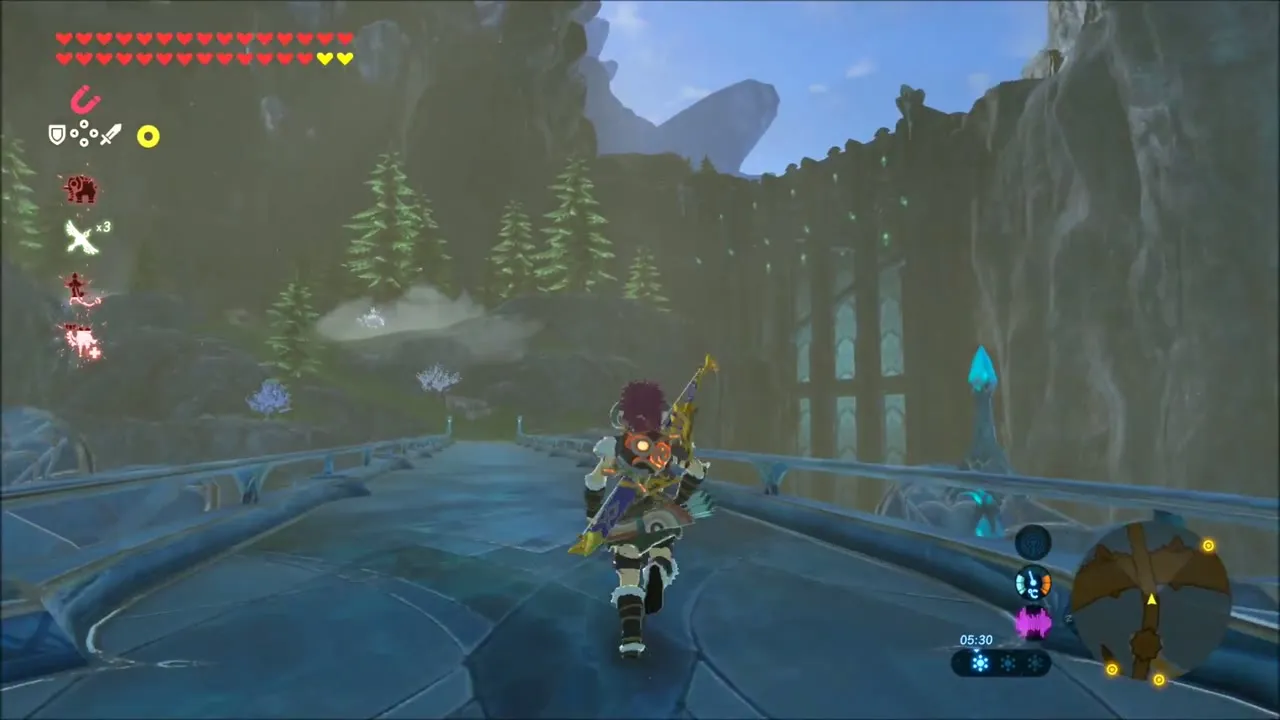
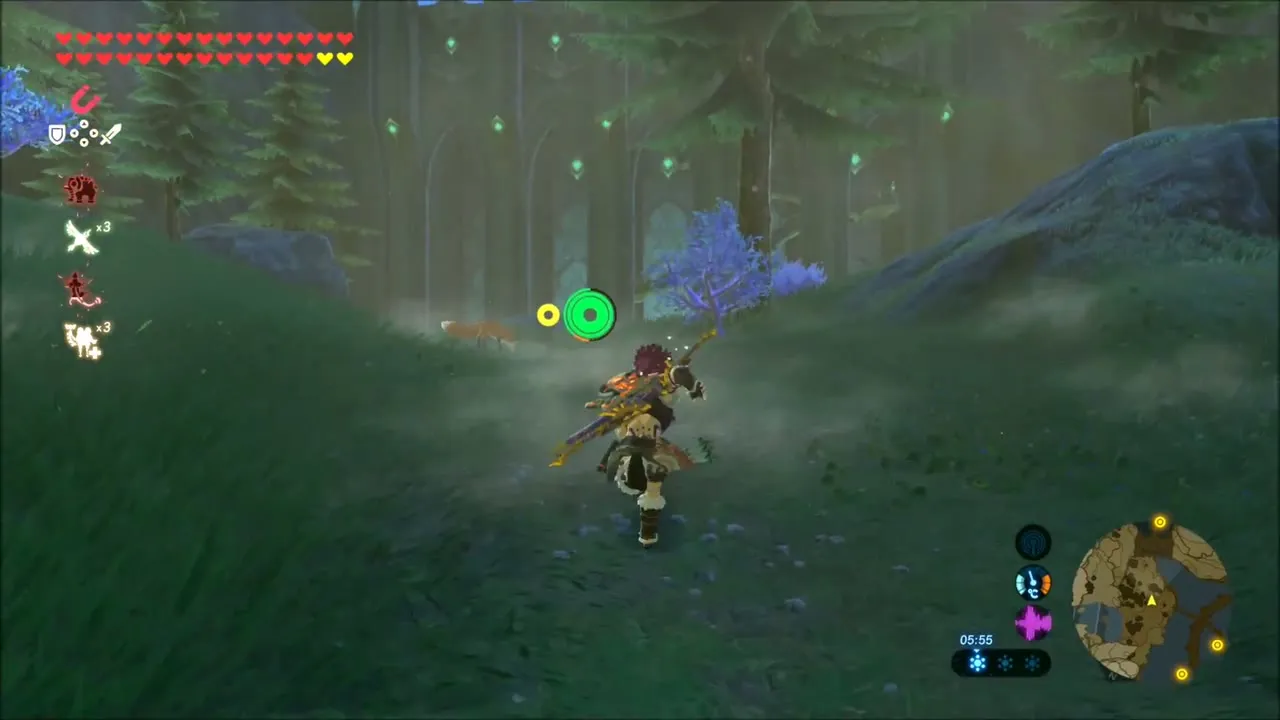
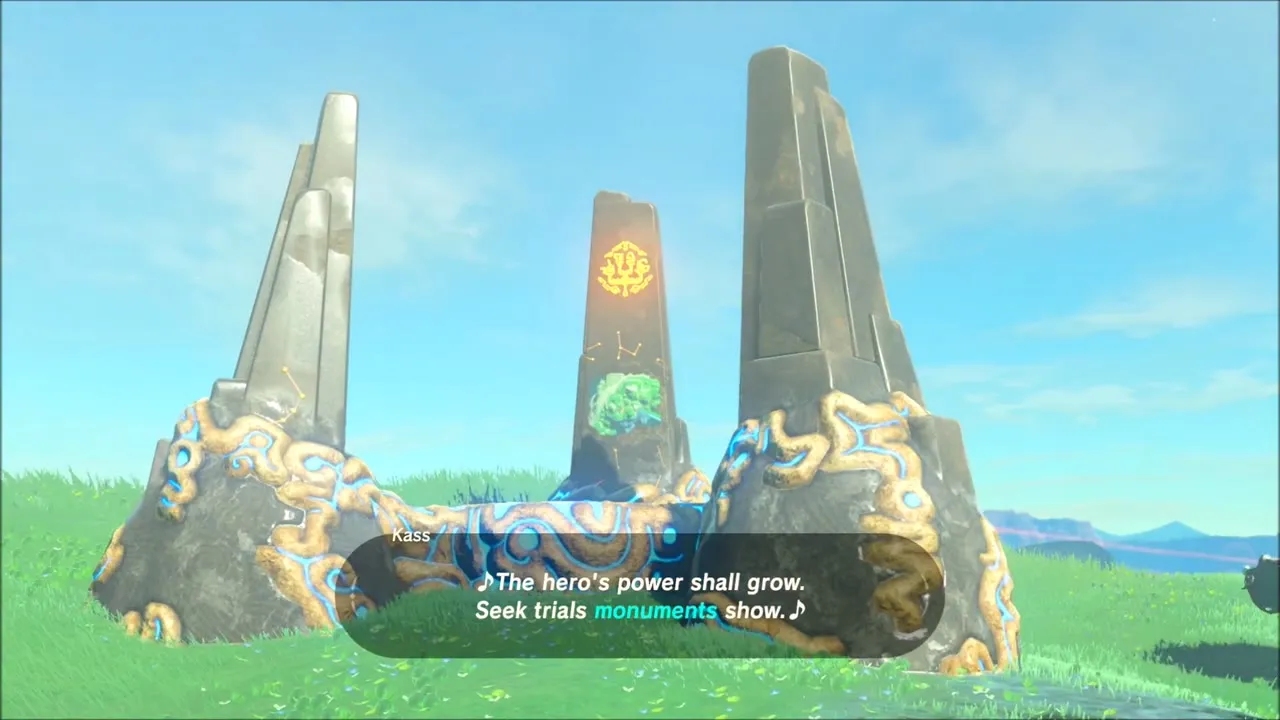
Talk to Kass. He sings the verse about the trials Champion Mipha overcame, and the stone obelisks at the monument show three map locations for the shrines, which you can tackle in any order.

Mah Eliya Shrine: Waterfall Rings and the Secret Stairway Trial
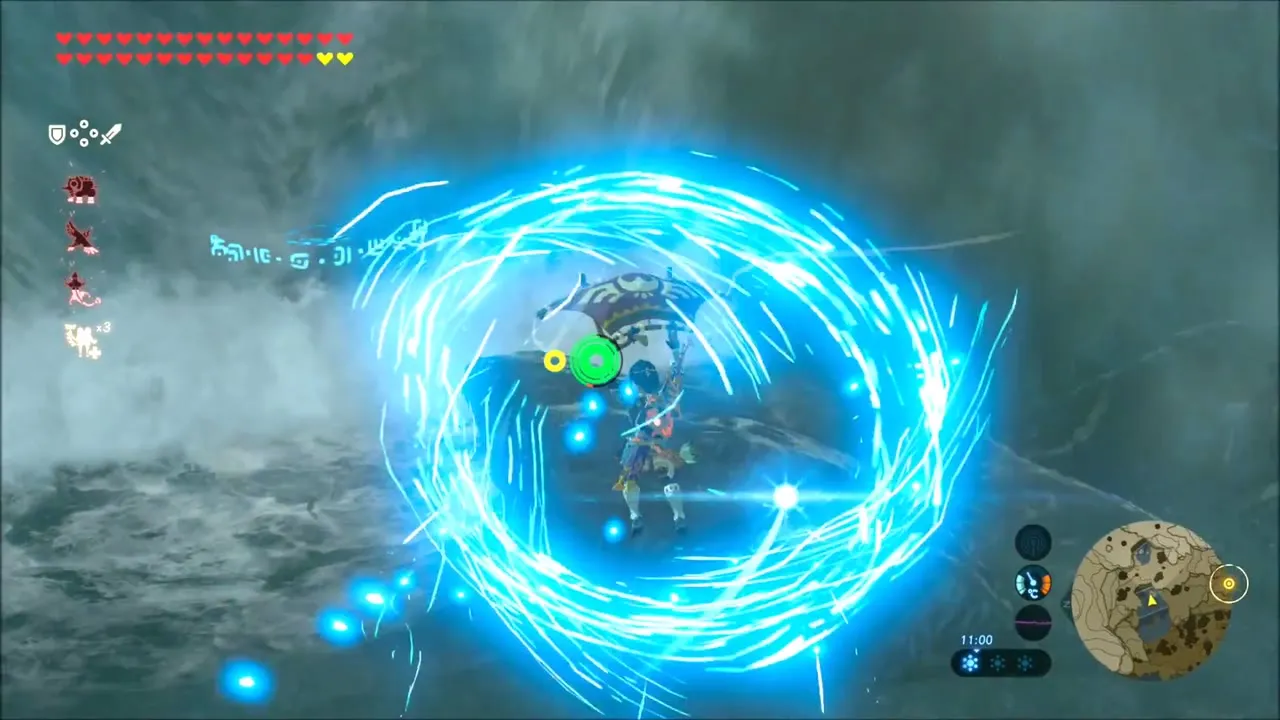
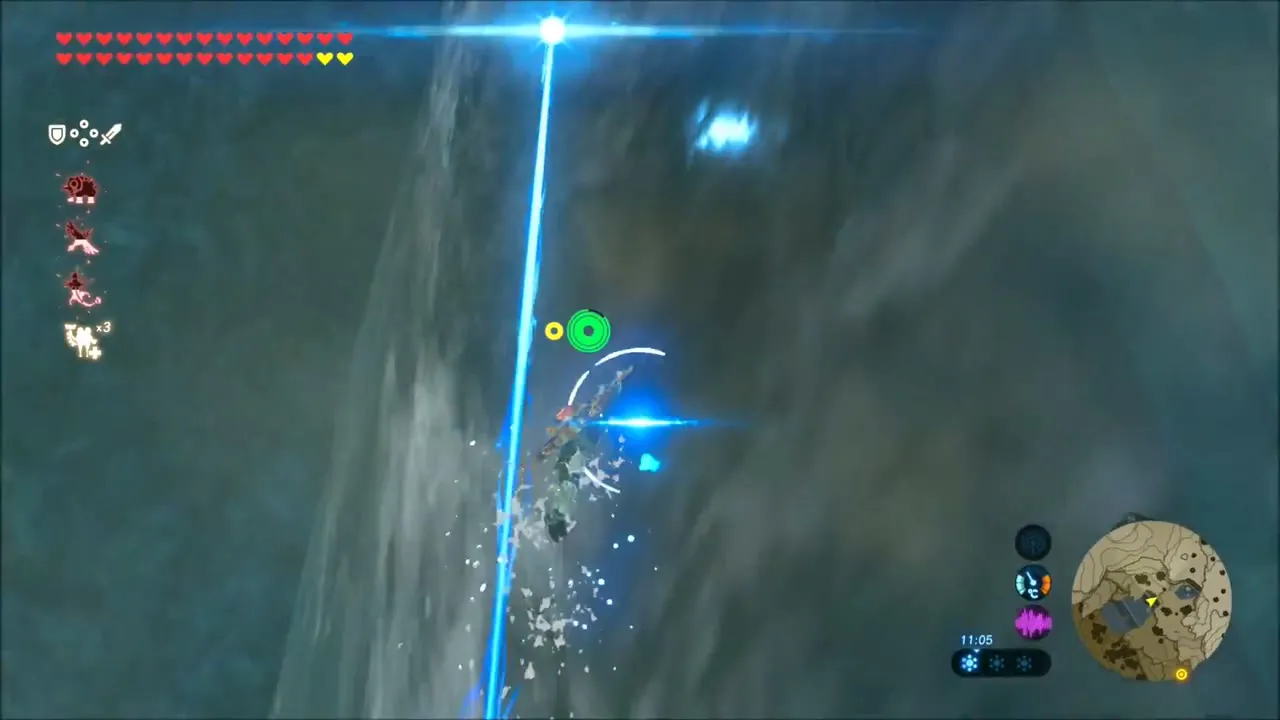
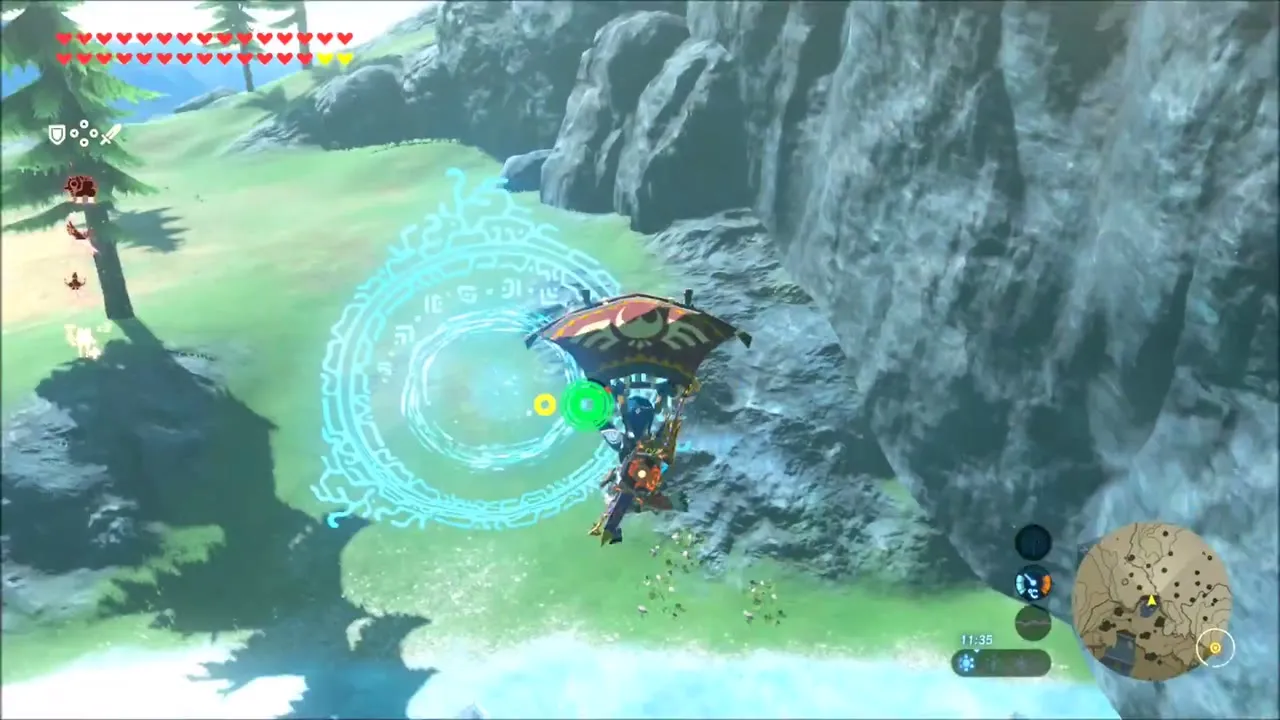
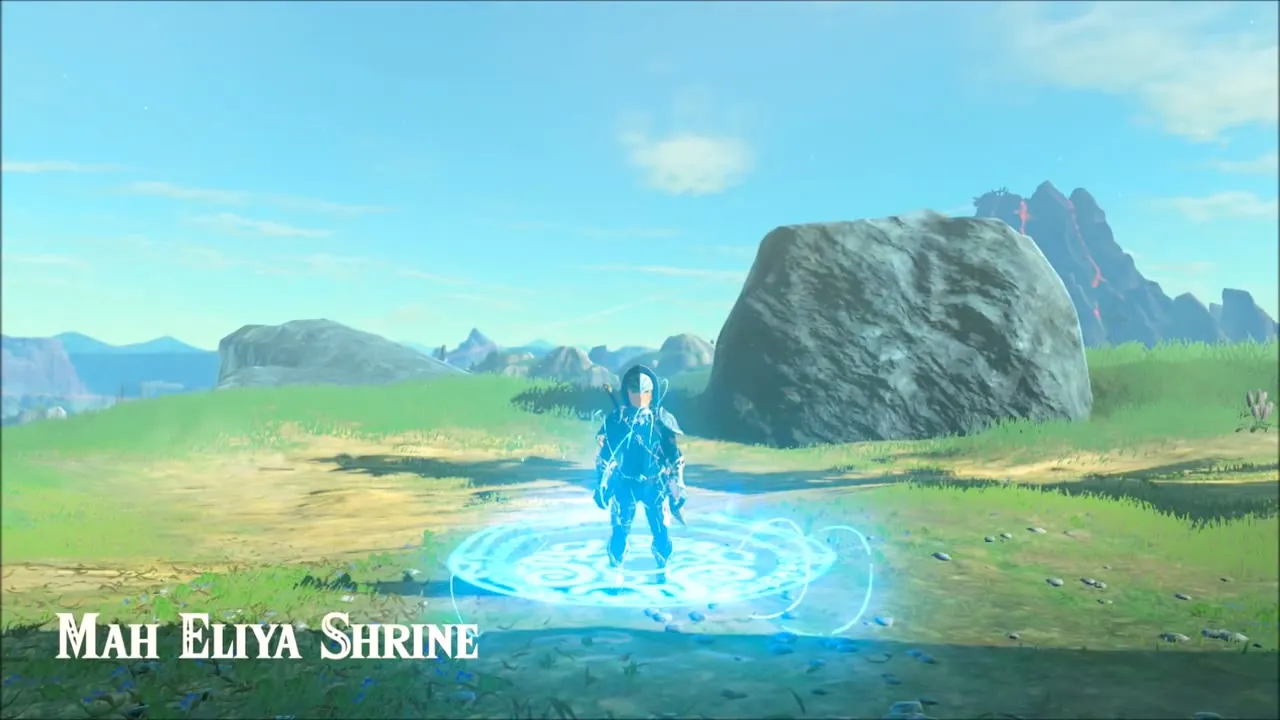
One verse says to chase rings up the waterfall. Wear the Zora Armor, swim to the glowing ring at the first fall and swim straight up it, then glide through the ring above and repeat at the next waterfall. The last ring reveals the Mah Eliya Shrine (x 3762, z -646, height 557).

Secret Stairway solution
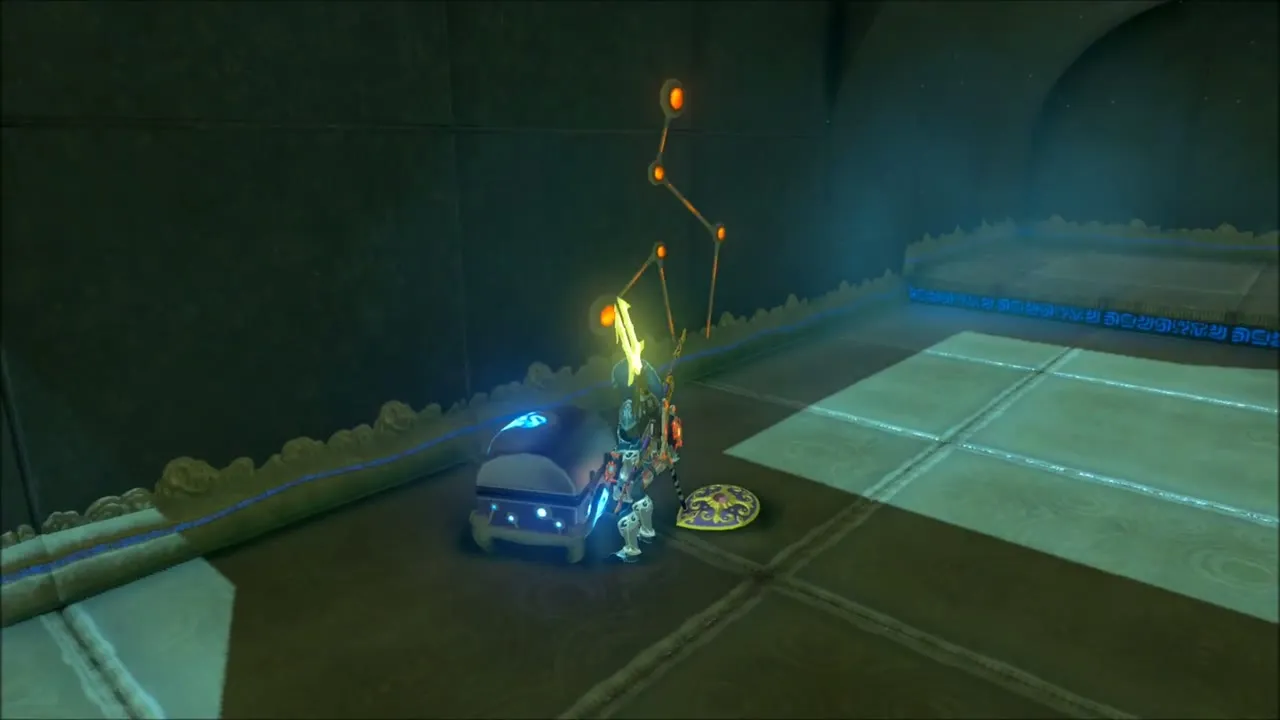
The room has a small waterfall and metal boxes, and you use Magnesis, Cryonis and Stasis. Lift the left box with Magnesis, place a Cryonis block under it to keep it raised, and climb up. Use the small metal box to hold the left box in place, raise the right box and freeze it with Stasis or support it with ice, then slide the boxes together over the waterfall so they form stairs up to the monk.
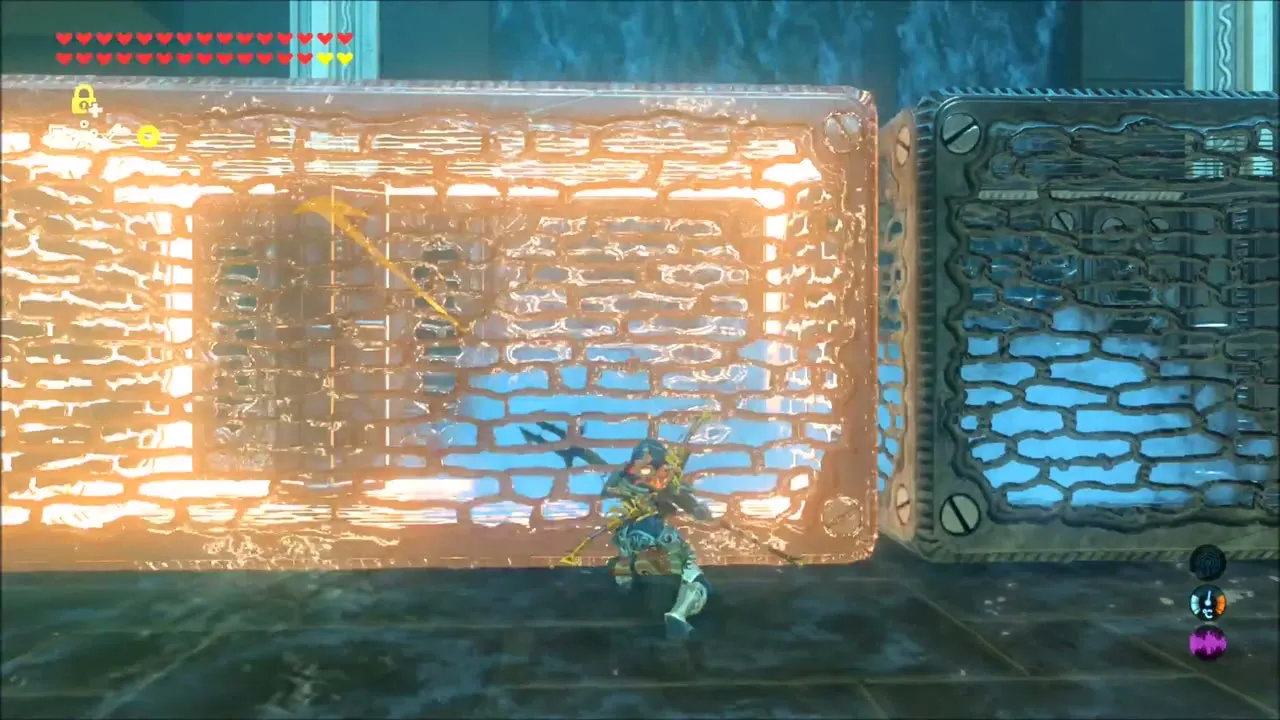

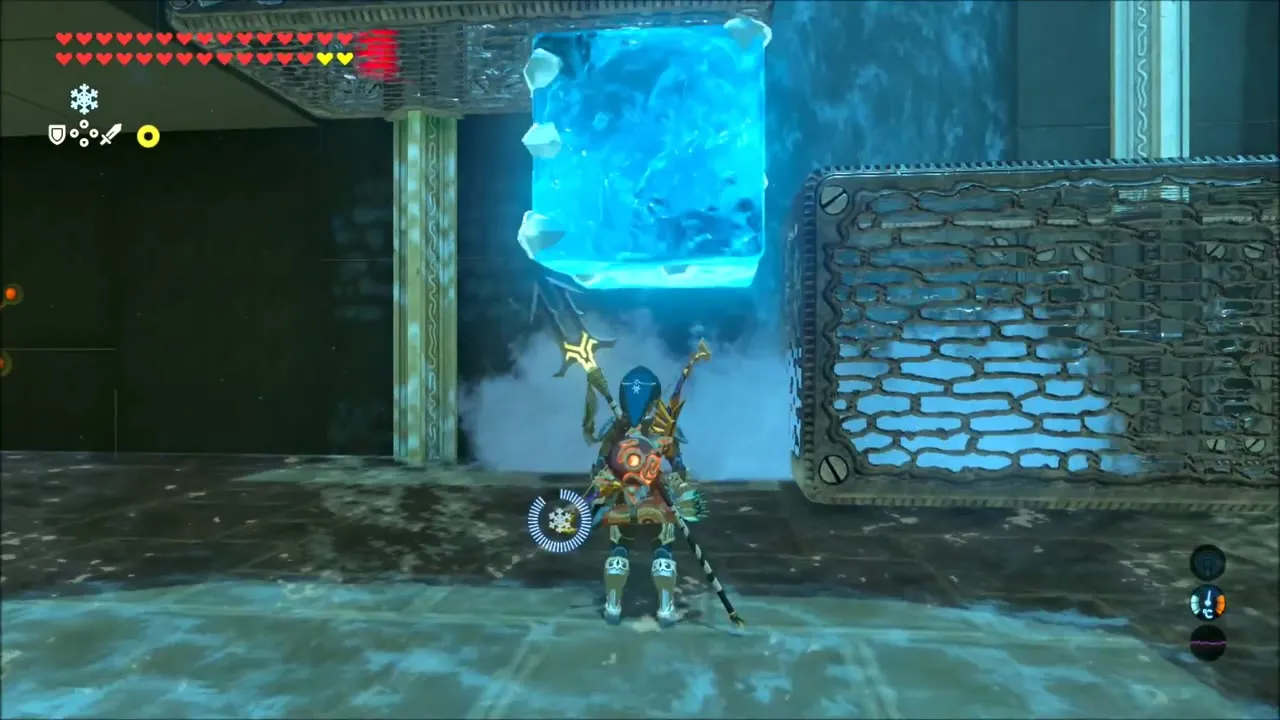
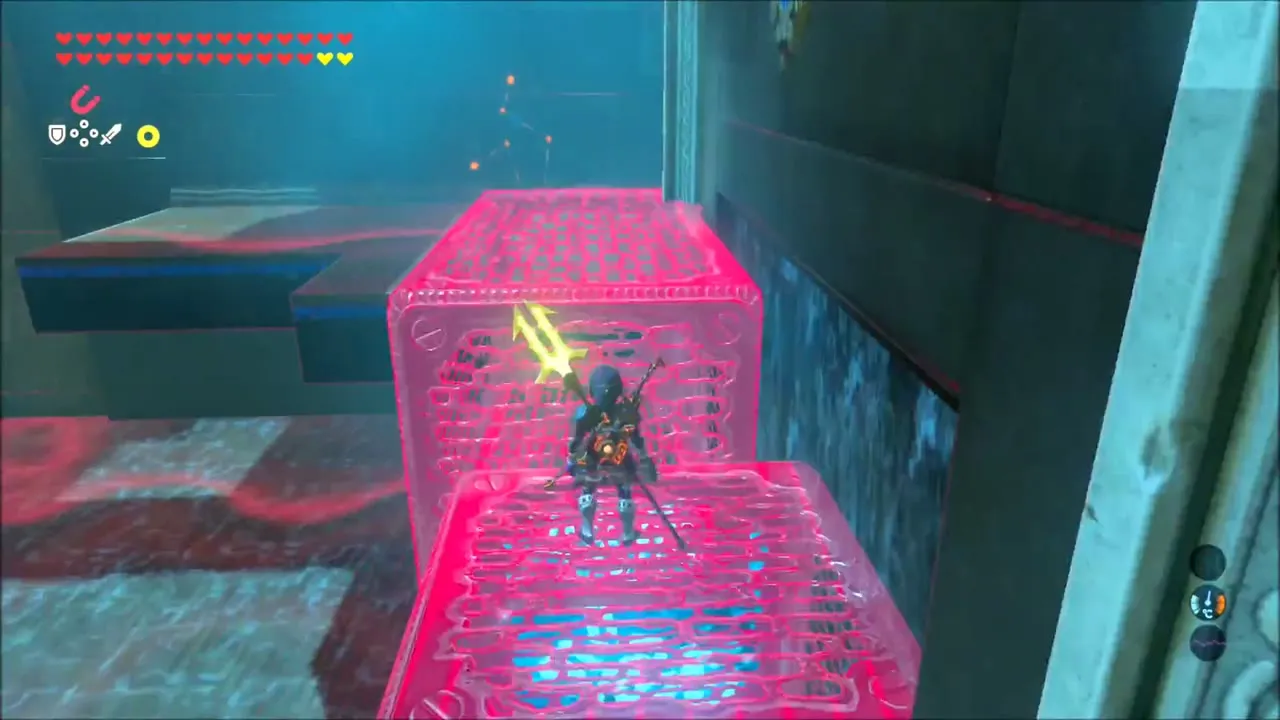
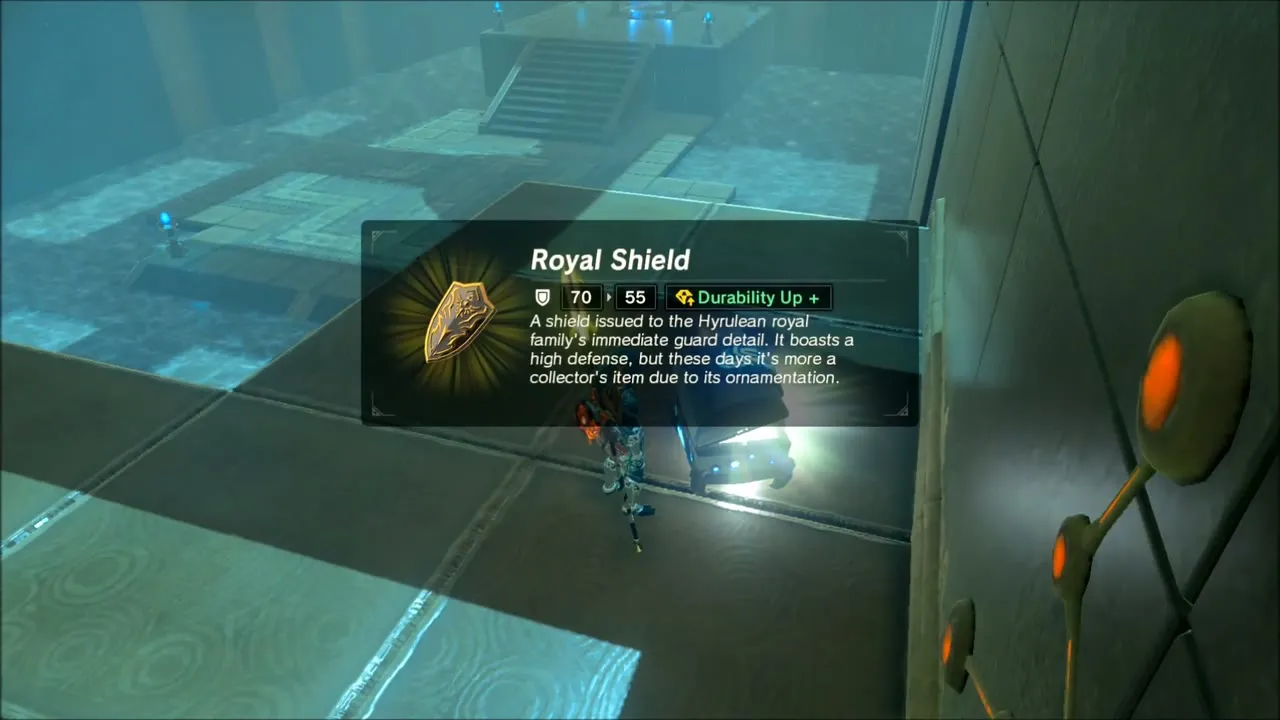
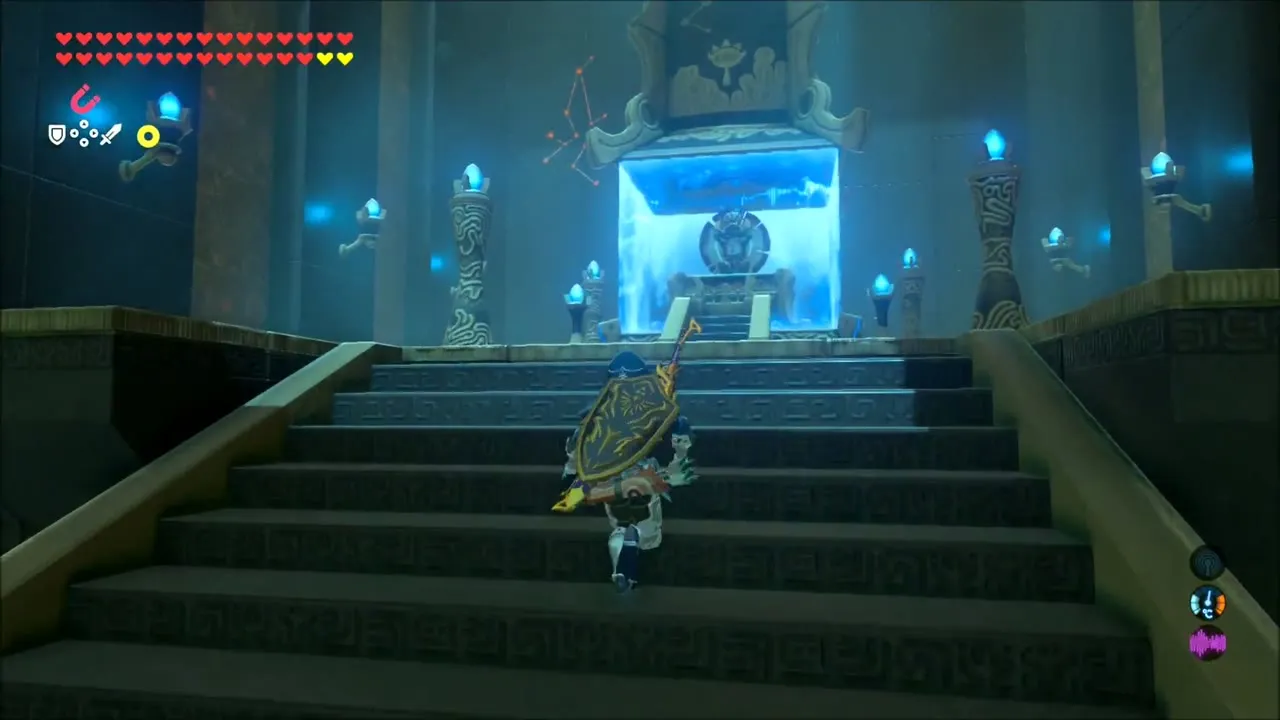
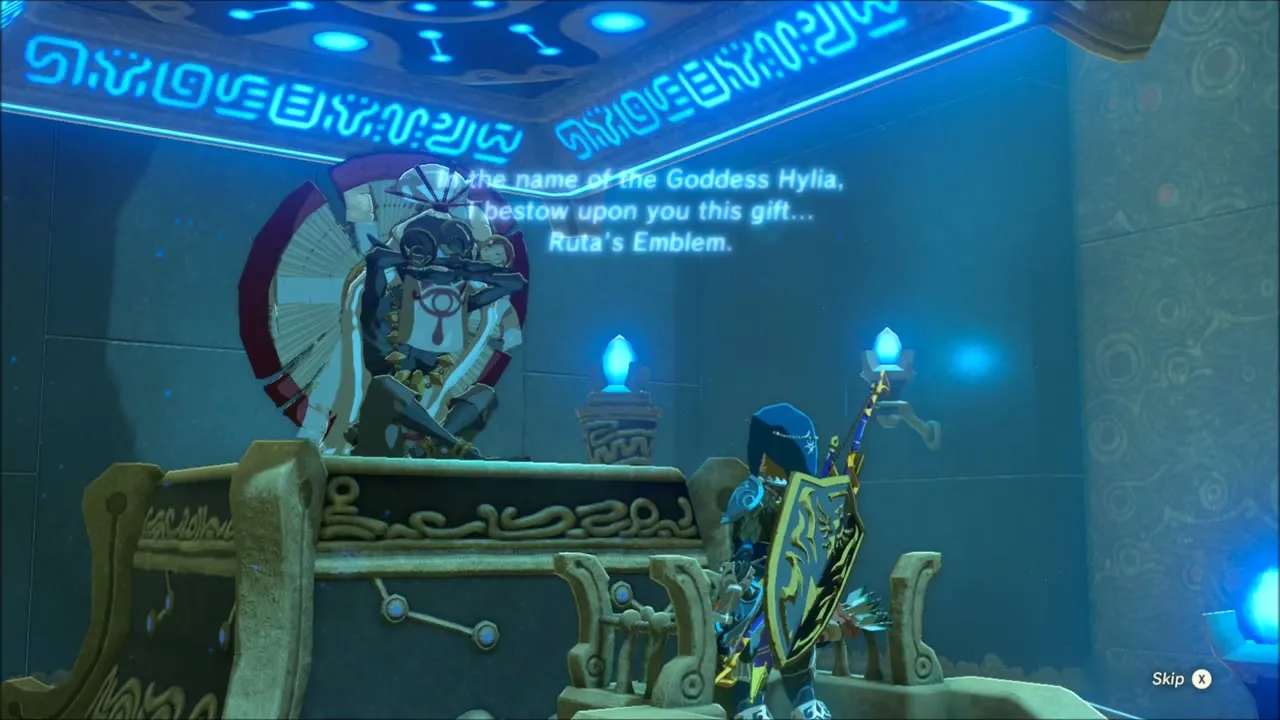
A metal chest sits high on the left wall. Put a Cryonis block on the right side of the top of the waterfall, reverse the boxes so the left one rises, stand on it, and pull the chest out with Magnesis for a Royal Shield. Then climb the stairs to the monk and collect Ruta’s Emblem.
Sato Koda Shrine: Upland Zorana Guardians and the Support and Guidance Trial
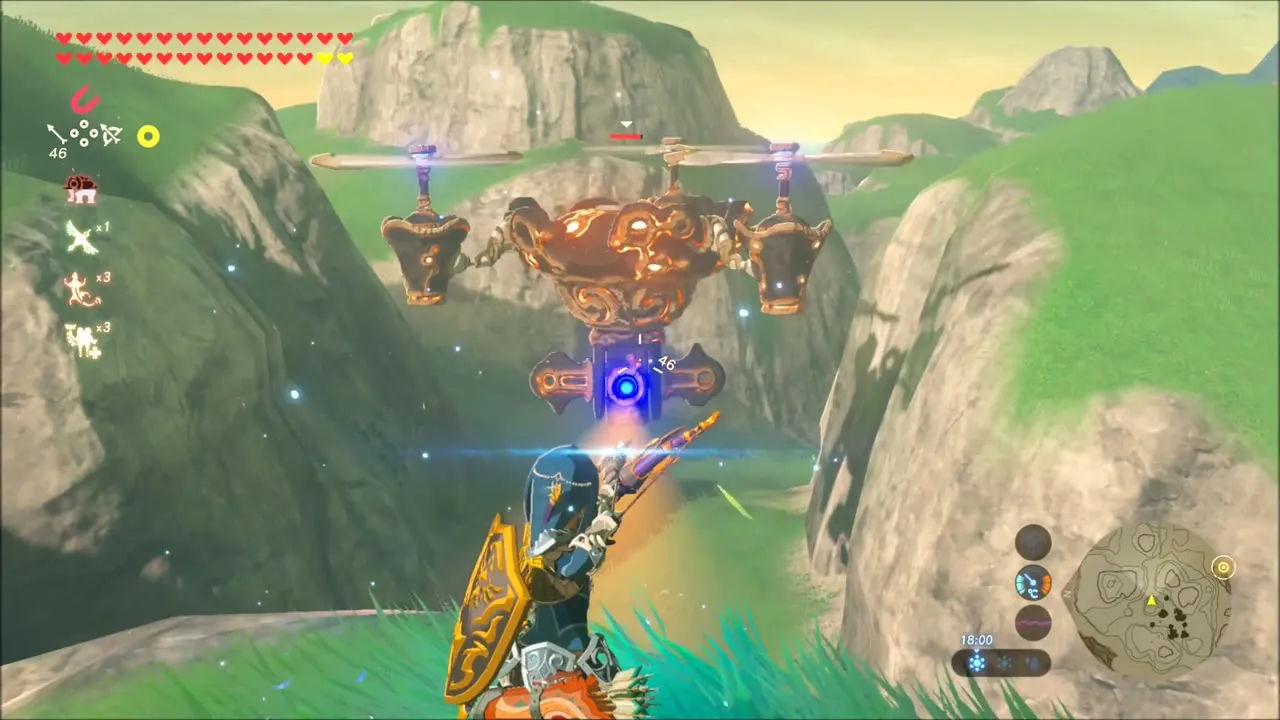
The Sato Koda Shrine (x 3104, z -834, height 552) is in the hills of Upland Zorana, west of Toto Lake. Its clue is about defeating ancient foes. Glide across the hilltops and bring down the four Guardians there, shooting the propellers of the flying ones with arrows. Keep to the high ground so Moblins and Lizalfos do not bother you; defeated Guardians drop Ancient Screws, Springs and Gears. When all four are destroyed, the shrine appears.



Inside, a ball rolls down a wall of slots and levers, and you steer it with Cryonis blocks, at most three at a time, until it lands in the right slot and is shot up to the receptacle that opens the monk’s gate. A chest on the platform beside the receptacle holds a Giant Ancient Core. Then speak to the monk for the second Ruta’s Emblem.
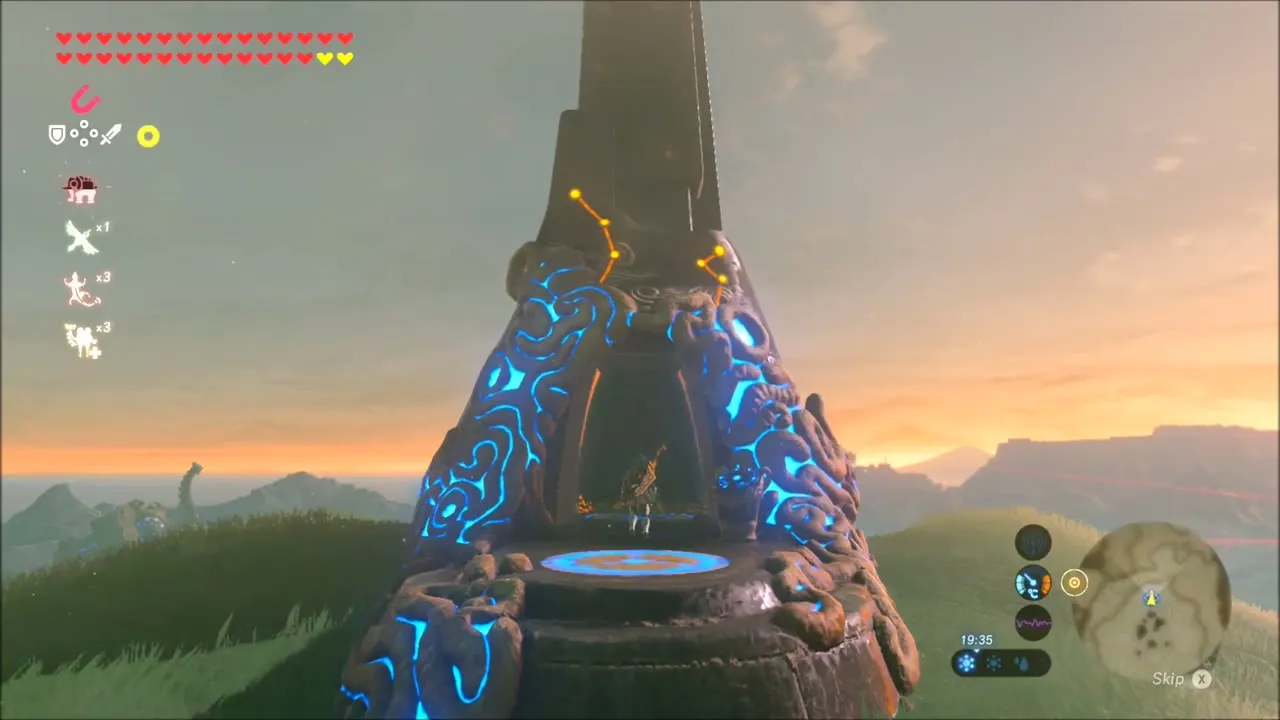

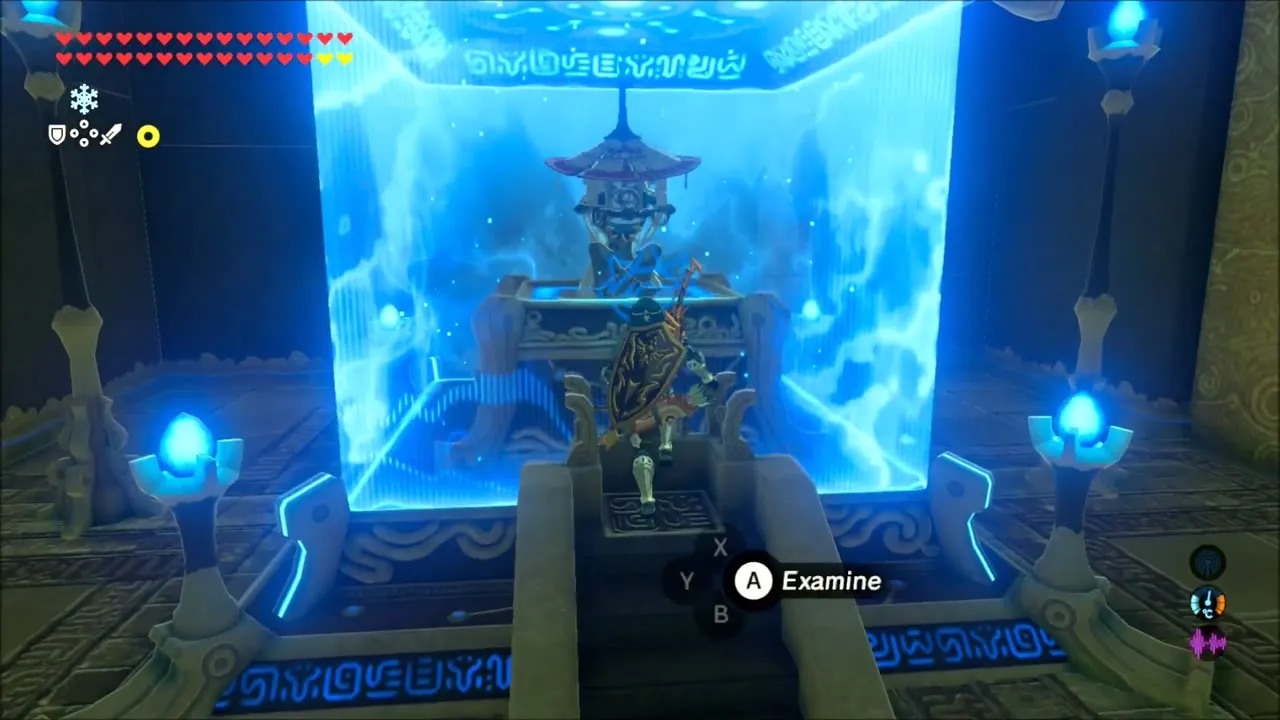
Side trip: Akkala Ancient Tech Lab and a Lynel near Mah Eliya Shrine
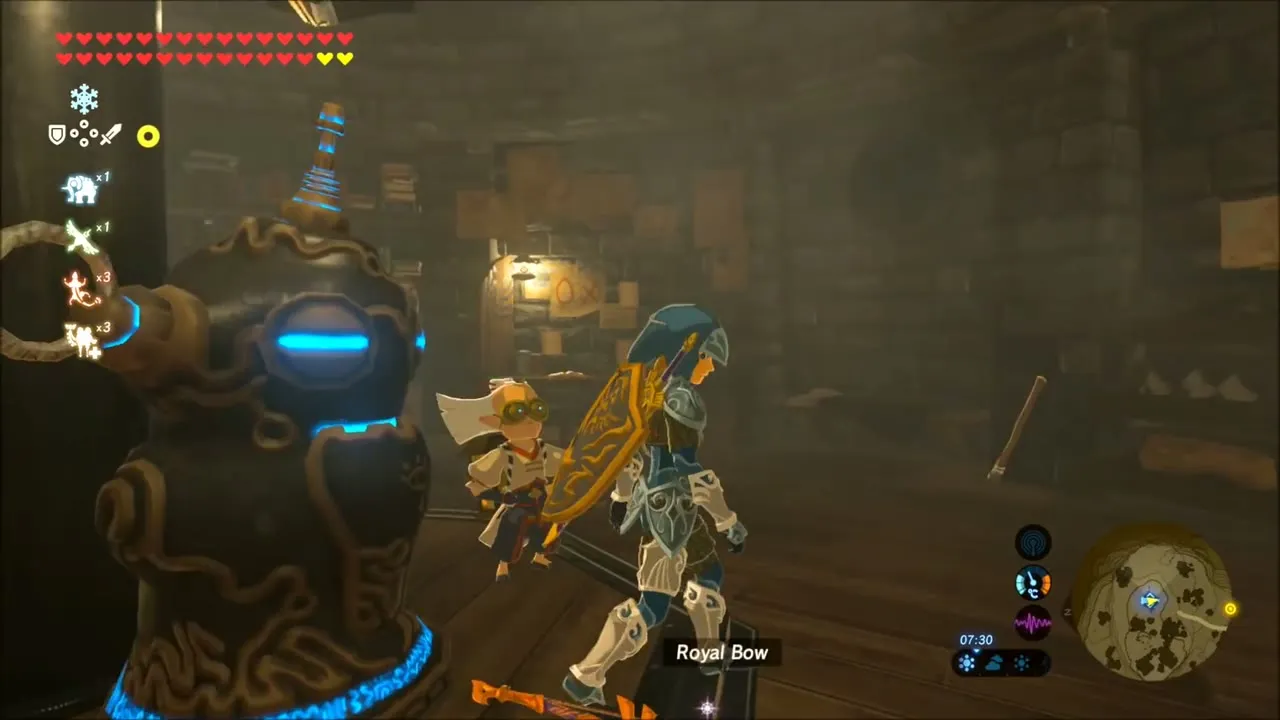
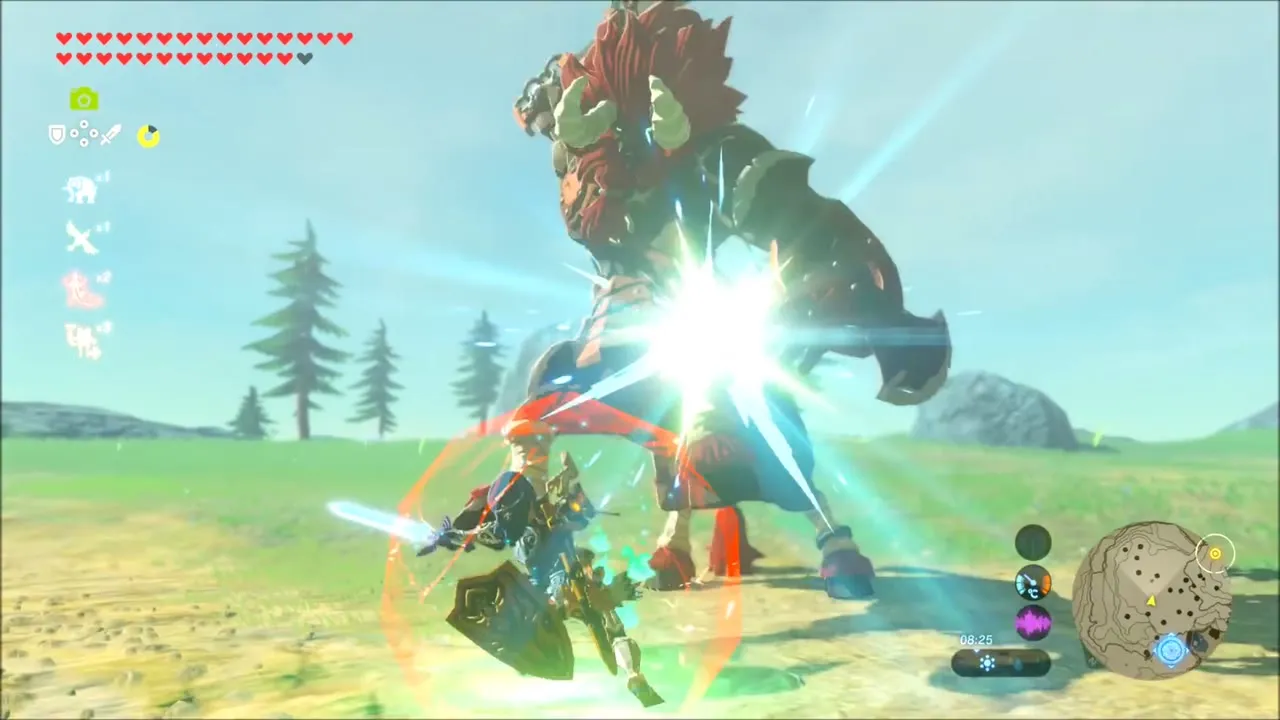
Before the last shrine, stop at the Akkala Ancient Tech Lab to browse the Ancient Soldier gear. Then warp to the Mah Eliya Shrine and shoot the Lynel on the grass near it. Its drops include a Lynel Bow, a Royal Bow, a Lynel Sword and Lynel parts, and you may need to clear inventory space to carry them.


Kee Dafunia Shrine: How to Find It at Sunrise
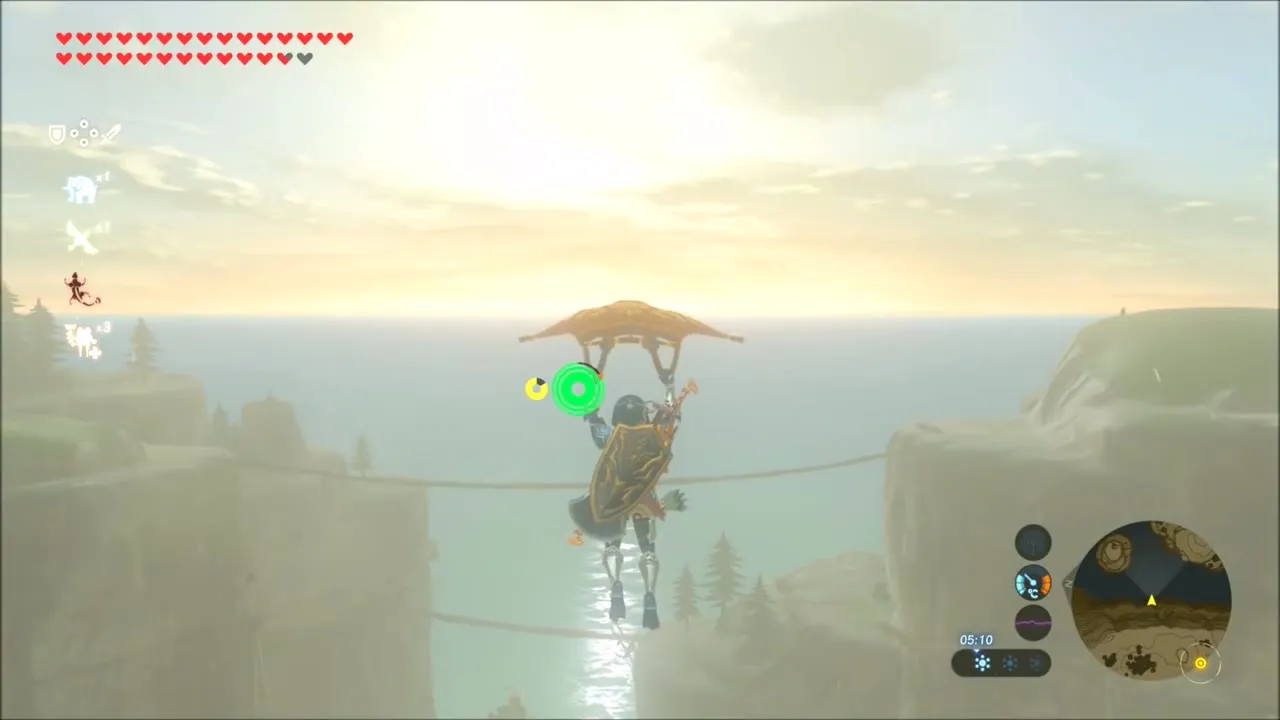
The final verse mentions the morning sun. Head to the cliffs above Ulria Grotto, where a Zora beside a campfire talks about the trial Princess Mipha herself faced. Rest by the fire until dawn, then glide off the cliff toward the sun over the water between Ankel Island and Knuckel Island until a faint ring appears. Glide down through it.


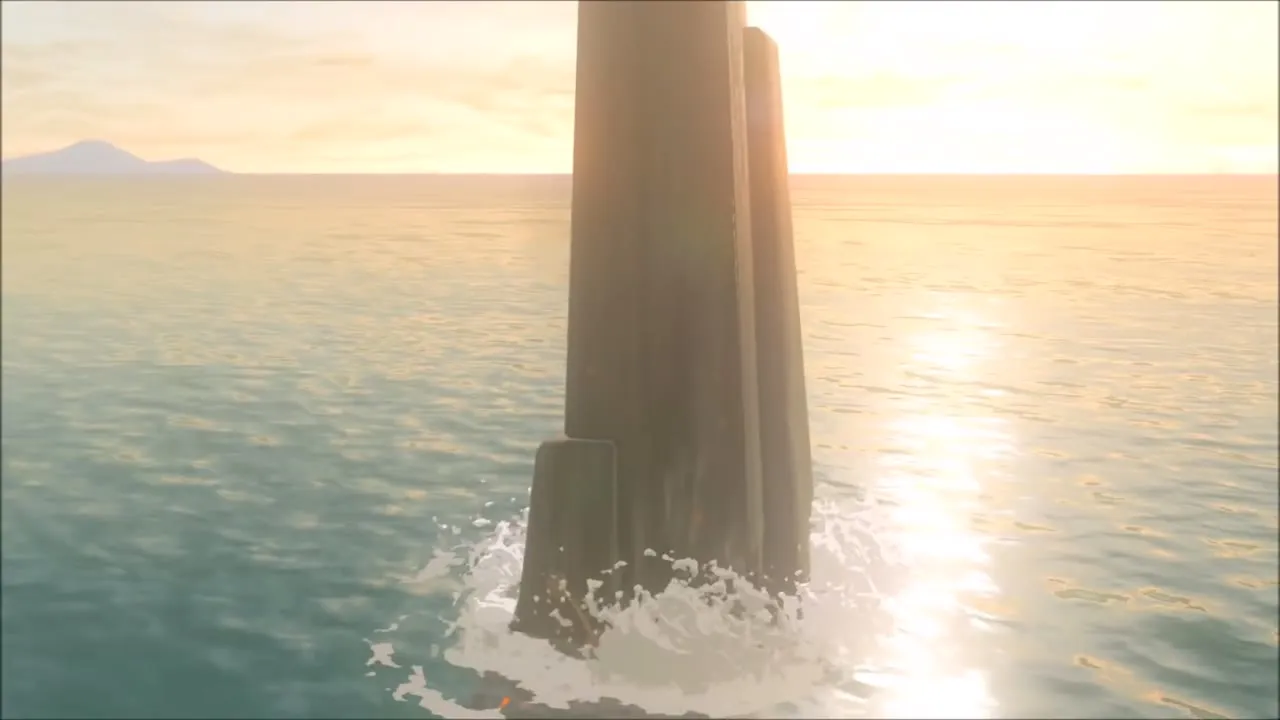
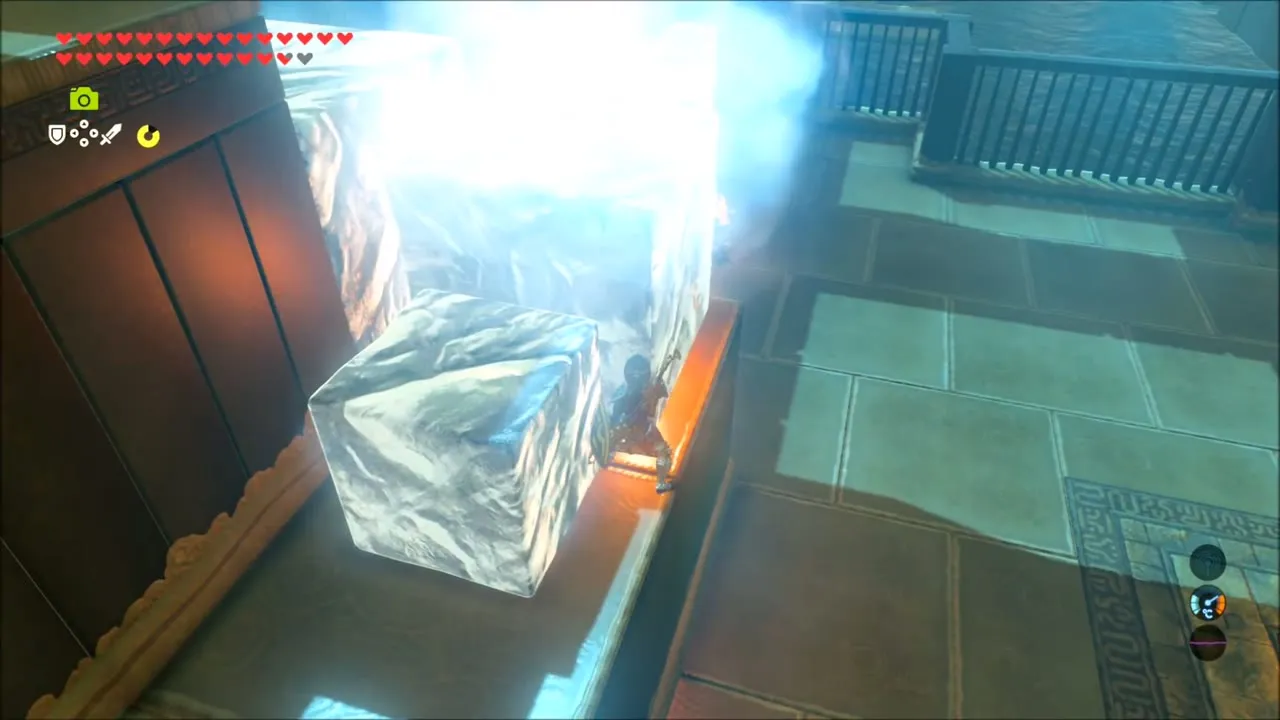
The Kee Dafunia Shrine (x 4934, z -1002, height 116) rises out of the sea. Its trial is The Melting Point, an ice puzzle. Take a torch from the brazier, burn the big ice blocks that block the way, then roll the blocks against the ledge, melt the ice on top and climb up.


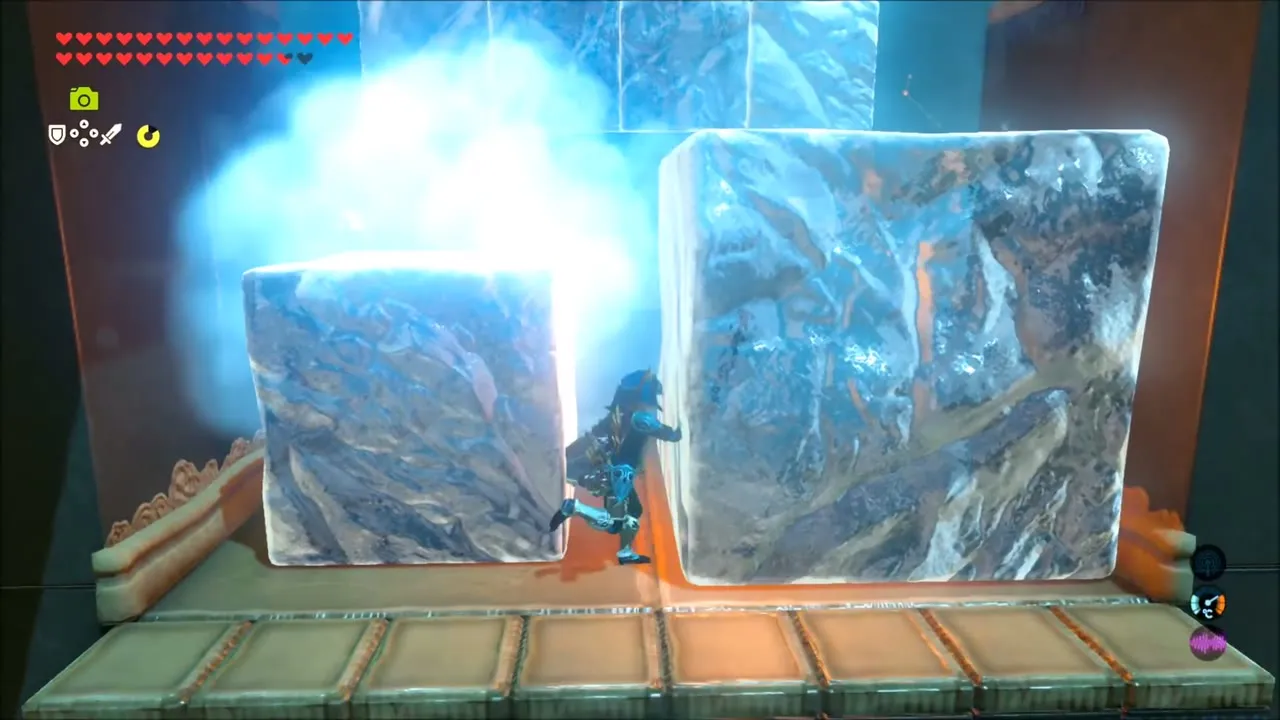

Under the main platform is an ice-sealed alcove with a chest holding the Frostblade; melt the ice with a torch to reach it, and make sure you have room in your inventory for it.
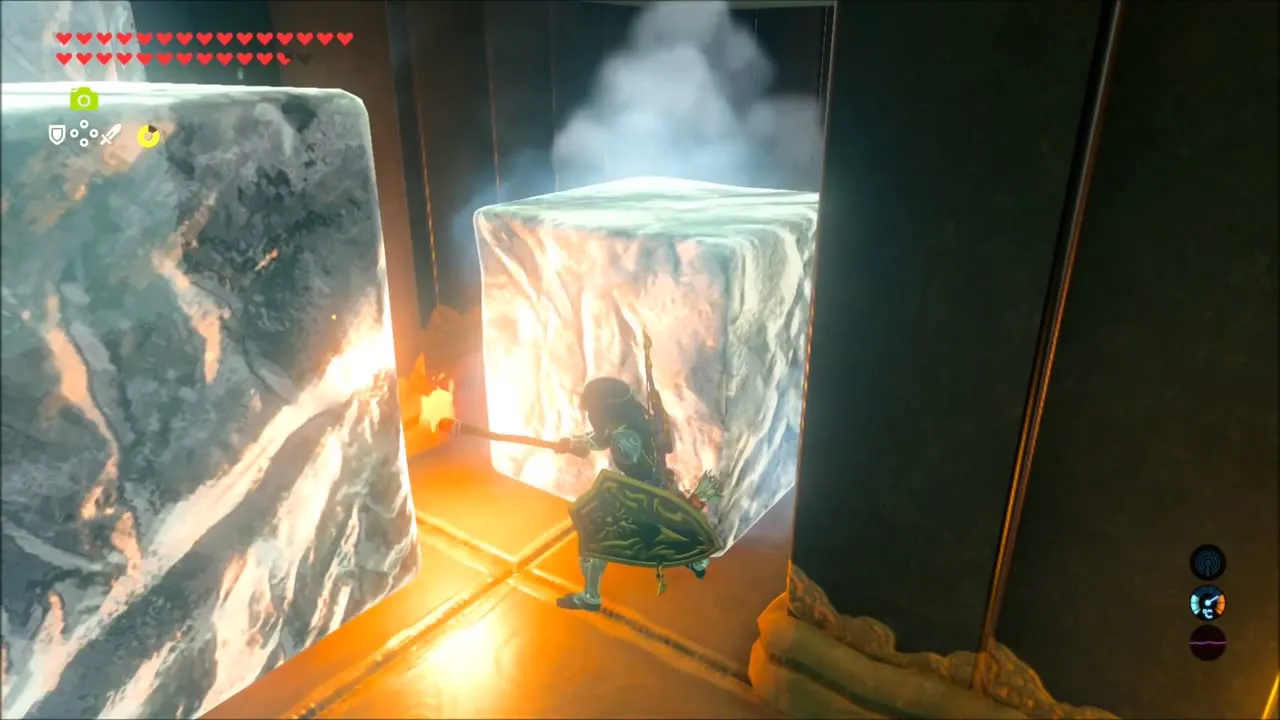
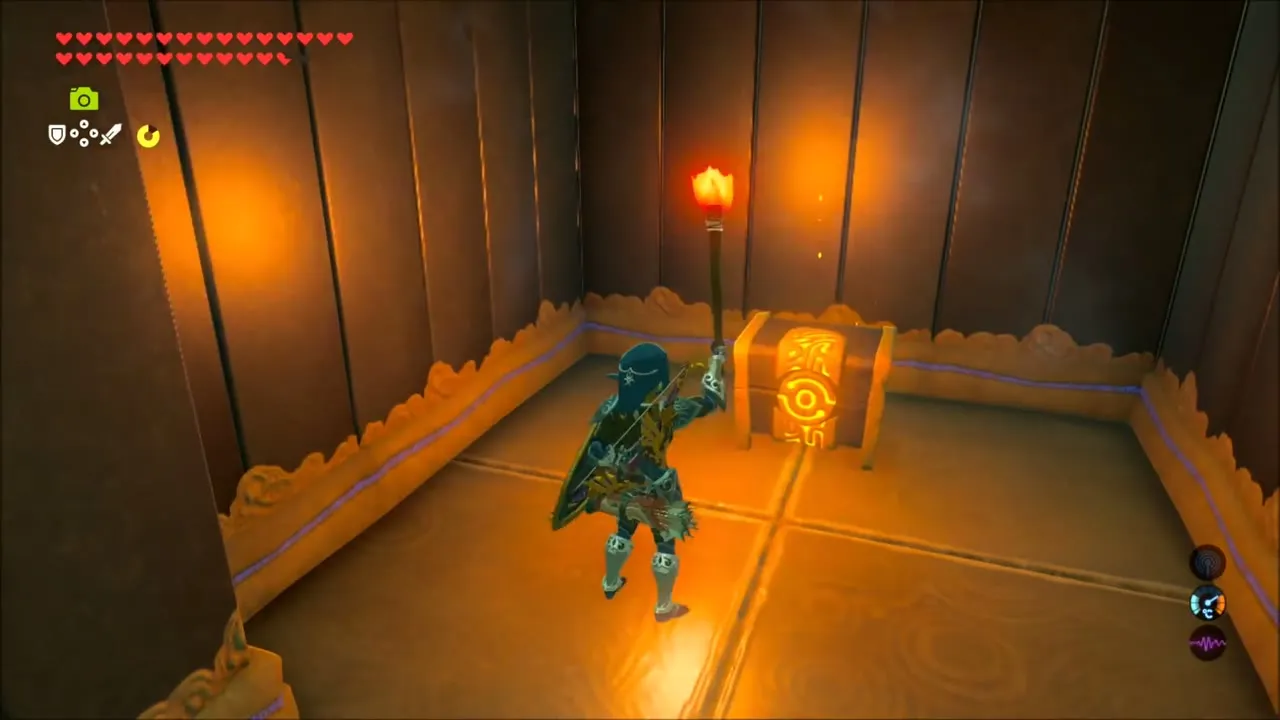
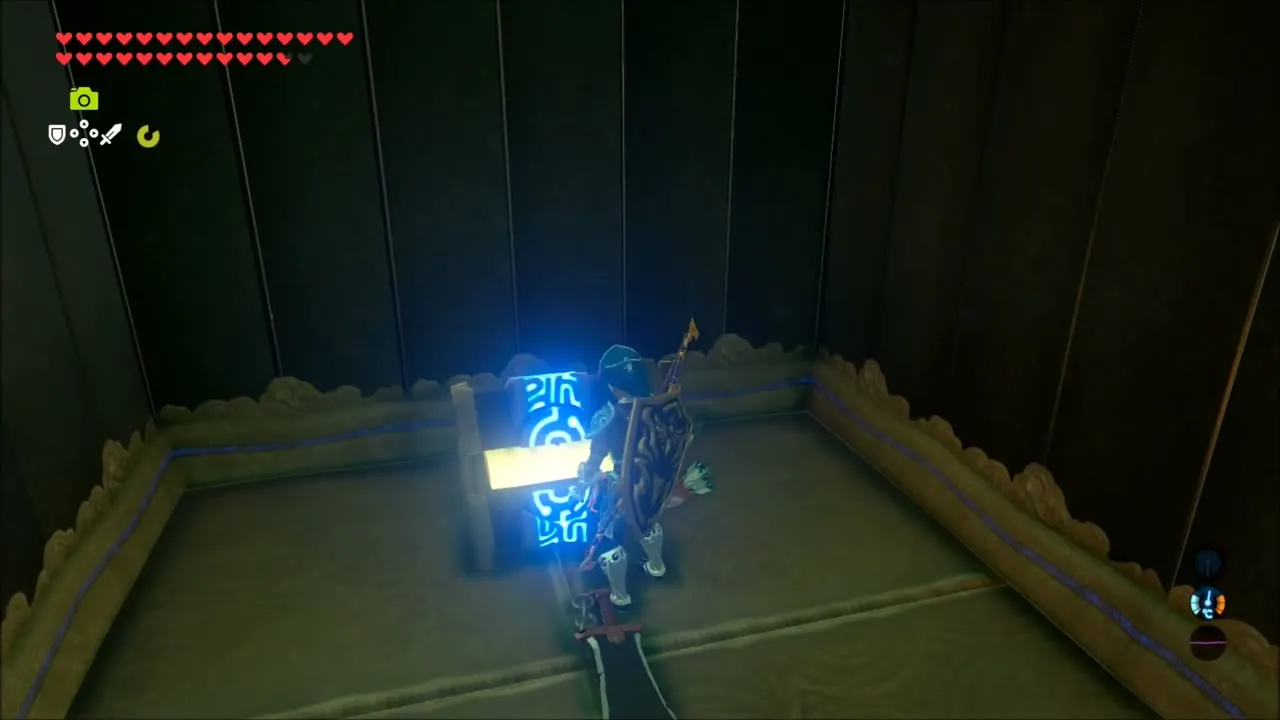
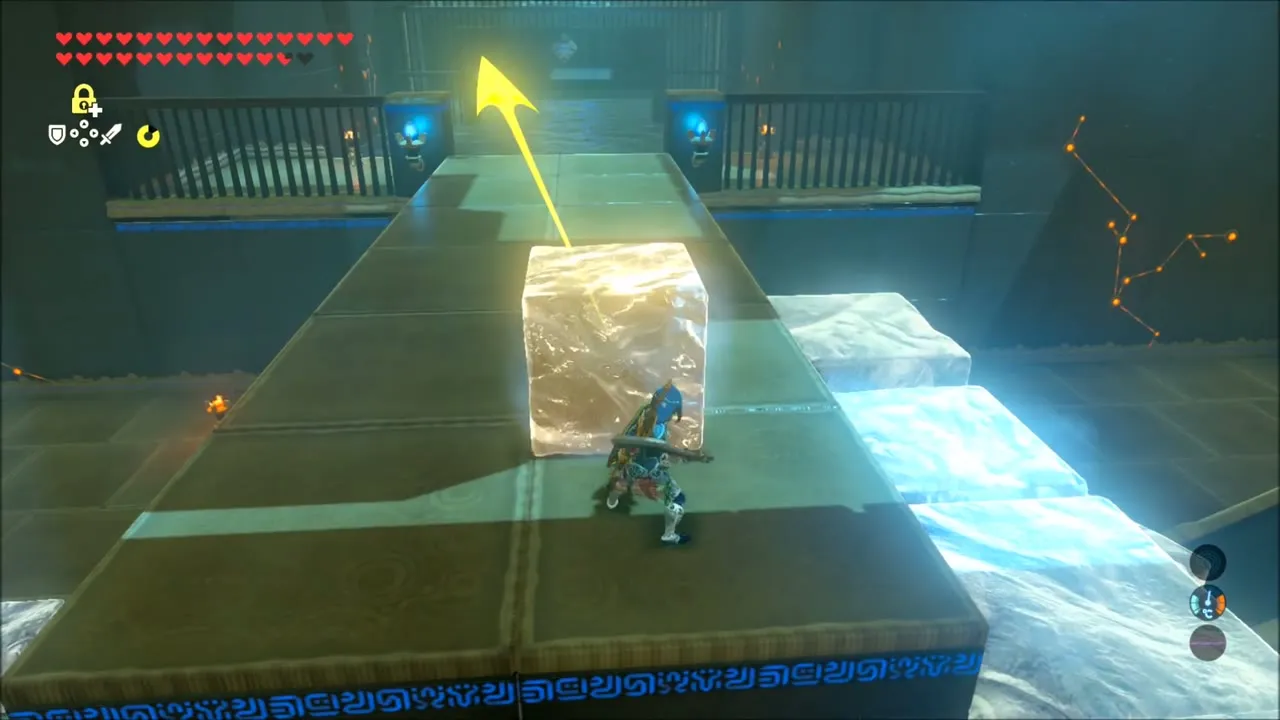
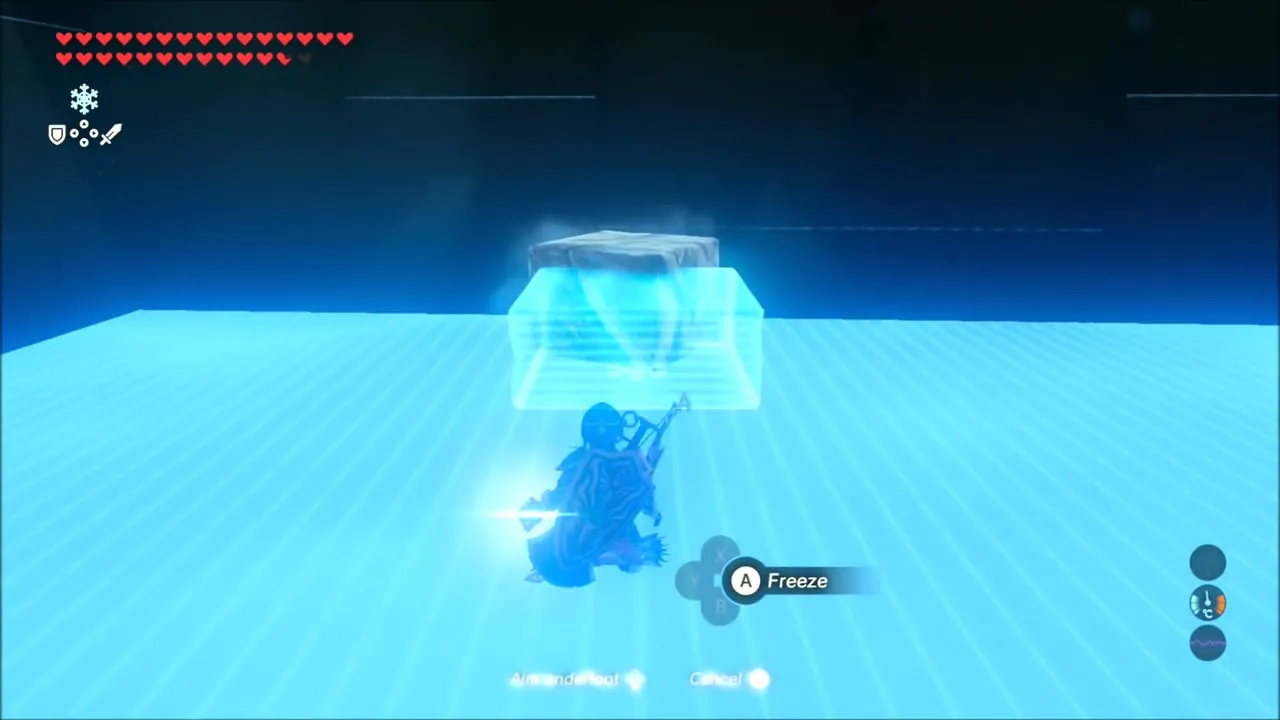
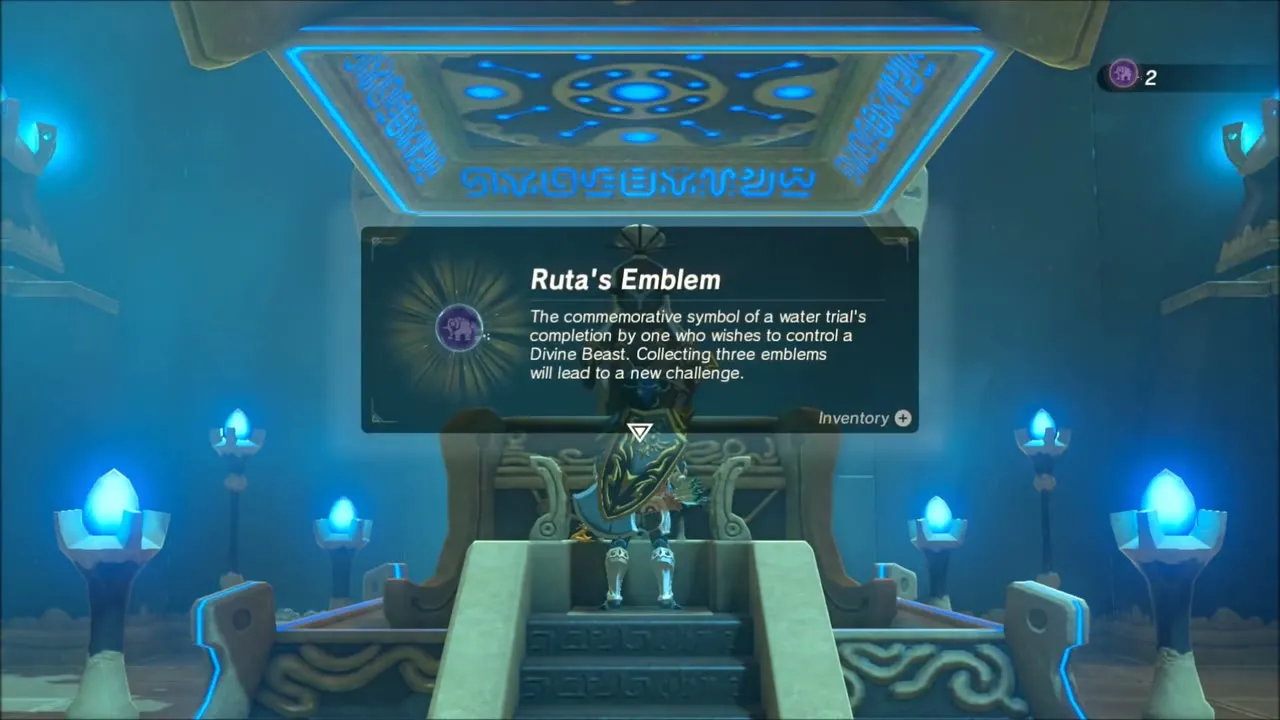
On the top level, melt a huge ice block until it is small enough to carry, set it under the overhang, and use Cryonis from it to stack platforms up to the monk, who gives you the third Ruta’s Emblem.
Vah Ruta Champion Trial: Defeat Waterblight Ganon Again
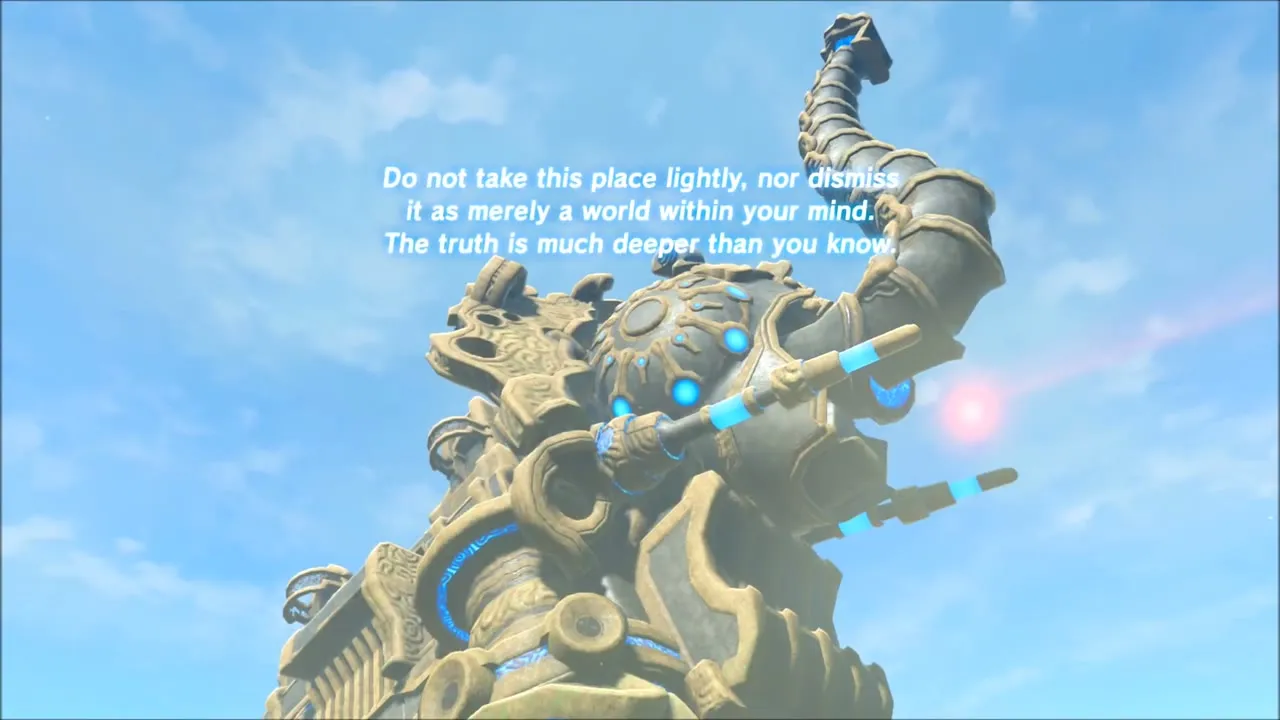
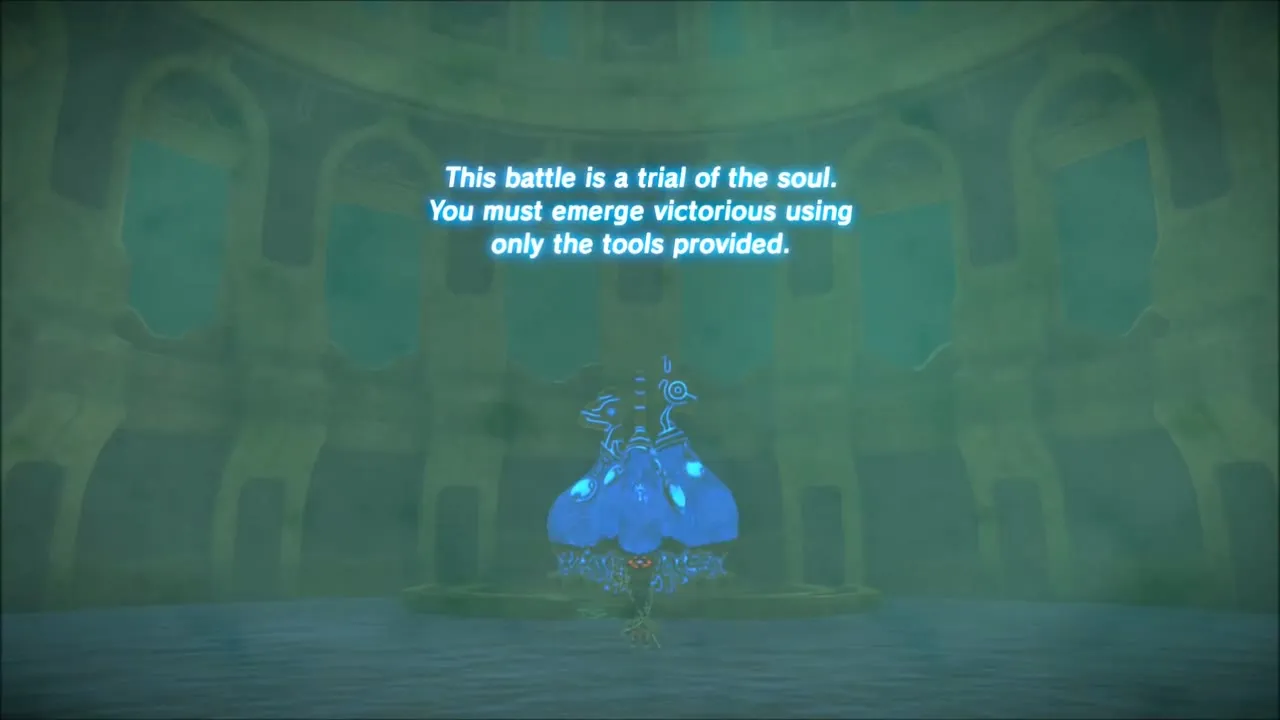
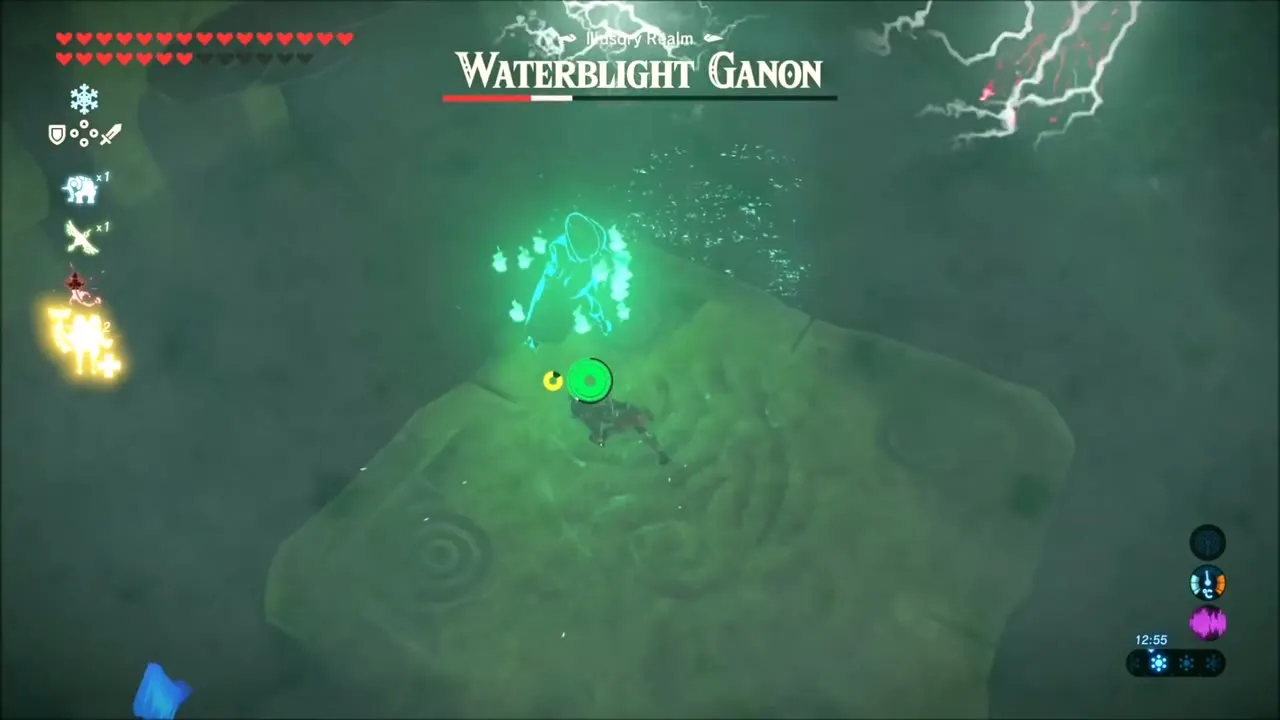
Approach Vah Ruta with the three emblems. As with Naboris, you are offered the chance to enter an illusory realm, where the Divine Beast tells you that it is a trial of the soul and that you must win with only the tools provided.


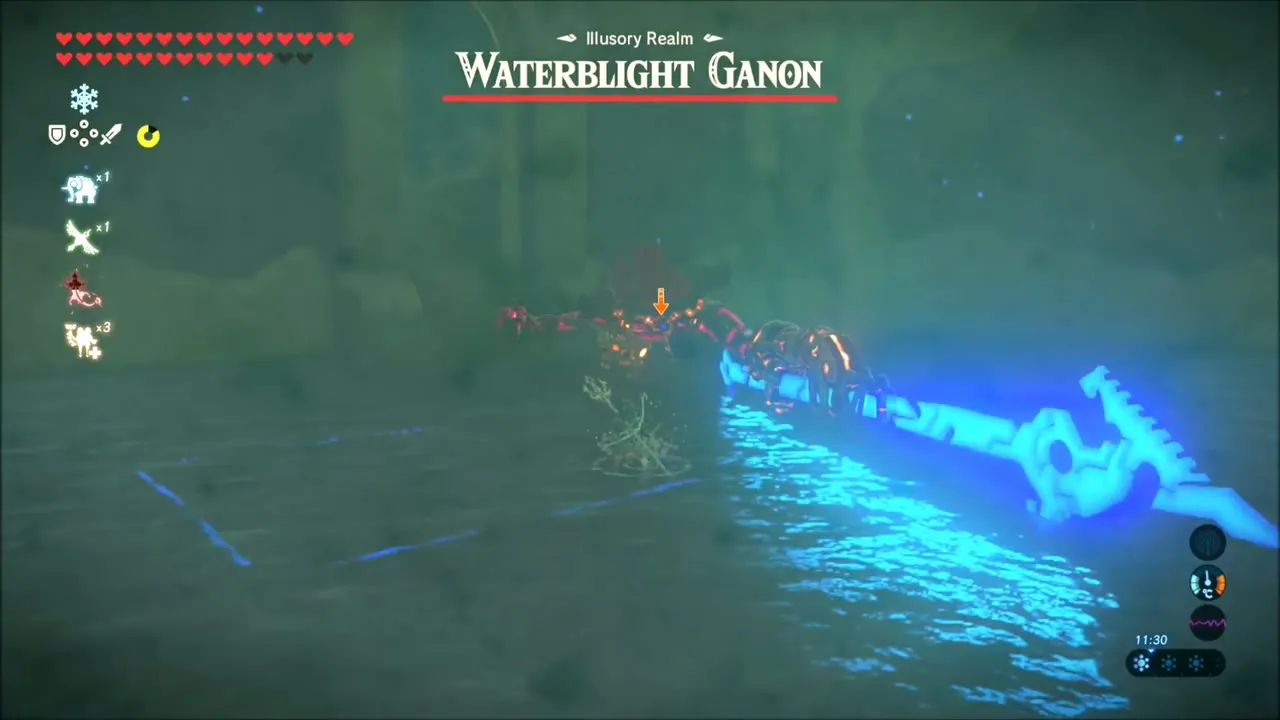
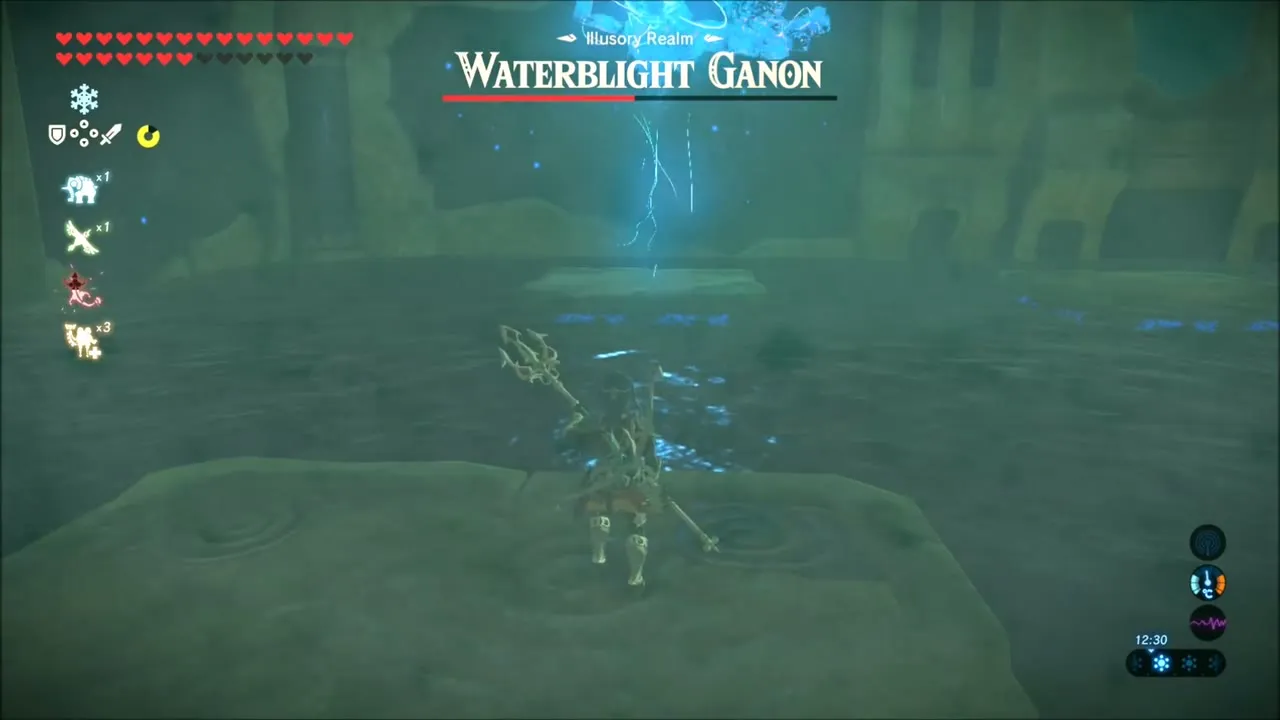
You have the provided gear only: tridents, a bow with a small number of arrows, remote bombs and Zora armor. Waterblight Ganon alternates thrusting and sweeping attacks that you can dodge for a flurry that stuns him. When he takes to the air, make a central Cryonis platform, shoot his eye to stun him, and use Stasis and remote bombs to wear him down.

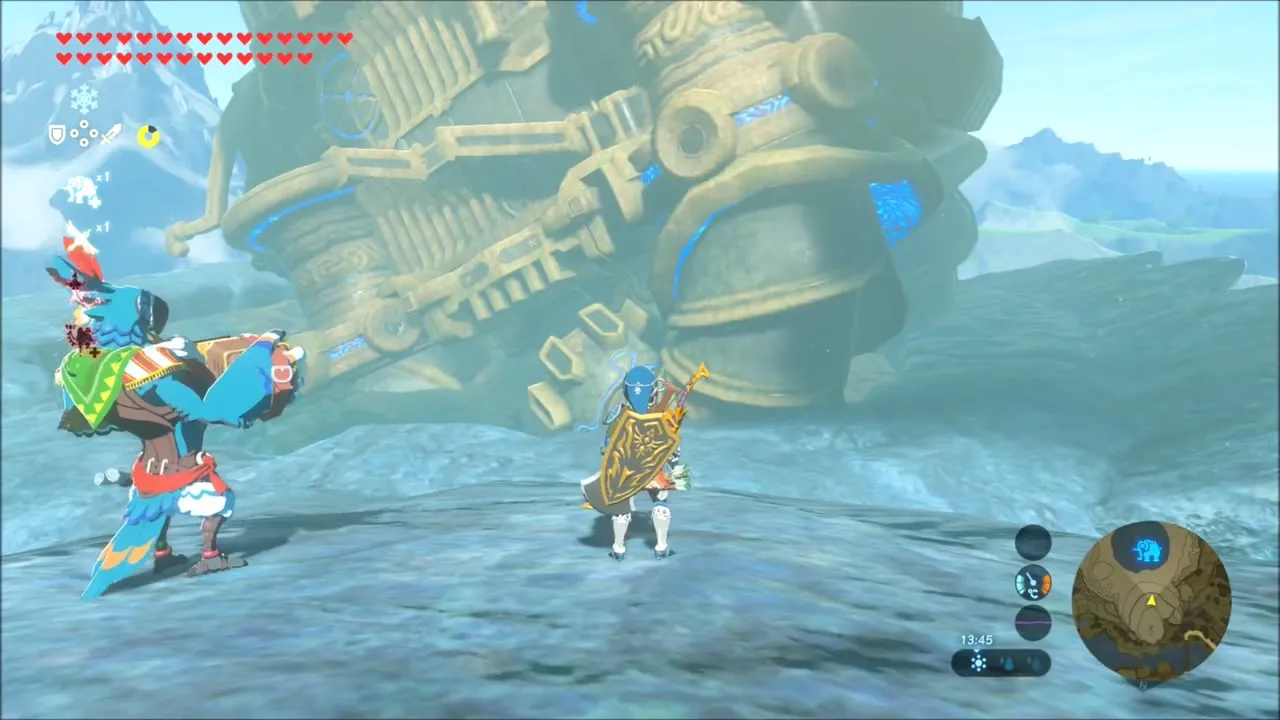
Afterwards Kass finds you on the snow and says that Mipha‘s song has inspired him to honour her. A short flashback of Mipha follows, and Mipha’s Grace now recharges much faster.


EX Champion Daruk’s Song: Where to Start Daruk’s Trial
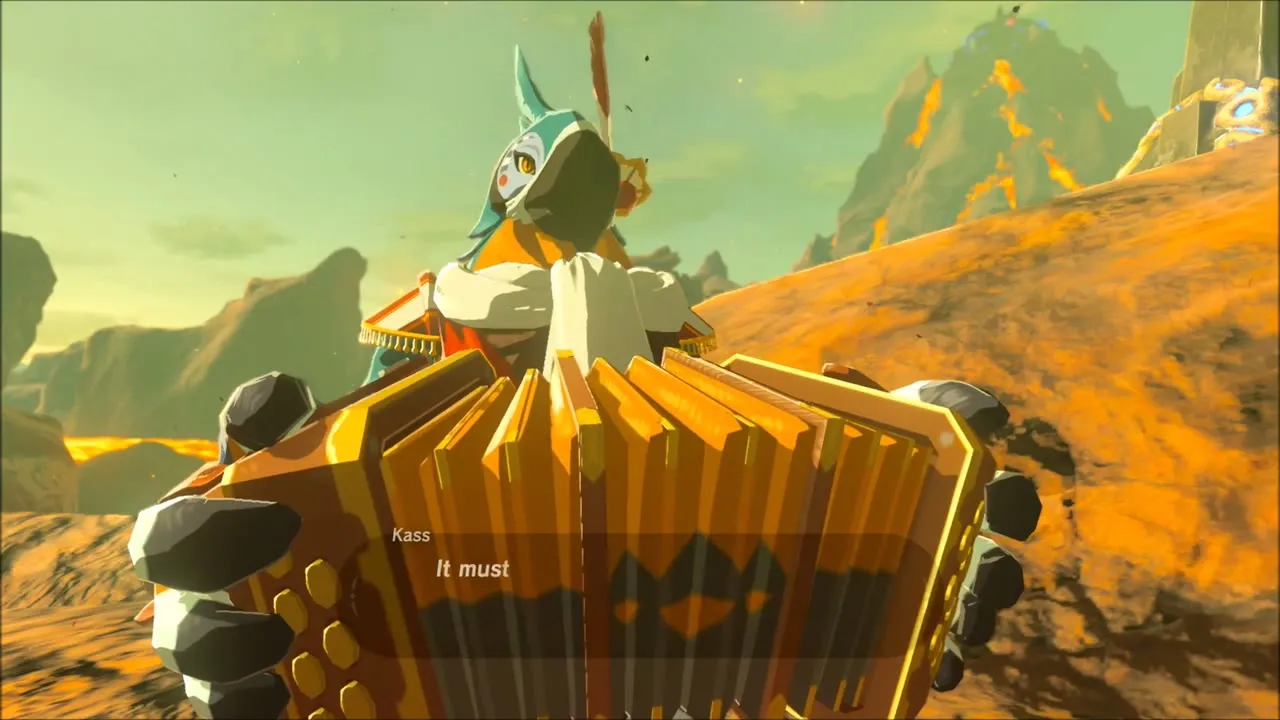
Daruk‘s trial begins at a new stone monument on a high cliff of Death Mountain’s lava country, near Goron City. Climb up to it and Kass shows up playing the song he is writing for the Goron Champion; touching the monument starts the quest “EX Champion Daruk’s Song”. The three obelisks each show a map of one hidden shrine, and Kass’s verse gives the clues: stop a titan of molten stone, follow rings of light alone, and survive the fate of falling into lava. You can solve the three in any order, and Daruk gets a proper send-off at the end.


Rinu Honika Shrine: Block the Blaze (How to Reach the Shrine in the Lava)
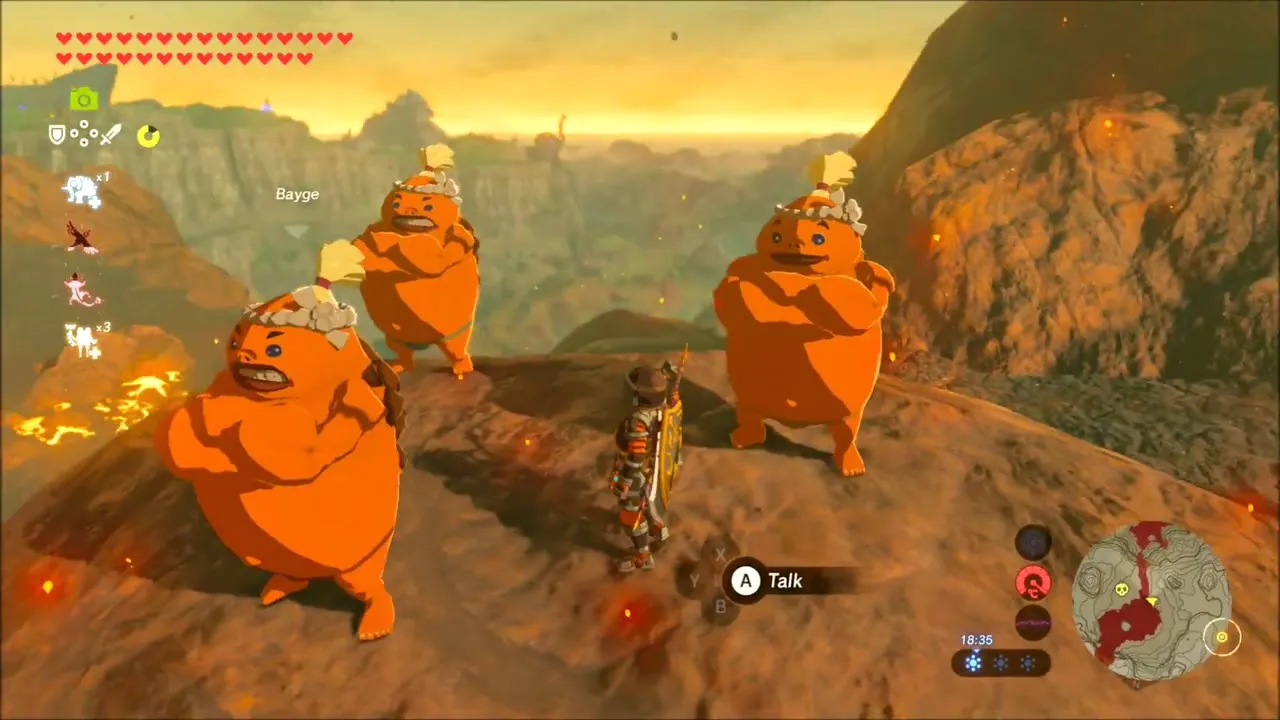
The verse about lava points to the obelisk map showing a pond with an island. That is Darb Pond, south of the Bridge of Eldin, so put a map pin on it and head there. A Goron by the pond talks about Daruk‘s training, and a ring of light floats above the molten surface.
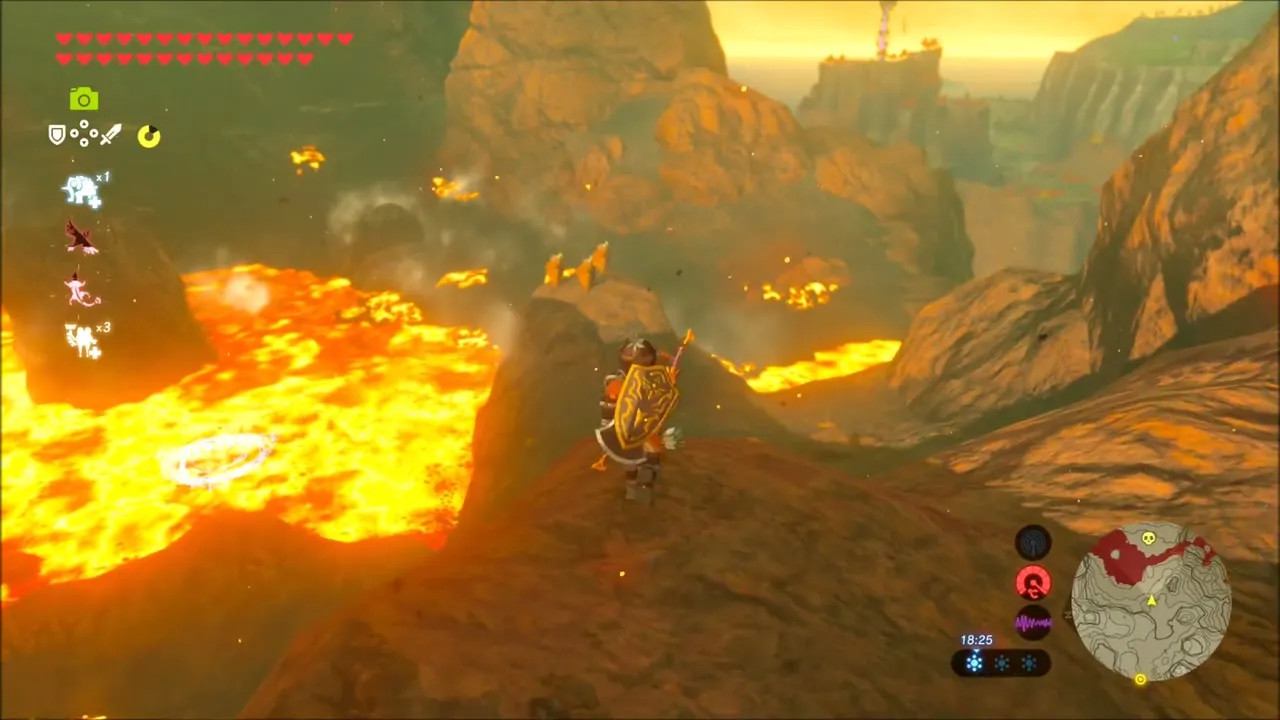

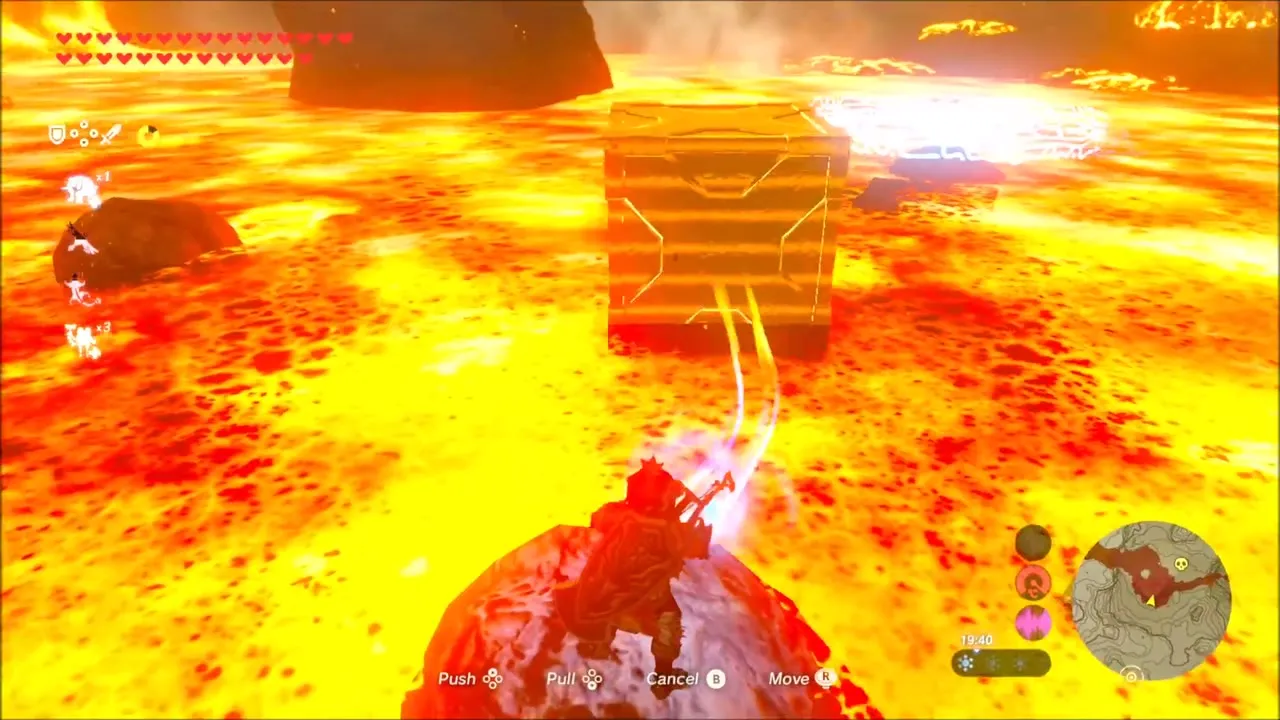
You cannot walk the lava, so use Magnesis on the large metal crate on the pond’s west bank and carry it out until it sits in the ring. Glide down from the cliff above and land on the crate; the Rinu Honika Shrine (x 2242, z -1996, height 551) rises out of the ground at once. The crate is scorching, so step in quickly or leave with Revali‘s Gale.

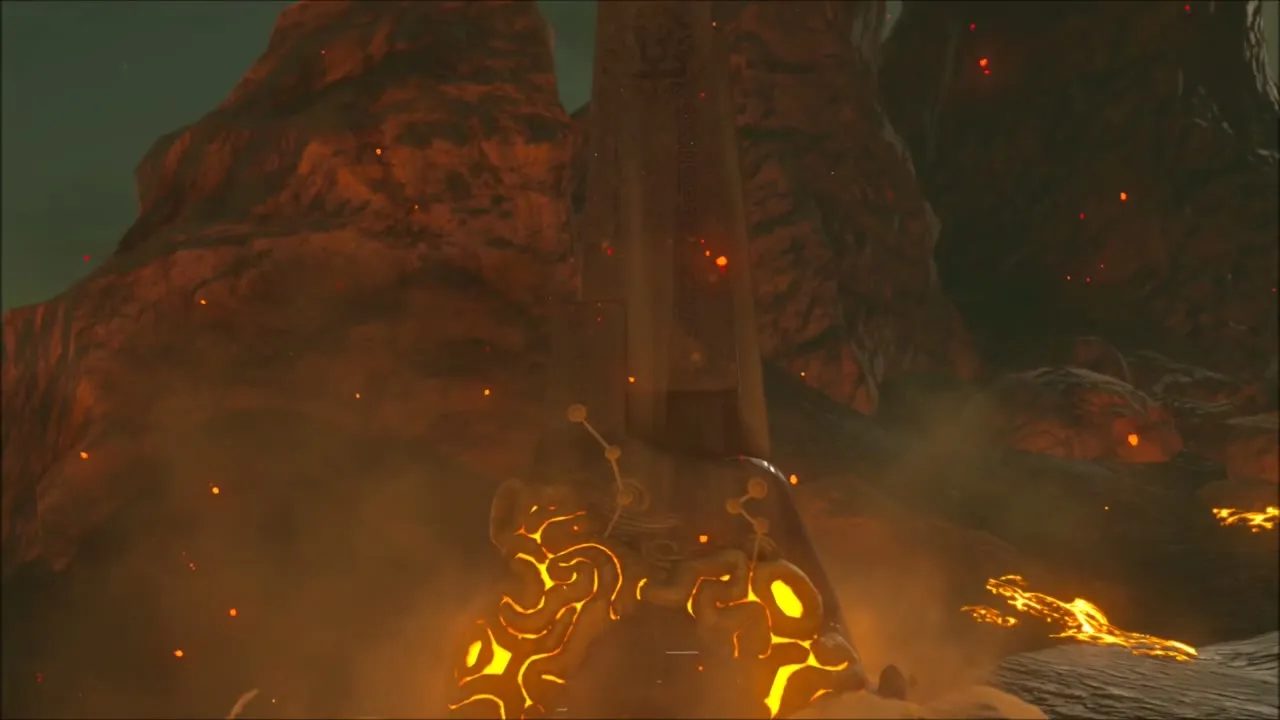

Rinu Honika Shrine solution
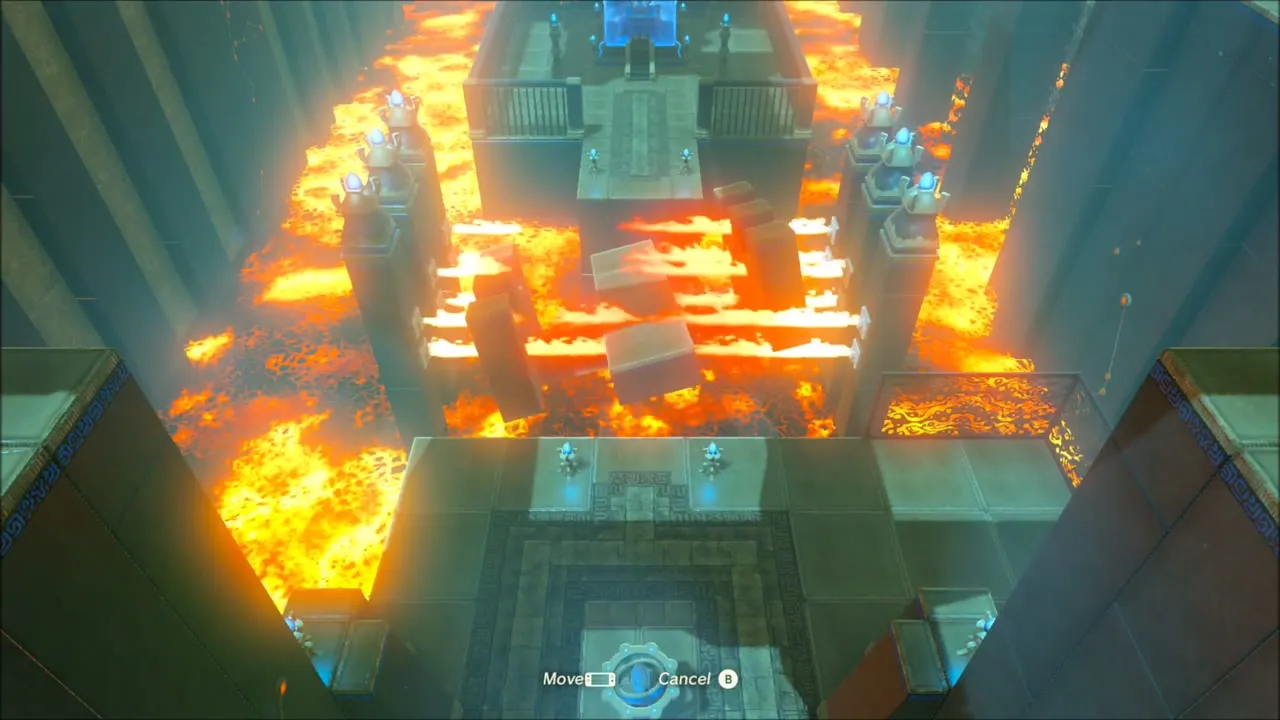
The trial is called Block the Blaze: the floor is lava and fire jets cover each route. Crouch under the first low jets, then use a Remote Bomb to drop the crumbling pillar that hides the lower flame. At the next set, pull the metal block out of the pillar’s base to remove one jet and use it as a shield against the other. In the flame hall, stand one block on the left of the platform and wedge another into the upper right to open a gap through the fire.
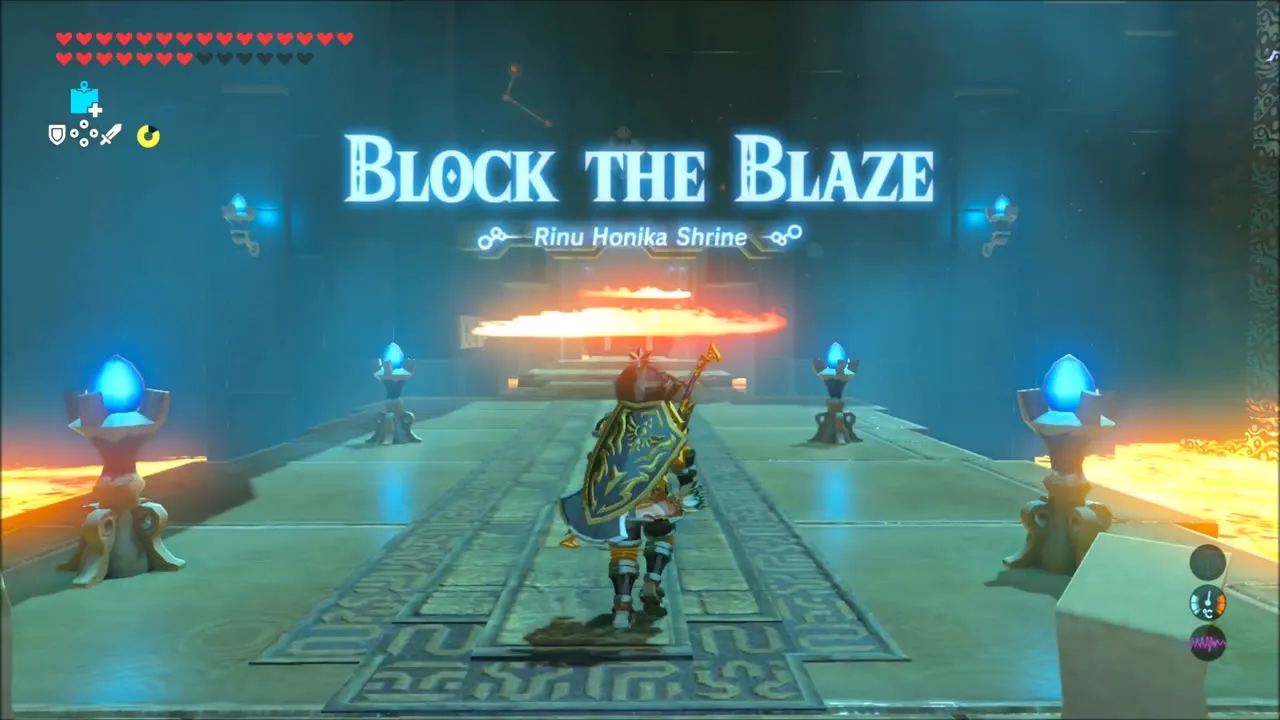
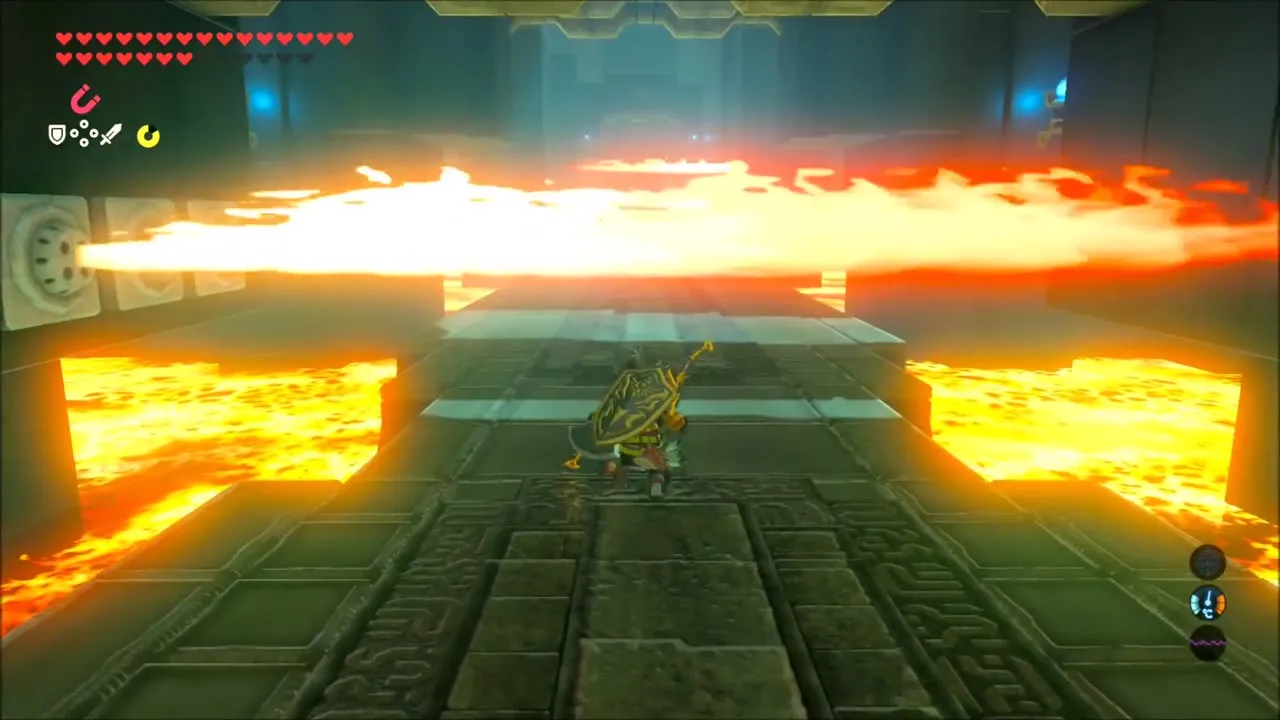
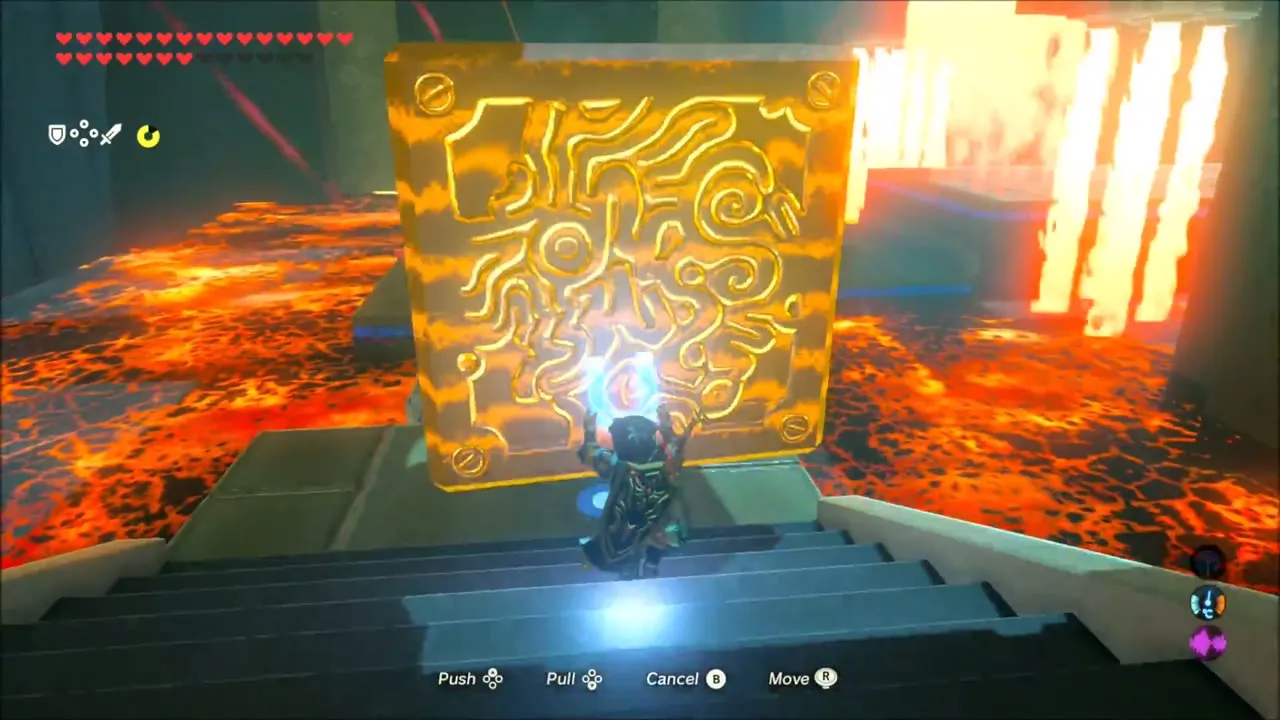

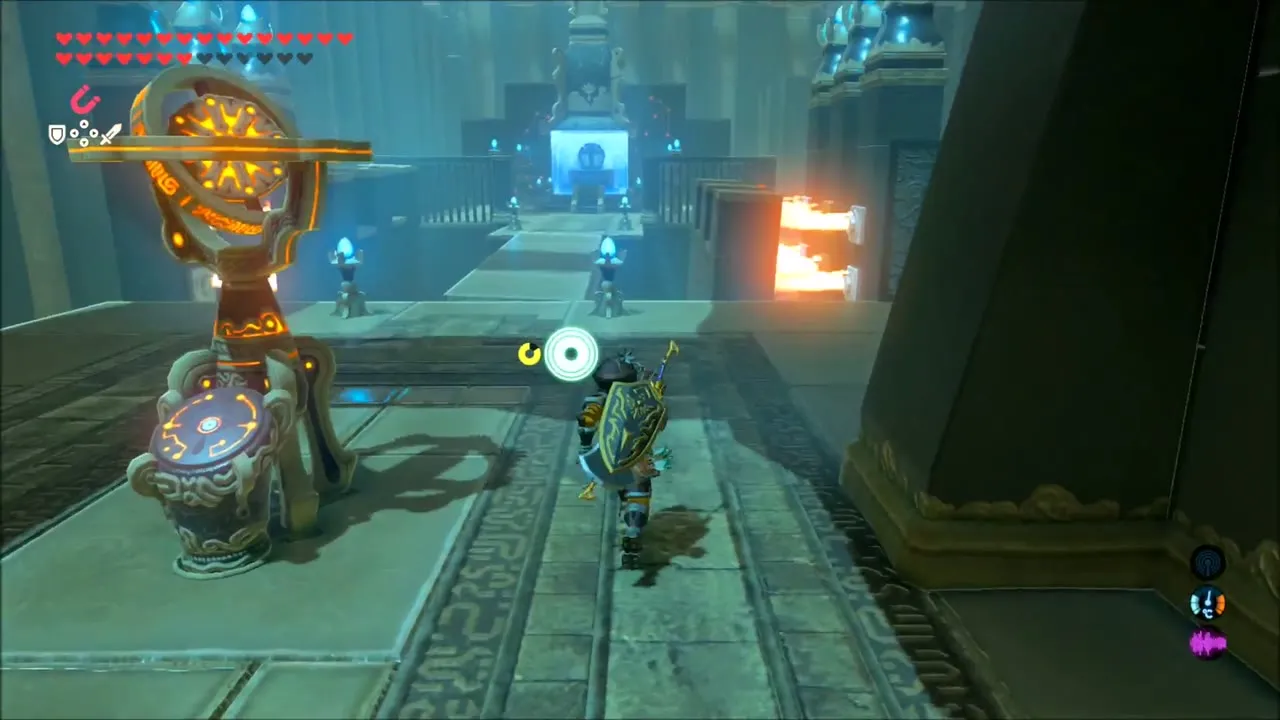
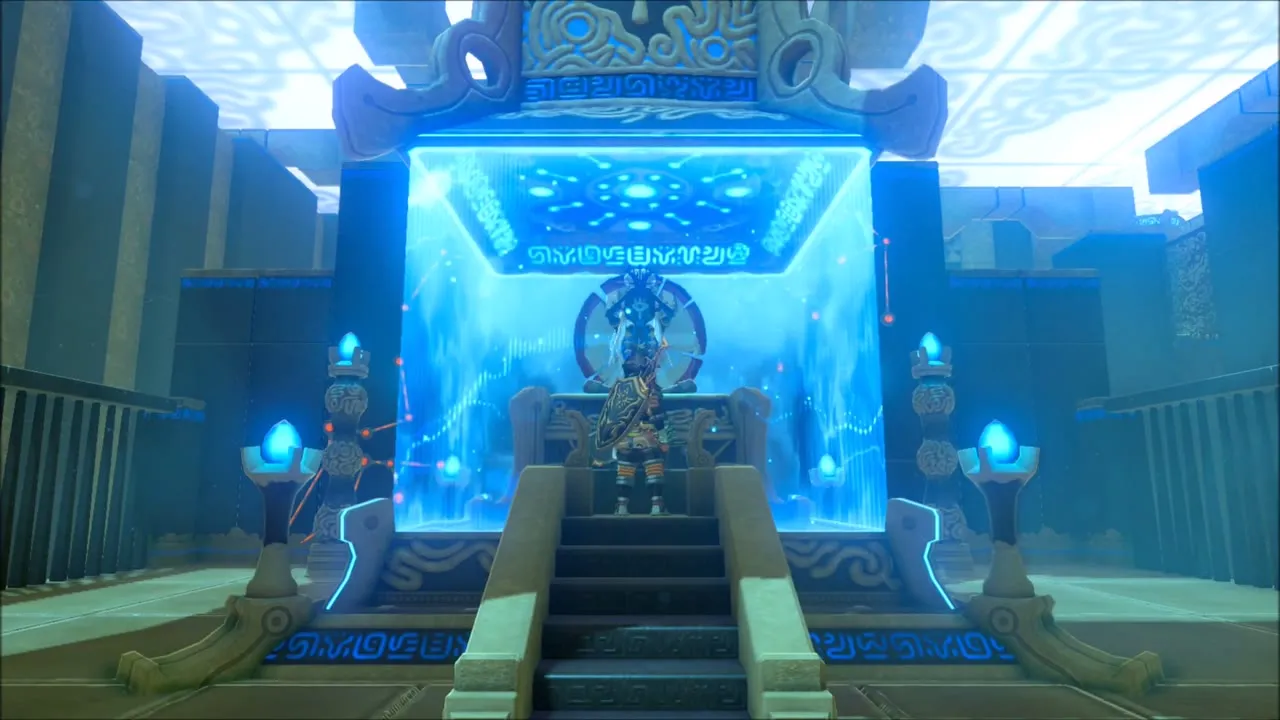
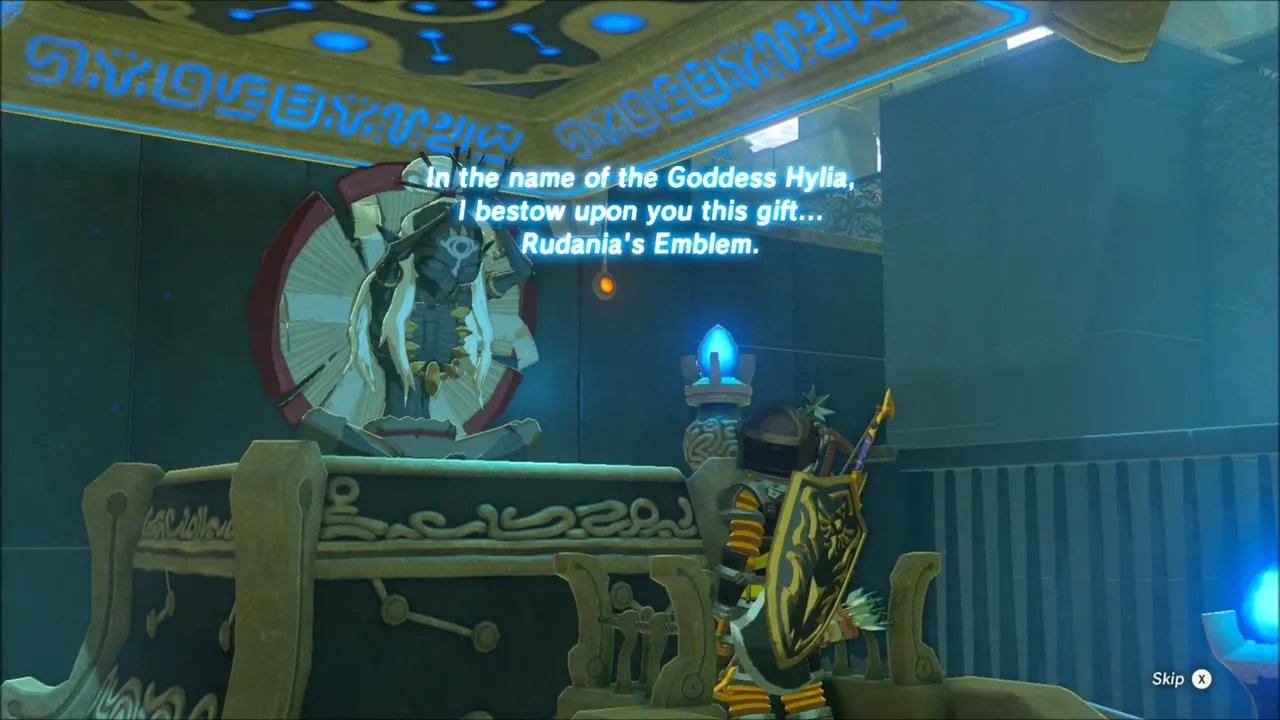
While crossing the flame hall, look right for a small platform that the metal blocks can reach. Its chest holds a Stone Smasher. On the long final platform, tilt the motion-controlled apparatus until its E-shaped sections plug the jets at both ends, then cross to the monk for Rudania’s Emblem.
Igneo Talus Titan and Kamia Omuna Shrine: Moving Targets
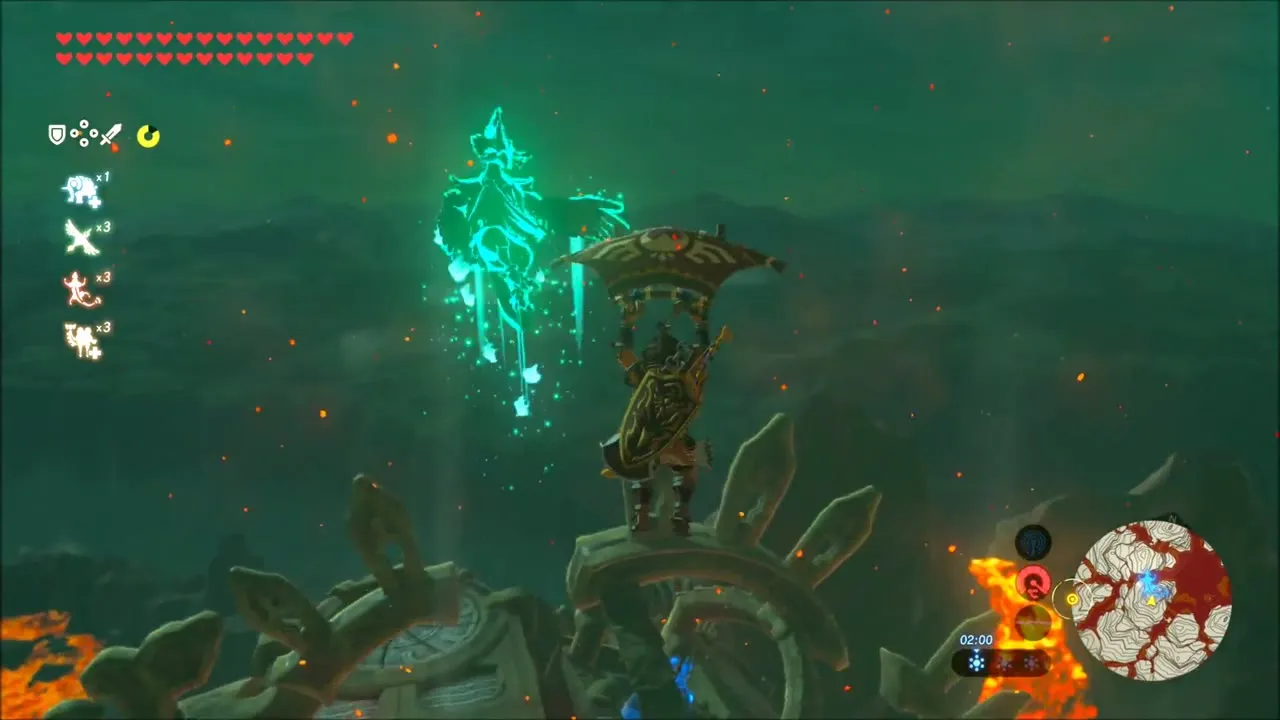
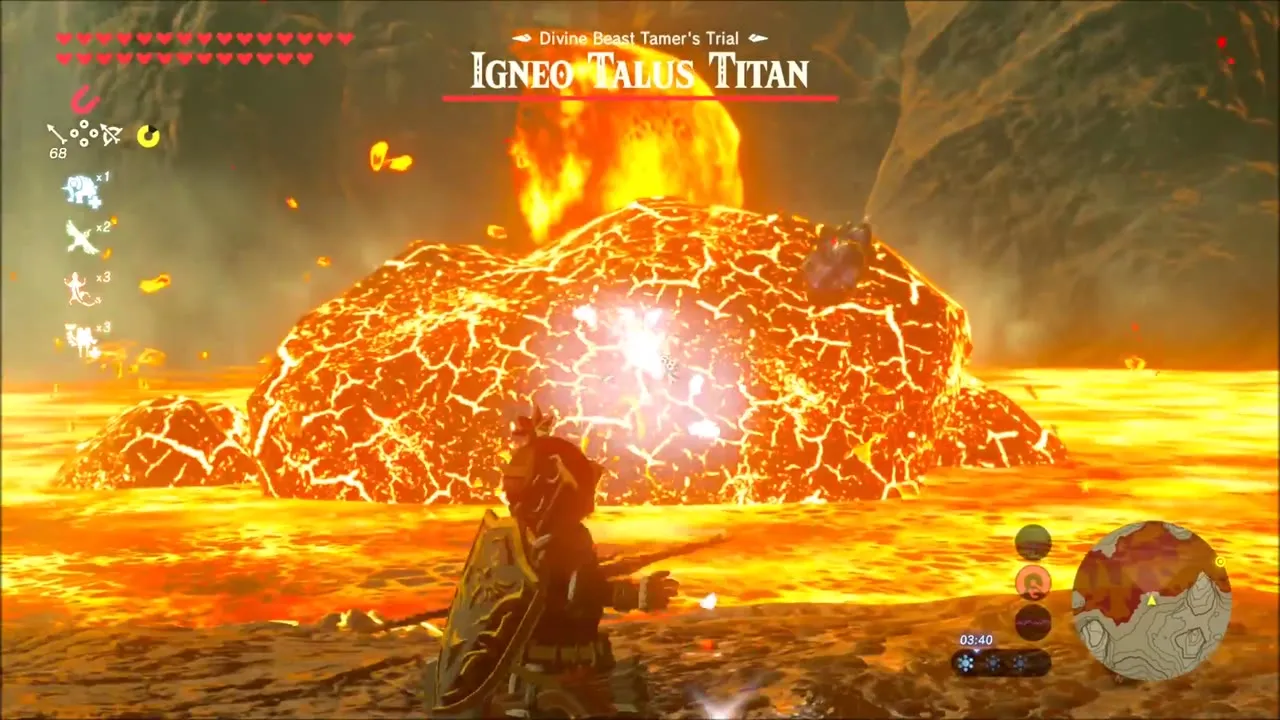
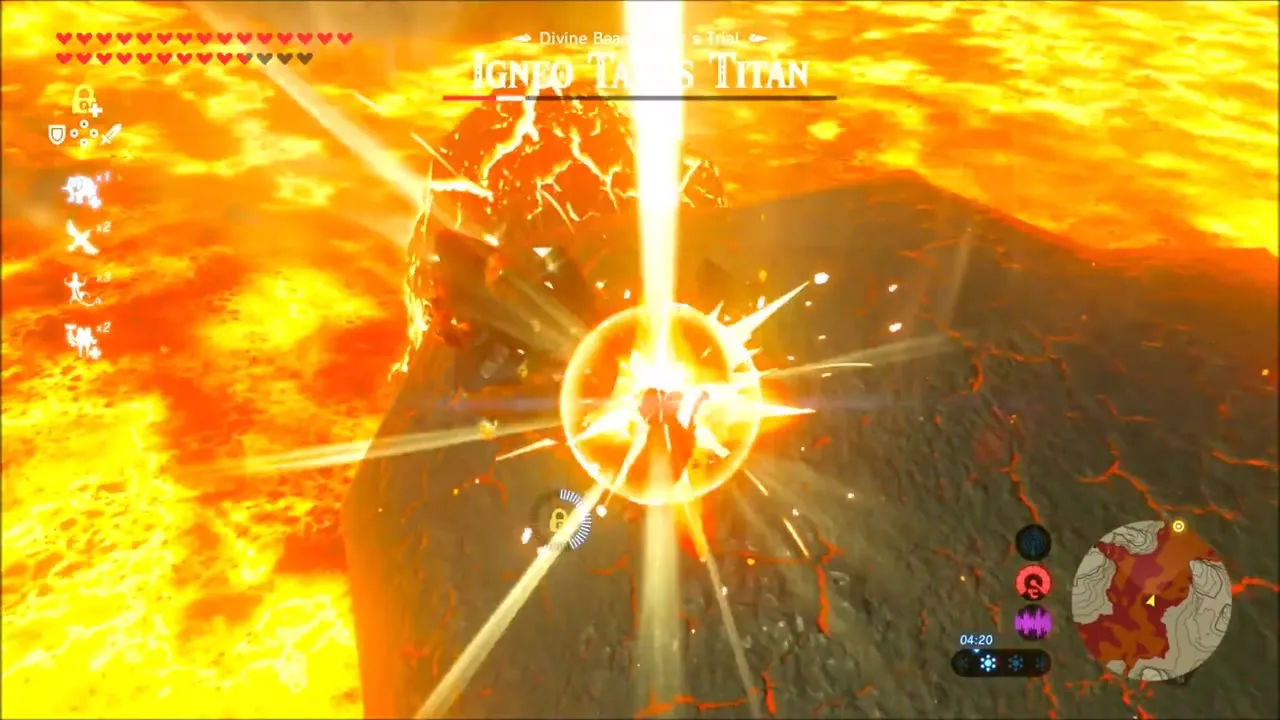
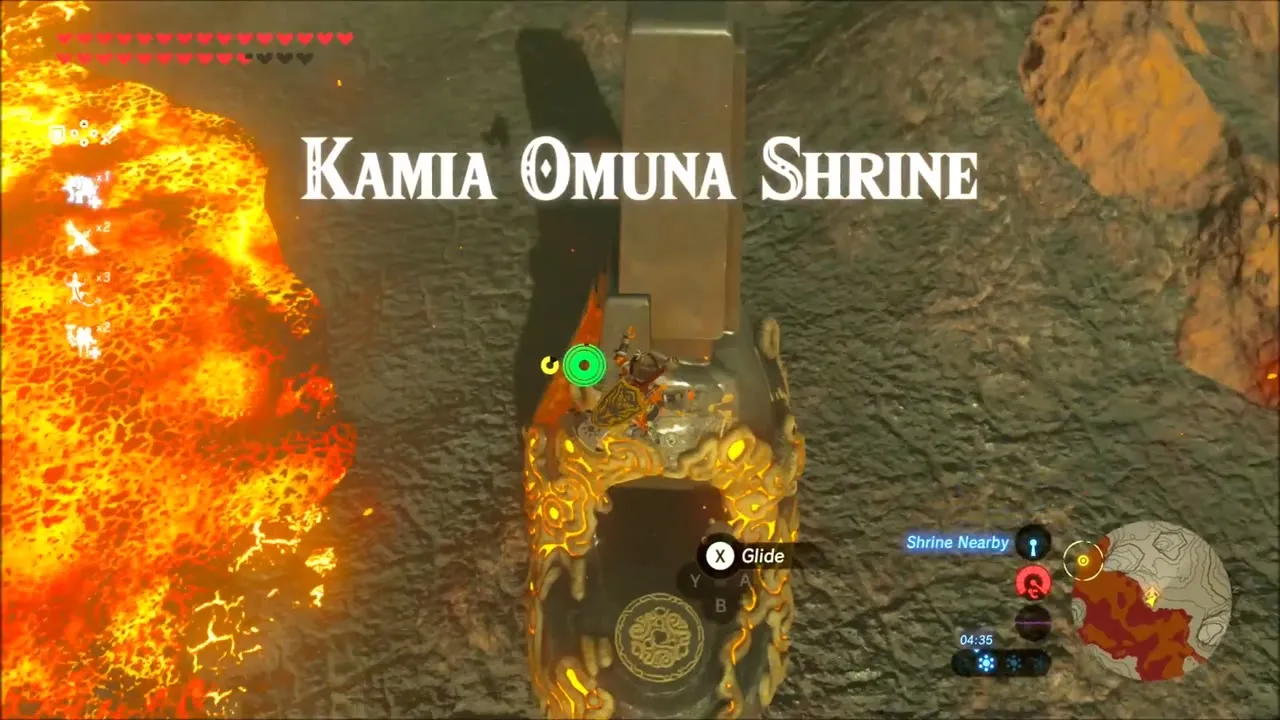
The first line of the verse, the titan of molten stone, is an Igneo Talus rising from the lava on the northern slopes of Death Mountain. Use Revali‘s Gale and glide in from the heights near Divine Beast Vah Rudania. The Igneo Talus stirs up hot gusts as it surfaces, so ride them above it, cool it with ice arrows and hit the glowing ore on its back to stun it. Land on the rocks sticking out of the lava to strike it while it is down, and take to the air again whenever it starts to shake. When it collapses, the shrine climbs out of the ground nearby.


Kamia Omuna Shrine solution
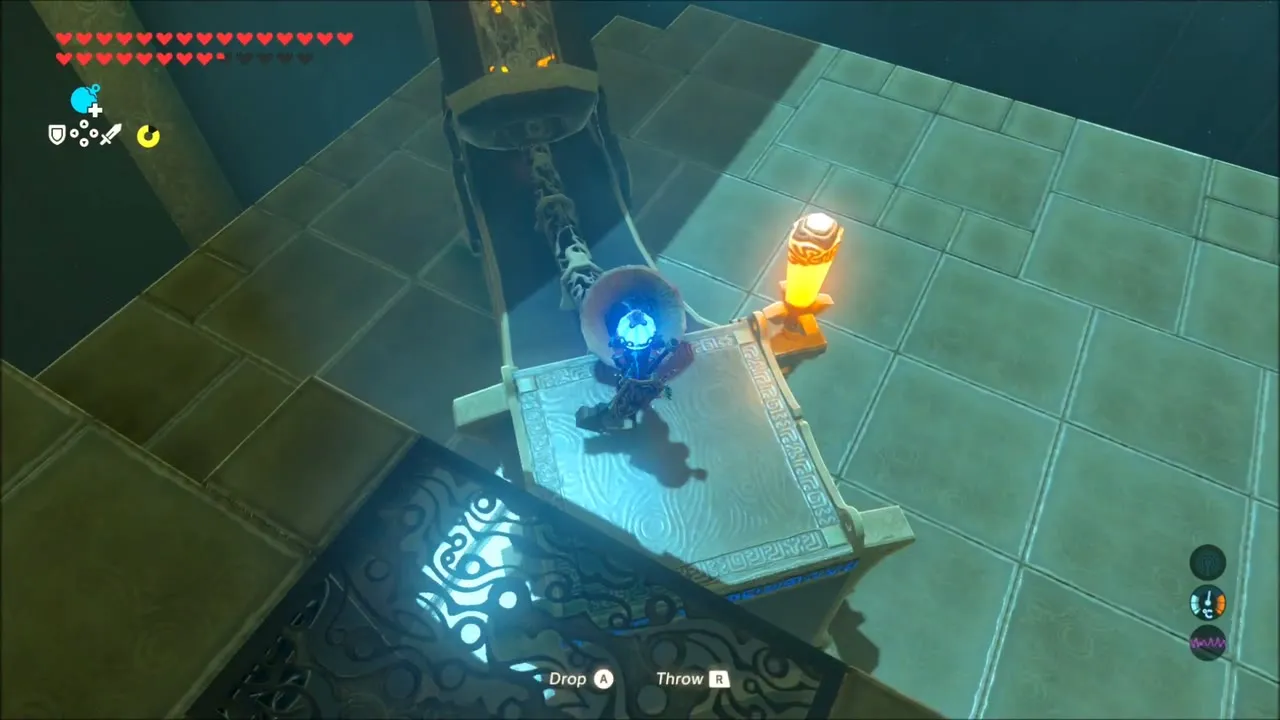
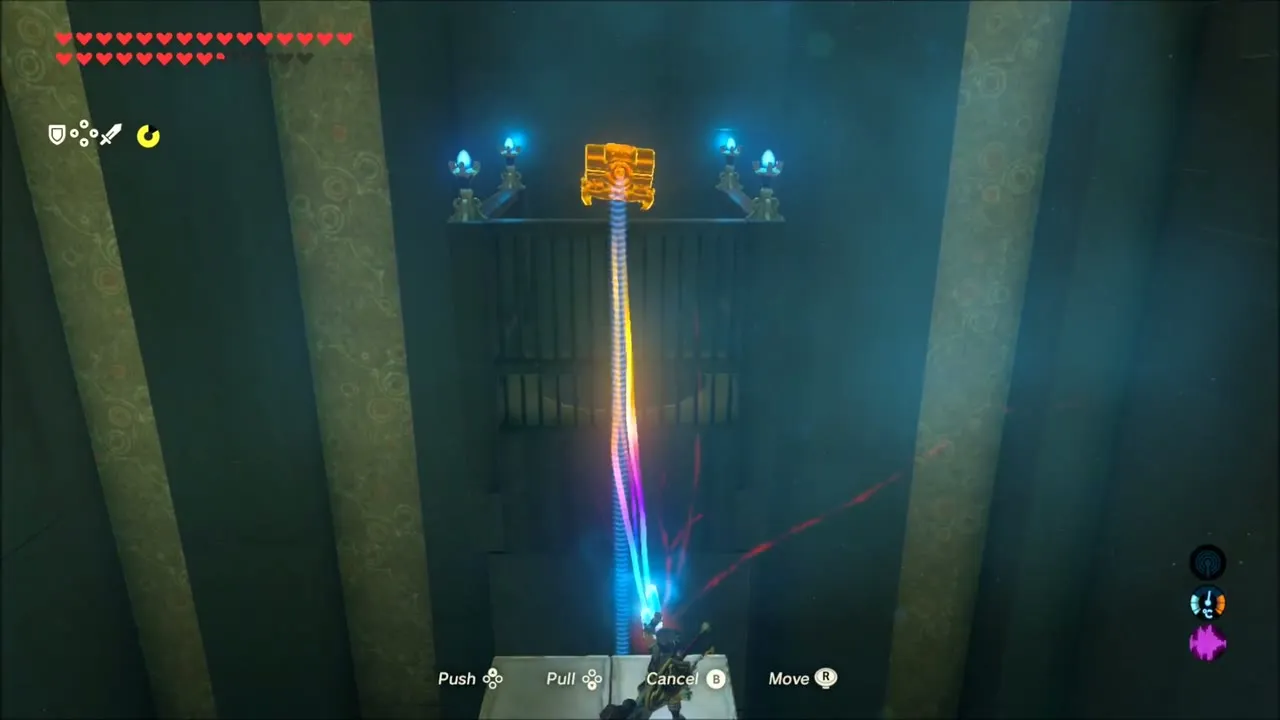
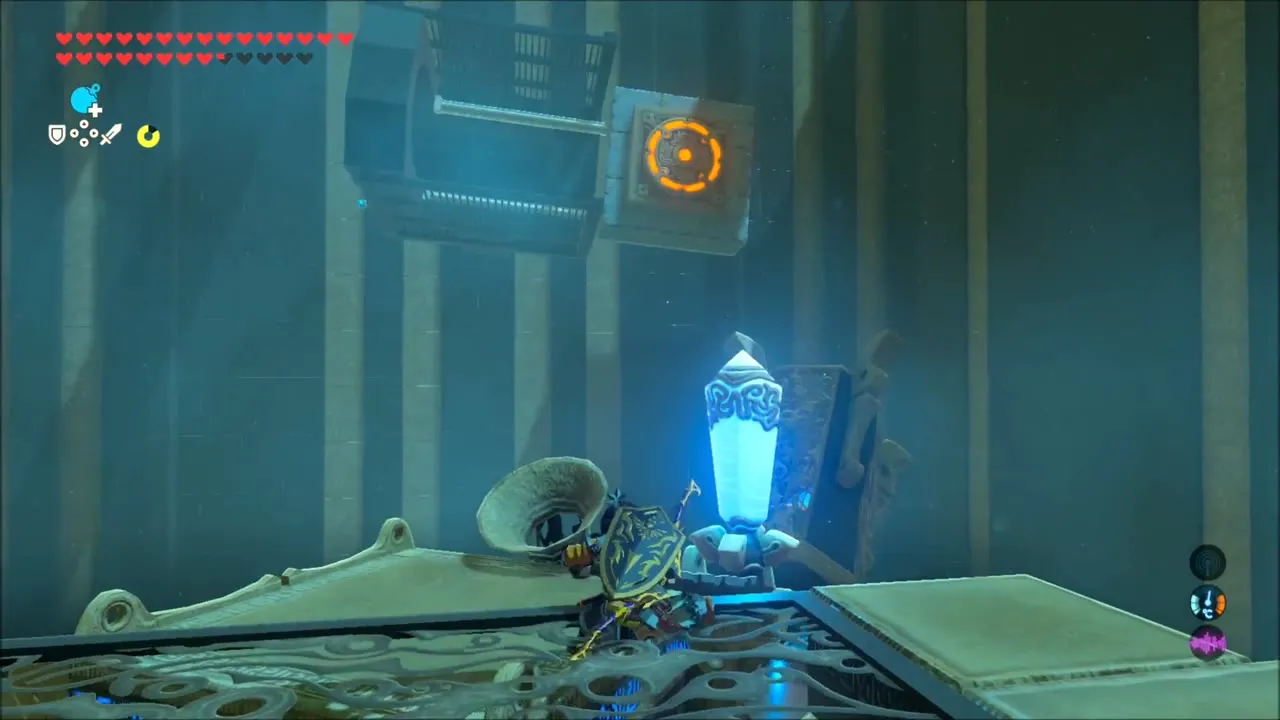
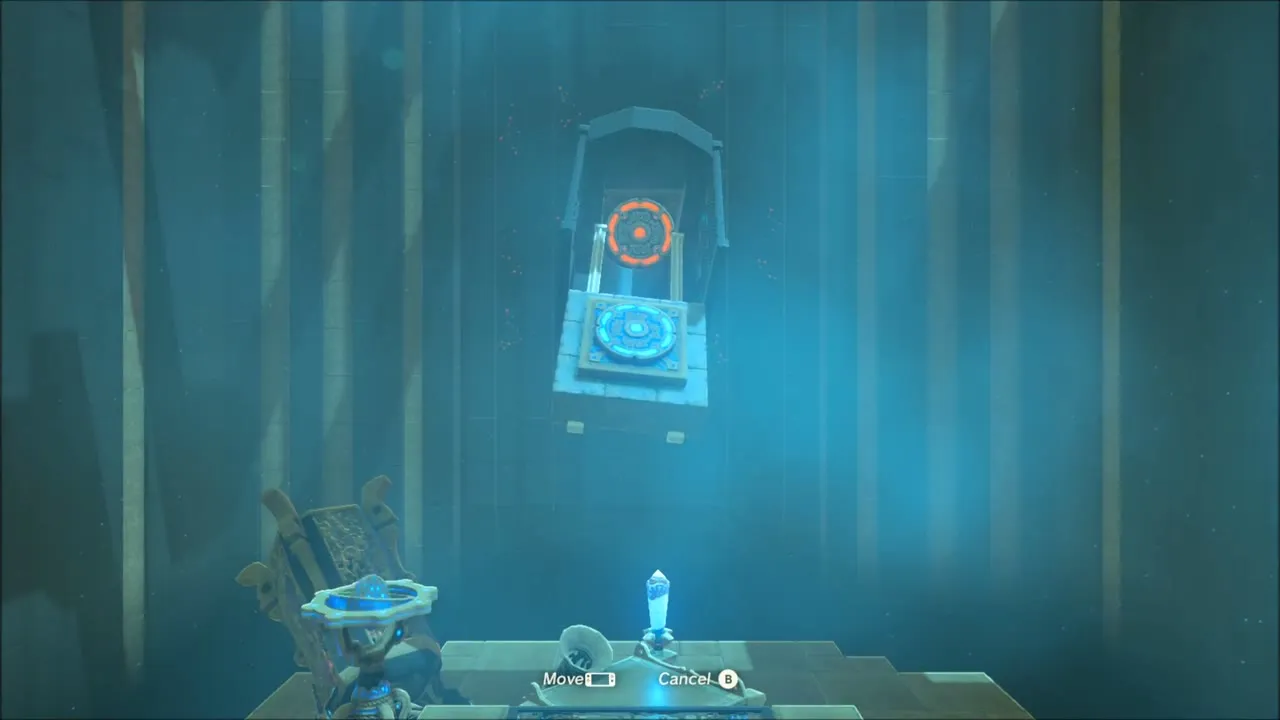
The Kamia Omuna Shrine (x 2129, z -3229, height 519) is the Moving Targets trial. Drop a Round Remote Bomb into the receptacle of the bomb cannon, press the switch to pan the cannon, and detonate the bomb as the cannonball passes the first wall target.
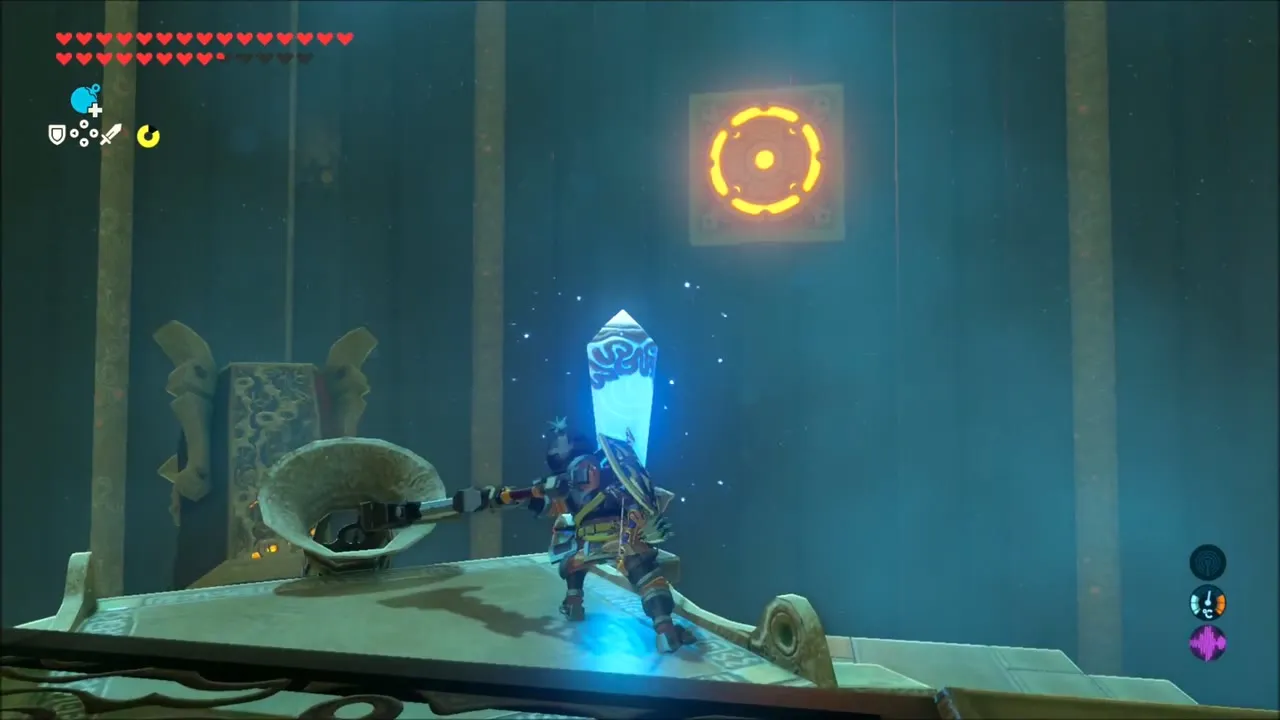

A second target now slides slowly across the wall and a chest sits high on the right. Fire the cannon at the chest’s ledge to knock it down, then use Magnesis to pull it to you for a Diamond. Time a shot at the moving target to lower the first gate. To the right of the monk, tilt the second apparatus so its target is clear, then rotate it into a narrow gap and shoot through it to open the last gate. The monk gives you Rudania’s Emblem.

Sharo Lun Shrine: Follow the Rings on Death Mountain (Blind Spots)
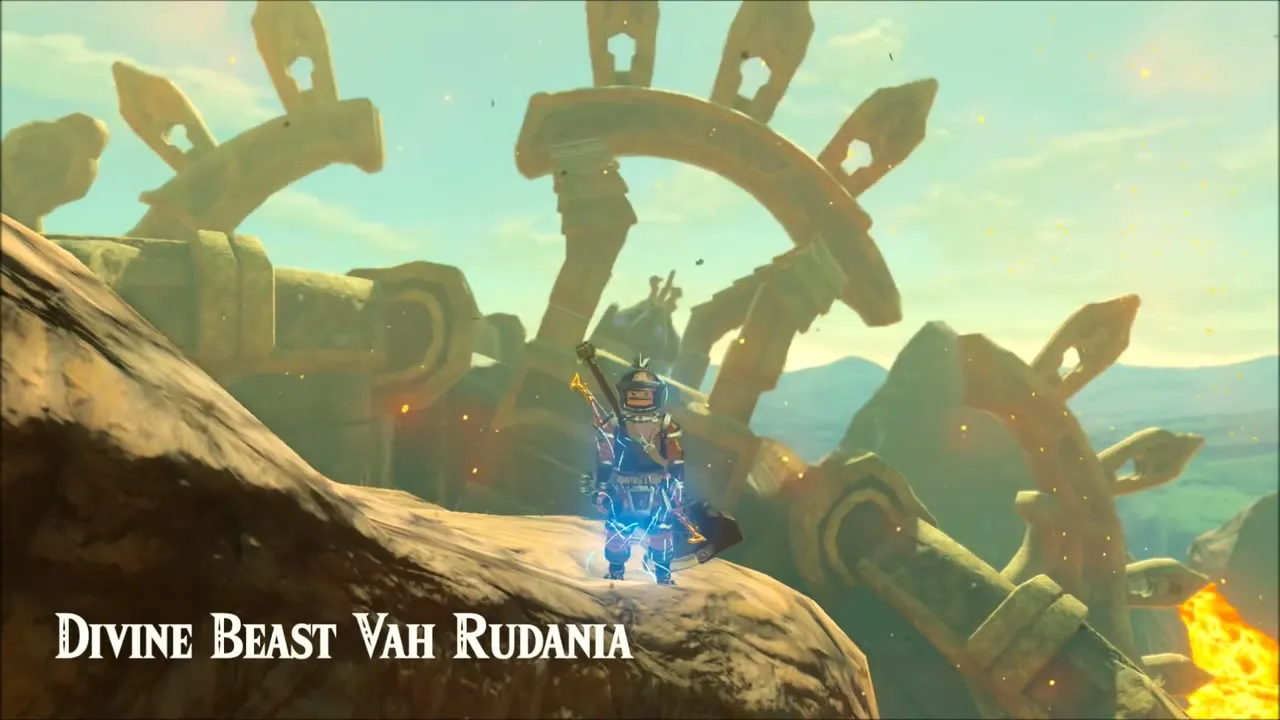
Warp to Divine Beast Vah Rudania and look along the crater rim for a glowing ring. Glide down into the first one, climb the next ridge and keep following the rings around the crater, then drop down the east slope toward Akkala, flying through the lowering rings and under a rock arch. When you pass through the last ring over a lava lake, the Sharo Lun Shrine (x 2932, z -2419, height 640) rises from the ground.


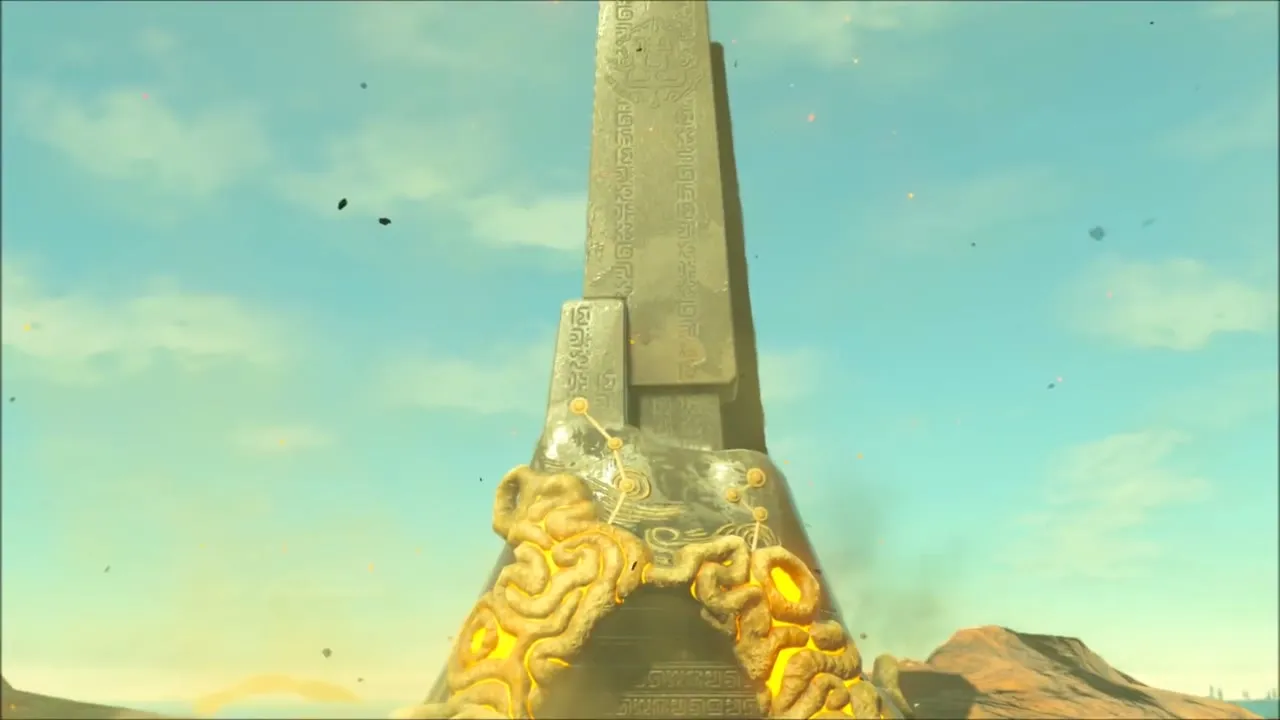
Sharo Lun Shrine solution
Blind Spots is a conveyor trial: giant blocks glide past flames and spikes. Hold on to the side the flames are not hitting, climb to the opposite face after the first flame wall, and stand on top where both sides burn. Hop off before the first belt drops into the abyss. On the spiked belt, cling to one side and climb the other, and deal with the Guardian Scouts on the small platforms by parrying their shots or shooting them down.
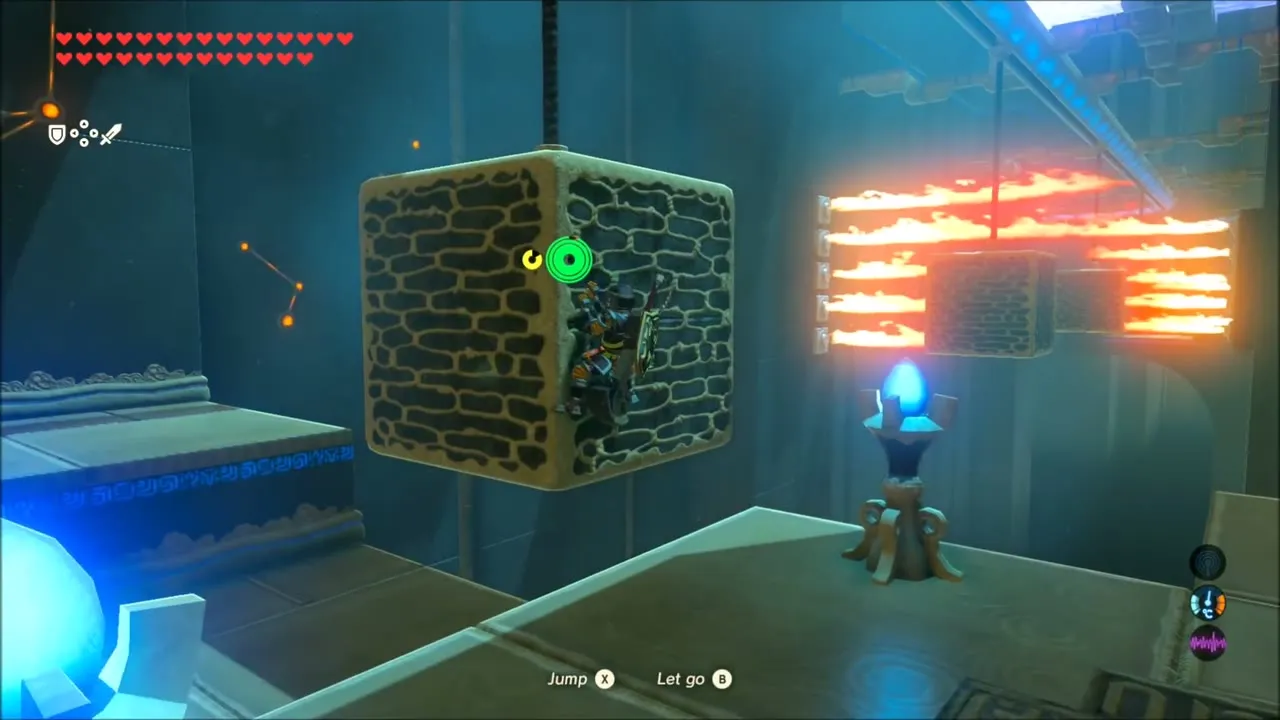
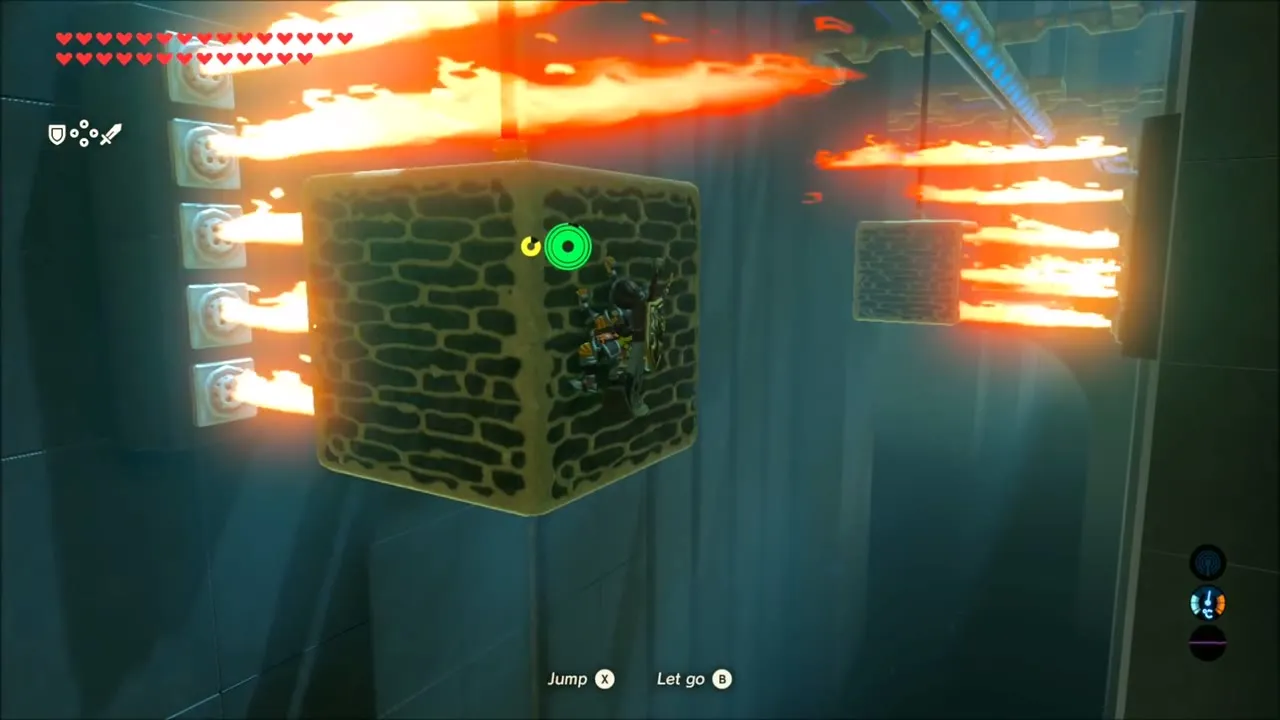


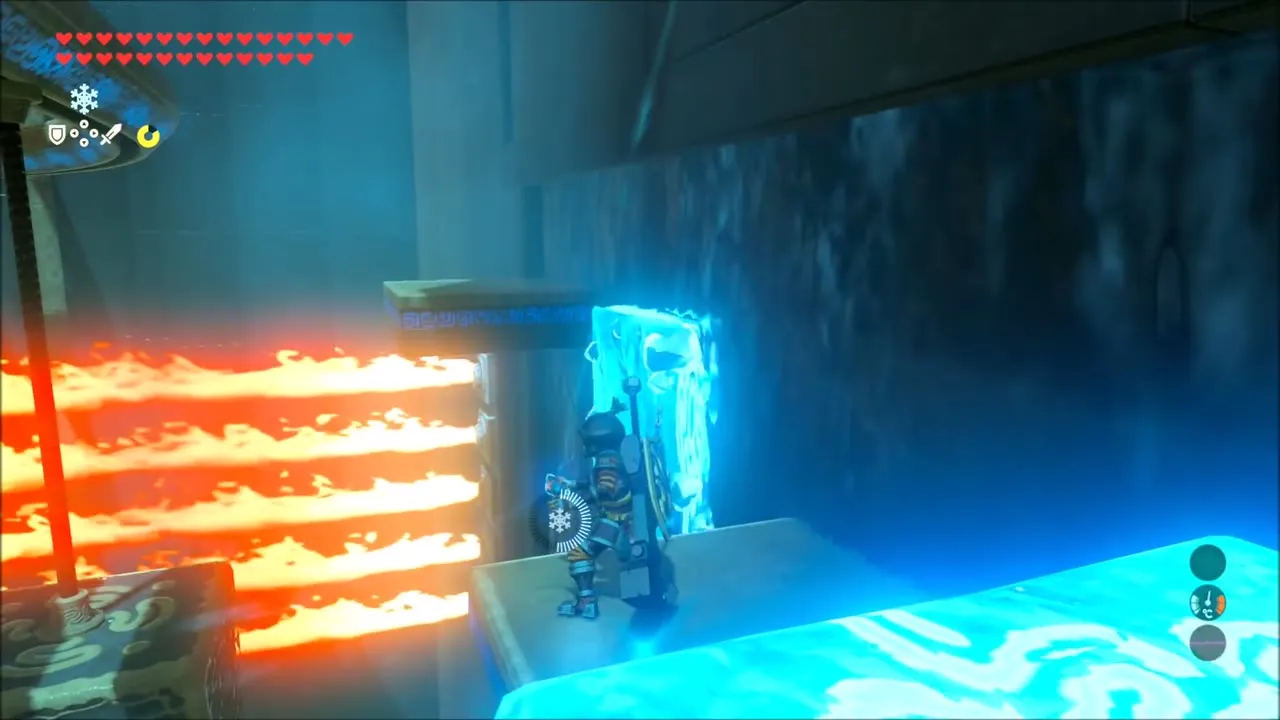
On the circular belt under the monk, a chest keeps falling past flame jets. Use Cryonis to reach firmer ground and make an ice platform to catch it; it holds a Great Flameblade (tier set by difficulty scaling). Jump the flame wall from the highest platform, freeze steps out of the waterfall under the monk and climb to him for the last Rudania’s Emblem.


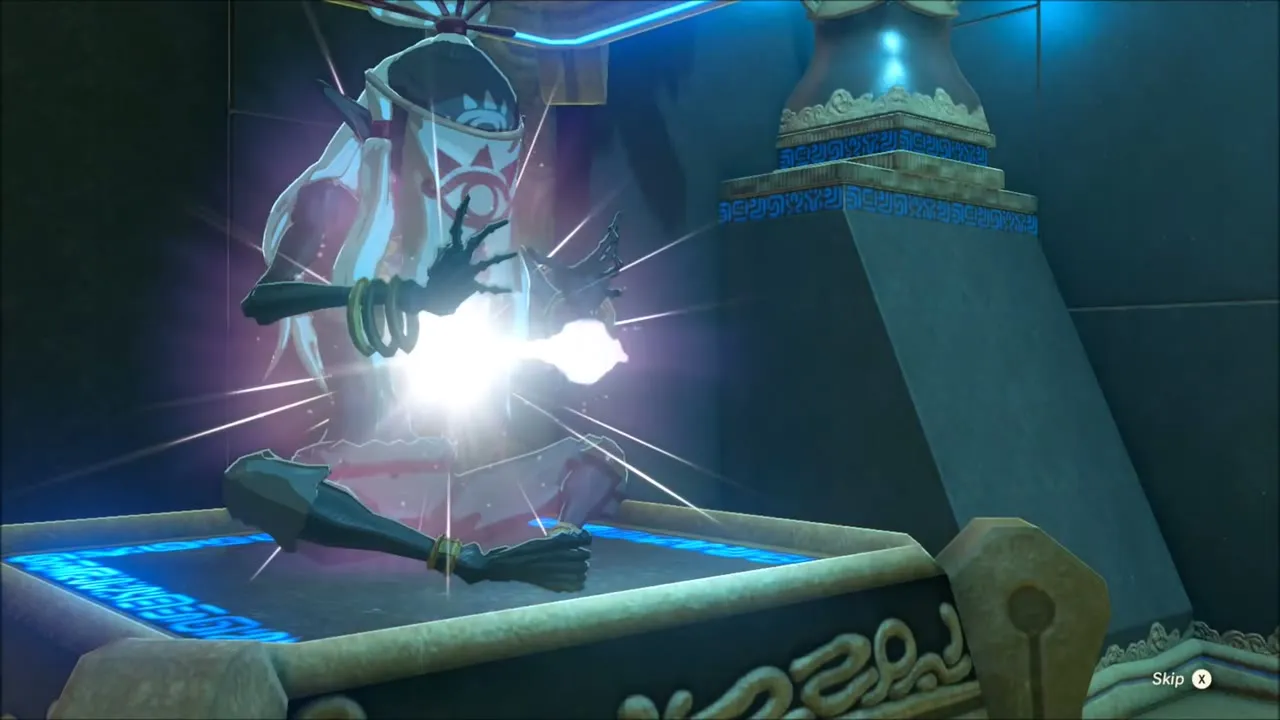
Fireblight Ganon Rematch: Daruk’s Final Trial
With three Rudania’s Emblems, return to Divine Beast Vah Rudania and offer the trial in the name of the goddess. The Beast warns that anyone lacking determination will find the test unforgiving, and that the enemy you will face is born of your own fear. You are then pulled into the Illusory Realm to fight Fireblight Ganon once more.

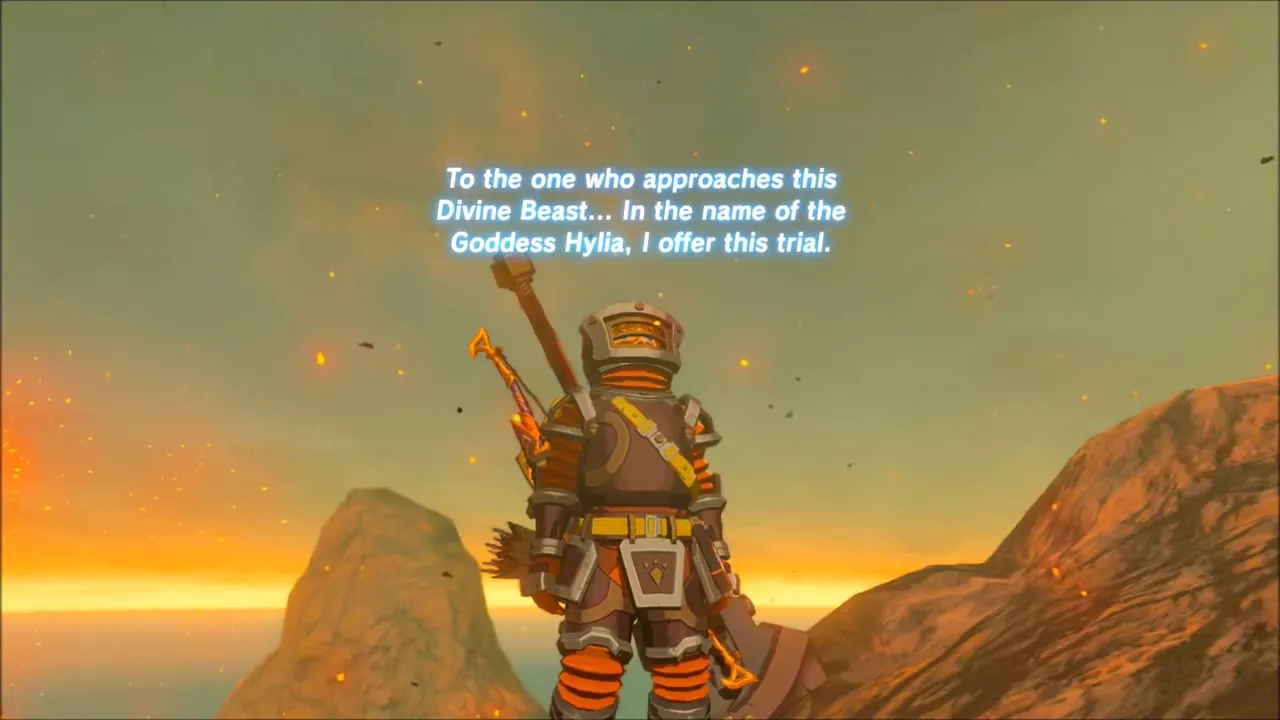
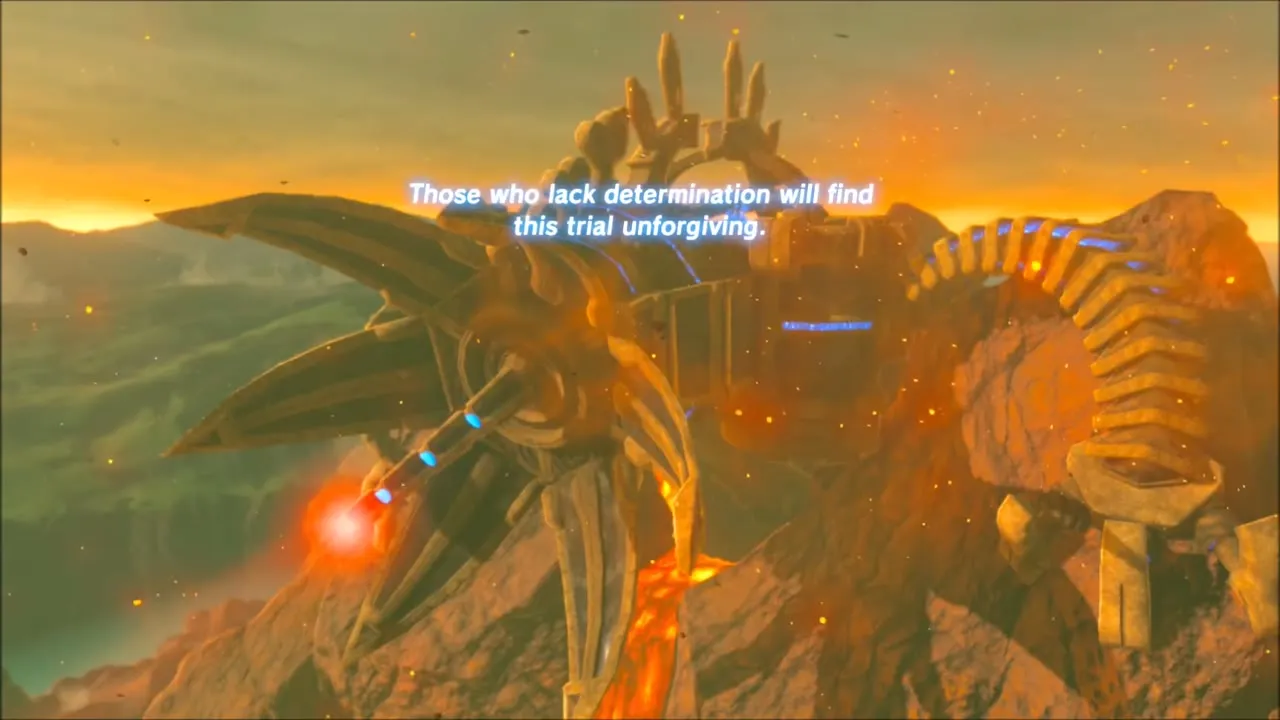

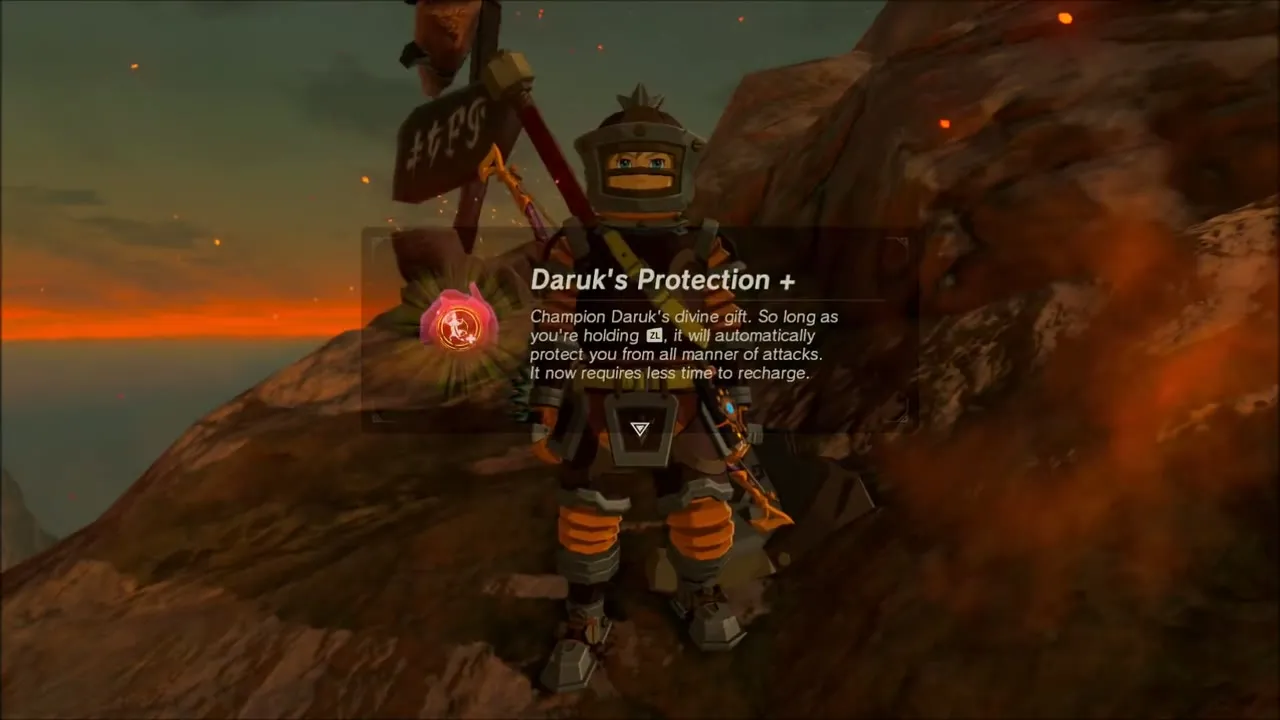
Daruk‘s Protection puts an orange barrier around you that soaks up Ganon’s heavy blows, so use it to survive the big attacks and hit back in between. Keep at it until the boss’s health bar runs out.
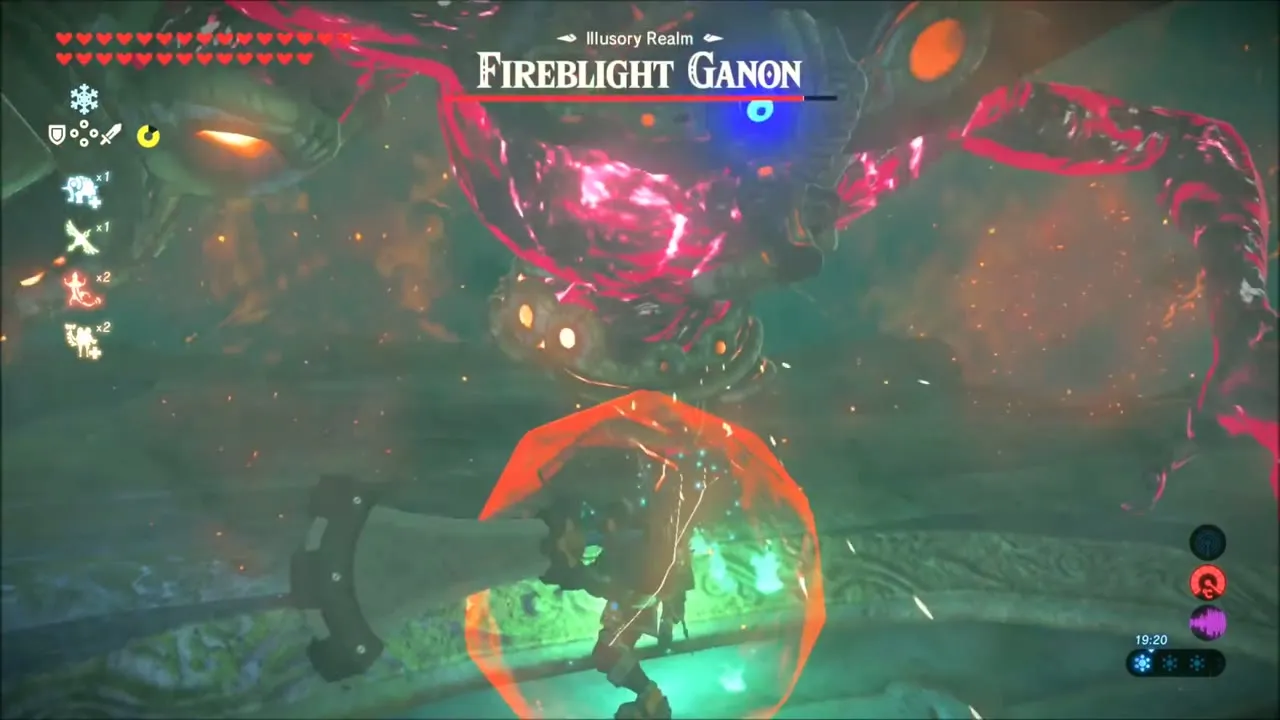


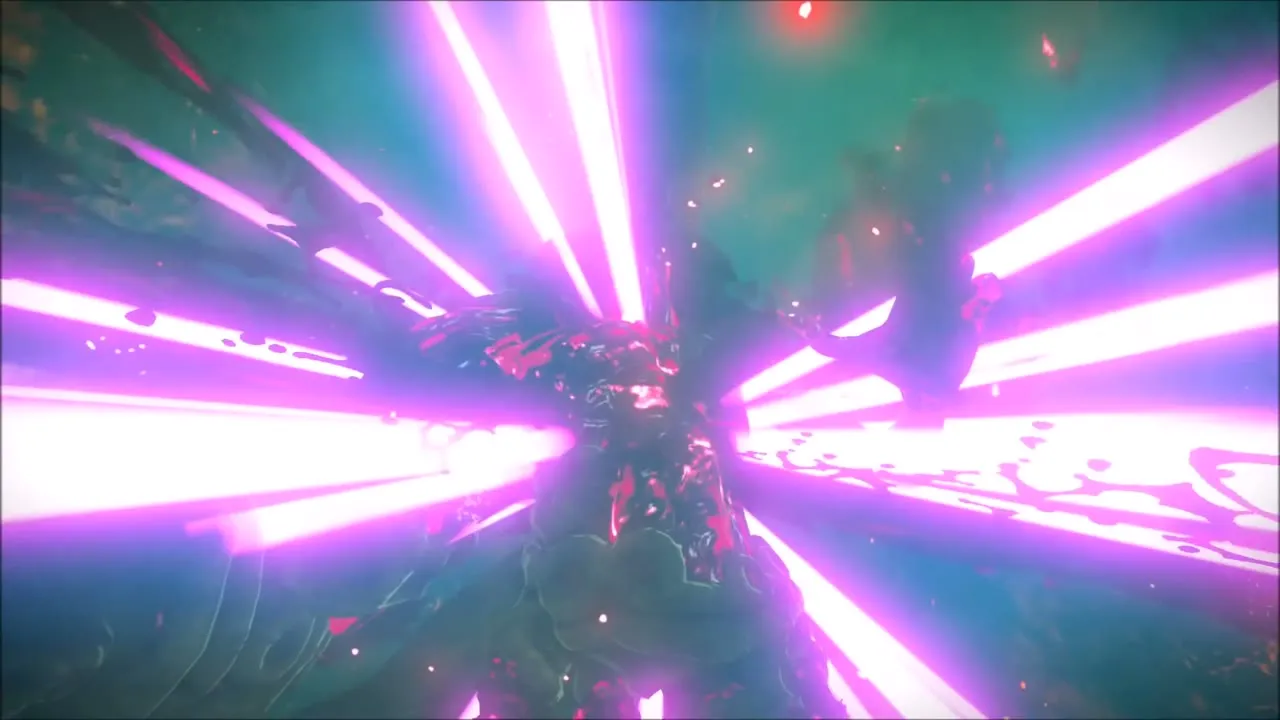
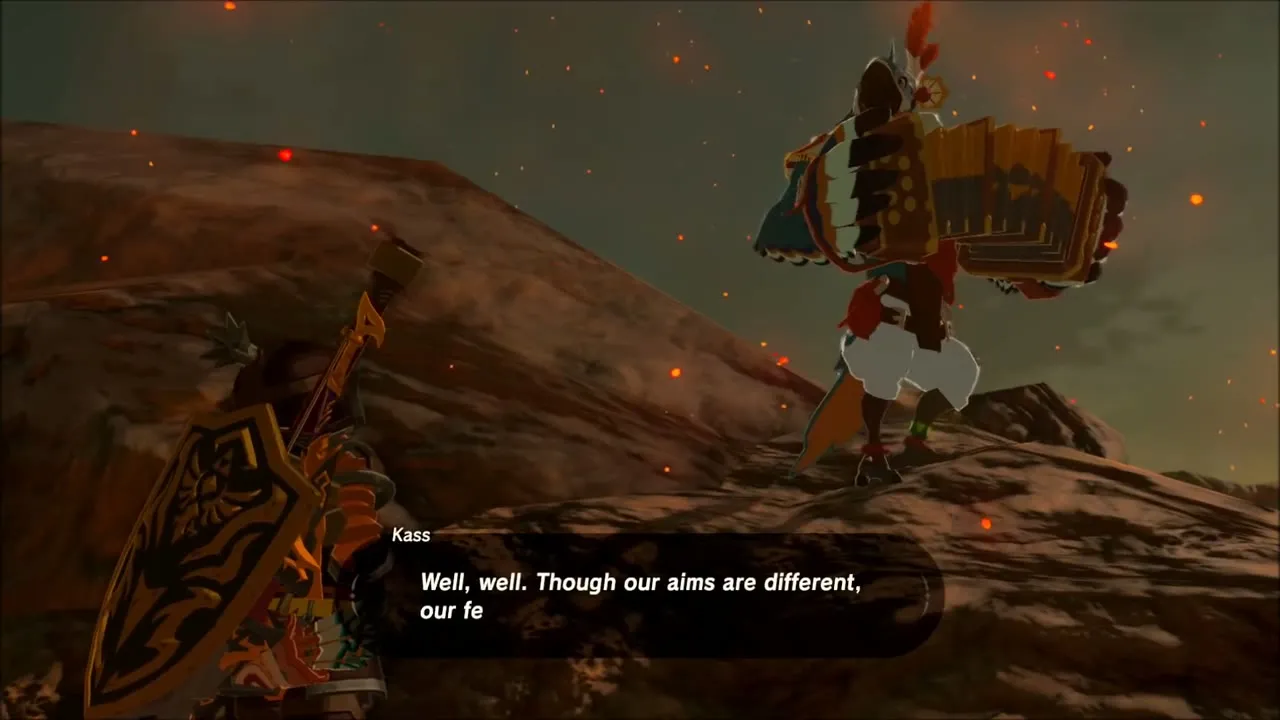
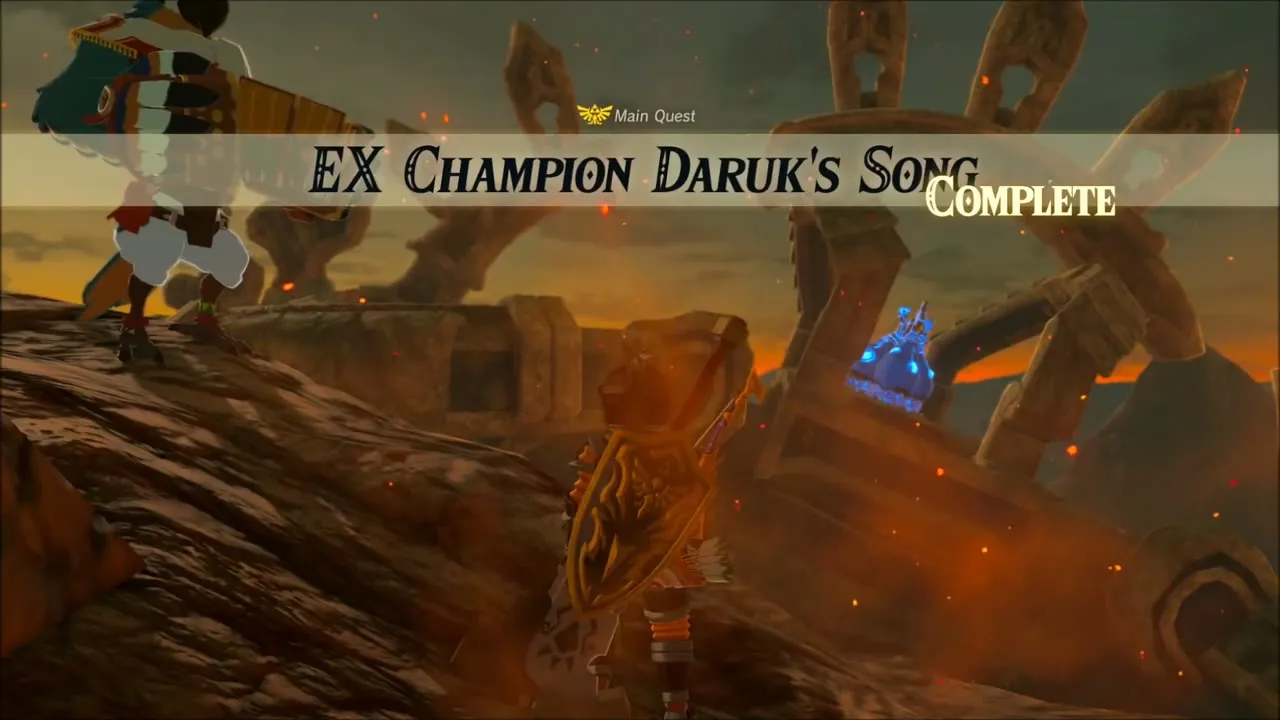
Back on the mountain, Kass admits even Champions are not immune to fear, and a vision of Zelda and Daruk plays out. Daruk then tells you that you can now use his protection more than ever. The reward is Daruk’s Protection +, which recharges faster, and “EX Champion Daruk’s Song” is complete.

EX Champion Revali’s Song: Where to Start Revali’s Trial
Revali‘s trial starts at another stone monument, on grassy ground south of Rito Village with Divine Beast Vah Medoh looming in the distance. Kass is there to play the next part of the song, a verse about Medoh’s Champion, swift and proud. Step up to the monument to start “EX Champion Revali’s Song”; its obelisks map the three shrines, and the verse names the flame dragon’s horn, a race down a peak, and four targets to win.
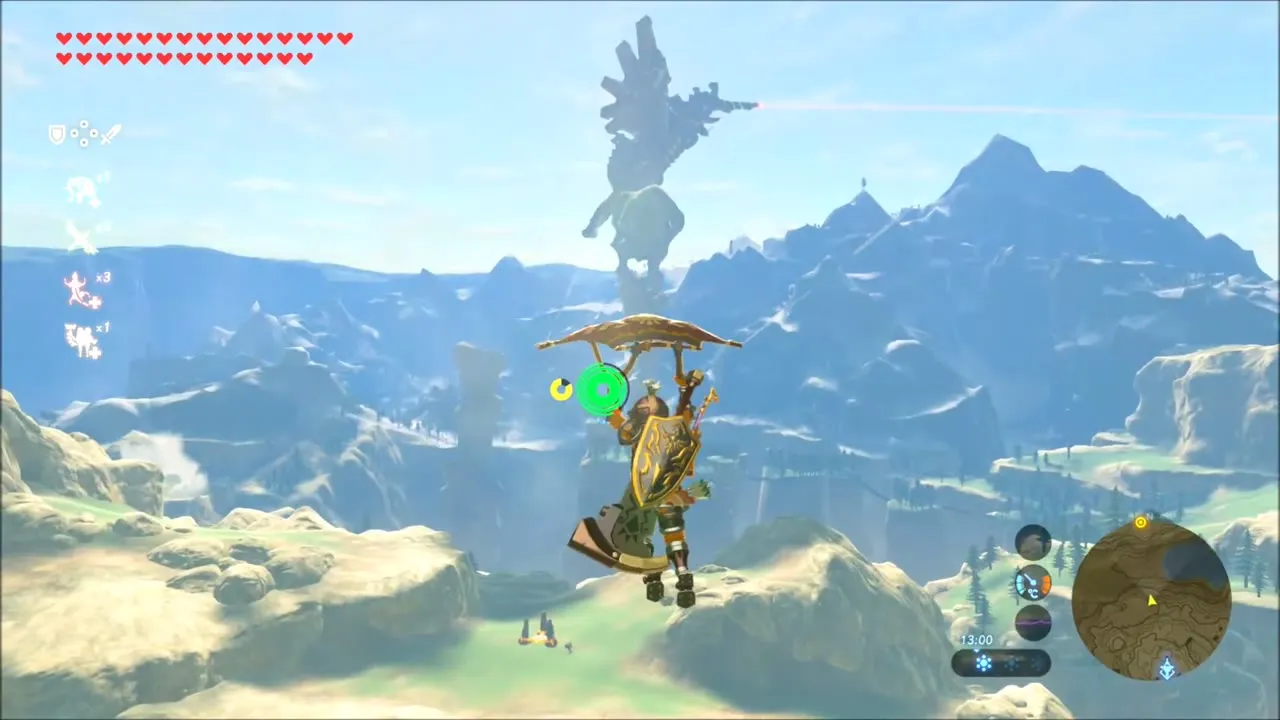


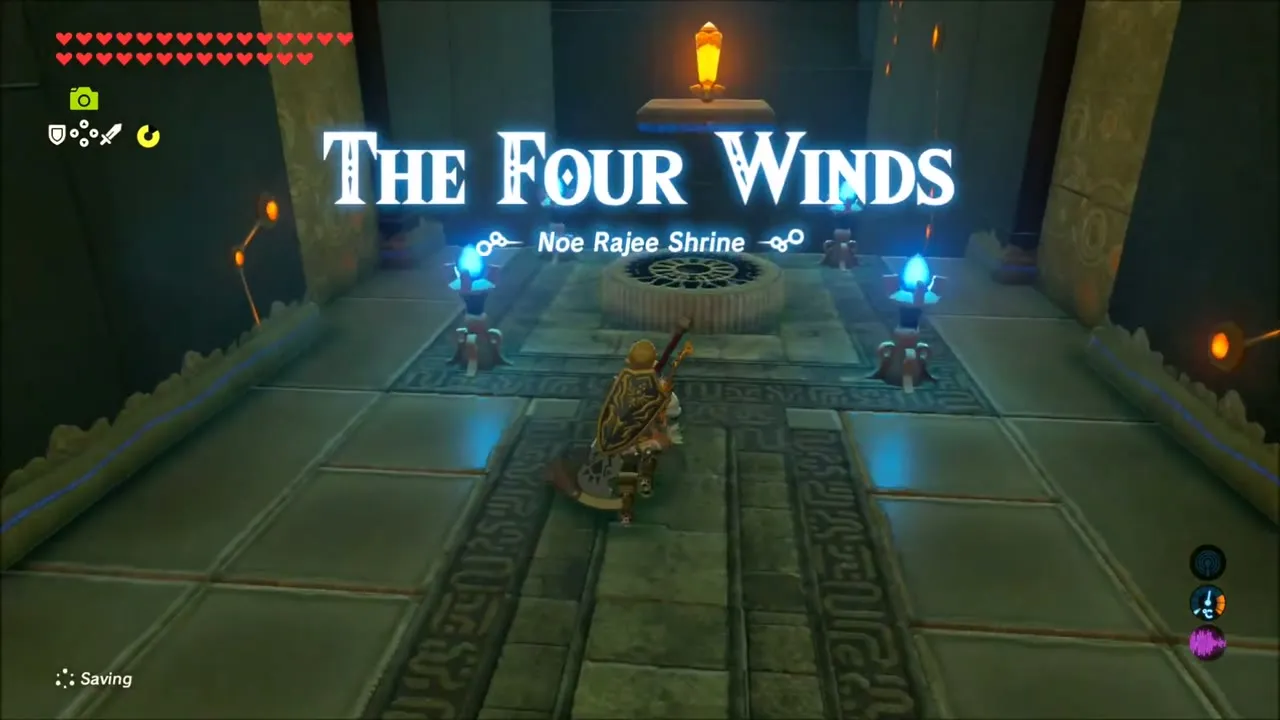
Noe Rajee Shrine: The Four Winds (Flight Range Targets)
The “four targets” line sends you to the Flight Range. Warp to Sha Warvo Shrine and drop into the Flight Range pit, then glide down, slow time with your bow and hit all four glowing targets before the focus runs out. The Noe Rajee Shrine (x -3821, z -2311, height 99) rises at the bottom of the pit.
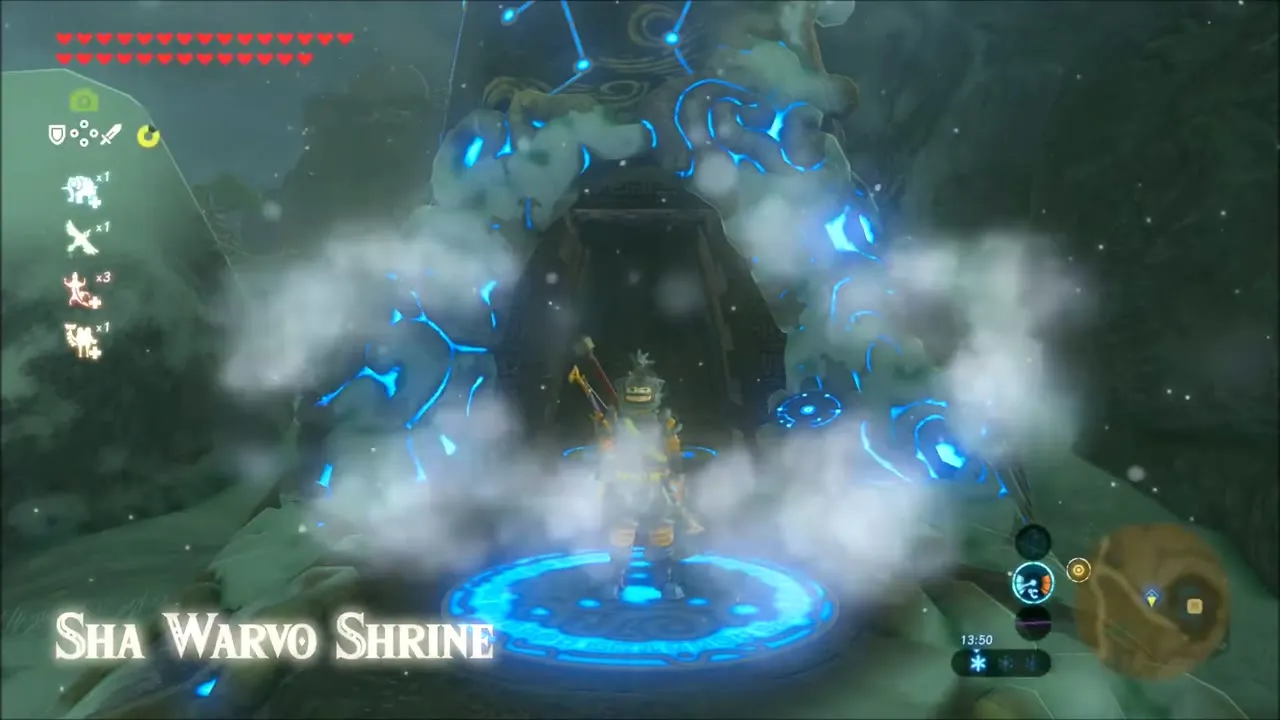
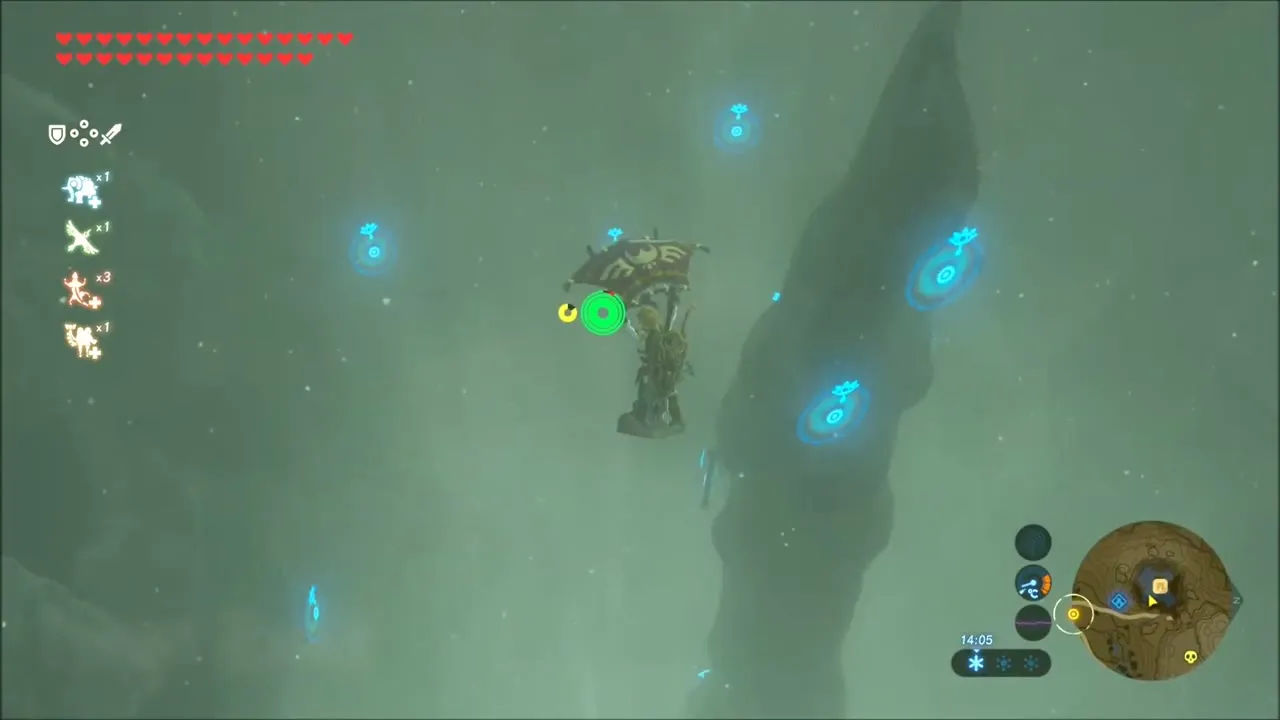

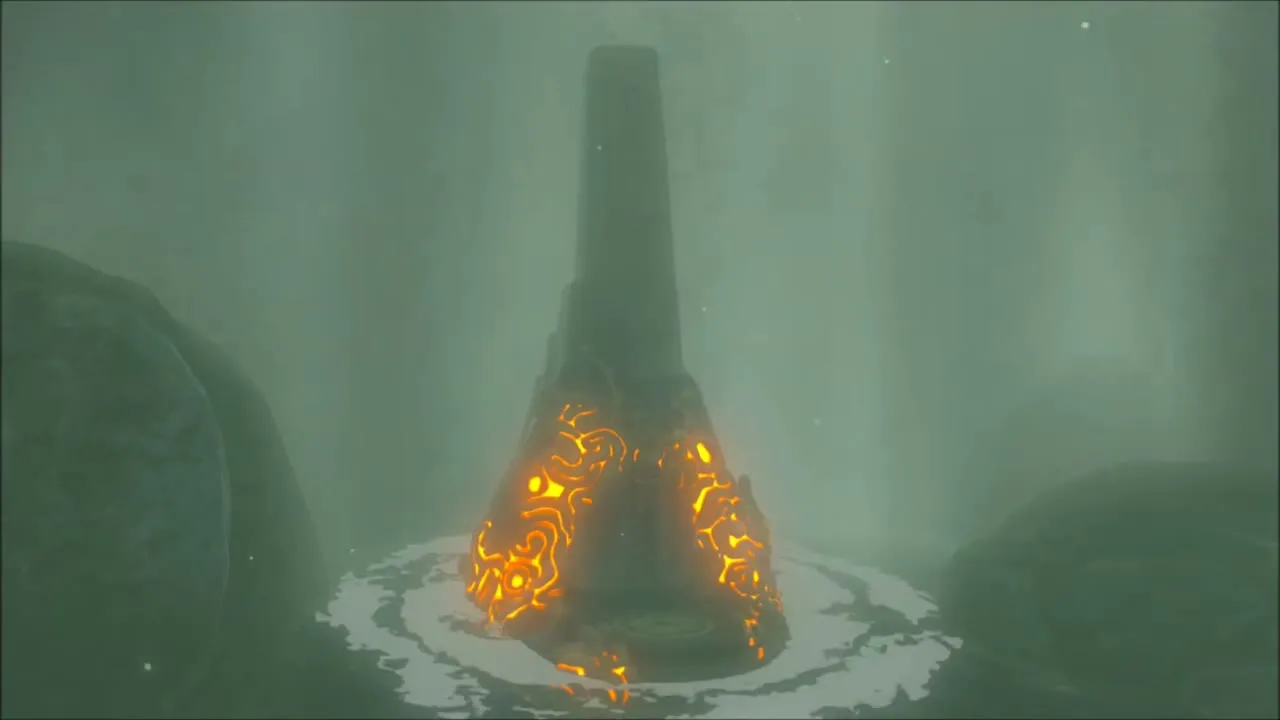
Noe Rajee Shrine solution
The Four Winds trial is a rotating tower with four wind platforms. Ride the first gust to the tower, then start each platform’s updraft in turn: press the switch at the base of the tower, shoot the switch behind the fan door while time is slow, bomb the cracked wall section to reach its switch, and shoot the last switch through the barred window.
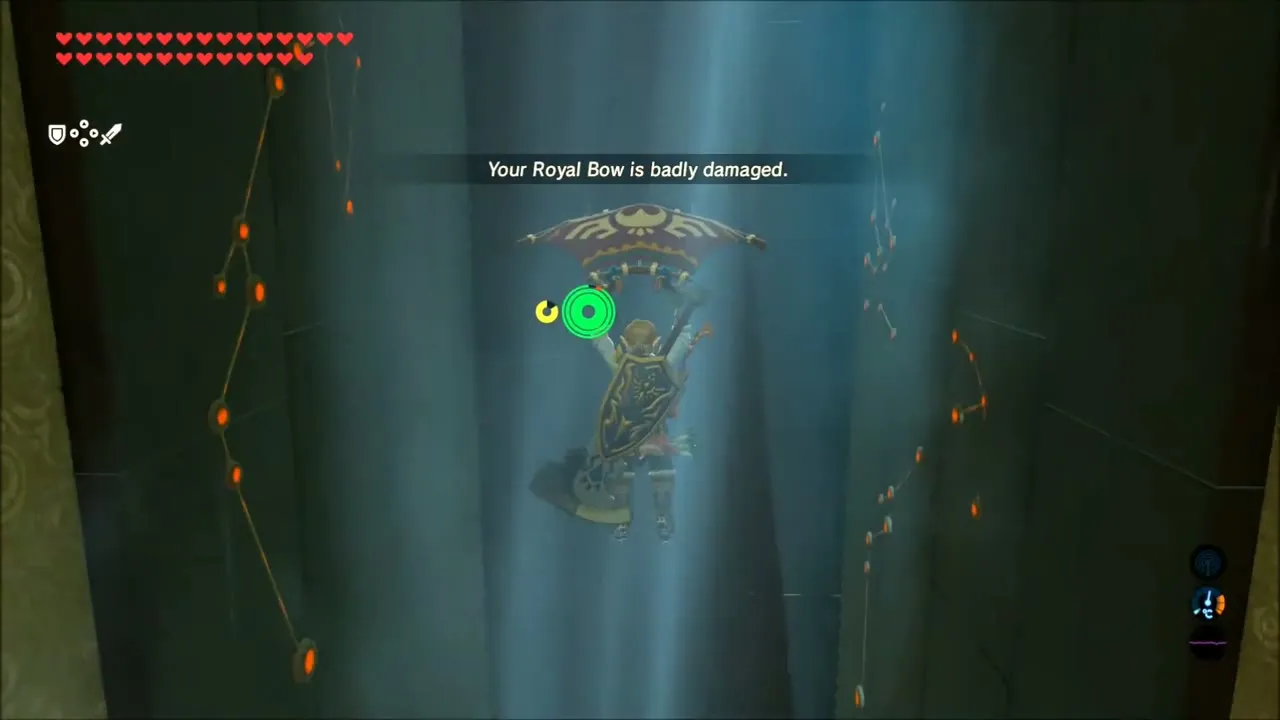


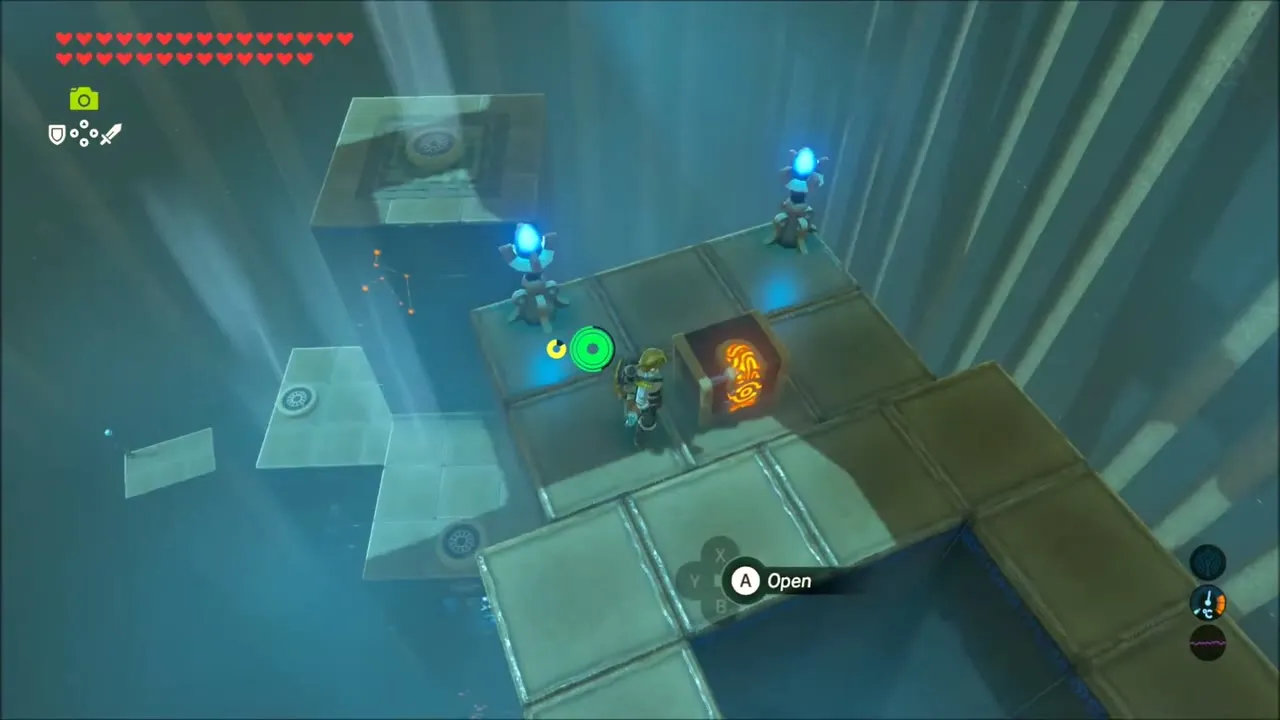
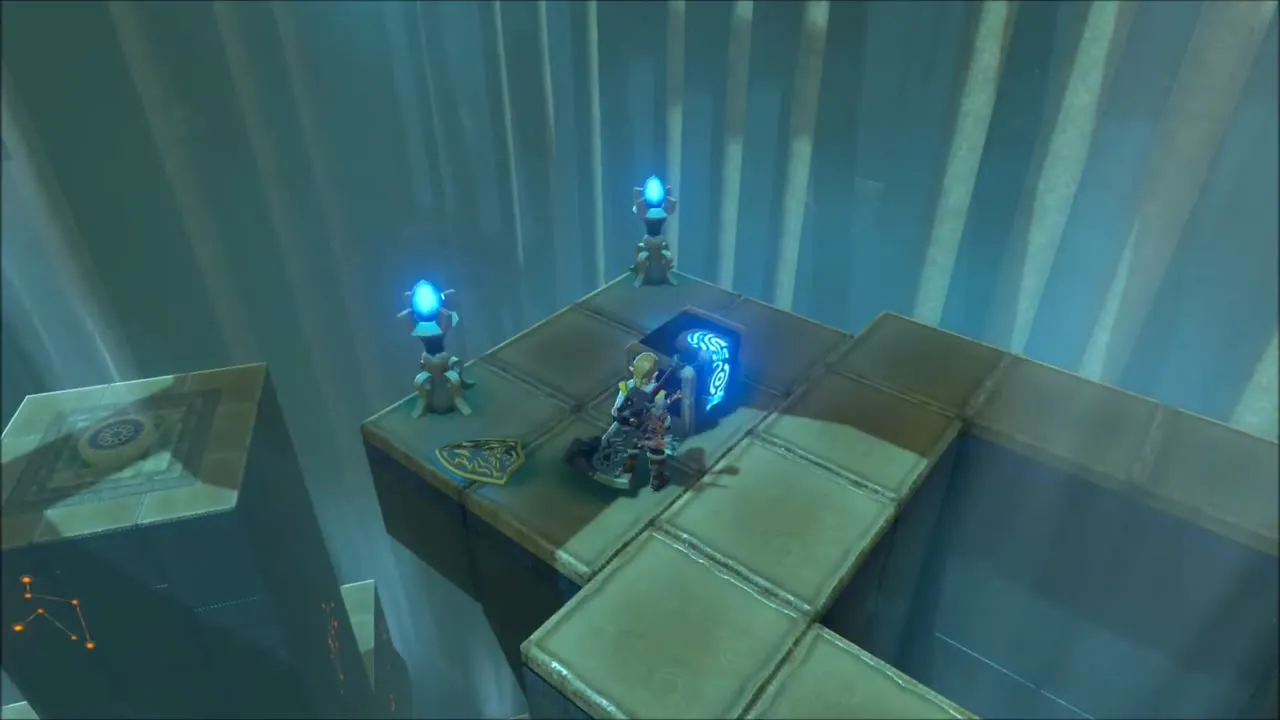
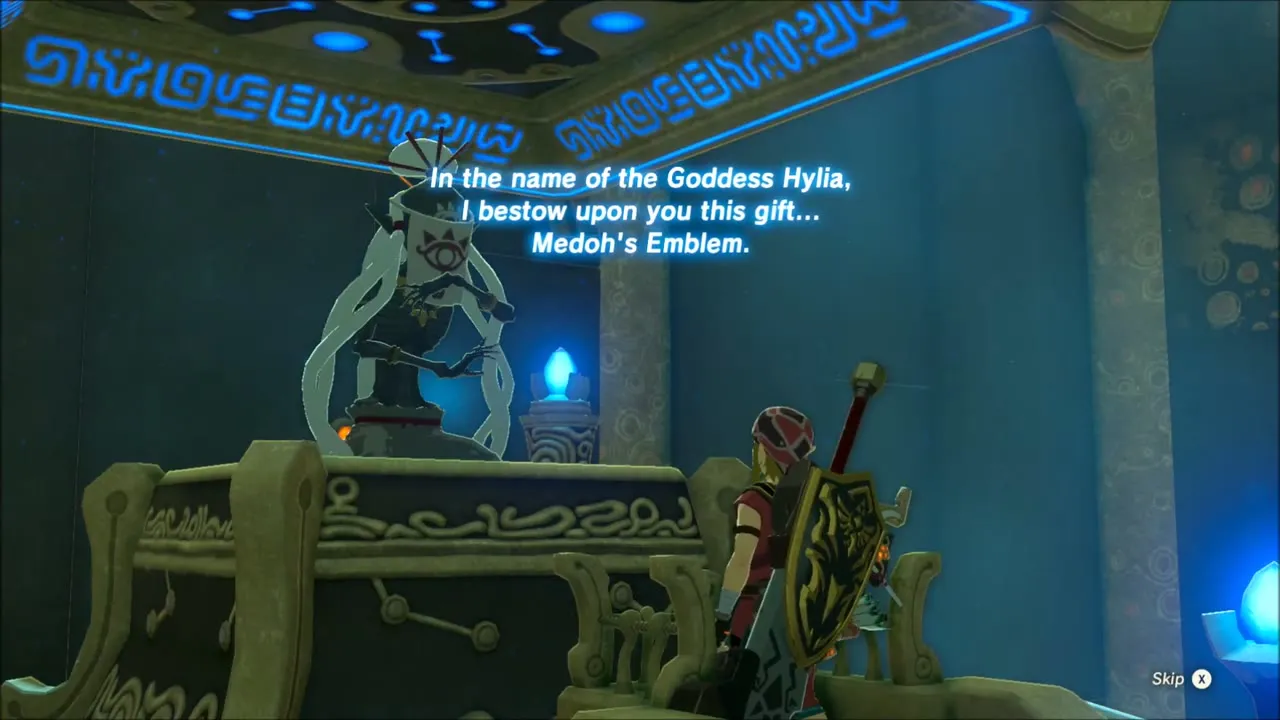
Before the monk, look for a chest on a platform you cannot reach from the front. Glide round to a hidden lift behind it to claim the Shield of the Mind’s Eye. The monk then gives you Medoh’s Emblem.


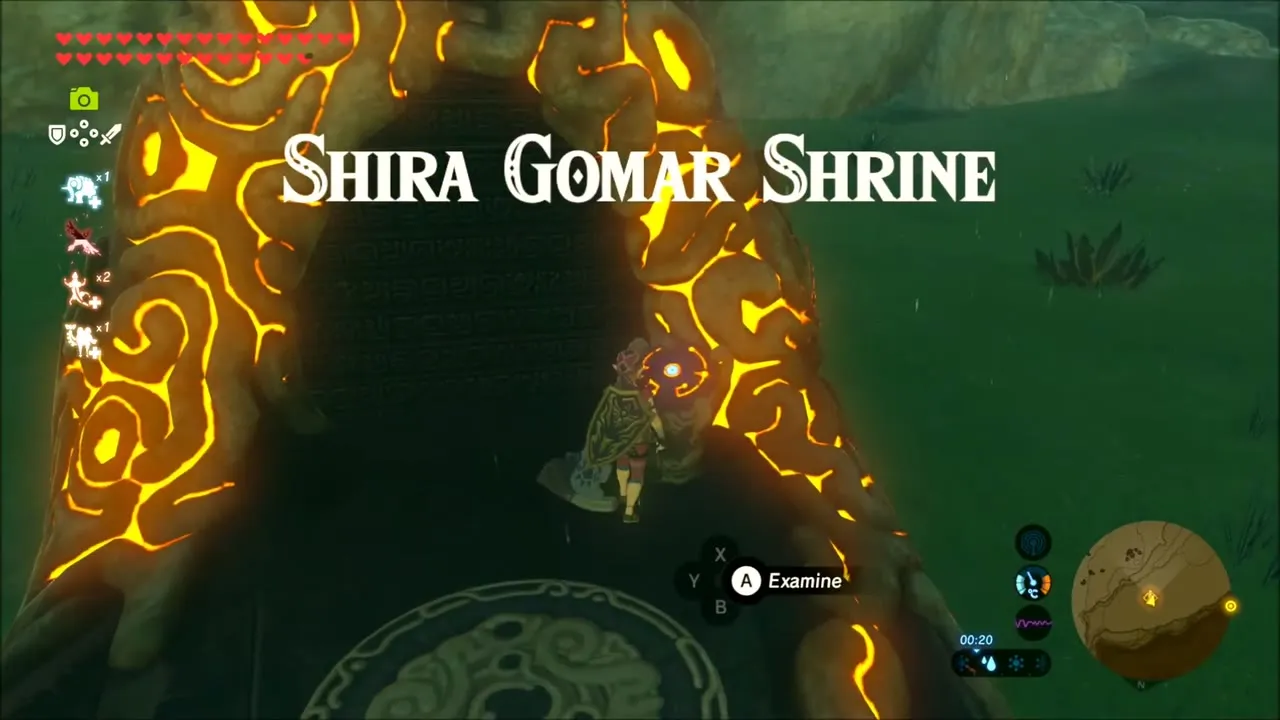
Shoot Dinraal’s Horn and Shira Gomar Shrine: Aim for Stillness
The flame dragon’s horn is a night-time task. Glide to the ledge on the north side of Tanagar Canyon, wait for dusk and look for Dinraal flying through the canyon. Glide after it and shoot an arrow at its glowing horn as it passes.

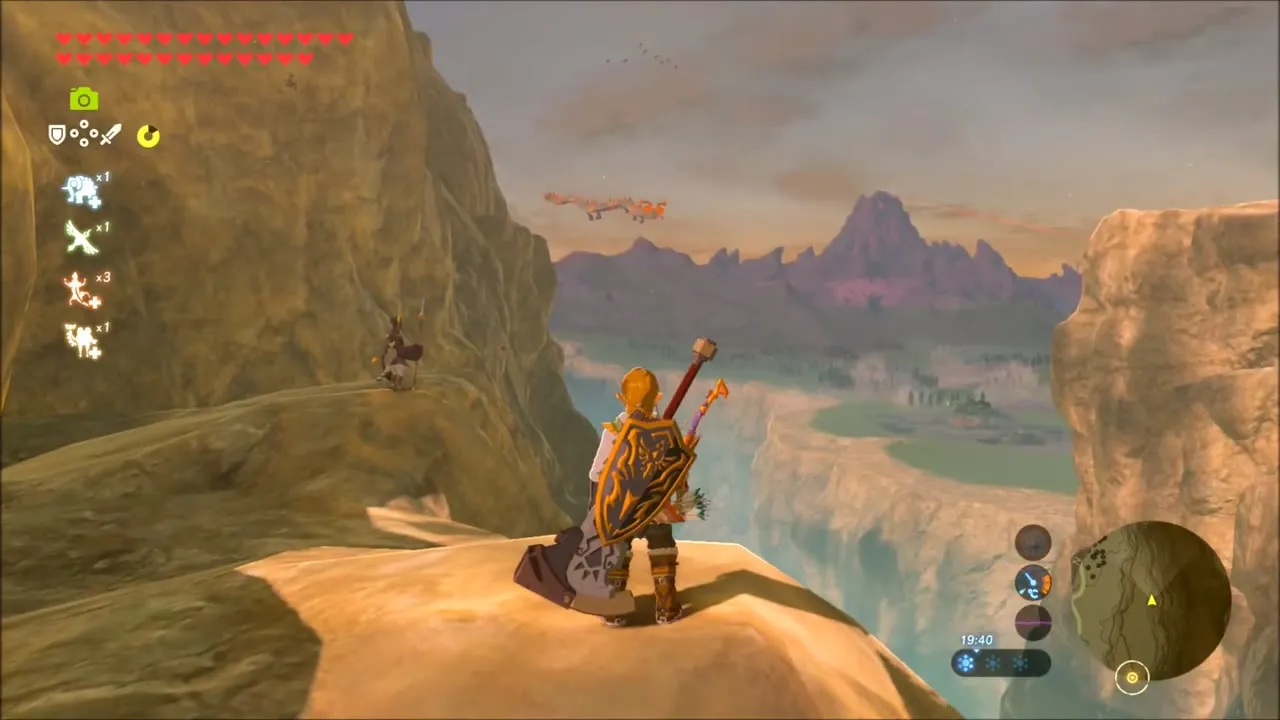
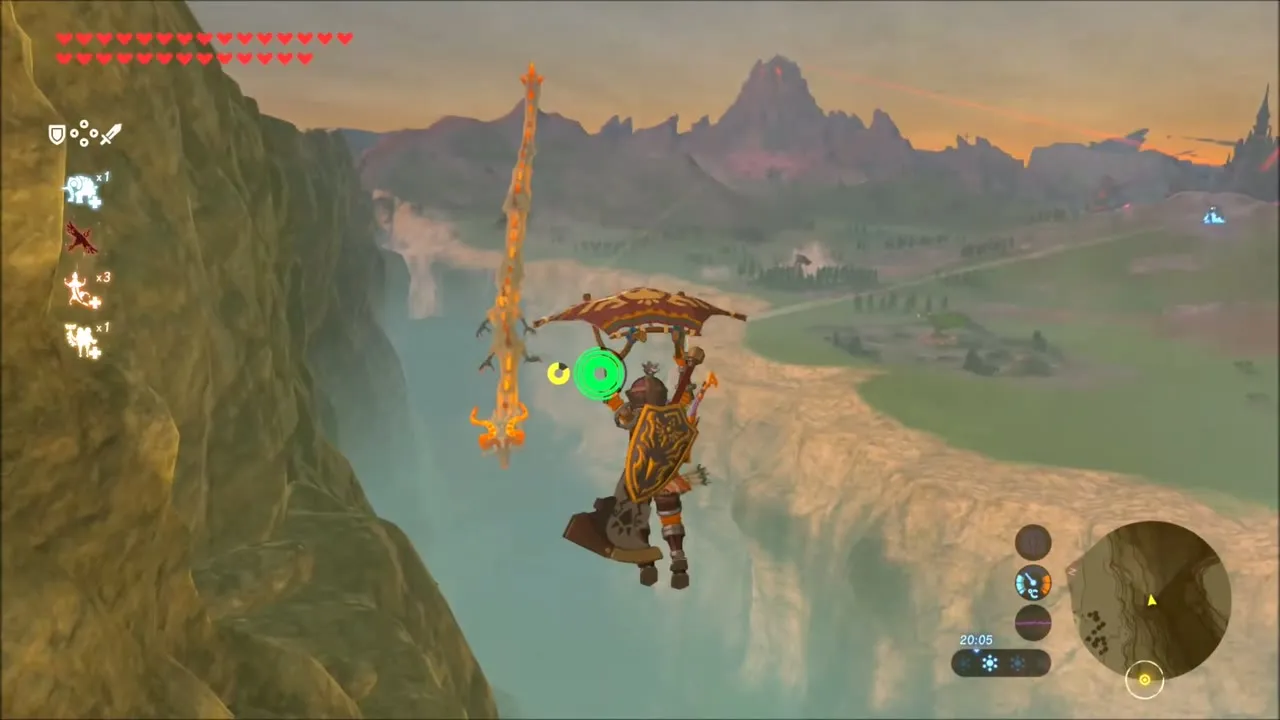
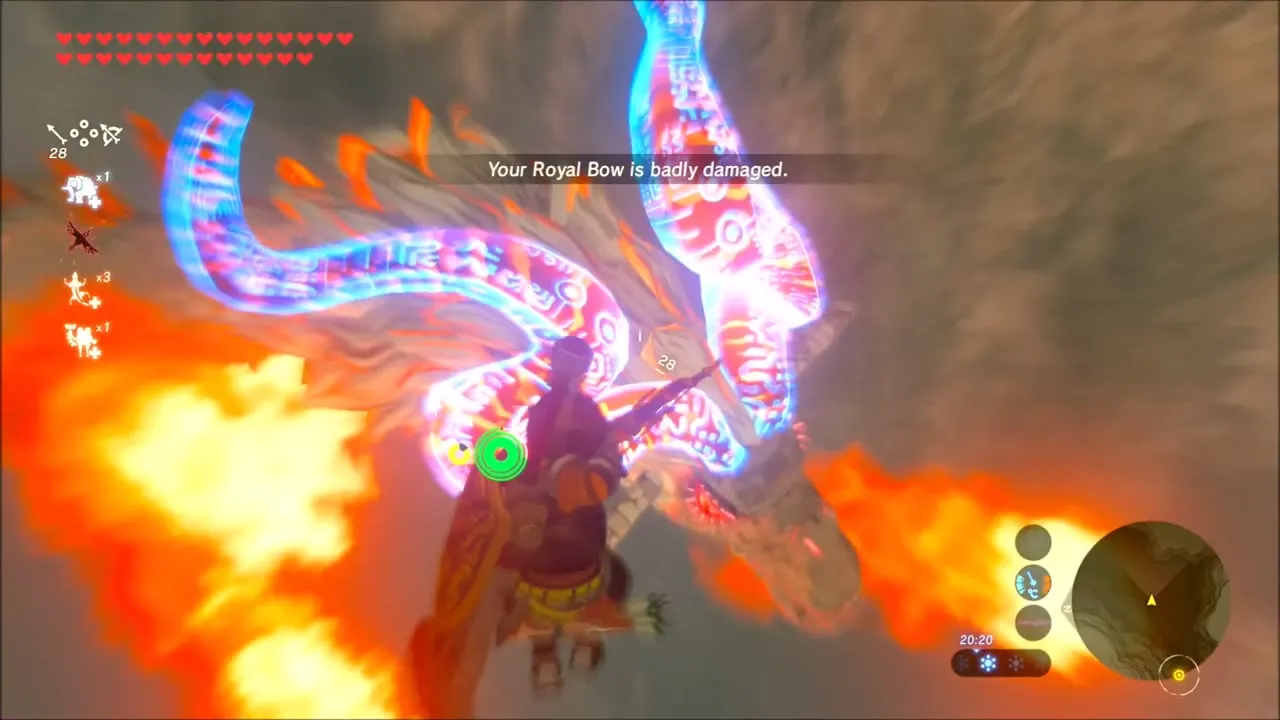
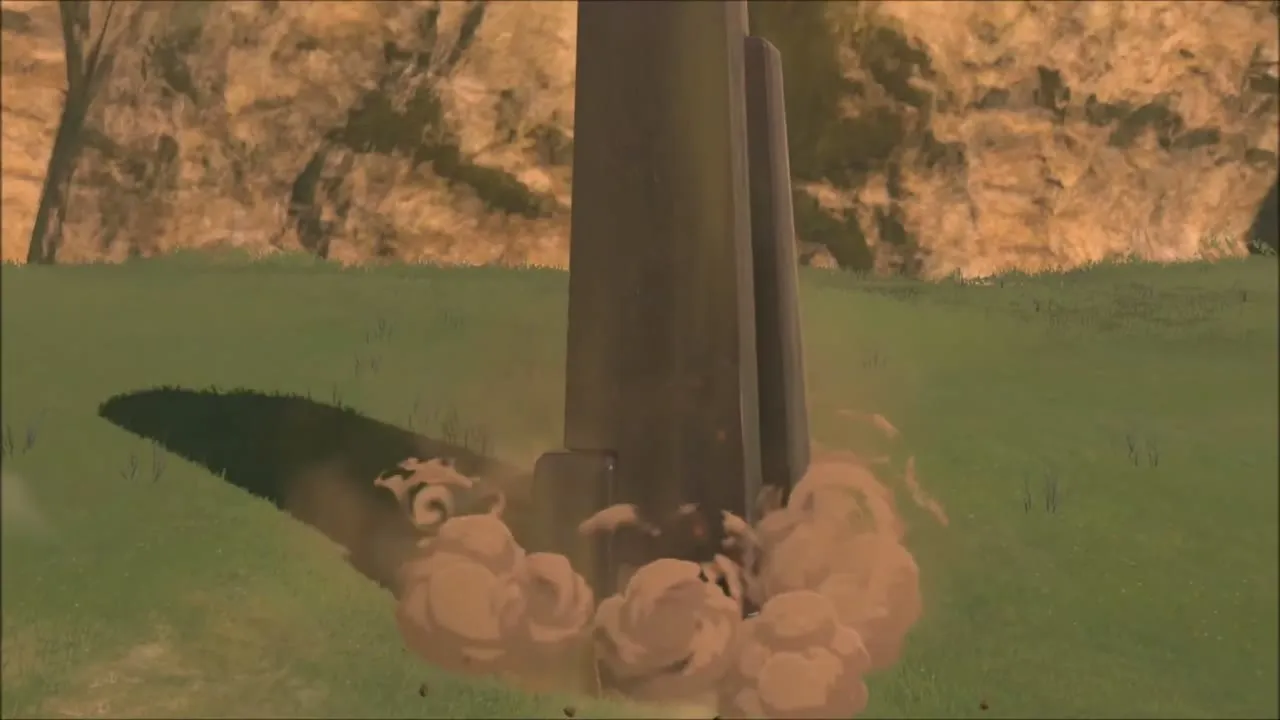
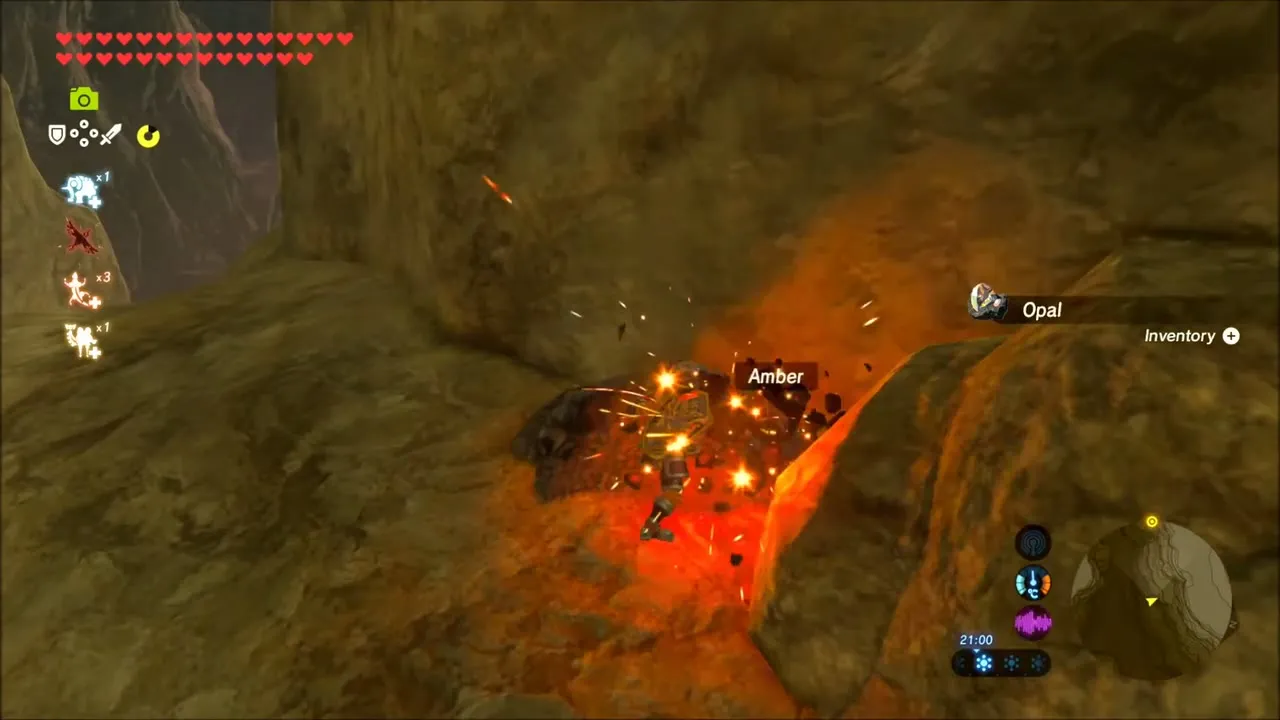
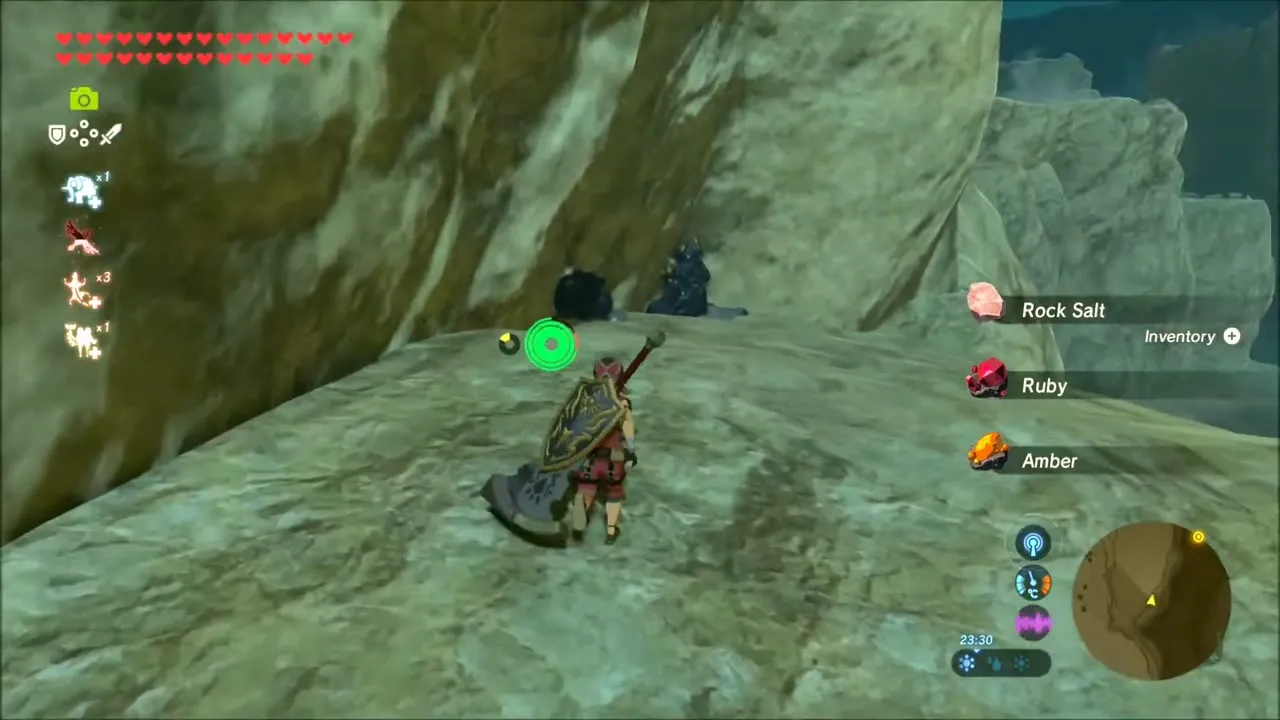
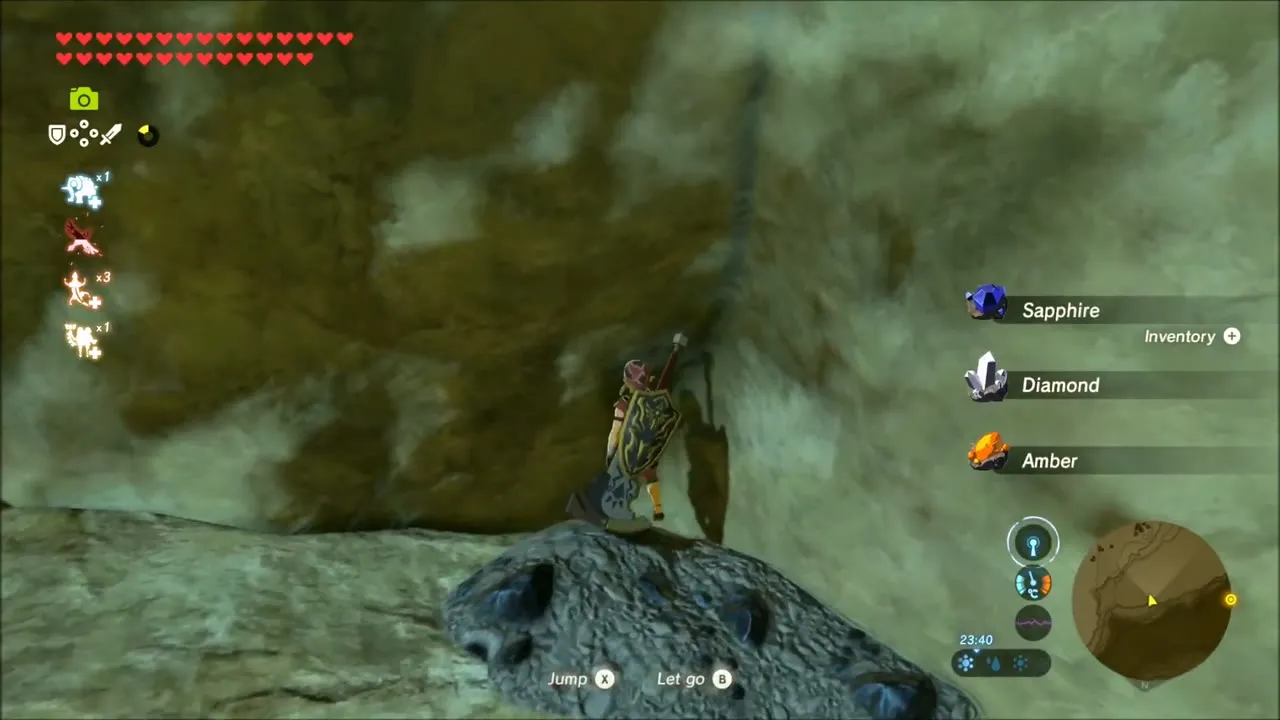
The Shira Gomar Shrine (x -2377, z -1384, height 274) rises on the canyon’s far side. Climb the rock face to reach it; on the way, mineral deposits give Amber, Rock Salt, Ruby and a Diamond.

Shira Gomar Shrine solution
Aim for Stillness is a climb on updrafts, bomb tubes and fans. Float up the gusts and use bombs to break the walls blocking your way. The chest on a small left platform of the middle level holds 10 Bomb Arrows. Use Stasis on the fan so that the next wall stays open.
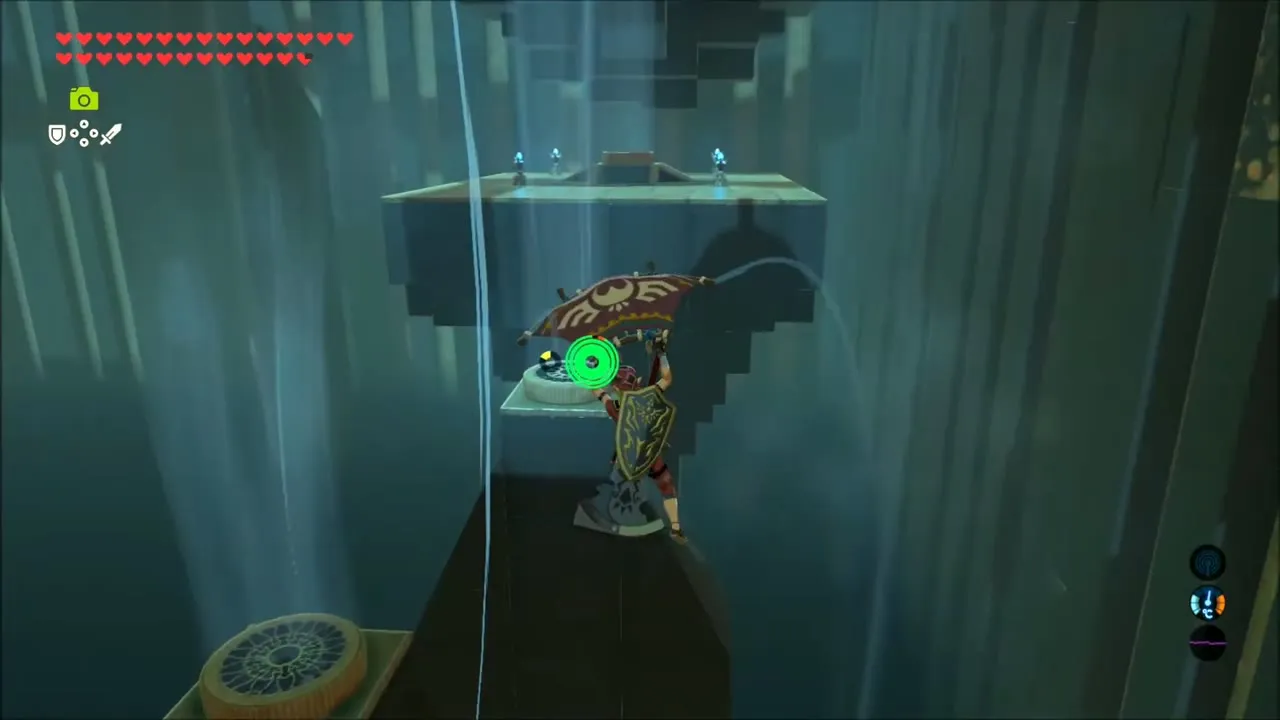


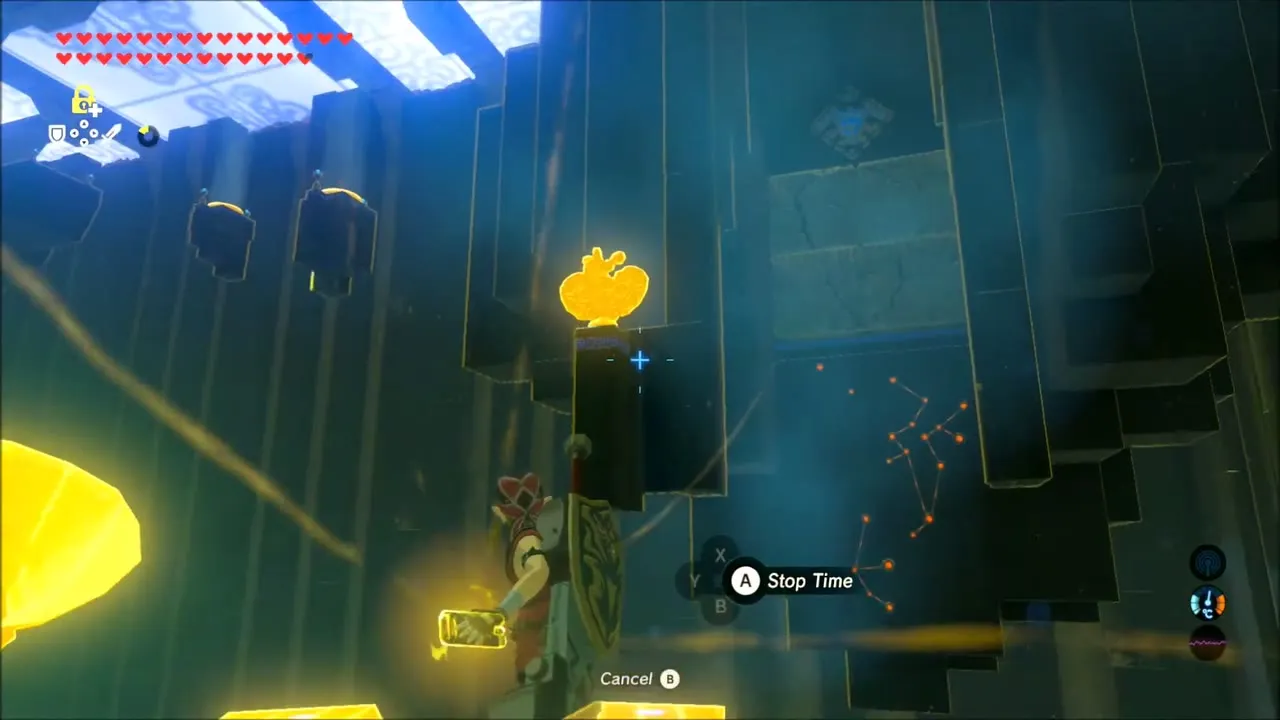
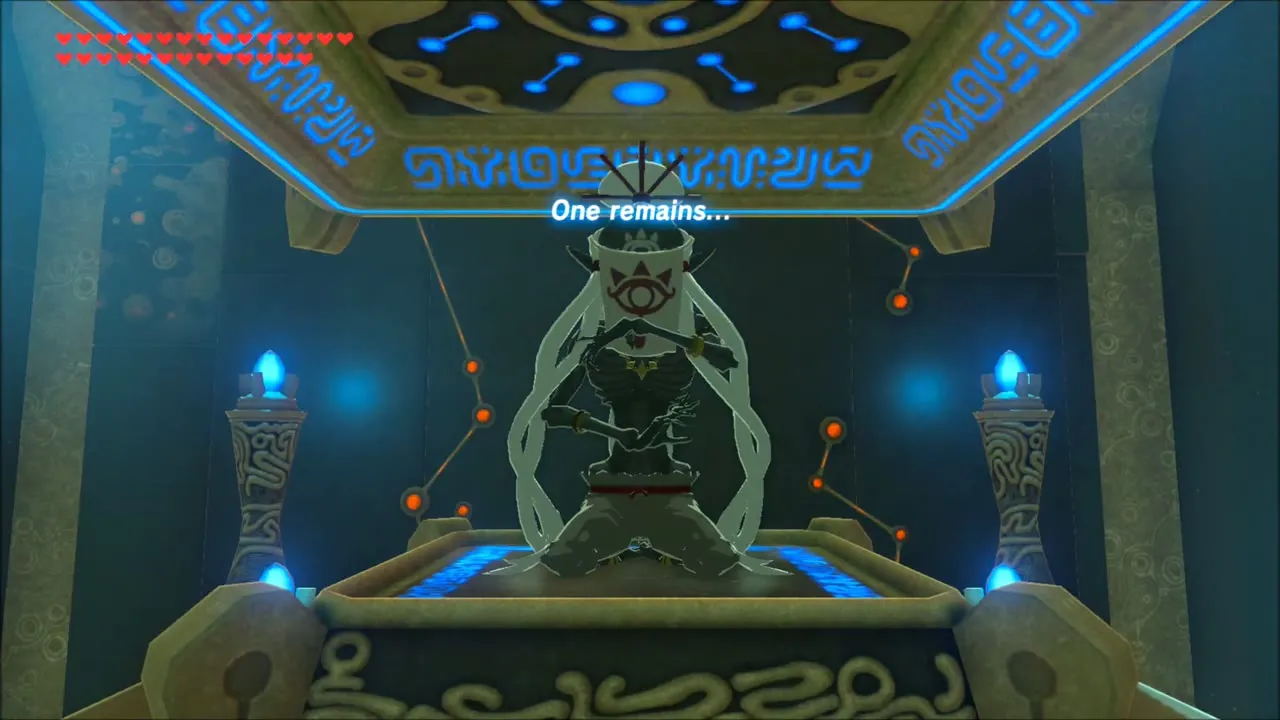
Ride the last gusts up to the monk for the second Medoh’s Emblem; he tells you that one remains.


Revali’s Song: Rings Down Hebra Peak
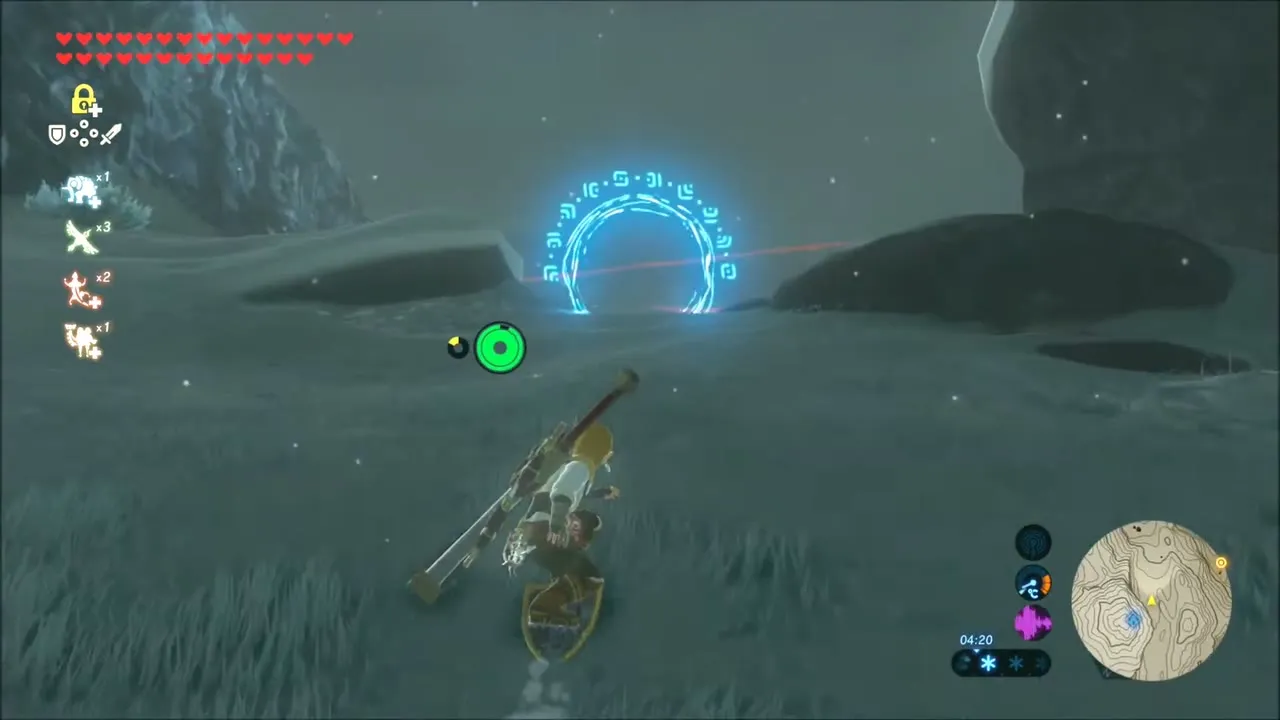
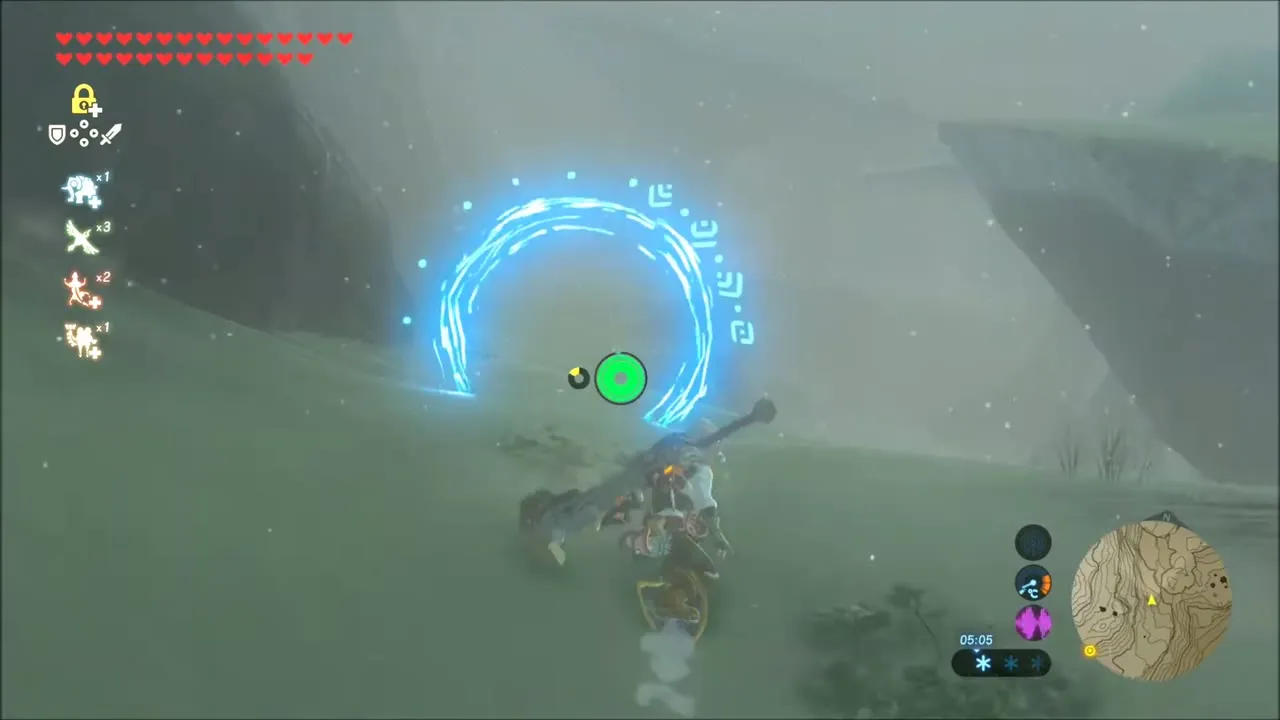
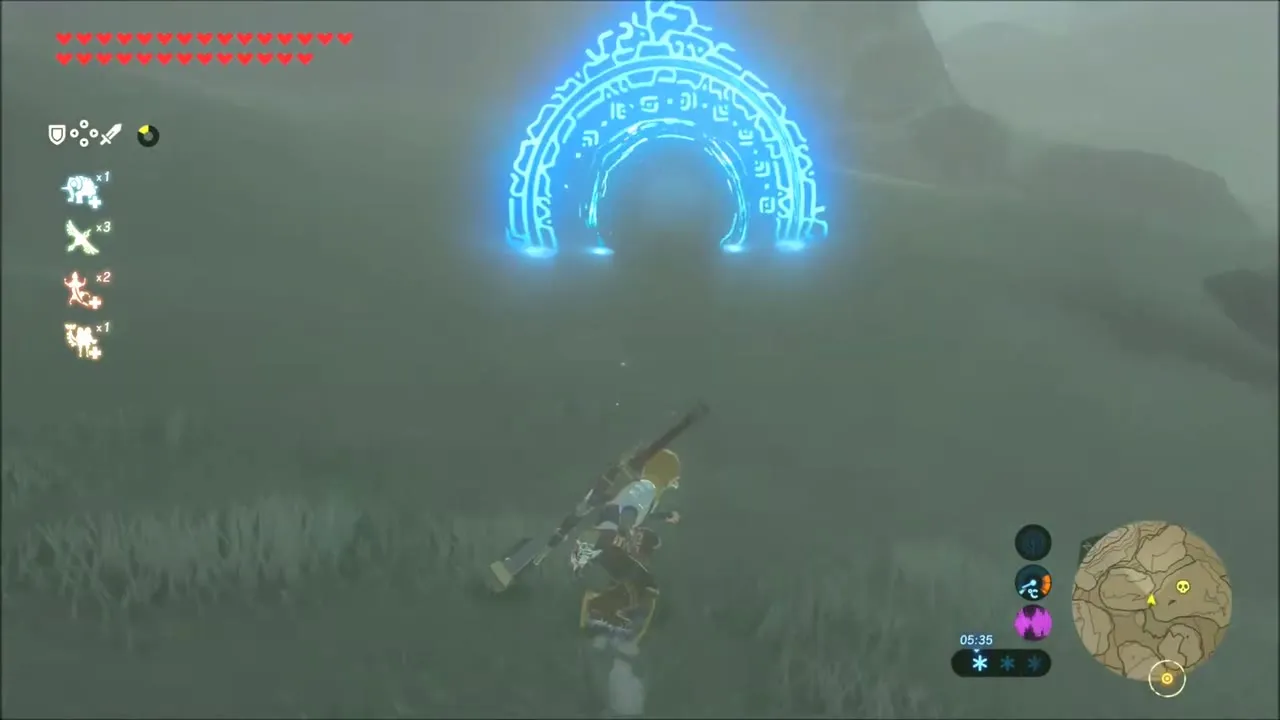
With the Revali trial active, your sixth task is to go through a chain of glowing rings on the snowy slopes around Hebra Peak. Hop onto your shield and surf down the slope, steering through each blue ring. A new ring appears only after you clear the last one, so watch for the next arch ahead. Where the slope breaks into a gap, open the paraglider, glide across and drop back onto the snow. The run bends toward Pikida Stonegrove, and the final ring ends it.

Kiah Toza Shrine: Master the Orb Trial and Falcon Bow
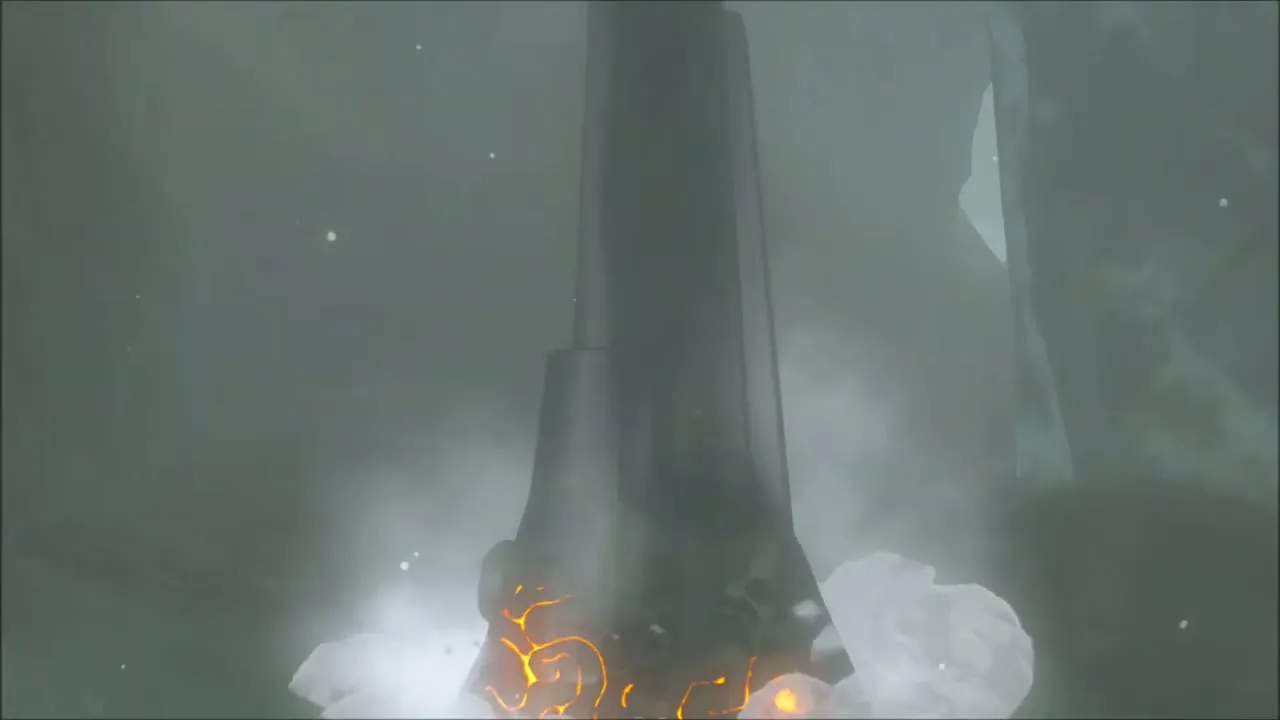
Clearing the last ring makes the Kiah Toza Shrine rise from the ground at (-2156, -3188), height 459, on the eastern edge of Pikida Stonegrove. Its trial is Master the Orb: a huge Shrine Orb sits on a track of slopes and you must get it to its receptacle without losing it. This is task 7 of Revali‘s trial.

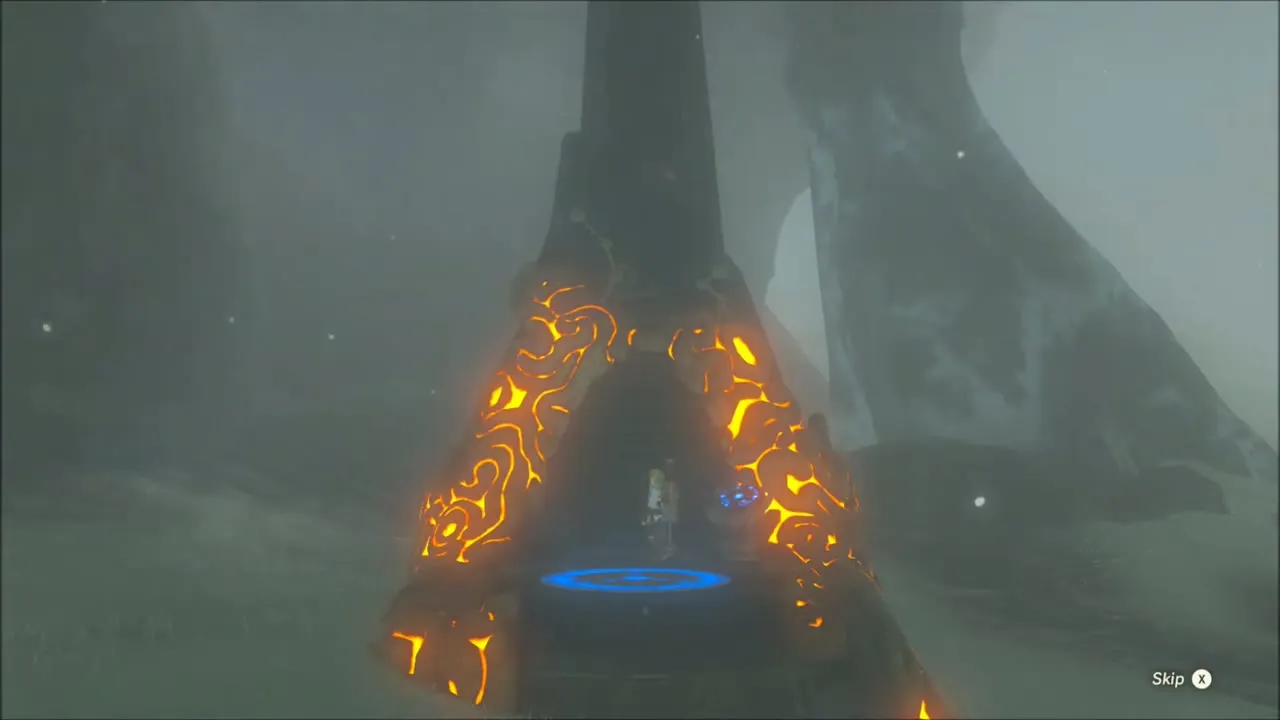

Chest above the start: Falcon Bow
Before touching the orb, use the updraft at the start to glide up and look over the machine. Drop a Cryonis block to climb onto a stone block, then raise ice under it to reach a ladder. The chest at the top holds a Falcon Bow, a Rito bow made for fighting from the air.
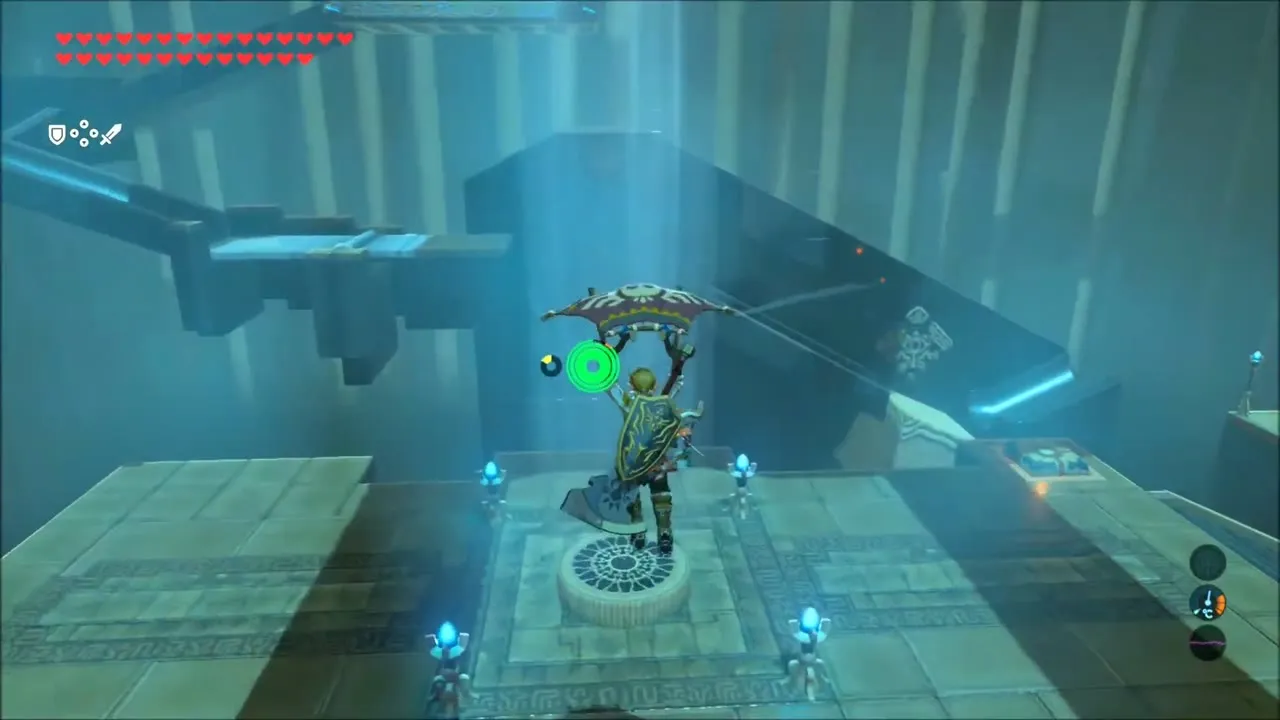


Steering the orb
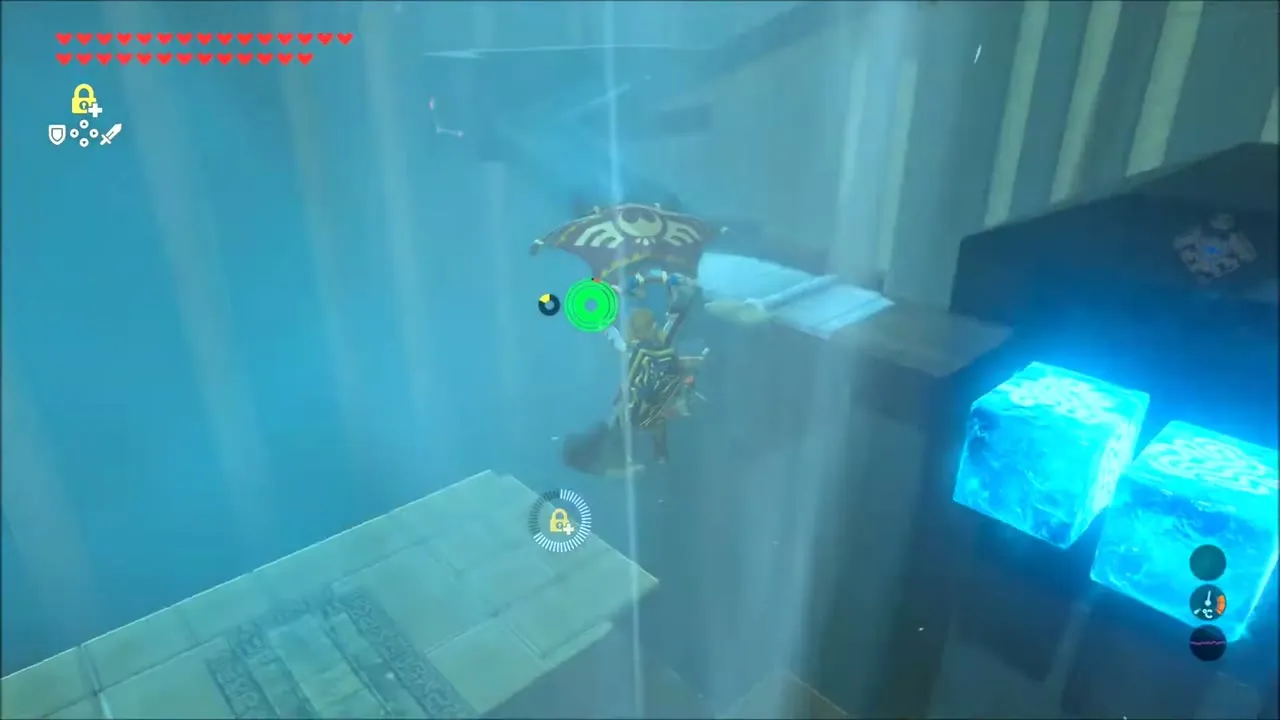
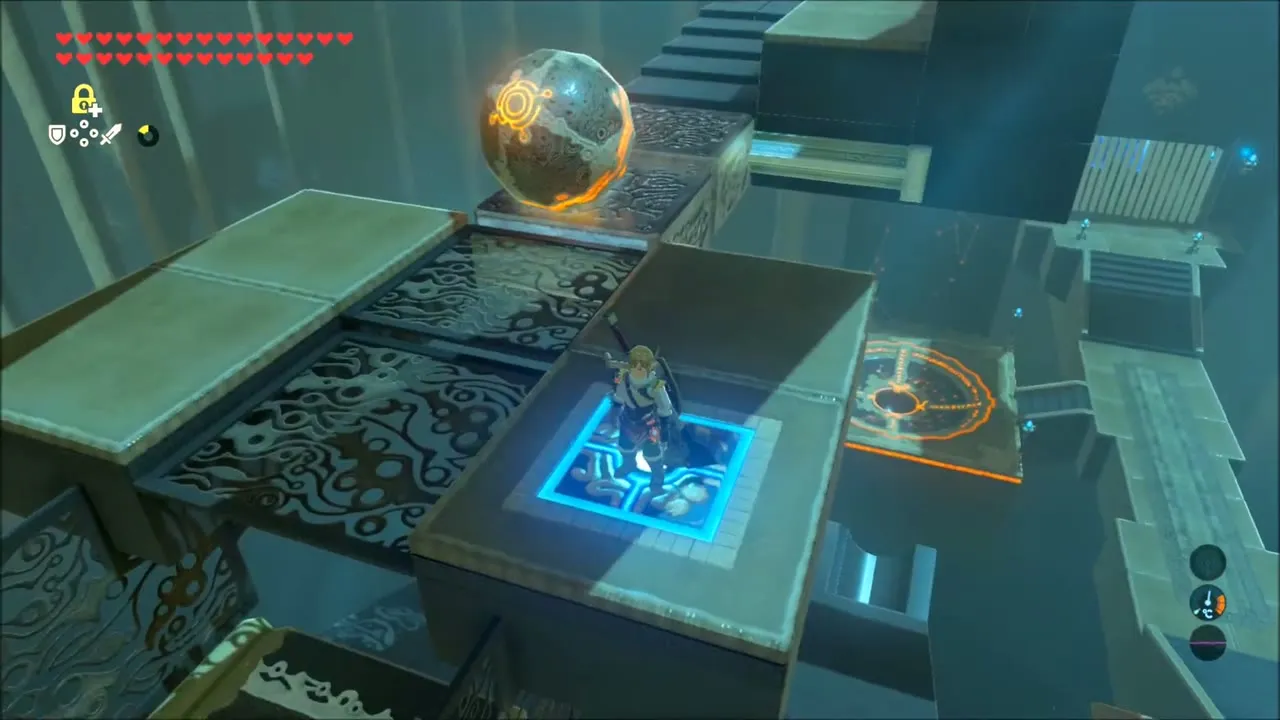
Glide down alongside the orb’s track. Use Magnesis to drag the metal blocks along the walls into place so the orb cannot fly off at the first drop, then do the same with two metal platforms higher up to make a bridge for it. On the next platform a conveyor pushes the orb backward; stand on the floor button until the orb can roll on down the following slope.


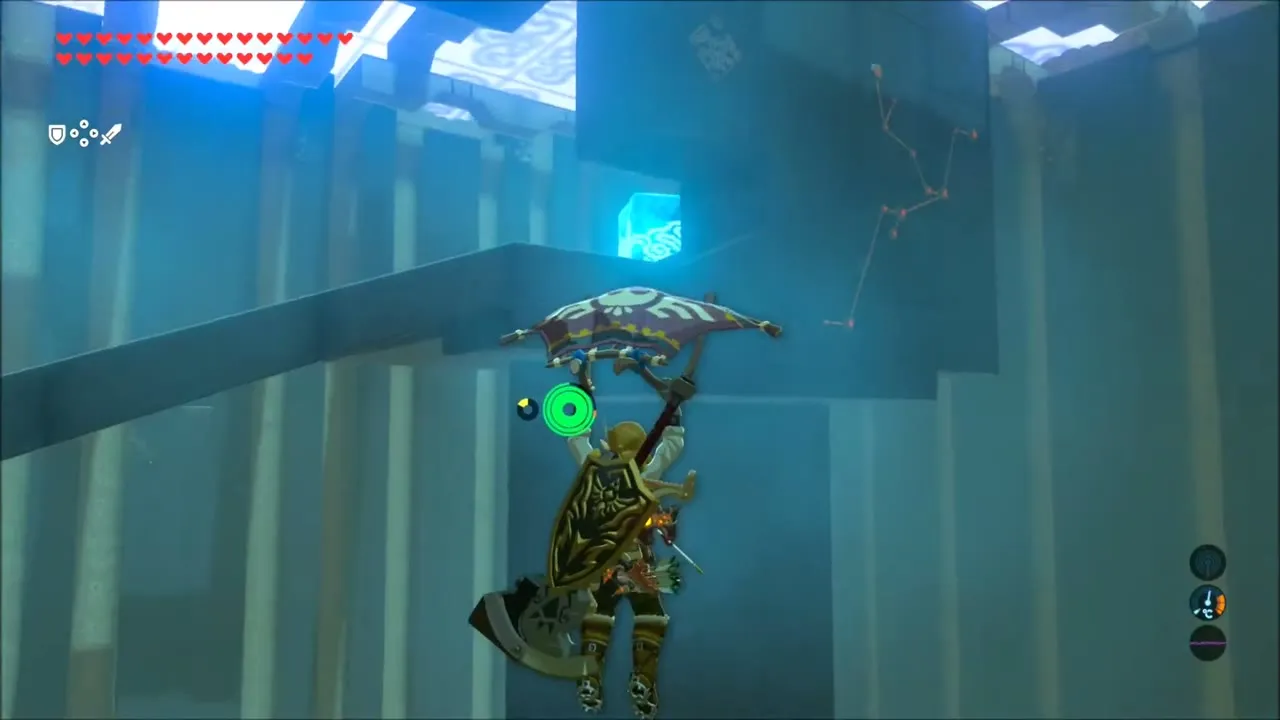
Further down, the orb is about to strike a lever that slides away. Freeze the orb with Stasis as it rolls so the lever stays put. Go back to the main platform, lay two Cryonis blocks as a ramp for the orb to cross, and at the end of the last slope jump onto the final button to launch it into the receptacle. The monk then gives you Medoh’s Emblem instead of a Spirit Orb.
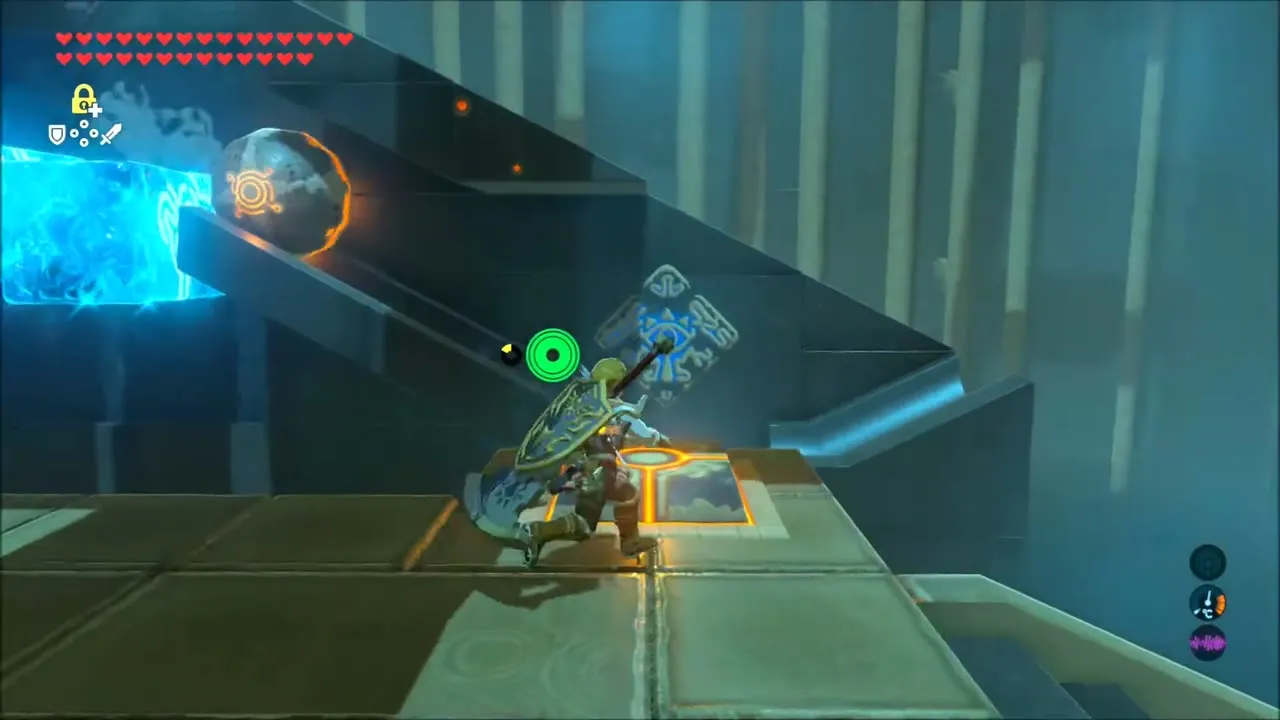

How to Beat Windblight Ganon Again (Revali’s Trial)
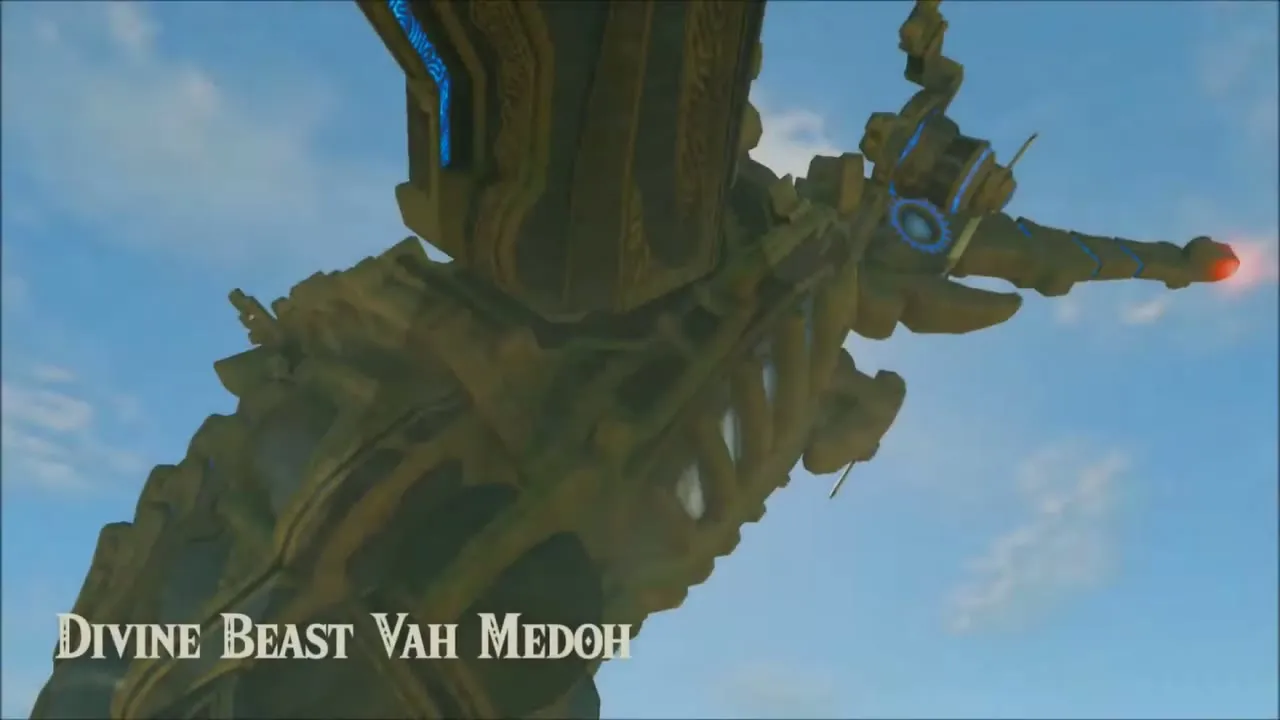
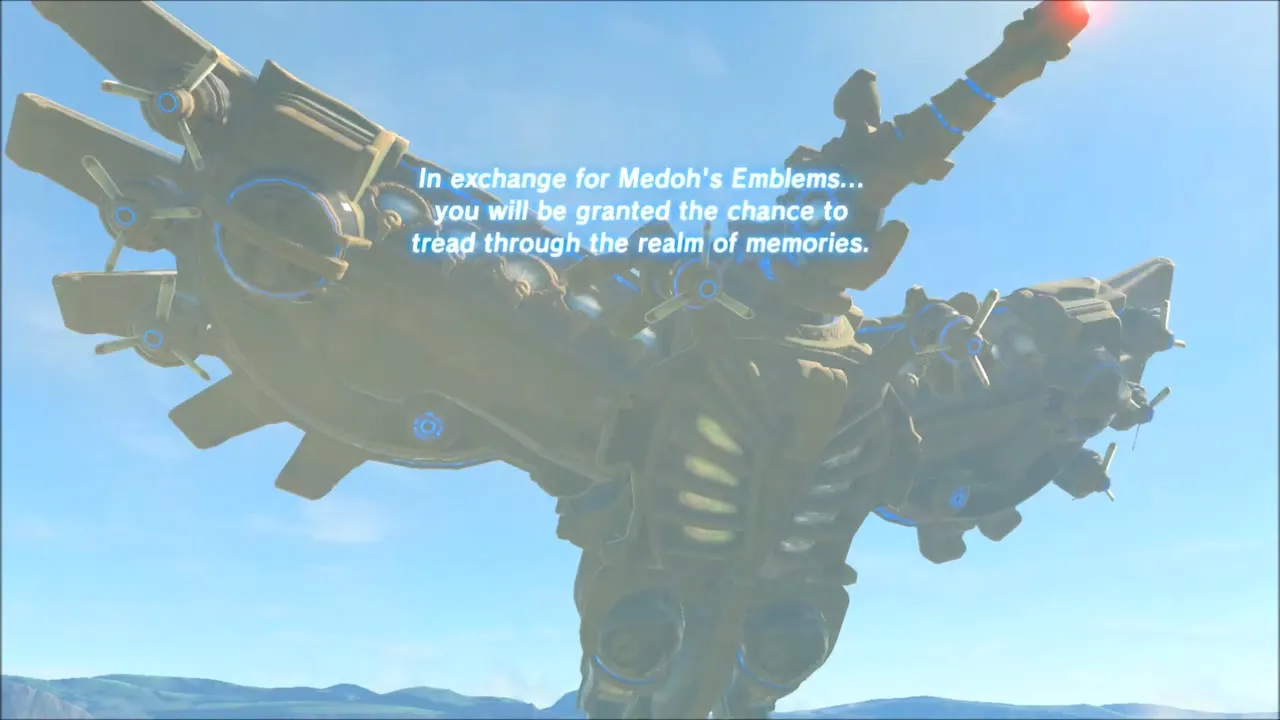
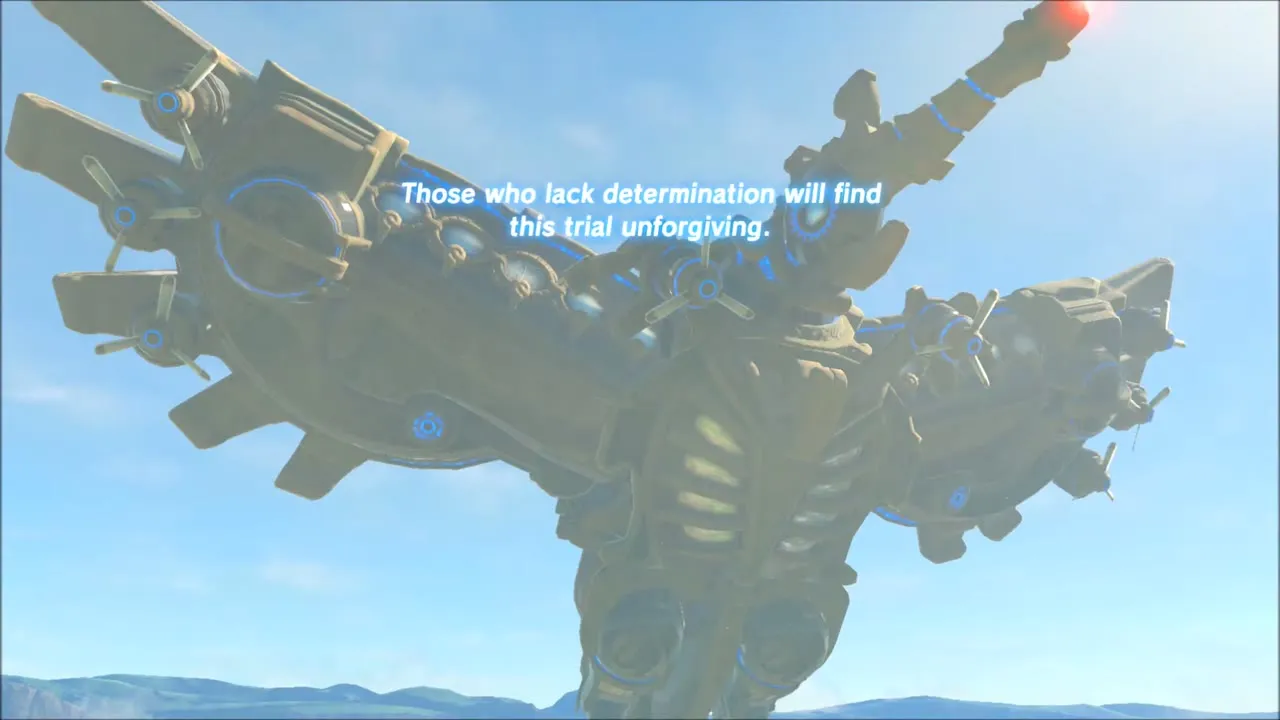
Leaving the shrine, a whirlwind of light rises beside you and carries you toward Vah Medoh. A voice tells you that, in exchange for Medoh’s Emblems, you will tread through the realm of memories, and warns that those who lack determination will find the trial unforgiving. Task 8 is to defeat Windblight Ganon once more.

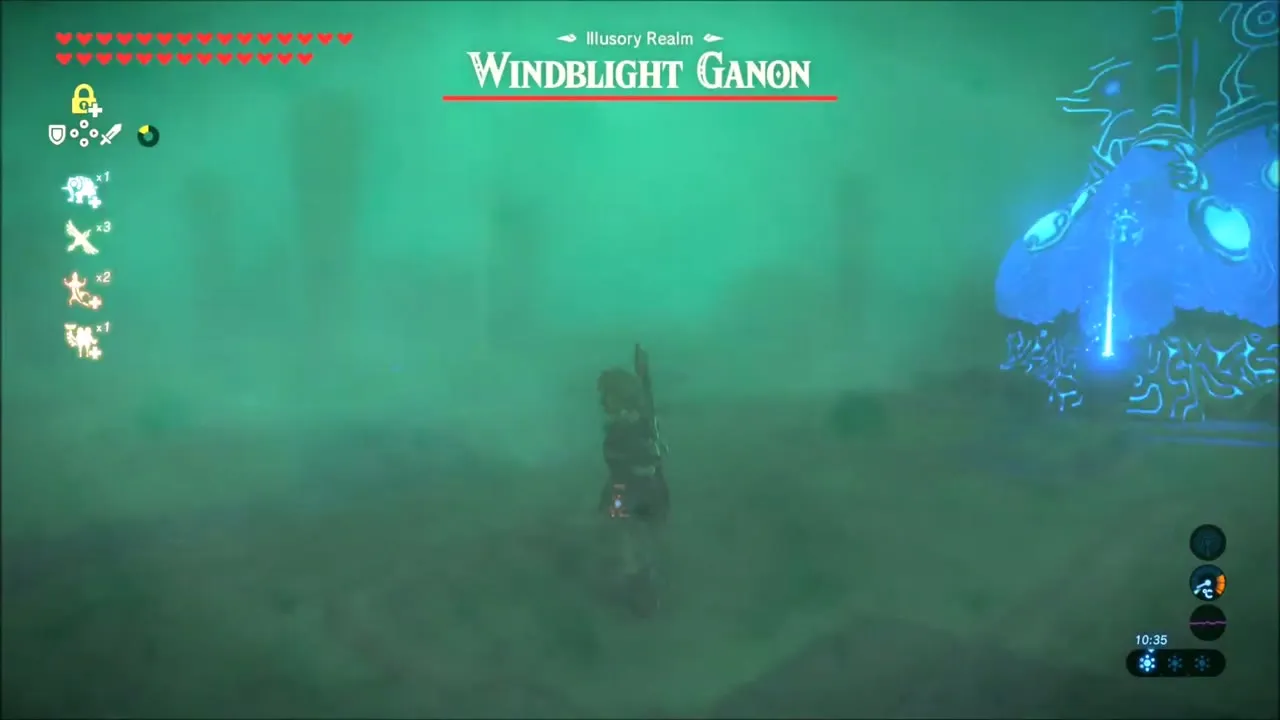
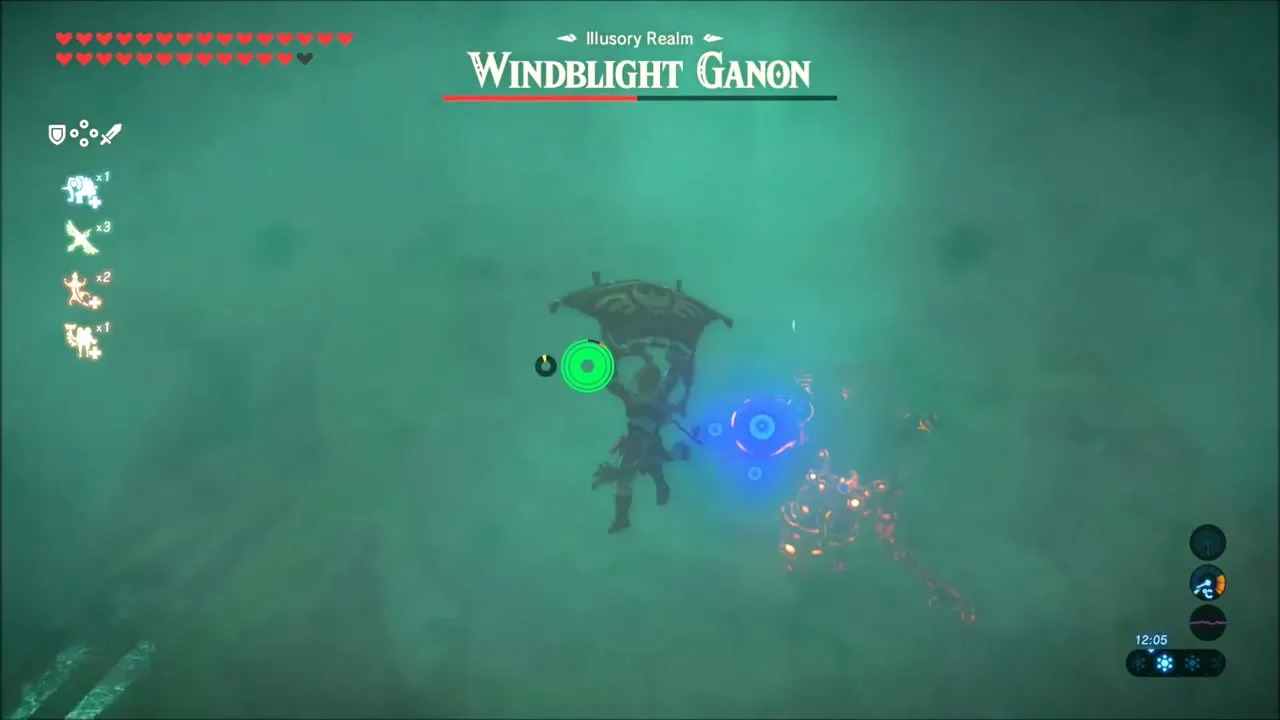
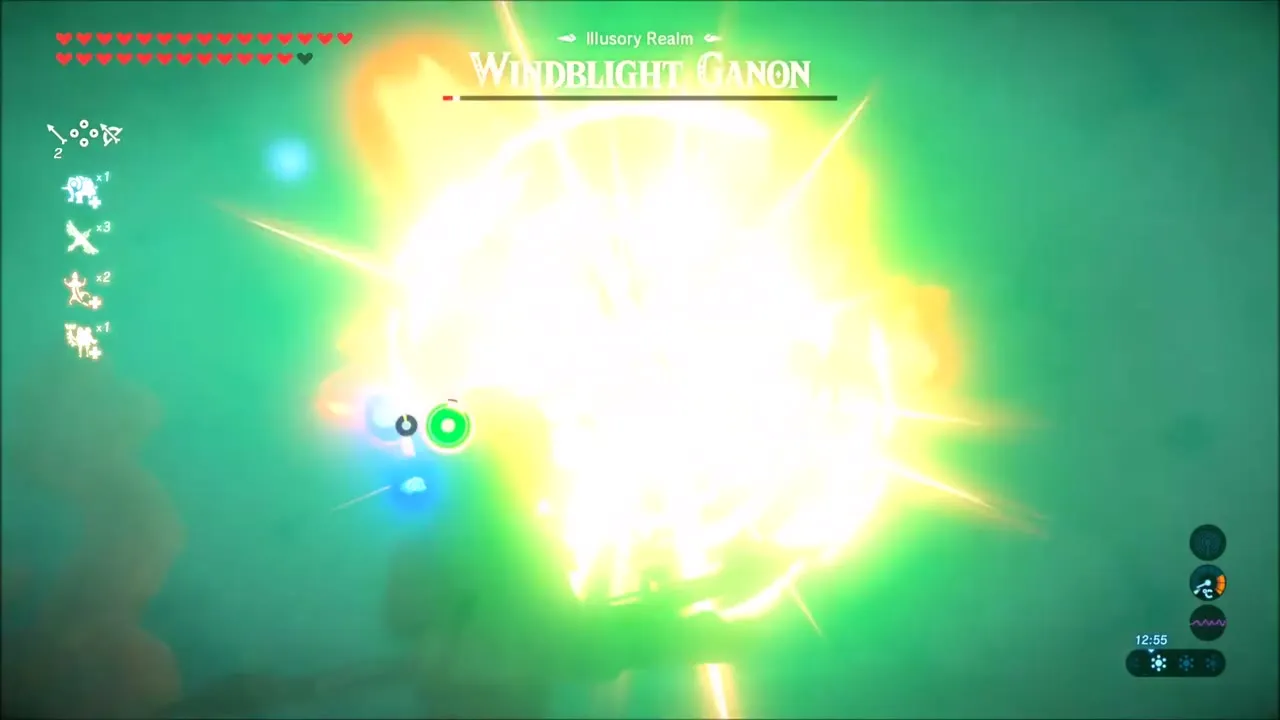
The rematch takes place in a green, hazy Illusory Realm. Stay in the air with the paraglider where you can, shoot with your bow while the boss moves around the room, and close in with melee when it drops low. Weapons wear out quickly here (a Feathered Edge breaks mid-fight), so carry spares. When Windblight Ganon falls, the realm fades and you are back on the ledge outside Vah Medoh.

Revali’s Gale+ Upgrade from Kass
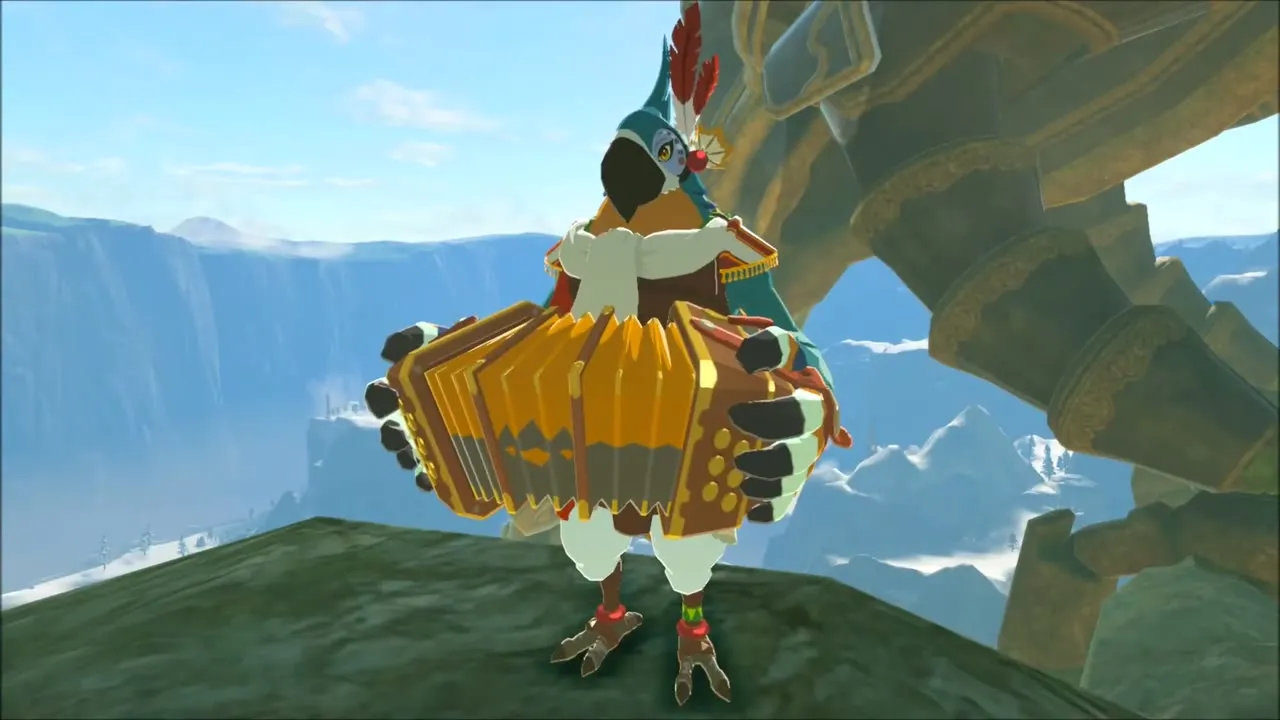
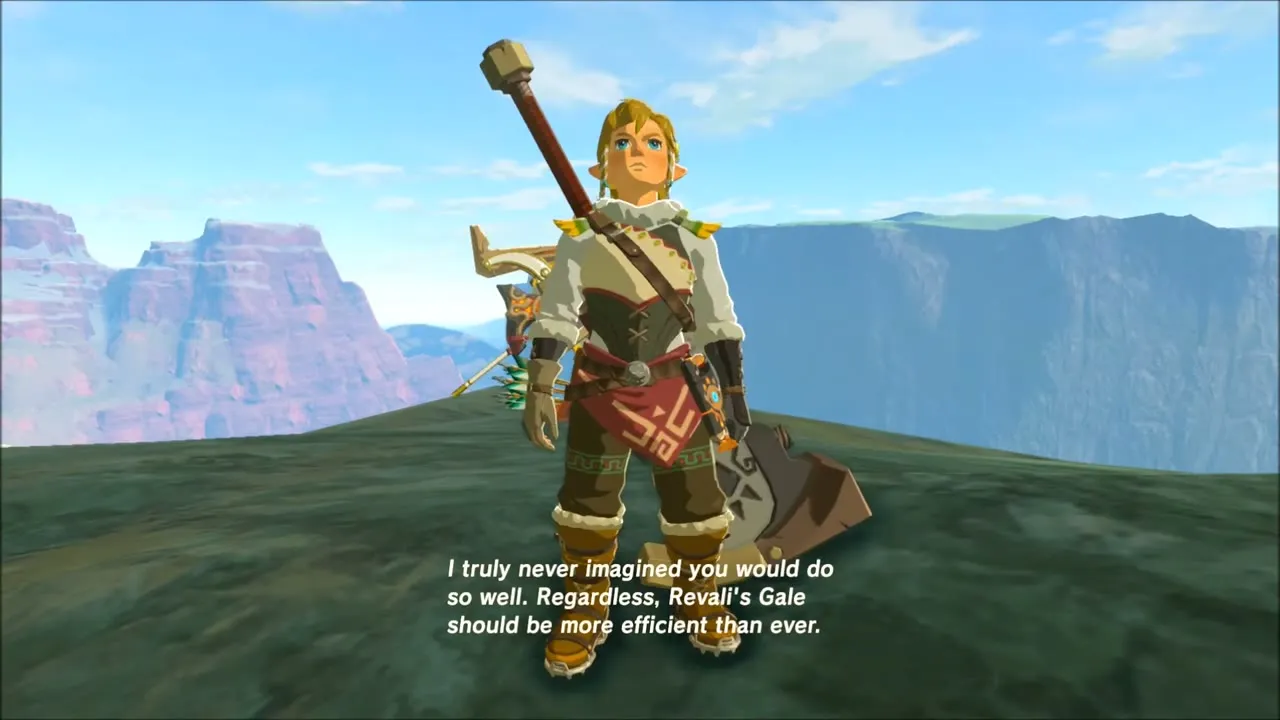
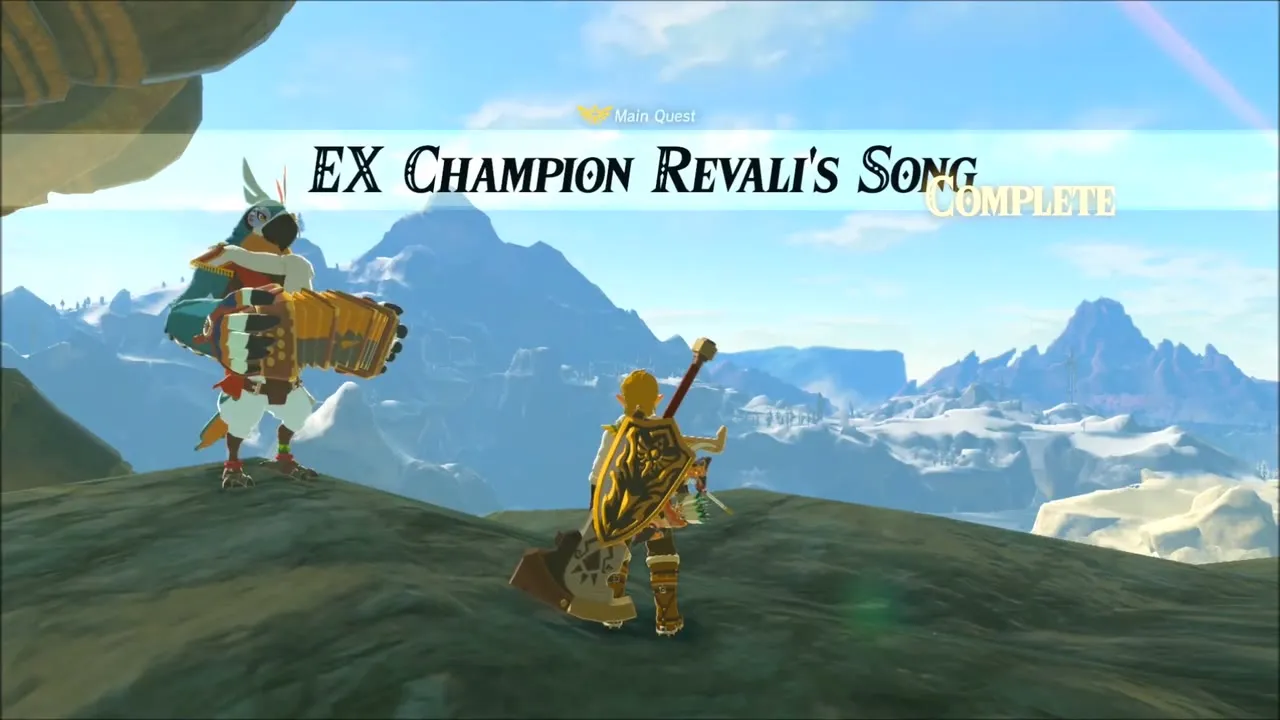
Kass is waiting by the Divine Beast and plays Revali‘s song. The quest EX Champion Revali’s Song is marked complete. Revali’s Gale is upgraded to Revali’s Gale+, and Revali’s voice says it should be more efficient than ever.
The Final Trial: Return to the Shrine of Resurrection
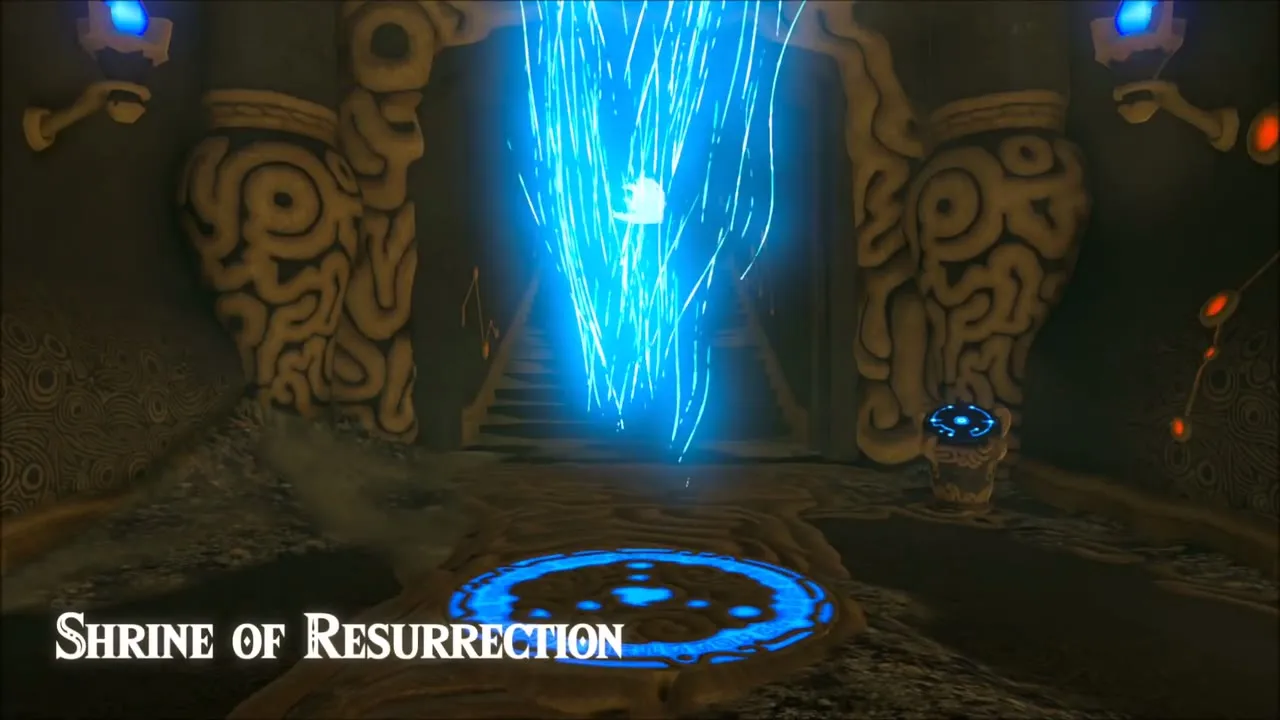
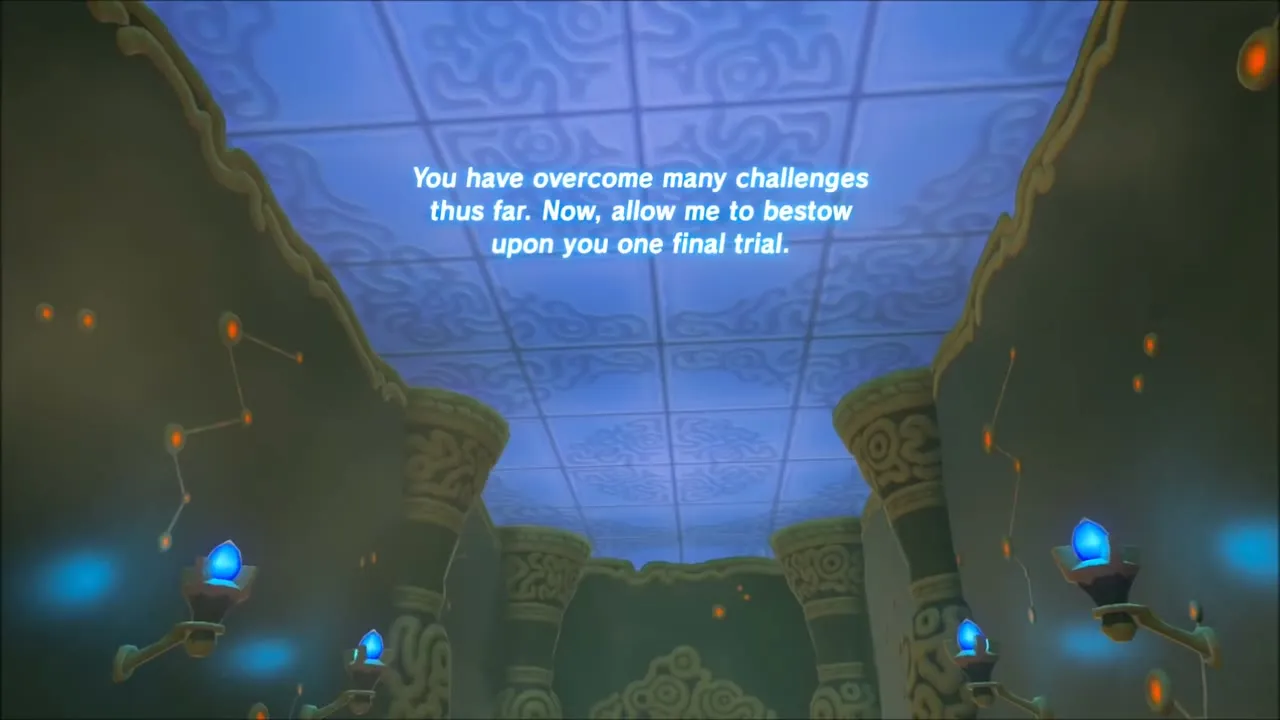
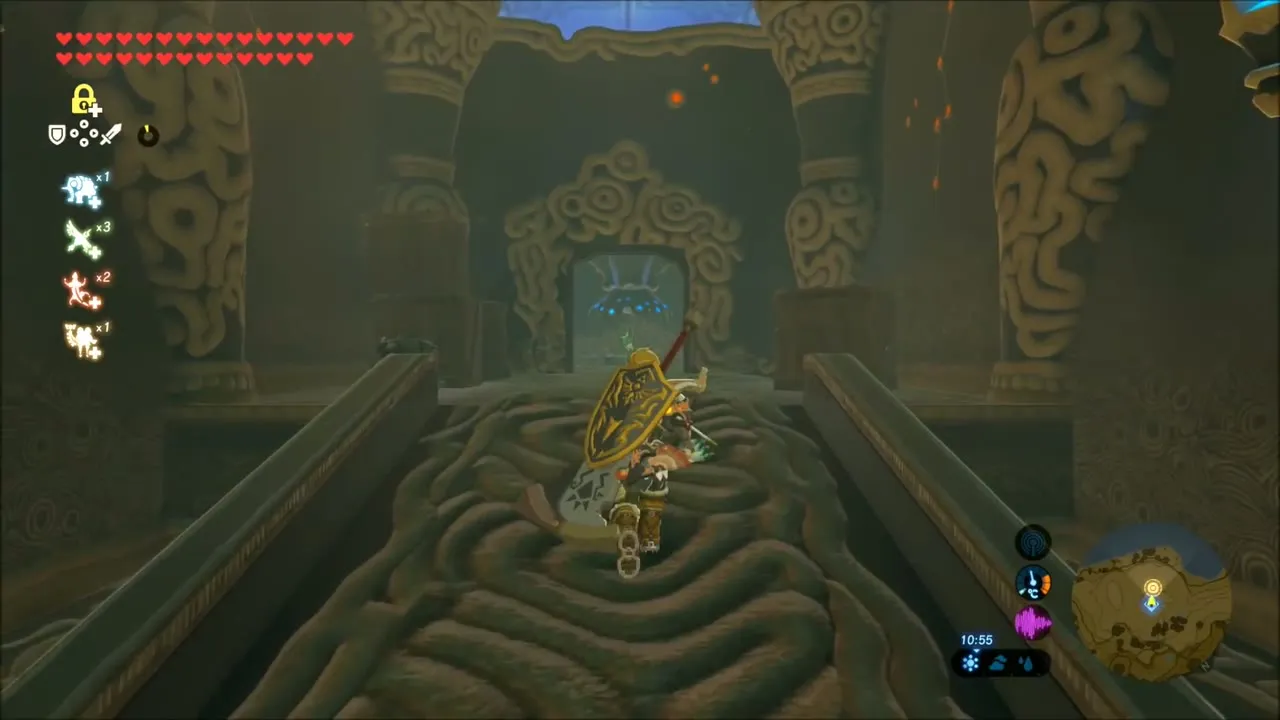
Once all four Champions’ songs are done, travel to the Shrine of Resurrection on the Great Plateau and place the Sheikah Slate on its pedestal again. The monk tells you that you have overcome many challenges and offers one last trial, and you enter an underground labyrinth. This starts the quest “Clear the puzzles of the final trial”.

Final Trial Walkthrough: The Labyrinth and Guidance Stones
Find the map
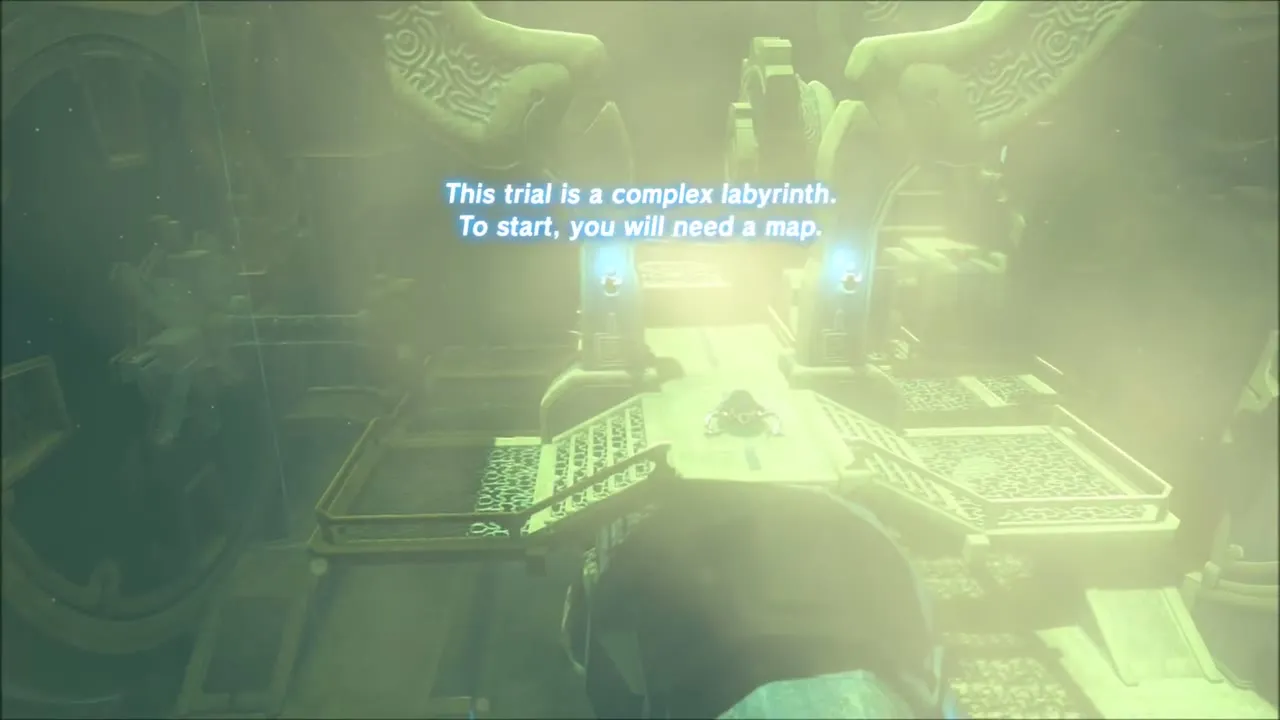
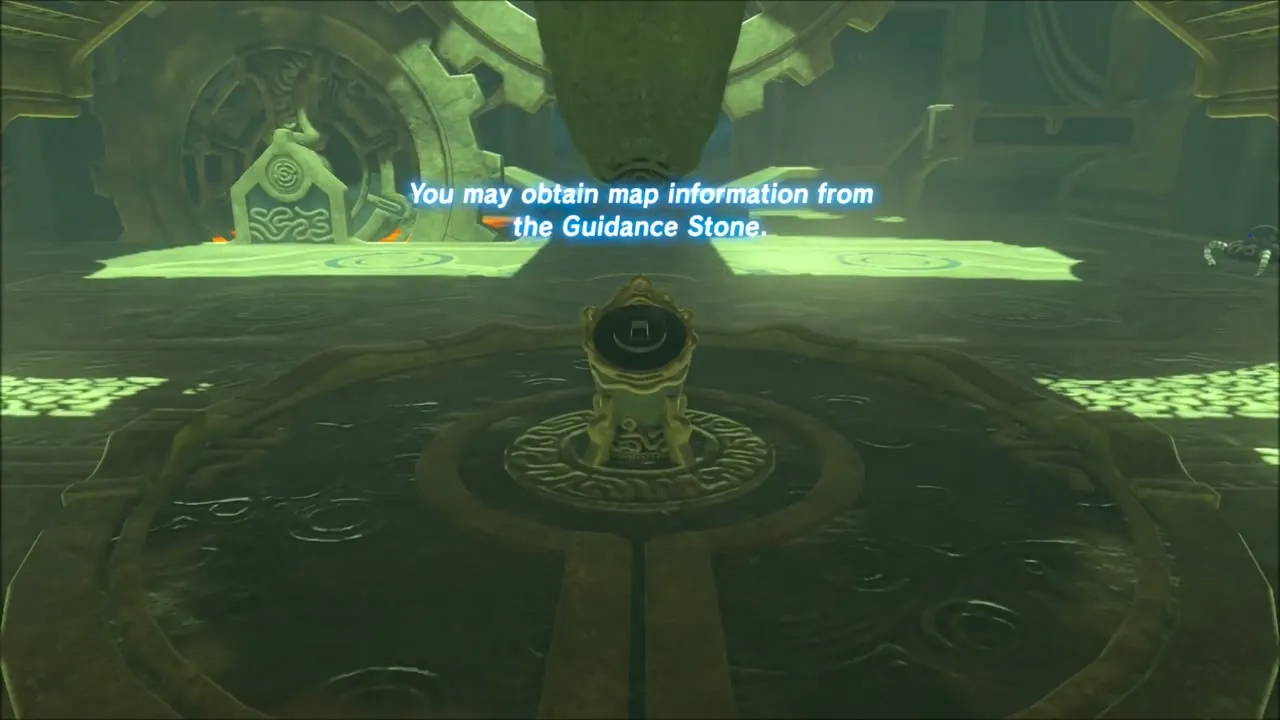
The trial is described as a complex labyrinth, and you need a map to start. Take the first corridor to the first Guidance Stone and activate it; the quest log updates and the labyrinth’s layout appears on your Slate. The first rooms hand out Ancient Screws as you pass.


Rotating rooms and lava machinery
The rooms are built from rotating cylinders, moving platforms and metal pieces you shift with Magnesis. Use the Slate map to see which stone to head for next, ride the cylinders, and time your jumps over the lava channels, where flame grates and spiked blocks sit between the safe platforms.
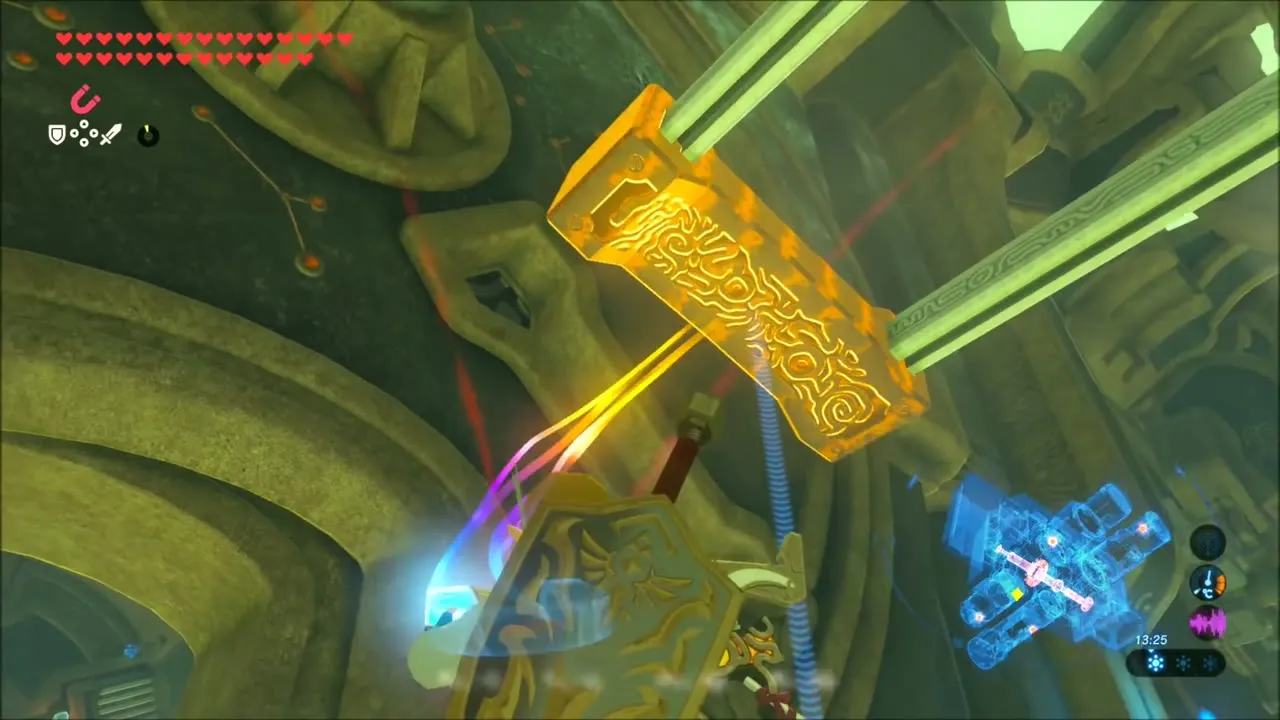

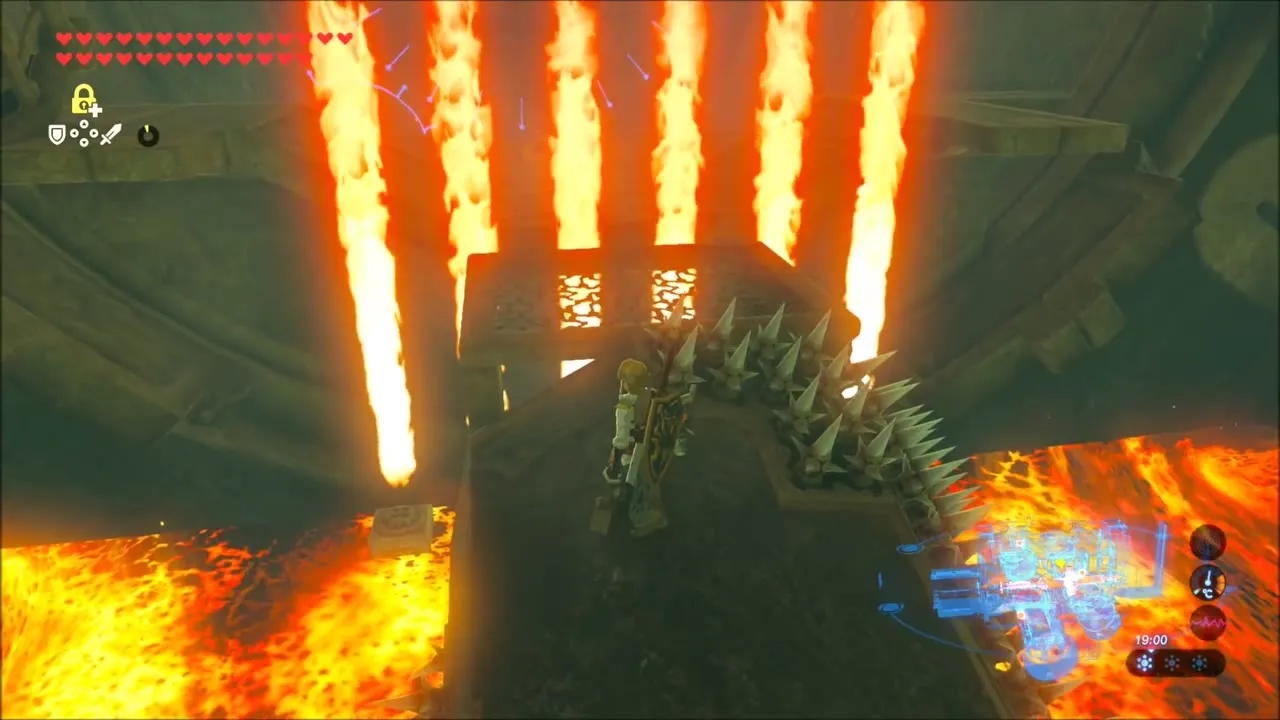
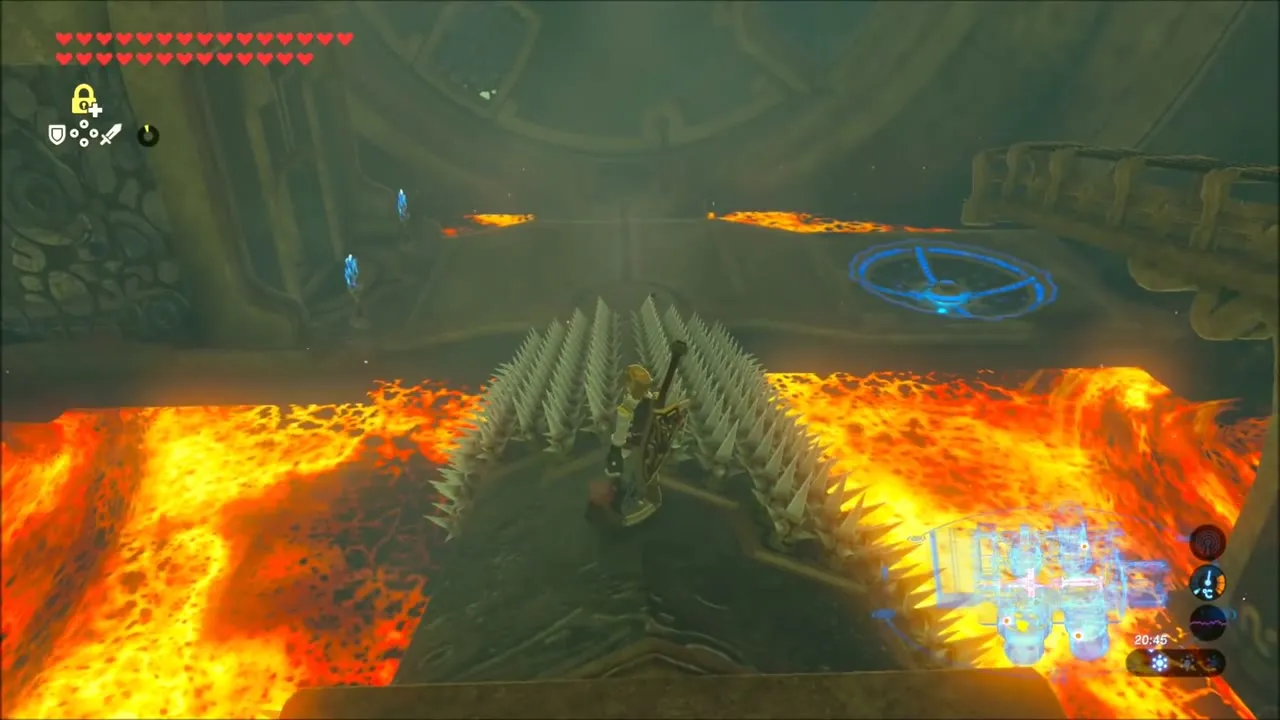
Gears, water and a Guardian Scout
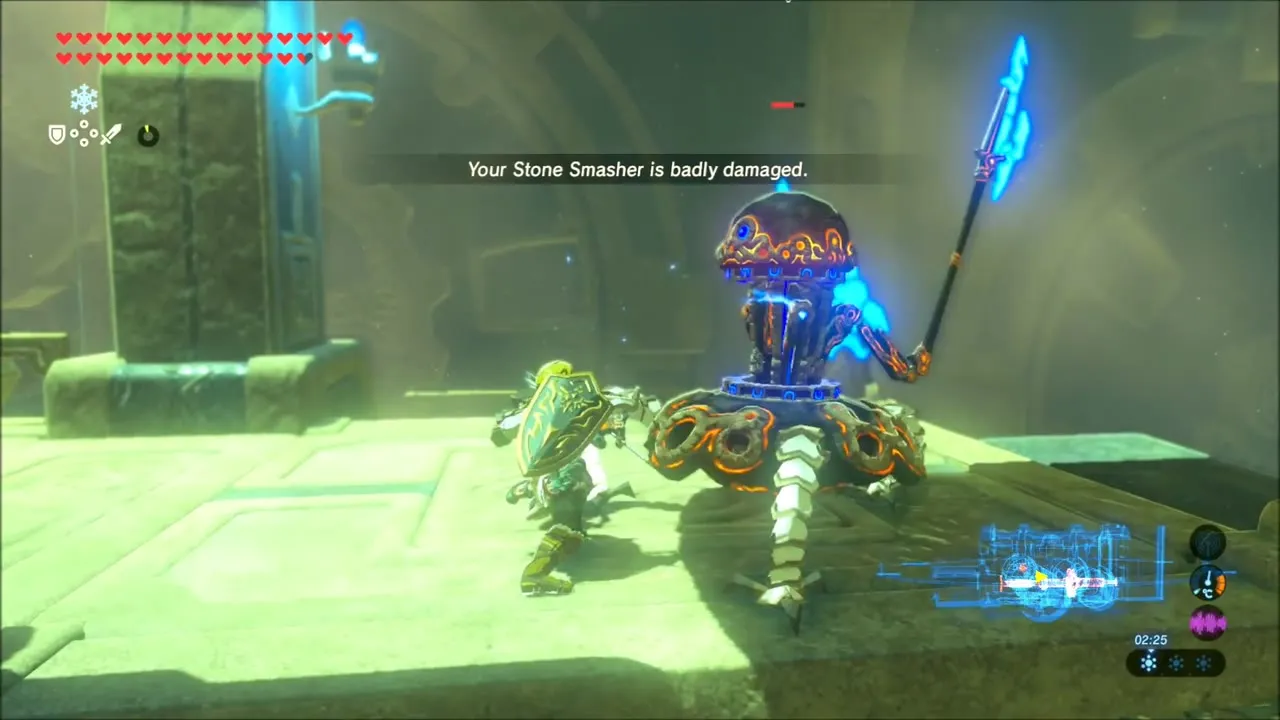
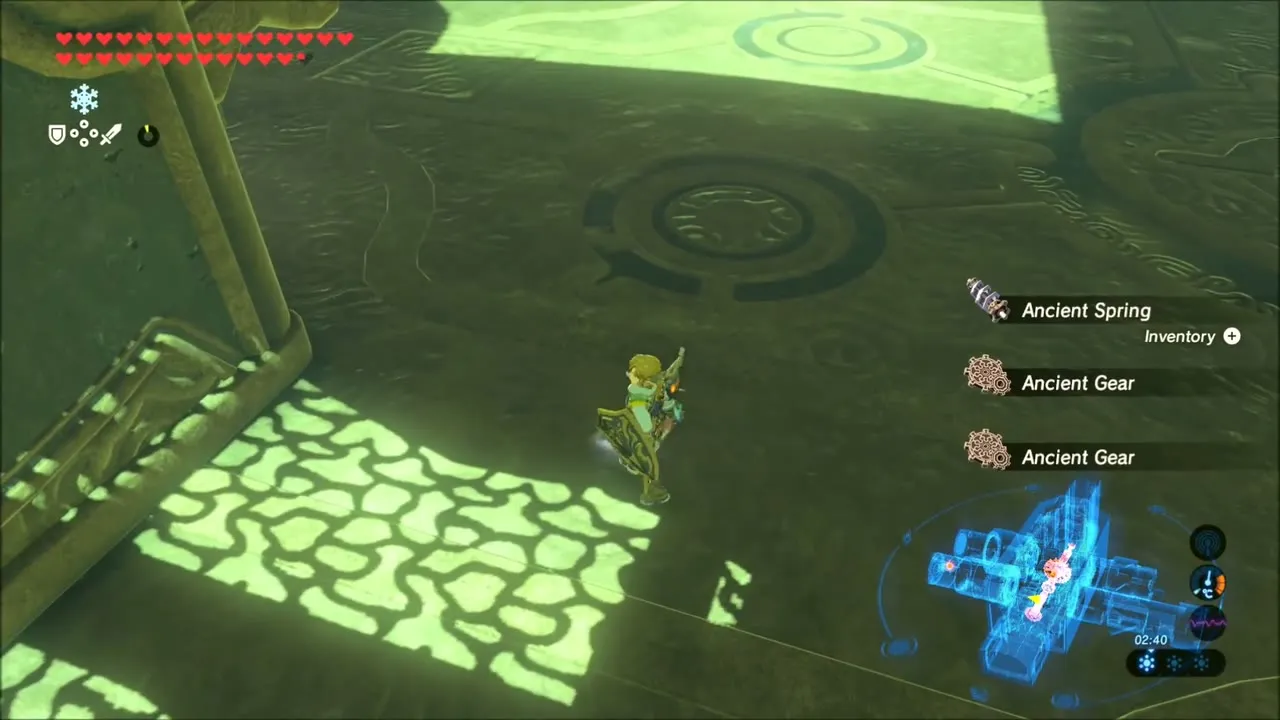
Later rooms are full of chains and large gears, with falling water and Ancient Spring, Ancient Screw and Ancient Gear collected on the way. A Guardian Scout waits in one chamber; you can take it down with your weapons (a Stone Smasher gets badly damaged in the fight). Keep following the stones through the last gear rooms.
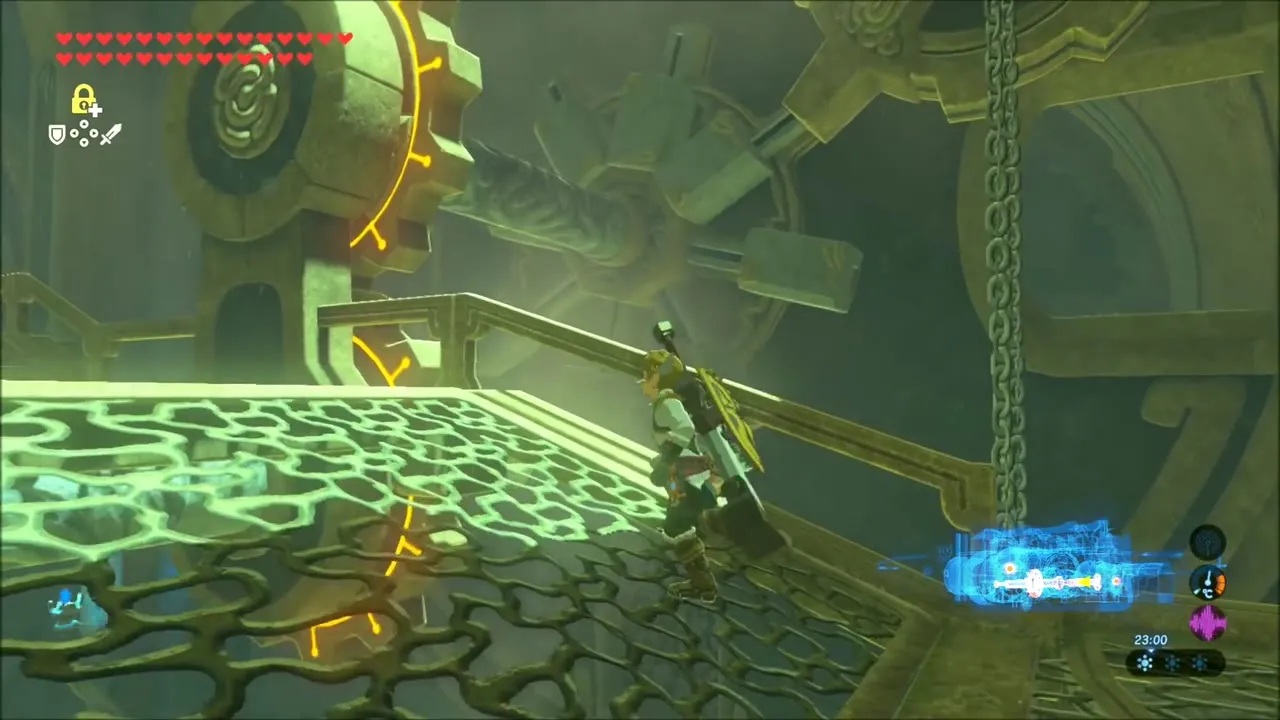

Last mechanism
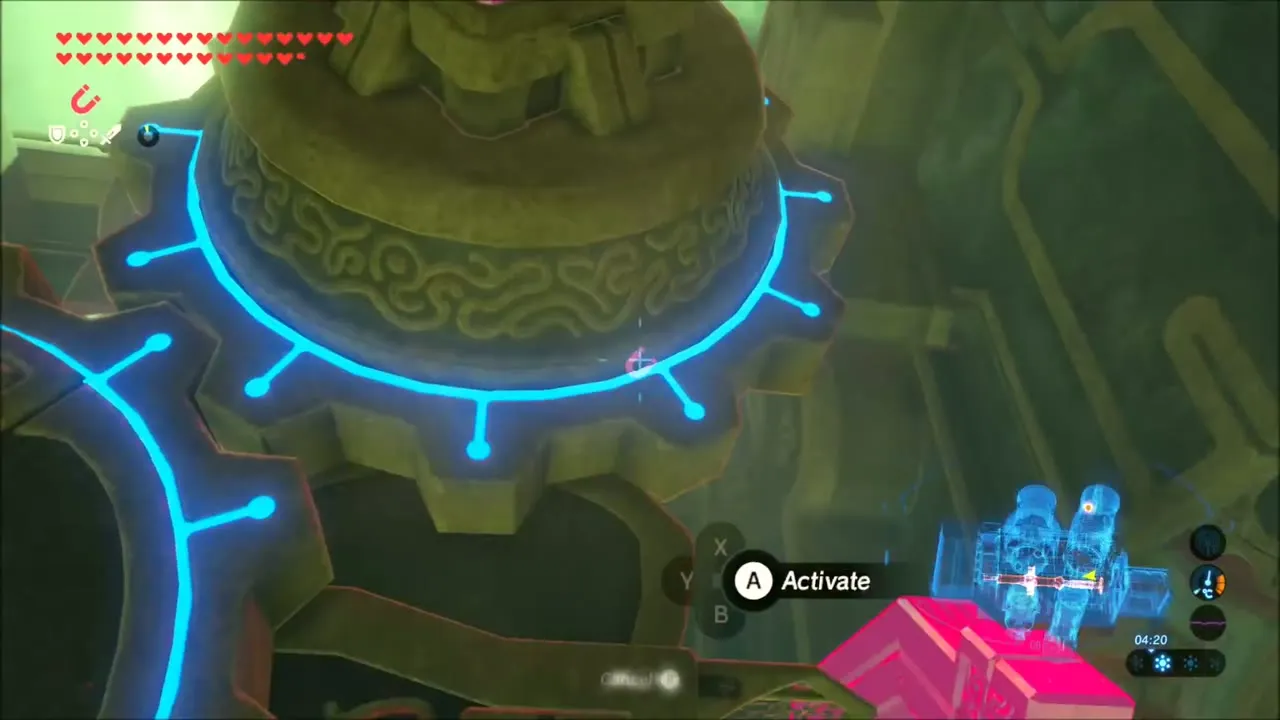
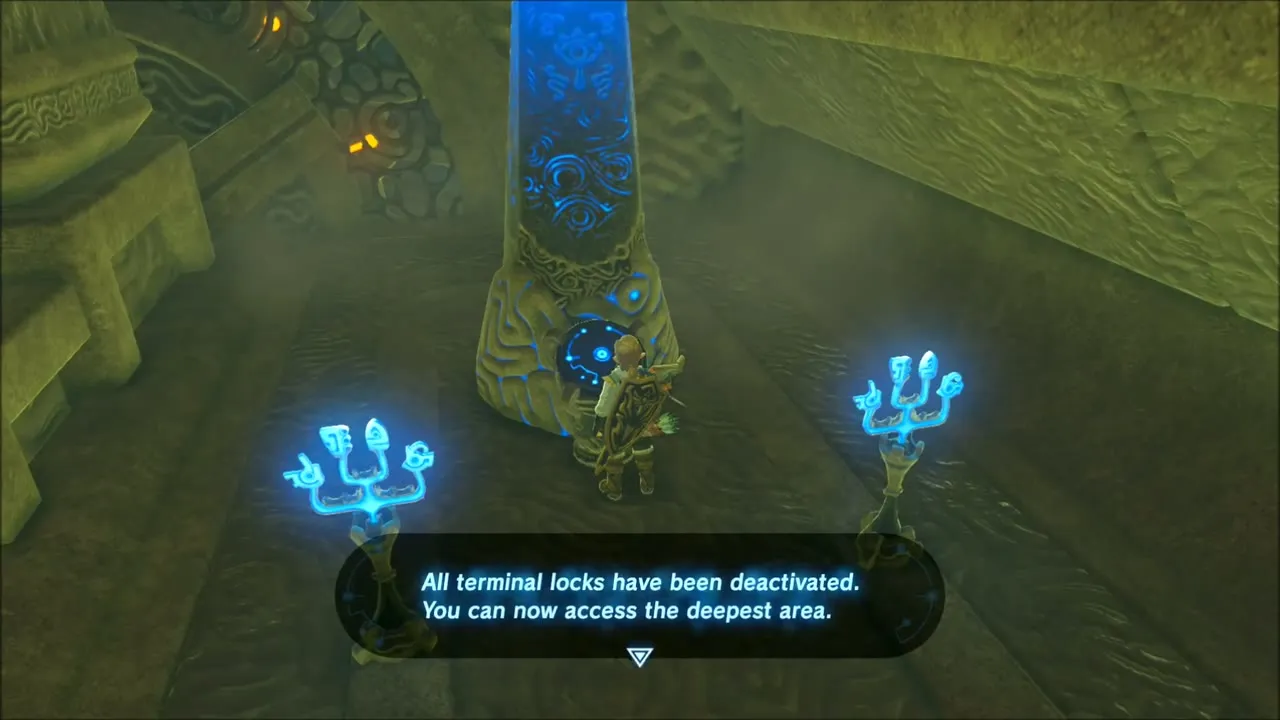
At the end, activate the big circular mechanism and follow the lit path through the final door. That completes the puzzles and opens the arena where the monk is waiting.


How to Beat Monk Maz Koshia in the Divine Trial
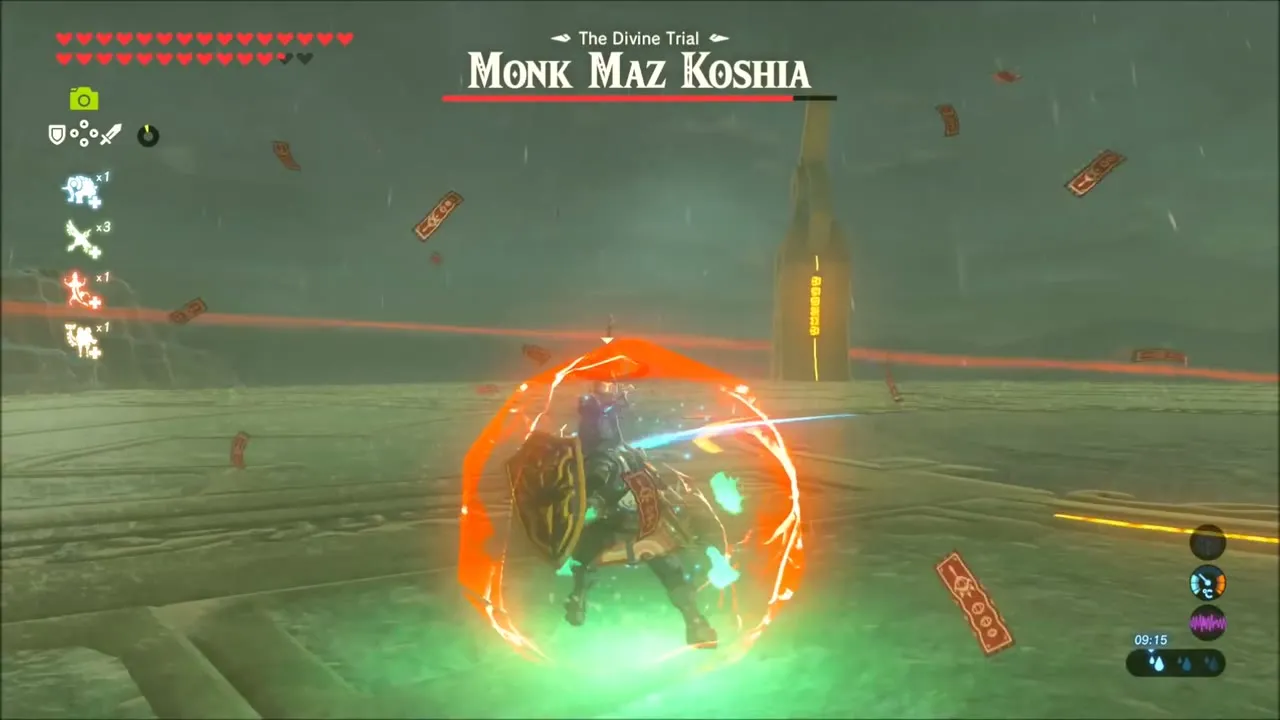
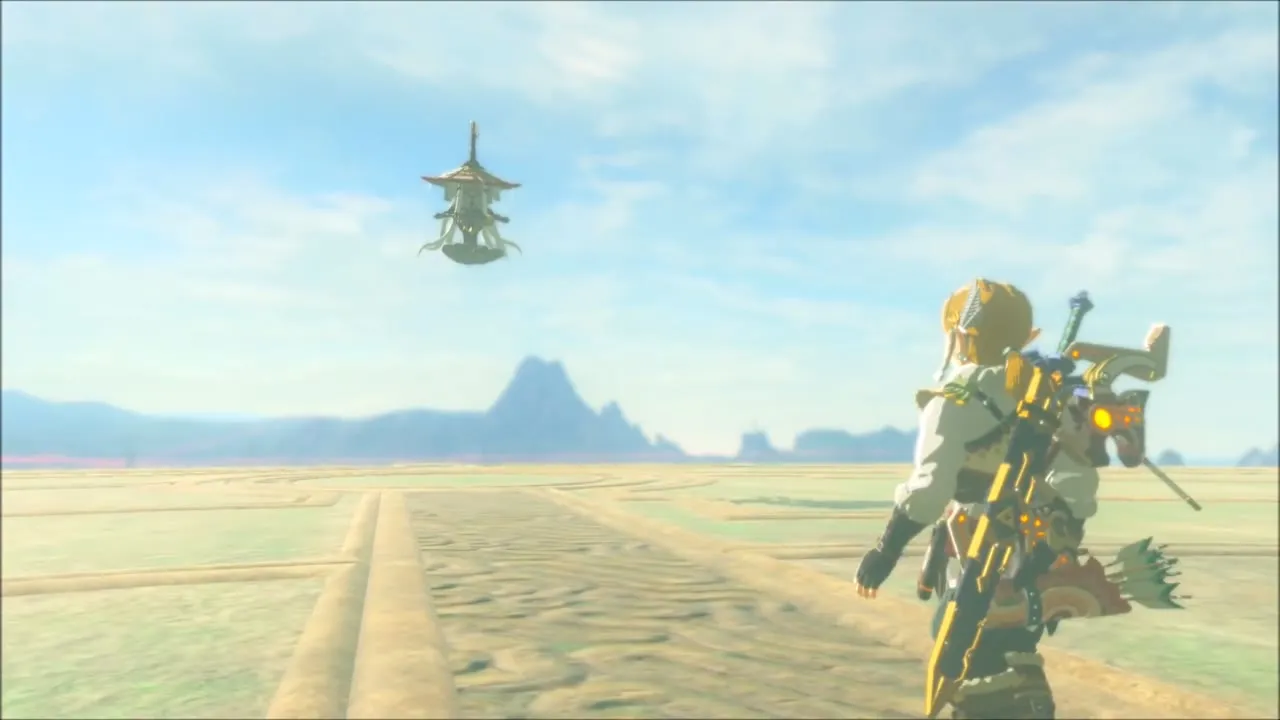
Task 2 is to defeat Monk Maz Koshia. He greets you from above a wide circular arena under a grey sky and the fight starts with a barrage of red charms. Keep moving, keep a shield up (one beam of blue light breaks even a Royal Shield) and use the Ancient Bow when he is within range.

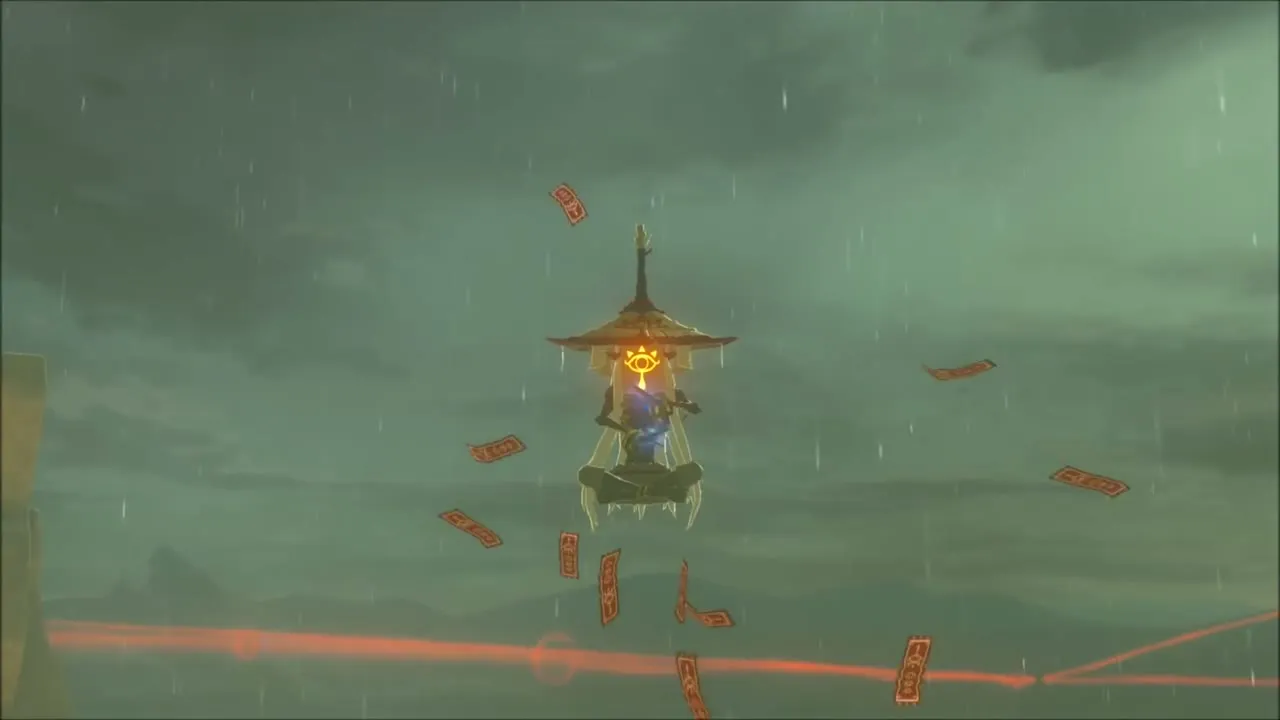


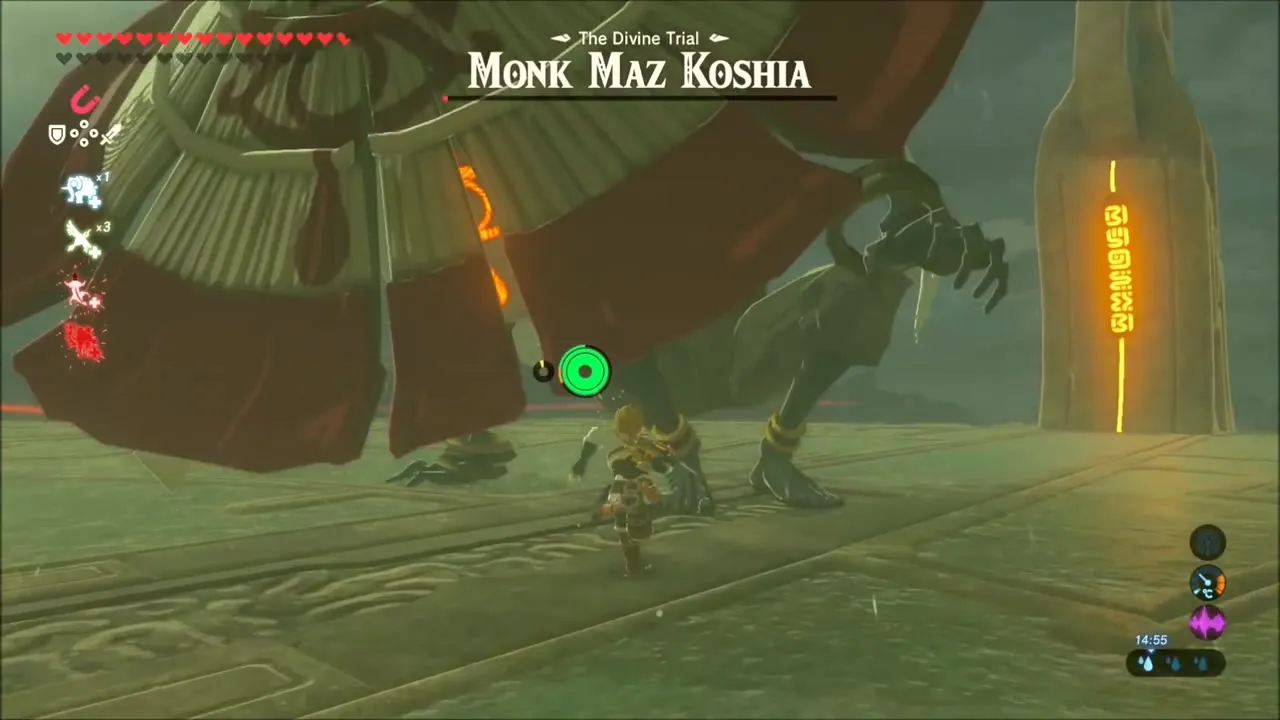
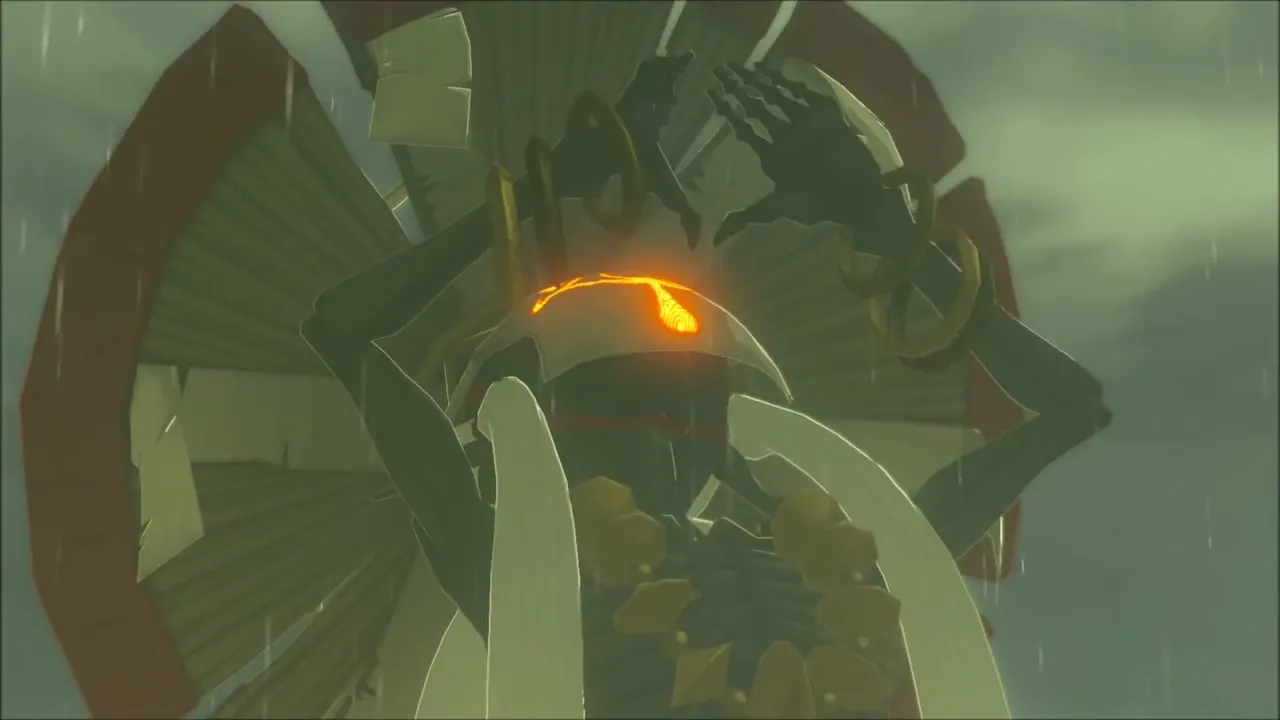
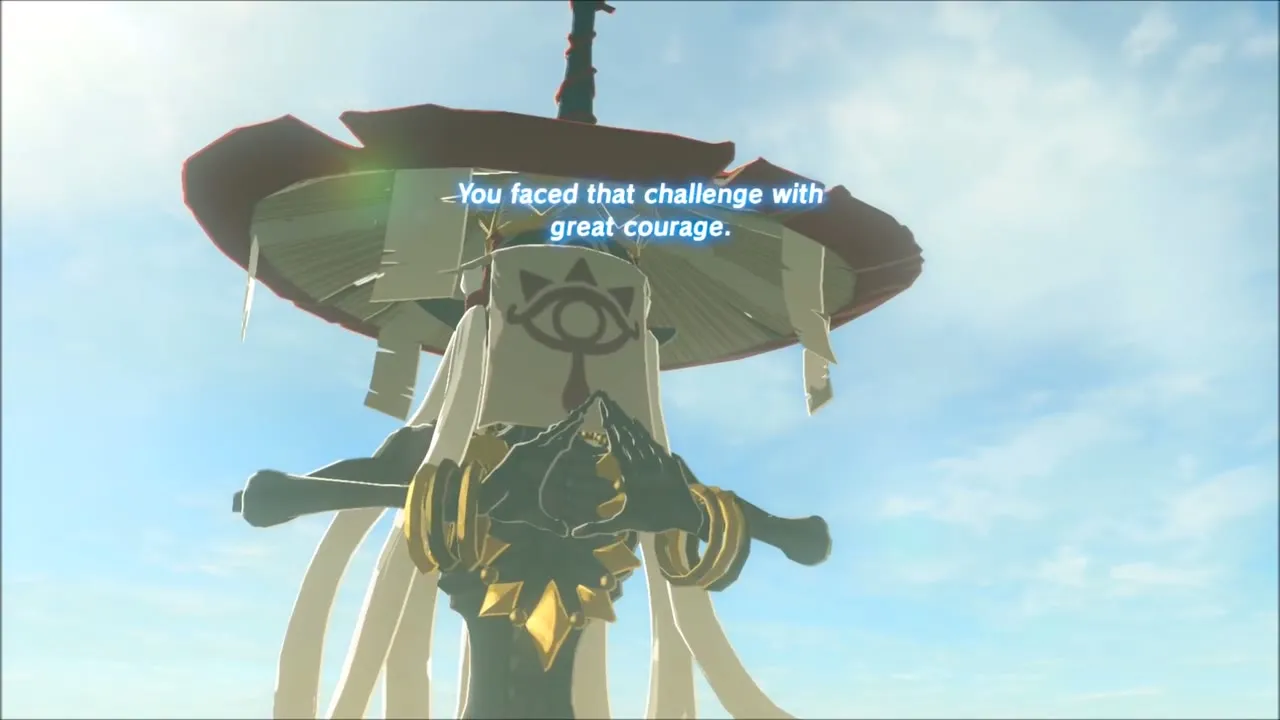
He drops to the ground during the fight, where you can close in for melee hits, and finally collapses with a glowing Sheikah eye on his chest. After the defeat he says you faced the challenge with great courage and the platform carries you out into the open.
Master Cycle Zero Reward
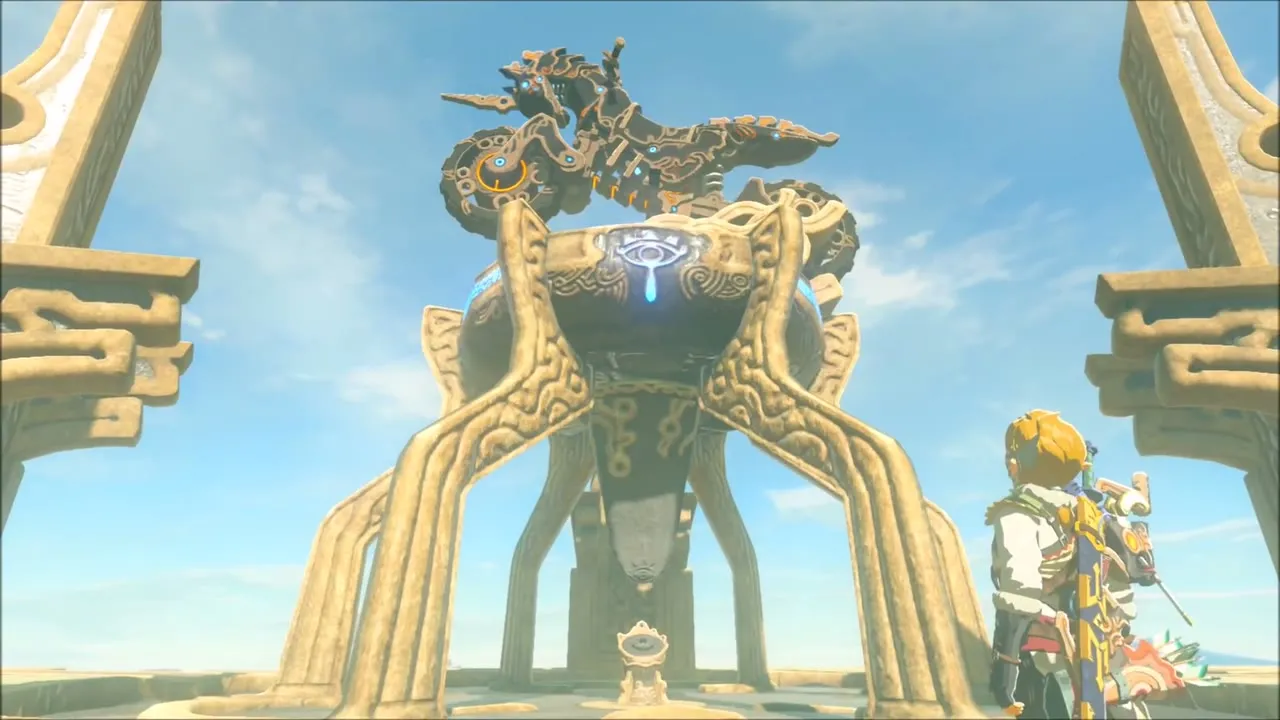
Touch the Sheikah Slate to the pedestal outside; it reads “Sheikah Slate authenticated”. The monk tells you the thing you have obtained is a masterpiece of innovation, created for the one true hero, and you receive the Master Cycle Zero, a motorcycle you can summon from the Slate.


Talk to Kass one last time
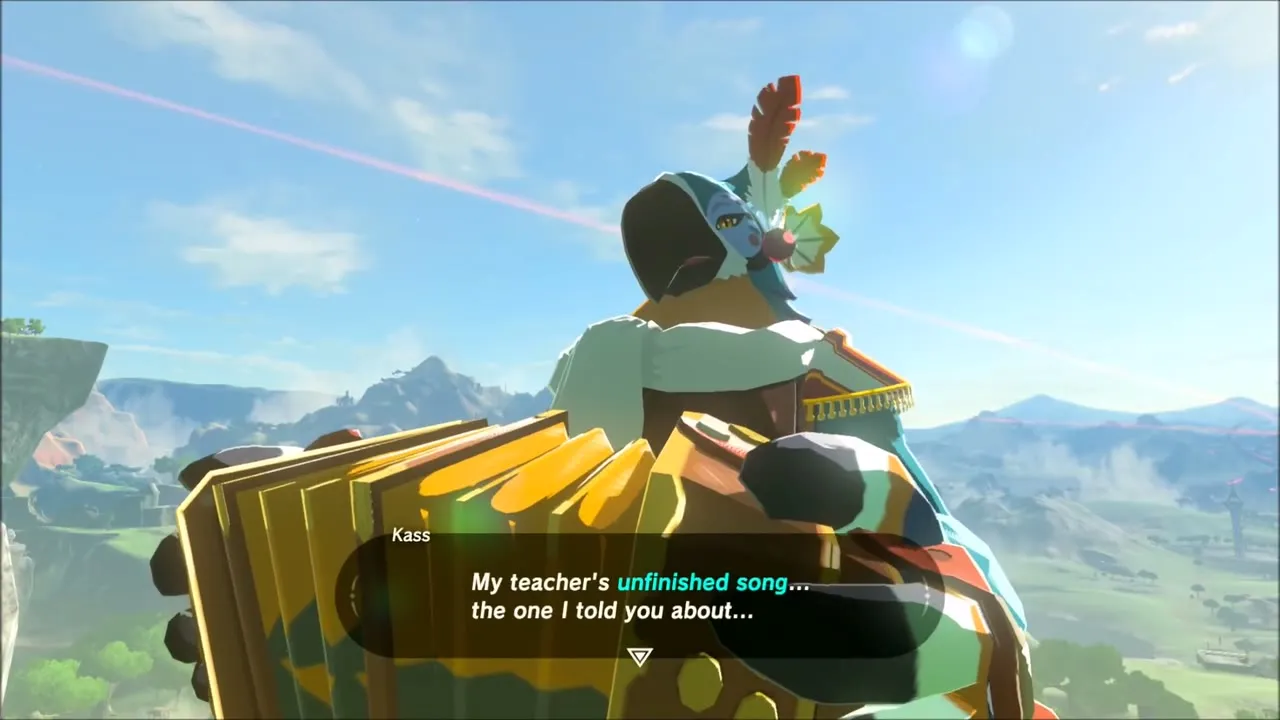
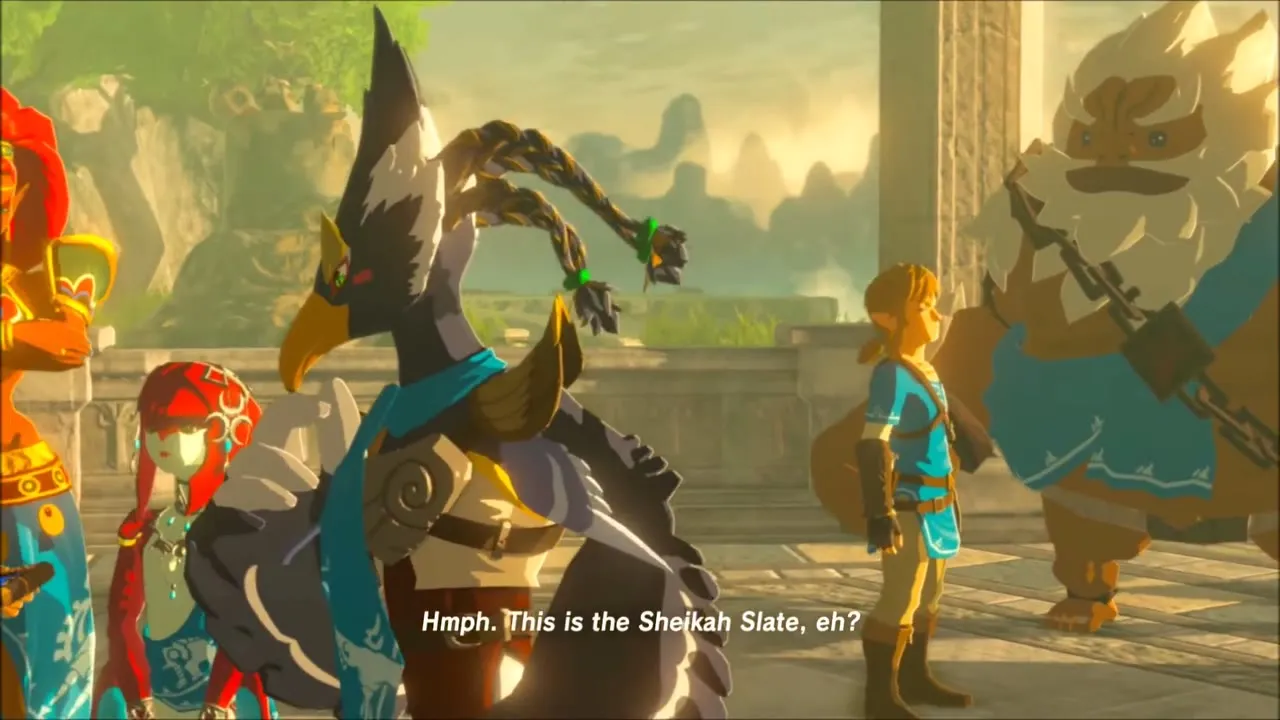
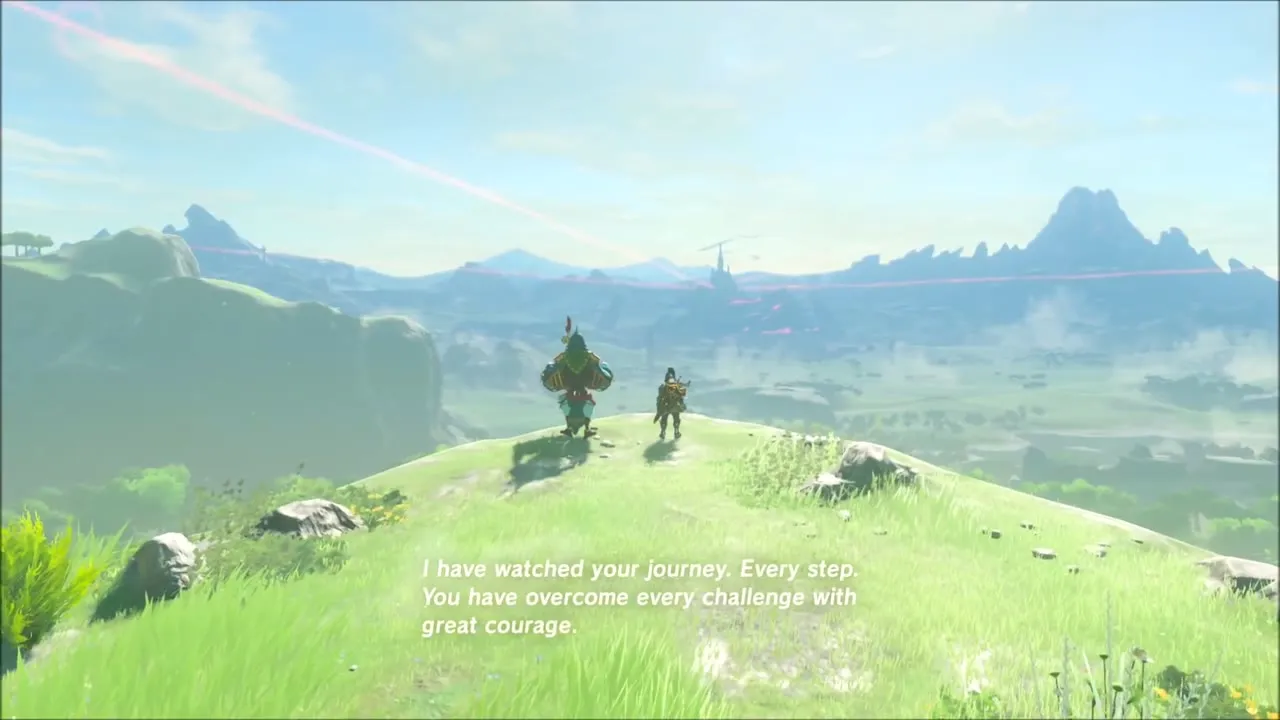
Task 3 is to talk to Kass once more on the grass nearby. He plays the Champions’ Ballad and you see the memory of the Champions’ inauguration: Zelda, Revali, Mipha, Daruk, Urbosa and Link in the castle, ending on the Champions posing together. Kass tells you he has watched your journey and wishes you well.


Trying Out the Master Cycle Zero
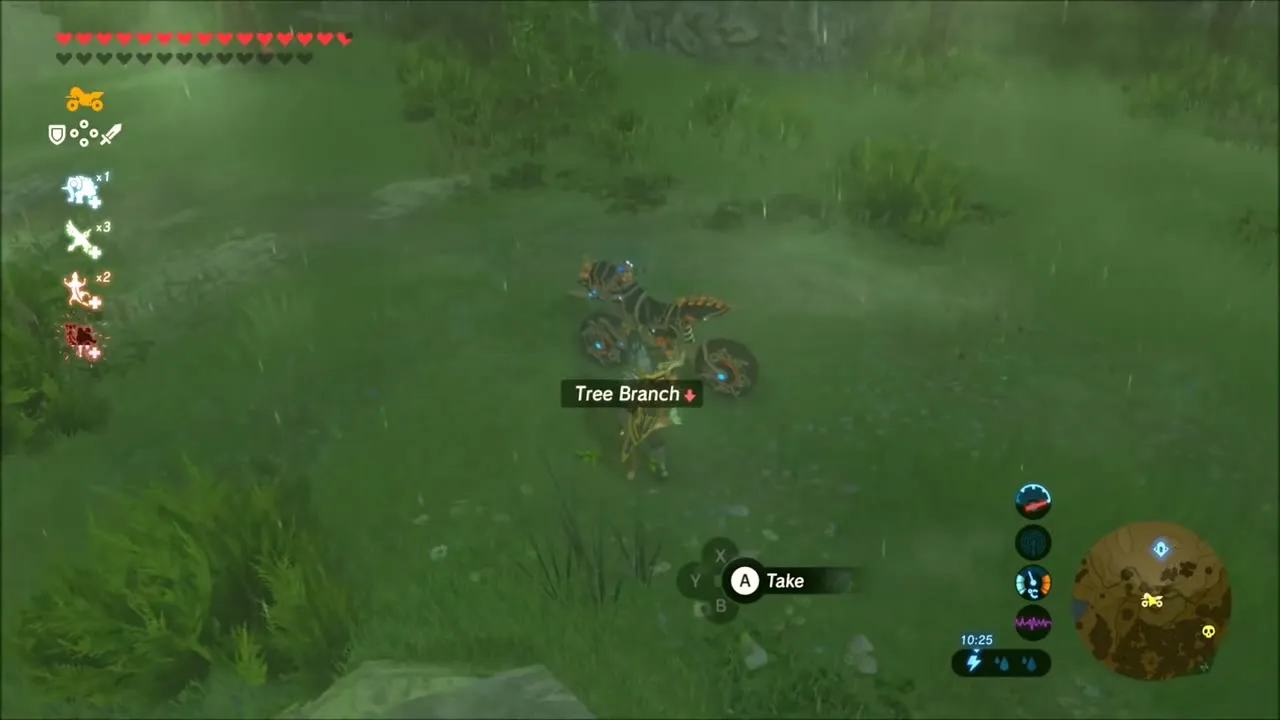
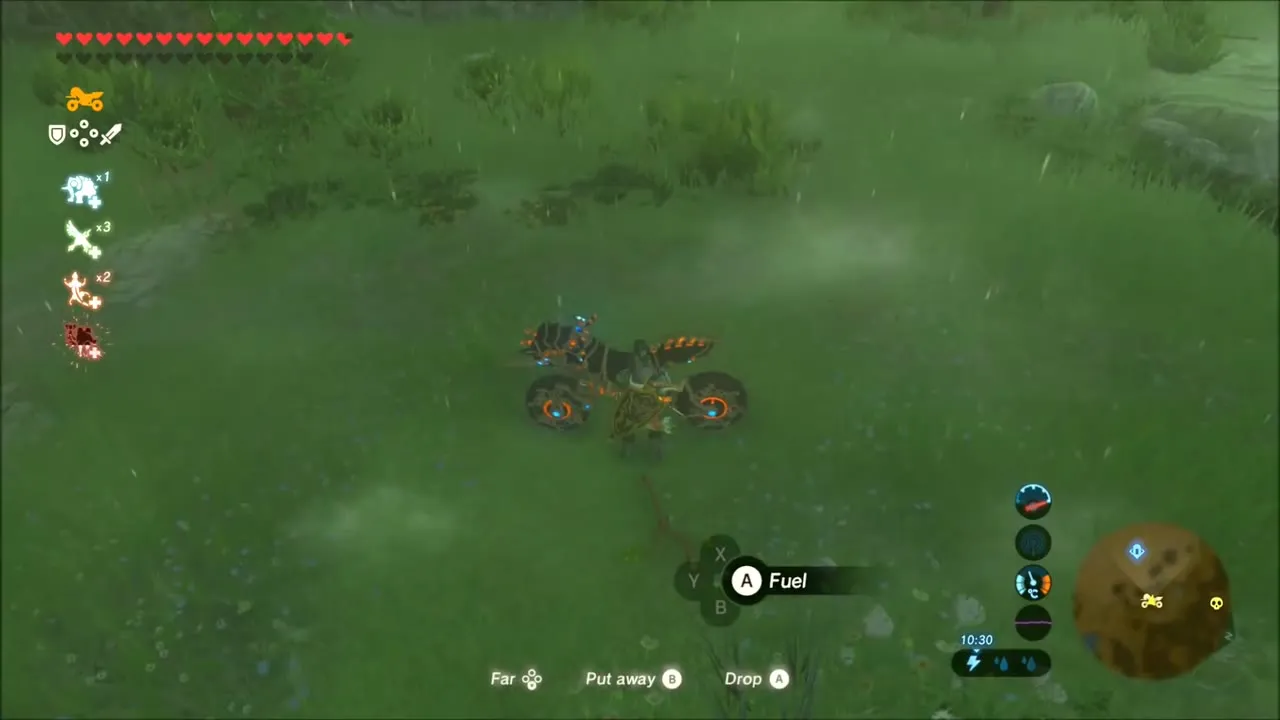
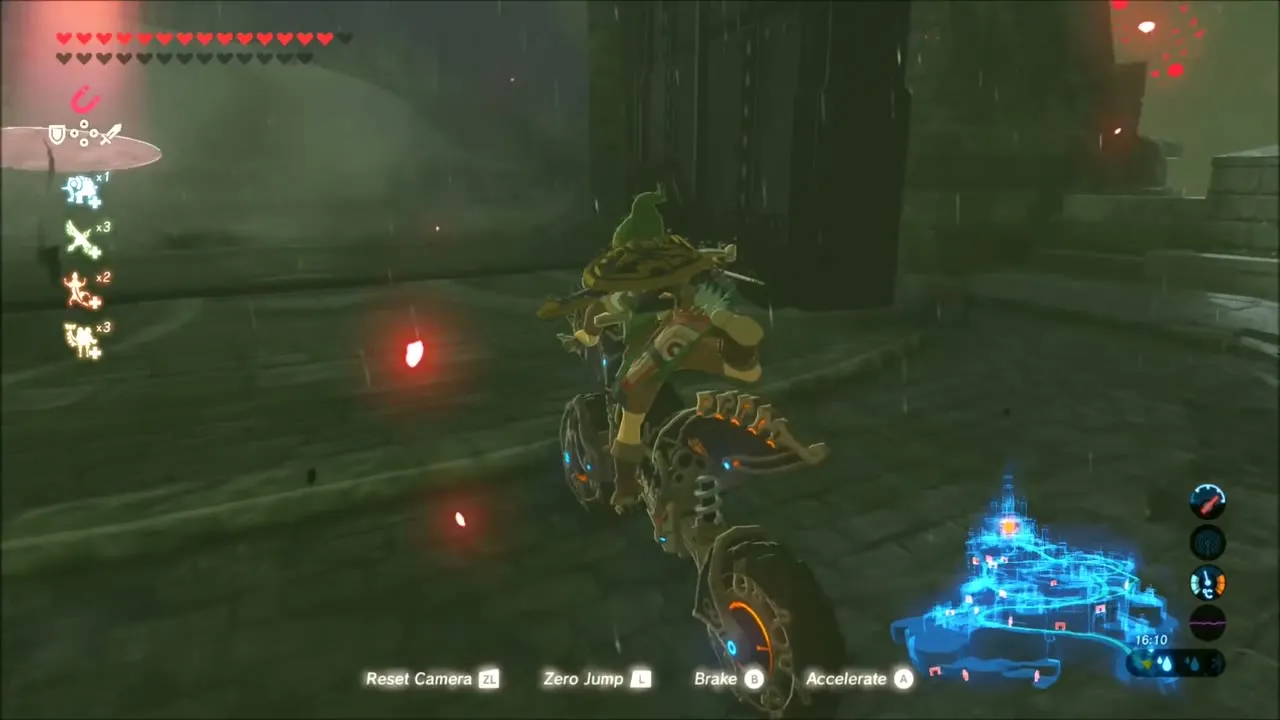
Summon the Master Cycle Zero and give it a ride. Hold an item such as a branch next to it and drop it to fuel the engine. It is fast and turns sharply, so it is a quick way to cross Hyrule’s fields.


Defeating Ganon One Last Time
Ride the Master Cycle across the grassland to Hyrule Castle and fight Calamity Ganon again. You repeat the final battle in the red-lit arena inside the castle.

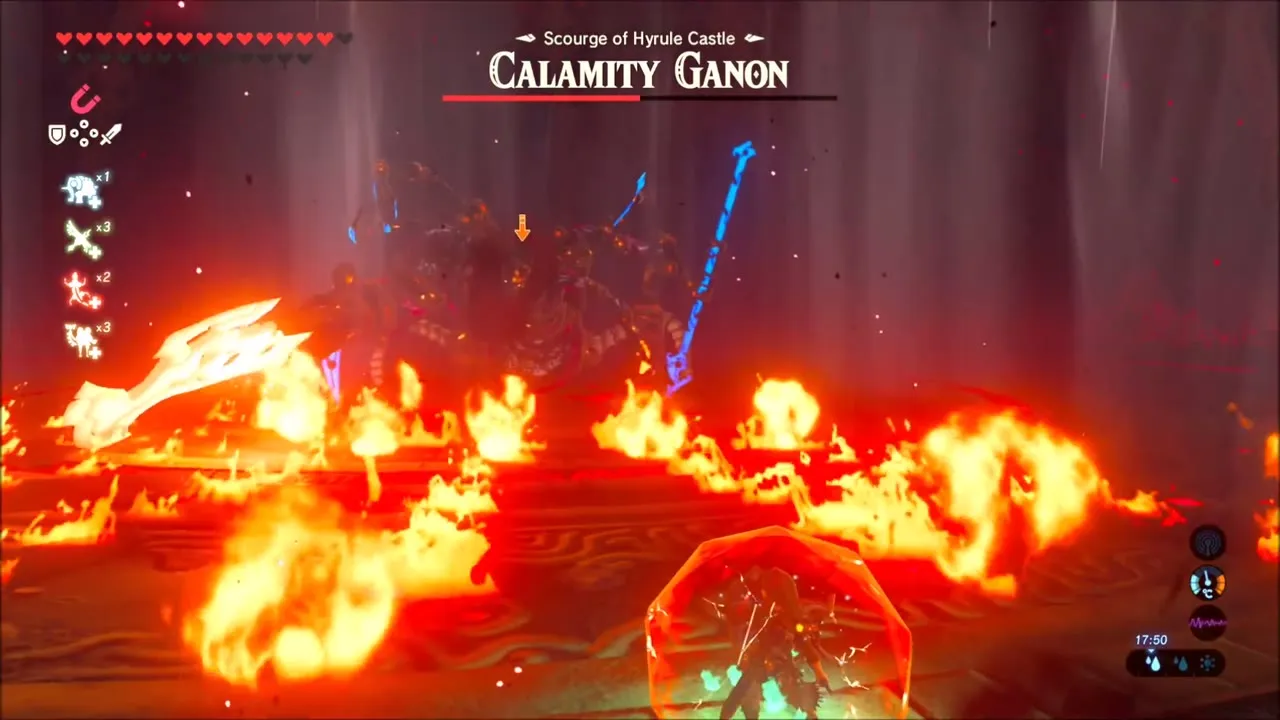

When Calamity Ganon is beaten, Dark Beast Ganon appears on the open field and you ride a horse to take it down. When it is over, the ending scene shows Zelda and Link standing together above Hyrule.