100% Completion Walkthrough21 chapters
- Great PlateauAll 4 Shrines, the Paraglider and Korok Seeds
- Kakariko Village and Dueling PeaksSeek Out Impa, Shrines and Korok Seeds
- Hateno VillageHateno Tower, the Ancient Tech Lab, Link’s House and Shrines
- Zora’s DomainReach Zora’s Domain, Vah Ruta, Lanayru Shrines and Korok Seeds
- Faron and Lurelin VillageLurelin Village, Faron Tower, Shrines and Korok Seeds
- Korok Forest and Master SwordHow to Get the Master Sword, Lost Woods, Shrines and Korok Seeds
- Hebra MountainsHebra Tower, Snowfield Stable, Shrines and Korok Seeds
- Rito Village and Vah MedohVah Medoh, Tabantha Tower, Shrines and Korok Seeds
- Gerudo HighlandsGerudo Tower, Gerudo Summit, Shrines and Korok Seeds
- Gerudo TownForbidden City Entry, the Thunder Helm, Desert Shrines and Korok Seeds
- Vah Naboris and Gerudo DesertThunderblight Ganon and the Gerudo Desert Shrines
- Lake HyliaLake Tower, Farosh, Lake Shrines and Korok Seeds
- Akkala and Tarrey TownTarrey Town, Akkala Tower, Shrines and Korok Seeds
- Death Mountain and Goron CityGoron City, Vah Rudania, Eldin Shrines and Korok Seeds
- RidgelandRidgeland Tower, Shrines, Memories and Korok Seeds
- Central HyruleCentral Tower, Captured Memories, Shrines and Korok Seeds
- Hyrule Castlethe Hylian Shield, Saas Ko’sah Shrine, Zelda’s Diary and Memories
- Calamity GanonLast Side Quests, Destroy Ganon and the Final Boss
- All Hinox, Talus and Molduga LocationsEvery Hinox, Stone Talus and Molduga, for Kilton’s Medals of Honor
- Trial of the Sword and EX TreasuresThe Trial of the Sword and every EX Treasure location (DLC Pack 1)
- Champions’ BalladOne-Hit Obliterator, Champion Trials and the Final Trial
| Region | Lake |
|---|---|
| Shrines | 6: Ishto Soh Shrine, Ya Naga Shrine, Ka’o Makagh Shrine, Shoqa Tatone Shrine, Pumaag Nitae Shrine, Shae Katha Shrine |
| Sheikah Tower | Lake Tower |
| Korok seeds | 92 |
This chapter of the 100% walkthrough covers the Lake region in a route that collects everything along the way: 6 shrines, 92 Korok seeds and the Sheikah Tower, plus the quests, chests and minibosses you meet. Positions are map coordinates (x grows east, z grows south).
Korok Seeds on Mount Granajh and Daval Peak
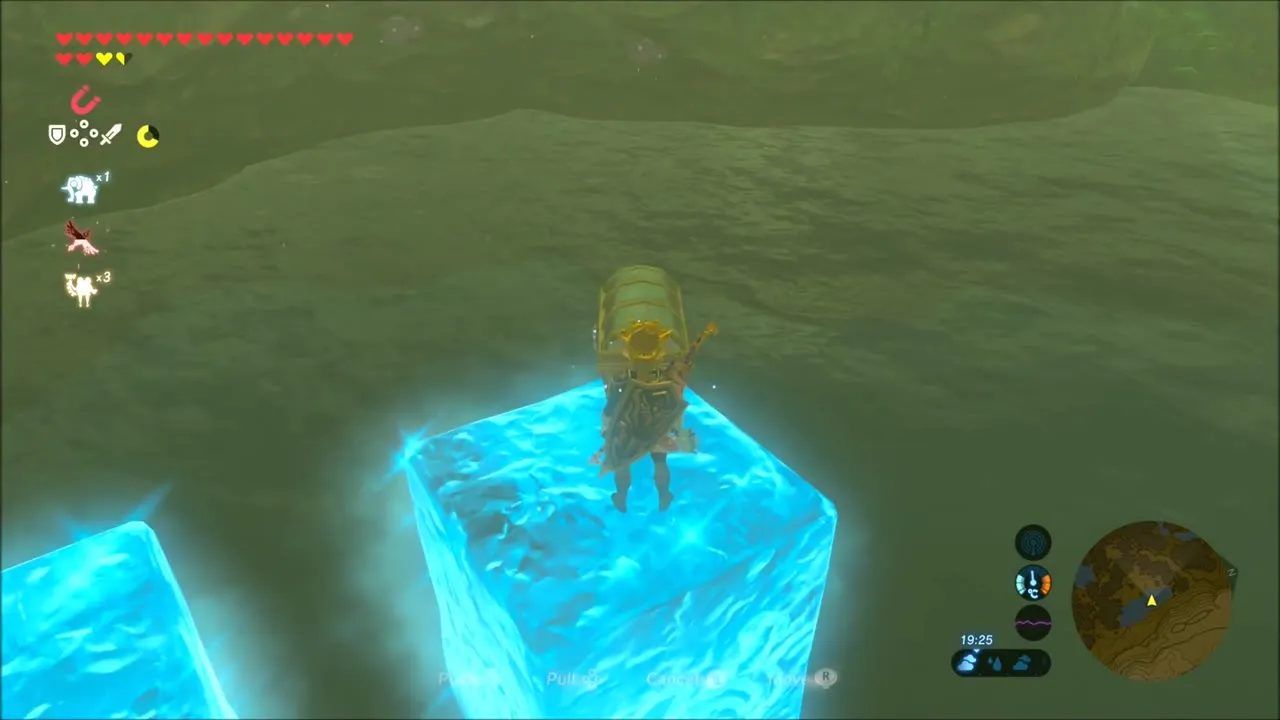
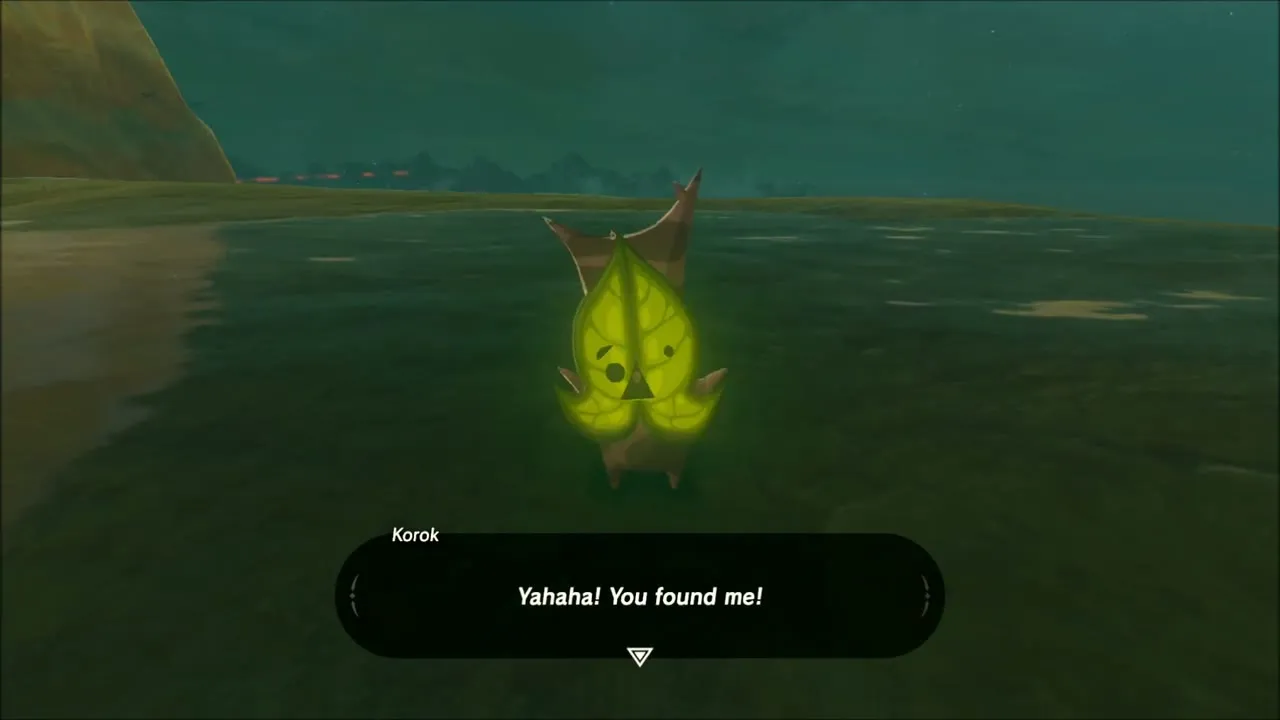
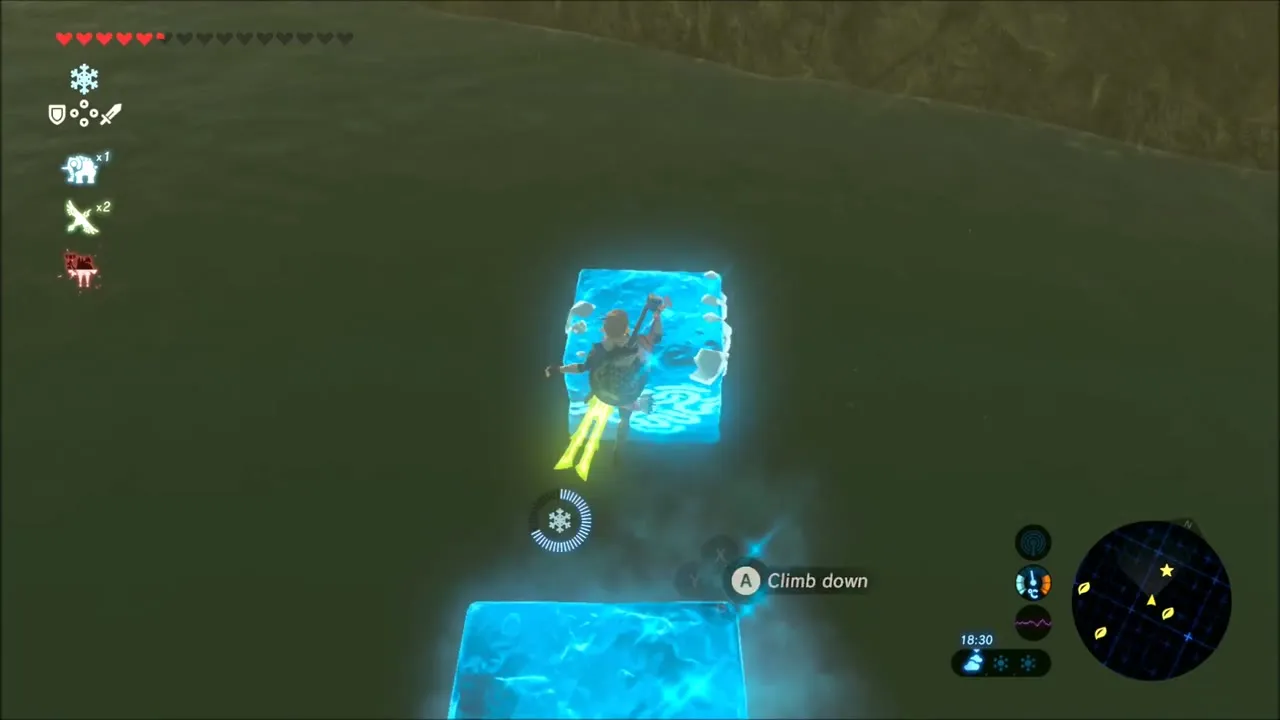
The route opens at night in the cold south-west, on the slopes of Mount Granajh and Daval Peak beside the South Lomei Labyrinth. A few Korok seeds are still unclaimed around these two peaks, and you will want a torch or another fire source in hand for them. The first Korok is hiding on the bank of a small pond at the foot of a ridge, near a Cryonis ice block. Find it and take the seed.


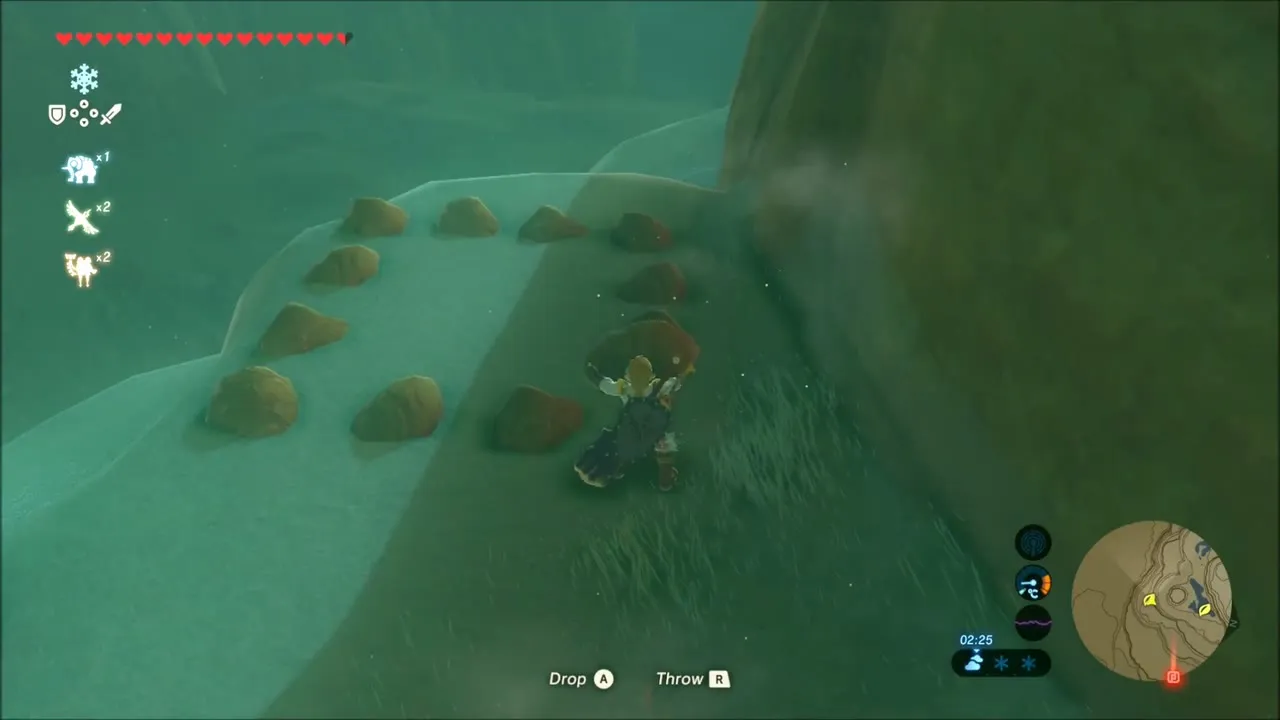
The second seed sits further up, on a snowy ledge lined with a row of small brown stones. Pick up the loose boulder lying nearby, carry it up to the line of stones and set it down there; the Korok shows itself and rewards you. On the way, a Guardian-type machine with a red eye guards the slope. Stop it with Stasis, go for the eye, and it drops an Ancient Screw when it falls.
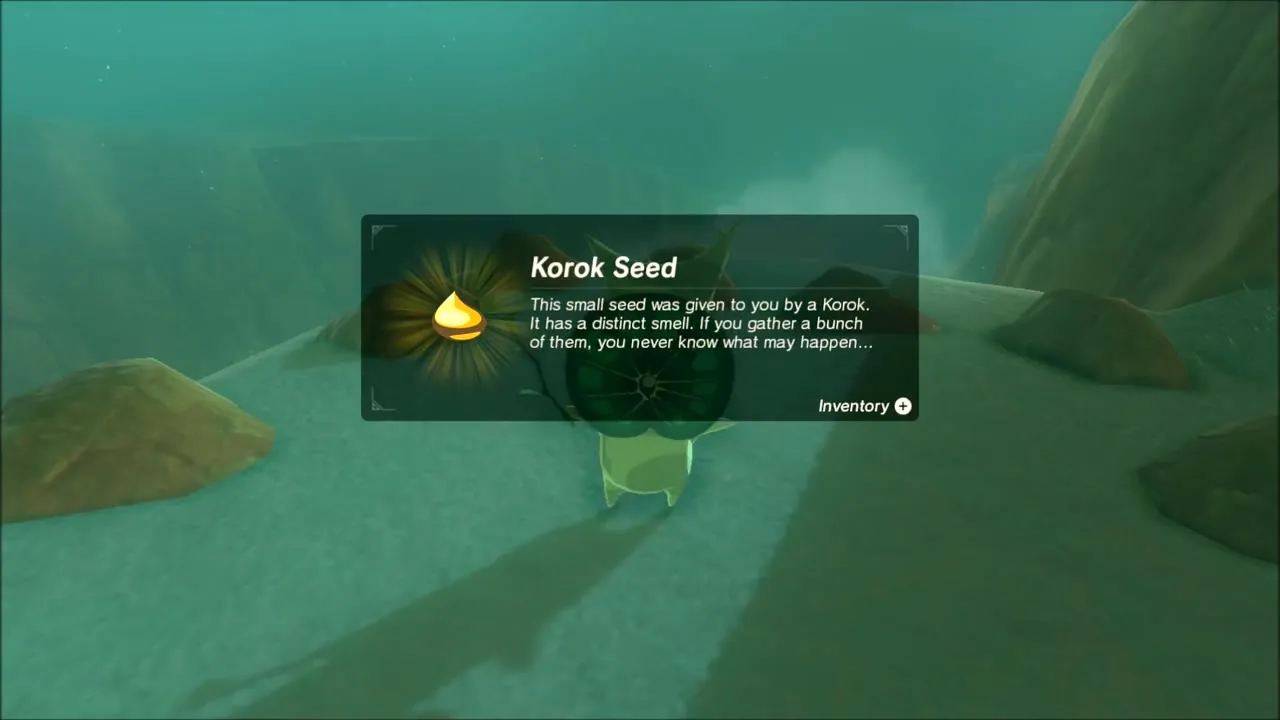
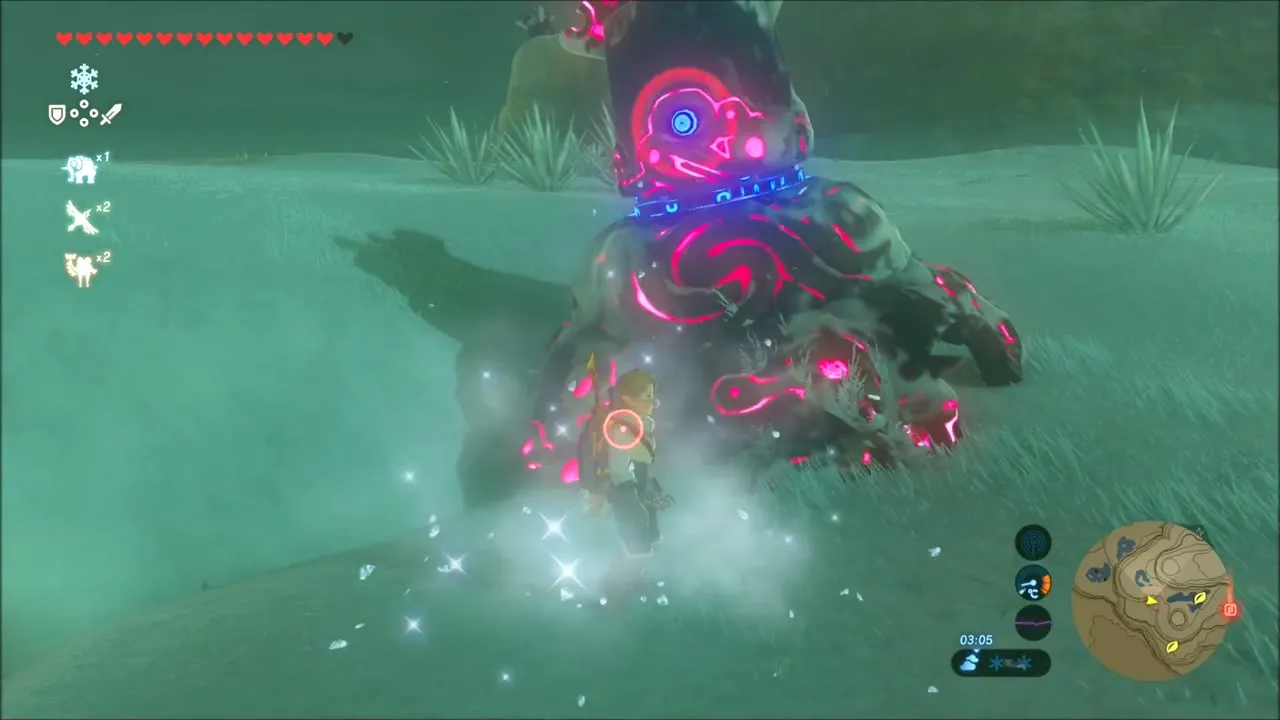

The third seed here is frozen. A clear ice crystal sits out on the flat below the ridge: set it alight with a fire arrow or flame so it melts, and the Korok inside jumps out with its seed. That makes three seeds on these slopes.


Gerudo Town Side Quests: The Mystery Polluter, The Secret Club’s Secret, The Search for Barta
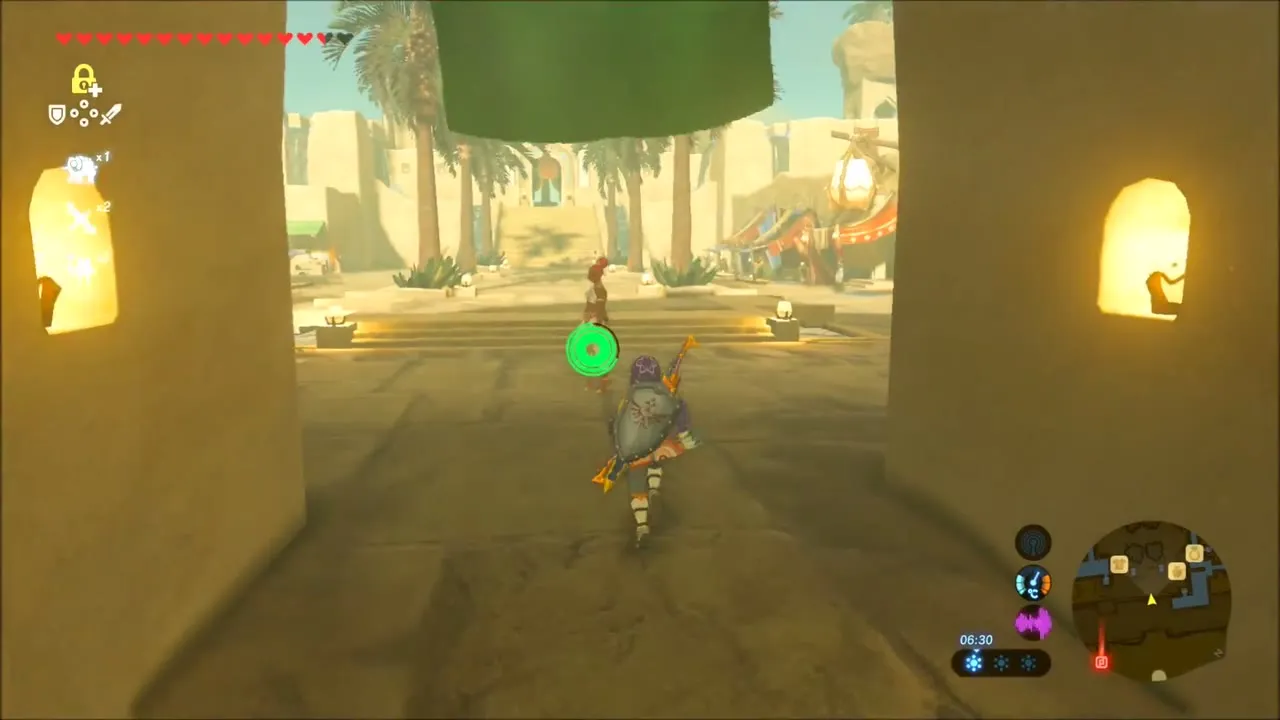
Open the map and travel to Daqo Chisay Shrine beside Gerudo Town, then walk in wearing the Gerudo outfit so the guards let you through. Four of the town’s side quests have to be finished before Riju gives you the Thunder Helm, and you clear them one after another here.

The Mystery Polluter: Dalia and Calyban
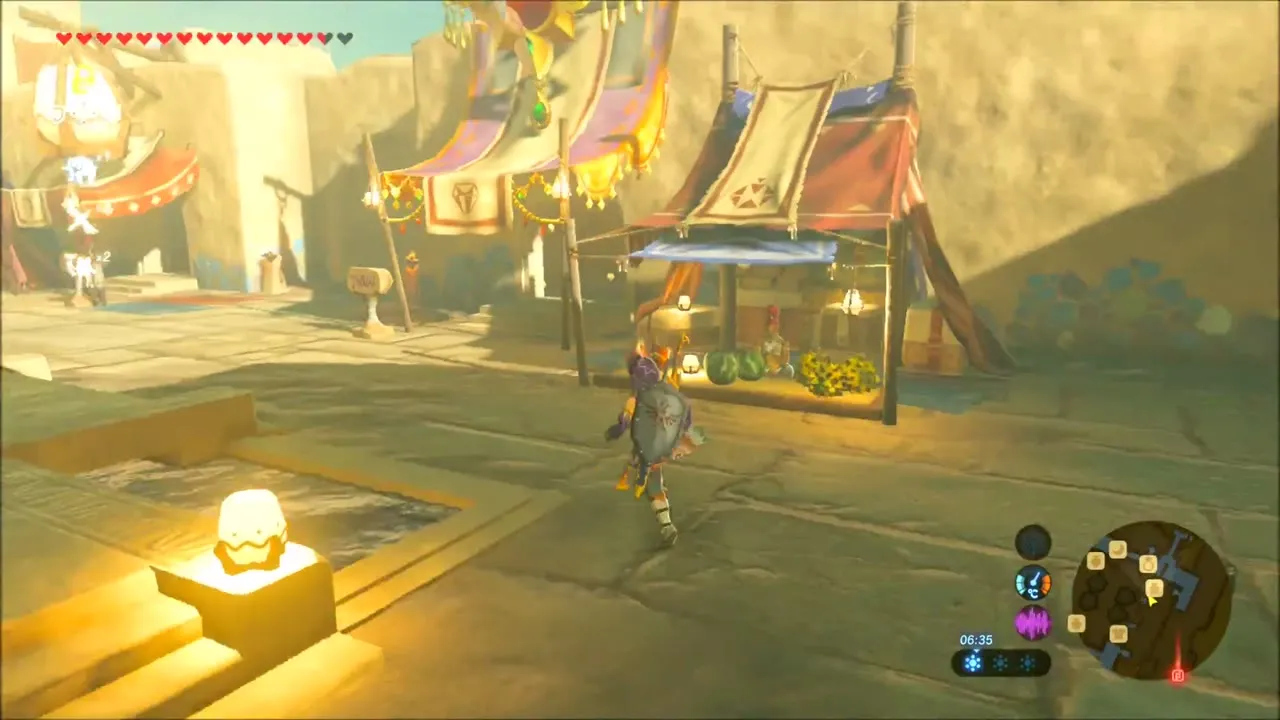
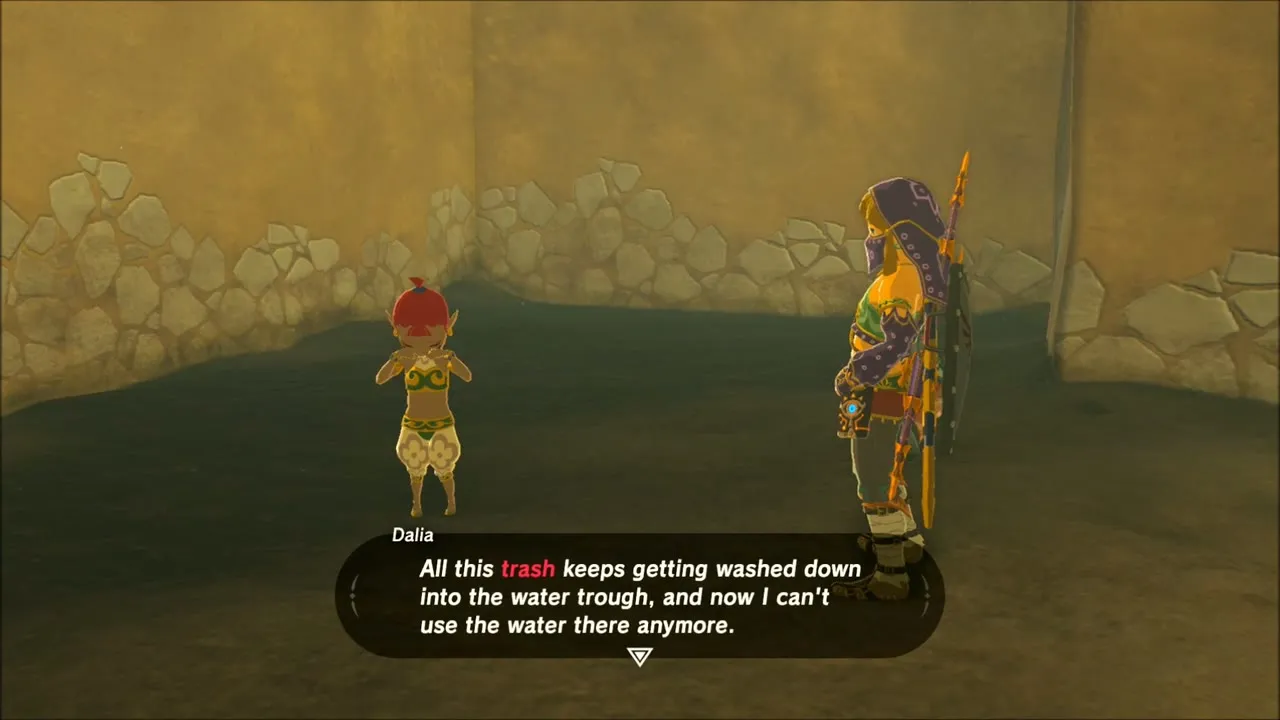
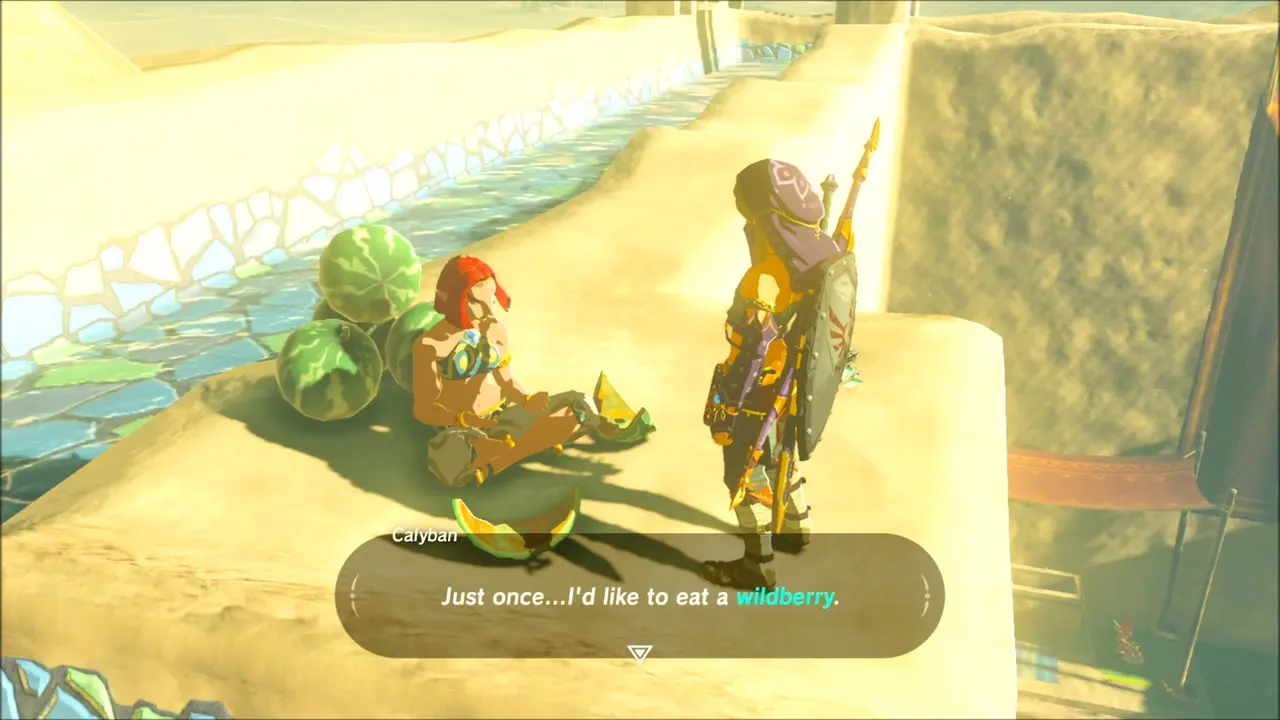
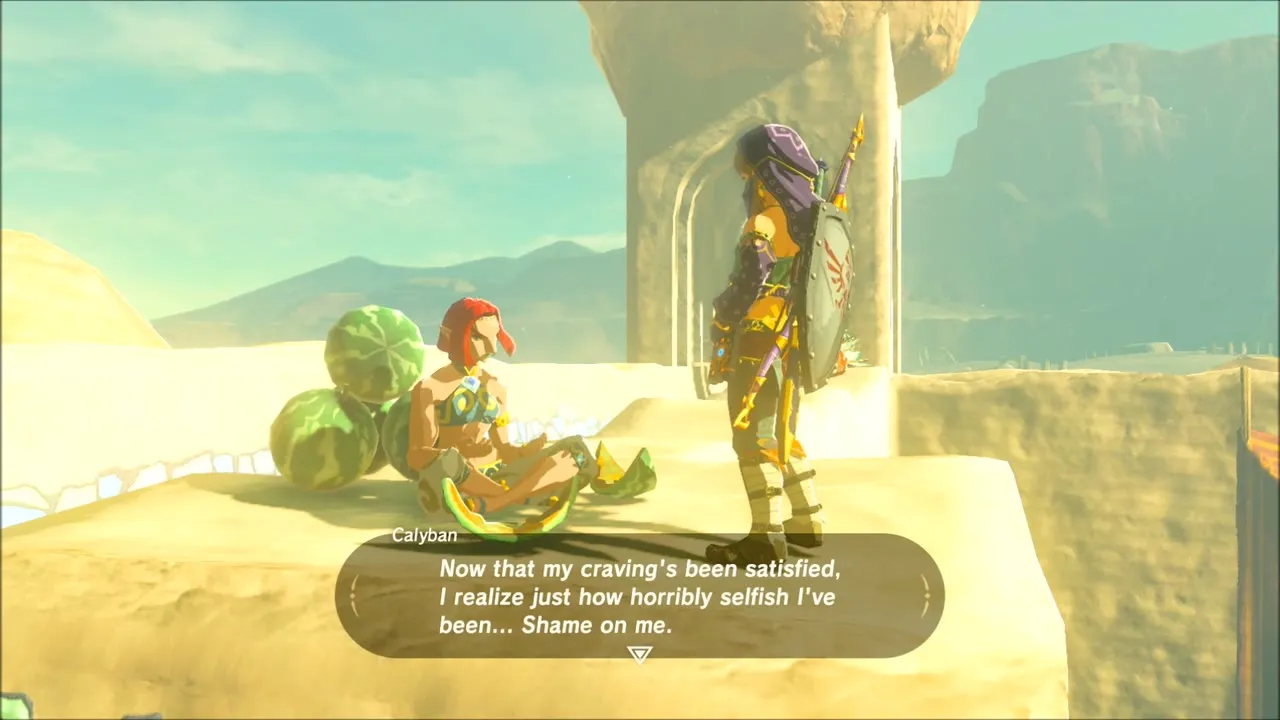
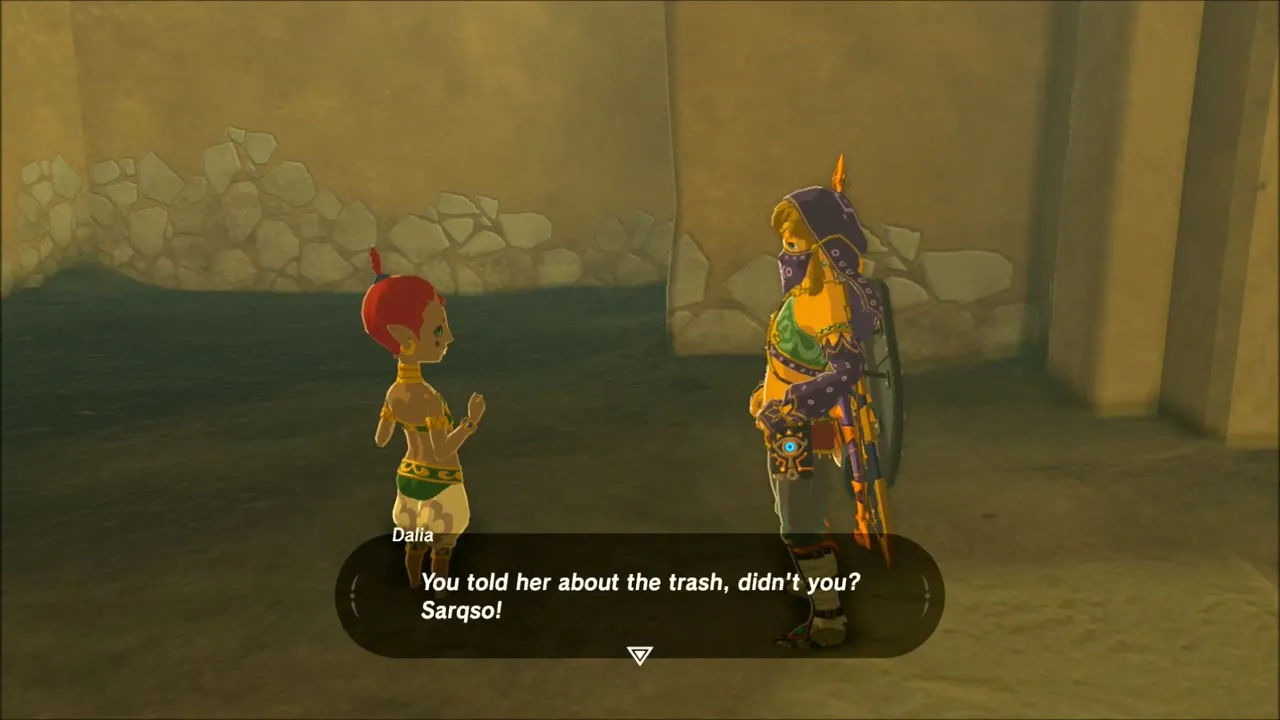
Start The Mystery Polluter with Dalia, a young Gerudo girl in a back alley who can no longer use the water trough because trash keeps washing into it. Follow the water channel up onto the rooftops and you find Calyban, sitting among melons and flinging the rinds into the water. She says she would like to taste a wildberry just once, so give her 10 Wildberries. Once she has eaten, she admits she has been selfish and stops. Go back to Dalia in her alley to finish the quest.

The Secret Club’s Secret: Password and Shopping
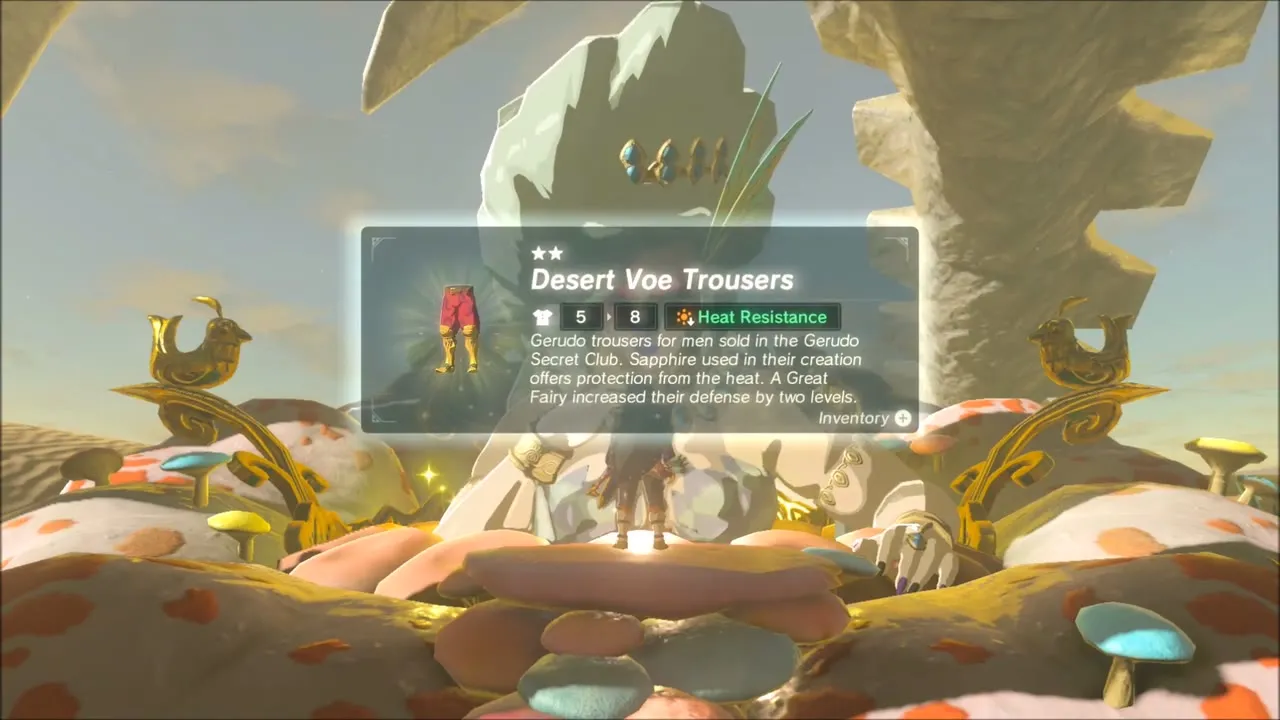
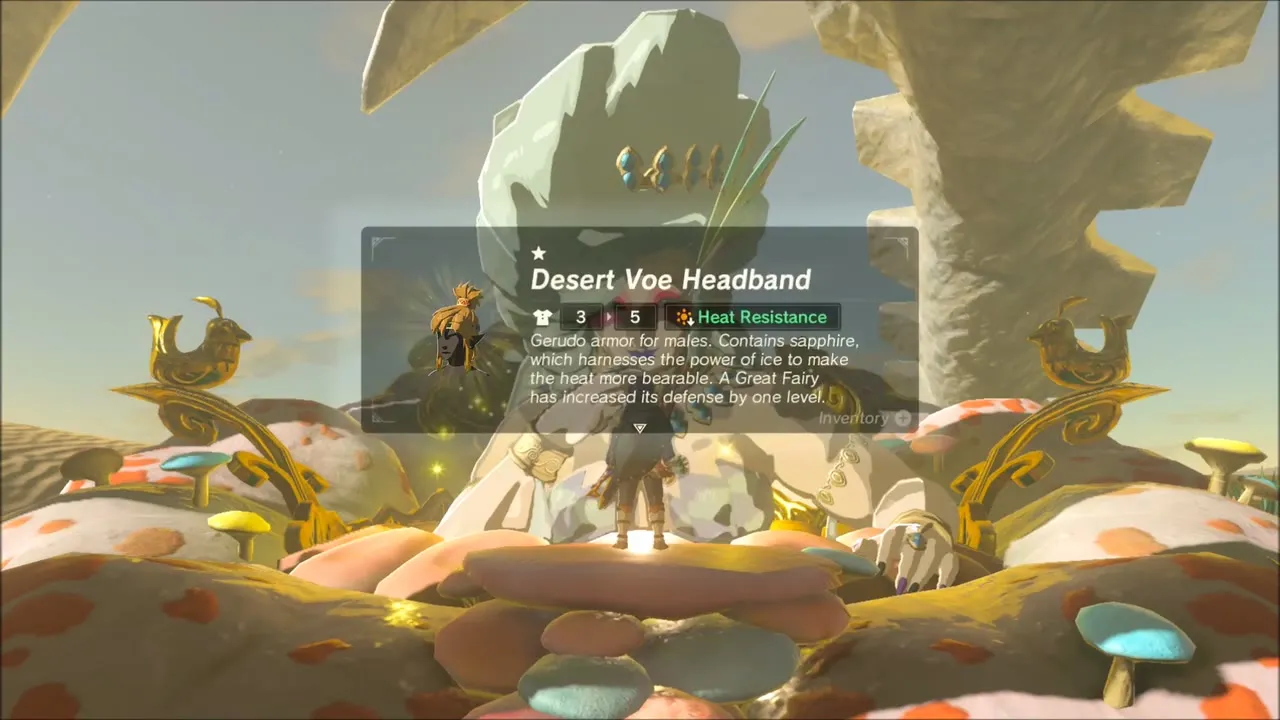
Next is The Secret Club’s Secret. Listen in on the women gossiping inside the Noble Canteen to catch the club’s password, then go to the unmarked door where Greta stands guard. She asks a short run of questions, and you answer each from what you overheard. Once she lets you in, you can buy the Desert Voe Set (Headband, Spaulder and Trousers) and the Radiant Set (Mask, Shirt and Tights); both are worth taking before you leave.

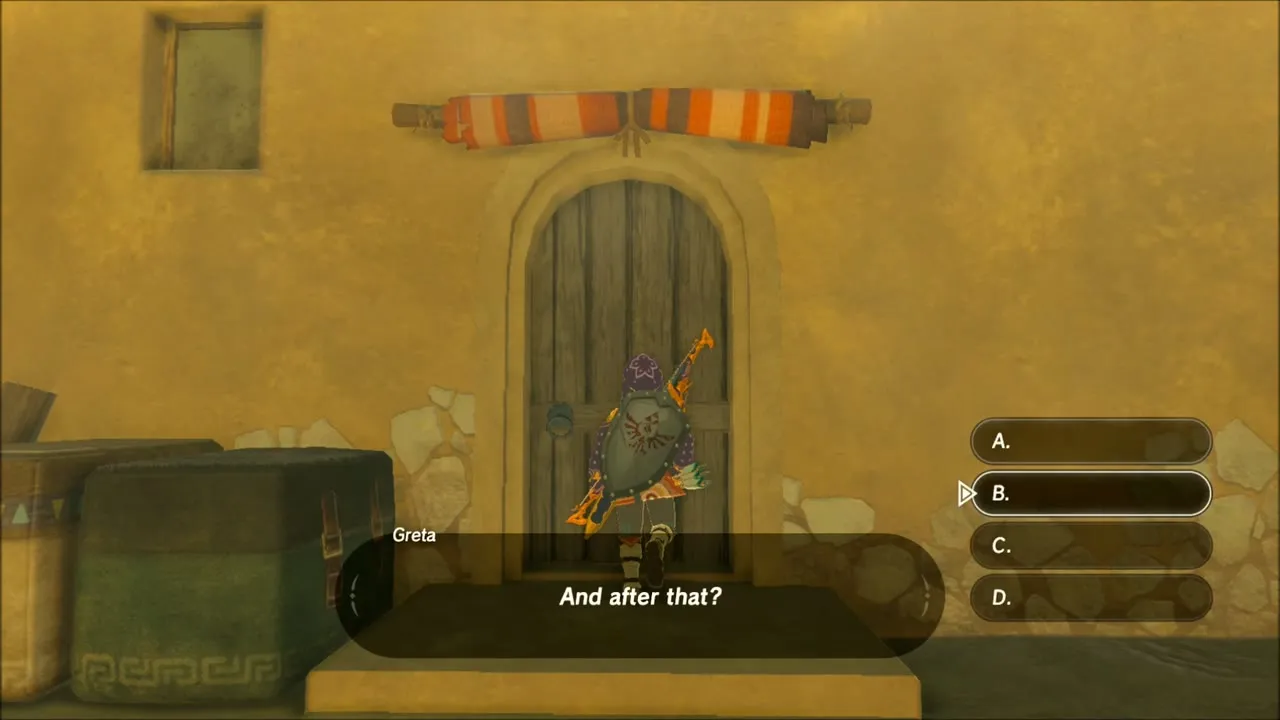
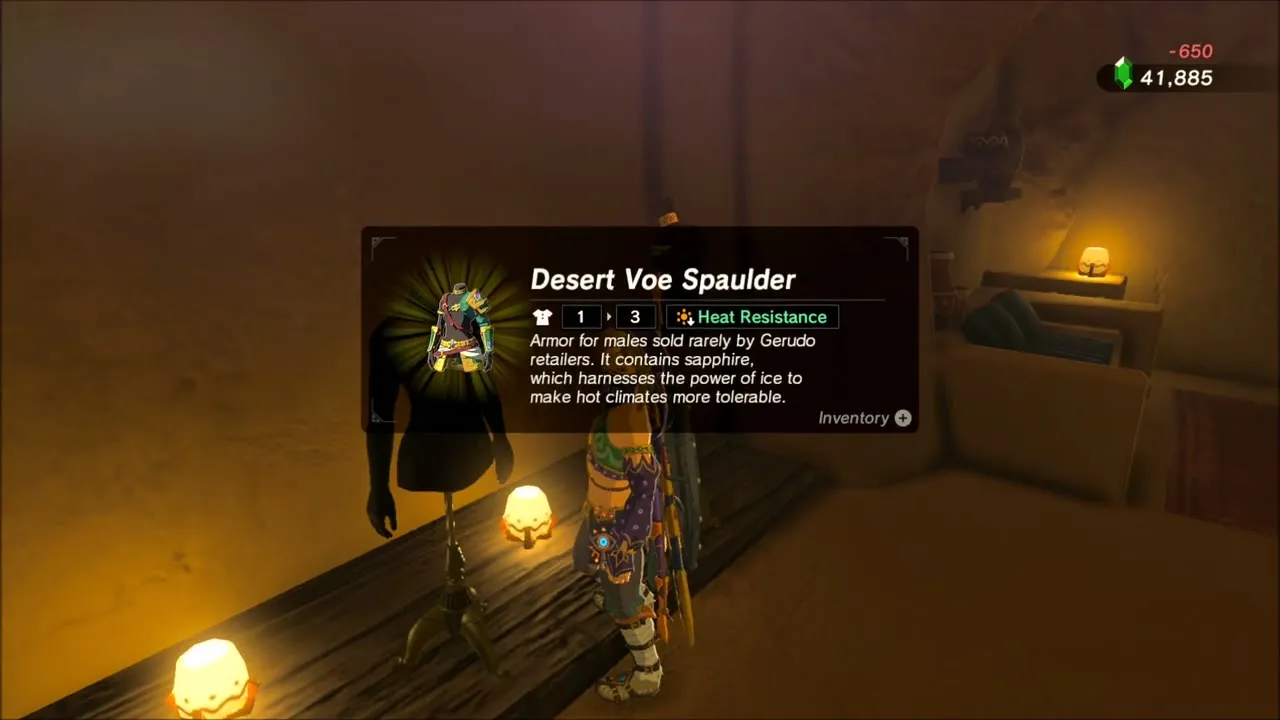

The Search for Barta: Hawa Koth Shrine and the Great Skeleton
Take The Search for Barta from Liana, the Gerudo captain, in the palace hall; a guard named Barta has gone missing out in the desert. Warp to Hawa Koth Shrine at the south-western tip of the wasteland, where Barta is resting in the sand beside the great skeleton. Feed her a Hearty Durian, then travel back to Gerudo Town and report to Liana, who pays you for the trouble (a Silver Rupee).


The Thunder Helm, Then the Blood Moon
With the town’s problems settled, speak to Riju in the throne room. She hands over the Thunder Helm, which completes The Thunder Helm. After a few more words with the townsfolk, the screen turns red as the Blood Moon rises again and the monsters of the land come back to life.


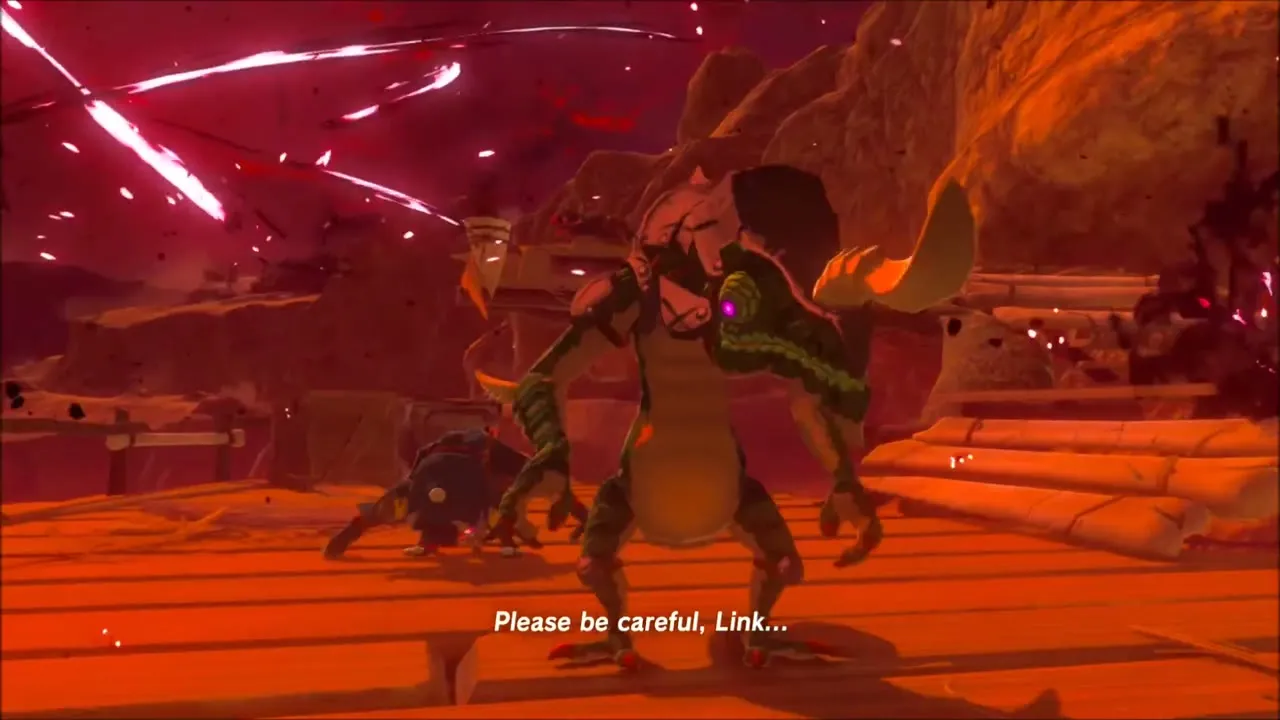
Great Fairy Tera: Upgrading the Desert Voe and Other Armor
Warp to Hawa Koth Shrine once more and step into the Great Fairy Fountain beside the skeleton, the home of Tera. She enhances your clothing for materials and rupees, and this is the place to put your new Desert Voe pieces through their upgrades: the Desert Voe Trousers and the Desert Voe Headband are both enhanced here, along with a few other armor pieces from your inventory.


Missing in Action: Gerudo Canyon Stable and the Four Friends
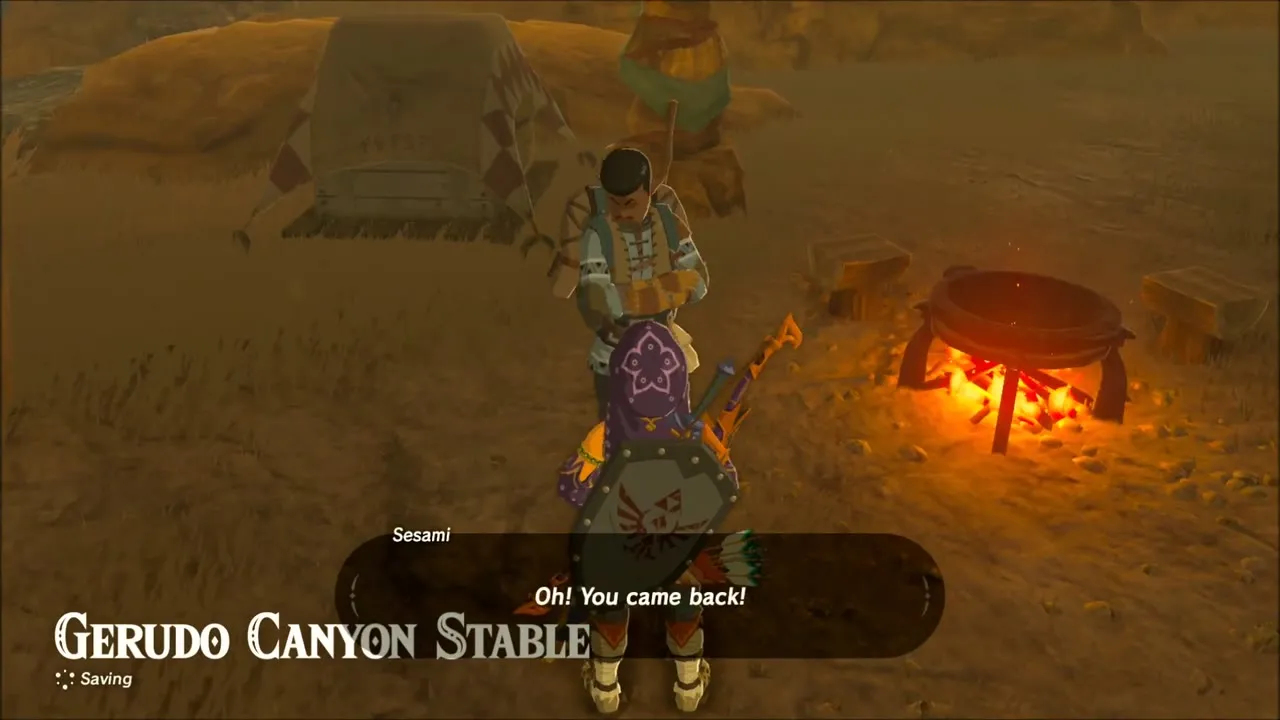
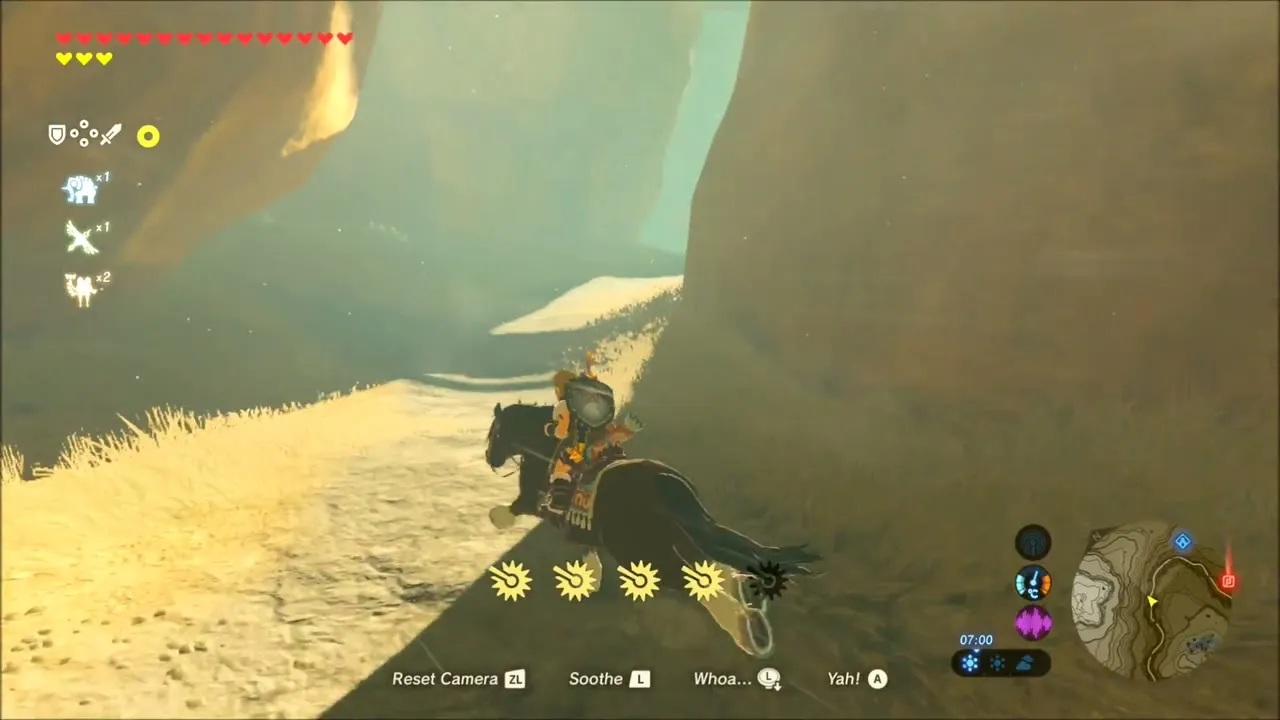
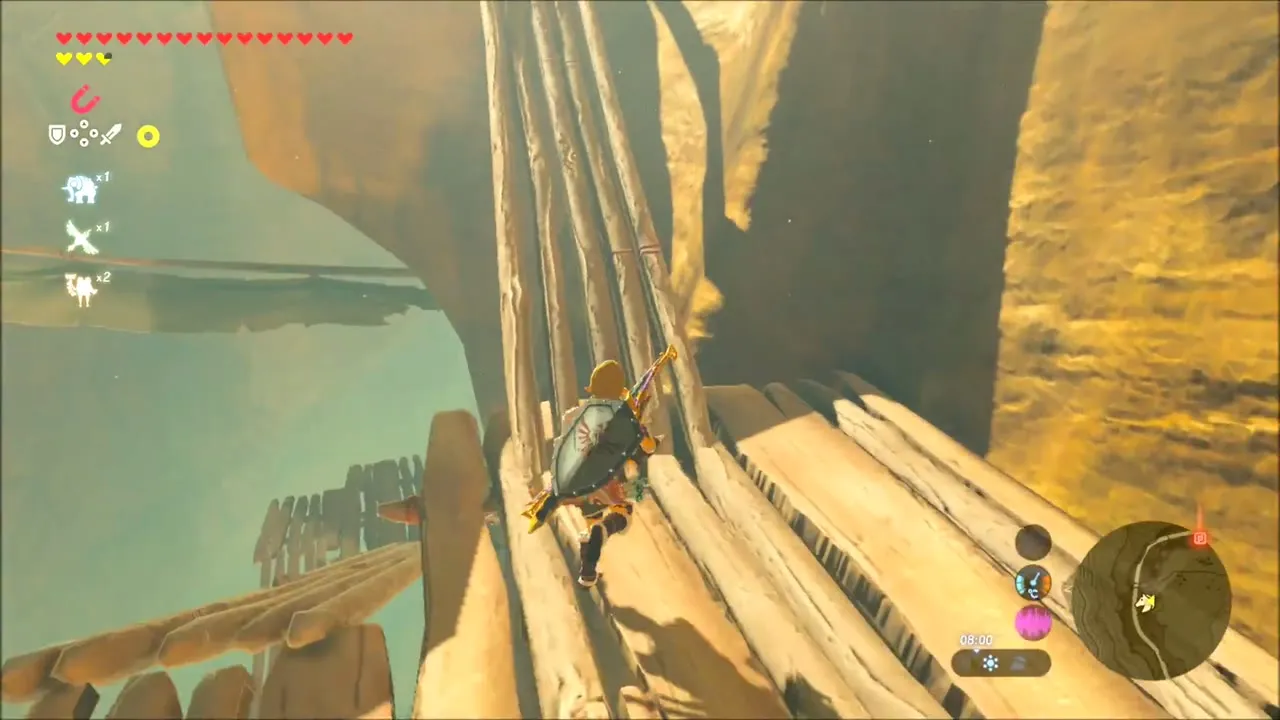
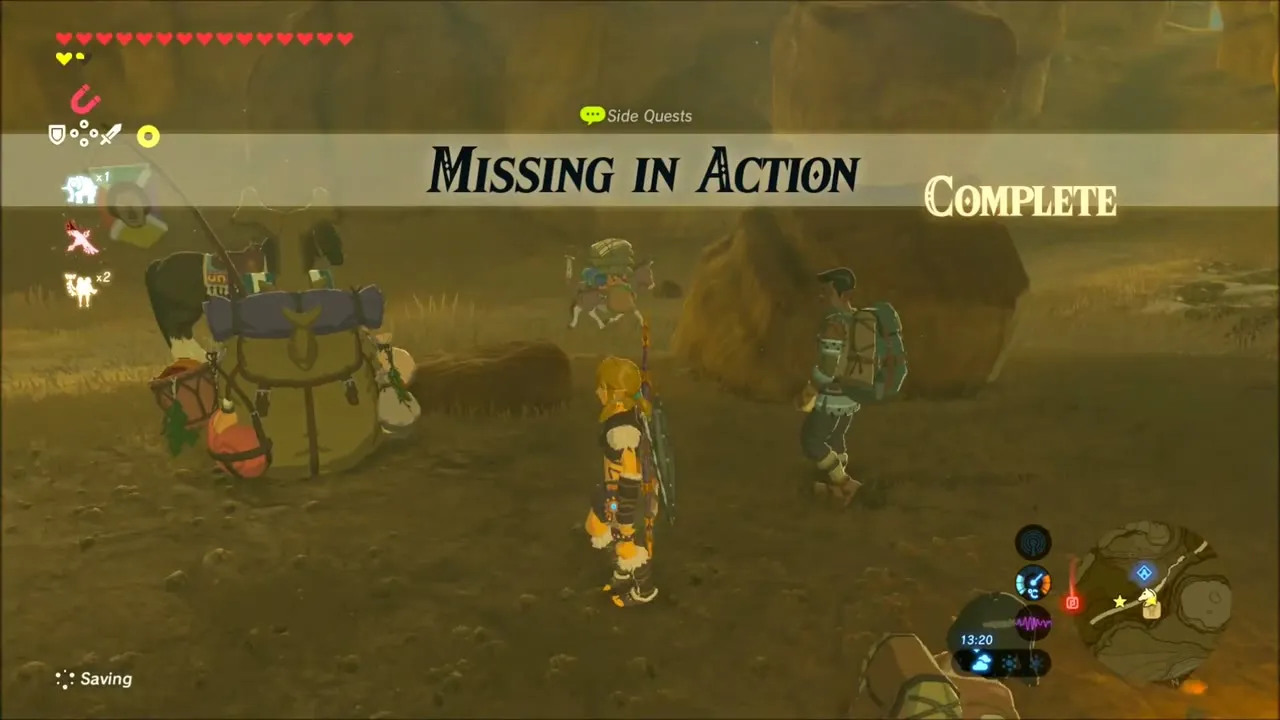
Ride to Gerudo Canyon Stable and talk to Sesami to start Missing in Action. His four friends, Oliff, Flaxel, Canolo and Palme, were ambushed by monsters around Koukot Plateau. Put on the Stealth Mask, ride up the canyon on horseback and climb the wooden scaffolds along the cliffs. Clear the Bokoblins around each friend and talk to them: Canolo, Flaxel, Oliff and Palme can be found in that order along the walkways. Go back to Sesami at the stable to finish the quest.


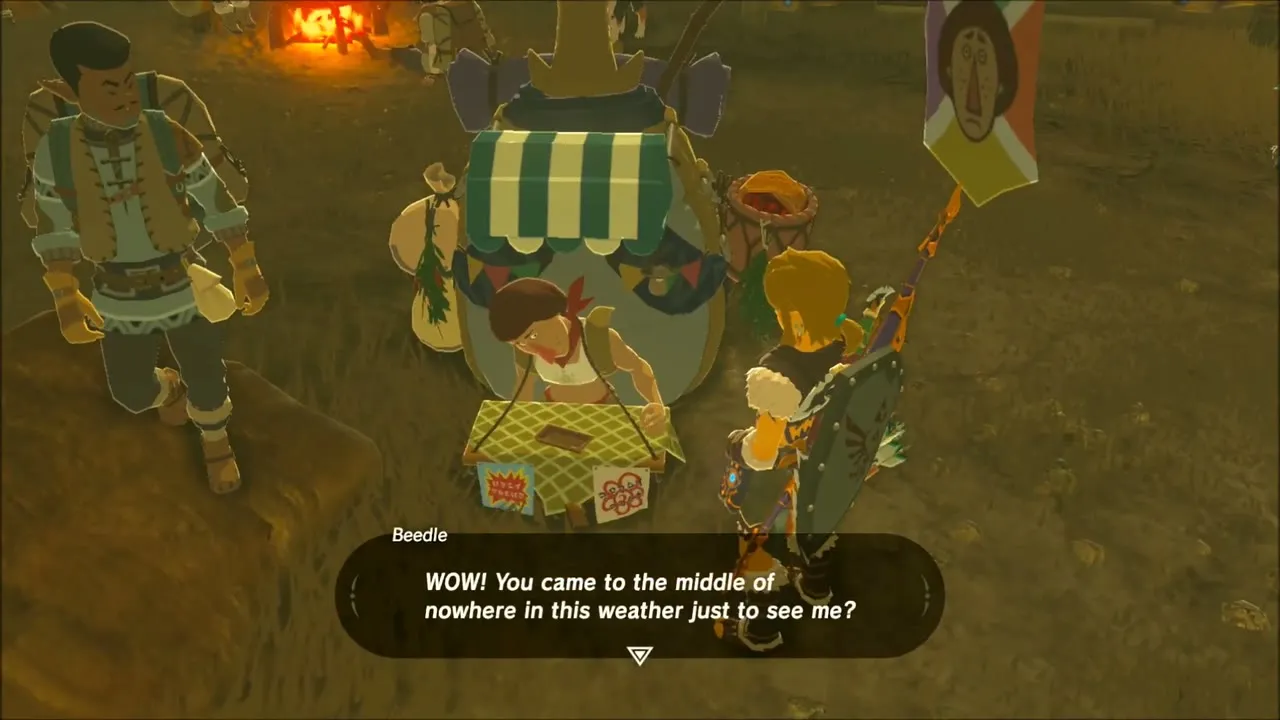
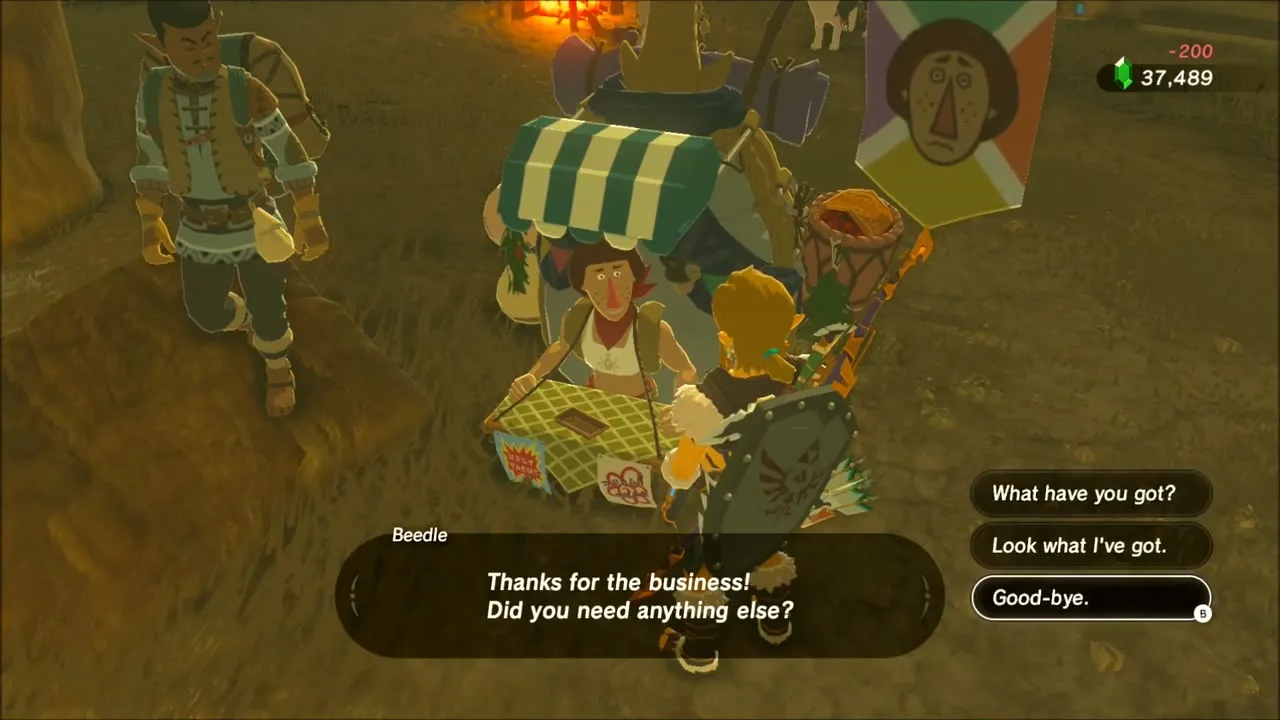
Beedle, the travelling merchant, has set up his stall at the stable. His stock includes Hearty Lizards, Warm Darners and Winterwing Butterflies, so stop by if you need to top up on ingredients.
Ishto Soh Shrine: Bravery’s Grasp
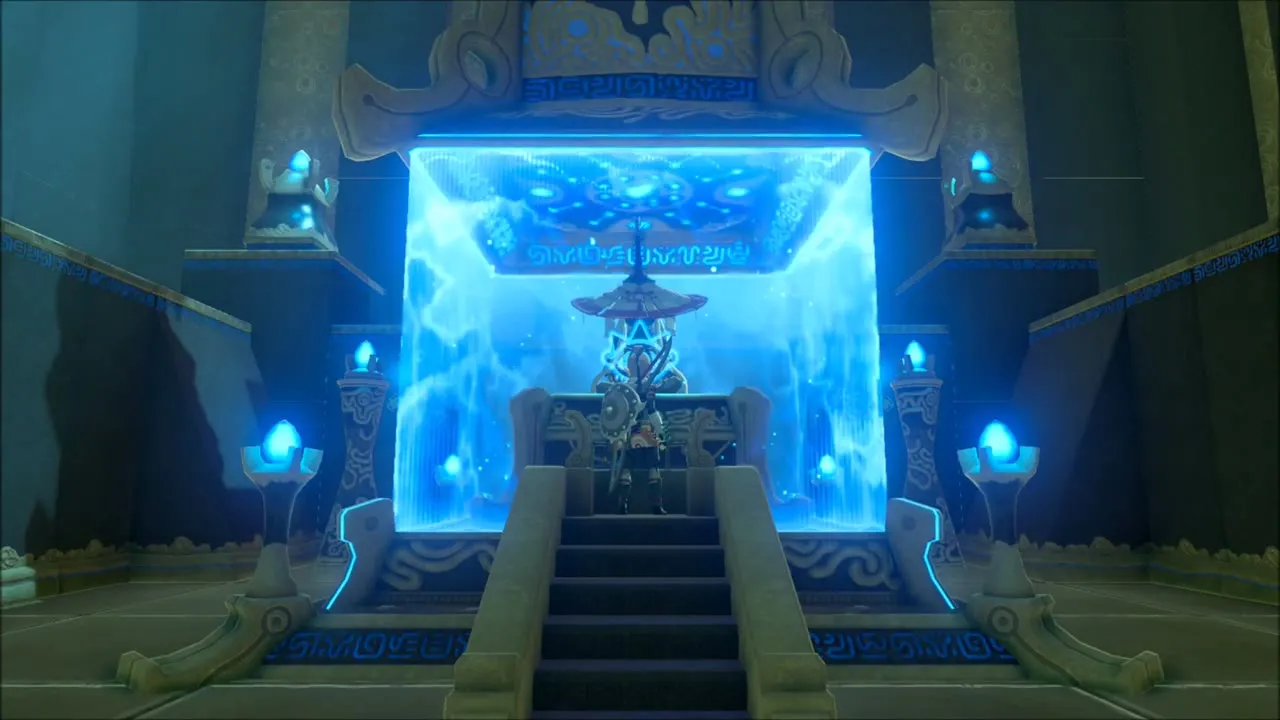
Change into cold-weather gear and head up to the snowy heights, then glide down toward the Oseira Plains. Two Korok seeds lie on the way. The first is in a sunlit canyon, hiding at the foot of a rock wall. The second is on a cliff face, with a balloon-like target floating near the wall: shoot it with an arrow and the Korok appears.
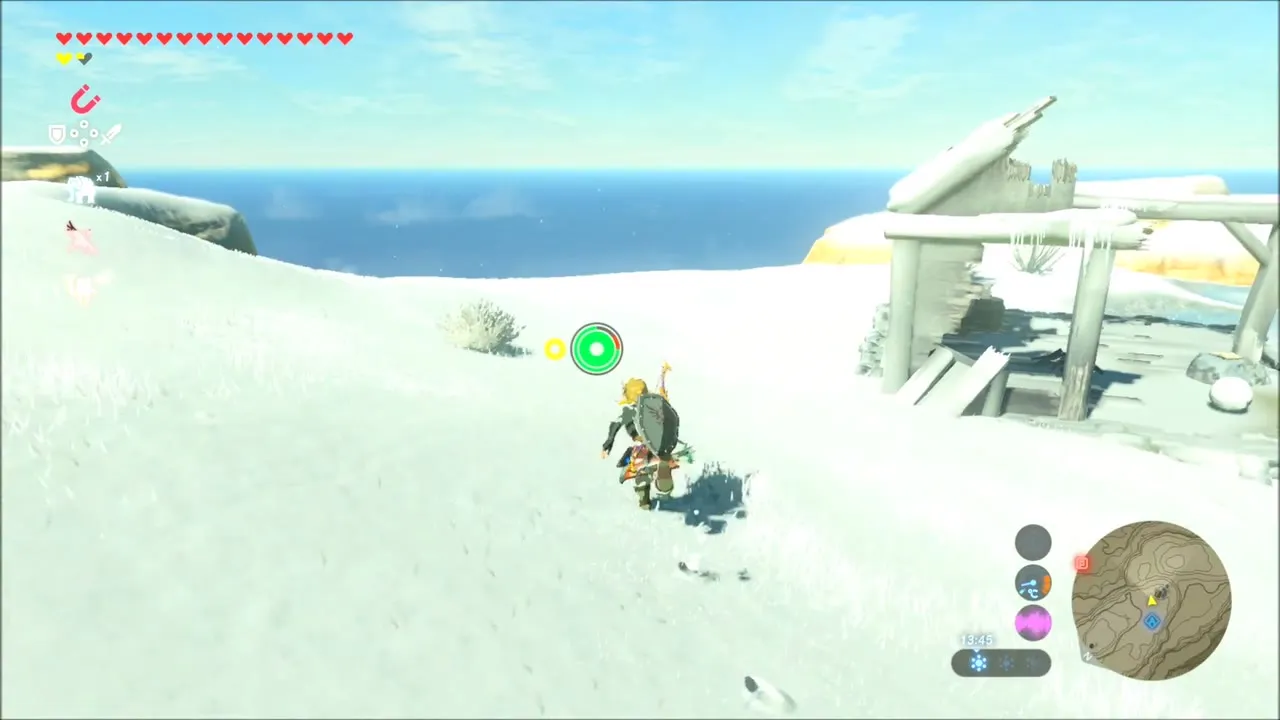
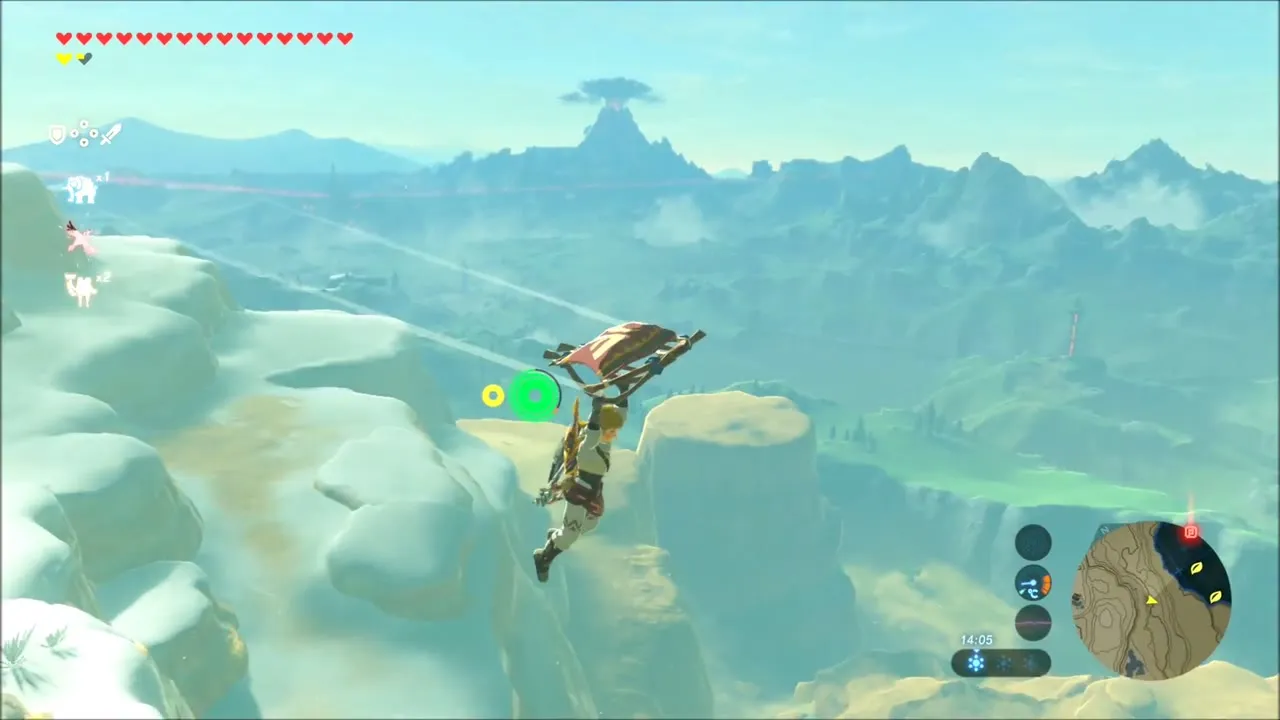


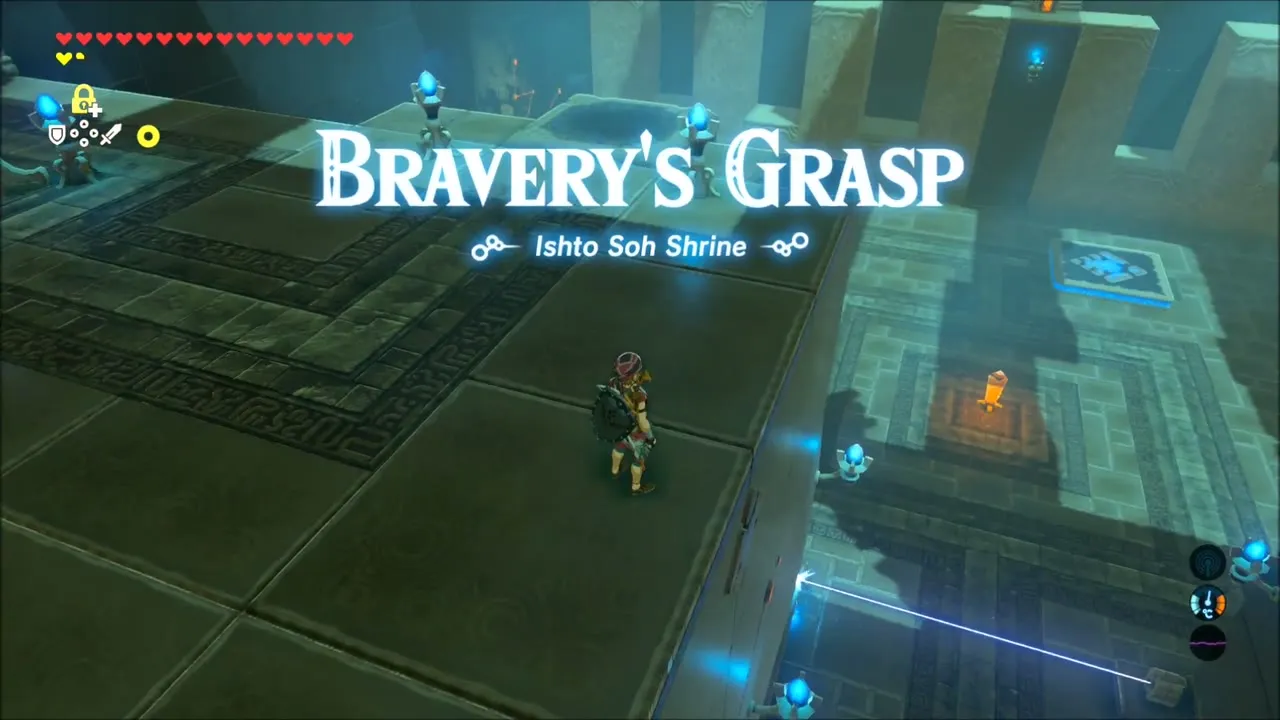
Down on the grassy hill, a traveller called Moza stands beside a cooking pot and is happy to teach you the recipe for his lavish meat dish. From there, follow the cliffs above the Oseira Plains to Ishto Soh Shrine at (-986, 3565, height 334), which holds the Bravery’s Grasp trial and needs no runes.

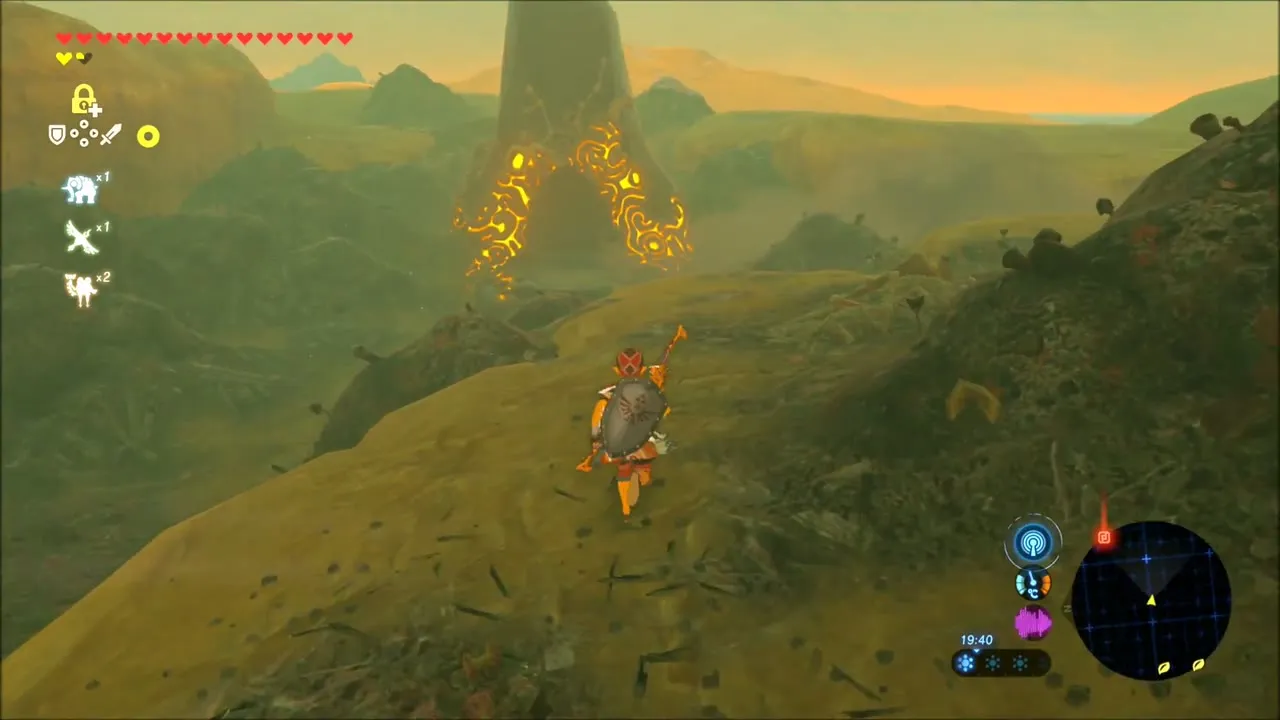
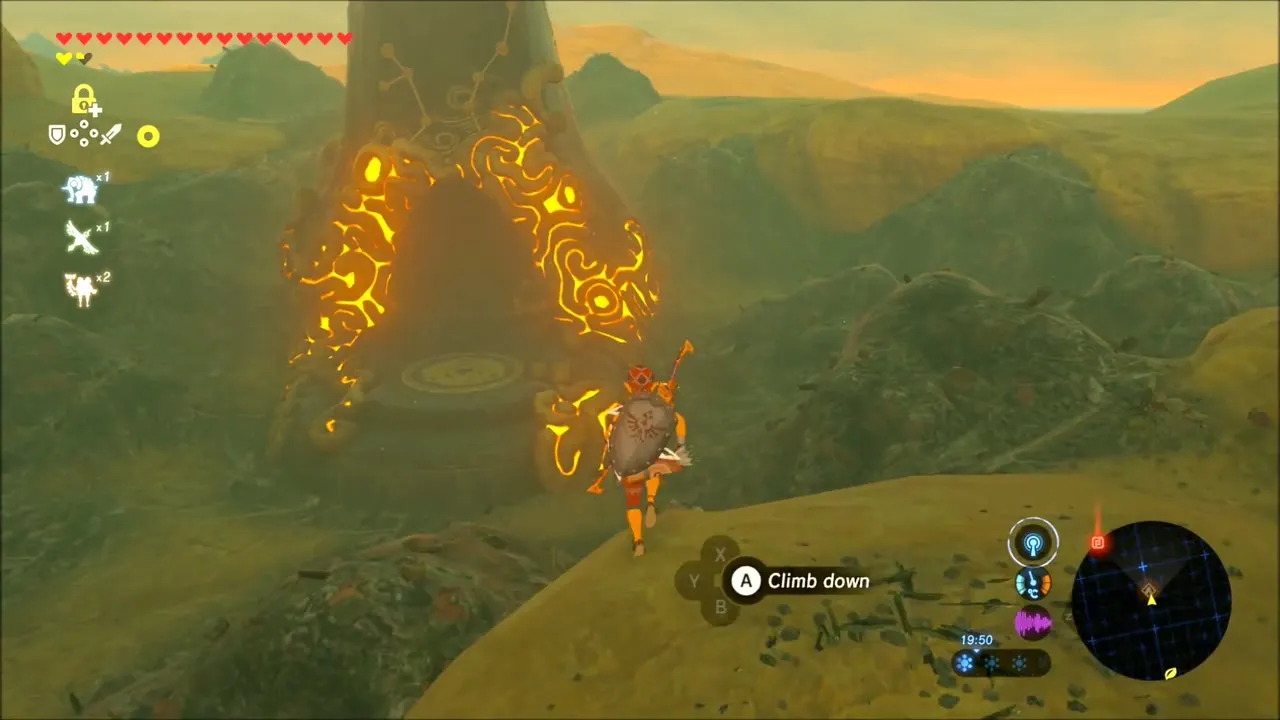
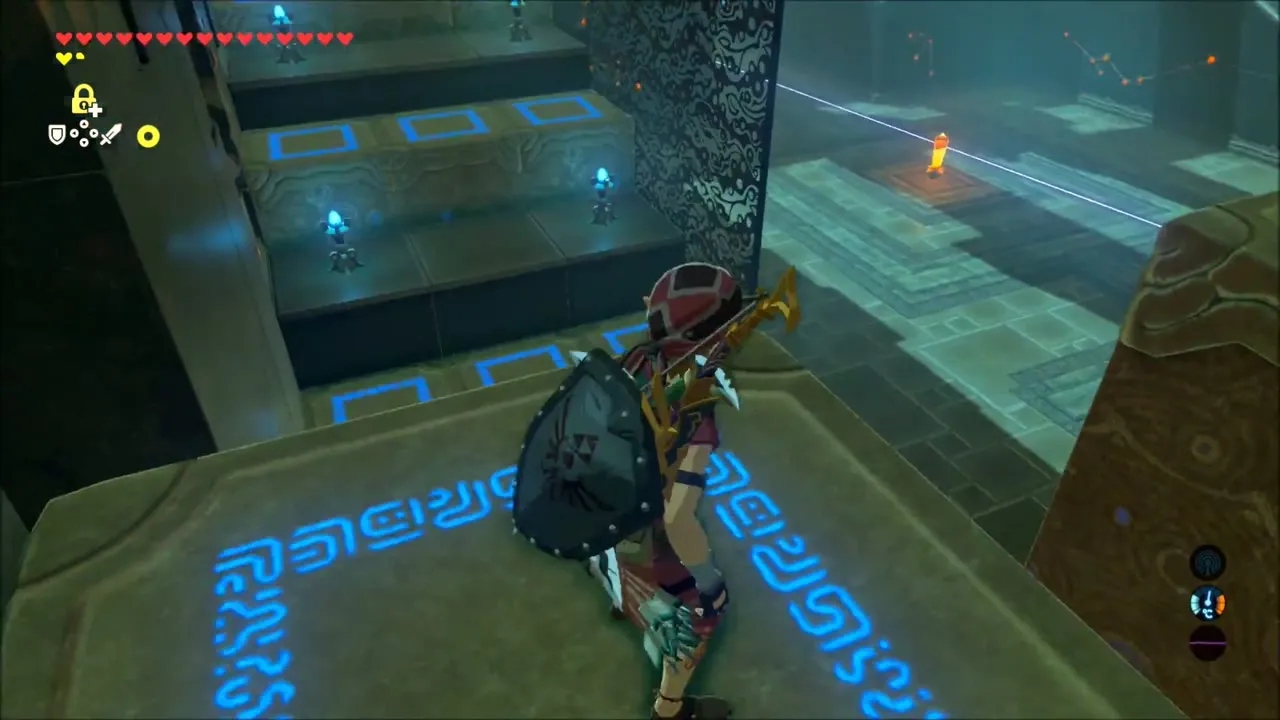
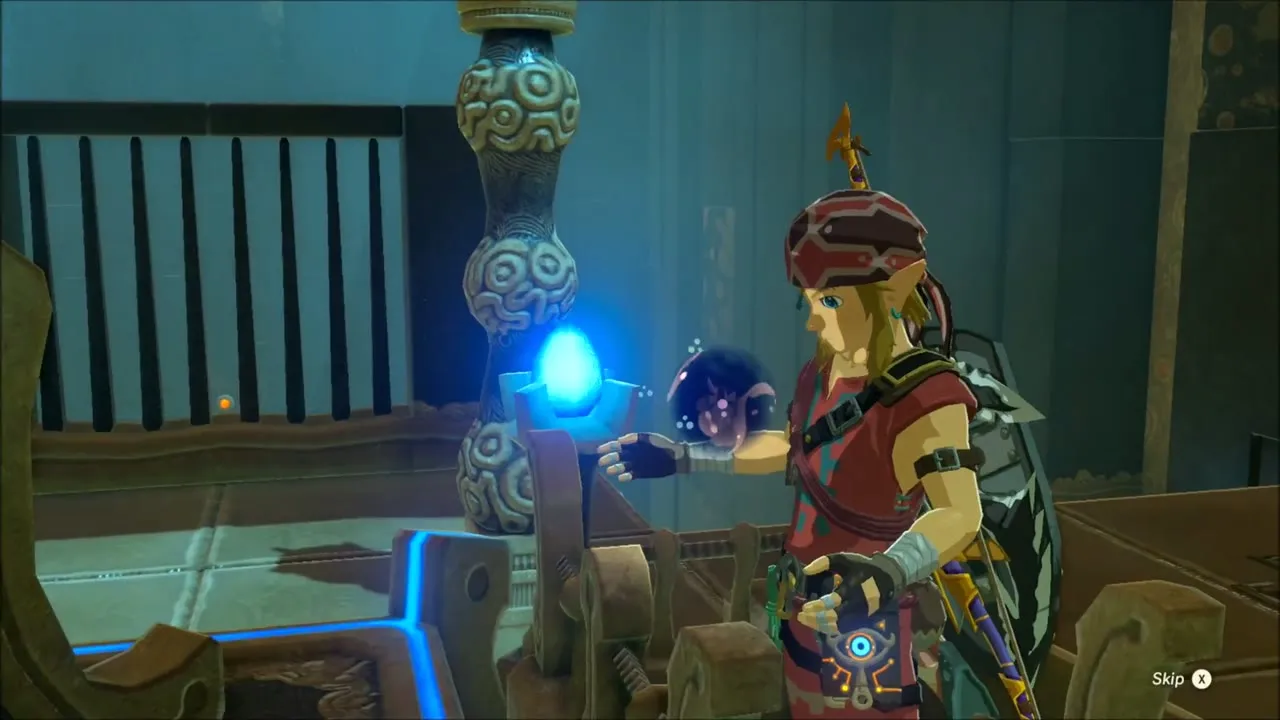
Pick up the laser in the first room and carry it onto the moving platform so its beam keeps sweeping across the switch in the middle of the floor. The chest by the laser’s starting spot holds a Topaz. Jump off the edge, glide to the wall chest and cross the rising columns to take an Ancient Core. Finish by riding the shifting stairs up to the monk and claiming the Spirit Orb.


Lynels, Cliff Chests and a Magnesis Korok
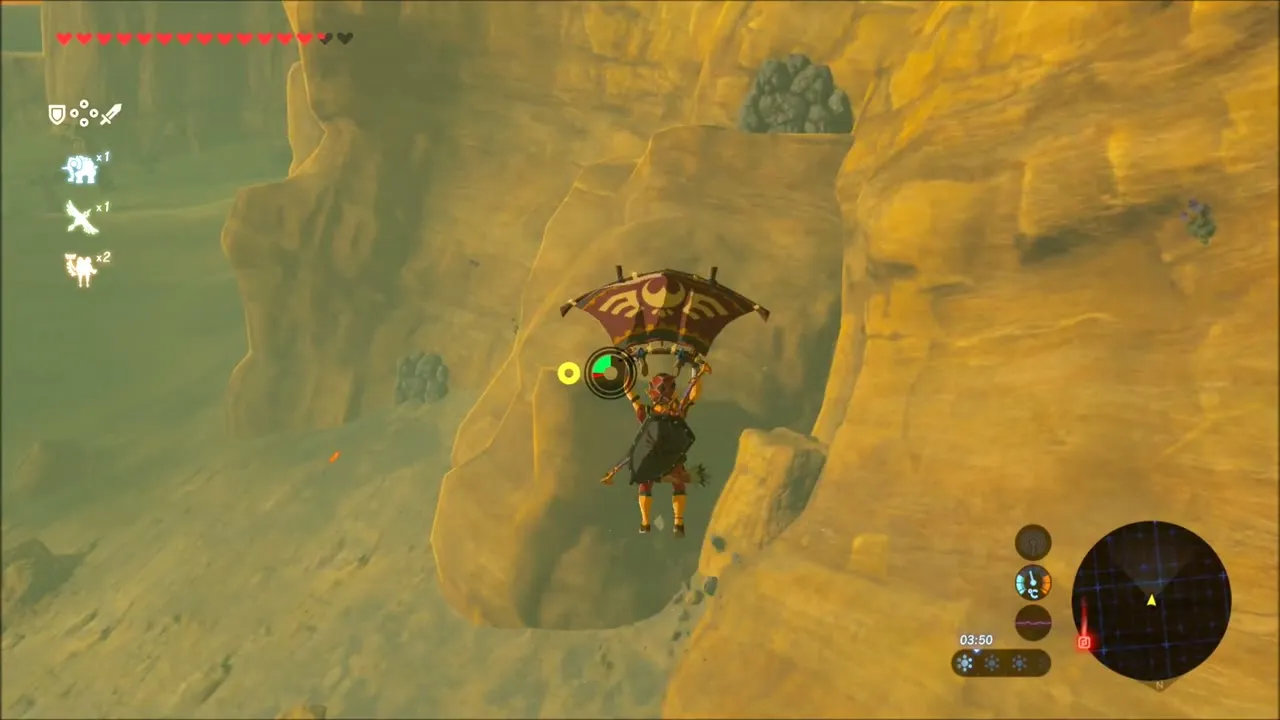
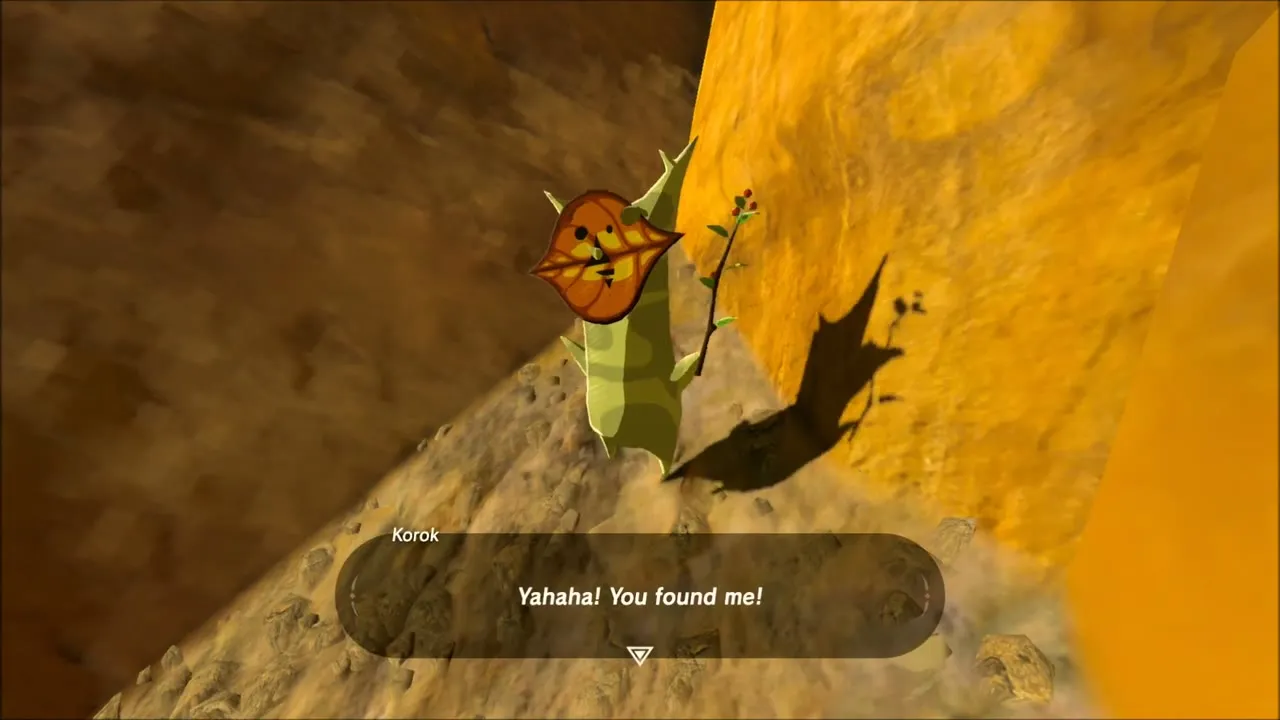
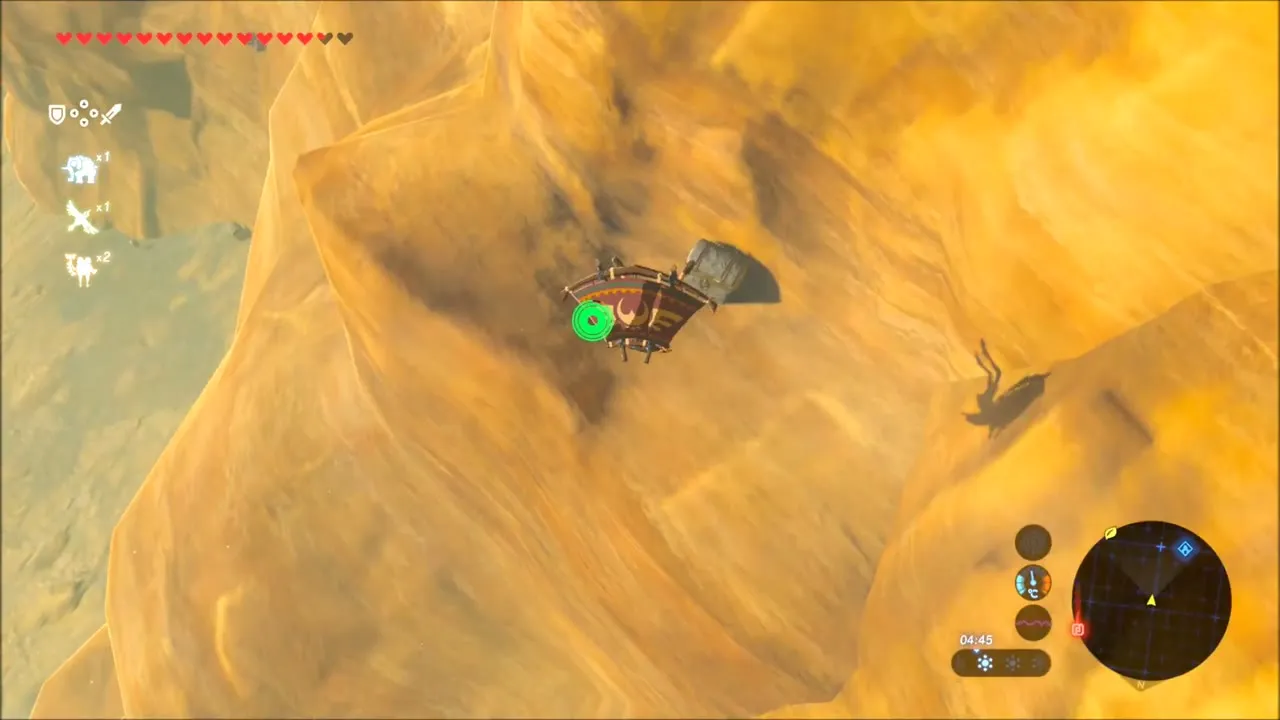
The route continues along sandy canyon cliffs. Paraglide down to a ledge where a Korok is waiting in a niche under an overhang, and claim the seed. A chest is stuck to the cliff face a little further on: use Magnesis to drag it out and open it for a Silver Rupee. Another chest on a ledge higher up holds a Gerudo Spear.

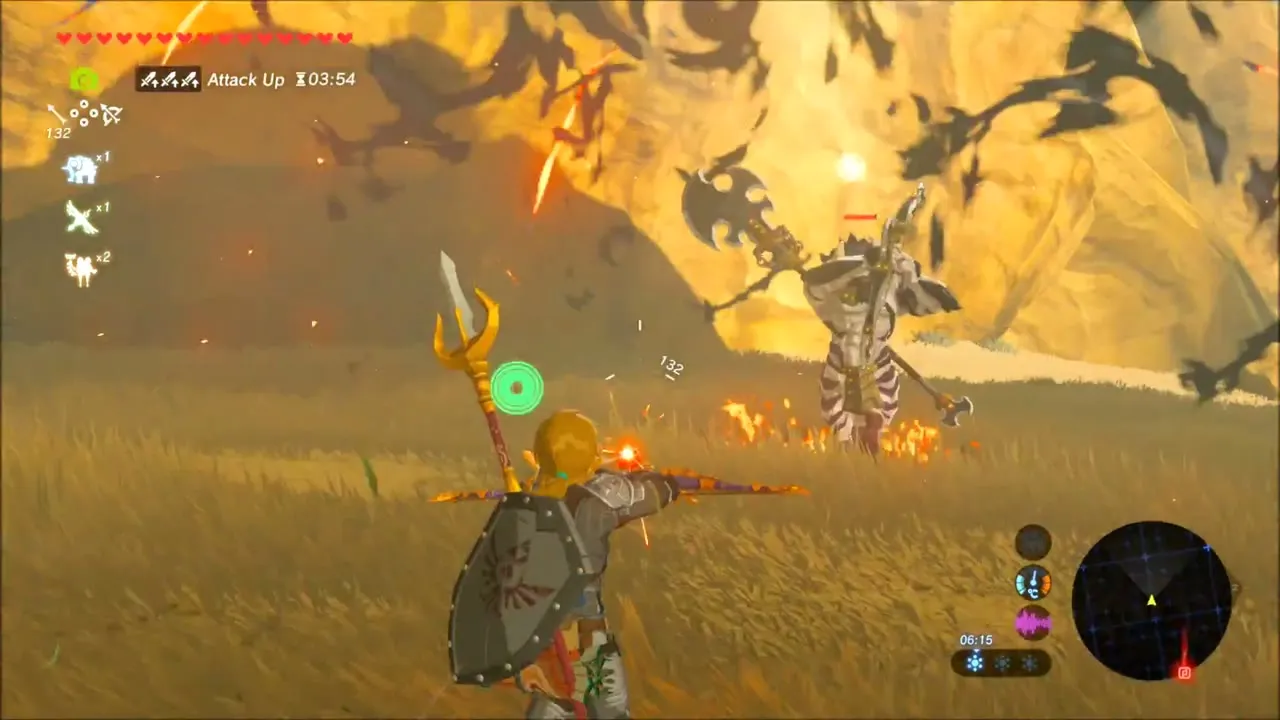
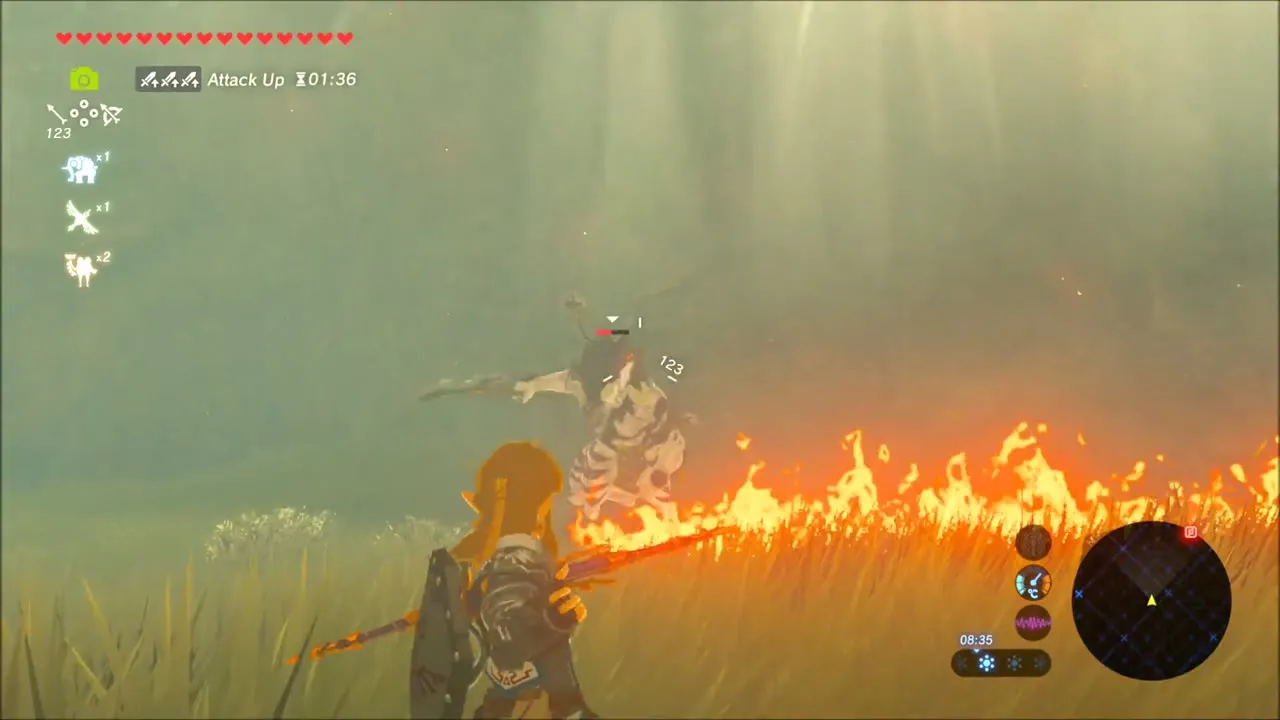
The open grassland beyond is Lynel country. Keep moving, hold your shield up when it fires arrows, and punish it with bombs and fire; the fight is long but it leaves valuable drops. A second Lynel prowls further along the same plain, and the same tactics work on it.

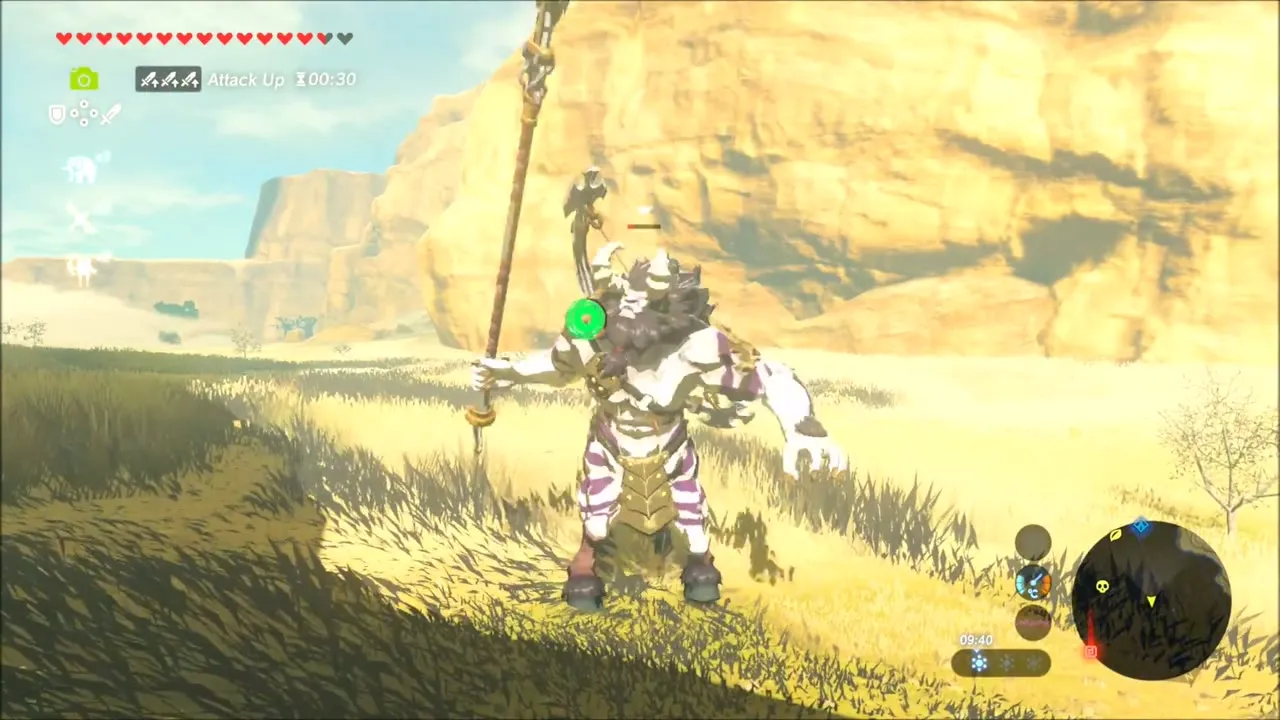
Between the two Lynels, a Korok seed is waiting on a cliff. Use Magnesis on the metal block lying near the edge and move it; when you are done, the Korok pops out of the ground nearby.


Taobab Grassland: Baobab Tree Korok Seed
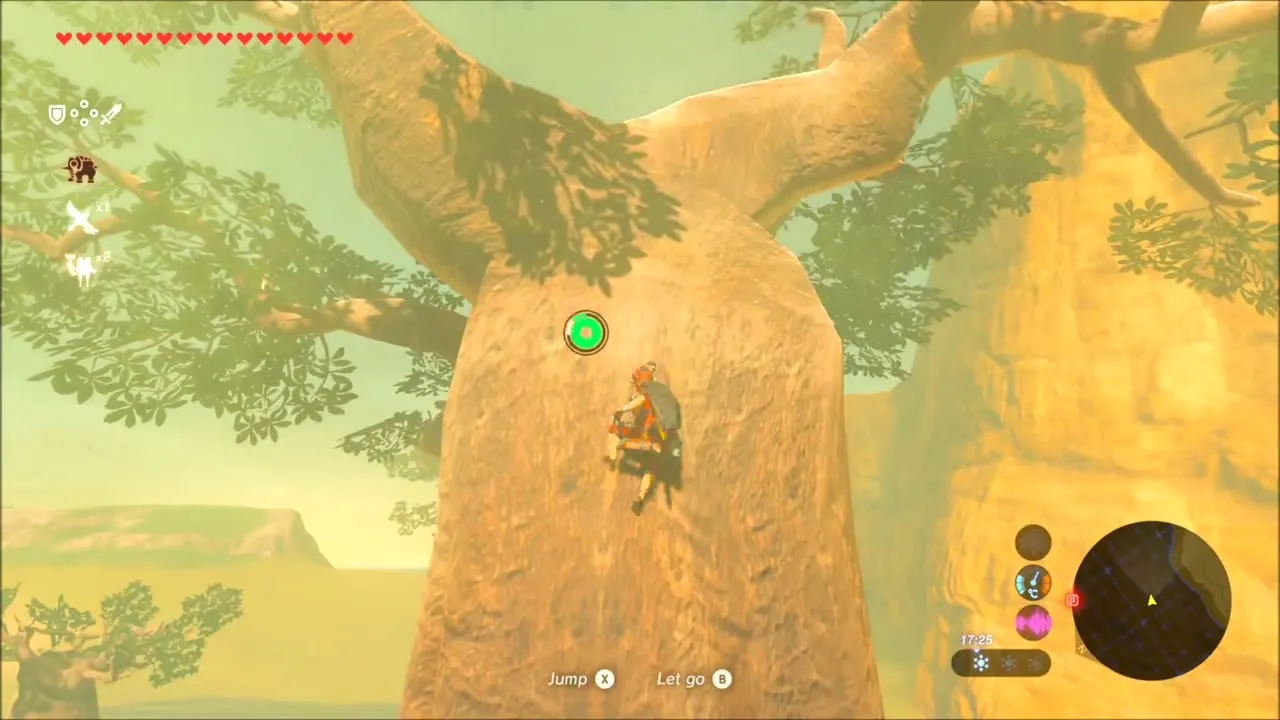
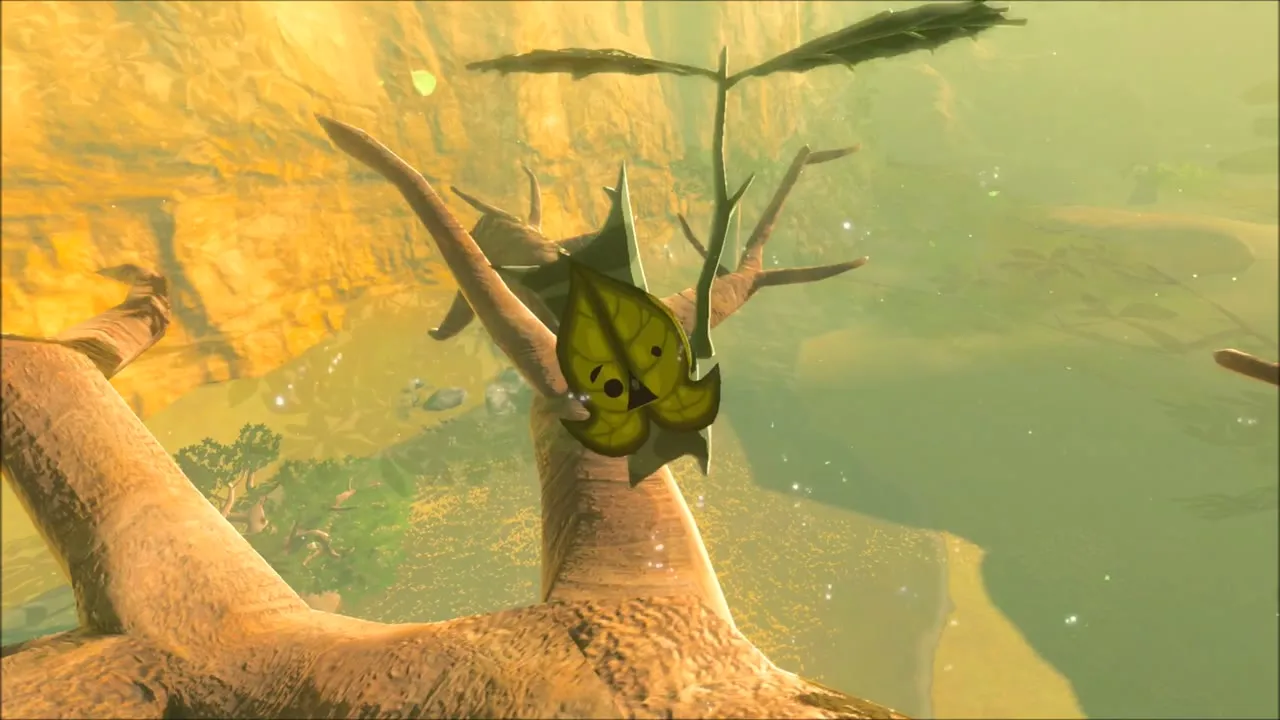
Past the second Lynel, the tall baobab trees of the Taobab Grassland rise out of the plain. Use Stasis on the object in the grass beside the trees, then climb the biggest baobab by its trunk and work along the branches. A Korok is waiting on a branch at the top, and you can glide off the tree afterward to continue west across the grassland.



South-West Shore: Cave Korok Seeds, Royal Shield and Underwater Chests
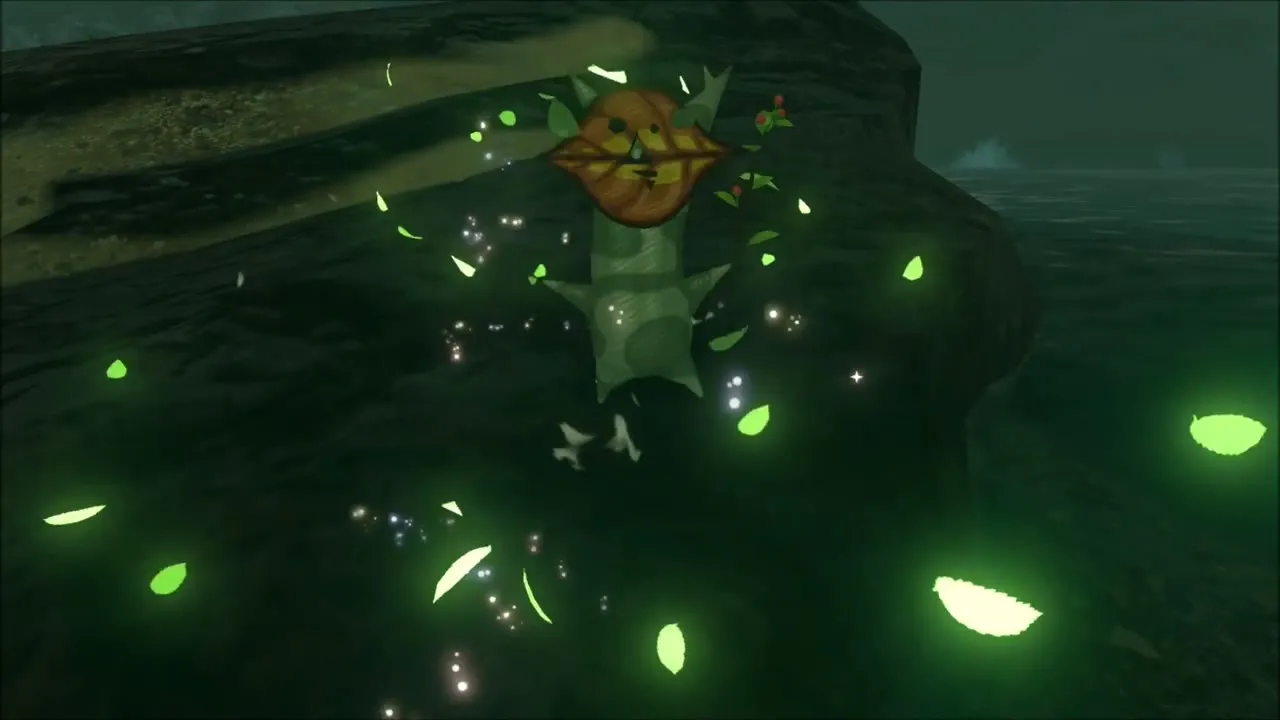
At night the road reaches a dark rocky cove on the shore. Three Korok seeds and a shield chest are packed into this small area. In the cave, look for a chest you can lift with Magnesis; opening it gives you a Royal Shield. Climb the palm tree by the water for another Korok, and search the ferns along the shore for the last one.


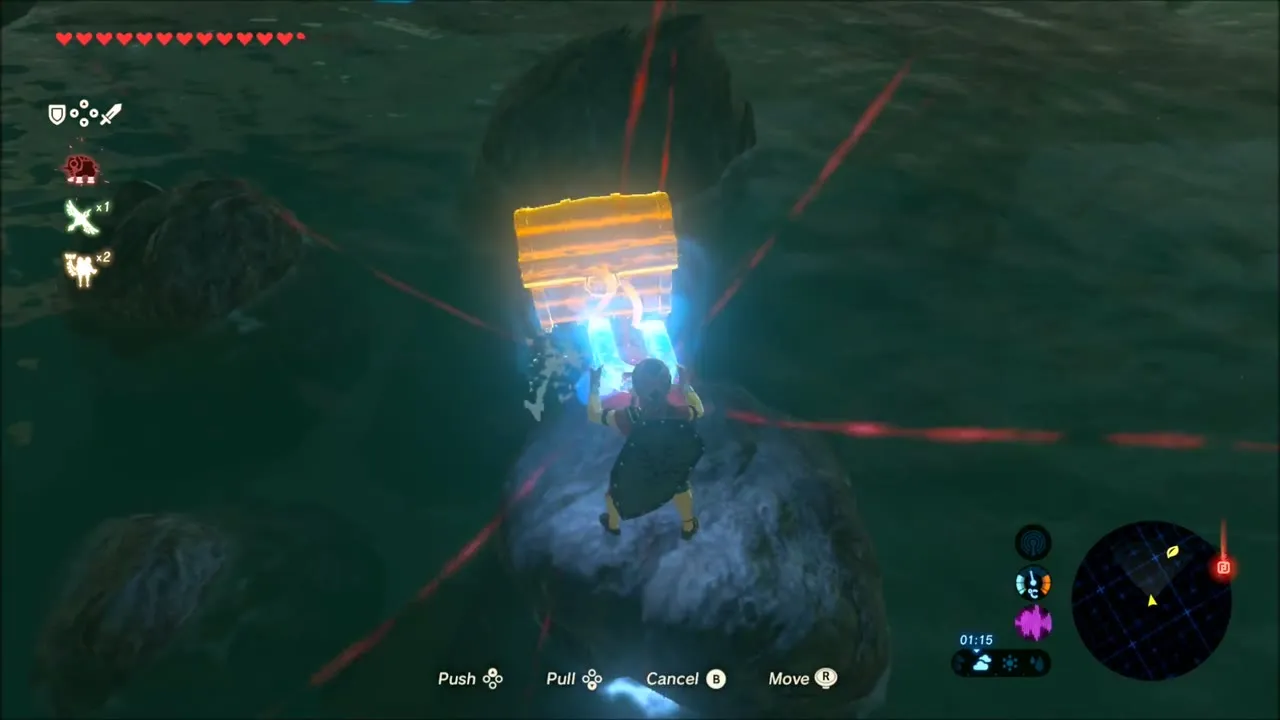
Carry on along the beach, where several chests are sunk in shallow water. Use Magnesis to pull each one to dry sand before you open it. Lizalfos that crackle with lightning patrol the sandbars, so keep a shock-proof shield or fight them from range. Near the giant ribs of a sea creature, a chest rests on a wrecked wooden raft; draw it in with Magnesis and open it for five Shock Arrows.



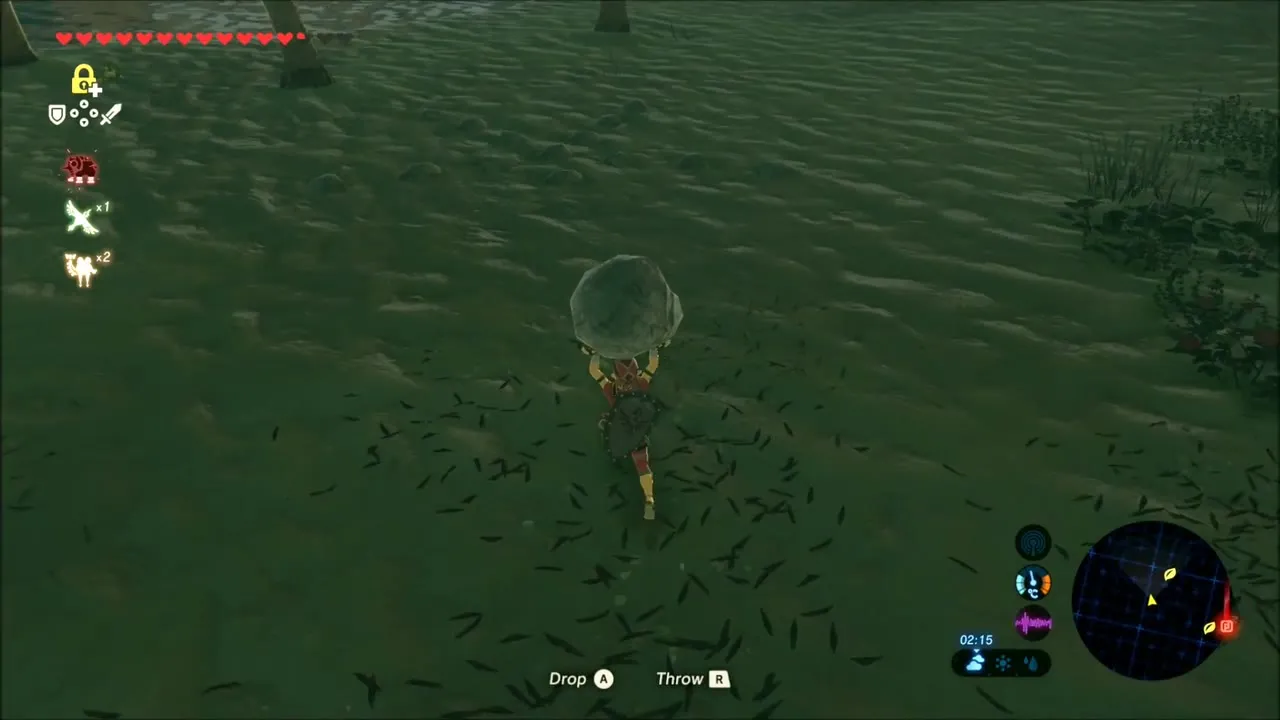
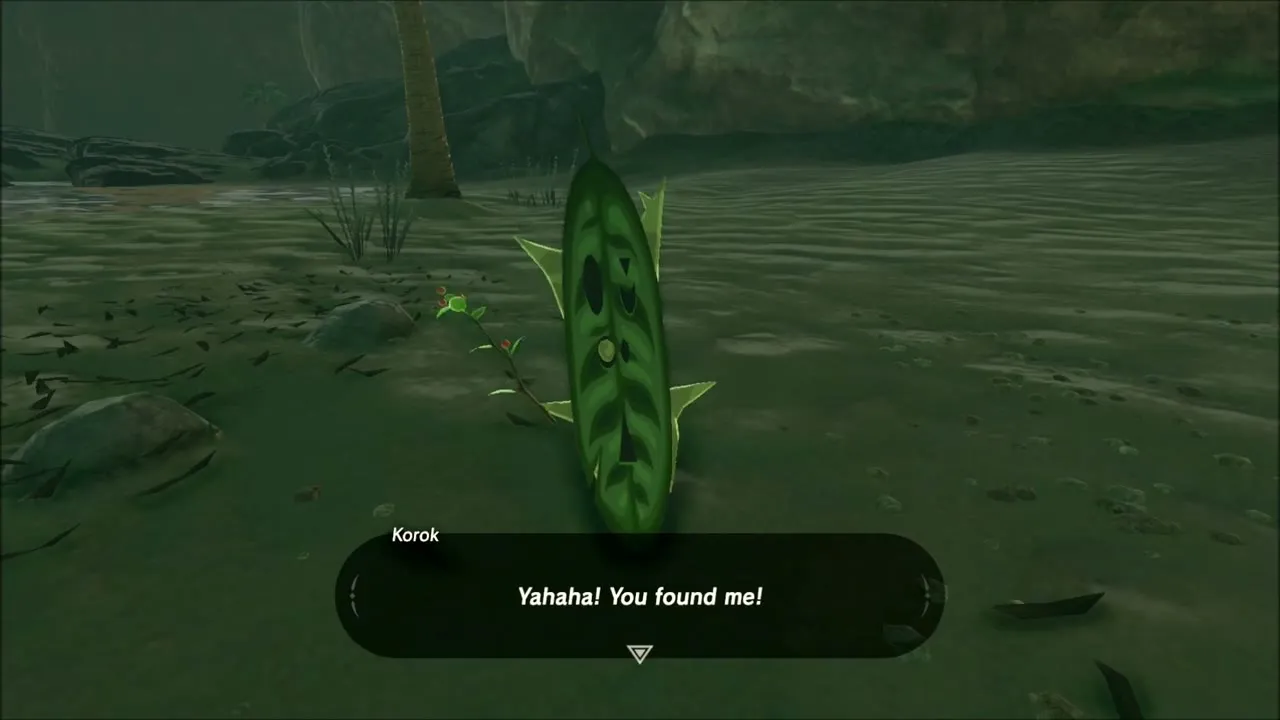
One more Korok is on the sand at the end of the cove. Pick up the object lying there, carry it a short way and set it down at the spot the Korok indicates.
Forest Moblin Camp and the Bomb Arrows Chest
Leave the shore and head inland to a wooded valley. A Moblin and Bokoblin camp with a tall wooden lookout stands among the trees; defeat everything there and look in the cave next to the camp. A chest lit by two torches holds Bomb Arrows.

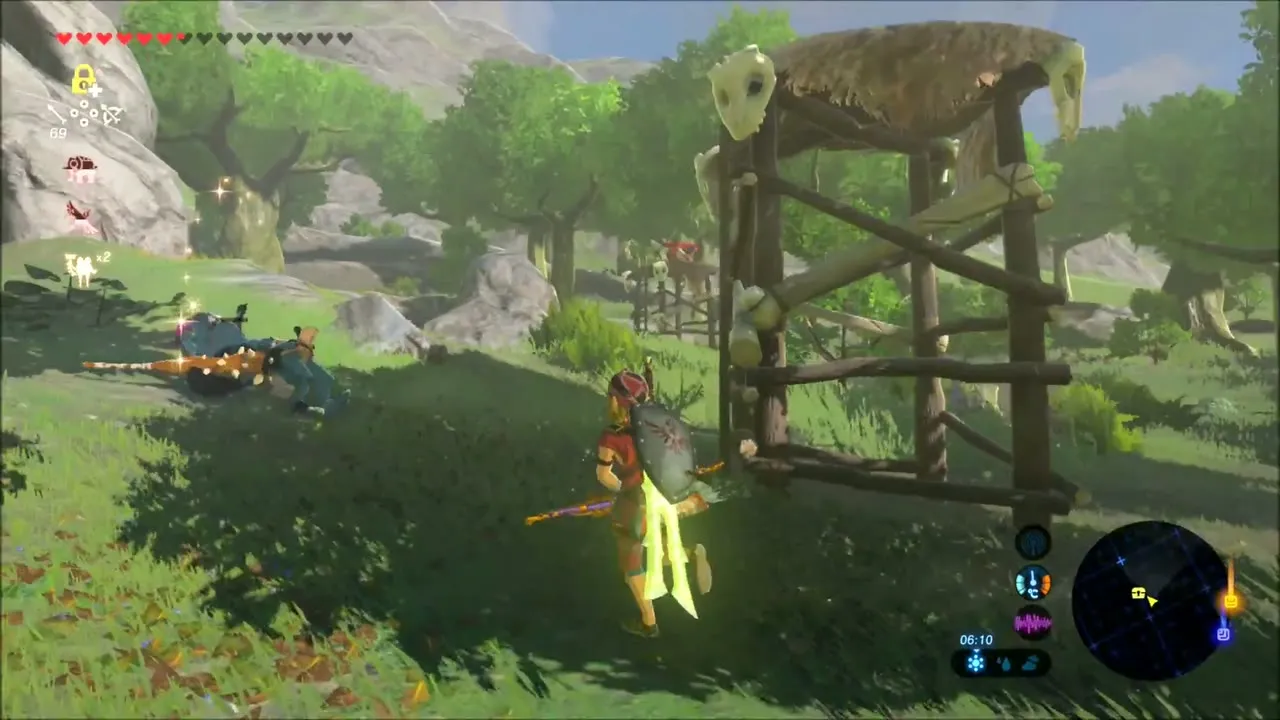

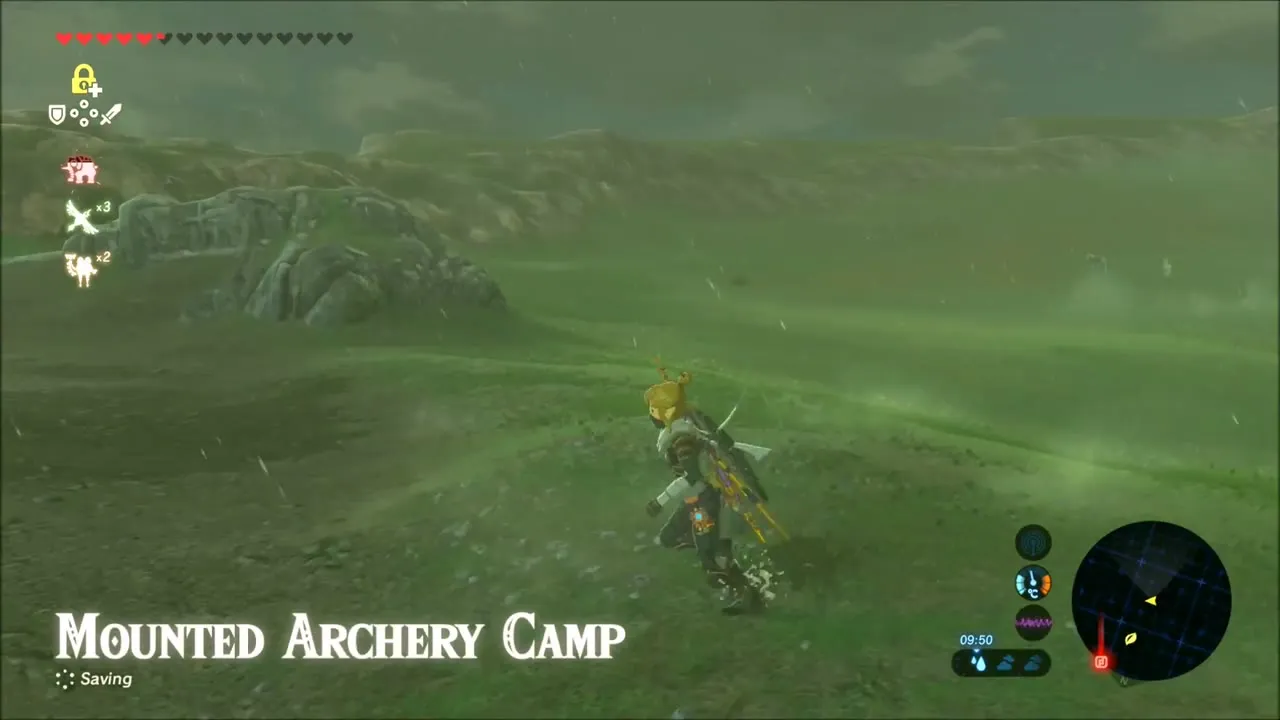
Mounted Archery Camp: Hunt for the Giant Horse
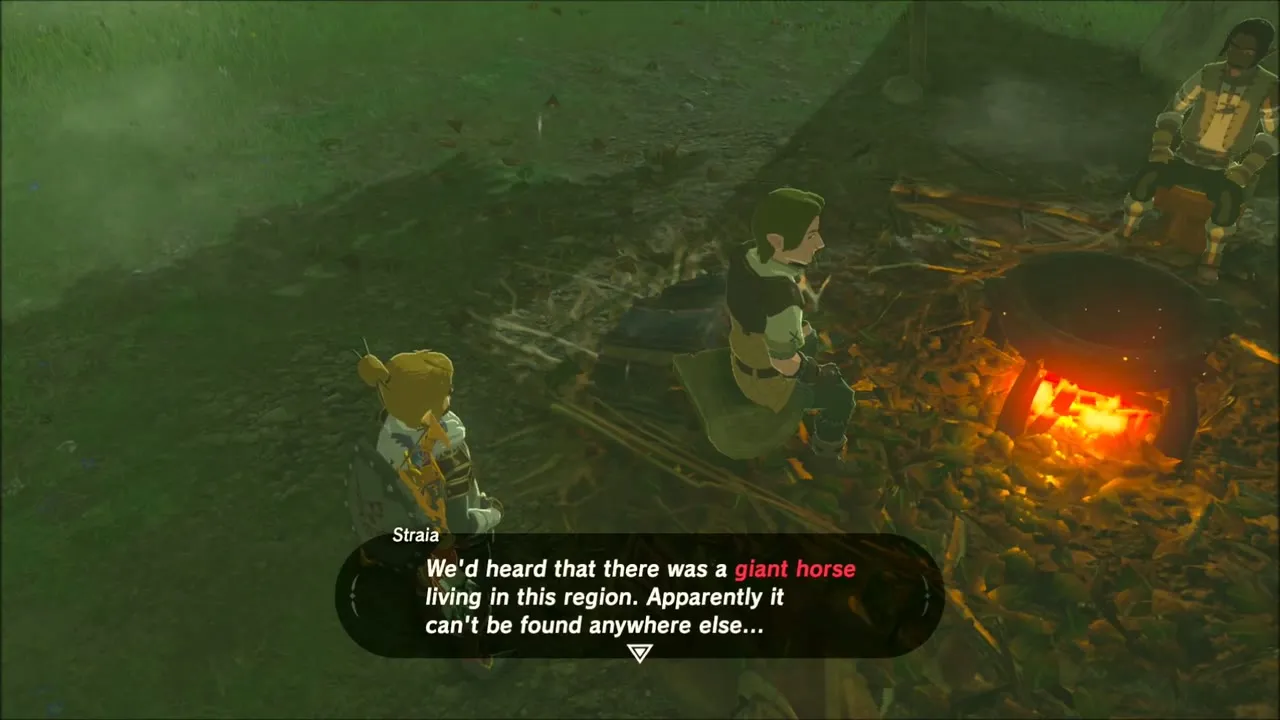
Follow the road to the Mounted Archery Camp and talk to Straia, who is carrying out an ecological study of the wild animals nearby. He gives you Hunt for the Giant Horse: an enormous horse roams the Taobab Grassland, and he wants you to mount it and bring it back to the camp. Leave it for later; there is a lot of ground still to cover here.

Korok Seeds and the Fisherman’s Shield Around the Camp
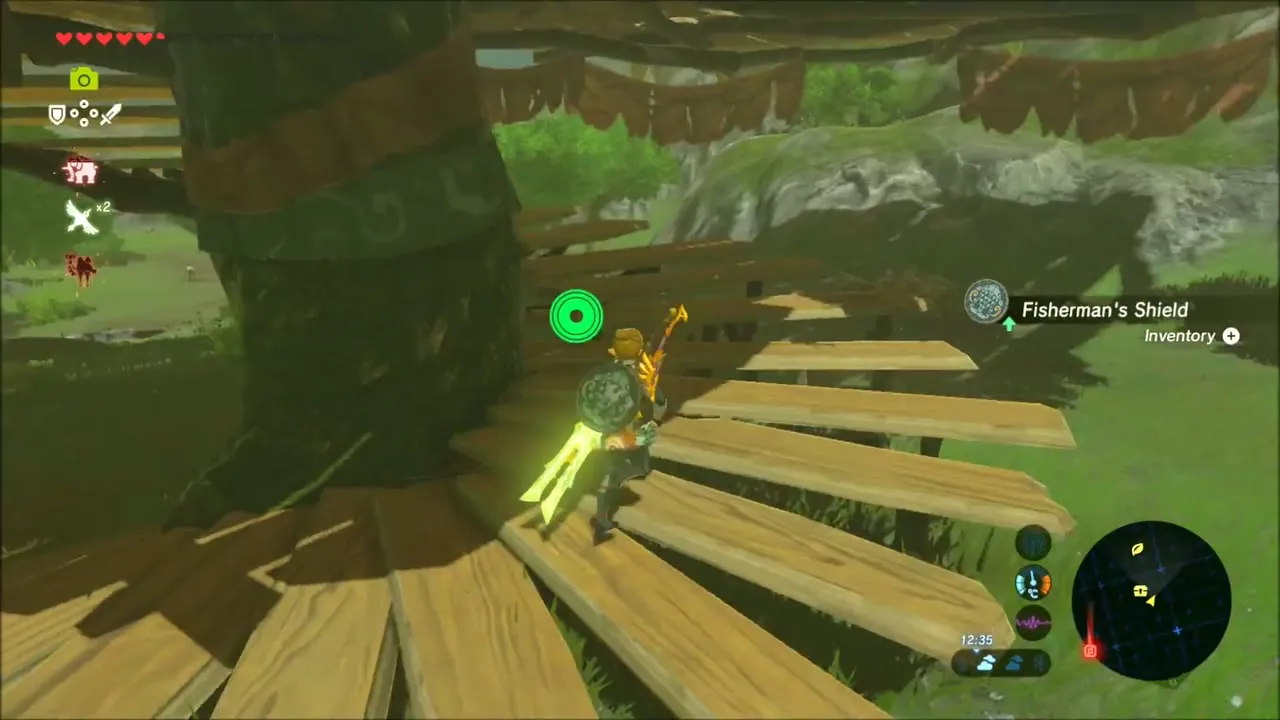
The rainy hills around the camp hide more seeds. One Korok is on a rocky ledge not far from the road. A second is on a broken wooden platform: climb the planks and talk to the Korok standing on it. A chest further along the same wooden structure holds a Fisherman’s Shield, so keep climbing up the scaffold to reach it.
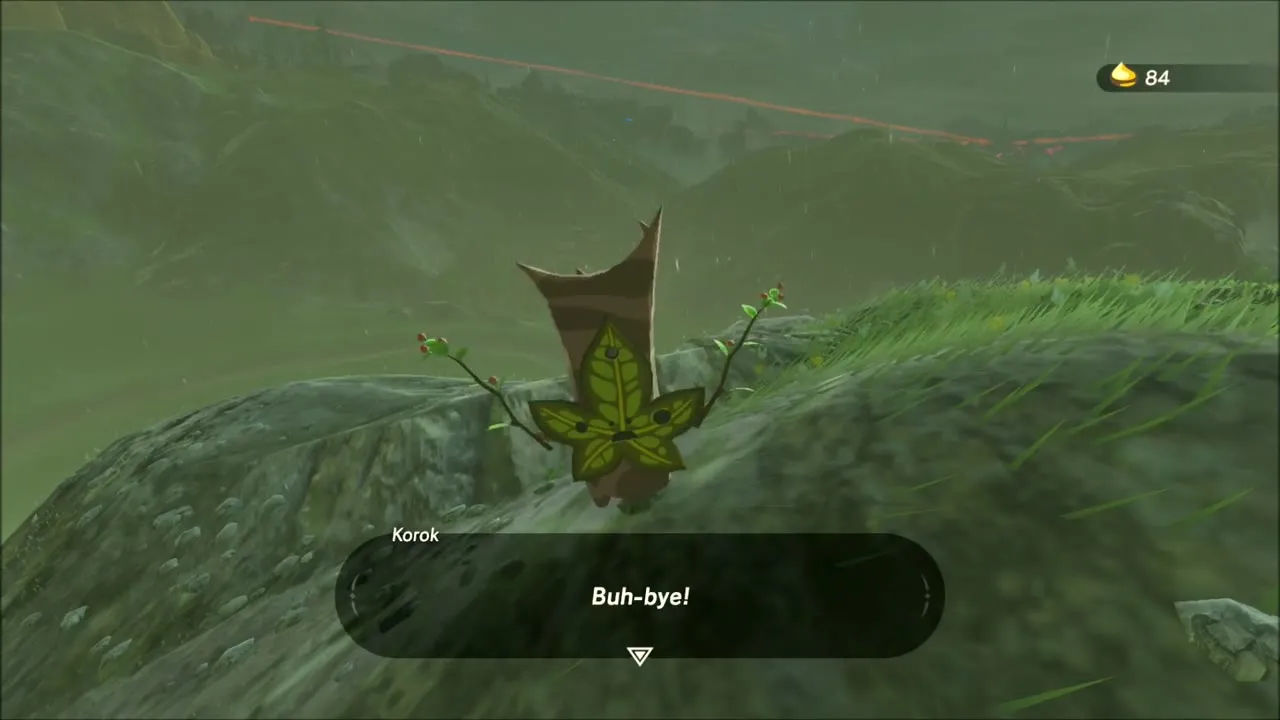


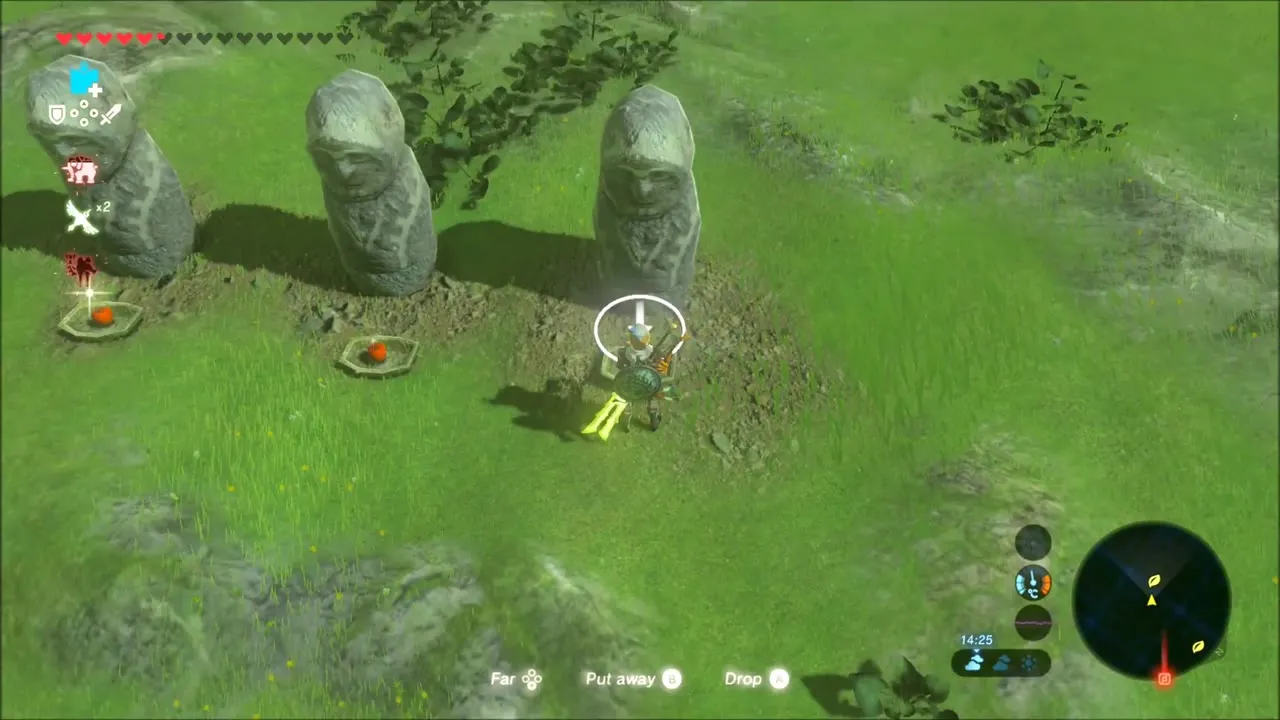
East of the camp, the green hills hide another seed. Stop a heavy object with Stasis near the tree, use Magnesis to shift a rock out of the way, and check around a pair of tall stone statues for the Korok.


Three more seeds are on the river islands and rocky meadows south of the lake. One Korok pops out of a patch of long grass among boulders. For the others, hop between the rocks with Cryonis ice blocks, and use Stasis to hold a crystal in place so you can climb over it. That brings this stretch to fourteen Korok seeds.


Lake Tower: Location and How to Activate It
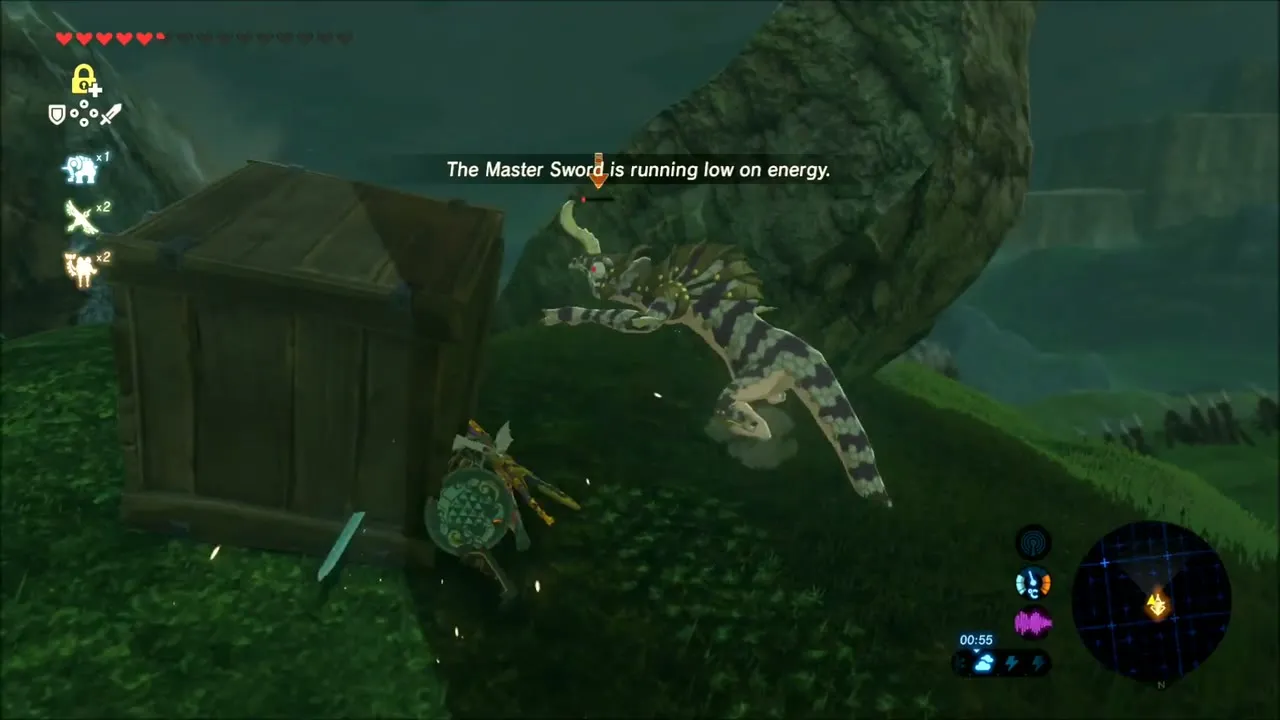
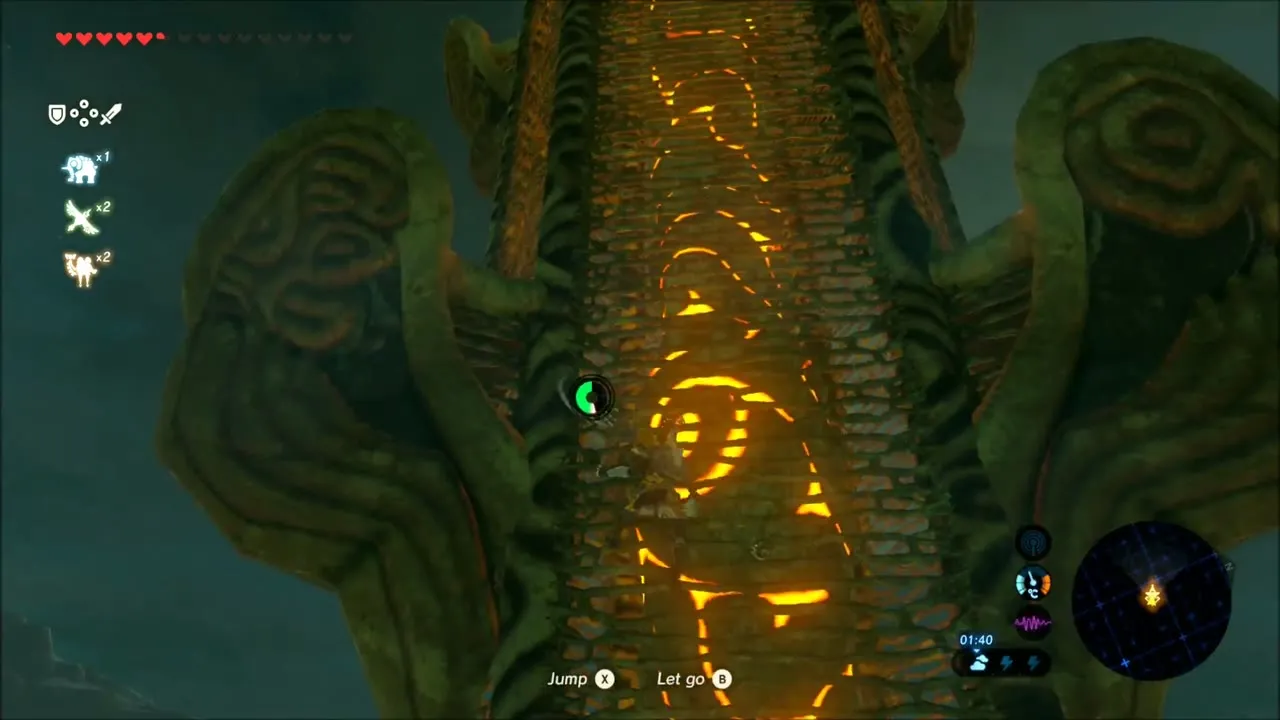
With the seeds done, walk through the dark grassland toward the tower you can see ahead. A group of Lizalfos attacks near a large boulder; beat them and open the chest beside the boulder. Then climb Lake Tower, which stands at (-32, 2962), height 301, in map square E-7. Climb the outside to the top, activate the terminal, and the Lake region’s map downloads to your Sheikah Slate.



Hylia Island Surroundings: Lizalfos Ridge and the Phrenic Bow Chest
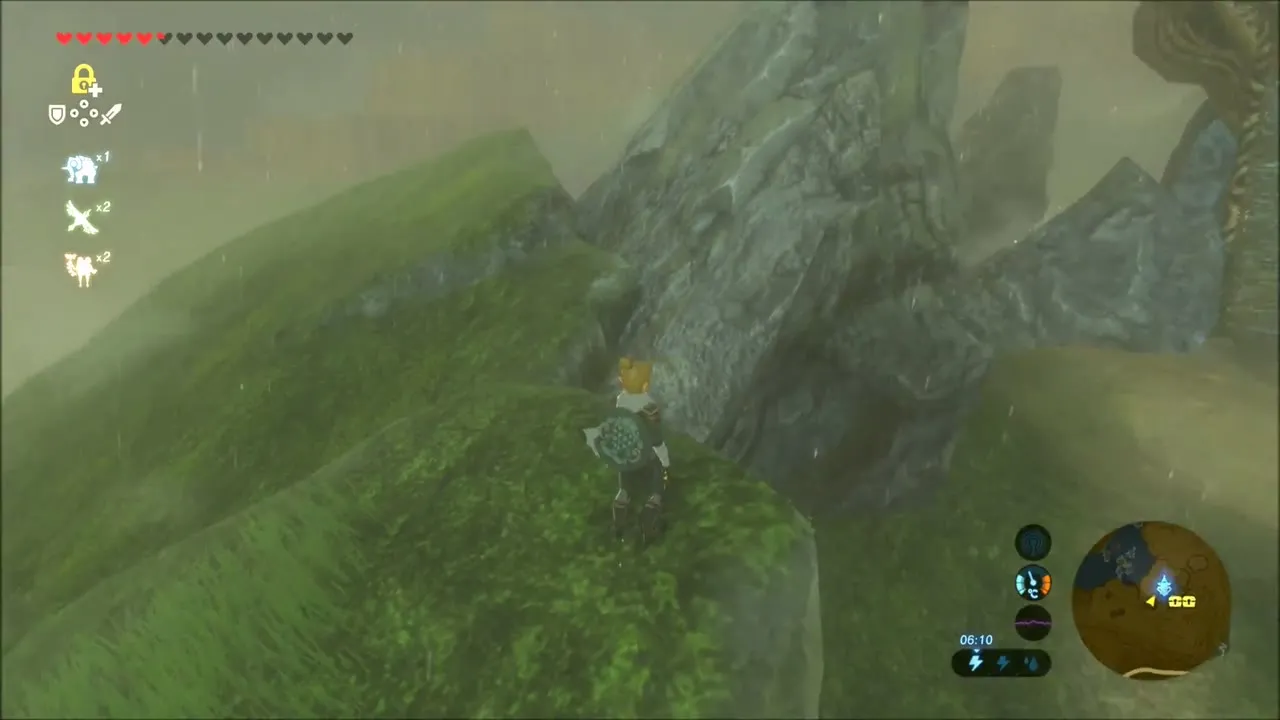
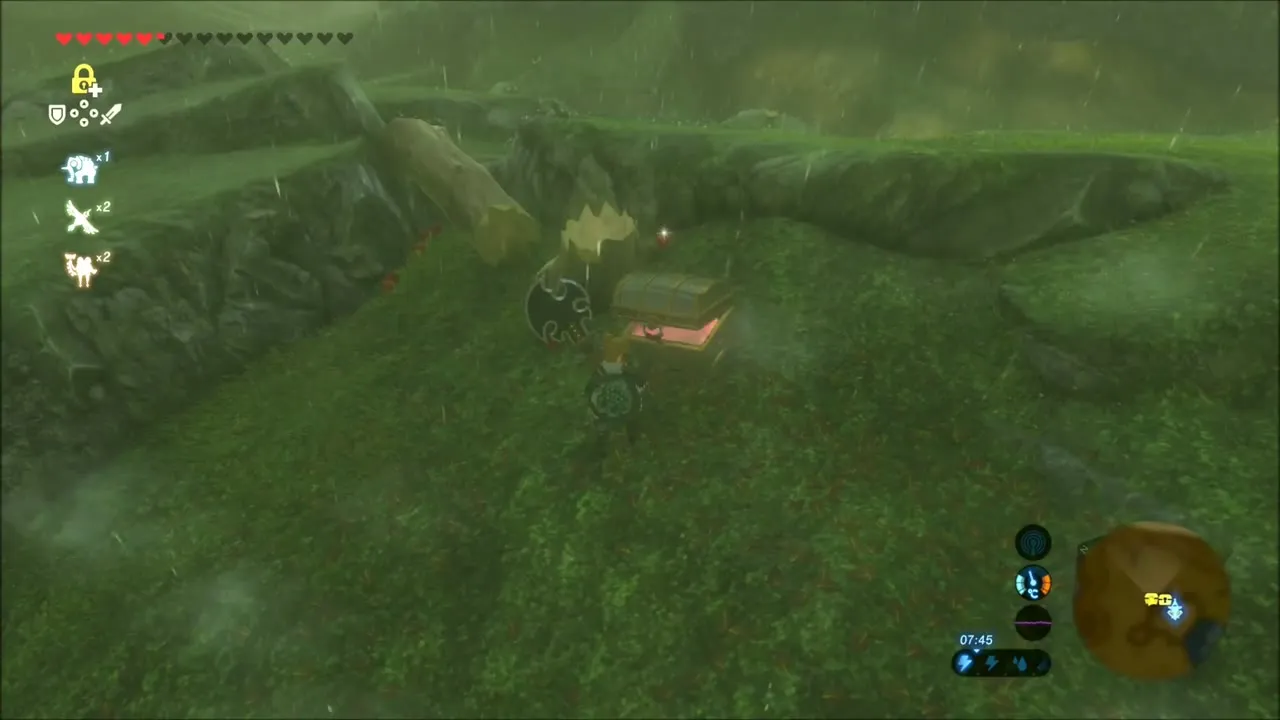
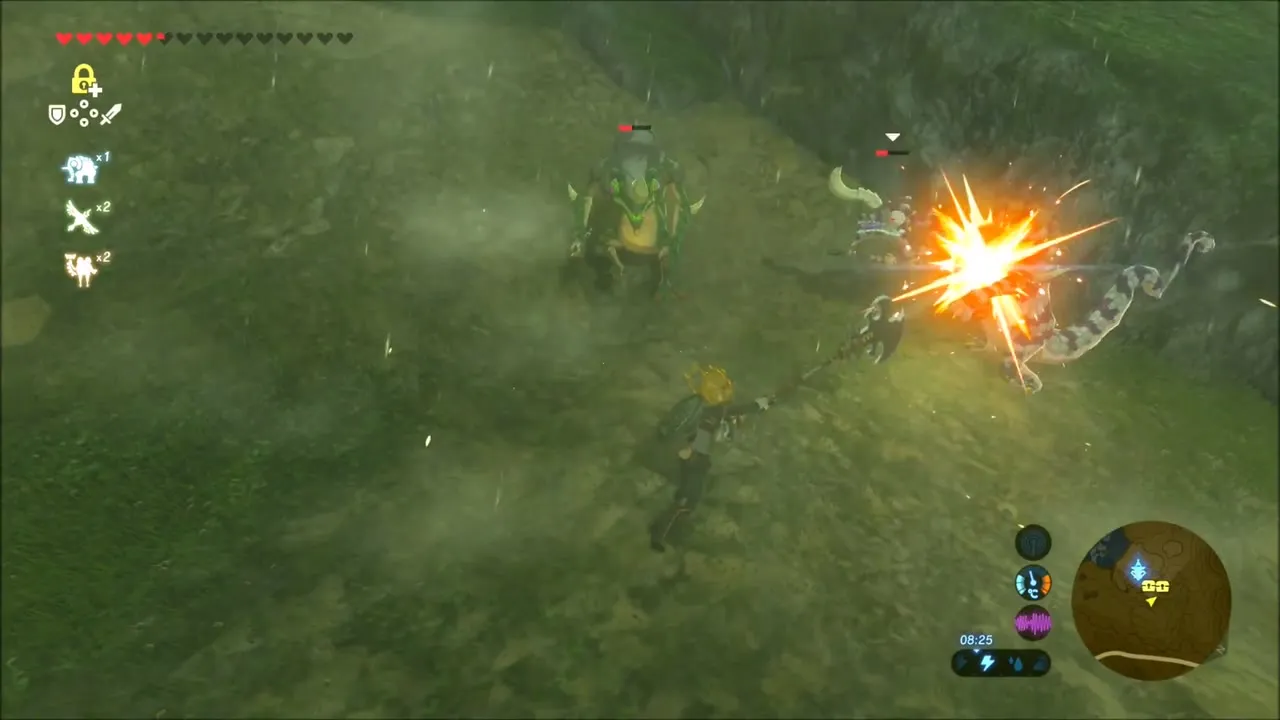
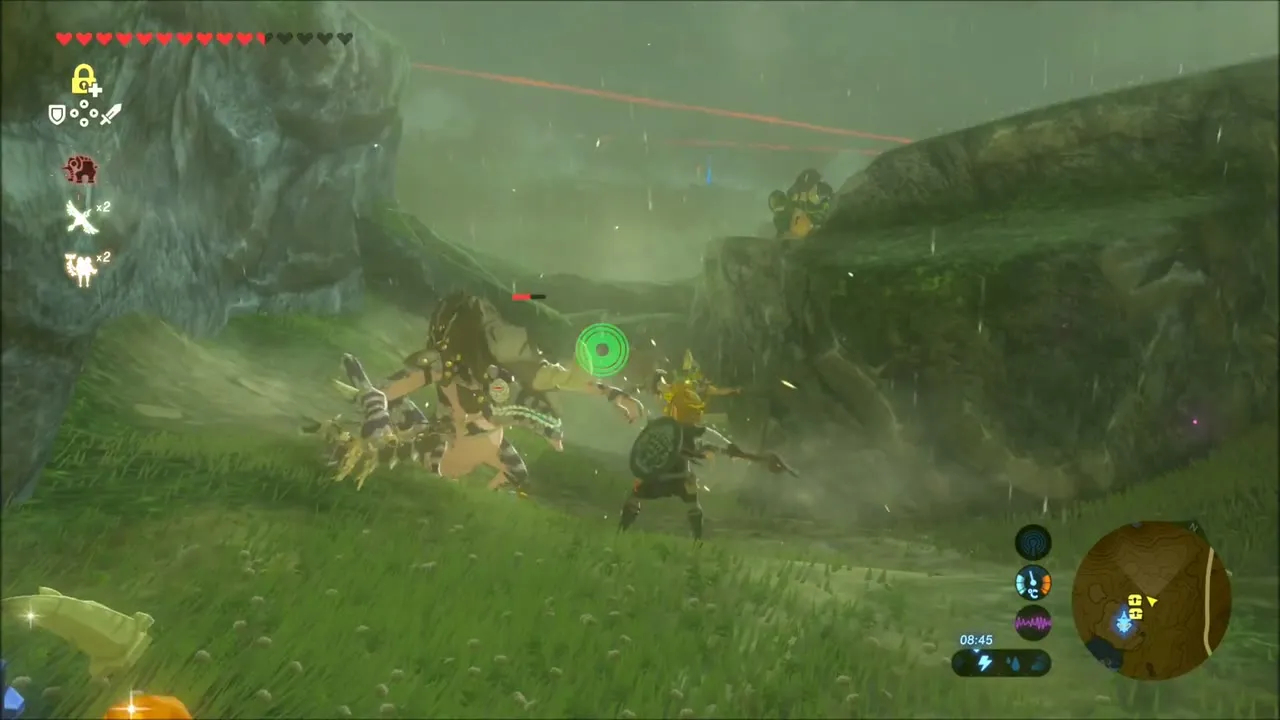
Start on the ridge above the western edge of Lake Hylia and drop a few map pins on the places you still need to visit around Taobab Grassland and Hylia Island. Glide down into the rain-soaked slopes, where a chest in the grass holds a bundle of ten arrows, then work your way along the hillside through a handful of Lizalfos.
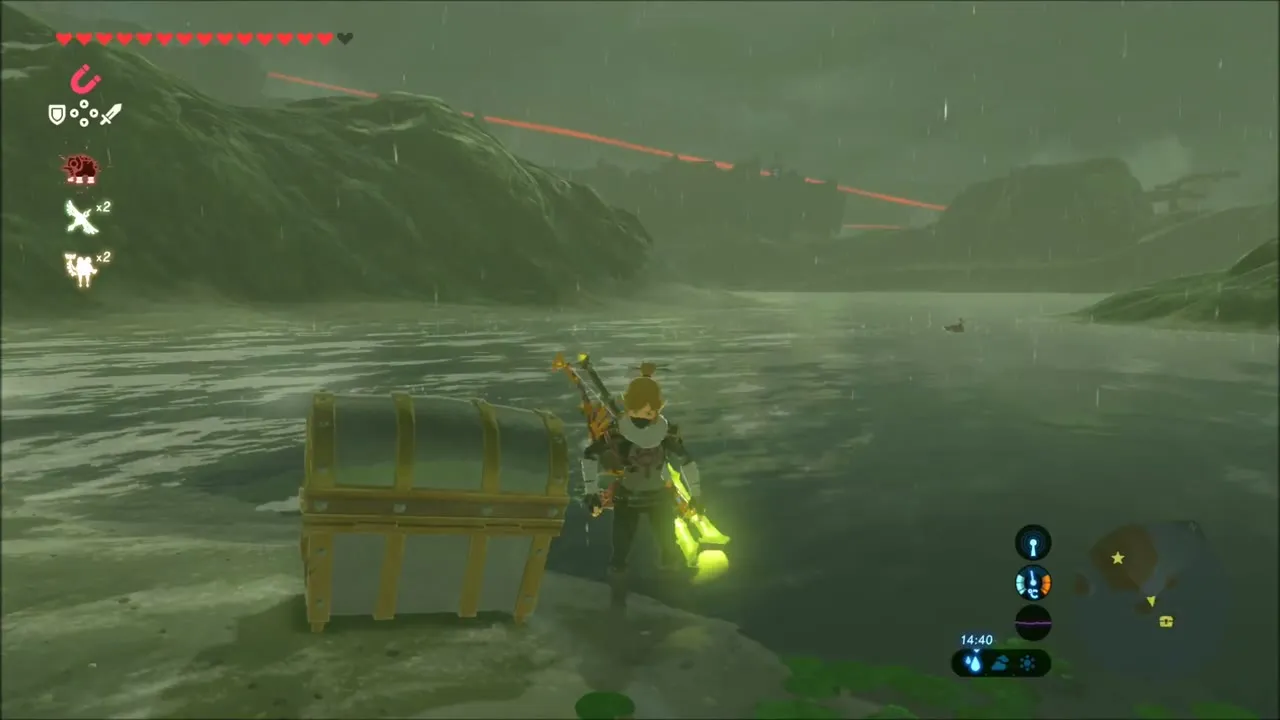
Beyond the ridge, take to the water and swim out to the little islets that ring Hylia Island. Use Magnesis to raise a sunken chest out of the lake; it contains the Phrenic Bow, a bow that lets you target distant enemies as accurately as close ones. A second chest sits on the next islet along.


A Wife Washed Away: Finding Mei at Lake Hylia
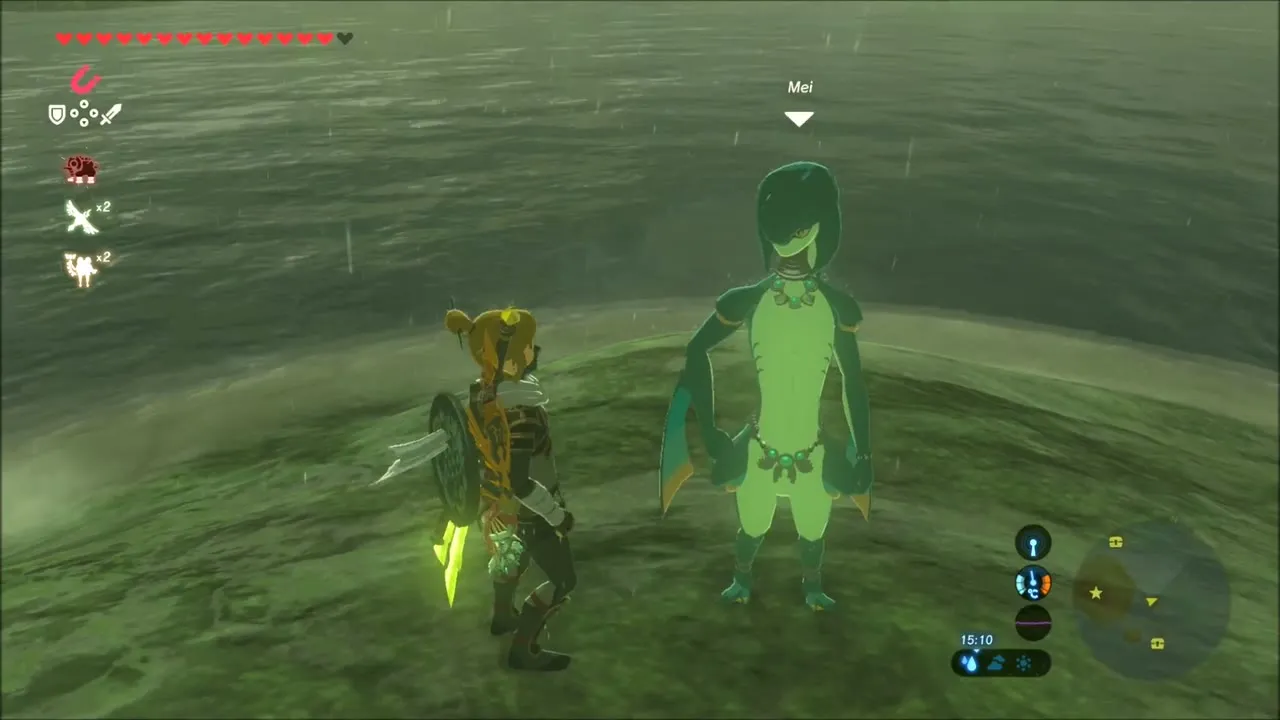
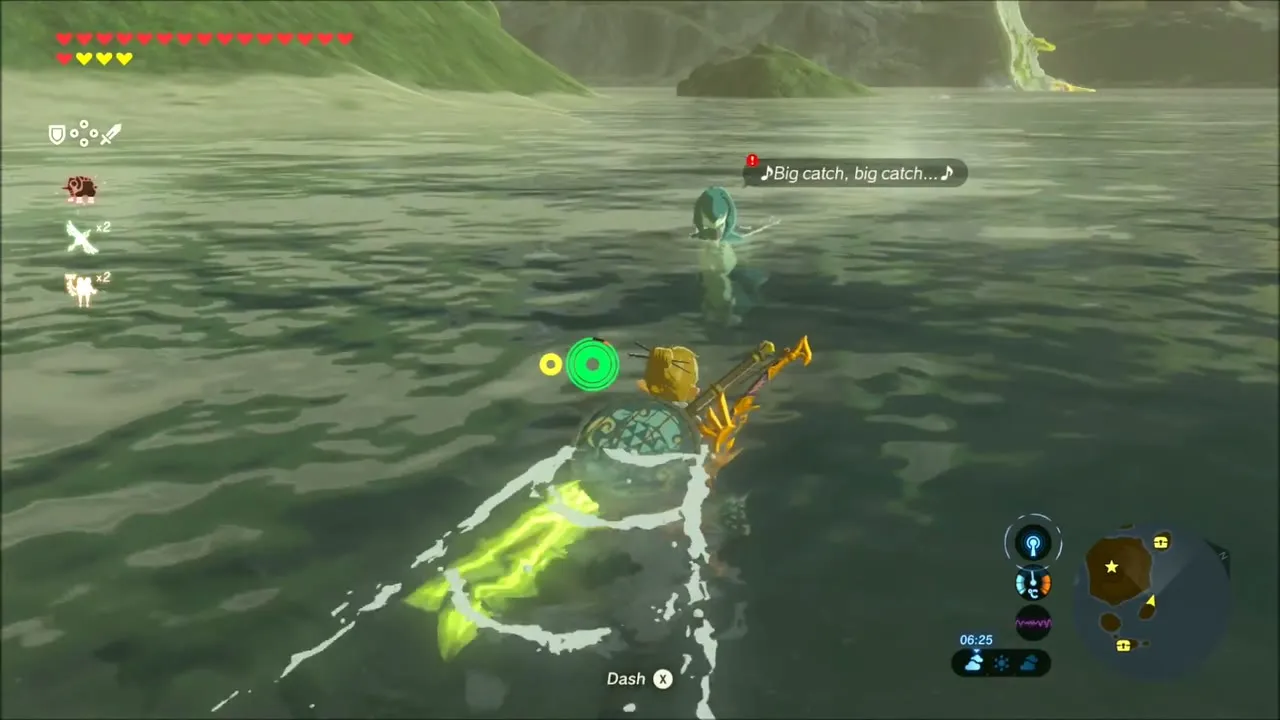
Out on the islets you meet a Zora named Mei, who is chatting about the weather. She is the wife that A Wife Washed Away asks you to track down, so speak to her and then open the map and warp to the Ne’ez Yohma Shrine to find her husband.


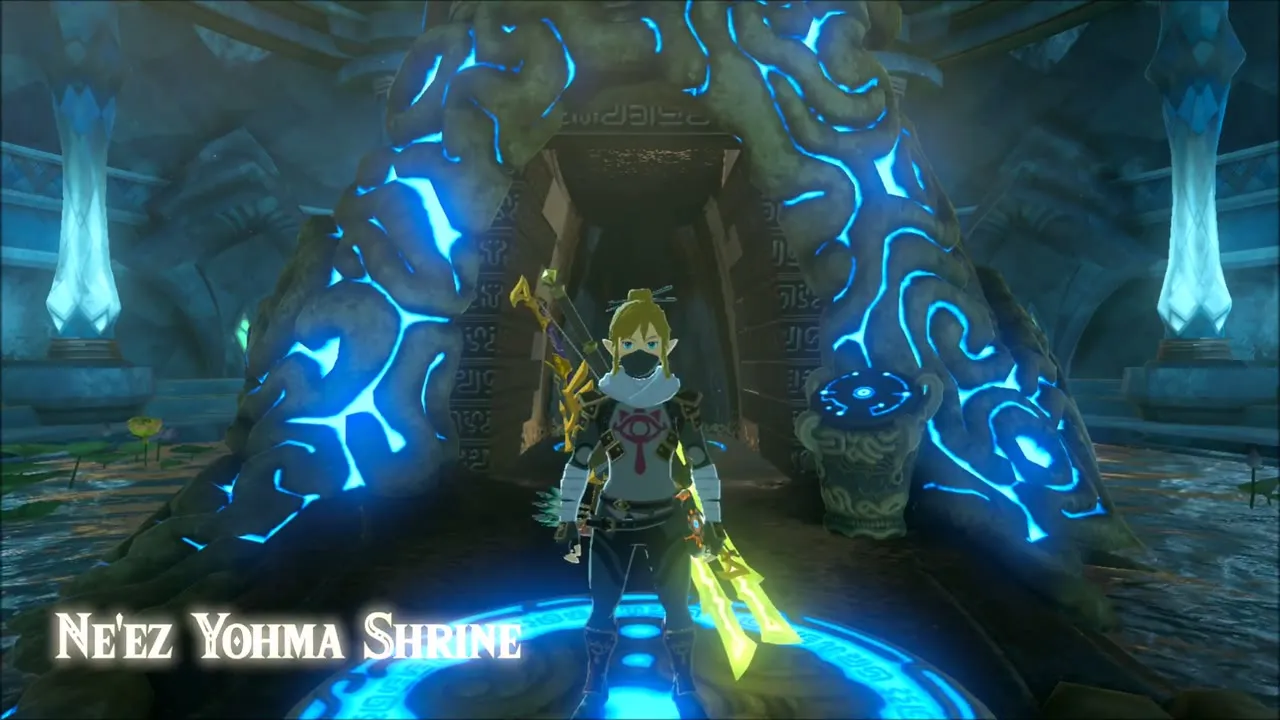
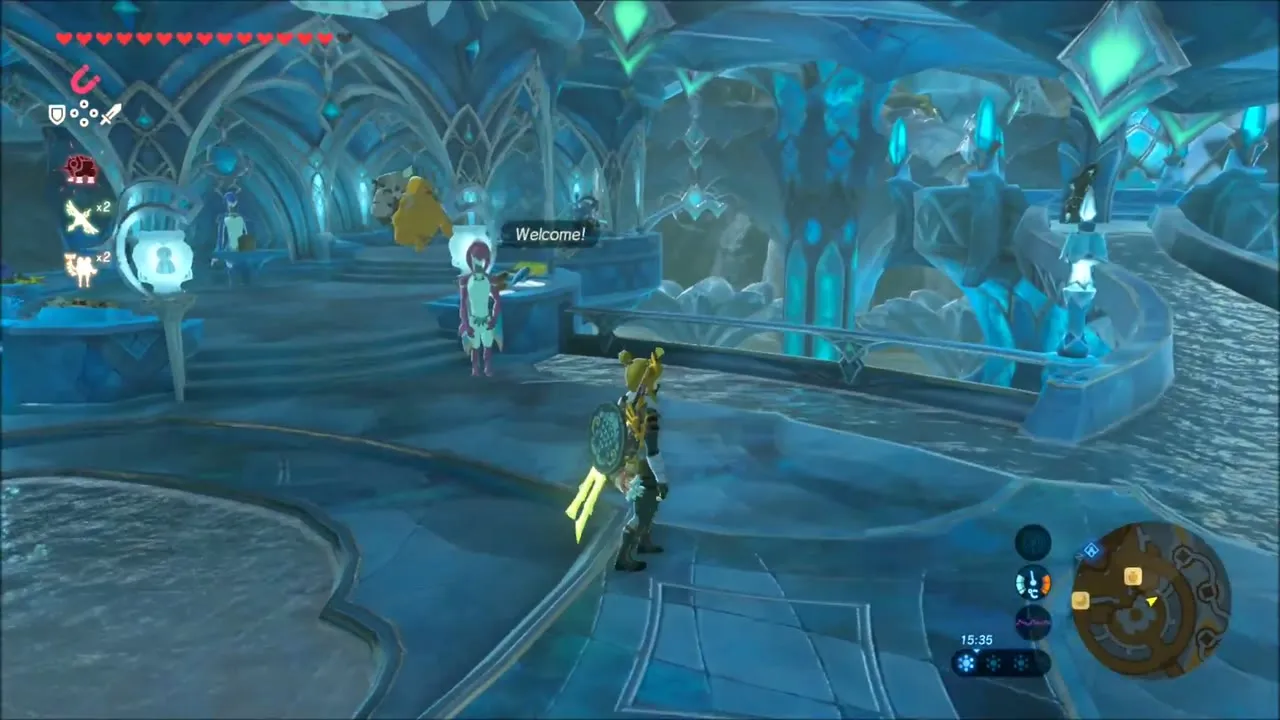
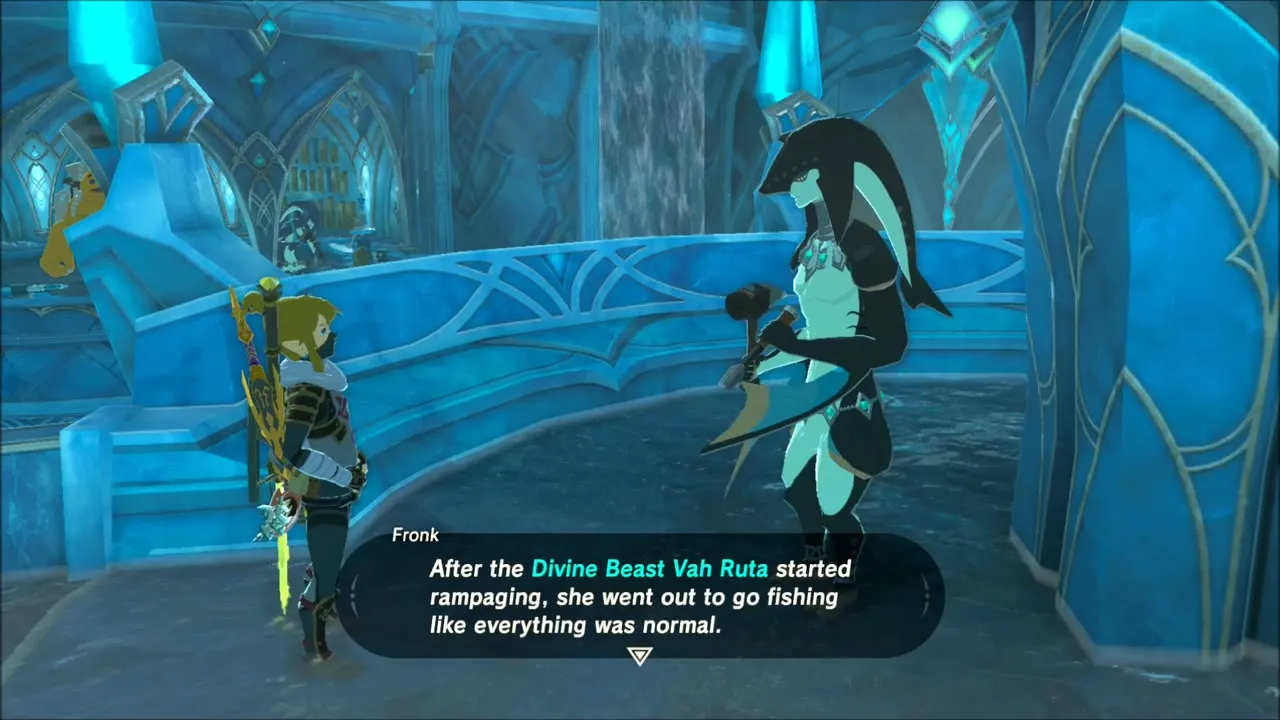
Climb the stairs into Zora’s Domain and talk to Fronk, who explains that Mei went fishing after Vah Ruta started rampaging and never came home. Take the quest, then fast travel back to the lake.
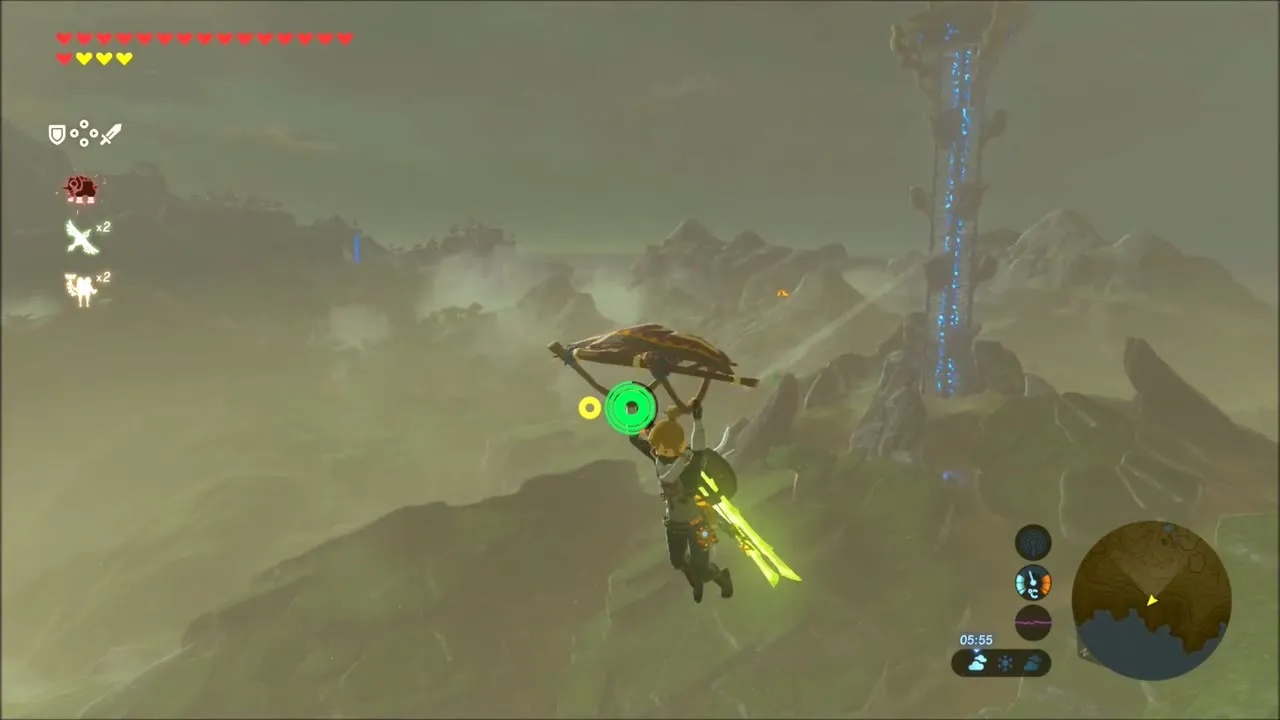
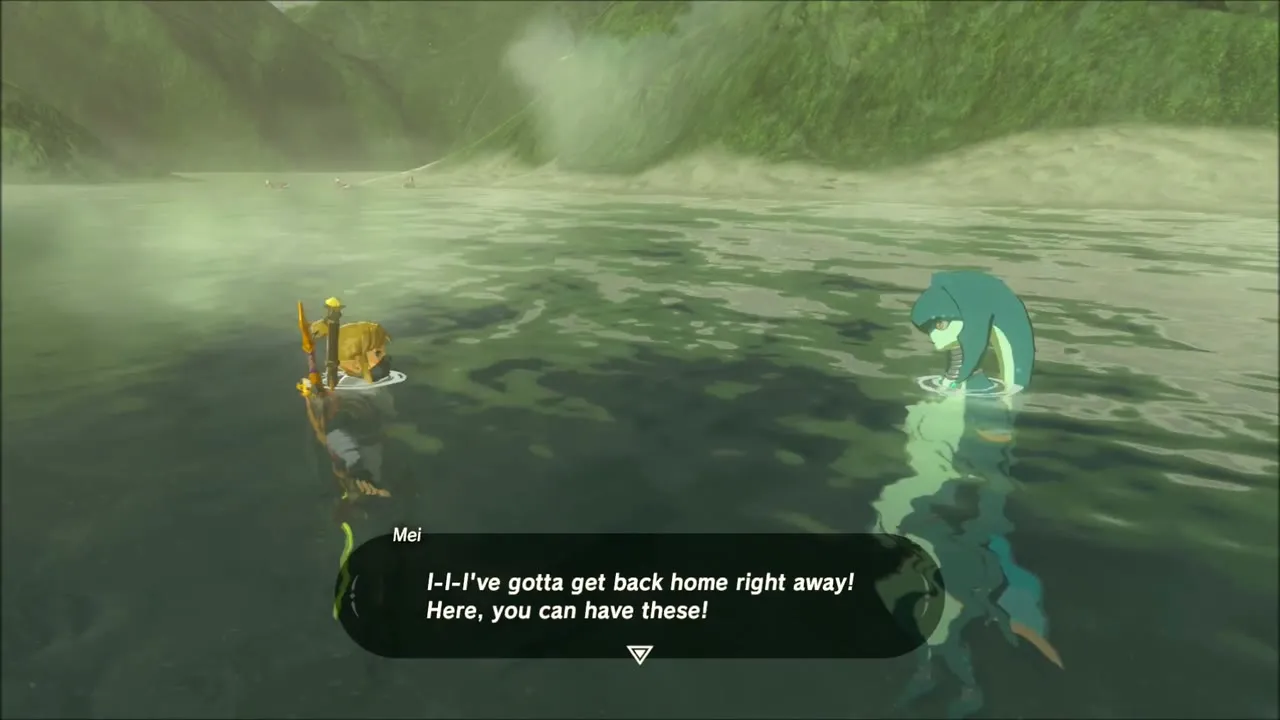
Glide over the water, with Lake Tower on the horizon, and swim back to Mei. This time she realises she has to hurry home and gives you a handful of fish, the 5 Staminoka Bass, which completes the quest.

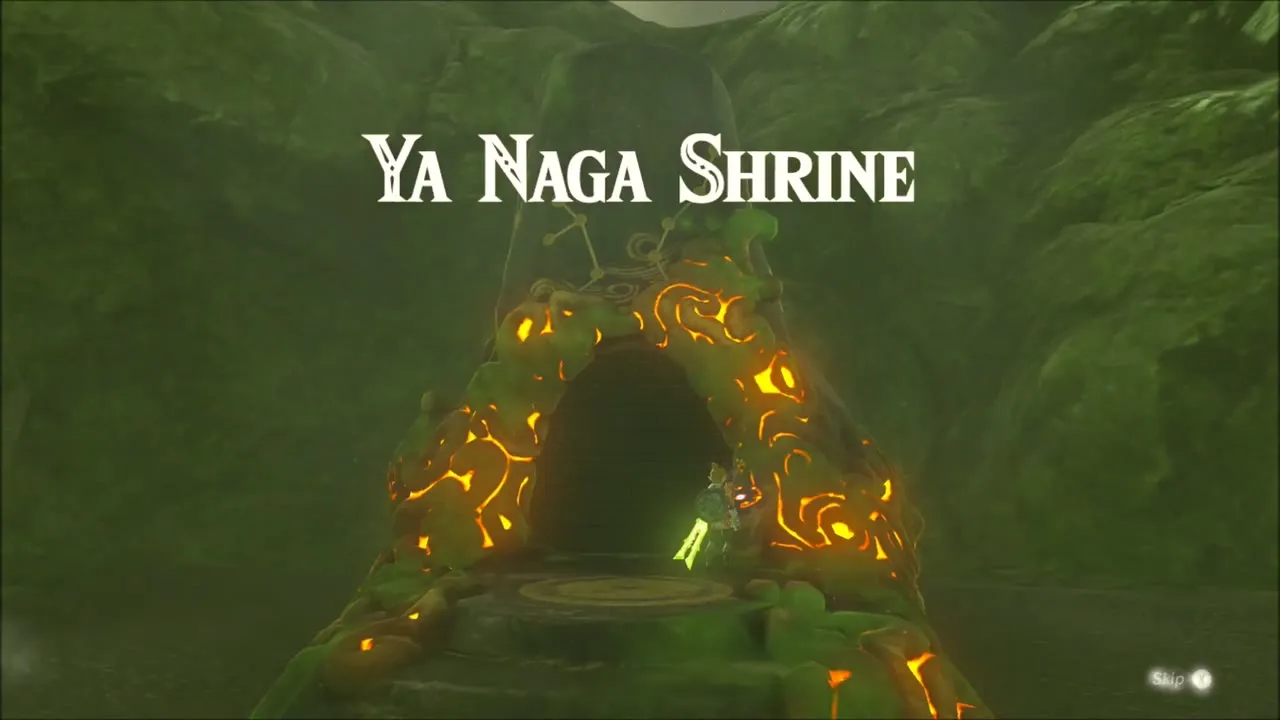
Ya Naga Shrine: Shatter the Heavens (Remote Bombs)
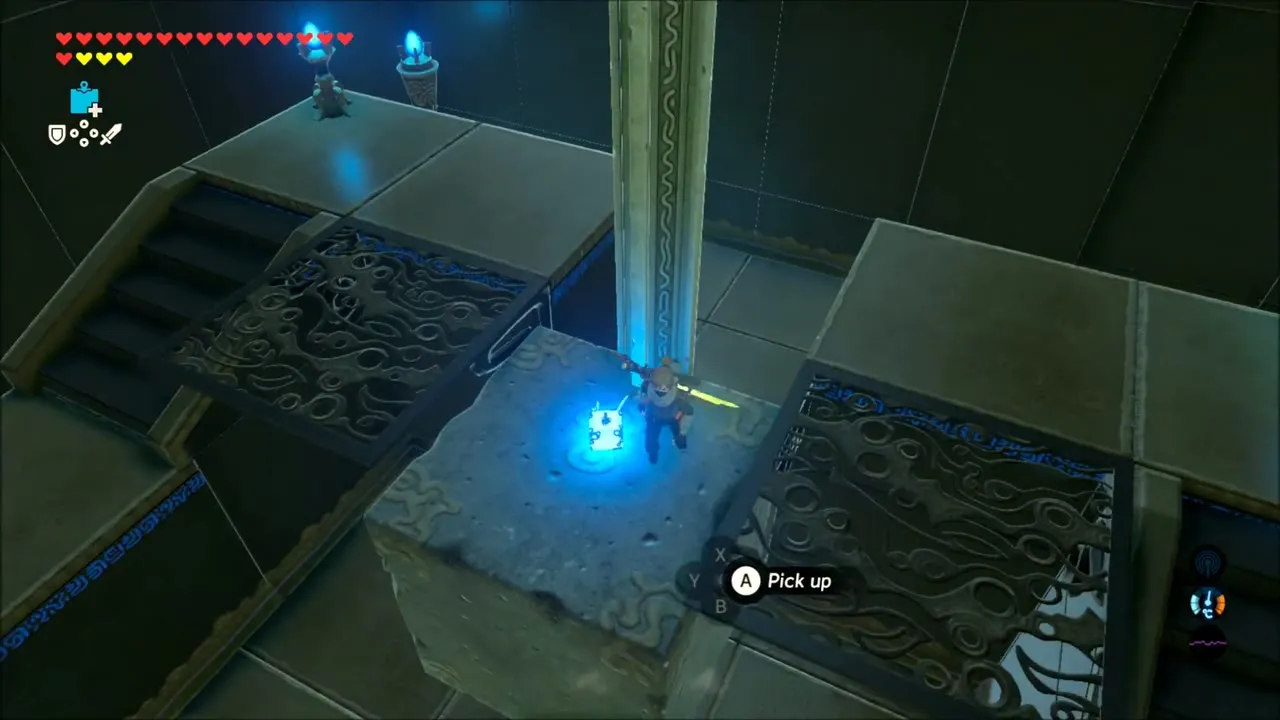
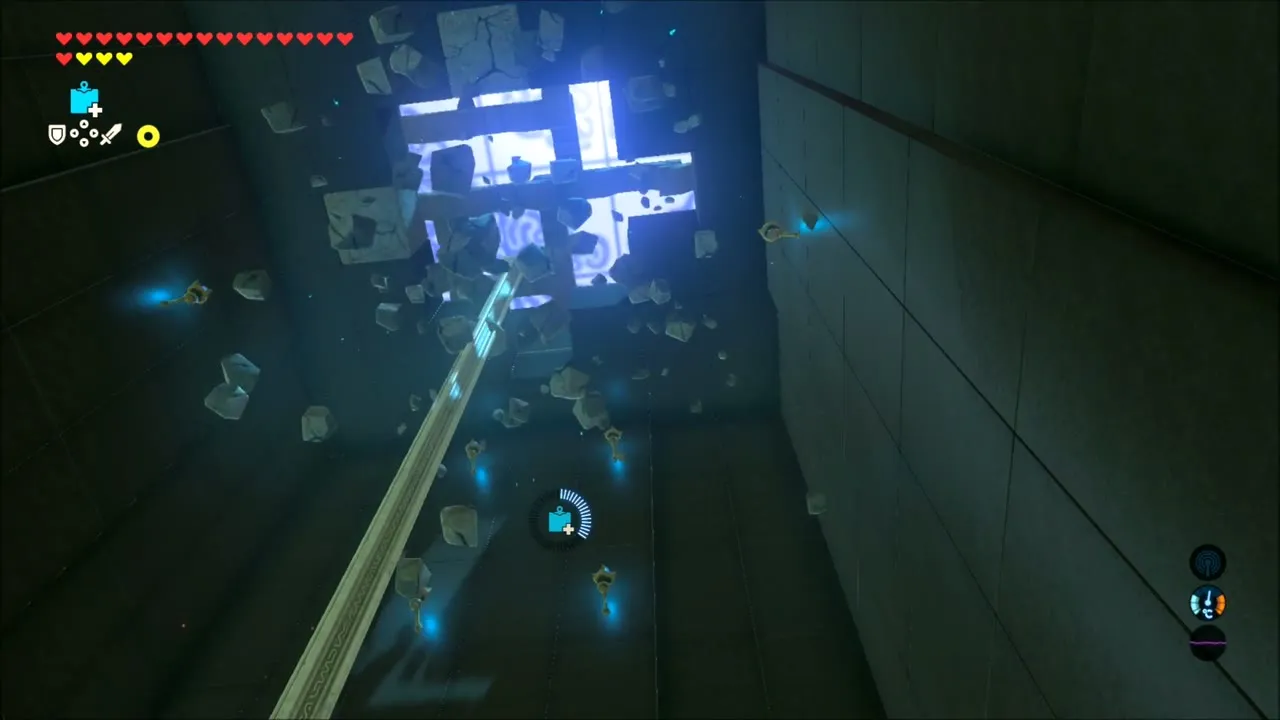
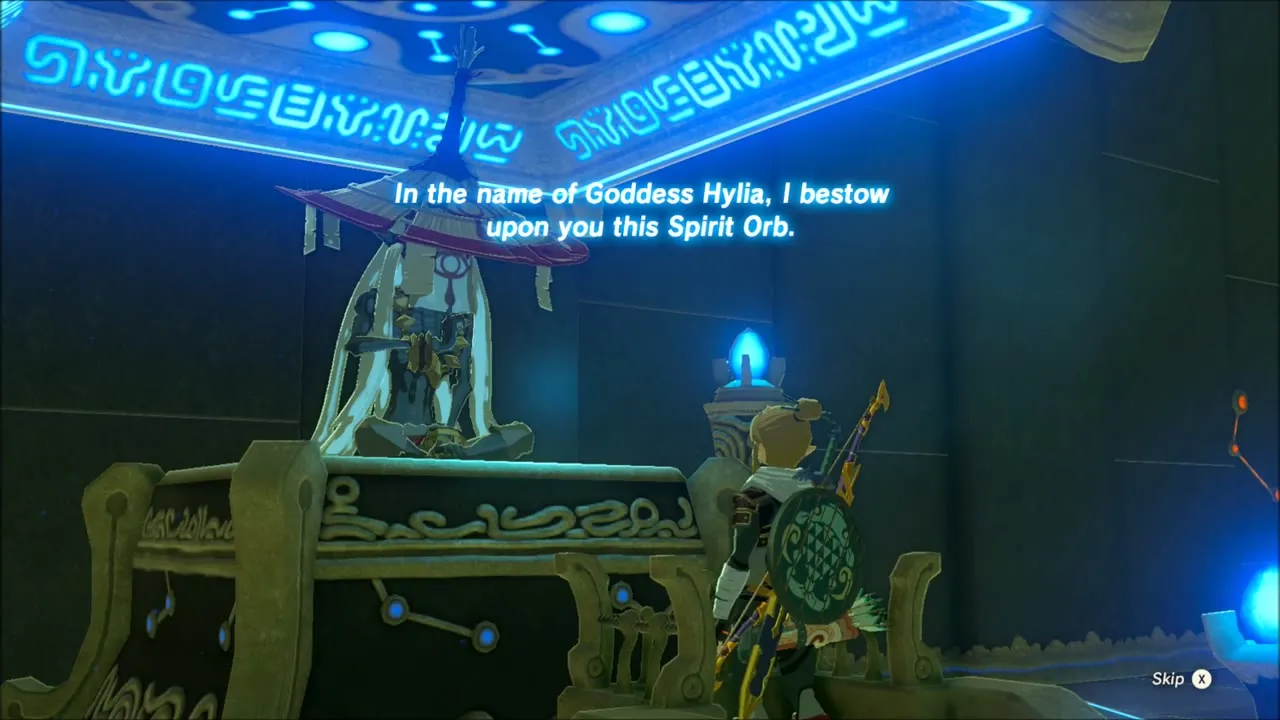
Ya Naga Shrine lies in a hollow in the middle of Hylia Island at (-329, 2600). The trial is “Shatter the Heavens” and it needs both bomb shapes: lift the stone cube with a round bomb, then use a square bomb on top of it to break the cracked ceiling. Once the cube drops back, stand on it, set off a round bomb underneath and glide from the top of the launch to the pillar holding the chest, which contains an Eightfold Blade. Speak to the monk Ya Naga at the end for the Spirit Orb. The full solution is on the Ya Naga Shrine page.

Lake Hylia Islet Chests and Korok Seeds
Head back onto the lake and swim along the islands, picking up loot from the Octoroks on the way. On the shore of one islet a pine tree hides a Korok: climb the trunk and you will find the seed at the top.


On the next islet, a chest on the grass holds a Purple Rupee. Close by, a ruined stone pile has a metal block stuck in it. Grab the block with Magnesis, lift it clear, and a Korok is revealed on the stones.

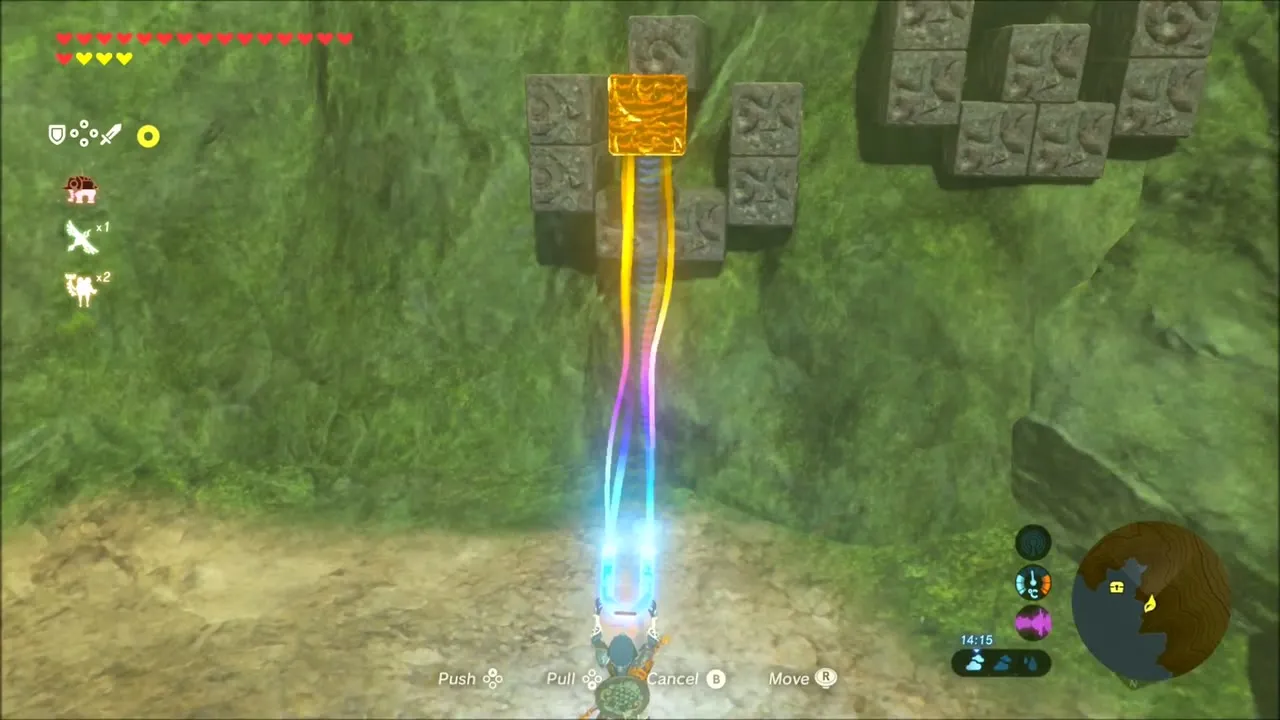
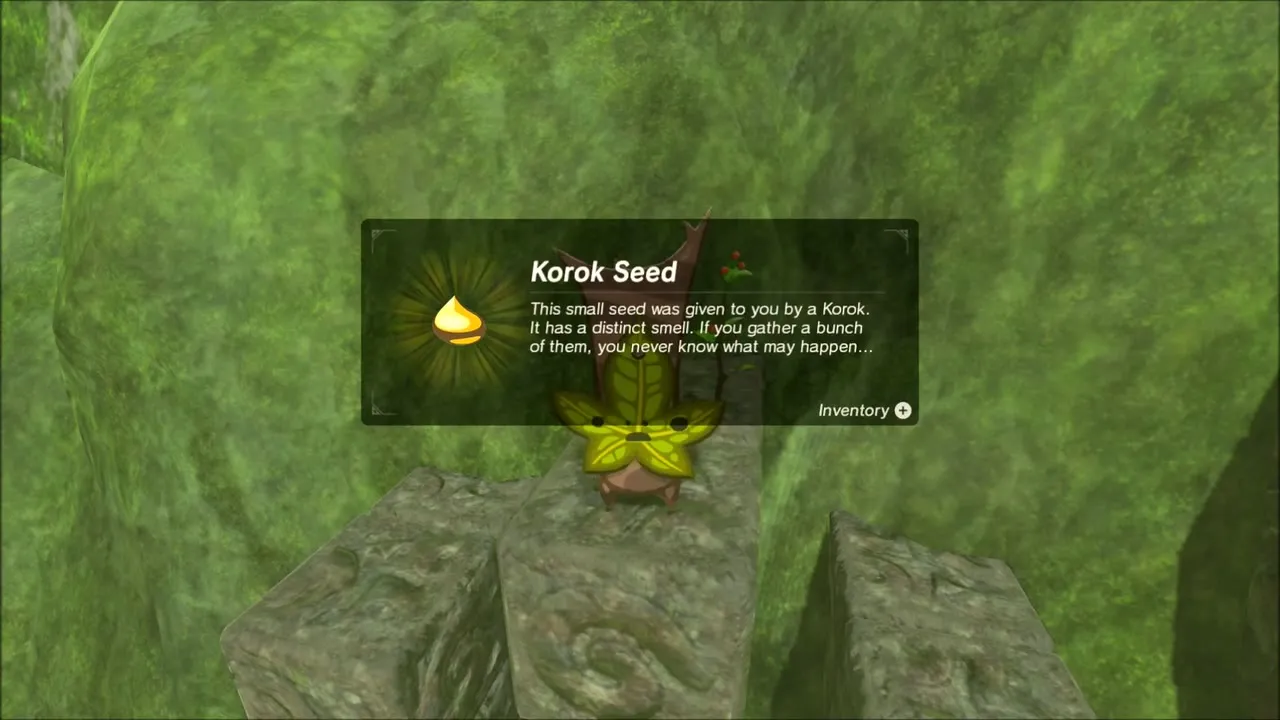
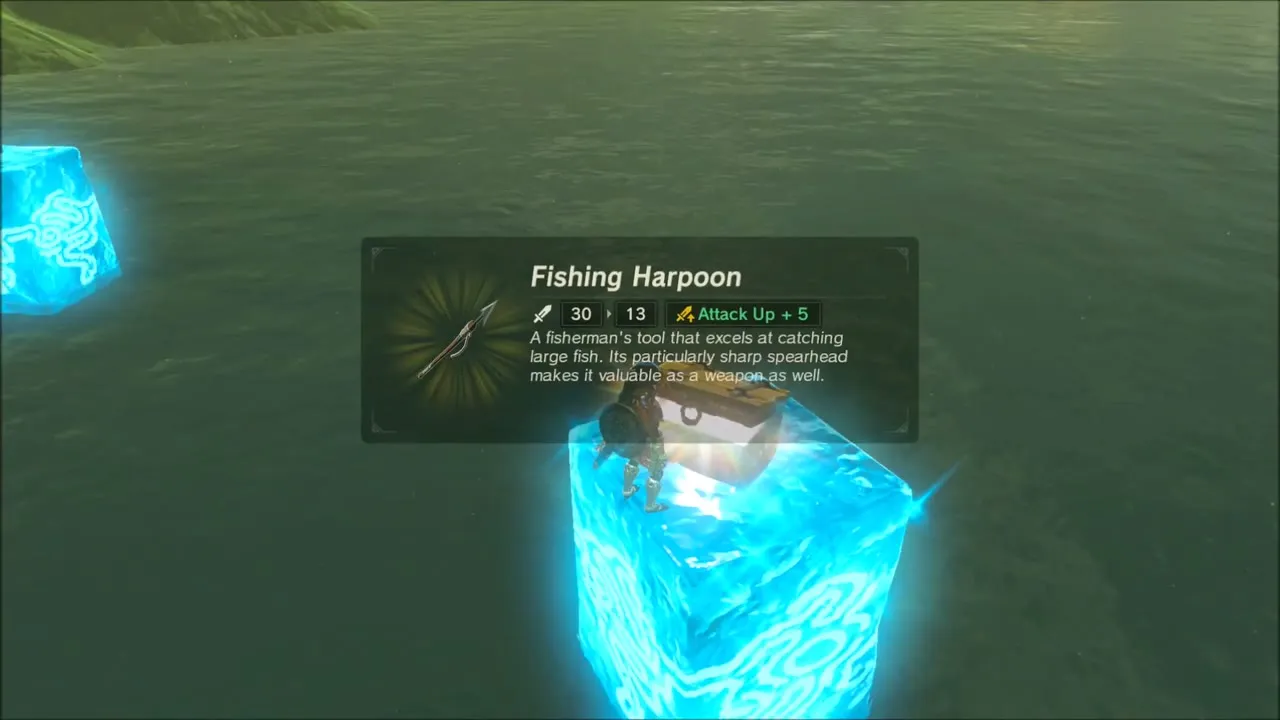
A few islands further on, the chests sit in the water and you need Cryonis to reach them. Freeze a block of ice under each chest in turn to lift it to the surface; one holds a bundle of arrows and another Shock Arrows, and a Fishing Harpoon lies on a separate ice block that you can raise and pick up.
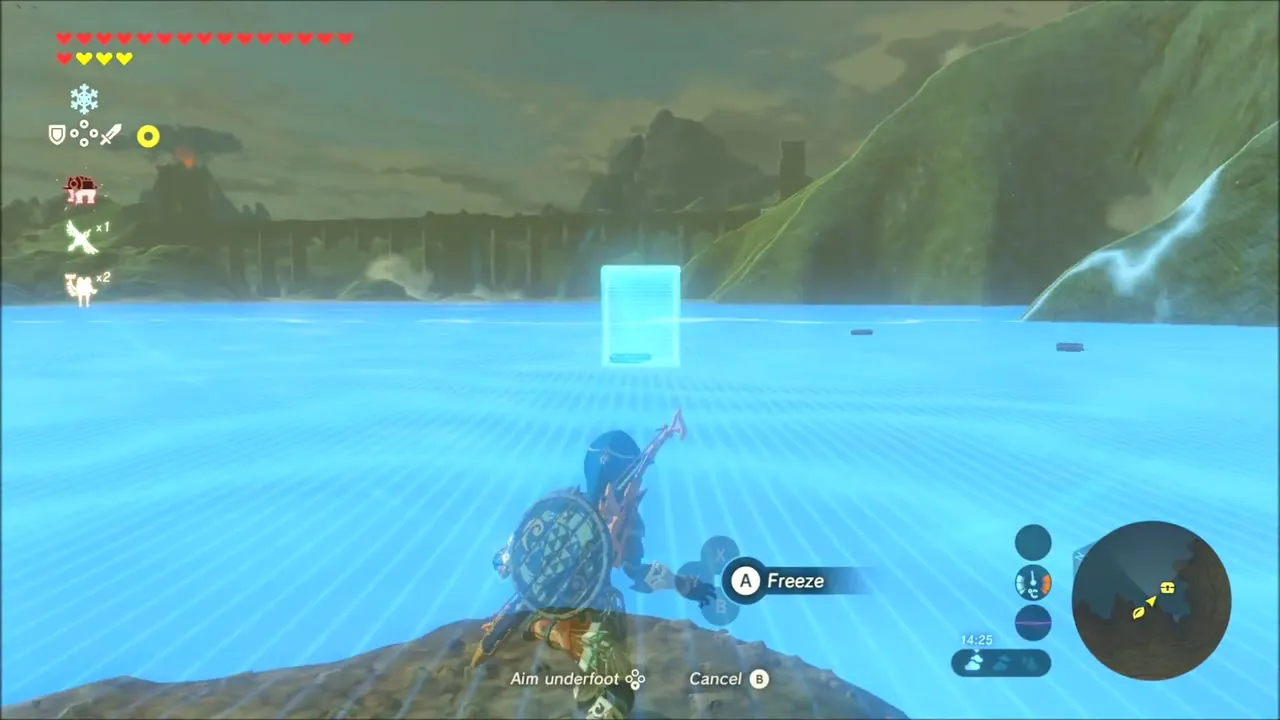

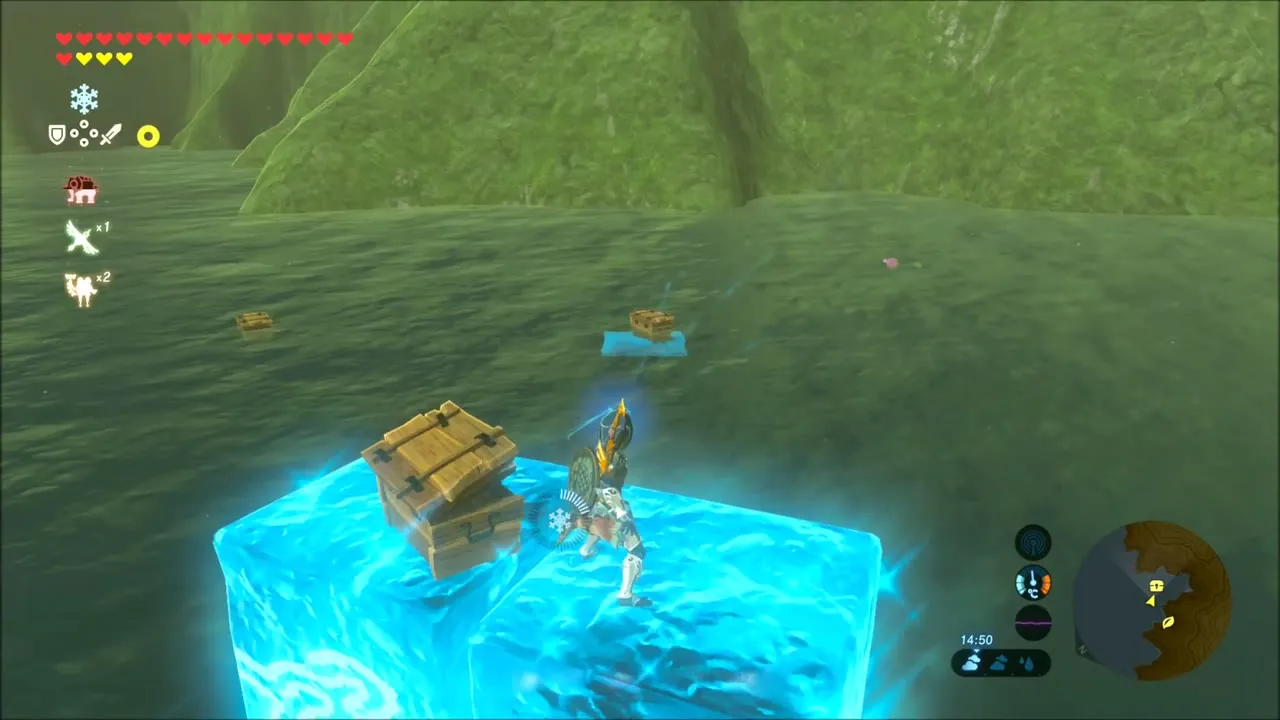
Swim over to the small grassy islet beyond, where another chest waits. Then dive and walk along the lake bed: a Korok is hiding underwater, so you can pick up another seed without leaving the lake.

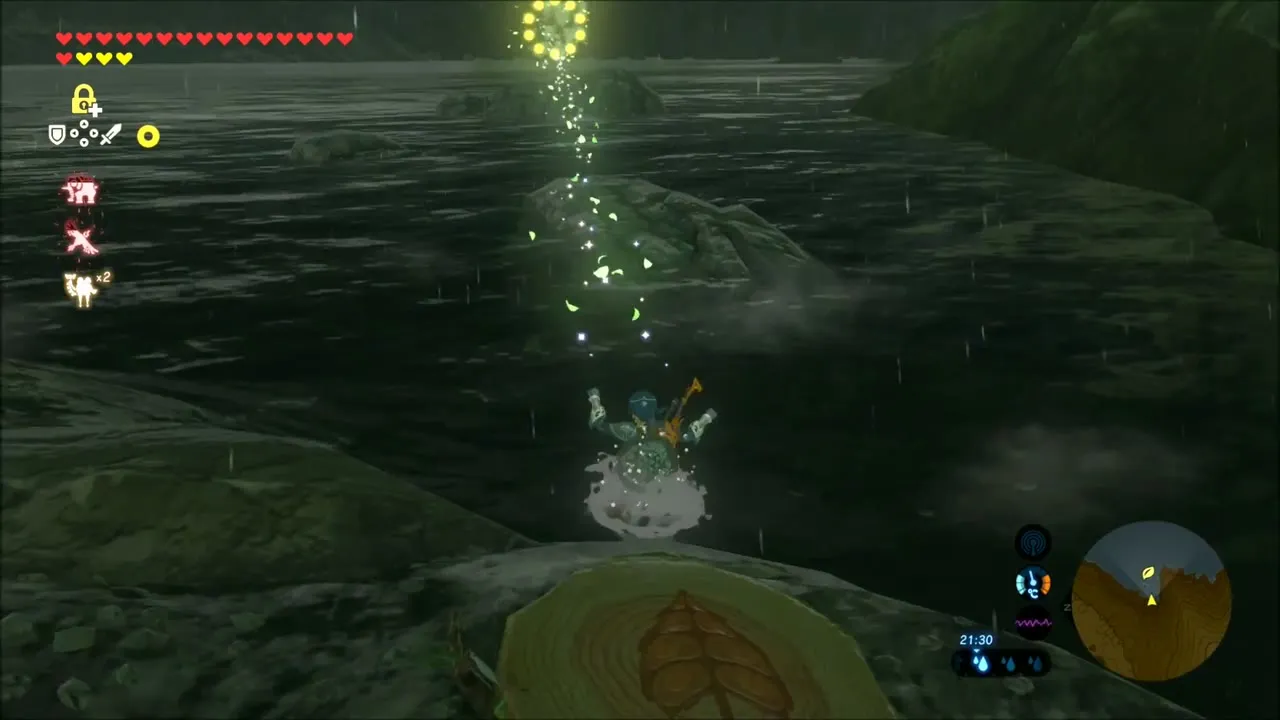
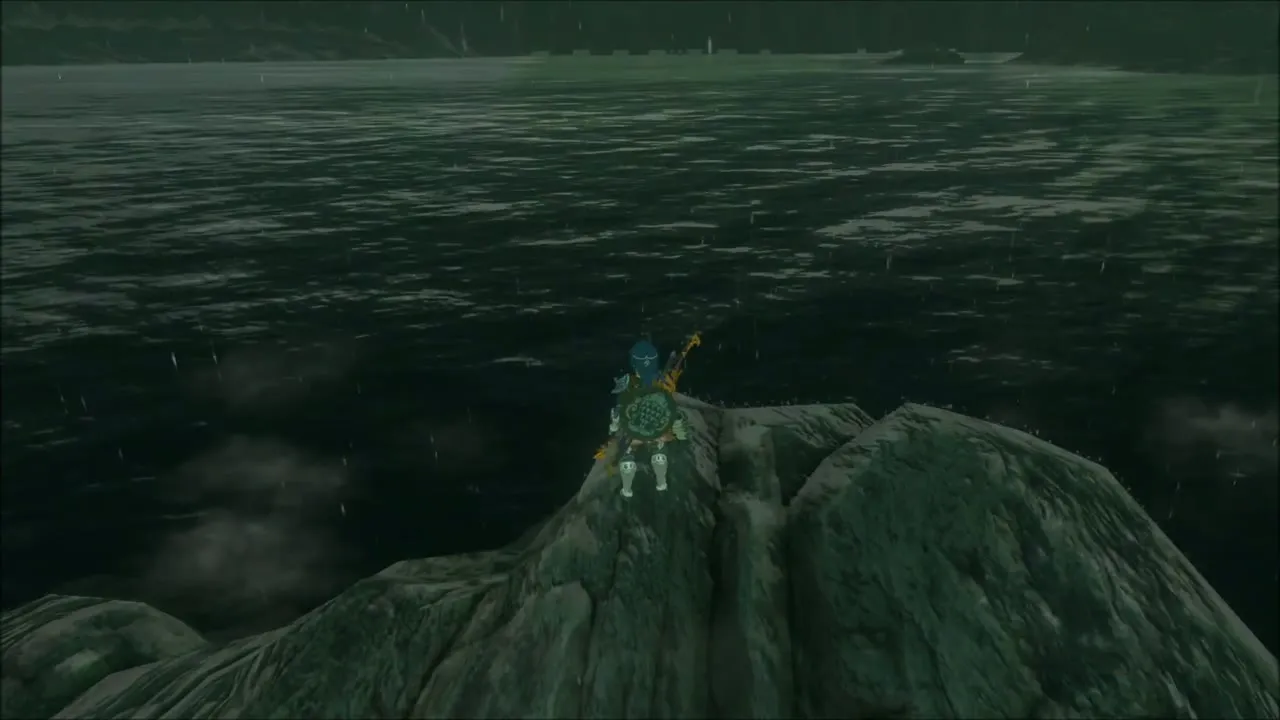
Further out, a rocky outcrop pokes out of the lake in the rain. Climb it and you will find another Korok seed at the top.
Korok Seeds Along the Western Shore
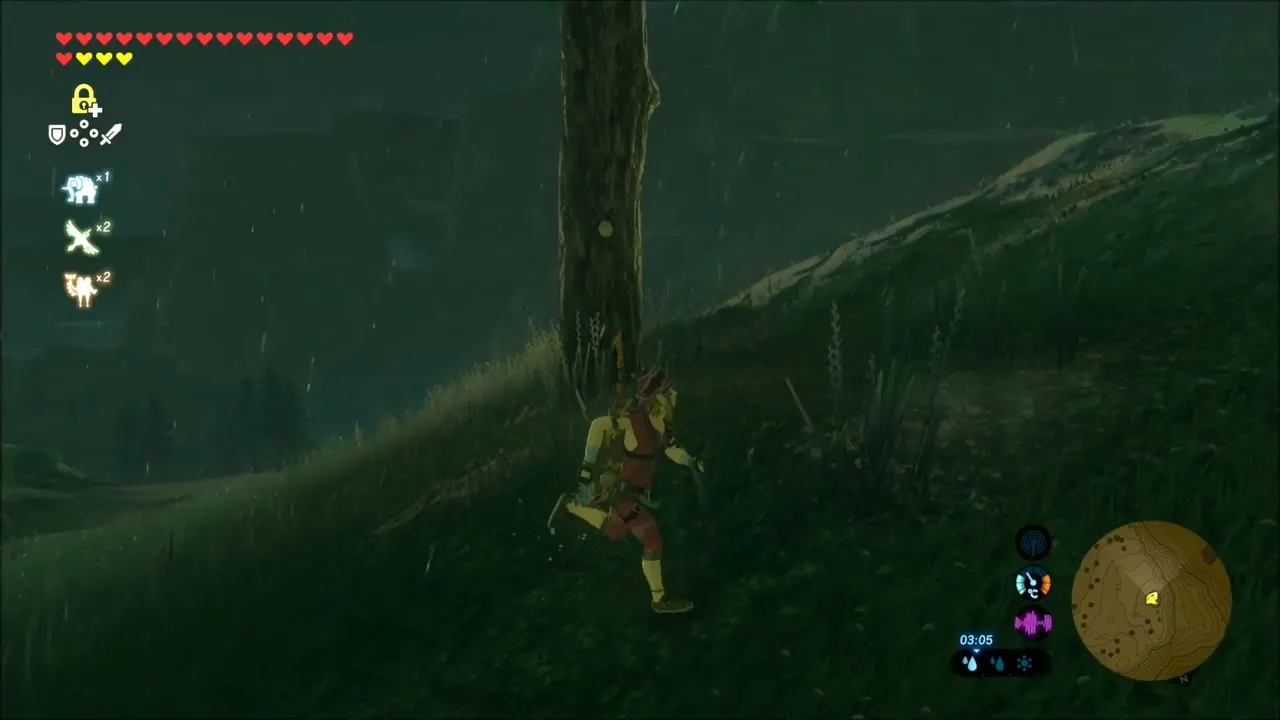
Climb out onto the storm-swept ridge and keep going up. A Korok is perched at the very top of a tall fir tree there: scale the trunk, talk to it and take the seed.



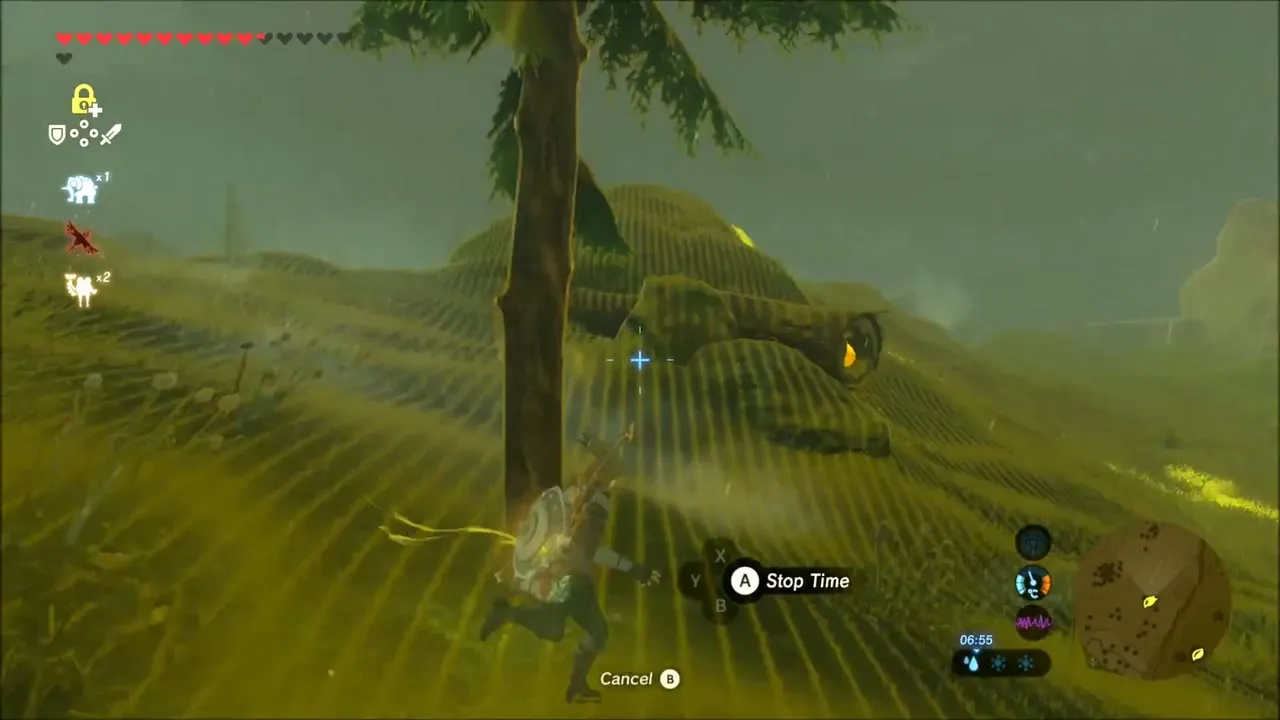
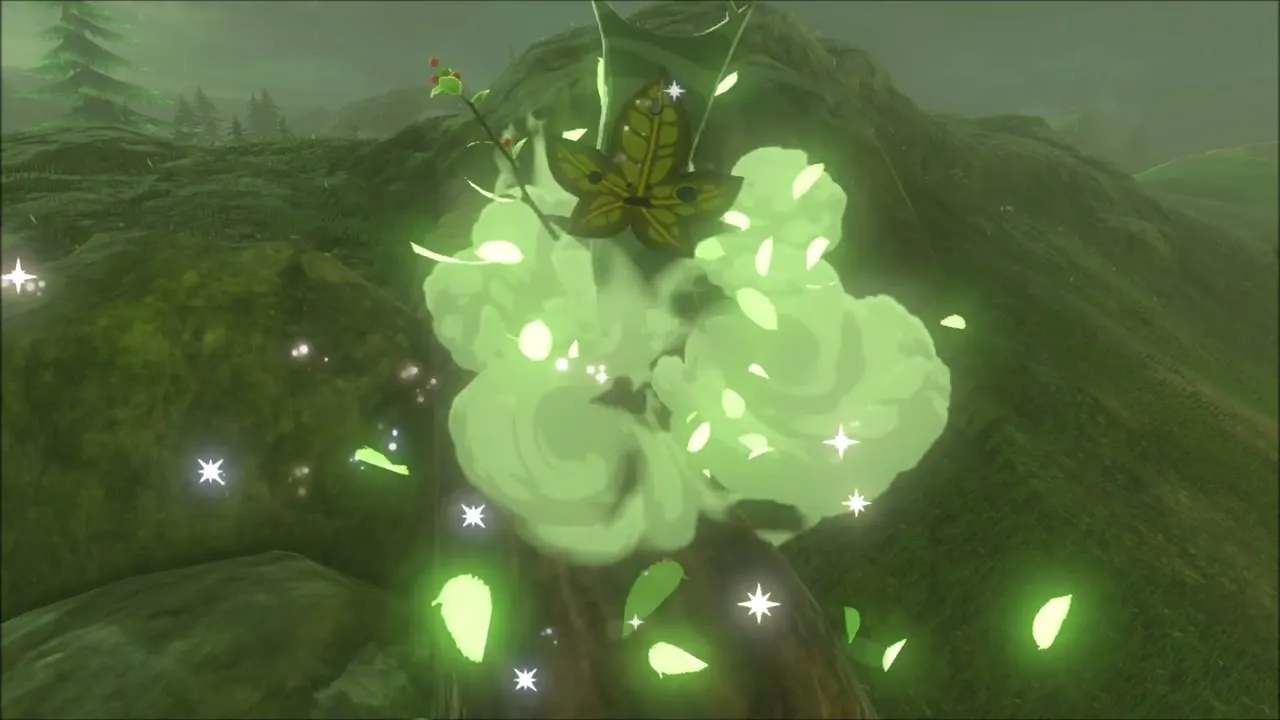
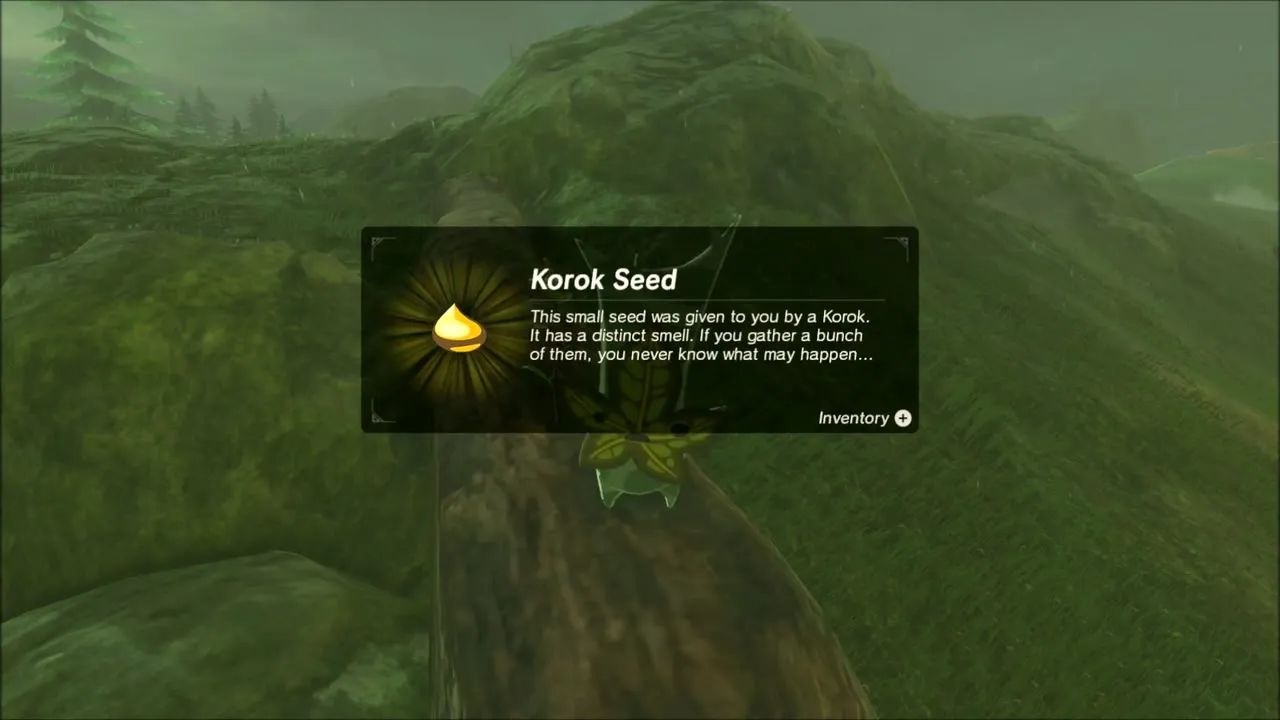
A little way along, a hollow log lies on a hillside. Freeze it in place with Stasis, hit it with an arrow, and a Korok appears on top of the log with another seed.
Stone Talus Fight on the Way to Taobab Grassland
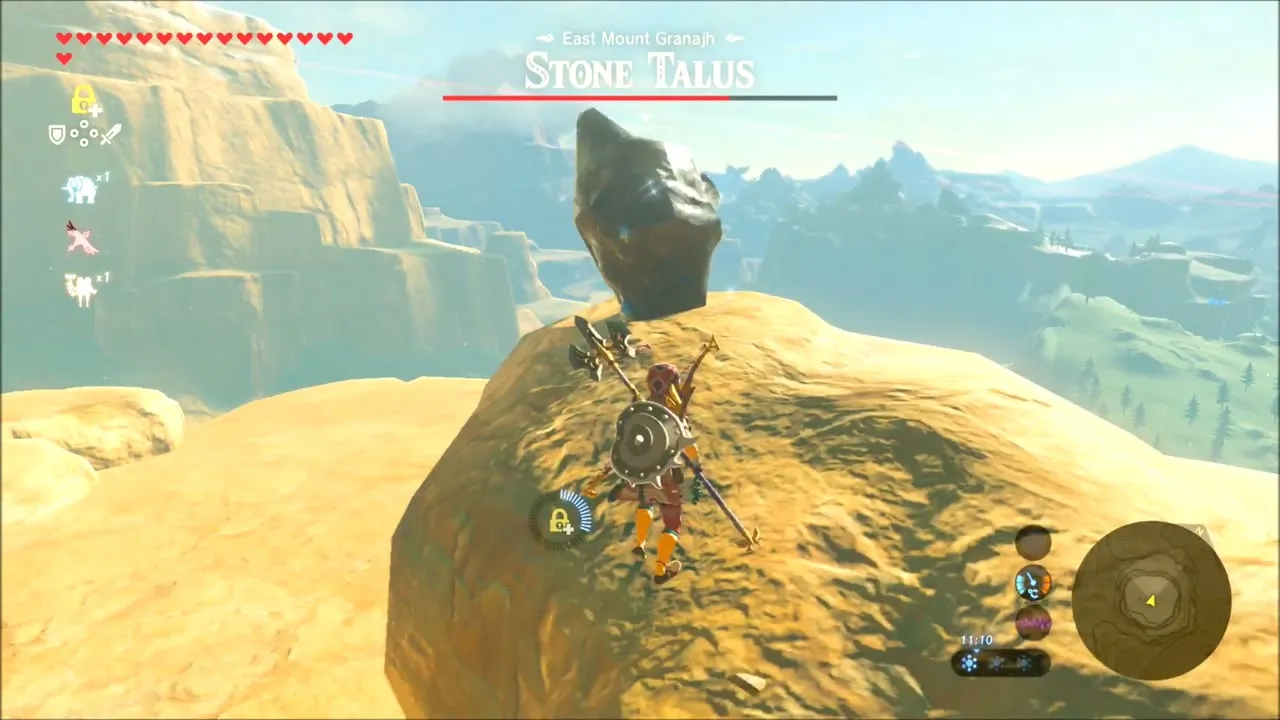
Make your way up through the sandstone cliffs near Taobab Grassland and you will meet a Stone Talus. Climb onto its back, strike the ore deposit growing out of it and finish it off to claim the gems and ore it drops. The Stone Talus page has more detail.


Korok Seeds in the Taobab Grassland Baobab Trees
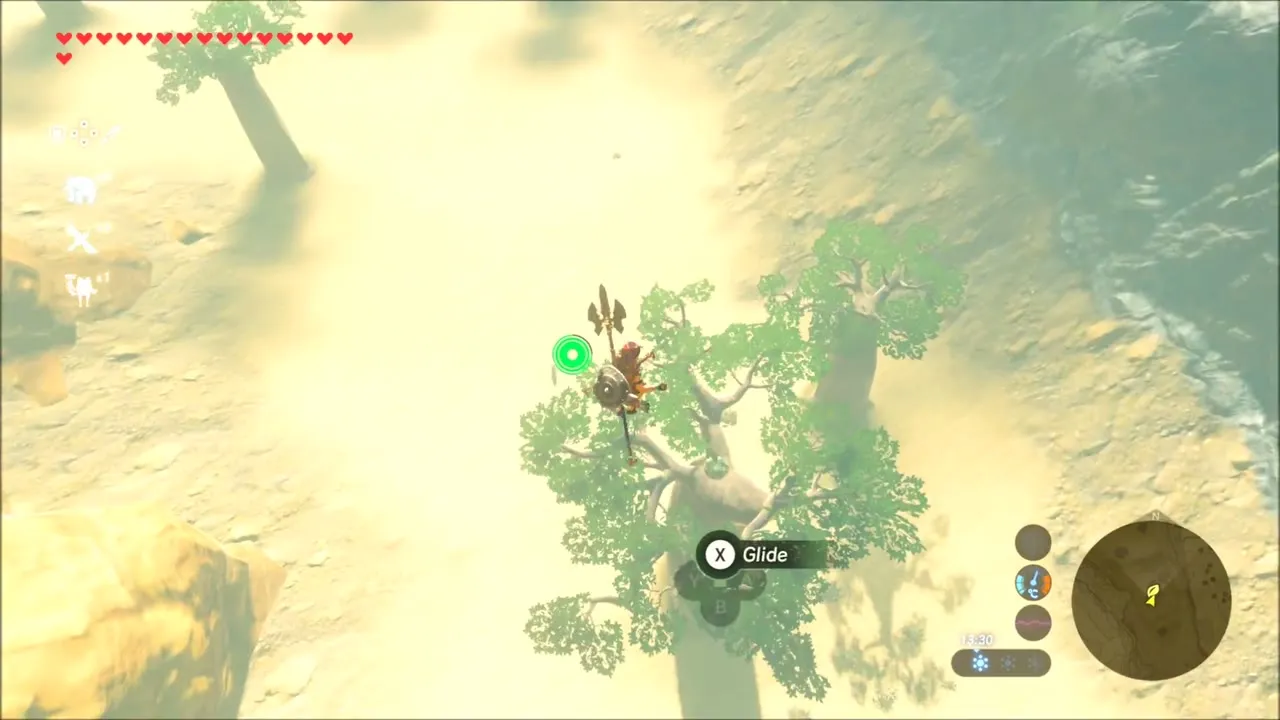
Continue into Taobab Grassland, where the grass is dotted with huge baobab trees. Glide down onto the first baobab you can see and climb along its branches: a Korok is hiding in the crown and rewards you with a seed.


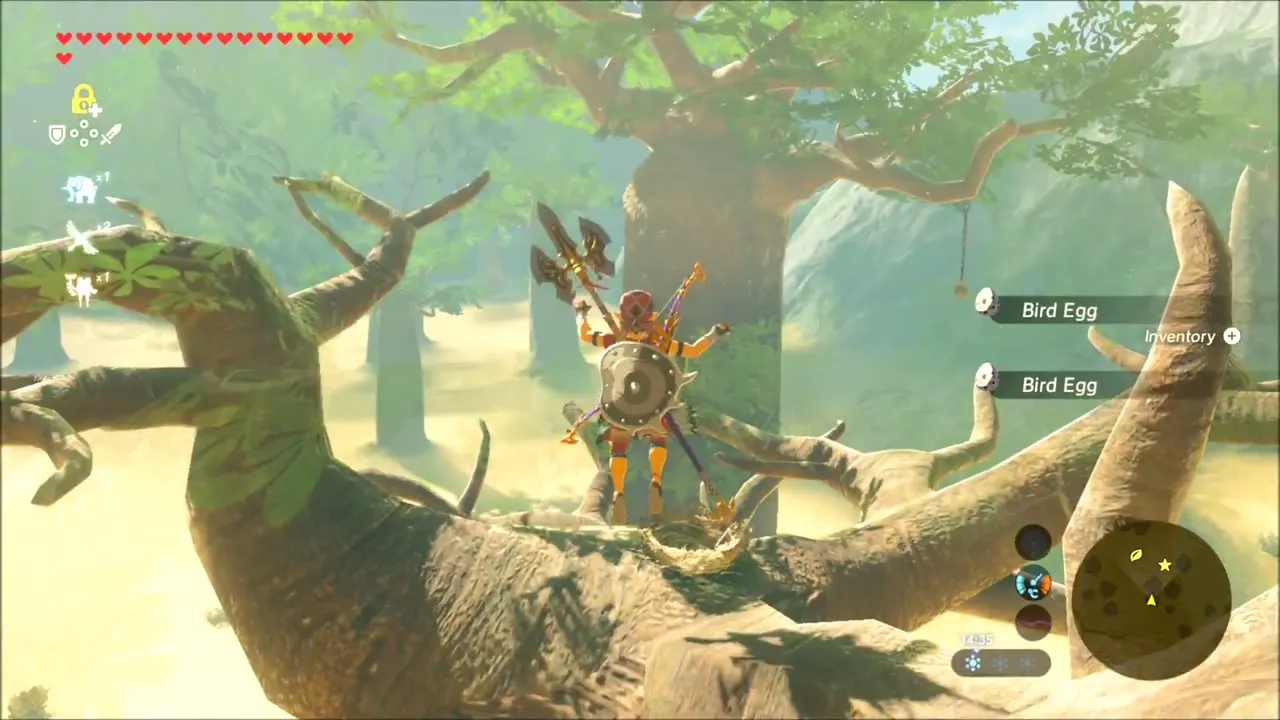
Another baobab nearby has a second Korok. Climb up the trunk and out along the branches, pick up the Bird Eggs from a nest on the way, and find the Korok in the tree to collect one more seed.

Hunt for the Giant Horse: Taming the Giant Horse
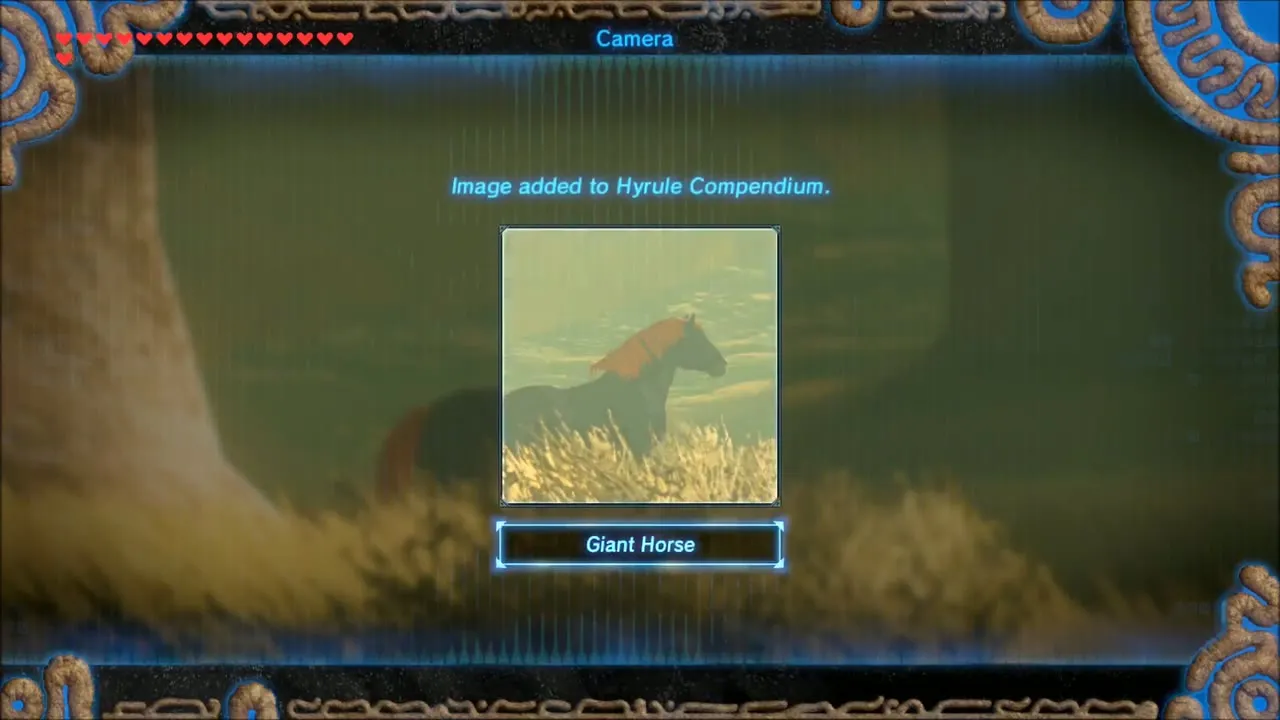
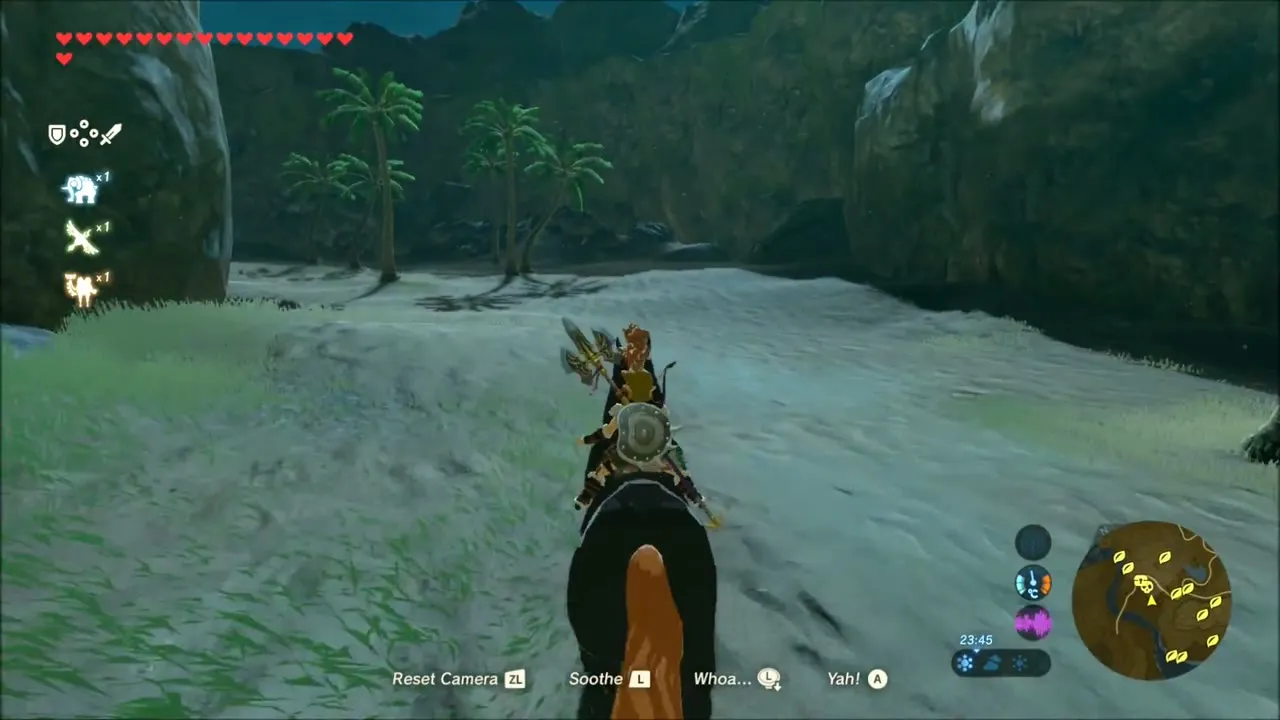
Several wild horses graze among the baobabs, and you can zoom in on them with the Camera rune. The Giant Horse stands out: a black horse far bigger than the rest, with an orange mane. Photograph it so it is added to the Compendium, then sneak up through the long grass, mount it and calm it down. That completes the first task of Hunt for the Giant Horse.


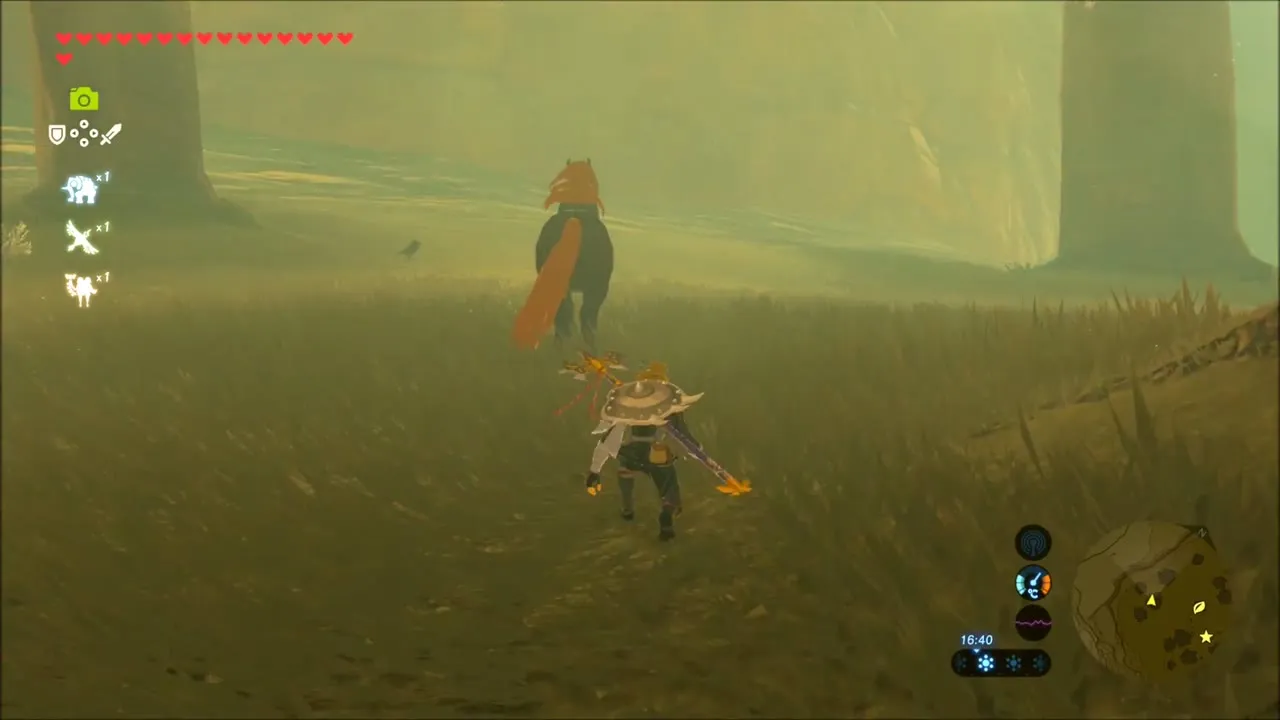
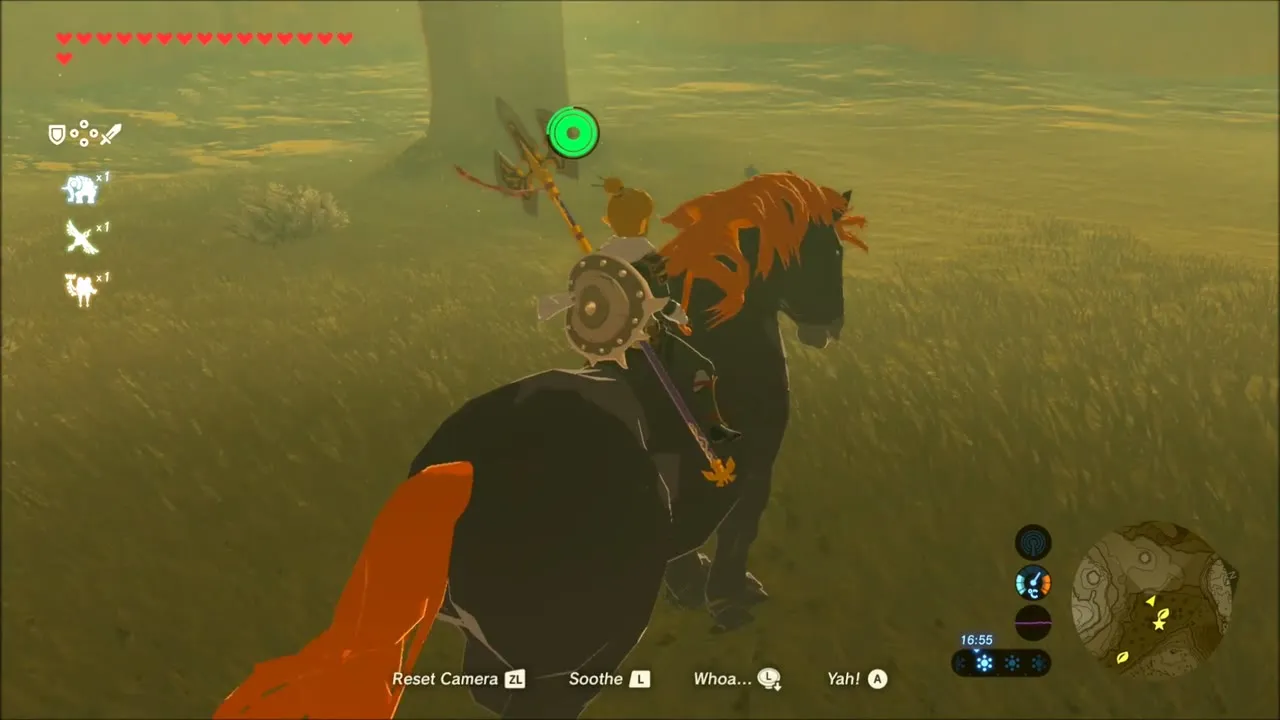
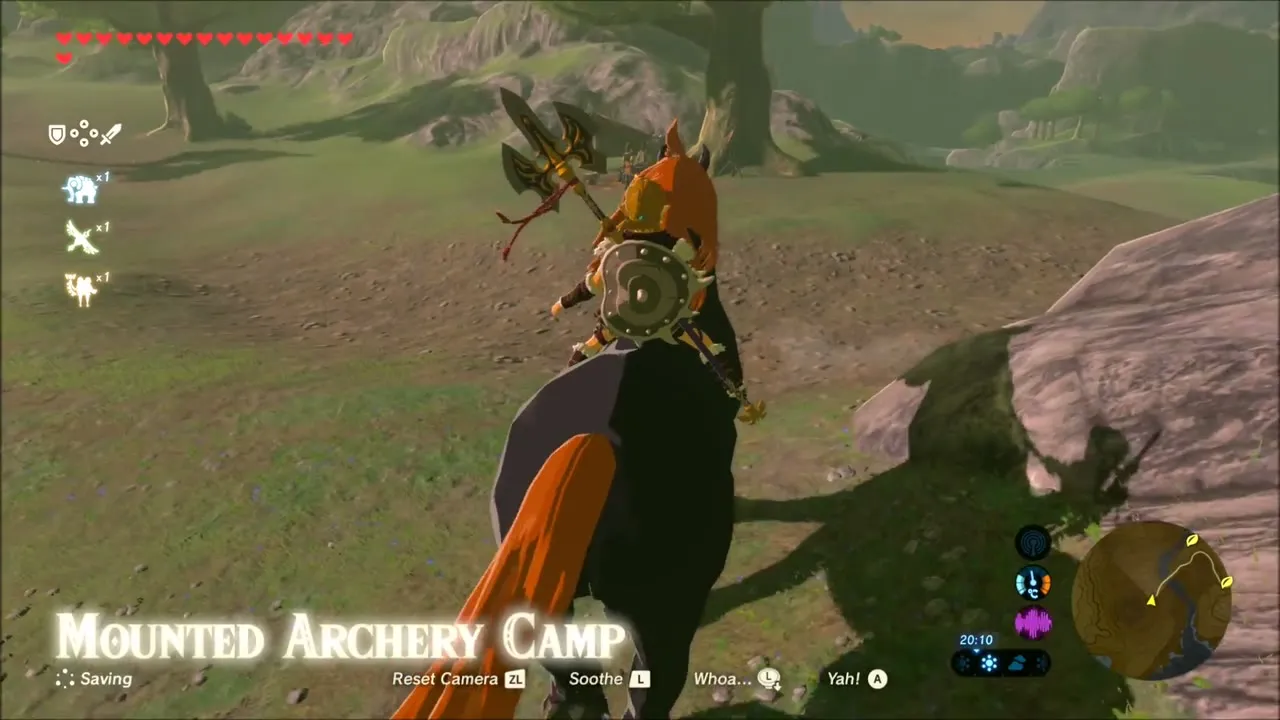
Ride the Giant Horse back across the plains to the Mounted Archery Camp at (-163, 3514) and speak to Straia to finish the quest.



Harfin Valley: Stalnox Fight
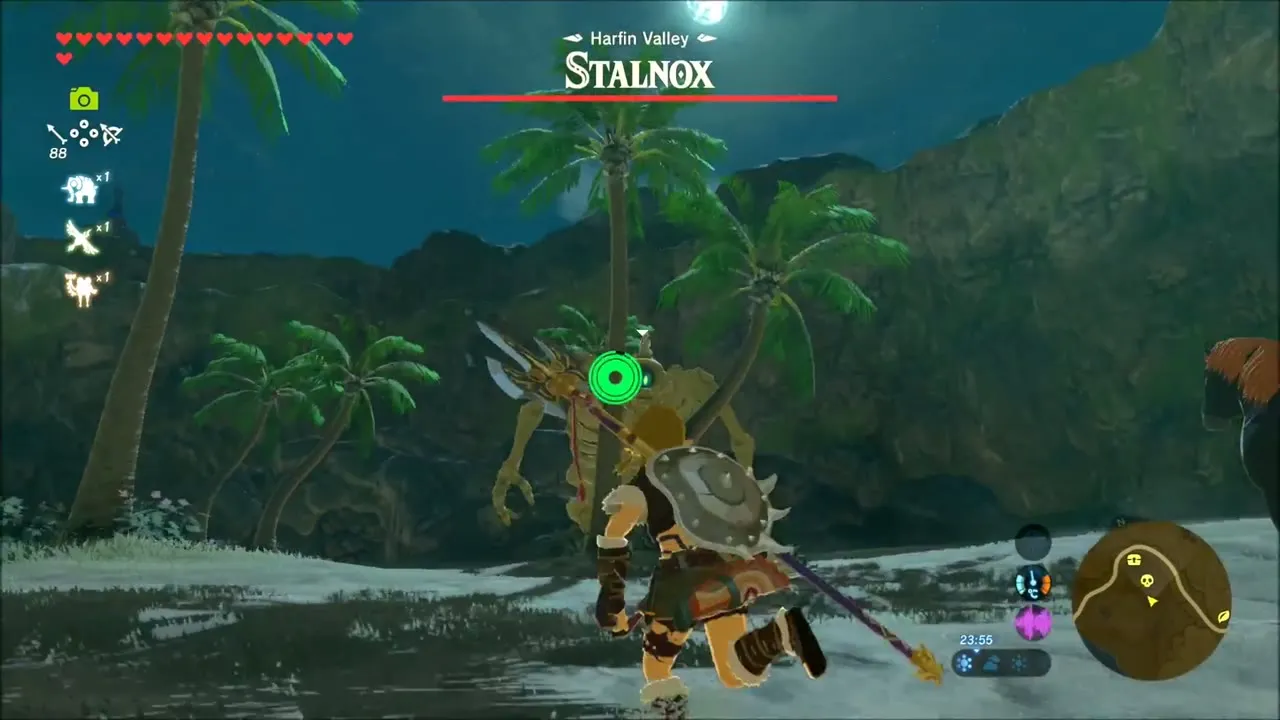
With the Giant Horse as your mount, set a route on the map and ride across the plains towards Harfin Valley. In the valley a Stalnox rises from the sandy ground. Aim for its glowing eye and see the Stalnox page for the fight.
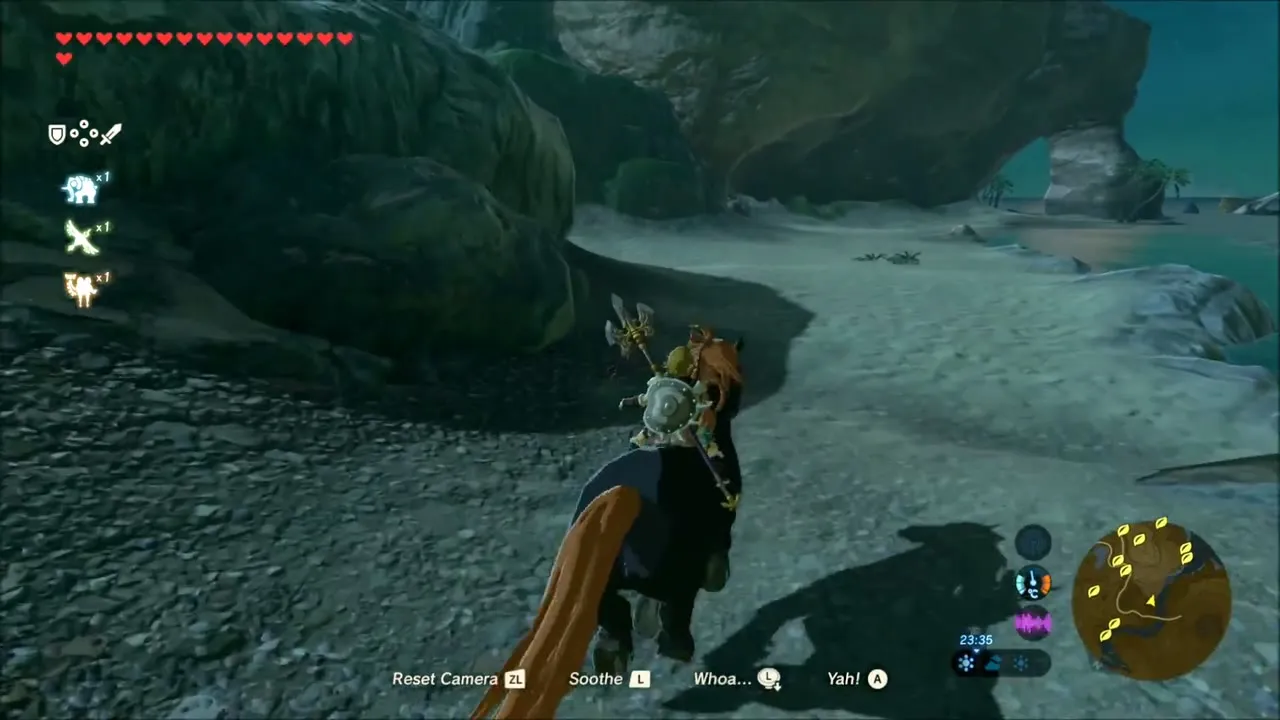

Korok Seeds on the Hills Above the Lake of the Horse God
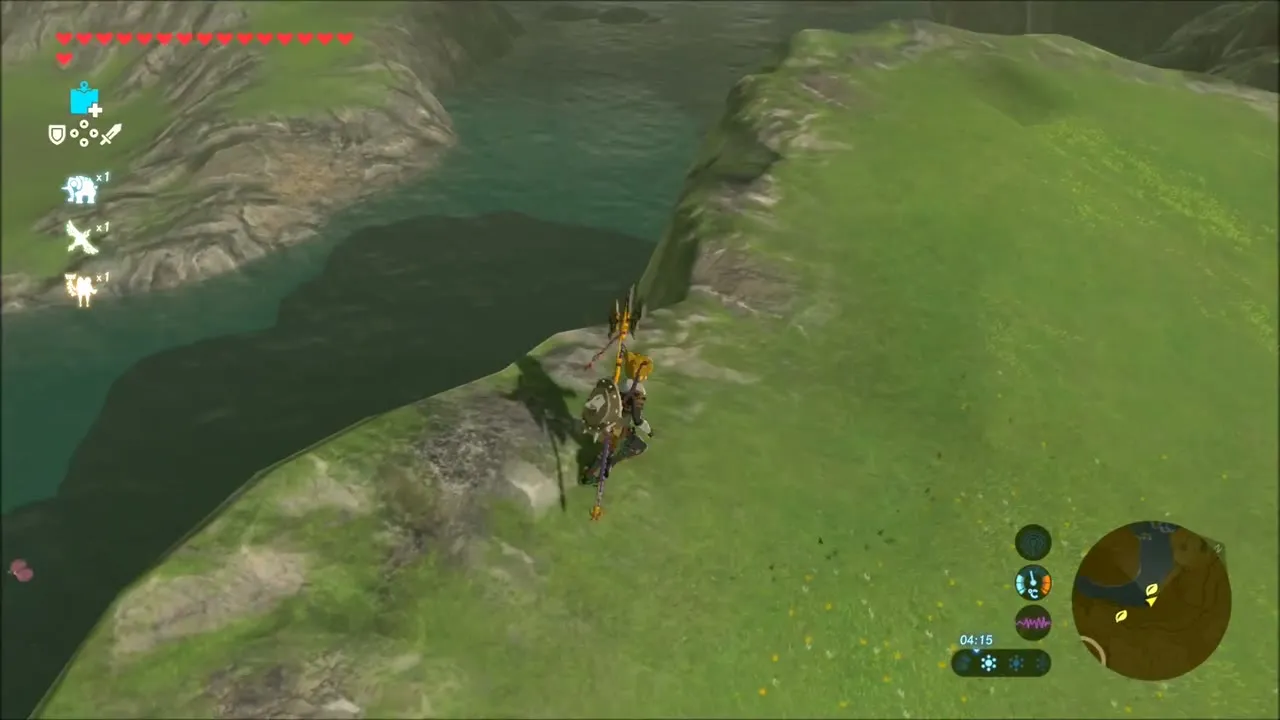
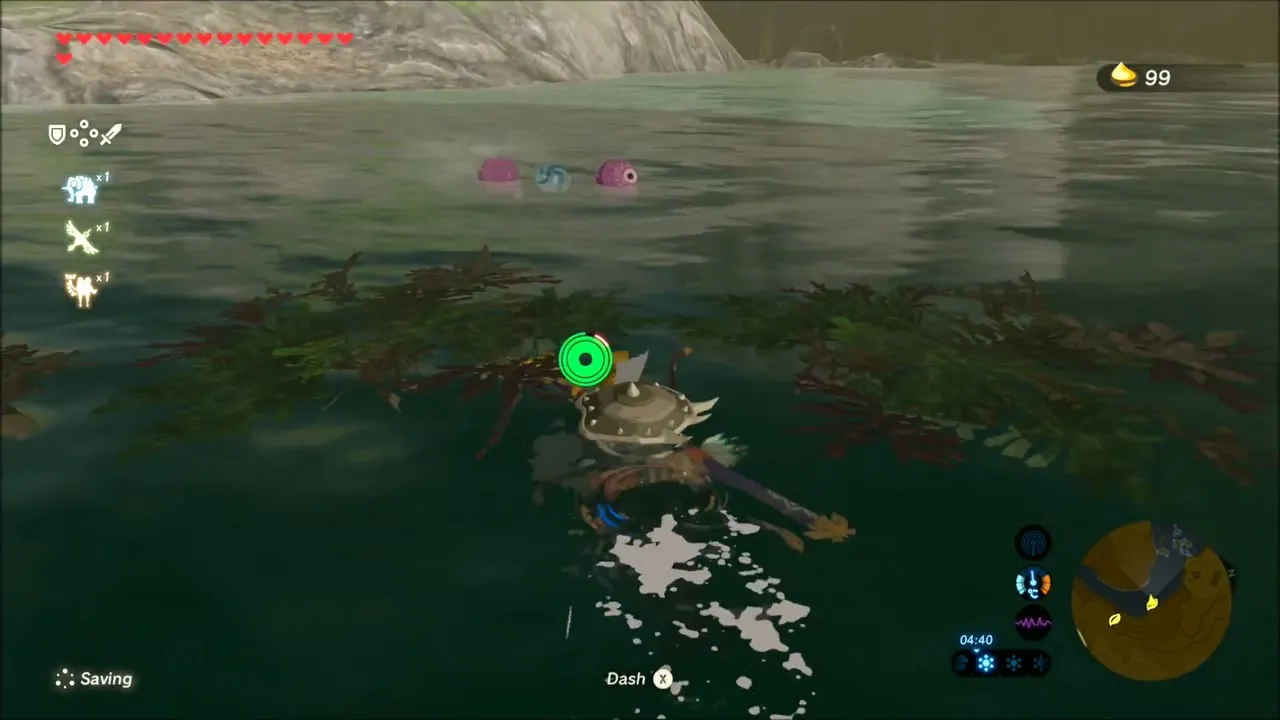
Climb the grassy ledges above the water to the south, where a Korok waits on the hillside and gives you a seed. Then climb down to the lake, where a second Korok floats on the surface: swim up to it for another seed.


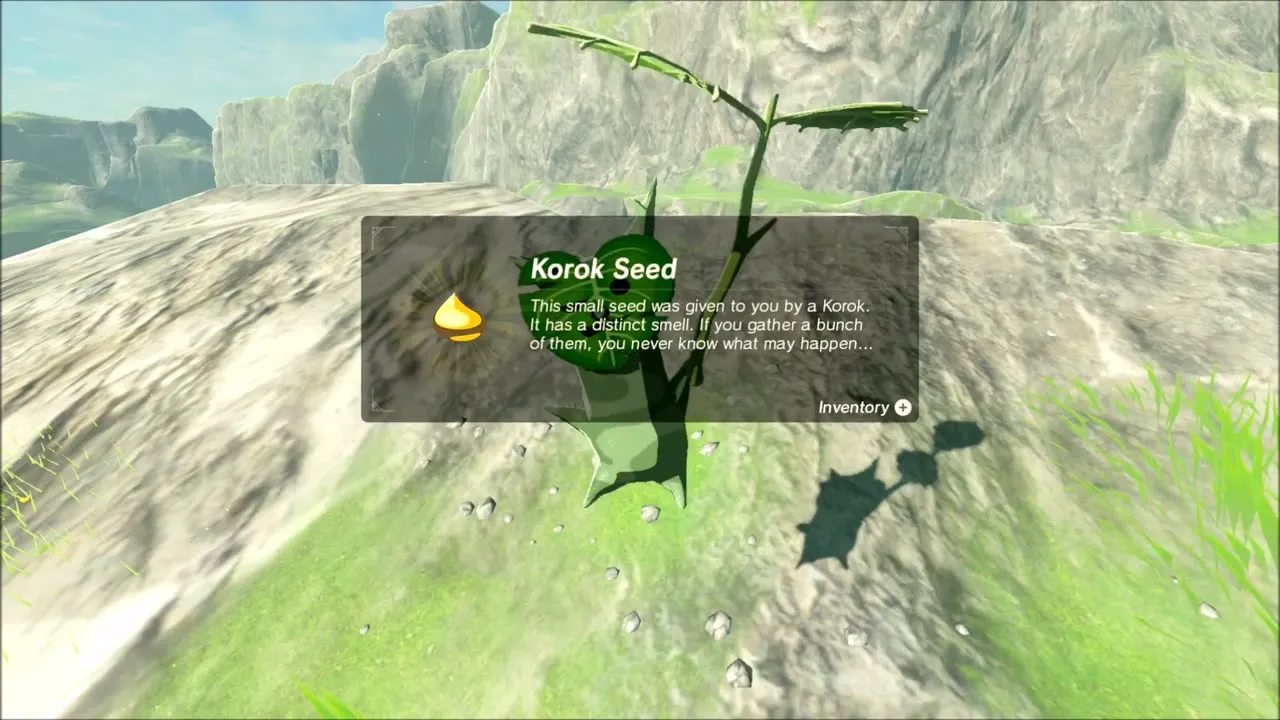
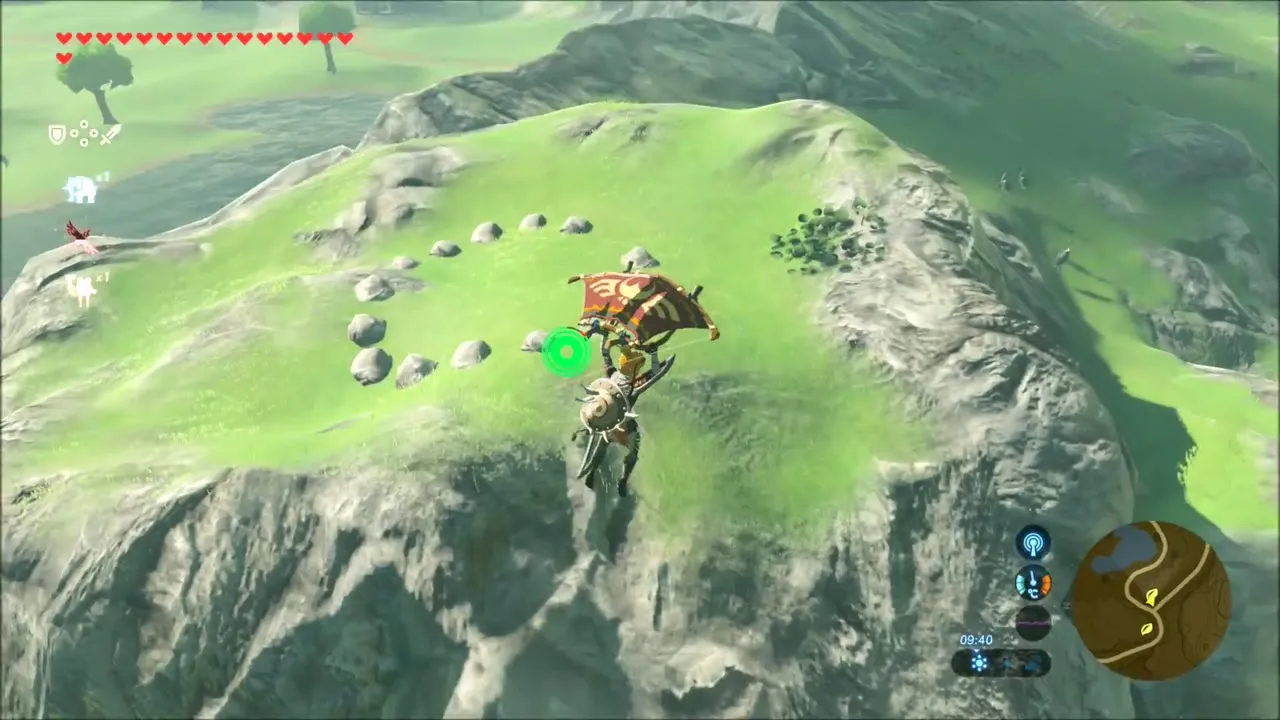
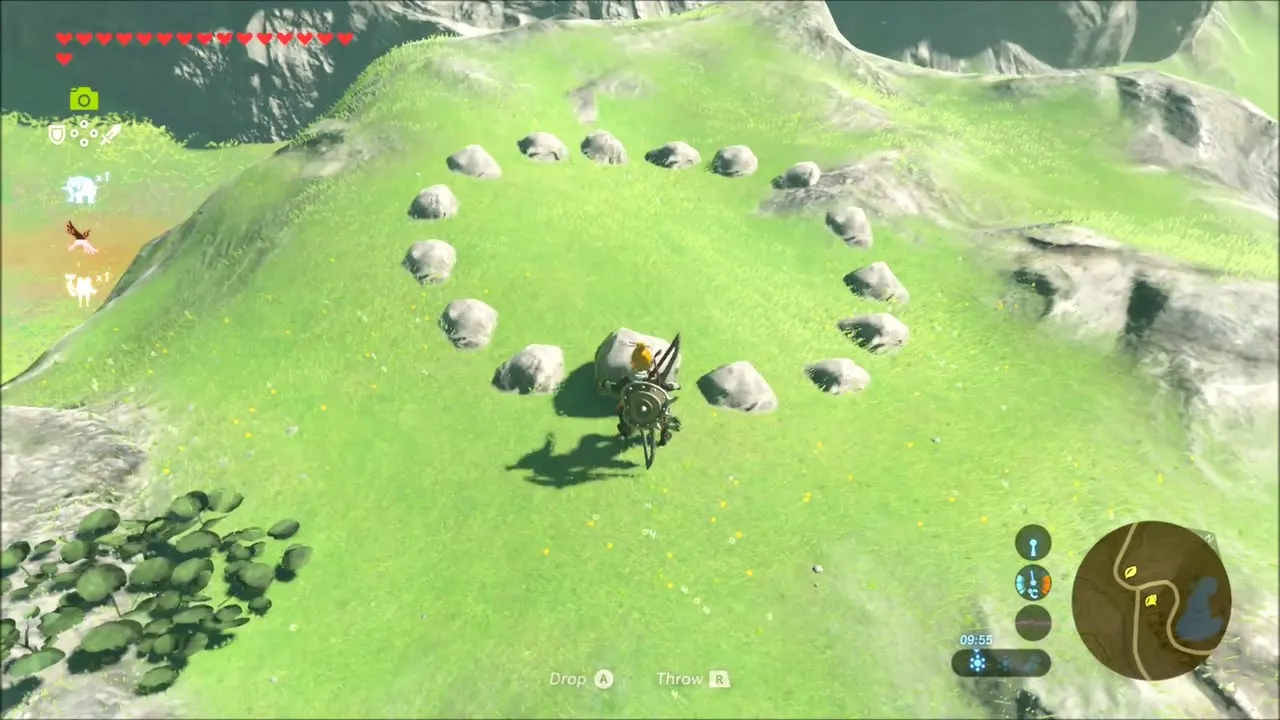
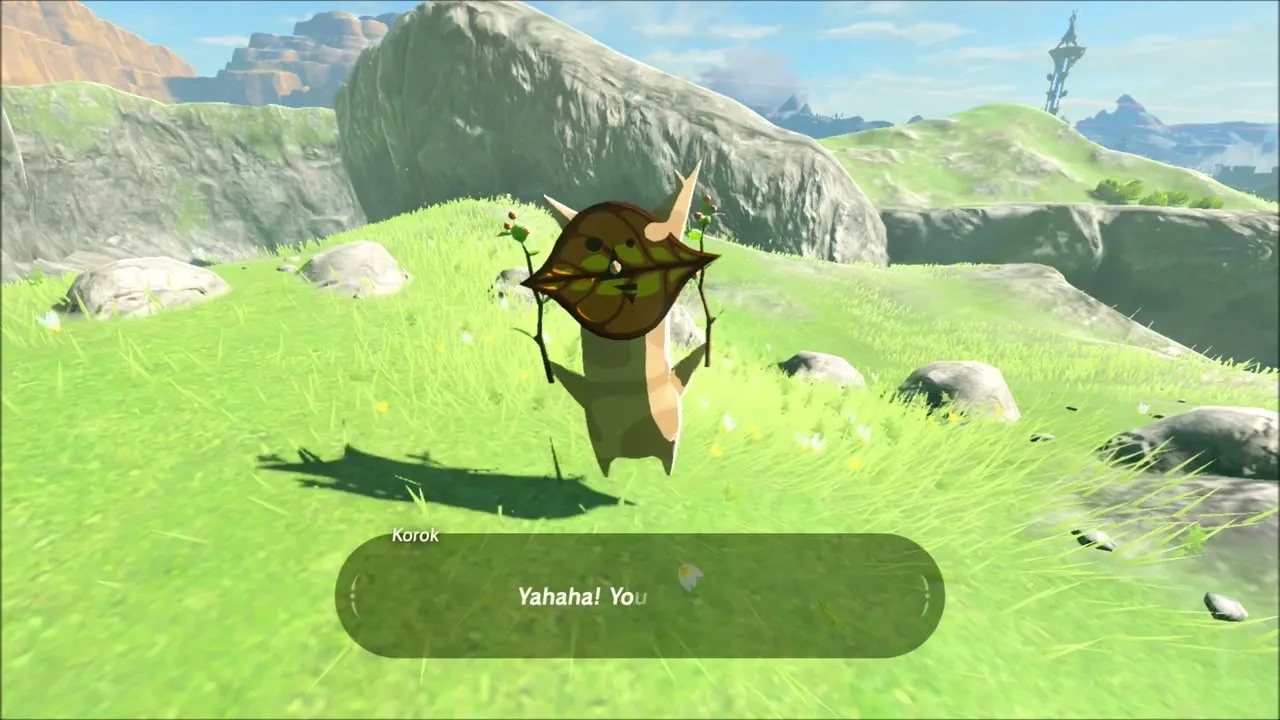
Move on to the rocky cliffs on the way to Highland Stable. A Korok hides on a rocky slope, and not far away a ring of small stones with one stone missing marks another: pick up the big rock beside it, carry it to the gap and drop it in to earn a seed.

Highland Stable: Naming Your Horse, Beedle and the Jumping Course
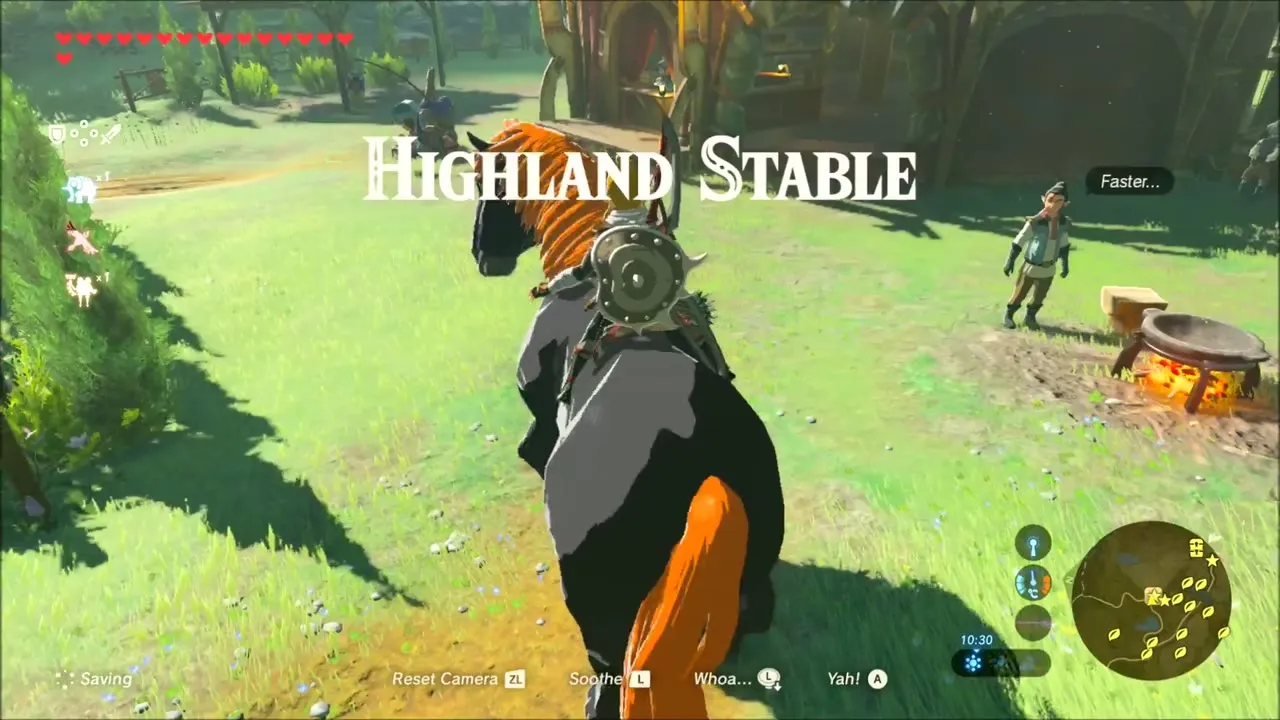
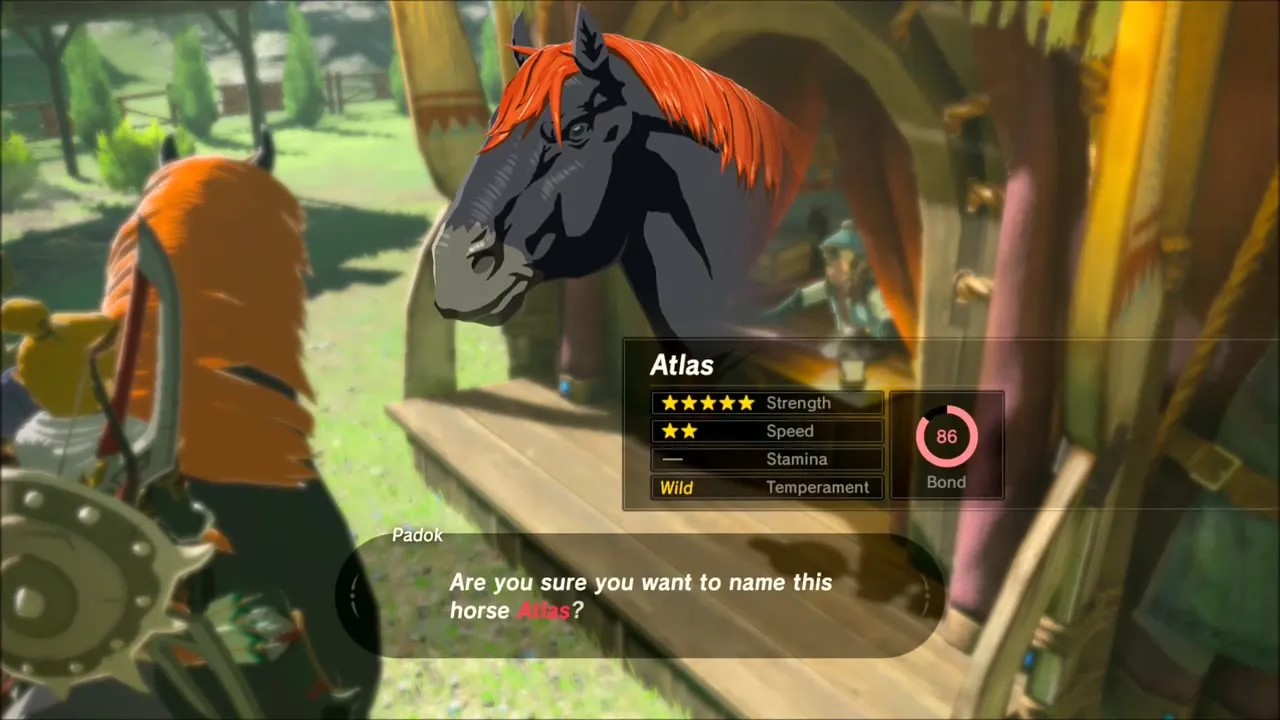
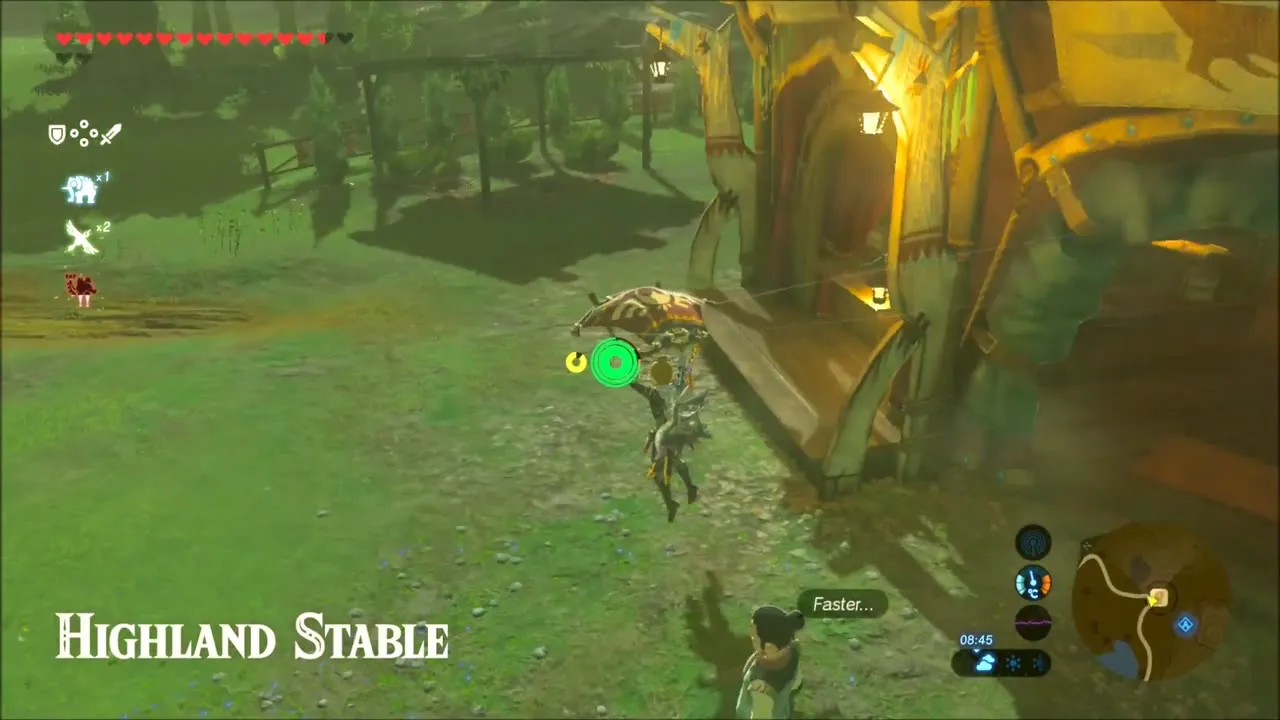
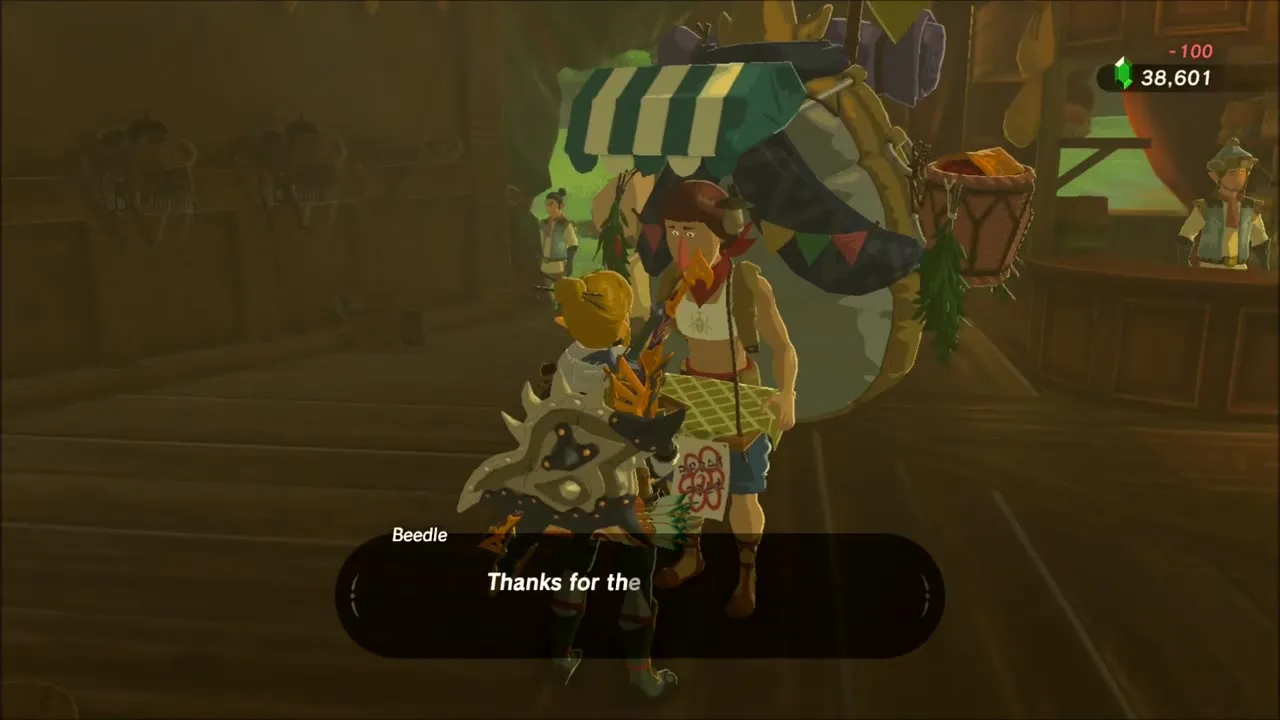
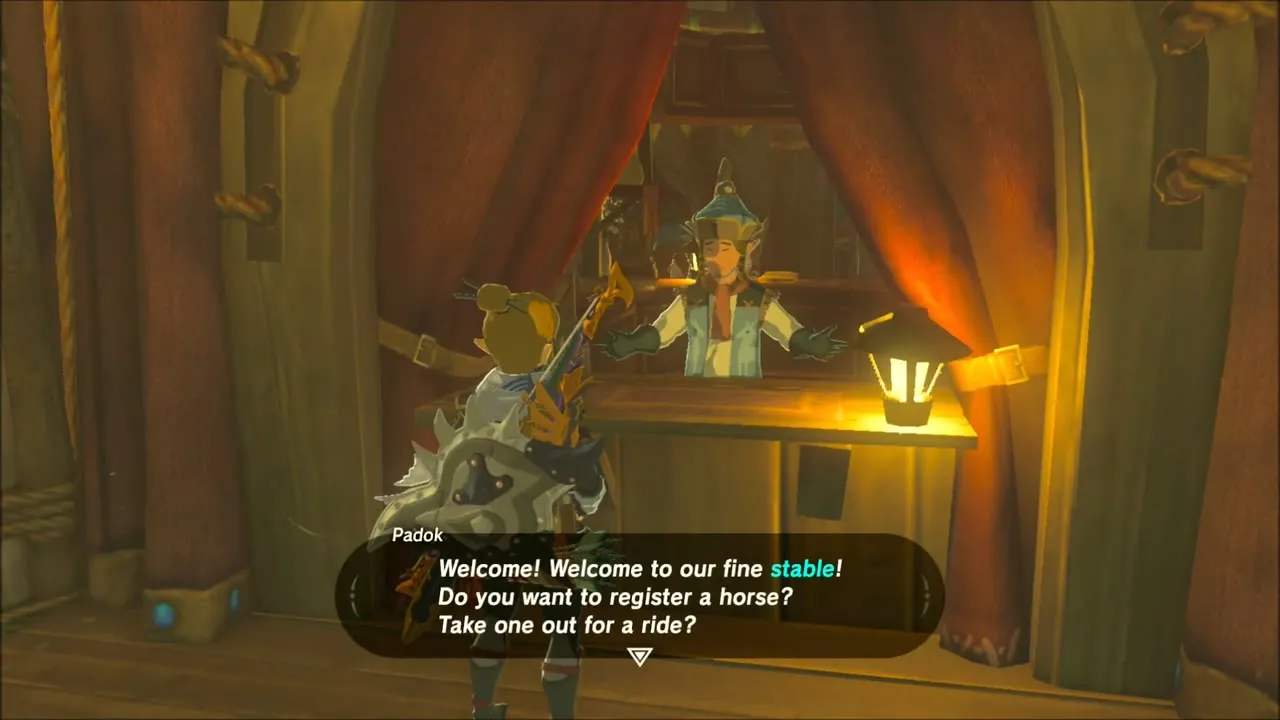
Ride to Highland Stable and register the Giant Horse with Padok; the stable asks you to enter a name. Beedle is set up nearby, and you can sell him materials such as Amber and Hearty Salmon for rupees.

On the field next to the stable, a man named Blynne runs the horse jumping course. Take the Giant Horse around the track, clearing the fences before the clock runs out, and your reward is an Extravagant Saddle.


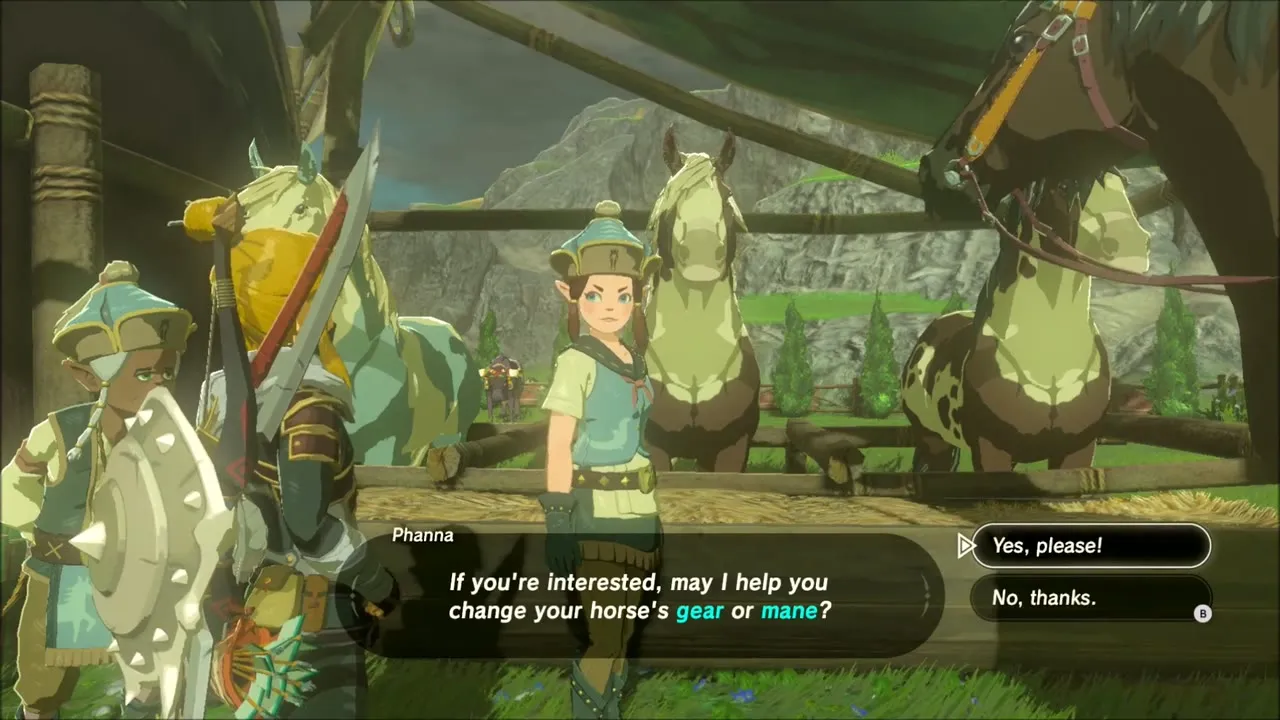
Back at the stable, talk to Phanna to change your horse’s gear and mane. The dialogue also lets you pick a mane style for the horse.


The Horseback Hoodlums
Perosa, at the stable, starts The Horseback Hoodlums: a gang of Bokoblins on horseback is harassing travellers. Mount up and take them down with arrows in the fields around the stable, then return to Perosa to finish the quest and receive an Endura Carrot.



Ka’o Makagh Shrine: Metal Doors Open the Way (Magnesis)
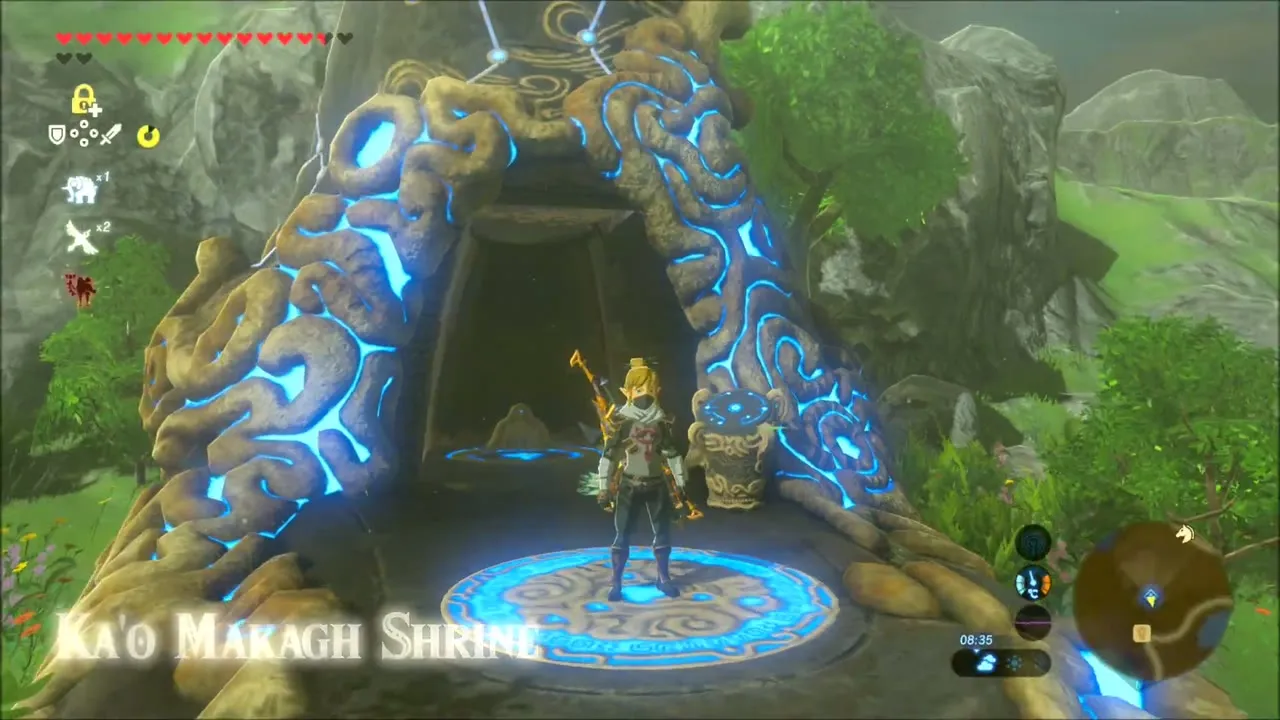
Ka’o Makagh Shrine is just south of Highland Stable at (523, 3525). Magnesis opens the metal doors, and two Guardian Scouts patrol the main hall. With the Scouts down, a small room holds a chest with a Traveler’s Bow (tier set by difficulty scaling), and another chest on a raised platform holds an Opal. The monk Ka’o Makagh waits at the far end and gives you the Spirit Orb. Full steps are on the Ka’o Makagh Shrine page.



Korok Seeds on the Hills South of Highland Stable
Climb the hills to the south and west of the stable. A hilltop with a lone tree stump hides a seed, and further along, a steep cliff that you scale with the Climbing Gear leads to another Korok in the grass at the top.

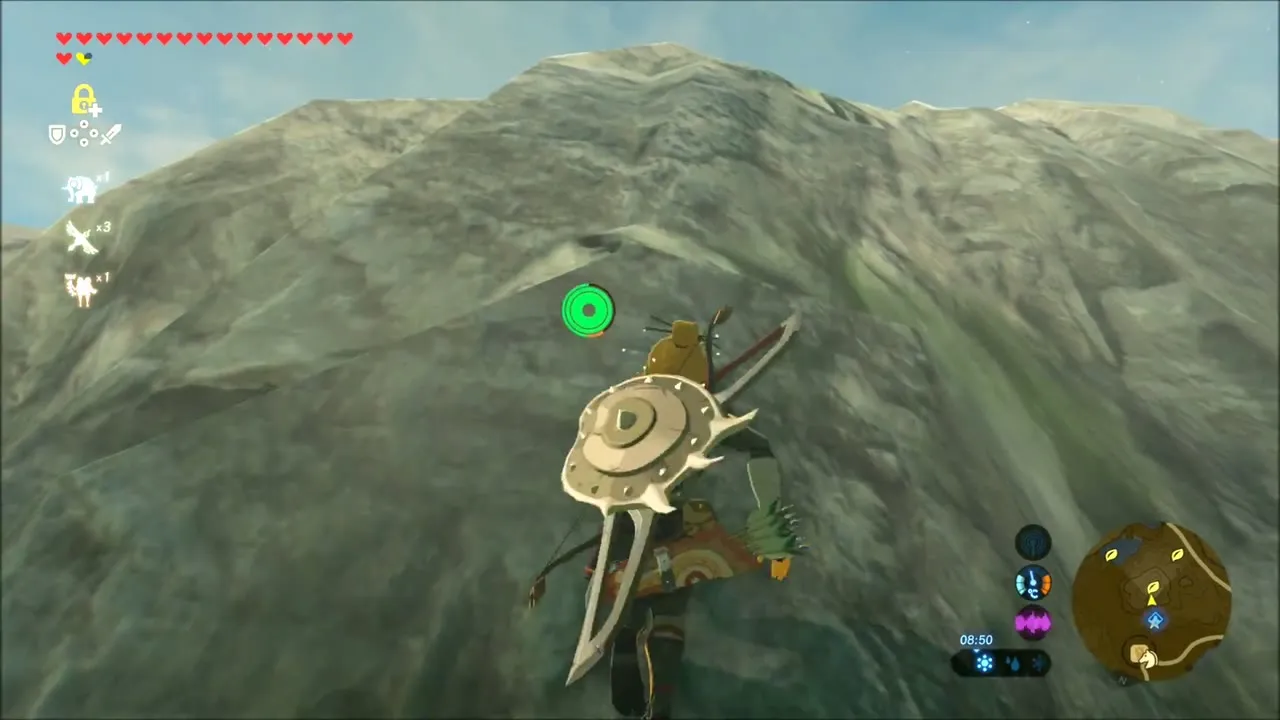

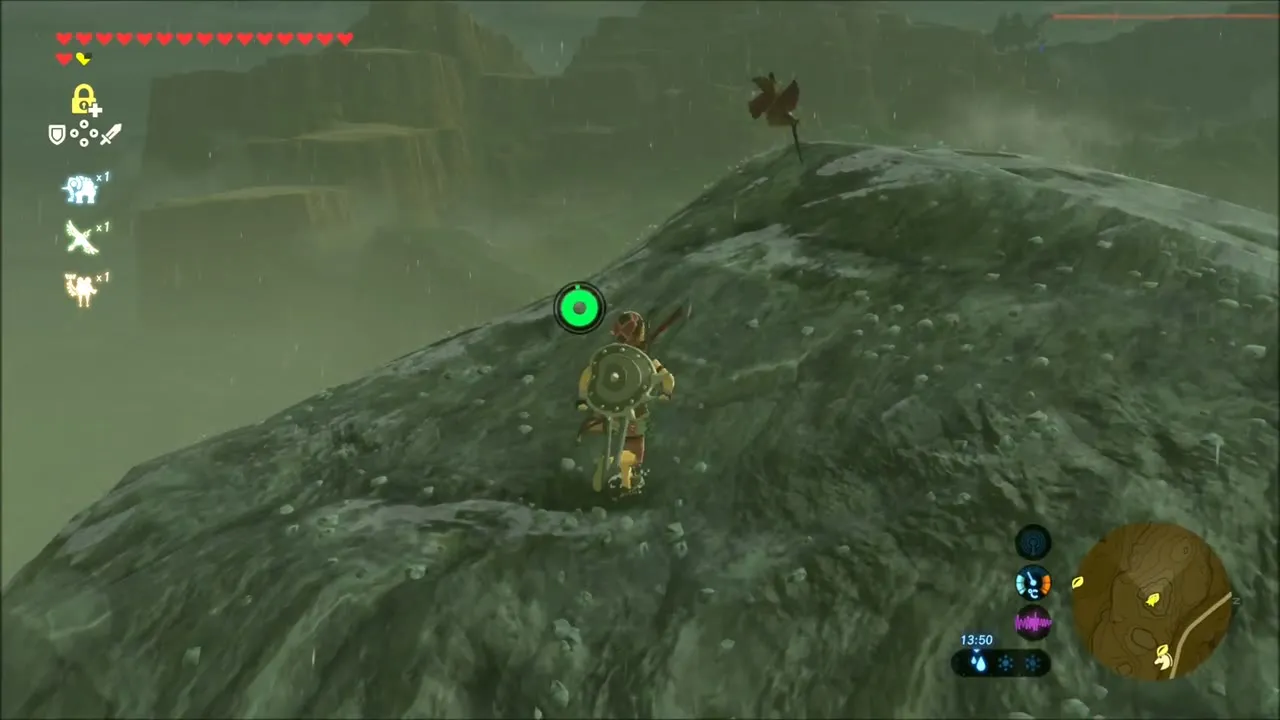
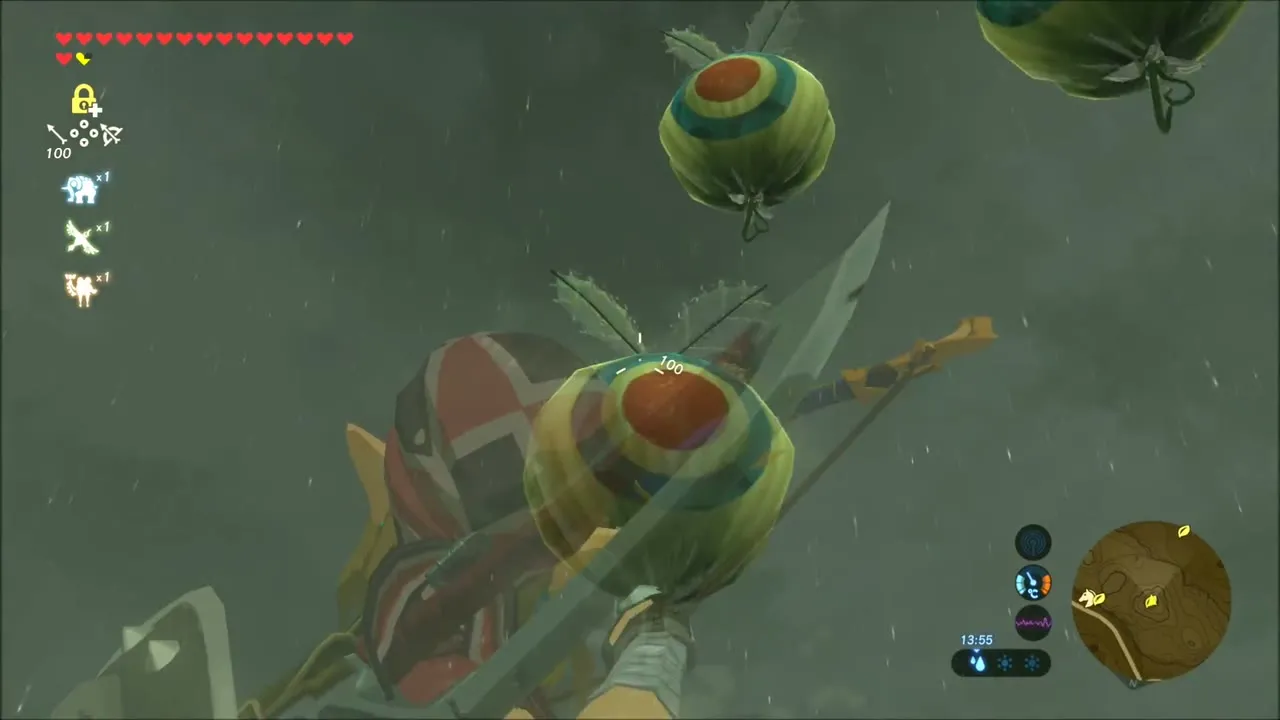
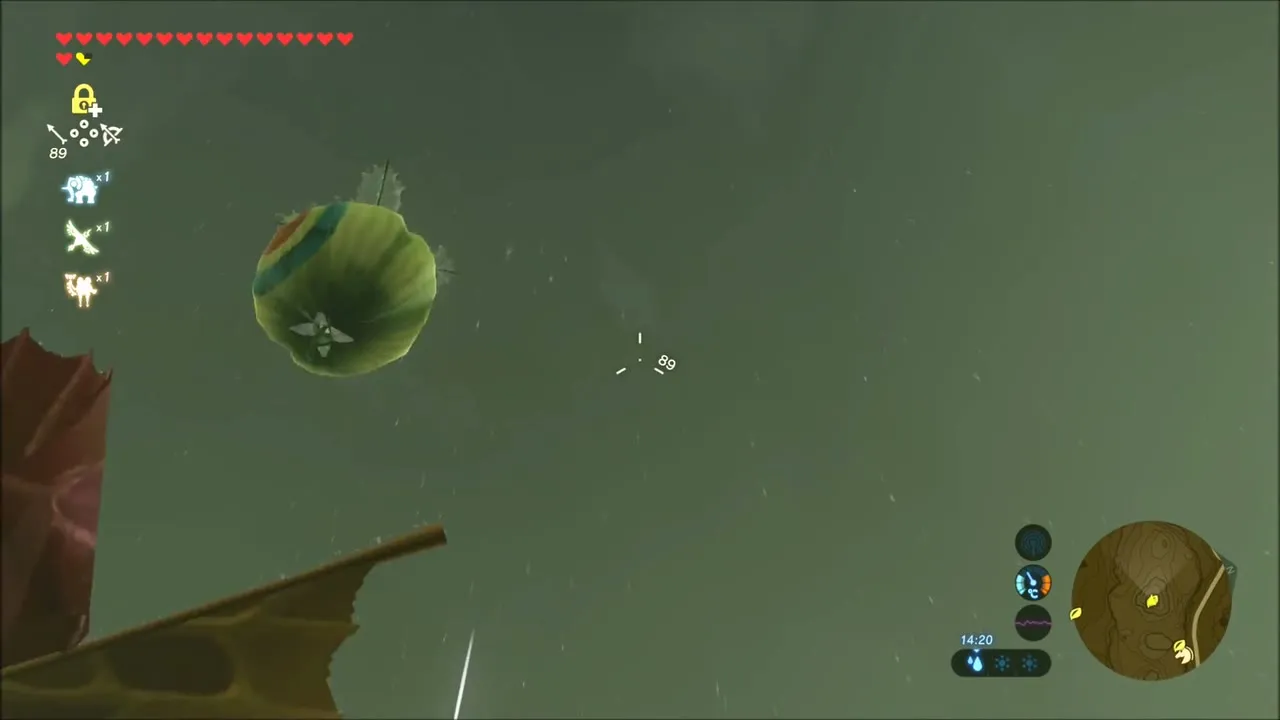
In the rainy hills beyond, scale the rocky crest and aim a bow at the balloon floating above the ridge, then collect the seed that follows.
Puffer Beach: Korok Seeds and Loone
Work your way south to Puffer Beach. On the sand, a Korok hides under a boulder: pick up the rock, carry it away and take the seed. A mossy mound on the cliffs above the beach holds another seed at the top.


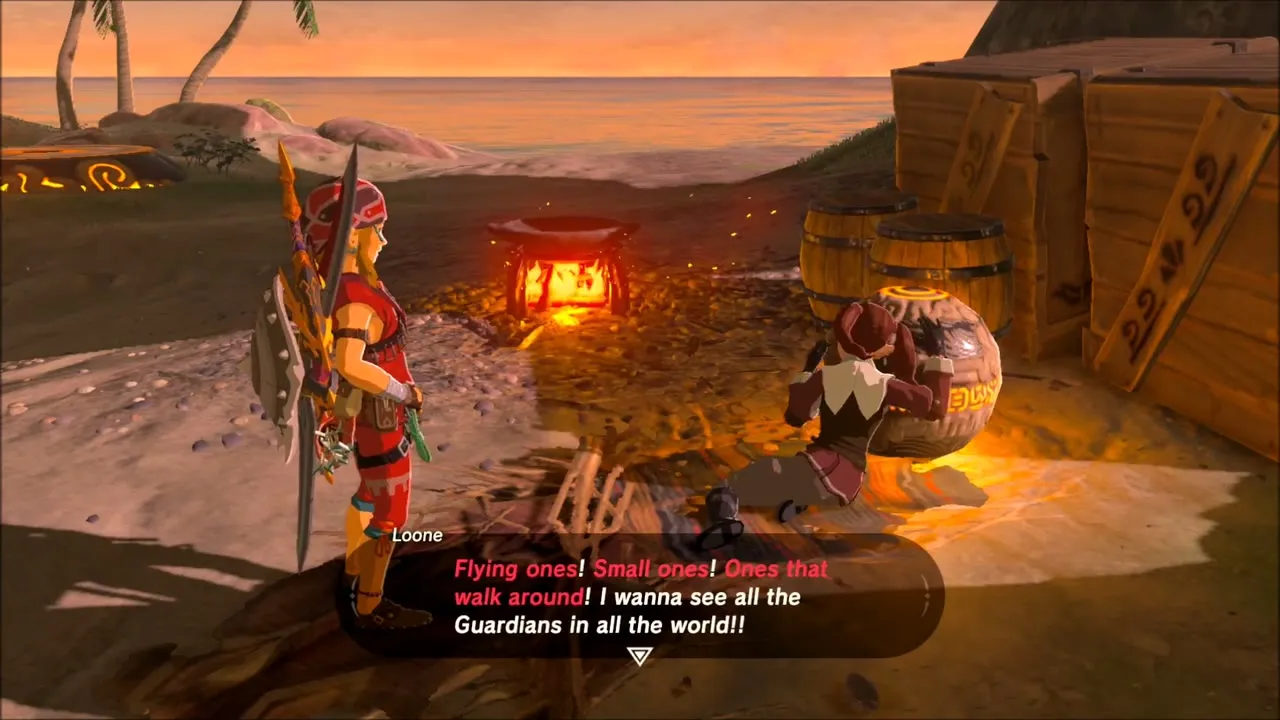
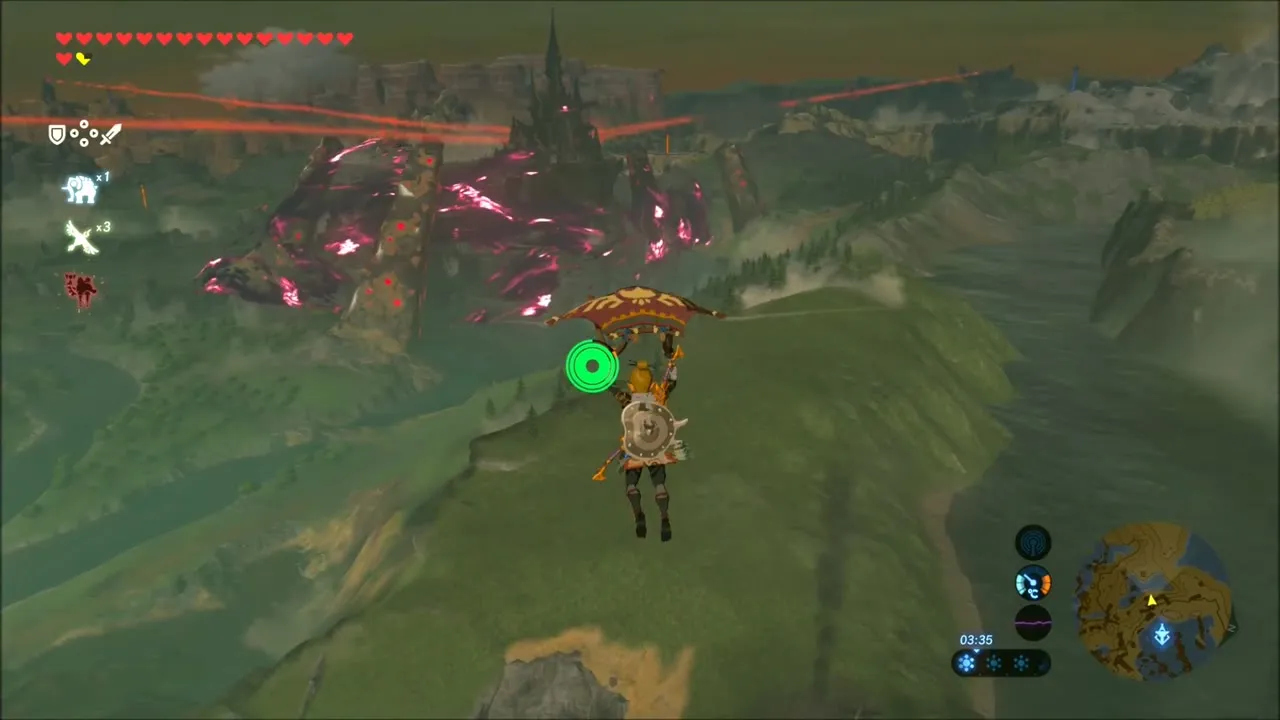
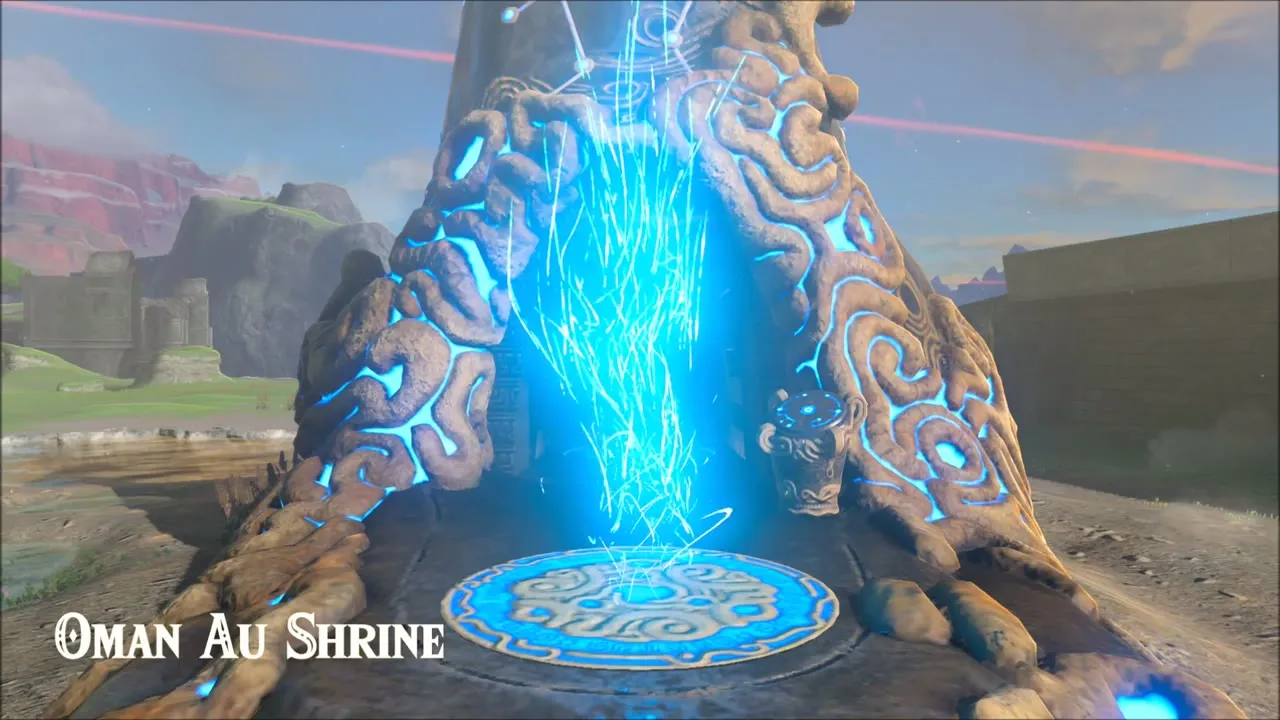
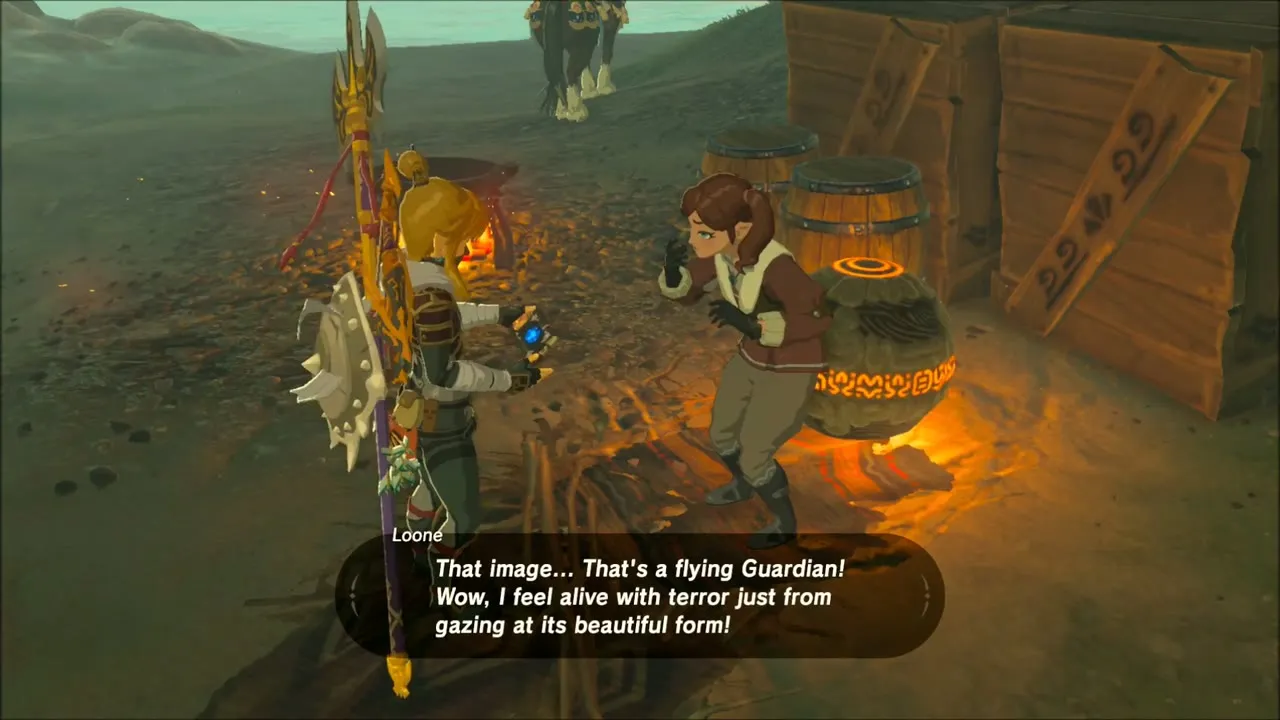
Close to the water you meet Loone, who is eager to see a Guardian. This starts the shrine quest Guardian Slideshow: you need photos of a Guardian Stalker, a Guardian Skywatcher and a Guardian Scout.
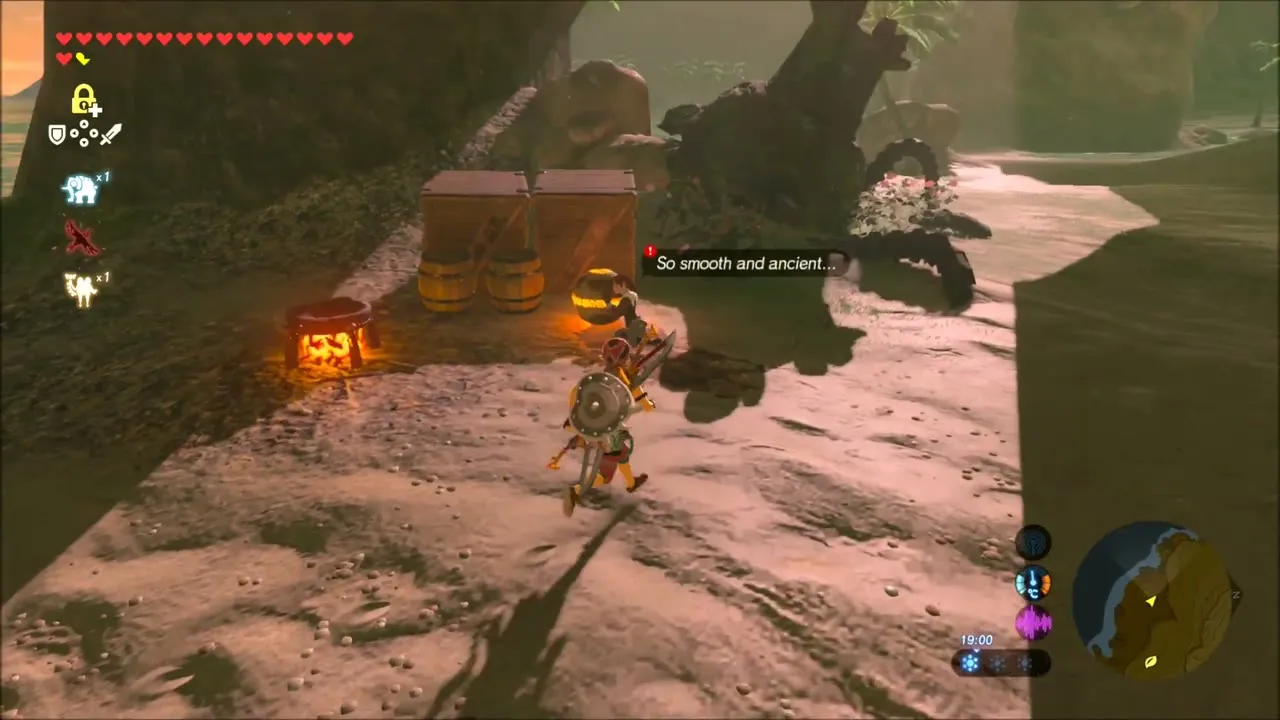

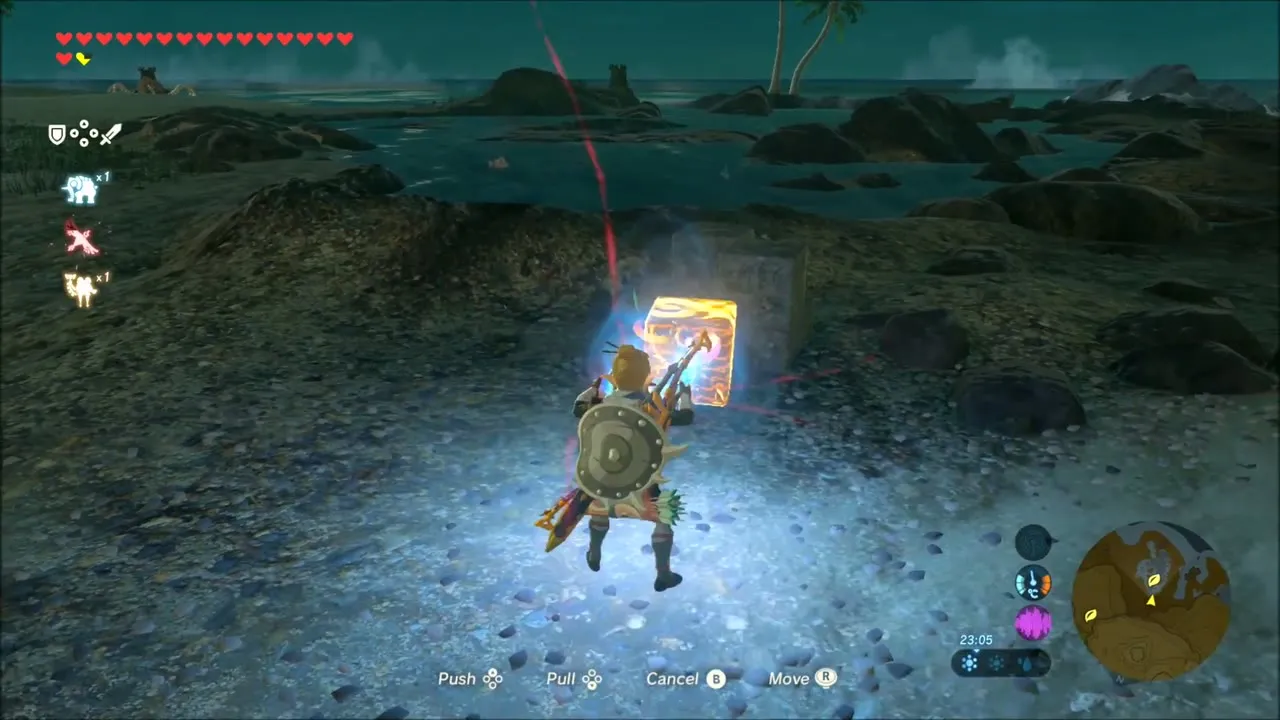
Along the beach and into the rocky cove a few more seeds are hiding: one among the dark rocks near the cave, one on the seabed, which you reach by freezing a path with Cryonis, and another near the shore rocks. A chest in the cove holds Bomb Arrows, and a second chest further along can be dragged out of the water with Magnesis.


Guardian Slideshow: Photographing Three Guardians
A Guardian Stalker is the first target. One wanders the beach, so take its picture with the Camera rune before you fight it.
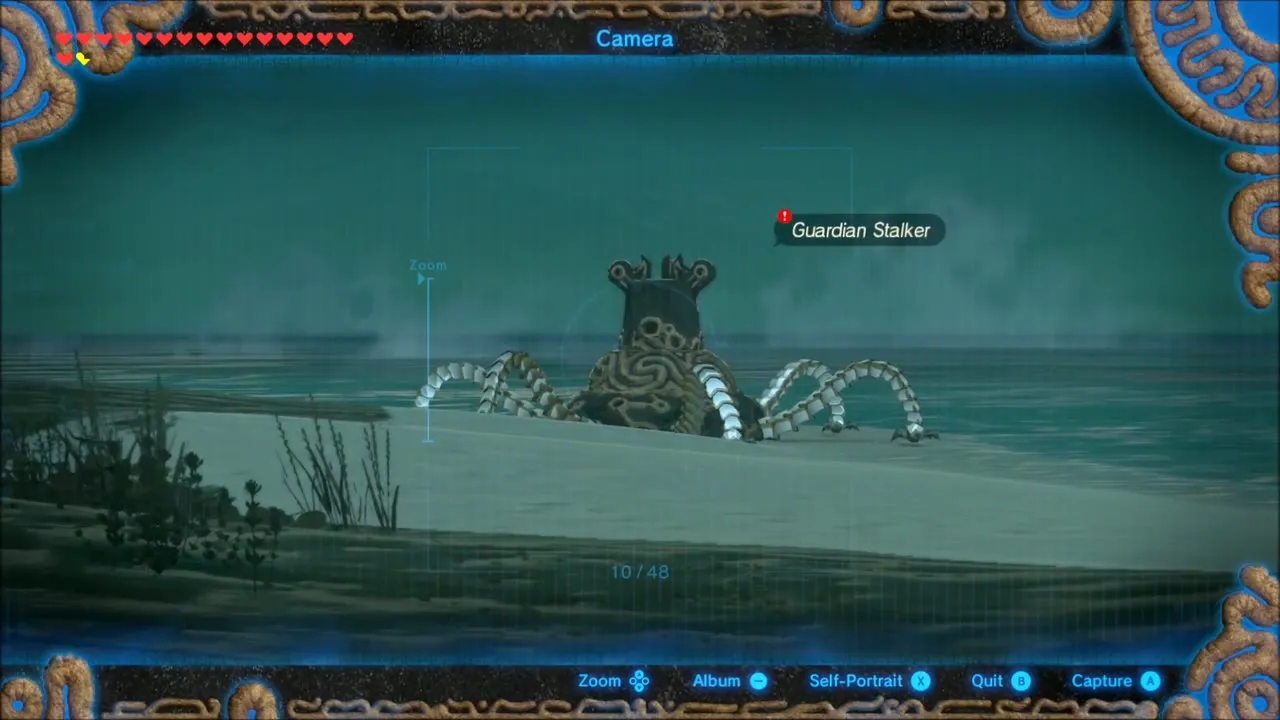
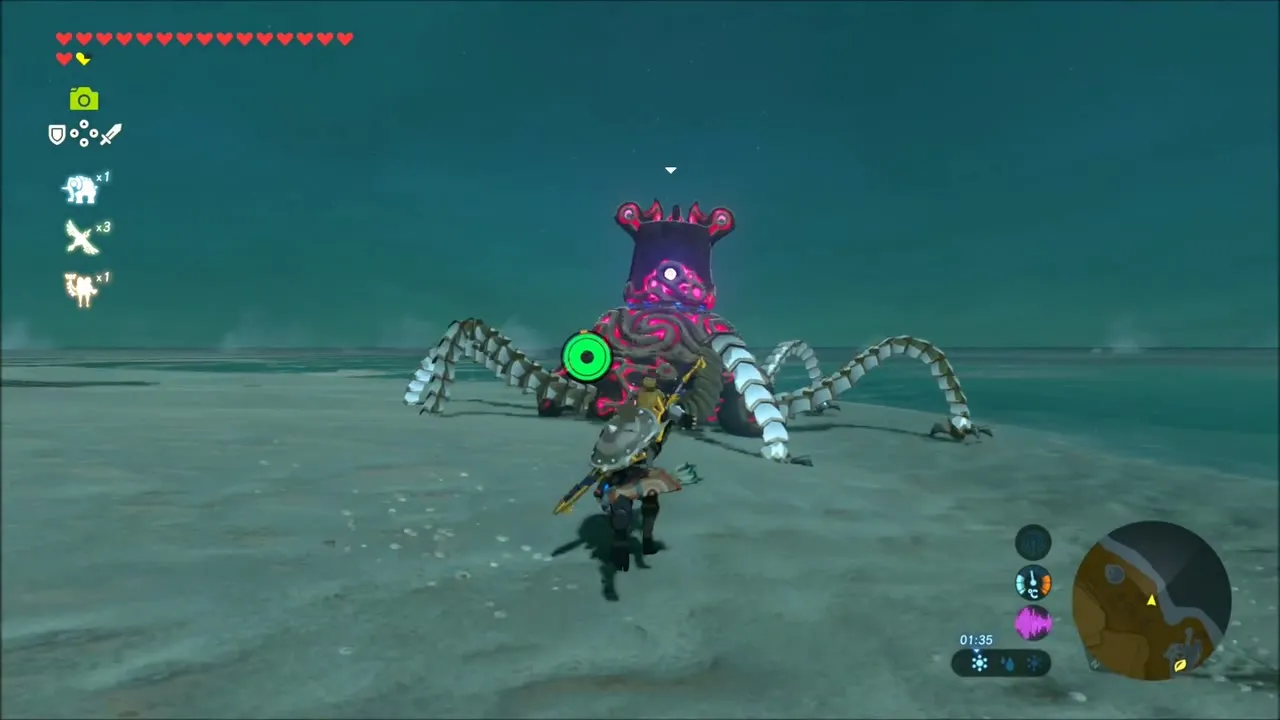

For the flying Skywatcher, glide towards Hyrule Castle, where Guardian beams sweep across the plains. Take a photo from a safe distance and confirm that you want to replace the old picture.


A Guardian Scout is the last photo, so warp to Oman Au Shrine on the Great Plateau, step inside and take a picture of the Scout there.

Return to Loone at Puffer Beach and show her the pictures. She hands over the orb, which you set into the pedestal to raise Shoqa Tatone Shrine.
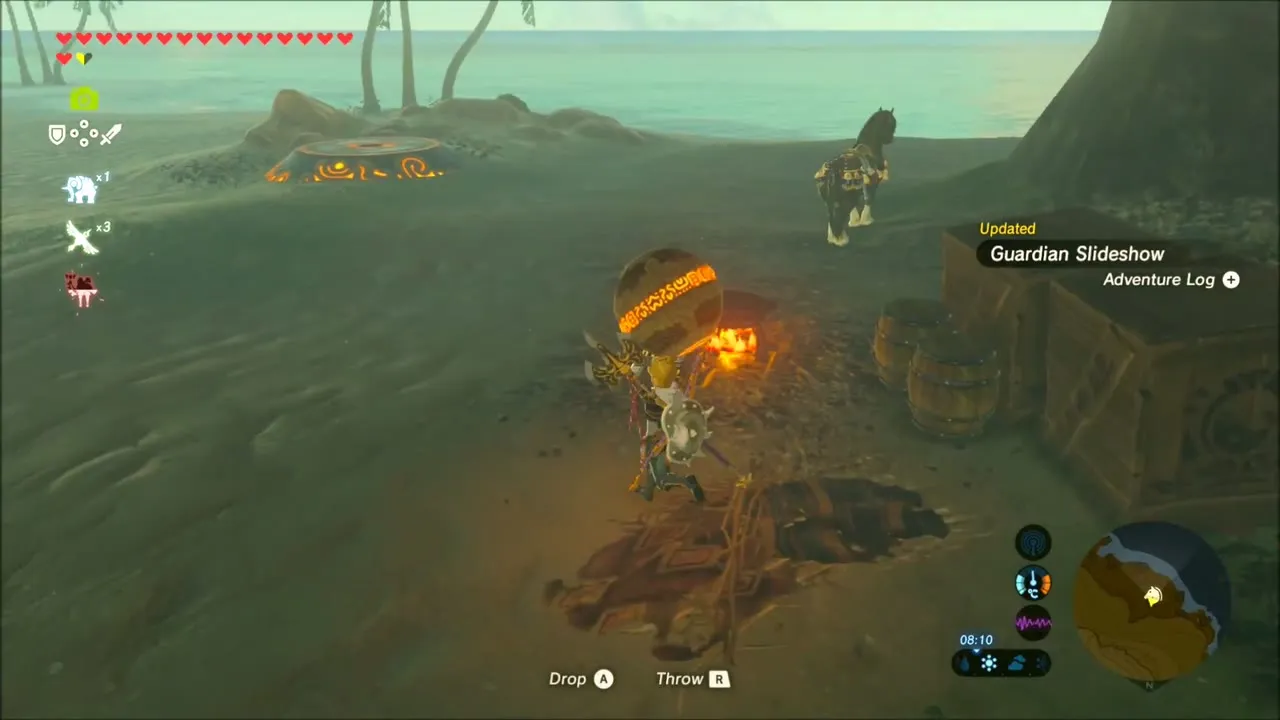


Shoqa Tatone Shrine: A Modest Test of Strength
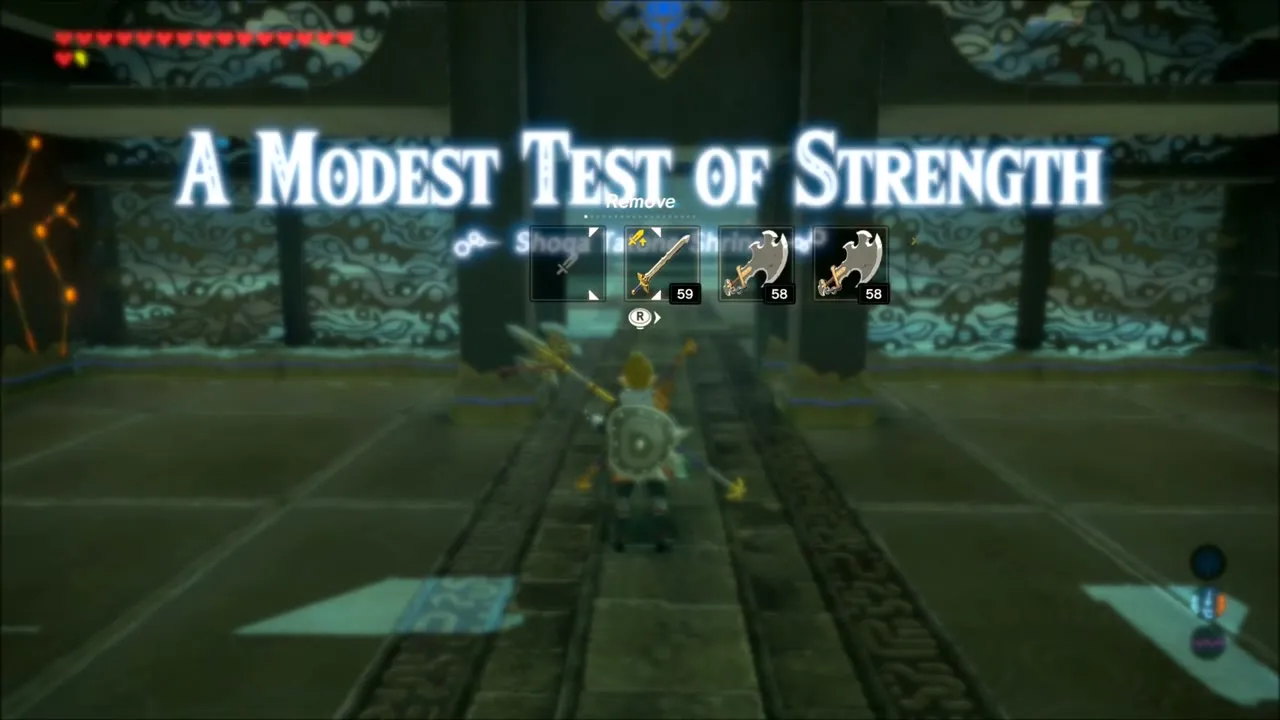
Shoqa Tatone Shrine stands on the western end of Puffer Beach at (95, 3841). It is a combat trial against a Guardian Scout III: dodge its attacks and counter with flurry rushes, then finish it off. The chest holds a Royal Broadsword, and the monk gives you the Spirit Orb. See the Shoqa Tatone Shrine page for more tips.


Korok Seeds and Chests on the South Shore of Lake Hylia
Begin by gliding down the cliffs beside a waterfall on the southern shore of Lake Hylia and working inland over the grassy hills. Put on Climbing Gear if you have it, because most of the Korok seeds in this stretch sit on ridges and in ruins that you reach by scaling rock faces.
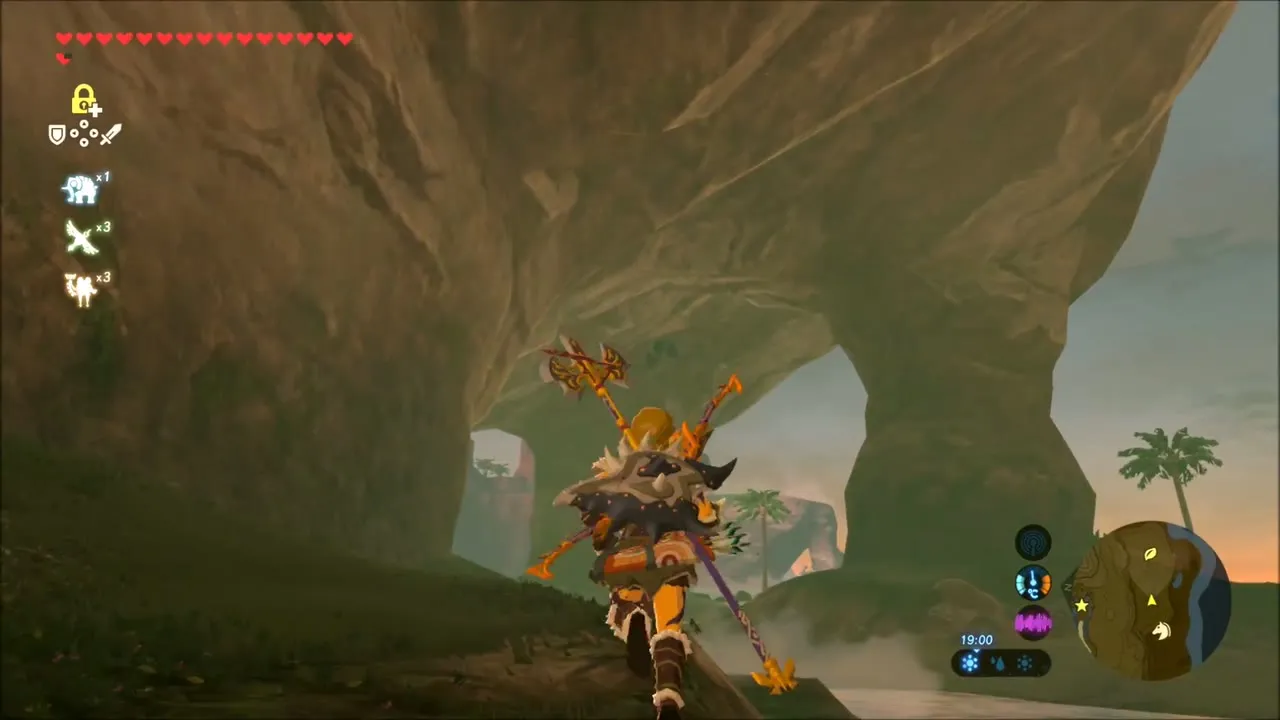
Magnesis Korok at the Stone Ruins
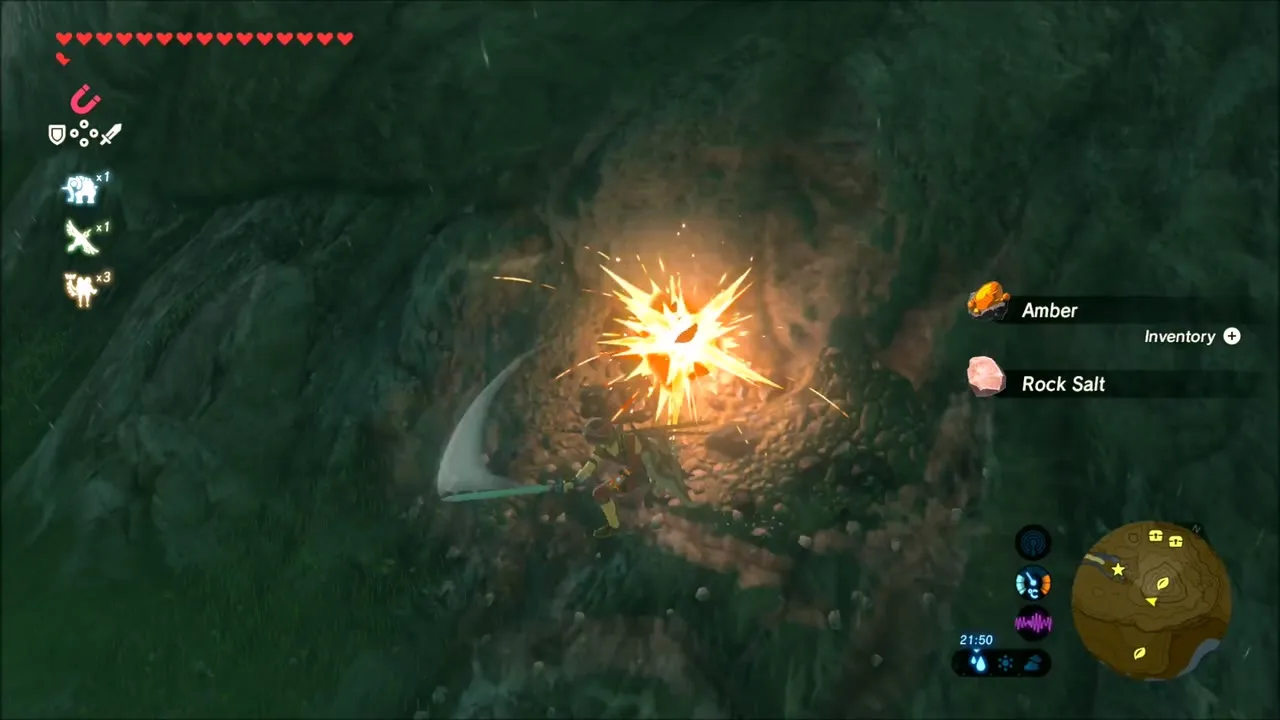
At a field of broken walls and pillars on the hillside, switch to Magnesis and aim it at the metal block lying among the stones. Lift it clear and the Korok hiding under it pops out, so you get a Korok seed for one quick pull. Walk the ridge above the ruins afterwards; the slope is dotted with Amber, Opal and Rock Salt deposits that are worth smashing with a weapon on the way.


Hilltop Korok on the Ridge
Keep climbing the dark ridge behind the ruins. On the summit a Korok waits in the open and calls out as soon as you walk up to it, so this seed costs you nothing but the climb.
Malanya’s Spring (Horse God Fountain)
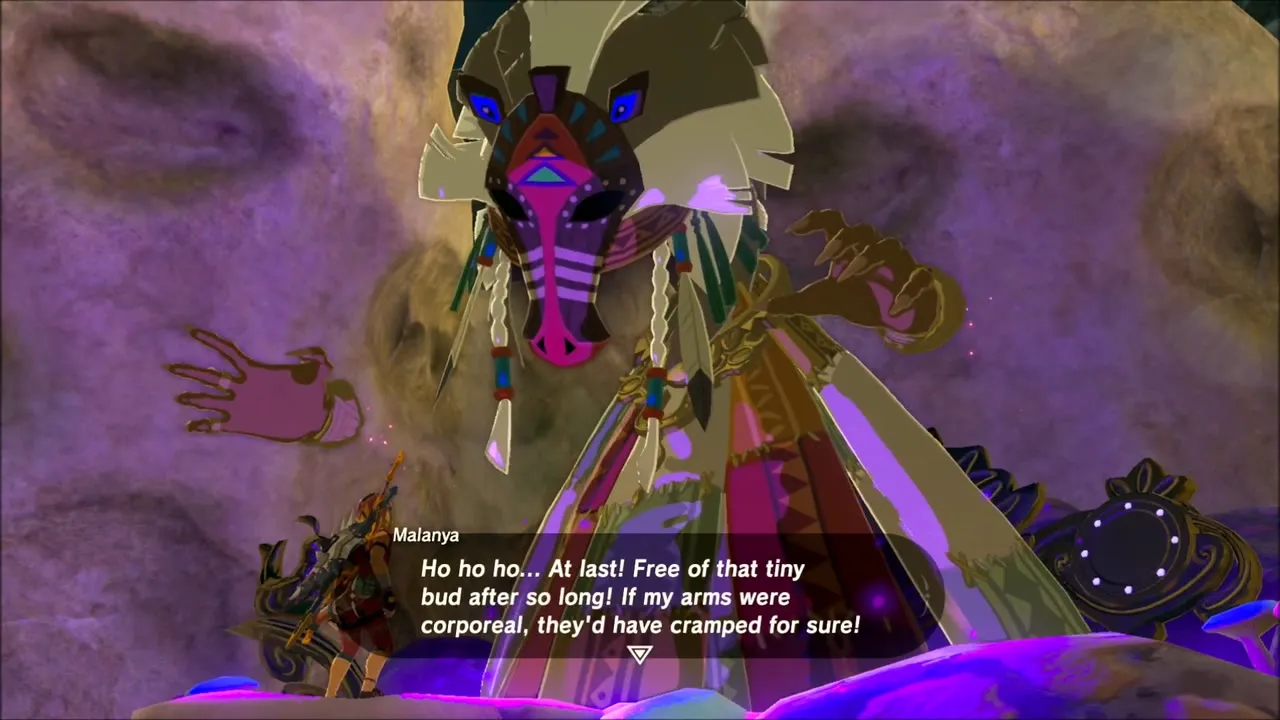
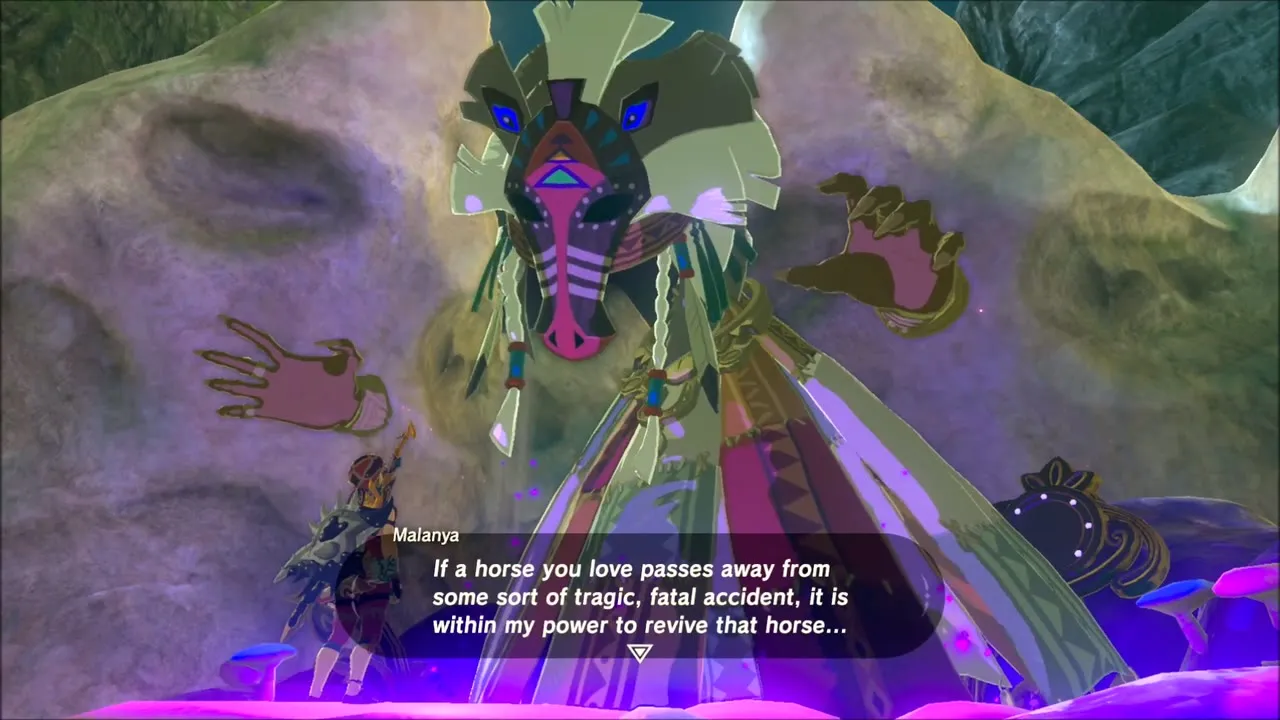
Further south you pass the Lake of the Horse God. Malanya‘s spring lies just east of the Horse God Bridge and south of Highland Stable, at (801, 3704) in map square F-8. It is the fairy of the horse fountain: for a flat 1,000 rupees she revives any registered horse that has died. There is nothing to do here until you lose a horse, but remember it. See Malanya and the Great Fairy page.


Cryonis Korok in a Rocky Pond
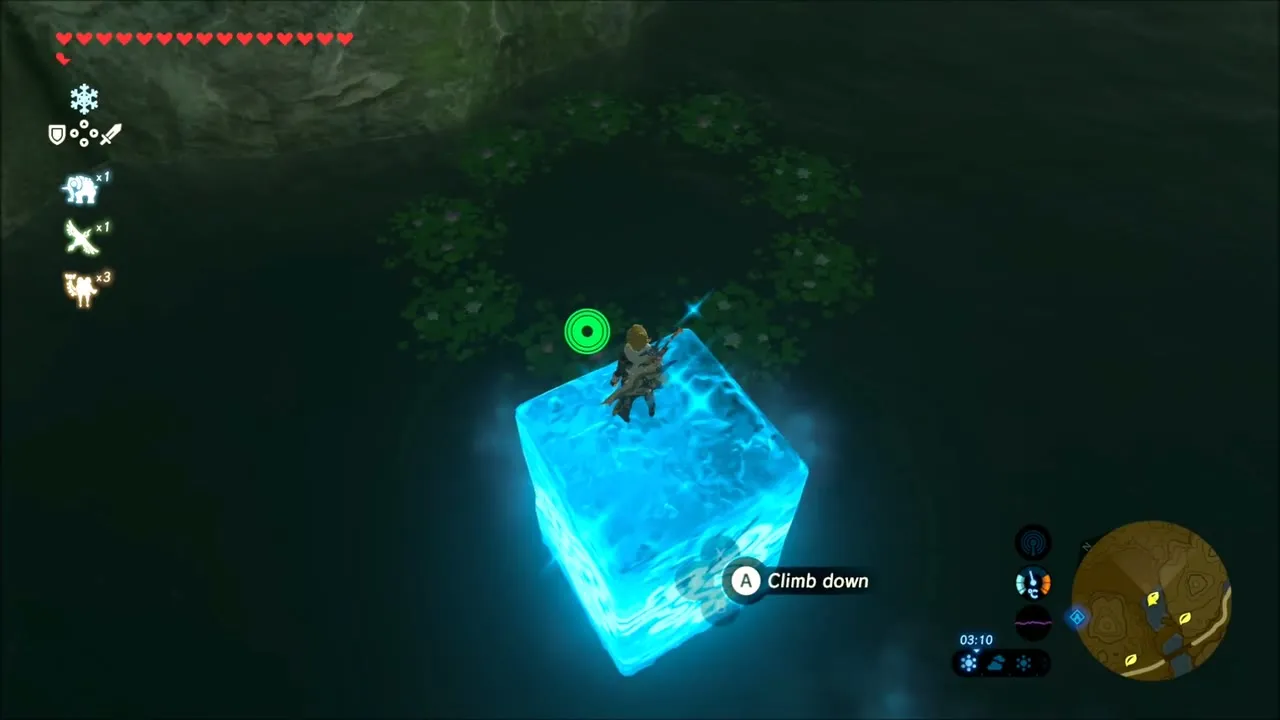
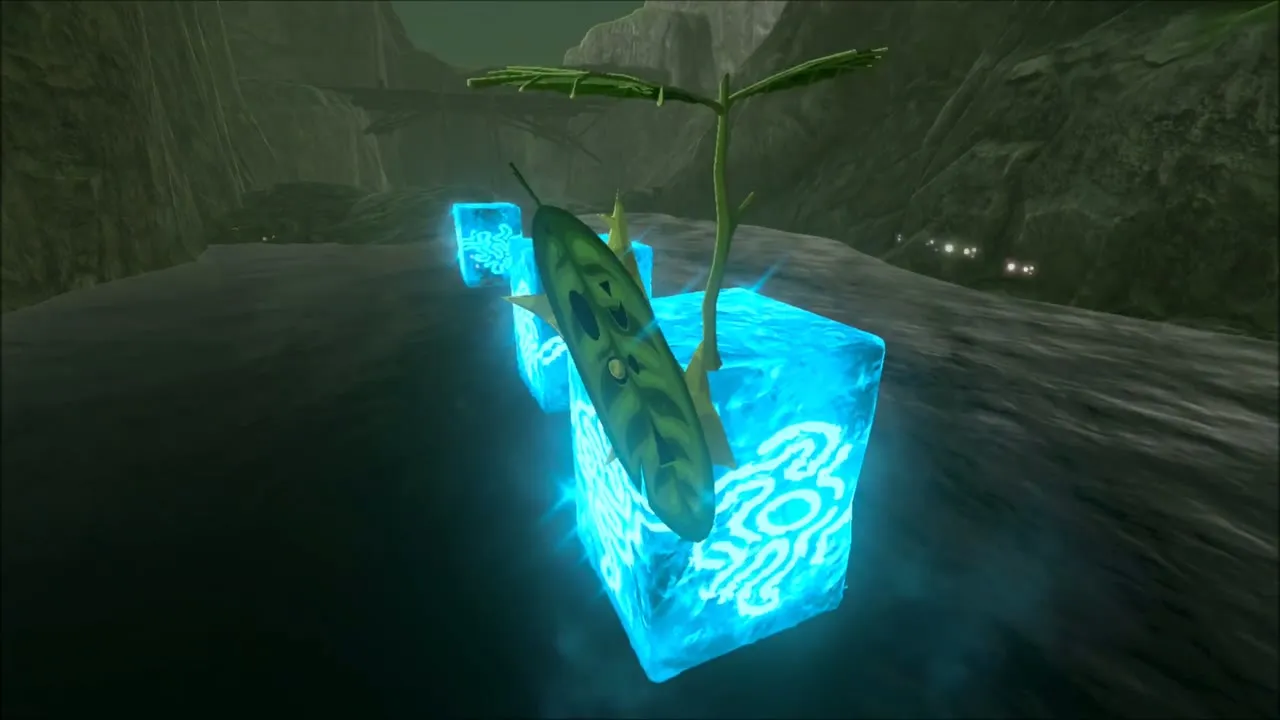
Back along the cliffs there is a rocky pool at the foot of a waterfall. Use Cryonis to raise ice pillars from the water and step from block to block along its walls. A Korok leaf is perched on top of one of the pillars: stand on the ice block and the seed is yours. Chests on ledges around the pool can be reached the same way, and the water below is full of lily pads and fish.

Boulder Puzzles and the Pillar Korok near Guchini Plain
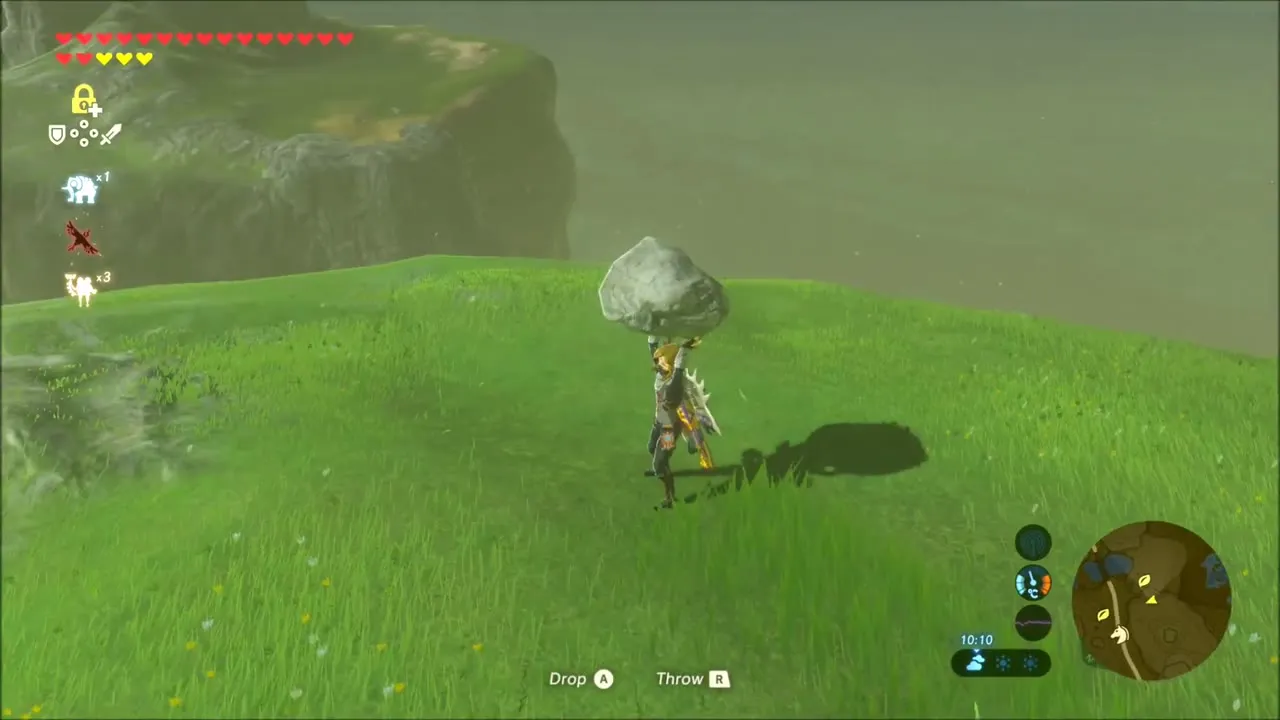
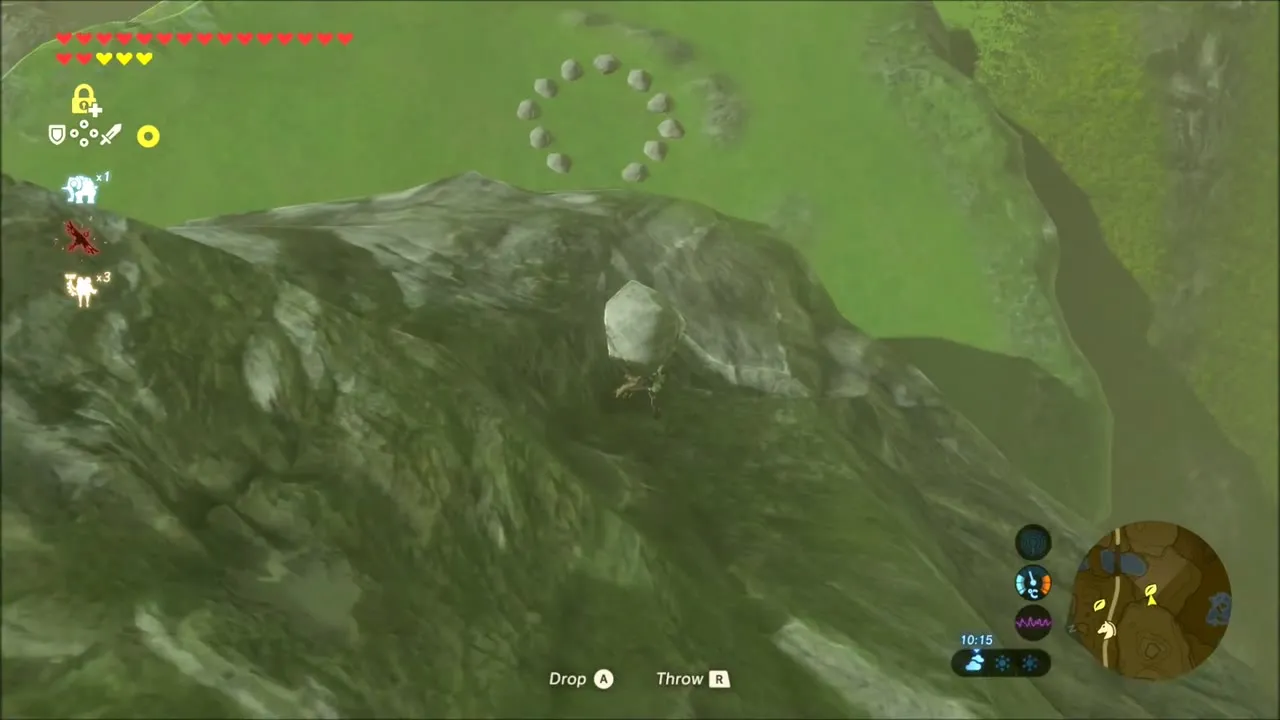
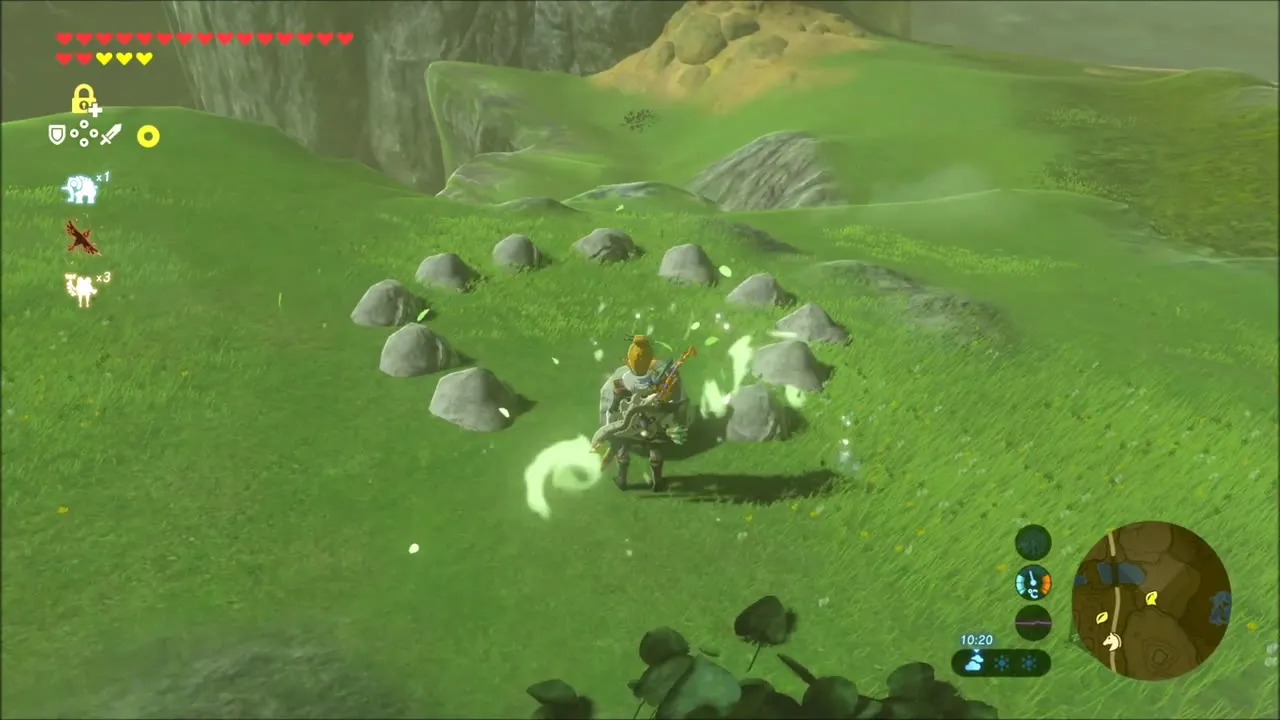
Ride or run east to the grassy hills where the lake narrows. On one hillside, pick up a loose boulder, carry it to the half-circle of small stones lying in the grass and set it in the gap. The ring closes and a Korok seed appears. A second hill a little further on works the same way: lift a boulder out of the rock face and carry it to a patch of small, evenly spaced stones. When you see a ring or a field of dots on a rock, look for a loose boulder nearby that belongs there.

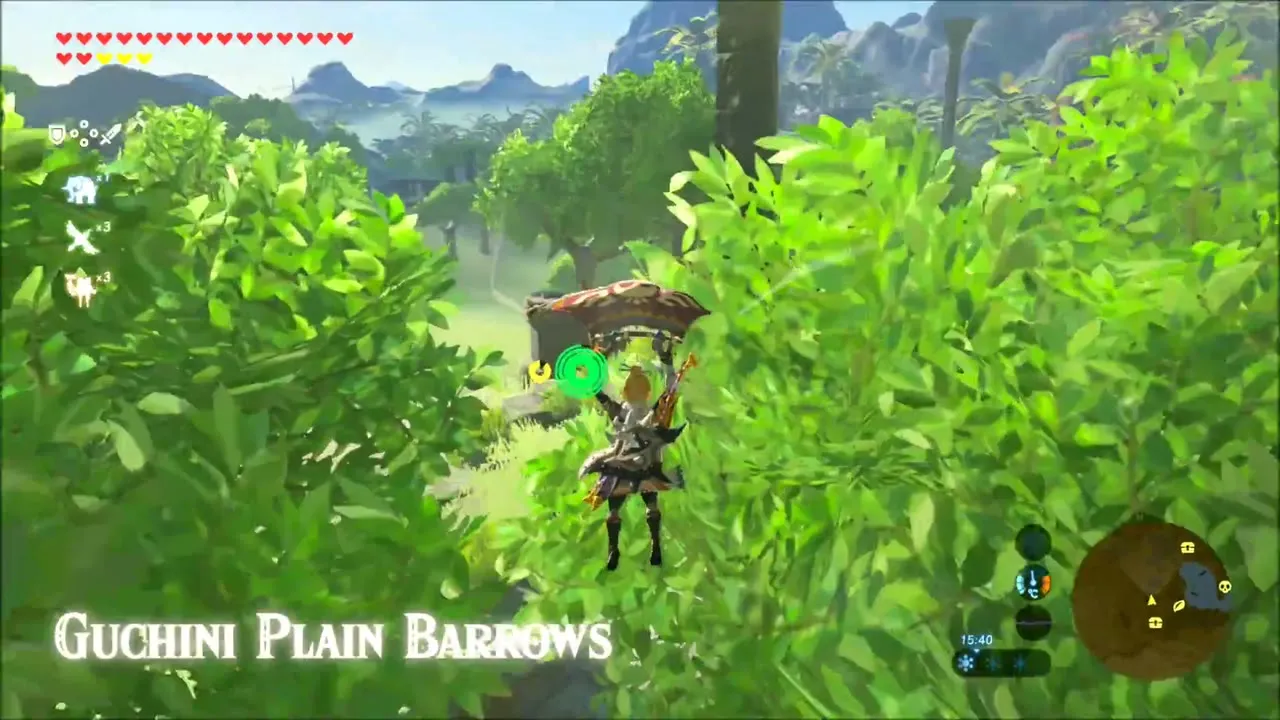
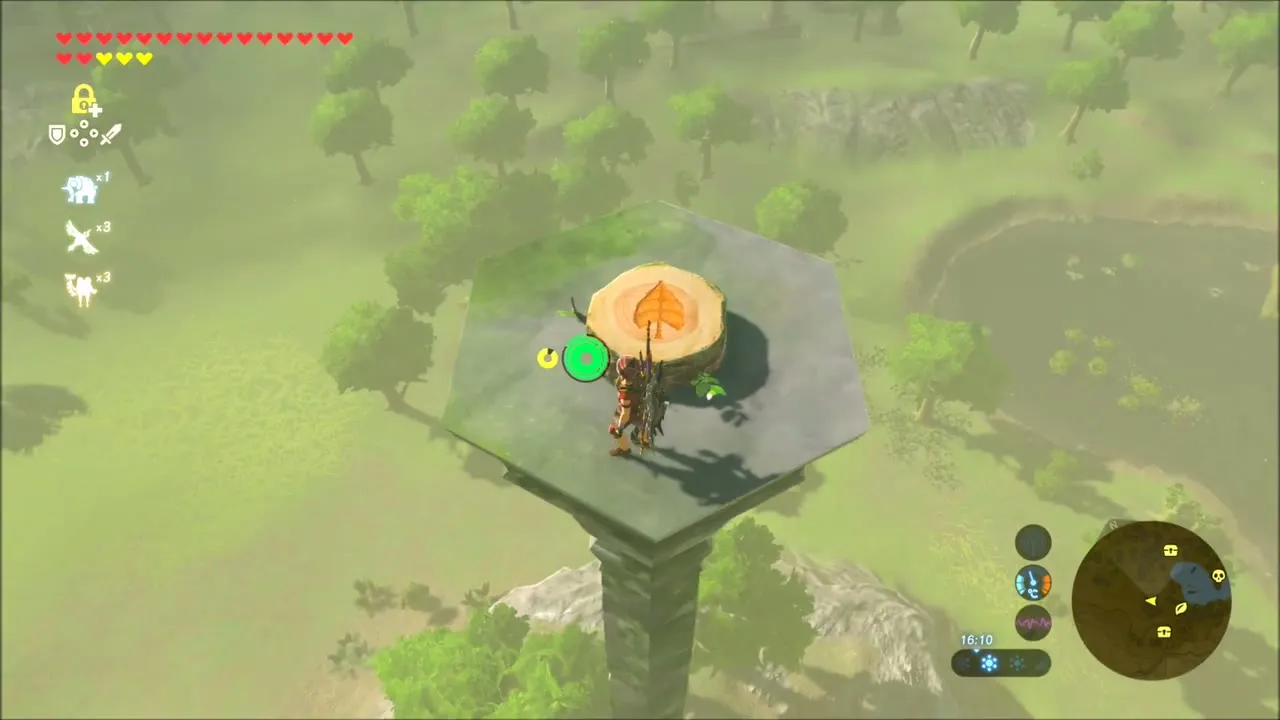
At the ruins named the Guchini Plain Barrows (x 1065, z 3377), climb the lone stone pillar that stands out of the trees. Cling to the pillar all the way up to its capital, where a Korok is waiting on top; then glide off toward the forest below.


Hinox on the Grassland
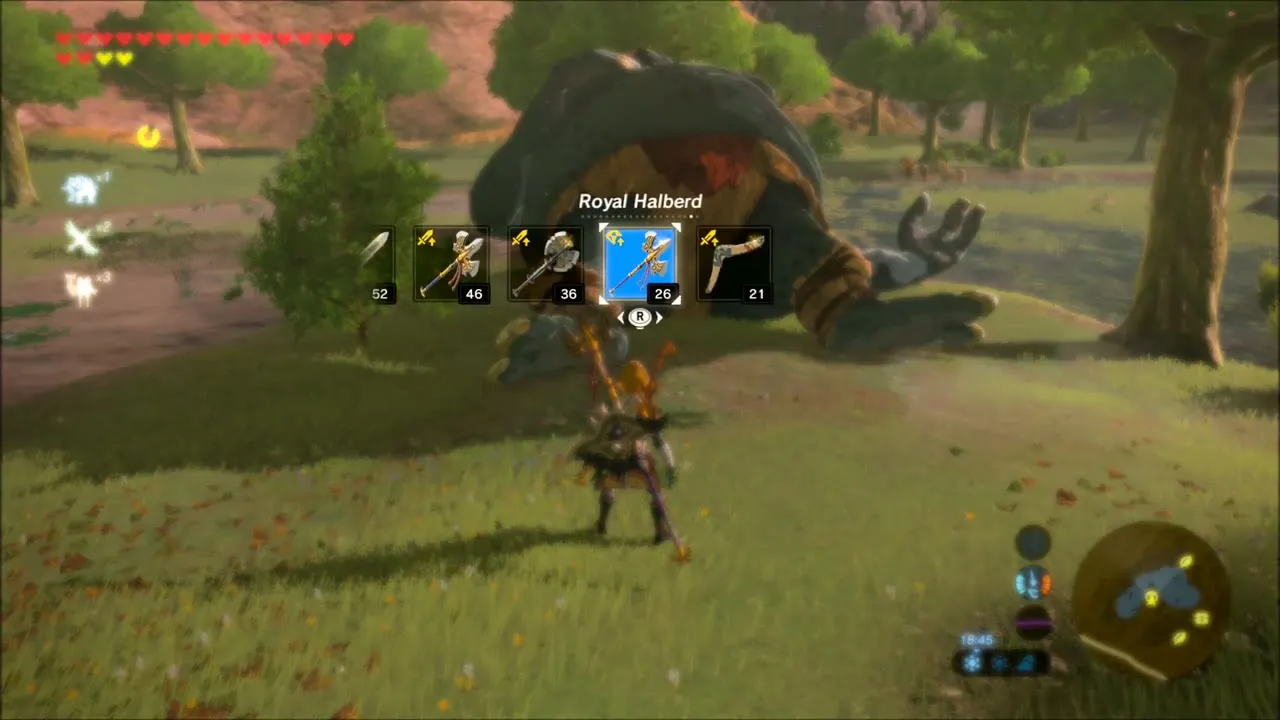
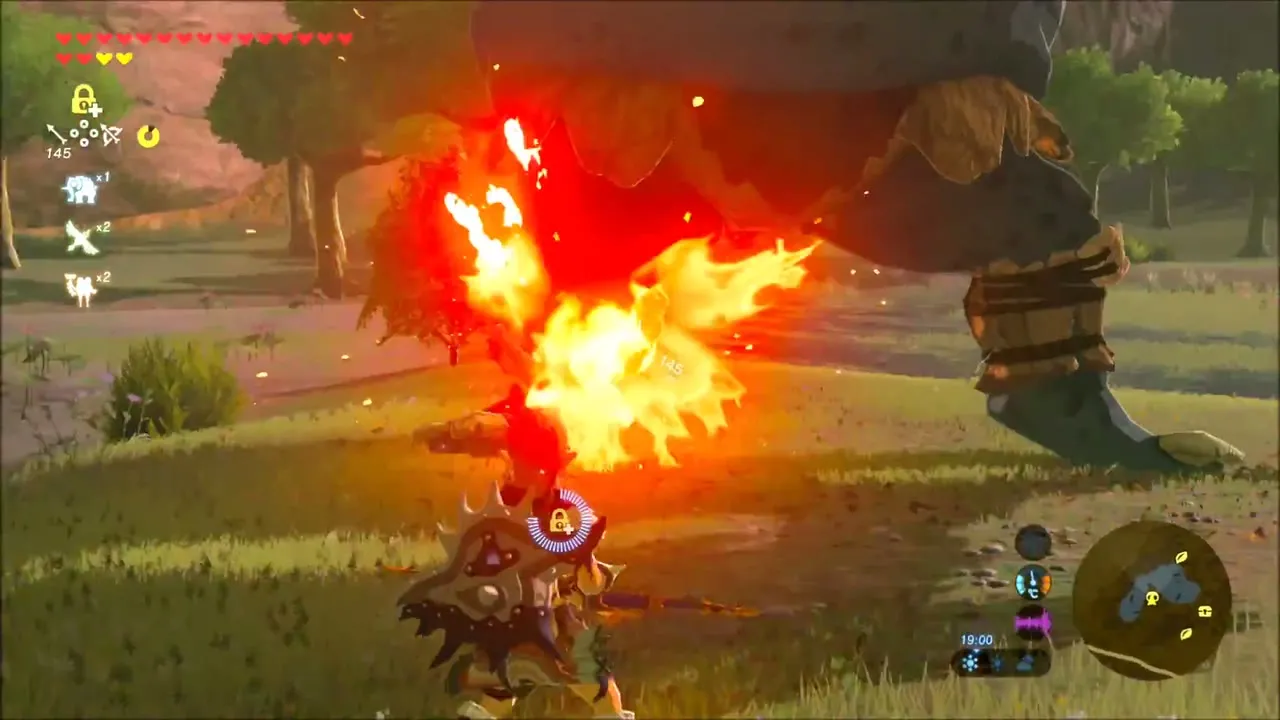
A sleeping Hinox lies in the grass nearby. Pick the Boomerang from your weapon wheel to test its reach, then set the giant alight with a fire arrow and finish it off. It leaves Hinox Toenails and a Hinox Tooth, which are worth keeping for cooking and armor upgrades. Chests are scattered around the field, and a chest sits beside a stone slab where your Royal Broadsword breaks, so keep a spare weapon ready; the Royal Claymore in your inventory is a good backup.
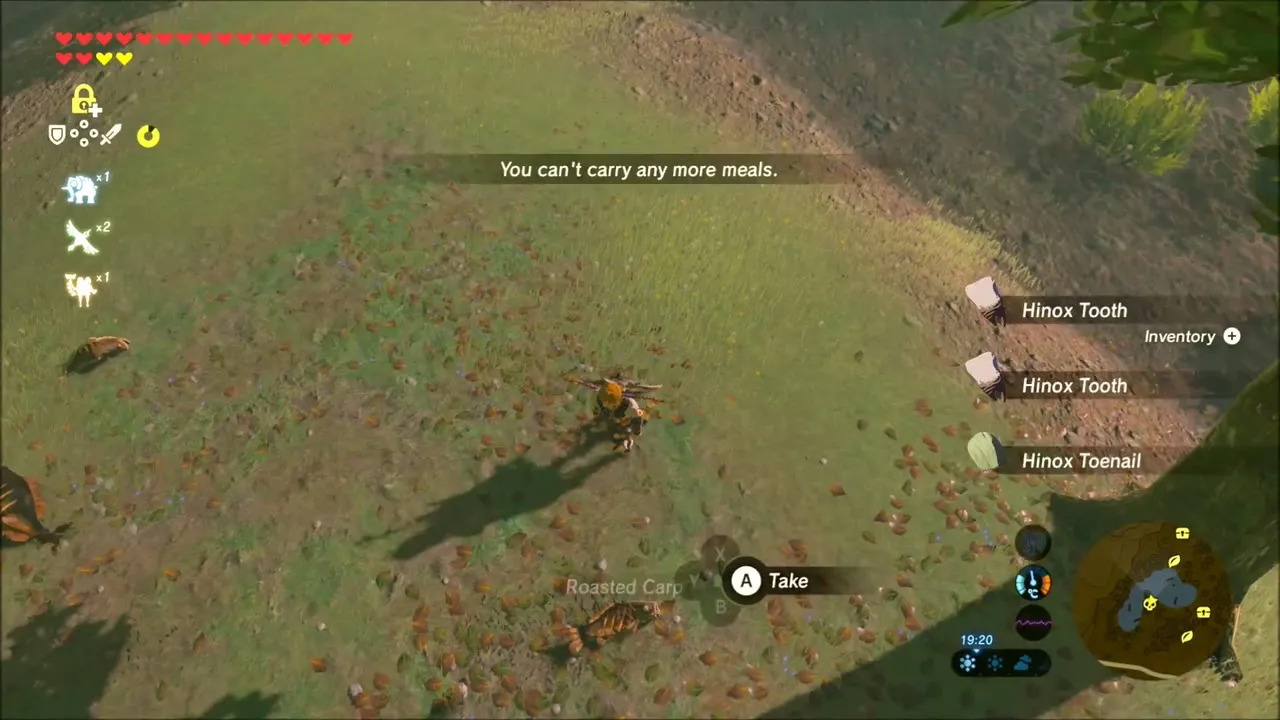
Faron Woods: Korok Seeds, Silver Rupee and Chests
In the forest, a Korok hangs in a clump of leaves from a tree. Draw your bow in slow motion and hit it with an arrow, and it drops down and gives you its seed. Nearby, launch a wooden slab with Stasis and carry a rock across the clearing; a Korok in a patch of bare ground pops out and waves goodbye.

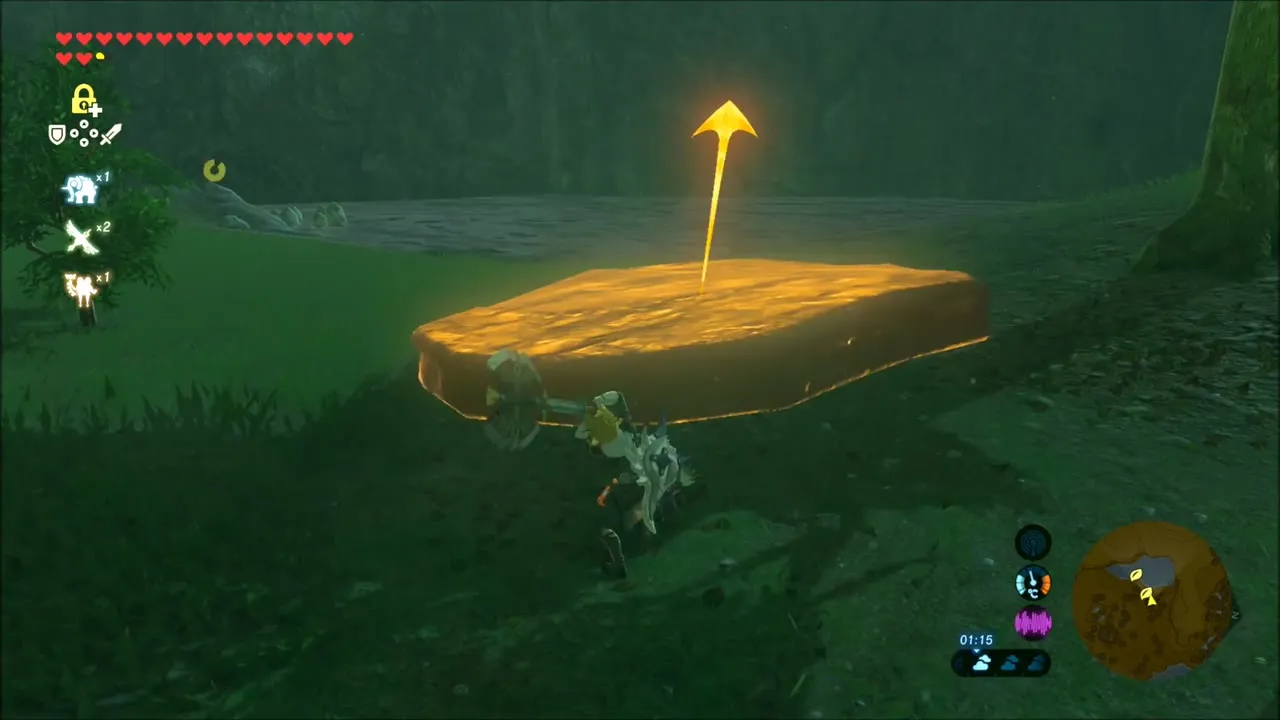
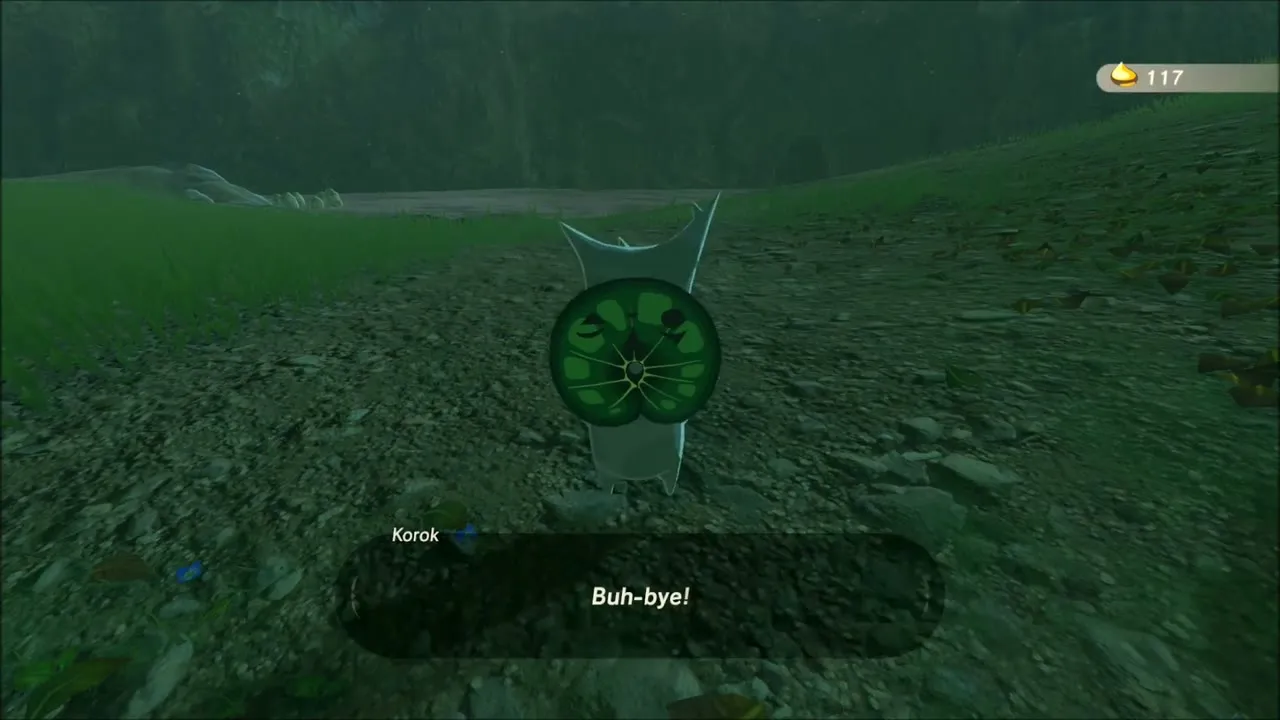
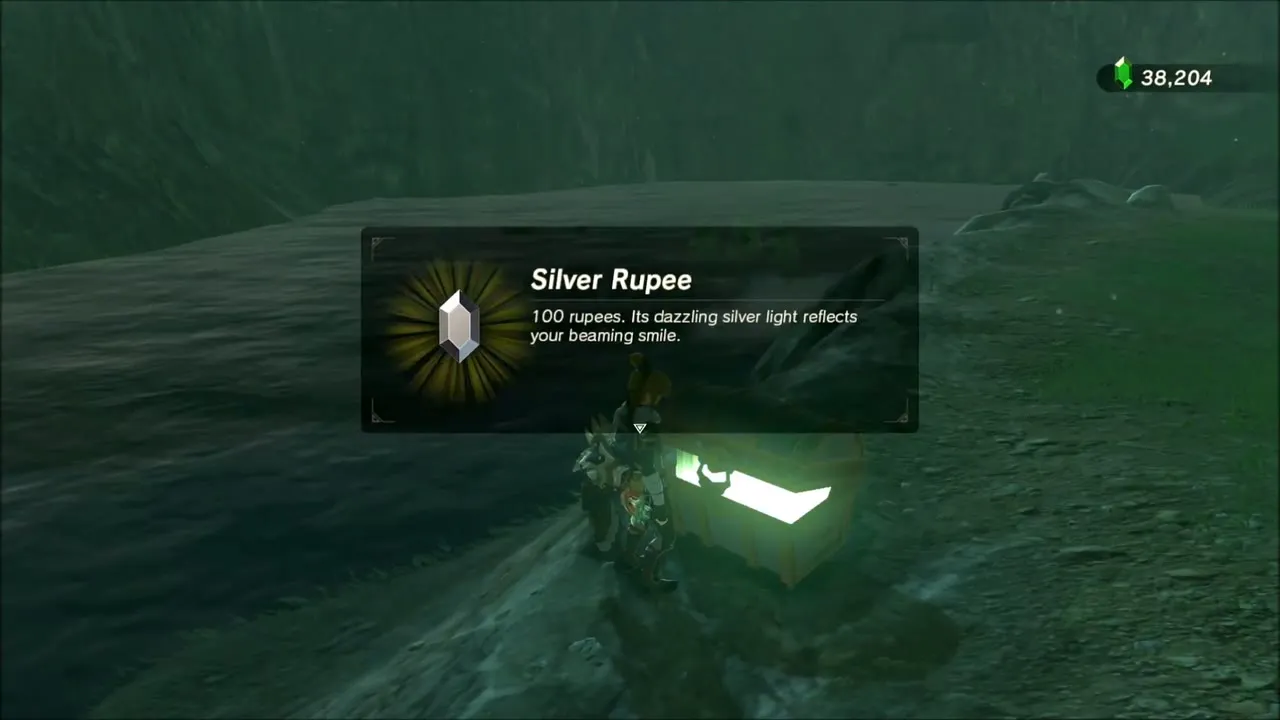
At a small rocky stream, pull a chest toward you with Magnesis and open it for a Silver Rupee (100 rupees), then raise a Cryonis pillar to reach a ledge where a Korok hides on a leaf-topped rock. Octoroks sit in the water here, so shoot them from the bank or let them be.



Kass and The Serpent’s Jaws (Shrine Quest)
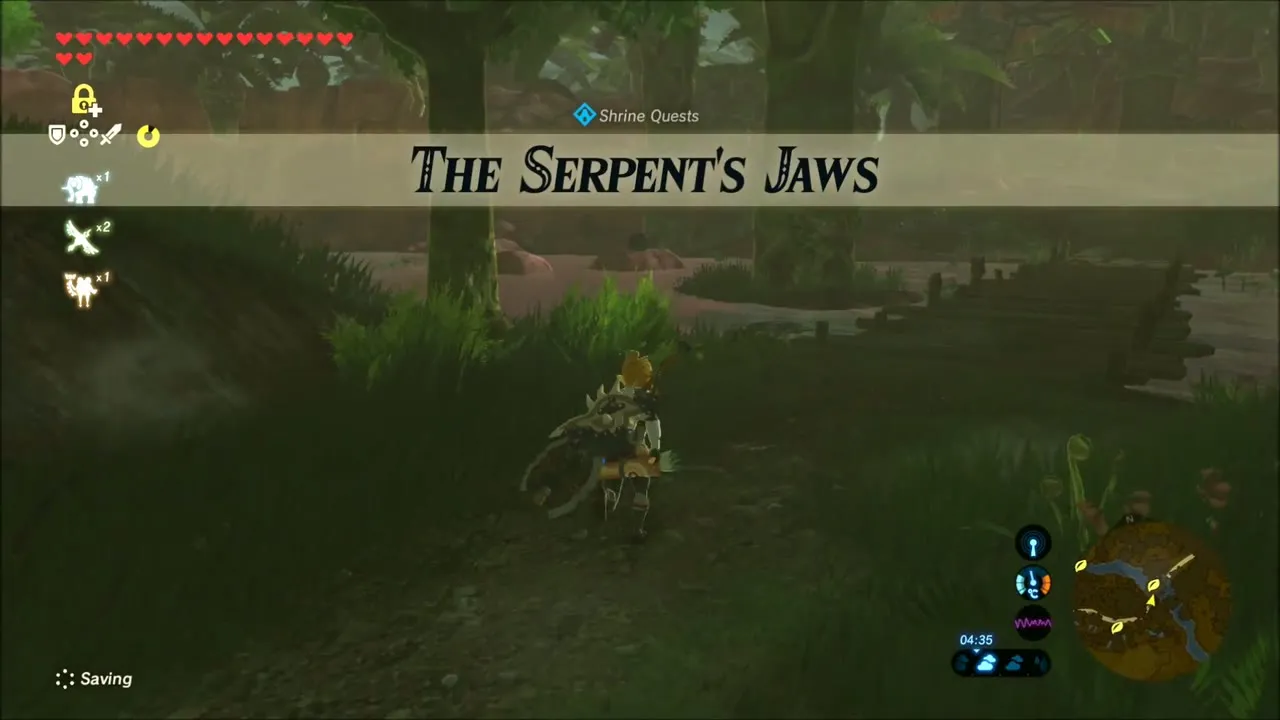
Between the Korok seeds, a bird-like Kass stands on a ledge in the forest. Accept his offer to hear an ancient verse of the region, which begins about a forest dragon that splays its jaws and a shrine that sleeps with noble cause. He adds that the forest in the song could be Damel Forest, north of here. This starts the shrine quest The Serpent’s Jaws, which you finish later with a bow and a Farosh‘s Scale.


River and Forest Korok Seeds near Pagos Woods
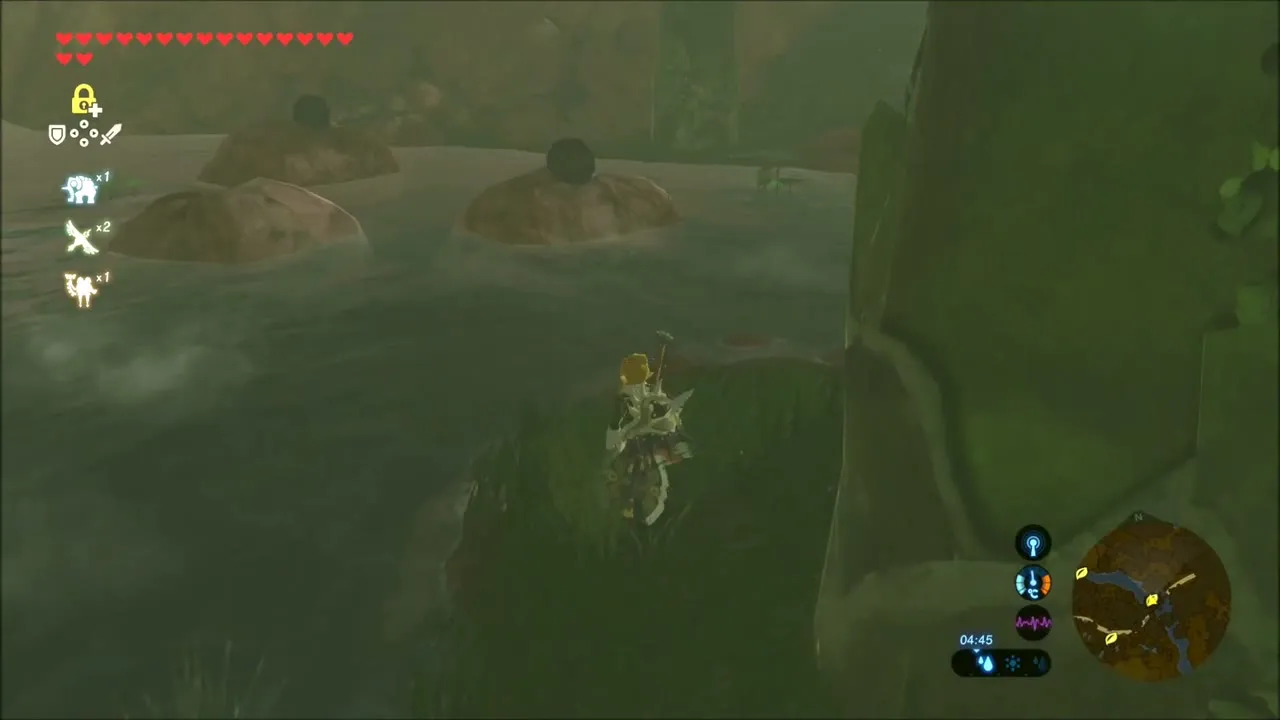
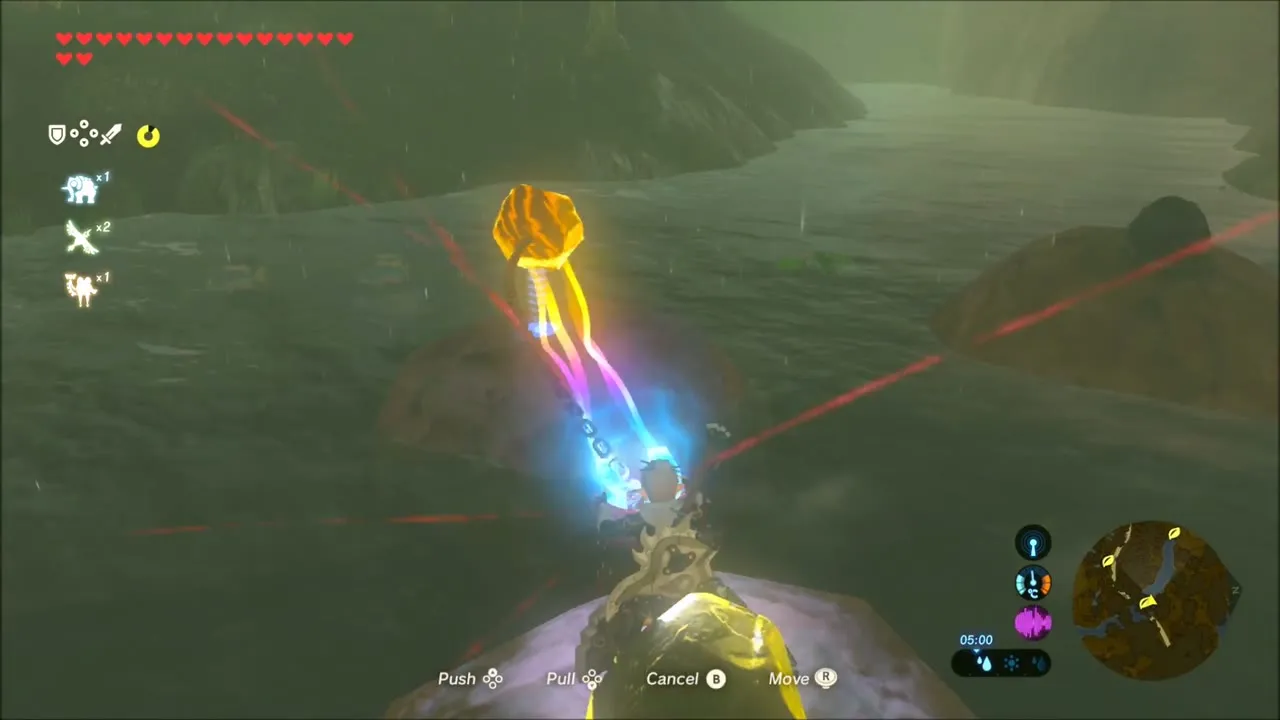
Follow the river past Kass. Round, brown boulders sit in the water like stepping stones; hop across them, using Stasis and Magnesis where you need help, and a Korok seed is waiting at the end. A little further on, swim across a lily pond to another Korok leaf and take a seed from it.
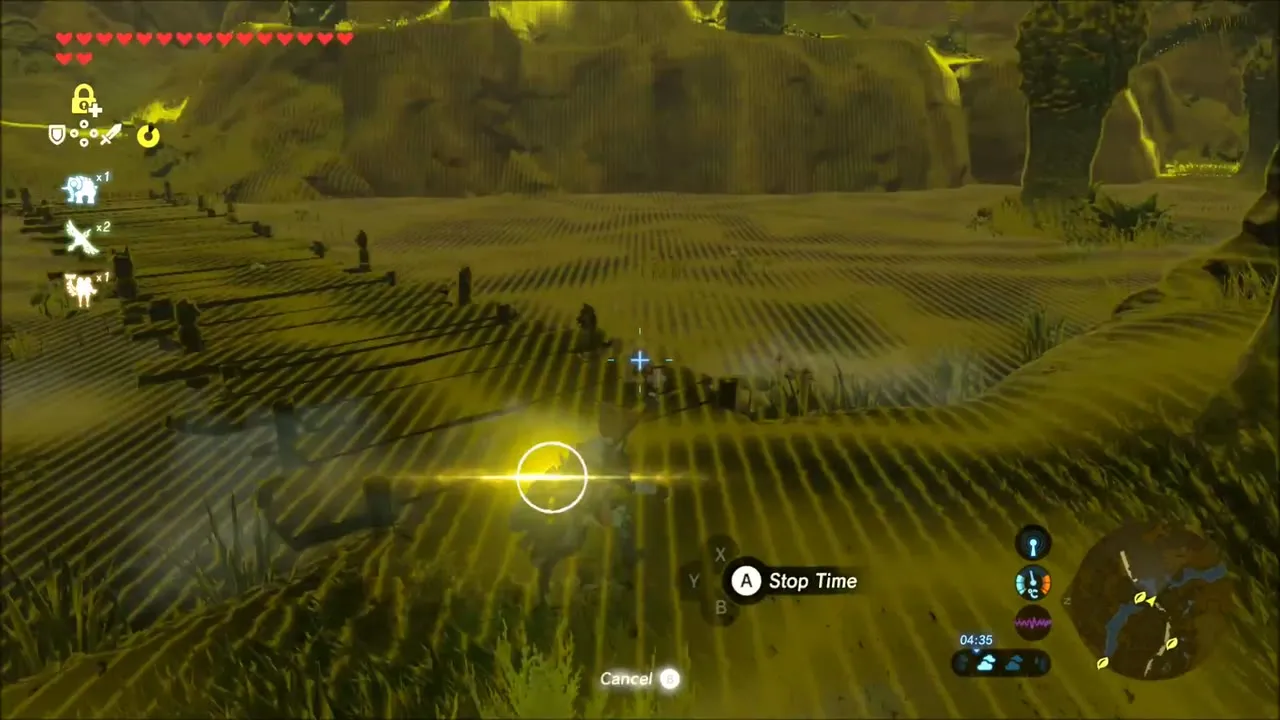
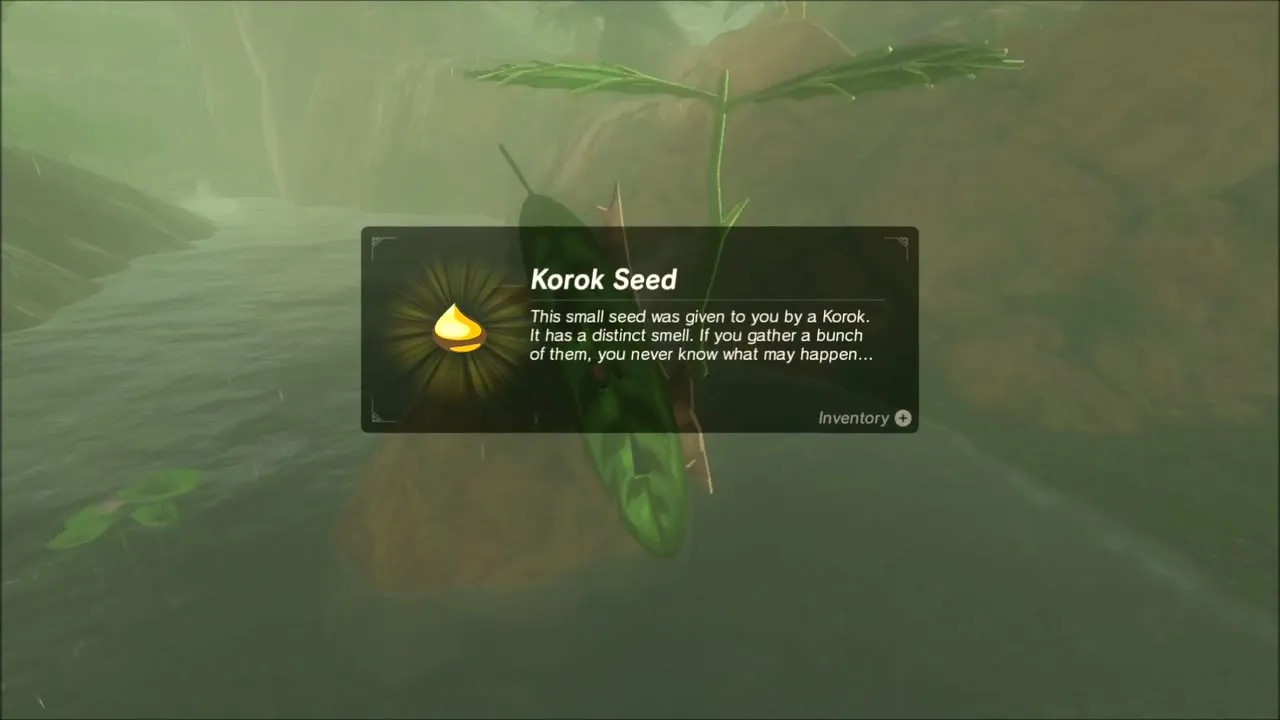
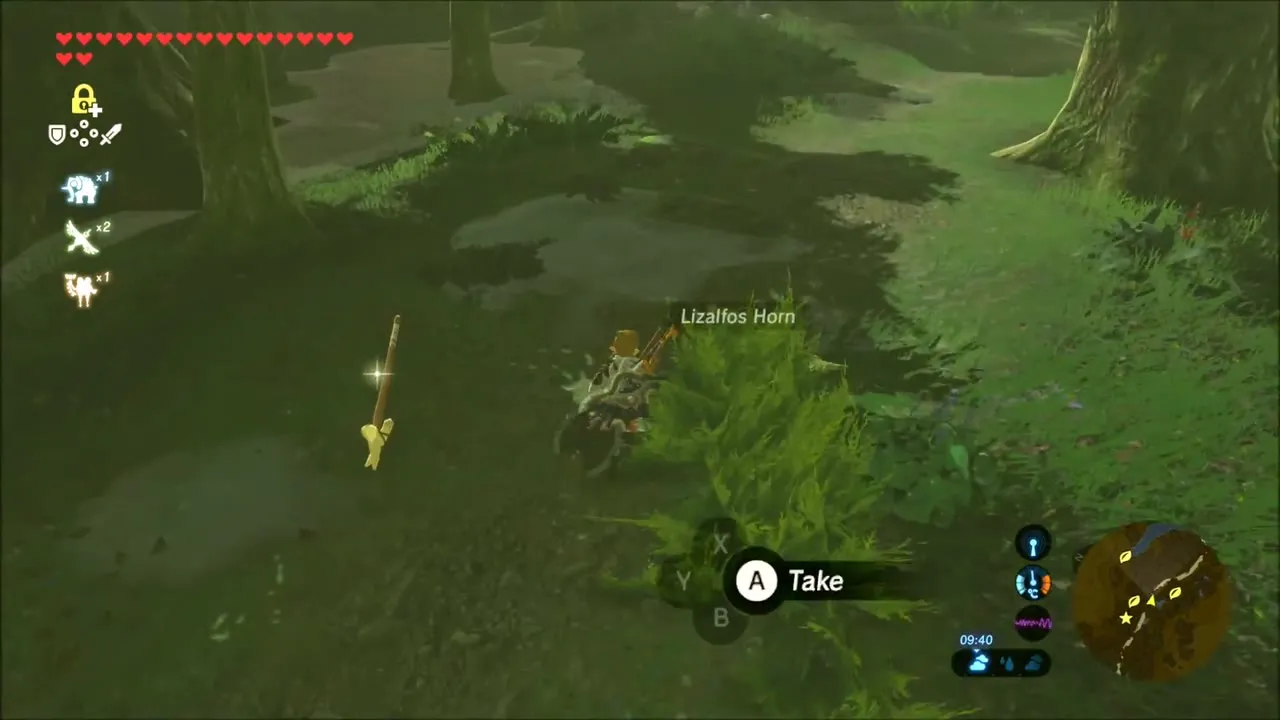
Deeper in the woods, a Korok bursts out from a rocky outcrop in a shower of leaves. In the dense forest near the road, Lizalfos attack along the path, so take their Talons and Horns for your trouble, and use Magnesis to pull glowing metal objects out of the ground at the foot of the trees.
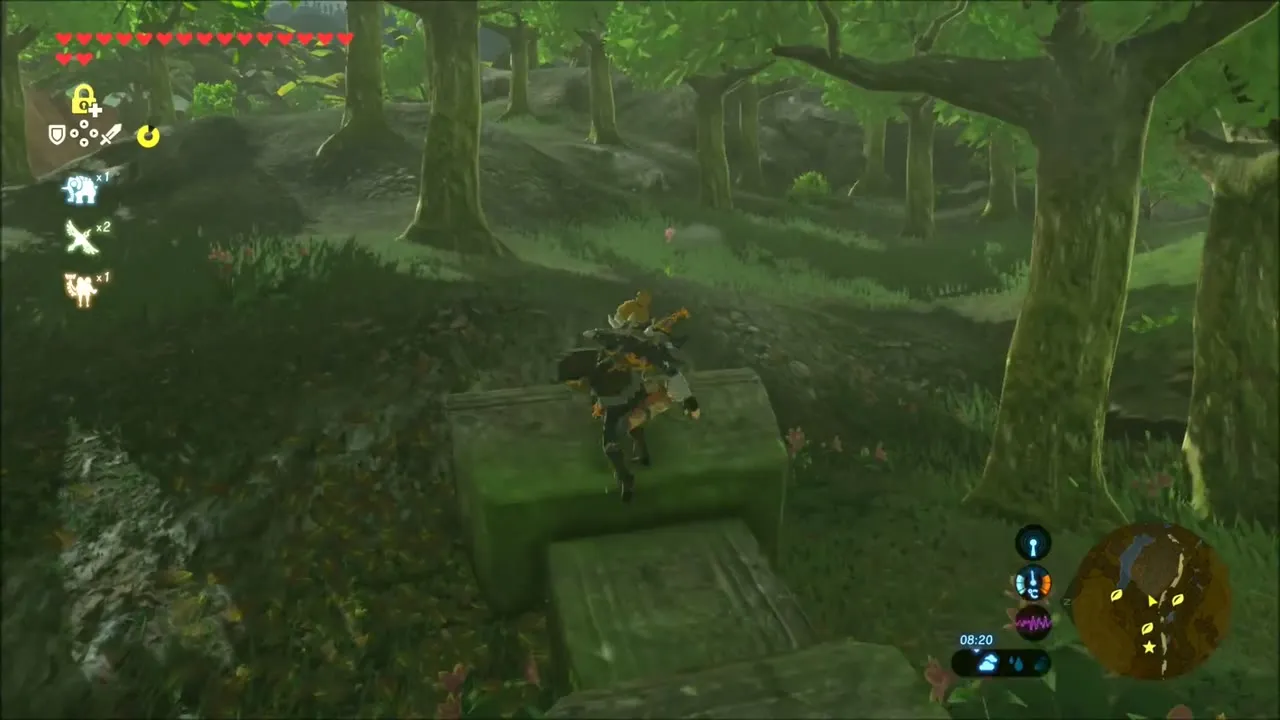


Pumaag Nitae Shrine: A Minor Test of Strength
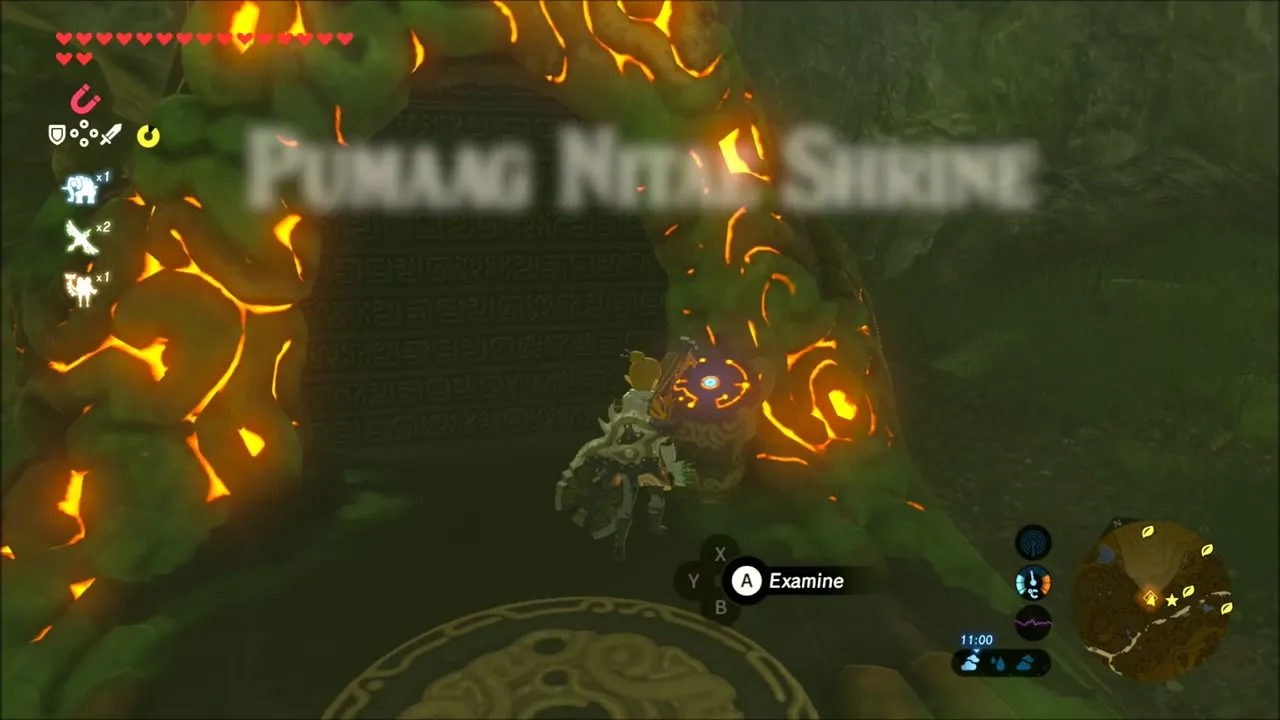
The Pumaag Nitae Shrine is on the edge of Faron Woods at (559, 2991), map square F-7, just off the road south of the Bridge of Hylia. Its trial, “A Minor Test of Strength”, is a duel against a Guardian Scout II. Counter its slashes with a well-timed dodge, hide behind pillars when it spins, and paraglide over its laser before closing in for the last phase. A Boomerang waits in the chest behind the arena, and Monk Pumaag Nitae gives you a Spirit Orb.

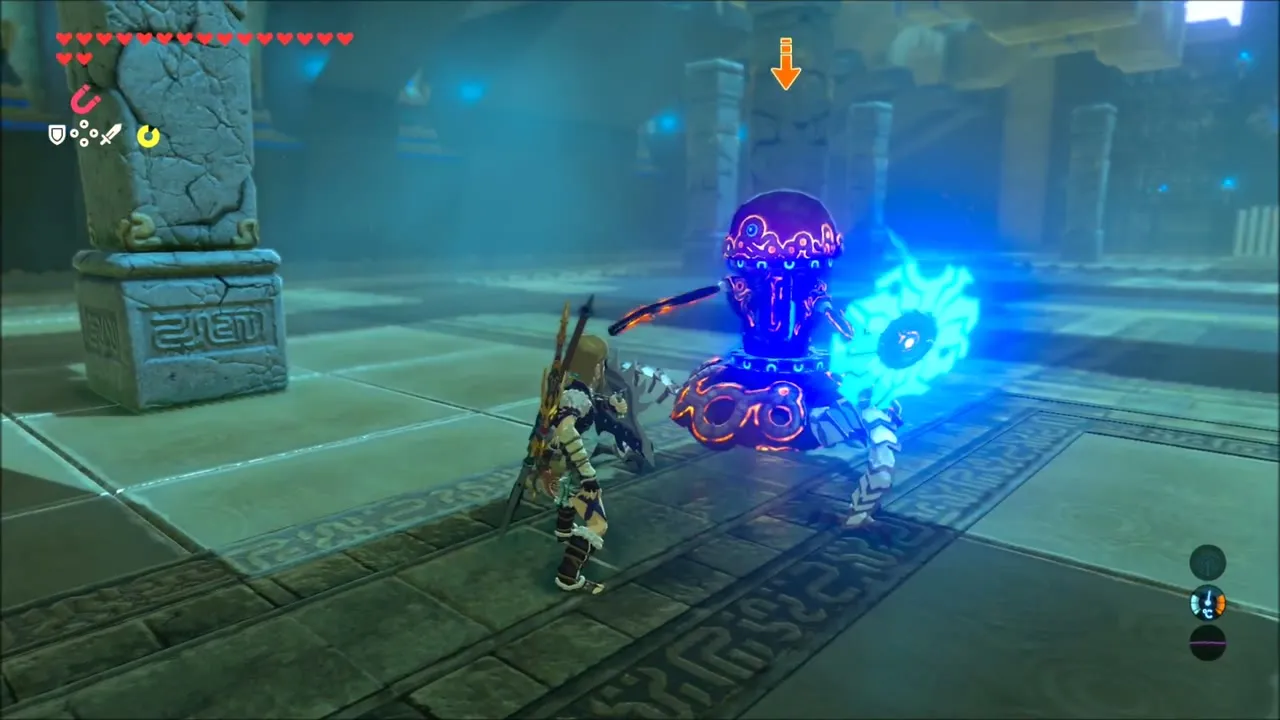


Hills and Forest Between the Shrine and the Lake: Korok Seeds
When you leave the shrine, run over the grassy hills toward the lake. A Korok sits on a rocky hilltop and says goodbye as soon as you climb up to it; dig out the Rushrooms growing on the slope on the way.
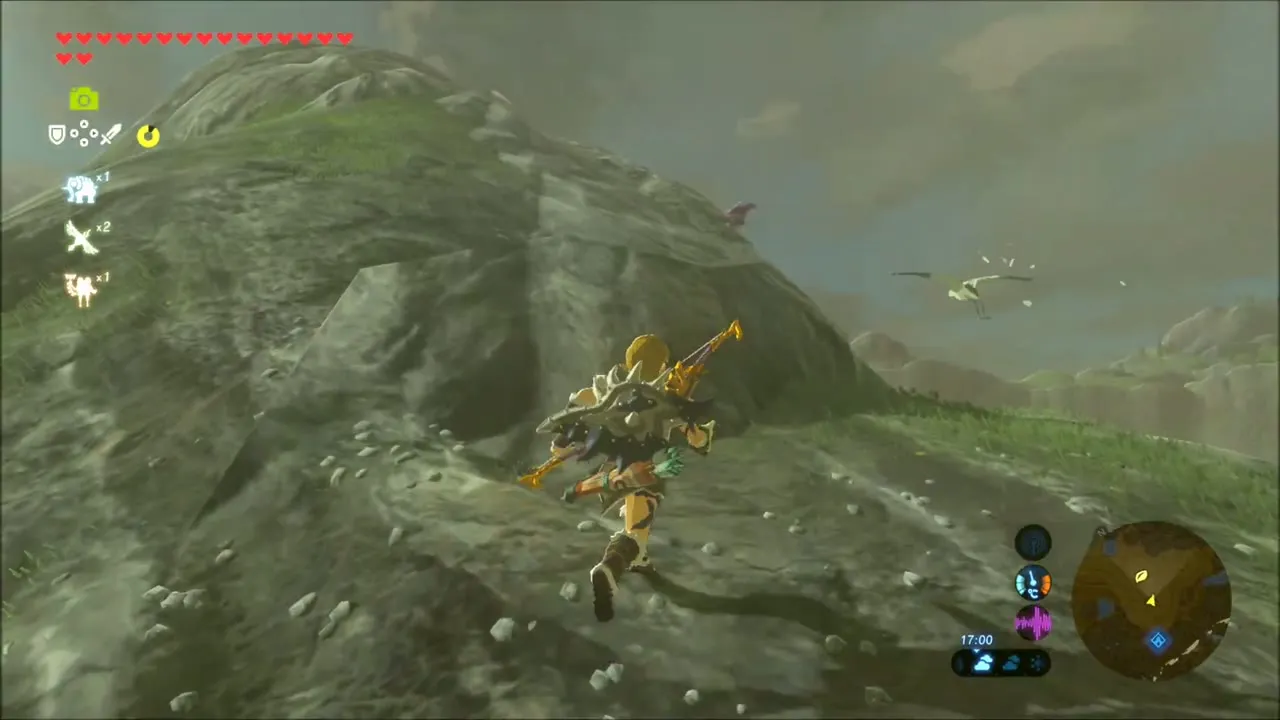


The forest further on holds more seeds. Climb a stone ledge to find a Korok leaf lying on top of it. Another Korok sits inside a hole in a tree trunk, which you find by walking right up to the tree and looking at the knot in the bark.


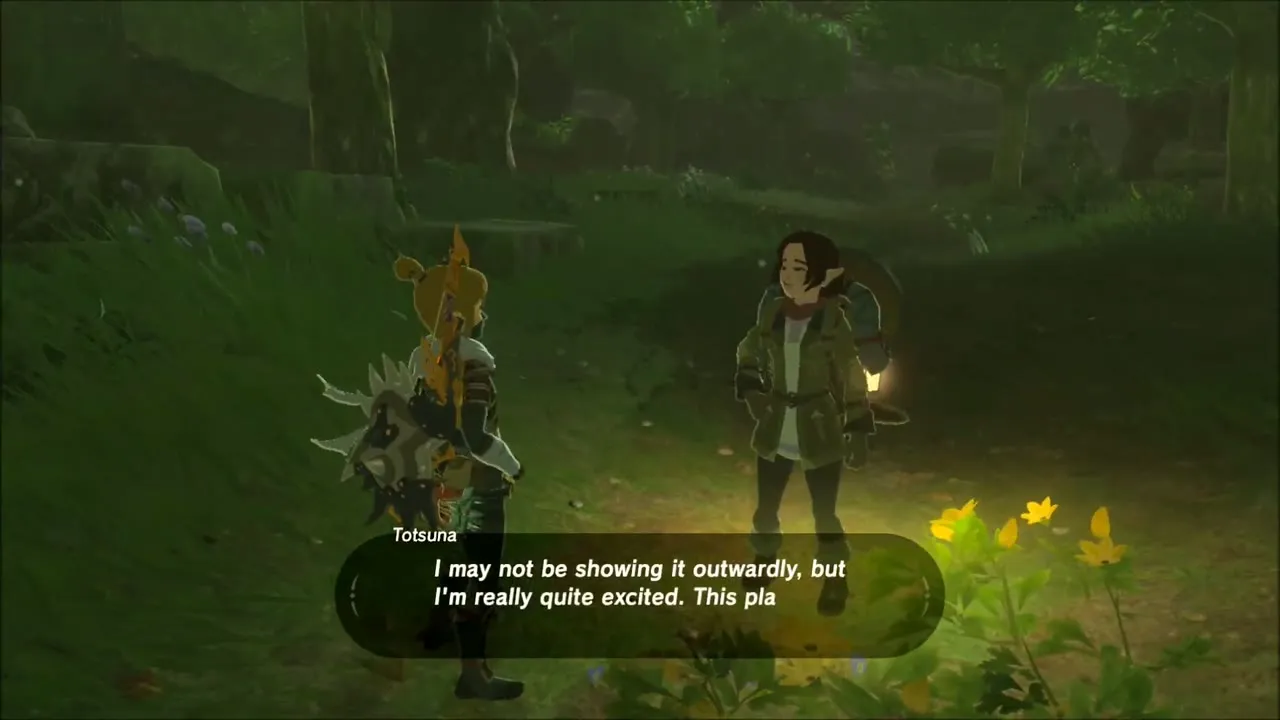
Totsuna, the Traveller in Faron
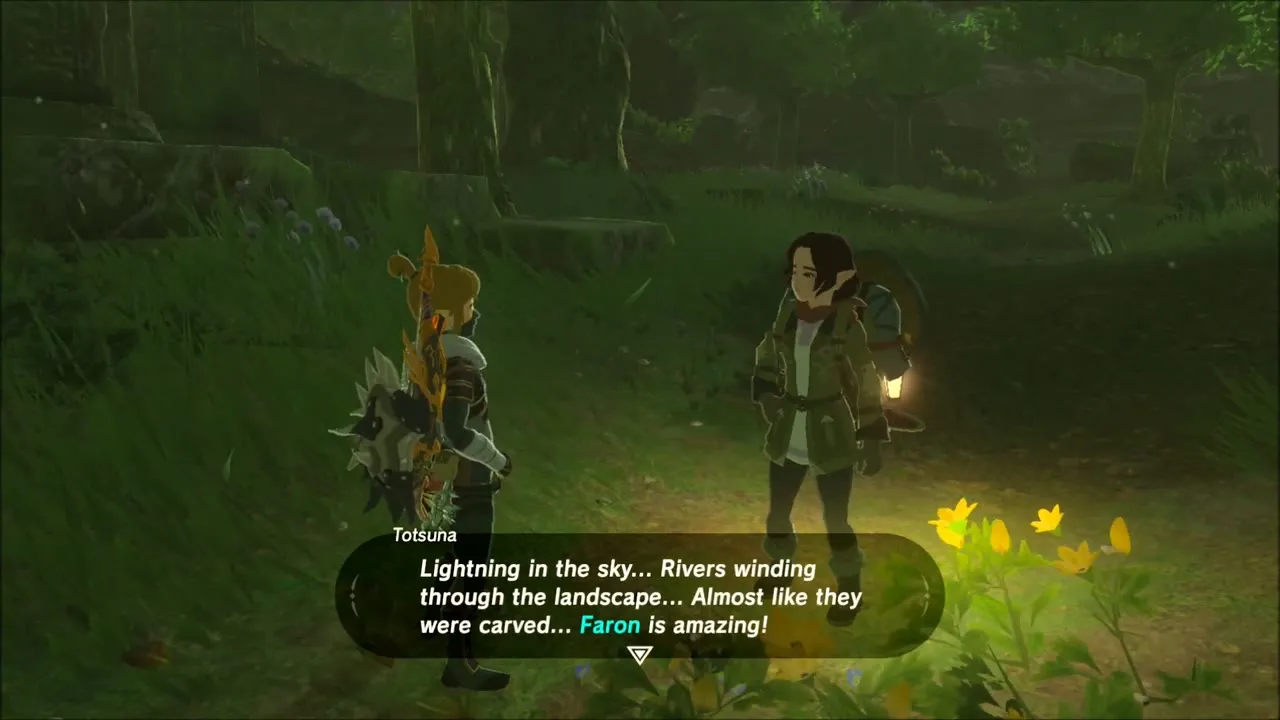
On the forest road you meet Totsuna, a traveller carrying a lantern. Talk to her and she rambles about how excited she is to see Faron, with its lightning in the sky and rivers winding through the landscape. She has no quest or shop; it is just a conversation.
Lake Hylia Shore: Cryonis Ice Blocks
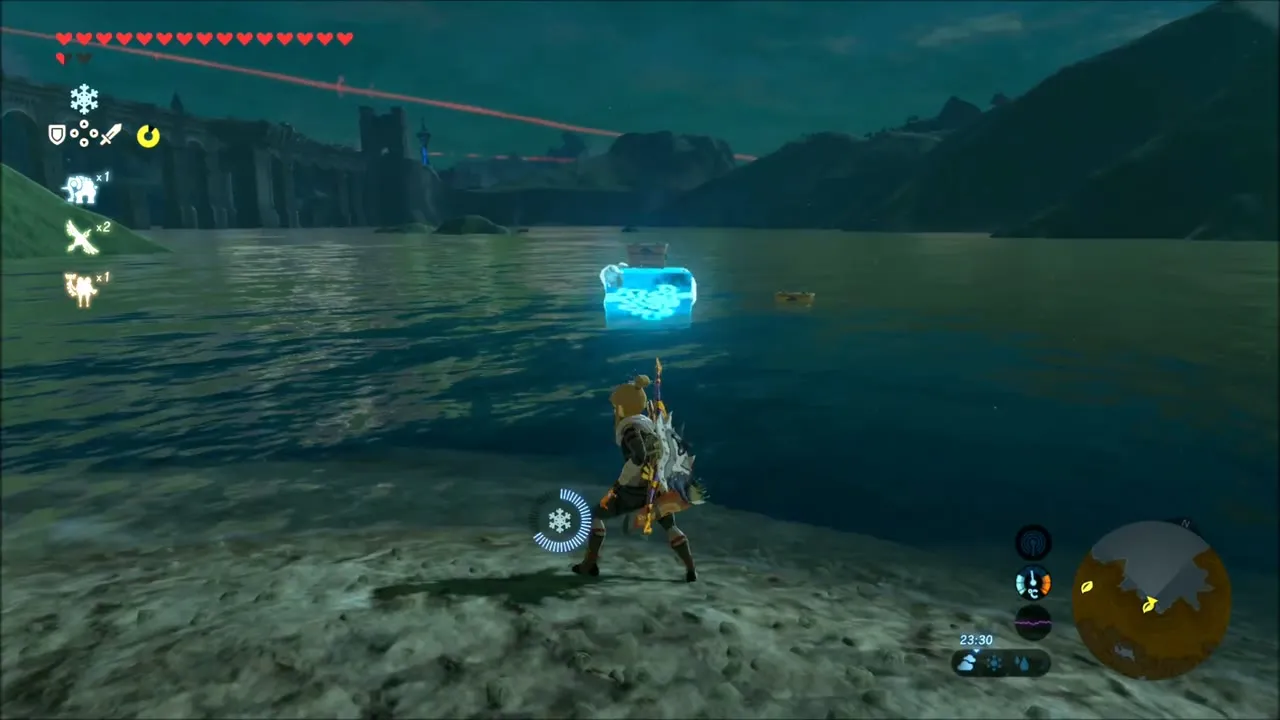
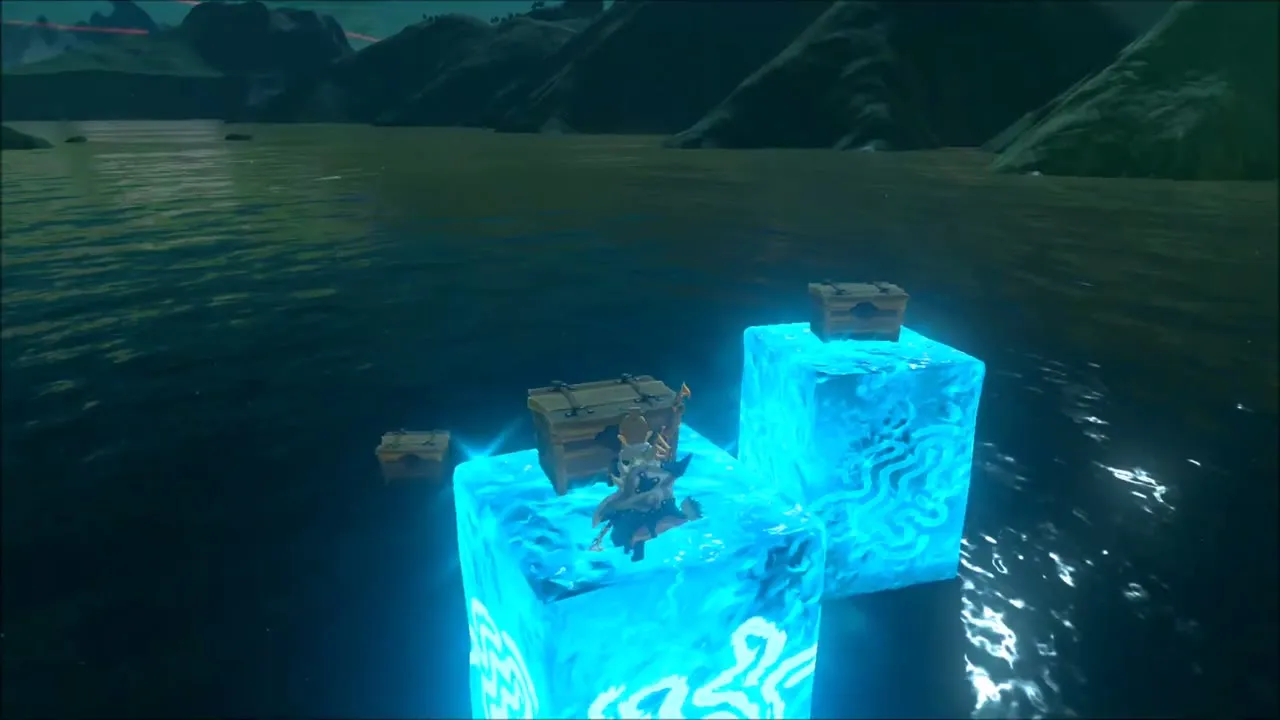
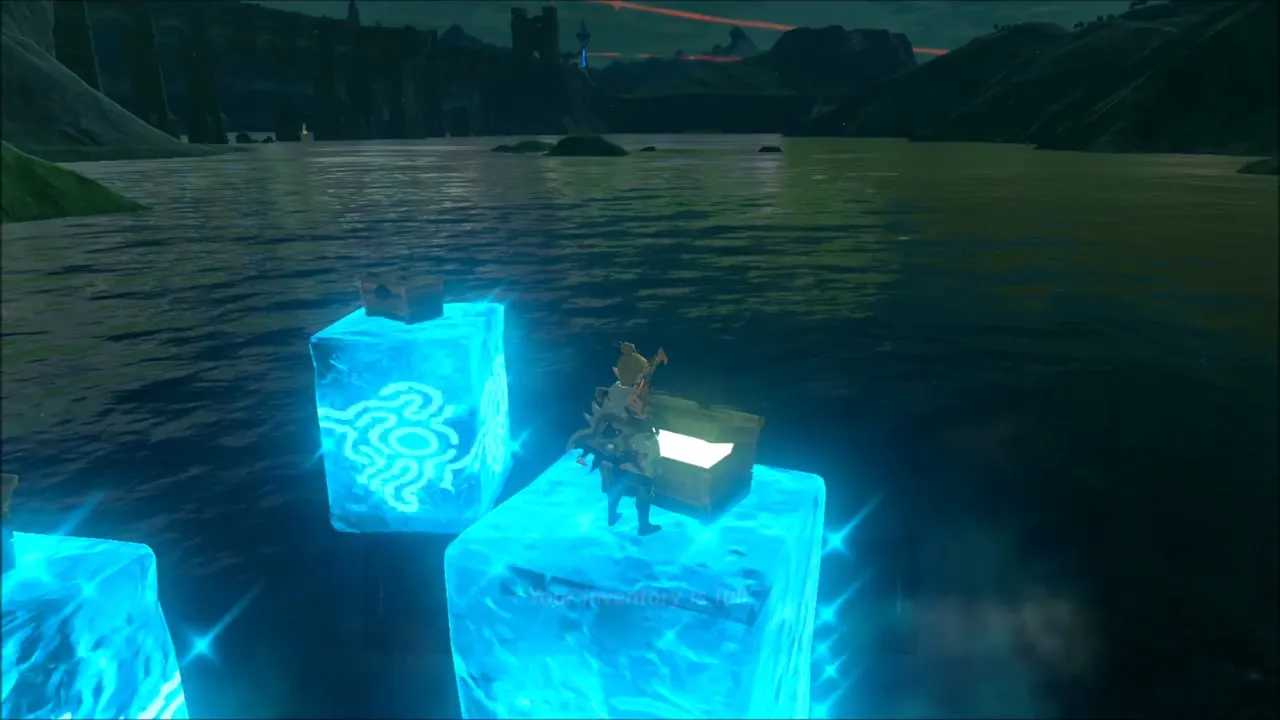
Back at the lake, stand at the shoreline and use Cryonis to freeze the water, then stack ice blocks out across the lake so you can climb to the Korok seed and the chests that sit beyond swimming range. The chests around the ice hold items such as Shock Arrows, a Silver Shield and an Opal. Keep fighting off the monsters that arrive on the shore with the Master Sword‘s beam, and look for weapons dropped in the grass as you go.
Highland Stable: Beedle and Padok
Open your map: the Ka’o Makagh Shrine is marked near Highland Stable, south of the road. Go to the stable and find Beedle, the travelling merchant. He buys fish and bugs and also sells Hearty Lizards, Octo Balloons and Sunset Fireflies, so sell off your spare Sizzlefin Trout here. Then talk to Padok, the stable owner, at the stable counter, to register a horse or get a bed for the night.
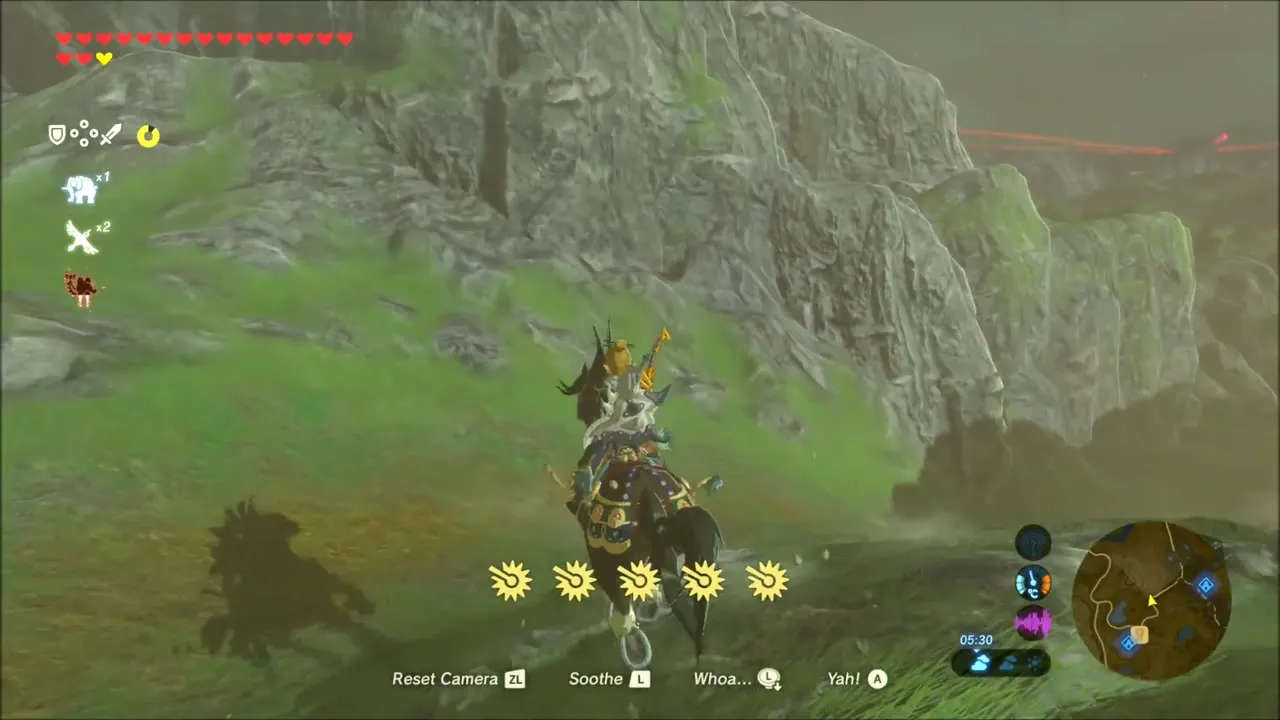
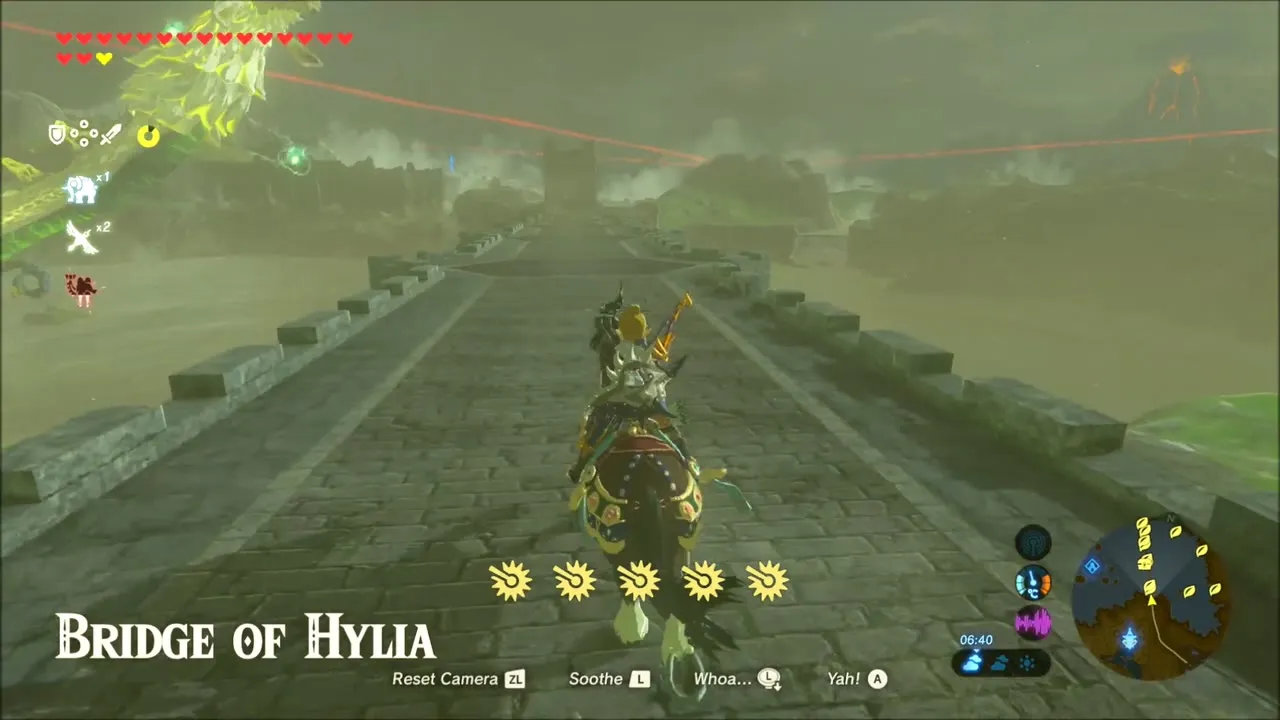
Ride a horse back toward the Bridge of Hylia; the area’s title card appears as you reach it. Leave the horse on the road and walk onto the stone bridge.

Bridge of Hylia: Climbing the Piers for Chests and Korok Seeds
The long stone Bridge of Hylia crosses the lake from north to south. Climb the stone towers and walls on its sides, then jump from ledge to ledge using the paraglider. Many of the Korok seeds in this region are on or beneath the bridge, including one on a leaf-topped rock out in the water. Use Cryonis and Stasis to cross from one pier to the next.
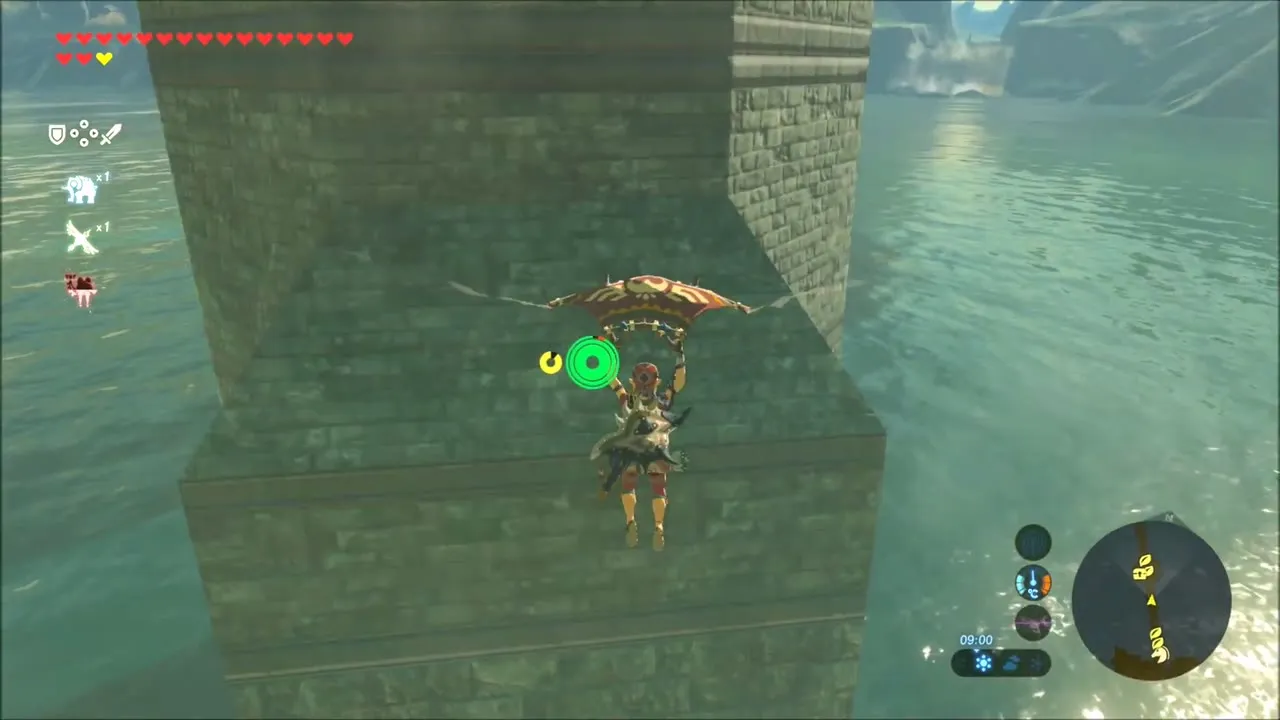

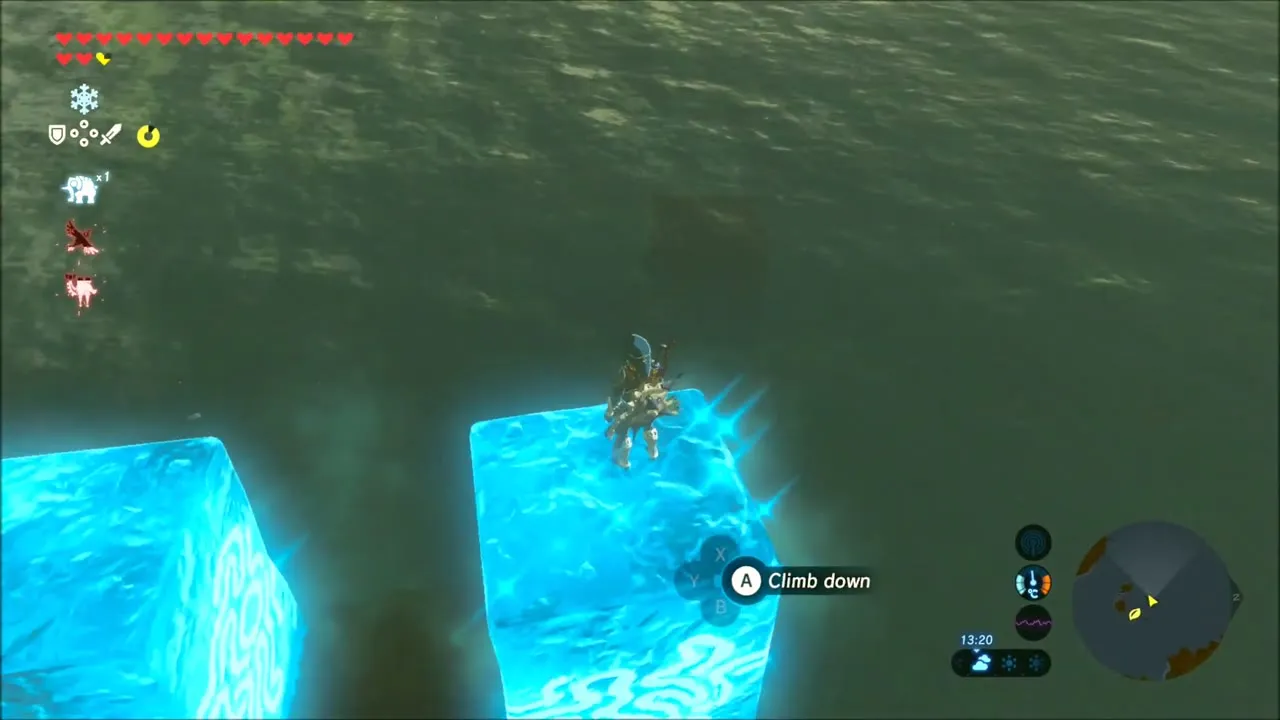
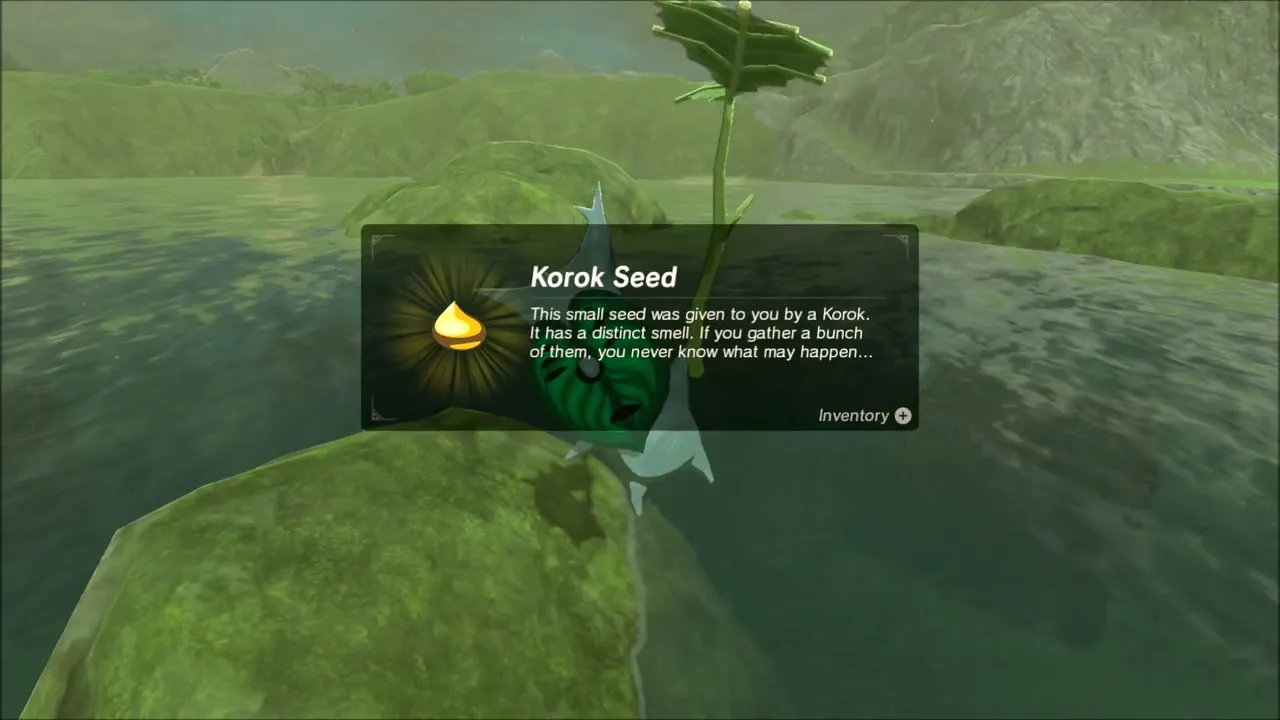
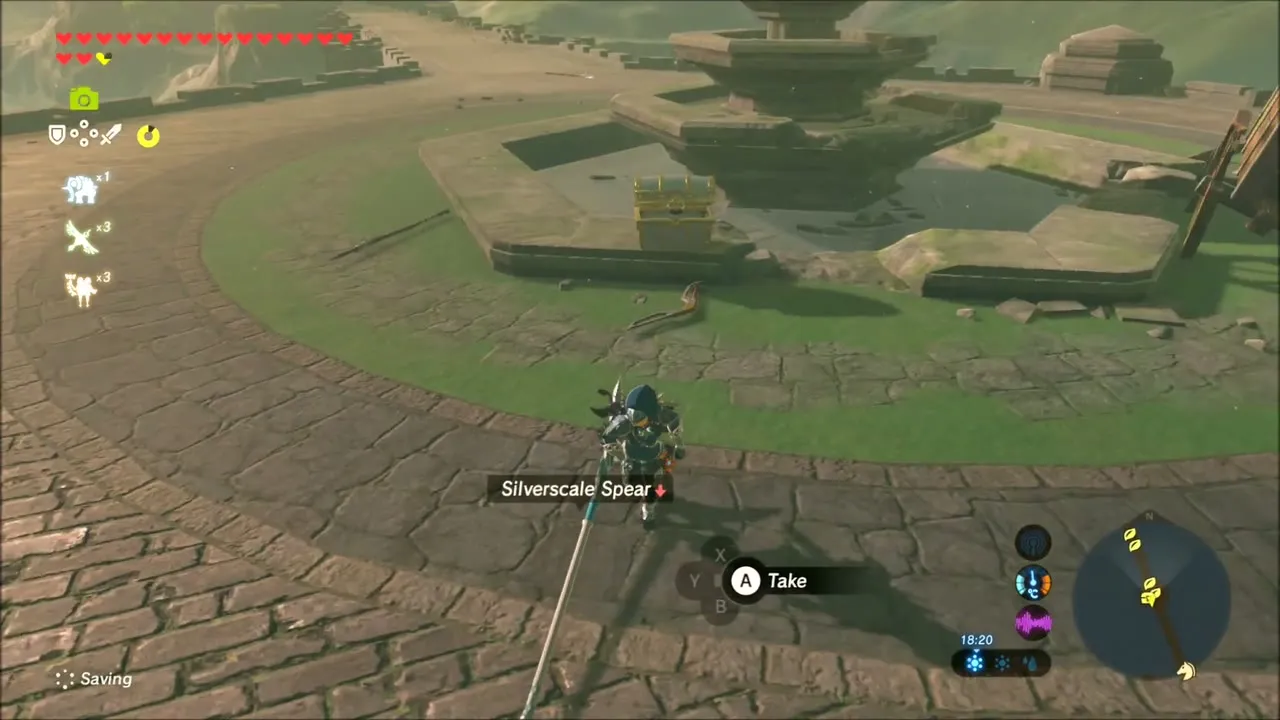
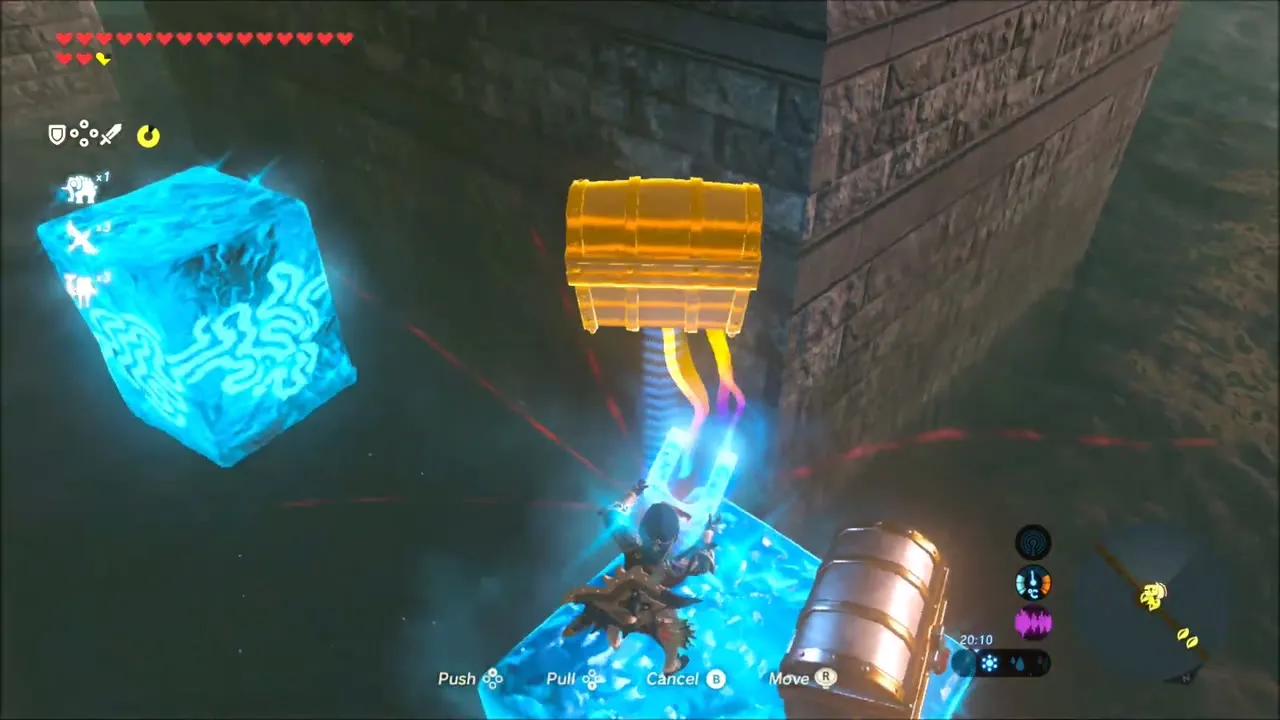
Several chests are on the bridge itself or on the pier ledges below the deck. A Rusty Claymore lies on the stone deck, and at dusk you can raise ice blocks beside the piers to reach chests on high ledges. Among them is an Edge of Duality. After each one, swim or glide back to the next pier.

Lake Tower
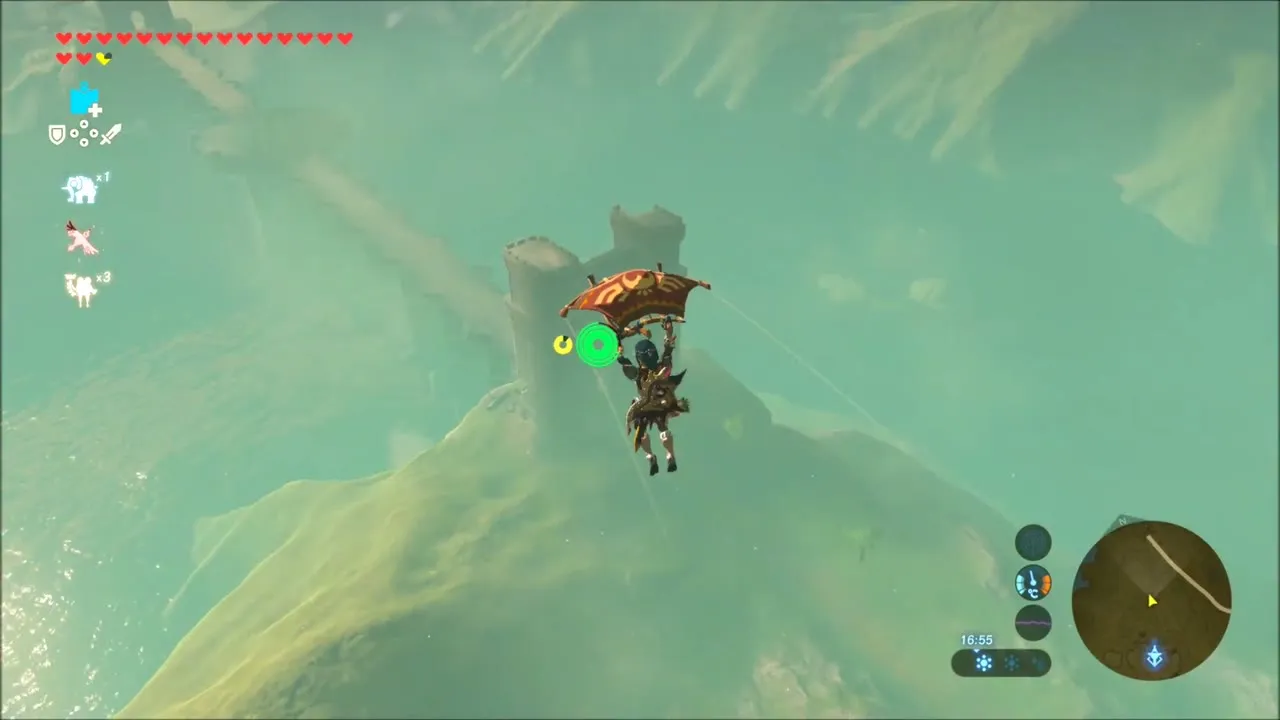
Warp to Lake Tower (x -32, z 2962, height 301, map square E-7) and glide down toward the bridge. From the top you can glide straight onto the Bridge of Hylia, which is where you want to be for Farosh.

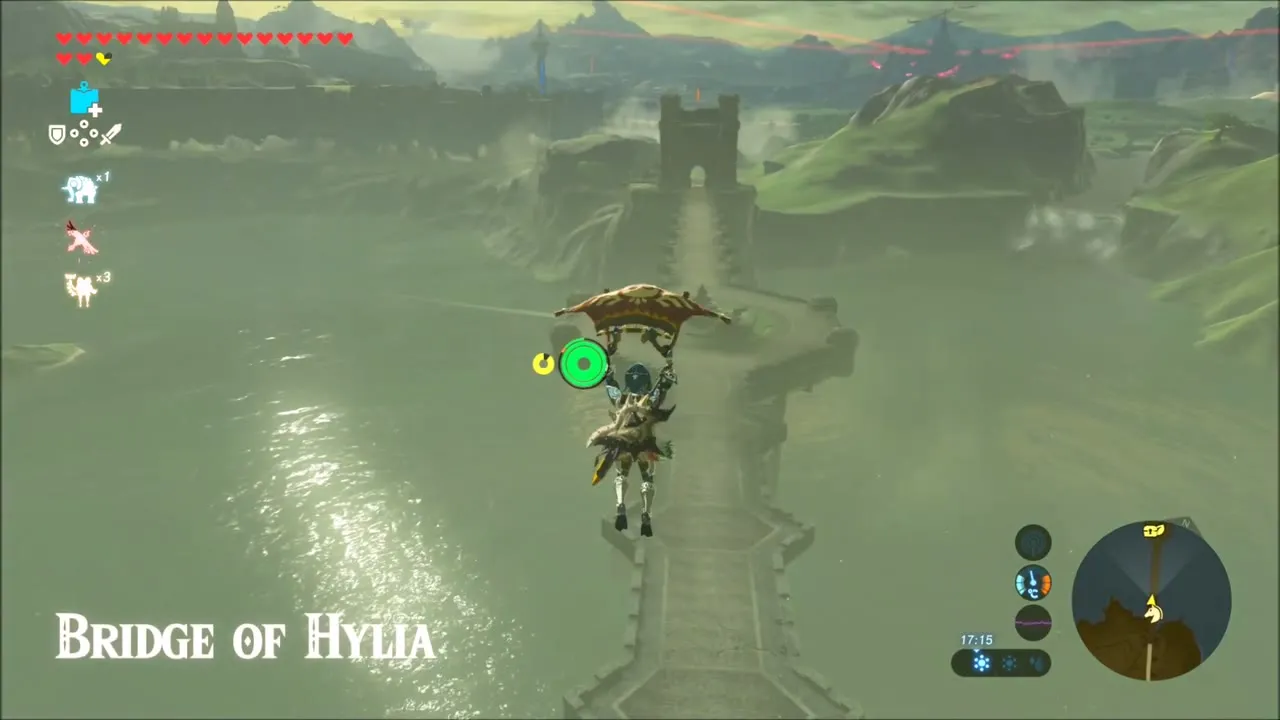
Farosh: How to Get a Farosh’s Scale
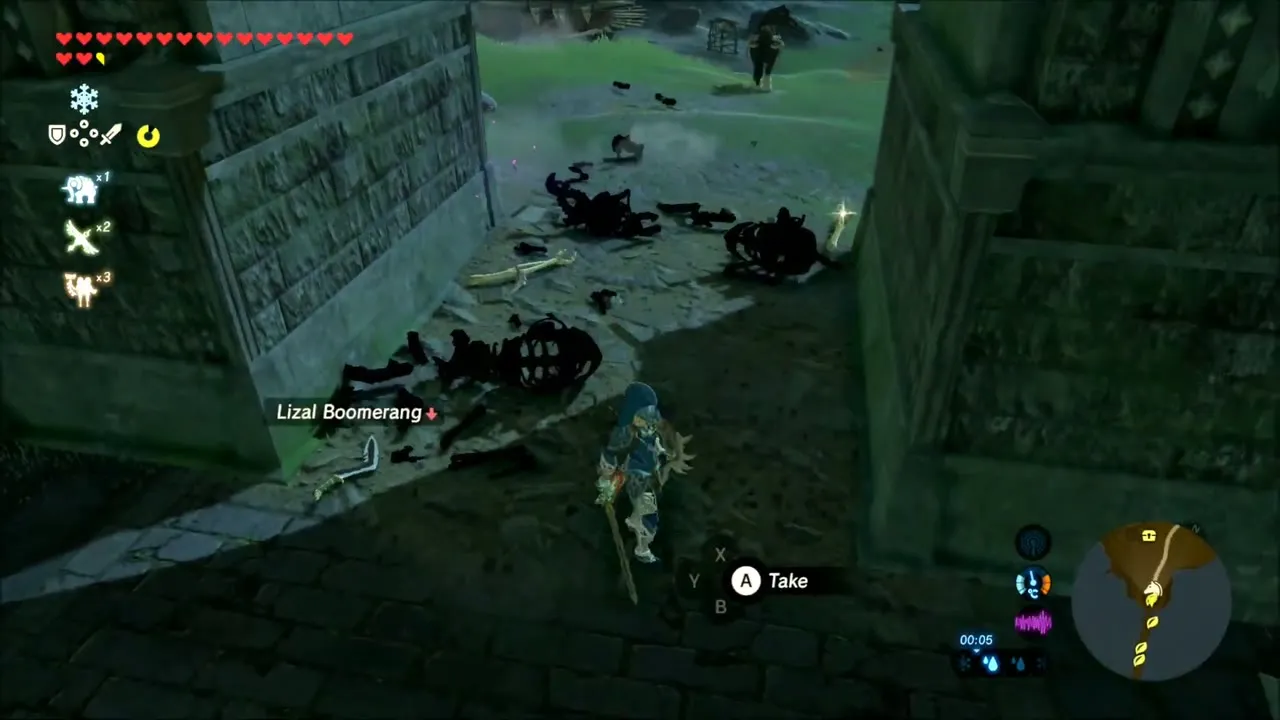
Stay on the bridge as the rain begins. After dark, the electric dragon Farosh rises out of the lake and flies along the bridge. Lizalfos and other monsters attack you on the deck while you wait, so deal with them first; a fallen Lizalfos leaves a Lizal Boomerang. When the dragon swoops overhead, open the paraglider, draw your bow in the air to slow time and hit its body with an arrow. A Farosh’s Scale falls; grab it as it drops. Aiming at other parts gives other drops, but you only need a Scale for the shrine quest. See Farosh for the horns and claws.


Farosh is peaceful and does not attack. If you miss, the dragon returns on another night. Bows wear out quickly in these fights; the Phrenic Bow is badly damaged by the end of the night, so carry a spare.


East of the Bridge: Korok Seeds and a Treehouse Camp
With the scale in your pocket, move east along the shore. Pick up the Mighty Bananas lying on the road and glide over to the round stone platform in the fog where a Korok seed waits. Your Phrenic Bow finally breaks in the fights here, so swap to another bow.

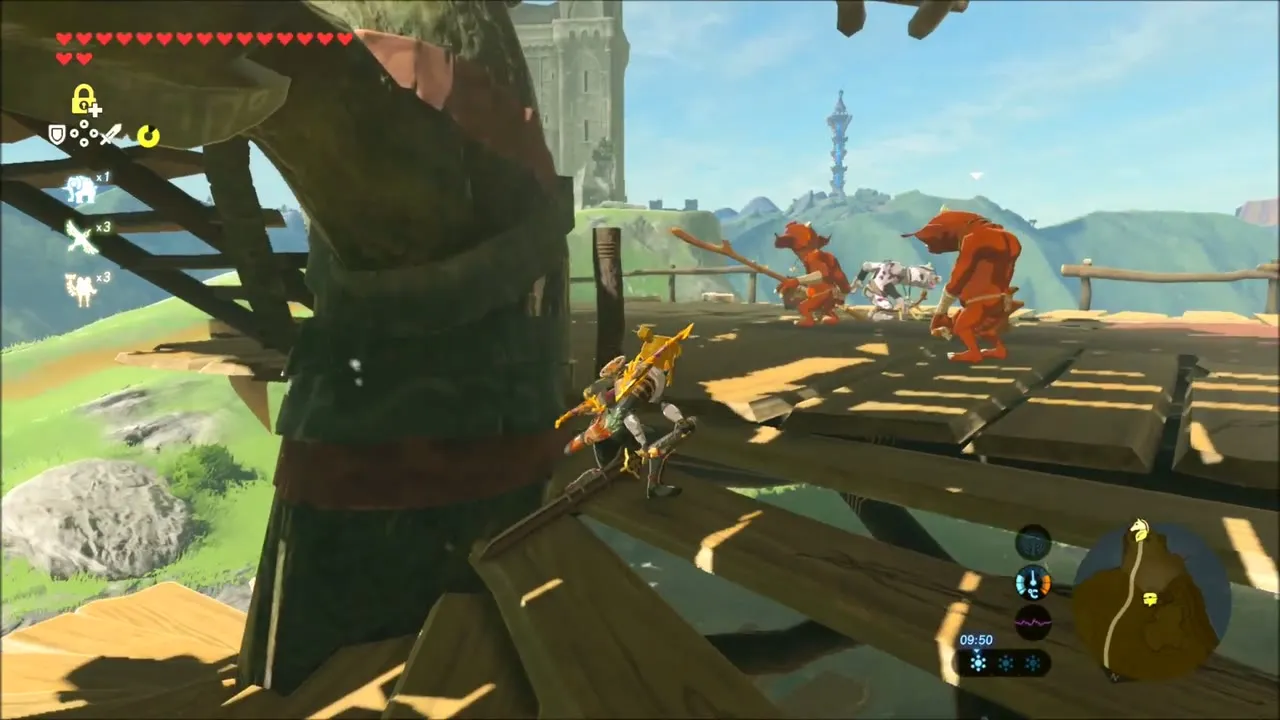
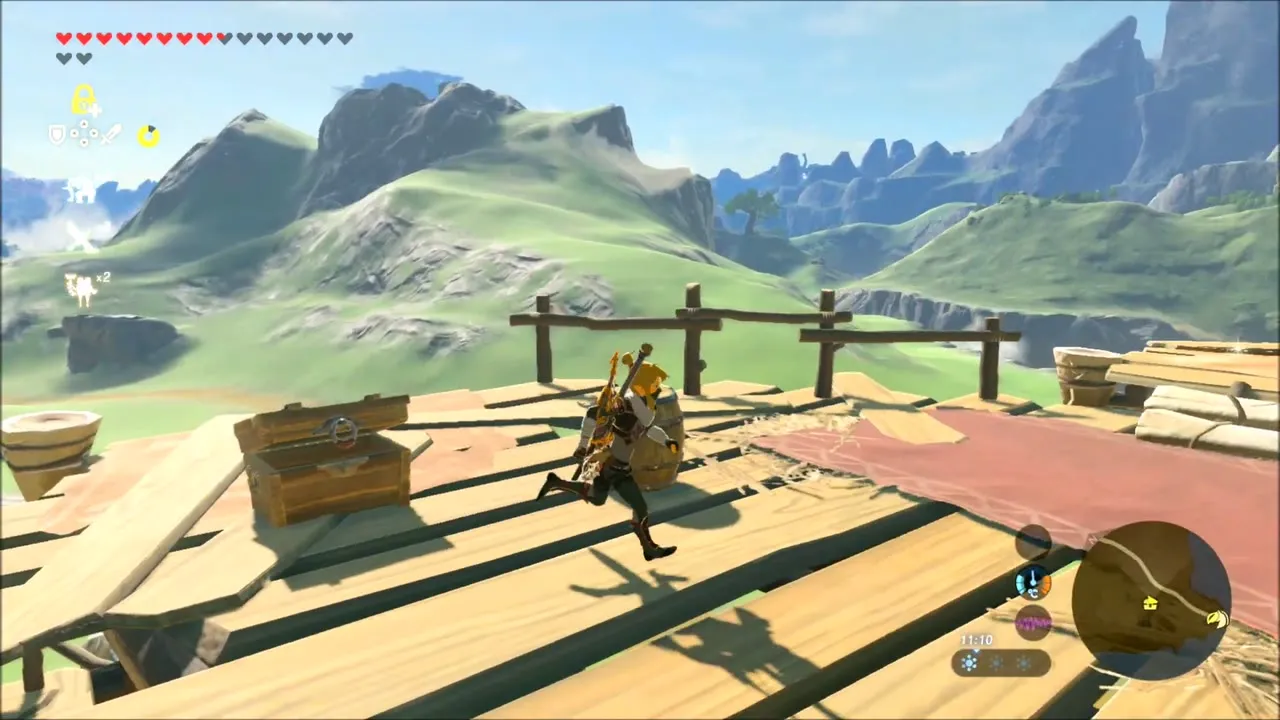
At the end of the stretch, a Bokoblin camp sits in a tree. Clear it with arrows and Stasis, then loot the wooden platform: Bokoblin Horns, a Dragon Bone Boko Bow and a Royal Shield lie around the barrels, and a chest sits near the camp.


Popla Foothills: Chests, Korok Seeds and Deya Village Ruins
Head north-east from the camp to the Popla Foothills. A chest on a rock under a waterfall needs a short swim. Another sits beyond a pool that you cross with Cryonis, and Magnesis pulls a metal chest off a ledge. Restless Crickets hide in the grass on the slopes.
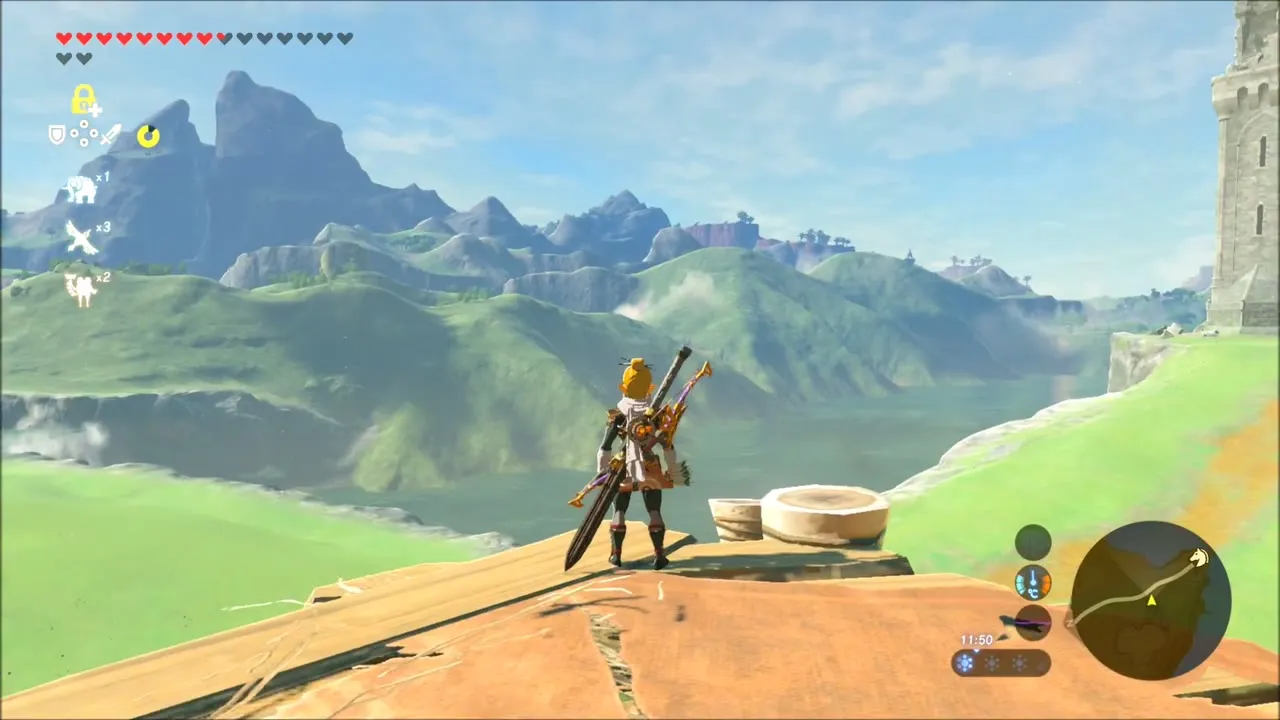

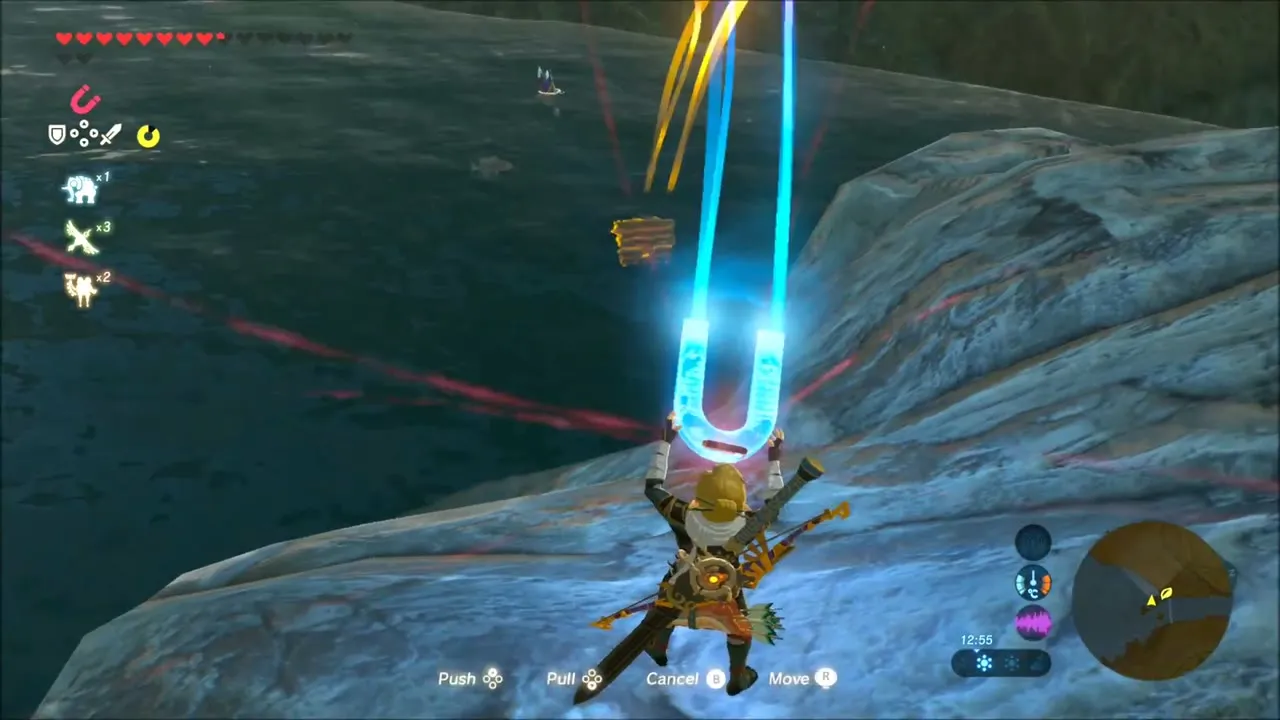
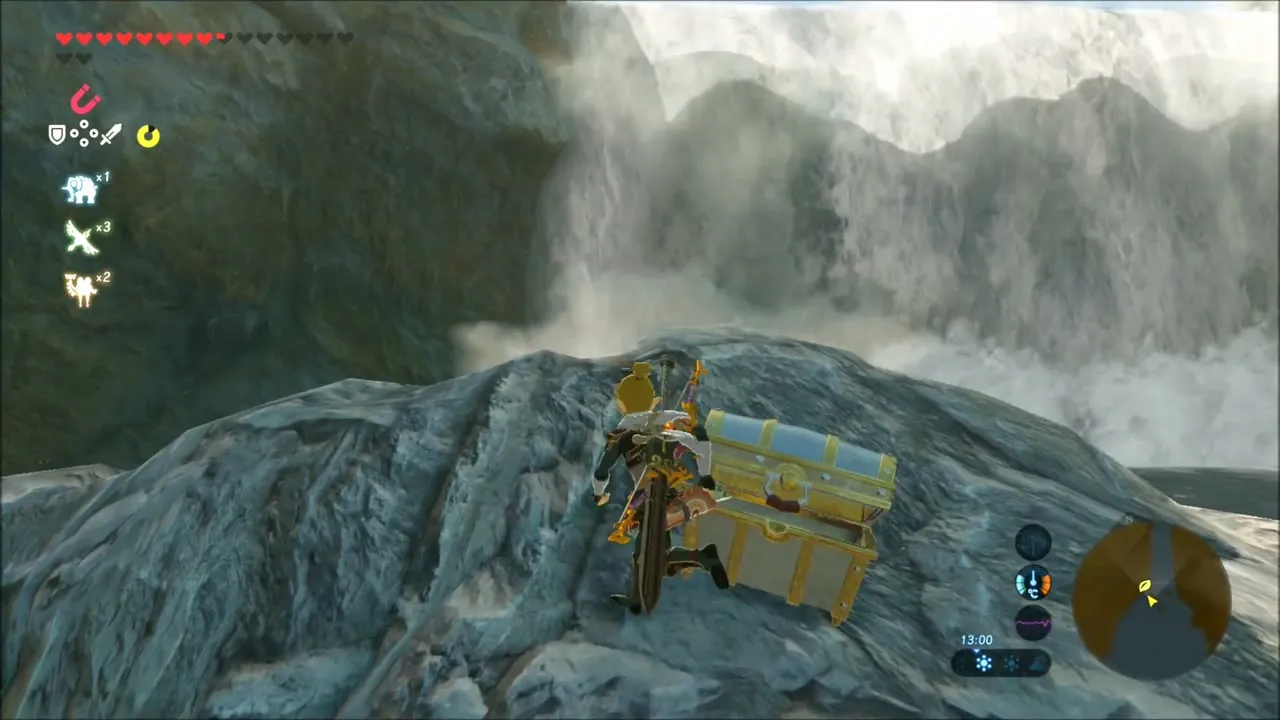
The Deya Village Ruins (see Deya Lake on your map) are full of wooden platforms and planks. Use Stasis to launch them out of the way, and Fleet-Lotus Seeds and Ironshroom grow in the foggy lowlands around the pond. A Stone Talus appears at Deya Lake; defeat it and its remains include Opal and Amber.

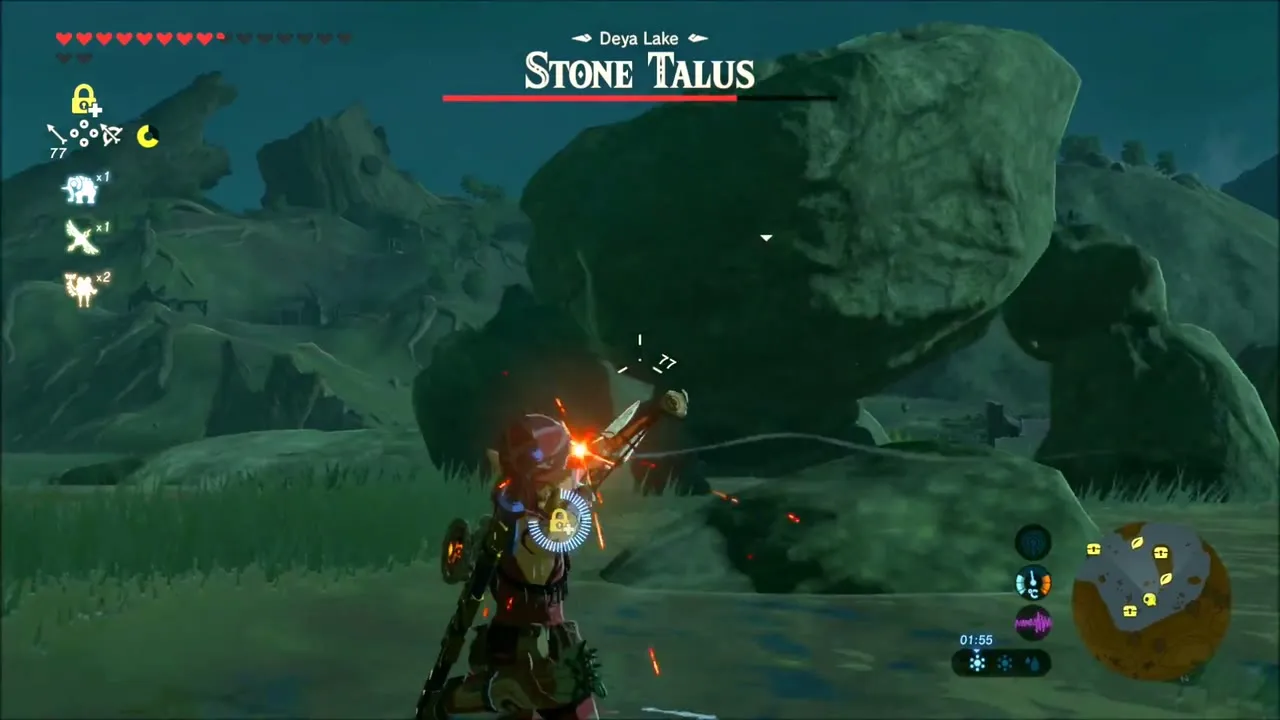
A treehouse camp further on has a Moblin carrying a barrel; defeat it and the Bokoblins around it, who drop Horns and Fangs, and loot the platforms. The hills here hold more Korok seeds, so keep gliding between summits and check each one.


Spring of Courage and Shae Katha Shrine
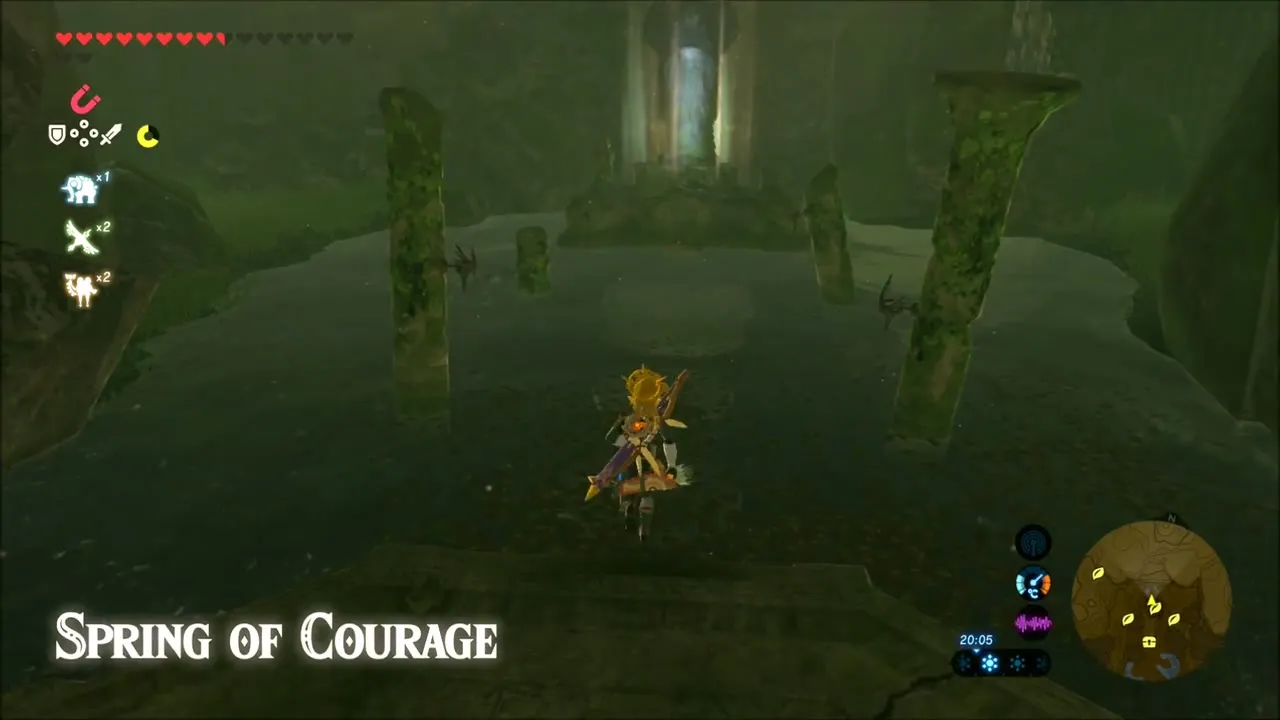
Follow the stream into the jaws of a giant stone dragon until the title card “Spring of Courage” appears (x 877, z 2371). A Moblin blocks the way in, so clear it before you go on. At the spring, talk to the goddess statue standing in the water. It asks for a Farosh‘s Scale, which completes the first task of The Serpent’s Jaws.

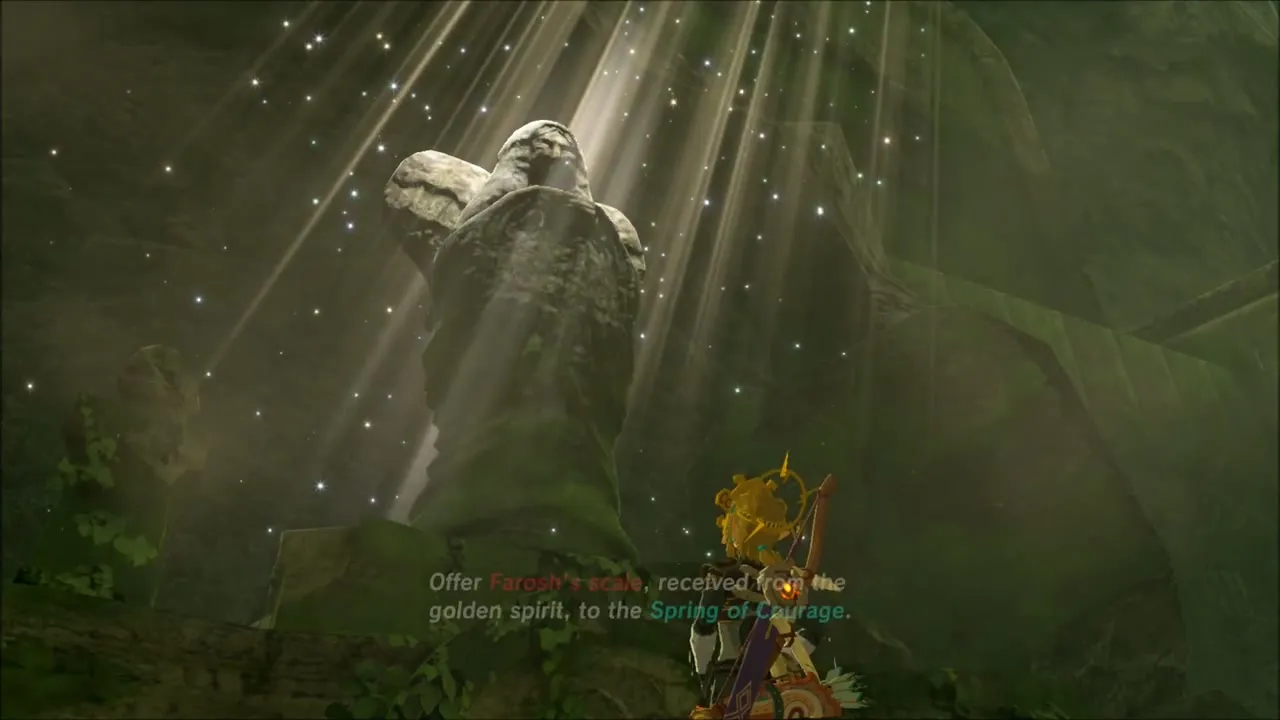
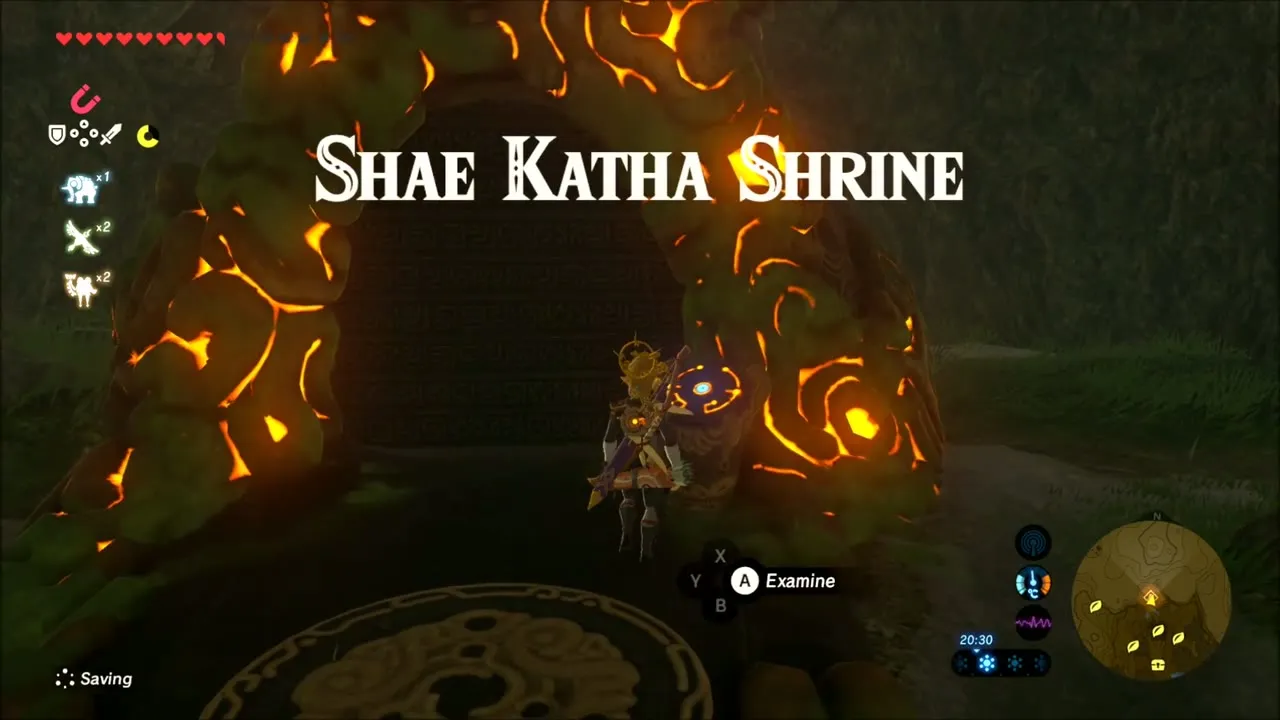
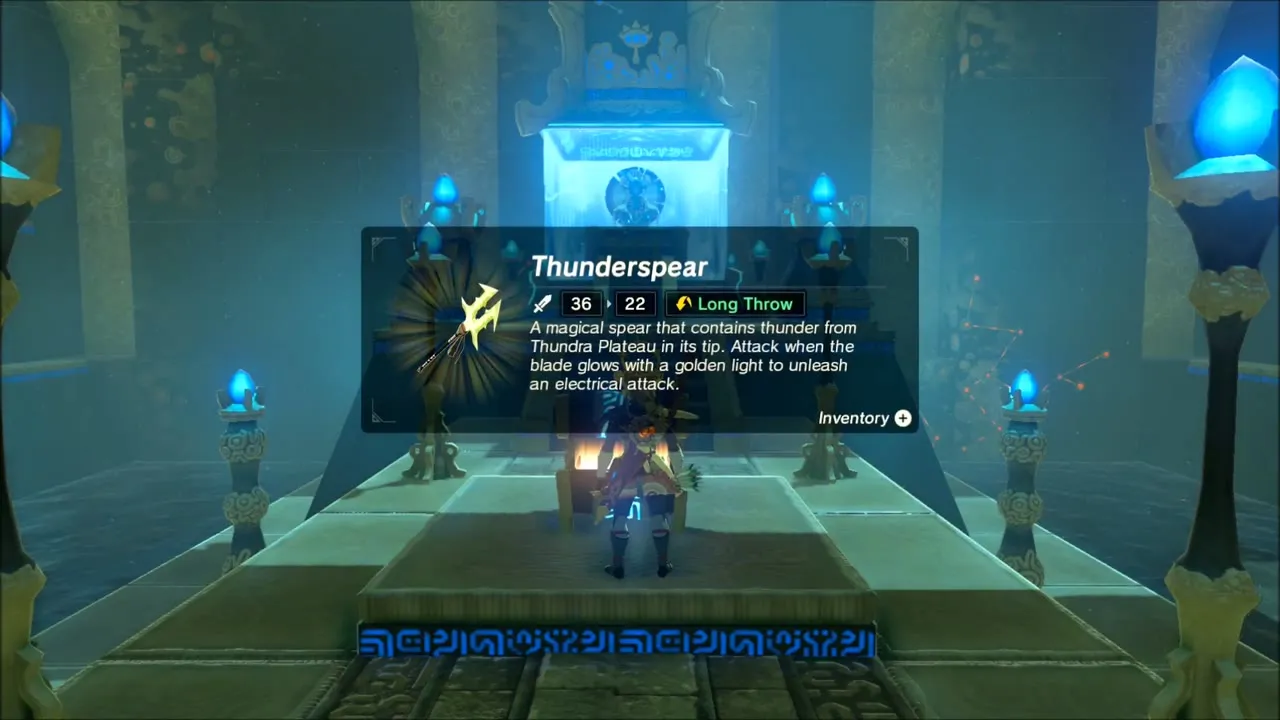
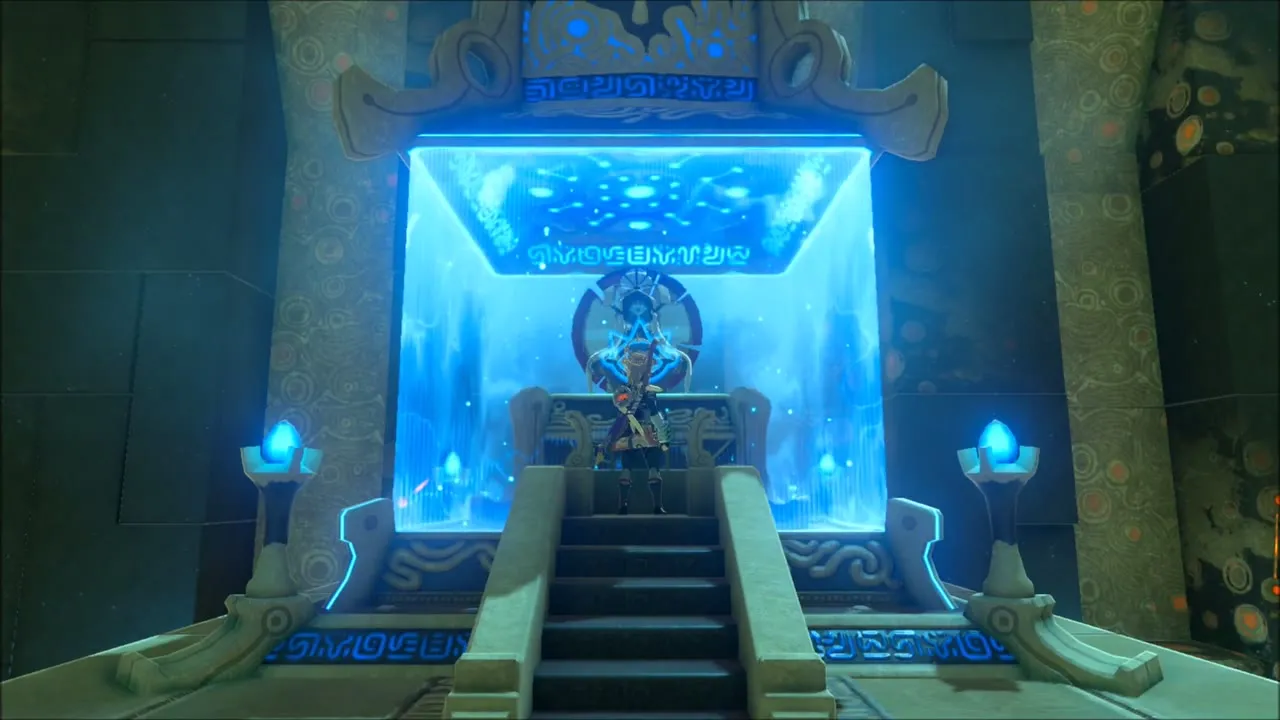
Drop the Farosh’s Scale into the water at the statue’s feet. The wall behind it opens into Shae Katha Shrine (x 870, z 2330, height 136). The trial, Shae Katha’s Blessing, has no challenge. Walk up the stairs, open the chest for a Thunderspear and speak to the monk for a Spirit Orb. Completing the shrine completes the second task of the quest.
Zonai Ruins and Damel Forest: Chests and Korok Seeds
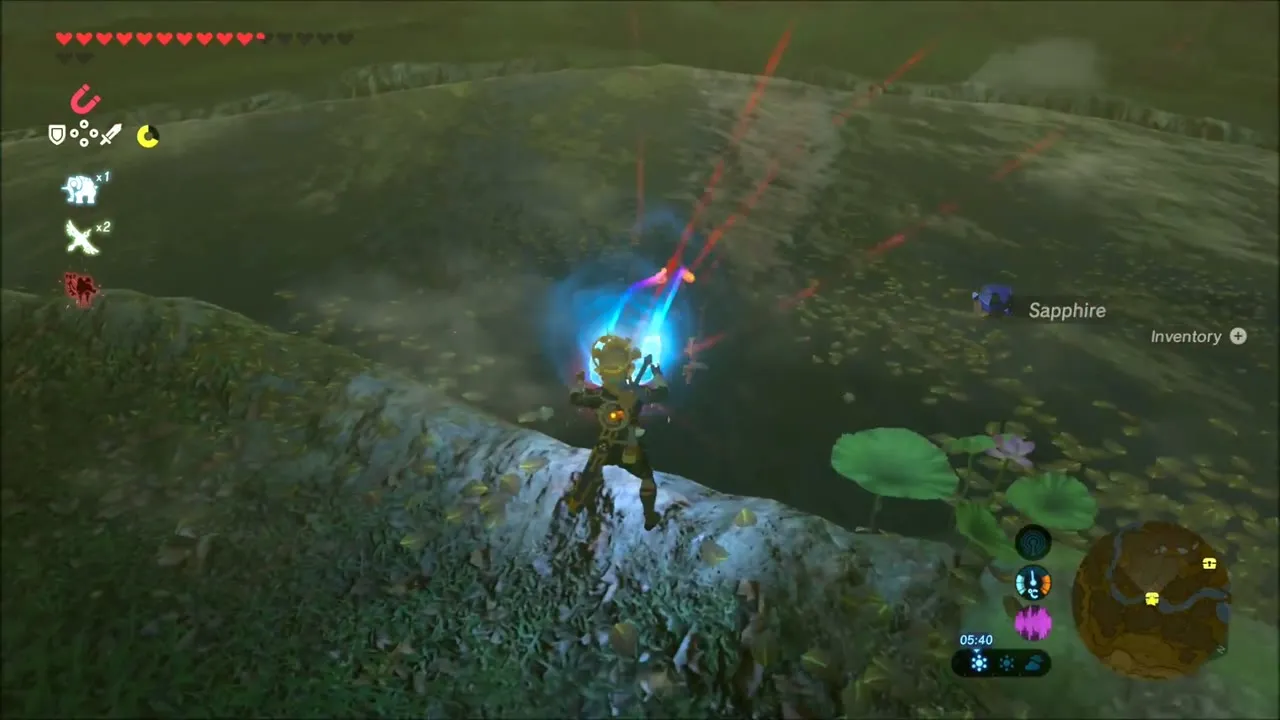
Leave the spring and go south through the Zonai Ruins (x 843, z 2965) and the thick forest around Damel Forest. Use Stasis to launch stone slabs, and switch to Ice Arrows for the water. A red-skinned monster ambushes you in the ruins. A Sapphire turns up near a lily pond in the jungle.
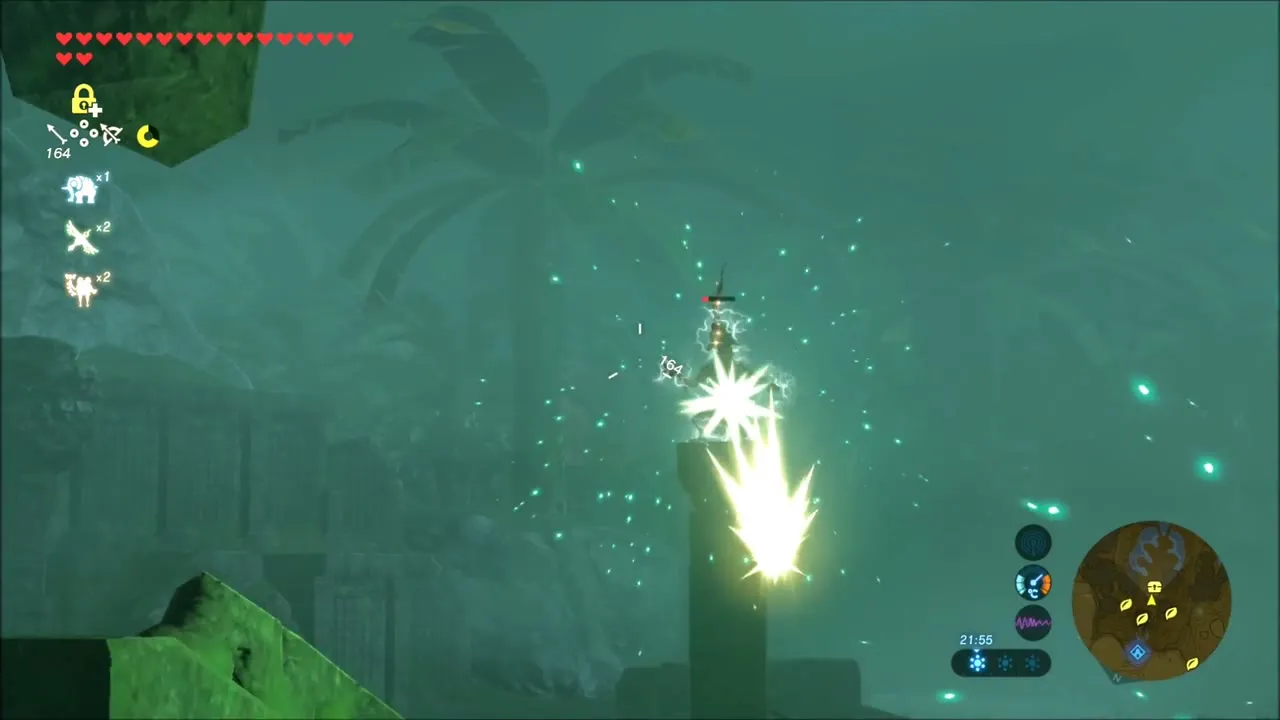


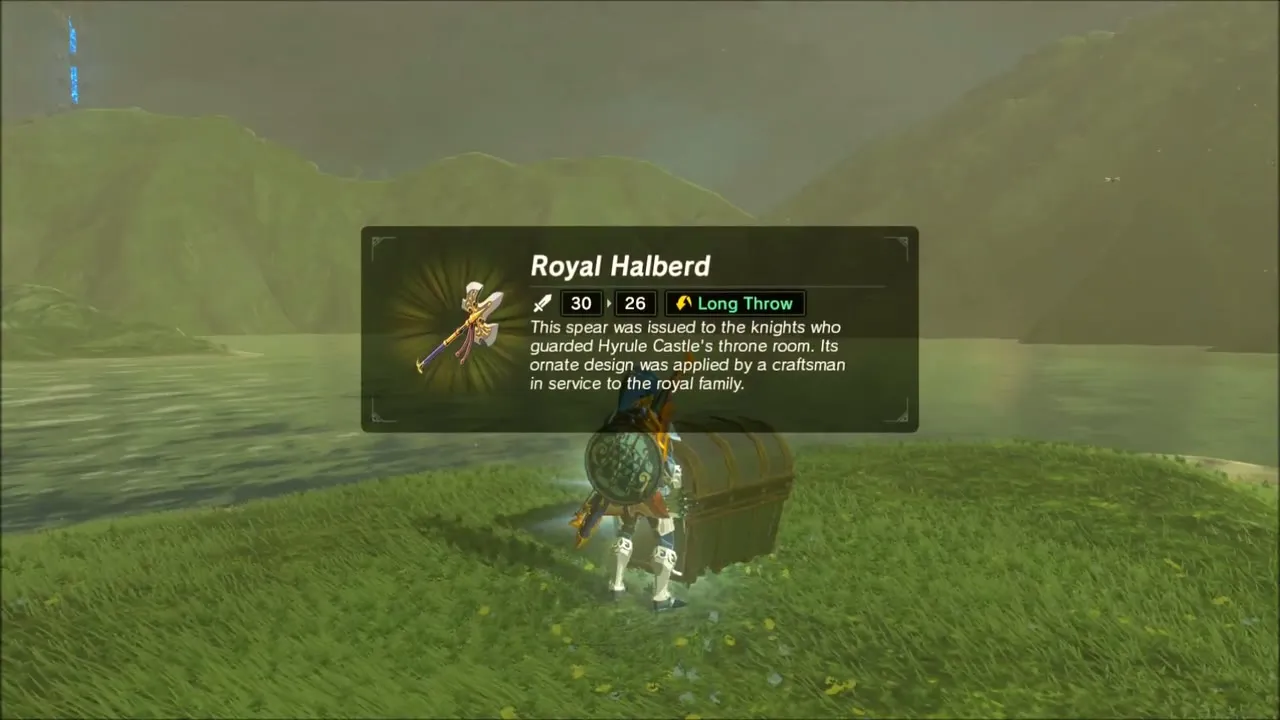
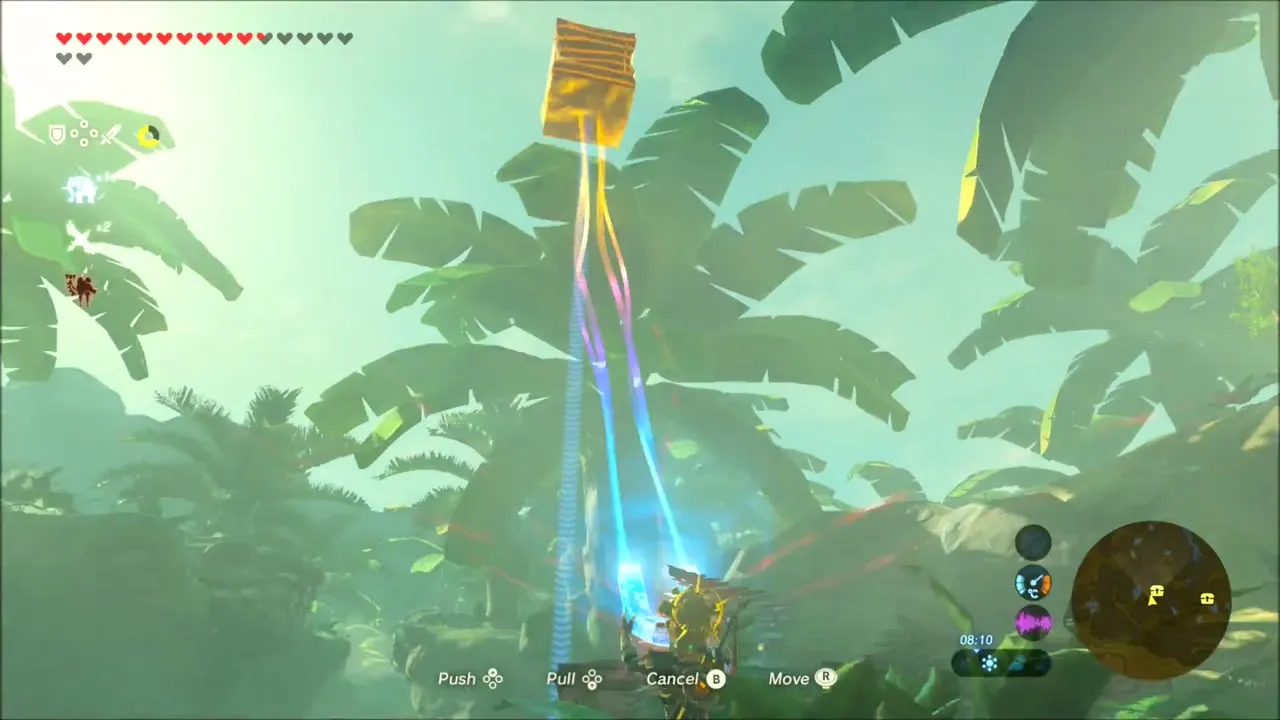
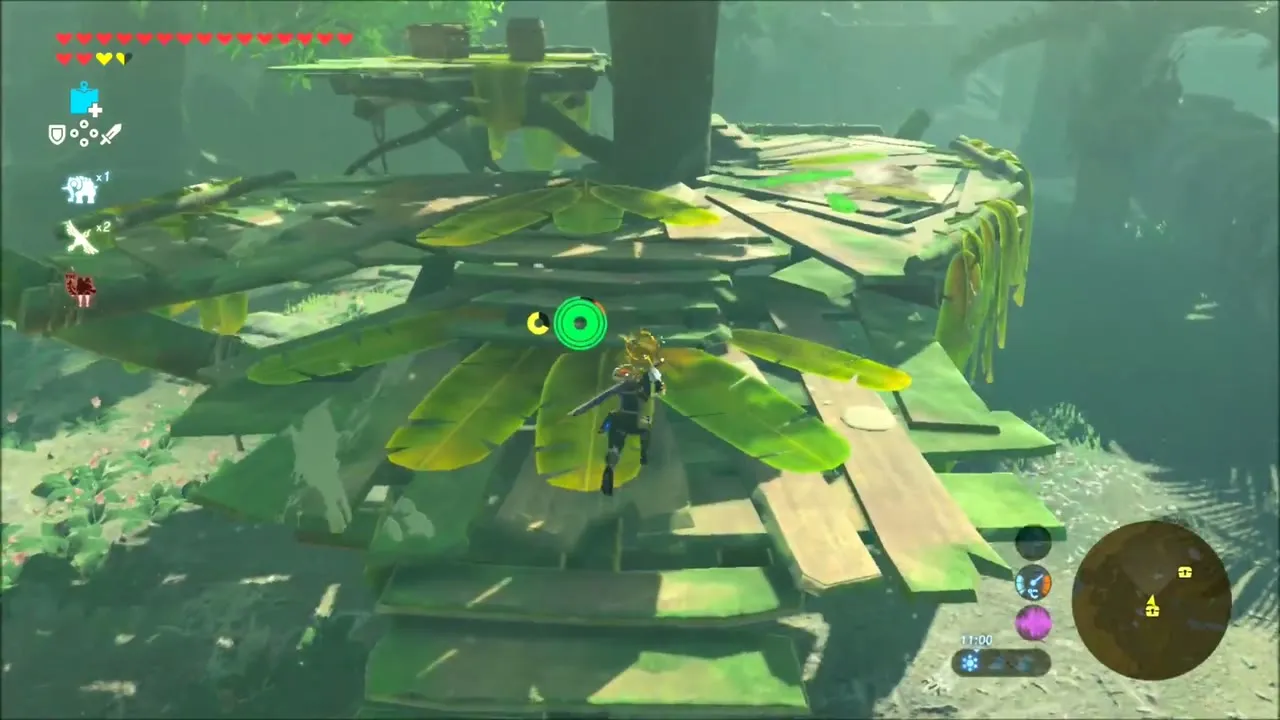
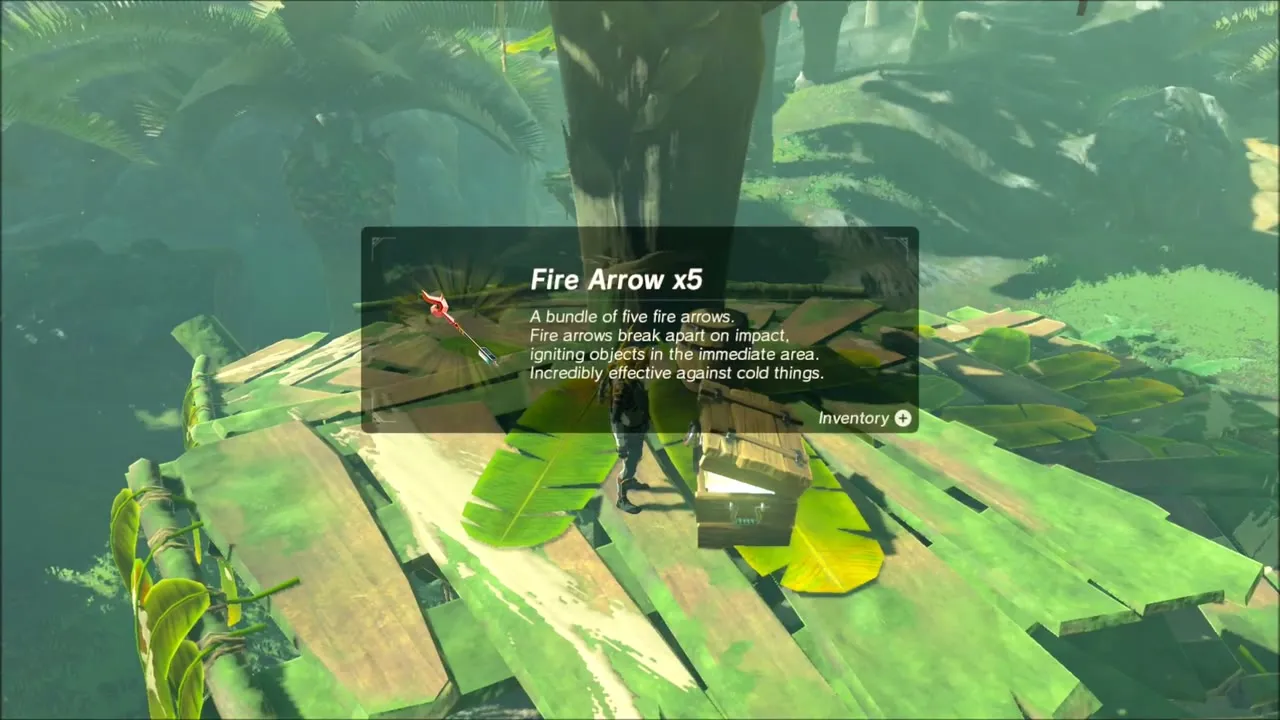
In the jungle, a Yellow Chuchu lights up the undergrowth with electricity; defeat it for Yellow Chuchu Jelly. Use Magnesis to pull metal crates out of the trees, and open the chest on a treehouse platform, where apples, Bokoblin Horns and arrows lie around. A Royal Halberd and a Radiant Shield are among the weapons and shields in your inventory by the end of this stretch.
Faron Tower
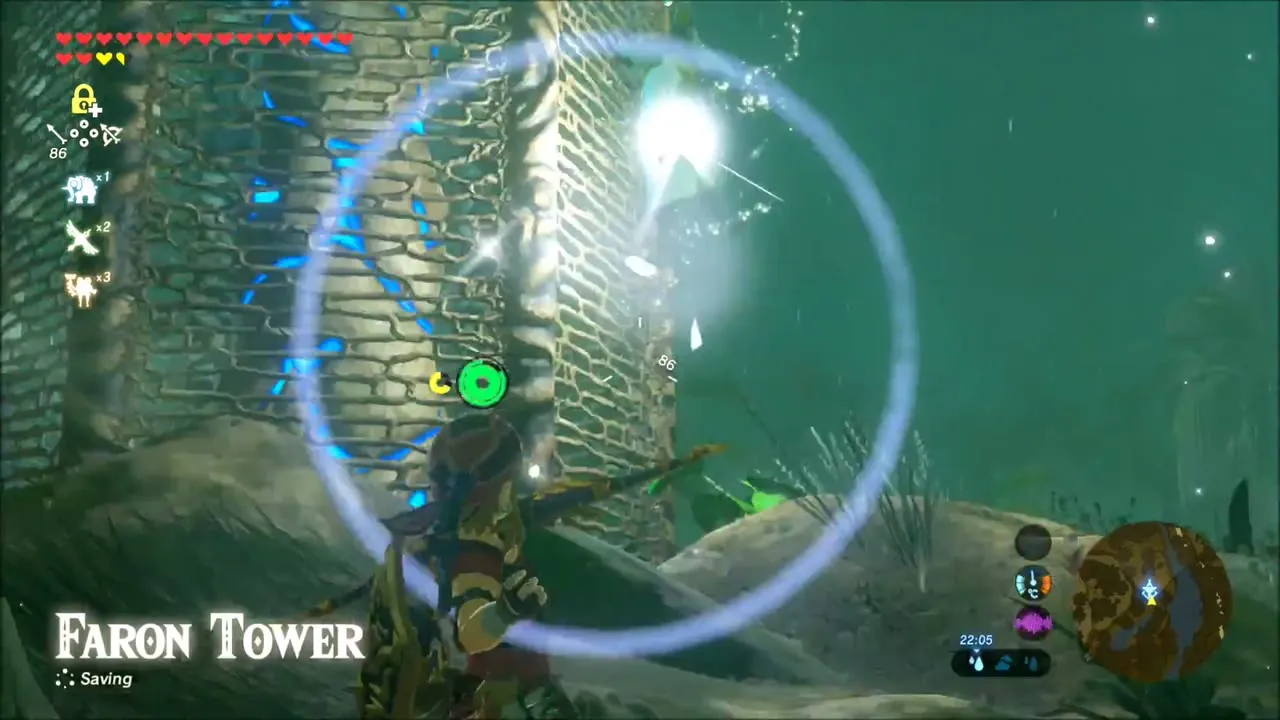
End the route at the eastern edge of the jungle by finding Faron Tower (x 1331, z 3274, height 291, map square G-8) and activating it. Along the way, raise ice blocks across the river to reach a chest, and swim for Hyrule Bass. Climb the rock near the tower to look out over the forest before moving on.