100% Completion Walkthrough21 chapters
- Great PlateauAll 4 Shrines, the Paraglider and Korok Seeds
- Kakariko Village and Dueling PeaksSeek Out Impa, Shrines and Korok Seeds
- Hateno VillageHateno Tower, the Ancient Tech Lab, Link’s House and Shrines
- Zora’s DomainReach Zora’s Domain, Vah Ruta, Lanayru Shrines and Korok Seeds
- Faron and Lurelin VillageLurelin Village, Faron Tower, Shrines and Korok Seeds
- Korok Forest and Master SwordHow to Get the Master Sword, Lost Woods, Shrines and Korok Seeds
- Hebra MountainsHebra Tower, Snowfield Stable, Shrines and Korok Seeds
- Rito Village and Vah MedohVah Medoh, Tabantha Tower, Shrines and Korok Seeds
- Gerudo HighlandsGerudo Tower, Gerudo Summit, Shrines and Korok Seeds
- Gerudo TownForbidden City Entry, the Thunder Helm, Desert Shrines and Korok Seeds
- Vah Naboris and Gerudo DesertThunderblight Ganon and the Gerudo Desert Shrines
- Lake HyliaLake Tower, Farosh, Lake Shrines and Korok Seeds
- Akkala and Tarrey TownTarrey Town, Akkala Tower, Shrines and Korok Seeds
- Death Mountain and Goron CityGoron City, Vah Rudania, Eldin Shrines and Korok Seeds
- RidgelandRidgeland Tower, Shrines, Memories and Korok Seeds
- Central HyruleCentral Tower, Captured Memories, Shrines and Korok Seeds
- Hyrule Castlethe Hylian Shield, Saas Ko’sah Shrine, Zelda’s Diary and Memories
- Calamity GanonLast Side Quests, Destroy Ganon and the Final Boss
- All Hinox, Talus and Molduga LocationsEvery Hinox, Stone Talus and Molduga, for Kilton’s Medals of Honor
- Trial of the Sword and EX TreasuresThe Trial of the Sword and every EX Treasure location (DLC Pack 1)
- Champions’ BalladOne-Hit Obliterator, Champion Trials and the Final Trial
| Region | Gerudo Wasteland |
|---|---|
| Shrines | 7: Kema Zoos Shrine, Tho Kayu Shrine, Hawa Koth Shrine, Raqa Zunzo Shrine, Misae Suma Shrine, Dila Maag Shrine, Suma Sahma Shrine |
| Korok seeds | 32 |
This chapter of the 100% walkthrough covers the Gerudo Wasteland region in a route that collects everything along the way: 7 shrines and 32 Korok seeds, plus the quests, chests and minibosses you meet. Positions are map coordinates (x grows east, z grows south).
How to Return the Thunder Helm to Riju in Gerudo Town
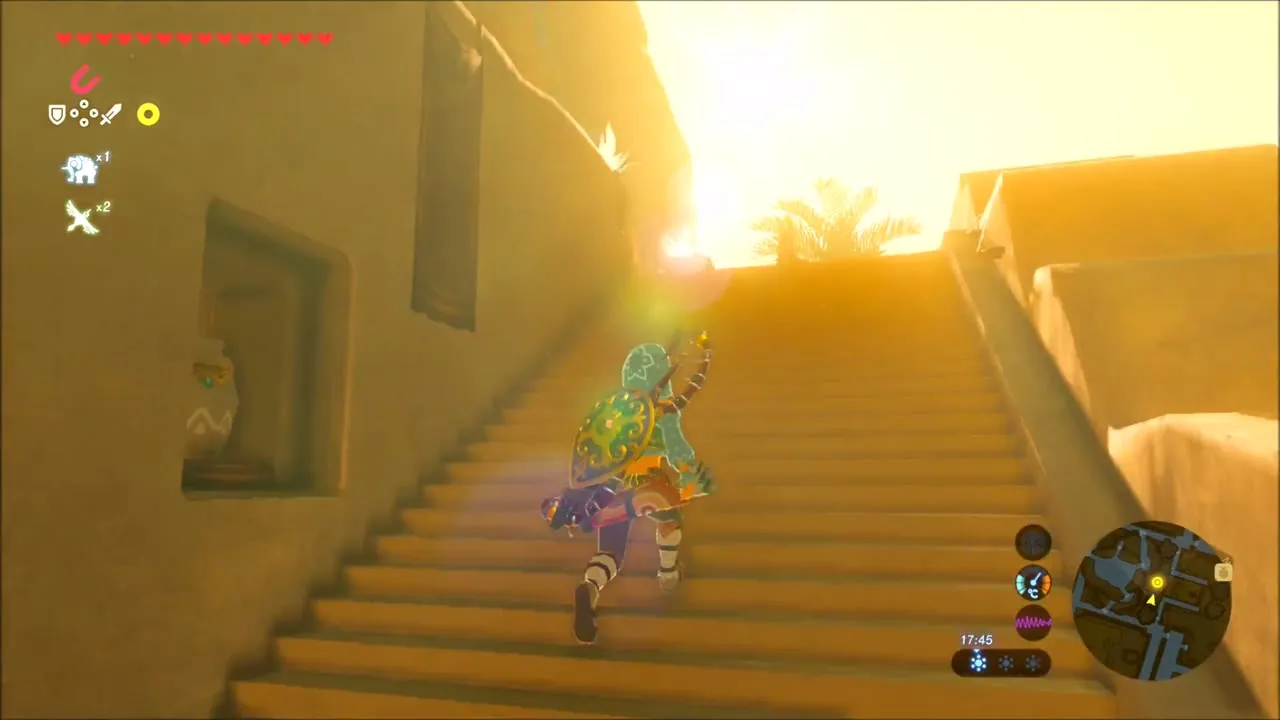
With the Yiga Clan beaten and the helm in your pack, go back into Gerudo Town wearing your Gerudo disguise, run up the long staircase toward the palace and find Riju at the top. Hand over the Thunder Helm and she puts it on, visibly proud to have it back. This finishes the helm errand of Forbidden City Entry and moves Divine Beast Vah Naboris on to the beast itself.


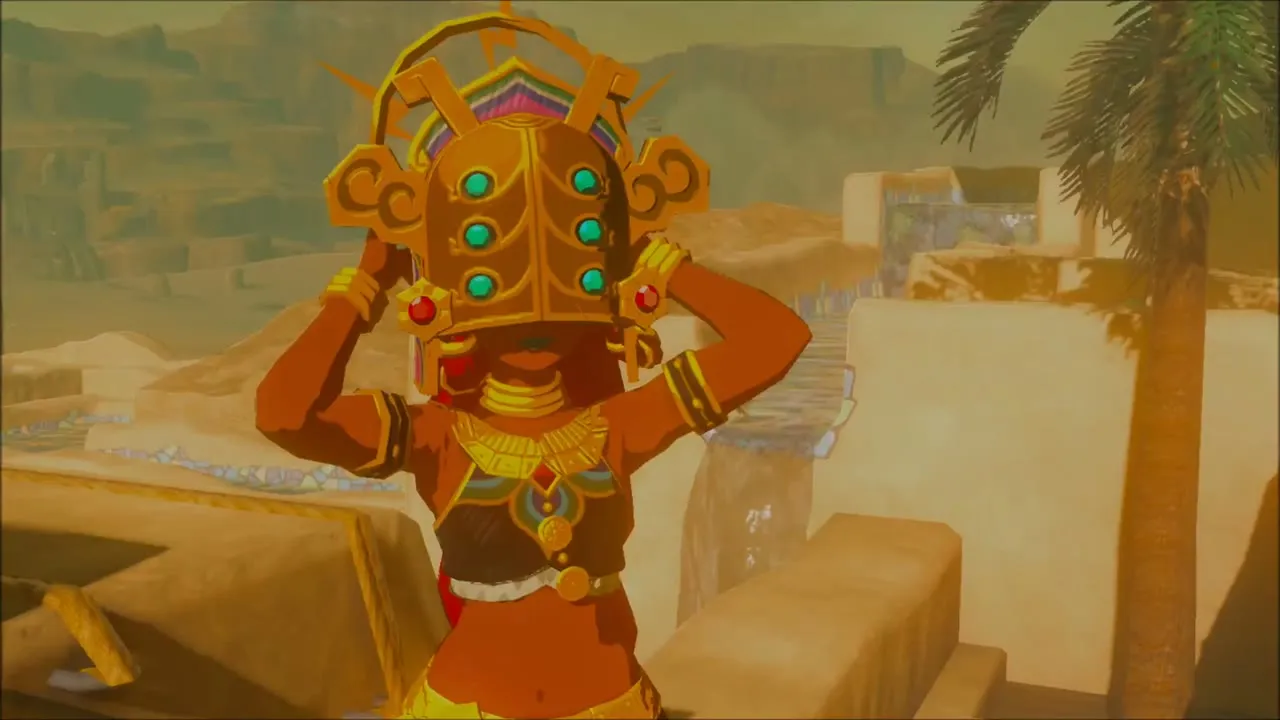
The memory: Urbosa’s Hand
As soon as the helm is on her head a flashback starts. Link remembers the Gerudo champion Urbosa, resting on cushions beside a smiling Princess Zelda while Link stands nearby. The scene is saved as a captured memory; the full details are on the page for Memory 6: Urbosa’s Hand.
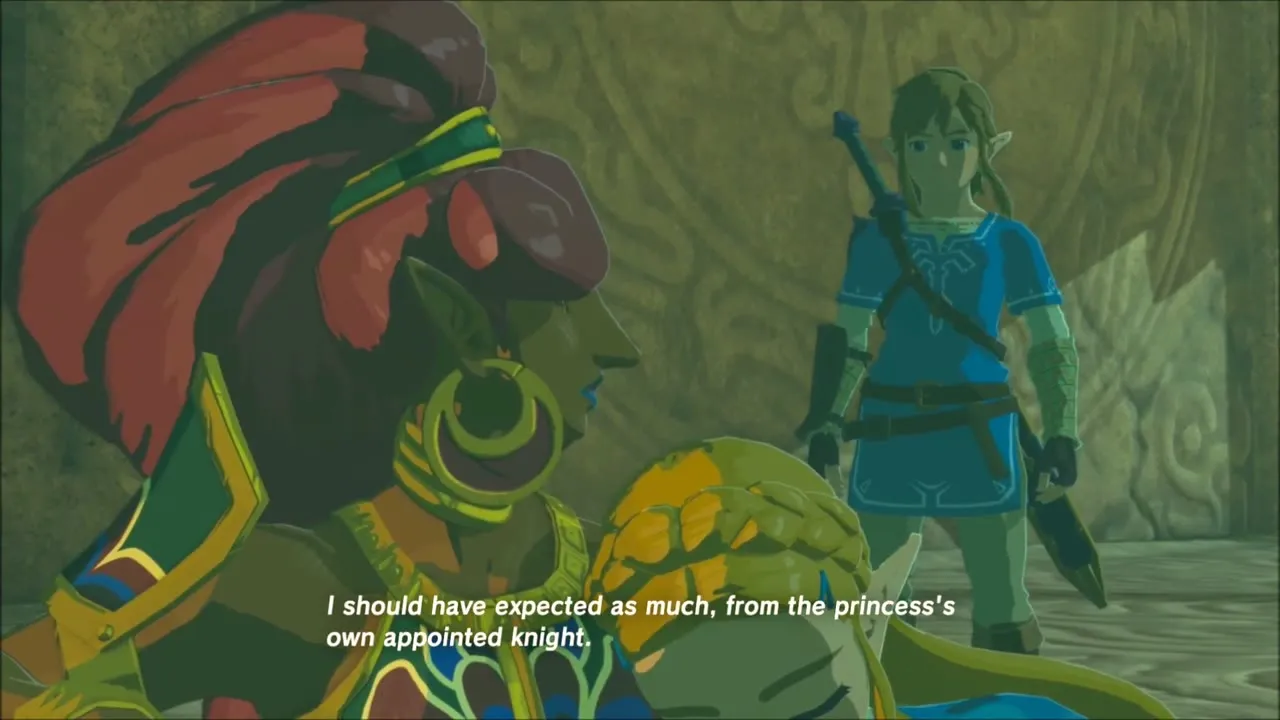
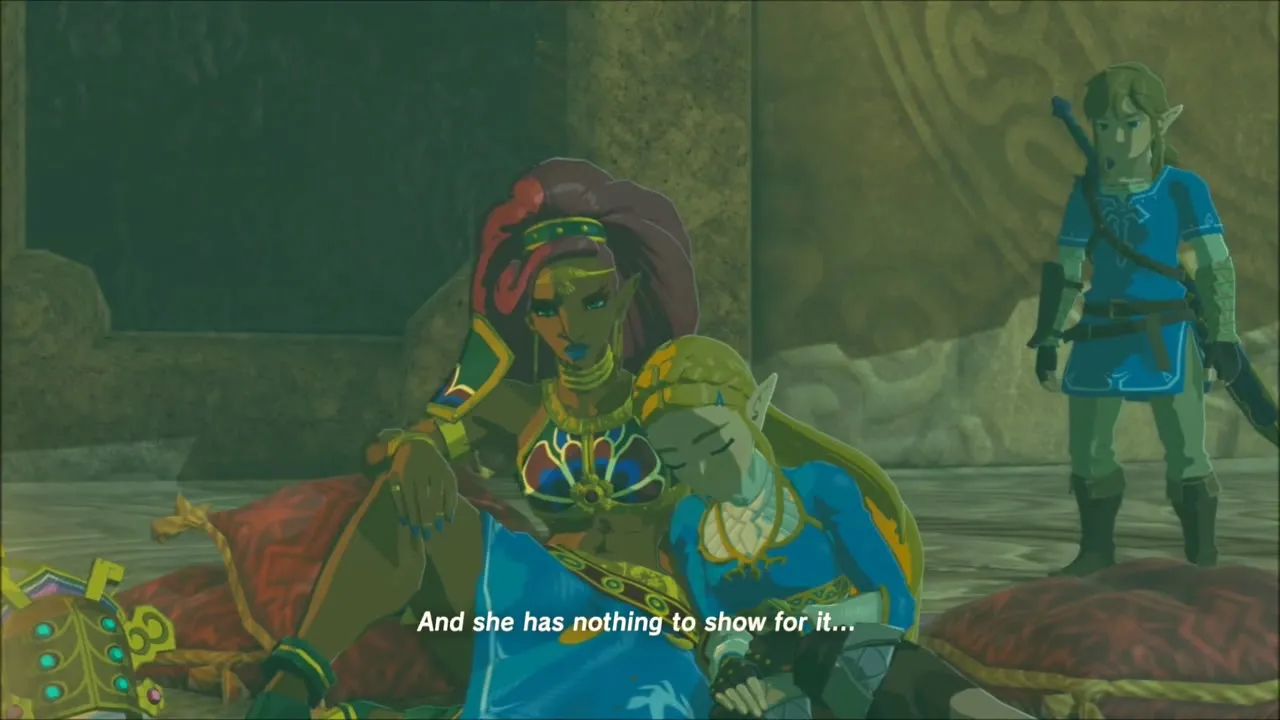
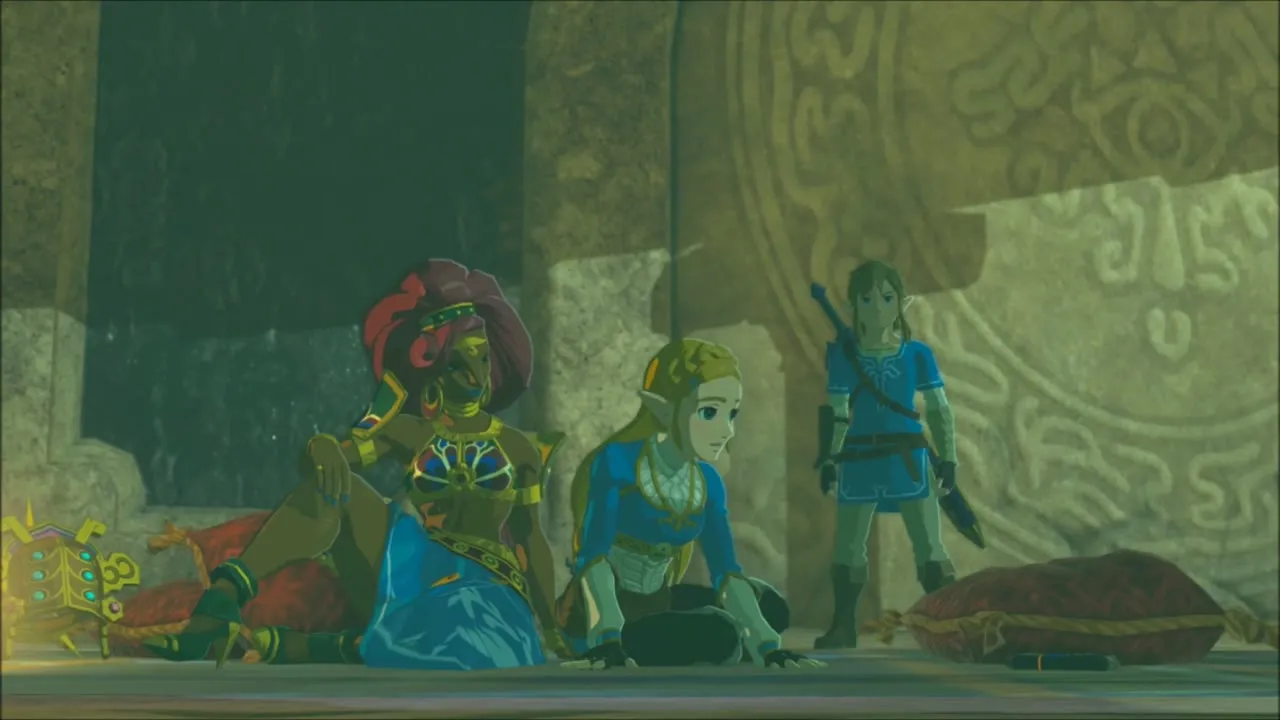
Agree to help against Vah Naboris
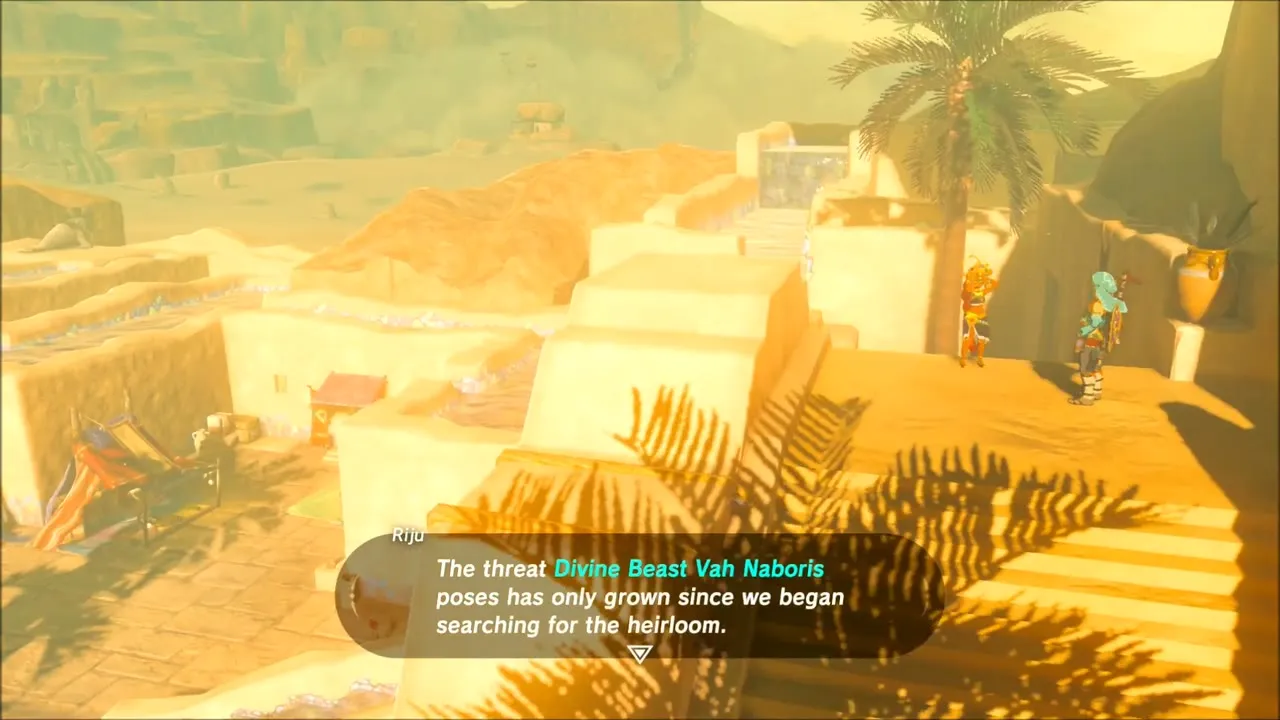
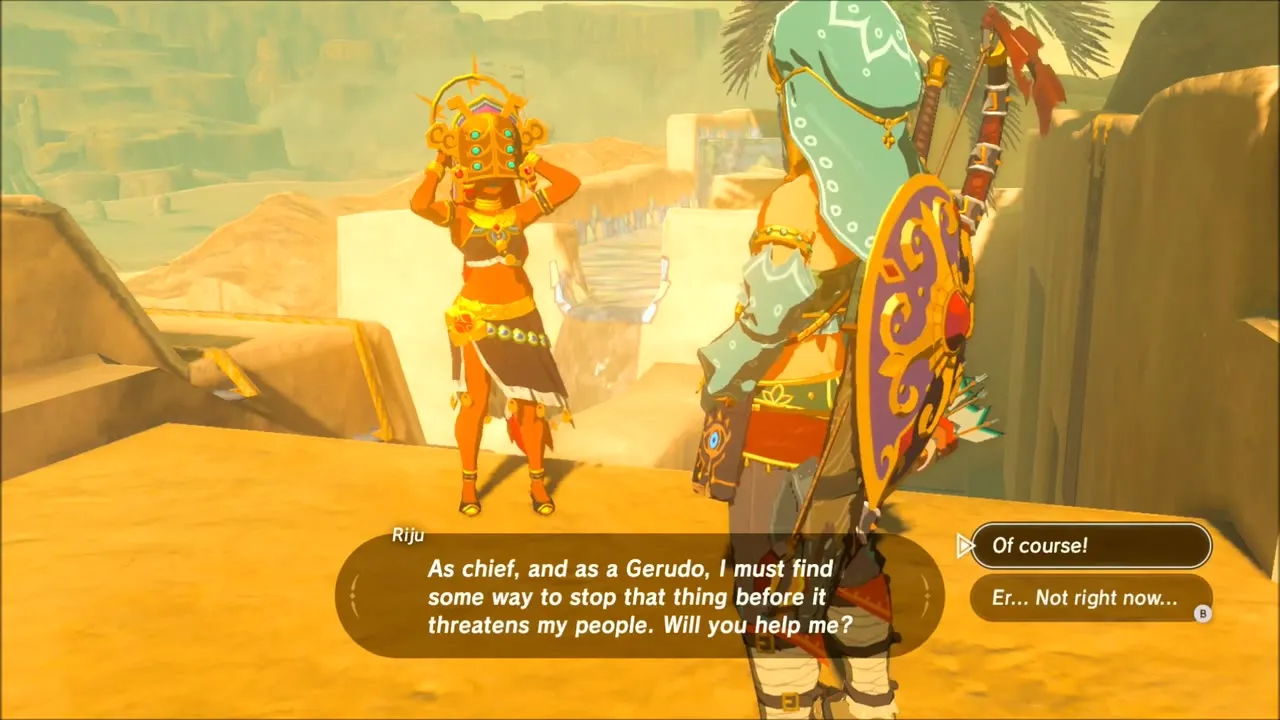
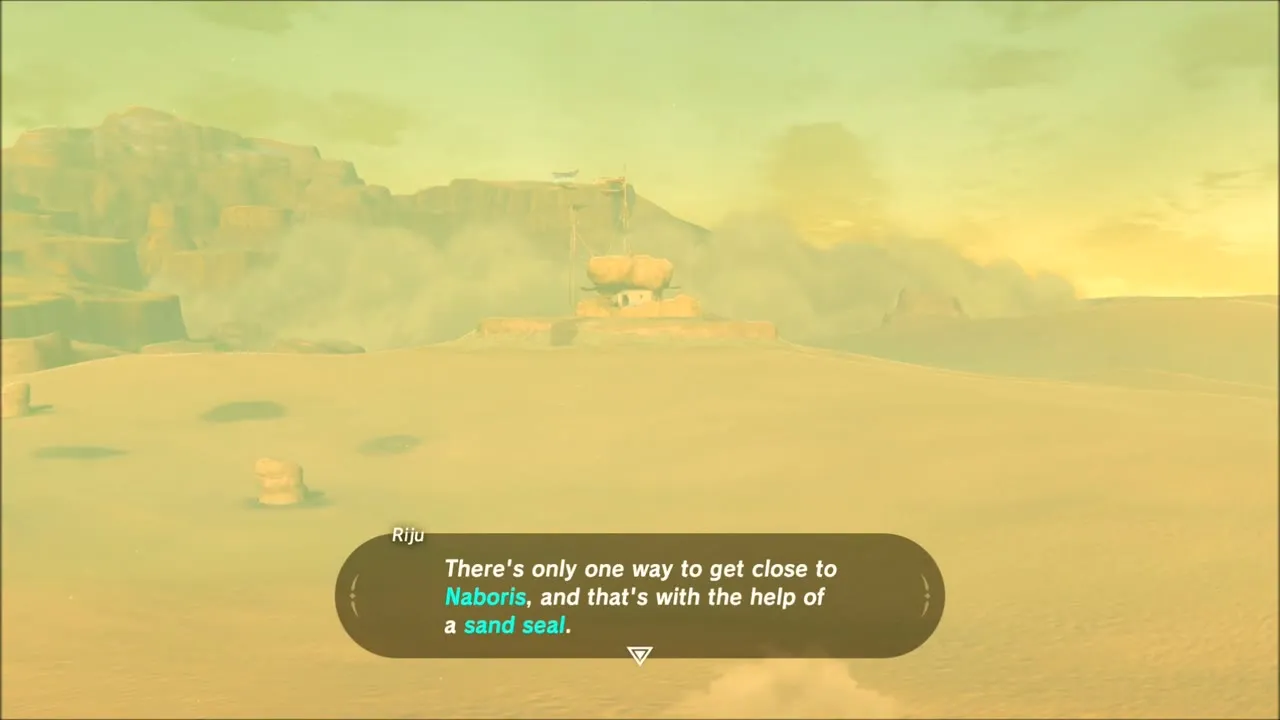
Back in the present, Riju asks how the helm looks on her, then tells you the beast has only grown more threatening while the helm was missing. As chief she has to stop it before it harms her people, and she asks for your help. Answer “Of course!” and the main quest to free the Divine Beast begins. She explains that the only way to get close to Naboris is on a sand seal and that she will wait for you at the lookout south of town.
Rent a Sand Seal and Meet Riju at the Lookout
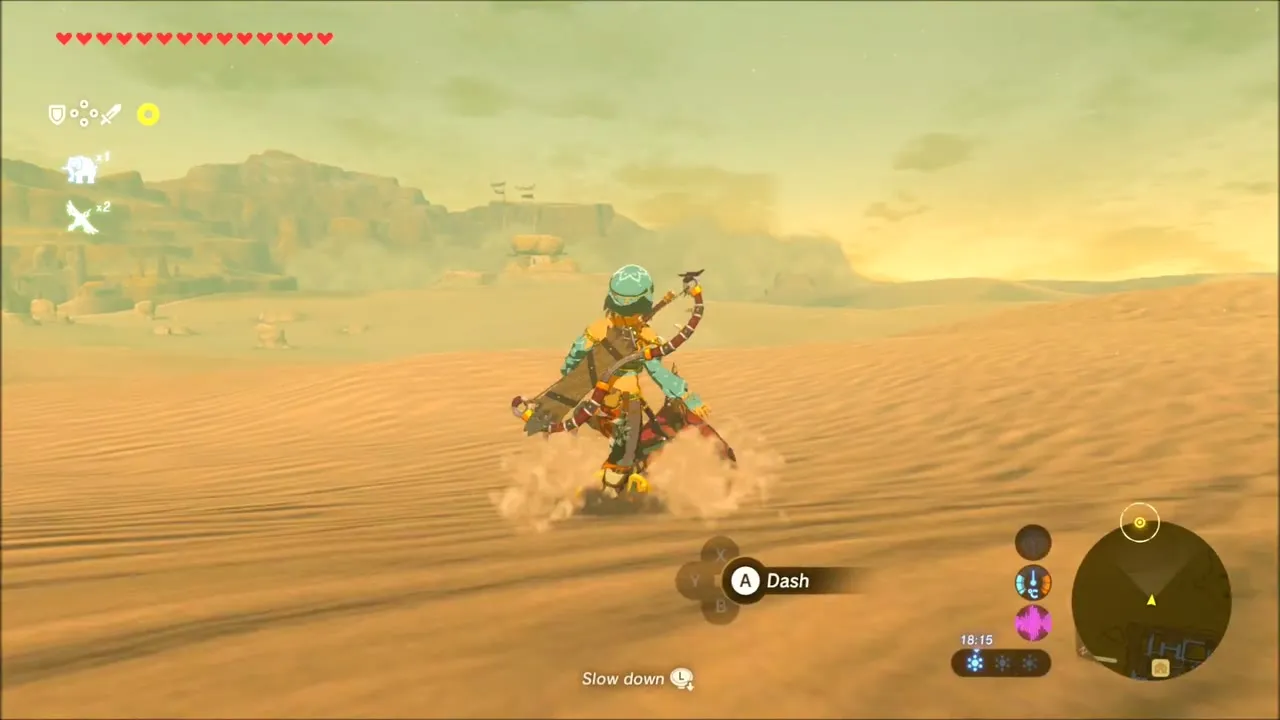
Leave the palace and talk to Frelly, the sand seal vendor. Renting a seal costs 20 rupees, and a shield for sand-surfing costs 50 more. Before you ride out, sort your gear: choose the weapons and arrows you want for the beast and change out of the Gerudo disguise, which you only need inside the town.

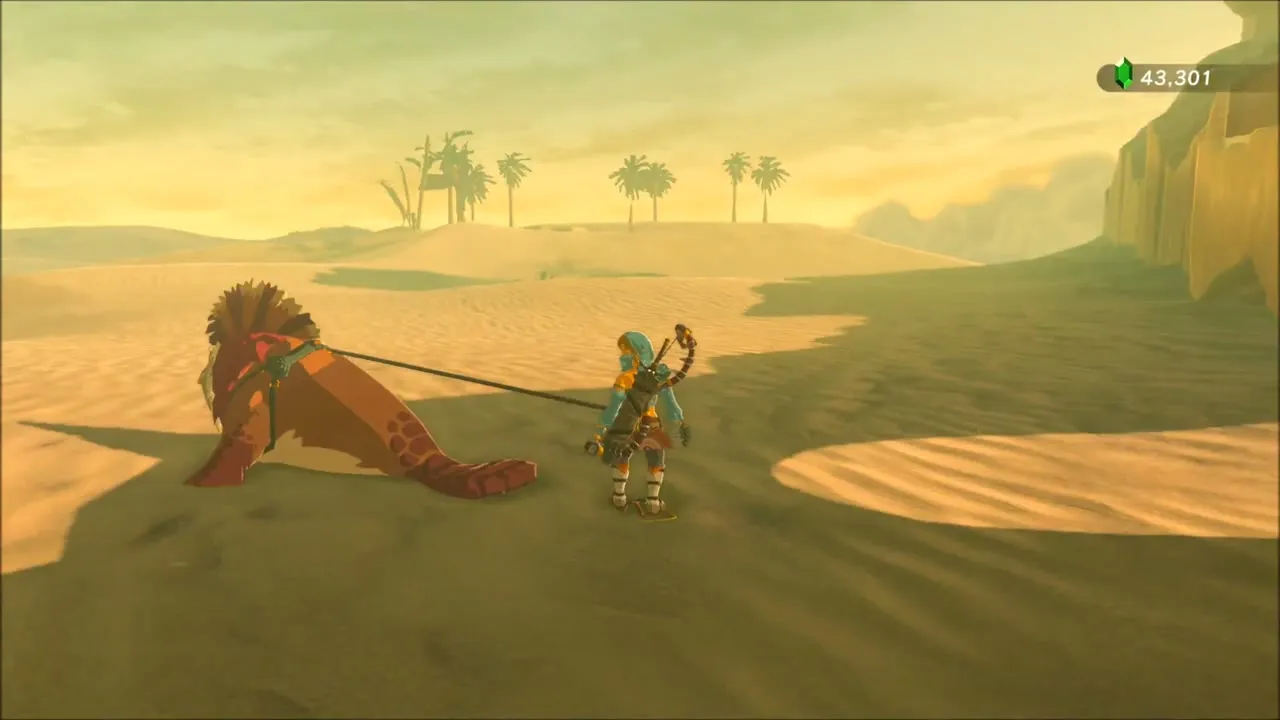
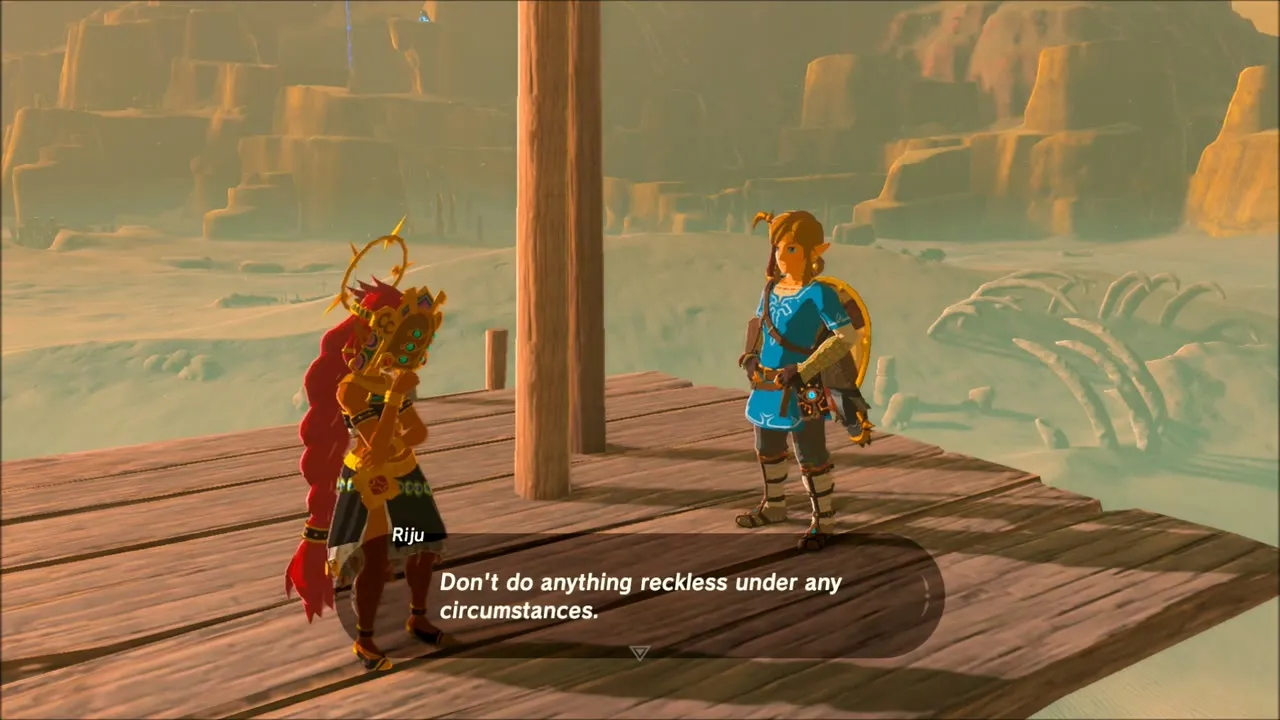
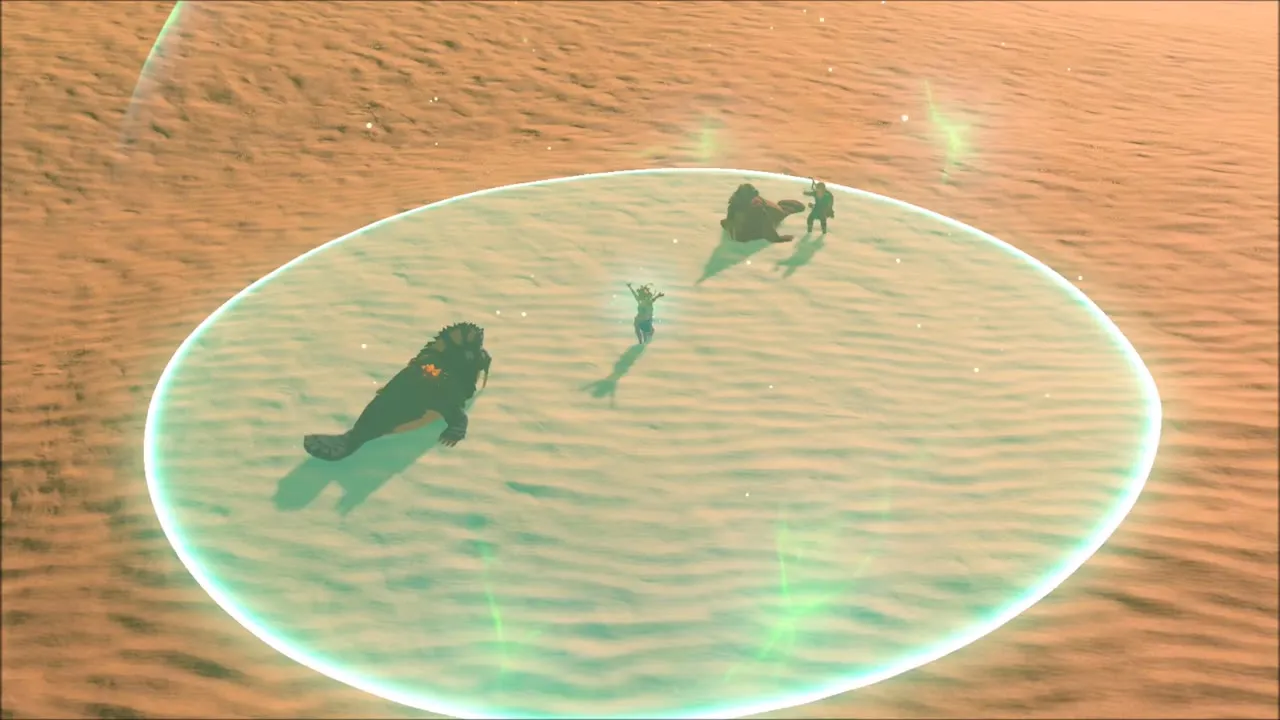
Riju stands on a wooden platform at the lookout with the desert spread out below. She tells you to do nothing reckless, and that the two of you will go on sand seals. Accept and she leads you out across the dunes. A glowing circle follows her over the sand: stay inside it, because Vah Naboris strikes with lightning at anything outside Riju’s protection.


How to Bring Down Vah Naboris with Bomb Arrows
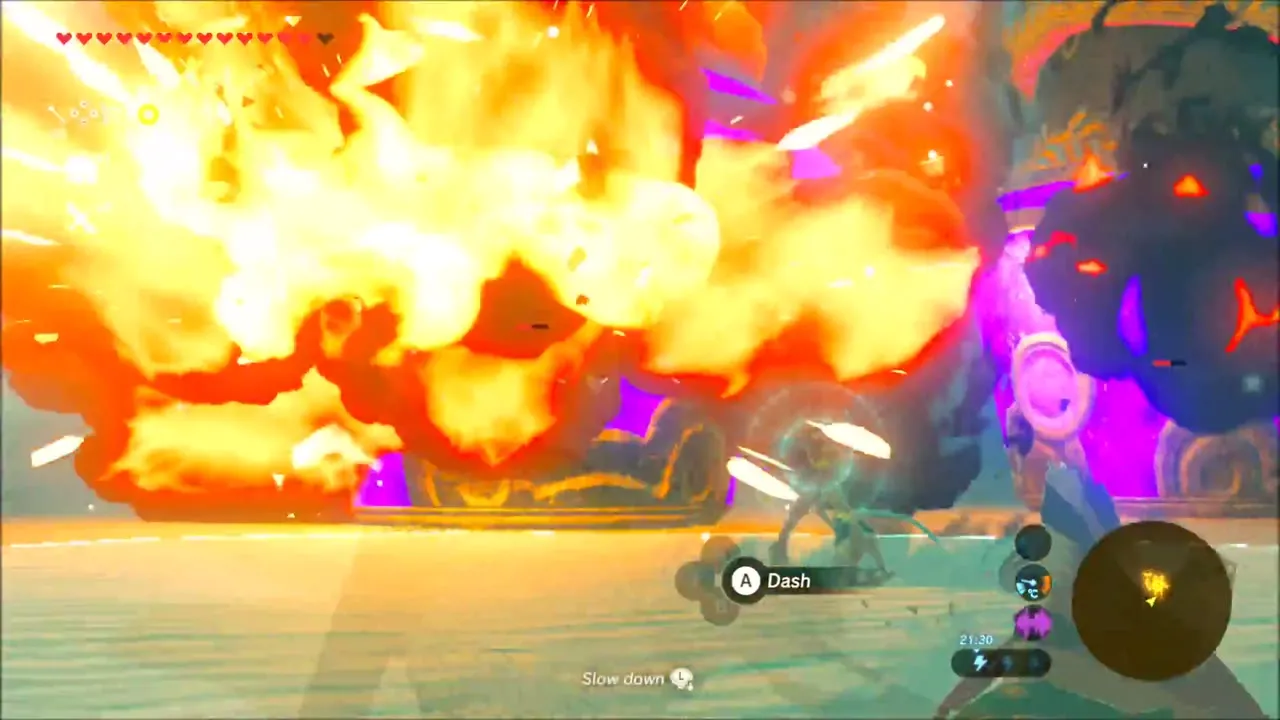
Ride toward the beast inside Riju‘s circle and shoot its glowing feet with the Bomb Arrows she gives you; all four legs have to be hit. Put on the Sand Boots on the way, because they make you faster on sand. Each hit ends in a big explosion at the foot, and once the legs are down Vah Naboris kneels and you can climb aboard. The quest page lists the preparation in full.


Inside Vah Naboris: Map, Chests and Five Terminals
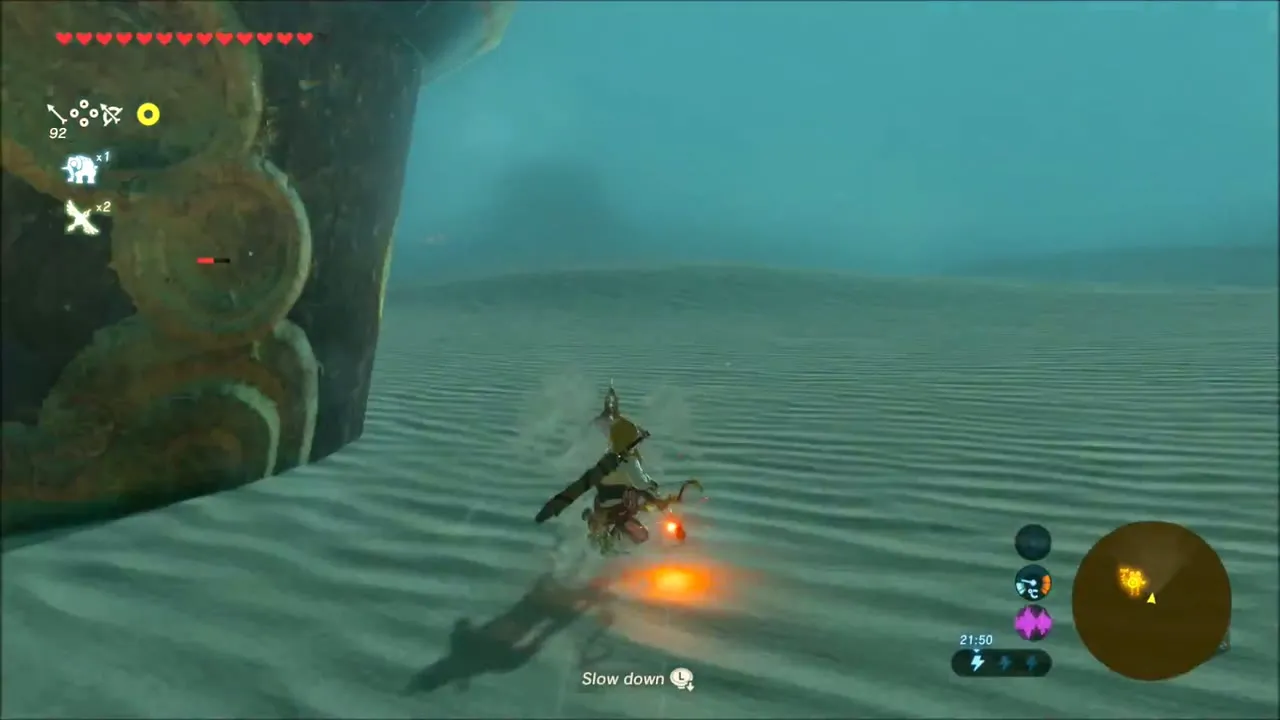
The first area is a long corridor with Malice and a Guardian Scout. Beat the Scout and you can pick up an Ancient Spring, an Ancient Screw and a Guardian Spear from it. Further in, a chest hangs from a rope above the drop: freeze it with Stasis, shoot the rope, then pull the chest in with Magnesis. It holds an Ancient Core.
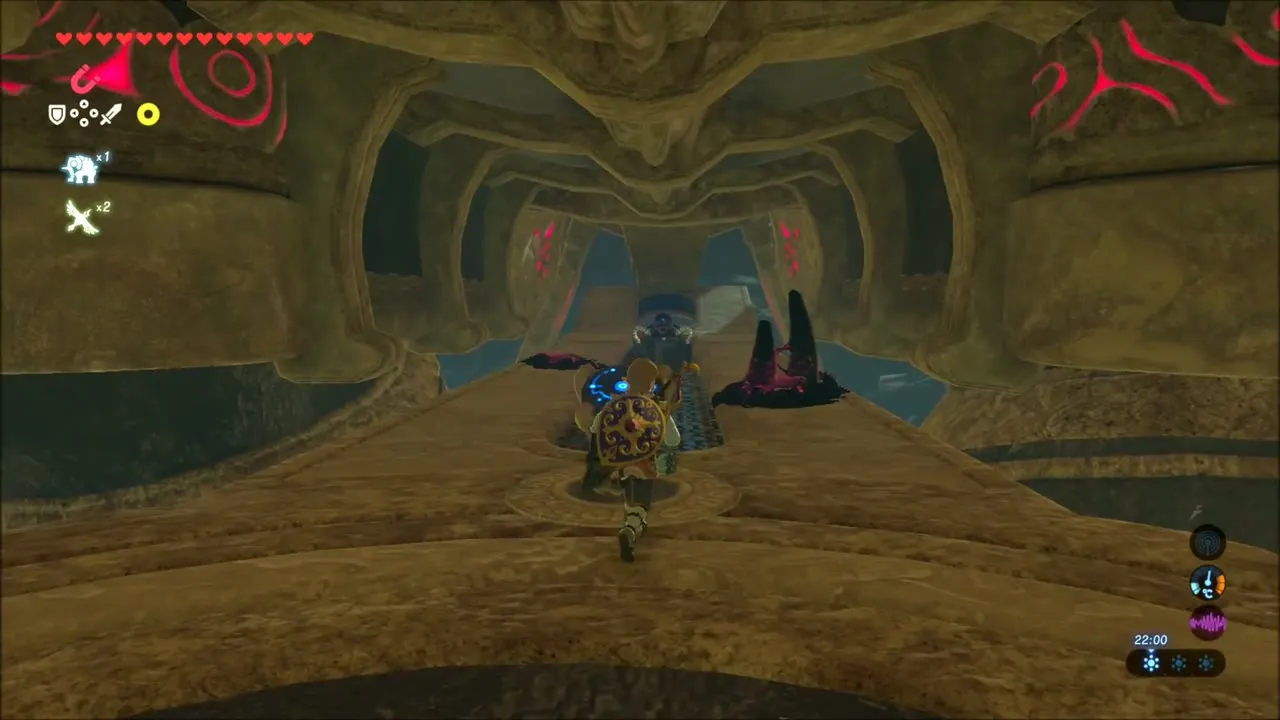


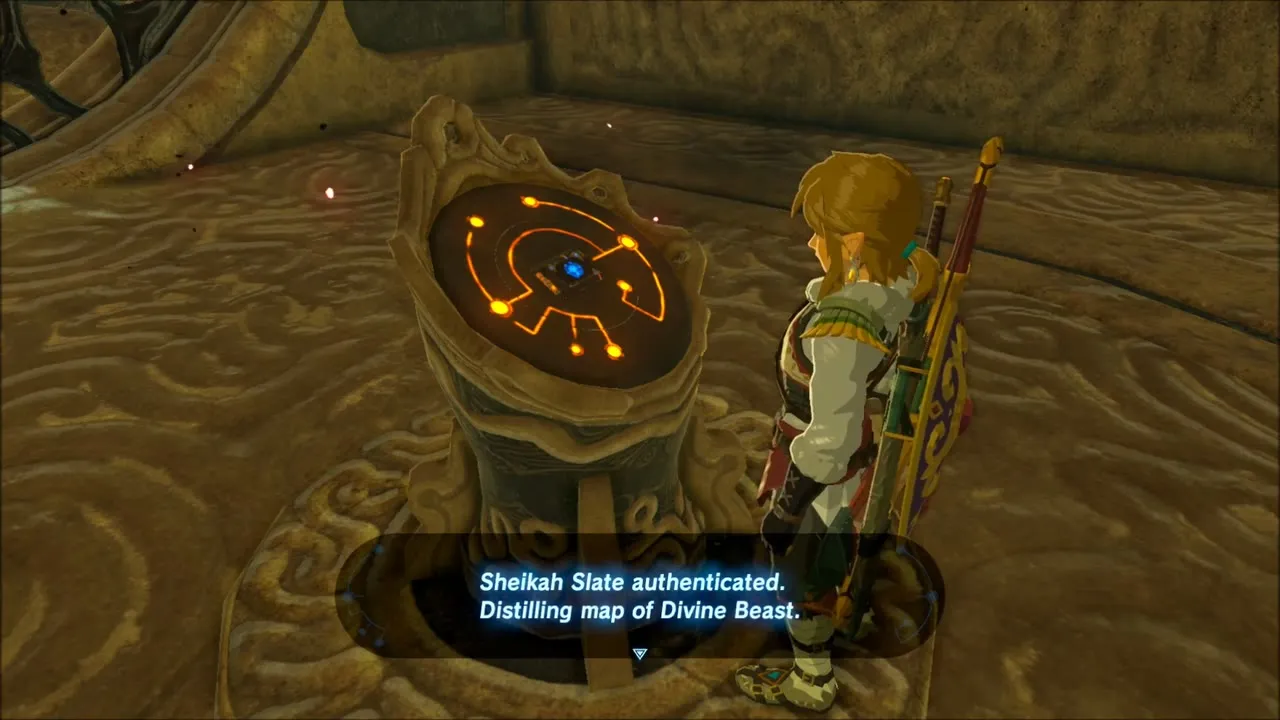
Carry on to the control console and activate it to open the Divine Beast’s map. A message tells you to take Naboris back by activating all of the terminals. The map is also how you rotate the sections of the cylindrical rooms, which is what opens the way to everything else.

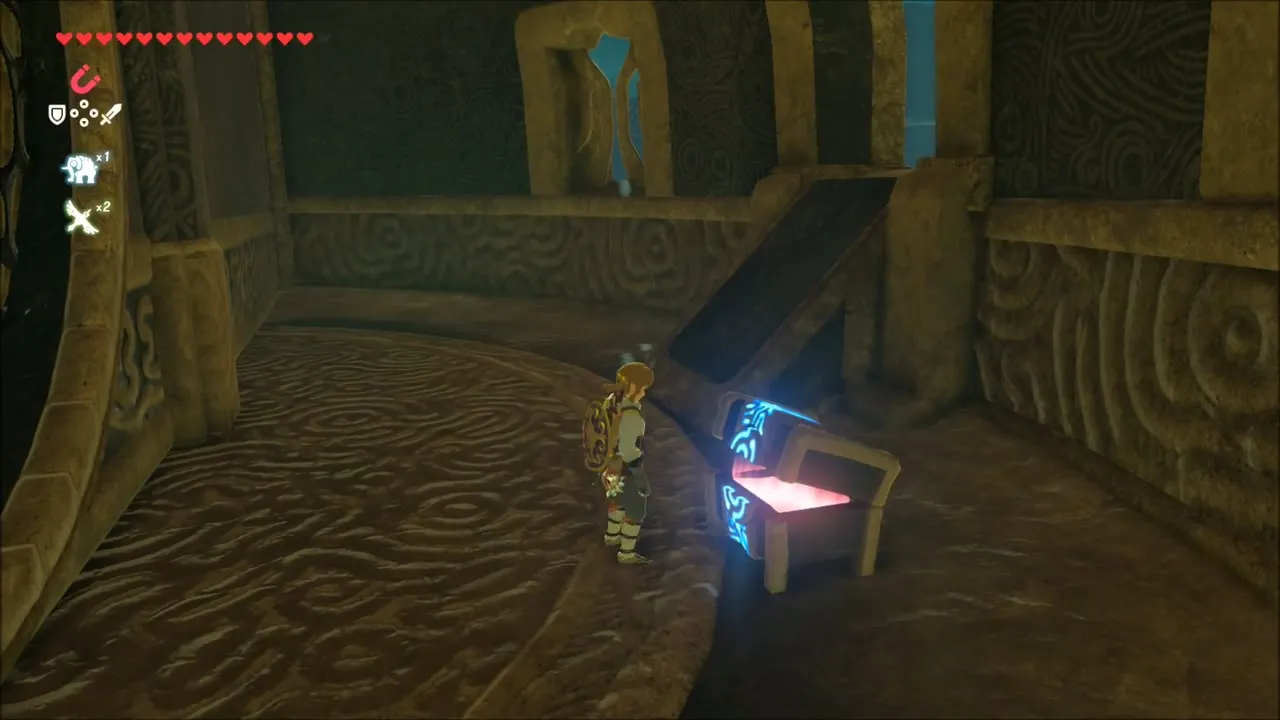
Rotating the rooms lines up platforms and doors to more chests: Bomb Arrows, further Ancient parts, an Ancient Shaft and a Royal Bow (tier set by difficulty scaling). Watch the green wires on the walls; when the wires connect, the room beyond can turn.



One route is a spiked corridor with Malice and rotating lasers. Run through it without stopping to reach a chest at the far end holding a shield, a Knight’s Shield or Royal Shield depending on difficulty scaling. If your pouch is full the game tells you the inventory is full, so drop something first.
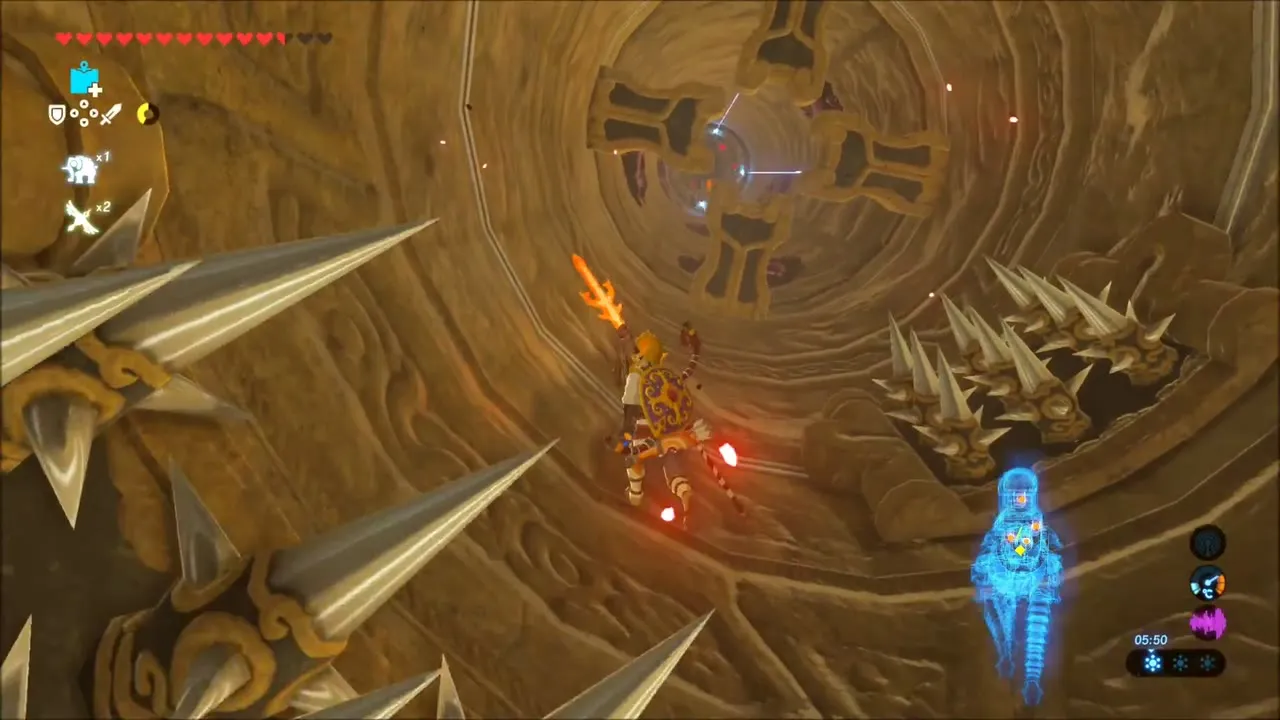
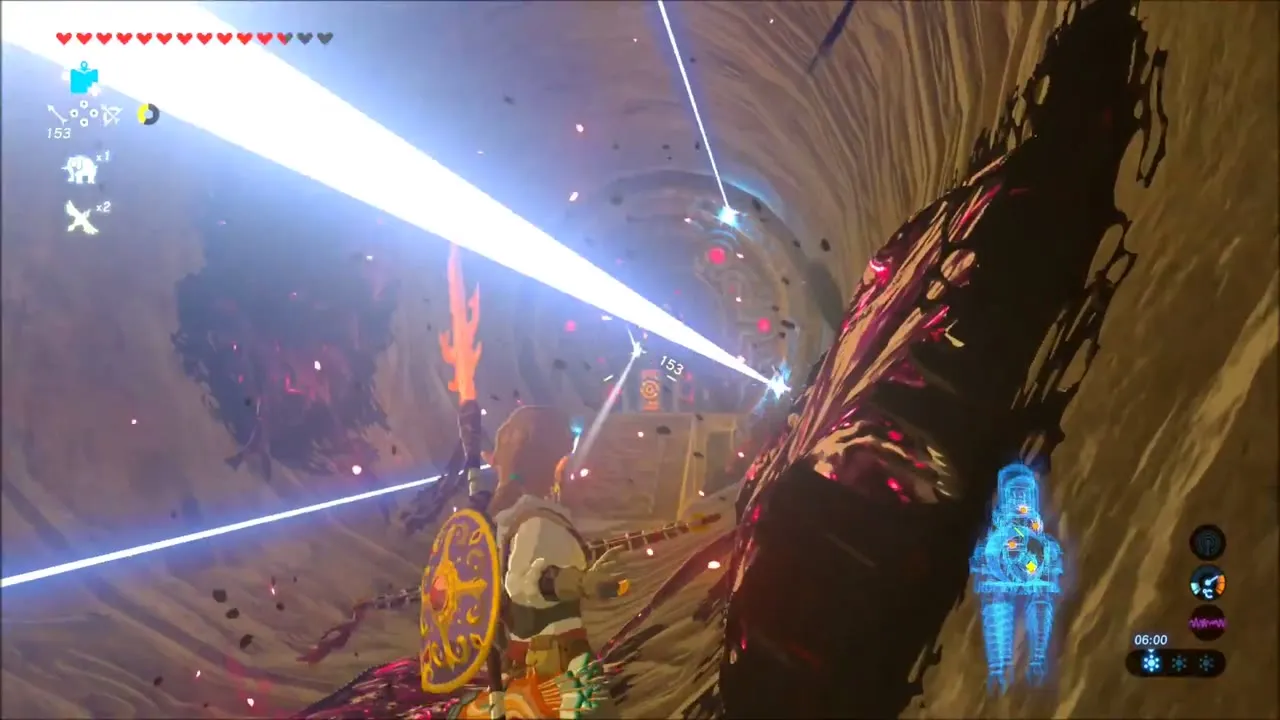

To reach the upper humps, raise the neck by turning the crank until the switches glow blue, then climb. Use Magnesis on the metal slabs and ride platforms upward. A chest near a moving platform on the way holds a Topaz, and Ancient parts such as an Ancient Gear turn up in chests on the climb.


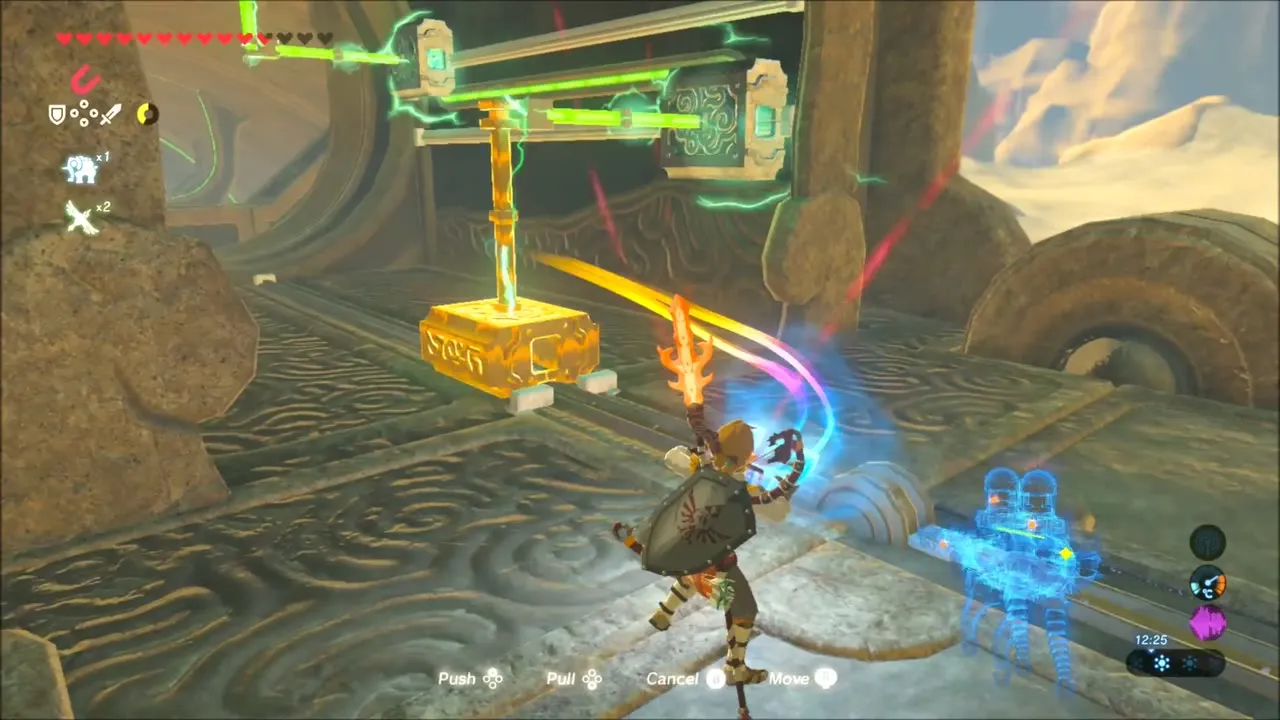
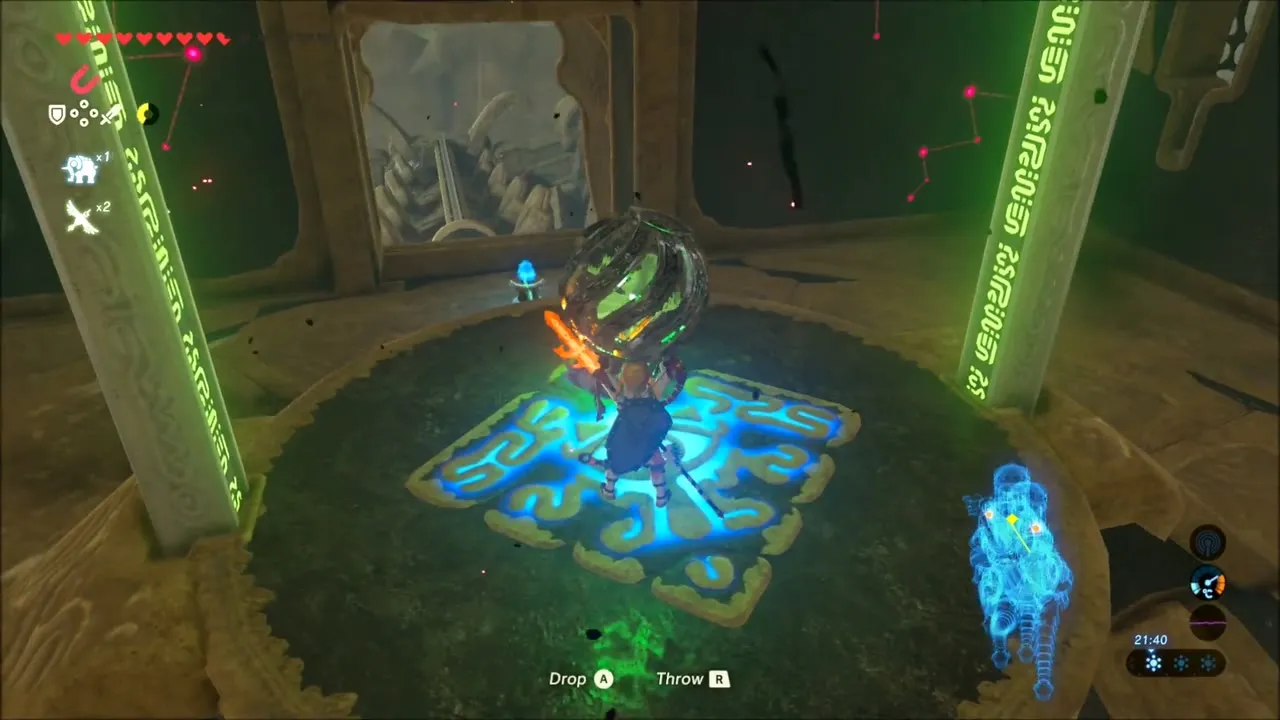
The last terminals need two electric orbs. Fight the Guardian Scouts guarding them, carry one orb to its pedestal in the first hump room and the other to the pedestal on the top floor of the second hump. With both set, the fifth terminal opens. When you activate it a message says that was the last terminal and that you must now start up the main control unit.
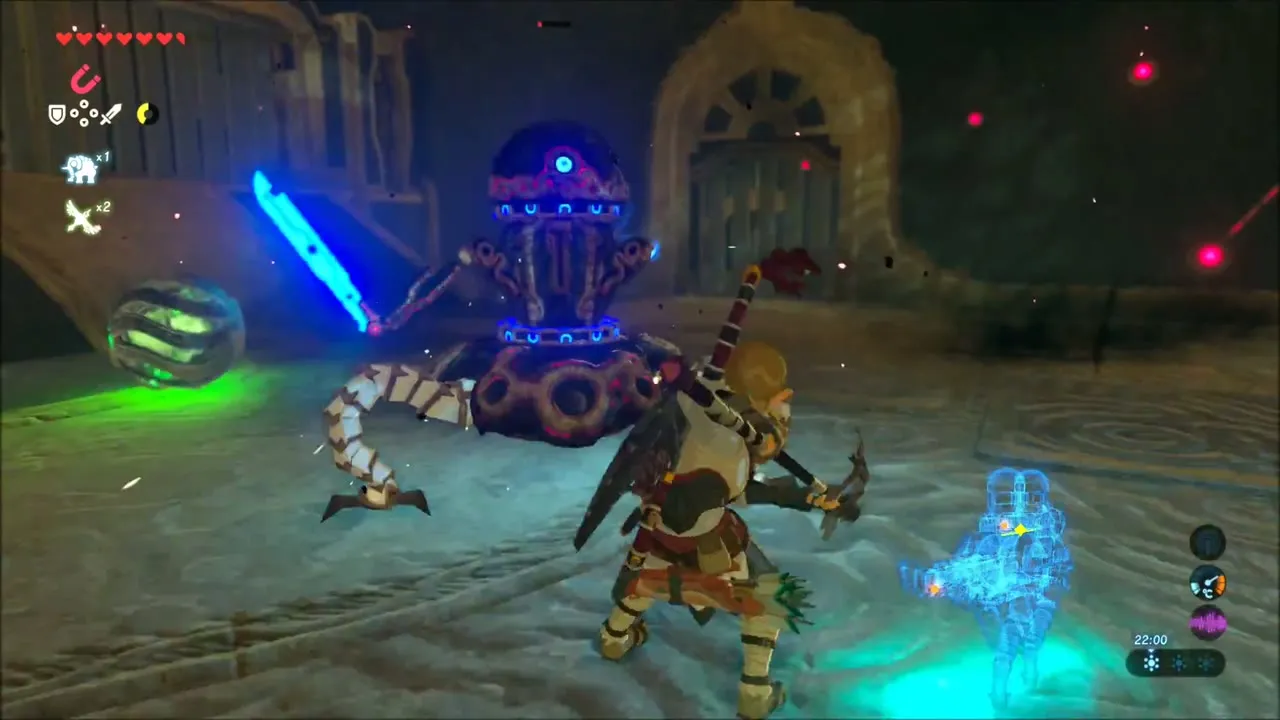
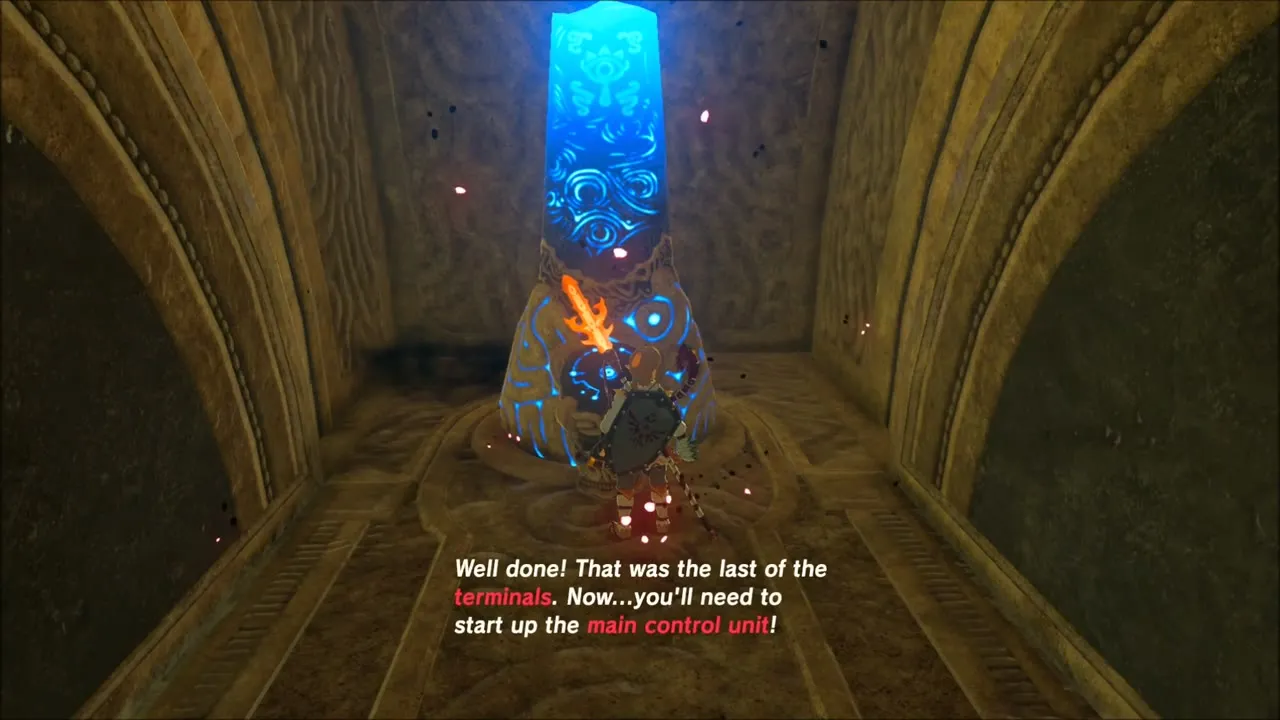
Thunderblight Ganon Boss Fight: How to Beat Him
Eat food or drink an elixir that gives electricity resistance before the fight, because his lightning will otherwise paralyze you and make you drop your weapons. Thunderblight Ganon teleports around the arena, throws electric balls and attacks quickly. Dodge at the last instant to trigger a flurry rush, or break his shield and stun him, then hit hard. At about half health his axe crackles with lightning and he drops metal spikes that you can lift with Magnesis to shock him. When he is low on health he aims an eye laser, so take cover until it ends.

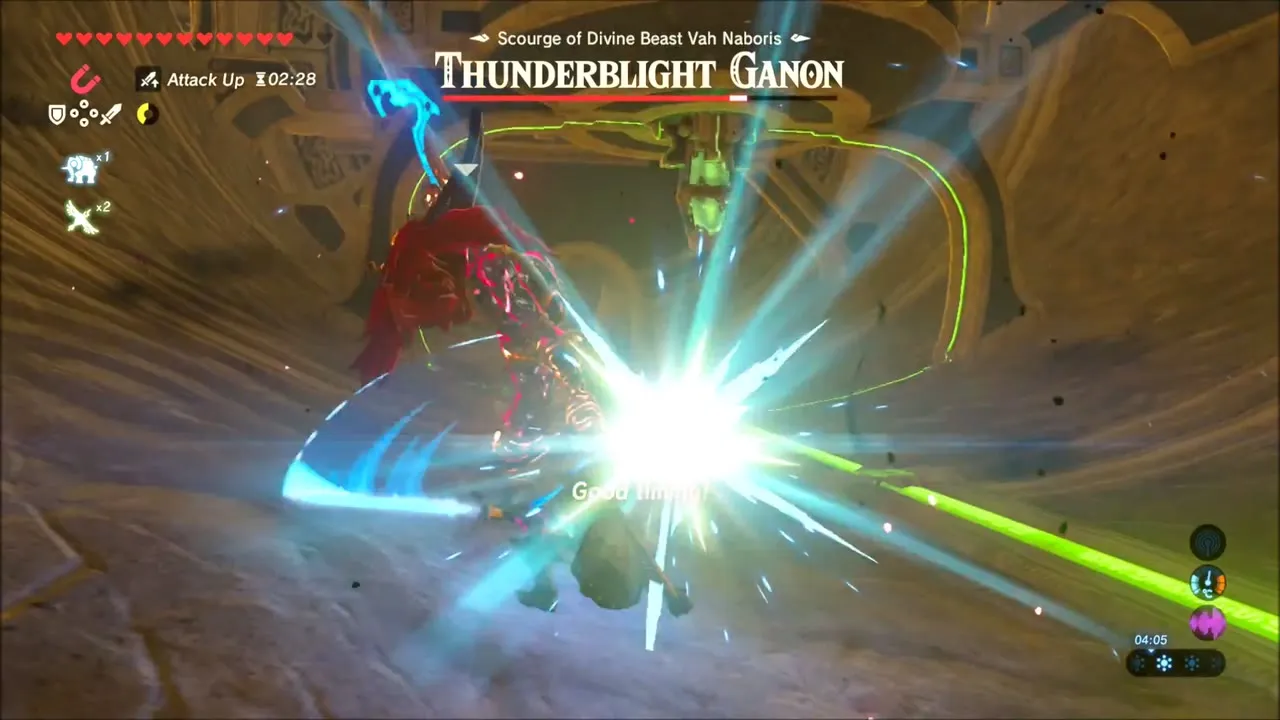

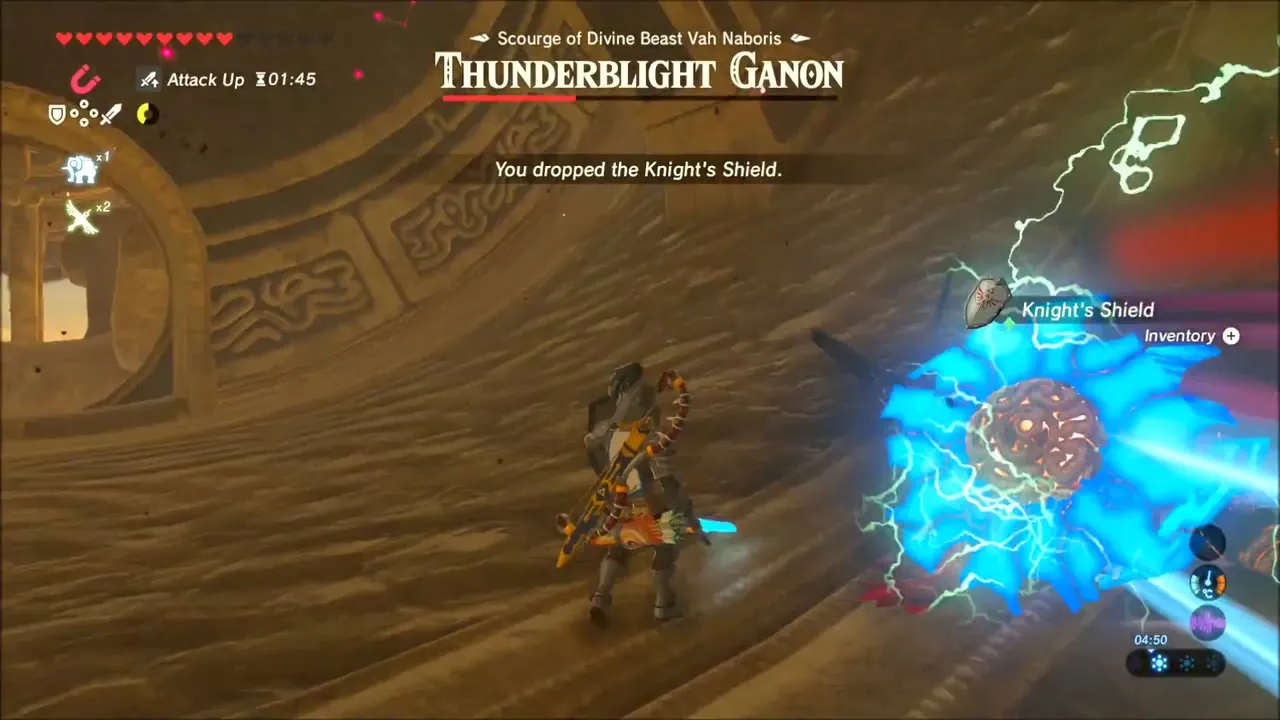
Vah Naboris Rewards: Heart Container and Urbosa’s Fury
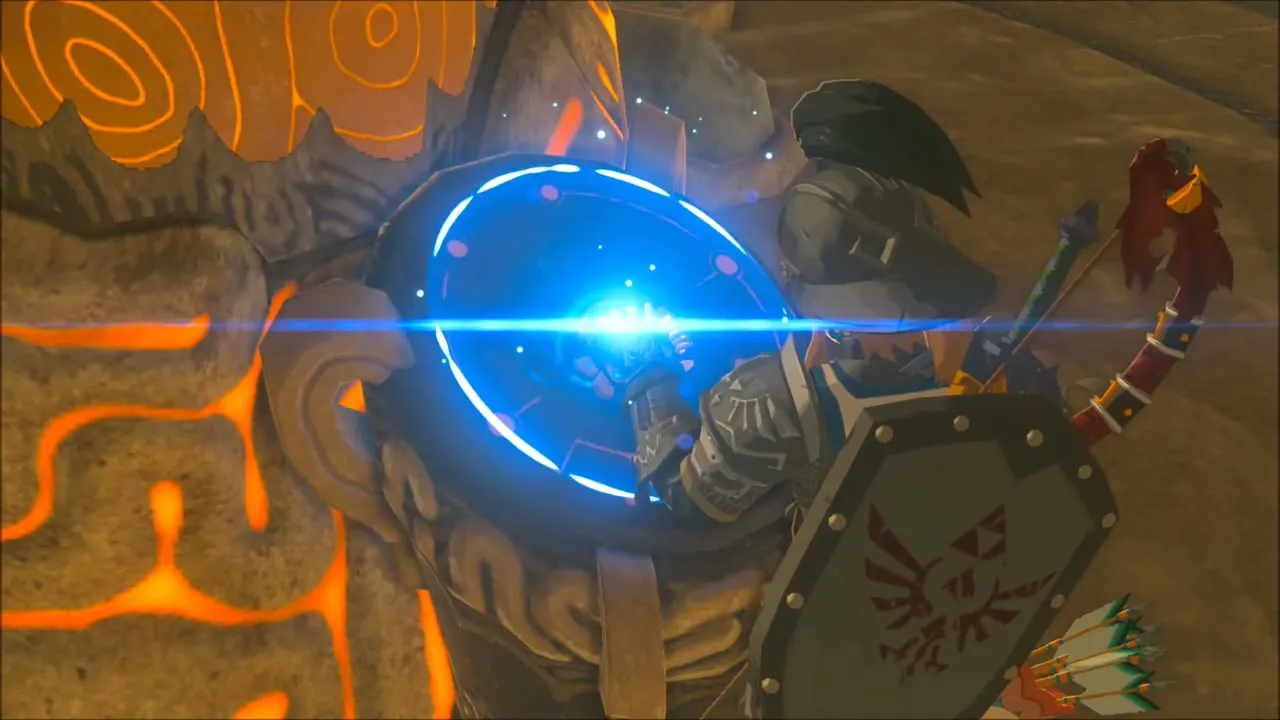
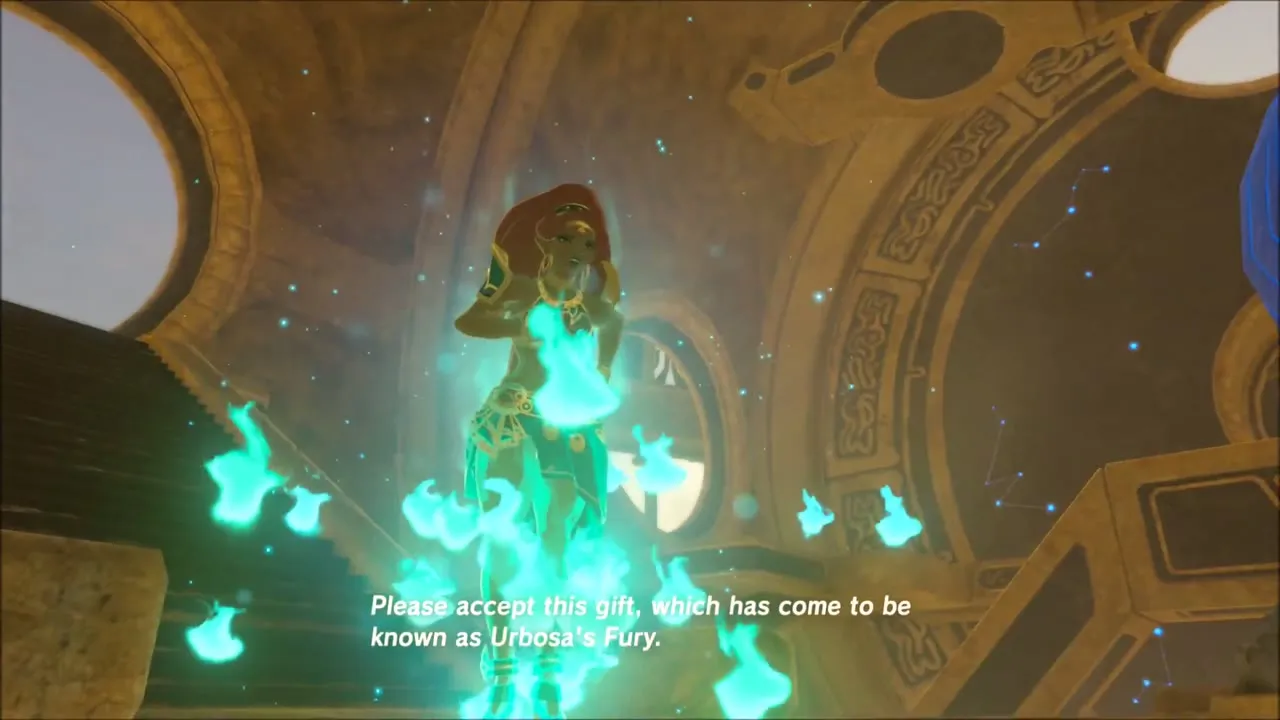
Take the Heart Container from the pedestal, then step to the control unit and answer “Yes” to activate it. Urbosa‘s spirit appears, says the Champions can at last finish what they started and offers you her power, Urbosa’s Fury, a lightning strike that you can call down on a group of enemies. After that you are carried back to the gate of Gerudo Town.


Collect the Scimitar of the Seven and Daybreaker
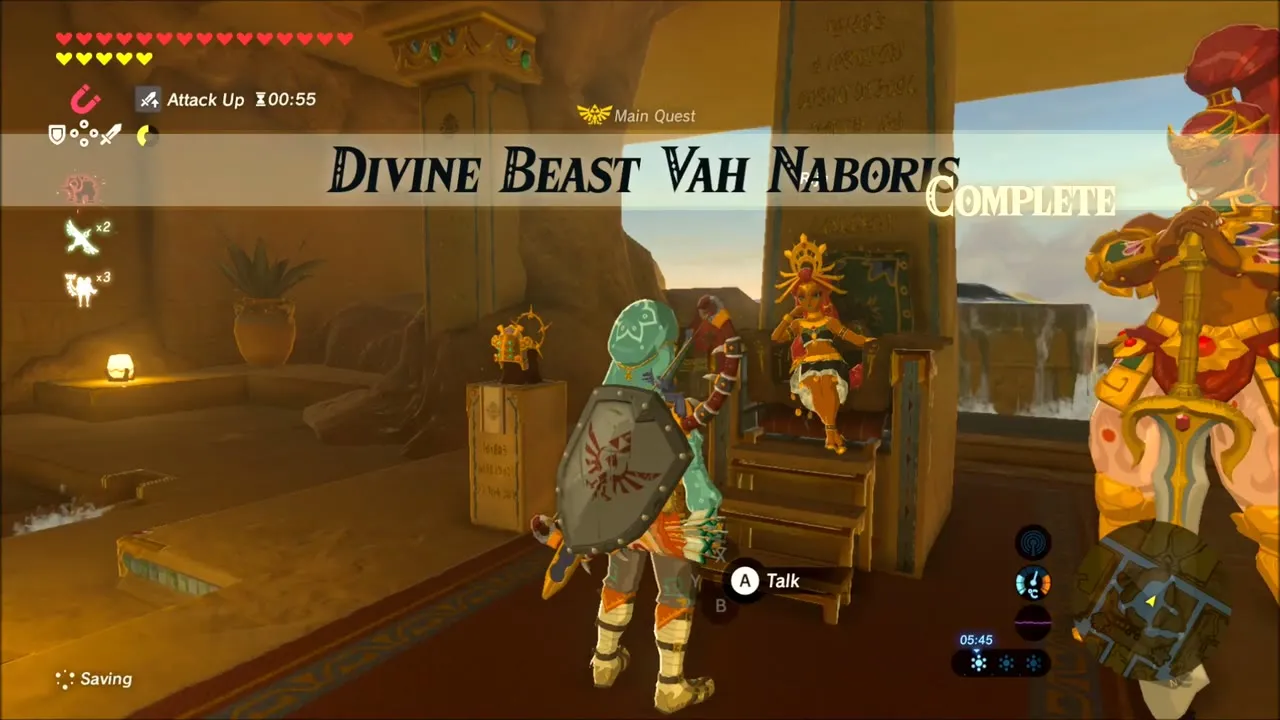
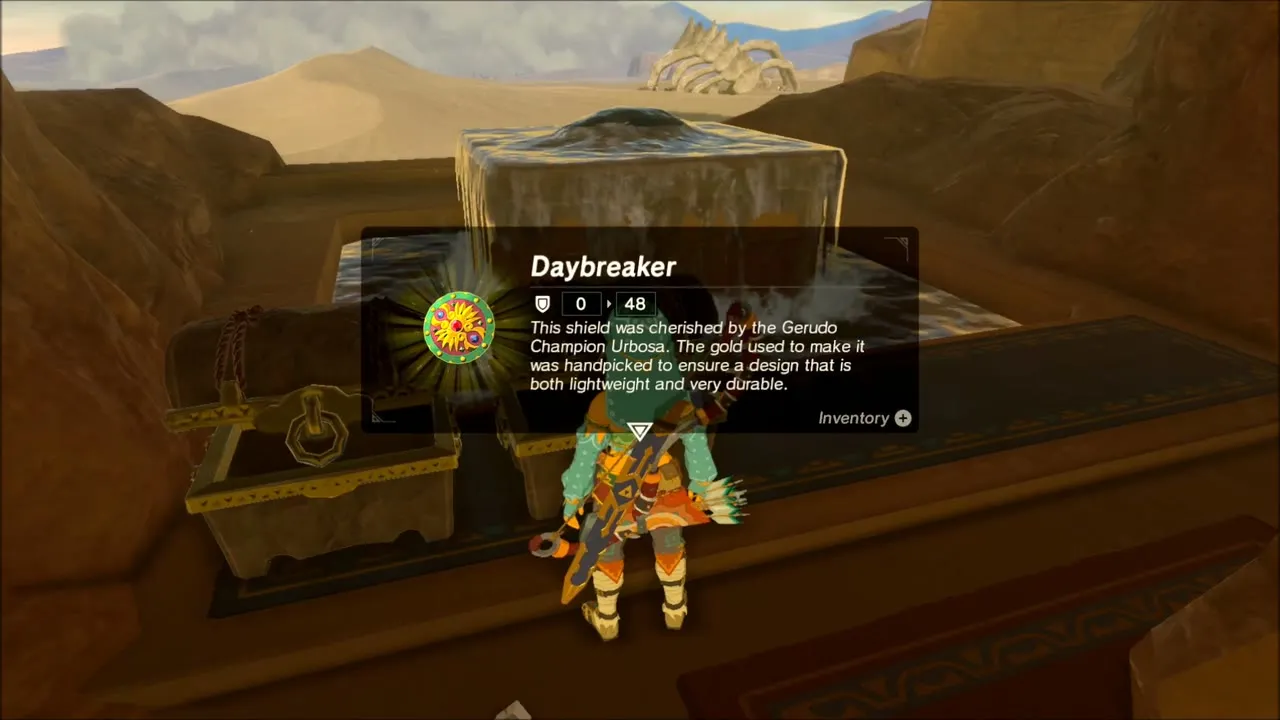
Walk up to the palace and talk to Riju. The main quest Divine Beast Vah Naboris is marked complete. She thanks you, notes that her friend Urbosa would be pleased, and gives you gifts: open the chest beside her for the Scimitar of the Seven and pick up the Daybreaker shield from the stand nearby. Buliara can repair both for a fee.


Gerudo Town Shopping and the Hateno Dye Shop
With the beast calm, use the lull to restock. In Gerudo Town, sell spare gems such as rubies to Isha, then fast travel to Hateno, since the next supplies are there.
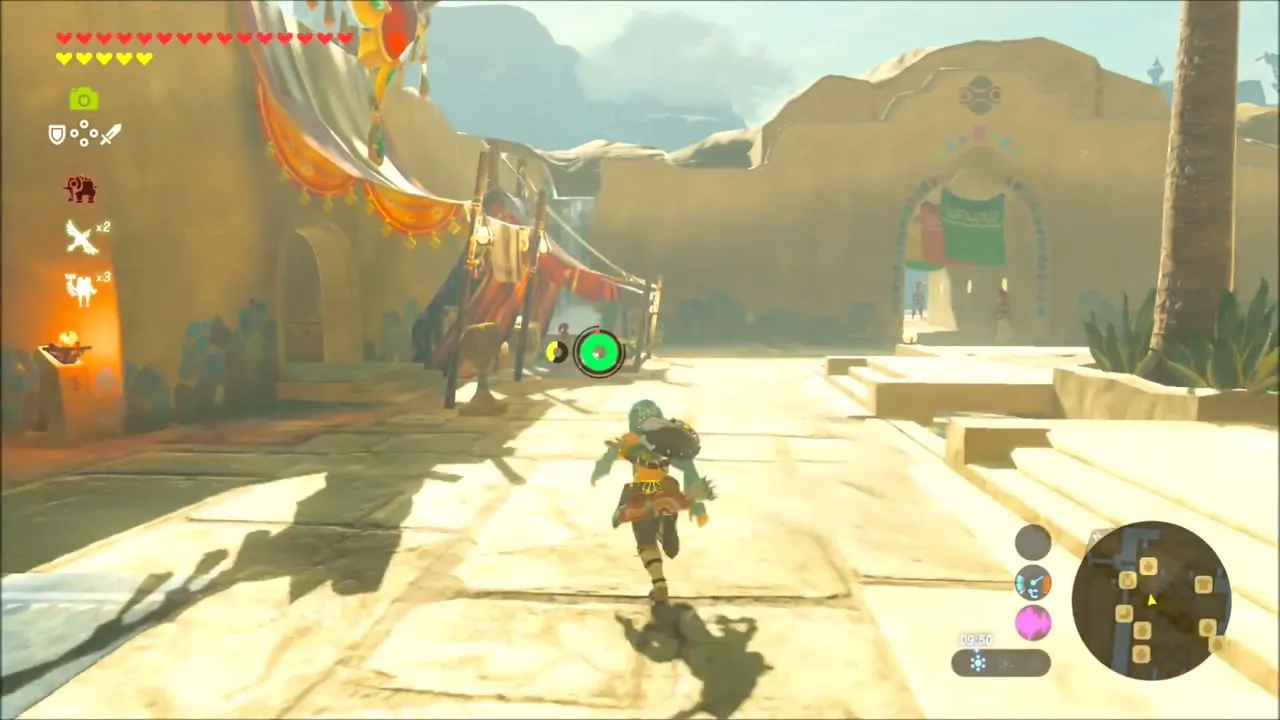


In Hateno Village trade with Pruce, who sells Fresh Milk, and visit the dye shop run by Sayge. Pay to recolor your Gerudo outfit and choose purple; the shop dyes the whole outfit at once.


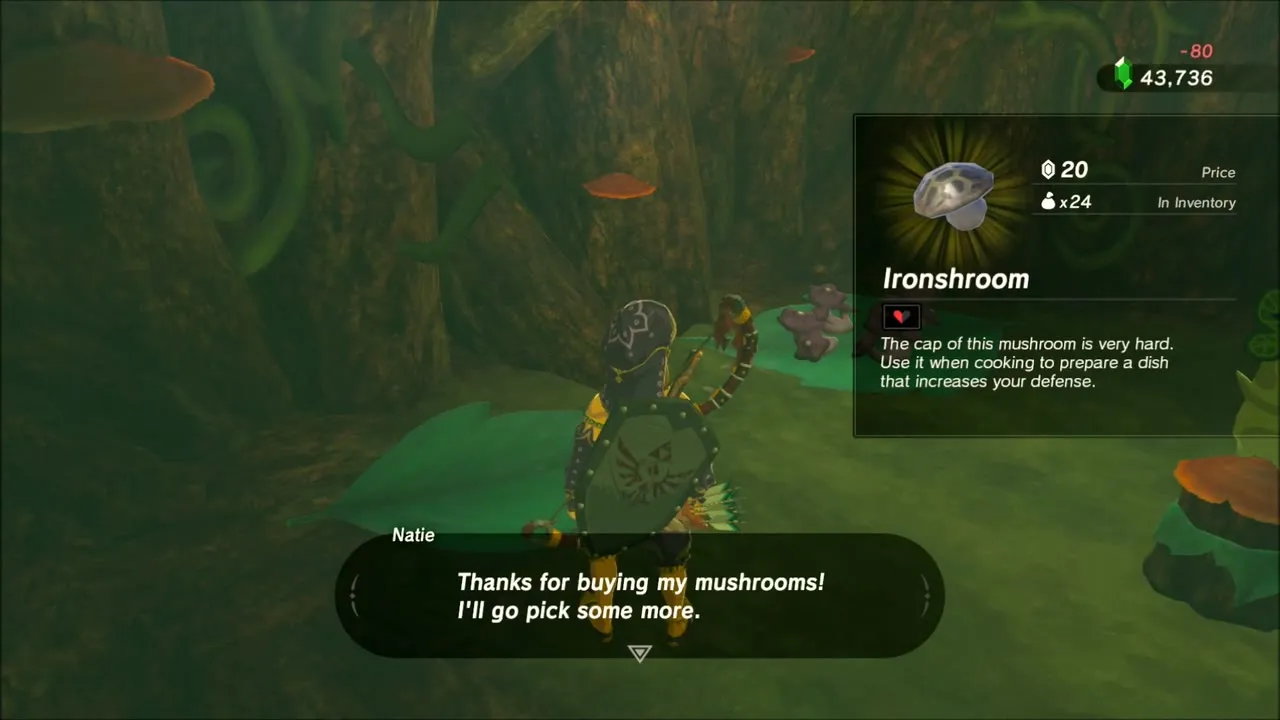
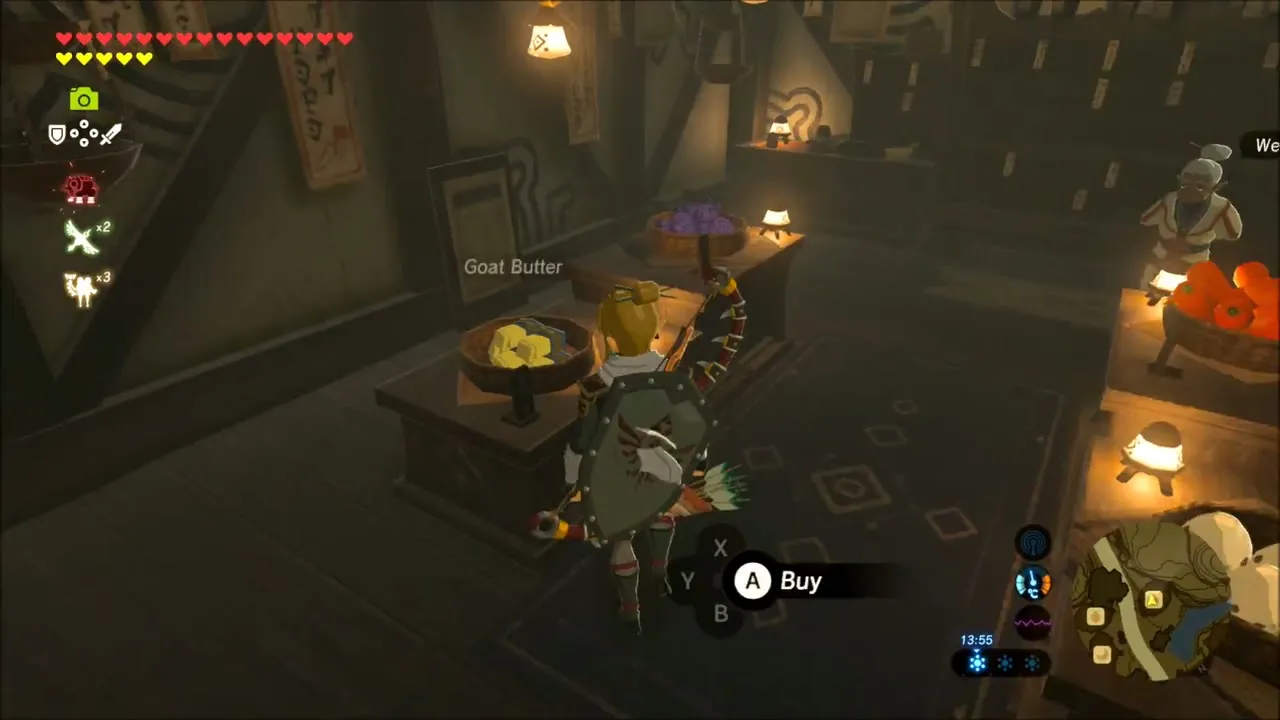
Spend a little time in the forest gathering ingredients such as Ironshroom, then go on to Kakariko Village, where Trissa buys Goat Butter. Blue Nightshade and fairies grow in the grass on the way if you need more cooking supplies.

Great Fairy Kaysa: Armor Upgrades
Glide up to the Great Fairy Kaysa at Piper Ridge in Tabantha (-3540, -747), picking up Luminous Stones and Endura Carrot on the way. Her fountain lets you enhance armor you own: the Snowquill Headdress, Climbing Boots, Sapphire Circlet, Ruby Circlet, Opal Earrings, Amber Earrings and Diamond Circlet are all offered. The Old Shirt cannot be enhanced. Costs and materials are on the Great Fairy Fountains page.


Back to Gerudo Town: The Thunder Helm Side Quest
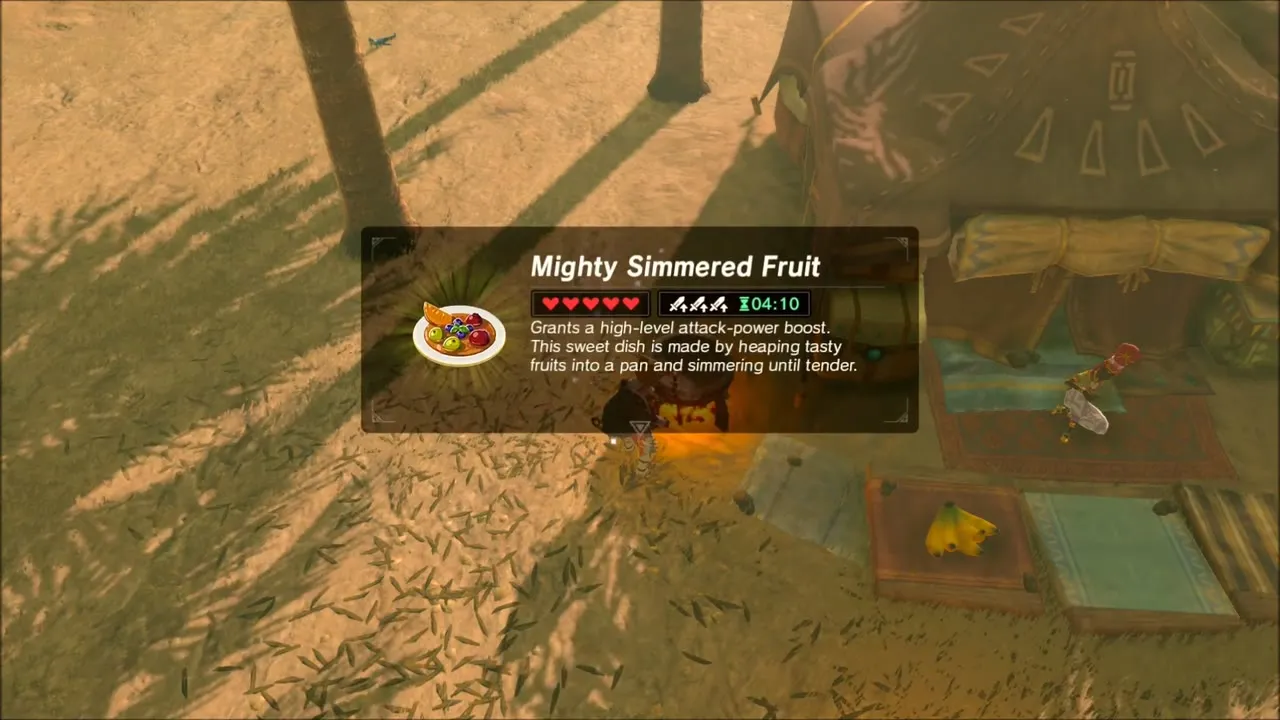
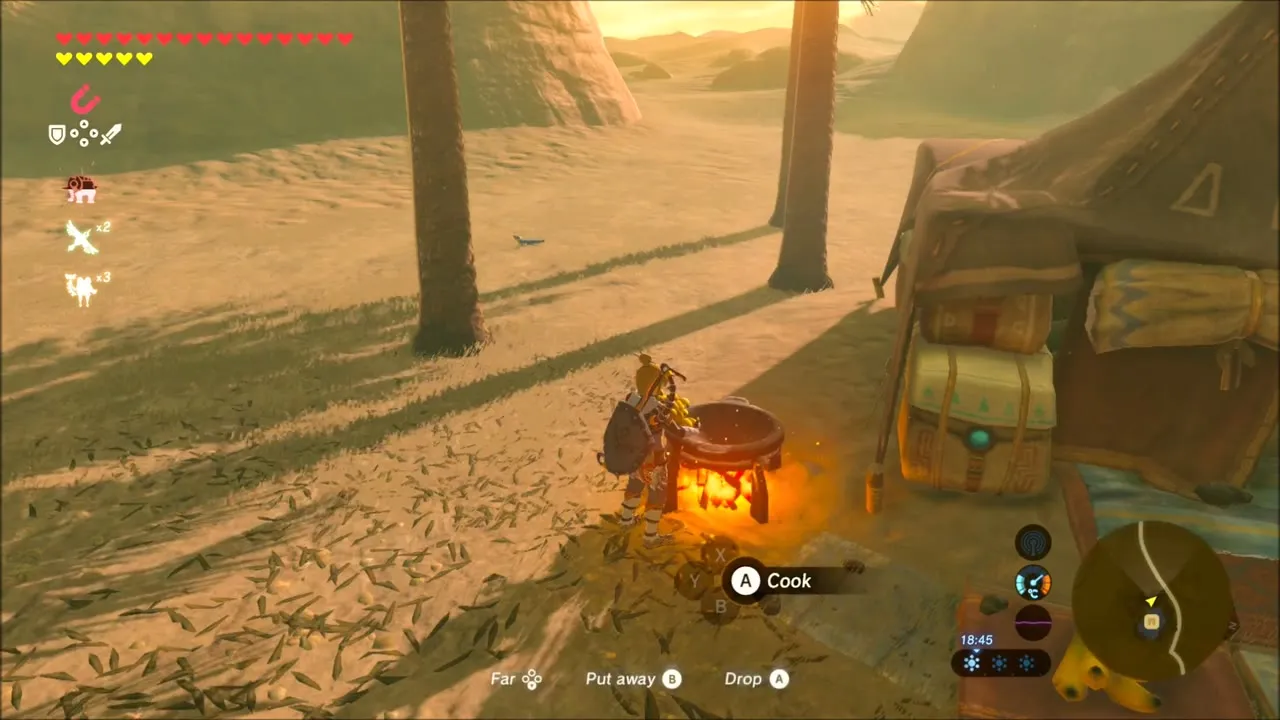
Head back toward the desert by way of the Gerudo Highlands and set up at a campfire beside a tent to cook. A Mighty Simmered Fruit gives a strong attack boost, and you can pair it with Endura Carrot and Hearty Truffle from your pouch for the other dishes.


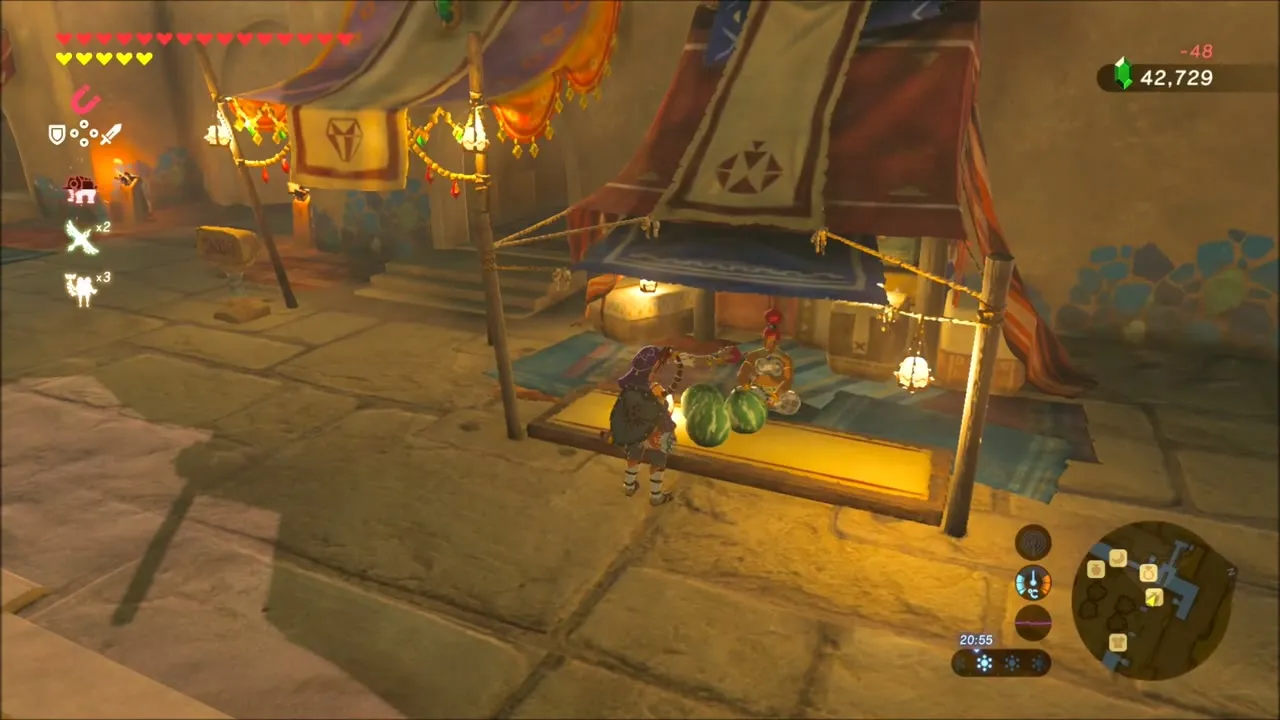
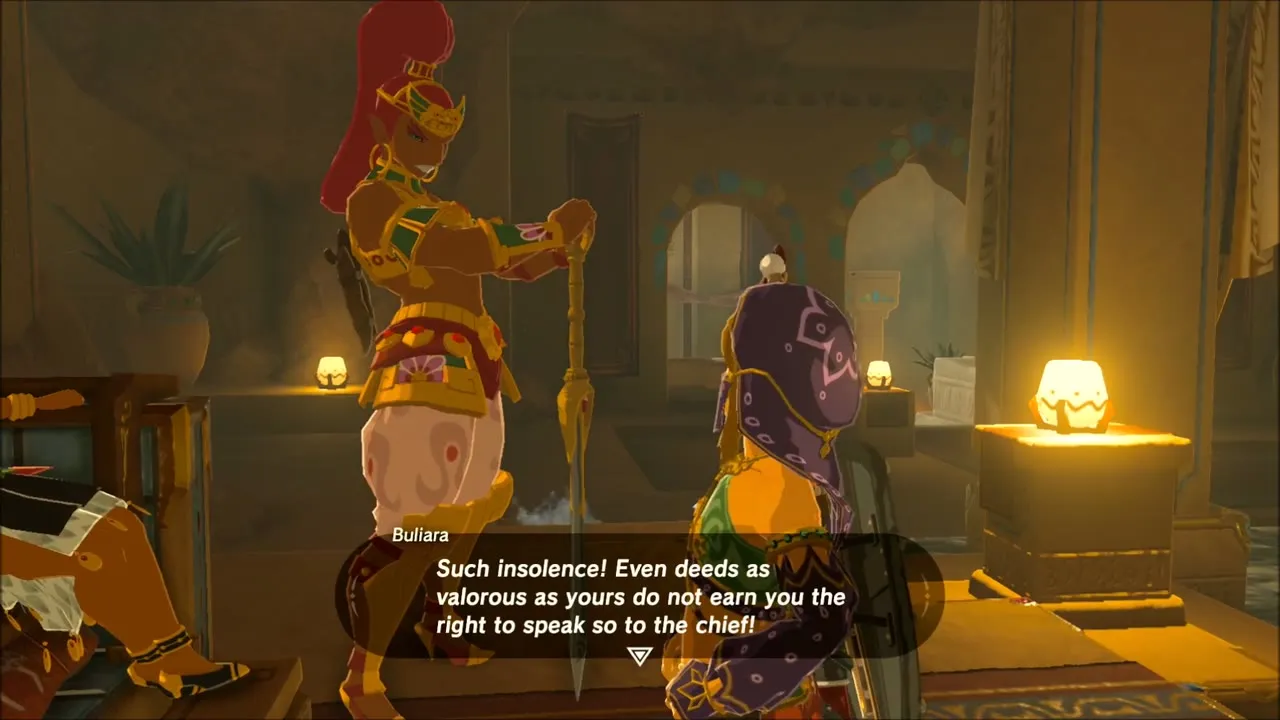
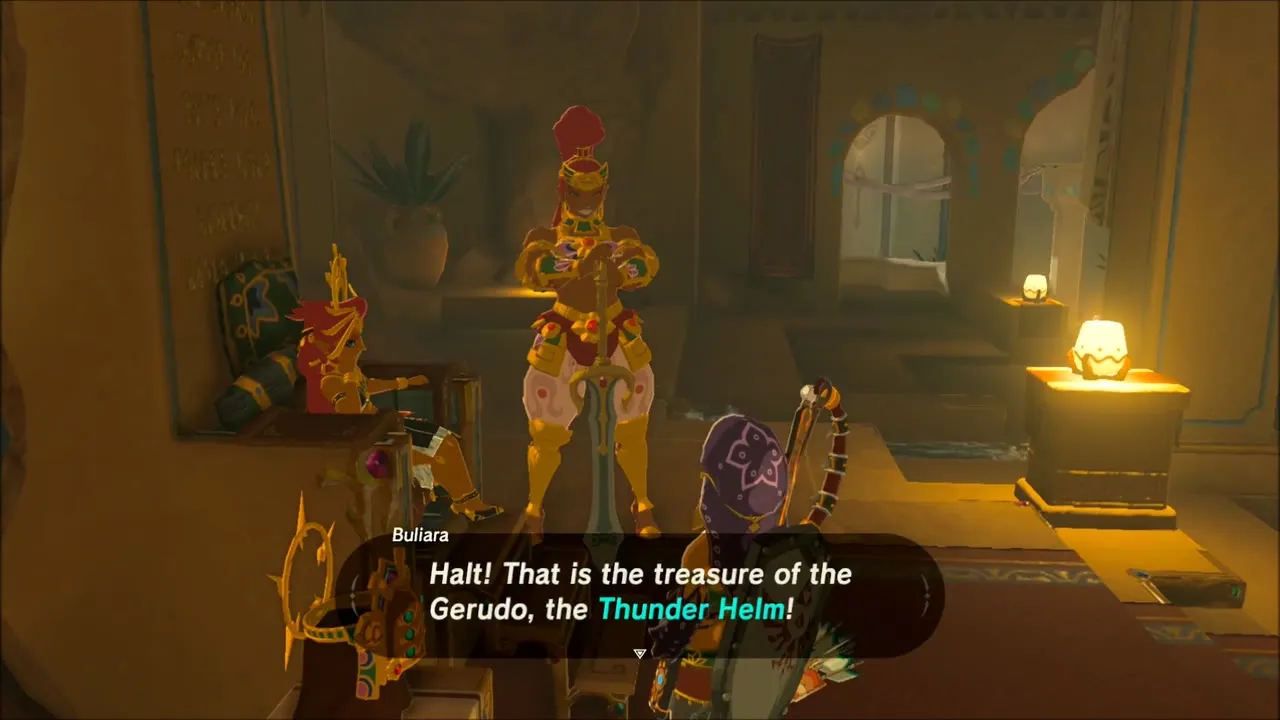
In town, buy Hydromelon to keep cool (three cost 48 rupees) and return to the palace to ask Riju for the helm she is wearing. The guard Buliara cuts in, scolds you for speaking so to the chief and points at the Thunder Helm as the treasure of the Gerudo. Riju tells you to help her people first; this starts the side quest The Thunder Helm, which you finish by completing the town’s tasks.

Gerudo Desert Ruin Chests: Ice Arrows and Gerudo Spear
Rent a sand seal from Frelly again and ride out into the desert. In the sand-covered ruins outside town, Stasis and Magnesis uncover several chests: one holds five Shock Arrows, and the others hold more arrows, rupees and a Gerudo weapon.

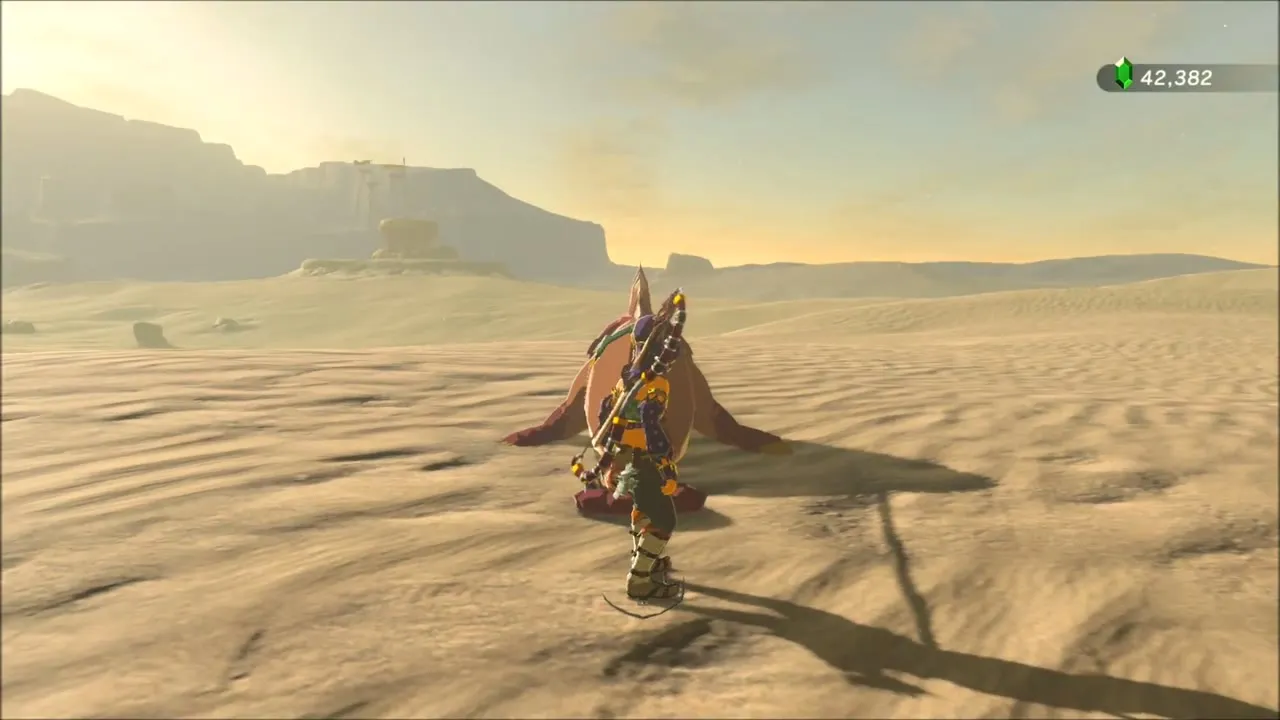


Korok Seeds in the Western Gerudo Desert
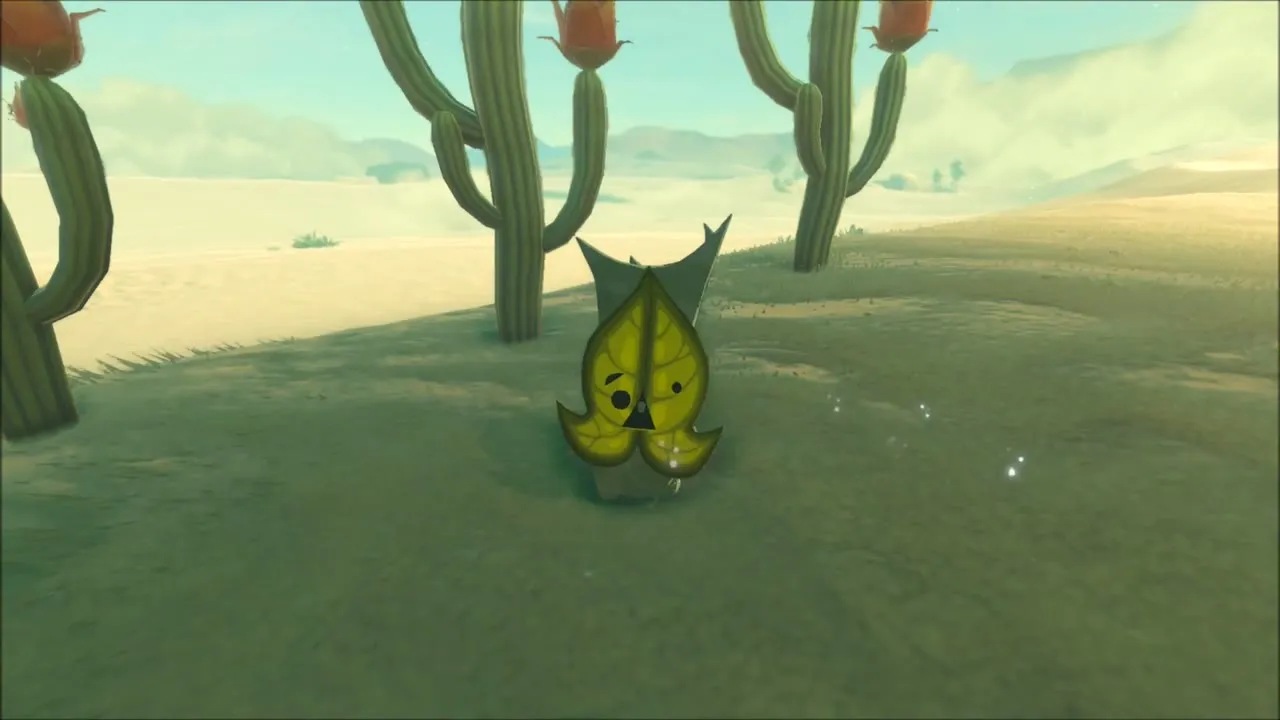
Near the ruins, one Korok hides at the foot of a group of tall cacti. Walk up and talk to it for a seed.
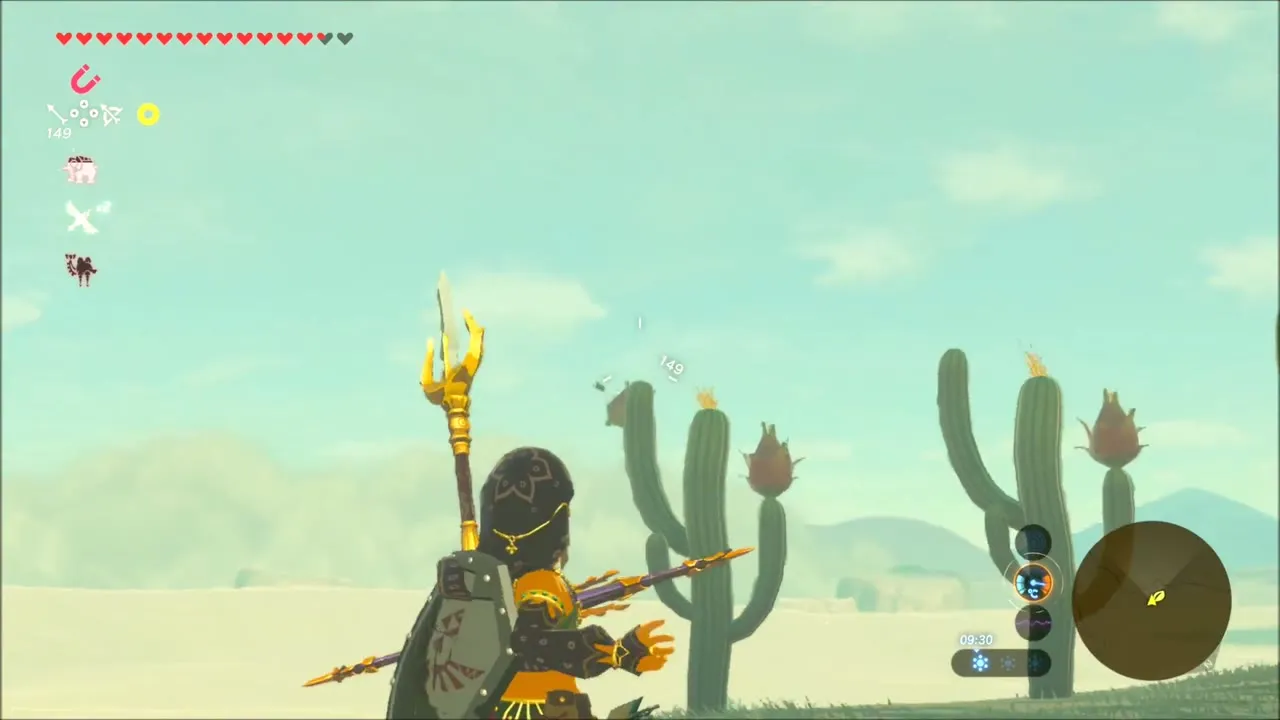
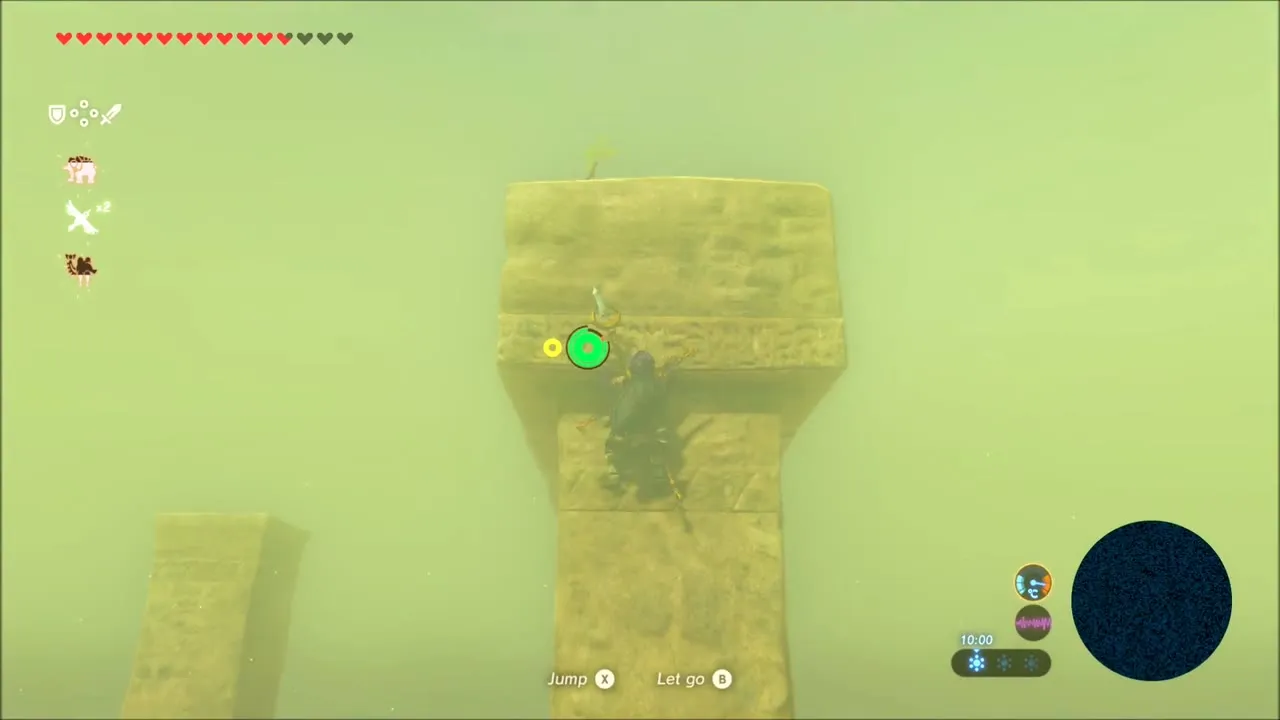
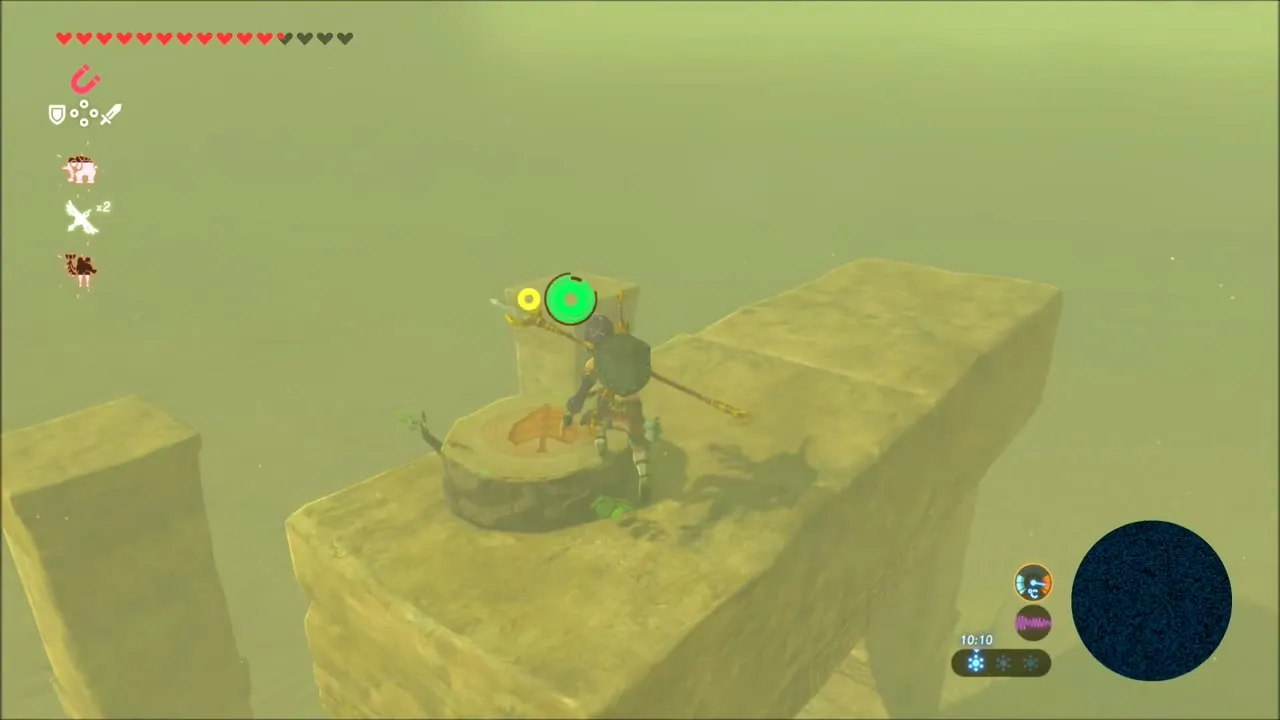
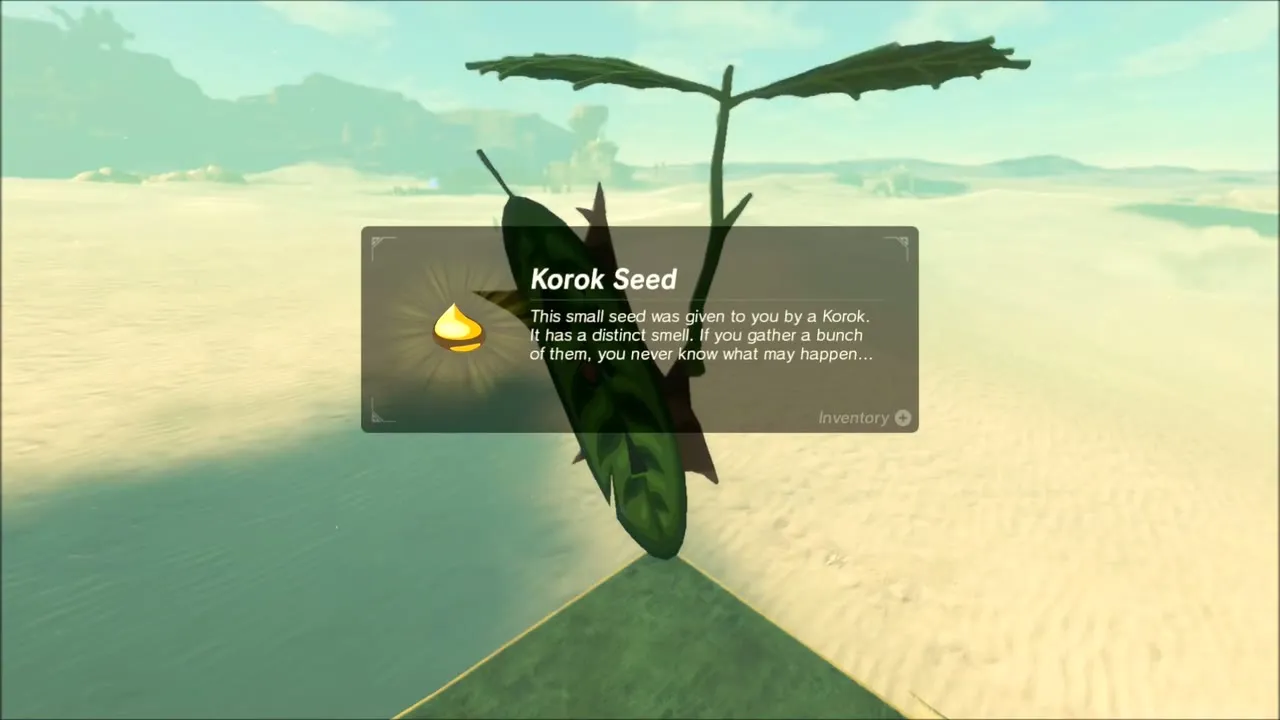
Close by, climb one of the ruined sandstone pillars (the sandstorm makes it hard to see) and talk to the Korok waiting at the top.
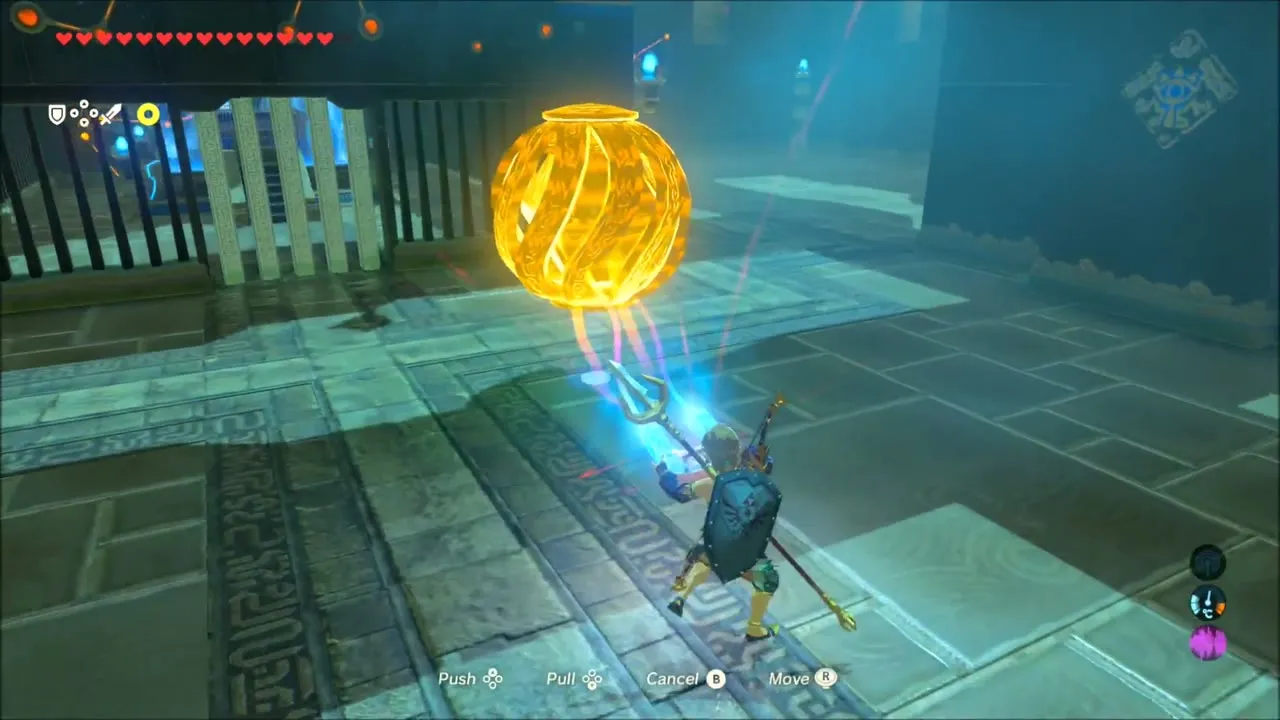
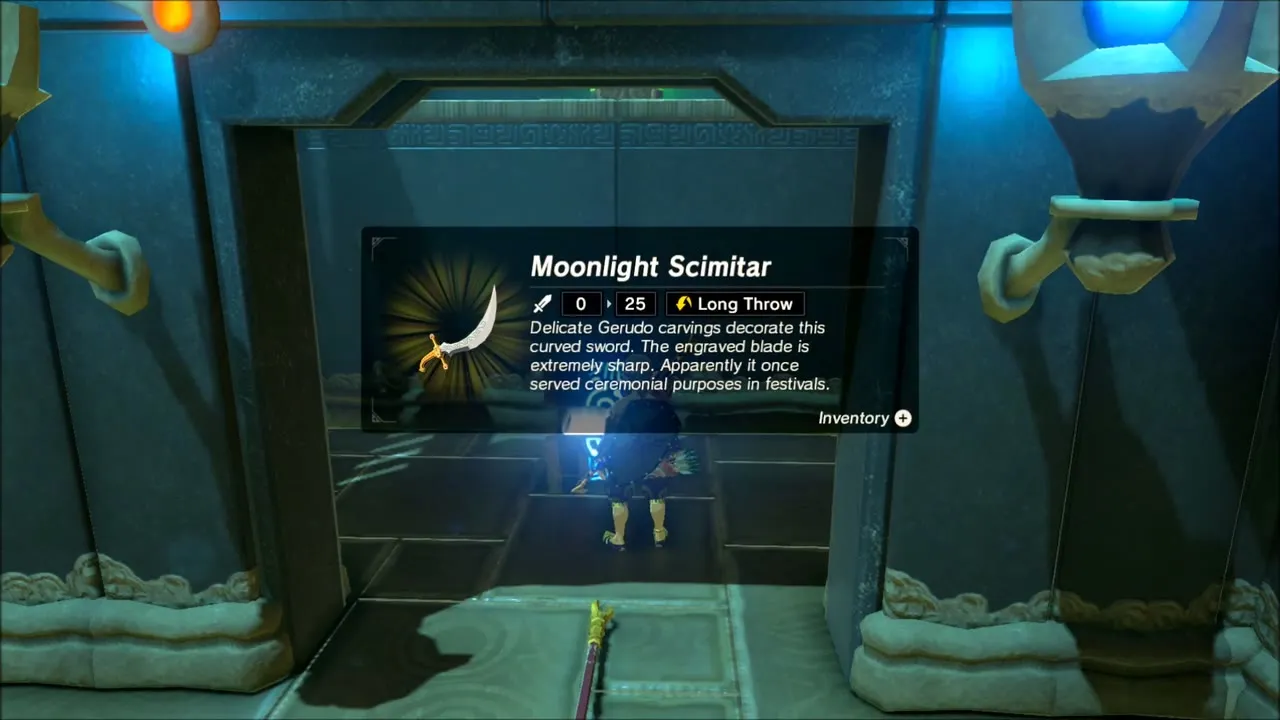
Kema Zoos Shrine: How to Find It and Solve the Electric Orb Puzzle
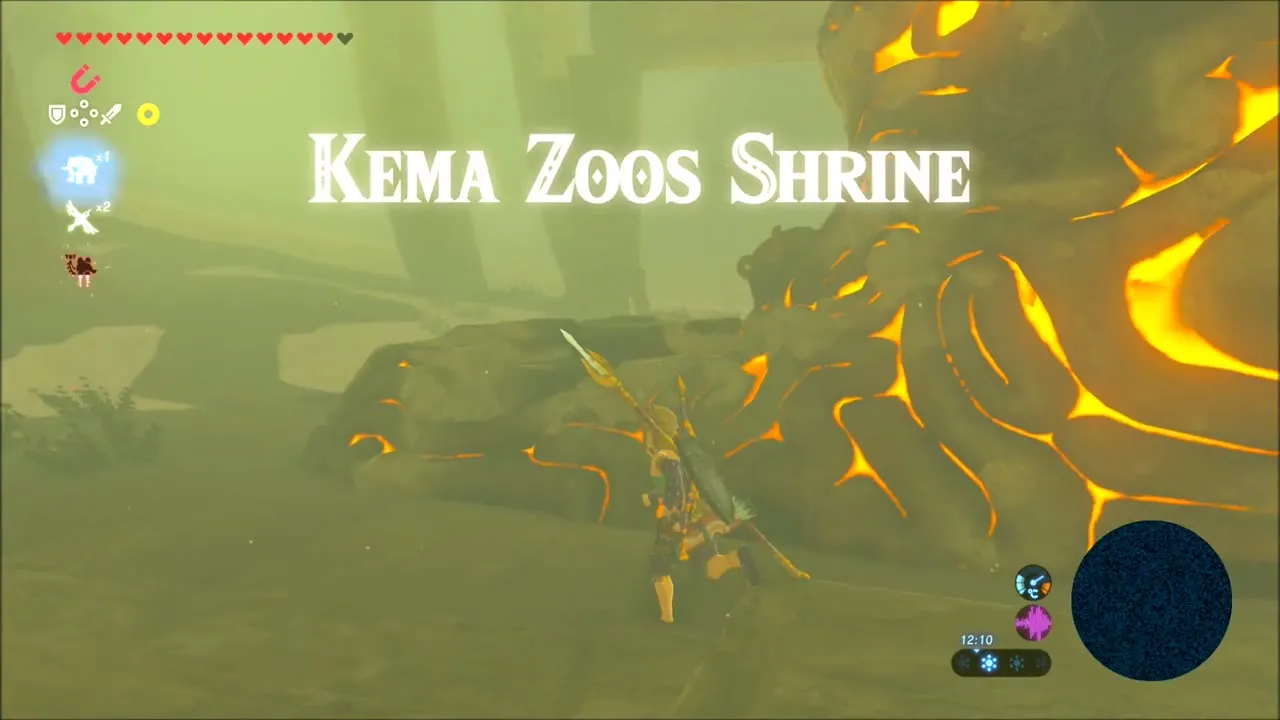
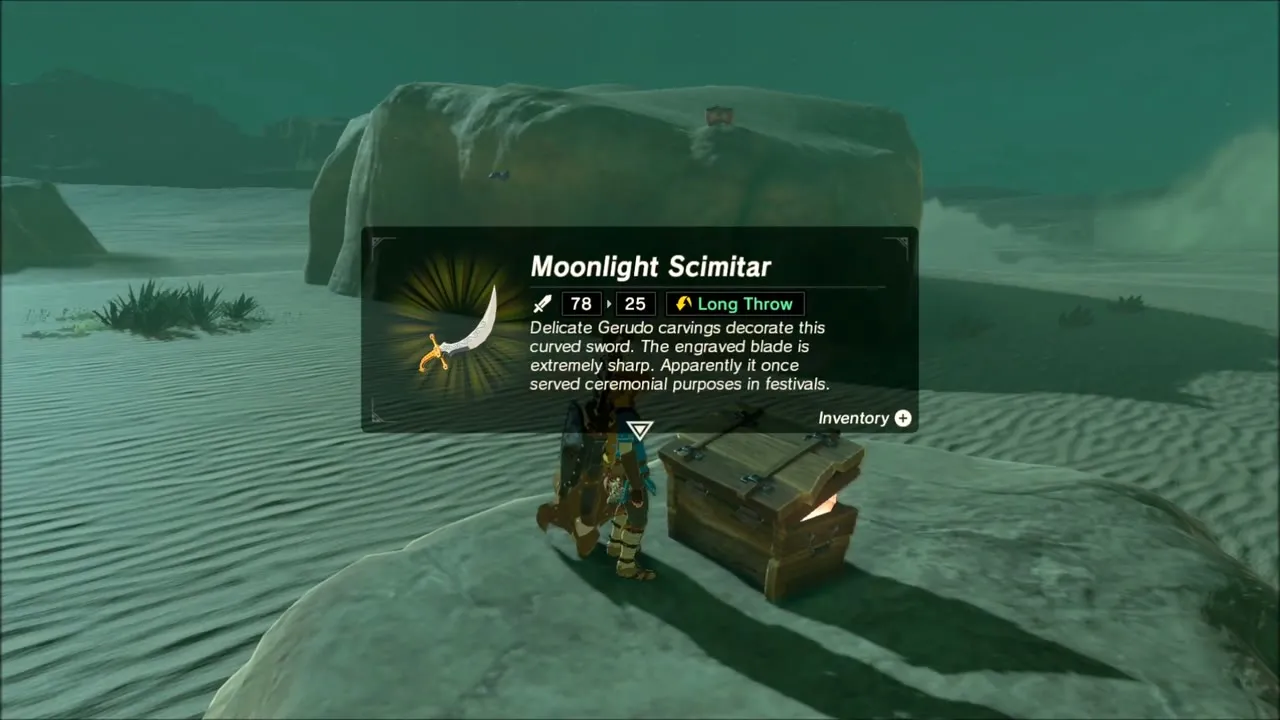
The Kema Zoos Shrine (A Delayed Puzzle) is at (-4674, 1969) northwest of Gerudo Town, inside a sandstorm; follow the trail of swordswoman statues on a sand seal to reach it. Inside, freeze the electric orb with Stasis while it sits in its launcher, let it fall and carry it with Magnesis to the left switch to open the caged chest with the Moonlight Scimitar. Then carry it to the right switch to open the monk’s gate and collect the Spirit Orb from Kema Zoos.


Korok Seeds and Chests Between Kema Zoos and Tho Kayu
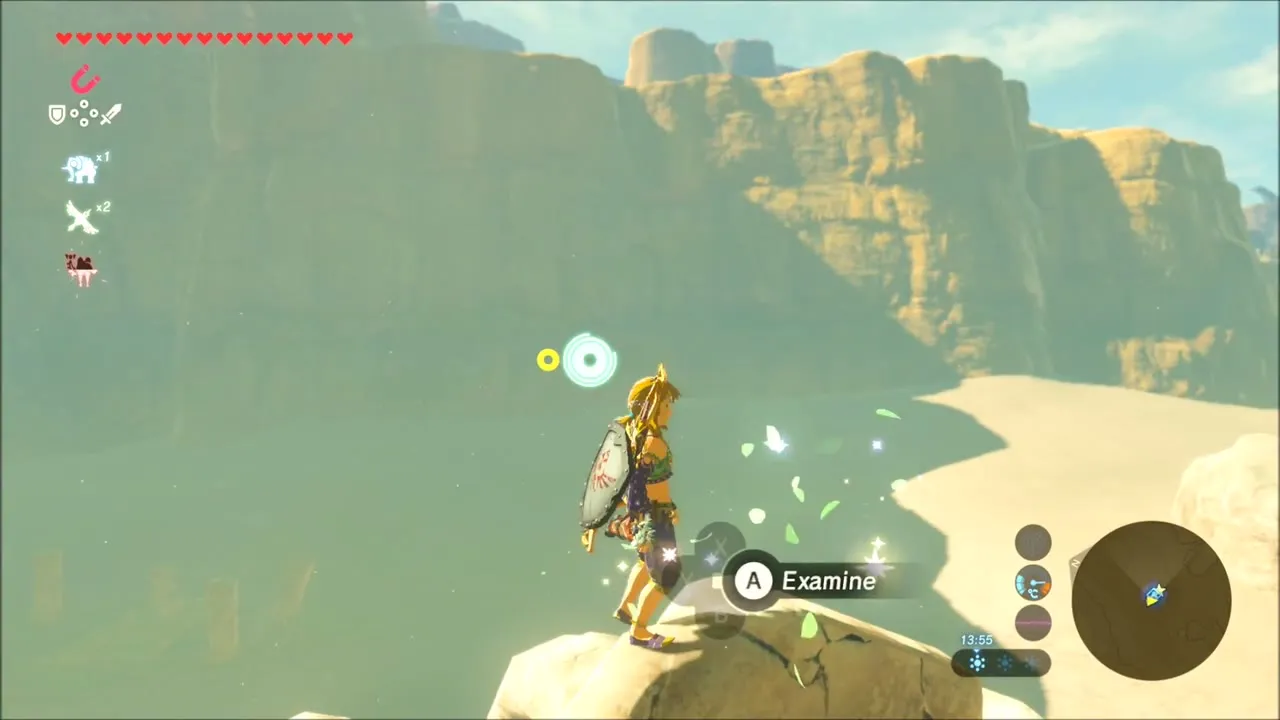
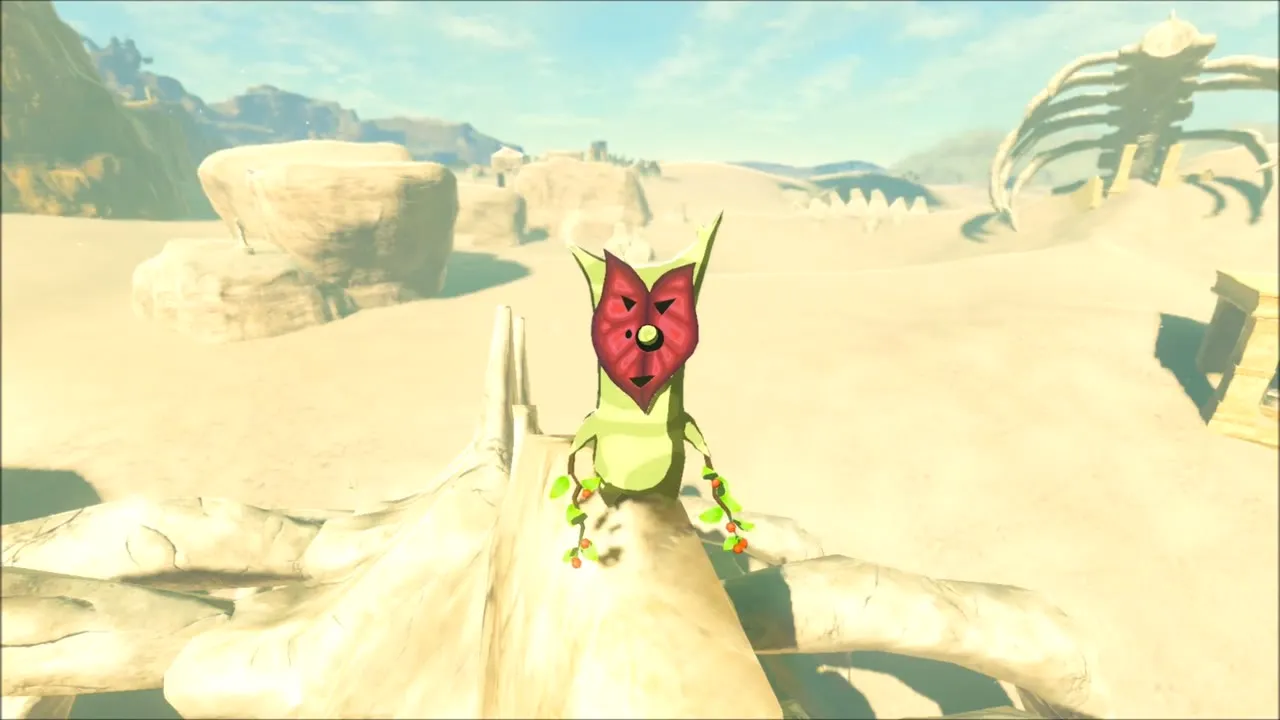
Just outside the shrine, climb the giant ribs of the skeleton. A Korok sits at the top of one of the bones and calls out when you find it.


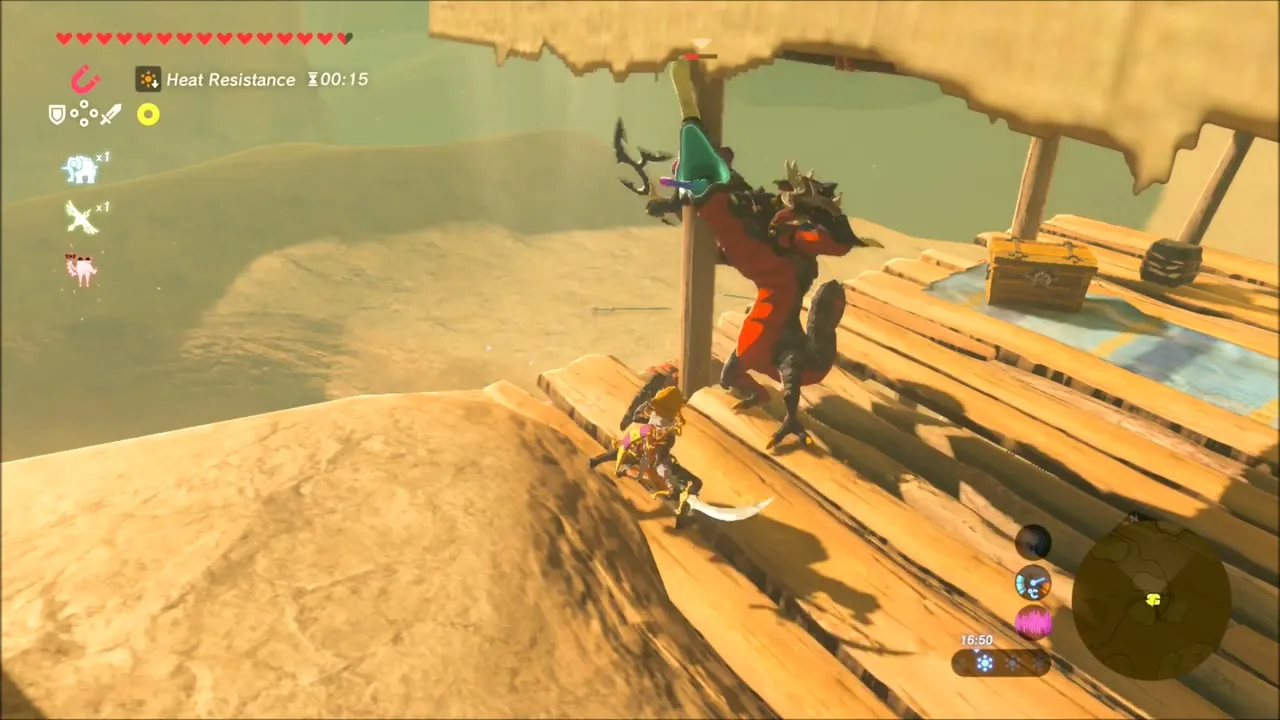
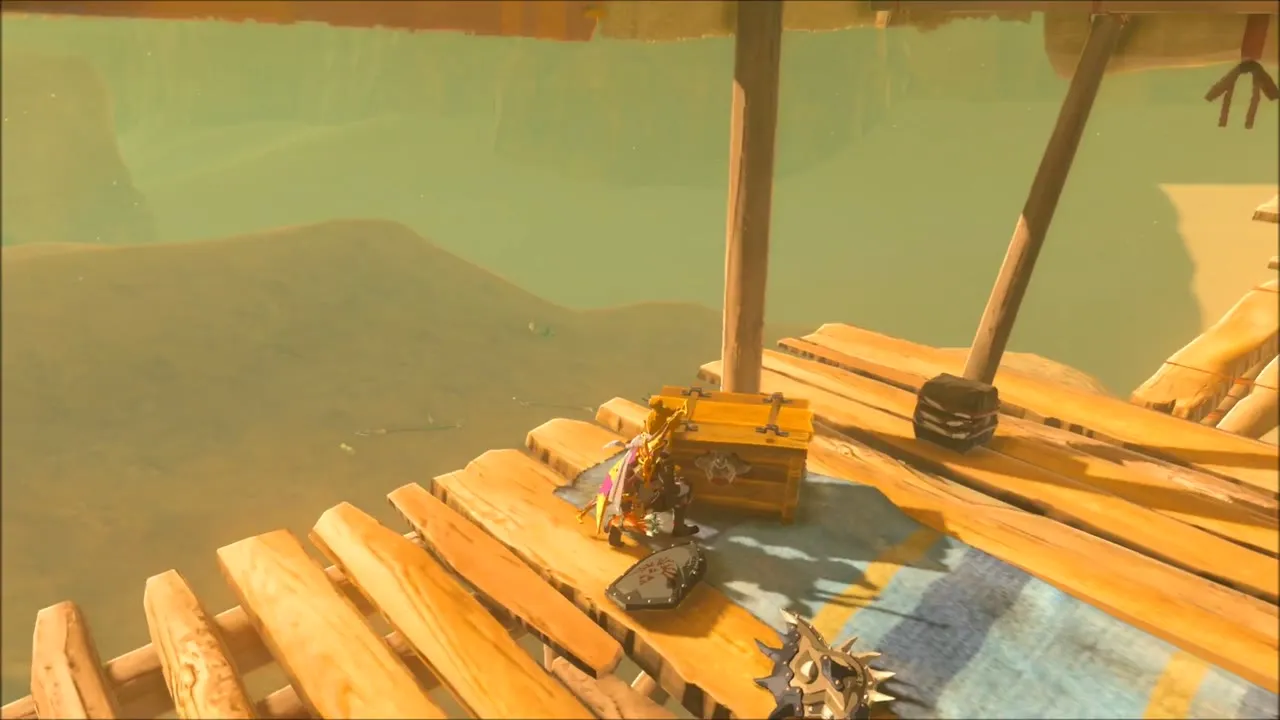
At a Lizalfos camp, defeat the Lizalfos and open the chest on the wooden platform for a Radiant Shield. They drop Lizalfos tails, talons and horns.

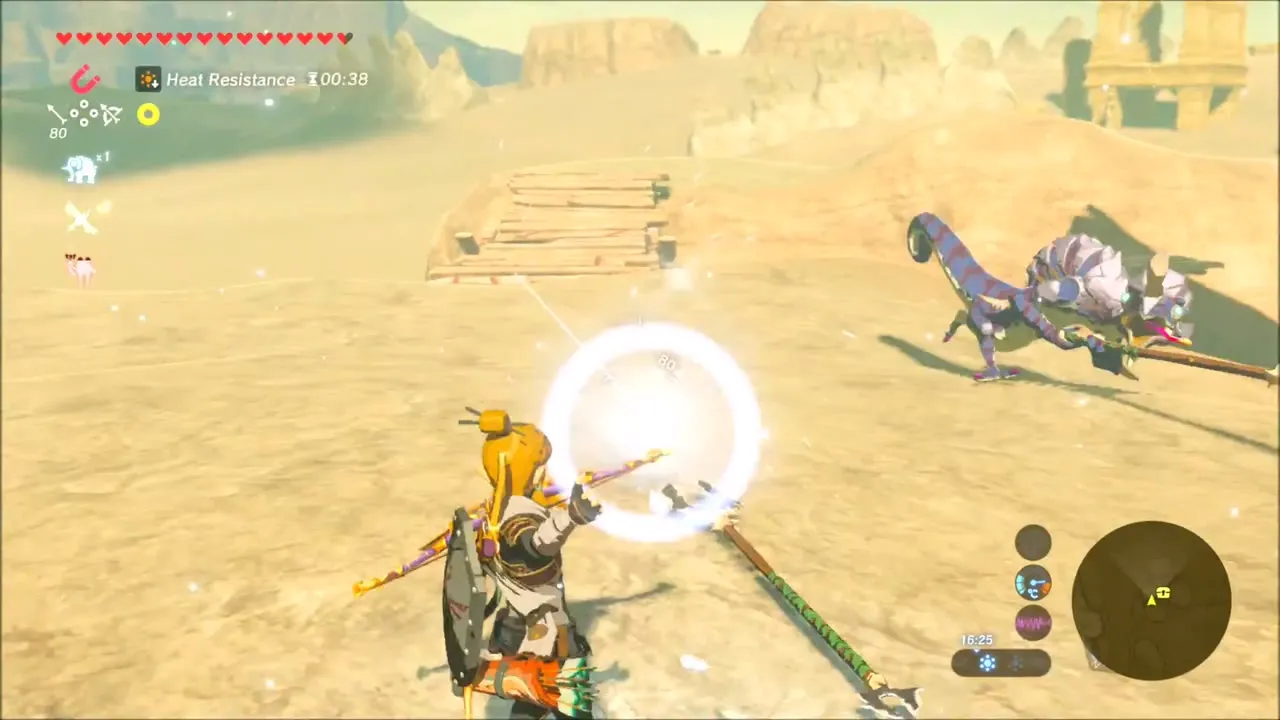
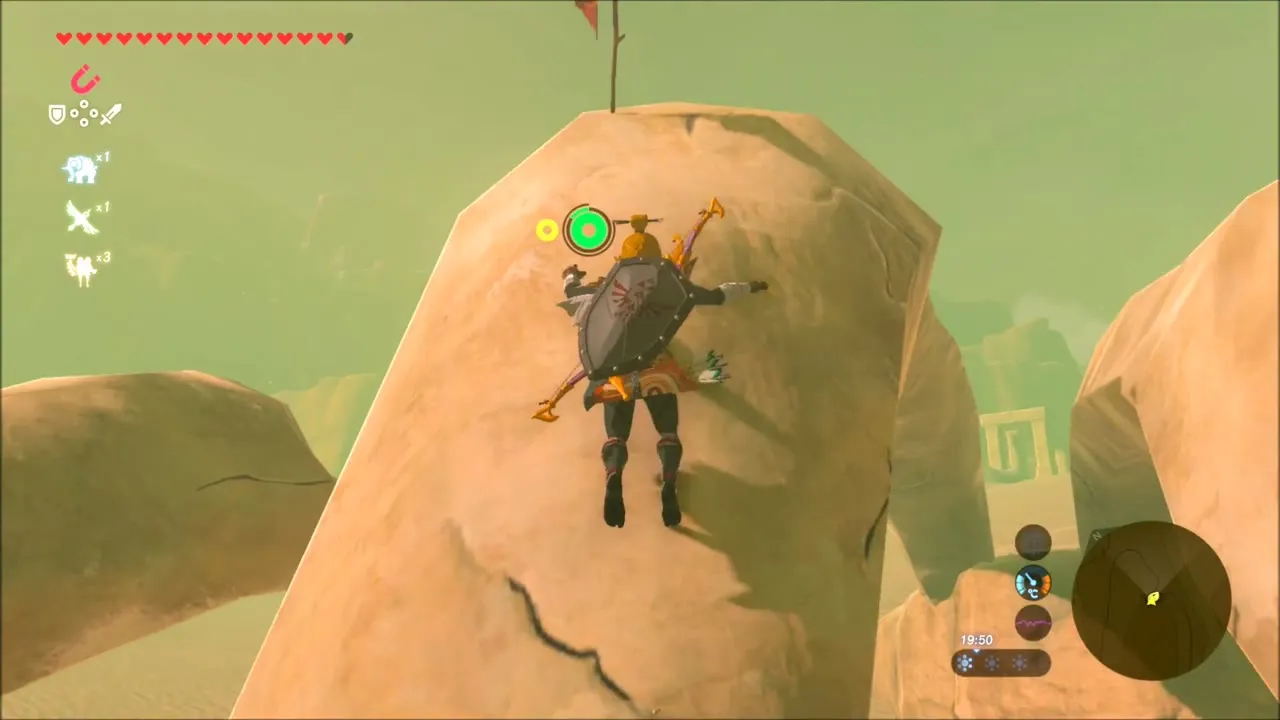
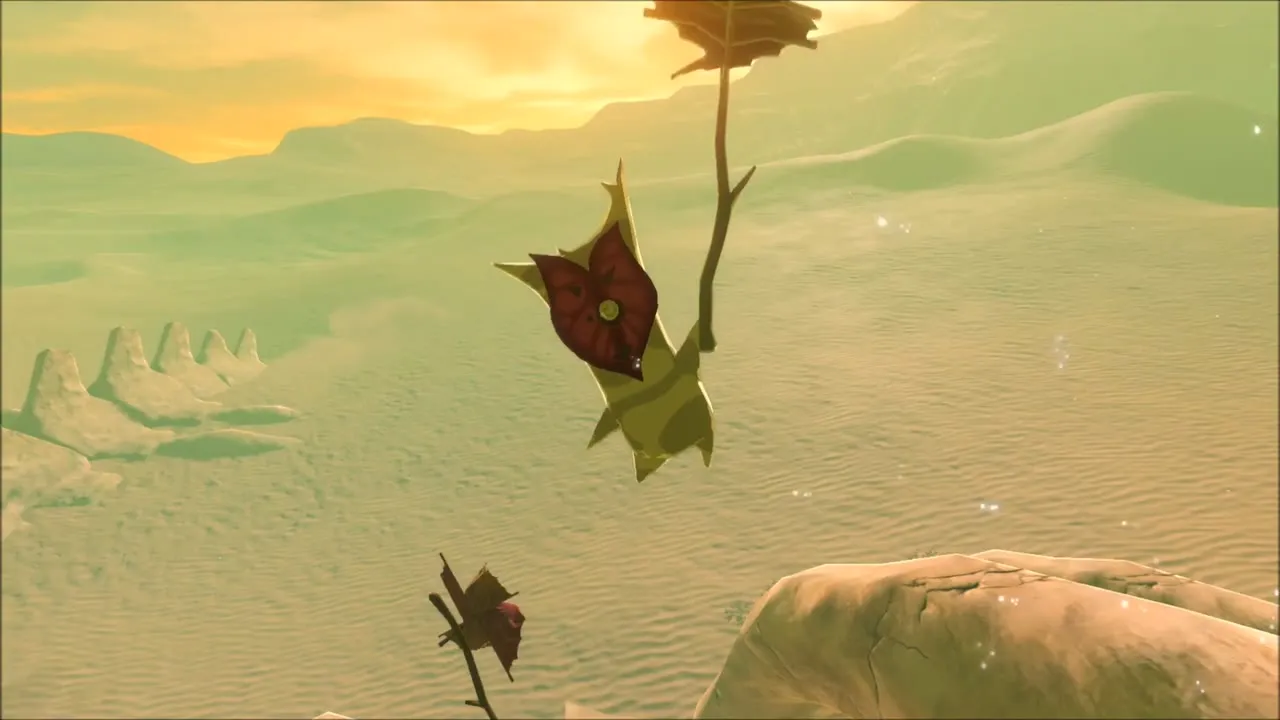
Further along, climb a tall thin rock spire; a Korok waits at the very top.


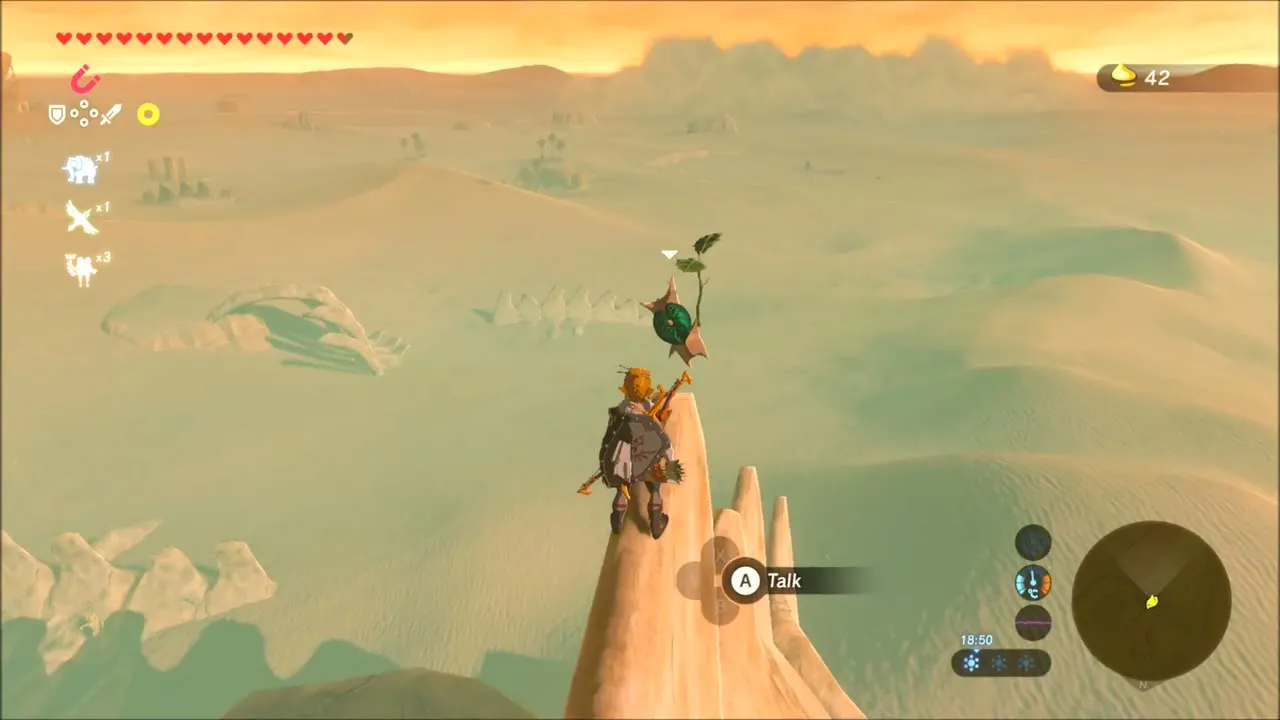
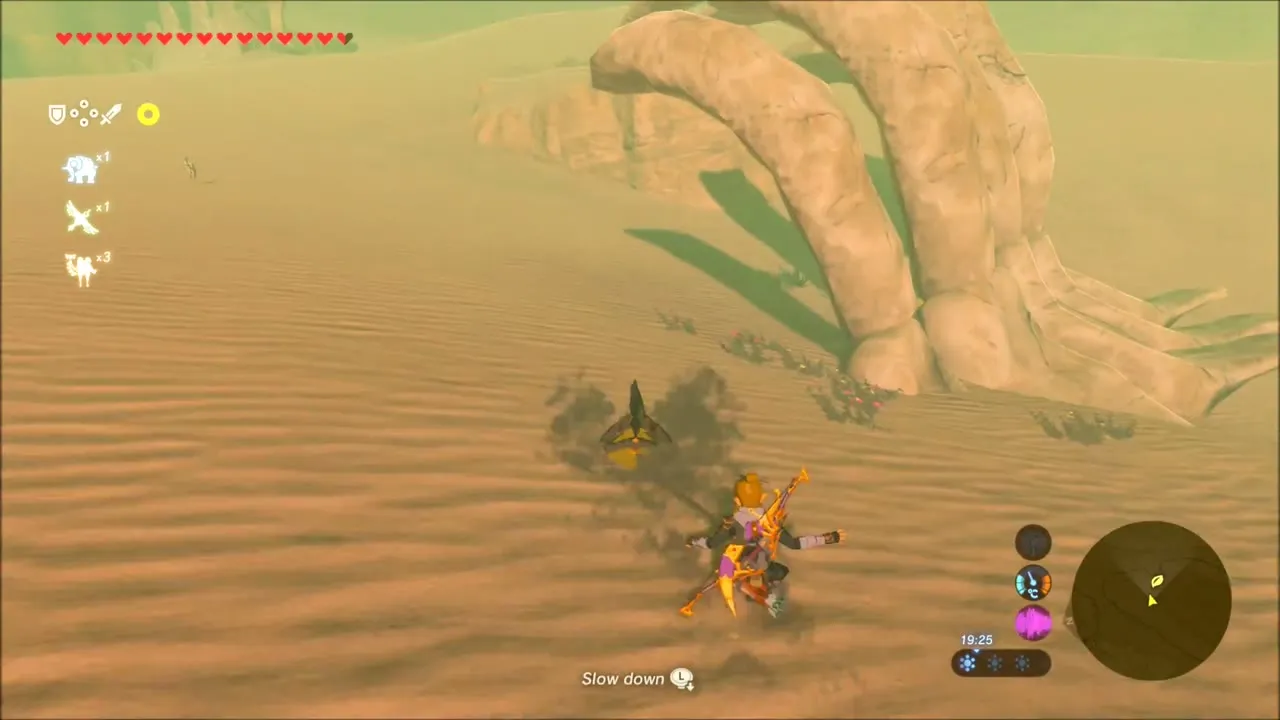
In a field of giant bone arches, climb the standing boulder that sparkles at its top and talk to the Korok there.

In another ruin, defeat the Lizalfos and open the chest for a Gold Rupee, worth 300 rupees.


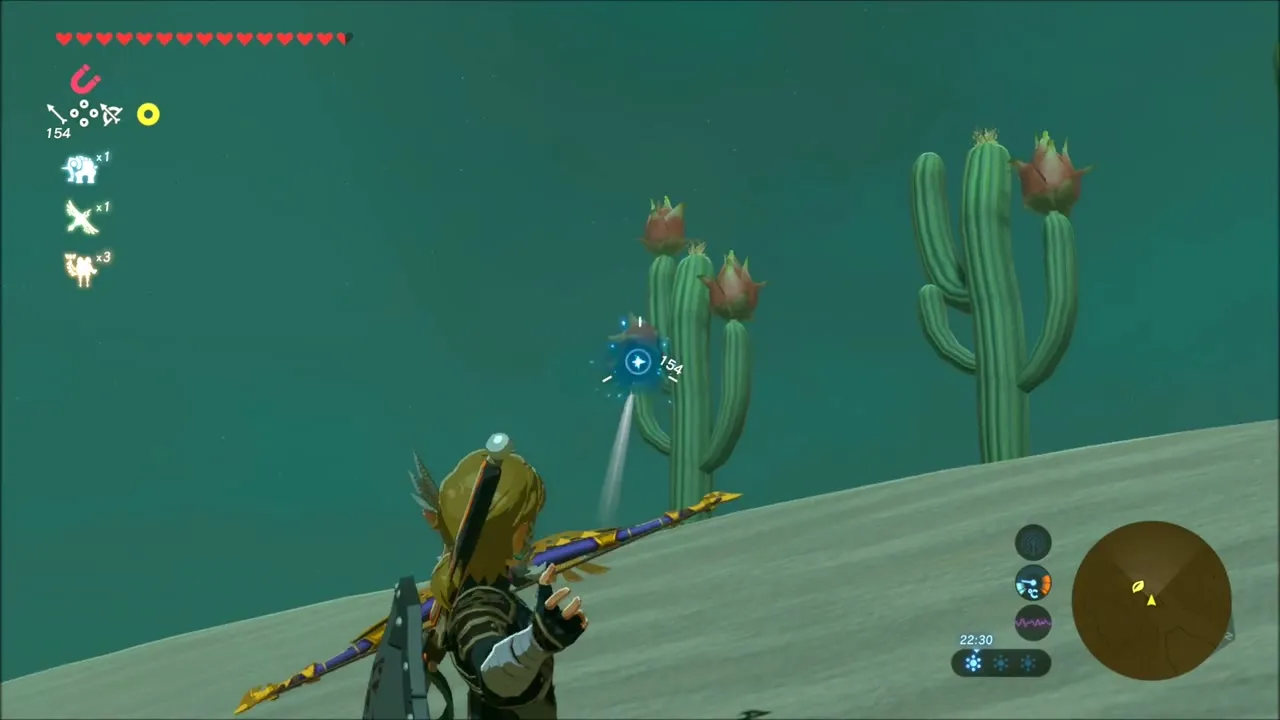
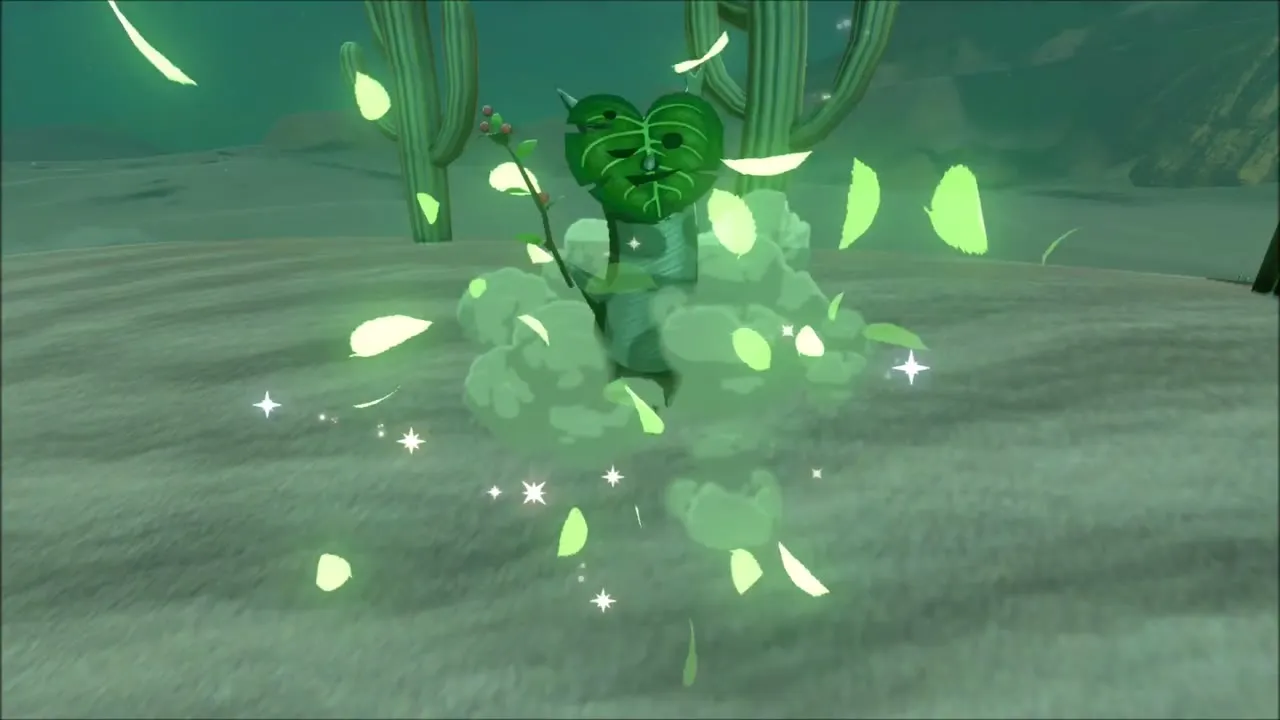
Another Korok hides among cacti: aim an arrow at the cactus that glints and the Korok pops out of the sand.
Tho Kayu Shrine and the Molduga: Fire Arrows and Golden Bow
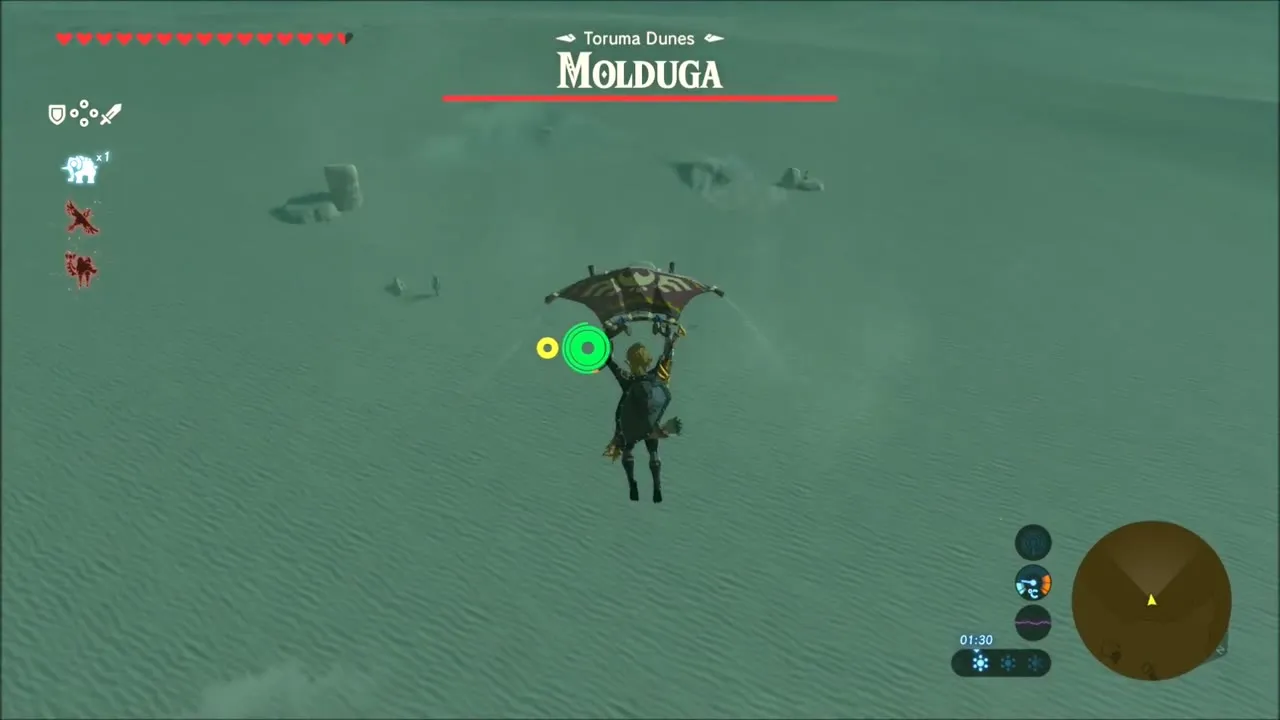
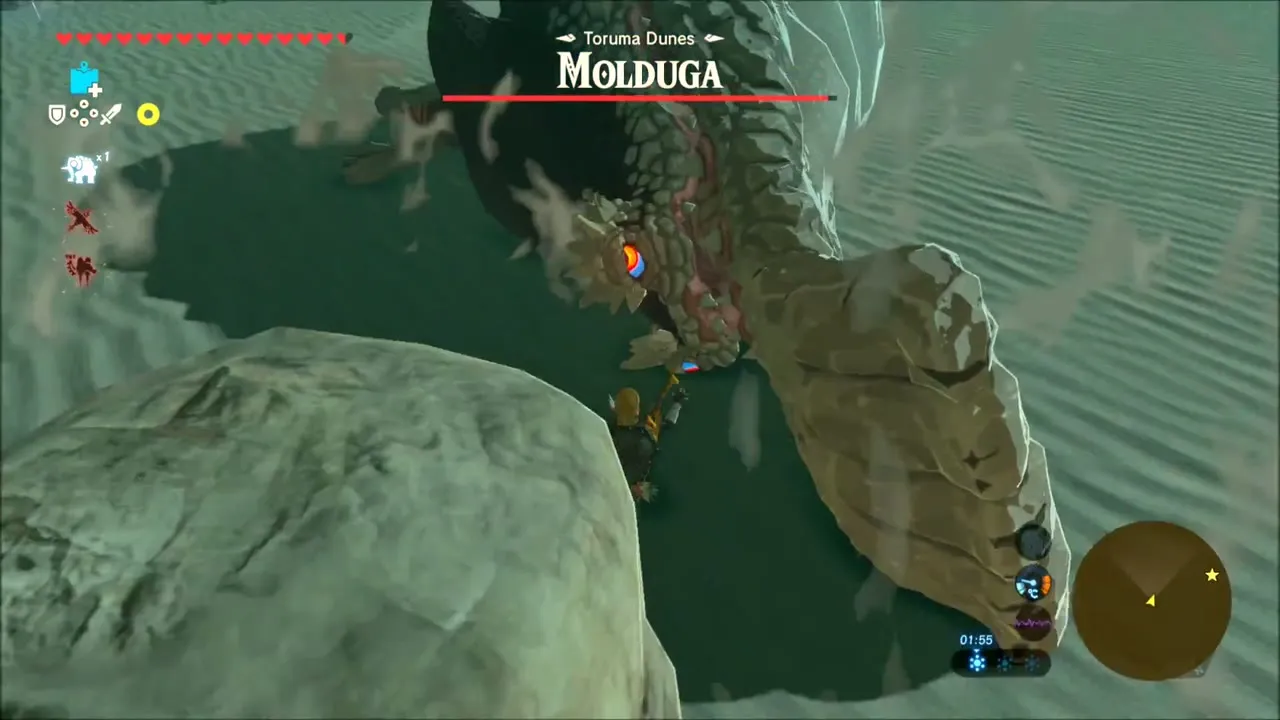
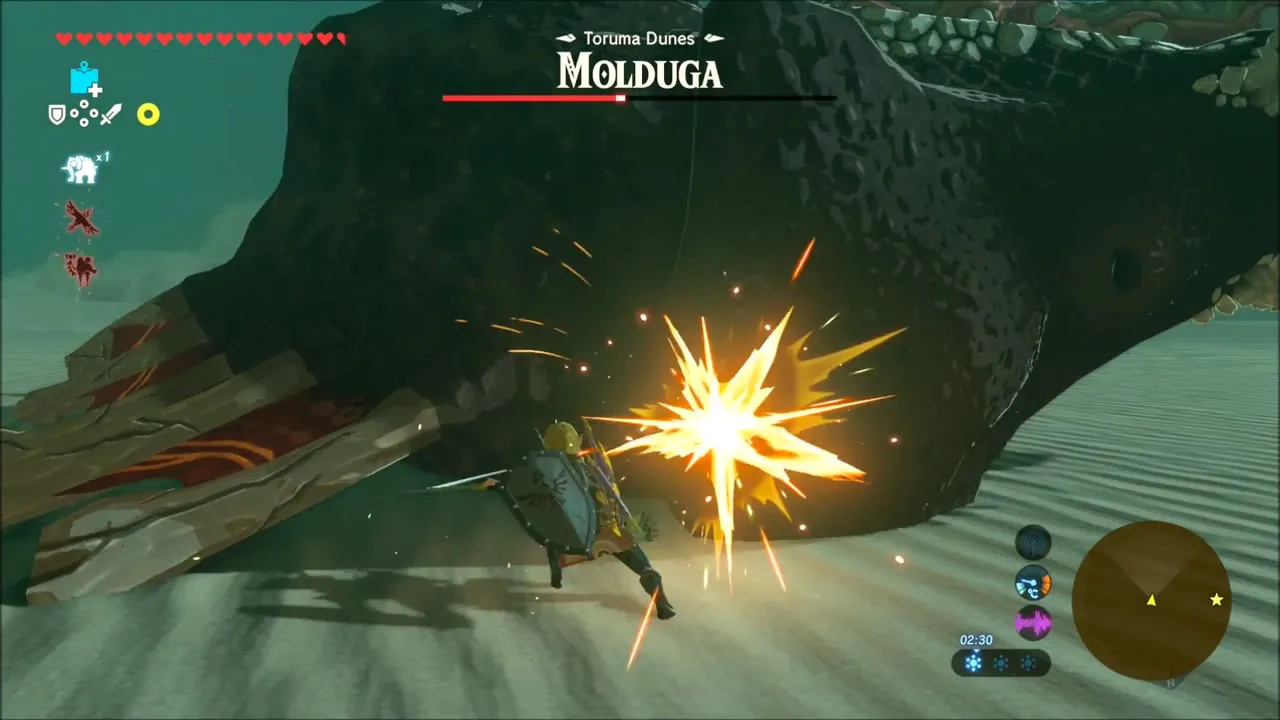
At a camp in the dunes, open a chest to get Fire Arrows, which you need for the next shrine. Then go to the Toruma Dunes, where a Molduga swims under the sand. Stand on a rock so it cannot sense you, roll or throw a bomb to lure it, and detonate the bomb as it leaps, then attack it while it is stunned. Defeating it completes the first task of Medicinal Molduga; keep the Molduga Guts for Malena.
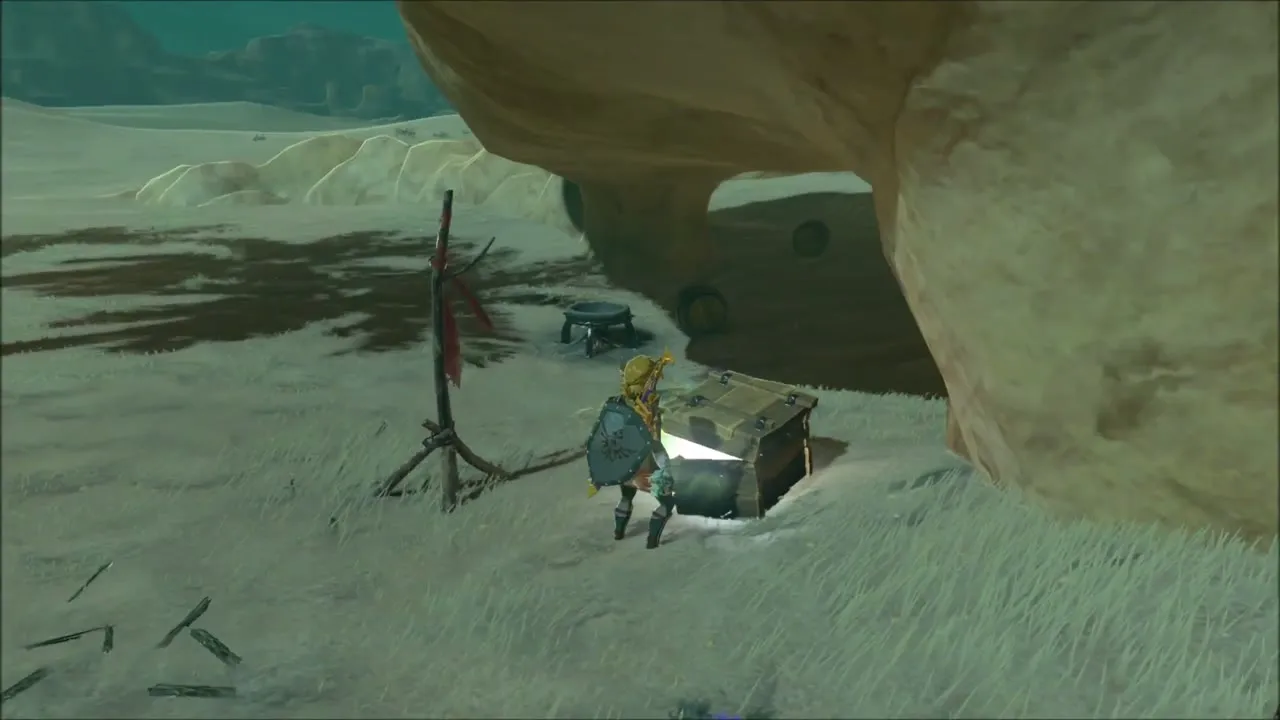

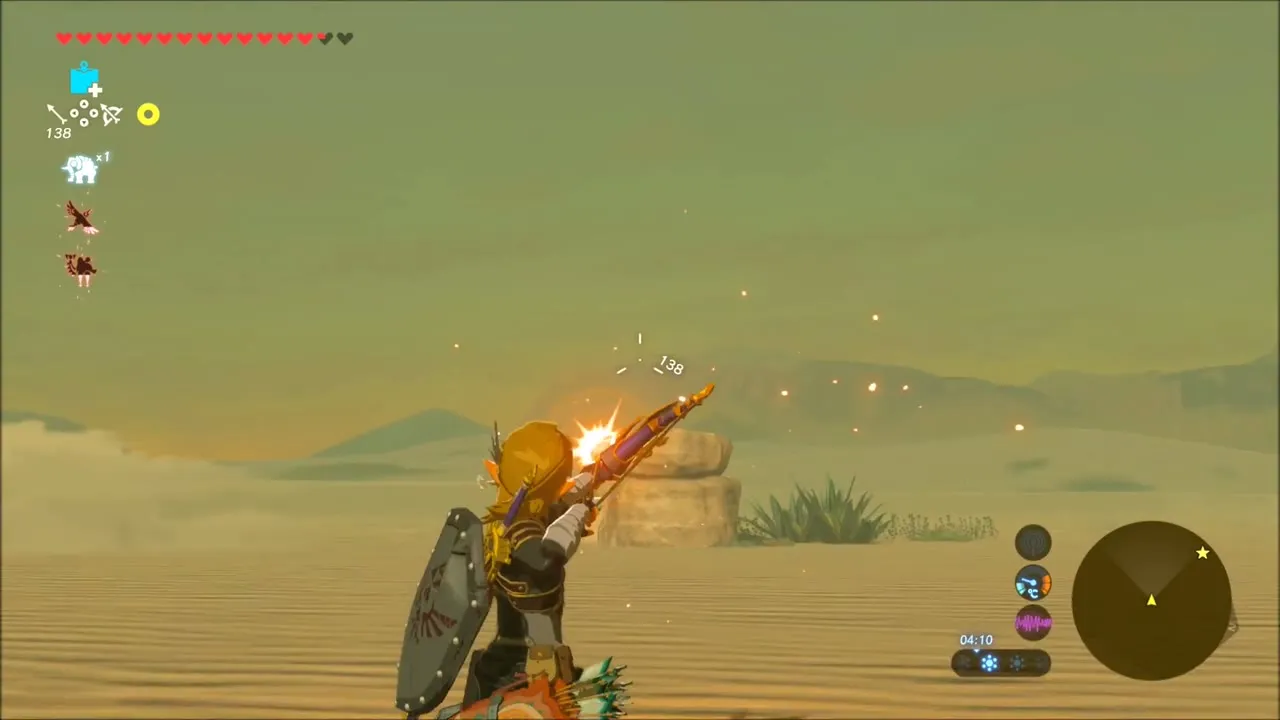
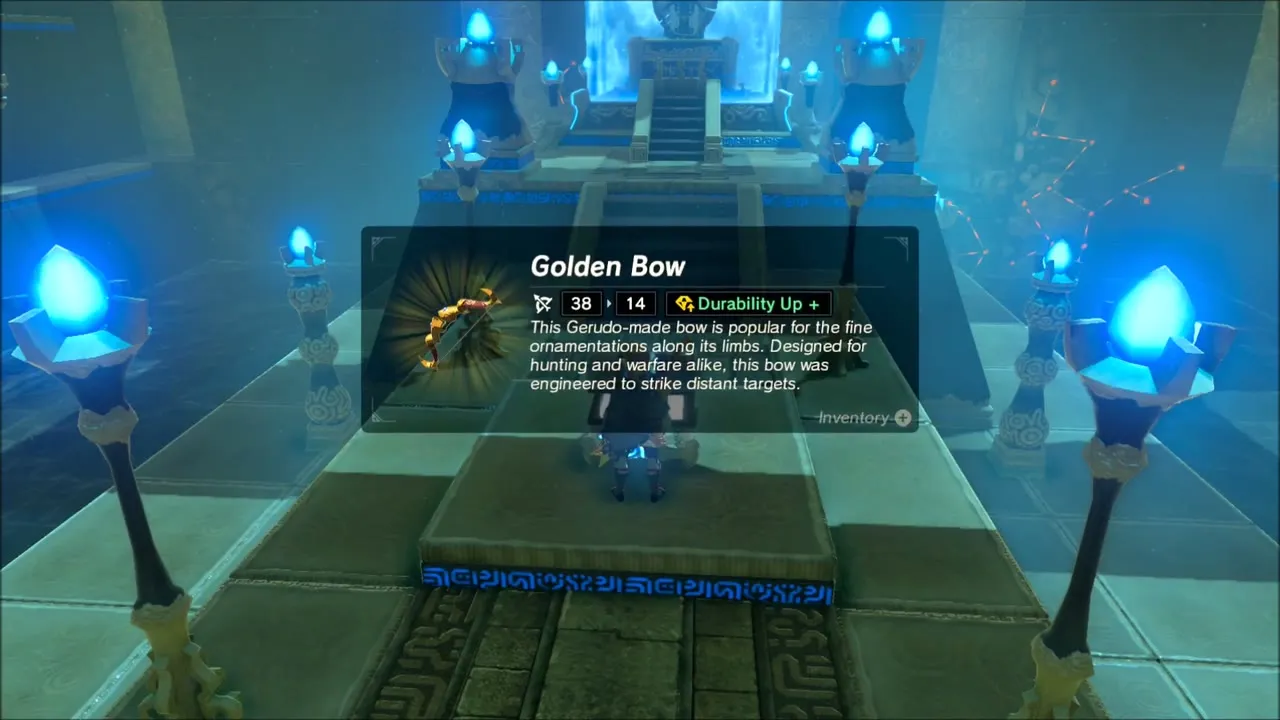
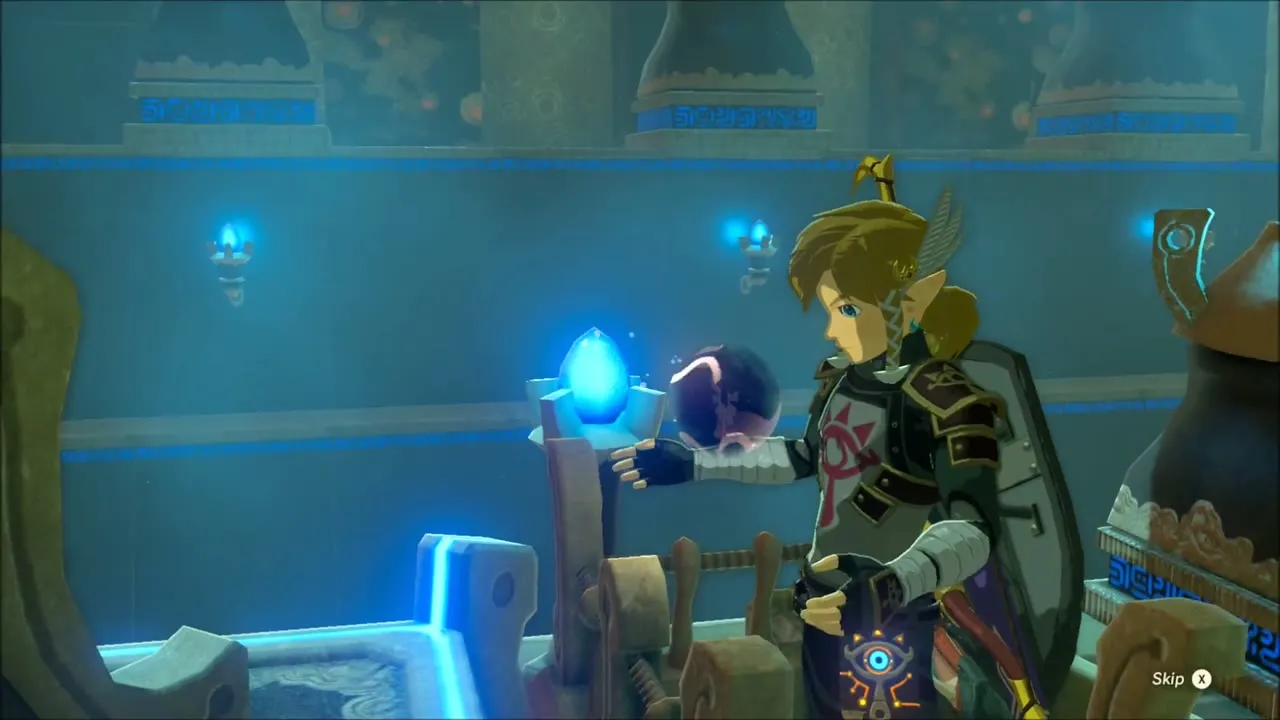
With the Molduga gone, shoot a fire arrow at each of the four torches on the rocky patches. When the last one lights, the Tho Kayu Shrine (Tho Kayu’s Blessing, at (-4798, 2800)) rises from the sand. Inside, open the chest for the Golden Bow and take the Spirit Orb from the monk.


Medicinal Molduga: Deliver the Molduga Parts
Return to Gerudo Town and speak to Malena, who is grateful for the parts and gives you her reward, a Gold Rupee. Medicinal Molduga is then marked complete.
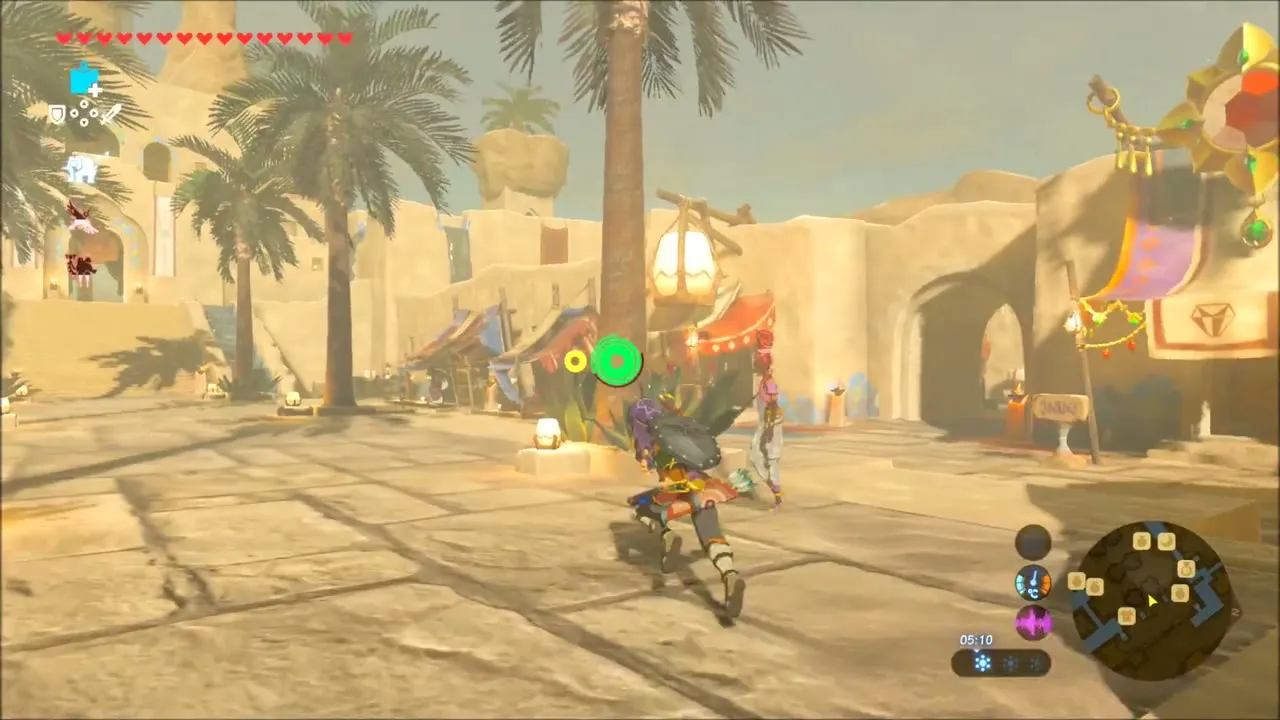
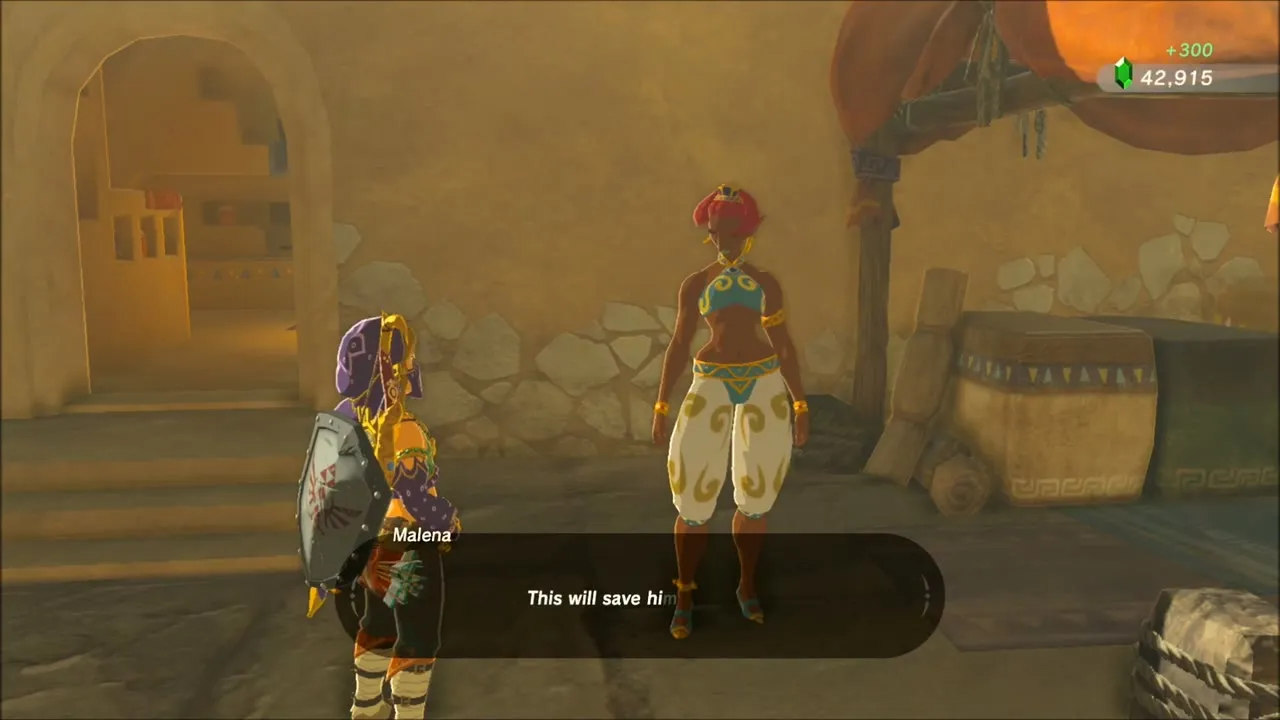
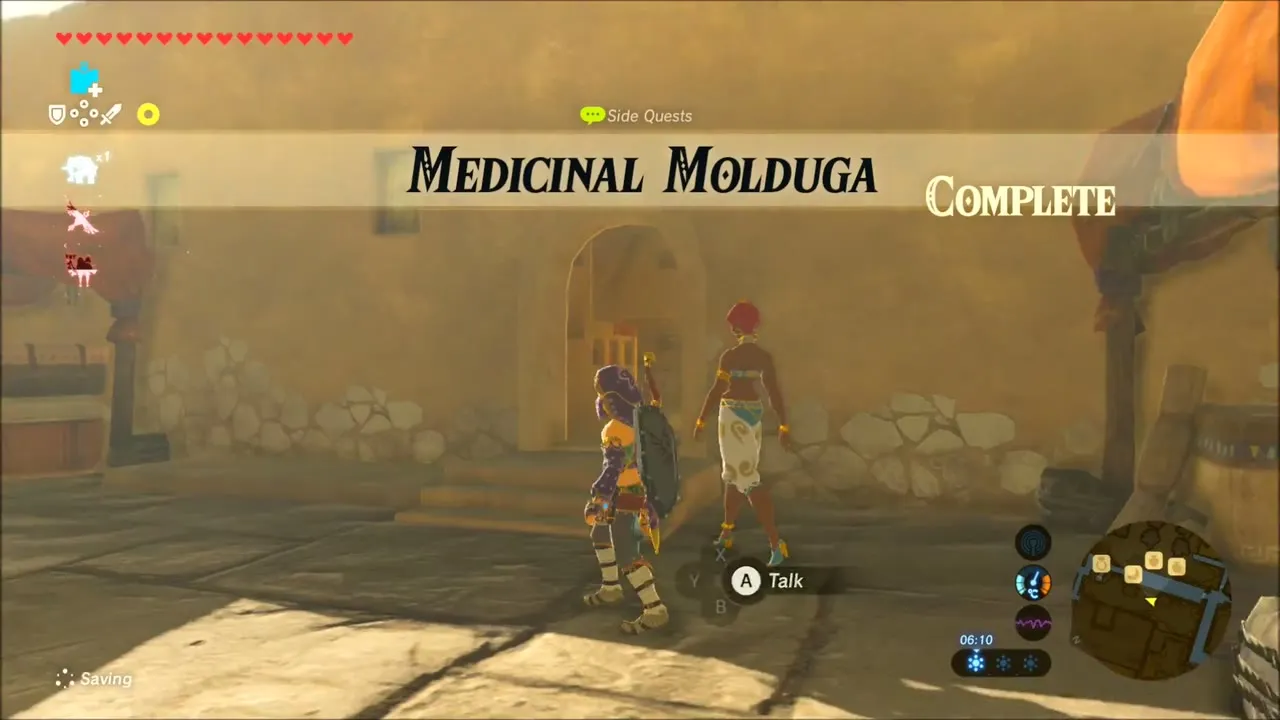
Gerudo Wasteland Route: Bone Camps, Chests and the First Molduga
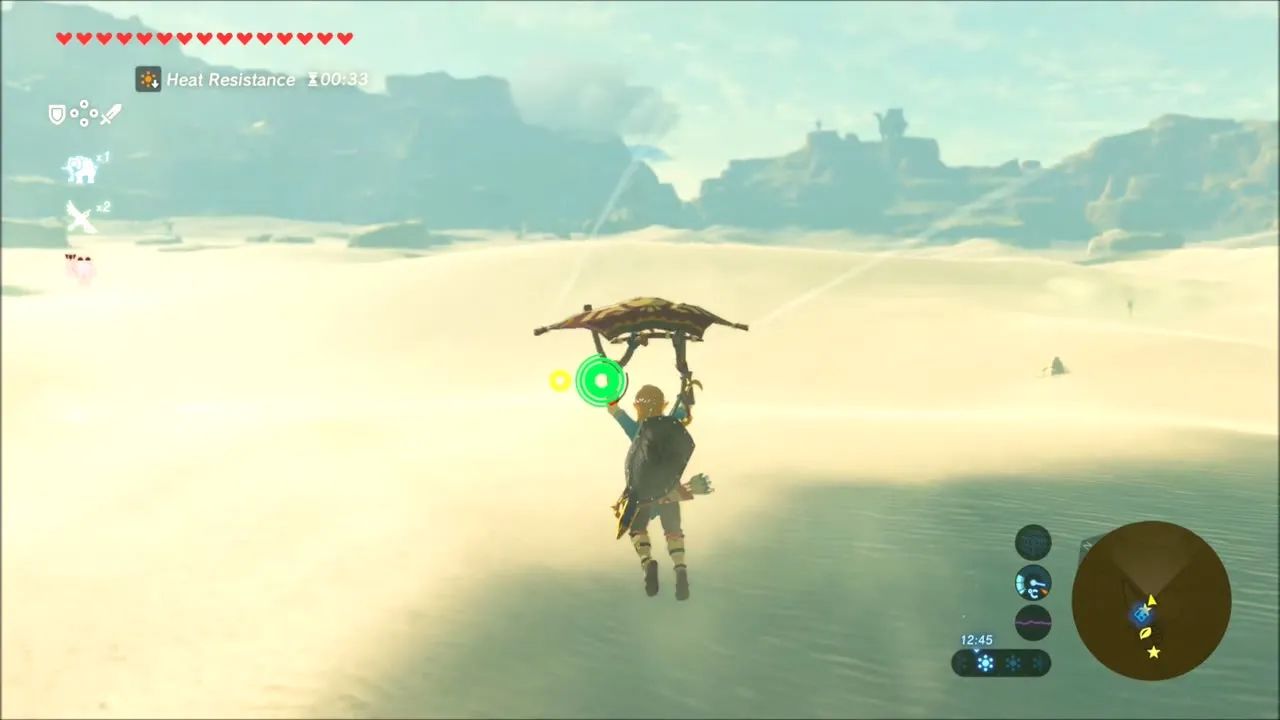
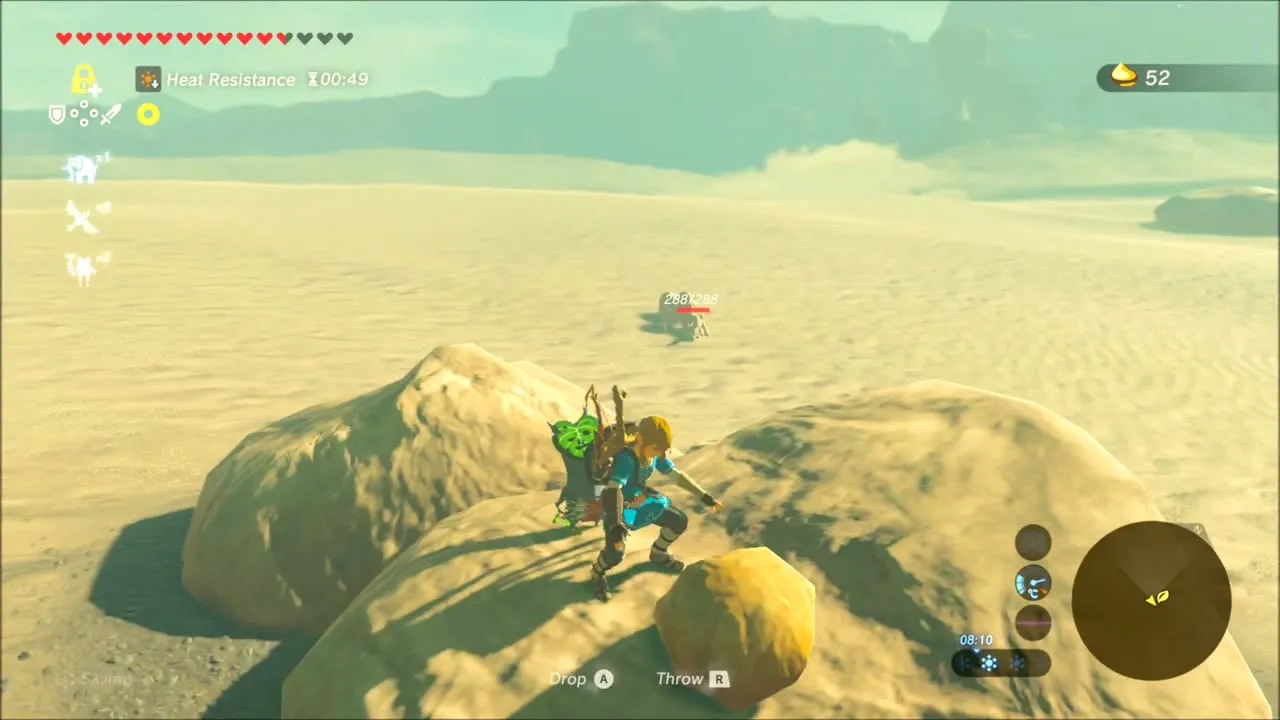
Start on the open sand west of Gerudo Town and keep your heat resistance topped up, because the timer on the HUD runs out quickly under this sun. Open the map and set stamps on the Korok and chest icons you plan to sweep, then head south-west across the dunes of Dragon’s Exile, switching between a Gerudo outfit and your normal clothes as you rest.
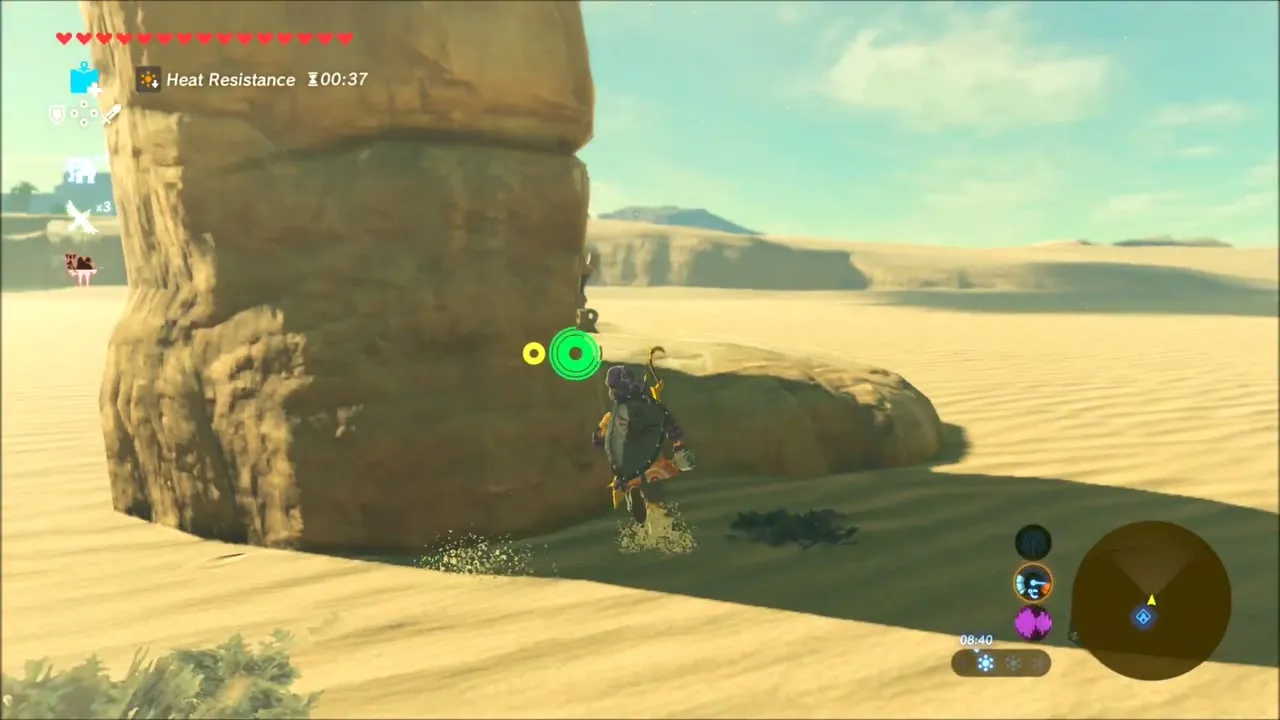
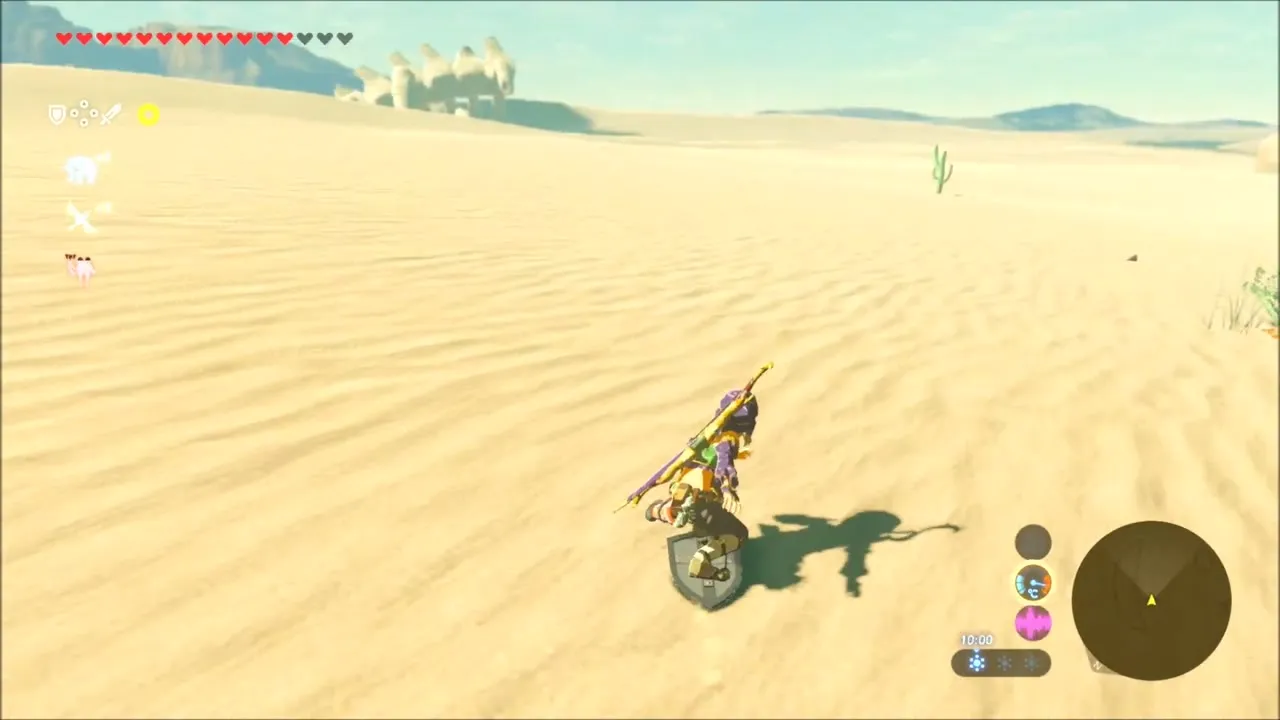
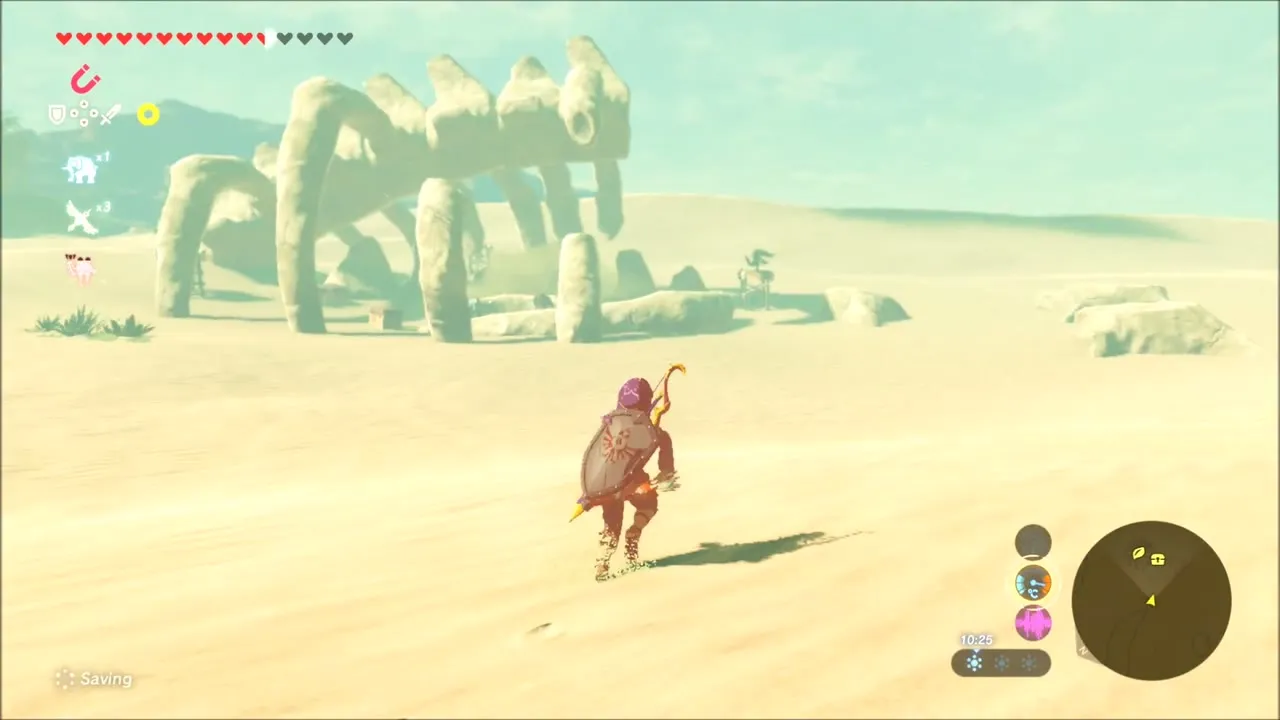
The first stop is a camp built among giant ribs, with enemies posted on wooden lookouts. Fight through it with a spare weapon ready: a Royal Broadsword snaps in the scuffle. A chest sits among the ribs, and one more chest rests on the sand a little further on, beside a fallen Lizalfos who still carries a forked boomerang.


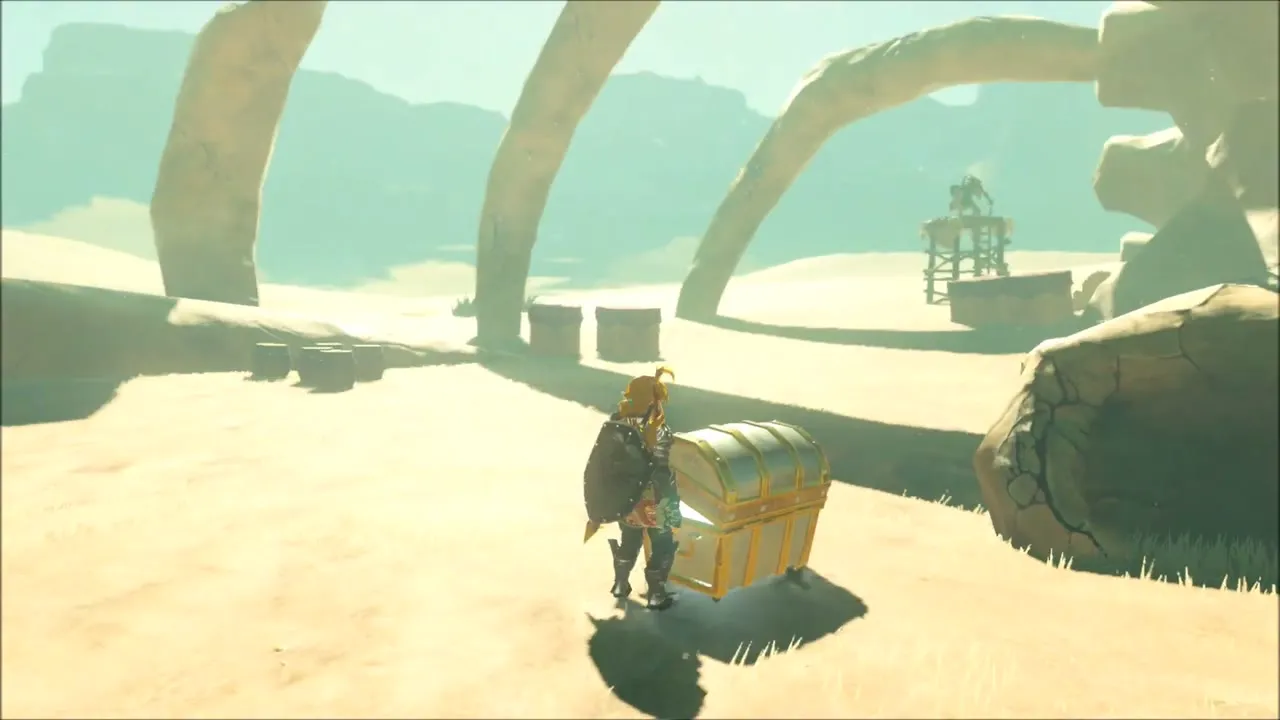
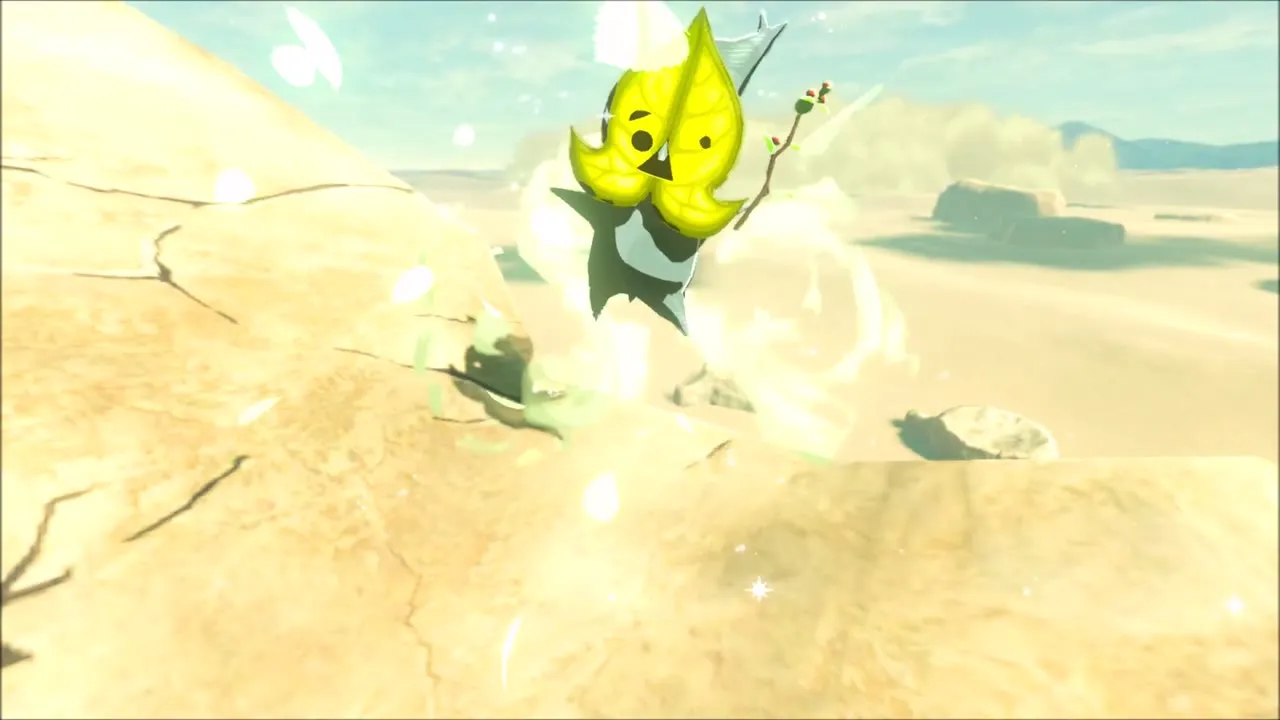
Climb the pale bones above the camp and follow the top of the rib arch. A Korok is tucked in a crack on the bone, and it gives up its seed as soon as you walk up to it.


Molduga in North Dragon’s Exile
Further along, the sand starts to heave and a Molduga surfaces under the title “North Dragon’s Exile”. Stand on a rock instead of open sand and roll bombs towards it. Detonate each bomb as the Molduga leaps for it: the blast stuns it and leaves it on its back, so run in with your strongest weapon or a bomb arrow and back off before it recovers. It drops Molduga Fin and Molduga Guts.


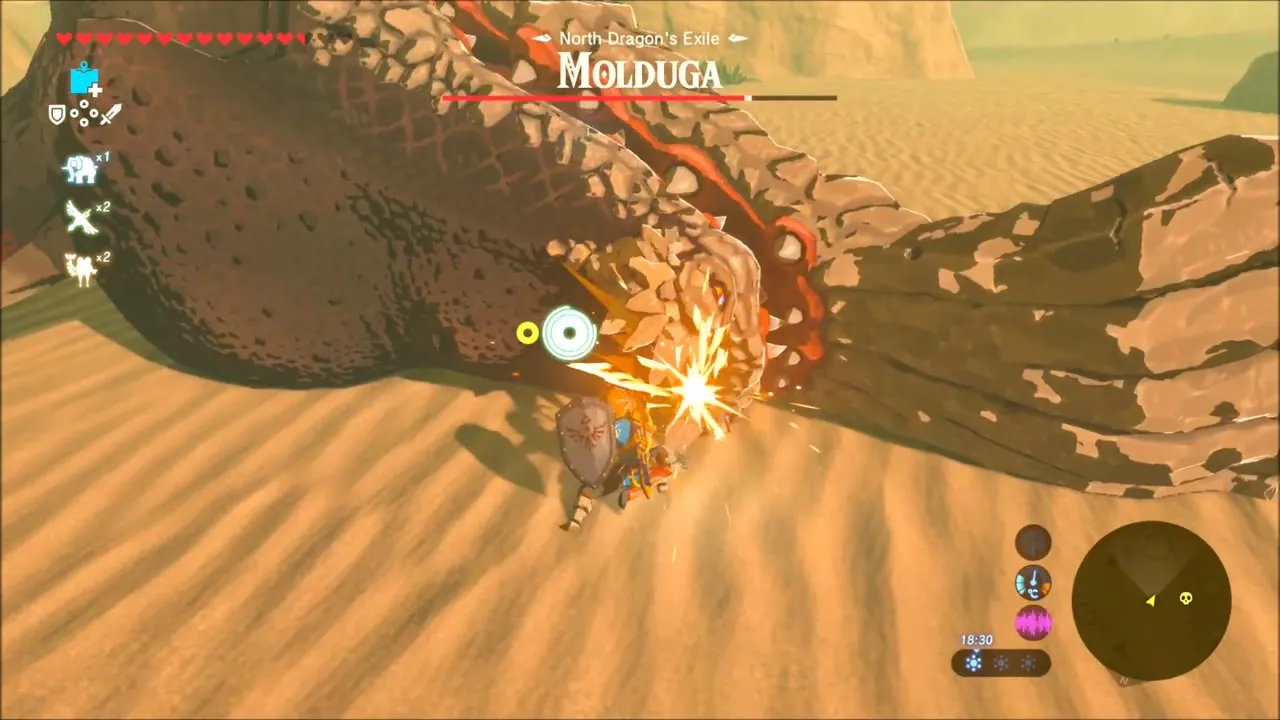

Where the fight ended, two chests wait next to each other: one holds a Royal Broadsword (tier set by difficulty scaling) and the other a Royal Halberd. Another chest lies on top of a boulder a short walk across the dunes.
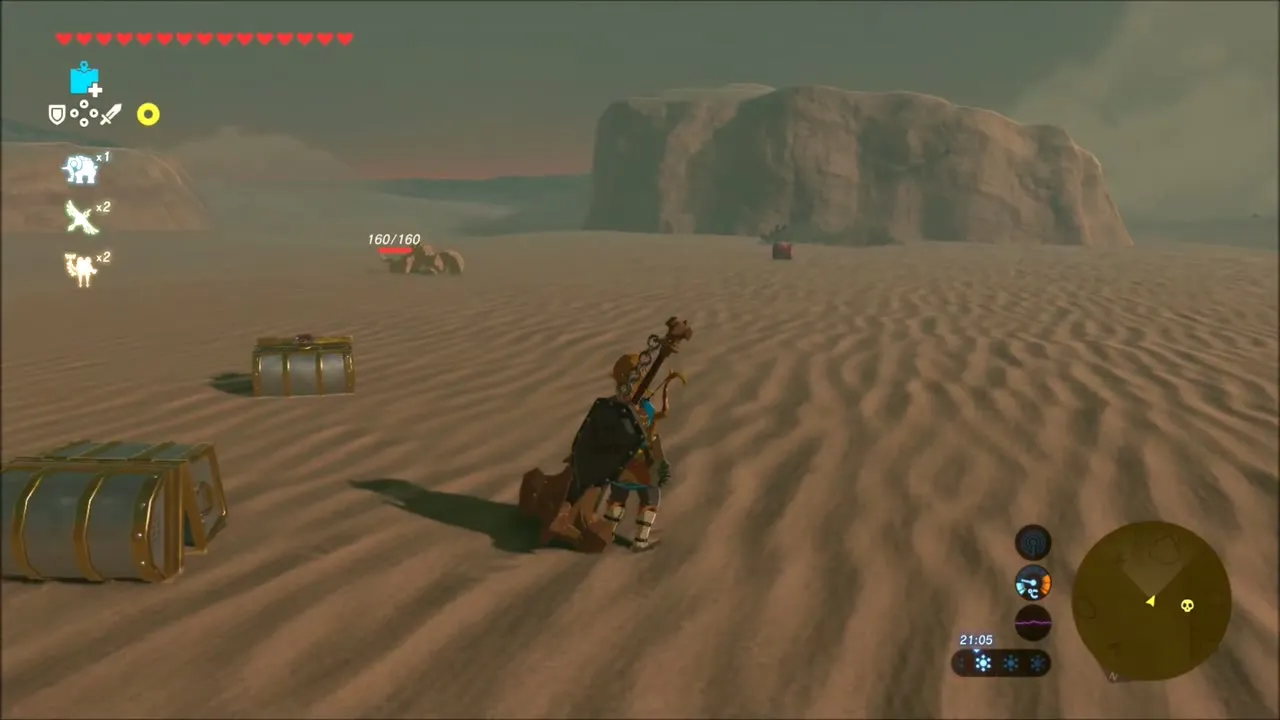
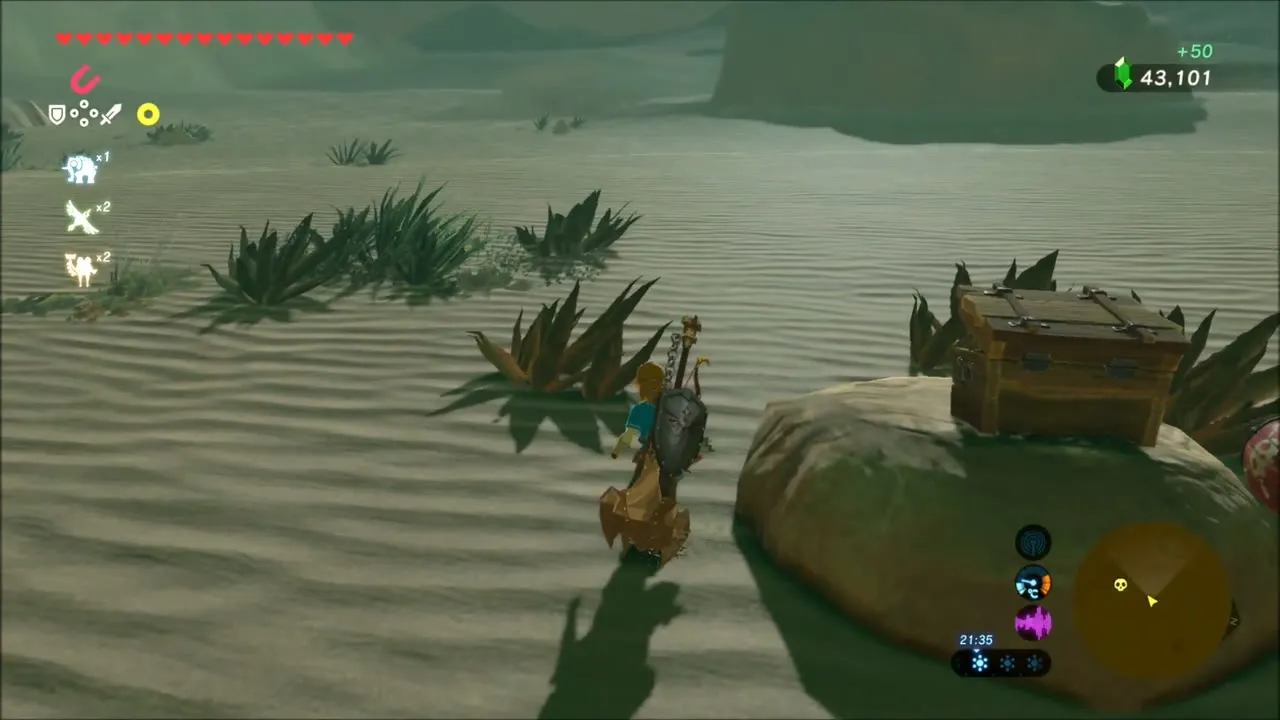
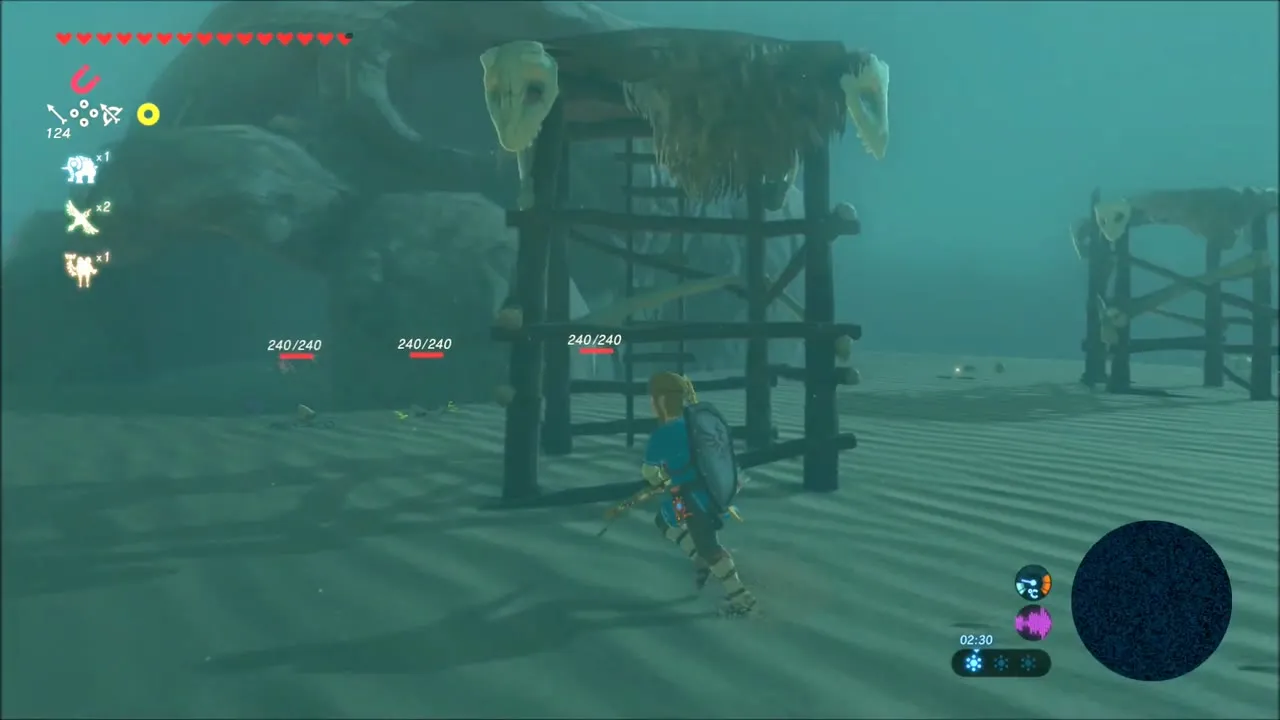
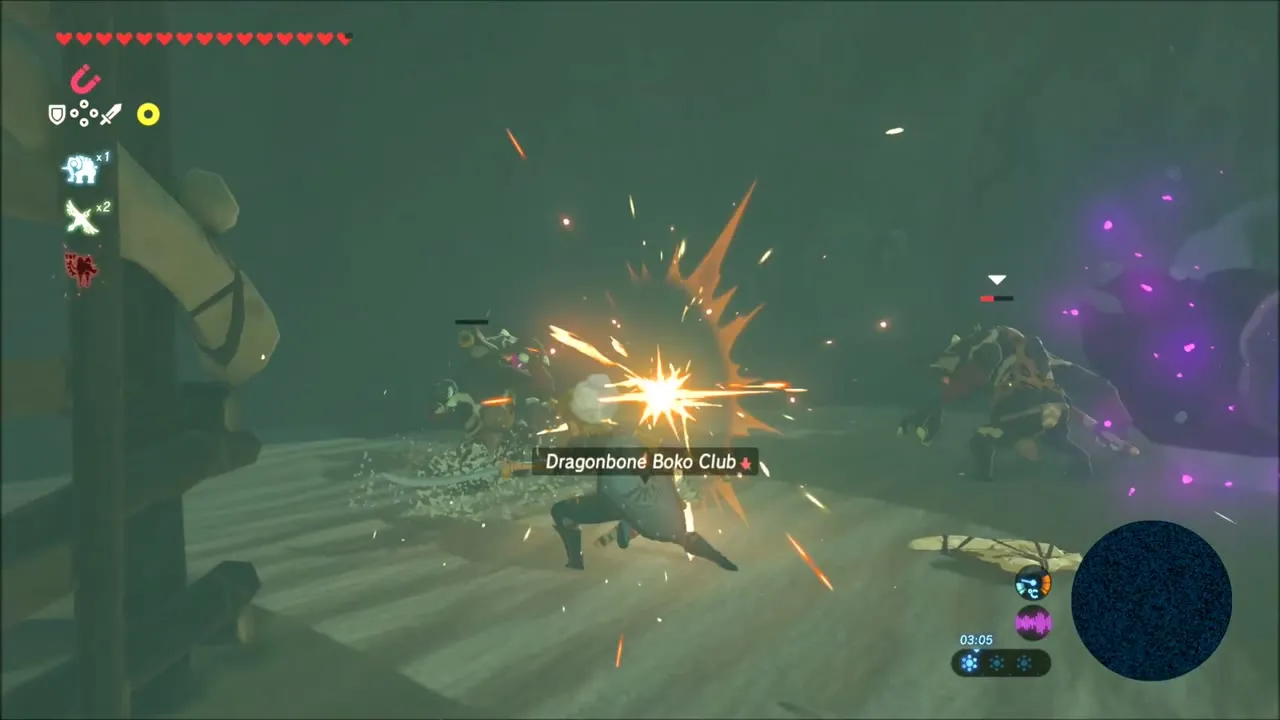
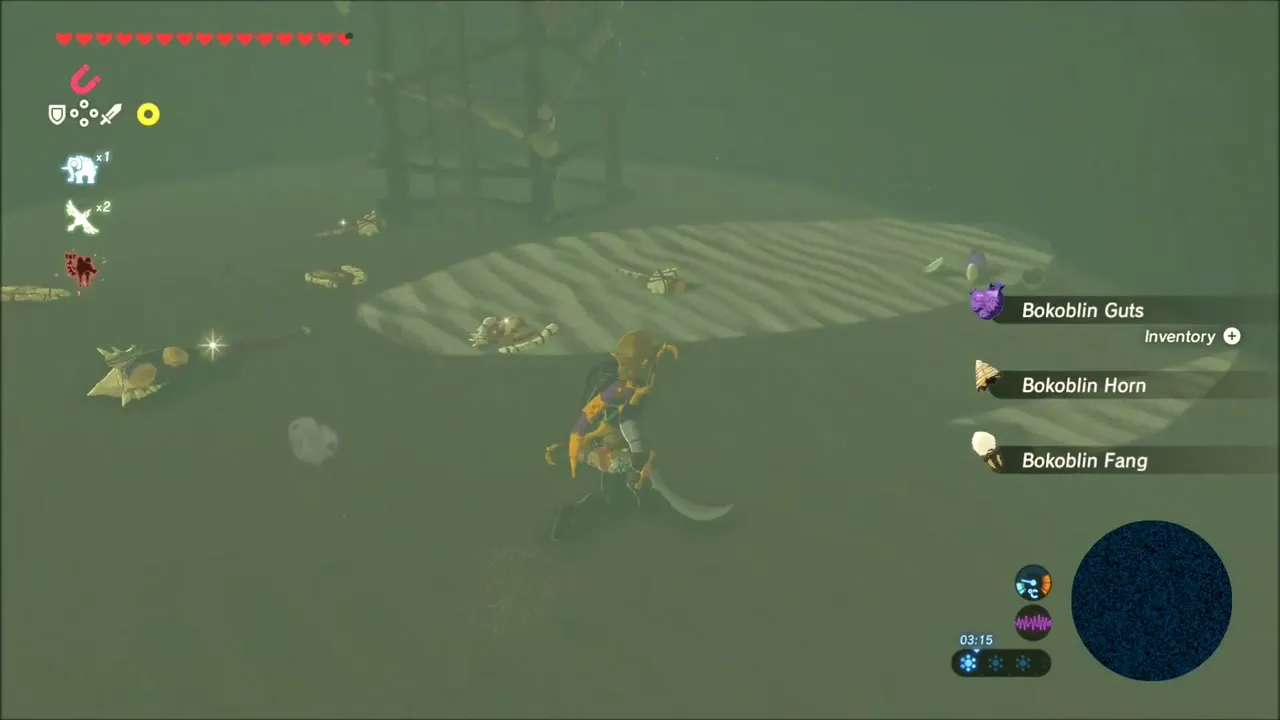
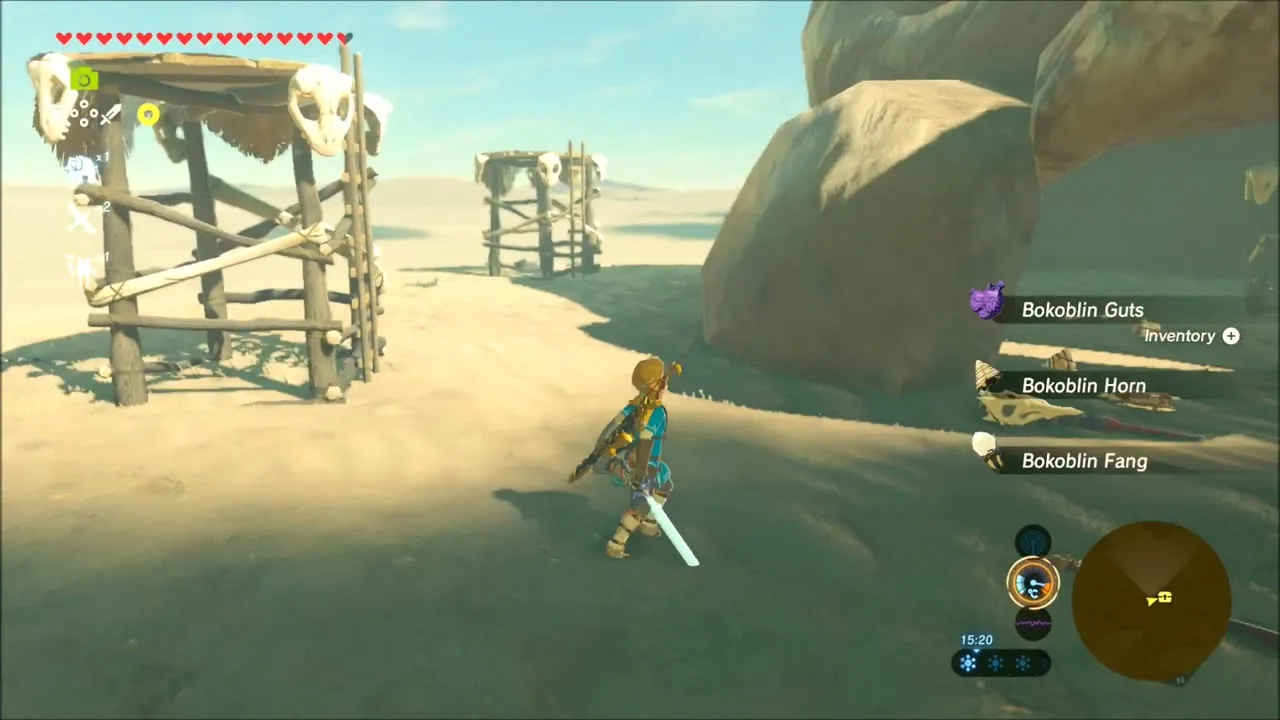
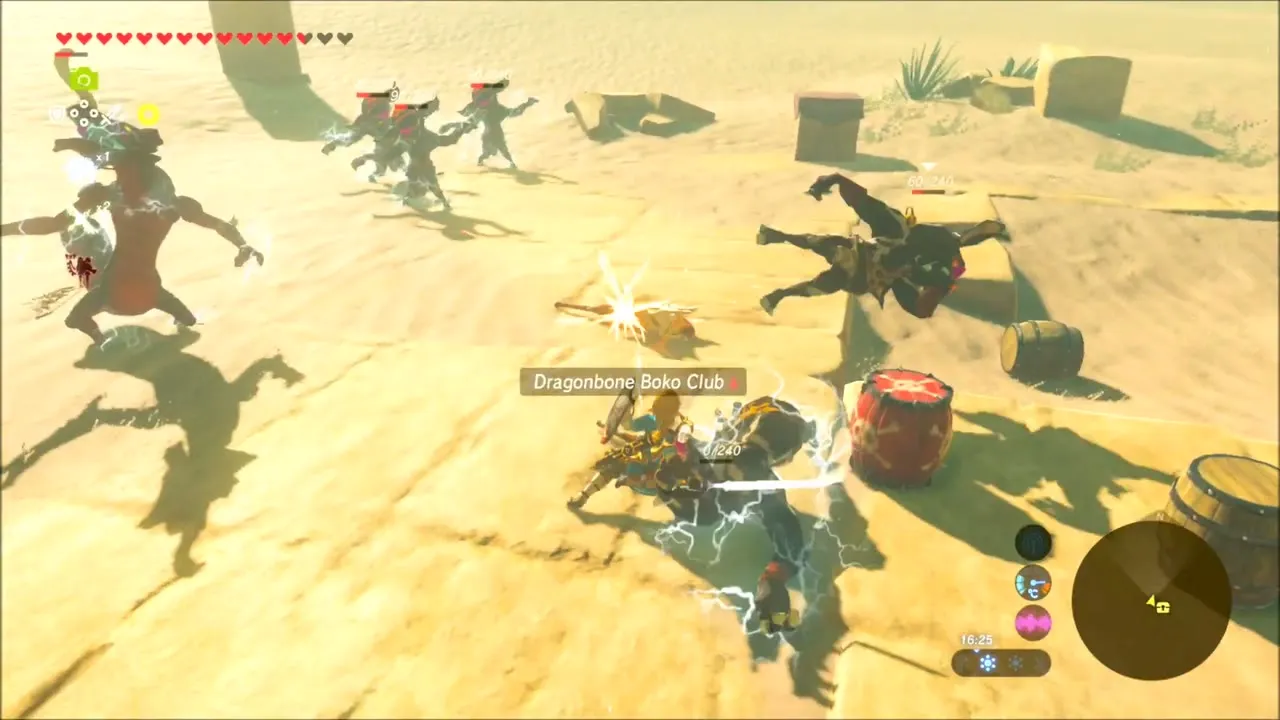
As evening comes in and a sandstorm builds, keep heading south. A Korok is standing beside a stand of tall cacti, then a Bokoblin camp with scaffolds appears in the haze. Clear it for Bokoblin Horn, Fang and Guts and a Dragonbone Boko Club, and search the camp for a chest.

Hawa Koth Shrine: The Current Solution
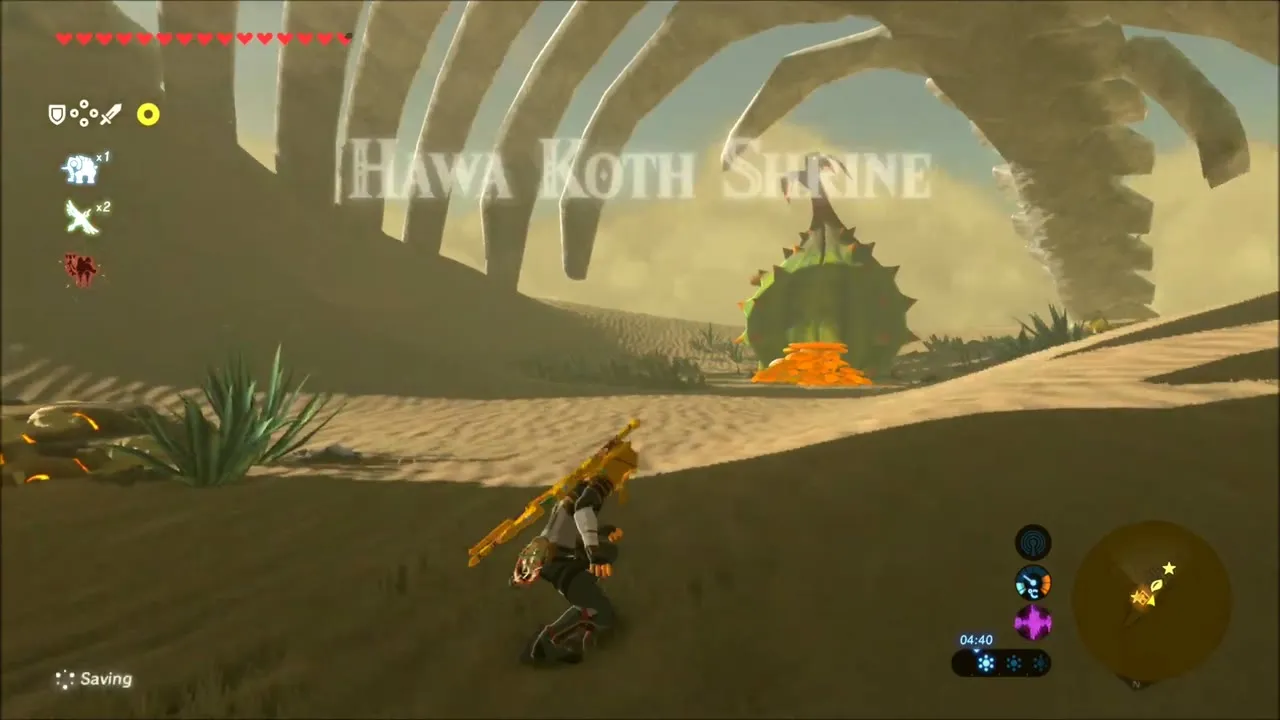
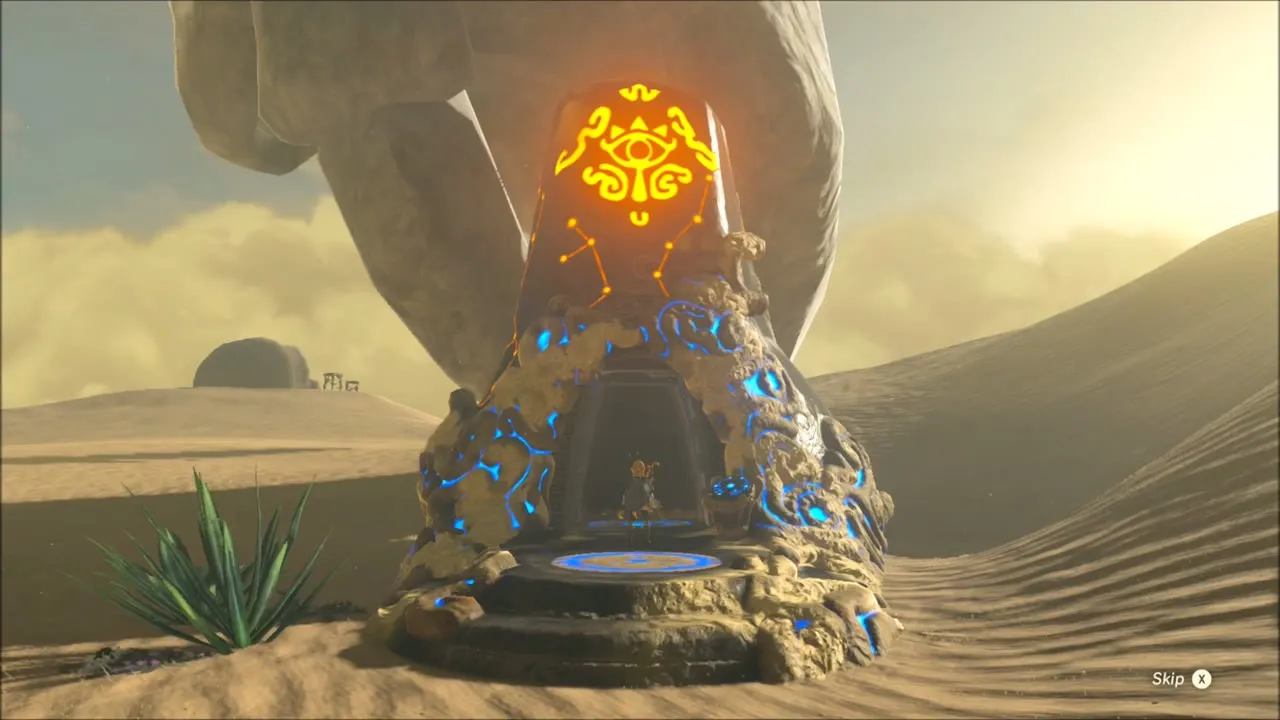
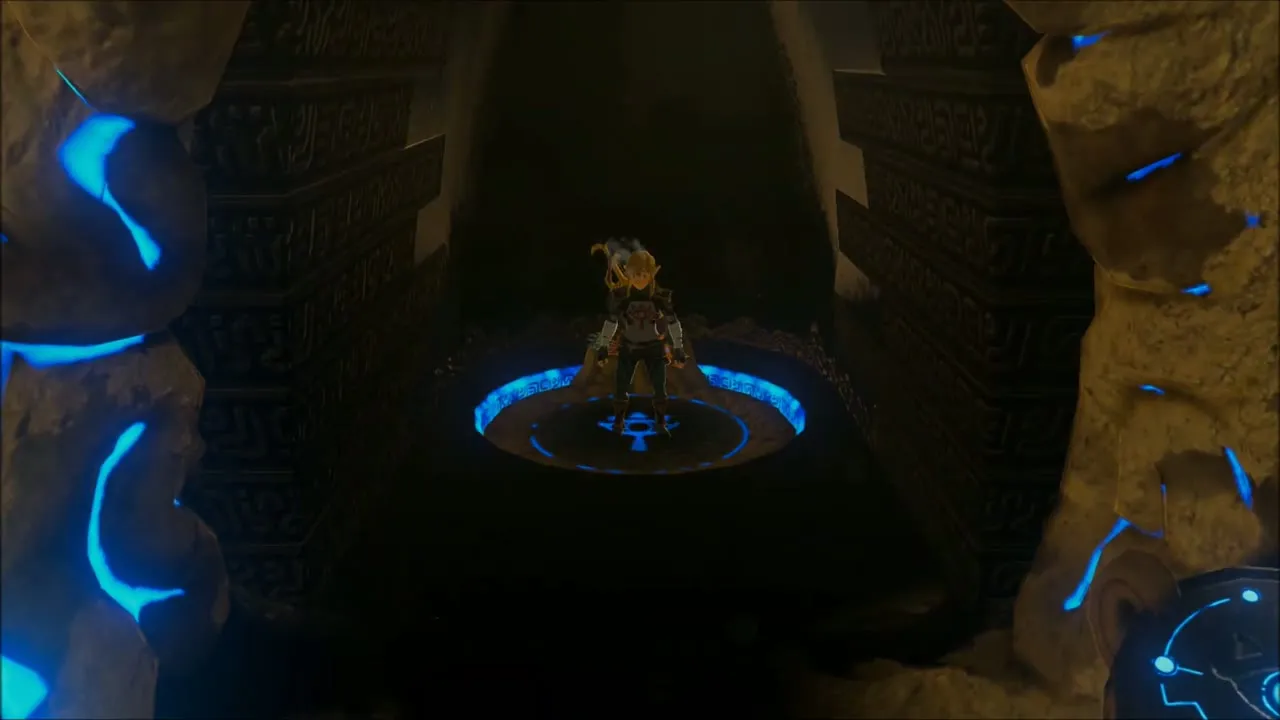
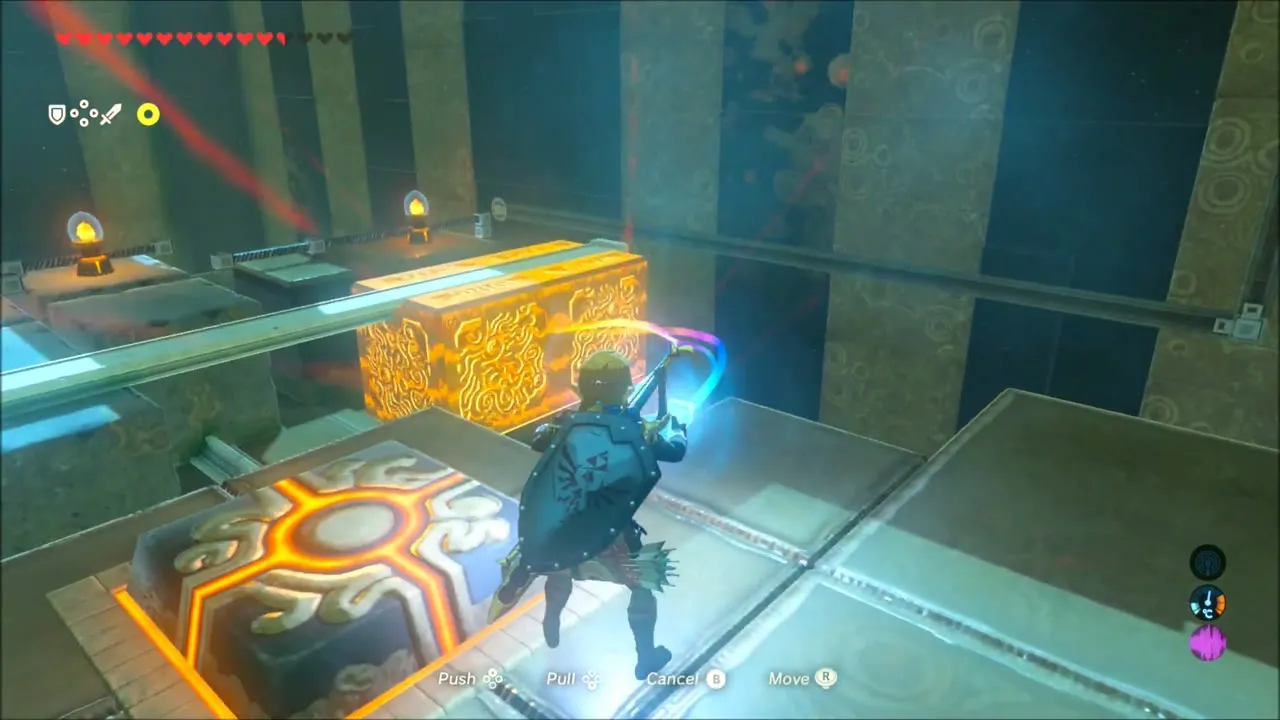
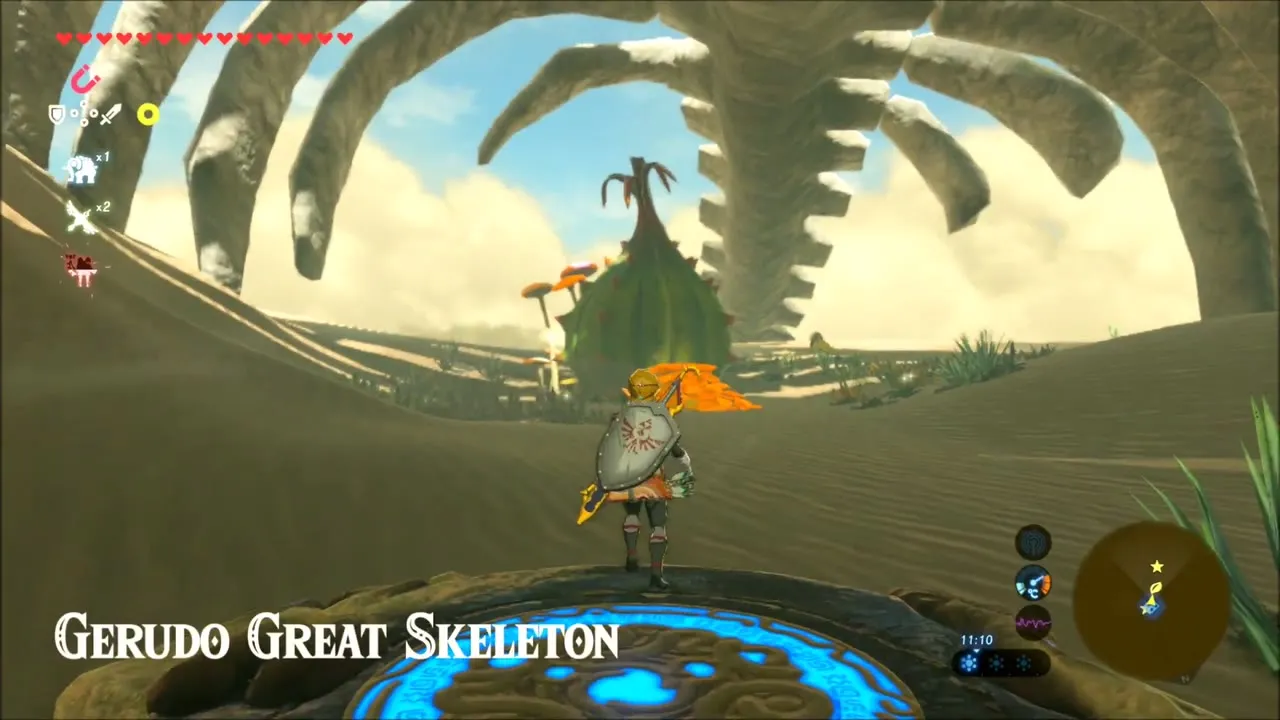
The Hawa Koth Shrine (x -4847, z 3774, height 137) rises from the sand at the south-western corner of the desert; its entrance is at the foot of the Gerudo Great Skeleton. Step on the pad to ride it down. In the first room, use Magnesis to push the two electrified blocks together so the current reaches the switch and opens the door.

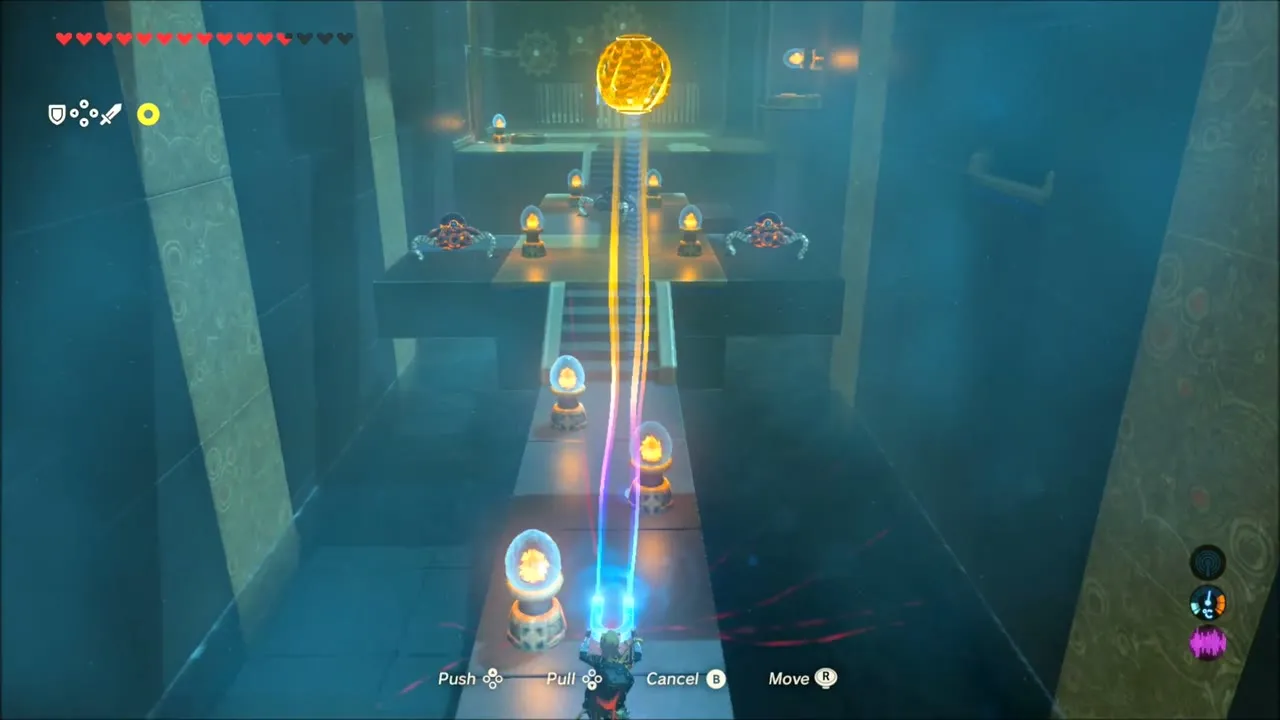
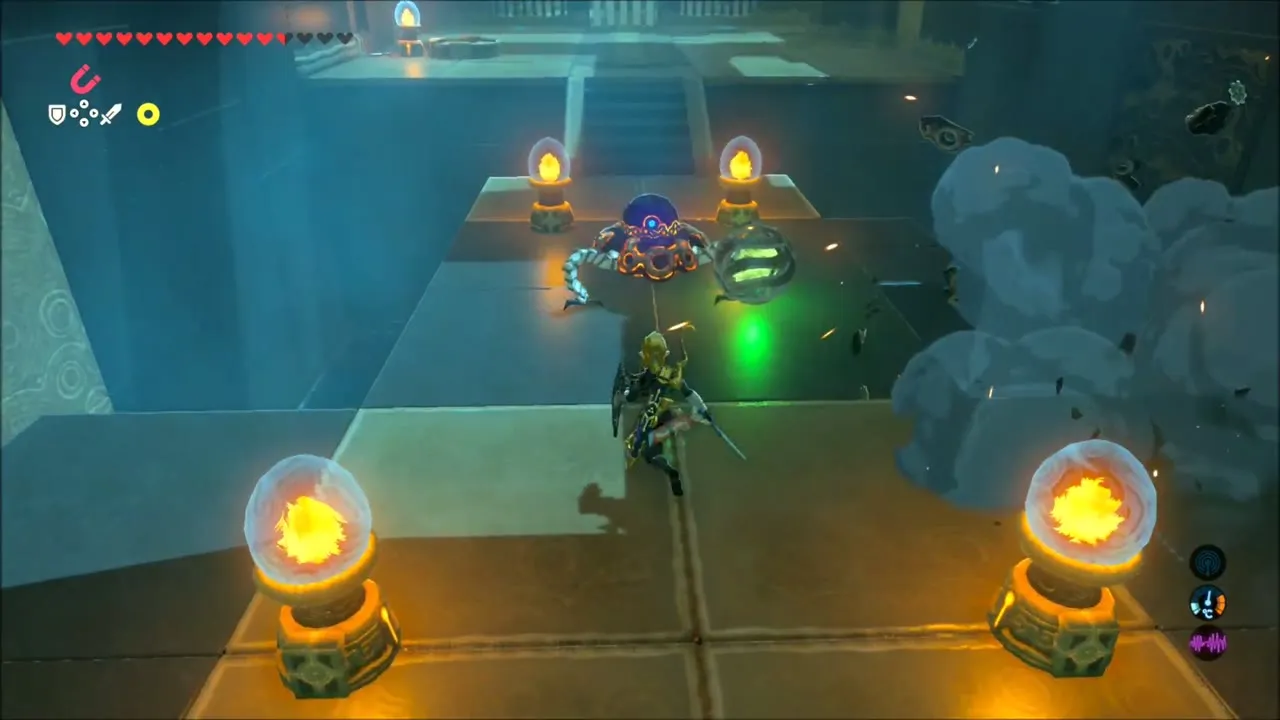
In the large water room, a Guardian Scout shoots at you while you fish the chest out of the stream with Magnesis; it contains an Ancient Core. Unwind the ball and chain from its column without touching the chain, and carry the ball to the switch to start a small lift. Tip the Guardian Scouts into the water with the electric ball on the nearby switches, then park the ball on the round wall switch for the gated side room (a Gold Rupee). Finish at the monk’s gate: freeze the nearest block of the final rail with Stasis, step on the floor switch and slide the metal blocks into the circuit.



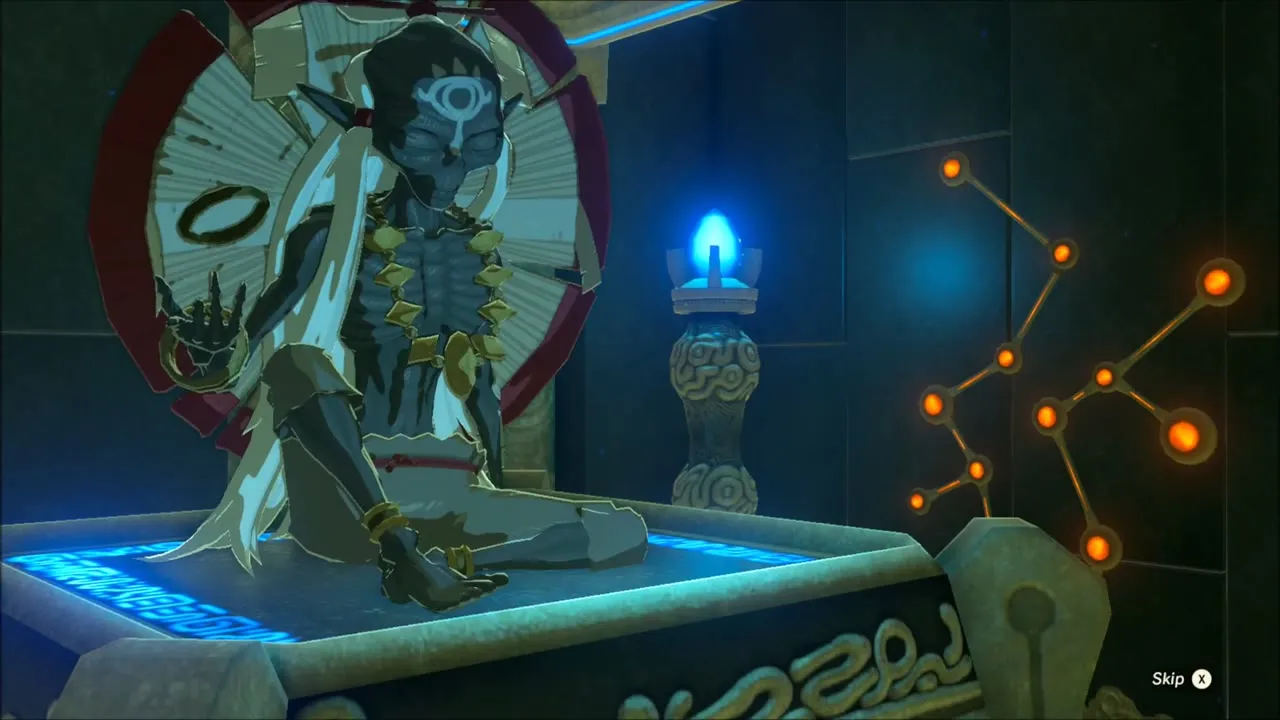
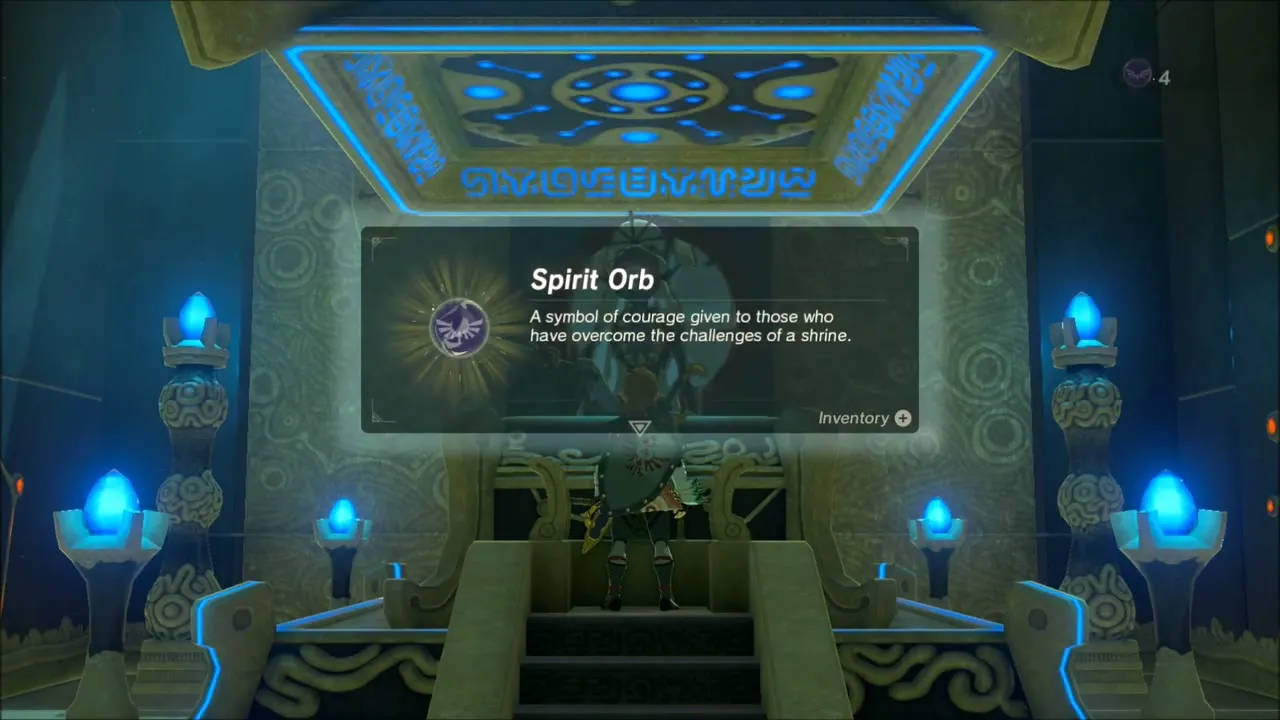
The monk Hawa Koth gives you the Spirit Orb. Back on the surface you stand beside the skeleton, and the title “Gerudo Great Skeleton” appears on screen.
Tera Great Fairy Fountain: Armor Upgrades in the Desert
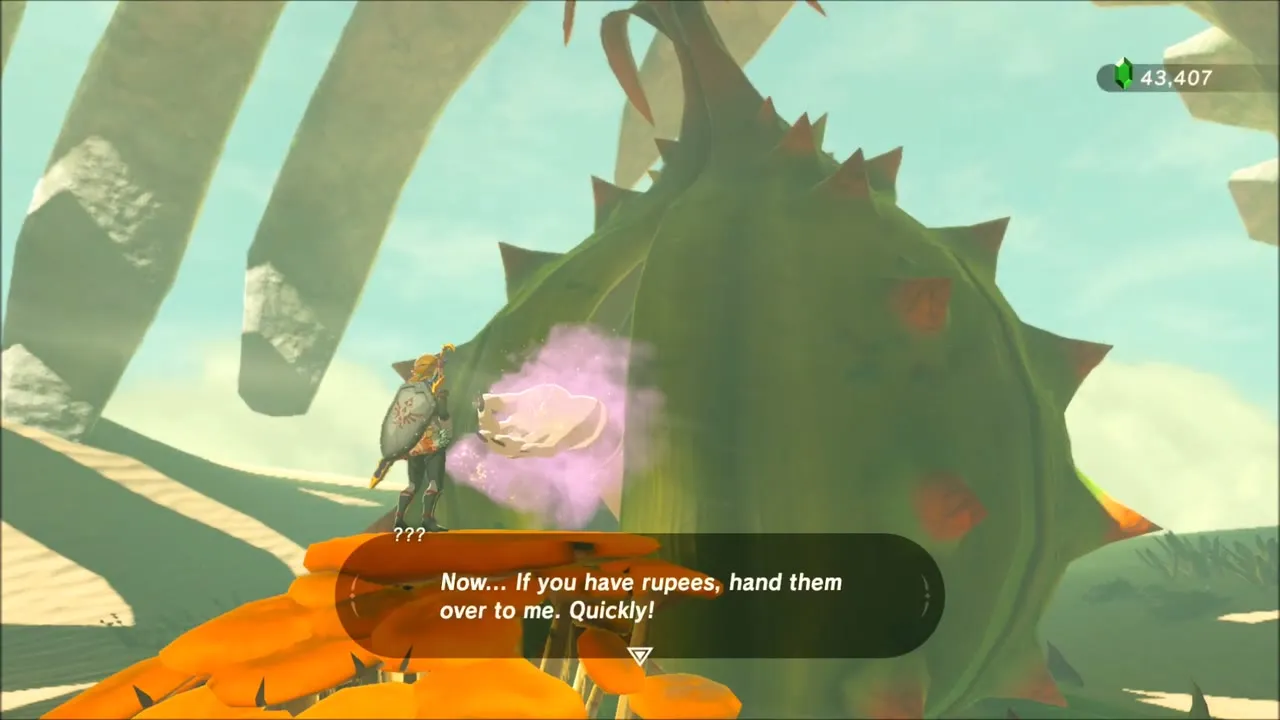
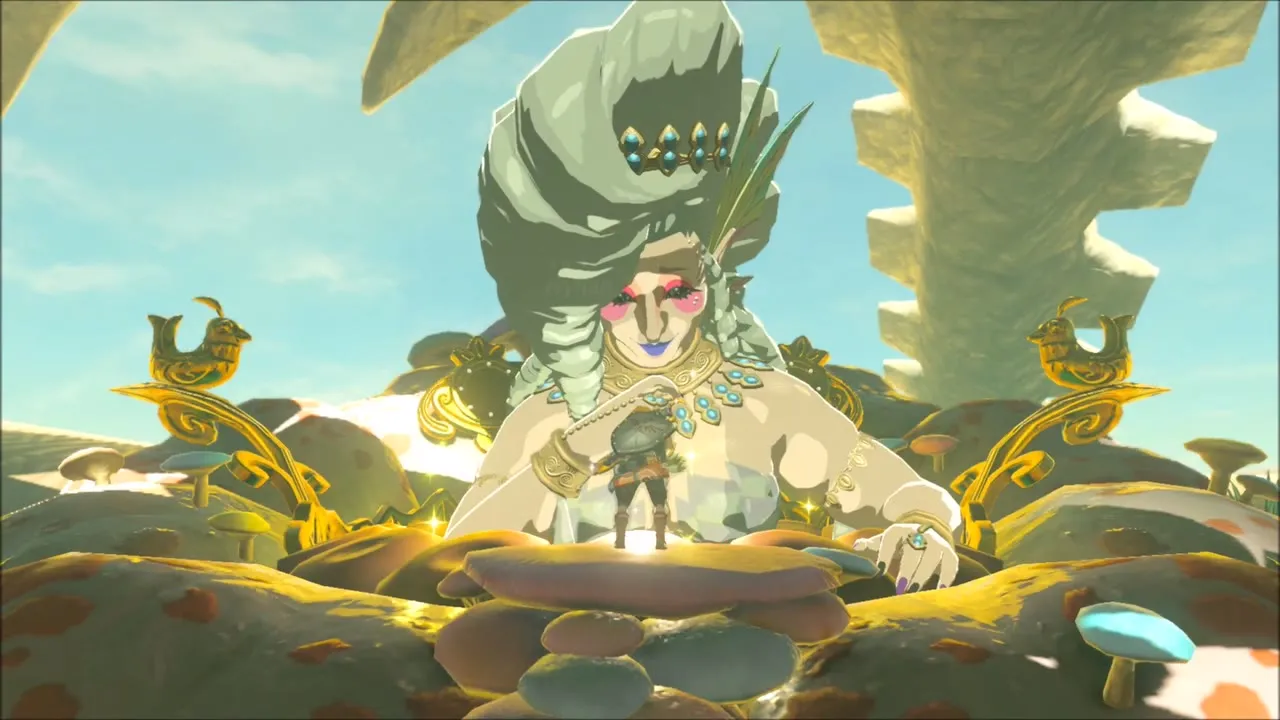
A few steps along the ribs is the fountain of Great Fairy Tera. Hand her the rupees she asks for (100 for the first fairy you free) and she rises out of the bloom. She will then enhance a piece of clothing for the listed materials, with no further rupee cost.

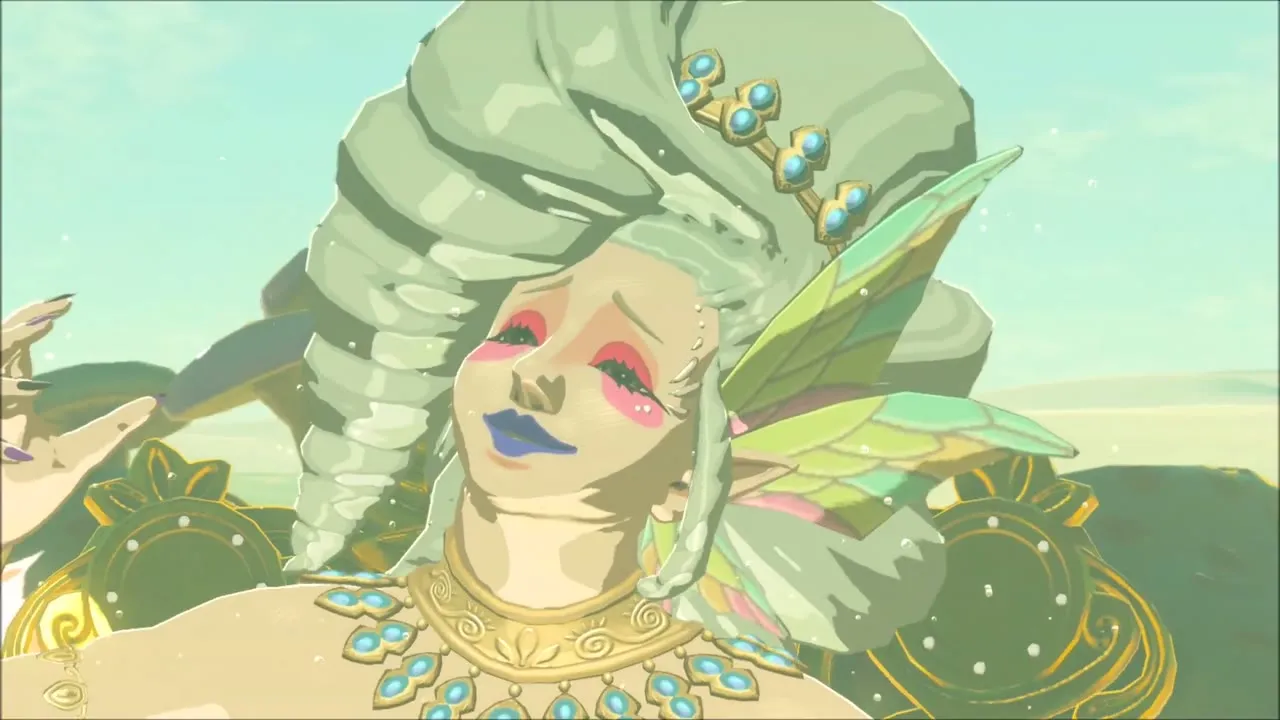
Run through your armor list one piece at a time: the Hylian Tunic and Hylian Trousers (Bokoblin Fang and Guts), the Soldier’s Helm, the Champion’s Tunic, Snowquill Trousers, Topaz Earrings, the Rubber Helm, the Zora Helm, the Stealth Chest Guard, Climbing Boots and Sand Boots are all offered. She tells you what each upgrade needs and says she is headed home when you stop asking.


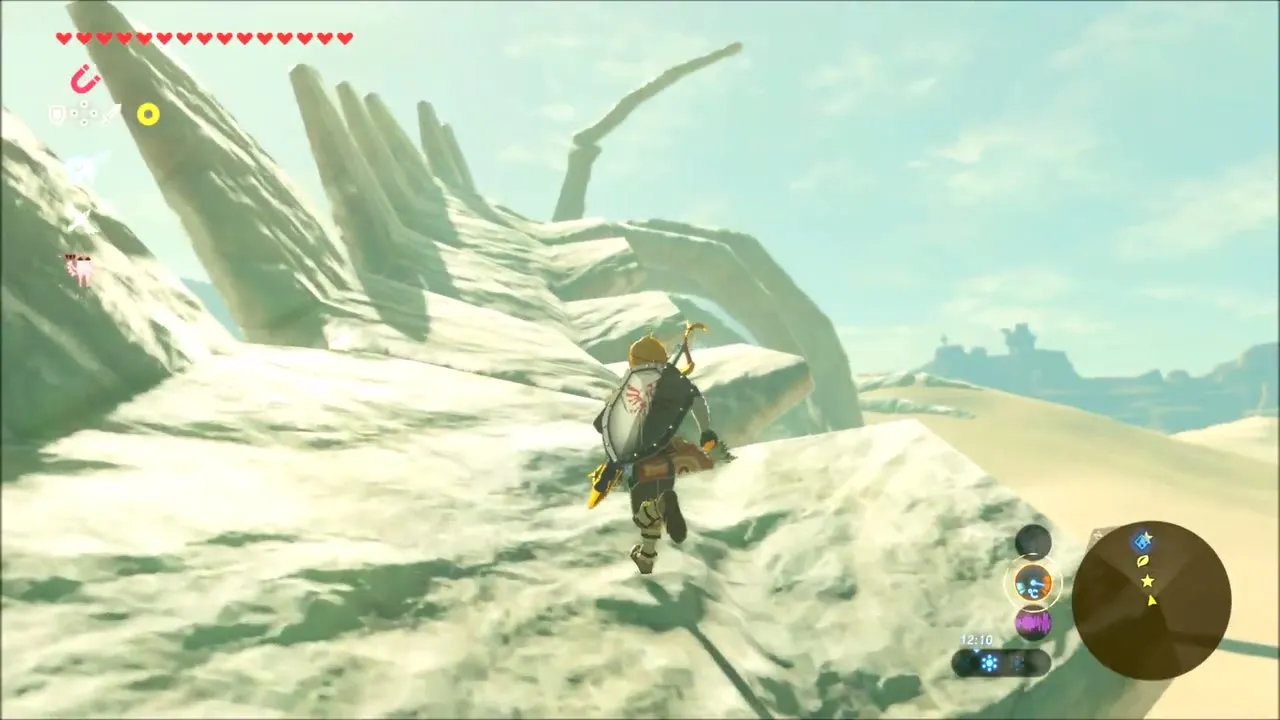
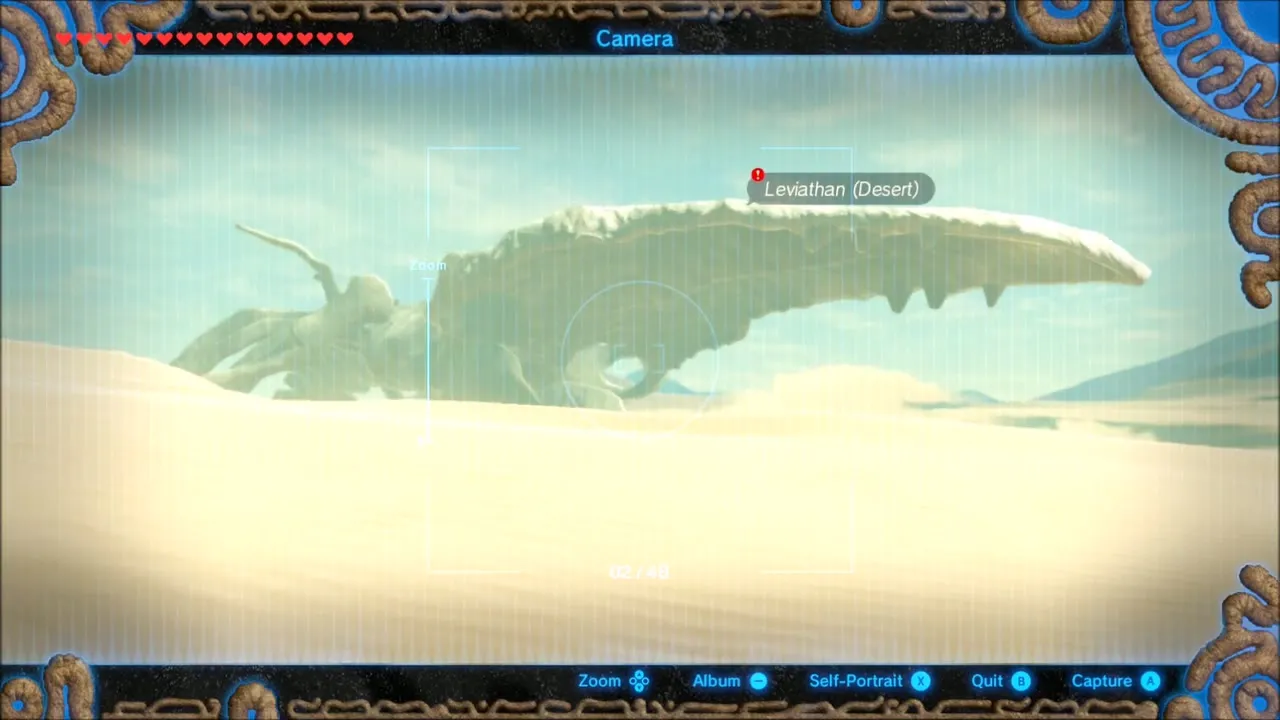
Leave Tera and climb the ribs again for a Korok perched on the tip of a tall bone, then glide off over the dunes. Back on the sand, raise the Camera rune and frame the skeleton’s head until the focus ring locks. That photo completes the Leviathan 2 target of the Leviathan Bones side quest (the Gerudo Great Skeleton, x -4824, z 3716); the picture is also saved in the Hyrule Compendium.

South-West Desert Camps, Korok Seeds and the Second Molduga
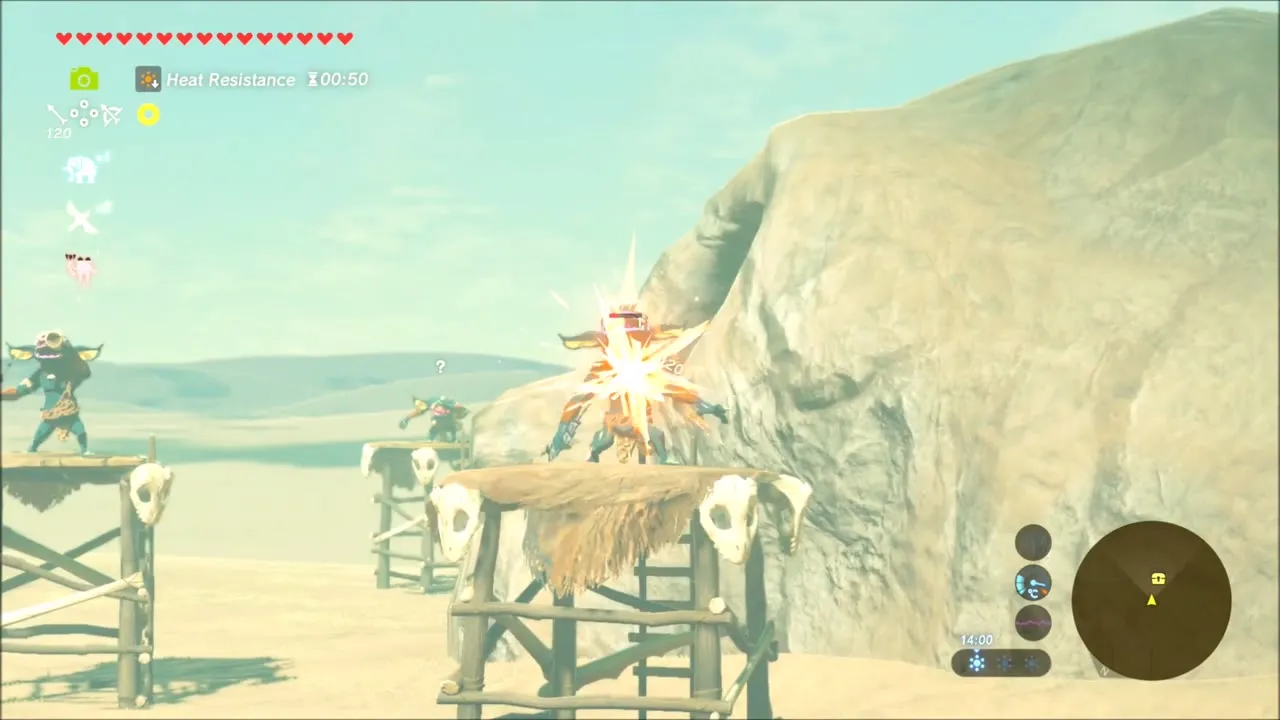
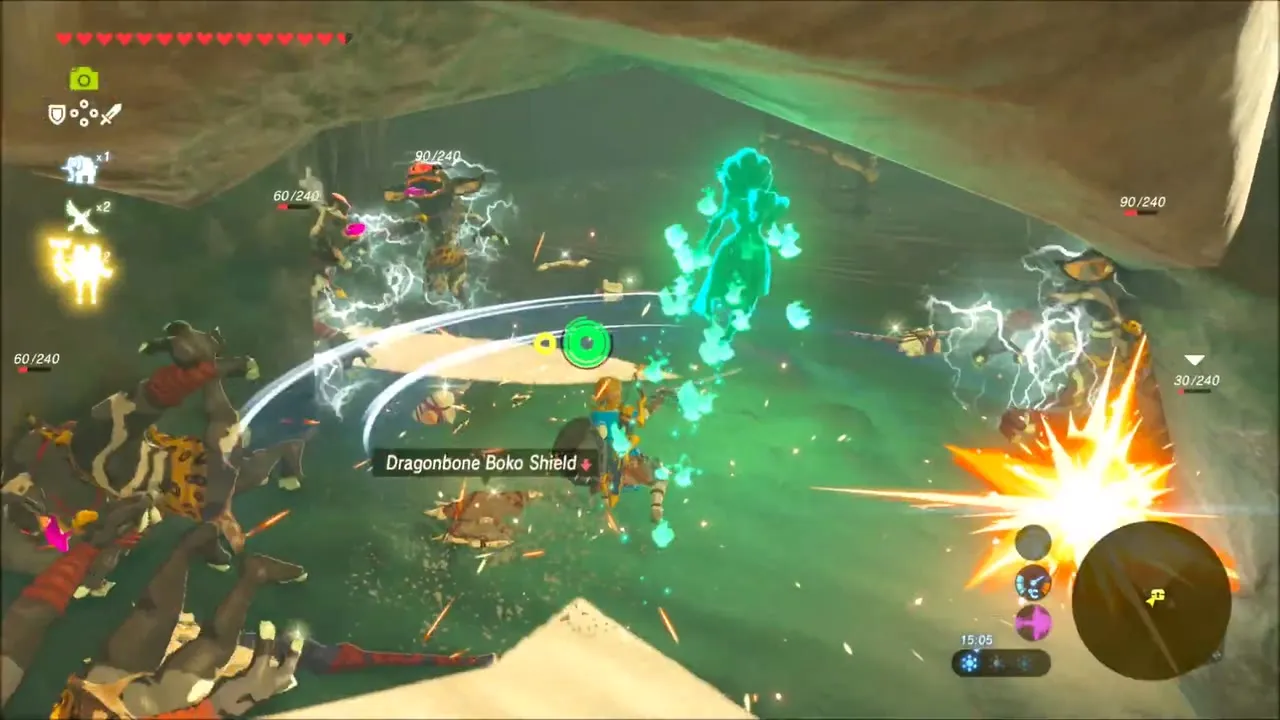
From the skeleton, set a stamp on the fountain and cross the dunes eastwards. A Bokoblin camp with watchtowers sits behind a large boulder; fight through it and pick up the loot (Bokoblin Horn, Fang and Guts, plus a Moblin spear). Chests lie in the sand-covered ruins beyond it, among Lizalfos and Moblins.
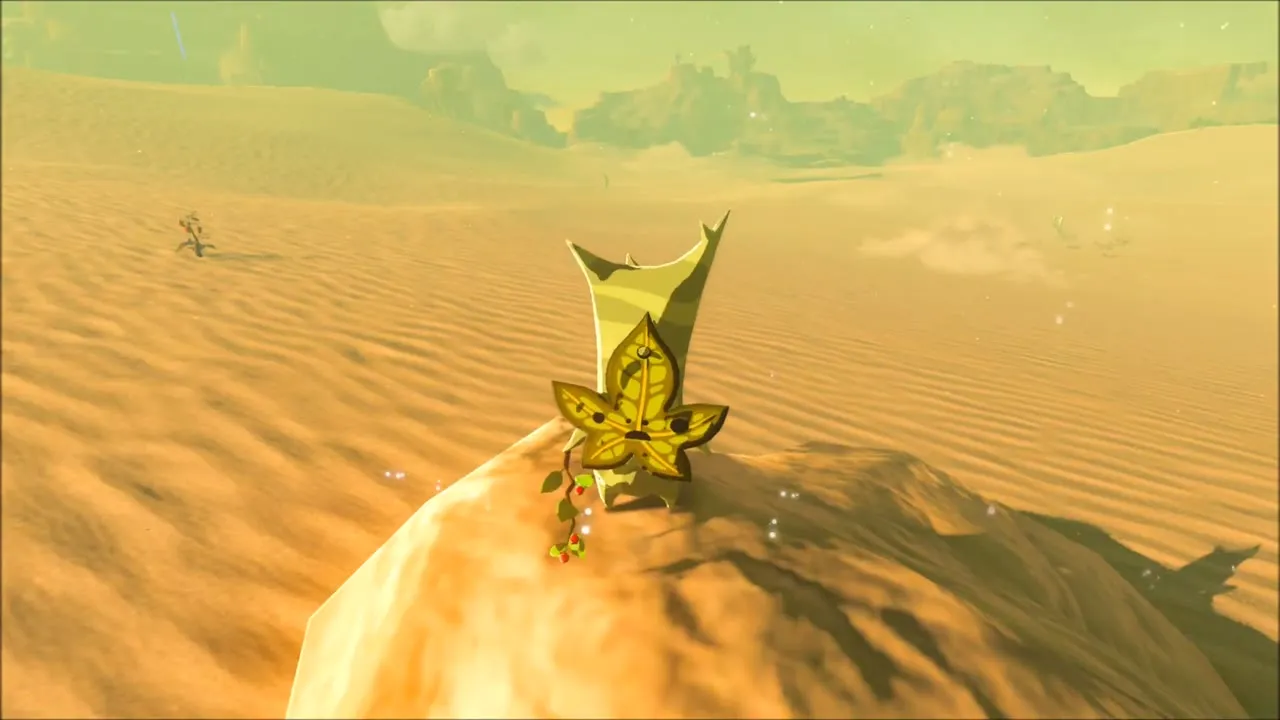
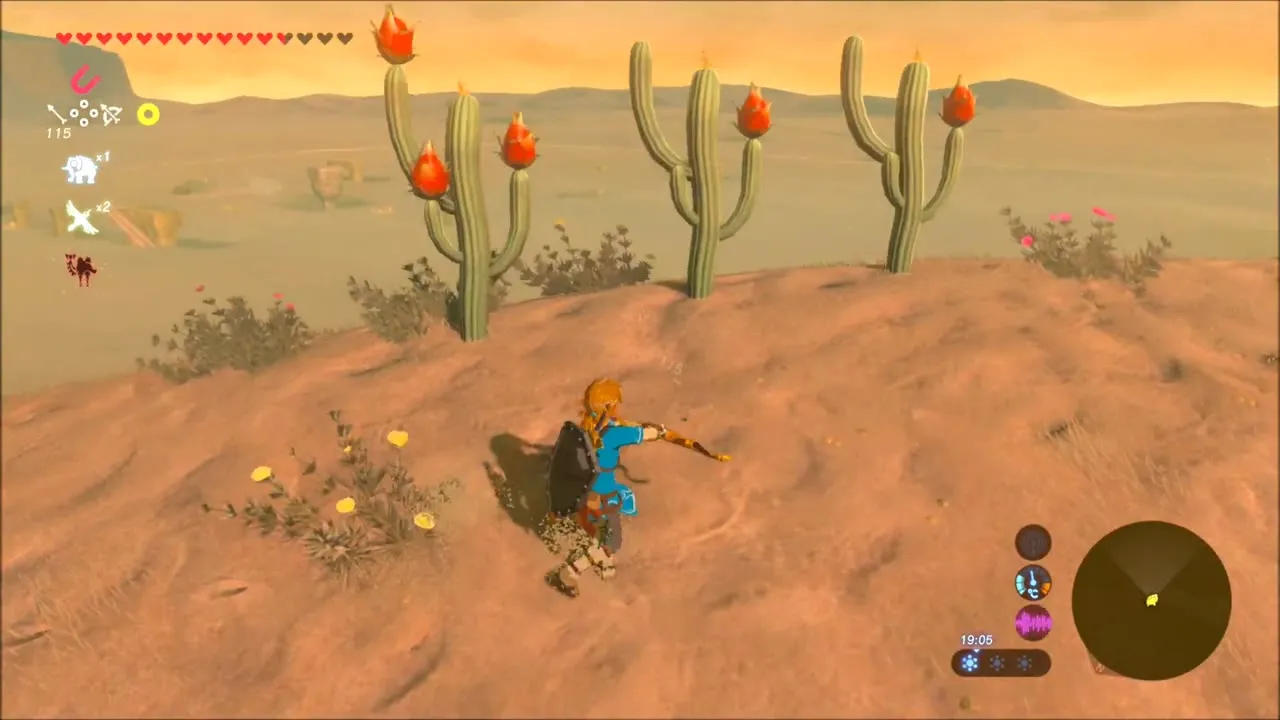
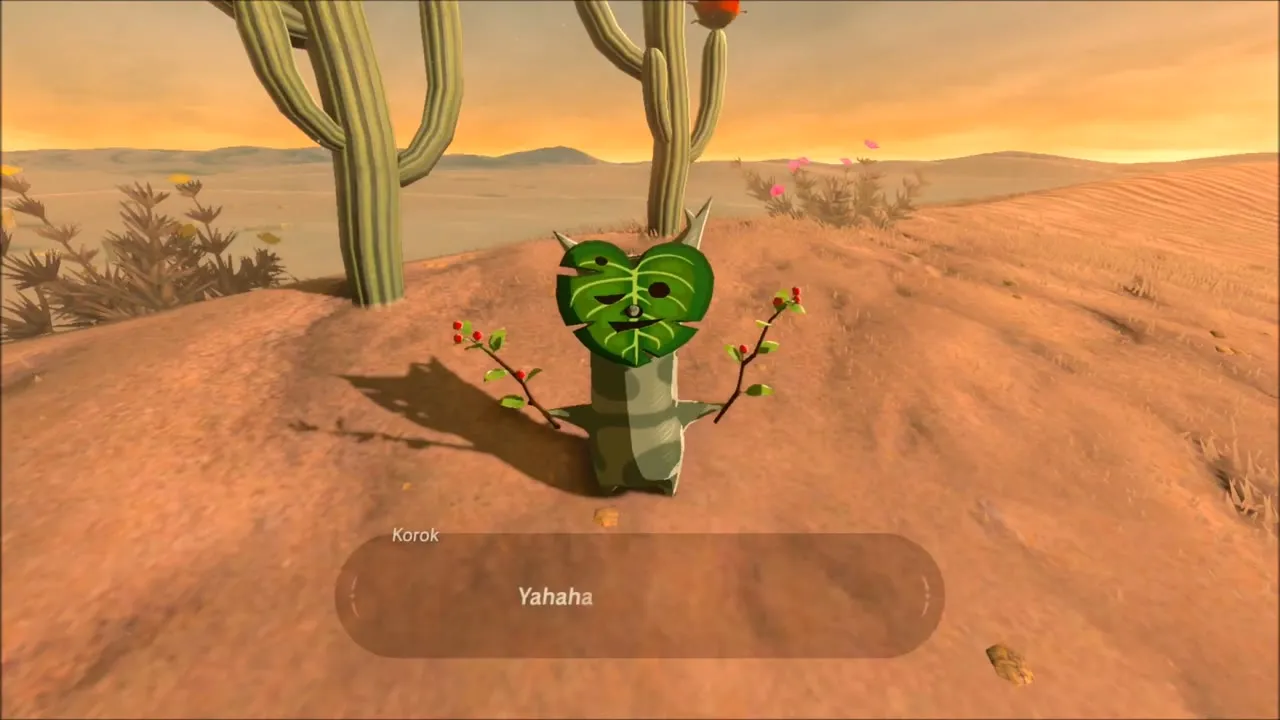
Further along, a Korok seed sits on top of a boulder that you reach with a short climb. As dusk turns the sky orange, another Korok is hiding beside a clump of cacti bearing red fruit.

At the “Arbiter’s Grounds” a second Molduga attacks. Climb onto a raised sandstone block, roll bombs onto the sand, detonate them as it leaps and finish it while it is stunned. It drops three Molduga Fins, and gems such as Topaz, Diamond and Amber turn up in the ruins around the arena.


The last seed of this stretch is a Korok on a sand mound beside a loose boulder: pick the rock up and the Korok is waiting at the top.


Southern Oasis: Molduga, Palm Grove Koroks and a Beach Chest
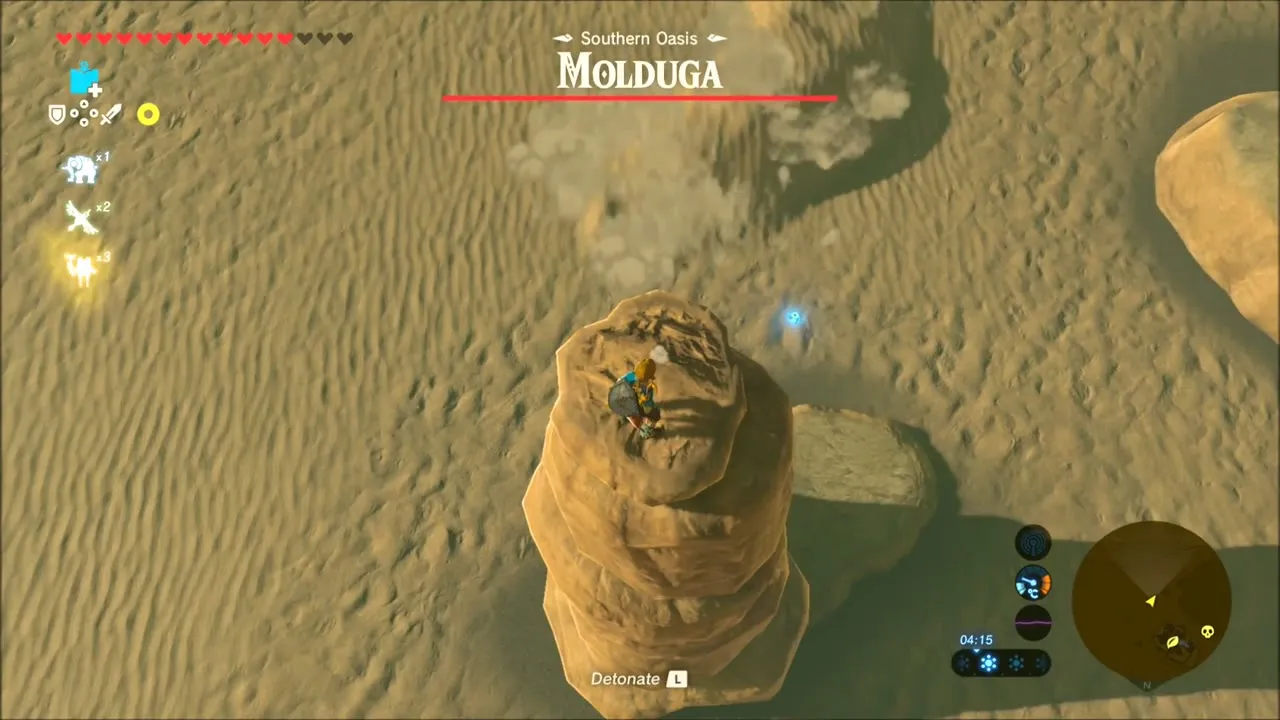
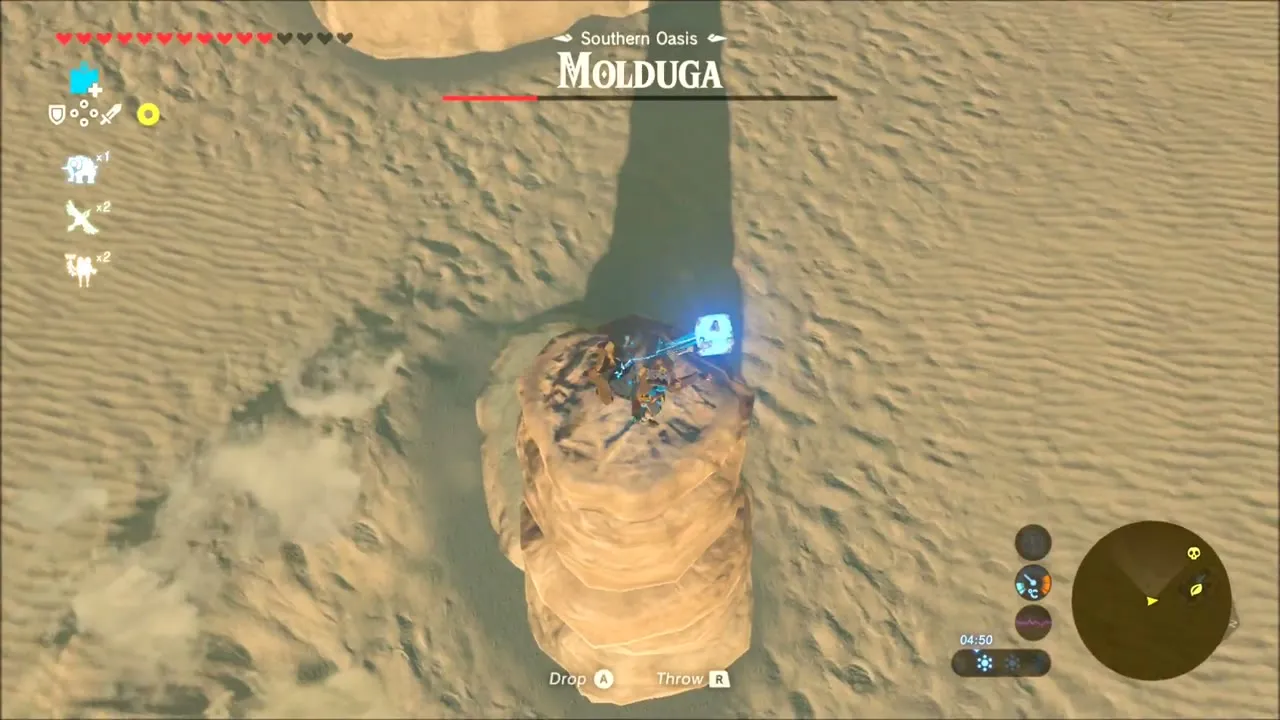
Continue east to the Southern Oasis, where another Molduga stirs under the “Southern Oasis” title. Use the same bomb-and-detonate trick from a pillar or rock and gather its parts. Chests near the arena hold a Royal Halberd and a Royal Bow.


Among the palm trees of the oasis, look up: a Korok is sitting in the fronds above and calls out when you find it. A chest rests on the sand beside a few clay pots, and further on a short climb over a pile of rocks takes you to another Korok seed on top.


The Undefeated Champ: Sand-Seal Race and Raqa Zunzo Shrine
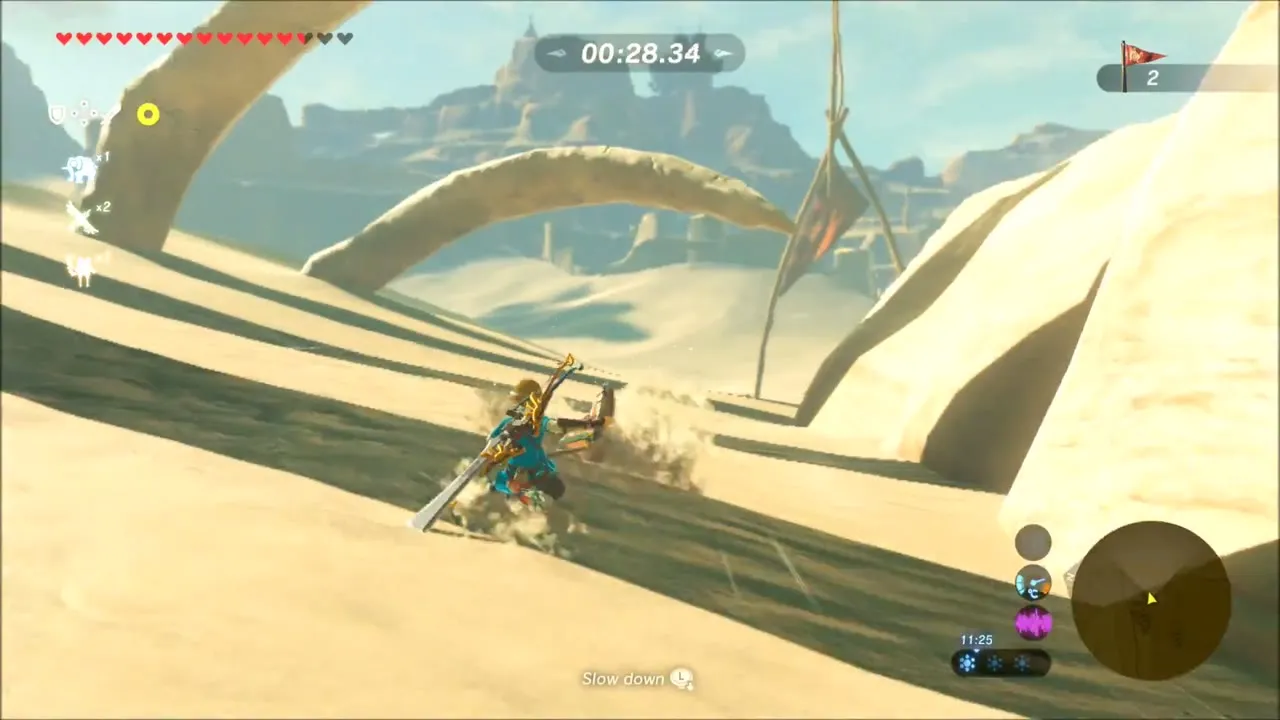
The Sand-Seal Rally (x -3773, z 3198) lies just south of Gerudo Town. Shabonne tells you about the grand trophy and the record held by Tali; pay the entry fee, ride your shield behind the sand seal and pass through the gates. The time to beat is 1:30, which a clean run beats comfortably, and the shrine quest The Undefeated Champ is complete as soon as you do.
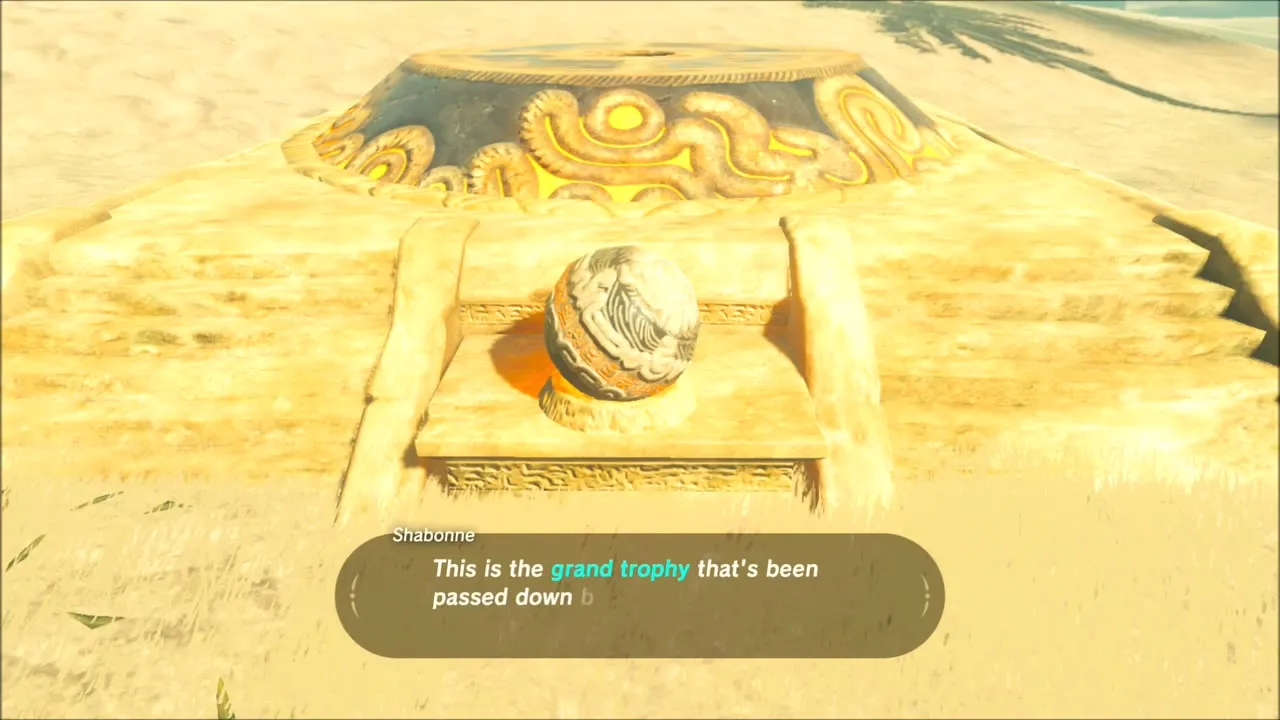


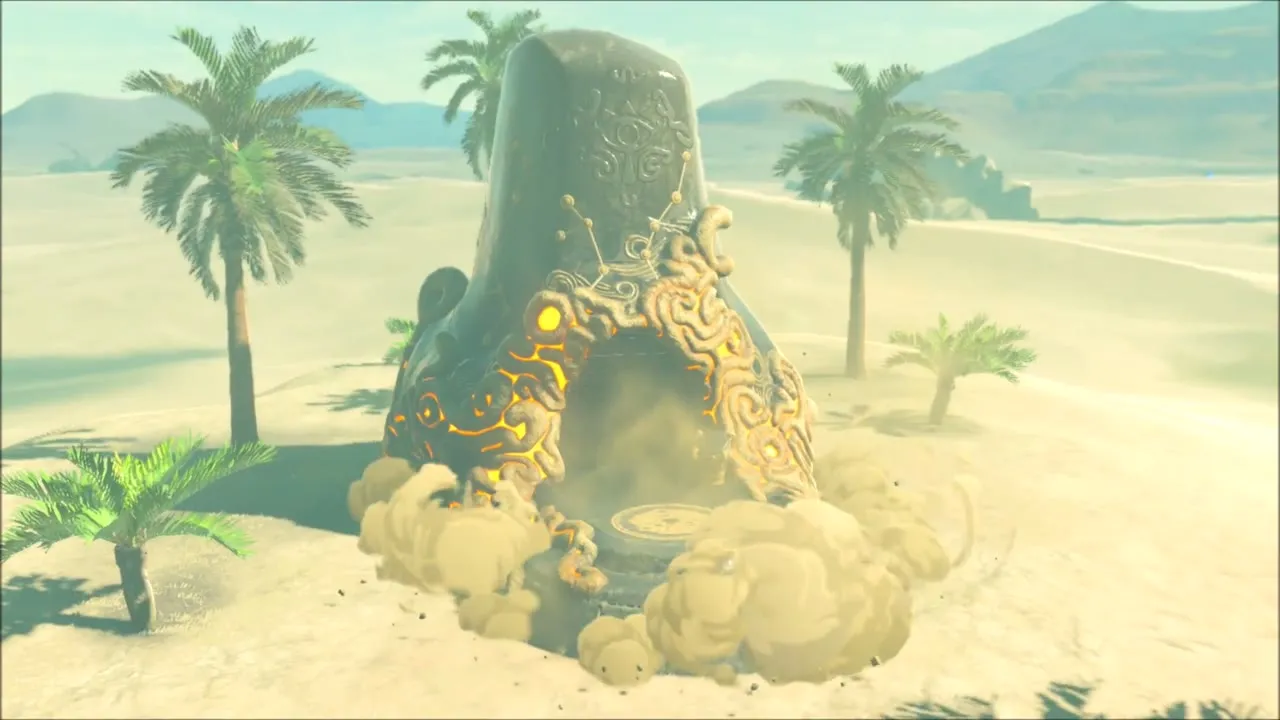
Set the prize on the pedestal beside the course and the Raqa Zunzo Shrine (x -3810, z 3127, height 168) rises from the sand. There is no puzzle inside: take the Radiant Shield from the chest and speak to the monk for the Spirit Orb.


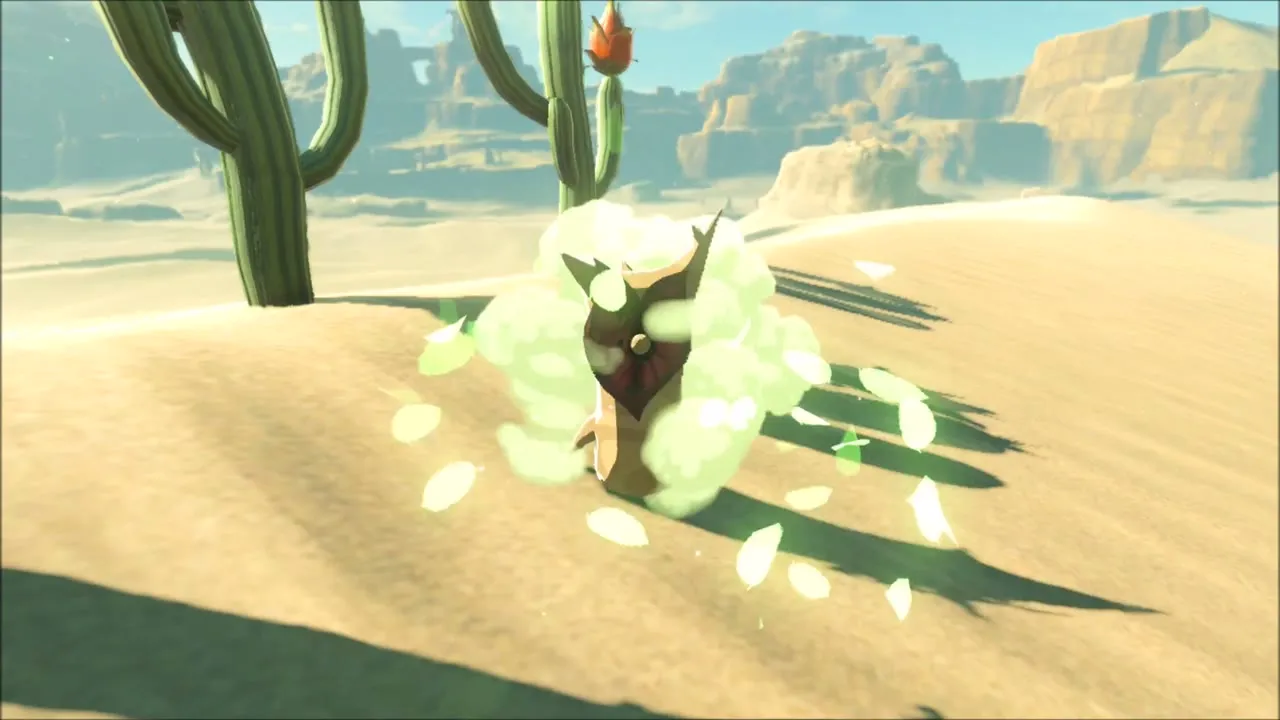
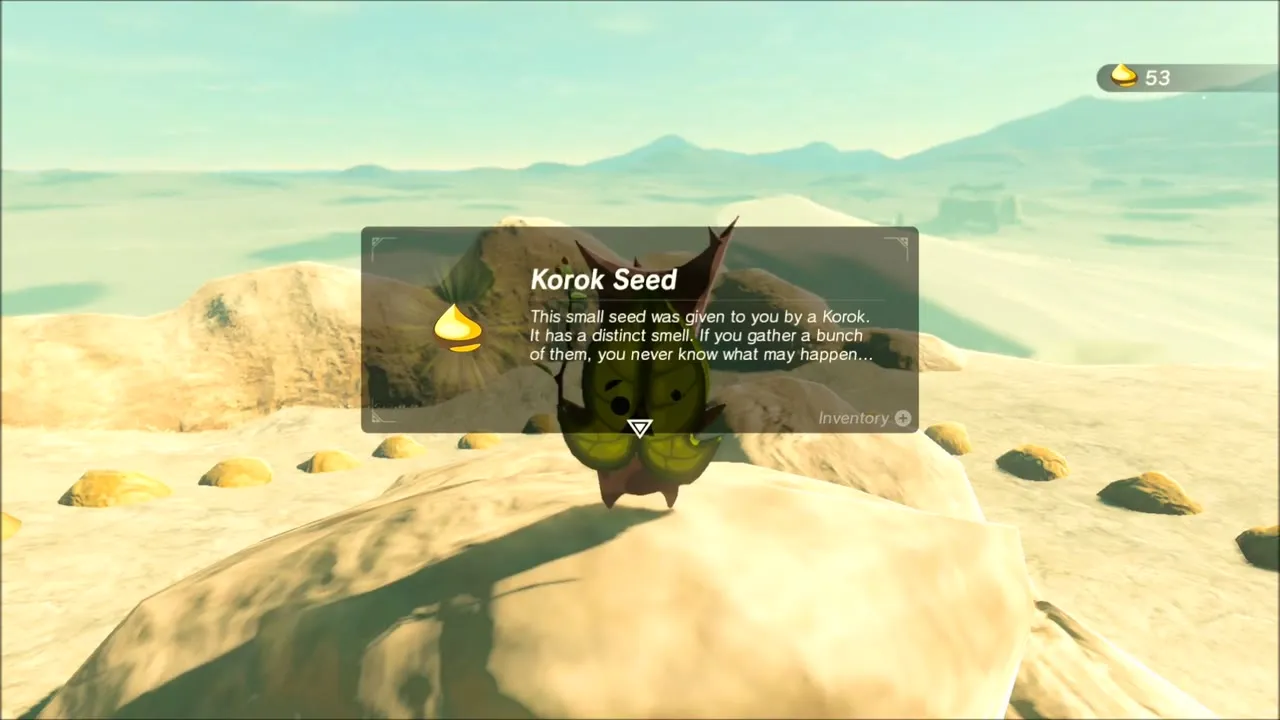
Two Koroks lie close together out on the sand. One is beside a cactus on a long dune slope, and the seed appears when you reach it. The other sits on a rock ringed with small round stones, and says “You found me” as you step up.

The Perfect Drink: Misae Suma Shrine
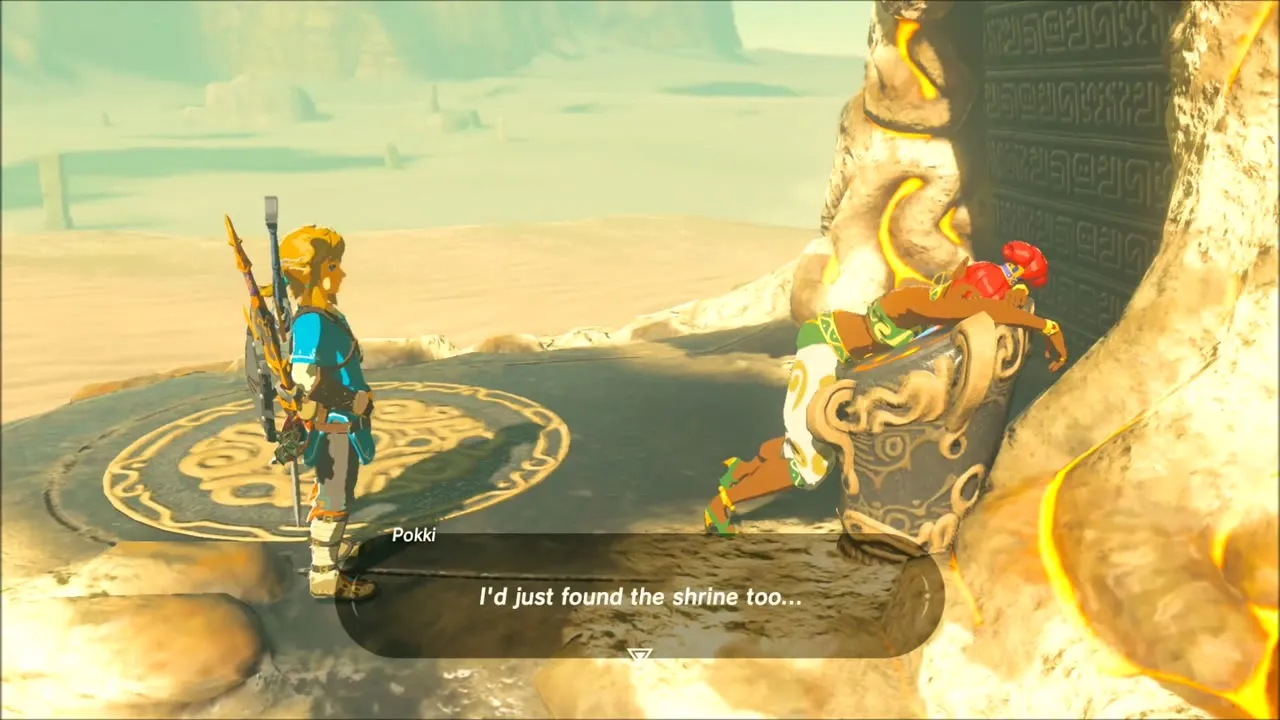
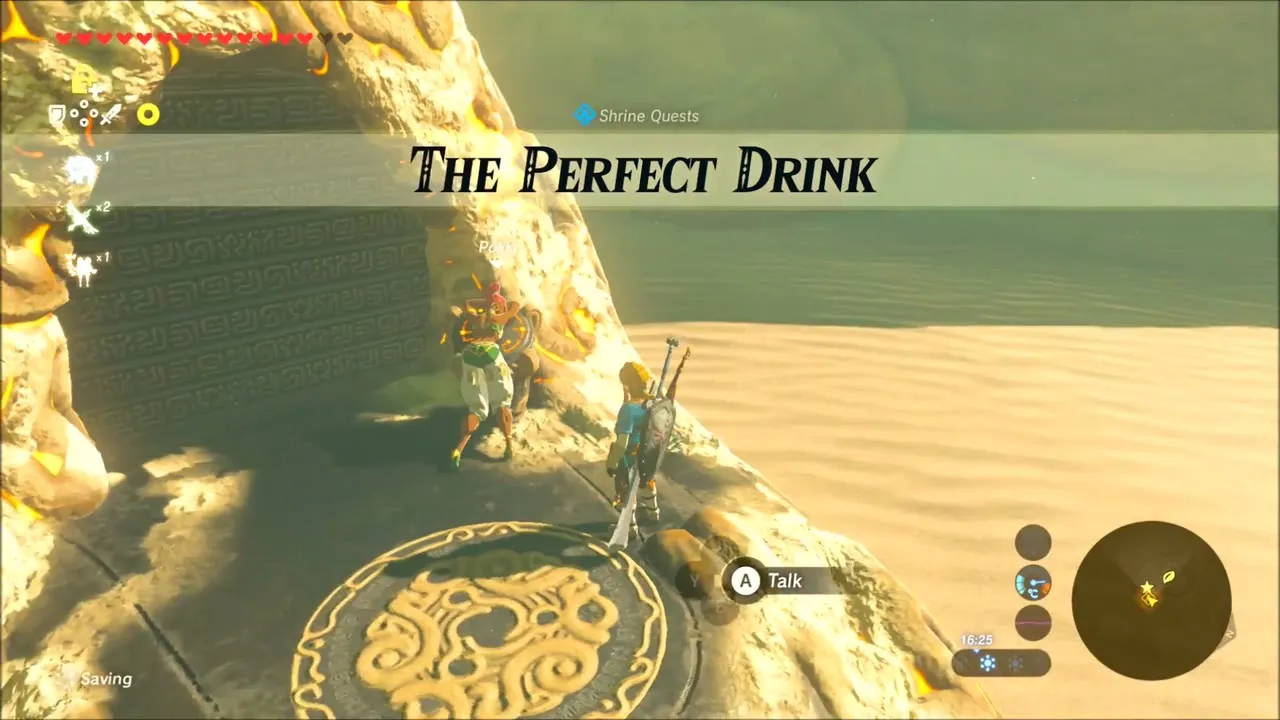
The shrine quest The Perfect Drink begins at a terminal in the desert south-east of Gerudo Town, where an exhausted Gerudo named Pokki lies and asks for one last Noble Pursuit. Go to Gerudo Town and talk to the bartender Furosa: she cannot make the drink without ice and wishes someone would fetch it.
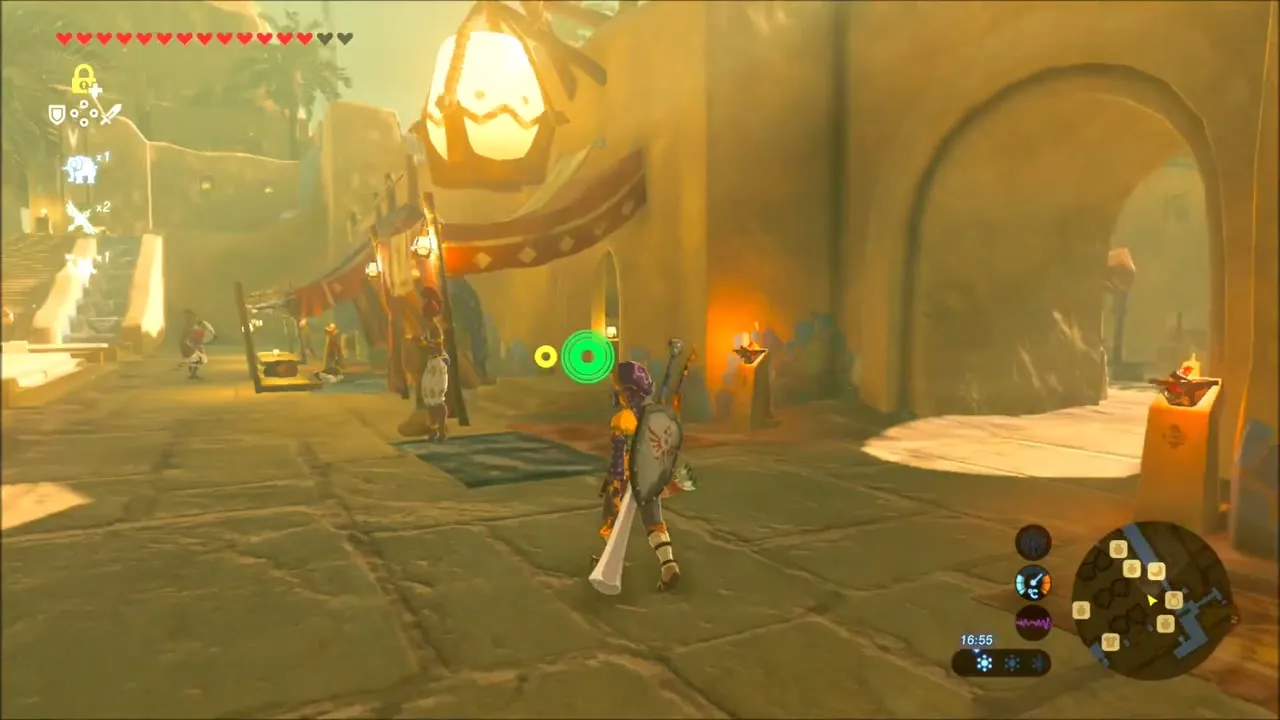
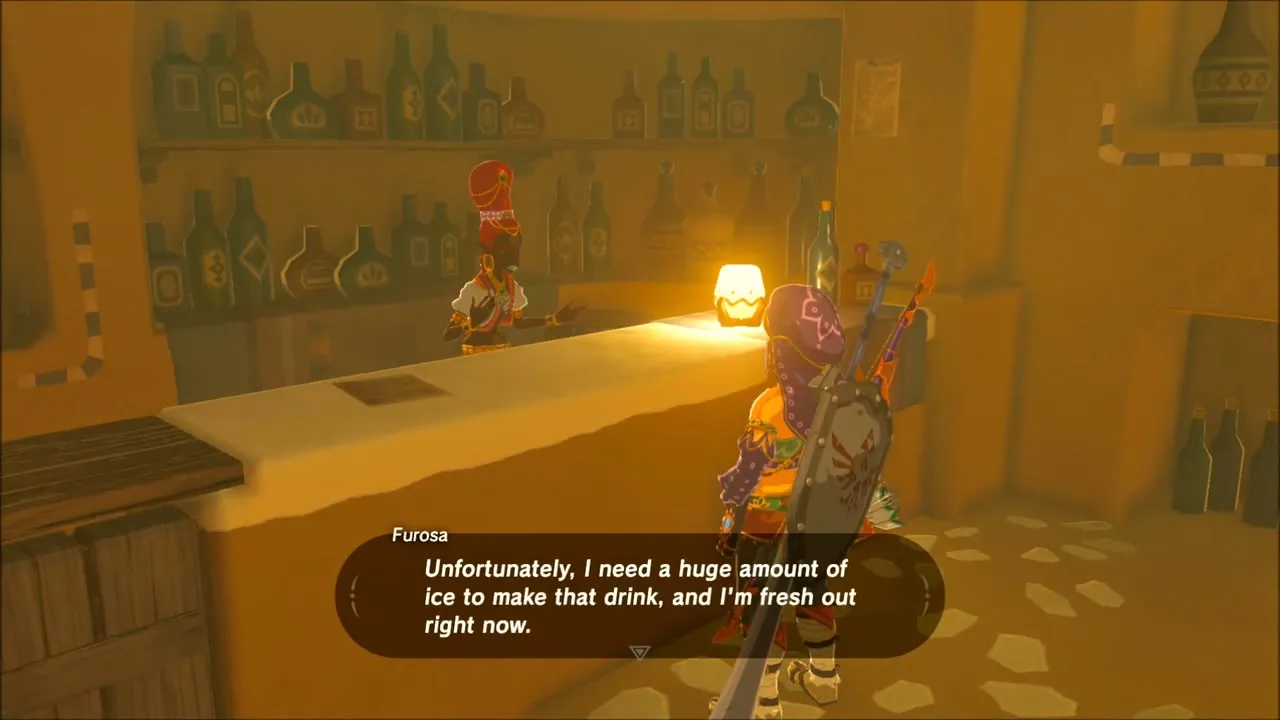
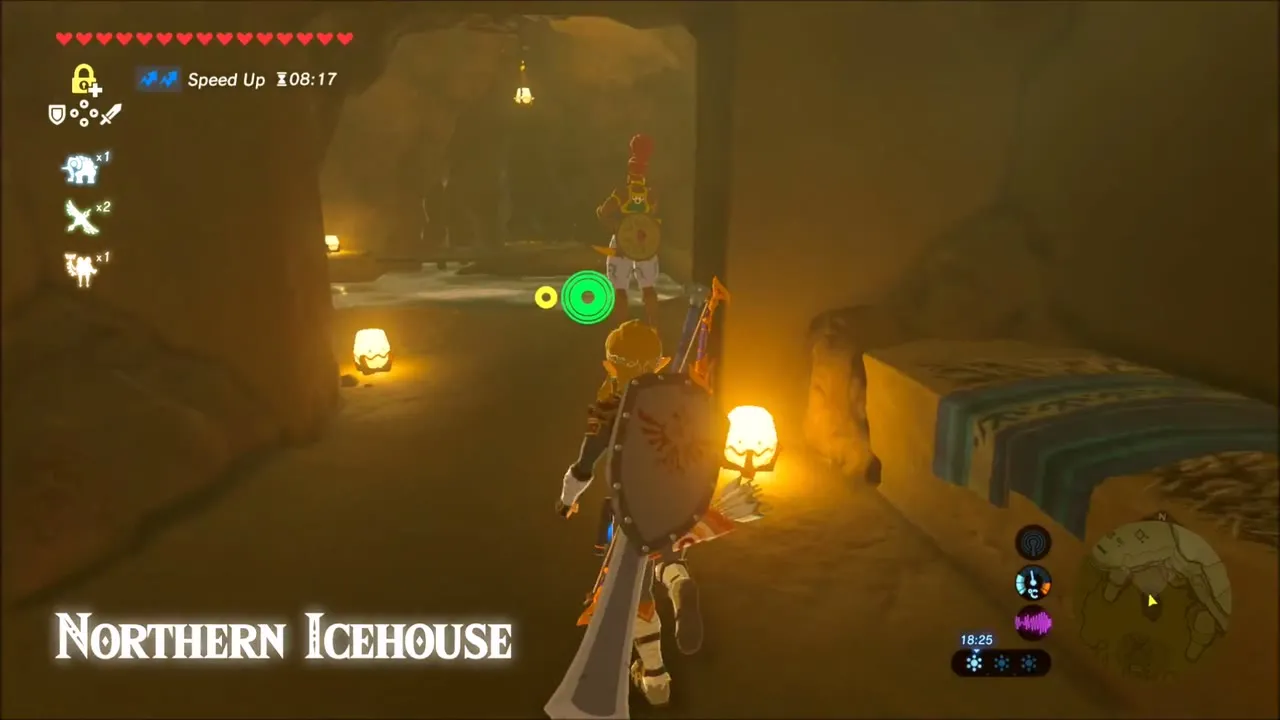
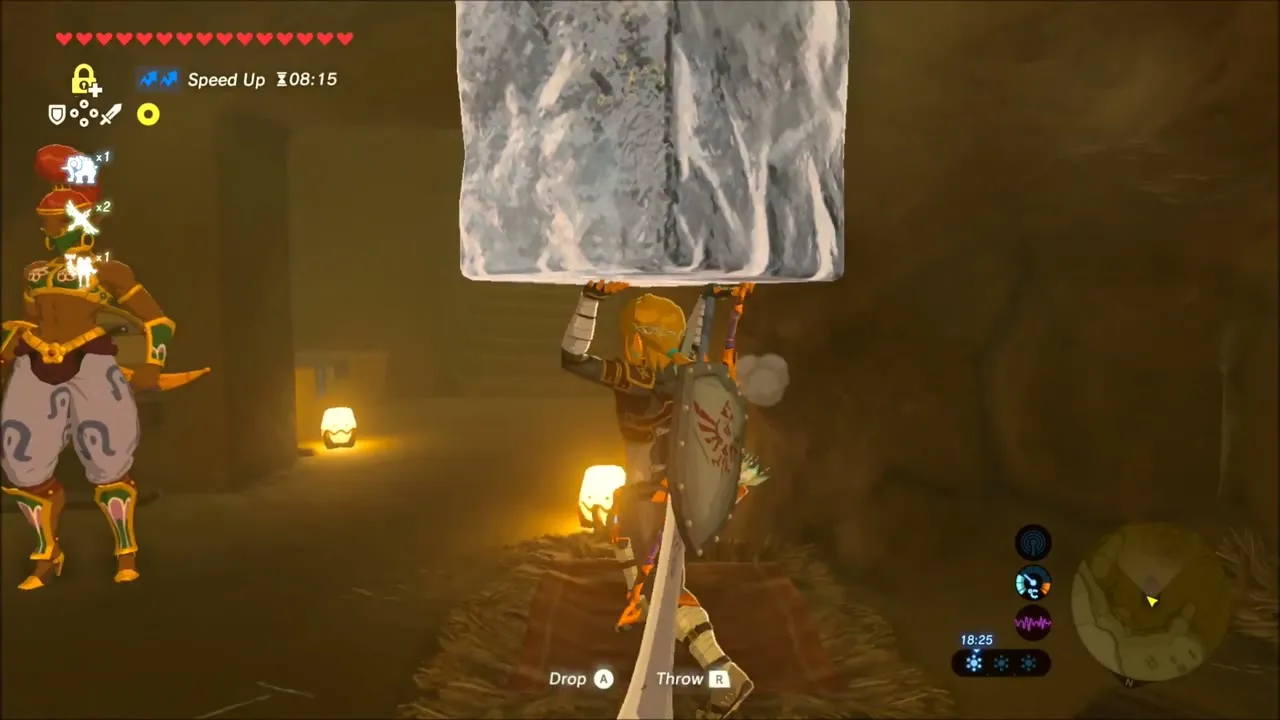
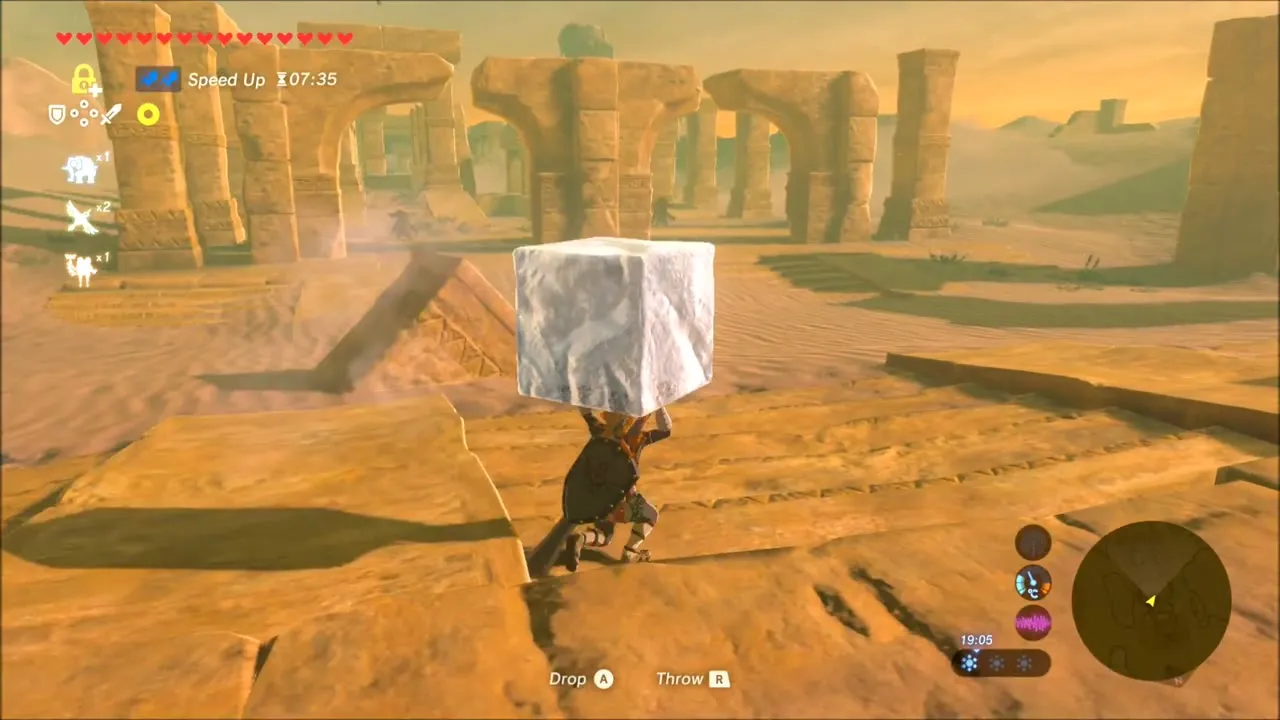
Take the ice from the Northern Ice House and carry the block back across the ruins, staying in the shade and never stopping, since ice melts in the sun. Hand it to Furosa, then return and tell Pokki that her drink is waiting at the Noble Canteen.

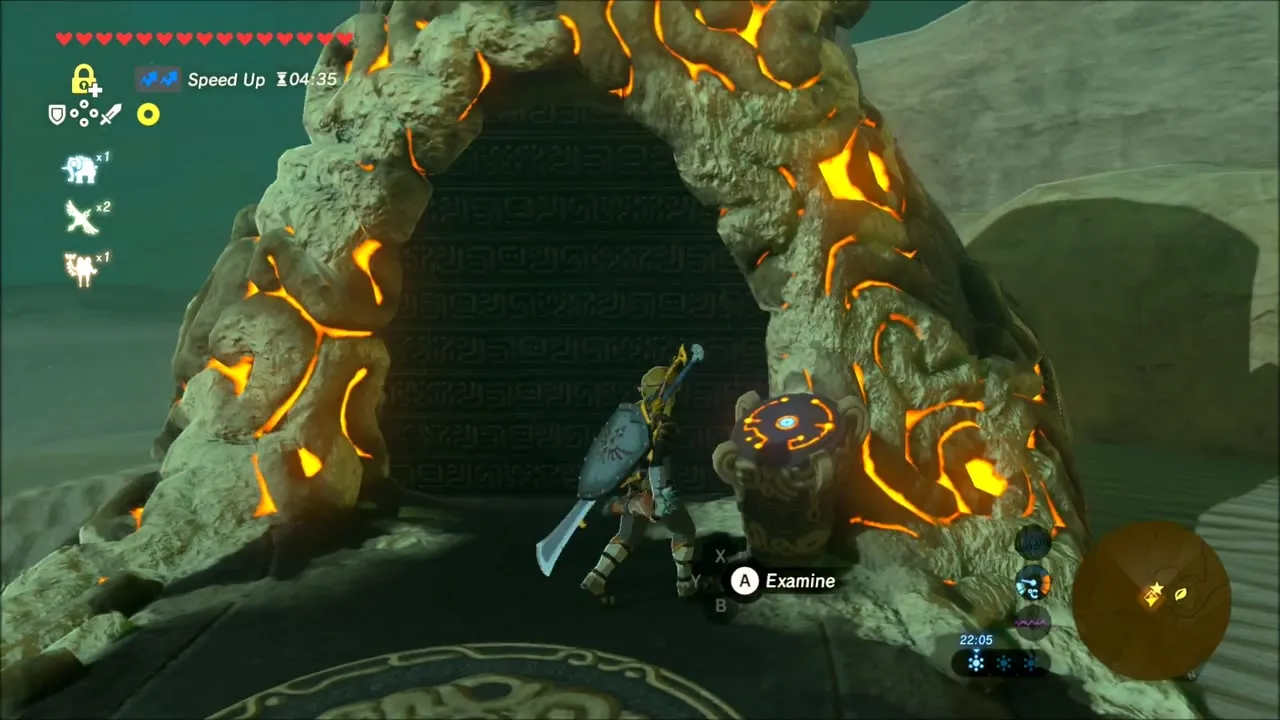
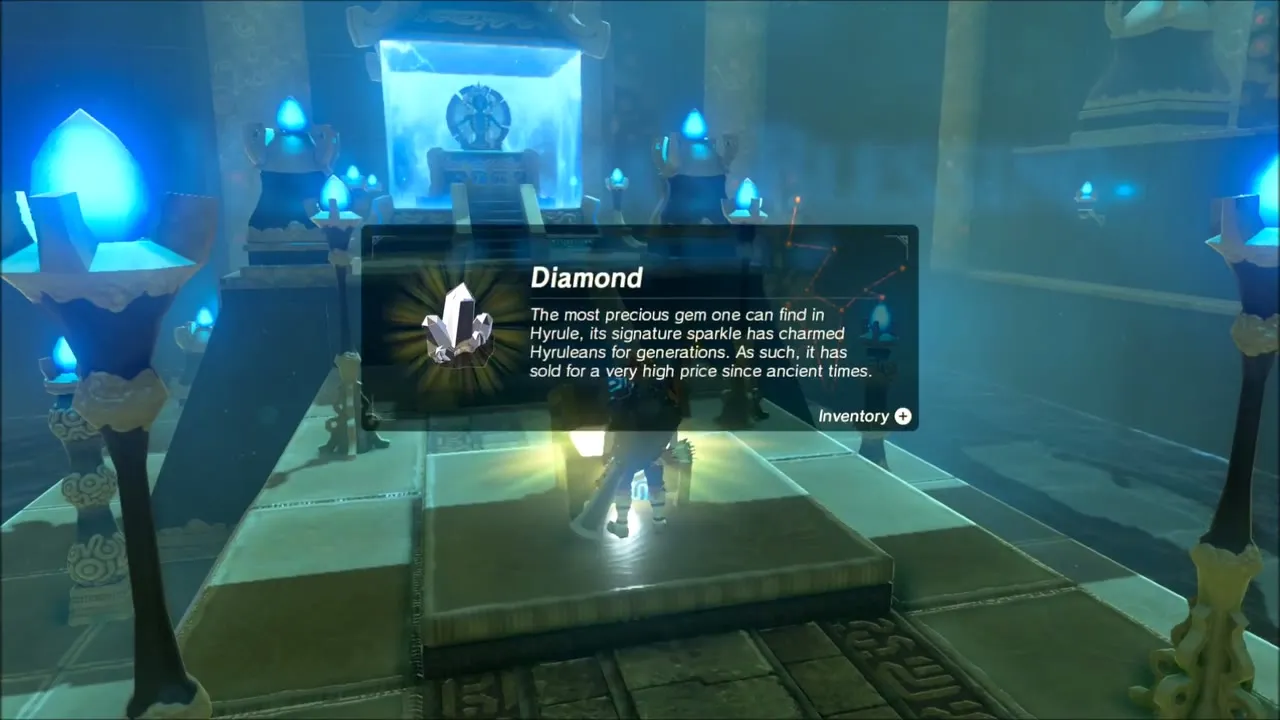
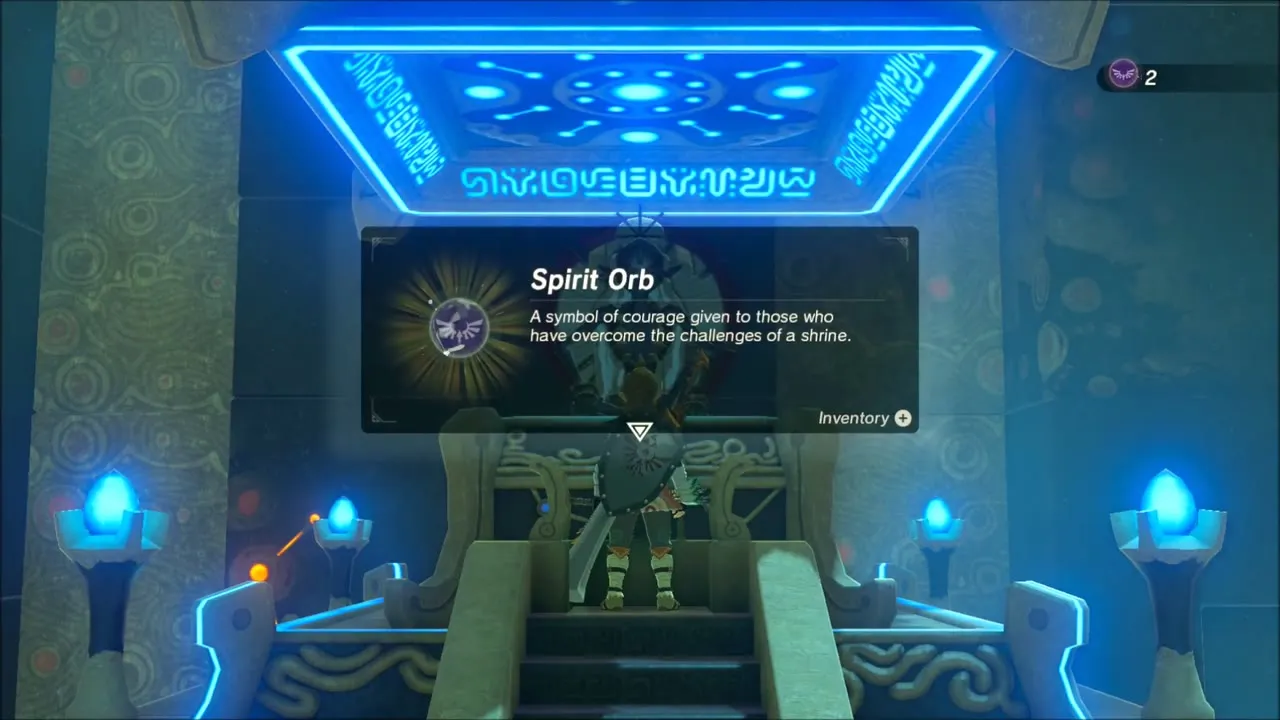
Pokki says she cannot take it anymore and runs back to town, freeing the terminal. Scan it and the Misae Suma Shrine (x -2970, z 3781, height 151) opens. Open the chest for a Diamond and speak to the monk for the Spirit Orb.

East Barrens: Korok Seeds, a Cave Chest and the Mesa
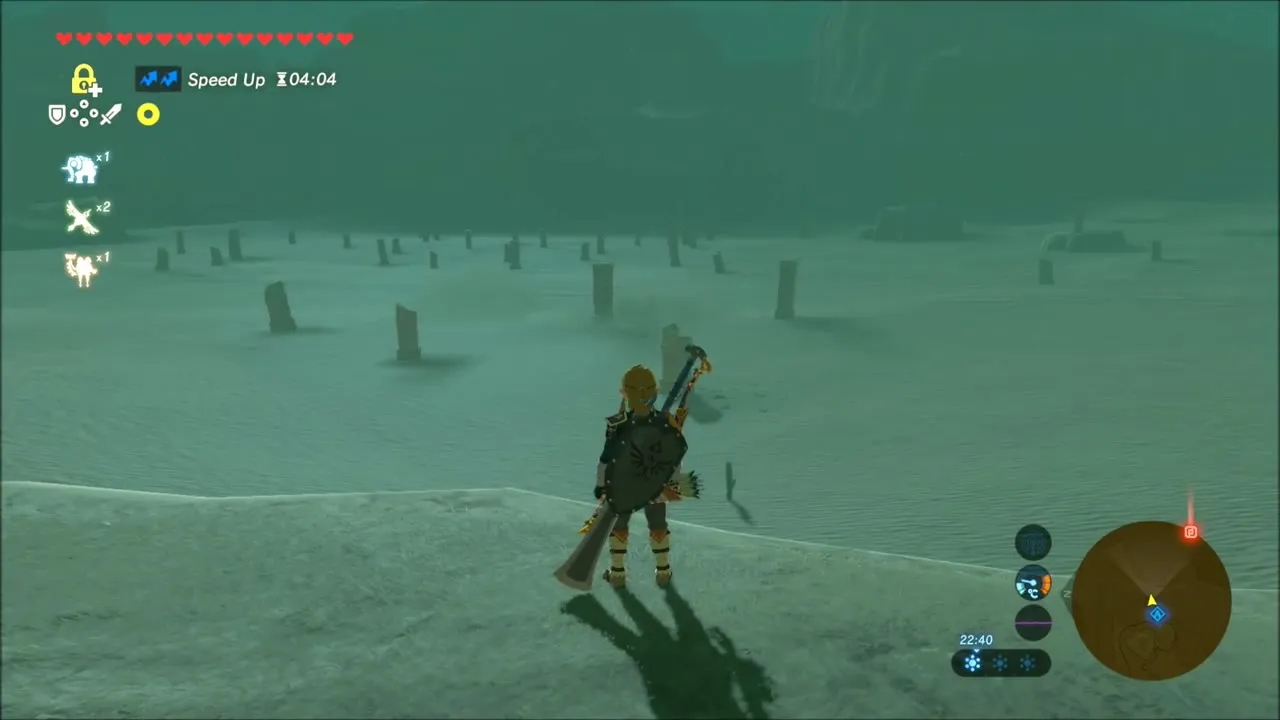
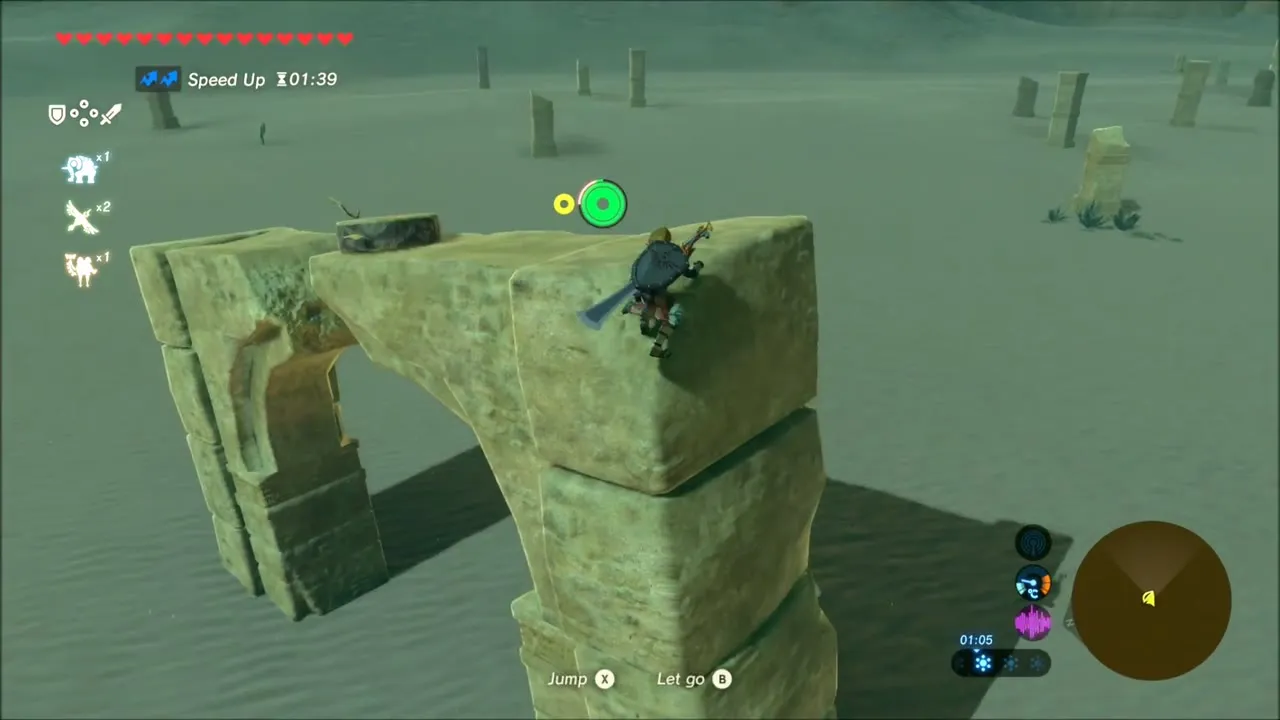
Set a stamp on the East Barrens and cross the flat sand between the broken stone pillars. One Korok waits on top of a tall flat slab, which you reach by climbing the standing pillar next to it, and a second hides among the sand-covered ruins close by.

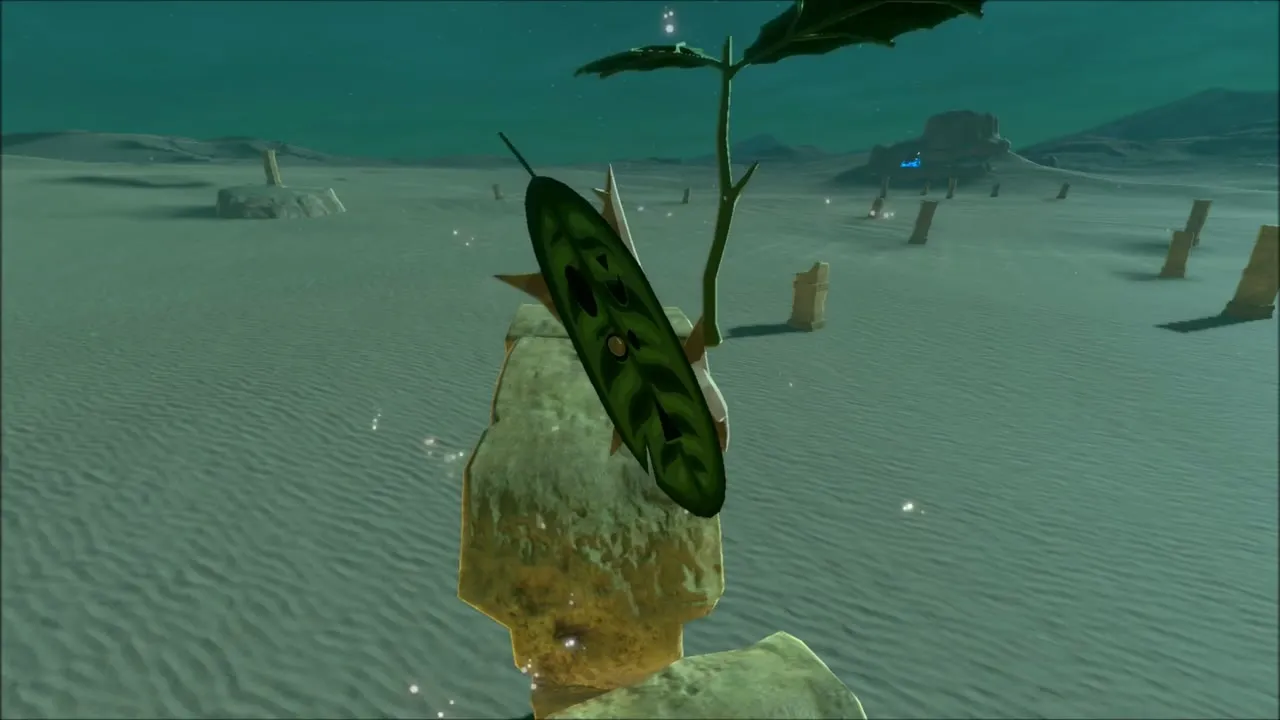
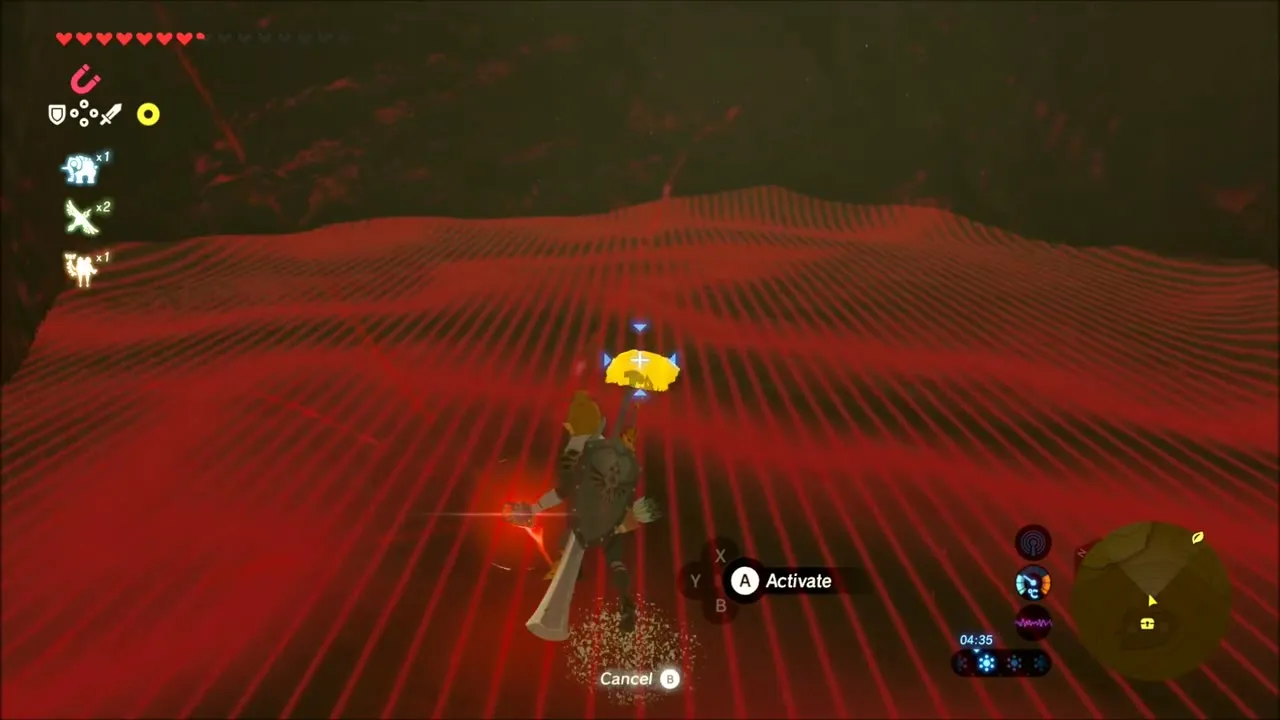
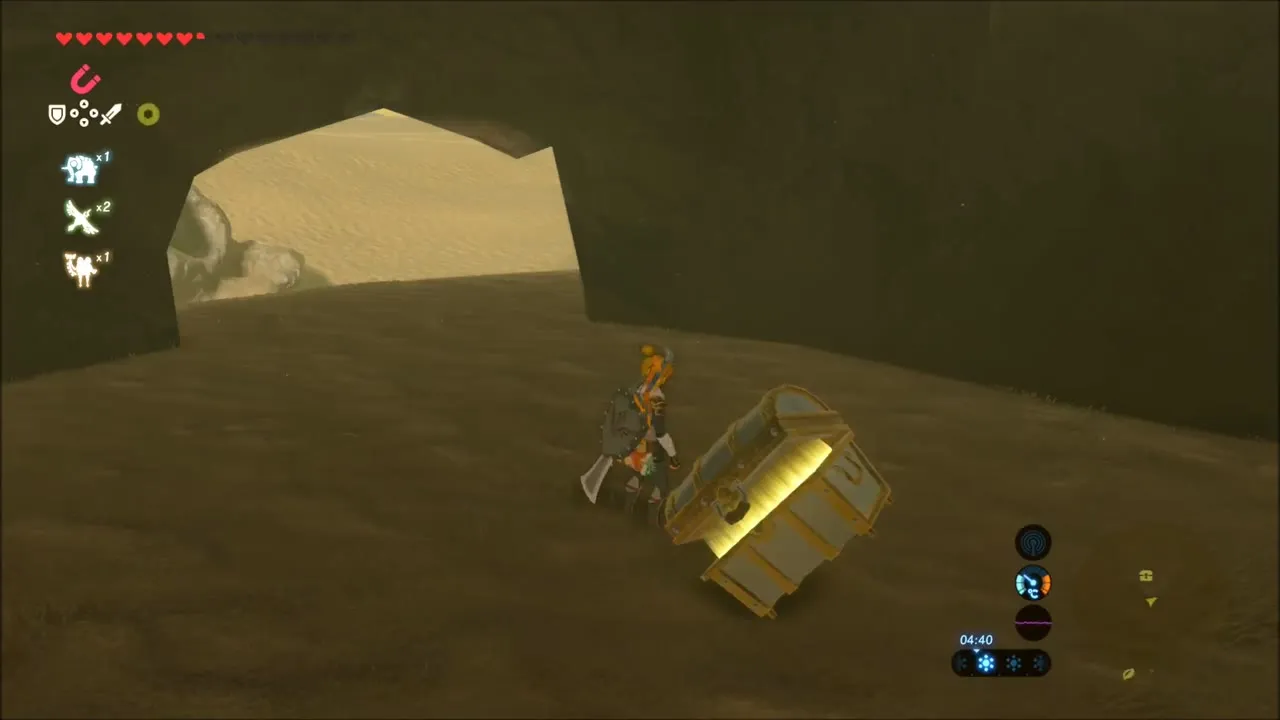
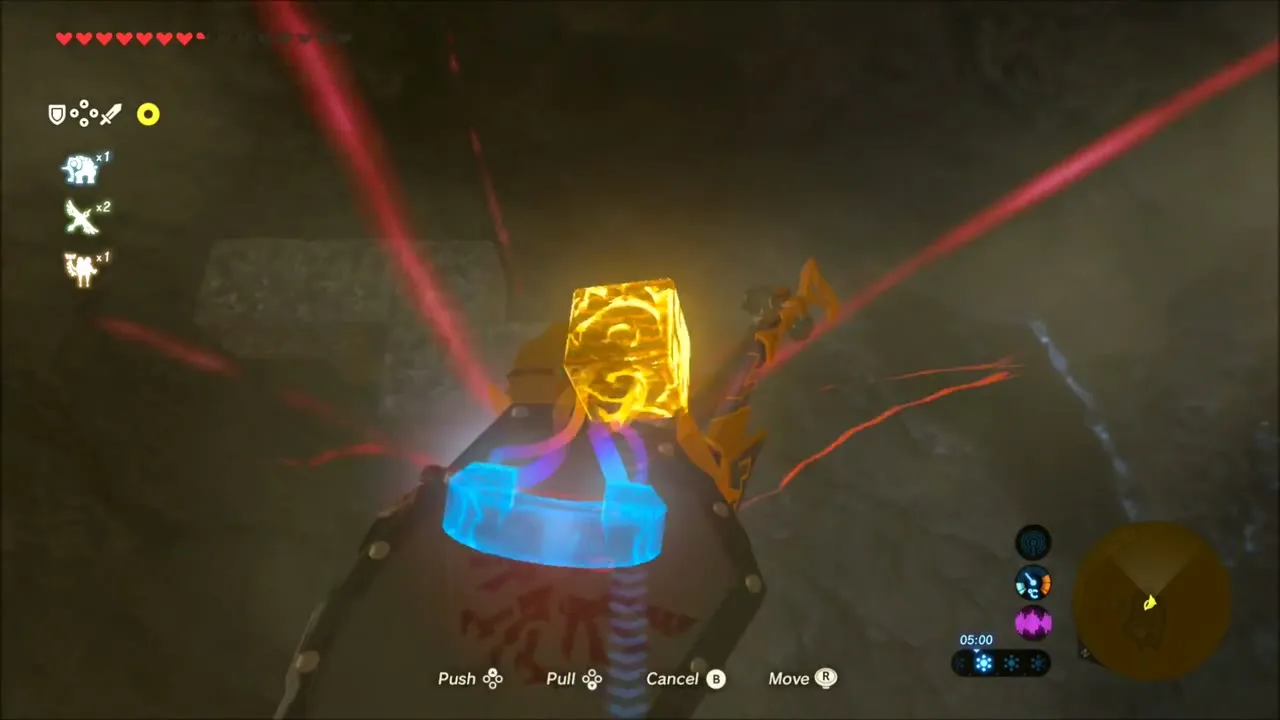
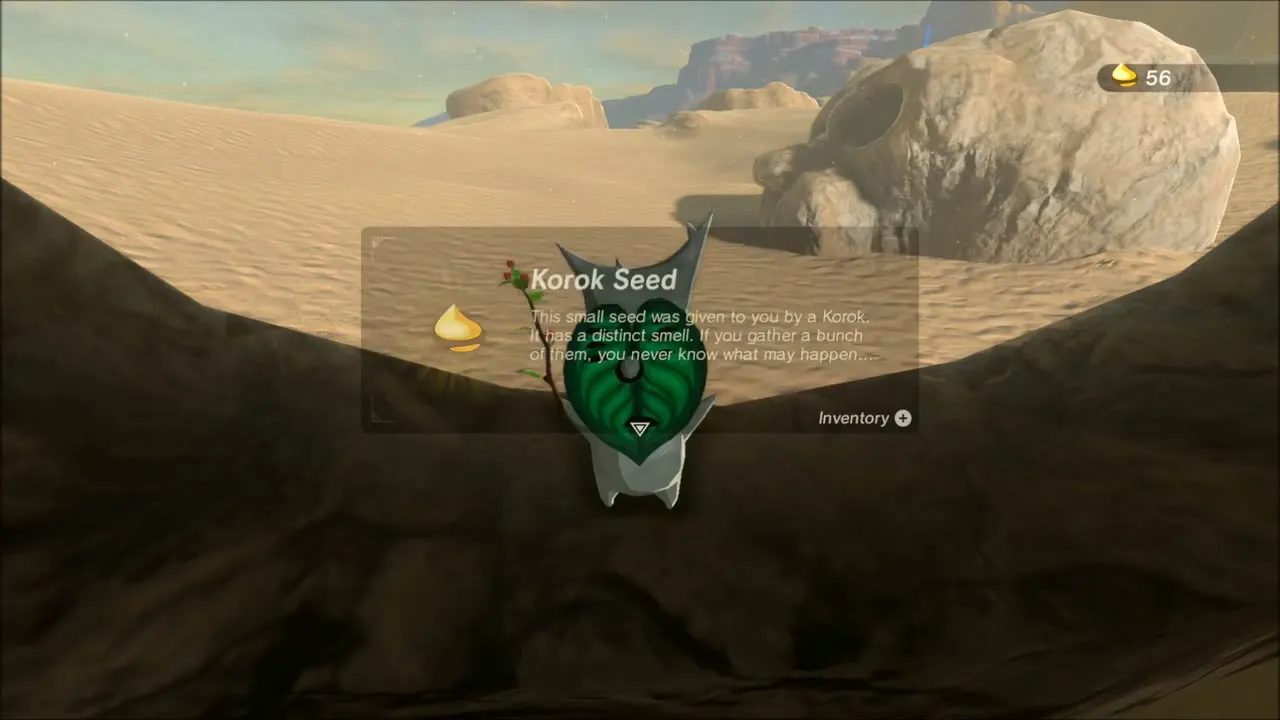
A dark cave in the dunes holds a chest of Bomb Arrows, with red lasers across the floor and a metal block to move with Magnesis. Keep going through the cave: a leaf-wearing Korok sits at the end of the passage and drops a seed.
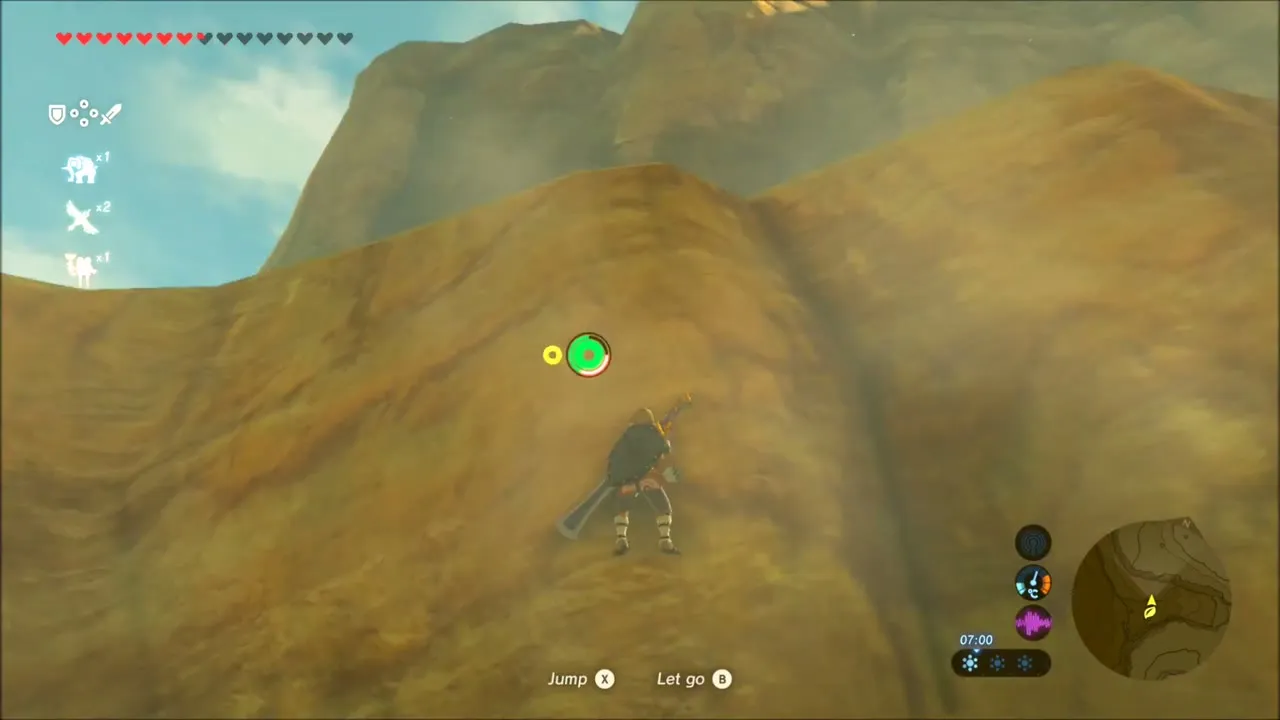
Climb the cliffs of the East Gerudo Mesa one ledge at a time. One Korok sits on top of a stone pillar that is out of reach until you use Magnesis on the metal block hanging from the wooden scaffold beside it. Another is waiting at the top of the bluff, and one more seed is within gliding distance of the summit.


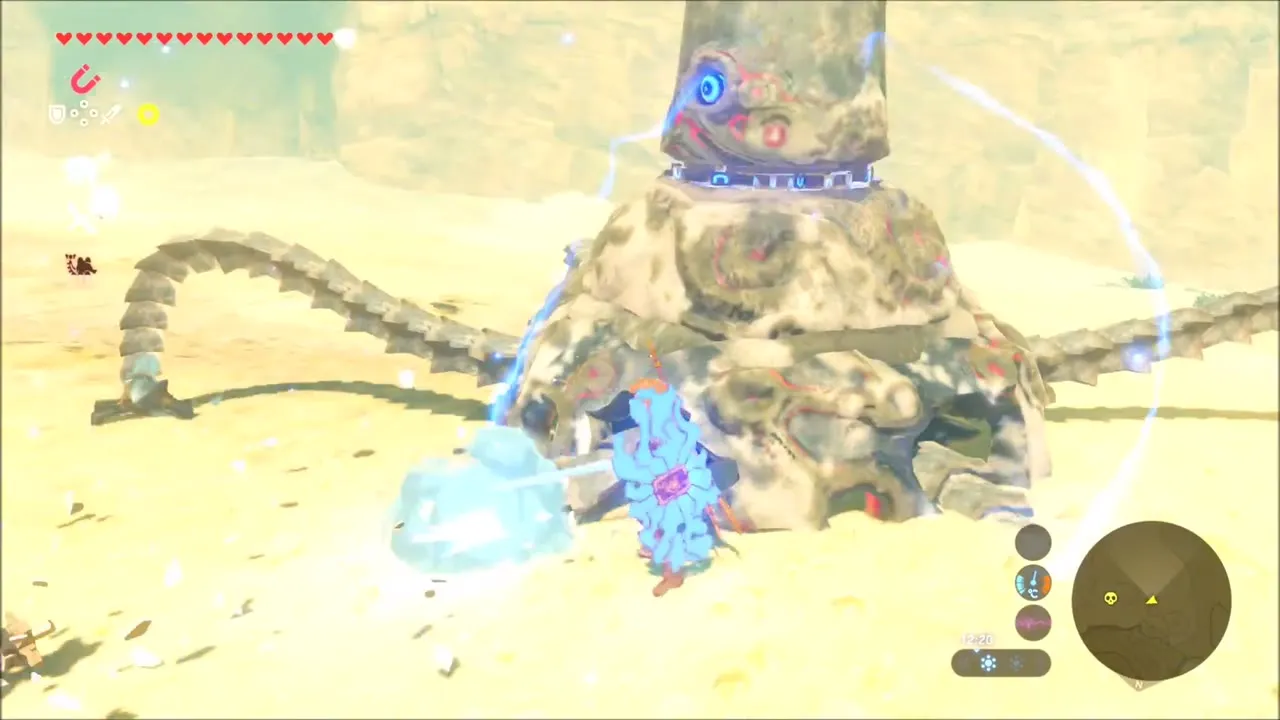
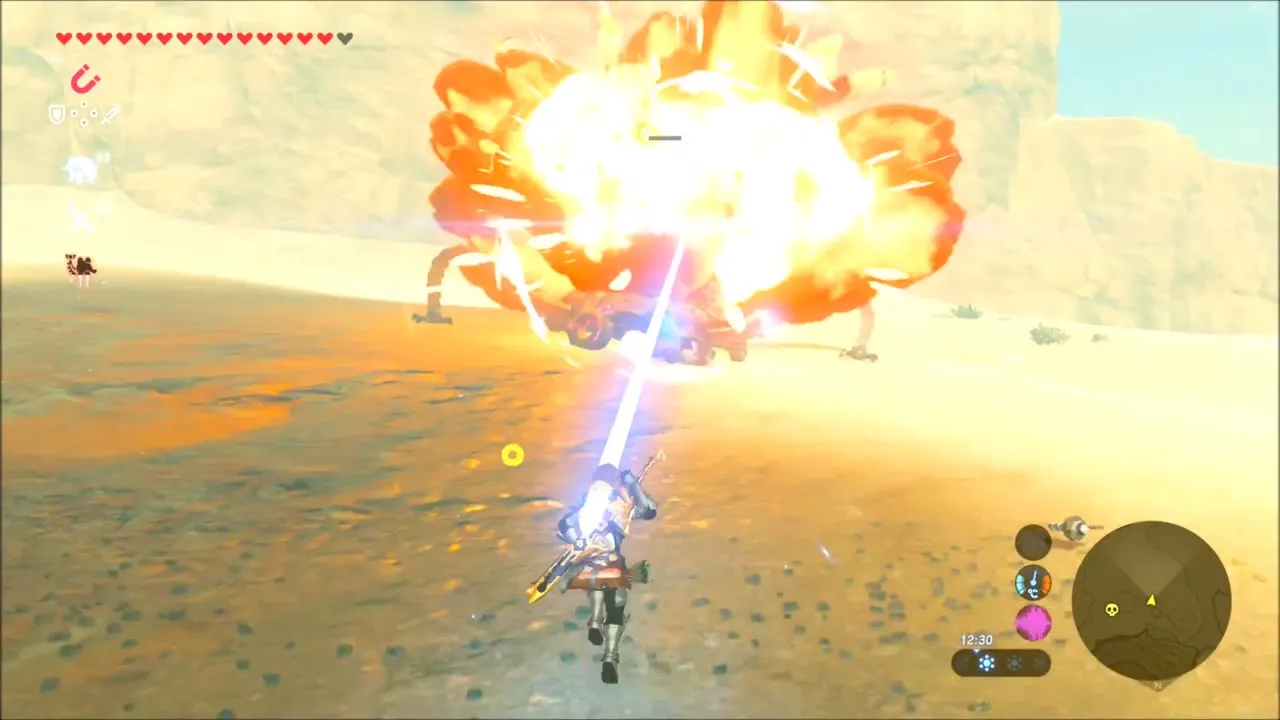
At the foot of the mesa a Guardian marches towards you. Raise your shield at the last instant of its beam to reflect the shot with a perfect guard, and the Guardian explodes.

South Lomei Labyrinth: Dila Maag Shrine and The Desert Labyrinth
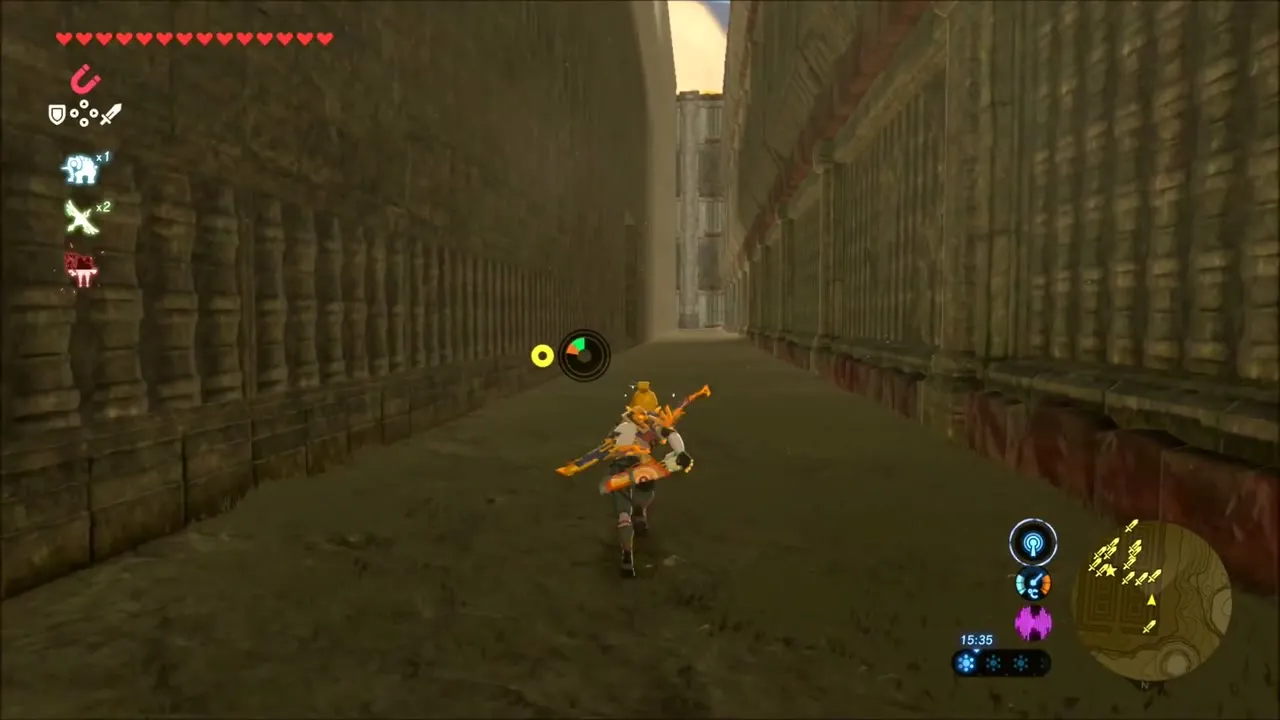
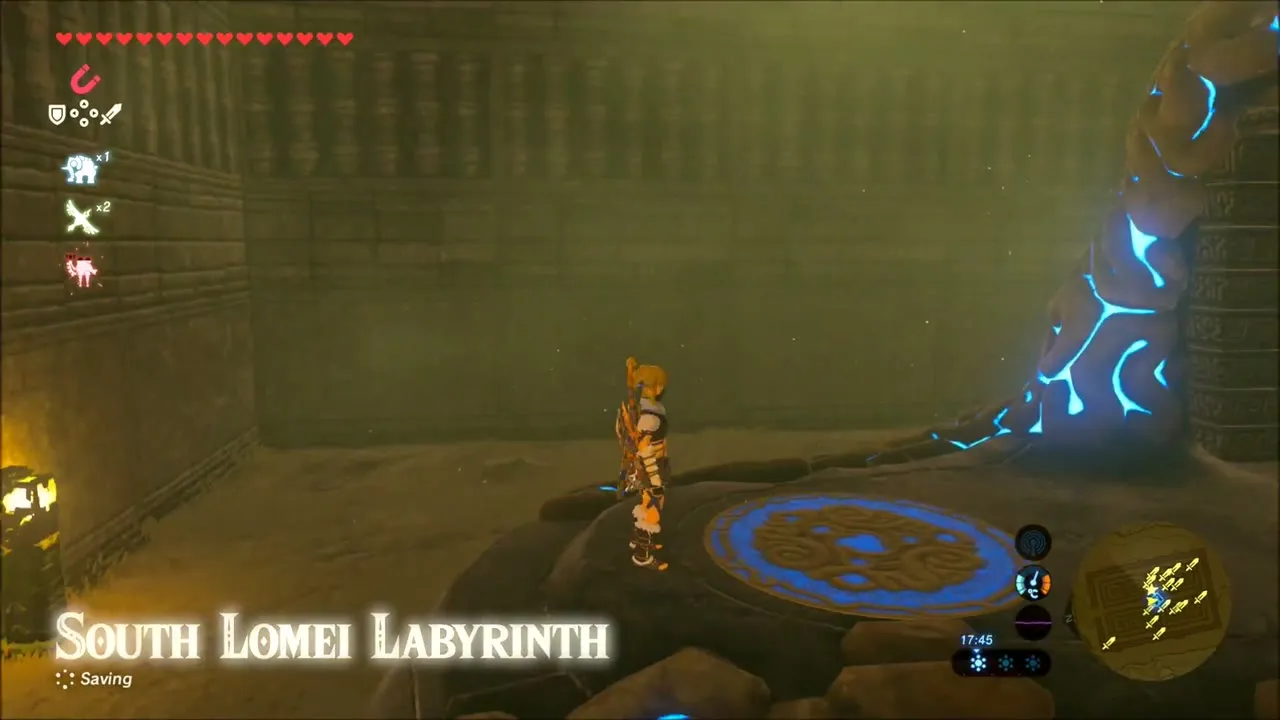
The South Lomei Labyrinth lies in the south-east of the desert, in map square D-8, with the Dila Maag Shrine at its centre. Check the map for the maze plan, then walk in at the main gate; this starts the shrine quest The Desert Labyrinth, whose task is to find the shrine in the middle.


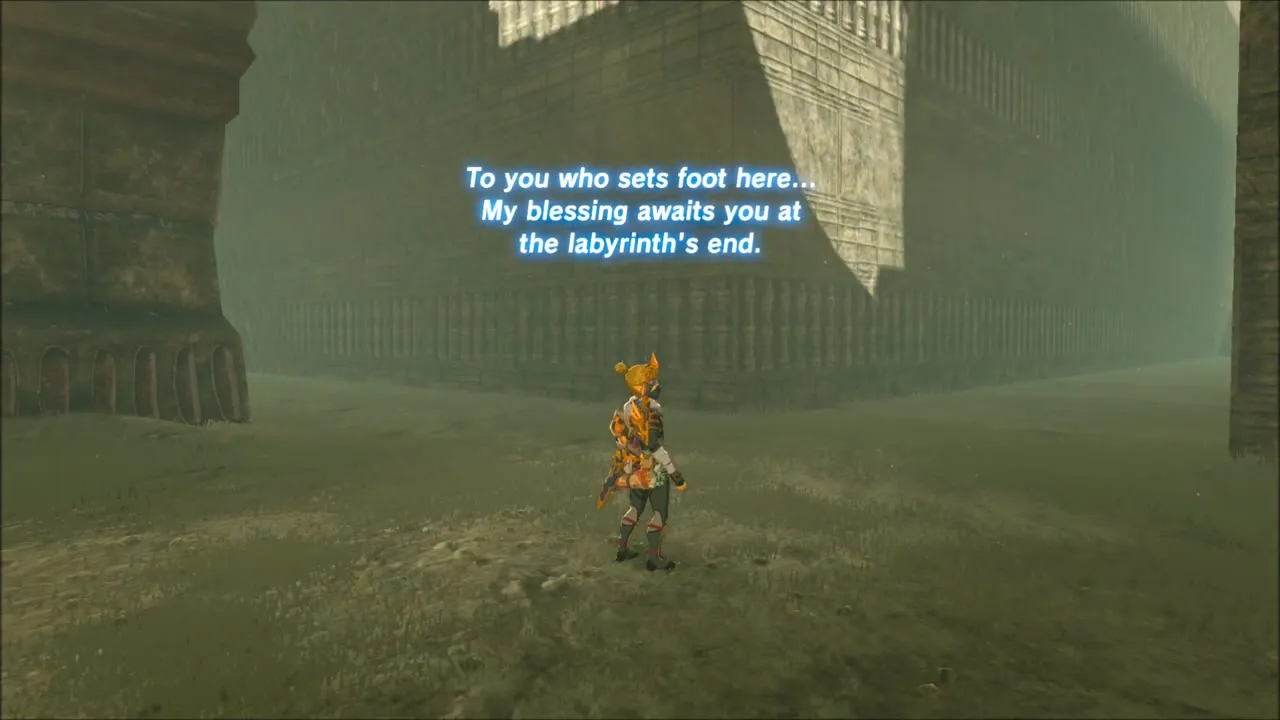
There is no puzzle apart from the layout. Follow the long stone corridors inwards, backing out of dead ends and taking each stair that leads closer to the centre. At the centre the Dila Maag Shrine (x -1795, z 3464, height 177) rises, and the quest is complete when you enter.


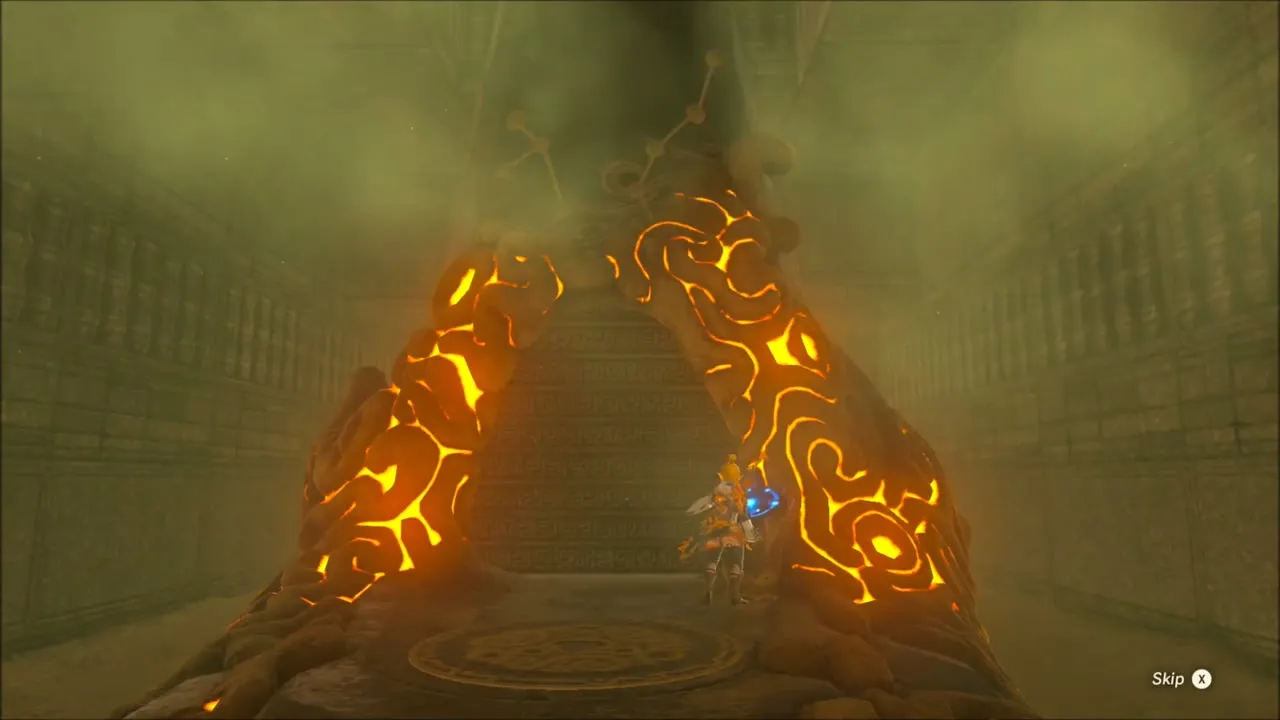
Dila Maag is a blessing shrine: speak to the monk for the Spirit Orb. The chest holds a piece of the Barbarian Armor set; which piece depends on the order in which you complete the three labyrinths. Walk back out through the maze; the “South Lomei Labyrinth” title shows again as you leave.


East Gerudo Mesa: Climbing for Korok Seeds
North of the labyrinth, the sandstone walls of the East Gerudo Mesa fill the horizon. A canyon here has a camp of skeletons, and Guardians patrol further in. Stay on the rock faces: the route is mostly climbing, resting on each ledge to refill stamina.

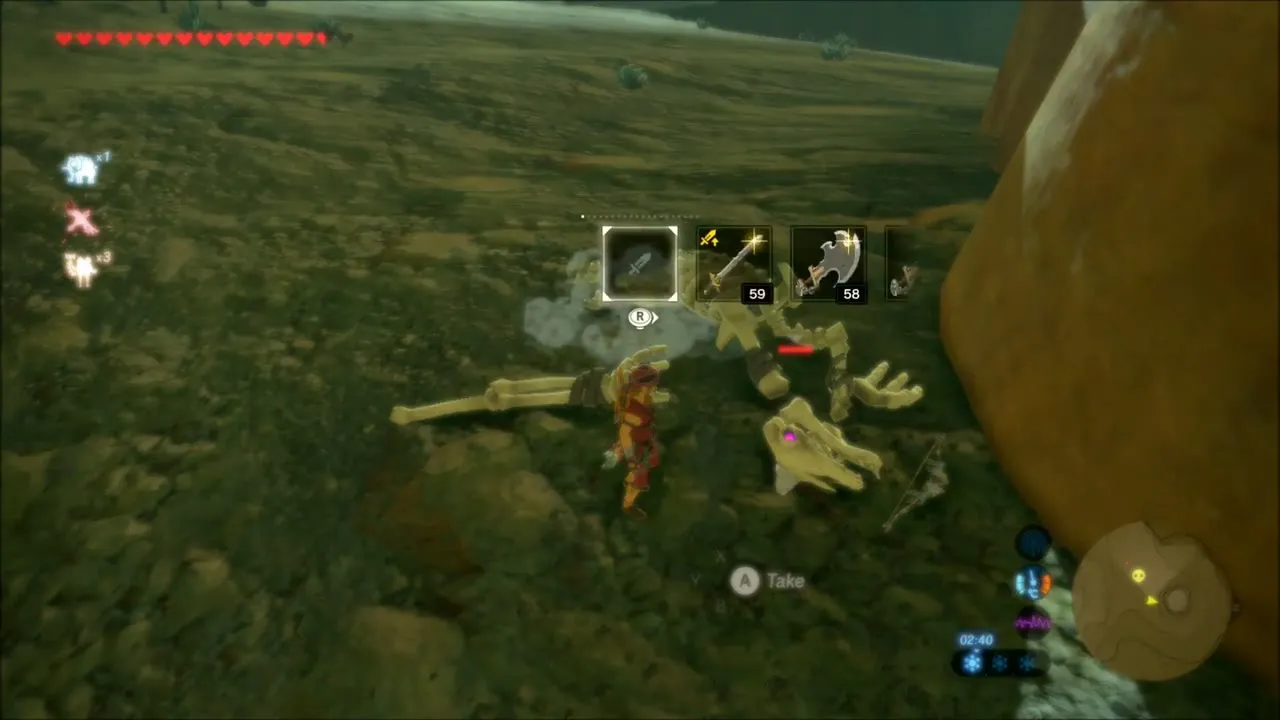

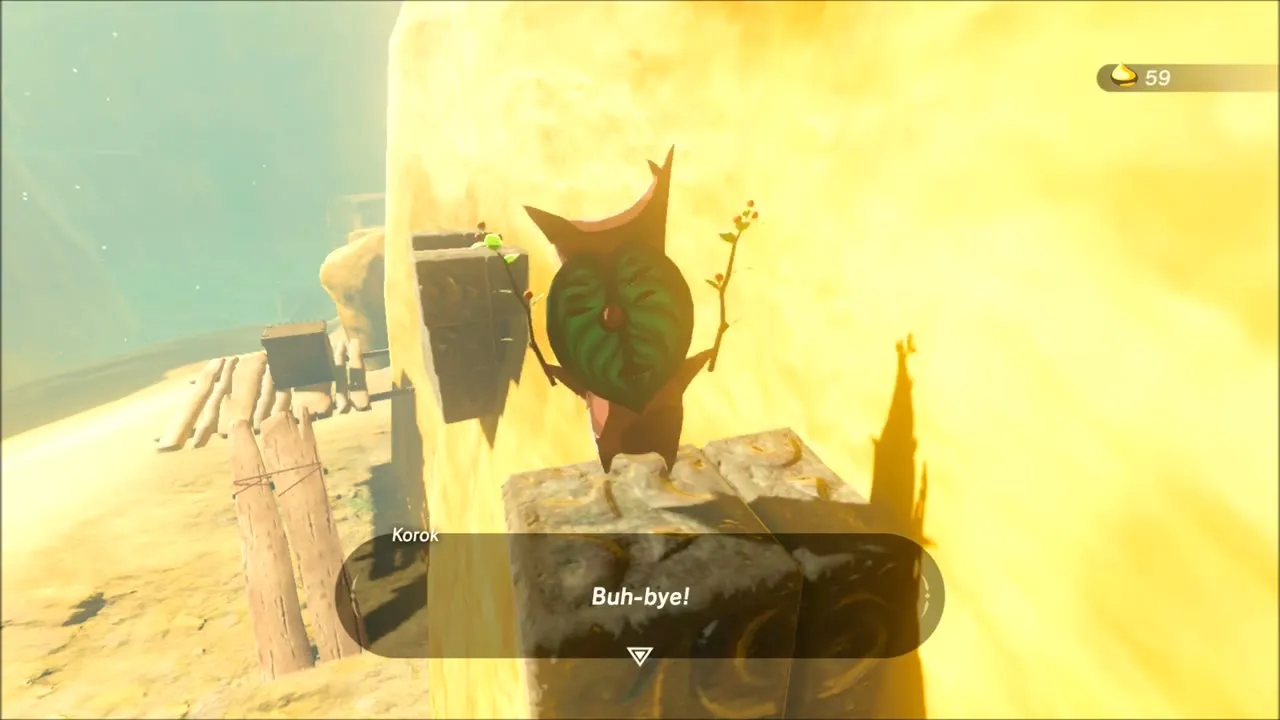
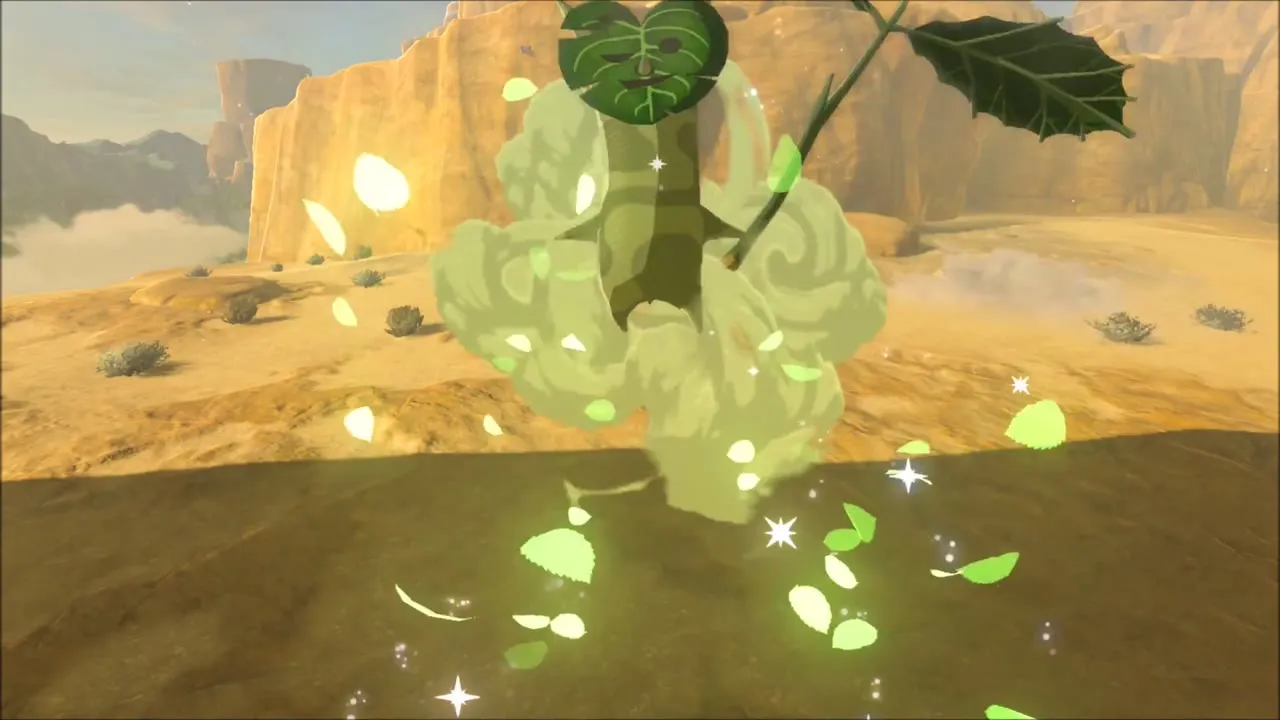
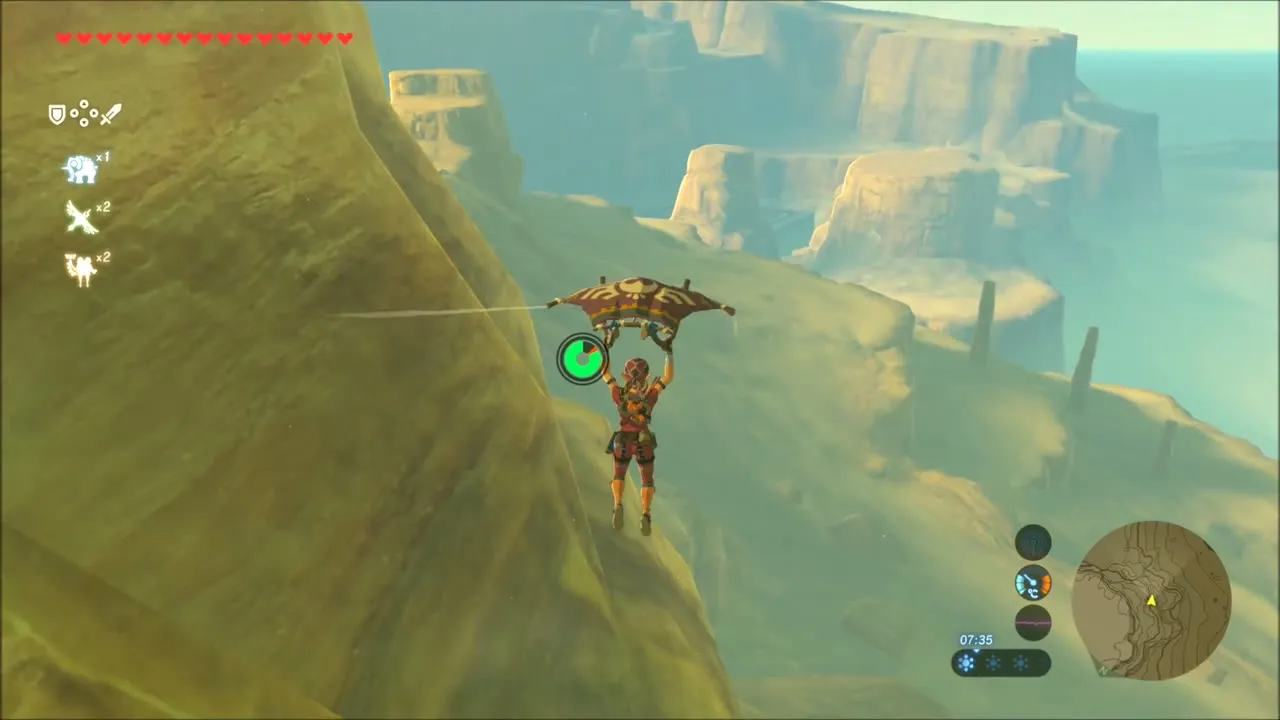
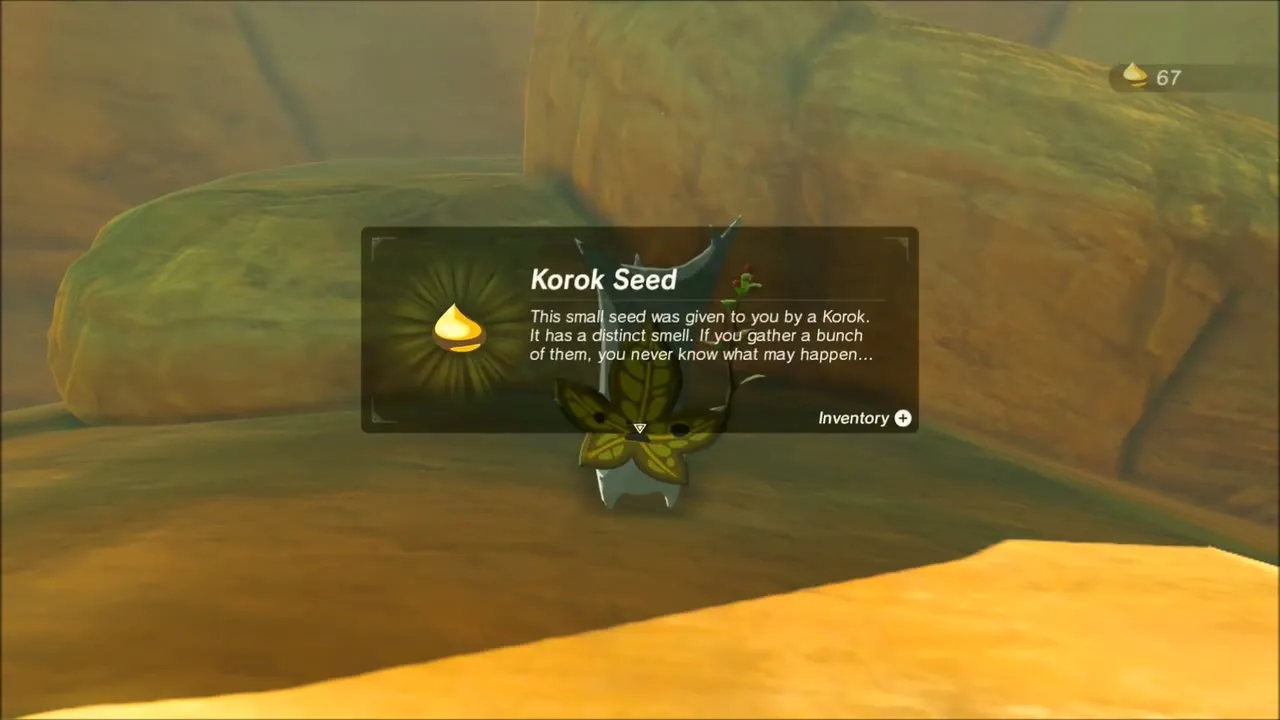
The mesa hides nine Korok seeds. One is at the foot of a tall sandstone cliff, where the Korok waves goodbye in a puff of leaves. The others sit on the tops of ledges and plateaus that you reach by climbing and gliding, and one is on a rocky summit with a view across to the mountains in the distance. When a Guardian blocks a gap, parry its beam with your shield and finish it.

Secret of the Snowy Peaks: Suma Sahma Shrine
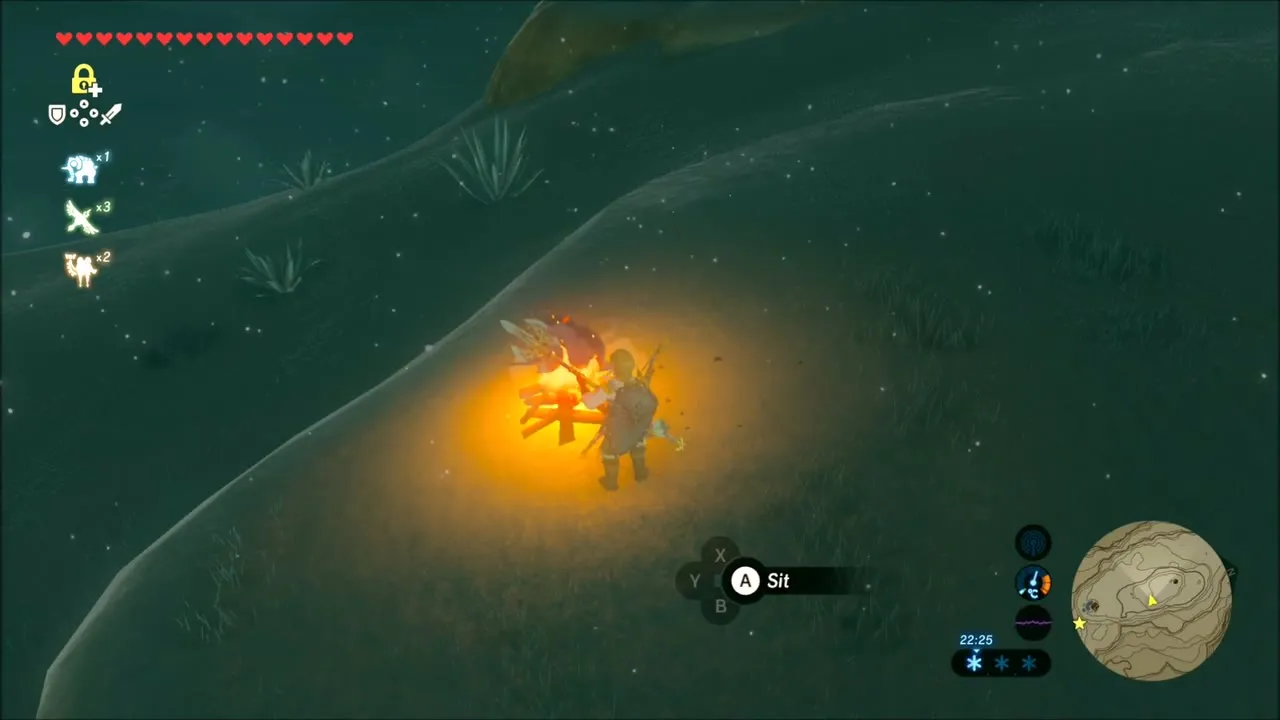
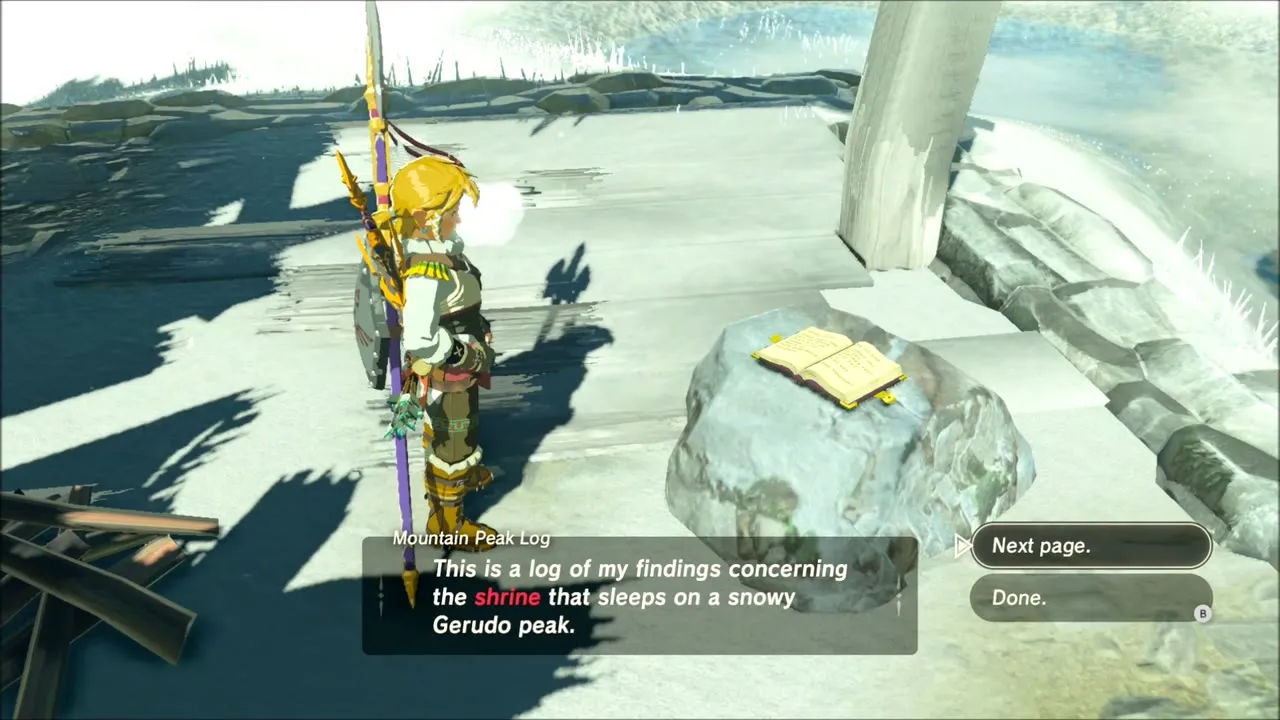
Go up to the cold summit between Mount Granajh and Daval Peak and warm yourself at a campfire on the way. At the Mountain Peak Log Cabin, read the log book on the rock: a hunter writes about running out of provisions, and the shrine quest Secret of the Snowy Peaks begins.

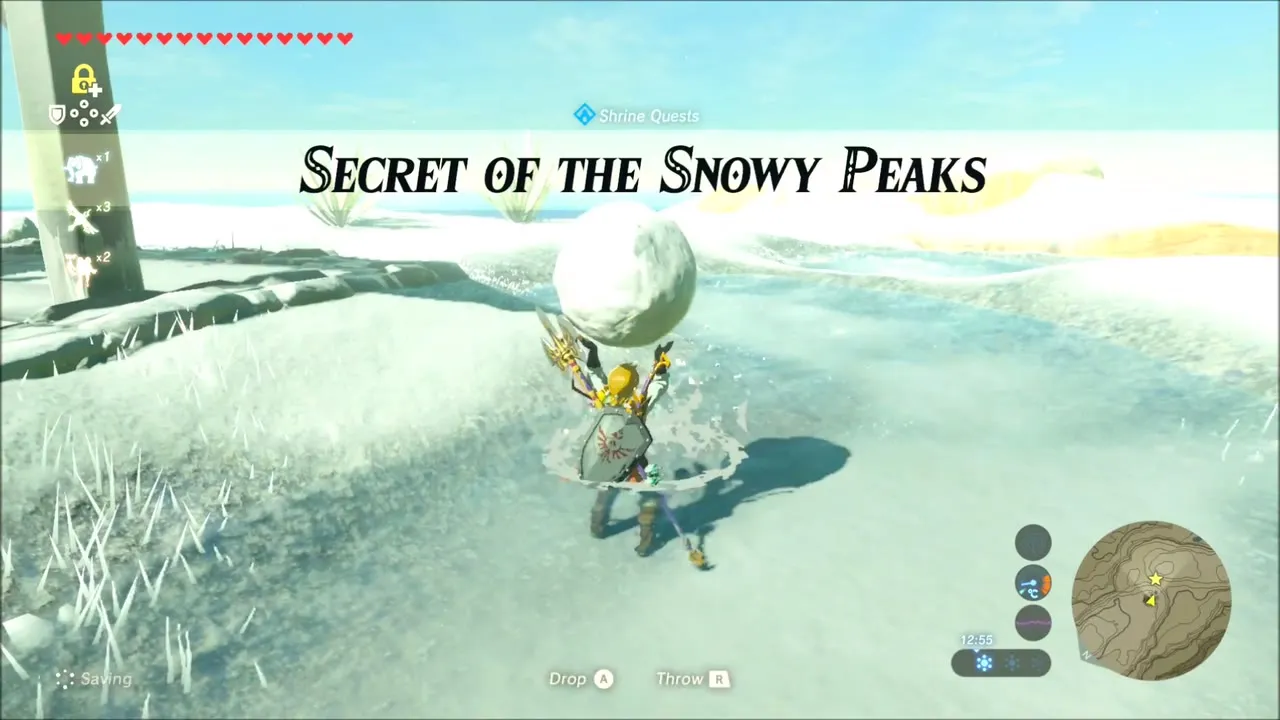
Roll a snowball until it is large and carry it over your head to the ledge below the round carving in the rock face. In the late afternoon, hold the snowball so that its shadow falls across the middle of the carving, which then glows blue.
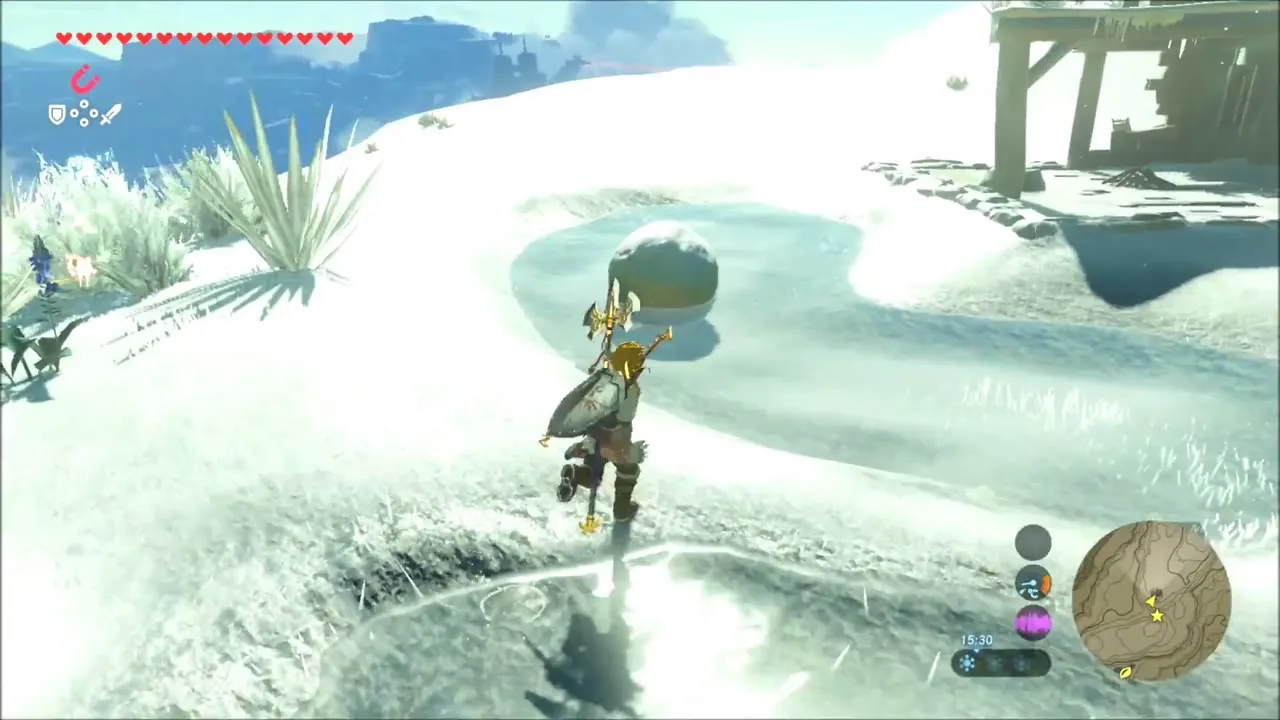
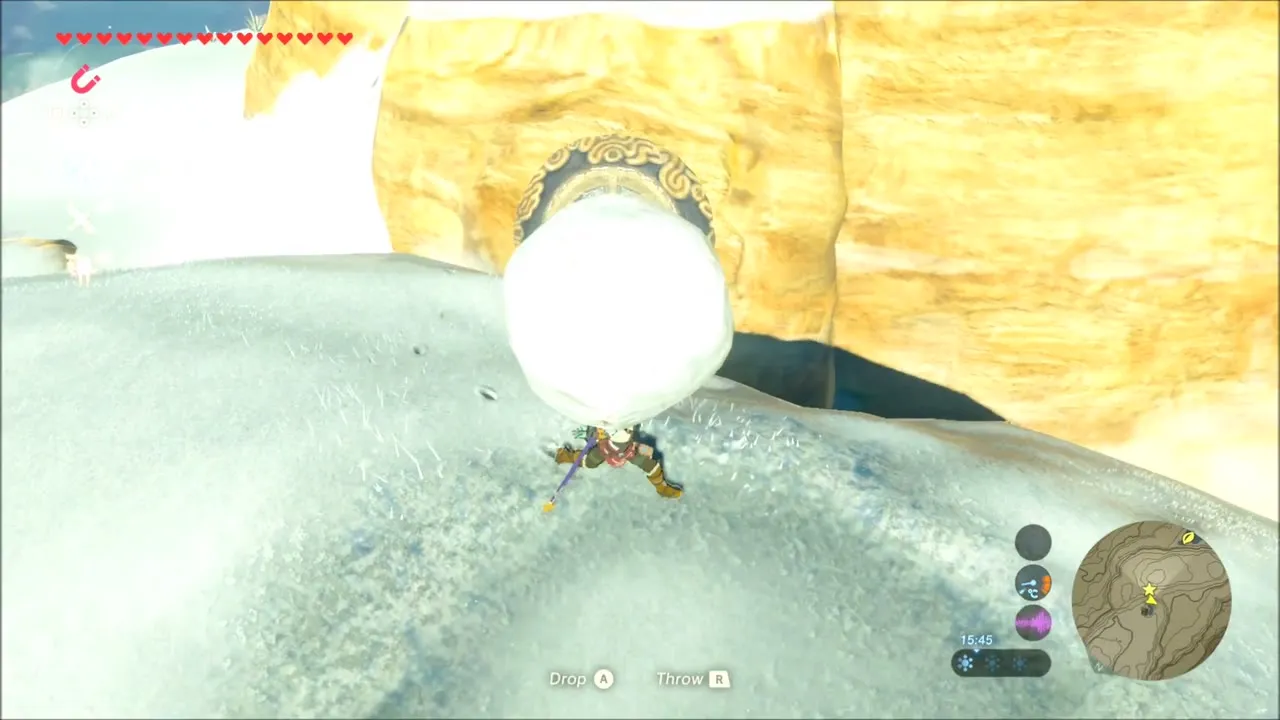
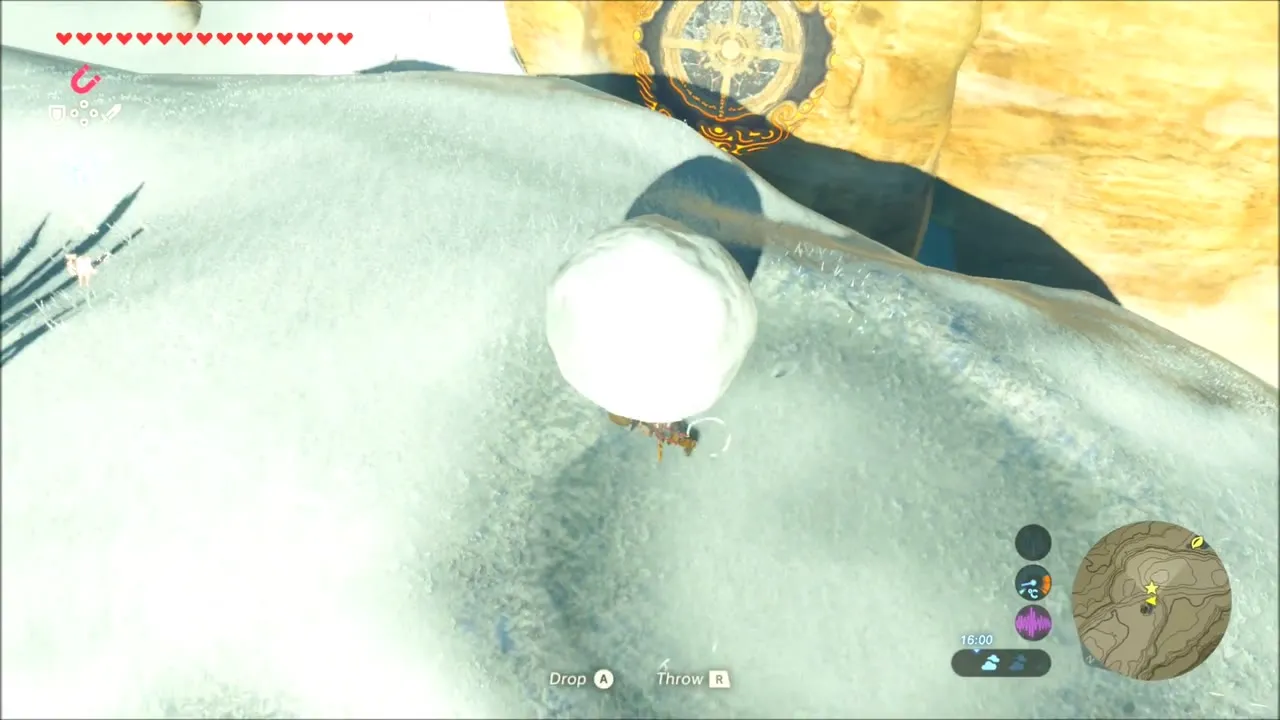
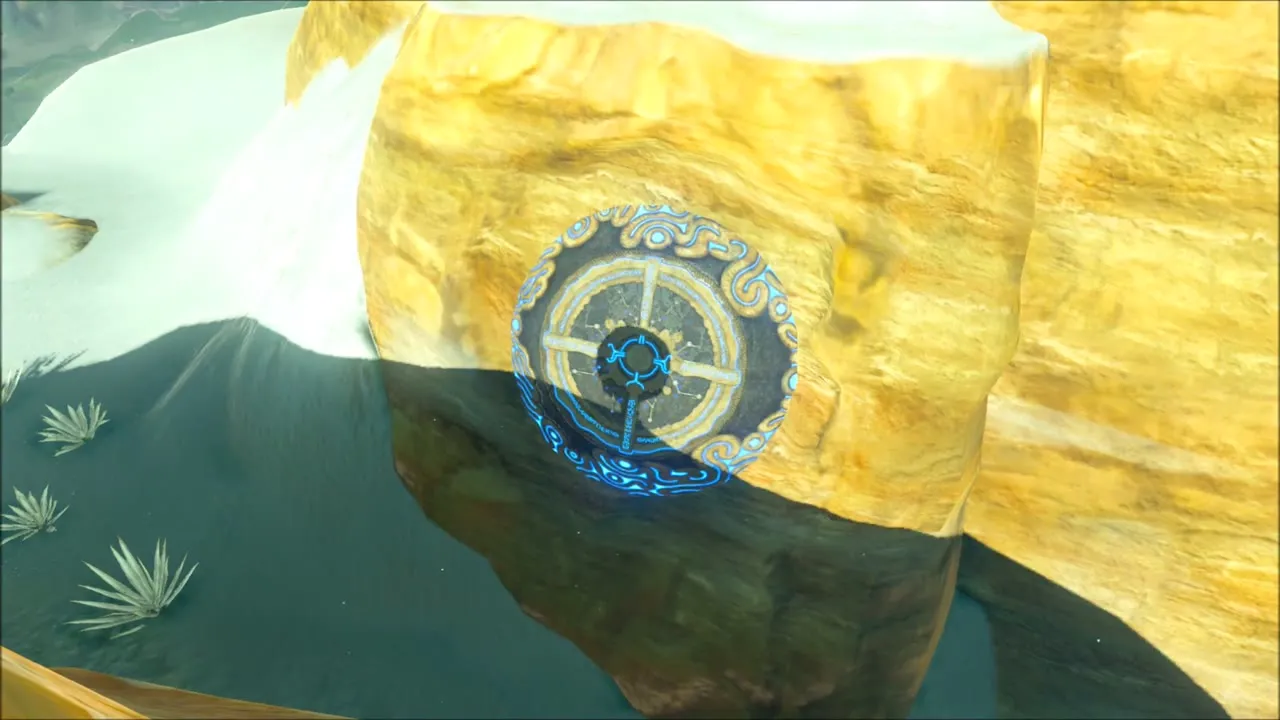
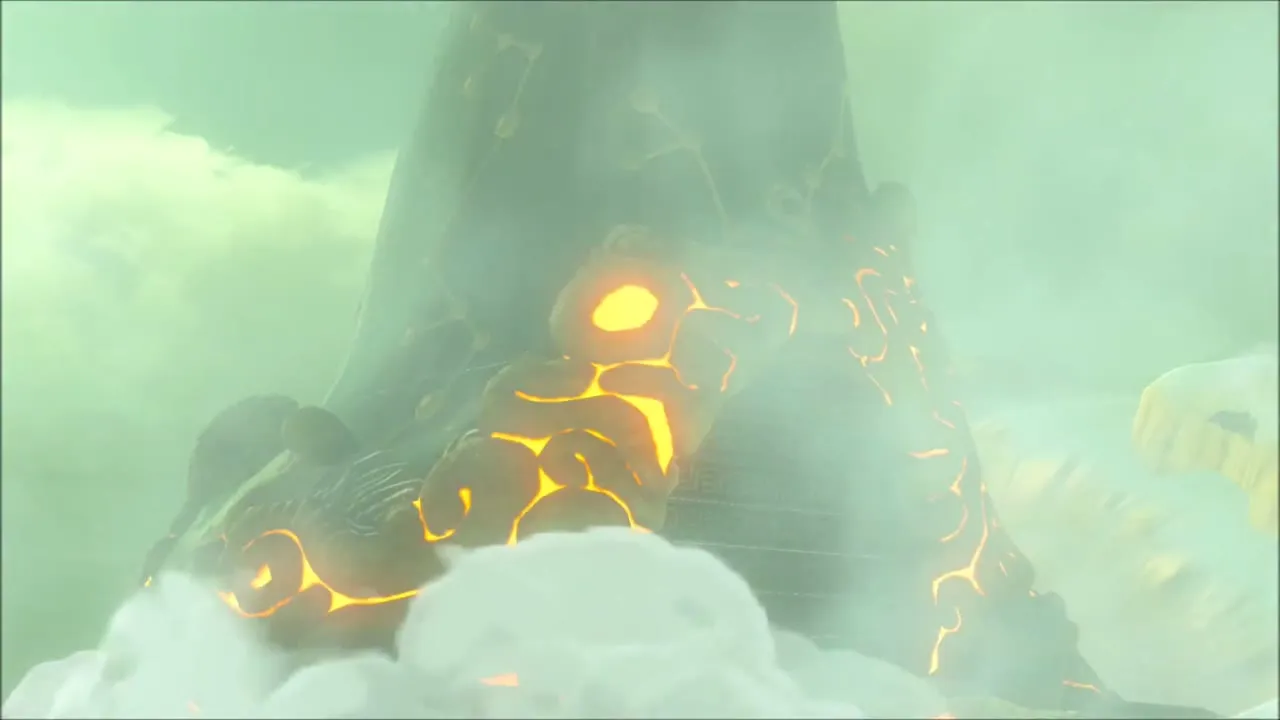
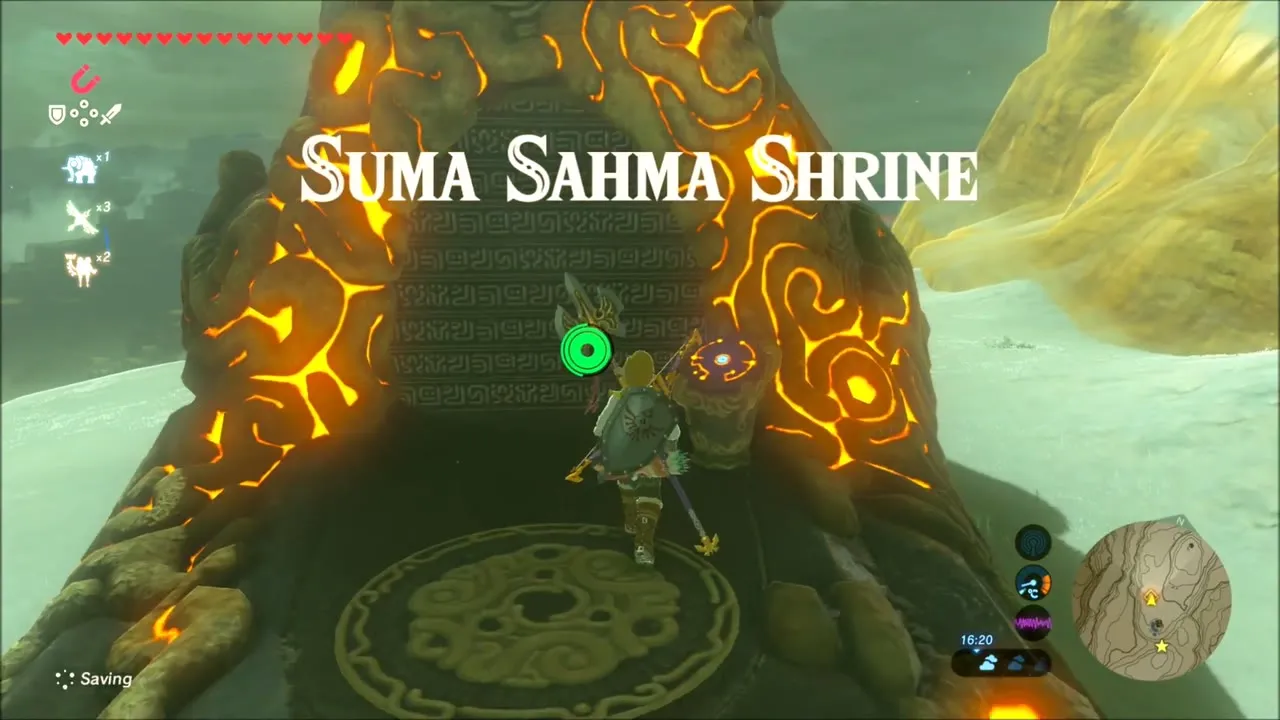
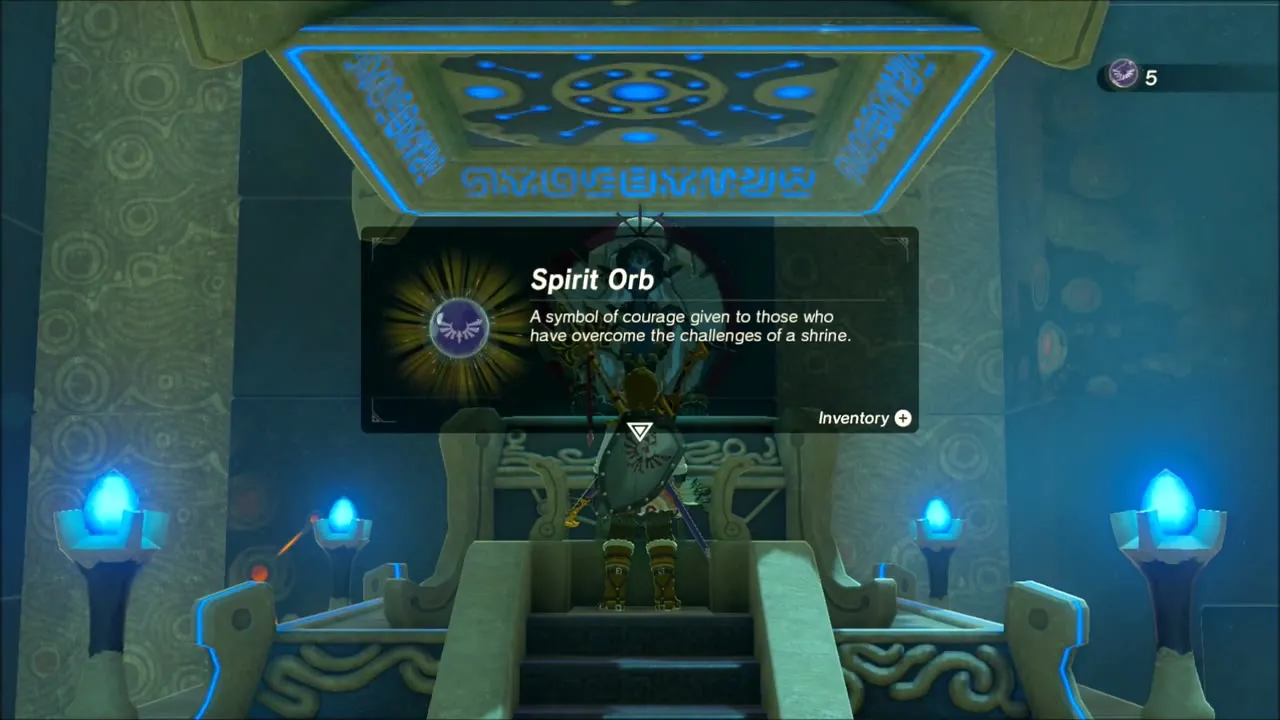
The Suma Sahma Shrine (x -1418, z 3449, height 554) rises out of the snow. Walk in, open the chest for the Moonlight Scimitar and speak to the monk for the Spirit Orb.