





















| Beast | Vah Naboris, the camel-shaped Divine Beast of the Gerudo |
|---|---|
| Region | Gerudo Desert; patrols the sands around Gerudo Town (settlement at x -3835, z 2915, height 150, map square B-7) |
| Champion | Urbosa |
| Boss | Thunderblight Ganon (health 800 for the first Blight you defeat, then 1,200, 1,600 and 2,000 for the fourth) |
| Bring | Shock protection (elixirs or food), Bomb Arrows from Riju, Remote Bombs, Magnesis and Stasis |
| Reward | Heart Container, Urbosa’s Fury, Scimitar of the Seven (attack 32, durability 60) and the Daybreaker shield (durability 60) |
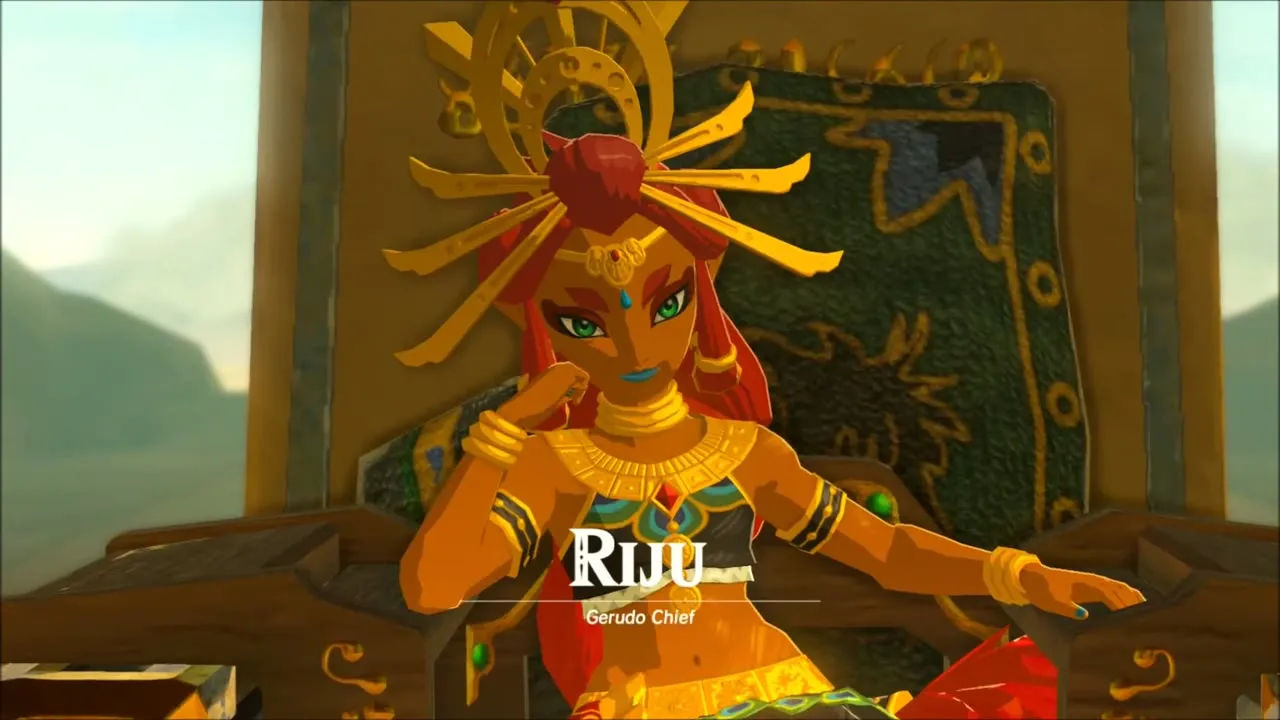
Vah Naboris roams the desert and strikes with lightning. Chief Riju will not take you near it until you recover the Thunder Helm from the Yiga Clan hideout in Karusa Valley. Under Riju’s protection you shoot the beast’s four legs with Bomb Arrows, then rotate a huge cylinder inside to wire up five terminals and fight Thunderblight Ganon.
Before the assault
Get the Thunder Helm
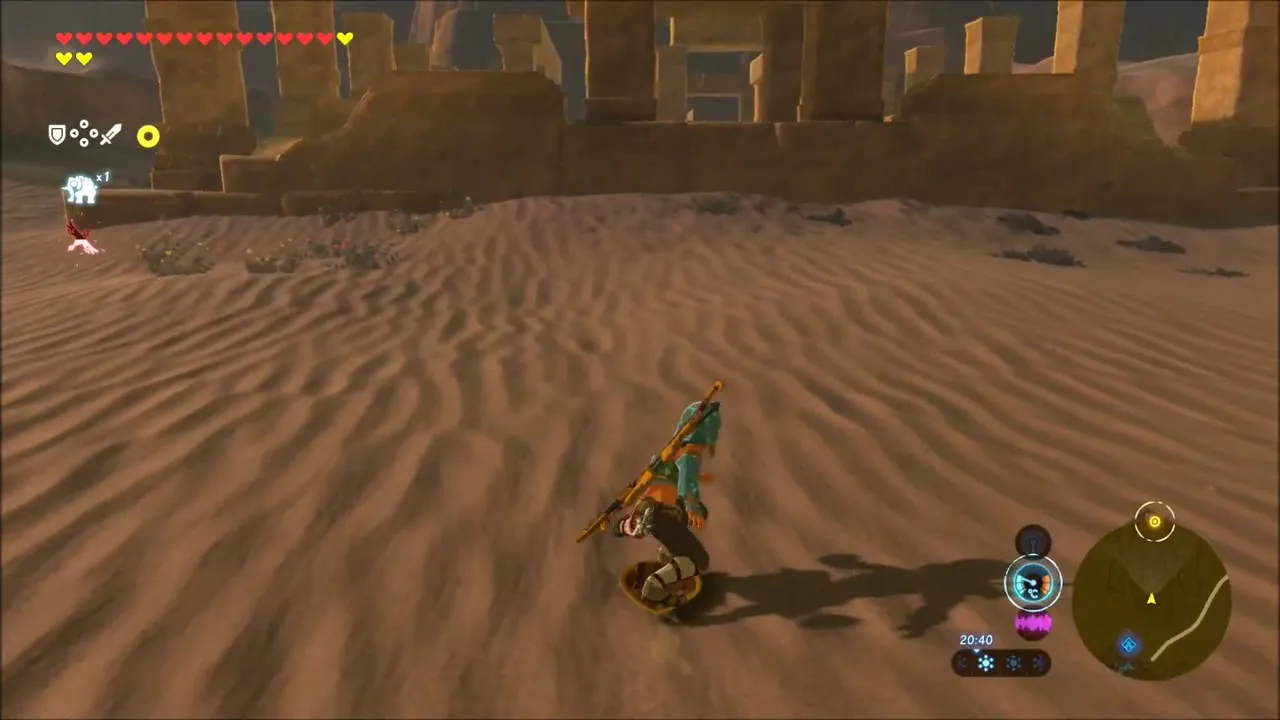
In Gerudo Town speak to Riju, then the captain of the guard, who says the Yiga Clan stole the helm and hides in Karusa Valley (hideout position x -3592, z 1381, B-6). Keep your Gerudo disguise on in town. Use a Sand Seal to cross the desert to the canyon, dodge the boulders rolling down it, then climb the ridge and switch to warmer clothing, because the canyon is cool. Yiga Archers ambush at the entrance.


In the hideout, light the banners with fire arrows to find chests and the real way forward. Blademasters call for backup if they see you, but they are distracted by bananas dropped on the floor. Talk to the jailed guard Barta, take the ladders and rafters to bypass guards, and use Magnesis in the last room to find buried chests and a fake wall that exits to the arena with Master Kohga.


Master Kohga
Kohga hides behind a shield and throws rock spheres. Shoot him while he summons so the rock falls on him. In the second phase he spins two spheres; stun him when one is overhead. In the last phase he steers a spiked sphere with Magnesis, so take it over and send it back at him. A chest with the Thunder Helm appears. Return to Riju.


Assaulting Vah Naboris
Shooting the legs
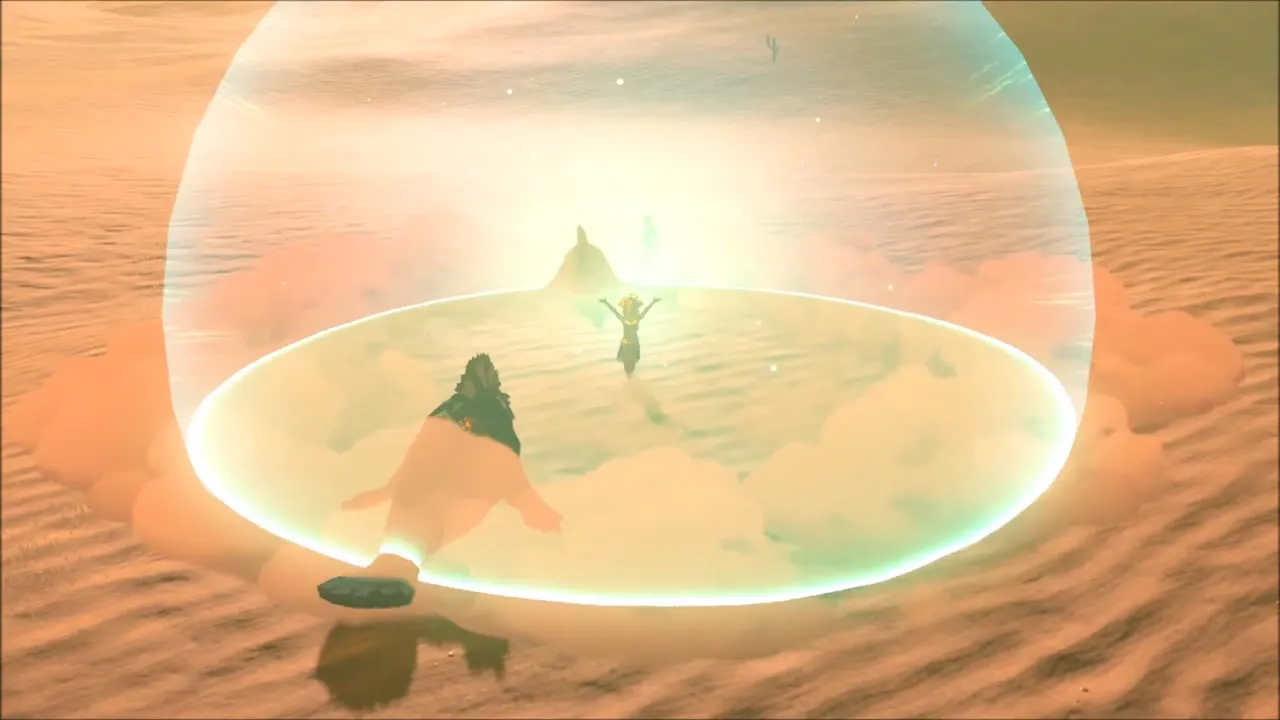
Meet Riju at the South Outpost. She gives you 20 Bomb Arrows and her helm creates a protective field. Stay inside it when the beast aims its lightning: a purple ring closes around you before it strikes. Follow her and, after a strike, move in and shoot the glowing feet. Hit all four legs and the beast collapses so you can enter.


Inside Vah Naboris
Map and first terminal
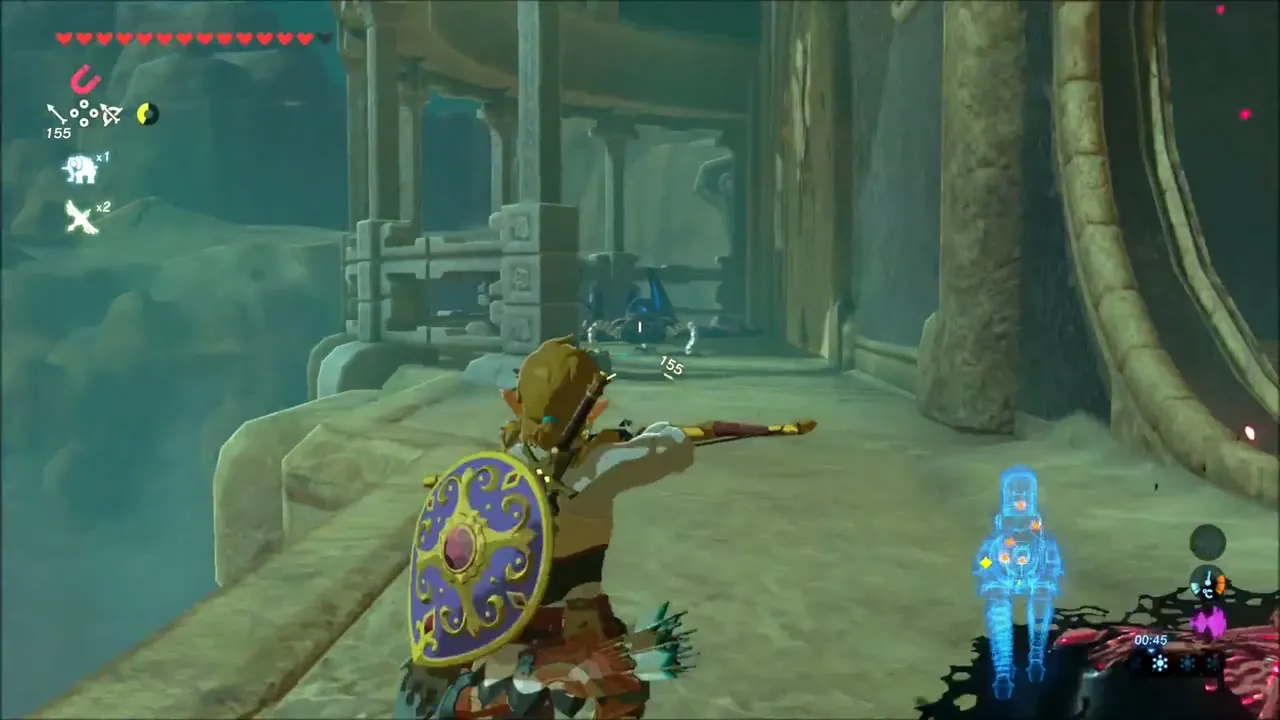
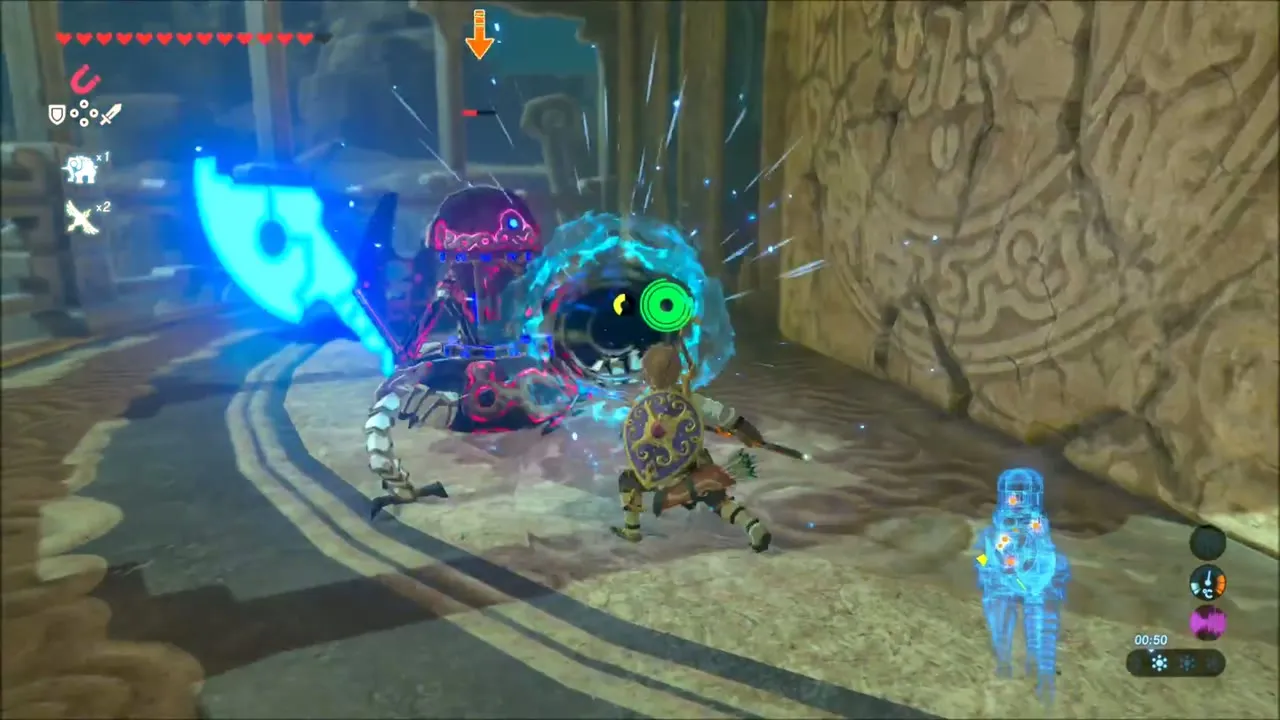
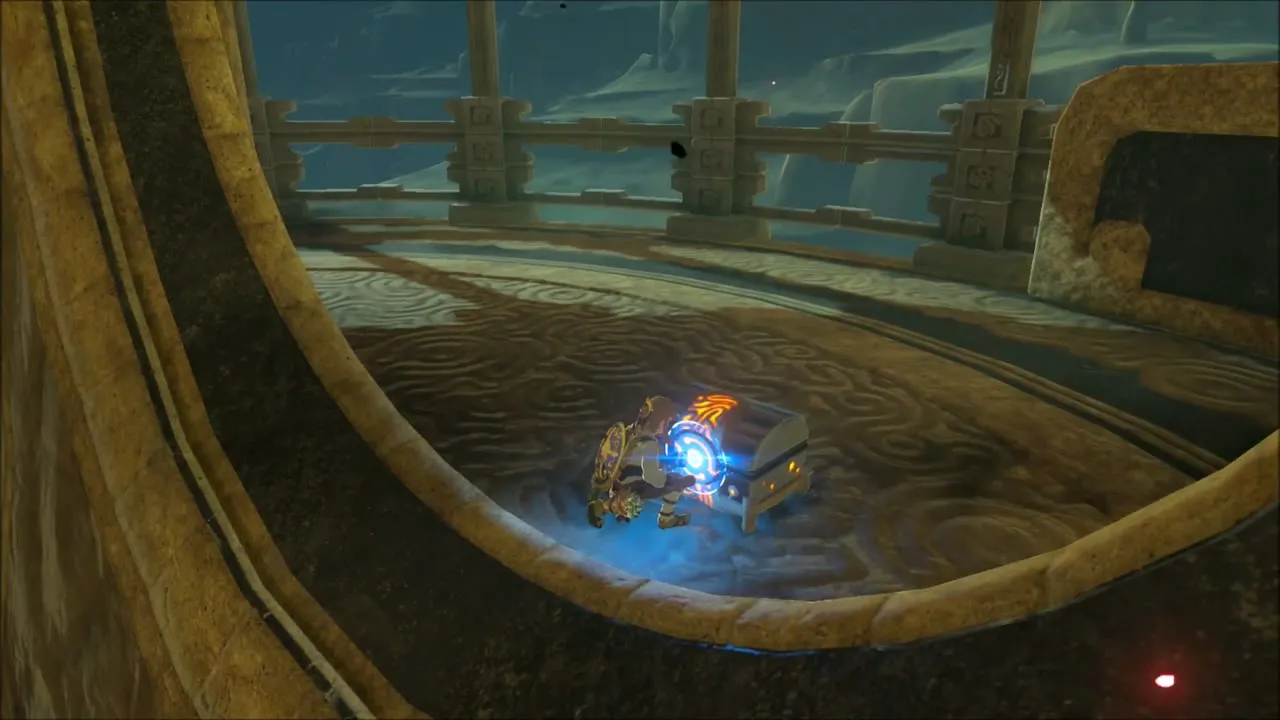
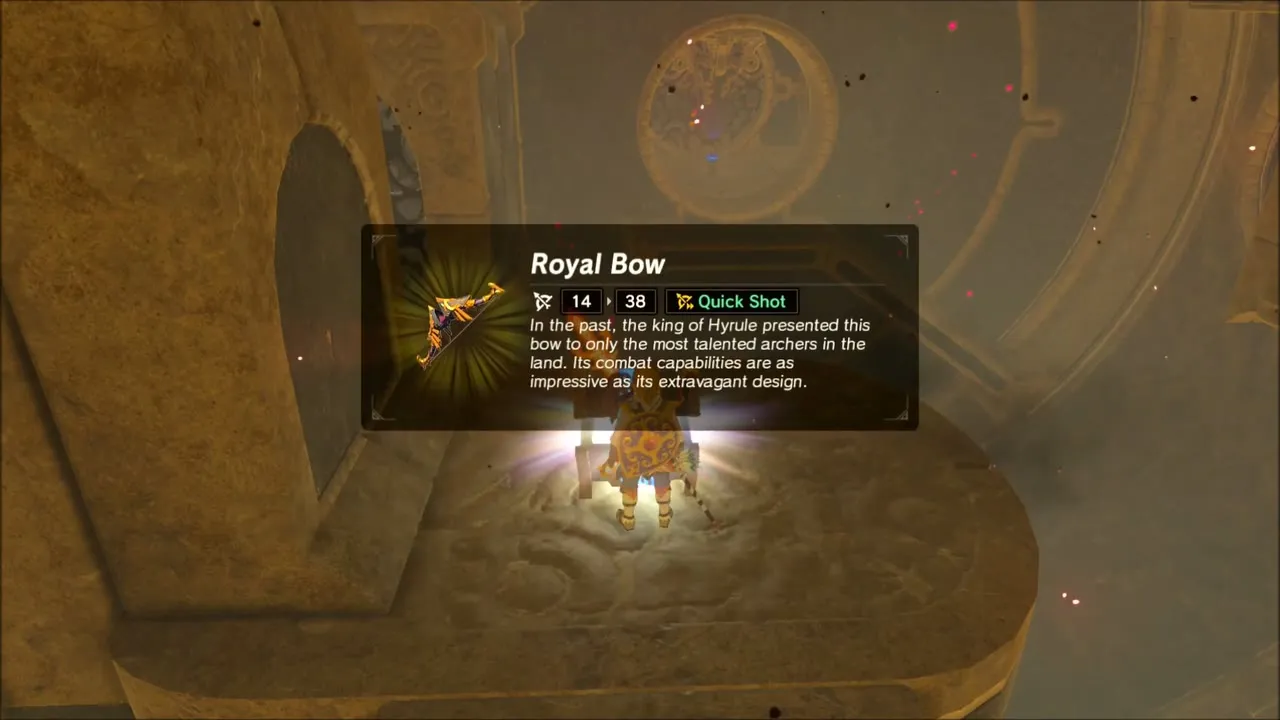
Beat the spear-armed Guardian Scout, shoot the eye to clear the Malice on the right and cross to the Guidance Stone for the map. The map lets you rotate parts of the central cylinder. Use Stasis on the chest hanging by a rope, shoot the rope and pull the chest in with Magnesis for an Ancient Core. Rotate the center section to expose the Malice eye above the pylon, then ride a section up to land on the platform with chests holding a Knight’s Bow and an Ancient Shaft. The first terminal sits in a box with a floor hole; ride the small platform into the door, rotate until the box appears and ride it to the ceiling.
Second terminal
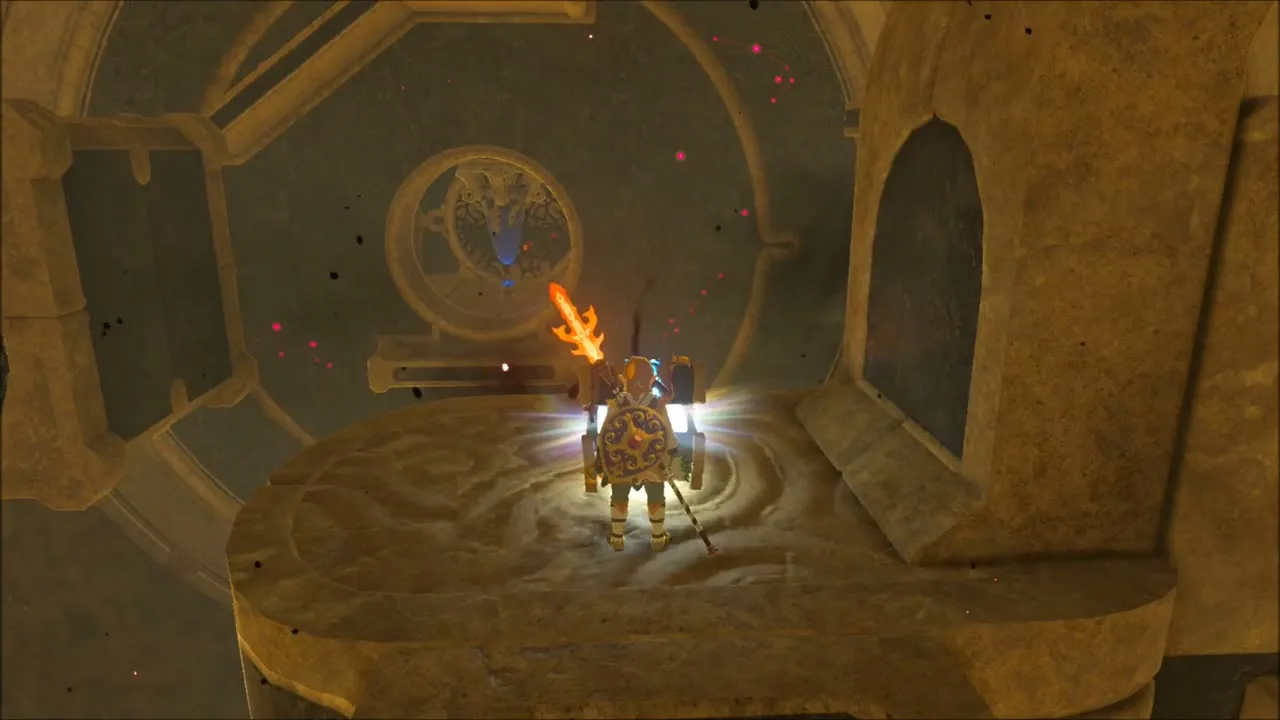
Rotate the back cylinder to bridge the door you opened to the sealed metal door, then to the bombable wall for a chest with an Ancient Spring. The terminal is right-side up only at the top. Rotate the back and center cylinders to join the green wires, which spins the wall, and ride a ledge up.



Third terminal: the neck
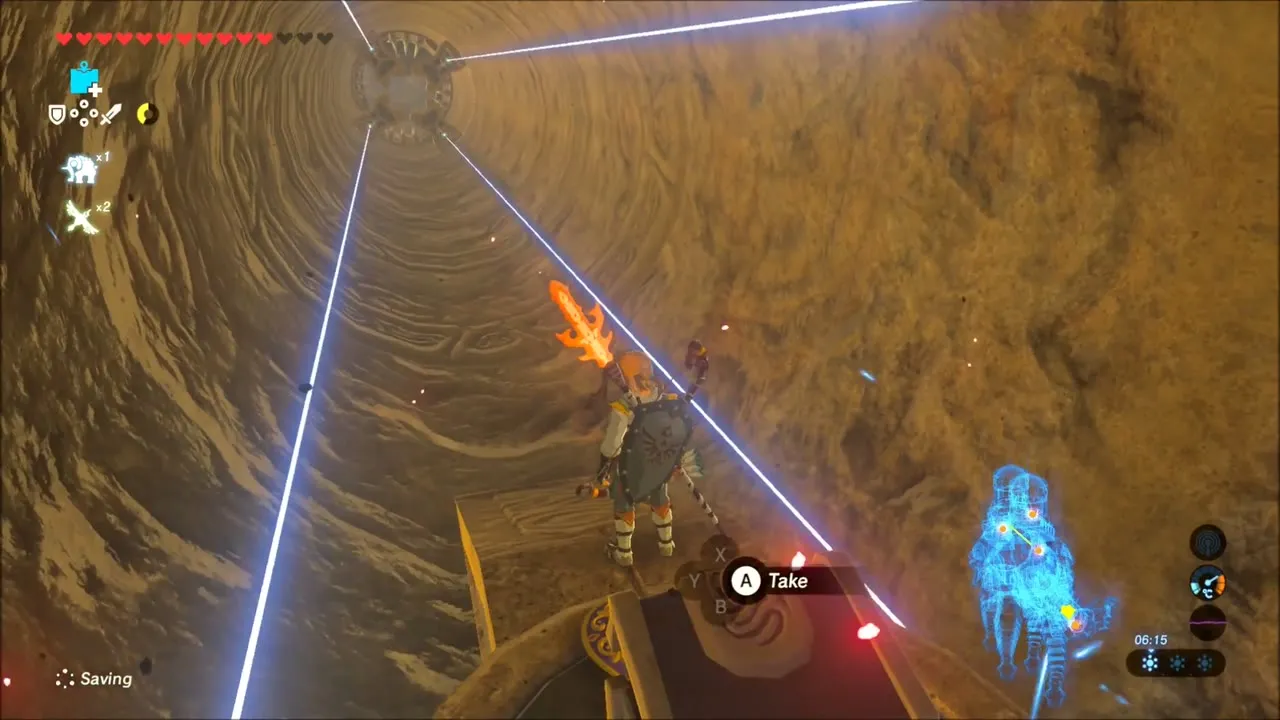
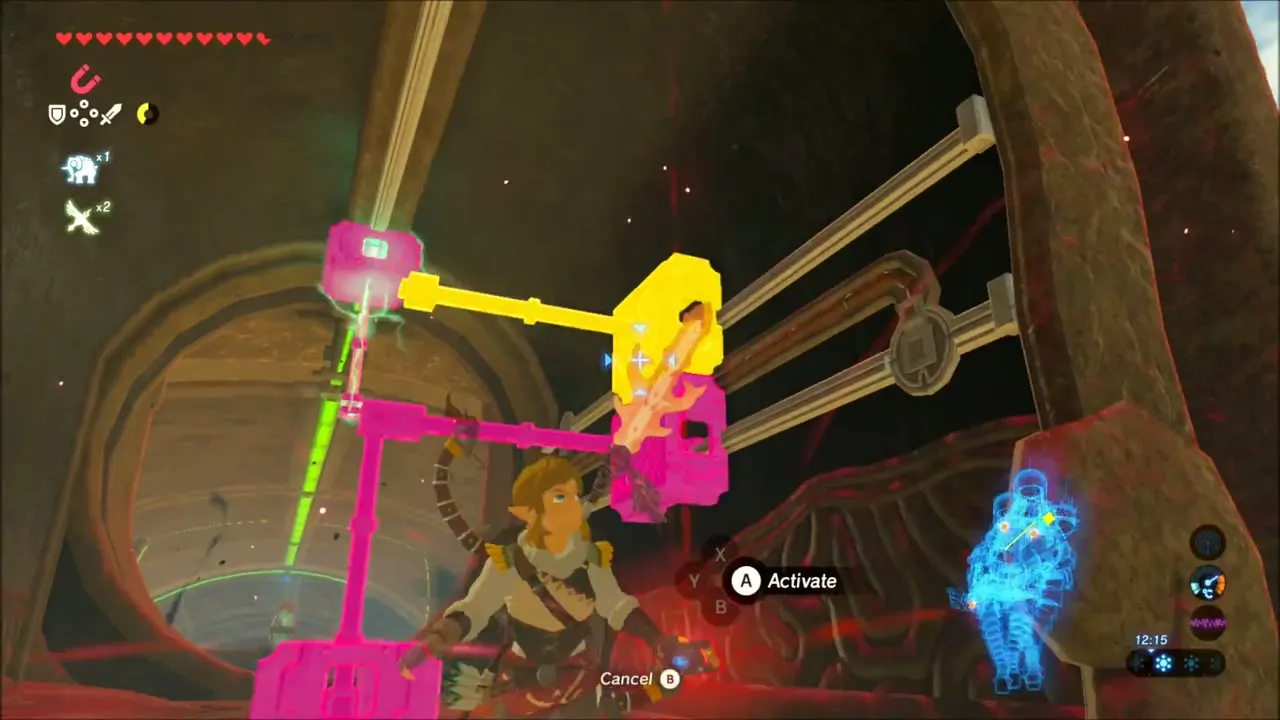
Take the middle door into the rotating corridor of spikes and lasers for a chest with a Knight’s Shield. Ride the rotating wall to the top door and go outside onto the neck. Push the large crank both ways until the two switches turn blue to raise the neck like an elevator to the head and the terminal.

Fourth and fifth terminals: the humps
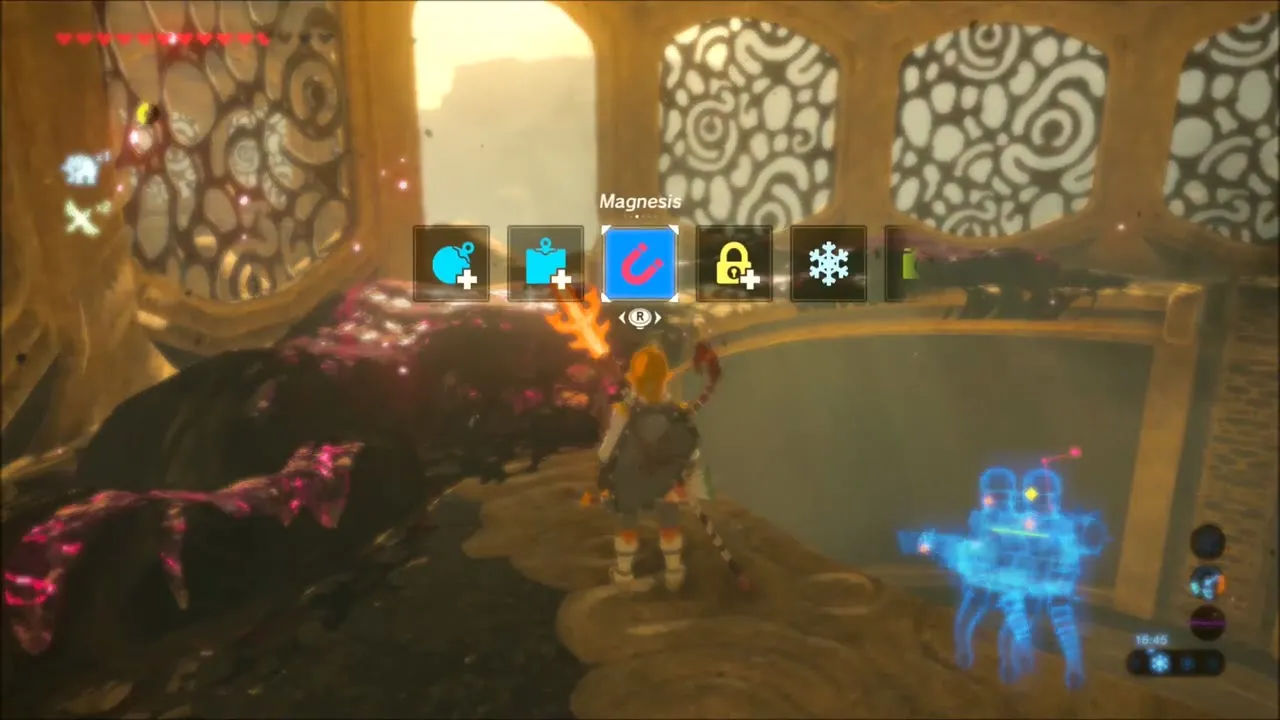
Return to the Guidance Stone room, rotate to reach the top exit and line the green wires up, then use Magnesis to slide the top slabs one way and the bottom slabs the other, which lifts the tail. Ride it to the Malice door and shoot the eye. Inside, clear the Malice on the lower level, shoot the eye in the upper room and push the crank to join the wires to the switch. Shoot the eye under the Malice to open the fourth terminal. A chest with a Topaz sits on the far hump. For the fifth, defeat the two Guardian Scouts below and put the two electric balls, one from each hump room, in the pedestals.


Control unit
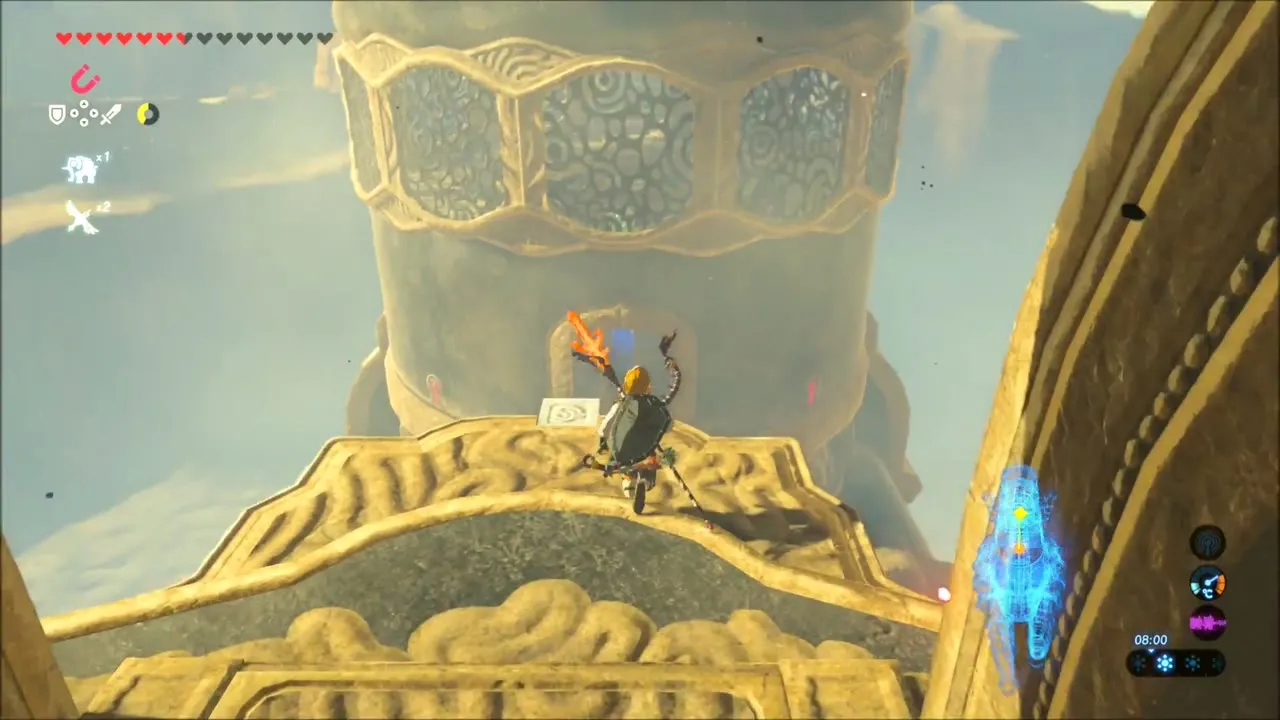
Rotate the middle cylinder to reach the main control unit.
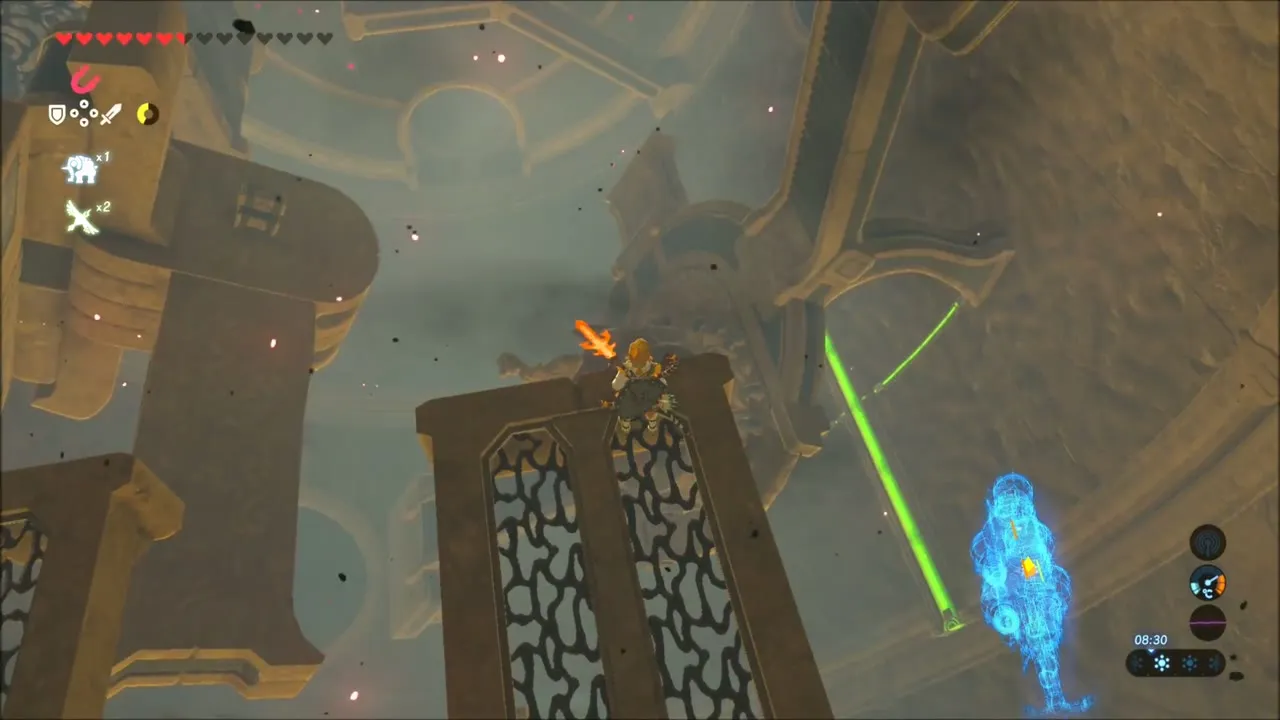
Boss: Thunderblight Ganon
Phase one
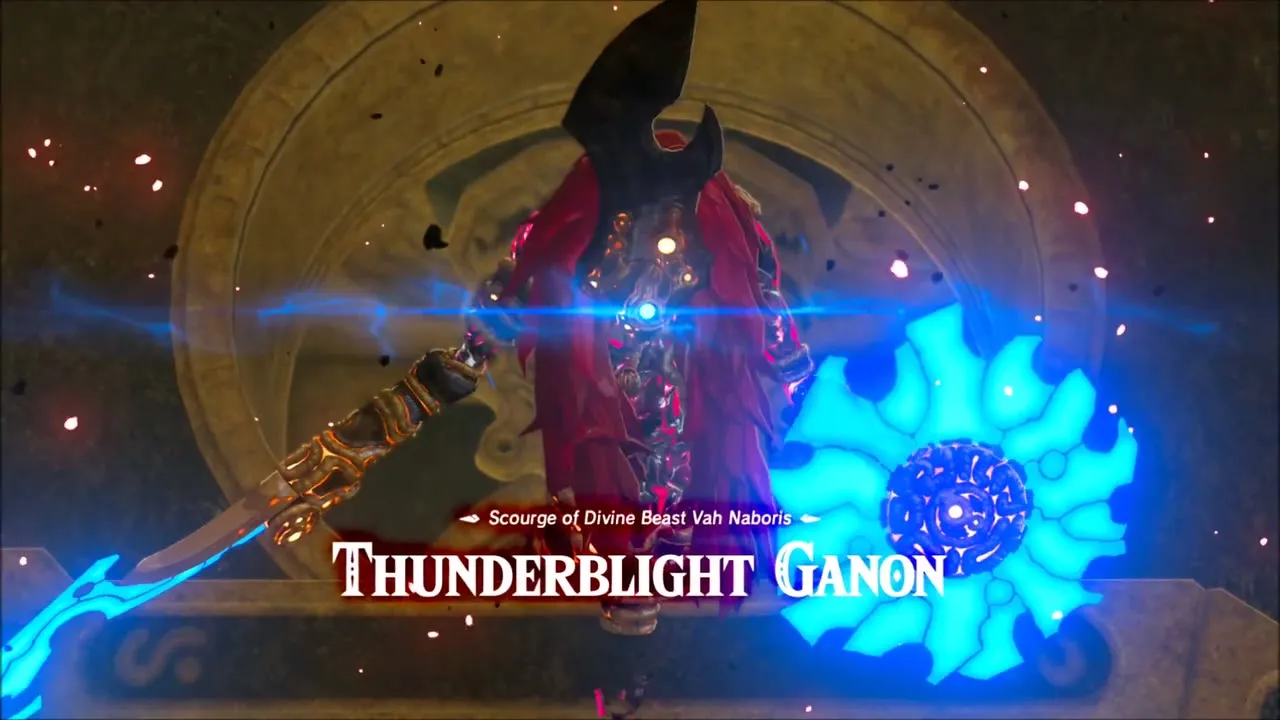
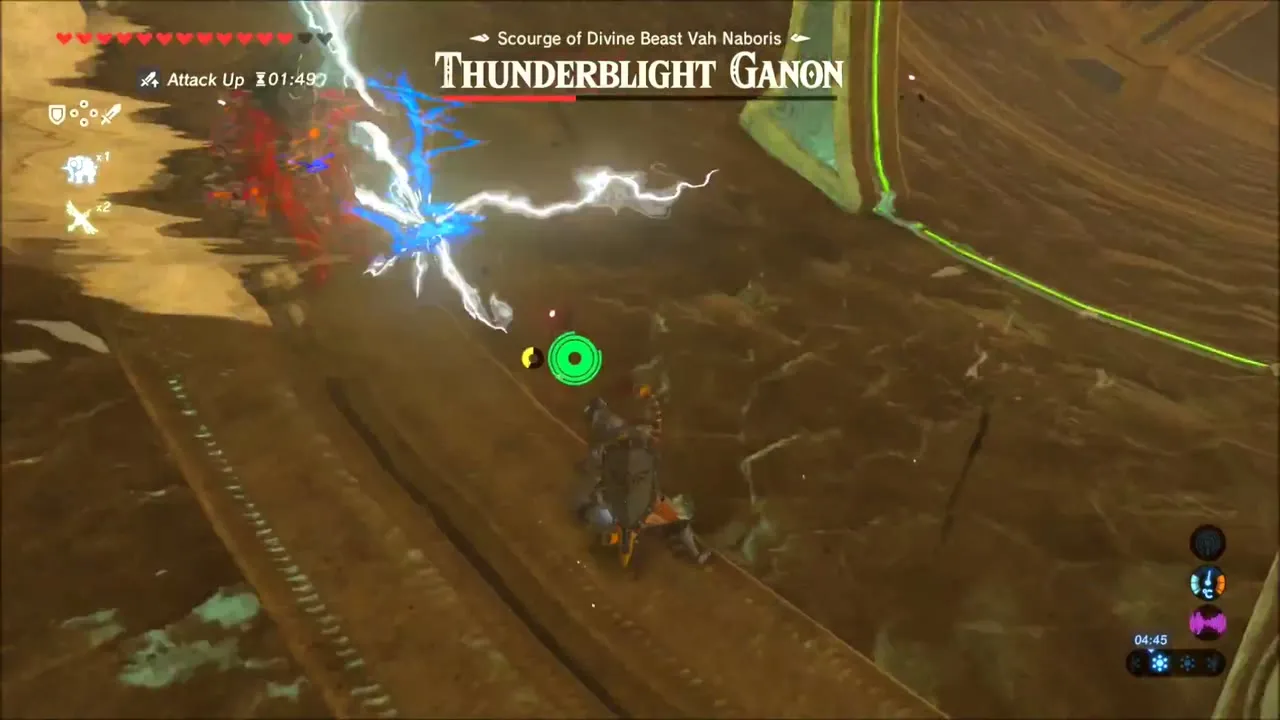
Thunderblight Ganon teleports and dashes close, throwing balls of electricity. Break his shield with repeated hits or a perfect dodge and flurry, which also stuns him and knocks him down. Shoot him with arrows while he reforms the shield.
Phase two
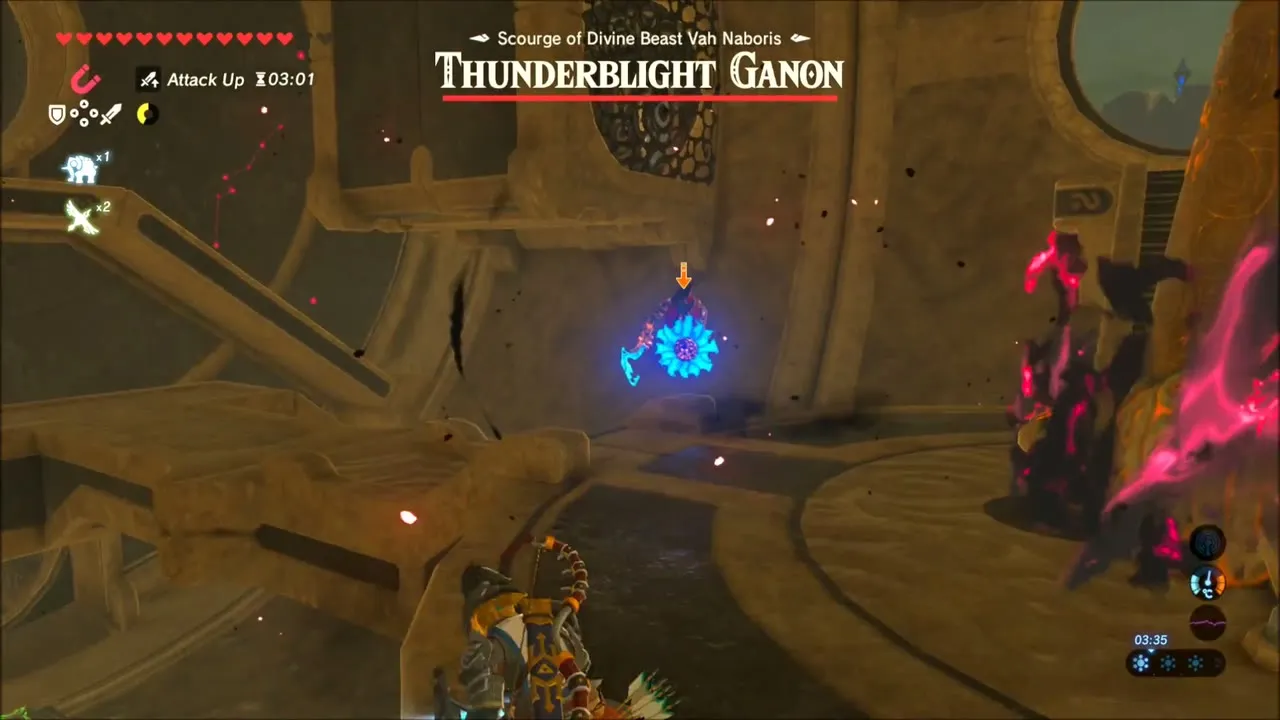
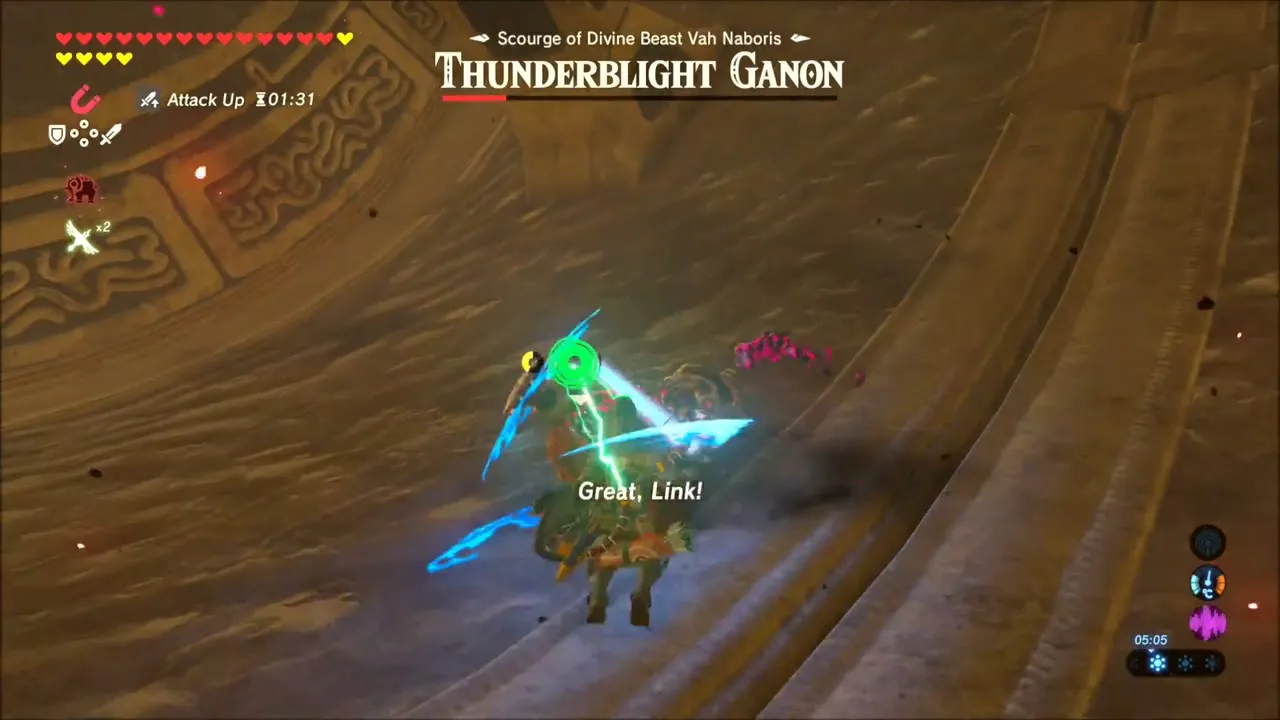
At half health his axe is electrified and he swings repeatedly; electricity paralyzes you and makes you drop your weapons, so use shock protection. He sticks metal spikes in the ground; lift one with Magnesis so the lightning hits him. When low he aims an eye beam like a Guardian: hide behind platforms while electrified, or rush in to break his shield.

Chests and rewards
| Item | Where | |
|---|---|---|
 | Heart Container | Boss reward |
 | Scimitar of the Seven (attack 32, durability 60) | Riju, in Gerudo Town afterwards |
 | Daybreaker (durability 60) | Riju, with the scimitar |
 | Thunder Helm | Chest after Master Kohga |
 | Ancient Core | Rope chest near the Guidance Stone |
 | Knight’s Bow | Platform chests over the pylon |
 | Ancient Shaft | Platform chests over the pylon |
 | Ancient Spring | Bombable wall off the center door |
 | Ancient Screw | High platform on the tail-side hump |
 | Knight’s Shield | End of the rotating corridor |
Urbosa gives you Urbosa’s Fury: charge an attack to call down a powerful lightning strike on nearby enemies. It needs time to recharge after use.
