





















| Location | Cemetery, southeast corner, behind five movable gravestones |
|---|---|
| Requirements | Power Bracelet (Bottle Grotto); Pegasus Boots (Key Cavern) to knock down the hint book in the Mabe Village library; Magic Powder; go in without BowWow or Marin |
| Dungeon items | Compass, Stone Beak, Dungeon Map, Nightmare Key, 3 Small Keys, 140 rupees |
| Mini-bosses | Giant Buzz Blob, Stone Hinox |
| Boss | Hardhit Beetle |
| Reward | Fairy Queen’s choice: Powerful Red Mail (double damage dealt) or Sturdy Blue Mail (half damage taken); you can swap it later |
The Color Dungeon is an optional dungeon in the Switch remake. Its entrance is a staircase that appears in the southeast corner of the Cemetery once you push five gravestones in the right order, and you can open it any time after you own the Power Bracelet. It holds no instrument and no Heart Container; the prize is a mail upgrade from the Fairy Queen after you beat the Hardhit Beetle. Bring Magic Powder and some bombs, and expect colour-matching puzzles in almost every room.

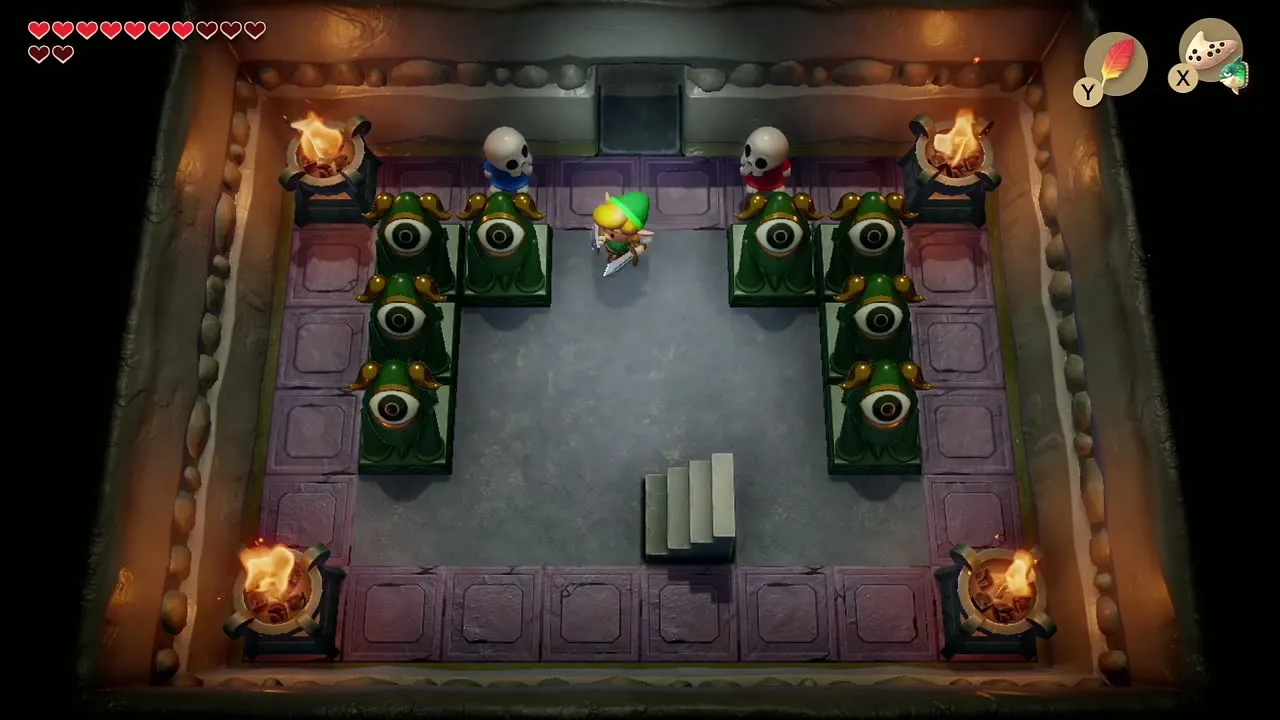
Where is the Color Dungeon and how do you unlock it?
What you need first
Take the Power Bracelet from Bottle Grotto; without it the gravestones will not budge. The Pegasus Boots from Key Cavern are needed only for the hint in Mabe Village. The Ghost, the Mermaid and Manbo are not part of the unlock. Manbo’s Mambo is just one way to travel, and the Ukuku Prairie warp pad is the usual stop on the way (see the Martha’s Bay chapter). Leave BowWow and Marin behind before you go in, since the dungeon is a solo trial.
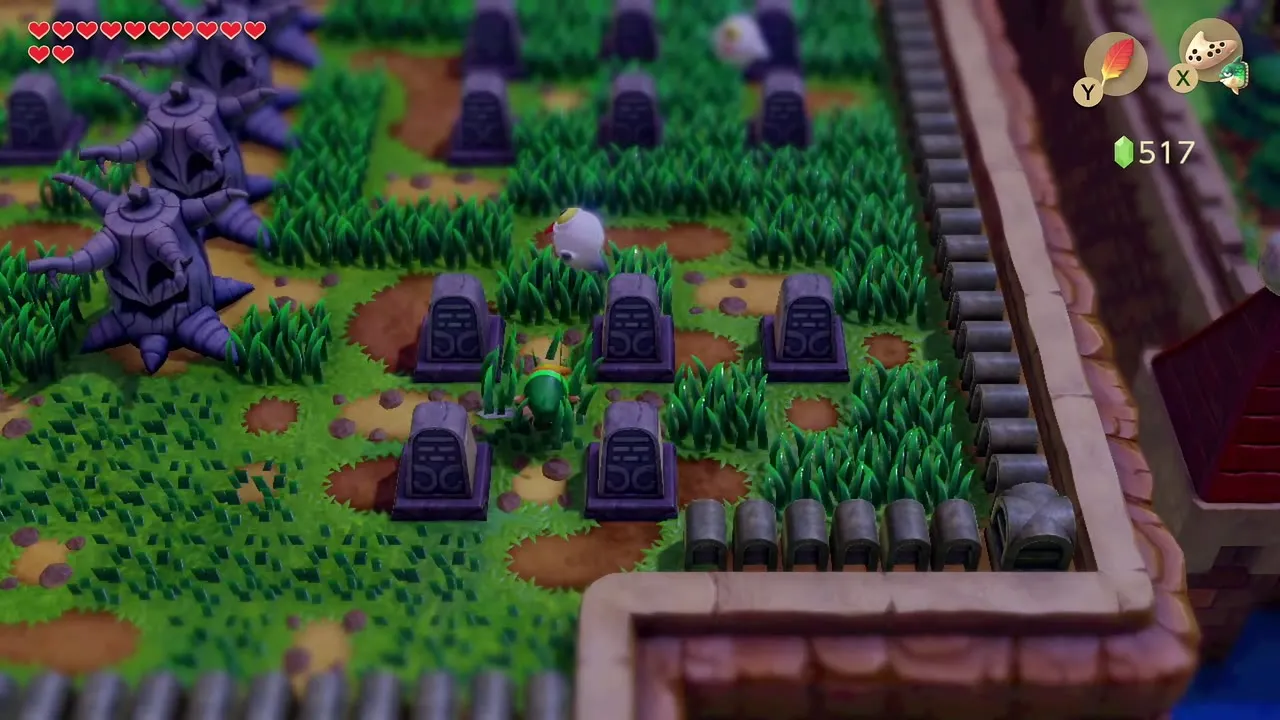
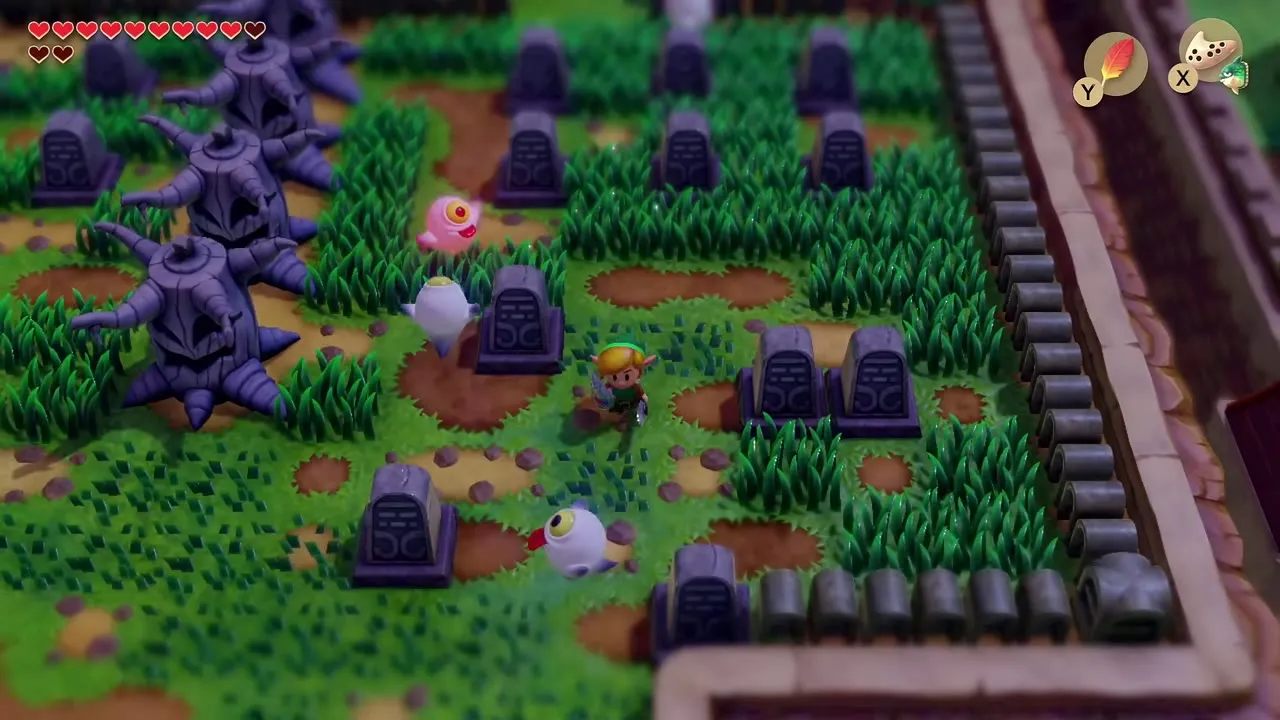
Read the hint in the Mabe Village library
Go into the library in Mabe Village and dash into the bookshelf at the back with the Pegasus Boots. A book called The Hidden Power of Color drops down and shows the gravestone order. You can skip the book and use the order below.
Push the five gravestones in the Cemetery
Warp to Ukuku Prairie, climb the ladder north of the warp pad and take the boulder into the Cemetery. In the southeast corner of the Cemetery five gravestones stand together. Push them in this order: lower right stone down, lower left stone left, upper left stone up, upper middle stone right, then upper right stone up. Bumping stones wakes ghosts, so keep an eye on your hearts.
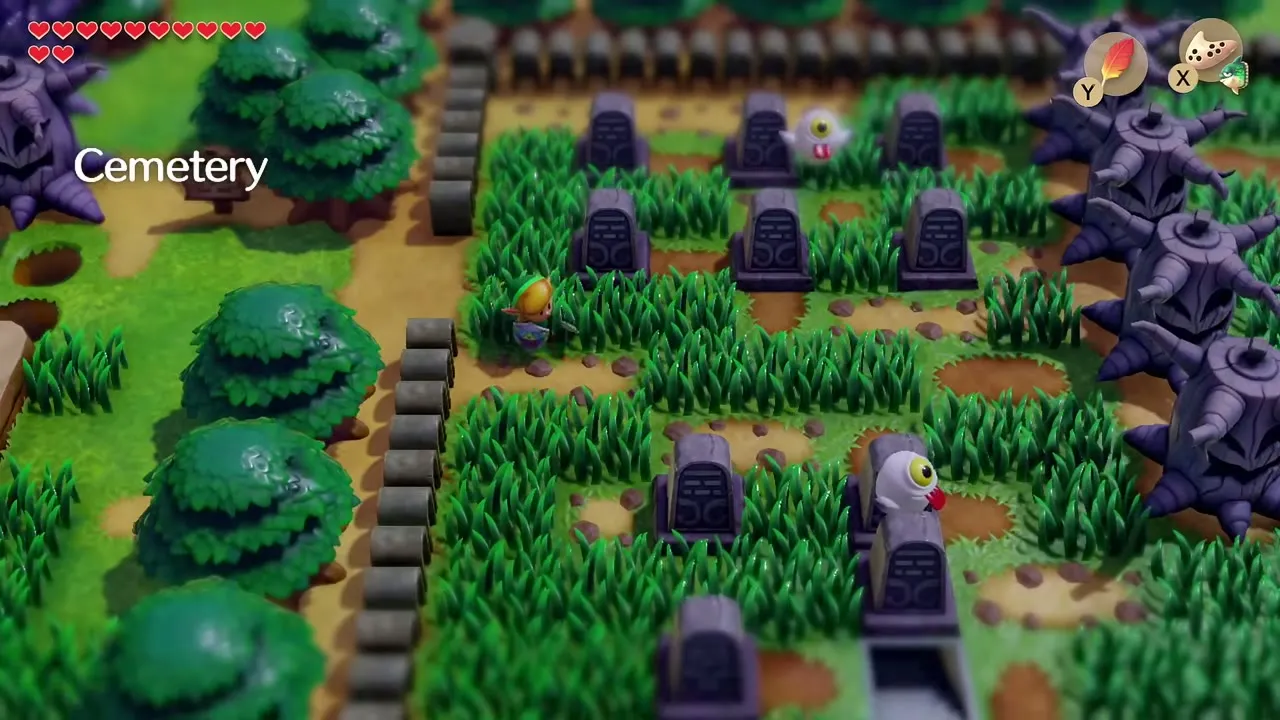
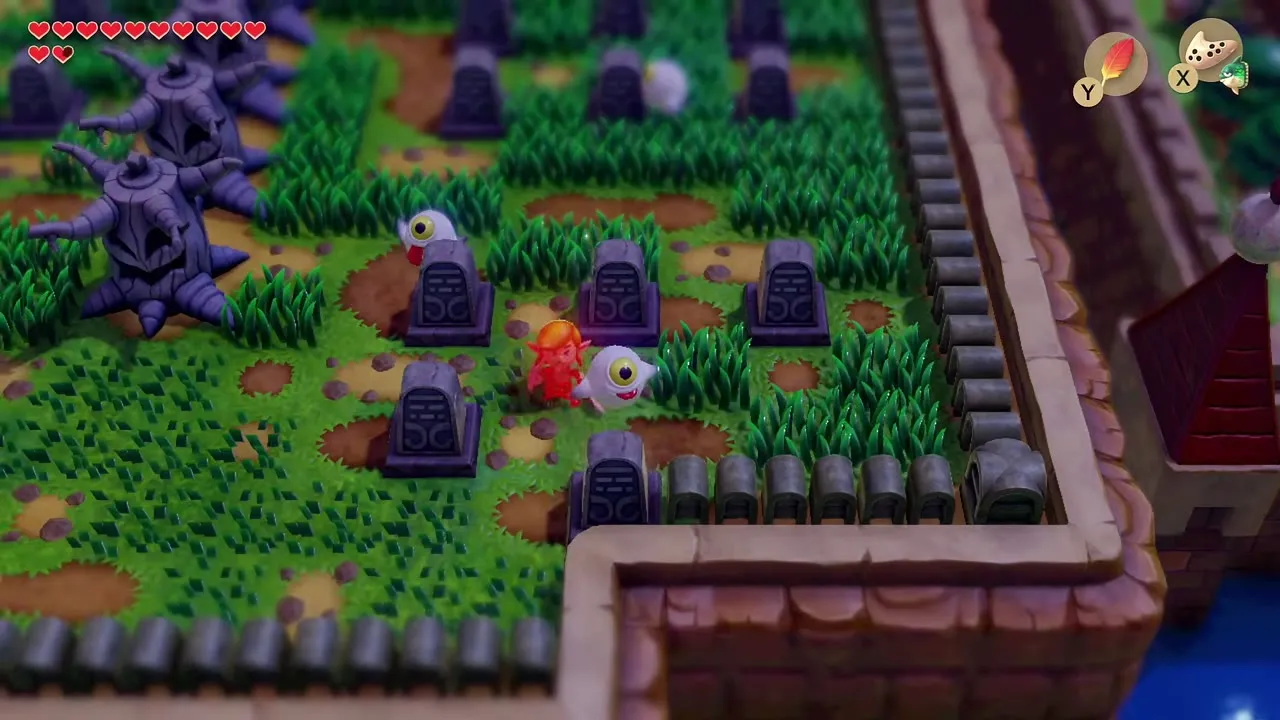
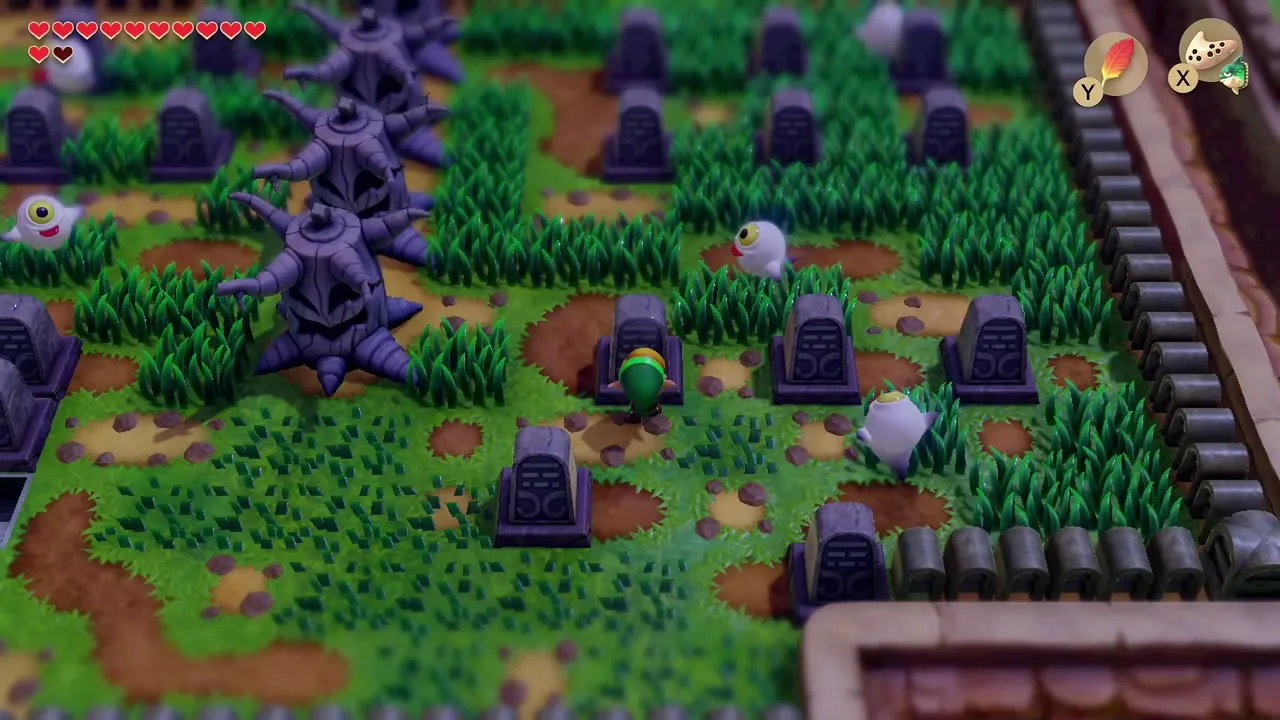
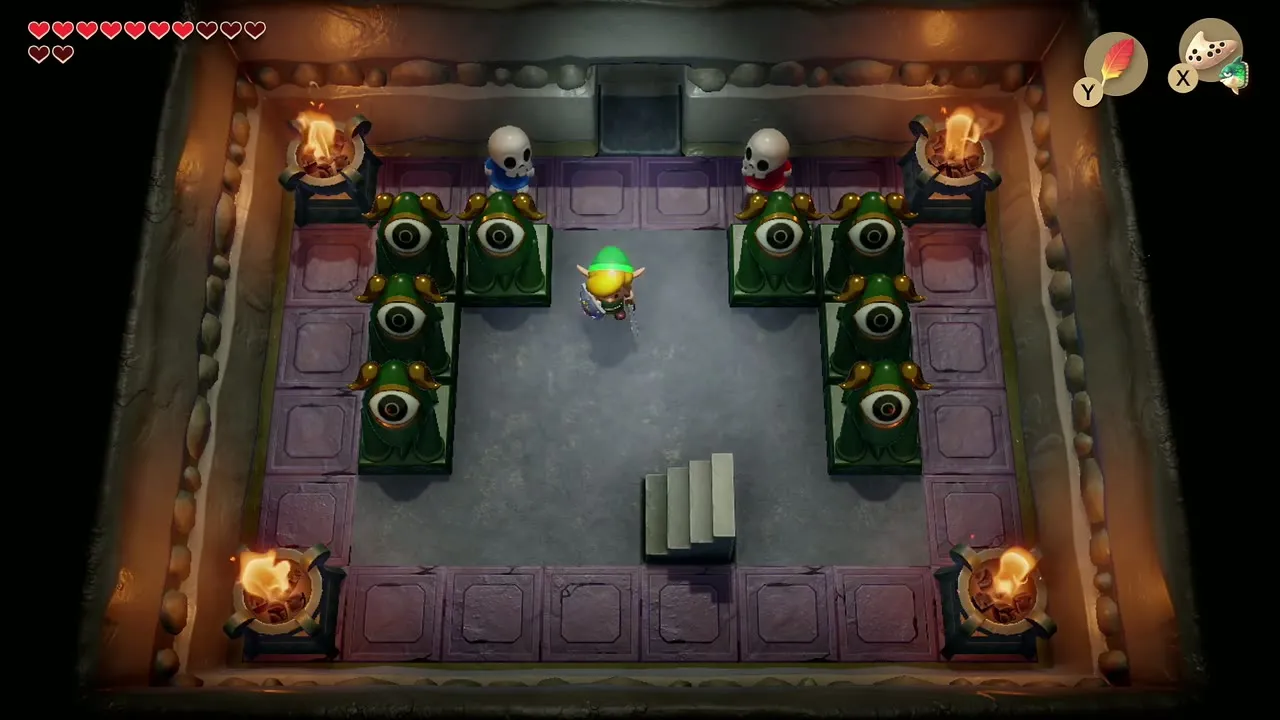
If you push a stone the wrong way, step into the nearest house and come back out; the stones reset. When the last stone slides a staircase appears. Go down into the dungeon. The entrance room has a merchant named Gar who sells Magic Powder for 100 rupees if you ran out.

Color Dungeon walkthrough
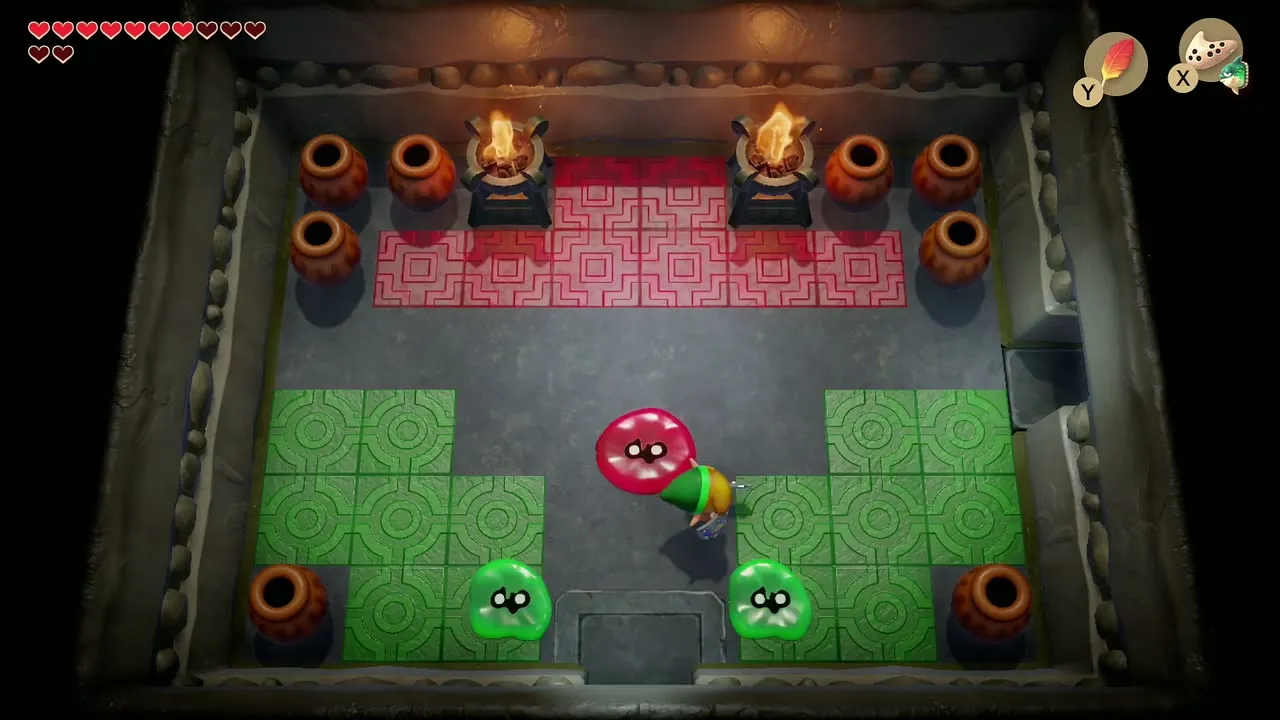
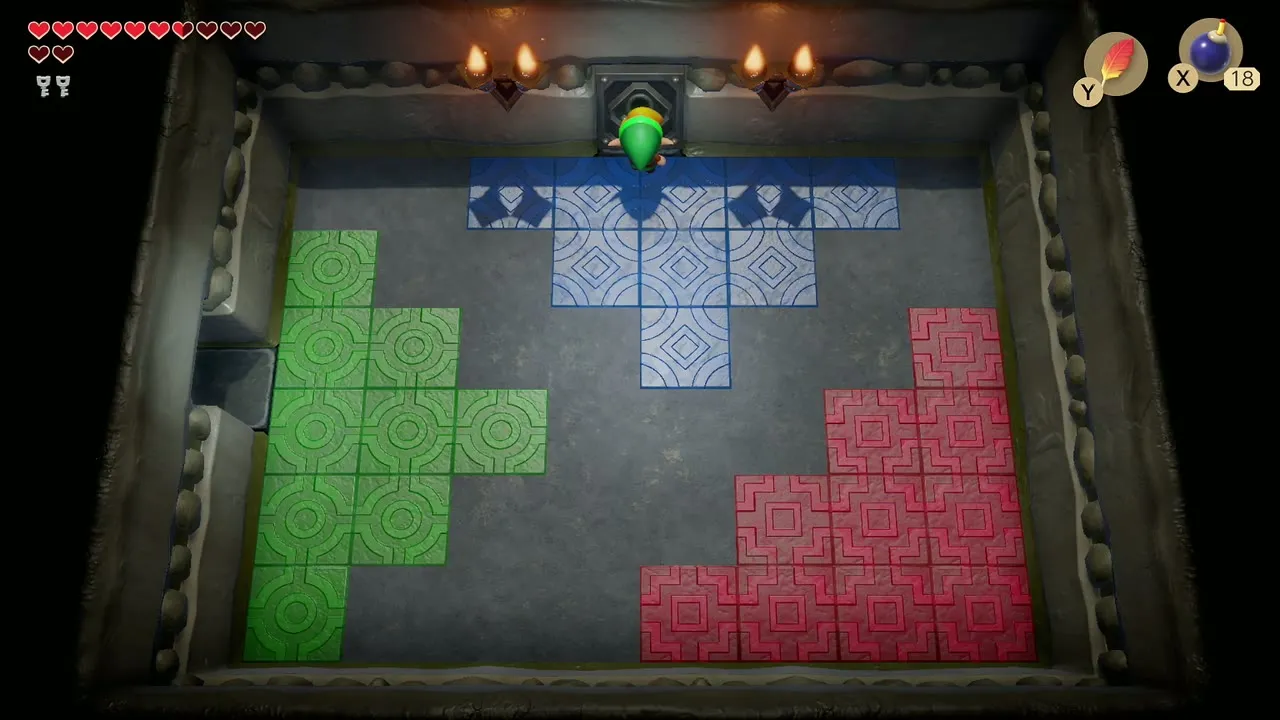
Most puzzles here are solved by hitting orbs until they match, or by carrying an Orb Monster to the hole of its colour or shape. Red floor tiles crack and drop away when stepped on, so cross them quickly or walk around.
Entrance room and the first goblins
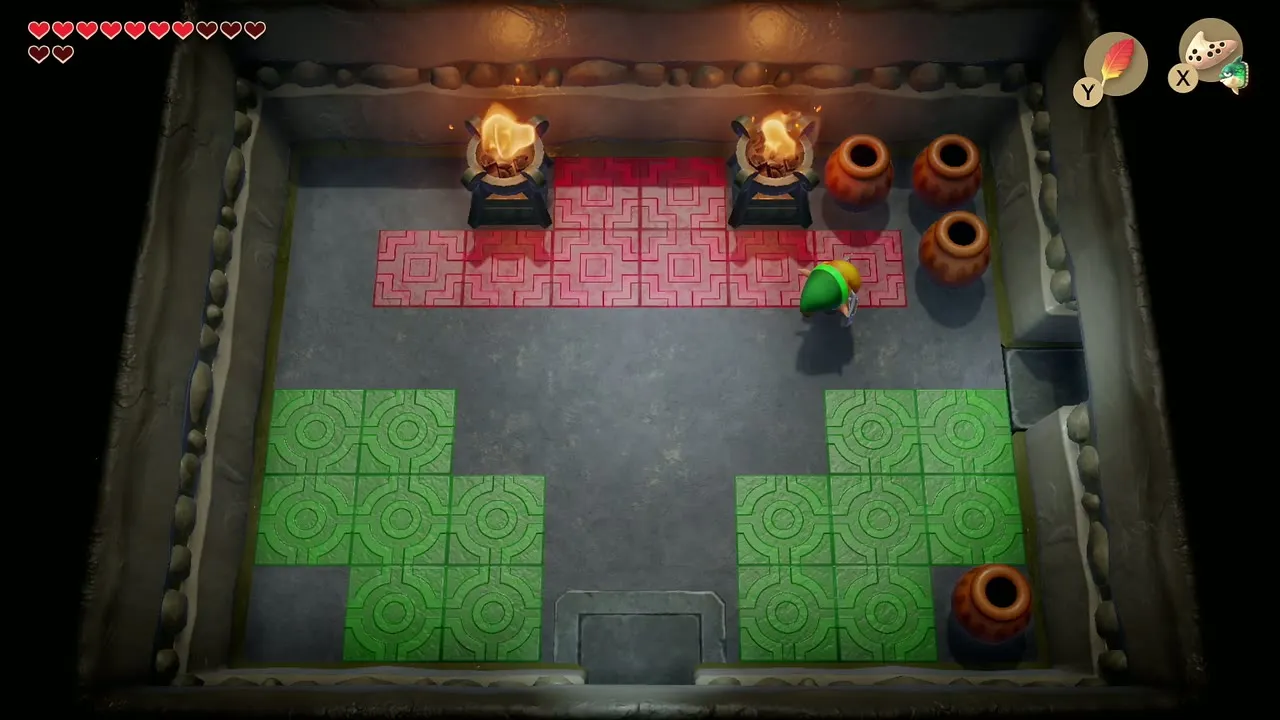
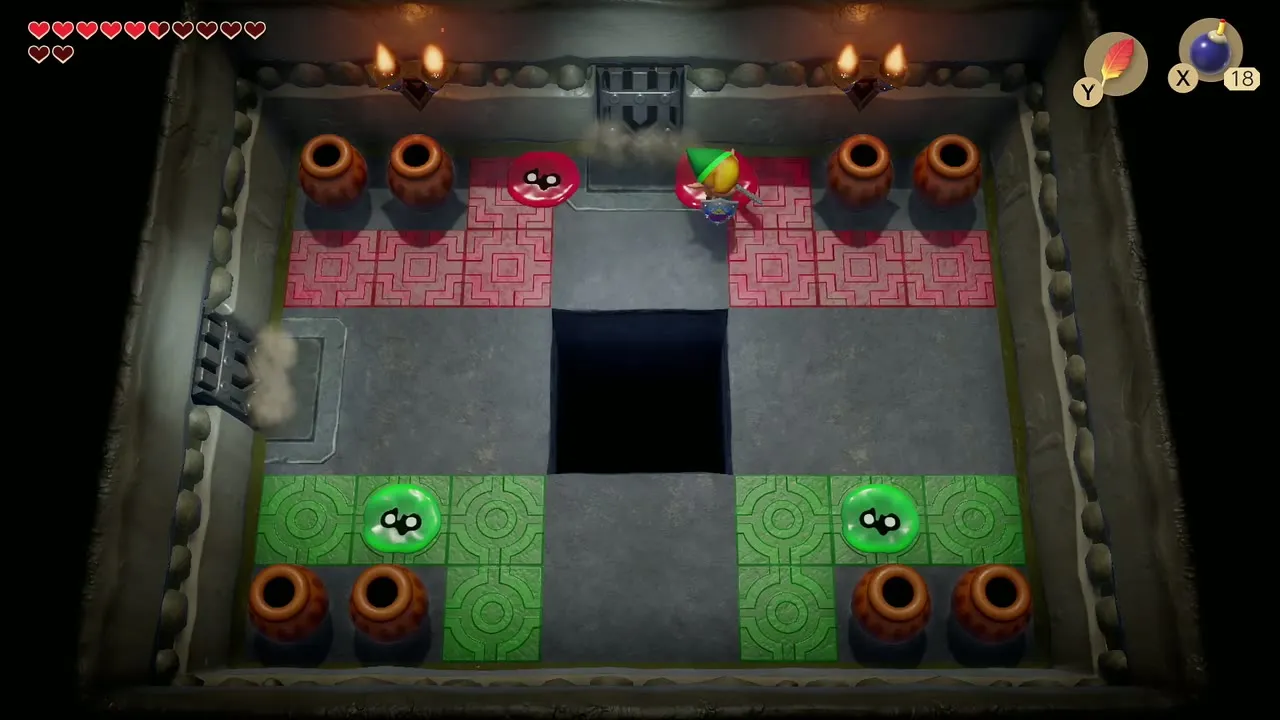
The entrance room is where you can restock Magic Powder. Head north and defeat the Camo Goblins that pop out of the floor to open the east door. Floors in this part are a patchwork of red and green tiles, so look for the safe tiles before you cross.

Compass and the rupee room
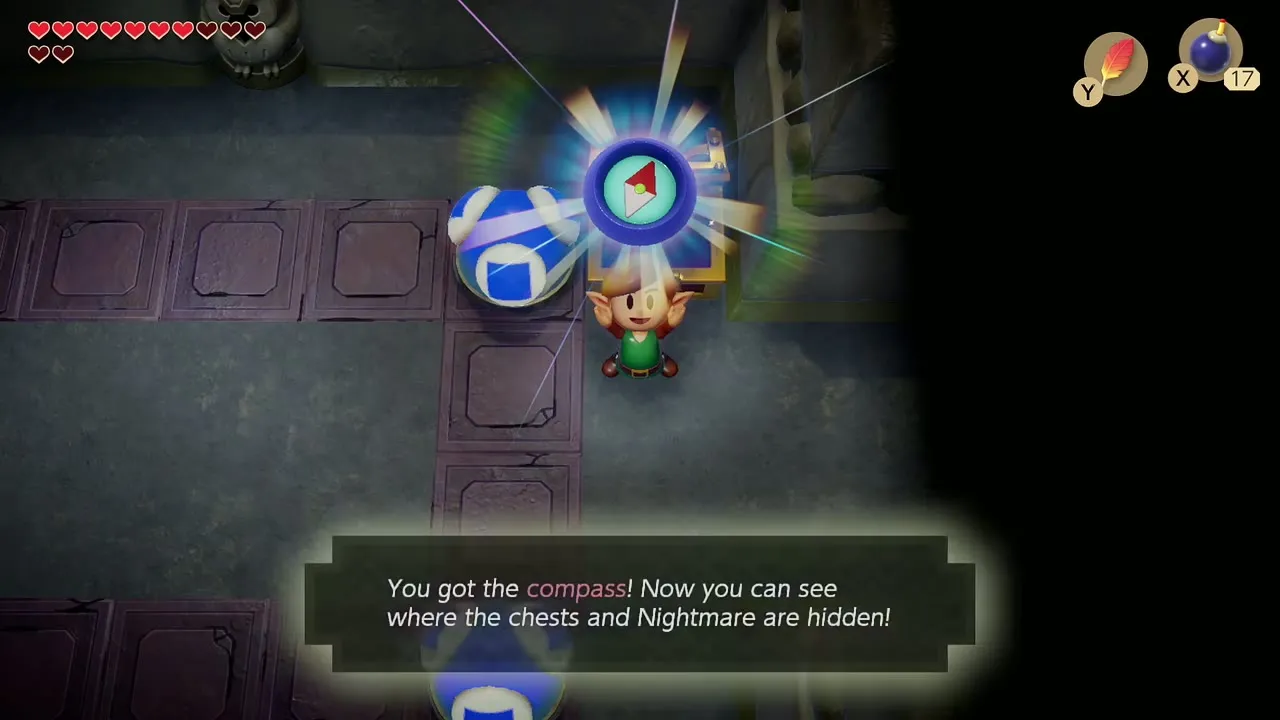
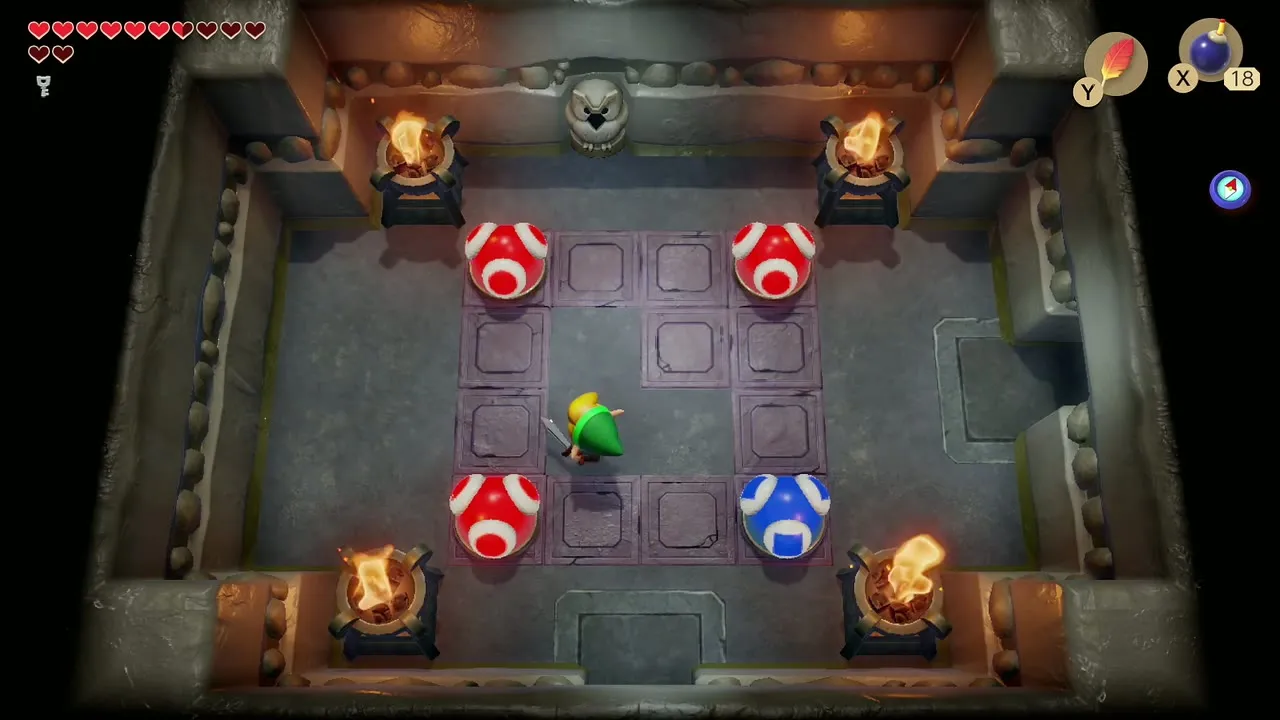
In the next room four coloured orbs surround a ring of tiles. Hit the upper left orb, then the lower right one, and a chest appears with the Compass. Bomb the south wall of this room to open a hidden side room full of blue rupees; the whole stash is worth 140 rupees.



Stone Beak
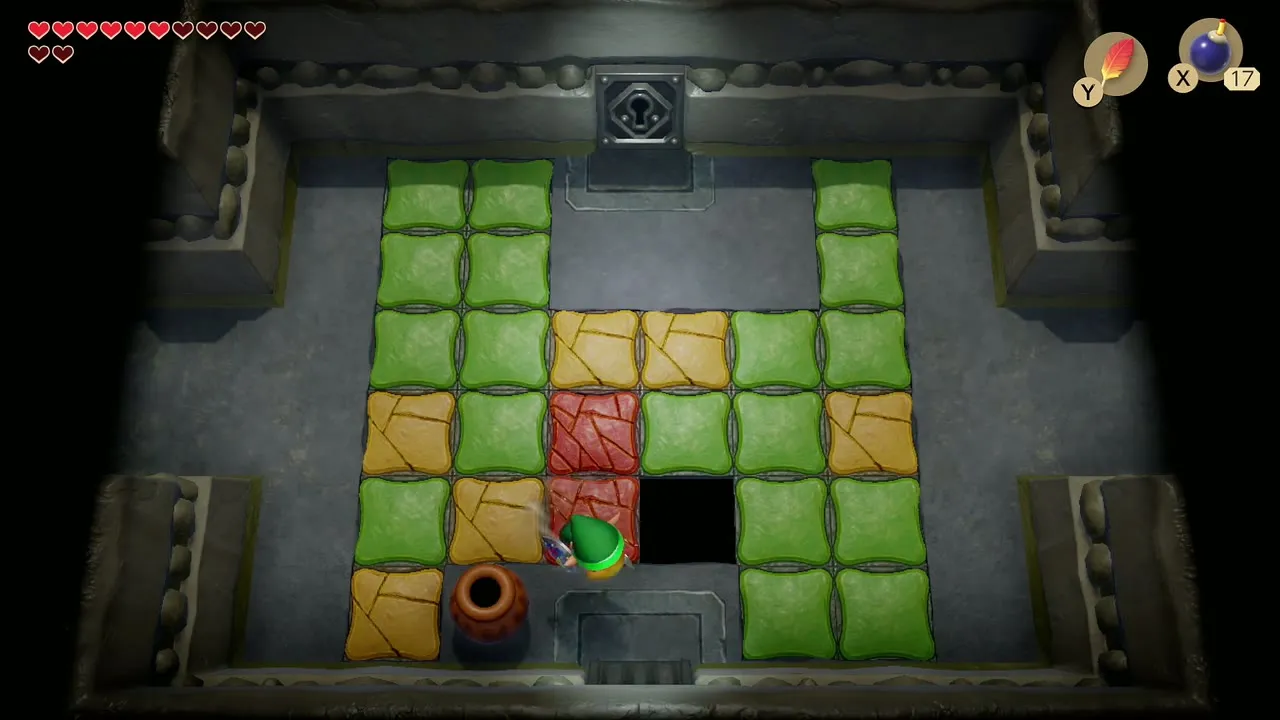
Return and leave by the right door. Bone Putters patrol the cracked tile rooms ahead and fall through the red tiles, so let them. In the room with a red hole and a blue hole, stun each Orb Monster with the sword, lift it with the Power Bracelet and throw it into the hole of its colour. When both holes are filled a chest appears at the upper right and holds the Stone Beak. Leave by the north door.


First Small Key and Giant Buzz Blob
In the next room, avoid or defeat the Bone Putters and solve the orb puzzle: hit the lower right orb once and the upper left orb twice. A Small Key falls into the room. In the room to the right defeat three more Camo Goblins, then use the key on the locked door.


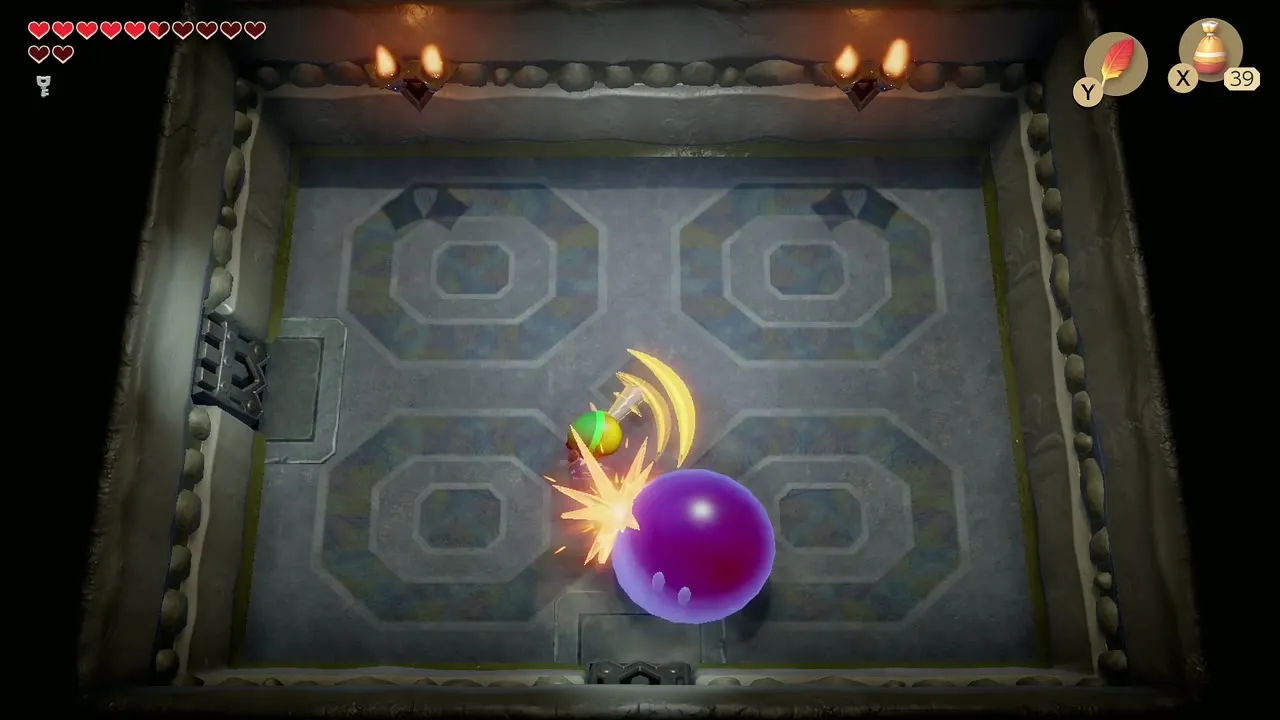
Behind the door is the mini-boss Giant Buzz Blob. While it is large it fires electric bolts in four directions from its feet, and your sword cannot hurt it. Throw Magic Powder at it to shrink it into a small green blob. Dodge its landing, slash it, and repeat until it bursts. The way to the west room opens.


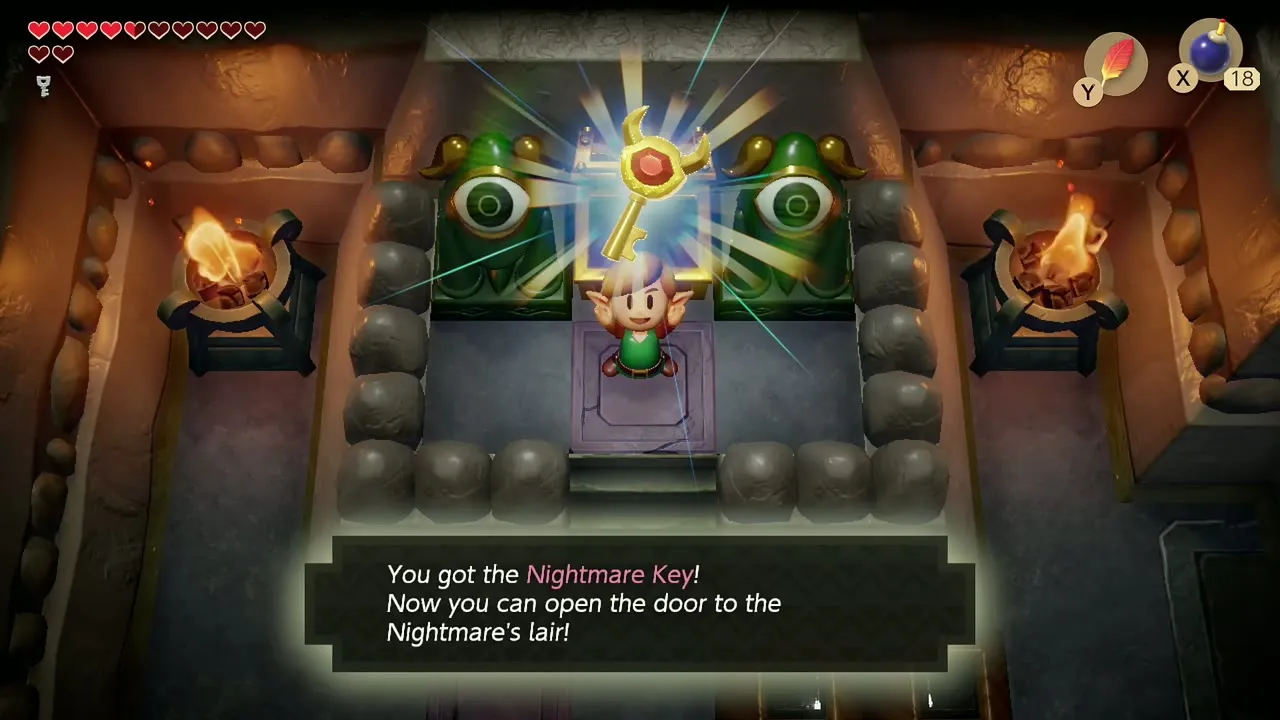
Nightmare Key
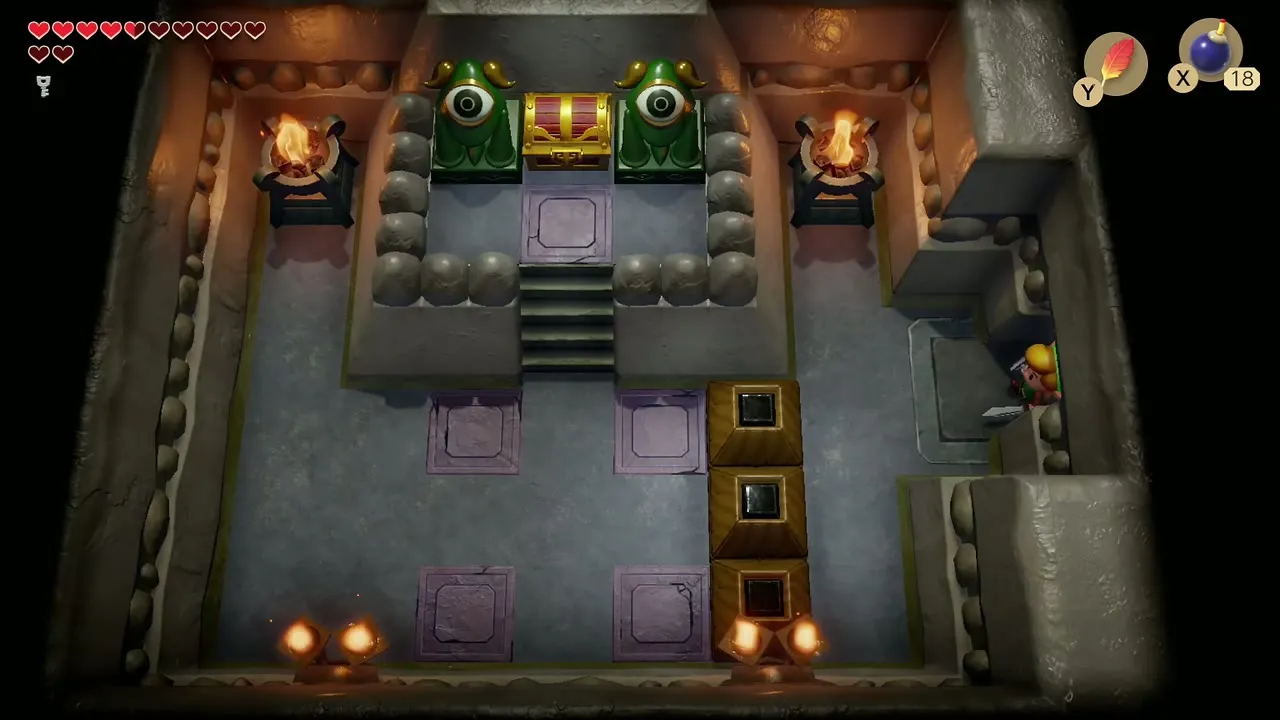
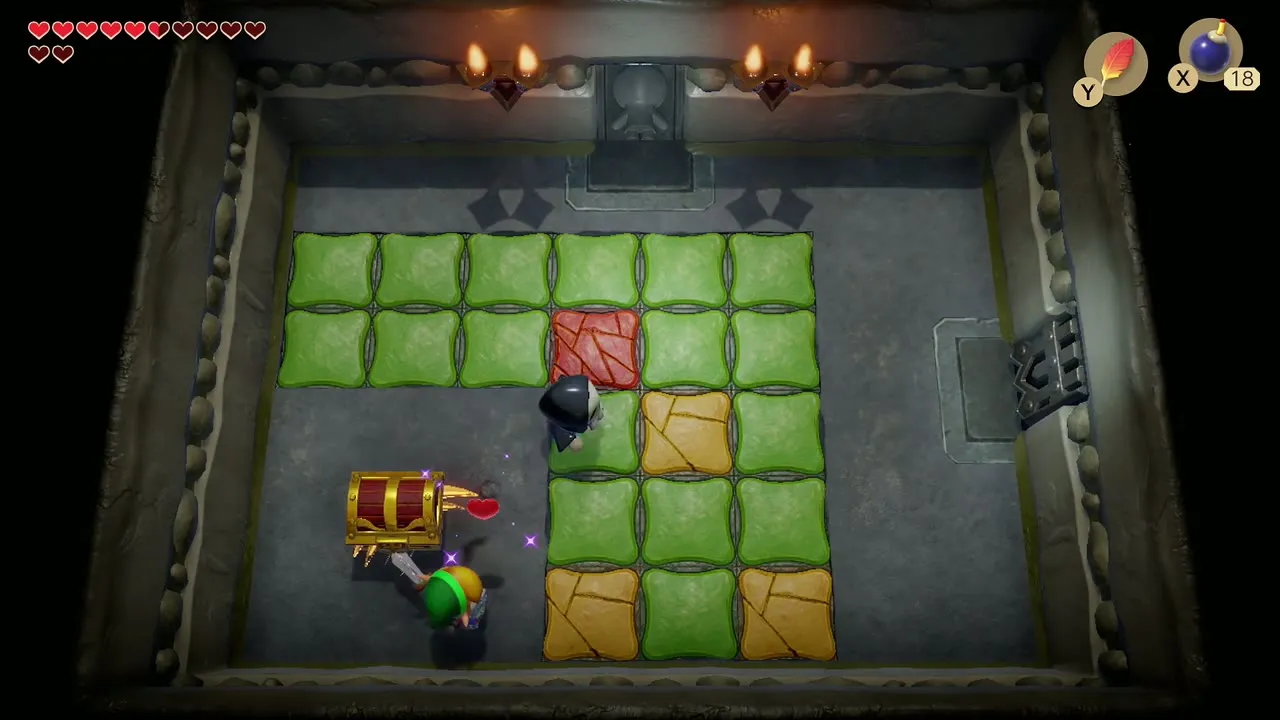
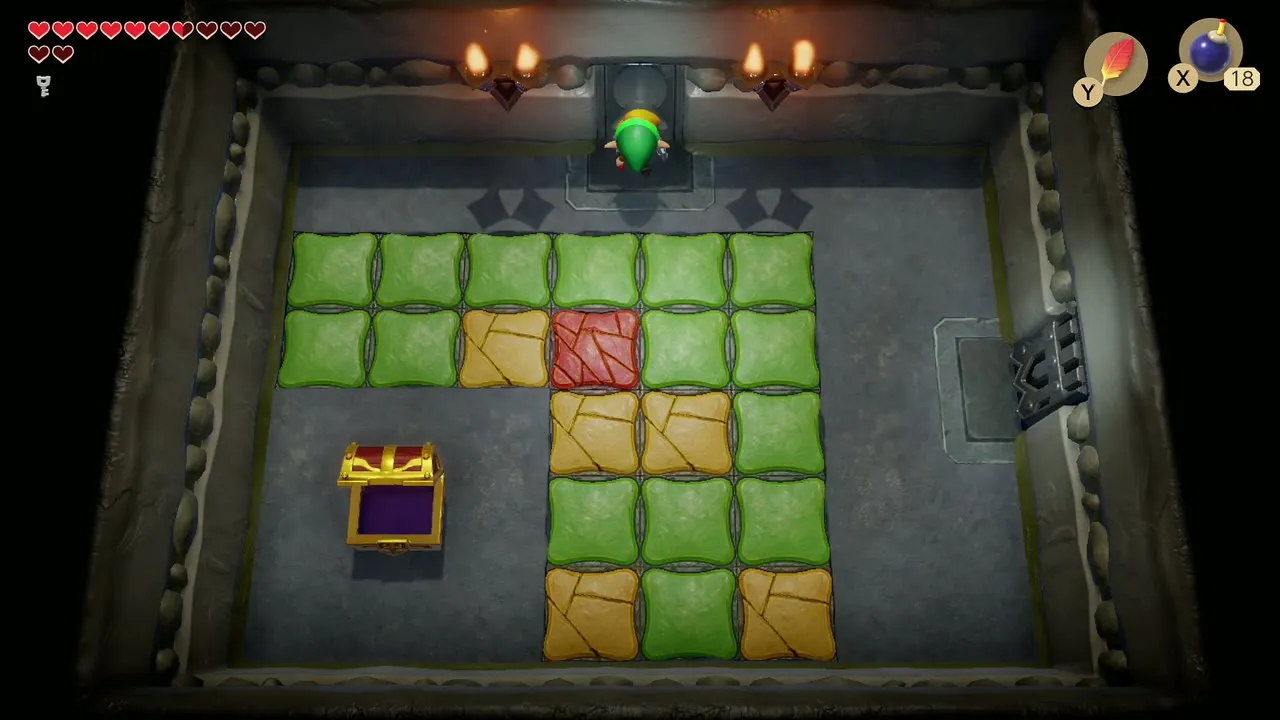
In the west room push the blocks aside to reach a chest. Open it to take the Nightmare Key, which opens the boss door later.
Second Small Key and Stone Hinox
Return to the first Orb Monster room and go south. Defeat four Camo Goblins, then go left and clear the two Bone Putters before the floor gives way; the Small Key sits in a chest here. Climb two rooms north to the next locked door and use the key.

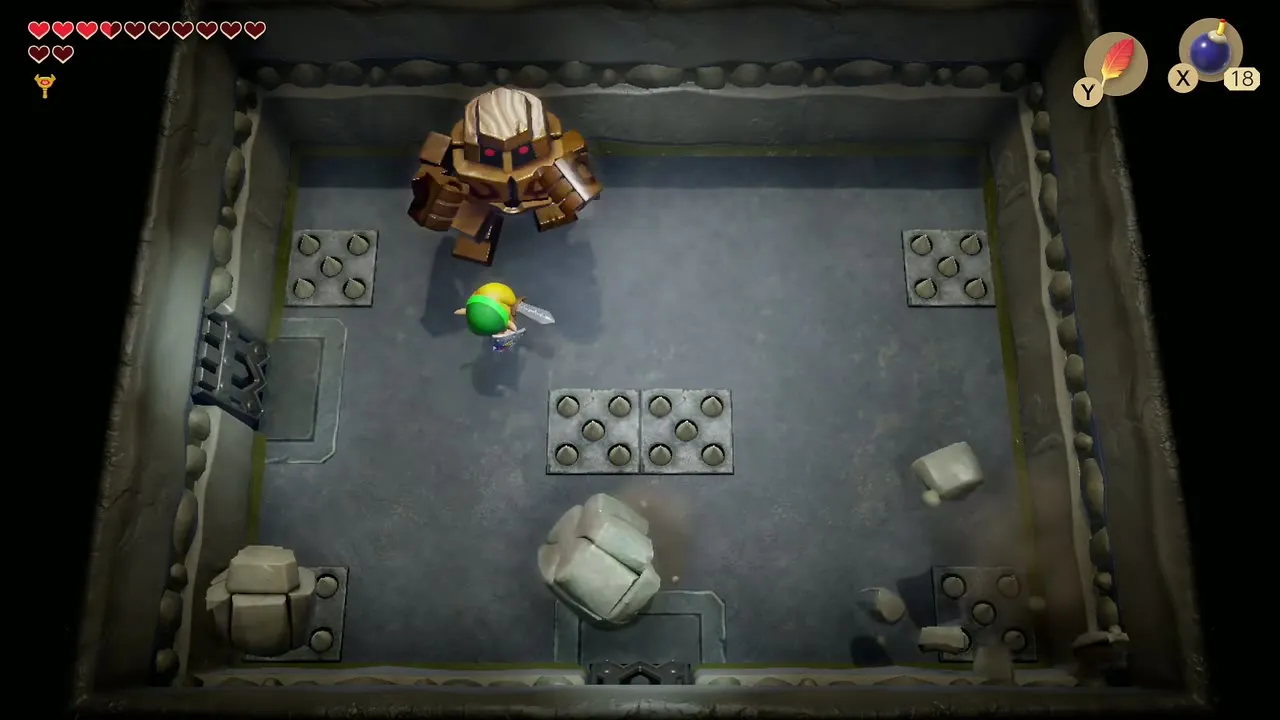
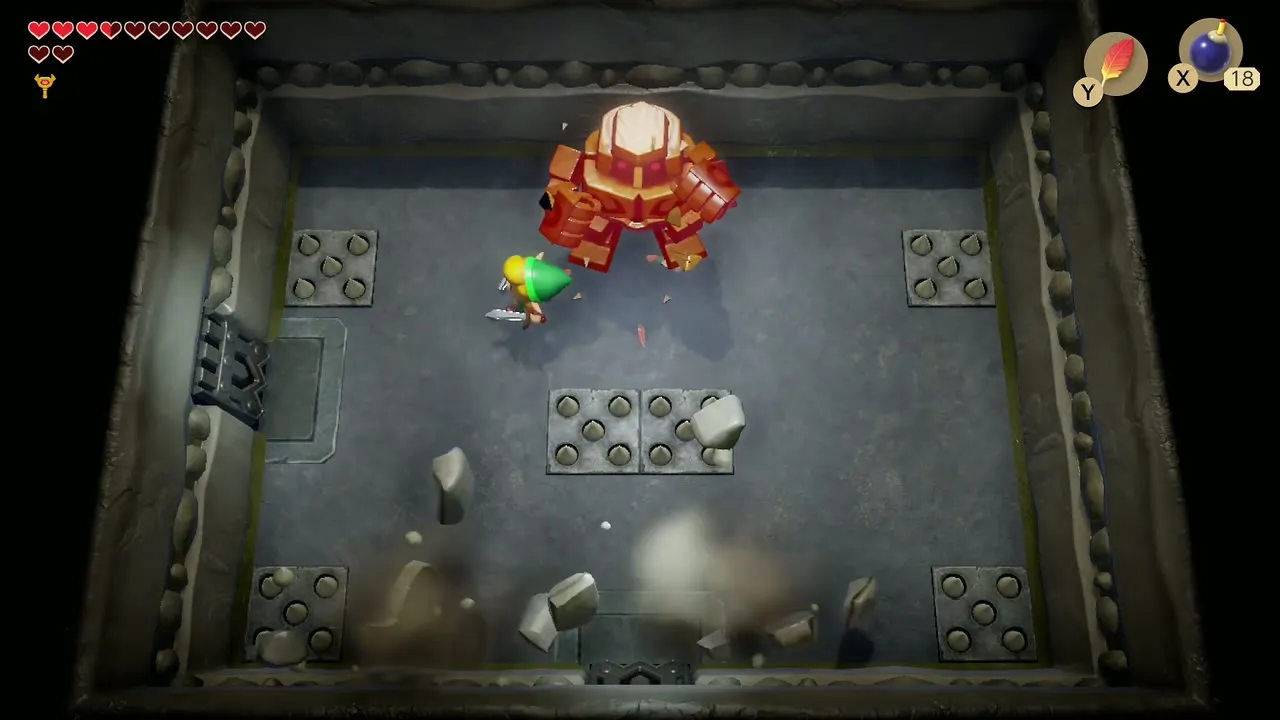
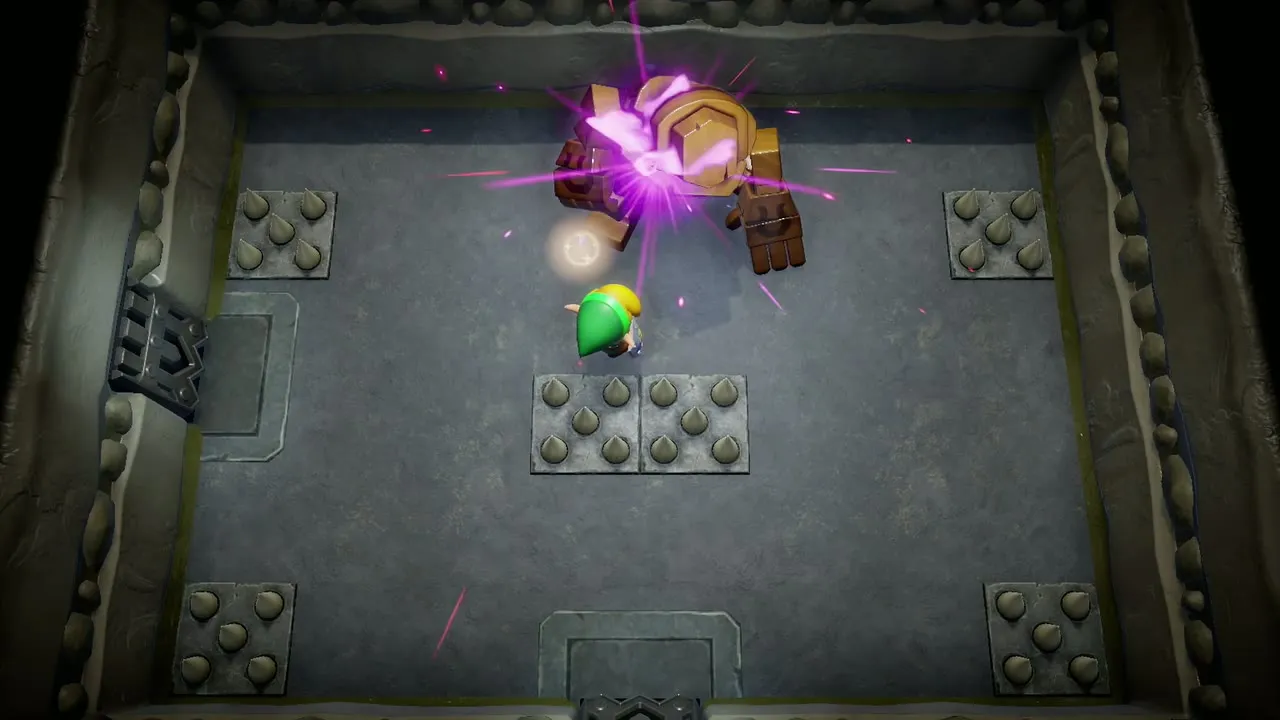
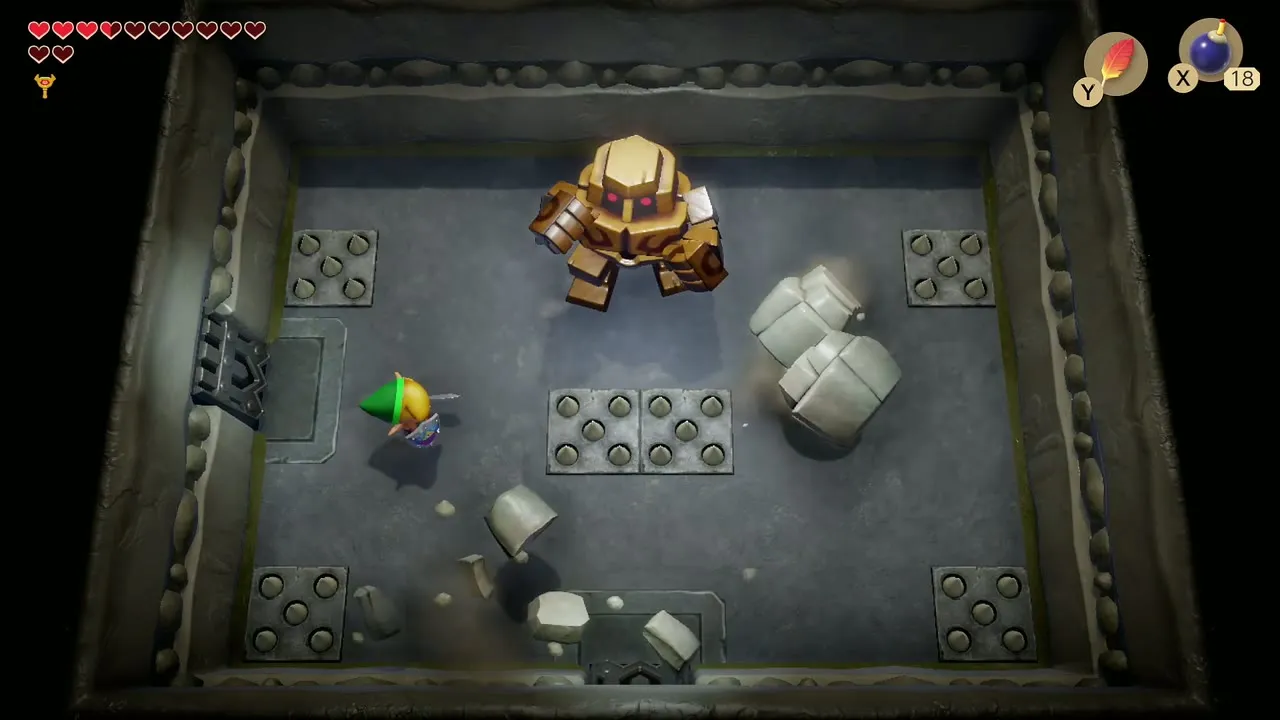
Stone Hinox jumps around a spiked room and drops boulders when it lands. Stay out of its shadow, avoid the spikes, and hit it from a distance with bombs, or slash it with the sword just after it lands. It jumps more often as it weakens. When it falls it leaves a fairy; catch it in an empty bottle.


Dungeon Map
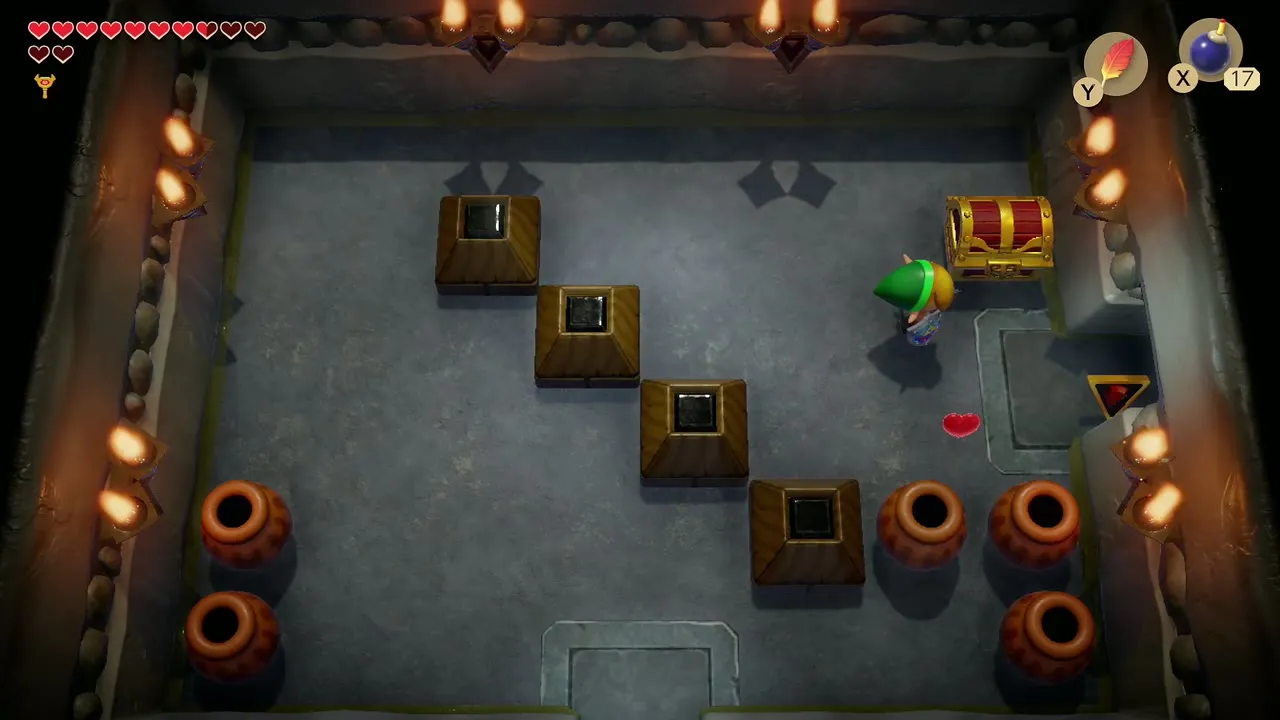
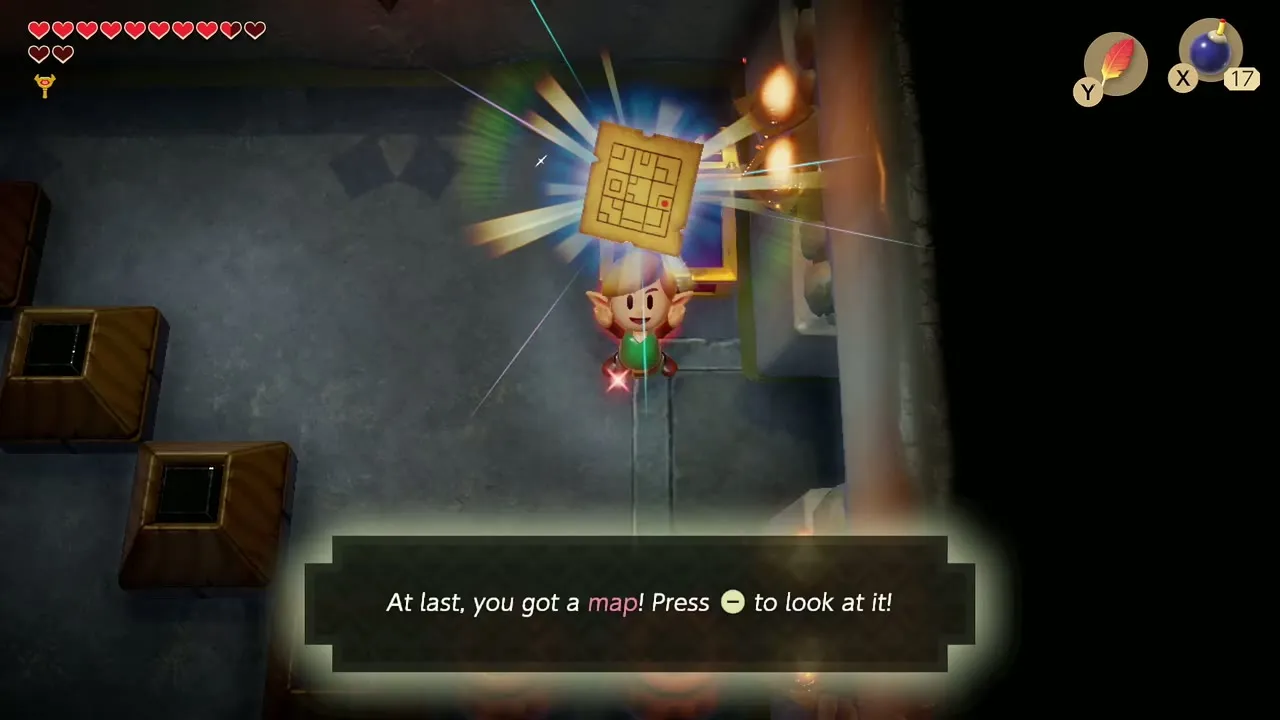
Go west from the Hinox room, step on the switch hidden under the upper left pot, then go north. Kill every Zol that wriggles out of the floor and a chest appears with the Dungeon Map.

Third Small Key
Go to the east room with four Orb Monsters and three coloured holes. Stun each monster and throw it into the hole that matches its colour or shape. Small Key number three drops. Go back two rooms and take the west door.
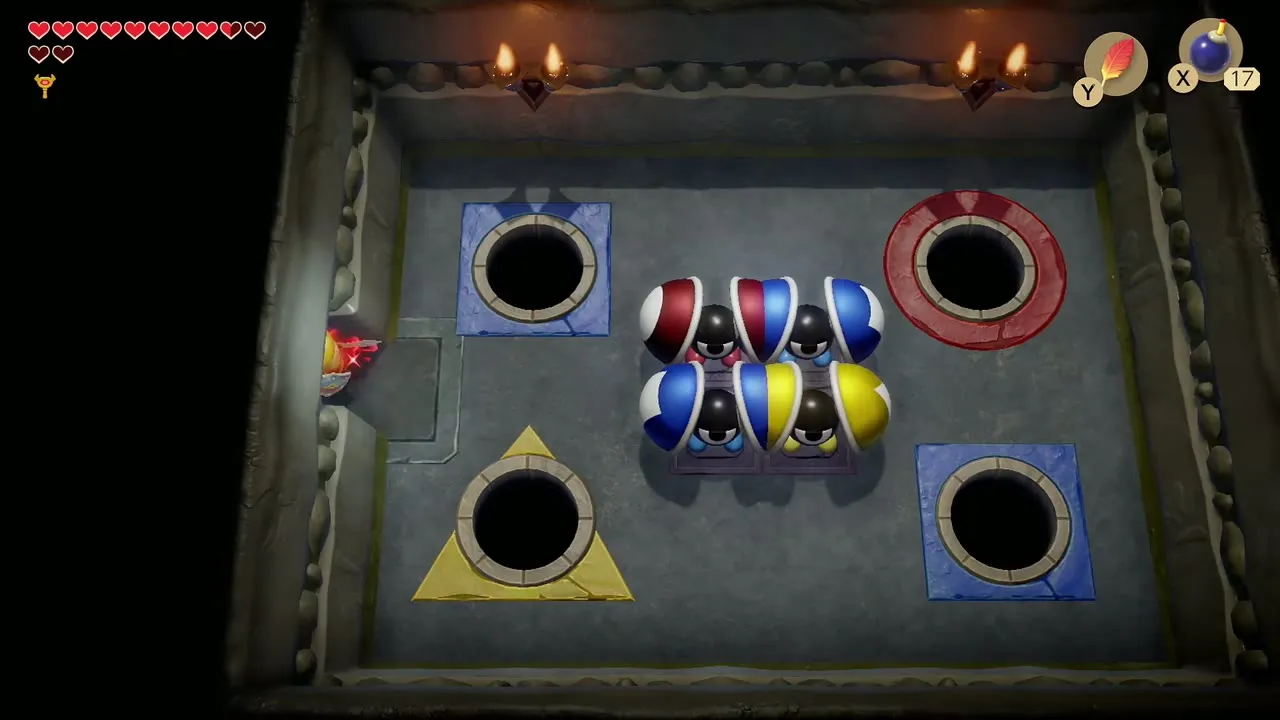
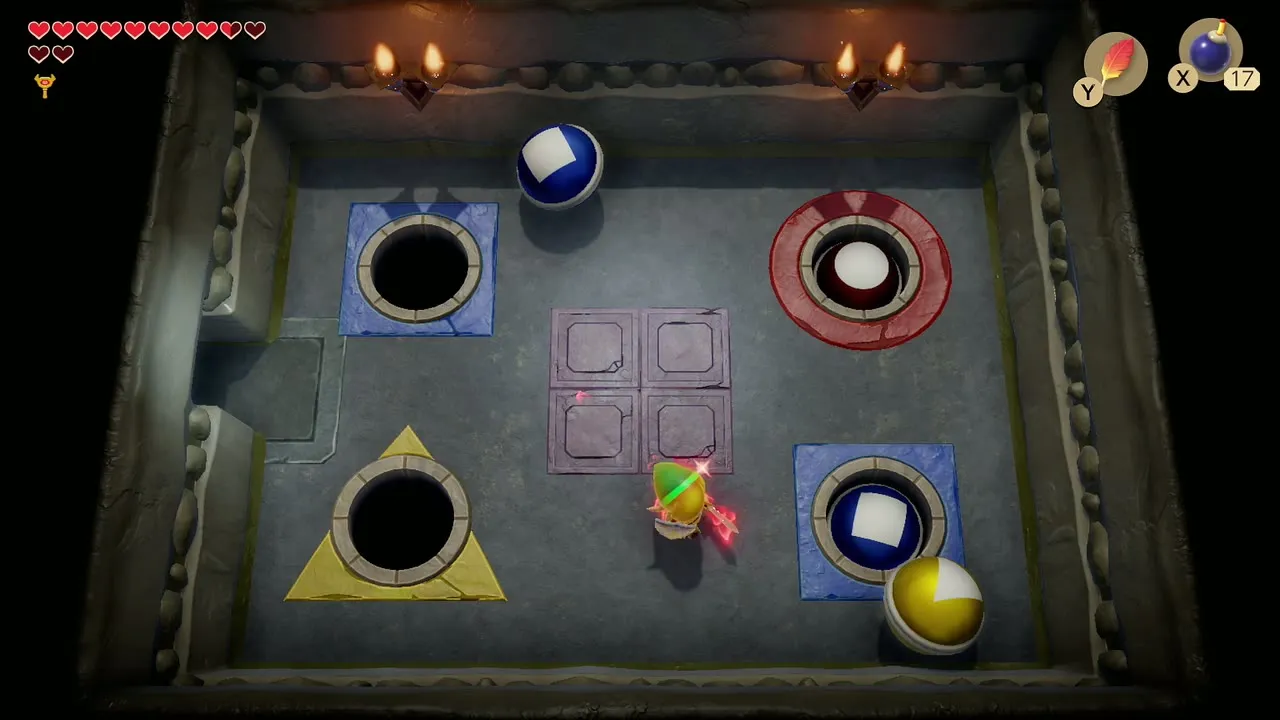
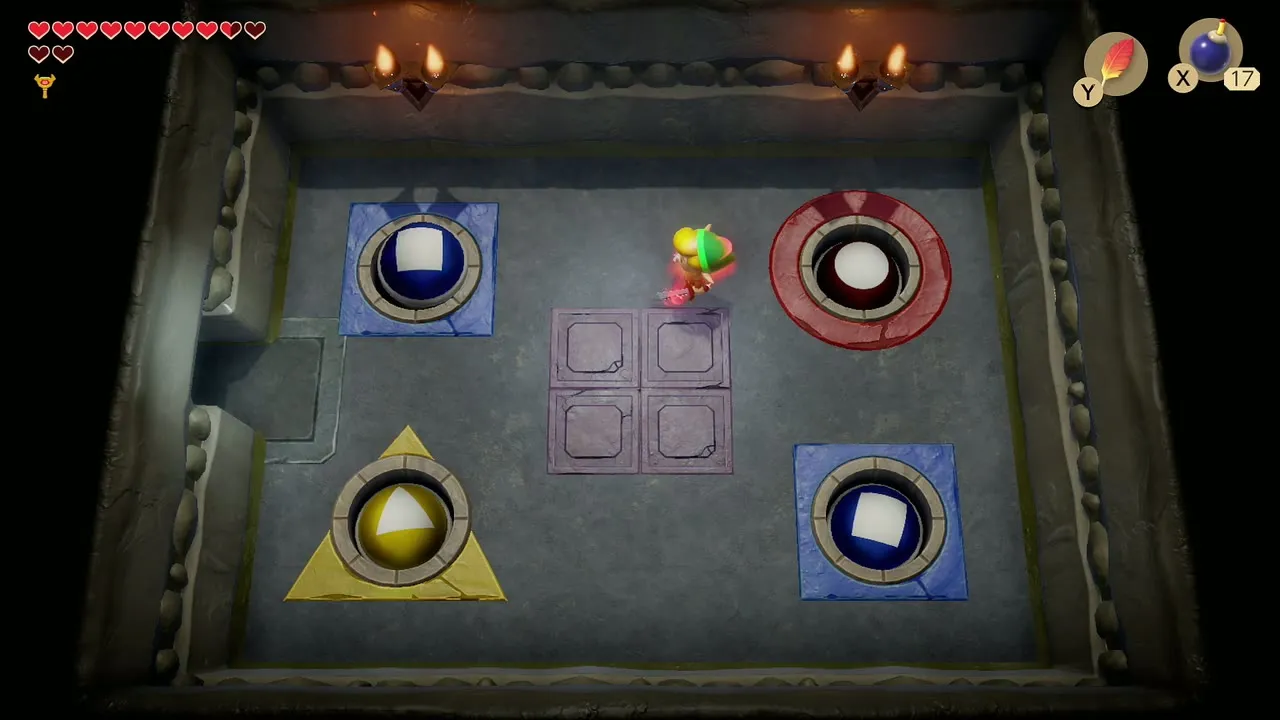
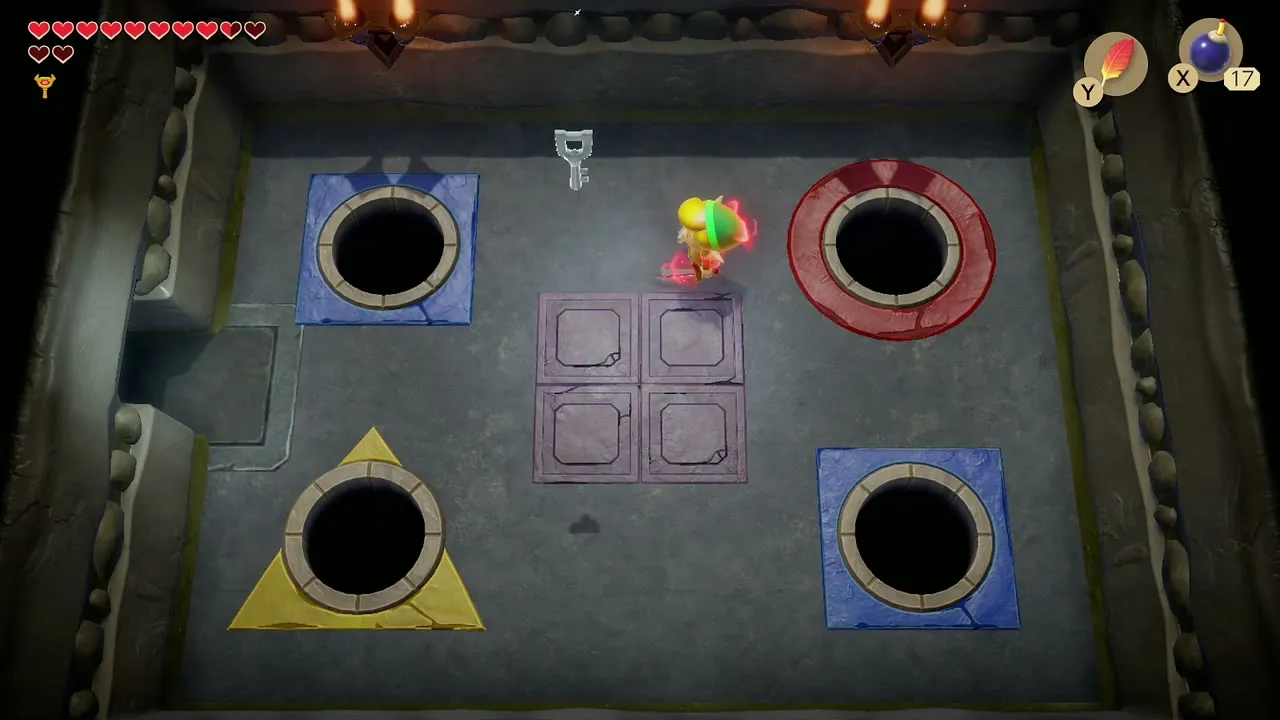
The nine-orb room and the boss door
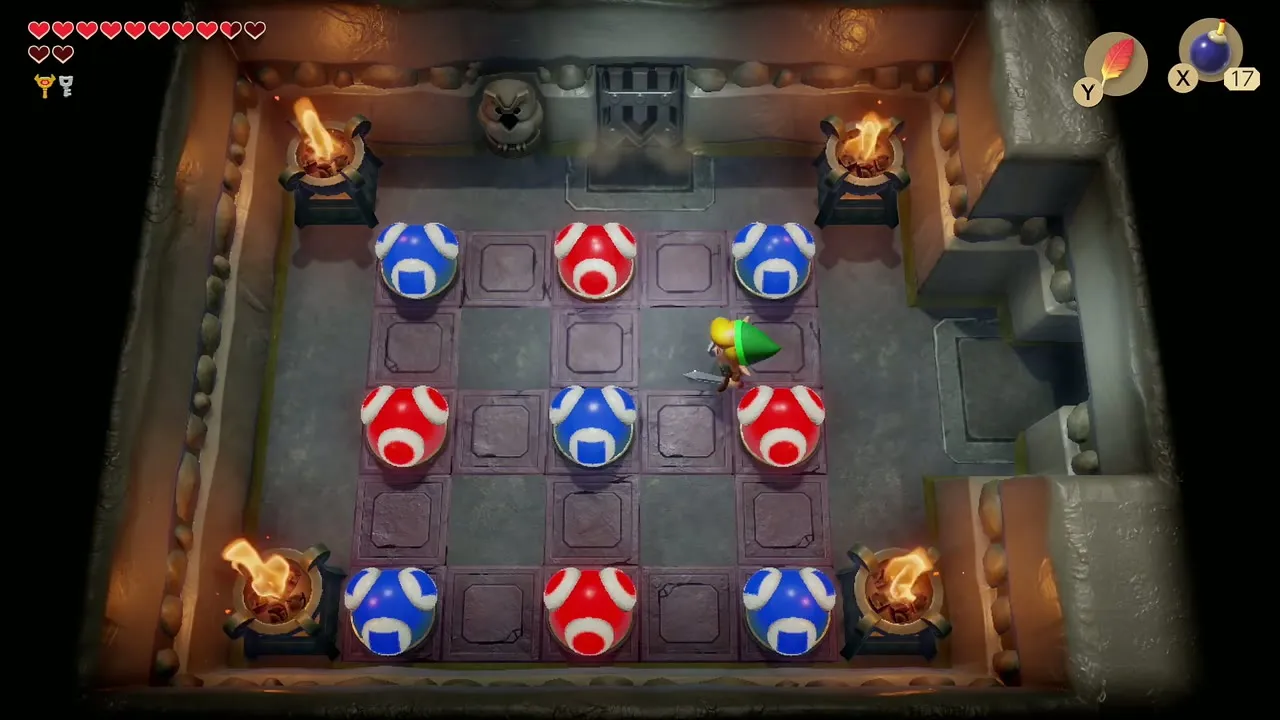
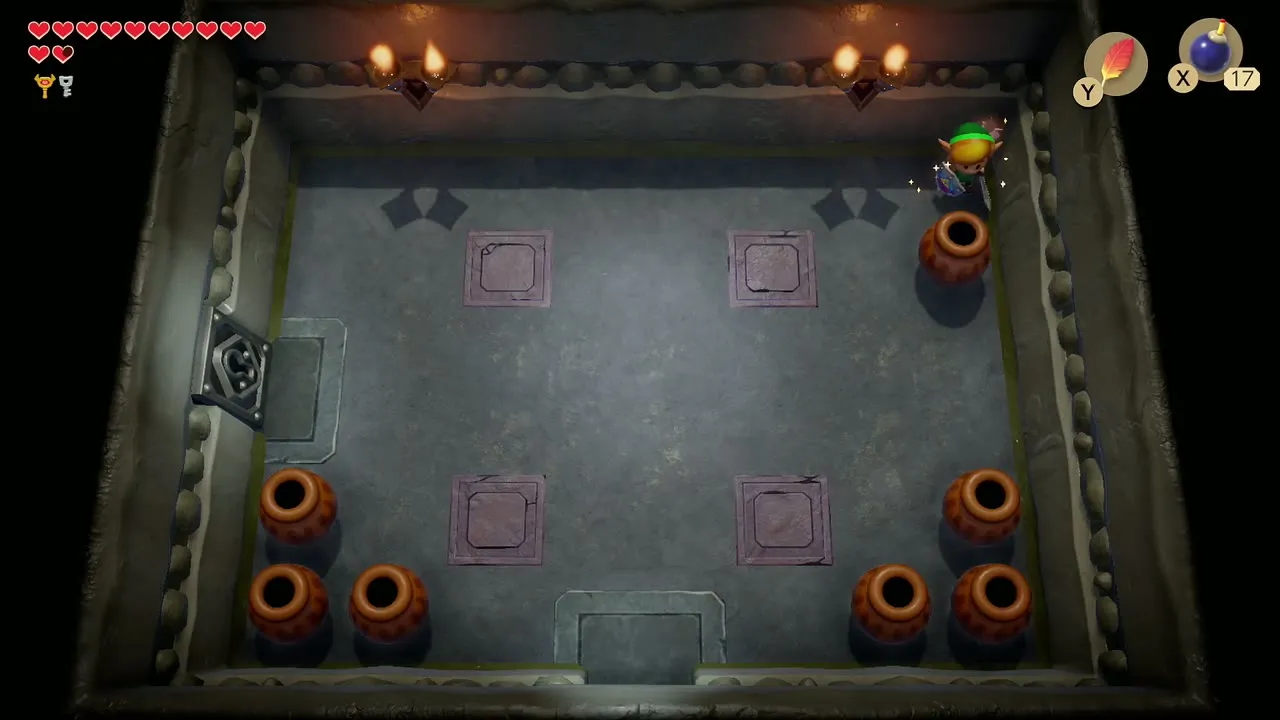
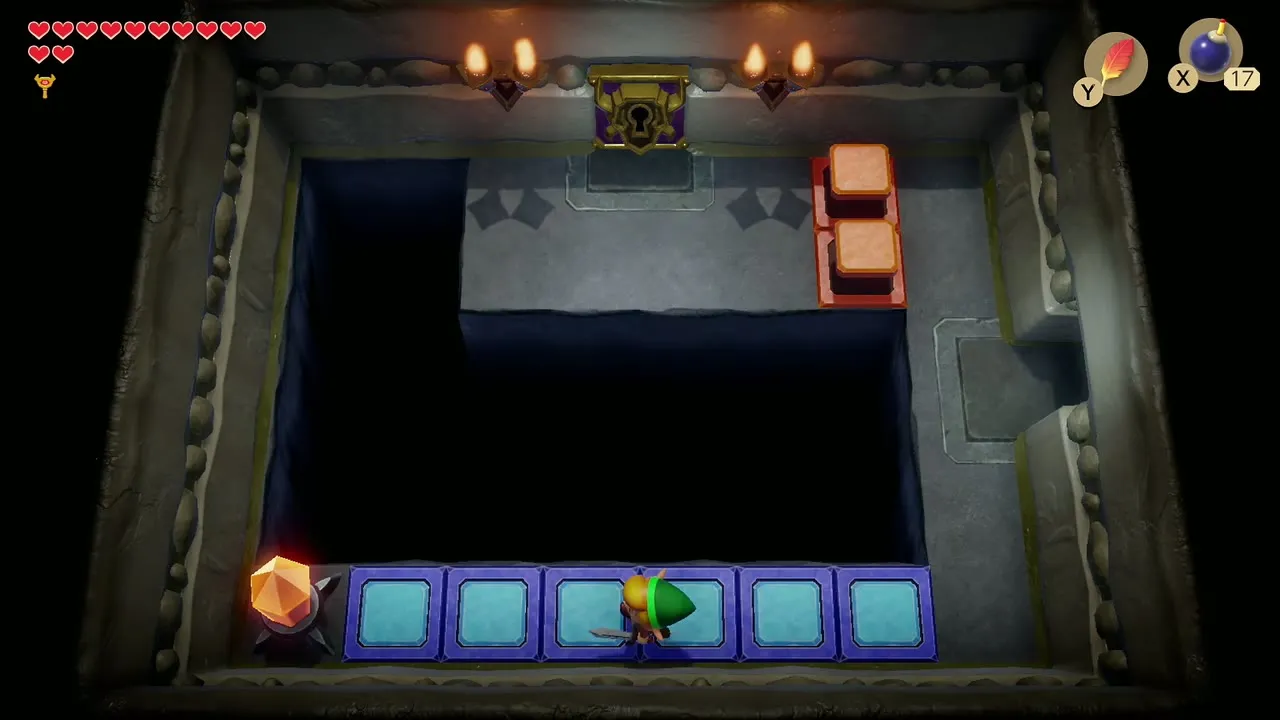
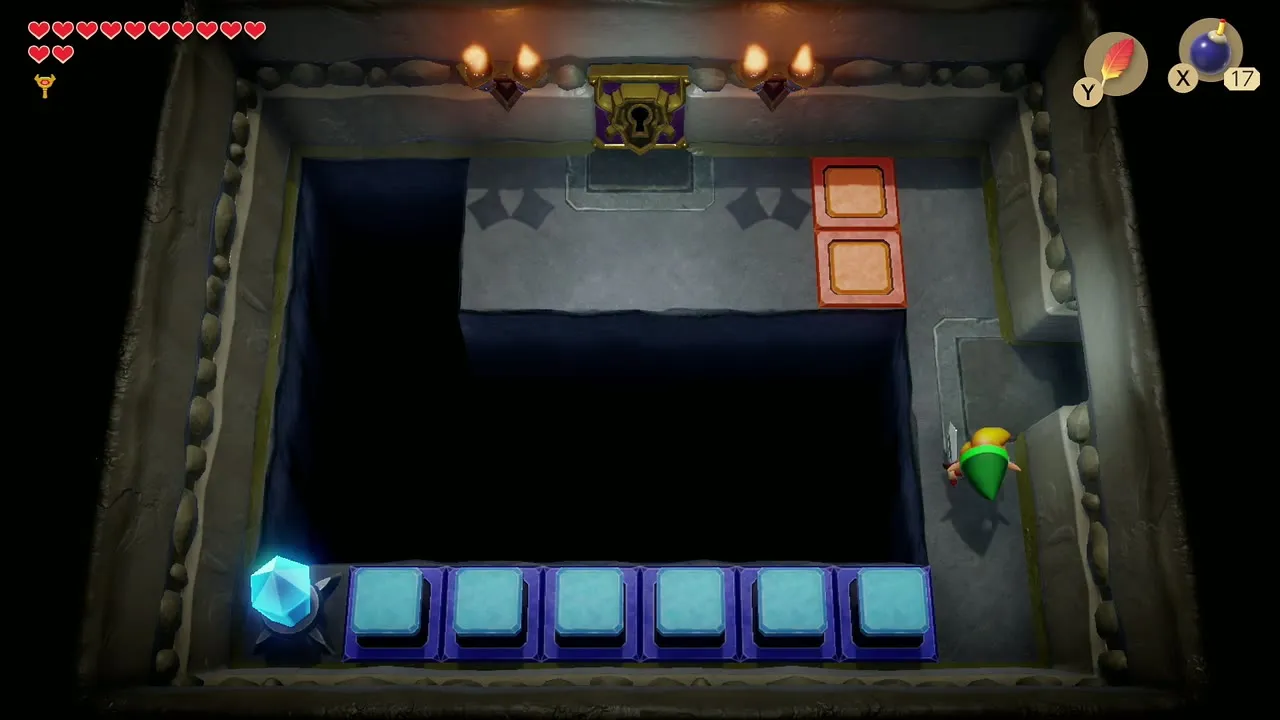
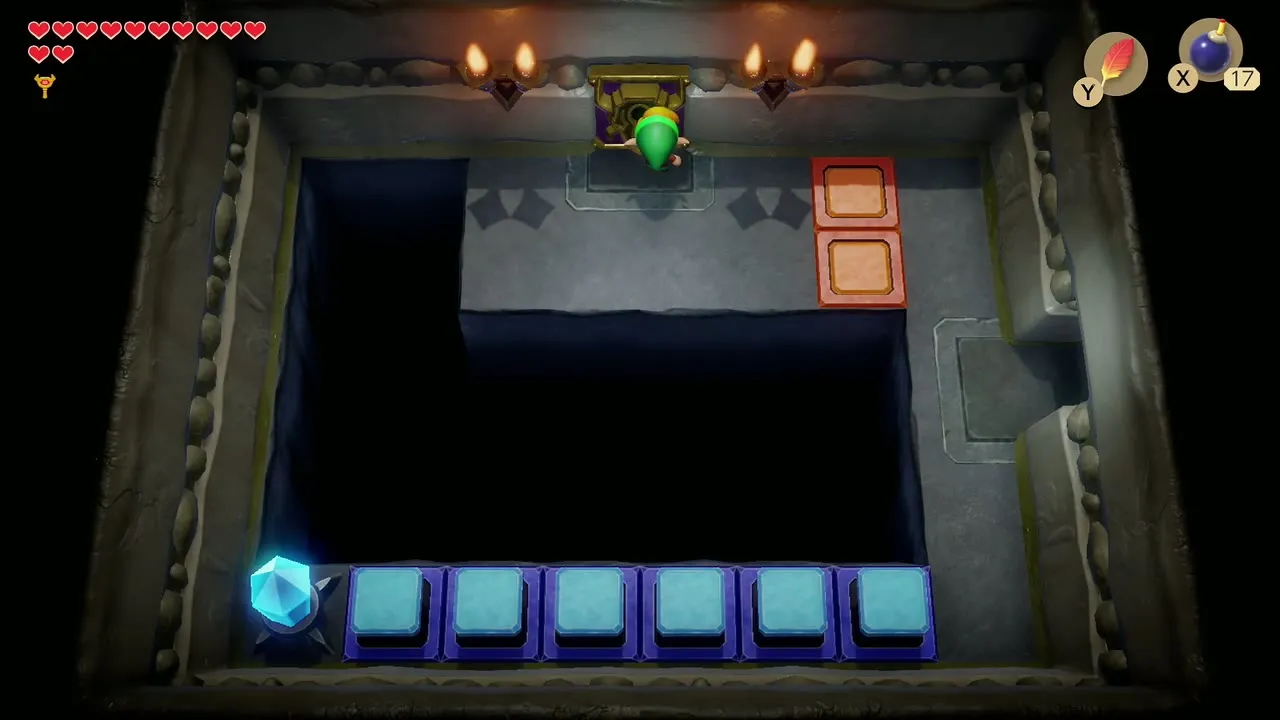
In the room with nine orbs, turn them all blue by hitting the top orb, the middle left orb, the middle right orb and then the bottom orb. The north door unlocks. Another room beyond has a fairy hidden in the upper right pots. Use the third key on the left door, cross the room, hit the colour crystal so the blue blocks form a path, and walk to the Nightmare’s Lair door. Use the Nightmare Key.

Boss: Hardhit Beetle
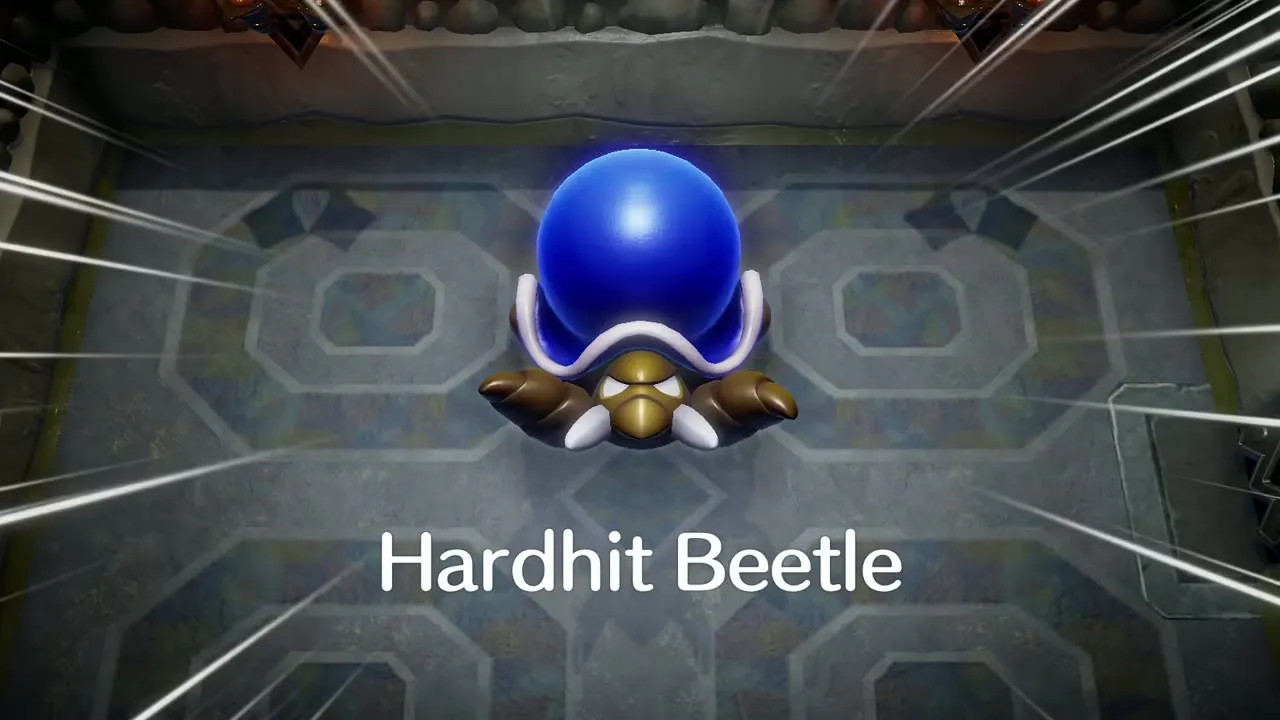
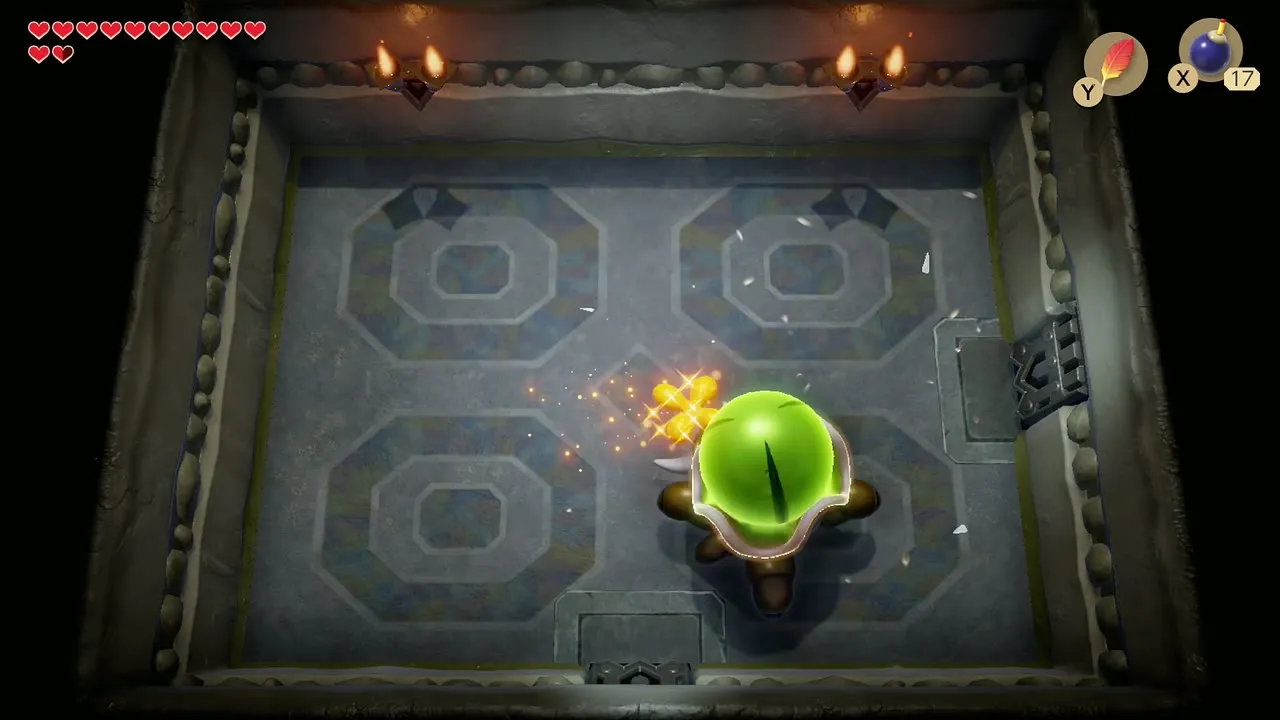
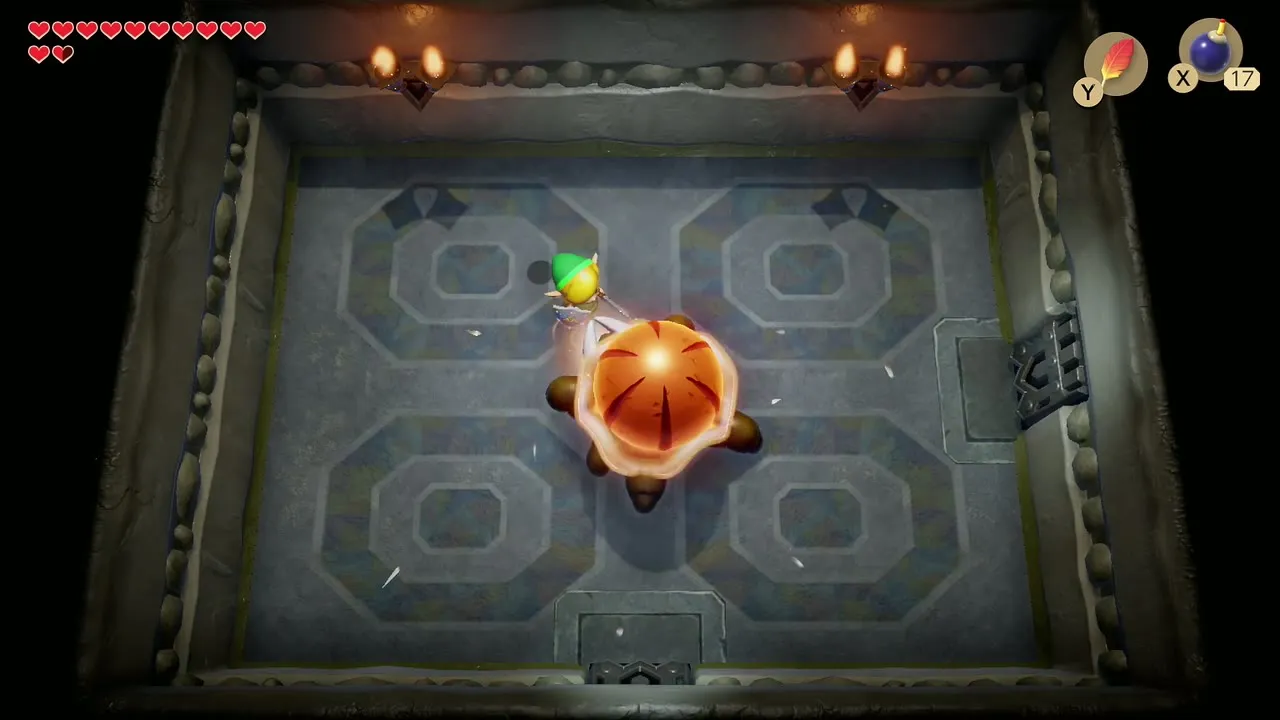
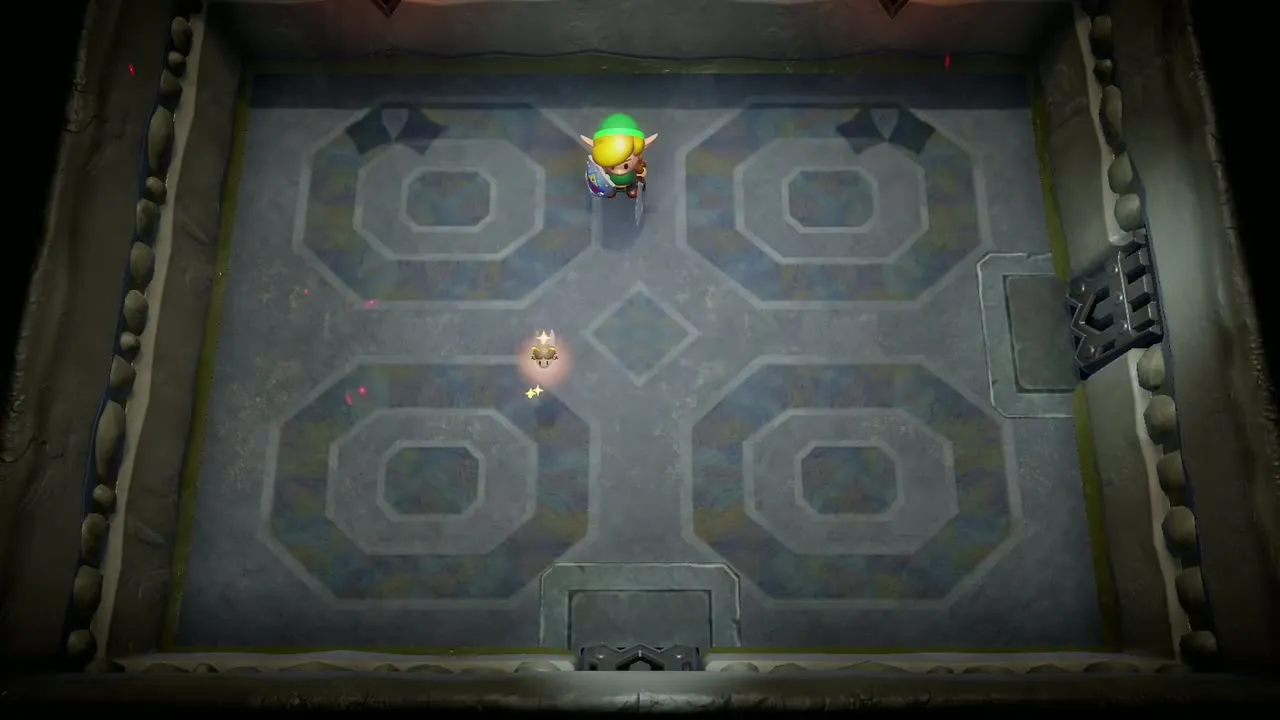
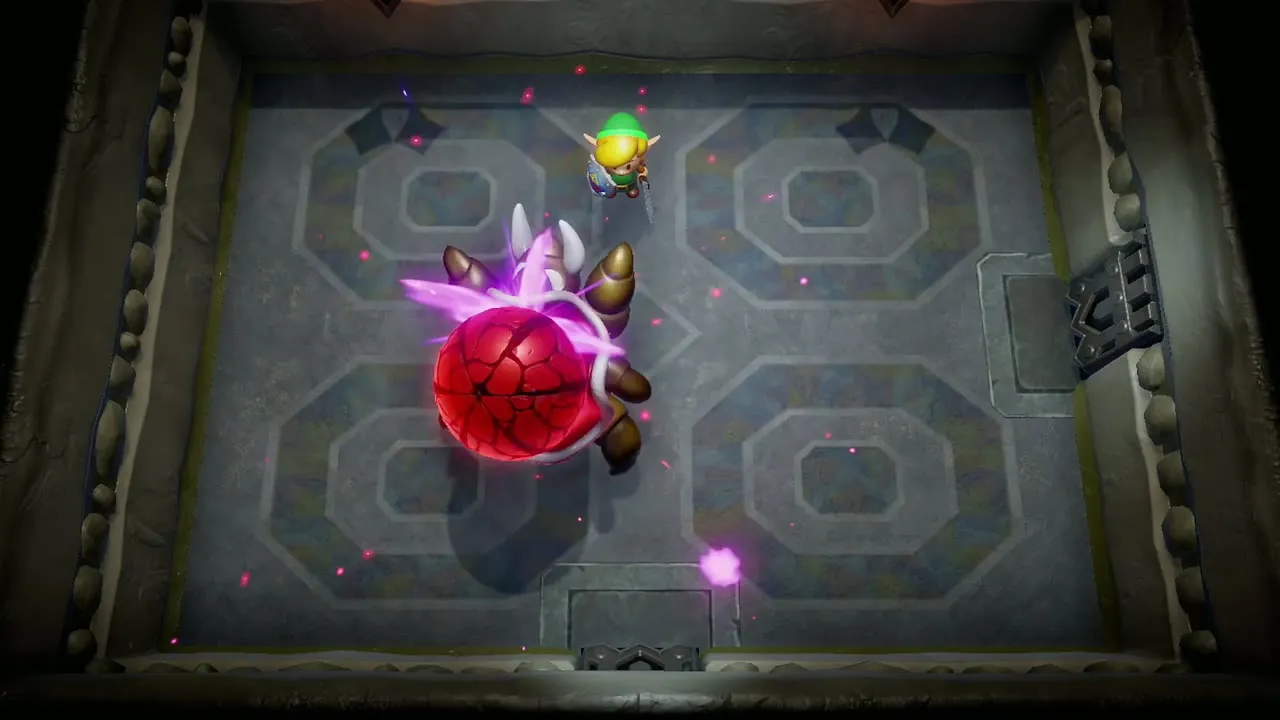
The Hardhit Beetle is a giant armoured beetle whose shell shifts colour from blue towards red as you damage it. It throws spinning blades; jump them and slash its back. Its shell heals fast, so keep hitting without long pauses. When the shell turns orange it summons Stalfos; ignore them and keep hitting the back. When the shell turns red, finish it. The Bow or Magic Rod also work. A fairy appears when it falls.

Fairy Queen: Red Mail or Blue Mail
What each outfit does
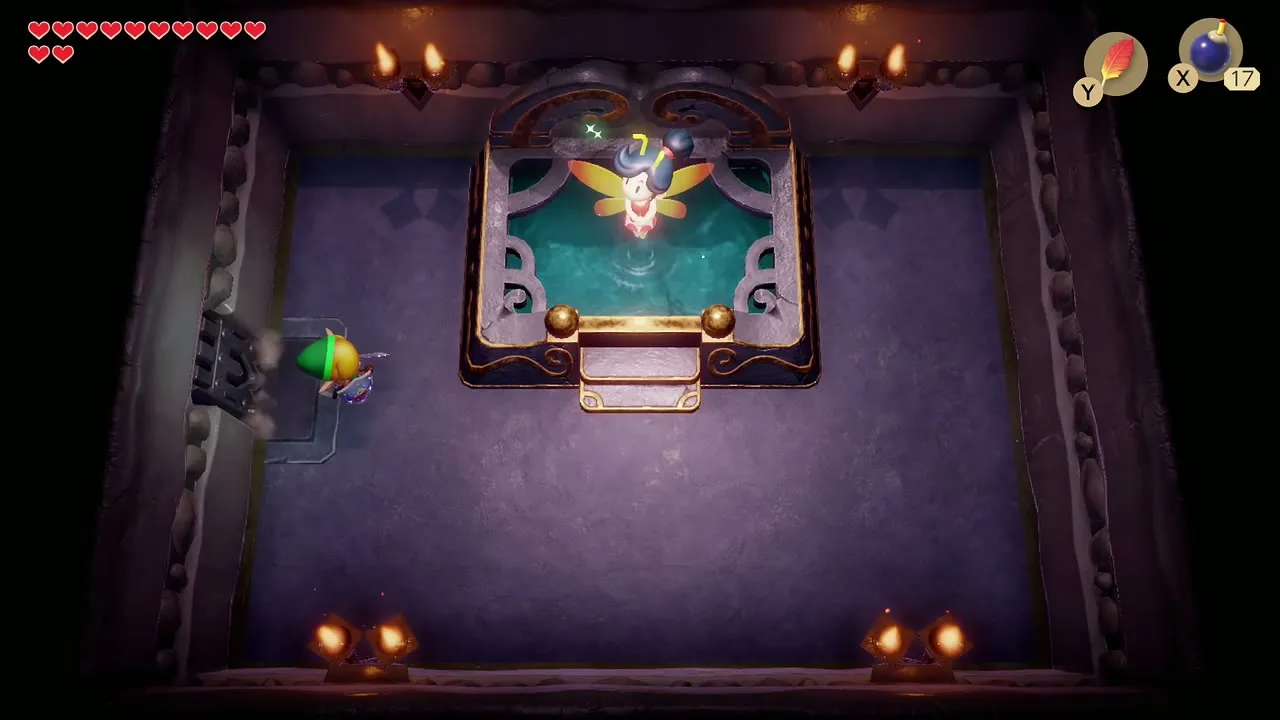
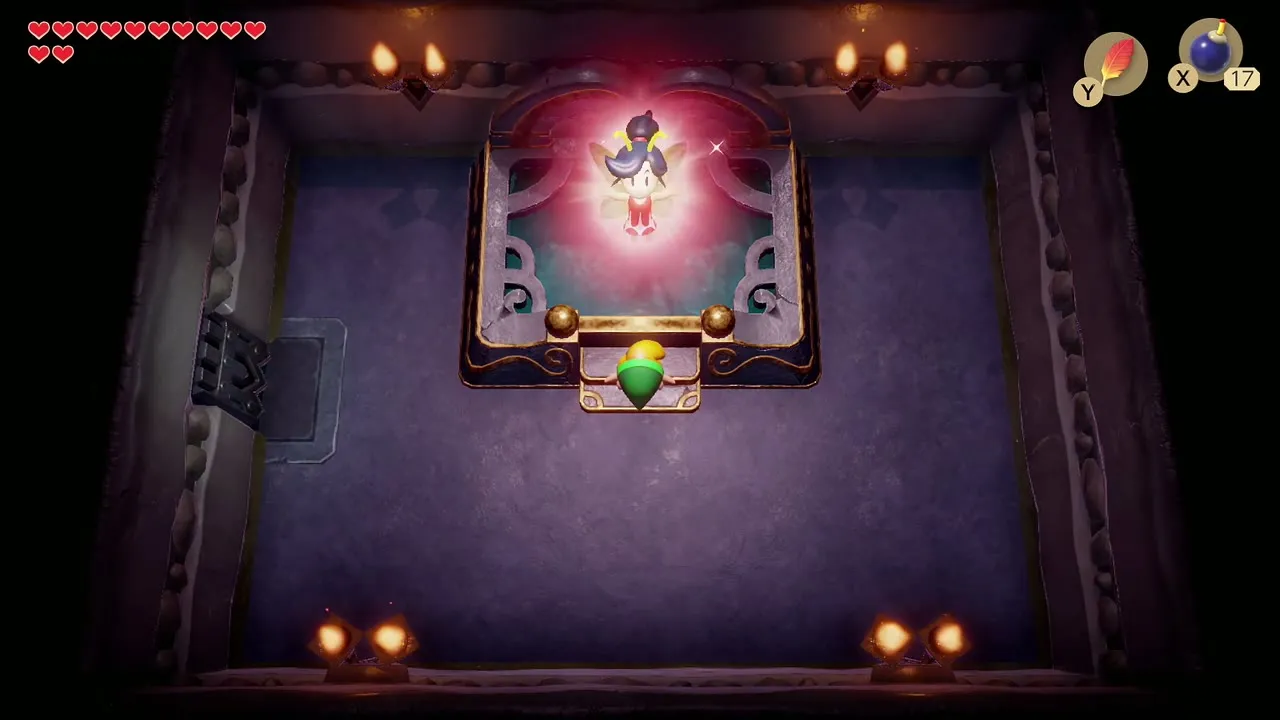
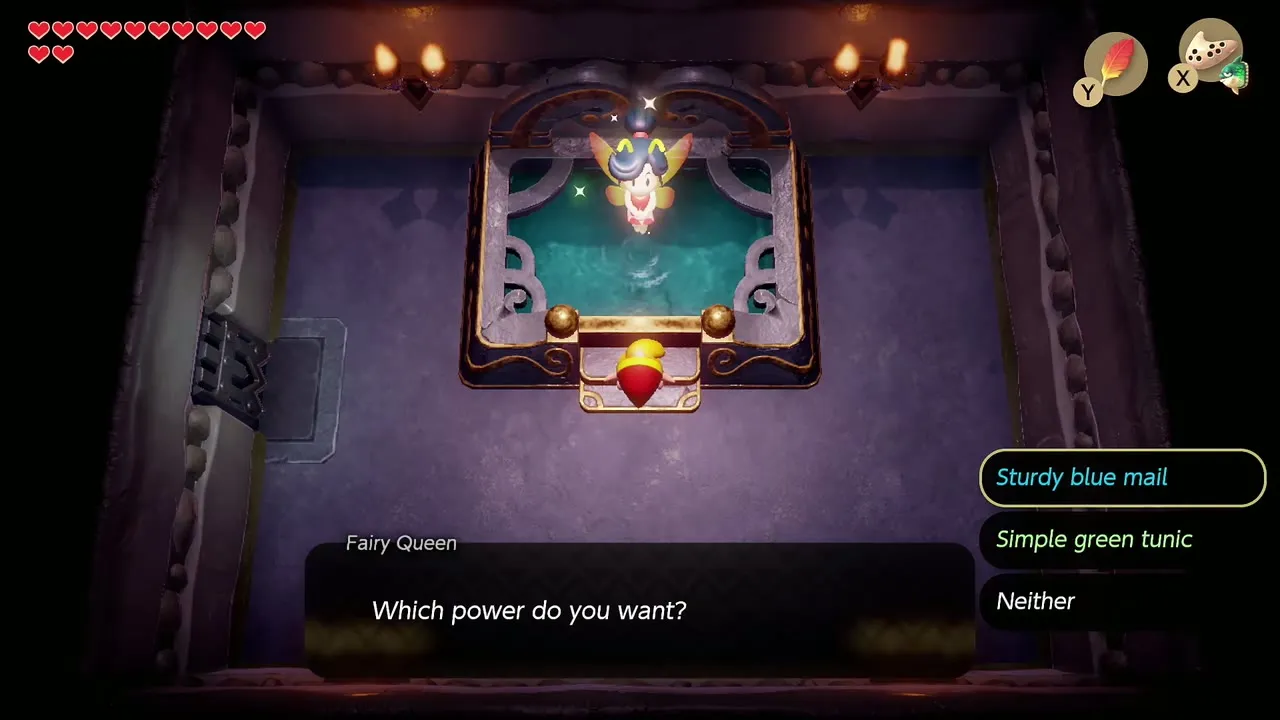
Take the east exit from the boss room to meet the Fairy Queen, who asks which power you want. Powerful Red Mail doubles the damage you deal with your sword. Sturdy Blue Mail halves the damage you take.


Can you change your choice later?
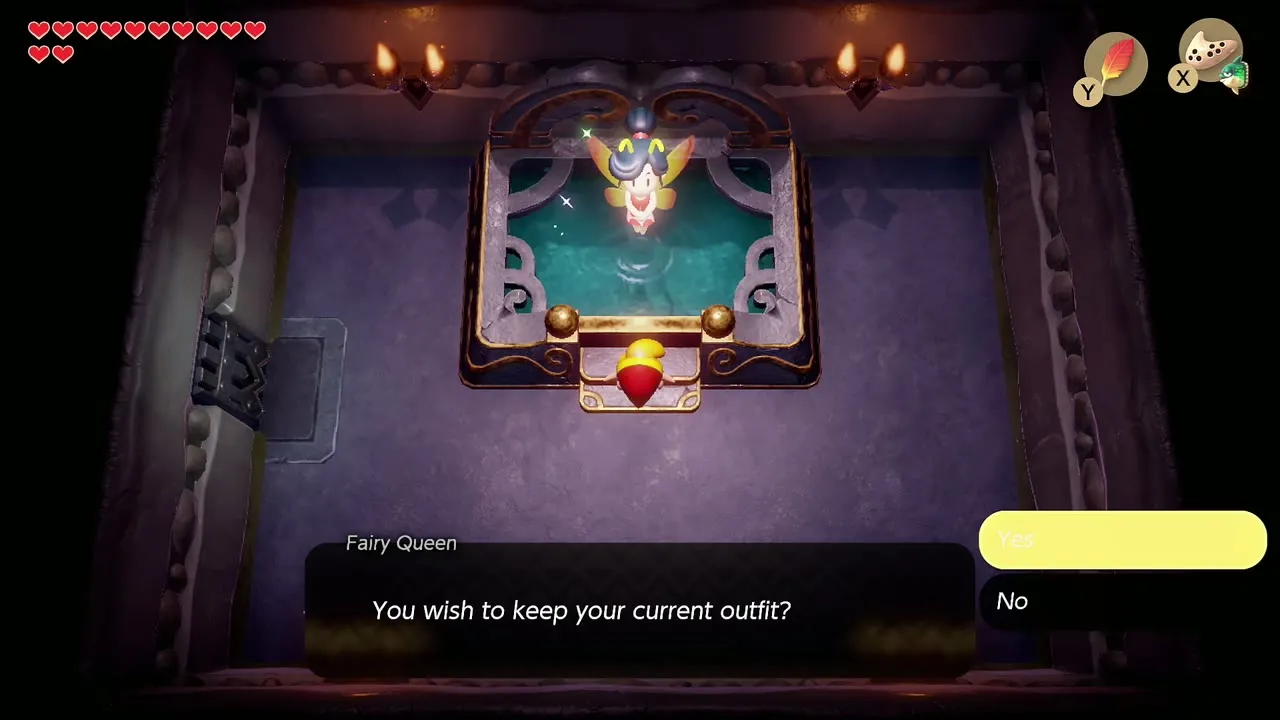
Yes. Walk back to the Fairy Queen through the open dungeon (the doors and boss stay cleared) and she asks whether you want to keep your current outfit. Answer No to choose again. Red Mail suits fast boss fights, especially with a bottled fairy or Secret Medicine as a safety net. Blue Mail is steadier if you have few hearts.
Tips
Carry plenty of Magic Powder, bombs and at least one empty bottle before you enter. Use bombs against Stone Hinox and the Bow or Magic Rod against the Hardhit Beetle if you have them. Healing is scarce, so keep your hearts topped up by coming out of the dungeon between mini-bosses if needed.
Color Dungeon checklist
| Type | Item | Where |
|---|---|---|
| Dungeon item | Compass | Orb ring room north of the entrance (upper left, then lower right) |
| Rupees | 140 rupees | Hidden room, bomb the south wall of the Compass room |
| Dungeon item | Stone Beak | Orb Monster room with red and blue holes |
| Key | Small Key 1 | Orb room (lower right once, upper left twice) |
| Key | Nightmare Key | Altar west of the Giant Buzz Blob |
| Key | Small Key 2 | Chest after the Bone Putter tile room |
| Fairy | Fairy | Dropped by Stone Hinox |
| Dungeon item | Dungeon Map | Hidden Zol room west of Stone Hinox |
| Key | Small Key 3 | Four Orb Monsters and three coloured holes |
| Upgrade | Red Mail or Blue Mail | Fairy Queen after the Hardhit Beetle |
