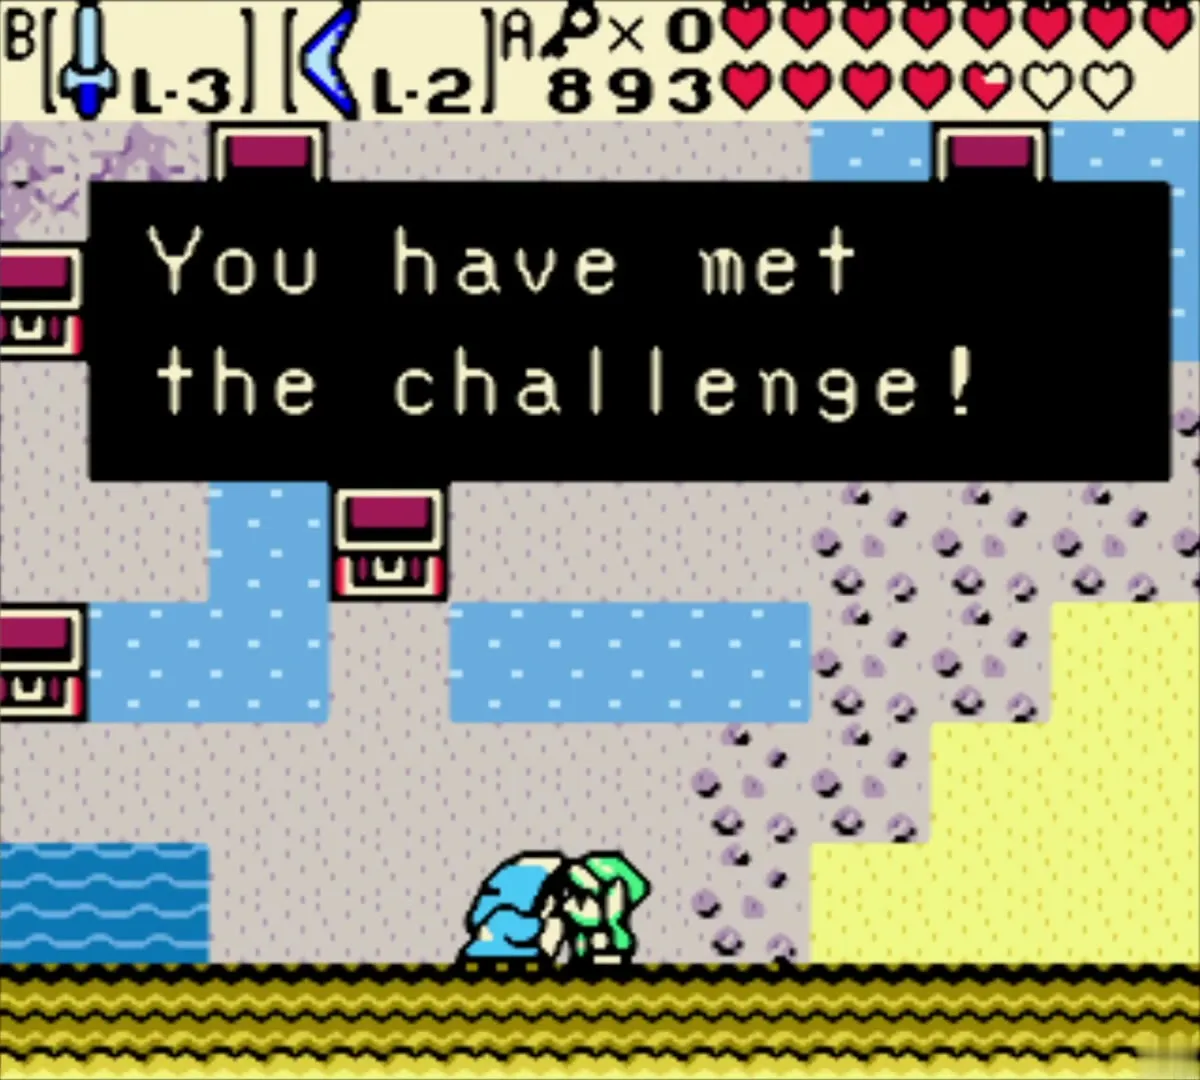
| Location | South-west of Horon Village, down the snowy field to the rocky ground above the beach. The same cave serves both versions. |
|---|---|
| Normal game | Gives the Wooden Sword (L-1), your first weapon. Few enemies, block puzzles, one locked door with a Small Key. |
| Linked game | A large optional bonus cave. You already hold the Wooden Sword, so the cave holds Small Keys, two or more Gasha Seed chests, a riddle with eight chests, and a final room. |
| Reward | Normal: Wooden Sword. Linked: a 20 Rupee profit from the riddle, then Power Ring L-3 (unappraised until Vasu checks it) and Gasha Seeds. |
| Requires (linked) | Roc’s Feather or Roc’s Cape with a Pegasus Seed for the first portal, the Magical Boomerang and Magnetic Gloves later, and Ember Seeds for two torches. |
In a normal game, the Hero’s Cave is a short cave that gives you the Wooden Sword, the first weapon you need. In a linked game the same entrance leads to a much larger optional cave with a chest riddle at the end, and its reward is a ring that works only after Vasu appraises it. The linked version needs several items from the dungeons first, so visit it after the early dungeons.
The normal Hero’s Cave
Entering the cave
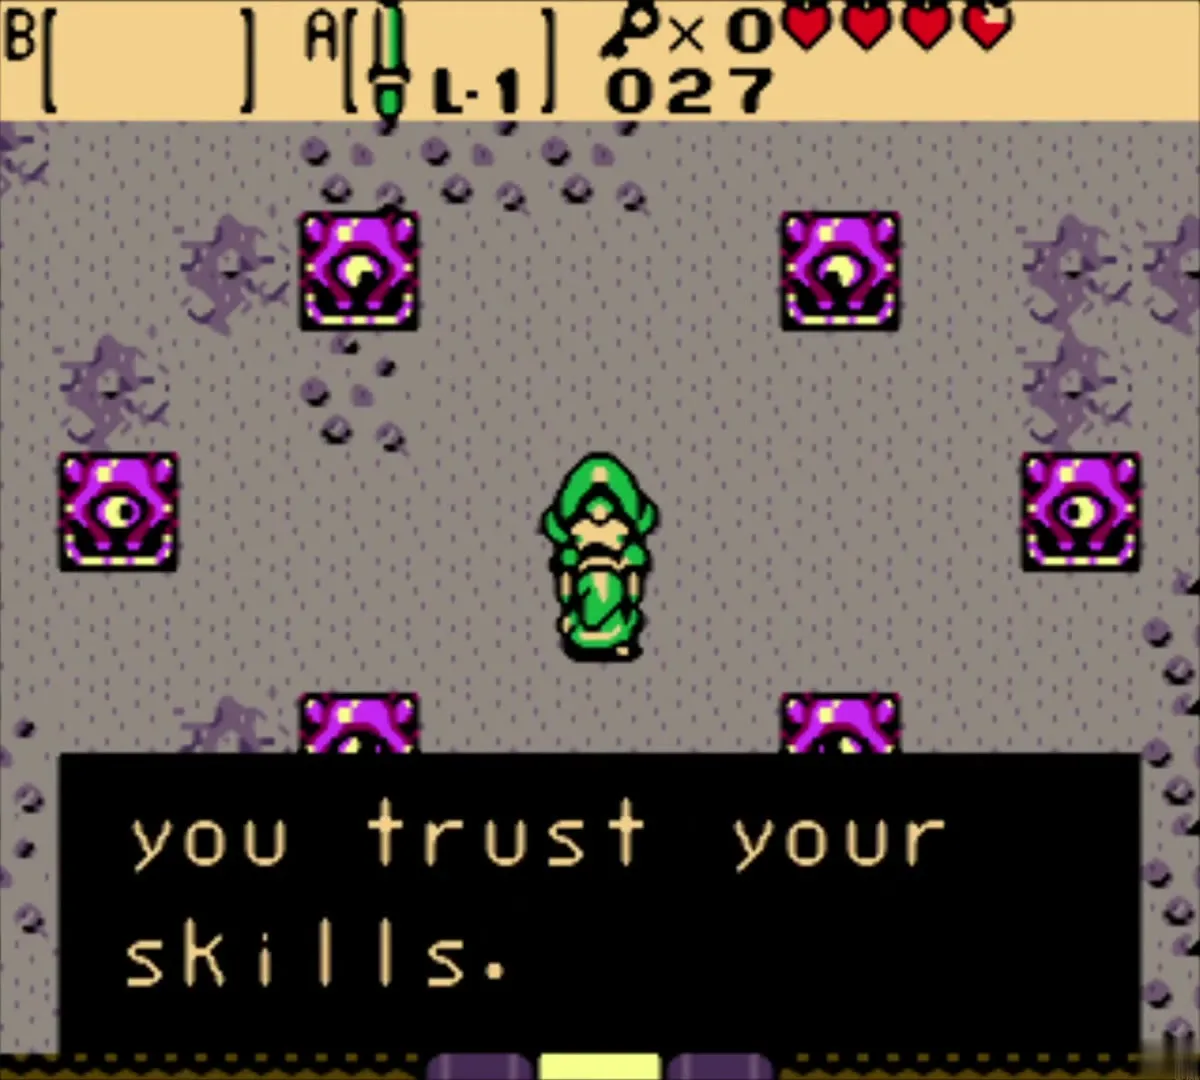
Leave Horon Village by its western edge into the snowy field, then follow the signpost back toward the village and work your way down onto the rocky ground toward the beach. A small cave sits at the foot of a ledge above the sand. Walk in through the entrance room with its eye tiles. Keese swoop at you here, and a Recovery Heart drops after you clear them.

The block rooms and the locked door
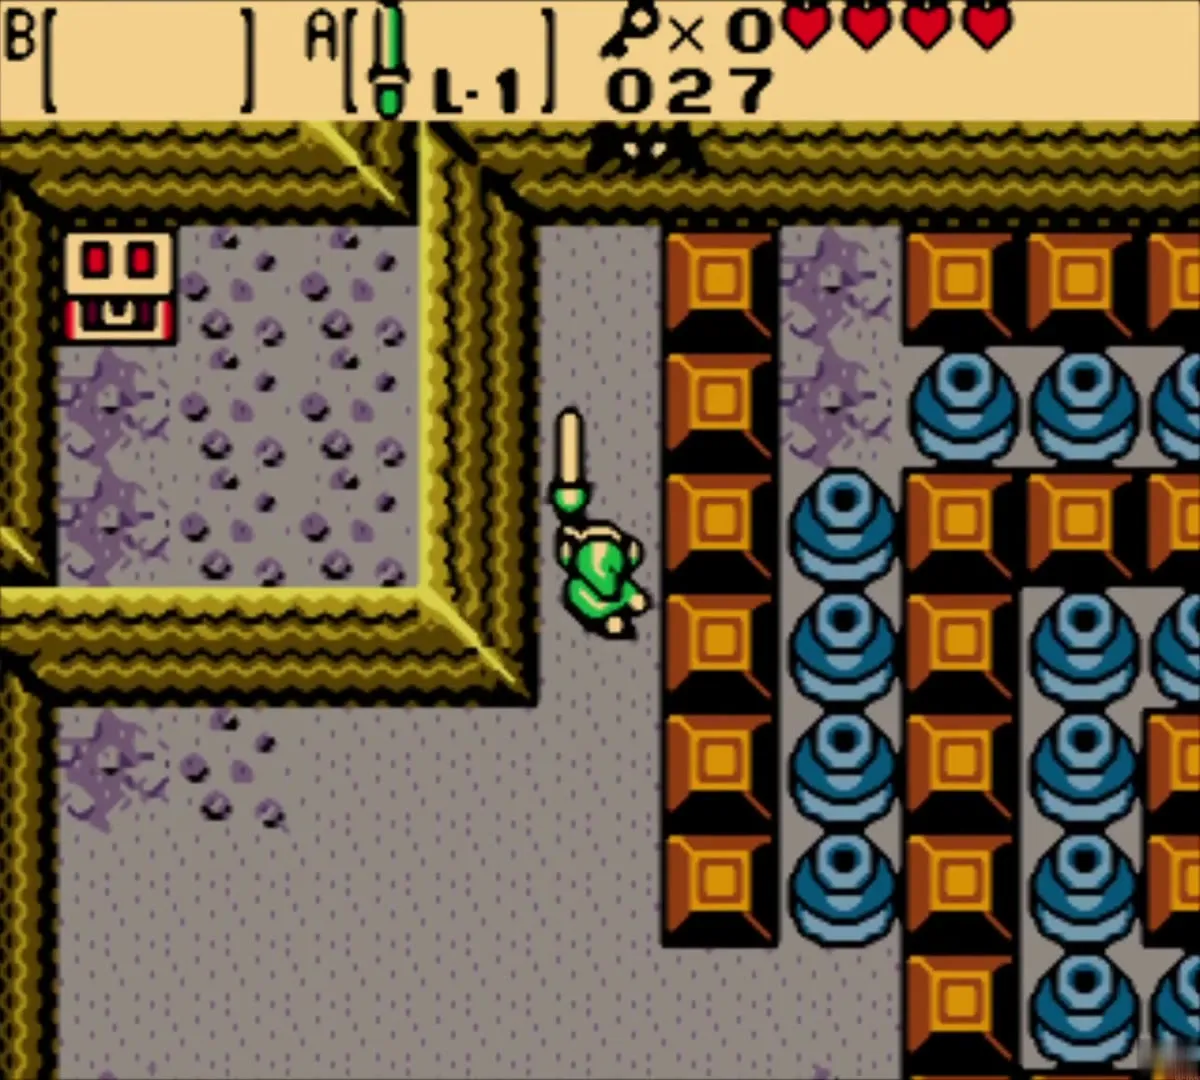
Push the big blocks and cross the pits to move through the rooms. The block puzzles here are simple, and each one opens the way to the next room. A single locked door needs a Small Key, which you find in the rooms before it. Open the door with the key to reach the rooms with the sword chest.

The Wooden Sword chest
The Wooden Sword sits in a chest on an altar near the end of the cave. Open the chest to take it. After you pick it up, you are sent back toward the entrance. Before you leave, you can jump off a nearby ledge to reach a chest with 30 Rupees.

The linked-game Hero’s Cave
Entering the bonus cave
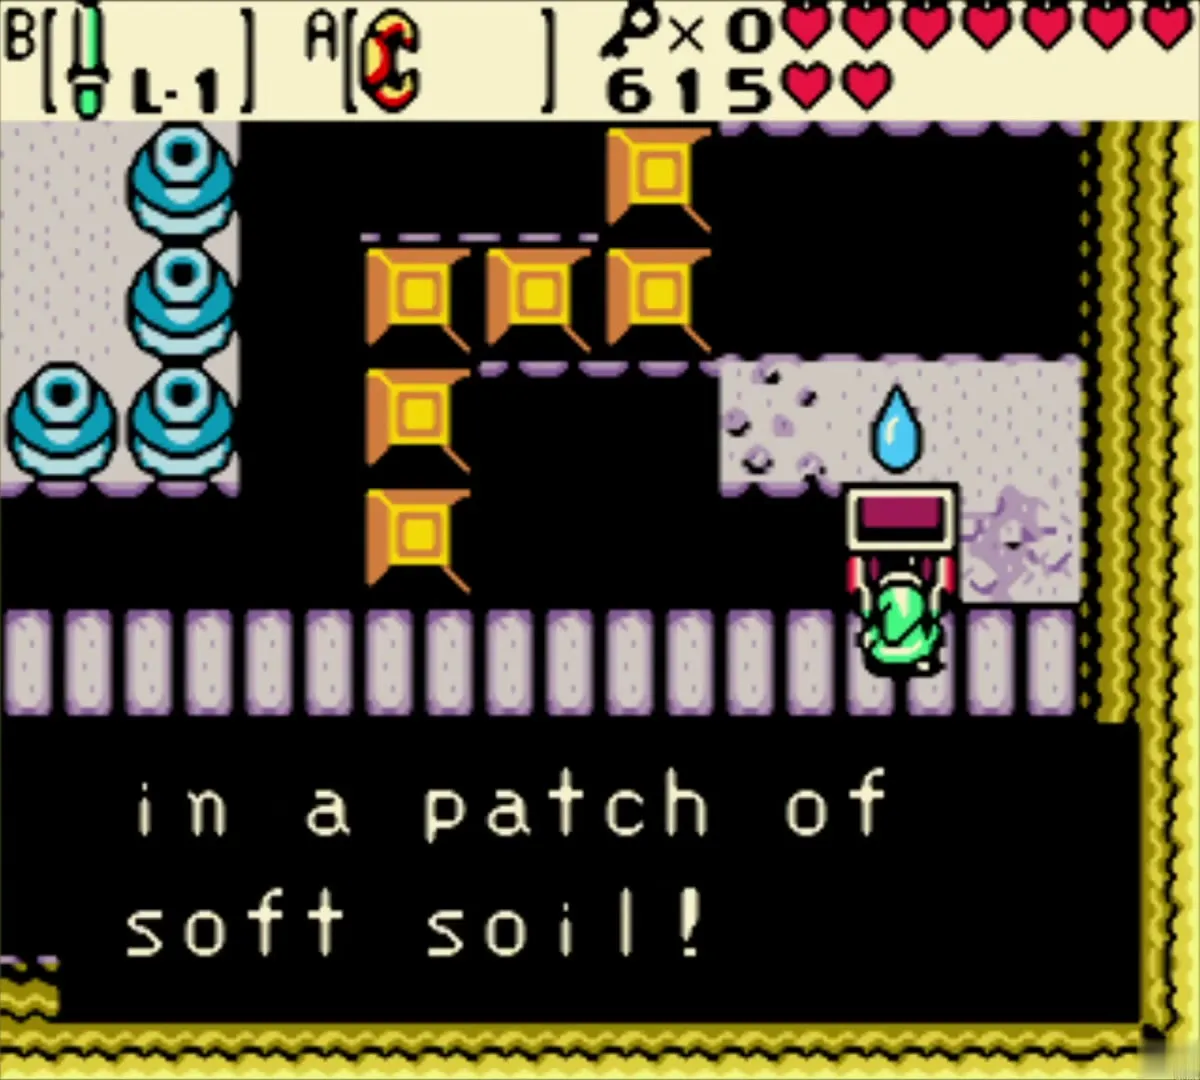
In a linked game, the entrance is the same, but you can reach the bonus cave early. Leave the west end of Horon Village, jump off the cliff onto the next screen, and walk one screen south. Cut the bush beside the well to drop in, which skips the first room with the old man. Otherwise, walk around the cliff and through the first room yourself. The early visit is covered in the Hall of Secrets chapter.

Rooms in order
| # | Room | What you need | What you find |
|---|---|---|---|
| 1 | Pot-on-switch rooms (three) | Push pots onto switches to open doors | A bridge to a Gasha Seed chest and the first teleporter |
| 2 | Leaping and Floormaster rooms | Roc’s flying gear for the potholes; four corner switches for the Floormasters | A switch that drops a key, then a Gasha Seed chest guarded by four Zols |
| 3 | Underground lake | Ember Seeds on two braziers, bombs for cracked blocks | A hidden Small Key, a sliding-block puzzle, and a teleporter with a Gasha Seed chest |
| 4 | Magnetic void | Magnetic Gloves for rotating magnetic pillars | Take the lower route in the second room |
| 5 | Crystal switch room | Shield for the Spiked Beetles; Magical Boomerang for the switches | All six Crystal Switches turned red |
| 6 | Lynel room | Magnetic ball on a switch | Access to a Gasha Seed and the final teleporter |
| 7 | Ultimate pot puzzle | Pots pushed onto four switches, with jumps across the gaps | The door to the gauntlet |
| 8 | Gauntlet | Clear eight floor switches in order, from the north going clockwise | A Fire Keese room and the riddle chests |
The Magnetic void and crystal switches
Cross the rotating magnetic pillars with the Magnetic Gloves. Take the lower route in the second room. In the crystal switch room, kill the Spiked Beetles with your shield, then hit all six Crystal Switches until they turn red. The Magical Boomerang is the best tool here, since you control its flight and can reach switches you cannot face directly.

The gauntlet
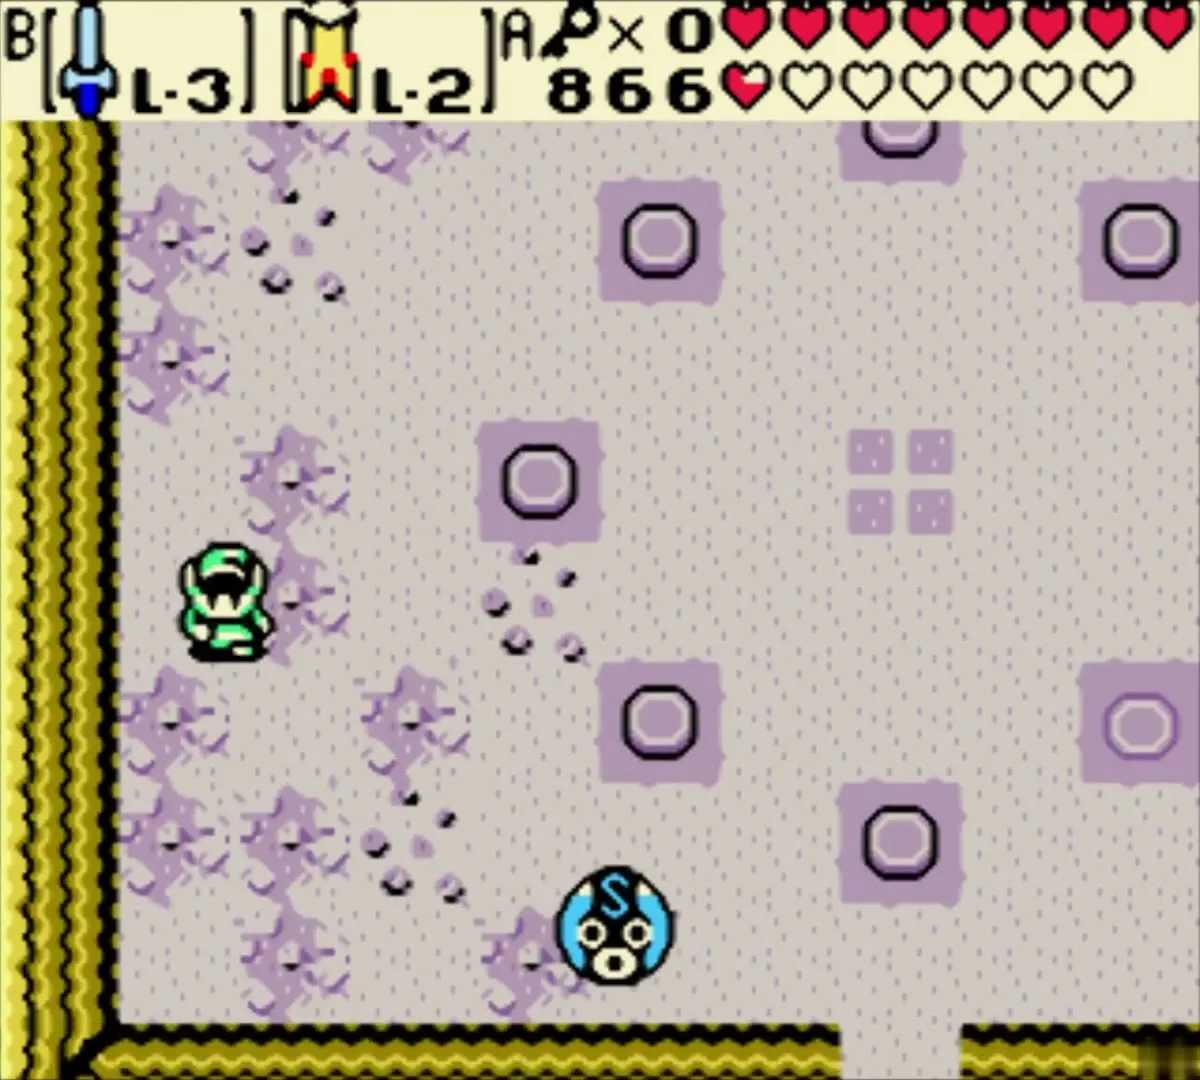
Eight floor switches each release four enemies. Step on them from the north, going clockwise, clearing each group before you move on. The groups are Spiked Beetles, Gibdo, blue Darknuts, Magunesu, blue Lynels, Iron Masks, Pol’s Voices and yellow Stalfos. Once the gauntlet is clear, a Fire Keese room follows, and the way forward opens to the riddle.

The chest riddle
Paying the old man
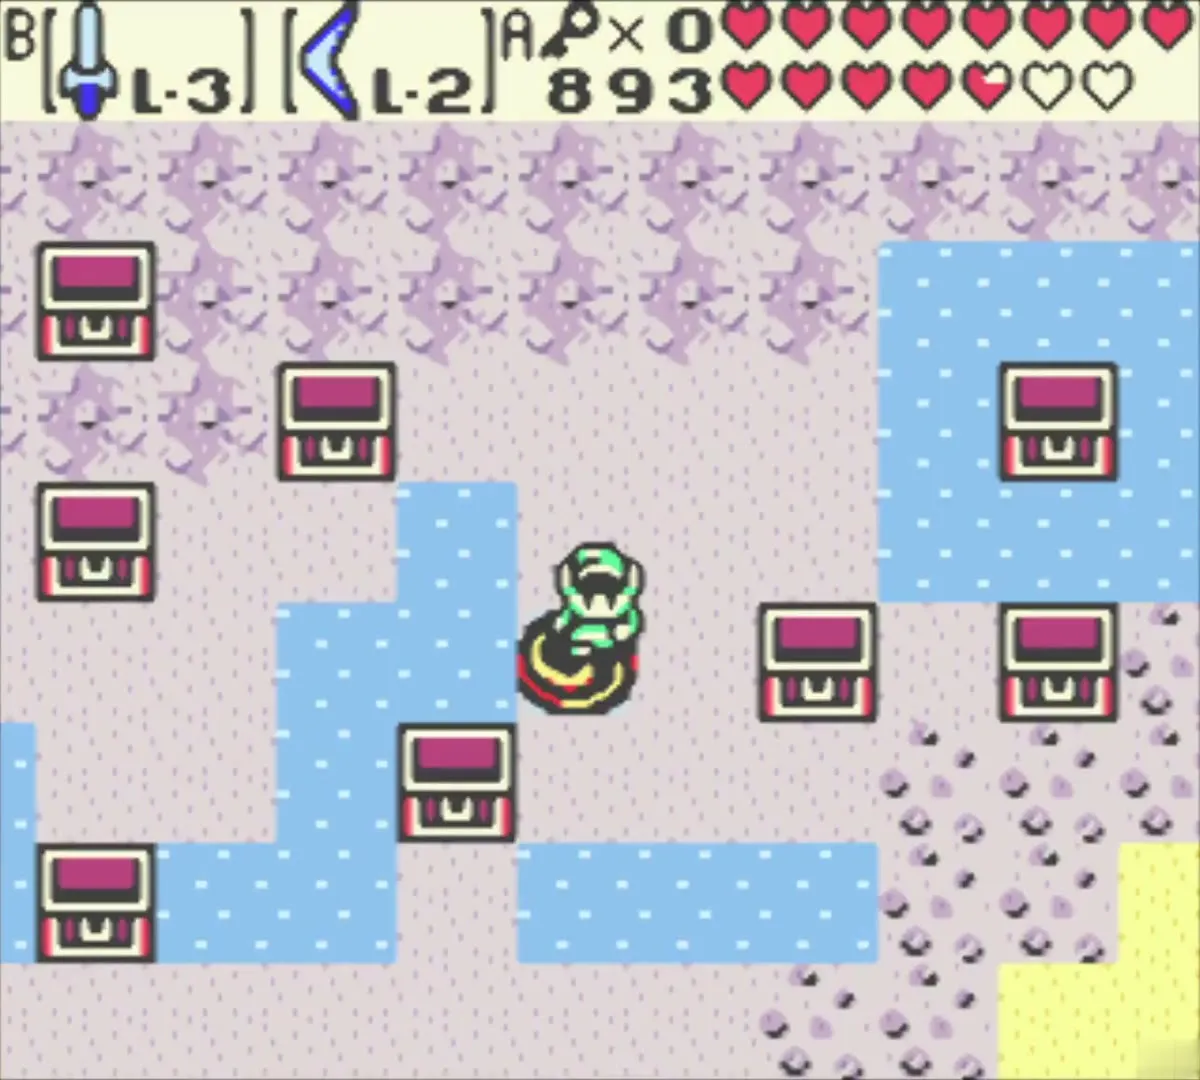
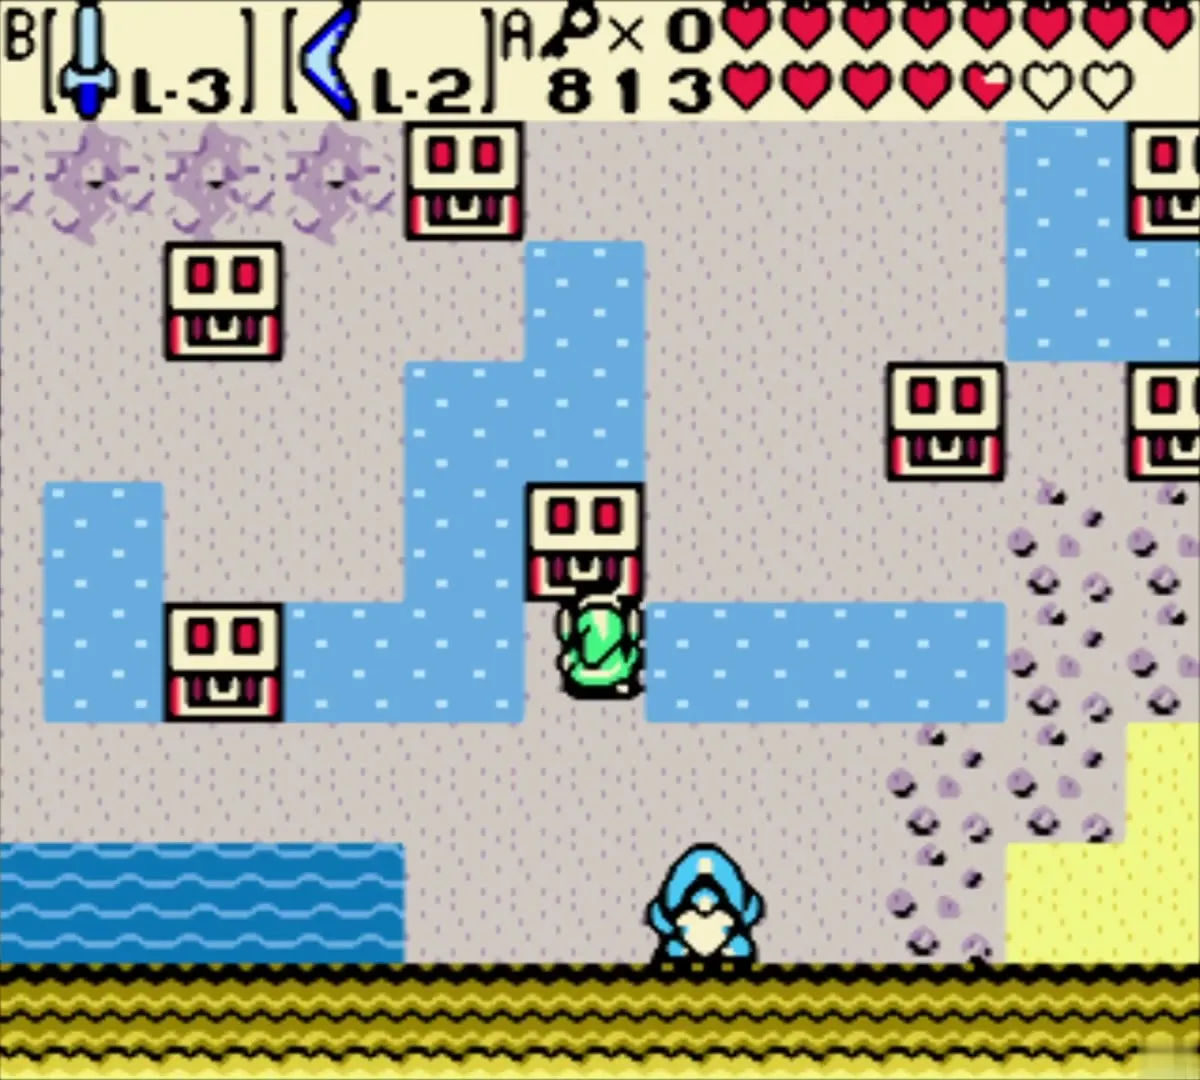
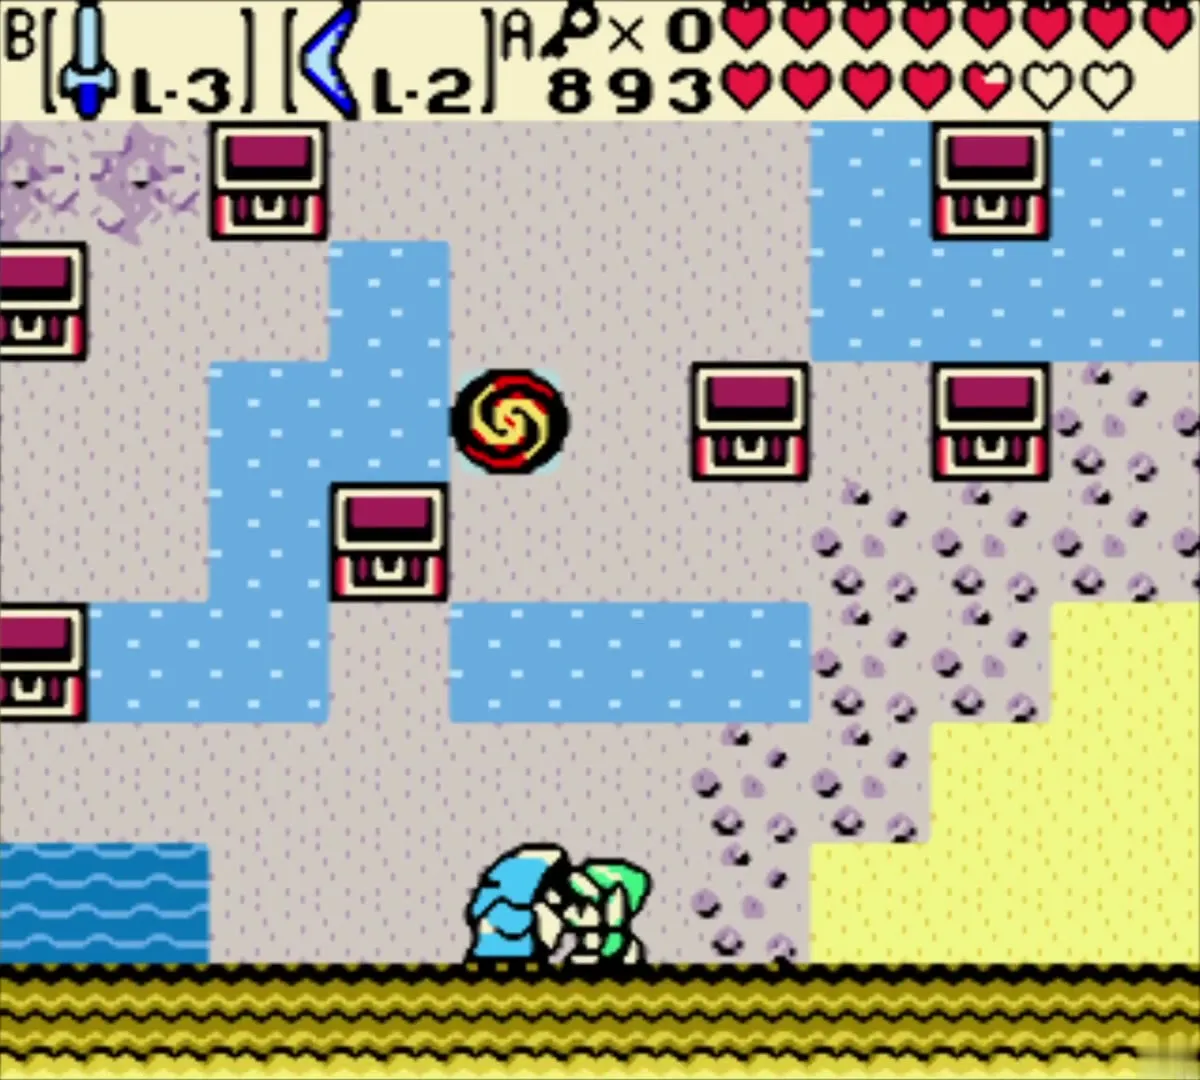
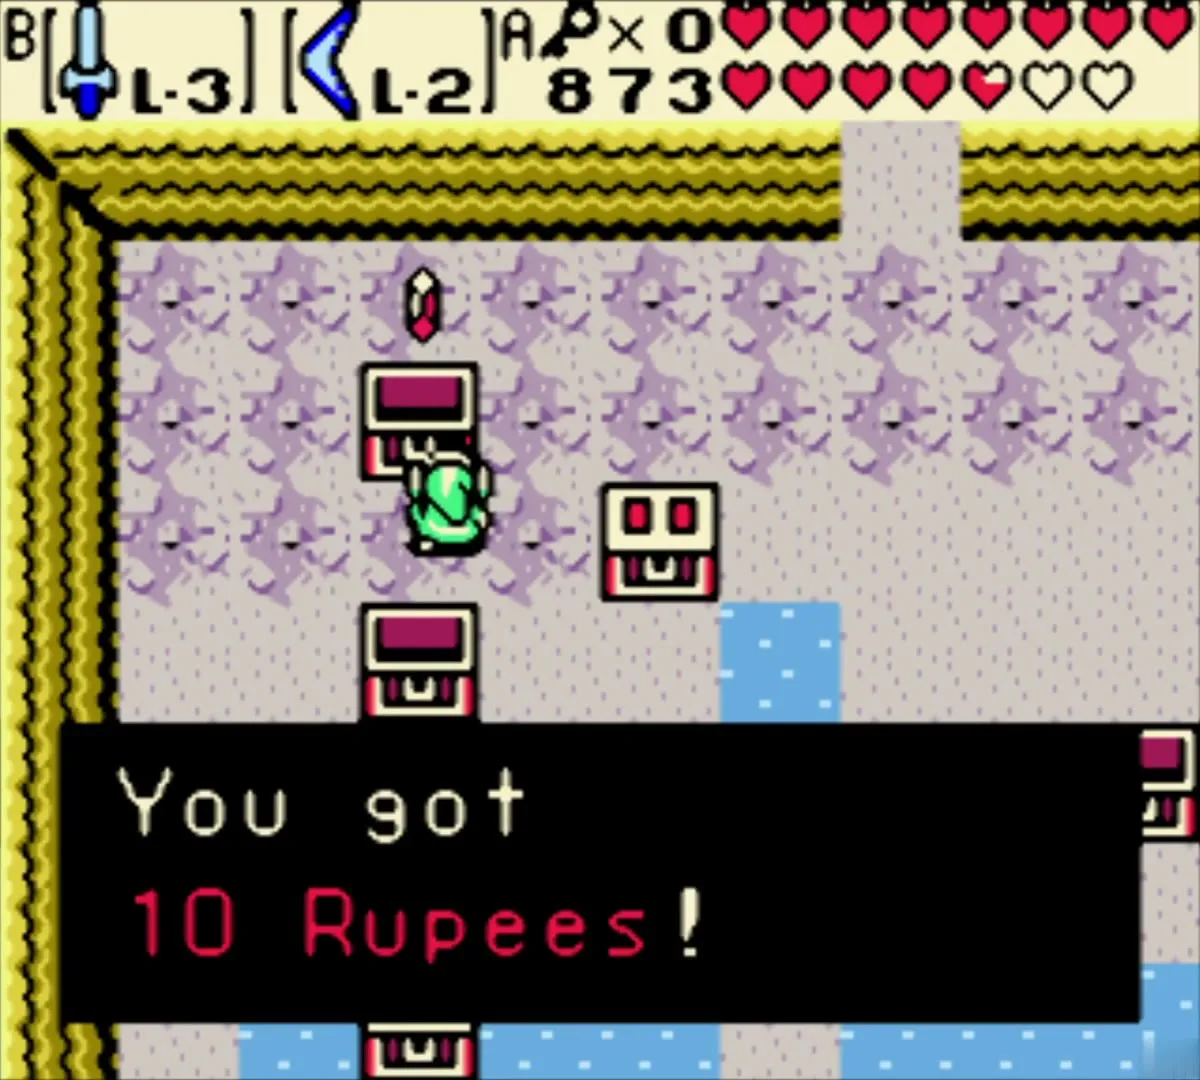
The old man at the entrance charges 60 Rupees to try the riddle. Eight chests appear in a layout that matches Holodrum. Open them in the right order, and the chests match the island’s dungeons in the order you have to visit them. A correct solve pays you back your 60 Rupees and 20 Rupees more.

The correct order
Open the chests in this order: Gnarled Root Dungeon, Snake’s Remains, Poison Moth’s Lair, Dancing Dragon Dungeon, Unicorn’s Cave, Ancient Ruins, Explorer’s Crypt, and Sword & Shield Maze. The walkthrough shows the dungeons as you reach them: Gnarled Root Dungeon and Sword & Shield Maze.

The reward
Power Ring L-3
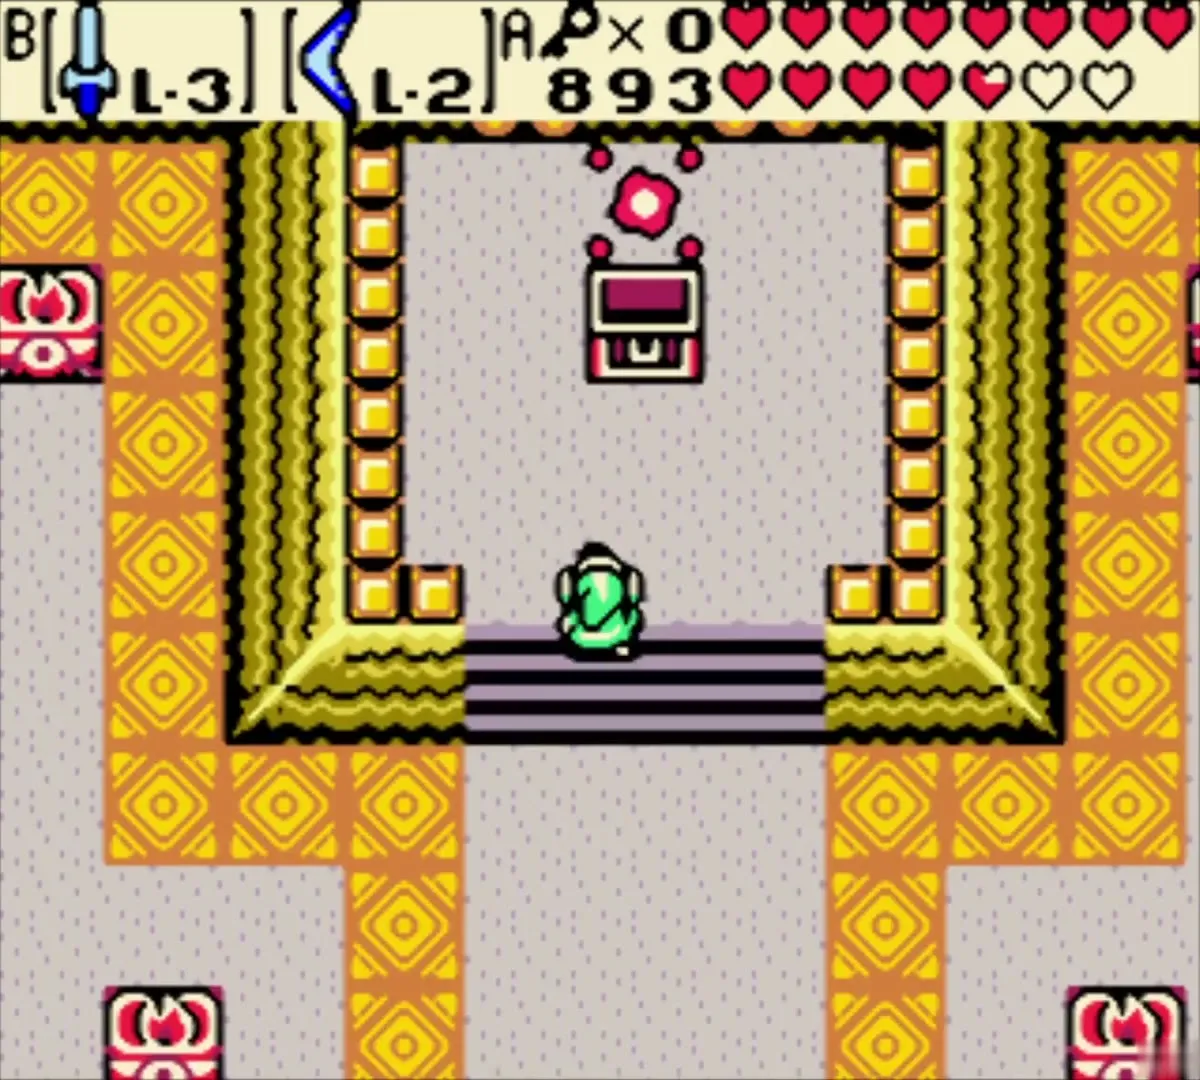
A correct riddle opens a portal into the last room, which holds Ring #4, the Power Ring L-3. The ring is unappraised, so take it to Vasu Jewelers in Horon Village and pay 20 Rupees to learn what it is. The Huge Maku Seed chapter covers the rest of the bonus cave: The Huge Maku Seed and the Hero’s Cave. See Magical Rings for the power ring levels.