| Dungeons covered | Tail Cave, Bottle Grotto, Key Cavern, Angler’s Tunnel, Catfish’s Maw, Face Shrine, Eagle’s Tower, Turtle Rock, the Color Dungeon and Wind Fish’s Egg |
|---|---|
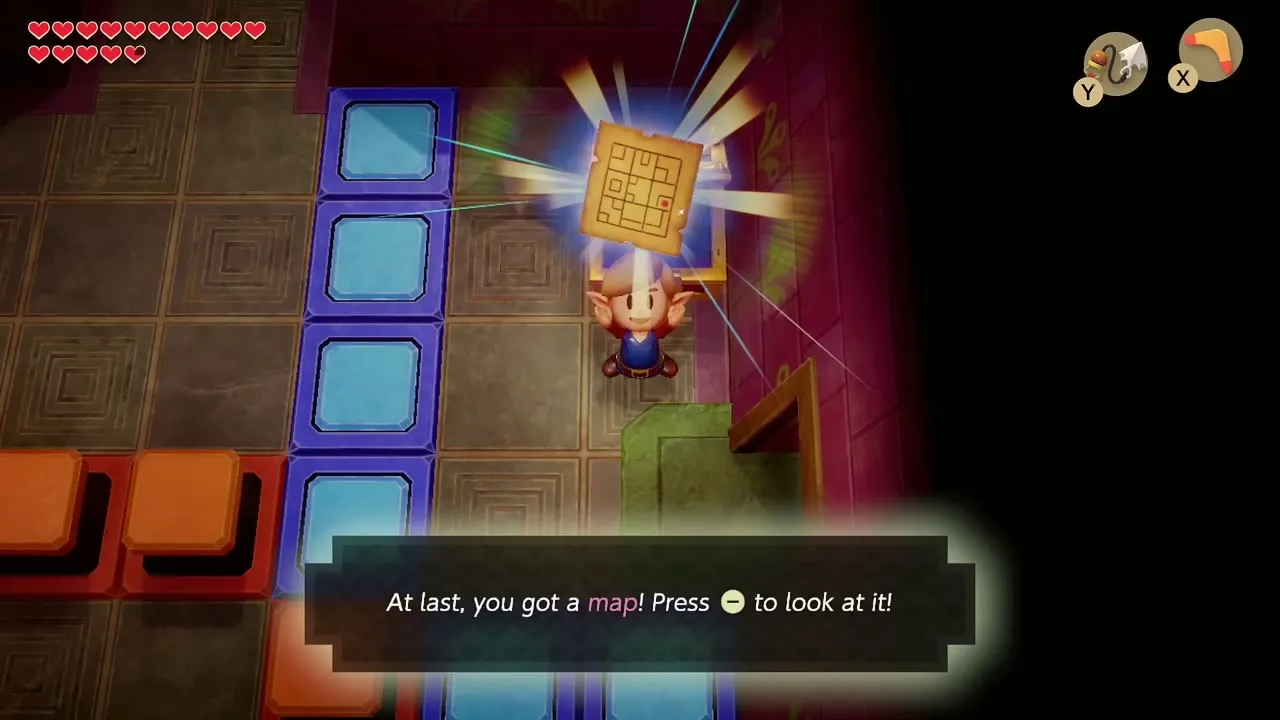
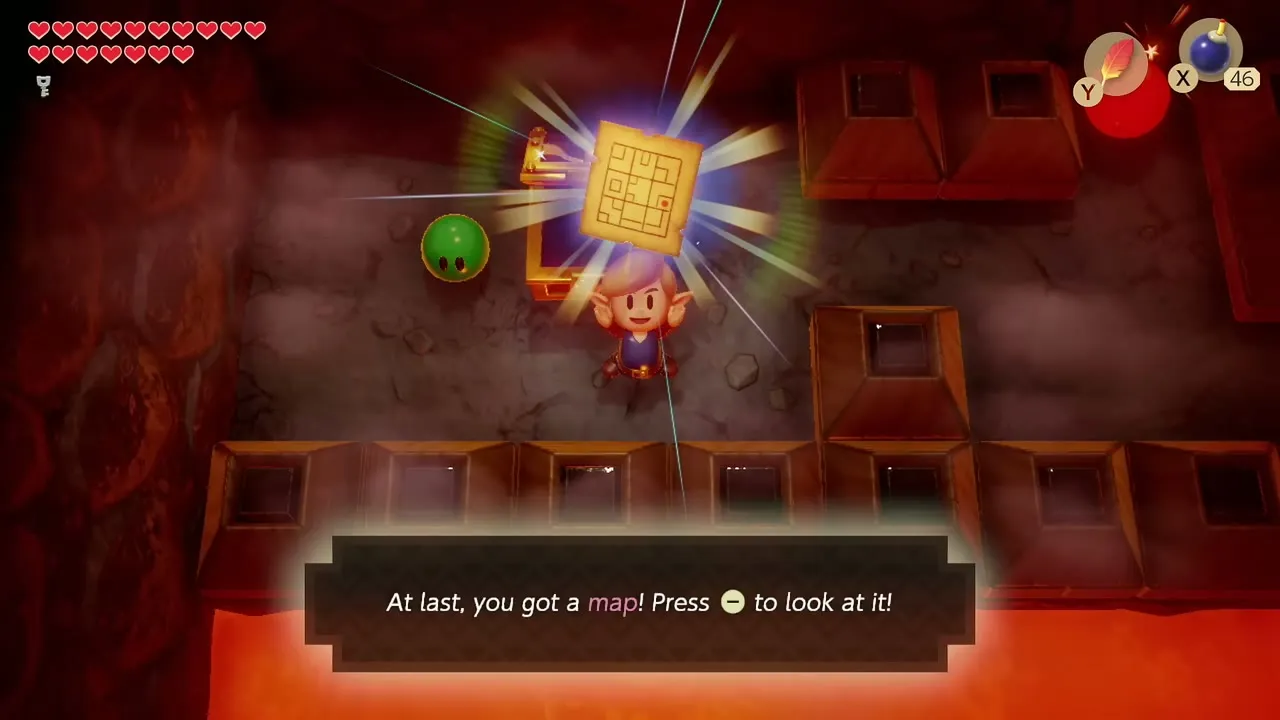
| Dungeon Map | Shows the layout of the rooms you have not yet seen |
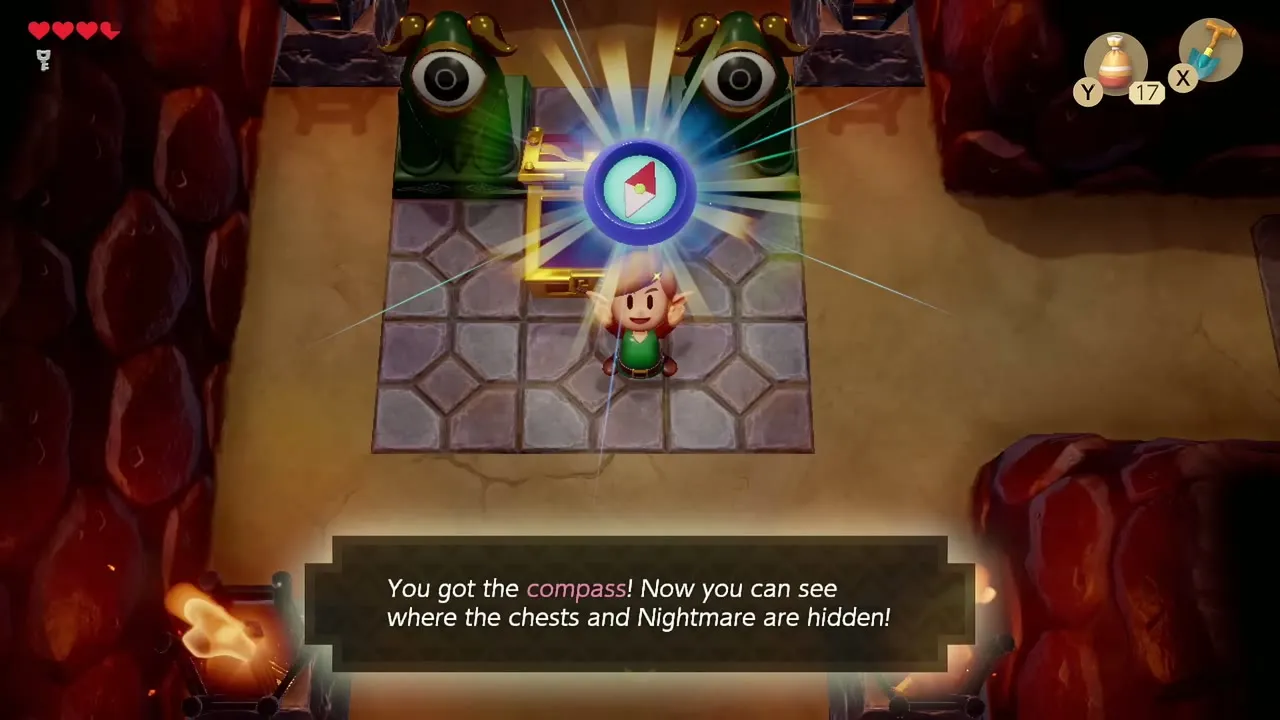
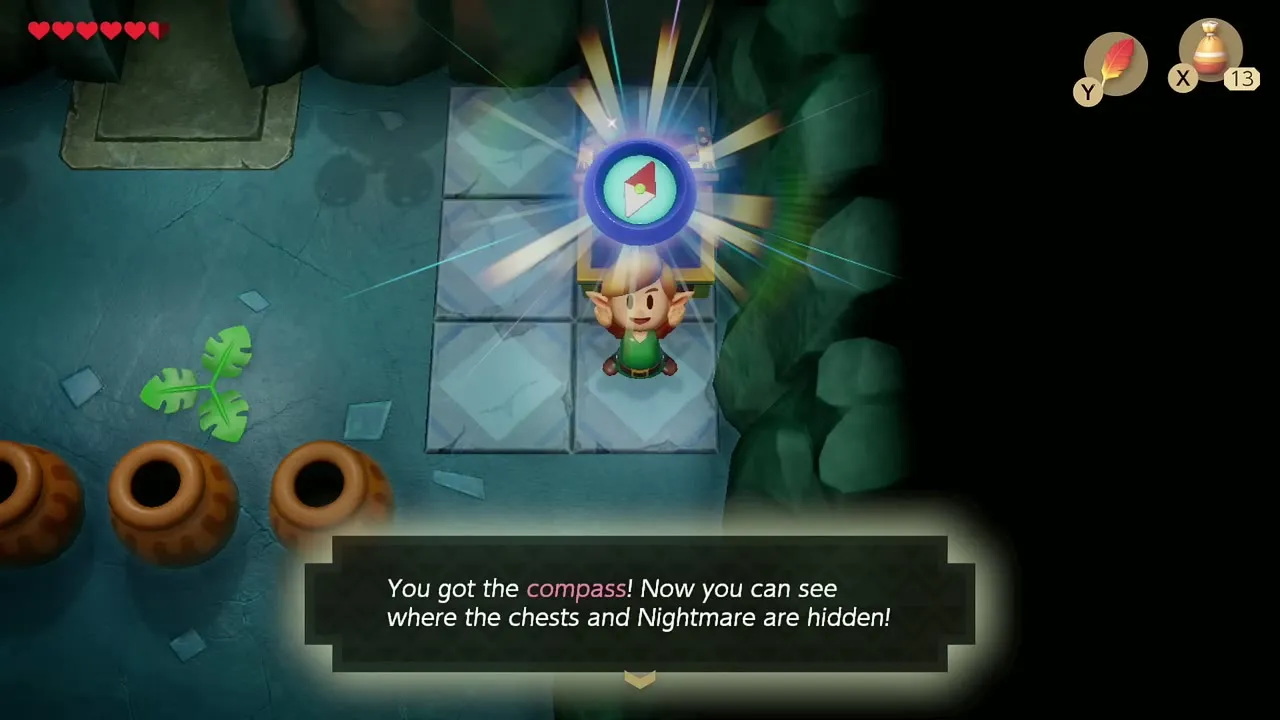
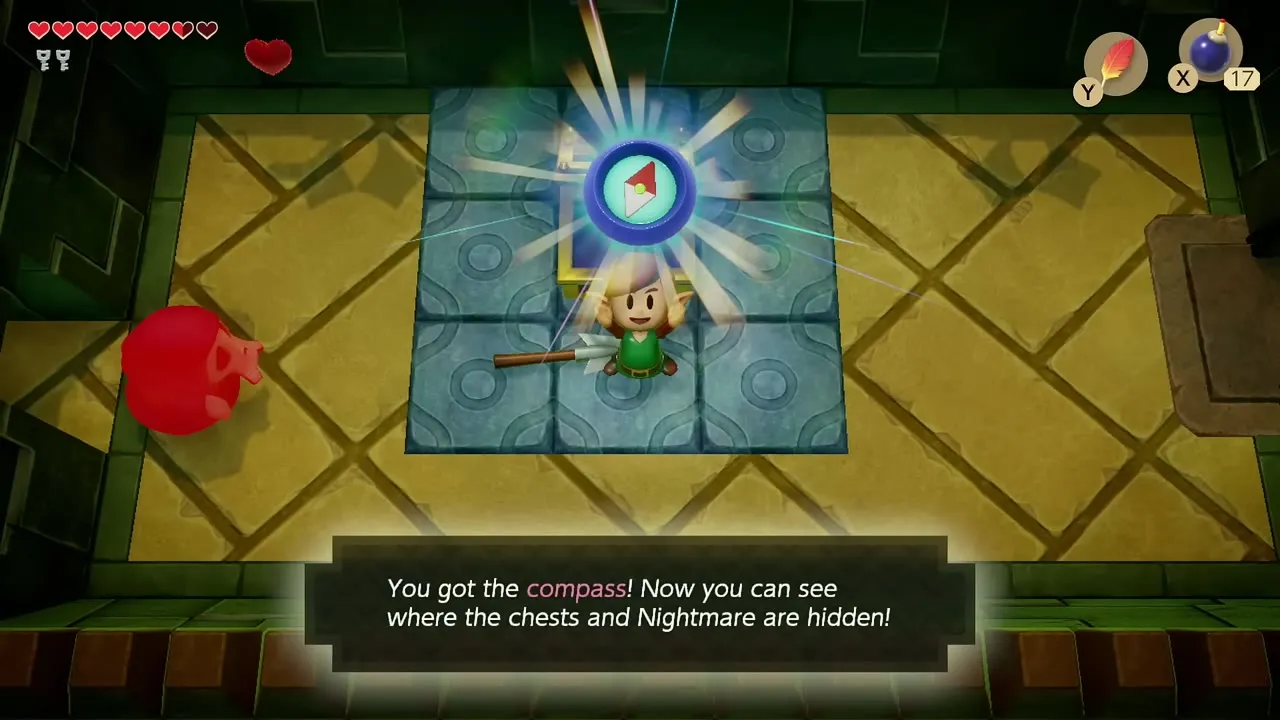
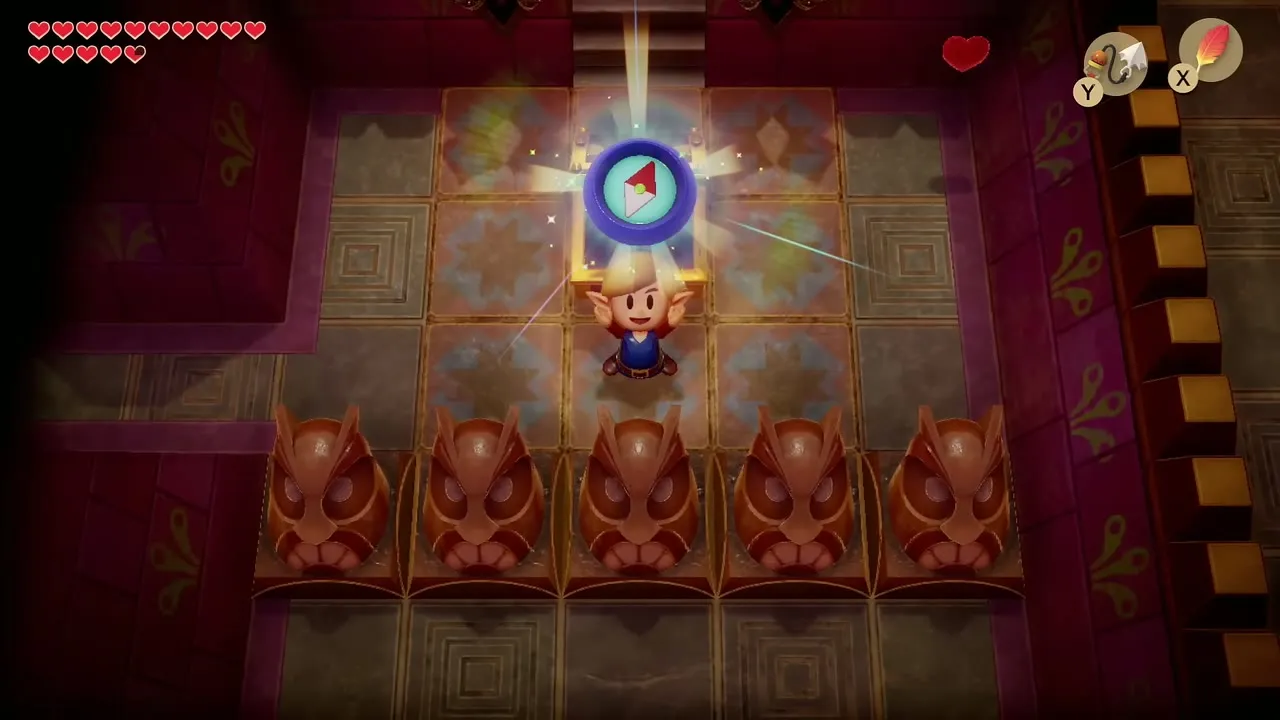
| Compass | Marks every chest and the Nightmare’s lair on the map |
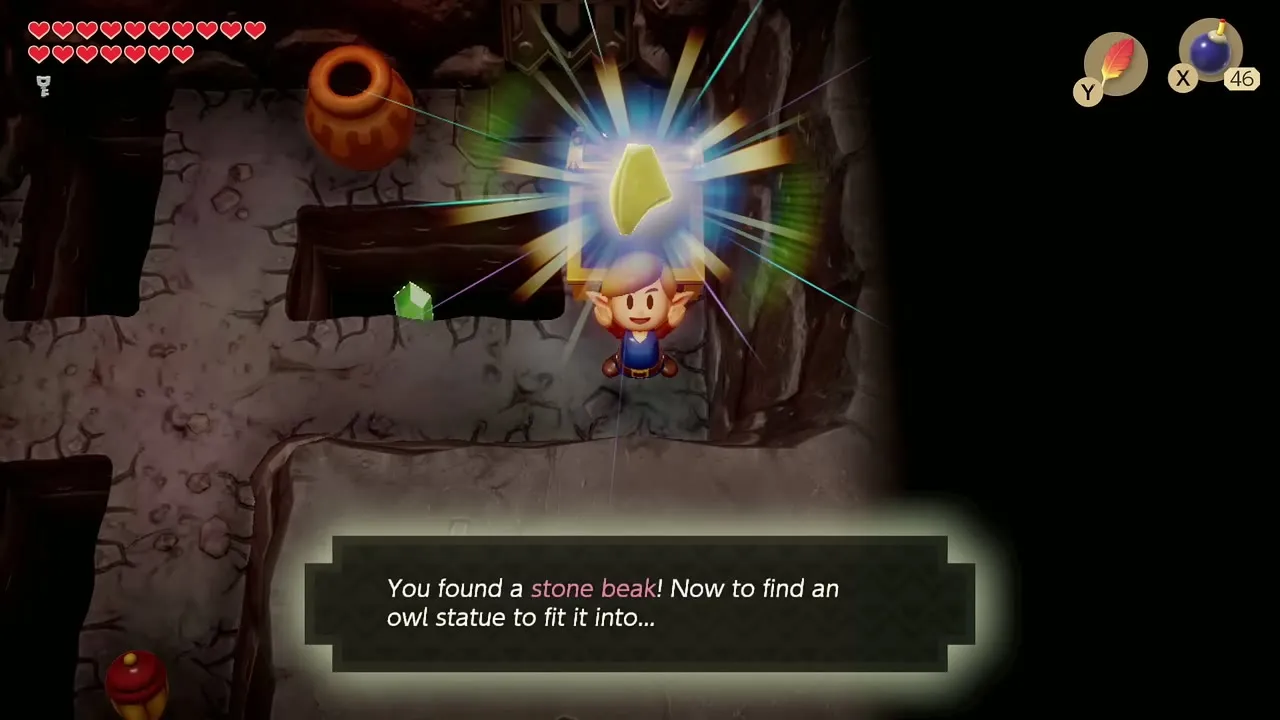
| Stone Beak | Lets the owl statues in that dungeon give you hints |
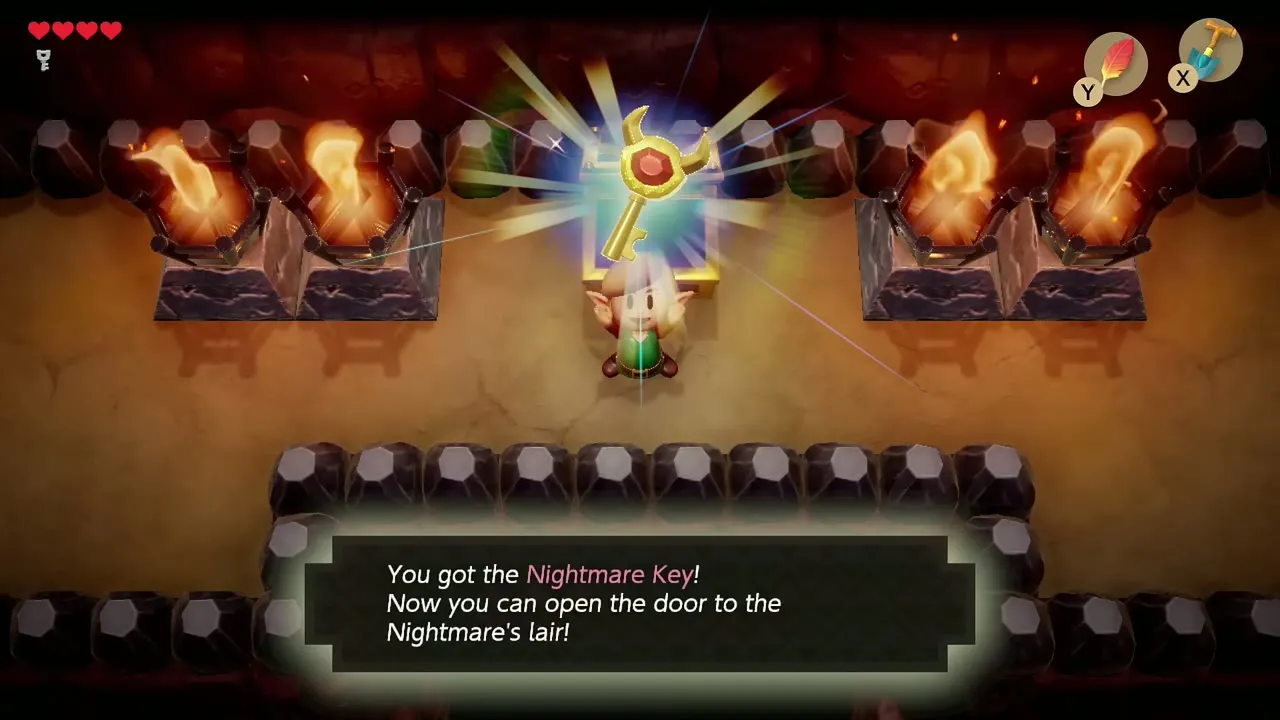
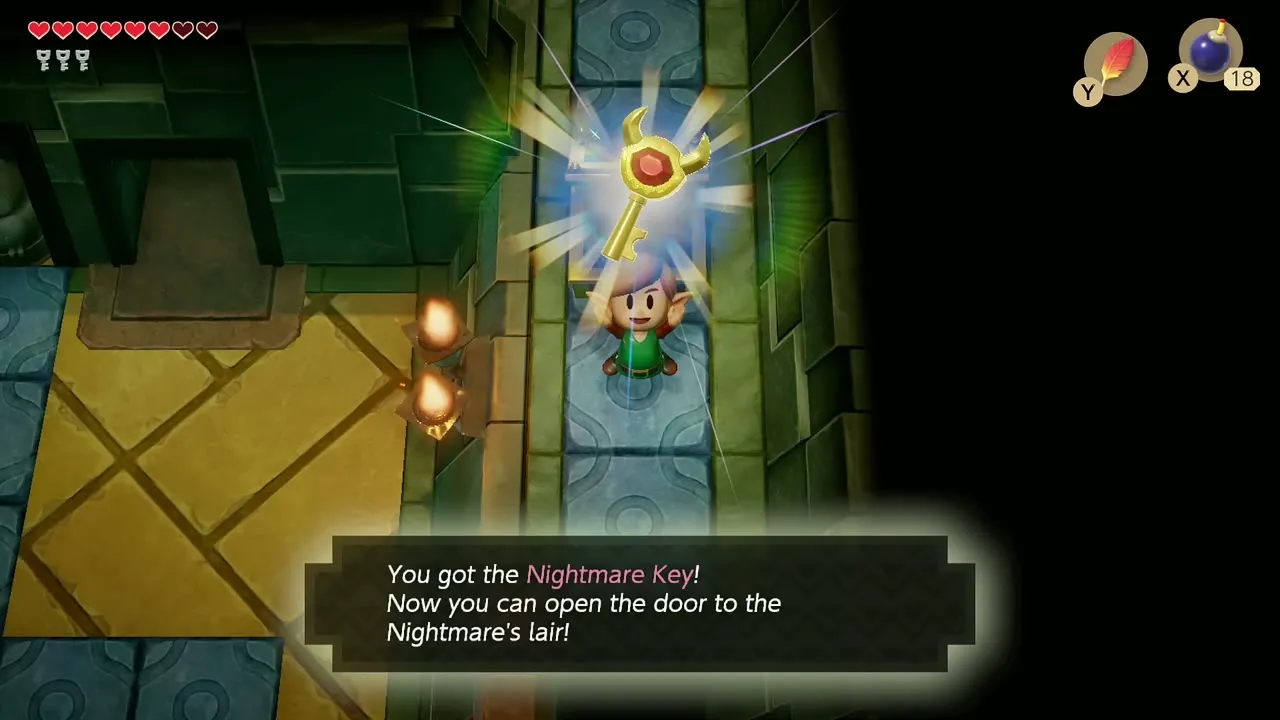
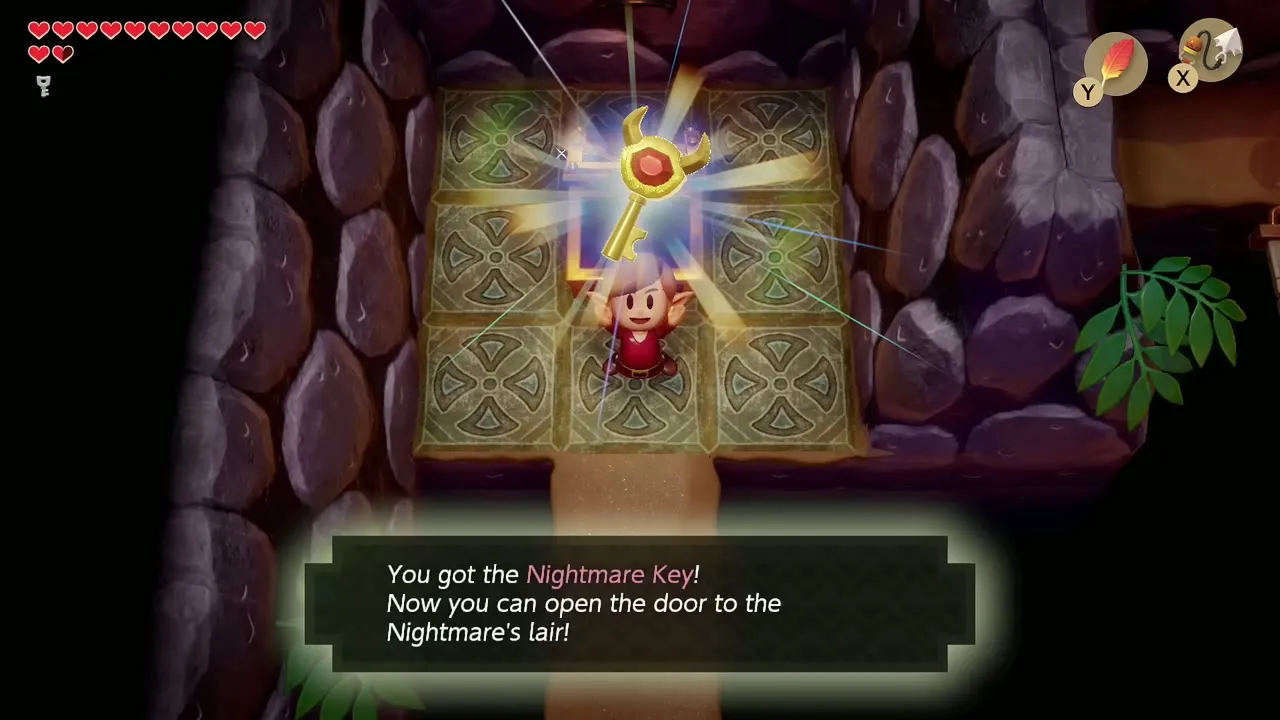
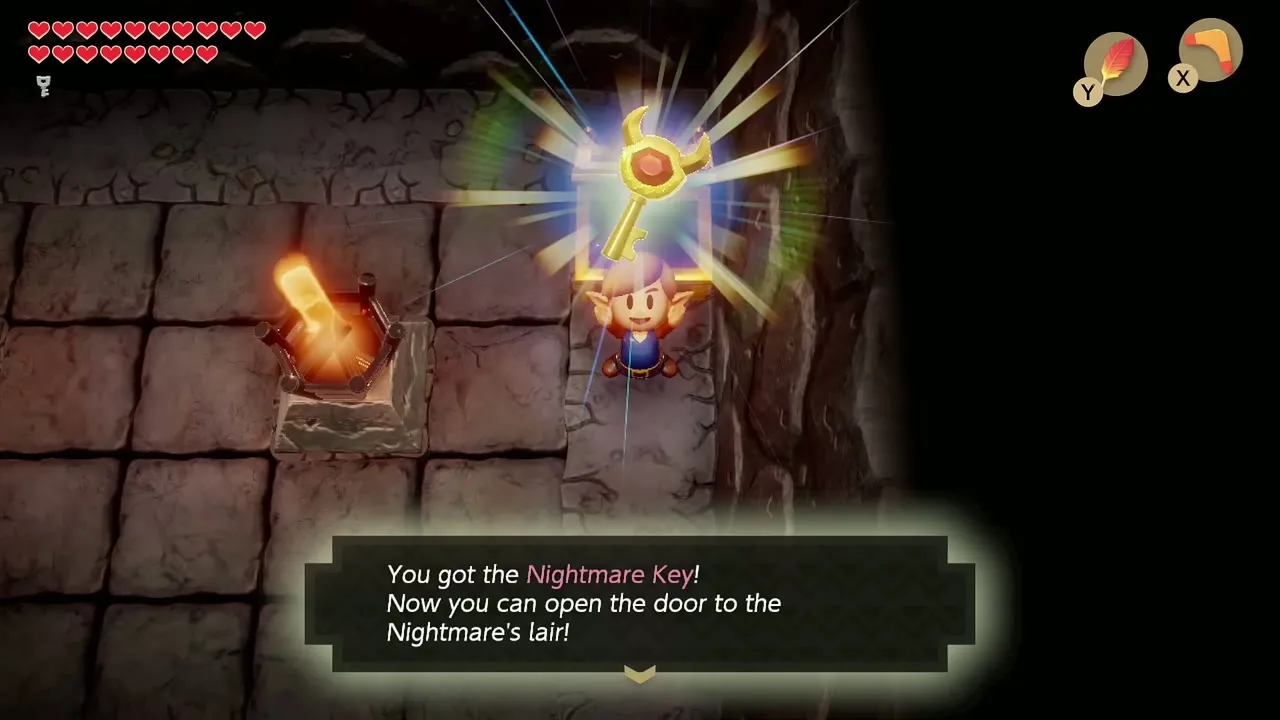
| Nightmare Key | Opens the boss door; every dungeon except the Egg has one |
Each of the first eight dungeons, and the optional Color Dungeon, hides four dungeon items in chests: a Dungeon Map, a Compass, a Stone Beak and a Nightmare Key. The Map and Compass are optional, the Stone Beak only matters if you want the owl’s advice, and the Nightmare Key is mandatory because it opens the boss door. The Wind Fish’s Egg is the exception: it has no chests, keys or items at all. The table and sections below tell you exactly where each item is, which mini-boss guards the way, and which chapter of the walkthrough covers the dungeon.
Quick reference: dungeon items, mini-bosses and bosses
| Dungeon | Mini-boss | Boss | Instrument | Map / Compass / Beak / Nightmare Key | |
|---|---|---|---|---|---|
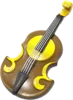 | Tail Cave (Level 1) | Rolling Bones | Moldorm | Full Moon Cello | All four in chests; 3 Small Keys |
 | Bottle Grotto (Level 2) | Hinox | Genie | Conch Horn | All four in chests |
 | Key Cavern (Level 3) | Dodongo Snakes | Slime Eye | Sea Lily’s Bell | All four in chests; four floors, four locked blocks |
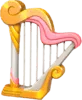 | Angler’s Tunnel (Level 4) | Cue Ball | Angler Fish | Surf Harp | All four in chests |
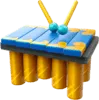 | Catfish’s Maw (Level 5) | Master Stalfos and Gohma | Slime Eel | Wind Marimba | All four in chests; 3 Small Keys |
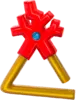 | Face Shrine (Level 6) | Smasher | Facade | Coral Triangle | All four in chests |
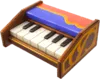 | Eagle’s Tower (Level 7) | Red Hinox and Grim Creeper | Evil Eagle | Organ of Evening Calm | All four in chests; four floors |
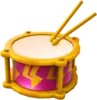 | Turtle Rock (Level 8) | Several, including Smasher and Blaino | Hot Head | Thunder Drum | All four in chests |
| Color Dungeon | Giant Buzz Blob and Stone Hinox | Hardhit Beetle | None (mail upgrade) | All four in chests; 3 Small Keys | |
| Wind Fish’s Egg | None | Shadow Nightmare | None | No chests or keys |
What the Map, Compass and Stone Beak do
The Owl hint rule
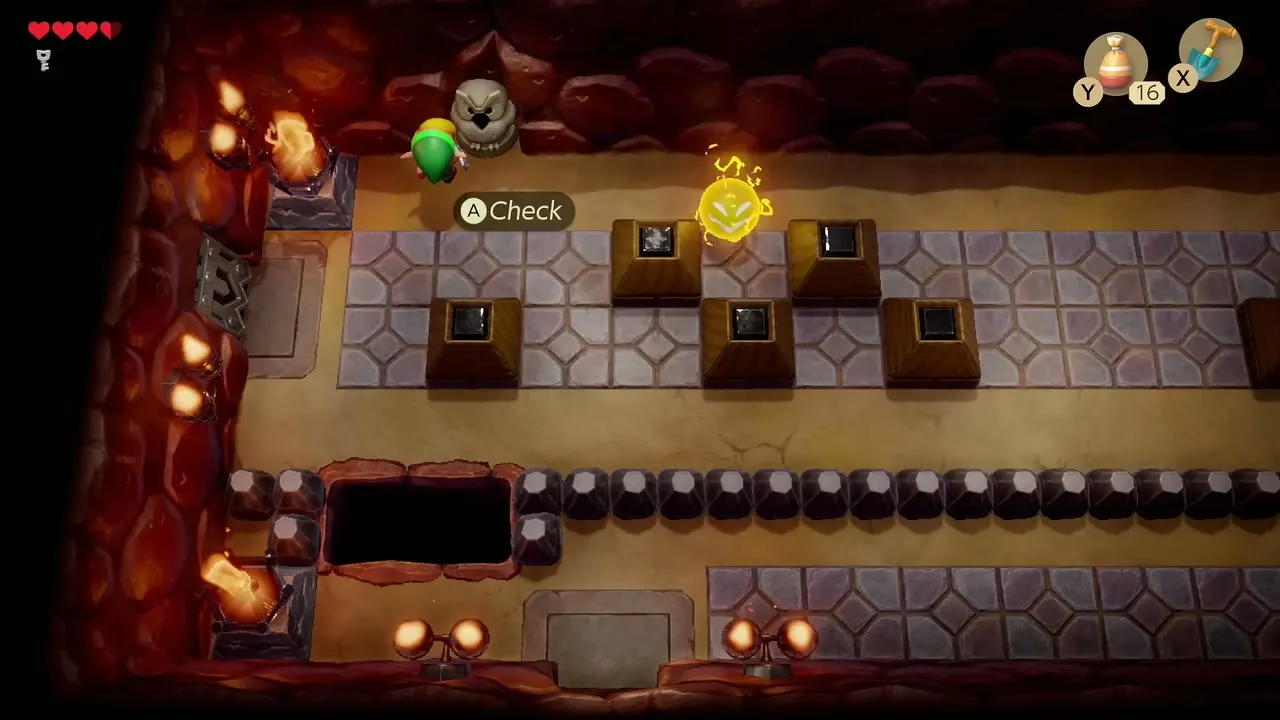
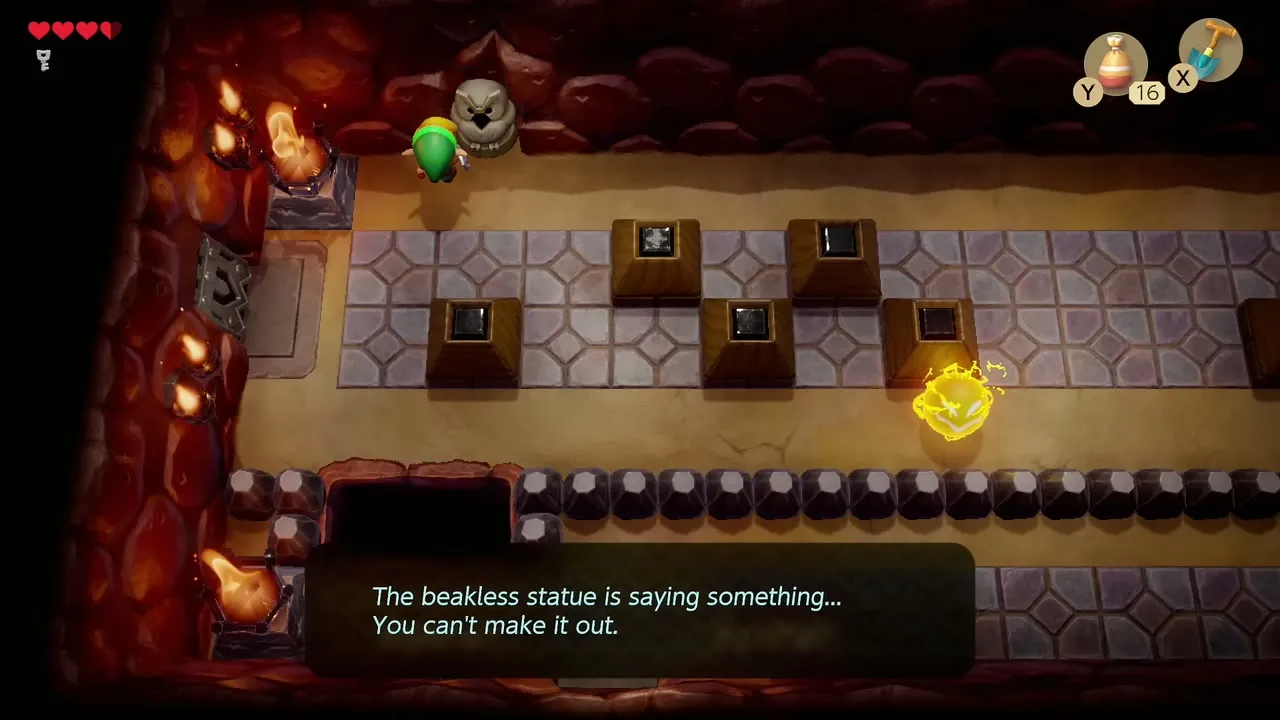
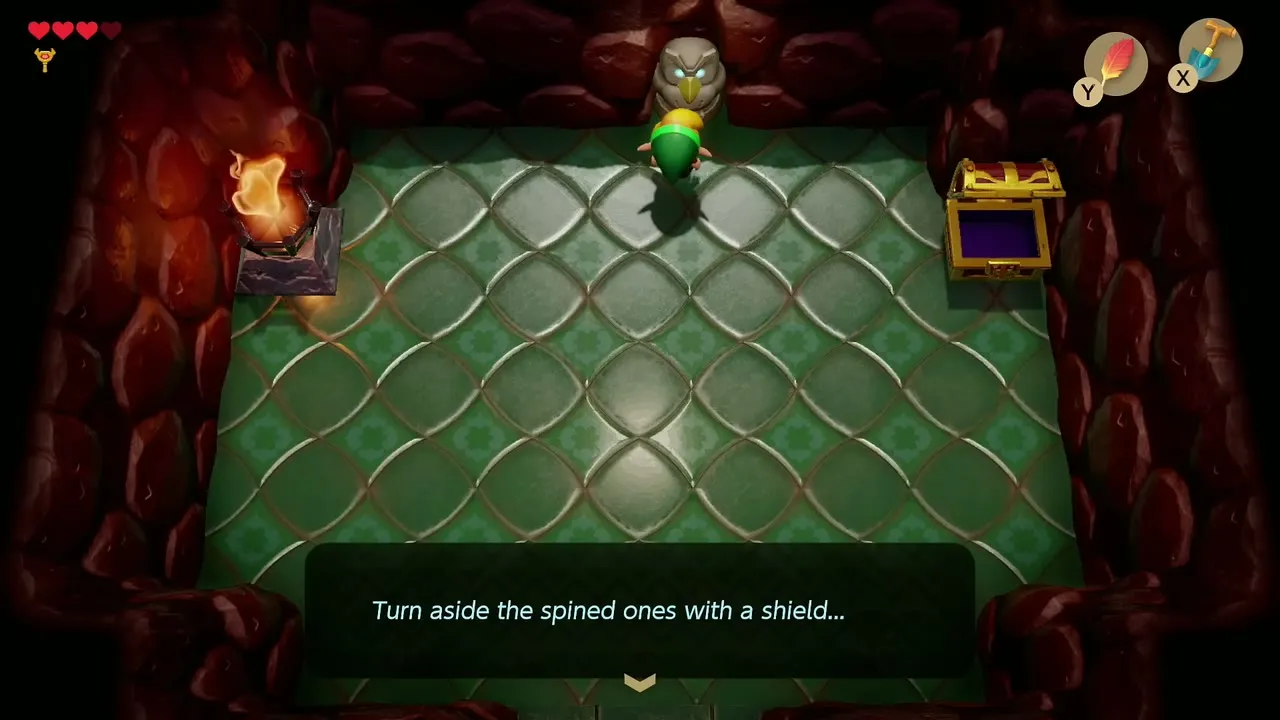
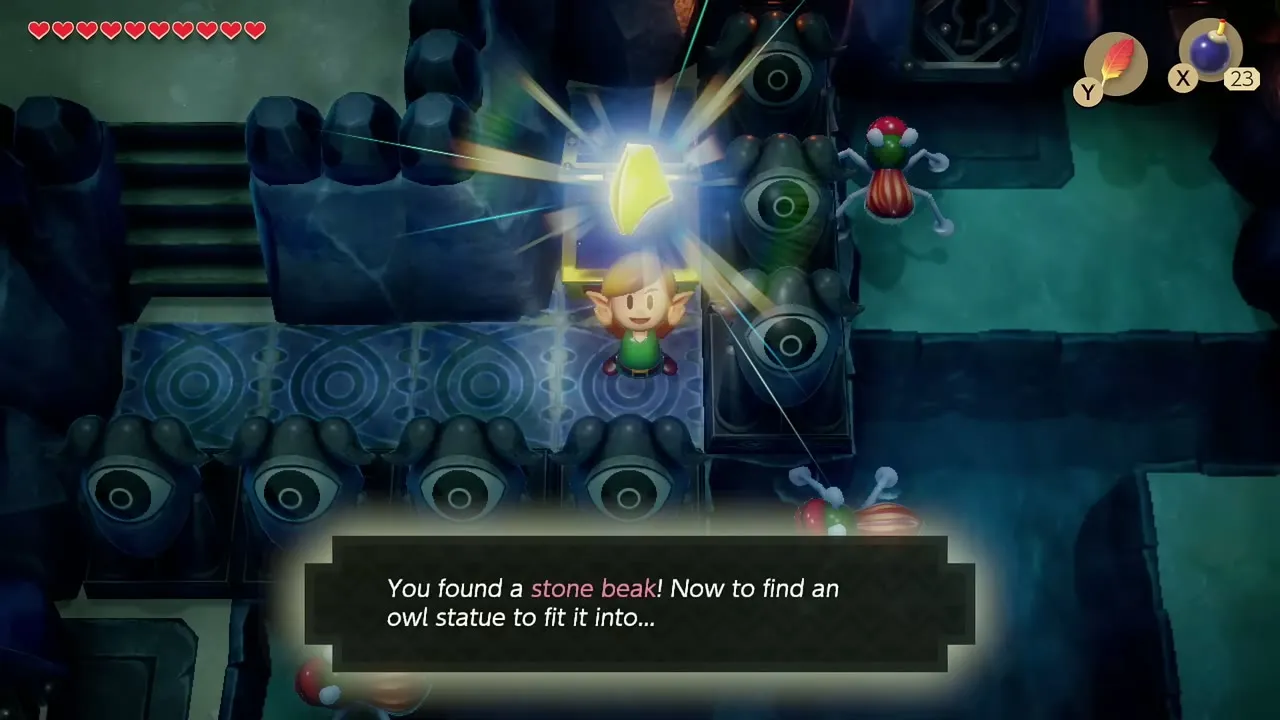
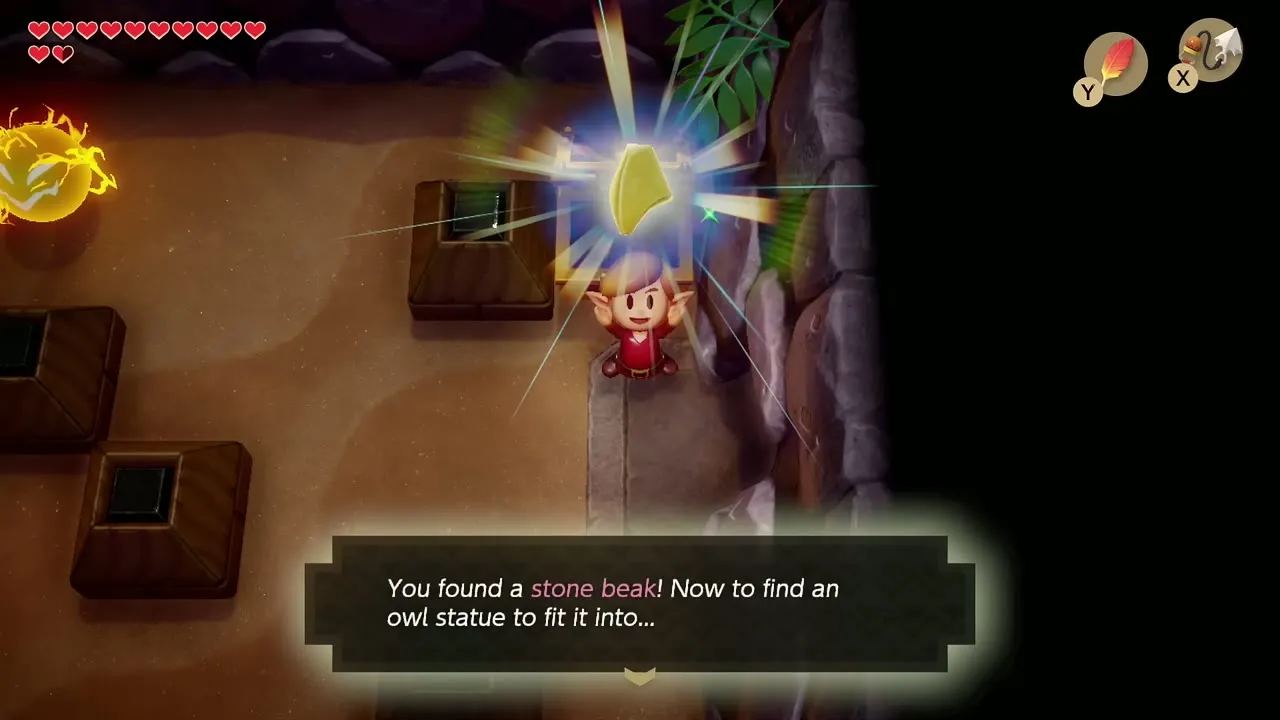
Owl statues stand in many dungeon rooms, but they only give useful advice after you have found that dungeon’s Stone Beak. Each dungeon has its own Stone Beak, so the beak from Tail Cave does nothing in Bottle Grotto. Without it the statue only says that you need a Stone Beak. With it, the owl tells you what to do in the nearest room, such as which block to push or which enemy to beat.
Map and Compass
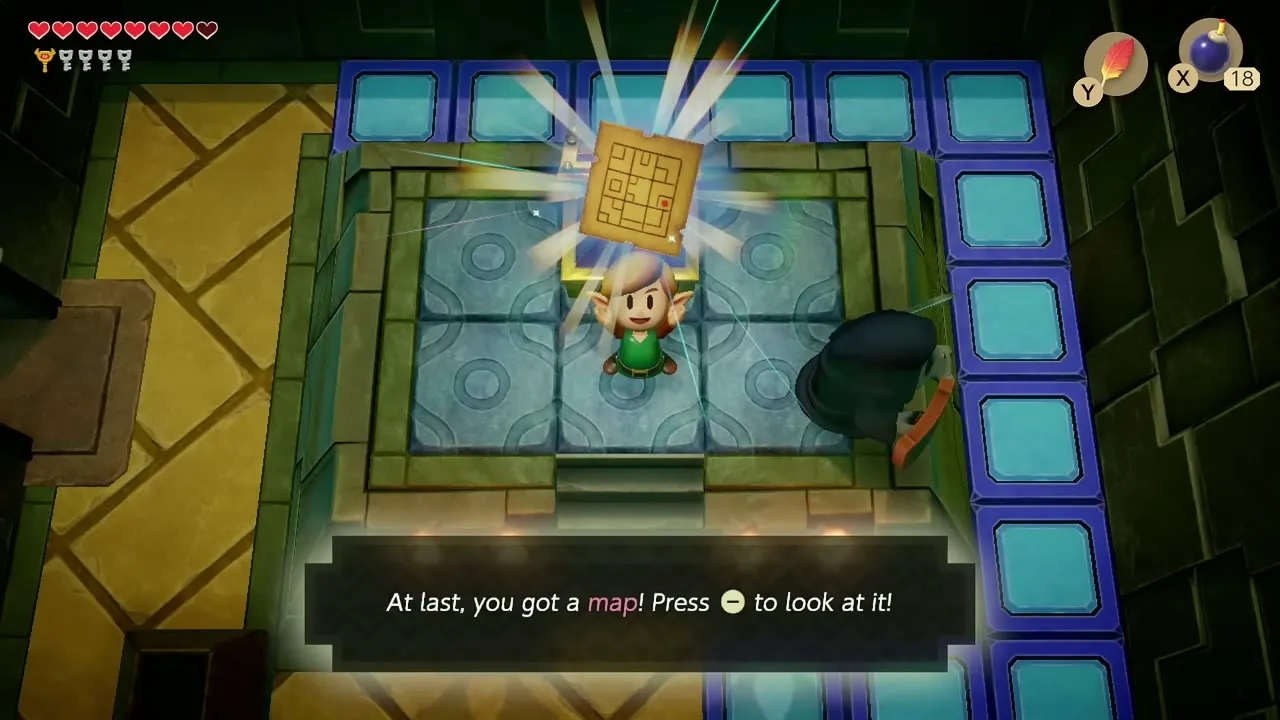
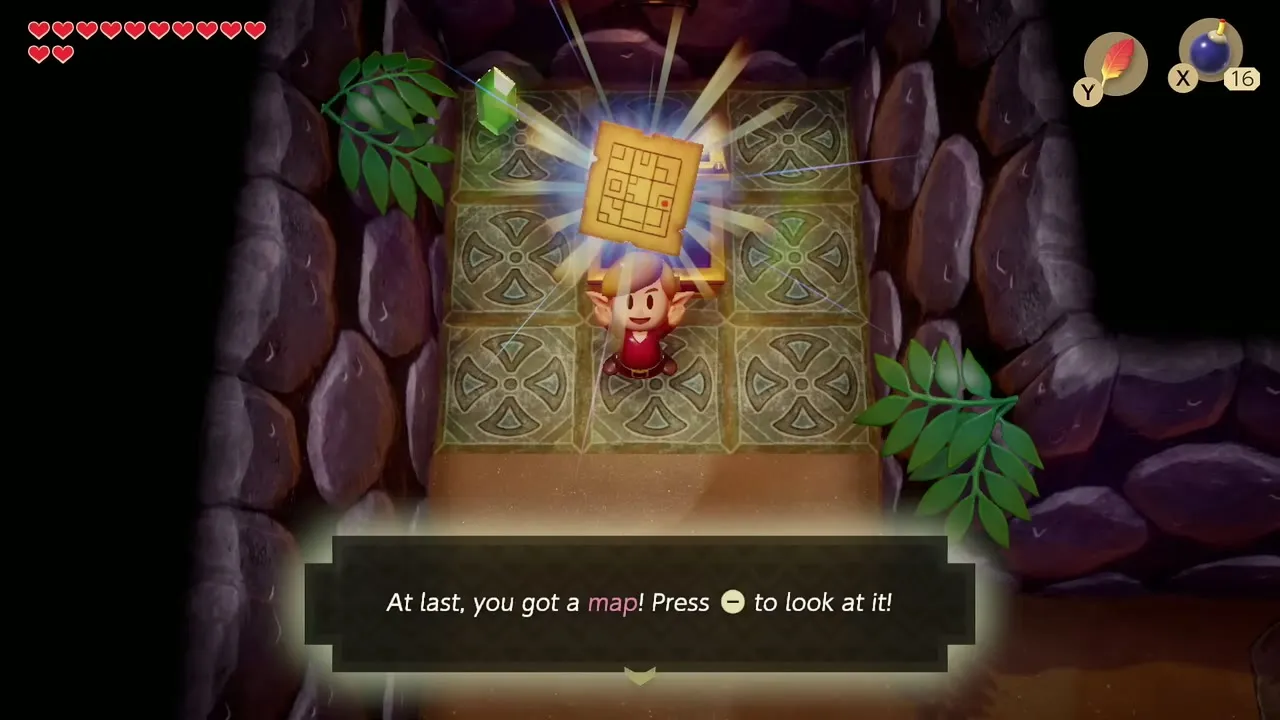
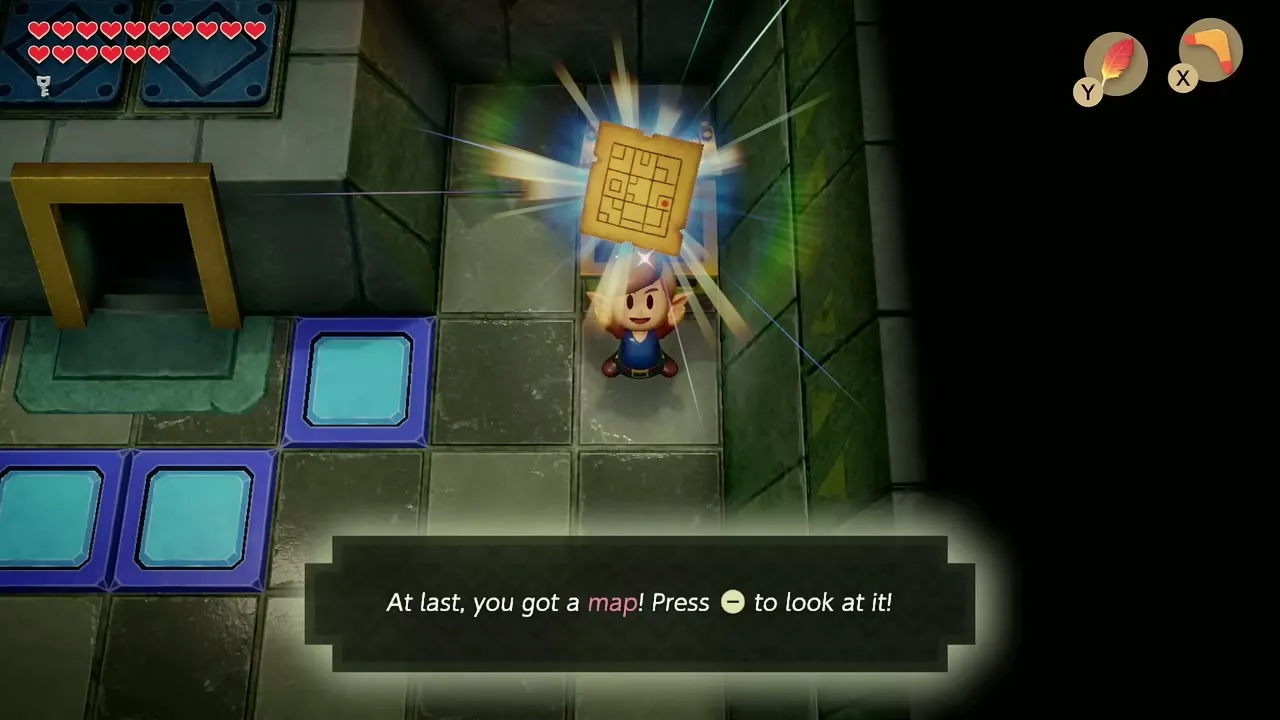
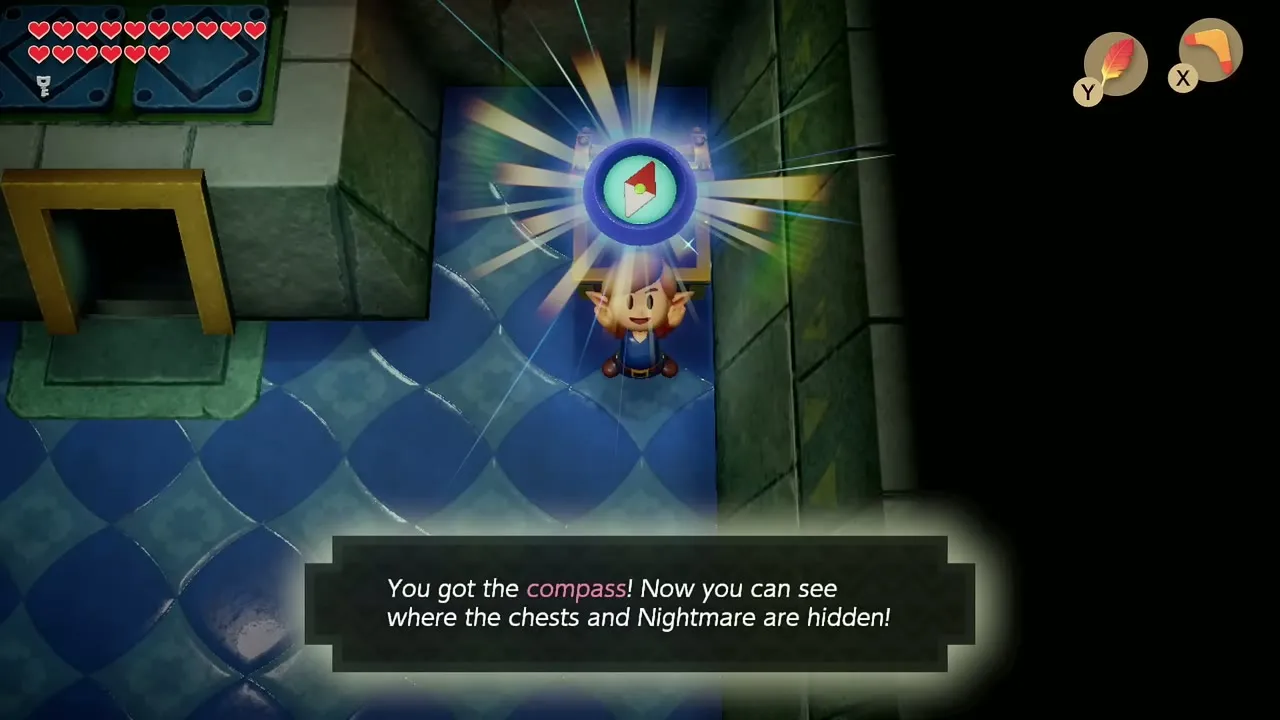
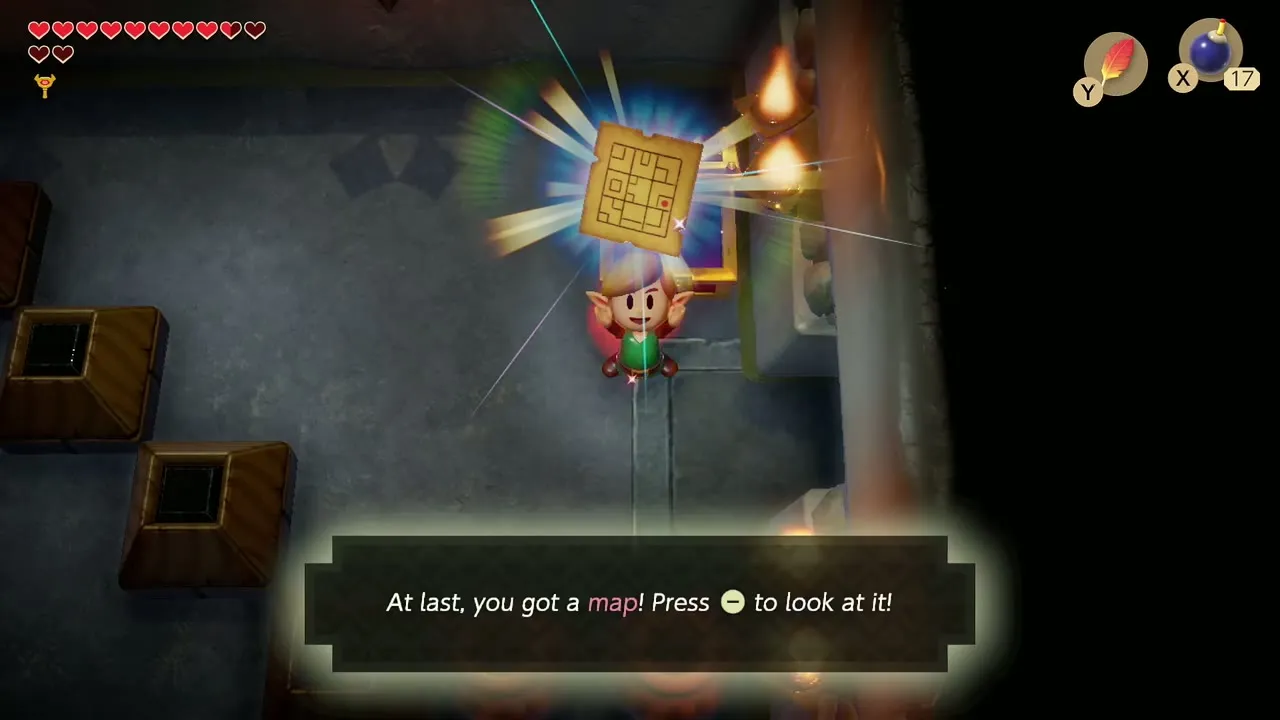
The Dungeon Map draws the whole floor plan for the dungeon you are in. The Compass adds every chest and the Nightmare’s door, and it chimes when a Small Key or the Nightmare Key is close by. Neither is needed to finish a dungeon, but together they stop you from missing chests that hold rupees, heart-saving fairies or Small Keys.
Tail Cave (Level 1)
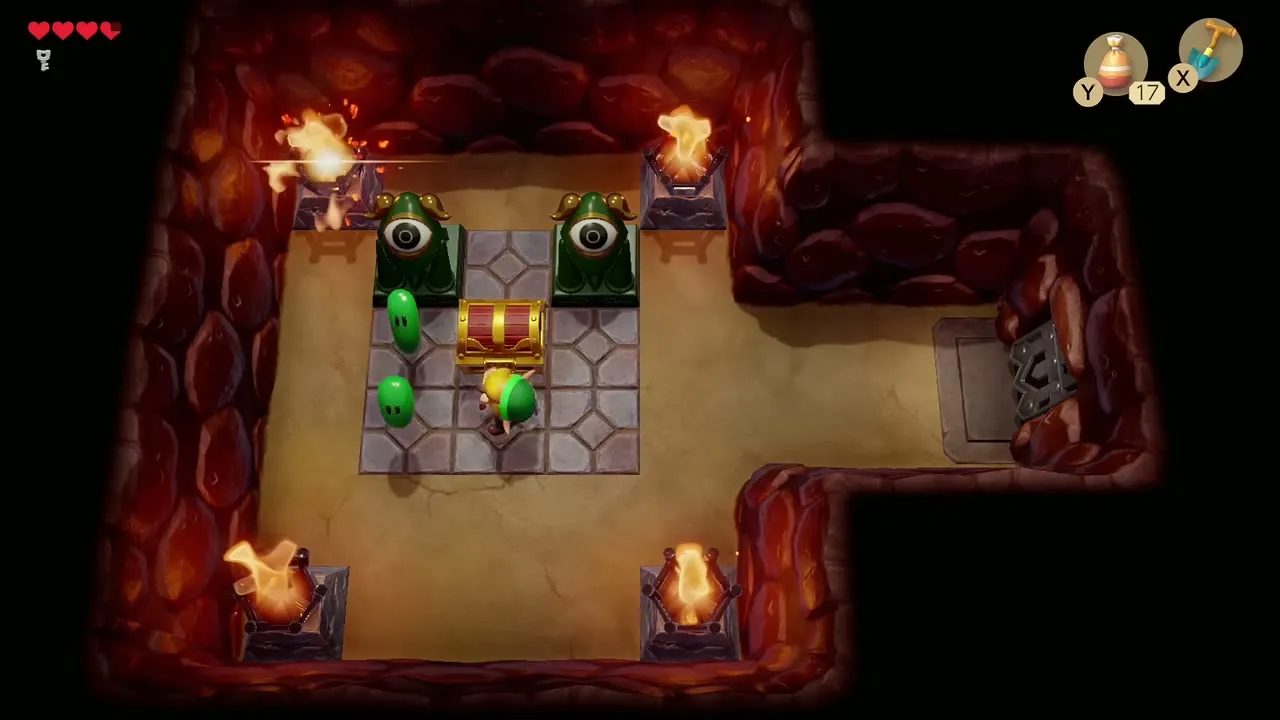
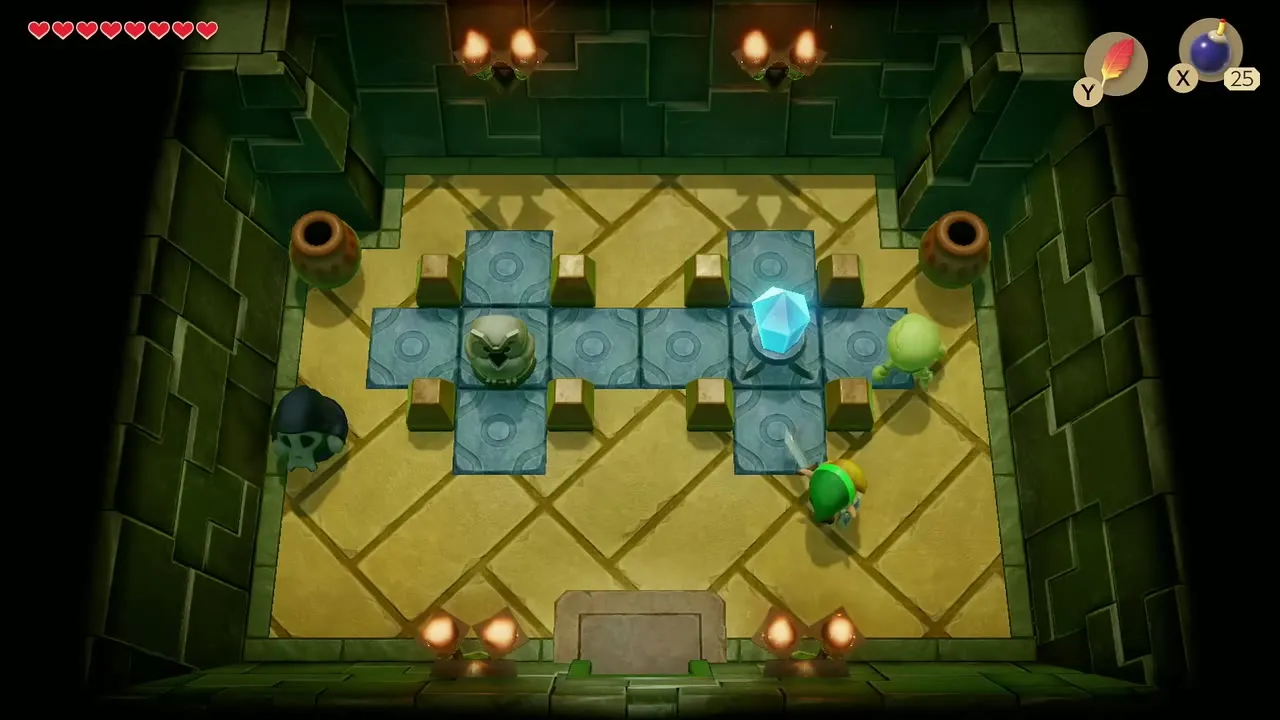
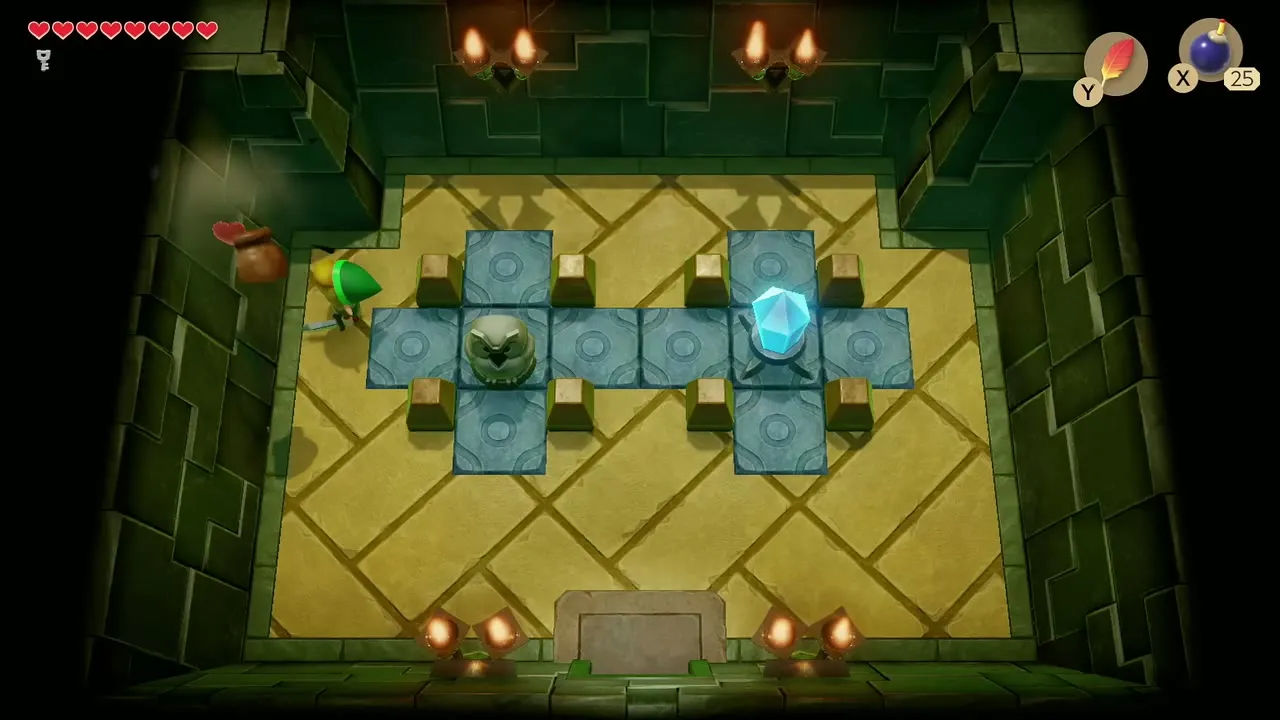
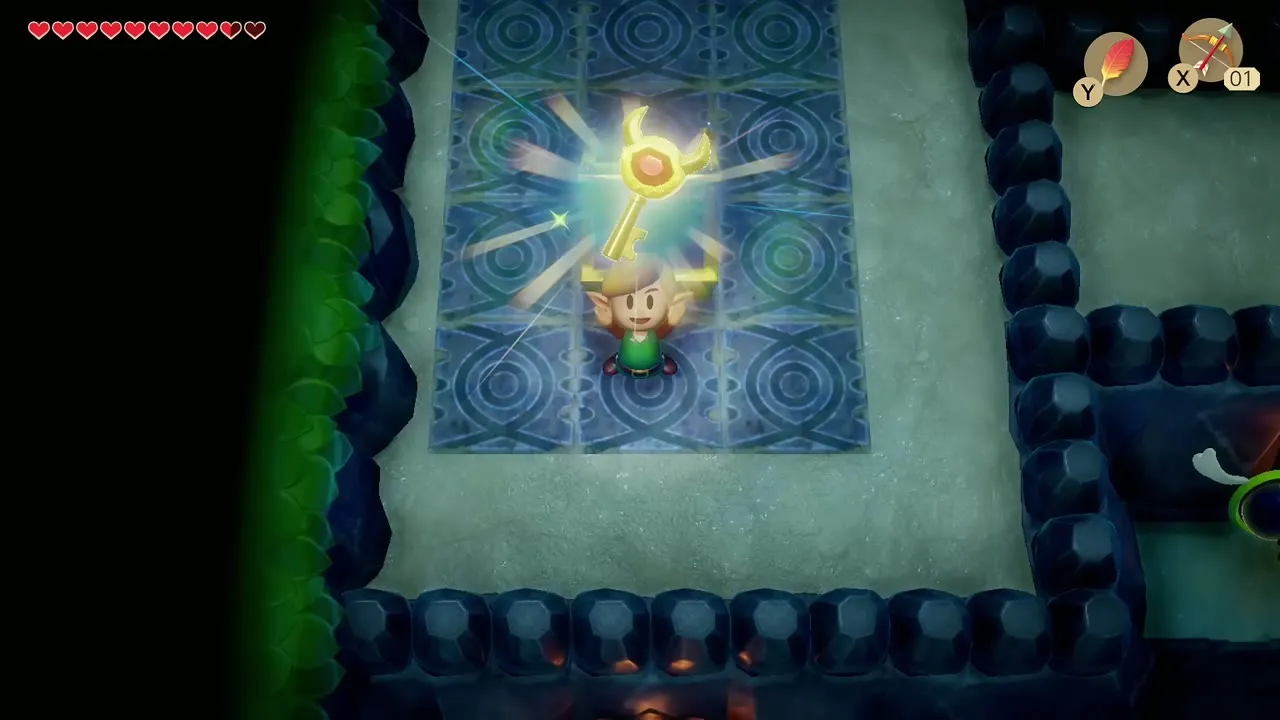
You need the Tail Key to enter. The Compass is in a chest in a sealed room on the west side, which opens once you defeat the enemies guarding it. The Dungeon Map is in the room east of the entrance, in a chest that appears once you have defeated the Stalfos and Keese. The Stone Beak chest is behind a locked door, in the room with three card-suit creatures: hit them until all show the same suit. The Nightmare Key is in a chest on a dais beyond a lock block: jump the gap with the Roc’s Feather, open the block with a Small Key, then climb the stairs and head west. Rolling Bones is the mini-boss and Moldorm the boss. See the Tail Cave chapter.


Bottle Grotto (Level 2)
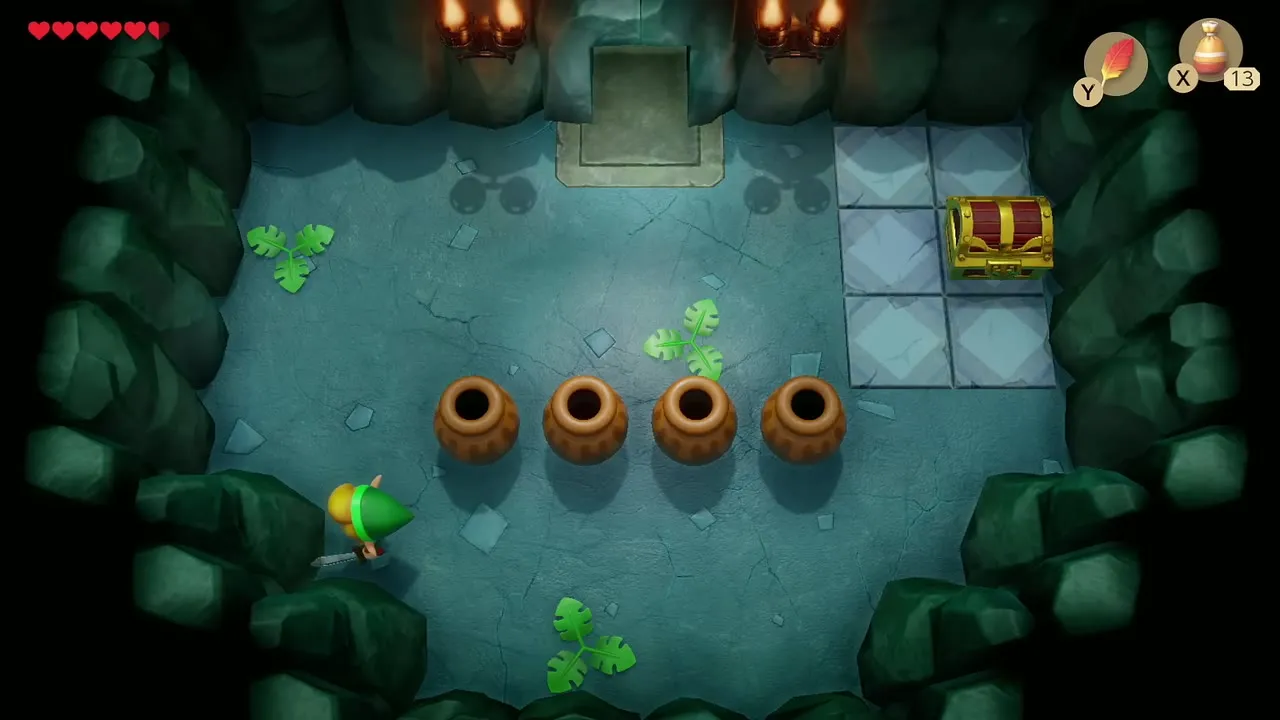
The Compass is in a chest that appears after you beat the Mask-Mimic in the compass room. The Dungeon Map is in a chest in a room beyond the Hinox mini-boss. The Stone Beak chest is in a dark room with timed blade traps, reached by stairs from the torch room near the entrance. The Nightmare Key chest appears in the room where you must defeat the Pols Voice, then the Keese, then the Shrouded Stalfos. The chest ringed with pots in the entrance room needs the Power Bracelet, so come back after the boss. See the Bottle Grotto chapter.



Key Cavern (Level 3)
The cave has four floors, with four locked blocks that you open to reach the staircase to the boss. The Stone Beak chest opens after you flip the crystal switch in the blue switch room. The Compass is in the chest in the room west of the Bombites, after you defeat the Zols and Shrouded Stalfos. The Dungeon Map is in a chest in the dais room, reached over the crystal barriers after you defeat the Stalfos on the dais. The Nightmare Key is in a hidden room past the crystal barriers: bomb a wall, then dash-jump the pit with the Pegasus Boots and Roc’s Feather. The mini-boss is the Dodongo Snakes and the boss is Slime Eye. See the Key Cavern chapter.
Angler’s Tunnel (Level 4)
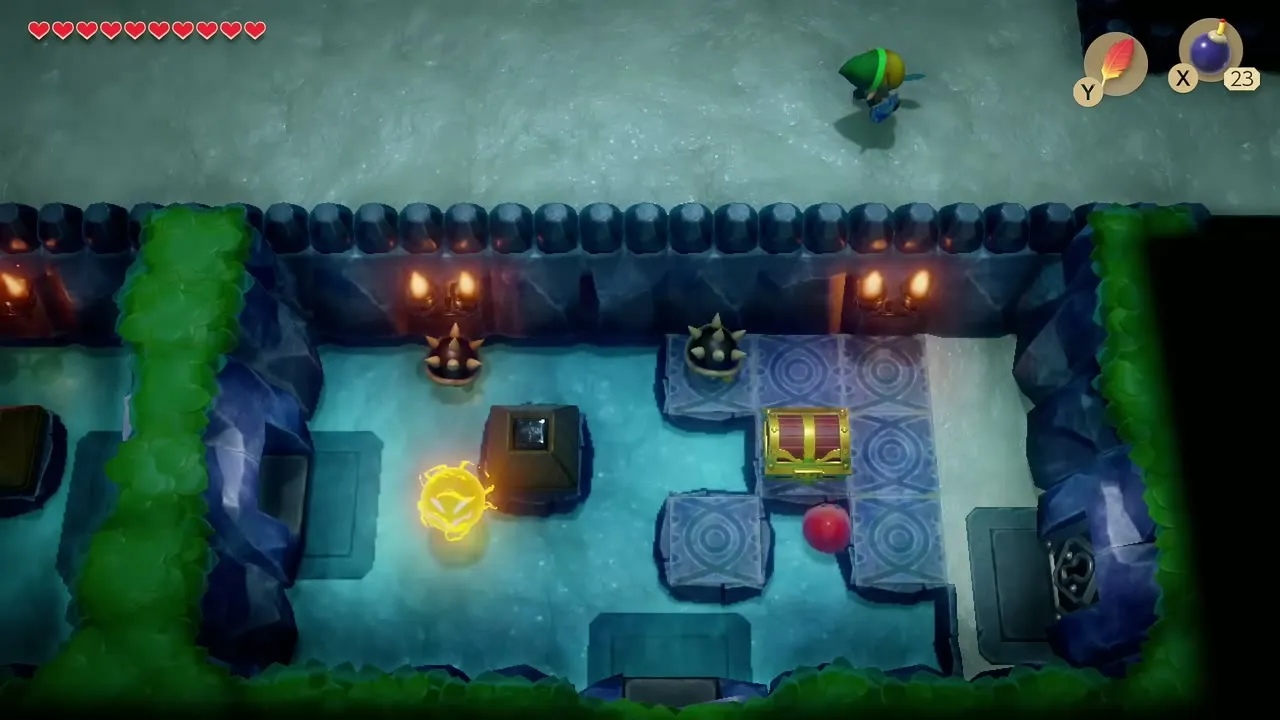
The Angler Key opens the entrance. The Stone Beak is in an alcove chest: climb the stairs out of the water, turn east and follow the topmost passage. The Compass chest is in the room east of the entrance after you defeat the red enemies and beetles, and the Dungeon Map is at the end of a long passage that runs north from the start. The Nightmare Key chest is late in the dungeon, past the side-view stone-face room. Cue Ball is the mini-boss and the Angler Fish the boss; you find the Flippers inside. See the Angler’s Tunnel chapter.

Catfish’s Maw (Level 5)
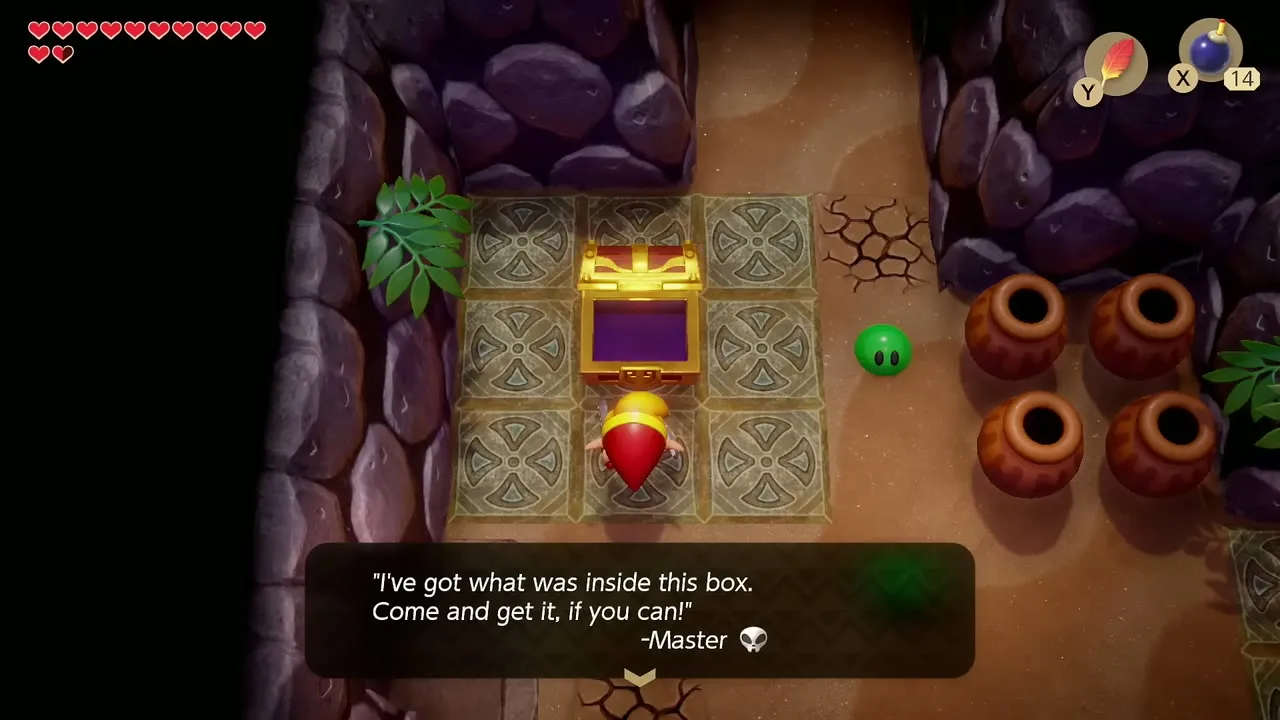
The Compass is in a chest in the room left of the first sandy rooms. The Dungeon Map chest opens after your third meeting with Master Stalfos, and he leaves the Hookshot chest empty. The Stone Beak chest appears when you defeat the enemies in the blade-trap room. The Nightmare Key is at the end of the underwater passage beyond the pool room, past a Hookshot bridge. The three Small Keys come from a ceiling drop and two Hookshot chests. Gohma is a second mini-boss, and the boss is Slime Eel. See the Catfish’s Maw chapter.


Face Shrine (Level 6)
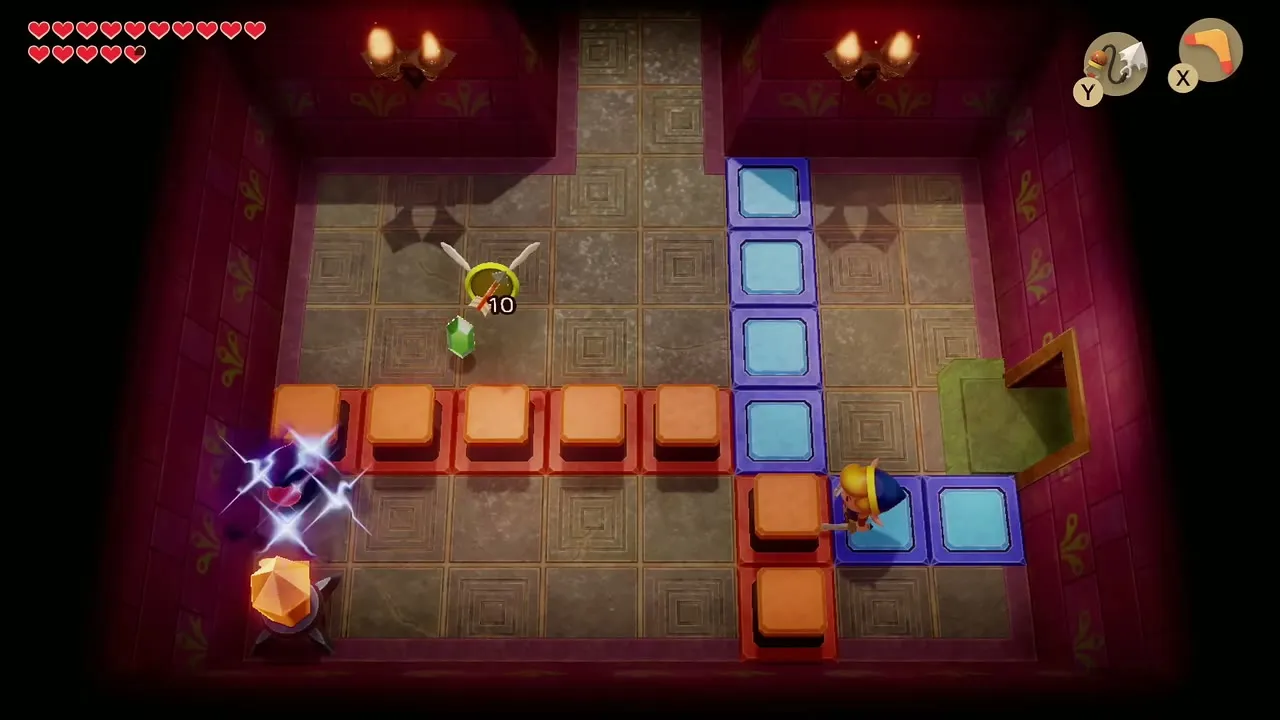
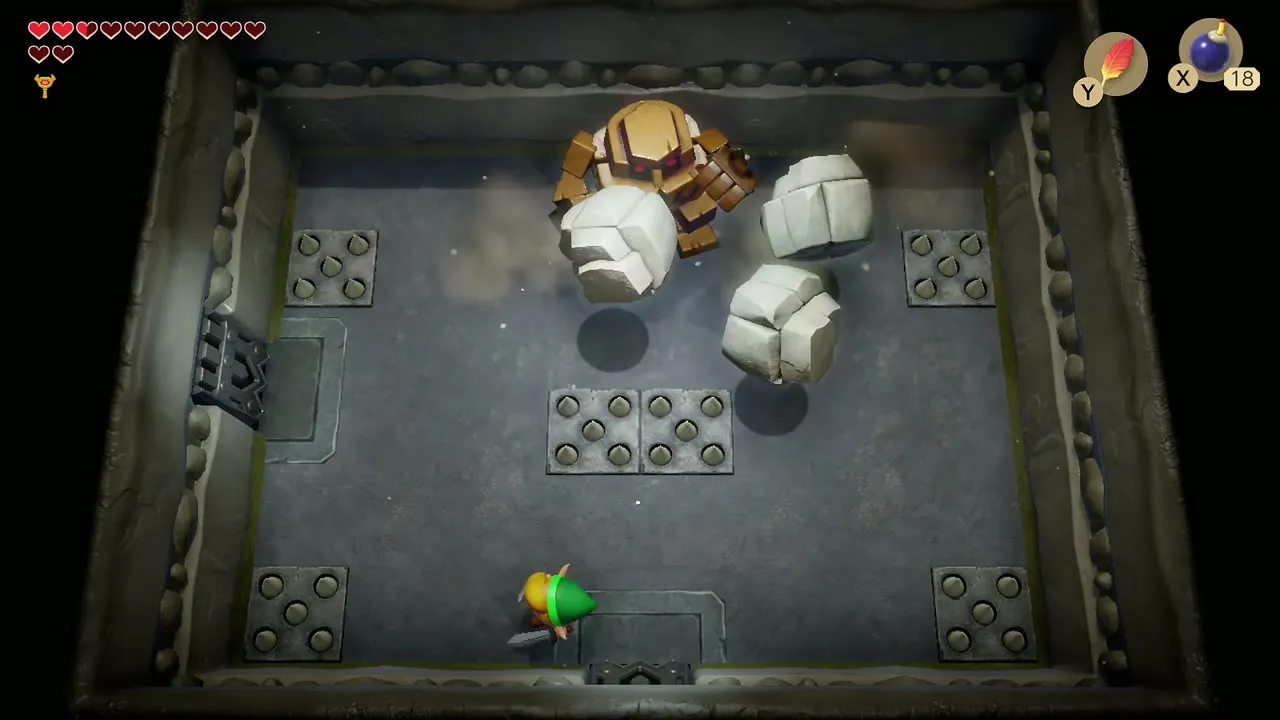
Take the Power Bracelet L-2 from the chest in the elephant-statue room first; the Map, Compass and Stone Beak are close to the crystal-switch room. Hit the crystal switch in the orange-and-blue switch room and cross the lowered blocks for the Dungeon Map, find the Stone Beak in the chest in the next owl-statue room, and throw a pot at the cracked door to reach the Compass chest beside it. The Nightmare Key chest is covered by pots past the Thwomps; throw the pot in front of it first. Smasher is the mini-boss, throwing a black ball you throw back, and Facade is the boss. See the Face Shrine chapter.



Eagle’s Tower (Level 7)
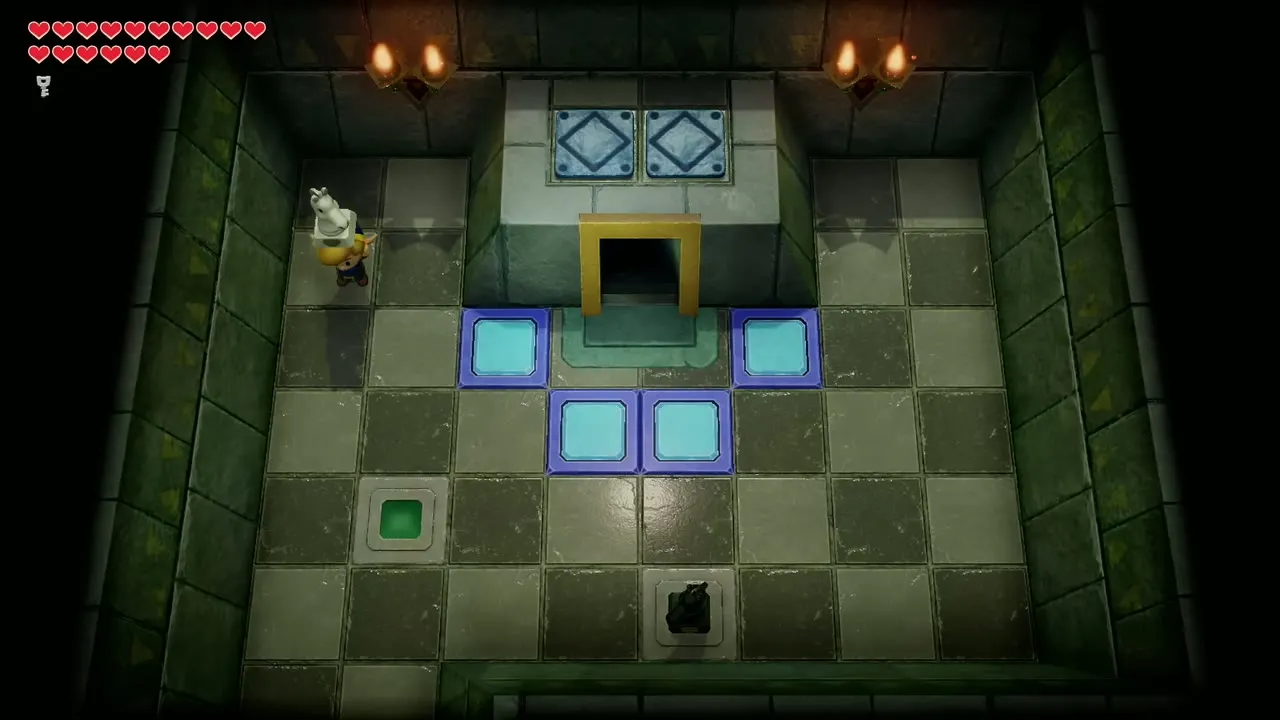
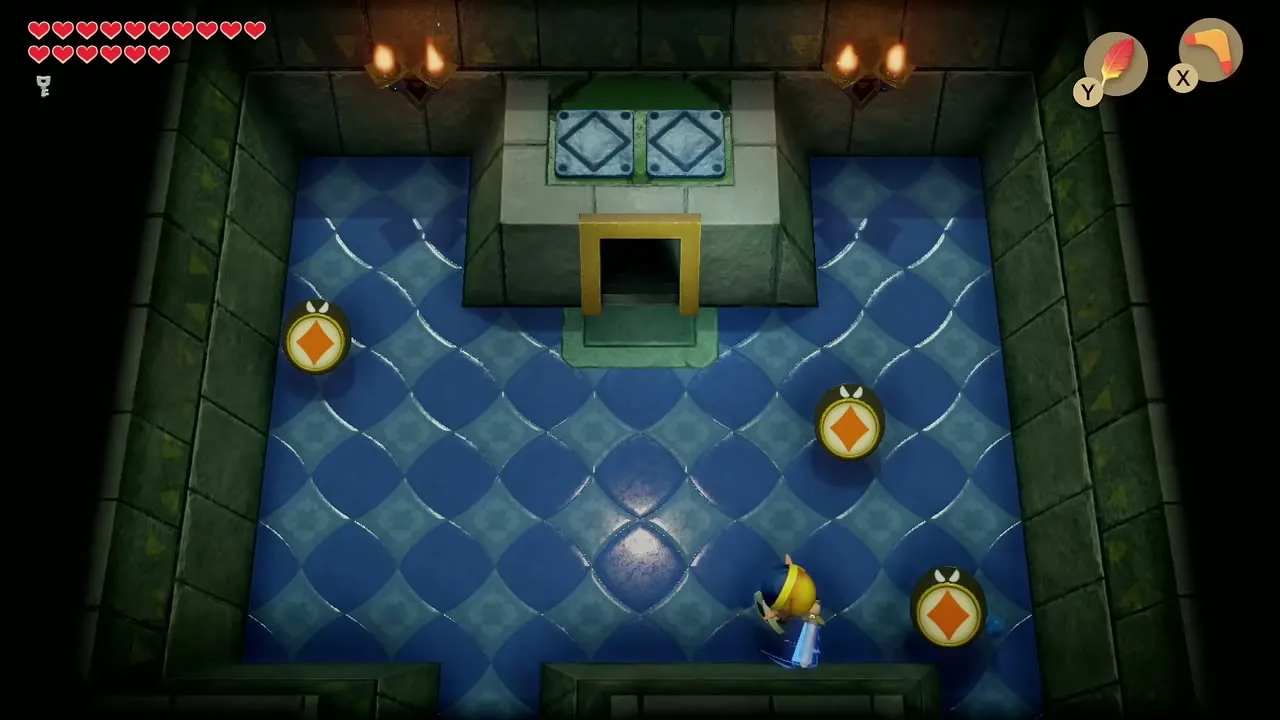
The tower has four floors. The Dungeon Map chest appears in the room with two horse-head statues once you toss both so they land upright. The Compass chest appears in the blue room where three enemies show the same card symbol. The Stone Beak is on the first floor: drop into the pit in the room with the second pillar, land on the raised crystal-switch blocks and follow them north, then west, to the chest. The Nightmare Key chest is in the room right after the Grim Creeper fight. Red Hinox and Grim Creeper are the mini-bosses and Evil Eagle the boss. See the Eagle’s Tower chapter.


Turtle Rock (Level 8)
The Compass chest is in a corner room with a Vacuum Mouth. The Dungeon Map is in the lava area in the middle of the dungeon, once you build a path across with the red-button block. The Stone Beak is in the chest in the room full of Ropes. The Nightmare Key chest appears when you fill the floor of the room to the north with the red-button block. Several mini-bosses stand along the route, including Smasher and Blaino, and Hot Head is the boss. You find the Magic Rod inside. See the Turtle Rock chapter.


Color Dungeon
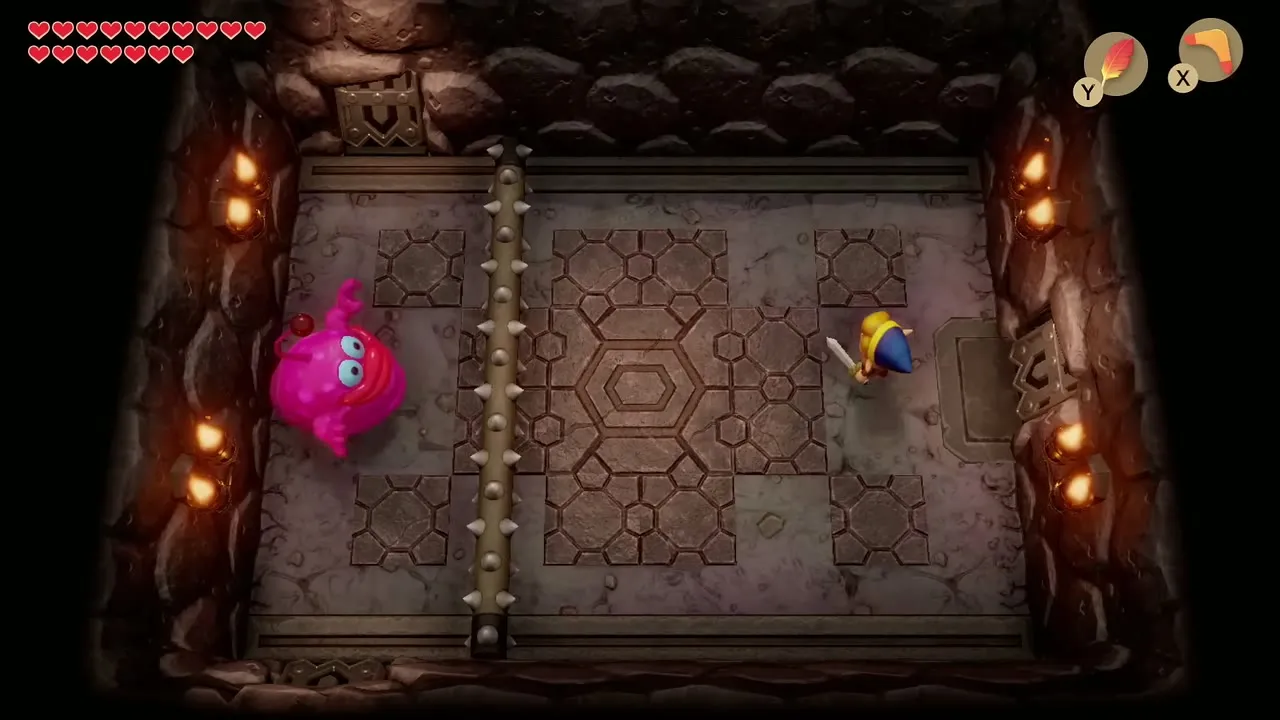
The optional dungeon behind the Cemetery gravestones has 3 Small Keys. The Compass chest appears after you hit the upper left orb, then the lower right one. The Stone Beak is in the chest that appears when both Orb Monsters sit in their holes. The Dungeon Map chest comes after the Stone Hinox fight: go left, throw the pot in the top left corner, step on the switch and clear the enemies. The Nightmare Key is in the chest you reach by pushing blocks in the room to the left after Giant Buzz Blob. The boss is the Hardhit Beetle. See the Color Dungeon guide.


Wind Fish’s Egg
The Egg contains no Map, Compass, Stone Beak, Nightmare Key or Small Keys. You follow the maze directions from the Mabe Village library, drop into the pit and fight the six forms of the Shadow Nightmare. See the final chapter.