





















Link's Awakening 100% Completion Walkthrough9 chapters
- Toronbo Shores, Mabe Village and Tail Cave (Level 1)Link’s Awakening Switch walkthrough from the start: get the Sword, Shovel and Magic Powder, find the Tail Key, then.
- Mysterious Forest, Goponga Swamp and Bottle Grotto (Level 2)Rescue BowWow, collect three Heart Pieces and Secret Seashells, cross Goponga Swamp and clear Bottle Grotto (Level 2).
- Ukuku Prairie, Kanalet Castle and Key Cavern (Level 3)Link’s Awakening Switch walkthrough for Kanalet Castle Golden Leaves, the Slime Key, Key Cavern (Level 3), the Pegasus.
- Yarna Desert and Angler’s Tunnel (Level 4)Yarna Desert and Angler’s Tunnel walkthrough for Link’s Awakening: get the Angler Key, the Flippers and the Surf Harp.
- Martha’s Bay and Catfish’s Maw (Level 5)Martha’s Bay and Catfish’s Maw walkthrough for Link’s Awakening: learn Manbo’s Mambo, free the Ghost, win the Hookshot.
- Southern Face Shrine and Face Shrine (Level 6)Southern Face Shrine and Face Shrine (Level 6) walkthrough for Link’s Awakening: Magnifying Lens, Koholint Sword.
- Tal Tal Heights and Eagle’s Tower (Level 7)Tal Tal Heights and Eagle’s Tower walkthrough for Link’s Awakening: the Flying Rooster, Bird Key, Mirror Shield, Evil.
- Western Tal Tal Mountains and Turtle Rock (Level 8)Western Tal Tal Mountains and Turtle Rock (Level 8) walkthrough for Link’s Awakening: Secret Seashell 50, Magic Rod.
- The Wind Fish’s Egg and Final BossesThe Wind Fish’s Egg and final bosses walkthrough for Link’s Awakening: read the maze book, play the Ballad, beat all.
| Covers | Mabe Village, Mysterious Forest, Koholint Prairie, Cemetery, Tal Tal Heights, Tabahl Wasteland, Moblin Cave, Goponga Swamp |
|---|---|
| Dungeon | Bottle Grotto (Level 2): needs Magic Powder and Roc’s Feather, boss Genie, instrument Conch Horn |
| Rewards | BowWow, Goomba Figure, 3 Heart Pieces, 4 Secret Seashells, Compass, Dungeon Map, Stone Beak, Power Bracelet, Nightmare Key, Heart Container, Conch Horn |
After Tail Cave, the Moblins steal BowWow from Madam MeowMeow, and getting him back is the key to the second dungeon: only BowWow can eat the Goponga Flowers that seal the Bottle Grotto entrance. This chapter rescues him from the Moblin Cave, collects three Heart Pieces and four Secret Seashells on the way, walks him through Goponga Swamp and clears Bottle Grotto, where you find the Power Bracelet, defeat the Genie and take the Conch Horn. Bring the Sword, Shield, Roc’s Feather, Shovel and a good stock of Magic Powder.
How to rescue BowWow from the Moblin Cave
Hear about the kidnapping in Mabe Village
Return to Mabe Village after Tail Cave and talk to the villagers and to Madam MeowMeow outside her house. She wails that her BowWow was dognapped by Moblins, and the Moblin Cave is where they took him. You can buy the Shovel at the Town Tool Shop beforehand if you have not already, because BowWow will point out buried Secret Seashells later and you need the Shovel to dig them up.


Win the Goomba Figure at the Trendy Game (optional)
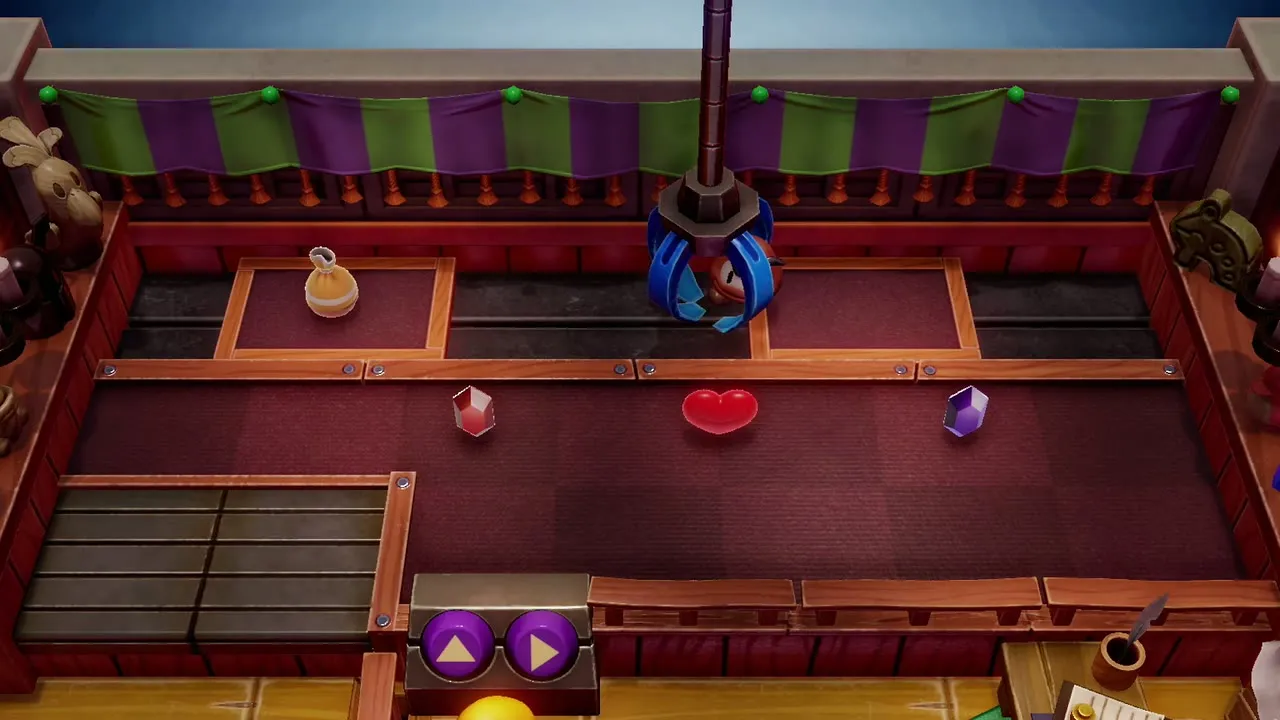
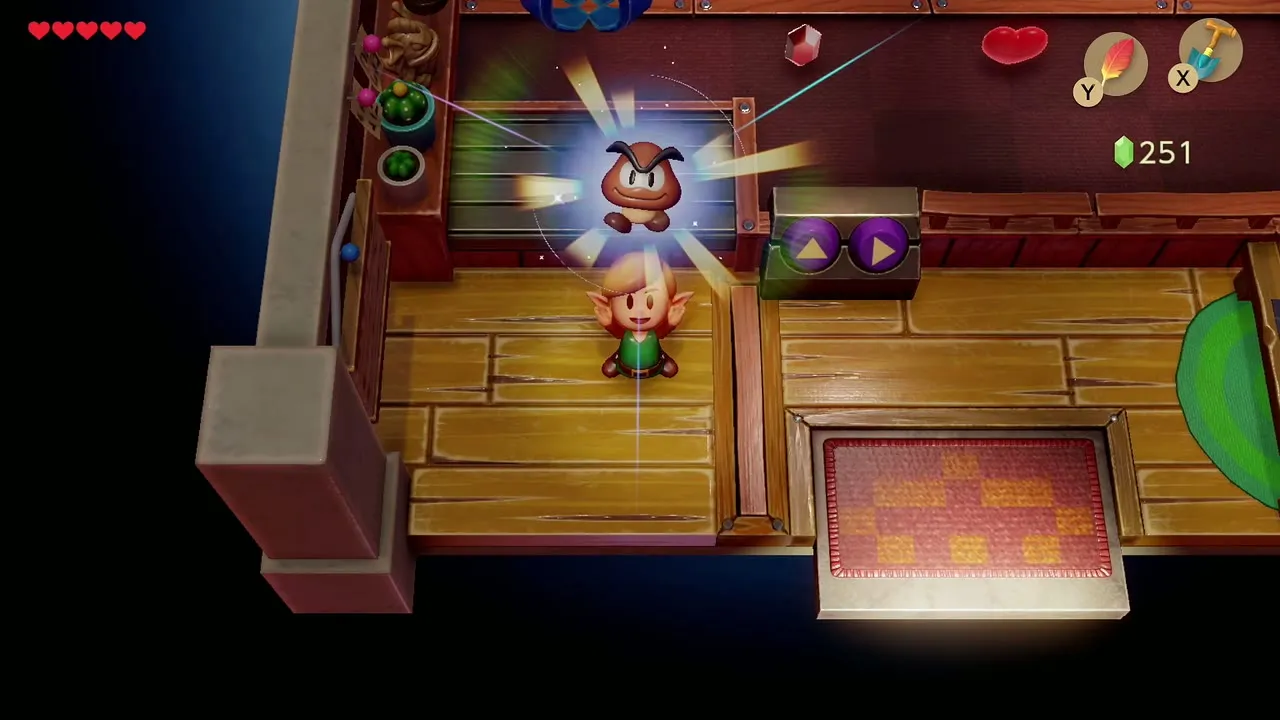
If you have spare rupees, step into the Trendy Game shop in Mabe Village and play the crane. Steer the claw over the Goomba and drop it to win the Goomba Figure; every failed grab costs you another try, so be patient. Take the prize home and put it on the display stand in Link’s House. The figures and Trendy Game page lists every prize.

Cross the Mysterious Forest to Koholint Prairie
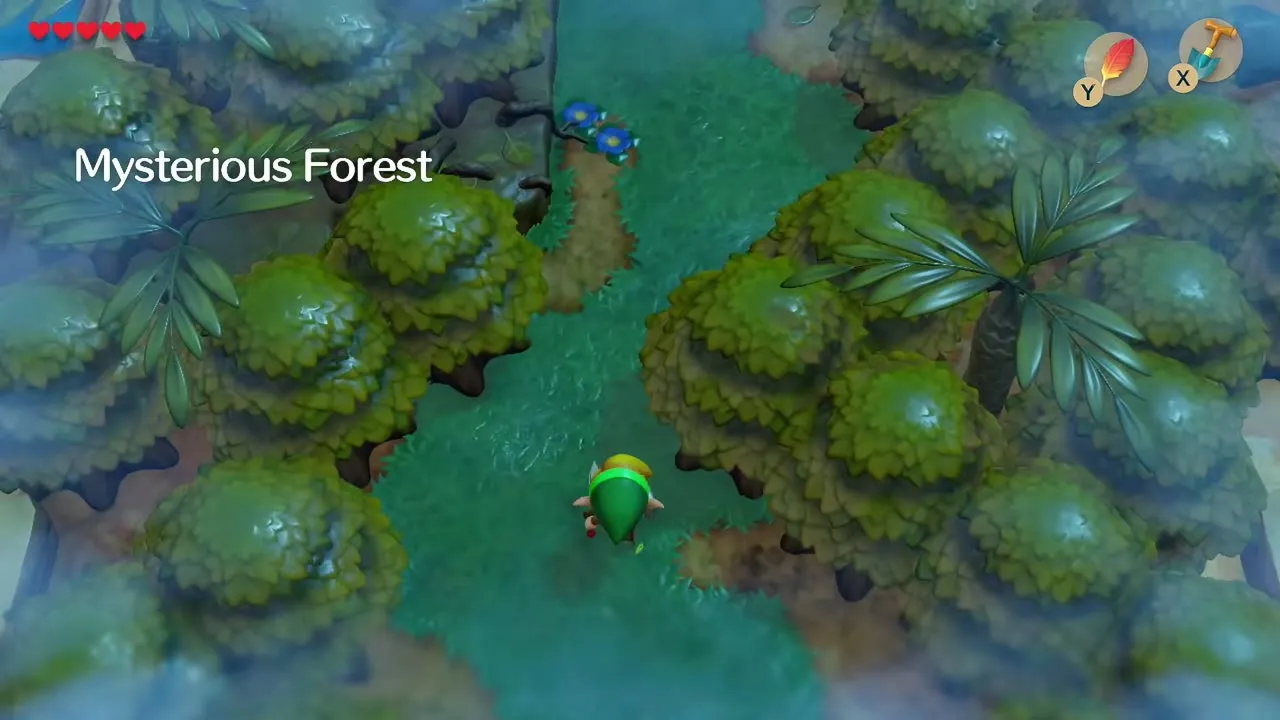
Enter the Mysterious Forest through the entrance just north of the Mabe Village well and follow the main path through the fog. Cut or avoid the Moblins that patrol the clearings and keep heading toward the northeast exit, which leads out onto Koholint Prairie. You can fight with the Sword and Shield as normal; the forest has no puzzle here.
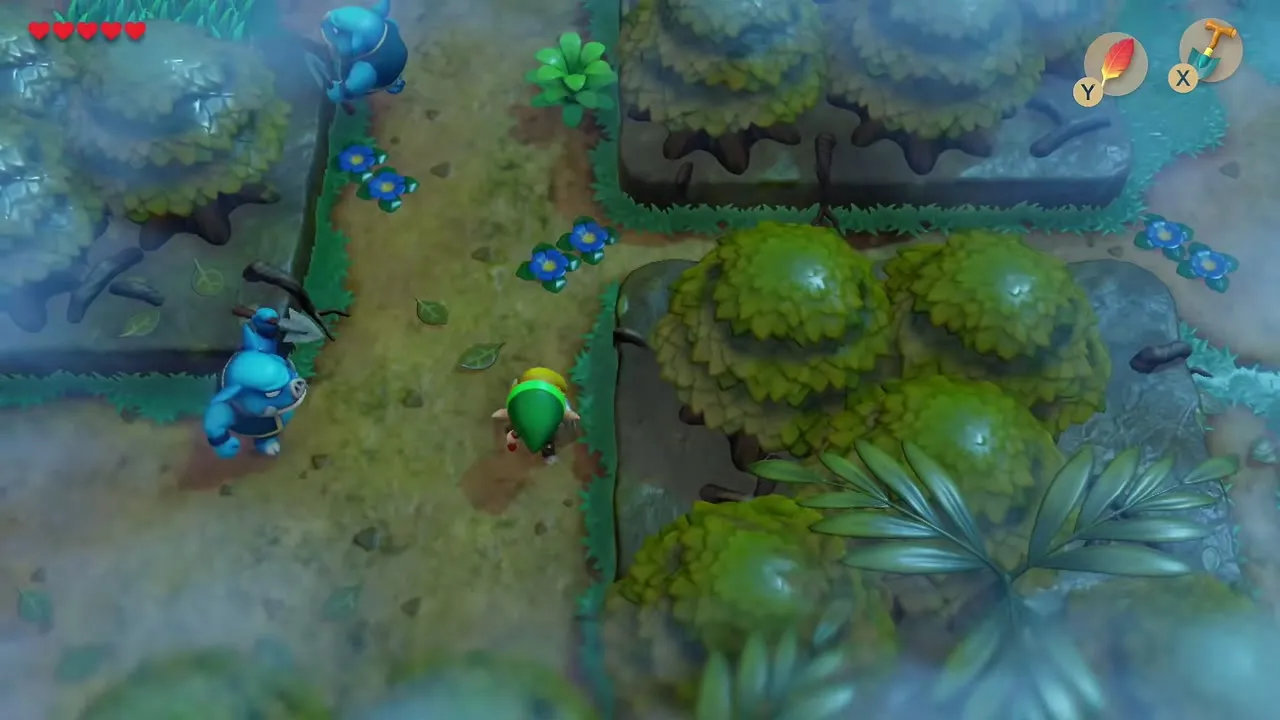
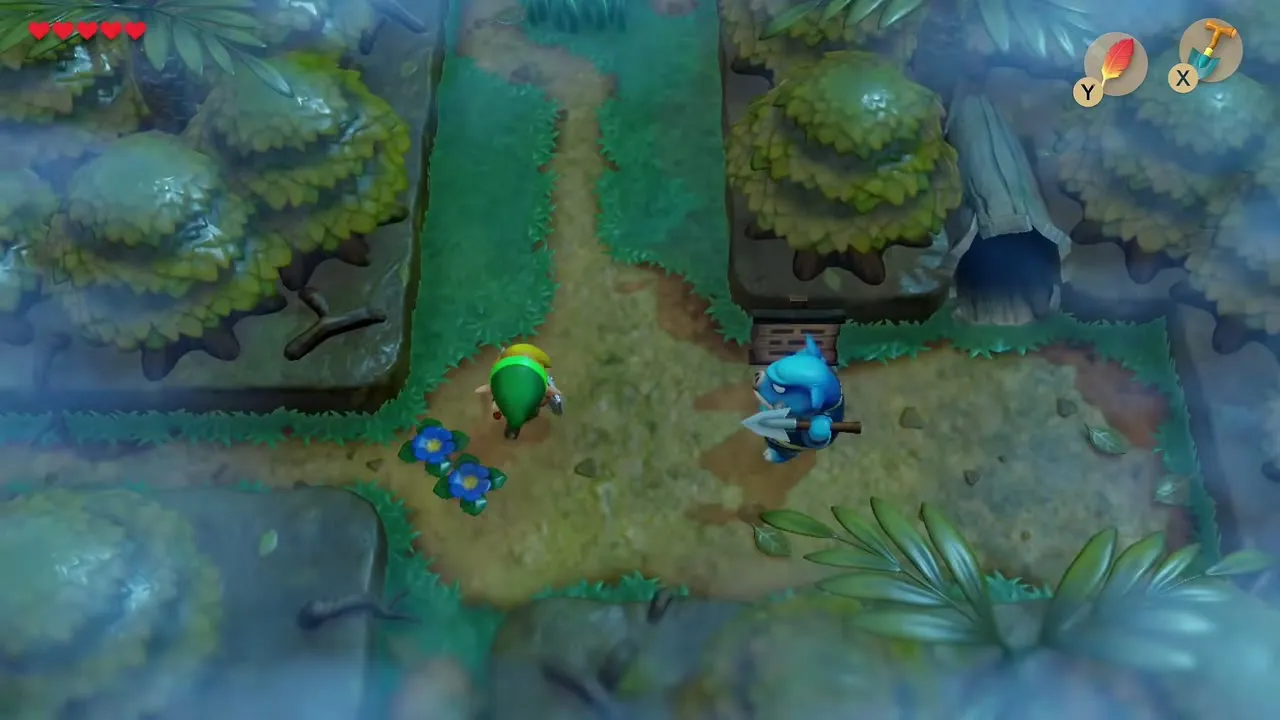
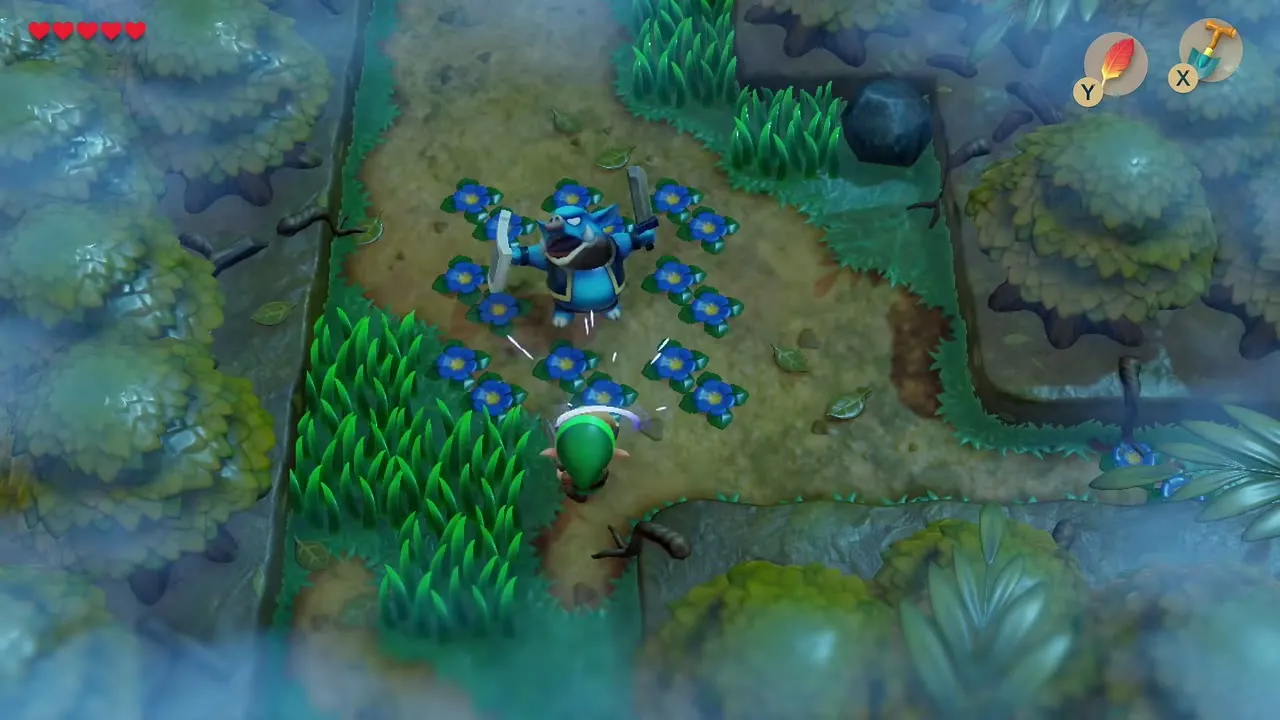
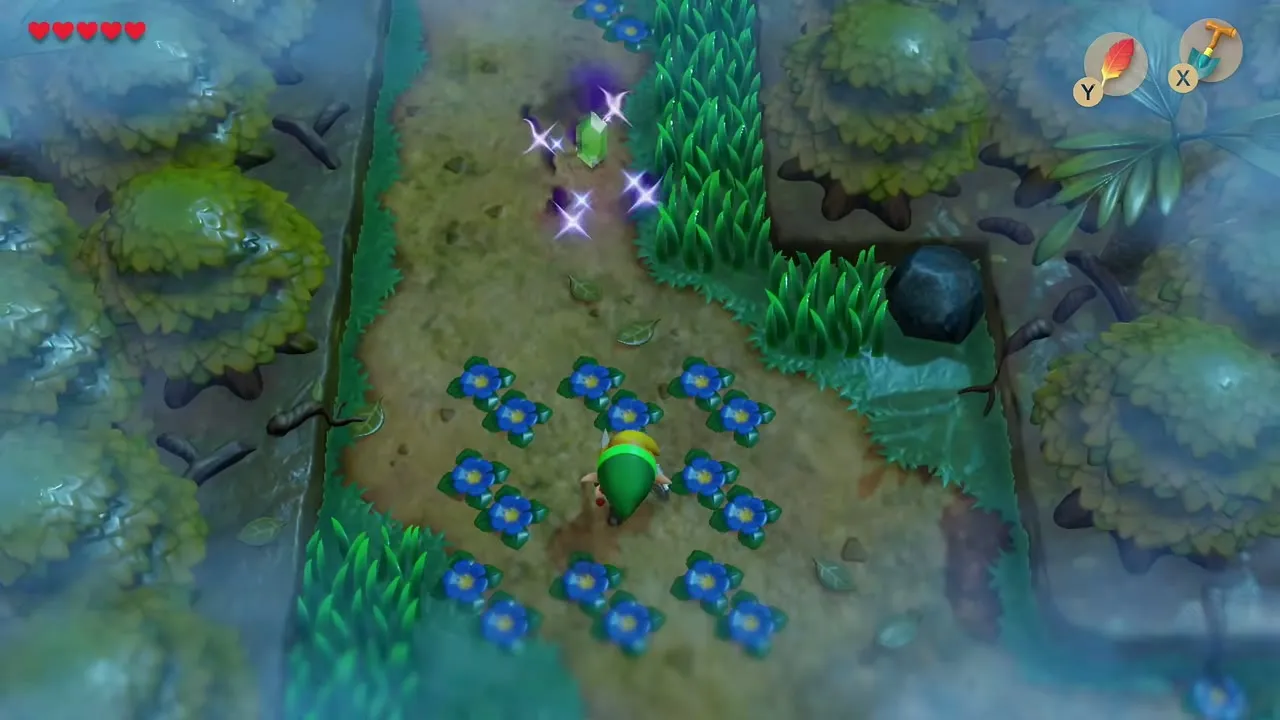
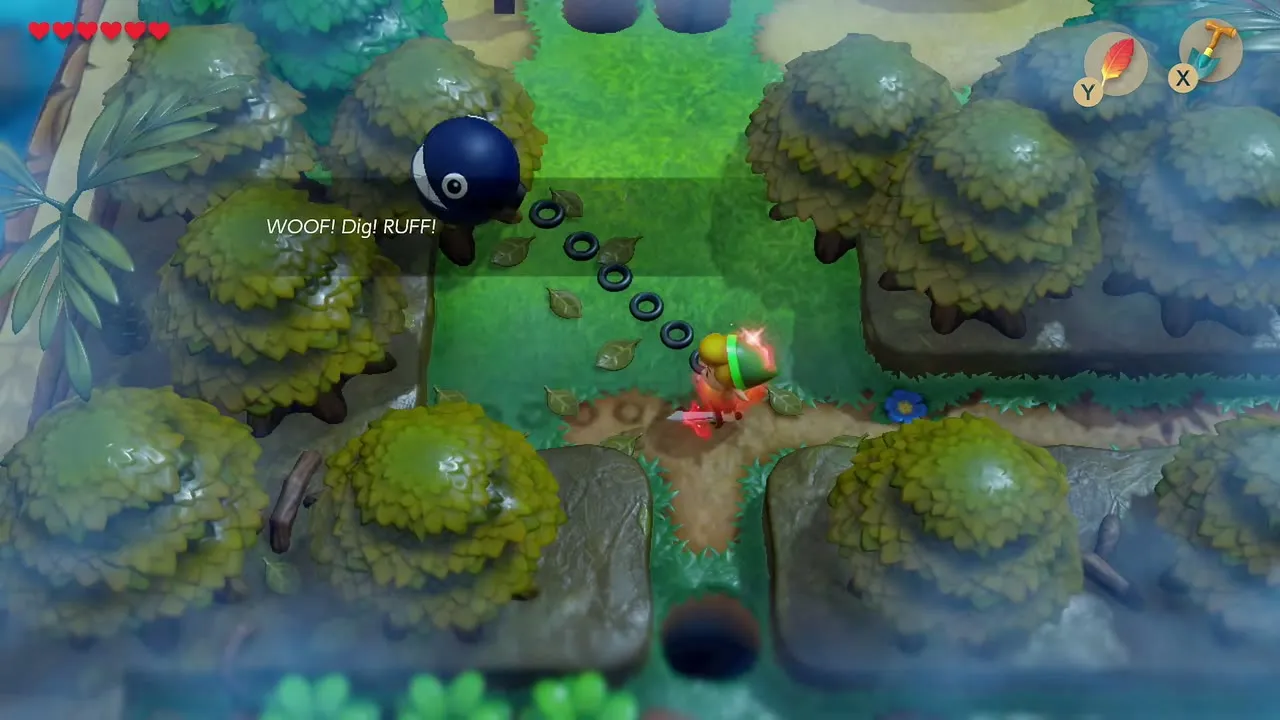
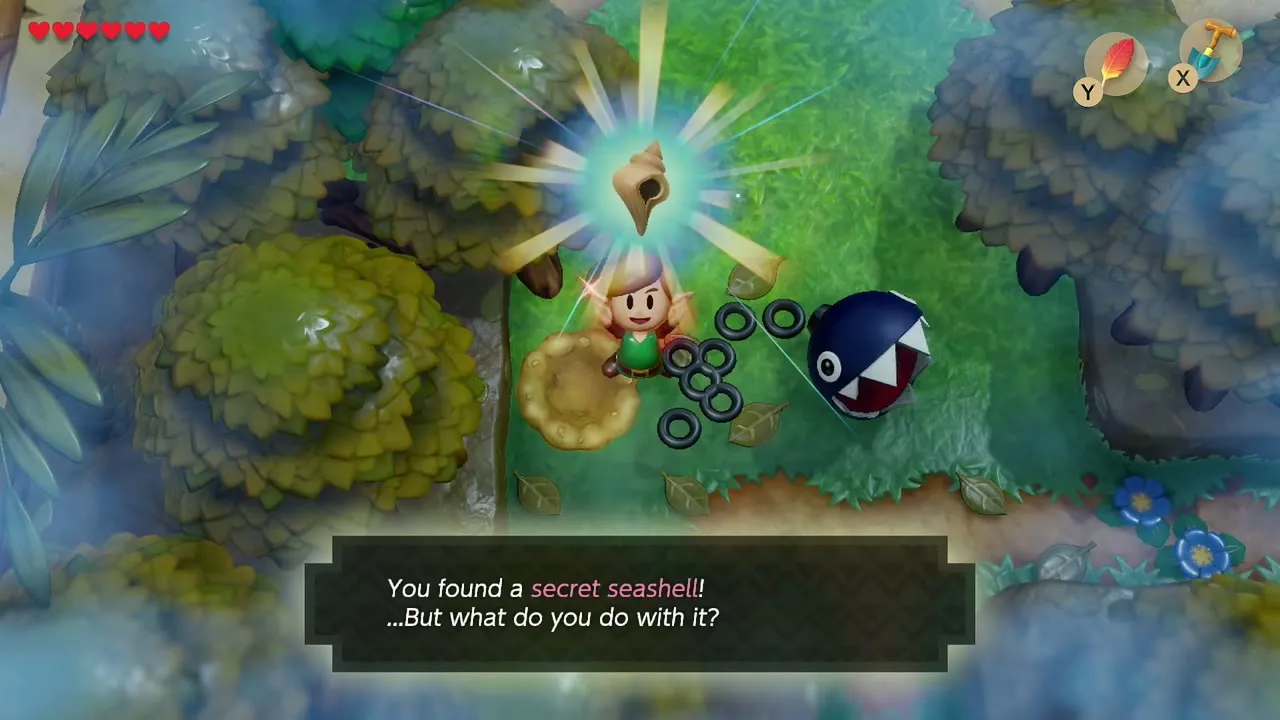
On the way, one clearing is dotted with small blue flowers, and a Secret Seashell is buried in its middle. With the Shovel you can dig it up right now. If you skip it, nothing is lost, because you pass back through the forest later in this chapter.
Koholint Prairie, Cemetery and Tabahl Wasteland Heart Pieces
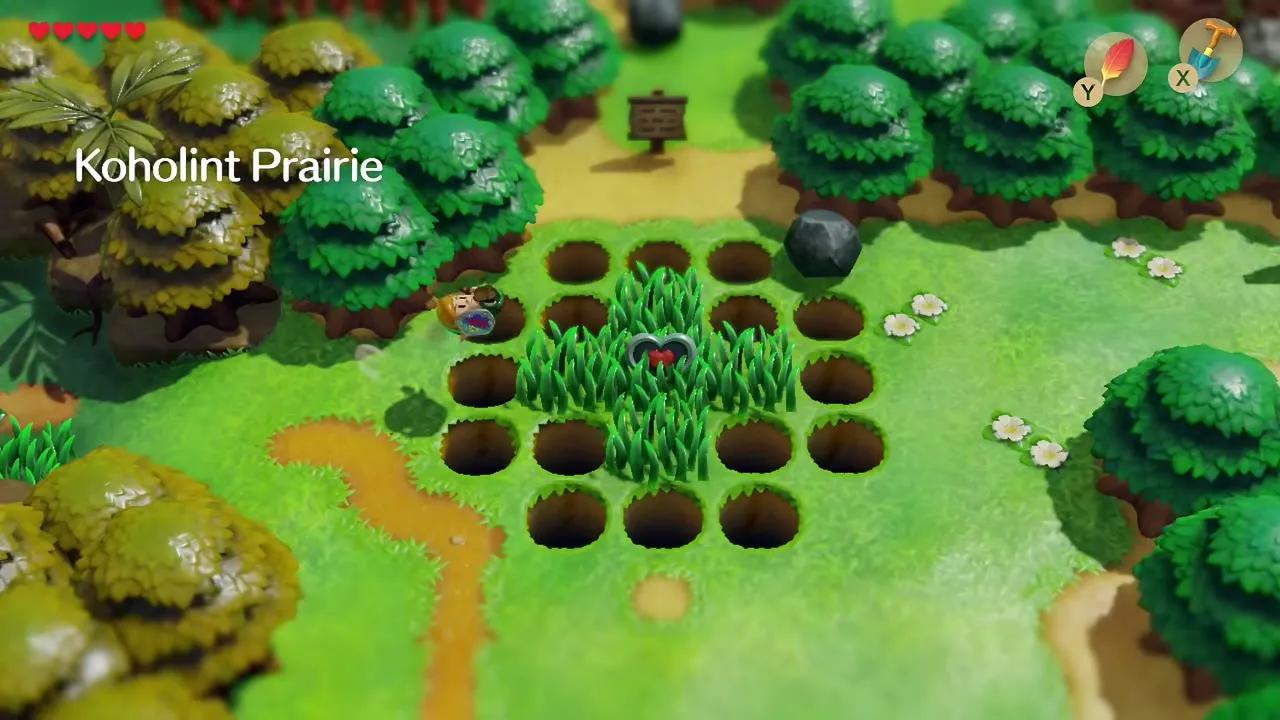
Koholint Prairie Heart Piece: jump the circle of pits
Just outside the forest, a patch of tall grass in the middle of a ring of pits holds a Piece of Heart. Use Roc’s Feather to jump over the pits onto the grass island, walk onto the heart and then hop back out the same way. If you fall into a pit, you only lose a moment.

Cemetery cave Heart Piece
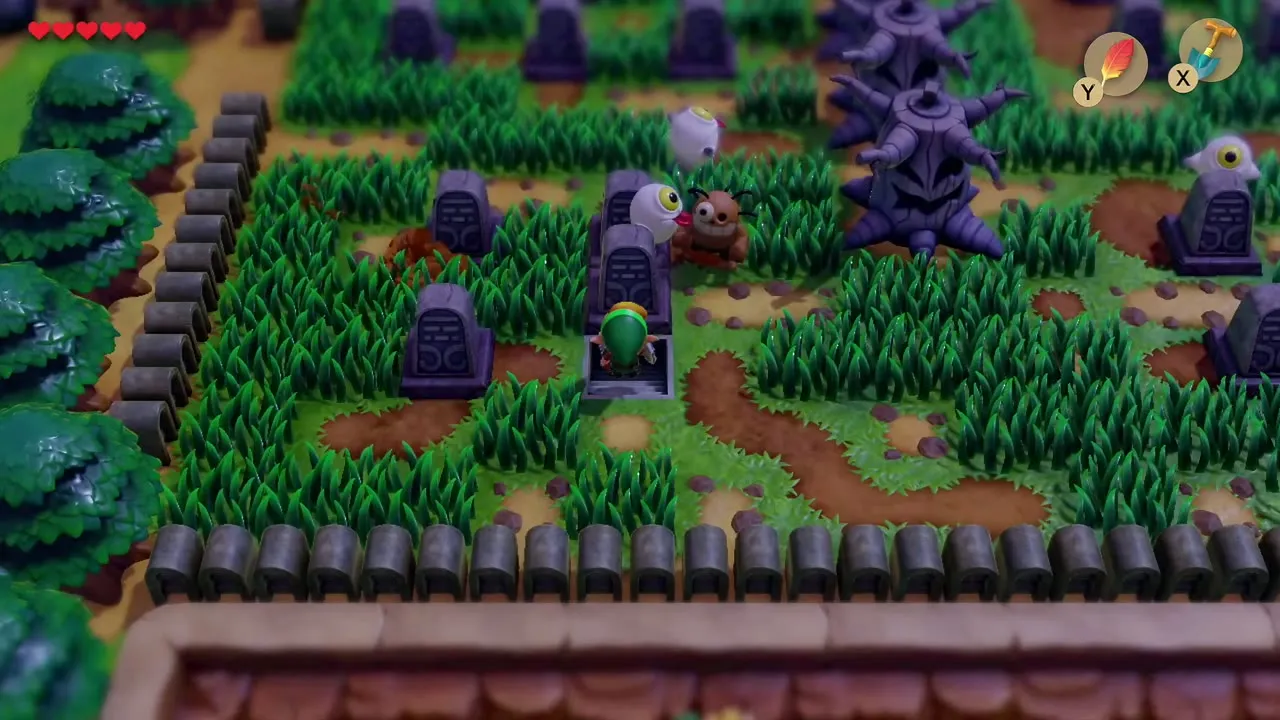
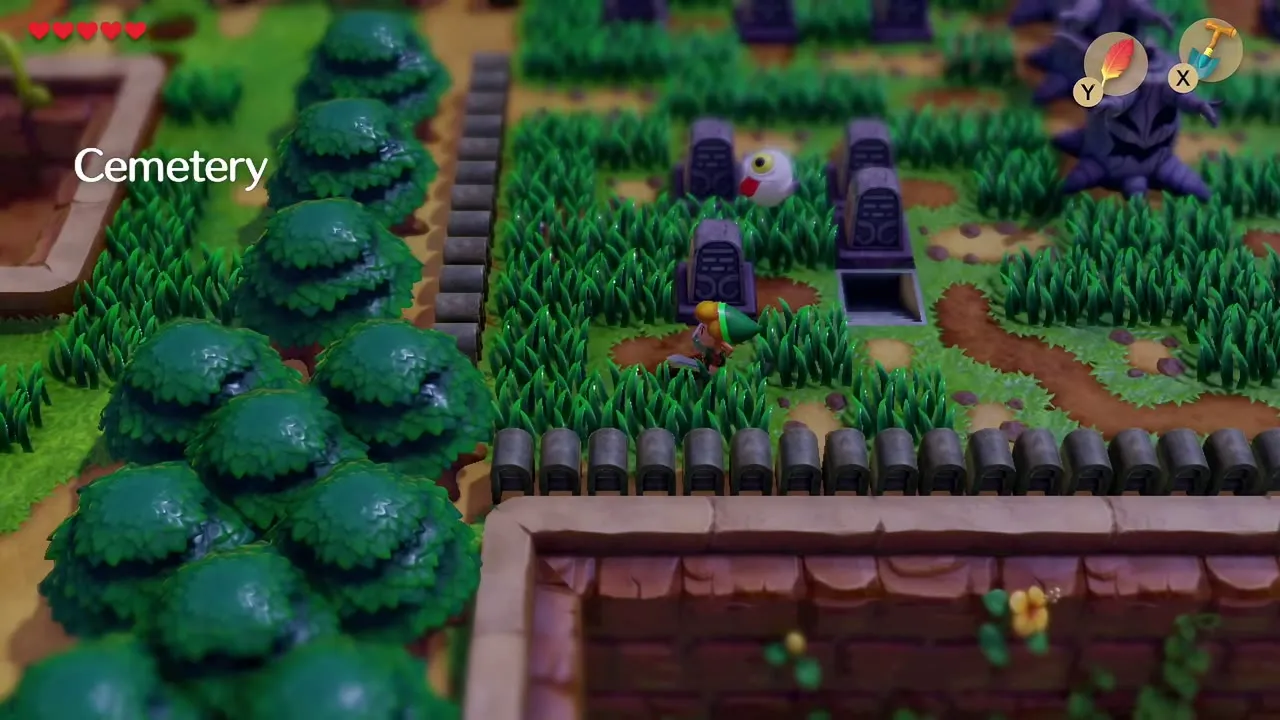
Continue east to the Cemetery, where Ghinis and other ghosts drift between the graves, and look at the four gravestones in the southwest corner. Push the lower right one upward, away from you, to uncover a staircase and drop in.
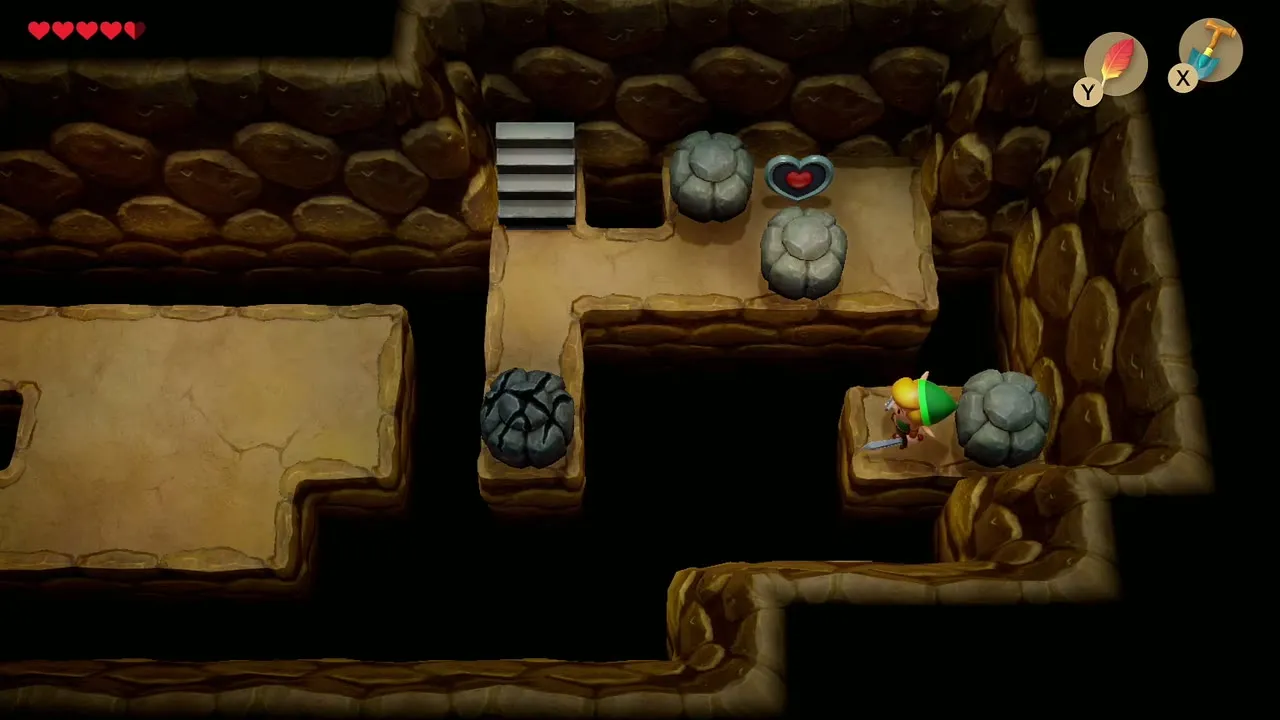
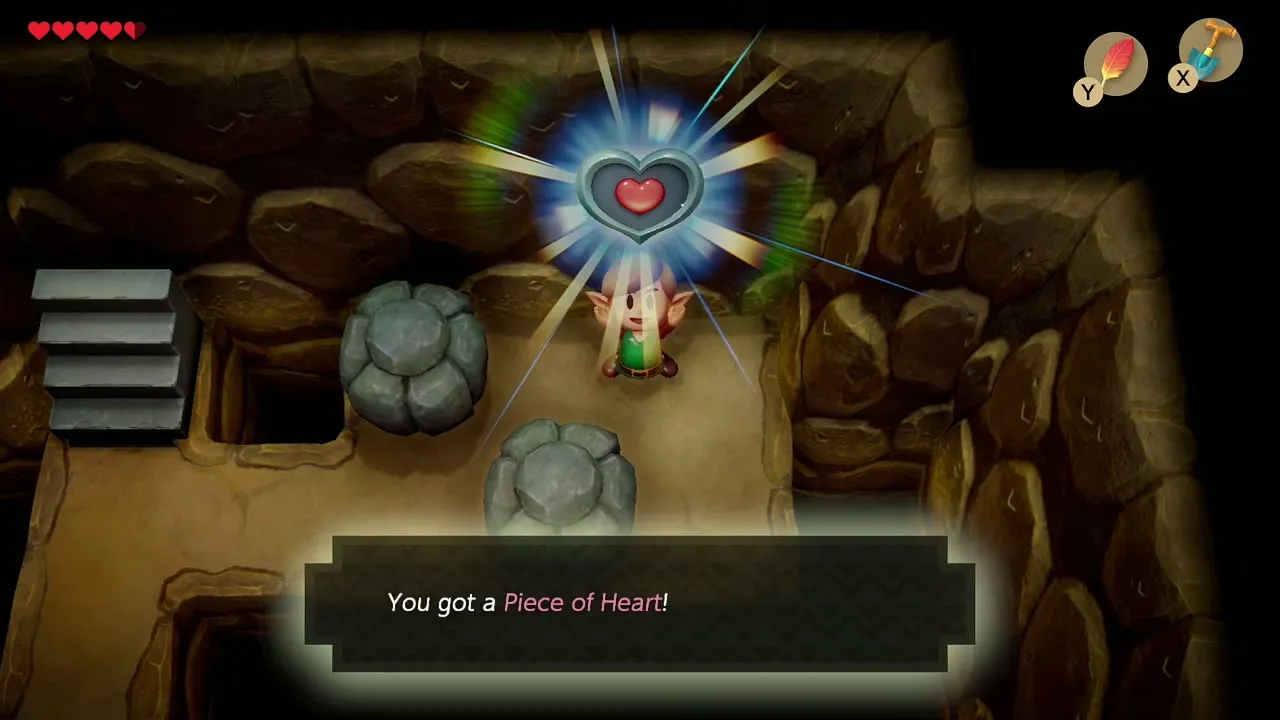
Underground, a short passage ends at a ledge that holds a Piece of Heart between two rocks. Hop the gap to the right with Roc’s Feather, land on the narrow ledge, then jump again toward the heart and pick it up. The Heart Piece locations page covers this cave as well.

Tabahl Wasteland Heart Piece
Walk back west and north to Tal Tal Heights. If you want to meet Dampé, step into his shack near the cliff and listen to his invitation; he only invites you to come back later (see the Dampé’s Shack page). Then head into Tabahl Wasteland, the field of spiked trees just to the south.
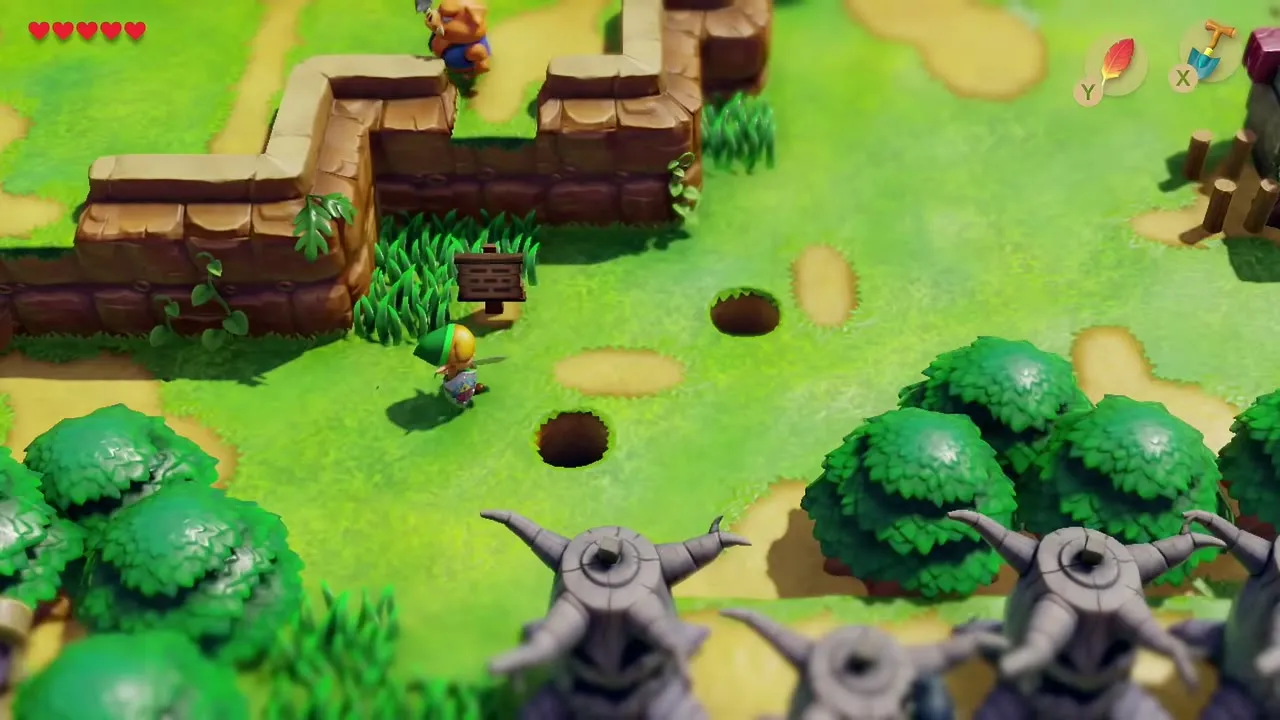
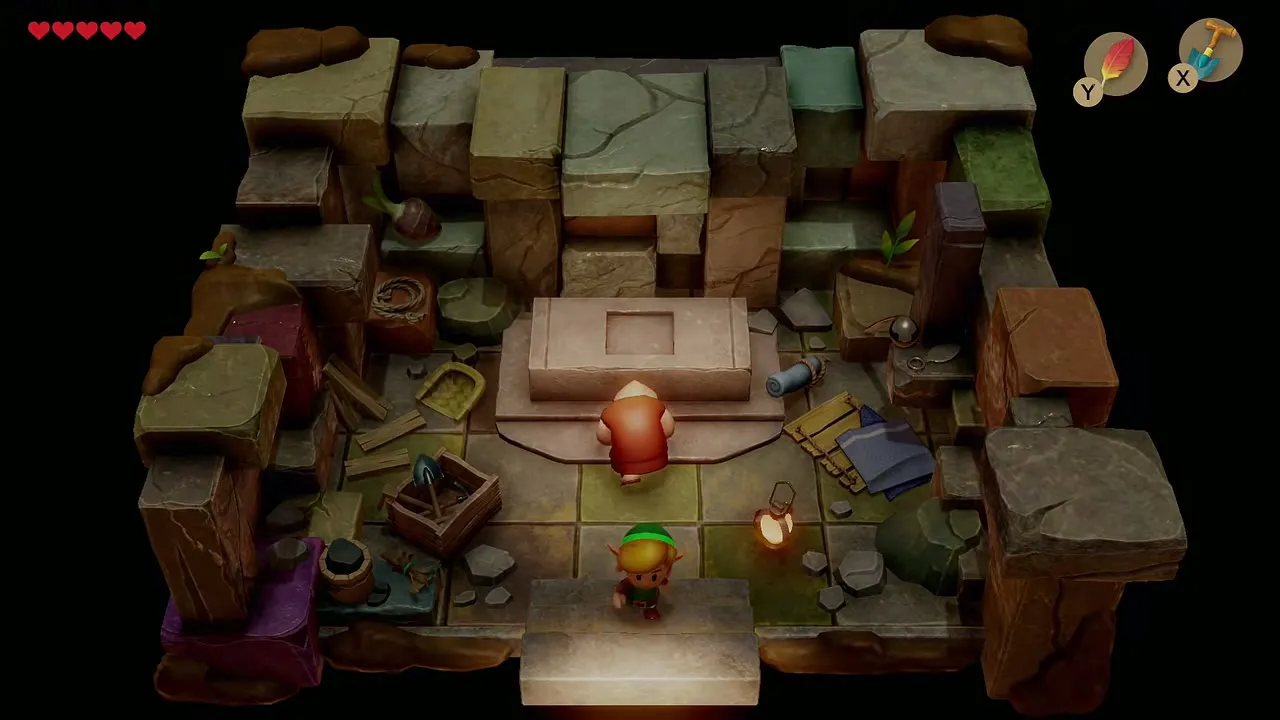
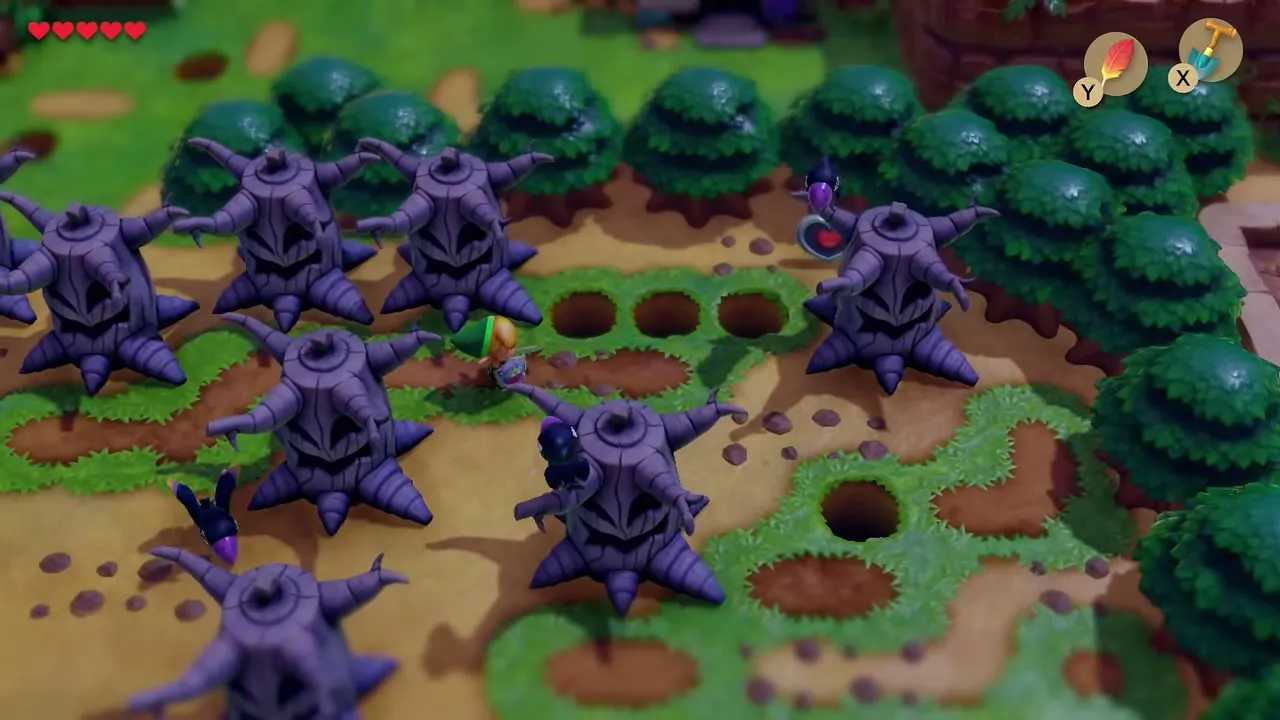
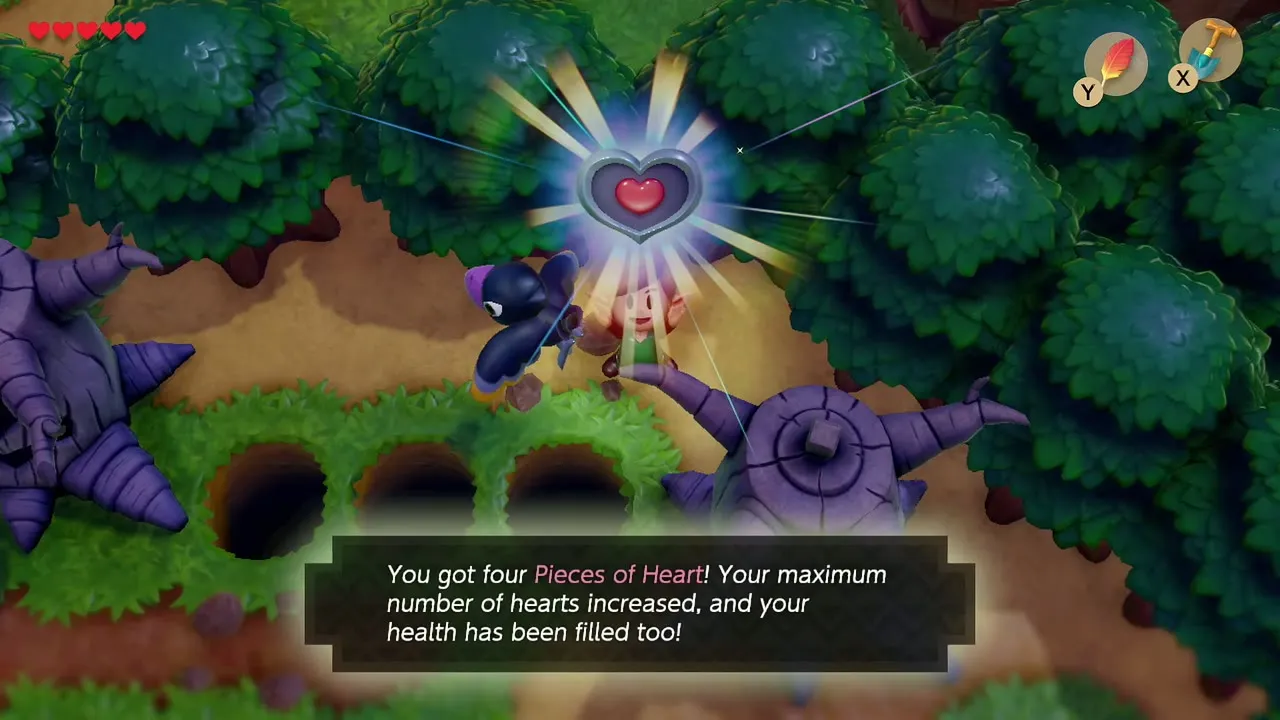
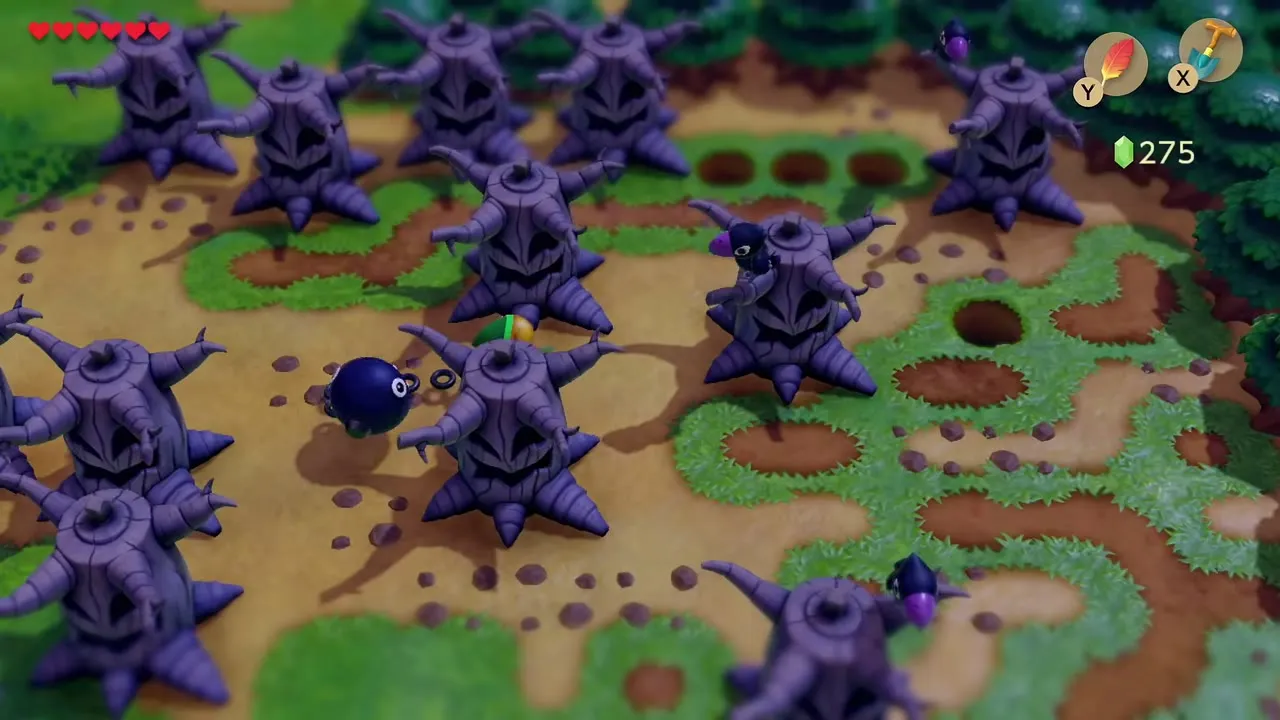
Zigzag between the spiked trees and sneak around the small black enemies. In the northeast corner, a Piece of Heart sits behind a single row of pits. Jump the row with Roc’s Feather and pick it up. This is your third Heart Piece of the chapter.

Moblin Cave: find BowWow
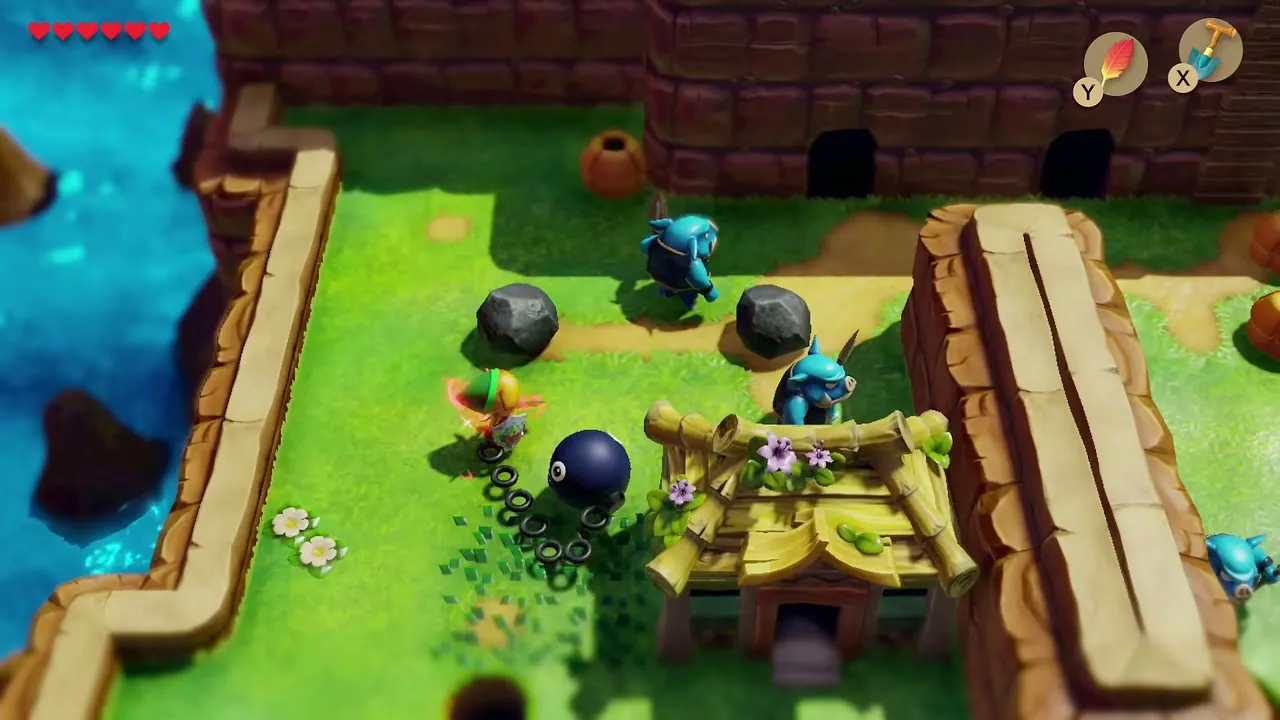
The Moblin Cave is in the wall of Tal Tal Heights, beside an Owl Statue. Go inside and fight through three rooms. The first holds a lone Moblin: raise the Shield to stagger it, then slash. The second holds a group of spear-throwing Moblins, so keep the Shield up and strike when you have an opening.

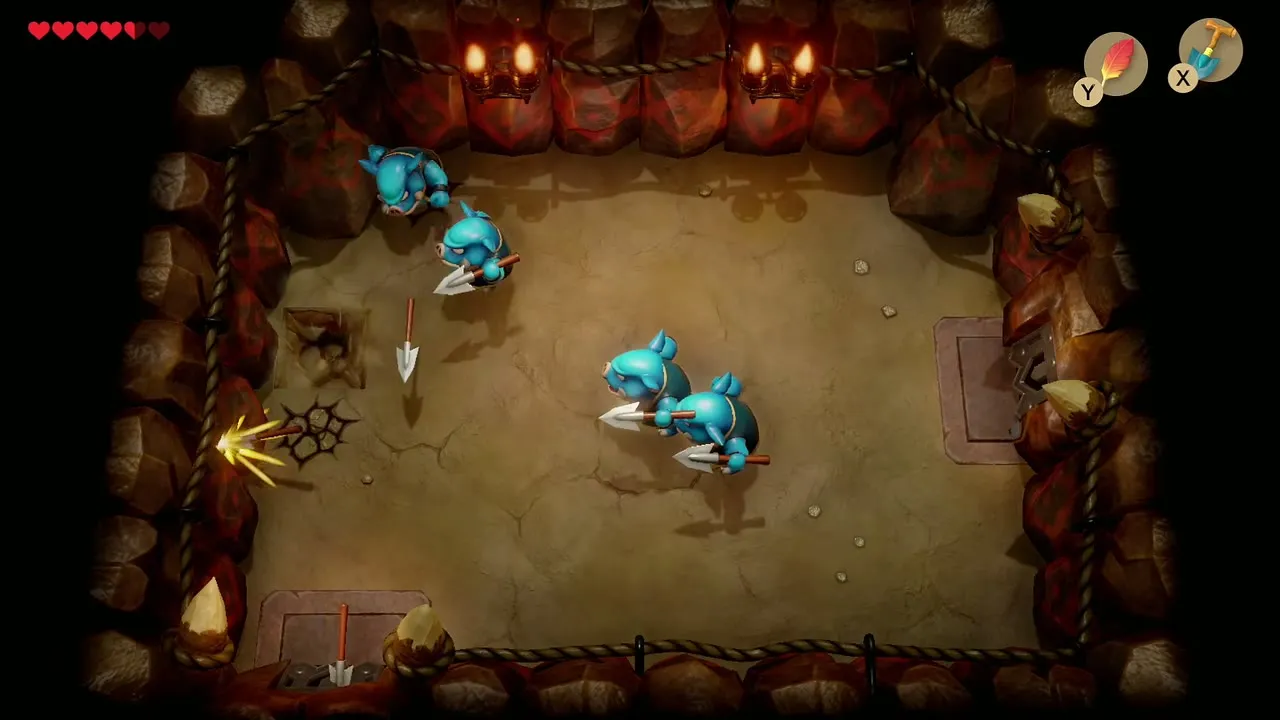
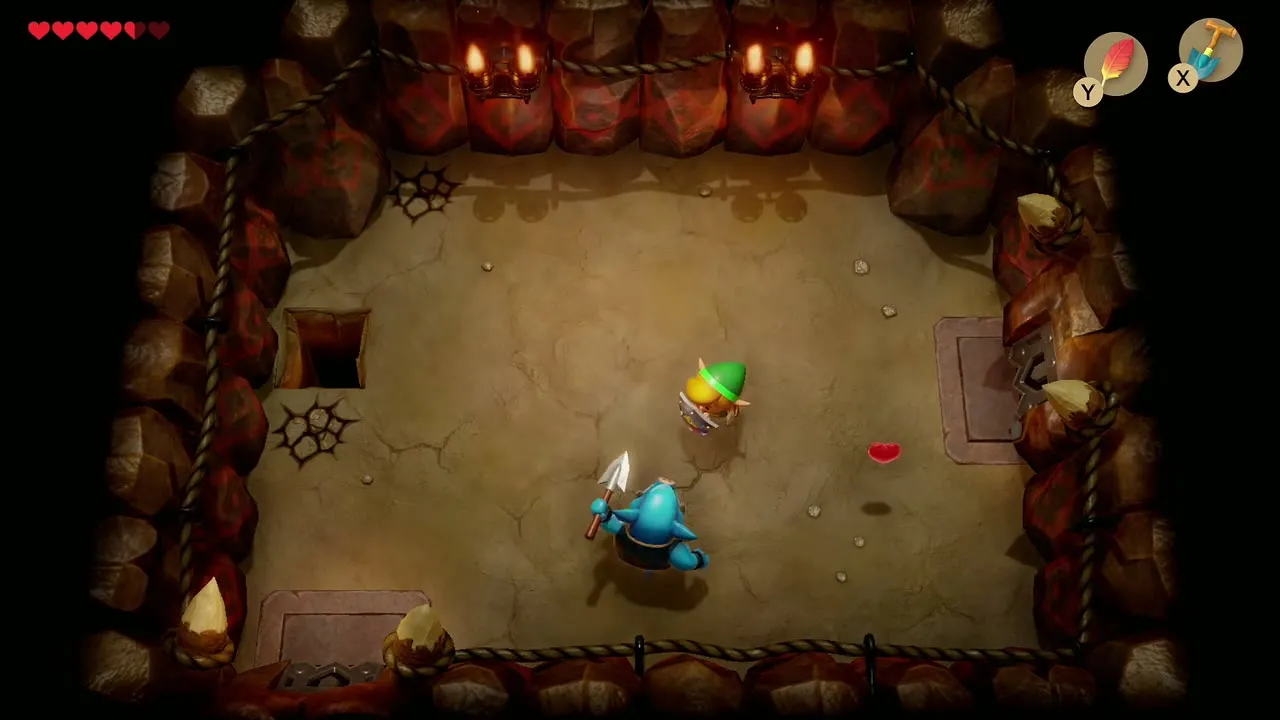
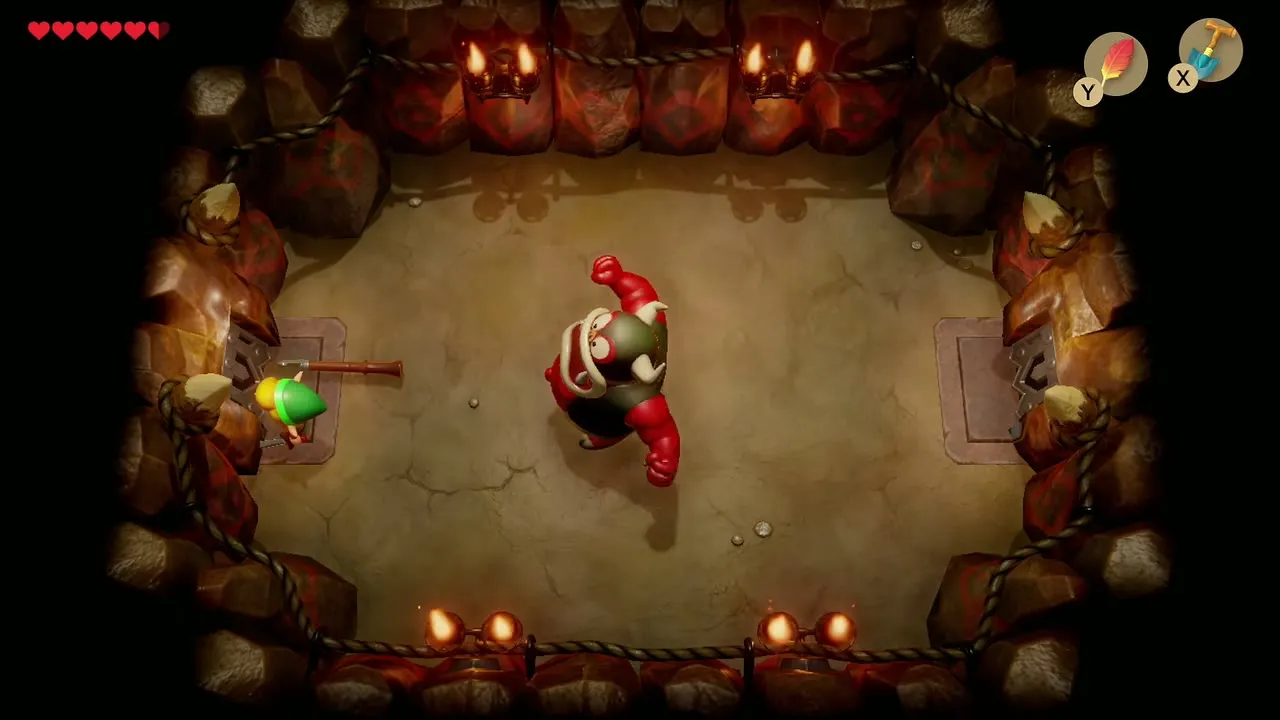
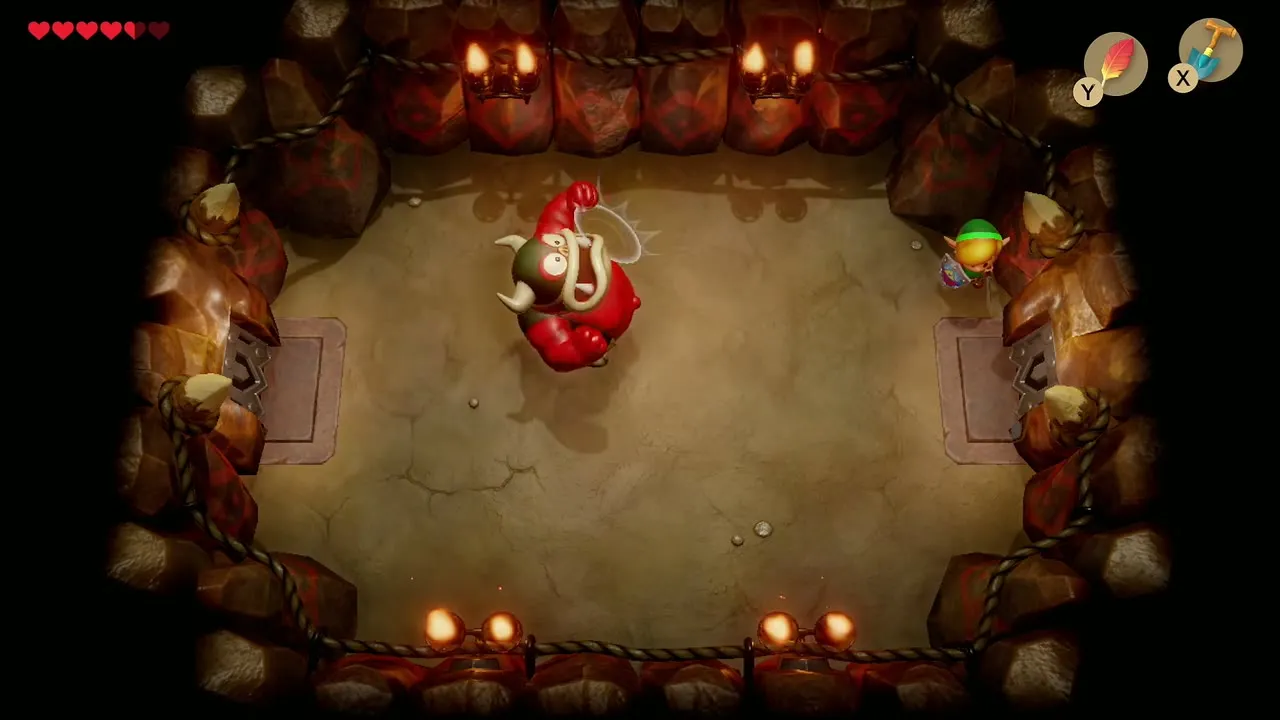
In the third room, you face the Moblin Chief. Block his thrown spears with the Shield. When he pounds his chest he is about to charge, so step aside and let him smash into the wall, then hit him with the Sword while he is dizzy. Repeat until he falls.
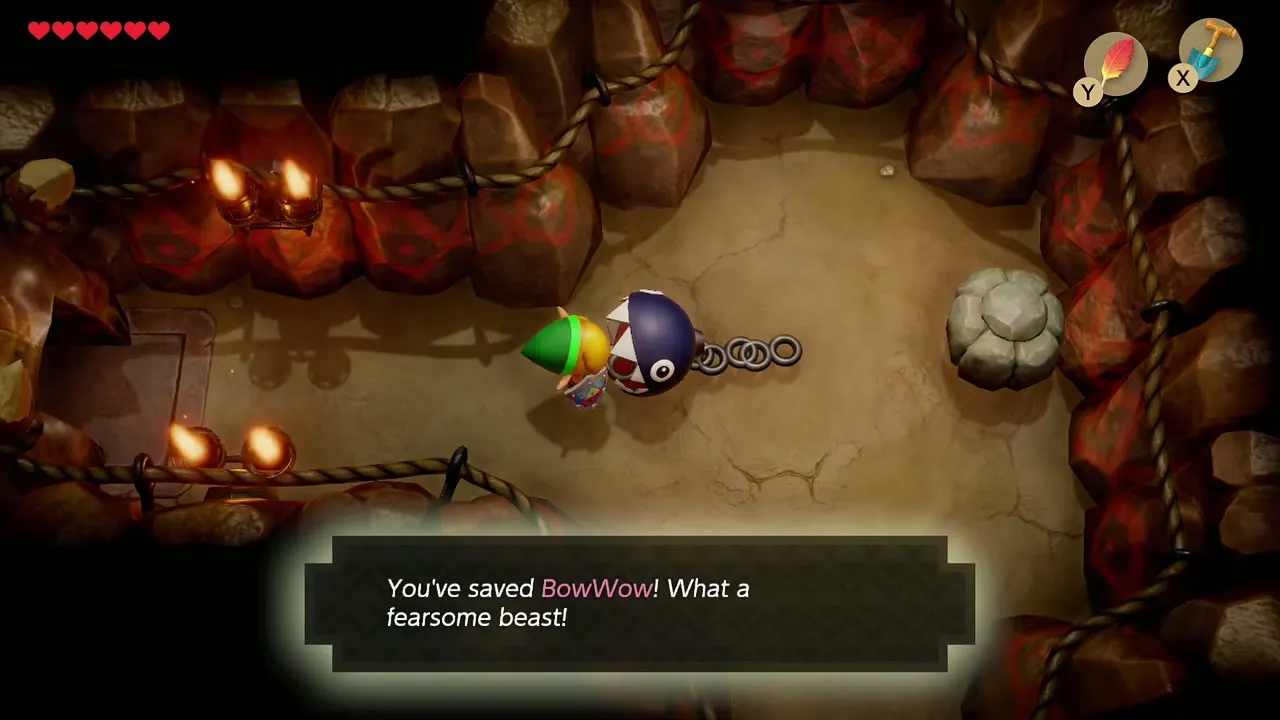
Go through the final door to find BowWow chained to a rock. Free him and he follows you on a chain; he swallows ordinary enemies you walk him past, and he barks to mark spots where a Secret Seashell is buried. Leave the cave and he will trot beside you while you move.
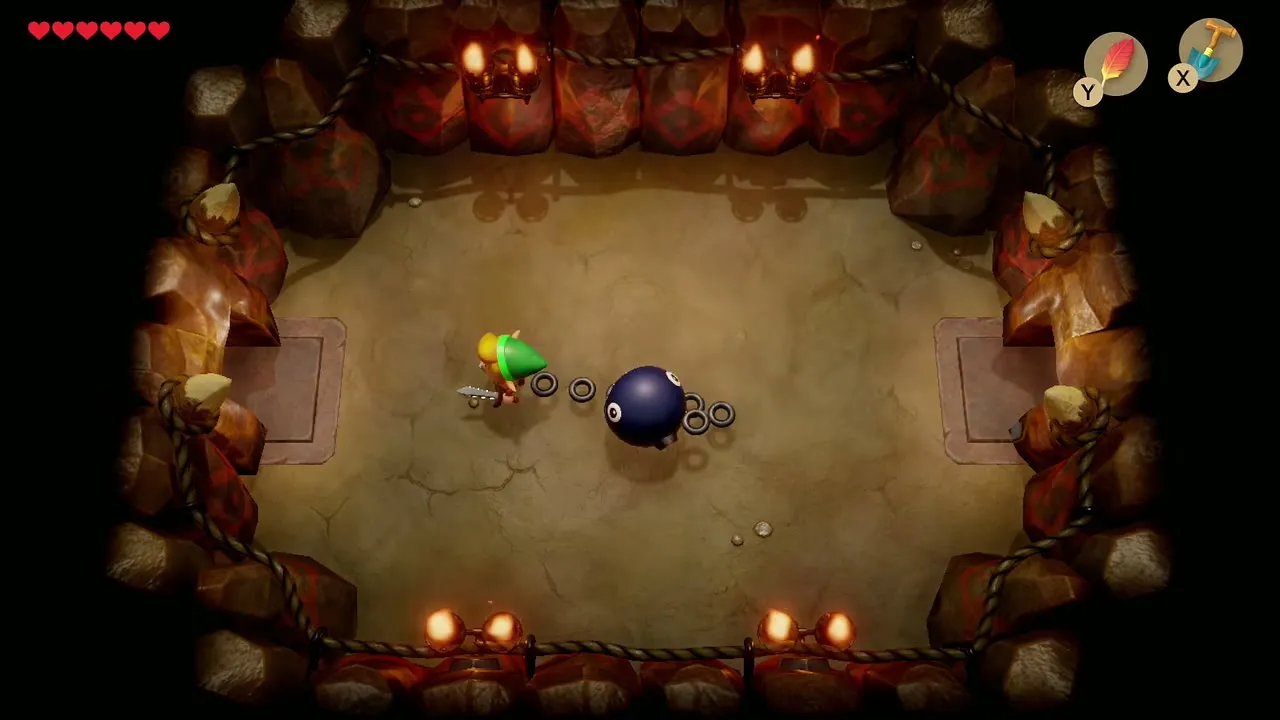
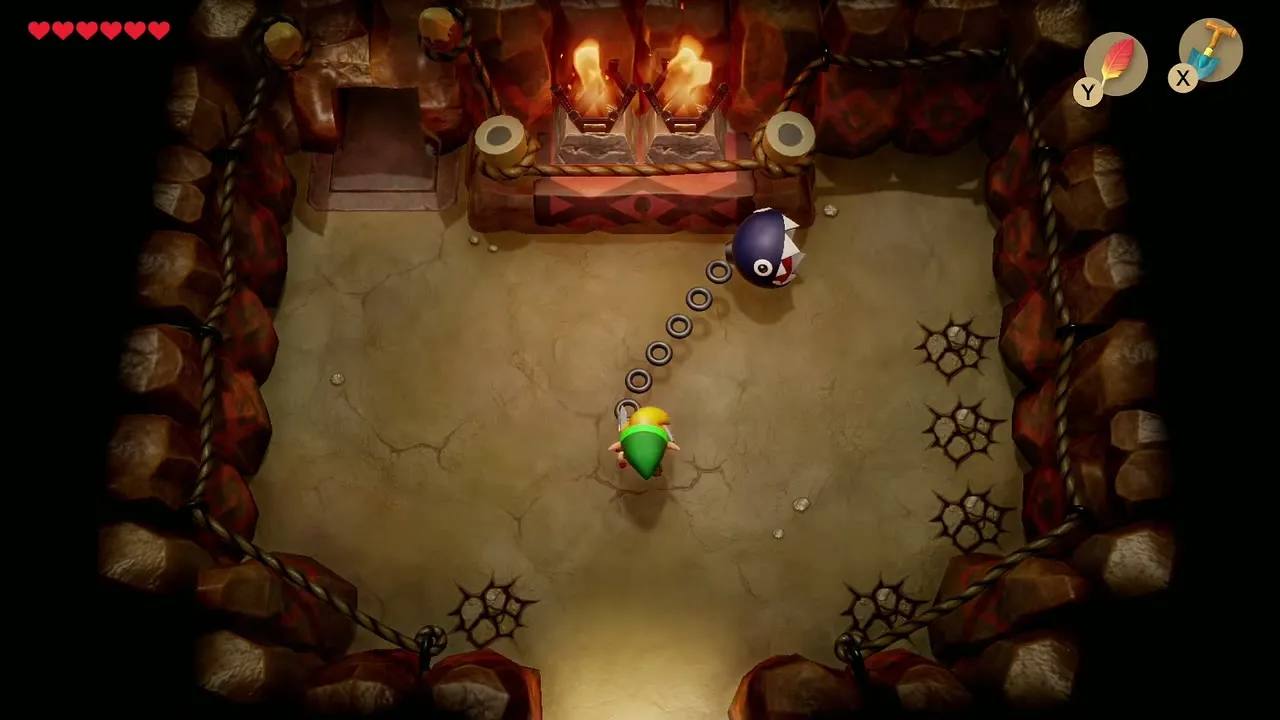
Dig with BowWow: Secret Seashells in Tabahl Wasteland, the Mysterious Forest and the northwest
Leave the cave and use BowWow
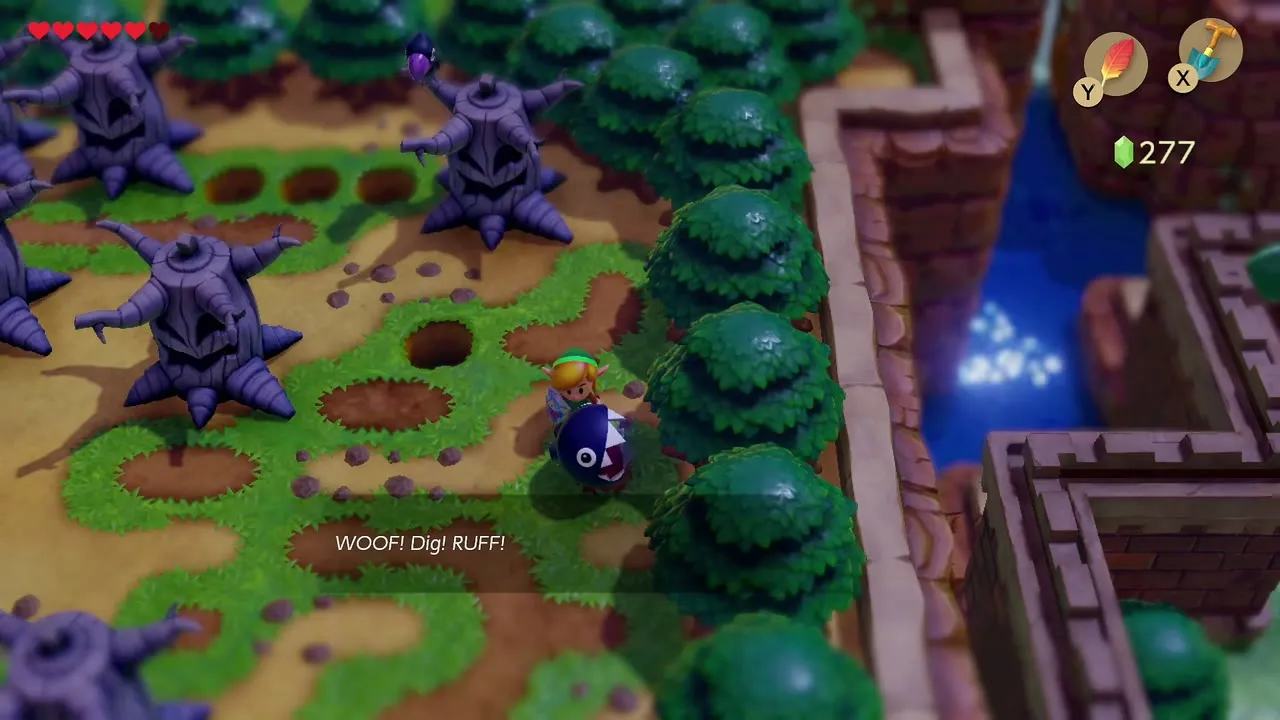
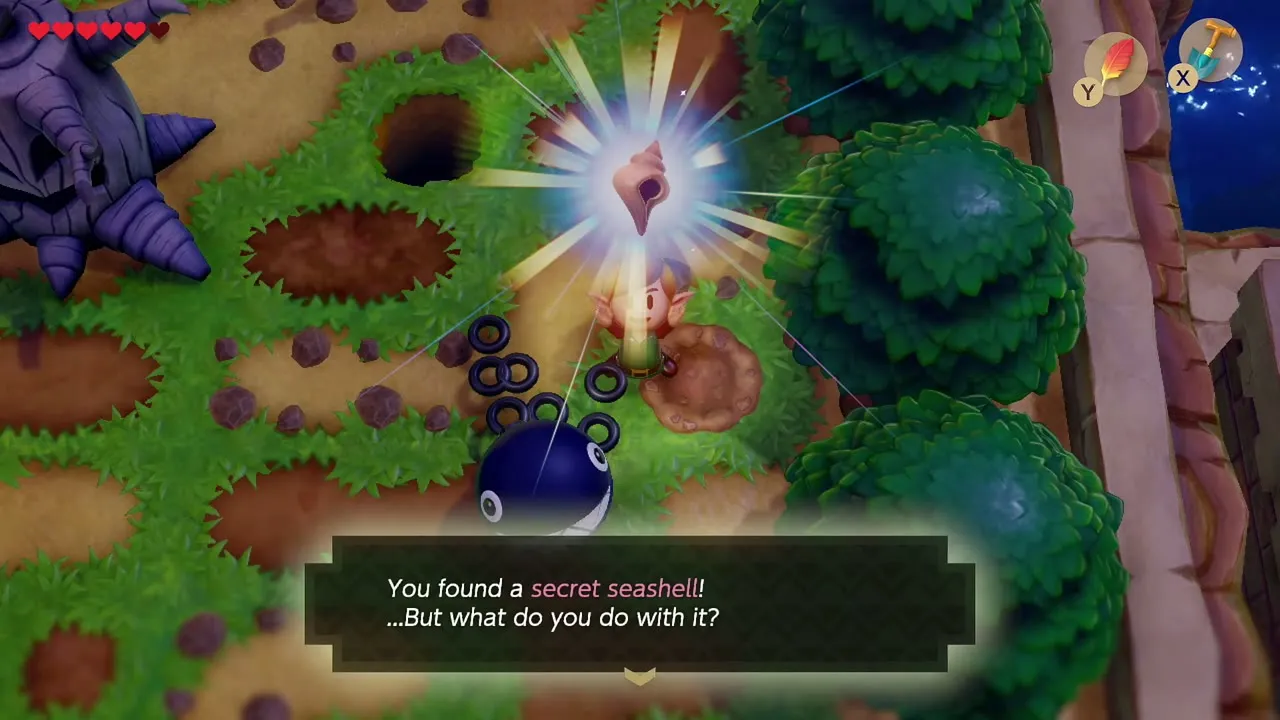
Outside, the Owl Statue comments on the fearsome beast you are walking, which is just flavor. With BowWow in tow, you can retrace your steps for easy seashells: he barks “Woof! Dig!” when you stand near buried treasure, and you answer by digging with the Shovel.
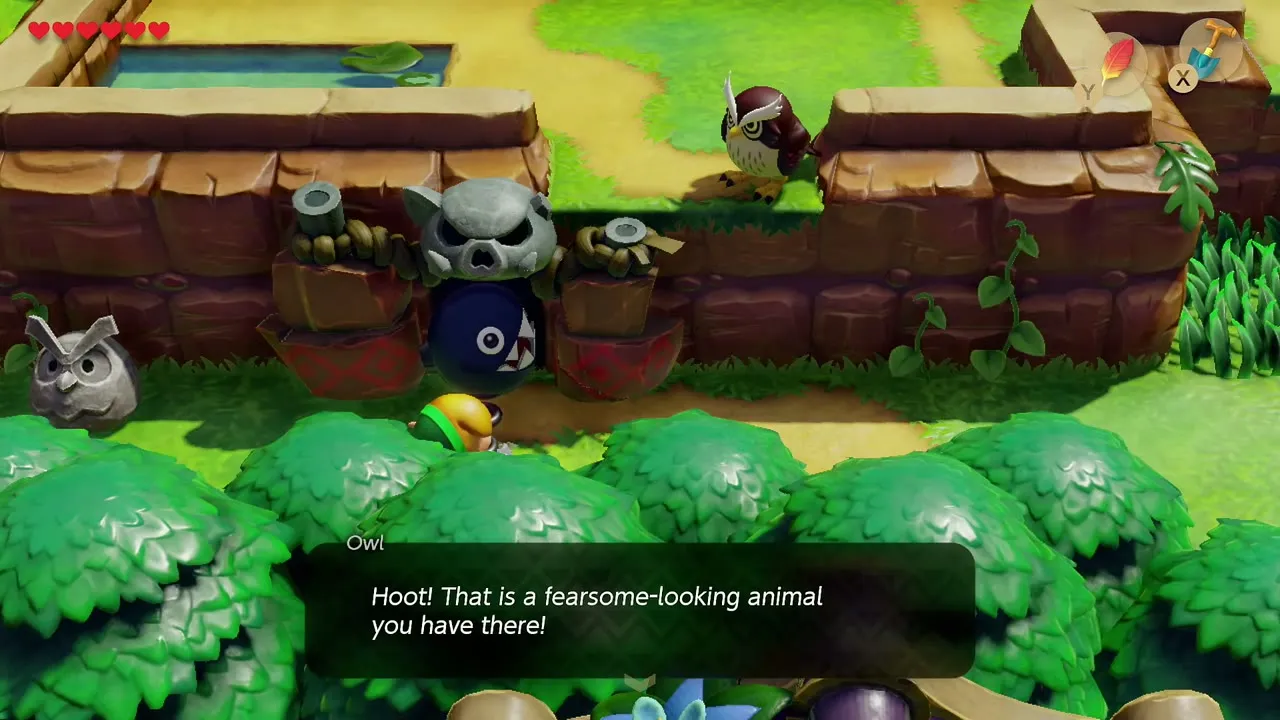
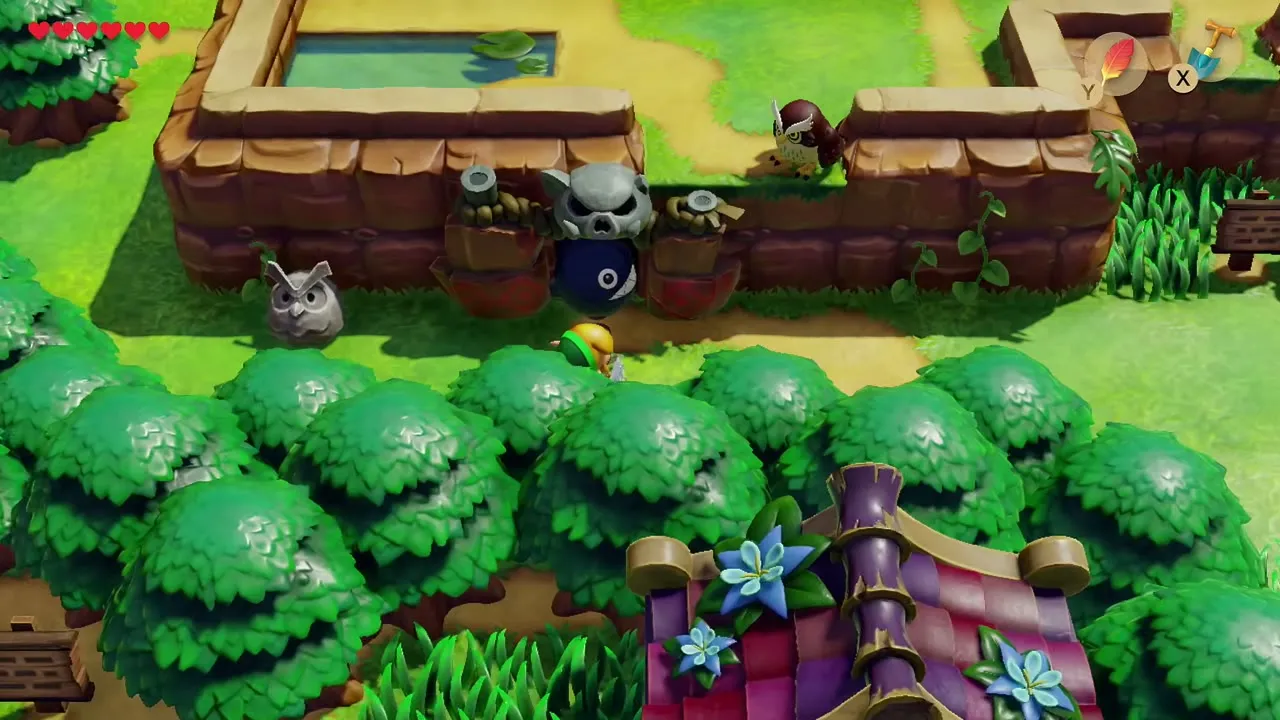
Tabahl Wasteland Secret Seashell
Go back into Tabahl Wasteland and let BowWow clear the black enemies; he also chews through the spiked growths in your way. Follow the eastern wall in the north half of the field until he barks. Dig there with the Shovel to uncover a Secret Seashell.
Mysterious Forest Secret Seashell
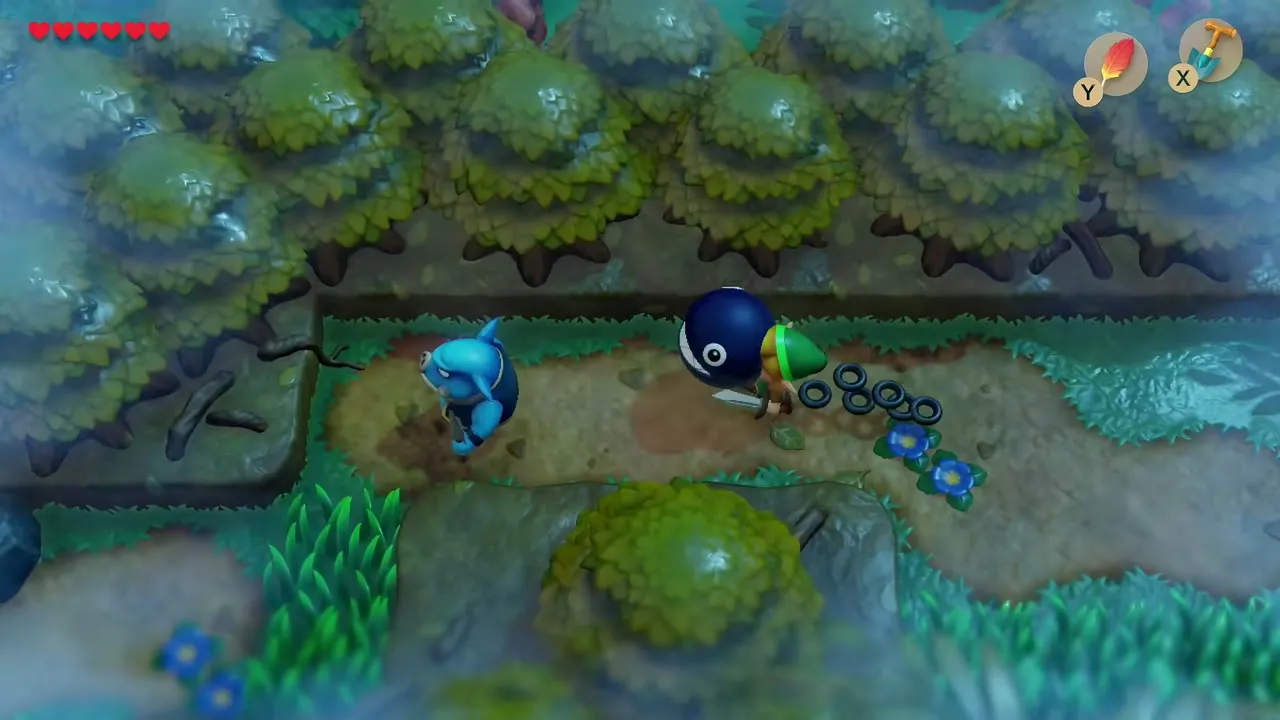
Walk west across the Prairie, past the pit circle, and into the northern edge of the Mysterious Forest. BowWow barks again along the path; dig where he stops to claim another Secret Seashell.
Mr. Write’s House and the rupee cave
At the forest’s north edge, Mr. Write lives in a small house; he has nothing to give you yet, but you can speak to him. Nearby, a cave holds a chest with 20 rupees at the end of a pit-lined path. Bring BowWow with you; if you want to spend a few extra minutes, dig at the holes outside the cave for loose rupees.


Telephone booth Secret Seashell
Walk to the telephone booth in the northwest, west of Goponga Swamp. BowWow barks beside the single bush that stands in the grass just north of the booth. Cut the bush and dig on the spot to take the fourth Secret Seashell of the chapter, counting the flower circle. Then head up the slope toward the Tal Tal cliffs.
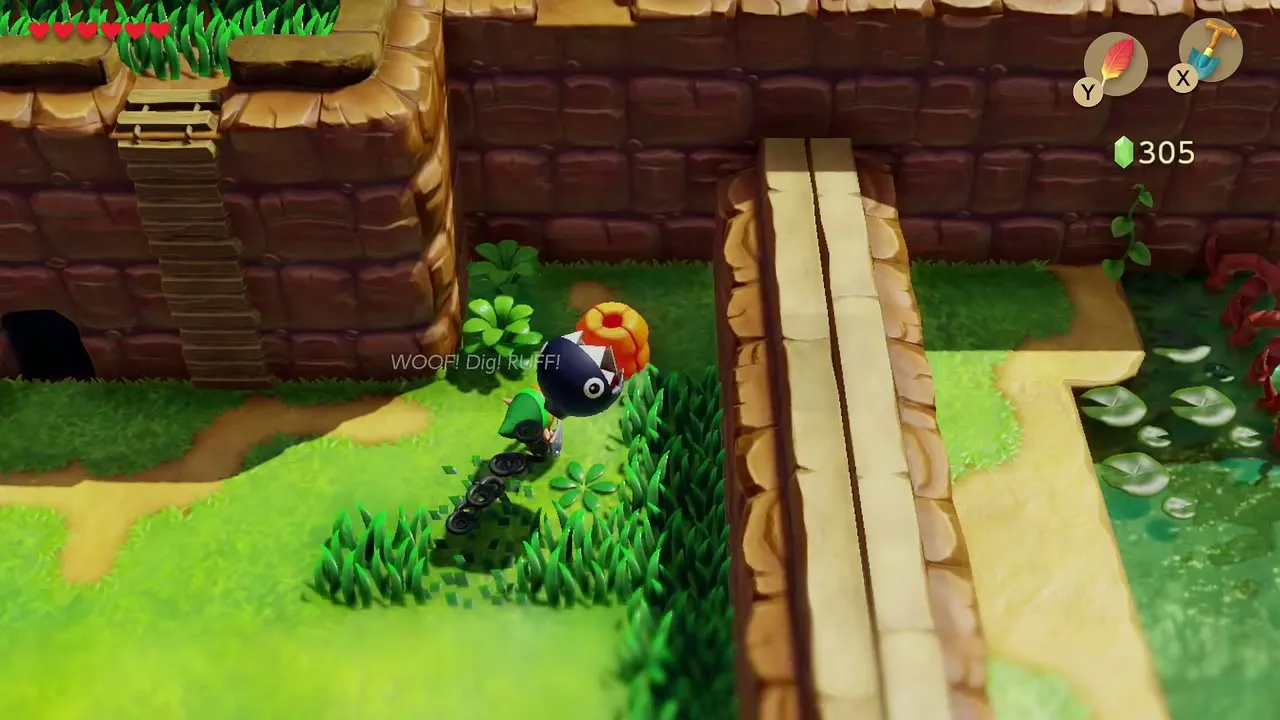
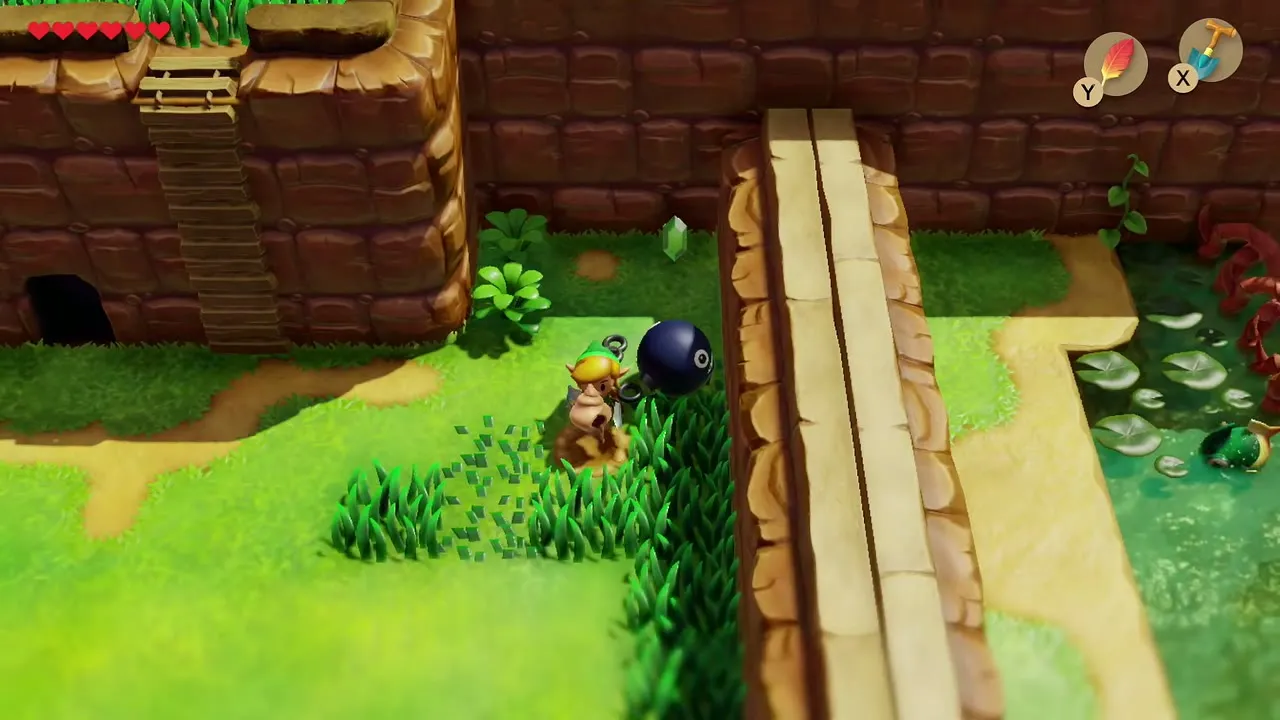
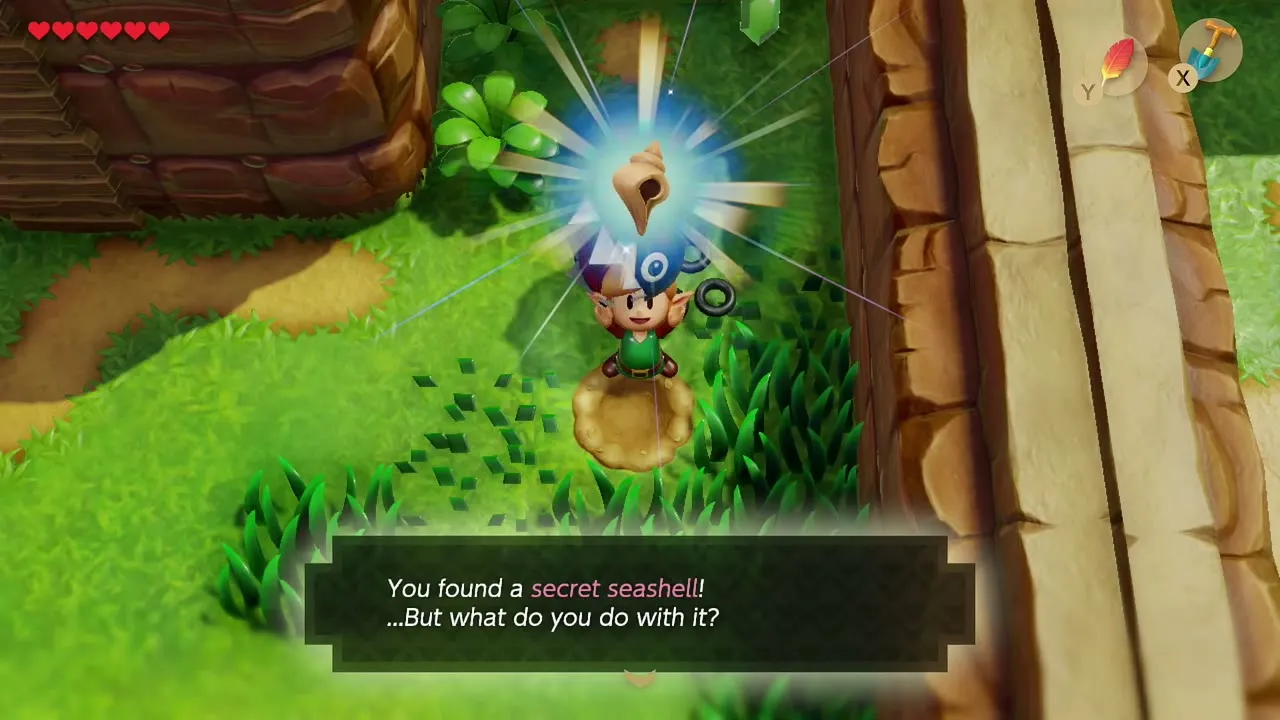
Climb the ladders at the cliff face into the Tal Tal Mountain Range and walk BowWow along the ledge. Follow the path north until the ground turns to marsh; that is Goponga Swamp.
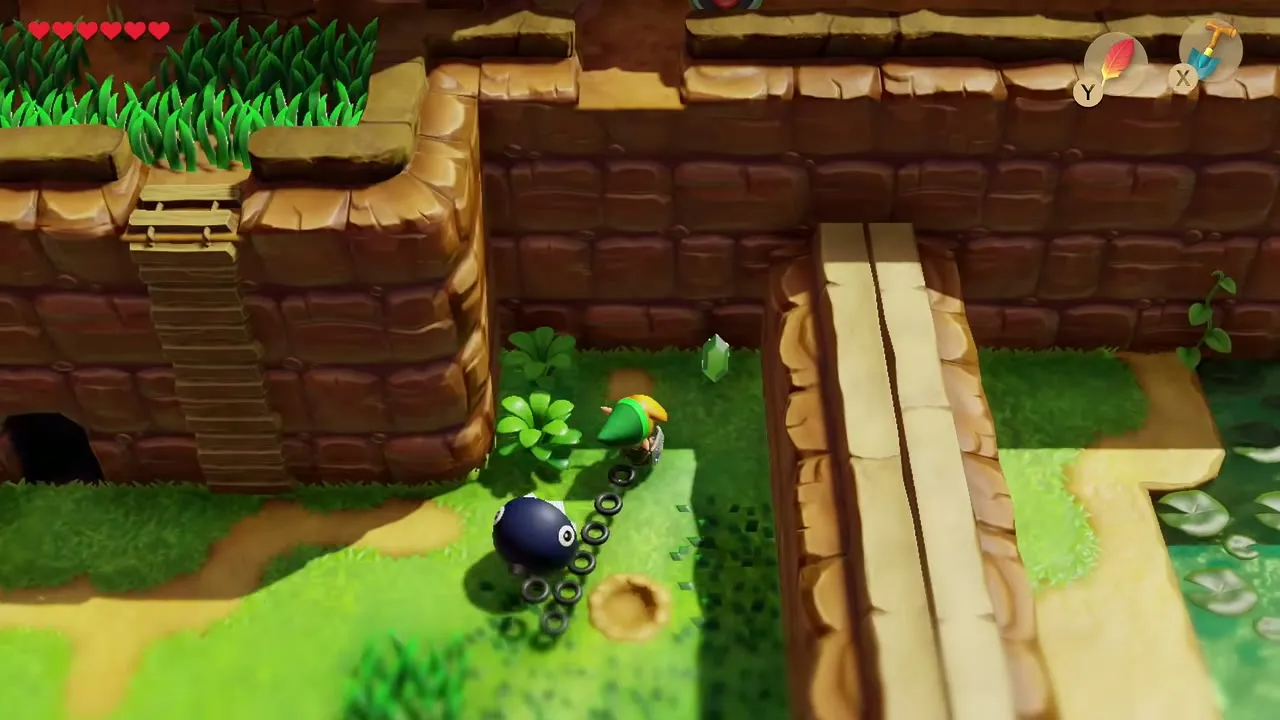

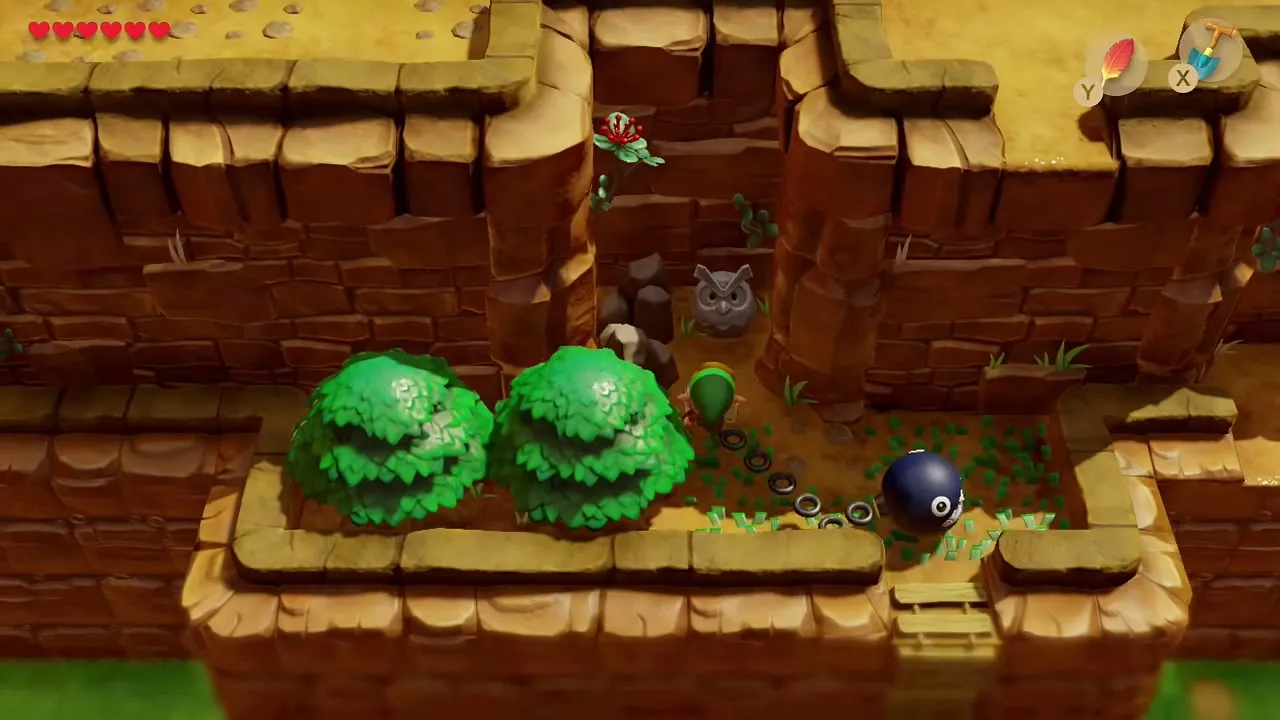
Goponga Swamp: how to get BowWow to the Bottle Grotto
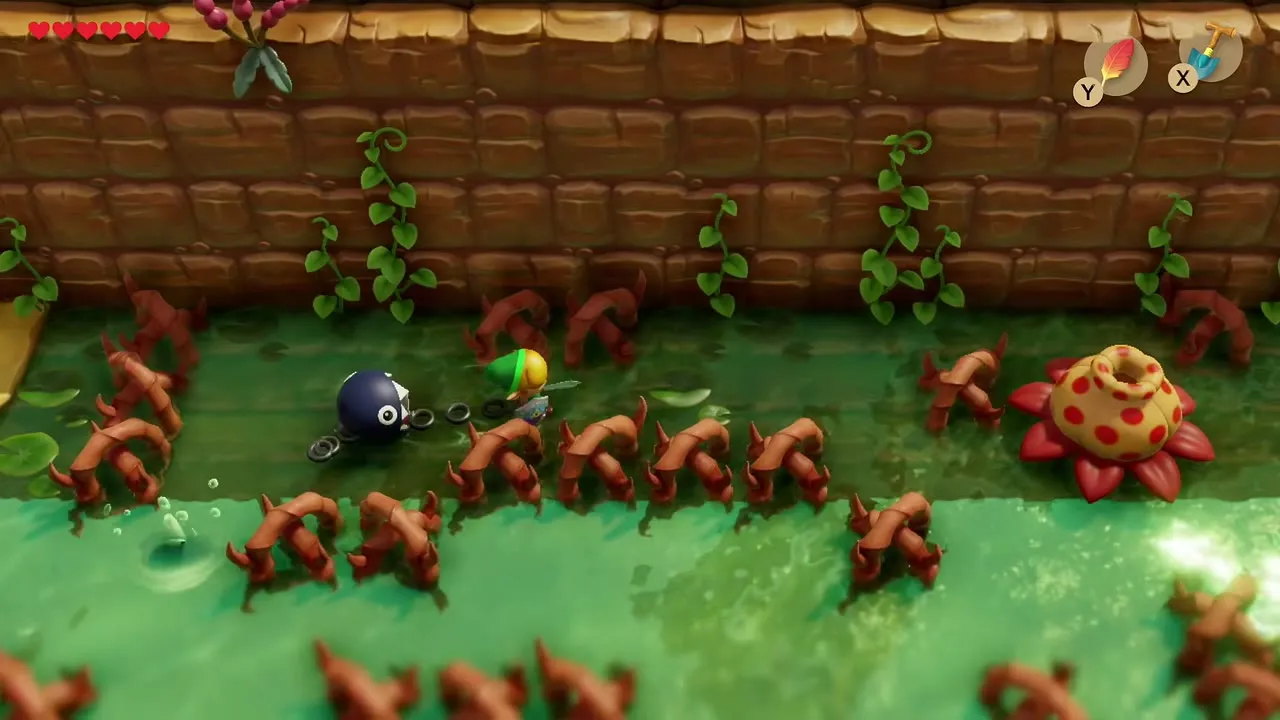
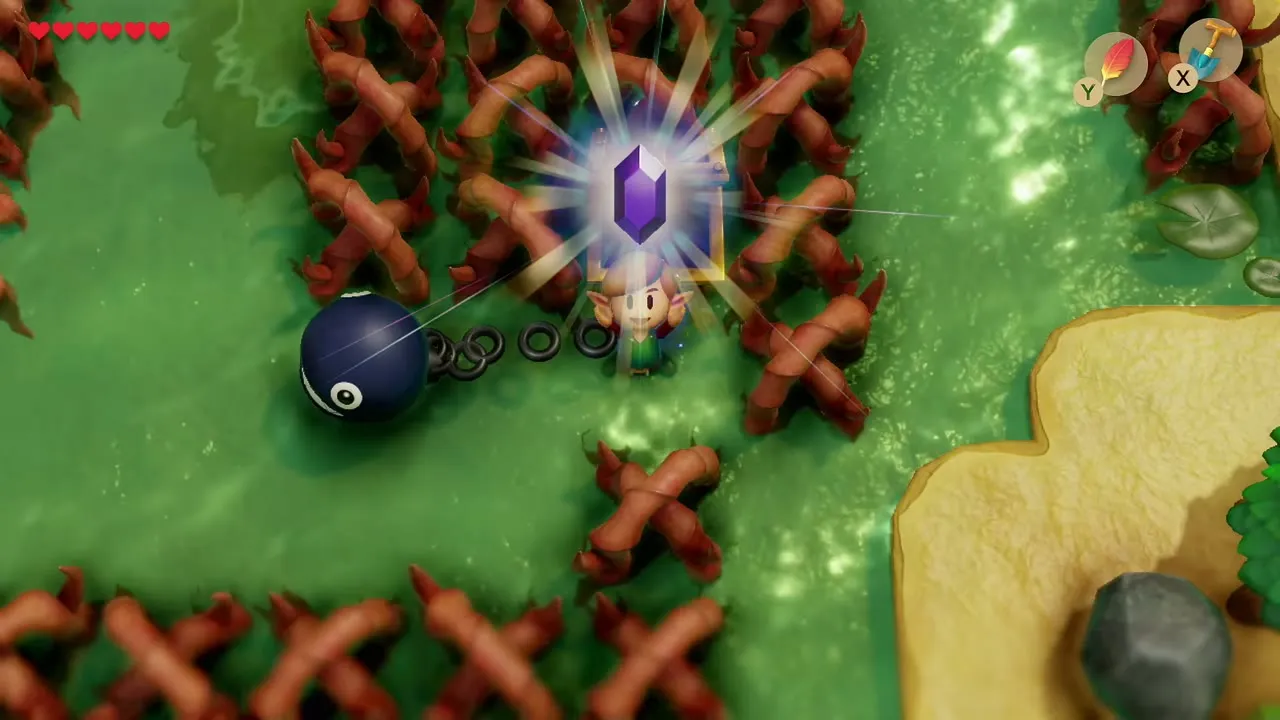
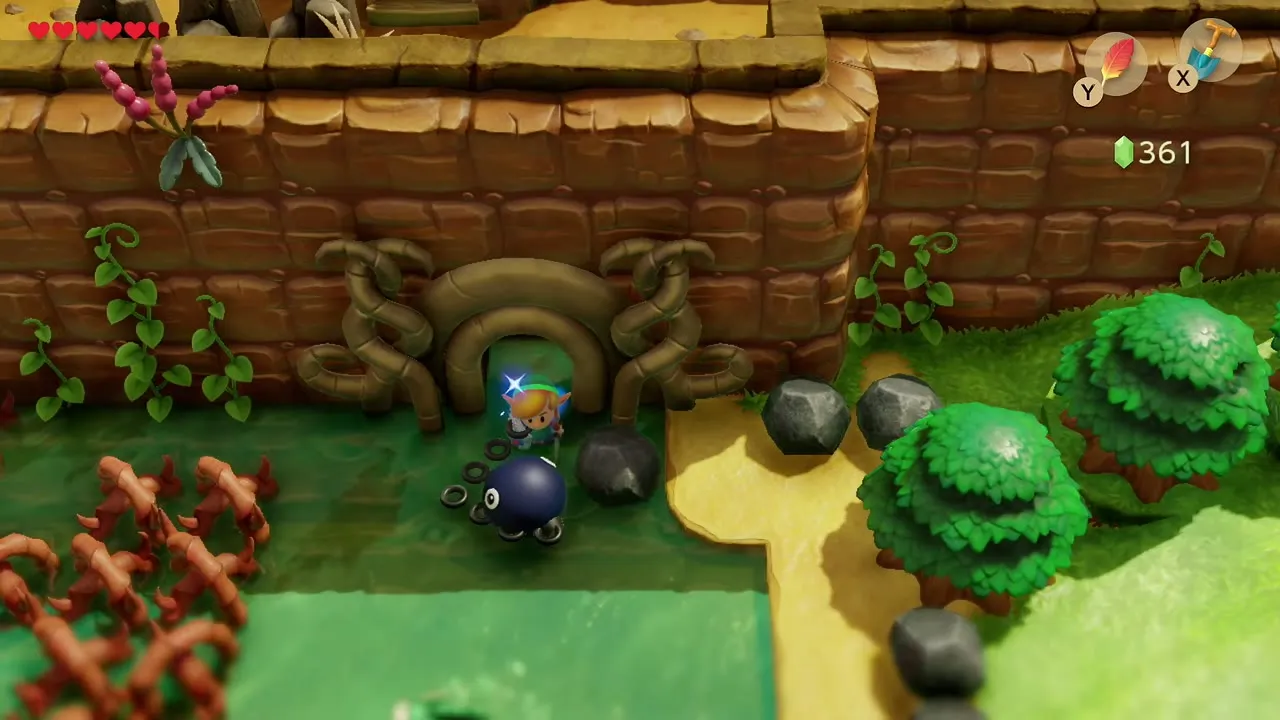
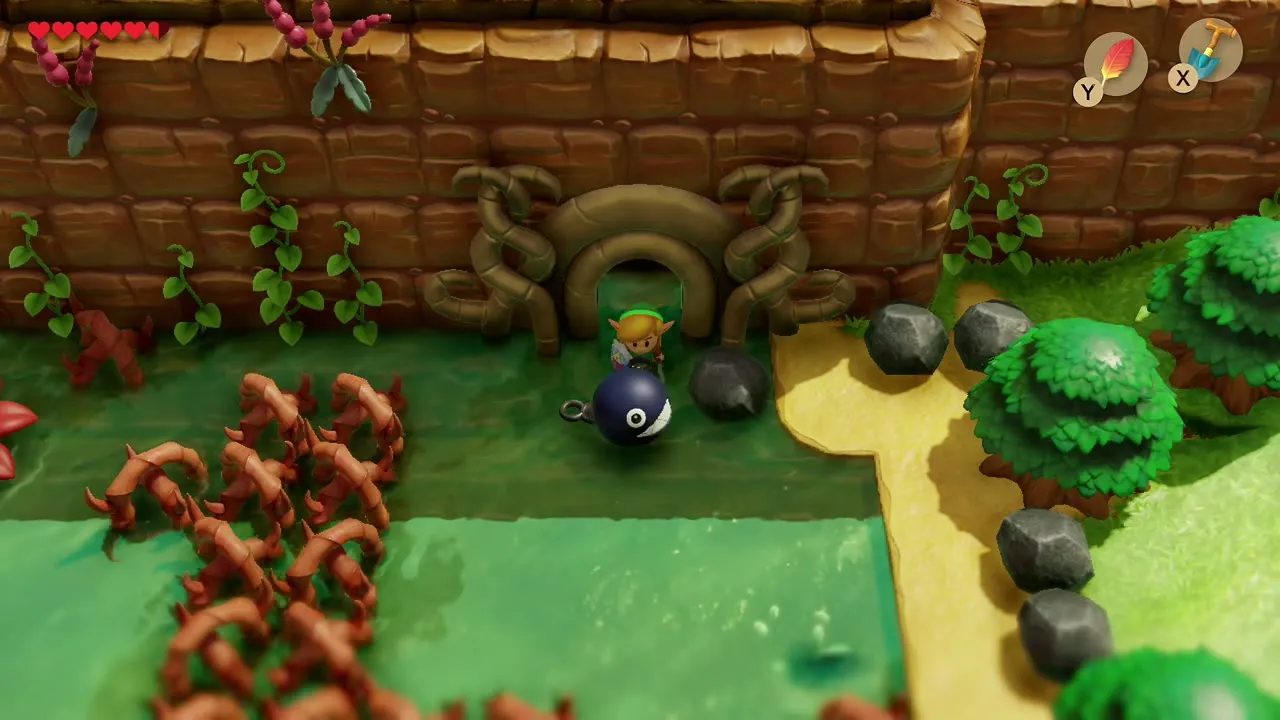
Goponga Swamp is a maze of thorn vines and Goponga Flowers that no weapon can hurt. Let BowWow lunge at them; he eats the small ones, and a Giant Goponga Flower that guards a chest. Open the chest for 50 rupees, then continue through the cleared path toward the north wall.
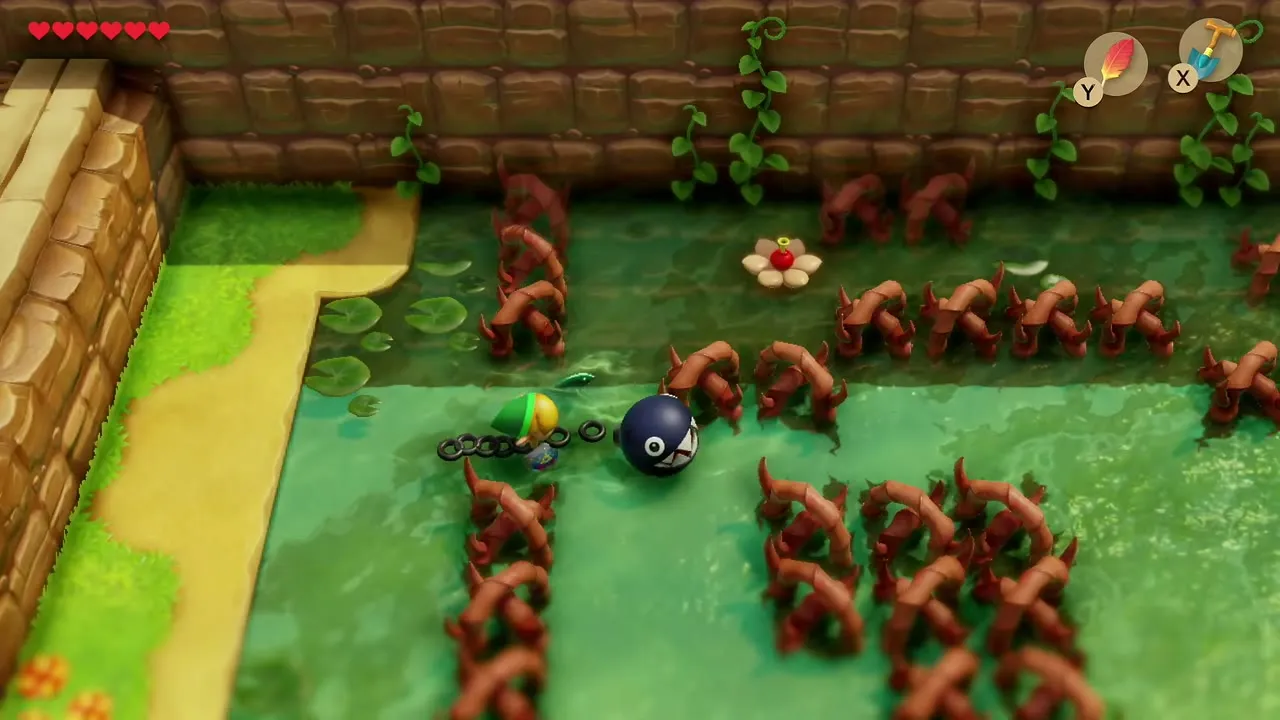
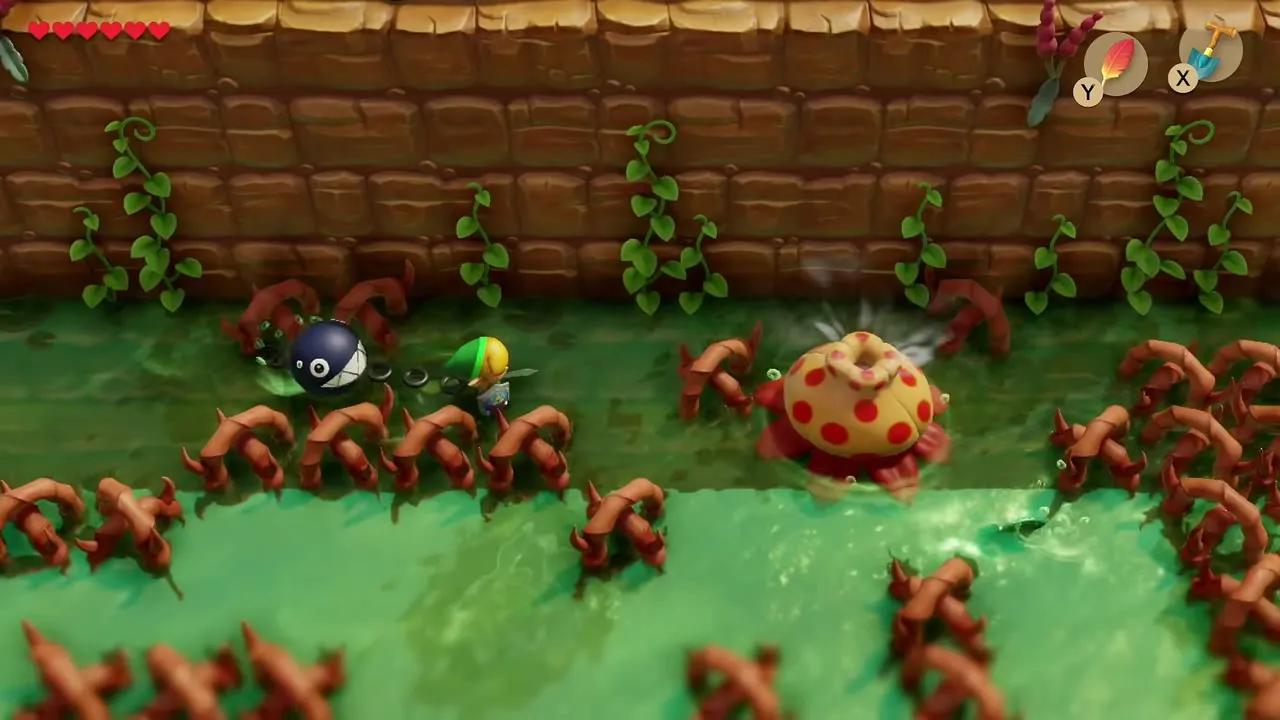
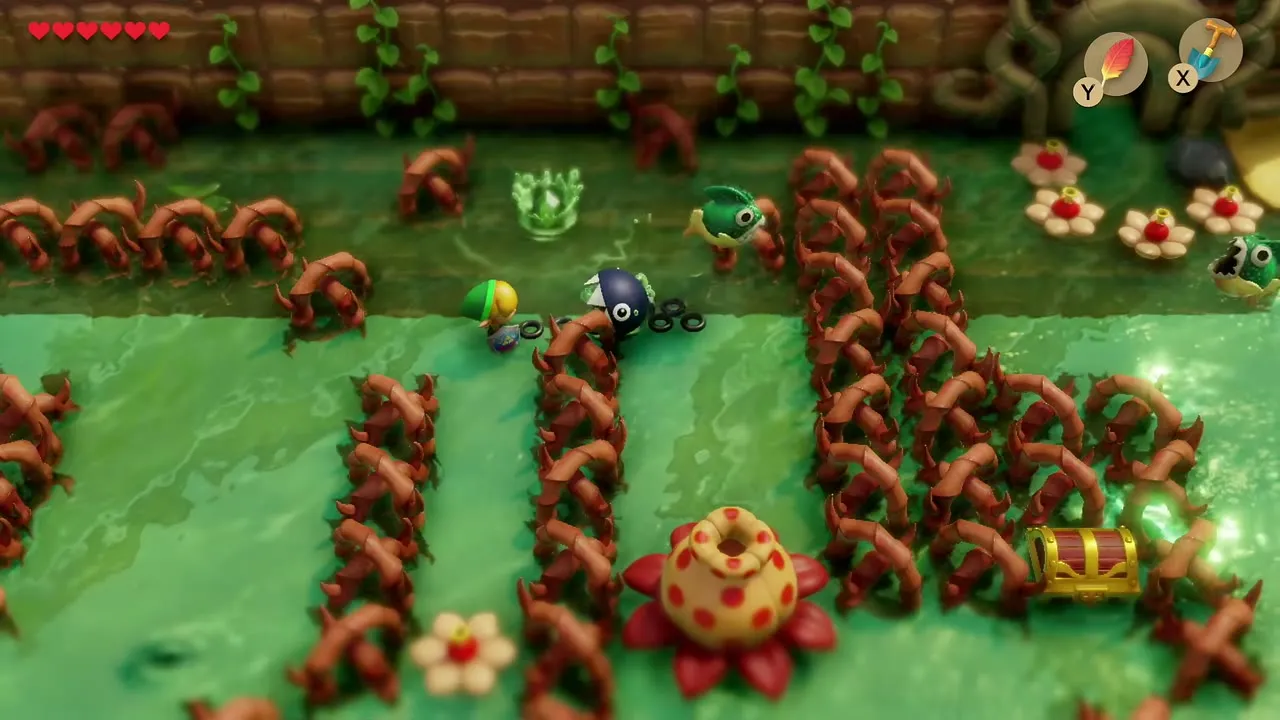

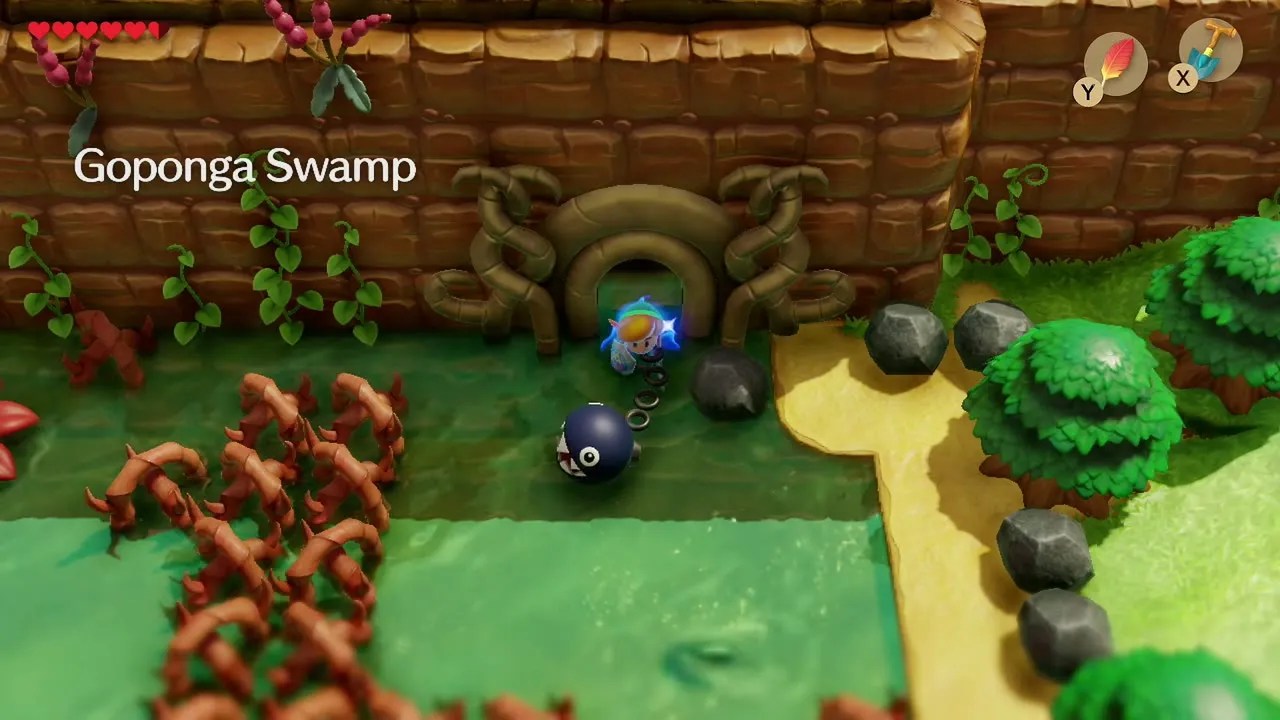
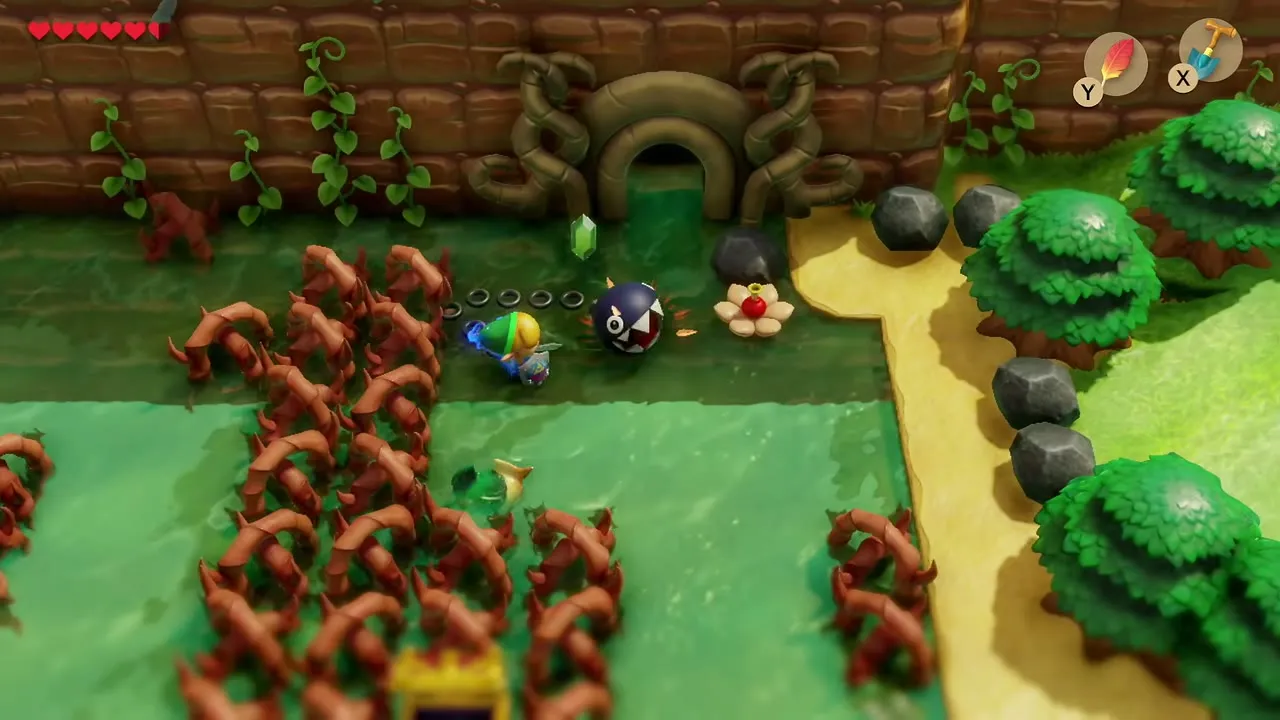
The Bottle Grotto entrance is a vine-covered door in the north wall, ringed by more Goponga Flowers. Lead BowWow up to them and he devours them, which lets you step through. BowWow waits outside while you explore the dungeon.
Dungeon: Bottle Grotto (Level 2)
Before you enter
Check your inventory before entering. Magic Powder is needed to light torches and to weaken ghosts here, so carry plenty. Roc’s Feather is needed to cross pits, and you will lift pots and stones with the Power Bracelet once you find it. Inside, press A on a pot to lift it, then press A again to throw it.


Entrance room and first torches
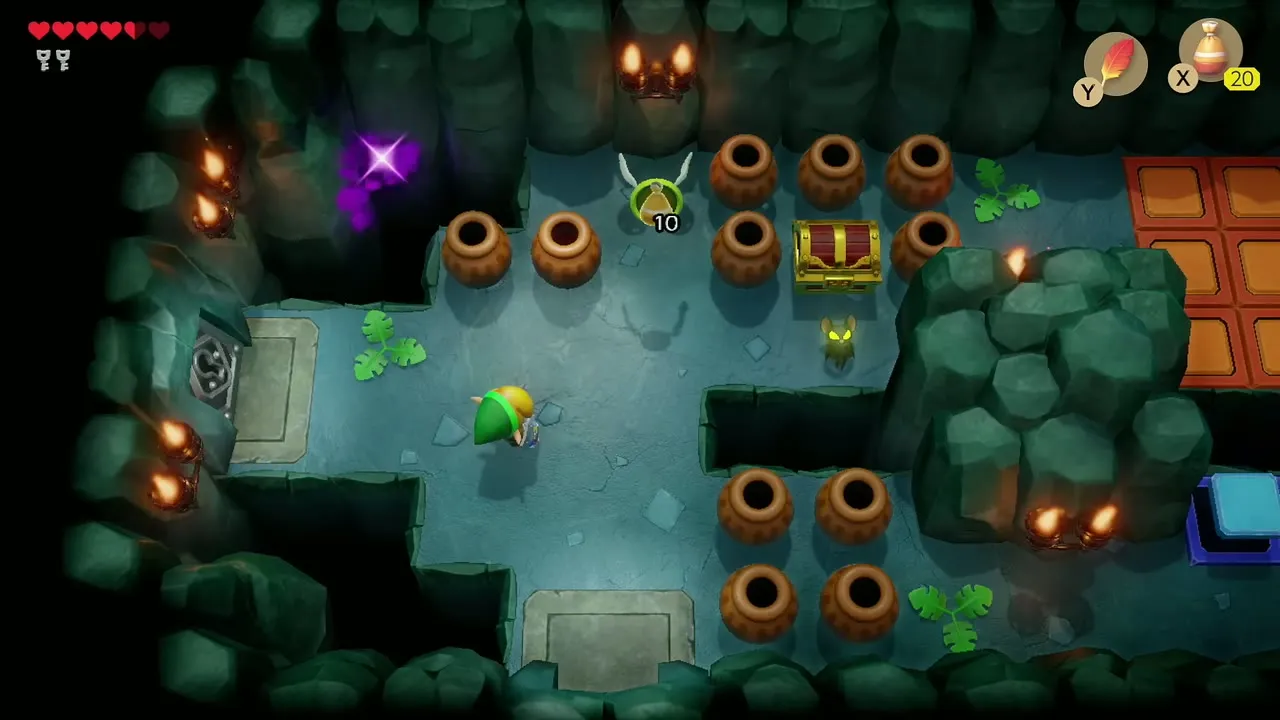
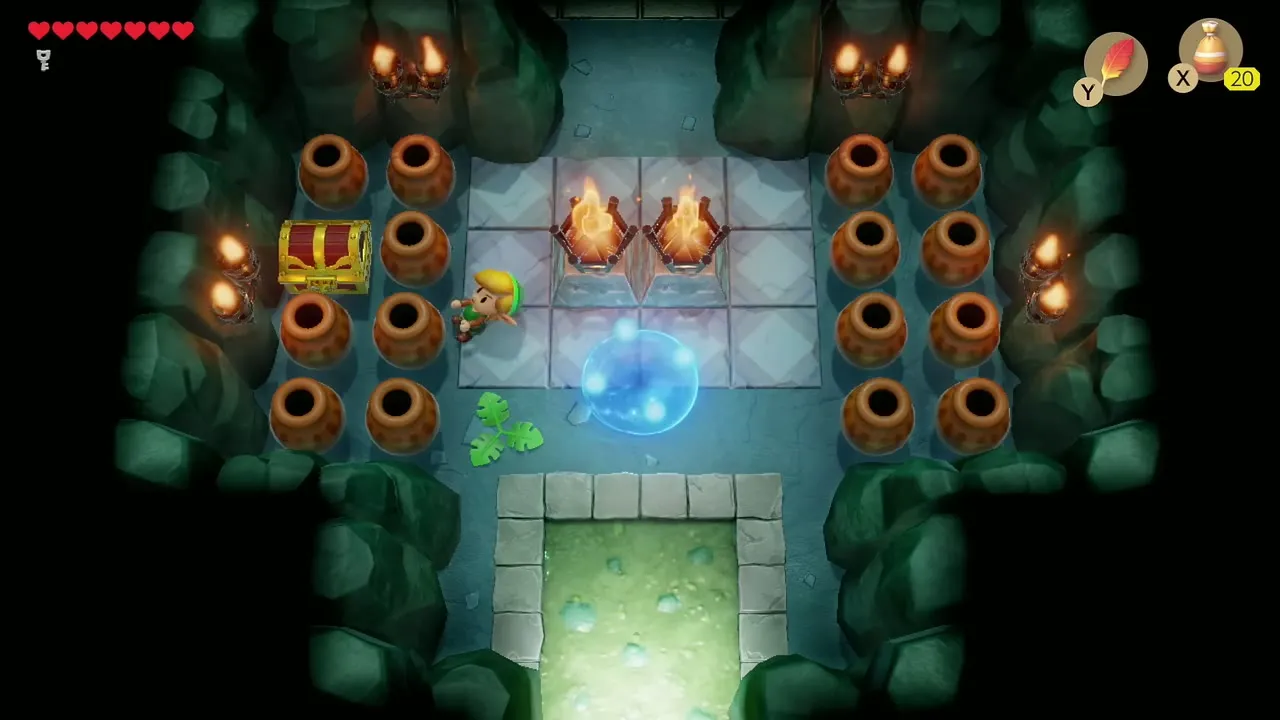
The entrance room has a chest on the left ringed by pots; you cannot reach it until you own the Power Bracelet, so come back for it after the boss. Take the staircase north of the torch pedestals.
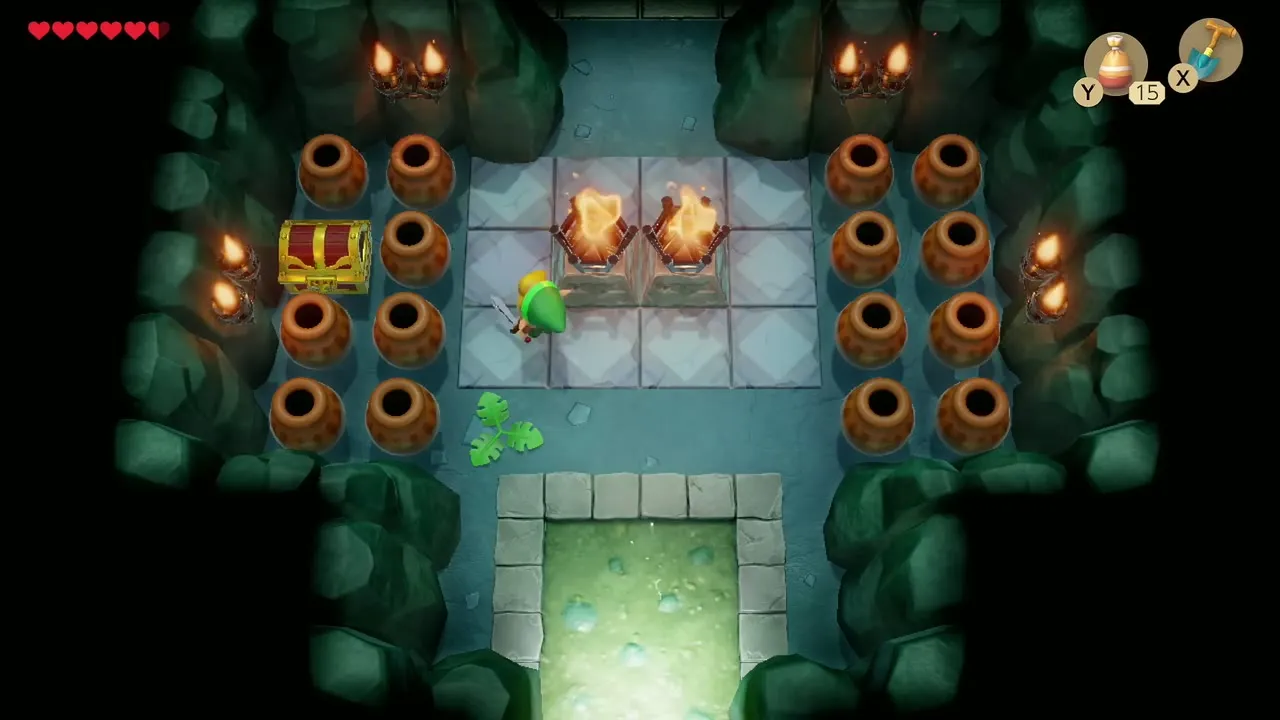
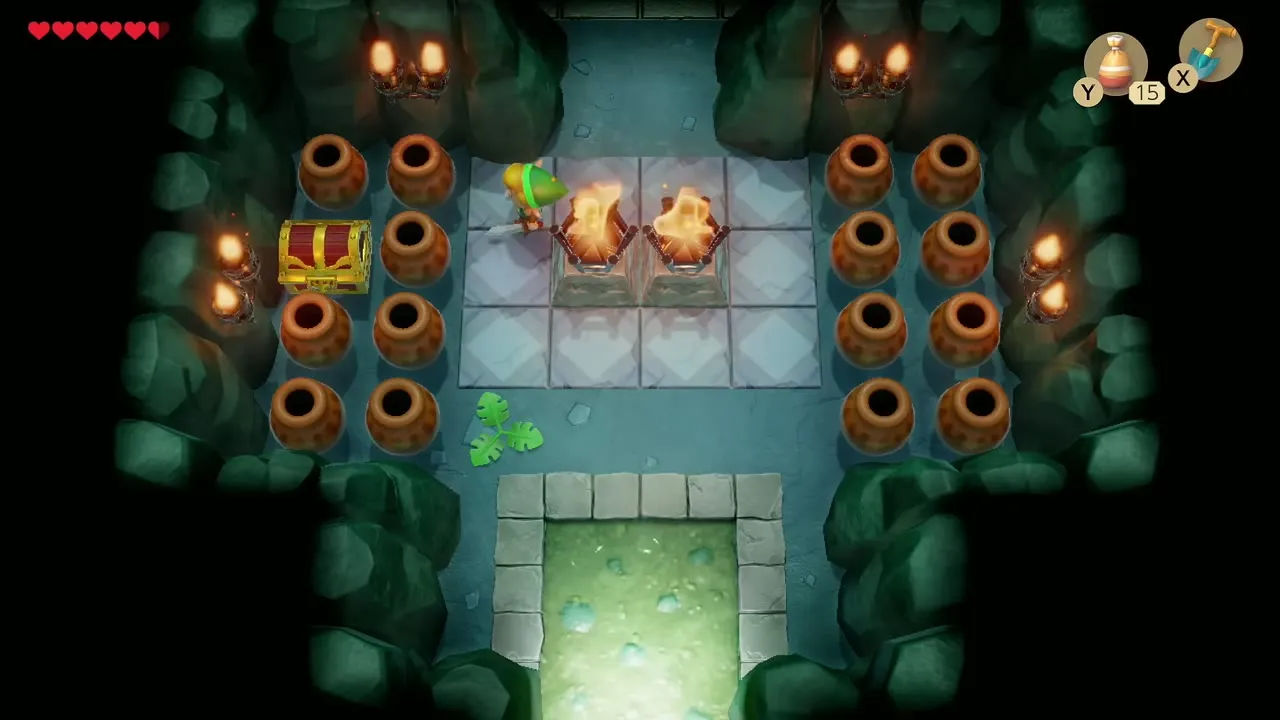
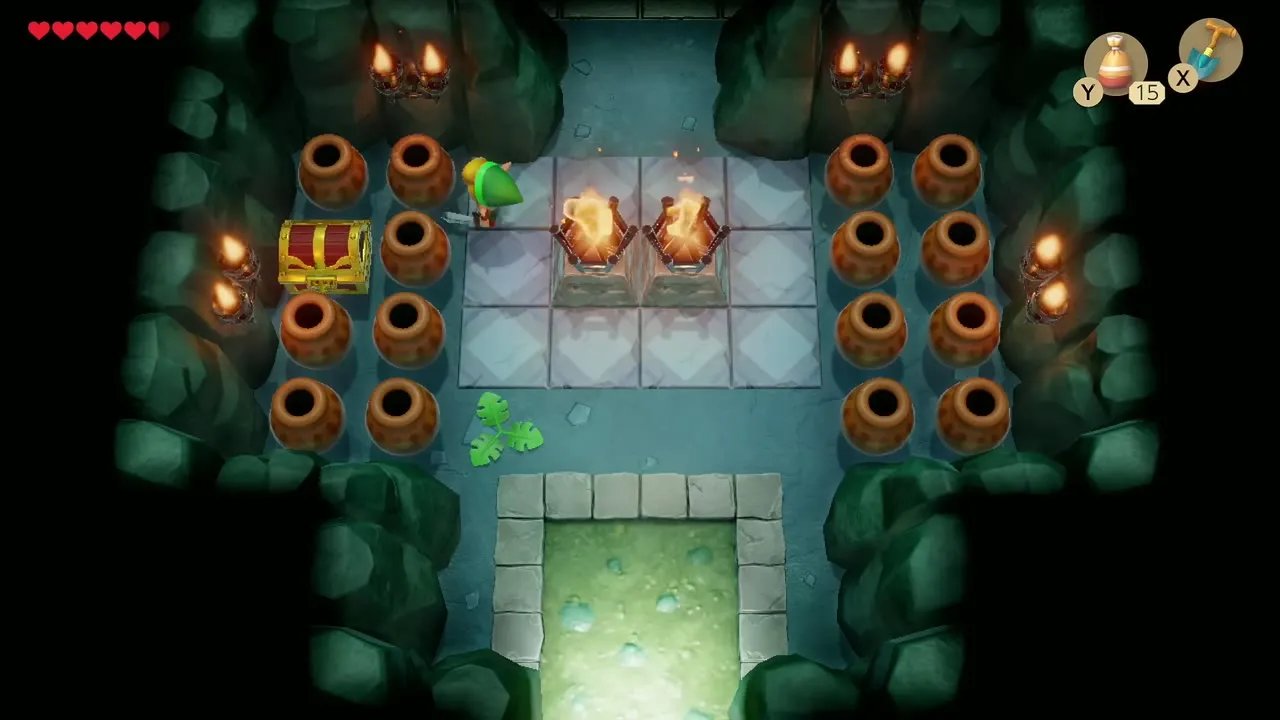
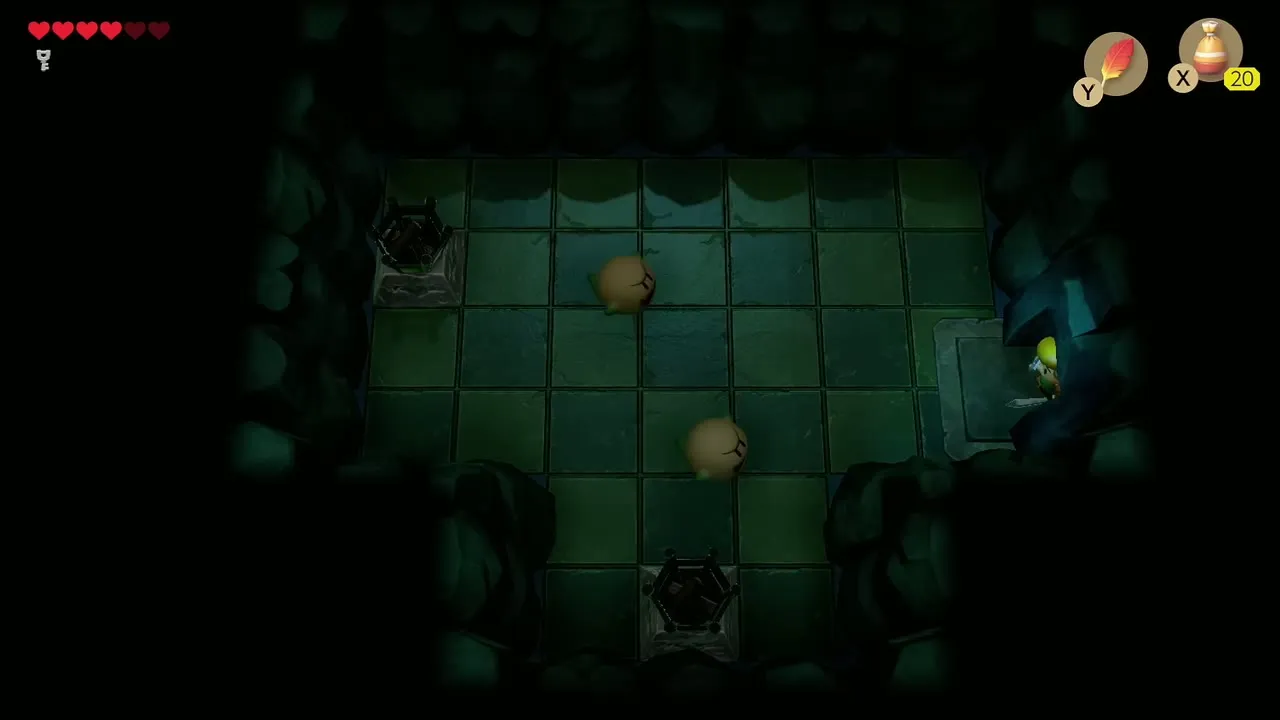
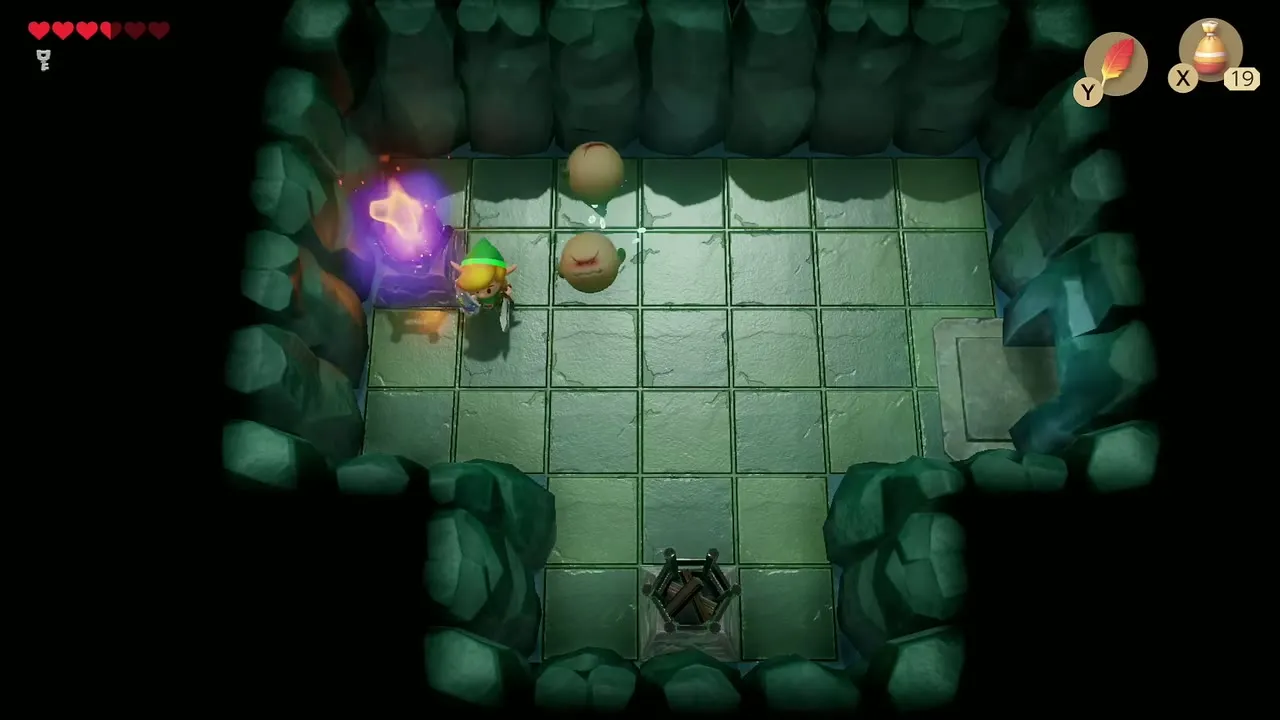
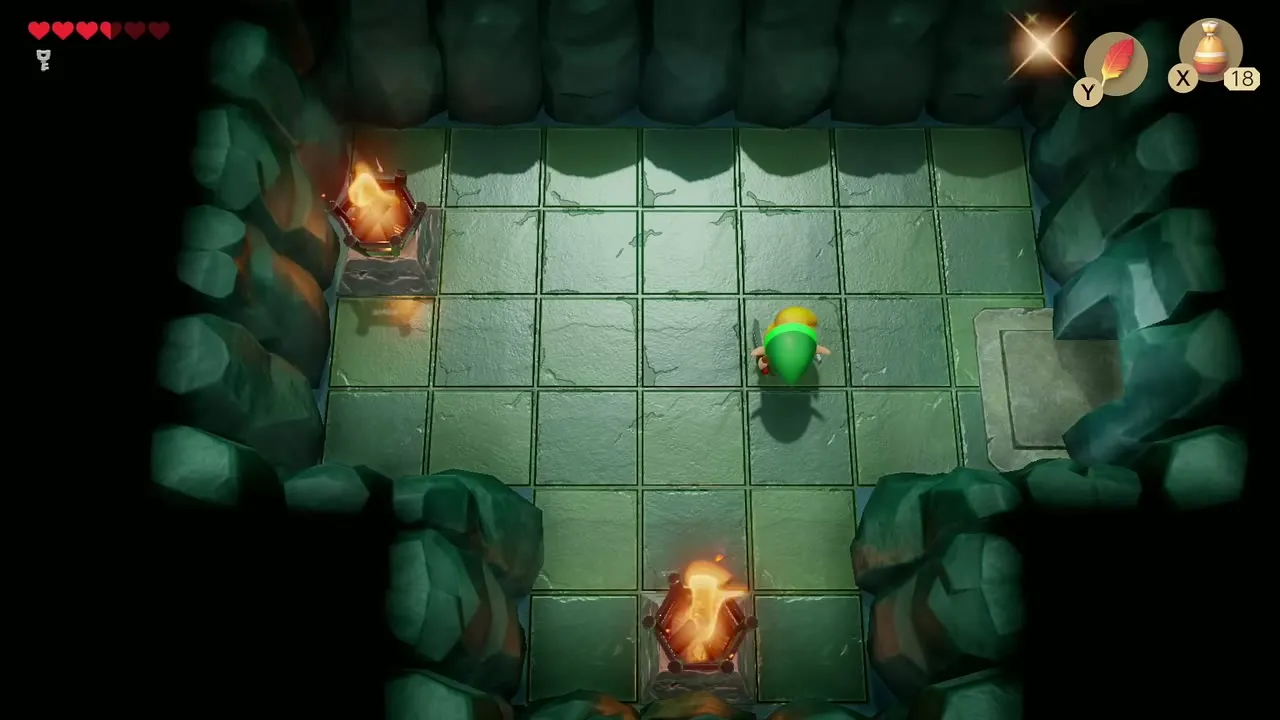
In the dark room at the top, two unlit torches guard the way forward. Sprinkle Magic Powder on both torches to light them and open the door.


First small key
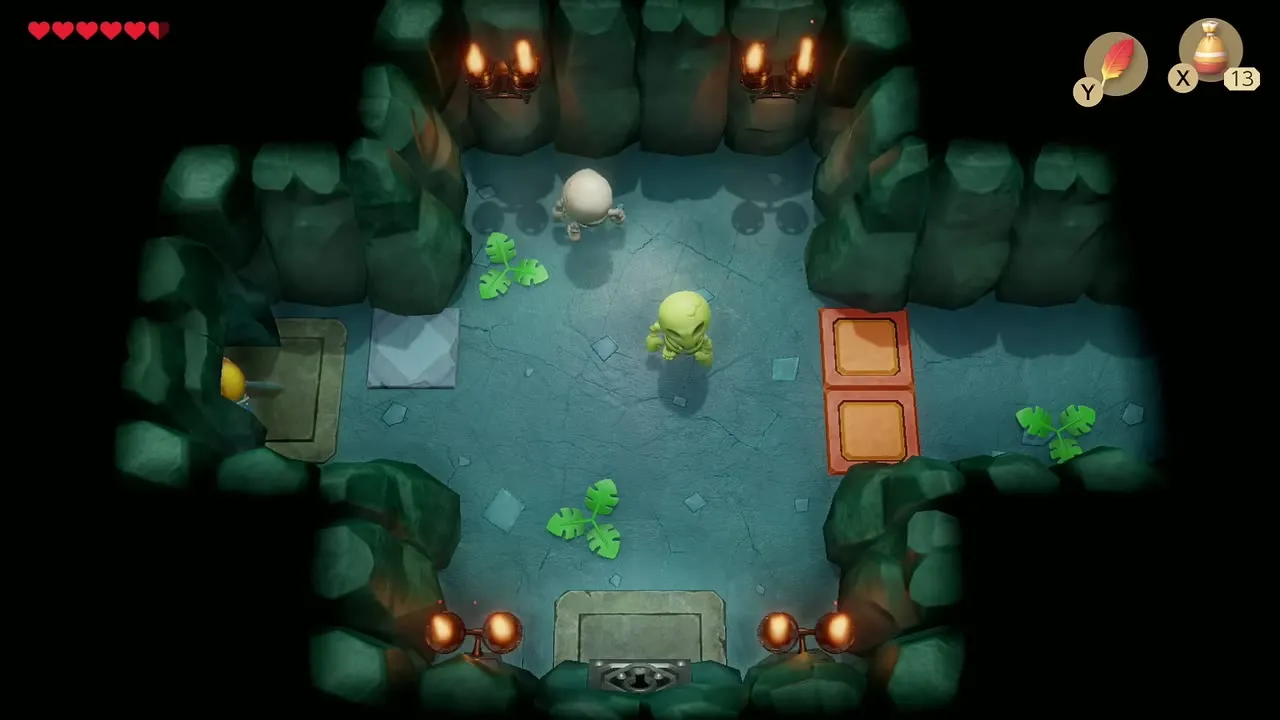
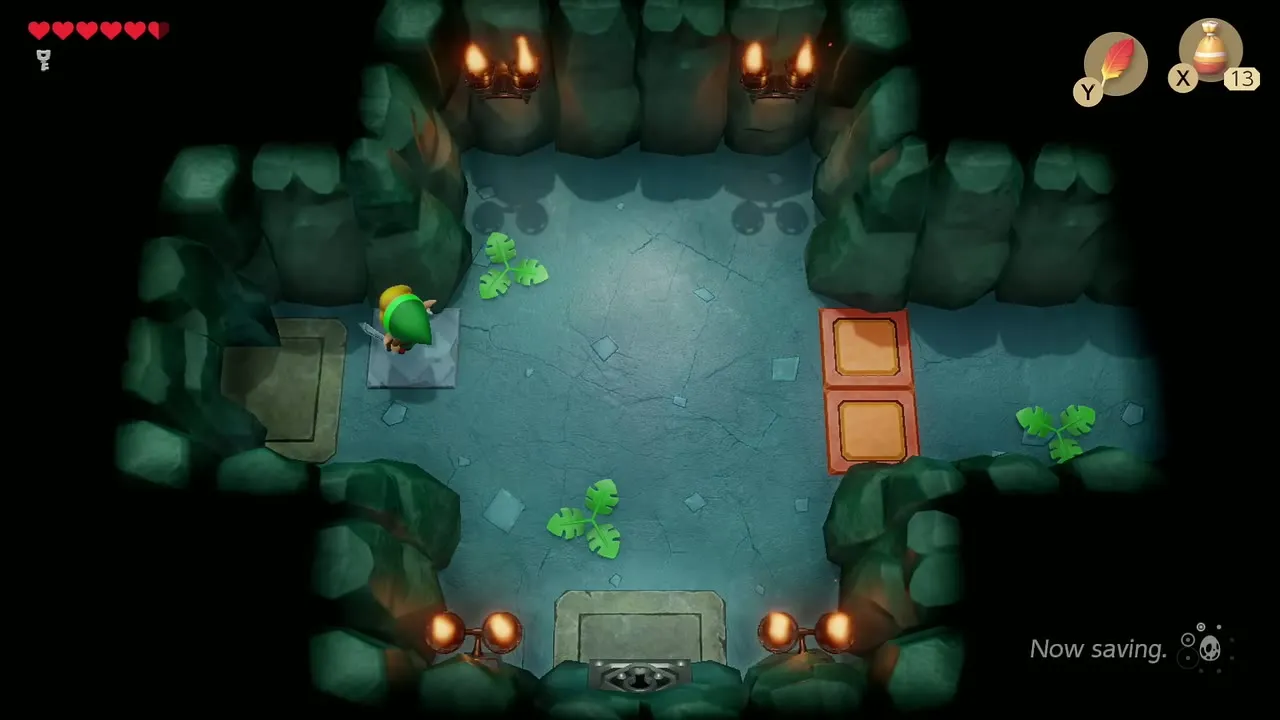
Next you fight a pair of Stalfos in a room with floor switches. Defeat both of them to be rewarded with a Small Key, then use it on the locked door to the south.

Compass
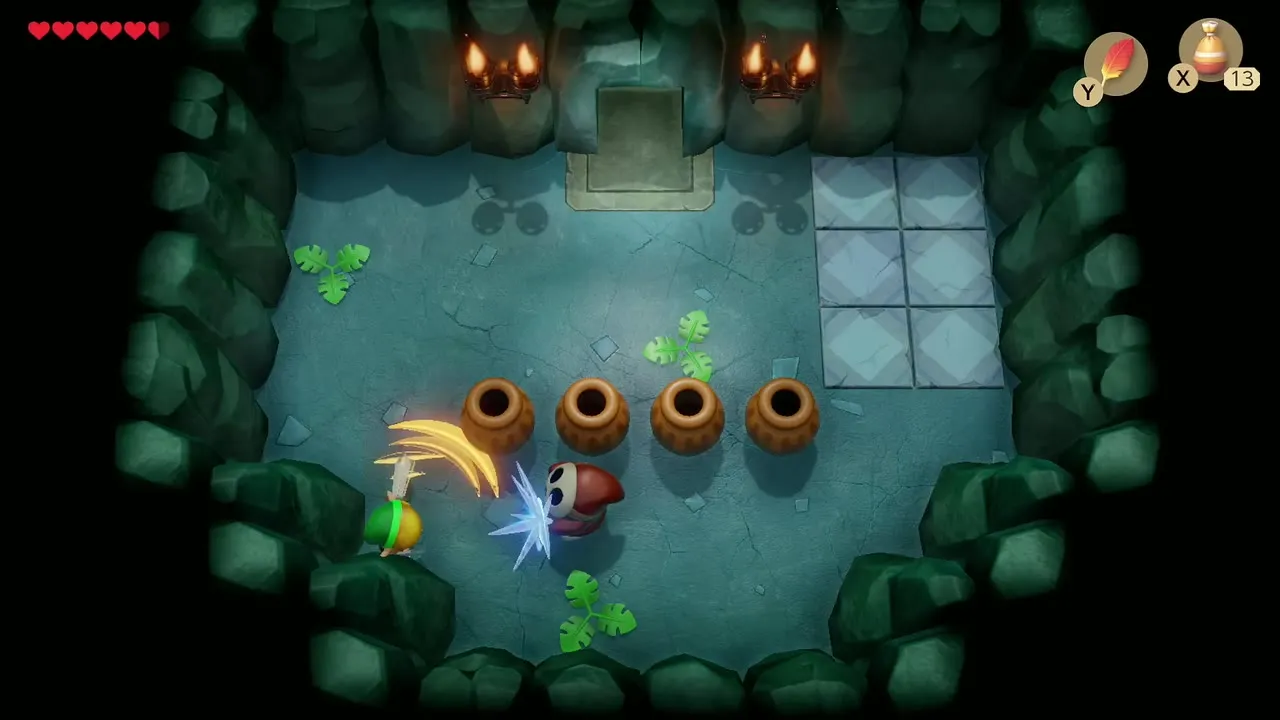
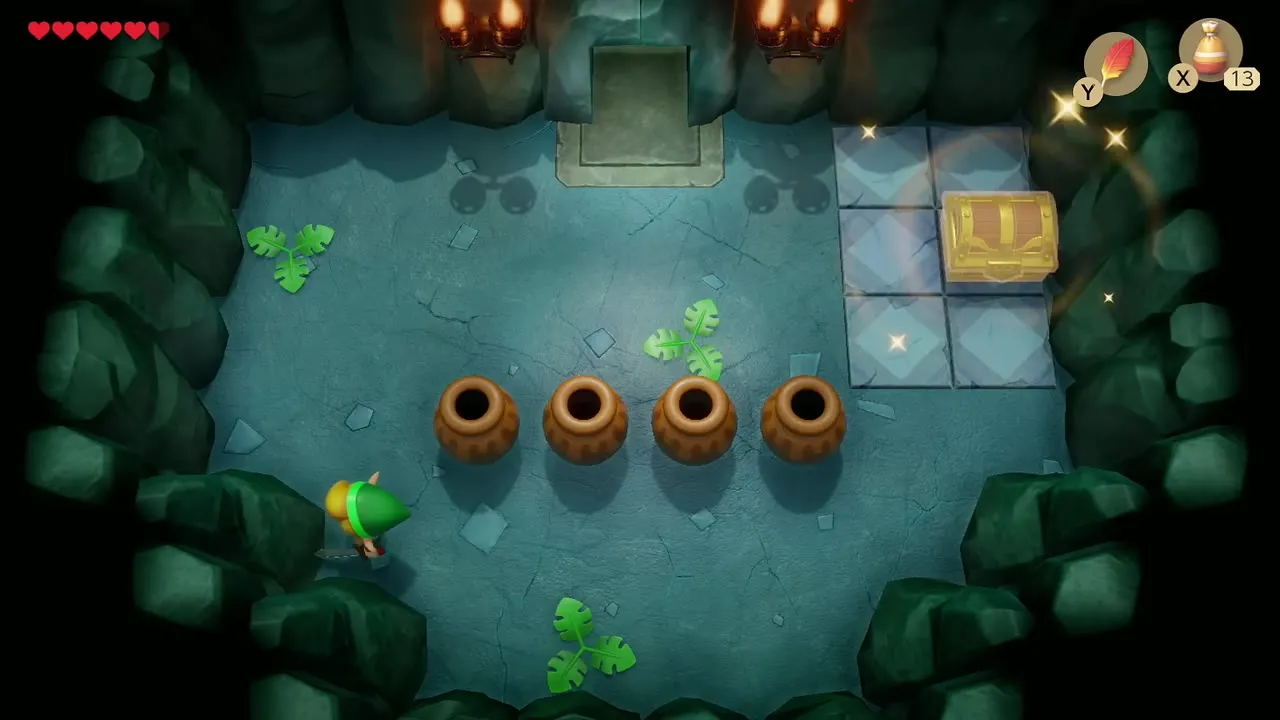
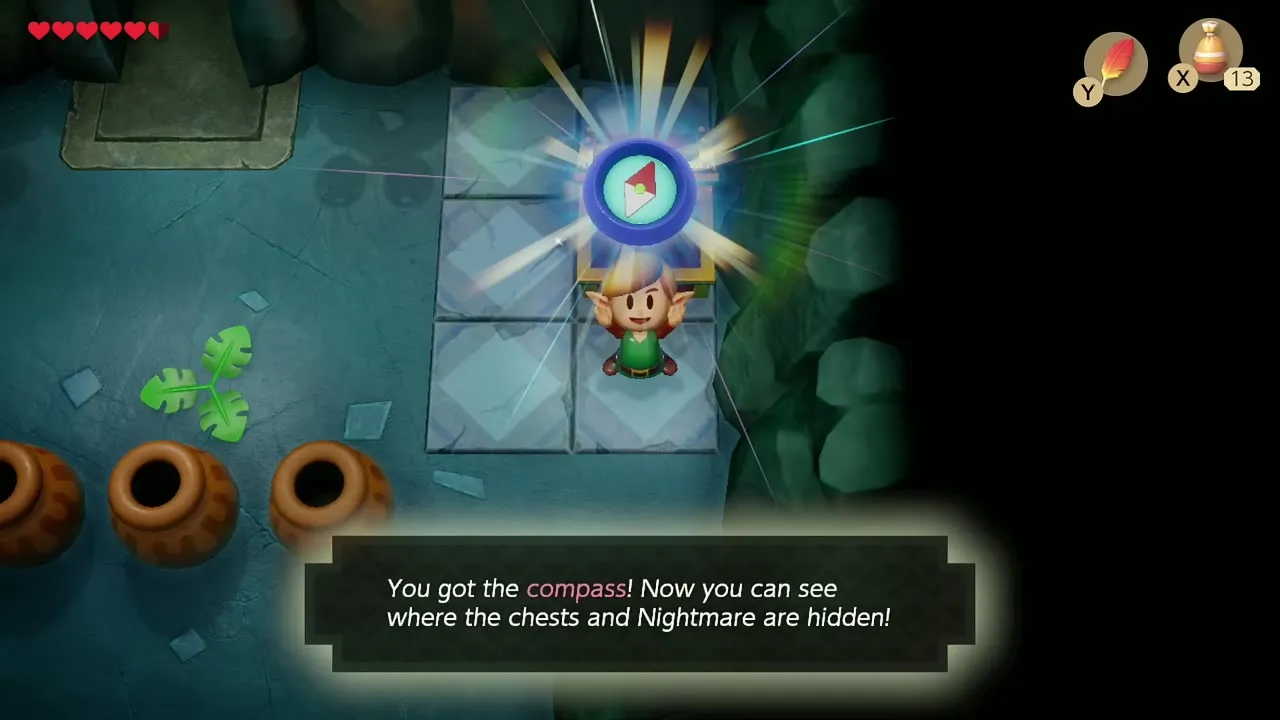
A Mask-Mimic guards the compass room, and it shrugs off direct attacks. Dodge around the obstacles, approach it from behind and hit it with a spin attack. A chest appears in the upper right holding the Compass, which shows you where chests and the Nightmare’s lair are hidden.
Crystal switches and Small Keys
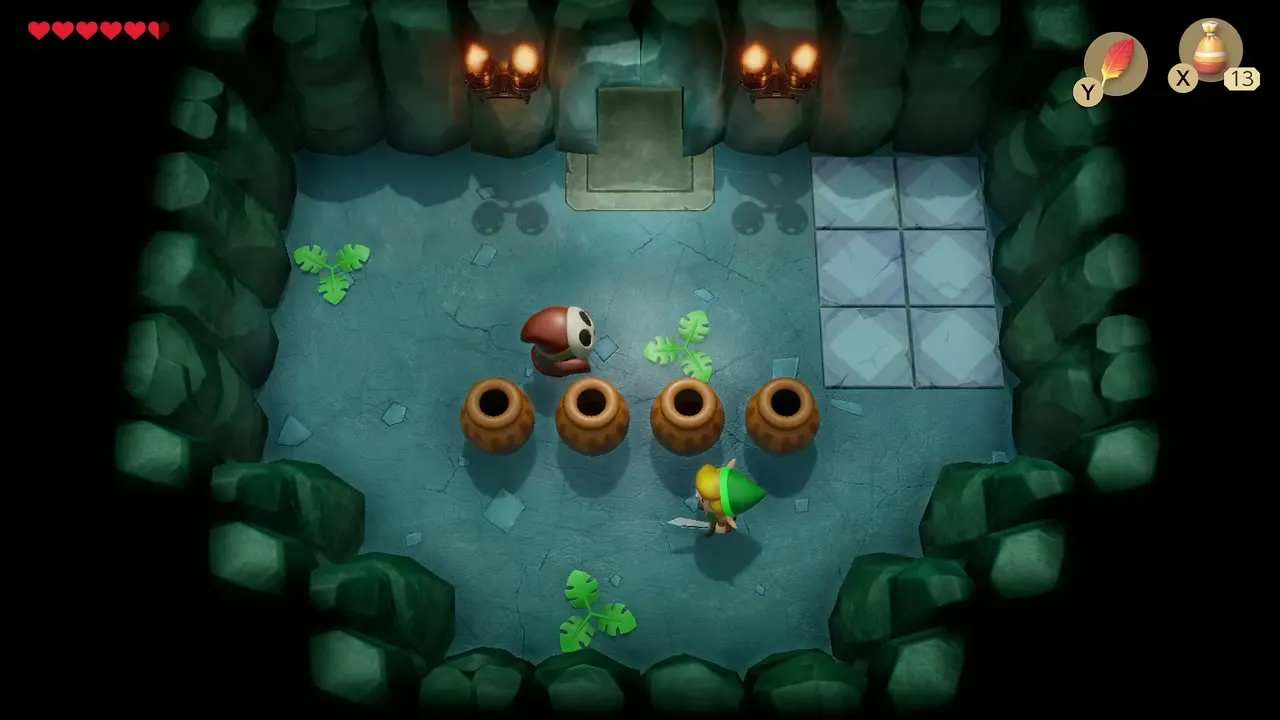
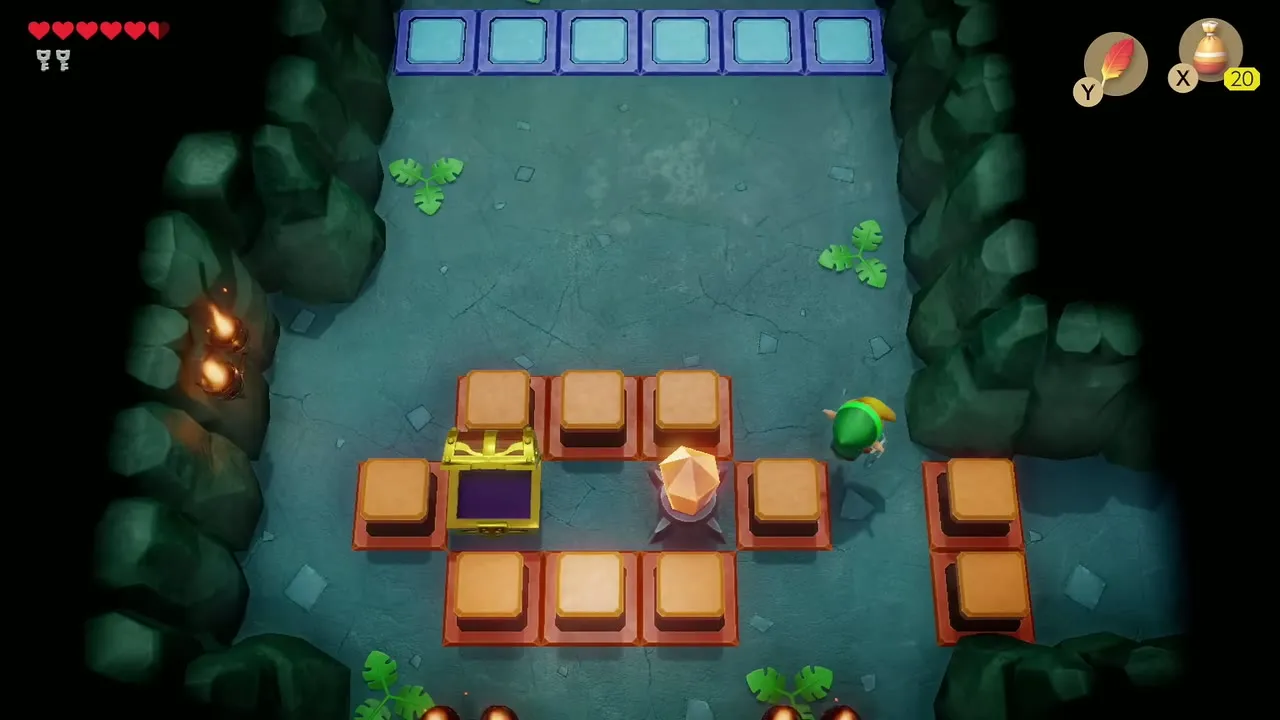
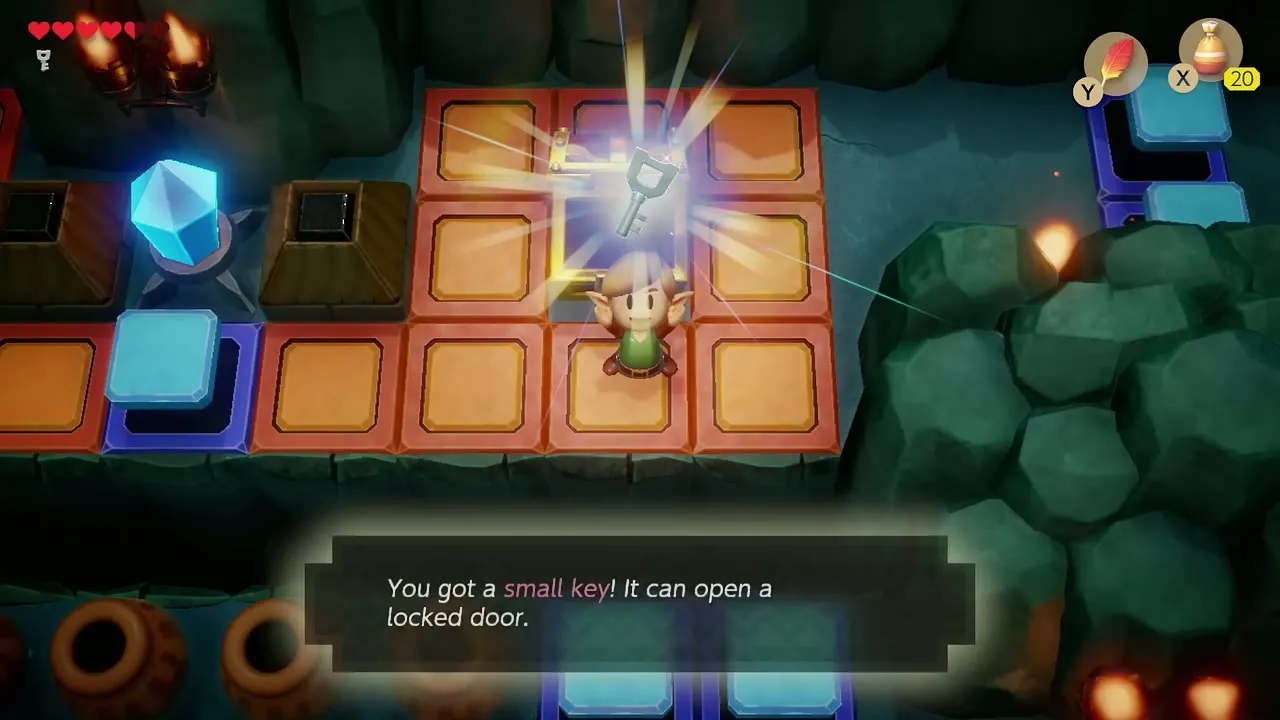
The next rooms use crystal switches: hit the blue crystal with the Sword to lower the orange blocks and raise the blue ones, and vice versa. Use the switch to open paths to a chest ringed by orange blocks. Defeat the Shrouded Stalfos that guards it to open the chest and take its Small Key.

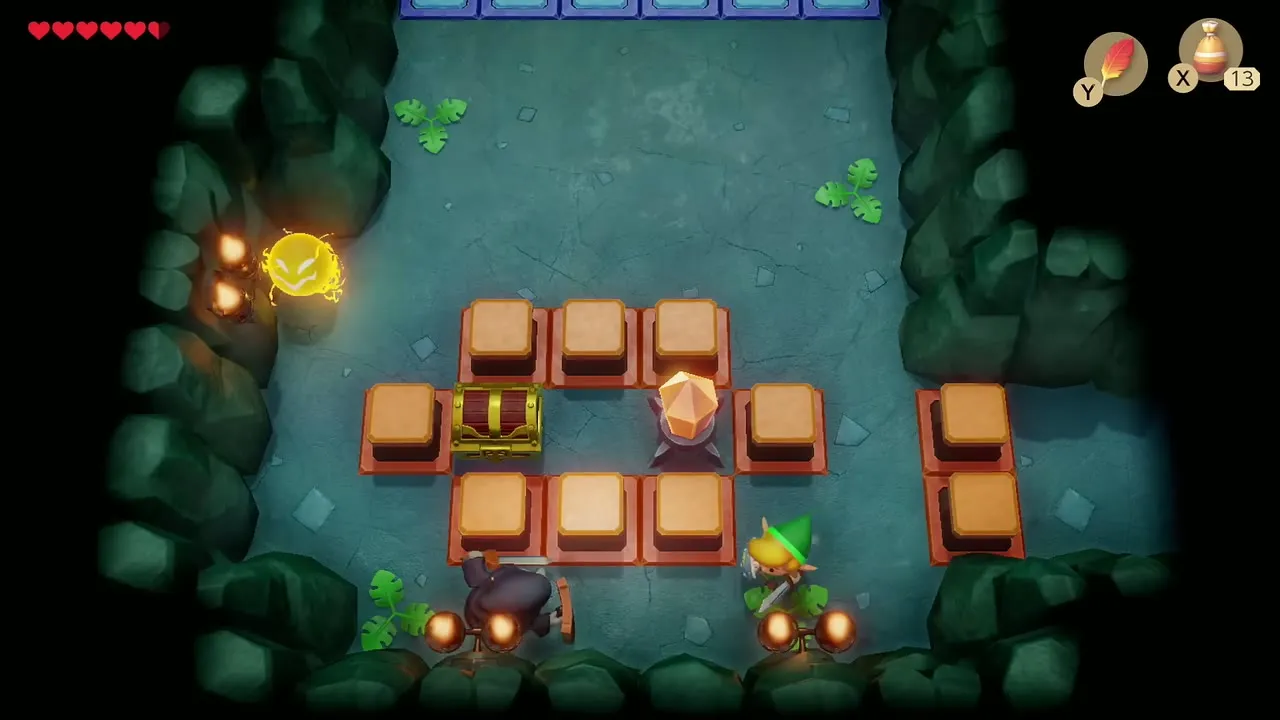

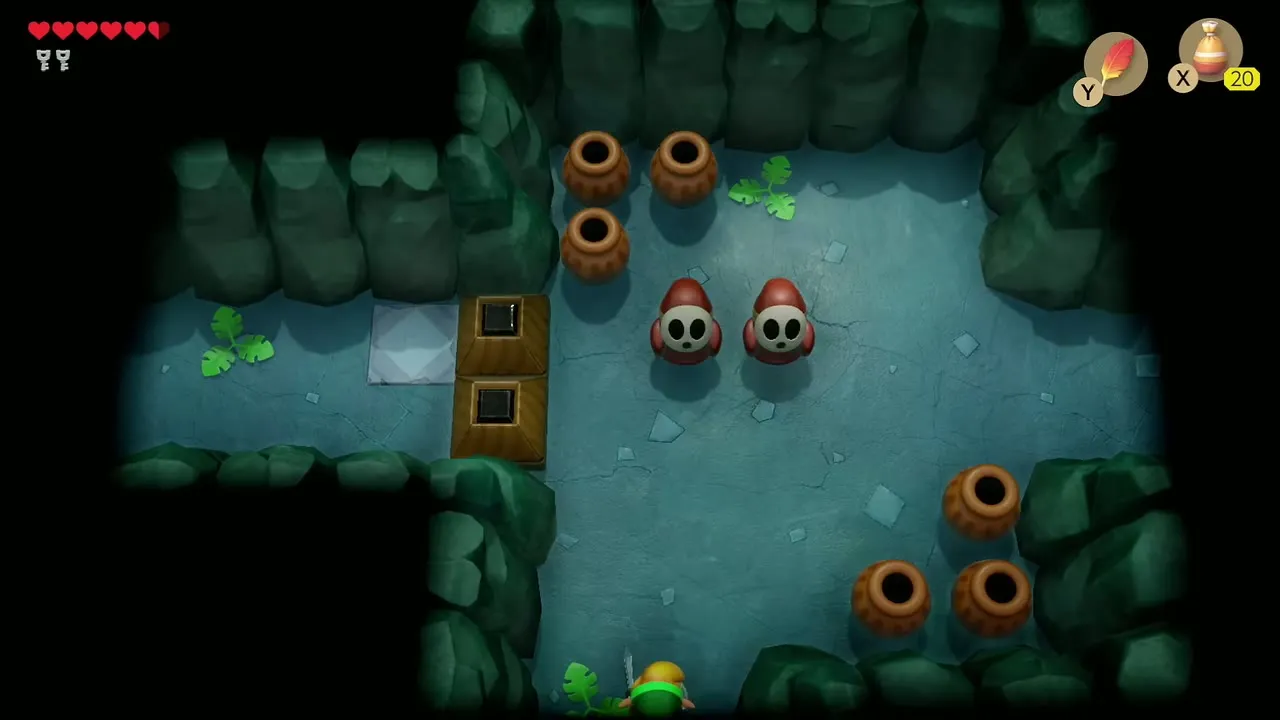
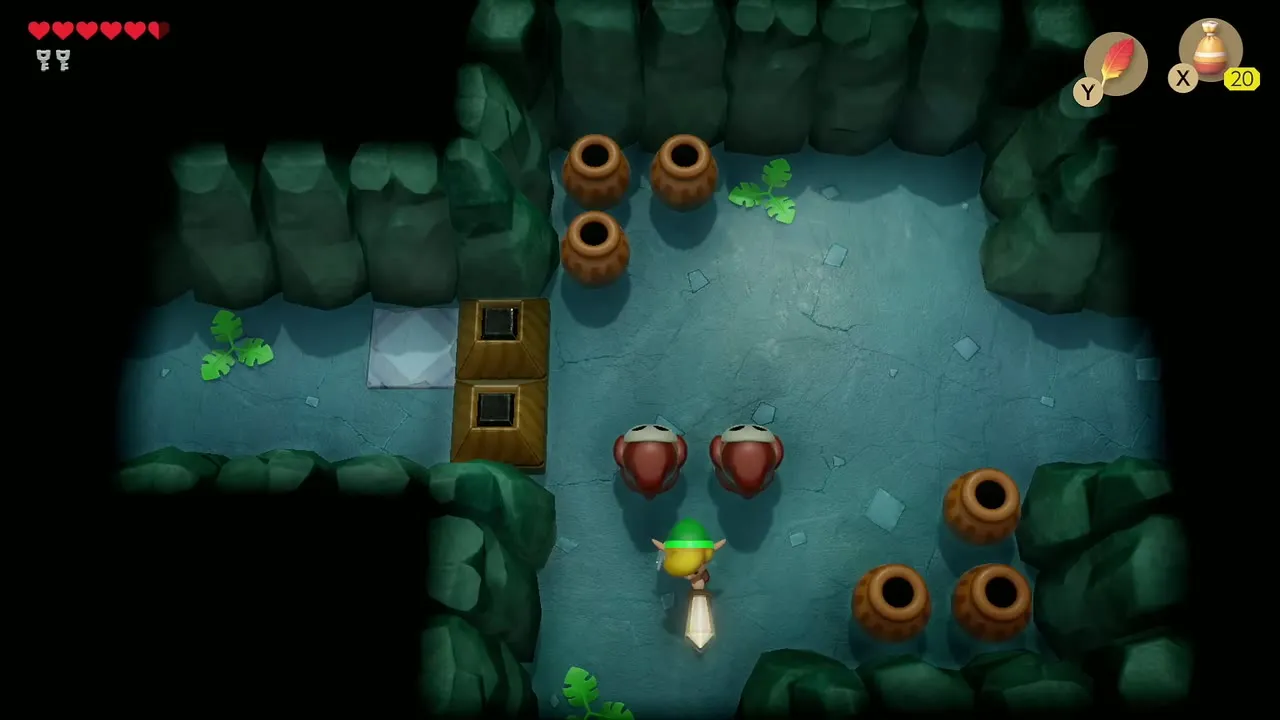
Keep working through the pot rooms nearby: smash the pots, defeat the Mask-Mimics and use your Small Keys on the locked doors. Move carefully through each room, flipping the crystal as needed. You will collect more Small Keys as you go.
Block puzzle and the way to the Hinox
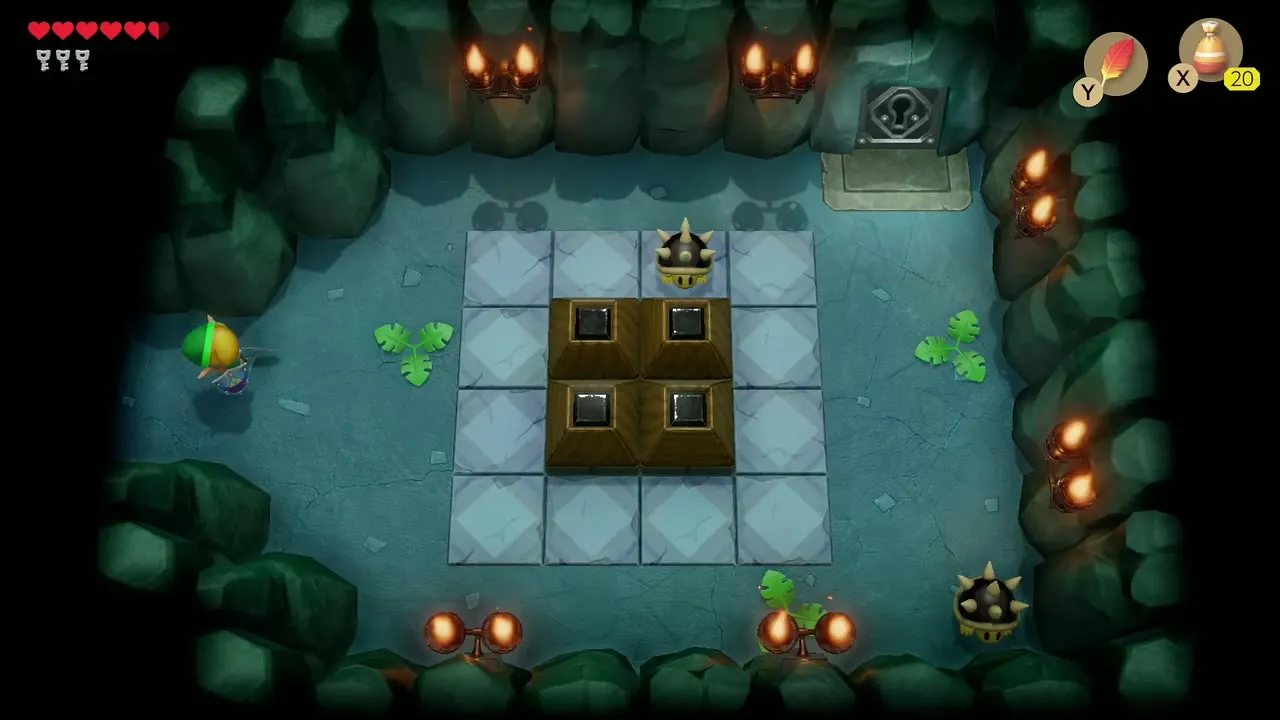
In the dead-end room with blocks, push two blocks onto the blue tiles so they match the pattern; a stairway opens. Pass through the pot room beyond and cross the side-scrolling passage with the ladder, avoiding the spiked floor.
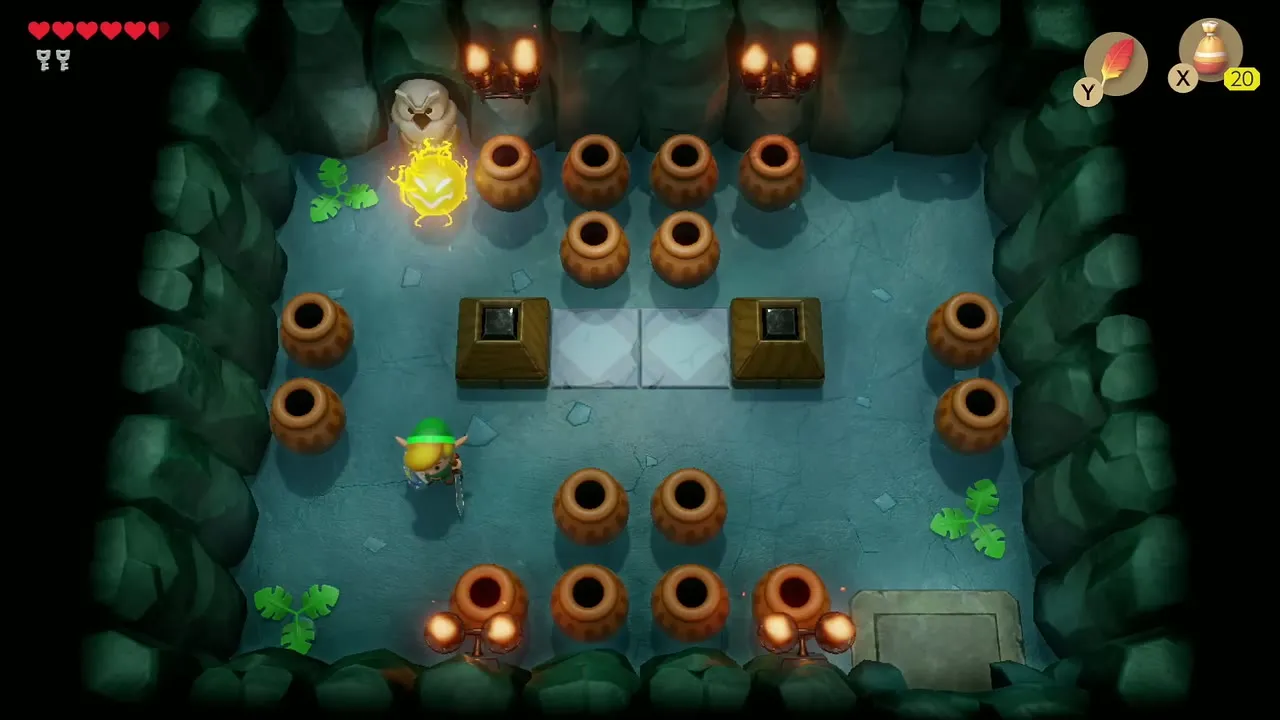
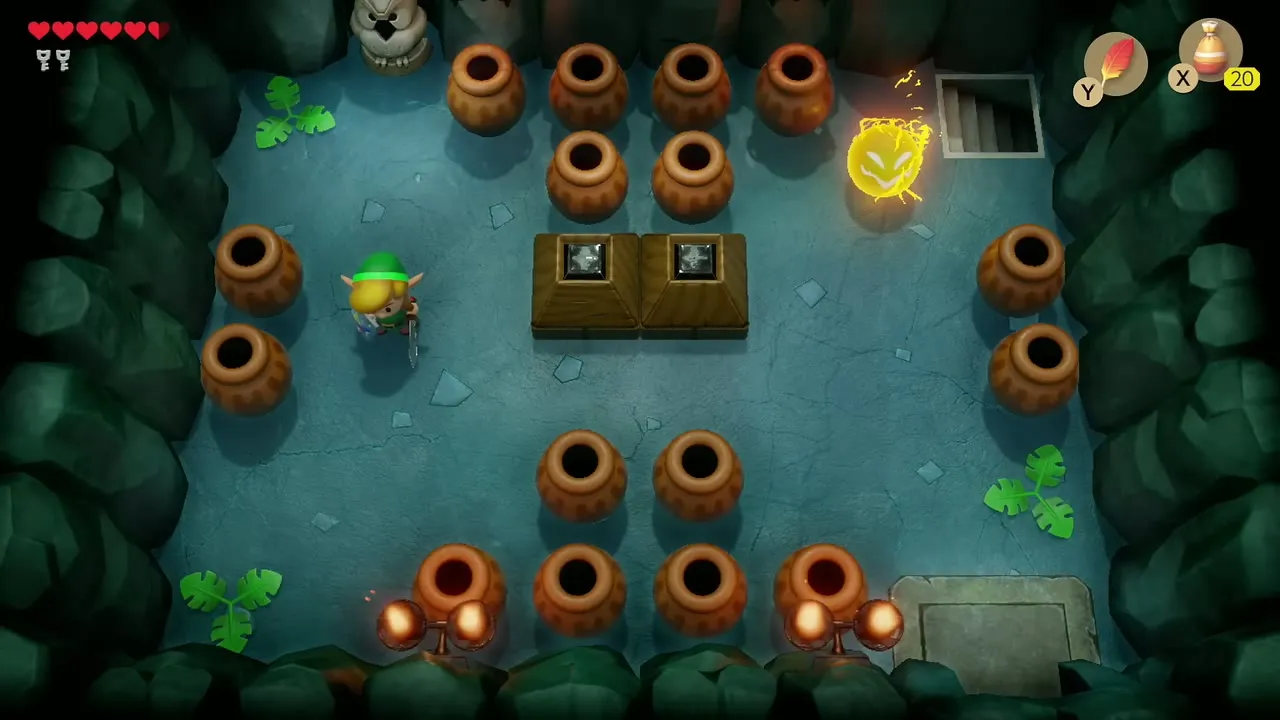
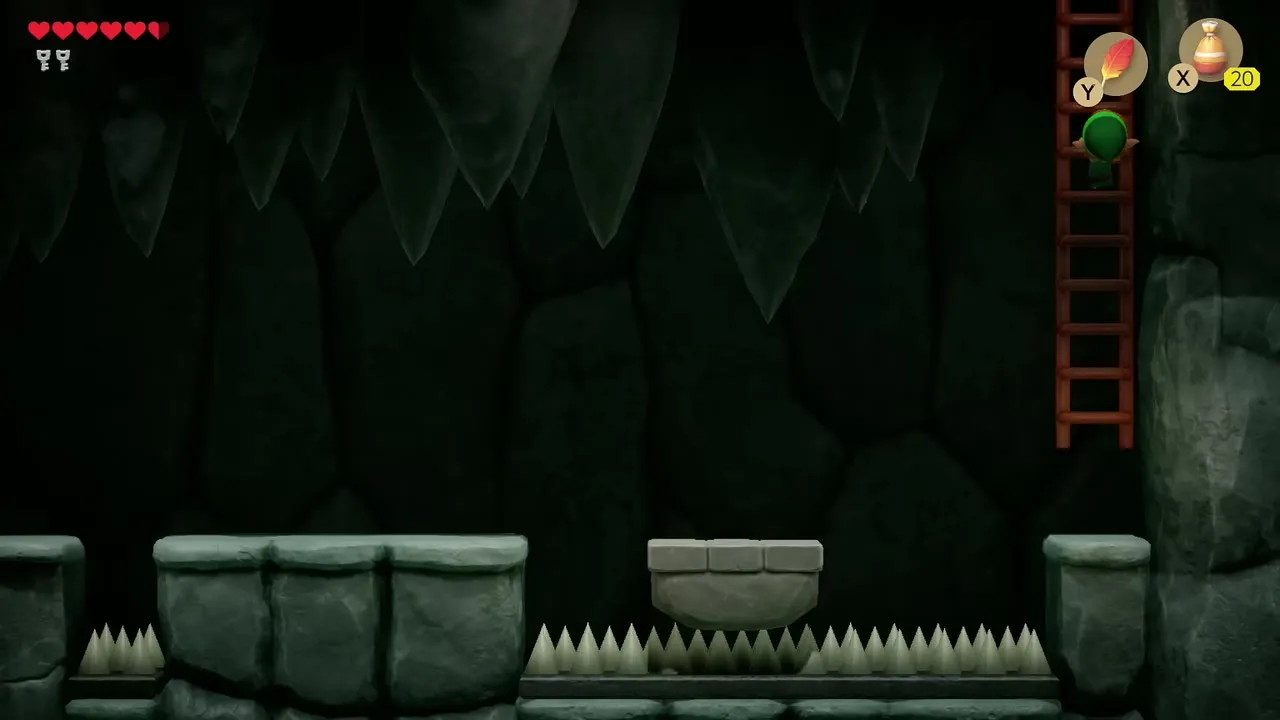
Hinox mini-boss
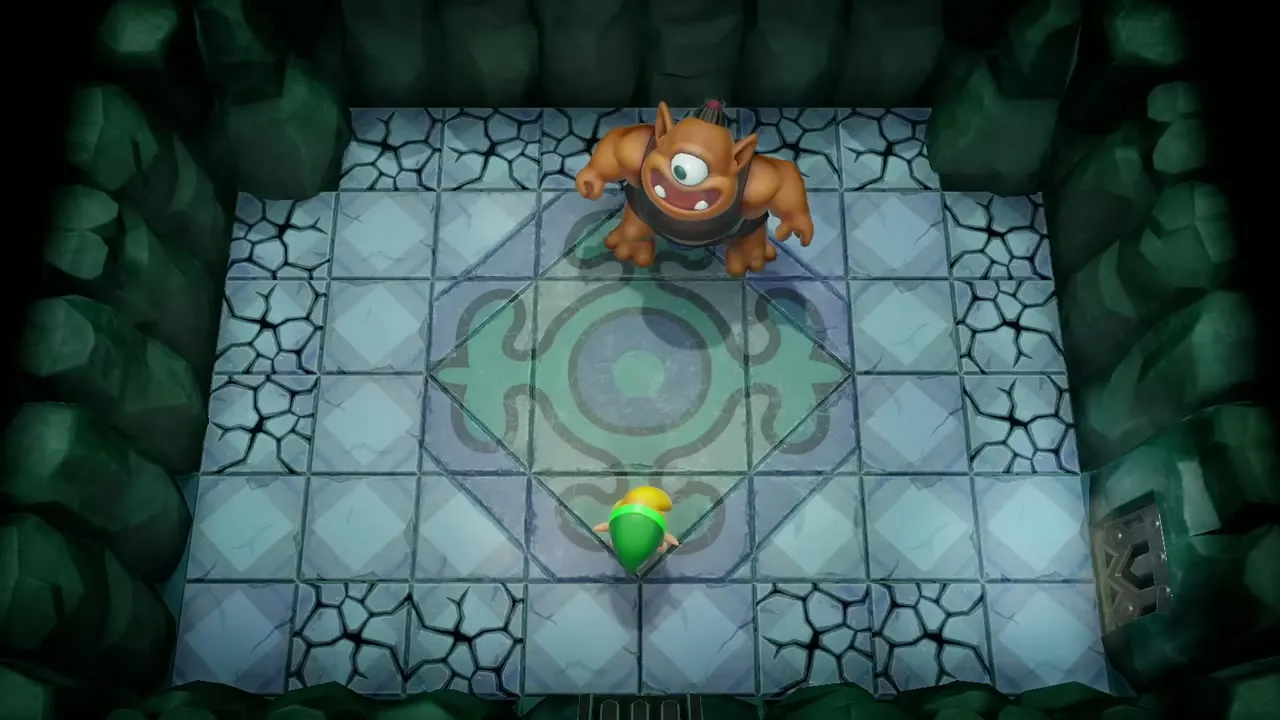
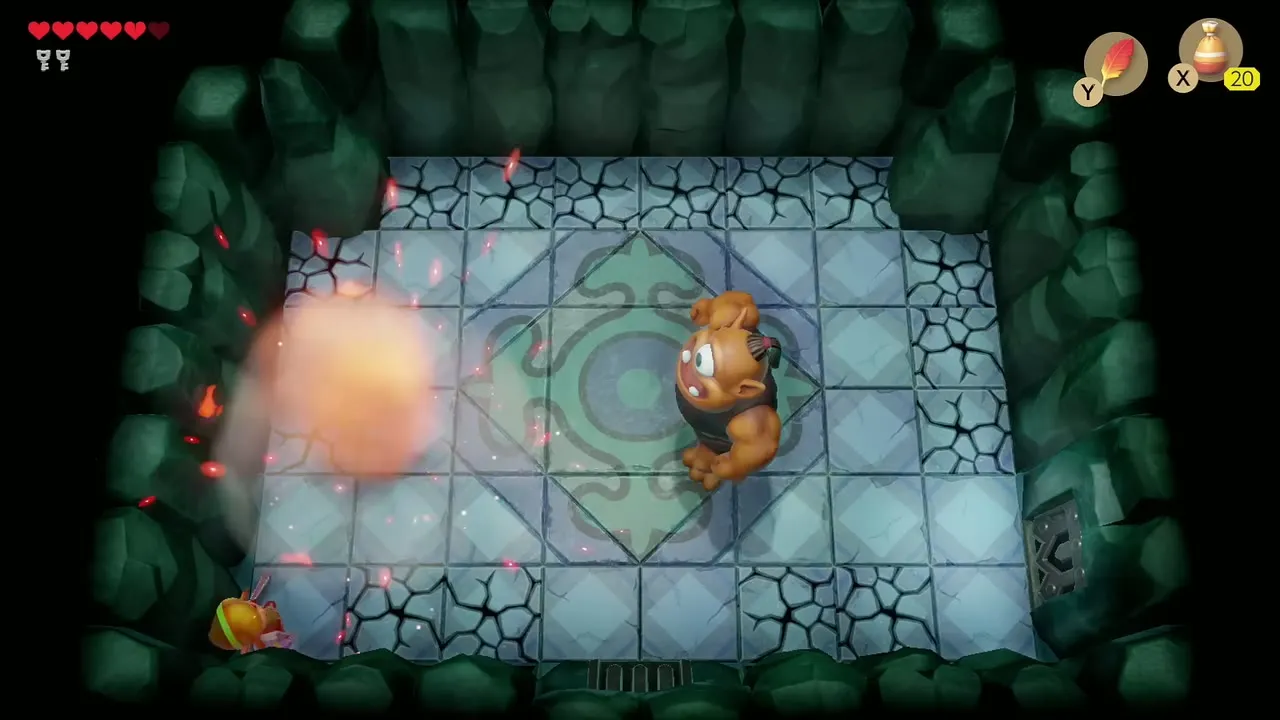
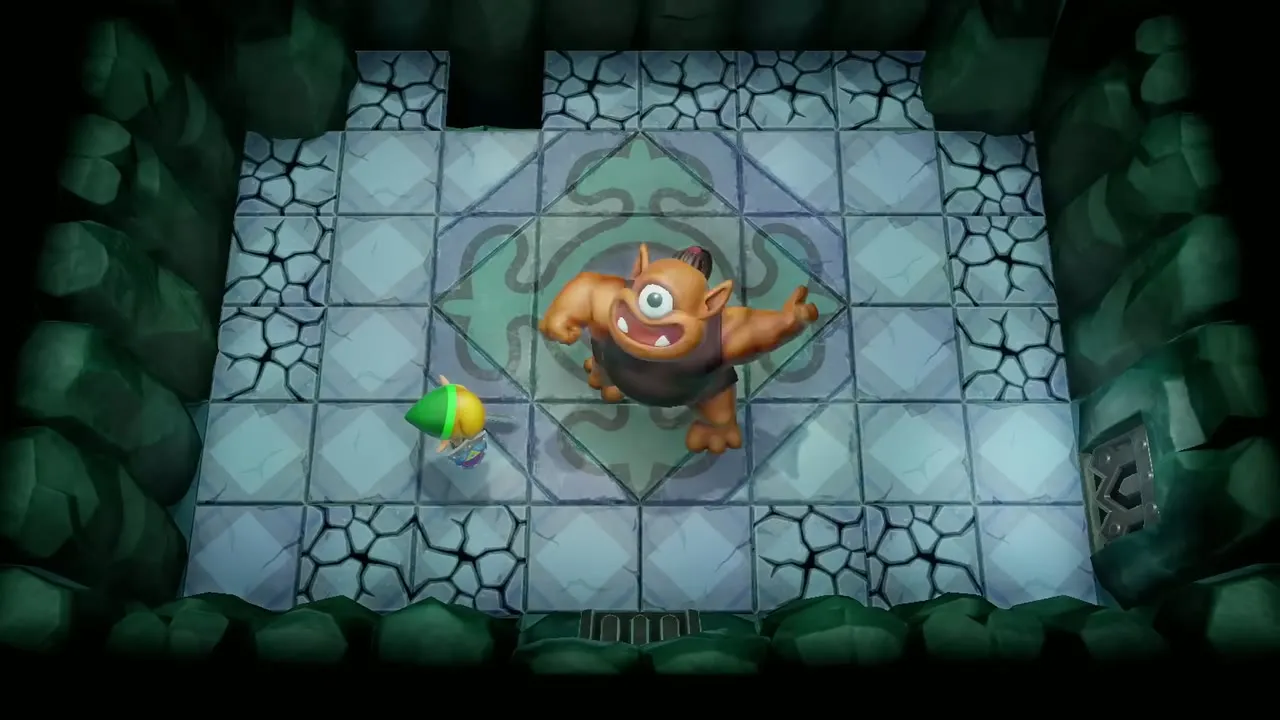
The Hinox waits in a room with a cracked floor. It charges, throws bombs and grabs you, so stay in the middle and keep moving. Slash it after it misses a charge, then back off before it swings, and do not stand on the cracked tiles for long. When it falls, a fairy, a warp portal and the next door appear.

Dungeon Map and 20 rupees
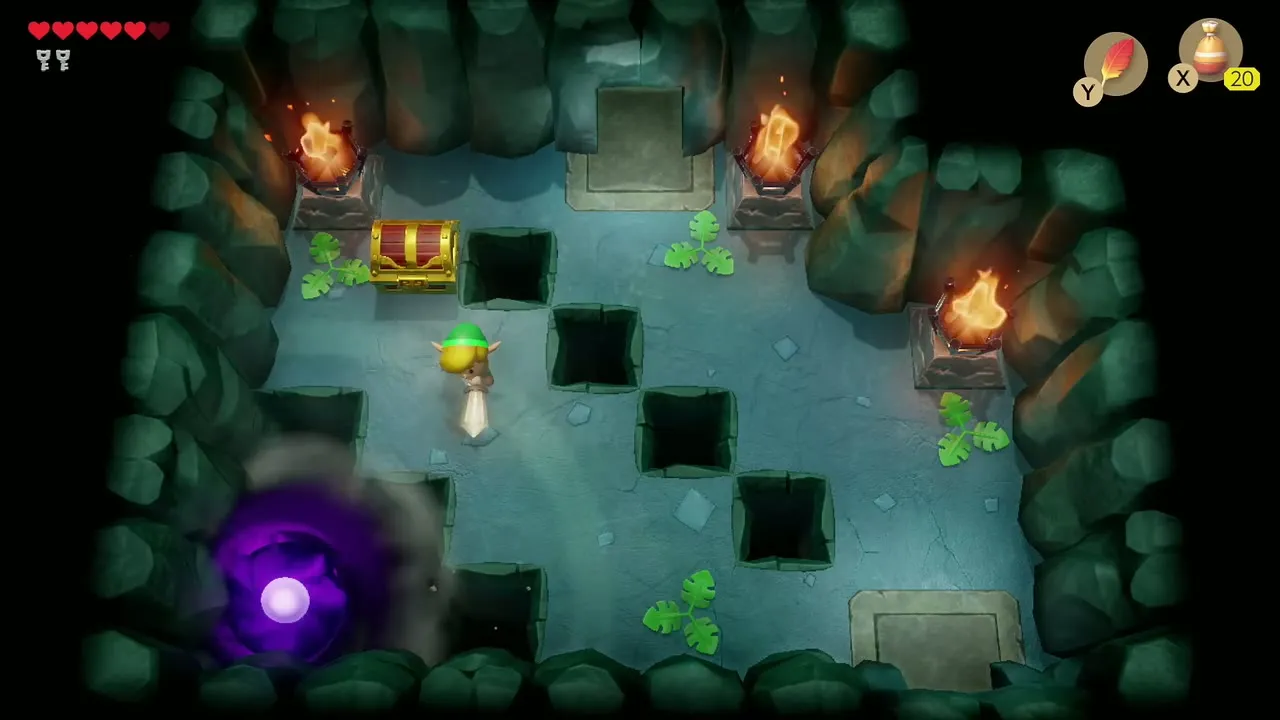
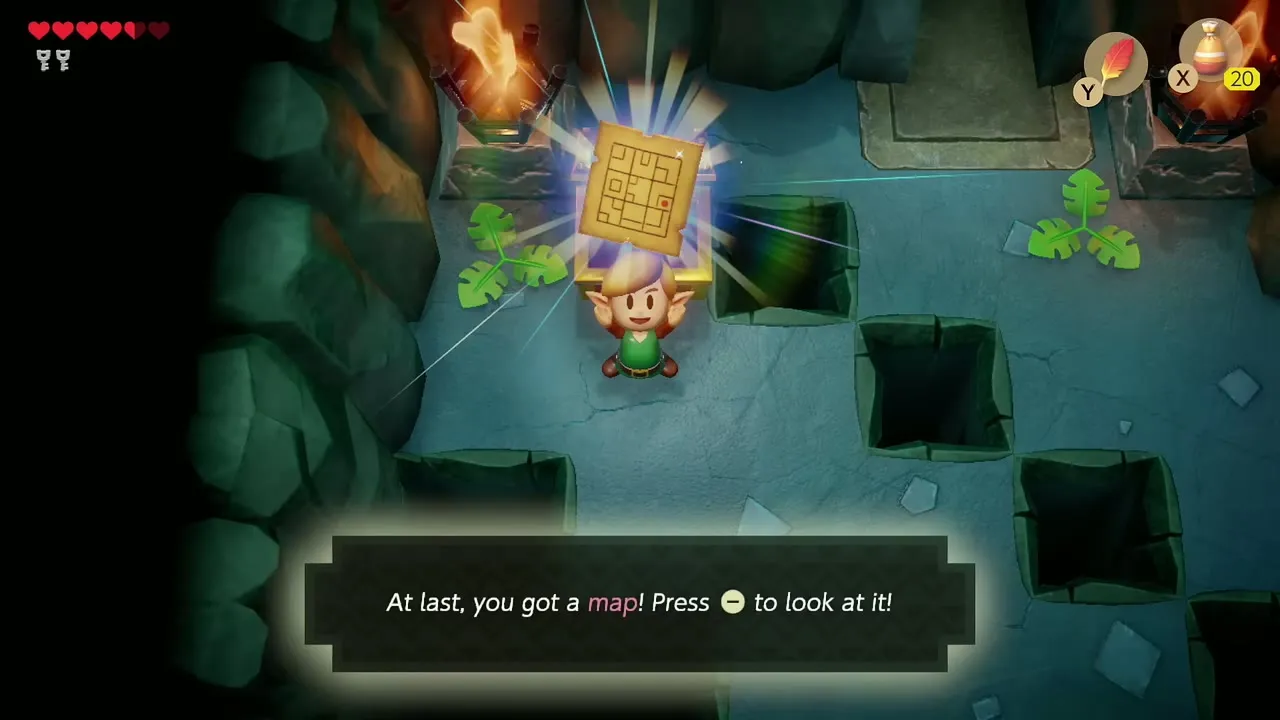
Push on past the conveyor and block rooms, then cross the pit room using Roc’s Feather. The chest in the far corner holds the Dungeon Map. Another chest nearby gives you 20 rupees.

Power Bracelet
The Power Bracelet is in a dark room guarded by ghosts that your Sword cannot hurt. Light the torches with Magic Powder to brighten the room and make the ghosts vulnerable, then defeat them. Open the chest that appears to get the Power Bracelet, which lets you pick up pots and stones.
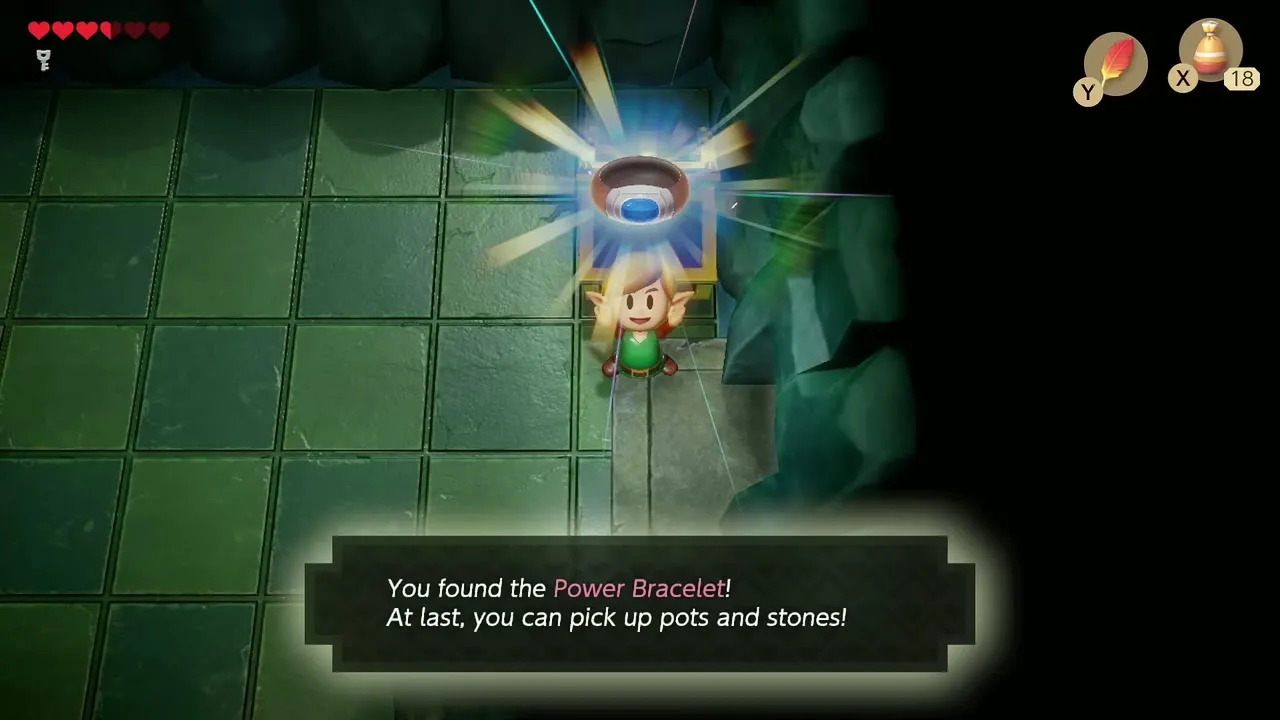
Nightmare Key
Return with the Power Bracelet and lift the pots blocking the corridors. Another crystal-switch room hides the last Small Key: stand on a raised block and toggle the crystal to reach the chest. Open the locked doors with your keys.

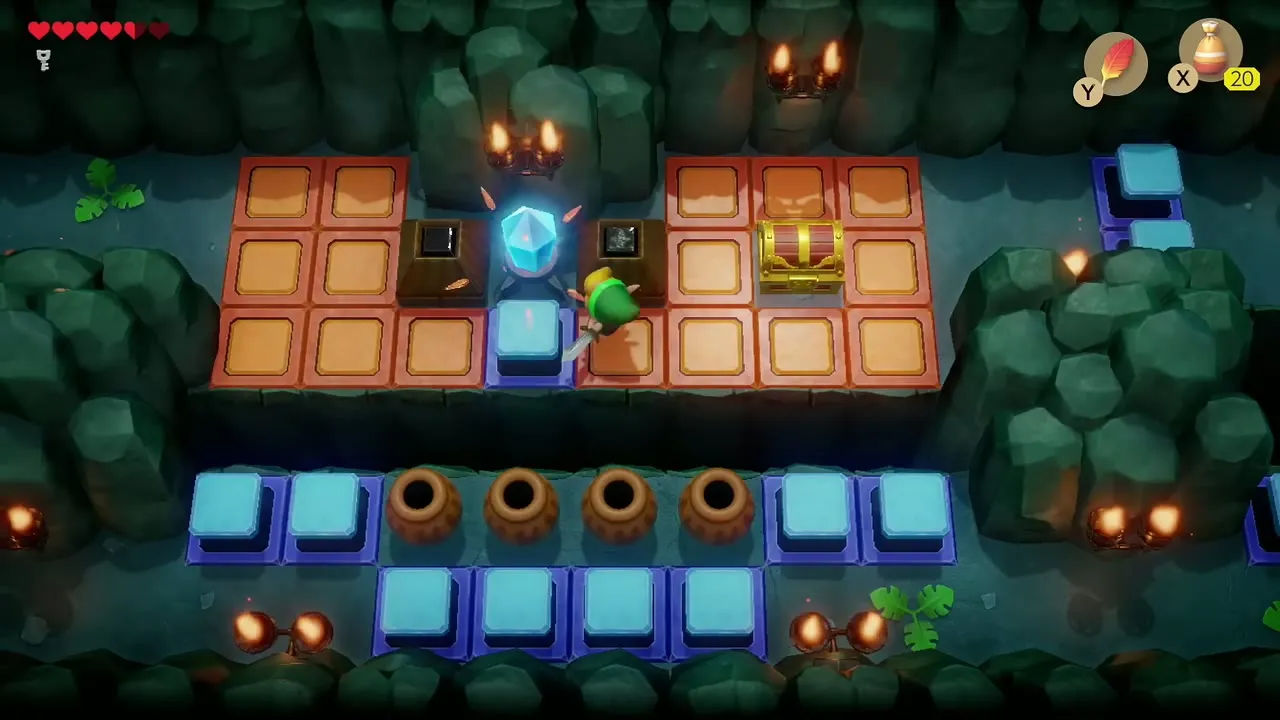
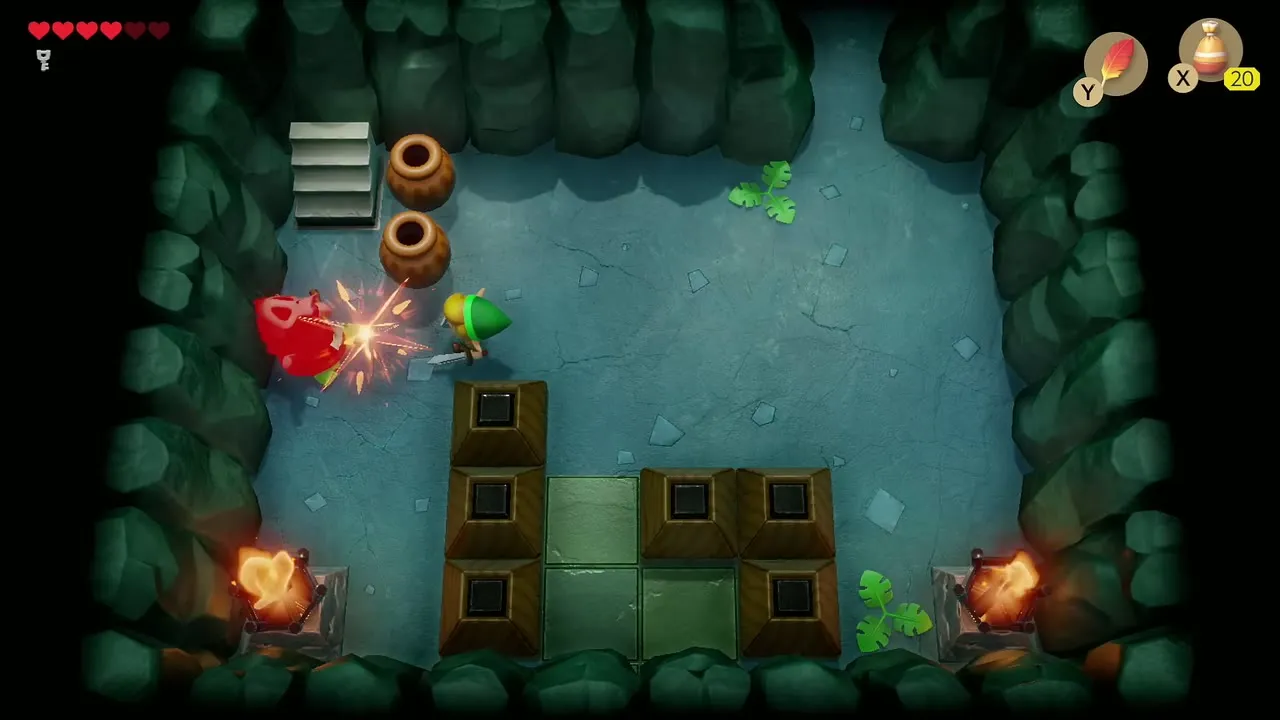
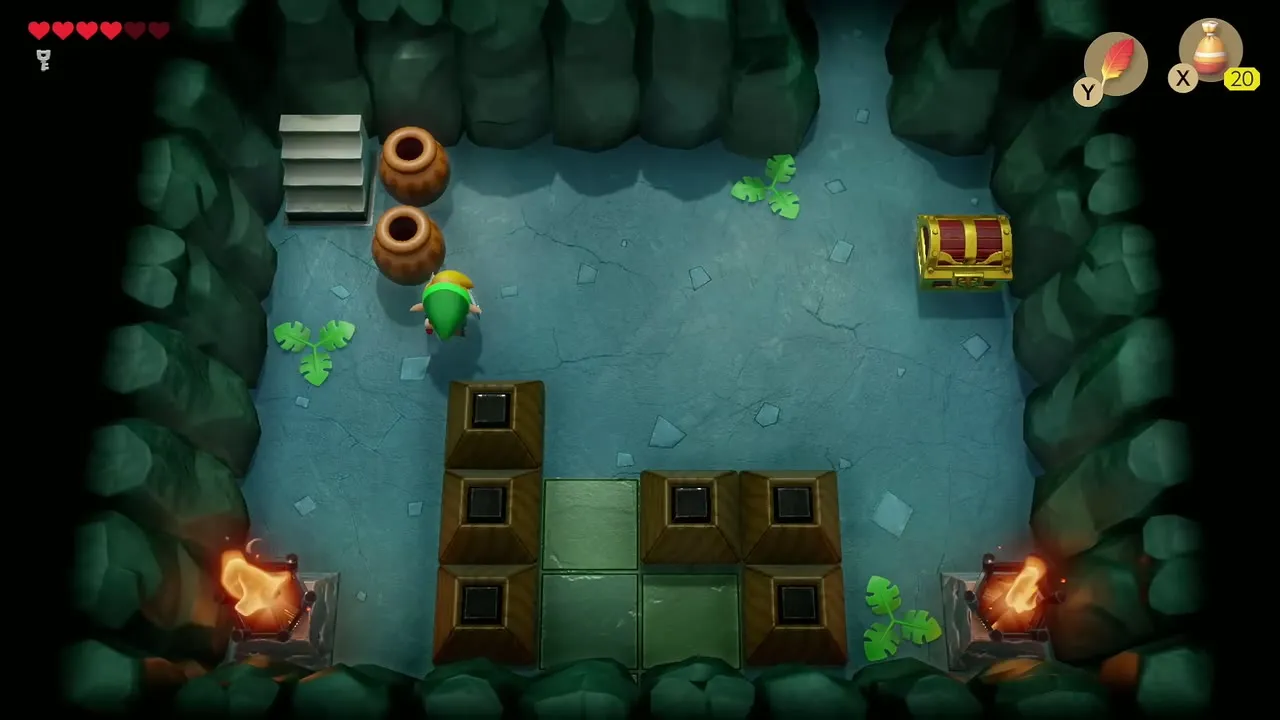
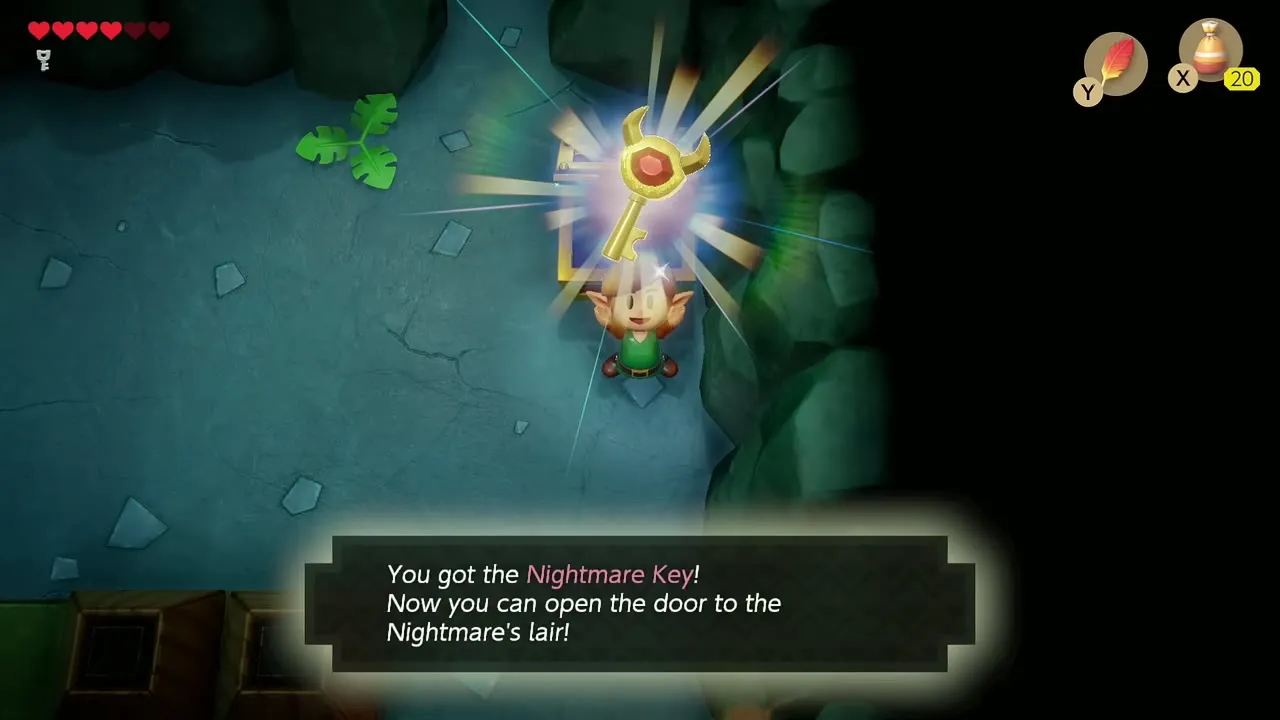
In the enemy-filled room, you must kill monsters in a set order: the Pols Voice first (throw pots at it), then the Keese, then the Shrouded Stalfos. A chest appears in the upper right with the Nightmare Key.

Boss door
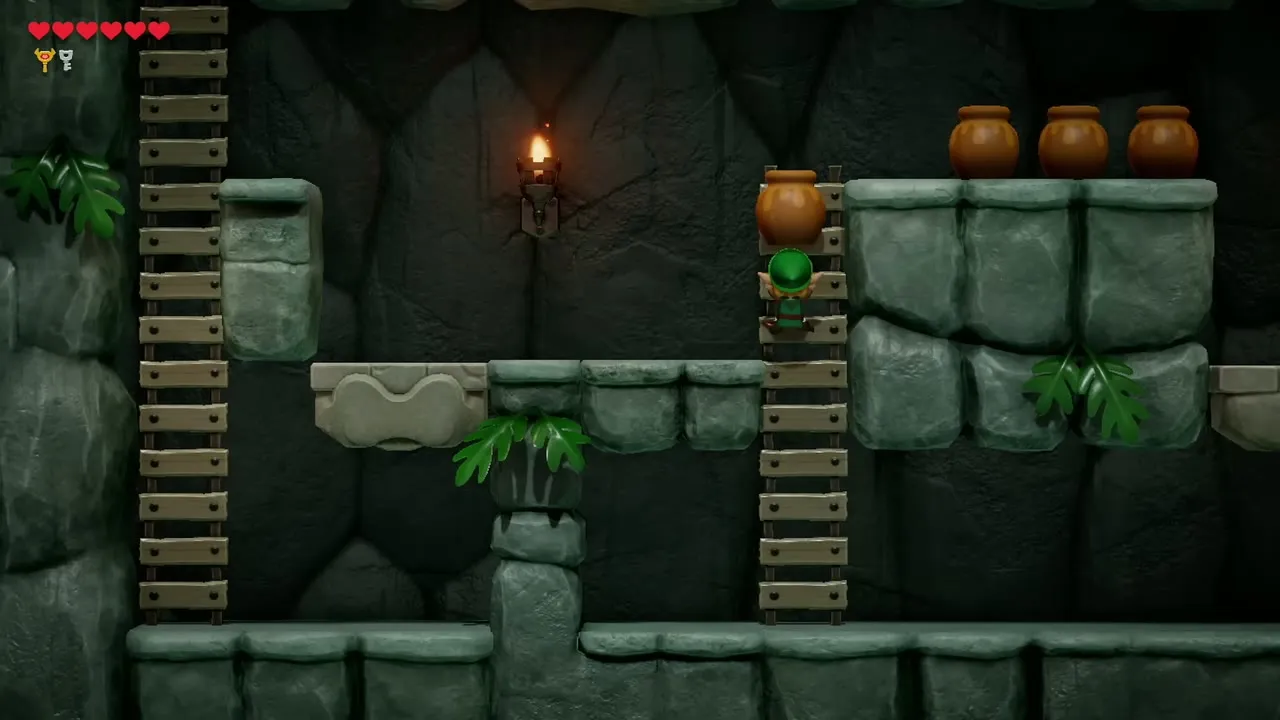
Use the last Small Key on the locked door, clear the pot-filled room and ride the heavy lift in the side-scrolling passage. Beyond it you reach the Nightmare’s antechamber. Check your map and step into the boss room.


Boss: Genie
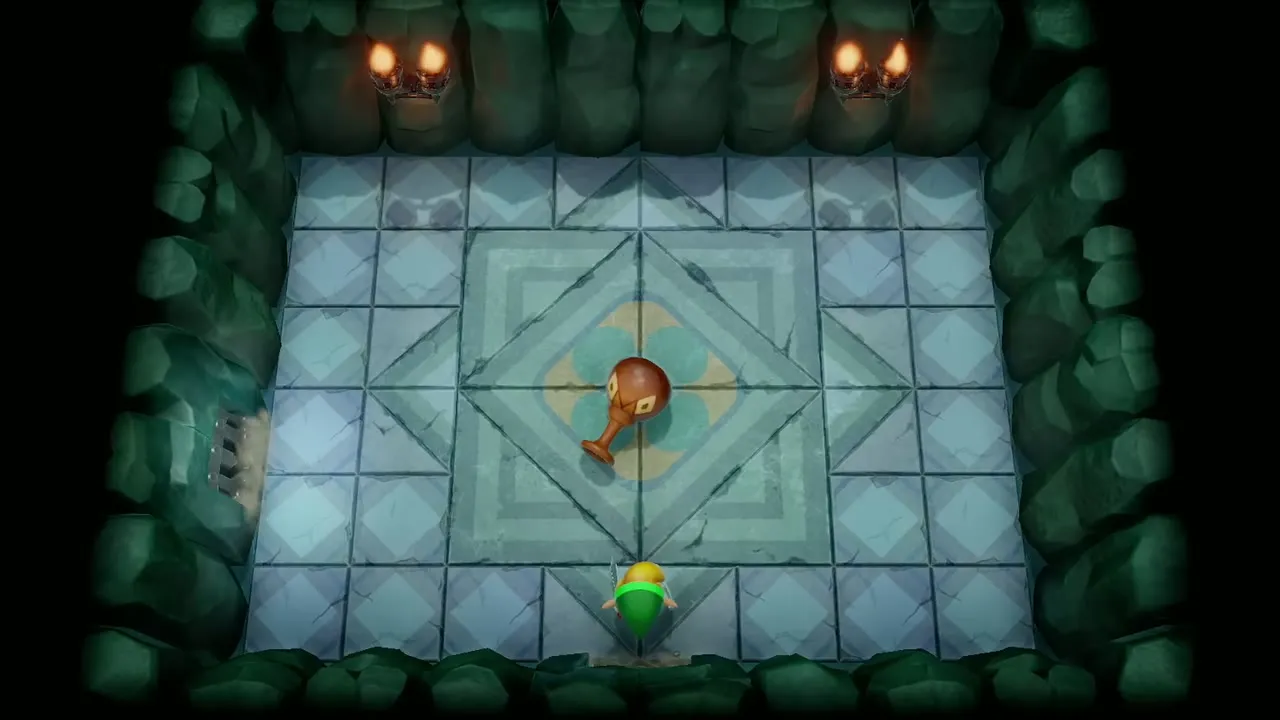
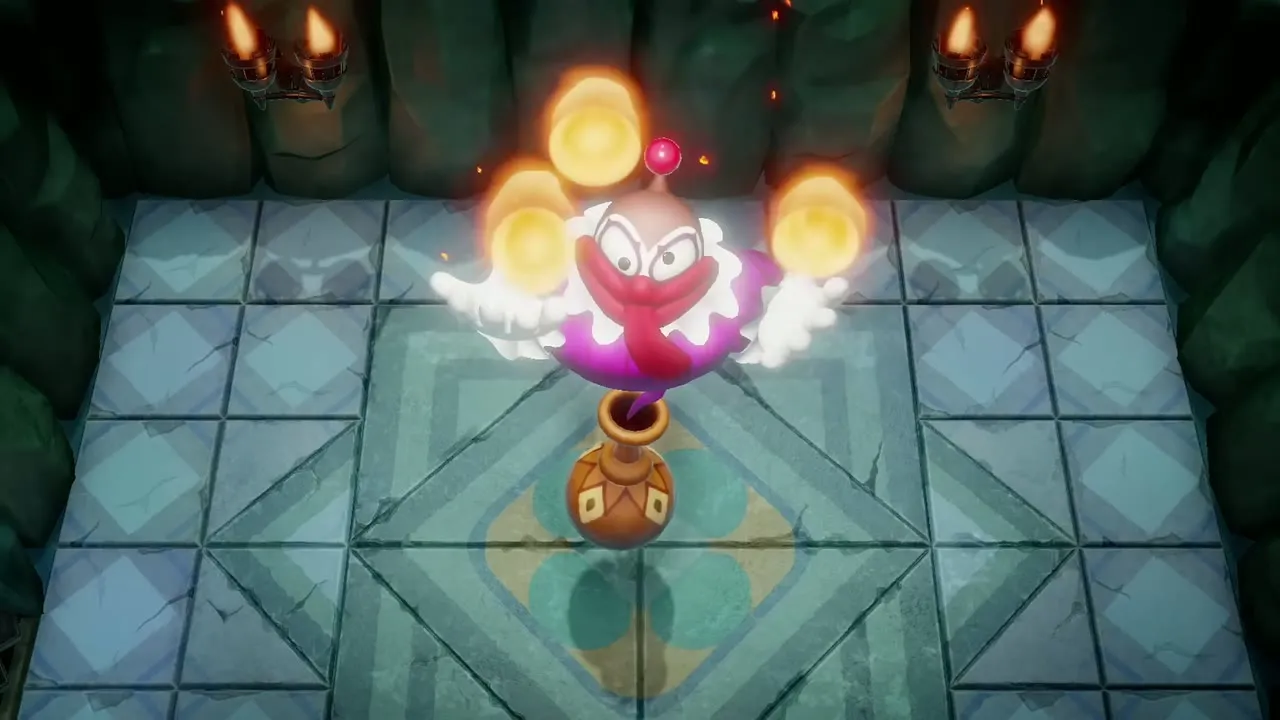
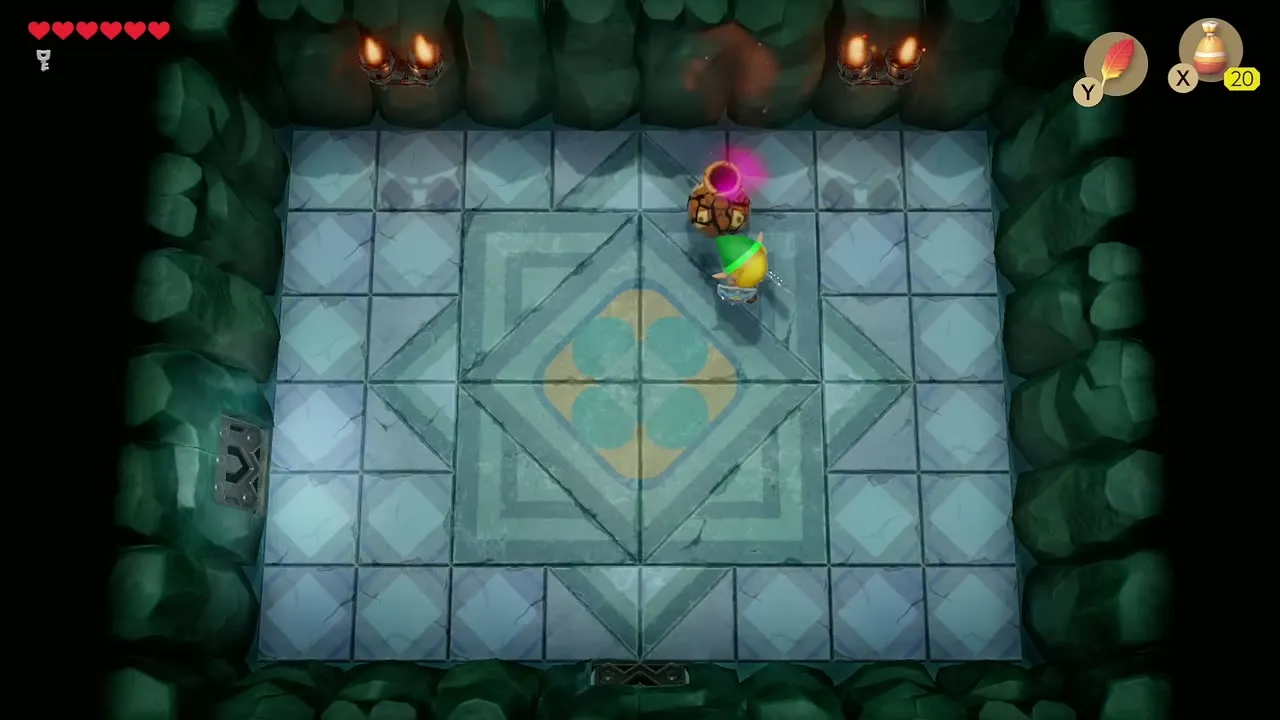
The Genie hovers above his bottle and cannot be hurt while the bottle is intact. He tosses fireballs, so run along the walls and use Roc’s Feather to jump them. When he retreats, the bottle bounces toward you: slash it with the Sword to stun it, then lift it with the Power Bracelet and throw it at the wall. Keep repeating this until the bottle breaks.


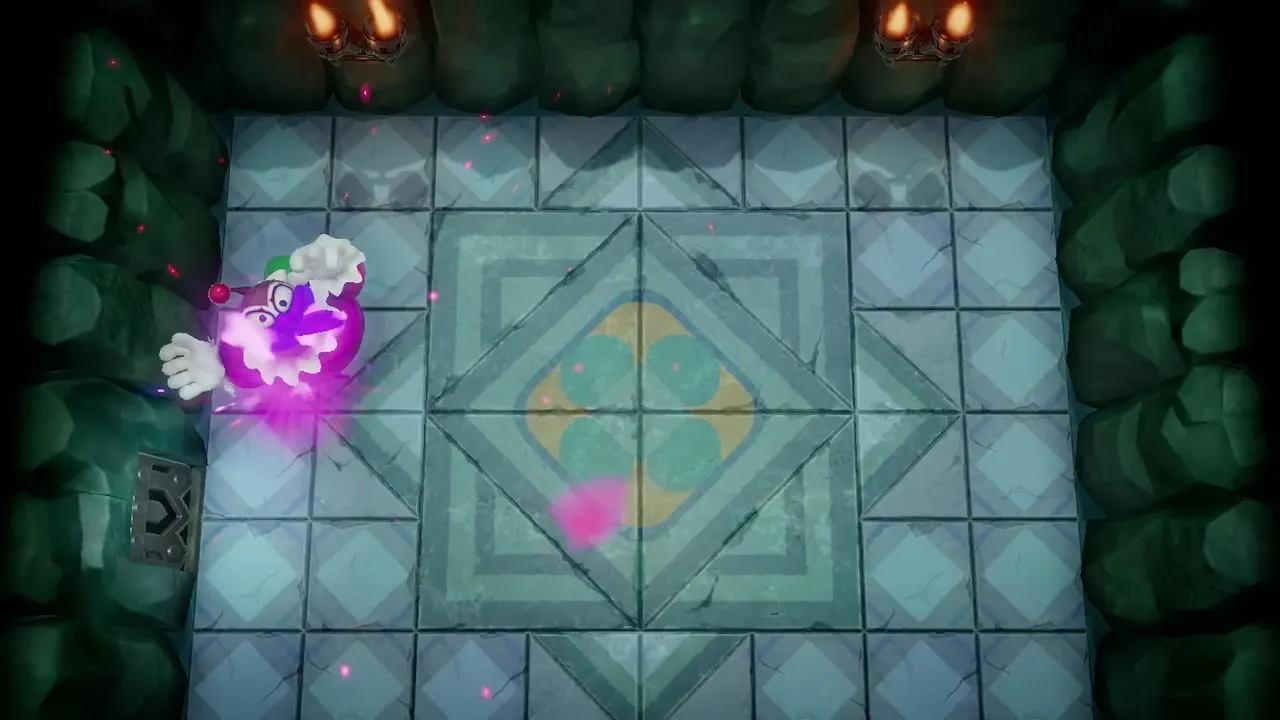
With the bottle gone, the Genie is vulnerable but more aggressive. He vanishes and reappears, then circles and flings a large fireball. Dodge the fireball, then strike him with the Sword. Repeat the pattern until he is defeated.


Heart Container and Conch Horn
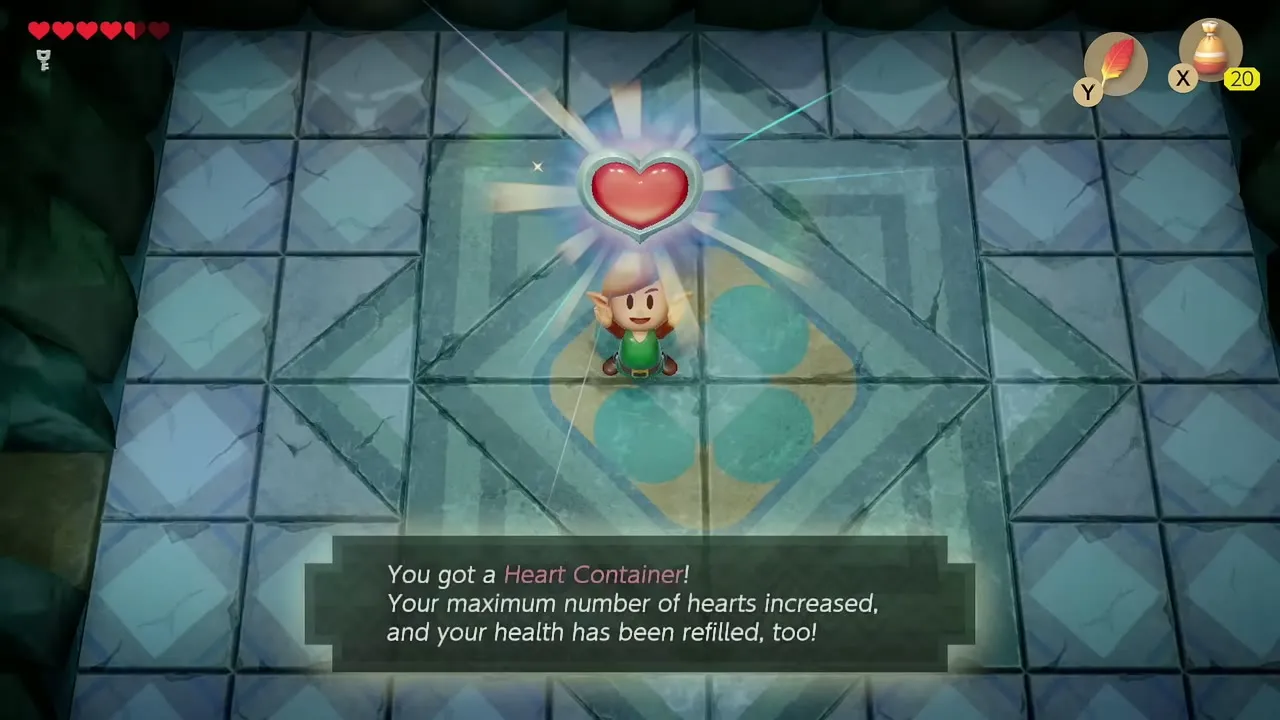
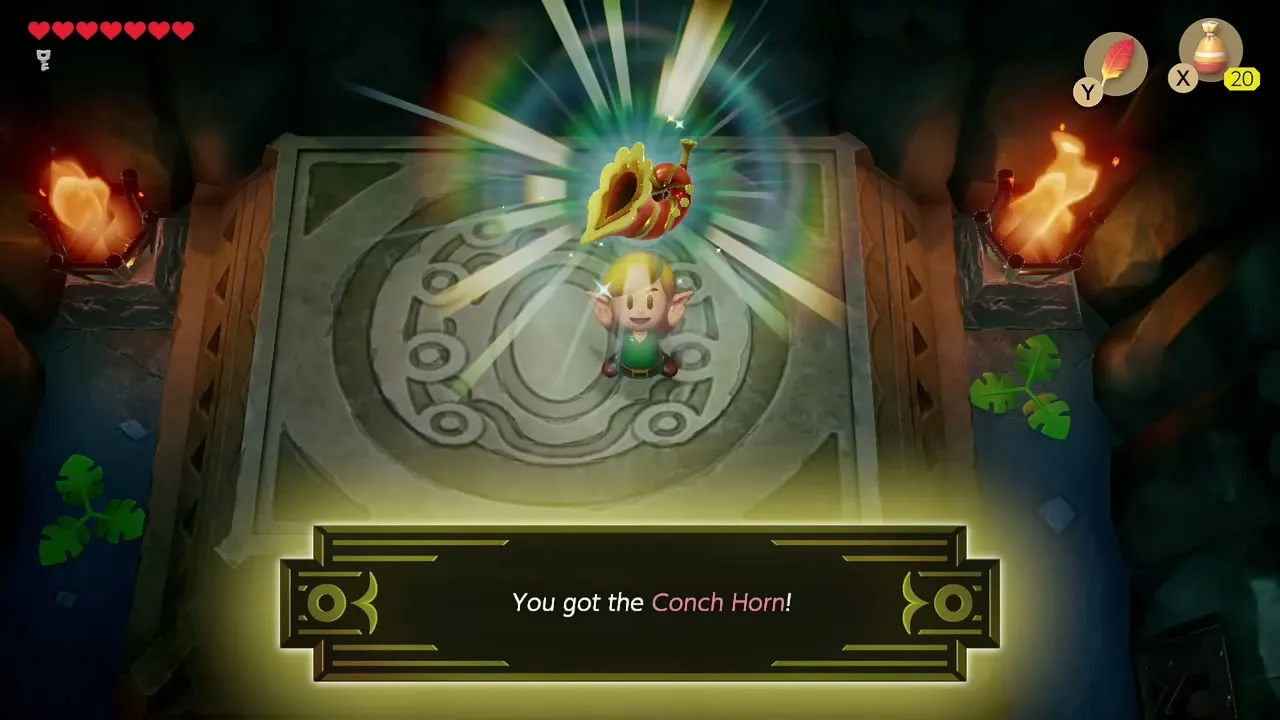
The Genie drops a Heart Container, which raises your maximum health and refills your hearts. Walk onto the platform beyond to take the Conch Horn, the second Instrument of the Sirens. You warp out of the dungeon afterward.
Clean-up: entrance chest and Stone Beak
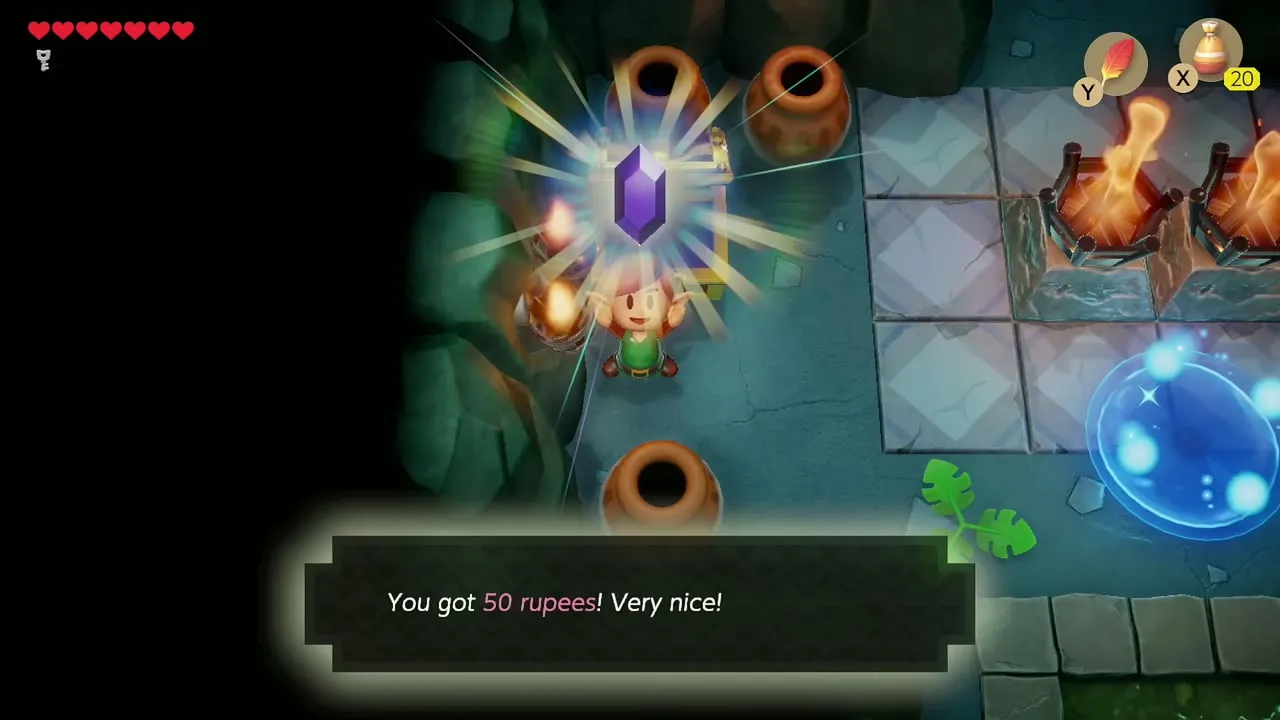
With the Power Bracelet, go back into the entrance room and lift the pots around the left chest; it contains 50 rupees.
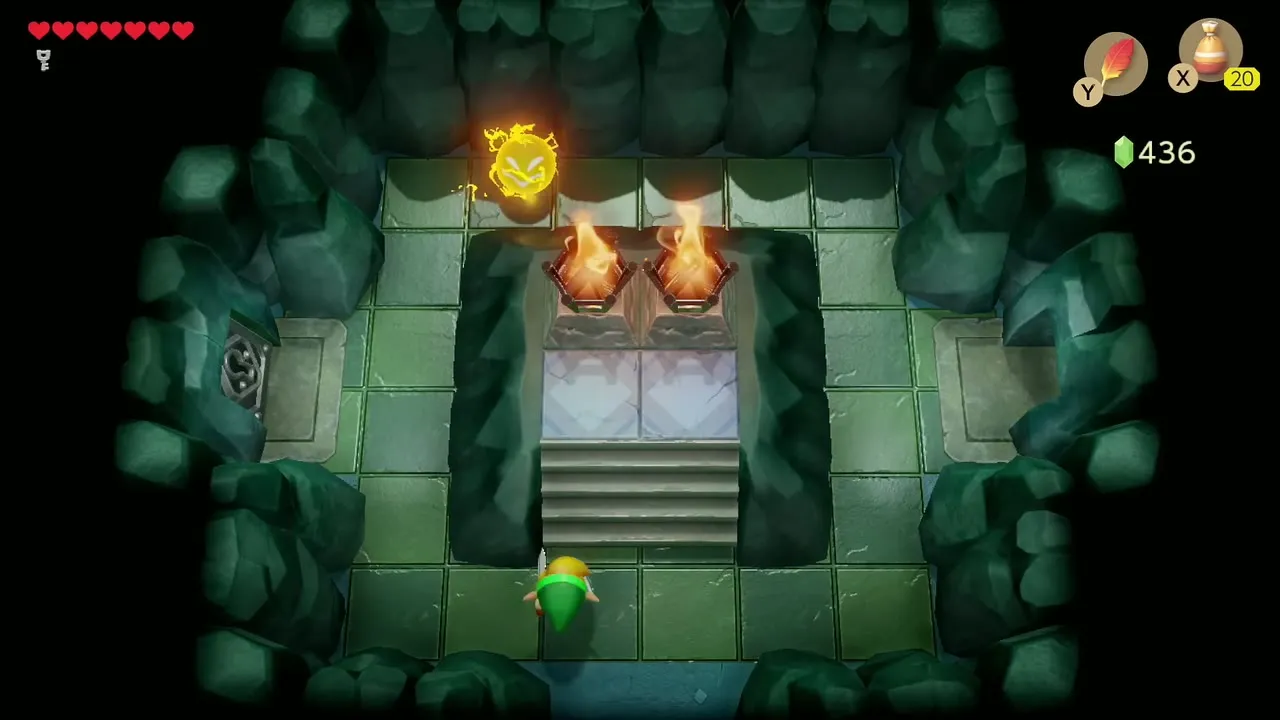
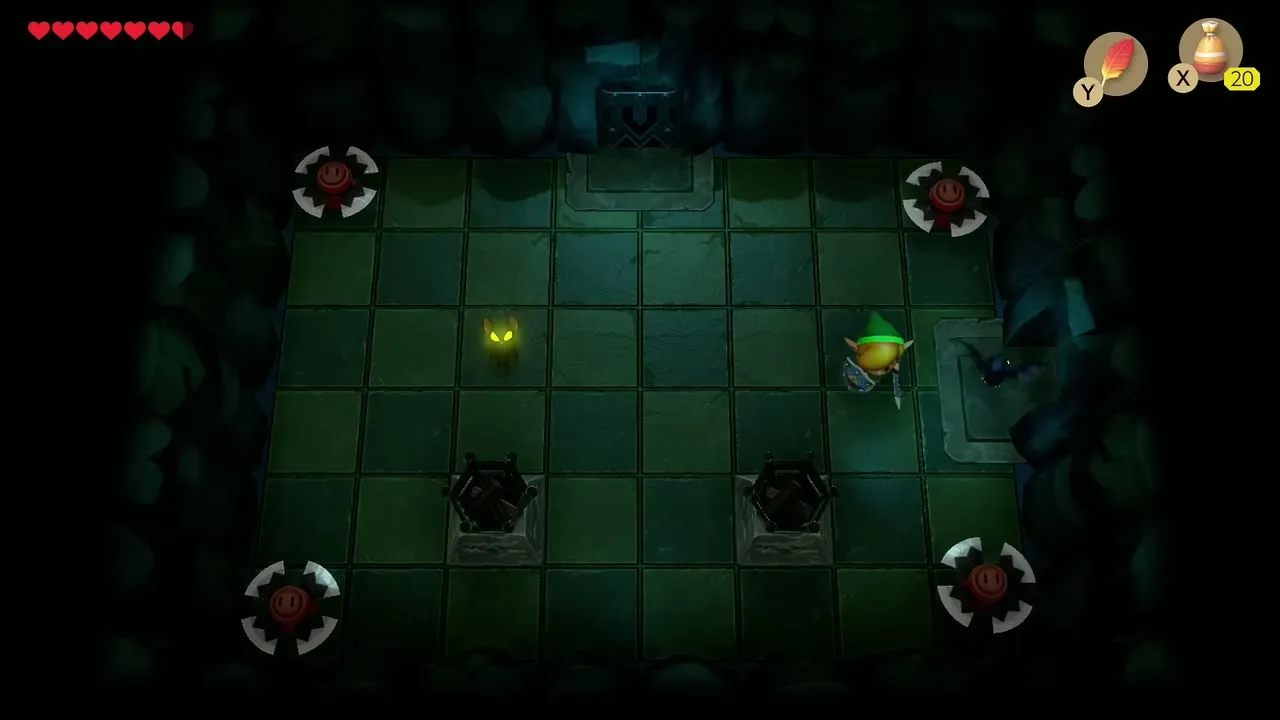
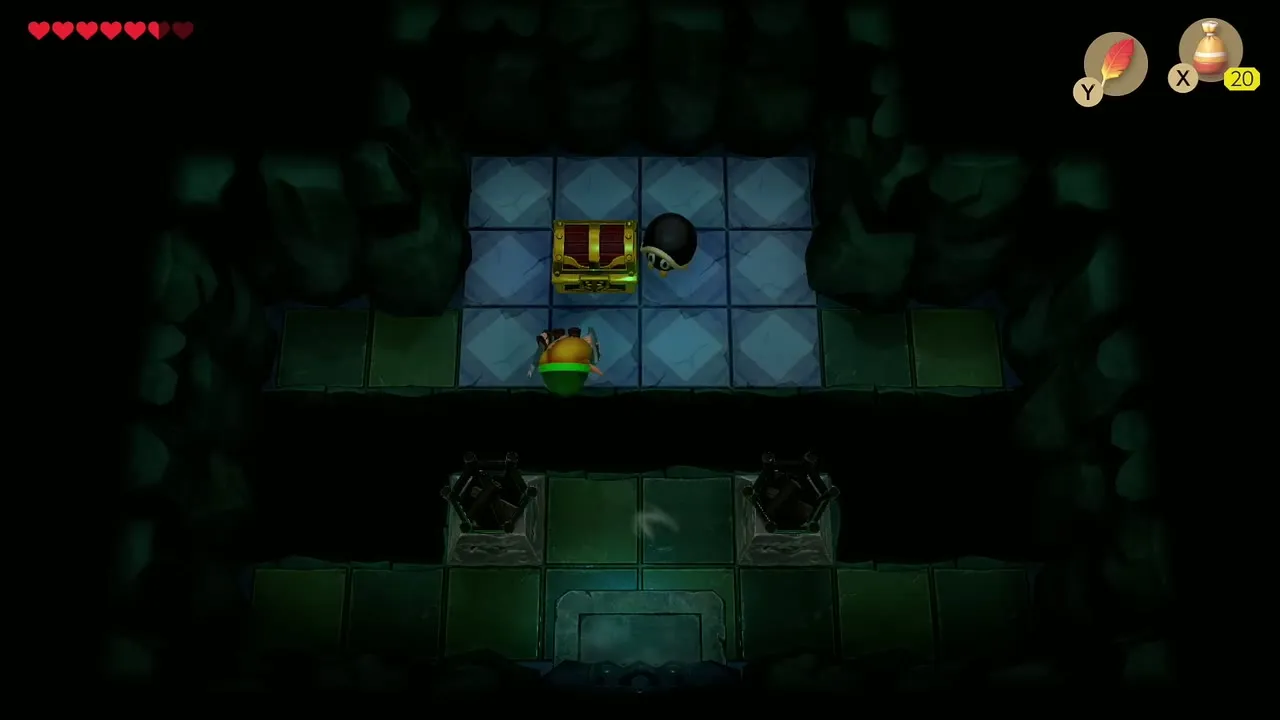
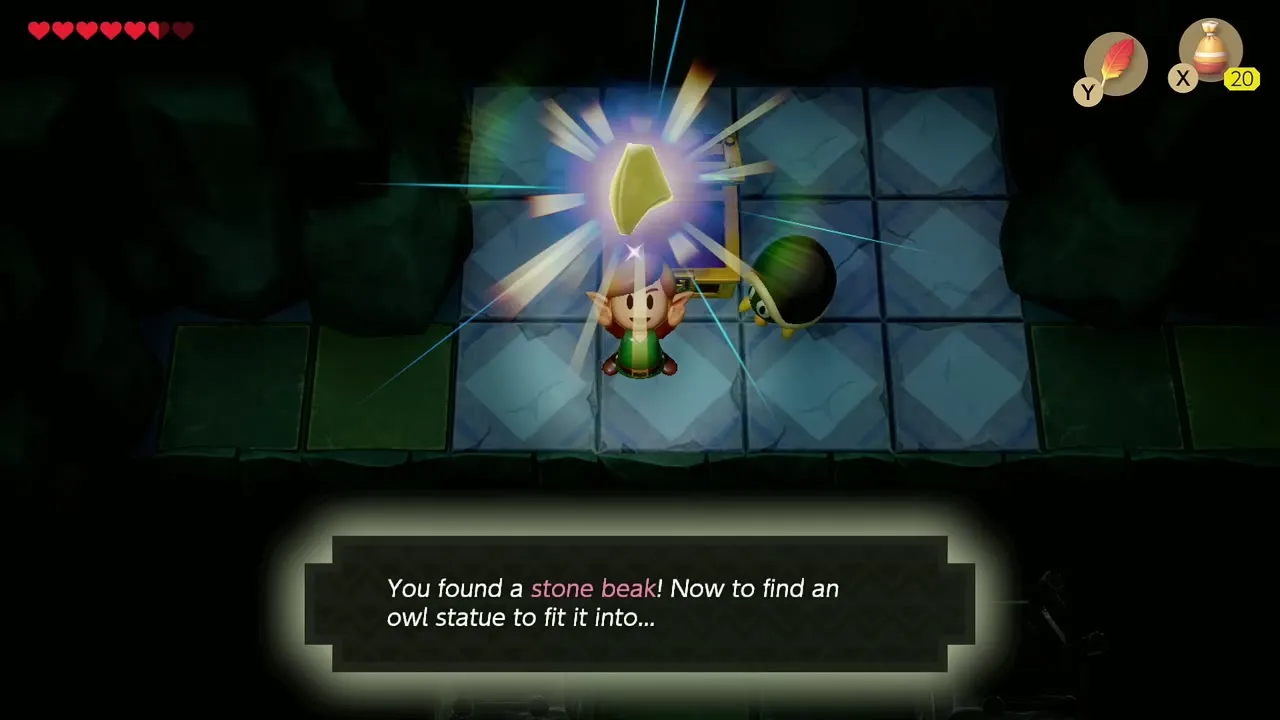
The dungeon also holds a Stone Beak, which unlocks the hints at the Owl Statues. It lies in a chest in a dark room with timed blade traps, reached through the stairs in the torch room; push the beetle that guards it out of the way and open the chest. Cross the blade traps when they retract.
Chapter checklist
| Type | Name | Where |
|---|---|---|
| Ally | BowWow | Moblin Cave, Tal Tal Heights |
| Figure | Goomba Figure | Trendy Game, Mabe Village |
| Heart Piece | Koholint Prairie pit circle | Just outside the Mysterious Forest |
| Heart Piece | Cemetery cave | Under the southwest graves |
| Heart Piece | Tabahl Wasteland | Northeast, past a row of pits |
| Secret Seashell | Flower circle | Mysterious Forest, dig in the middle of the ring of blue flowers |
| Secret Seashell | Tabahl Wasteland | East wall, dug up with BowWow |
| Secret Seashell | Mysterious Forest north edge | On the path where BowWow barks |
| Secret Seashell | Telephone booth bush | Northwest, dig where the lone bush north of the booth stands |
| Rupees | 20 rupees | Cave near Mr. Write’s House |
| Rupees | 50 rupees | Chest guarded by the Giant Goponga Flower |
| Dungeon item | Compass | Bottle Grotto, Mask-Mimic room |
| Dungeon item | Dungeon Map | Bottle Grotto, pit room |
| Dungeon item | Stone Beak | Bottle Grotto, blade-trap room |
| Key item | Power Bracelet | Bottle Grotto, dark ghost room |
| Key | Nightmare Key | Bottle Grotto, kill-order room |
| Rupees | 20 rupees | Bottle Grotto chest |
| Rupees | 50 rupees | Bottle Grotto entrance chest |
| Upgrade | Heart Container | Genie boss reward |
| Instrument | Conch Horn | After the Genie |
