





















| Quest type | Shrine quest |
|---|---|
| Region | Akkala |
| Starts | Lomei Labyrinth Island, north-east of the Akkala Ancient Tech Lab (x 4654, z -3650, map square J-1) |
| Goal | Tu Ka’loh Shrine (x 4655, z -3709, height 250, map square J-1), above the maze |
| Reward | Barbarian Helm; Spirit Orb from the shrine |
Getting there
Cross the sea
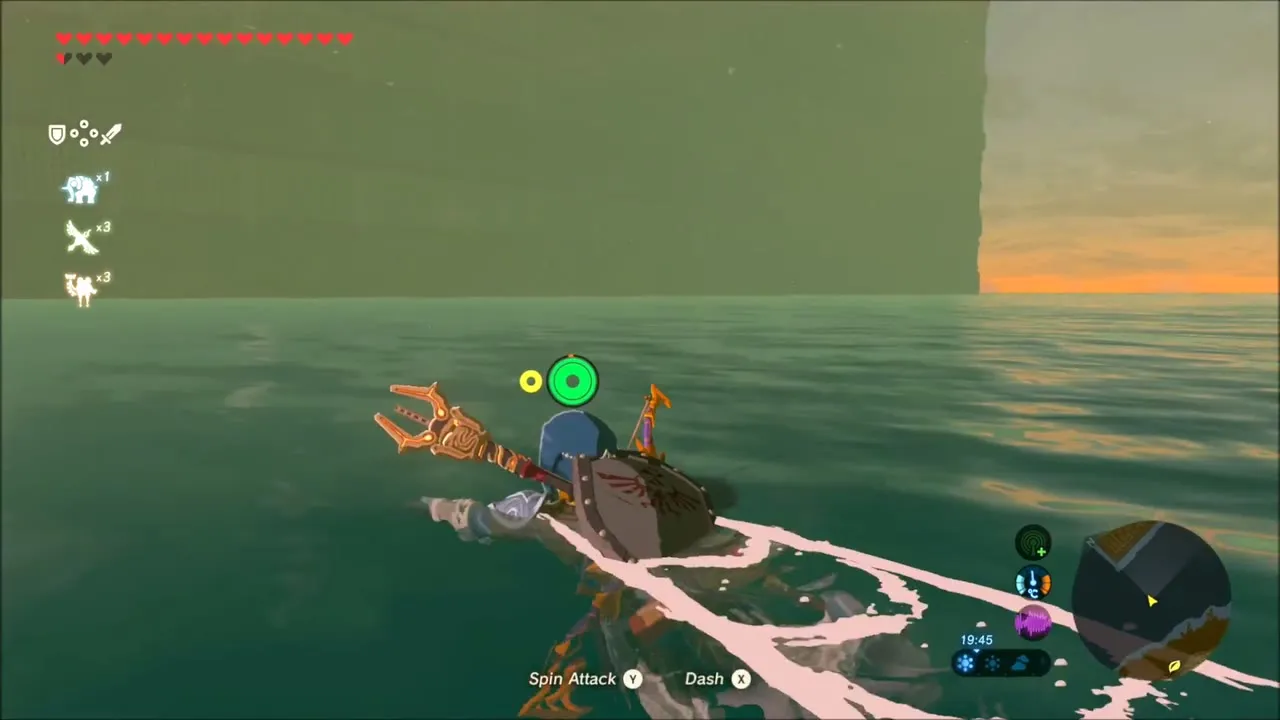
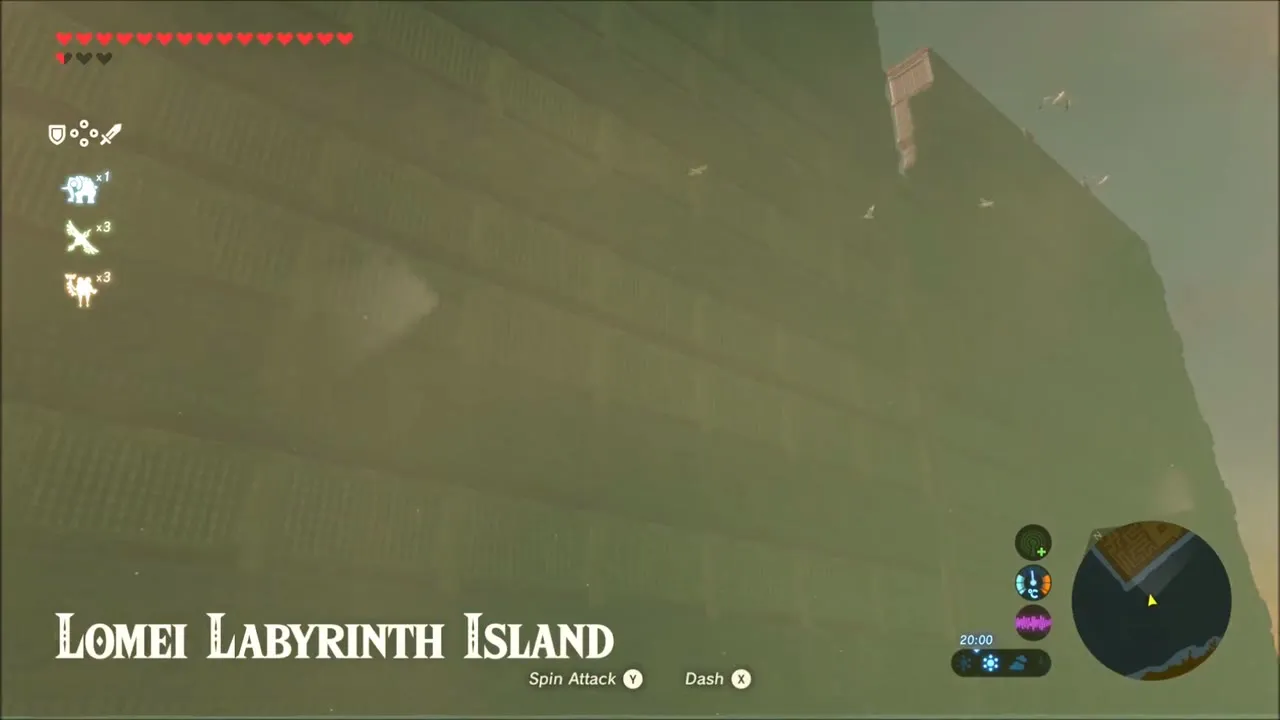
Glide from the cliffs near the Akkala Ancient Tech Lab. The flight is long, so eat stamina food or take an elixir. You can also build ice platforms with Cryonis.
The maze
Head for the far wall
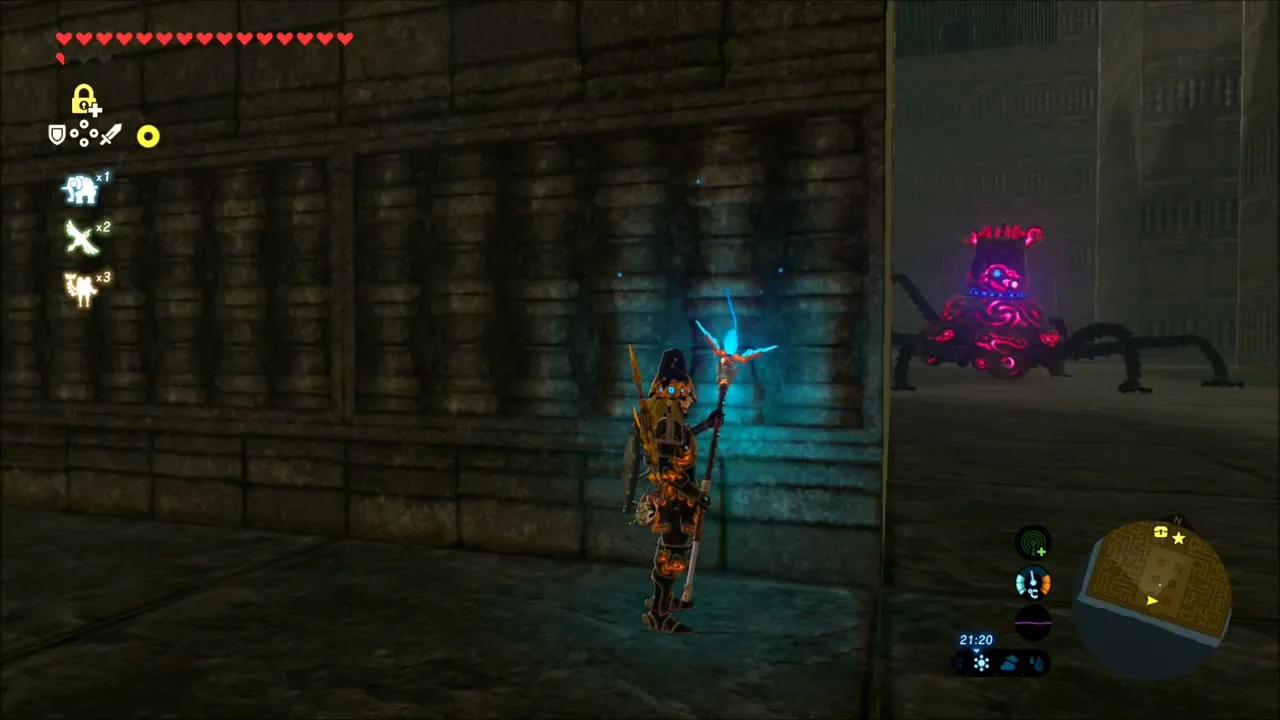
From the landing spot go straight until you meet the wall that runs east to west across the island. Guardians patrol here; fight or wait for them to pass. The shrine sits above that wall, and the maze entrance is behind you.
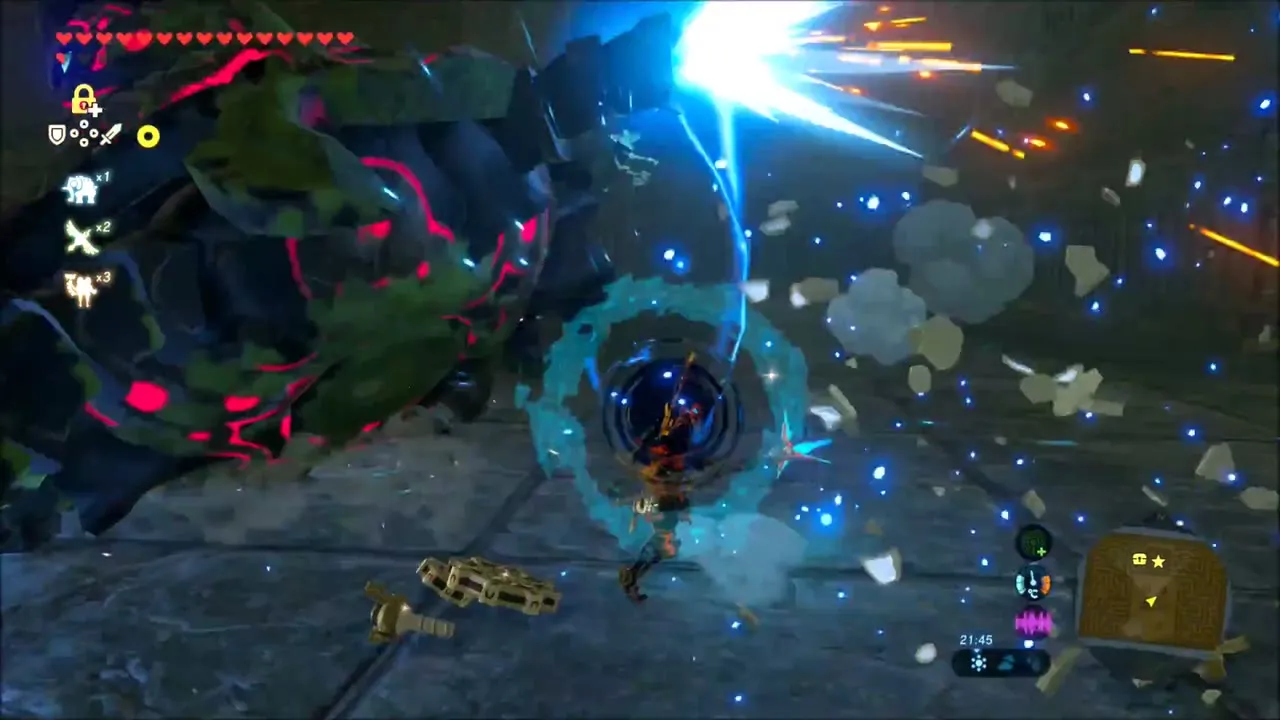
Follow the corridors
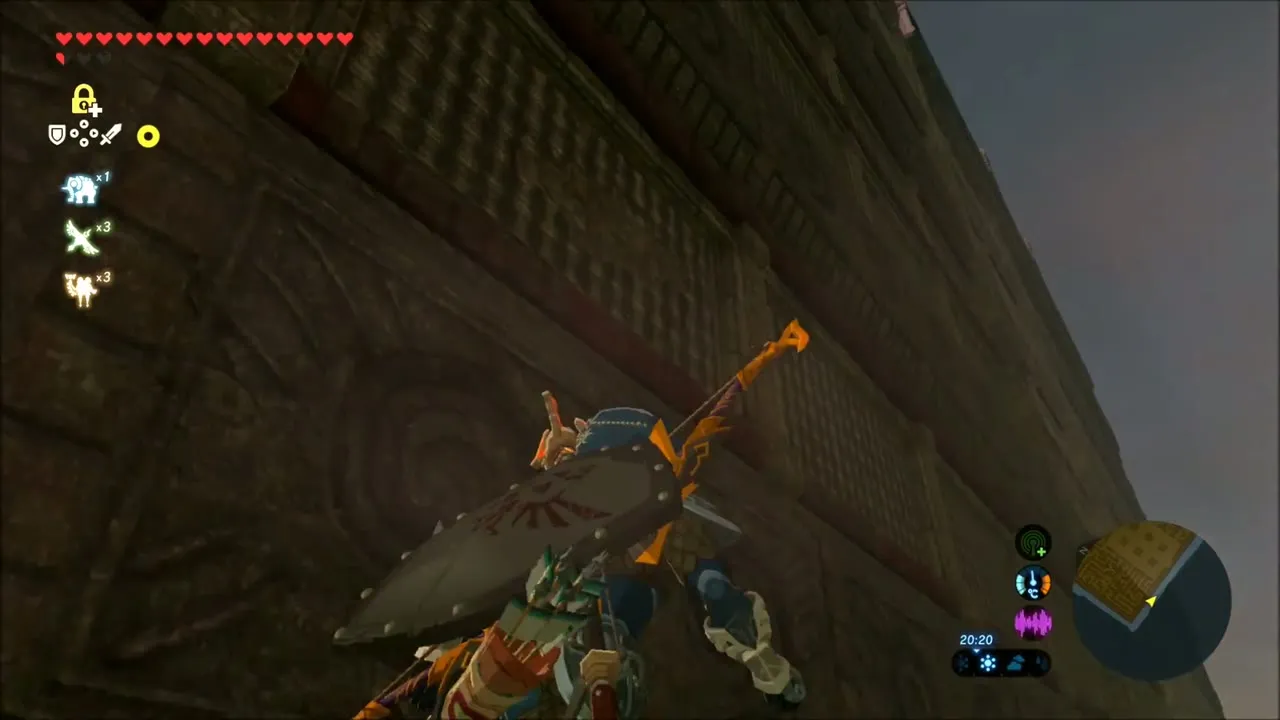
In the maze keep left along the wall to the small doorway on your right, pass the metal box, and keep turning right. After that the path never branches: right, left, left, left, right, right, left. Alternatively, with climbing gear, scale the walls, watching for flying Guardians.


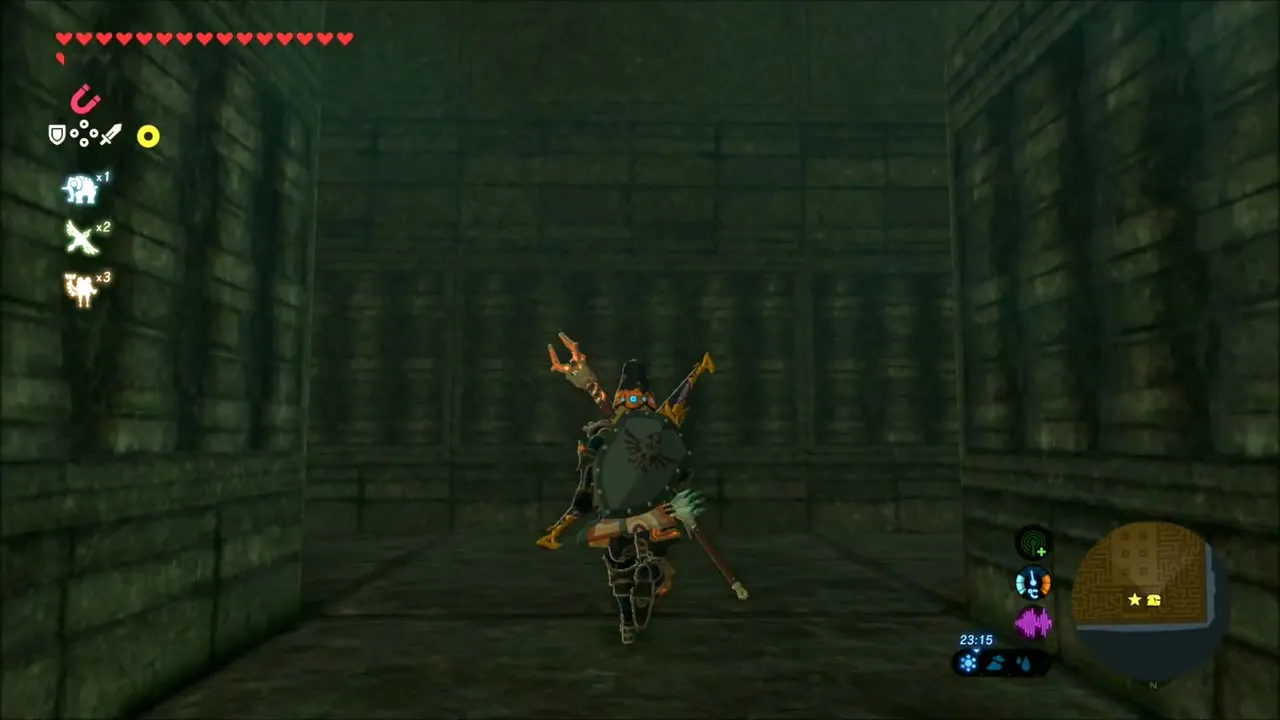
Climb to the shrine
You end at a ladder between two lamp posts. Climb it, turn left up the stairs and follow the stairways around until four lamp posts stand beside the shrine on your right.
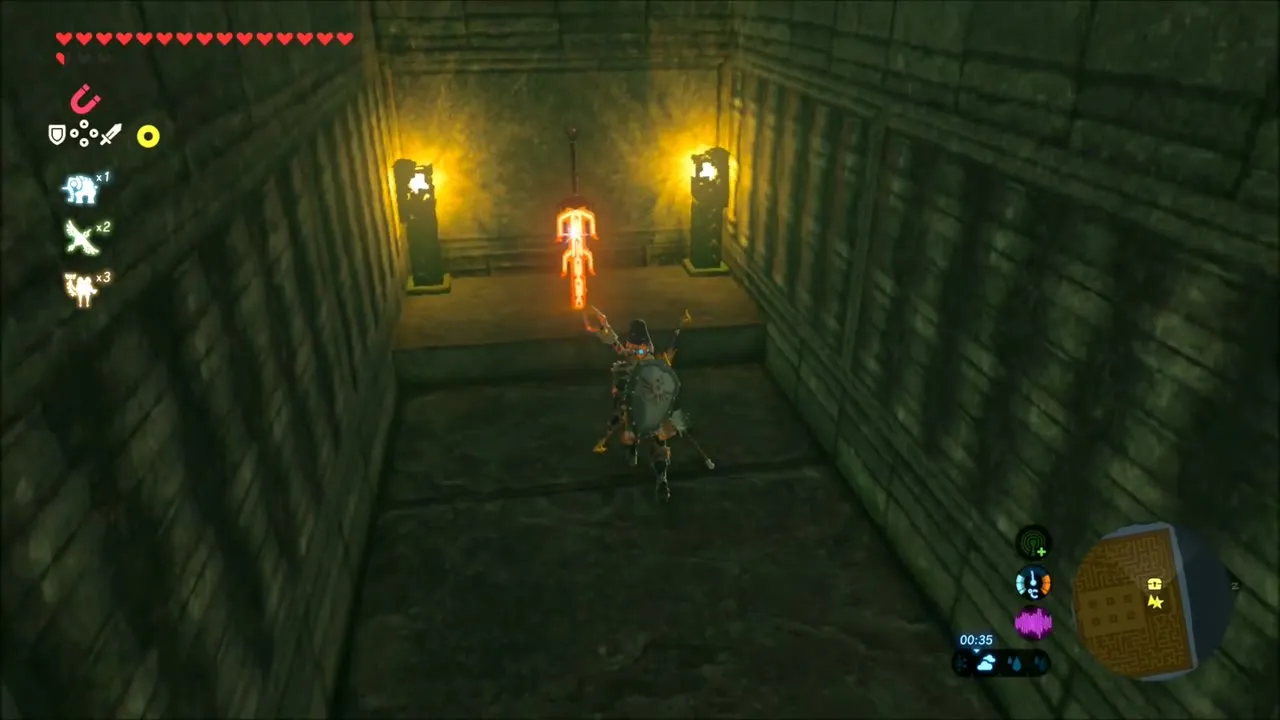


Chests and rewards
- Barbarian Helm, from the chest in Tu Ka’loh Shrine.
- Spirit Orb, from the monk.
- Diamond Circlet, in a chest at the bottom of the hole in front of the shrine, in a Guardian graveyard. Do this last because you warp out afterwards.
- A Flaming Greatsword lies down the lower passage beyond the thorns; burn them with the torch by the shrine or a fire arrow.
