100% Completion Walkthrough21 chapters
- Great PlateauAll 4 Shrines, the Paraglider and Korok Seeds
- Kakariko Village and Dueling PeaksSeek Out Impa, Shrines and Korok Seeds
- Hateno VillageHateno Tower, the Ancient Tech Lab, Link’s House and Shrines
- Zora’s DomainReach Zora’s Domain, Vah Ruta, Lanayru Shrines and Korok Seeds
- Faron and Lurelin VillageLurelin Village, Faron Tower, Shrines and Korok Seeds
- Korok Forest and Master SwordHow to Get the Master Sword, Lost Woods, Shrines and Korok Seeds
- Hebra MountainsHebra Tower, Snowfield Stable, Shrines and Korok Seeds
- Rito Village and Vah MedohVah Medoh, Tabantha Tower, Shrines and Korok Seeds
- Gerudo HighlandsGerudo Tower, Gerudo Summit, Shrines and Korok Seeds
- Gerudo TownForbidden City Entry, the Thunder Helm, Desert Shrines and Korok Seeds
- Vah Naboris and Gerudo DesertThunderblight Ganon and the Gerudo Desert Shrines
- Lake HyliaLake Tower, Farosh, Lake Shrines and Korok Seeds
- Akkala and Tarrey TownTarrey Town, Akkala Tower, Shrines and Korok Seeds
- Death Mountain and Goron CityGoron City, Vah Rudania, Eldin Shrines and Korok Seeds
- RidgelandRidgeland Tower, Shrines, Memories and Korok Seeds
- Central HyruleCentral Tower, Captured Memories, Shrines and Korok Seeds
- Hyrule Castlethe Hylian Shield, Saas Ko’sah Shrine, Zelda’s Diary and Memories
- Calamity GanonLast Side Quests, Destroy Ganon and the Final Boss
- All Hinox, Talus and Molduga LocationsEvery Hinox, Stone Talus and Molduga, for Kilton’s Medals of Honor
- Trial of the Sword and EX TreasuresThe Trial of the Sword and every EX Treasure location (DLC Pack 1)
- Champions’ BalladOne-Hit Obliterator, Champion Trials and the Final Trial
| Region | Great Hyrule Forest |
|---|---|
| Shrines | 8: Mirro Shaz Shrine, Keo Ruug Shrine, Maag Halan Shrine, Kuhn Sidajj Shrine, Daag Chokah Shrine, Ketoh Wawai Shrine, Rona Kachta Shrine, Monya Toma Shrine |
| Sheikah Tower | Woodland Tower |
| Korok seeds | 35 |
| Towns and stables | Woodland Stable, Serenne Stable |
This chapter of the 100% walkthrough covers the Great Hyrule Forest region in a route that collects everything along the way: 8 shrines, 35 Korok seeds and the Sheikah Tower, plus the quests, chests and minibosses you meet. Positions are map coordinates (x grows east, z grows south).
Mimo’s Paraglider Course on Eventide Island: Ring Course Run
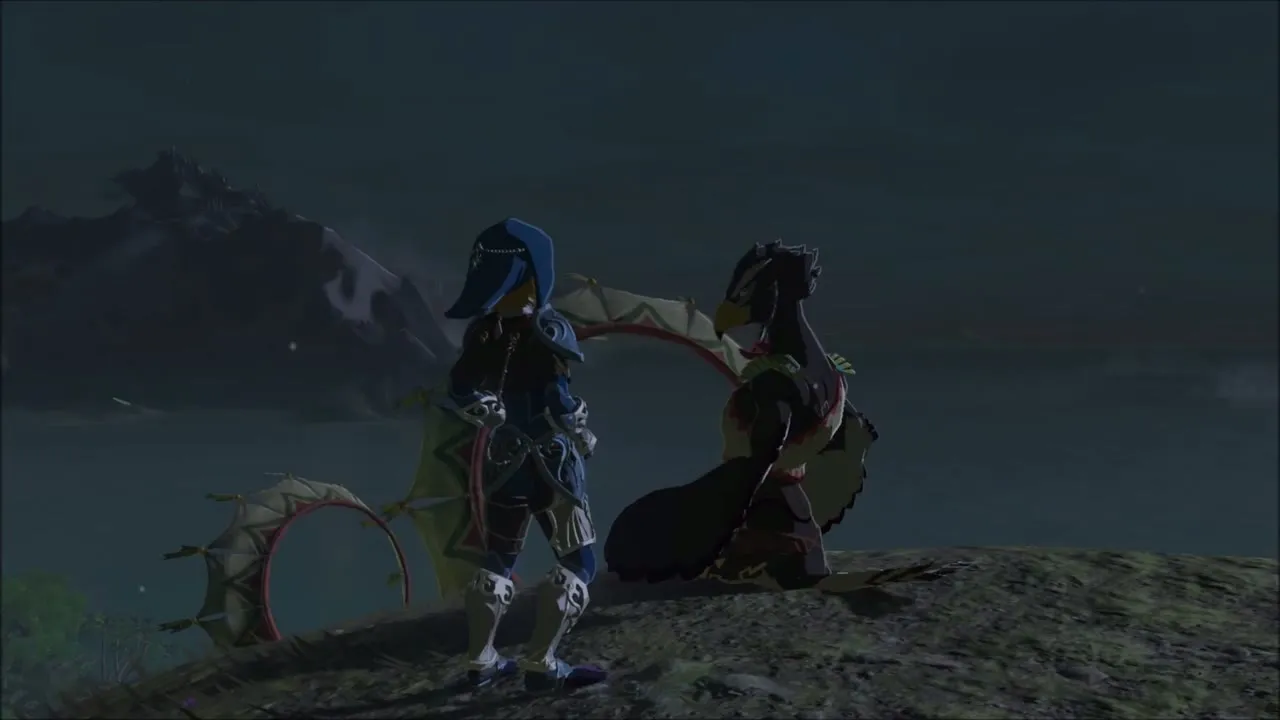
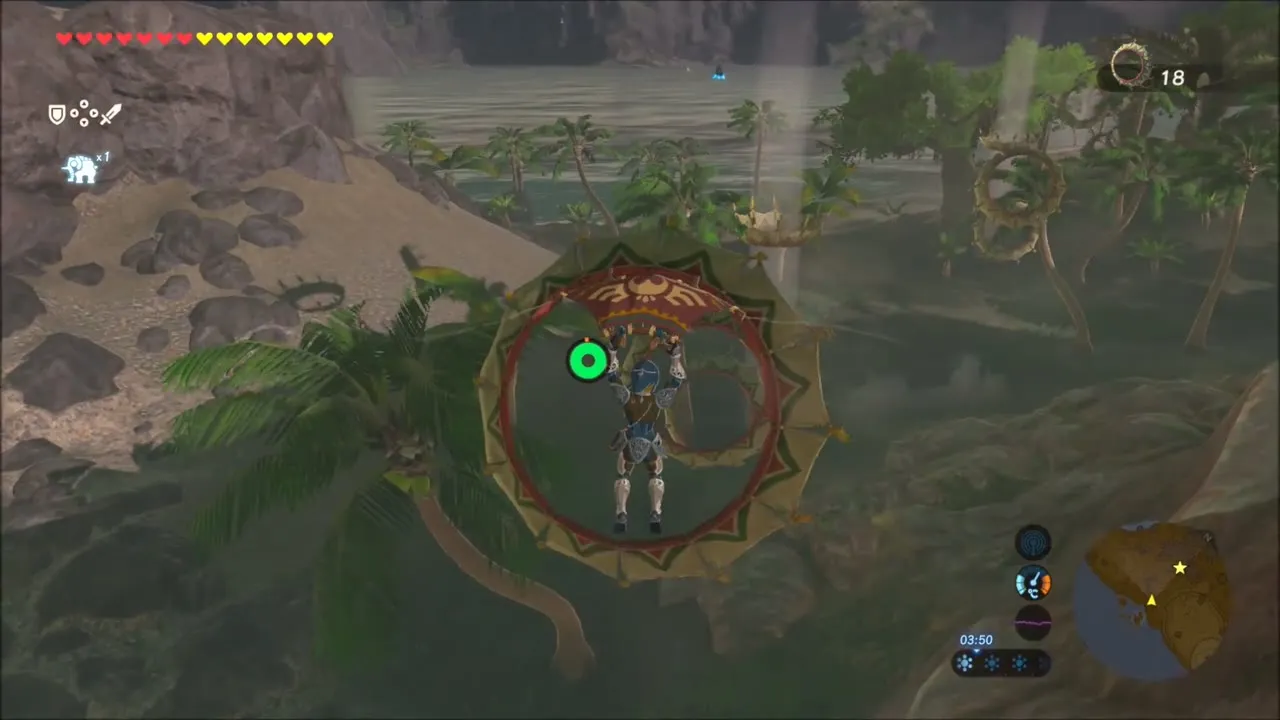
Before you leave Eventide Island, speak to Mimo at the top of Koholit Rock and take on his Paraglider Course. He charges 20 rupees to set up the rings, then you jump from the summit and glide through as many as you can, riding updrafts to stay in the air. Link clears 34 rings and Mimo declares the score unsurpassed even by the Rito. A total of 30 to 49 rings pays a Silver Rupee, and 50 or more pays a Gold Rupee, so retry if you want the top prize.



Zelo Pond to Pico Pond: Chests and Korok Seeds on the Road North
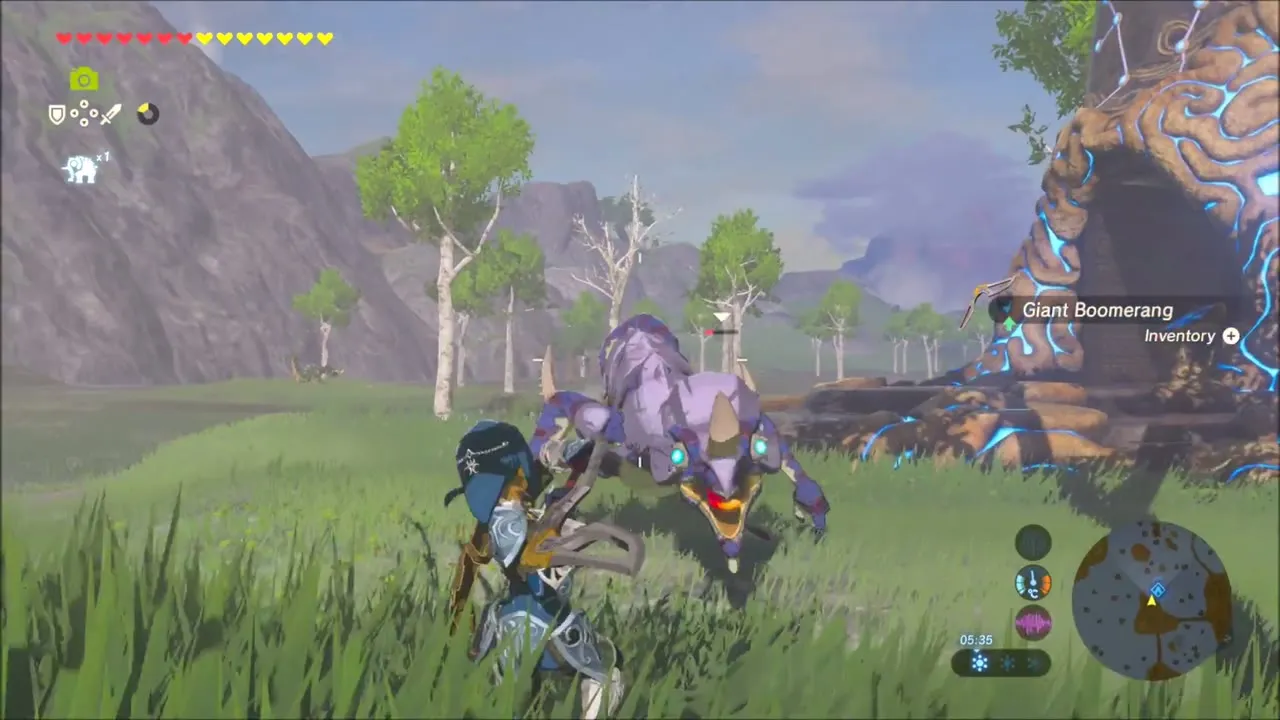
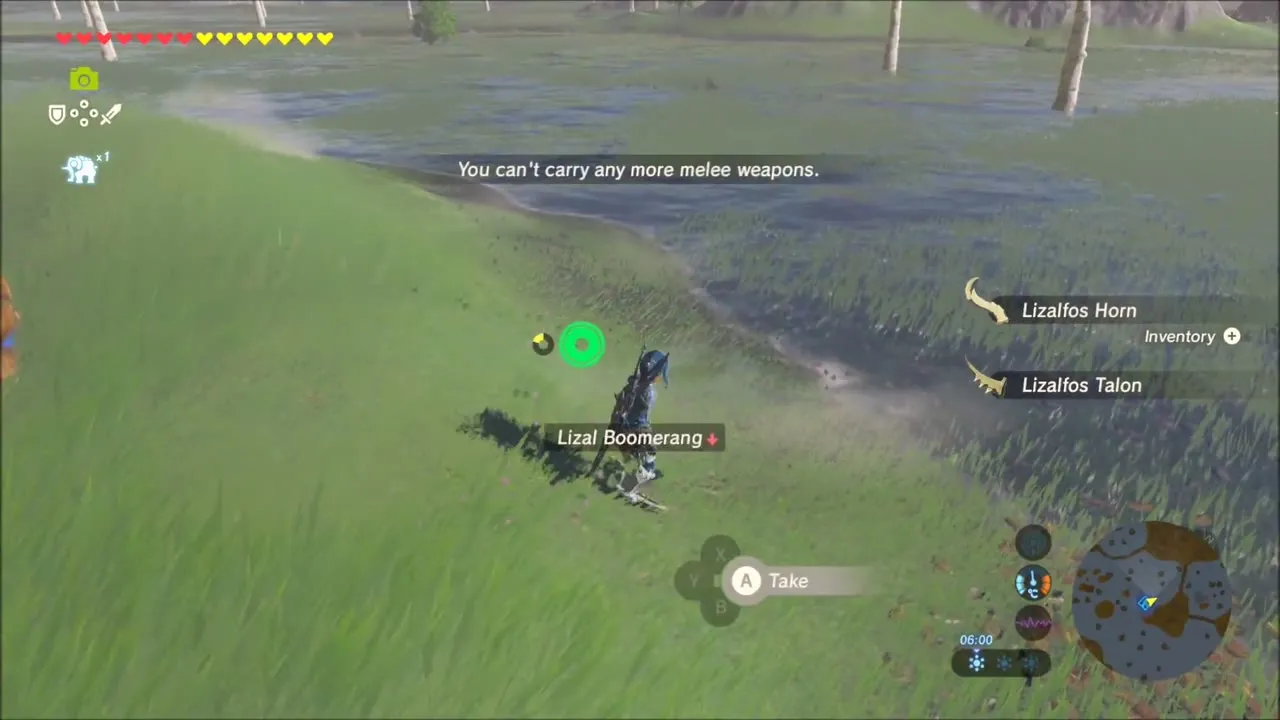
Warp back to the mainland and walk north from the Lanayru Wetlands toward Zelo Pond. A Lizalfos fights beside the wreck of a Guardian here, with a Giant Boomerang lying on the ground next to it. Defeat it, collect its Lizalfos Horn and Talon drops, and pick up the weapon if you have a free slot (the game warns you when your melee slots are full). Then follow the road north toward Pico Pond.


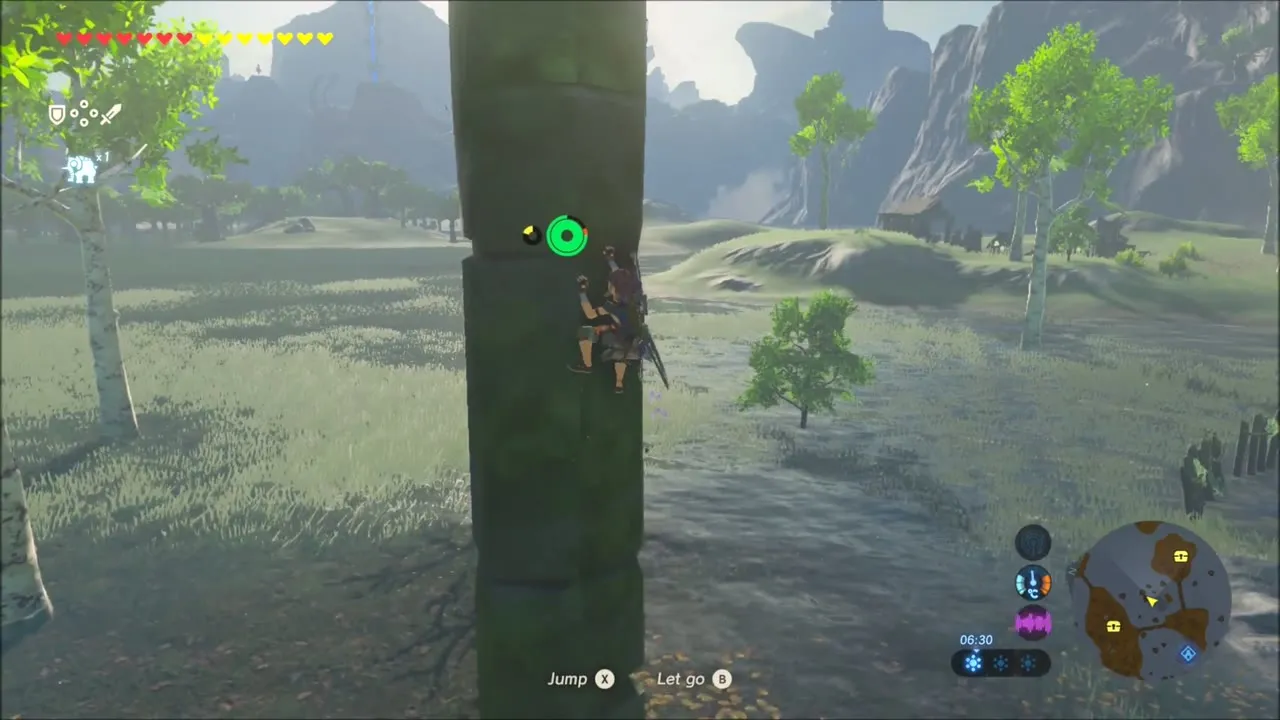
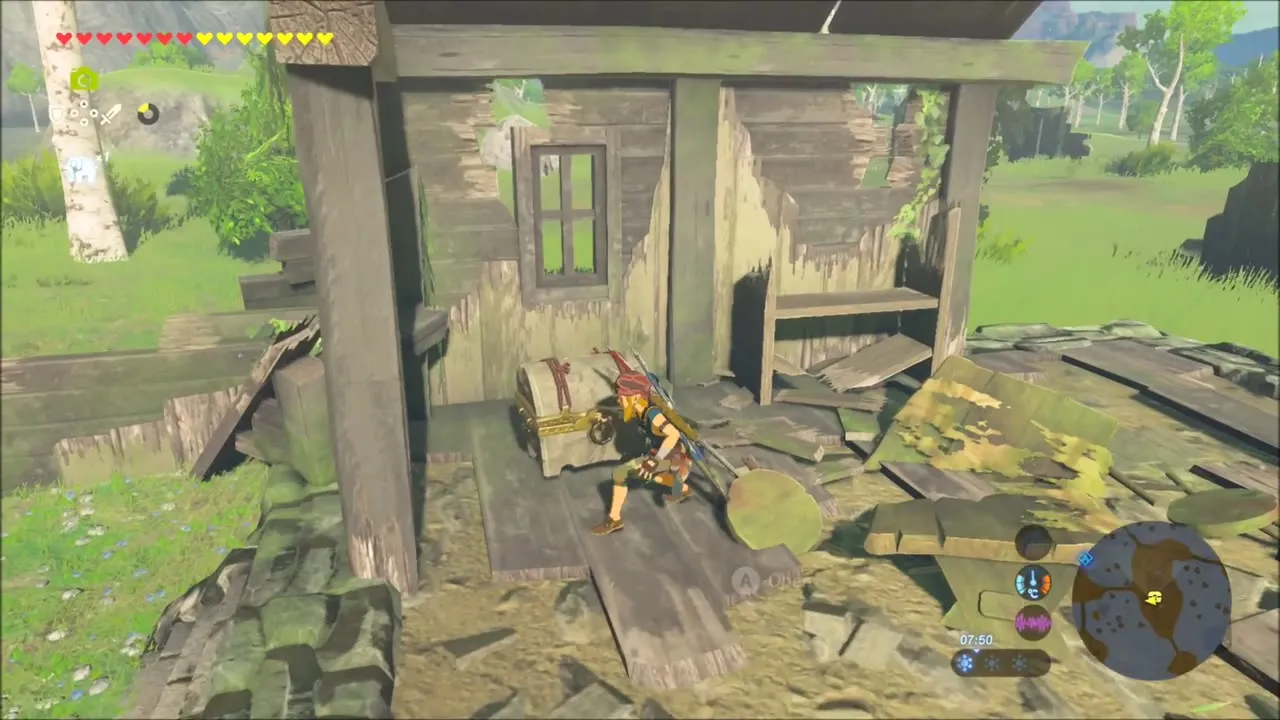
Two chests sit just off the route. One is on top of a lone stone pillar in the marsh grass, so climb the pillar to open it. The other is among the planks of a ruined hut a bit further along; it holds a Purple Rupee (50 rupees).


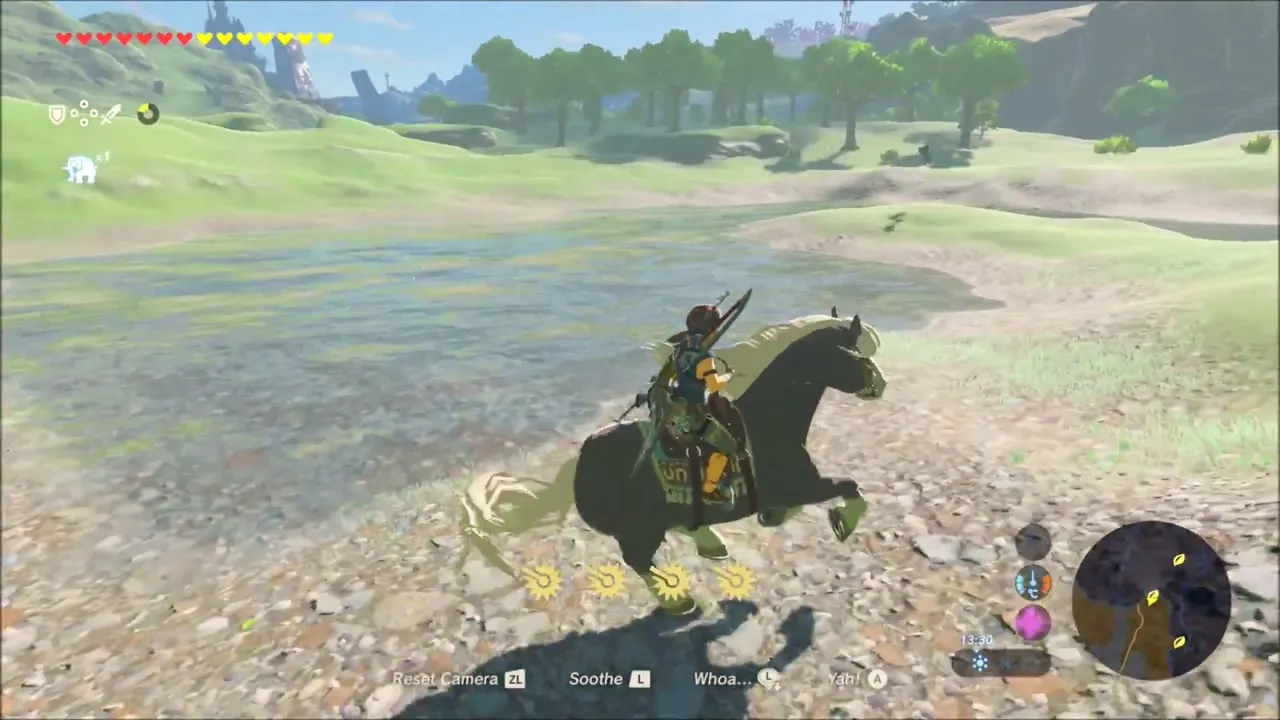
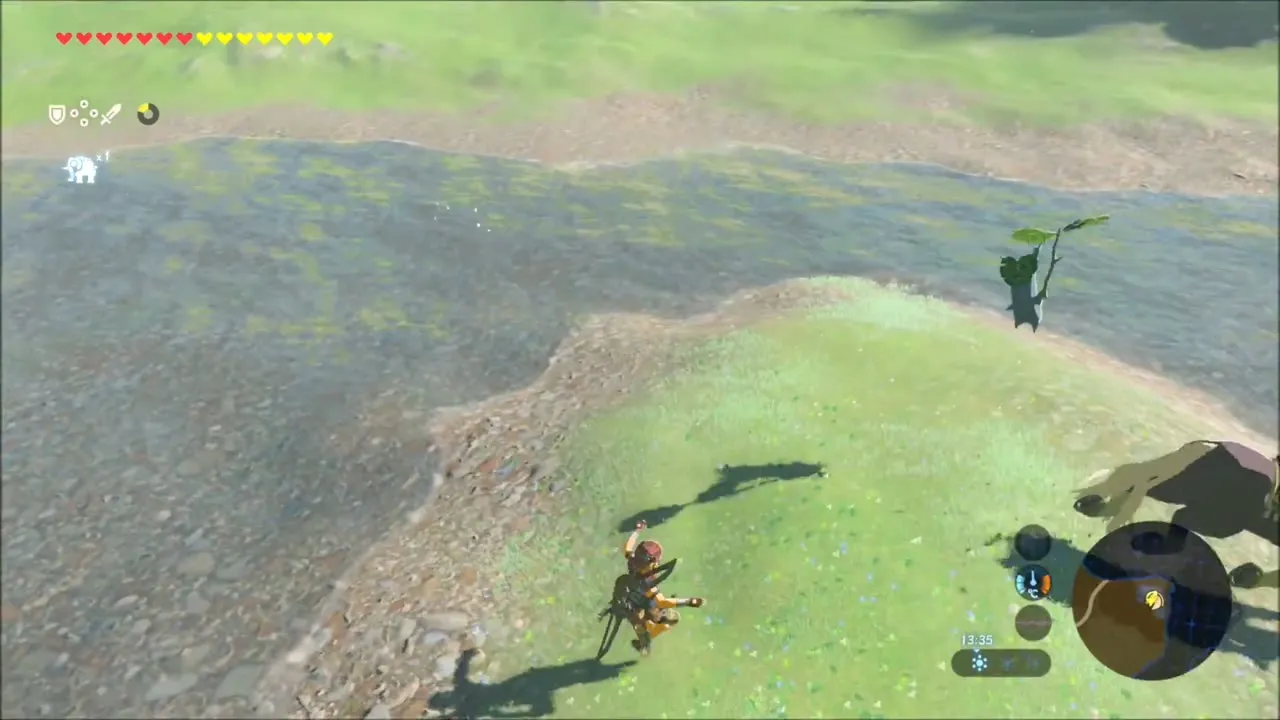
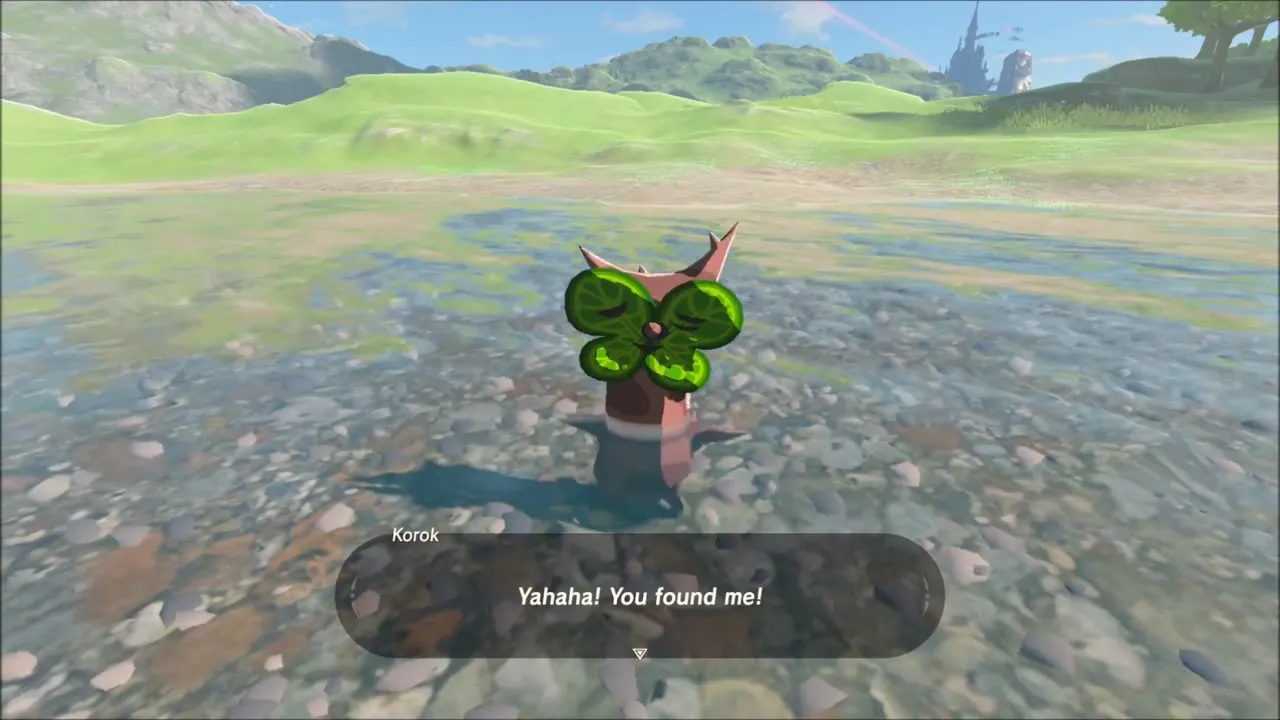
Korok seed in the dry riverbed
Past a wooden signpost on the road, a leaf-carrying Korok flits along a grassy ridge above a wide, stony stream bed. Follow it down onto the stones and a Korok pops up from the shallows with a seed.
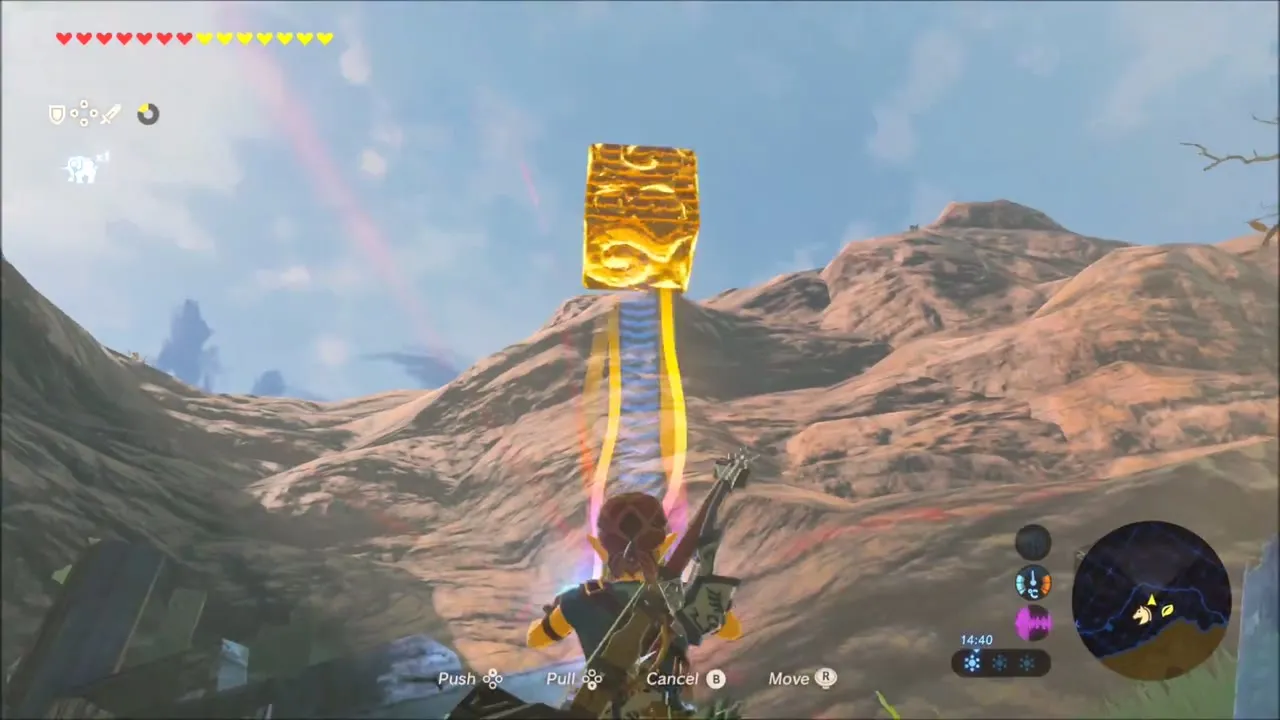
Korok seed above the metal block
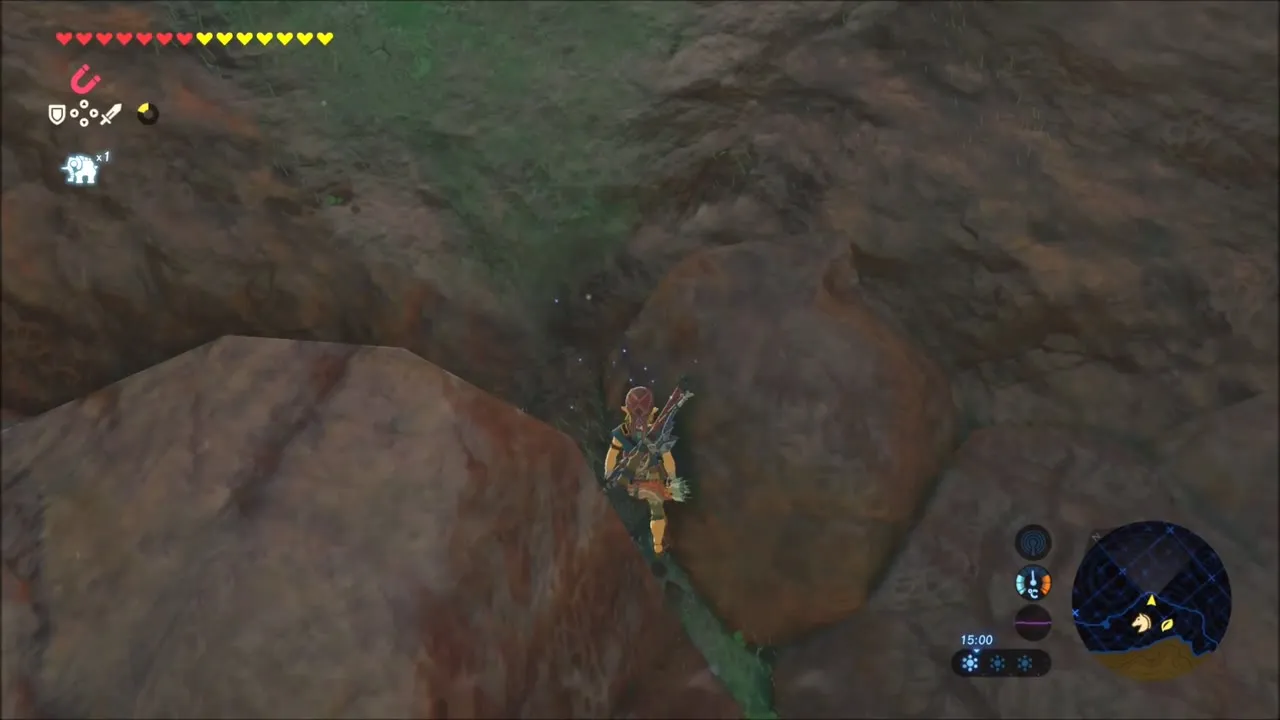
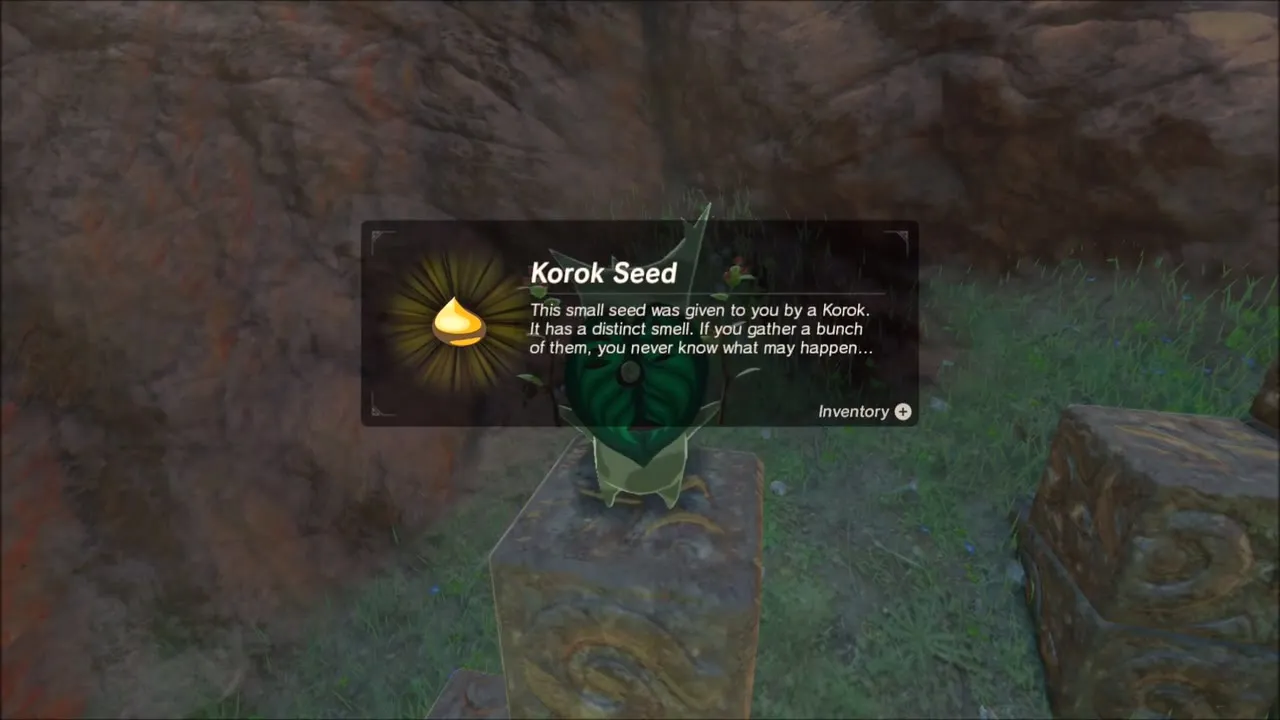
Further on, a yellow-glowing metal block sits at the bottom of a rocky gully. Use Magnesis to lift it out of the way, then climb the rock face above; a Korok waits at the top and gives you a second seed. A ring of boulders in the grass nearby can be blown open with a bomb if you want Rock Salt.
Two Korok seeds at Pico Pond
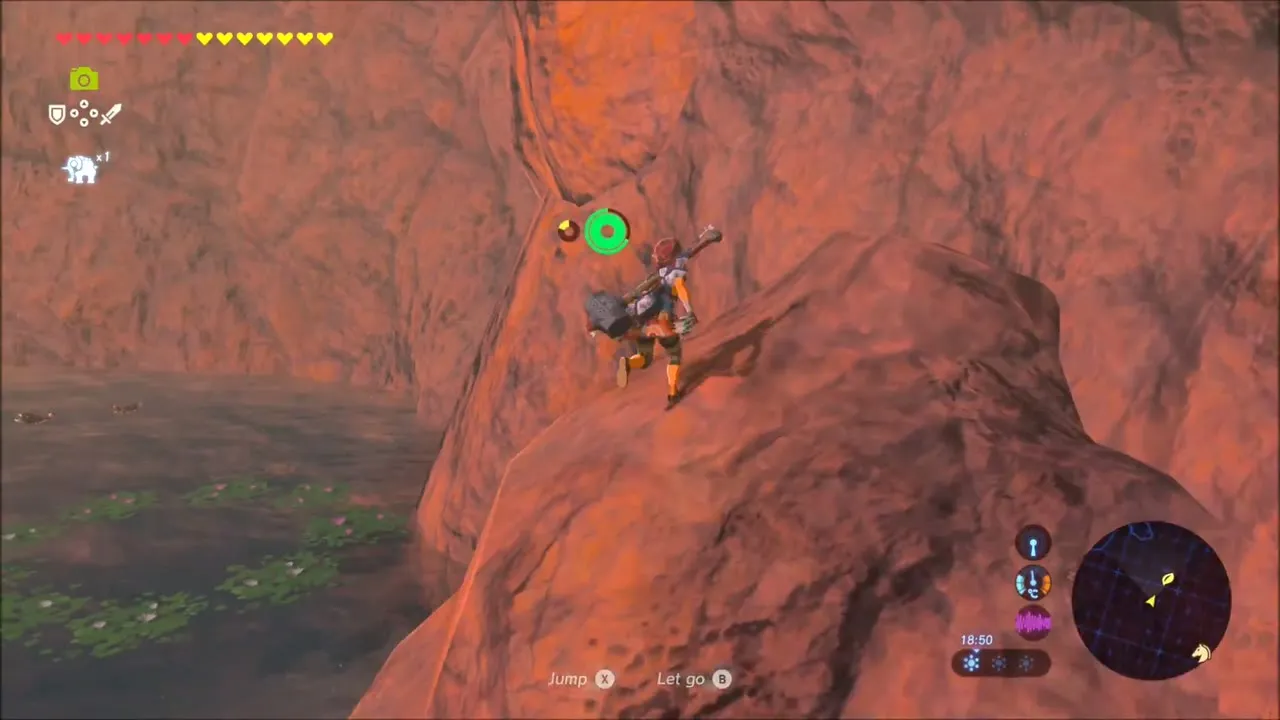
At Pico Pond, climb the red rock cliff above the water and dive into the circle of floating leaves on the surface to earn a seed. Swim on to a small rocky islet with a pile of stone blocks beside it, then use Magnesis on the metal block in the water; once it is moved a Korok appears and hands over another seed. Octoroks surface in this pond, and their Octo Balloons are what you need for the quest at the stable below.
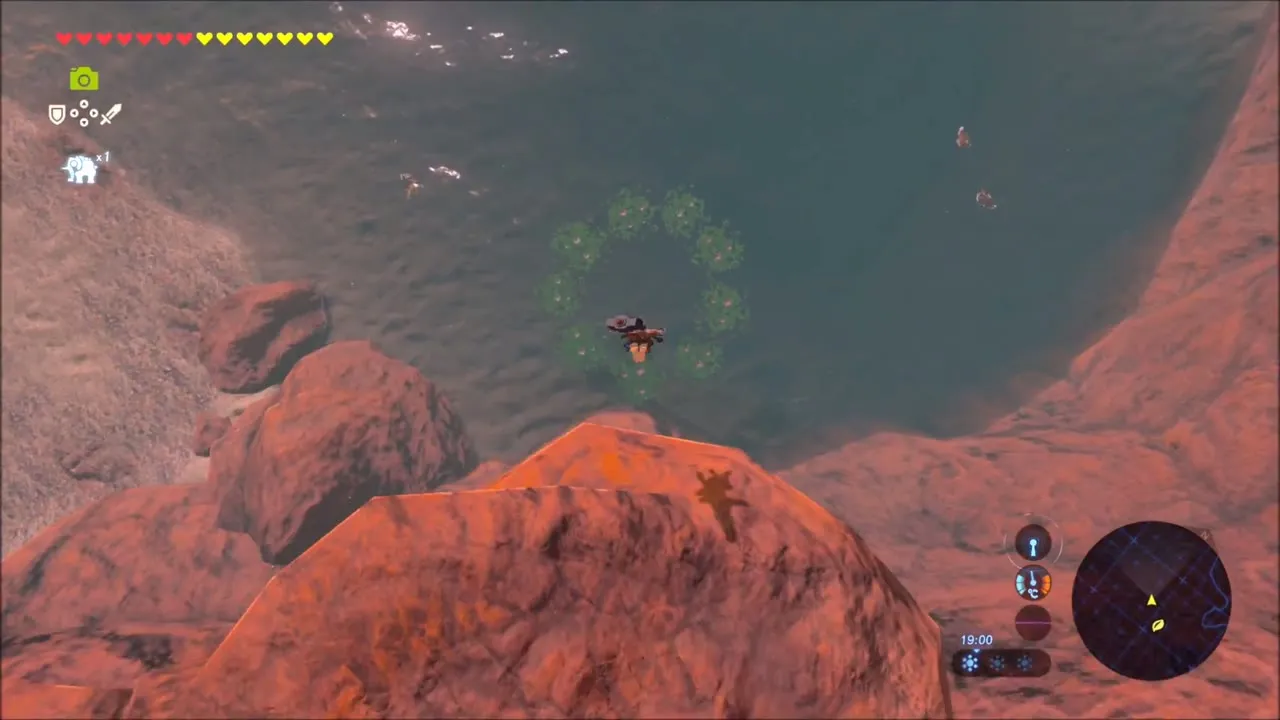
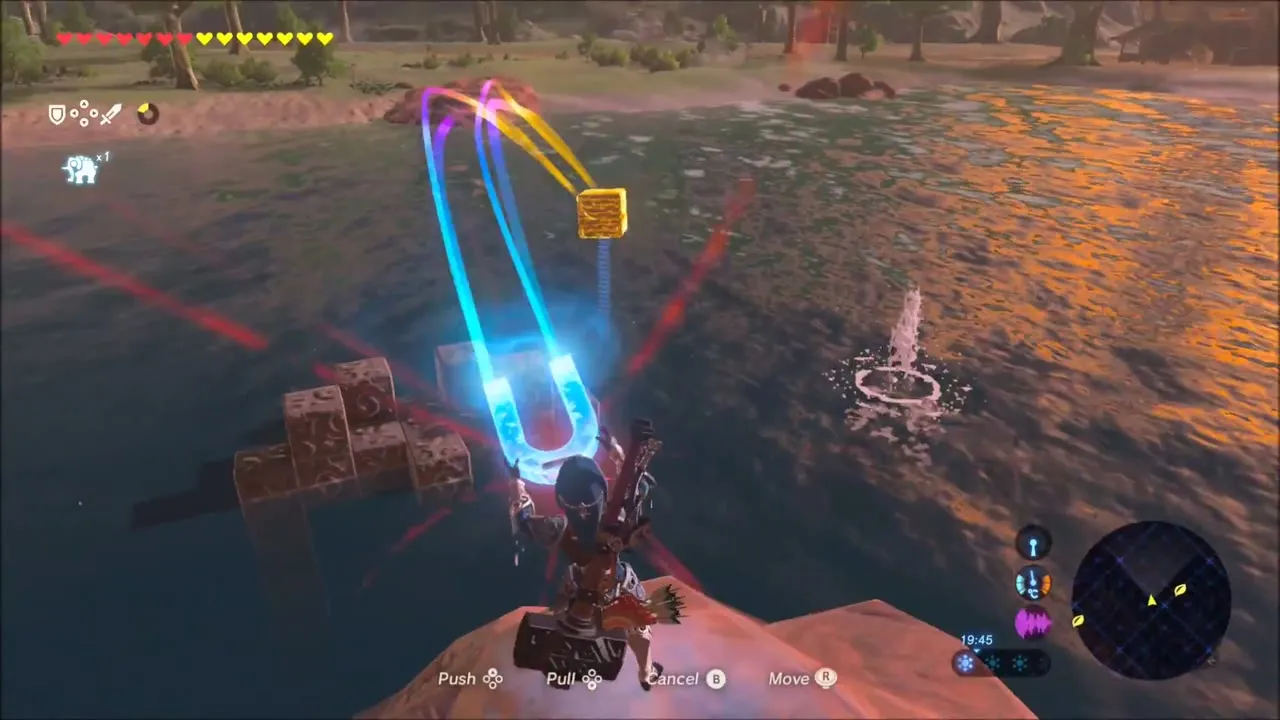

Mirro Shaz Shrine: Tempered Power (Stasis and Iron Sledgehammer)
Swim to the red cliffs on the far shore, where the glowing doorway of Mirro Shaz Shrine opens at (1231, -1213). Its trial is Tempered Power, so have Stasis ready.

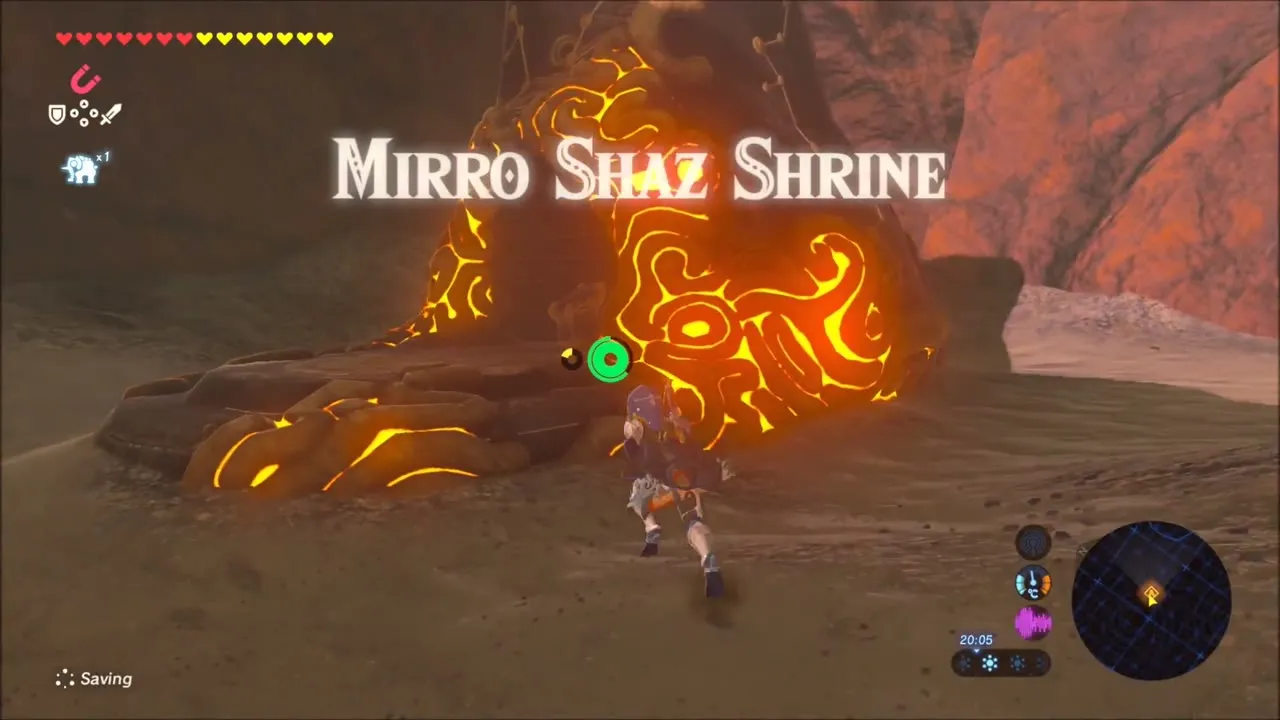

In the first room, open the chest for an Iron Sledgehammer and equip it. Freeze the ball with Stasis and strike it five times so it flies into the hole, then do the same to the block in the next room so it tilts into a ramp up to the monk. Before you speak to him, drop down on the left to a side room with a second Iron Sledgehammer chest, then freeze and hit another ball until the force arrow turns red; the chamber that opens holds a Giant Ancient Core.

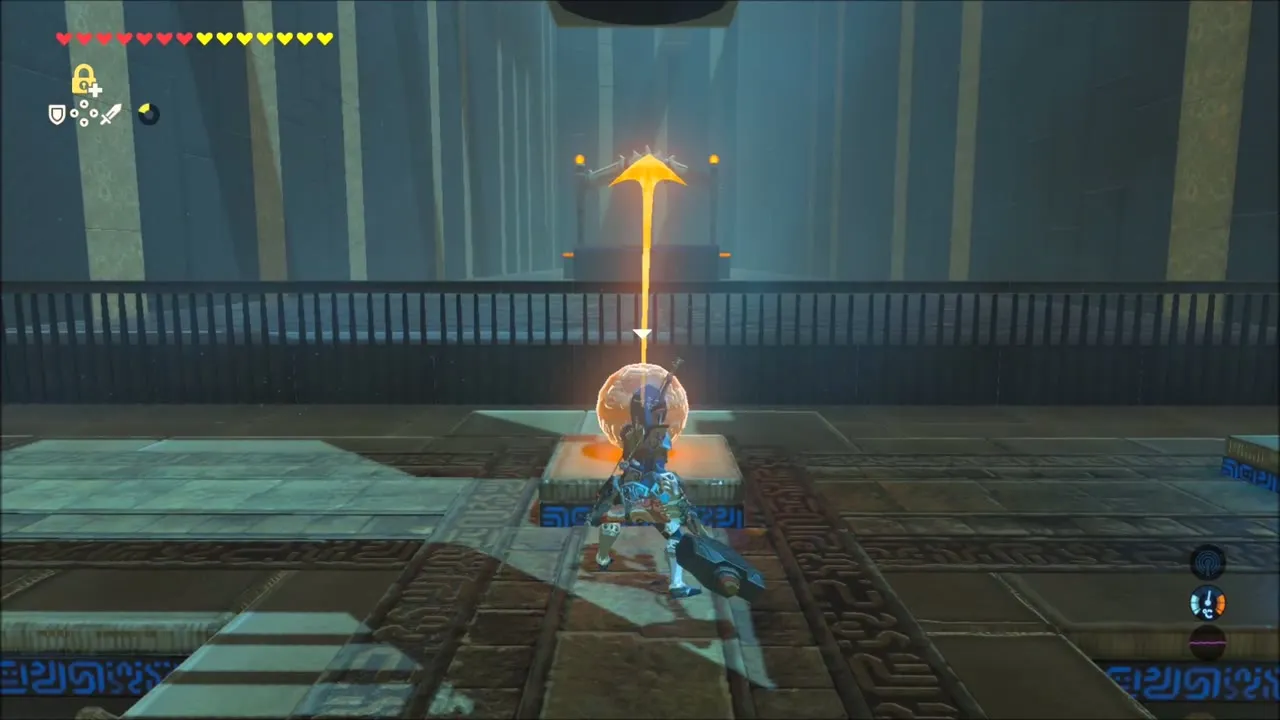
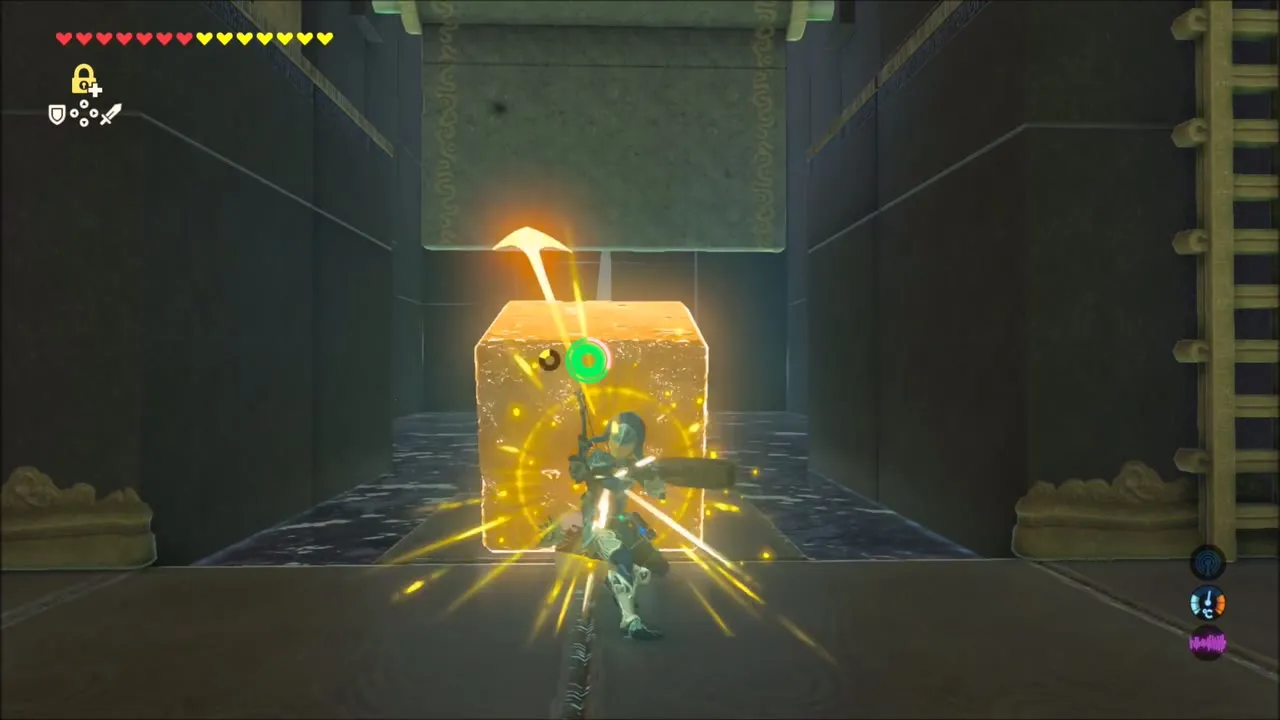
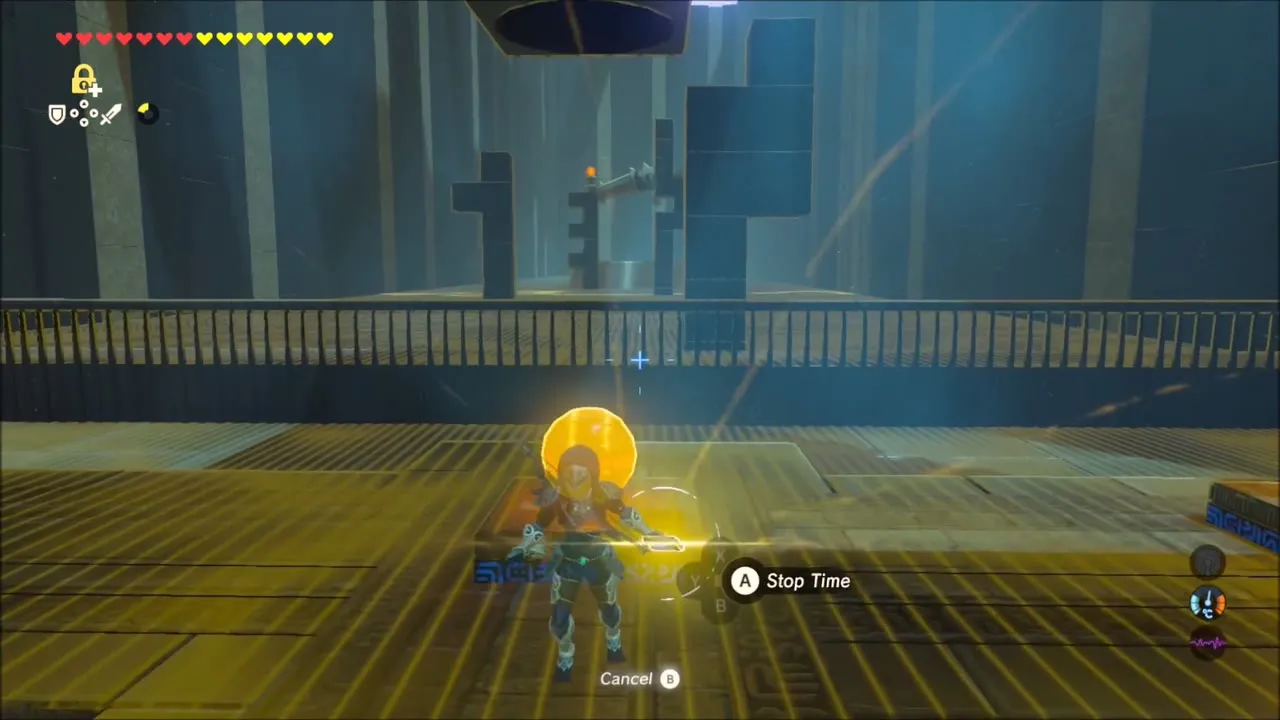
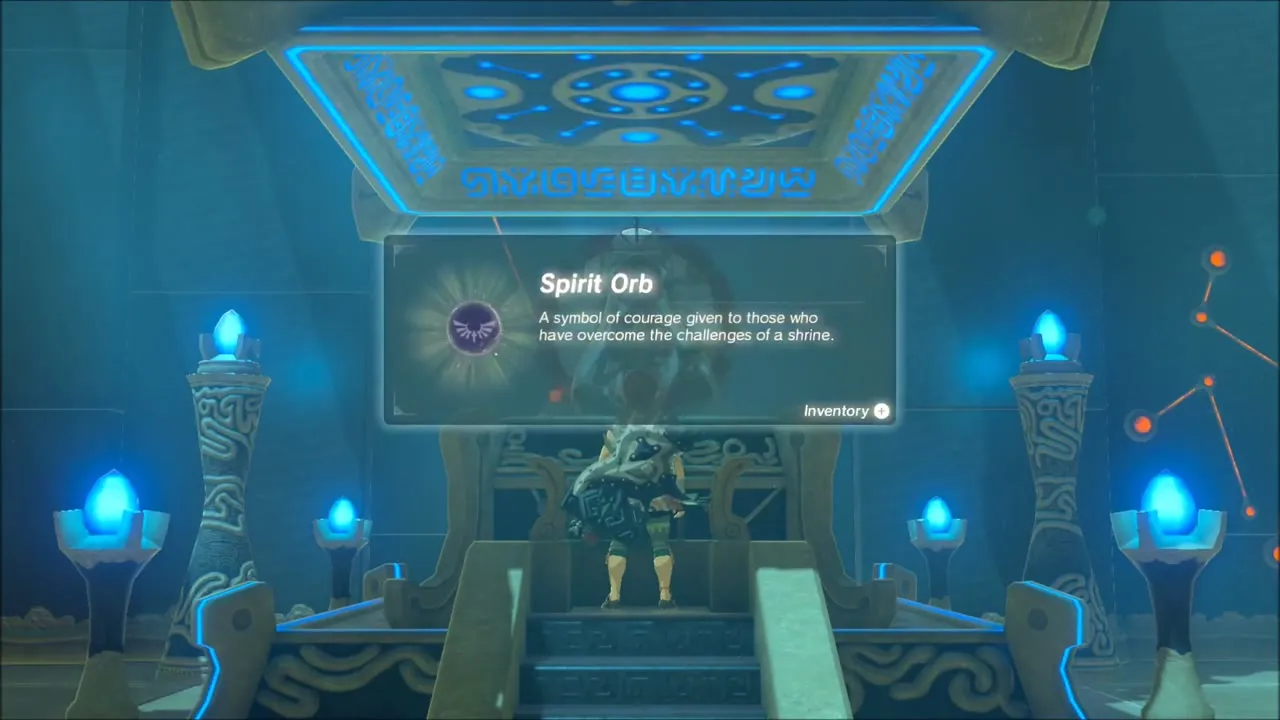
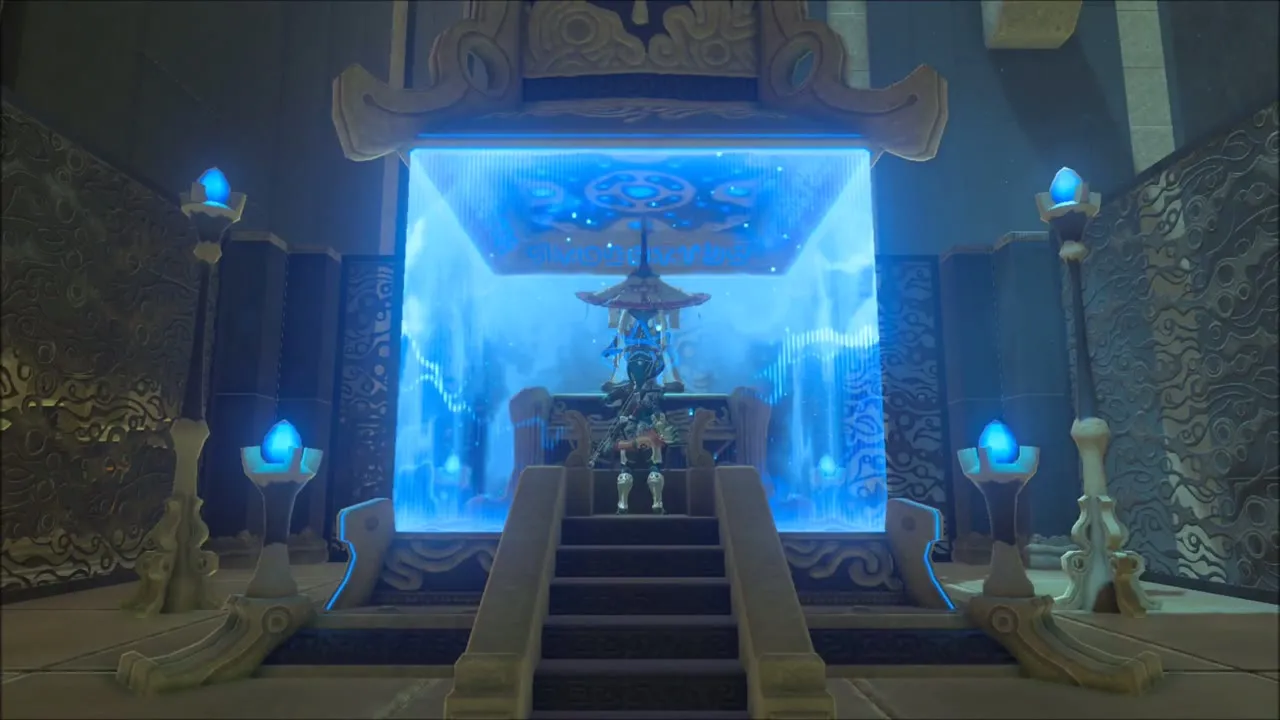
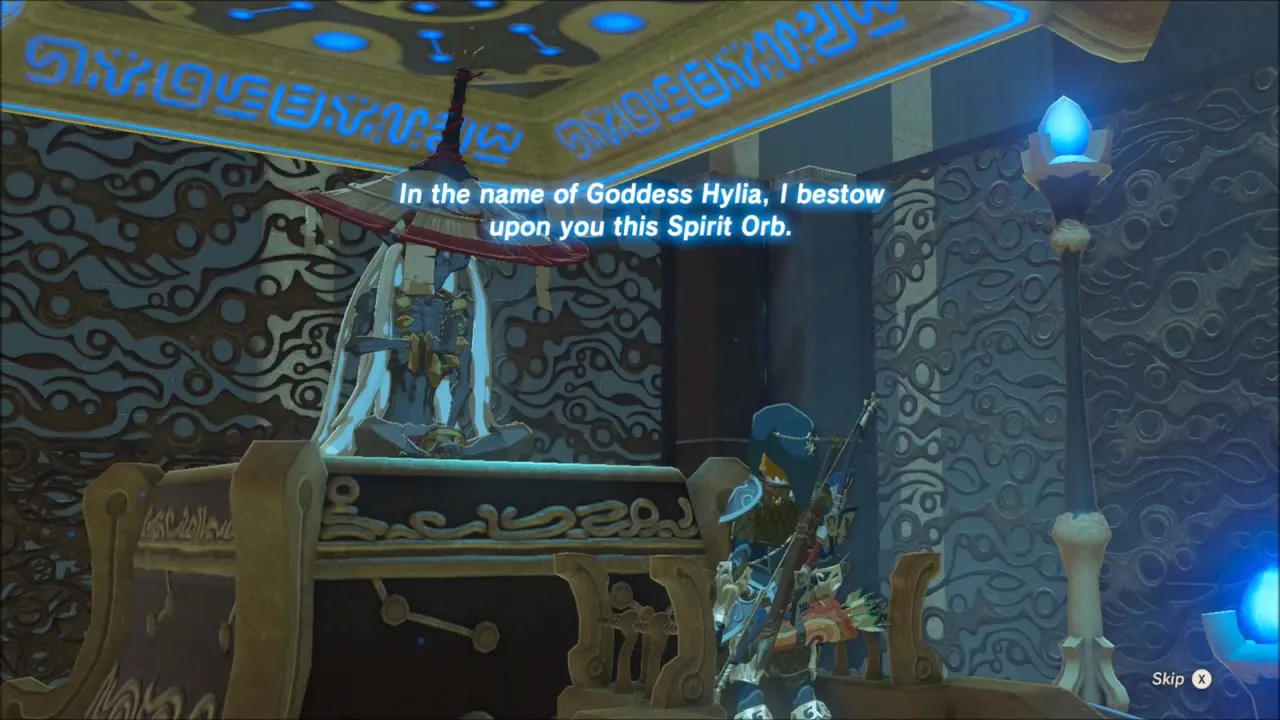
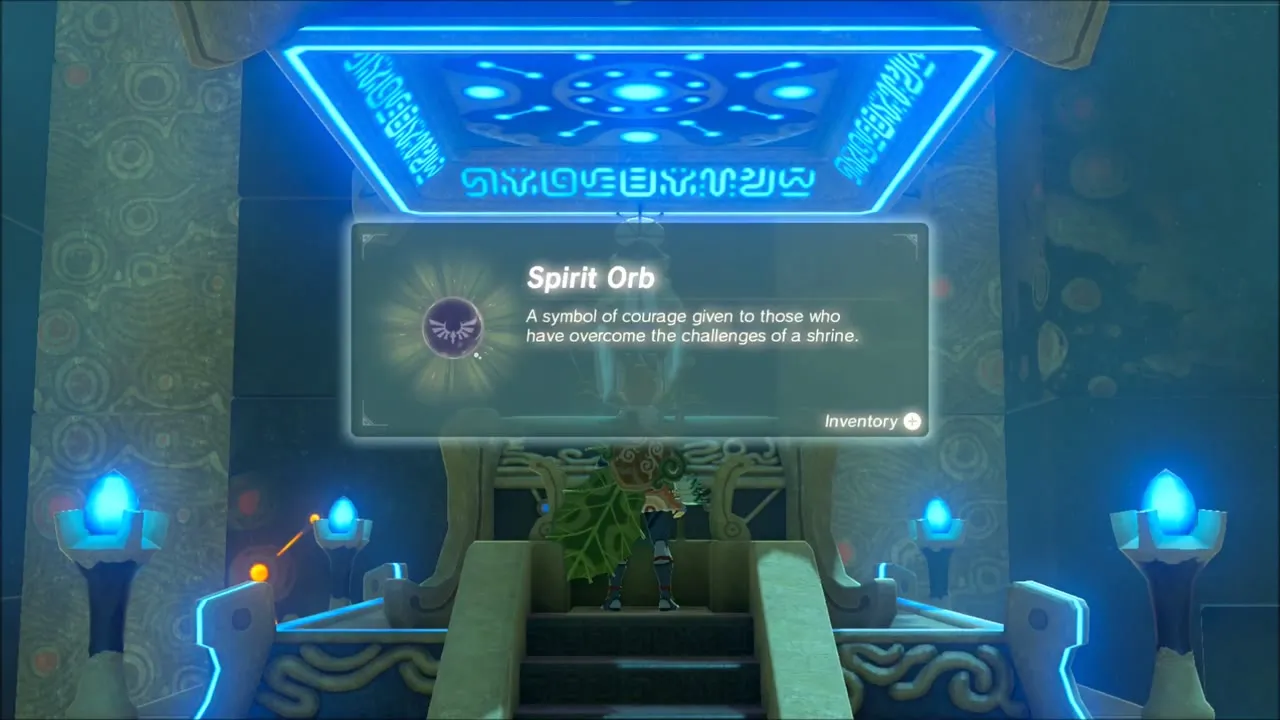
Climb back up and speak to the monk to receive the Spirit Orb. Trade four orbs for a Heart Container or a stamina wheel segment at any Goddess Statue.


Woodland Stable and the Balloon Flight Side Quest
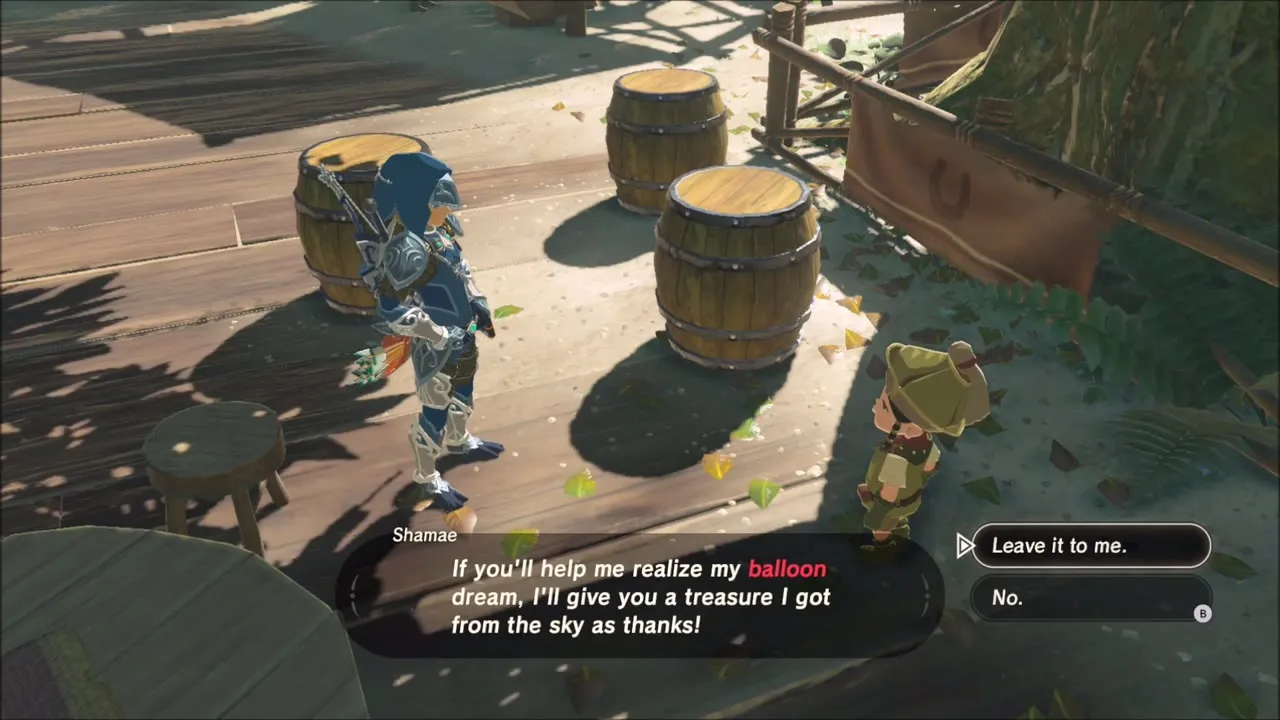
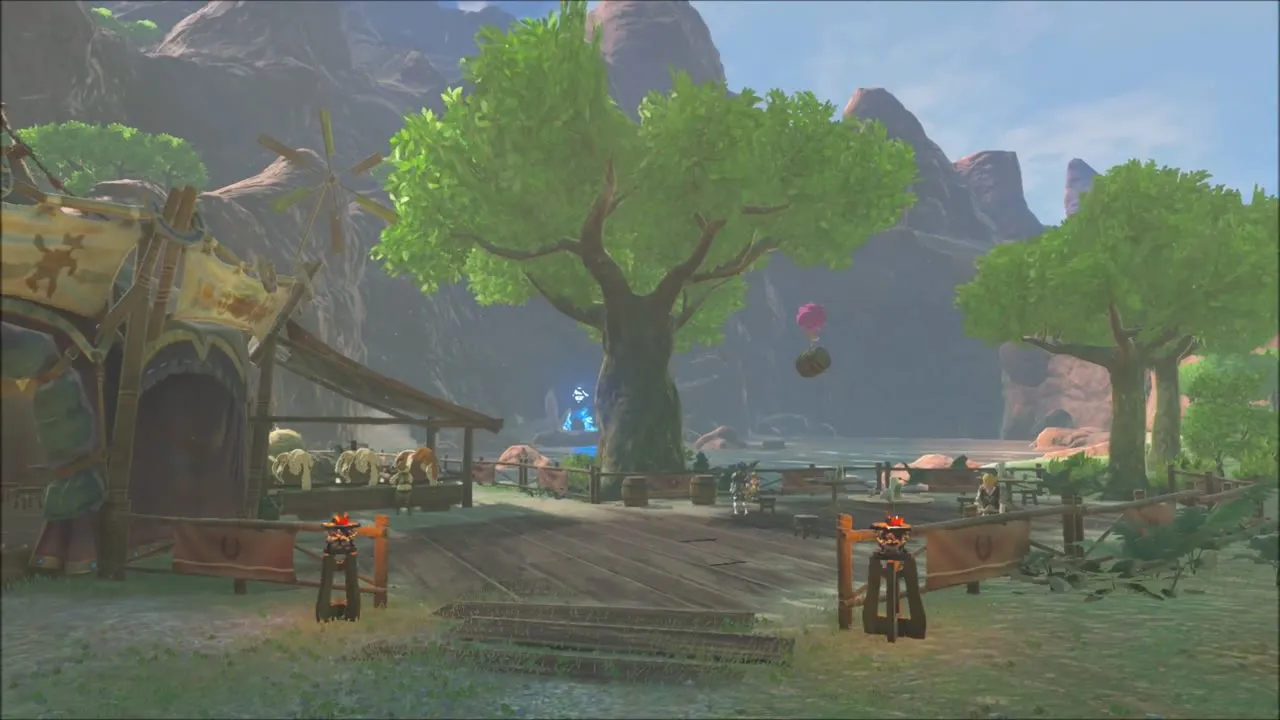
Follow the lakeshore to Woodland Stable at (1066, -1142). A child named Shamae stands by the barrels and starts Balloon Flight: she wants to see a barrel fly. Pick up a barrel, attach two Octo Balloons to it with the Octorok balloons you gathered at Pico Pond, and let go. It rises into the sky and Shamae thanks you with a Star Fragment.


Chests Around the Pond: Thunderstorm Rod and Cave Stash
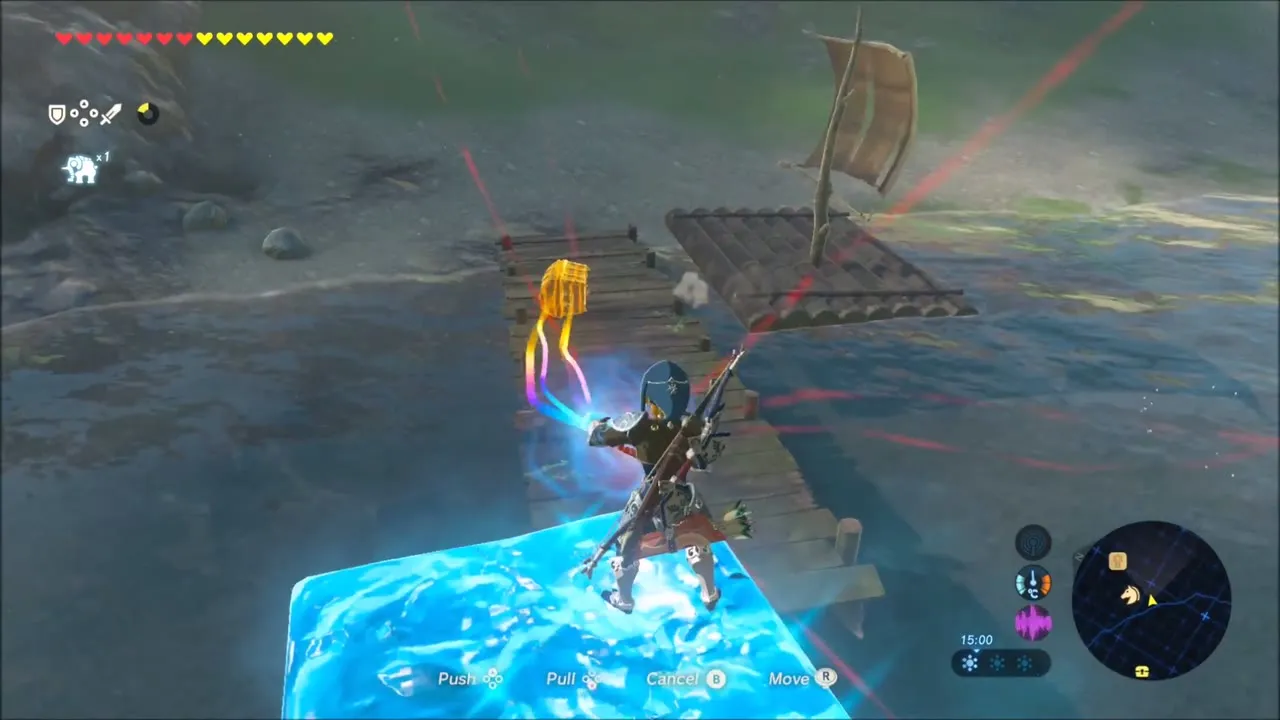
The shore west of the stable hides several chests. One hangs out over the water: stand on a Cryonis ice pillar and lift it toward you with Magnesis. Another sits on a floating wooden dock that you can simply swim up to and open. In a cave in the bank, a chest holds a Thunderstorm Rod, a rod that fires bolts of electricity, and a Soldier’s Broadsword lies on the floor of a cave further on.
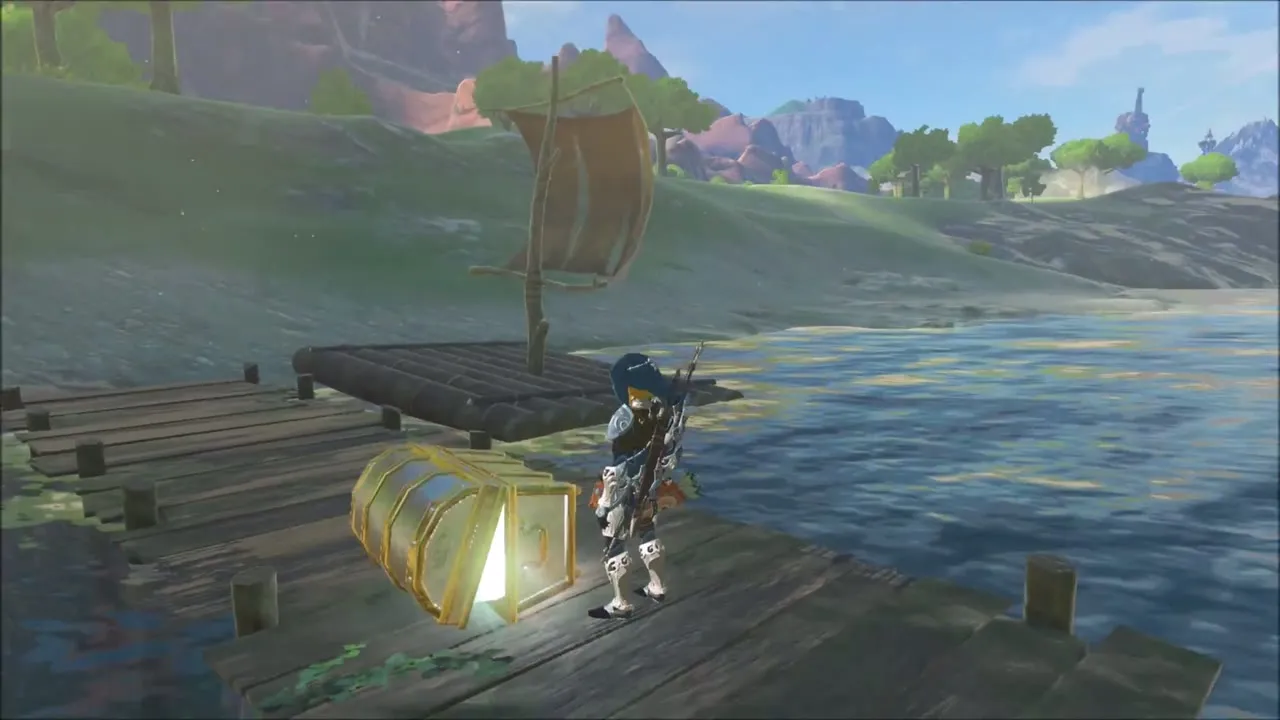
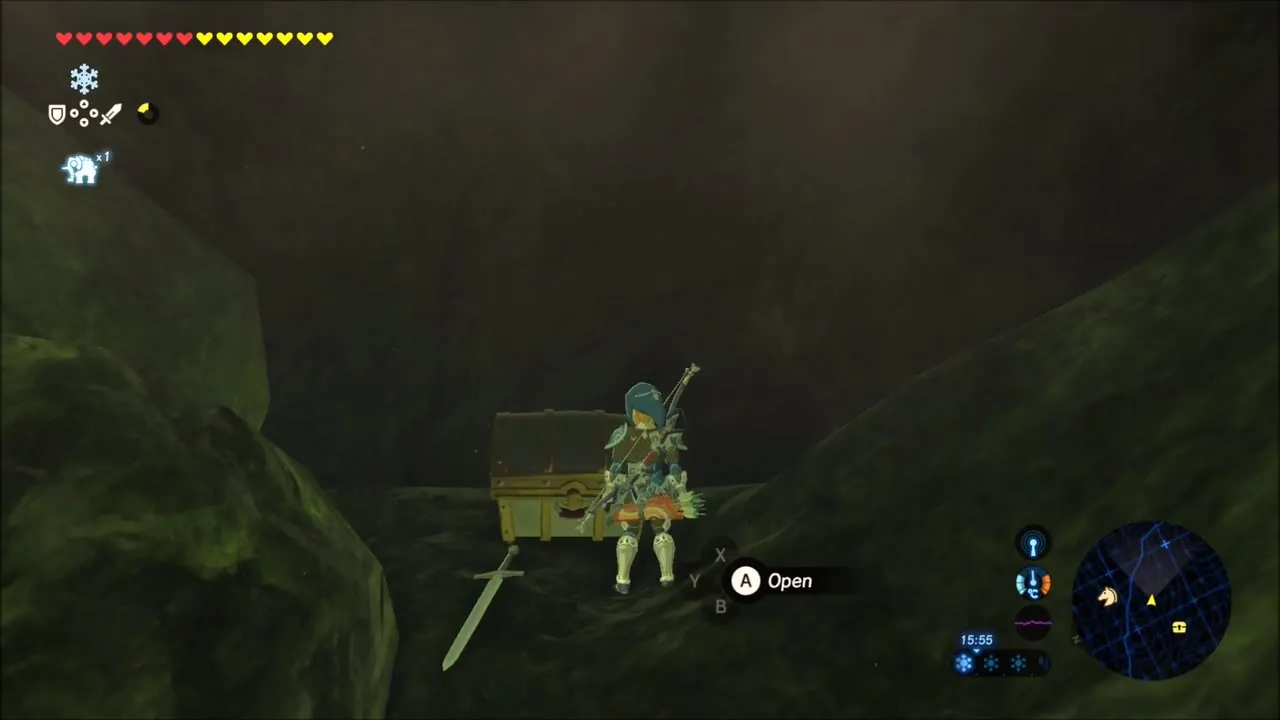
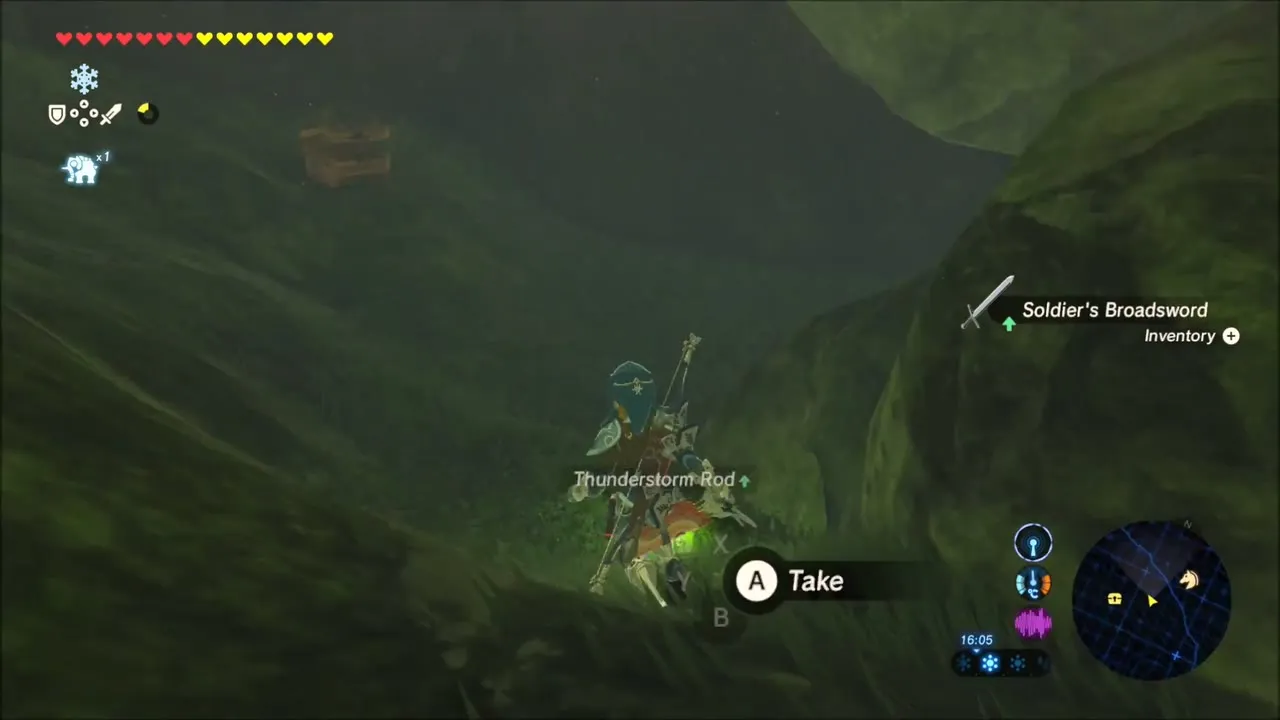
The Foggy Approach to Woodland Tower: Chests and Korok Seeds
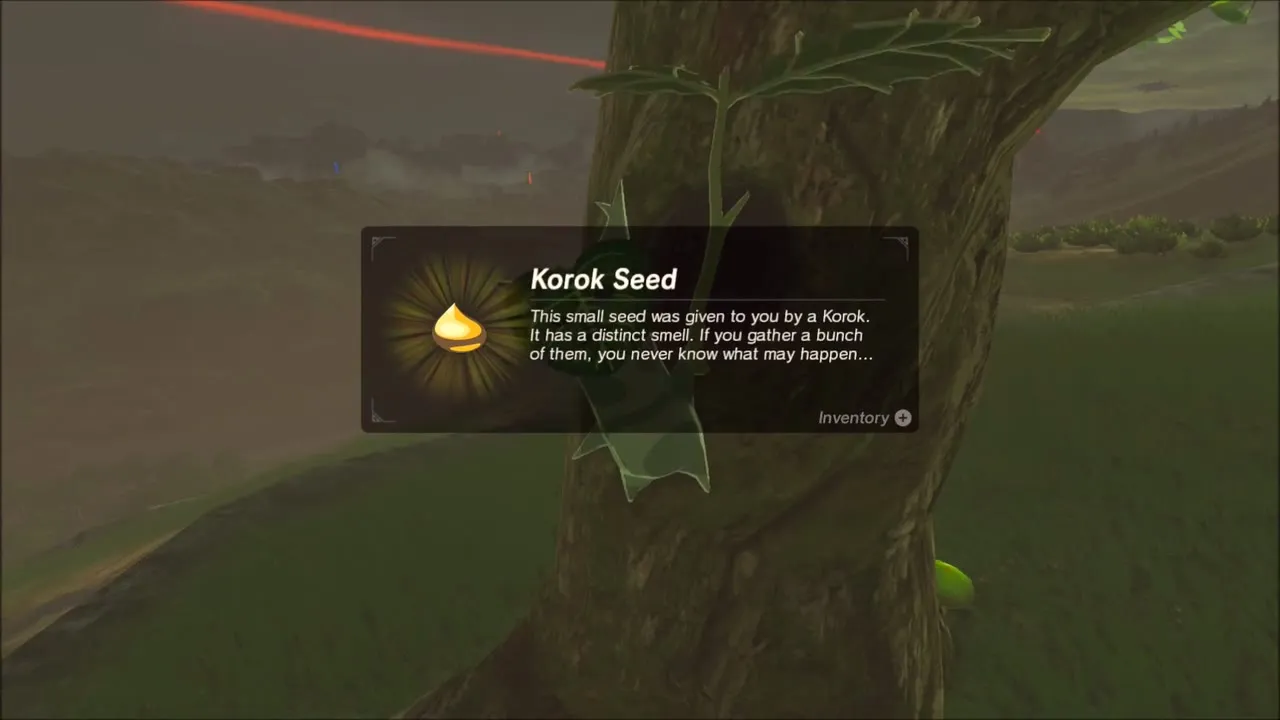
Beyond the stable the ground turns boggy and the light grows dim. On a hillside here, climb a lone tree and a Korok hidden in it gives you a seed; apples fall from the branches as you climb.


Chests lie half-sunk in the mud among the broken wooden platforms. Equip Magnesis, look for the yellow-glowing boxes and pull each one up before you open it. Several drop Green Rupees, and others hold arrows and gems, so sweep the area slowly.

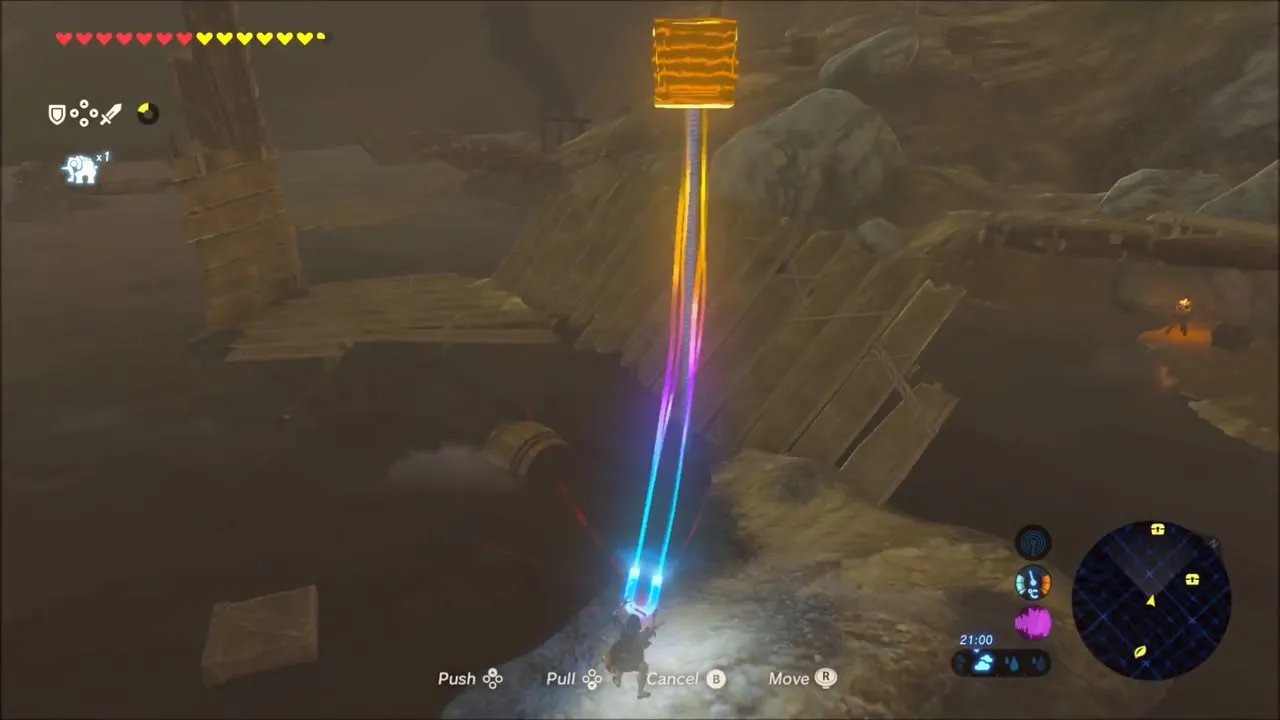

Beyond the mud, wooden scaffolds crowd the slope around Woodland Tower, and Bokoblins and Moblins guard them. Shoot the sentries from range, climb the ramps and open the chests: one holds five Ice Arrows, and others hold more arrows and gems. Take care on the planks while enemies are still around.
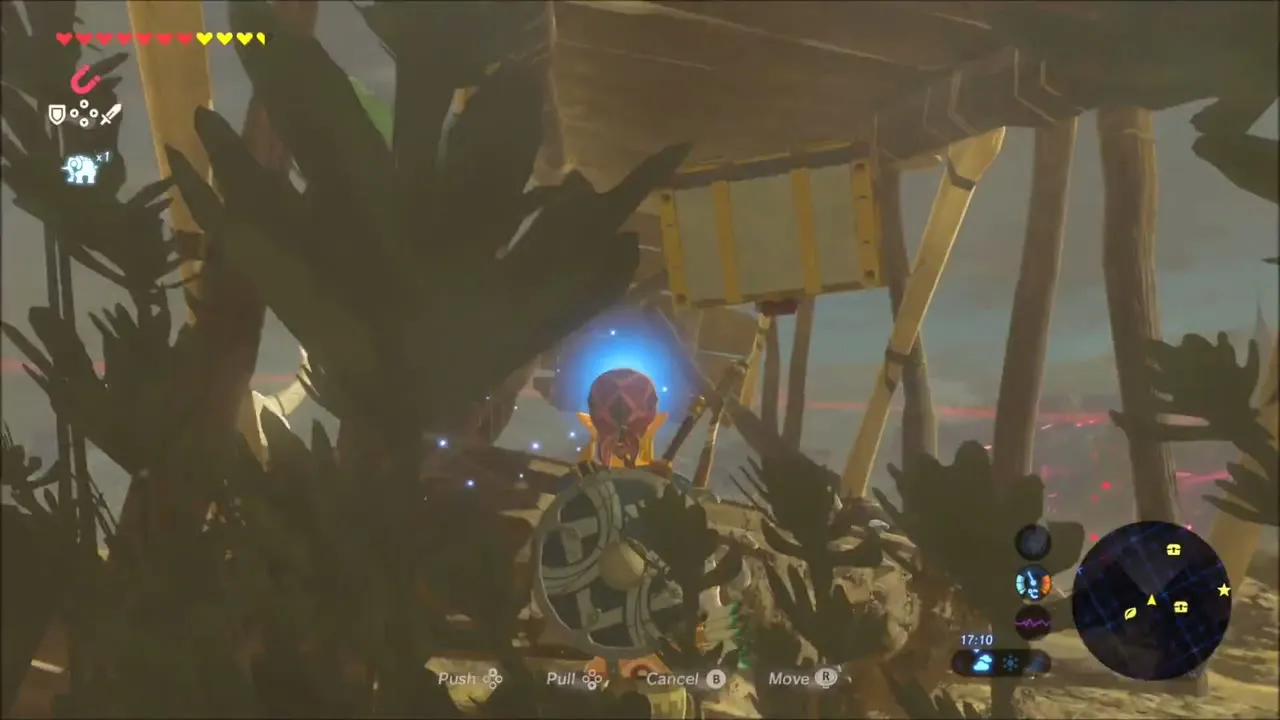
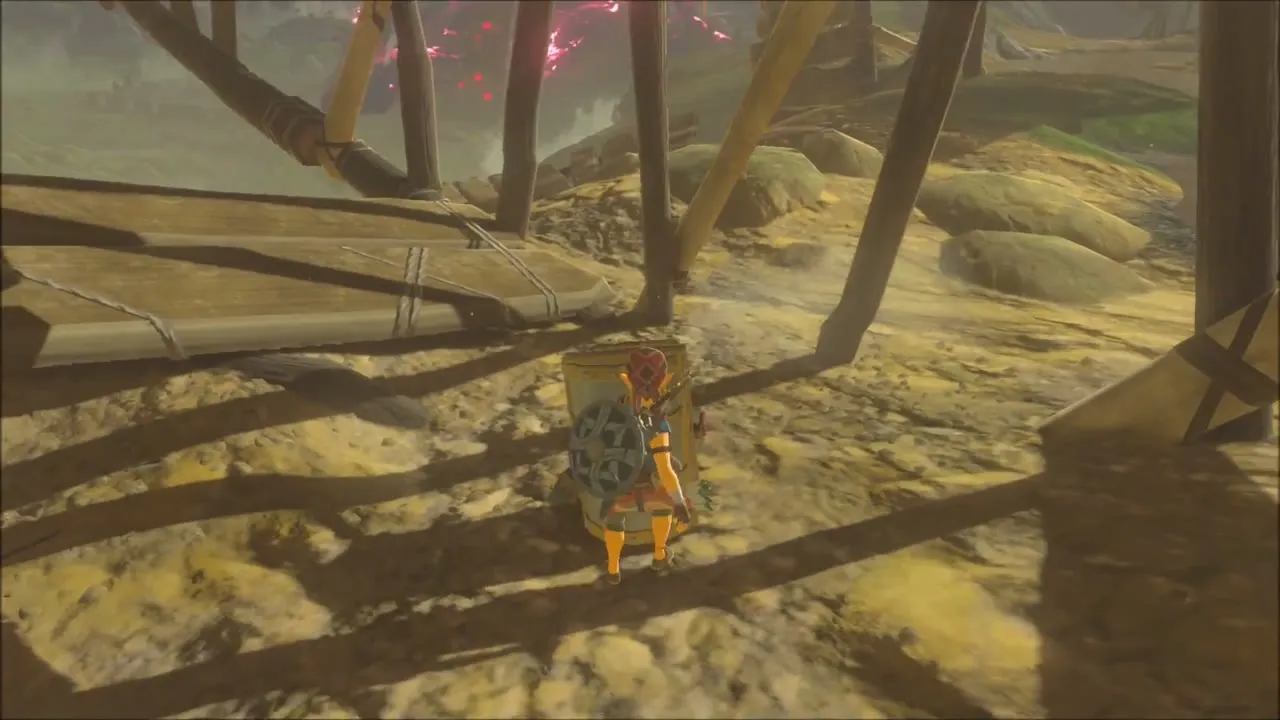

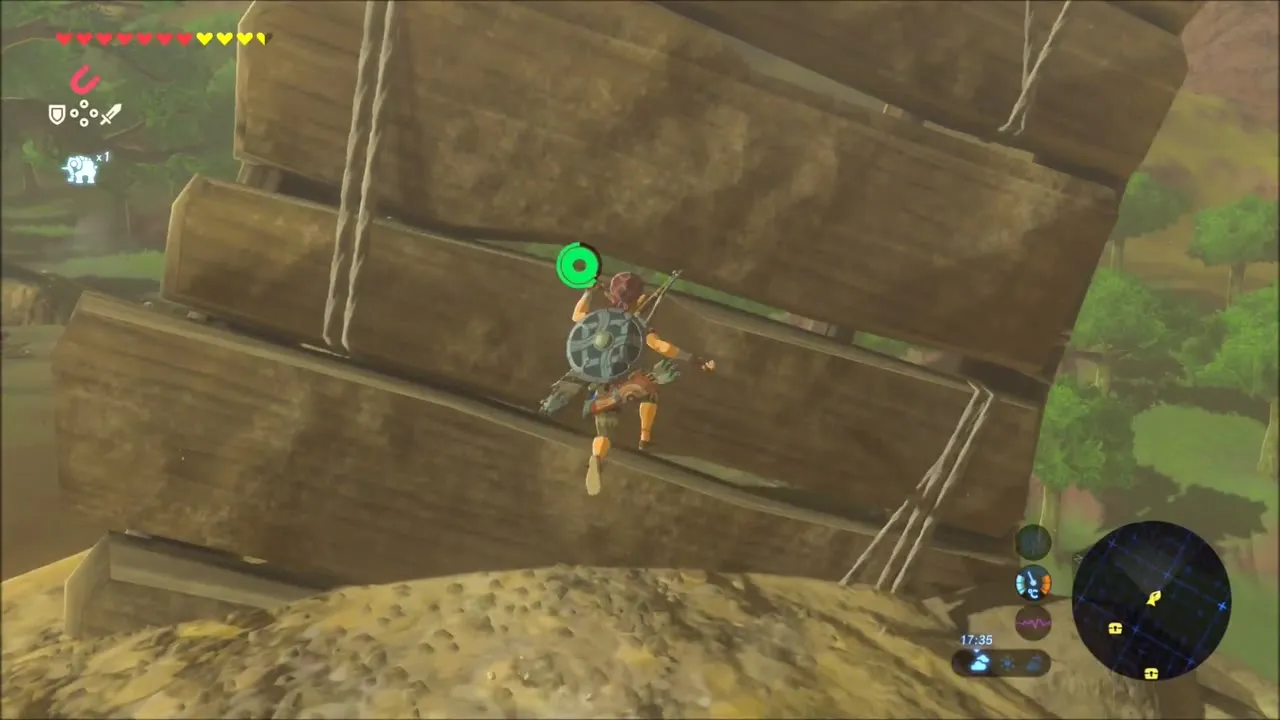
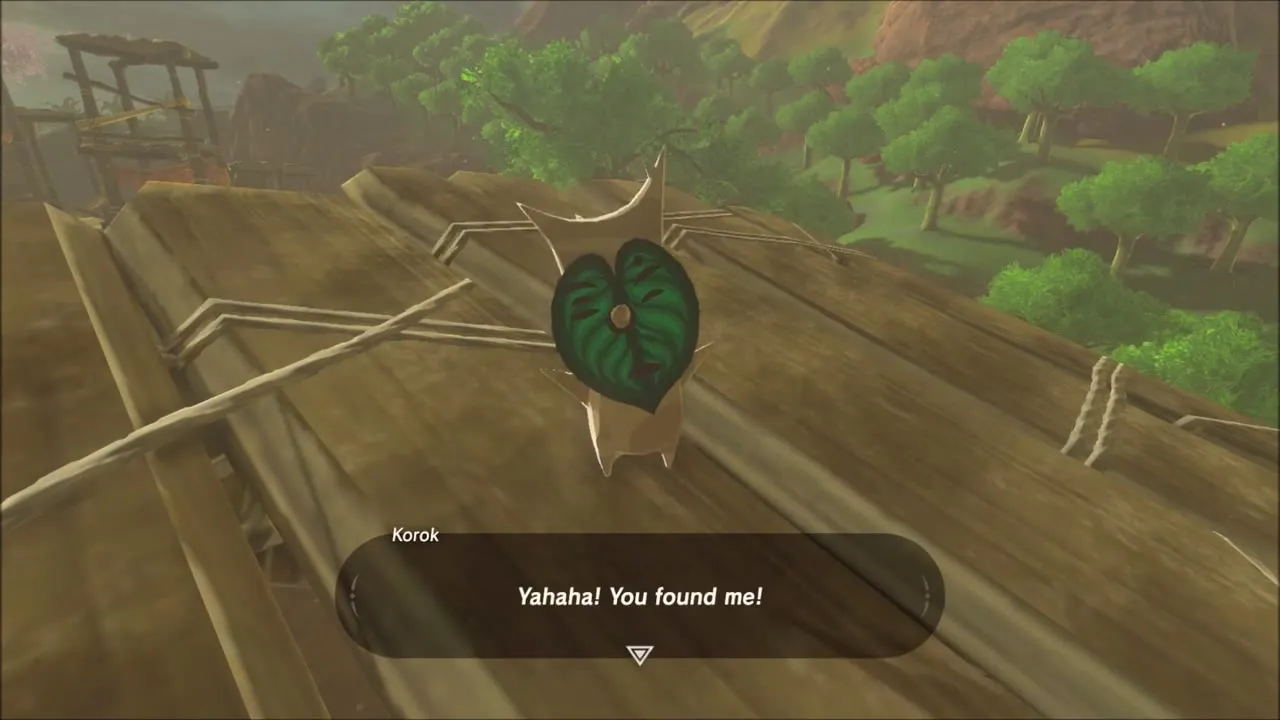
On one tilted scaffold, climb the wooden planks and glide to a small platform where a Korok waits with a seed.
Woodland Tower: Great Hyrule Forest Tower Location
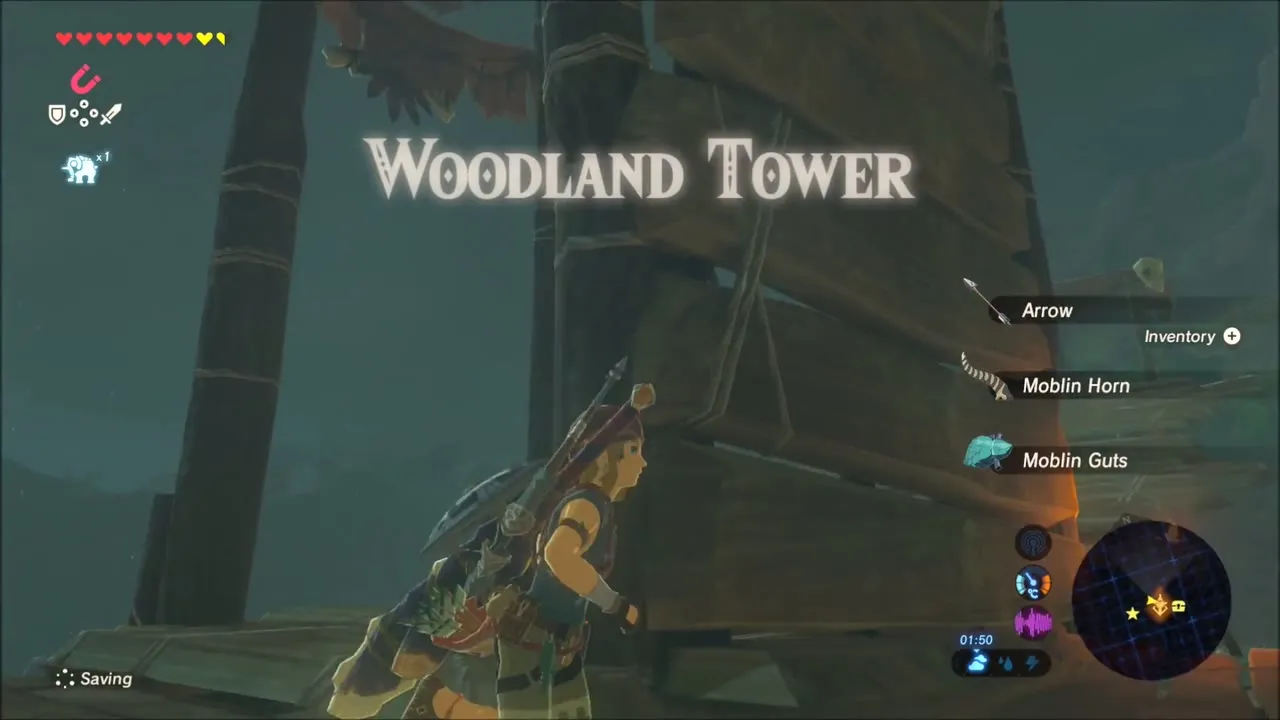
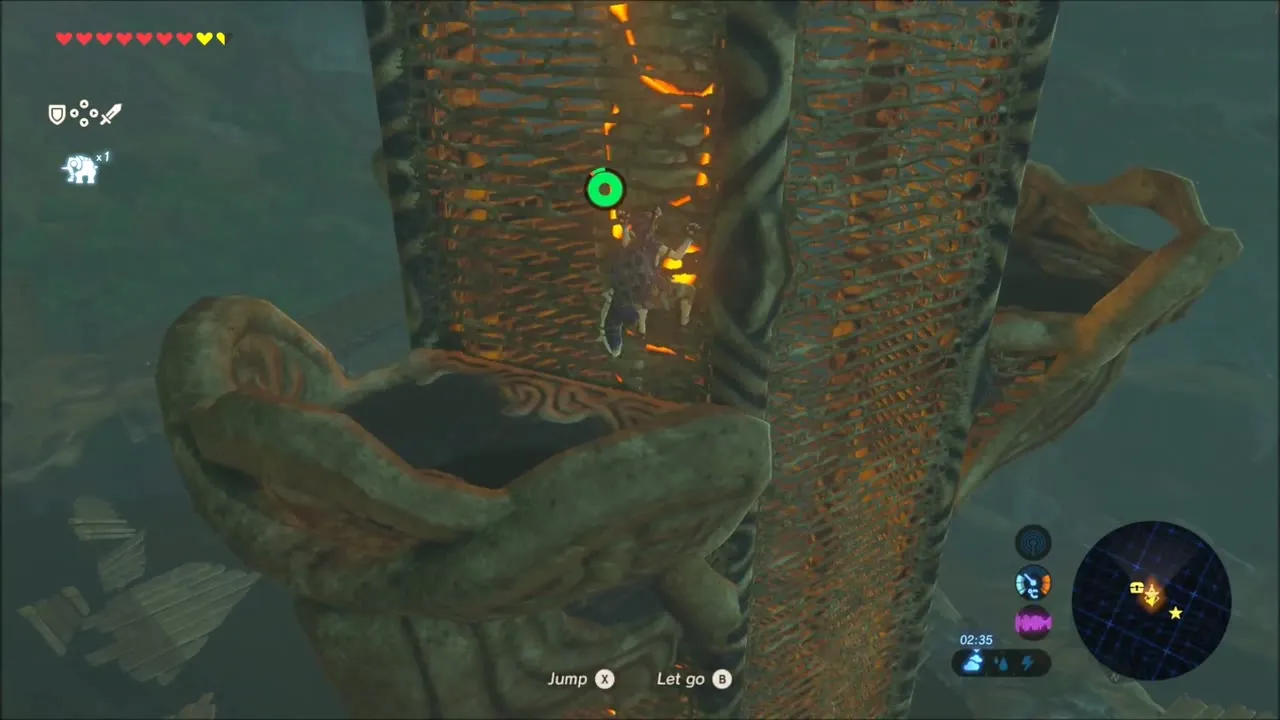
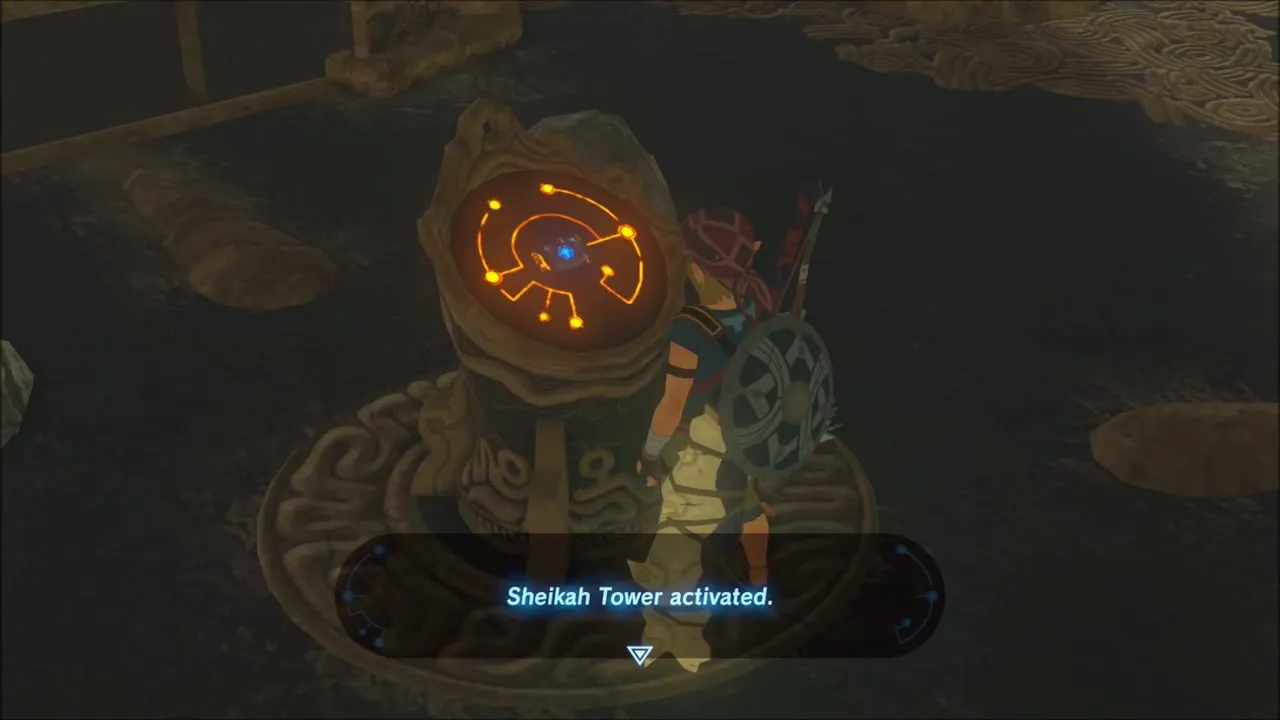
Climb the scaffolding to Woodland Tower at (884, -1606). Scale its glowing shaft, then touch the terminal on top to activate the tower and add the Great Hyrule Forest to your map. A warp point now stands beside the route to the Lost Woods.

Kakariko Village: Shopping and Trading Spirit Orbs for Hearts
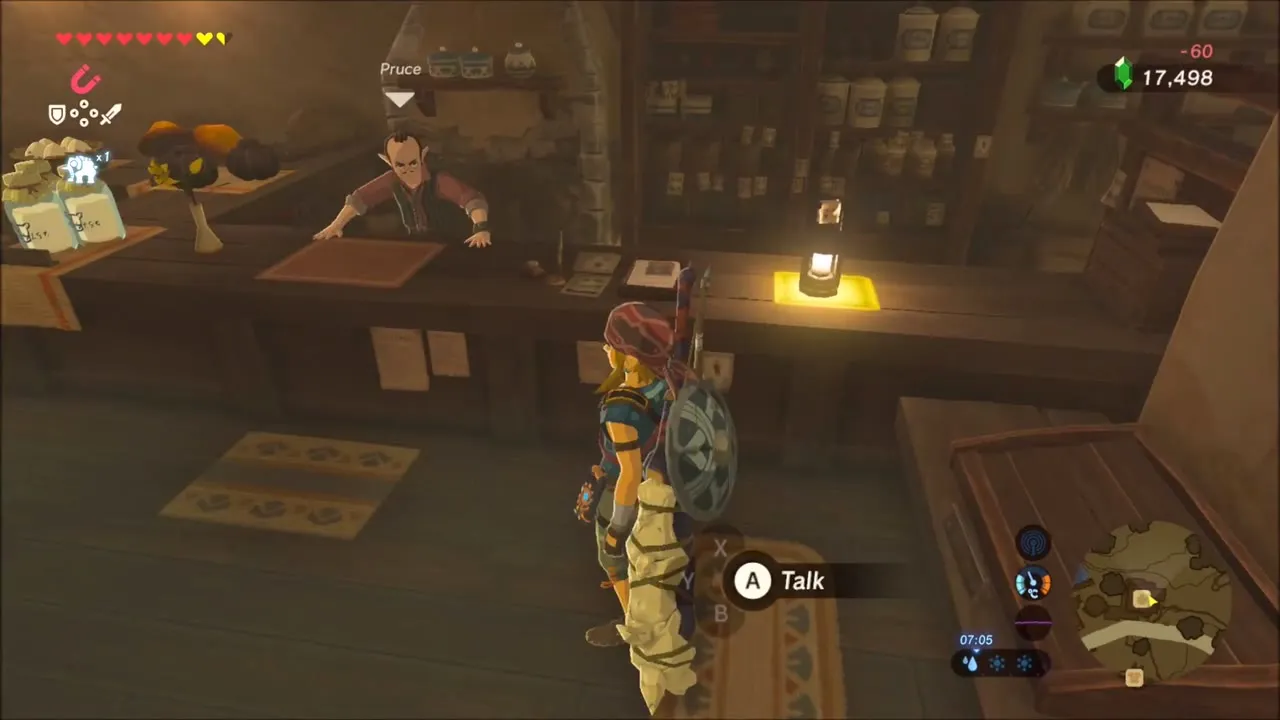
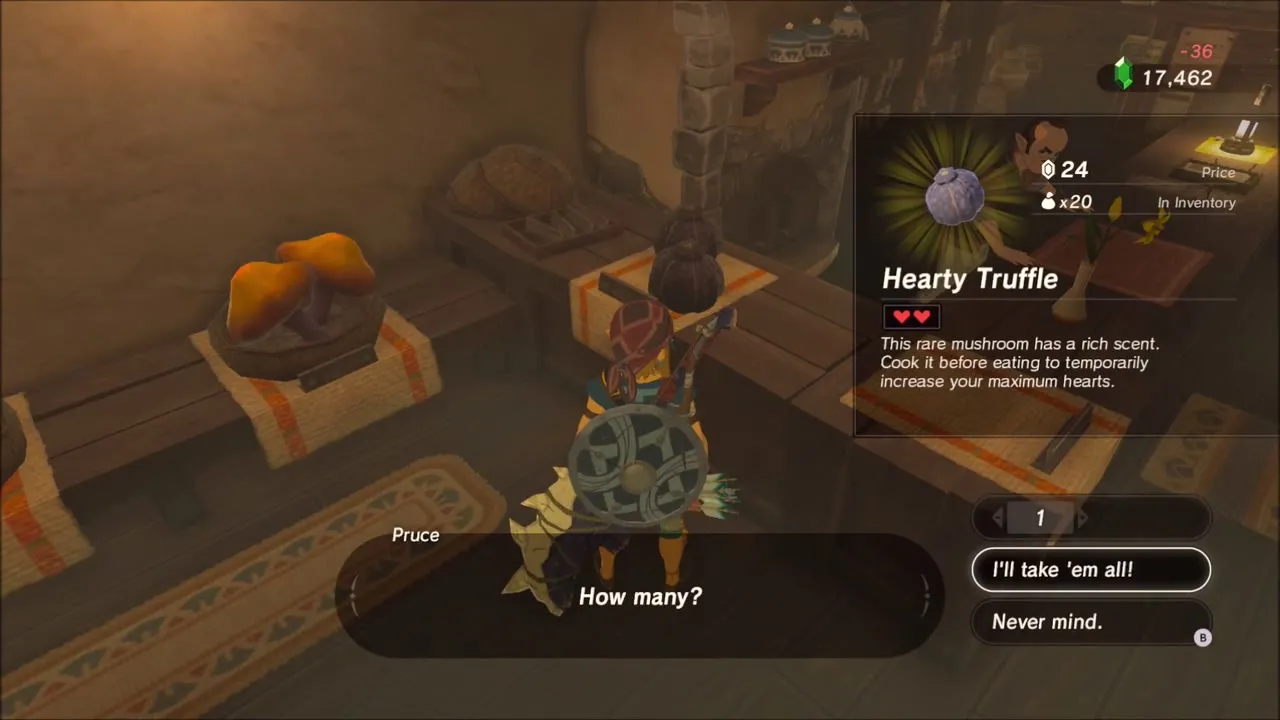
Before the Lost Woods, warp to Kakariko Village to resupply. The general store sells bundles of arrows, and you can sell gems you picked up in the mud: a Sapphire fetches 520 rupees. Link also buys a Hearty Truffle here.

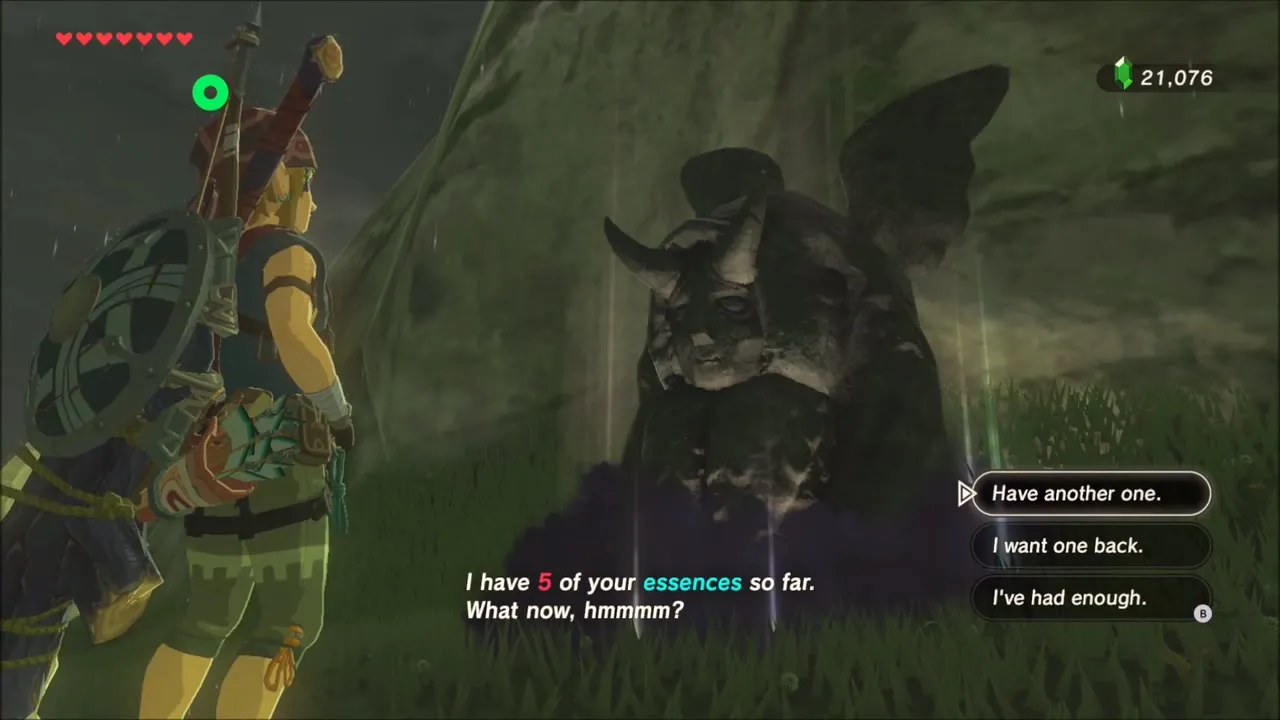
The Master Sword needs 13 full hearts, which Link has to hold before he pulls it. If you are short, trade at the Horned Statue in the shadowy pit behind Hateno Village: for a rupee fee it swaps a Stamina Vessel back into a Heart Container (it can also do the reverse later). Spend Spirit Orbs at a Goddess Statue first if you still have any, then make the swap until your heart count reaches 13.



How to Get Through the Lost Woods to Korok Forest
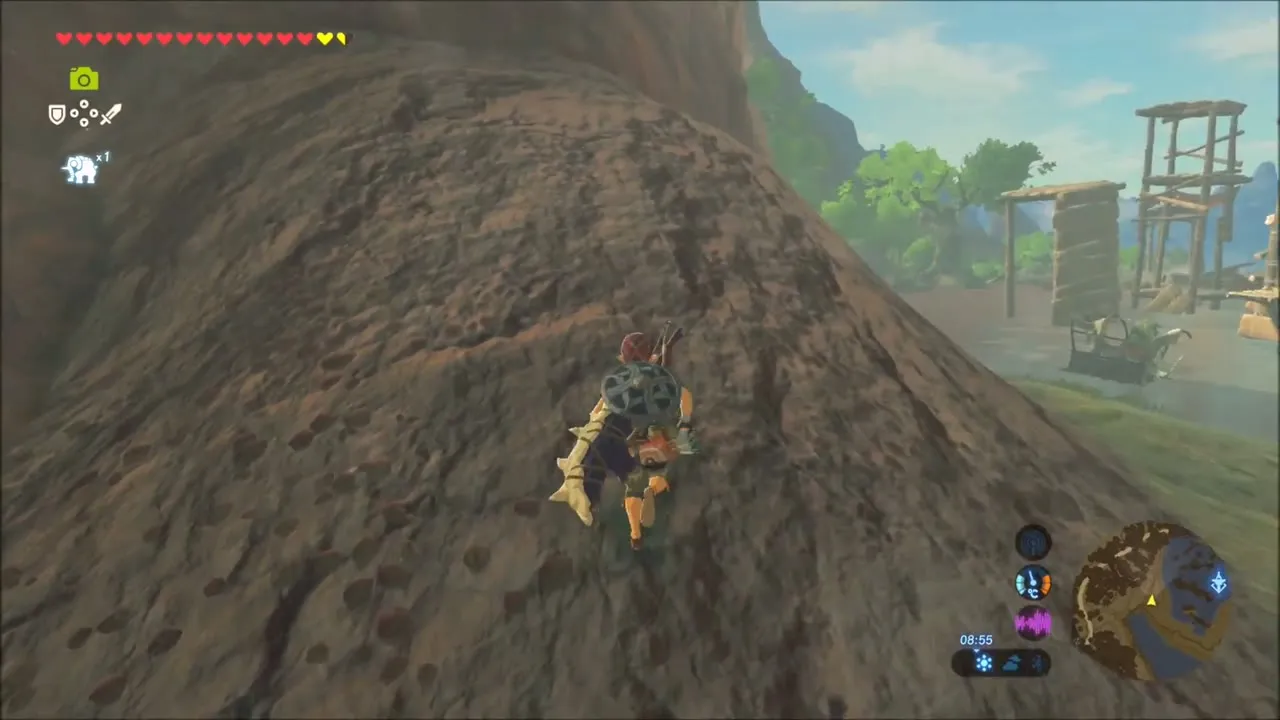
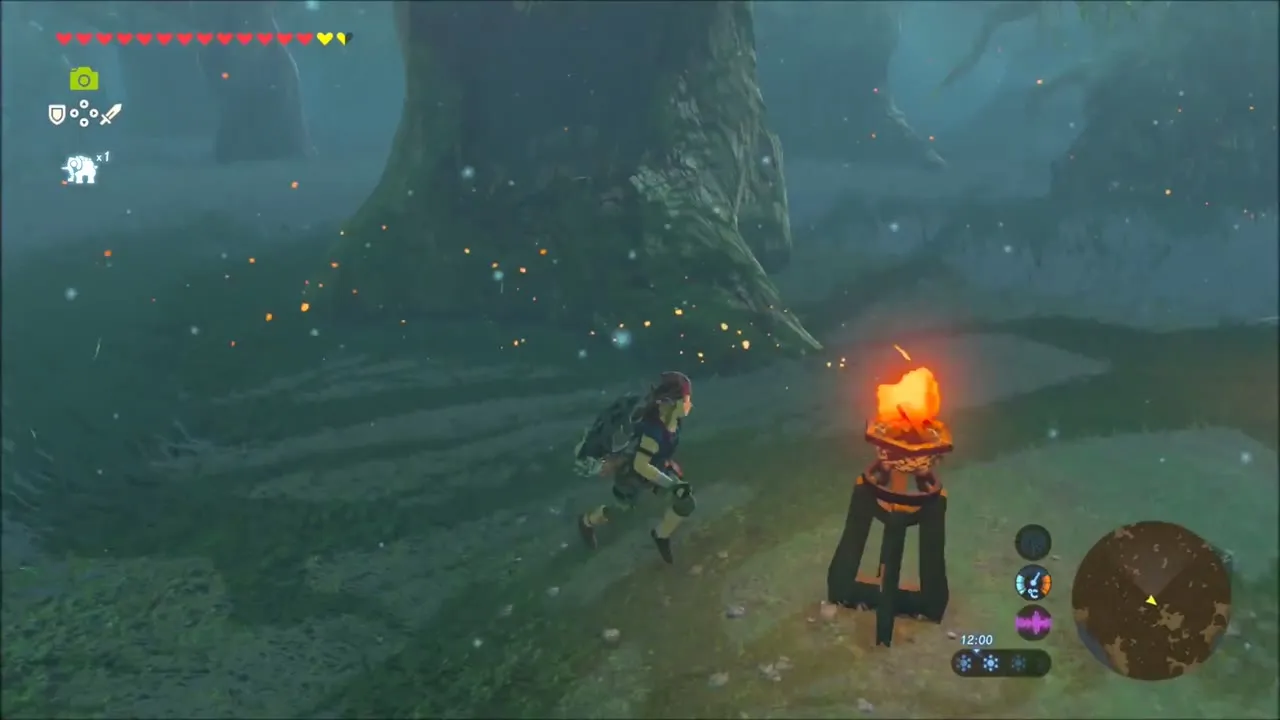
Warp to Woodland Tower, glide off over the water and make for the north-east. Land on the shore, climb the red cliff and follow the forest trail north-east until the fog thickens and the Lost Woods begins. A torch stands at the entrance.


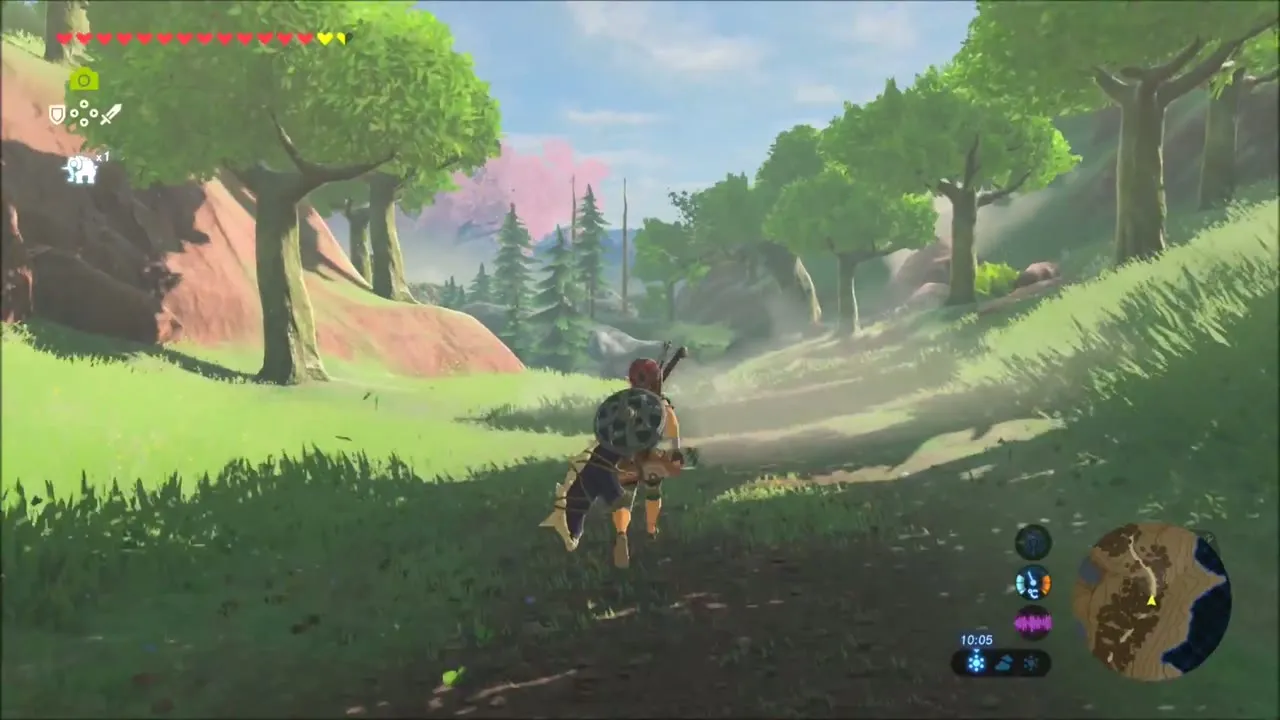
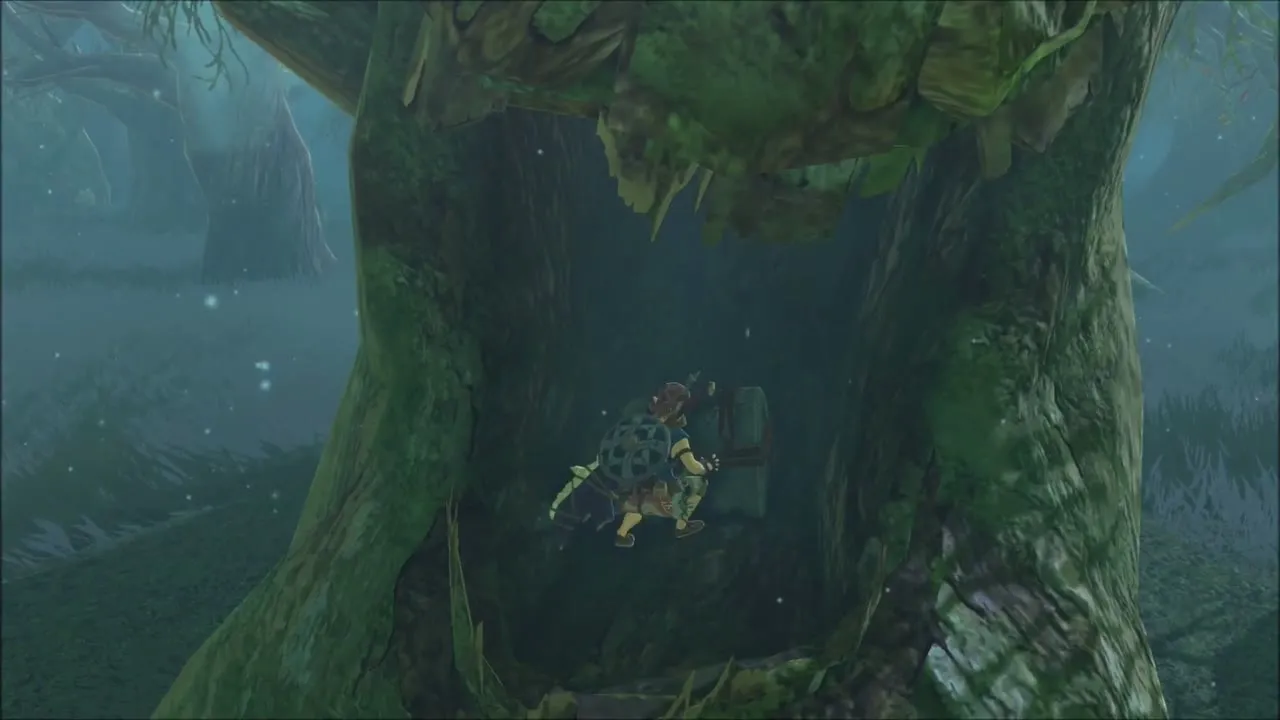
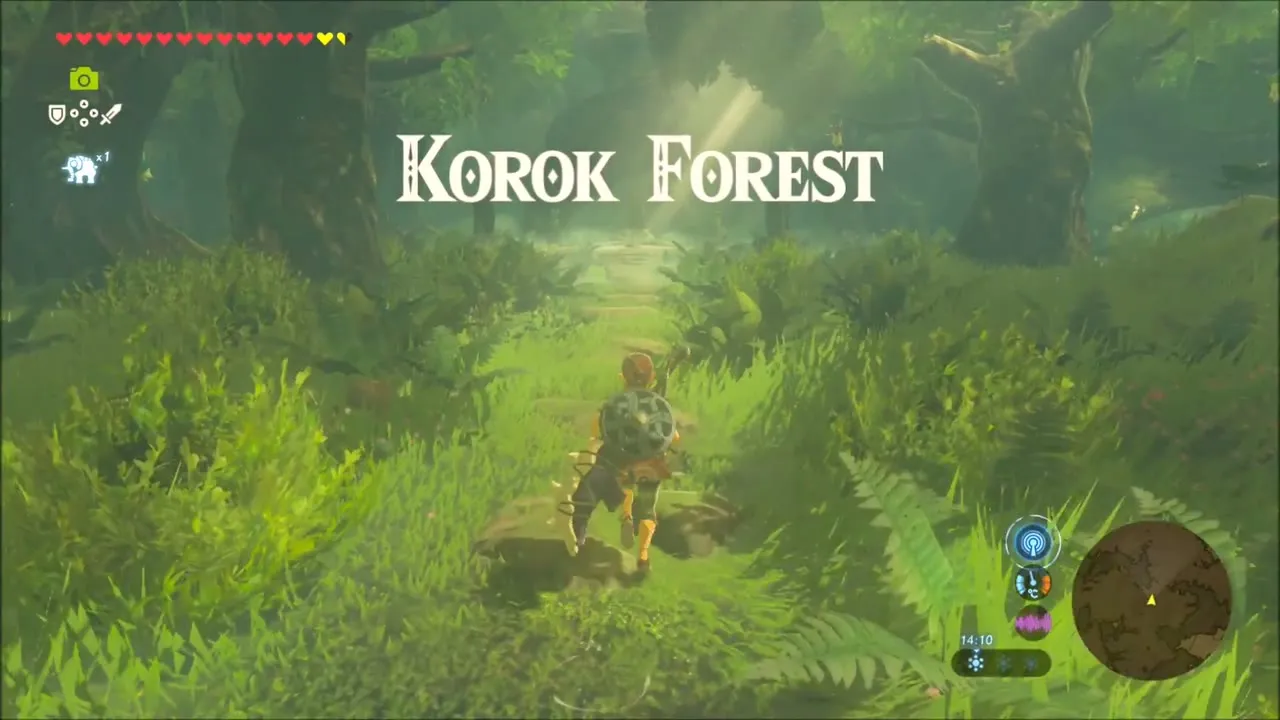
Inside the Lost Woods, fog covers everything, and heading the wrong way sends you back to the start. Walk from one torch to the next, watching which way the embers blow. A chest sits in a hollow tree along the way. After the last torches the mist clears into bright forest and the title Korok Forest appears.

How to Get the Master Sword in Korok Forest
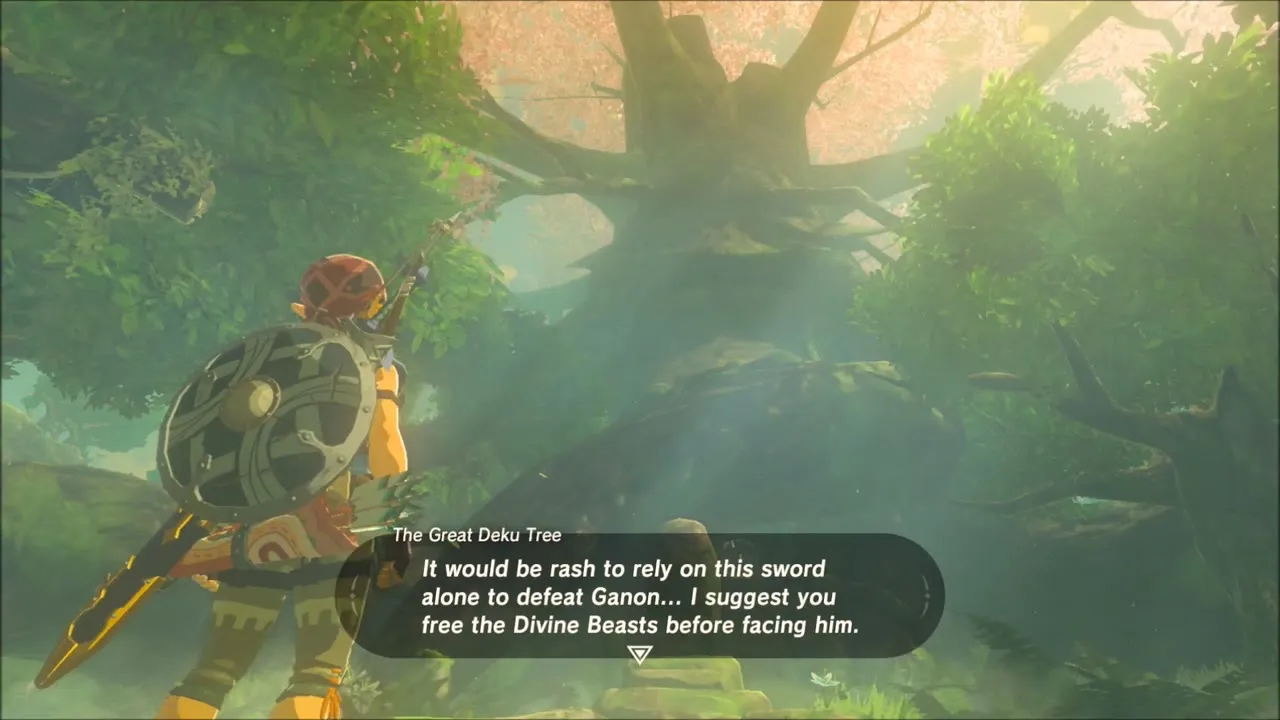
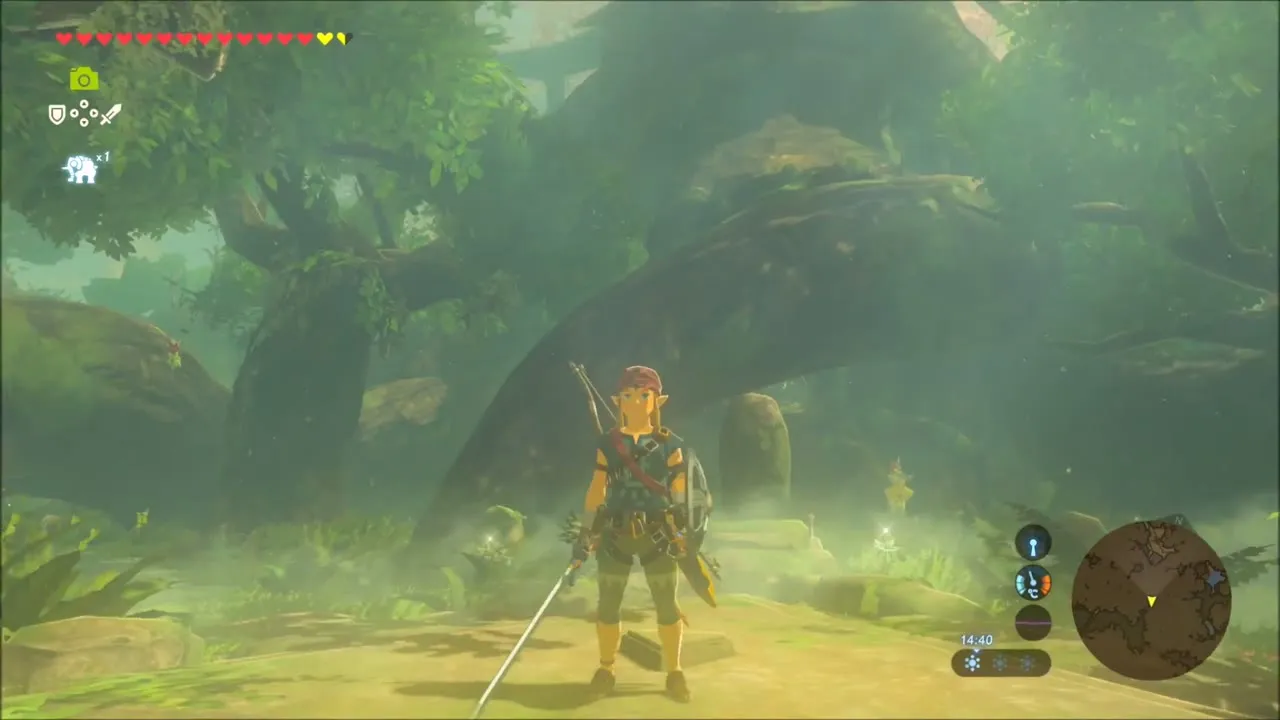
The Great Deku Tree speaks to you as you reach the pedestal in the clearing at (428, -2137). It tells you that a weakened hero who tries the sword would lose his life where he stands, so arrive with 13 hearts. Press the prompt to pull, and Link draws the Master Sword from the stone.


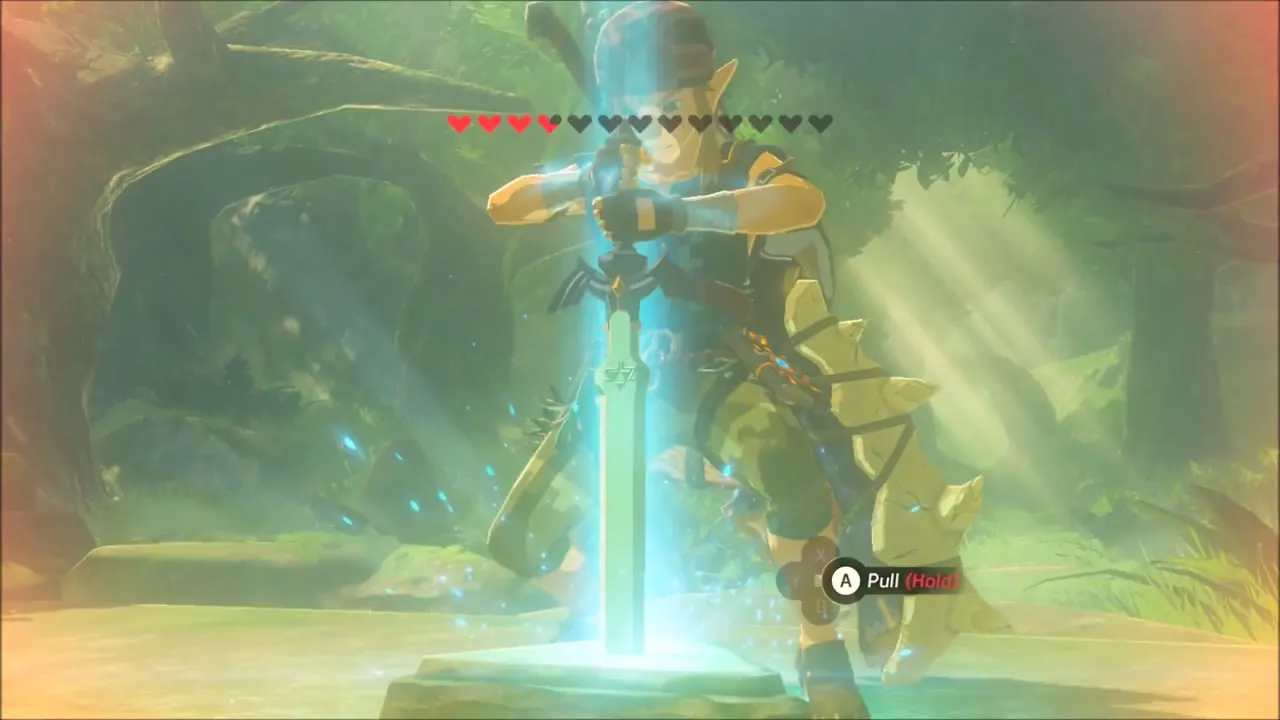

This completes The Hero’s Sword. The Master Sword has an attack of 30, and against Calamity Ganon and things touched by Malice it glows and strikes for 60. Zelda’s voice speaks to Link in a short flashback, and the Great Deku Tree warns that it is rash to rely on this sword alone against Ganon and suggests freeing the Divine Beasts first.


Hestu in Korok Forest: Expand Your Weapon, Bow and Shield Stash
Further along the path you meet Hestu, the maraca-shaking Korok who trades Korok seeds for extra inventory. He offers a weapon stash, a bow stash and a shield stash. Link buys several expansions, adding rows of weapon slots and then shield slots to the menu.


Korok Forest Side Quests, Shops and Riddles
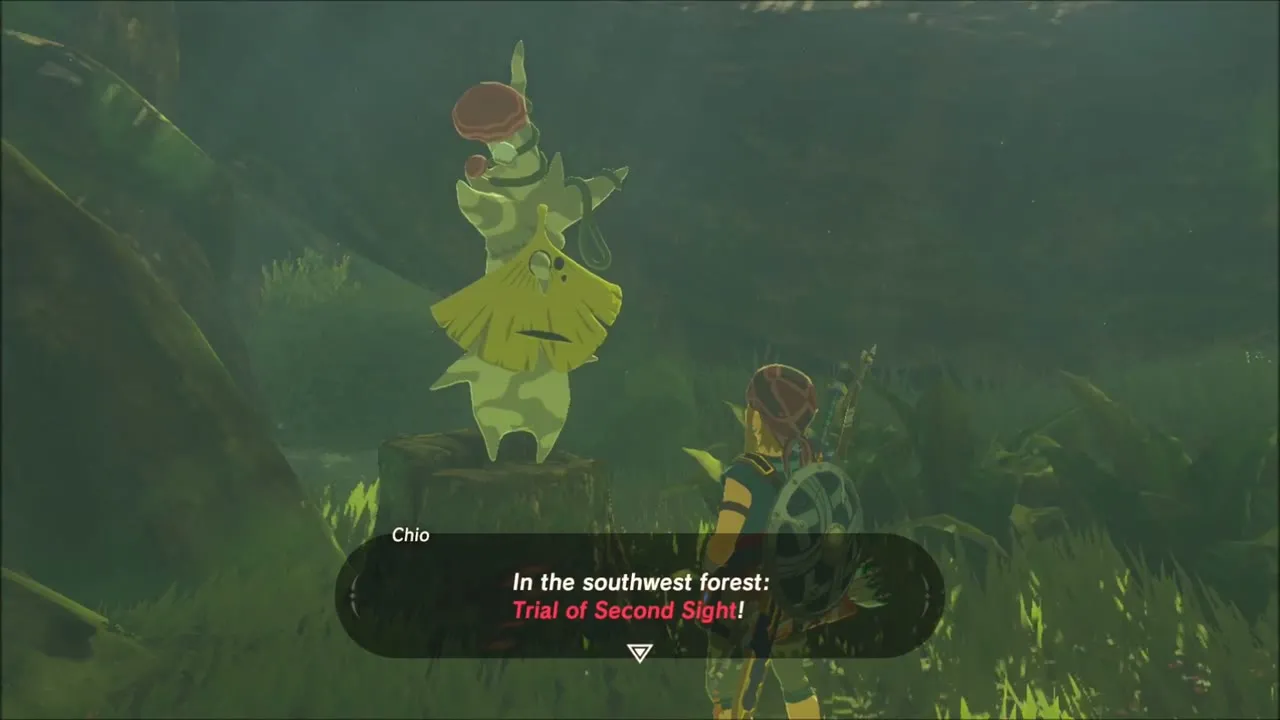
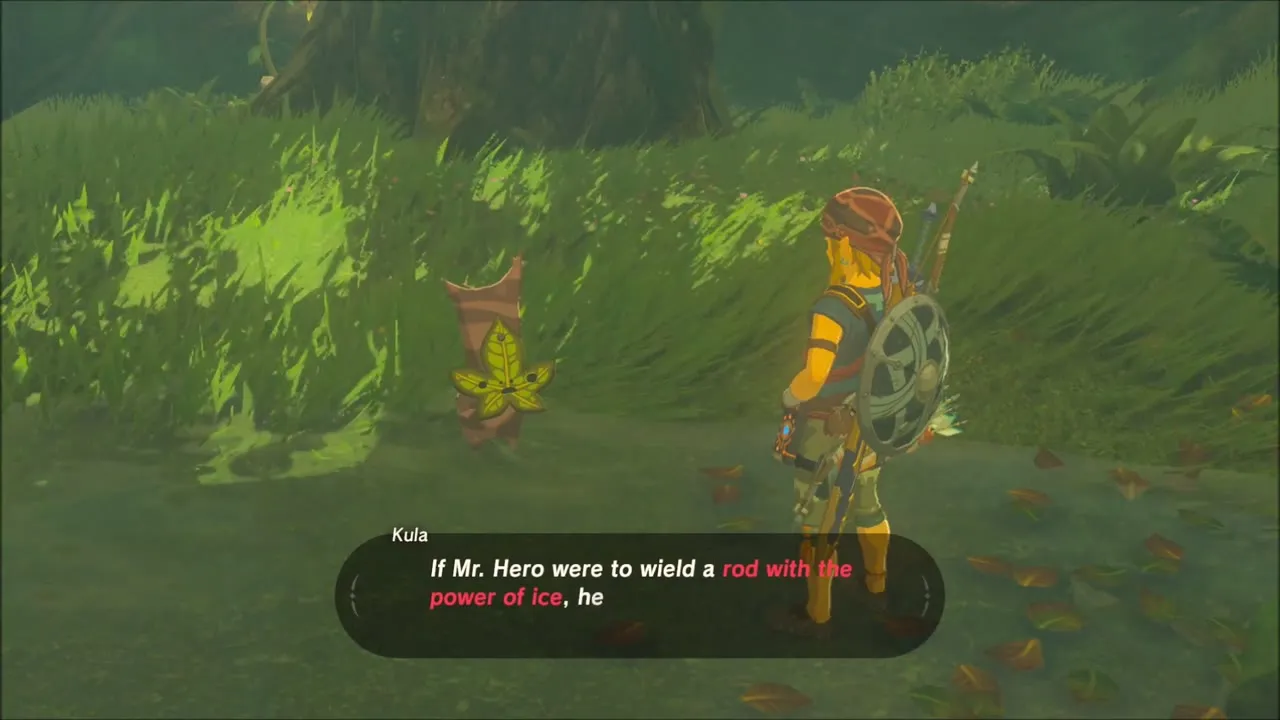
Korok Forest has a few residents worth meeting. Chio mentions the Test of Wood in the eastern forest, the start of The Korok Trials. Kula asks for a rod that holds the power of ice (A Freezing Rod), and Peeks wants a photo of a glowing rabbit (Legendary Rabbit Trial). Maca gives directions, Daz sells Shock Arrows at 240 rupees for three bundles, and Natie sells mushrooms such as Rushroom.


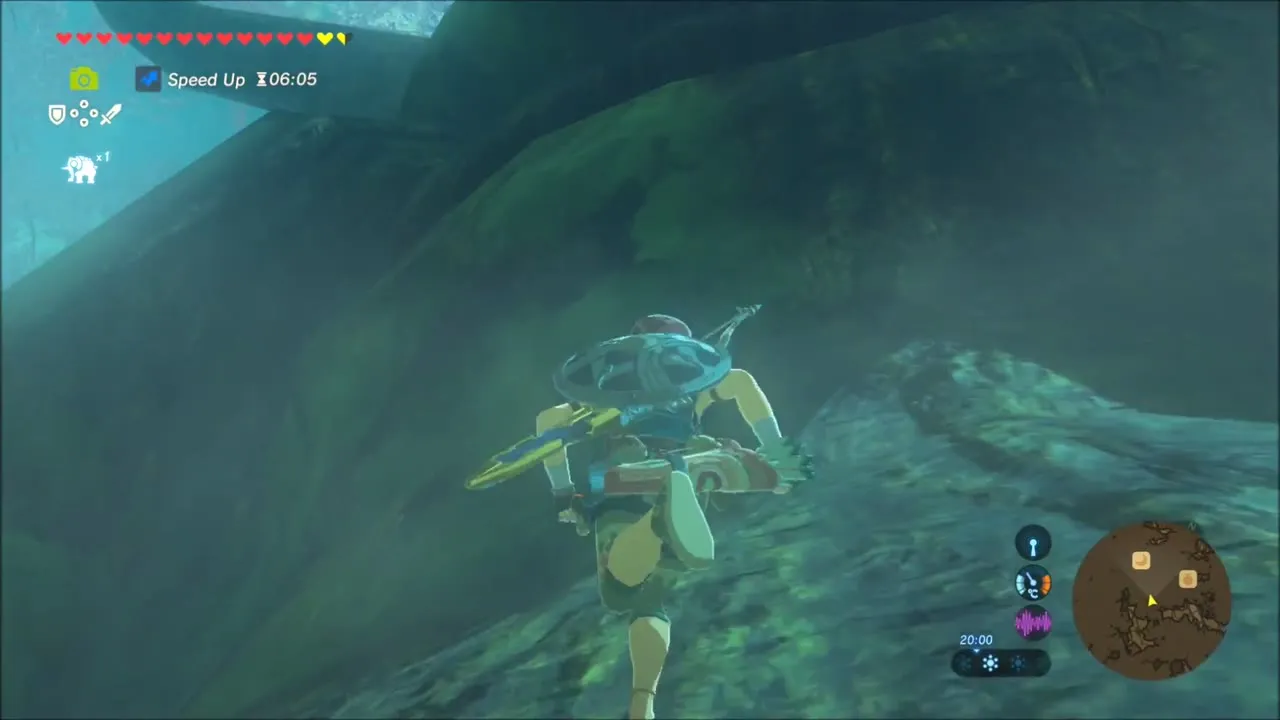
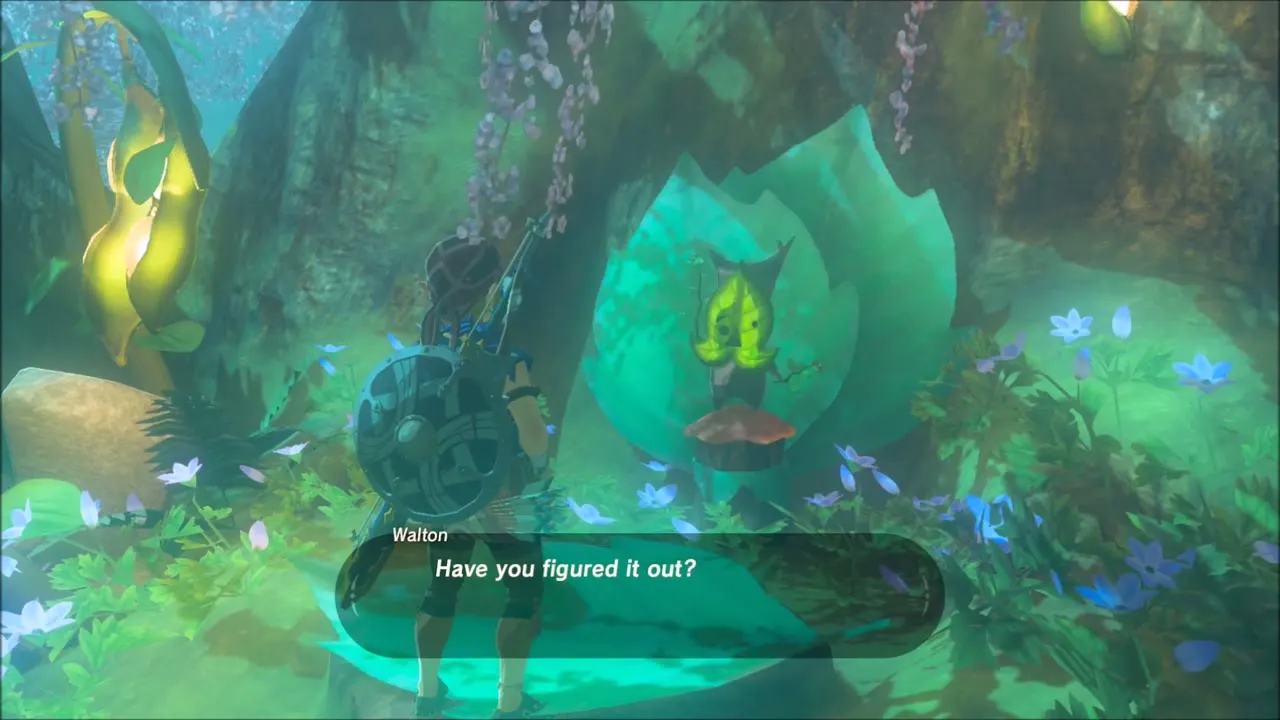
Walton waits at the top of the Great Deku Tree. Drink a Hasty Elixir if you want a faster climb, then scale the trunk. In Riddles of Hyrule Link answers the first three riddles with an Apple, a Fortified Pumpkin and a Sunshroom; the Voltfin Trout and Lynel Hoof riddles stay open until later.


Blupee Photo and the Great Fairy Fountain
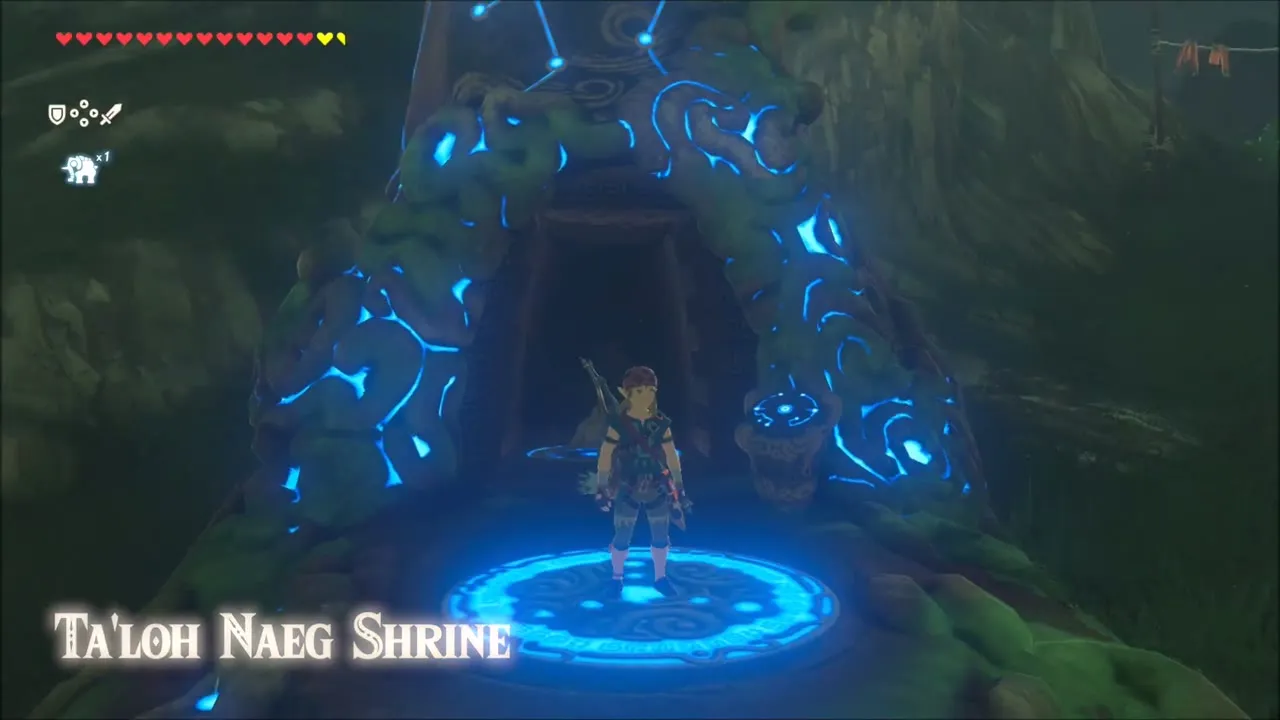
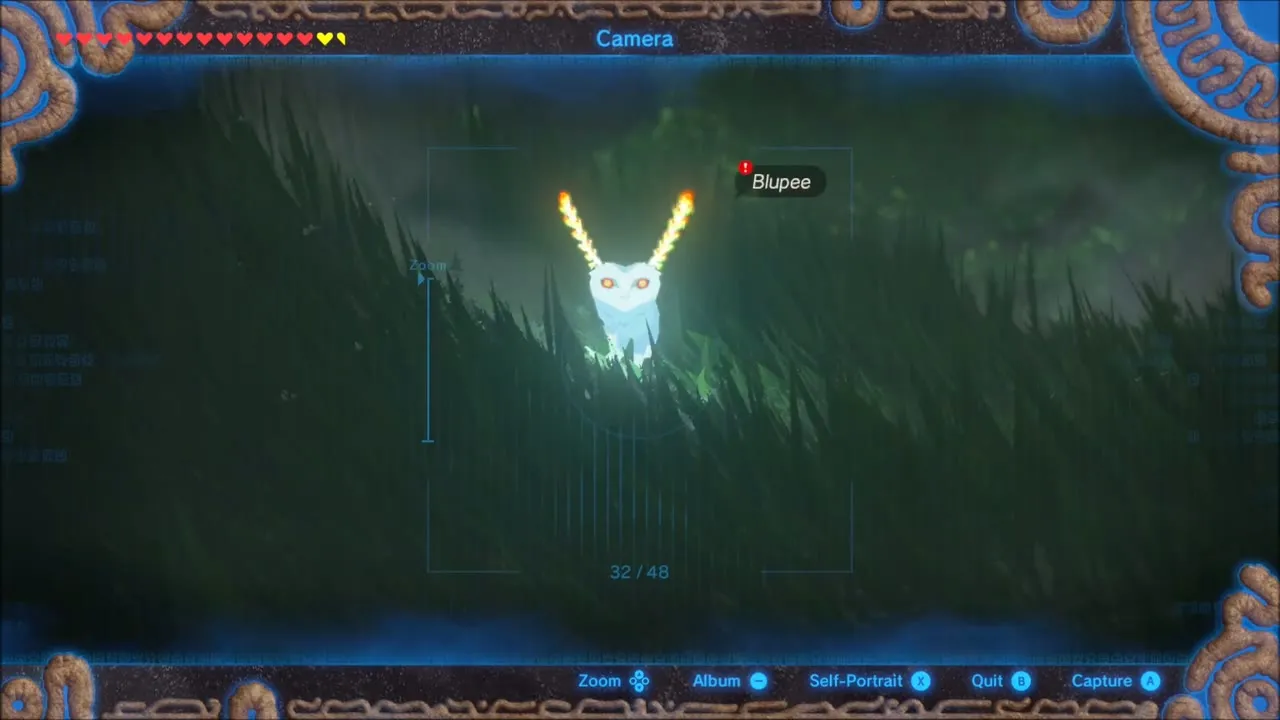
For Peeks, warp to Ta’loh Naeg Shrine beside Kakariko Village after dark. A glowing Blupee darts through the tall grass; open the Camera rune, frame it and take the shot, then replace the old compendium picture if the game asks.
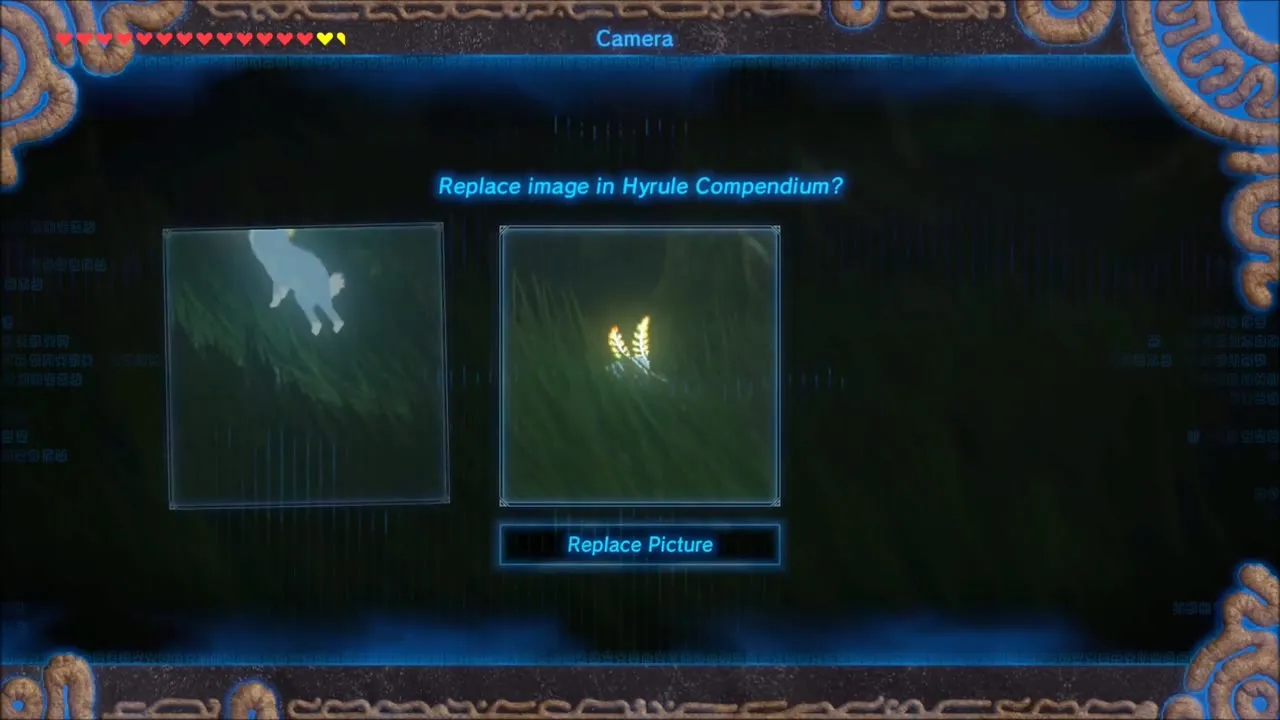

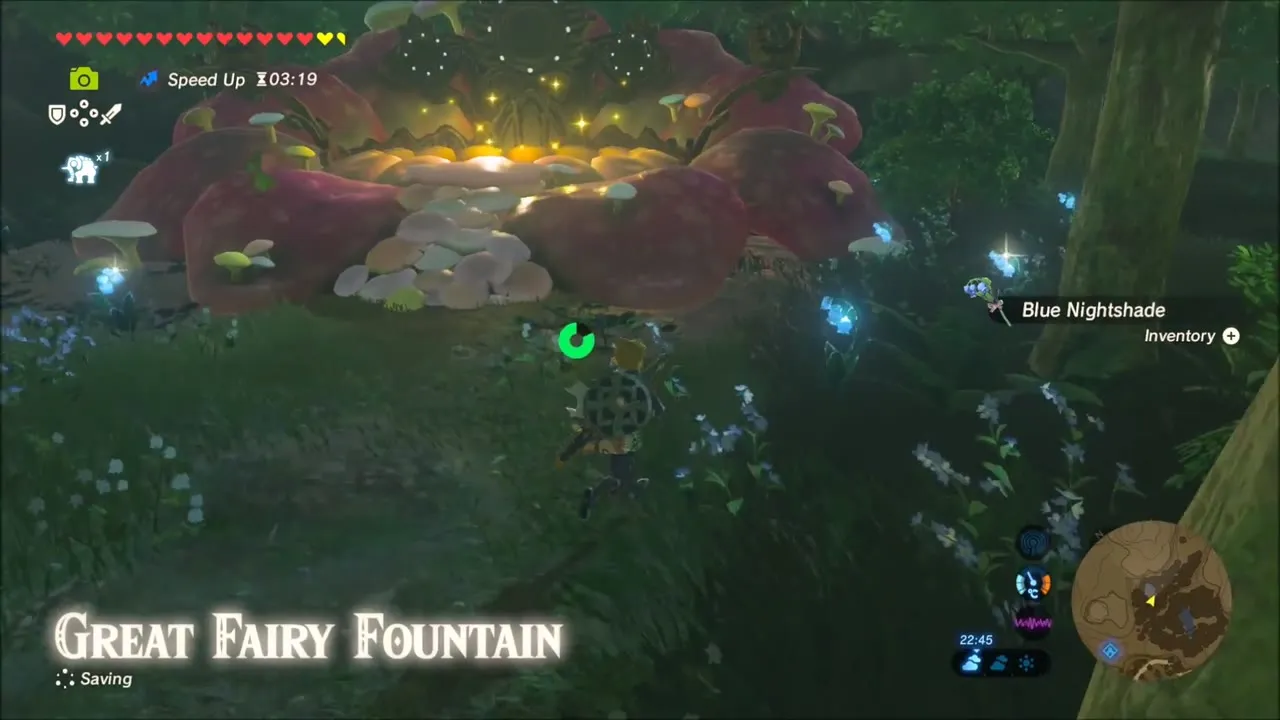
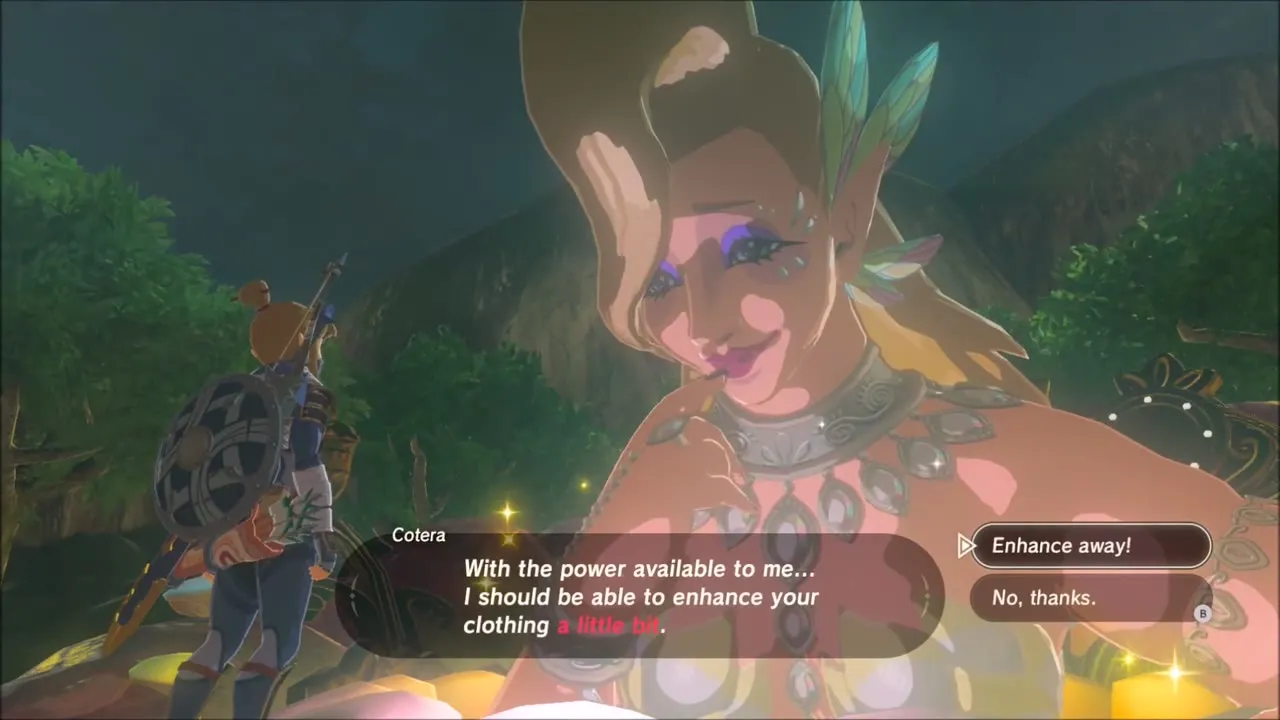
The Great Fairy Fountain near Kakariko is close by. Inside, the Great Fairy Cotera offers to enhance your armor, then says goodbye when you are done.

Ice Rod for A Freezing Rod: Slopes Below Lanayru Tower
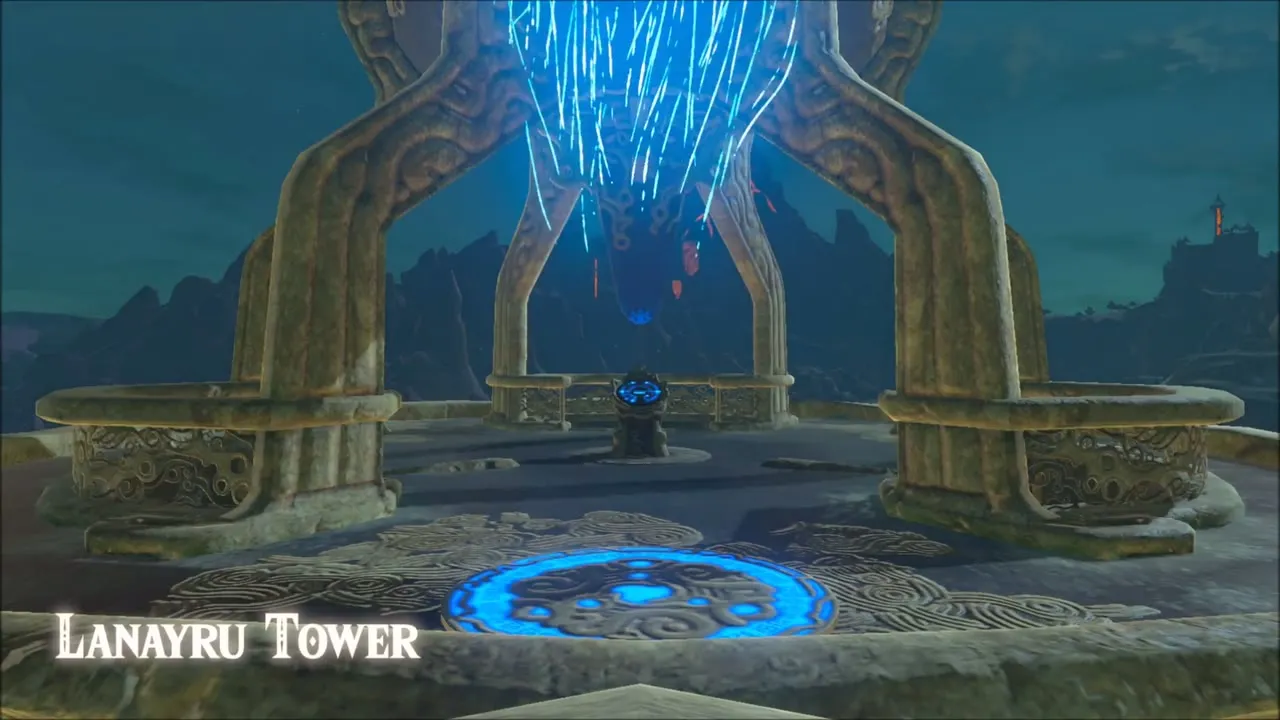
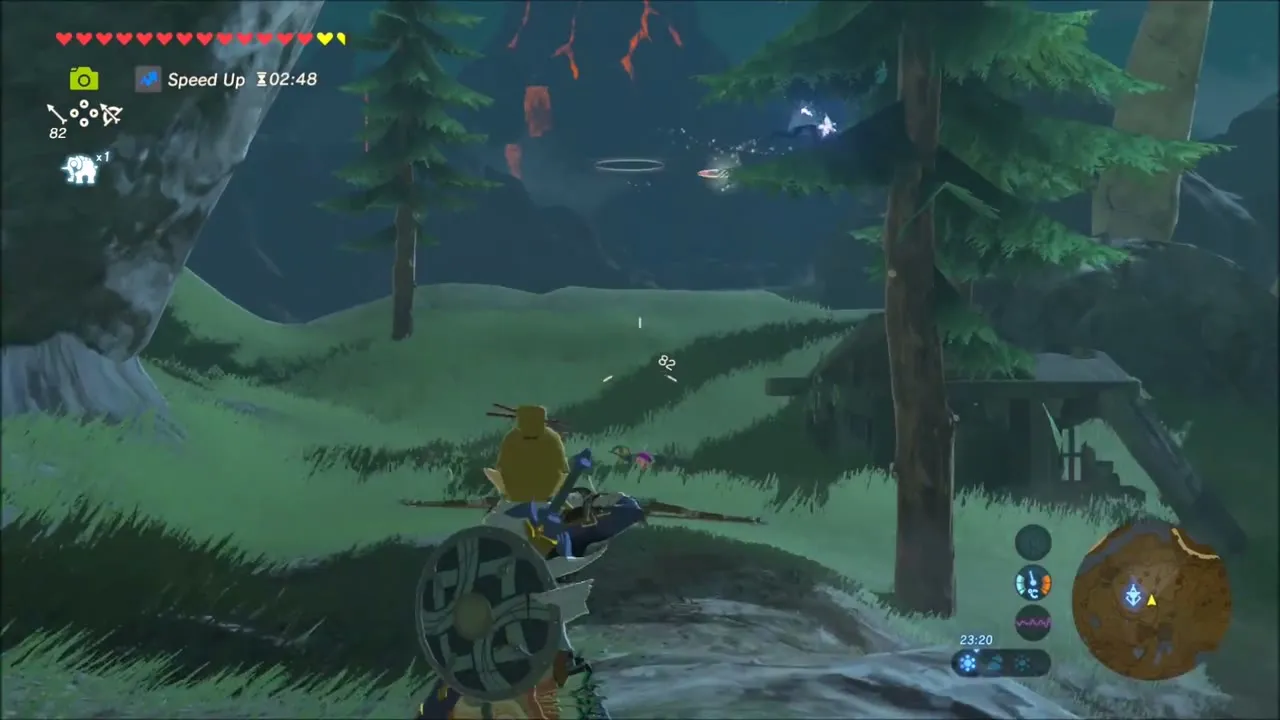
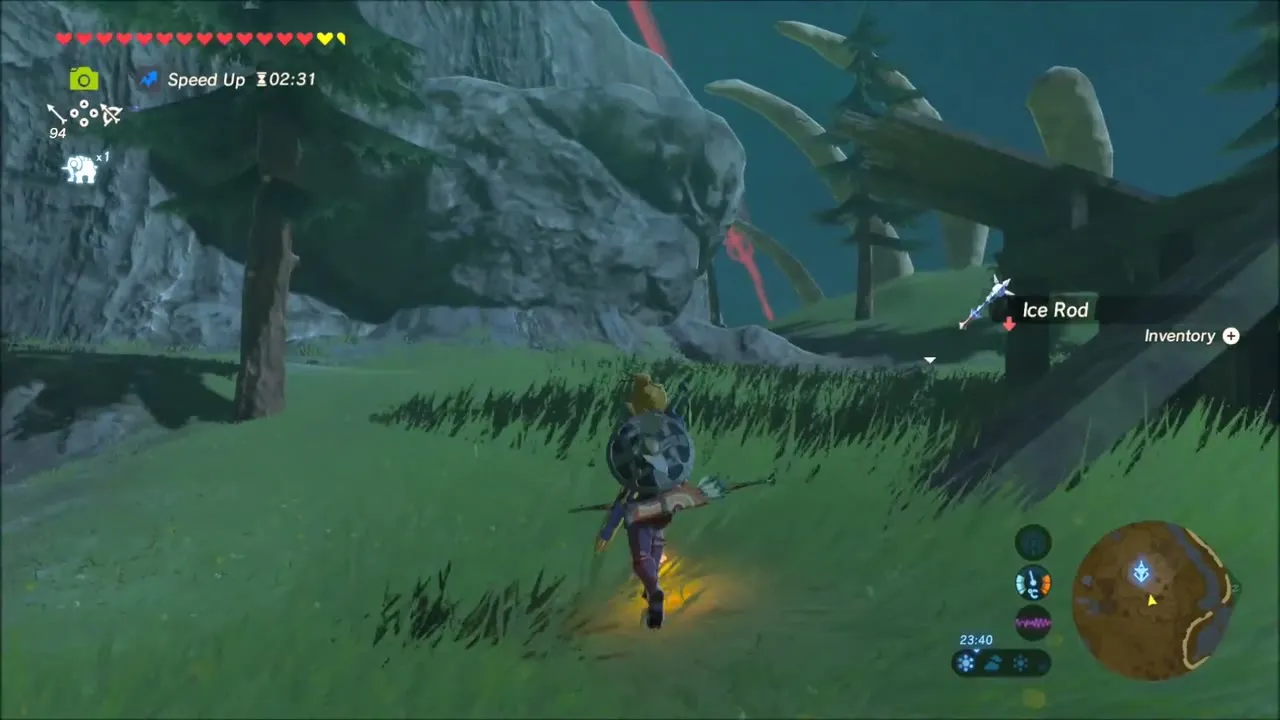
For Kula’s quest, warp to Lanayru Tower and glide down to the pine slopes below. Shoot down the wizzrobe floating above the hillside and pick up the Ice Rod it drops. Glowing rock nearby can be mined for Luminous Stone.


Finishing A Freezing Rod and Legendary Rabbit Trial
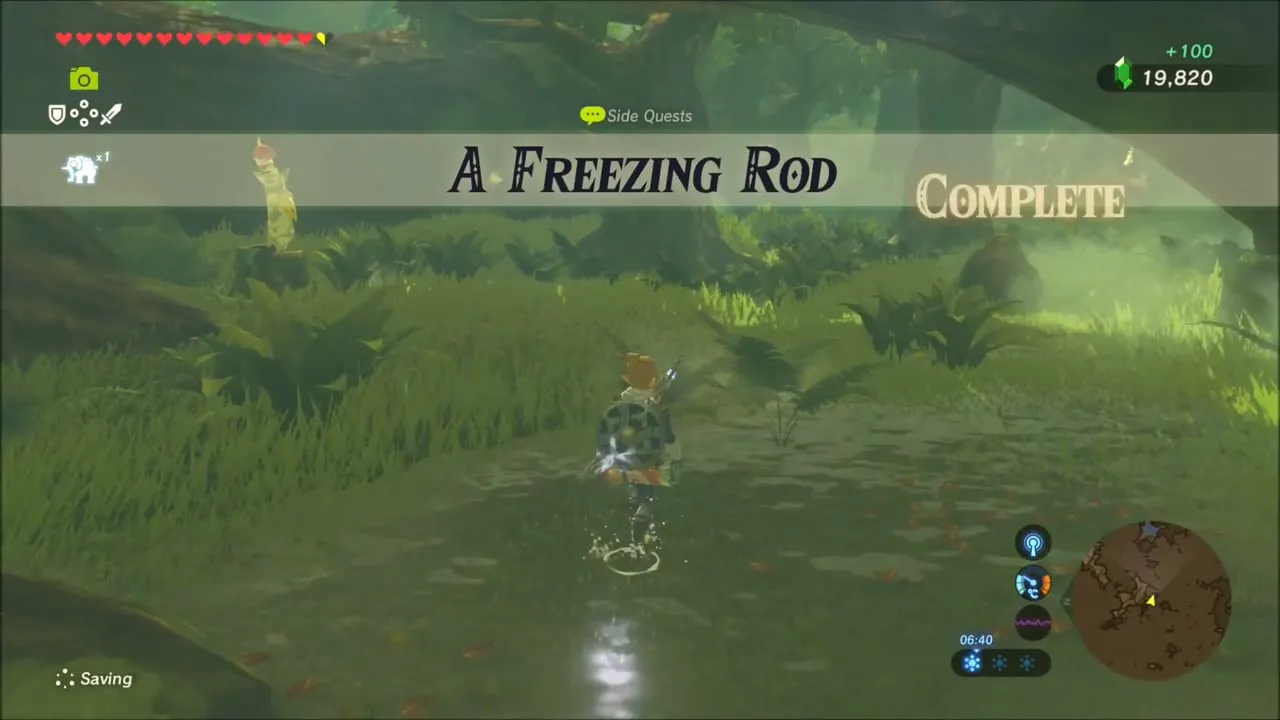
Warp back to Woodland Tower, repeat the torch route through the Lost Woods and hand the Ice Rod to Kula; A Freezing Rod completes with a 100-rupee reward. Then show Peeks the Blupee picture from your Album, and the Korok is delighted.



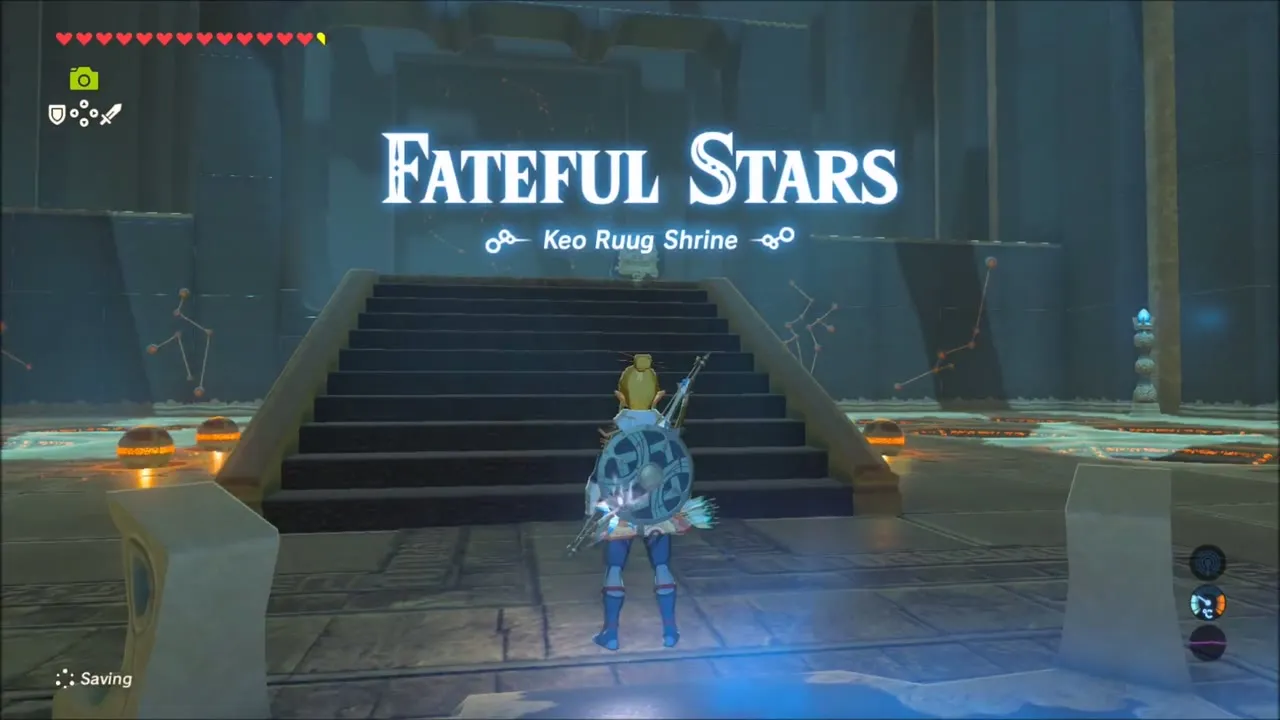
Keo Ruug Shrine: Fateful Stars (Constellation Puzzle)
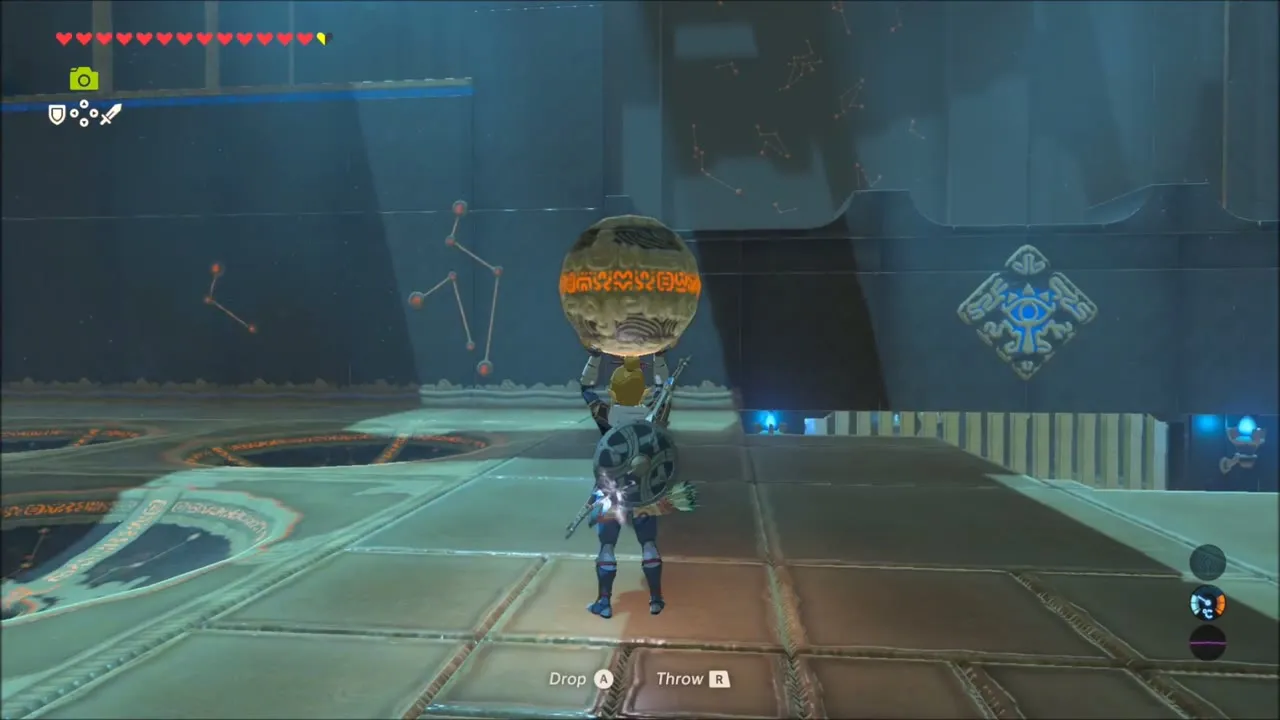
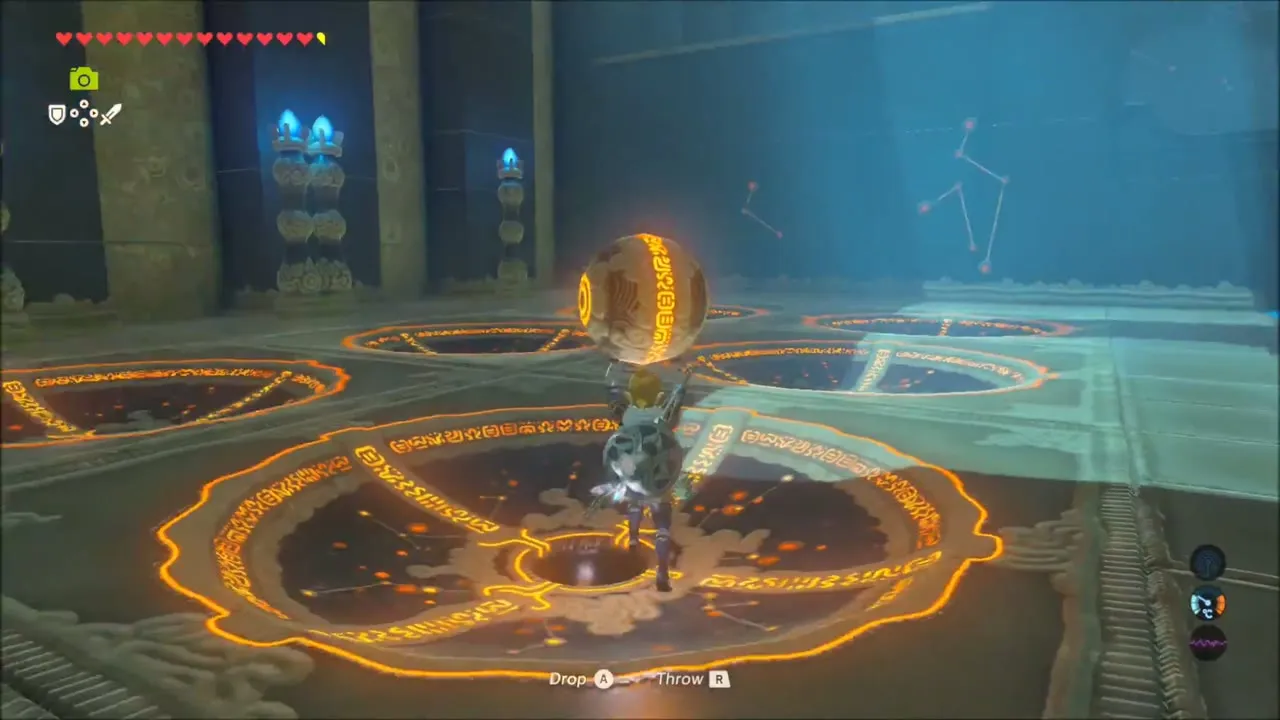
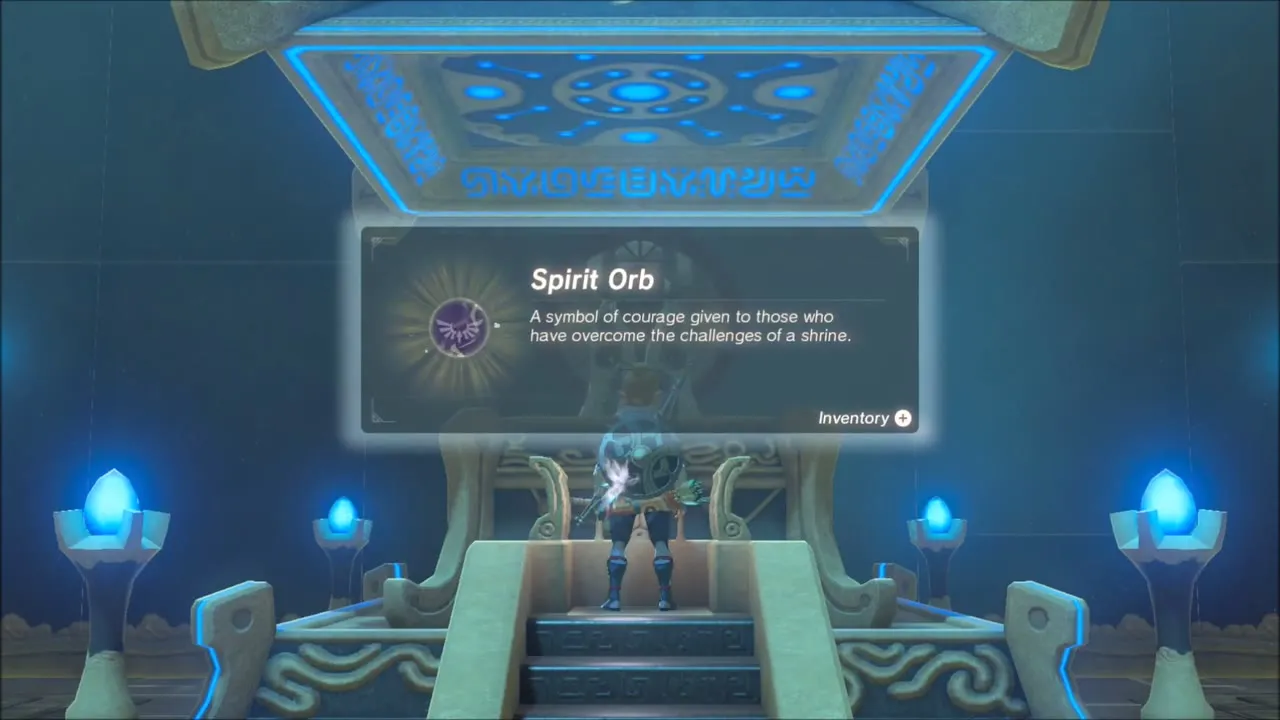
The doorway of Keo Ruug Shrine stands beside the Great Deku Tree at (471, -2168). Its trial is Fateful Stars: carry each sphere to the receptacle row whose torch count matches how many times that sphere’s constellation appears on the far wall. Solving the first set opens the monk’s gate, and the second set, behind a gate on the stairs, opens a chest holding a Knight’s Claymore. Speak to the monk for the Spirit Orb.

The Test of Wood: Maag Halan Shrine in Korok Forest
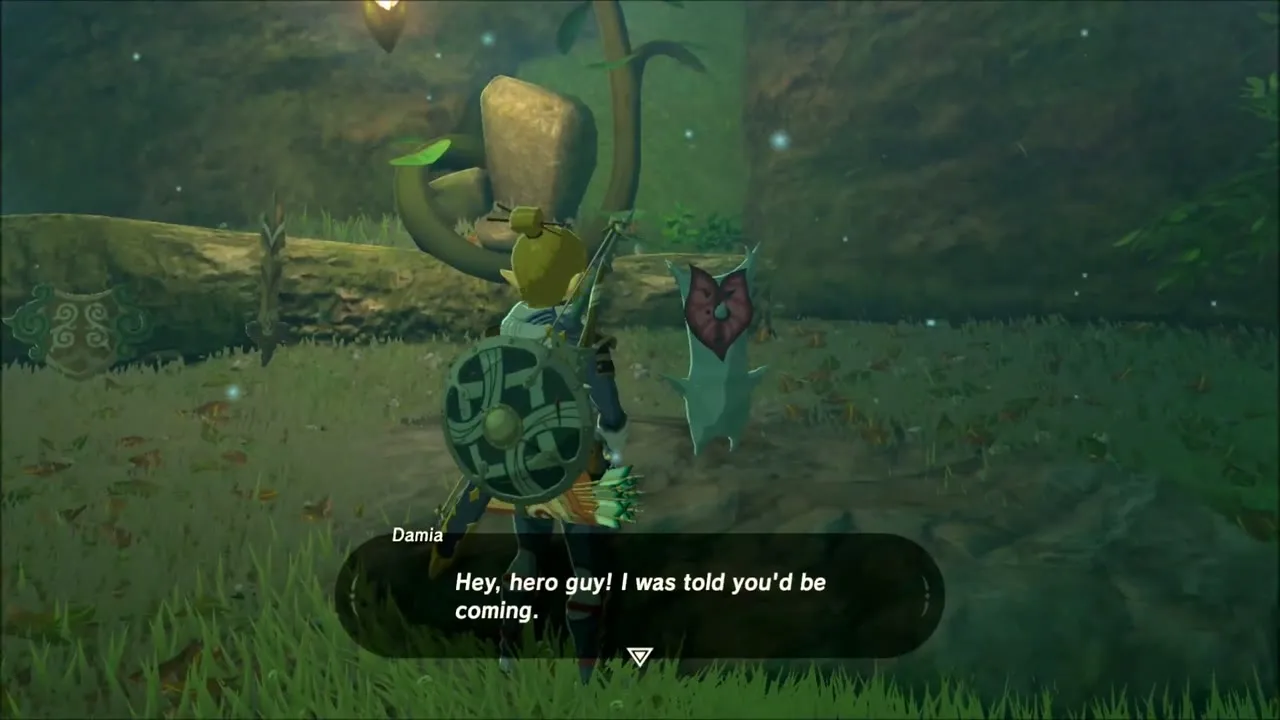
The first Korok trial is The Test of Wood, given by Damia in Korok Forest. He lends you a Forest Dweller’s Sword, Shield and Bow, and the goal is to reach the hidden shrine at the far end of the swamp using only those three weapons. It is one of the three shrine quests that The Korok Trials asks you to finish.

Cross the mist and the swamps
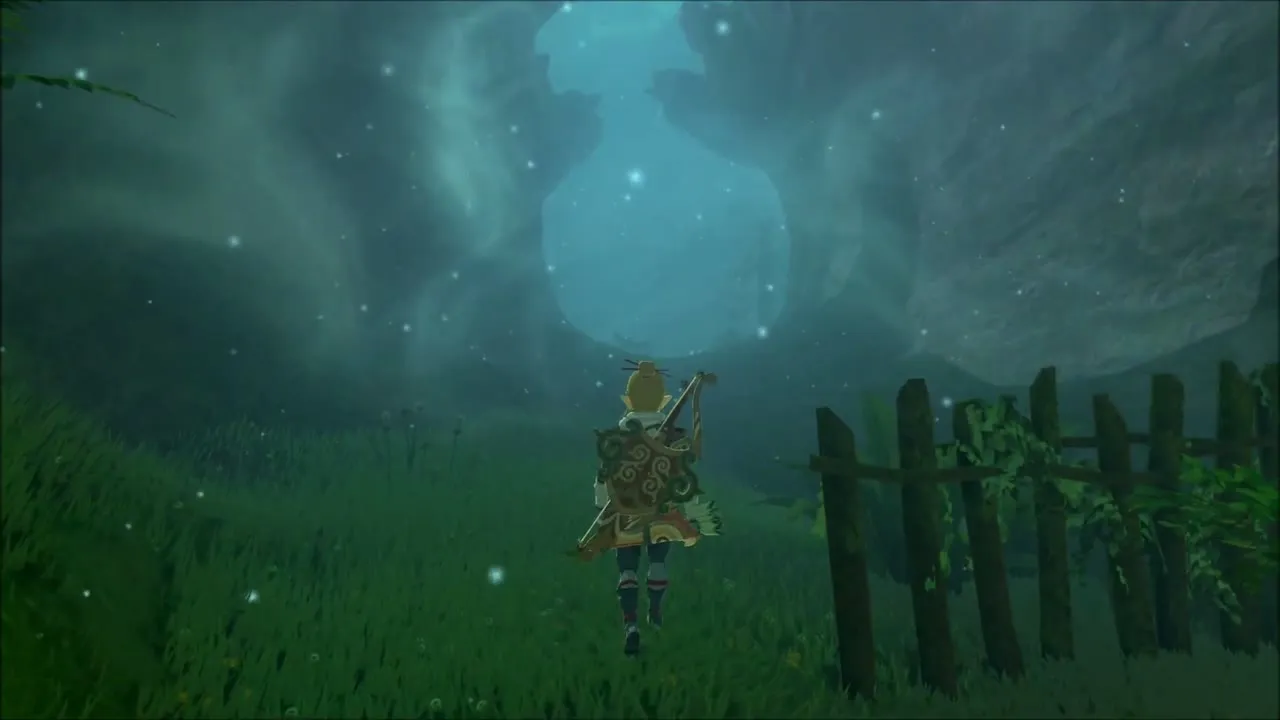
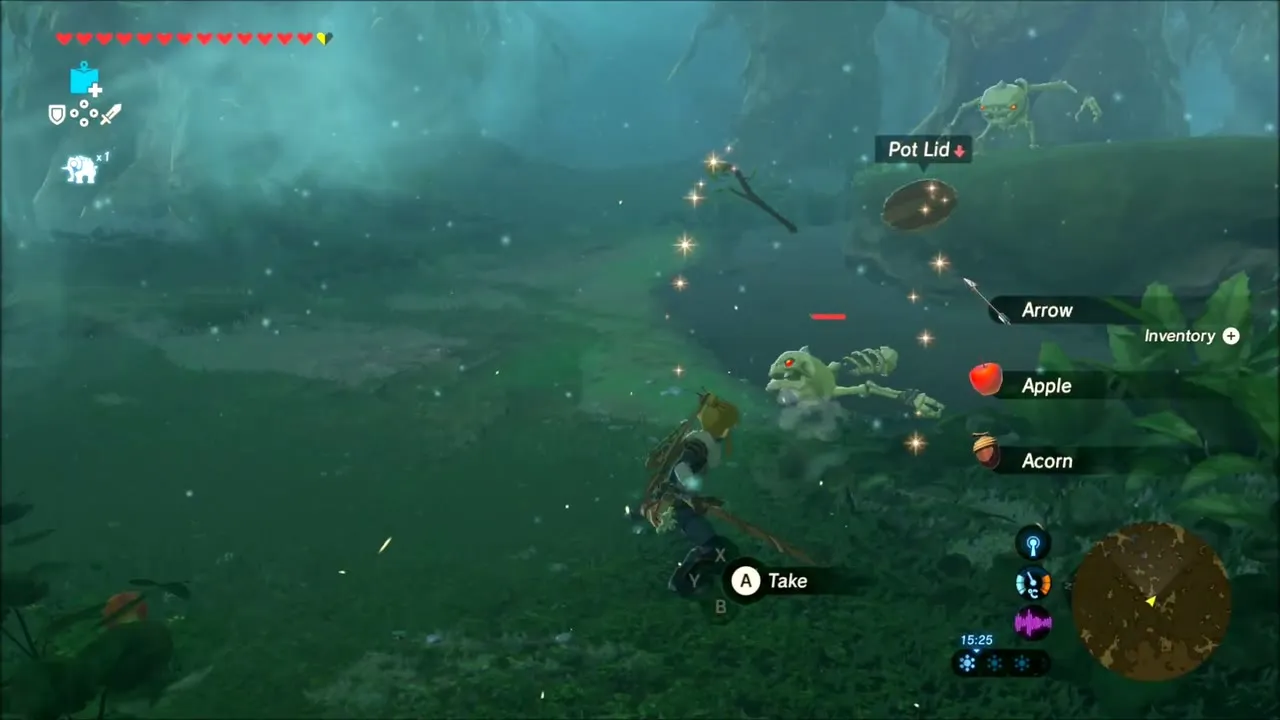
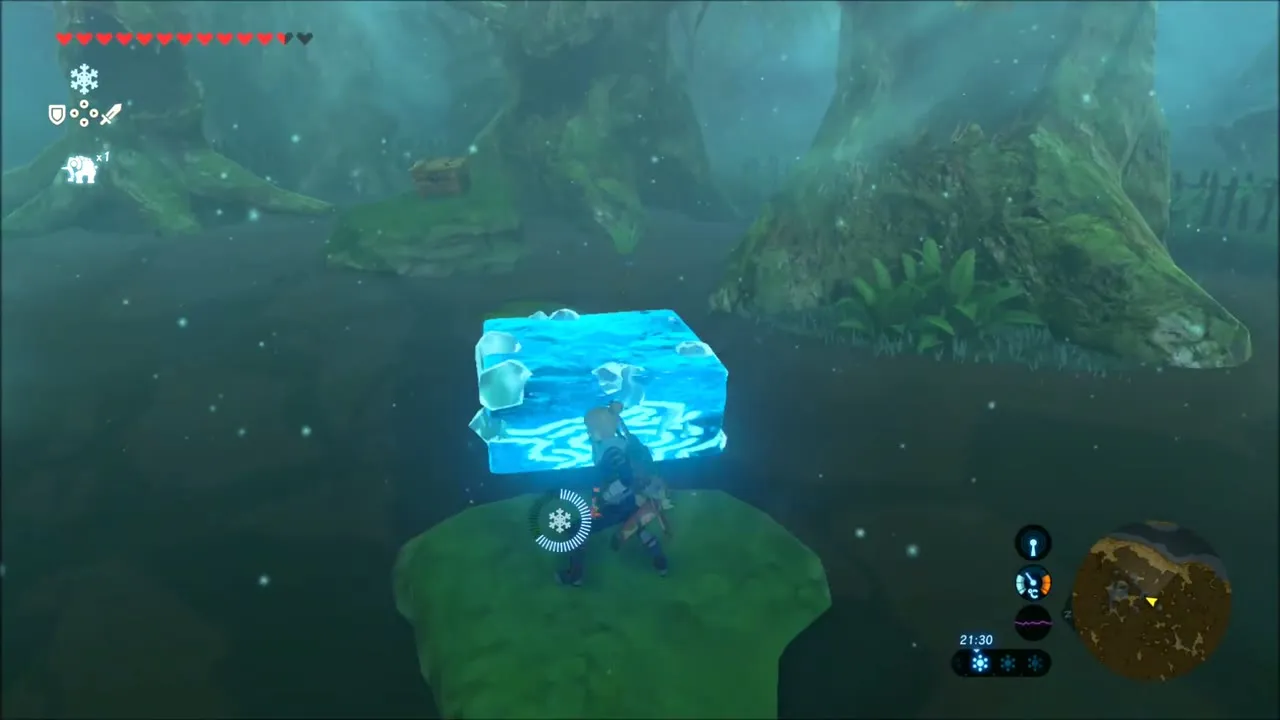
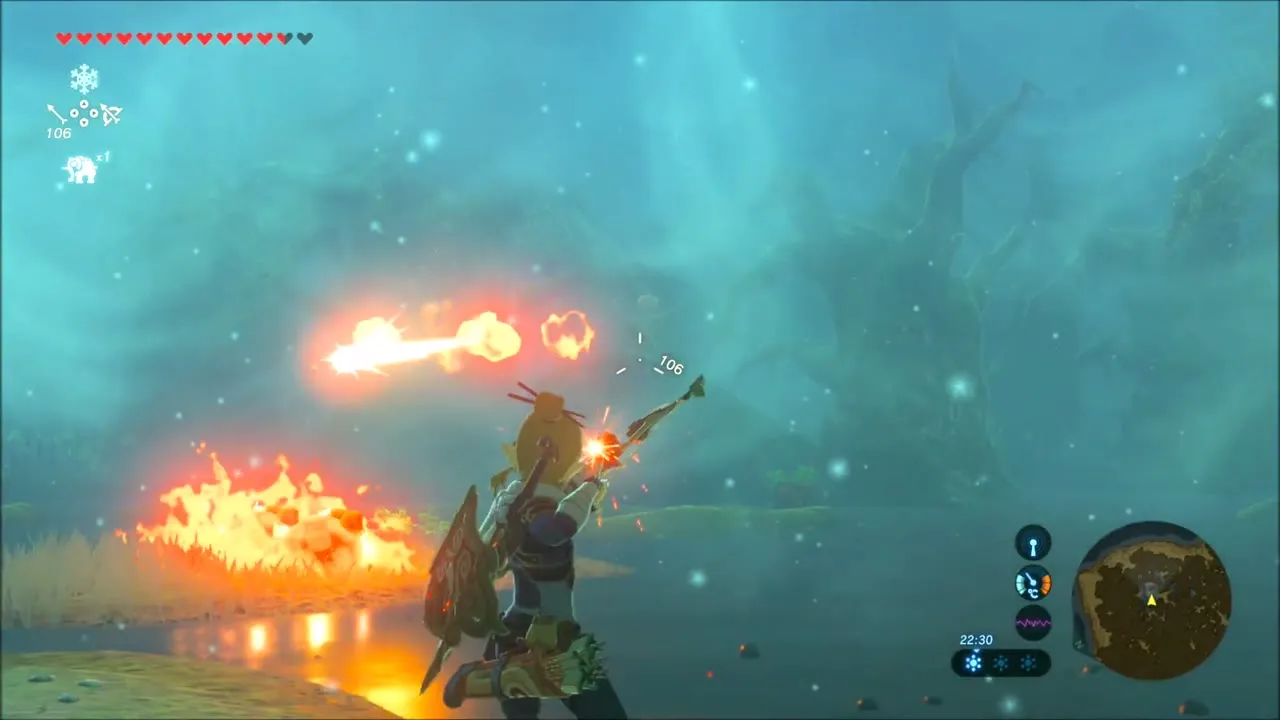
Follow the fenced path through the mist and fight whatever comes at you with the borrowed gear: Chuchus, Keese, Octoroks and skeletal monsters guard the route. Burning, frozen or electrified enemies are best dealt with from range, because fire and electricity can still cost you your gear. In the swamp stretches, small mossy rocks hold chests. Use Cryonis to build an ice block and reach them. When you step out of the last swamp, a title card announces that The Test of Wood is complete.

Maag Halan Shrine
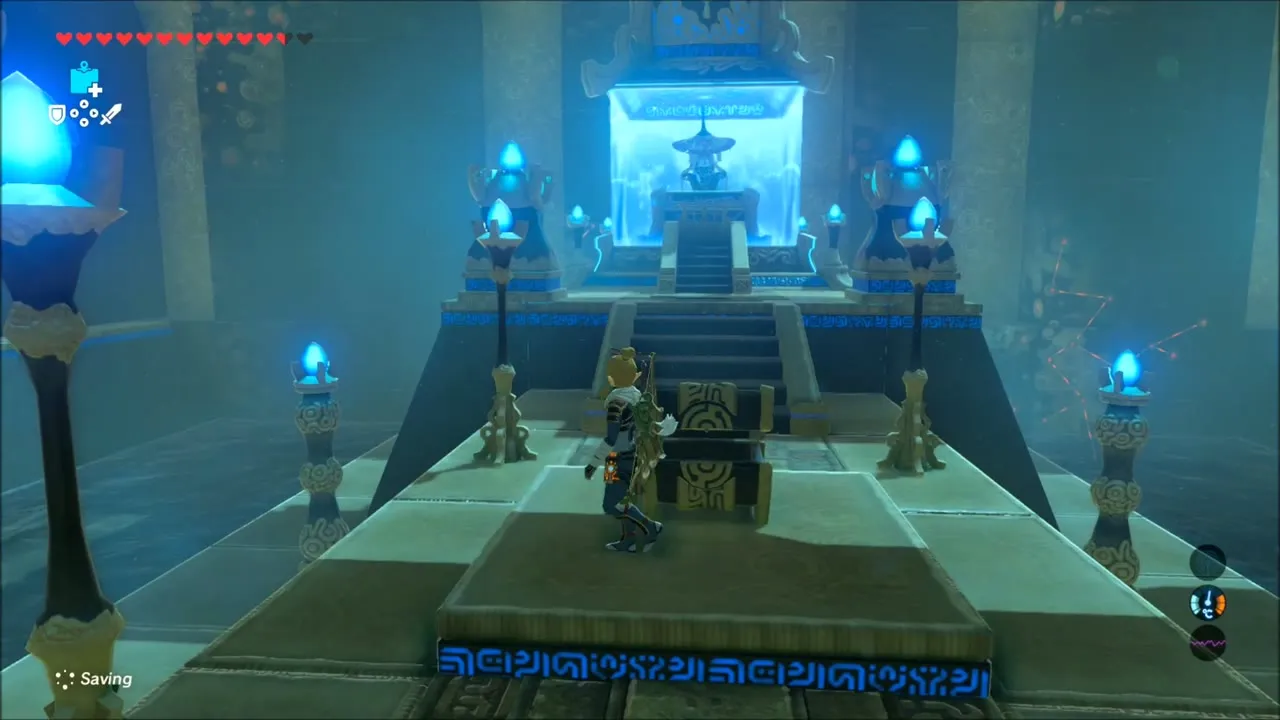
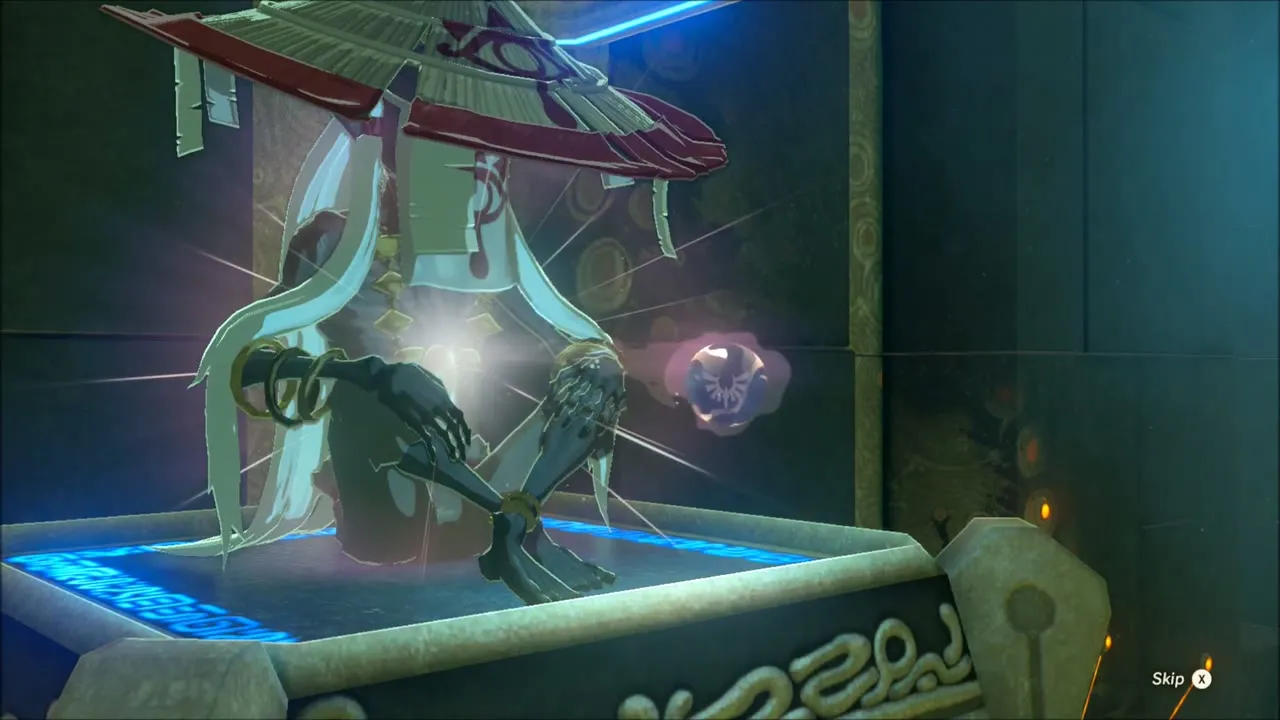
Maag Halan Shrine (x 837, z -2419, height 295) opens as soon as the test is finished. There is no puzzle inside: take the Giant Ancient Core from the chest and speak to the monk to receive a Spirit Orb.


Trial of Second Sight: Kuhn Sidajj Shrine and the Hungry Trees
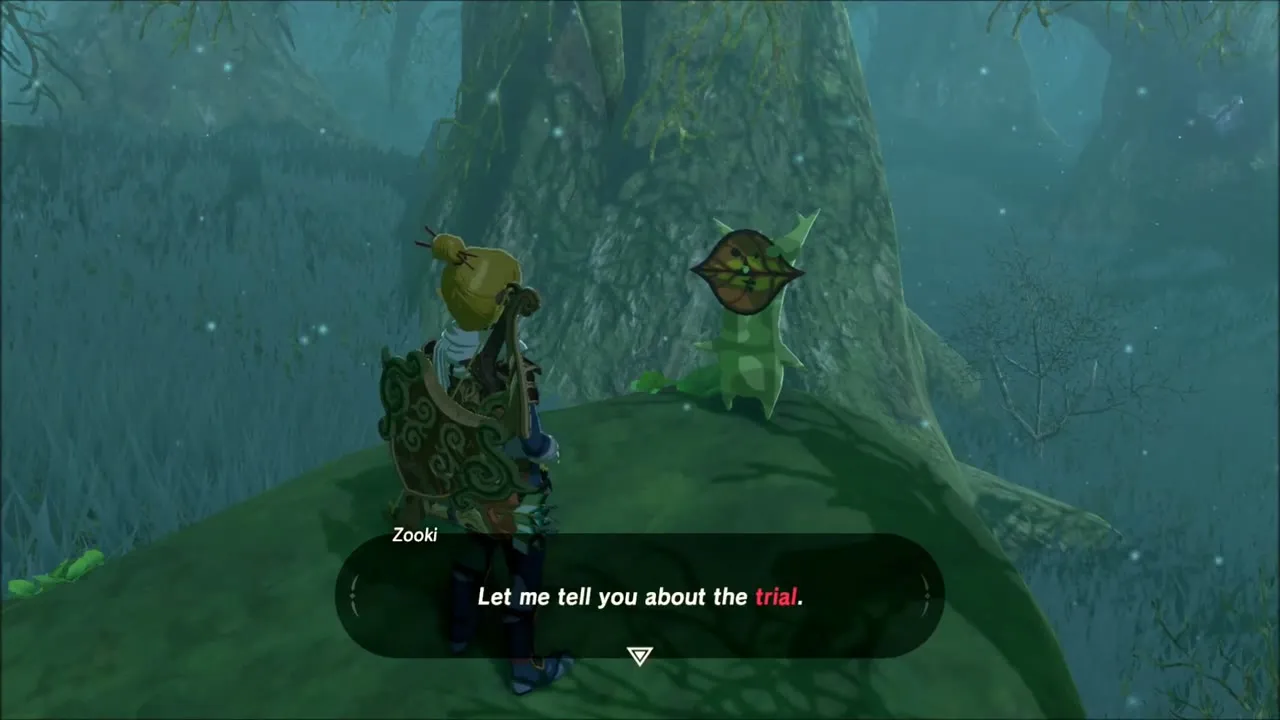
Walk to the path that leads into the Lost Woods, where Zooki dances on a rock. He gives you a riddle about hungry trees and iron, which starts Trial of Second Sight. Equip Magnesis and scan the fog: metal stuck in the mouths of certain trees marks the way. Follow it from tree to tree through the grass until you reach a tree with an inscription that asks to be fed a shield.
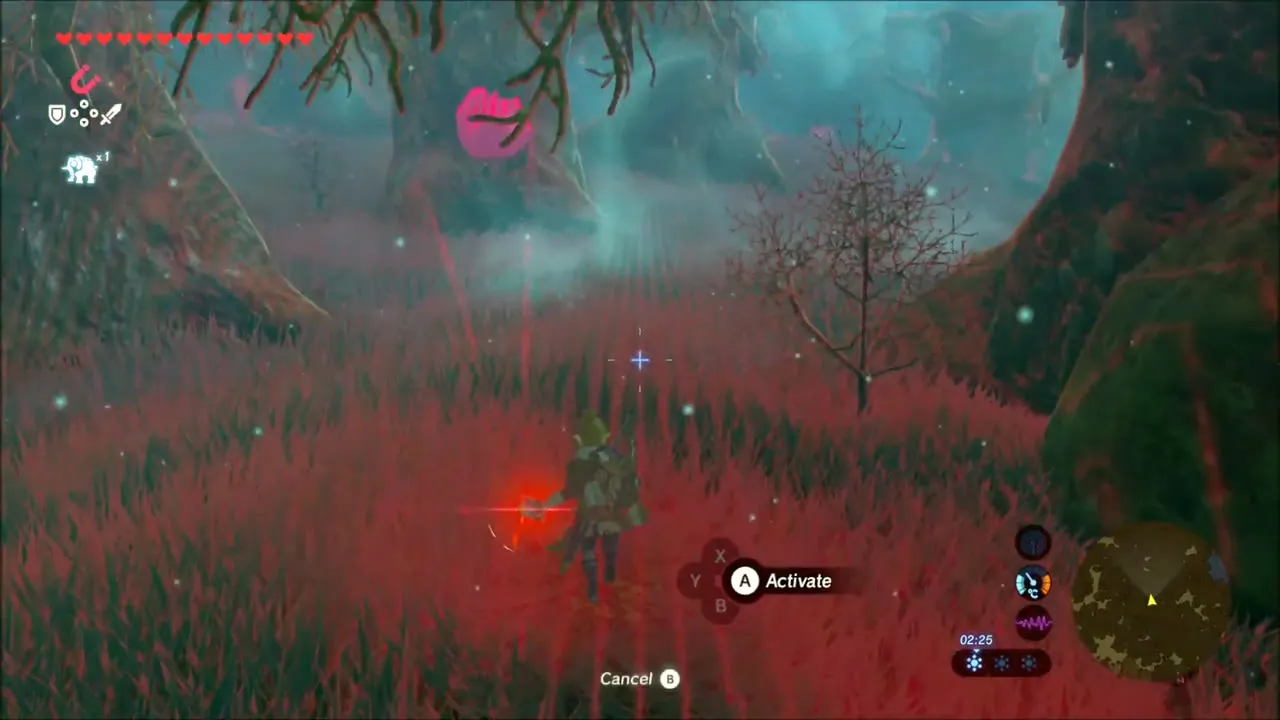
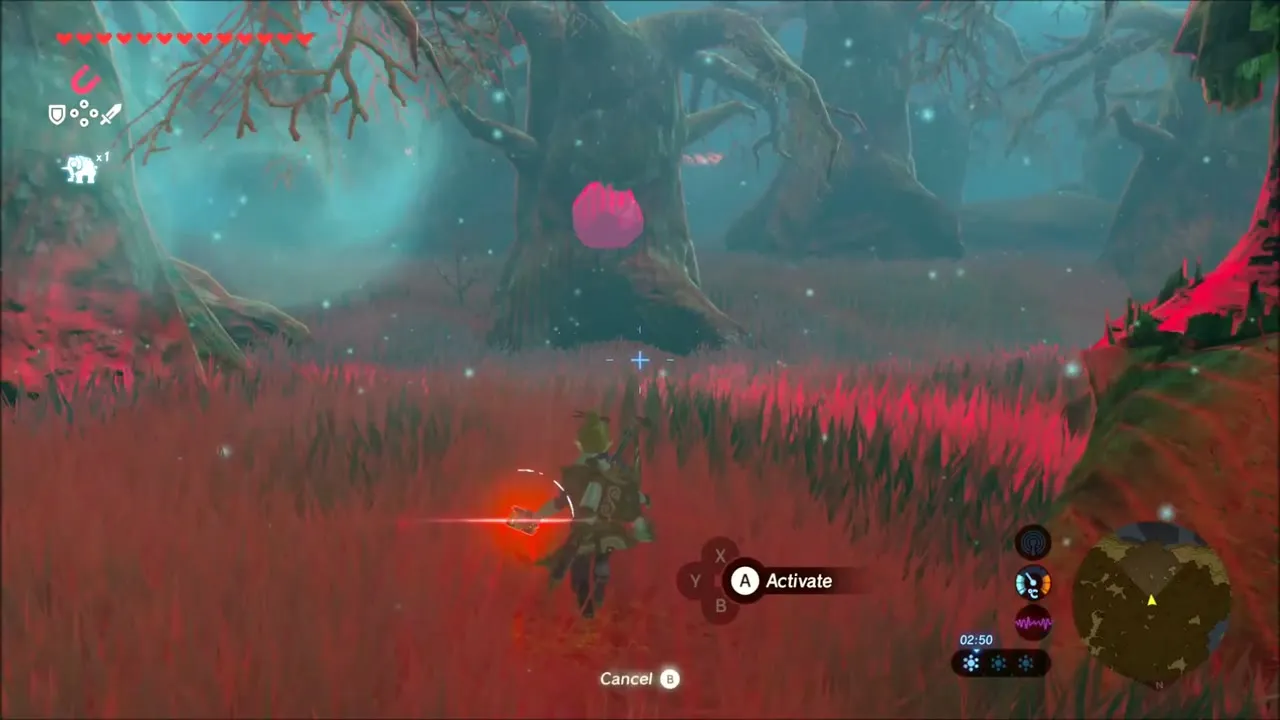
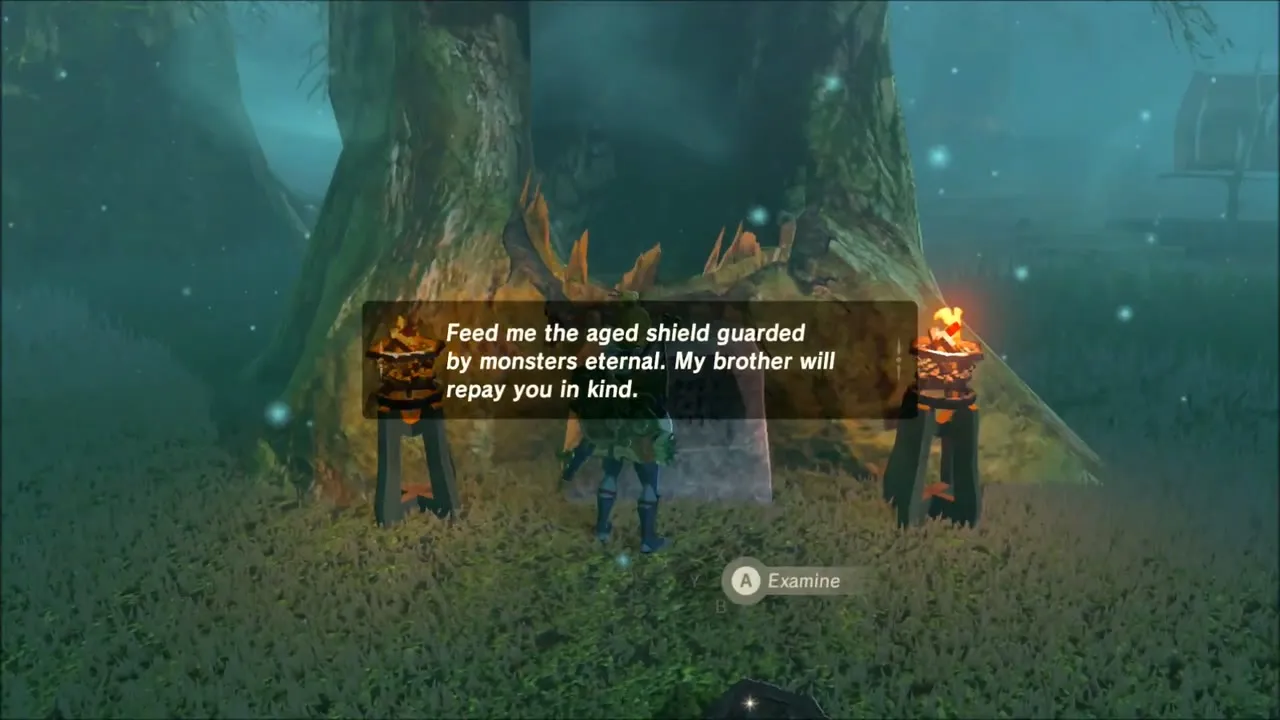
Feed the tree and ferry the chest
Take the rusty shield, drop it into the mouth of the tree, and a chest appears by the water in another tree’s mouth. Lift it with Magnesis onto the wooden raft, pick up the Korok Leaf that comes with the raft, and paddle across the lake. A second tree asks for the chest, so lift the chest with Magnesis and drop it into its mouth. The shrine then rises from the lake shore. The chest holds Amber.
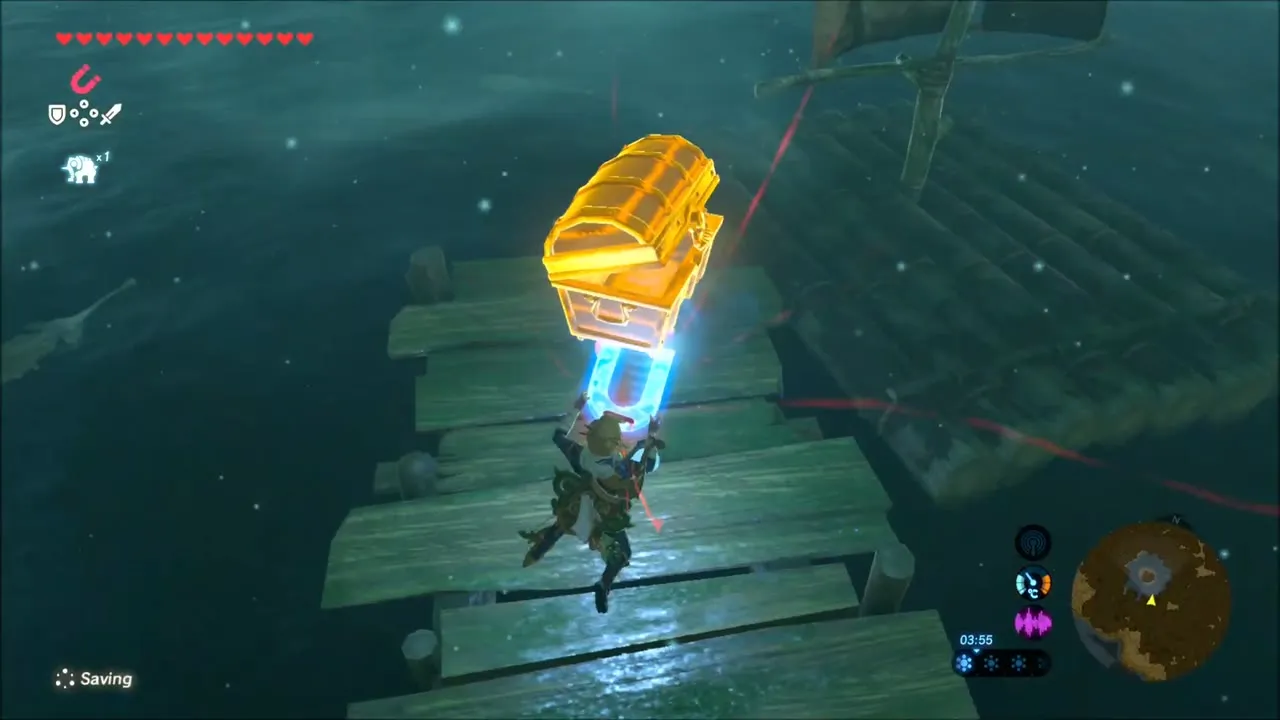

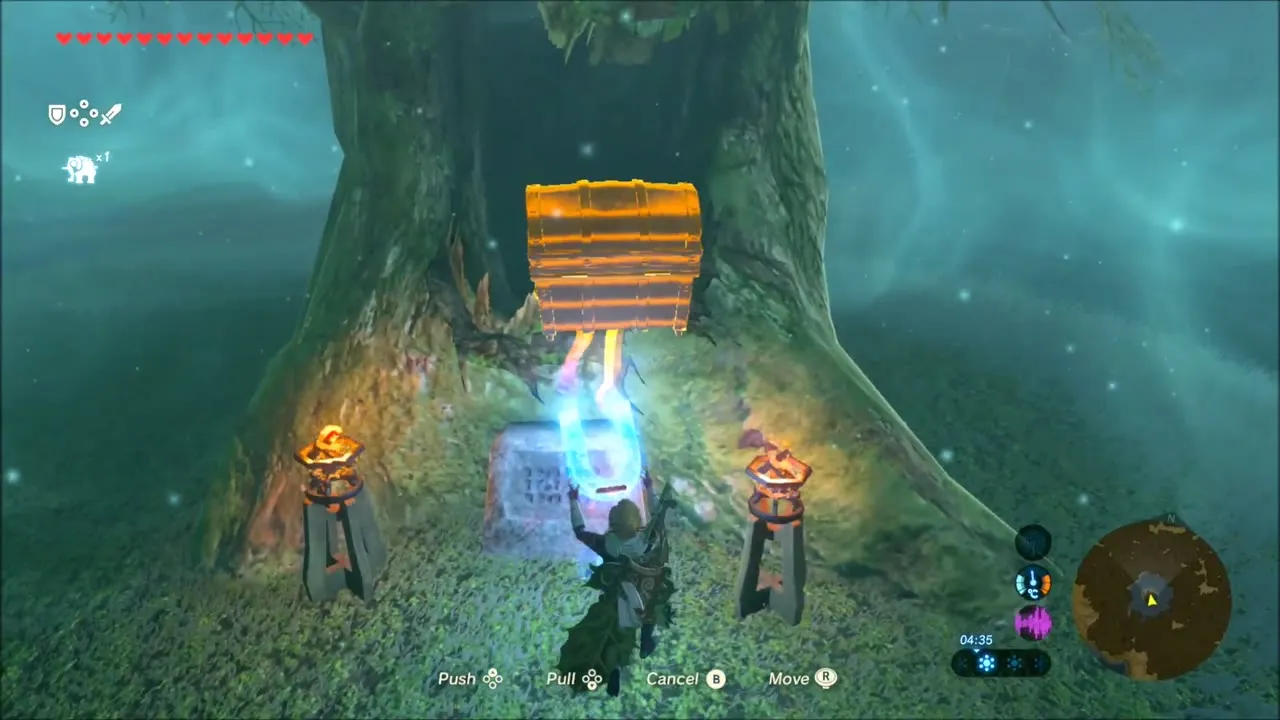
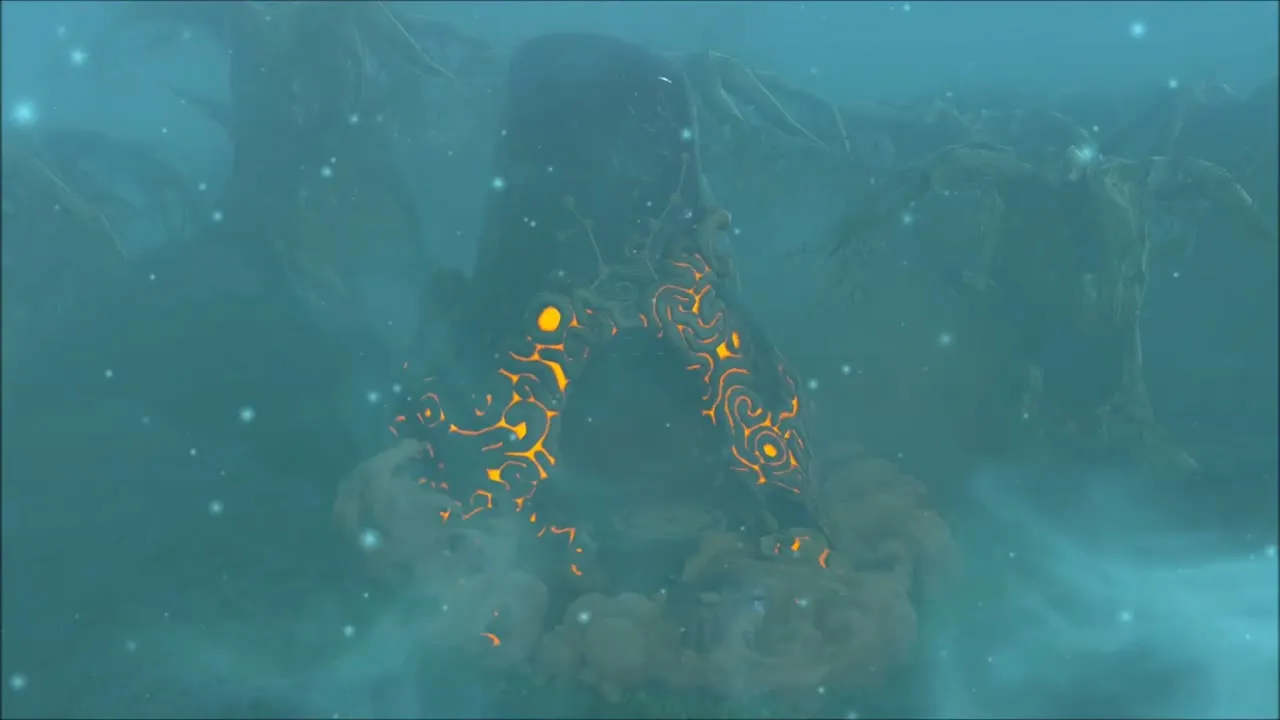
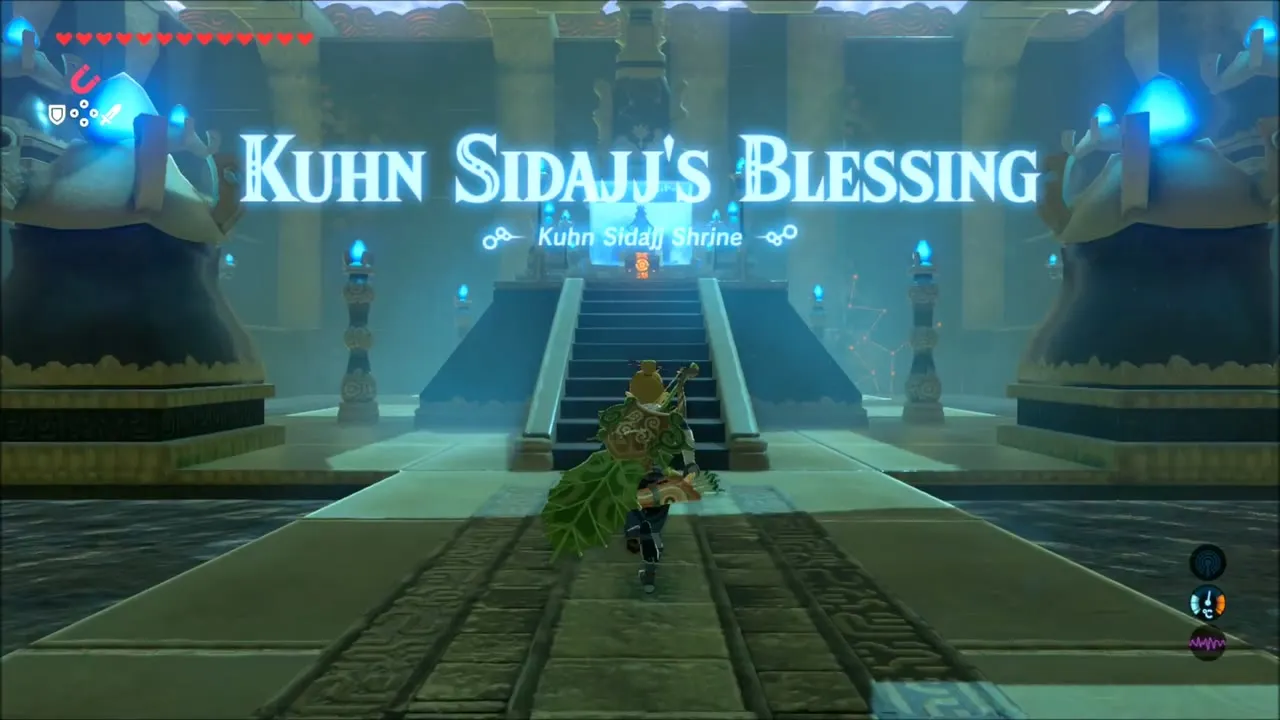
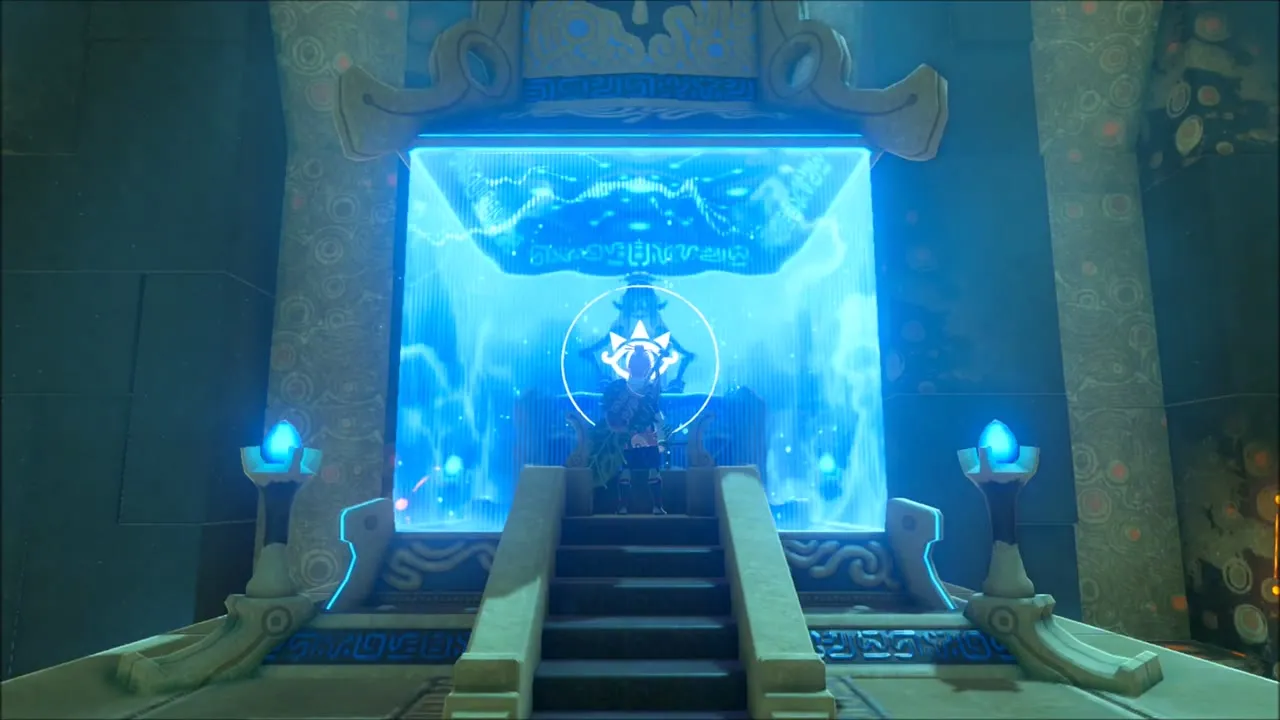
Inside Kuhn Sidajj Shrine (x 18, z -1944, height 290) there is nothing to solve. Open the chest for another Giant Ancient Core and speak to the monk for a Spirit Orb.

The Lost Pilgrimage: Daag Chokah Shrine
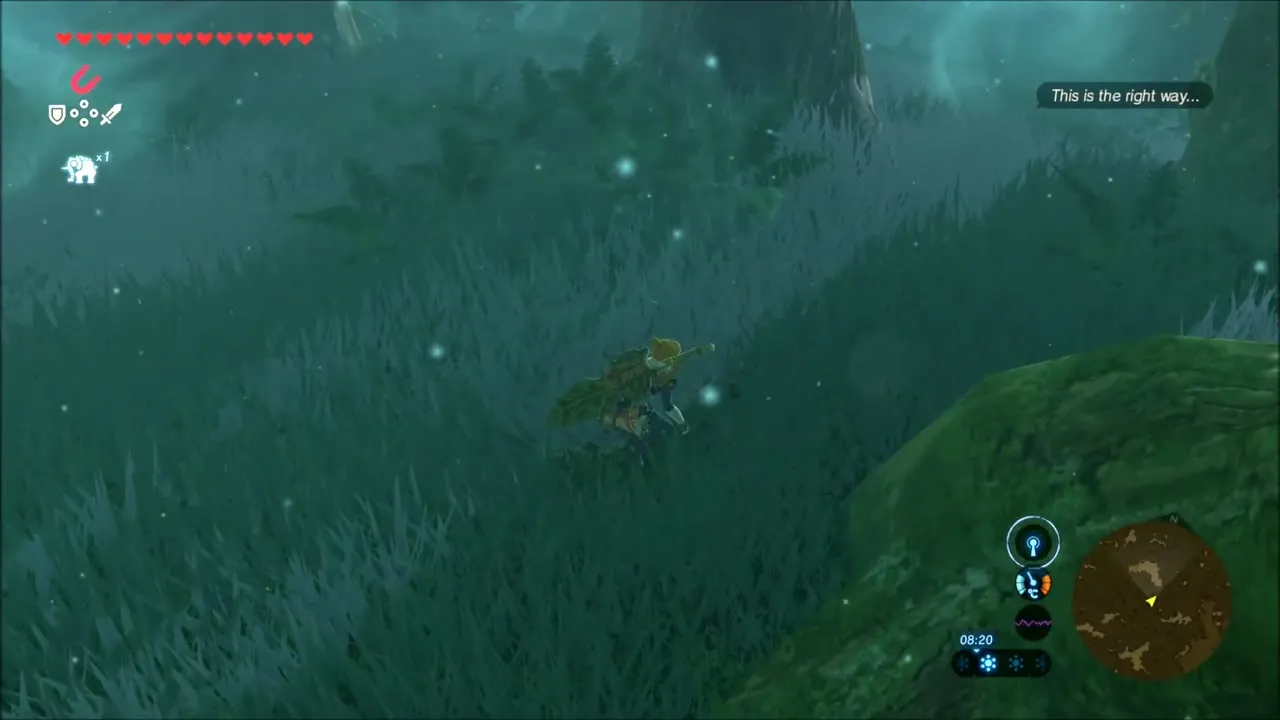
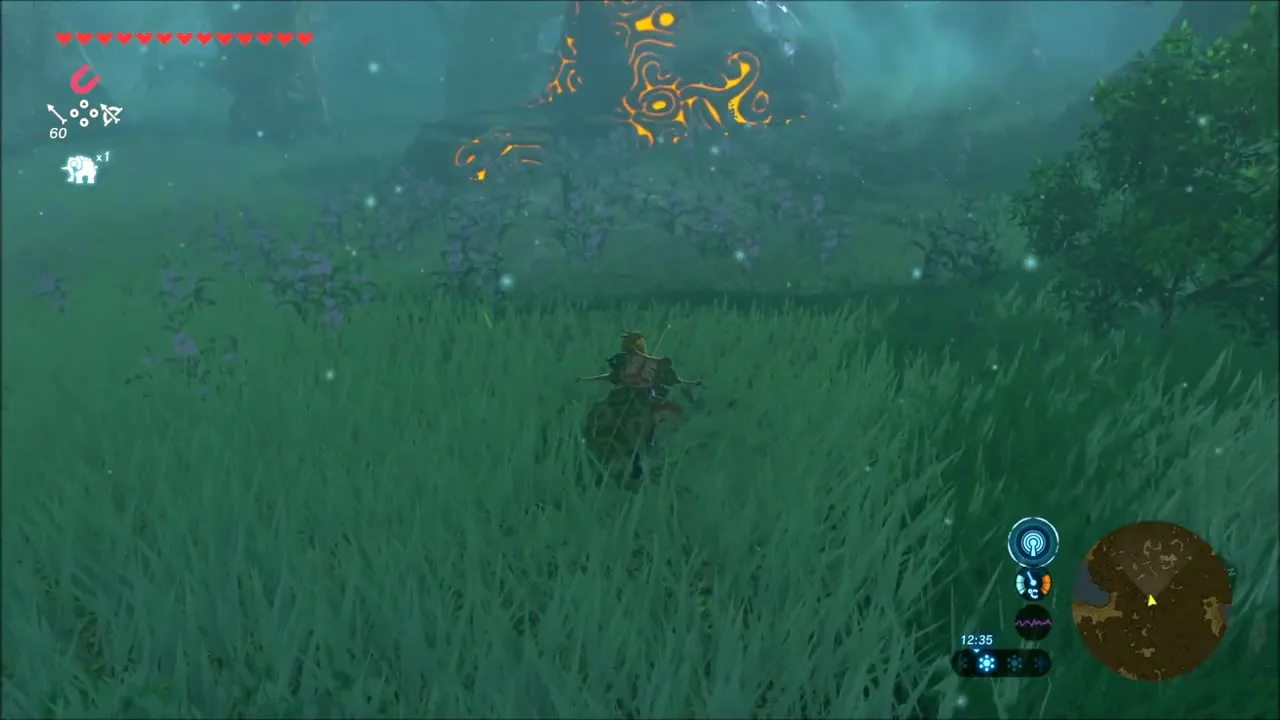
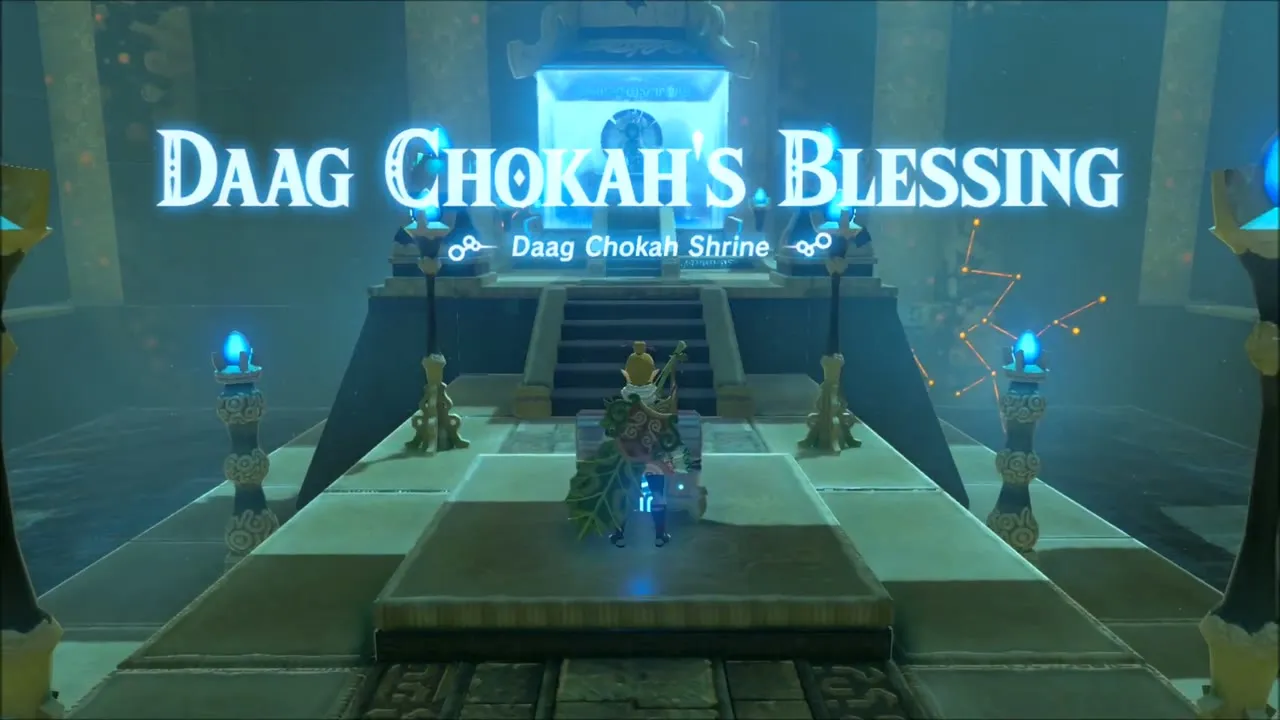
In the northern part of the forest, Tasho tells you her son Oaki has just set out to do the Korok trial. This is The Lost Pilgrimage: follow Oaki to his shrine without being noticed. Stay well back in the tall grass, stop or hide whenever he turns around, and keep following until the shrine glows in the fog. When he has gone in, Daag Chokah Shrine (x -26, z -2458, height 293) is yours: take the Ancient Core from the chest and speak to the monk for the Spirit Orb.

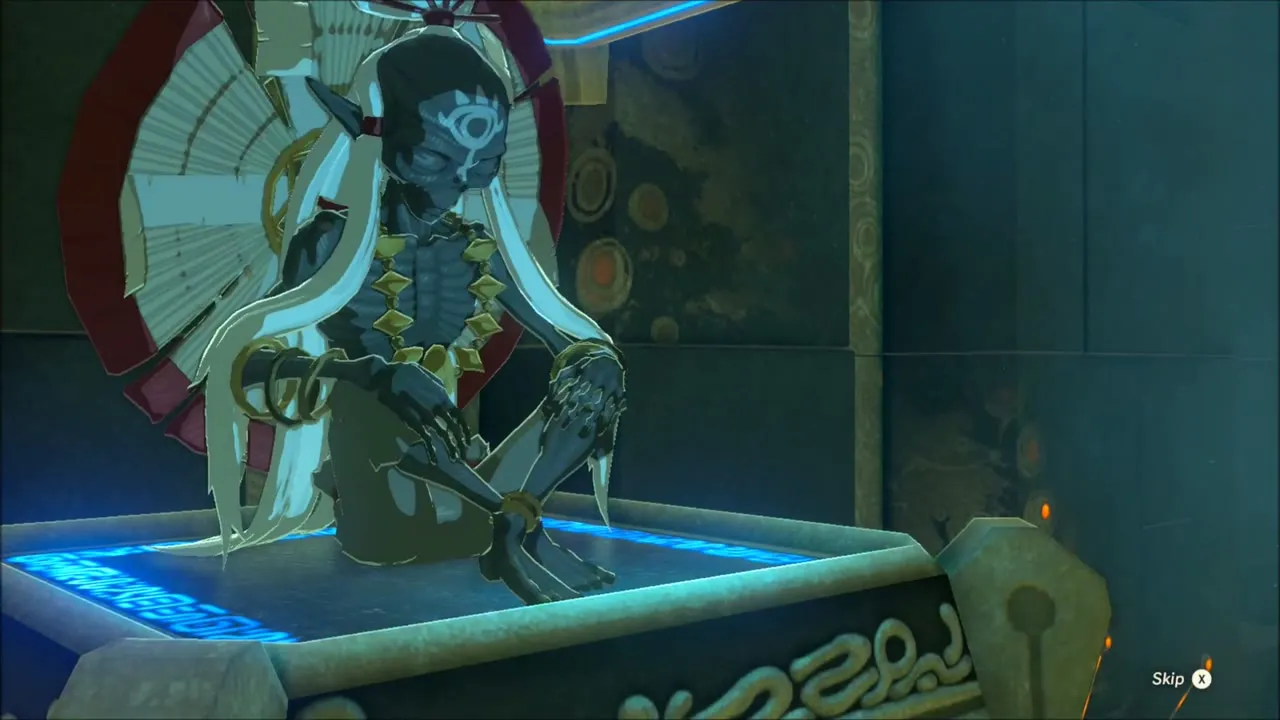
Report back to Chio
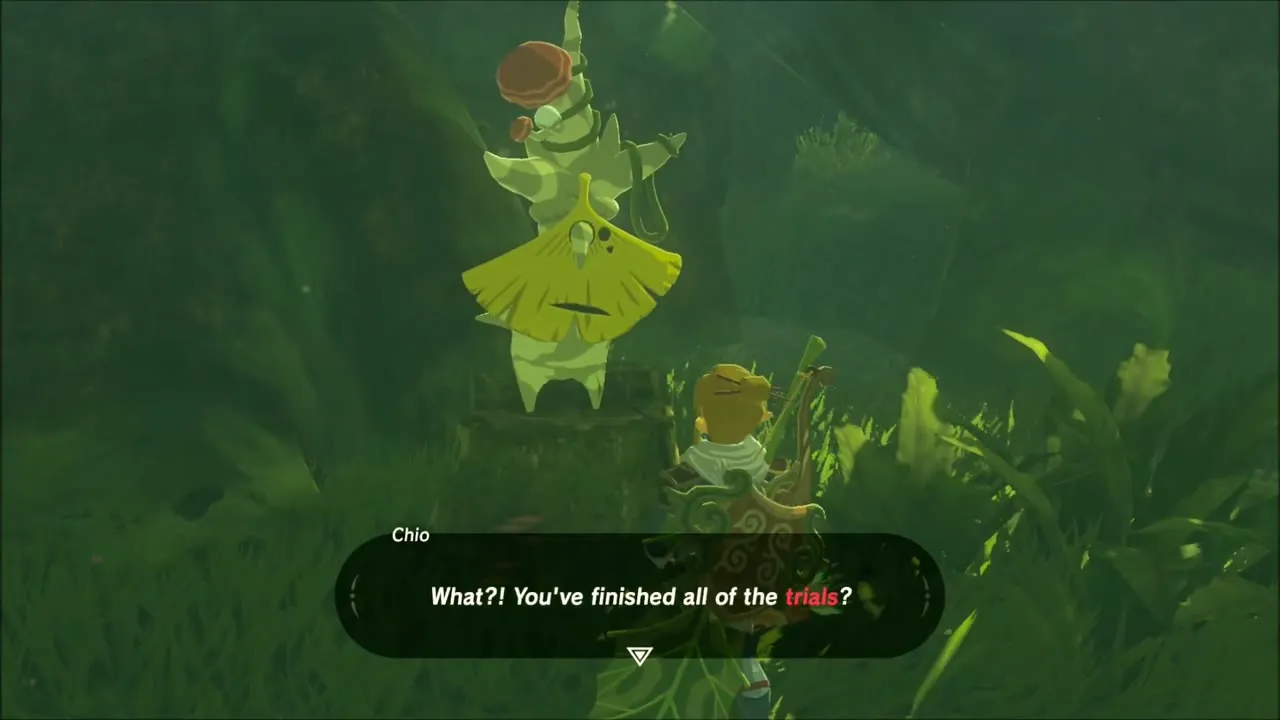
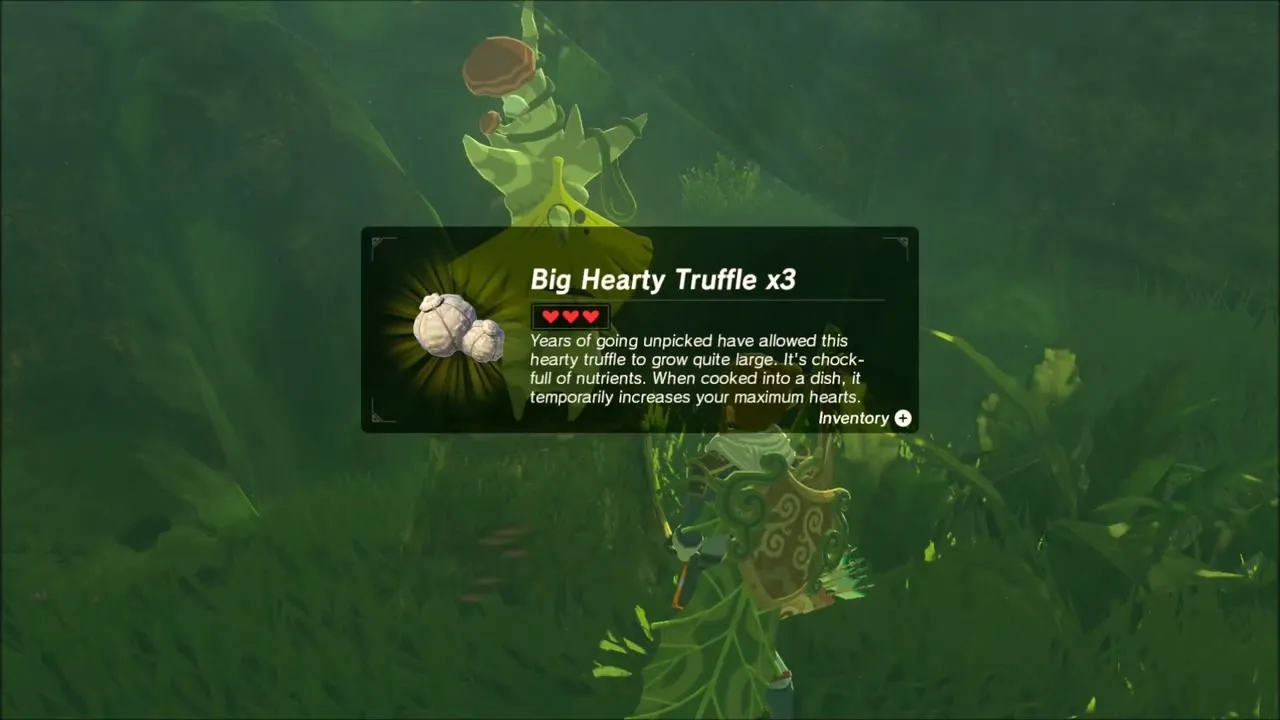
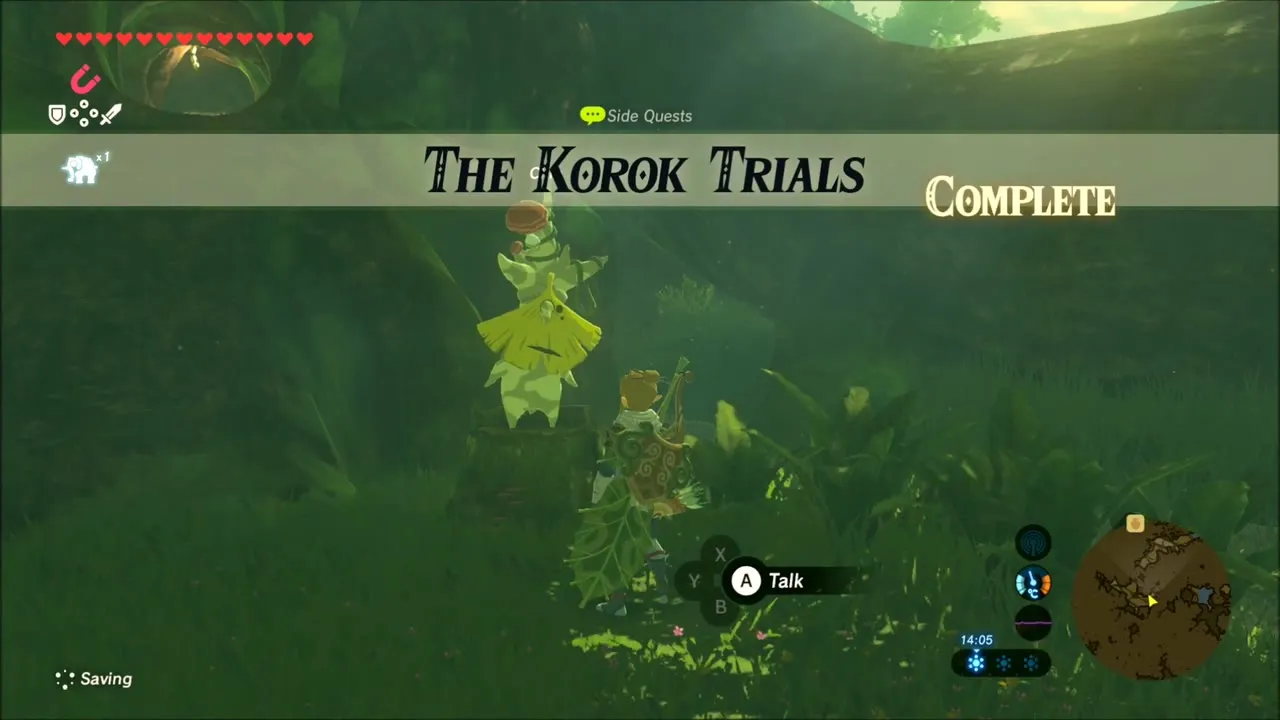
With all three trials done, return to Chio near the Great Deku Tree entrance in Korok Forest. He rewards you for completing The Korok Trials with Big Hearty Truffles, one for each trial.
Detour to Hateno Village: Sell, Trade Hearts, Rest and Dye
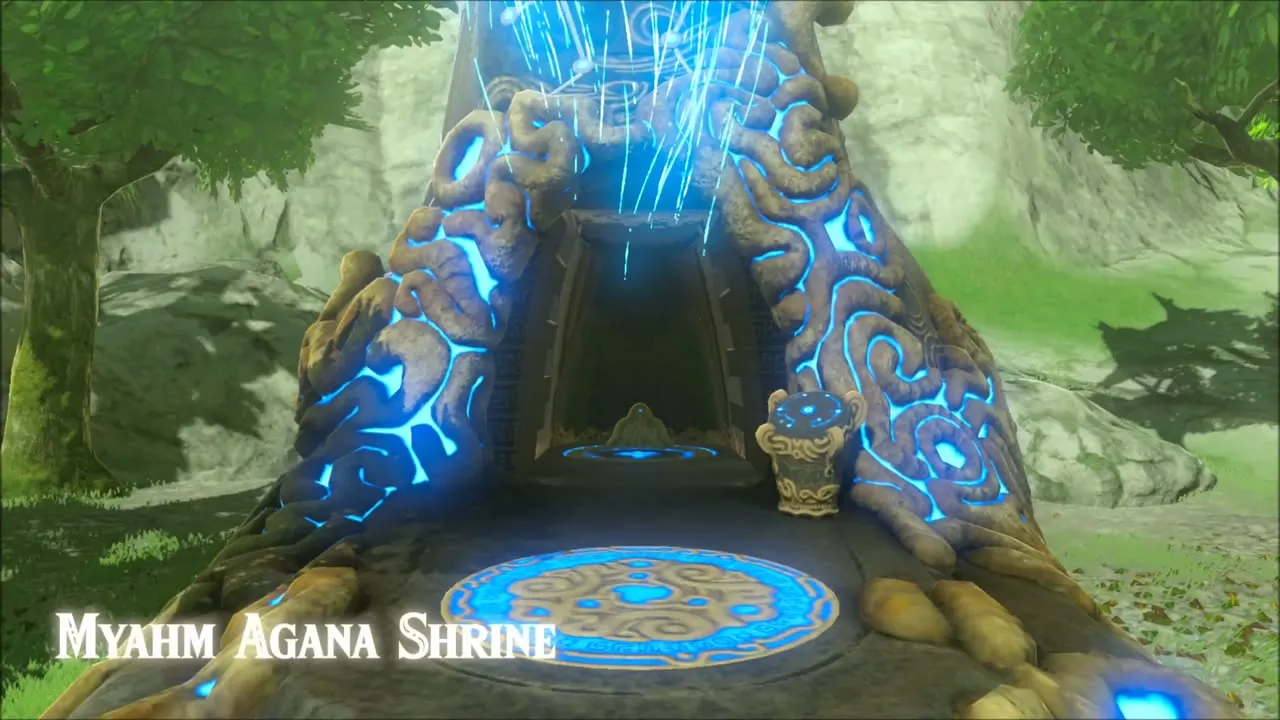
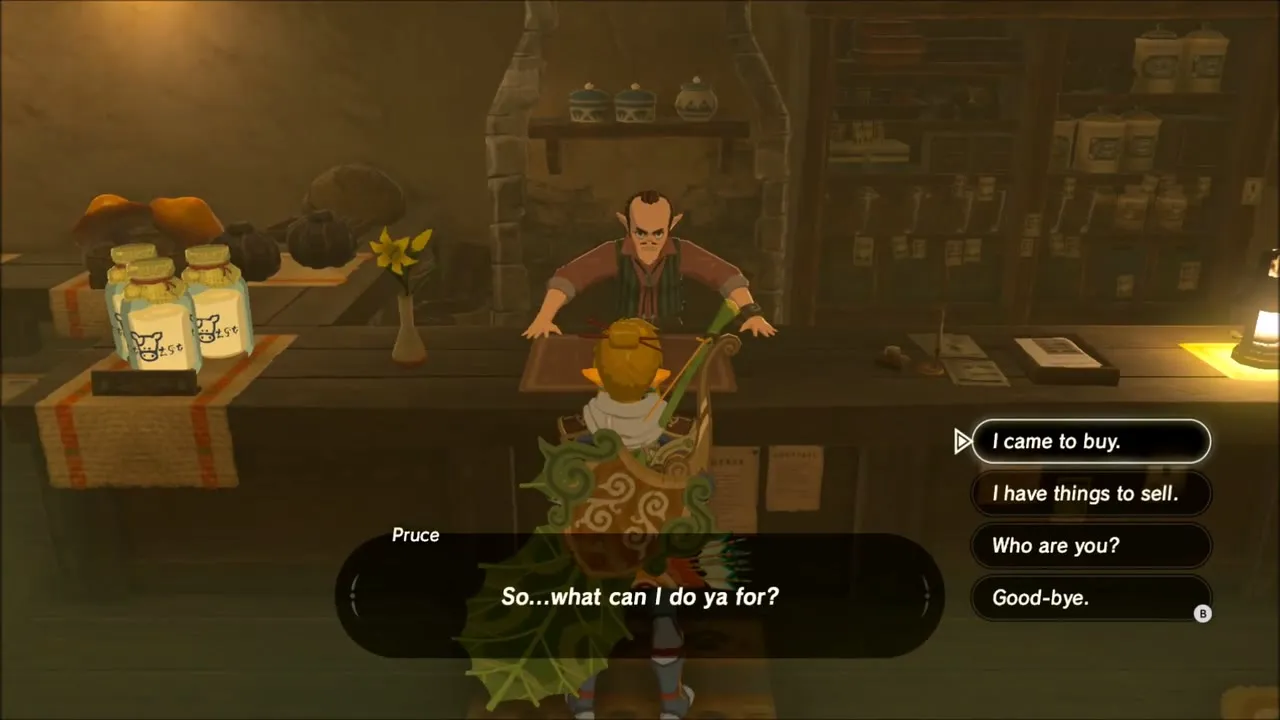
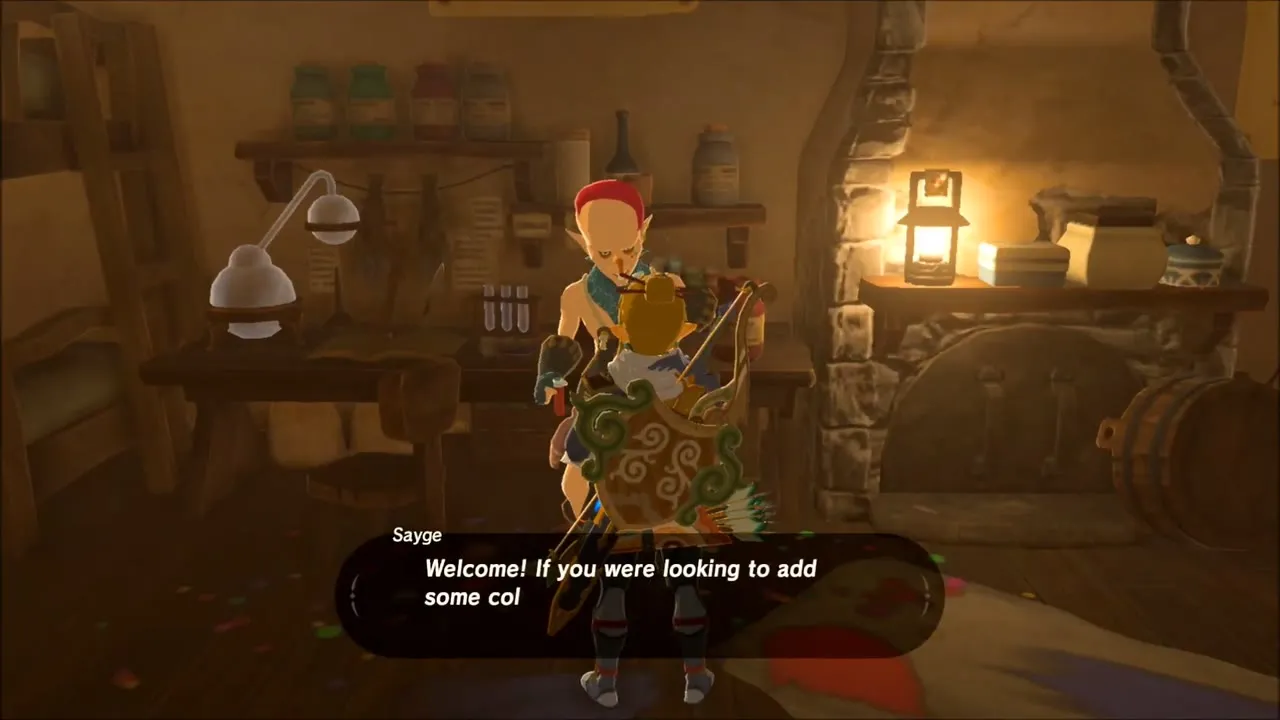
Use Myahm Agana Shrine to warp to Hateno Village (x 3593, z 2122). Sell your spare materials to Pruce at the general store, then visit the demon statue beside the path to Firly Pond. It takes a Heart Container for 100 rupees and gives a Stamina Vessel back for 120 rupees, as described on The Statue’s Bargain. Rest at Prima’s inn (a regular bed costs 20 rupees) and visit the dye shop, where Sayge dyes the clothes you are wearing.


Climbing Toward Thyphlo Ruins: Moblin and a Balloon Korok
Warp out of Hateno and make your way up the mountain flanks, running along a stone ledge, then climbing and gliding from cliff to cliff. On the dry slopes a Moblin attacks; it drops a Knight’s Broadsword, a Moblin Horn and a Moblin Fang, and it carries a Steel Lizal Shield. Rocks along the cliff yield amber, flint and rock salt.
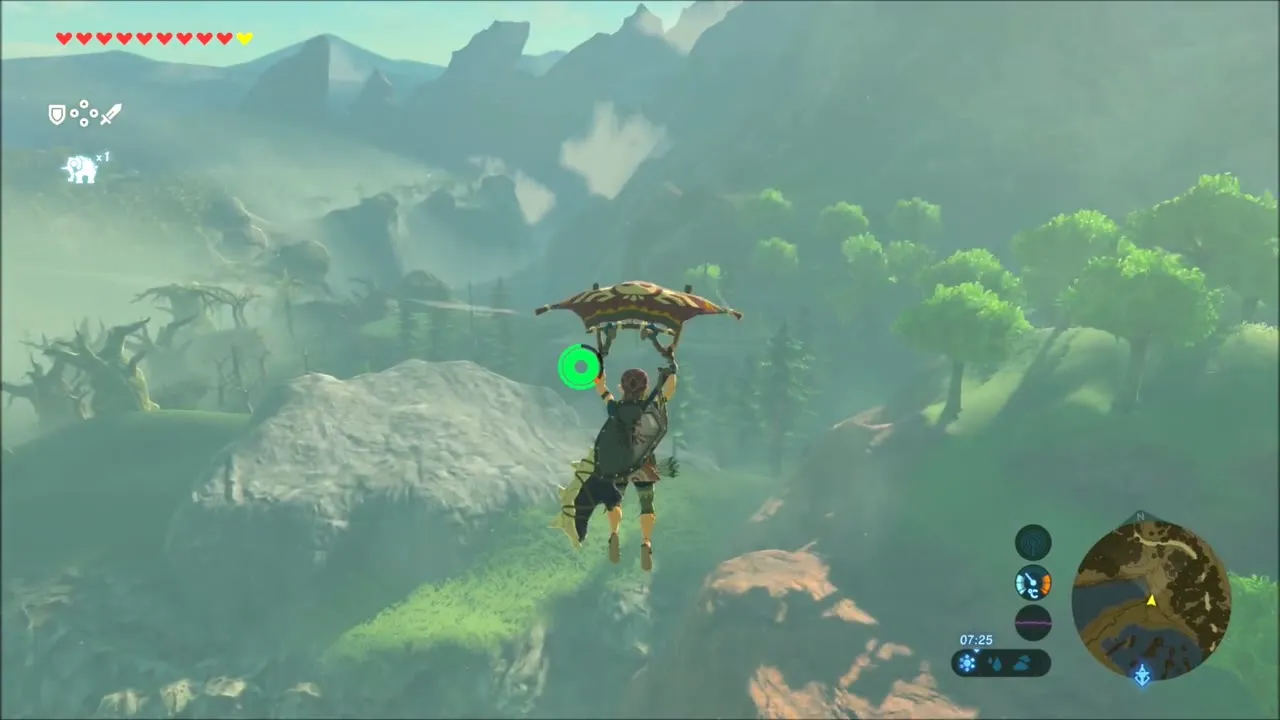
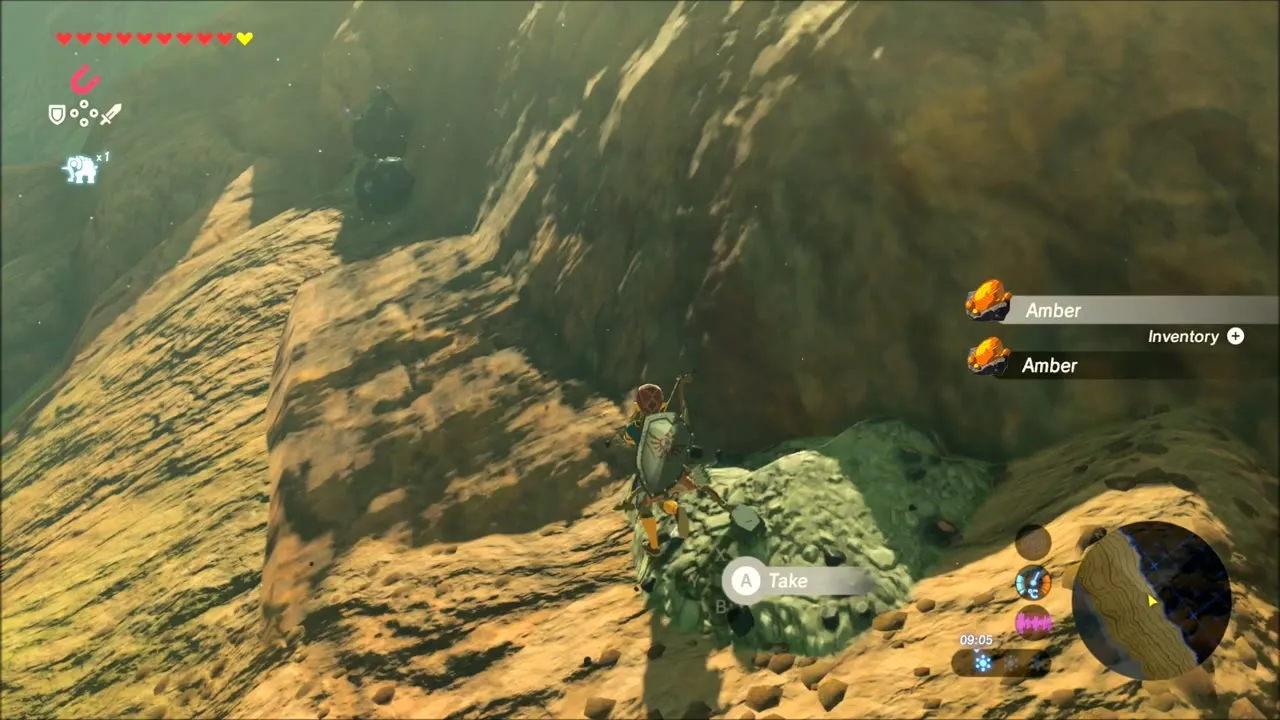
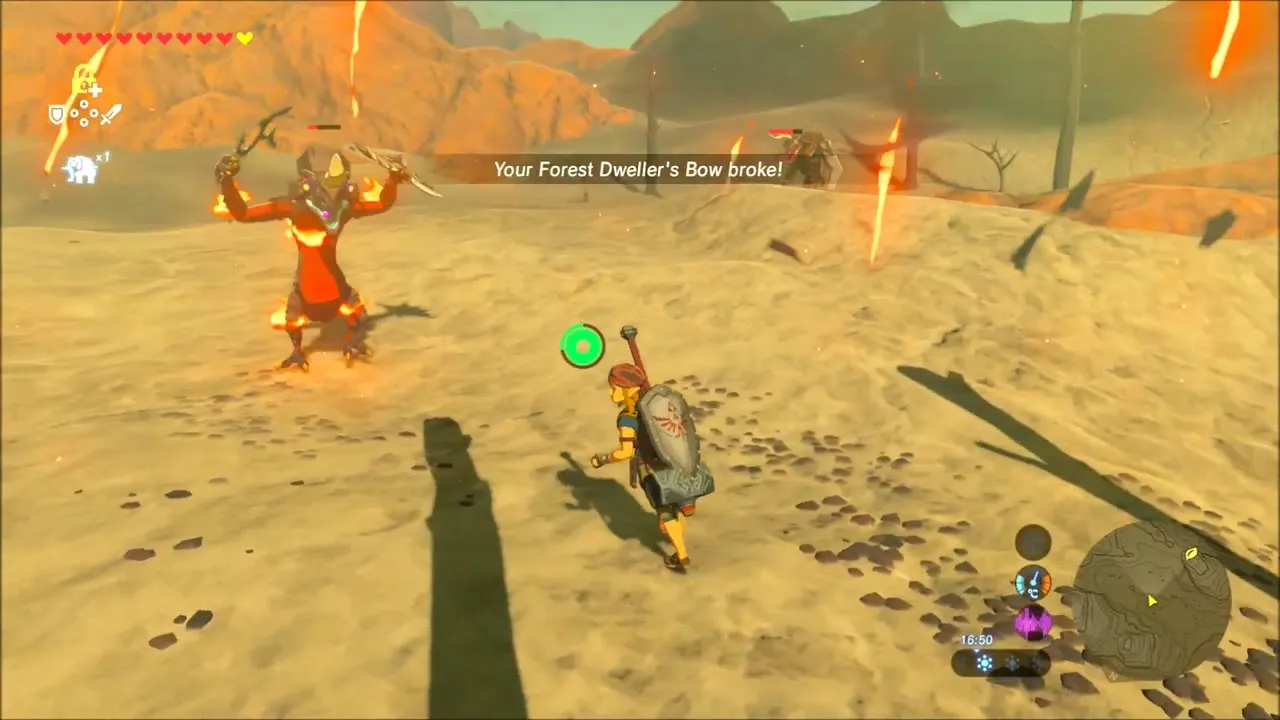

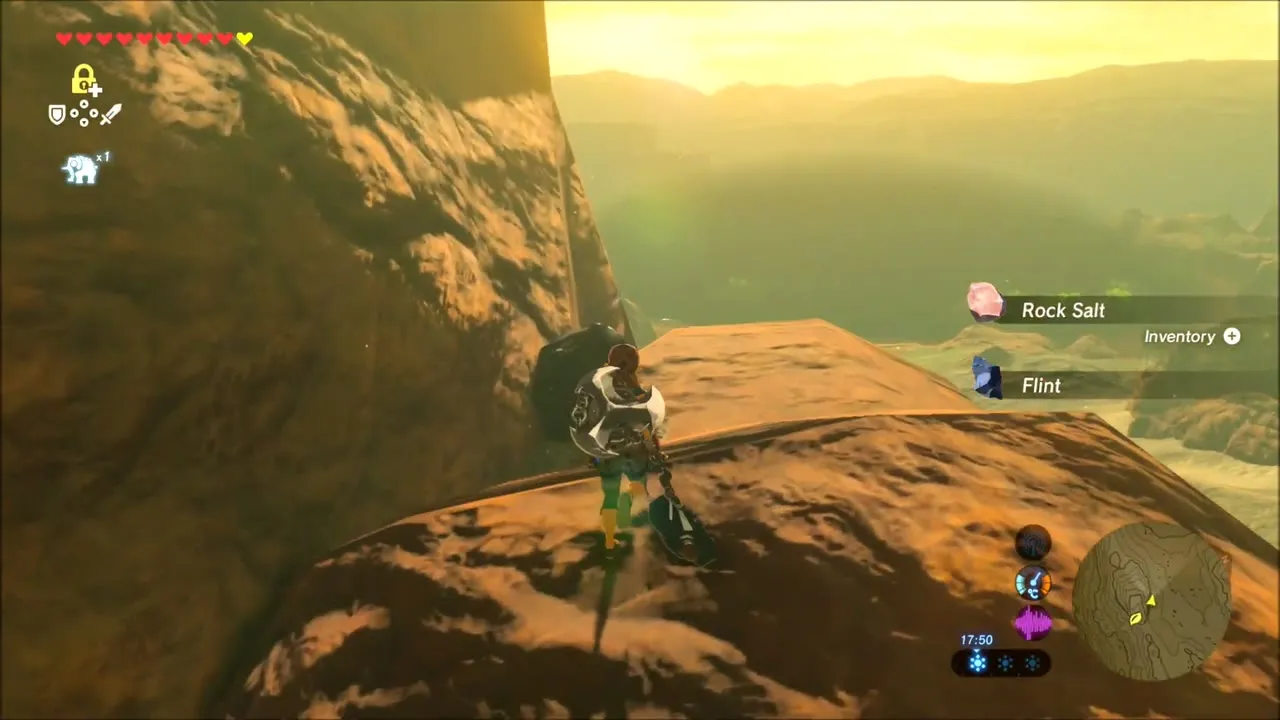
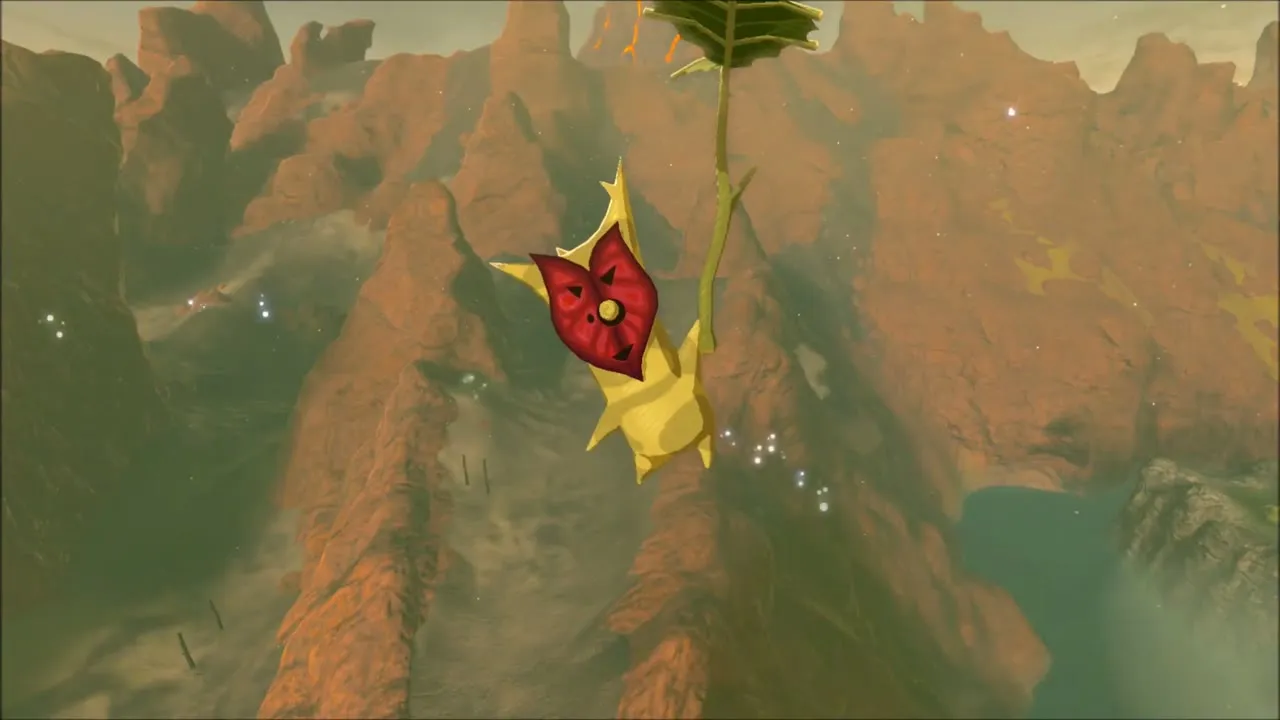
High on a narrow red ridge, a balloon with a red target floats in the air. Shoot it with an arrow to release the Korok, who hands over a seed.

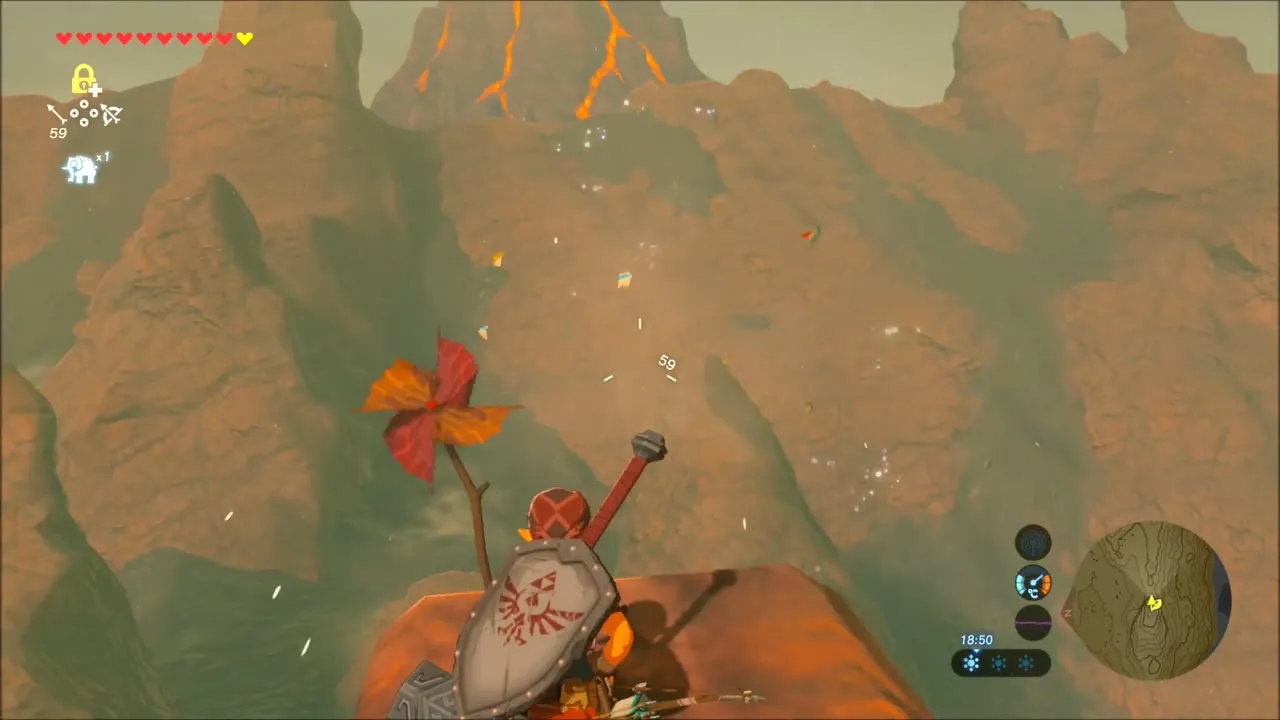
Deplian Badlands: Moblin Camp, Chests and Korok Seeds
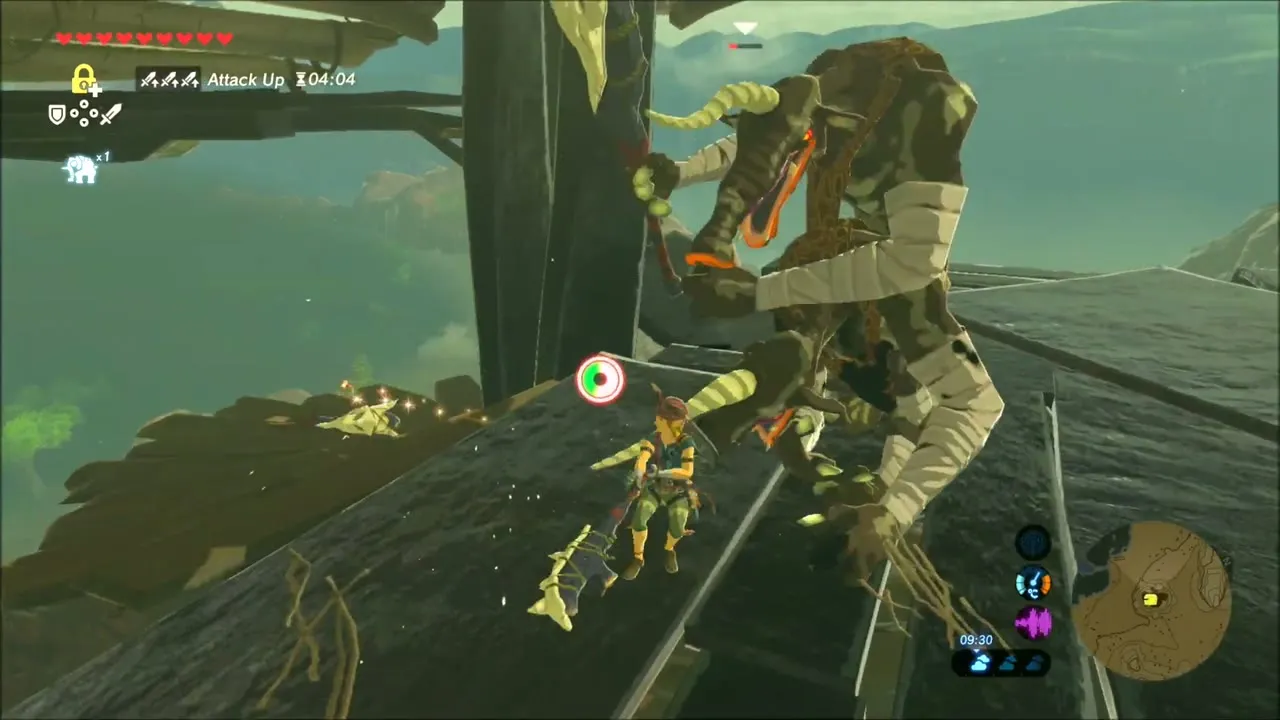
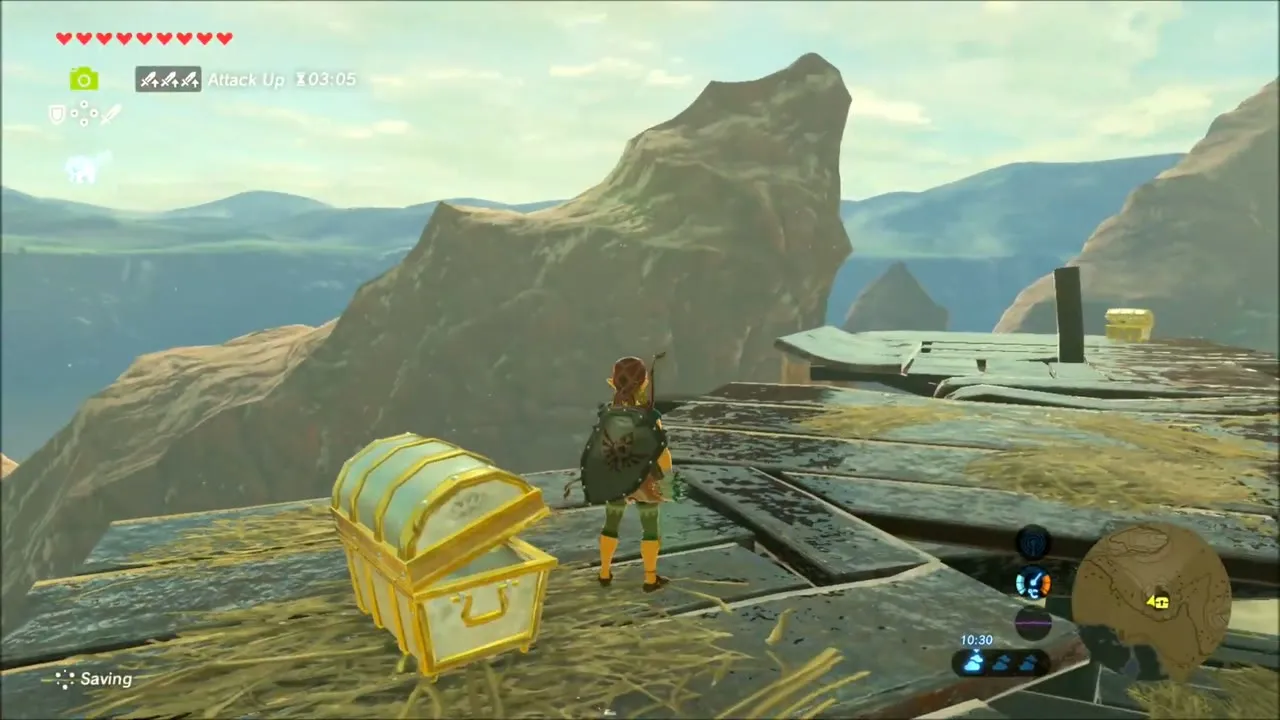
Keep climbing and gliding toward the Deplian Badlands and Thyphlo Ruins marked on your map. A wooden camp of dark planks and hay sits on a cliff top. Clear out the monsters, then open the chests on the platform: one of them holds a Ruby.

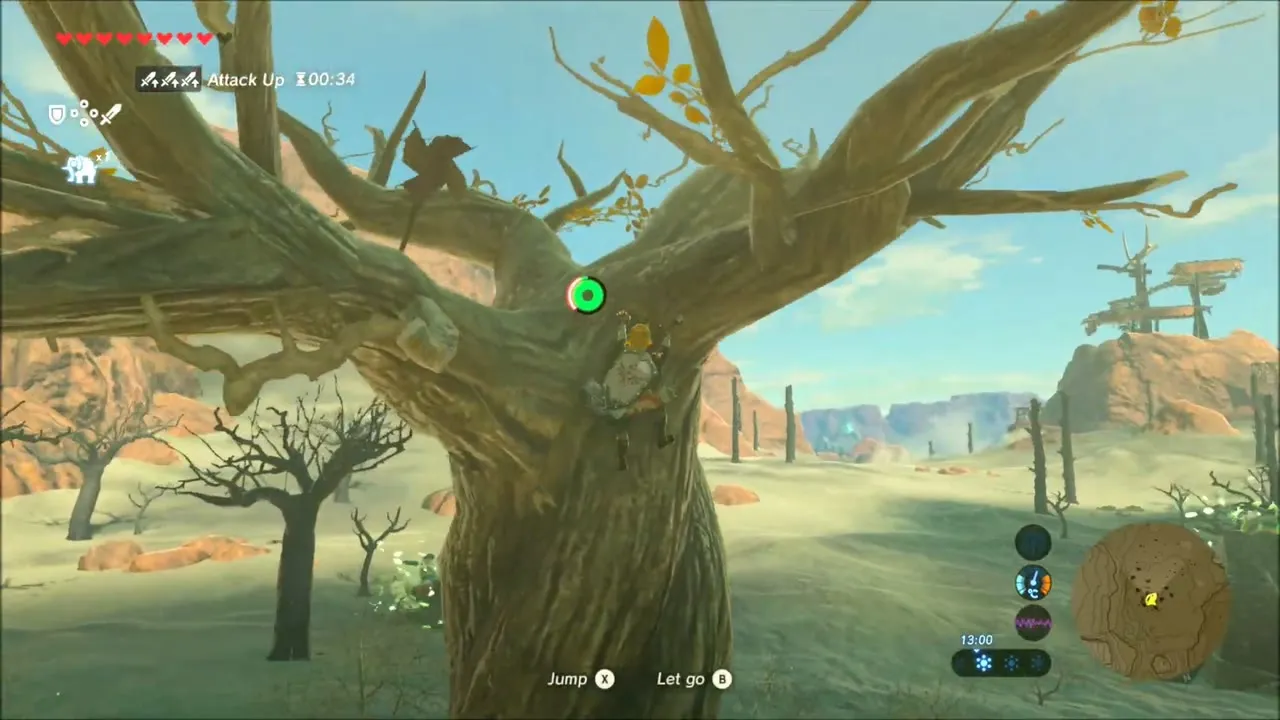
On the pale sand flats below, a Korok hides among a stand of bare dead trees. Climb into the trees to reach him, and he gives you a seed. You can also mine amber, rock salt and flint from the rocks on the flats.


Lynels in the badlands
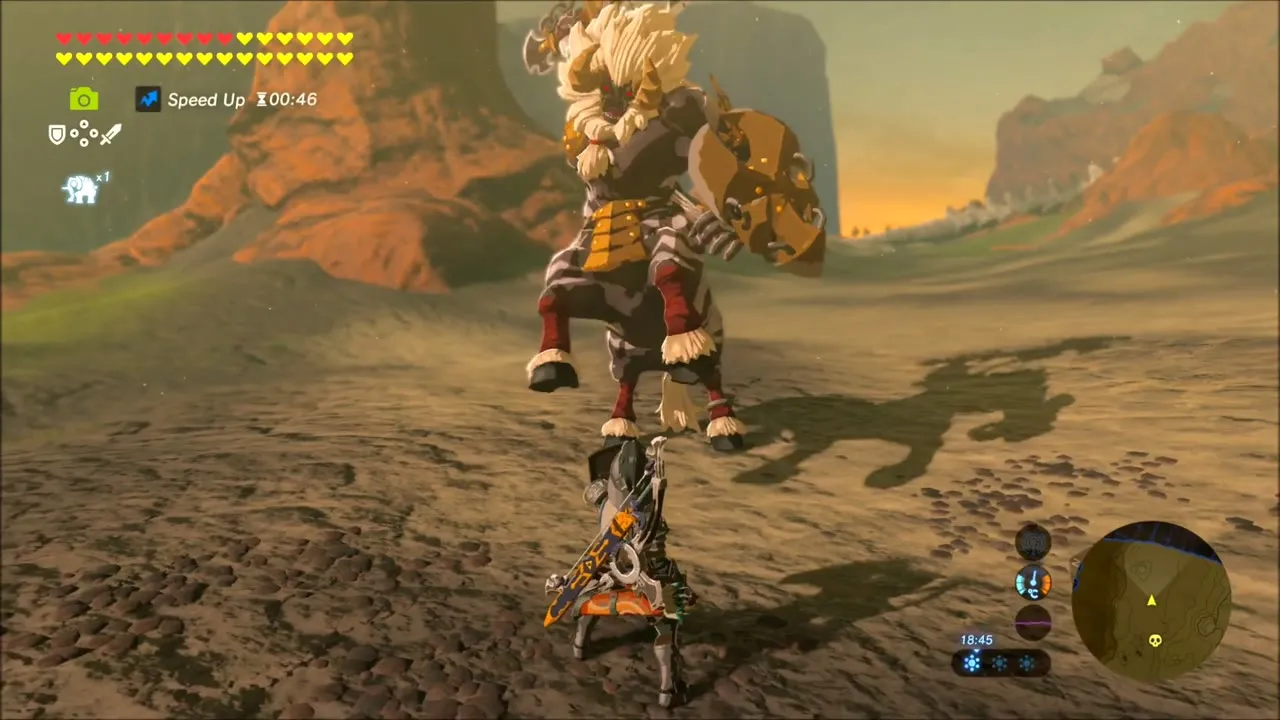
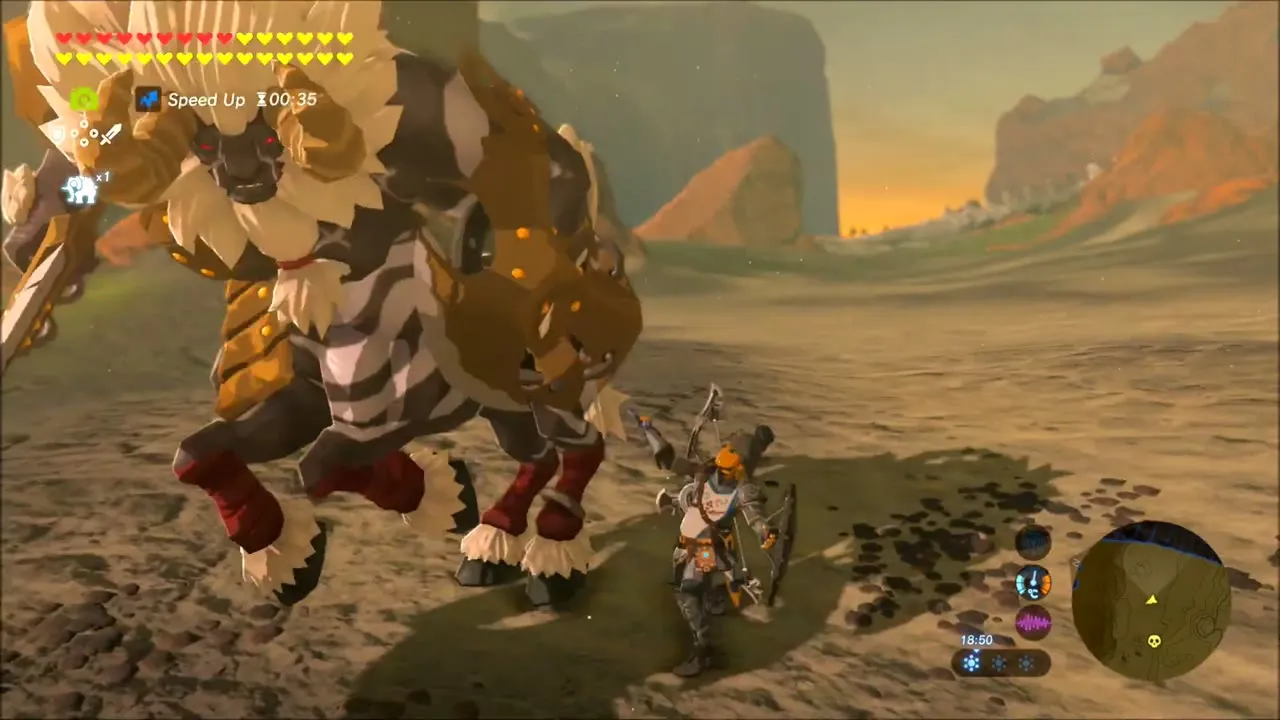
Further along the dusty plain, a Lynel patrols. Bring plenty of food and Ancient Arrows, shoot it when it charges and strike while it is staggered. When it falls it drops Lynel parts such as a Lynel Hoof and Lynel Guts, plus its weapons.


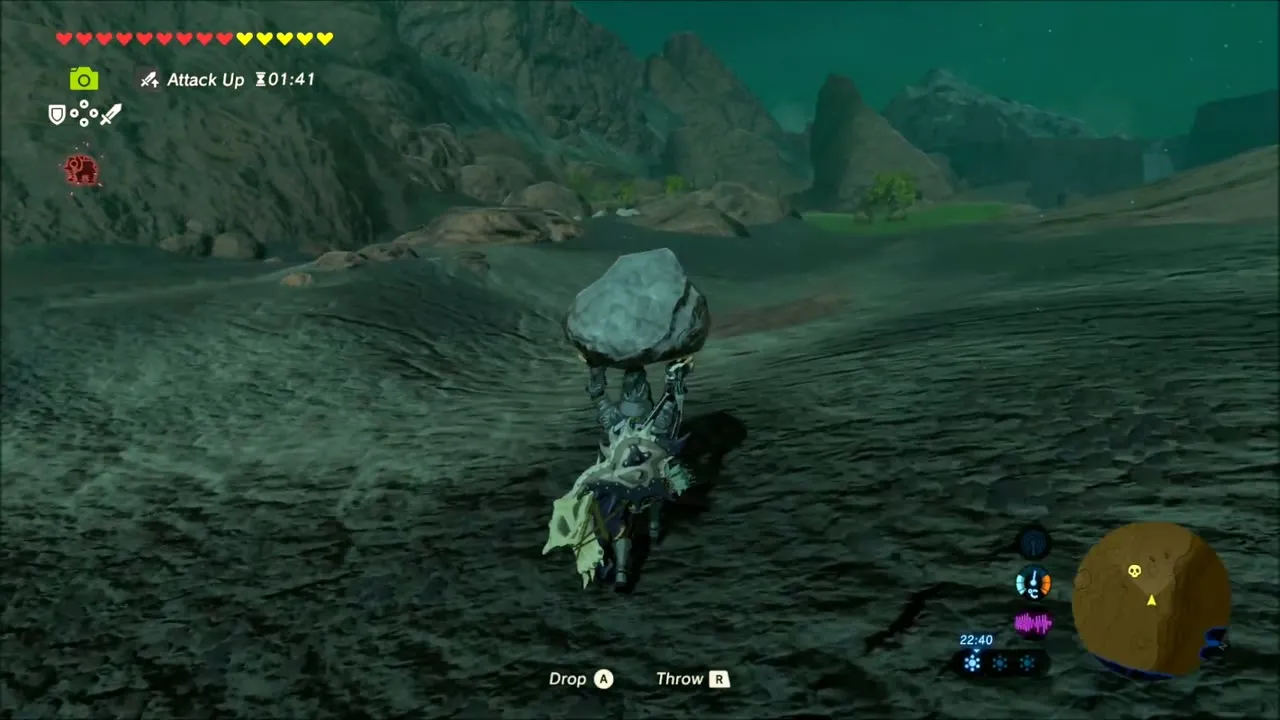
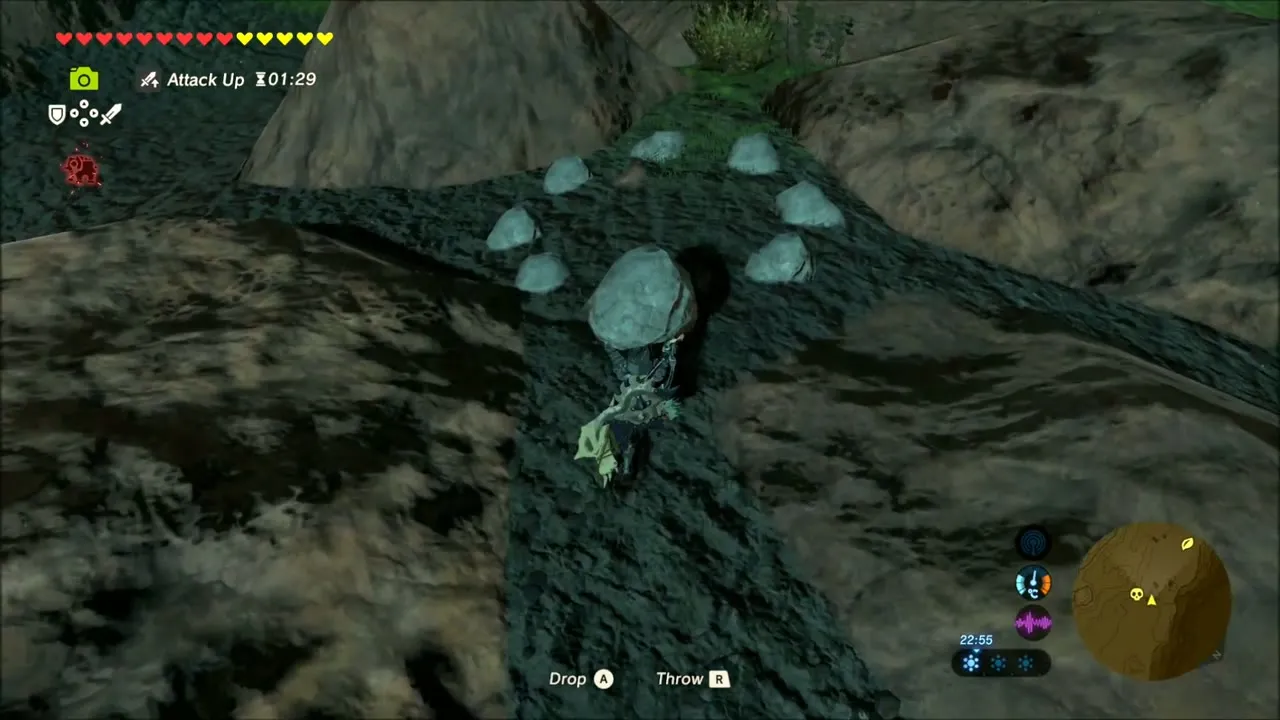
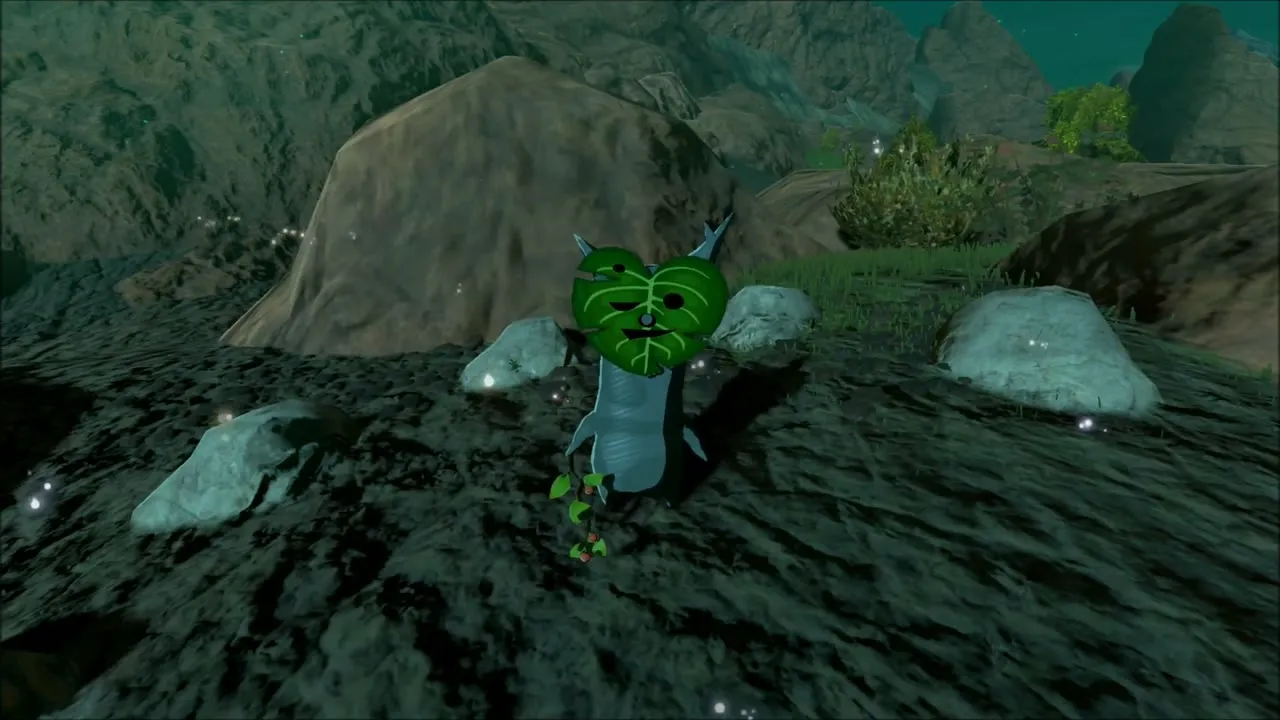
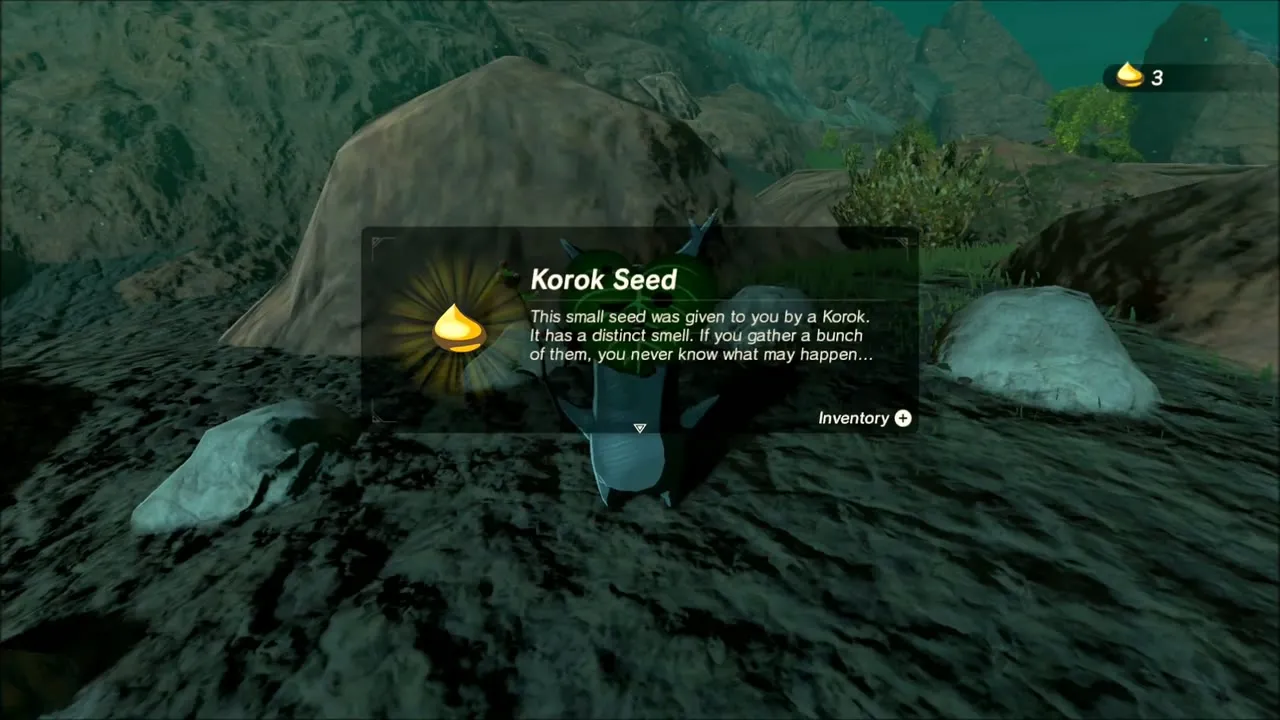
Beyond the first Lynel, carry a boulder across the slope to a ring of small stones and set it down there. The Korok appears and gives you a seed.
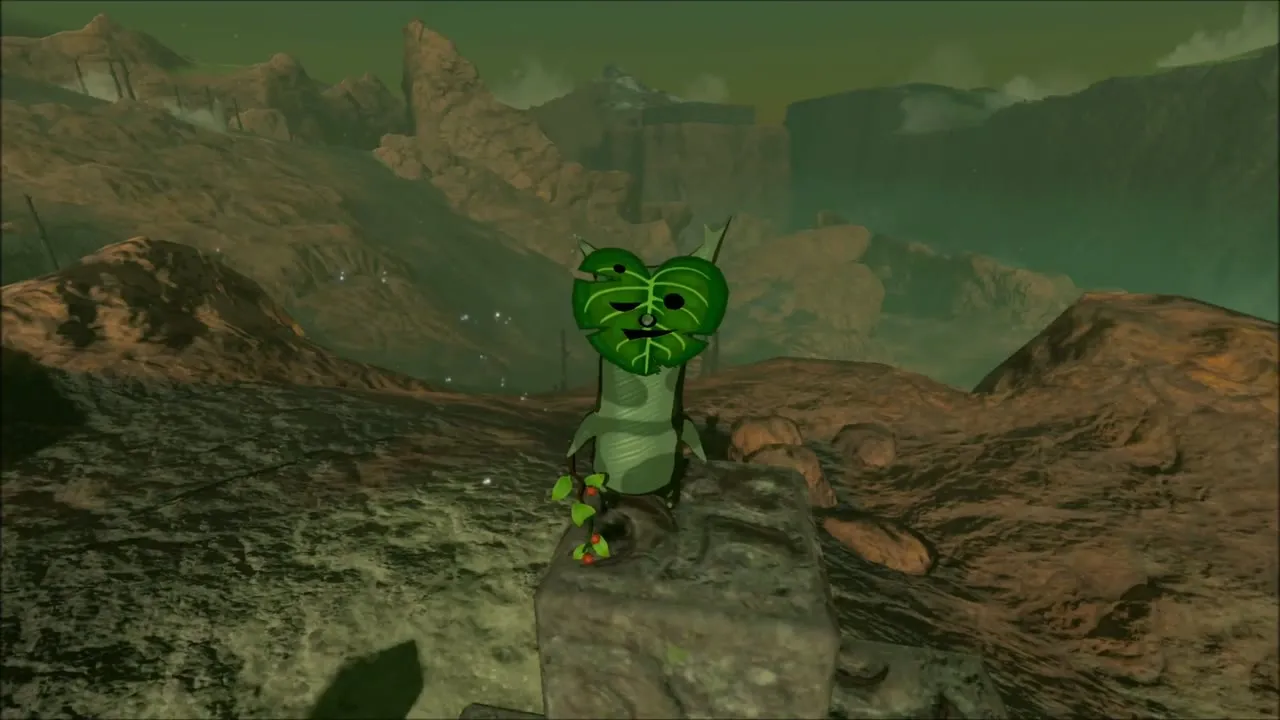
In the rocky hills, a pillar of stone blocks stands in the open. Lift a loose block from the stack with Magnesis, and a Korok pops out and hands over a seed.
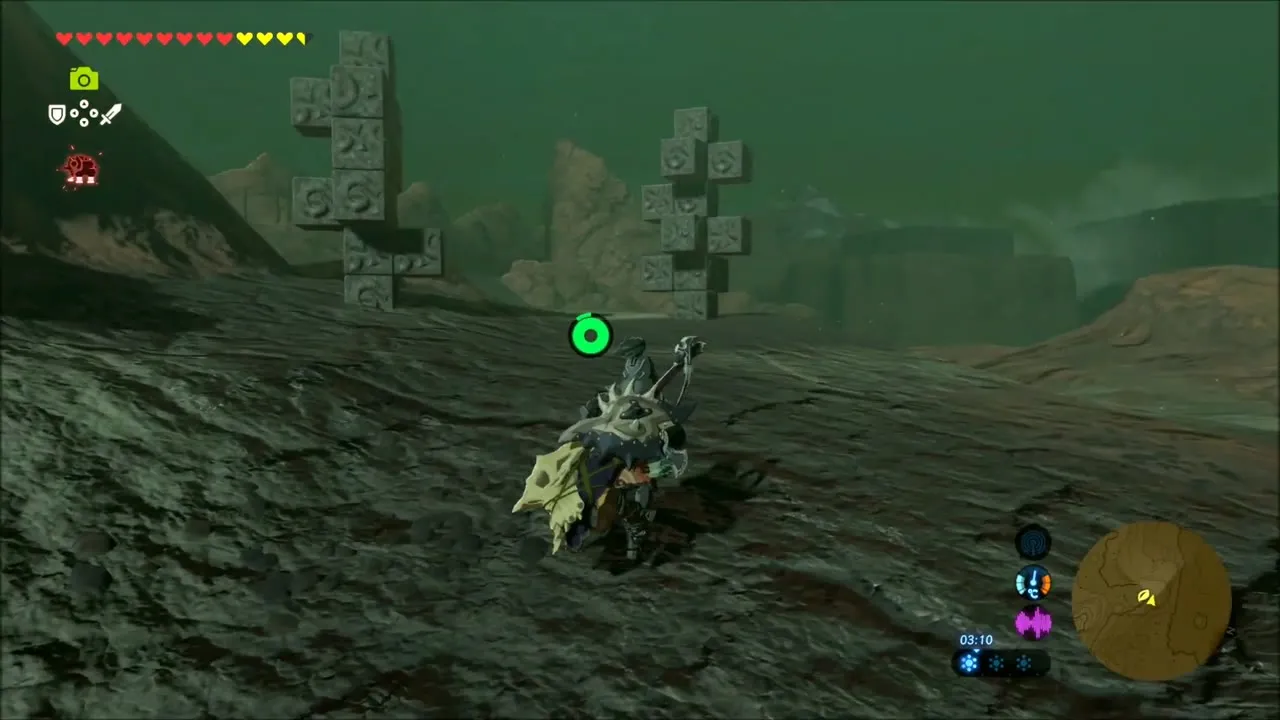

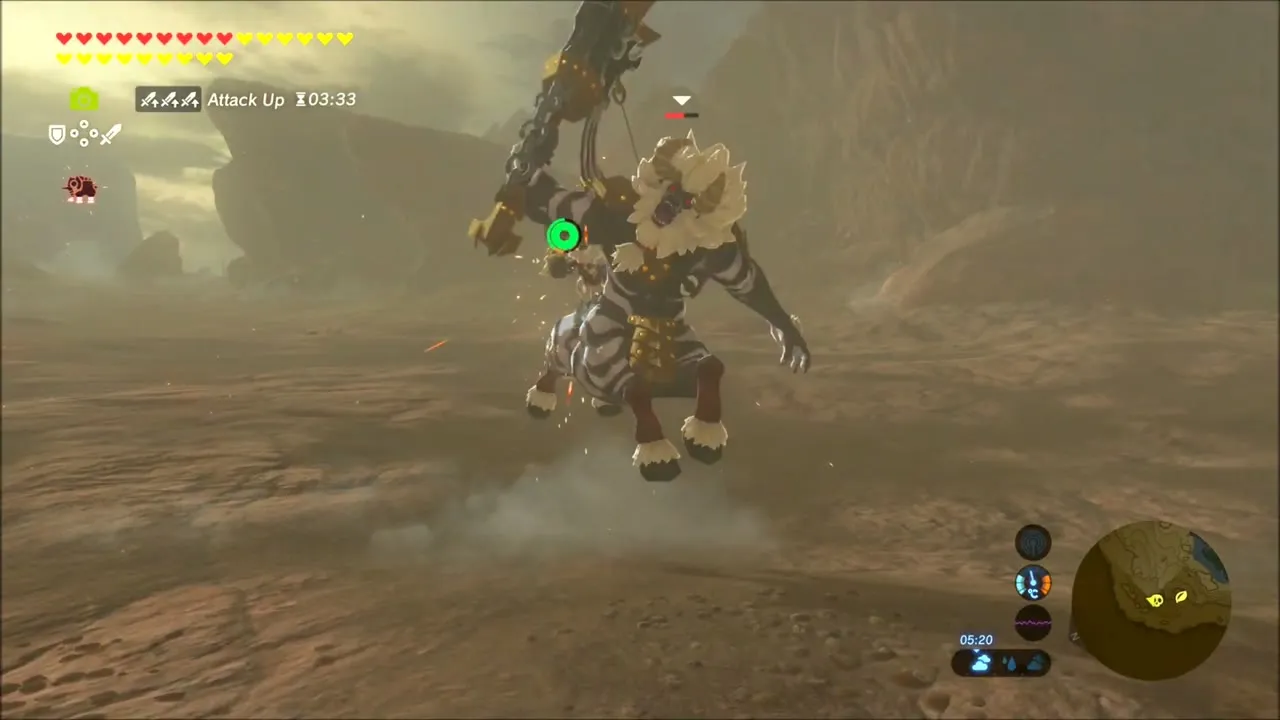
A second Lynel attacks in the open ground beyond. Defeat it the same way and gather its drops, which include savage Lynel gear such as a bow and shield.



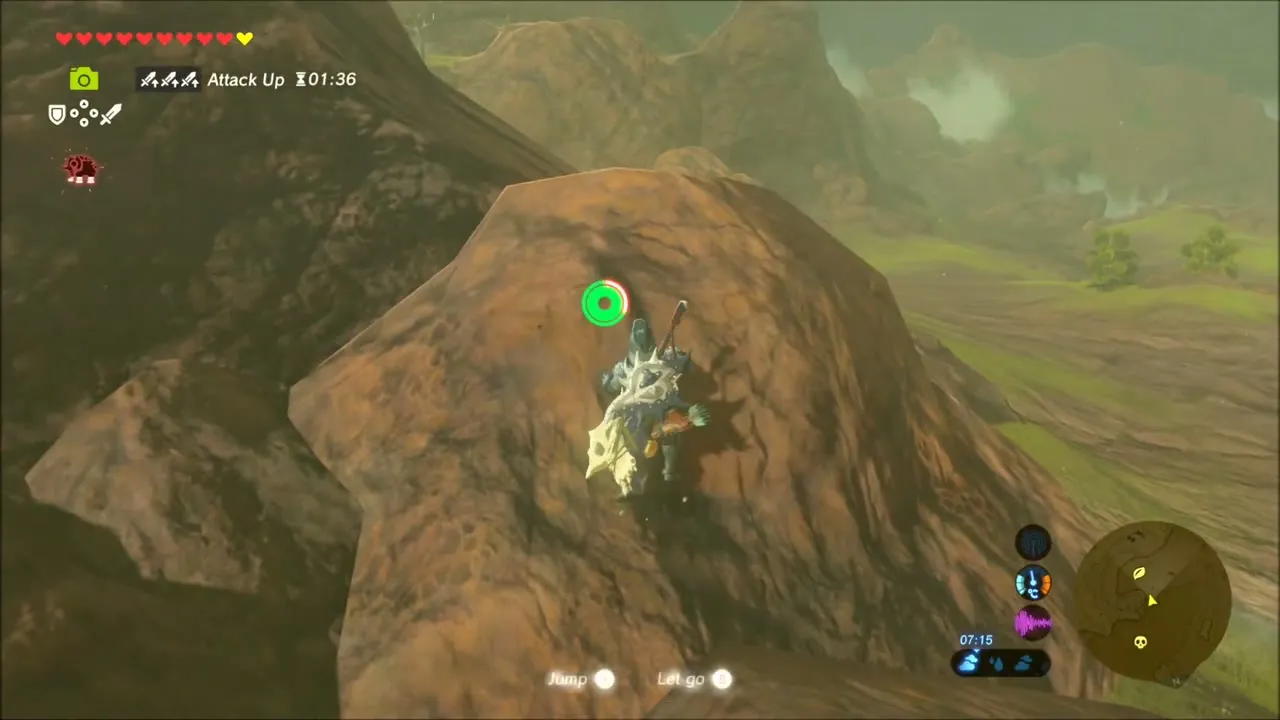
Climb the rust-coloured rock spire nearby. At the top a Korok appears in a puff of leaves beside a loose boulder and gives you a seed.
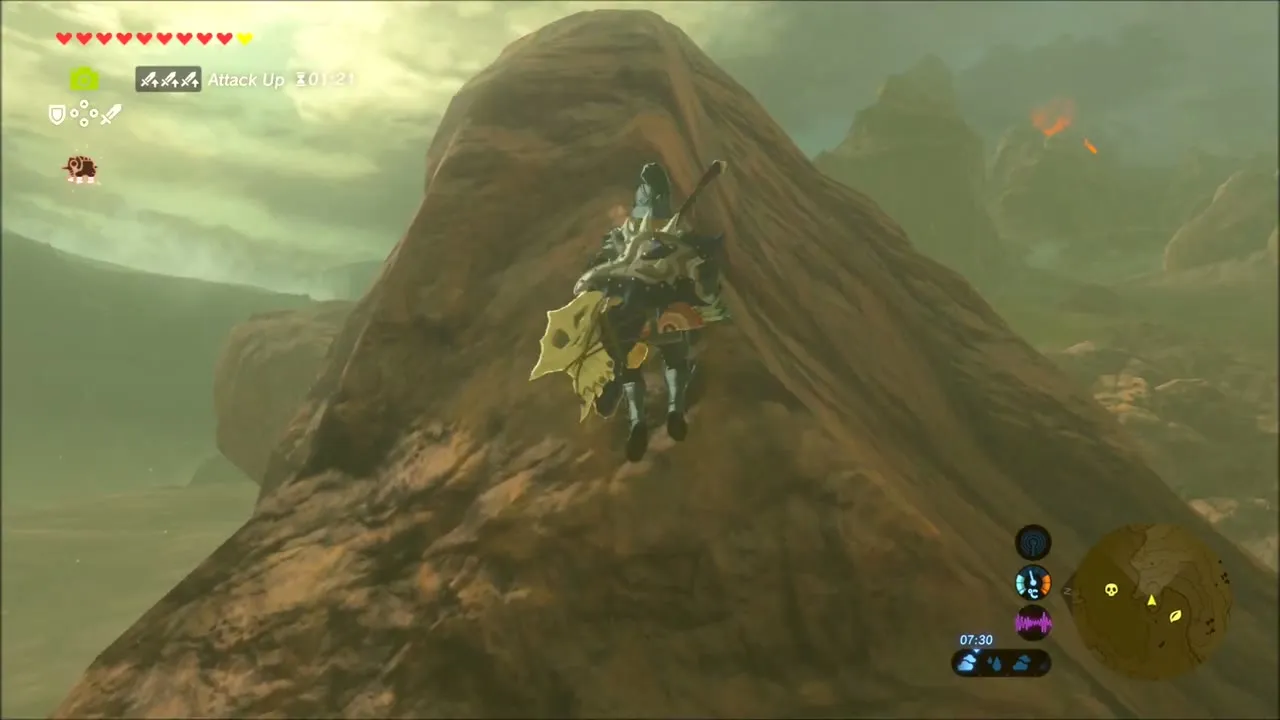


Thyphlo Ruins: Shrouded Shrine and Ketoh Wawai Shrine
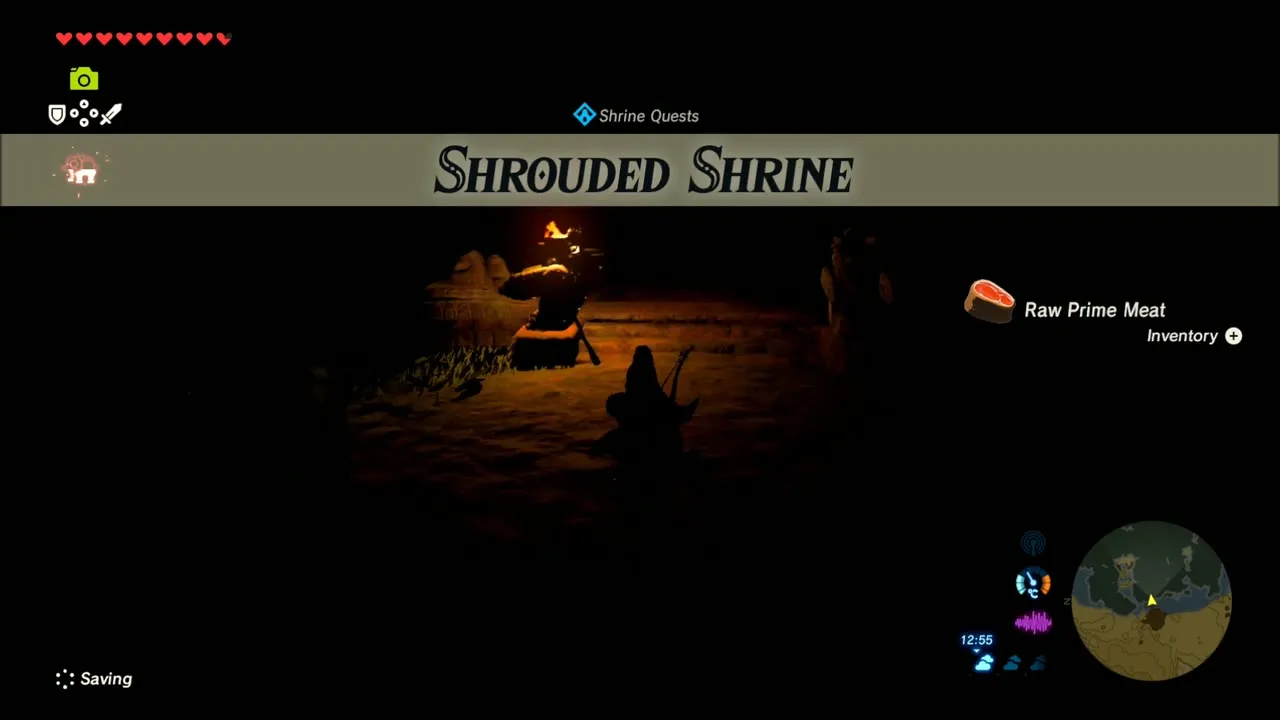
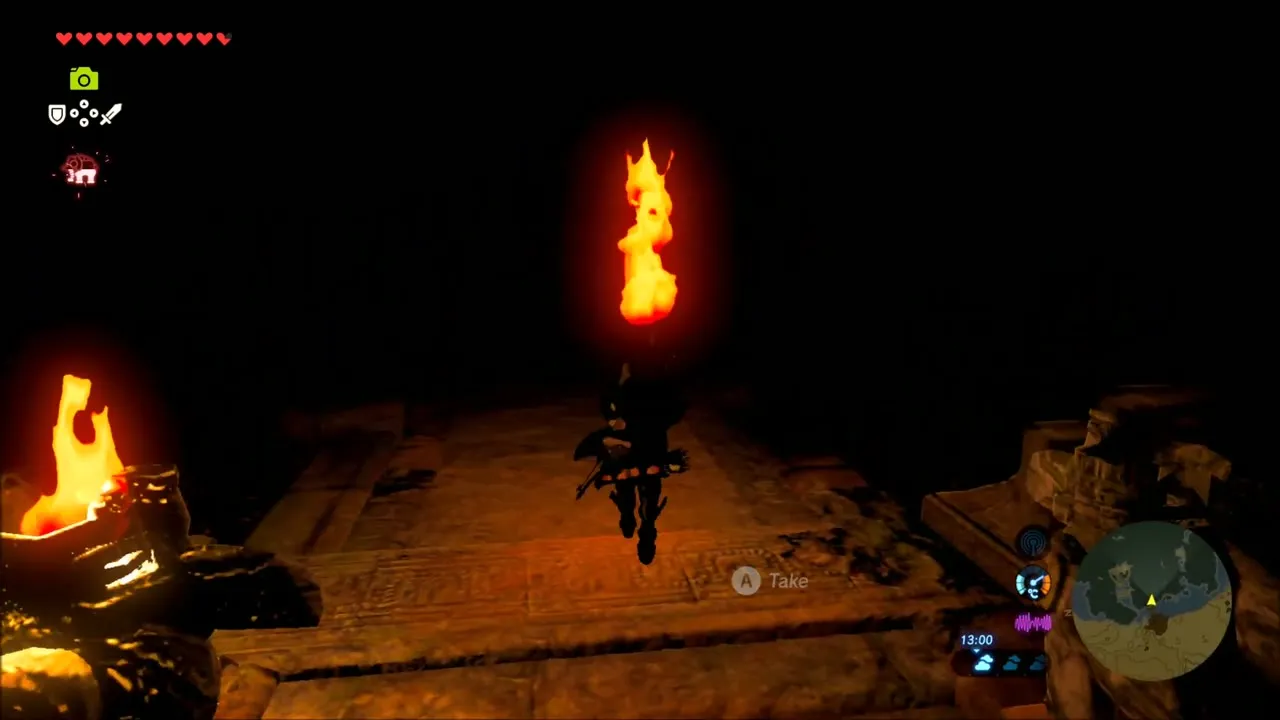
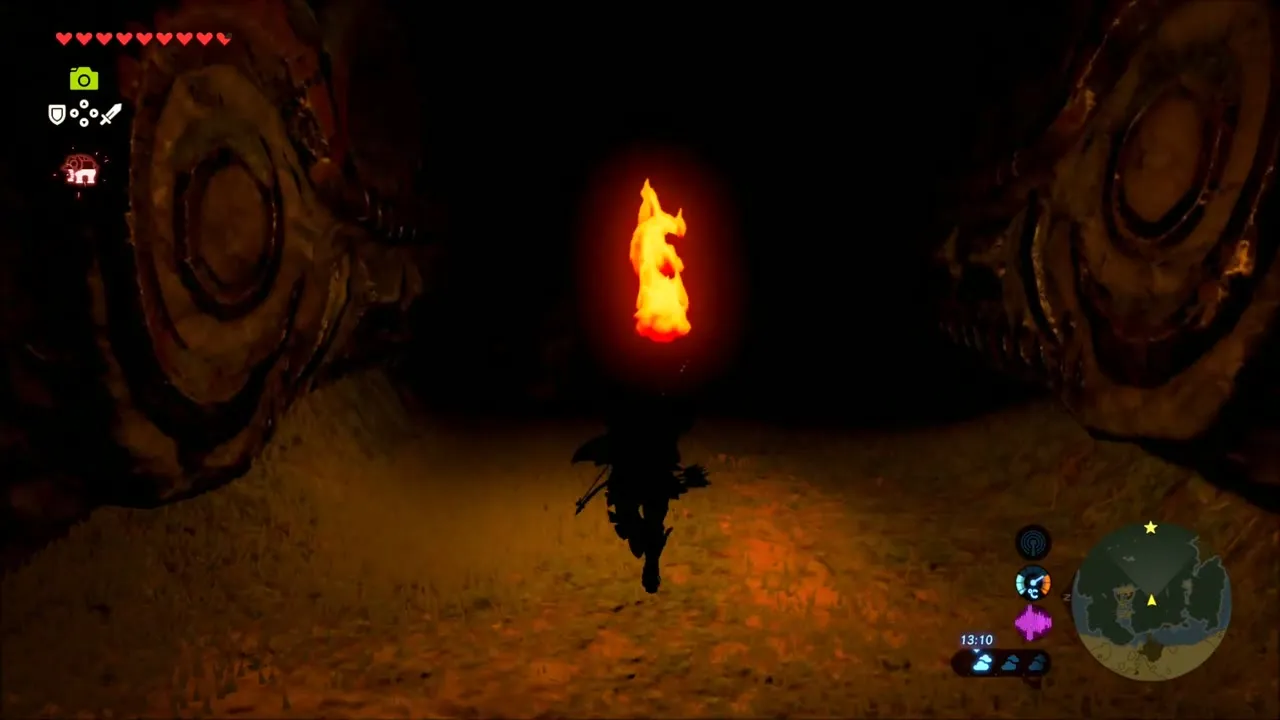
Cross the green hills to the pitch-black Thyphlo Ruins (x 327, z -3080). When you step inside, a voice warns that you are facing a trial and must find the shrine hidden in these dark ruins. This starts Shrouded Shrine. Carry a torch and follow the lit statues through the dark. A chest in the dark corridors holds treasure, but opening it puts your torch out, so relight it from a statue before moving on.


The Hinox and the orb
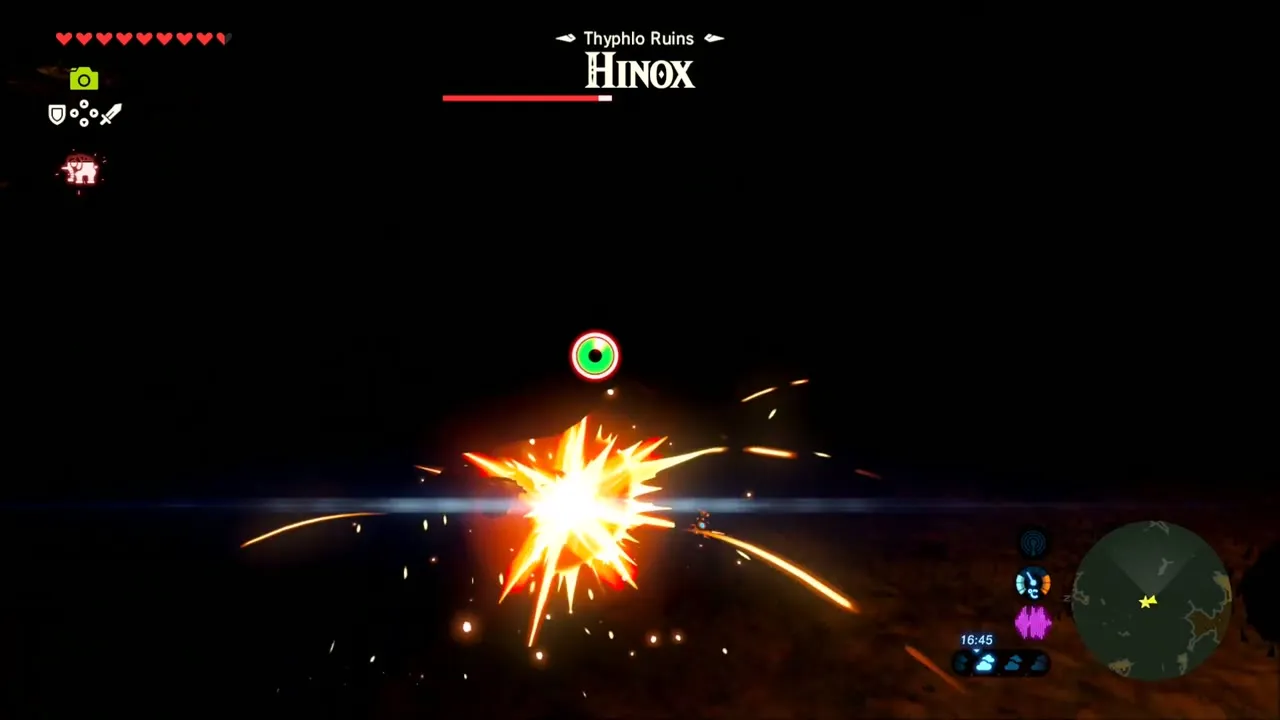
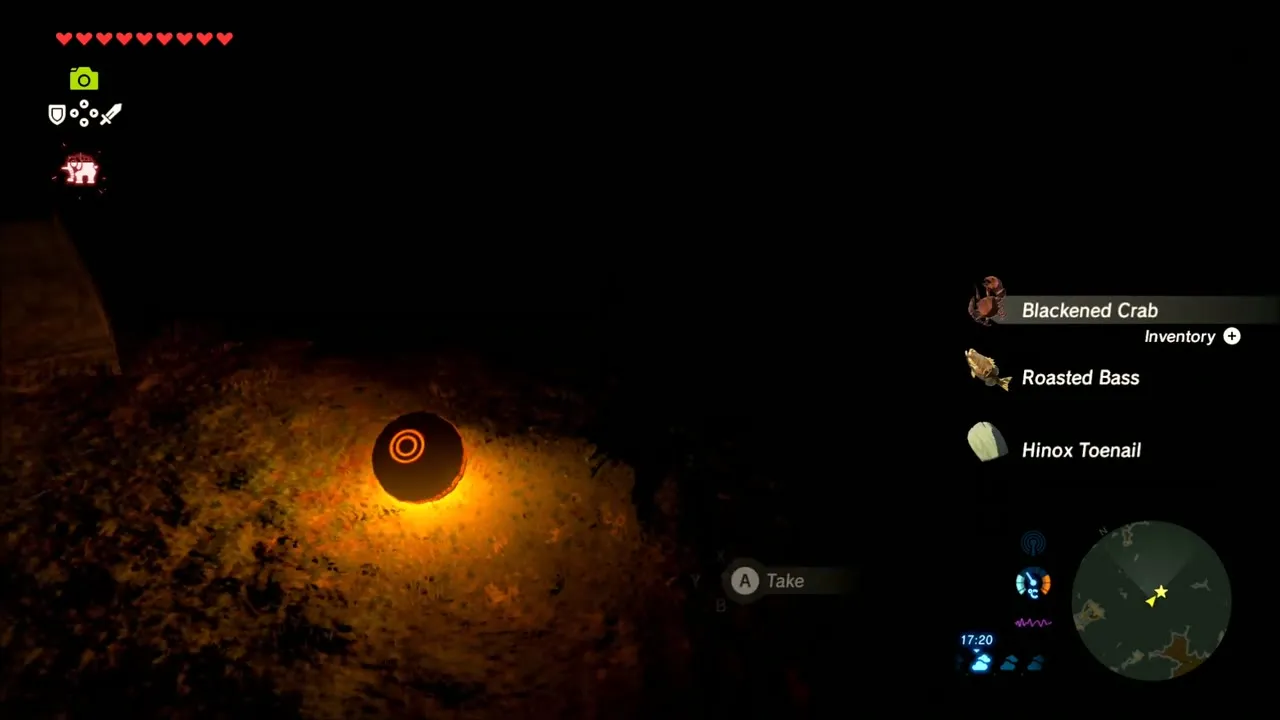
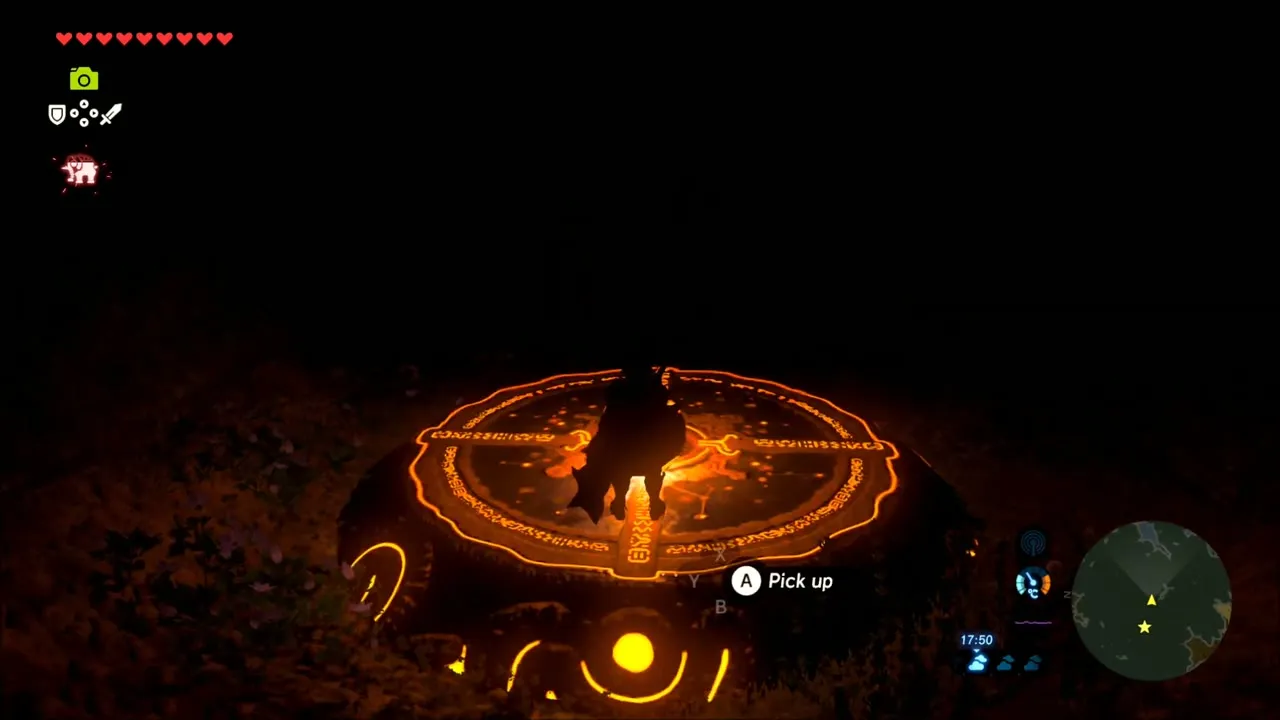
Deeper in the ruins is a Hinox with a glowing orb. Fight it by torchlight, hitting its eye and body, and when it falls it drops the orb. Pick the orb up, carry it through the dark and set it on the pedestal. The shrine rises out of the ground.



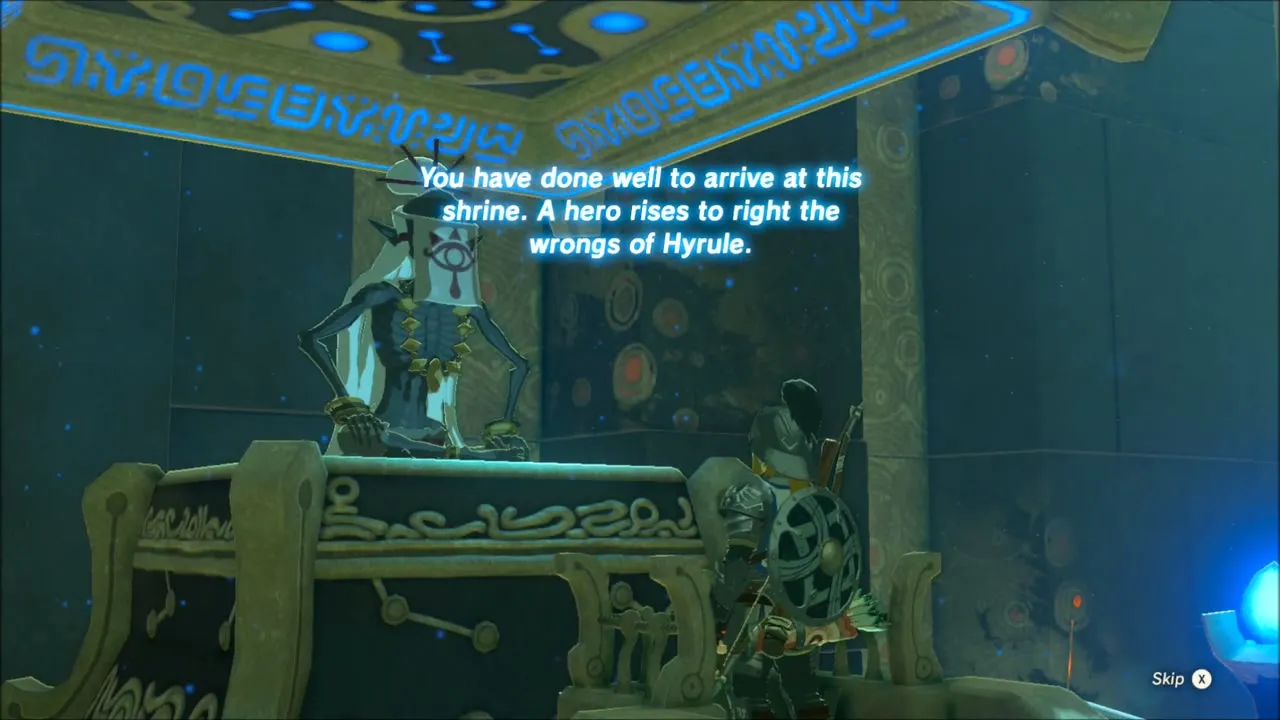
Ketoh Wawai Shrine (x 284, z -3120, height 294) is a Blessing shrine: speak to the monk for the Spirit Orb and open the chest for an Ancient Core. Afterwards, leave the ruins and head out across the green hills.



Korok Seeds Near Thyphlo Ruins
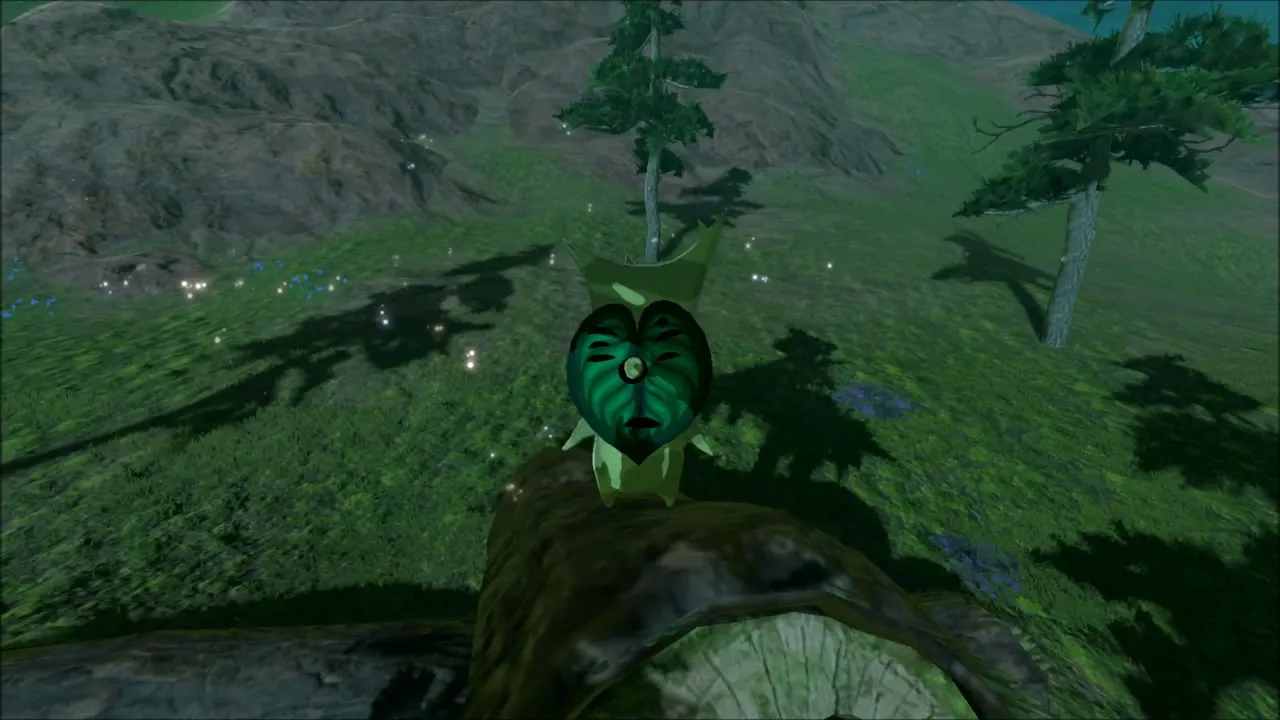
In a meadow dotted with pine trees, a Korok sits on a fallen log. Walk up to him and he hands over a seed.

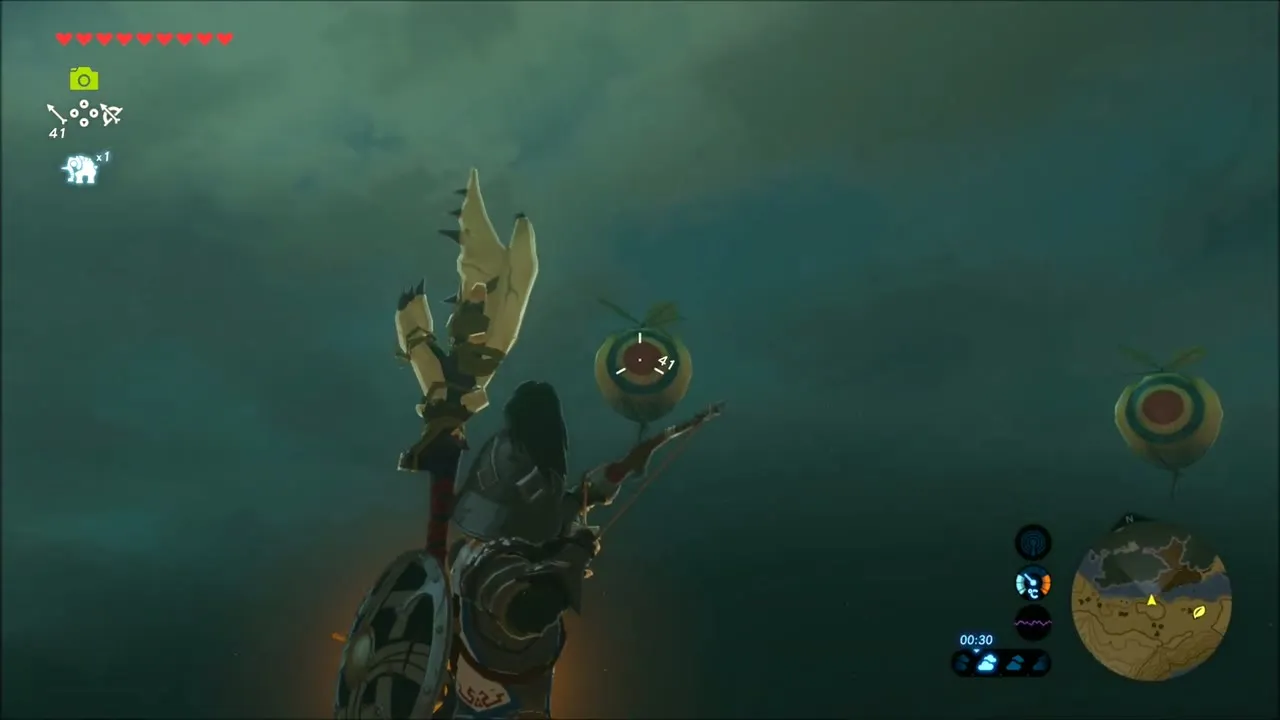
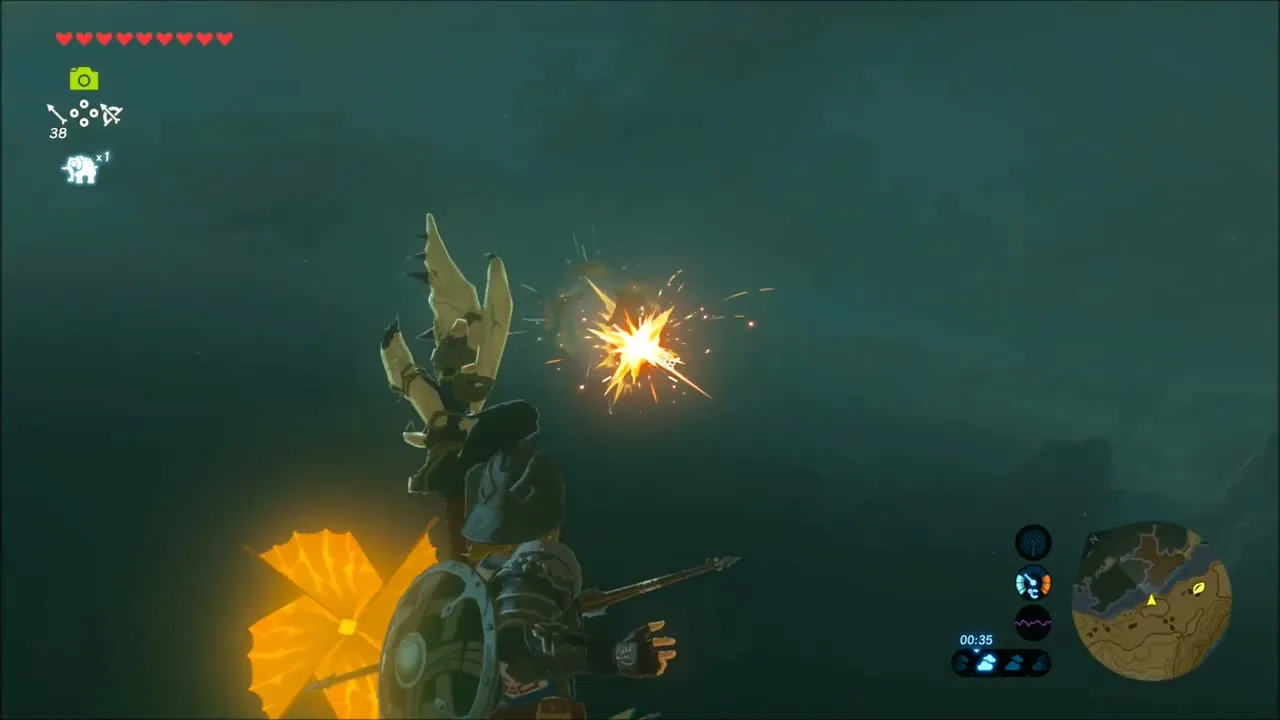
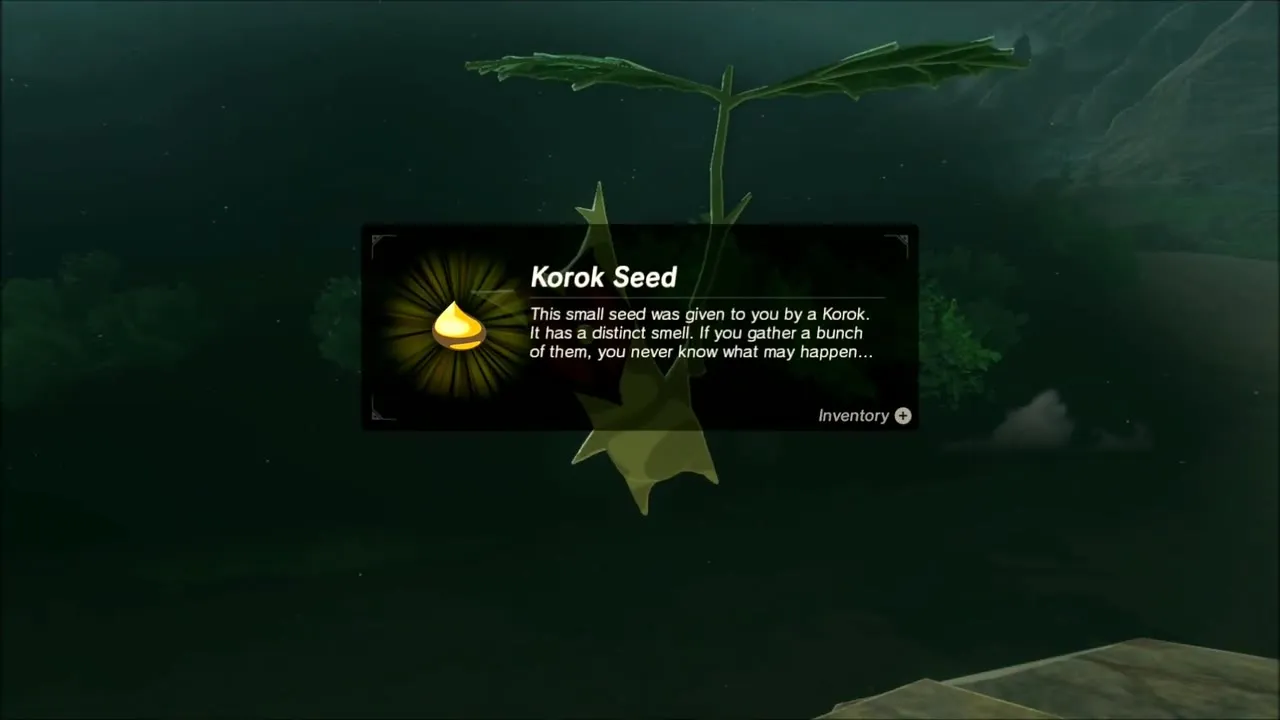
Climb a cliff and glide from the edge. A balloon floats in the air, so shoot it with an arrow while gliding. Land on the ledge and the Korok appears and gives you a seed.


Forgotten Temple Approach: Lynel Fight and Korok Seeds
The Forgotten Temple sits in the north-west corner of Hyrule, north of Salari Plain. Before heading up, set a map pin on it and stock up on food: eat an attack-boosting dish such as Mighty Simmered Fruit, because a Lynel patrols the open ground on the way. The Guardians inside the ruin are far nastier than anything outside it, so arrive with spare weapons and arrows.
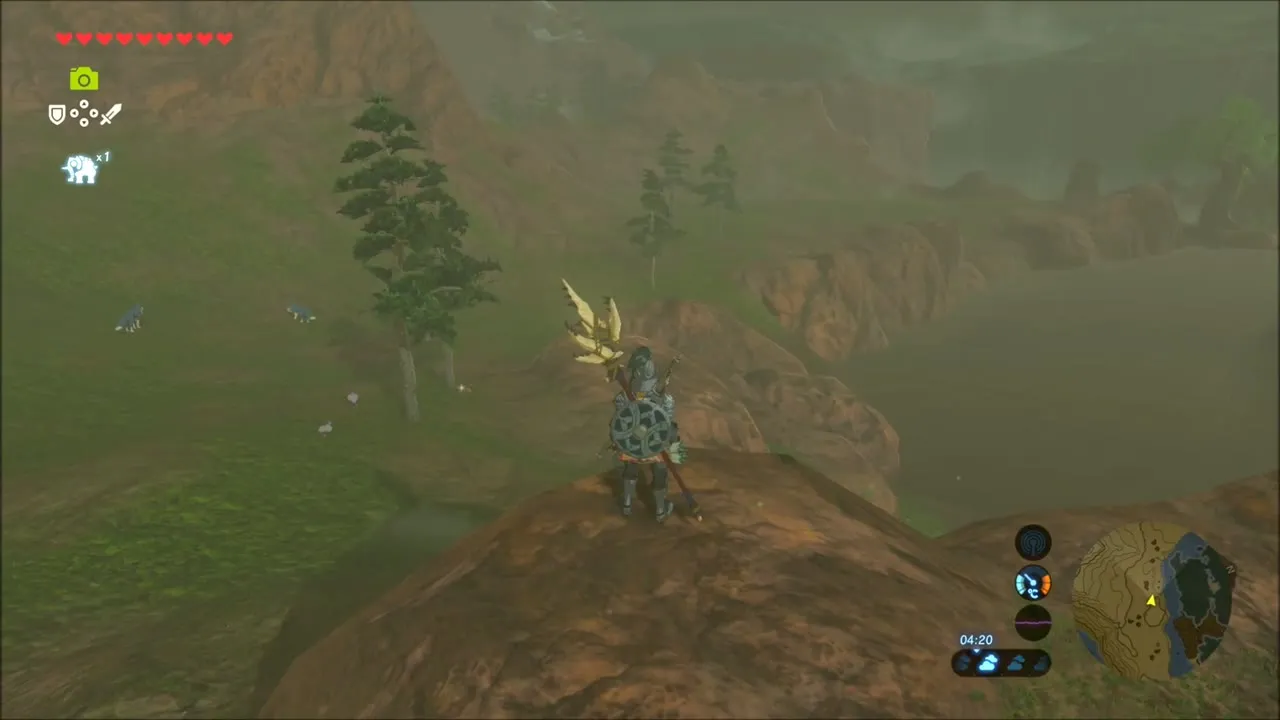

Fight the Lynel
On the high grassland before the ruins, a Lynel will charge you. Keep your shield up, use the buff from your meal, and dodge sideways around its fire breath and charge attacks. Shooting it while it is staggered is the safest way to burn it down. Its drops include Lynel parts such as a Lynel Horn and Lynel Guts, plus its weapons, so it is worth the fight.

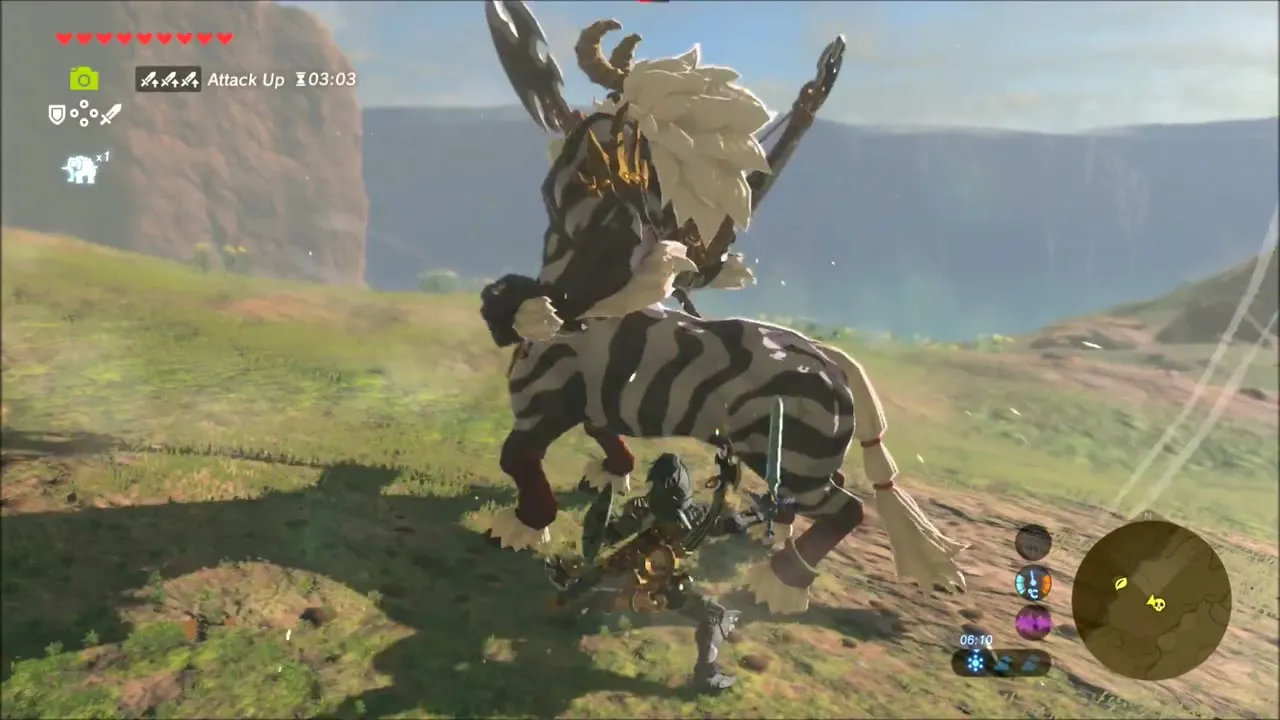
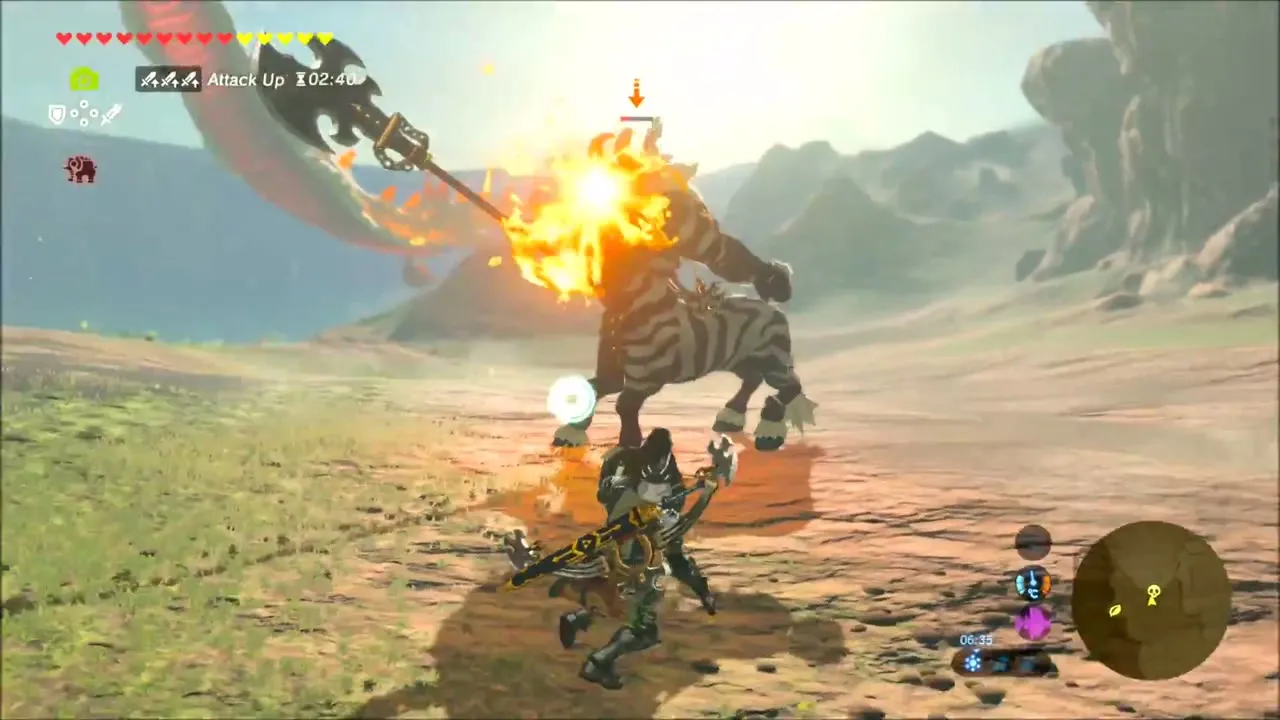

Korok seeds on the way
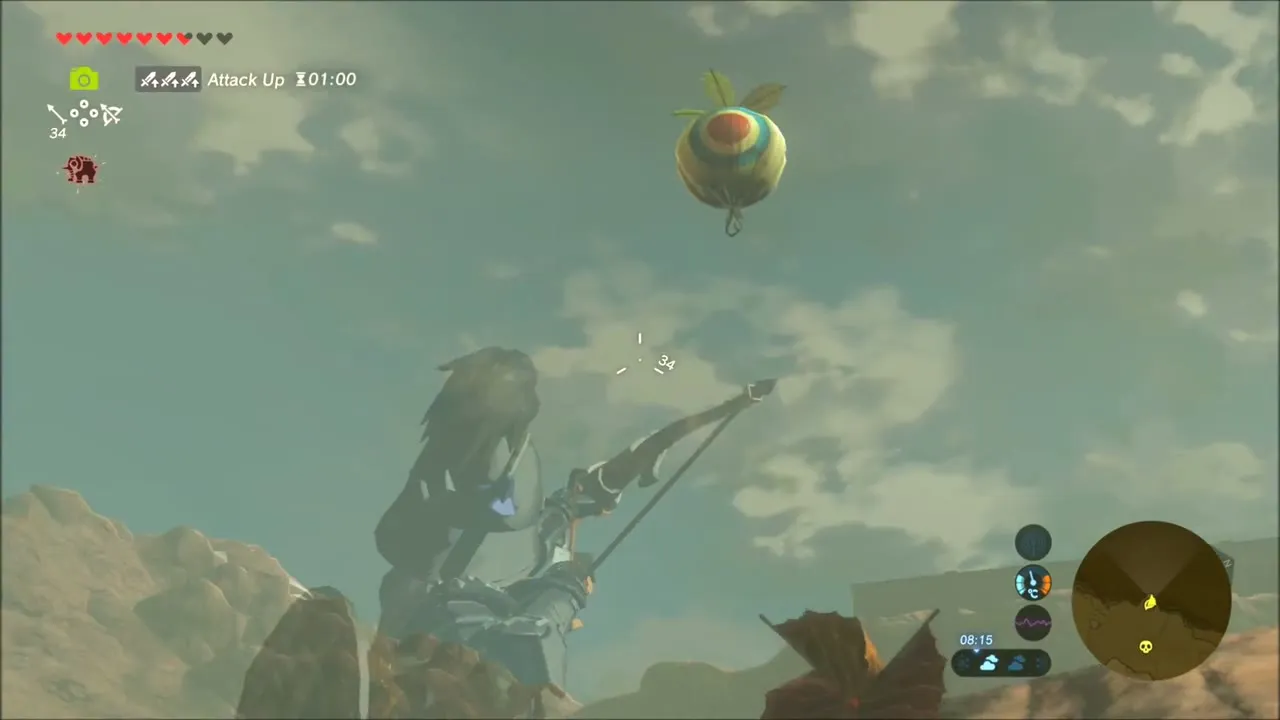
Further along the slope, a Korok is hiding in the air on a balloon: draw your bow and shoot it down with an arrow to earn the seed.
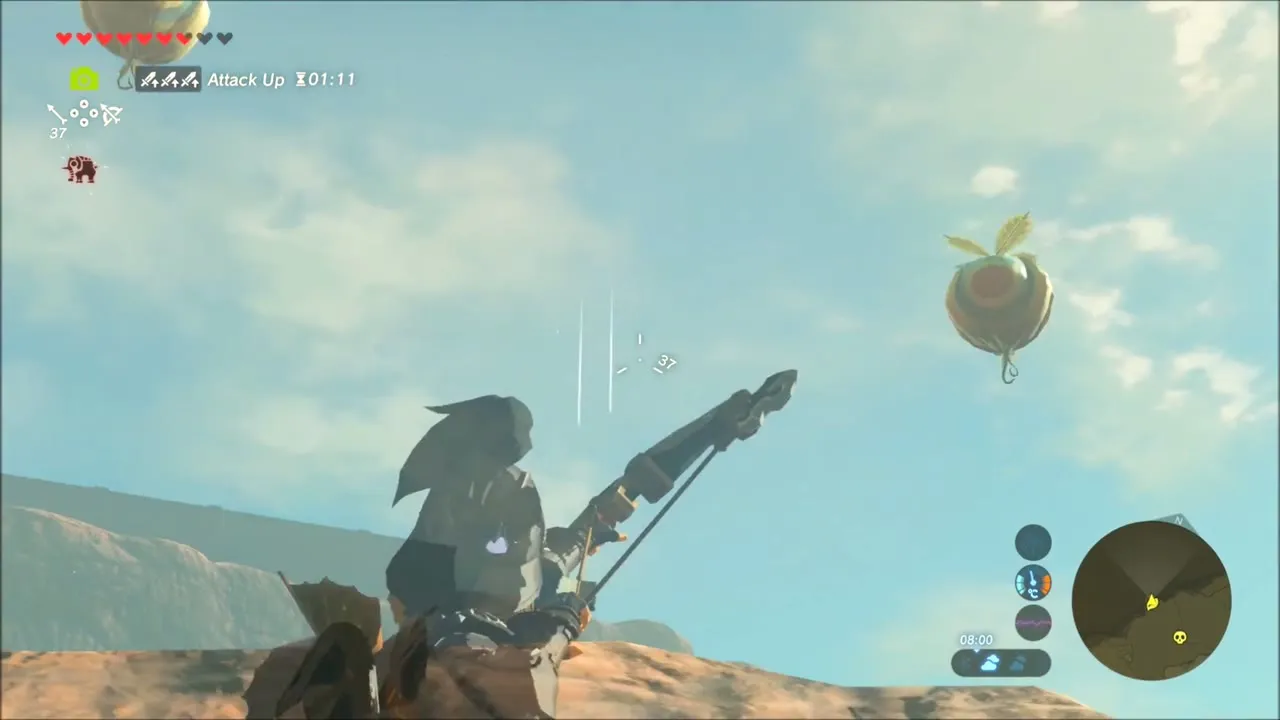
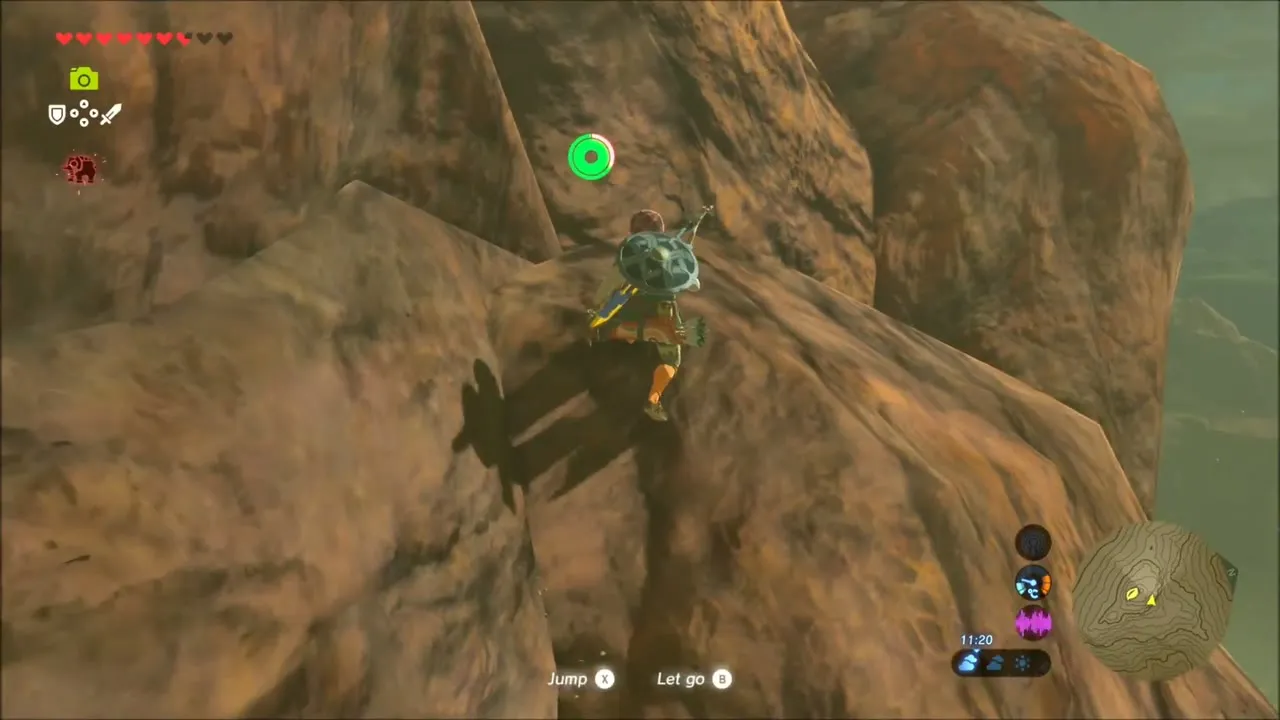
Climb the rocky peak ahead of you; at its summit a Korok is waiting in plain view, and you get the seed just for reaching the top.
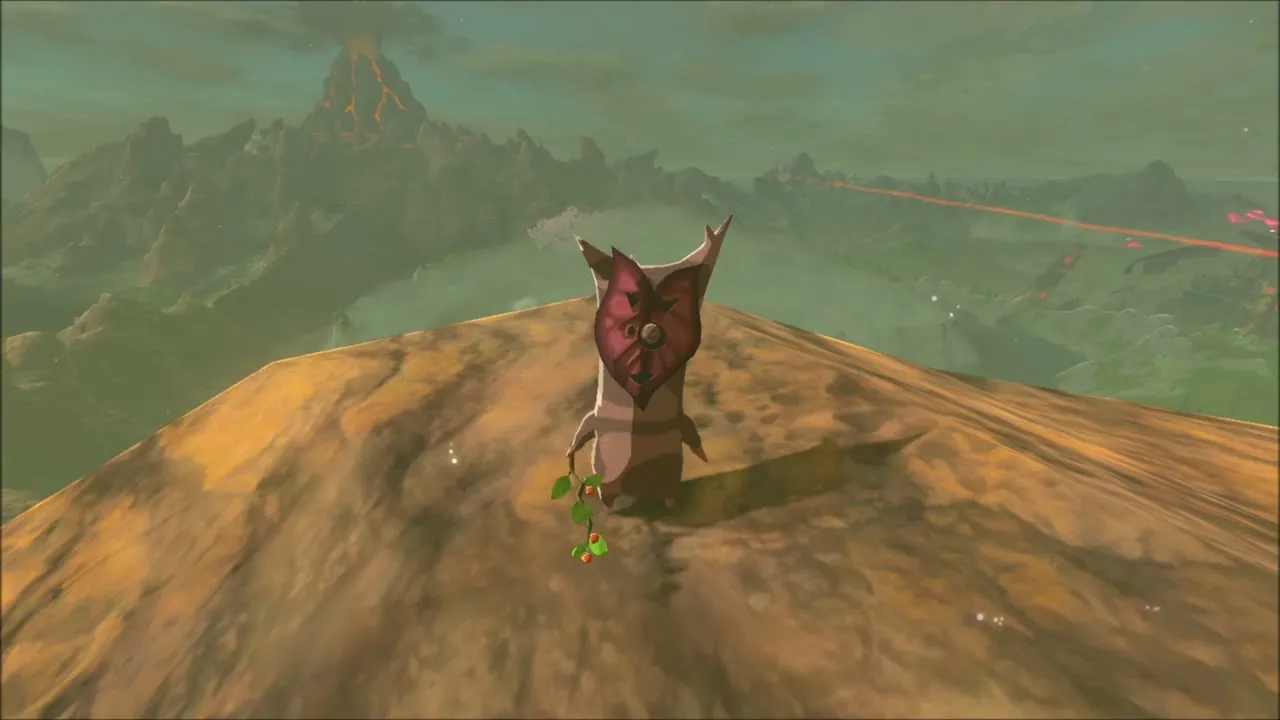
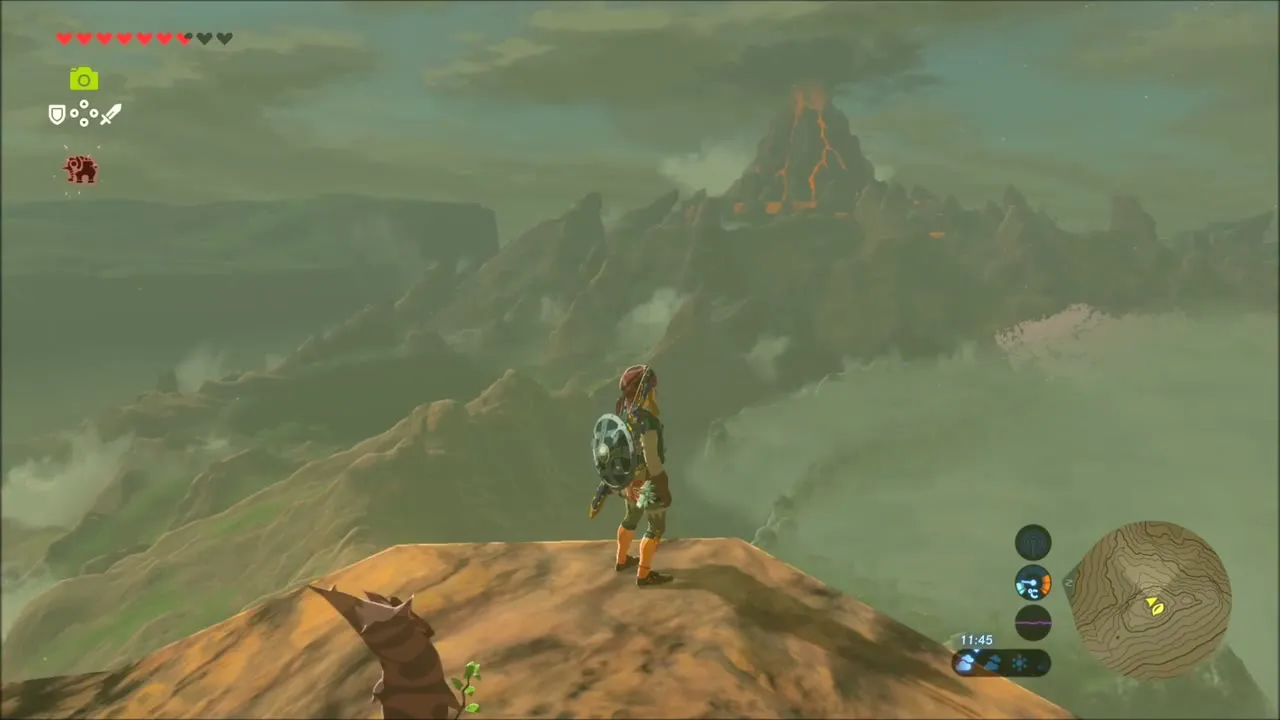
A little further on is a ruined cave. Descend by paraglider and use Magnesis on the stack of metal blocks to rearrange them until the Korok on the stone pedestal appears and hands over its seed. Another Korok is hidden in the ruined stonework just past the cave, and one more is perched among the rocks near the top of the green hillside above it.

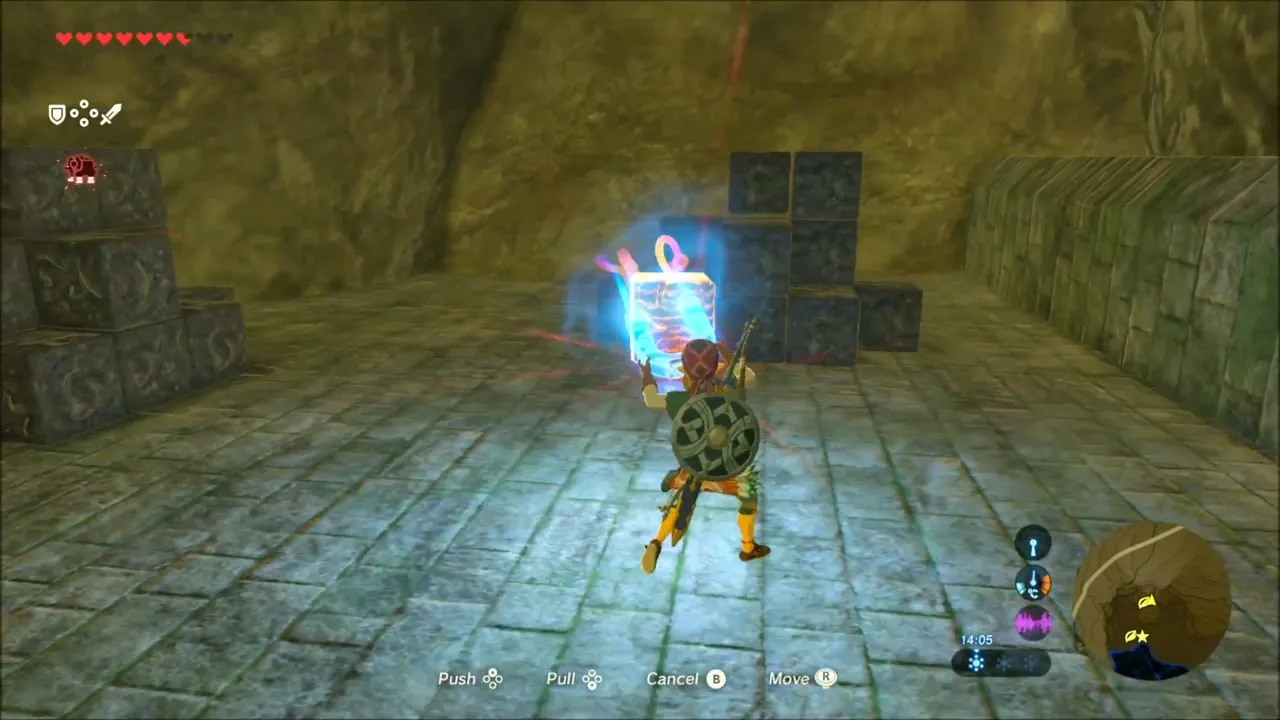

Forgotten Temple and Rona Kachta Shrine: Guardians, Great Flameblade and Fire Arrows
Enter the temple
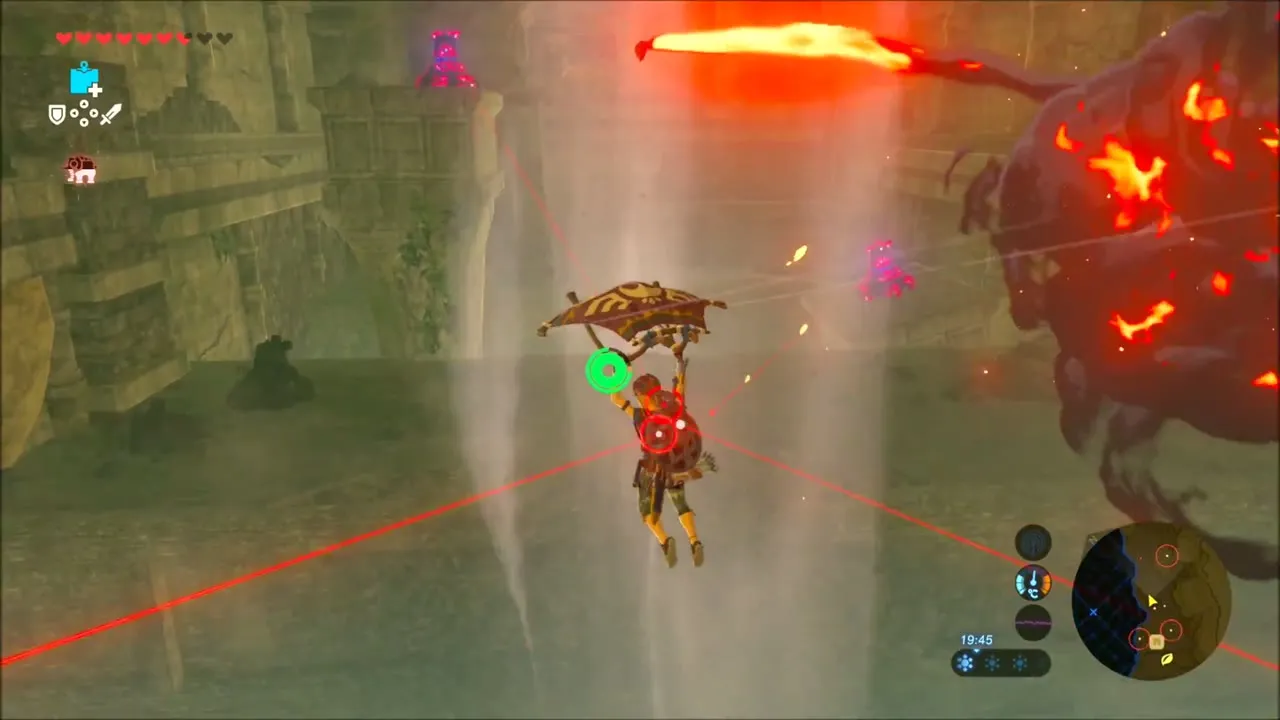
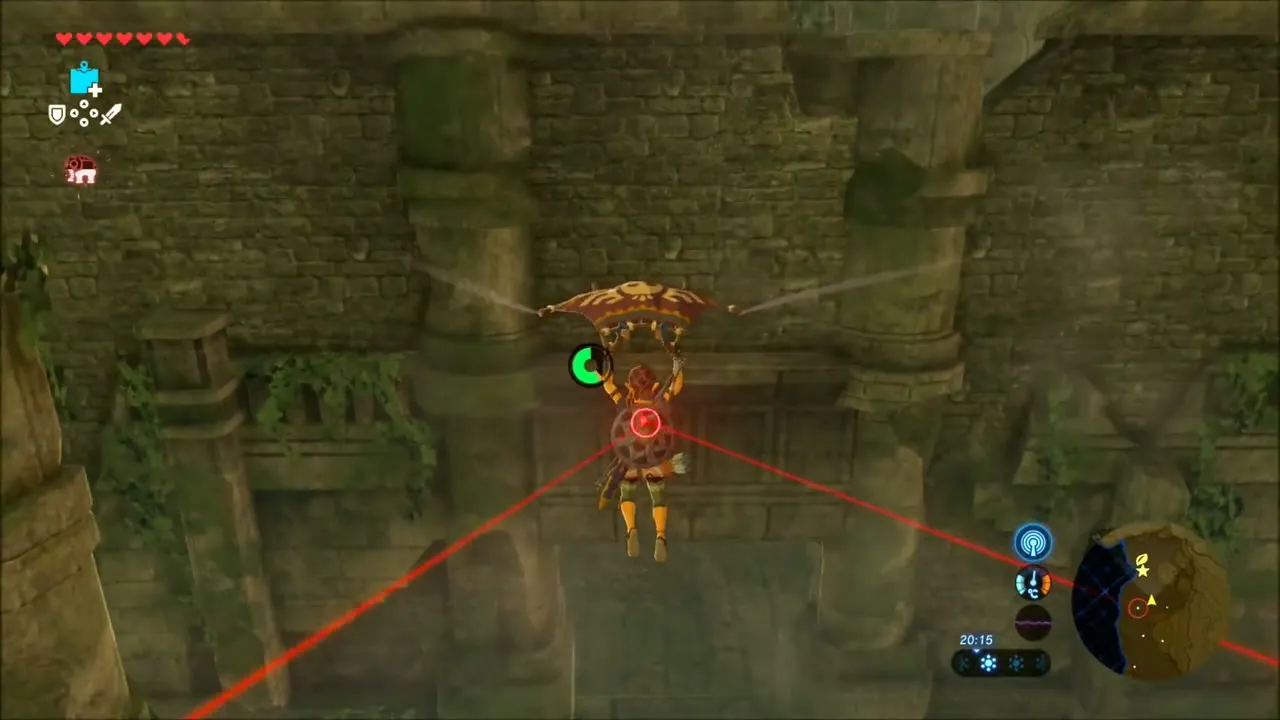
Glide down into the ruin from above. The name Forgotten Temple appears as you land, and Guardians come alive as soon as they see you. Stay behind pillars and walls so their lasers cannot lock on, and use the updrafts to cross open gaps.
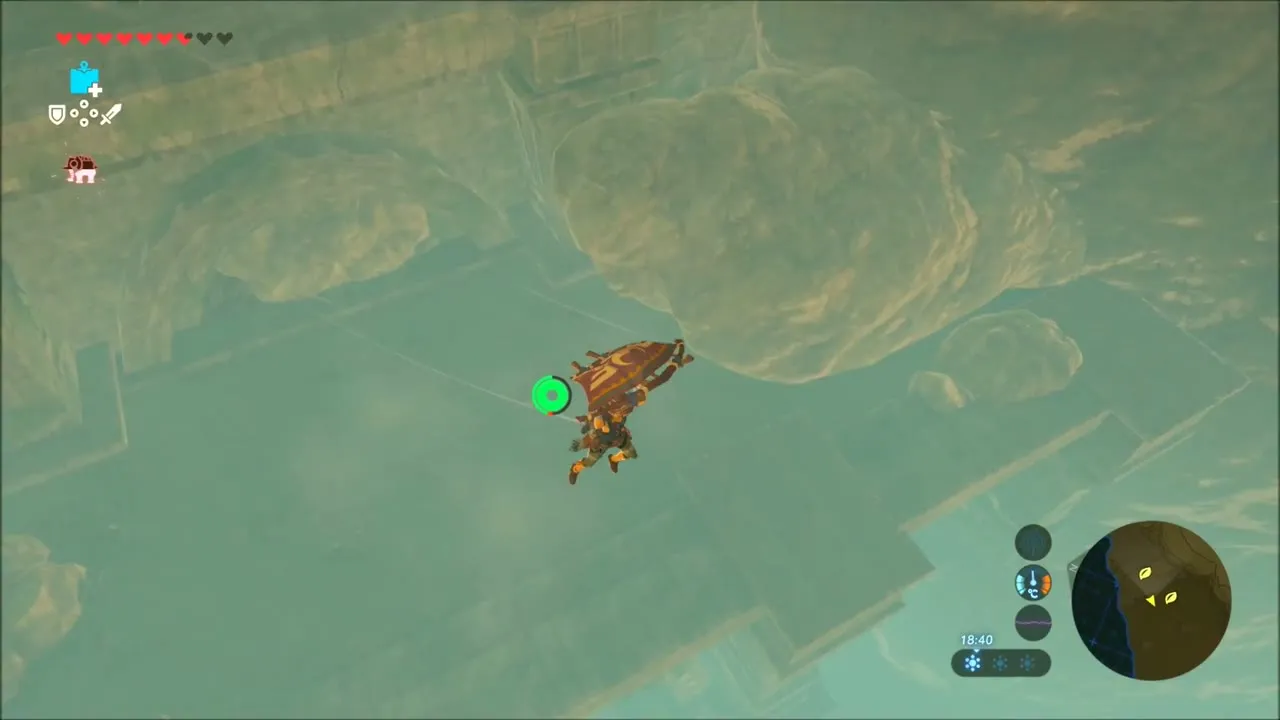

Rona Kachta Shrine
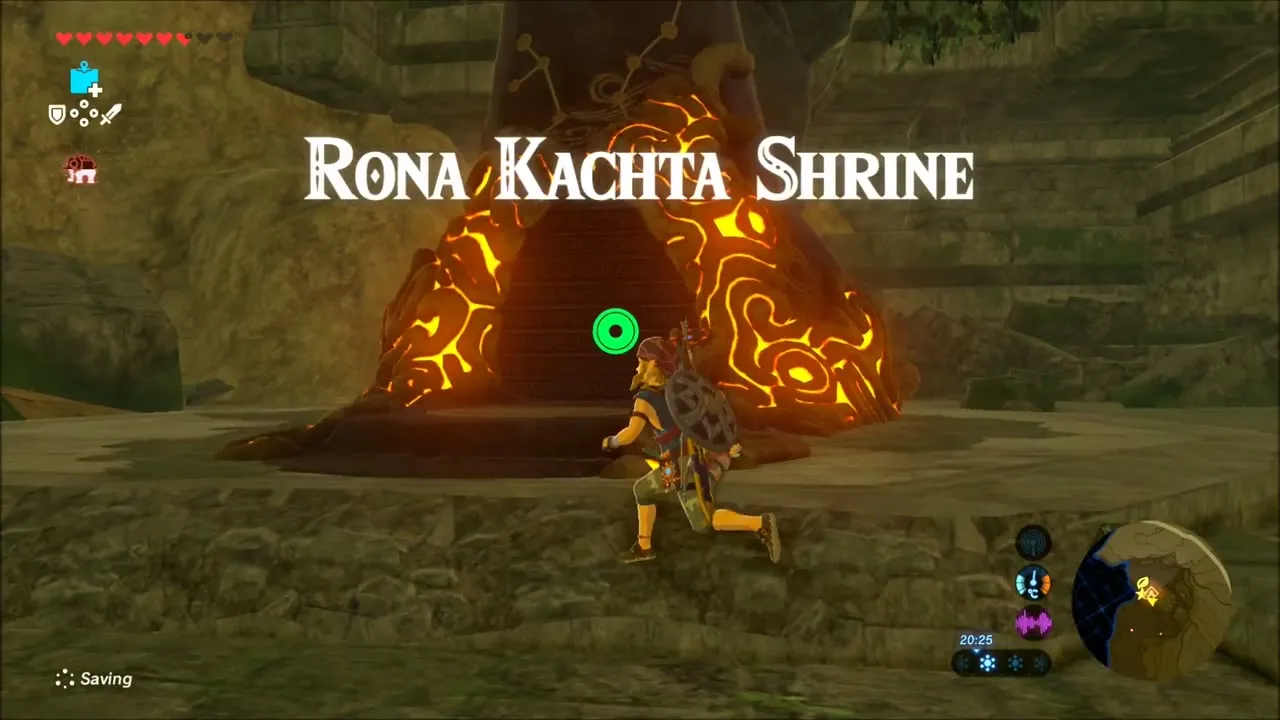
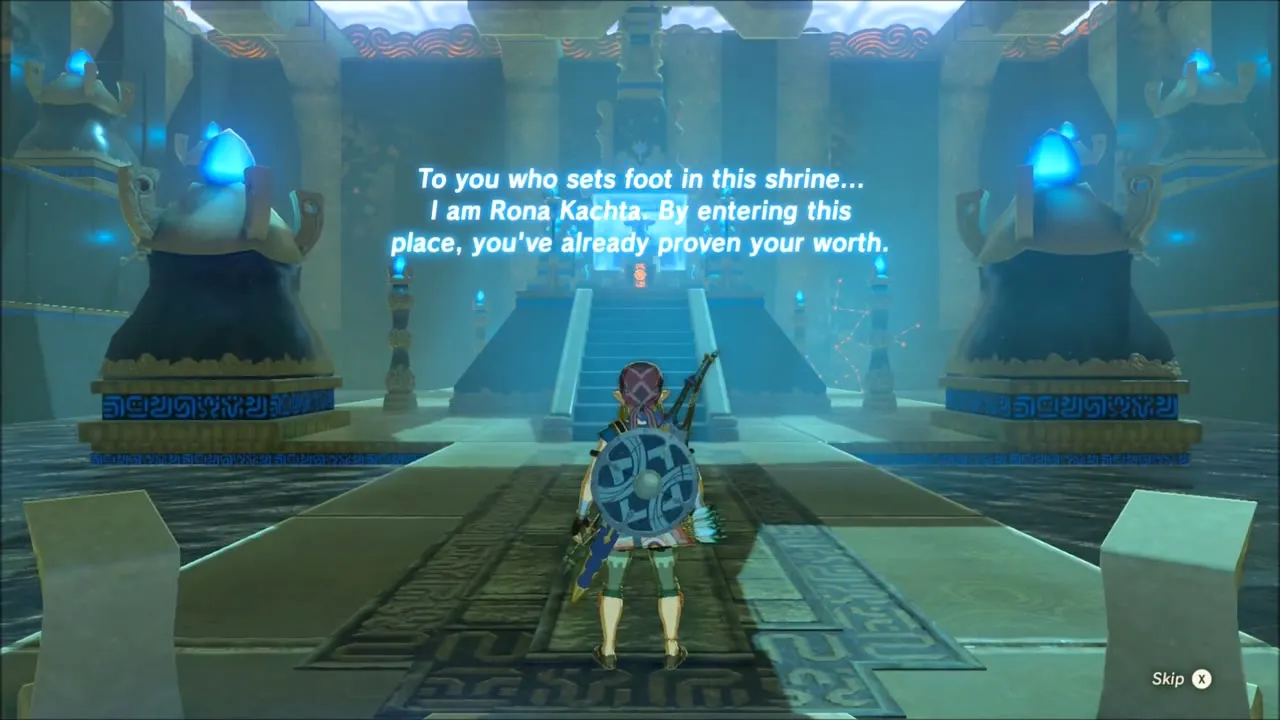
Run for the shrine at the back of the temple, using the walls for cover as you go. Rona Kachta Shrine is a blessing shrine with no puzzle: walk in, open the chest for a Great Flameblade (tier set by difficulty scaling), and talk to the monk Rona Kachta for the Spirit Orb.

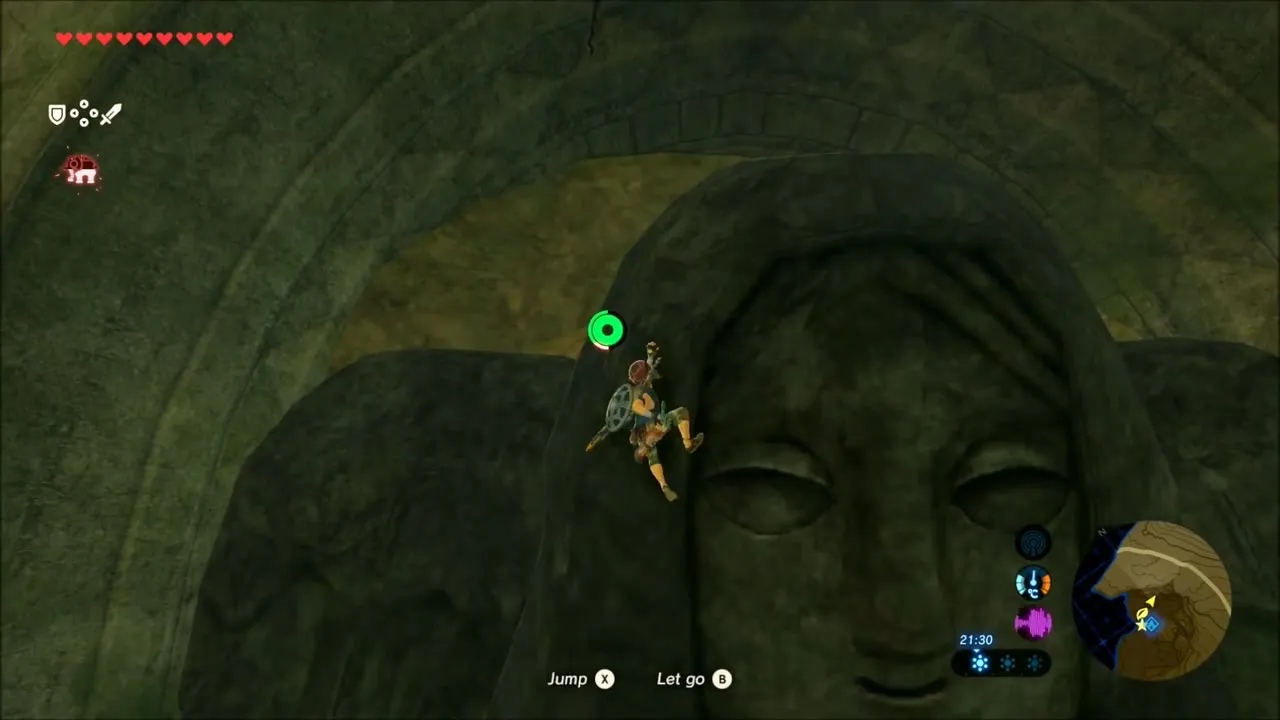
Korok seed on the statue
Back in the ruin, a huge carved statue is built into the wall. Climb its front and keep going up; at the top is a Korok, who rewards the climb with a seed.


Fire Arrows chest and more seeds
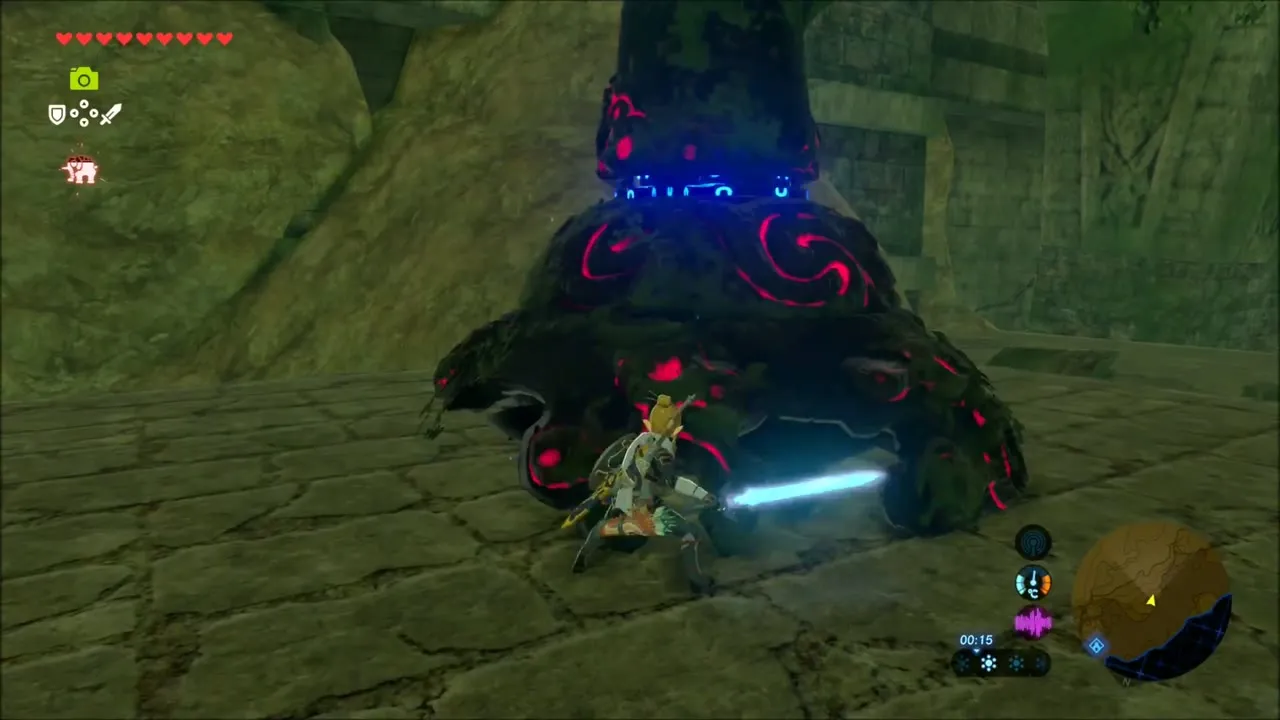
Take on the Guardians one at a time and break line of sight whenever a laser charges. A chest tucked beside a mossy tree stump near the middle of the ruin holds five Fire Arrows.


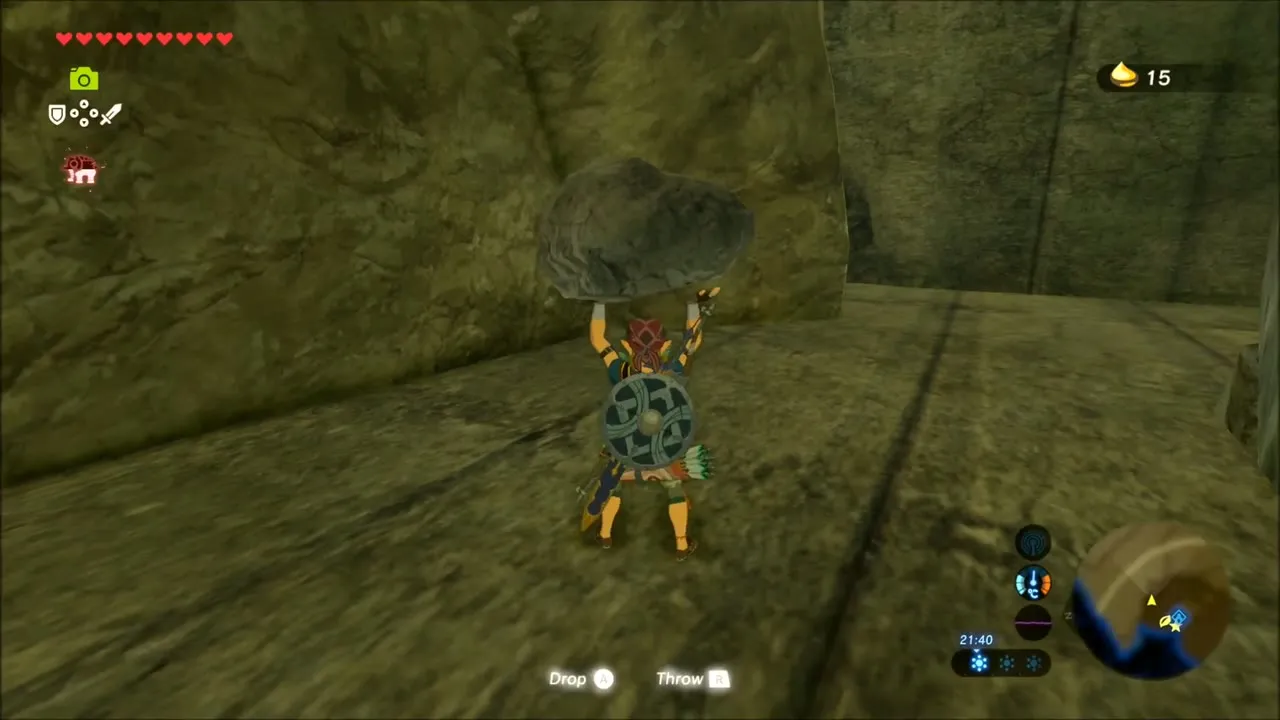
Two more Koroks live in the ruin’s upper levels. In one spot, use Magnesis to lift a metal slab out of the wall; the Korok is hiding behind it. In the other, climb a tall wall to a long stone roof, pick up the boulder lying there and carry it along the roof; the Korok pays out its seed at the end of the climb.

Serenne Stable: Leviathan Bones Quest and Shopping
Ride to Serenne Stable
With the temple finished, head back south over Salari Plain towards Serenne Stable (x -1559, z -1799). Along the way you can pick up a few Chuchu Jelly drops, and a traveller named Chabi chats about strange stones in the area. At the stable you can also buy arrows from the travelling merchant Beedle.
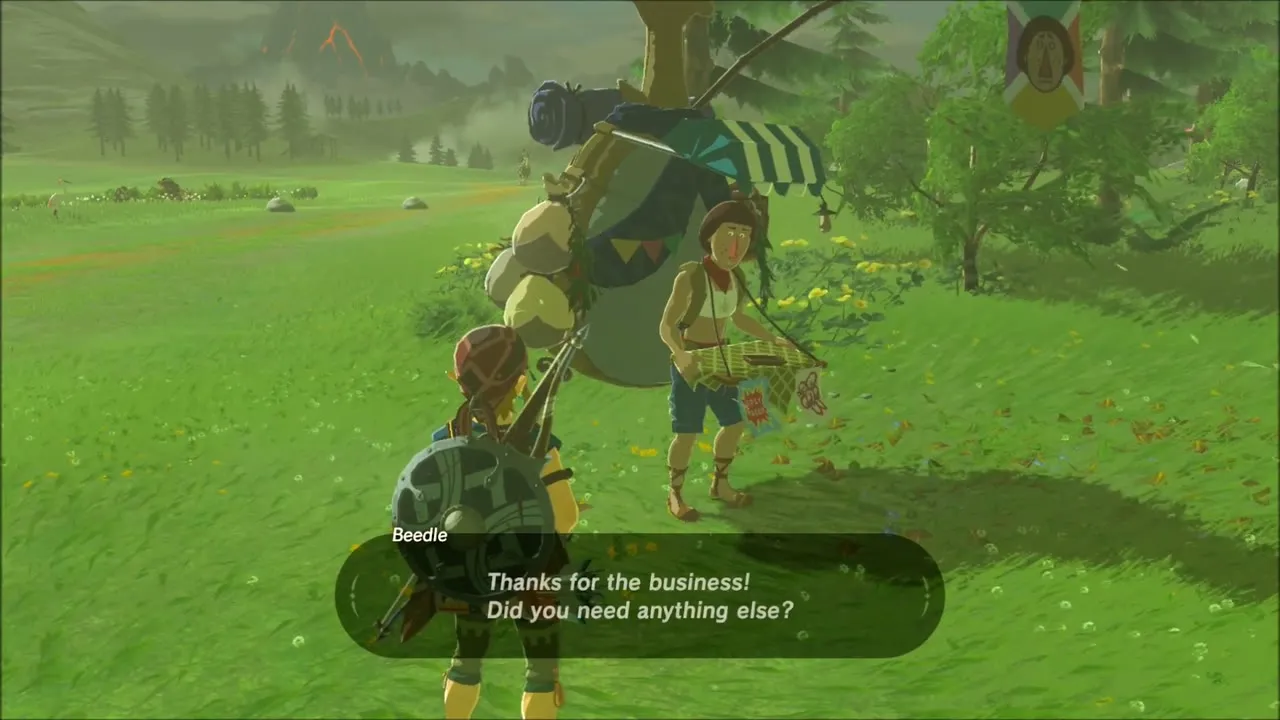


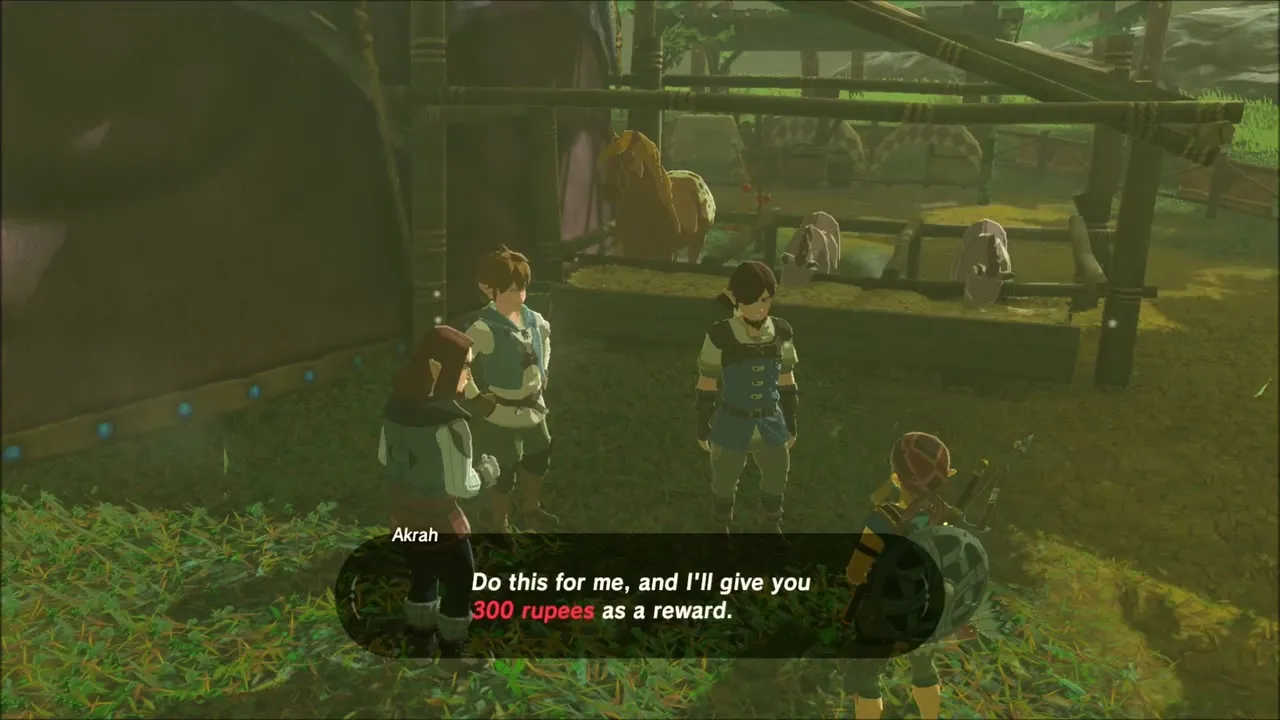
Talk to Akrah, the researcher at the stable, to start the side quest Leviathan Bones. He offers 300 rupees if you bring him photographs of three giant skeletons: the Gerudo, Eldin and Hebra Great Skeletons. Keep your camera ready and come back when you have all three.

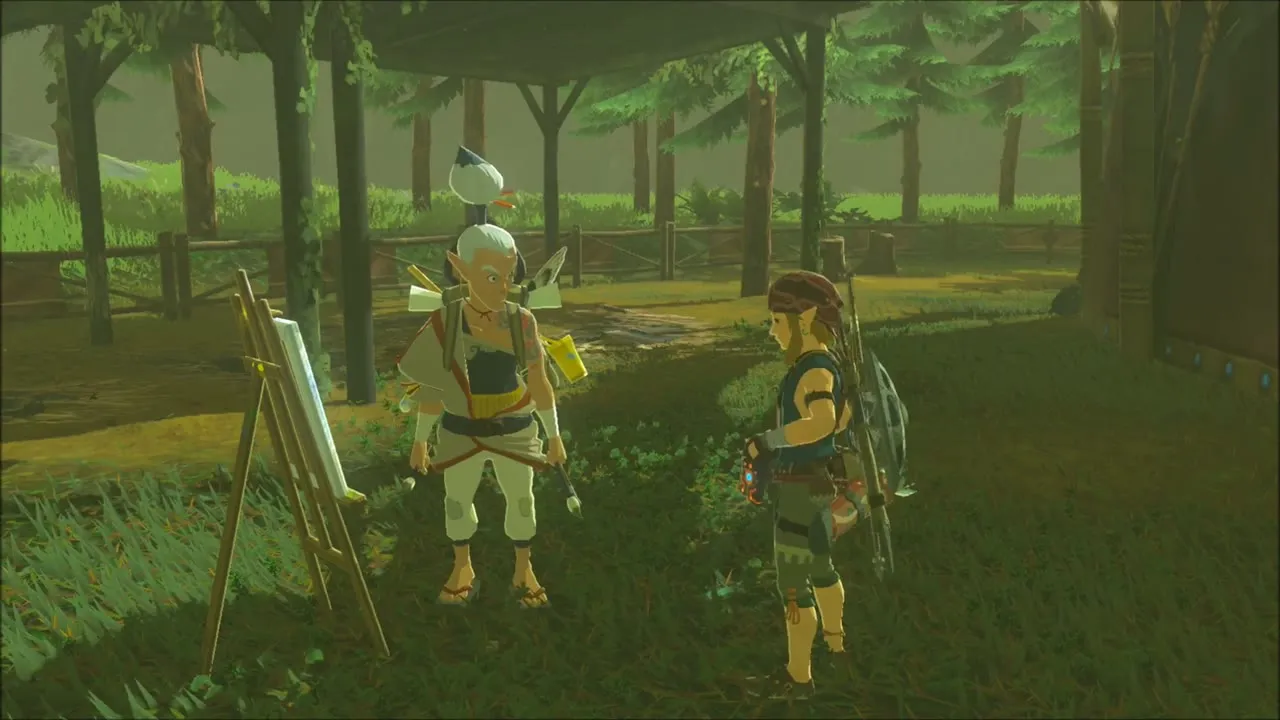
Serenne Stable Cooking, Lynel and Hinox Fights, More Korok Seeds
Cook at Serenne Stable
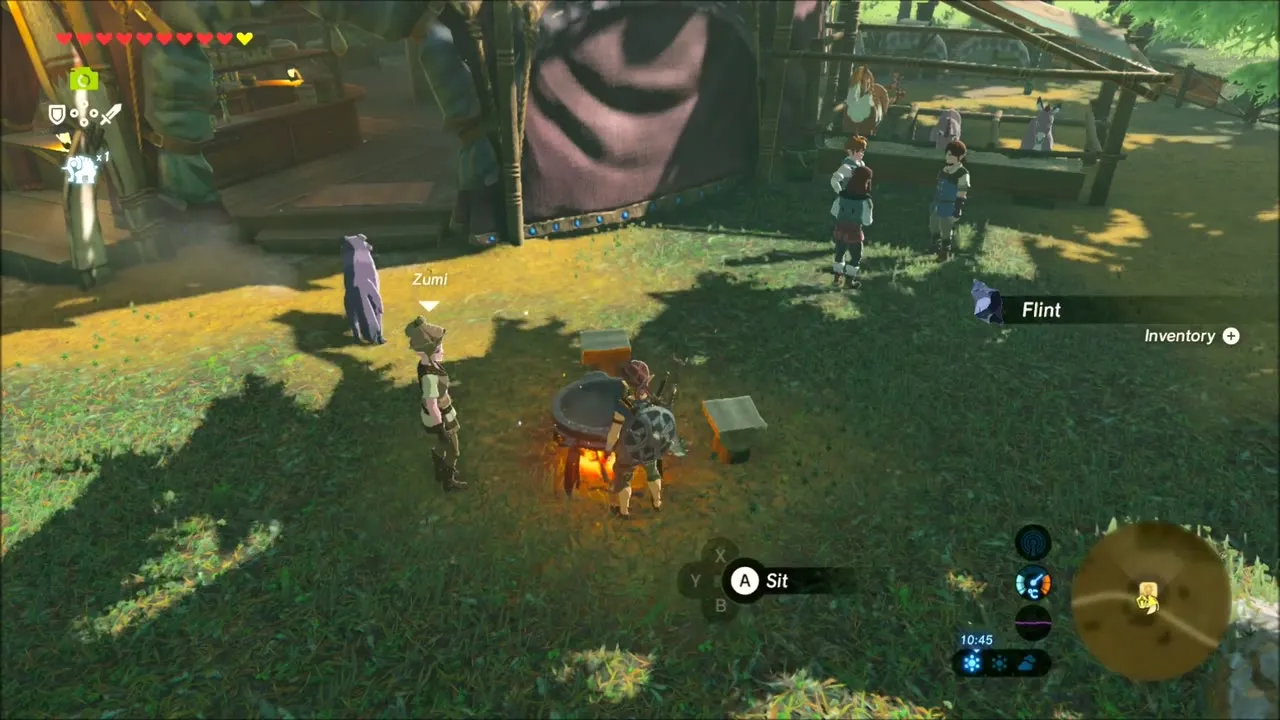
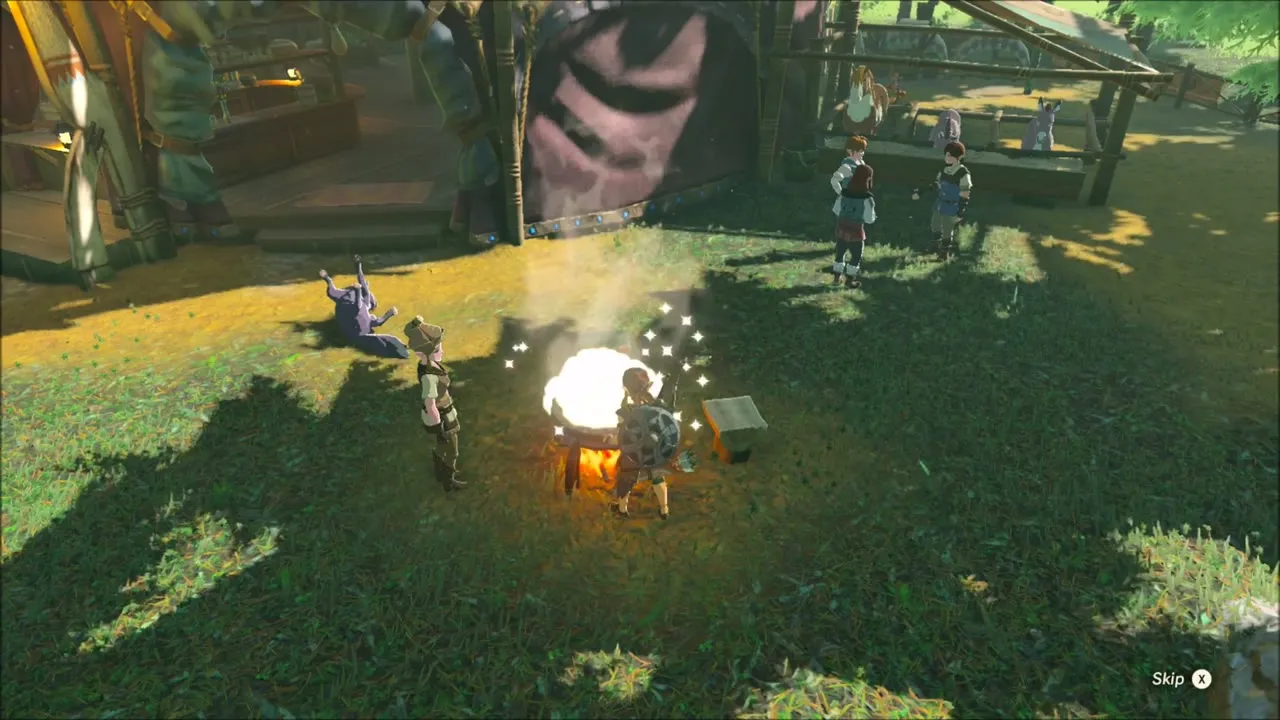
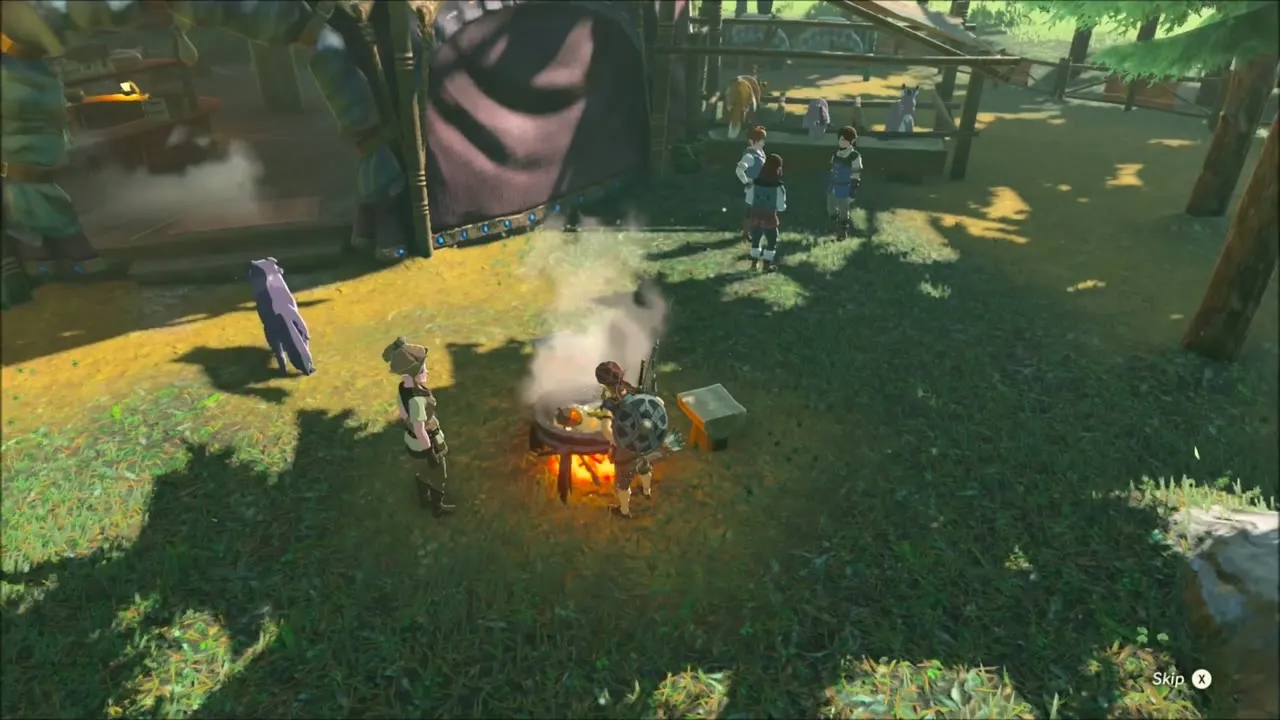
Before leaving the stable, spend some time at its cooking pot. Stock up on Hearty Simmered Fruit, Hearty Fried Wild Greens, Hearty Mushroom Skewers and Mighty Simmered Fruit, and brew a few Hearty, Hasty and Sneaky Elixirs. The Hearty dishes add extra hearts and the Mighty ones raise your attack, which is what you want for the Lynel and Hinox fights ahead.

Korok seeds on the grassland
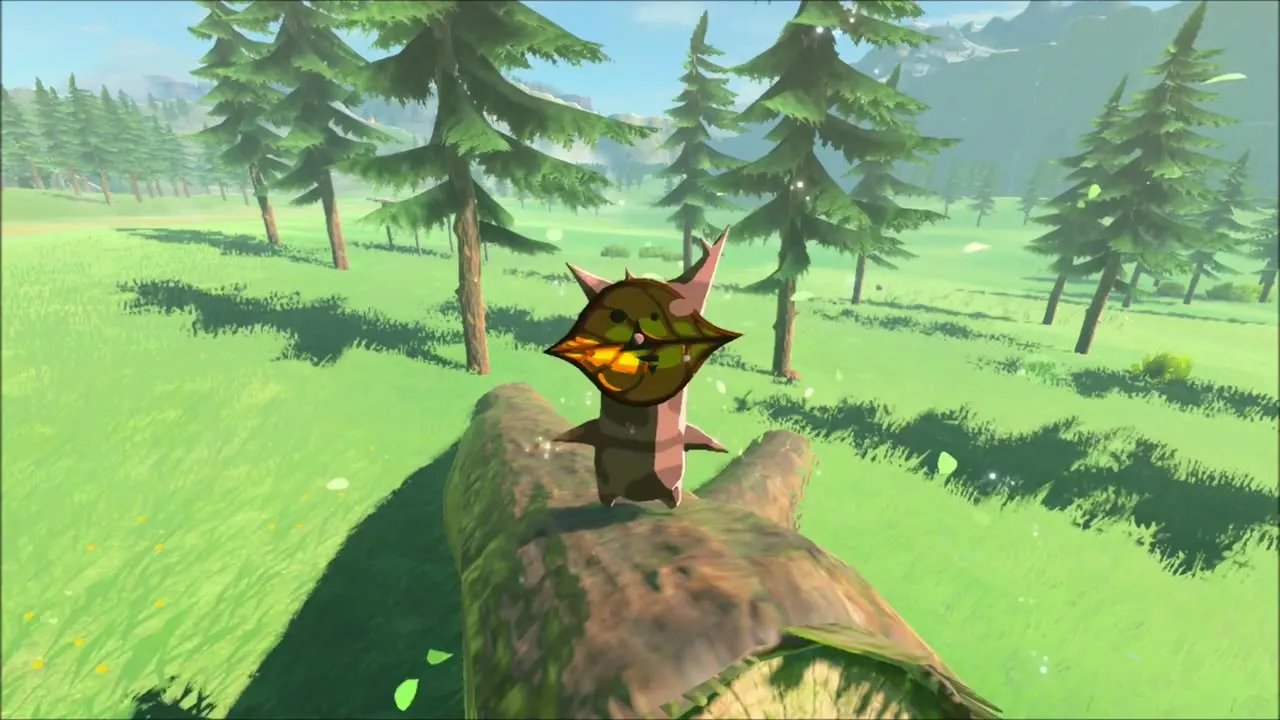
Ride east over the grassland on horseback. Along the road you can find a Korok sitting beside a wooden frame, and another one resting on a fallen log; both give a seed when you reach them. Pick up the Razorshroom and Raw Prime Meat lying in the grass as you pass.
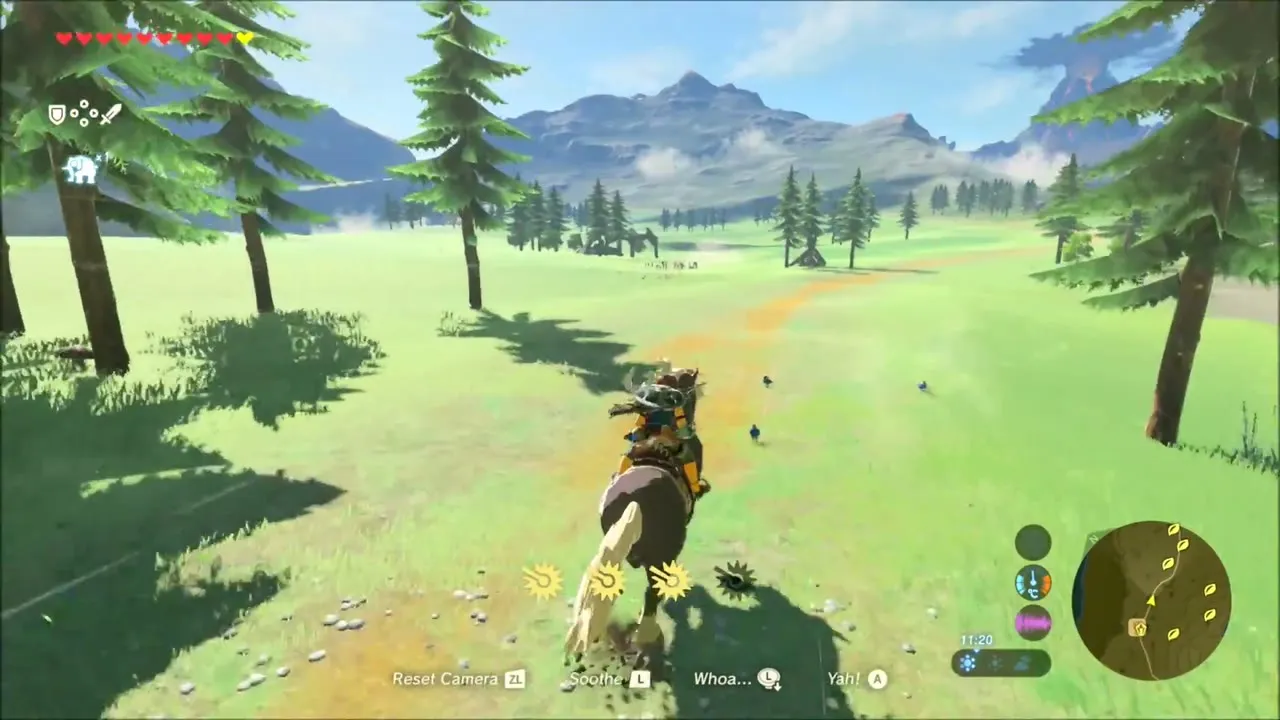
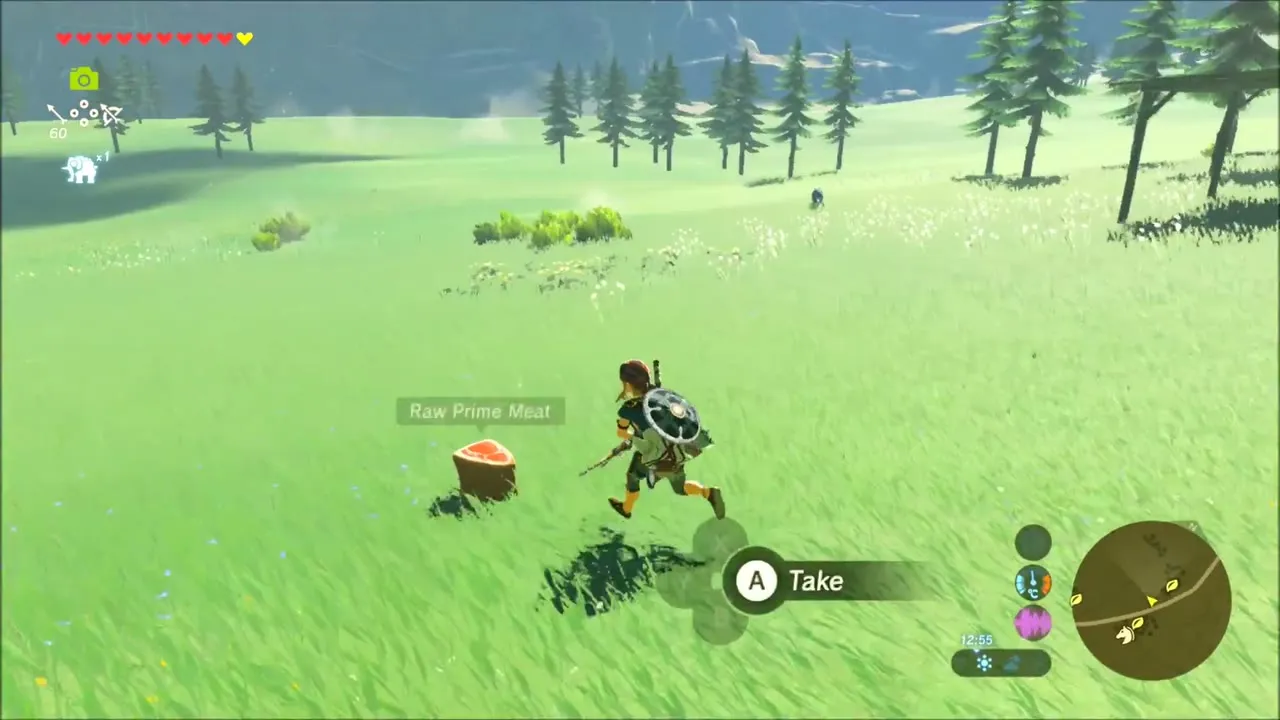
Lynel, Hinox and the forest seeds
A Lynel patrols the hills further on. Fight it from the saddle or on foot, dodging its flame breath, and shoot it when it exposes itself. Its drops include its weapons and a bundle of arrows. A Hinox wanders the same stretch, and its drops are worth the effort too.
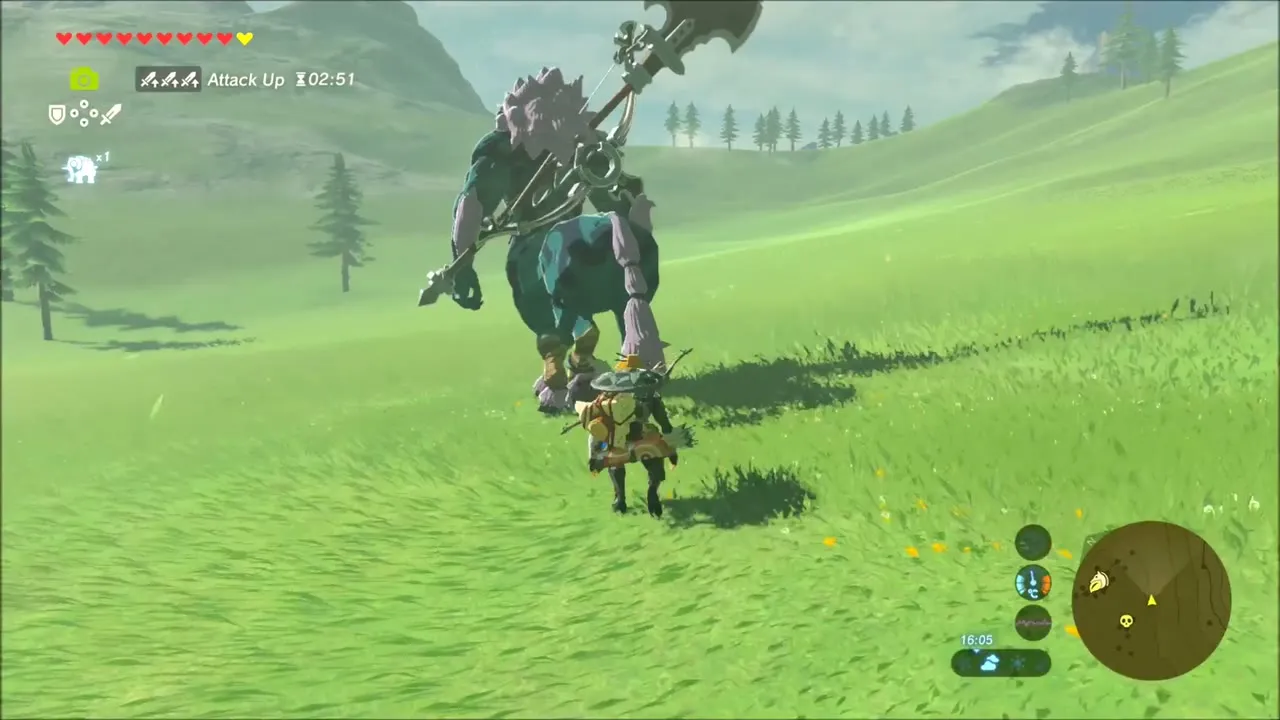

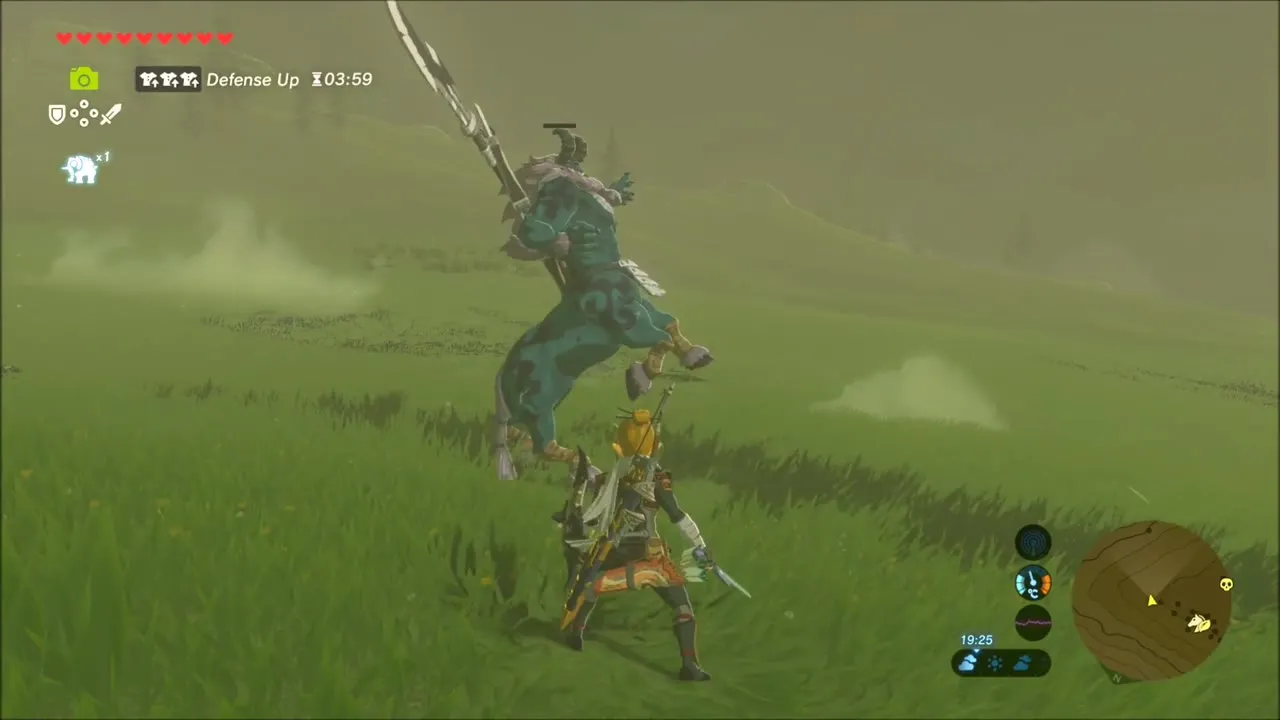
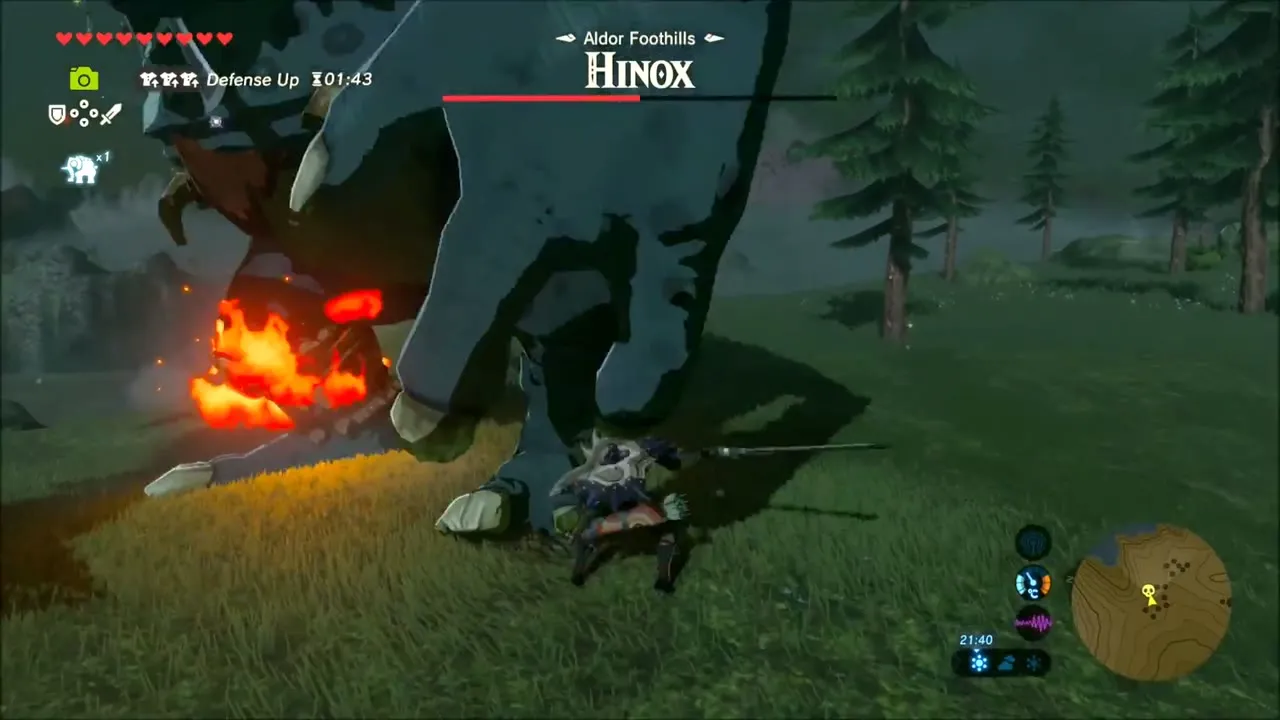
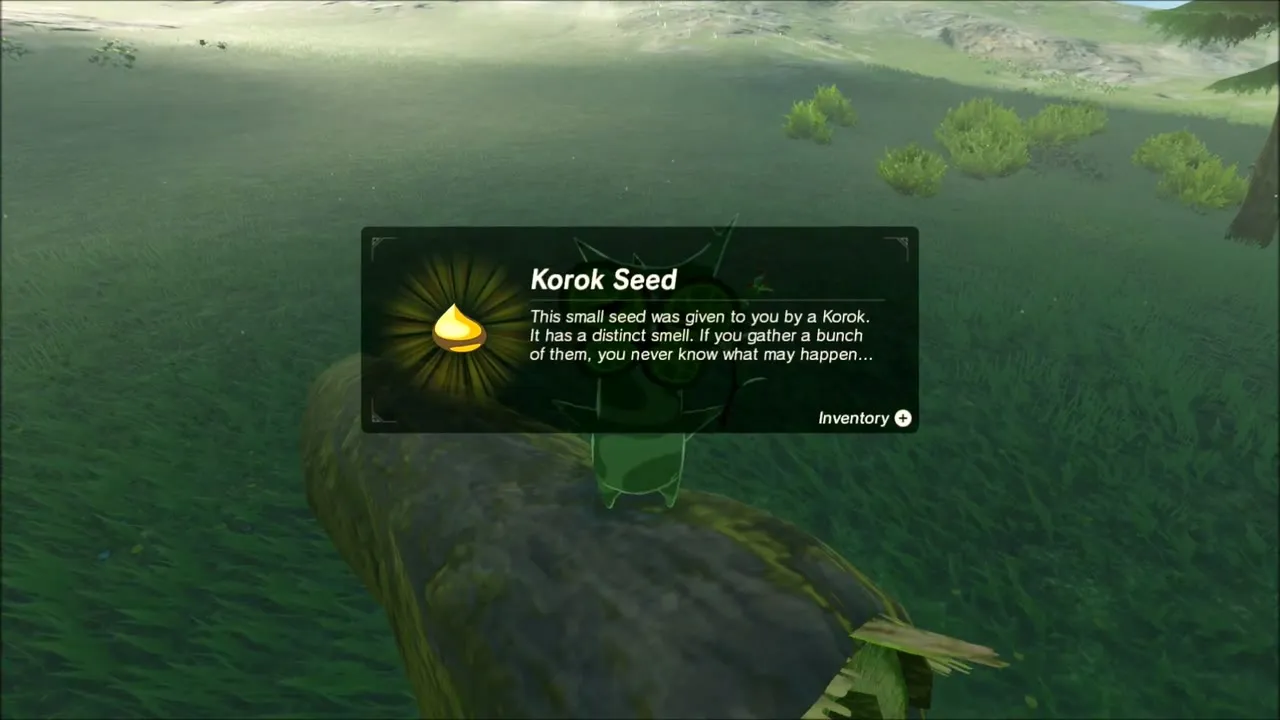
The trail then winds through a dark pine forest. A giant skeleton lies in the grass here and Moblins come at you, so keep a few spare weapons ready. In the forest you can claim a Korok seed, and shooting a hanging balloon with an arrow earns another. A Korok sits on a tree stump near the path as well; speak to it to receive its seed.


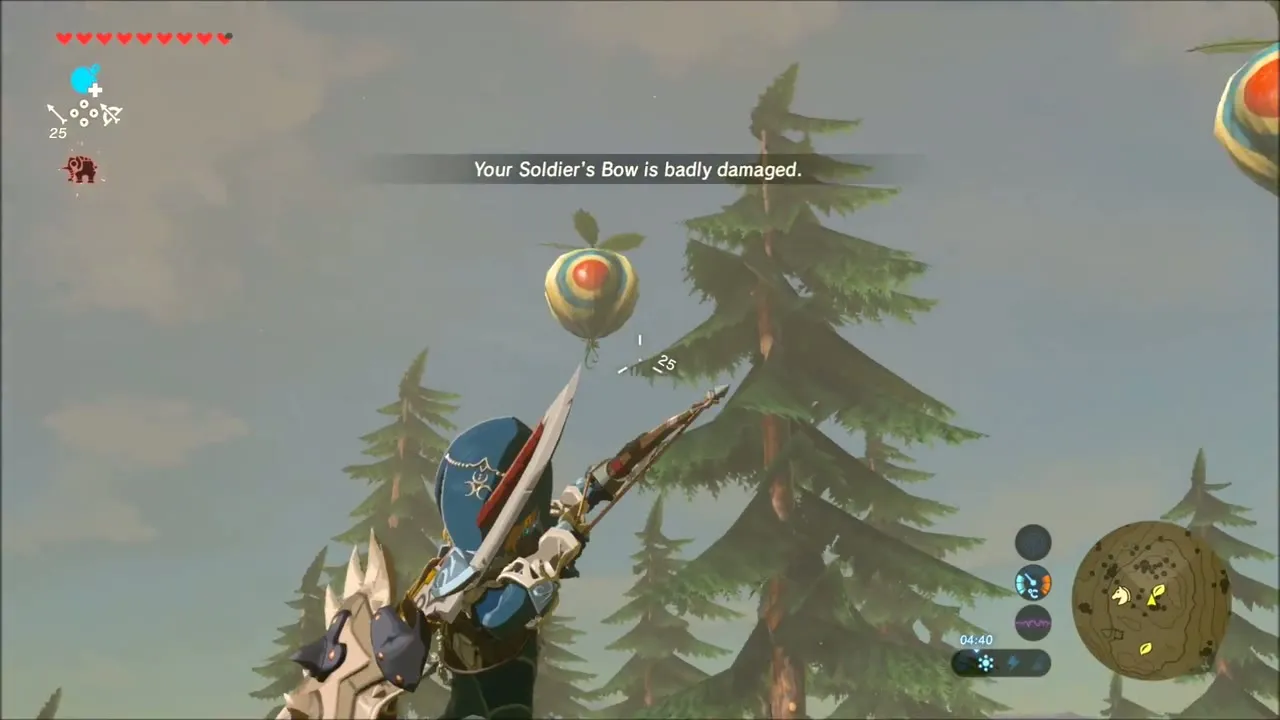
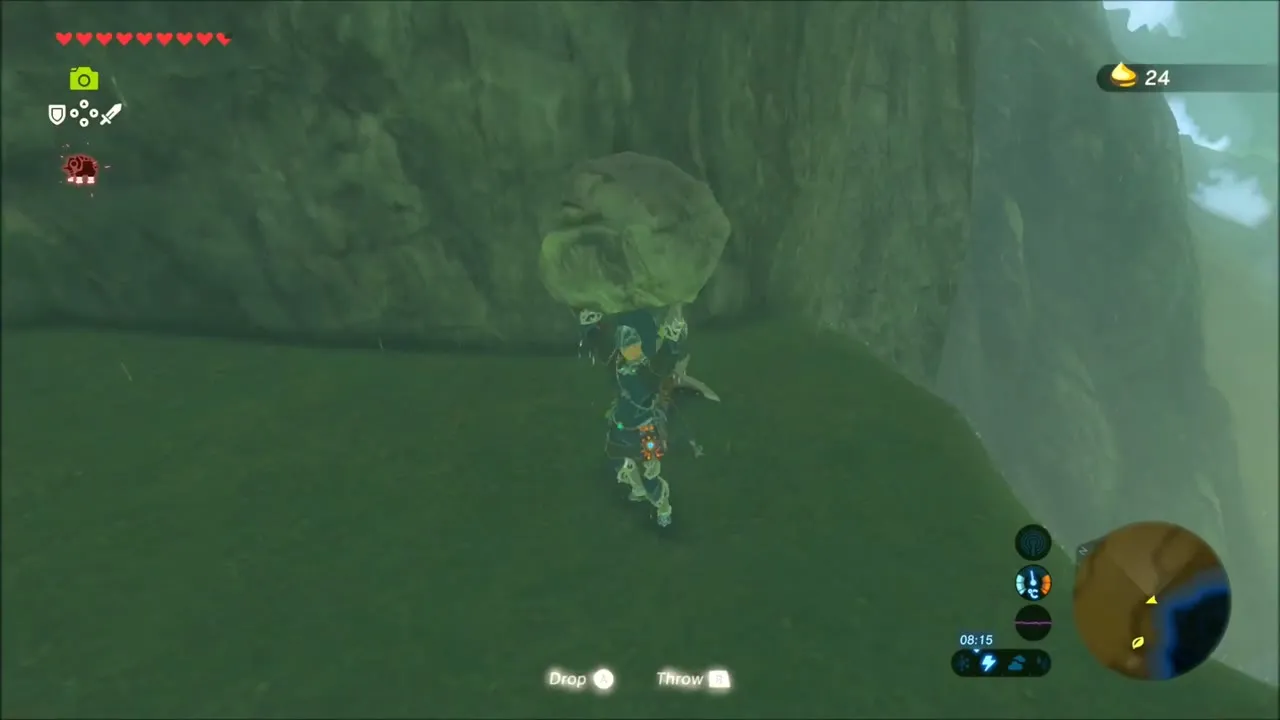
Climb the big grassy hillside on the far side of the forest to a high ledge. A Korok is waiting there; pick up the rock lying on the ledge and carry it to complete the puzzle.
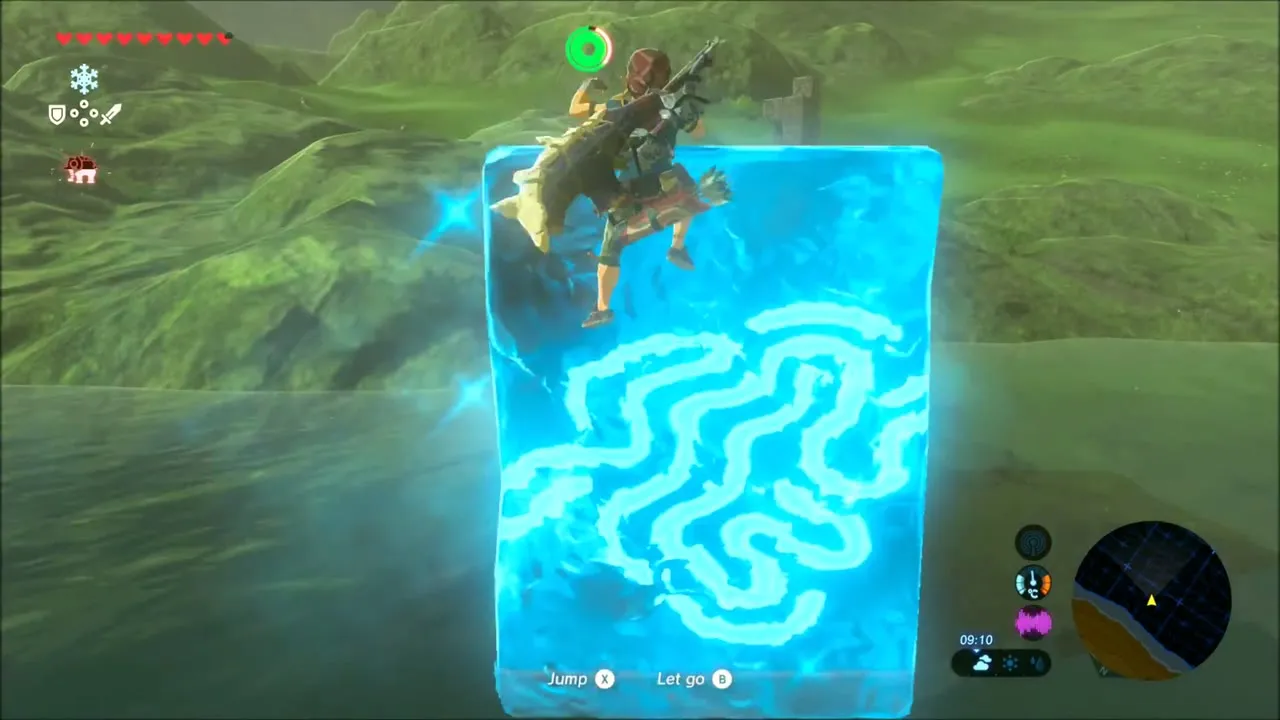
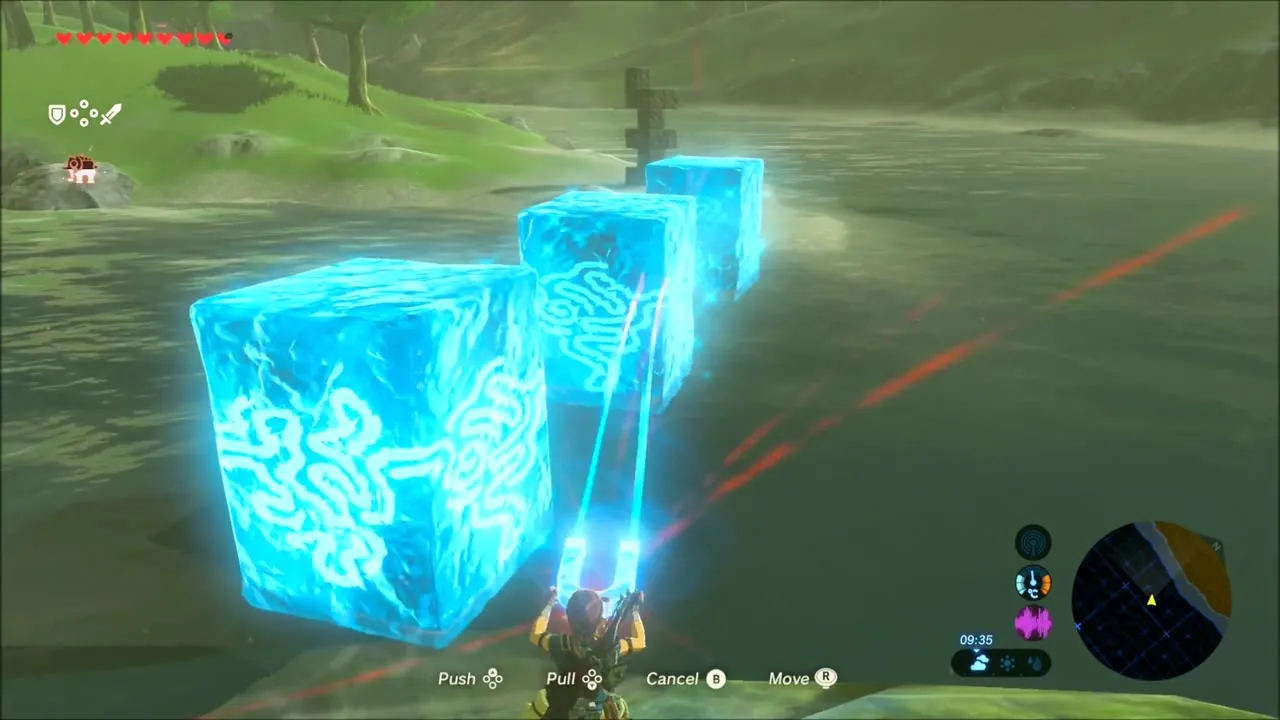
Cryonis and Magnesis by the lake
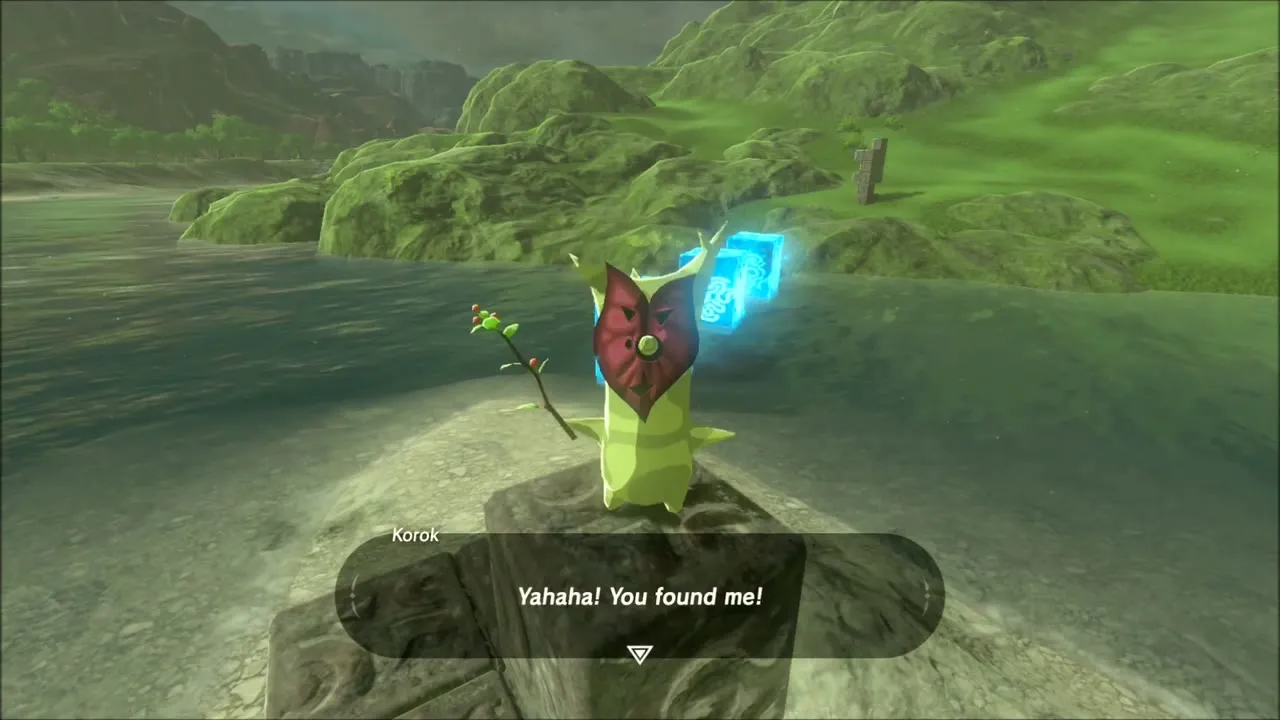
Down at the lake, use Cryonis to raise ice blocks from the water and cross them, and use Magnesis to move a metal crate along the way. Another Korok seed is hidden at the end of this crossing.

Guardian Stalker and Silver Rupee
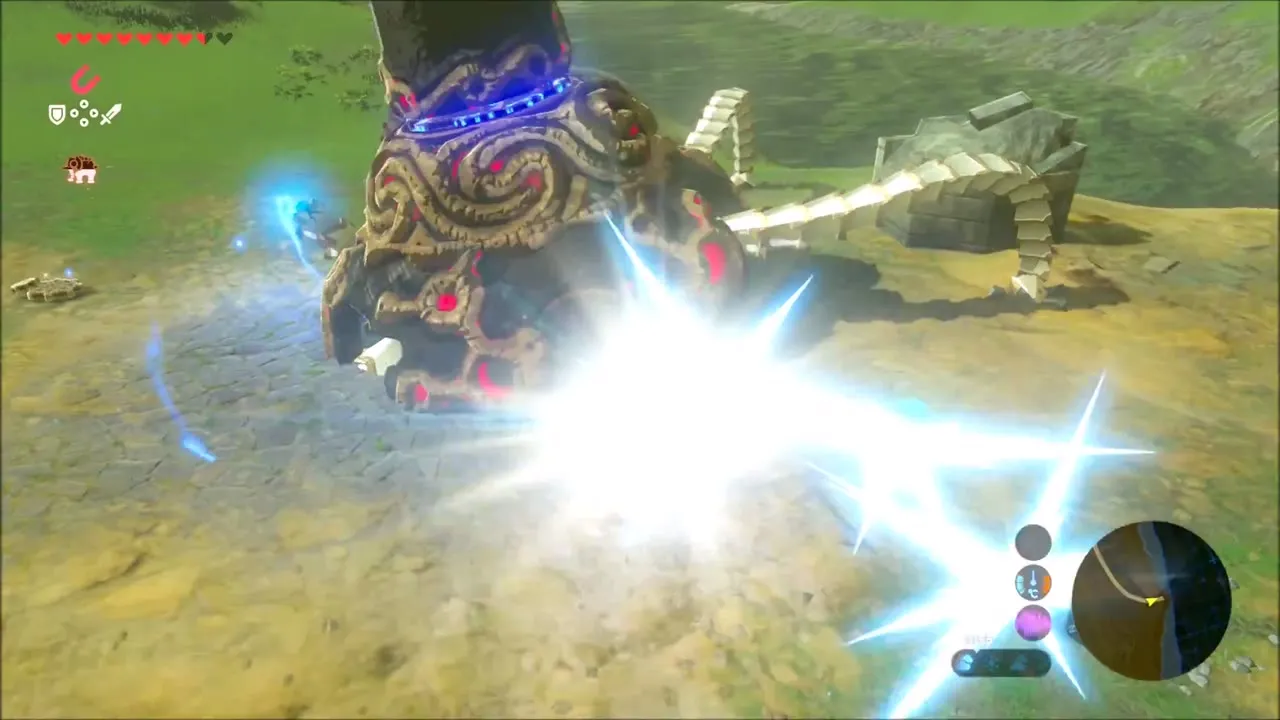
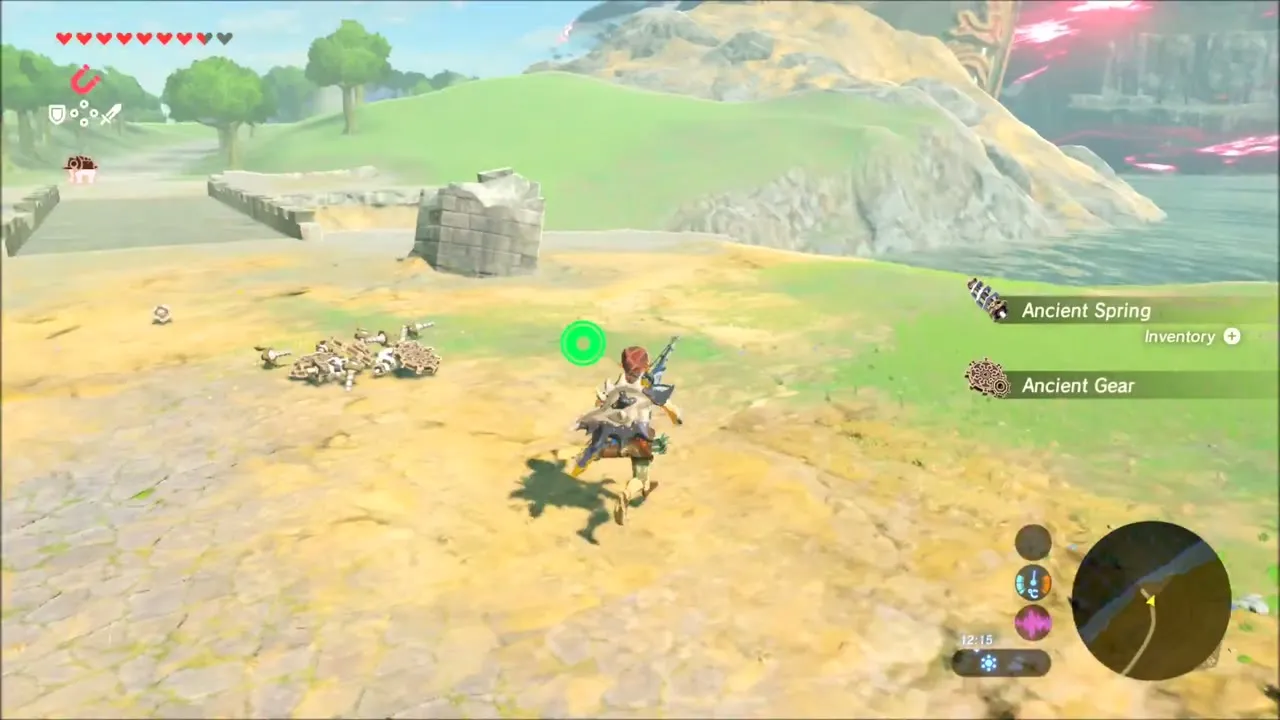
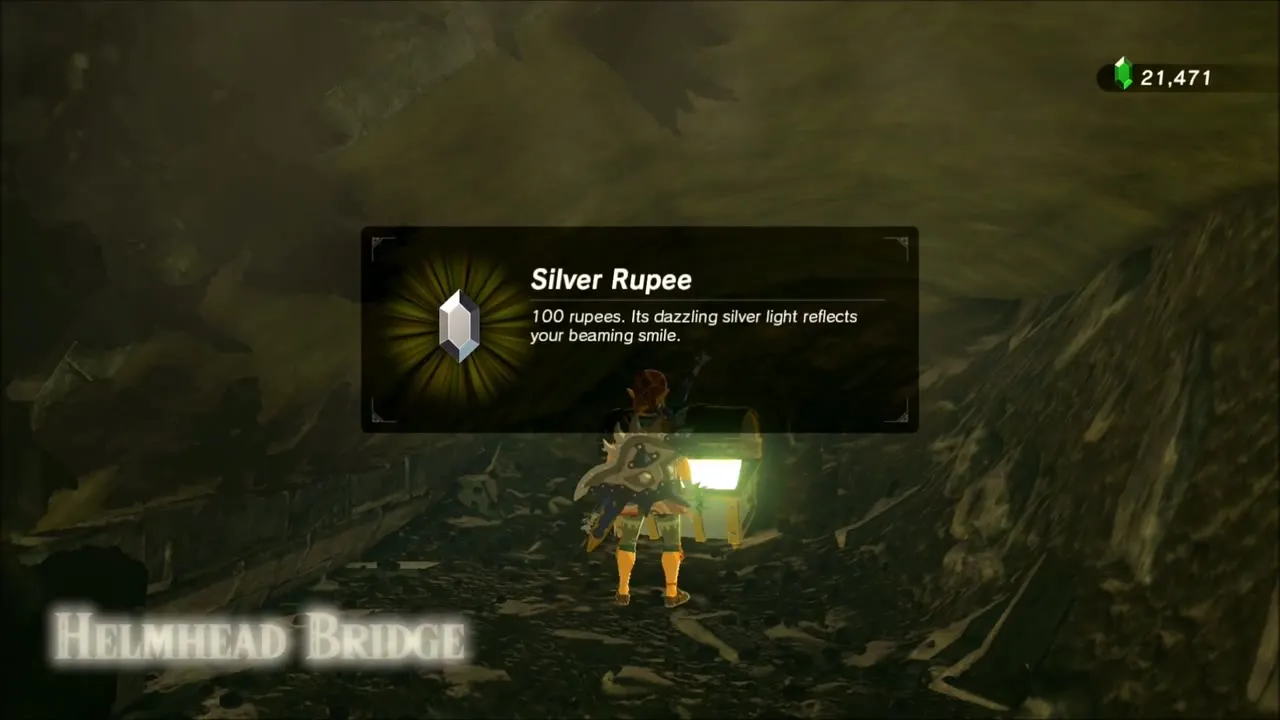
Near Helmhead Bridge, a Guardian Stalker walks the grass. Dodge its swings and strike it until it falls, then collect the Ancient Shaft, Ancient Screw and Ancient Spring it drops. A nearby cave holds a chest with a Silver Rupee, worth 100 rupees.

Hinox at North Hyrule Castle
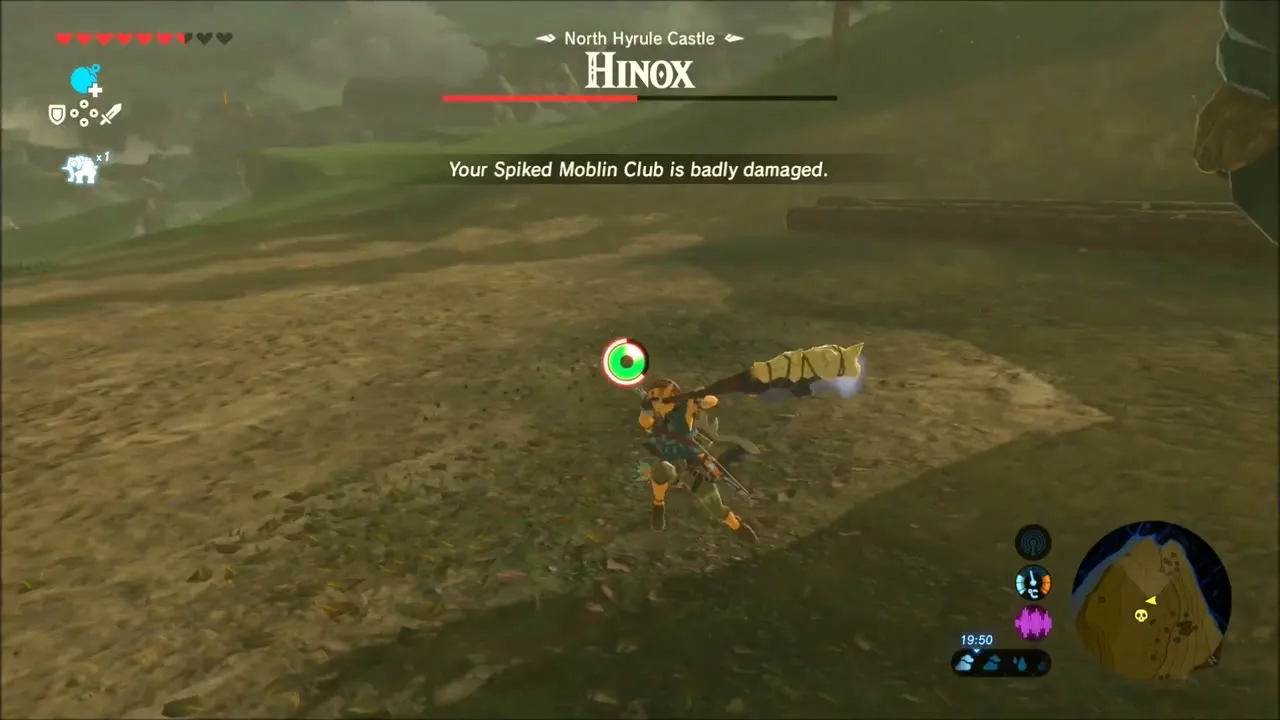
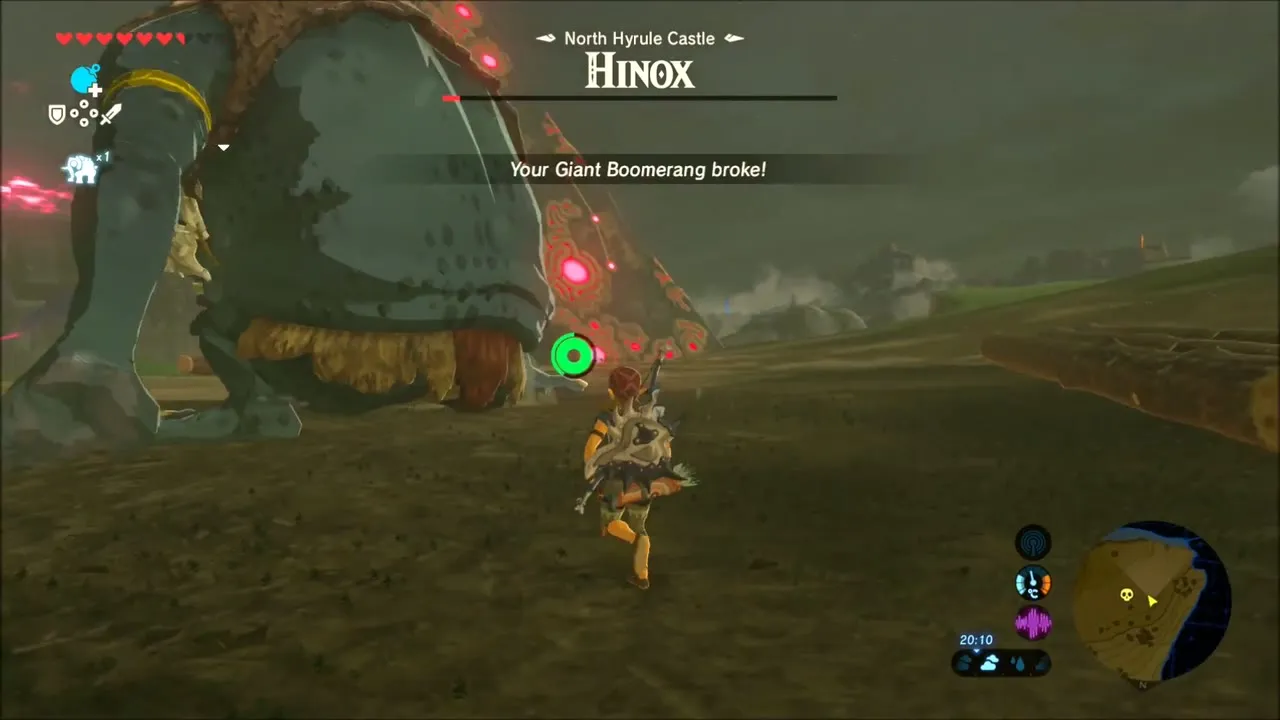
On the plain beside the castle approach, a Hinox waits. Stay out of reach and keep hitting it until it goes down; weapons like a Spiked Moblin Club and a Giant Boomerang break during the fight, so carry spares.


Night ride: more Korok seeds
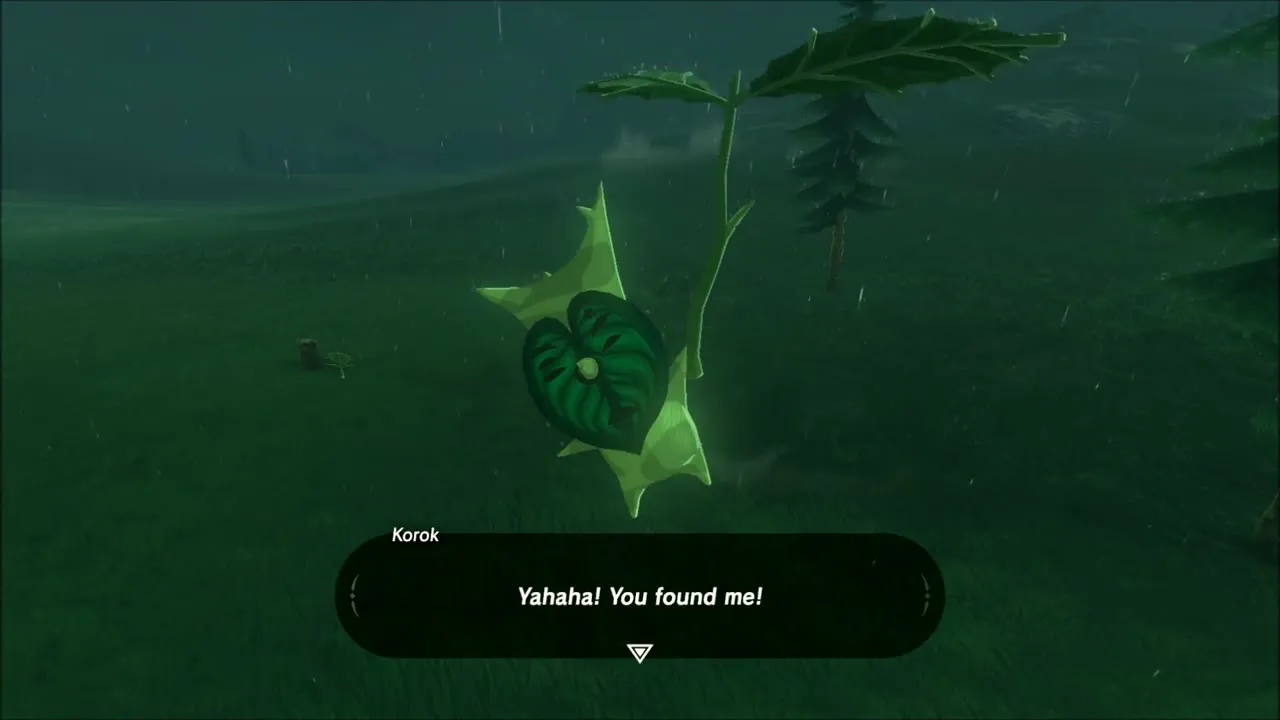
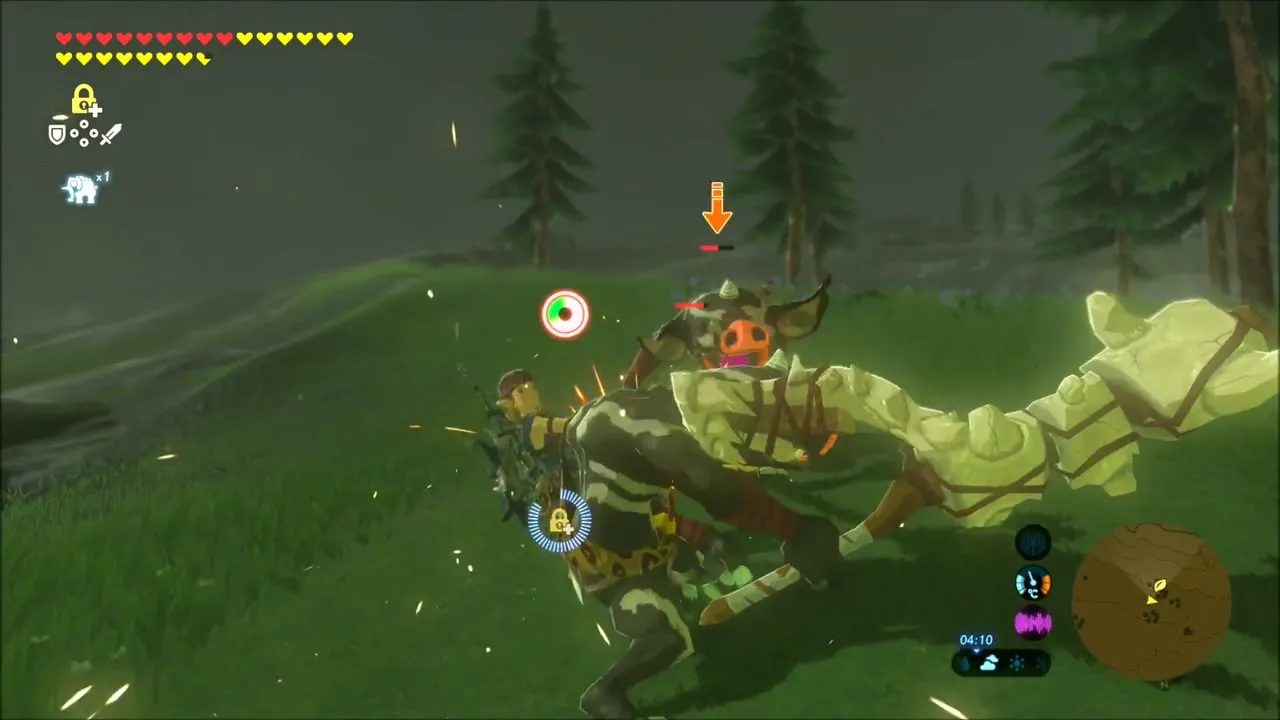
After dark, ride across the grassland, killing Keese and Bokoblins as you go. Stop whenever you spot a Korok: here you can claim another four seeds before the next shrine, including one hidden beside a fallen log.


Monya Toma Shrine: Drawing Parabolas Trial
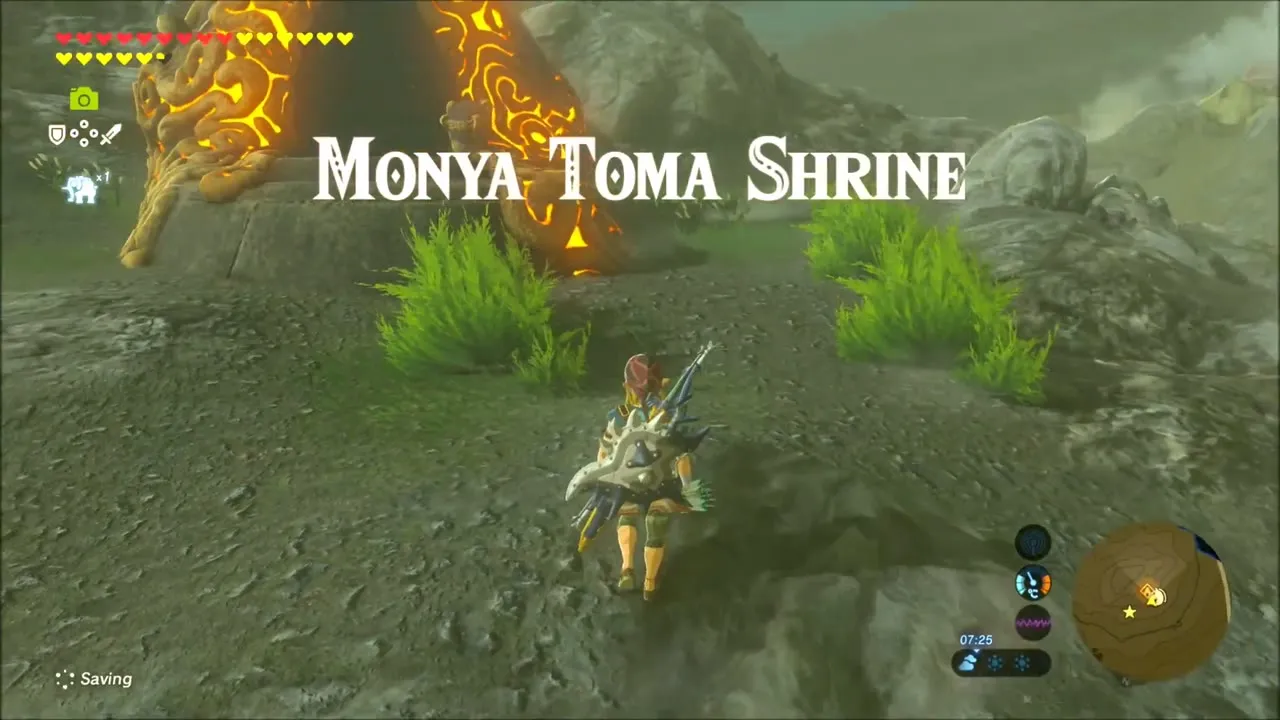
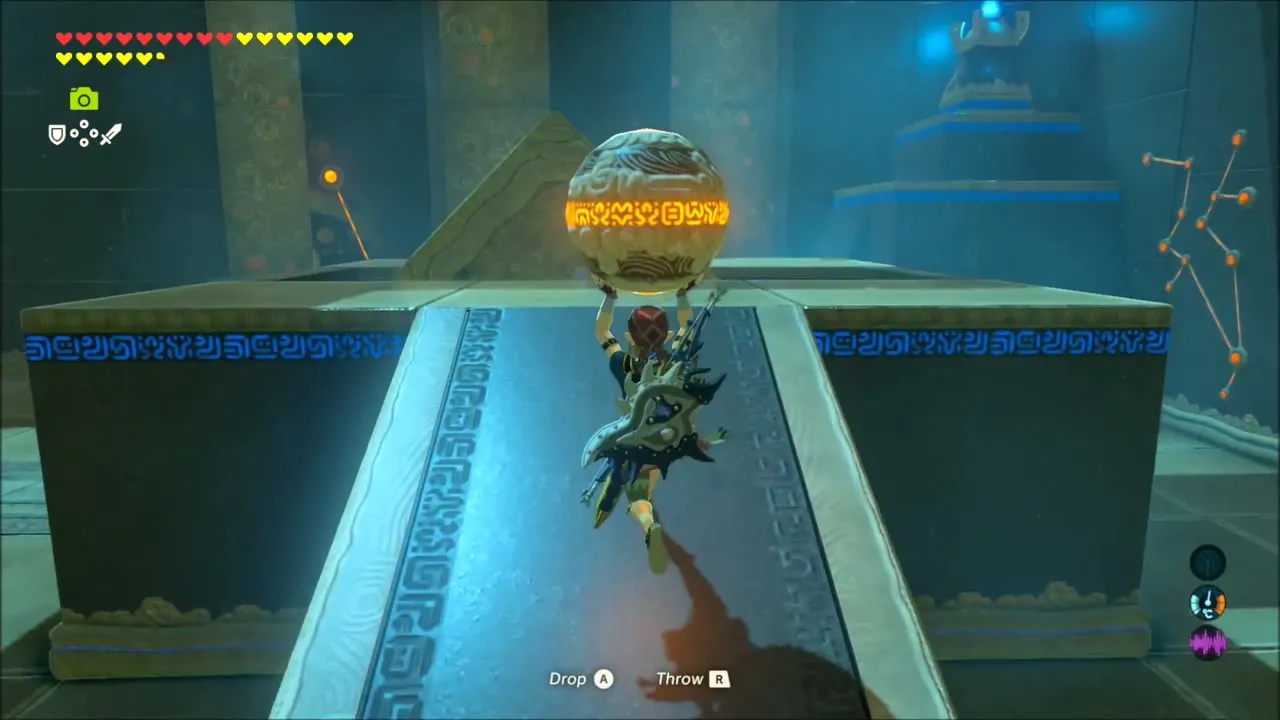
Ride on to Salari Hill and enter Monya Toma Shrine (x -1489, z -1474, height 288). The trial, Drawing Parabolas, teaches you to use launchers: bomb the crates on the ledge, strike the central crystal so the launchers line up, and send the orb through. Follow it onto the platform and drop it in the receptacle to open the gate. The chest on the central platform holds a Thunderblade (tier set by difficulty scaling), and the monk Monya Toma gives you a Spirit Orb at the end.