





















Tears of the Kingdom 100% Completion Walkthrough43 chapters
Great Sky Island
- Great Sky Island4 shrines, 4 caves and Bubbul Gems, 17 Korok seeds
Hyrule Field and Hyrule Castle
- Lookout LandingParaglider, Crisis at Hyrule Castle, Jiosin and Kyononis shrines, 2 caves, 3 wells
- Hyrule FieldSusuyai and Ishodag shrines, the Hyrule Field Chasm, 2 caves, 13 Koroks
- Hyrule Castle Town RuinsSepapa, Yamiyo and Tukarok shrines, 2 caves, 4 wells, Koroks, chests and Battle Taluses in route order
- Central Hyrule Depthslight all 7 Lightroots, loot Daphnes and Gustaf Canyon Mines, find the Miner's Top
- Rest of Hyrule CastleRoyal Hidden Passage loot, 8 castle chests, Phantom Ganon, Energy Wells
- South Hyrule FieldShrines, Koroks & the Great Plateau
- South Hyrule Field DepthsGreat Abandoned Central Mine, Master Kohga, Autobuild, Majora's Mask
Tabantha and Hyrule Ridge
- Tabantha FrontierNew Serenne Stable, Hestu, Courage Island and the Glide Shirt, 3 shrines, 2 Korok seeds, Lindor's Brow Cave
- Forgotten TempleImpa and the Geoglyphs, Dragon's Tears, Kiuyoyou and Mayausiy shrines, Yiga Maritta Branch, 9 Koroks
- Tanagar Canyon & Hyrule RidgeRunakit and Iun-orok shrines, 2 caves, 12 Koroks, 20 chests, 8 minibosses and Dragon's Tear 6
- Thundra Plateau & Tabantha Bridgesolve the noon shadow puzzle, Tabantha Bridge Stable, Makurukis Shrine, 19 Korok seeds, 9 chests, 3 minibosses
- Lindor's Brow DepthsLightroots; Two Yiga camps (Bomb Bouquet, Flamethrower Balloon)
- Hyrule Ridge and Tabantha FrontierIkatak, Oromuwak, Ganos and Ga-ahisas shrines, 4 caves, a well, 26 Koroks and 3 minibosses
Hebra
- Rito VillageGatakis and Ijo-o shrines, Sikatag Lightroot, 9 Korok seeds, 14 chests
- Hebra MountainsShrines, Wind Temple & Koroks; Raspro Pass, Biron Snowshelf & Royal Hidden Passage
- Corvash Canyon MineTrousers of the Hero, Floodlights schematic, Sea-Breeze Boomerang, four Lightroots, Colgera
- Raspro Pass DepthsNupisoyuat and Sasag Lightroots, Colgera, Cap of Time, Tunic of the Wind, two Yiga camps and 13 minibosses
- Tabantha TundraTaninoud, Orochium, Oshozan-u, Mayaotaki, Nouda and Tenbez shrines, three Lightroots, caves and Bubbul Gems
- Pikida Stonegrove DepthsEvil Spirit Greaves, Ikatoayam, Muihcoro and Sikatag Lightroots, 3 Yiga schematics, Frox fights
Great Hyrule Forest
- Great Hyrule Forest7 shrines, 8 Lightroots, 2 caves, 2 wells, Korok Mask, Glide Tights
Eldin
- EldinEldin Canyon, Shrines, Caves & Goron City
- Eldin Canyon Depths10 Lightroots, Zant's Helmet, Trousers of the Wild, Biggoron's Sword, 3 Yiga schematics and Eldin's sky chests
Faron
- FaronHighland Stable, Lake Hylia & Popla Foothills
Necluda
- Kakariko VillageMakasura Shrine, Kakariko Village Well, 2 caves, Ring Ruins chests, 10 Korok seeds and village quests
- West Necluda and Lanayru WetlandsShrines, Koroks & Caves; Jonsau, Kurakat
- Hateno VillageZanmik and Mayahisik shrines, Shield of the Mind's Eye and Phrenic Bow wells, 7 Koroks
- East NecludaRabella Wetlands, Sifumim Shrine, Lurelin Village, 21 Korok seeds
- East Necluda DepthsKumamayn Shrine, 4 Lightroots, Midna's Helmet, Cap of the Hero, Trousers of the Wind and 18 Depths chests
Lanayru
- Lanayru Great SpringShrines, Koroks & Caves; Ralis Channel, 3 shrines, 8 caves
- Zora's DomainMogawak and Ihen-a shrines, Ploymus cave, Pristine Sanctum, Zora Armor, Sidon of the Zora and Clues to the Sky
- Wellspring IslandAncient Zora Waterworks chests, Igoshon Shrine, 2 Korok seeds, Water Temple's four wheels and Mucktorok
- Mount LanayruShrines, Koroks & Light Rings; Jikais and Anedamimik shrines
Gerudo
- Gerudo DesertShrines, Caves & Koroks; West and South Sands
- Gerudo TownGerudo Shelter shops and quests, Valley of Silent Statues, Lightning Temple and Queen Gibdo, Chichim Shrine
- Gerudo Desert DepthsGranajh and Daval mines, three Master Kohga fights, Queen Gibdo, Mucktorok, Sheik's Mask and 37 chests
- Gerudo HighlandsSkyview Tower, Rotsumamu and Suariwak shrines, Mayasiar Shrine, Yiga hideout
Akkala
- AkkalaTarrey Town quests, 4 shrines, Hinox, Battle Talus
- Akkala Sky Islands and DepthsGikaku and Natak shrines, Old Maps, Lomei Depths Labyrinth, Mucktorok, 5 Lightroots and 19 chests
Finale and completion
- Ancient Tablets, Gleeoks and Armor Upgradesall 13 stone tablets with coordinates, Frost and King Gleeok, Obsidian Frox, Cotera upgrades and farming
- Hyrule CastleRoyal gear chests, Korok seeds, Serutabomac Shrine
- Thunderhead IslesCharged armor, Joku-usin and Joku-u Shrines, Dragonhead Island's relic
- 100% Completion: Armor Upgrades & Korok BonusHestu's Gift, Ancient Hero's Aspect, Great Fairy Cotera upgrade costs and materials, then Destroy Ganondorf
| Region | Central Hyrule Depths below South Hyrule Field (Great Abandoned Central Mine, Grove of Spirits, Hylia Canyon Mine, Floating Coliseum), then the surface of South Hyrule Field around Outskirt Stable, Mount Daphnes, Coliseum Ruins and the foot of Satori Mountain |
|---|---|
| Depths highlights | Autobuild ability, Master Kohga boss fight, Huge Crystallized Charge, Secret Spring of Revival, Miner’s Trousers, Majora’s Mask (Floating Coliseum), A Call from the Depths finished |
| Lightroots | Mu-ustust Lightroot (below Tsutsu-um Shrine, -1423, -1351); Napanos Lightroot lies below Sonapan Shrine (-1921, -359). See all Lightroots |
| Shrines | Tsutsu-um Shrine (The Stakes Guide You, puzzle), Sonapan Shrine (Missing Pathways, puzzle) |
| Caves | Coliseum Ruins Cave, Satori Mountain Cave, Tamio River Downstream Cave |
| Wells | Aquame Lake Well, Outskirt Stable Well, Outskirt Hill Well, Mount Daphnes Well |
| Bubbul Gems | 2 (Coliseum Ruins Cave, Satori Mountain Cave) |
| Quests | A Call from the Depths (finished), Master Kohga of the Yiga Clan (found), Misko’s Treasure of Awakening III (finished), The Beckoning Woman, A Picture for Outskirt Stable, Serenade to Kaysa, The Horse Guard’s Request, Disaster in Gerudo Canyon (found) |
| Minibosses | Master Kohga, Thunder Gleeok, Gloom Spawn & Phantom Ganon, Battle Talus, Blue Hinox |
| Previous / next | South Hyrule Field / South Hyrule Field: Part 2 |
This chapter opens in the Depths beneath Hyrule Field: you learn Autobuild at the Great Abandoned Central Mine, beat Master Kohga, finish A Call from the Depths at the Bargainer Statue, and win Majora’s Mask in the Floating Coliseum. It then returns to the surface for the Tsutsu-um and Sonapan shrines, three caves, four wells and a long Korok sweep from Outskirt Stable to Satori Mountain.
Quick route
Start at the Great Abandoned Central Mine: open the Large Zonaite chests, take Autobuild, beat Master Kohga and loot the Huge Crystallized Charge.
Cross the Grove of Spirits and the Secret Spring of Revival for two Large Crystallized Charges, light the Mu-ustust Lightroot, then carry the four eyes to the Bargainer Statue and take the Heart Container.
Open the Arrow and Miner’s Trousers chests, loot the Sundelion camp and clear the Floating Coliseum for Majora’s Mask.
Back on the surface, fell Phantom Ganon, open the Royal chests and the Aquame Lake Well, then do Coliseum Ruins Cave (Trousers of Awakening, Bubbul Gem) and Tsutsu-um Shrine.
Sweep the Koroks around Outskirt Hill and Mount Daphnes, then finish with Sonapan Shrine, Satori Mountain Cave and Tamio River Downstream Cave.
Before you go down
Dive into the Depths from the chasm south of Hyrule Field Skyview Tower and light the Lightroots you pass; every lit Lightroot is also a fast-travel point. Bring Brightbloom Seeds, gloom-resistance food or elixirs, and spare weapons: the Floating Coliseum chains five Lynels without a break. Collect Poes as you go, since they are the currency at the Bargainer Statue. A Lightroot’s name is its shrine’s name spelled backwards, so Mu-ustust lies under Tsutsu-um and Napanos under Sonapan. Ride the minecarts in the mine to save time, and use Autobuild once you have it to rebuild rafts and gliders without gathering parts.
Great Abandoned Central Mine
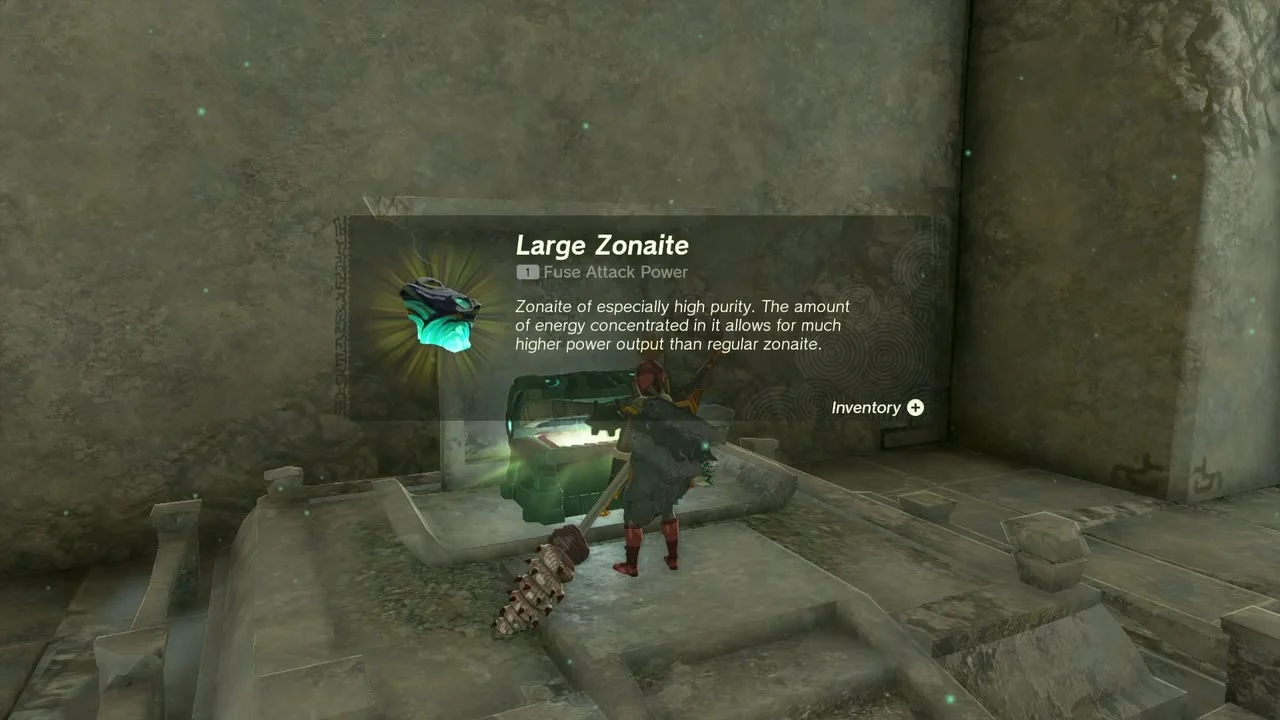
Open the Large Zonaite chests
Chests (Large Zonaite x2). The Great Abandoned Central Mine sits at about -771, -1899, -663 in the Depths, directly below the Temple of Time ruins and the area south of Hyrule Field Skyview Tower. Inside the mine’s stone ruins a chest on a low ledge holds a Large Zonaite, and a second one waits under a pillared canopy on the upper level, also a Large Zonaite. Bring Brightbloom Seeds; the mine is dark.

Learn Autobuild and beat Master Kohga
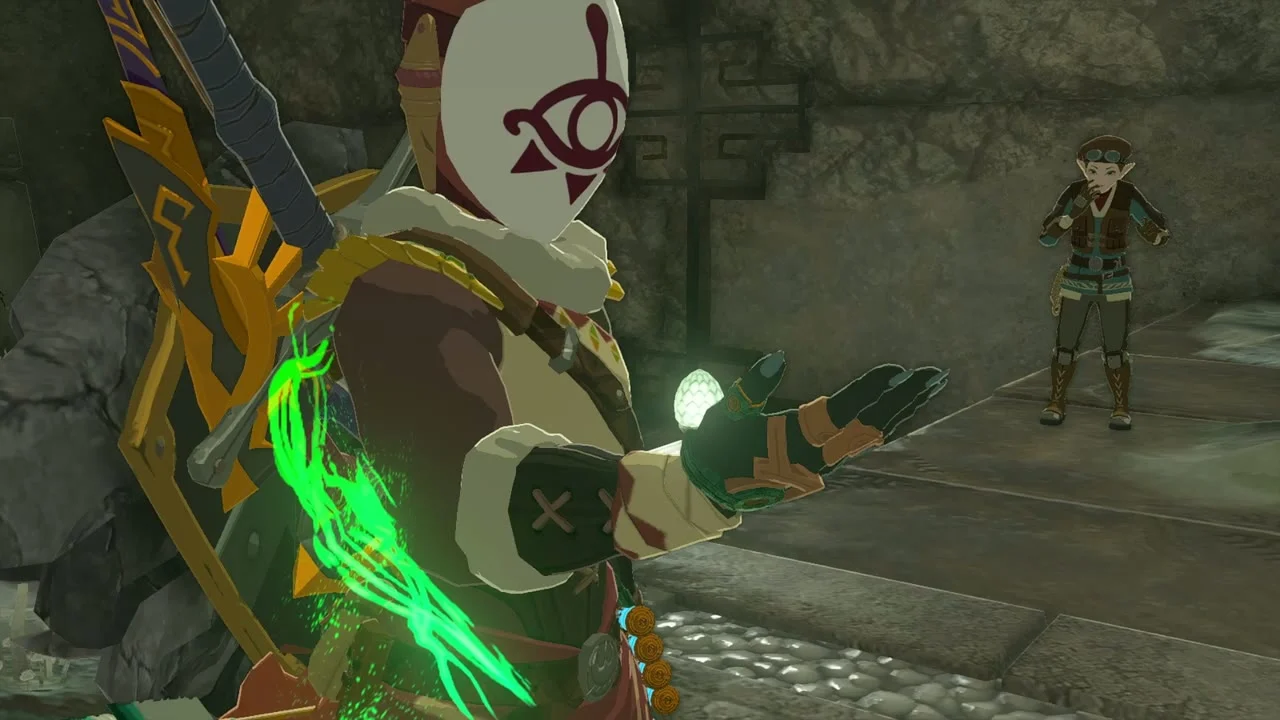
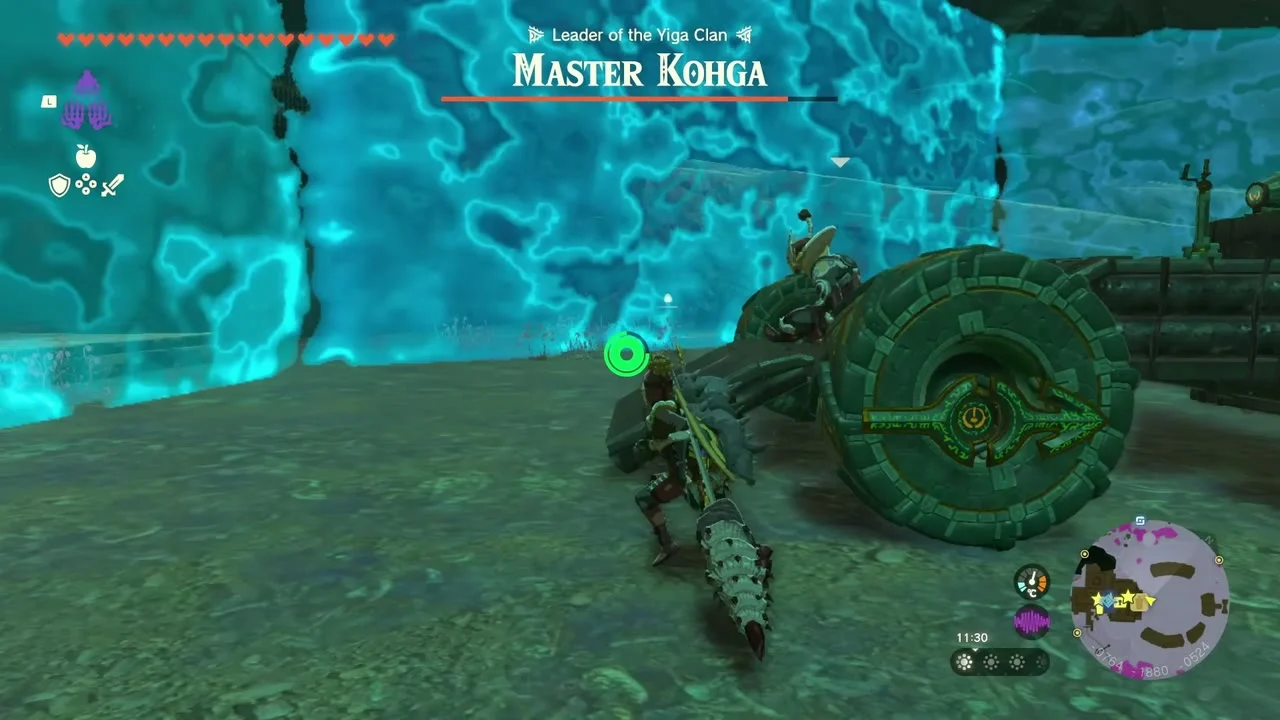
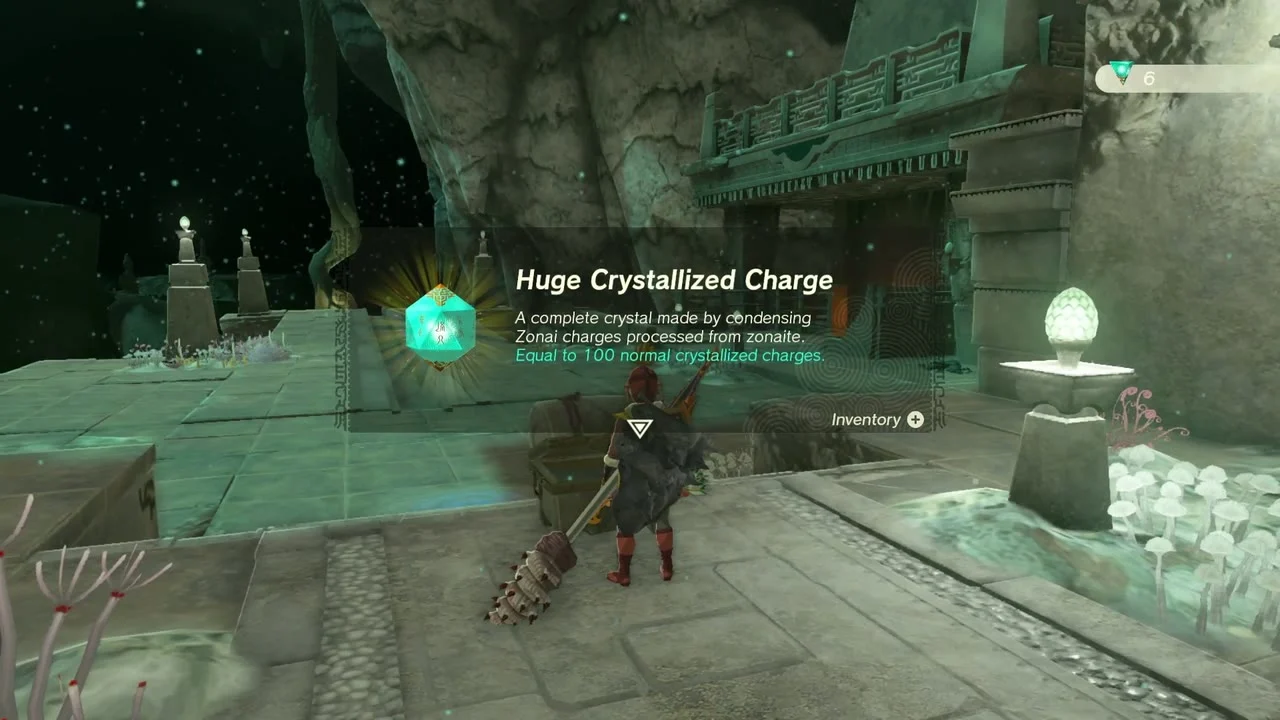
Main quest: A Mystery in the Depths, Autobuild. Entering the central ruins gives you the Autobuild ability, which rebuilds any recorded Ultrahand creation from materials. Master Kohga then attacks in a motorised spiked buggy inside a sealed arena, so you cannot leave and come back; his main attack is a charge, so keep moving, turn behind the buggy as he closes in, and watch your stamina. Dodge his charges, stay behind pillars while he winds up, and strike him from the side; the same fight starts the side adventure Master Kohga of the Yiga Clan. Afterward a chest near the Steward Construct holds a Huge Crystallized Charge, and the Steward Construct gives you the Fan Plane schematic.
Grove of Spirits, Secret Spring and the Mu-ustust Lightroot
Follow the chest trail to the Lightroot
Chests (Large Crystallized Charge x2). From the mine, travel south-east into the Grove of Spirits, a forest of dead trees full of Deep Fireflies. A chest guarded by gloom-covered Evermean sits at about -961, -1700, -531 and gives a Large Crystallized Charge. Continue to the Secret Spring of Revival (-1098, -1898), where bathing slowly restores hearts, then walk the ruins east of it (-1113, -1855, -575) for a second Large Crystallized Charge on a stone dais. From there head north-west to the Mu-ustust Lightroot at -1423, -1351; glide in from a ledge and touch the roots to light it. It sits directly below Tsutsu-um Shrine.


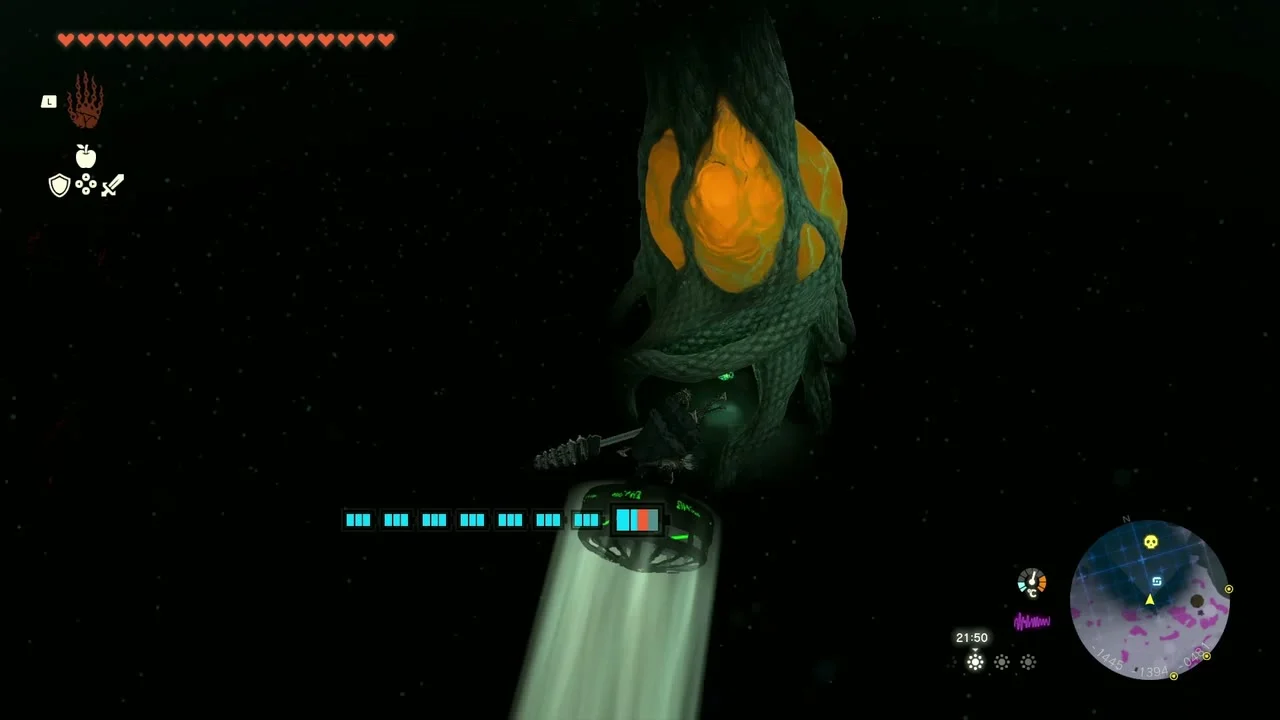
A Call from the Depths and Hylia Canyon Mine
Collect the Arrow and Miner’s Trousers chests
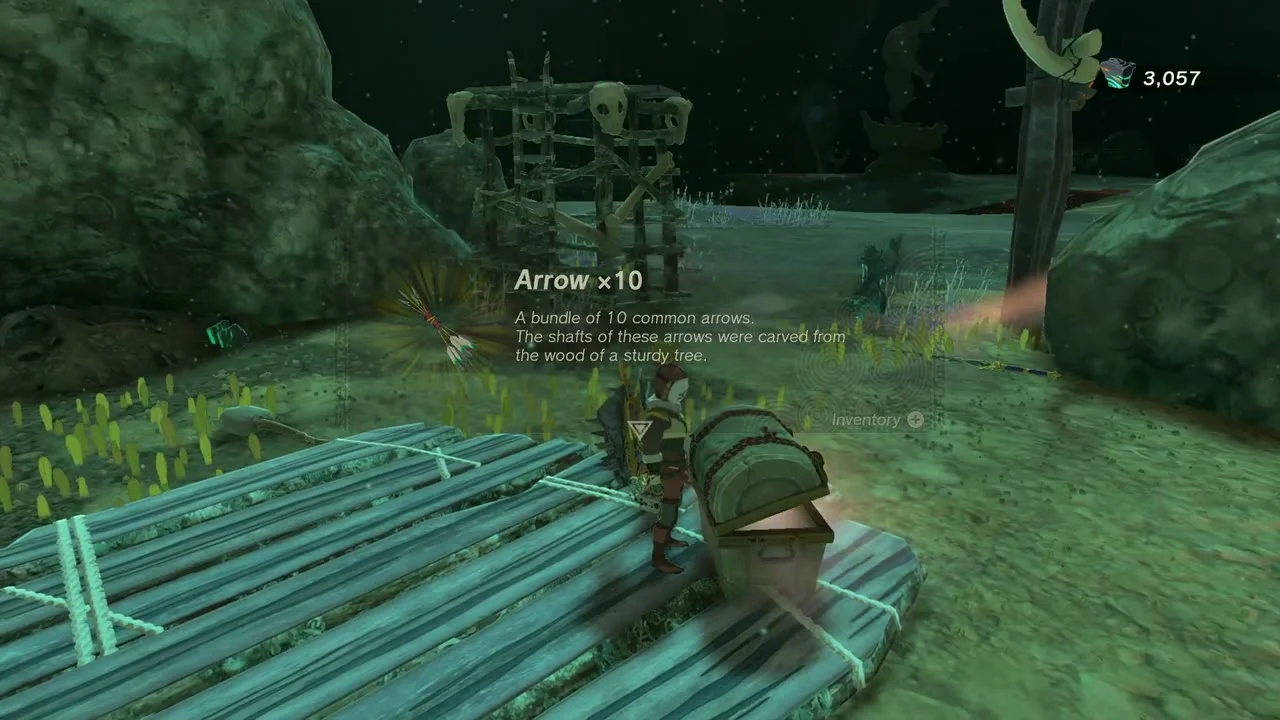
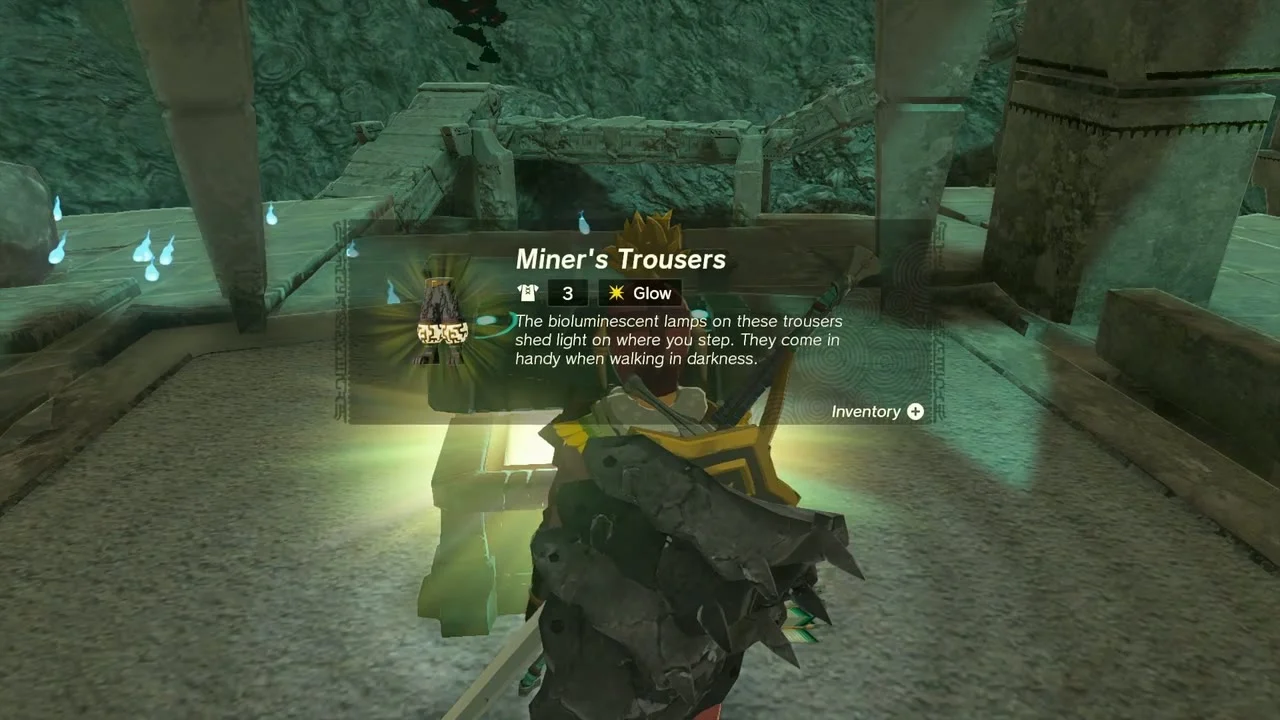
Chests (Arrow x10, Miner’s Trousers). While you ferry the eyes, a chest on a raft of boards near a Bokoblin camp at about -649, -1676, -517 holds Arrow x10 (the camp can also drop weapons). Far to the south-west, the Hylia Canyon Mine (-1293, -2194) hides a chest at -1284, -2250, -707 that gives the Miner’s Trousers; wear them to glow in the dark and complete the Miner’s set from Daphnes Canyon Mine.
Deliver the eyes to the Bargainer Statue
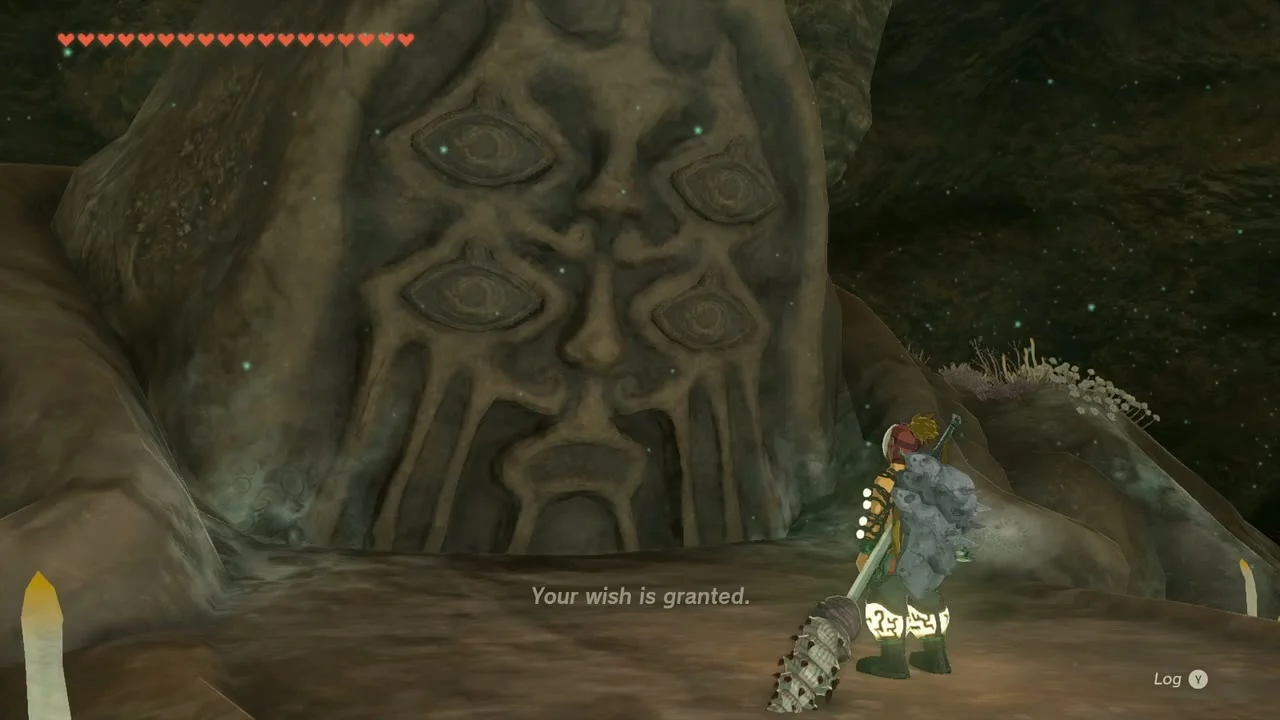
Side adventure: A Call from the Depths. The quest starts at the Goddess statue on the surface at the Temple of Time ruins; you throw four eyes into four chasms, then each one lands in the Depths and shows as a cog on the map. Carry each eye to the Bargainer Statue in the Great Abandoned Central Mine’s lower level (-780, -1903, -565); minecarts and the mine’s rails make the trips faster. When the fourth eye is placed the statue offers a reward: choose the Heart Container (or a Stamina Vessel). The statue now works as a Bargainer Statue where you can spend Poes, for example on the Gaiters of the Depths (200 Poes), which give gloom resistance.

Sundelion camp and the Floating Coliseum
Take the Sundelion and enter the Coliseum
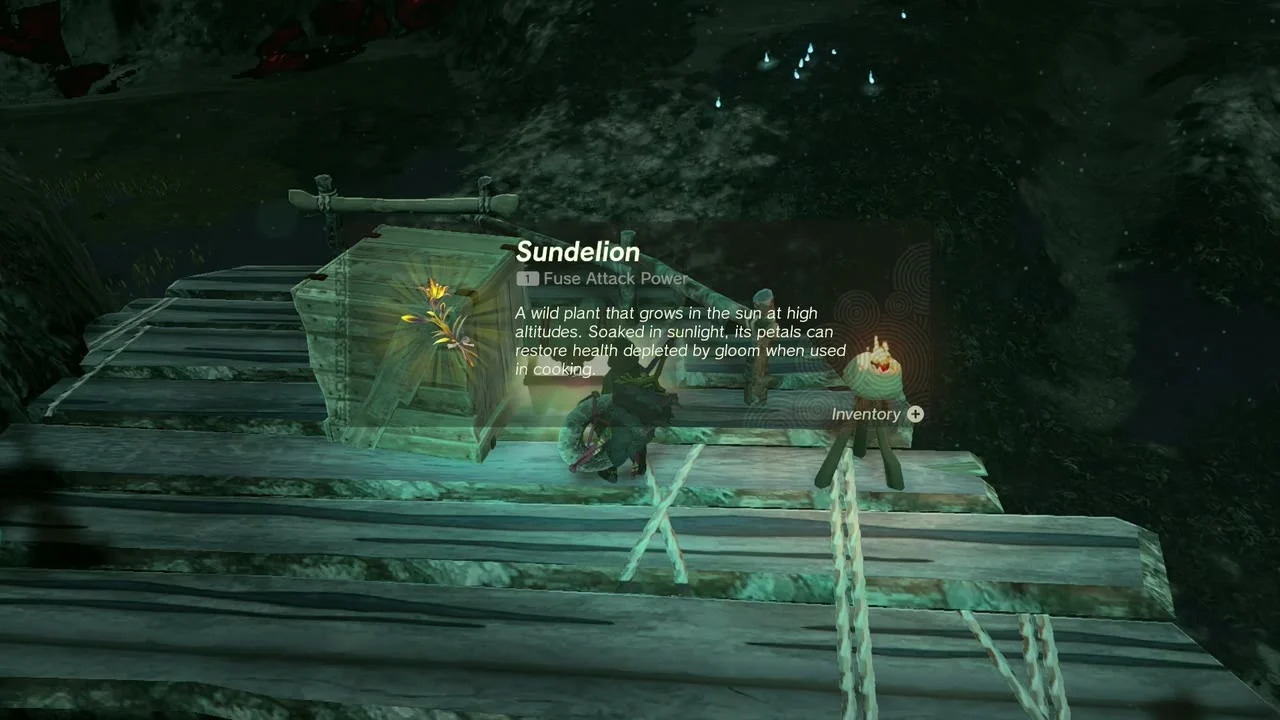
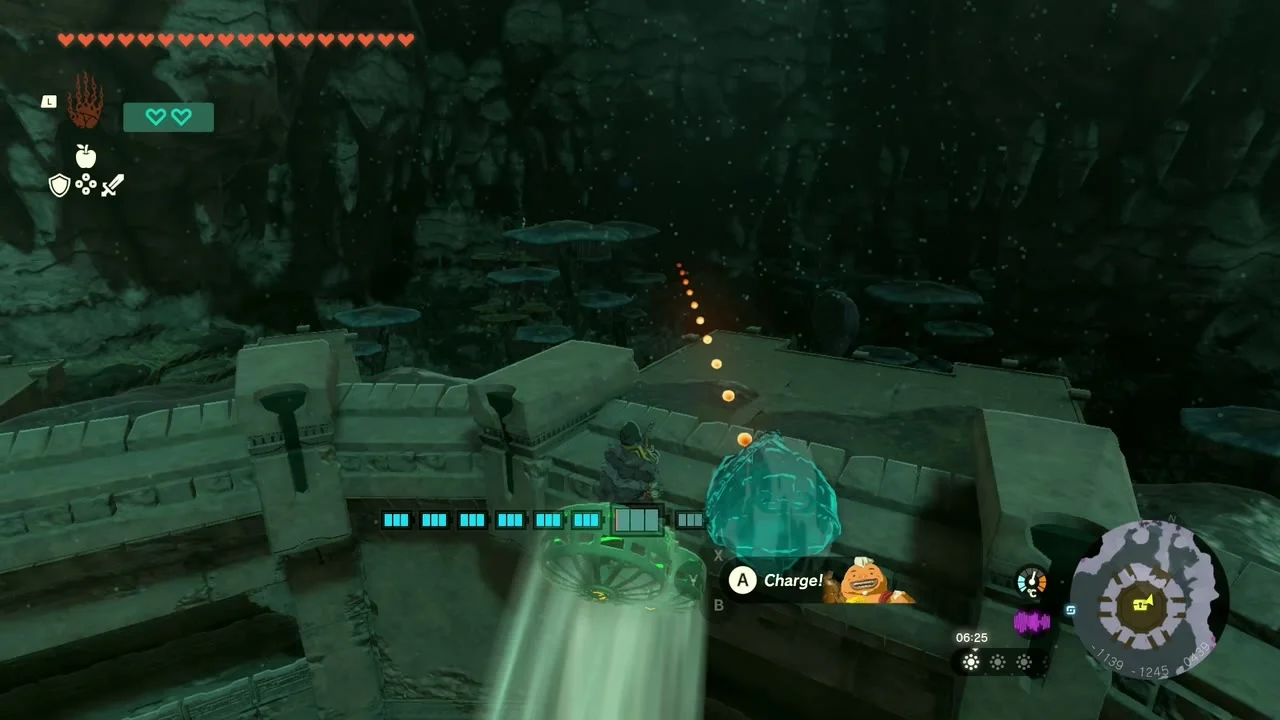
Chest (Sundelion), Floating Coliseum (Majora’s Mask). A Bokoblin camp on a plank platform at about -1494, -991, -474 keeps a crate-and-chest on its lookout: open it for a Sundelion. Continue south to the Floating Coliseum (-1151, -1205, -377), reached by rafts or a glide down from the mine side. Climb into the arena and defeat the five gloom-infested Lynels in turn; the last wears armor you must break first, so bring heavy weapons and plenty of food. The chest in the centre (-1151, -1263) then opens for Majora’s Mask, a head piece you can wear anywhere.

Bring home the schematics
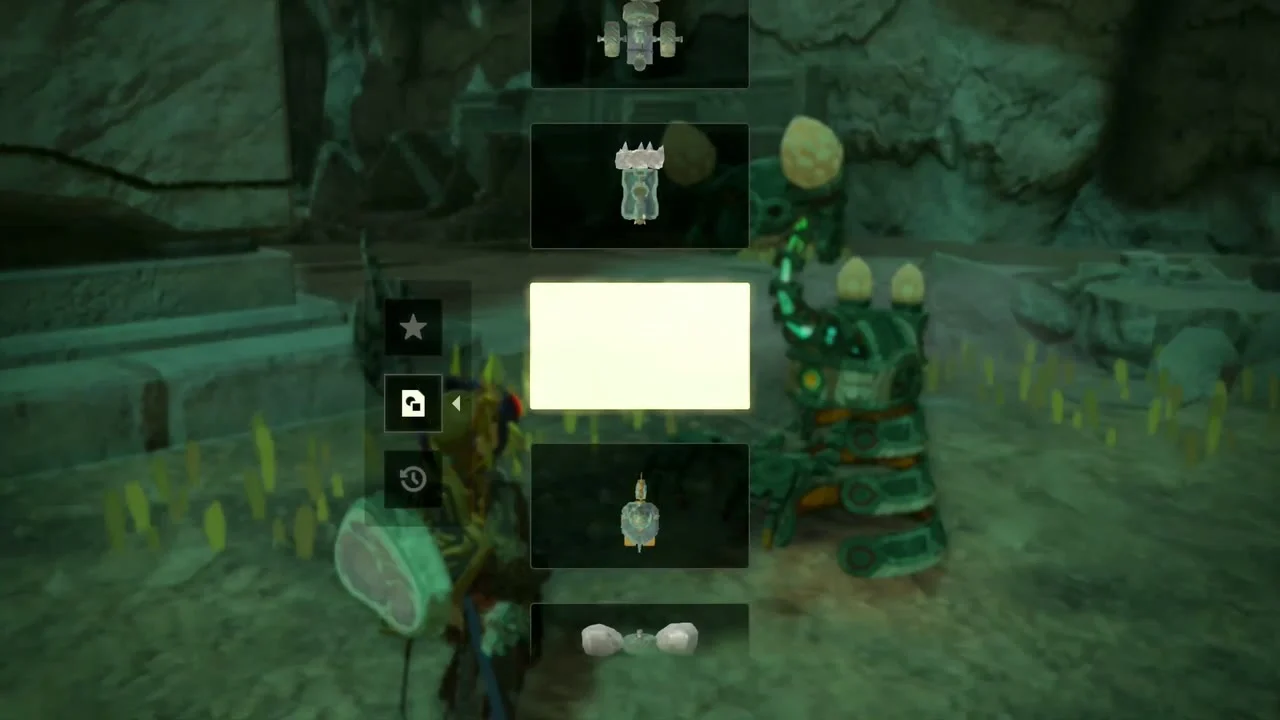
Schema Stones (Rocket Platform, Automated Ally). Two Steward Constructs further afield sell nothing but give schematics. At Abandoned Hebra Mine (about -3557, 1823) the Steward Construct hands over the Rocket Platform design; another Construct at about -1640, 2388, -823 gives the Automated Ally design. Both need a long travel, so skip them if you are only clearing the south.
Surface: ruins, Royal chests and Aquame Lake
Defeat Phantom Ganon and loot the Royal Shield
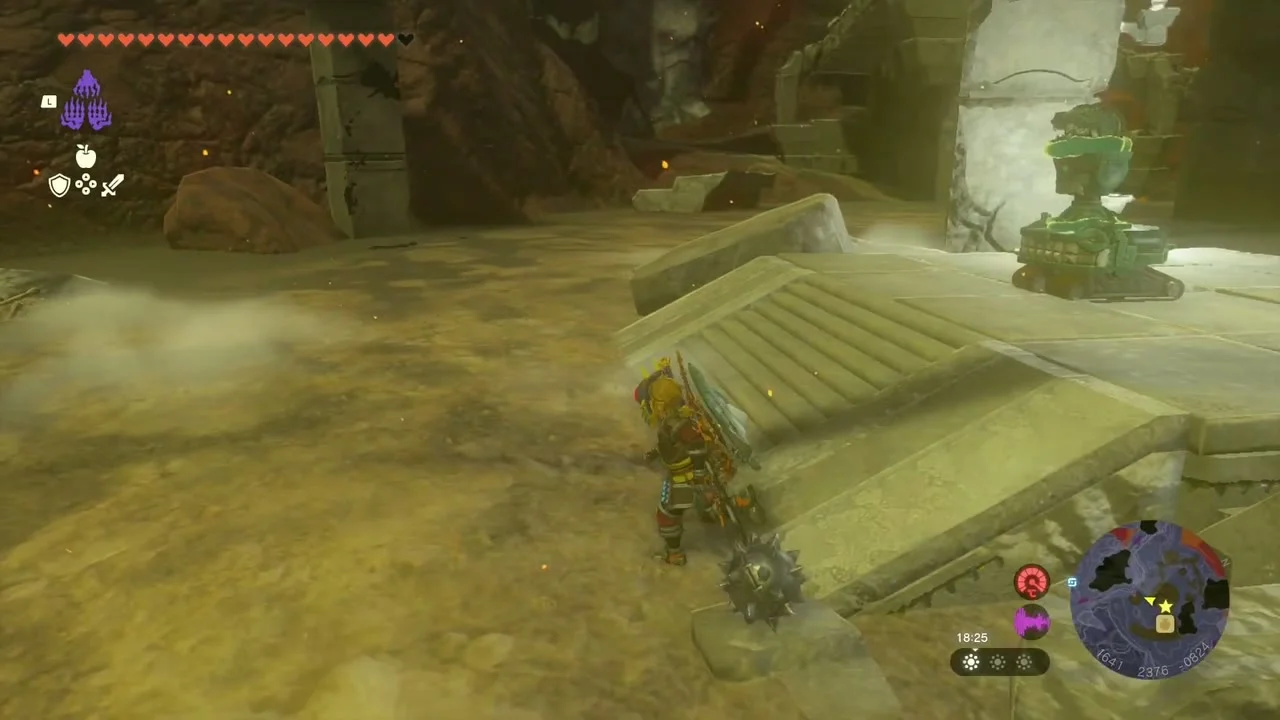
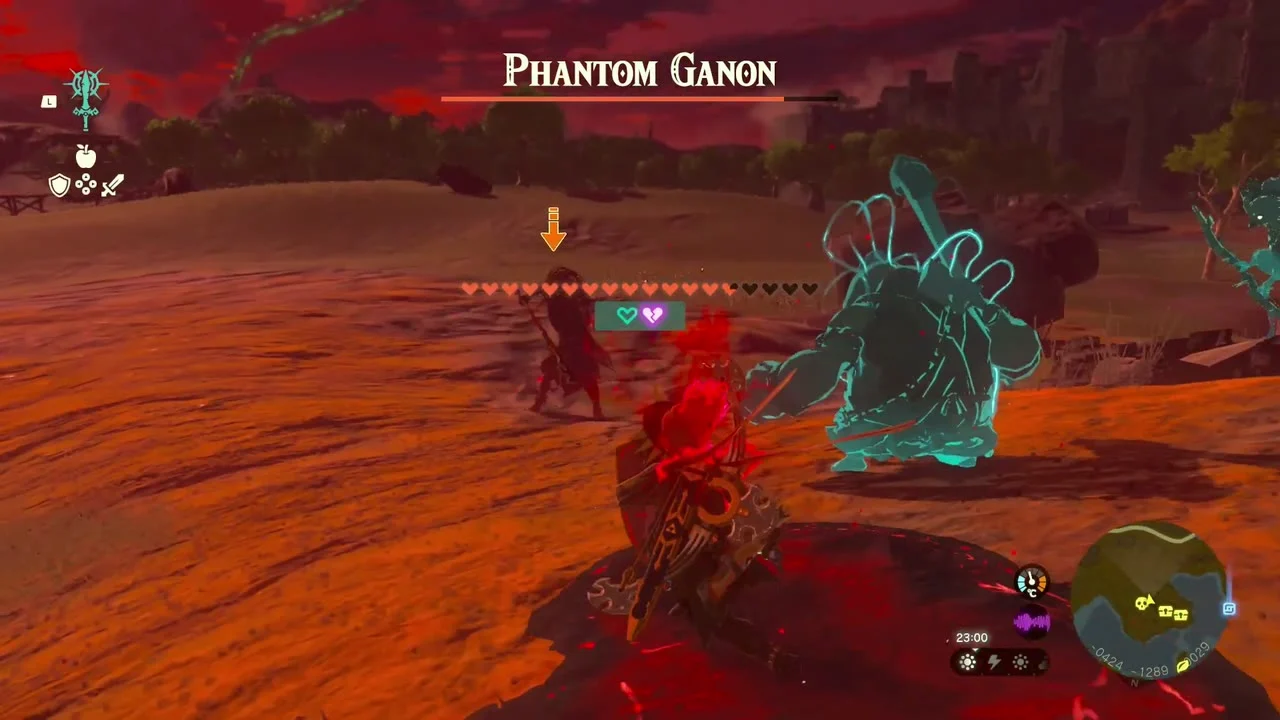
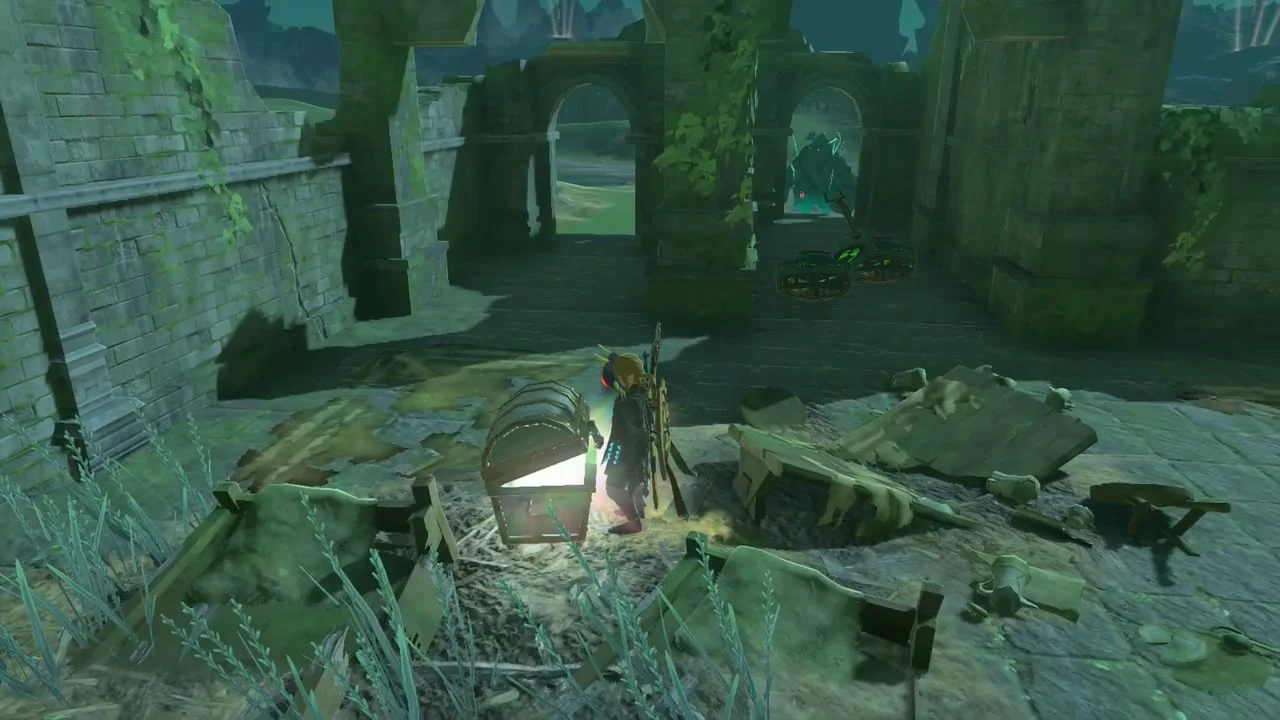
Miniboss: Gloom Spawn & Phantom Ganon; Chest (Royal Shield (or Traveler’s Shield, Soldier’s Shield or Knight’s Shield, depending on your progress)). A pocket of gloom around -445, -1275 on the plain north-west of Aquame Lake spawns Phantom Ganon. Shoot or bomb the Gloom Spawn, then fight Phantom Ganon with a strong sword and dodge the long sword swings. Open the chest in the ruined arches beyond for a Royal Shield.
Open the Royal Bow chest
Chest (Royal Bow (or Traveler’s Bow, Soldier’s Bow or Knight’s Bow, depending on your progress)). Under a flooded stone arch at about -487, -1272, 36, a chest holds the Royal Bow, the strongest regular bow. Swim or climb from the ruins above the water.


Take the Lizal Boomerang and the Aquame Lake Well
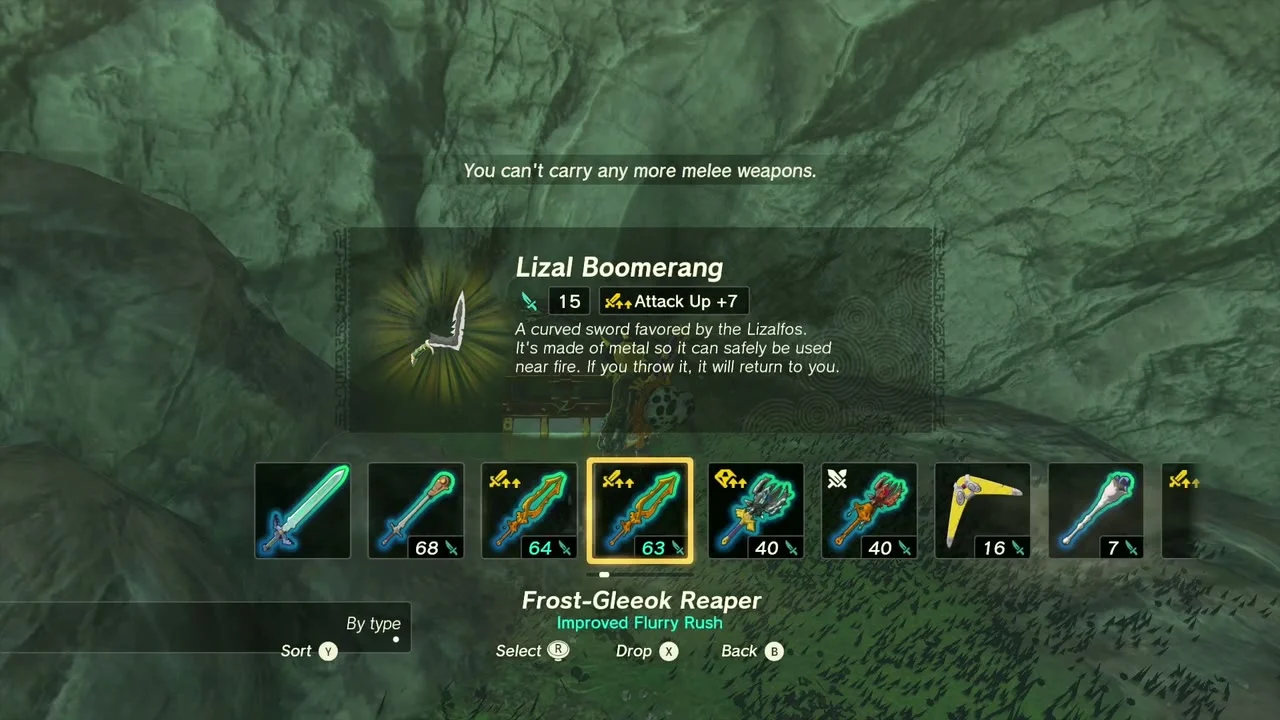
Chest (Lizal Boomerang), Aquame Lake Well. On a cliff ledge near -895, -1342, 35, a chest gives the Lizal Boomerang. The Aquame Lake Well (-879, -1101) is a few minutes north by the lake; drop in to uncover it on the map.

Coliseum Ruins and Coliseum Ruins Cave
Fell the Thunder Gleeok
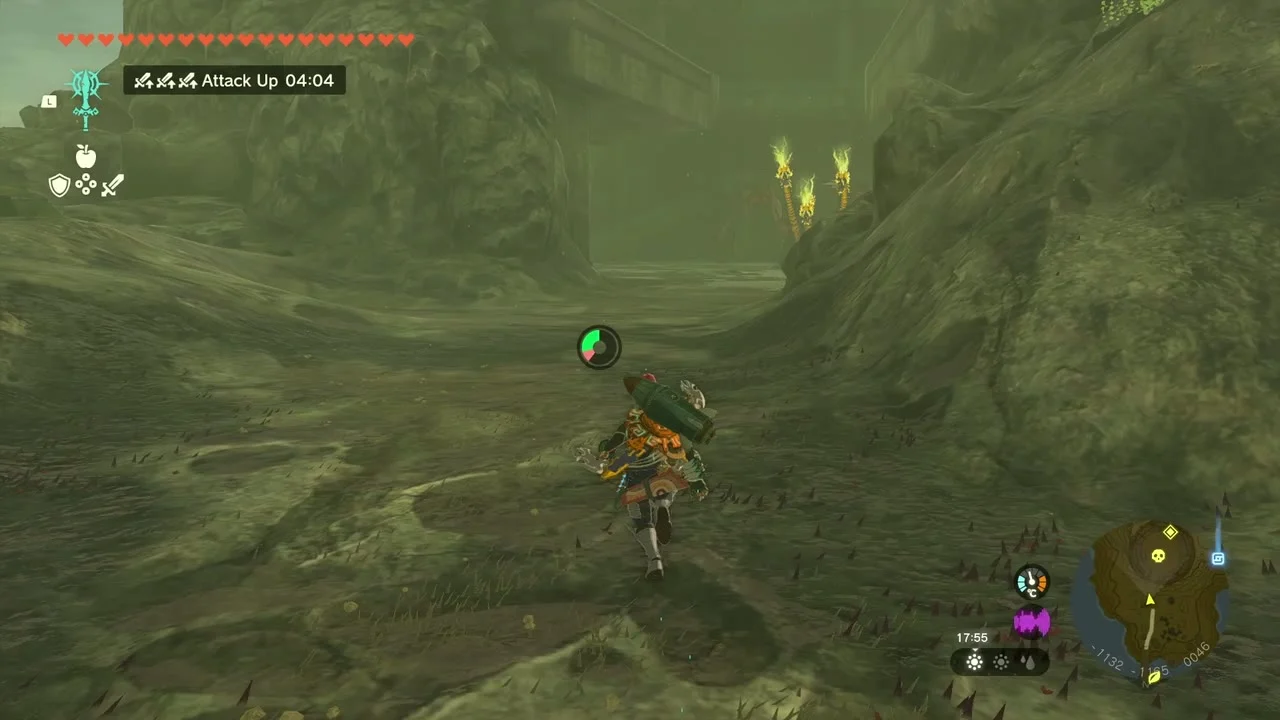
Miniboss: Thunder Gleeok. The Gleeok circles the Coliseum Ruins (-1151, -1262). Shoot a Bomb Flower arrow or a Zonai bomb into its wings so it drops, then strike its head. Insulating gear helps against its lightning.

Open the cave and take the Trousers of Awakening
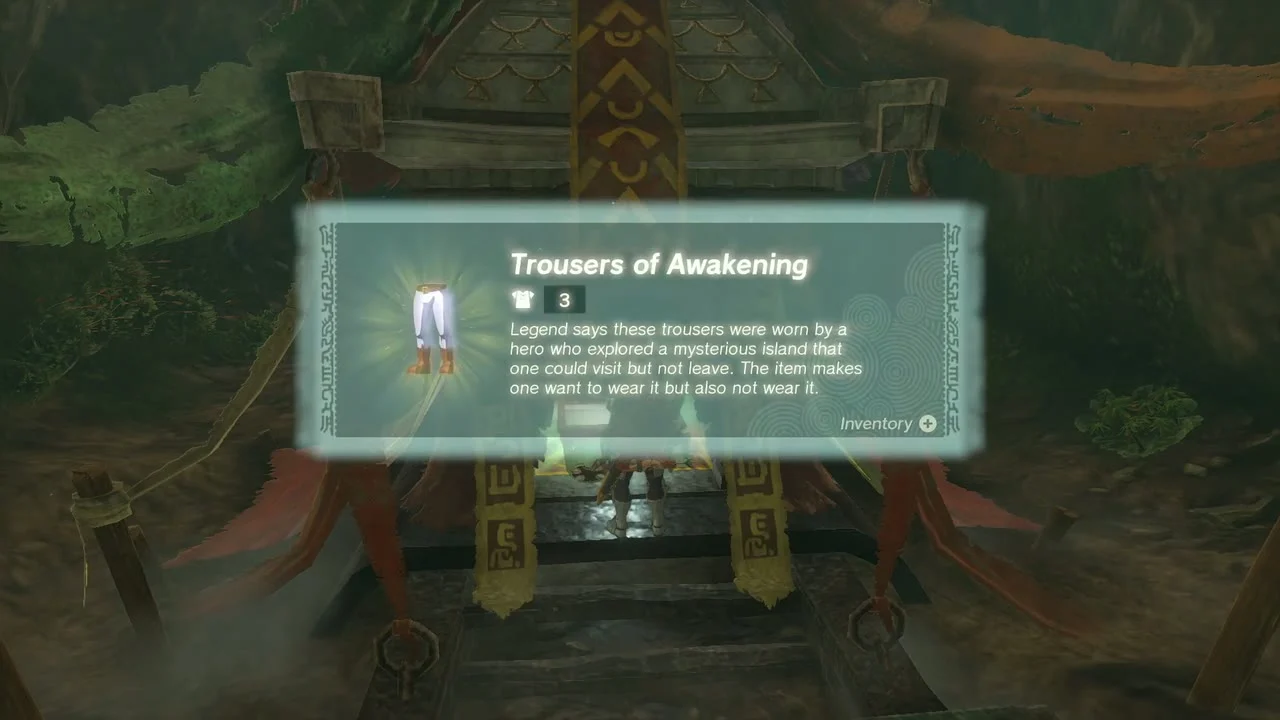
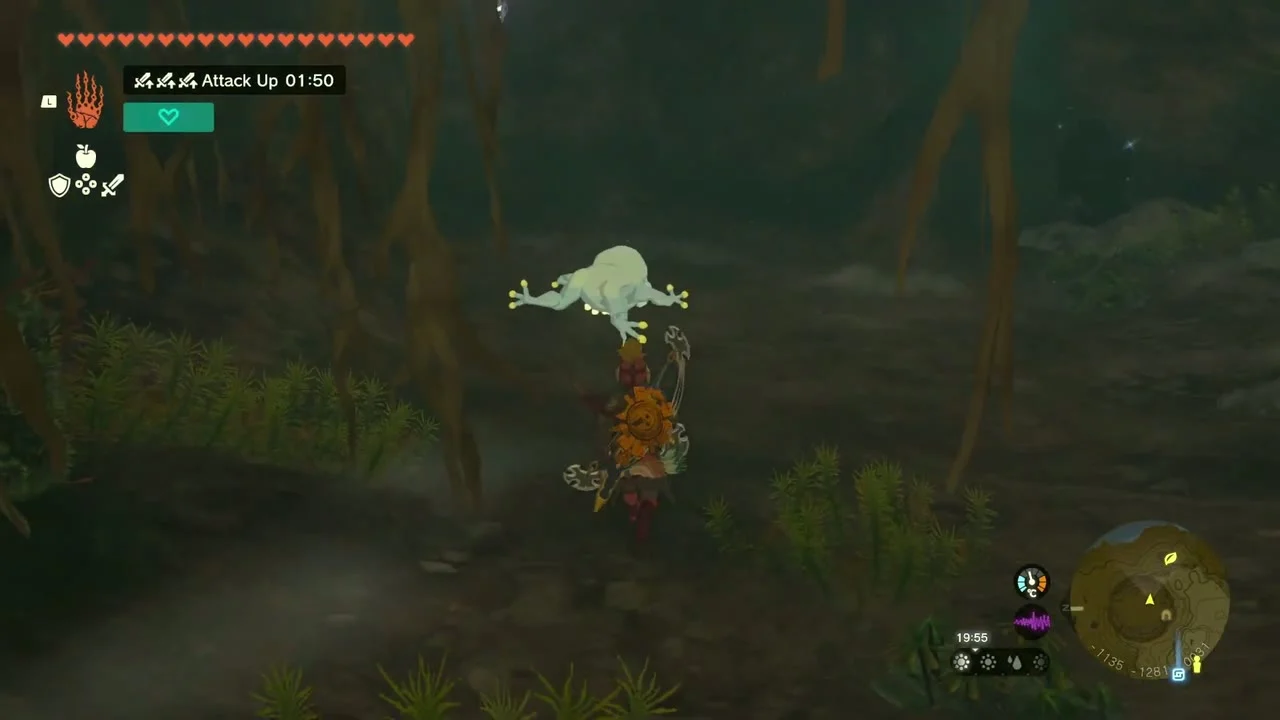
Side quest: Misko’s Treasure of Awakening III, Chest (Trousers of Awakening), Bubbul Gem. The clue reads that the way opens where the southern column’s midday shadow touches the northern one. Extend the southern column’s shadow at noon and the Coliseum Ruins Cave (-1167, -1310) opens. Read the stone tablet inside, follow the passage to the red gate and open the chest for the Trousers of Awakening. Kill the Bubbulfrog on the way out for a Bubbul Gem.
Tsutsu-um Shrine
Roll the ball through the maze
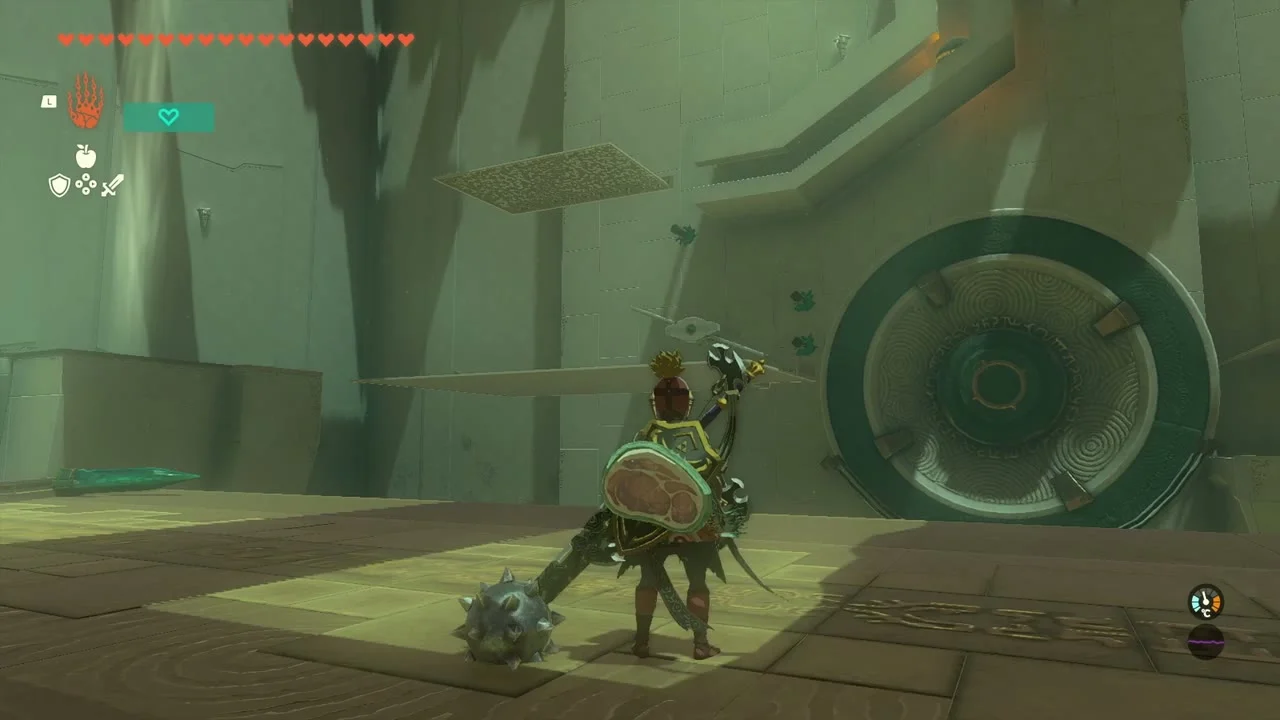
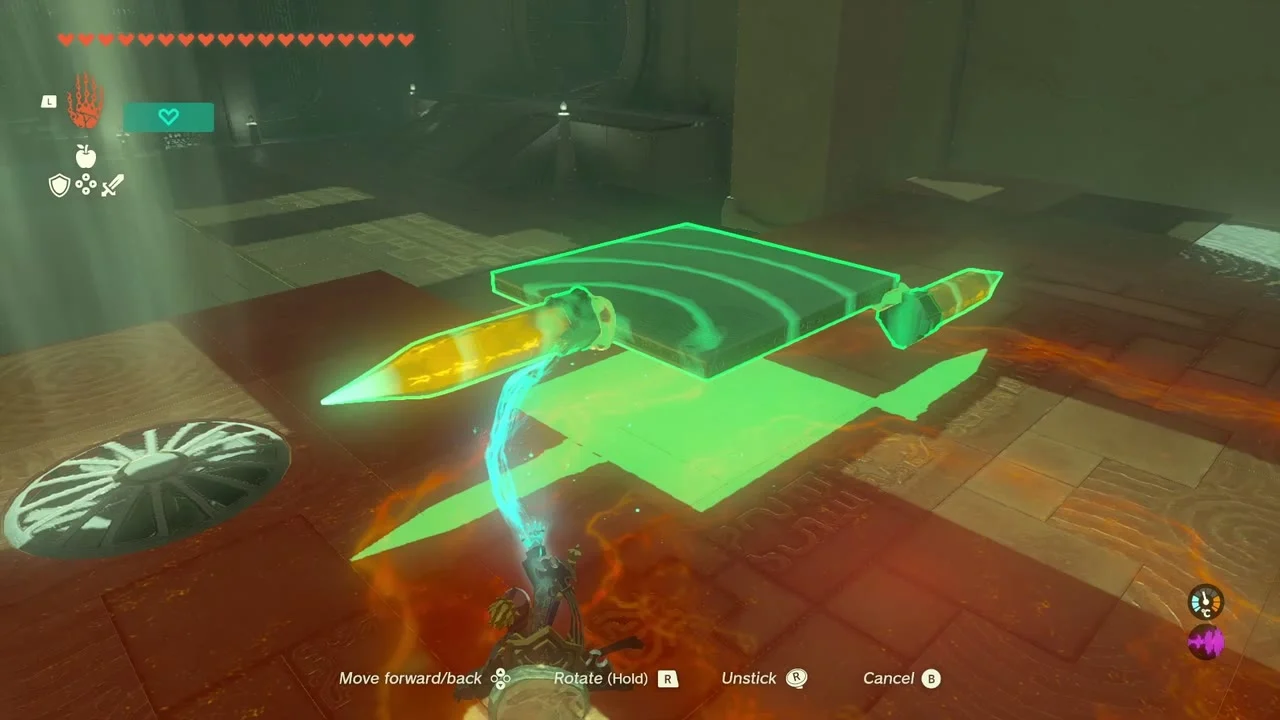
Tsutsu-um Shrine (The Stakes Guide You, puzzle). Tsutsu-um stands on Outskirt Hill (-1423, -1350) overlooking Outskirt Stable, with the Mu-ustust Lightroot below. Use a Fan to glide to the turning slate, jam one wall stake against the slate to stop it, set a second stake below where it should rest and tilt the slate into a bridge to the middle rail. Place the ball on the rail, then guide it through the maze board past the spinning wheel into the pit. A chest on a rising pillar (use stakes or the air geyser) holds Arrow x5.
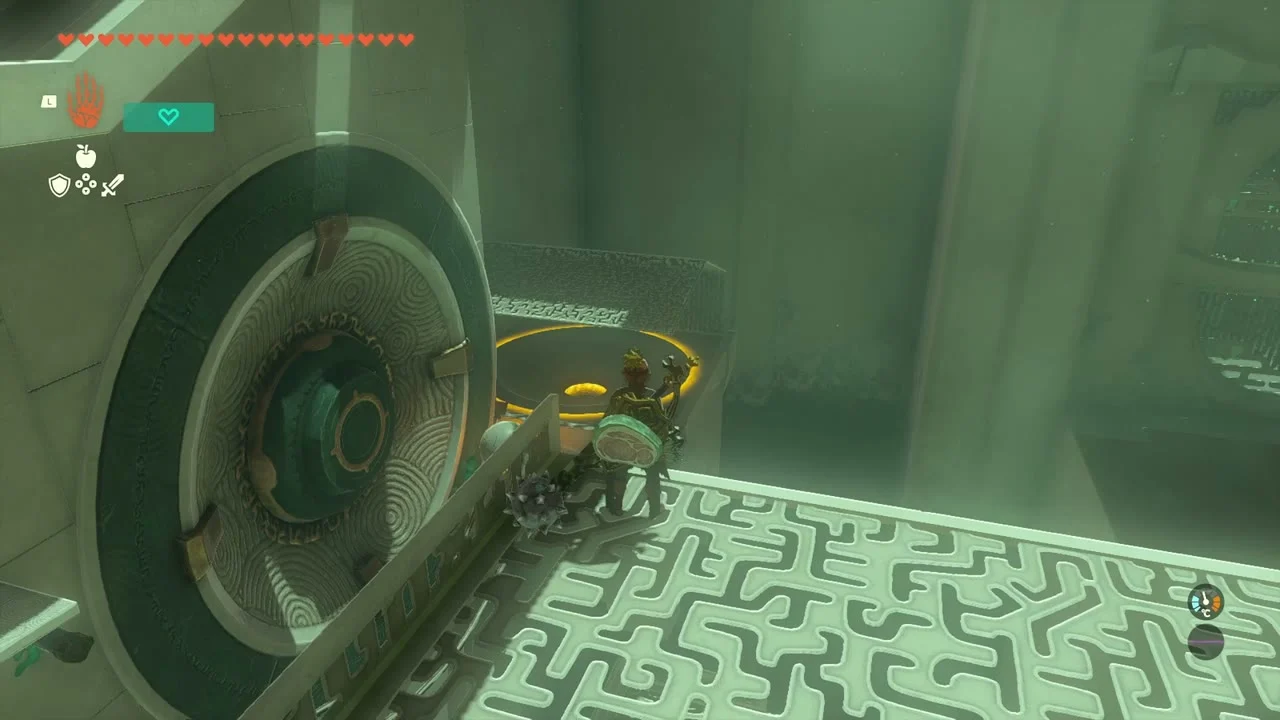
Outskirt Stable and the Beckoning Woman
Take the Giant Boomerang and the Outskirt Stable Well
Chest (Giant Boomerang), Outskirt Stable Well. A chest in the grass near Outskirt Stable holds the Giant Boomerang. The Outskirt Stable Well (-1460, -1296) is a short walk away; step in and light it up.


Quests at Outskirt Stable
The Beckoning Woman (Penn, Outskirt Stable). A woman at the three-way intersection by the stable asks you to follow her east to the cliff with debris, then guide her friend; defeat the Yiga clan members who ambush you. A Picture for Outskirt Stable (Embry): photograph the cherry-blossom tree on Satori Mountain northwest of the stable. Serenade to Kaysa (Mastro): bring the flautist Pyper to the Great Fairy near the stable; sky debris blocks the road, so go on foot. The Horse Guard’s Request (Toffa): show a Stalhorse, then another tamed creature, to the guard.
Ride a Stalhorse and buy the Knight’s Saddle
The Horse Guard’s Request, Knight’s Saddle & Bridle. Skeletal horses roam Sanidin Park Ruins north of the stable at night; ride one to Toffa before dawn. Spend pony points at the stable shop: the Knight’s Saddle costs 23 points, and the Knight’s Bridle is sold beside it.


Mini Stable, device dispenser and the Daphnes wells
Take Zonai devices from the dispenser
Device Dispenser (Mini Stable). At the Mini Stable, a Zonai Device Dispenser at about -1622, -1892 pours out Stakes, Springs and other devices. Spend a Zonai Charge to refill it; useful for Tsutsu-um and shrine puzzles.
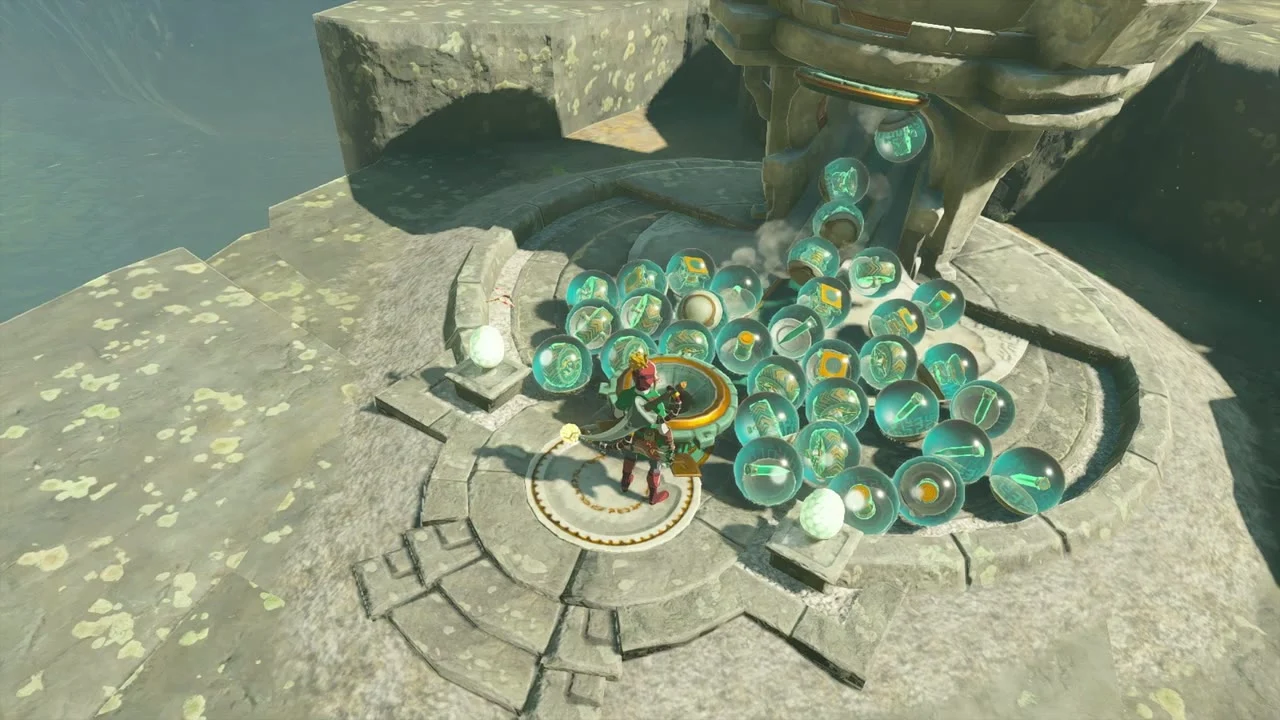

Jump into the Outskirt Hill Well
Outskirt Hill Well. The Outskirt Hill Well (-1680, -1349, 106) sits on the grassy hill above Outskirt Stable. Drop in to uncover it. Quest found: Disaster in Gerudo Canyon (Quince, waiting by the Digdogg Suspension Bridge): his lost friends turn up on the roads around the stable.

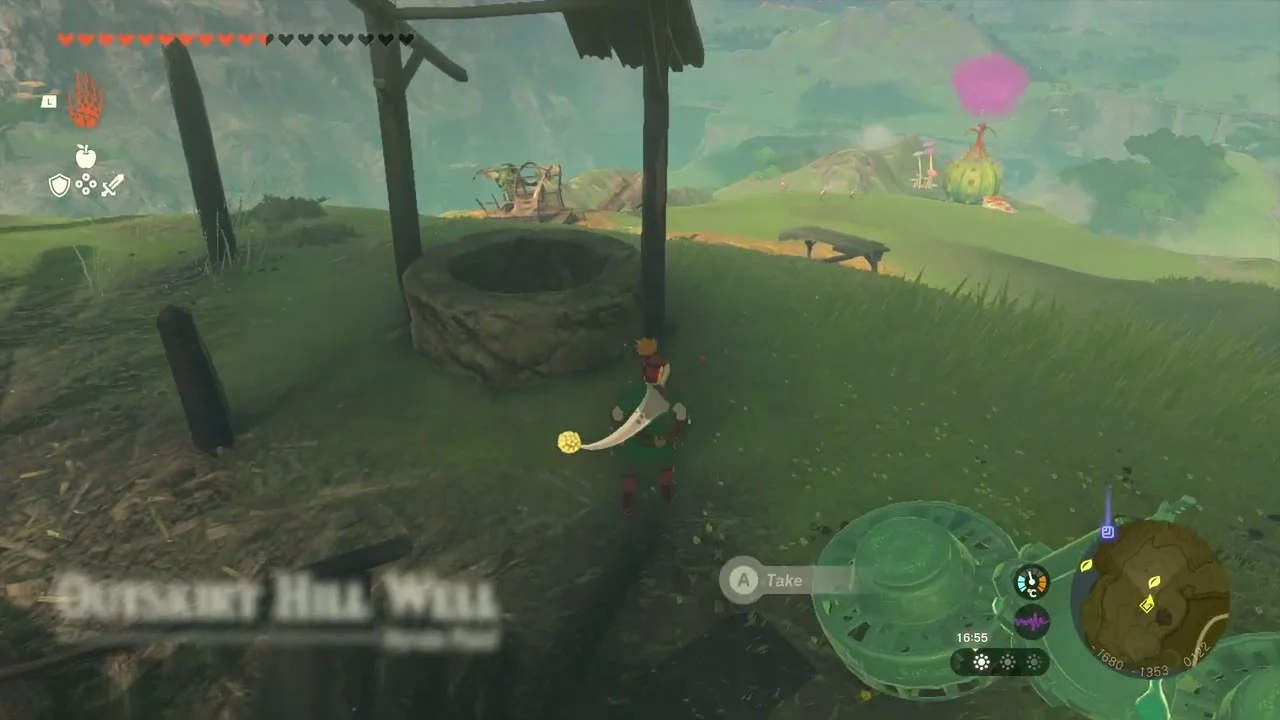
Hit the Mount Daphnes Well and the Battle Talus
Mount Daphnes Well, Miniboss: Battle Talus. The Mount Daphnes Well (-1314, -623) lies at the foot of the mountain. A Battle Talus stands further south near -1350, -780; climb its back and strike the glowing ore or smash its Zonaite weapon; a nearby chest holds Topaz.
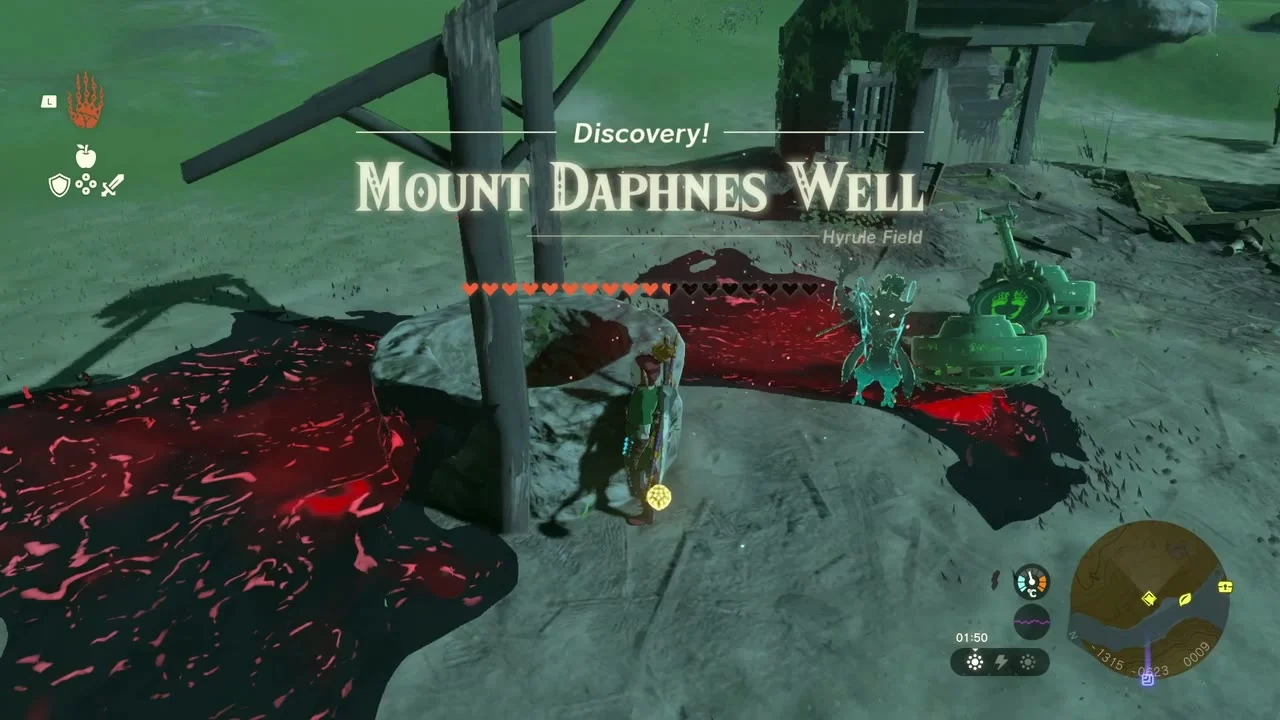

Fight the Blue Hinox
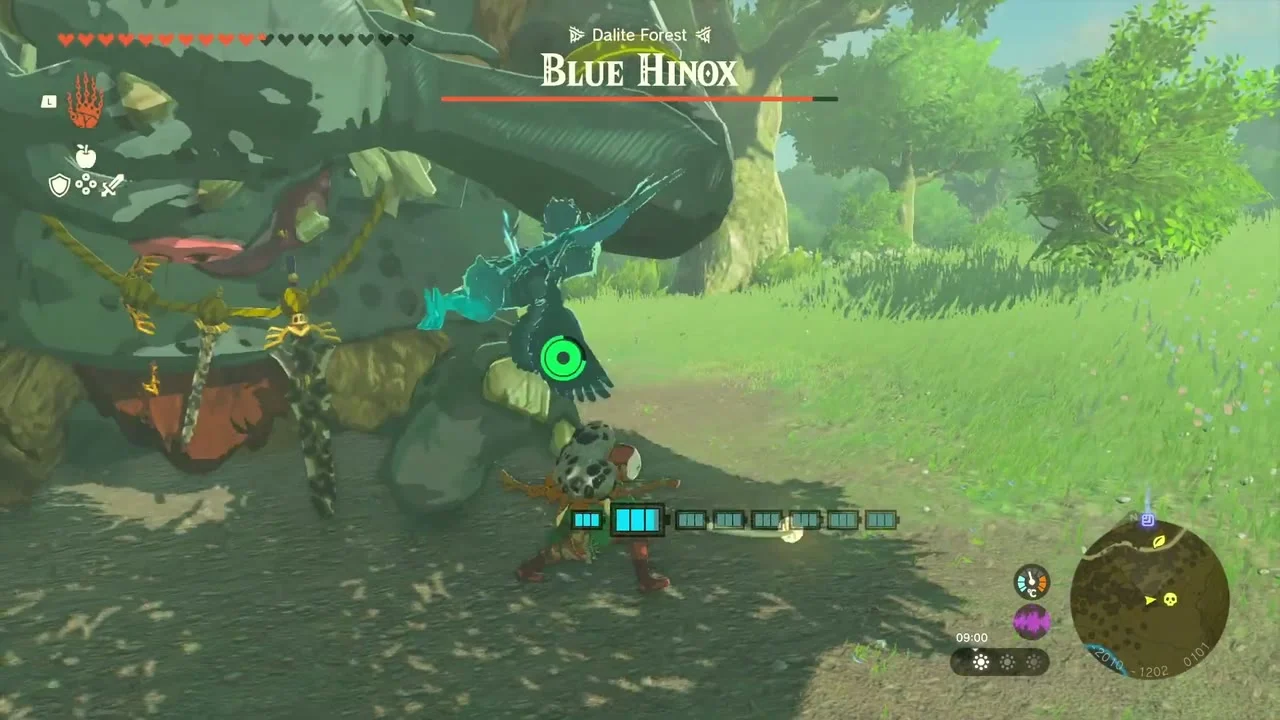
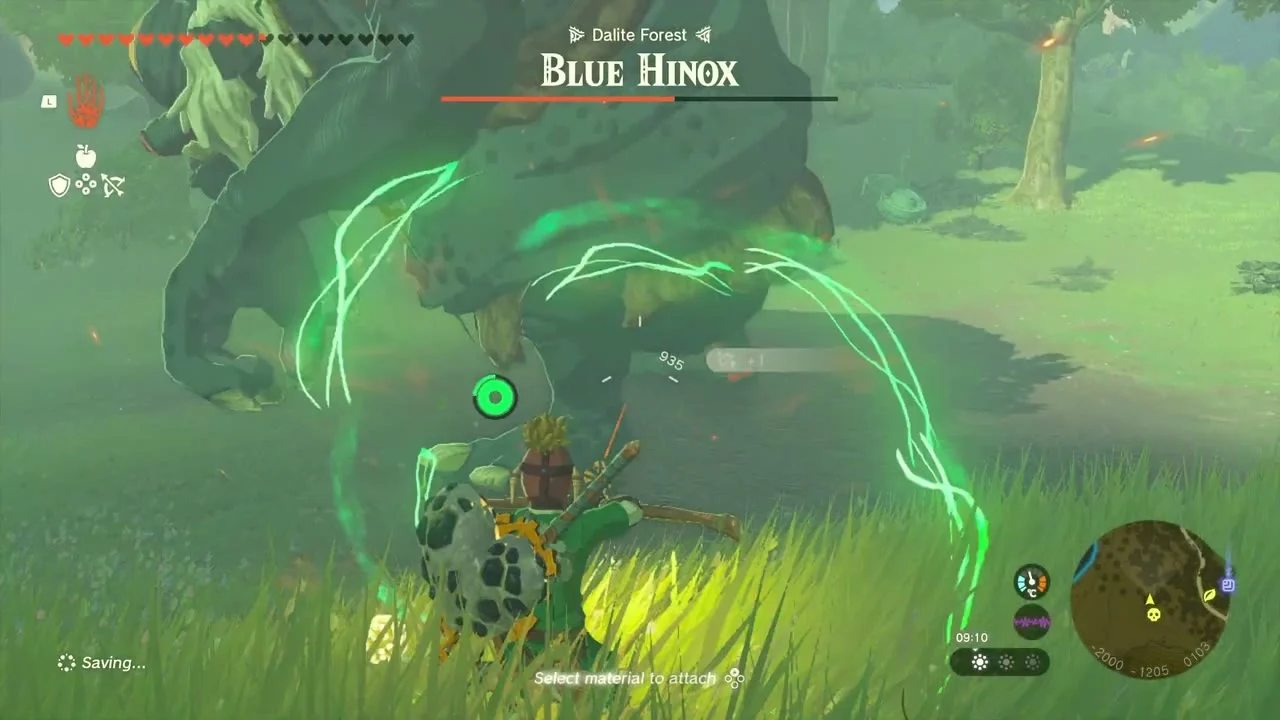
Miniboss: Blue Hinox. A Blue Hinox wanders the grassland south-west of Mount Daphnes. Shoot its eye to stagger it, then hit it with strong melee.
Royal Bow, Sonapan Shrine and Heart Container
Take the Royal Bow from the rickety tower
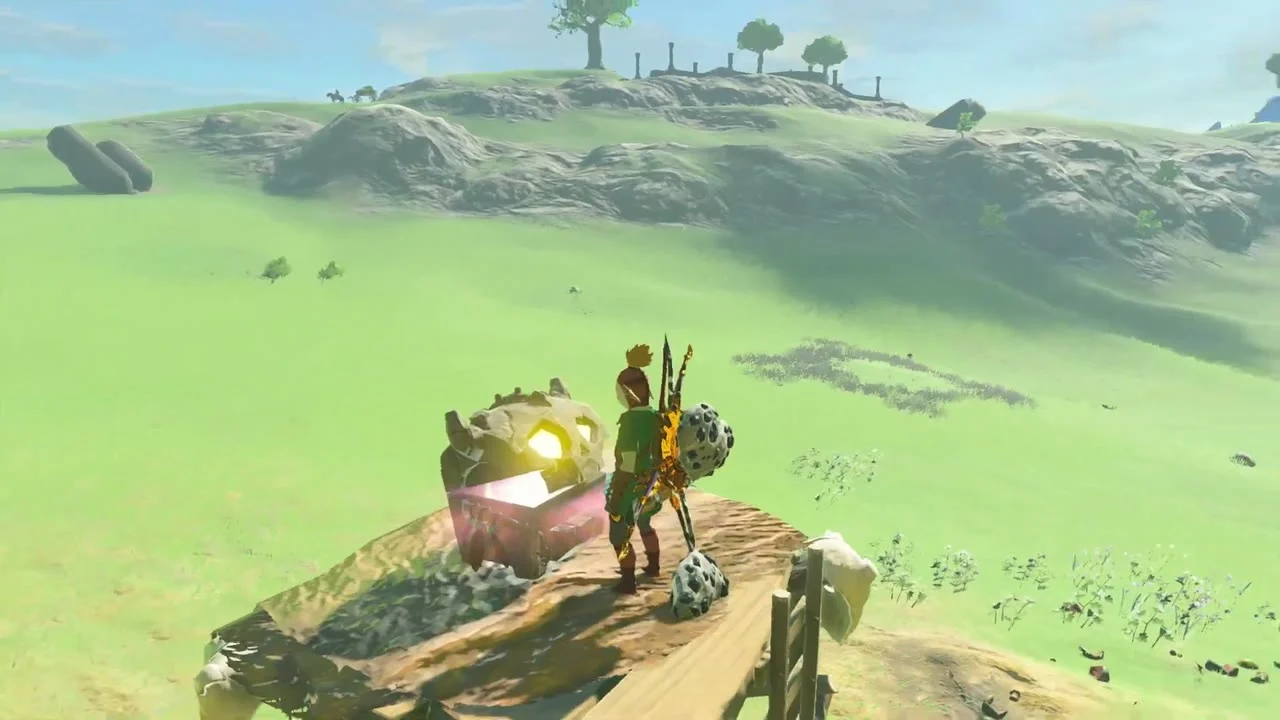
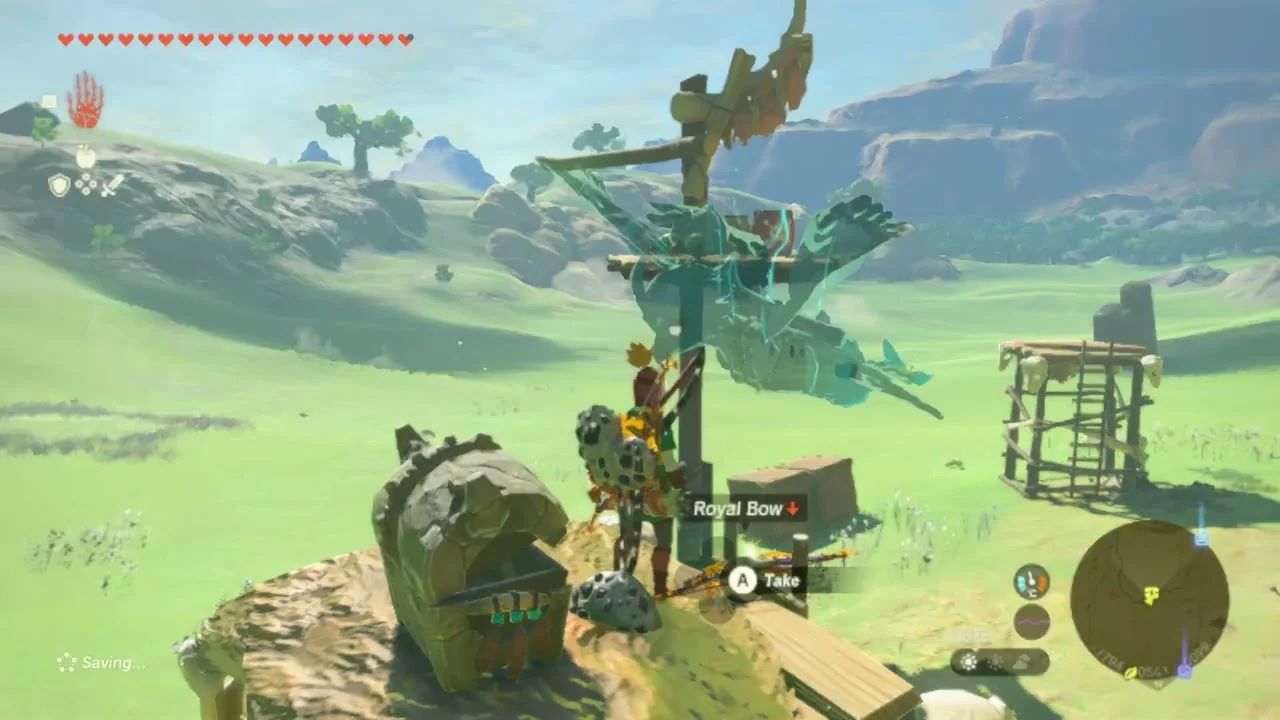
Chest (Royal Bow). At about -1950, -580, 148 west of Hyrule Field, a chest on a wooden tower platform guards a second Royal Bow; climb the scaffold or glide in from the hill above.
Solve Sonapan Shrine
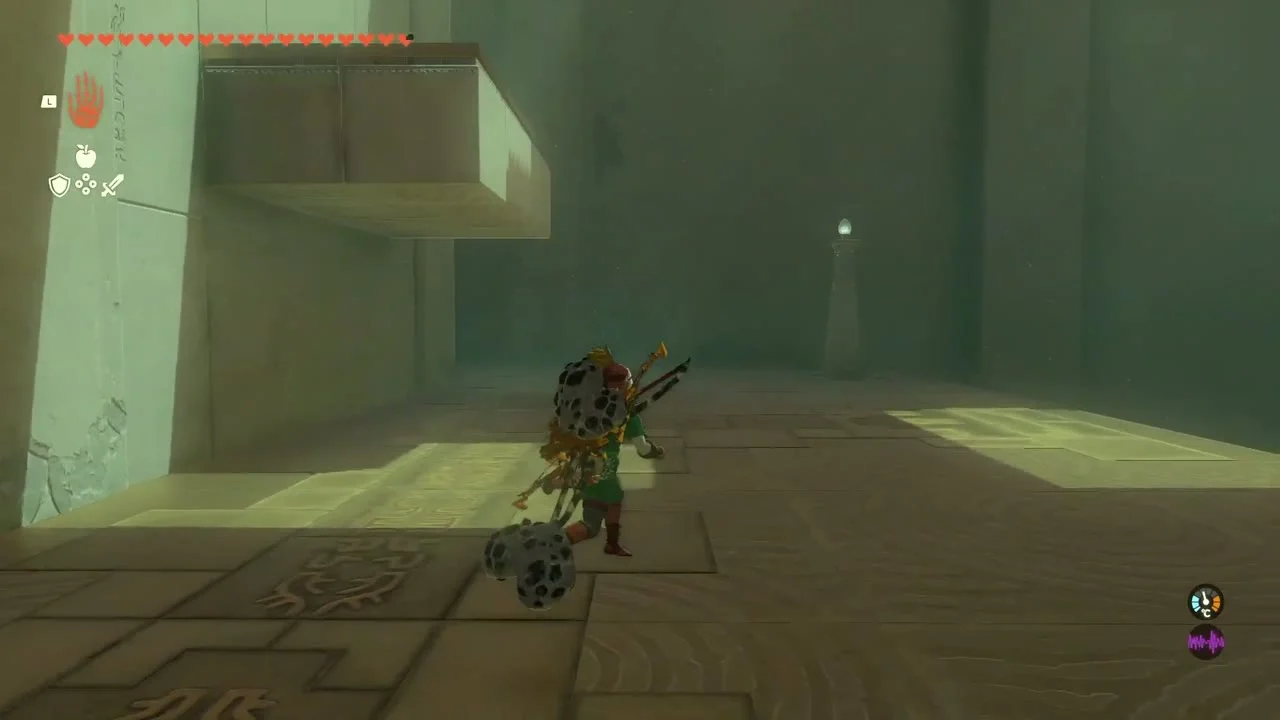
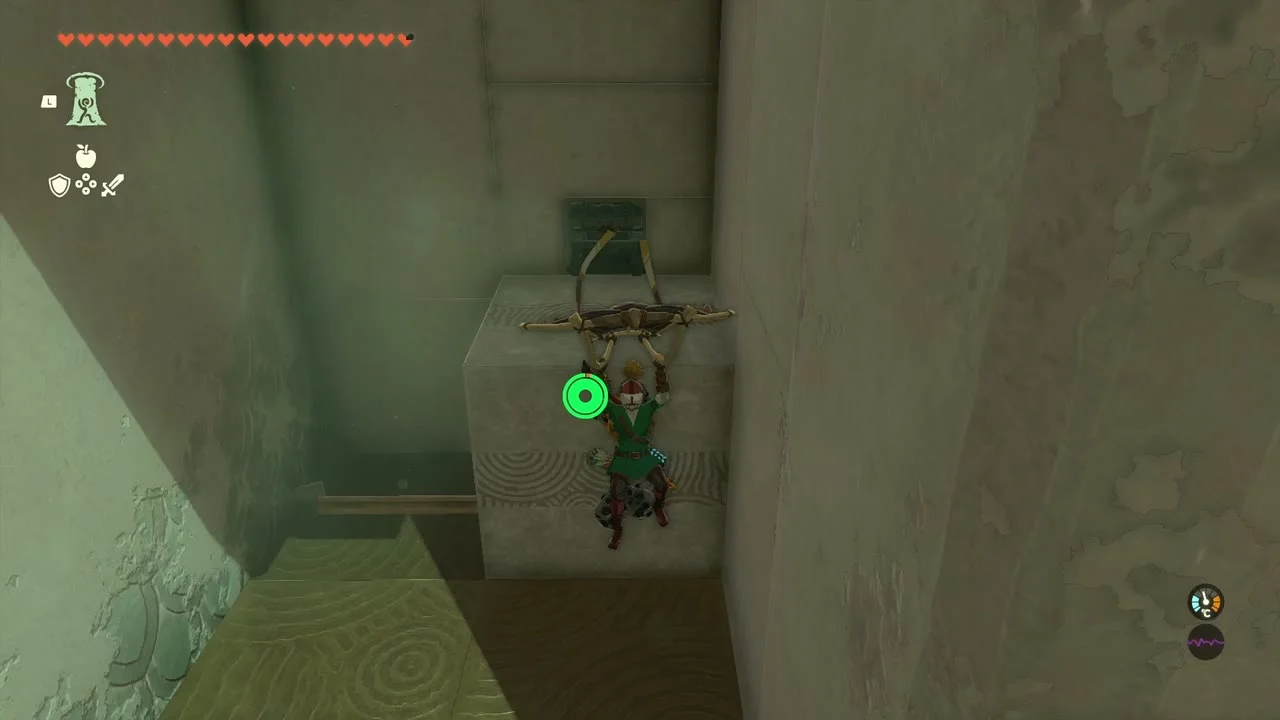
Sonapan Shrine (Missing Pathways, puzzle). Sonapan (-1921, -358) stands at the east foot of Satori Mountain with the Napanos Lightroot below. Use Ascend through overhangs, slide one block under the chest and stack another beside it to reach Arrow x5, then bridge each gap with blocks and Ascend through them to the gate and final altar for the Light of Blessing.


Trade Lights of Blessing for a Heart Container
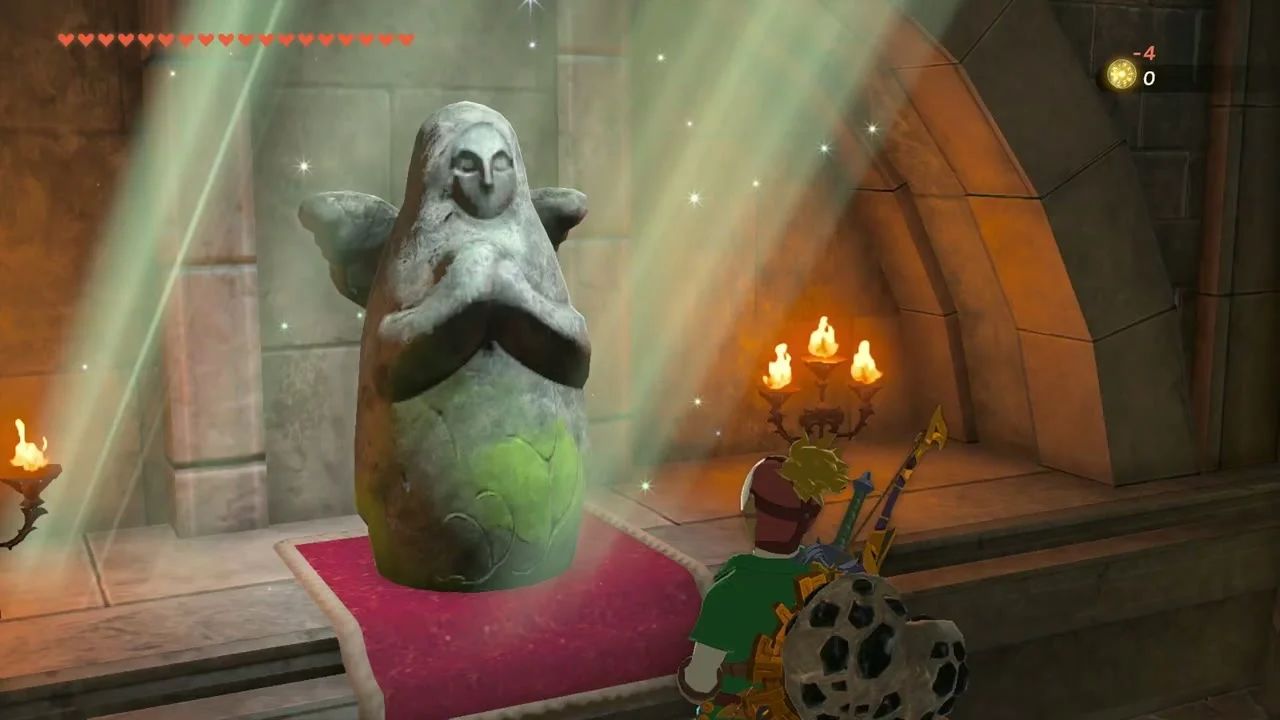
Heart Container (Goddess Statue). Spend four Lights of Blessing at a Goddess Statue for a Heart Container or a Stamina Vessel.

Satori Mountain Cave
Clear the cave for the Royal chests and Bubbul Gem
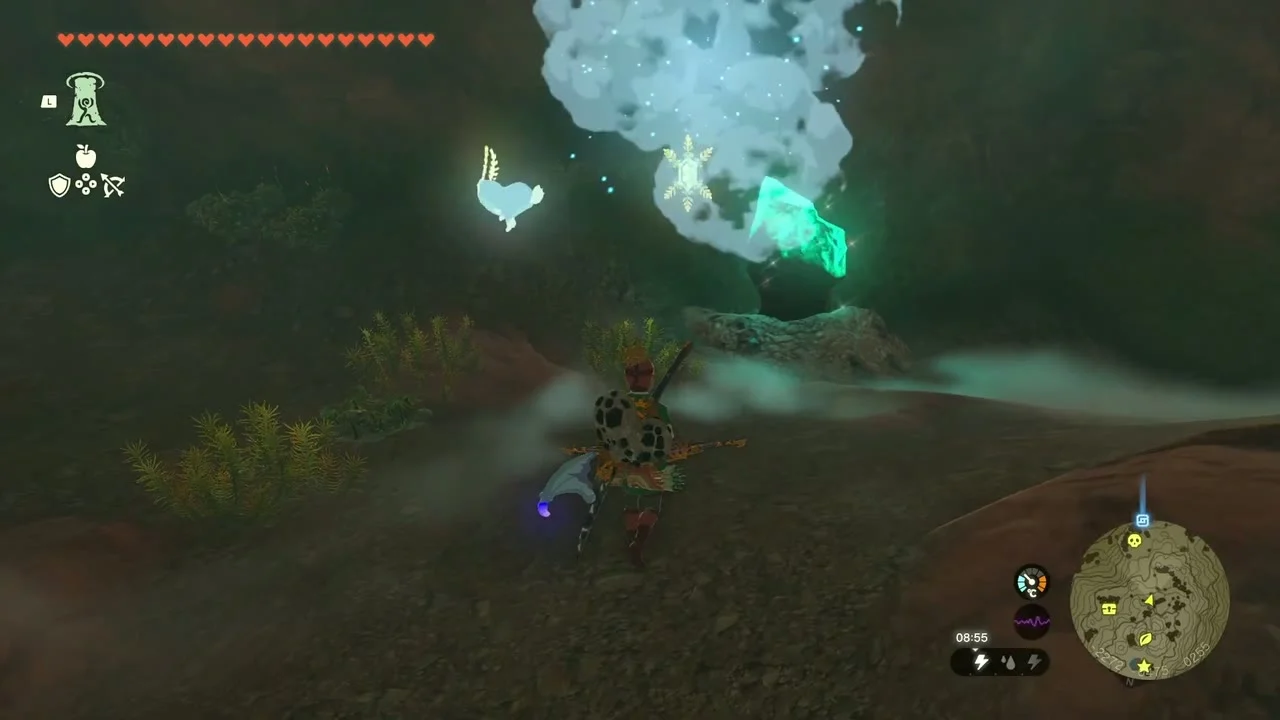
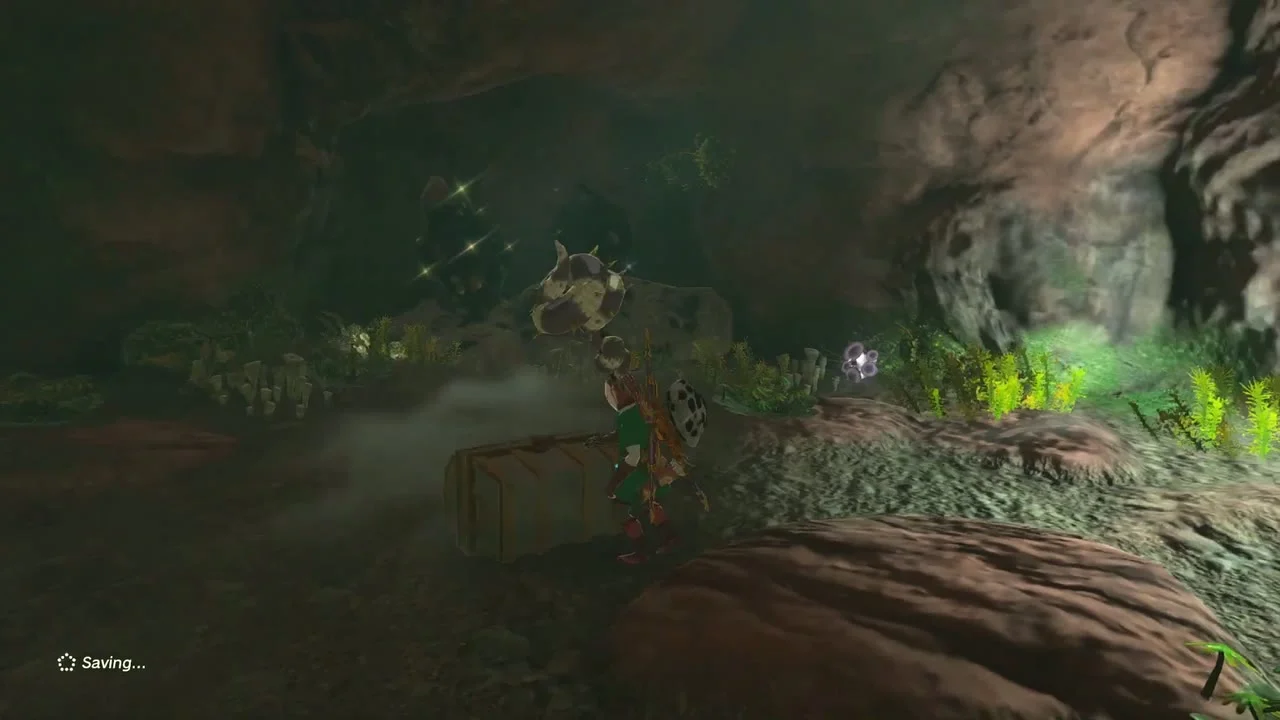
Satori Mountain Cave (-2151, -360). A hole in the ground at the foot of Satori Mountain leads down. Kill the Bubbulfrog on the left for a Bubbul Gem. Further in, a chest in a mossy hollow holds a Royal Shield, and a chest among the roots a few steps on holds a Royal Bow. Bring Brightbloom Seeds for the dark passages.

Make an offering at the cherry tree
Satori offering. Above the cave on Satori Mountain, leave an apple at the cherry-blossom tree and the Satori spirit appears. The same tree is the subject of A Picture for Outskirt Stable.


Tamio River Downstream Cave
Reach the Spear and the Phantom Armor
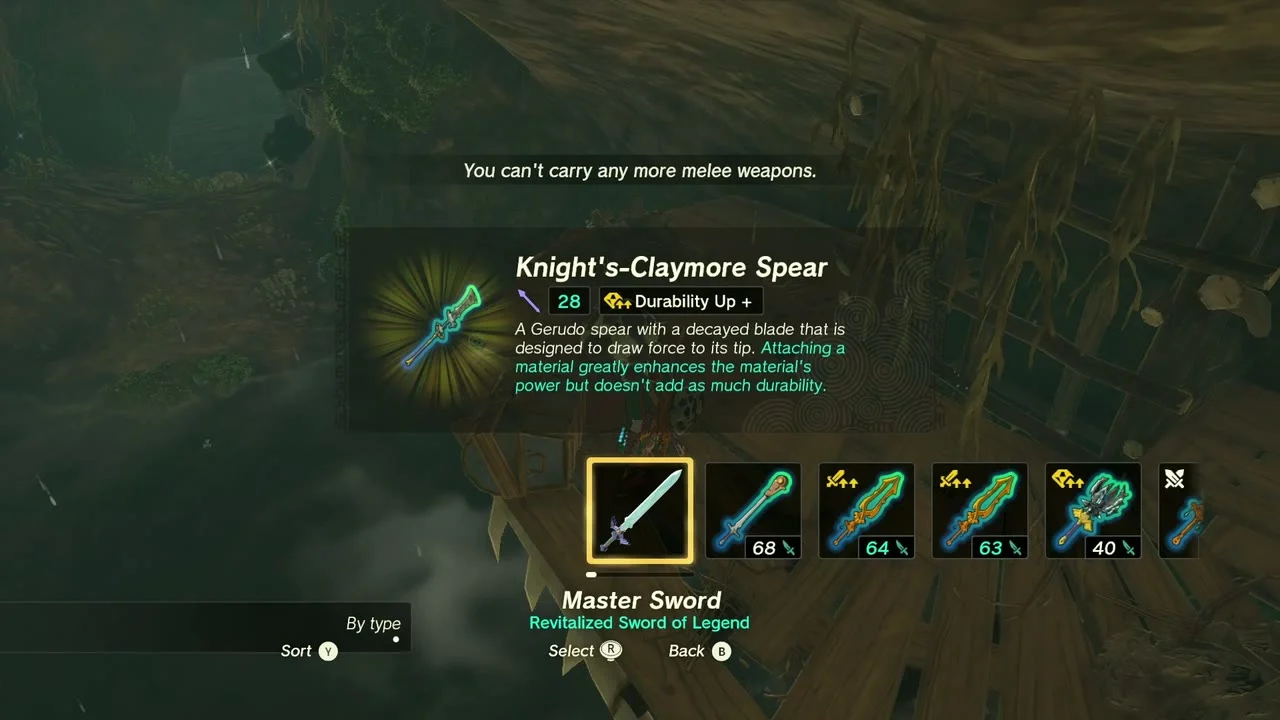
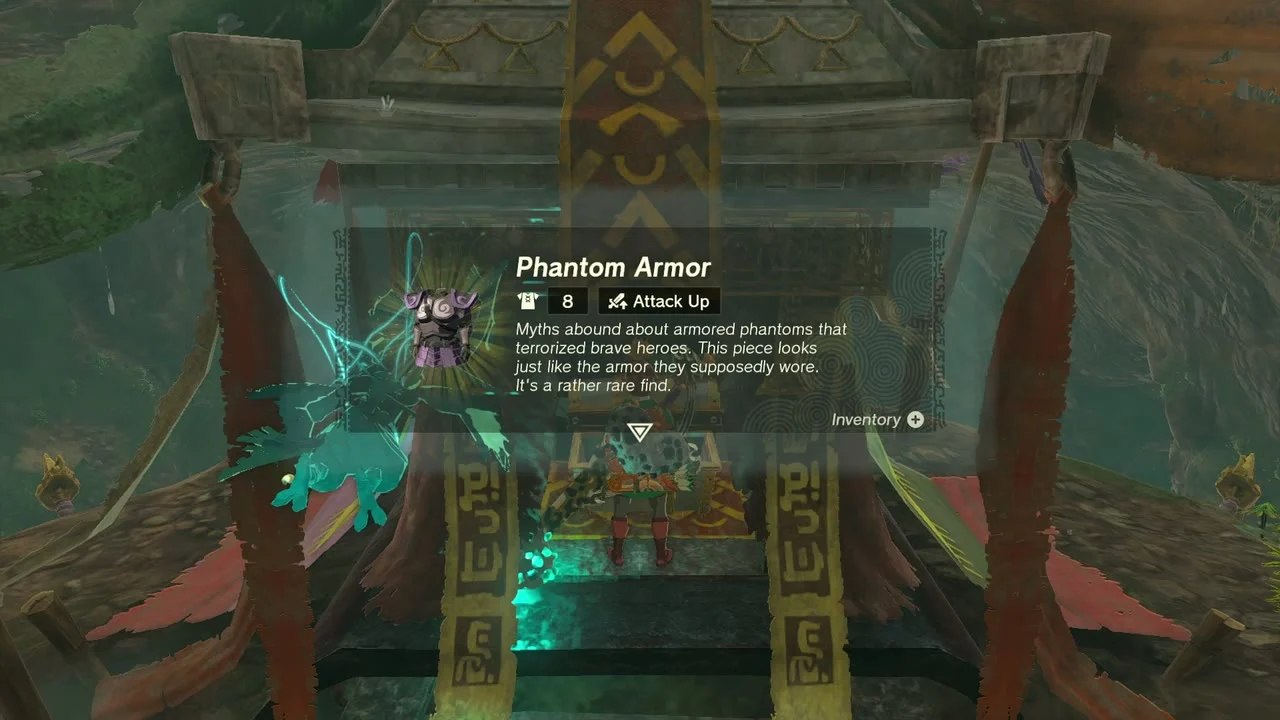
Tamio River Downstream Cave (-2921, -804). Enter by the river and follow the passage to a chest on the west side that gives a Knight’s-Claymore Spear. At the back, beat the Gloom Hands (a Gloom Spawn and Phantom Ganon appear) and break the rock wall or red sediment beyond them; the chest there holds the Phantom Armor (the chest piece of the Phantom set; the Phantom Helm and Greaves are in other caves).
Korok seeds
Datamined positions in this stretch, in route order (map units, larger Y is further north). Quick reminders: for Lift the rock raise the loose boulder with Ultrahand and look for the small Korok under it; for Complete the rock pattern and cube puzzle match the missing stones to the ring or cube outline; acorn pot Koroks hide behind a clay pot you smash or shoot; for Shoot the balloon(s) and Pop the hidden balloon fire an arrow at the floating balloons; Offer apples/fruits to the statues means placing one apple or fruit on each stone face; Repair the roof means attaching a board over the bare hut frame; sparkling spot Koroks are caught by approaching the glint and pressing the prompt before it flies off; dandelion Koroks need a quick arrow or sword hit; Bring the exhausted Korok to its friend means carrying it on your back (a glider or cart helps) to the waiting Korok, which pays out two seeds in total; target ring means flying a glider or vehicle through the ring before the timer runs out.
- Complete the rock pattern (-510, -1176, near the Phantom Ganon ruins).
- Lift the rock (-599, -1076) and Lift the rock (-664, -1222) near Lake Kolomo.
- Reach the target ring within the time limit (-594, -1414).
- Dive into the ring (-1152, -1012, by Aquame Bridge).
- Attack and catch the dandelion (-1053, -1328).
- Bring the exhausted Korok to its friend (-1302, -1331): two seeds, one from each Korok.
- Offer apples to the statues (-1316, -1261).
- Break the hidden acorn pot (-1428, -1297).
- Lift the rock (-1518, -1508).
- Pull the plug (-1705, -1706) and Lift the rock (-1700, -1826).
- Shoot the balloon(s) (-1816, -1534) and Complete the cube puzzle (-1763, -1449).
- Repair the roof (-1658, -1321), Lift the rock (-1771, -1243) and Break the acorn pot (-1598, -1015).
- Bring the exhausted Korok to its friend (-1321, -570, by Mount Daphnes): two seeds.
- Catch the sparkling spot (-1408, -464 and -1557, -824), Lift the rock (-1343, -689), Attack and catch the dandelion (-1440, -846).
- Follow the flower (-1967, -1090), Offer fruits to the statues (-1816, -971) and Go up to examine the sparking spot (-1650, -687).
- Lift the rock (-1968, -594), (-1741, -400) and (-2279, -402); Complete the rock pattern (-2714, -496); Use the paraglider to reach the goal (-2921, -481); Bring the exhausted Korok to its friend (-1849, -329); Break the hidden acorn pot (-1955, -410).
Also in this area
The dataset lists more Koroks in the surrounding box that this stretch did not collect: Lift the rock (-2140, -1485; -2198, -1679; -2200, -798; -2244, -1740; -2340, -1104; -2600, -669; -588, -559; -764, -673), Use Ascend on the marker (-2220, -693; -2394, -1033; -2672, -1356; -950, -1839), Use the paraglider to reach the goal (-1146, -381; -1929, -1823; -2437, -554; -668, -1779), Pull the plug (-2818, -1652; -952, -1720), Break the acorn pot (-1088, -514; -2329, -1825; -611, -1525), Bring the exhausted Korok to its friend (-1025, -1857; -509, -1696; -880, -929), Follow the flower (-1202, -1690; -2497, -567), Complete the rock pattern (-1112, -570; -2643, -1532), Shoot the balloon(s) (-964, -1606), Burn the leaves and lift the rock (-793, -1601), Place the boulder on the tree stand (-2352, -741), Complete the cube puzzle (-2640, -322), Catch the sparkling spot (-1151, -1788), Reach the target ring within the time limit (-2961, -1400), Go up to examine the sparking spot (-2867, -1123), Climb on the wall/side to touch the marker (-1402, -1522) and Build a roof for the statues (-2505, -1589).
South Hyrule Field Depths checklist
| Collectible | Count | Where |
|---|---|---|
| Shrines | 2 | Tsutsu-um, Sonapan |
| Lightroots | 1 | Mu-ustust |
| Caves | 3 | Coliseum Ruins, Satori Mountain, Tamio River Downstream |
| Wells | 4 | Aquame Lake, Outskirt Stable, Outskirt Hill, Mount Daphnes |
| Bubbul Gems | 2 | Coliseum Ruins Cave, Satori Mountain Cave |
| Depths chests | 9 | Large Zonaite x2, Huge Crystallized Charge, Large Crystallized Charge x2, Arrow x10, Miner’s Trousers, Sundelion, Majora’s Mask |
| Minibosses | 5 | Master Kohga, Thunder Gleeok, Phantom Ganon, Battle Talus, Blue Hinox |
| Armor | 4 | Miner’s Trousers, Trousers of Awakening, Phantom Armor, Gaiters of the Depths (purchase) |
