





















Tears of the Kingdom 100% Completion Walkthrough43 chapters
Great Sky Island
- Great Sky Island4 shrines, 4 caves and Bubbul Gems, 17 Korok seeds
Hyrule Field and Hyrule Castle
- Lookout LandingParaglider, Crisis at Hyrule Castle, Jiosin and Kyononis shrines, 2 caves, 3 wells
- Hyrule FieldSusuyai and Ishodag shrines, the Hyrule Field Chasm, 2 caves, 13 Koroks
- Hyrule Castle Town RuinsSepapa, Yamiyo and Tukarok shrines, 2 caves, 4 wells, Koroks, chests and Battle Taluses in route order
- Central Hyrule Depthslight all 7 Lightroots, loot Daphnes and Gustaf Canyon Mines, find the Miner's Top
- Rest of Hyrule CastleRoyal Hidden Passage loot, 8 castle chests, Phantom Ganon, Energy Wells
- South Hyrule FieldShrines, Koroks & the Great Plateau
- South Hyrule Field DepthsGreat Abandoned Central Mine, Master Kohga, Autobuild, Majora's Mask
Tabantha and Hyrule Ridge
- Tabantha FrontierNew Serenne Stable, Hestu, Courage Island and the Glide Shirt, 3 shrines, 2 Korok seeds, Lindor's Brow Cave
- Forgotten TempleImpa and the Geoglyphs, Dragon's Tears, Kiuyoyou and Mayausiy shrines, Yiga Maritta Branch, 9 Koroks
- Tanagar Canyon & Hyrule RidgeRunakit and Iun-orok shrines, 2 caves, 12 Koroks, 20 chests, 8 minibosses and Dragon's Tear 6
- Thundra Plateau & Tabantha Bridgesolve the noon shadow puzzle, Tabantha Bridge Stable, Makurukis Shrine, 19 Korok seeds, 9 chests, 3 minibosses
- Lindor's Brow DepthsLightroots; Two Yiga camps (Bomb Bouquet, Flamethrower Balloon)
- Hyrule Ridge and Tabantha FrontierIkatak, Oromuwak, Ganos and Ga-ahisas shrines, 4 caves, a well, 26 Koroks and 3 minibosses
Hebra
- Rito VillageGatakis and Ijo-o shrines, Sikatag Lightroot, 9 Korok seeds, 14 chests
- Hebra MountainsShrines, Wind Temple & Koroks; Raspro Pass, Biron Snowshelf & Royal Hidden Passage
- Corvash Canyon MineTrousers of the Hero, Floodlights schematic, Sea-Breeze Boomerang, four Lightroots, Colgera
- Raspro Pass DepthsNupisoyuat and Sasag Lightroots, Colgera, Cap of Time, Tunic of the Wind, two Yiga camps and 13 minibosses
- Tabantha TundraTaninoud, Orochium, Oshozan-u, Mayaotaki, Nouda and Tenbez shrines, three Lightroots, caves and Bubbul Gems
- Pikida Stonegrove DepthsEvil Spirit Greaves, Ikatoayam, Muihcoro and Sikatag Lightroots, 3 Yiga schematics, Frox fights
Great Hyrule Forest
- Great Hyrule Forest7 shrines, 8 Lightroots, 2 caves, 2 wells, Korok Mask, Glide Tights
Eldin
- EldinEldin Canyon, Shrines, Caves & Goron City
- Eldin Canyon Depths10 Lightroots, Zant's Helmet, Trousers of the Wild, Biggoron's Sword, 3 Yiga schematics and Eldin's sky chests
Faron
- FaronHighland Stable, Lake Hylia & Popla Foothills
Necluda
- Kakariko VillageMakasura Shrine, Kakariko Village Well, 2 caves, Ring Ruins chests, 10 Korok seeds and village quests
- West Necluda and Lanayru WetlandsShrines, Koroks & Caves; Jonsau, Kurakat
- Hateno VillageZanmik and Mayahisik shrines, Shield of the Mind's Eye and Phrenic Bow wells, 7 Koroks
- East NecludaRabella Wetlands, Sifumim Shrine, Lurelin Village, 21 Korok seeds
- East Necluda DepthsKumamayn Shrine, 4 Lightroots, Midna's Helmet, Cap of the Hero, Trousers of the Wind and 18 Depths chests
Lanayru
- Lanayru Great SpringShrines, Koroks & Caves; Ralis Channel, 3 shrines, 8 caves
- Zora's DomainMogawak and Ihen-a shrines, Ploymus cave, Pristine Sanctum, Zora Armor, Sidon of the Zora and Clues to the Sky
- Wellspring IslandAncient Zora Waterworks chests, Igoshon Shrine, 2 Korok seeds, Water Temple's four wheels and Mucktorok
- Mount LanayruShrines, Koroks & Light Rings; Jikais and Anedamimik shrines
Gerudo
- Gerudo DesertShrines, Caves & Koroks; West and South Sands
- Gerudo TownGerudo Shelter shops and quests, Valley of Silent Statues, Lightning Temple and Queen Gibdo, Chichim Shrine
- Gerudo Desert DepthsGranajh and Daval mines, three Master Kohga fights, Queen Gibdo, Mucktorok, Sheik's Mask and 37 chests
- Gerudo HighlandsSkyview Tower, Rotsumamu and Suariwak shrines, Mayasiar Shrine, Yiga hideout
Akkala
- AkkalaTarrey Town quests, 4 shrines, Hinox, Battle Talus
- Akkala Sky Islands and DepthsGikaku and Natak shrines, Old Maps, Lomei Depths Labyrinth, Mucktorok, 5 Lightroots and 19 chests
Finale and completion
- Ancient Tablets, Gleeoks and Armor Upgradesall 13 stone tablets with coordinates, Frost and King Gleeok, Obsidian Frox, Cotera upgrades and farming
- Hyrule CastleRoyal gear chests, Korok seeds, Serutabomac Shrine
- Thunderhead IslesCharged armor, Joku-usin and Joku-u Shrines, Dragonhead Island's relic
- 100% Completion: Armor Upgrades & Korok BonusHestu's Gift, Ancient Hero's Aspect, Great Fairy Cotera upgrade costs and materials, then Destroy Ganondorf
| Region | Central Hyrule Sky, Great Sky Island |
|---|---|
| Main quests | Find Princess Zelda, The Closed Door |
| Shrines | Ukouh (Ultrahand), In-isa (Fuse), Gutanbac (Ascend), Nachoyah (Recall) |
| Abilities | Ultrahand, Fuse, Ascend, Recall (see abilities) |
| Caves | Pondside Cave, Mining Cave, Pit Cave, Bottomless Cave (one Bubbul Gem each) |
| Boss | Flux Construct I (optional) |
| Korok seeds | 17 on this route (13 single Koroks and 2 backpack Korok pairs) |
| Chests | 25 outside the shrines, plus the chests inside the four shrines |
| Armor | Archaic Legwear, Archaic Tunic, Archaic Warm Greaves |
| Ends with | Heart Container, then To the Kingdom of Hyrule |
Great Sky Island is the tutorial area of Tears of the Kingdom: clear Ukouh, In-isa and Gutanbac to open the Temple of Time, learn Recall there, finish Nachoyah, and trade four Lights of Blessing for a Heart Container. This guide follows the island in route order, so every chest, Korok seed, cave and Bubbul Gem is collected on the way and nothing needs a second trip.
Quick route
Room of Awakening: grab the Archaic Legwear chest, then skydive into the pond below.
Steward Construct for the Purah Pad, then north to the Temple of Time and Ukouh Shrine (Ultrahand).
Southwest to In-isa Shrine (Fuse), picking up two Koroks, the Korok pair on the rail and three chests on the way.
Pondside Cave, Mining Cave and Pit Cave, with the Flux Construct I platform, the forge and the first device dispenser between them.
Cook a cold-resistance meal, then work through the snowy east: Bottomless Cave, the Captain Construct camp and Gutanbac Shrine (Ascend).
Glide to the Temple of Time, open the door with three Lights of Blessing and receive Recall.
Clean up the south, clear Nachoyah Shrine, then spend four Lights on a Heart Container and leave through the second door.
Room of Awakening and the skydive
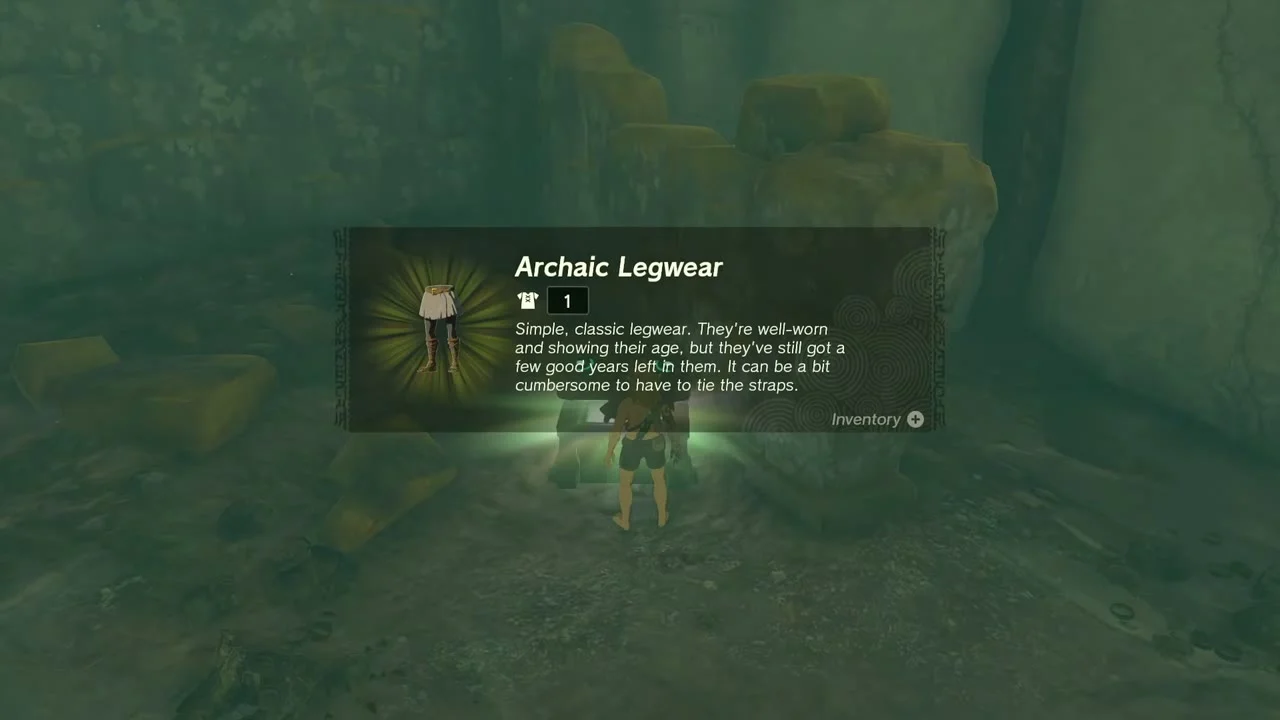
Chest: Archaic Legwear. The Room of Awakening is the first area of the game. On your way out, jump off the stone pillars with the green prompt into the water below; the chest is at the edge of the pool just before the exit door. Open it and equip the Archaic Legwear from your inventory. Landing in water means you take no fall damage.
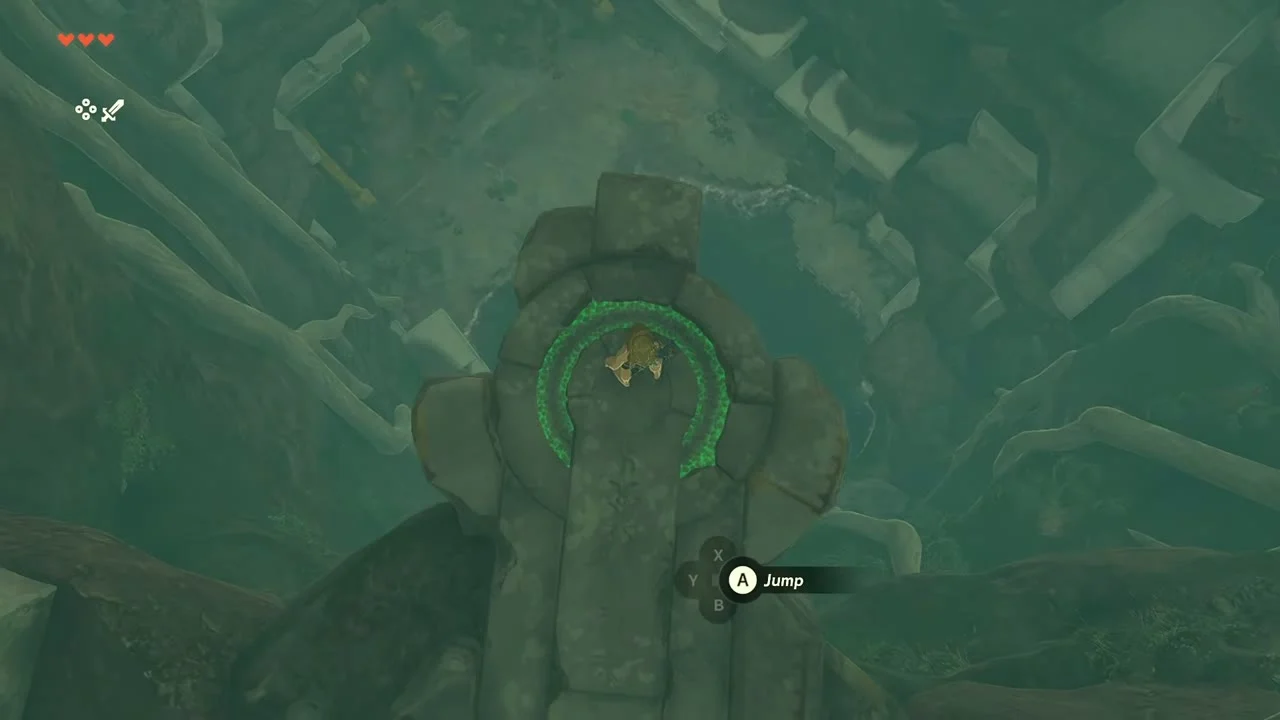

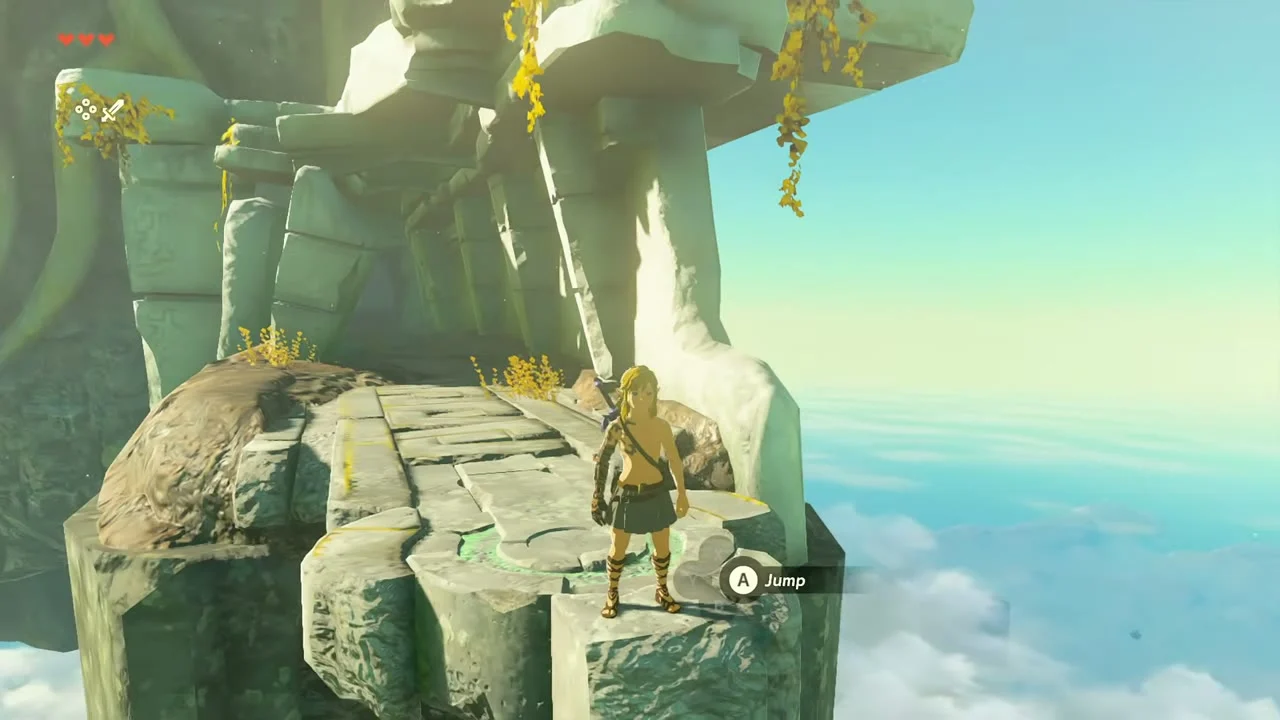
Skydive to the island. Leave the Room of Awakening and jump from the stone ledge above the clouds. Steer toward the round pond on Great Sky Island so you land in water, then swim to shore.

Steward Construct and the first Korok
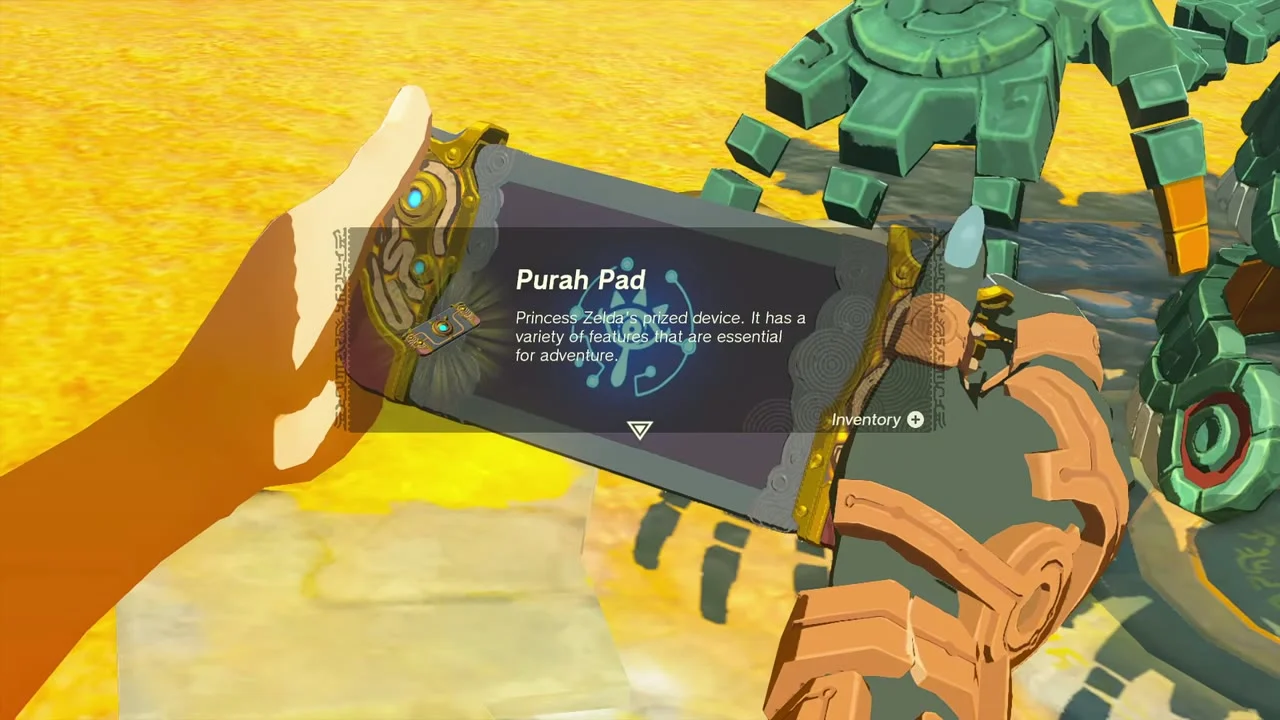
Key item: Purah Pad. Follow the stone path from the pond to the Steward Construct beside the ruins. Take the Purah Pad; it holds your map and abilities and starts Find Princess Zelda. Pick up any Zonai Charges you see; you will spend them at the dispensers later.
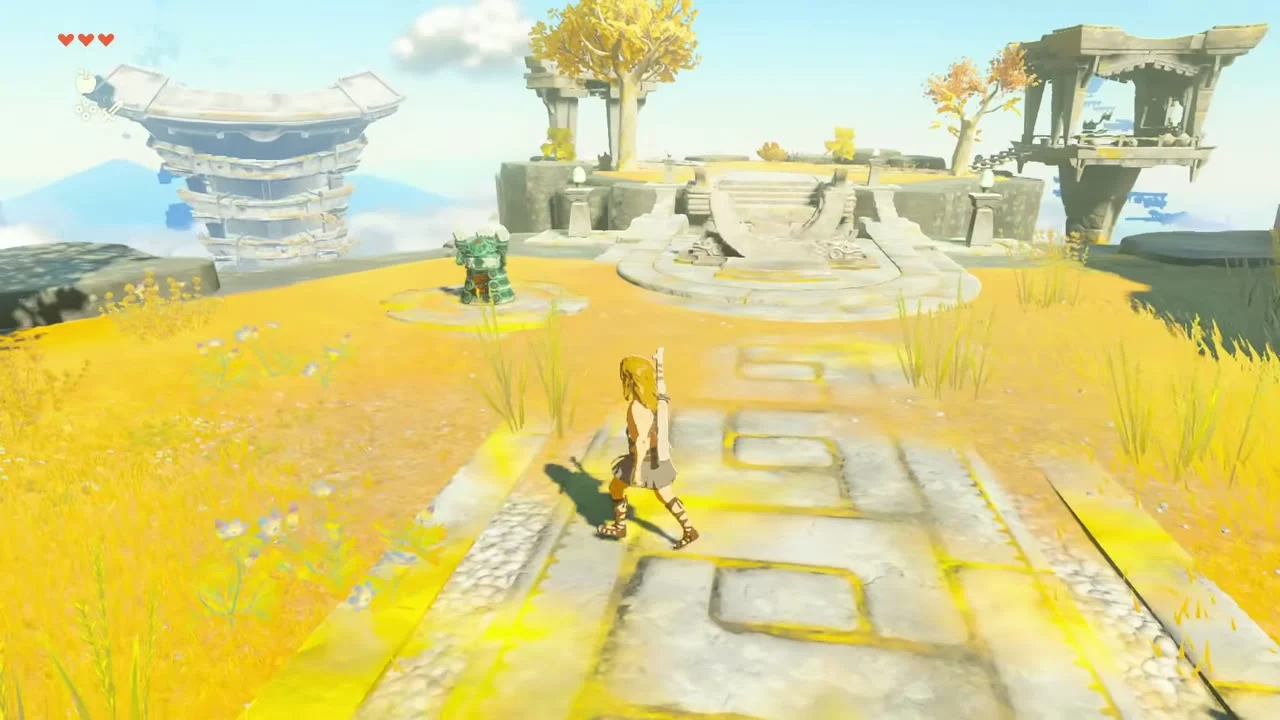

Korok seed 1 (chase the flower): in the mossy ruin corridors on the way to the Temple of Time, a yellow flower sits on top of a wall and hops to a new spot every time you get close. Follow it, climbing the walls where needed, until the Korok appears on a mossy block beside a tree.


Temple of Time and Ukouh Shrine
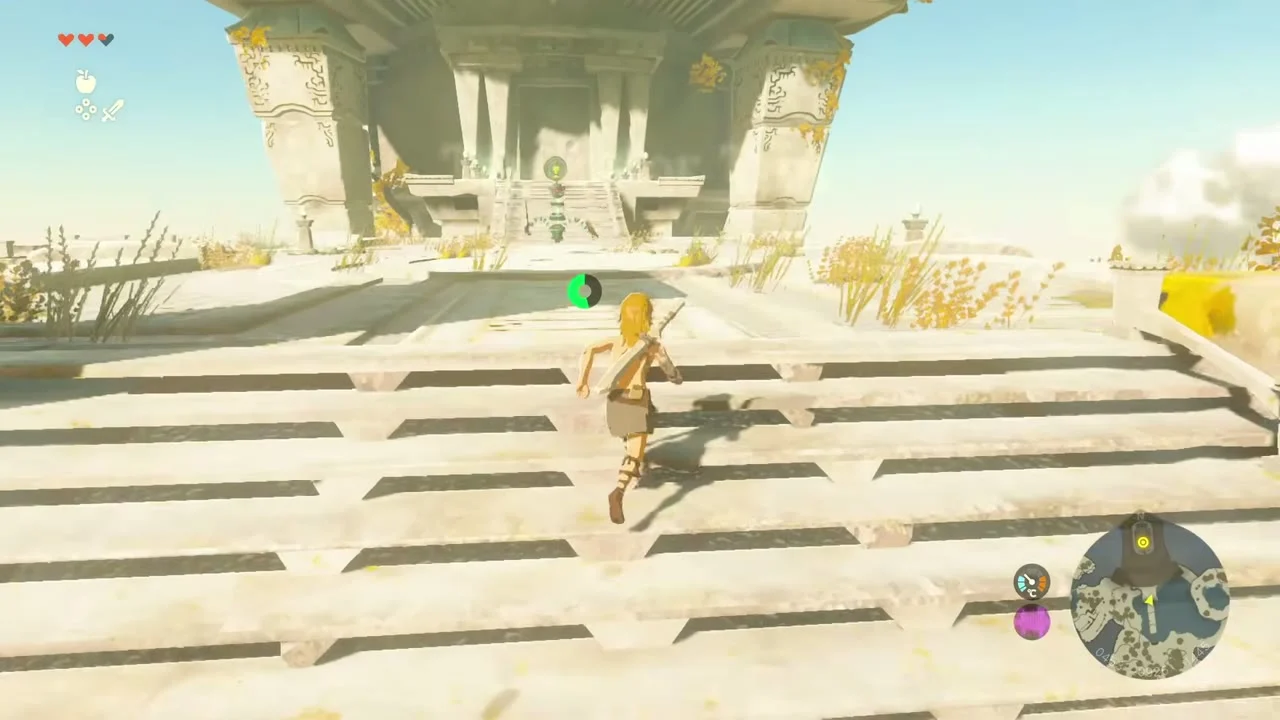
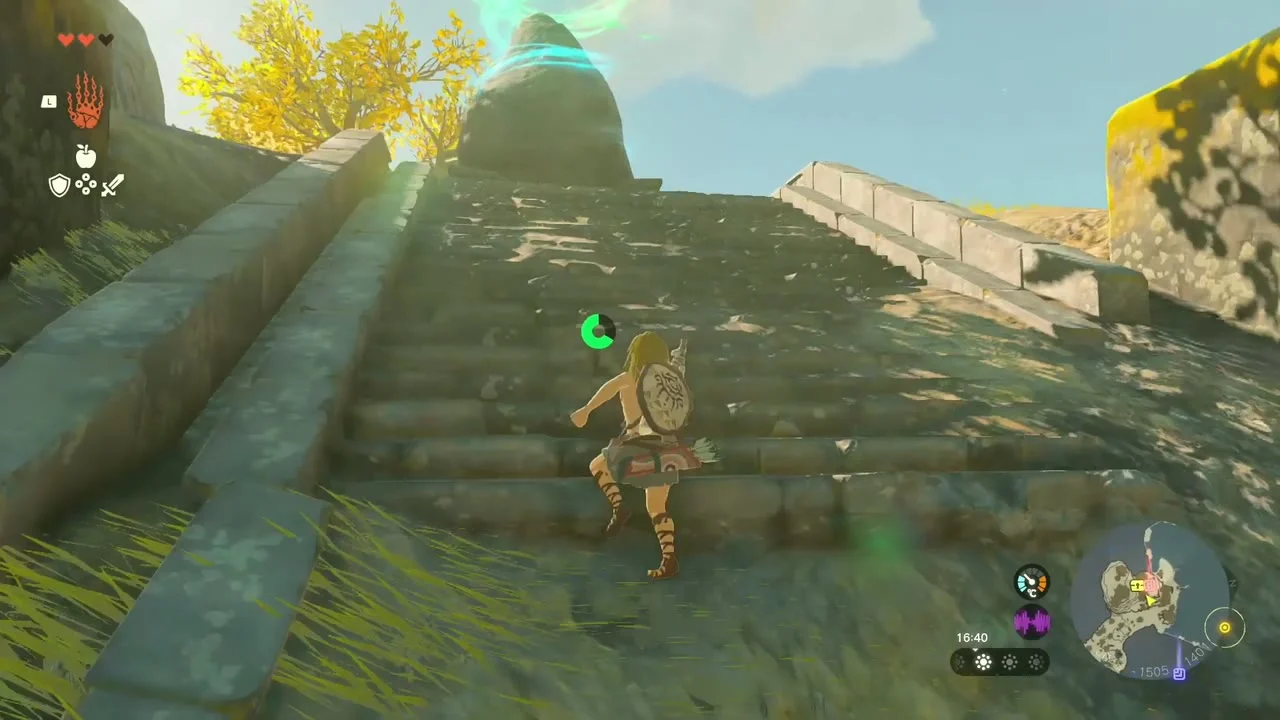
Temple of Time. Climb the wide stone steps to the temple door and touch the glowing seal. The door will not open yet, but this starts The Closed Door: clear Ukouh, In-isa and Gutanbac to open it.

Ukouh Shrine stands on the hill west of the Temple of Time. It teaches Ultrahand, and its chest holds Amber.


Ukouh Shrine to In-isa Shrine
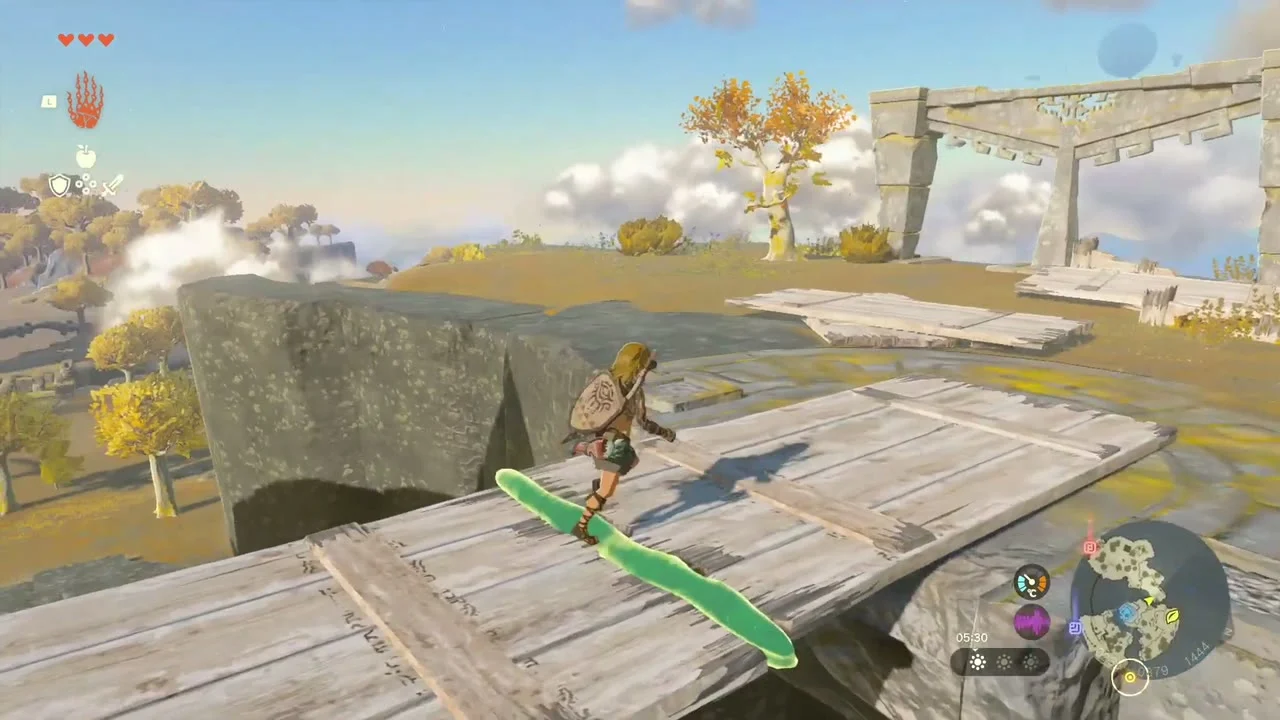
Crossing the gaps. Use Ultrahand to lay planks and logs across the breaks in the path. A plank placed from a lower ledge also gets you up to the next level.

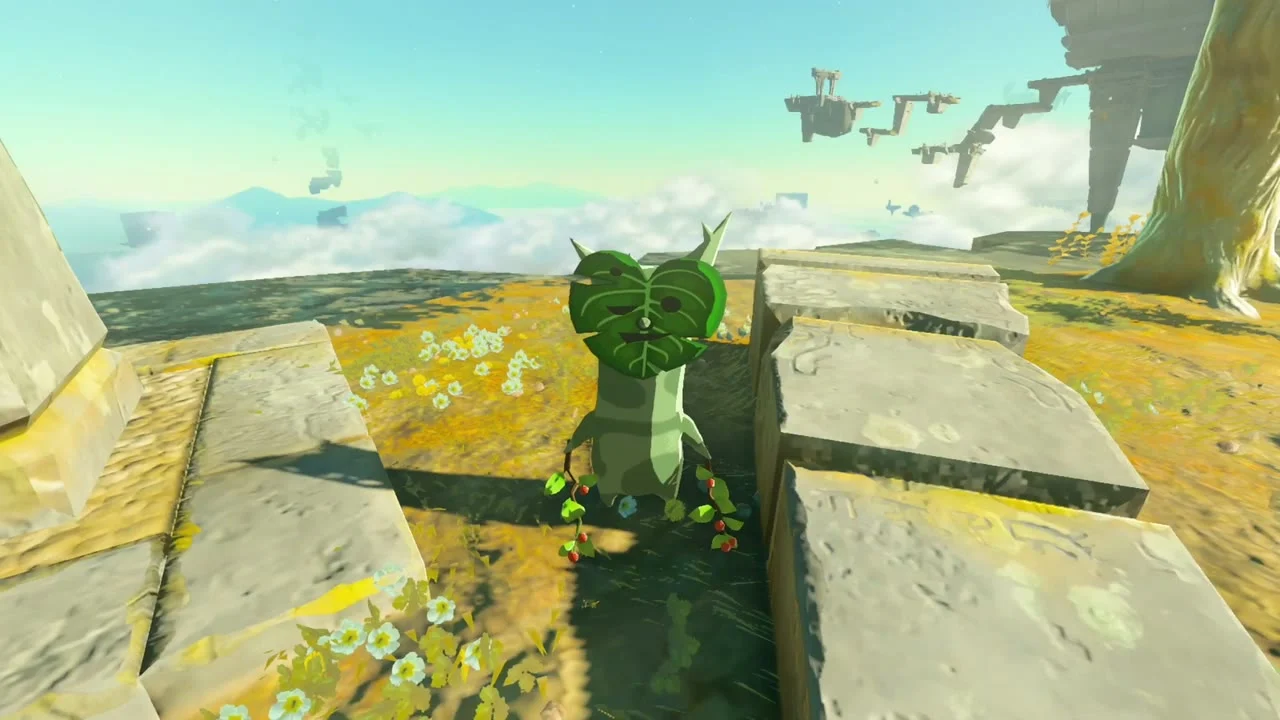
Korok seed 2 (chase the sparkles): in the stone pillar ruins at the cliff edge north of Ukouh Shrine, follow the roaming sparkles. They stop at the gap between two fallen stone slabs, where the Korok appears.
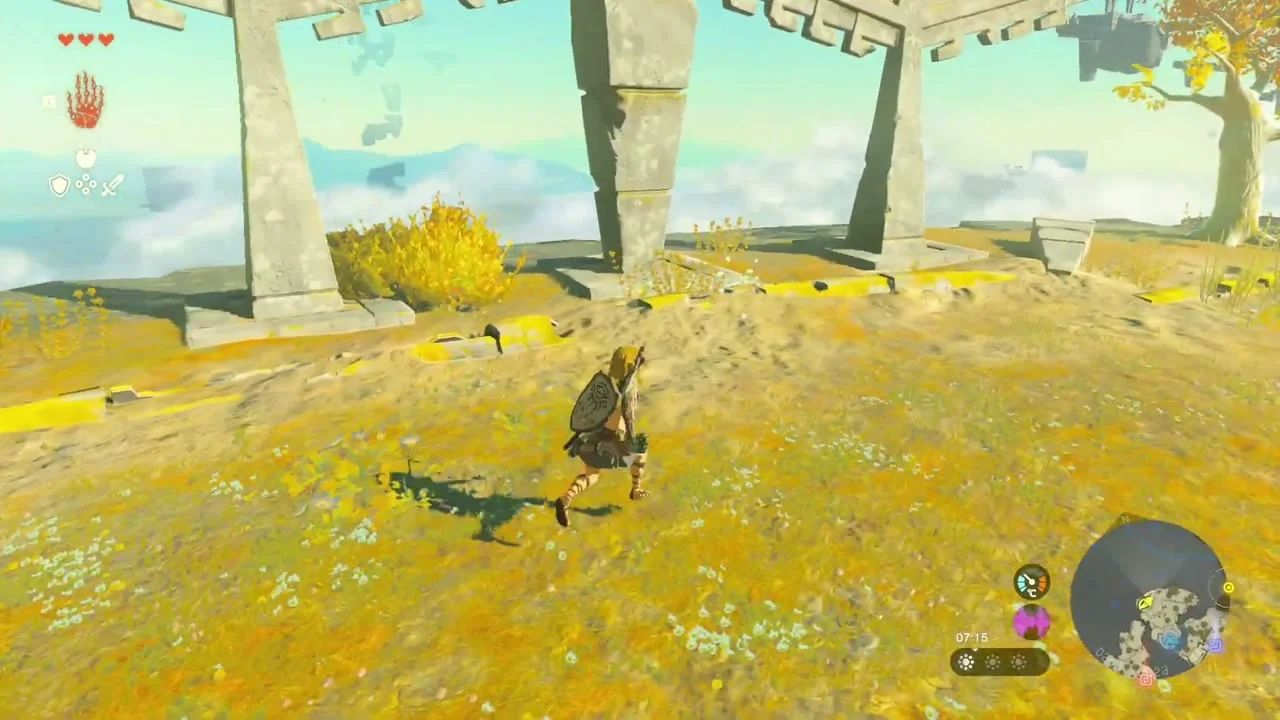
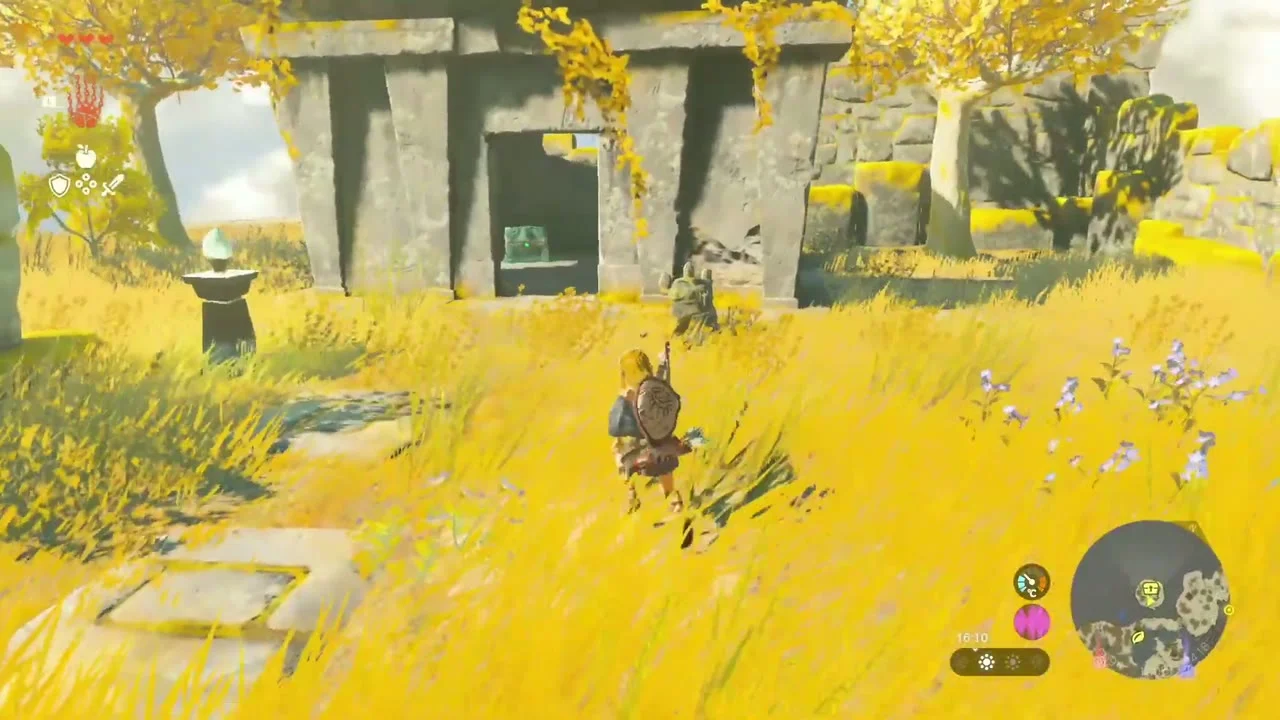
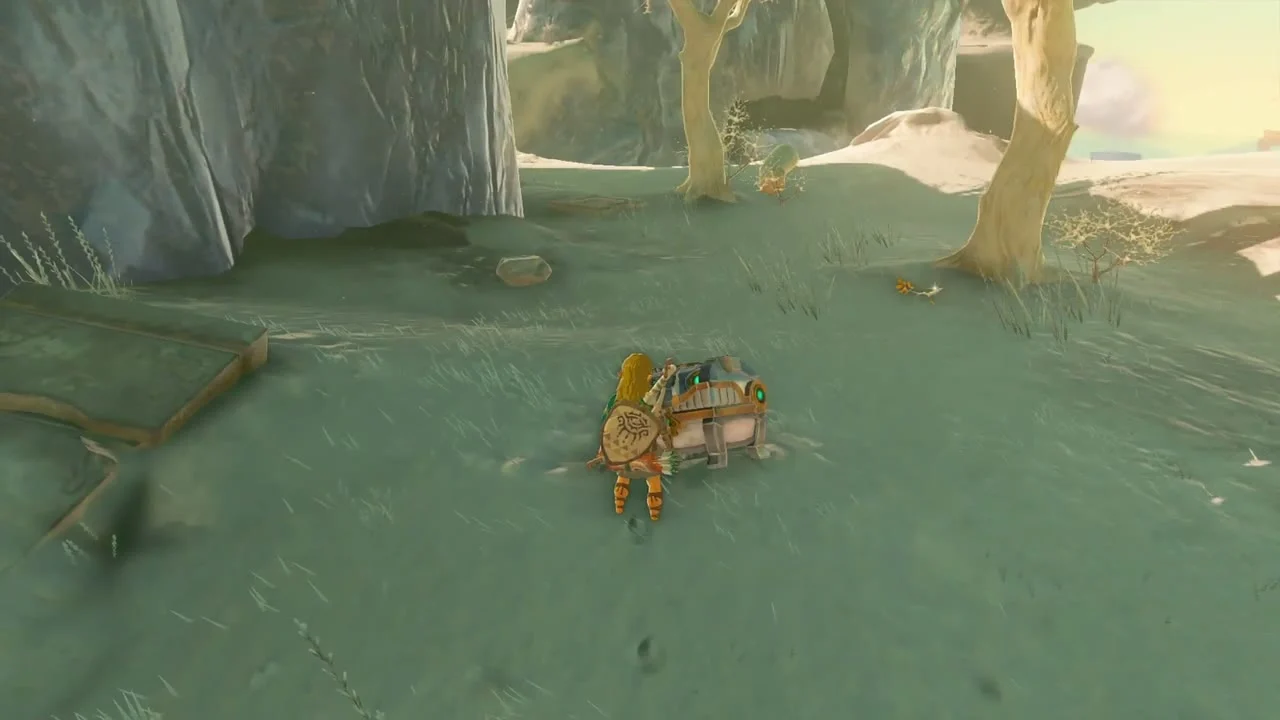
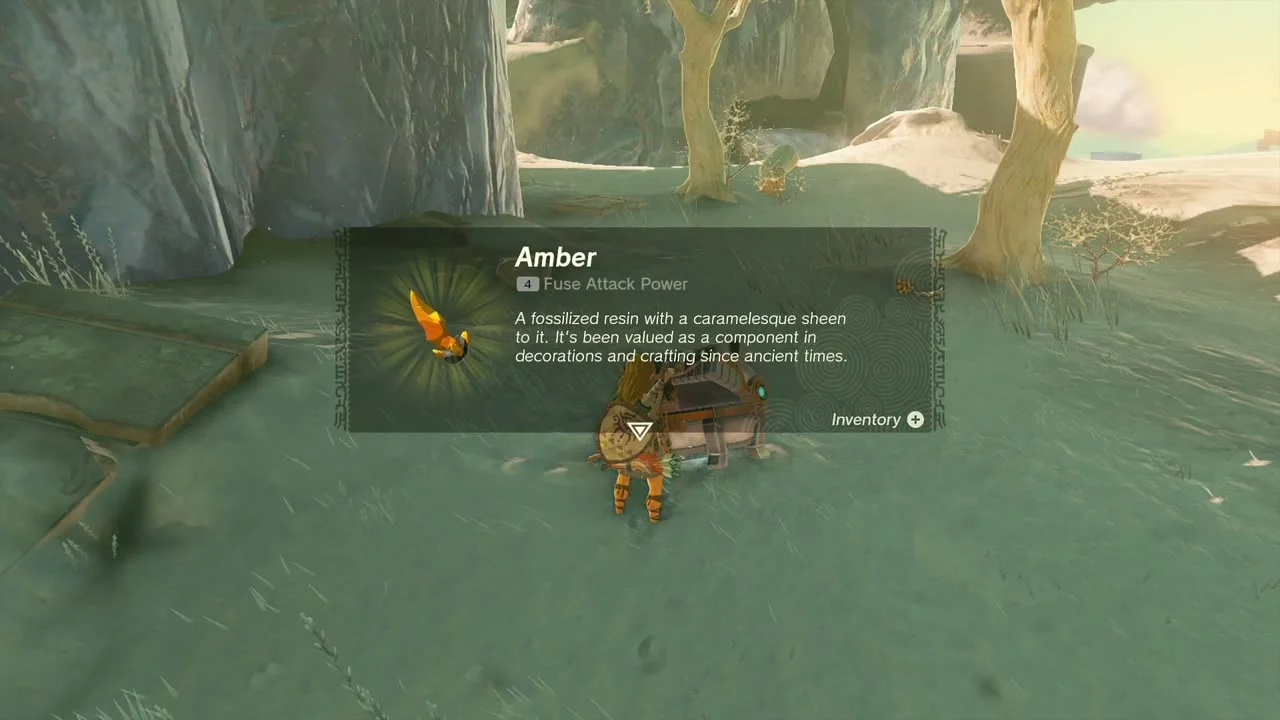
Chest: Amber. In the yellow grass field, walk into the small ruined stone building with the open doorway; the chest is on the floor inside.

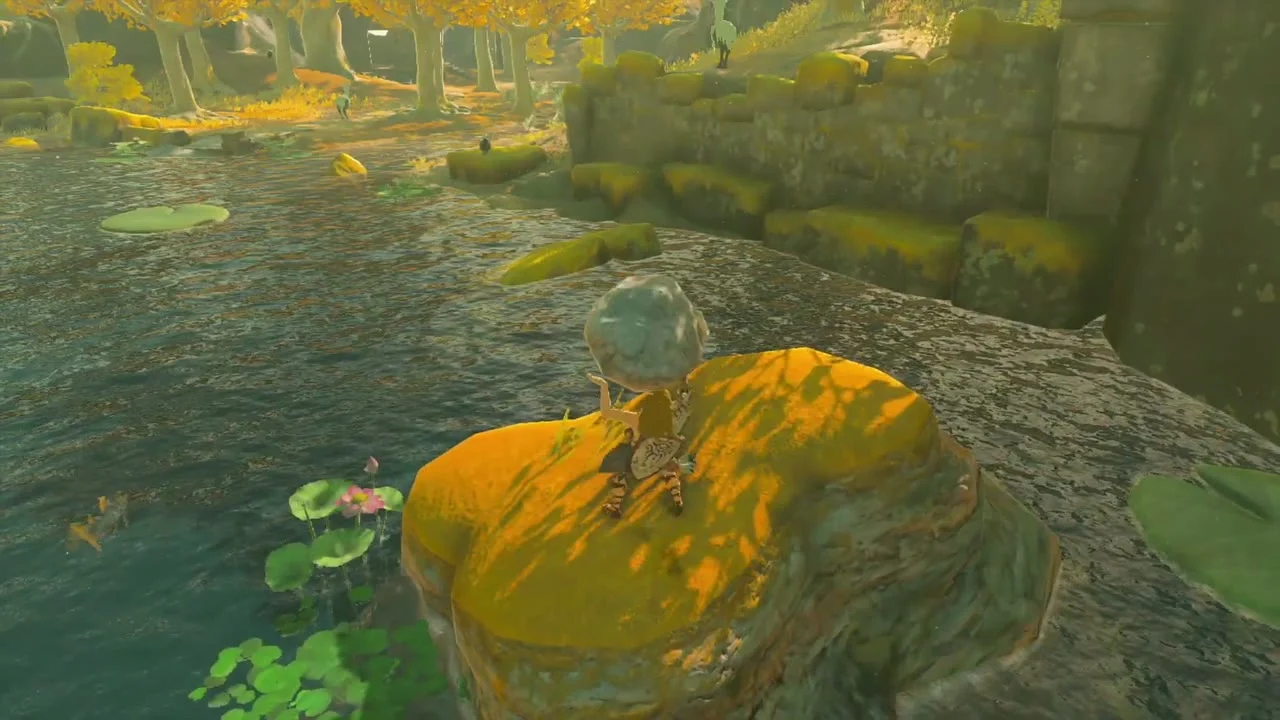
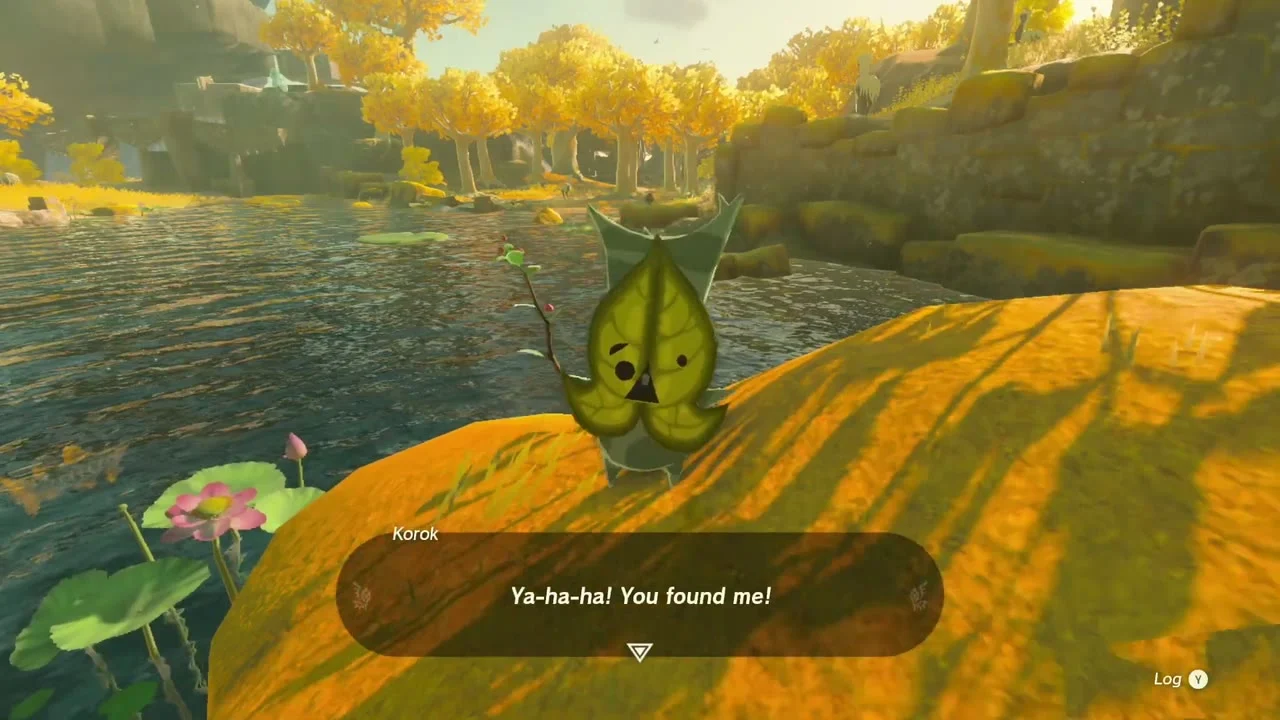
Korok seed 3 (lift the rock): swim to the small mossy islet in the pond southwest of Ukouh Shrine and lift the rock on top of it with Ultrahand.

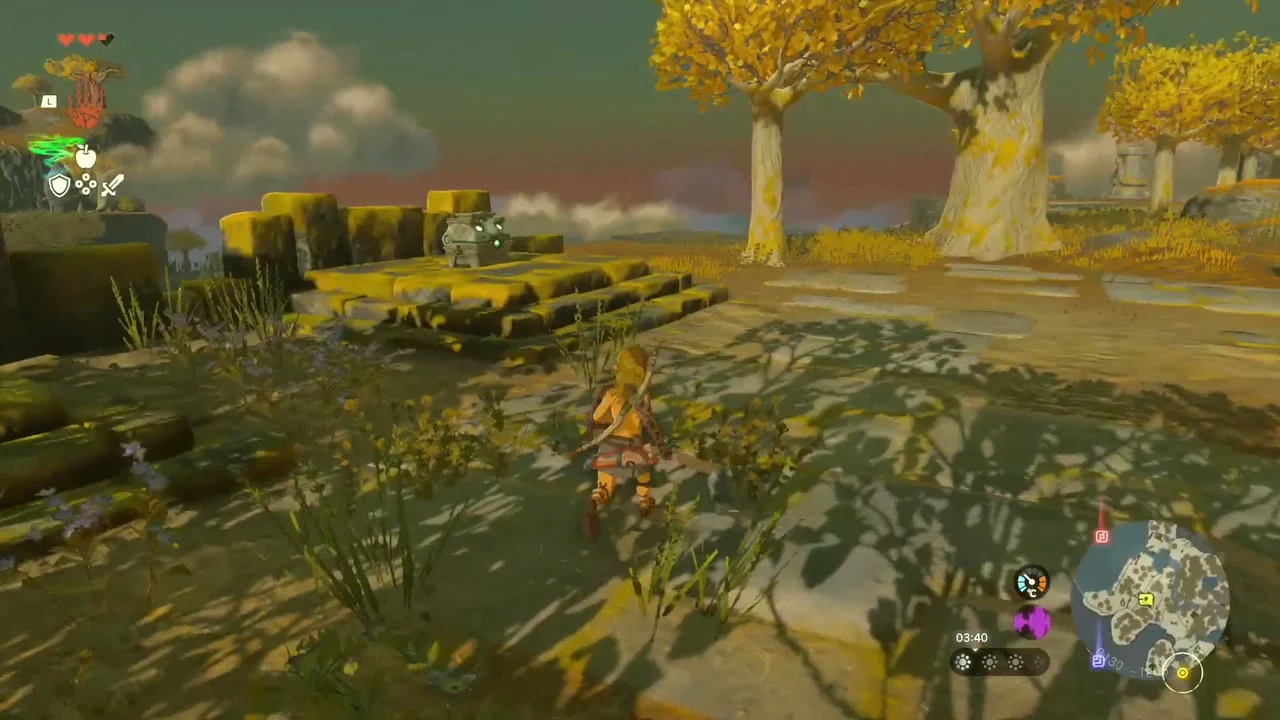
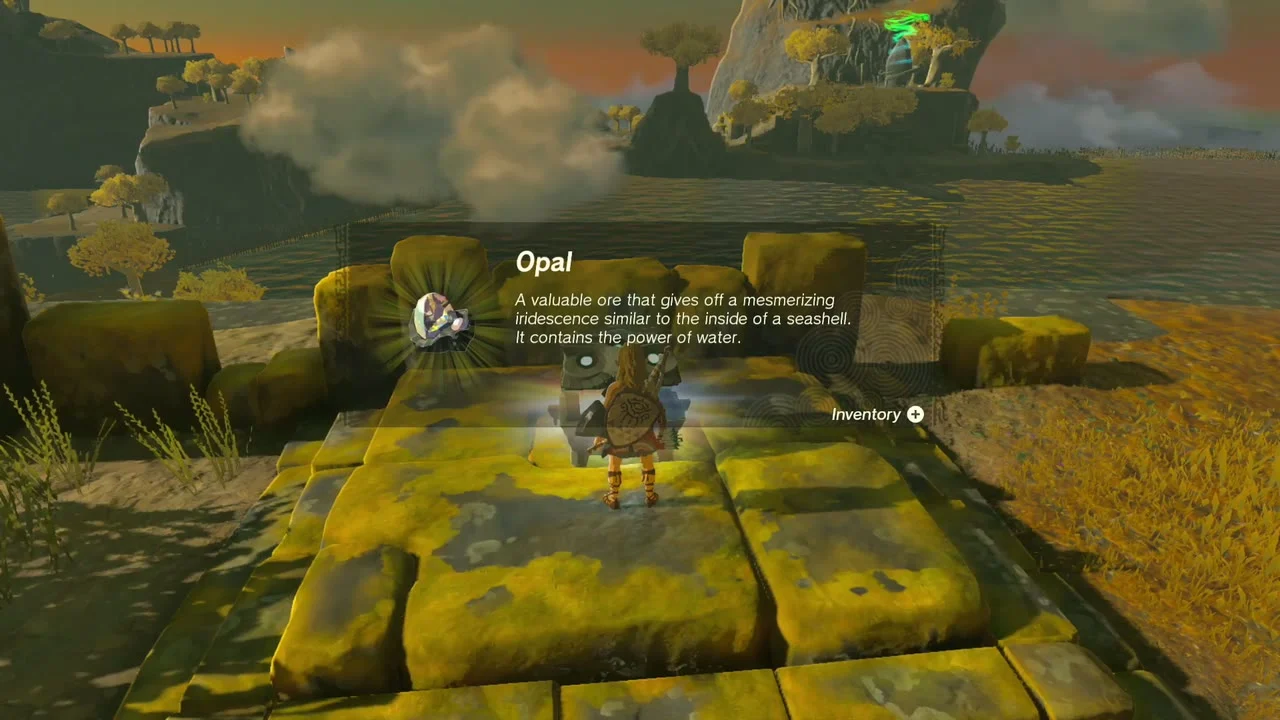
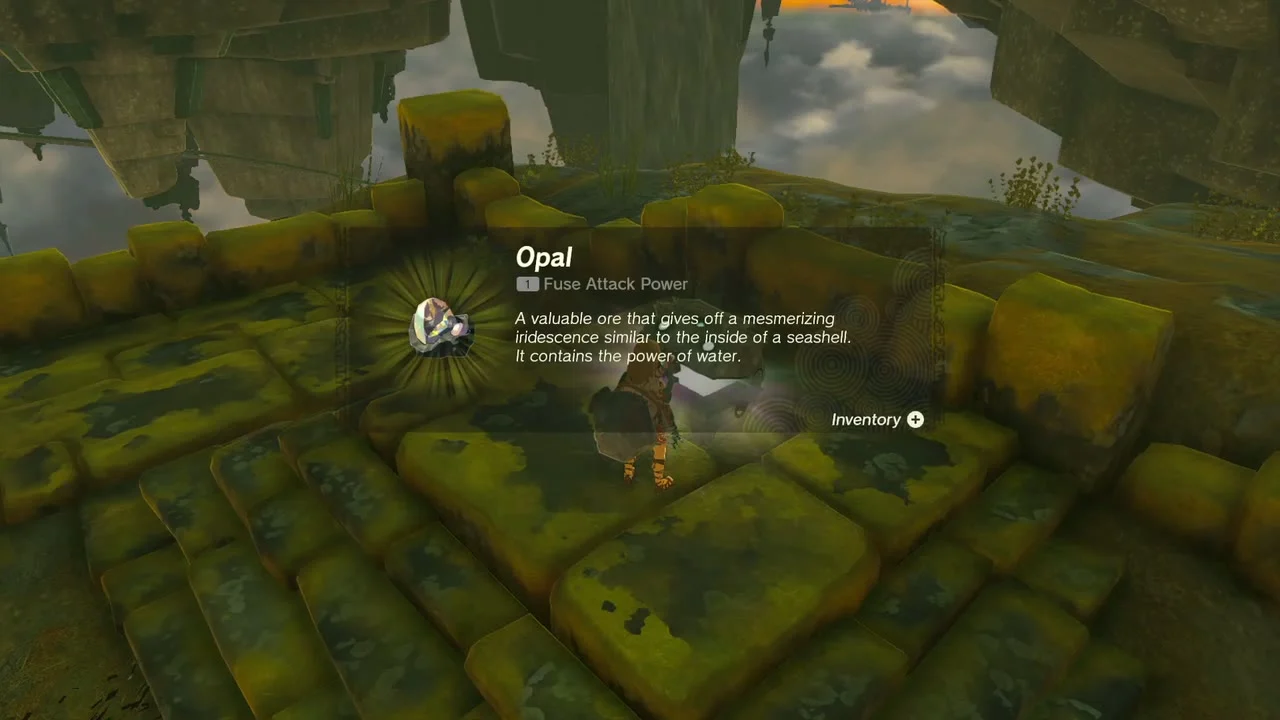
Chest: Opal. In a grove of golden trees, climb the low stepped stone platform; the chest is at the top.
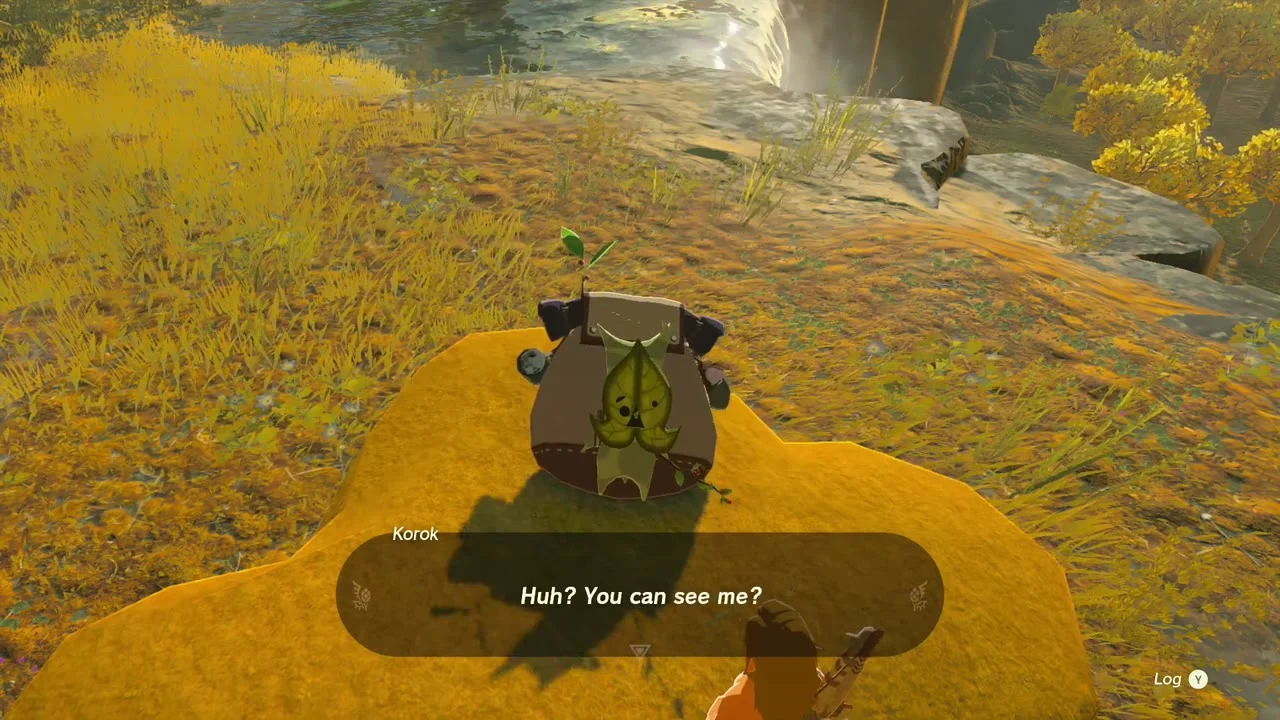
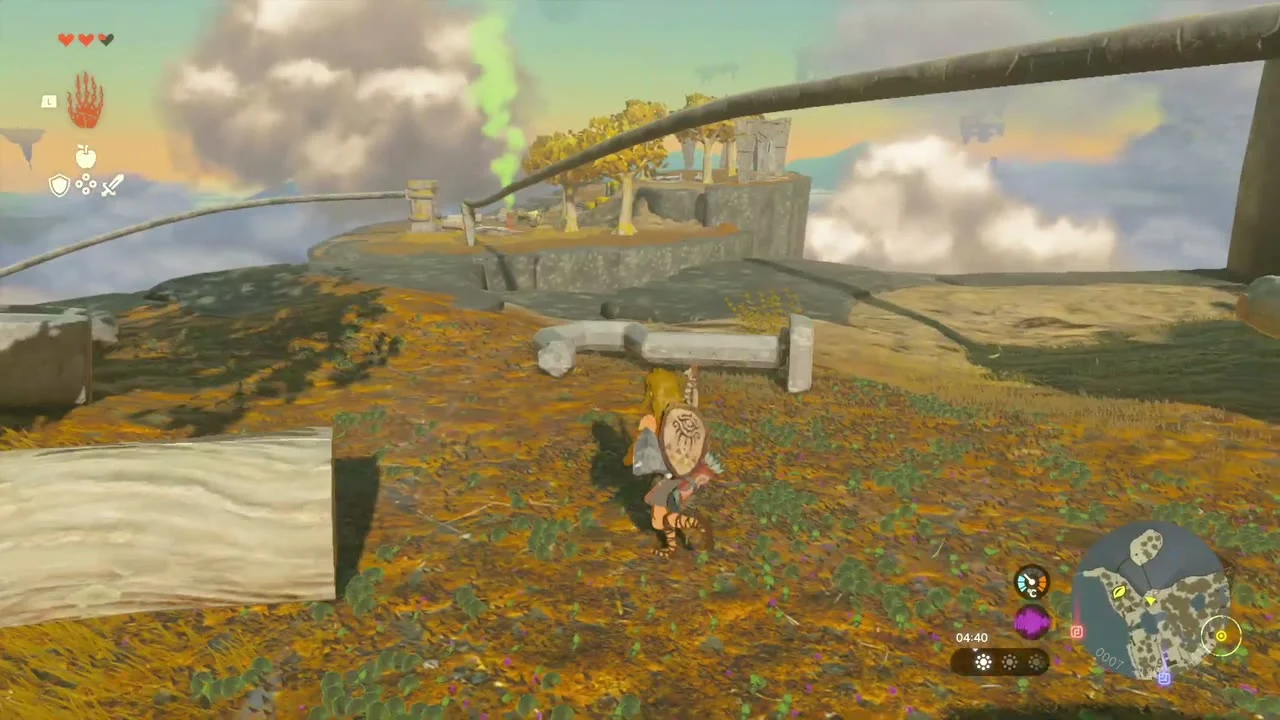
Korok seeds 4 and 5 (backpack Korok pair): a tired Korok with a big backpack sits on a rock and cannot move; his friend’s camp, marked by green smoke, is at the far end of a long rail on the plateau north of In-isa Shrine. With Ultrahand, join a log (two side by side is steadier) to a hook so it hangs from the rail, attach the Korok to the log, push it along the rail and ride it to the camp. Talk to either Korok for Korok Seed x2.
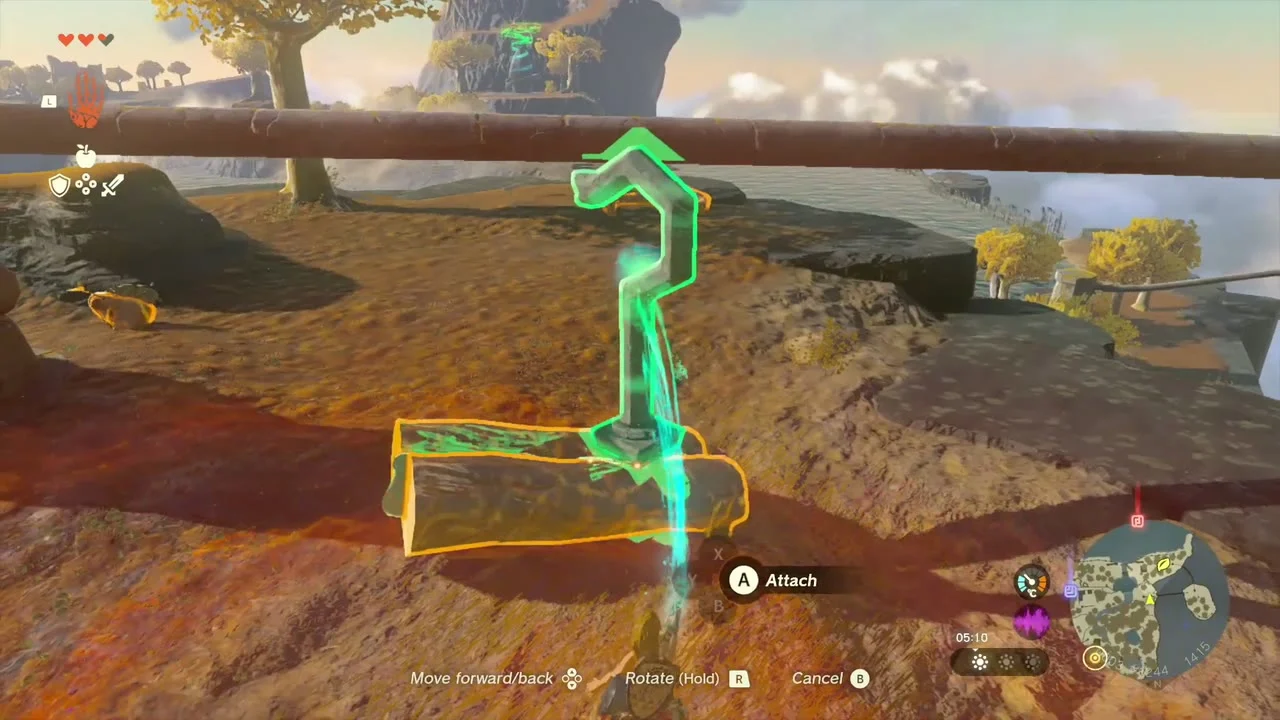


Chest: Amber. Follow the rocky ledge path beside the waterfall northeast of In-isa Shrine and go into the narrow tunnel behind the water. The chest is in the tunnel, next to a patch of Rushrooms.


In-isa Shrine and the Energy Cell
In-isa Shrine stands on a hill across the large lake, in the southwest of the island.
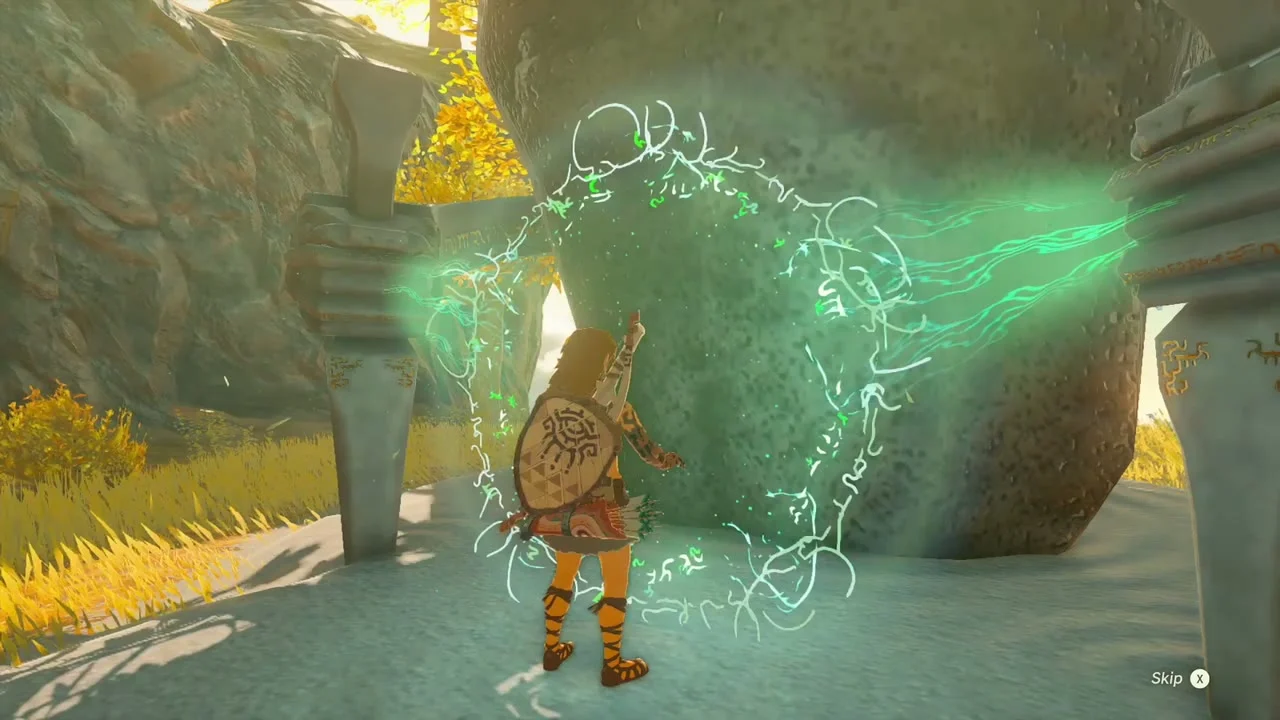
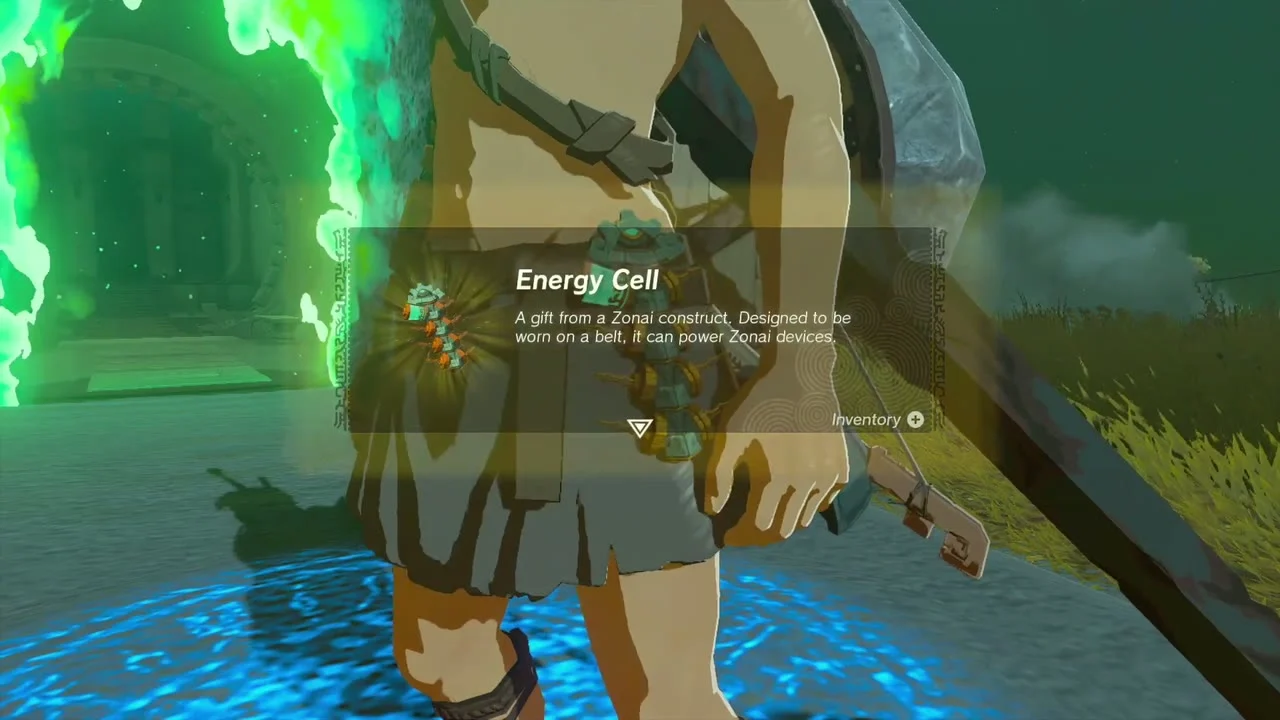
Key item: Energy Cell. When you leave the shrine, a Steward Construct waits outside and hands you the Energy Cell, the battery that powers Zonai devices.
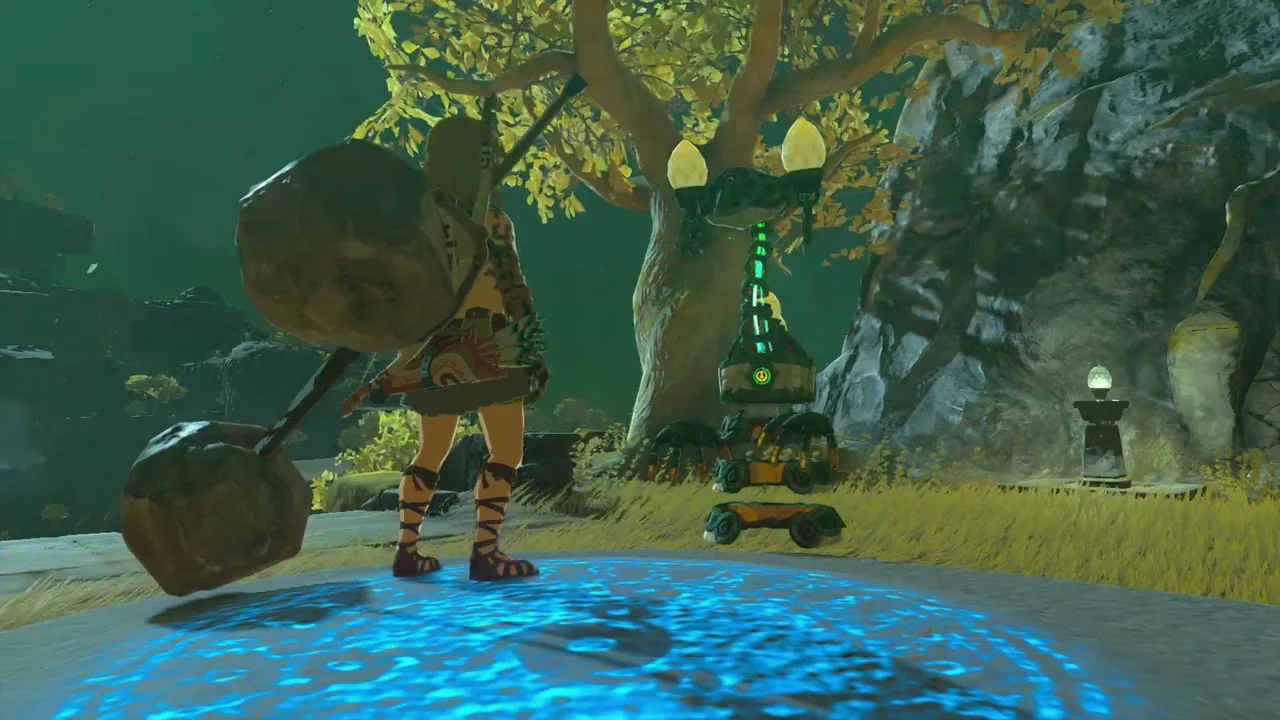
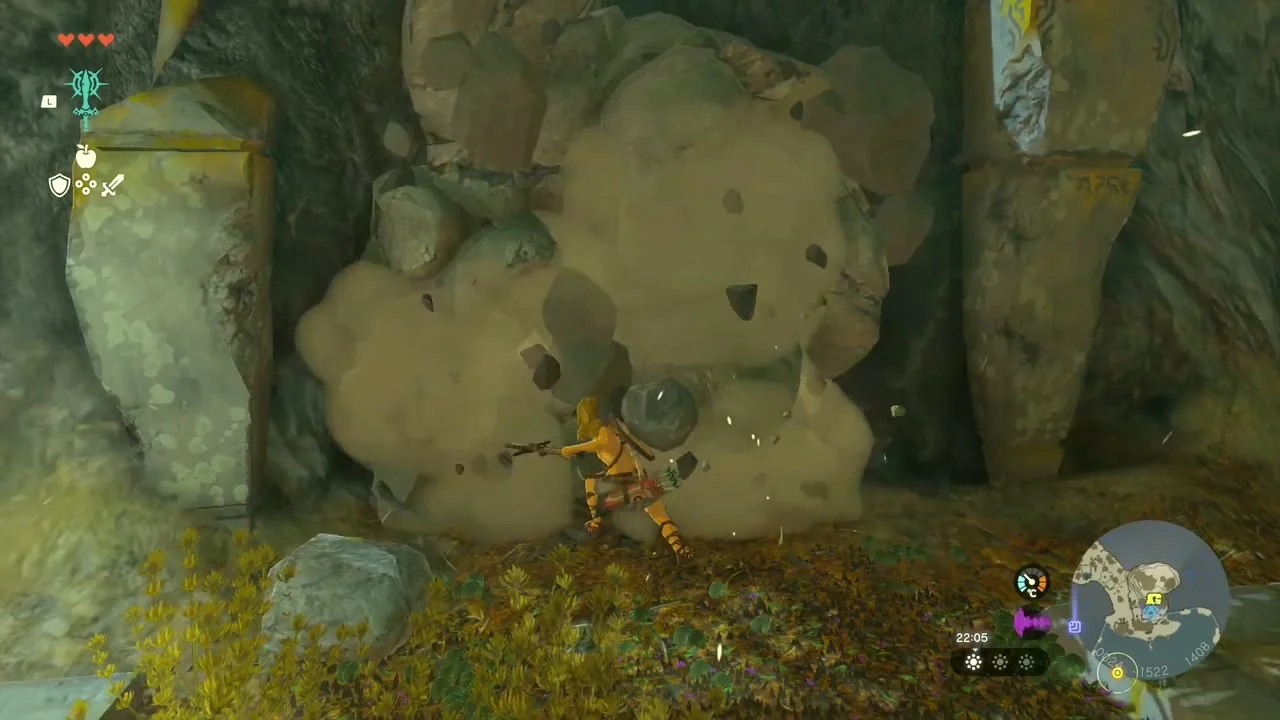
Chest: Arrow x5. Next to the shrine, a cracked rock wall hides a hollow. Make a Boulder Hammer by fusing a boulder to a weapon, smash the wall and open the chest behind it for Arrow x5.

Around In-isa Shrine and Pondside Cave
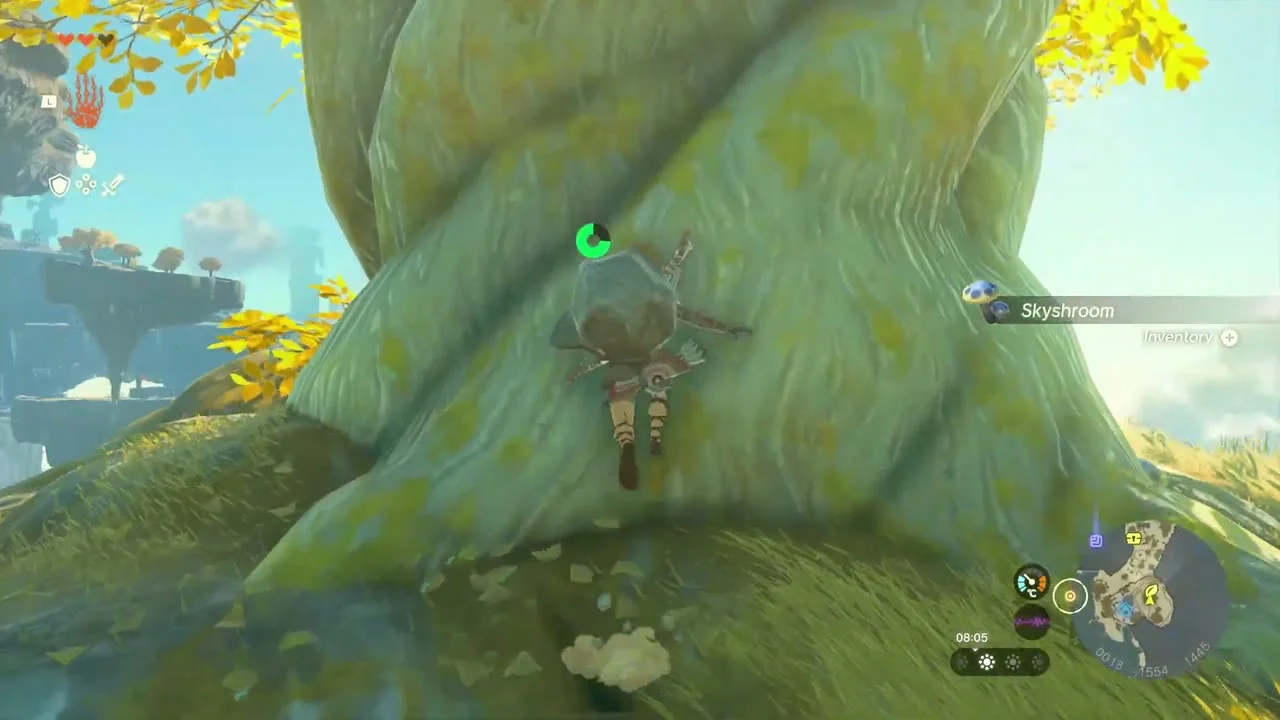
Korok seed 6 (rock in the tree): on the grassy hill right beside In-isa Shrine, climb the big tree. In the branches near the top, lift the rock with Ultrahand and the Korok appears.


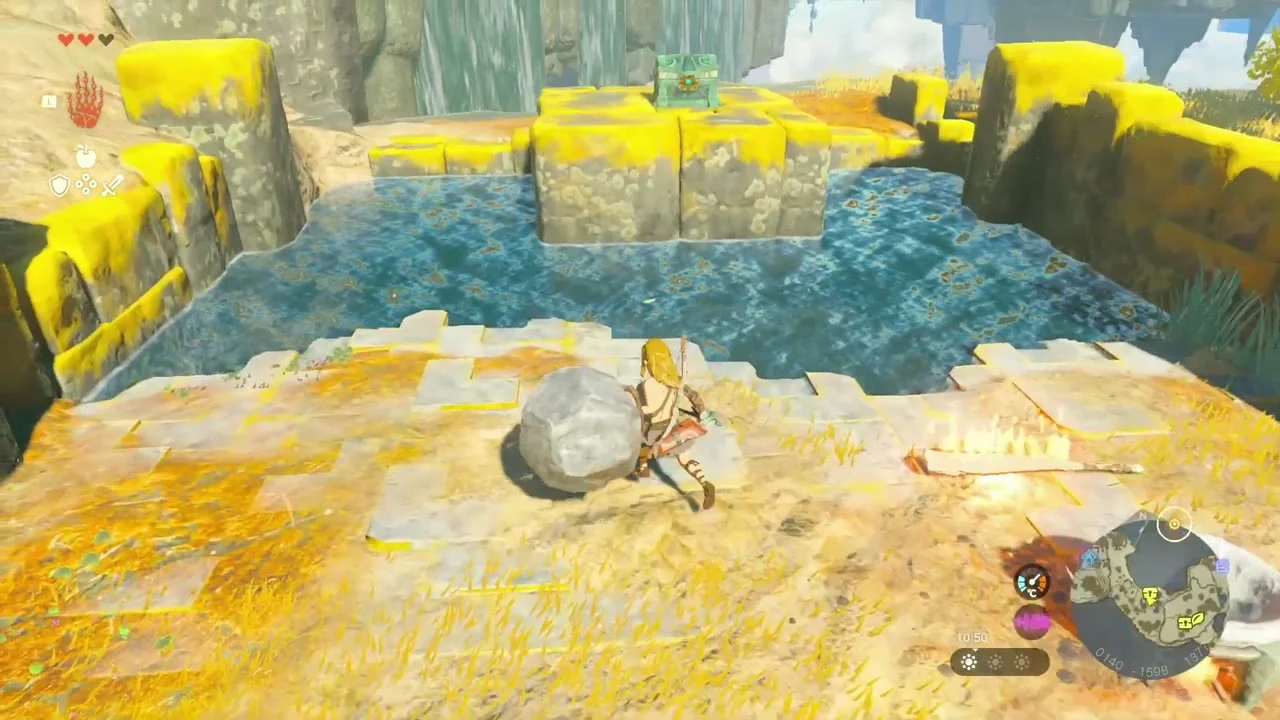
Chest: Soldier Reaper. Just outside Pondside Cave, Soldier Constructs guard a pond with a raised stone platform in the middle, and a cooking pot stands beside the cave opening. Defeat them, then swim to the platform and climb up to the chest for the Soldier Reaper.

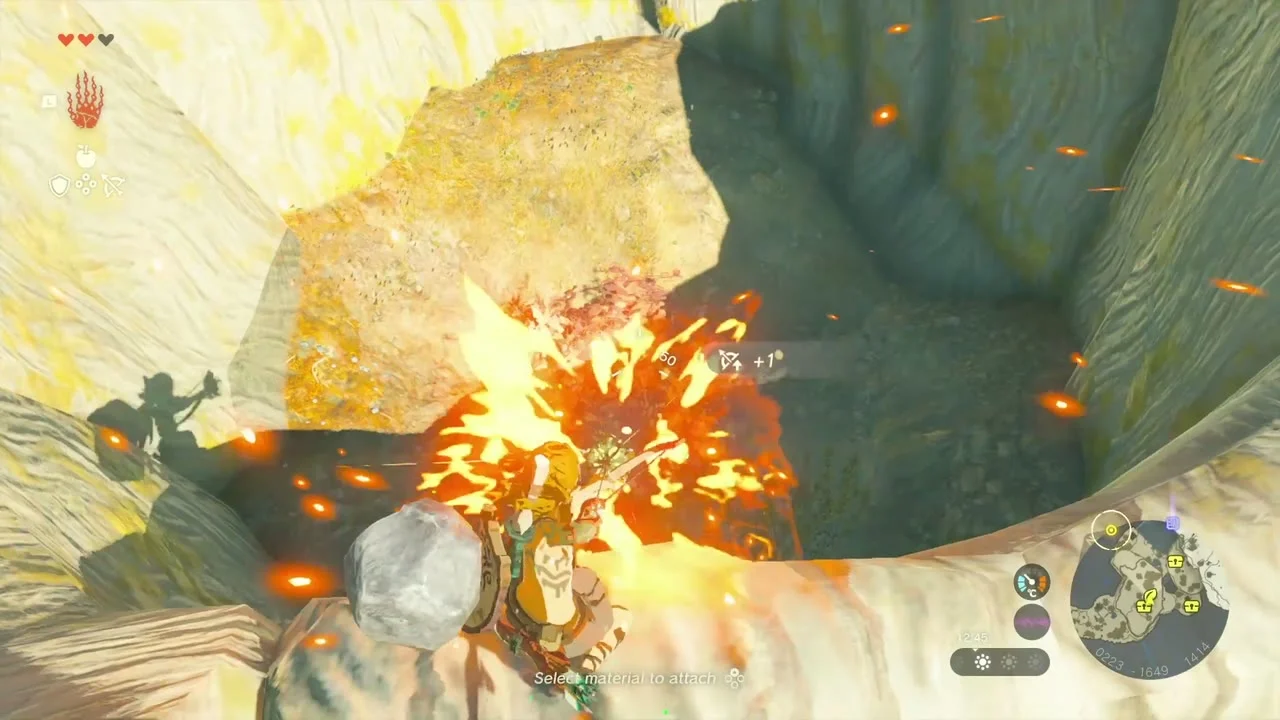
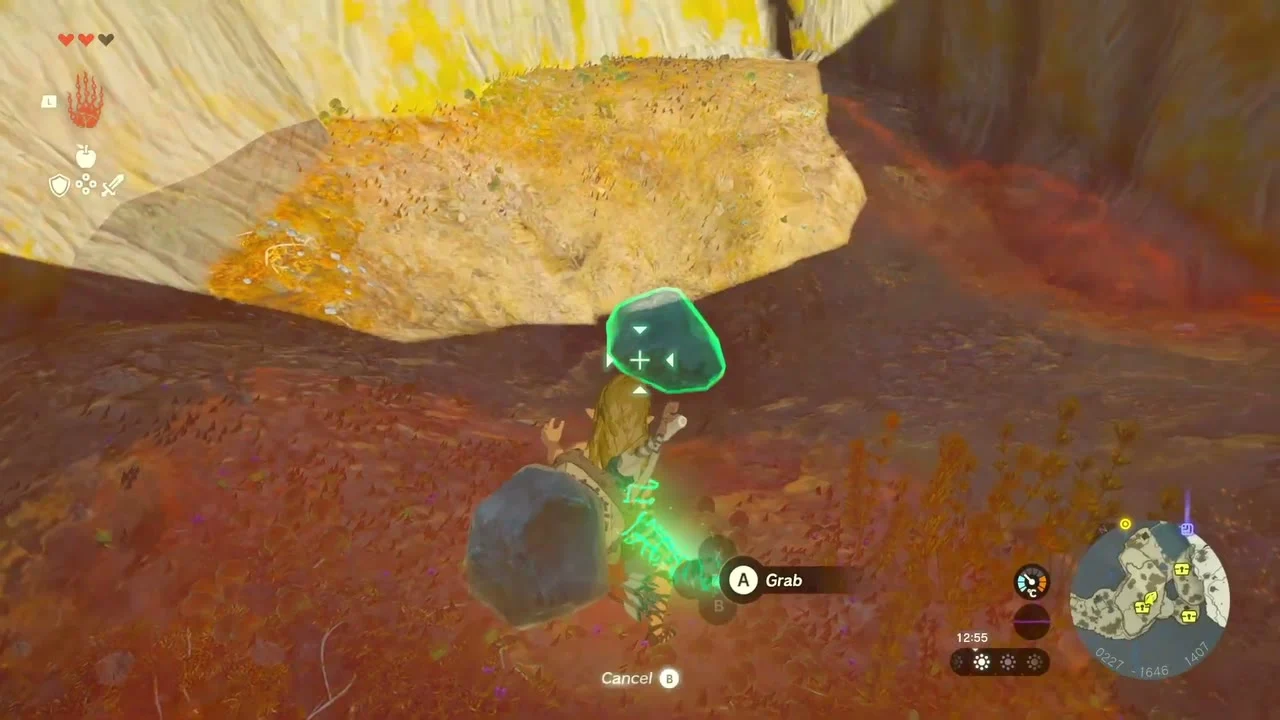
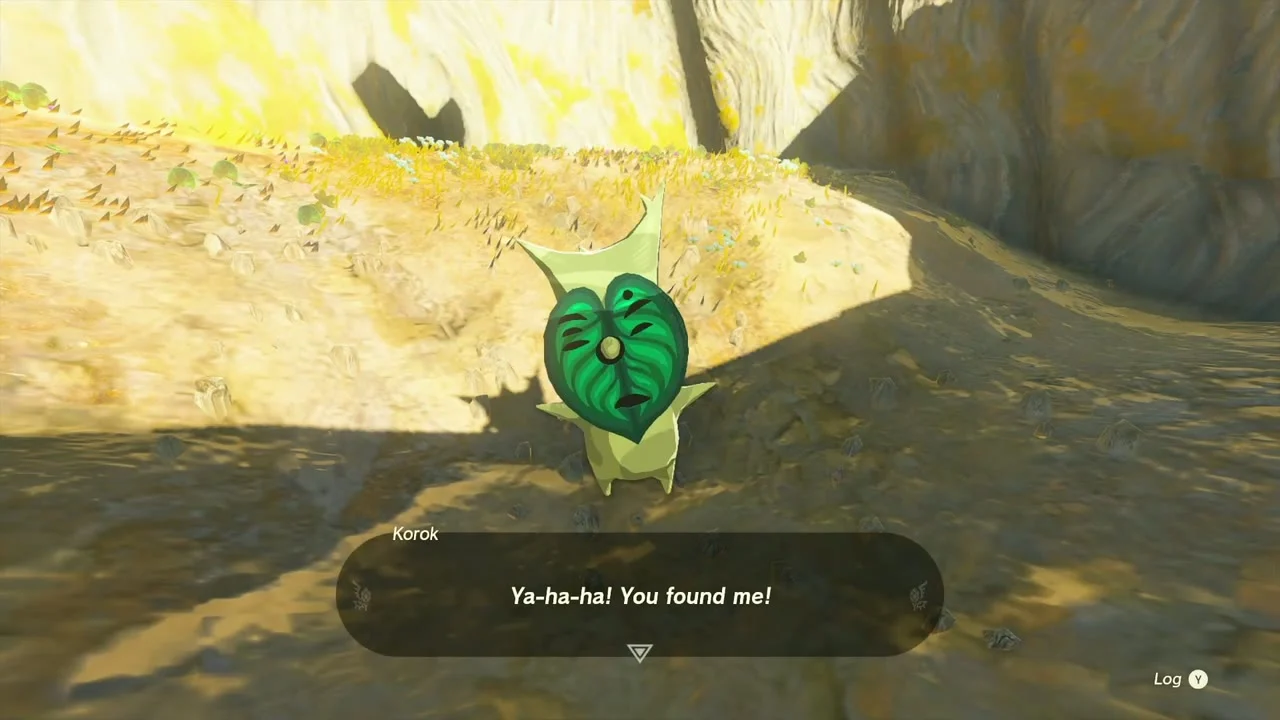
Korok seed 7 (burn the leaves): on the pale rock hill above Pondside Cave, a huge hollow stump holds a pile of dry leaves. Burn them with a Fire Fruit thrown or fused to an arrow, drop into the hollow and lift the rock underneath to reveal the Korok.

Pondside Cave and Bubbul Gem 1. Pondside Cave is in the southwest of the island, east of In-isa Shrine.


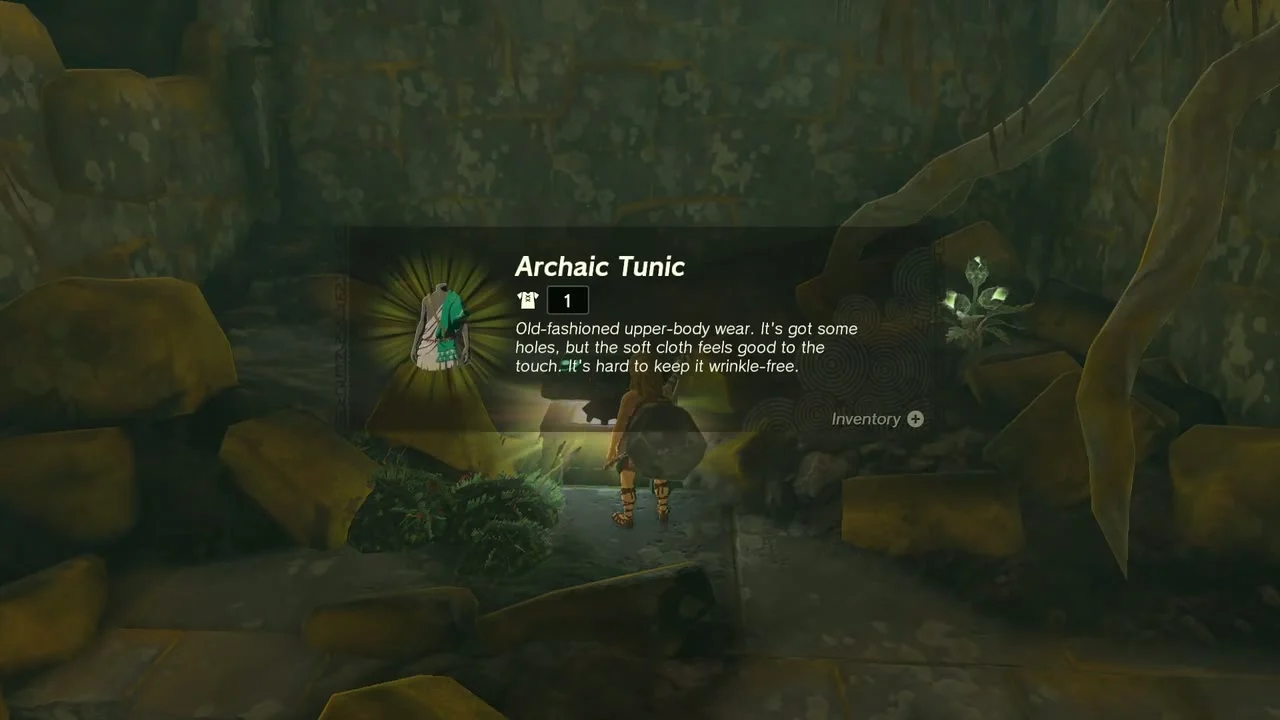
Chest: Archaic Tunic. Take the tunnel north of the Bubbulfrog room; the chest sits behind a low rock among mossy boulders. It holds the Archaic Tunic.

Chest: Amber. Near Pondside Cave, a raised platform with a carved stone maze pattern blocks the way to the chest. Lift the loose maze block out of the way with Ultrahand, climb onto the platform and open the chest.

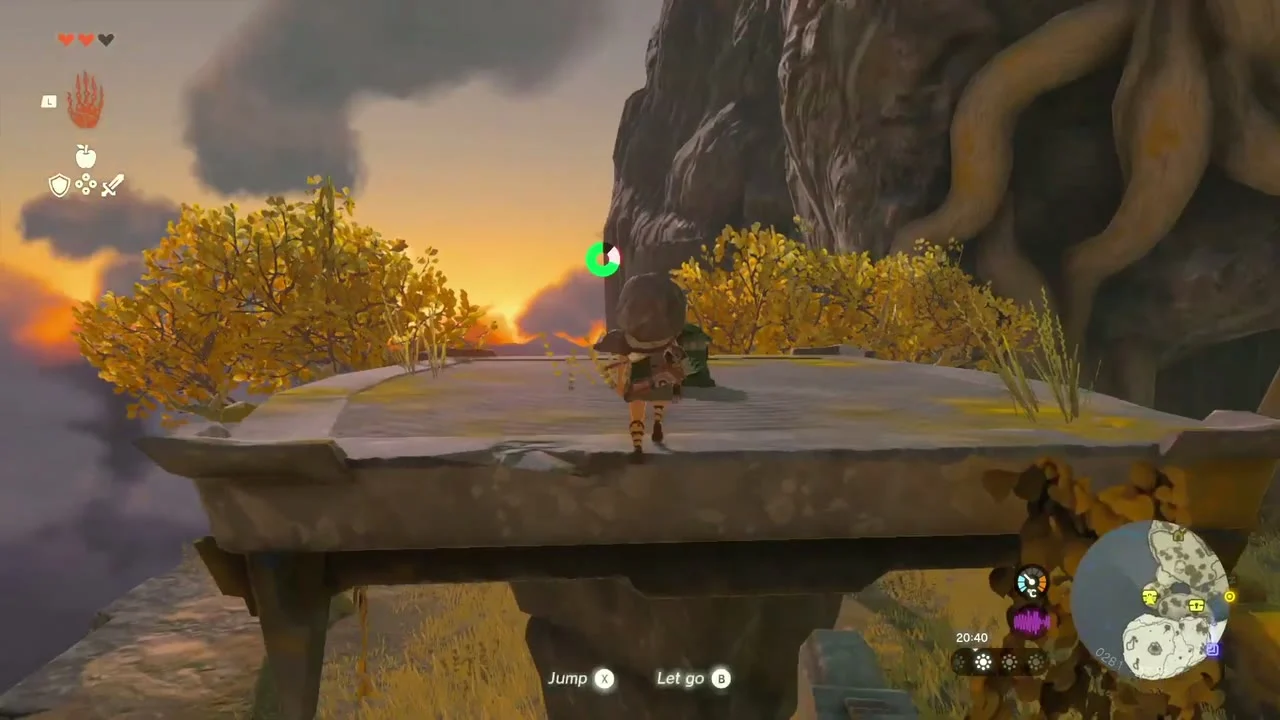

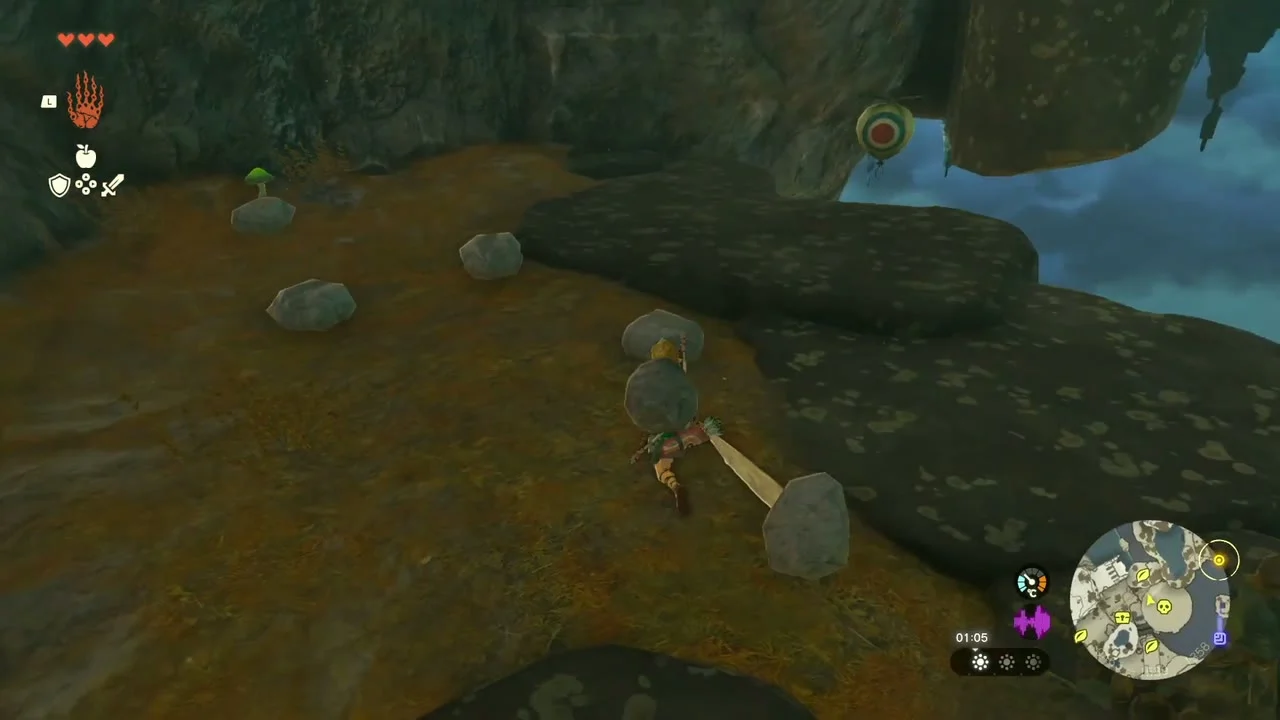
Korok seed 8 (balloon): next to the round platform where Flux Construct I stands, cracked boulders are embedded in the ground. Smash them with a Boulder Hammer or a bomb to open a hole, drop onto the ledge below and shoot the red balloon under the overhang with an arrow.

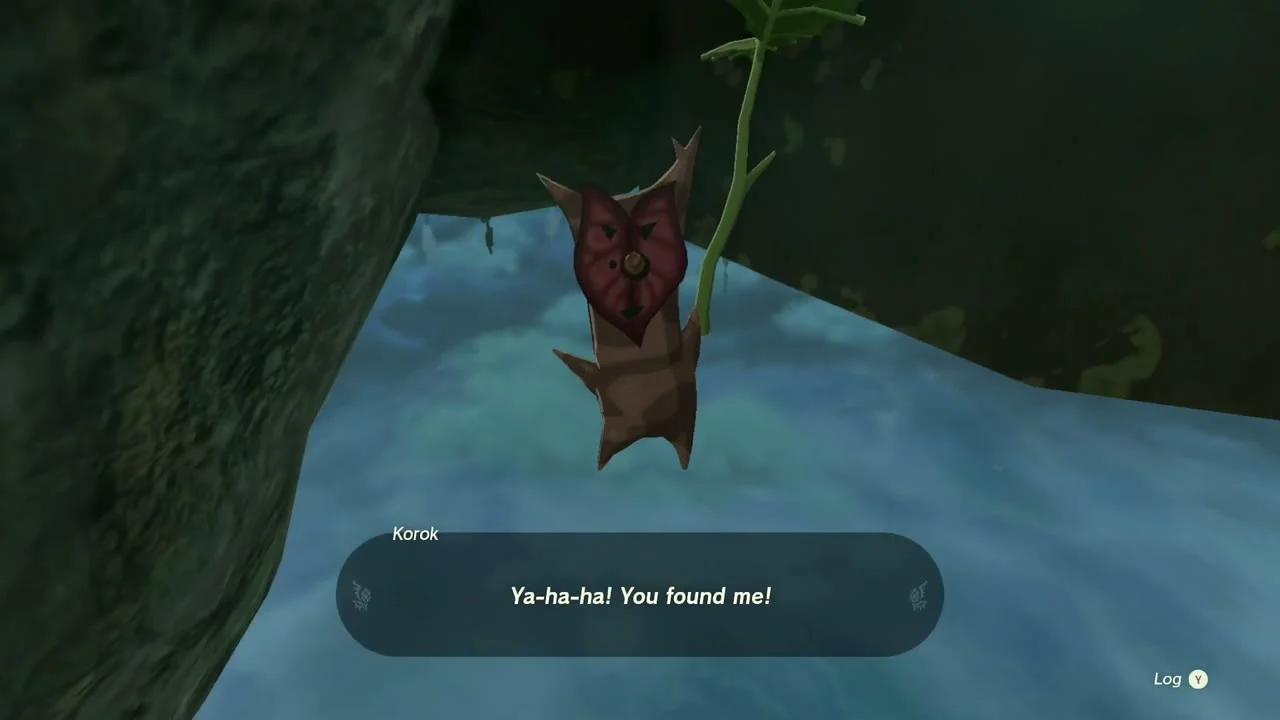
Chest: Opal. Near the stairs up to the Mining Cave, defeat the Constructs in the mossy stone ruin with a wooden crate against the far wall. Smash the crate for a bundle of arrows, then open the chest for Opal.

Mining Cave, the Forge and the device dispenser
Mining Cave and Bubbul Gem 2. Mining Cave is a Zonaite mine staffed by Constructs. The Bubbulfrog clings to the ceiling in the area where you collect Zonaite; shoot it down for the second Bubbul Gem. Fuse a rock to a stick to make a rock hammer and break the ore deposits for Zonaite, then take it to the Forge Construct at the Great Sky Island Forge, which turns it into Zonai Charges and crystallized charges.

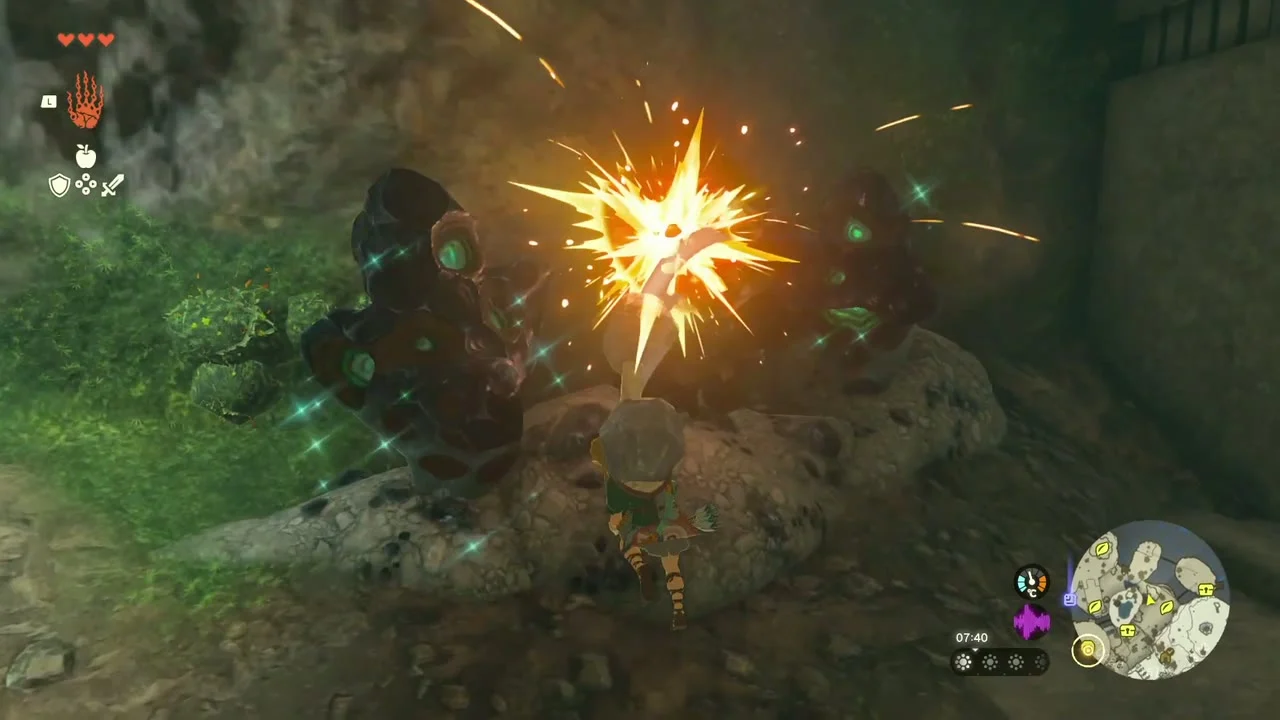

Device dispenser. Beyond the forge, near the top of the mine, the Maker Construct runs a device dispenser. Drop in a Zonai Charge or a Construct Horn and it gives you a random capsule; here that can be a Fan, a Flame Emitter or a Portable Pot.


Chest: Energizing Elixir. Climb down the rocks near the dispenser to a small roofless stone hut with wooden barrels. The chest holds an Energizing Elixir.
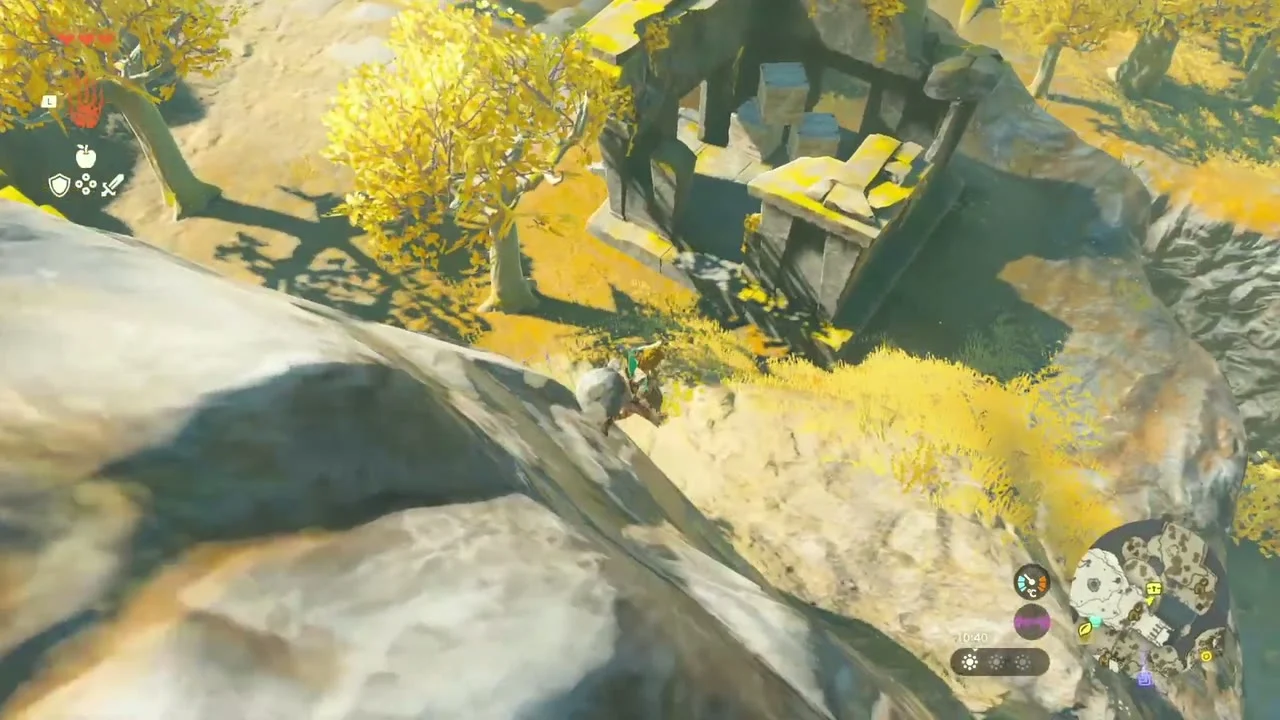

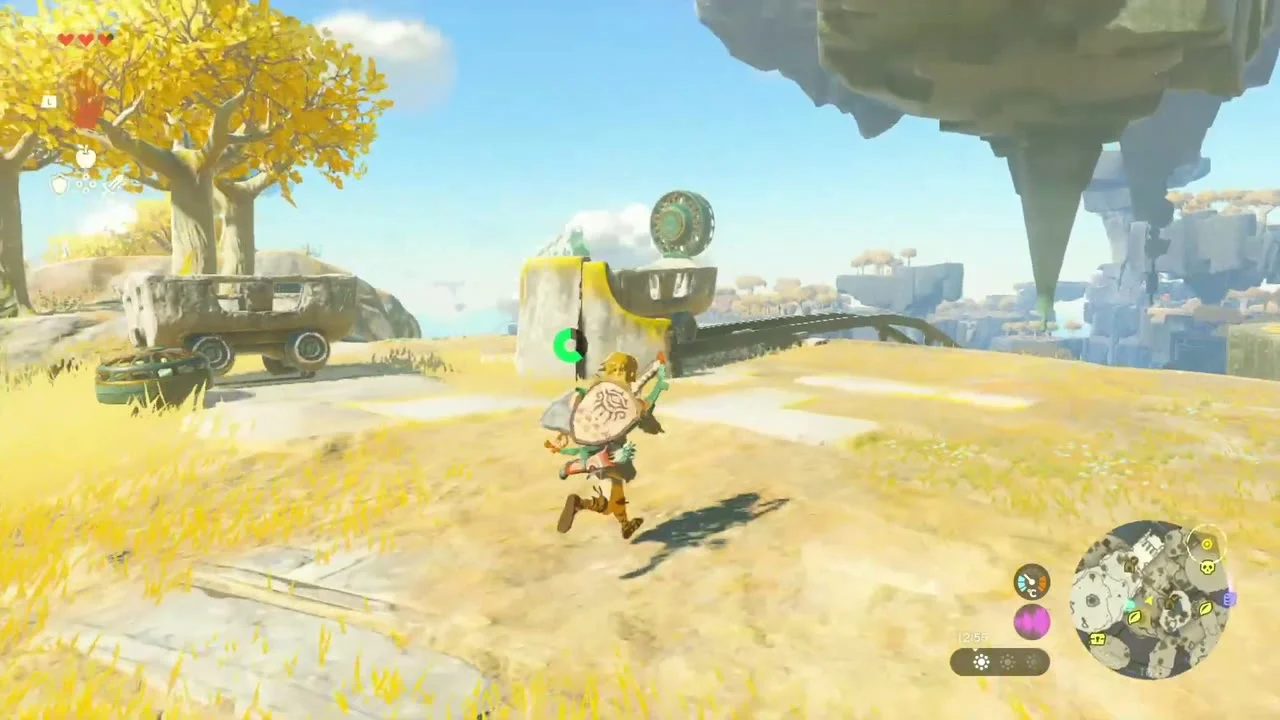
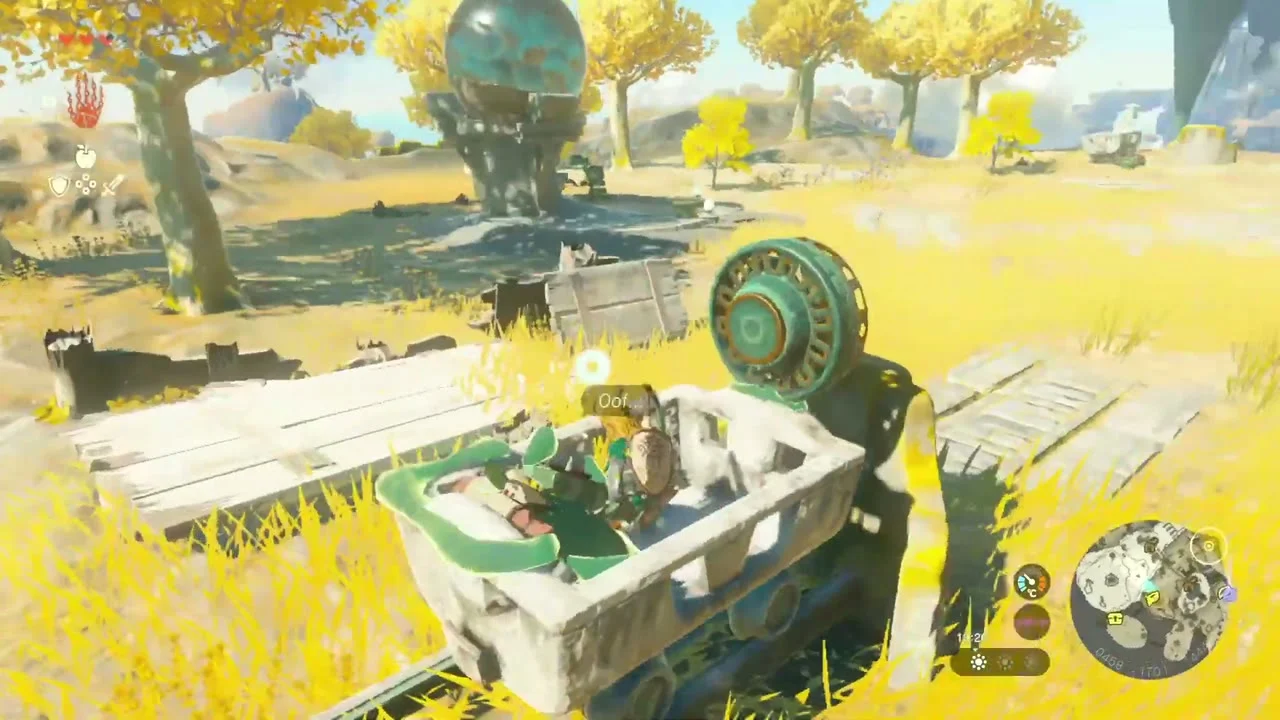
Korok seeds 9 and 10 (mine cart pair): a second tired backpack Korok sits near a mine cart and rails, and his friend waits on the island to the south. Take a Fan from the dispenser, place the cart on the rail with Ultrahand, attach the Fan to the back, seat the Korok, hop in and hit the Fan to roll across. Talk to either Korok for Korok Seed x2.


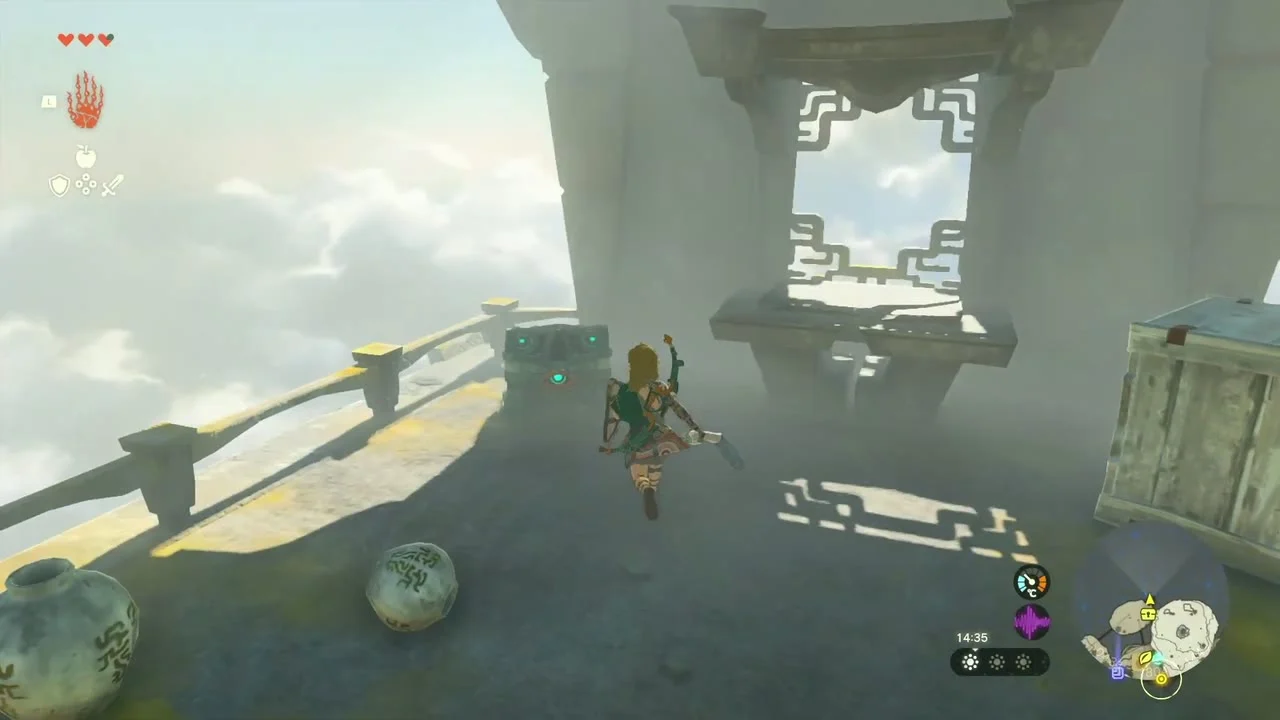
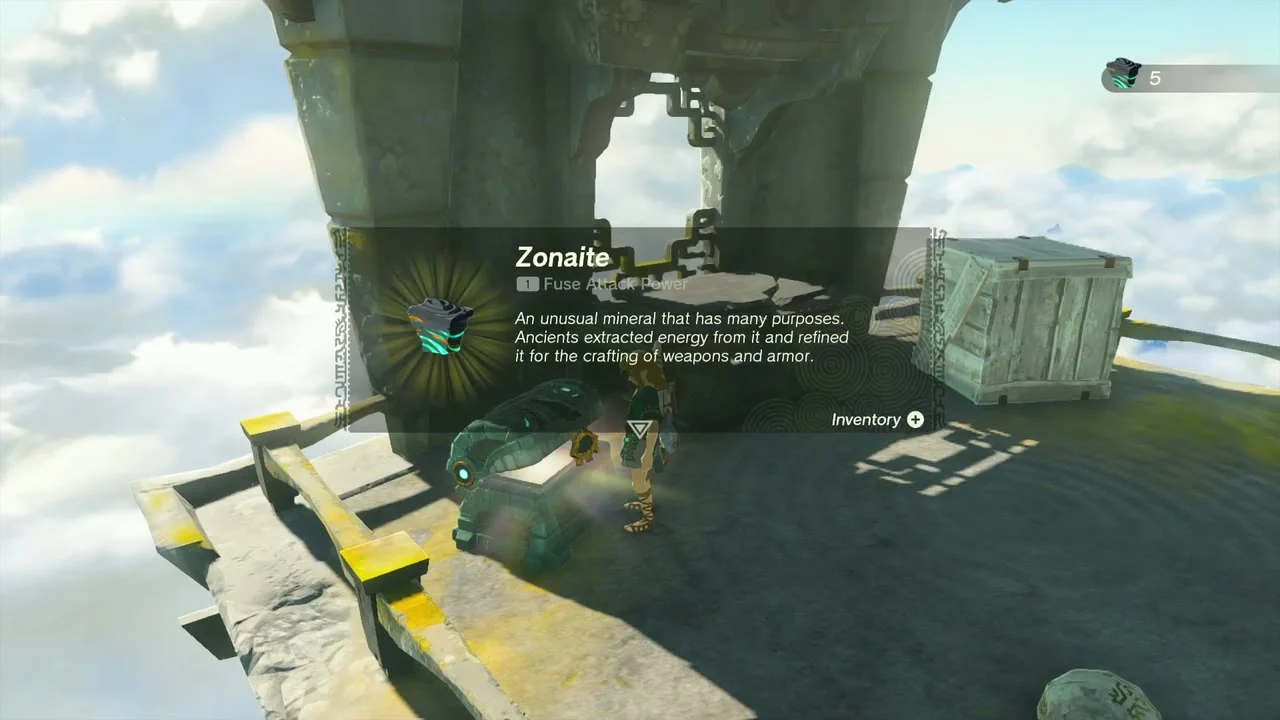
Chest: Zonaite. On the stone balcony of the pillared tower above the clouds next to the Korok camp.
Chest: Portable Pot. Climb the steps of the temple ruins farther on and open the chest on the balcony for the Portable Pot, a device that lets you cook anywhere.


Pit Cave and Flux Construct I
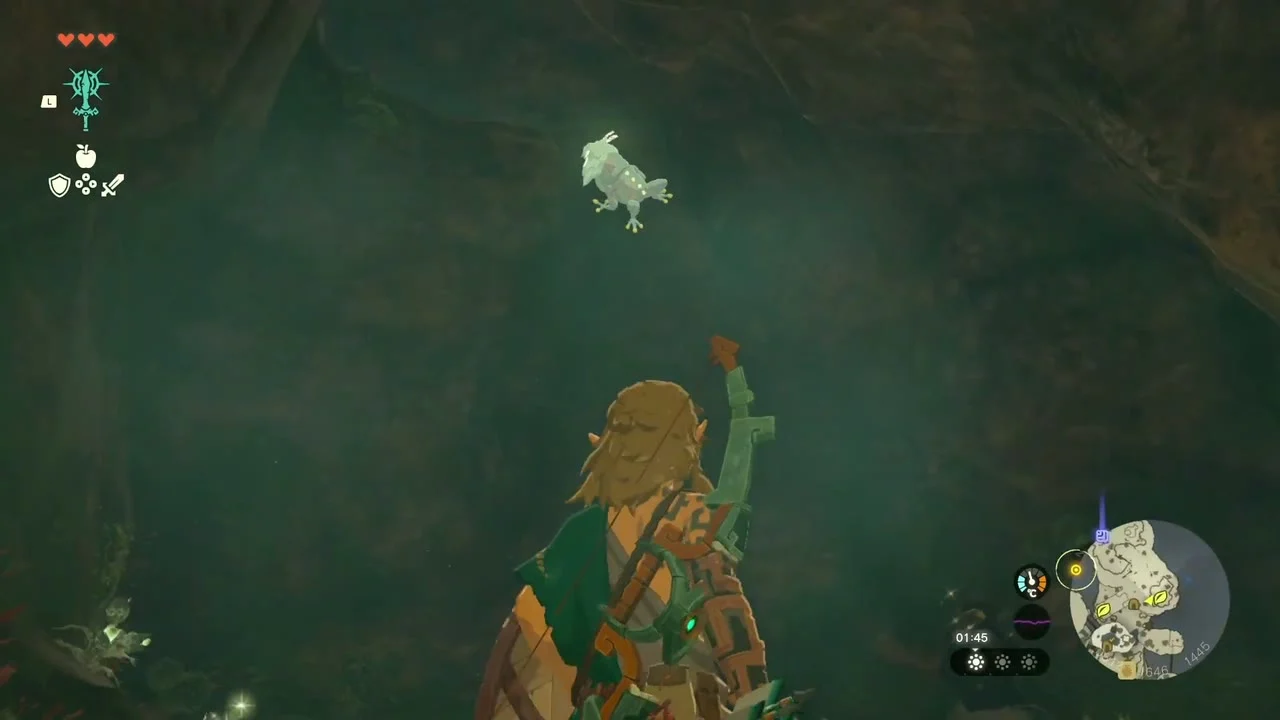
Pit Cave and Bubbul Gem 3. Pit Cave lies northeast of the Mining Cave across the water and south of Bottomless Cave. A campfire and Spicy Peppers sit by the entrance: cook the peppers into a meal for cold resistance before you reach the snow. At the fork, take the right branch to the Bubbulfrog and its third Bubbul Gem.


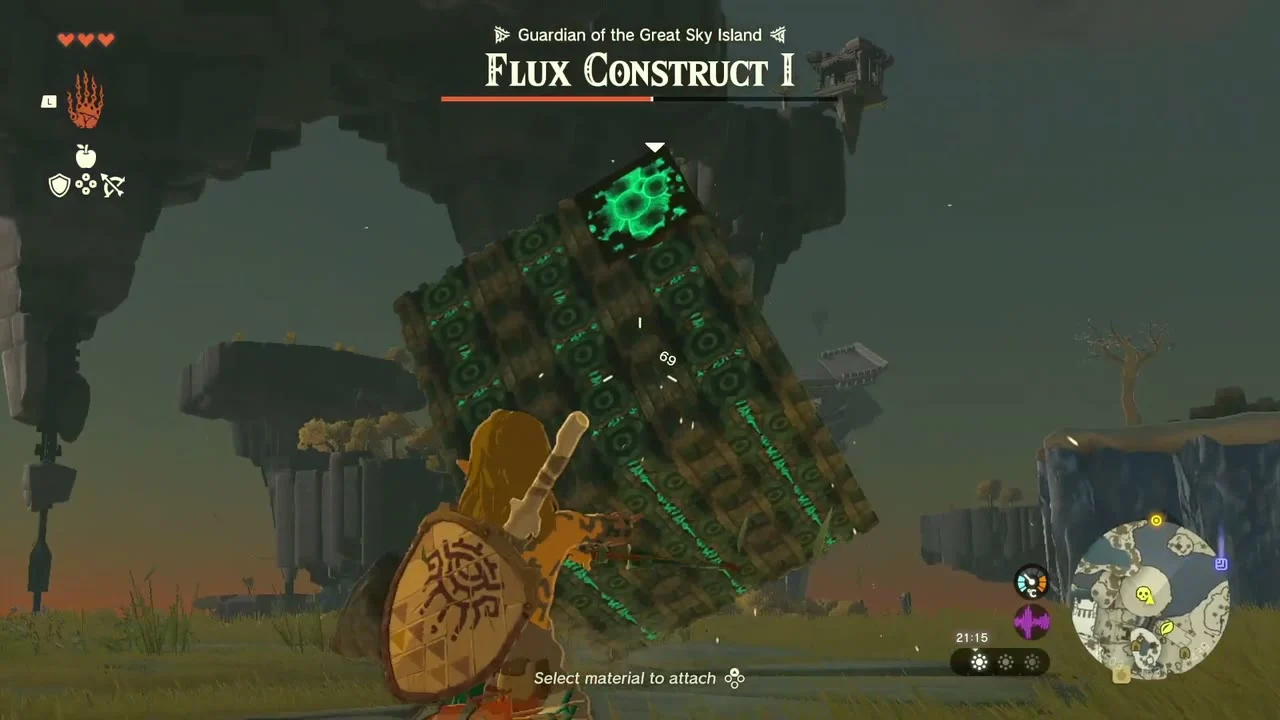
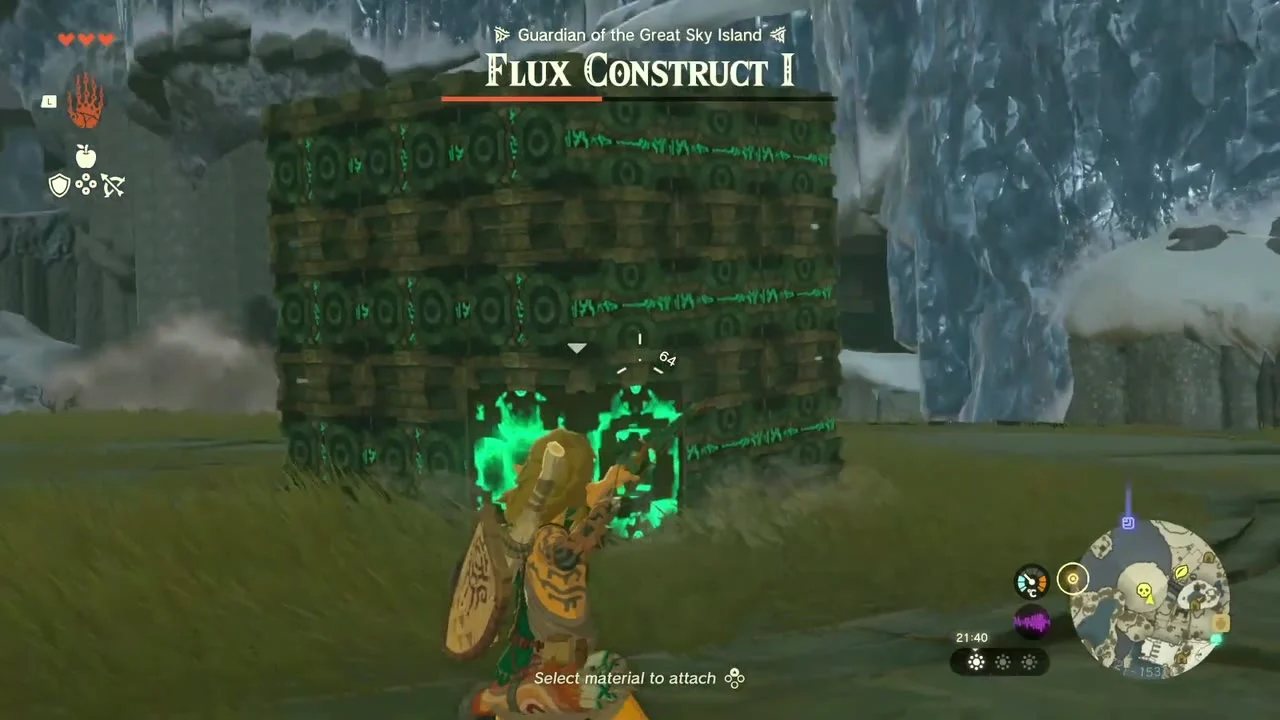
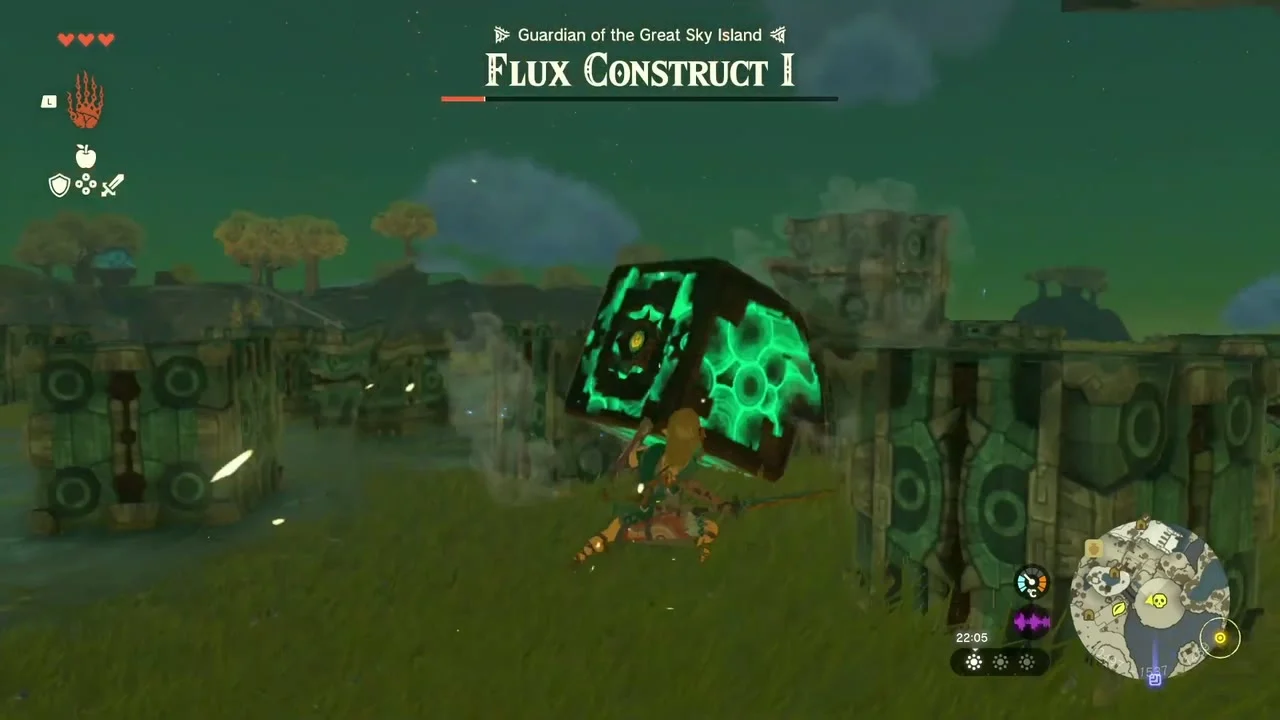
Optional boss: Flux Construct I (Guardian of the Great Sky Island) assembles itself on the large round platform northeast of the Room of Awakening. Shoot or strike its glowing weak point until the body collapses, then climb on and hit the exposed core.
The snowy north
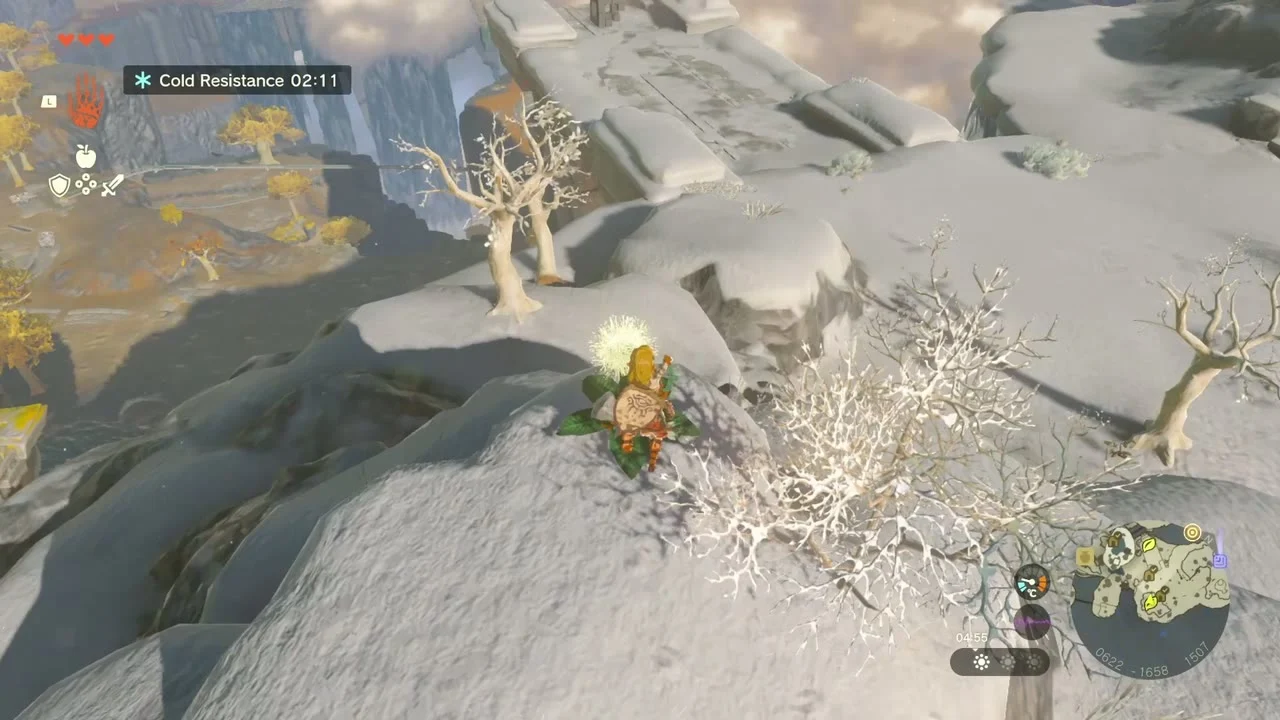
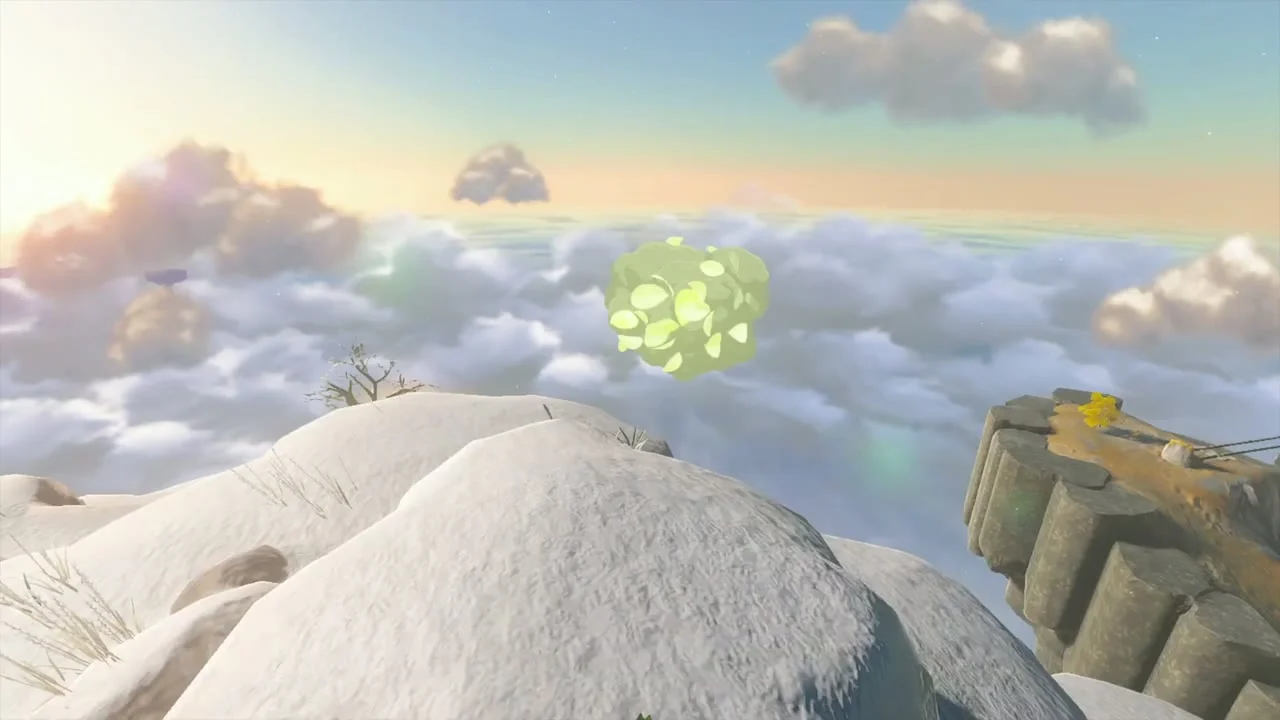
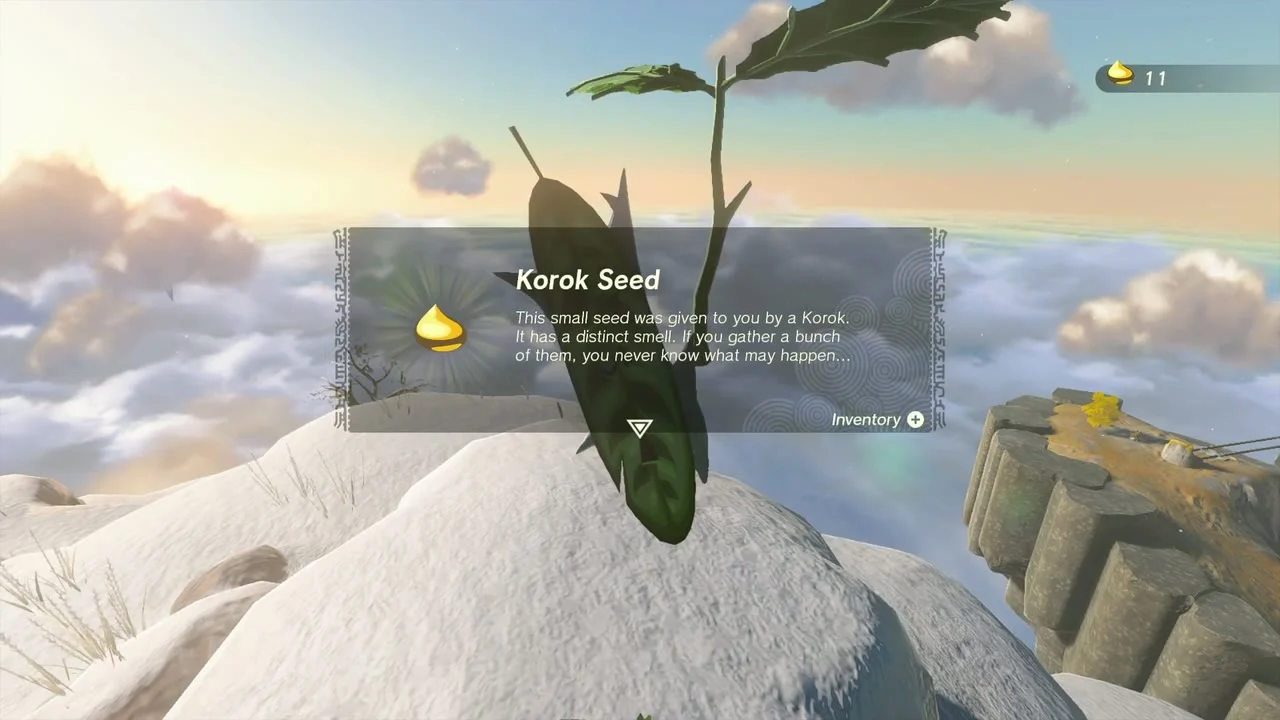
Korok seed 11 (dandelion): in the snow just past Pit Cave’s upper exit, a large dandelion grows on a boulder beside a bare tree. Hit it with a weapon and catch a floating seed before it lands; the Korok then appears on the boulder.

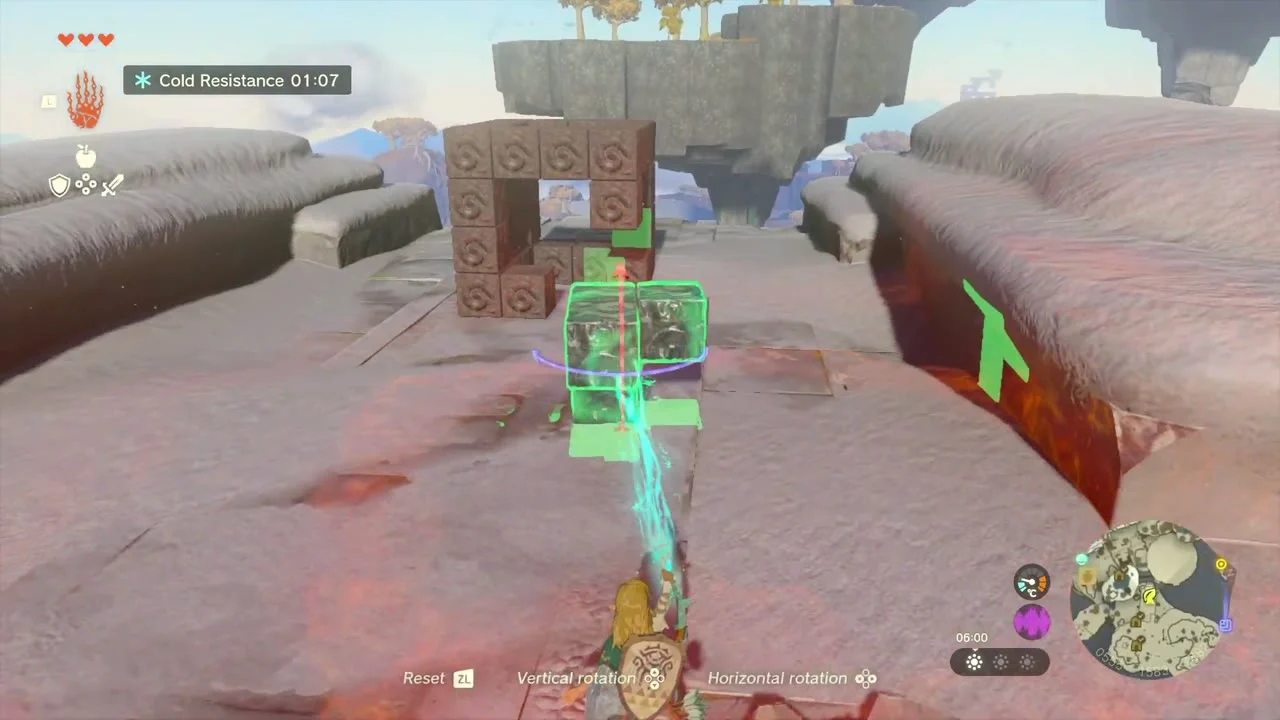
Korok seed 12 (block puzzle): on a snowy terrace, a frame of stone cubes is missing one piece. Use Ultrahand to rotate the loose cube until it fits the gap.

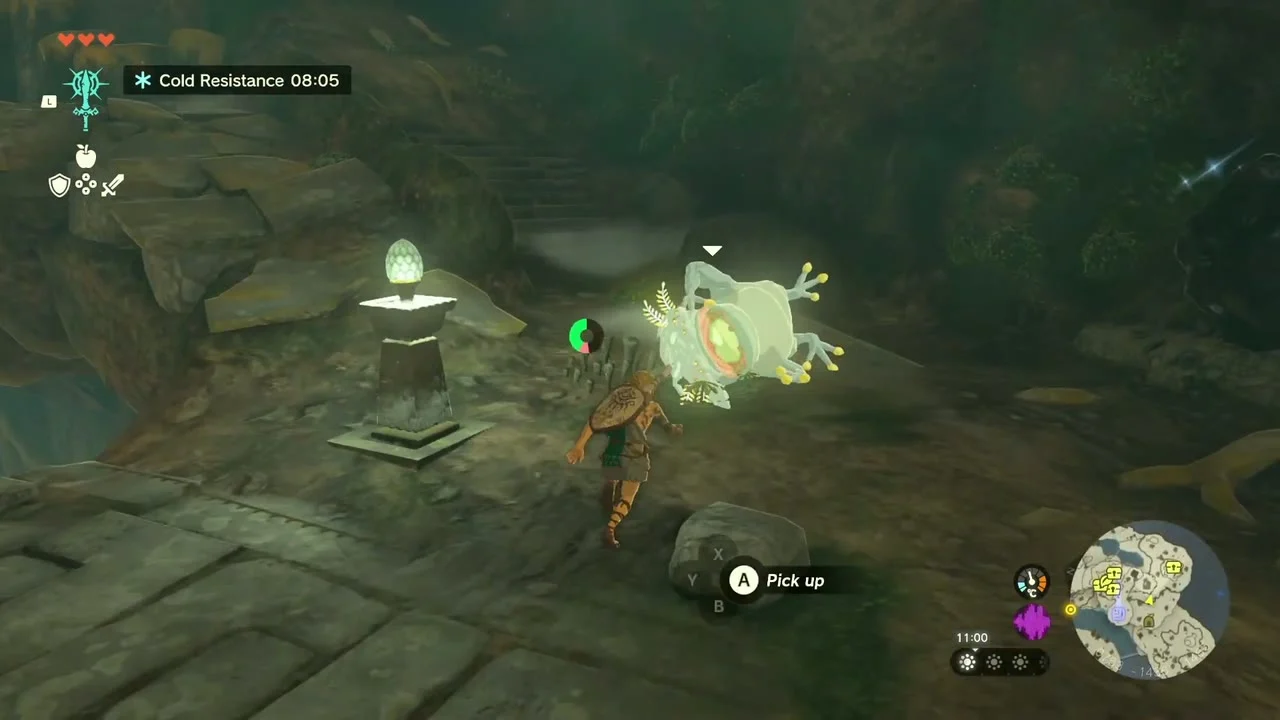
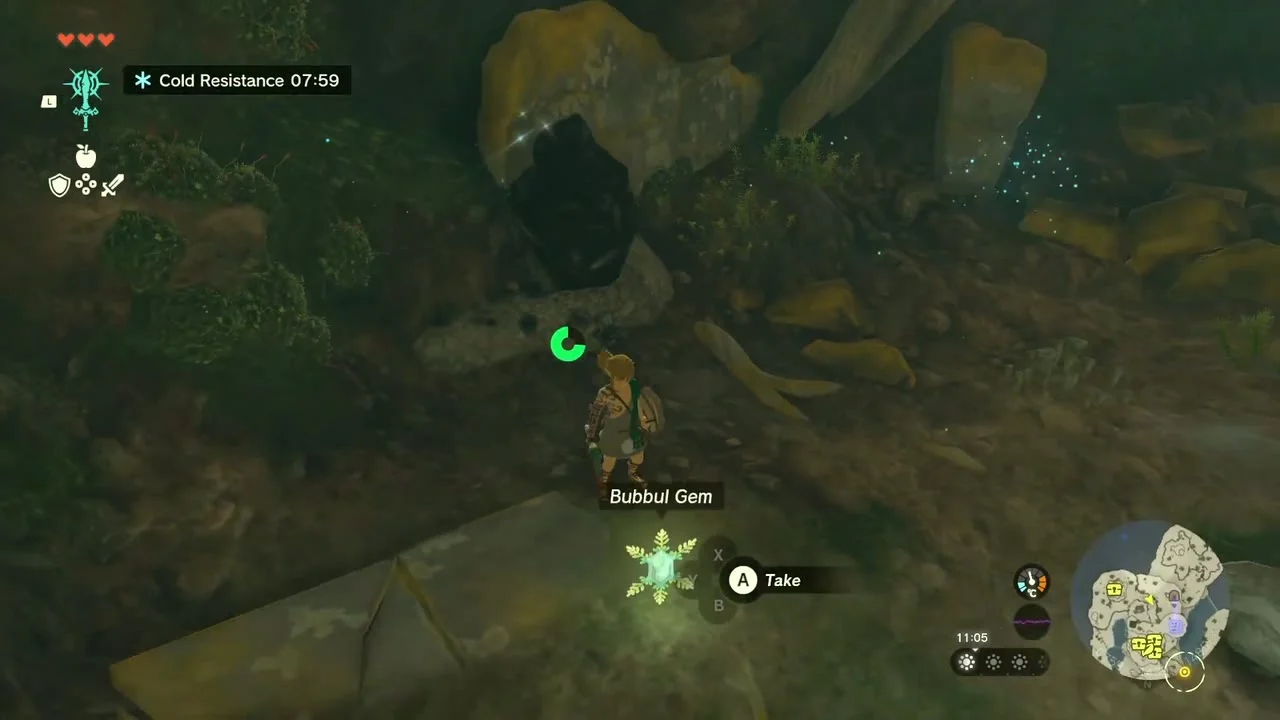
Bottomless Cave and Bubbul Gem 4. Bottomless Cave opens in the snow below Gutanbac Shrine. Bomb Flowers line the floor near the entrance, so do not strike them by accident. The Bubbulfrog is by the glowing pedestal; defeat it for the fourth Bubbul Gem.

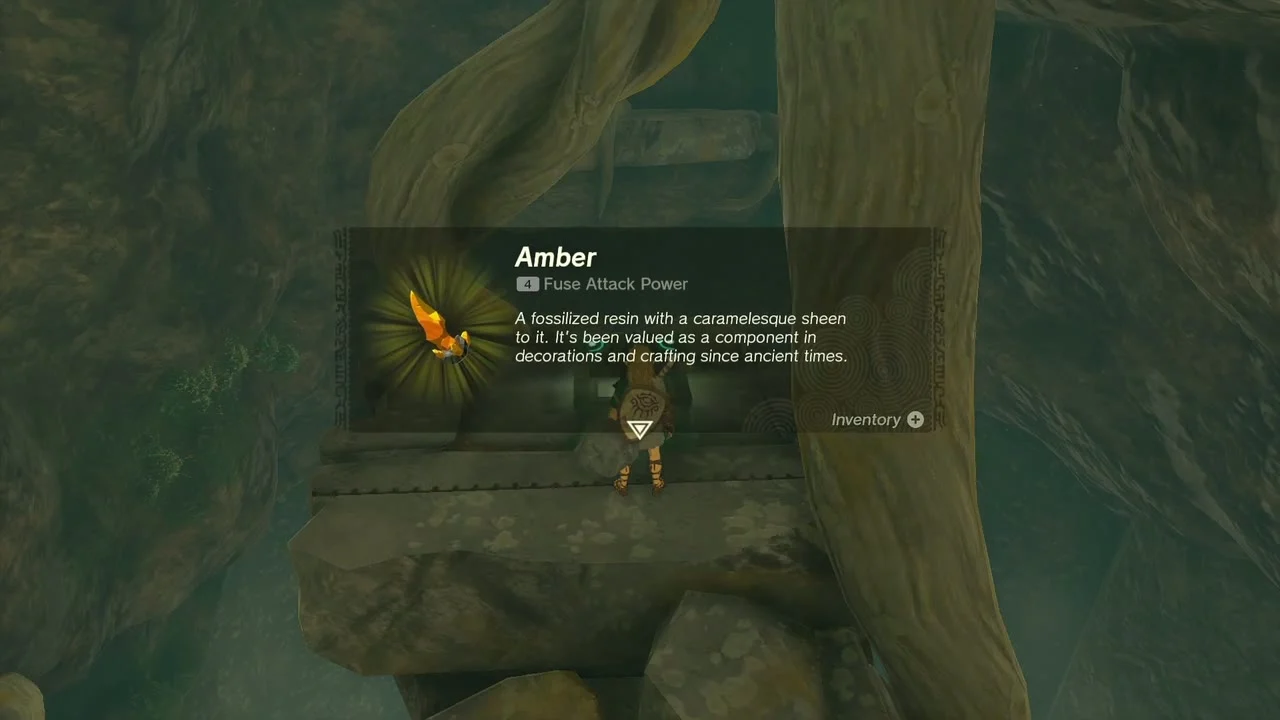
- Chest: Amber. At the end of the narrow walkway under the tree roots in the lower part of the cave.
- Like Like. One guards the upper section. Stun it with an arrow into the glowing stone in its mouth, or feed it a Bomb Flower or fire, then hit the stone.
- Chest: Opal. In a small side nook off the main cave.
- Chests: Opal and Flame Emitter. Two chests in the ruined stone room behind the Like Like.
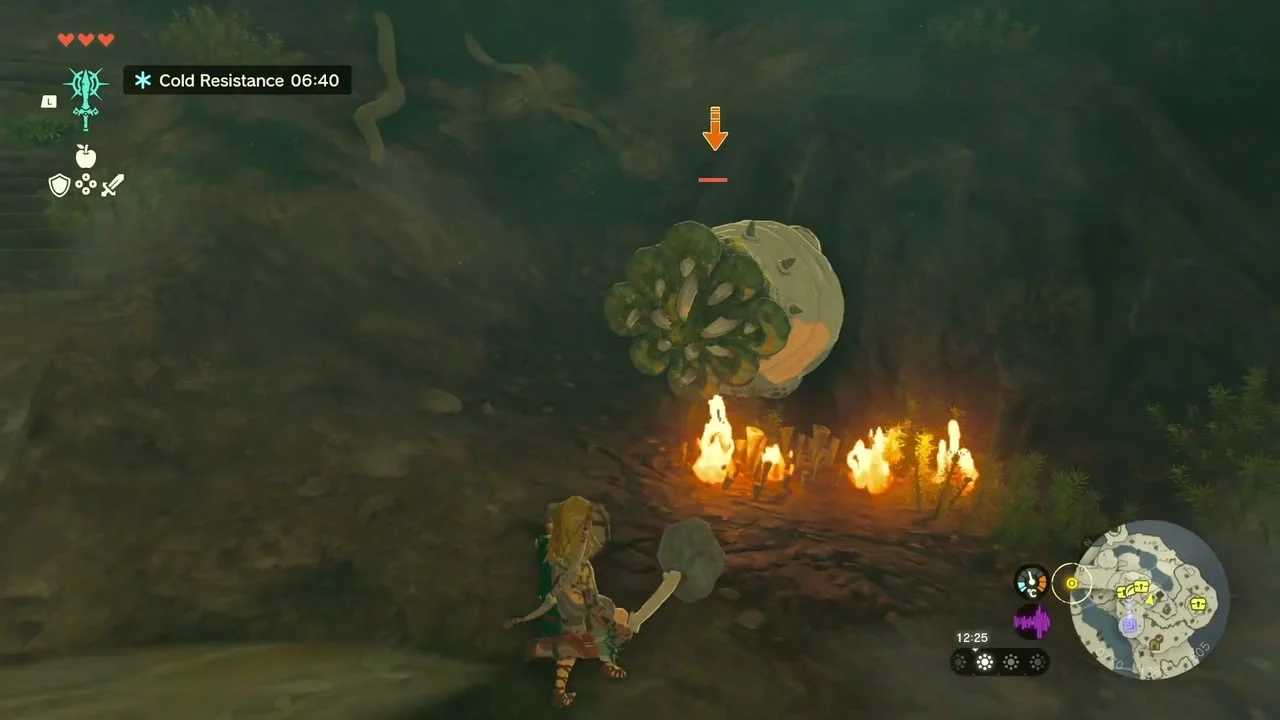
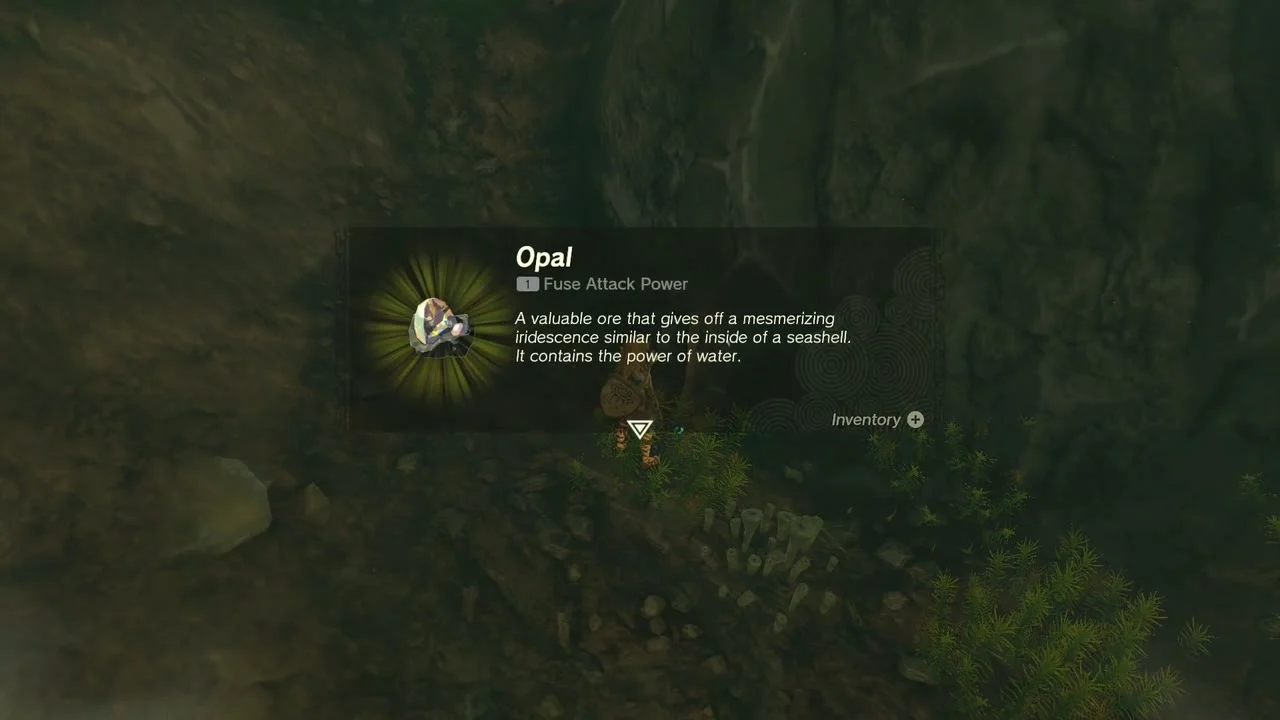
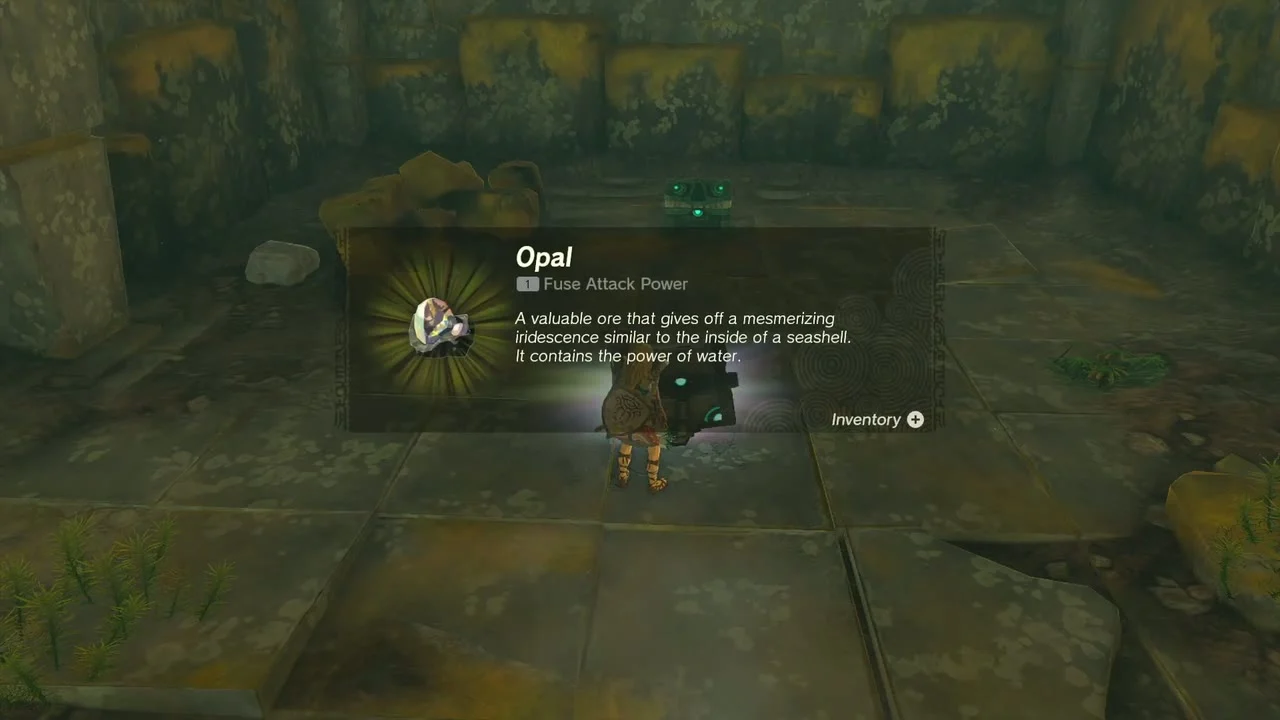
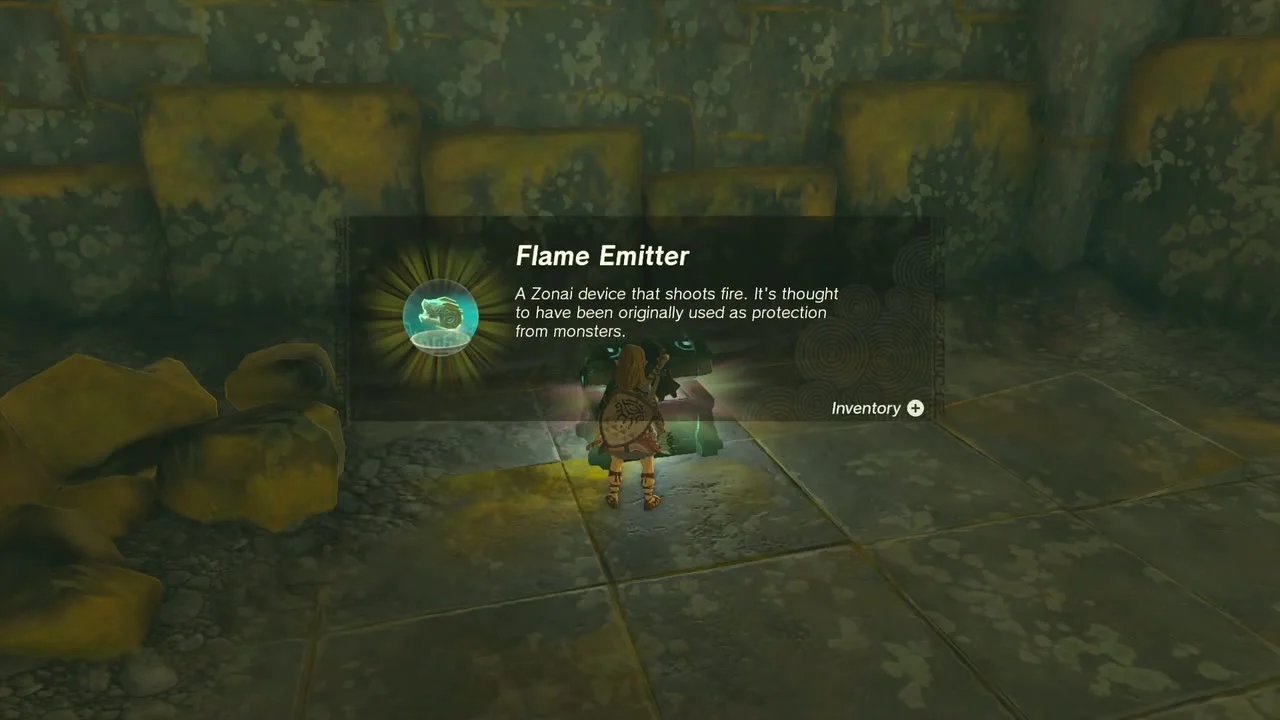
Chest: Amber. Back out in the snow, in a clearing beside a rock wall east of the Captain Construct camp. Cold-resistance food helps here; if the chest is half-buried, pull it free with Ultrahand.
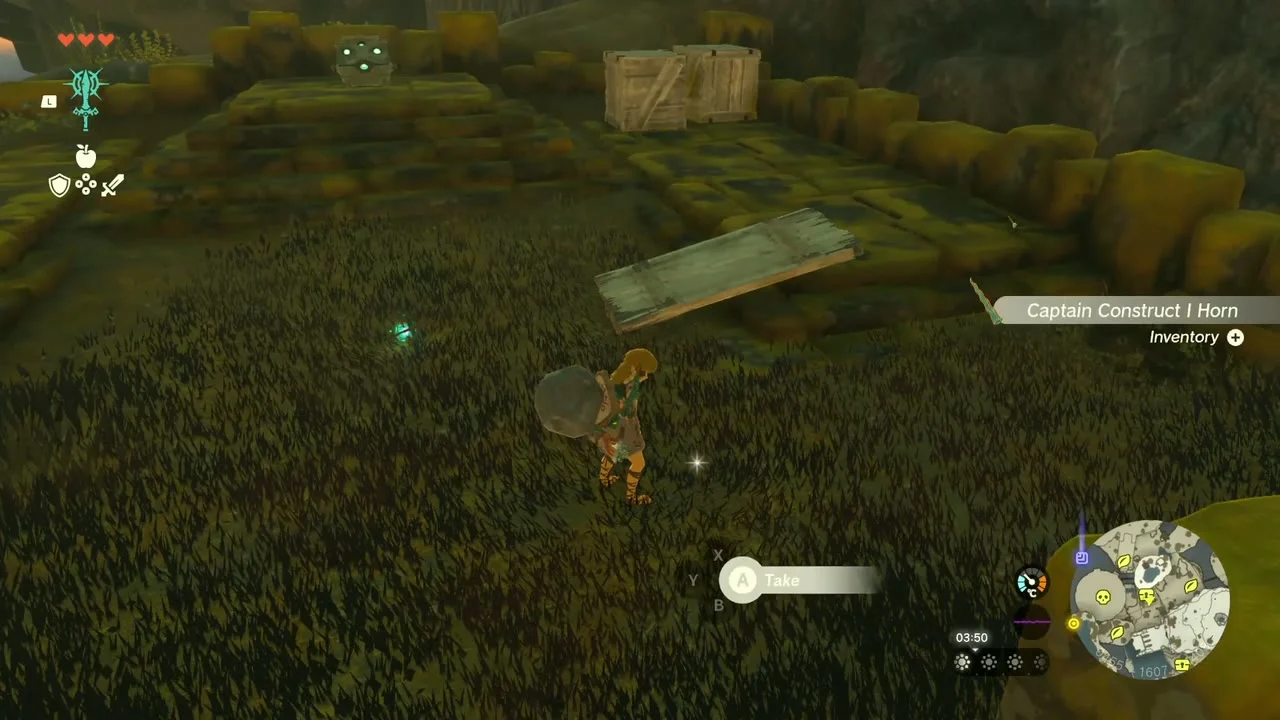
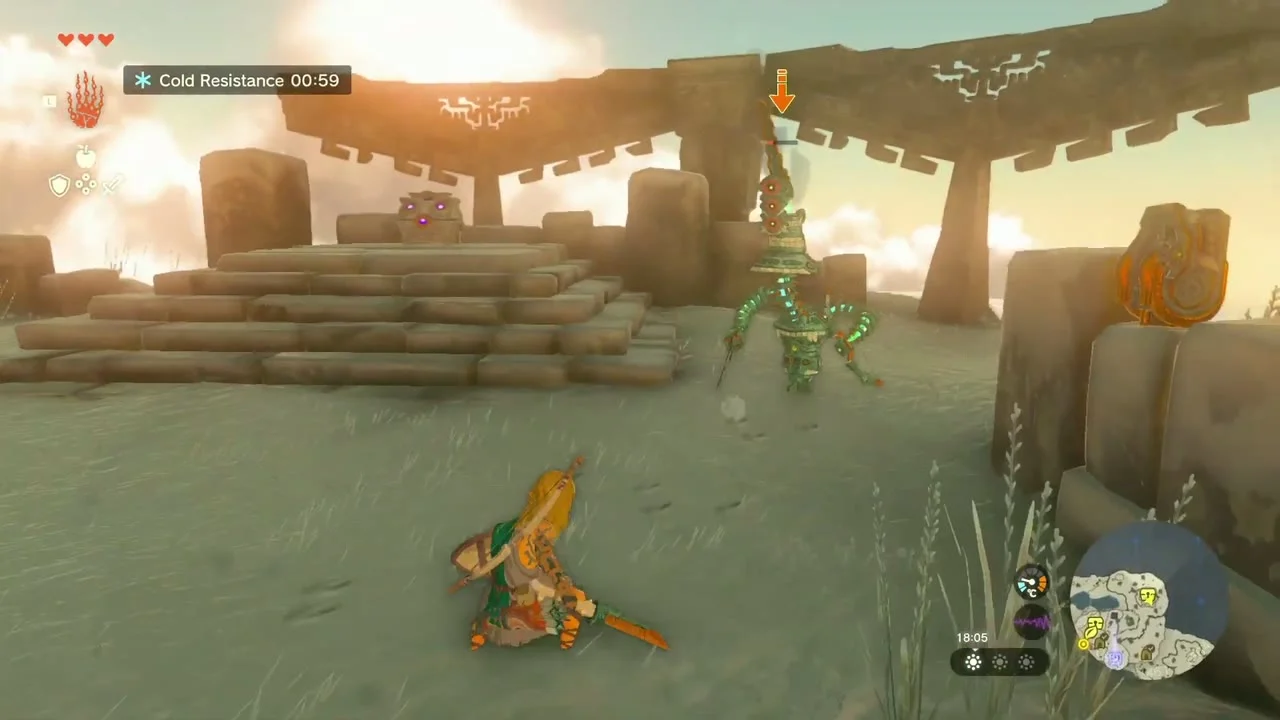
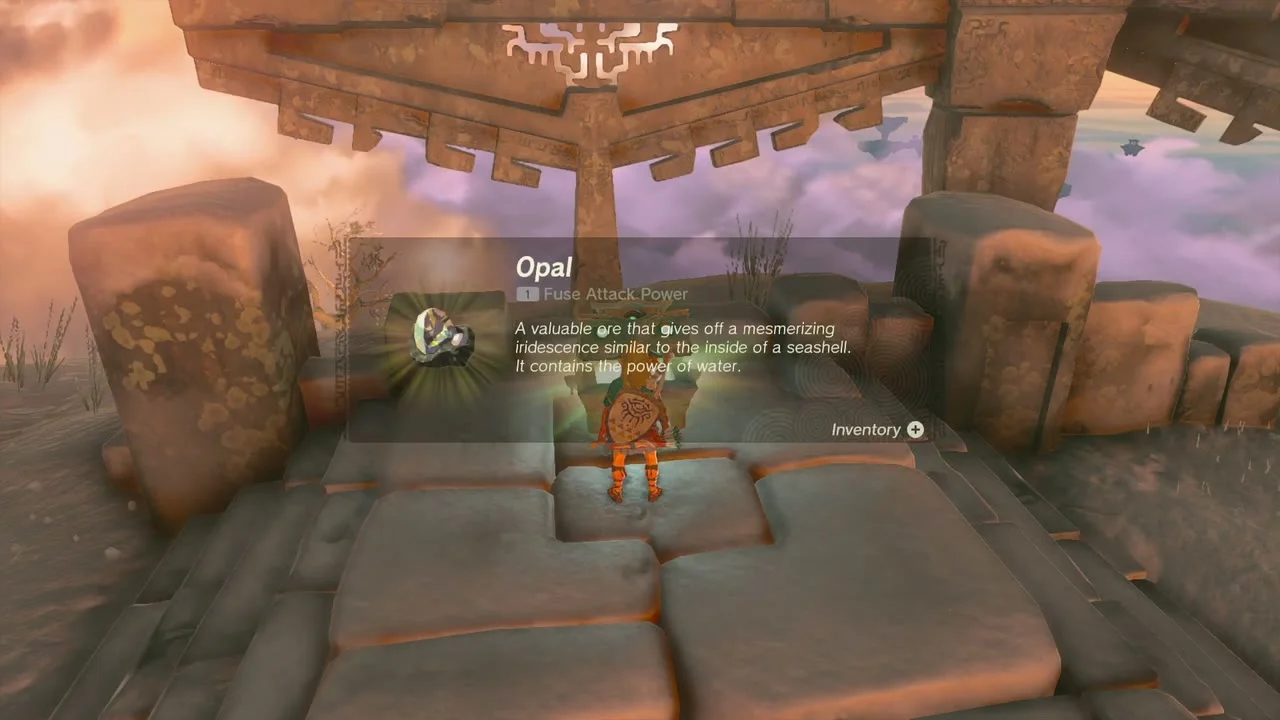
Chest: Opal (Captain Construct I camp). At the Zonai ruins southeast of Gutanbac Shrine, defeat the Captain Construct I and its Soldier Constructs. The chest on the stepped dais under the stone arch is then yours: Opal.
Gutanbac Shrine and the stump hollow
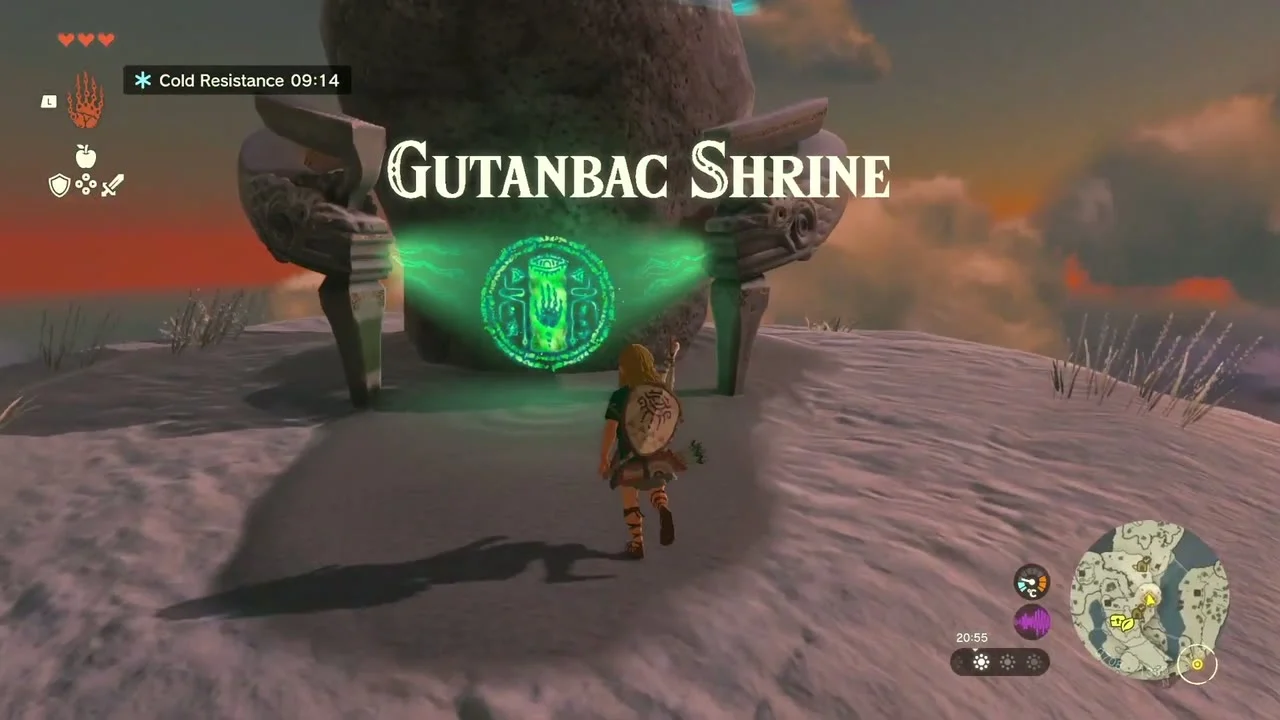
Gutanbac Shrine is on the snowy hill in the east. It teaches Ascend and holds a Stone Axe and a Construct Bow in two chests.
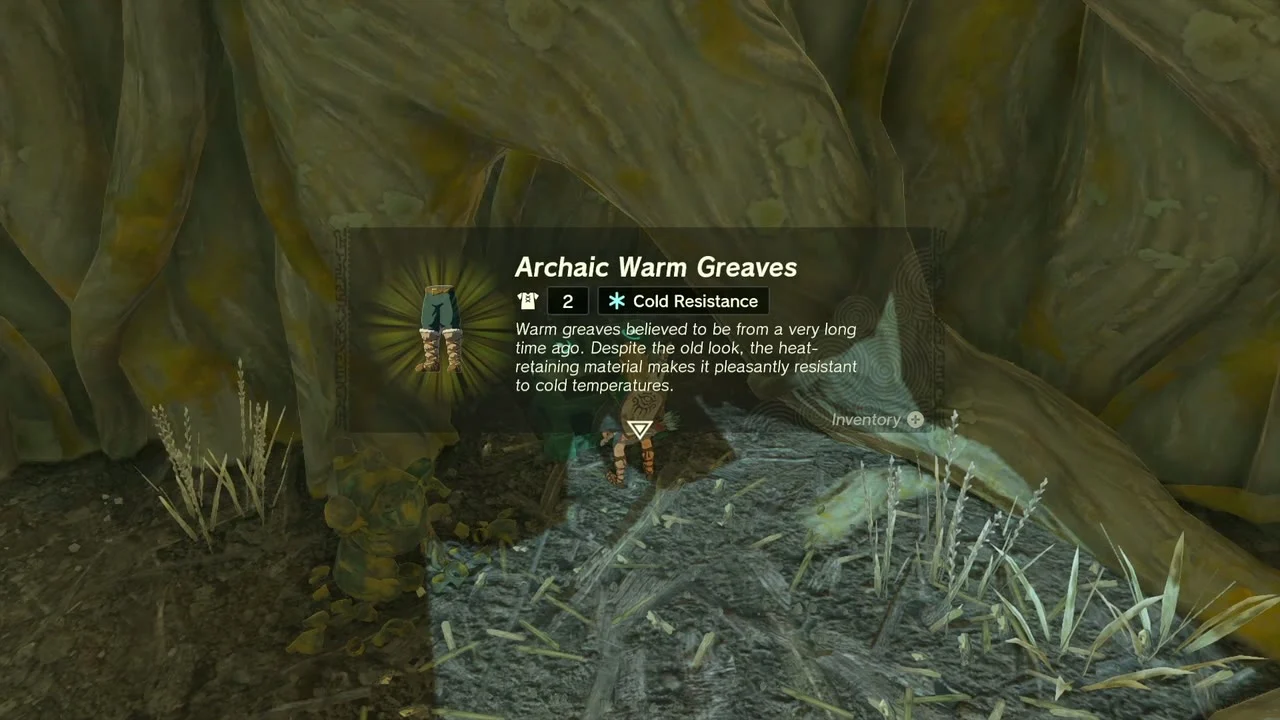
Chest: Archaic Warm Greaves. Northeast of the shrine, a large hollow tree stump on an icy hill holds a chest beside a campfire. Walk in, or use Ascend from below the ledge, and open it for the Archaic Warm Greaves, which give cold resistance. Ascend through the stump’s ceiling to come out on top.


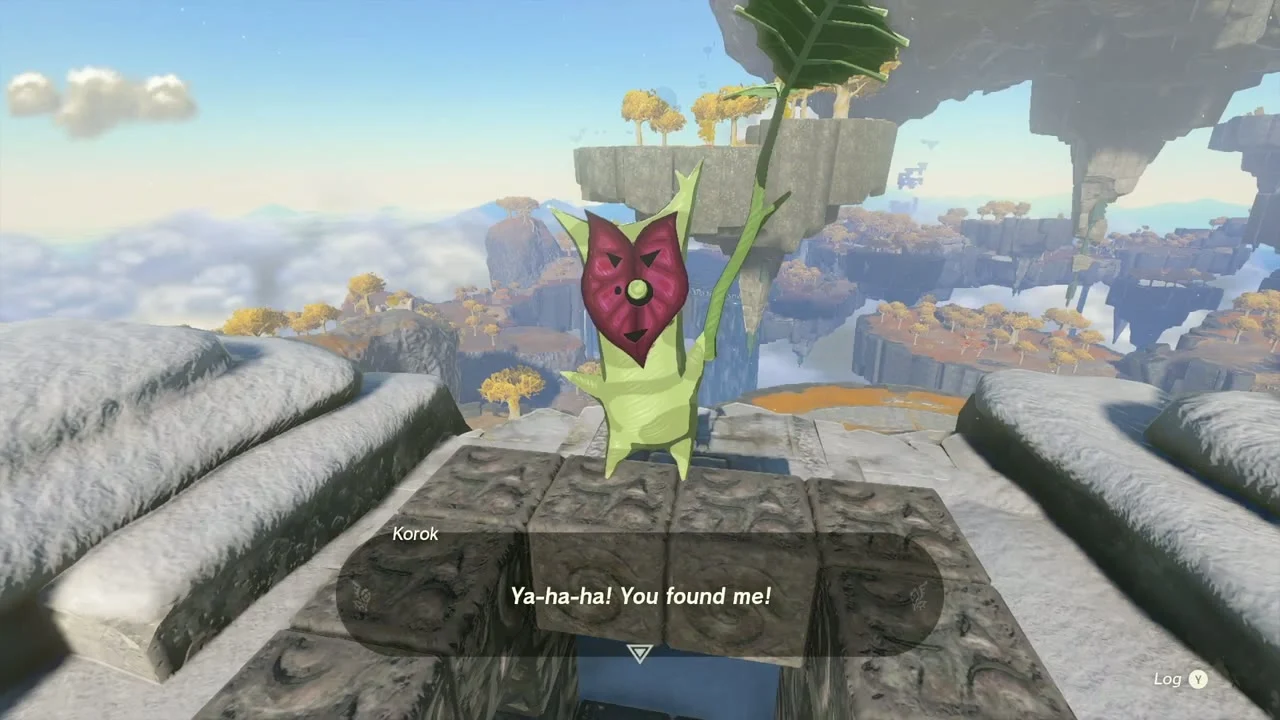
Korok seed 13 (rock circle): on top of the same stump, a ring of rocks on the snow has one gap. Carry the loose rock into it to complete the circle.


Snow device dispenser. A second dispenser stands in the snow near the shrine. Feed it a Zonai Charge for Wings, and also Fans, Flame Emitters or Portable Pots.
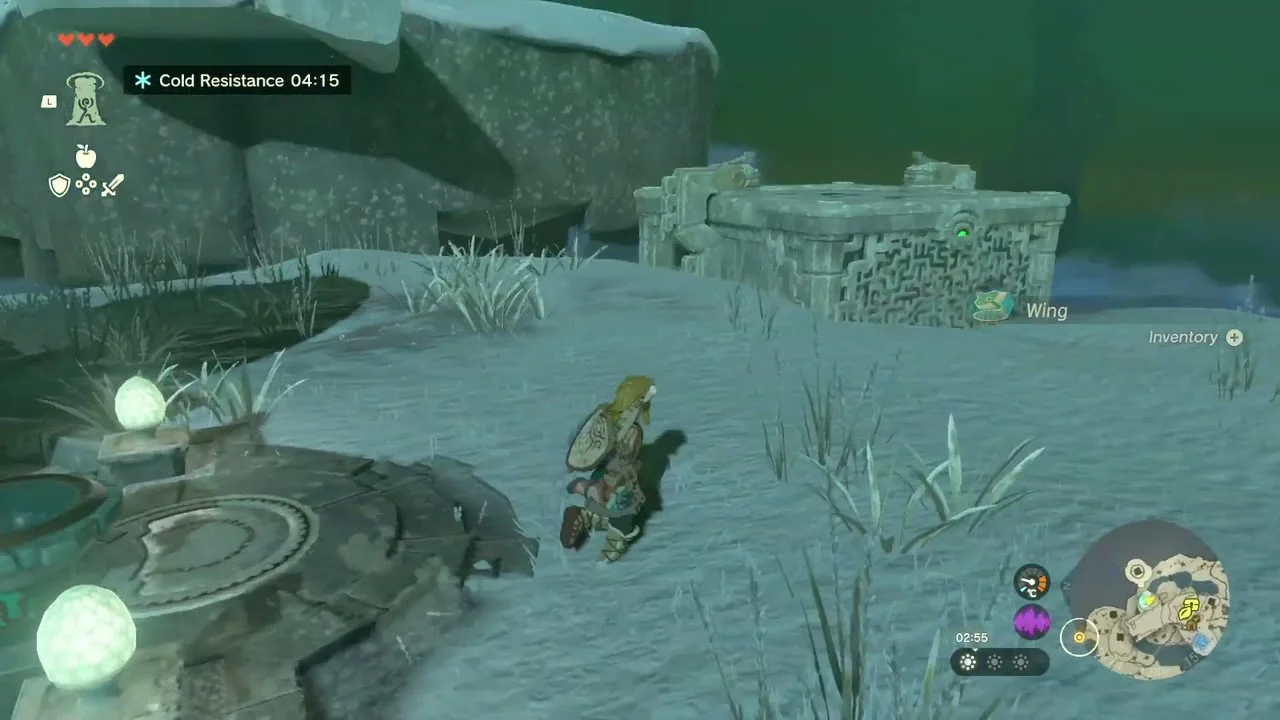
Chest: Wing x3. A short walk from the dispenser, in a ruined stone hut with a barrel on a snowy ledge.

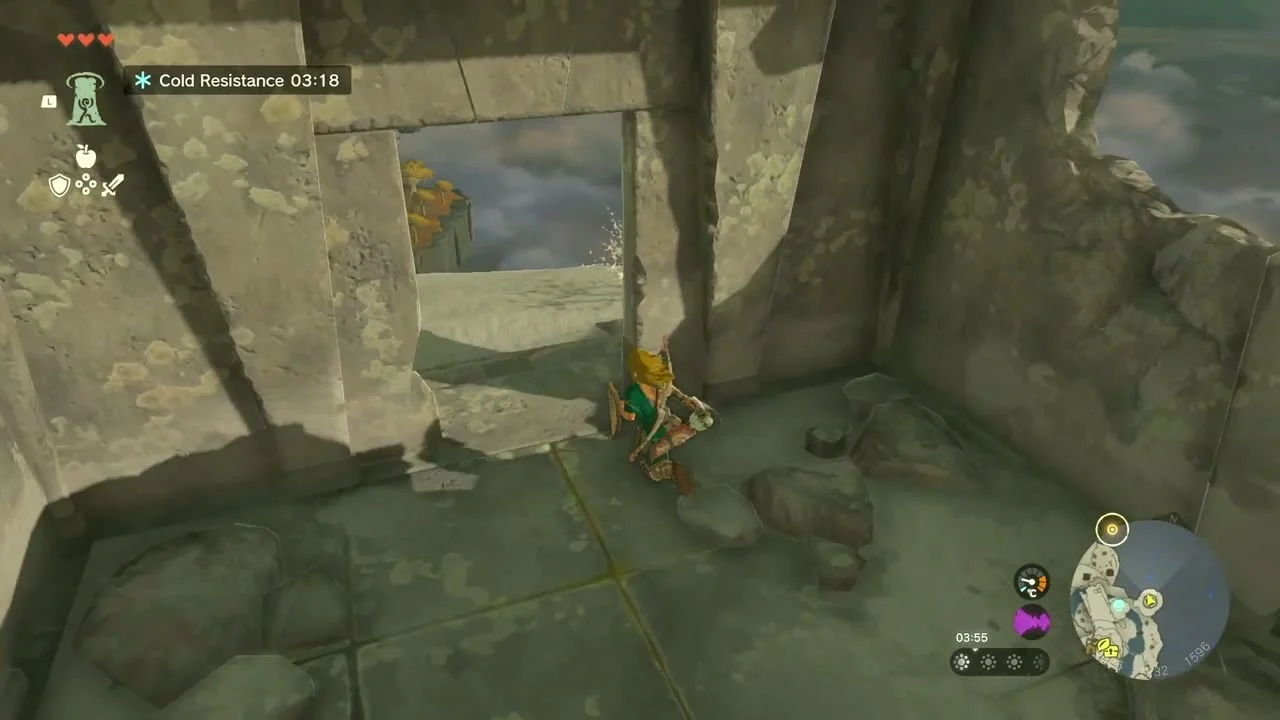
Gliding to the Temple of Time. From the snowy ledge, place a Wing with Ultrahand, stand on it and glide toward the temple.


Chest: Wing x3. On the way, use Ascend through the stone overhang above the grassy area to reach a pillared stone platform. The chest holds Wing x3.

Temple of Time: the door and Recall
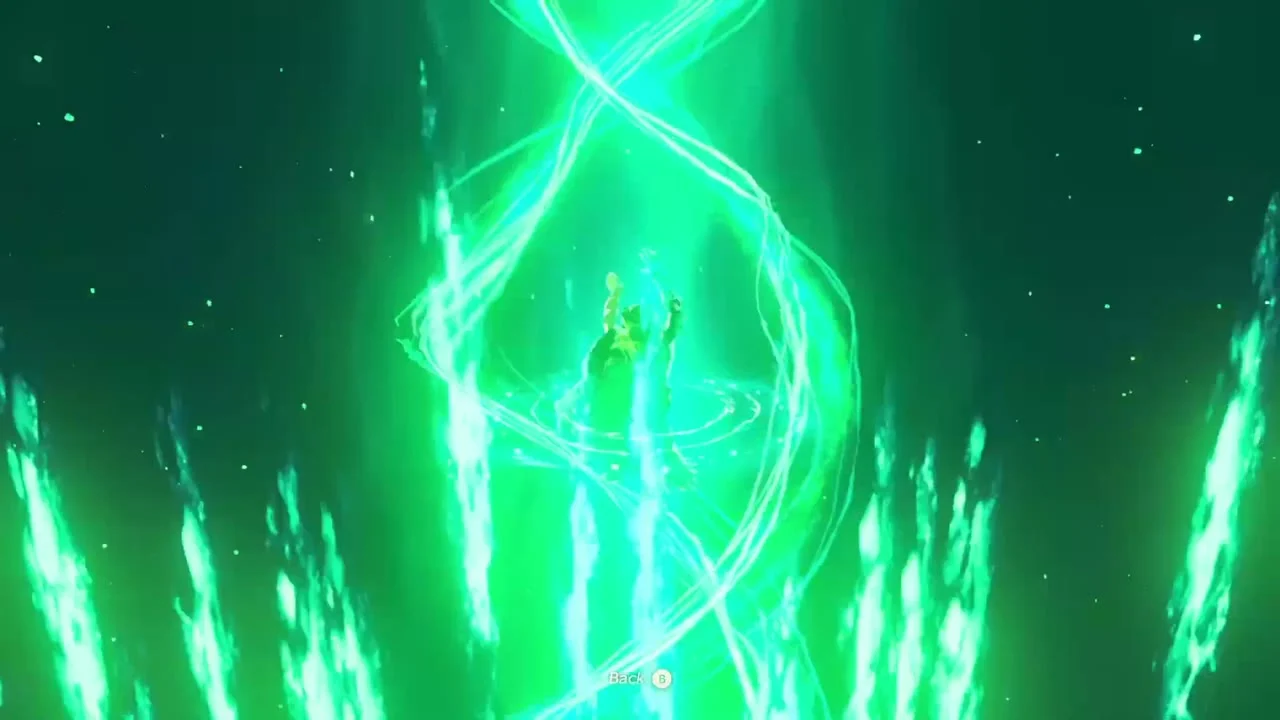
Open the door. Climb the long stairs and offer three Lights of Blessing at the temple door. This completes The Closed Door. Inside, Zelda’s vision gives you Recall, which rewinds an object’s movement.
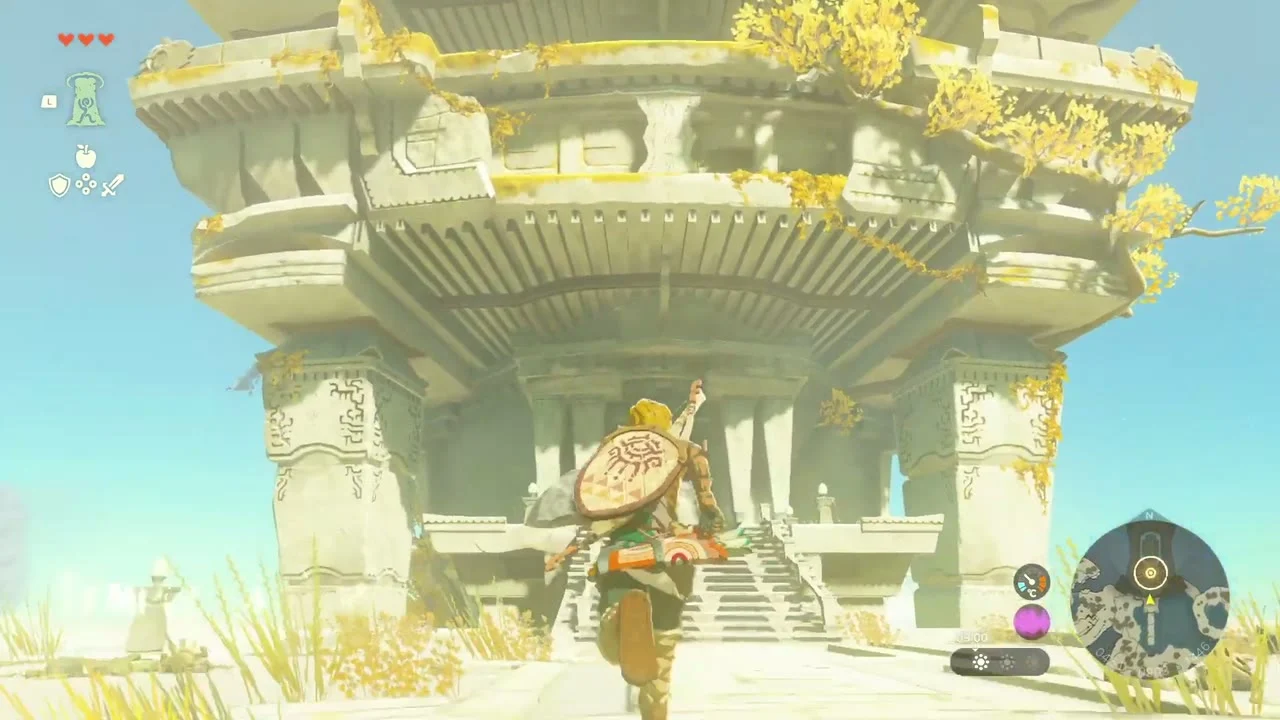
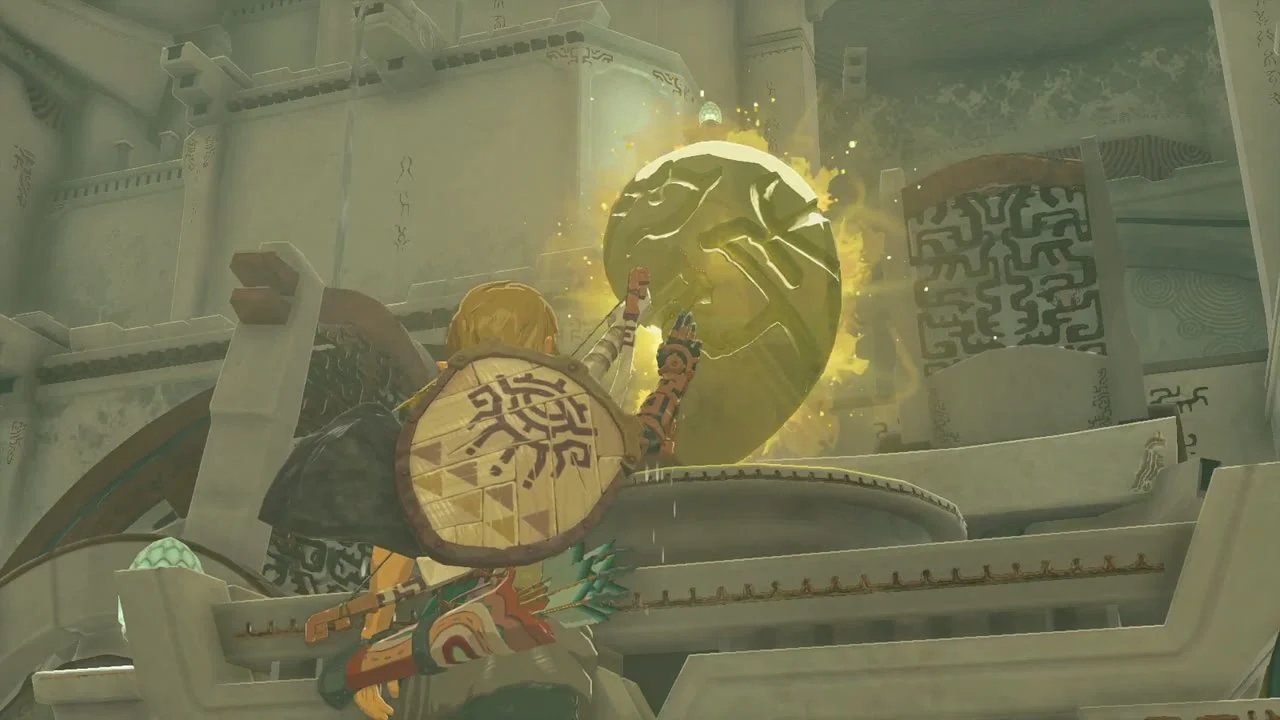
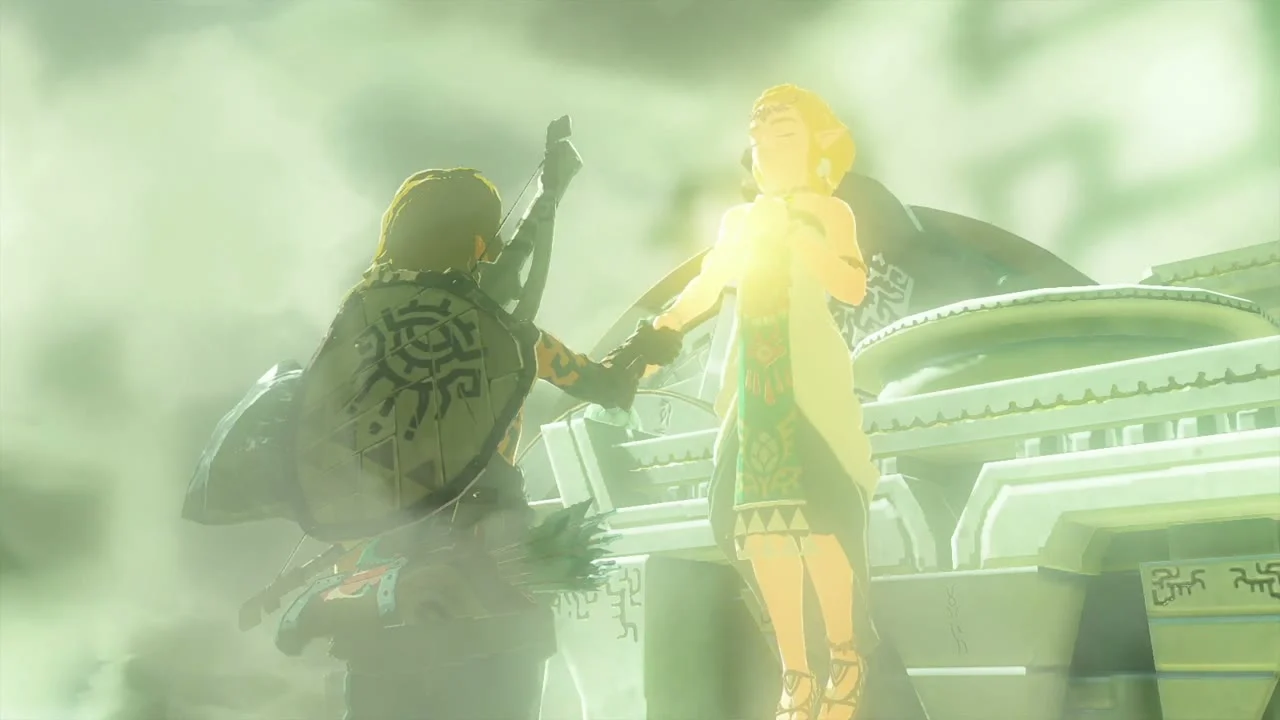
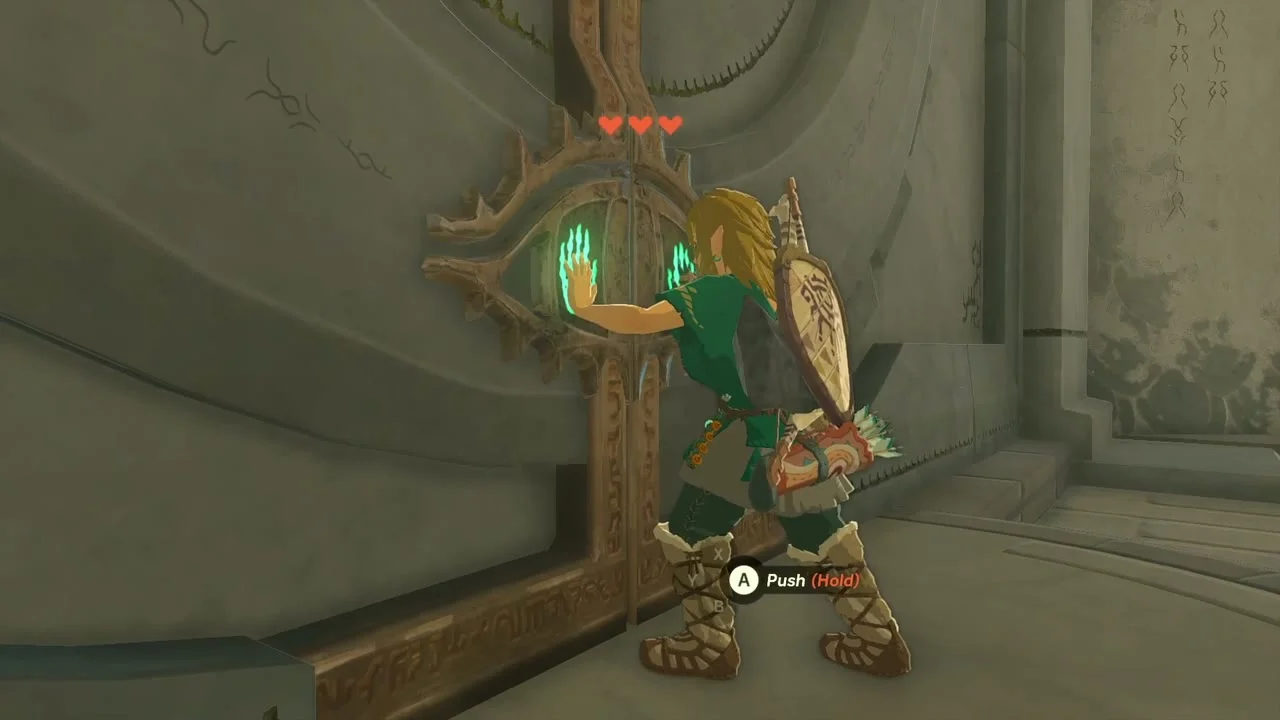
Second door. A Goddess Statue and a second door wait deeper inside. The door will not open yet: you need the fourth Light of Blessing from Nachoyah Shrine first.

Nachoyah Shrine and the last collectibles
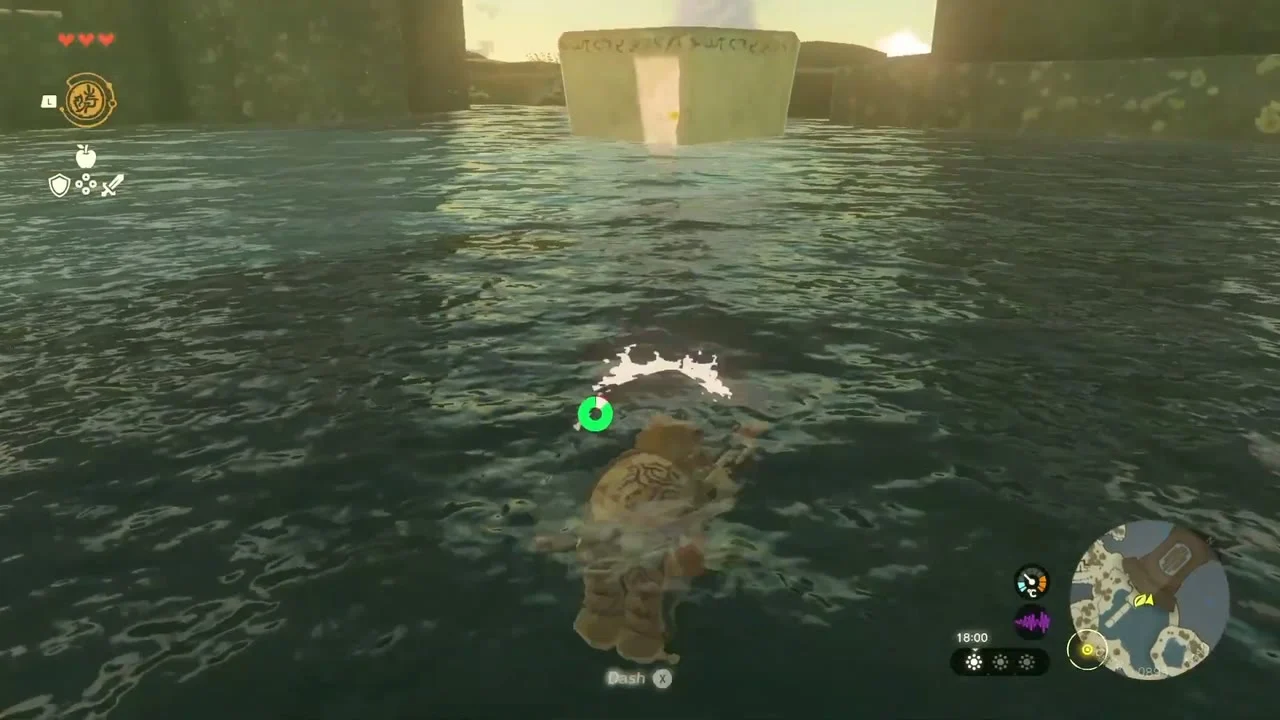
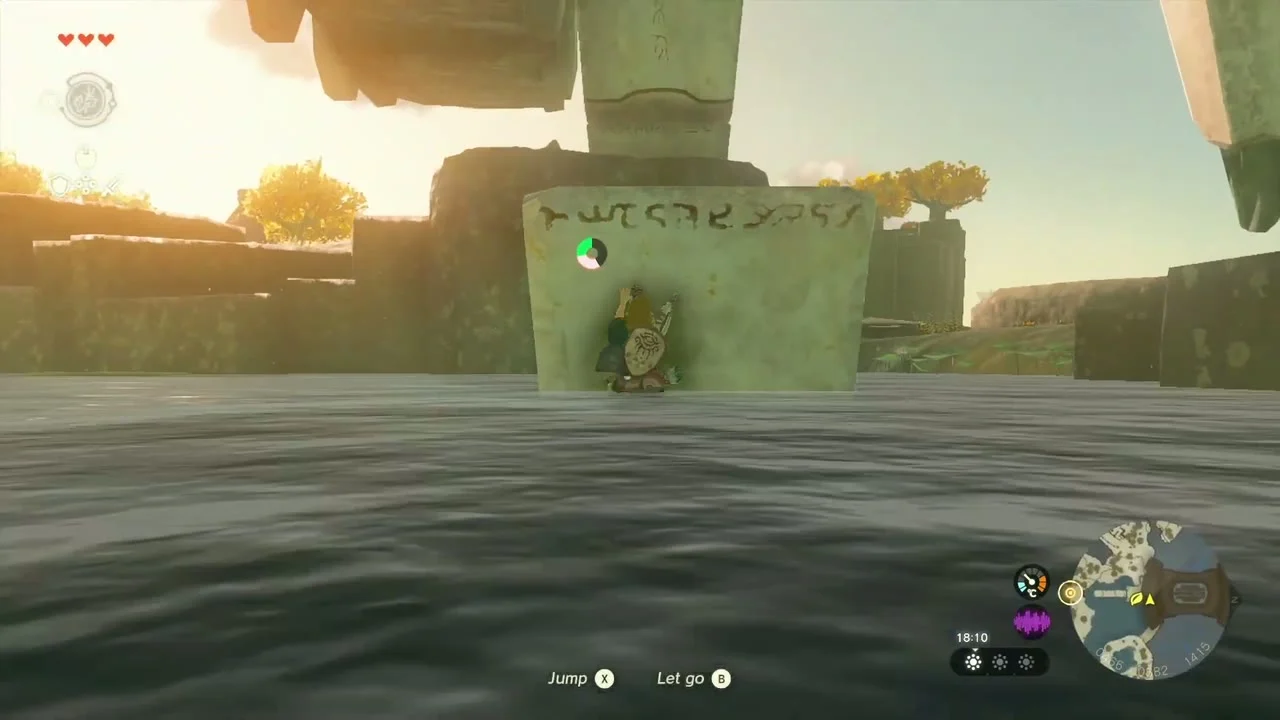
Korok seed 14 (Ascend): in the pond below the Temple of Time steps, swim to the carved stone pillar, climb it and use Ascend through the leaf-marked wooden ring above. Come out on the ledge, where the Korok waits.

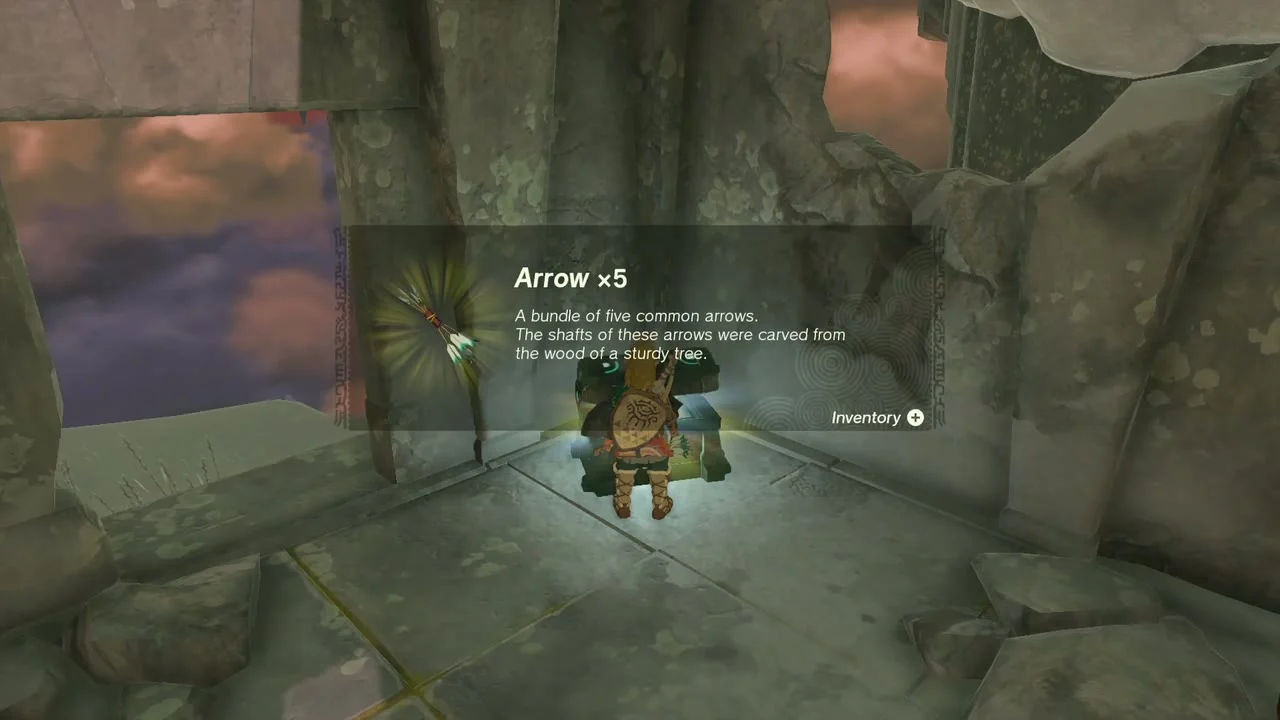
- Chest: Arrow x5. In the ruined stone hut with two barrels on the snowy plain north of Gutanbac Shrine: Arrow x5.
- Chest: Fan x3. At the top of a stepped stone dais in the snow, a short way on: Fan x3.



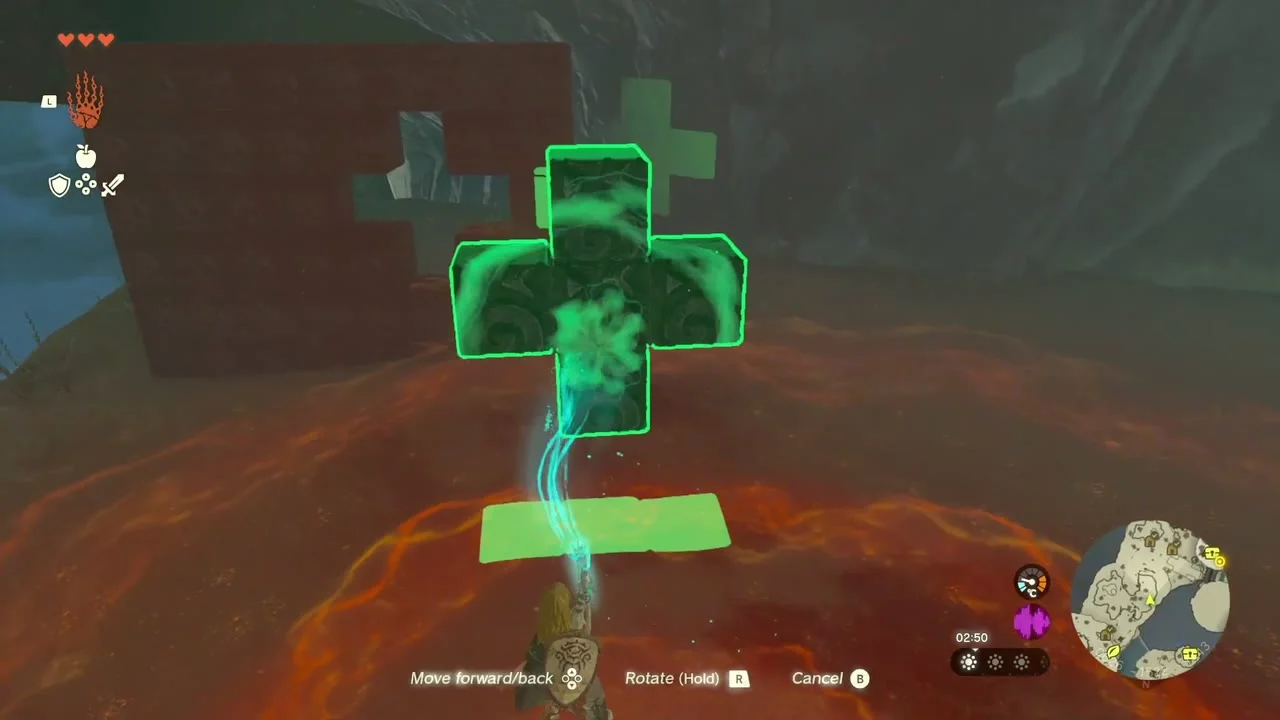
Korok seed 15 (cross-shaped block): a stone wall in the snow has a cross-shaped hole. Lift the cross-shaped block with Ultrahand and slot it into the hole; the Korok appears on top of the wall.

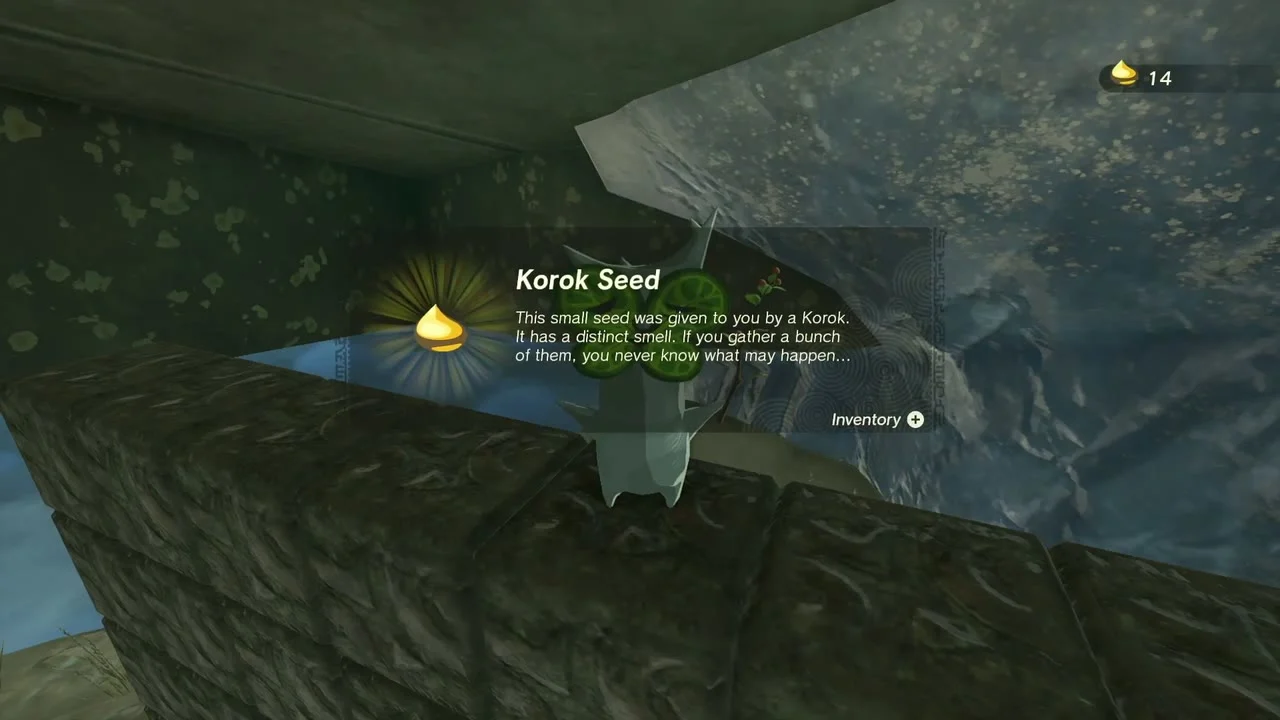
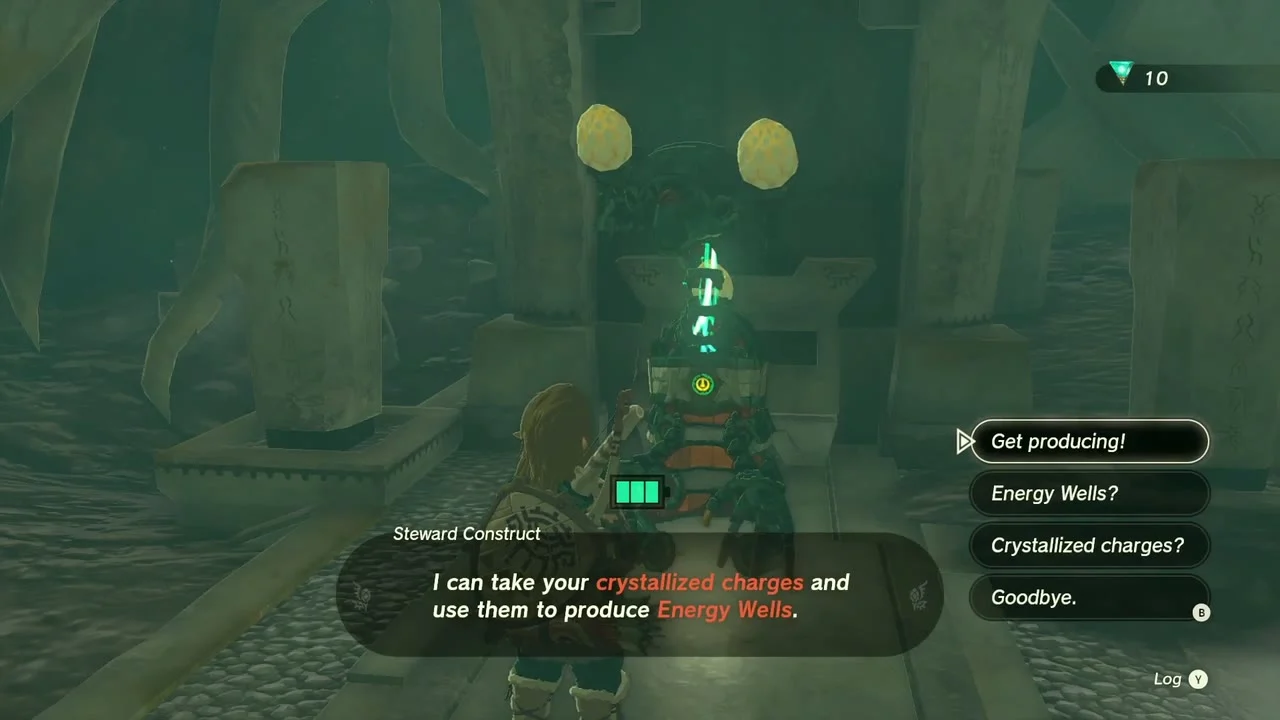
Great Sky Island Refinery. Fast travel to the Room of Awakening and go through the dark tunnel above it. The Steward Construct at the refinery trades your crystallized charges for Energy Wells, which add to your Energy Cell.
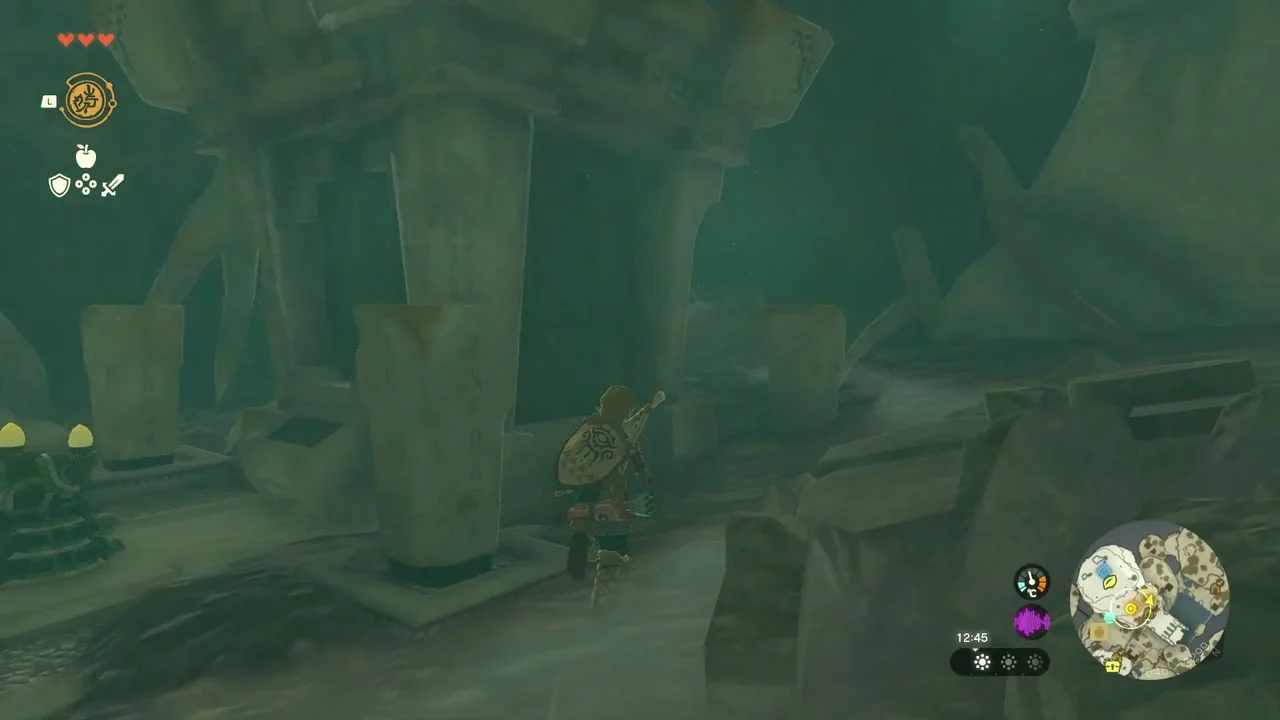
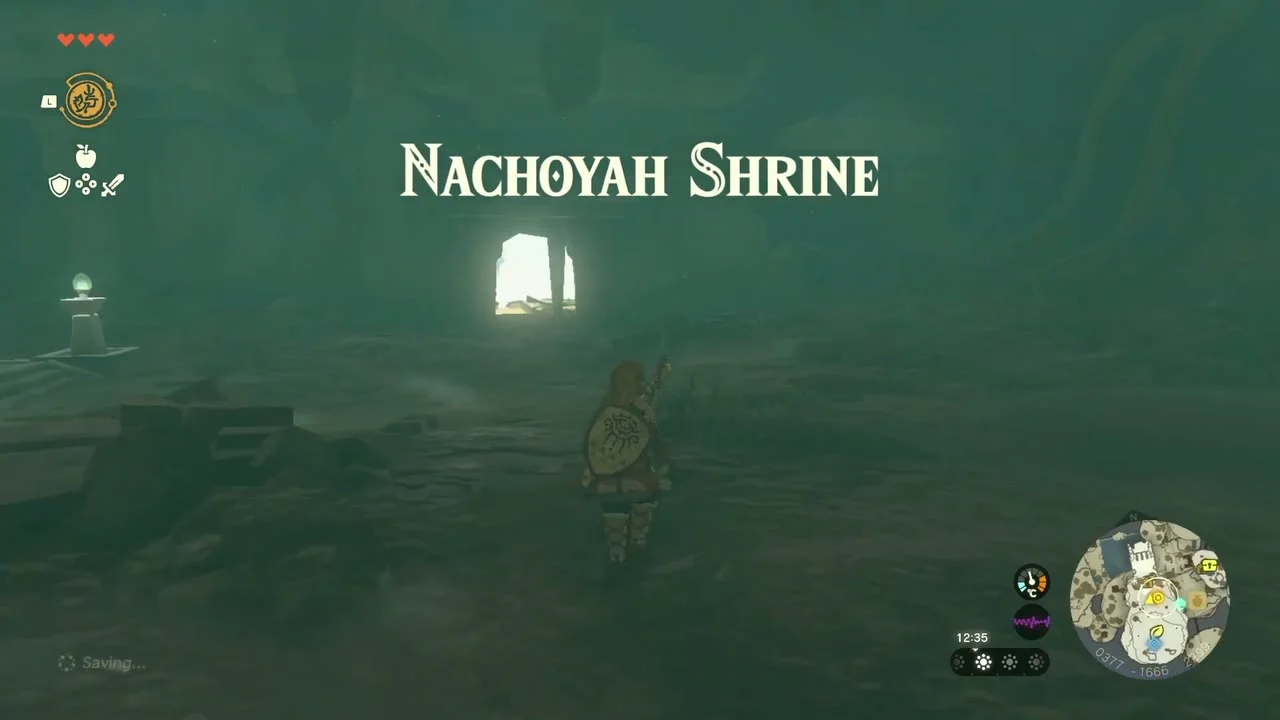
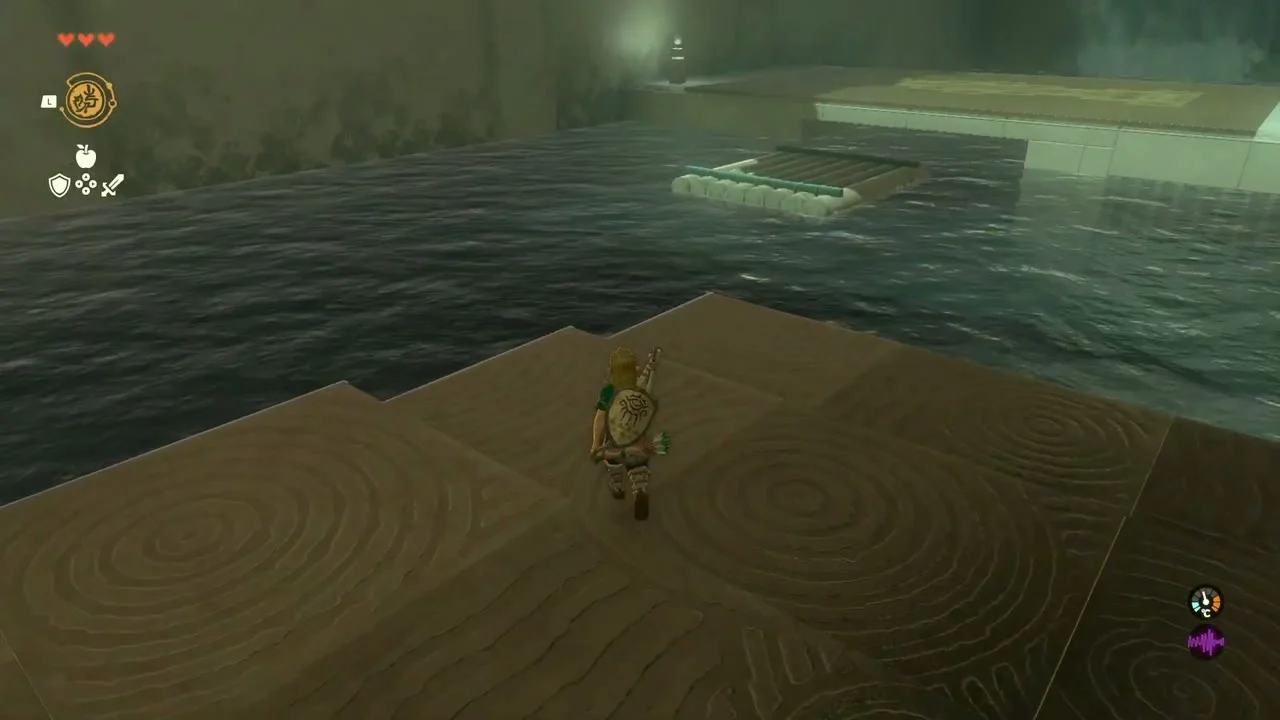
Nachoyah Shrine stands beside the refinery. It gives the fourth and last Light of Blessing.
Chest: Wing x3. Back above ground, on a carved stone terrace below the roots of a huge tree.


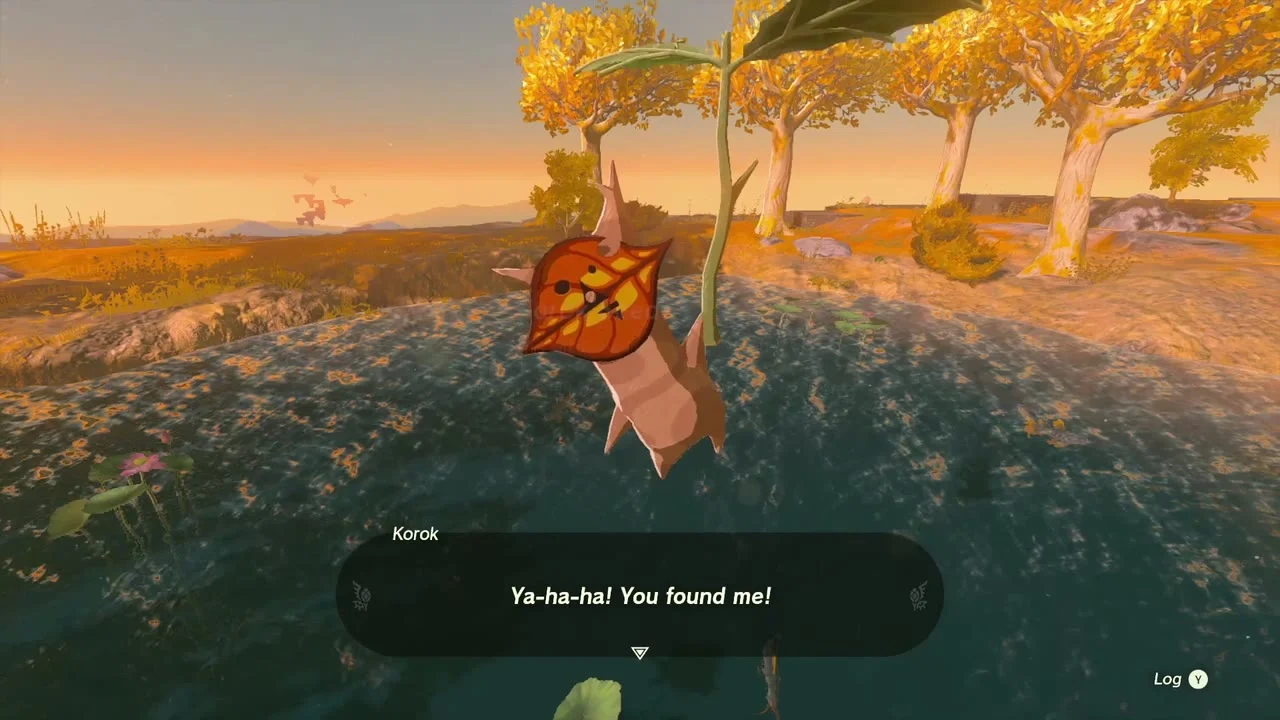
Korok seed 16 (lily pad): in the water-filled tree stump on the high ground above Nachoyah Shrine, swim to the lily pad in the middle and examine the swirling leaves to make the Korok appear.
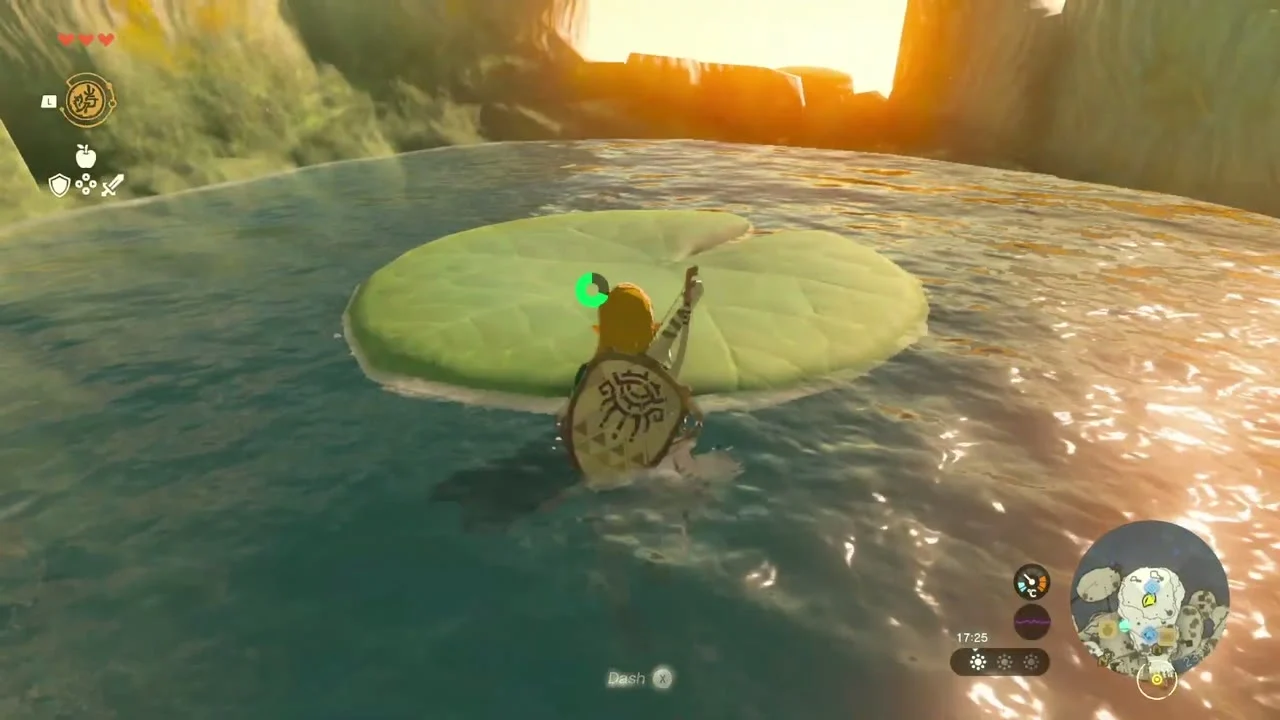
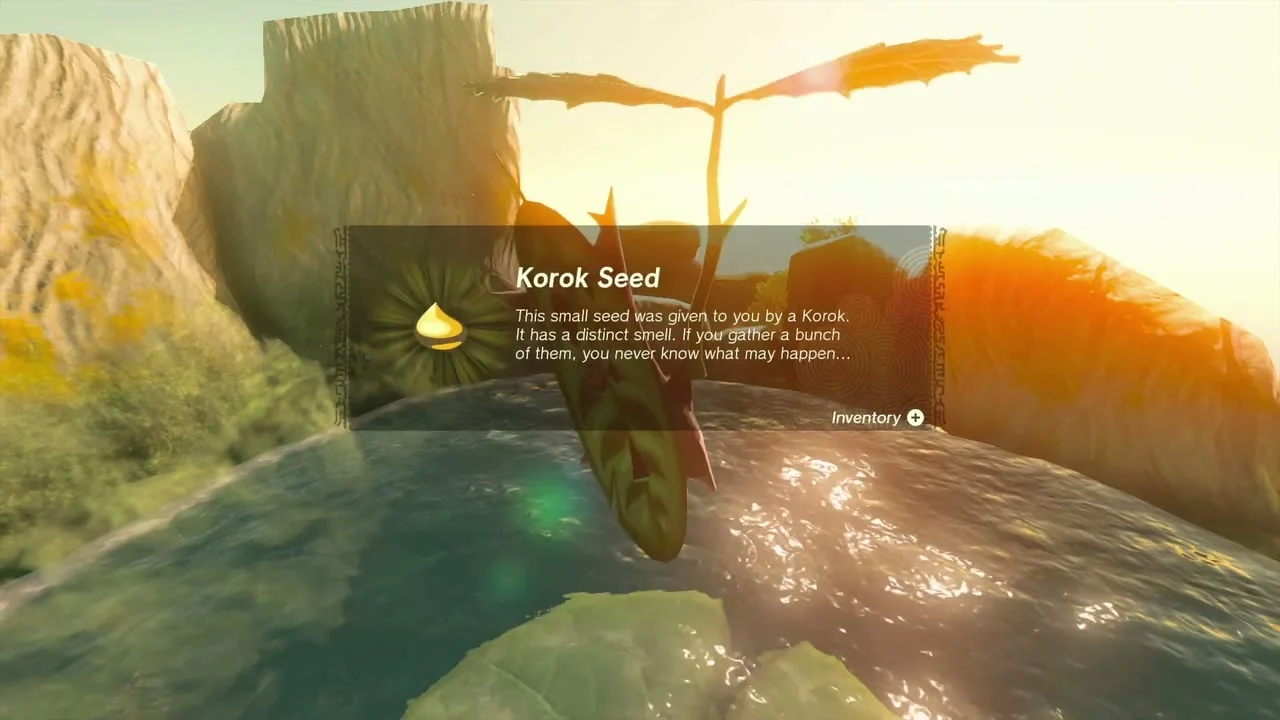
Korok seed 17 (glide target): from the stone ledge where you first leapt off the Room of Awakening, launch a Wing and glide down to the pond ringed with lily pads. Drop into the middle of the ring to make the Korok appear.


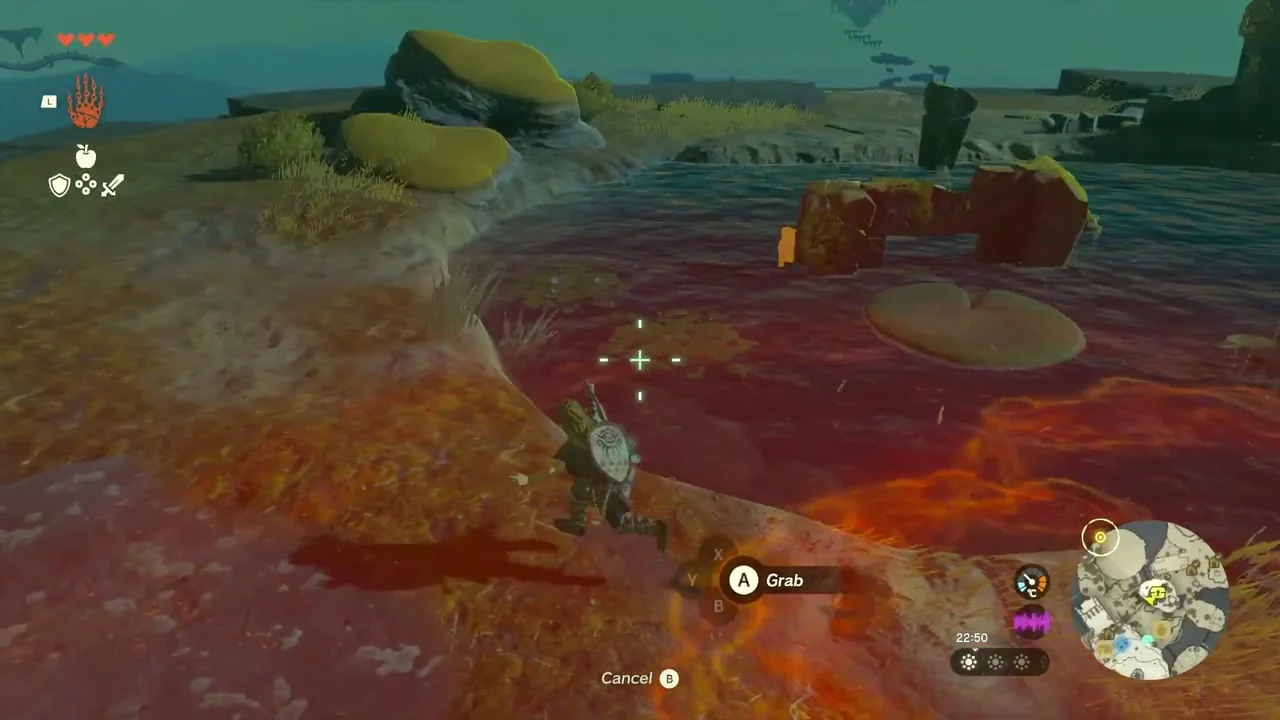
Chest: Large Zonai Charge. A chest lies under the surface of a pond a short way on. Grab it with Ultrahand, pull it onto the bank and open it for a Large Zonai Charge.
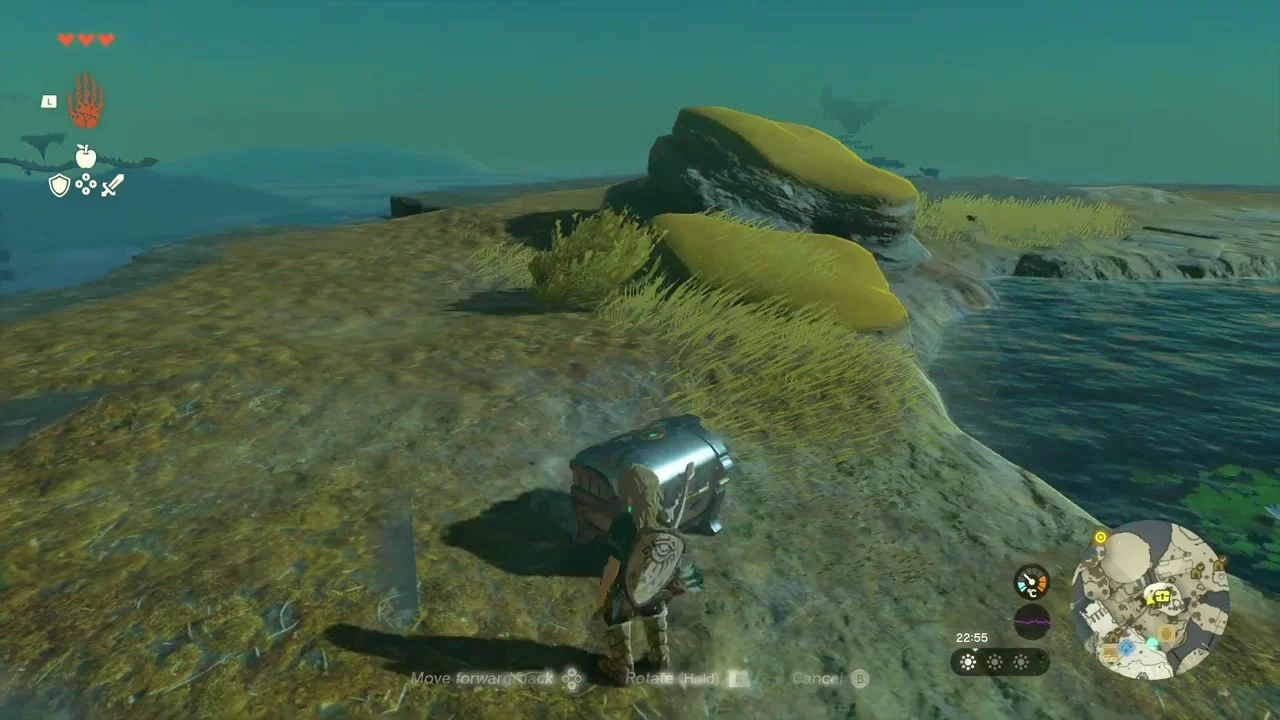

Heart Container and leaving the island
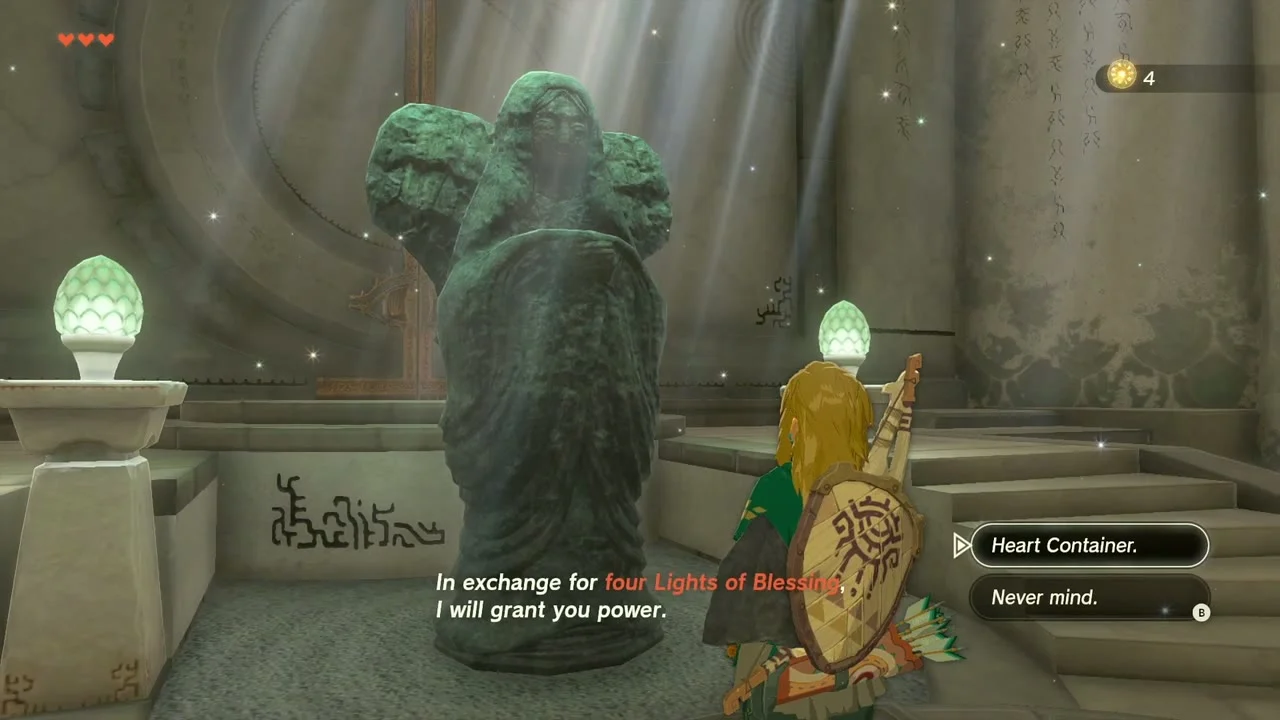
Heart Container. Return to the Goddess Statue in the Temple of Time and offer your four Lights of Blessing. This first statue offers only a Heart Container; later statues also offer Stamina Vessels. Then push open the second door.

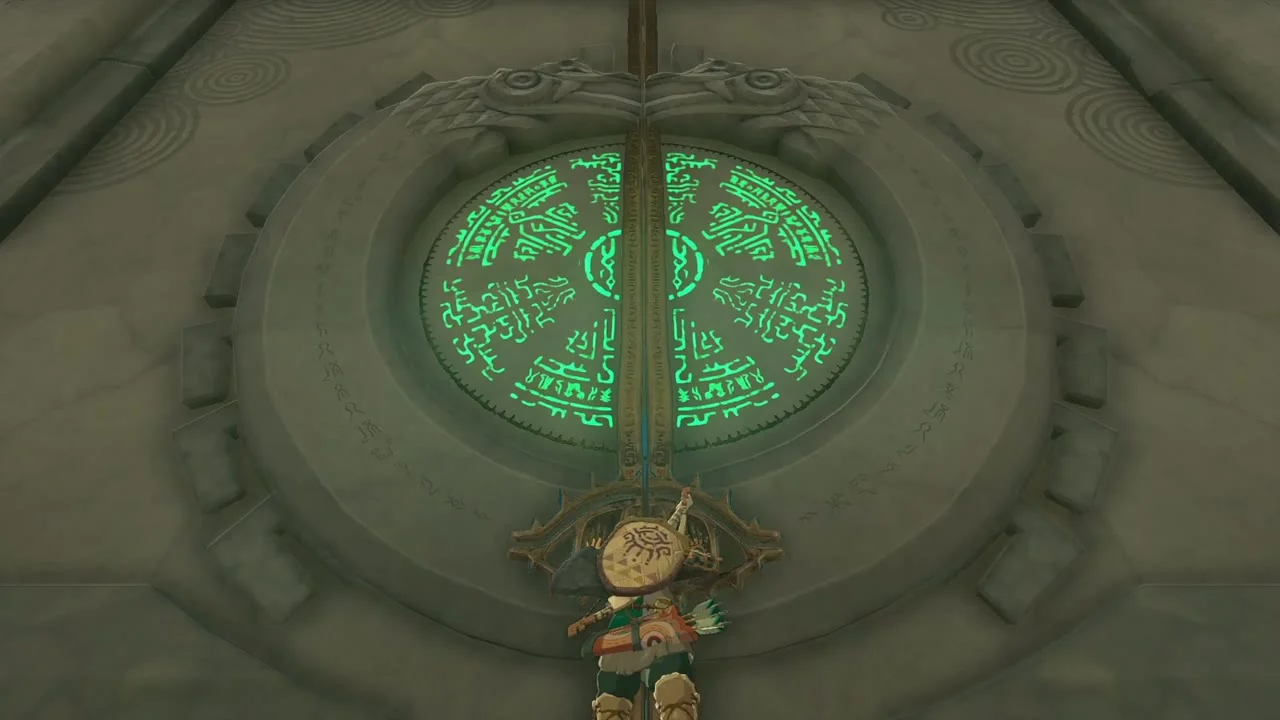
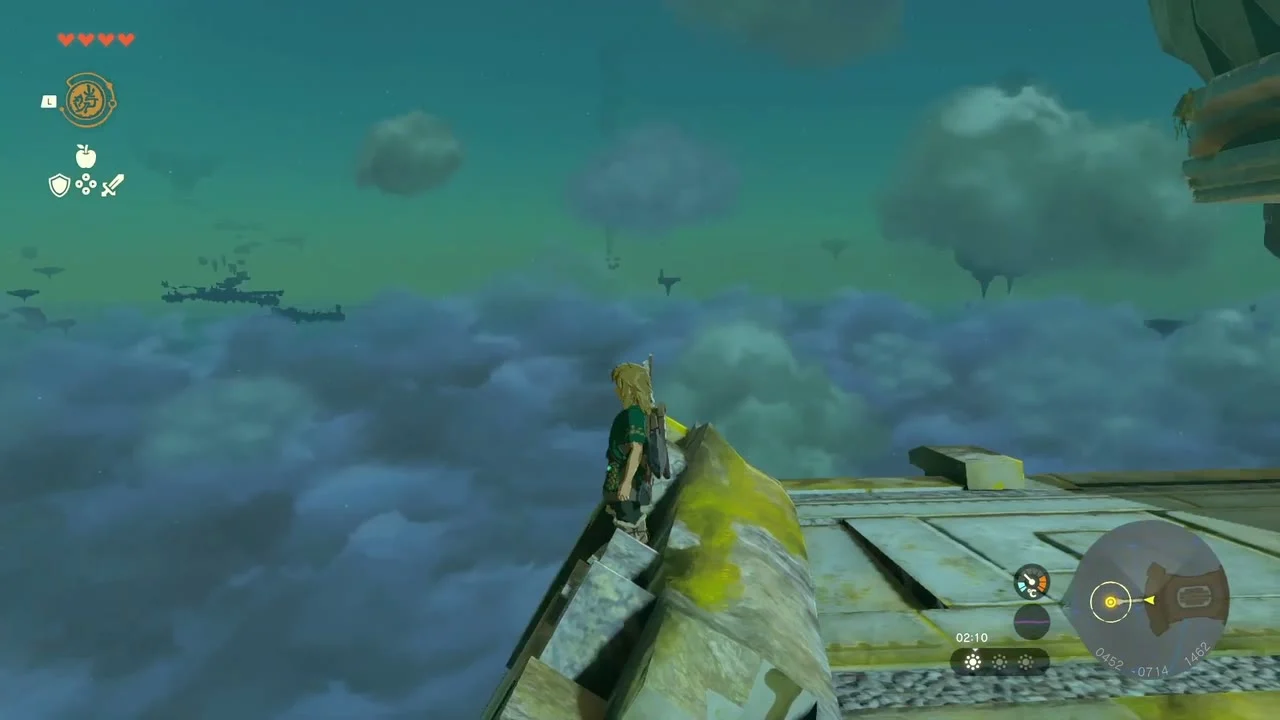
Leave the island. Leave the temple, follow the stone walkway to the platform’s edge and jump.


Completion tips
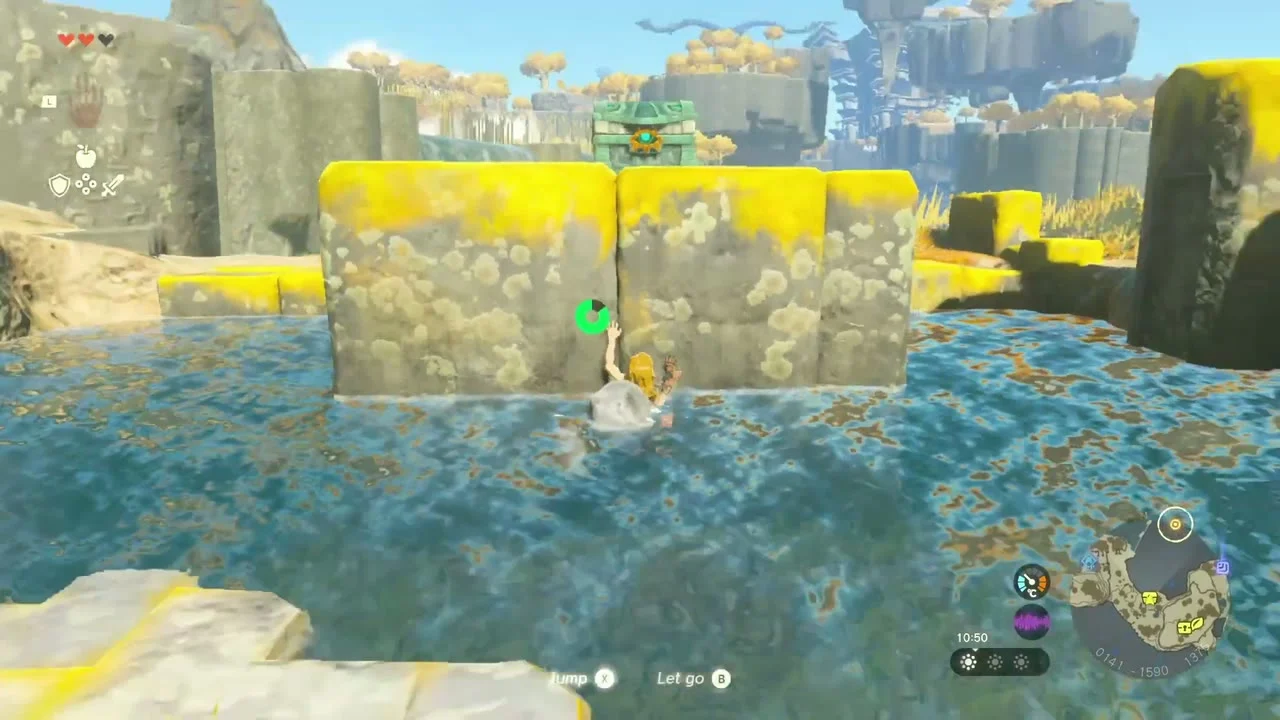
- Korok seed total. The island holds 19 Korok seeds in all, two of them from backpack Korok pairs. The 17 on this route plus the two listed in the table below make the full set.
- Before the Heart Container. The four Lights of Blessing are the only way to open the second door, so clear all four shrines first. Anything you skip can still be collected later, since the island stays reachable by fast travel.
- Weapons. Weapons found here are weak and break quickly. Keep a rock-fused weapon or Boulder Hammer for the chests that need breaking rock.
Collectibles in this chapter
| Collectible | Count | Where |
|---|---|---|
| Shrines | 4 | Ukouh, In-isa, Gutanbac, Nachoyah (4 Lights of Blessing) |
| Korok seeds | 17 on this route | 13 single Koroks and 2 backpack pairs (2 seeds each); two further Koroks complete the island’s 19: one in the Room of Awakening that appears only after you leave the island, and a rock circle around a tree near Mining Cave (reached by gliding southeast from the lily-pad ring). See Great Sky Island Korok seeds |
| Chests (outside shrines) | 25 | Archaic Legwear, Archaic Tunic, Archaic Warm Greaves, Soldier Reaper, Energizing Elixir, Portable Pot, Flame Emitter, Large Zonai Charge, Zonaite, Amber x5, Opal x5, Arrow x5 x2, Wing x3 x3, Fan x3 |
| Caves and Bubbul Gems | 4 | Pondside, Mining, Pit and Bottomless Cave, one gem each |
| Abilities | 4 | Ultrahand, Fuse, Ascend, Recall |
| Armor | 3 | Archaic Legwear and Archaic Tunic, Archaic Warm Greaves |
| Key items | 2 | Purah Pad (Steward Construct), Energy Cell (outside In-isa Shrine) |
| Heart Container | 1 | Goddess Statue, Temple of Time |
