





















Tears of the Kingdom 100% Completion Walkthrough43 chapters
Great Sky Island
- Great Sky Island4 shrines, 4 caves and Bubbul Gems, 17 Korok seeds
Hyrule Field and Hyrule Castle
- Lookout LandingParaglider, Crisis at Hyrule Castle, Jiosin and Kyononis shrines, 2 caves, 3 wells
- Hyrule FieldSusuyai and Ishodag shrines, the Hyrule Field Chasm, 2 caves, 13 Koroks
- Hyrule Castle Town RuinsSepapa, Yamiyo and Tukarok shrines, 2 caves, 4 wells, Koroks, chests and Battle Taluses in route order
- Central Hyrule Depthslight all 7 Lightroots, loot Daphnes and Gustaf Canyon Mines, find the Miner's Top
- Rest of Hyrule CastleRoyal Hidden Passage loot, 8 castle chests, Phantom Ganon, Energy Wells
- South Hyrule FieldShrines, Koroks & the Great Plateau
- South Hyrule Field DepthsGreat Abandoned Central Mine, Master Kohga, Autobuild, Majora's Mask
Tabantha and Hyrule Ridge
- Tabantha FrontierNew Serenne Stable, Hestu, Courage Island and the Glide Shirt, 3 shrines, 2 Korok seeds, Lindor's Brow Cave
- Forgotten TempleImpa and the Geoglyphs, Dragon's Tears, Kiuyoyou and Mayausiy shrines, Yiga Maritta Branch, 9 Koroks
- Tanagar Canyon & Hyrule RidgeRunakit and Iun-orok shrines, 2 caves, 12 Koroks, 20 chests, 8 minibosses and Dragon's Tear 6
- Thundra Plateau & Tabantha Bridgesolve the noon shadow puzzle, Tabantha Bridge Stable, Makurukis Shrine, 19 Korok seeds, 9 chests, 3 minibosses
- Lindor's Brow DepthsLightroots; Two Yiga camps (Bomb Bouquet, Flamethrower Balloon)
- Hyrule Ridge and Tabantha FrontierIkatak, Oromuwak, Ganos and Ga-ahisas shrines, 4 caves, a well, 26 Koroks and 3 minibosses
Hebra
- Rito VillageGatakis and Ijo-o shrines, Sikatag Lightroot, 9 Korok seeds, 14 chests
- Hebra MountainsShrines, Wind Temple & Koroks; Raspro Pass, Biron Snowshelf & Royal Hidden Passage
- Corvash Canyon MineTrousers of the Hero, Floodlights schematic, Sea-Breeze Boomerang, four Lightroots, Colgera
- Raspro Pass DepthsNupisoyuat and Sasag Lightroots, Colgera, Cap of Time, Tunic of the Wind, two Yiga camps and 13 minibosses
- Tabantha TundraTaninoud, Orochium, Oshozan-u, Mayaotaki, Nouda and Tenbez shrines, three Lightroots, caves and Bubbul Gems
- Pikida Stonegrove DepthsEvil Spirit Greaves, Ikatoayam, Muihcoro and Sikatag Lightroots, 3 Yiga schematics, Frox fights
Great Hyrule Forest
- Great Hyrule Forest7 shrines, 8 Lightroots, 2 caves, 2 wells, Korok Mask, Glide Tights
Eldin
- EldinEldin Canyon, Shrines, Caves & Goron City
- Eldin Canyon Depths10 Lightroots, Zant's Helmet, Trousers of the Wild, Biggoron's Sword, 3 Yiga schematics and Eldin's sky chests
Faron
- FaronHighland Stable, Lake Hylia & Popla Foothills
Necluda
- Kakariko VillageMakasura Shrine, Kakariko Village Well, 2 caves, Ring Ruins chests, 10 Korok seeds and village quests
- West Necluda and Lanayru WetlandsShrines, Koroks & Caves; Jonsau, Kurakat
- Hateno VillageZanmik and Mayahisik shrines, Shield of the Mind's Eye and Phrenic Bow wells, 7 Koroks
- East NecludaRabella Wetlands, Sifumim Shrine, Lurelin Village, 21 Korok seeds
- East Necluda DepthsKumamayn Shrine, 4 Lightroots, Midna's Helmet, Cap of the Hero, Trousers of the Wind and 18 Depths chests
Lanayru
- Lanayru Great SpringShrines, Koroks & Caves; Ralis Channel, 3 shrines, 8 caves
- Zora's DomainMogawak and Ihen-a shrines, Ploymus cave, Pristine Sanctum, Zora Armor, Sidon of the Zora and Clues to the Sky
- Wellspring IslandAncient Zora Waterworks chests, Igoshon Shrine, 2 Korok seeds, Water Temple's four wheels and Mucktorok
- Mount LanayruShrines, Koroks & Light Rings; Jikais and Anedamimik shrines
Gerudo
- Gerudo DesertShrines, Caves & Koroks; West and South Sands
- Gerudo TownGerudo Shelter shops and quests, Valley of Silent Statues, Lightning Temple and Queen Gibdo, Chichim Shrine
- Gerudo Desert DepthsGranajh and Daval mines, three Master Kohga fights, Queen Gibdo, Mucktorok, Sheik's Mask and 37 chests
- Gerudo HighlandsSkyview Tower, Rotsumamu and Suariwak shrines, Mayasiar Shrine, Yiga hideout
Akkala
- AkkalaTarrey Town quests, 4 shrines, Hinox, Battle Talus
- Akkala Sky Islands and DepthsGikaku and Natak shrines, Old Maps, Lomei Depths Labyrinth, Mucktorok, 5 Lightroots and 19 chests
Finale and completion
- Ancient Tablets, Gleeoks and Armor Upgradesall 13 stone tablets with coordinates, Frost and King Gleeok, Obsidian Frox, Cotera upgrades and farming
- Hyrule CastleRoyal gear chests, Korok seeds, Serutabomac Shrine
- Thunderhead IslesCharged armor, Joku-usin and Joku-u Shrines, Dragonhead Island's relic
- 100% Completion: Armor Upgrades & Korok BonusHestu's Gift, Ancient Hero's Aspect, Great Fairy Cotera upgrade costs and materials, then Destroy Ganondorf
This chapter is in 2 parts, in the order a 100% run reaches them. Jump to a part:
Part 1: Tarrey Town quests, 4 shrines, Hinox, Battle Talus, Thunder Gleeok and Phantom Ganon
| Region | Akkala Highlands: Tarrey Town and the Hudson Construction Site, the lake south of town, the Rist Peninsula, the Akkala Citadel Ruins, South Akkala Plains and the area around South Akkala Stable |
|---|---|
| Shrines | 5: Jochi-ihiga (Rauru’s Blessing, Rock for Sale shrine quest), Gemimik (Turbine Power, puzzle), Domizuin (A Prone Pathway, puzzle), Mayachideg (Proving Grounds: The Hunt) and Sinatanika (Combat Training: Sneakstrike) |
| Lightroots | 5, one under each shrine: Agihi-ihcoj (Jochi-ihiga), Kimimeg (Gemimik), Niuzimod (Domizuin), Gedihcayam (Mayachideg), Akinatanis (Sinatanika). See all Lightroots. |
| Caves and wells | 3 caves, each with a Bubbul Gem: Tarrey Town Tunnel, Akkala Citadel Ruins Cave, Akkala Citadel Ruins Summit Cave. 1 well: Construction Site Well. See all caves. |
| Koroks | About 23 Korok puzzles in this half of the Highlands (the full list is under “Remaining exhausted Koroks”), including three exhausted-Korok deliveries. Nintendo Life counts 37 Koroks across the whole Akkala Highlands. See all Korok seeds. |
| Minibosses | Black Hinox, Battle Talus, Thunder Gleeok, Phantom Ganon, Boss Bokoblin |
| Armor and gear | Fierce Deity Armor, Froggy Hood, Monster Bridle, Monster Saddle |
| Quests | Rock for Sale, Mattison’s Independence, A Monstrous Collection I–V, Home on Arrange, Secrets Within, Master the Vehicle Prototype, The Tarrey Town Race Is On!, A Picture for South Akkala Stable, The All-Clucking Cucco, Potential Princess Sightings!, One-Hit Wonder! |
This chapter works through the southern half of the Akkala Highlands: you settle into Tarrey Town and finish its quests, light up the lake and Rist Peninsula shrines, clear the monsters around the Akkala Citadel Ruins for Fierce Deity Armor, and finish at South Akkala Stable with two more shrines. Coordinates are map units (X, Y, height); larger Y is further north.
Quick route
Start in Tarrey Town: buy the strange crystal from Hagie, float it across the lake to Jochi-ihiga Shrine, then open the Bubbul Gem cave behind town and help Mattison slip away from her father.
Finish the town projects: A Monstrous Collection, your own house through Home on Arrange, the device dispenser, the vehicle prototype and the Tarrey Town Race. Drop down the Construction Site Well for a Bubbul Gem.
Ride east to the Rist Peninsula for the exhausted Korok and Gemimik Shrine, then swing west to the Akkala Citadel Ruins: Black Hinox, Battle Talus, Thunder Gleeok and Phantom Ganon, two caves with a Bubbul Gem each, the Fierce Deity Armor chest and Domizuin Shrine.
Wrap up around South Akkala Stable with its quests, Mayachideg Shrine, a Boss Bokoblin camp and Sinatanika Shrine.
Tarrey Town and the lake to the south
Reach Tarrey Town
Tarrey Town at (3966, 1611, 128) is the construction town in the middle of the Akkala Highlands, reached on foot from the Ulri Mountain Skyview Tower at (3499, 2026, 181) or by the road past South Akkala Stable. Activate the Unity Bell square first, because Hudson Construction, Kilton’s monster exhibit, the railcar and the race course all branch from it.

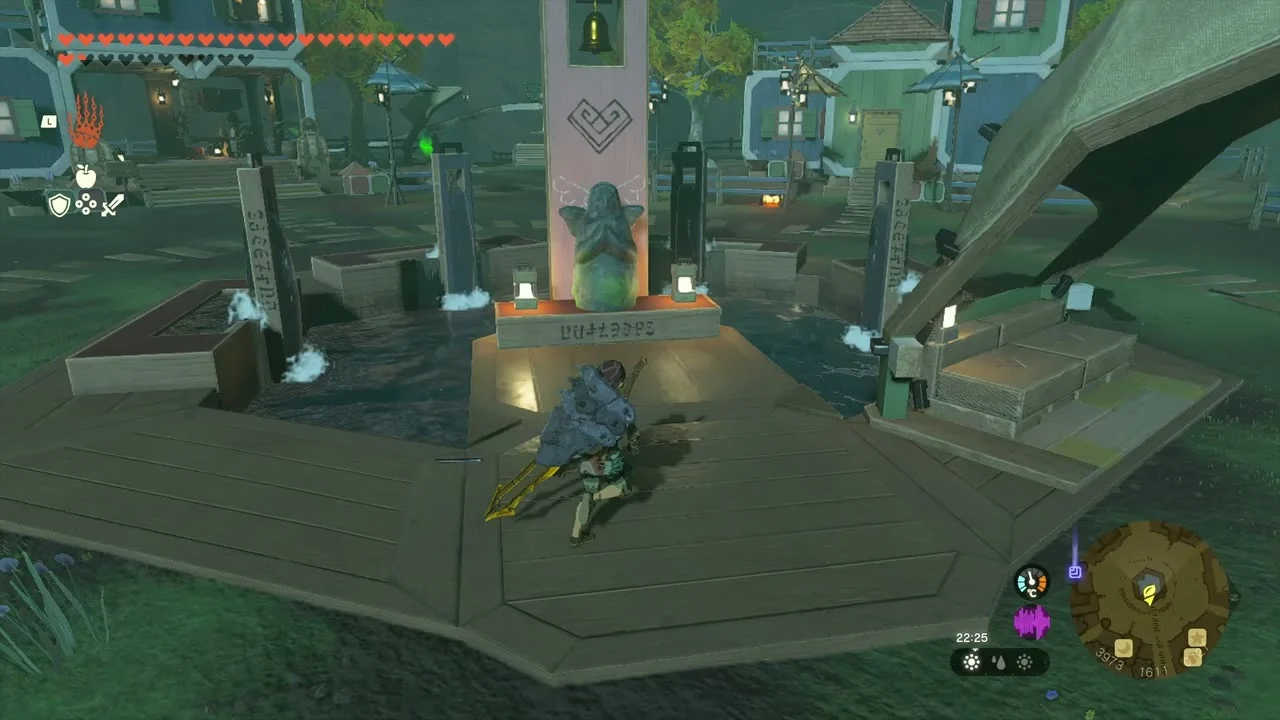
Buy the crystal for the Jochi-ihiga Shrine quest
Rock for Sale begins at Hagie’s railcar station on the town’s cliff edge. Ask about the rock and haggle until his wife Ruli steps in; it costs 50 rupees, plus a one-time railcar fee of 20 rupees. Attach the crystal to the railcar, ride south to the Hudson Construction Site, take it off, then follow its light beam across the lake. You cannot fast travel while carrying it, so build a boat: Ultrahand a plank or float, add a fan and a steering stick, and push straight at the shrine’s island.
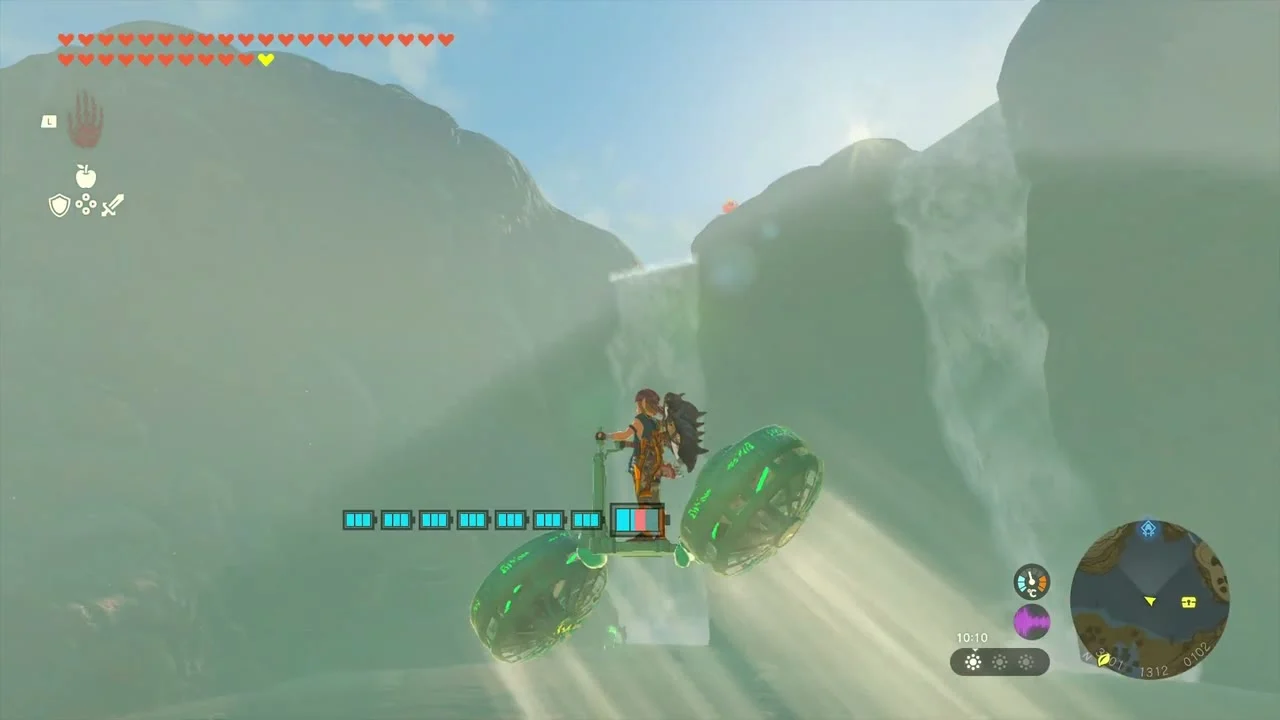
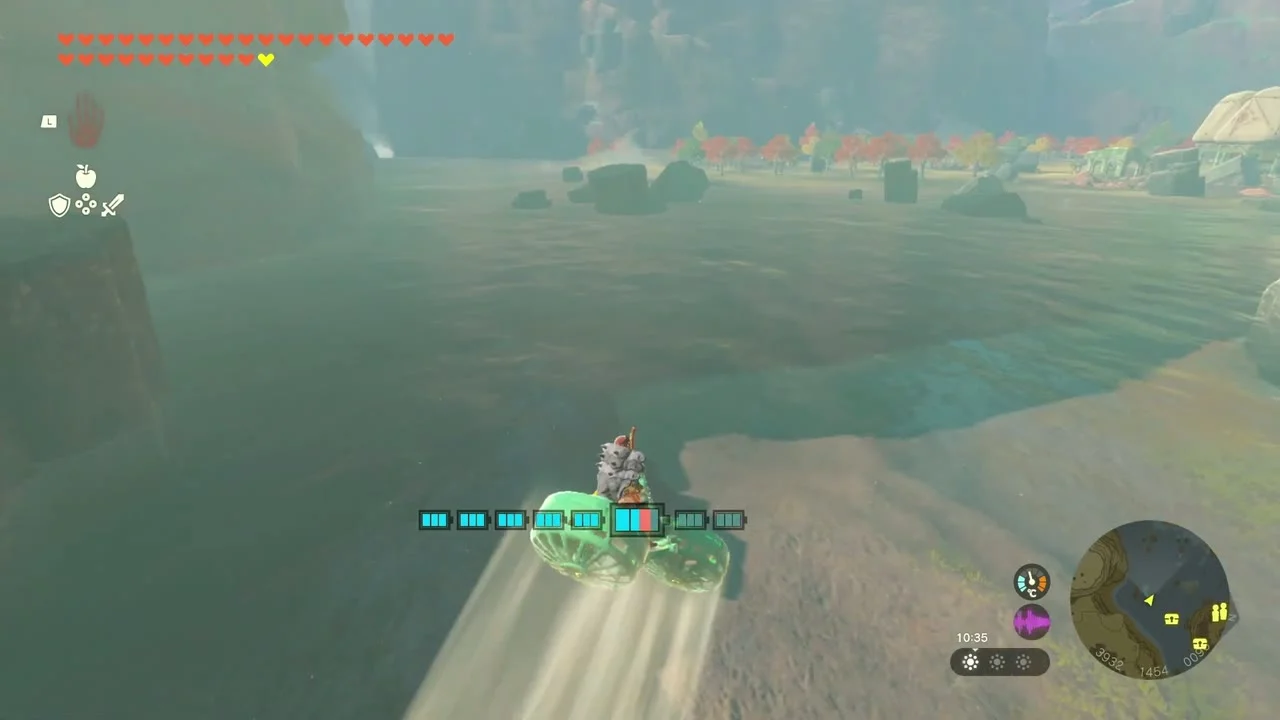

Jochi-ihiga Shrine: Rauru’s Blessing
Jochi-ihiga Shrine at (3810, 1219, 104), near Akkala Falls on the south shore of the lake. Trial Rauru’s Blessing; no puzzle, so open the chest for a Diamond and take the Light of Blessing from the end altar. The Agihi-ihcoj Lightroot is directly below at (3811, 1219, -557).
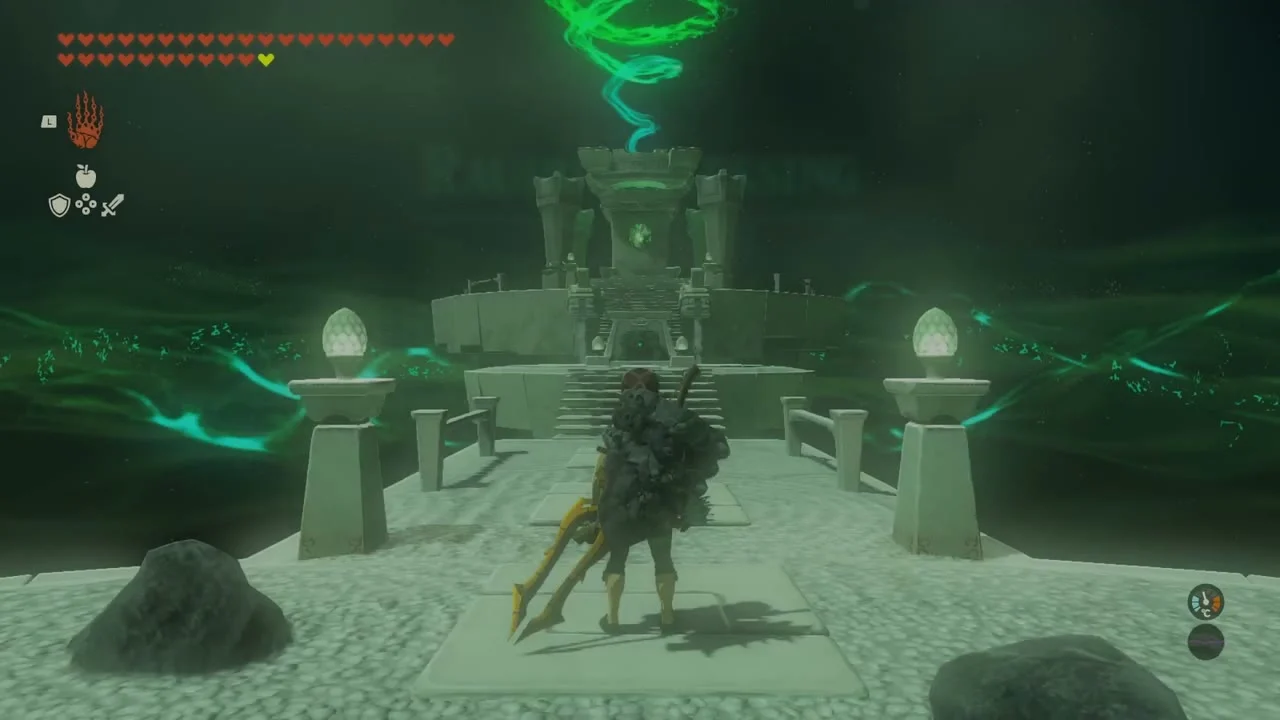

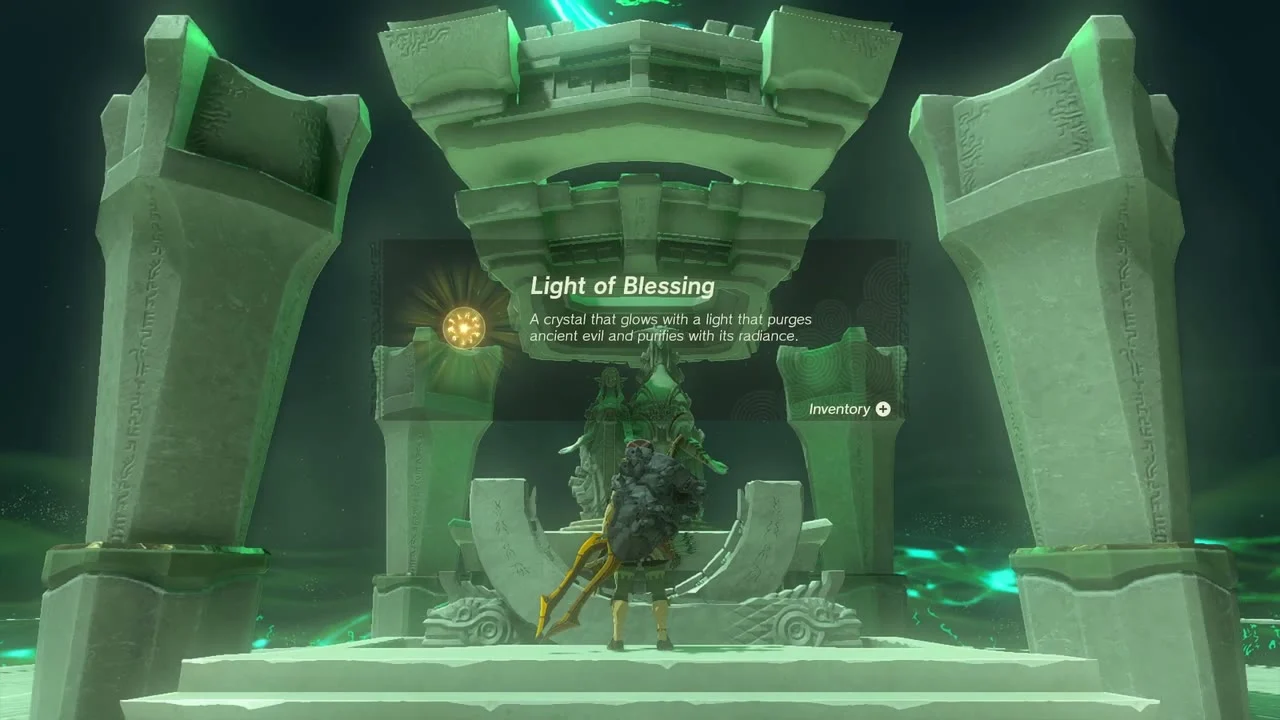
Open the chests on the ice
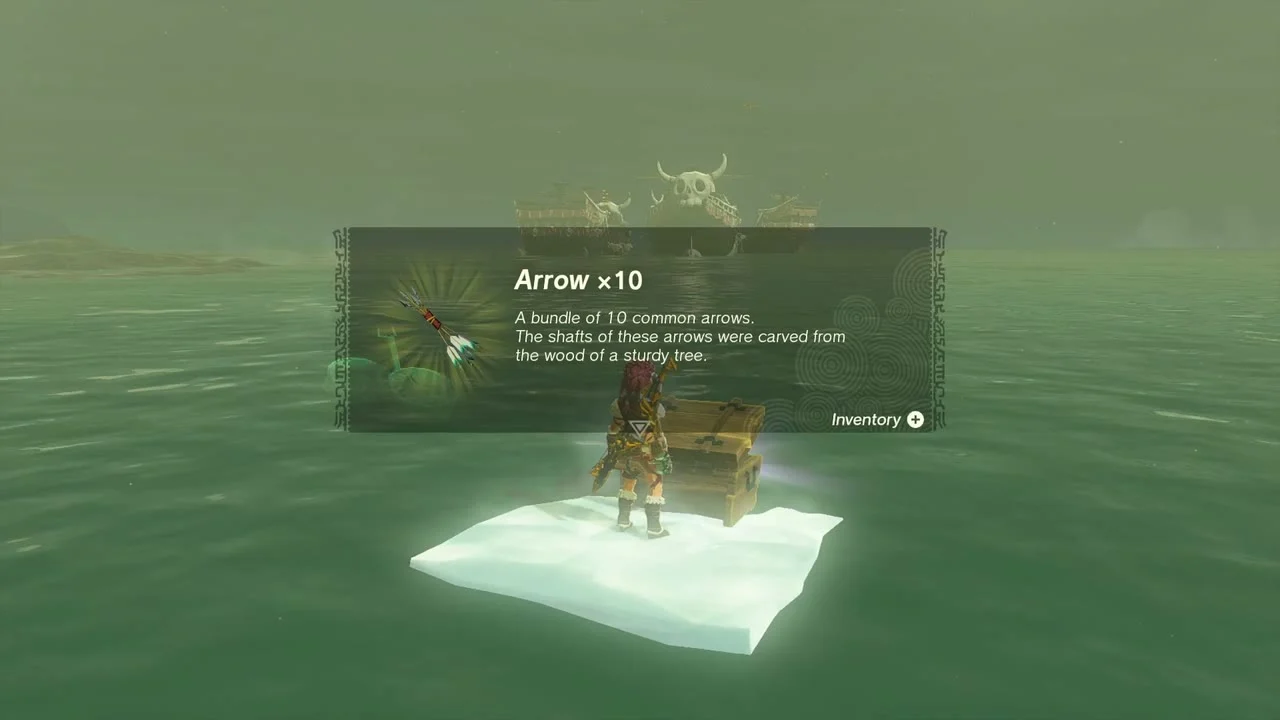
While you are on the water, look for the white ice slabs near the shrine. One carries a chest with an Opal; reach it with the boat or by gliding off the shore cliff. A second chest on the lake’s rocky outcrops holds Arrow x5.

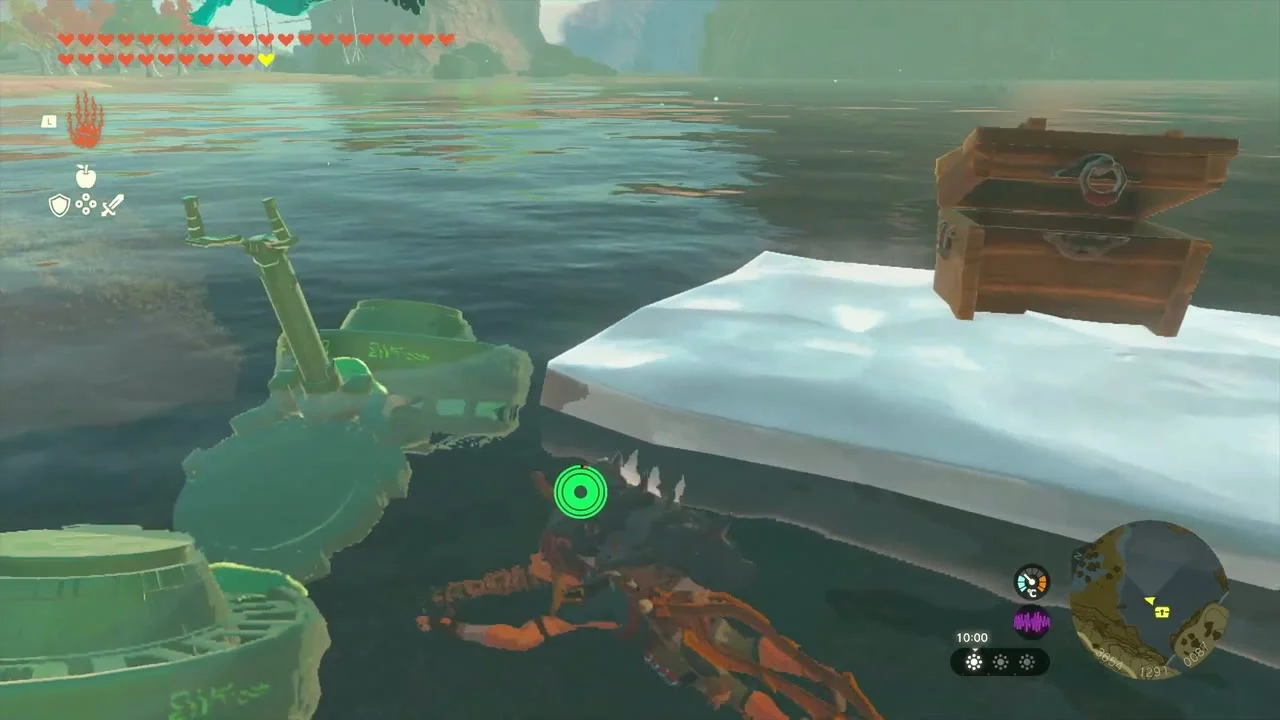
Tarrey Town Tunnel and the town quests
Tarrey Town Tunnel
The passage behind the cliff is dark, so throw a Brightbloom Seed to light it. The Bubbulfrog sits in the open chamber; defeat it for a Bubbul Gem. The tunnel’s far end comes out inside Hudson’s house.
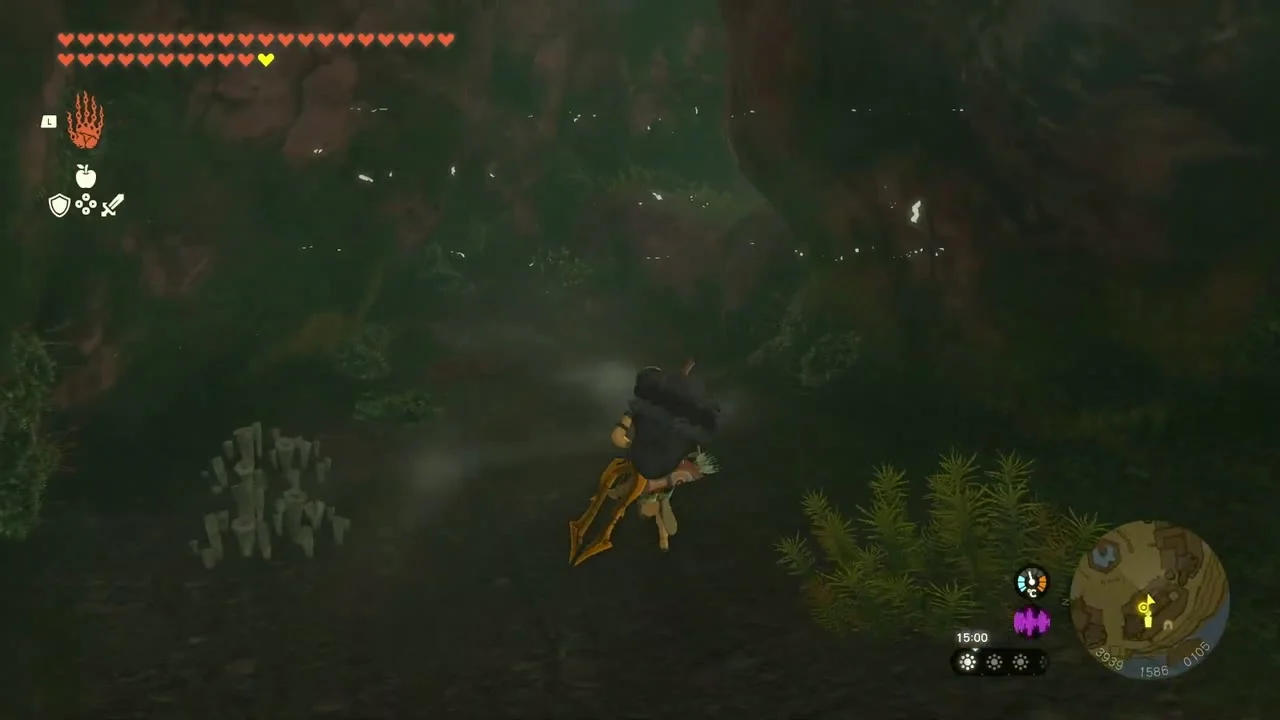

Mattison’s Independence
Mattison’s Independence is a side adventure from Hudson, who is worried about his daughter moving to Gerudo Town. Bring him Sundelion x10 (they grow on the Sokkala Sky Archipelago above Tarrey Town; one guide says five is enough, so bring ten to be safe), then help Mattison sneak past Hagie at the railcar: Ultrahand a plank in front of him and stay well clear. Hudson and Rhondson each give you a Silver Rupee (200 rupees in all), and finishing it unlocks Home on Arrange and the Monstrous Collection chain.
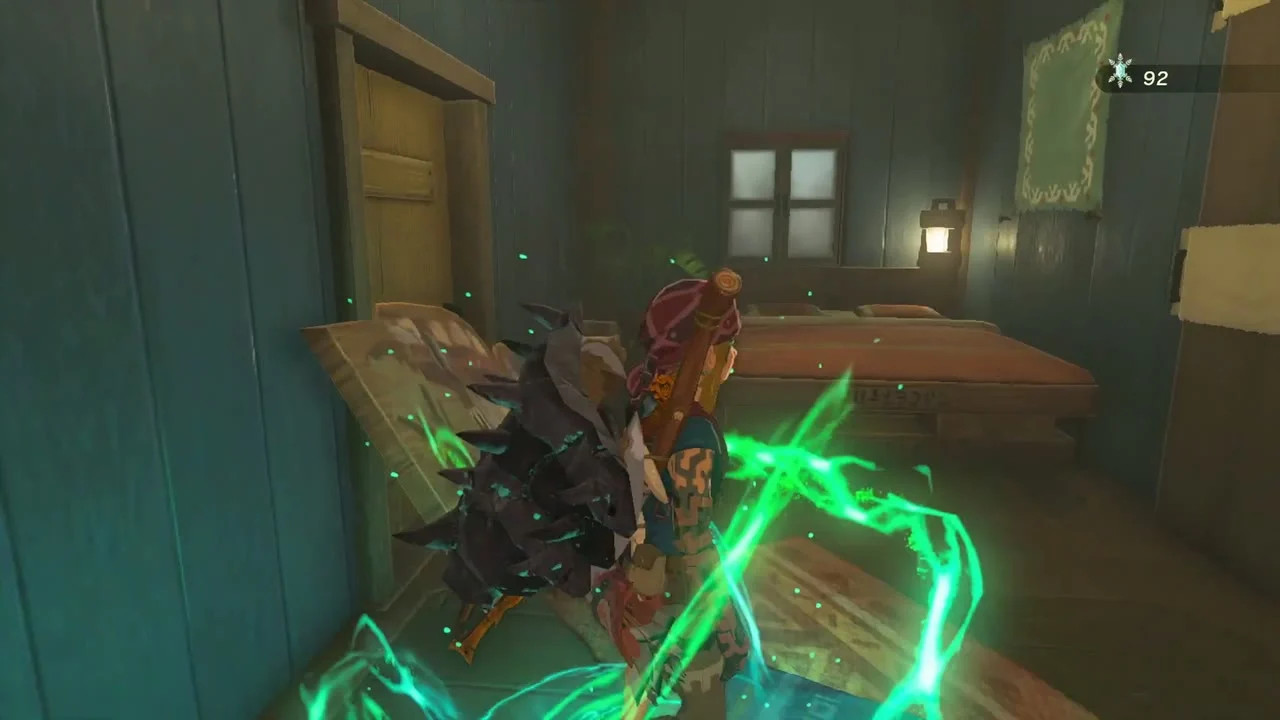
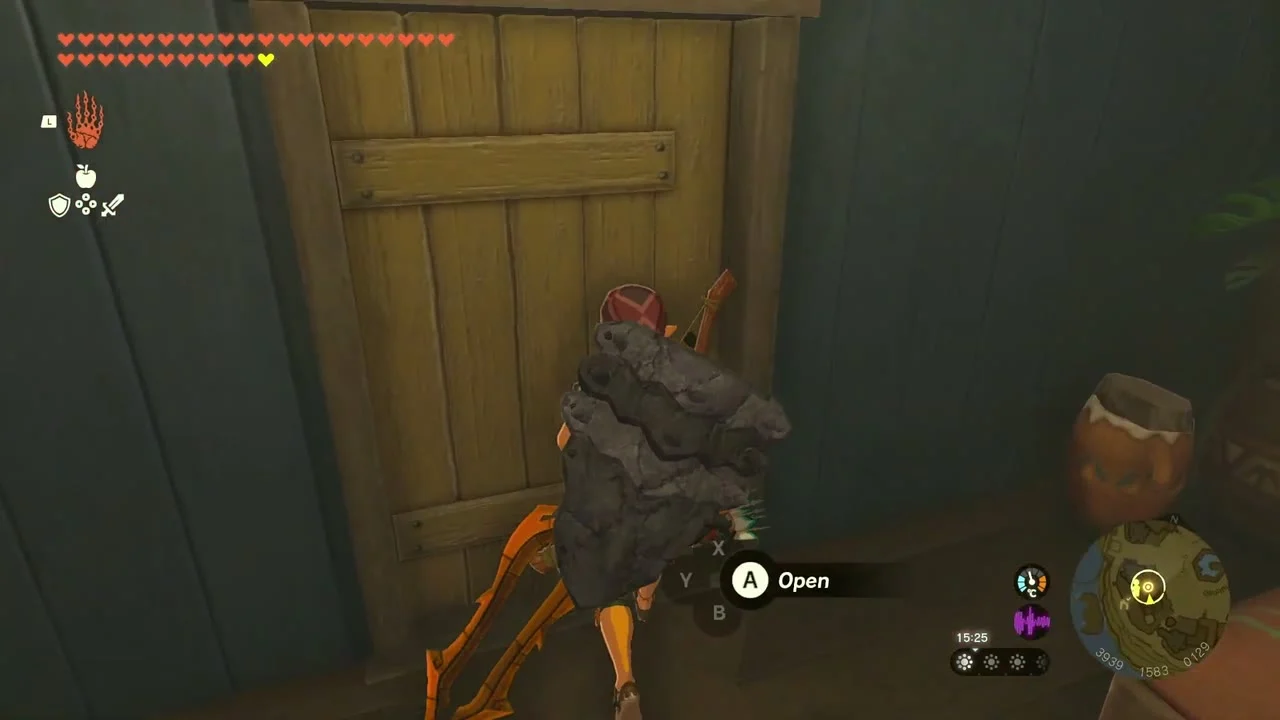
A Monstrous Collection I–V
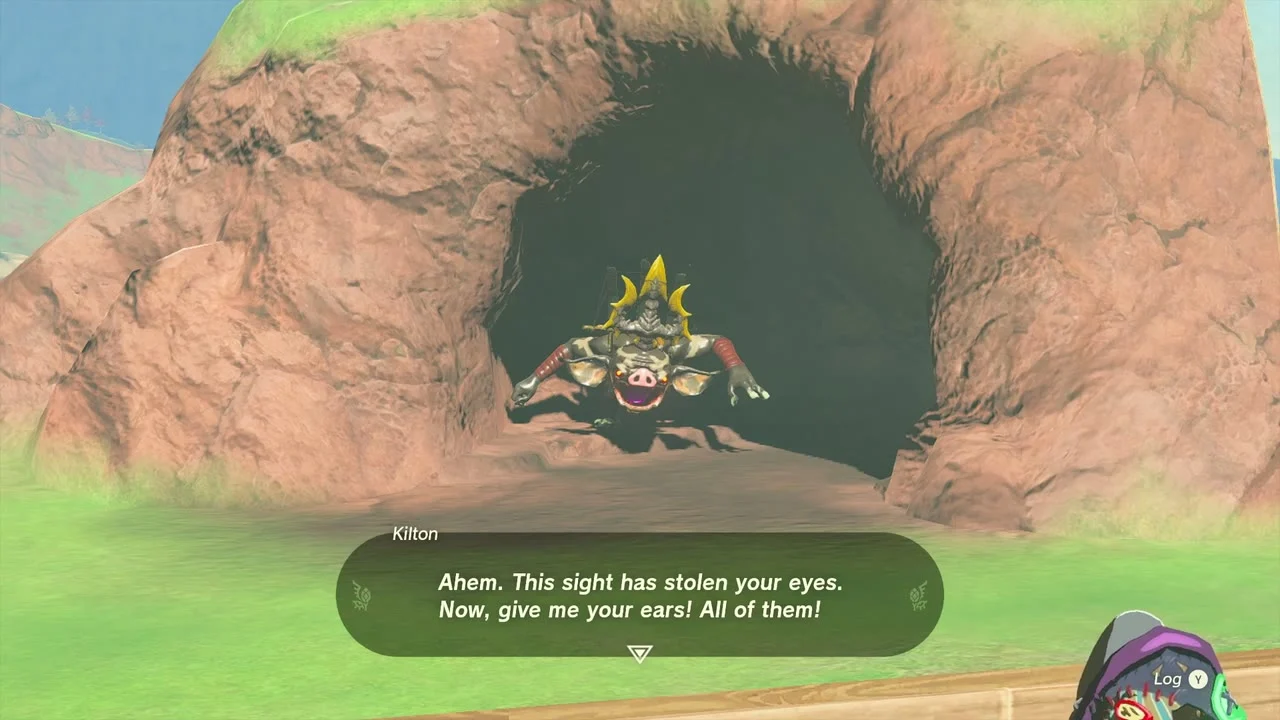
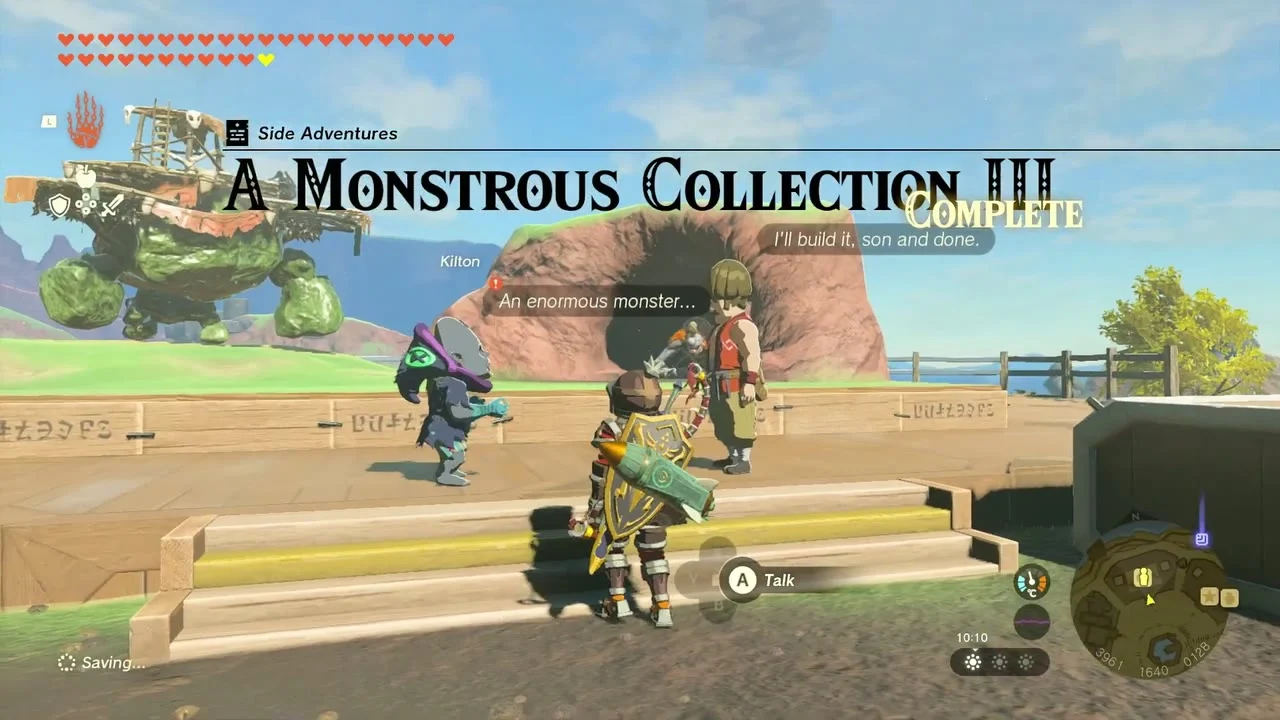
Kilton at the stage next to the cliff cave wants a sculpture of five monsters, each made by Hudson once you show him a photo from the Hyrule Compendium camera. A Monstrous Collection I is a Bokoblin; II is a Horriblin; III is a Battle Talus; IV is a Frox, which pays a Monster Saddle; and V is a King Gleeok, which pays a Diamond. Each statue also earns a bottle of Monster Extract, and II adds Sneaky Monster Soup. You need the Camera (unlocked by Camera Work in the Depths) and Kilton in town (The Search for Koltin) before the chain opens. Guides disagree on where the Monster Bridle comes from; some credit this chain, others a stable’s Pony Point rewards. Photograph the Battle Talus and Frox in this chapter’s later sections, then show Hudson the photo.

Build your own house
Home on Arrange opens once Mattison has left. Rhondson offers a plot southeast of town plus two starting rooms for 1,500 rupees (a discount on the usual price). Grantéson of Hudson Construction meets you there; assemble the rooms with Ultrahand and he inspects them. Extra rooms (roughly 300 to 600 rupees each, including weapon stand rooms) can be added later.

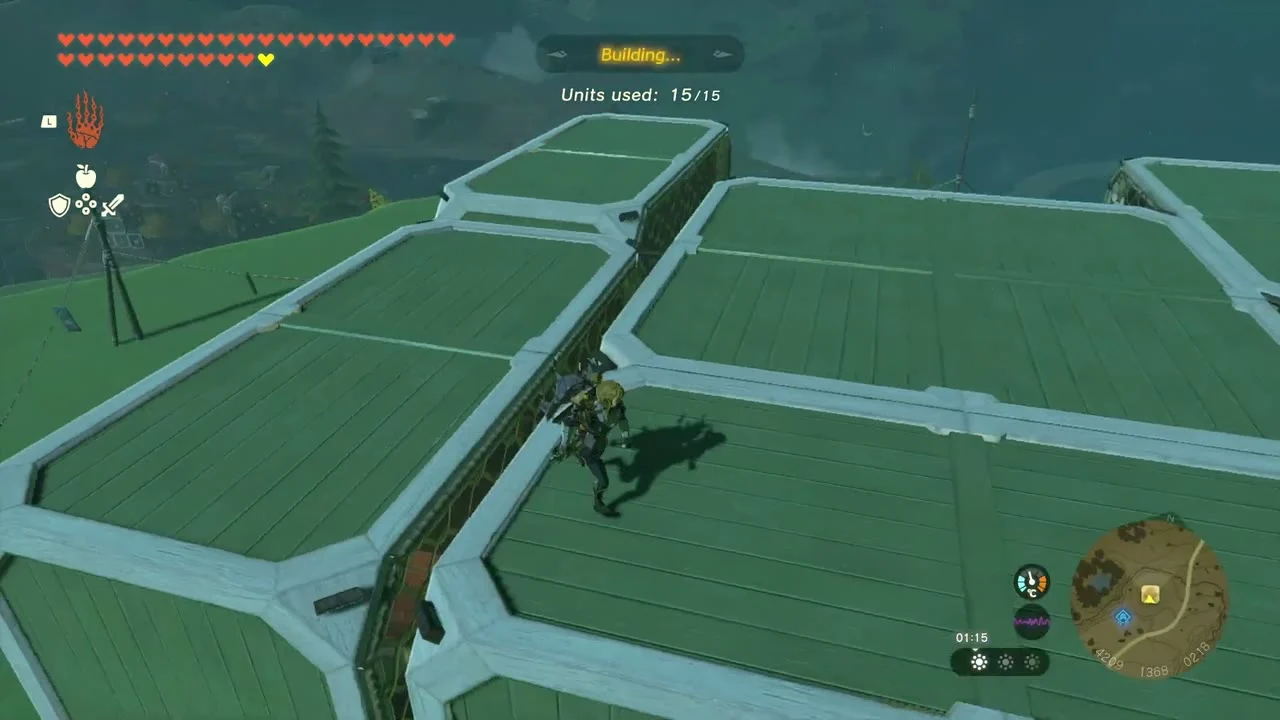

Secrets Within
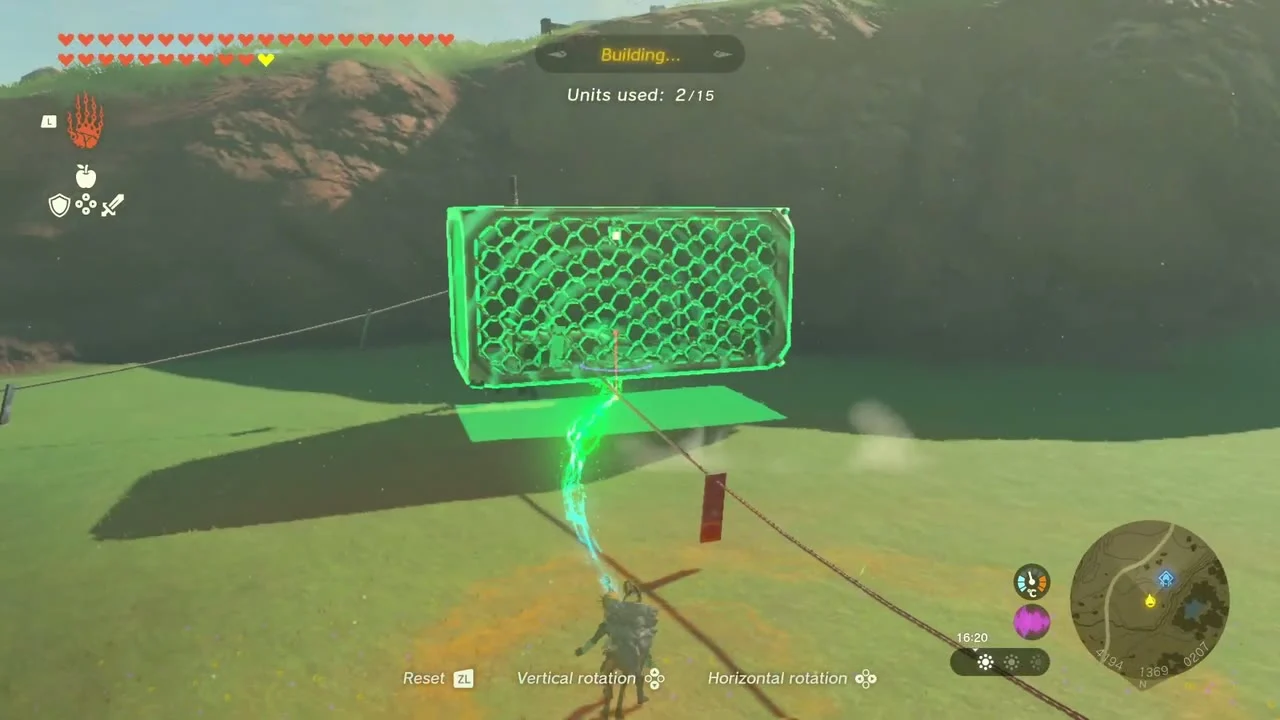
Secrets Within from Pulcho takes seconds. At the Hudson Construction Site, put a Zonai Charge into the device dispenser at the pedestal and lift out the device it produces, then show Pulcho what came out.
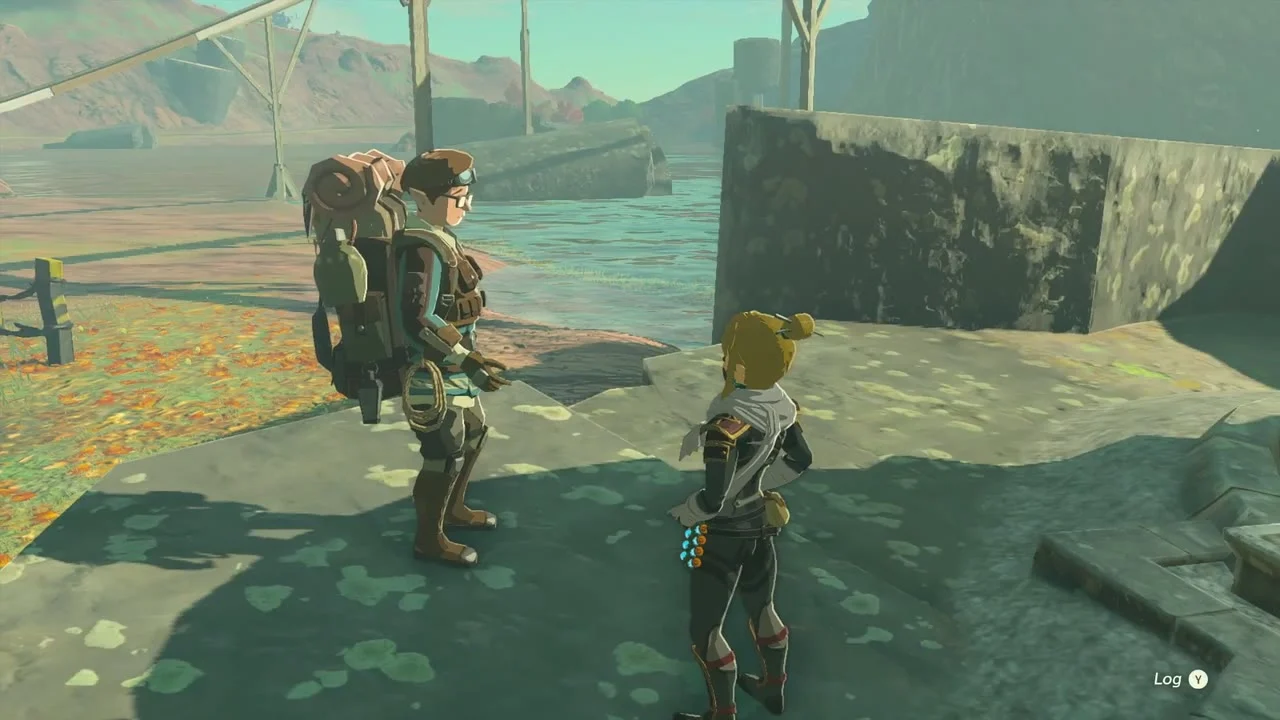
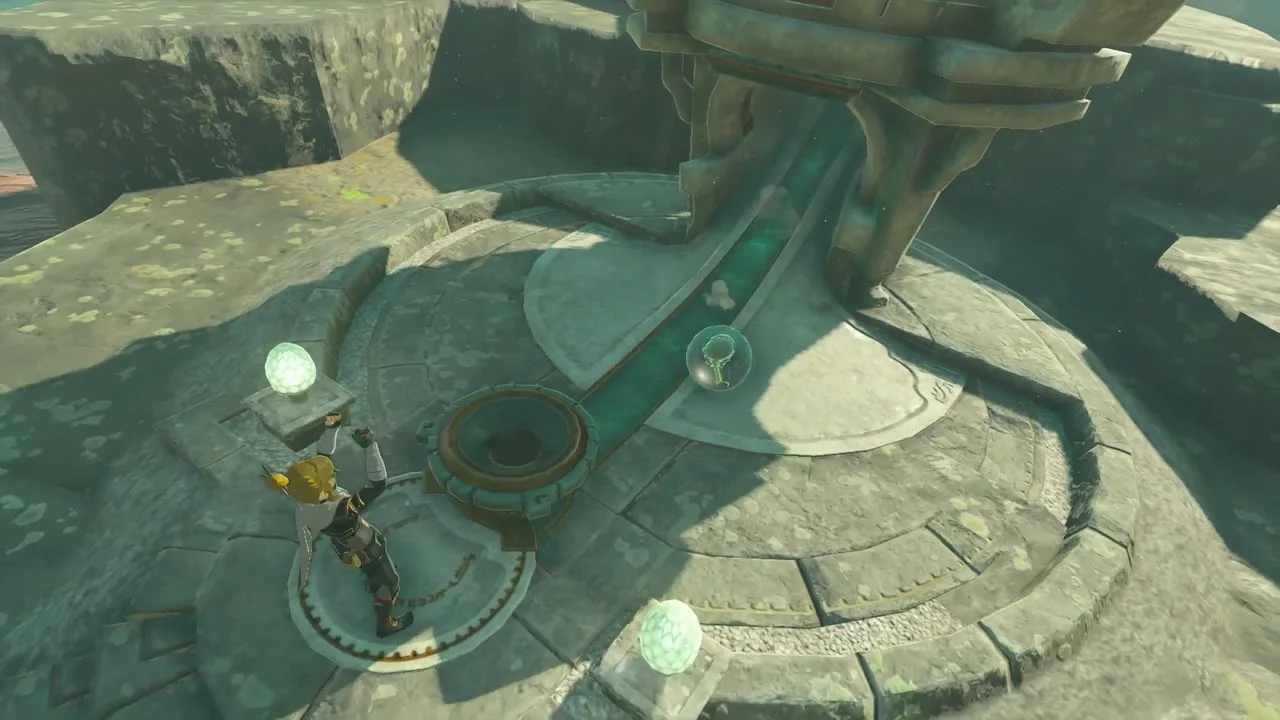
Master the Vehicle Prototype
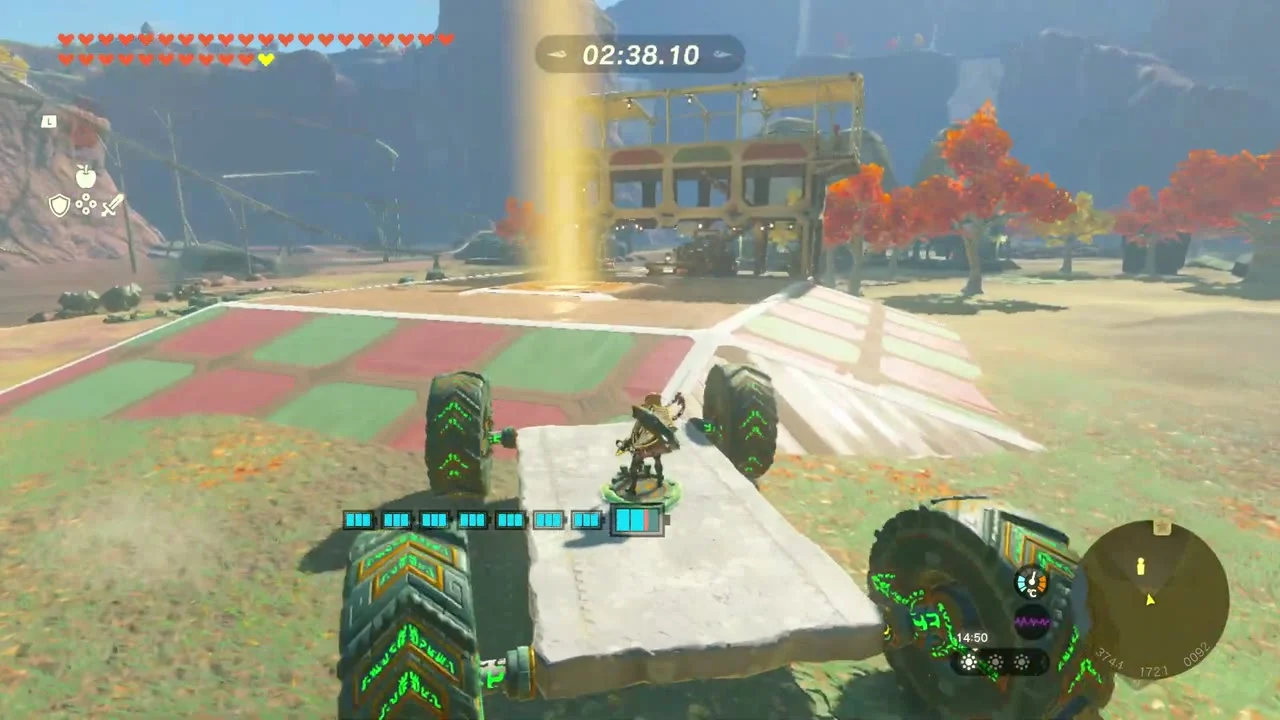
Master the Vehicle Prototype from Fernison at the Hudson Construction Site is a tutorial for the Steering Stick. Take a Steering Stick from the device dispenser, attach it to the supplied vehicle with Ultrahand, and drive the course through every light beam within the time limit. Do not let go of the stick or leave the course, or you are disqualified.
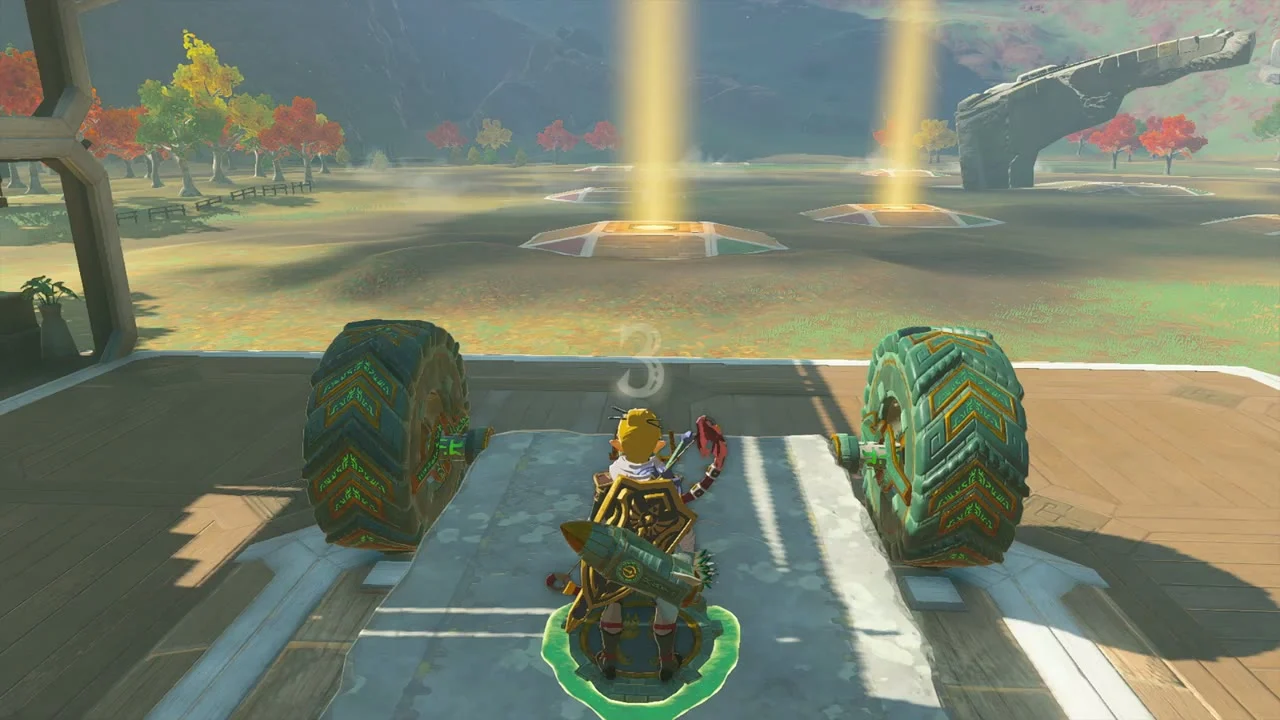
The Tarrey Town Race Is On!
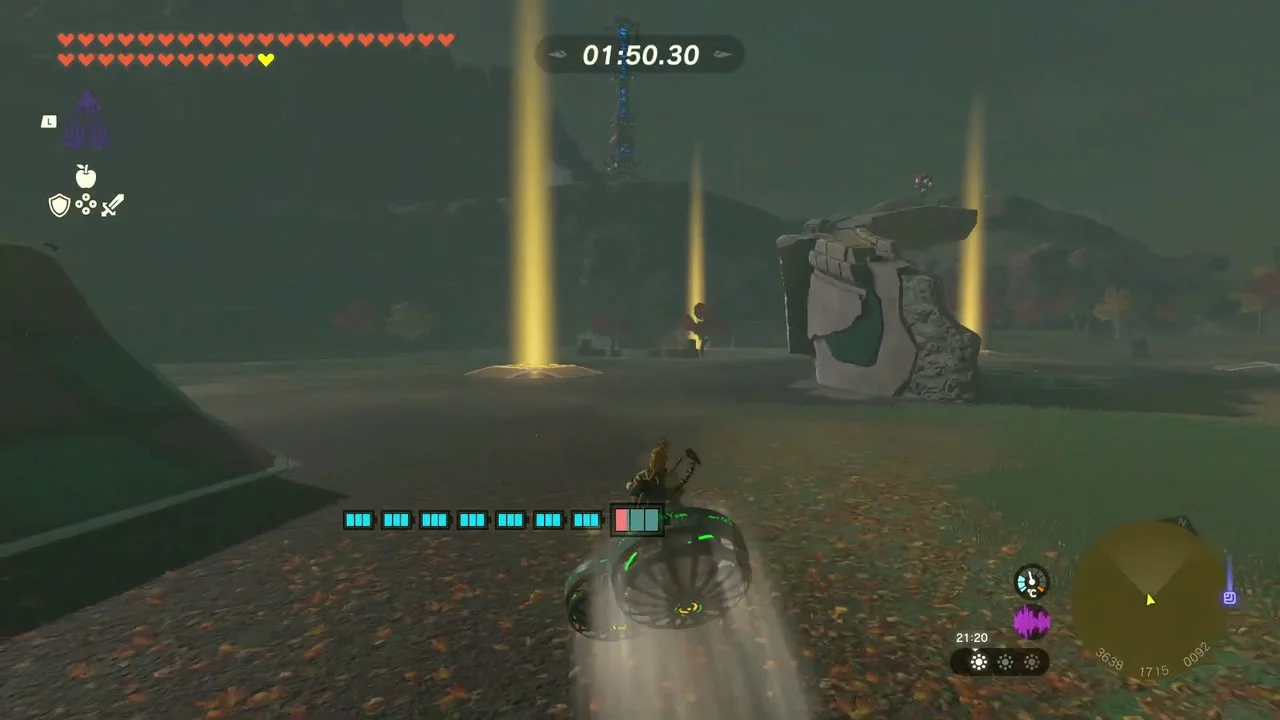
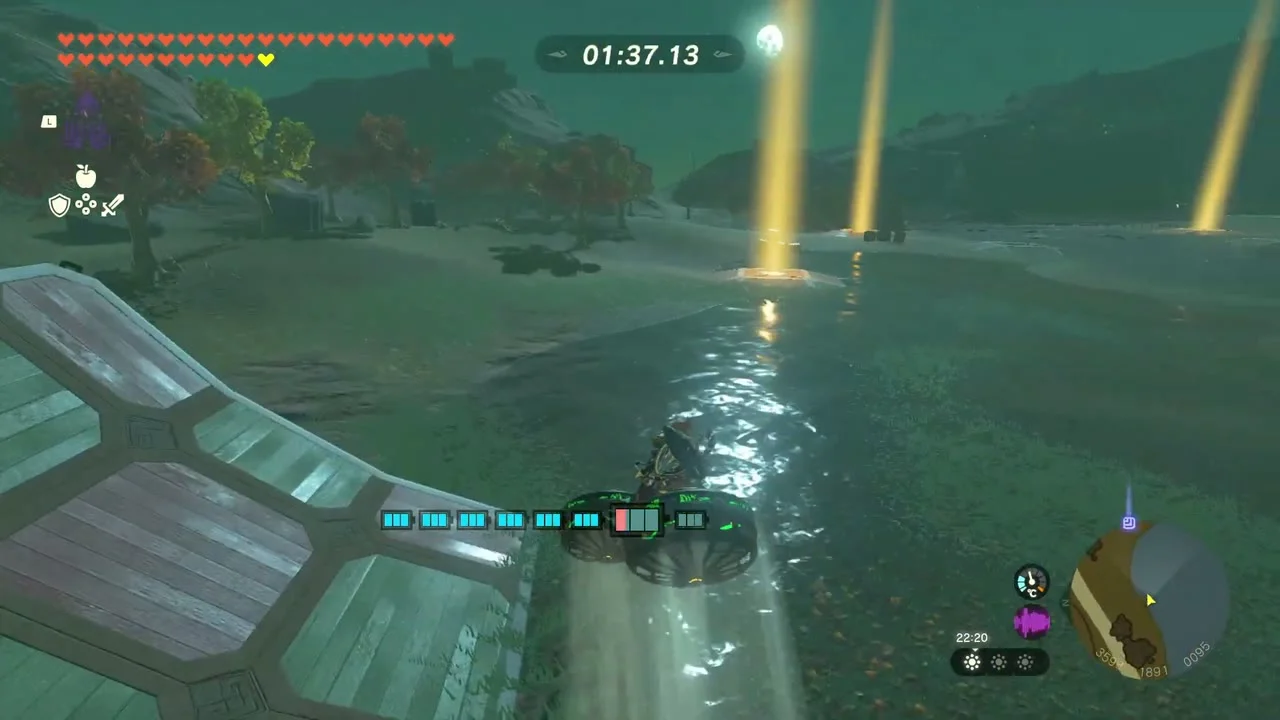
The Tarrey Town Race Is On! opens after you rest a day. Build any vehicle (a hover bike with fans works well) and finish the course in under two minutes to beat Tali’s record. Fernison gives three Zonai Charges; the race stays open for a better time and a later expert course. Beating the record also lets Tali and Shabonne head to Lurelin Village.

Construction Site Cave and the well
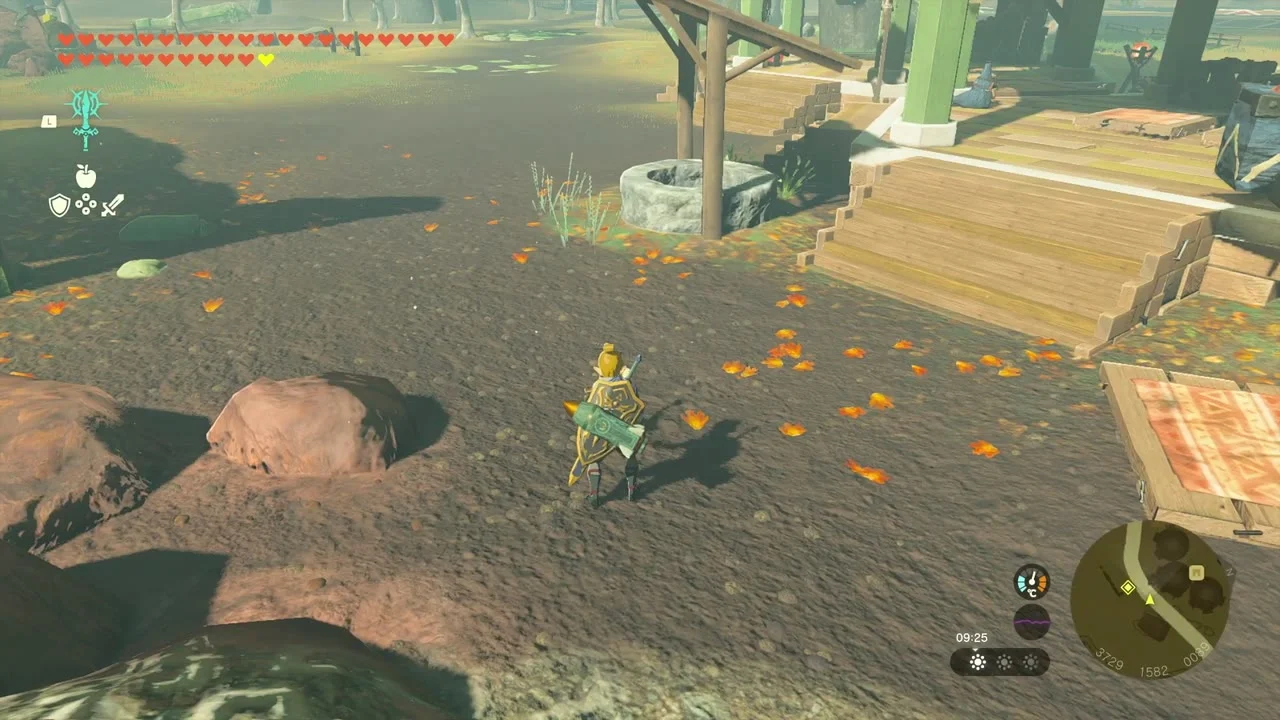
Construction Site Cave has two entrances at (3678, 1538, 74) and (3735, 1534, 80), and Construction Site Well at (3720, 1588, 77) sits in the yard of the Hudson Construction Site. Climb down the well into the depths passage and defeat the Bubbulfrog at the end for a Bubbul Gem. The two cave entrances lead into a larger drop-down below the same hill.


Korok seeds around Tarrey Town
Climb the pine tree
One Korok sits at the top of a tall pine in the forest west of Tarrey Town. Climb the trunk (use a Stamina Up meal) and talk to the Korok at the top for a Korok Seed.


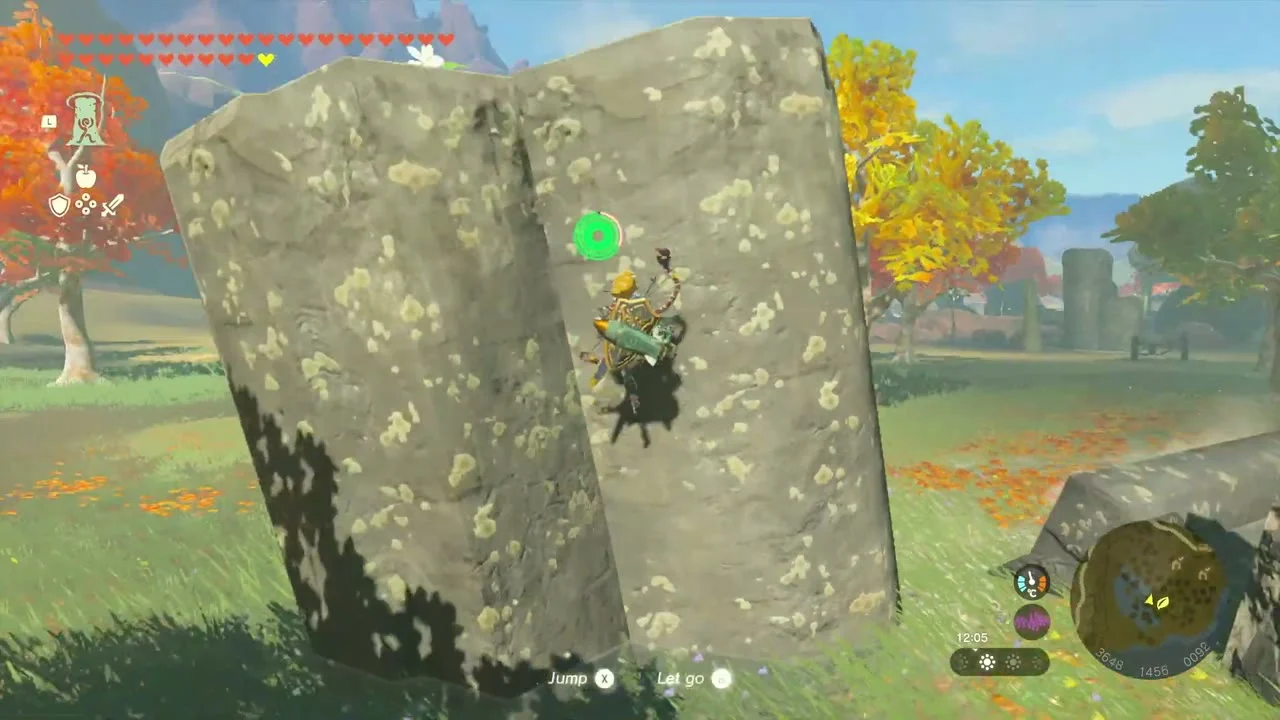
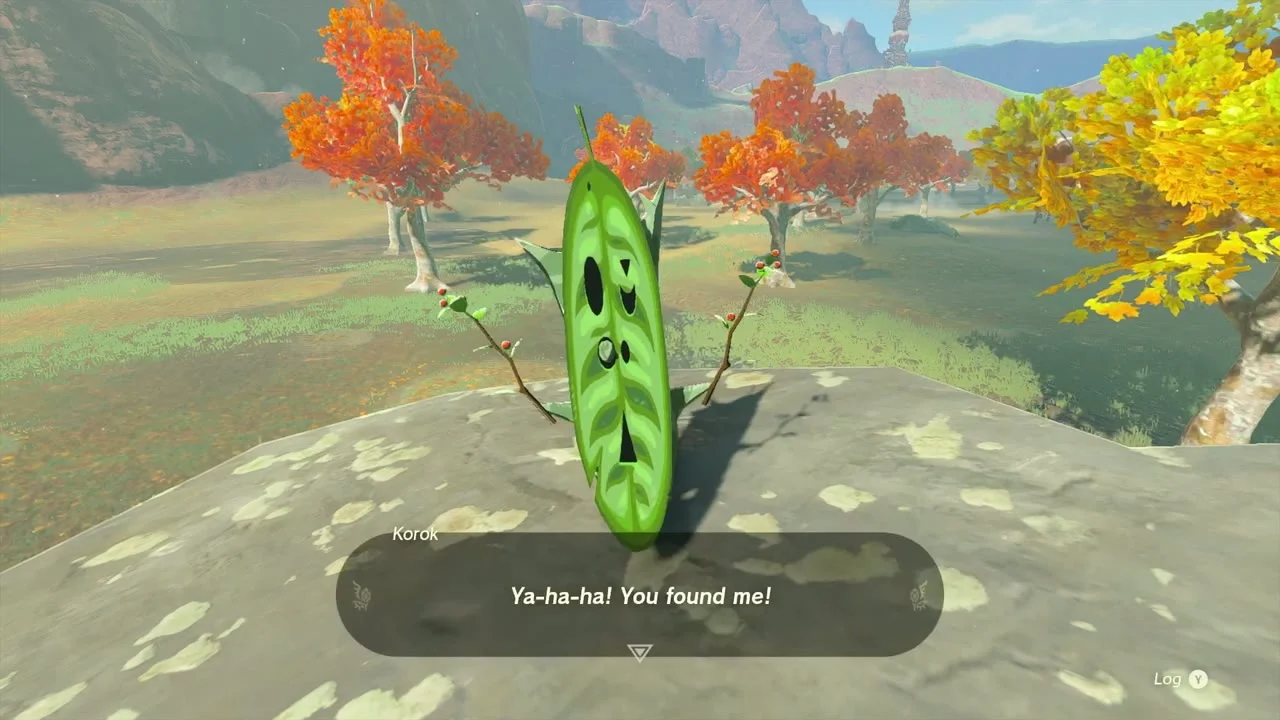
Climb the leaning rocks
In the autumn meadow near the construction site, two slabs of rock lean against each other. Climb them and look on top of the boulder behind for a Korok sitting in the grass; talking to it pays a seed.
Reach the ruined arch
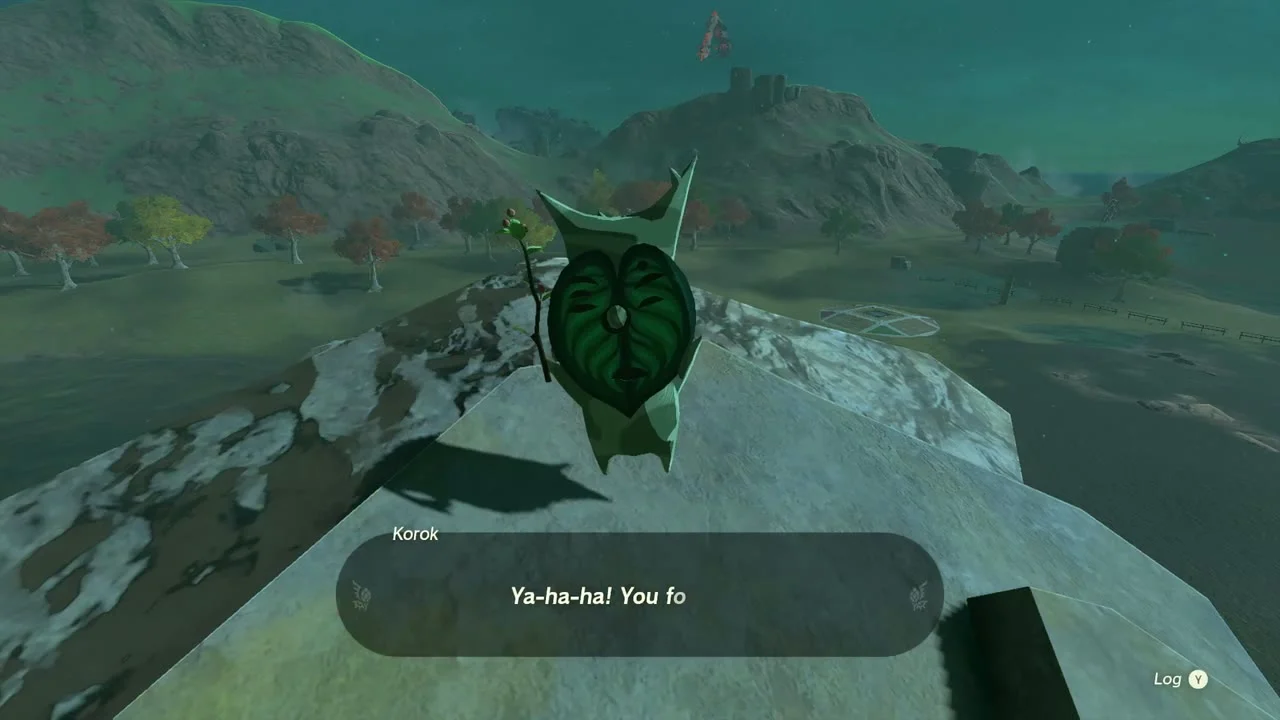
A Korok perches on top of a broken stone arch in the plain. Build a fan-and-wheel vehicle or ride a hoverbike up the ramp of the arch to reach it, then glide down.

Deliver the exhausted Korok
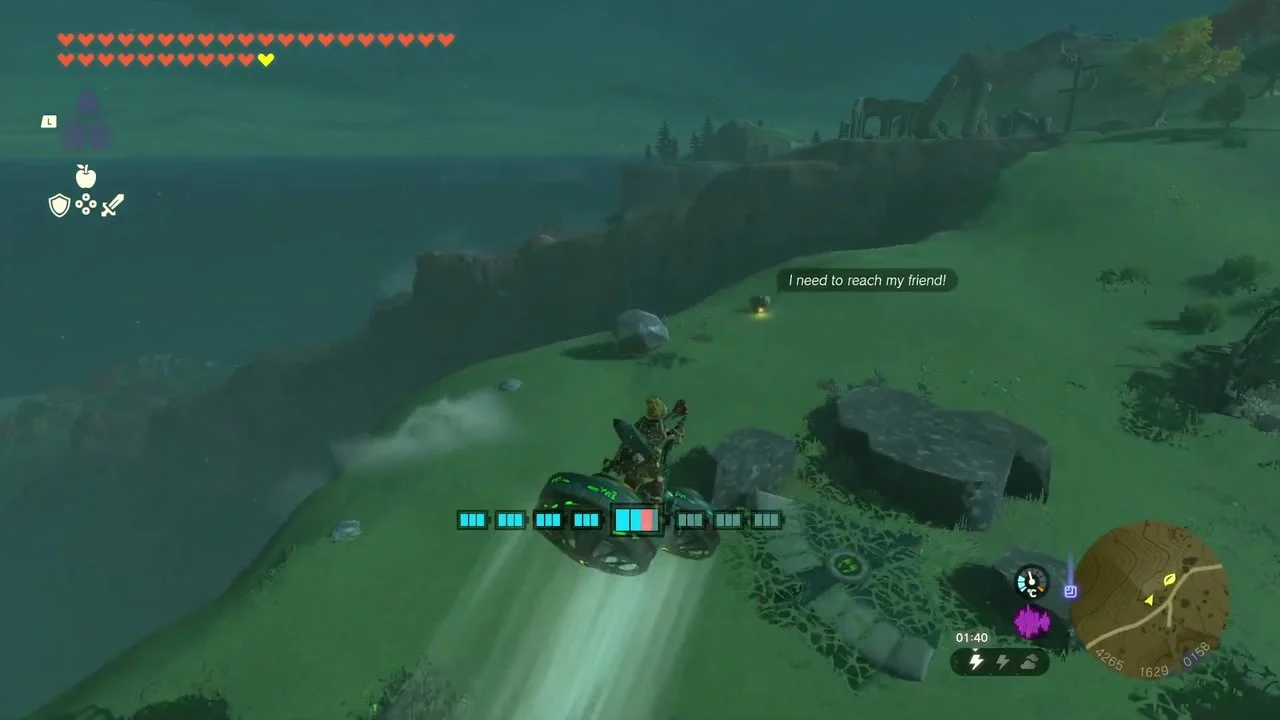
On the shore of the Rist Peninsula a tired Korok asks you to carry it to its friend. Pick it up, load it onto a vehicle and drive to the friend; the data places the pair near (4747, 1986, 0) and (4280, 2338, 20). Each delivery pays Korok Seed x2.

Rist Peninsula
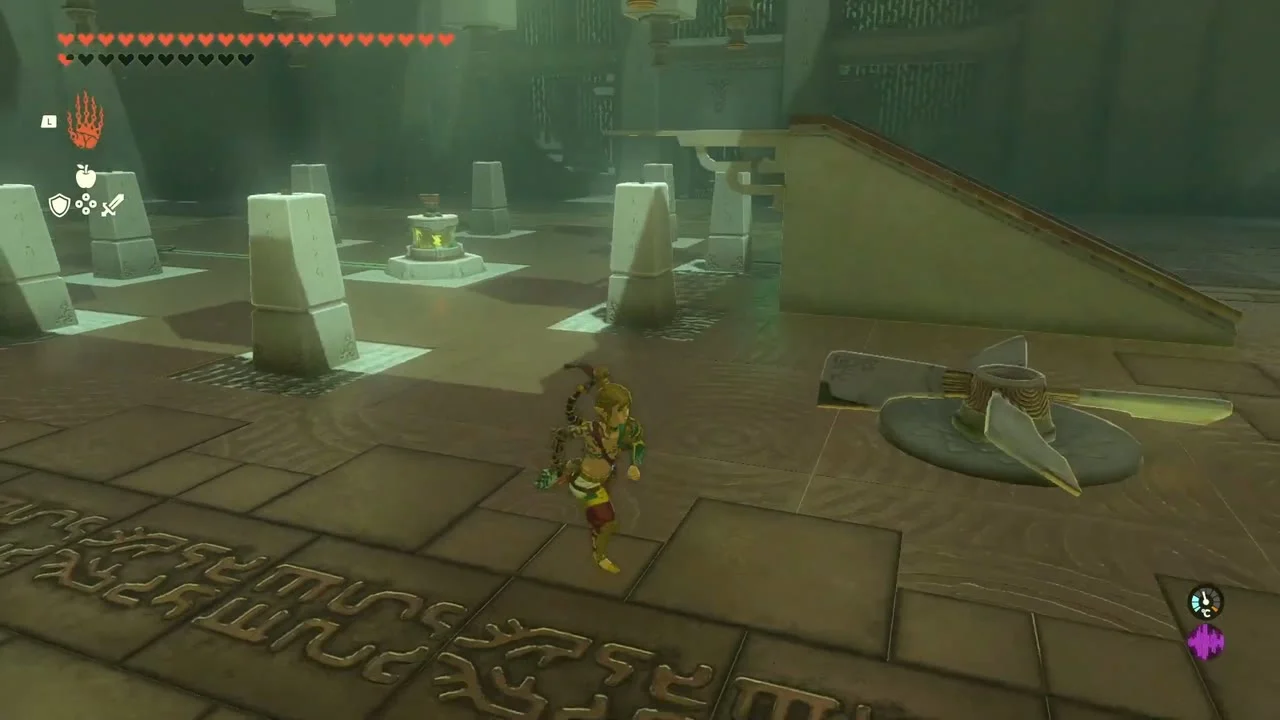
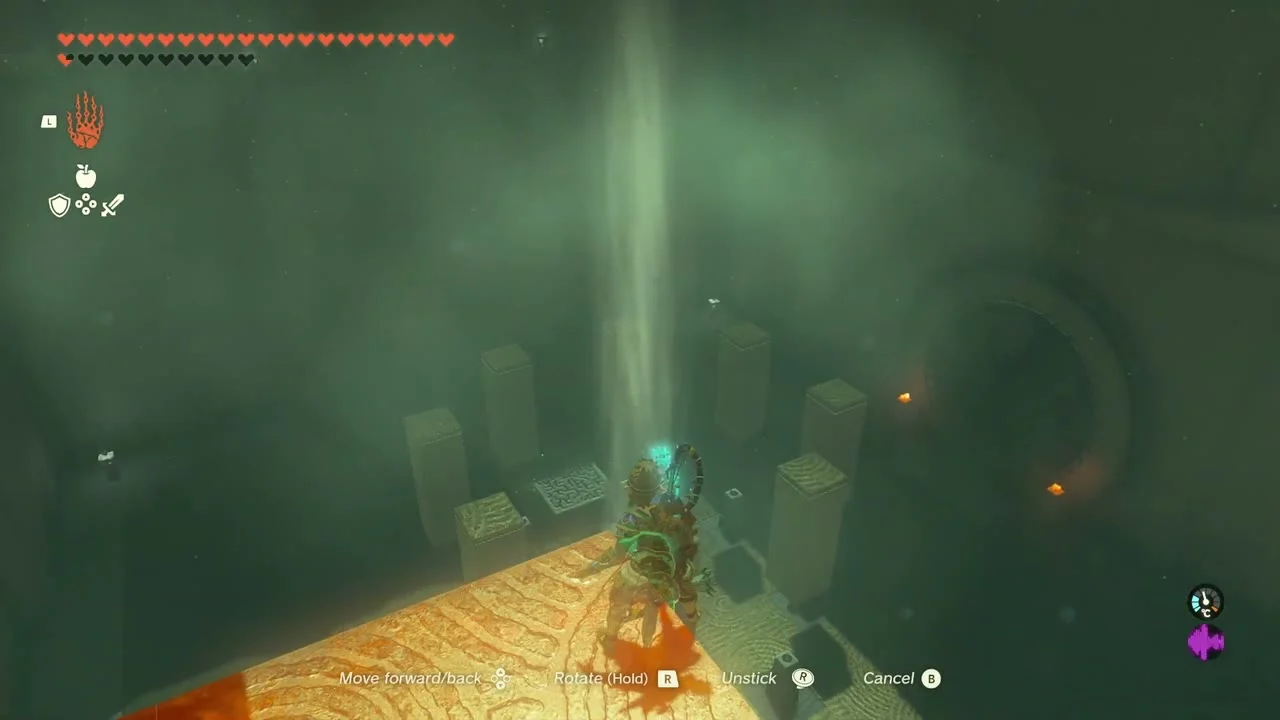
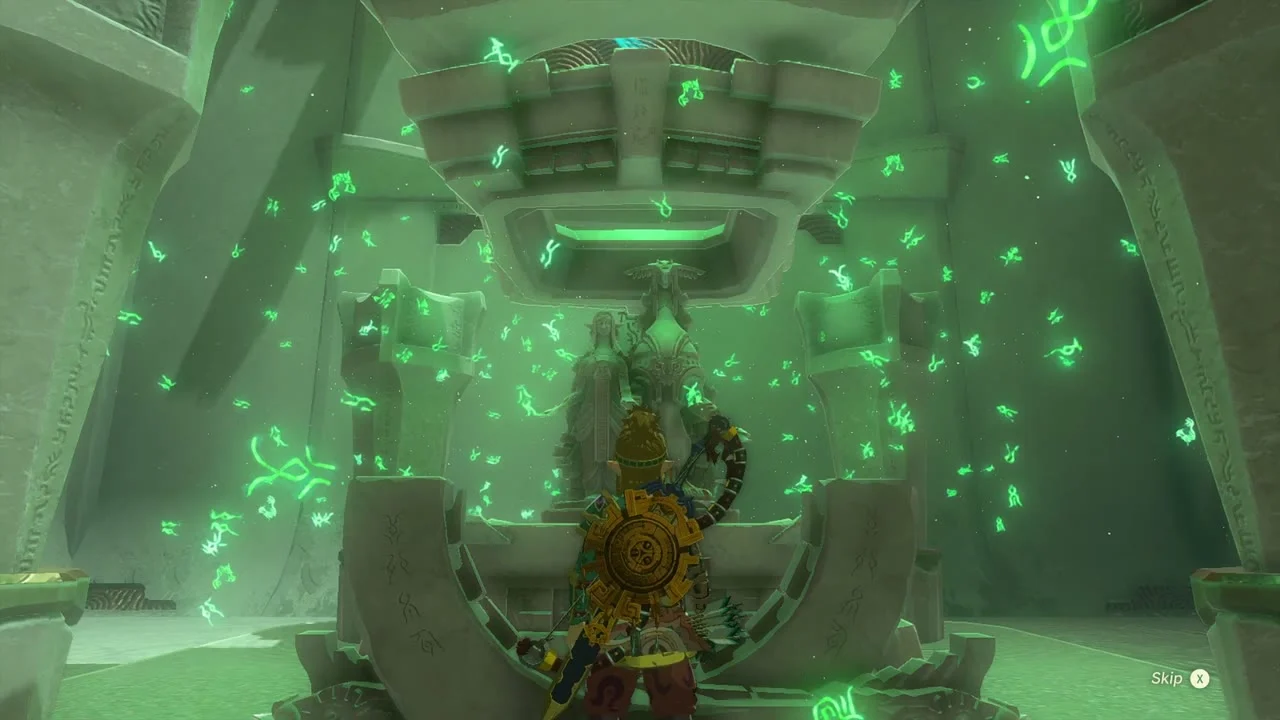
Gemimik Shrine: Turbine Power
Gemimik Shrine at (4512, 2115, 15), in the centre of the Rist Peninsula beside Rist Mine. Trial Turbine Power, type Puzzle; the Kimimeg Lightroot is directly below at (4512, 2115, -474). Place the metal board in the gap in the wiring so the central machine has power, mount the fan on the turbine to raise an updraft, then ride the updraft to the chest ledge for a Mighty Zonaite Shield (Strong or Mighty, depending on your progress). For the exit, attach a Flame Emitter to the turbine so its rotation lights the torches around the room before the extinguishers reset.

Akkala Citadel Ruins
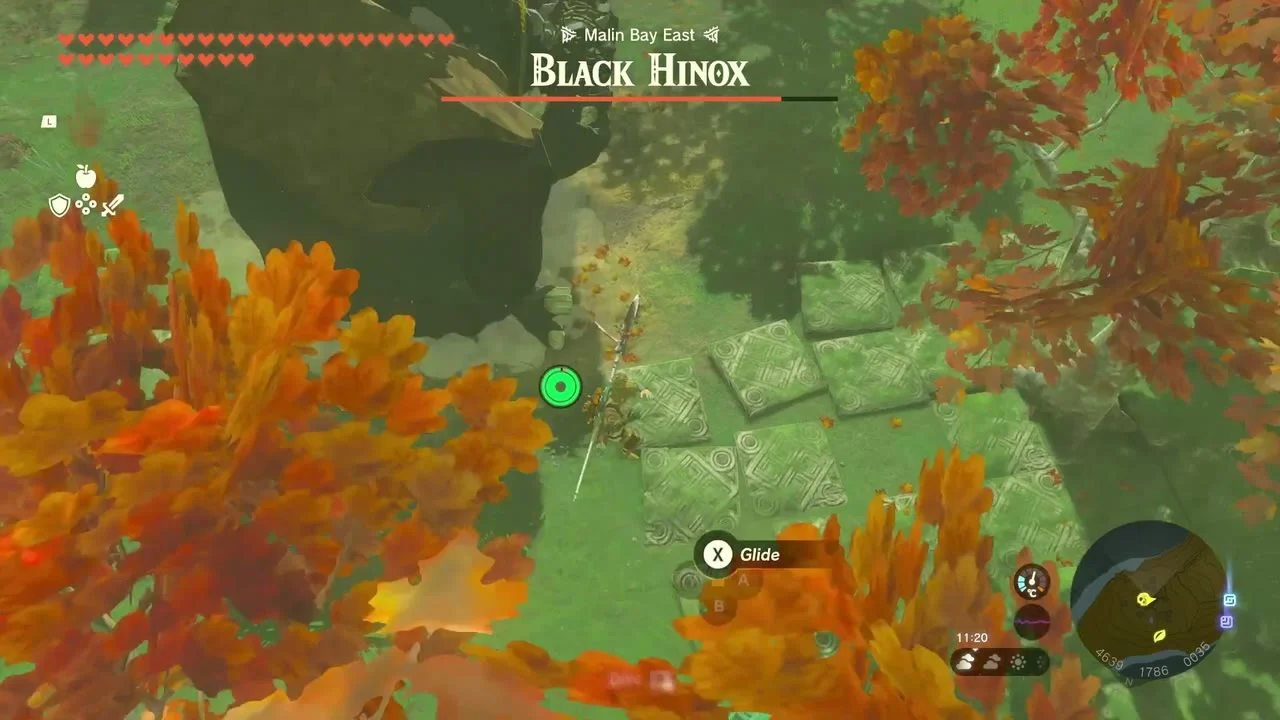
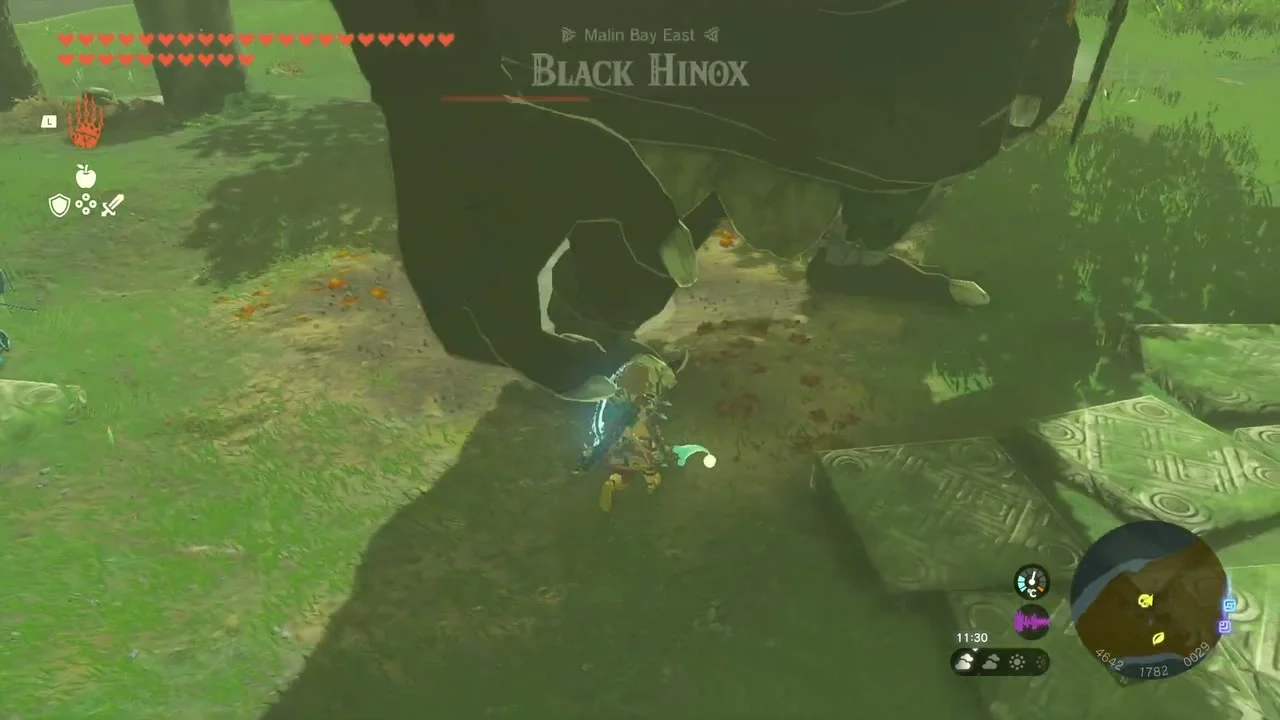
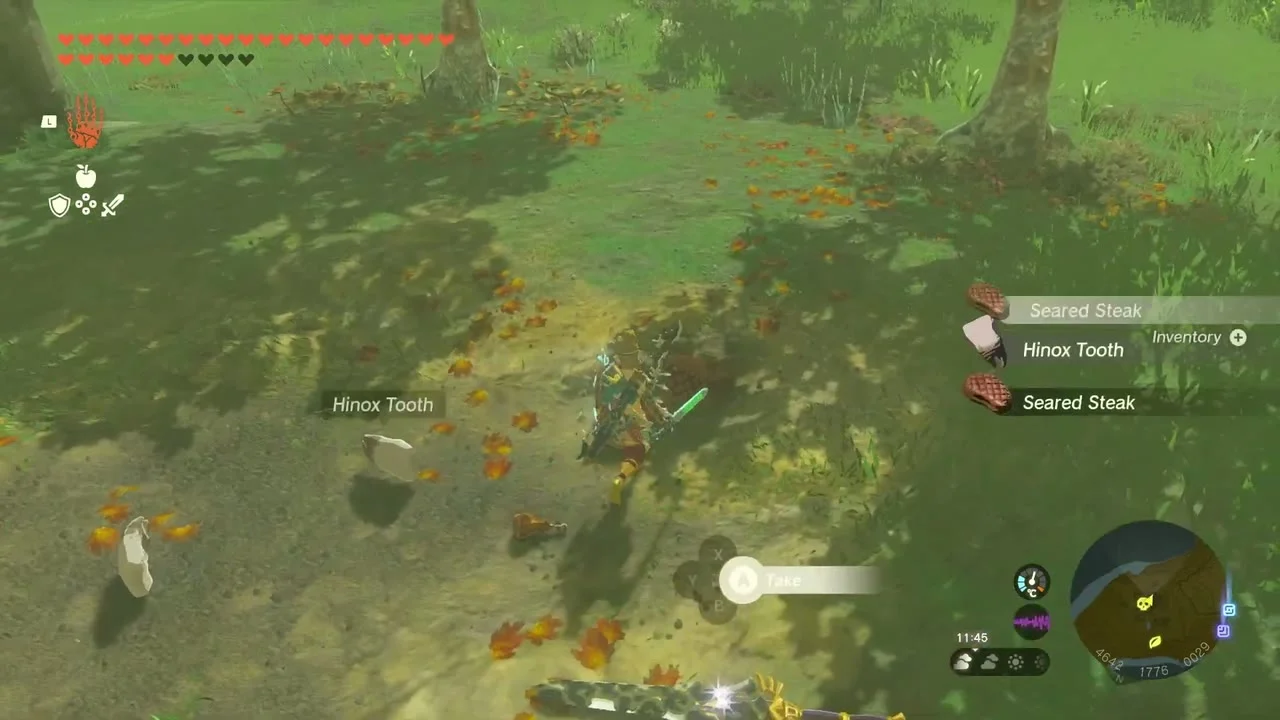
Black Hinox at Malin Bay East
Miniboss: Black Hinox in the ruins at Malin Bay East, south of the Rist Peninsula. Drop from above with a gliding attack or fire arrows at its eye, then hit the head when it stumbles. It leaves a Hinox Tooth, and the ruins hold a Steel Lizal Bow (or Lizal Bow or Strengthened Lizal Bow, depending on your progress) chest just before the fight.
Battle Talus on the South Akkala Plains
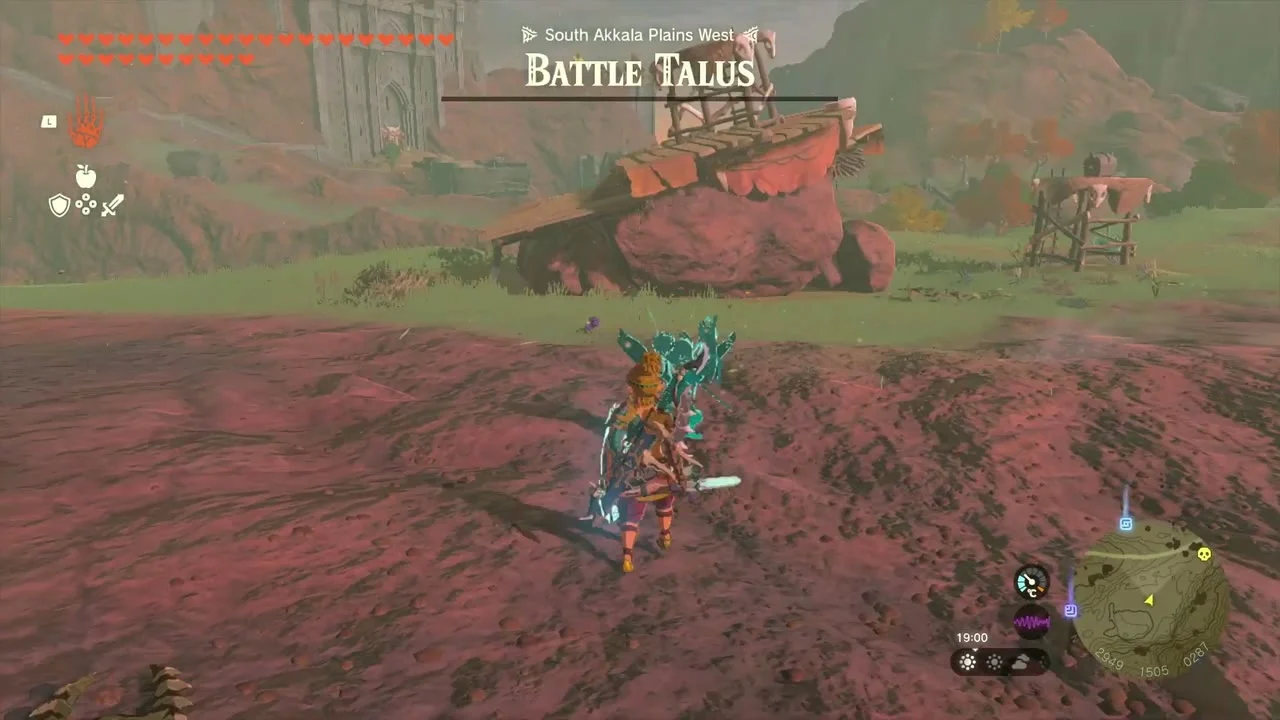
Miniboss: Battle Talus on the plains west of the citadel. Shoot or fuse a rock to its weak point on the back and strike it when it staggers. A chest with a Sapphire sits on the plain nearby. It is also the monster to photograph for the third Monstrous Collection statue.

Akkala Citadel Ruins Cave
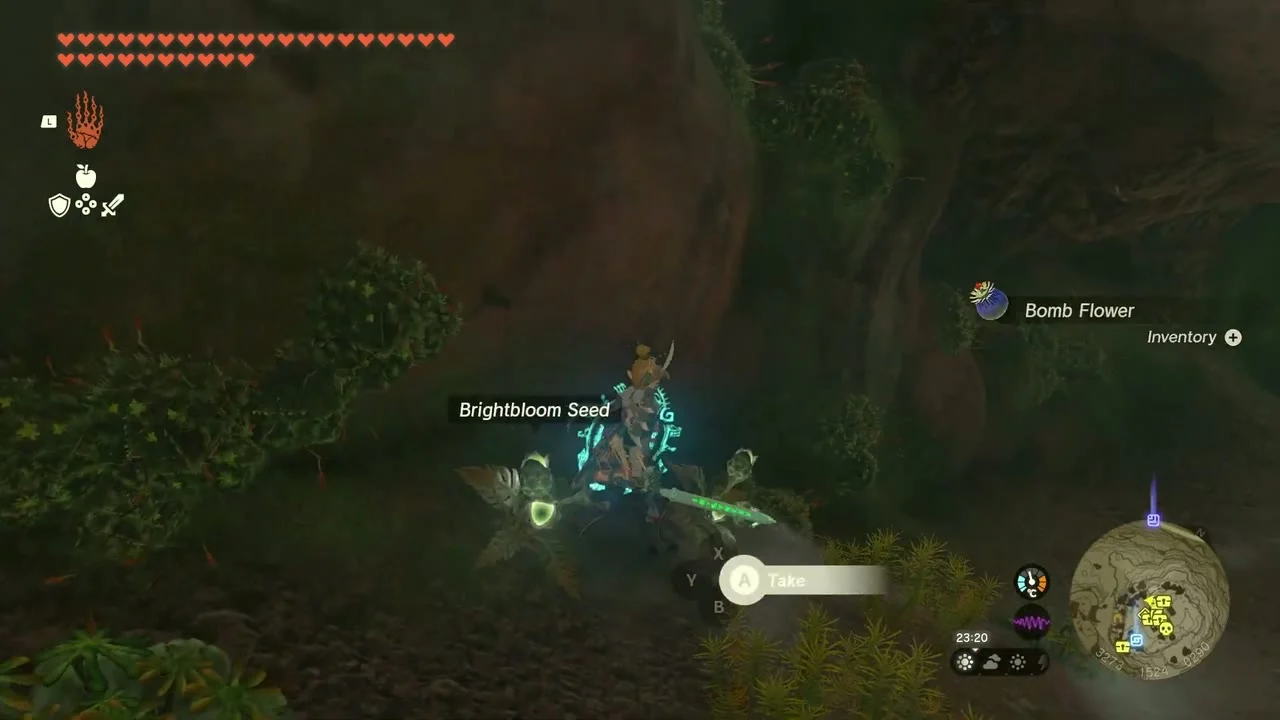
Akkala Citadel Ruins Cave entrance at (3243, 1457, 294) on the ruin’s hill. A Bomb Flower and Brightbloom Seed lie near the entrance; light the cave and cross the wooden walkways to two chests: Guard’s-Sword Stick and Soldier’s-Broadsword Halberd. The Bubbulfrog sits further in; kill it for a Bubbul Gem.


Thunder Gleeok
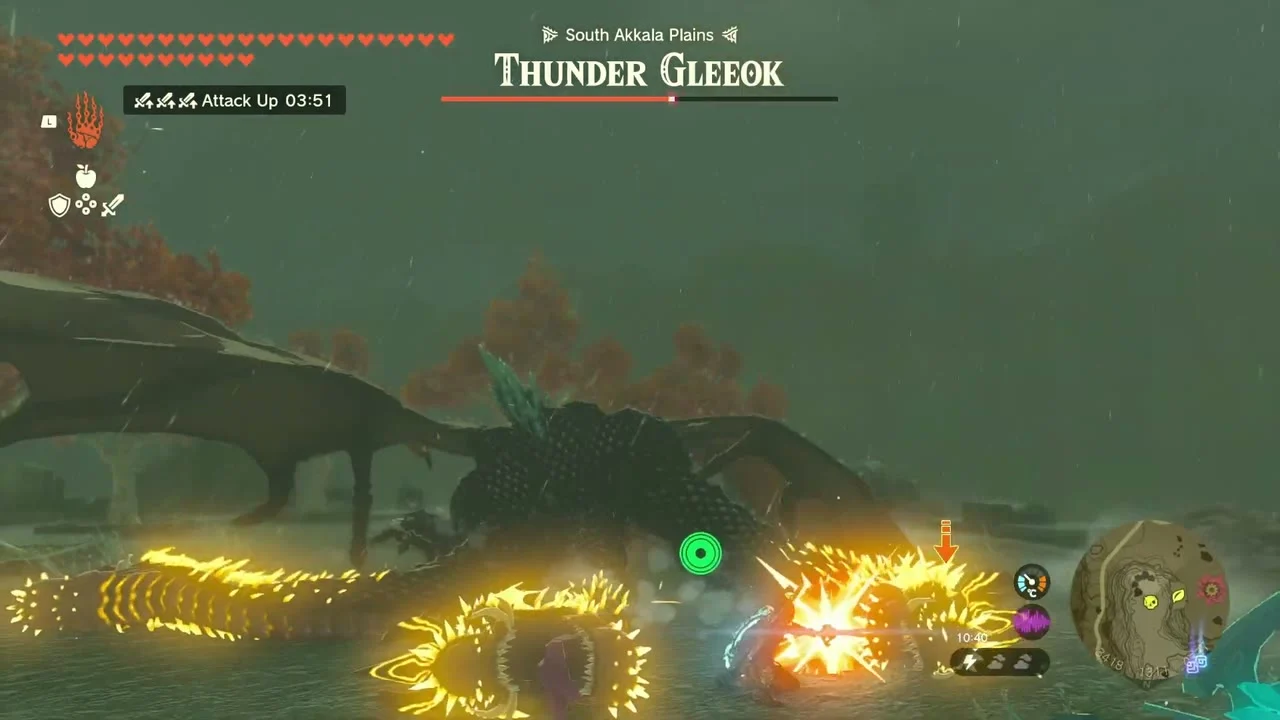
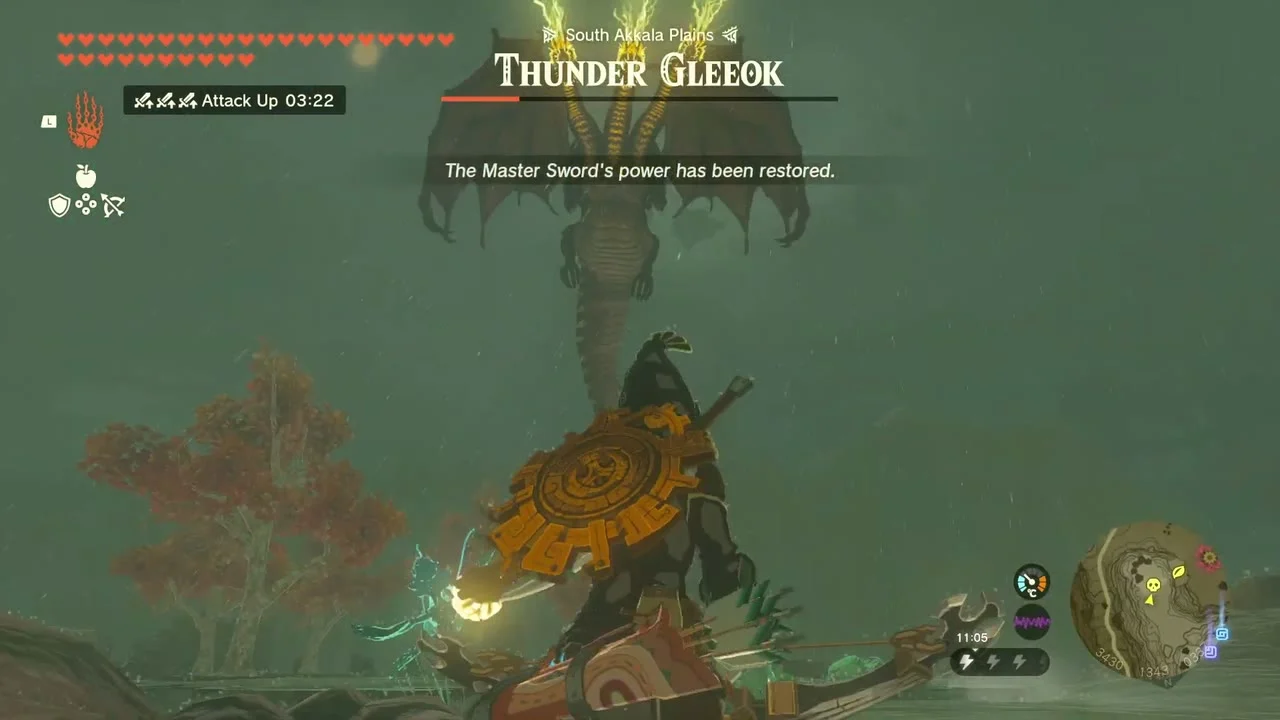
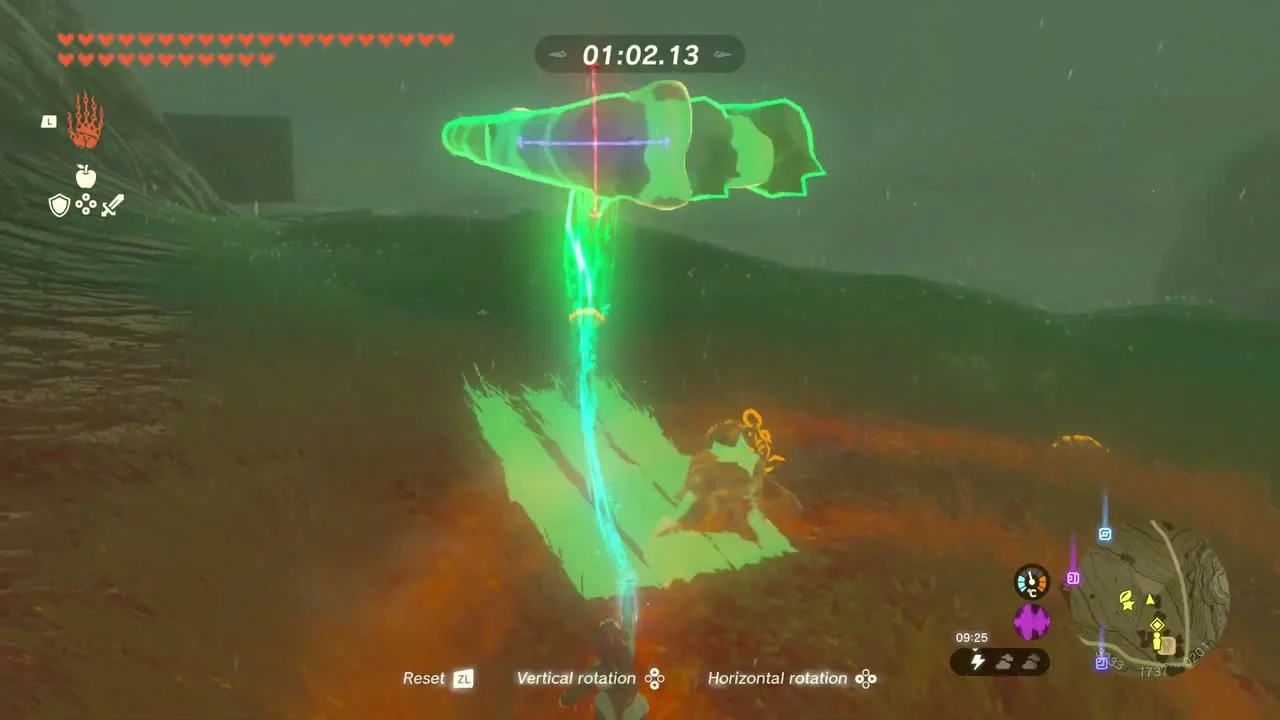
Miniboss: Thunder Gleeok on the plains below the citadel, usually active in rainstorms. Shoot its three heads with arrows while it is airborne to ground it, then melee the heads. It perches on the plateau edge at the citadel ruins, around (3420, 1301, 337). A Royal Shield (or Traveler’s Shield, Soldier’s Shield or Knight’s Shield, depending on your progress) chest sits nearby once the storm clears.

Phantom Ganon
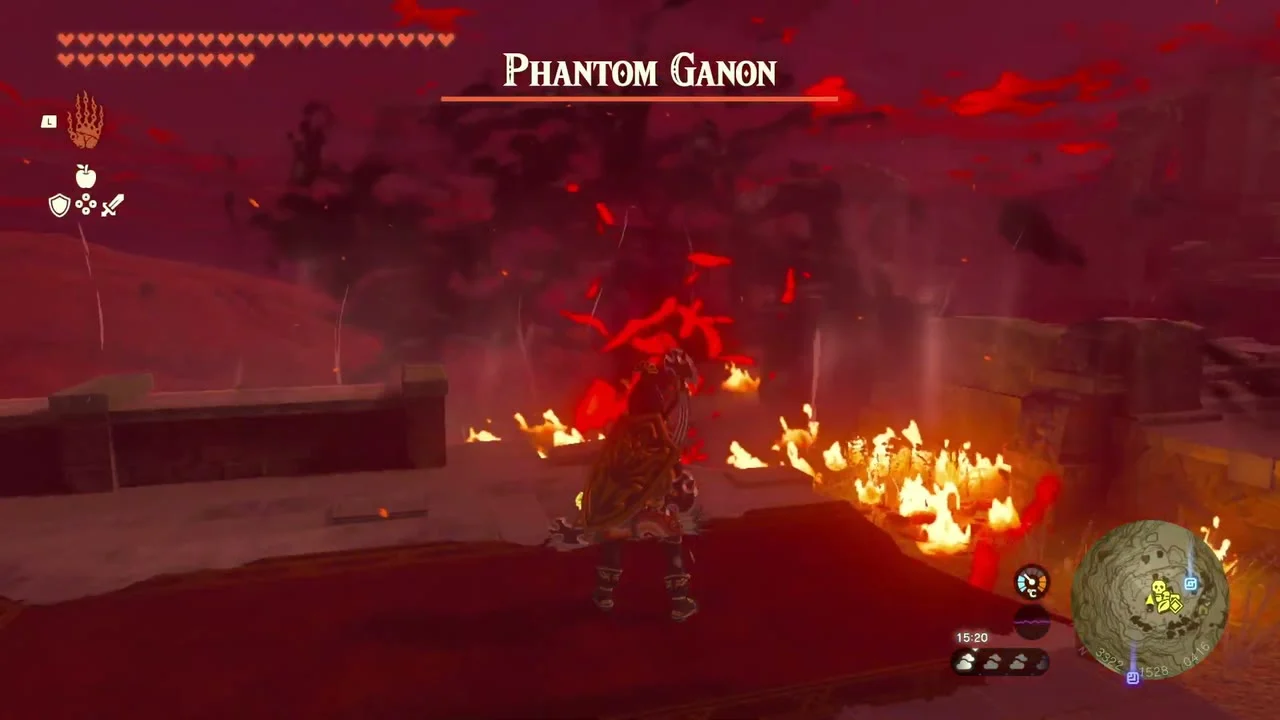
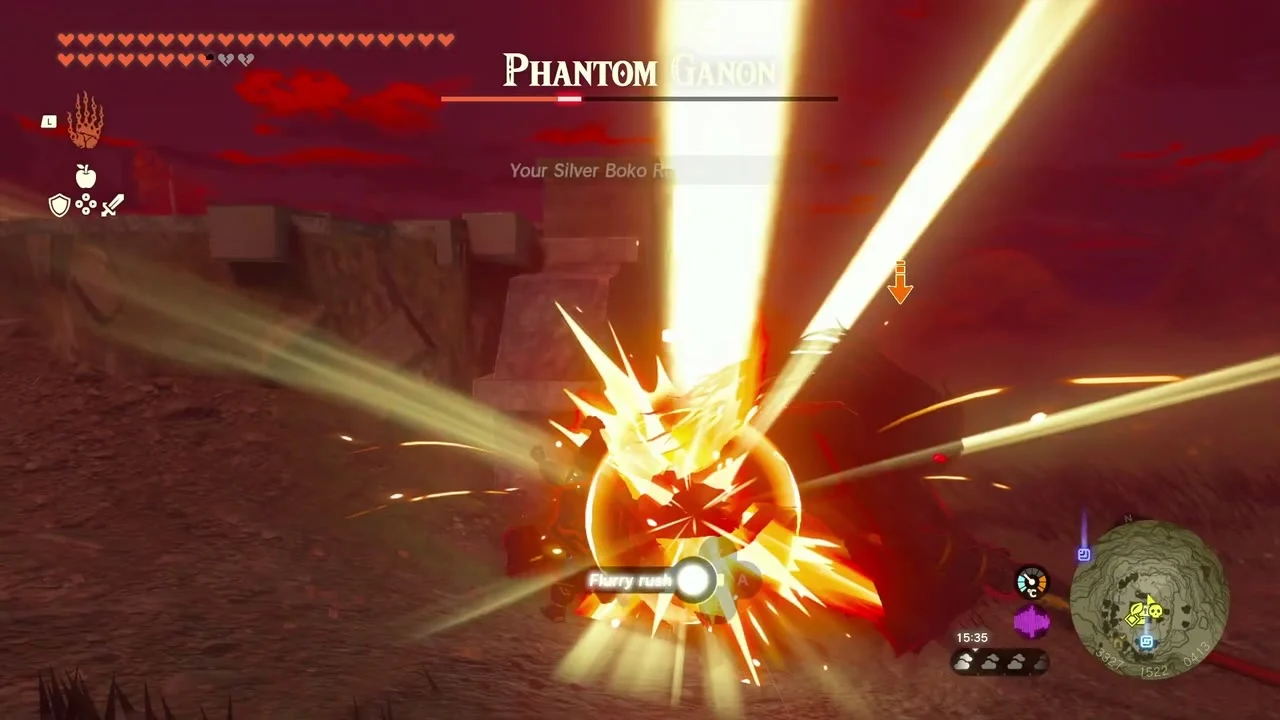
Miniboss: Phantom Ganon in the red-lit ruins of the Akkala Citadel. Dodge his spear thrust and use Flurry Rush on the flash, or hit him from behind with a strong weapon. A Royal Guard’s Spear chest sits just beyond the arena.
Summit Cave and the Fierce Deity Armor
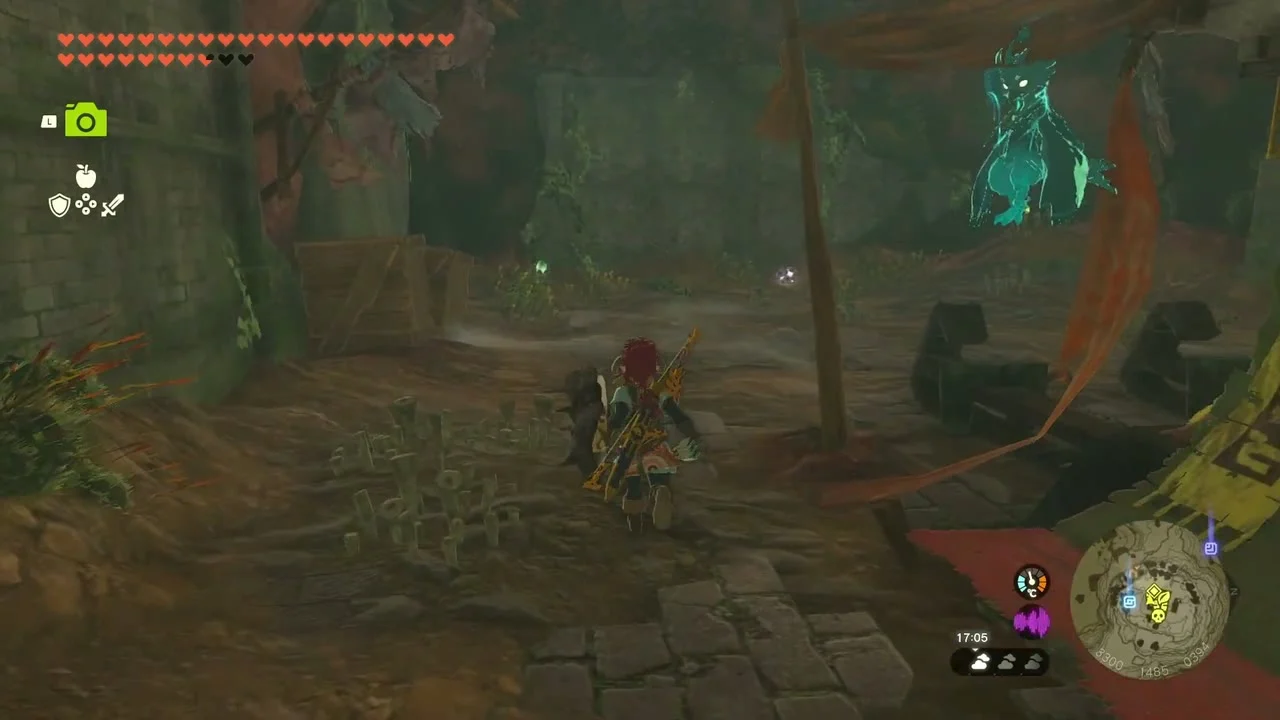
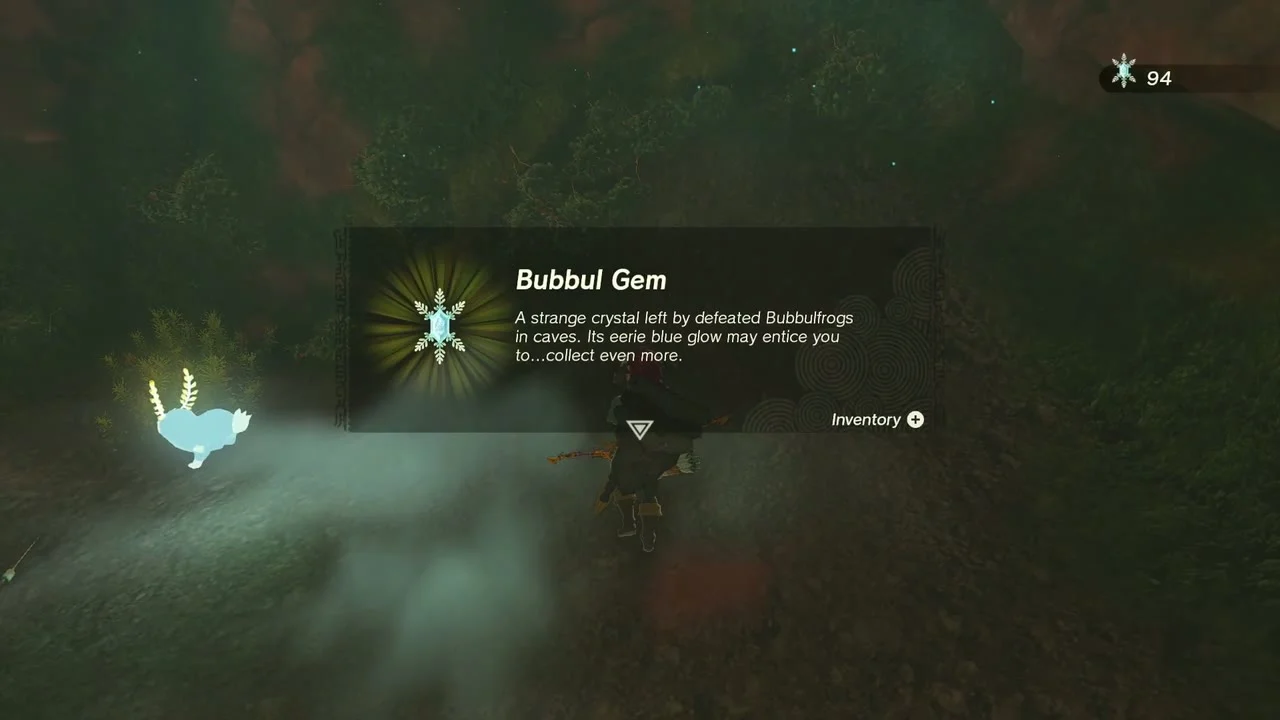
Akkala Citadel Ruins Summit Cave entrance at (3292, 1492, 394), the banner-hung doorway on the top of the ruin. Open the chest at the door for Fierce Deity Armor, then defeat the Bubbulfrog inside for a Bubbul Gem. The full Fierce Deity set (Mask, Armor, Boots) comes from elsewhere in Hyrule.

Domizuin Shrine: A Prone Pathway
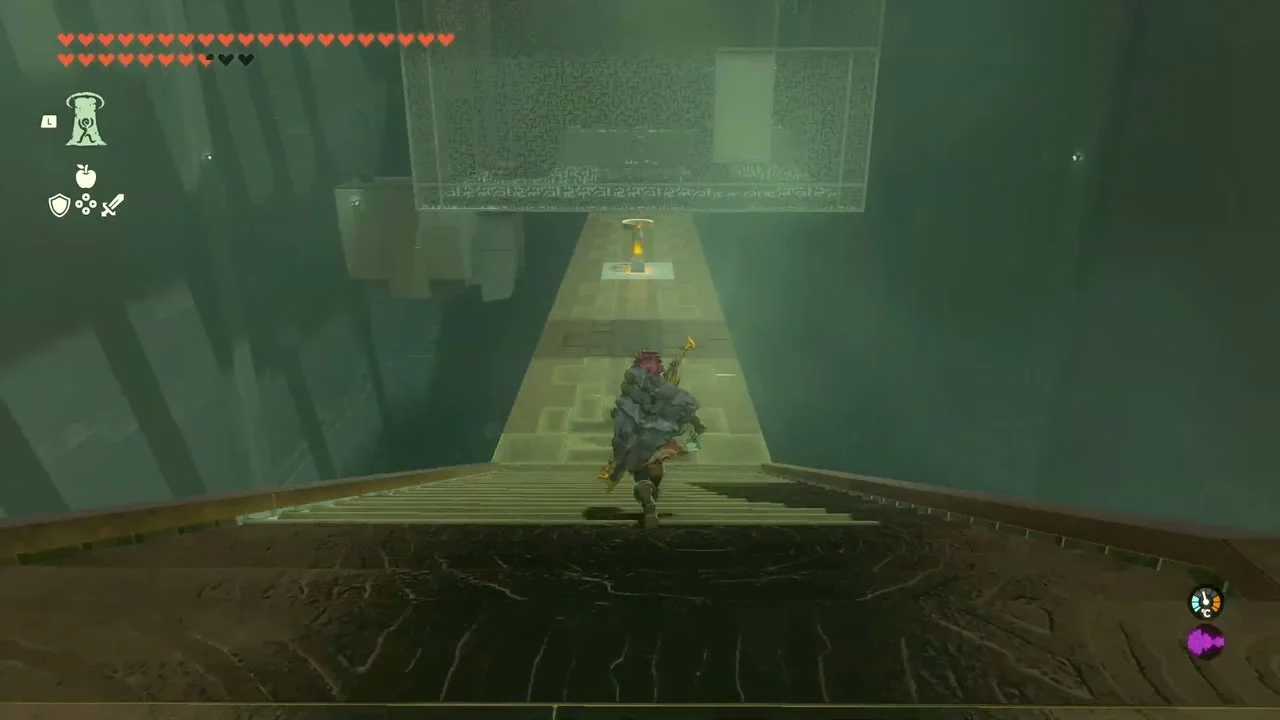
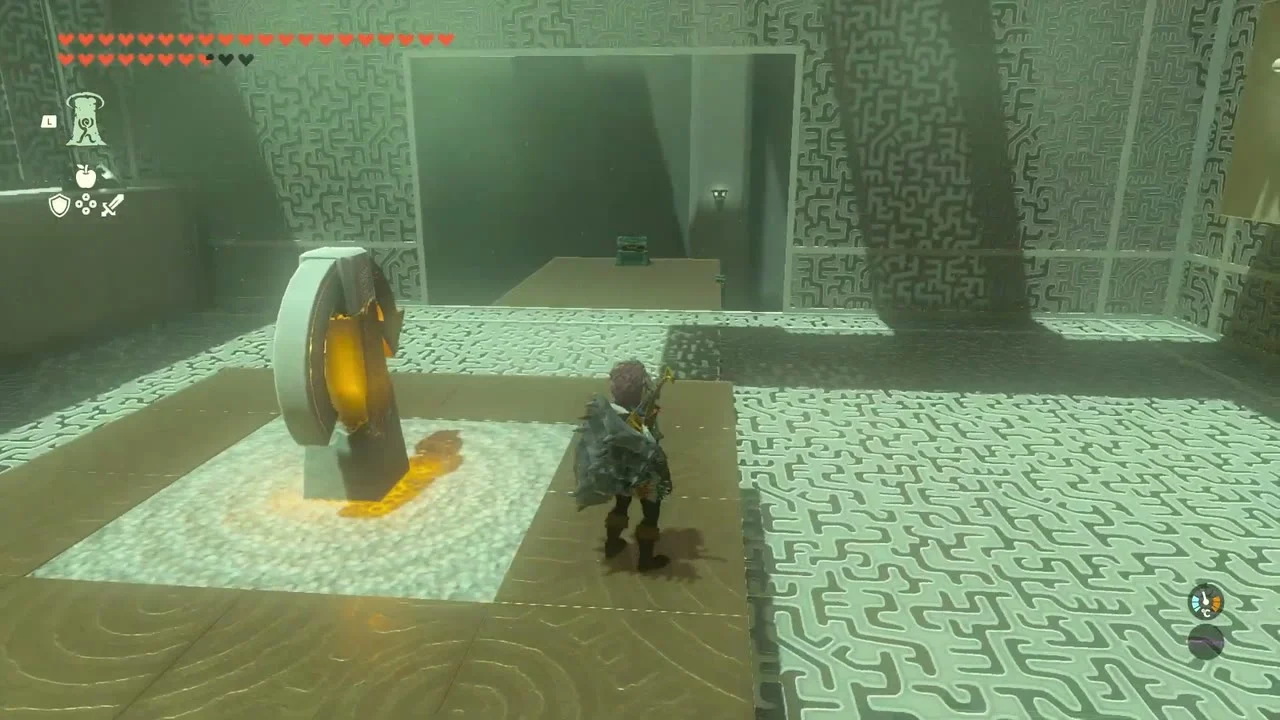
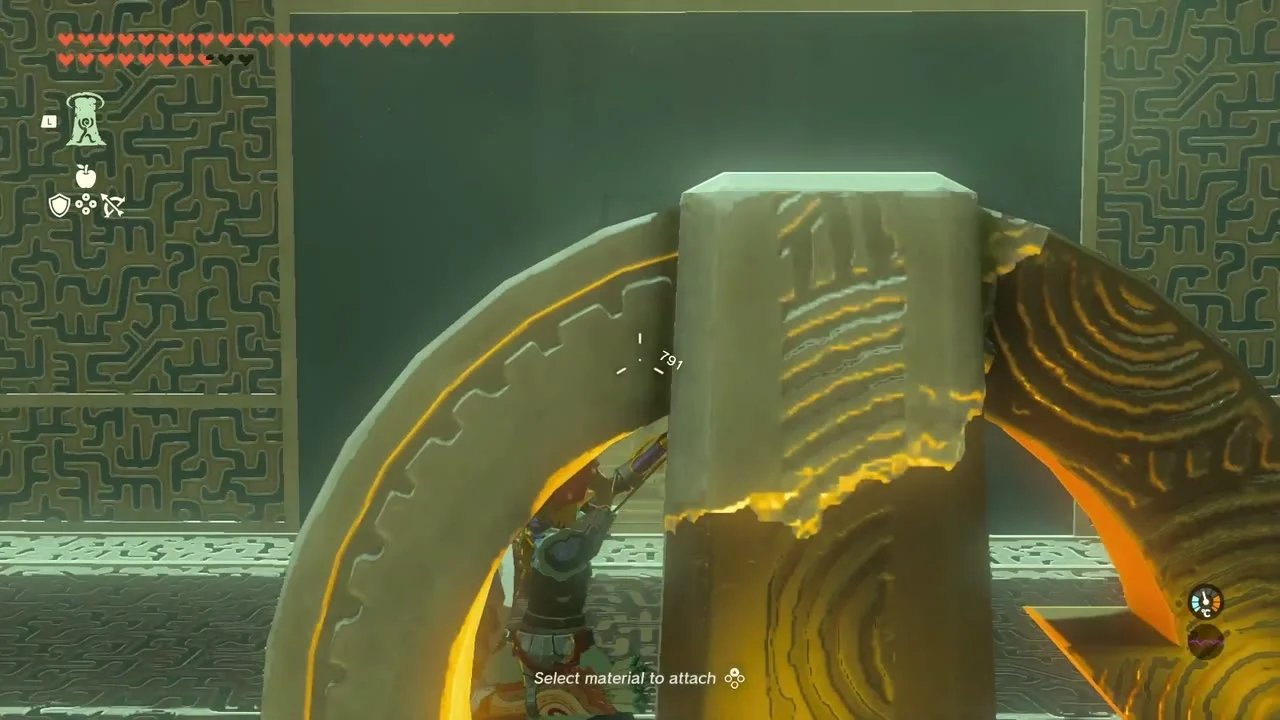
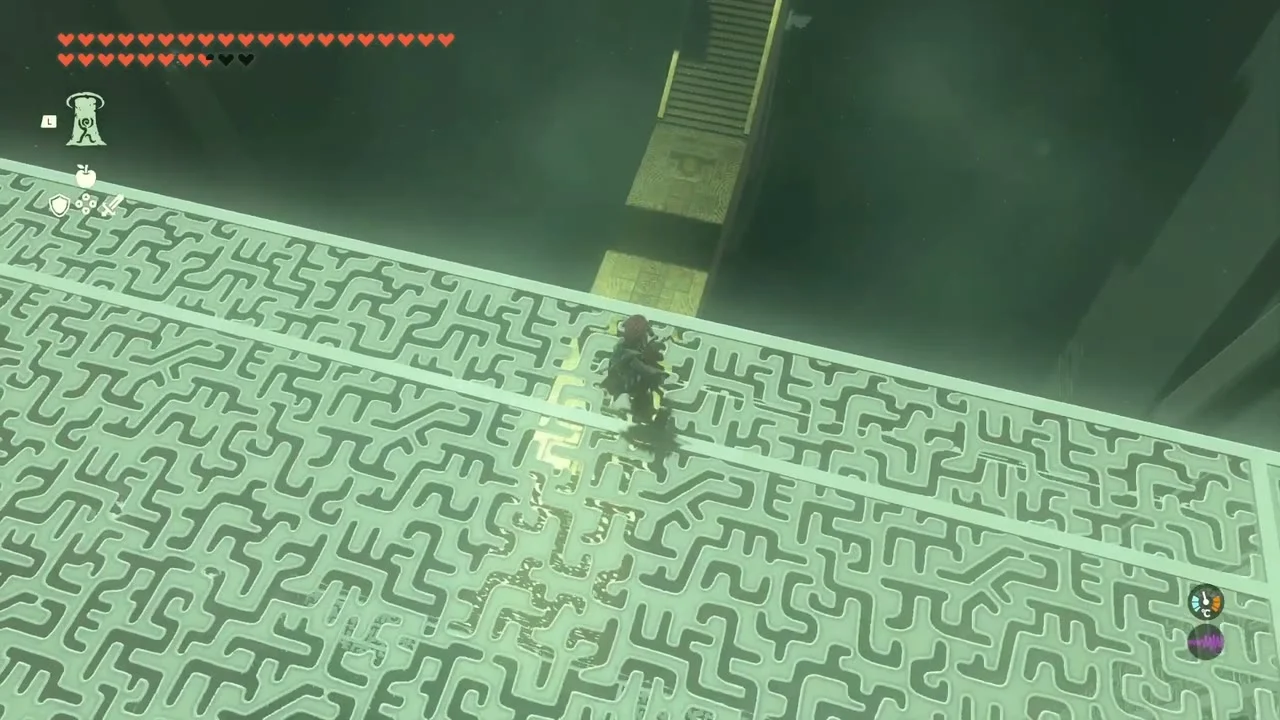
Domizuin Shrine at (3304, 1442, 439), just south of the summit cave. Trial A Prone Pathway, type Puzzle; the Niuzimod Lightroot is directly below at (3304, 1442, -811). The big maze-patterned cube rotates when you hit the stone ring with a weapon or arrow: turn it until each long platform is vertical, Ascend through the platform and open the chests on the way for a Zonai Charge, a Zonaite Shield (Strong or Mighty, depending on your progress) and Arrow x10. Then rotate the cube again and climb to the top for the exit stairs.

South Akkala Stable
A Picture for South Akkala Stable
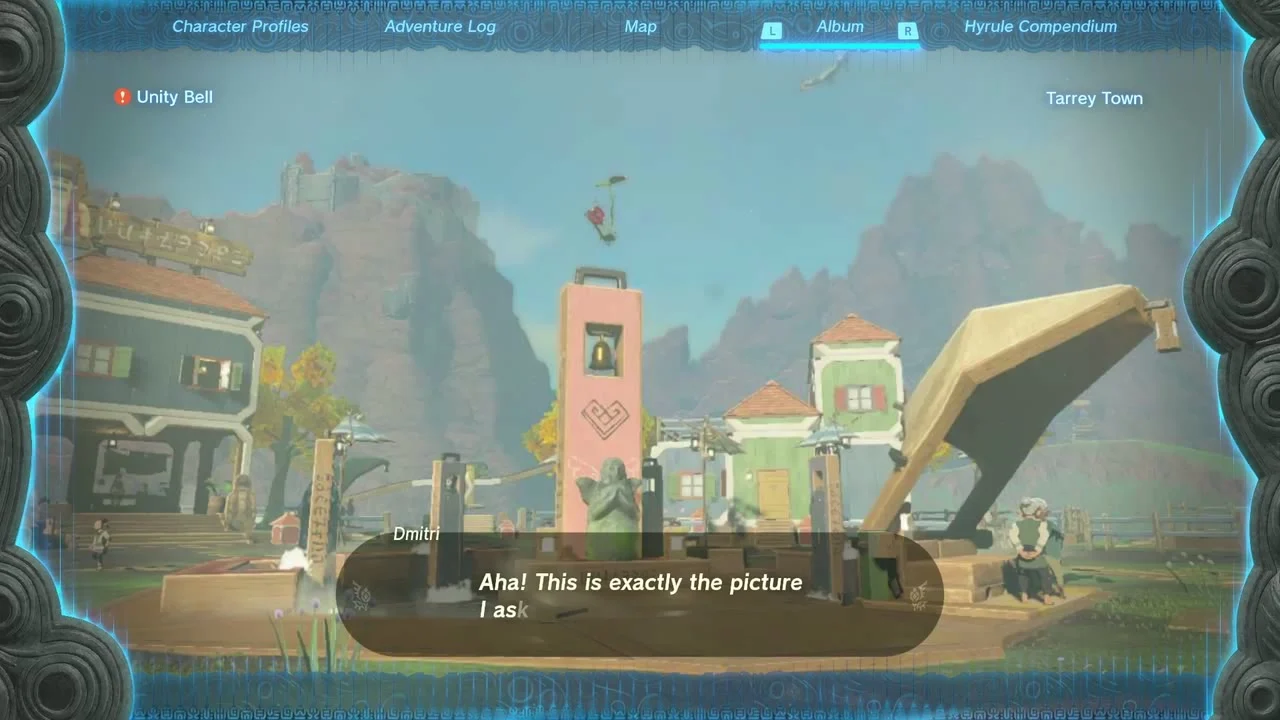
A Picture for South Akkala Stable from Dmitri: take a photo of the Unity Bell in Tarrey Town and bring it back. He hangs it on the stable wall and gives a reward.

The All-Clucking Cucco
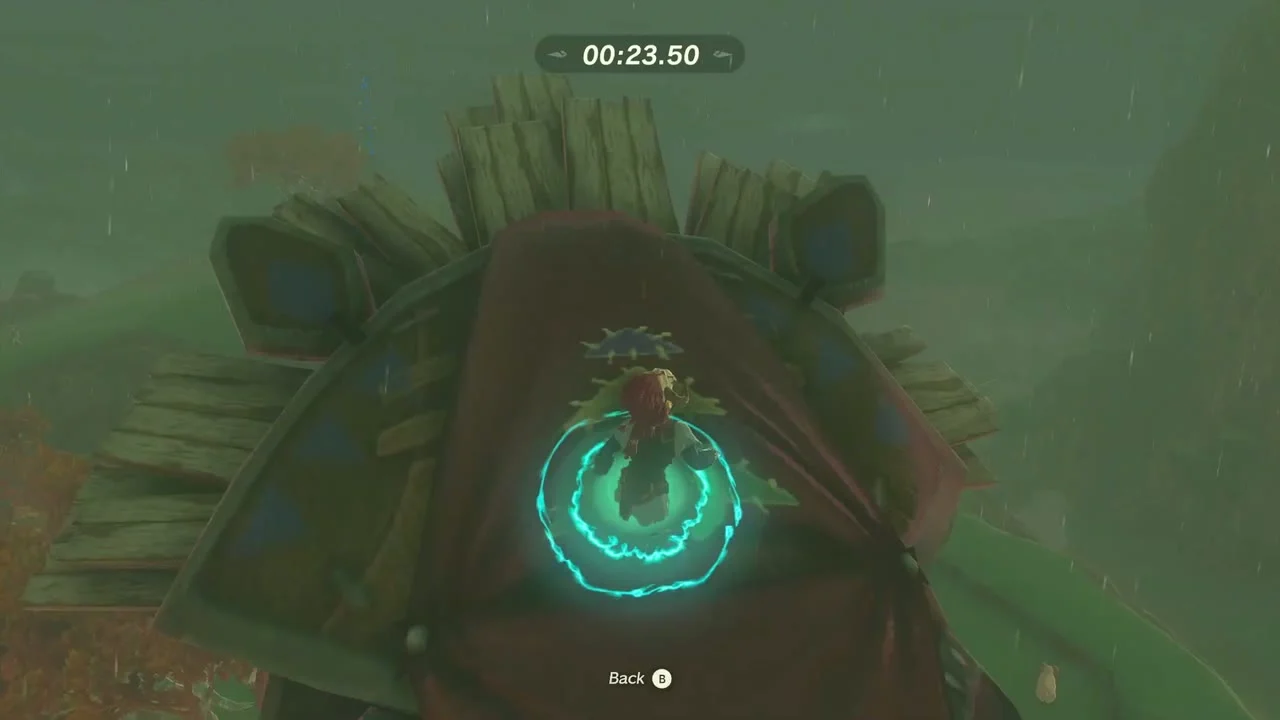
The All-Clucking Cucco from Penn, found at South Akkala Stable. The prophecy Cucco on the hill behind the stable under a large tree sets two timed trials: climb to the stable roof inside the time limit, then carry the logs to the Cucco with a vehicle or Ultrahand build before the second timer runs out.

Potential Princess Sightings!
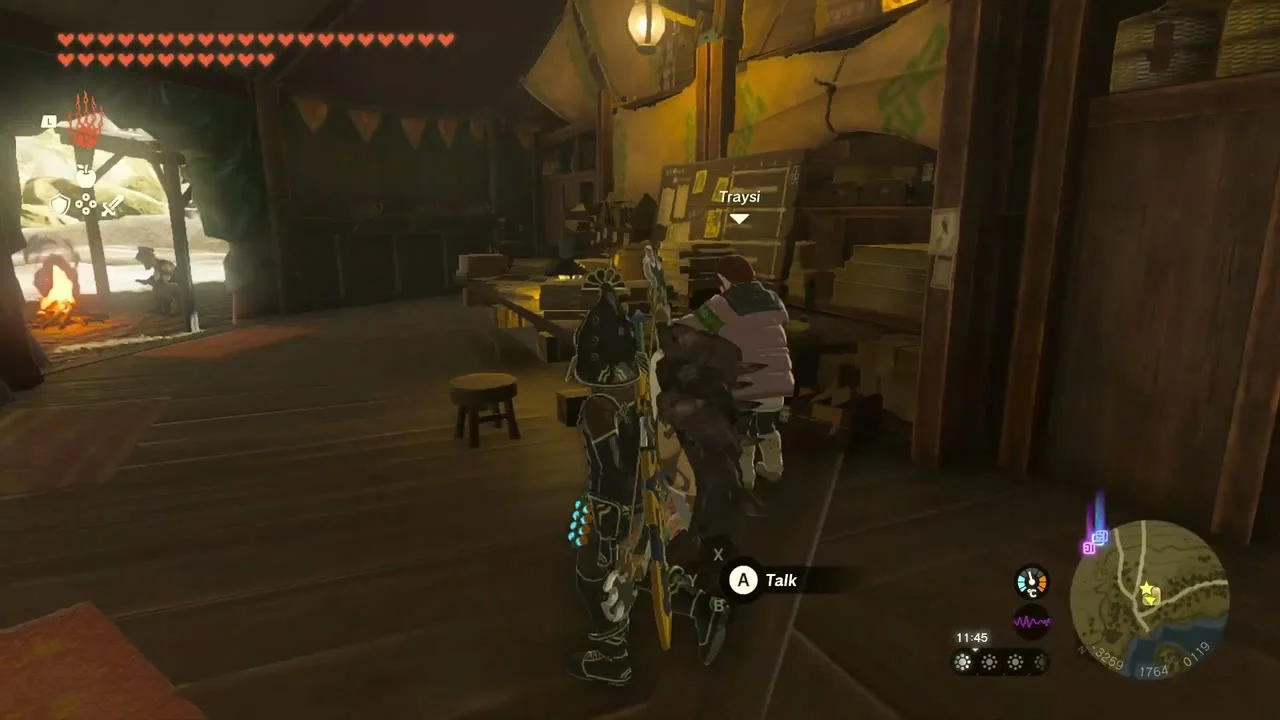
Potential Princess Sightings! from Traysi at the Lucky Clover Gazette is the stable-by-stable investigation of Princess Zelda rumors with Penn; South Akkala Stable’s entry is the Cucco quest above. Rewards arrive along the way (the Lucky Clover Gazette paraglider fabric after two, the Froggy Sleeve after four, the Froggy Leggings after nine); after you finish all twelve, return to Traysi to receive the Froggy Hood, completing a set that stops you slipping off wet surfaces. East Akkala and Lakeside Stables have no investigation.

One-Hit Wonder!
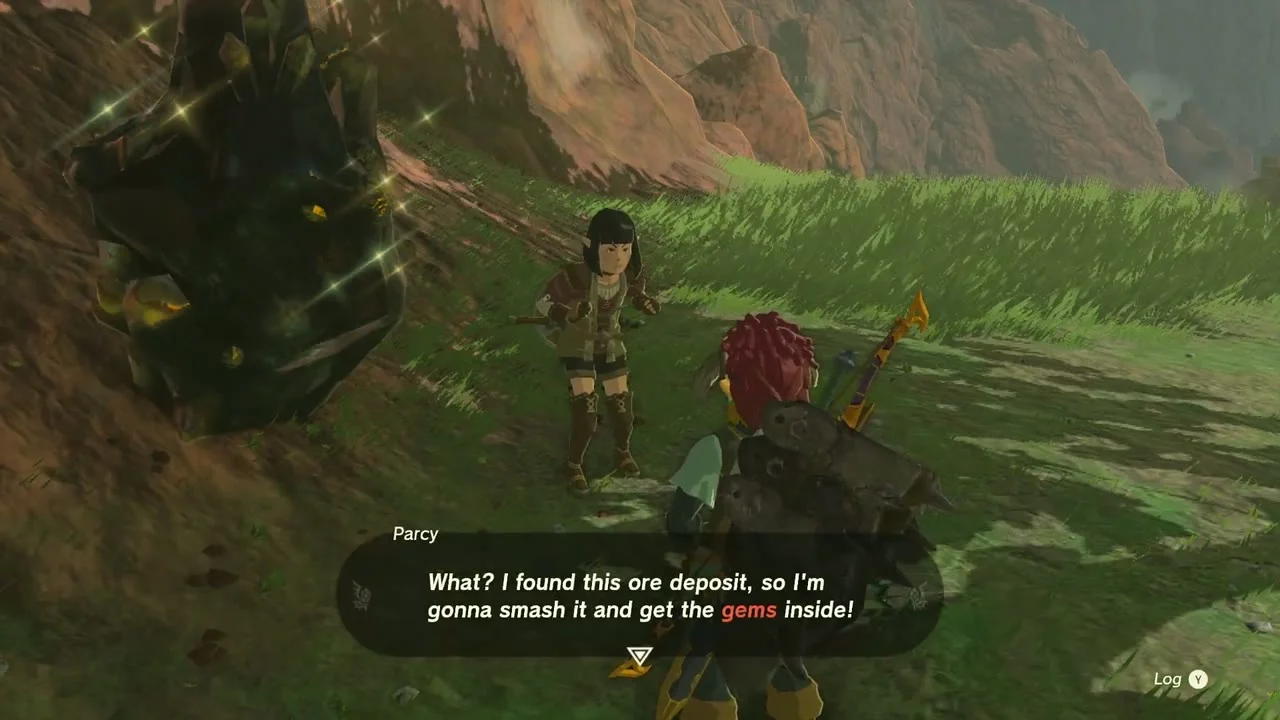
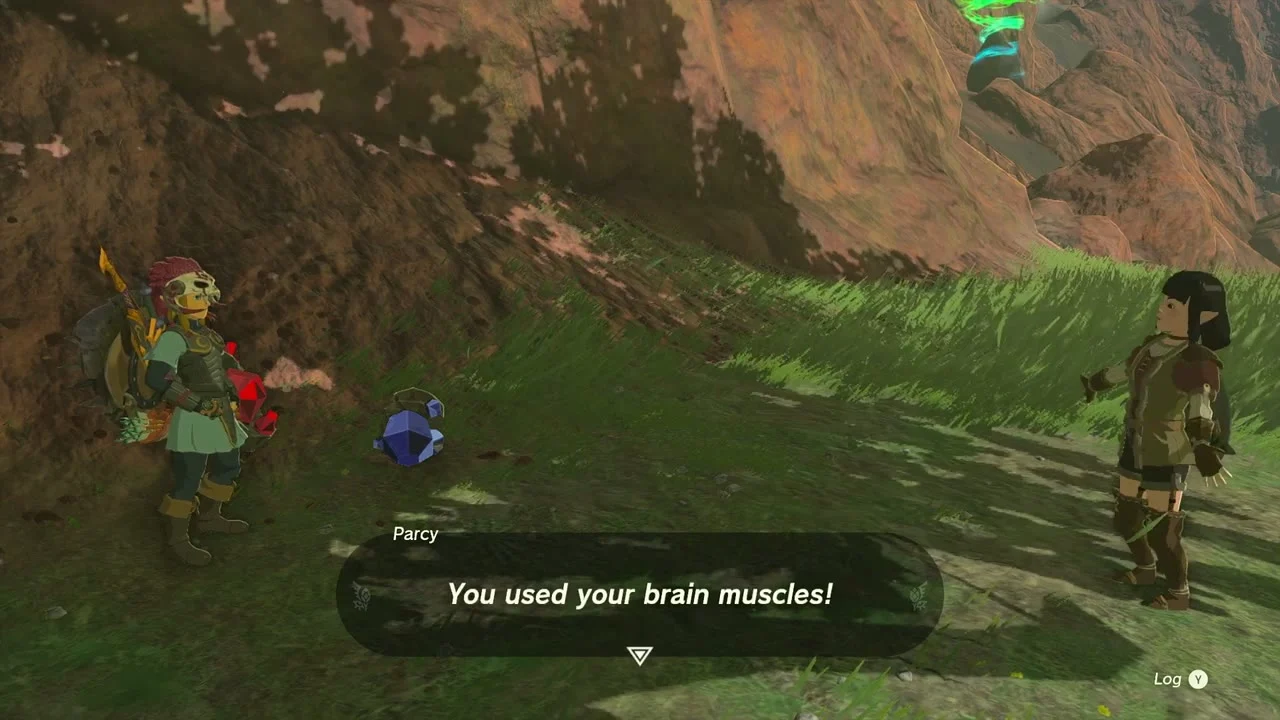
One-Hit Wonder! from Parcy near the stable: break the ore deposit on the hill with a single blow. Use a strong weapon such as the Royal Claymore (or Traveler’s Claymore, Soldier’s Claymore or Knight’s Claymore, depending on your progress) or a bomb for the single-hit breakage; you keep the gems inside.
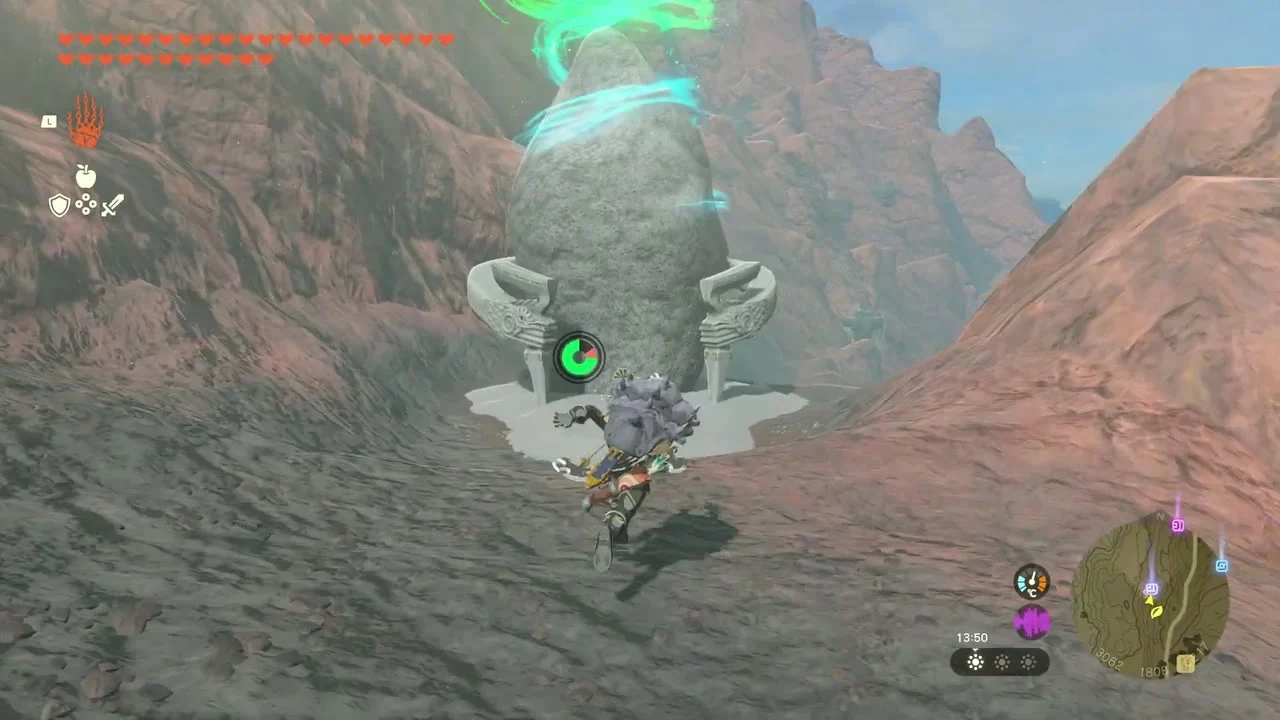
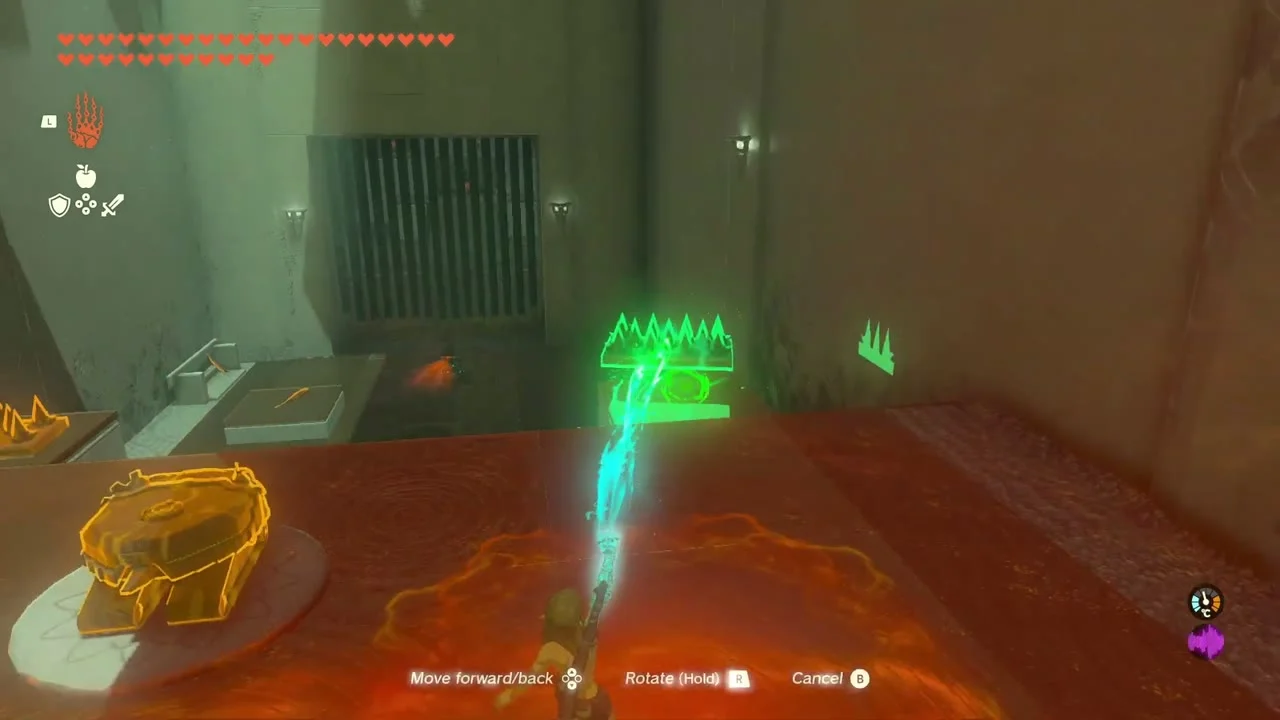
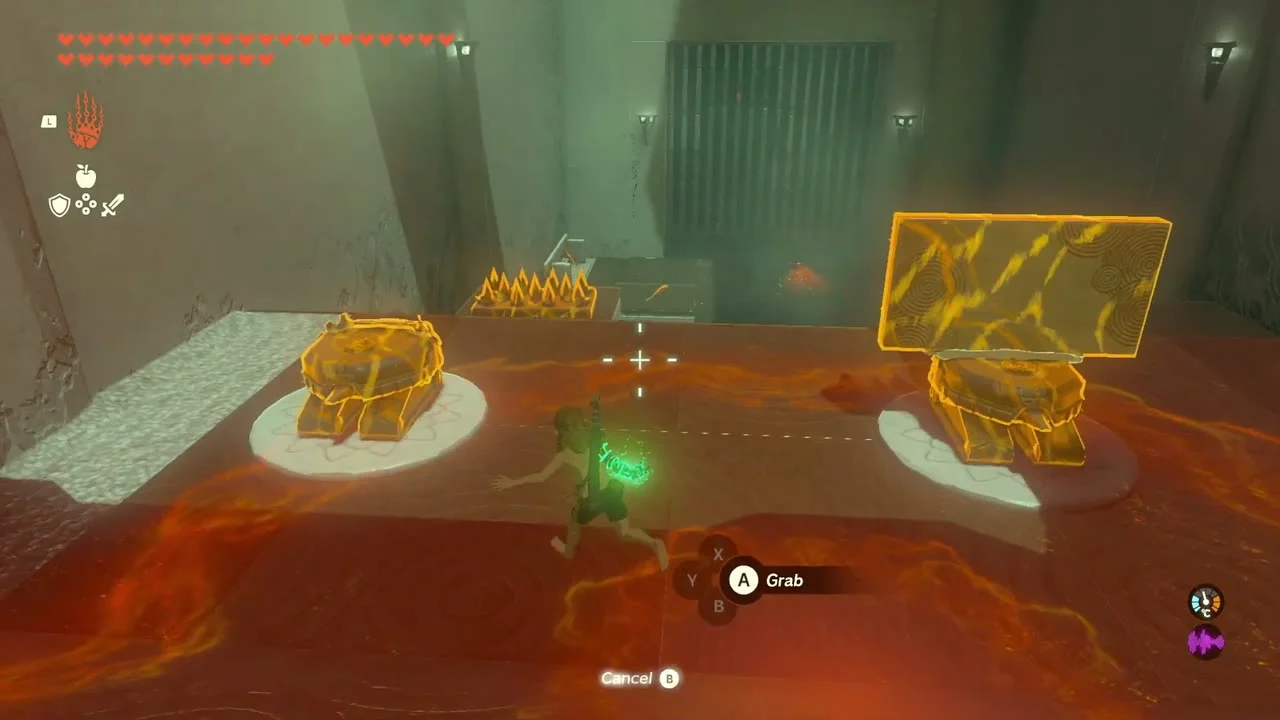
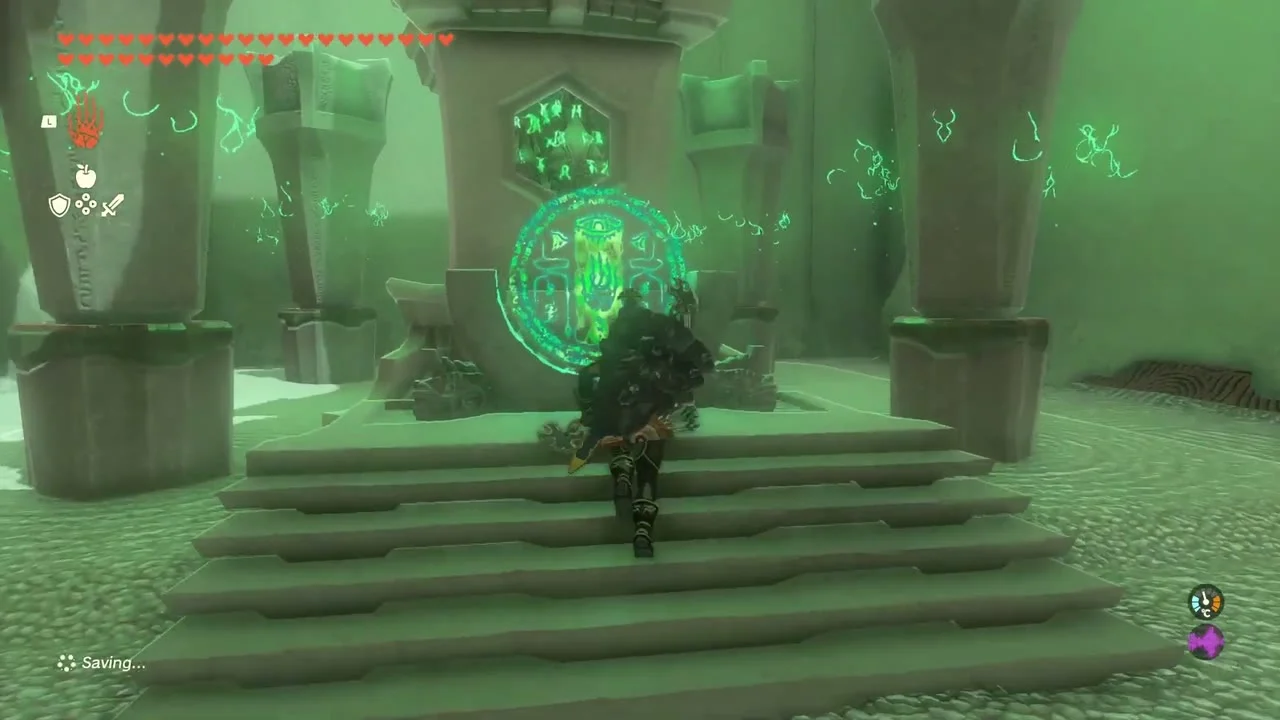
Mayachideg Shrine: Proving Grounds: The Hunt
Mayachideg Shrine at (3061, 1824, 229), on the slope above South Akkala Stable on the Eldin Canyon border. Trial Proving Grounds: The Hunt, type Proving Grounds; the Gedihcayam Lightroot is directly below at (3060, 1825, -683). You enter with only the shrine’s gear: take the Wooden Stick (or Sturdy Wooden Stick or Gnarled Wooden Stick, depending on your progress), glue two spike strips together with Ultrahand and use them as a shield to push through the constructs. The chest by the exit holds a Captain Spear (II to IV, depending on your progress).

Boss Bokoblin camp
Miniboss: Boss Bokoblin at a camp on the plains near the stable. Stack a Zonai tower with fire devices and burn the camp from above. It drops Boss Bokoblin Fang and Boss Bokoblin Horn.

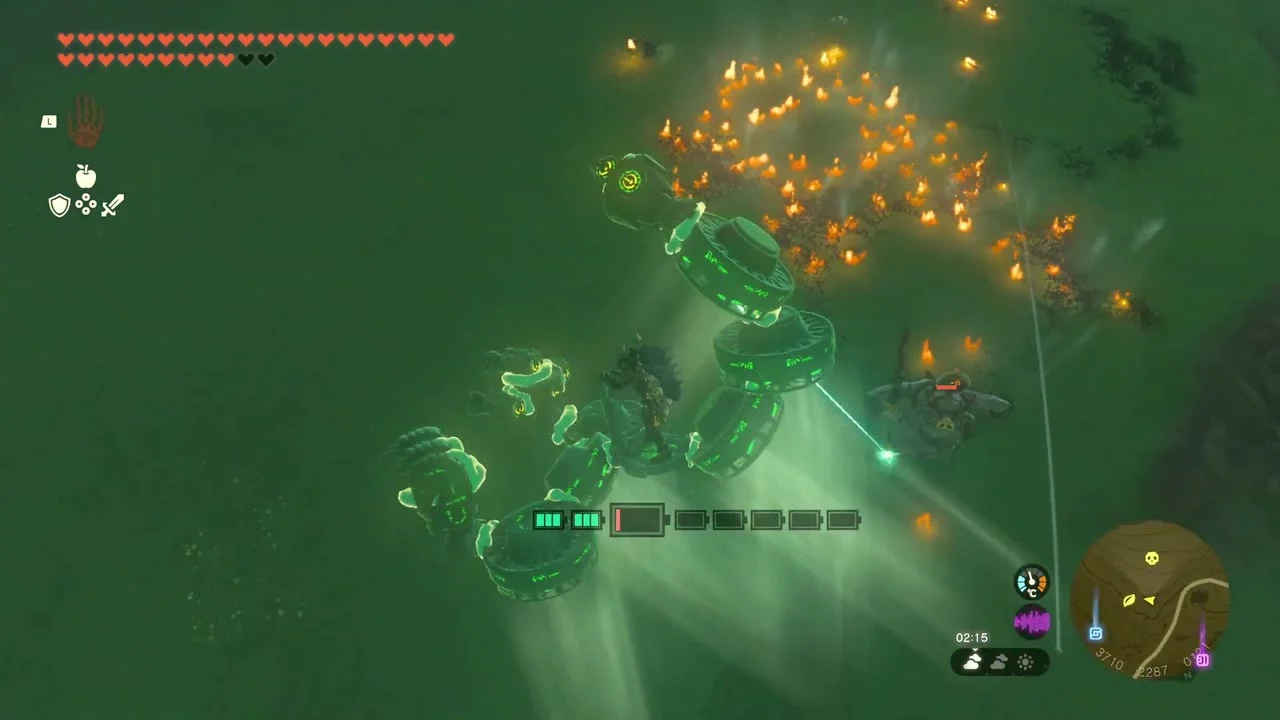

Moblin den chests
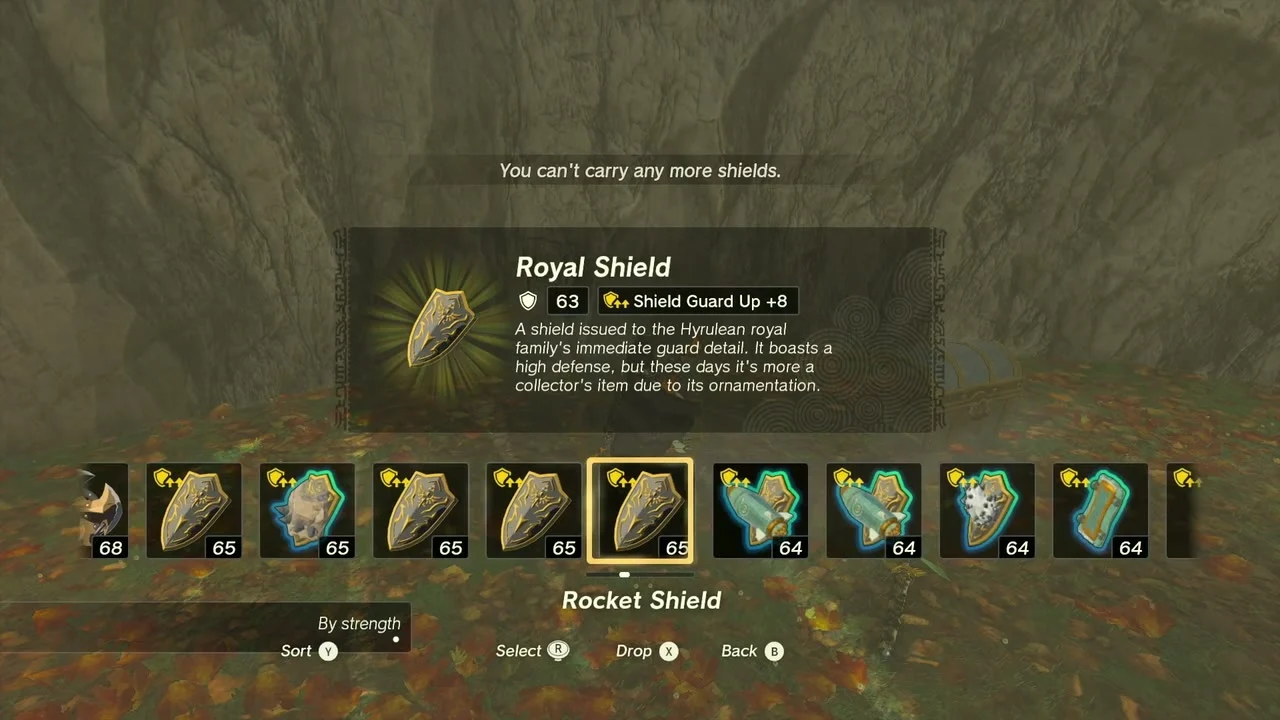
A Moblin den nearby holds two chests: a Royal Shield and a Royal Claymore. Burn the den’s hay or set off a bomb to clear the Moblins first.

Sinatanika Shrine: Combat Training: Sneakstrike
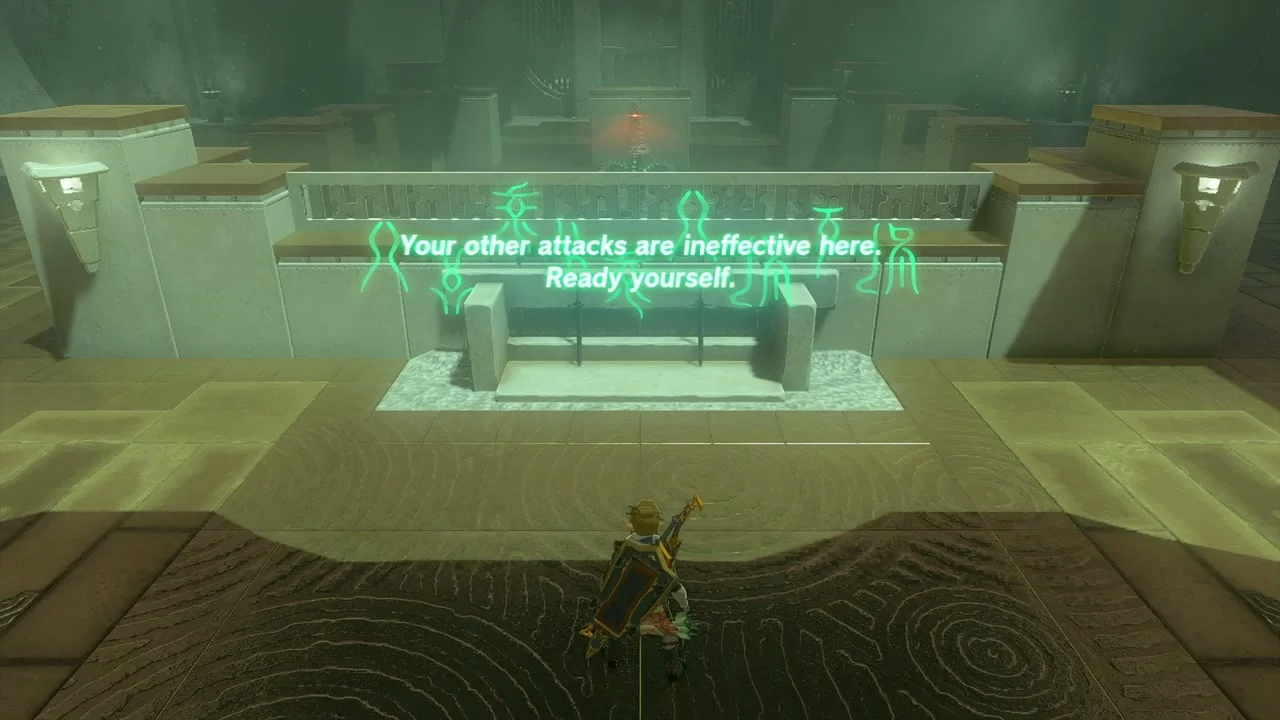
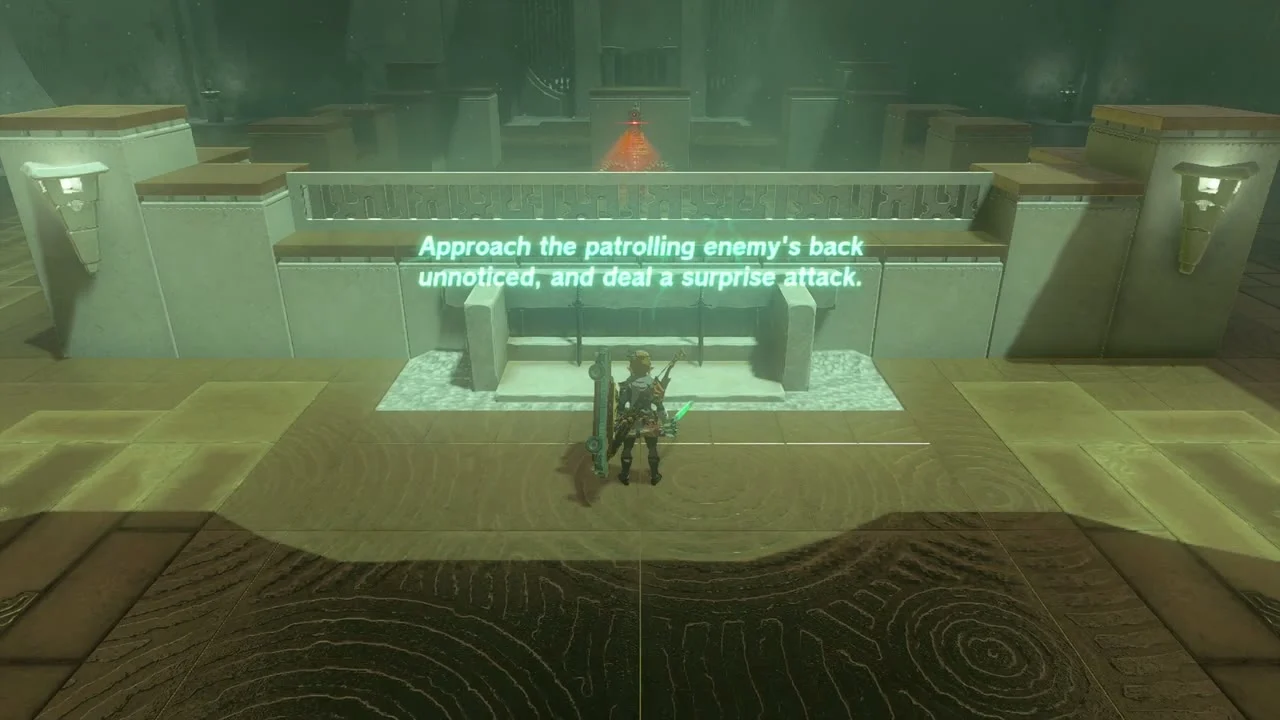
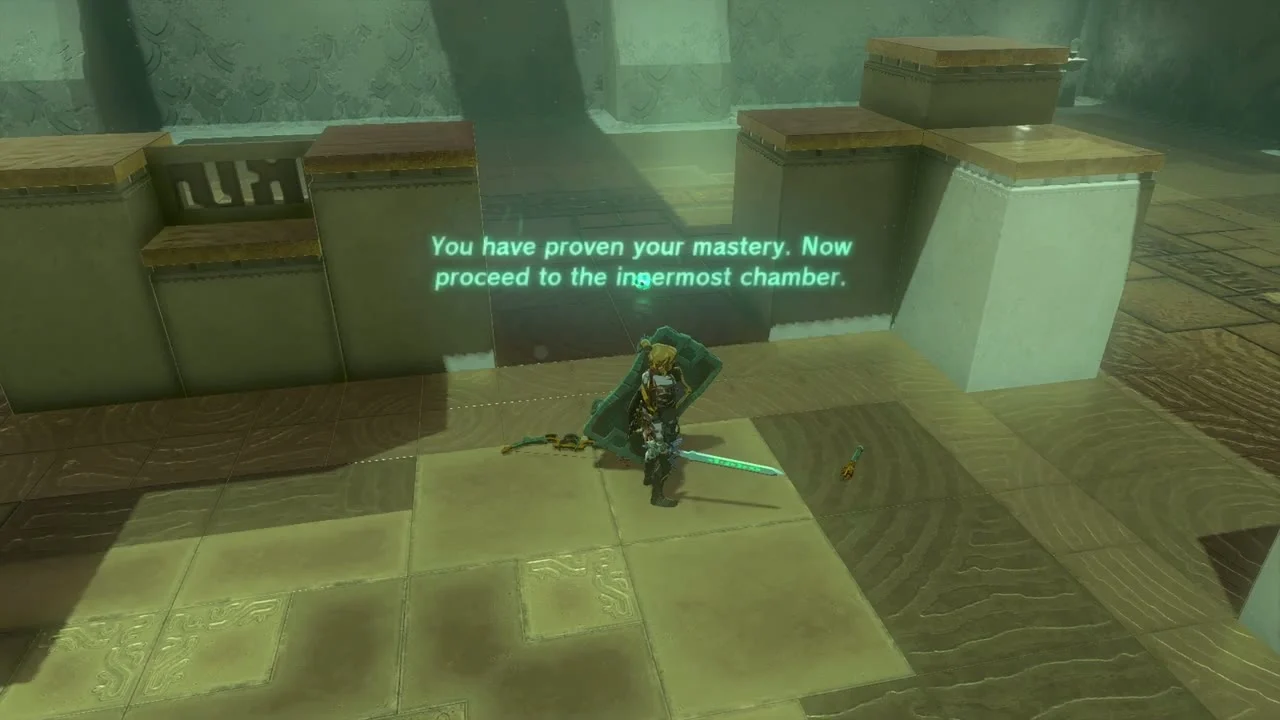
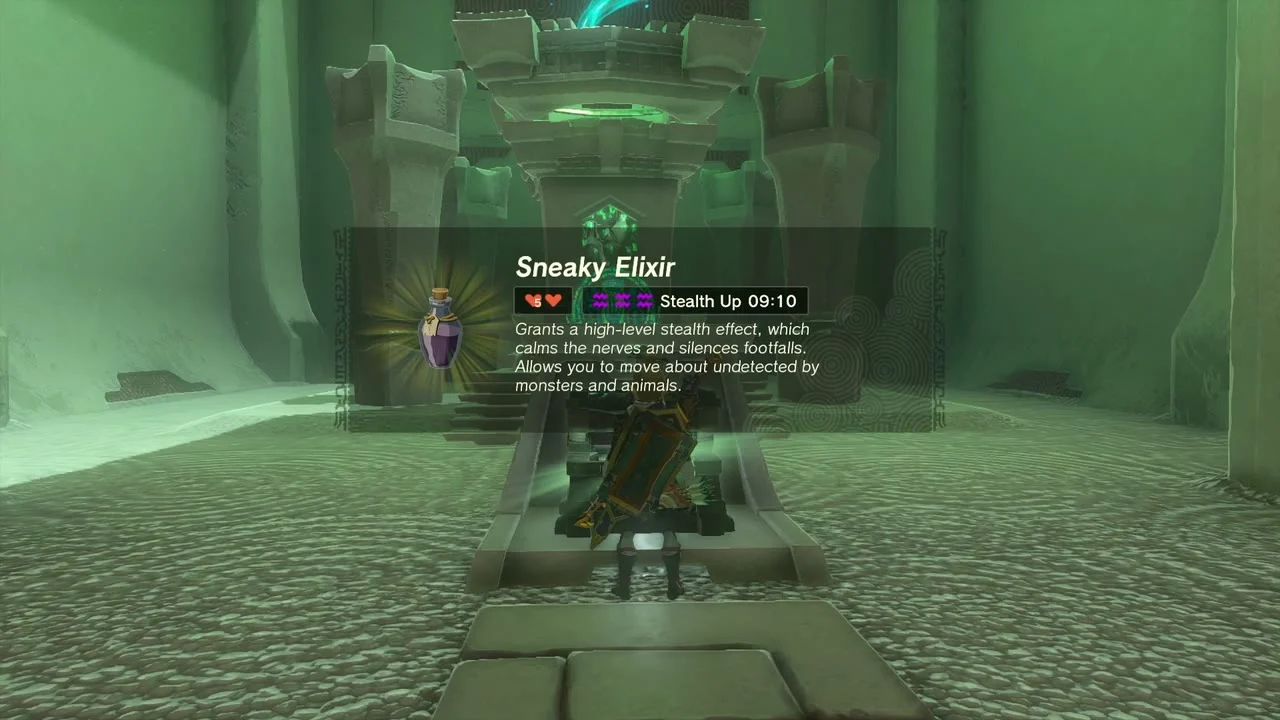
Sinatanika Shrine at (3841, 2300, 61), north of Octorok Lake and east of the Ulri Mountain Skyview Tower. Trial Combat Training: Sneakstrike, type Combat Training; the Akinatanis Lightroot is directly below at (3840, 2300, -508). Normal attacks do nothing, so crouch, approach each construct from behind unnoticed (it patrols in a square) and strike. The chest holds a Sneaky Elixir.
Also in this area
Remaining exhausted Koroks
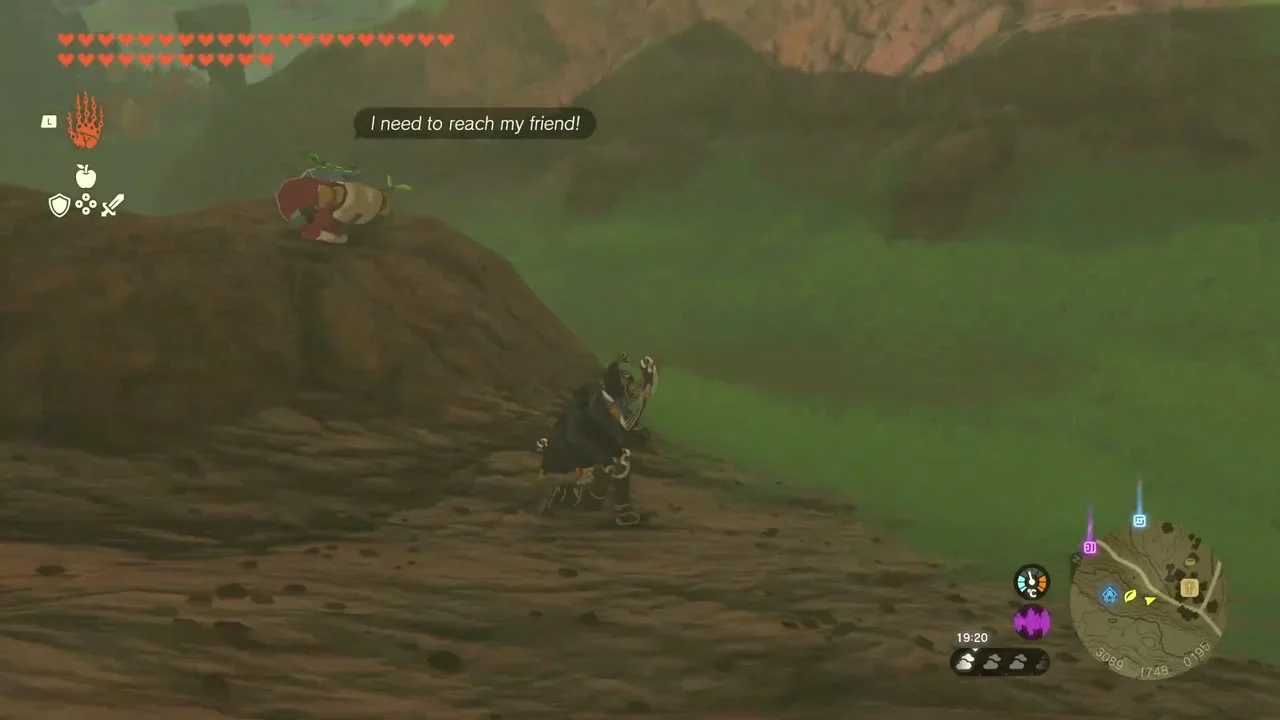
Two more exhausted Koroks sit on the grass hills in the south-west of the highlands; carry each to its friend for Korok Seed x2. The data lists these Korok puzzles in this region (use them to check you have found each one): Examine where the arrows point to (4045, 1285), Catch the sparkling spot (3111, 1298), Complete the cube puzzle (3358, 1300), Follow the flower (3882, 1341), Catch the sparkling spot (4106, 1376), Lift the rock (3273, 1397), Examine where the arrows point to (4715, 1418), Burn the leaves and lift the rock (3160, 1425), Follow the flower (3645, 1460), Repair the roof (4133, 1494), Go up to examine the sparking spot (3299, 1510), Ring the bell (3965, 1611), Lift the rock (4021, 1621), Lift the rock (3231, 1787), Lift the rock (3648, 1797), Burn the leaves and lift the rock (4598, 1856), Bring the exhausted korok to its friend (4747, 1986), Lift the rock (4527, 2046), Use the paraglider to reach the goal (4653, 2137), Bring the exhausted korok to its friend (3223, 2169), Examine where the arrows point to (3326, 2169), Bring the exhausted korok to its friend (4280, 2338), and Burn the leaves and lift the rock (4072, 2452).

Tips for this stretch
Bring a stack of fuseable Bomb Flowers and Brightbloom Seeds for the caves, rain gear for the Gleeok and a vehicle with a Steering Stick for the Tarrey Town Race. Bring Stamina Up food for the tall trees, and save a few Zonai Charges for the construction site’s vehicle builds.
Chests in this chapter
| Item | Where |
|---|---|
| Opal and Arrow x5 | Bokoblin lookout platform overlooking the Rist Peninsula whirlpool |
| Purple Rupee | Tarrey Town, tucked beside the houses; a second Purple Rupee chest sits on a platform out in the sea off the Rist Peninsula |
| Diamond | Jochi-ihiga Shrine; another Diamond chest near Tarrey Town after the Monstrous Collection statues |
| Opal, Arrow x5 | Ice slab and rocky outcrops on the lake near Jochi-ihiga Shrine |
| Arrow x10 | On the sea platforms between the Rist Peninsula shrines |
| Mighty Zonaite Shield | Gemimik Shrine, and again in Domizuin Shrine |
| Steel Lizal Bow | Ruins before the Black Hinox at Malin Bay East |
| Sapphire | On the plains near the Battle Talus |
| Guard’s-Sword Stick, Soldier’s-Broadsword Halberd | Akkala Citadel Ruins Cave |
| Royal Shield | After the Thunder Gleeok, and again in the Moblin den near South Akkala Stable |
| Royal Guard’s Spear | Beyond the Phantom Ganon arena |
| Fierce Deity Armor | Akkala Citadel Ruins Summit Cave doorway |
| Zonai Charge, Mighty Zonaite Shield, Arrow | Domizuin Shrine |
| Bomb-Barrel Spear | On the hill near South Akkala Stable |
| Captain Spear (II to IV, depending on your progress) | Mayachideg Shrine |
| Zonaite Bow, Royal Claymore | Between South Akkala Stable and Sinatanika Shrine |
| Sneaky Elixir | Sinatanika Shrine |
Akkala checklist
| Collectible | Count | Where |
|---|---|---|
| Shrines | 5 | Jochi-ihiga, Gemimik, Domizuin, Mayachideg, Sinatanika |
| Lightroots (below shrines) | 5 | Agihi-ihcoj, Kimimeg, Niuzimod, Gedihcayam, Akinatanis |
| Bubbul Gems | 4 | Tarrey Town Tunnel, Construction Site Well, Akkala Citadel Ruins Cave, Akkala Citadel Ruins Summit Cave |
| Korok puzzles | about 23 | listed in the data below, including three exhausted-Korok deliveries |
| Minibosses | 5 | Black Hinox, Battle Talus, Thunder Gleeok, Phantom Ganon, Boss Bokoblin |
| Armor | 2 | Fierce Deity Armor, Froggy Hood |
| Quests | 11 | Rock for Sale, Mattison’s Independence, A Monstrous Collection I–V, Home on Arrange, Secrets Within, Master the Vehicle Prototype, The Tarrey Town Race Is On!, A Picture for South Akkala Stable, The All-Clucking Cucco, Potential Princess Sightings!, One-Hit Wonder! |
Part 2: Deep Akkala, East Akkala and Lomei Labyrinth Island
| Region | Akkala: the Spring of Power and Skull Lake in Deep Akkala, the plains around East Akkala Stable, the Akkala Ancient Tech Lab, the Akkala Sea beaches, and Lomei Labyrinth Island with its sky and depths mazes |
|---|---|
| Shrines | 5: Kamatukis (A Precise Strike, puzzle), Jochi-iu (Courage to Pluck, puzzle), Rasiwak (Flotational Brilliance, puzzle), Igashuk (Rauru’s Blessing), Mogisari (Courage to Jump, puzzle) |
| Lightroots | Sikutamak (under Kamatukis), Ui-ihcoj (under Jochi-iu), Kawisar (under Rasiwak), Kuhsagi (under Igashuk). Mogisari is a sky shrine with no Lightroot. See all Lightroots. |
| Caves | 2 with a Bubbul Gem each: Skull Lake Cave and North Akkala Beach Cave. See all caves. |
| Koroks | About 30 seeds, including three exhausted-Korok deliveries that pay Korok Seed x2. See all Korok seeds. |
| Minibosses | Battle Talus, Phantom Ganon (twice), Red-Maned Lynel, Stalnox, Boss Bokoblin, Stone Talus (twice), Hinox and Flux Construct III |
| Armor and gear | Fierce Deity Mask and Fierce Deity Sword, White Sword of the Sky, Yiga Armor, Evil Spirit Armor, Grizzlemaw-Bear Fabric, Travel Medallion |
| Quests | Goddess Statue of Power, The Mother Goddess Statue, Misko’s Treasure: The Fierce Deity, Eldin’s, Hebra’s and Gerudo’s Colossal Fossil, Strongest in the World, The Gathering Pirates, A Picture for East Akkala Stable, Presenting: The Travel Medallion!, The Lomei Labyrinth Island Prophecy, WANTED: Stone Talus |
This chapter finishes Akkala: it clears the northern half of the region (the Spring of Power, Skull Lake, the Akkala Ancient Tech Lab and the Akkala Sea coast) and then takes on Lomei Labyrinth Island at the north-east tip of the map, with its surface maze, shrine, sky maze and depths arena. Coordinates are map units (X, Y); larger Y is further north.
Quick route
Farm Dinraal’s Claw over the East Akkala plains, offer it at the Spring of Power and collect the White Sword of the Sky from the Mother Goddess Statue.
Work through the plains chests, Addison’s signs and the Phantom Ganon and Lynel fights, then drop into Skull Lake Cave for the Fierce Deity Mask and solve Kamatukis Shrine nearby.
Finish the Fierce Deity set and claim the sword from Cephla Lake Cave, then return to Akkala for Jochi-iu Shrine, East Akkala Stable’s quests, Malanya’s horse upgrades and the Travel Medallion at the Ancient Tech Lab.
Clear the pirate ships, Rasiwak Shrine and North Akkala Beach Cave, then finish Lomei Labyrinth Island: Igashuk Shrine on the surface, Mogisari Shrine and four terminals in the sky, and Flux Construct III in the depths.
Spring of Power and the White Sword of the Sky
Farm Dinraal’s Claw
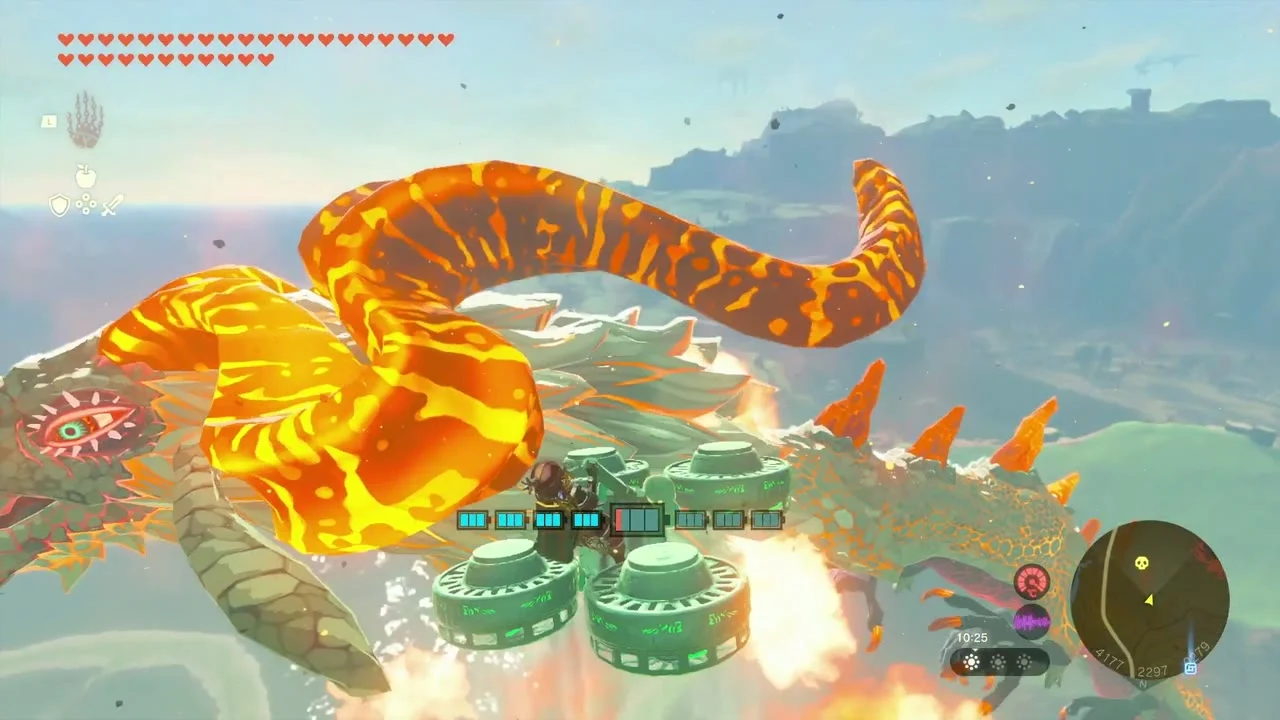
Dinraal circles the East Akkala Plains Chasm at (4030, 2181). Fly a hover bike or glide up to its flank, land on its back and strike the claws on its feet; a claw drops after a few hits and can be caught as it falls. Hitting the body or horn drops a scale or spike shard instead, so aim low. Dragon parts respawn about ten minutes apart, so spend the wait on other tasks.
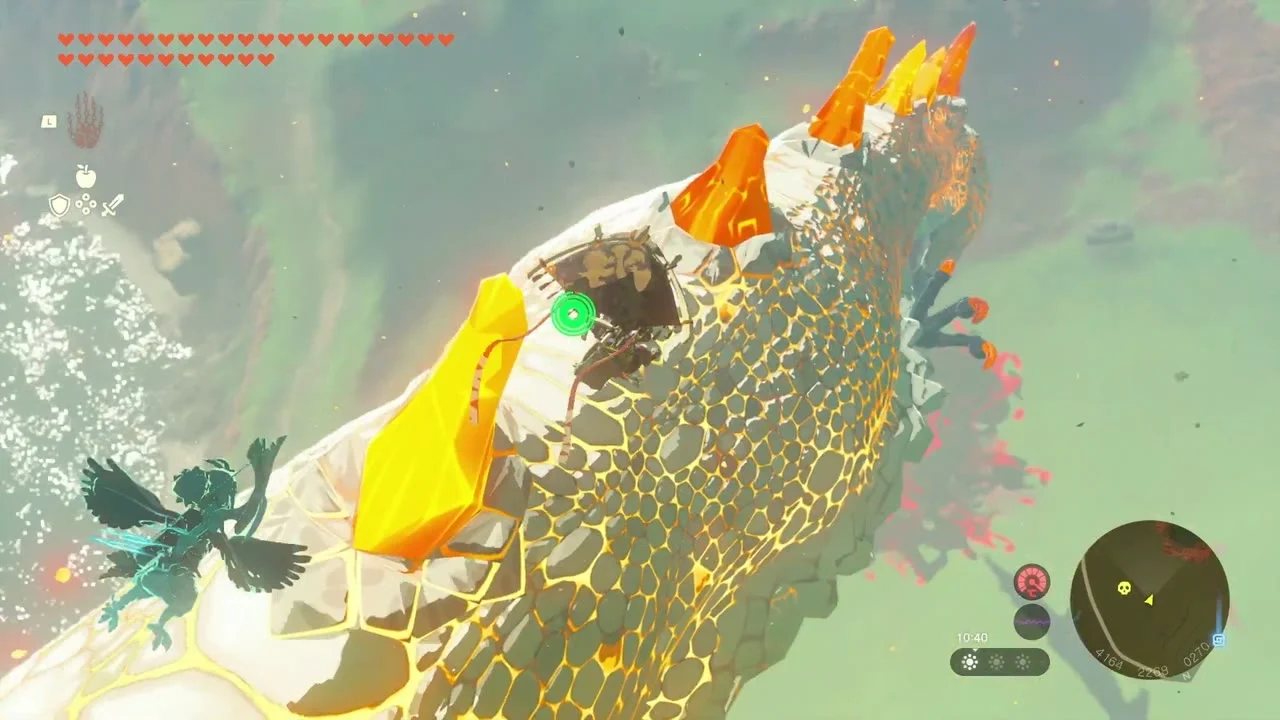
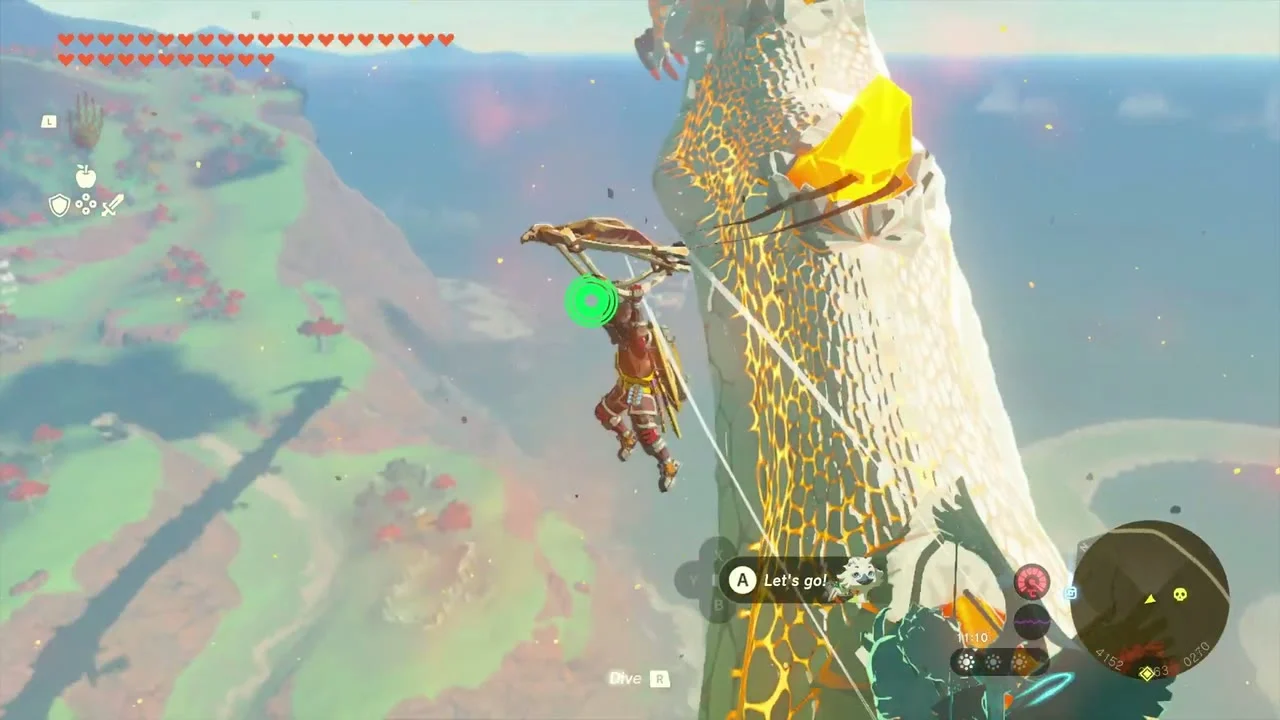
Offer the claw at the Spring of Power
The Spring of Power is at (3756, 2672) in the Akkala Highlands, reached through a stone corridor into a ruined, moss-covered court. Talk to the Goddess Statue of Power: she cannot sense the Mother Goddess Statue and asks you to check on it in the Forgotten Temple, where you find it toppled. Report back, then drop Dinraal’s Claw into the pool so the water glows. The quest pays out a Ruby.
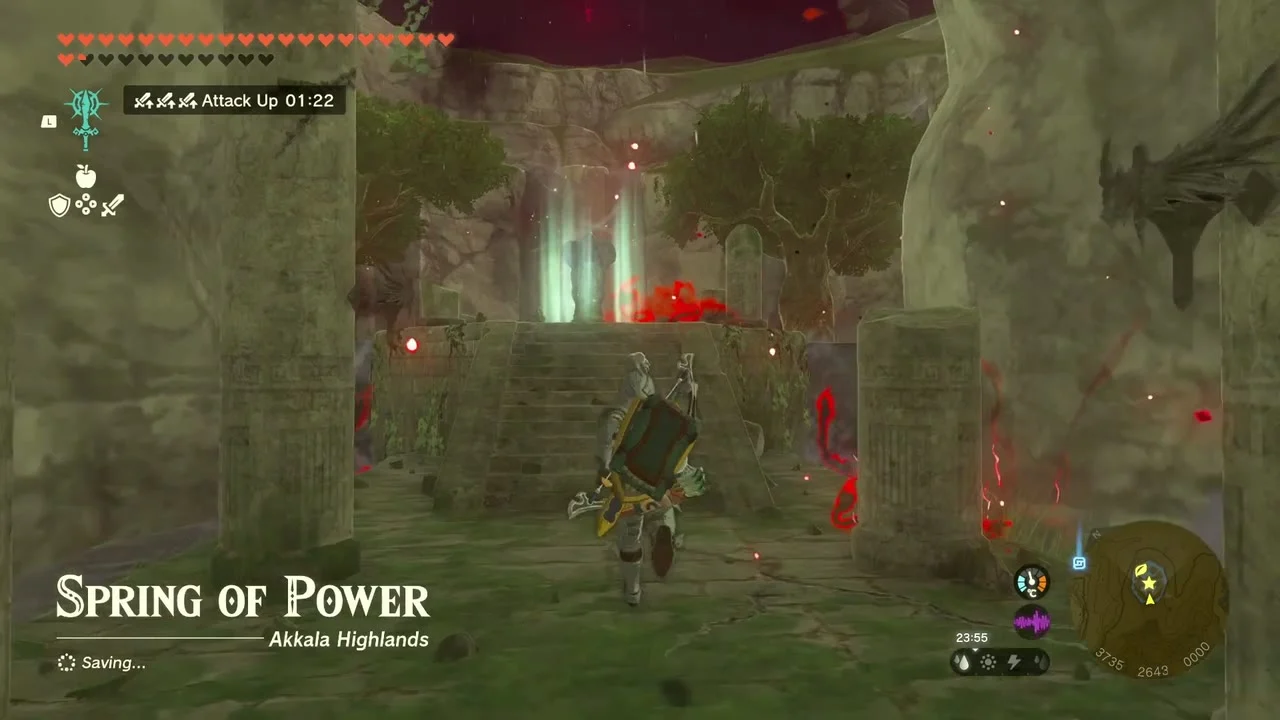


Collect the White Sword of the Sky
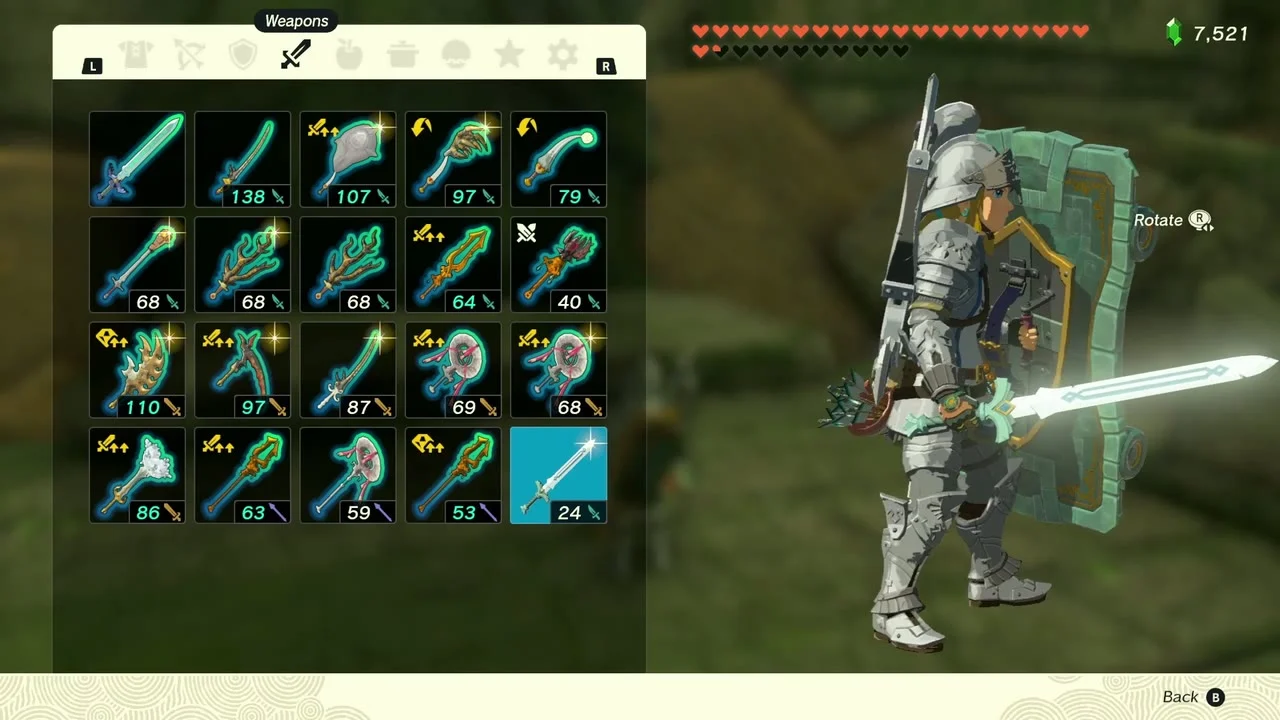
With the claw delivered, return to the toppled Mother Goddess Statue in the Forgotten Temple and pray. She asks you to arrange the weapons in your belongings and rewards you with the White Sword of the Sky, a sword with an attack of 24.
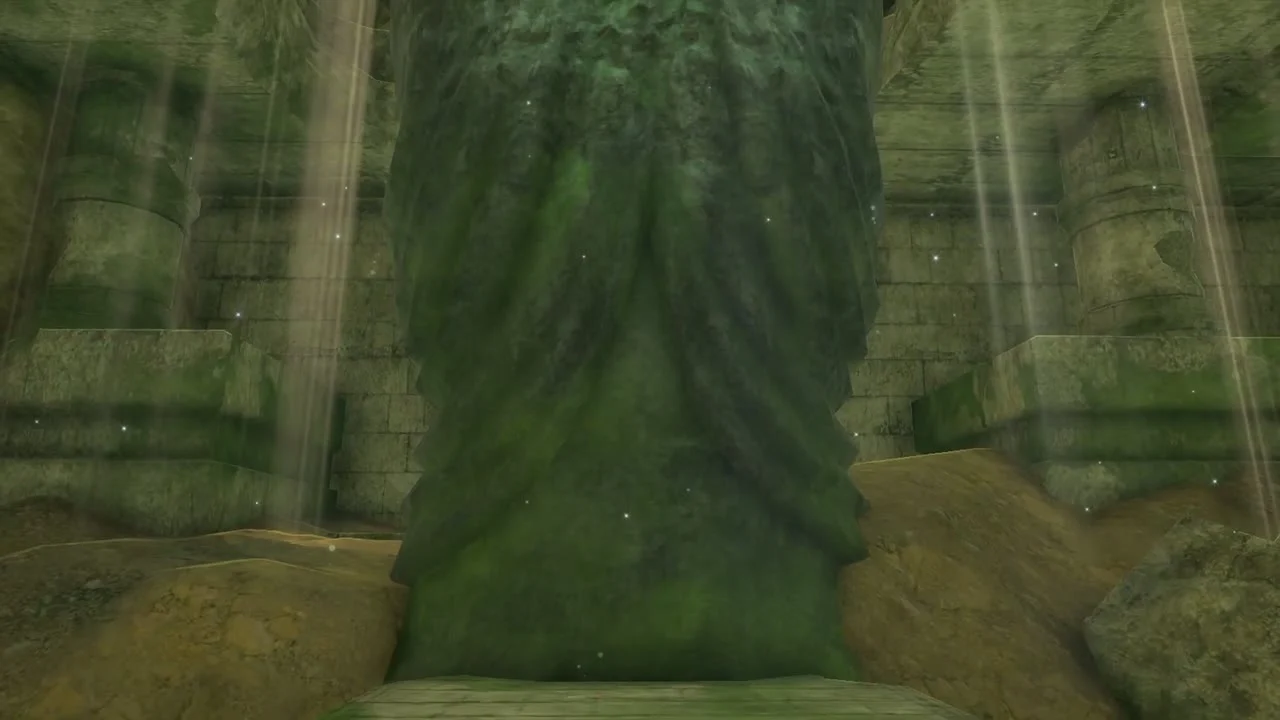

East Akkala Plains: chests, Addison and Phantom Ganon
Defeat the Battle Talus and open the Sapphire chest
Miniboss: Battle Talus in the plains west of Octorok Lake, wearing a wooden watchtower on its back. Fuse a bomb flower or fire fruit to your weapon and keep hitting the glowing ore on its back, then finish it on the ground for Talus drops. A chest on a nearby ledge holds a Sapphire.


Open the Royal Bow chest
A chest sits on an overturned wooden cart in the grassland just south of the Battle Talus. It holds a Royal Bow (or Traveler’s Bow, Soldier’s Bow or Knight’s Bow, depending on your progress), which is a good weapon to keep for later fuses.


Finish Addison’s signs
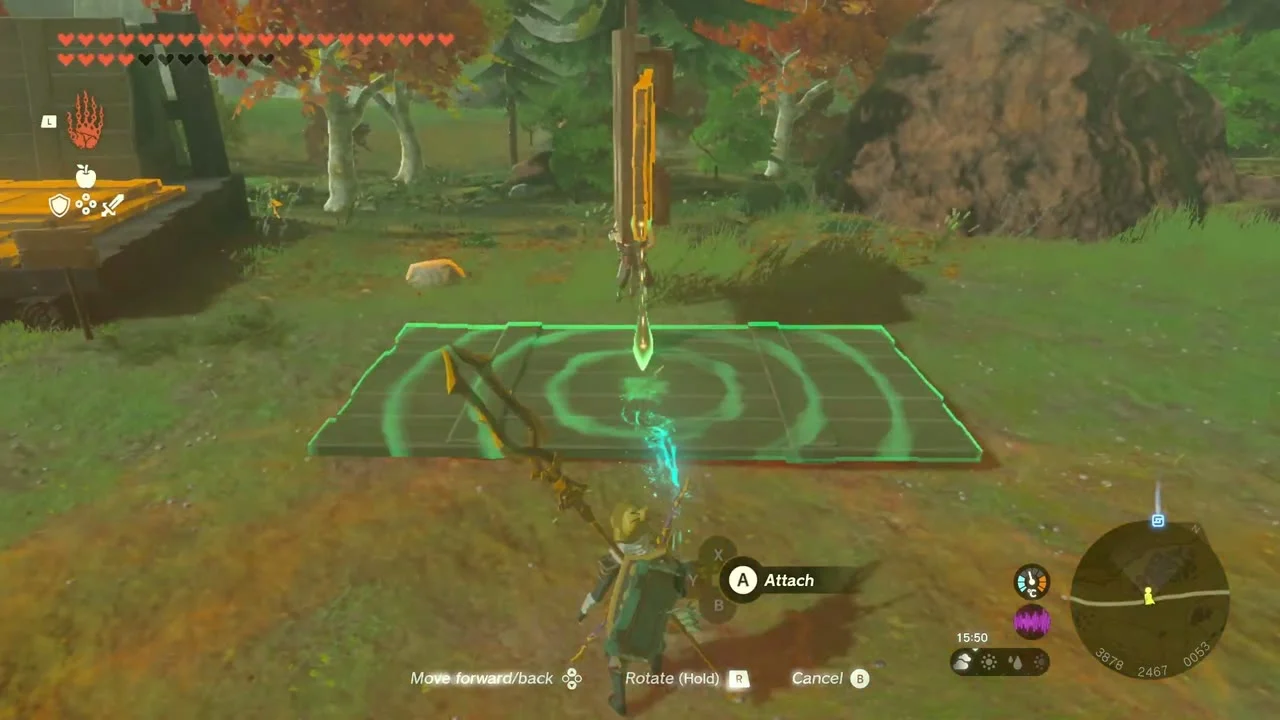
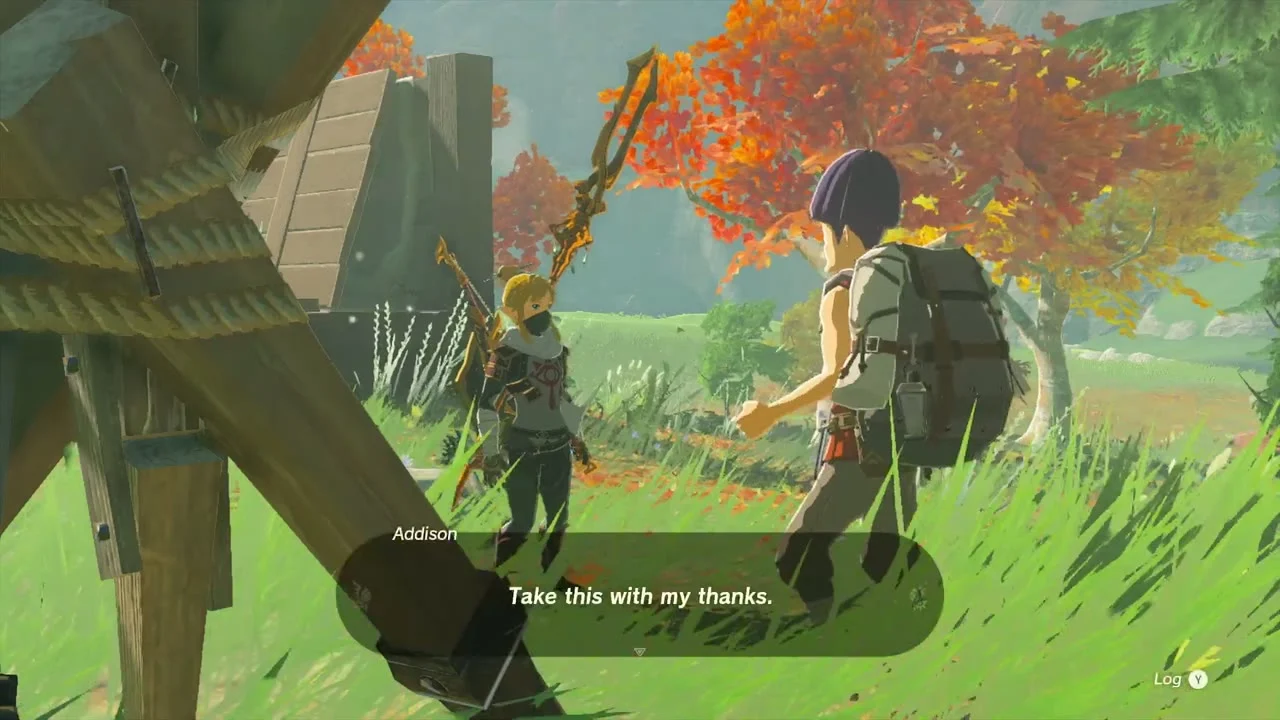
Addison wants his Hudson Construction sign fastened to a post. Stand the board against the post with Ultrahand and attach it with a Zonai or wooden support, then talk to him. Finish each sign he asks for and he thanks you with a reward.

Defeat Phantom Ganon
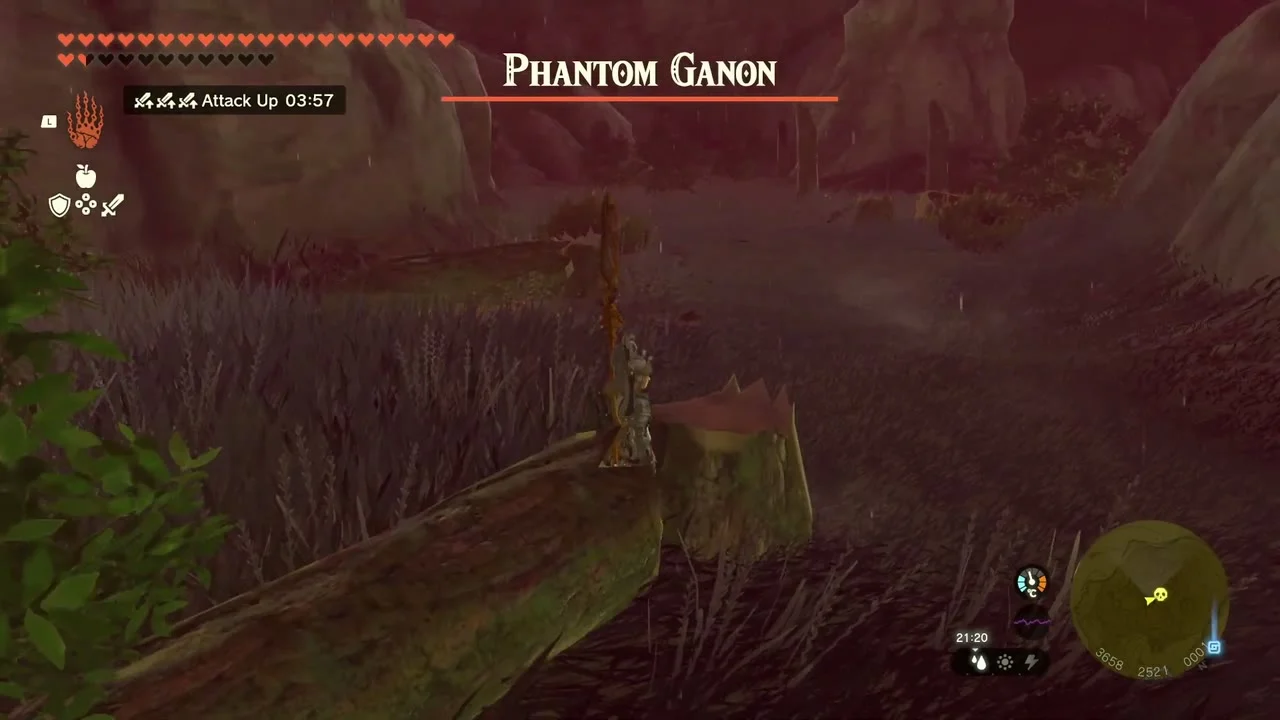
Miniboss: Phantom Ganon haunts the autumn forest east of Tarrey Town. Block its sword with a Perfect Guard, counter with a charged attack and finish it in the dark with Brightbloom arrows to keep it visible. It drops Phantom Ganon gear and weapon fuses.

Lynel and Tempest Gulch
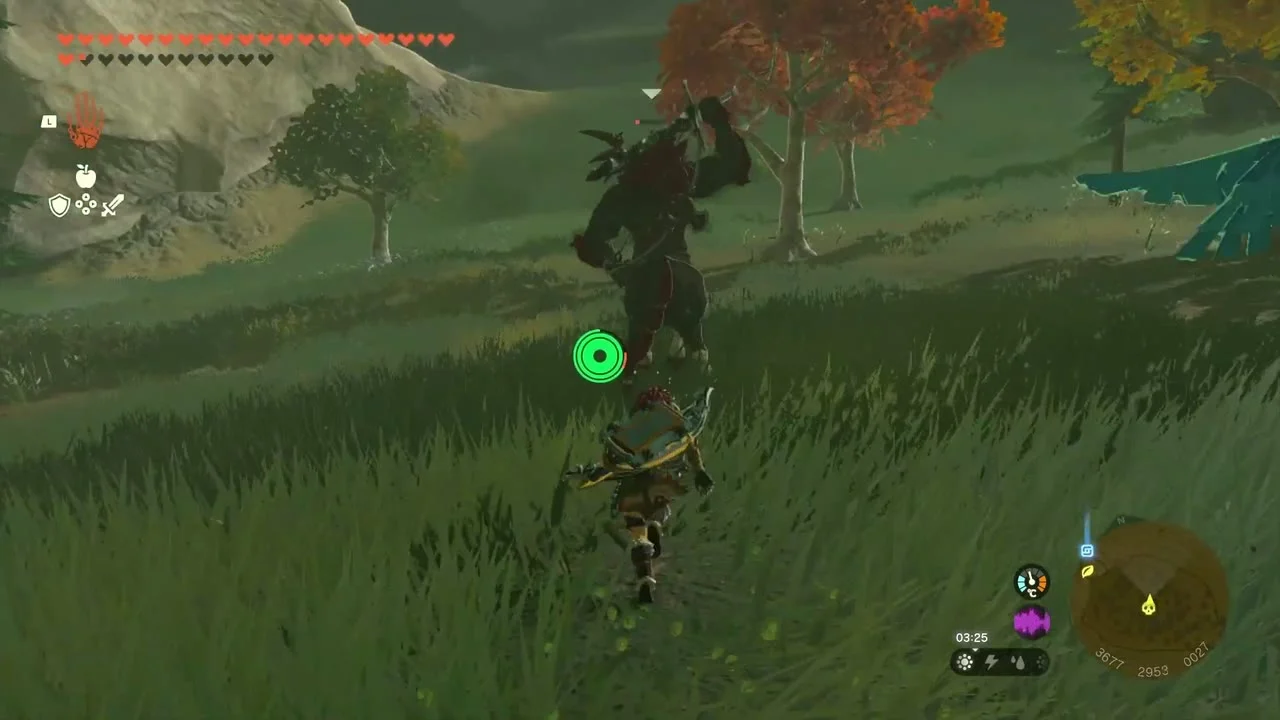
Fight the Red-Maned Lynel
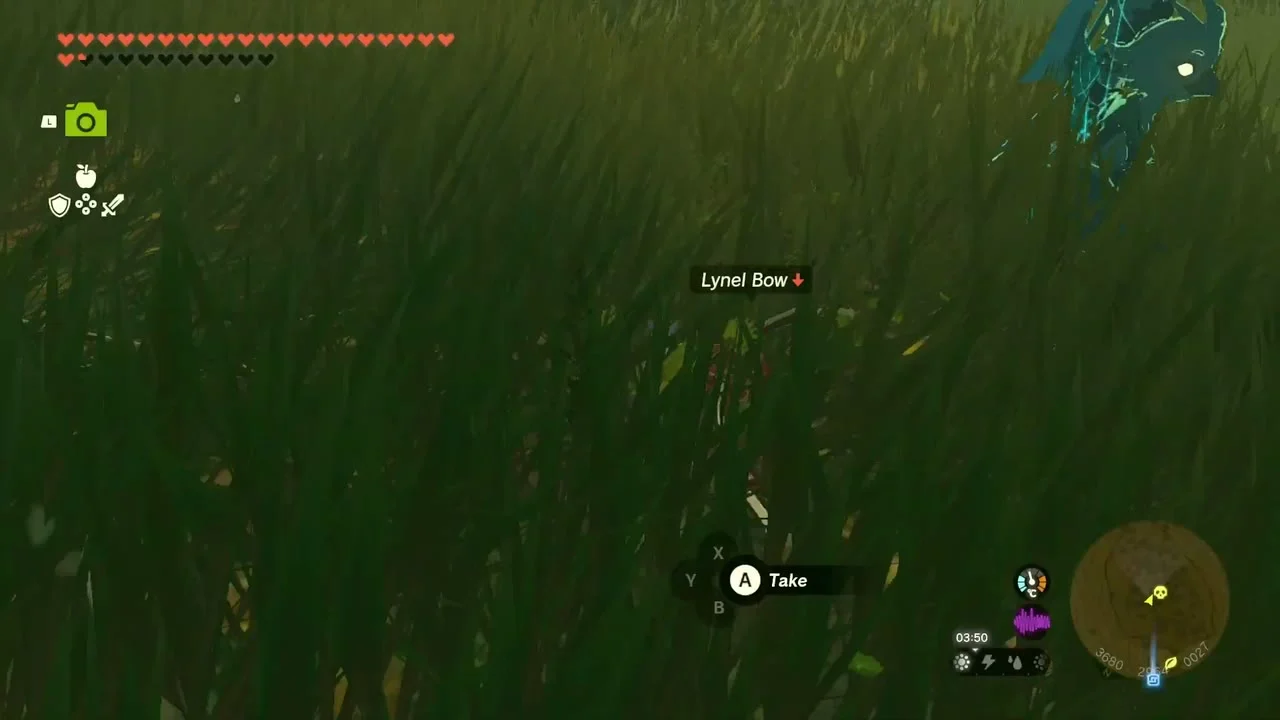
Miniboss: Red-Maned Lynel roams the grassland south of Tempest Gulch. Dodge its bow volleys by strafing, use shield-surf or a Flurry Rush on its charge and attack its head when it staggers. It drops a Lynel Bow (or Mighty Lynel Bow or Savage Lynel Bow, depending on your progress) and horn fuses; the Silver Lynel weapons it leaves behind later satisfy Strongest in the World.
Open the Royal Shield chest
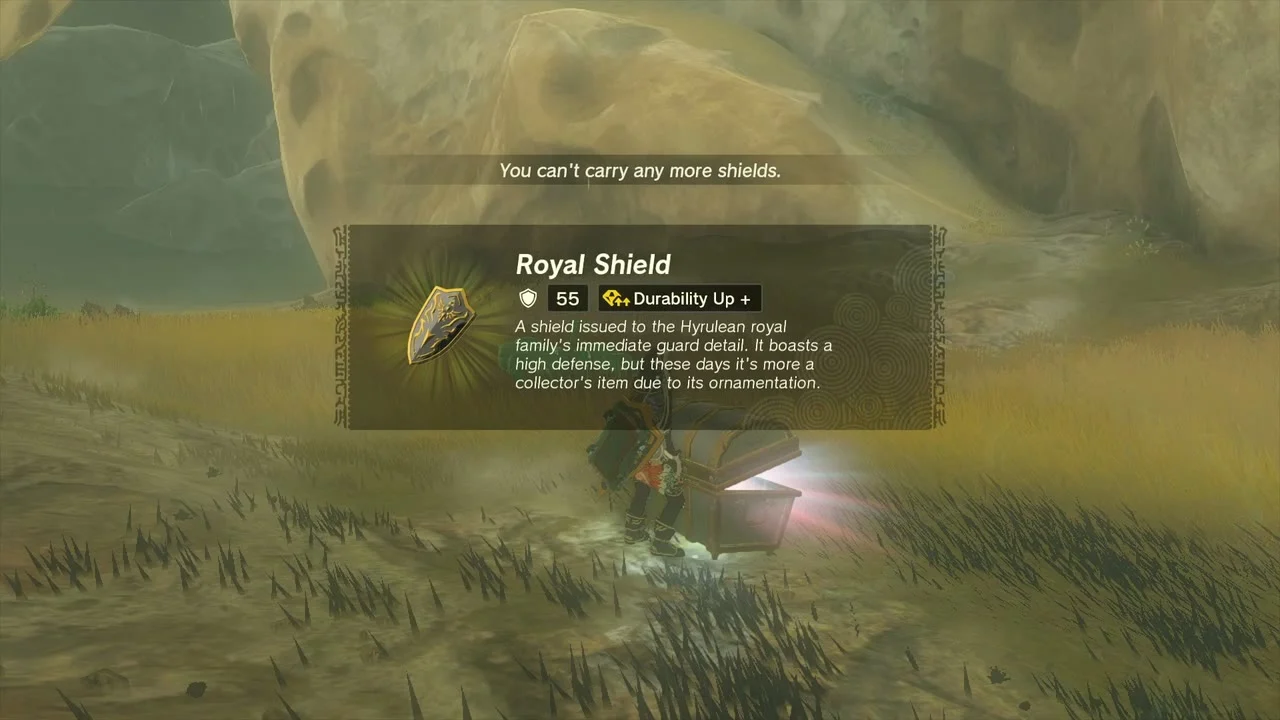
A chest in the rock hollows beside Tempest Gulch holds a Royal Shield (or Traveler’s Shield, Soldier’s Shield or Knight’s Shield, depending on your progress). Reach it by gliding down from the ridge north of the gulch rim.

Skull Lake and Skull Lake Cave
Find the Skull Lake chasm and cave
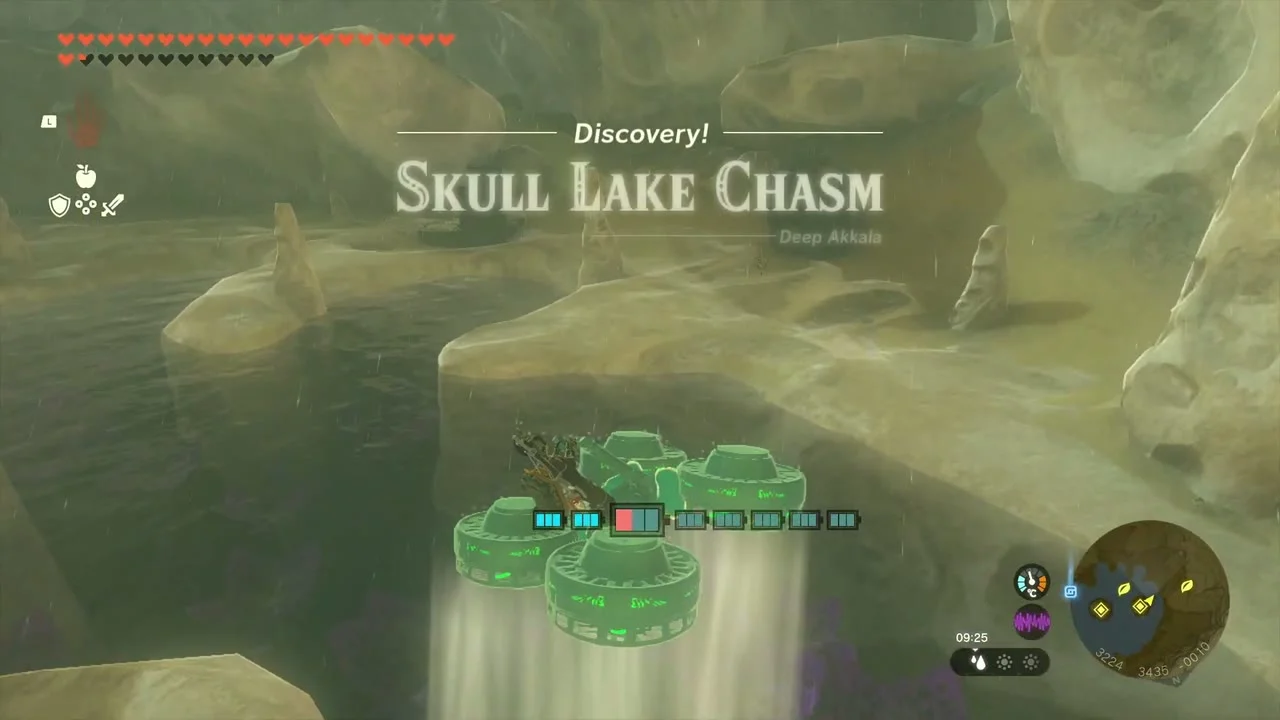
Skull Lake is the skull-shaped lake at (3313, 3498) in Deep Akkala. The Skull Lake Chasm opens at (3246, 3442) into the Depths. The entrance to Skull Lake Cave at (3321, 3424) is a hole on the top of the pillar of rock in the skull’s eye socket; glide in from the high ground to the north rather than climbing it. One guide suggests standing on the sky-island rubble northwest of the lake (about 3220, 3626, 218), using Recall to rise with it, then gliding over the spire’s opening.

Cross the cave and beat the Stalnox
Light the dark cave with Brightbloom Seeds and clear the Stalkoblins and Stalmoblins. Blast open the rock walls with Bomb Flowers or a hammer to reach the central chamber, where a Stalnox circles the platform with the chest. Hit its eye when it is exposed and shatter the eyeball with a heavy weapon, or simply run past it.

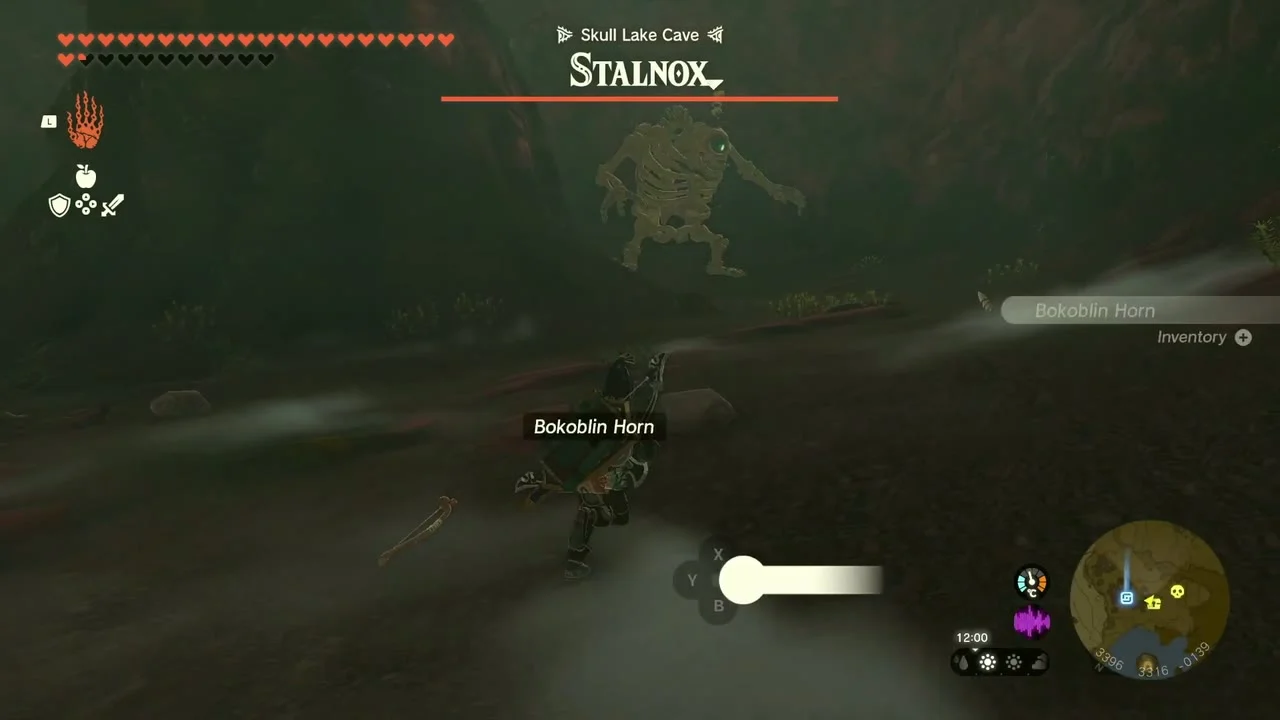
Take the Bubbul Gem
Smash the blue rubble on the north side of the chamber to find the Bubbulfrog and collect a Bubbul Gem.
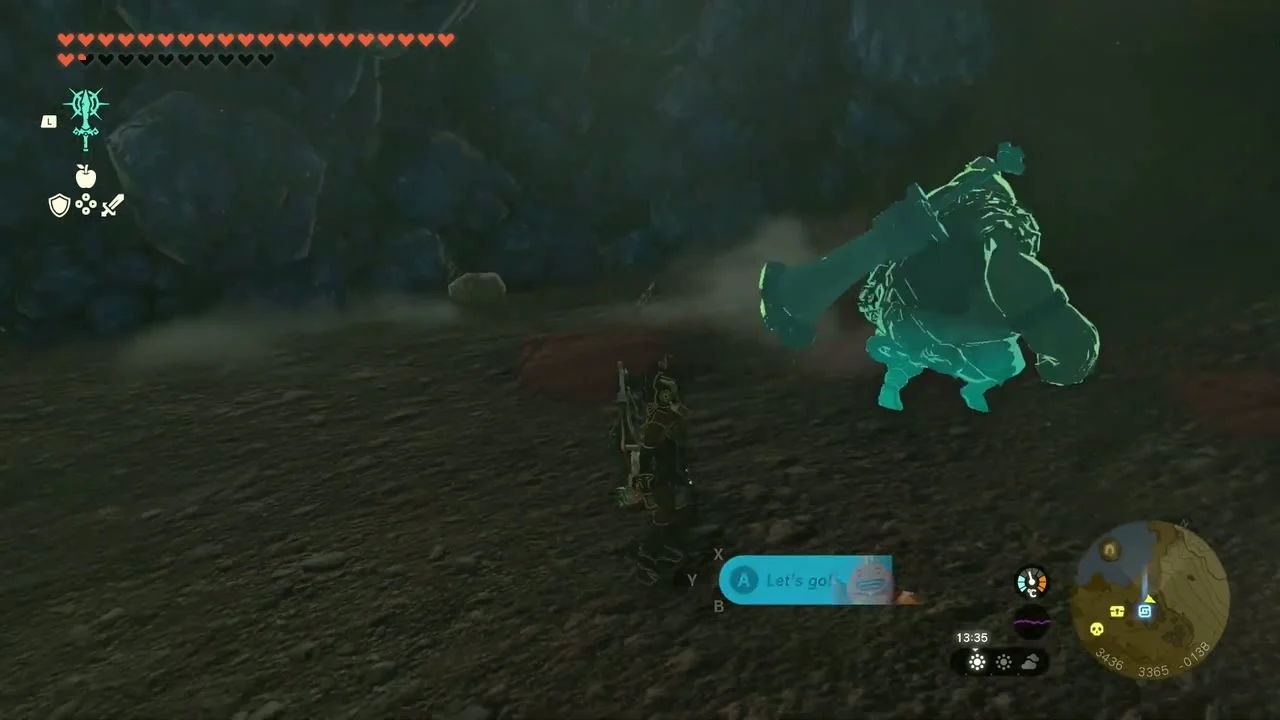
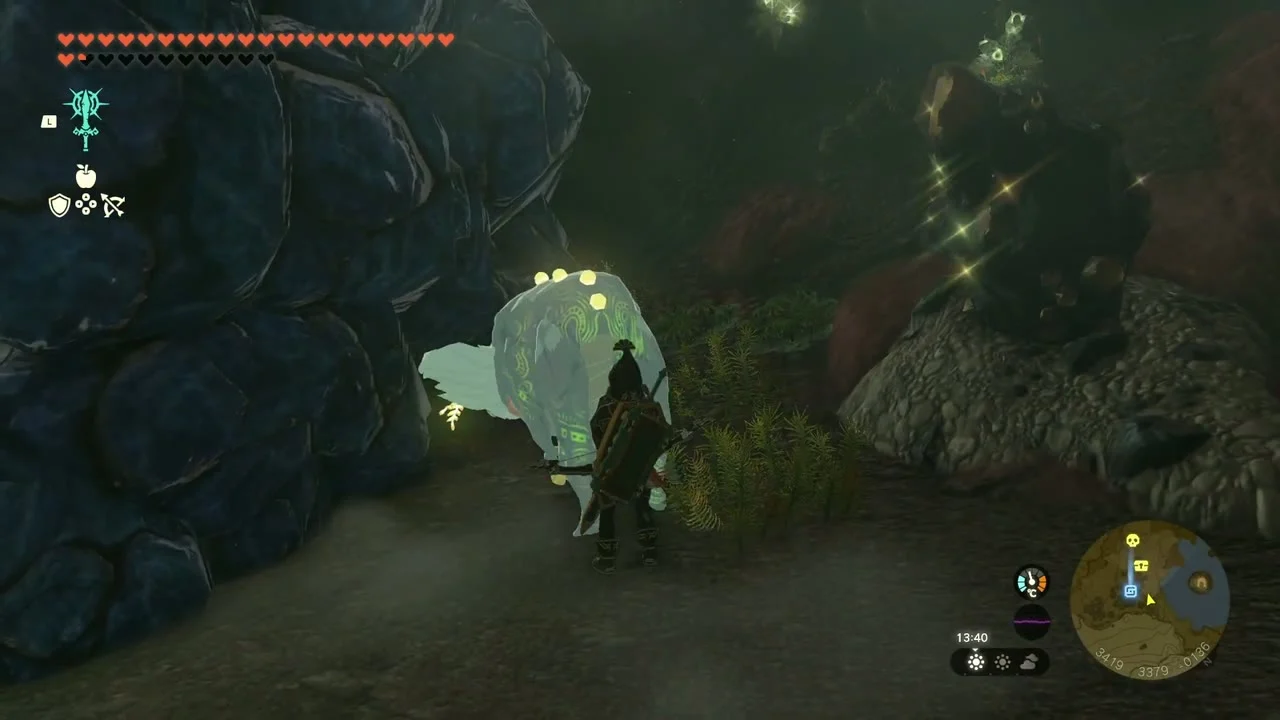
Open the Fierce Deity Mask chest
Climb the platform at the middle of the chamber and open the chest for the Fierce Deity Mask, the first armor piece of the set.
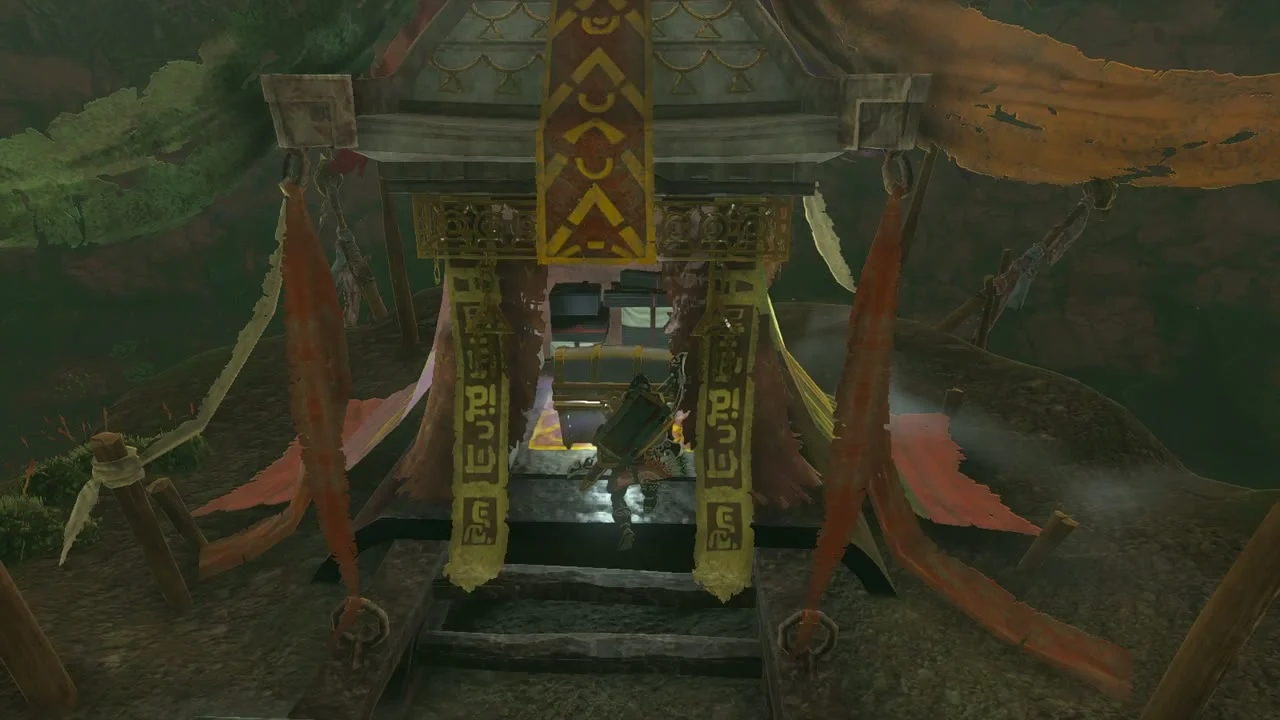

Kamatukis Shrine
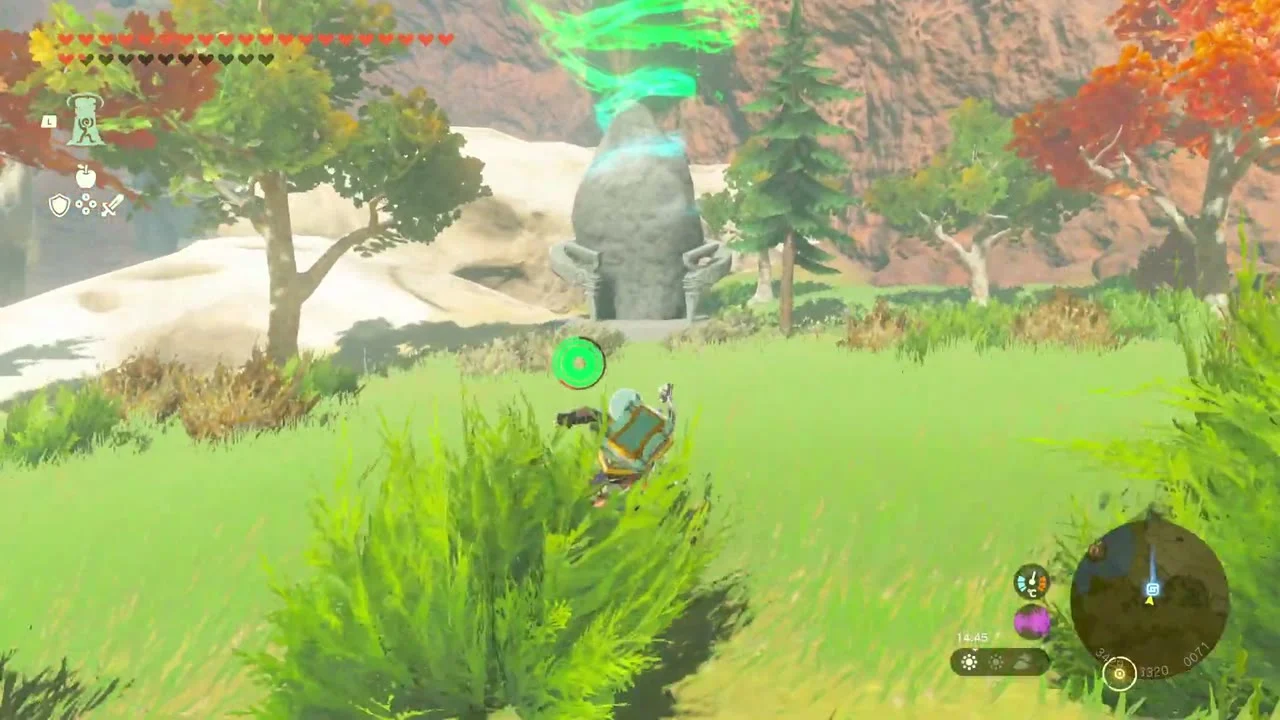
Kamatukis Shrine: A Precise Strike (Puzzle)
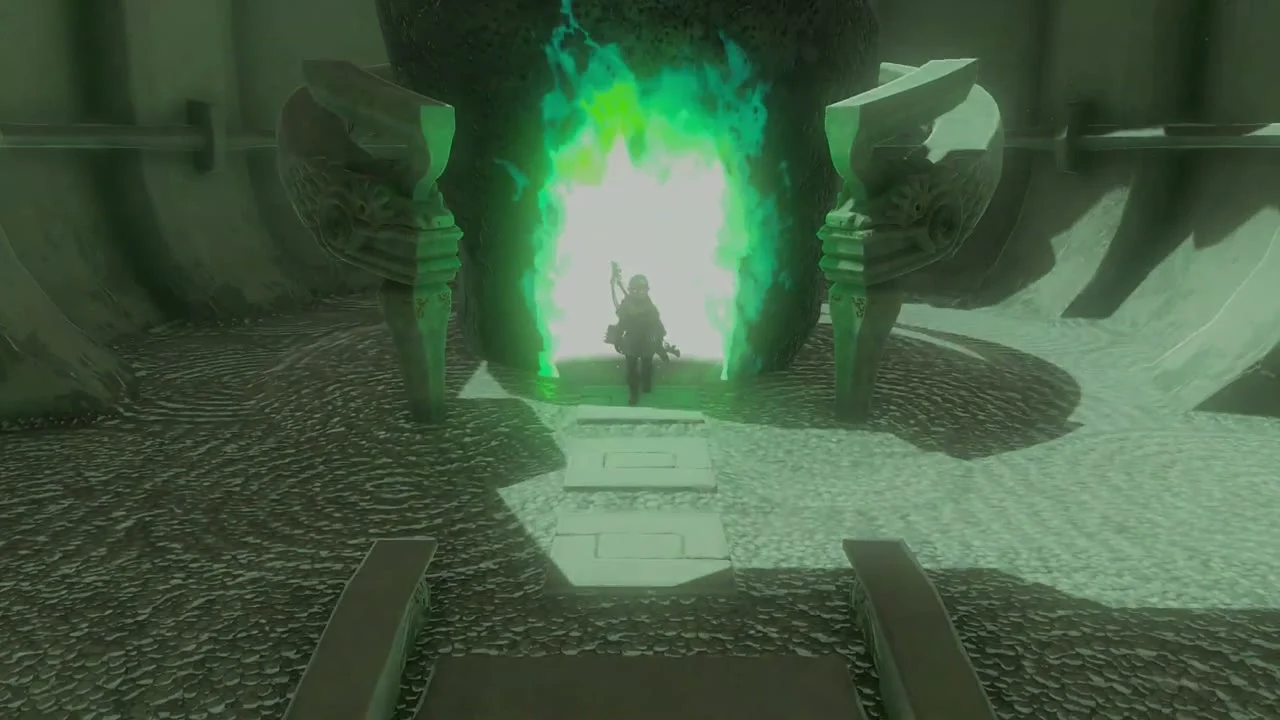
Kamatukis Shrine at (3431, 3356, 84), on the lake’s southeast shore in Deep Akkala. Trial A Precise Strike, type Puzzle; the Sikutamak Lightroot is below at (3431, 3357, -541). The shrine is a pendulum-and-ball puzzle where you must swing a hammer into a ball and sink it in a hole.
Swing the pendulum into the ball
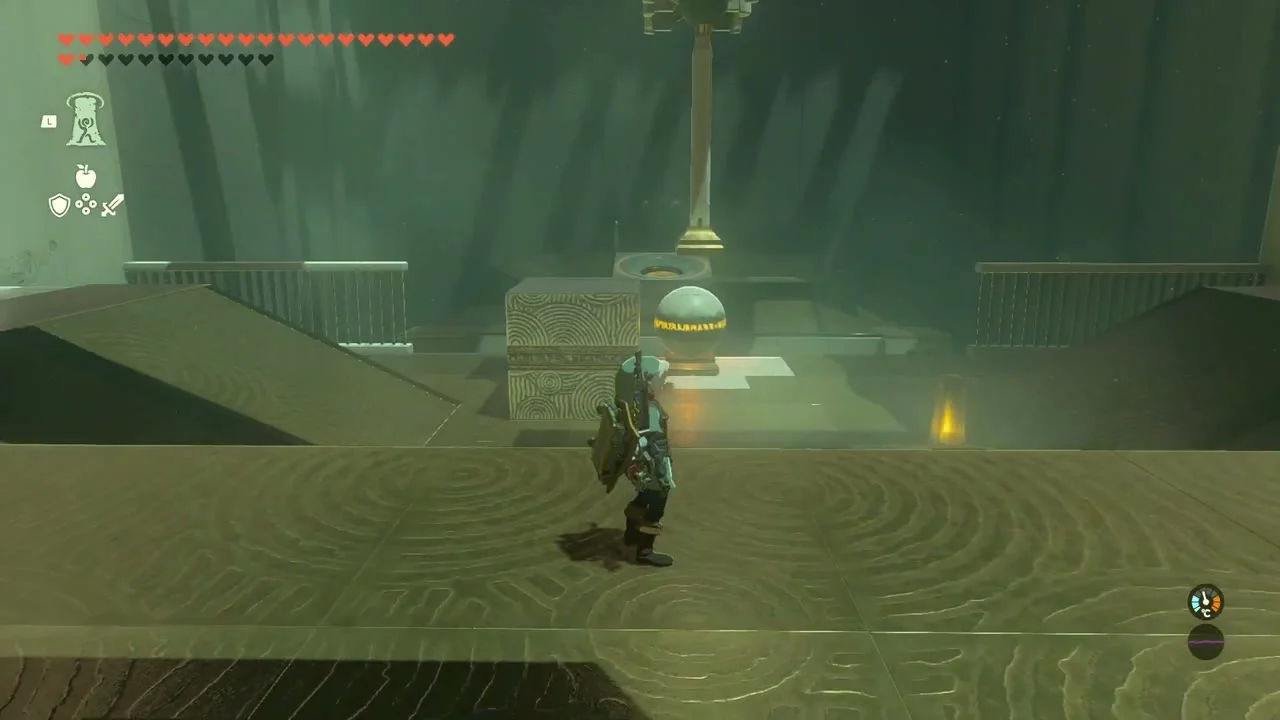
Attach a block to the arm of the swinging pendulum with Ultrahand, pull it back and release so the arm strikes the ball. Aim the ball at the moving hole; if it falls off, strike the obelisk to bring a new ball. A higher block gives more force.

Open the Mighty Zonaite Longsword chest
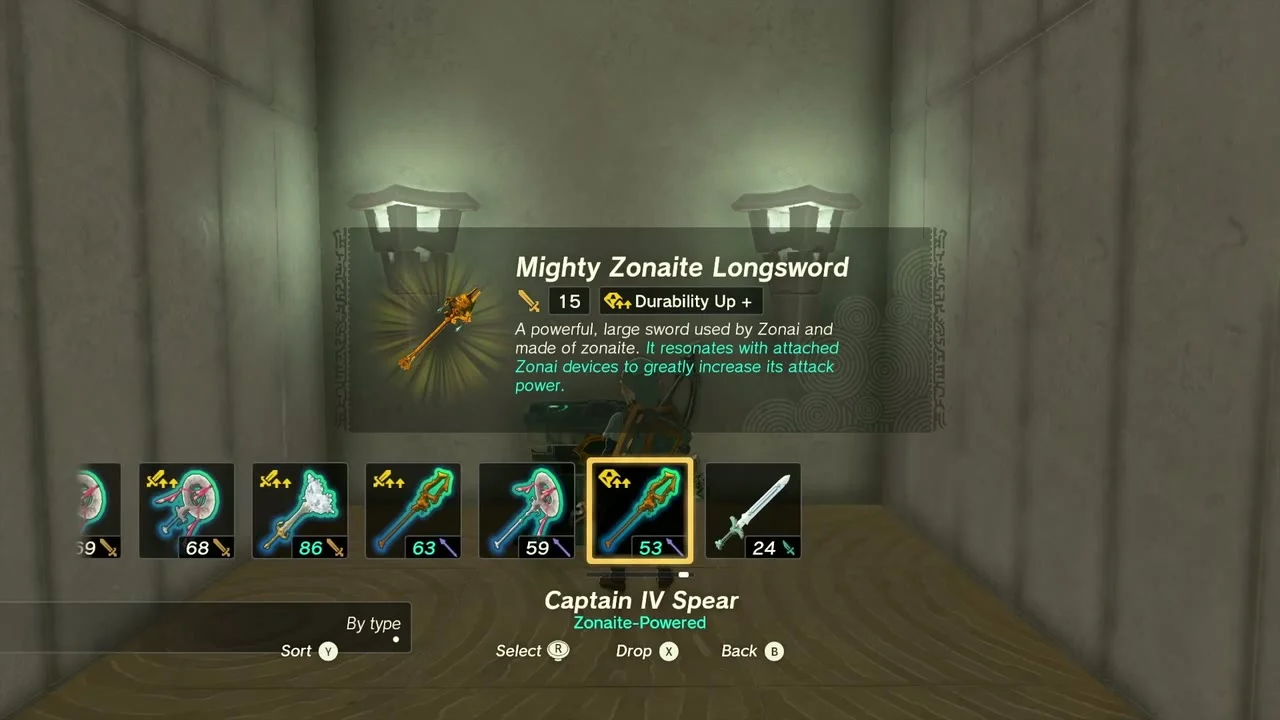
The side room’s hole opens a chest that holds a Mighty Zonaite Longsword (Strong or Mighty, depending on your progress). Then solve the main room, step through the door and take the Light of Blessing at the altar.
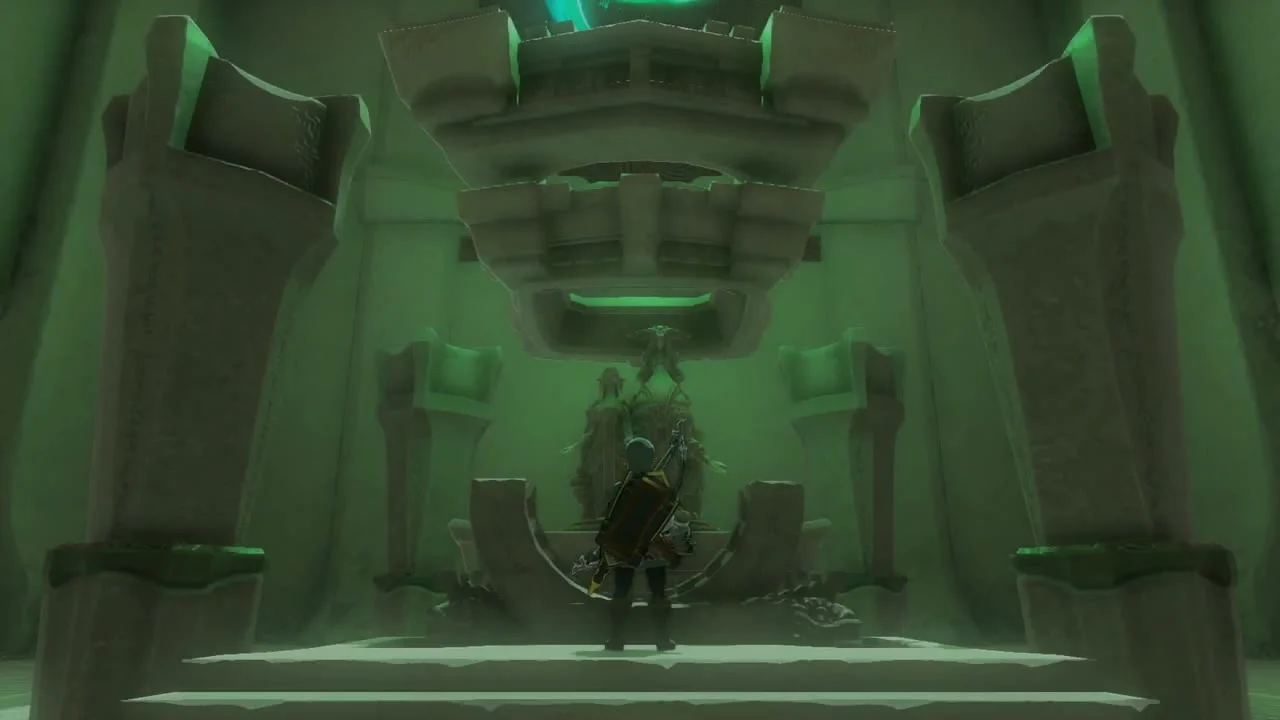
Misko’s Treasure: The Fierce Deity
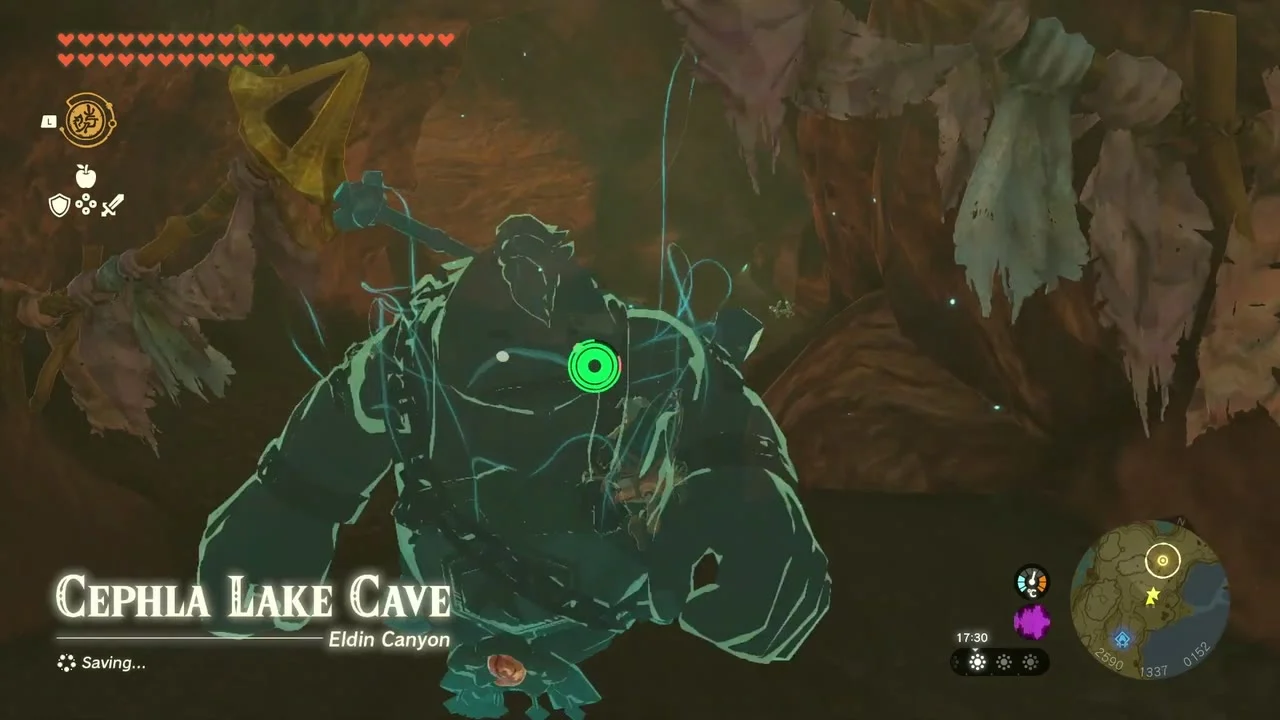
Read the bottled letter in Cephla Lake Cave
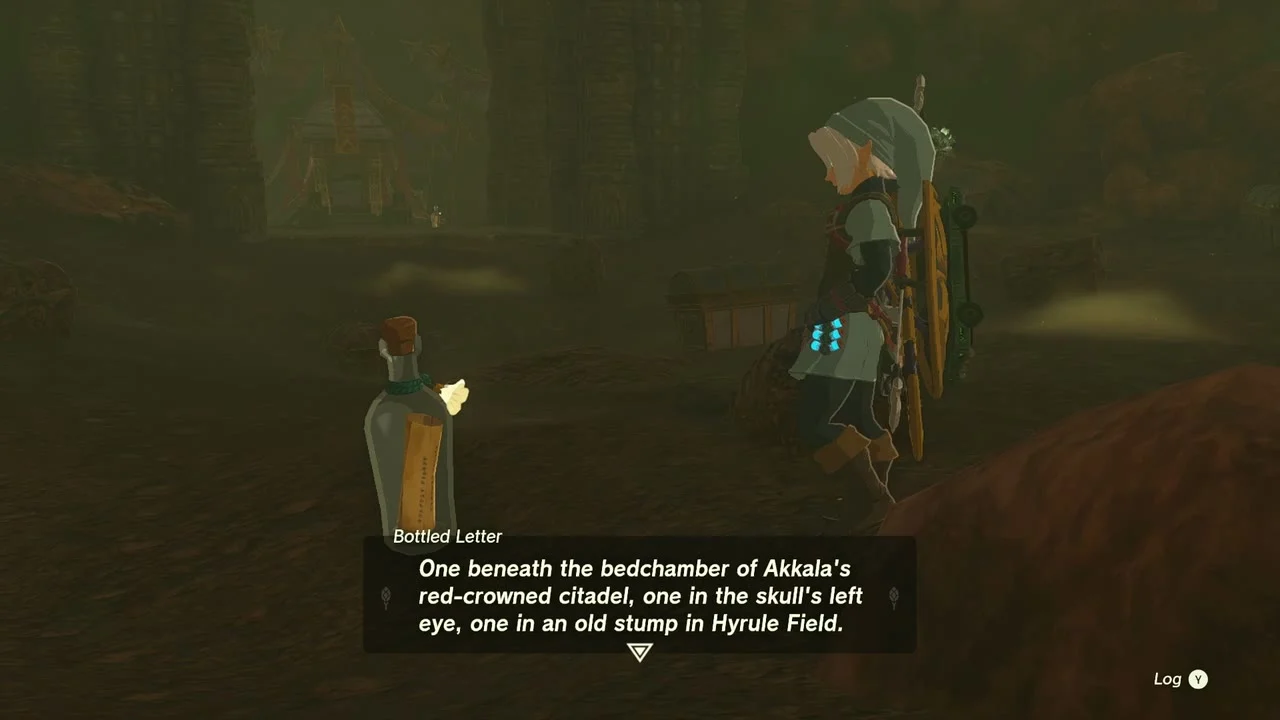
Cephla Lake Cave at (2593, 1330) in Eldin Canyon, a lake cave west of Akkala, holds the bottled letter that starts Misko’s Treasure: The Fierce Deity. It names the three places that hold the armor.
Wear the full Fierce Deity set at the cave
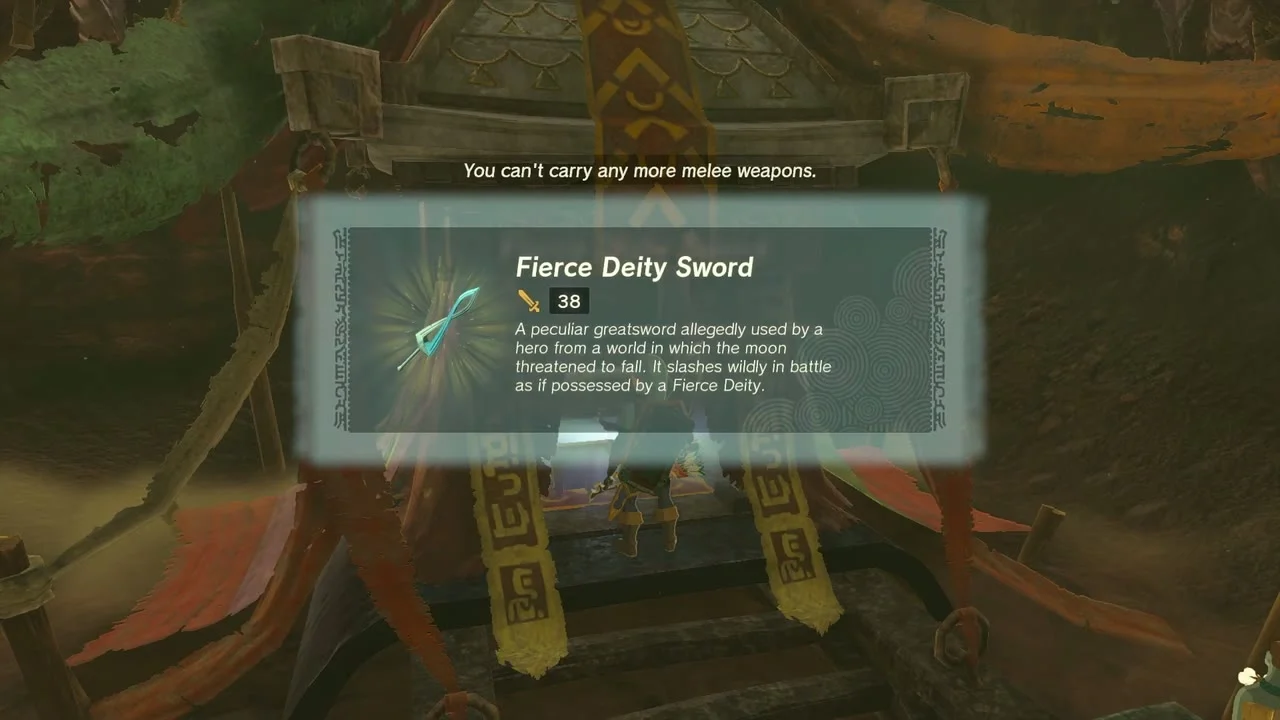
With the Mask from Skull Lake Cave, the armor from the summit cave of the Akkala Citadel Ruins, and the boots from the Ancient Tree Stump Cave in Hyrule Field (north of Mount Daphnes; cut the vines in the north wall tunnel to reach the chest), put on all three pieces and return to the spot in Cephla Lake Cave where you found the bottle. A wall slides open on a chest holding the Fierce Deity Sword.

Hateno errands
Trade Lights of Blessing for a Heart Container
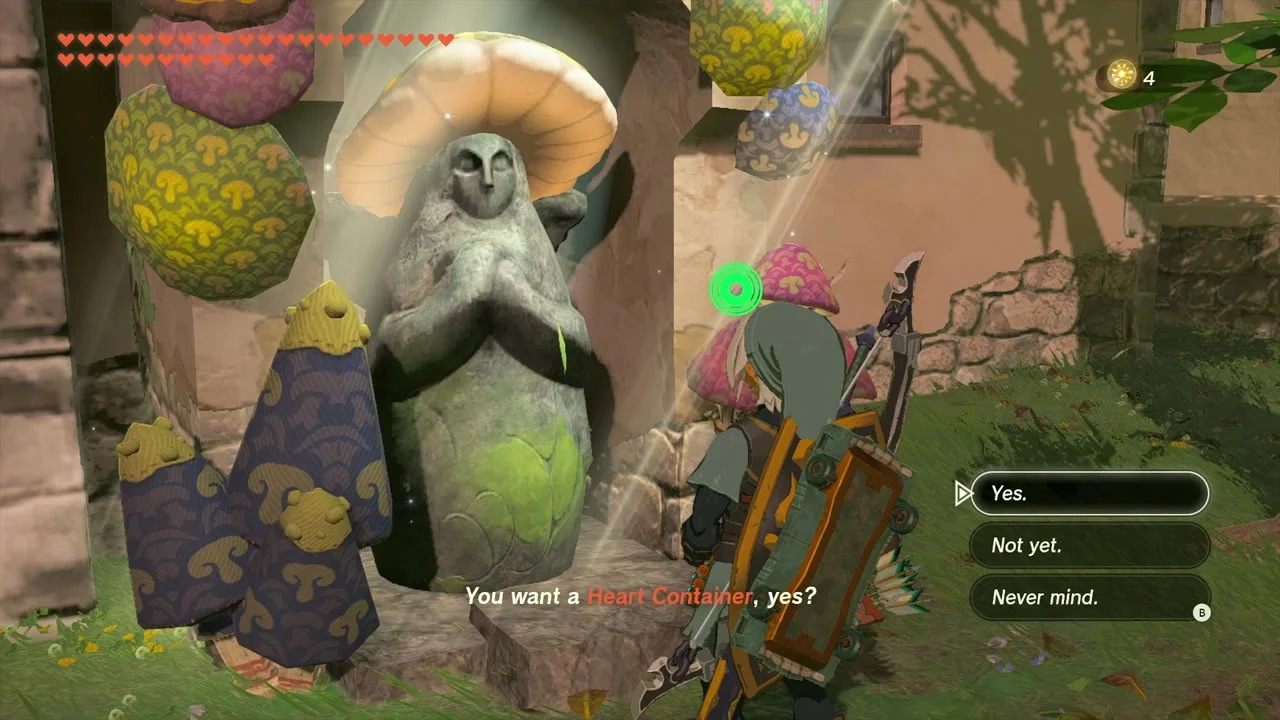
The Goddess Statue in Hateno Village trades four Lights of Blessing for a Heart Container. Bring four Lights of Blessing from the shrines you have cleared and pray to receive one.
Dye your Gerudo armor
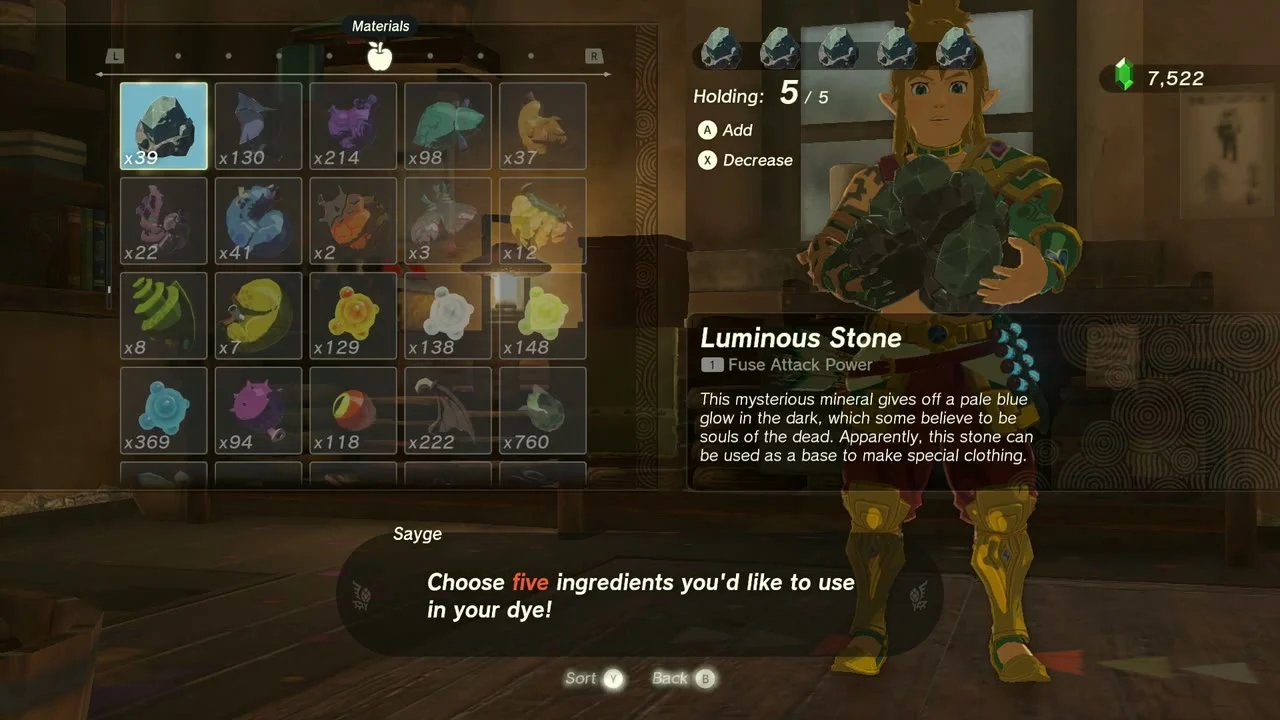
The Hateno Dye Shop lets you dye armor with five materials of your choice. Bring a mix such as Obsidian Frox Fang, Luminous Stone and other dye materials, pick a color and save the set.

Korok seeds around Skull Lake
Collect the Koroks in the north
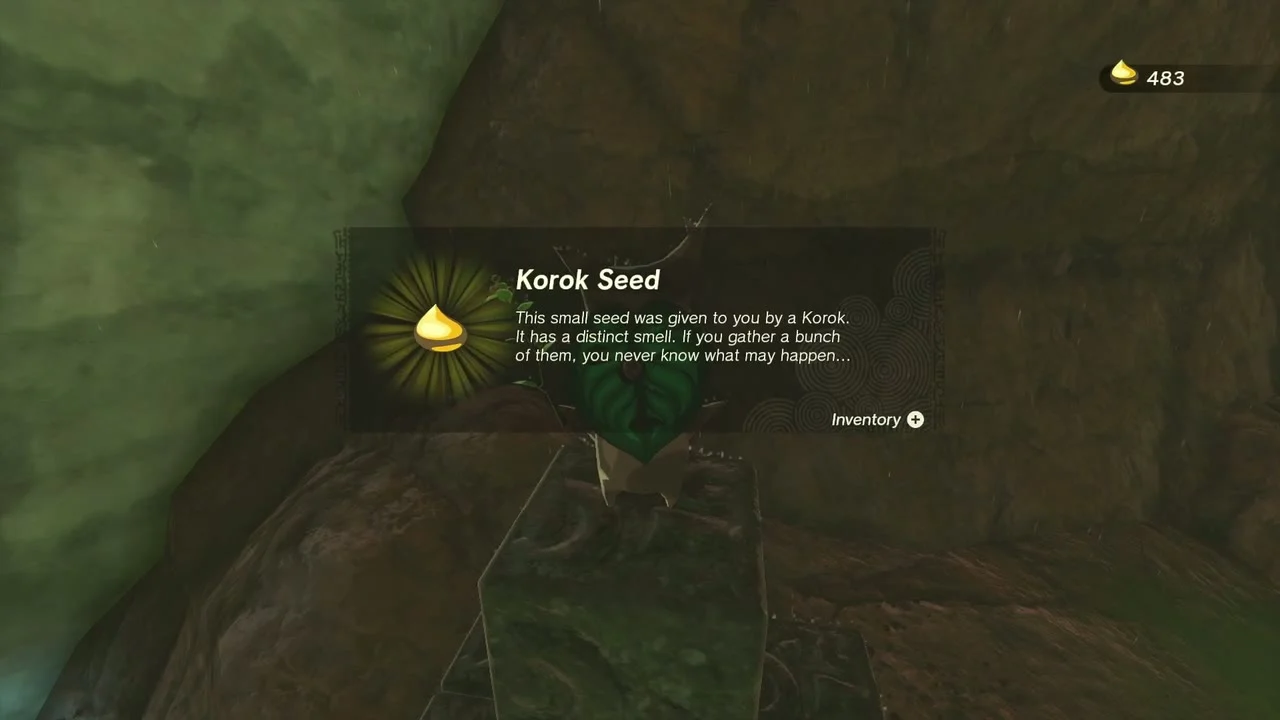
Seven seeds surround Skull Lake and the Spring of Power. Boulders, cube puzzles and glider rings around the lake and the sky pillars each hide a Korok; the data lists, among others, a paraglider goal near (3186, 3458), a lift-the-rock Korok at (3267, 3396) and boulder-and-stand and balloon Koroks in the pillars north of the lake.


East Akkala Stable
Open the Ruby chest and help the exhausted Koroks
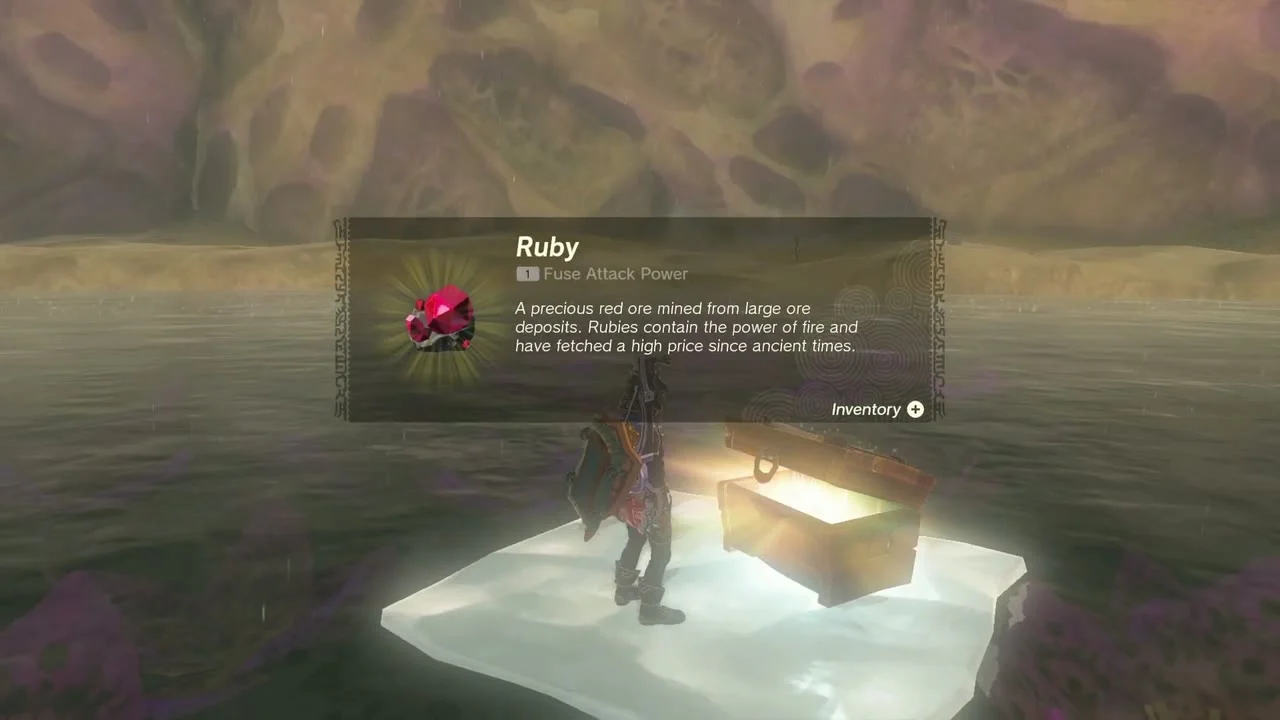
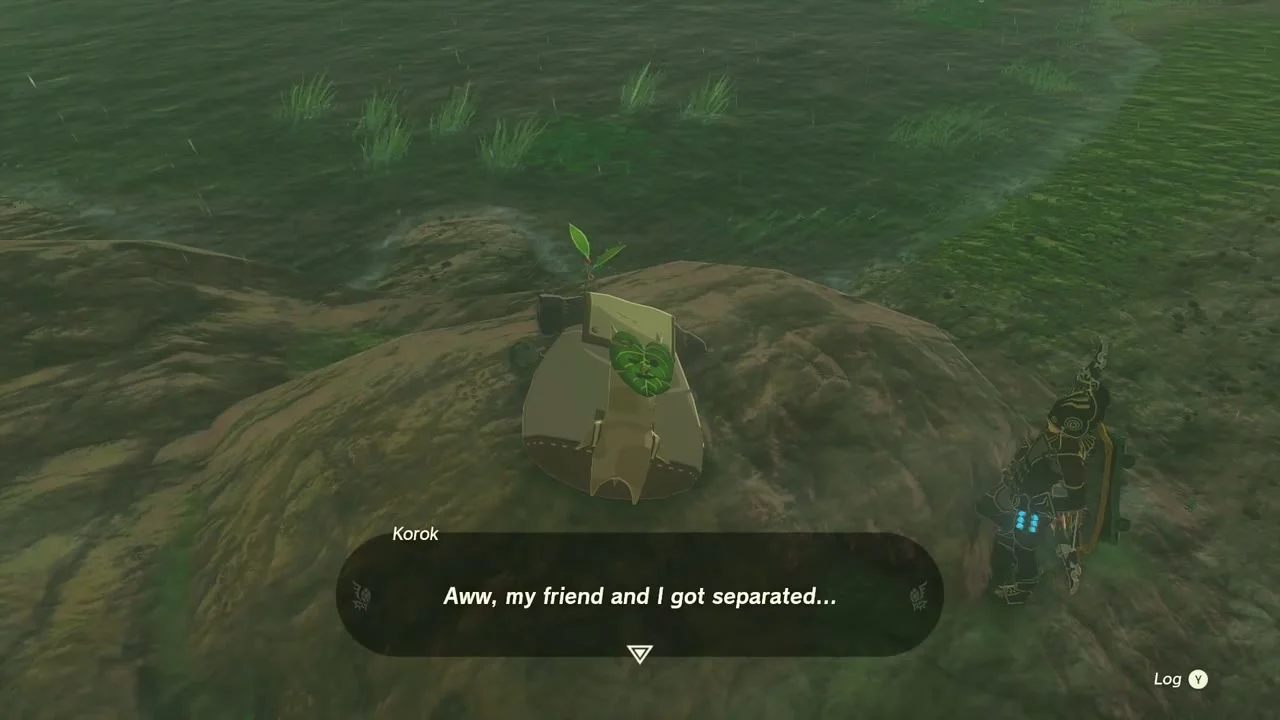
A chest on a pale slab beside the water holds a Ruby. Elsewhere in the area, pick up the exhausted Korok and carry it to its friend in the nearby camp: the pair pay Korok Seed x2.
Catch the Royal White Steed
The Royal White Stallion roams the plains below East Akkala Stable. Sneak up from behind, mount it by holding the stick down and calm it with Soothe until it settles; it has high stats and can be registered at the stable.


Register your horse at East Akkala Stable
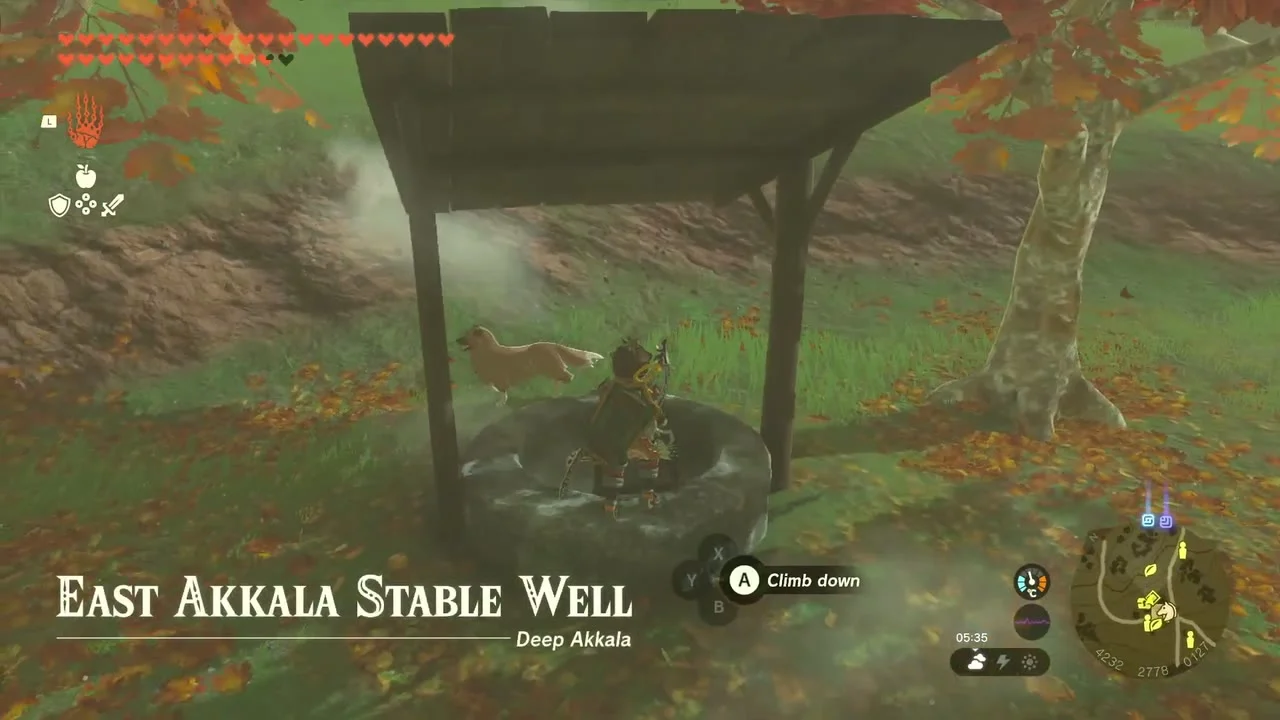
East Akkala Stable at (4230, 2746). Rudi registers your horse and lets you choose a saddle and name. The nearby East Akkala Stable Well at (4233, 2780) leads to a goddess statue that rewards Lights of Blessing.


Defeat the Boss Bokoblin
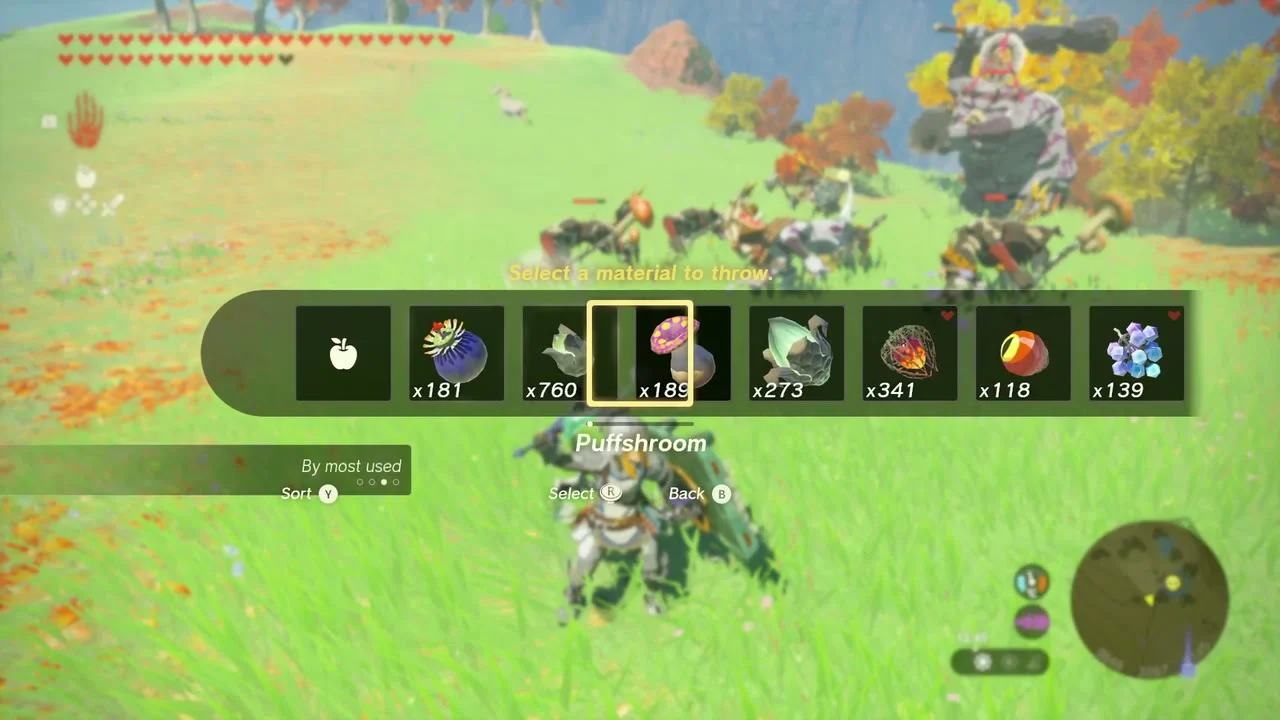
Miniboss: Boss Bokoblin in an autumn clearing of the plains. Shoot it from range, dodge its swings and use Chuchu Jelly as bait. It drops Boss Bokoblin Horn and a weapon.
Stone Talus and Gralens’ monster reports
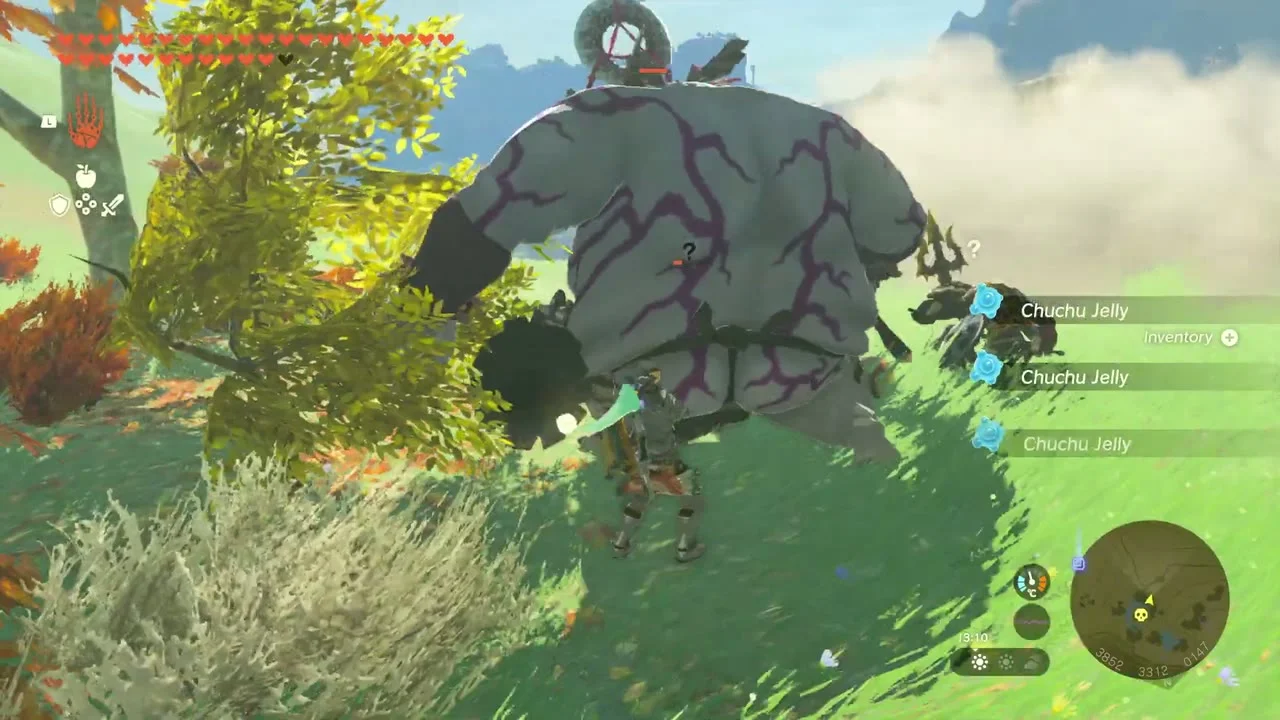
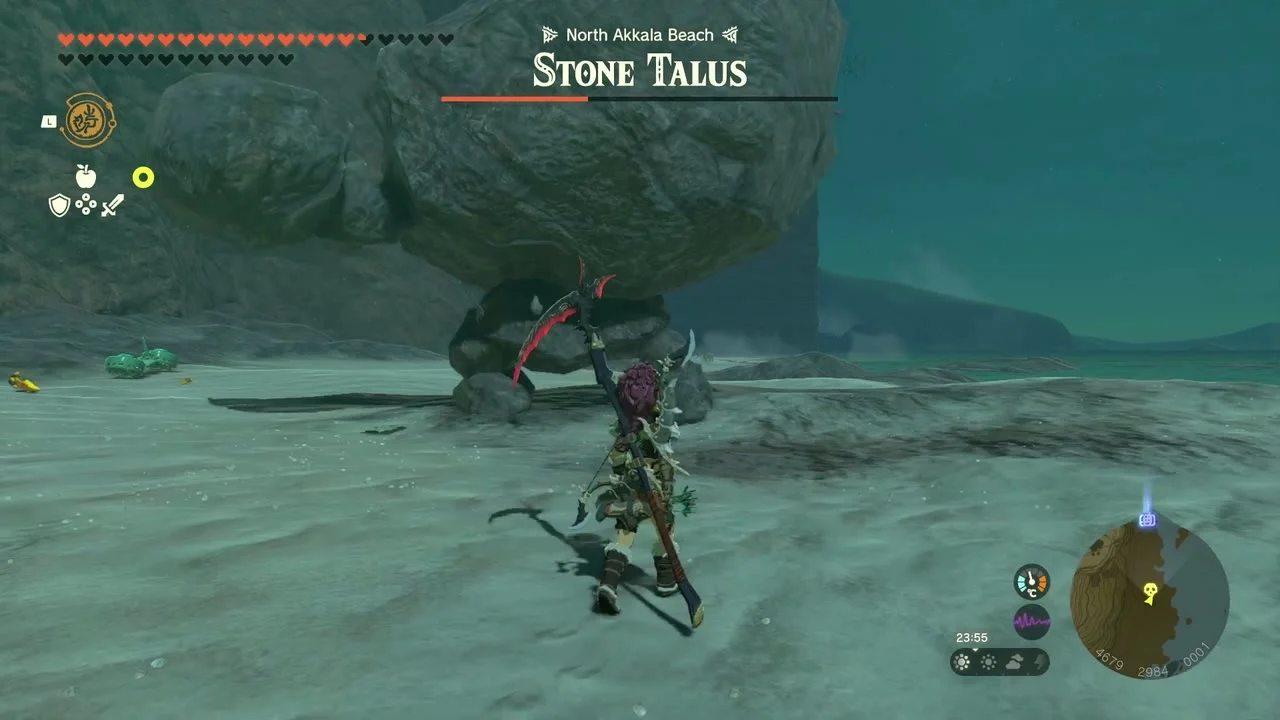
Kill the Stone Talus at North Akkala Foothill (4177, 2915) with a hammer on its ore, then report all four monster-control tasks at Lookout Landing to Gralens: WANTED: Stone Talus, Unknown Sky Giant, Unknown Three-Headed Monster and Unknown Huge Silhouette. Each pays rupees.


Show Chabi a weapon fused with a Lynel horn
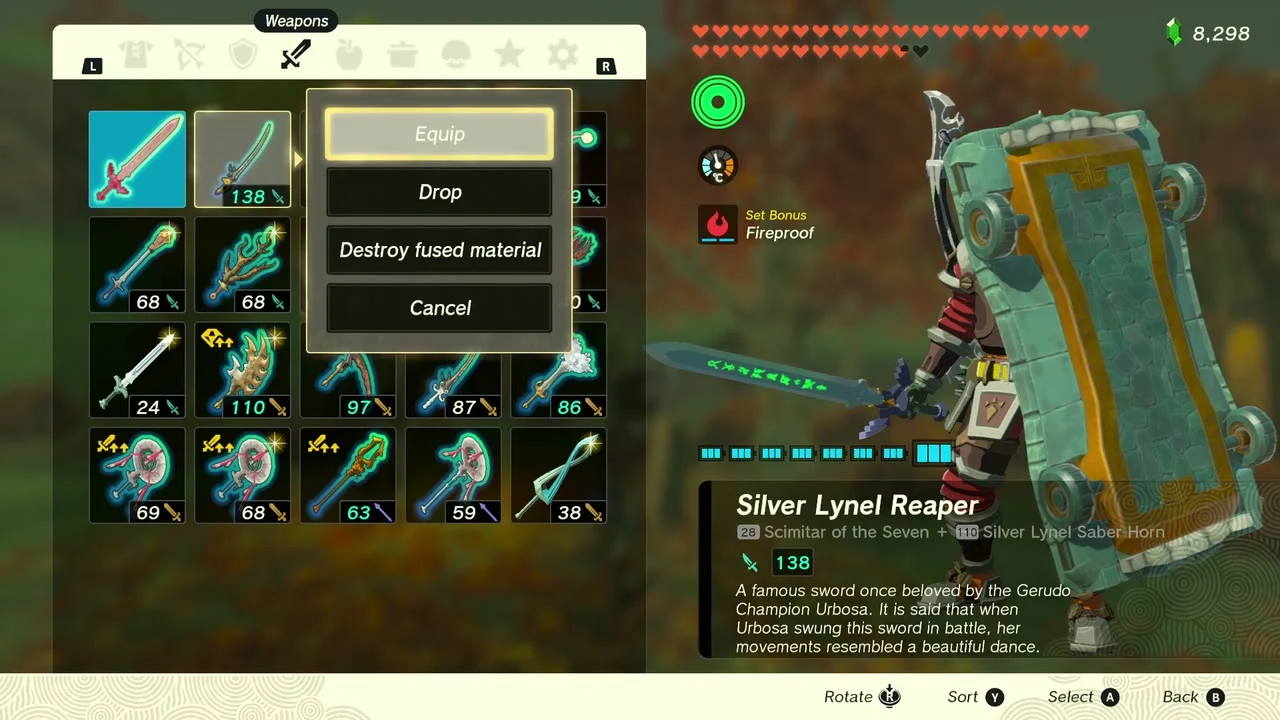
Chabi at East Akkala Stable wants the strongest weapon in the world. Fuse a Lynel horn, such as the Silver Lynel Saber Horn from the Red-Maned Lynel, to a weapon and show it to her. She rewards you with a Gold Rupee.


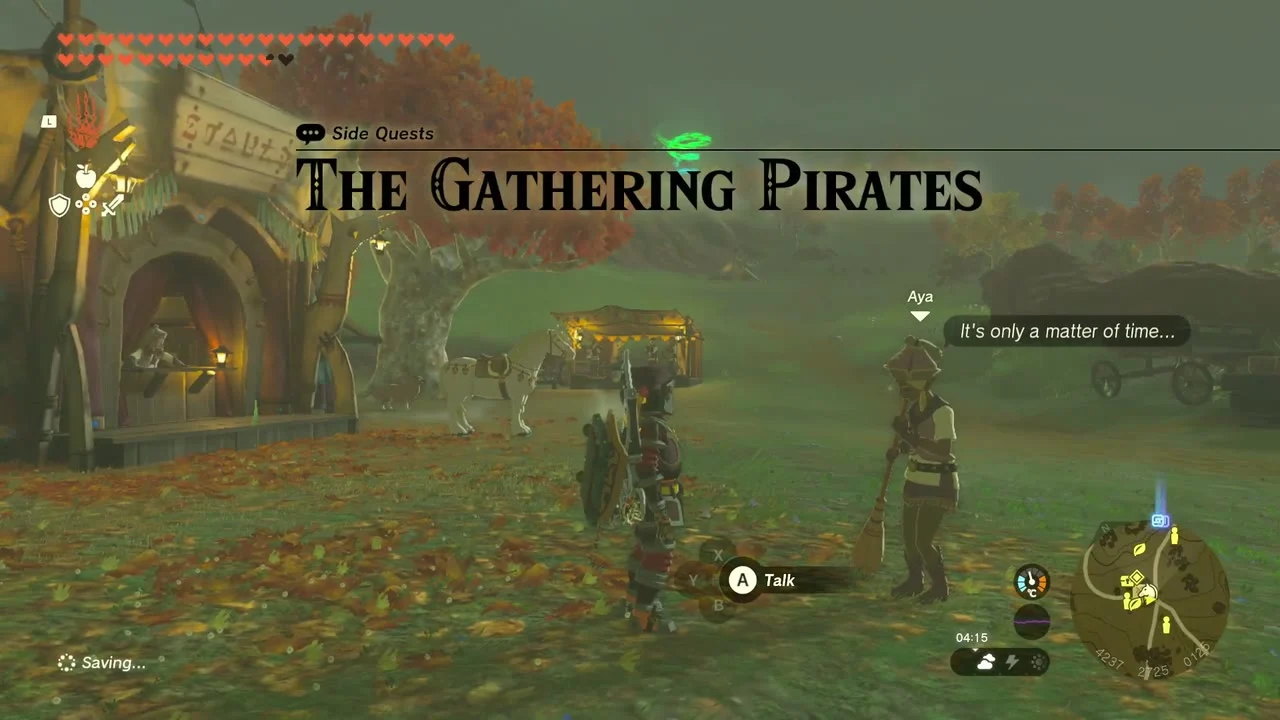
Start The Gathering Pirates
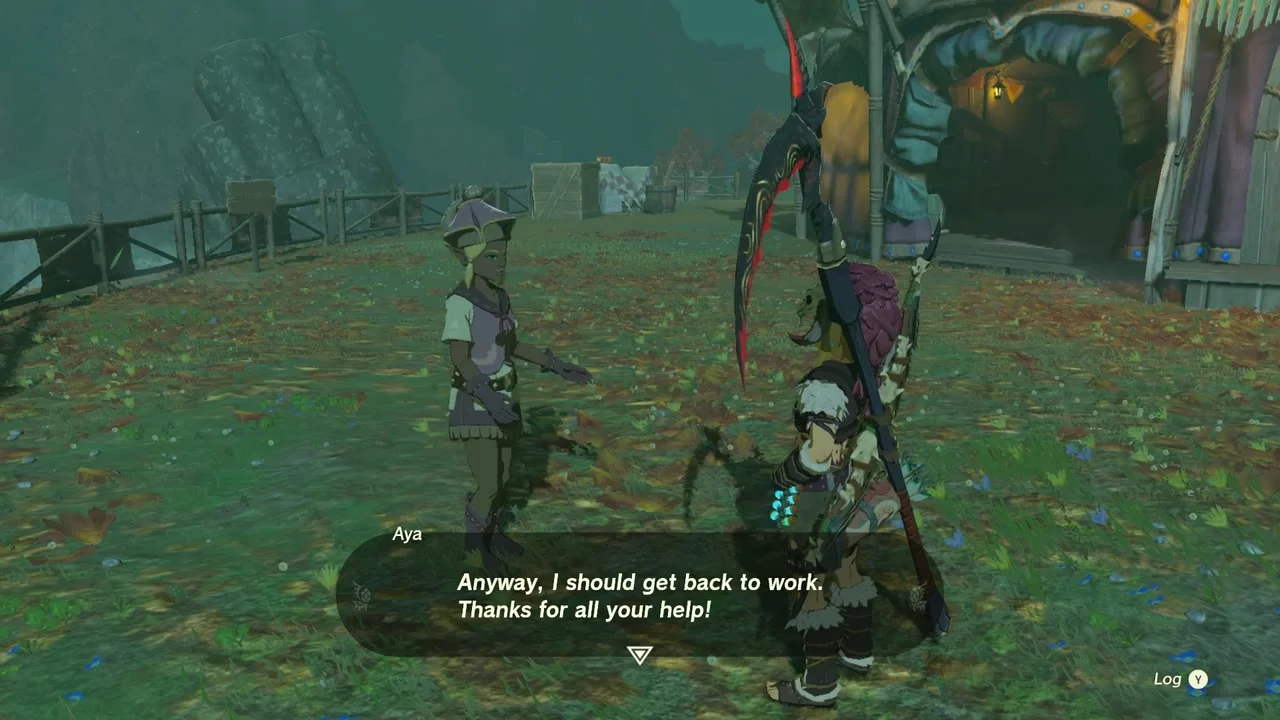
Aya at the stable is worried that monsters at North Akkala Beach will come to the stable. Accept her request, then defeat the monsters on the pirate ships at the beach and report back to her.

Photograph Octorok Lake for Rudi
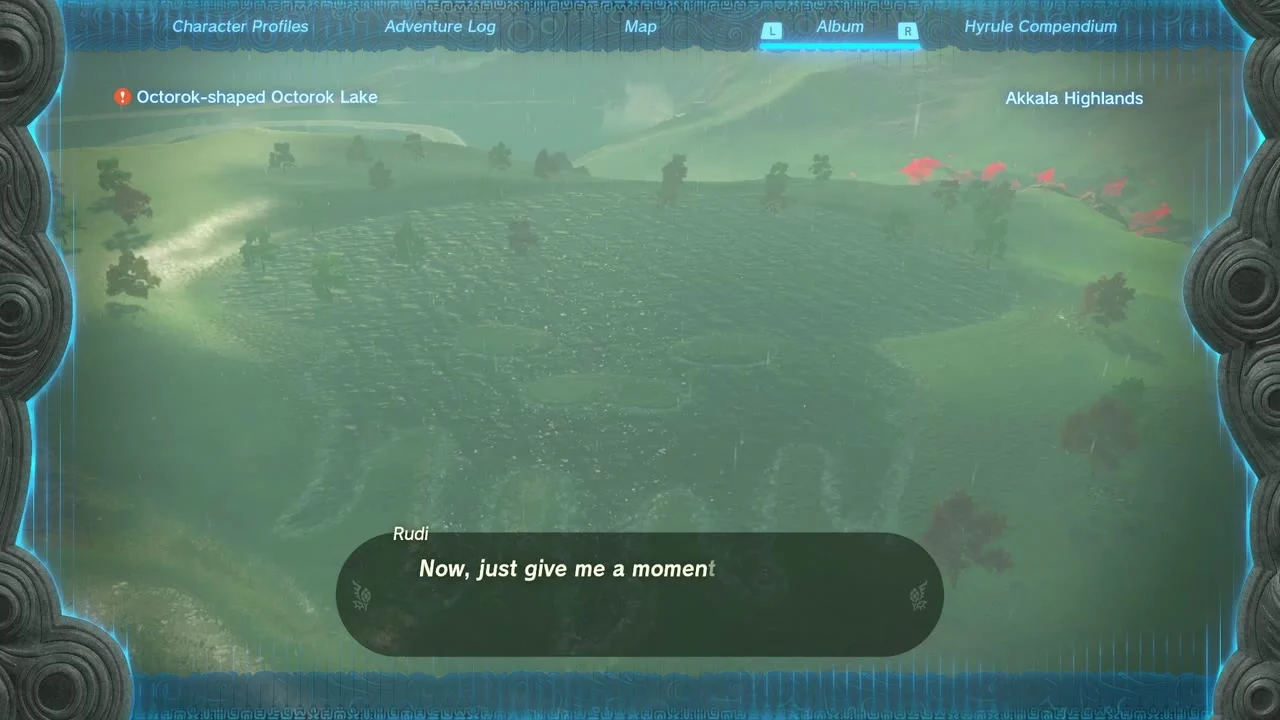
Rudi wants a picture of Octorok Lake at (4069, 2460) when the water rises in the shape of an Octorok. Glide above the lake with the Camera, frame the whole lake and register the picture in the Hyrule Compendium; the reward is a Pony Point.


Jochi-iu Shrine and the colossal fossils
Jochi-iu Shrine: Courage to Pluck (Puzzle)
Jochi-iu Shrine at (4346, 2876, 178), between East Akkala Stable and the Akkala Ancient Tech Lab. Trial Courage to Pluck, type Puzzle; the Ui-ihcoj Lightroot is below at (4346, 2877, -629). The two chests hold a Zonaite Bow and a Large Zonaite; guides disagree on which room the bow is in.

Pluck blocks from the tower
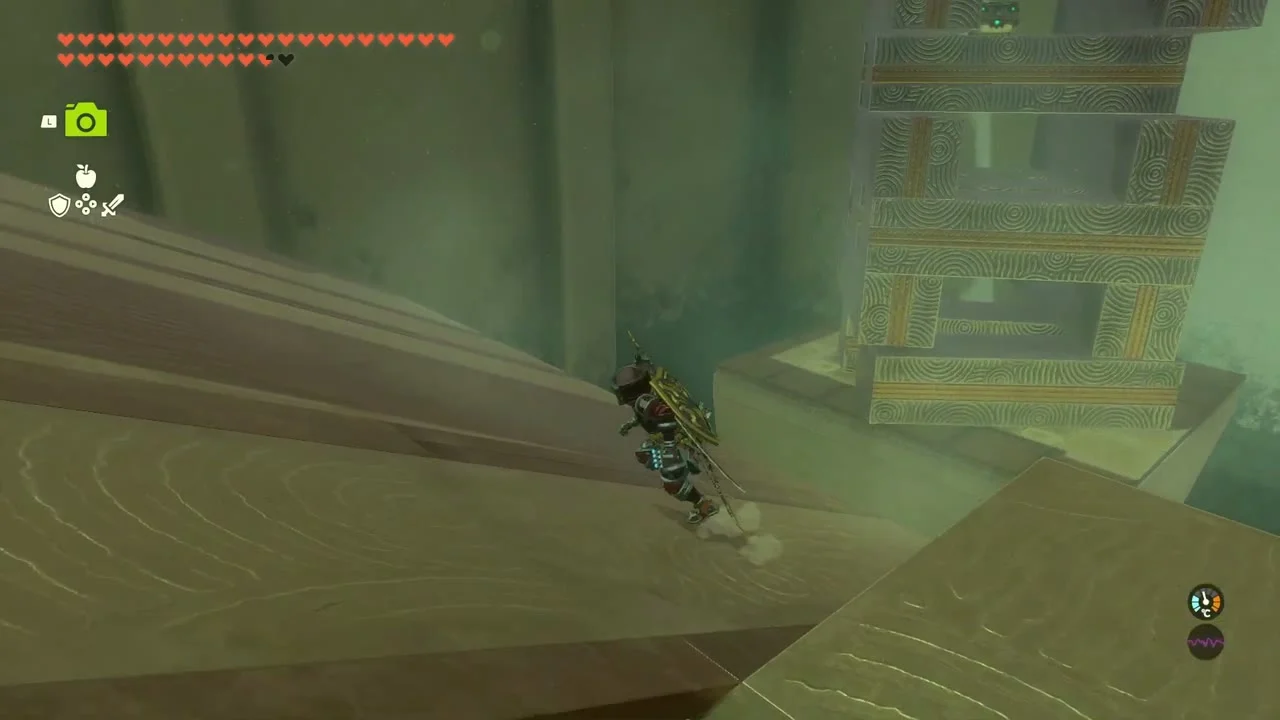
Use Ultrahand to pull blocks from the stone tower without toppling it. Take a bottom edge block up the ramp to reach the chest with the bow, set a center block into the wiring to power the door and tip the horizontal block that holds the top platform so the ball rolls free.
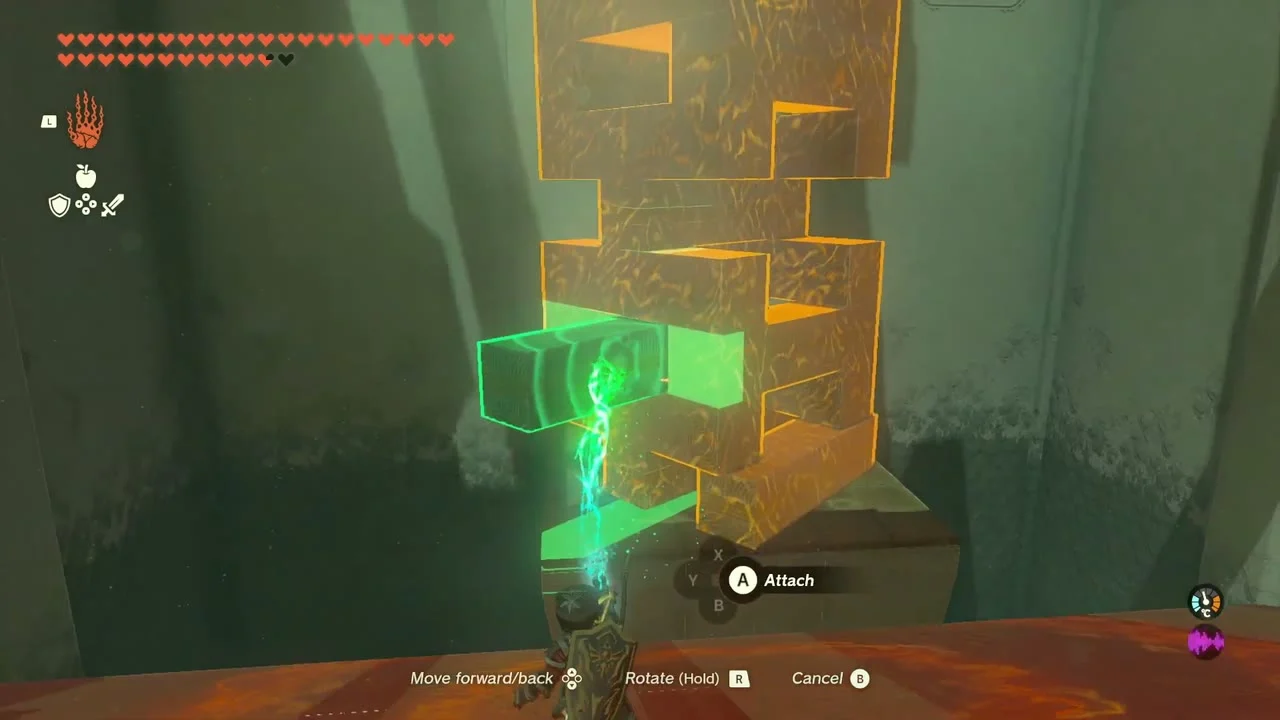

Reach the exit and claim the Light of Blessing
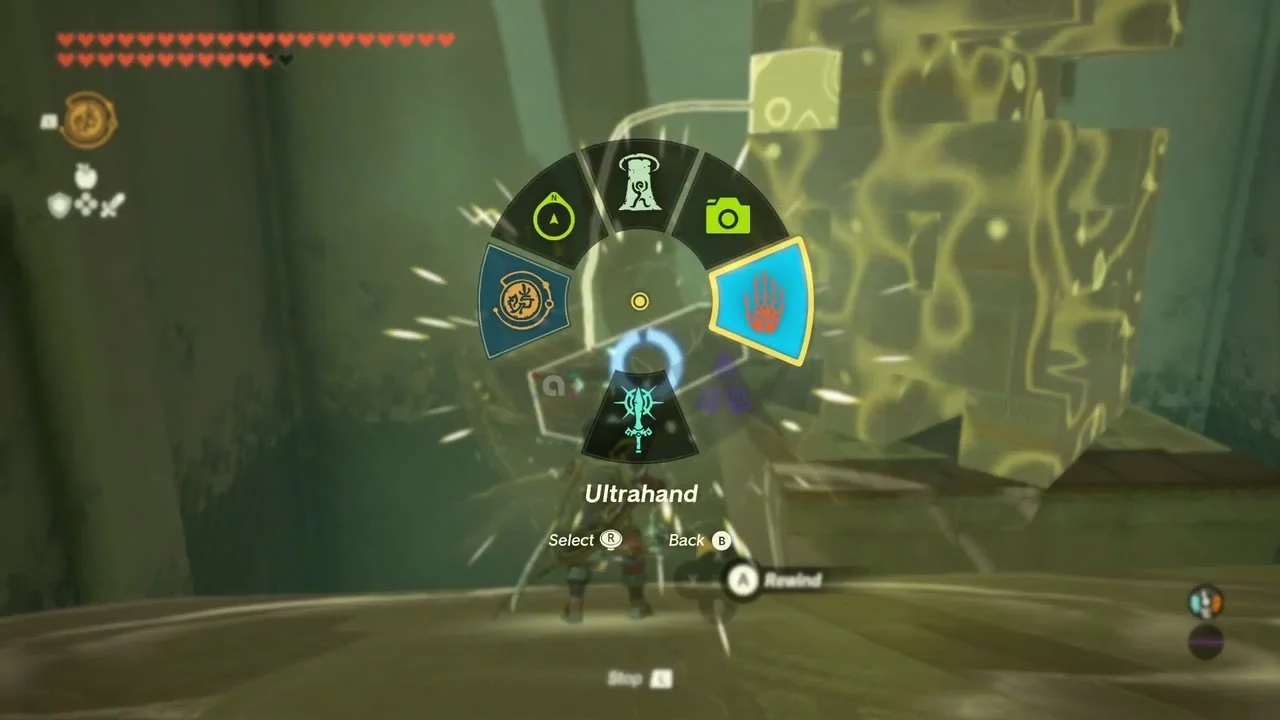
Drop the ball into the floor hole, move another block against the platform and ascend onto it, then open the final door to the altar.
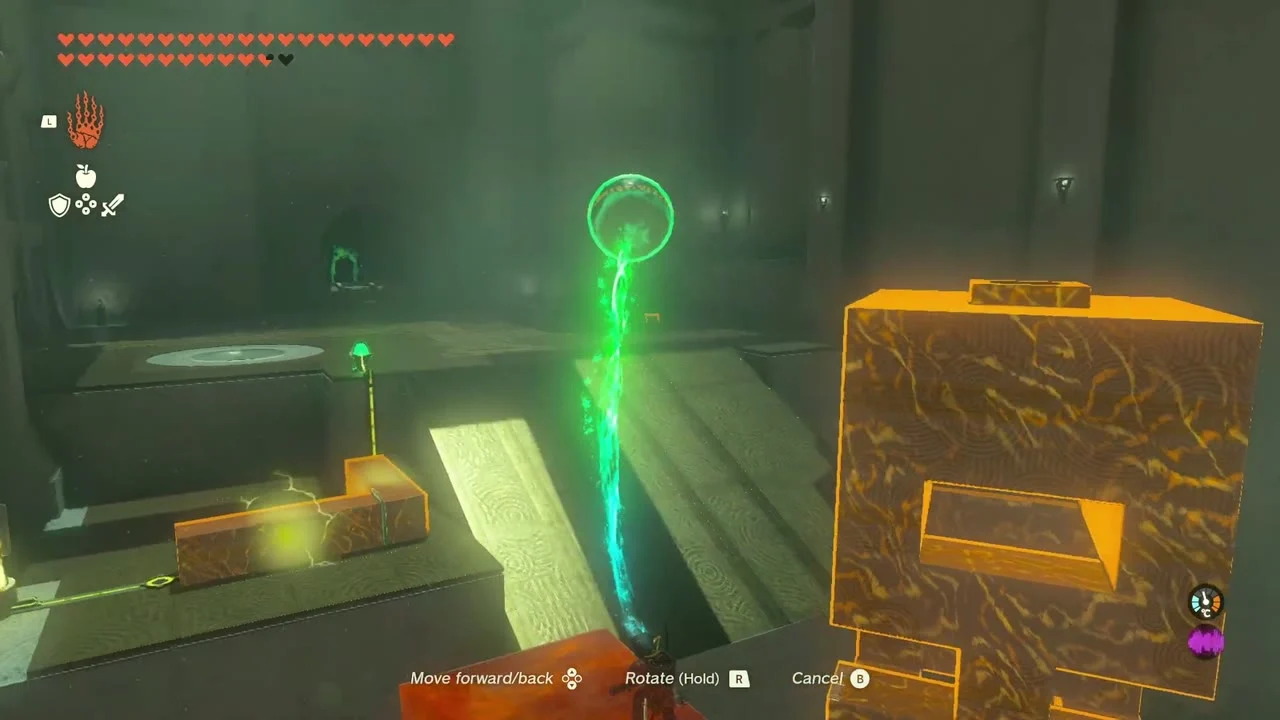
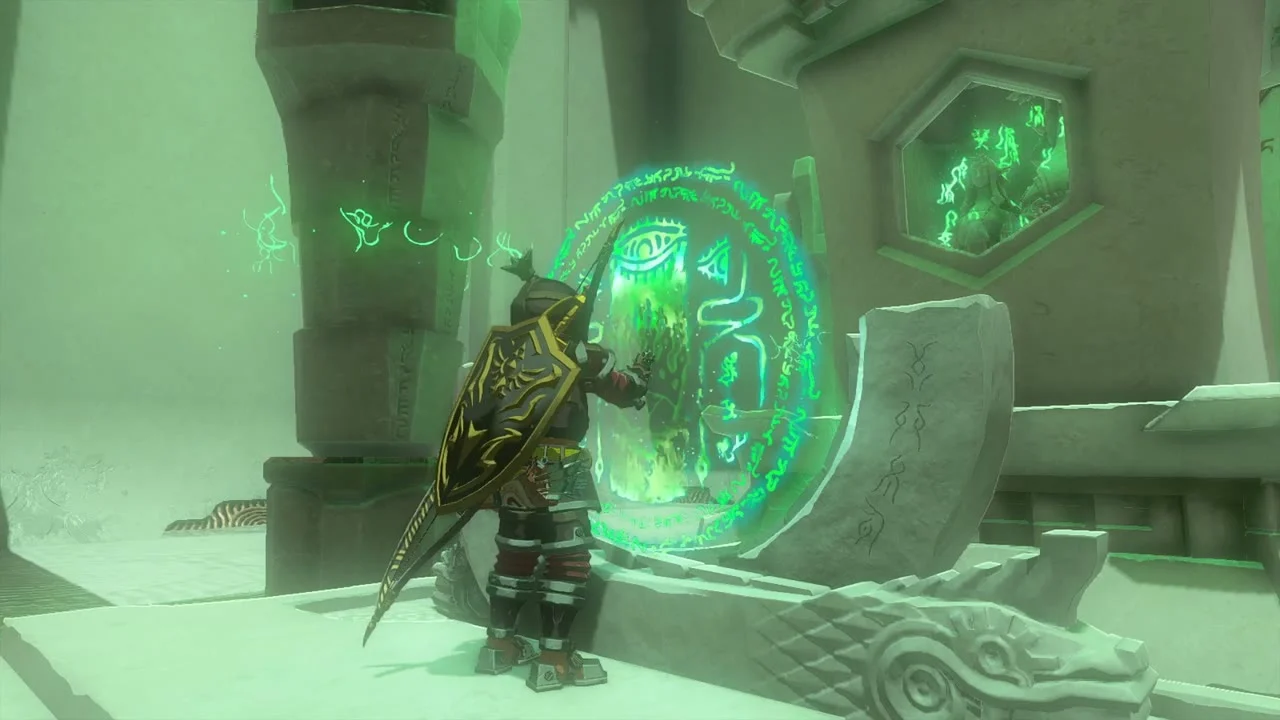
Help Loone restore the leviathan fossils
Loone, who camps near East Akkala Stable, sends you around three fossils. At the Eldin Great Skeleton, free the eyeball with a bomb flower arrow and place it back in the socket. At the Hebra Great Skeleton, free the fin and spine bones with bomb flowers and fire fruit and attach them. At the Gerudo Great Skeleton, locate the baby’s tail and torso, free them and set them against the parent. Each quest pays out a Purple Rupee.

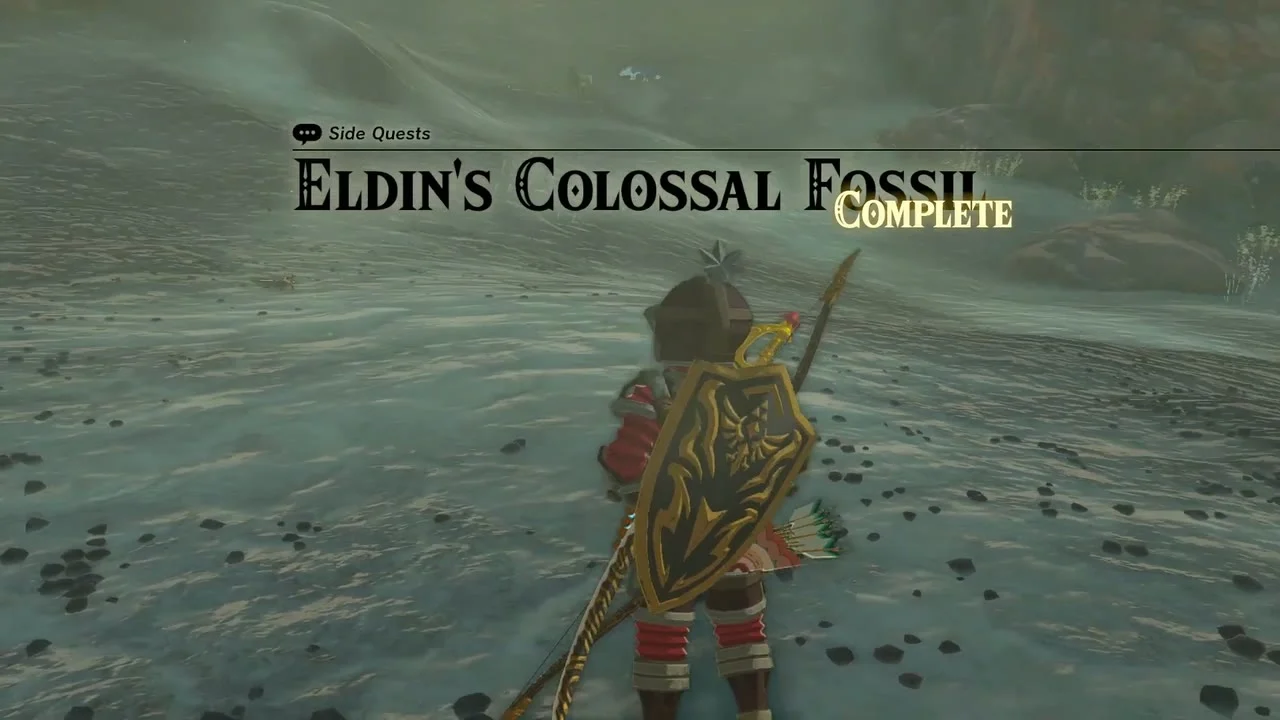

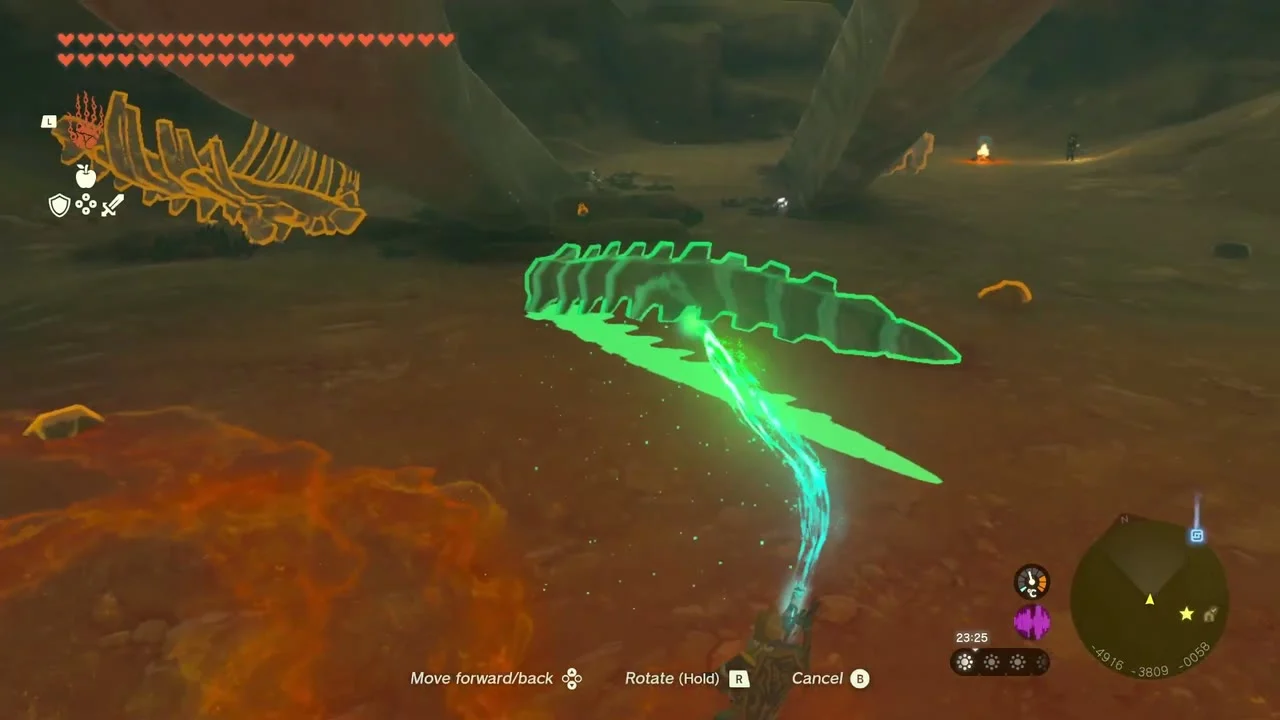
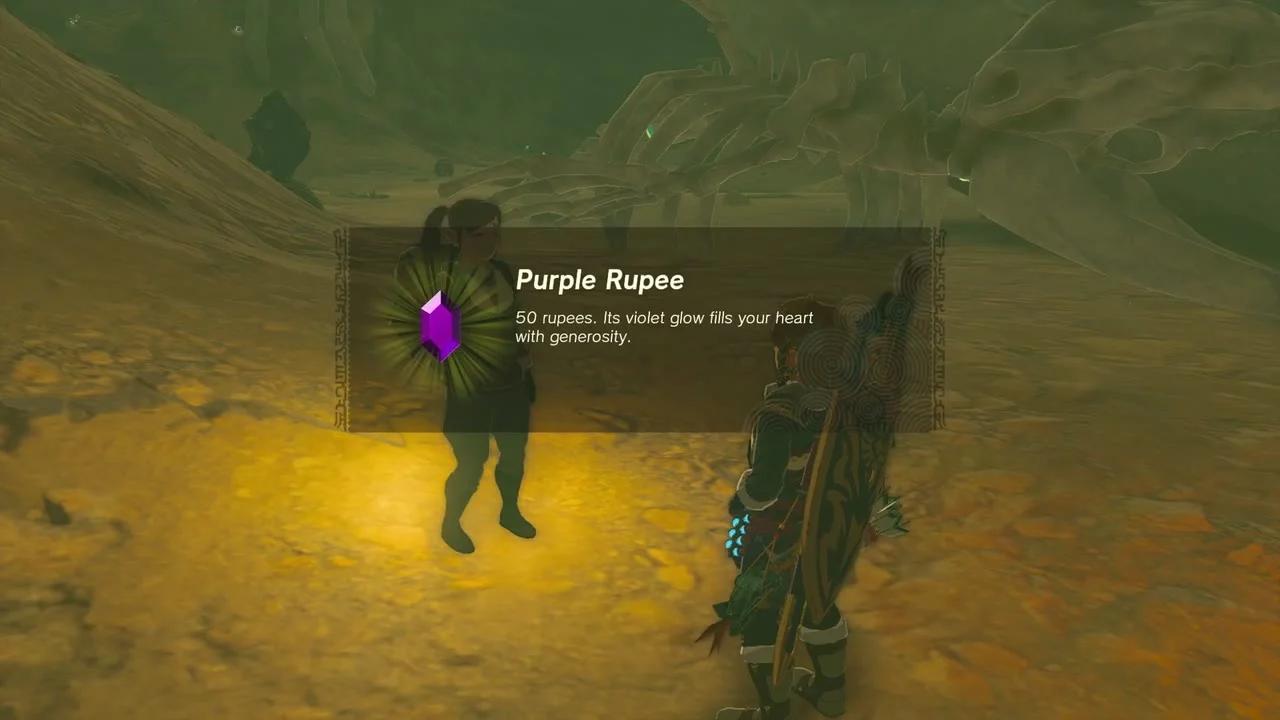
Gear, horses and the Ancient Tech Lab
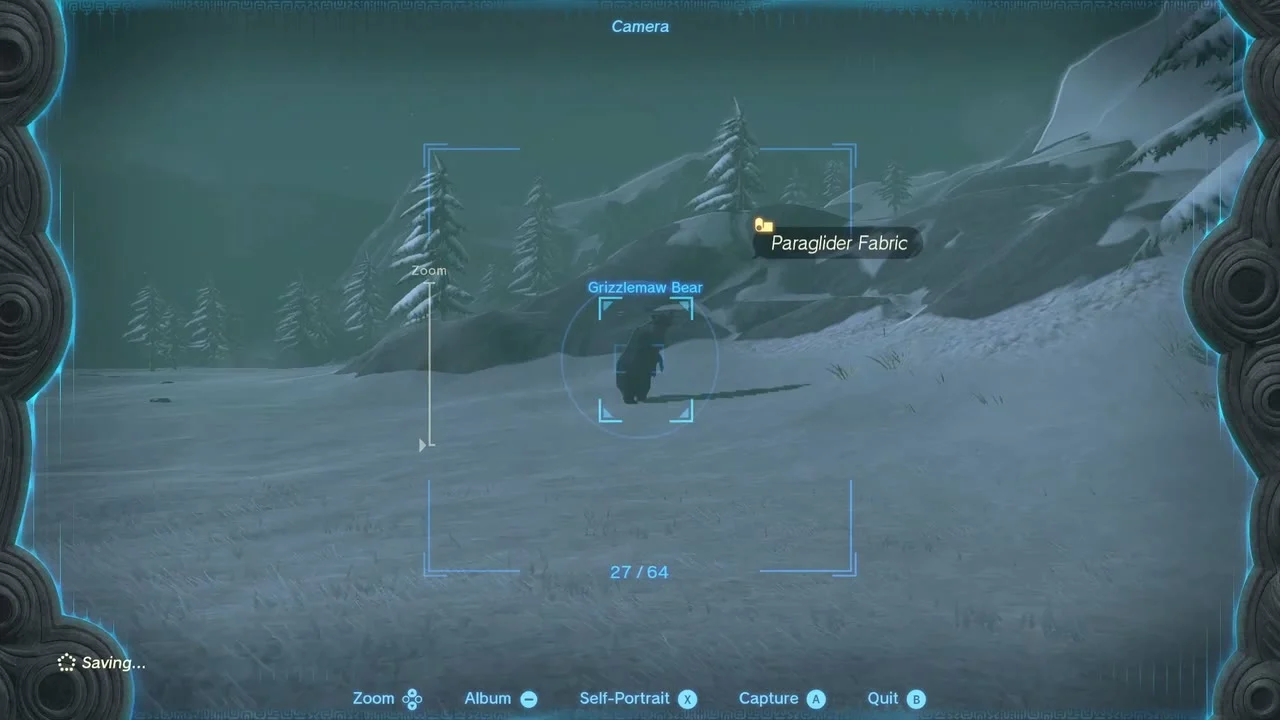
Get Grizzlemaw-Bear Fabric
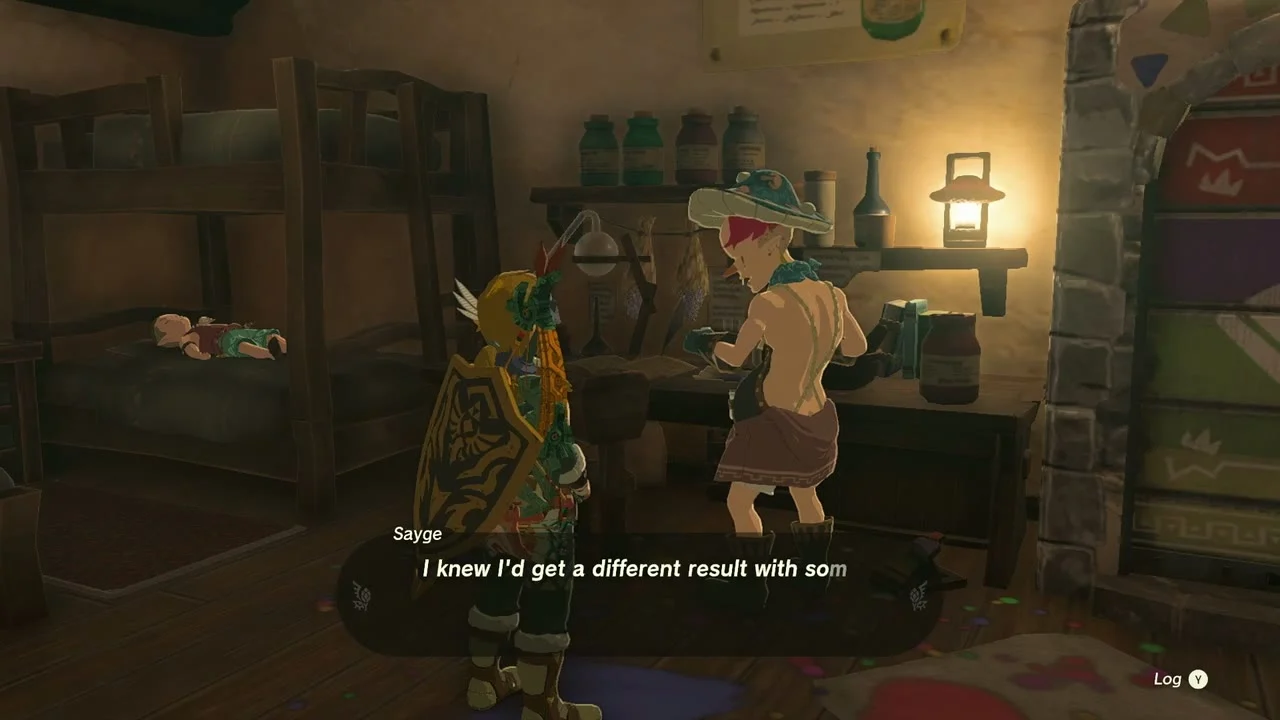
Find a Grizzlemaw Bear in the Hebra snow, defeat it and collect what it drops, then take it to Sayge at the Hateno Dye shop so she can rework your paraglider as Grizzlemaw-Bear Fabric.
Visit Malanya, the Horse God
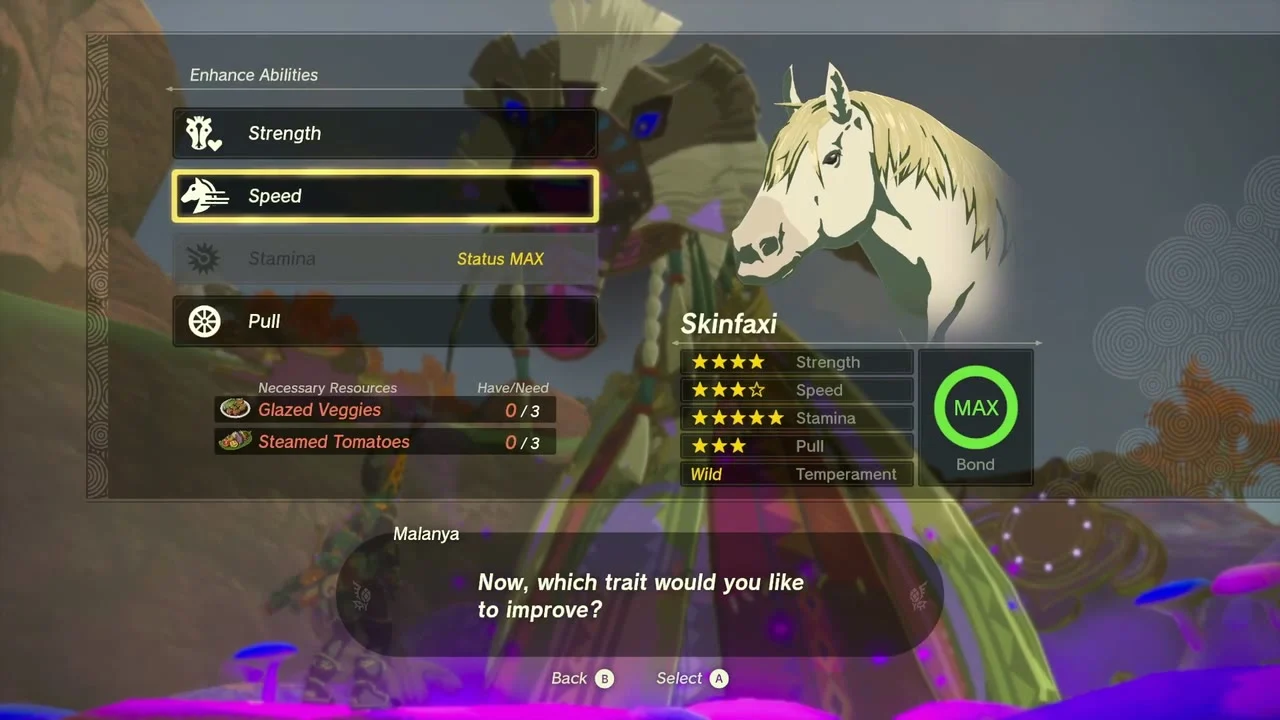
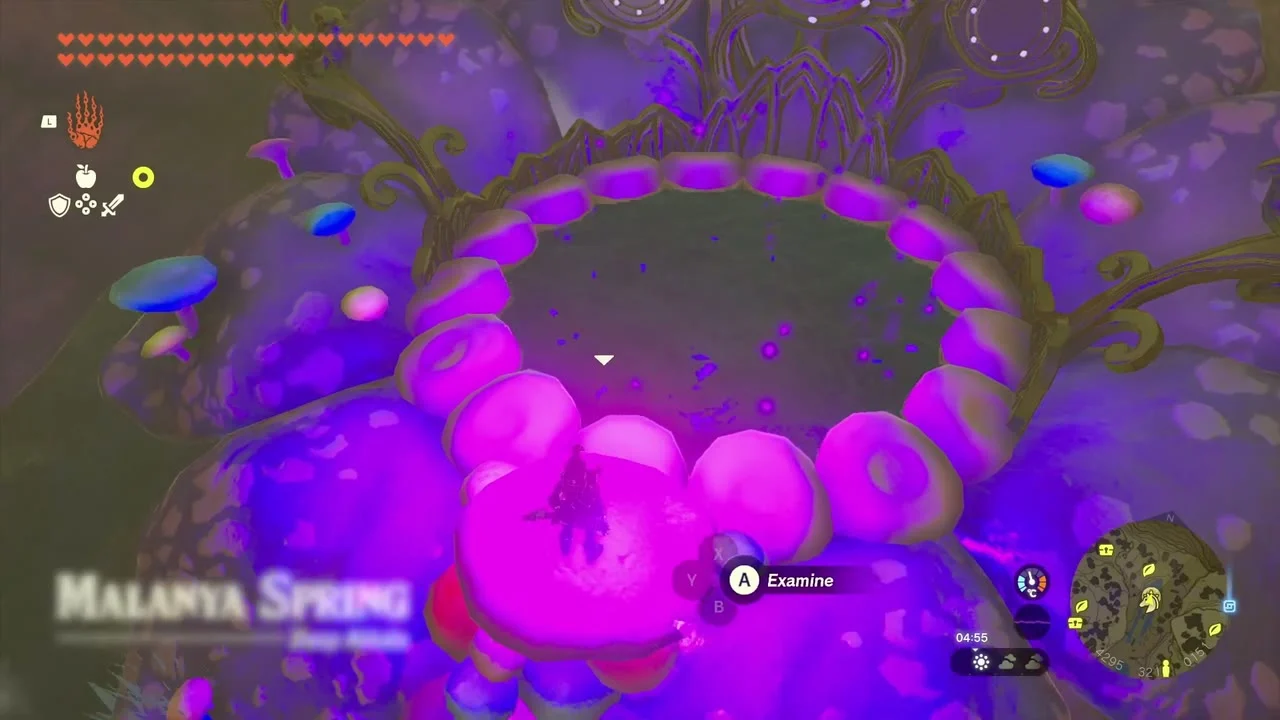
Malanya Spring at (4296, 3219) in Deep Akkala. Bring mushrooms and Hylian shrooms for each upgrade and she raises Strength, Speed, Pull or Stamina of your horses to the maximum.


Open the northern chests
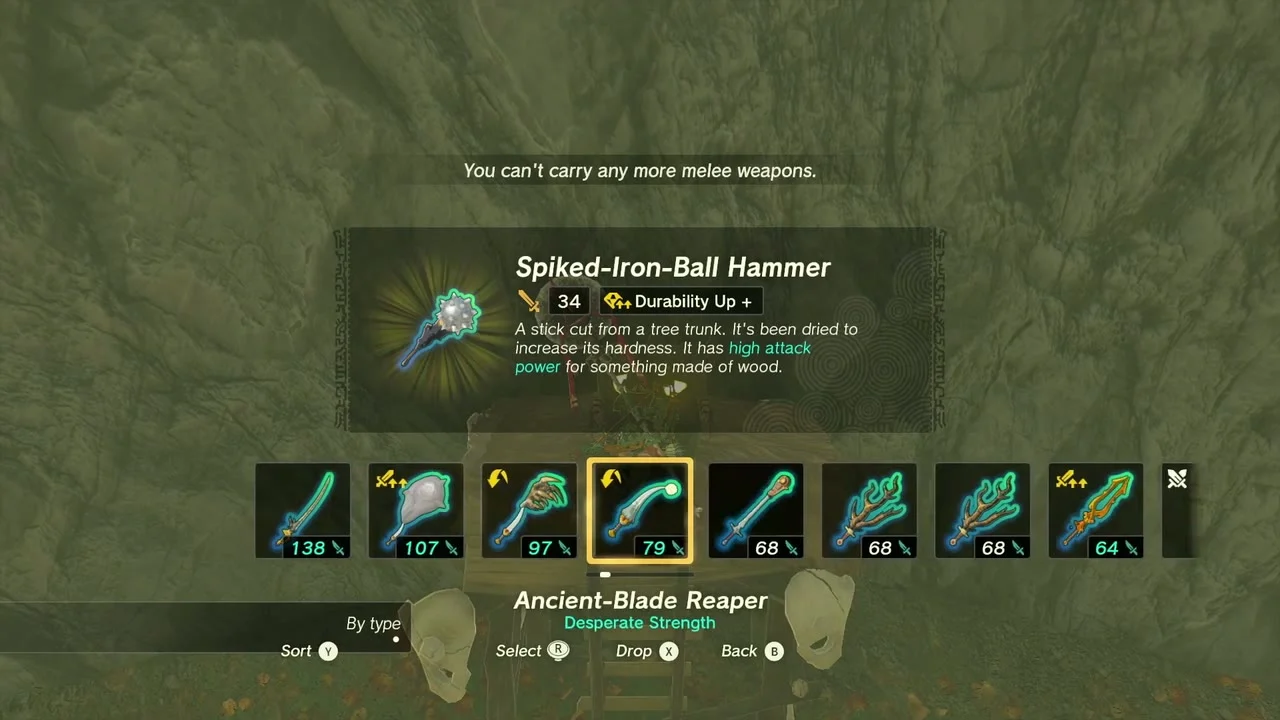
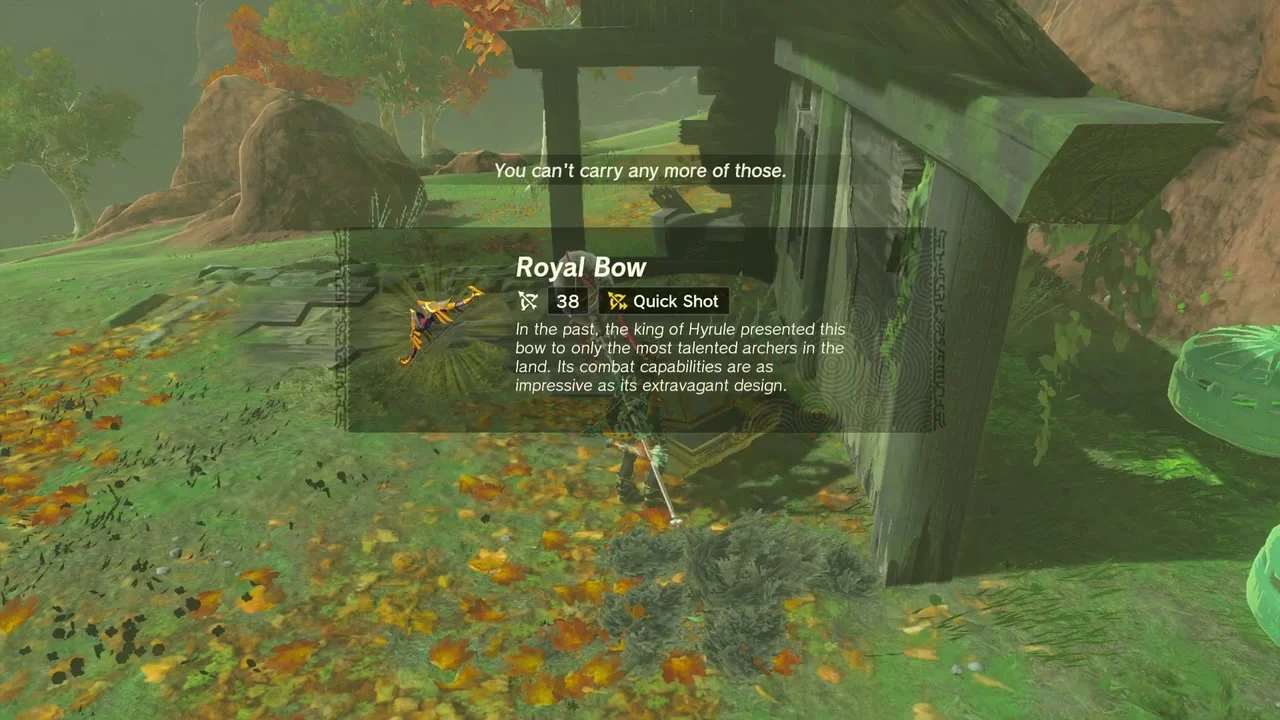
Two weapon chests sit on the road north: a Spiked-Iron-Ball Hammer under a rock shelf and a Royal Bow beside a ruined wooden hut.
Clear the Akkala Ancient Tech Lab
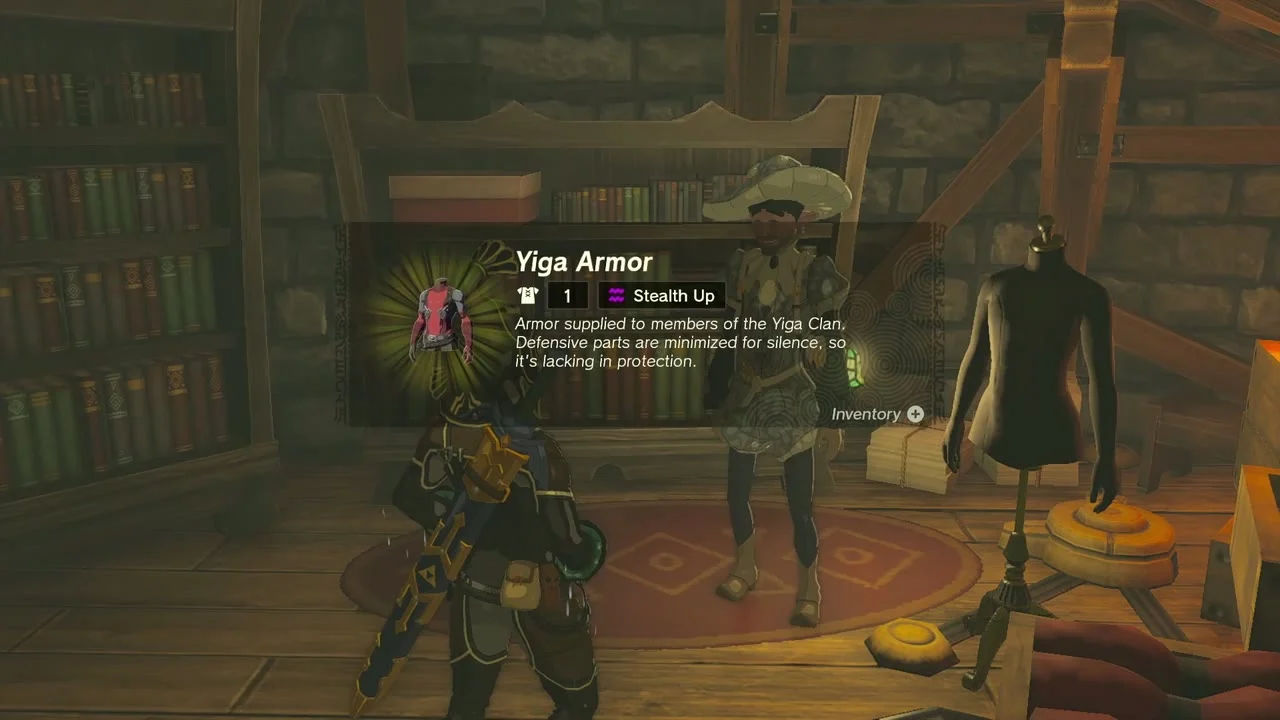
The Akkala Ancient Tech Lab at (4522, 3167) was taken over by the Yiga Clan. Defeat the intruders, take the Yiga Armor from the dummy and pick up the Travel Medallion Prototype from the table. Deliver it to Robbie at the Purah Pad Research Lab near Hateno and he adds it to your Key Items.


Return for further medallions
Robbie unlocks a second travel medallion once ten regions are mapped and a third once fifteen are mapped; return to him each time to add it to your Key Items.
North Akkala: pirates, Rasiwak Shrine and the beach cave
Collect the Koroks of the north coast
Six more seeds sit along the coast and cliffs between the stable and the lab, among them block-puzzle, glider and stone-pile Koroks.

Open the Arrow x10 chest
A chest on a pale slab out in the shallows holds Arrow x10.

Clear the pirate ships
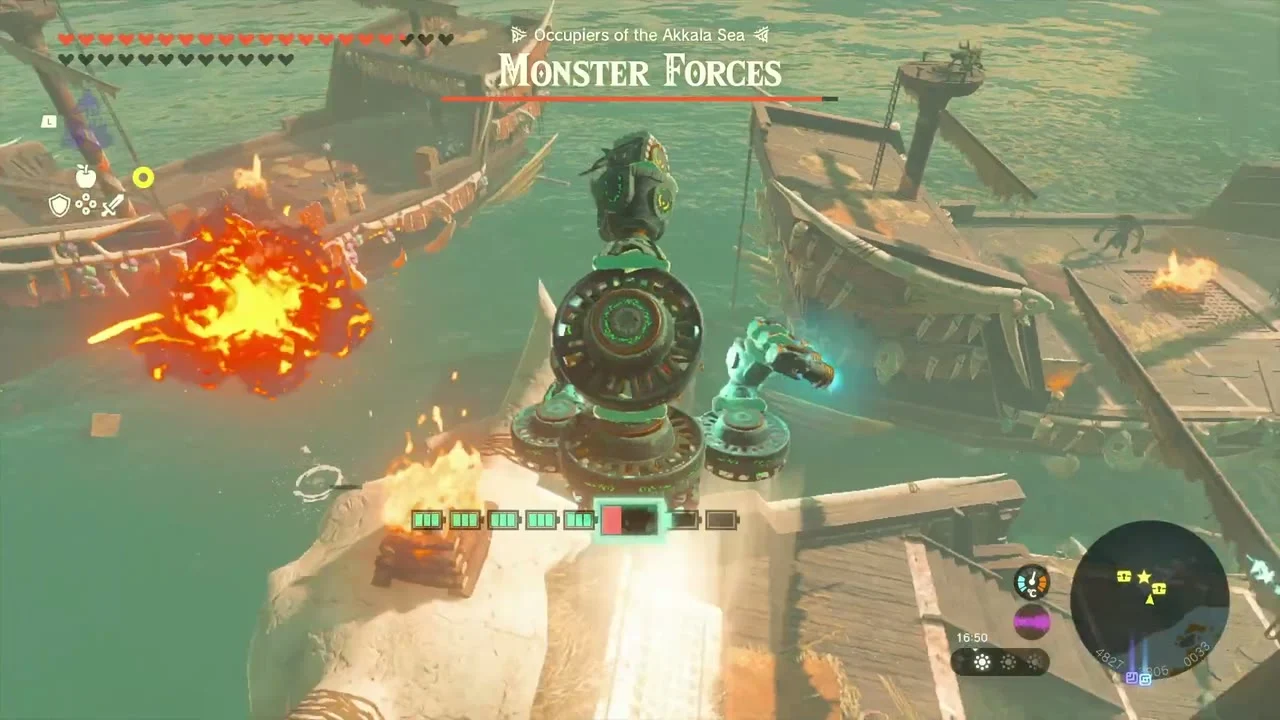
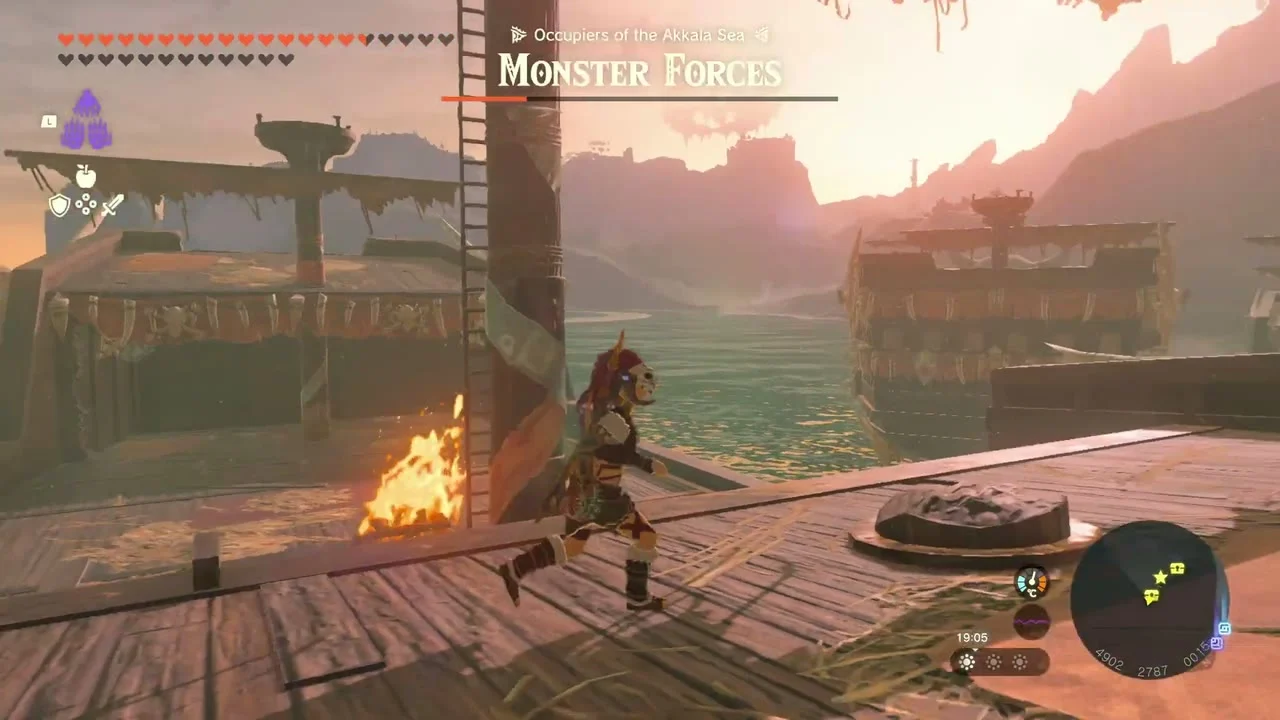
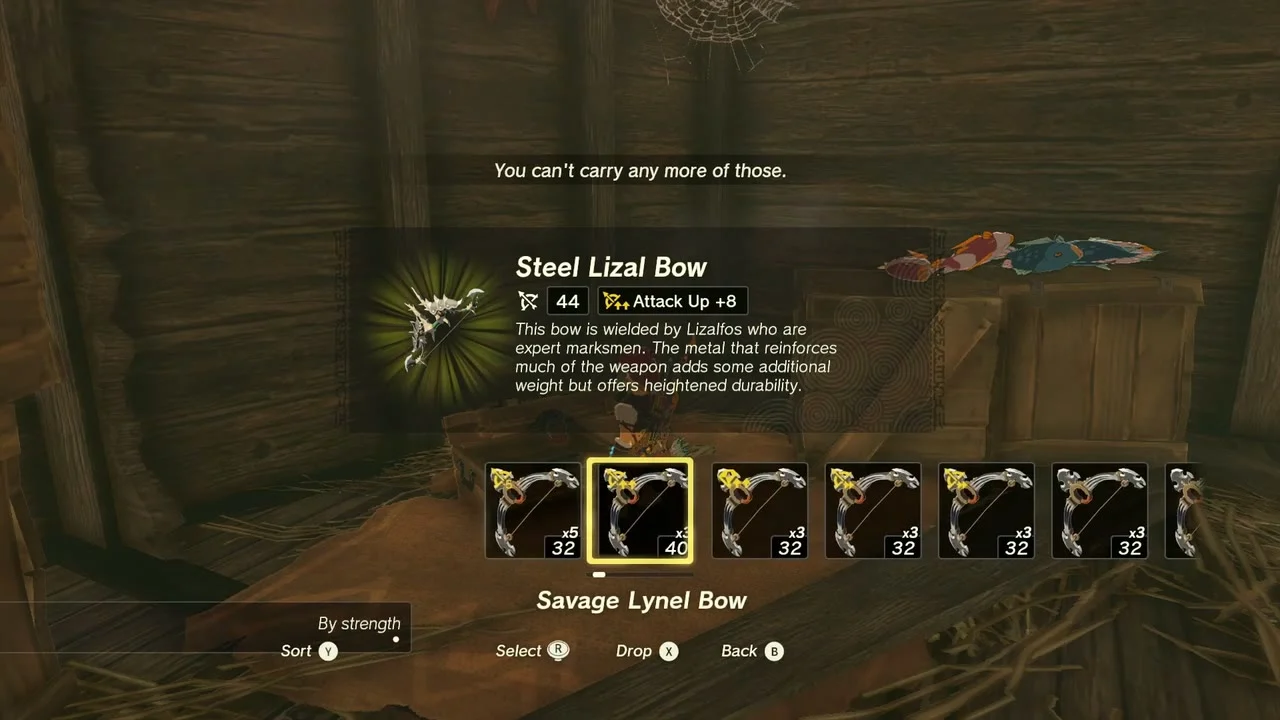
Glide onto the Monster Forces ships off North Akkala Beach and defeat the monsters aboard; one chest holds a Steel Lizal Bow (or Lizal Bow or Strengthened Lizal Bow, depending on your progress). A Stone Talus waits on the beach. Then talk to Aya at the stable to complete the quest.
Rasiwak Shrine: Flotational Brilliance (Puzzle)
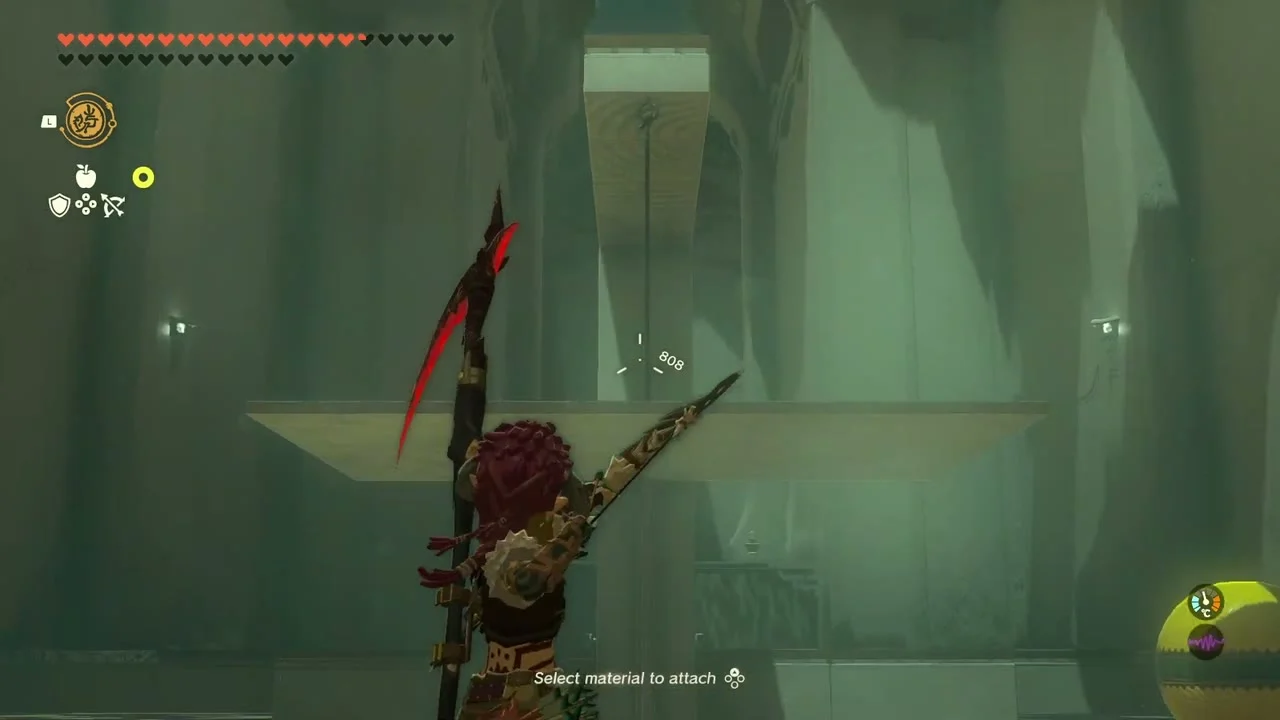
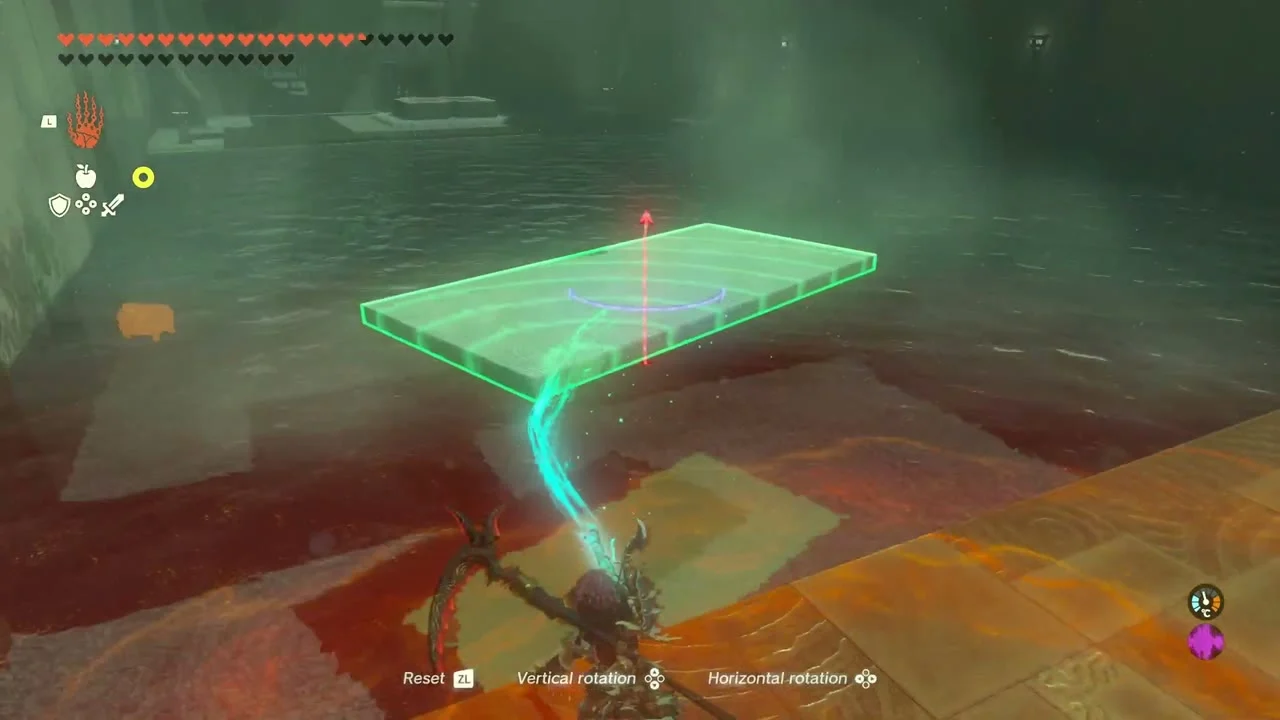
Rasiwak Shrine at (4664, 3263, 15), on the Akkala Sea beach north of the Ancient Tech Lab. Trial Flotational Brilliance, type Puzzle; the Kawisar Lightroot is below at (4663, 3264, -474). A chest hangs along one wall.

Float the slab across the water
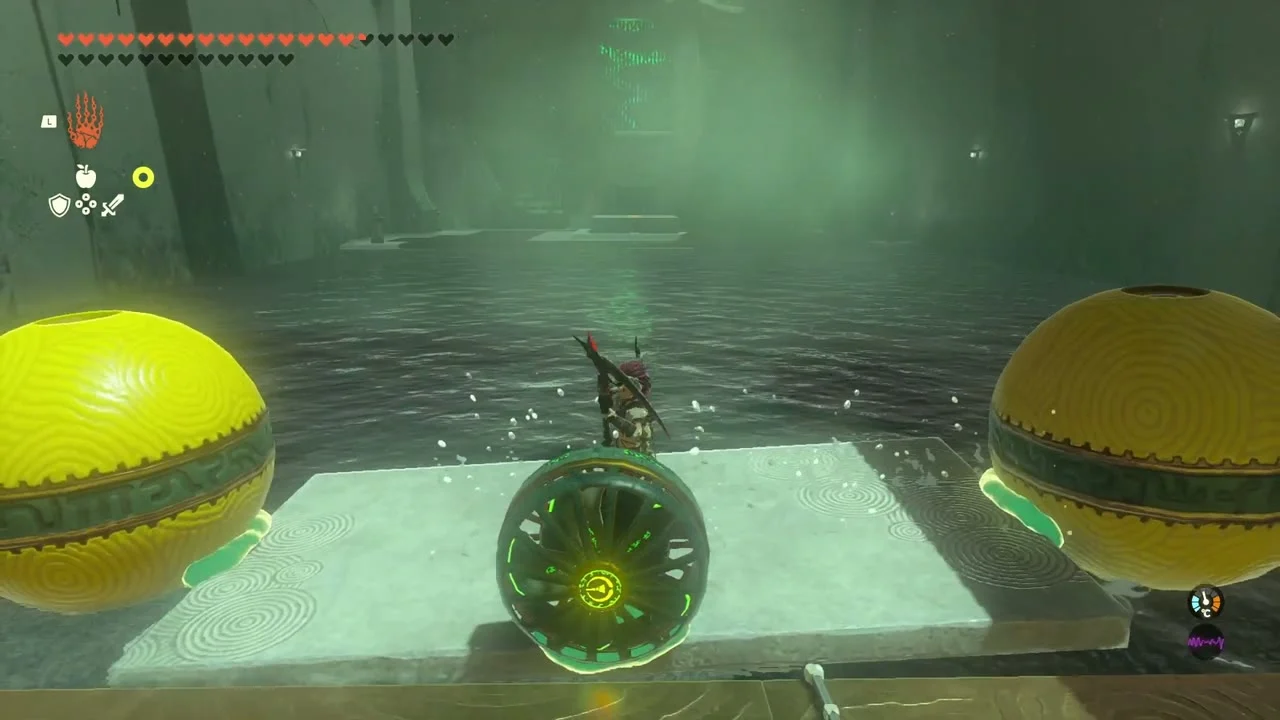
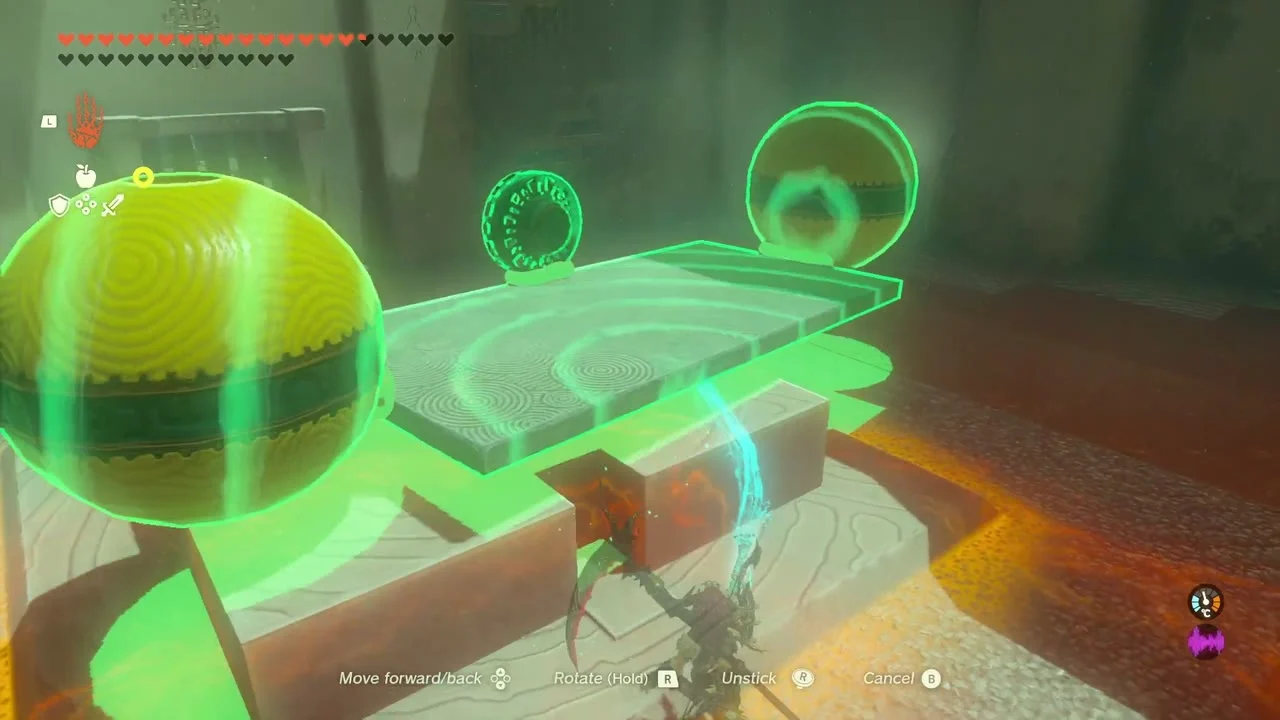
Place a stone slab on the two floating balls to ferry yourself across the water and cross to the far side to open the door; the chest contains a Magic Scepter.
Enter North Akkala Beach Cave
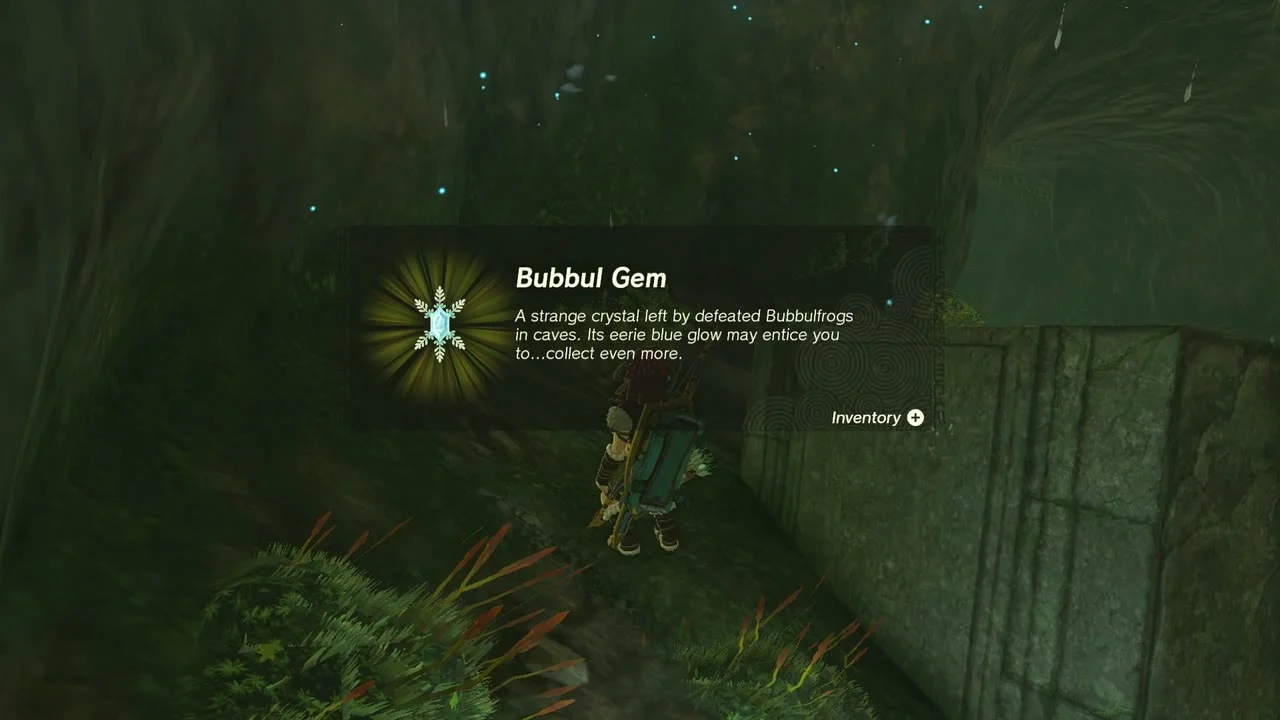
North Akkala Beach Cave at (4651, 3585), at the north end of the beach. A Horriblin guards a chest holding a Royal Halberd (some guides list a Royal Shield), a Black Hinox waits deeper in, the Bubbulfrog gives a Bubbul Gem, a chest holds a Big Battery, and a Phantom Ganon waits at the exit. The chasm to Lomei Labyrinth at (4655, 3697) is at the end.


Lomei Labyrinth Island: surface and shrine
Cross the surface maze
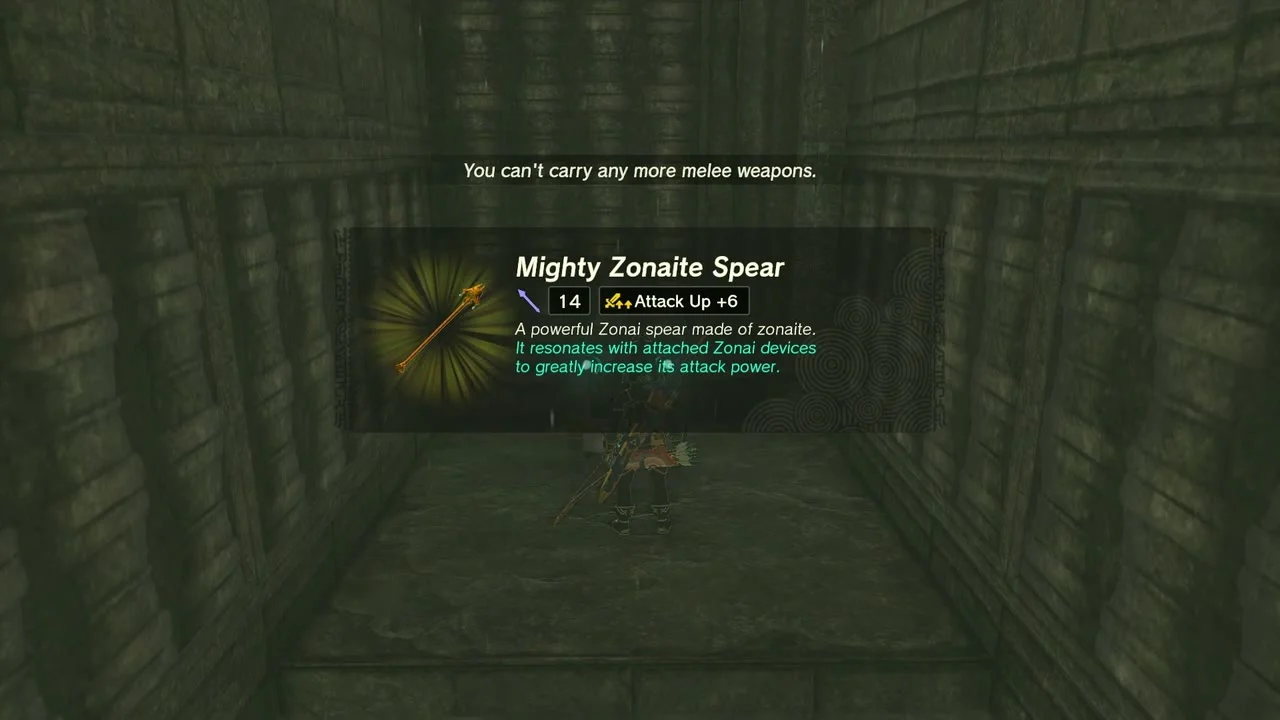
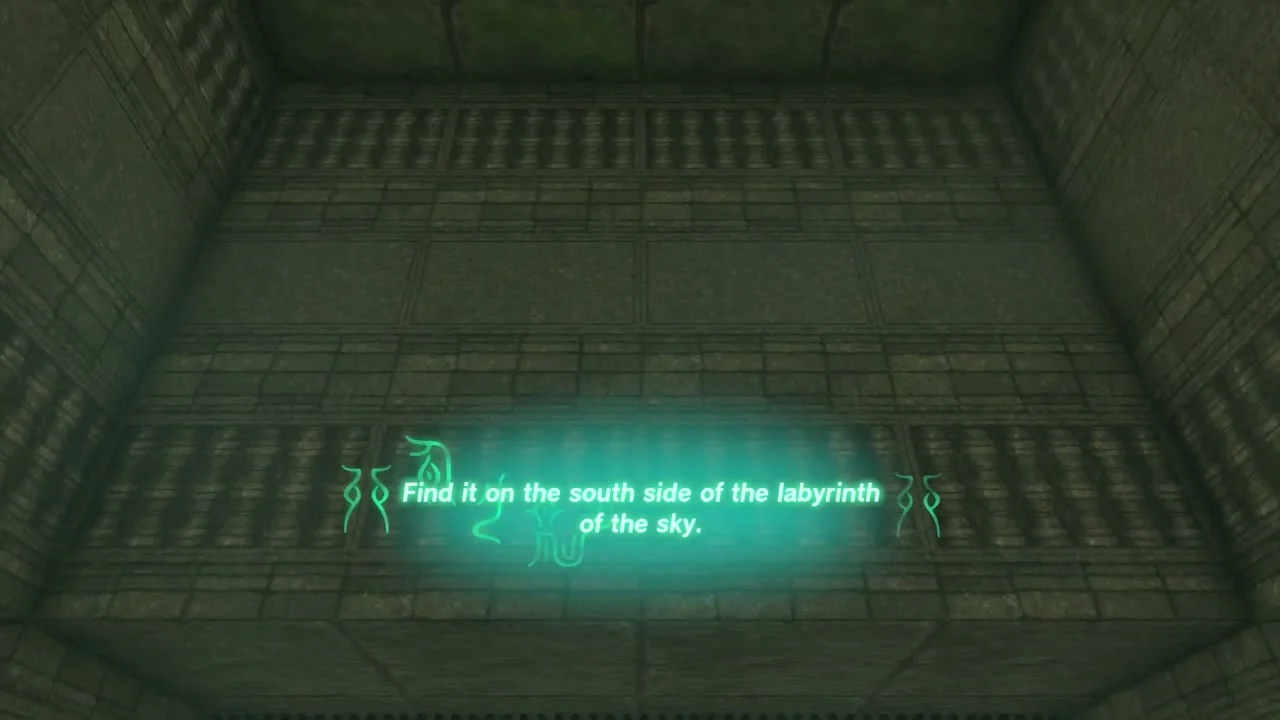
Follow the maze at (4655, 3527). The corridors hold chests with Zonai Charge, Large Zonai Charge, a Mighty Zonaite Spear (Strong or Mighty, depending on your progress) and a Mighty Zonaite Shield (Strong or Mighty, depending on your progress). Use Ascend through ceilings to cut the walls, and the central tablet starts The Lomei Labyrinth Island Prophecy.

Igashuk Shrine: Rauru’s Blessing
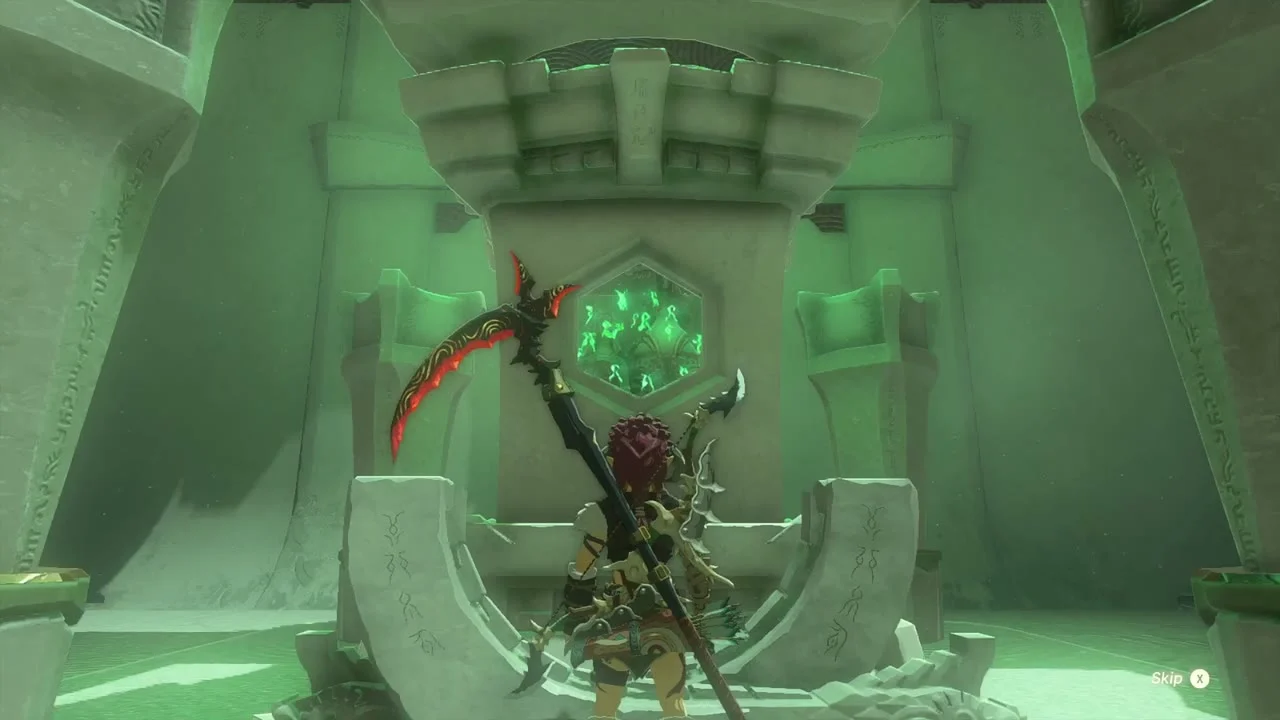
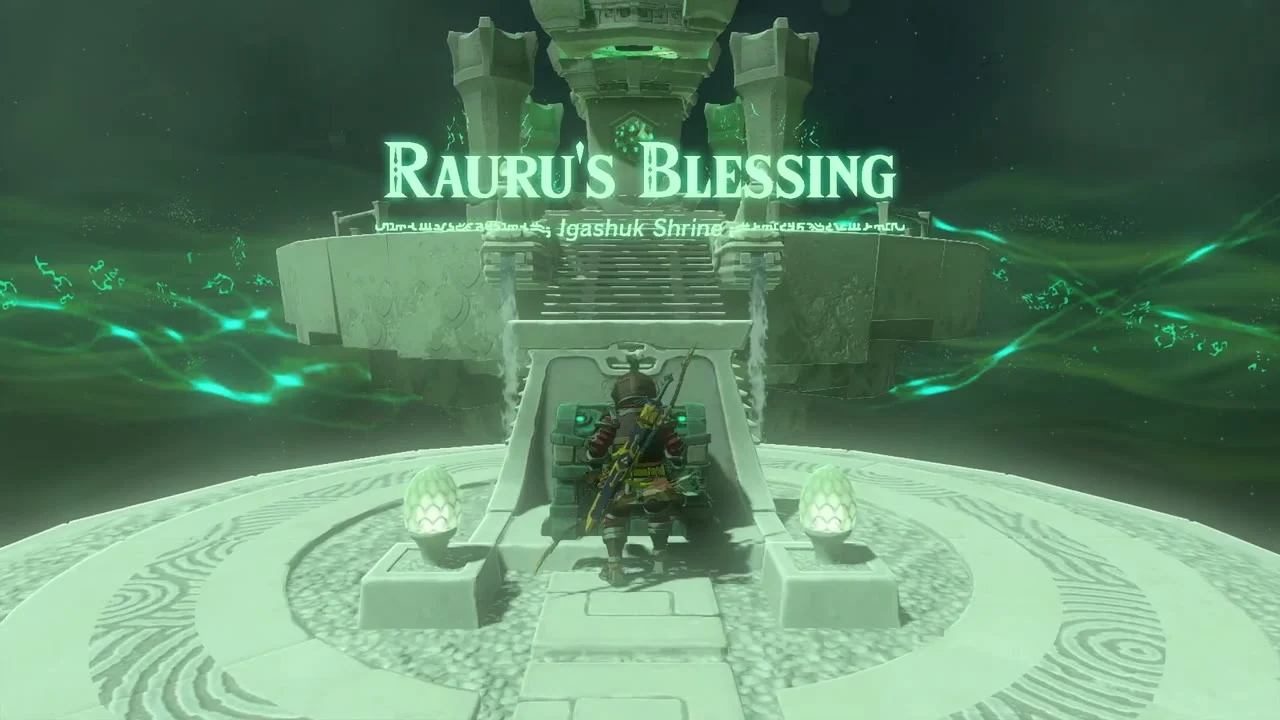
Igashuk Shrine at (4654, 3713, 144) inside the labyrinth. A Rauru’s Blessing shrine with no puzzle: open the chest for a Large Zonai Charge and take the Light of Blessing. The Kuhsagi Lightroot is below at (4654, 3732, -400).
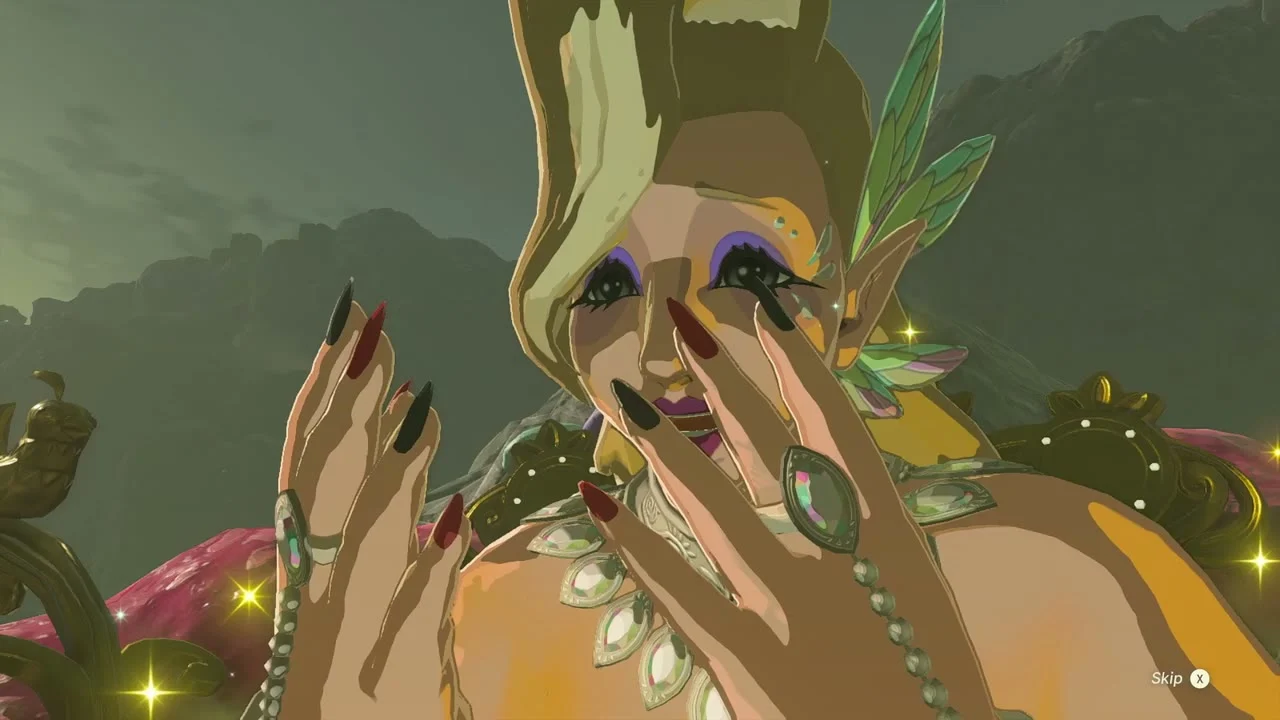
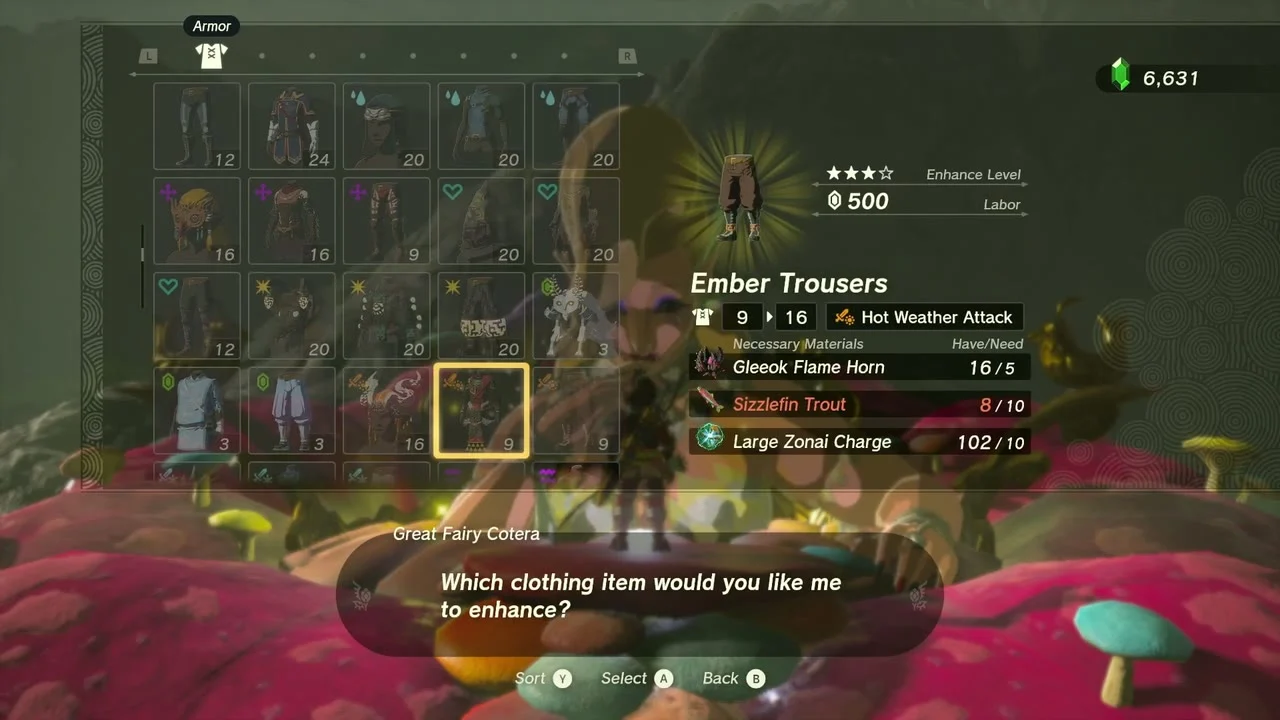
Upgrade your gear with Great Fairy Cotera
Bring Large Zonai Charges, dragon parts and monster horns to Great Fairy Cotera to upgrade armor: Ember Trousers and Topaz Earrings for example, at 500 rupees a piece for upgrades beyond the first.
Lomei Sky Labyrinth
Mogisari Shrine: Courage to Jump (Puzzle)
Mogisari Shrine at (4655, 3499, 1024) at the south edge of the sky maze, reached by a rocket-and-fan flight from the island. Trial Courage to Jump, type Puzzle. Under the low gravity, drive a Zonai cart over the lava pit, glide across the spike lane and jump the final gap with rockets on the vehicle.
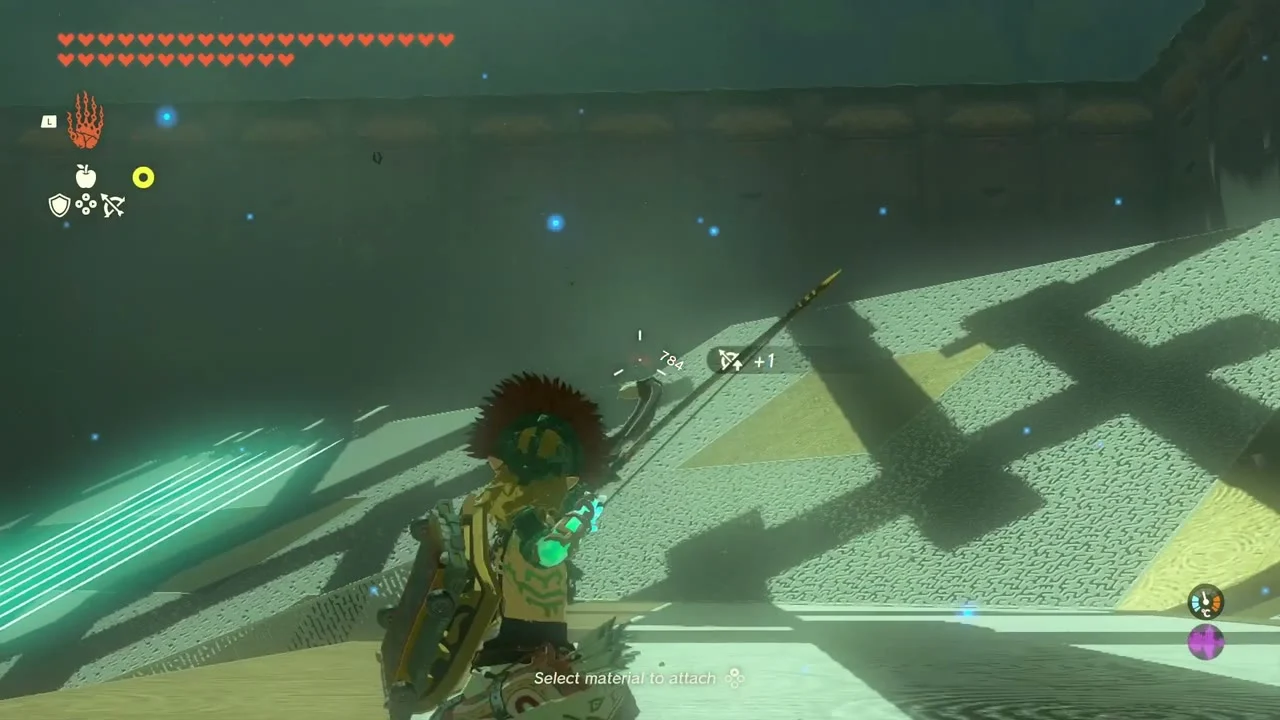

Open the Mighty Zonaite Shield chest
At the fork after the lasers, bomb the blocks on the upper-left path and open the chest for a Mighty Zonaite Shield.

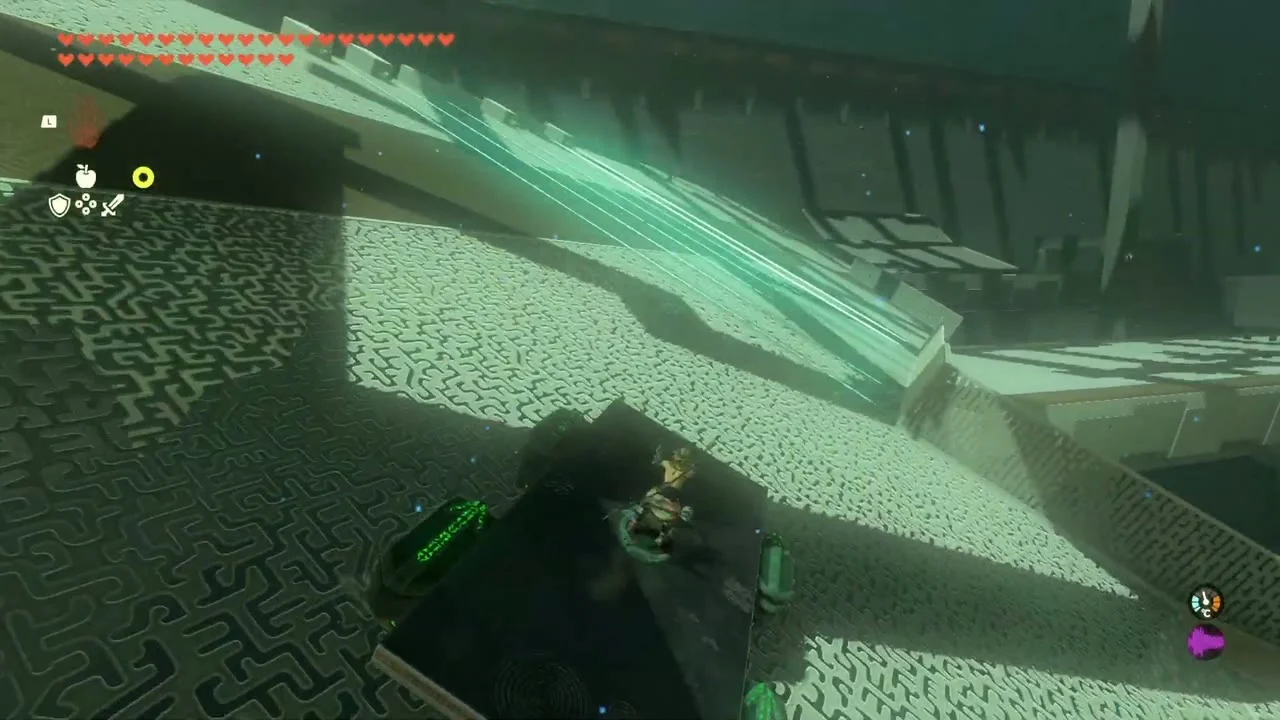
Activate the four terminals
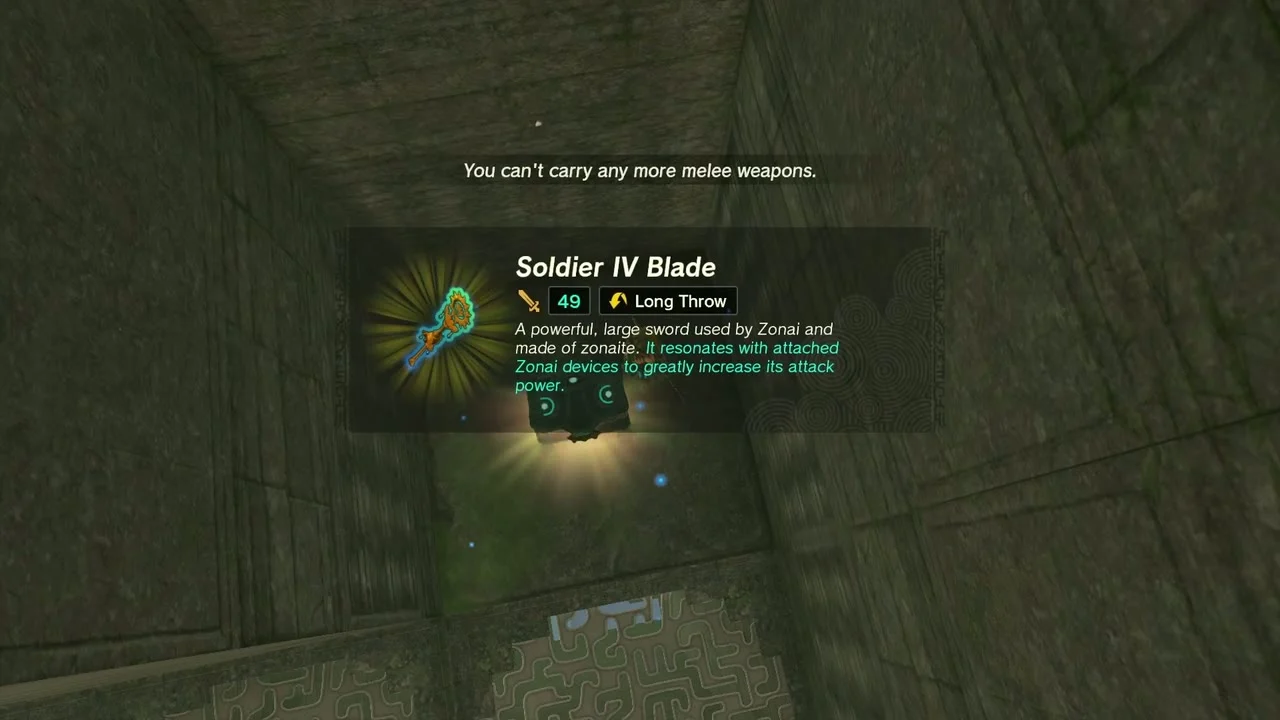
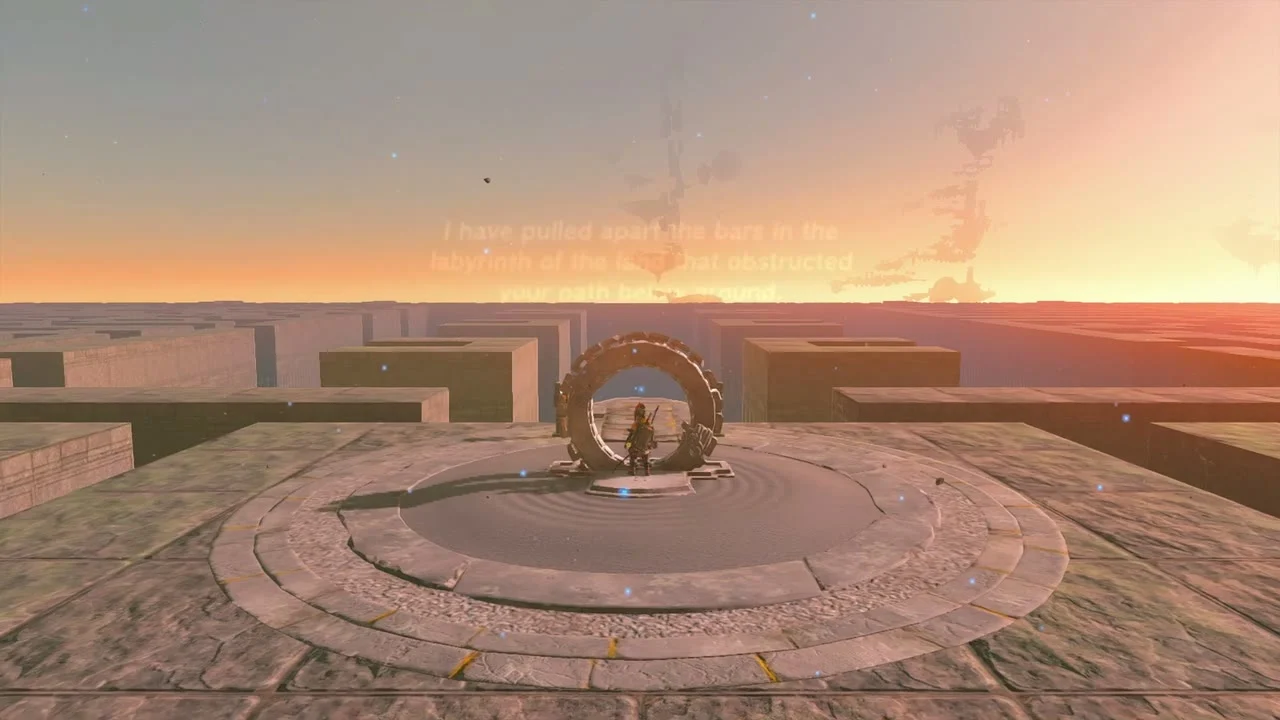
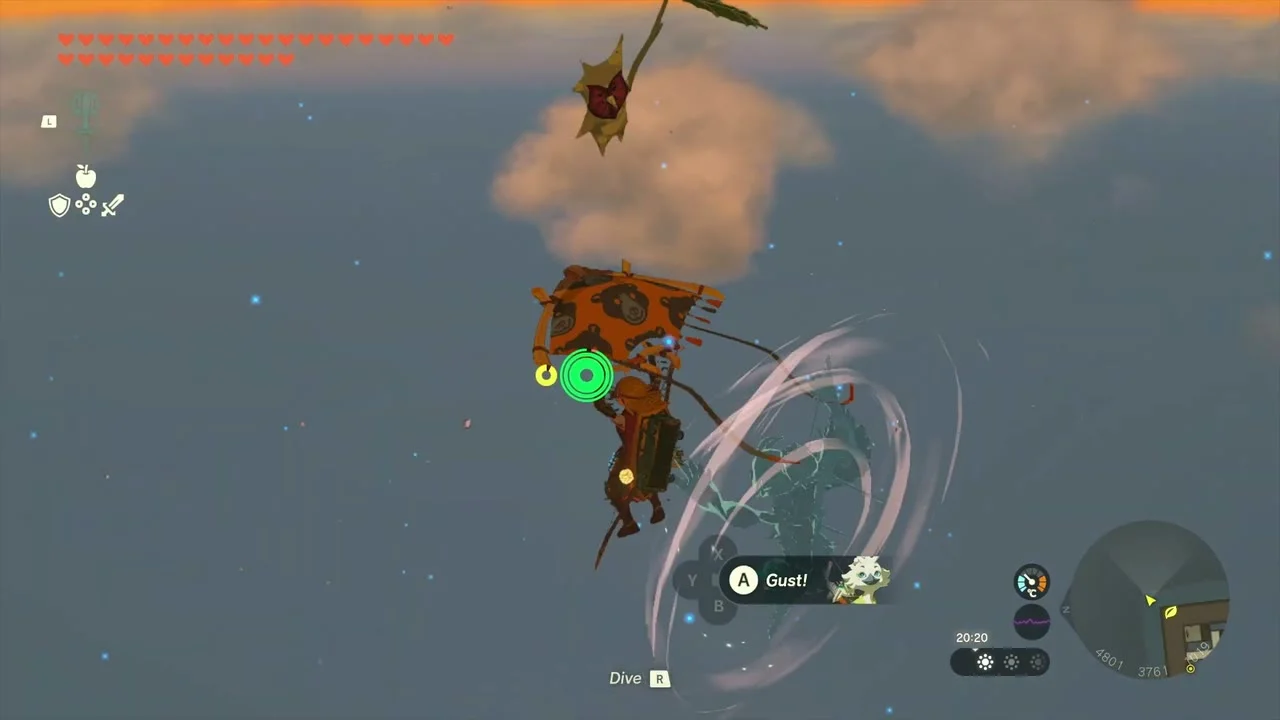
Once all four are active the winds strengthen and carry you over the labyrinth to its centre; dive from there into the Depths. Glide between the maze towers and floating blocks of the sky labyrinth to activate the four hidden terminals. Chests along the way contain a Mighty Zonaite Shield, a Zonaite Bow, a Big Battery, a Soldier IV Reaper, a Soldier IV Spear and a Soldier IV Blade.
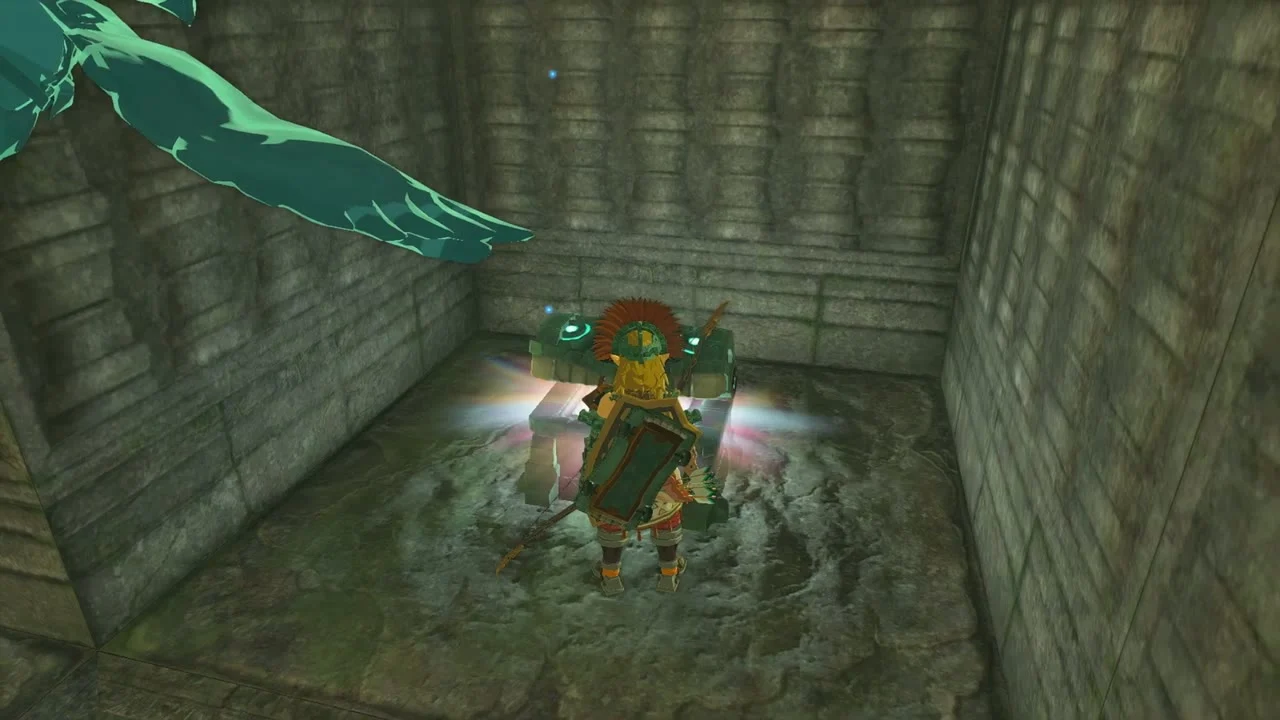

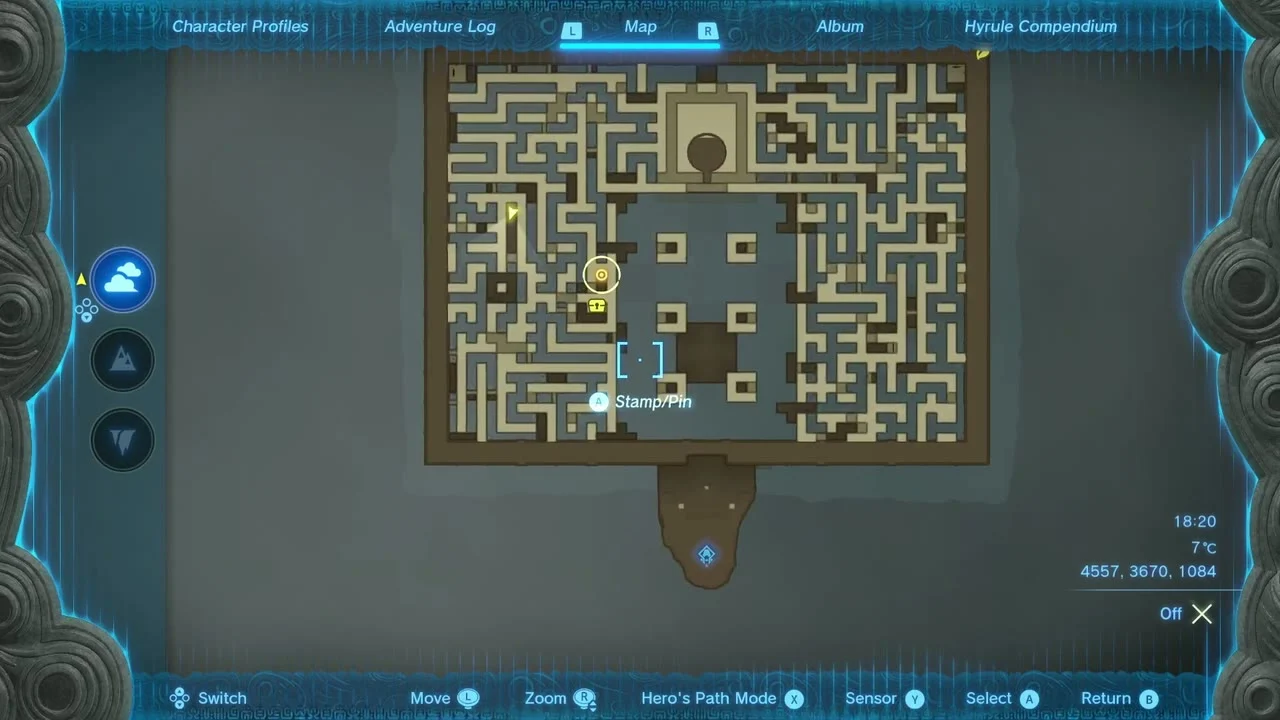
Collect the sky Korok
A Korok sits on the roof platform near the last terminal; glide to the goal ring to collect the seed.

Lomei Depths Labyrinth
Defeat Flux Construct III
Miniboss: Flux Construct III at the Lomei Depths Labyrinth, (4662, 3565, -500). Light the arena with Brightbloom arrows, find the glowing core cube and pull it away from the rest of the body with Ultrahand, then hit it with arrows or heavy weapons; Ascend onto it when it turns into a floating plane. Open your glider when you see a red light on the way down.


Open the Evil Spirit Armor chest
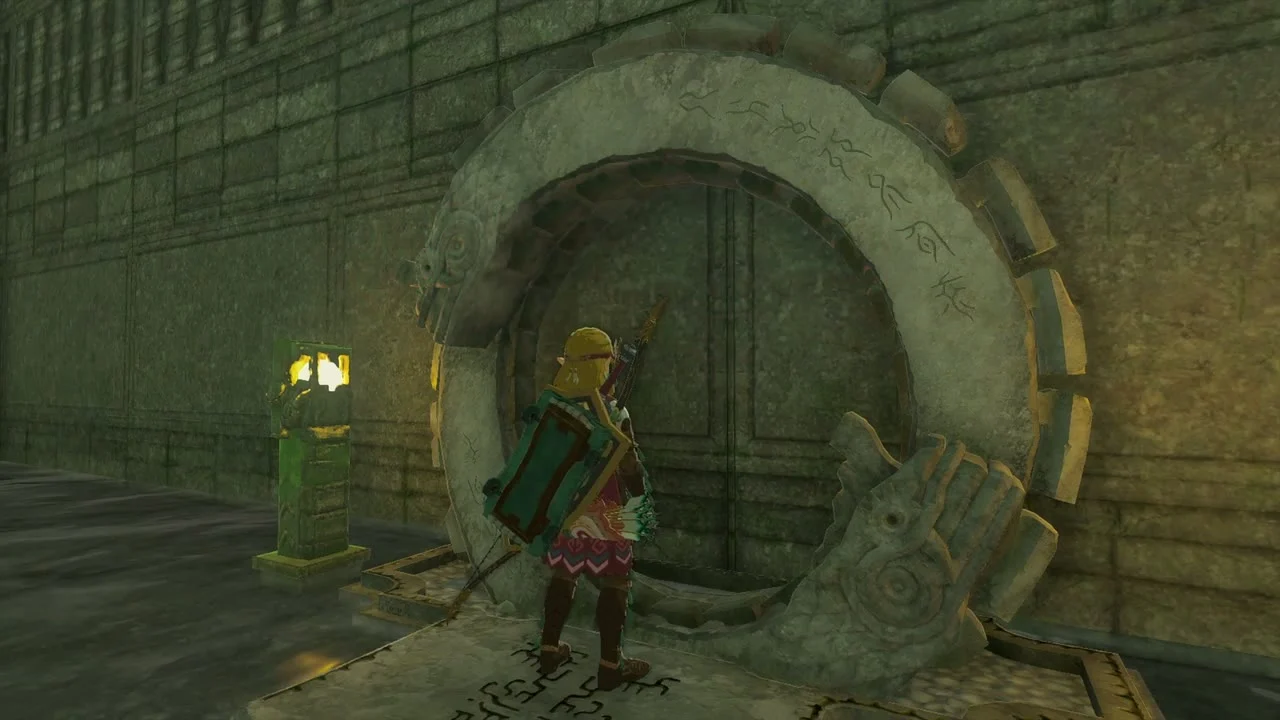
Activate the final pedestal to complete the prophecy; a platform rises with the chest holding Evil Spirit Armor. Each of the three Lomei Labyrinths gives one piece of the Evil Spirit set.

Tips for this stretch
Keep a stock of Brightbloom Seeds for the caves and the depths, Bomb Flowers for the Taluses, and a hover bike for the long runs between the lab, the stable and the beaches.
Akkala 2 checklist
| Collectible | Count | Where |
|---|---|---|
| Shrines | 5 | Kamatukis, Jochi-iu, Rasiwak, Igashuk, Mogisari |
| Lightroots | 4 | Sikutamak, Ui-ihcoj, Kawisar, Kuhsagi |
| Bubbul Gems | 2 | Skull Lake Cave, North Akkala Beach Cave |
| Korok seeds | about 30 | Deep Akkala, East Akkala, the north coast and Lomei Labyrinth Island |
| Armor | 5 | Fierce Deity Mask, Grizzlemaw-Bear Fabric, Yiga Armor, Evil Spirit Armor, and the Fierce Deity set |
