





















Tears of the Kingdom 100% Completion Walkthrough43 chapters
Great Sky Island
- Great Sky Island4 shrines, 4 caves and Bubbul Gems, 17 Korok seeds
Hyrule Field and Hyrule Castle
- Lookout LandingParaglider, Crisis at Hyrule Castle, Jiosin and Kyononis shrines, 2 caves, 3 wells
- Hyrule FieldSusuyai and Ishodag shrines, the Hyrule Field Chasm, 2 caves, 13 Koroks
- Hyrule Castle Town RuinsSepapa, Yamiyo and Tukarok shrines, 2 caves, 4 wells, Koroks, chests and Battle Taluses in route order
- Central Hyrule Depthslight all 7 Lightroots, loot Daphnes and Gustaf Canyon Mines, find the Miner's Top
- Rest of Hyrule CastleRoyal Hidden Passage loot, 8 castle chests, Phantom Ganon, Energy Wells
- South Hyrule FieldShrines, Koroks & the Great Plateau
- South Hyrule Field DepthsGreat Abandoned Central Mine, Master Kohga, Autobuild, Majora's Mask
Tabantha and Hyrule Ridge
- Tabantha FrontierNew Serenne Stable, Hestu, Courage Island and the Glide Shirt, 3 shrines, 2 Korok seeds, Lindor's Brow Cave
- Forgotten TempleImpa and the Geoglyphs, Dragon's Tears, Kiuyoyou and Mayausiy shrines, Yiga Maritta Branch, 9 Koroks
- Tanagar Canyon & Hyrule RidgeRunakit and Iun-orok shrines, 2 caves, 12 Koroks, 20 chests, 8 minibosses and Dragon's Tear 6
- Thundra Plateau & Tabantha Bridgesolve the noon shadow puzzle, Tabantha Bridge Stable, Makurukis Shrine, 19 Korok seeds, 9 chests, 3 minibosses
- Lindor's Brow DepthsLightroots; Two Yiga camps (Bomb Bouquet, Flamethrower Balloon)
- Hyrule Ridge and Tabantha FrontierIkatak, Oromuwak, Ganos and Ga-ahisas shrines, 4 caves, a well, 26 Koroks and 3 minibosses
Hebra
- Rito VillageGatakis and Ijo-o shrines, Sikatag Lightroot, 9 Korok seeds, 14 chests
- Hebra MountainsShrines, Wind Temple & Koroks; Raspro Pass, Biron Snowshelf & Royal Hidden Passage
- Corvash Canyon MineTrousers of the Hero, Floodlights schematic, Sea-Breeze Boomerang, four Lightroots, Colgera
- Raspro Pass DepthsNupisoyuat and Sasag Lightroots, Colgera, Cap of Time, Tunic of the Wind, two Yiga camps and 13 minibosses
- Tabantha TundraTaninoud, Orochium, Oshozan-u, Mayaotaki, Nouda and Tenbez shrines, three Lightroots, caves and Bubbul Gems
- Pikida Stonegrove DepthsEvil Spirit Greaves, Ikatoayam, Muihcoro and Sikatag Lightroots, 3 Yiga schematics, Frox fights
Great Hyrule Forest
- Great Hyrule Forest7 shrines, 8 Lightroots, 2 caves, 2 wells, Korok Mask, Glide Tights
Eldin
- EldinEldin Canyon, Shrines, Caves & Goron City
- Eldin Canyon Depths10 Lightroots, Zant's Helmet, Trousers of the Wild, Biggoron's Sword, 3 Yiga schematics and Eldin's sky chests
Faron
- FaronHighland Stable, Lake Hylia & Popla Foothills
Necluda
- Kakariko VillageMakasura Shrine, Kakariko Village Well, 2 caves, Ring Ruins chests, 10 Korok seeds and village quests
- West Necluda and Lanayru WetlandsShrines, Koroks & Caves; Jonsau, Kurakat
- Hateno VillageZanmik and Mayahisik shrines, Shield of the Mind's Eye and Phrenic Bow wells, 7 Koroks
- East NecludaRabella Wetlands, Sifumim Shrine, Lurelin Village, 21 Korok seeds
- East Necluda DepthsKumamayn Shrine, 4 Lightroots, Midna's Helmet, Cap of the Hero, Trousers of the Wind and 18 Depths chests
Lanayru
- Lanayru Great SpringShrines, Koroks & Caves; Ralis Channel, 3 shrines, 8 caves
- Zora's DomainMogawak and Ihen-a shrines, Ploymus cave, Pristine Sanctum, Zora Armor, Sidon of the Zora and Clues to the Sky
- Wellspring IslandAncient Zora Waterworks chests, Igoshon Shrine, 2 Korok seeds, Water Temple's four wheels and Mucktorok
- Mount LanayruShrines, Koroks & Light Rings; Jikais and Anedamimik shrines
Gerudo
- Gerudo DesertShrines, Caves & Koroks; West and South Sands
- Gerudo TownGerudo Shelter shops and quests, Valley of Silent Statues, Lightning Temple and Queen Gibdo, Chichim Shrine
- Gerudo Desert DepthsGranajh and Daval mines, three Master Kohga fights, Queen Gibdo, Mucktorok, Sheik's Mask and 37 chests
- Gerudo HighlandsSkyview Tower, Rotsumamu and Suariwak shrines, Mayasiar Shrine, Yiga hideout
Akkala
- AkkalaTarrey Town quests, 4 shrines, Hinox, Battle Talus
- Akkala Sky Islands and DepthsGikaku and Natak shrines, Old Maps, Lomei Depths Labyrinth, Mucktorok, 5 Lightroots and 19 chests
Finale and completion
- Ancient Tablets, Gleeoks and Armor Upgradesall 13 stone tablets with coordinates, Frost and King Gleeok, Obsidian Frox, Cotera upgrades and farming
- Hyrule CastleRoyal gear chests, Korok seeds, Serutabomac Shrine
- Thunderhead IslesCharged armor, Joku-usin and Joku-u Shrines, Dragonhead Island's relic
- 100% Completion: Armor Upgrades & Korok BonusHestu's Gift, Ancient Hero's Aspect, Great Fairy Cotera upgrade costs and materials, then Destroy Ganondorf
| Region | Hebra Mountains Depths: the Depths under Corvash Peak and the northern Hebra range, from Corvash Canyon Mine (-3322, 2359) north-west to Sherfin’s Lavafalls (-4343, 3465) |
|---|---|
| Mines | Corvash Canyon Mine (-3322, 2359, -0776) and Hebra Canyon Mine (-2767, 2898, -0875) |
| Lightroots | 4 lit: Mu-ufatur (-2998, 3100, -1027), Narusis (-2558, 3354, -0711), Muotue (-3508, 3568, -0847), Kato (-4389, 3713, -0723). Worihas Lightroot (-3353, 2385, -0823), below Sahirow Shrine, is the nearest exit to Corvash Canyon Mine. See all Lightroots. |
| Surface shrines above | Rutafu-um Shrine (Rauru’s Blessing) over Mu-ufatur; Sisuran Shrine (Rauru’s Blessing) over Narusis; Eutoum Shrine (Proving Grounds: Infiltration) over Muotue; Otak Shrine (Proving Grounds: Traps) over Kato |
| Depths chests | 9, including 1 Yiga Schematic, 3 Large Crystallized Charges and 1 Huge Crystallized Charge |
| Minibosses and boss | Blue-White Frox, Black Hinox, Stone Talus; boss Colgera (Depths) |
| Schematic | Floodlights (Autobuild) |
| Korok Seeds, Bubbul Gems, Bargainer Statues | None confirmed in this stretch |
| Map tip | The minimap bezel prints X, Y and height. Larger Y is further north, so Kato at Y 3713 is far north of Corvash Canyon Mine at Y 2359. |
This stretch of the Hebra Depths is a long climb from Corvash Canyon Mine to the far north-west corner, with Trousers of the Hero in the first ruin, a Yiga camp holding the Floodlights schematic, the Sea-Breeze Boomerang in Hebra Canyon Mine and a Cap of the Wild beside the Hebra Dark Skeleton.
Quick route
Start in Corvash Canyon Mine under Corvash Peak and open the chest on the pillared platform for Trousers of the Hero. Head north to the Blue-White Frox, then to the plank raft and the Kite Shield chest south of Mu-ufatur Lightroot. Light Mu-ufatur, then travel north-east to Narusis Lightroot and the Colgera arena for a Huge Crystallized Charge. Next climb to the Floodlights Yiga camp, cross to Hebra Canyon Mine for the Sea-Breeze Boomerang and light Muotue Lightroot. Cross the lava ledges of Goflam’s Lavafalls, collect the Cap of the Wild by the Hebra Dark Skeleton, light Kato Lightroot, and finish with the Black Hinox, the chest at Sherfin’s Lavafalls and the Stone Talus.
Corvash Canyon Mine
Explore the mine ruins
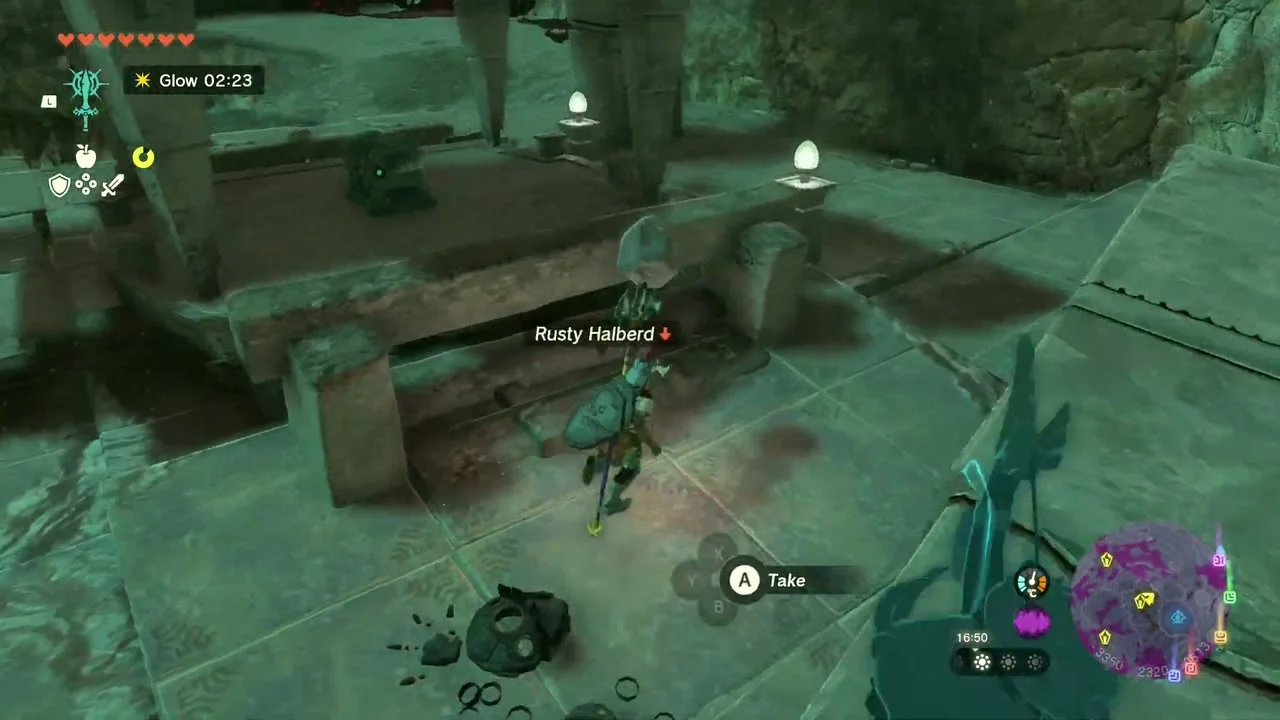
Corvash Canyon Mine sits at (-3322, 2359, -0776) directly under Corvash Peak, right beside Worihas Lightroot. Zonaite deposits and Bomb Flowers line the ruined stairs, so mine them with a hammer or a bomb while you climb. A Rusty Halberd lies on a stone table on the way up.

Open the Trousers of the Hero chest
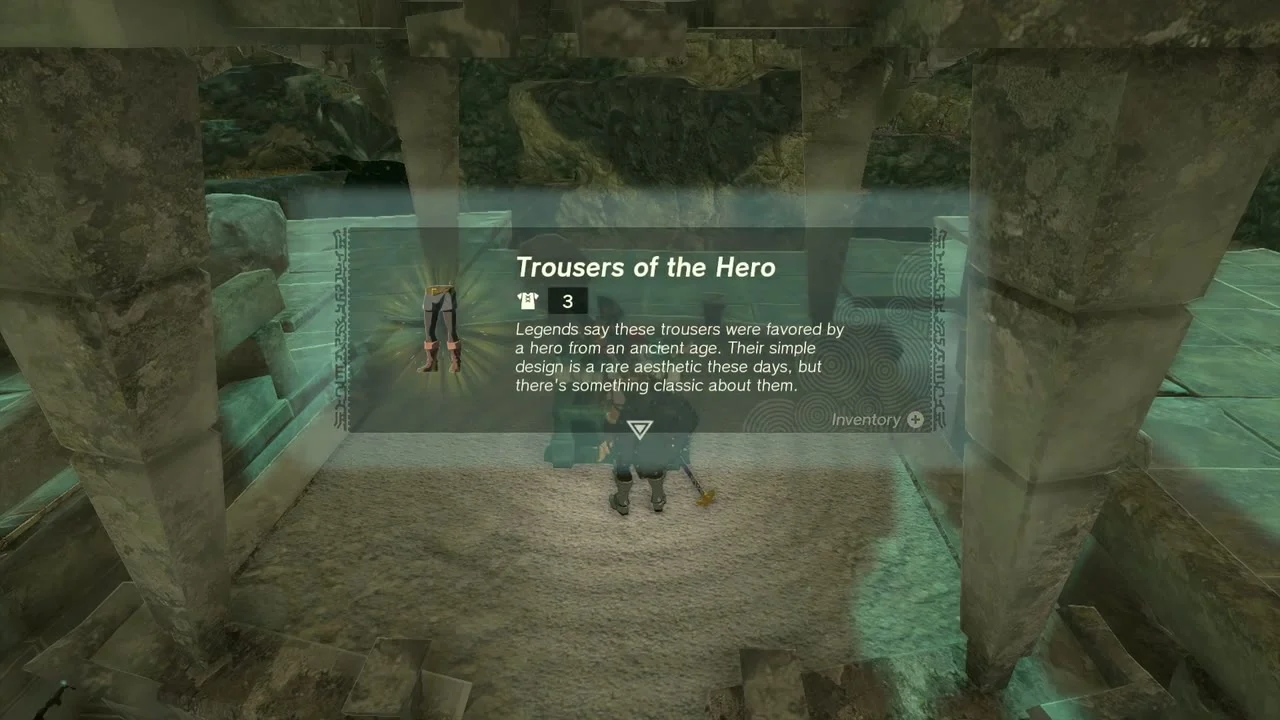
Chest: Trousers of the Hero at (-3350, 2320, -0812). Climb the broad stairs of the ruin to the pillared stone platform near its lower end and open the chest for Trousers of the Hero, a leg armor piece.

Blue-White Frox
Defeat the Blue-White Frox
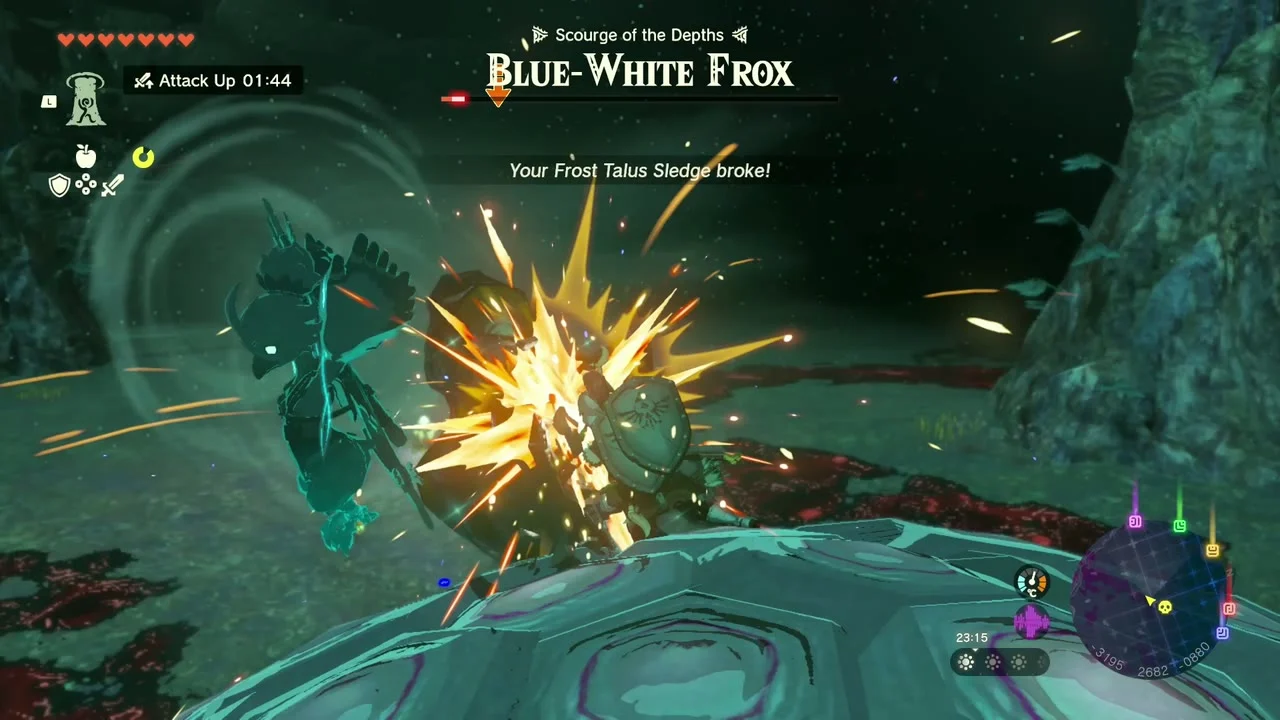
Miniboss: Blue-White Frox at about (-3195, 2667, -0887), on open ground north of the mine. Dodge its slams, shoot the glowing eye and finish it with strong weapons or bombs. It drops a Blue-White Frox Fang, Frox Guts, Frox Fingernail x2, Zonaite and a Large Crystallized Charge. The Fang is a strong fuse material.

South of Mu-ufatur Lightroot
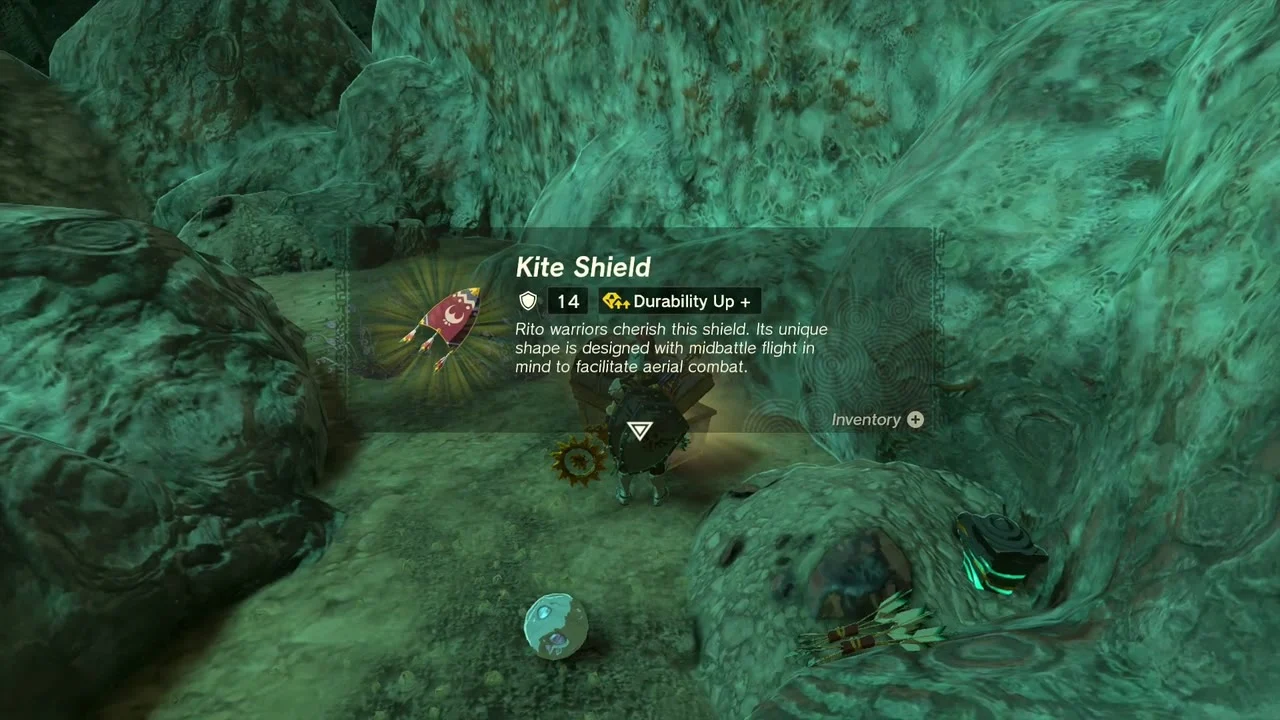
Open the Kite Shield chest
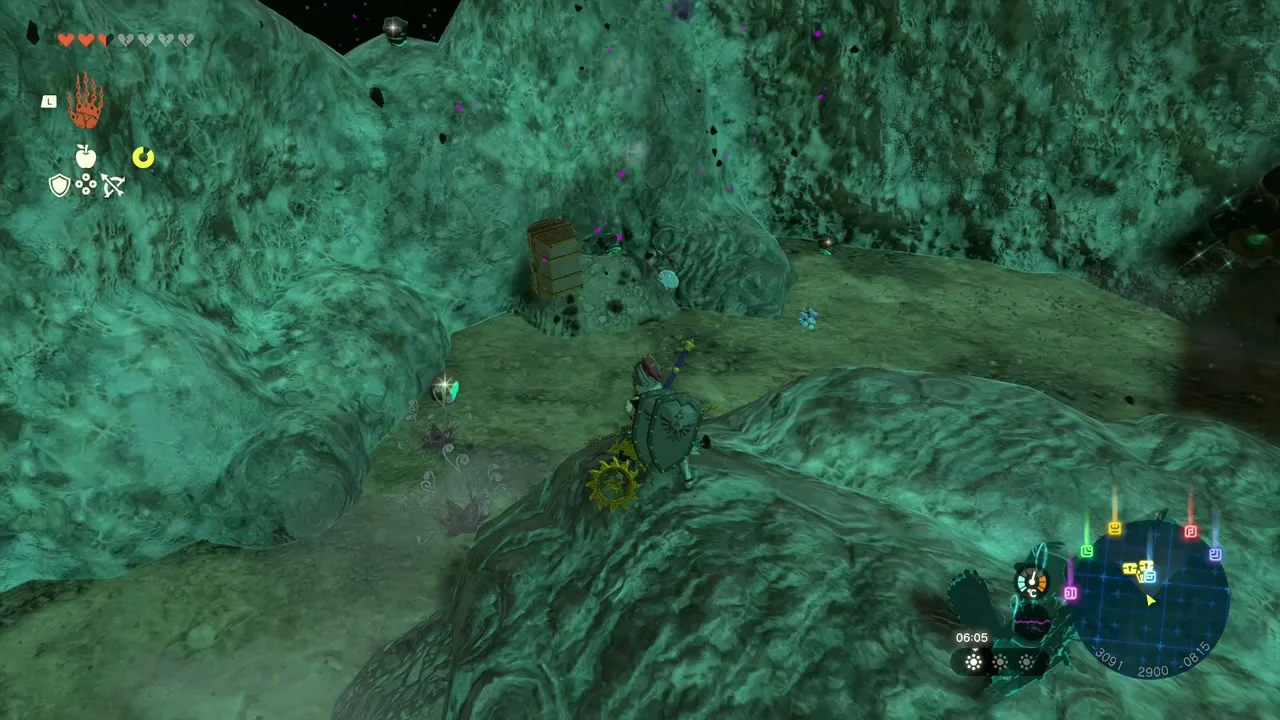
Chest: Kite Shield at (-3091, 2900, -0815), south-west of Mu-ufatur Lightroot. The chest sits in a hollow under the rocky wall on the way to the lightroot. Open it for a Kite Shield, a shield with a Durability Up bonus.
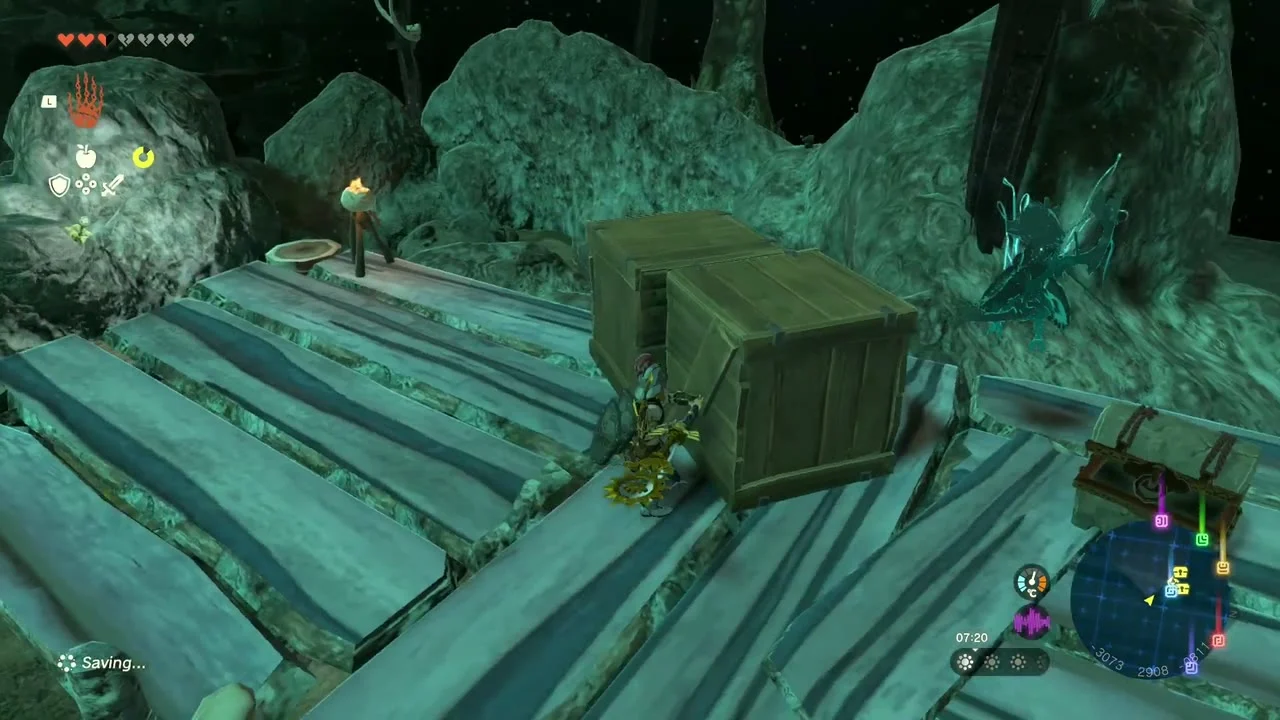
Check the plank raft
Sundelion at (-3071, 2909, -0813). A plank raft with torches and crates stands a short walk from the Kite Shield chest. Pick up the Sundelion on the planks, a plant that restores gloom-damaged hearts when cooked, and break the crates for arrows.

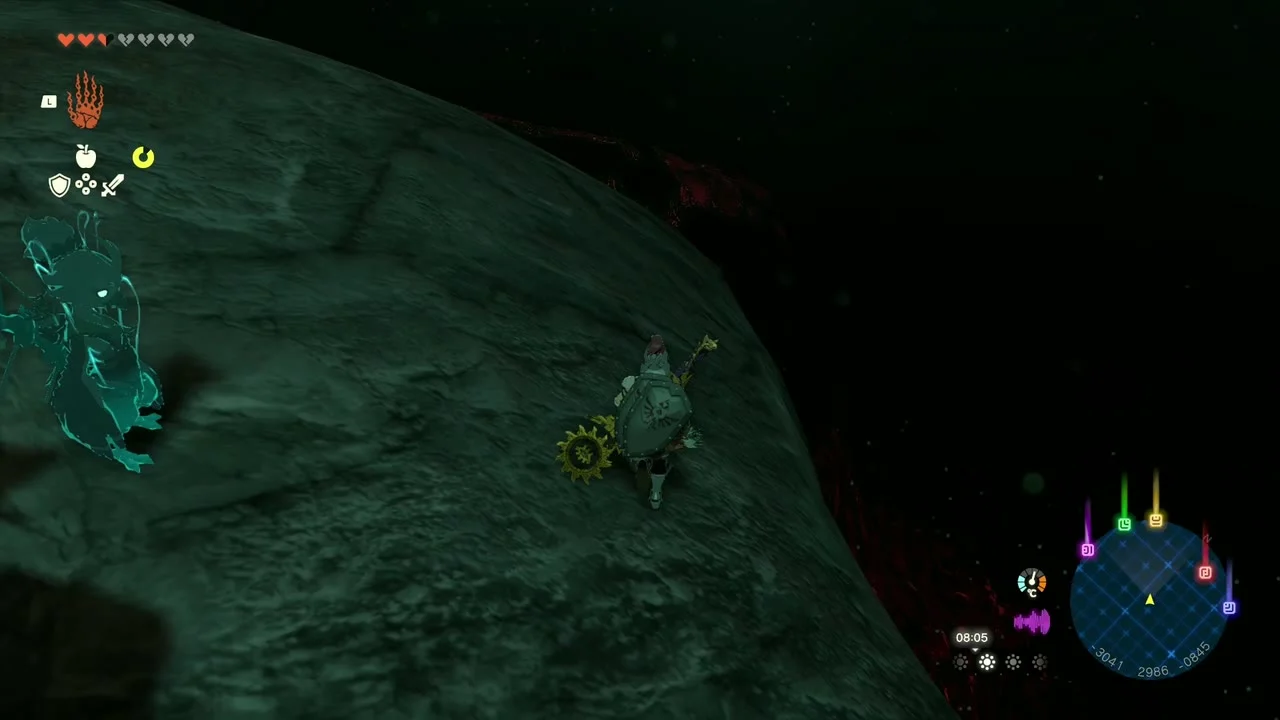
Light Mu-ufatur Lightroot
Mu-ufatur Lightroot at (-2998, 3100, -1027), below Rutafu-um Shrine on the surface. Walk up to its roots to light it and unlock fast travel here.

Narusis Lightroot and Colgera
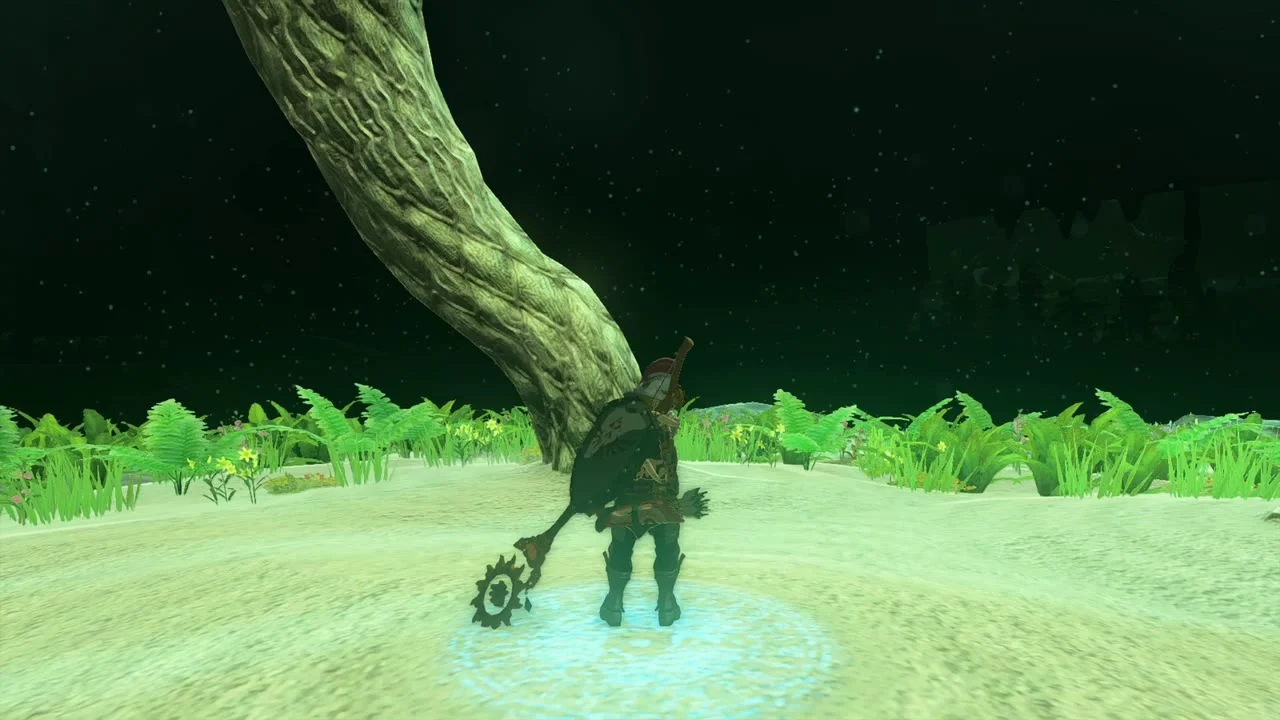
Light Narusis Lightroot
Narusis Lightroot at (-2558, 3354, -0711), north-east of Mu-ufatur, below Sisuran Shrine. The route crosses a dark plain with Poes and Bokoblin camps, so carry Brightbloom Seeds. Step into the roots to light it.

Beat Colgera for the Huge Crystallized Charge
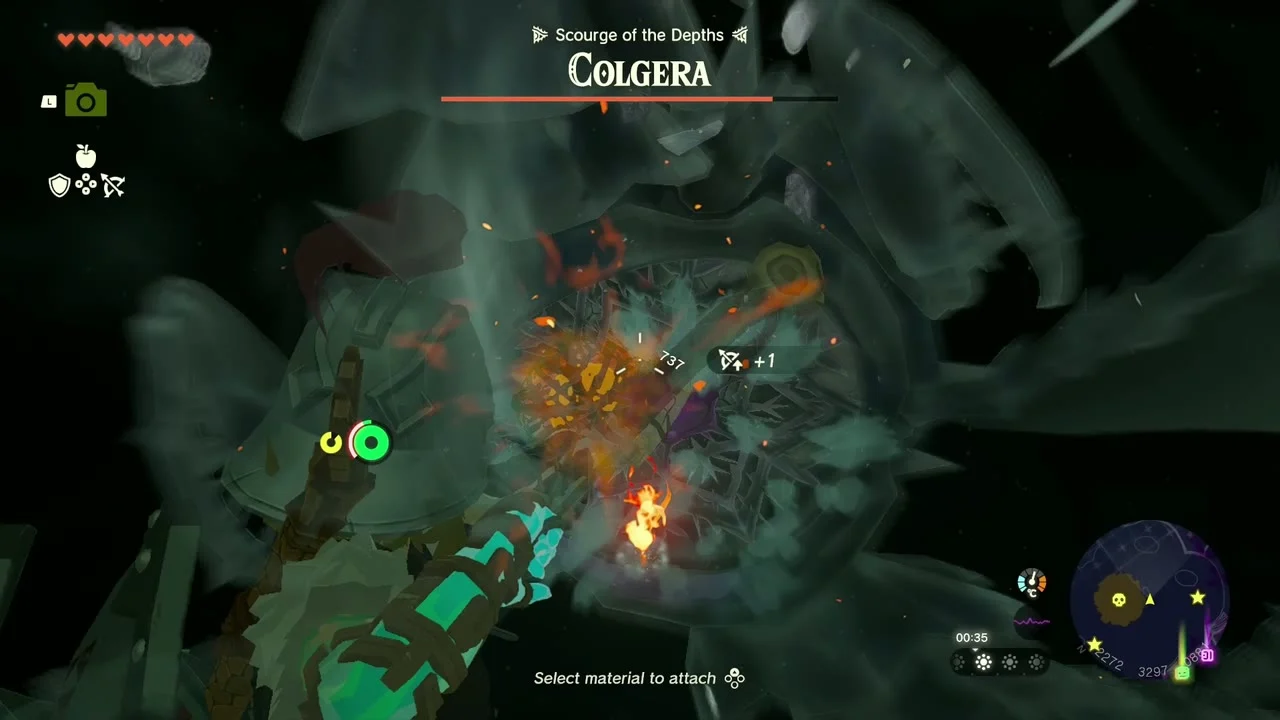
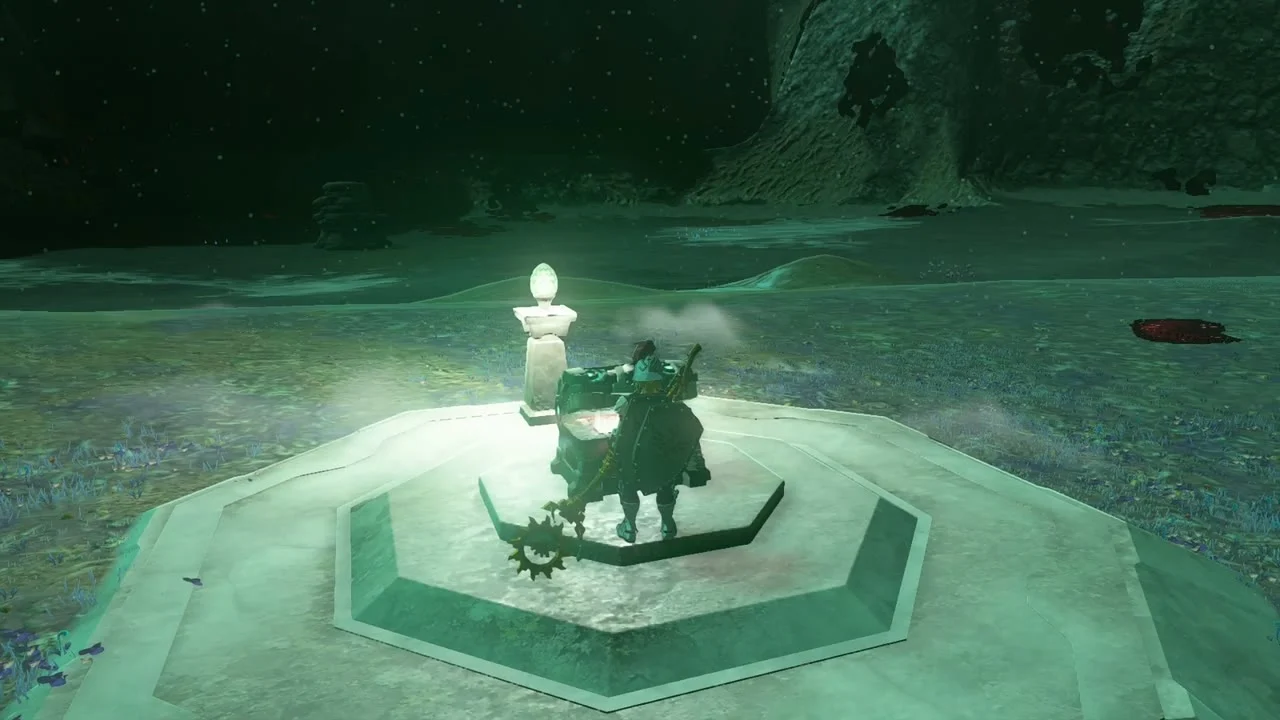
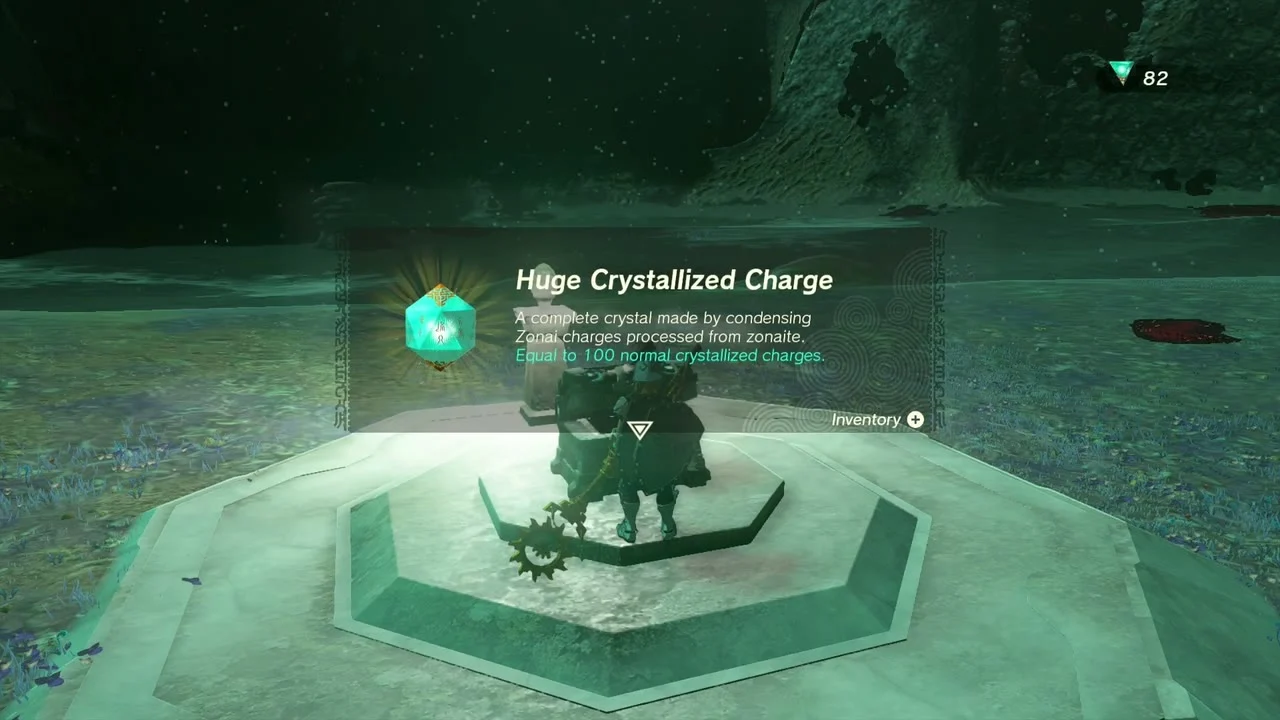
Boss: Colgera (Depths) at the arena at about (-2254, 3299, -1020), east of Narusis. Keep moving, shoot its weak points when they are exposed and use strong weapons. This is one of three Depths Colgeras; after you have beaten the Wind Temple one, it is fought again here. Defeating it drops a Colgera Jaw and opens a chest on the central pedestal for a Huge Crystallized Charge, worth 100 normal charges. The boss returns after a Blood Moon, but the chest gives its charge only once.
Floodlights Yiga camp
Climb the Yiga tower
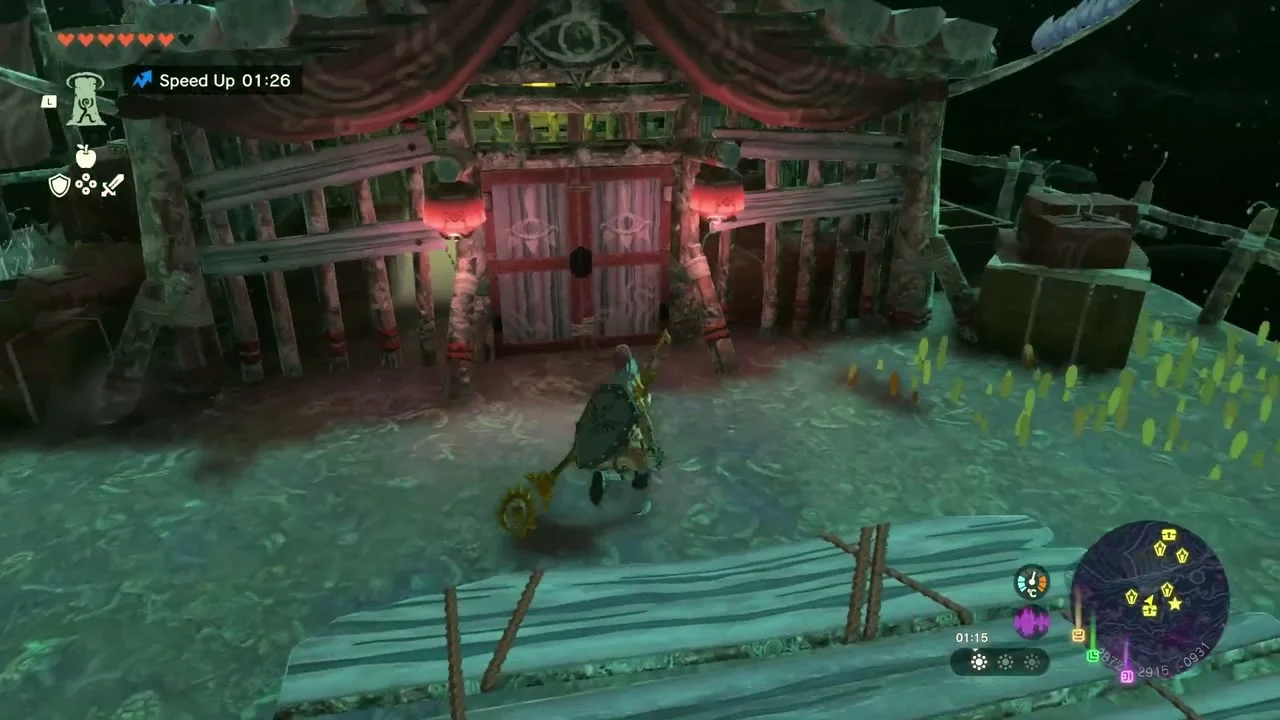
Yiga Clan camp at (-2866, 2918, -0931), directly west of Hebra Canyon Mine. A rope-and-wood tower climbs the cliff, so scale the ropes or fly up. Defeat the marked Yiga member to unseal the red doors of the storeroom. The two chests hold a Yiga Schematic for the Floodlights (a stake with two lights, useful for lighting a dark path in the Depths) and a Large Crystallized Charge. Crates inside hold Brightbloom Seeds and arrows.



Hebra Canyon Mine
Mine the Zonaite
Hebra Canyon Mine at (-2767, 2898, -0875) opens from the canyon wall at about (-2830, 2994, -1056). Large Zonaite deposits line the passage down to (-2776, 2894, -1164); break them with a hammer or bomb to refill your Zonaite.

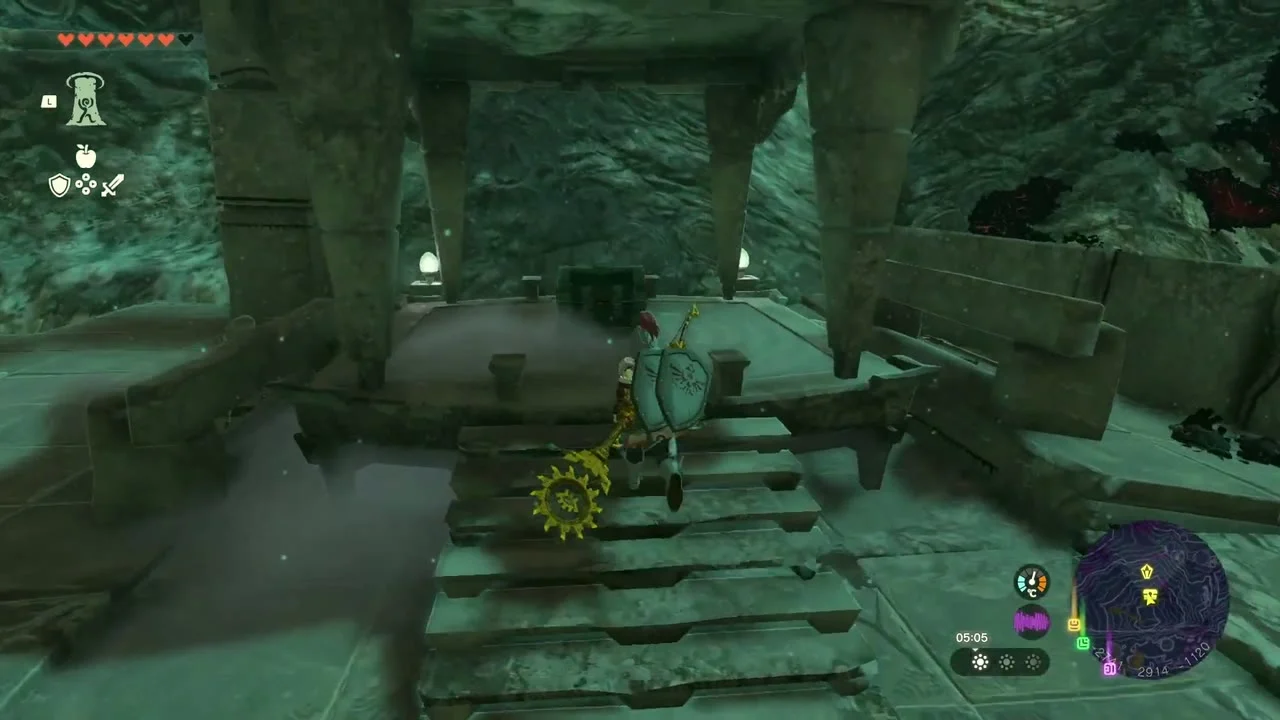
Open the Sea-Breeze Boomerang chest
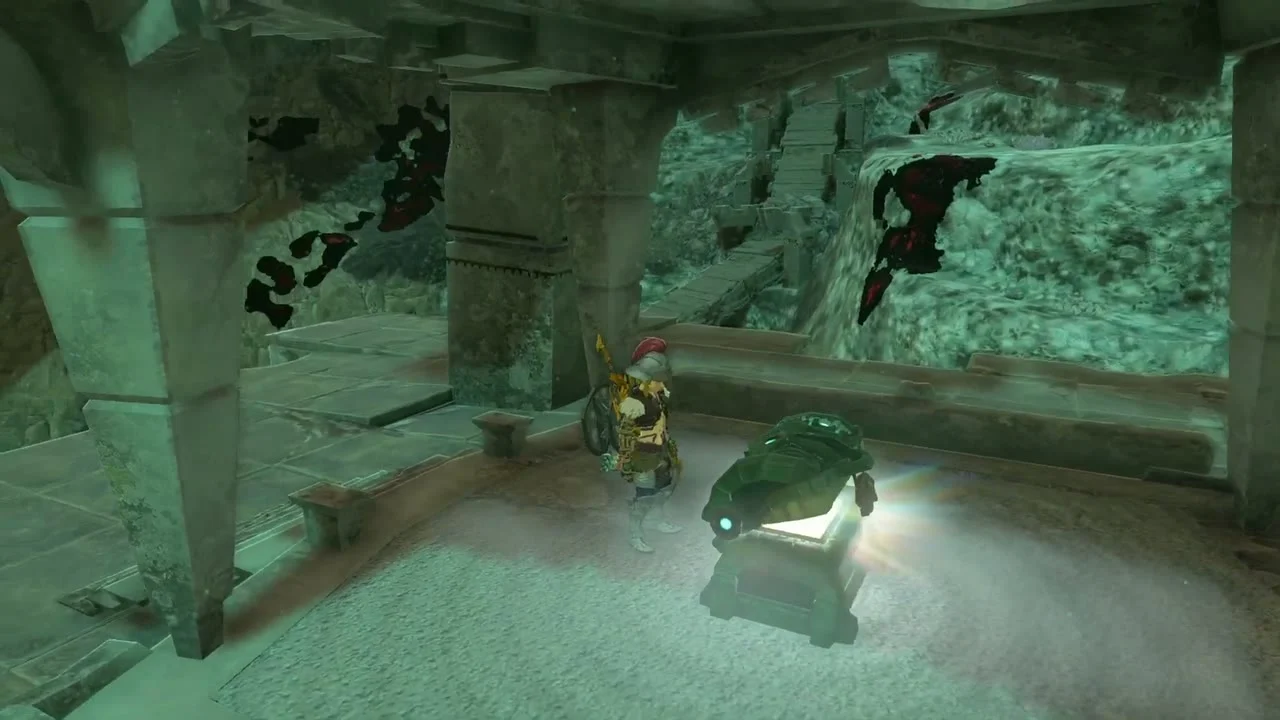
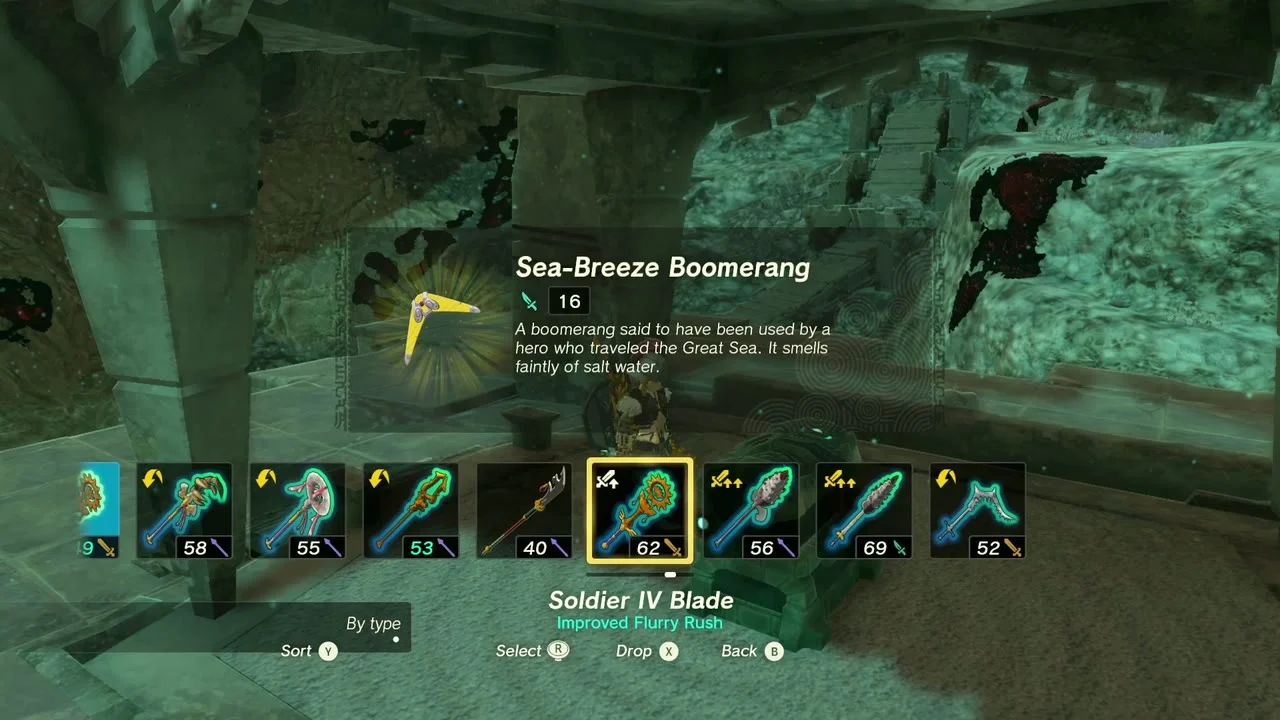
Chest: Sea-Breeze Boomerang at about (-2741, 2914, -1120). Climb the wooden stairs to the pillared platform at the bottom of the mine and open the chest for the Sea-Breeze Boomerang, a boomerang that returns after a throw.
Muotue Lightroot
Light Muotue Lightroot
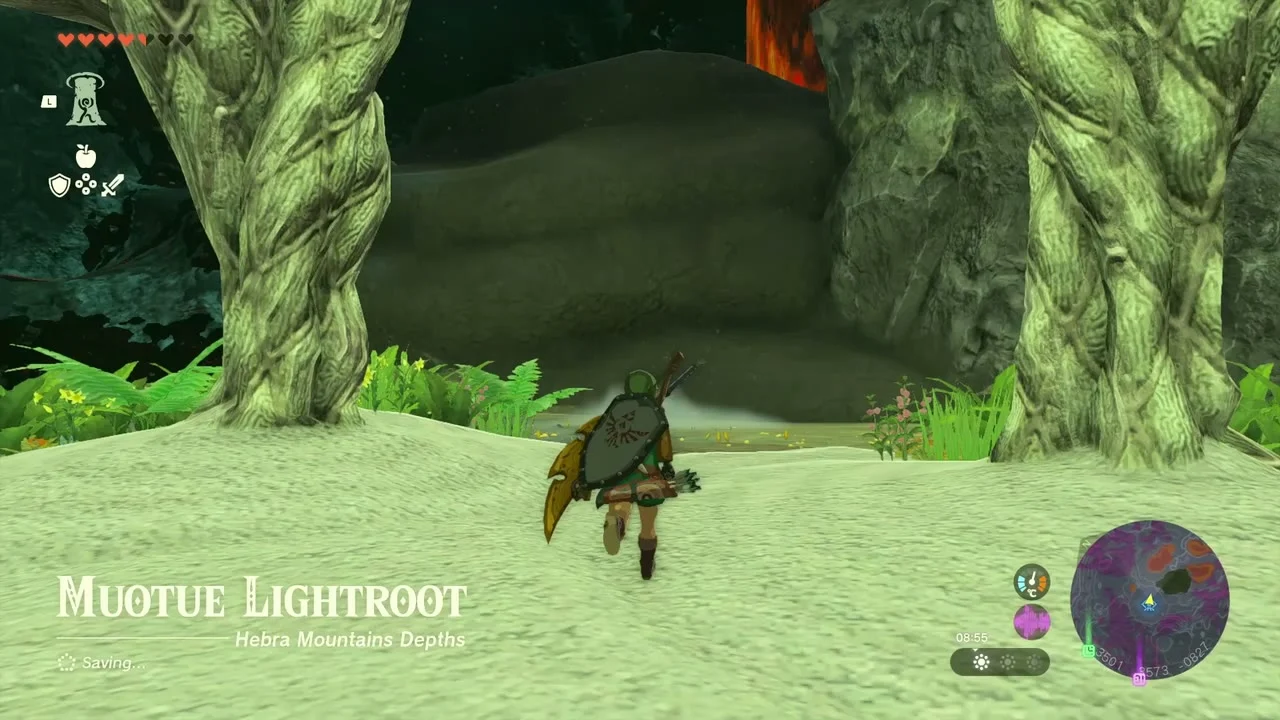
Muotue Lightroot at (-3508, 3568, -0847), below Eutoum Shrine. A lava channel runs along the approach, so keep to the high ground. Light it before you go further.

Goflam’s Lavafalls
Cross the lava ledges
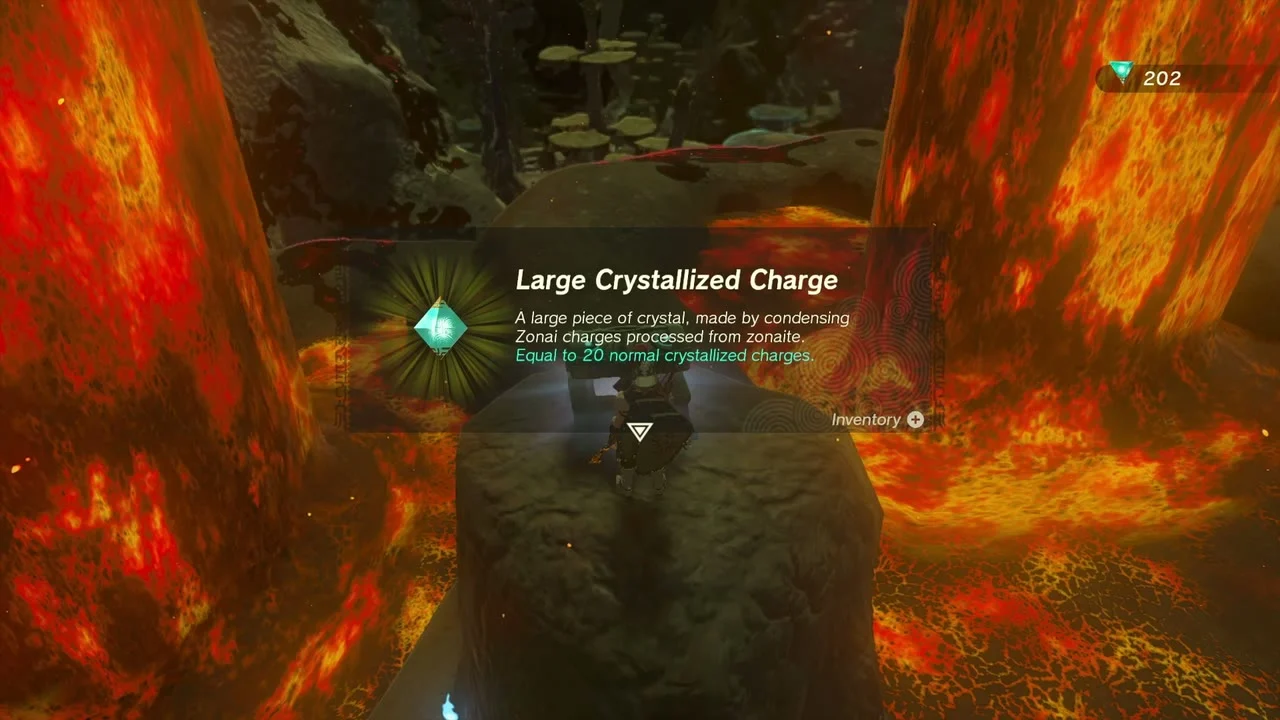
Chest: Large Crystallized Charge at (-3394, 3572, -0782) in Goflam’s Lavafalls (-3399, 3612, -0810). Drink a Fireproof elixir or eat Fireproof food, then hop between the rock ledges beside the lavafalls to the pedestal rock. Open the chest for a Large Crystallized Charge. Poes float over the ledges, so collect them on the way.

Hebra Dark Skeleton
Open the Cap of the Wild chest
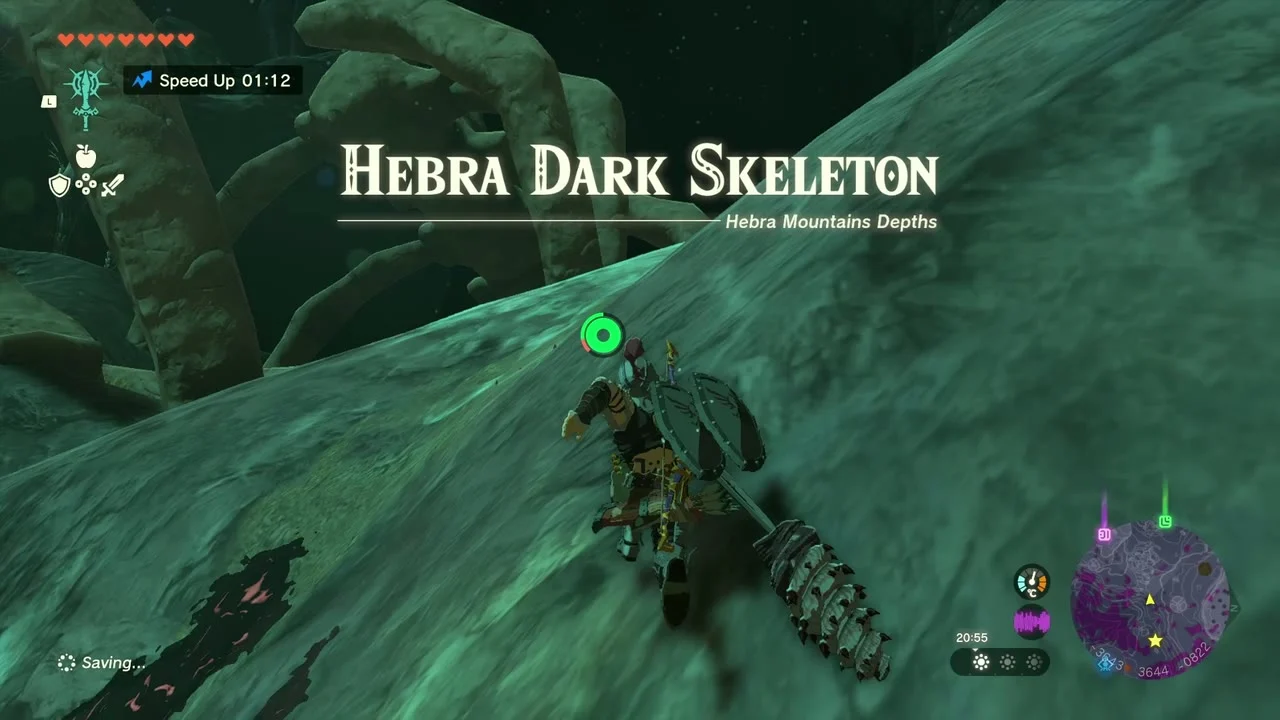
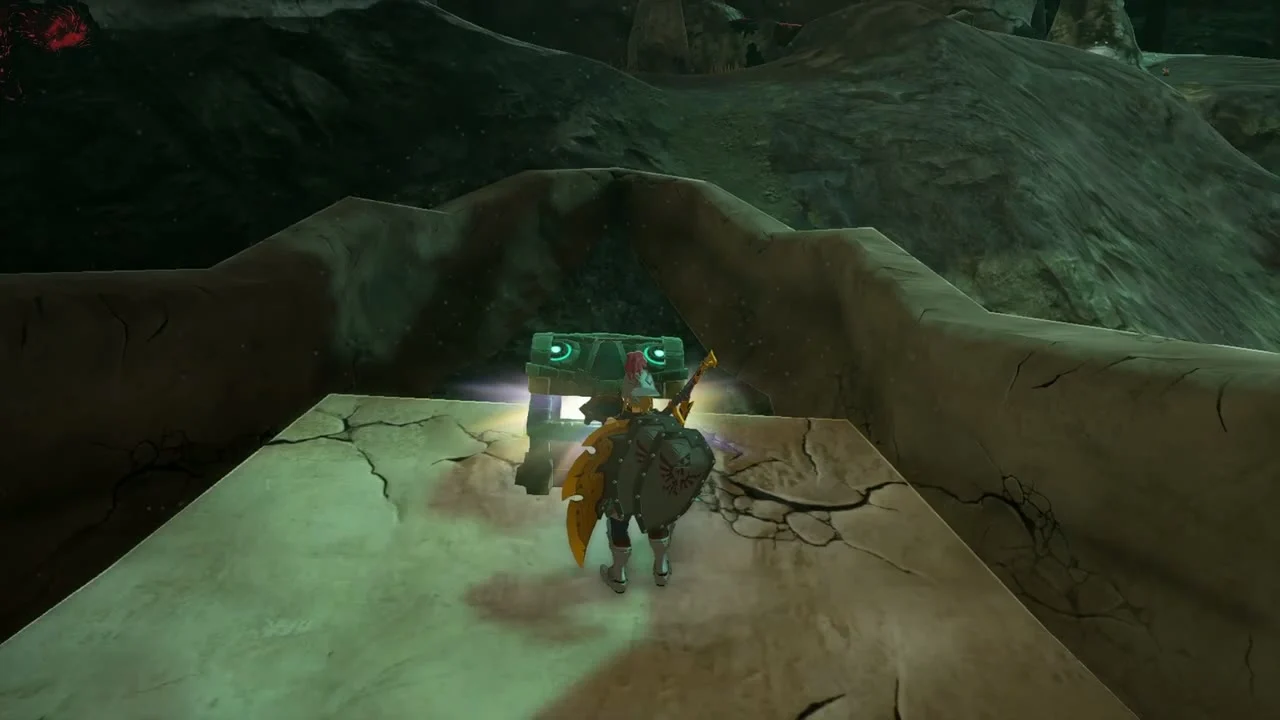
Chest: Cap of the Wild at (-3956, 3723, -0858), north-west of the Hebra Dark Skeleton (-3851, 3636, -0941). The chest sits in the skeleton’s skull, at the far northern end of the Hebra Depths, so glide in from the Kato Lightroot side and open it for the Cap of the Wild, a head armor piece. It is the head piece of the Wild set.

Kato Lightroot
Light Kato Lightroot
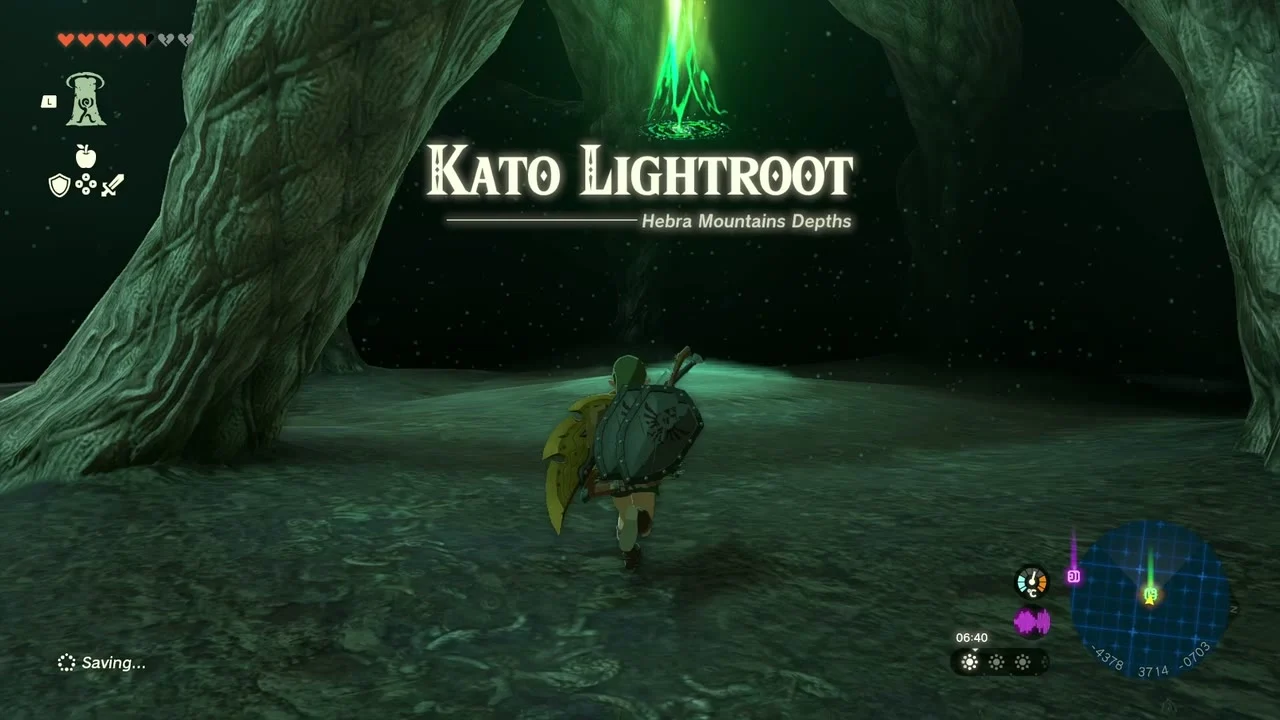
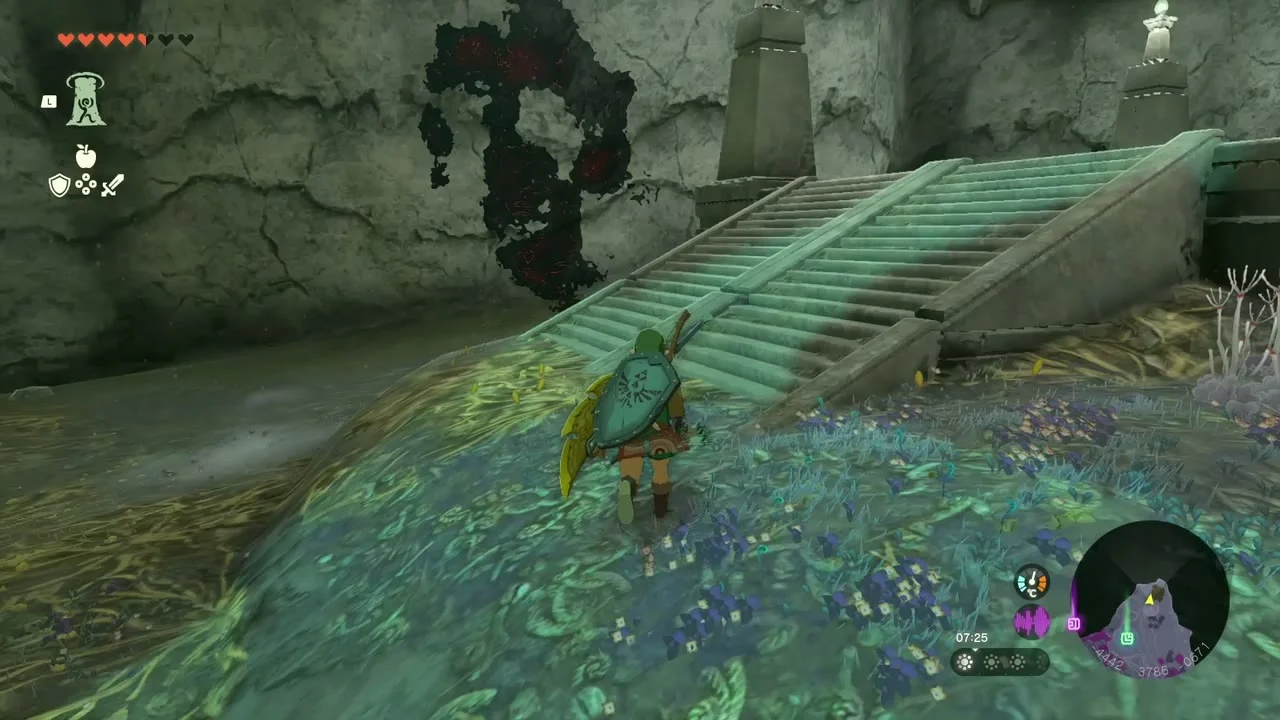
Kato Lightroot at (-4389, 3713, -0723), below Otak Shrine, in the north-west corner of the Depths. A cave mouth leads to the roots. A stone staircase lined with obelisks stands north-west of it at about (-4442, 3786, -0671).
Black Hinox and Sherfin’s Lavafalls
Defeat the Black Hinox
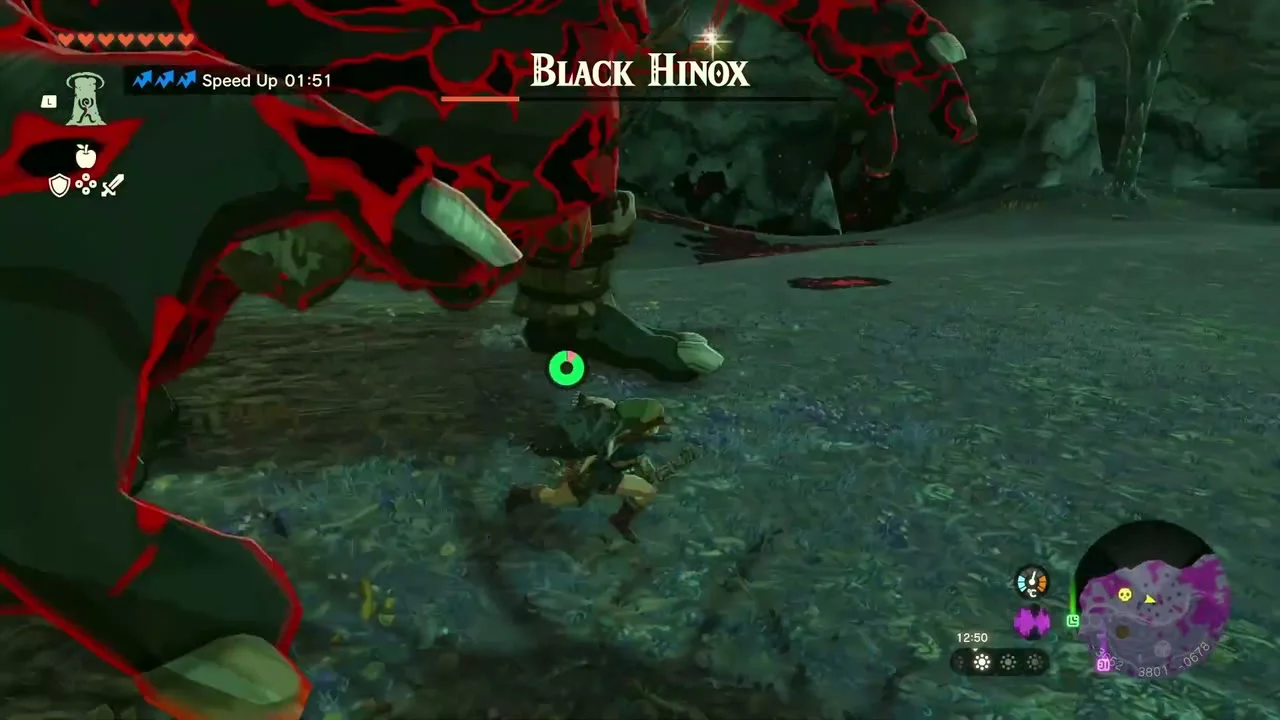
Miniboss: Black Hinox at about (-3655, 3796, -0678), north-west of Muotue Lightroot. Stay behind cover, shoot its eye and use bombs or a strong two-handed weapon when it is stunned. It drops a Black Hinox Horn, Hinox Toenail x2 and a Large Crystallized Charge.

Open the chest at Sherfin’s Lavafalls
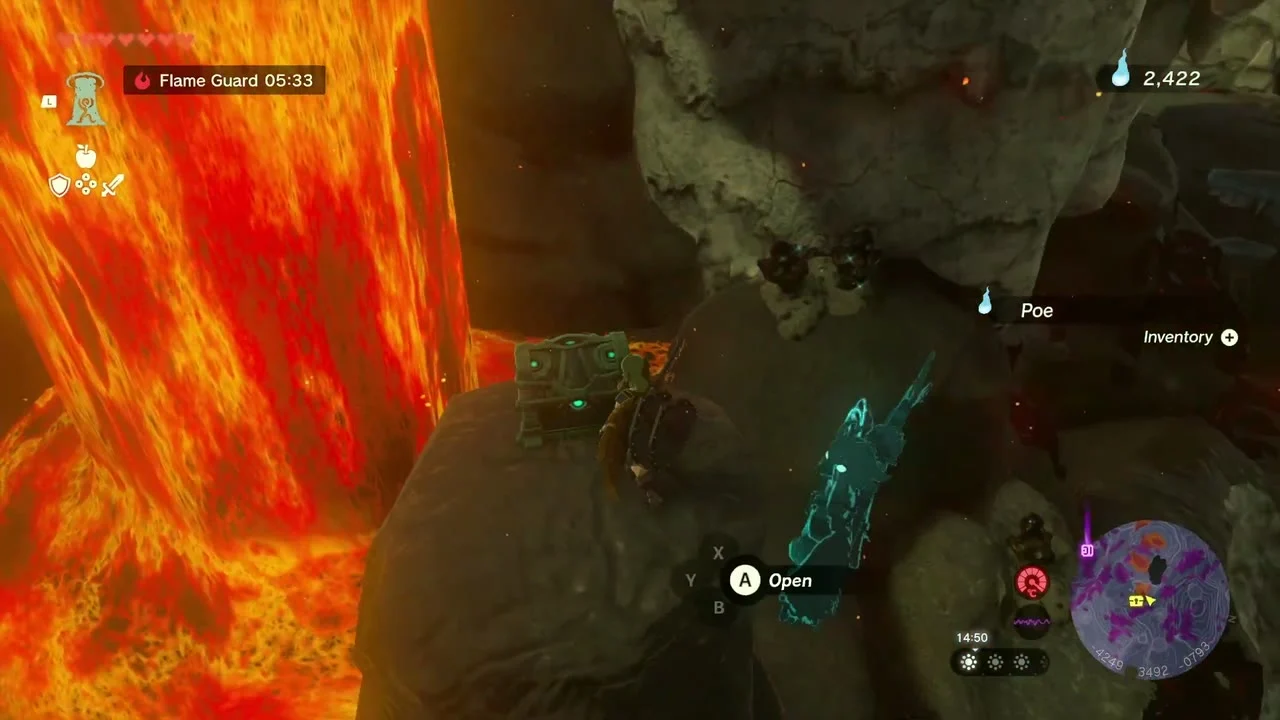
Chest: Large Crystallized Charge at (-4249, 3492, -0793), beside Sherfin’s Lavafalls (-4343, 3465, -0921). Use Fireproof food and step across the rocks to the ledge beside the lavafall. Open the chest for a Large Crystallized Charge.

Defeat the Stone Talus
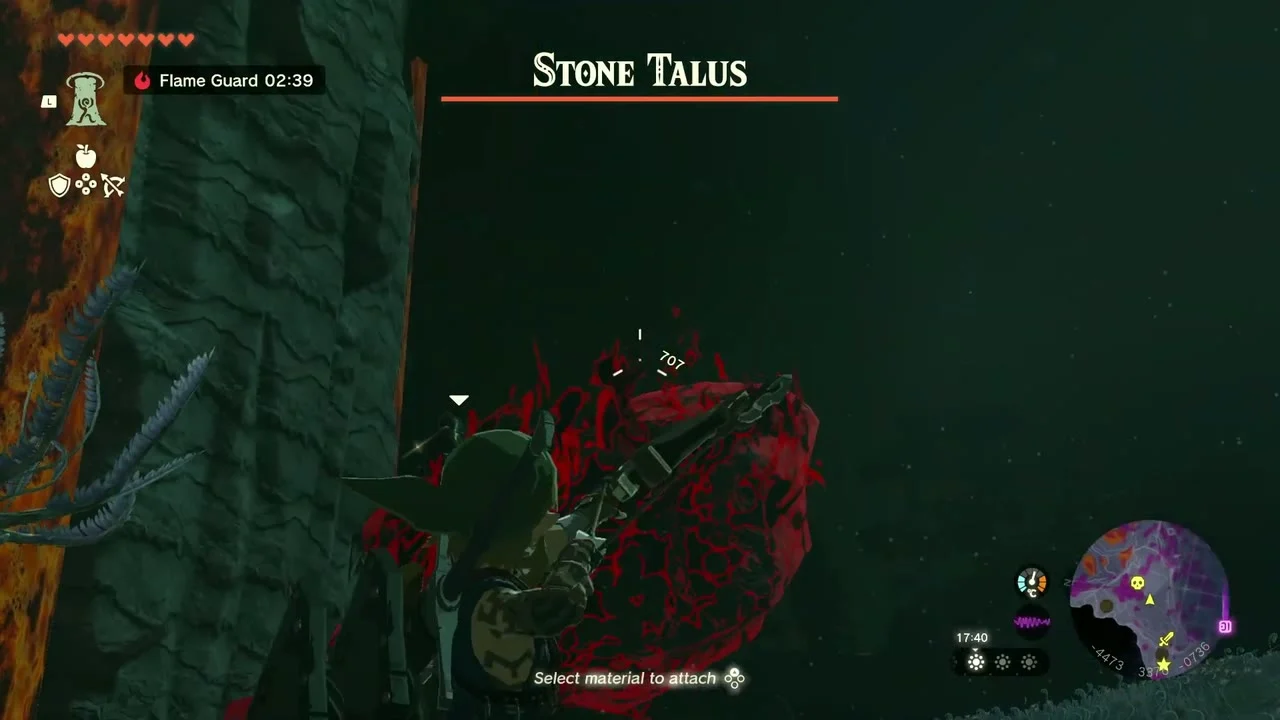
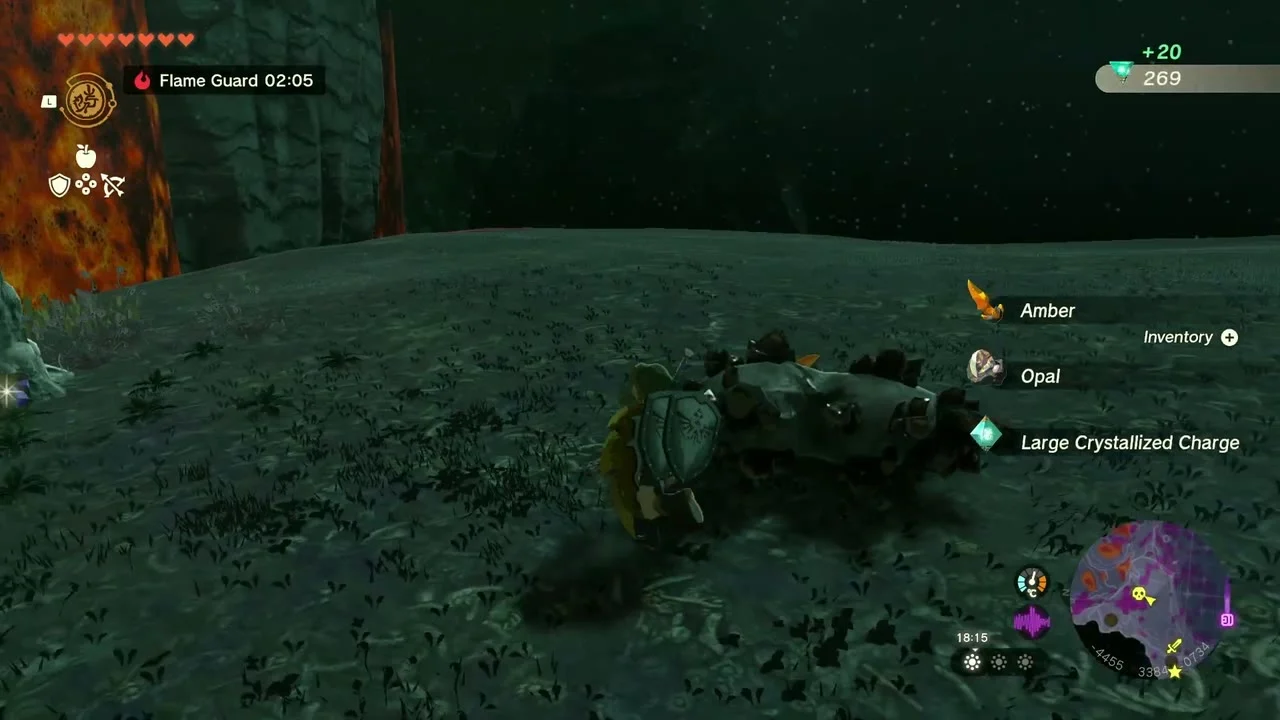
Miniboss: Stone Talus at about (-4480, 3386, -0737), south-west of Sherfin’s Lavafalls. Climb its back to the glowing ore weak point and strike it with a hammer or heavy weapon. It drops Amber, Opal and a Large Crystallized Charge.
Tips for this stretch
Large Crystallized Charges count as 20 Zonai Charges each, so the five here (Frox, camp, Goflam, Hinox, Sherfin) plus the Huge Charge from Colgera refill a lot of vehicles. Fuse the Blue-White Frox Fang or Black Hinox Horn to a weapon for a big attack boost. Each Yiga Schematic adds one recipe to your Autobuild list. If you lose a Trousers of the Hero or a Cap of the Wild, a Bargainer Statue in the Depths sells them back for 400 Poes, and its stock refreshes after each Blood Moon.
Both mines sit directly under their surface namesakes (Corvash Peak and Hebra Peak), and each holds a single chest: the Trousers of the Hero on the central platform of Corvash Canyon Mine, and the Sea-Breeze Boomerang in the gazebo at the bottom of Hebra Canyon Mine.
Corvash Canyon Mine collectibles
| Collectible | Count | Where |
|---|---|---|
| Depths chests | 9 | Trousers of the Hero; Kite Shield; Yiga Schematic (Floodlights); Large Crystallized Charge x3 (Yiga camp, Goflam’s, Sherfin’s); Sea-Breeze Boomerang; Cap of the Wild; Huge Crystallized Charge (Colgera arena) |
| Minibosses | 3 | Blue-White Frox, Black Hinox, Stone Talus |
| Boss | 1 | Colgera (Depths) |
| Yiga Clan camps | 1 | Floodlights (-2866, 2918) |
| Mines | 2 | Corvash Canyon Mine, Hebra Canyon Mine |
| Lightroots | 4 | Mu-ufatur, Narusis, Muotue, Kato (all Lightroots) |
