





















Tears of the Kingdom 100% Completion Walkthrough43 chapters
Great Sky Island
- Great Sky Island4 shrines, 4 caves and Bubbul Gems, 17 Korok seeds
Hyrule Field and Hyrule Castle
- Lookout LandingParaglider, Crisis at Hyrule Castle, Jiosin and Kyononis shrines, 2 caves, 3 wells
- Hyrule FieldSusuyai and Ishodag shrines, the Hyrule Field Chasm, 2 caves, 13 Koroks
- Hyrule Castle Town RuinsSepapa, Yamiyo and Tukarok shrines, 2 caves, 4 wells, Koroks, chests and Battle Taluses in route order
- Central Hyrule Depthslight all 7 Lightroots, loot Daphnes and Gustaf Canyon Mines, find the Miner's Top
- Rest of Hyrule CastleRoyal Hidden Passage loot, 8 castle chests, Phantom Ganon, Energy Wells
- South Hyrule FieldShrines, Koroks & the Great Plateau
- South Hyrule Field DepthsGreat Abandoned Central Mine, Master Kohga, Autobuild, Majora's Mask
Tabantha and Hyrule Ridge
- Tabantha FrontierNew Serenne Stable, Hestu, Courage Island and the Glide Shirt, 3 shrines, 2 Korok seeds, Lindor's Brow Cave
- Forgotten TempleImpa and the Geoglyphs, Dragon's Tears, Kiuyoyou and Mayausiy shrines, Yiga Maritta Branch, 9 Koroks
- Tanagar Canyon & Hyrule RidgeRunakit and Iun-orok shrines, 2 caves, 12 Koroks, 20 chests, 8 minibosses and Dragon's Tear 6
- Thundra Plateau & Tabantha Bridgesolve the noon shadow puzzle, Tabantha Bridge Stable, Makurukis Shrine, 19 Korok seeds, 9 chests, 3 minibosses
- Lindor's Brow DepthsLightroots; Two Yiga camps (Bomb Bouquet, Flamethrower Balloon)
- Hyrule Ridge and Tabantha FrontierIkatak, Oromuwak, Ganos and Ga-ahisas shrines, 4 caves, a well, 26 Koroks and 3 minibosses
Hebra
- Rito VillageGatakis and Ijo-o shrines, Sikatag Lightroot, 9 Korok seeds, 14 chests
- Hebra MountainsShrines, Wind Temple & Koroks; Raspro Pass, Biron Snowshelf & Royal Hidden Passage
- Corvash Canyon MineTrousers of the Hero, Floodlights schematic, Sea-Breeze Boomerang, four Lightroots, Colgera
- Raspro Pass DepthsNupisoyuat and Sasag Lightroots, Colgera, Cap of Time, Tunic of the Wind, two Yiga camps and 13 minibosses
- Tabantha TundraTaninoud, Orochium, Oshozan-u, Mayaotaki, Nouda and Tenbez shrines, three Lightroots, caves and Bubbul Gems
- Pikida Stonegrove DepthsEvil Spirit Greaves, Ikatoayam, Muihcoro and Sikatag Lightroots, 3 Yiga schematics, Frox fights
Great Hyrule Forest
- Great Hyrule Forest7 shrines, 8 Lightroots, 2 caves, 2 wells, Korok Mask, Glide Tights
Eldin
- EldinEldin Canyon, Shrines, Caves & Goron City
- Eldin Canyon Depths10 Lightroots, Zant's Helmet, Trousers of the Wild, Biggoron's Sword, 3 Yiga schematics and Eldin's sky chests
Faron
- FaronHighland Stable, Lake Hylia & Popla Foothills
Necluda
- Kakariko VillageMakasura Shrine, Kakariko Village Well, 2 caves, Ring Ruins chests, 10 Korok seeds and village quests
- West Necluda and Lanayru WetlandsShrines, Koroks & Caves; Jonsau, Kurakat
- Hateno VillageZanmik and Mayahisik shrines, Shield of the Mind's Eye and Phrenic Bow wells, 7 Koroks
- East NecludaRabella Wetlands, Sifumim Shrine, Lurelin Village, 21 Korok seeds
- East Necluda DepthsKumamayn Shrine, 4 Lightroots, Midna's Helmet, Cap of the Hero, Trousers of the Wind and 18 Depths chests
Lanayru
- Lanayru Great SpringShrines, Koroks & Caves; Ralis Channel, 3 shrines, 8 caves
- Zora's DomainMogawak and Ihen-a shrines, Ploymus cave, Pristine Sanctum, Zora Armor, Sidon of the Zora and Clues to the Sky
- Wellspring IslandAncient Zora Waterworks chests, Igoshon Shrine, 2 Korok seeds, Water Temple's four wheels and Mucktorok
- Mount LanayruShrines, Koroks & Light Rings; Jikais and Anedamimik shrines
Gerudo
- Gerudo DesertShrines, Caves & Koroks; West and South Sands
- Gerudo TownGerudo Shelter shops and quests, Valley of Silent Statues, Lightning Temple and Queen Gibdo, Chichim Shrine
- Gerudo Desert DepthsGranajh and Daval mines, three Master Kohga fights, Queen Gibdo, Mucktorok, Sheik's Mask and 37 chests
- Gerudo HighlandsSkyview Tower, Rotsumamu and Suariwak shrines, Mayasiar Shrine, Yiga hideout
Akkala
- AkkalaTarrey Town quests, 4 shrines, Hinox, Battle Talus
- Akkala Sky Islands and DepthsGikaku and Natak shrines, Old Maps, Lomei Depths Labyrinth, Mucktorok, 5 Lightroots and 19 chests
Finale and completion
- Ancient Tablets, Gleeoks and Armor Upgradesall 13 stone tablets with coordinates, Frost and King Gleeok, Obsidian Frox, Cotera upgrades and farming
- Hyrule CastleRoyal gear chests, Korok seeds, Serutabomac Shrine
- Thunderhead IslesCharged armor, Joku-usin and Joku-u Shrines, Dragonhead Island's relic
- 100% Completion: Armor Upgrades & Korok BonusHestu's Gift, Ancient Hero's Aspect, Great Fairy Cotera upgrade costs and materials, then Destroy Ganondorf
This chapter is in 2 parts, in the order a 100% run reaches them. Jump to a part:
Part 1: Shrines, Wind Temple & Koroks
| Region | Hebra Mountains (Rospro Pass, Talonto Peak, Lake Totori, Lake Kilsie and Dronoc’s Pass), the Rising Island Chain in the Hebra sky, and Rito Village once the blizzard clears |
|---|---|
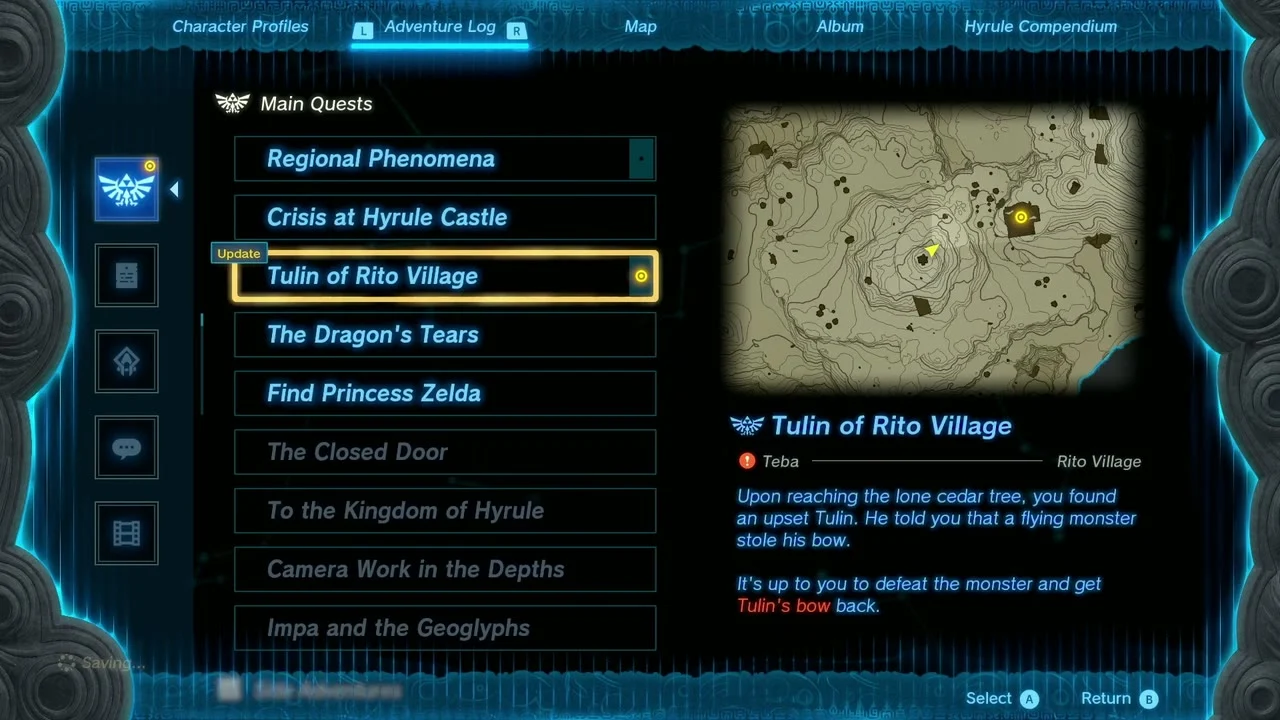
| Main quest | Tulin of Rito Village: find Tulin on Talonto Peak, reach the Rising Island Chain, open the five locks of the Wind Temple, beat Colgera and earn the Vow of Tulin, Sage of Wind |
| Shrines | Sahirow Shrine (Aid from Above, puzzle), Wao-os Shrine (Lever Power, puzzle), Mayaumekis Shrine (Downward Force, puzzle, sky), Kahatanaum Shrine (Rauru’s Blessing, sky) |
| Lightroots | Worihas Lightroot (below Sahirow, -3353, 2385) and So-oaw Lightroot (below Wao-os, -4057, 1989); see all Lightroots |
| Caves | Rospro Pass Cave, Talonto Peak Cave, Hebra South Summit Cave, West Lake Totori Cave, Lake Kilsie Cave |
| Well | Dronoc’s Pass Well (-3832, 2105) |
| Quests | Crossing the Cold Pool, Legacy of the Rito, Fish for Fletching, The White Bird’s Guidance, Treasure of the Secret Springs (started), Kaneli’s Flight Training, A Mystery in the Depths (started) |
| Minibosses | Flux Construct I, Battle Talus, Colgera (Wind Temple boss) |
| Armor | Frostbite Headdress (Lake Kilsie Cave) |
This chapter takes you from the snowy ridges around Rospro Pass up to Talonto Peak, into the sky above Hebra for the Rising Island Chain and the Wind Temple, and back down to a Rito Village that is finally free of blizzard. Bring cold-resistant clothing or Spicy food and plenty of arrows; the reward for the main quest is Tulin as a summonable wind-gust ally.
Coordinates are map units: X runs east, Y runs north, so a larger Y is further north.
Quick route
Start around Rospro Pass: enter Rospro Pass Cave for a Bubbul Gem, take the nearby Korok seeds, deliver ten Chillshrooms to Verla and clear Talonto Peak Cave.
Solve Sahirow Shrine east of Rospro Pass Skyview Tower, collect the Dragonbone Boko Bow (or Boko Bow or Spiked Boko Bow, depending on your progress), then climb through Hebra South Summit Cave to find Tulin and the Swallow Bow chest on Talonto Peak.
Take Tulin’s Power of Wind, recover his bow, and glide up Hebra Peak, collecting the Mighty Zonaite Sword (Strong or Mighty, depending on your progress) and the paired Korok seeds on the way, until Tulin summons the Rising Island Chain.
In the sky, clear Mayaumekis Shrine and Kahatanaum Shrine, fight Flux Construct I, then open the five locks of the Wind Temple and defeat Colgera for the Vow of Tulin.
Return to Rito Village for its quests, solve Wao-os Shrine at the end of West Lake Totori Cave, sweep the lakes for Koroks, and finish at Lake Kilsie Cave for the Frostbite Headdress and a final Bubbul Gem.
Rospro Pass and Talonto Peak
Take the Bubbul Gem in Rospro Pass Cave
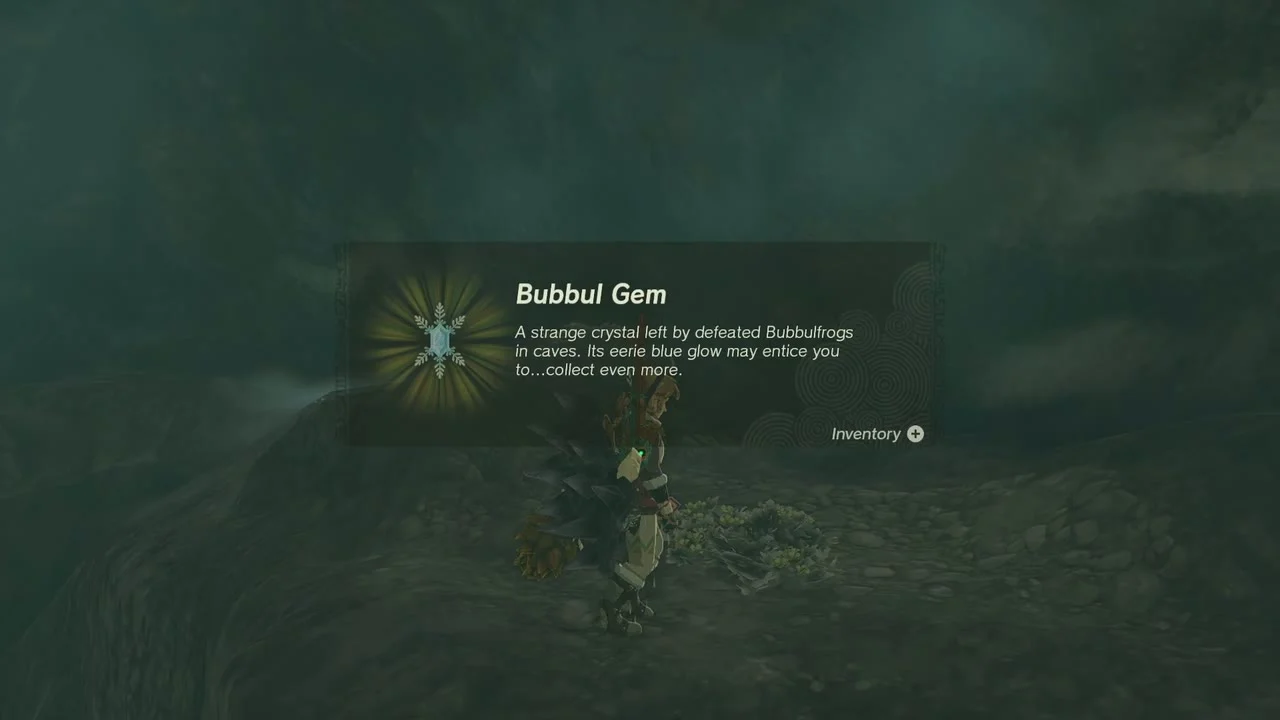
Bubbul Gem (Rospro Pass Cave, -3559, 2488). The cave mouth is a short walk from Rospro Pass Skyview Tower. A Bubbulfrog clings to the roof of the cavern; shoot it with an arrow to knock it down and take the Bubbul Gem it leaves behind. Pick up the Brightbloom seeds that grow near the entrance; you will want them for the dark caves in this region.

Lift the rock for the first Korok
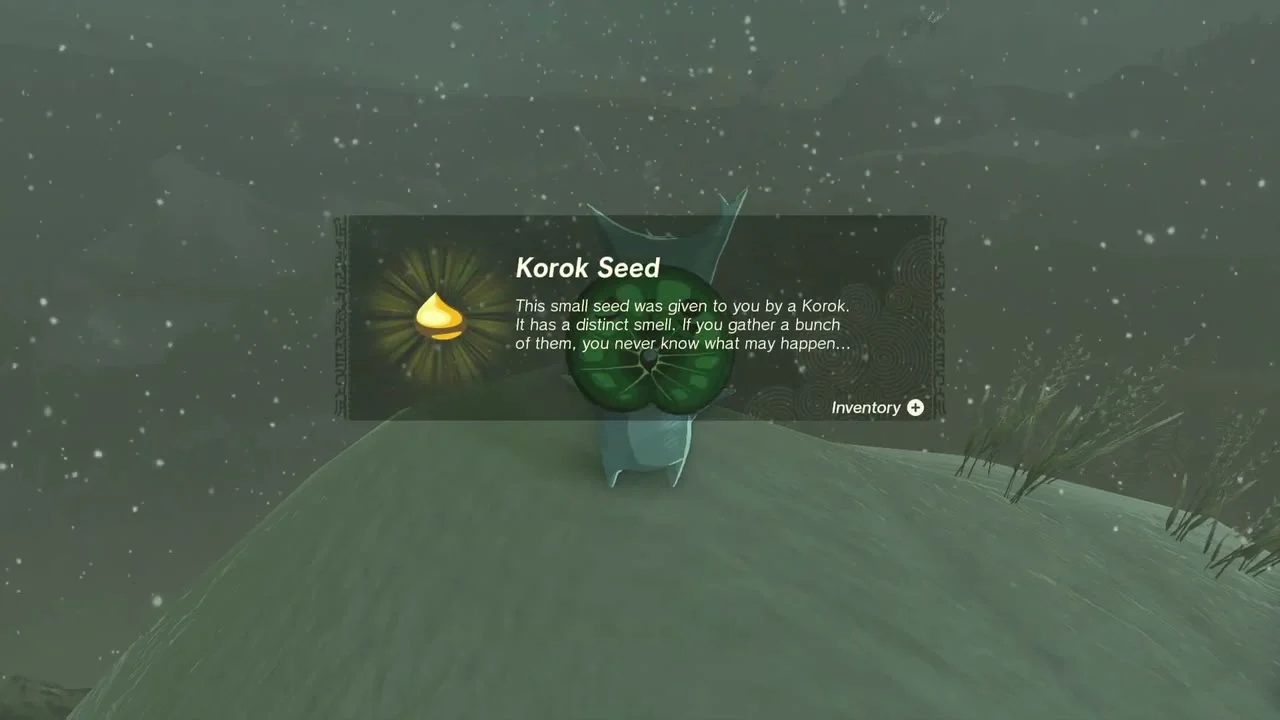
Korok seed (lift the rock). On a snow-covered knoll above the pass, a loose boulder sits on the summit and a Korok hides beneath it. Pick up the boulder with Ultrahand and put it down off the knoll to show the Korok, then talk to it for a seed.

Deliver Chillshrooms to Verla
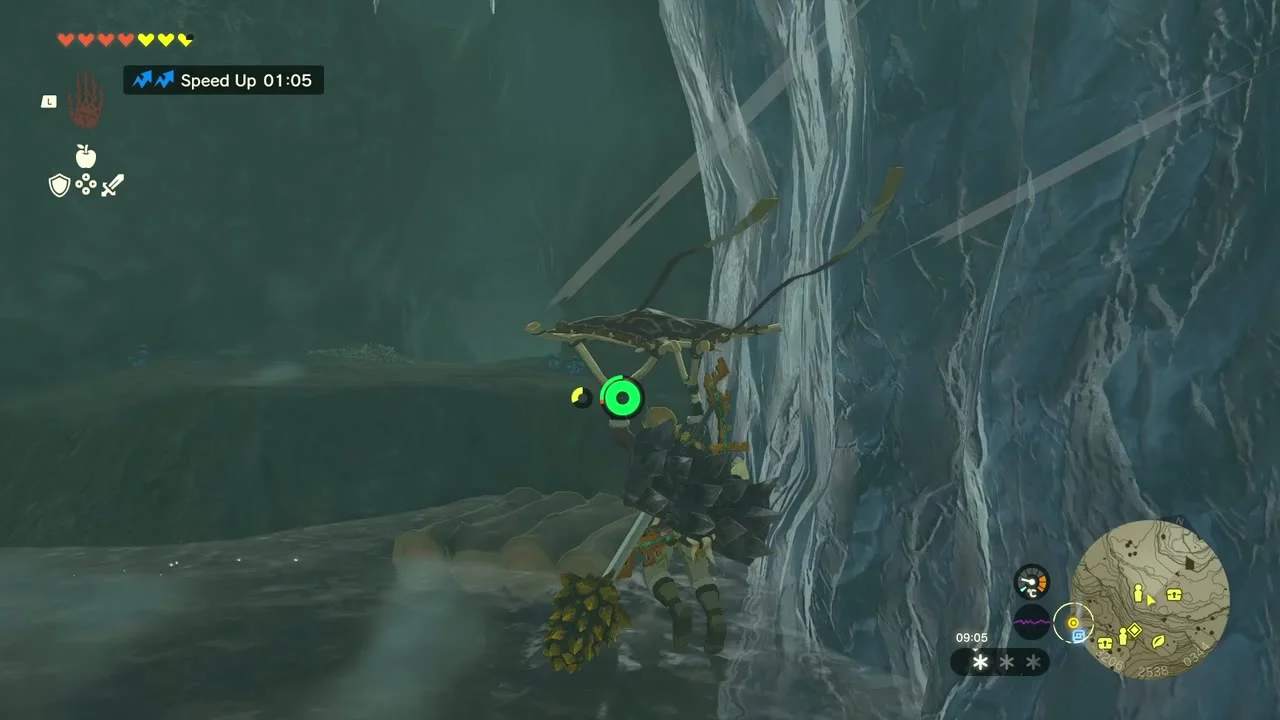
Crossing the Cold Pool (side quest, Verla). Verla waits near Talonto Peak Cave and cannot cross the freezing pool inside it. Ice water makes it dangerous to pick Chillshrooms yourself, so dive in with cold resistance, gather 10 Chillshrooms from the cave walls and bring them to him. He pays out a purple rupee.

Break the ice for the Talonto Peak Bubbul Gem
Bubbul Gem (Talonto Peak Cave, -3214, 2462). Climb through the cave to the far chamber. Icicles hang over a Bubbulfrog above the water: shoot it or the icicles to bring it down, then take the Bubbul Gem. Your count for The Hunt for Bubbul Gems! goes up by one each time.


Free the Korok under the red rock
Korok seed (red-stained boulder). A boulder covered in red sediment sits near a snowy crest north-east of the cave. Grab it with Ultrahand and move it aside; the Korok behind it hands over a seed.

Sahirow Shrine (Aid from Above)
Reach Sahirow Shrine
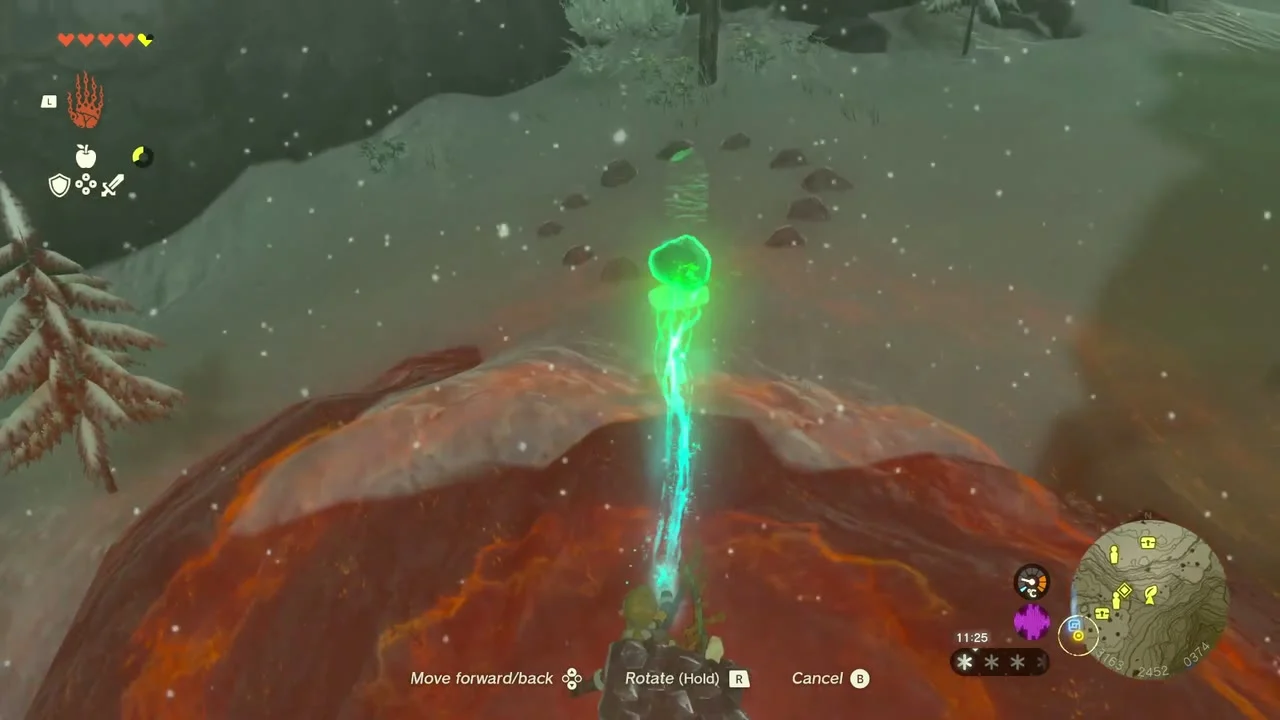
Sahirow Shrine (-3354, 2386, 374; Worihas Lightroot below). Trial: Aid from Above (puzzle). The entrance is set into a rocky outcrop east of Rospro Pass Skyview Tower; glide east from the tower and head for the green glow. The Lightroot sits directly below at -3353, 2385.
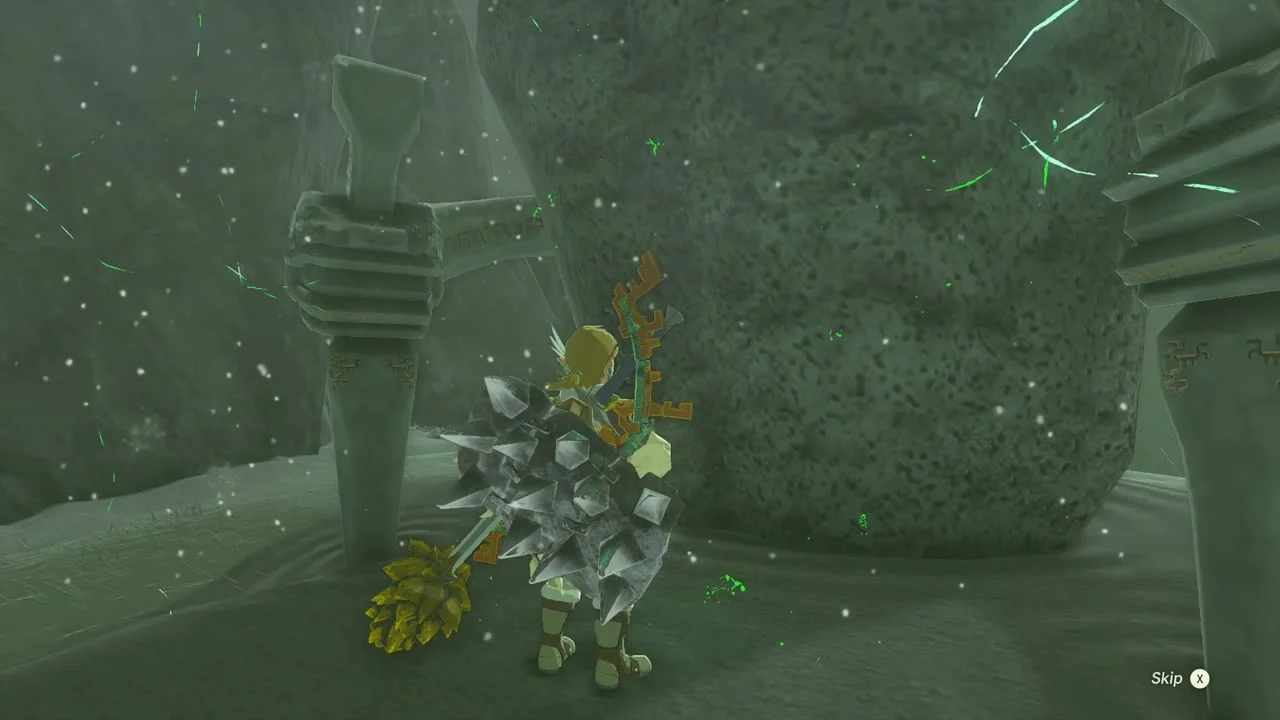

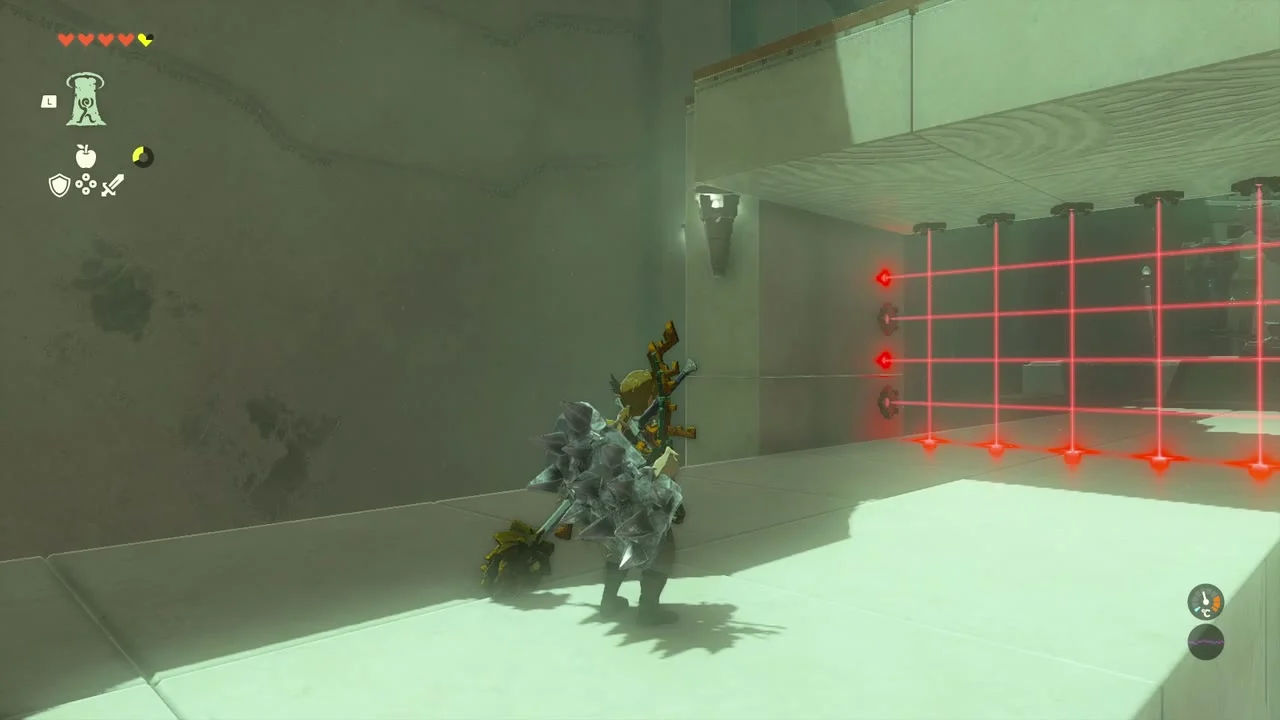
Dodge the laser grids
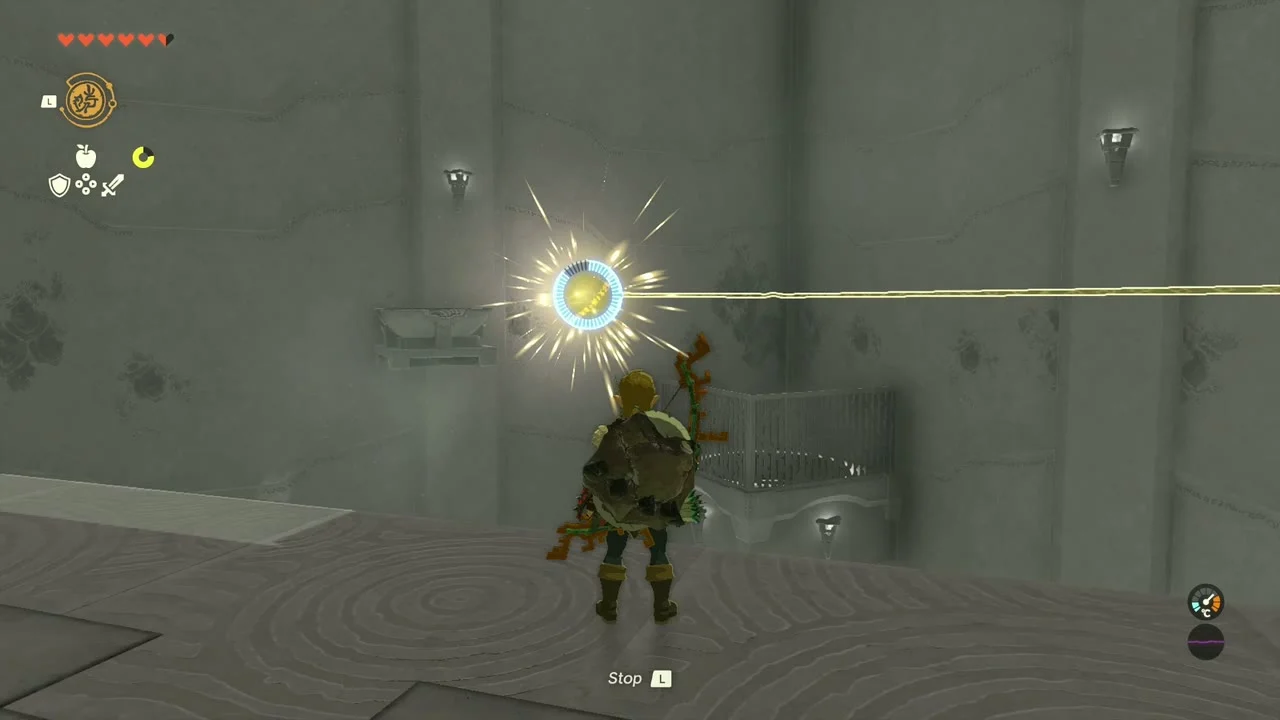
Jump over the first laser, then crouch under or step between the beams in the next hall and hop the three low lasers by the stairs. Wait for gaps in the sweep rather than rushing.


Block the laser with a stone cube
Use Ascend or the stairs to reach the moving platform. Take a stone cube from the side with Ultrahand and set it in the path of the laser that guards the gate; the beam stops and the gate opens.
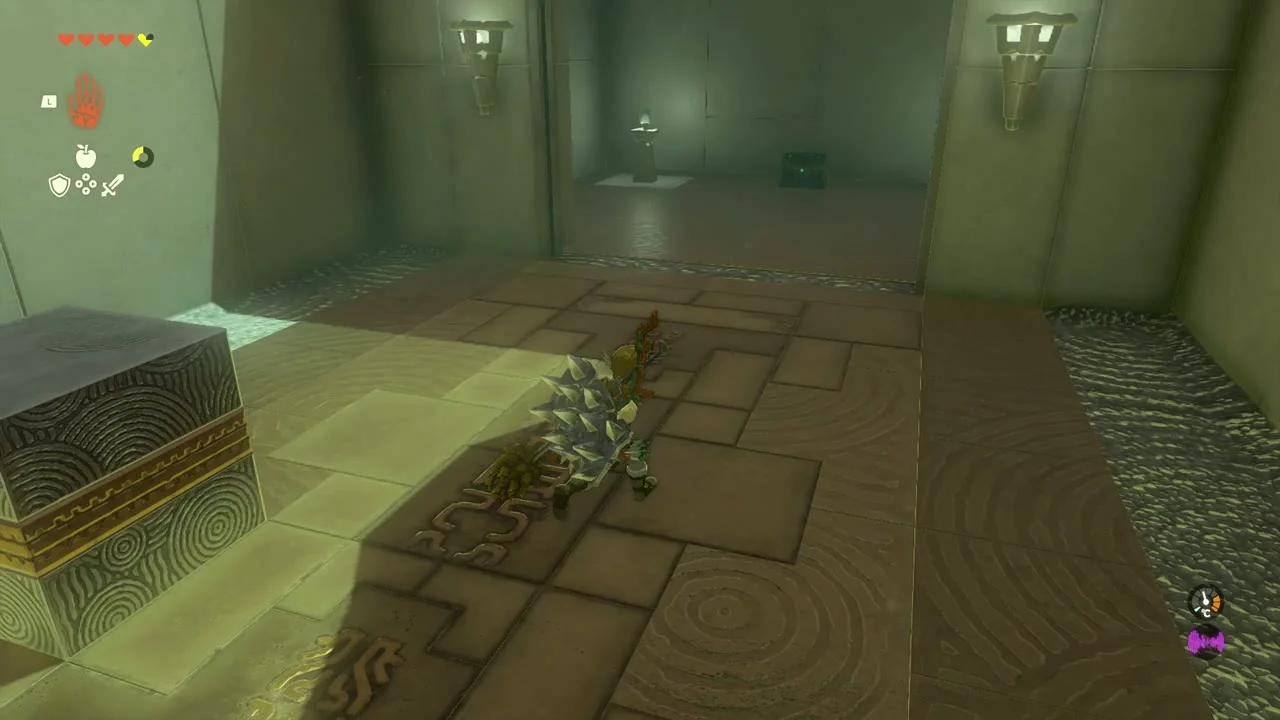

Take the Spicy Elixir
Chest (Spicy Elixir). Open the chest in the room beyond the first lasers for a Spicy Elixir, which gives you cold resistance for the rest of the mountain.
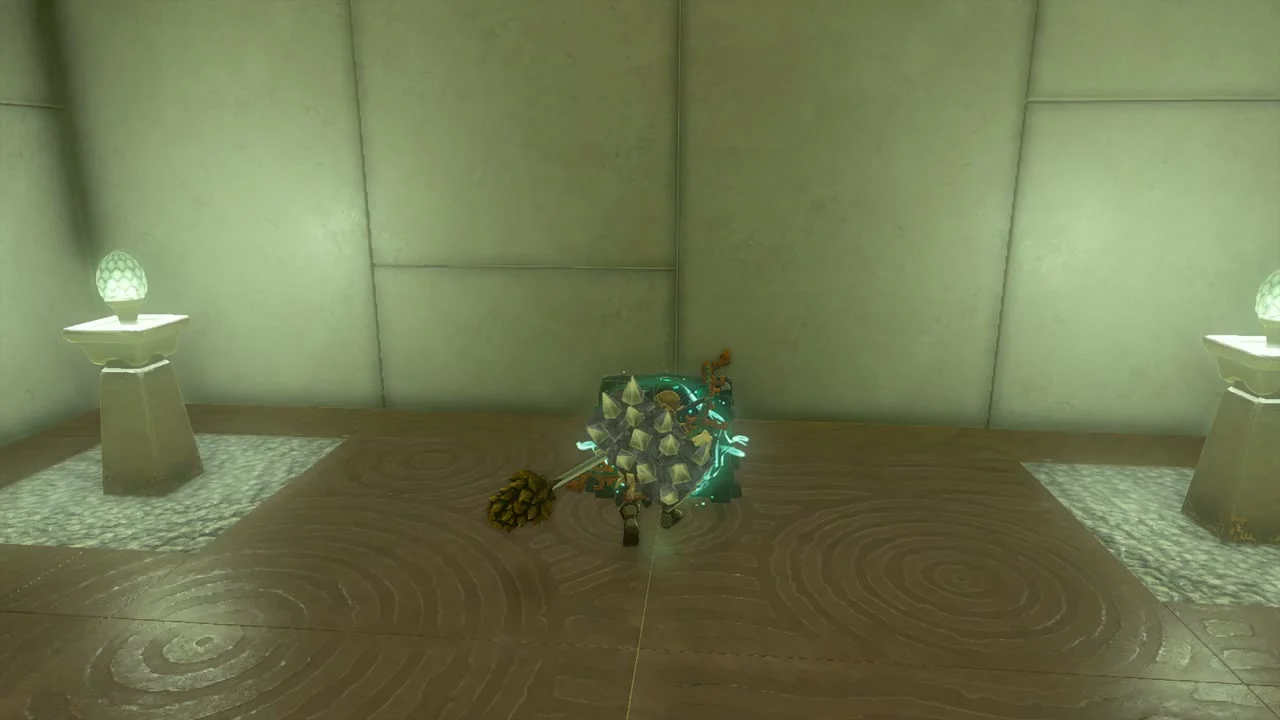
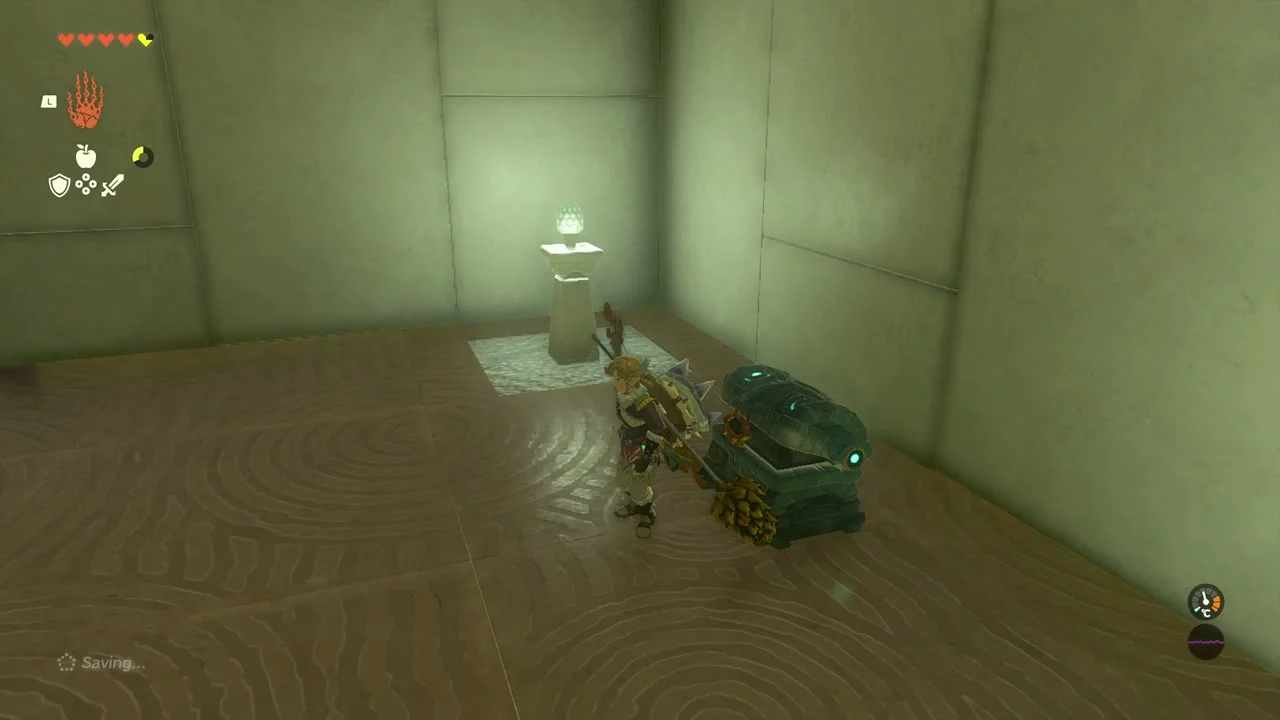
Cross the moving grid
A grid of lasers glides toward you in the last corridor. Use Ascend on the platform above as it approaches, or jump and crouch through the gaps, then glide to the end.

Claim the Light of Blessing
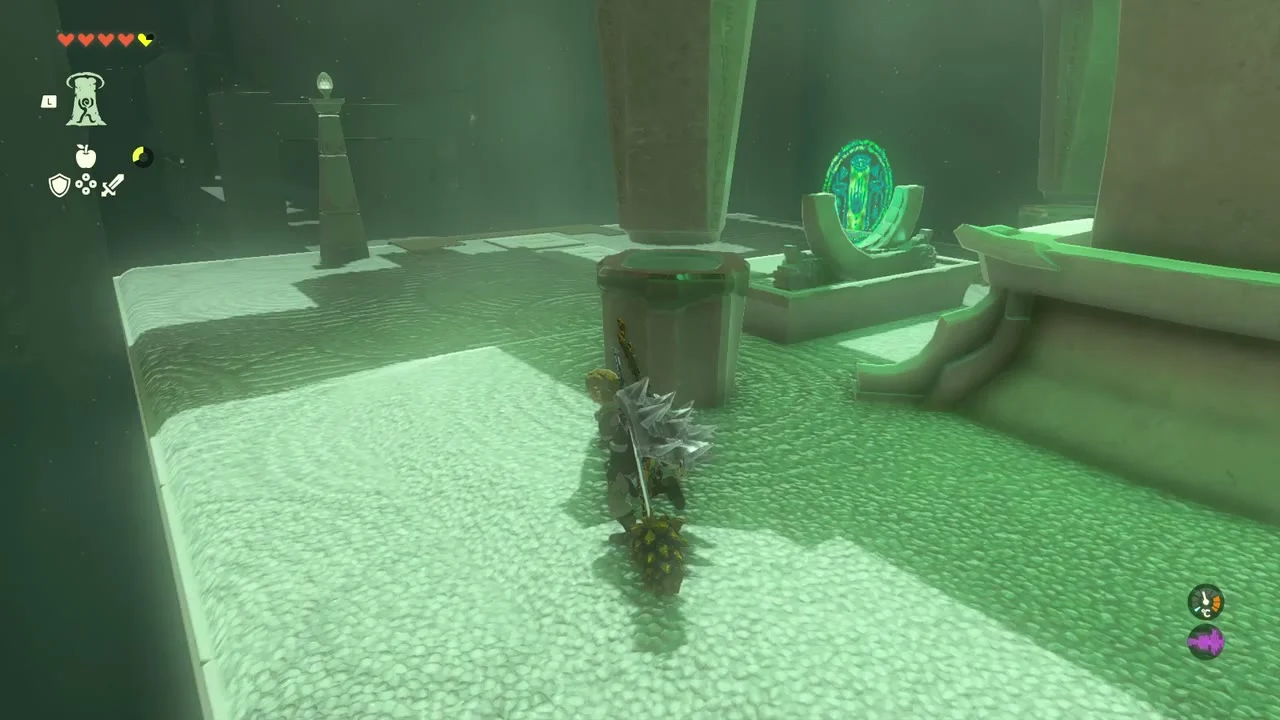
Step up to the green gate at the end of the hall to collect the Light of Blessing. Four Lights buy a Heart Container or Stamina Vessel at a Goddess Statue.

Hebra South Summit Cave and Talonto Peak
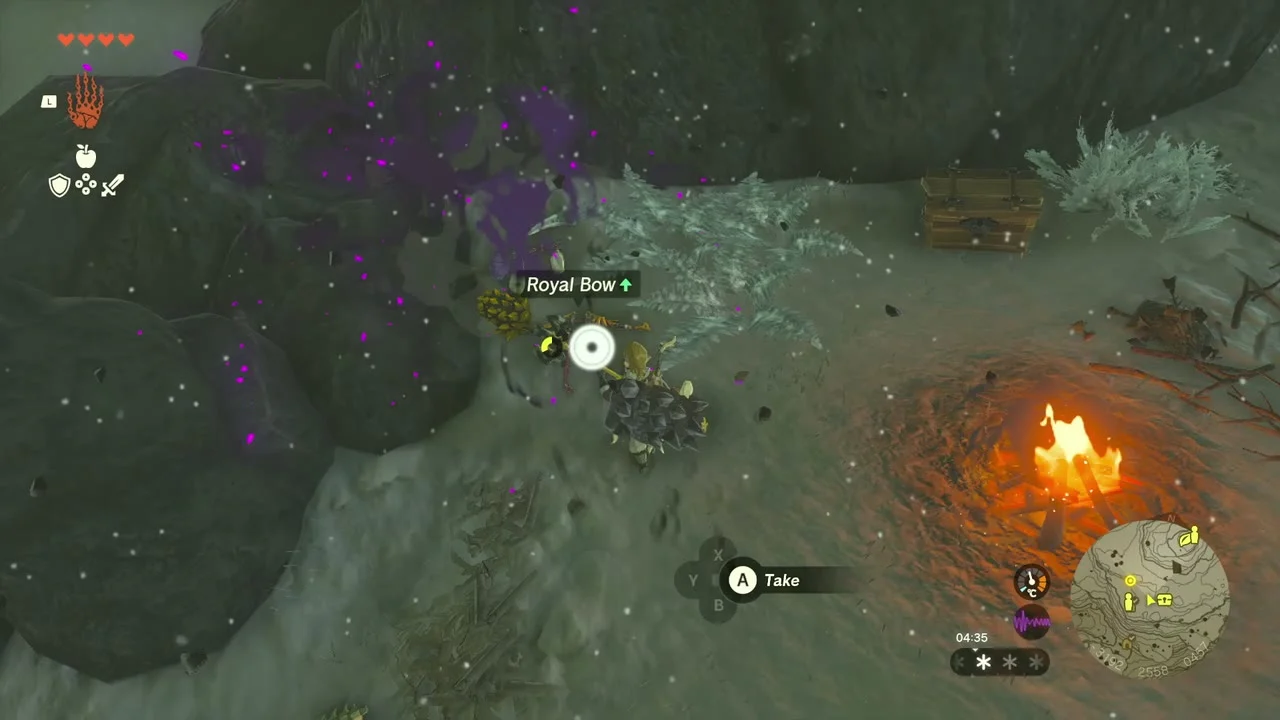
Pick up the Dragonbone Boko Bow
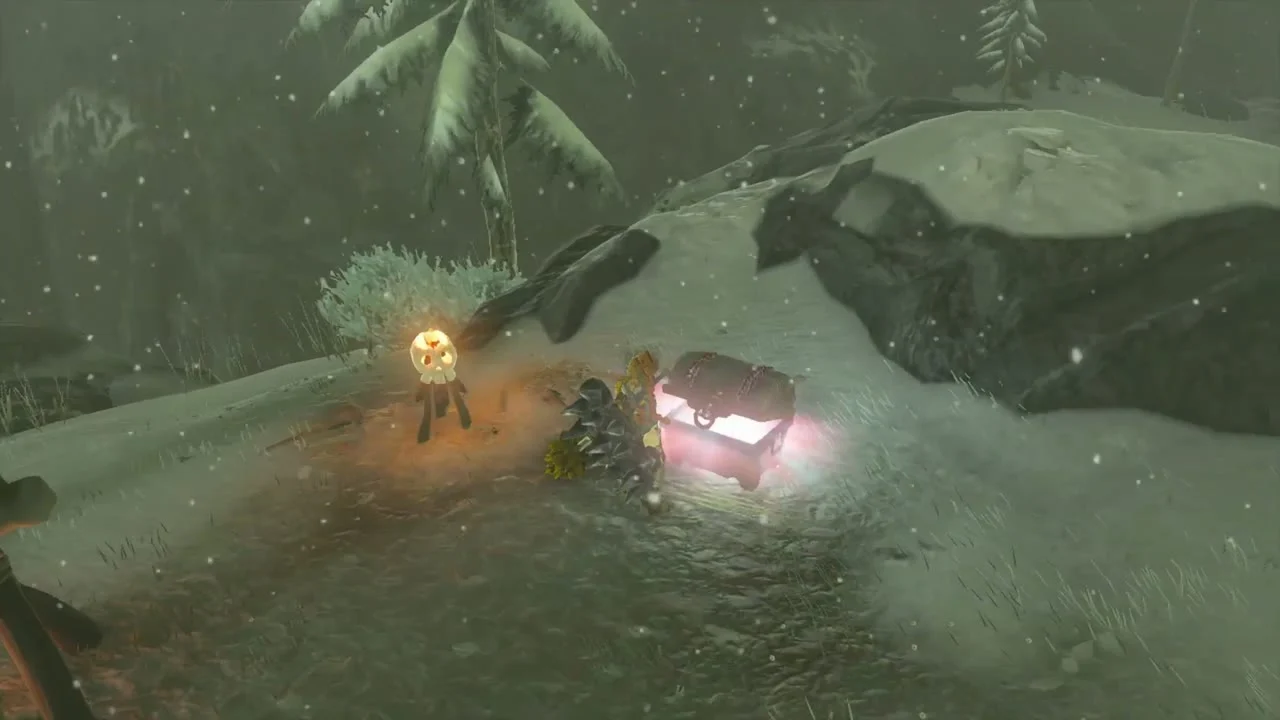
Chest (Dragonbone Boko Bow). A chest sits beside a campfire in a snowy hollow on the route toward the summit. Open it for the Dragonbone Boko Bow, a sturdy bow you can Fuse with Keese eyeballs.

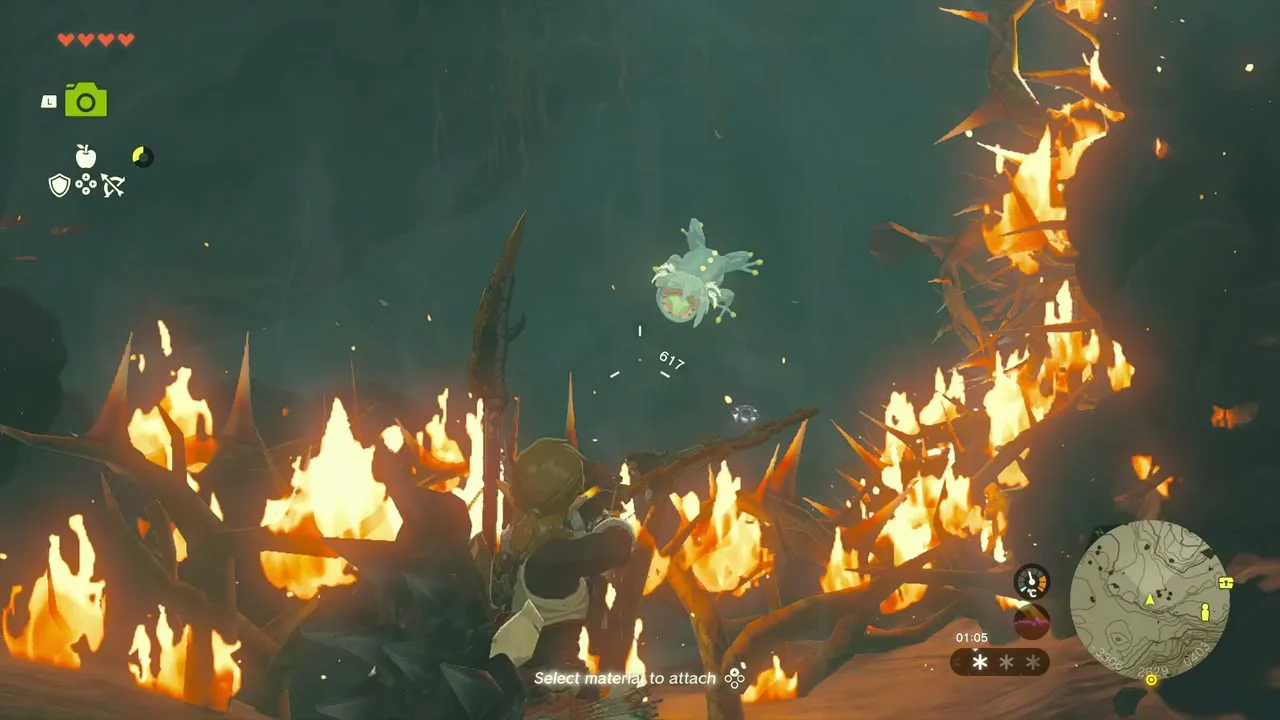
Burn the thorns in Hebra South Summit Cave
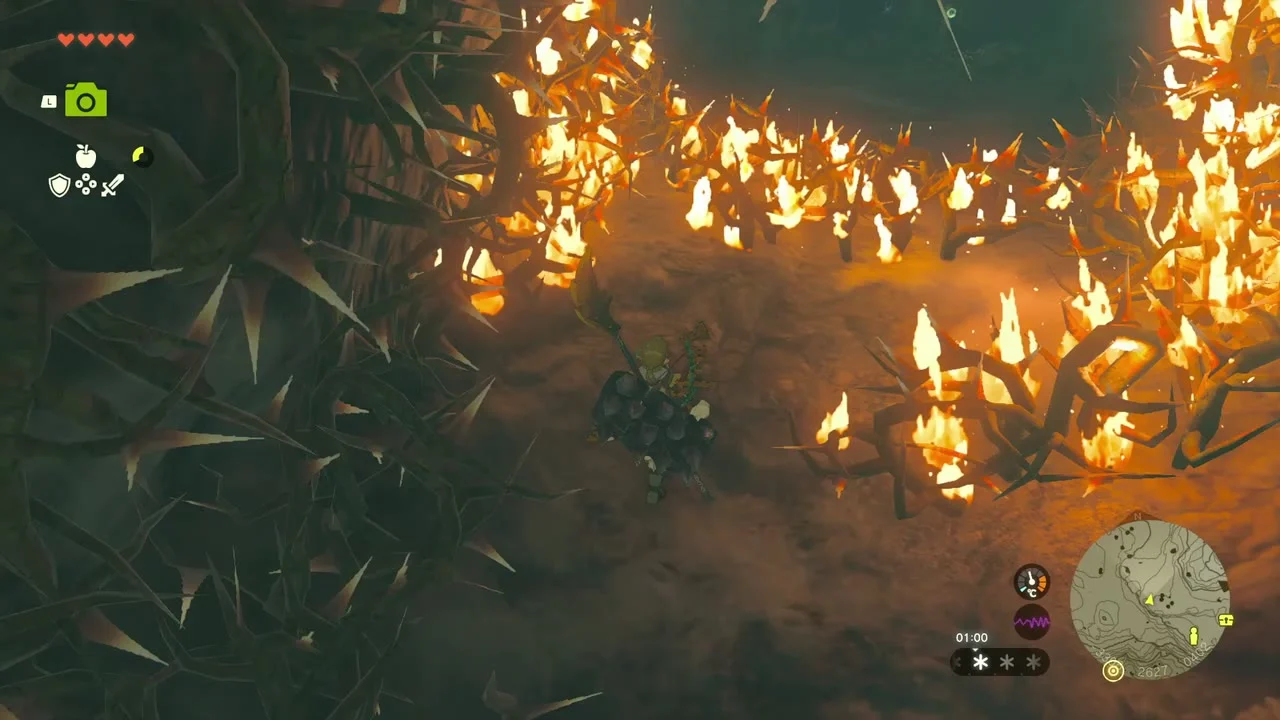
Hebra South Summit Cave (-3398, 2499 and -3227, 2535). Tulin’s trail leads in through the lower entrance. Thorn barriers block the tunnels: burn them with a flame, a Fire Fruit or a flame-fused weapon, and light the passage with Brightbloom seeds as you go. The upper exit leads onto Talonto Peak, where the Rito Gesane is waiting.
Help Addison and grab the Swallow Bow
Chest (Swallow Bow). Near a Bokoblin camp on Talonto Peak the Swallow Bow chest sits by a campfire; clear the camp and open it. Keep the bow: Legacy of the Rito (Teba) asks for a Swallow Bow, 5 Wood and 3 Diamonds to craft a Great Eagle Bow. Addison, pinned beneath a fallen pole on the way, is freed by choosing to let go of it.

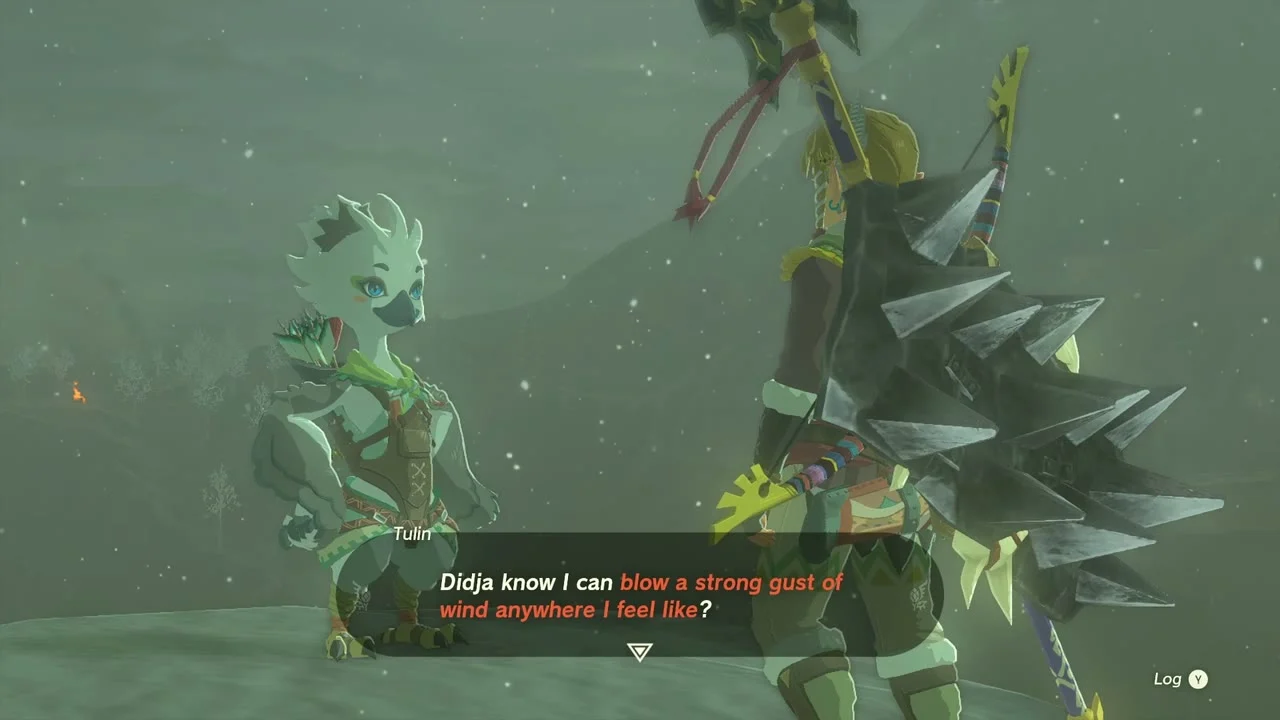
Meet Tulin and learn his Power of Wind
Tulin’s Power of Wind. Talk to Tulin at the lone cedar on Talonto Peak. He joins you and can summon gusts of wind on command; use the prompt to make him lift you up cliffs and carry you across gaps.
Take the Zonaite Sword and Arrows
Chests (Mighty Zonaite Sword, Arrow x5). After you recover Tulin’s bow, climb the broken stonework on the way to Hebra Peak. One chest holds a Mighty Zonaite Sword; a second, on the next ledge, holds Arrow x5.

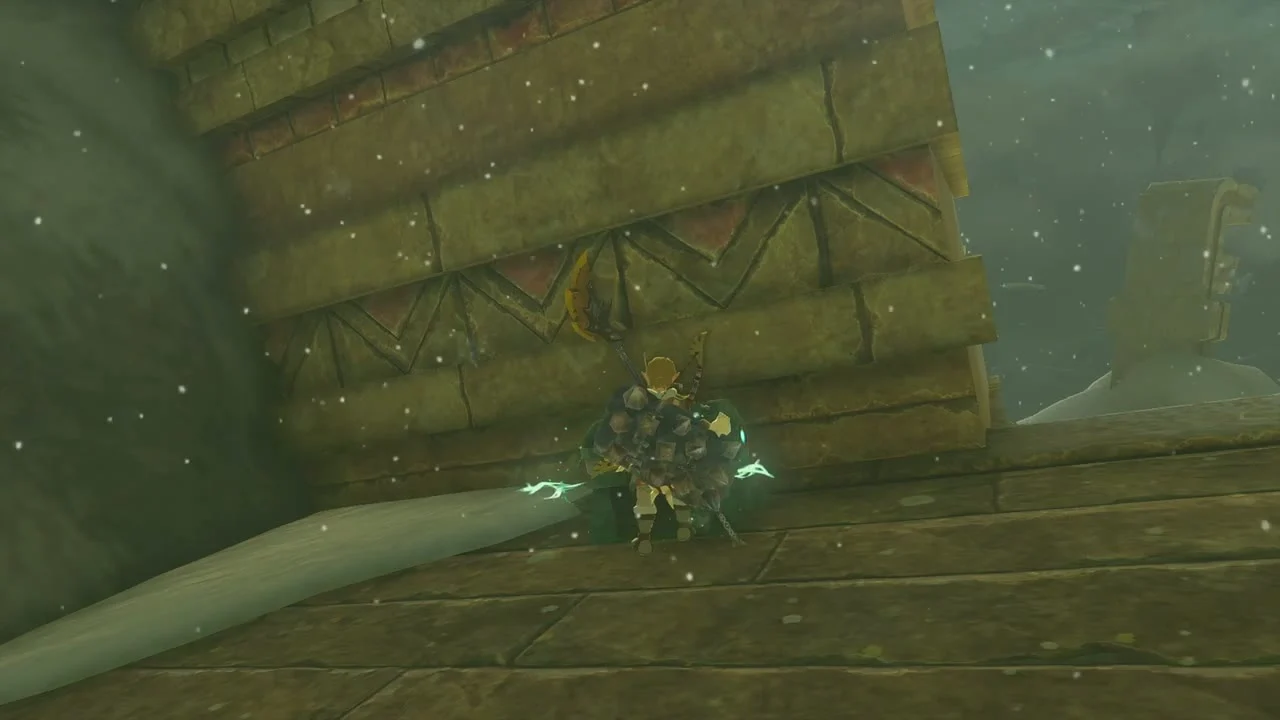
Lift the exhausted Korok to its friend
Two Korok seeds (exhausted Korok). On the final climb you pass a tired Korok that wants to reach its friend. Build a balloon lift (board, balloon, fire) and ride it to the friend’s perch; both Koroks give you a seed.
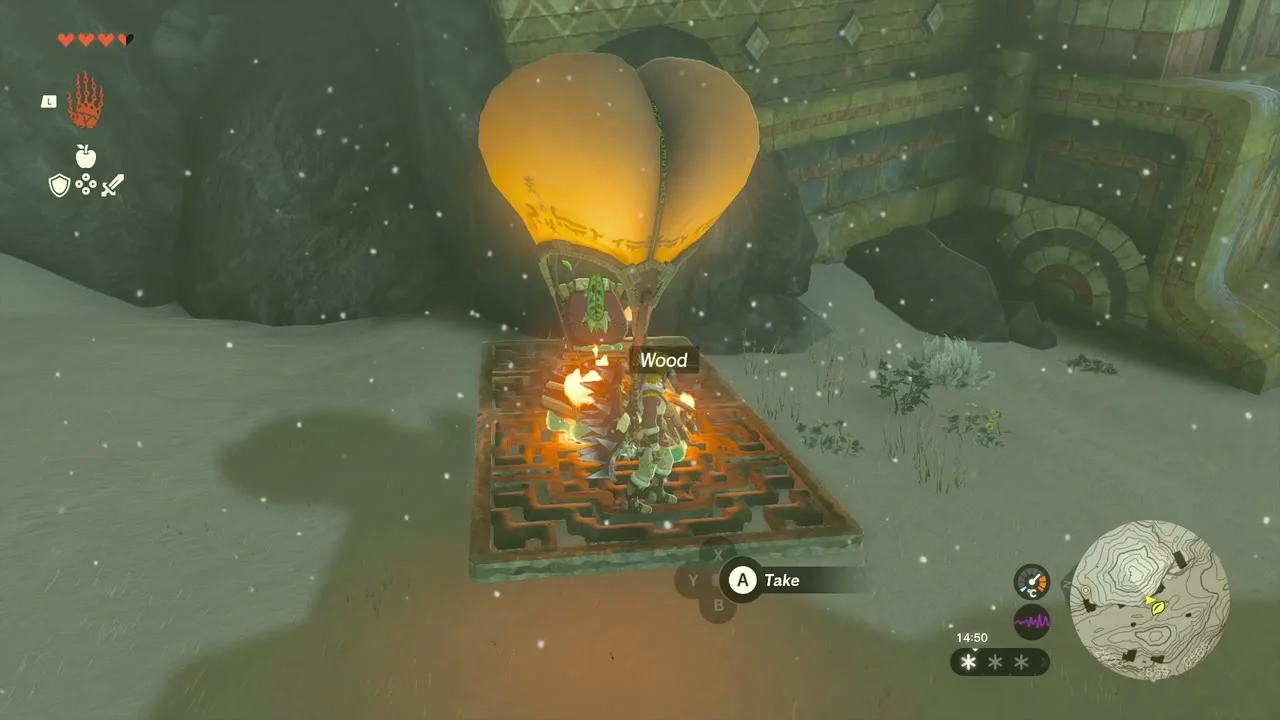

Reach Hebra Peak and call the sky island
At the summit Tulin summons the Rising Island Chain. Use his gust to ride up to the island; the quest continues in the sky.
Rising Island Chain
Clear Mayaumekis Shrine (Downward Force)
Mayaumekis Shrine (-2947, 3050, 910). Trial: Downward Force (puzzle). The shrine floats on the southern edge of the chain, near a ship island. Shoot the crystal switch through the bars to open the first gate, then bounce off the sails and canvas of the flying ships to climb up to the next one. Open the chest for Arrow x10 and take the Light of Blessing.


Take down Flux Construct I
Miniboss: Flux Construct I. A flux construct built from cubes guards a platform deep in the chain. Break the glowing core between its blocks and drop its pieces; it drops Zonai charges.
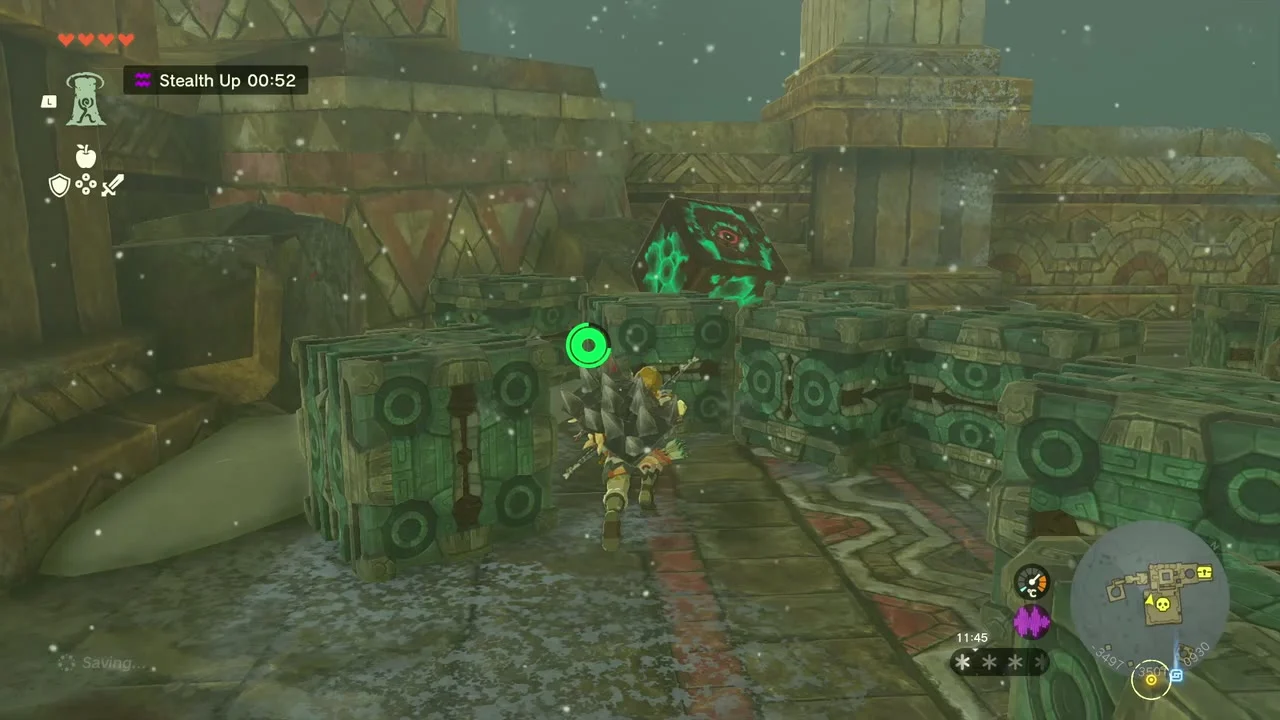
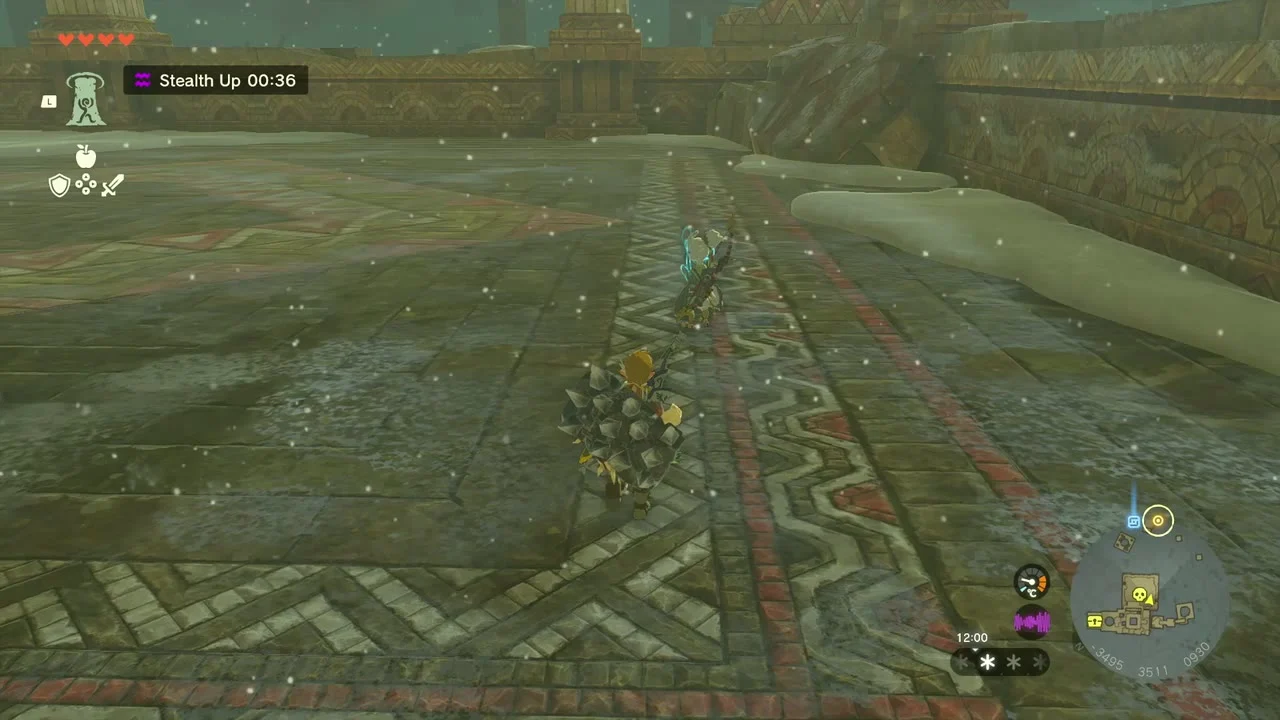
Open the sky chests
Along the islands you can open the following chests: Arrow x5, Portable Pot x4, Soldier IV Spear, Old Map, Arrow x10, Large Zonai Charge, Time Bomb x5, and a second Large Zonai Charge near Kahatanaum Shrine.
Clear Kahatanaum Shrine (Rauru’s Blessing)
Kahatanaum Shrine (-3296, 3431, 1361). Trial: Rauru’s Blessing. No puzzle; walk in and take the Light of Blessing.
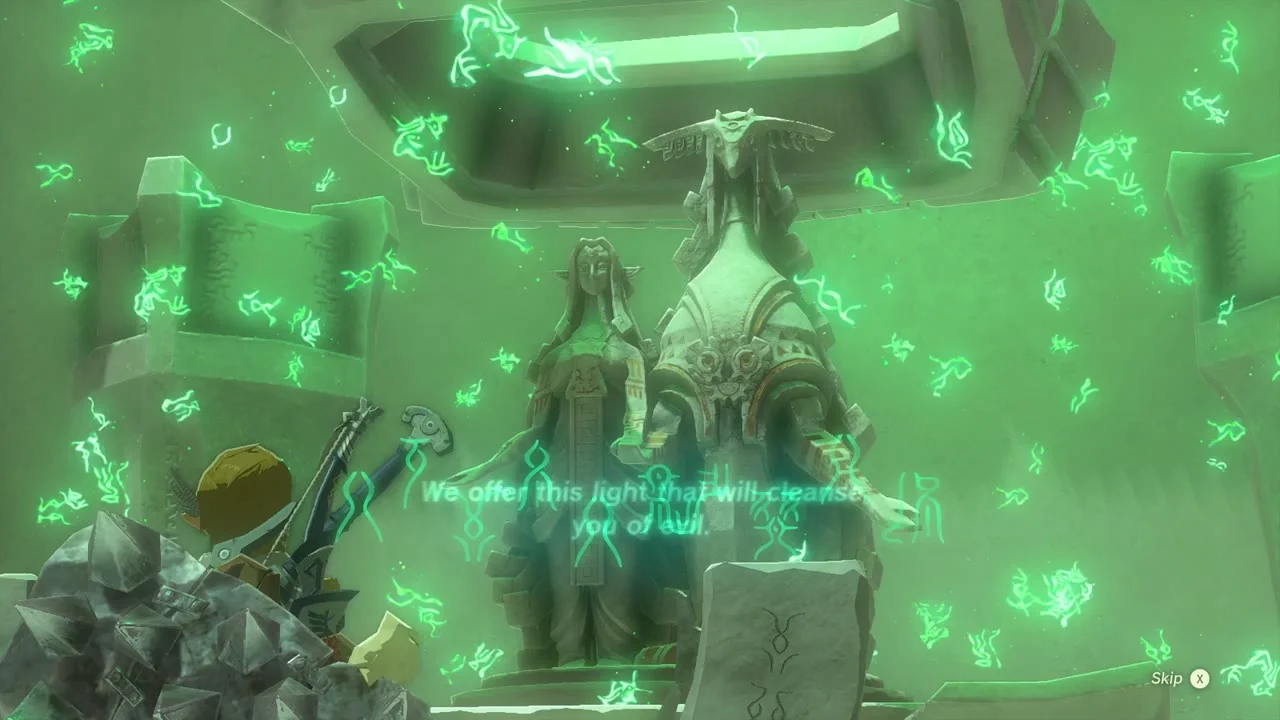
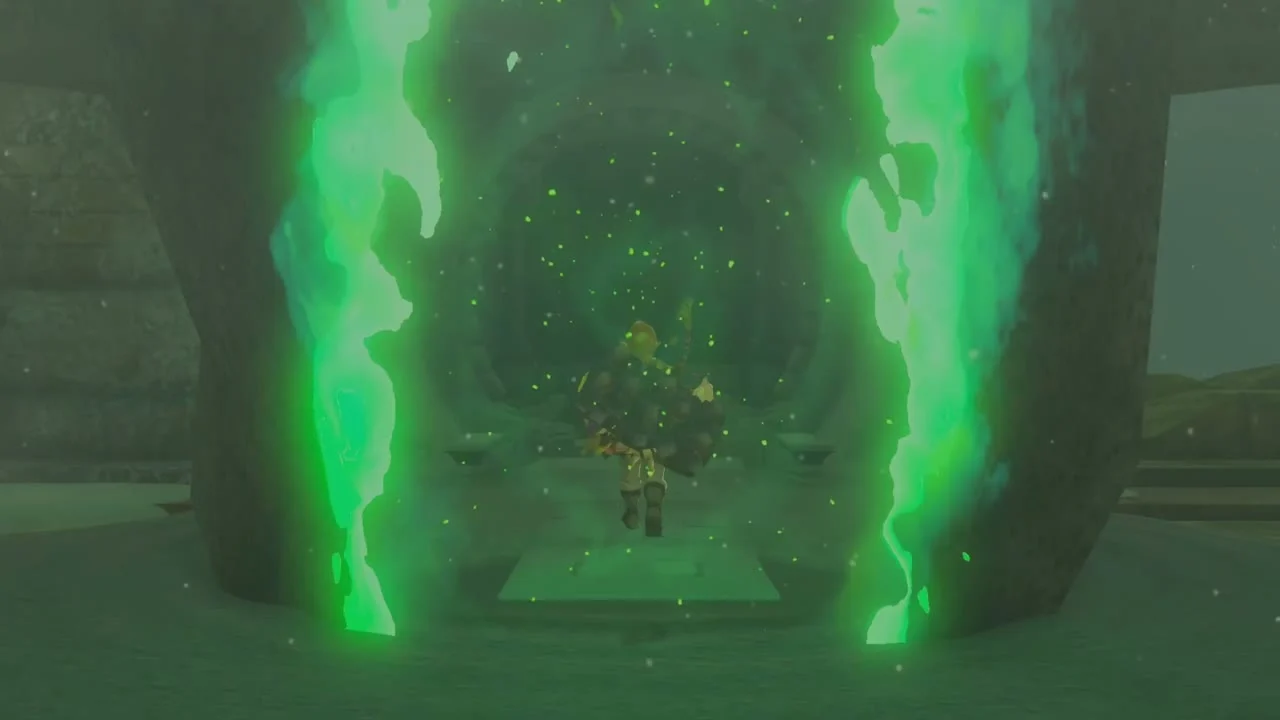
Trade Lights for a Heart Container
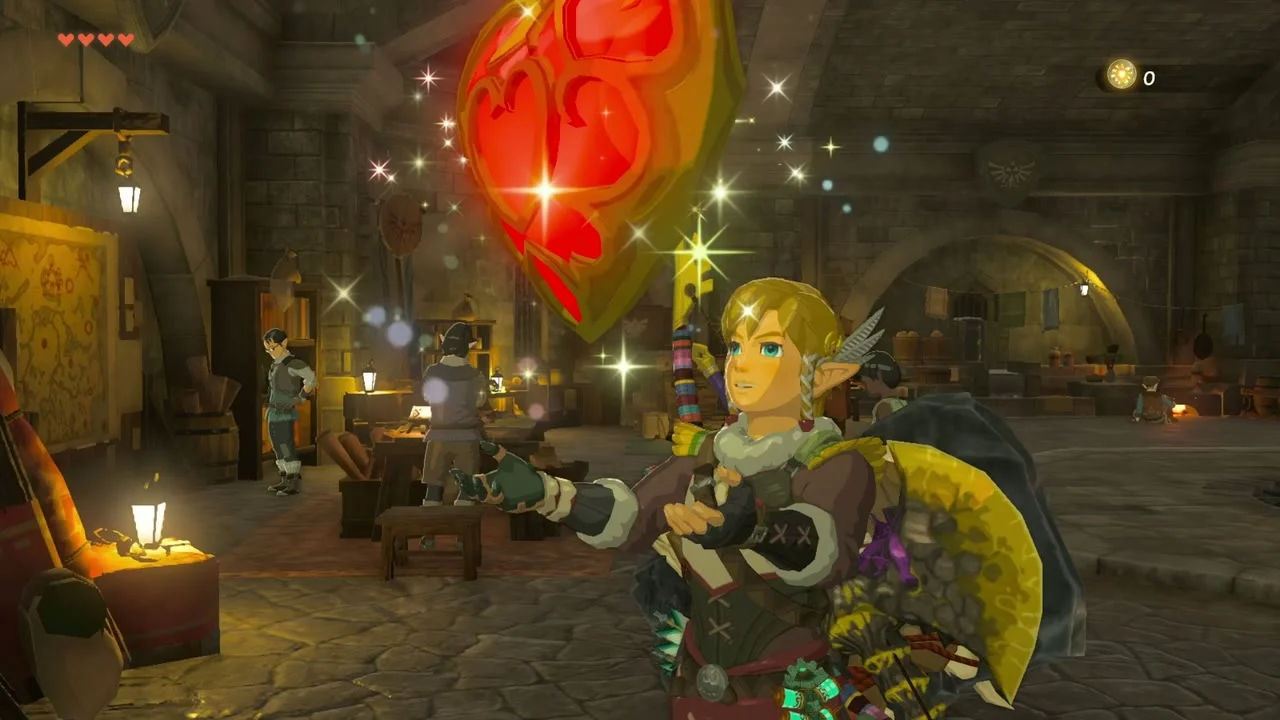
Heart Container. Sahirow, Mayaumekis and Kahatanaum each give a Light of Blessing; once you hold four, offer them at a Goddess Statue (the one in Lookout Landing is the nearest) and choose a Heart Container.

Wind Temple
Learn the temple layout
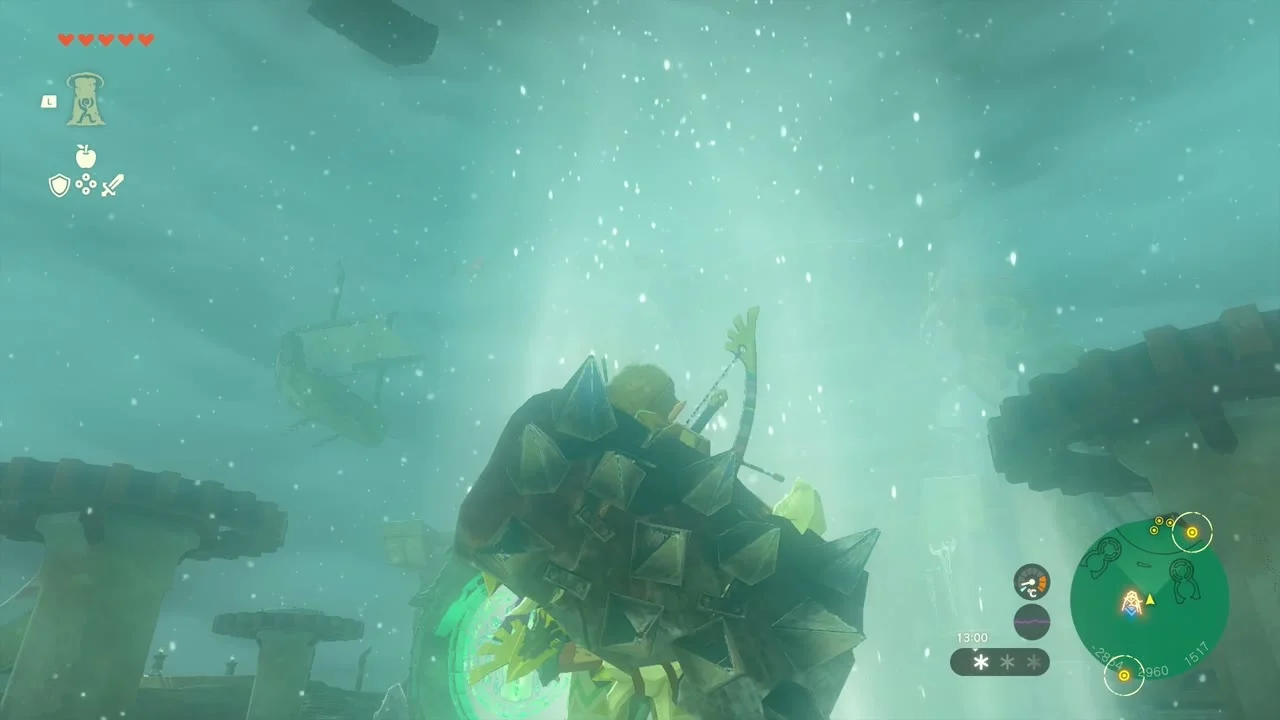
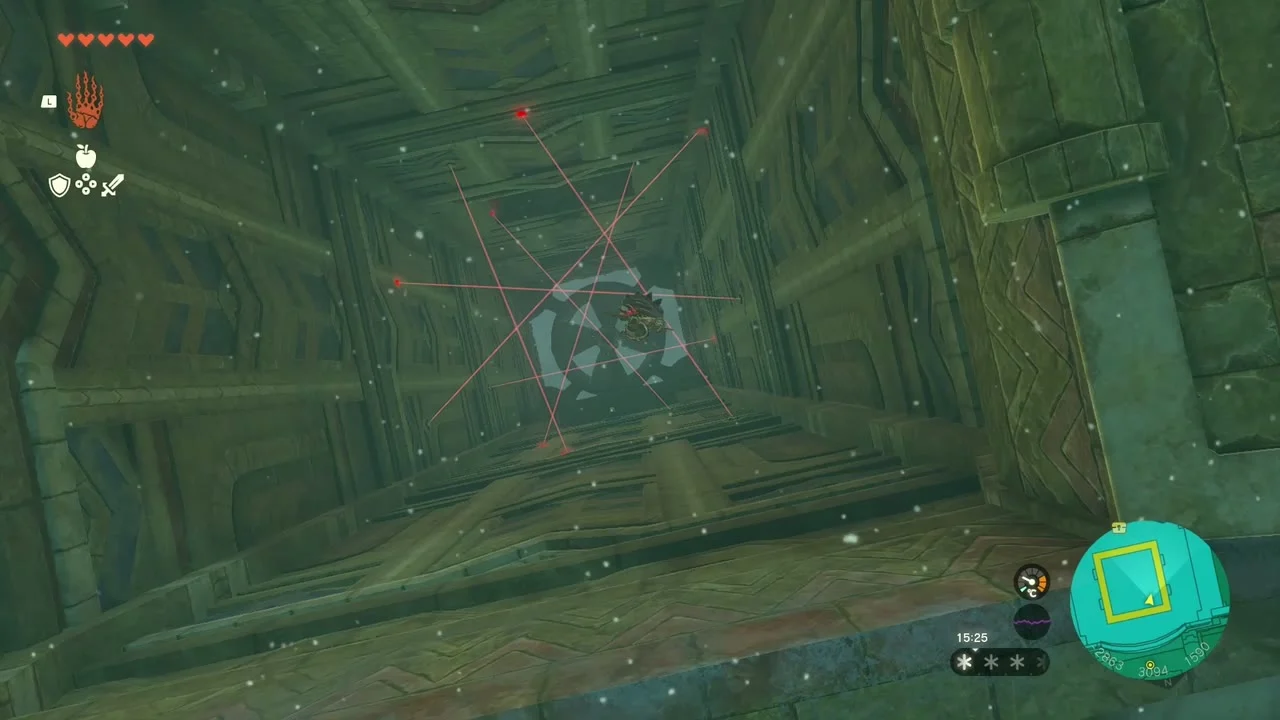
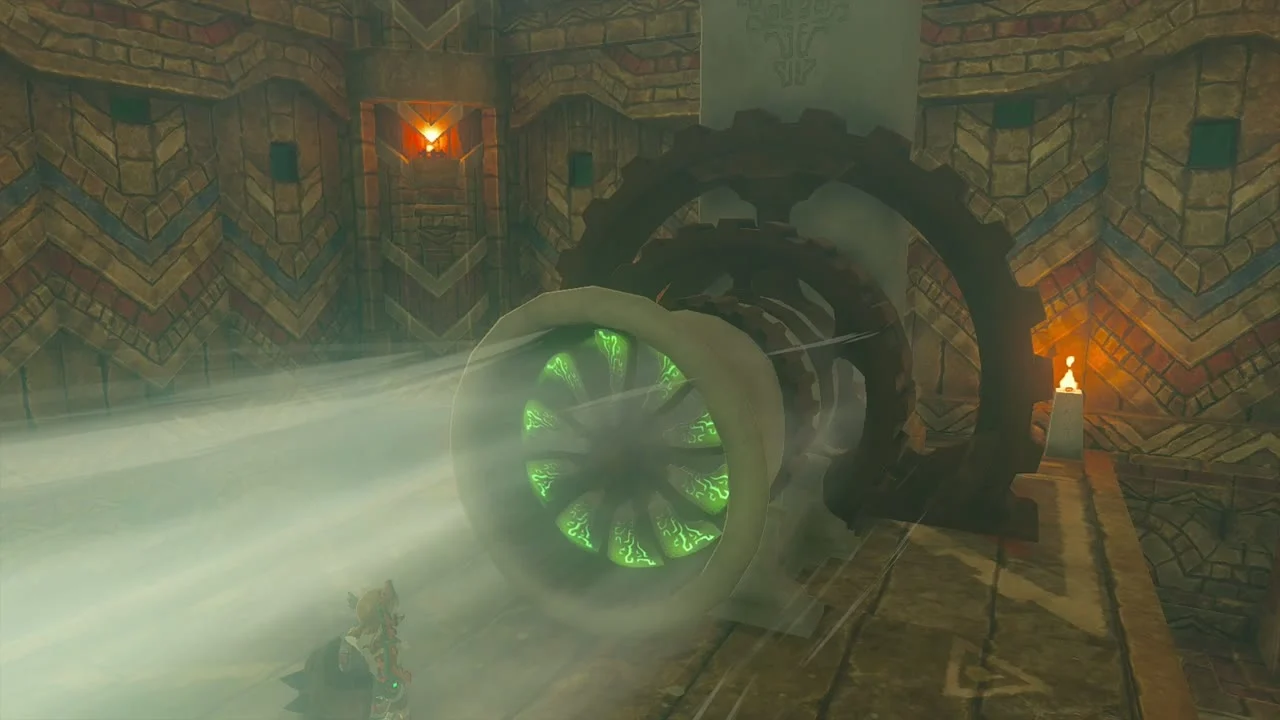
The Wind Temple is a sky ship with five locks that can be opened in any order; the quest is “Open the 5 Locks on Wind Temple”. Open the map screen for the three decks and note each lock.

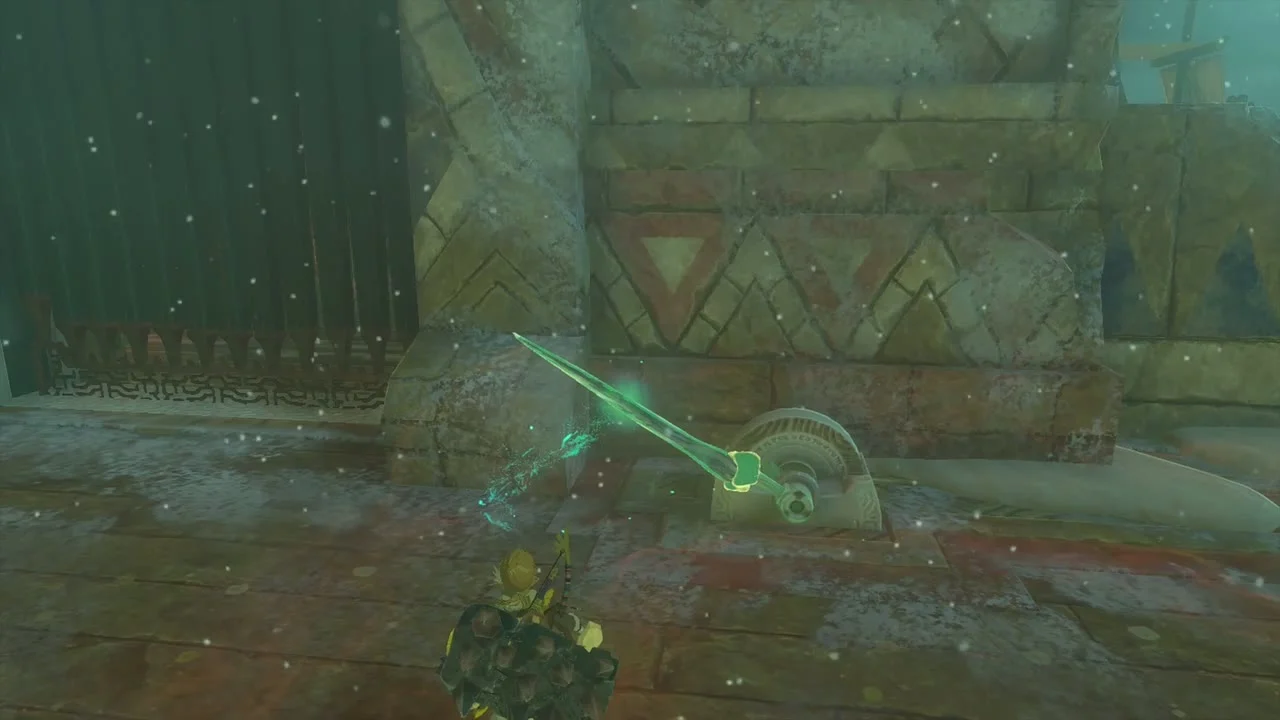
Open Lock 1 and Lock 2
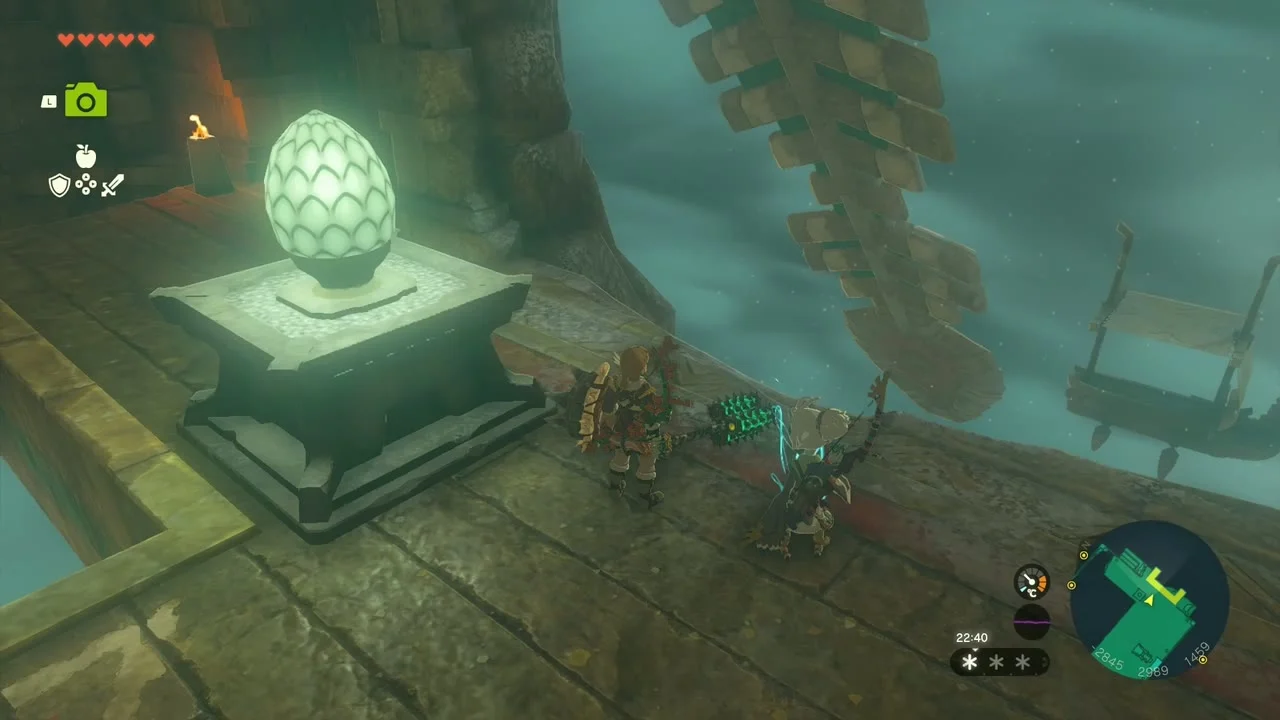
Lock 1 sits behind a gate with a broken lever; fix it with an icicle and use Tulin to spin the propeller. Lock 2 is guarded by a Soldier Construct; defeat it and activate the pedestal with Tulin’s gust.
Open Lock 3 and Lock 4
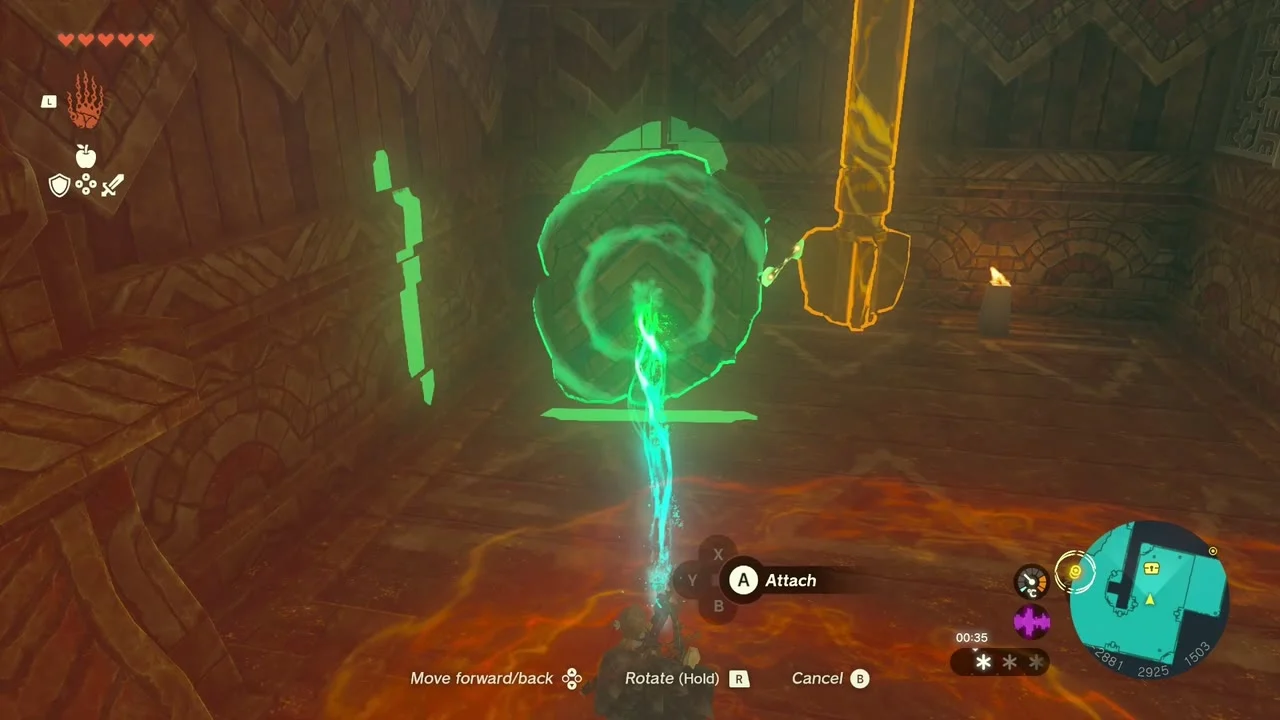
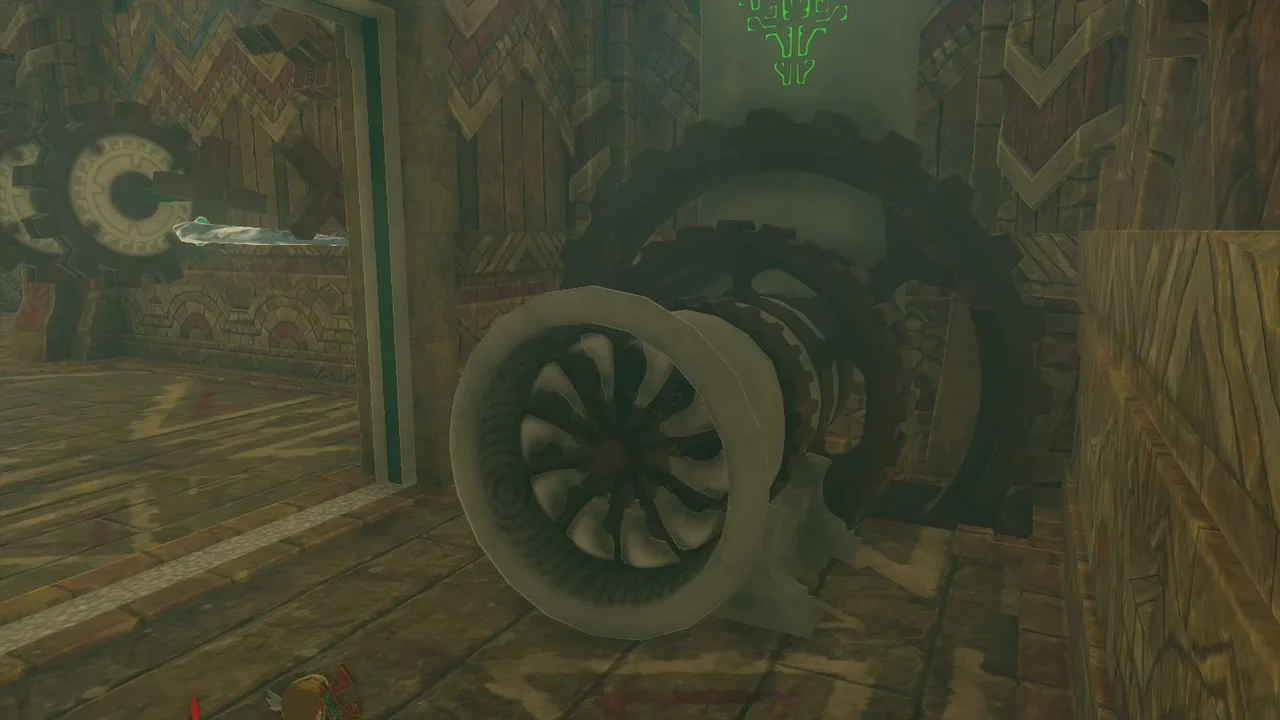
Lock 3 needs a wheel; use Recall or attach a stone to rotate it. Lock 4 needs a propeller turned by Tulin’s gust.
Open Lock 5 and the main hatch
Make Tulin spin the lower propeller for Lock 5, then take the stairs to the main deck and open the hatch.
Collect the temple chests
Chests in the temple hold: Opal, Large Zonaite, Ruby, Captain IV Reaper, Soldier IV Spear, Mighty Zonaite Shield (Strong or Mighty, depending on your progress), Mighty Construct Bow, Sapphire, Arrow x10 and Soldier IV Blade.
Defeat Colgera
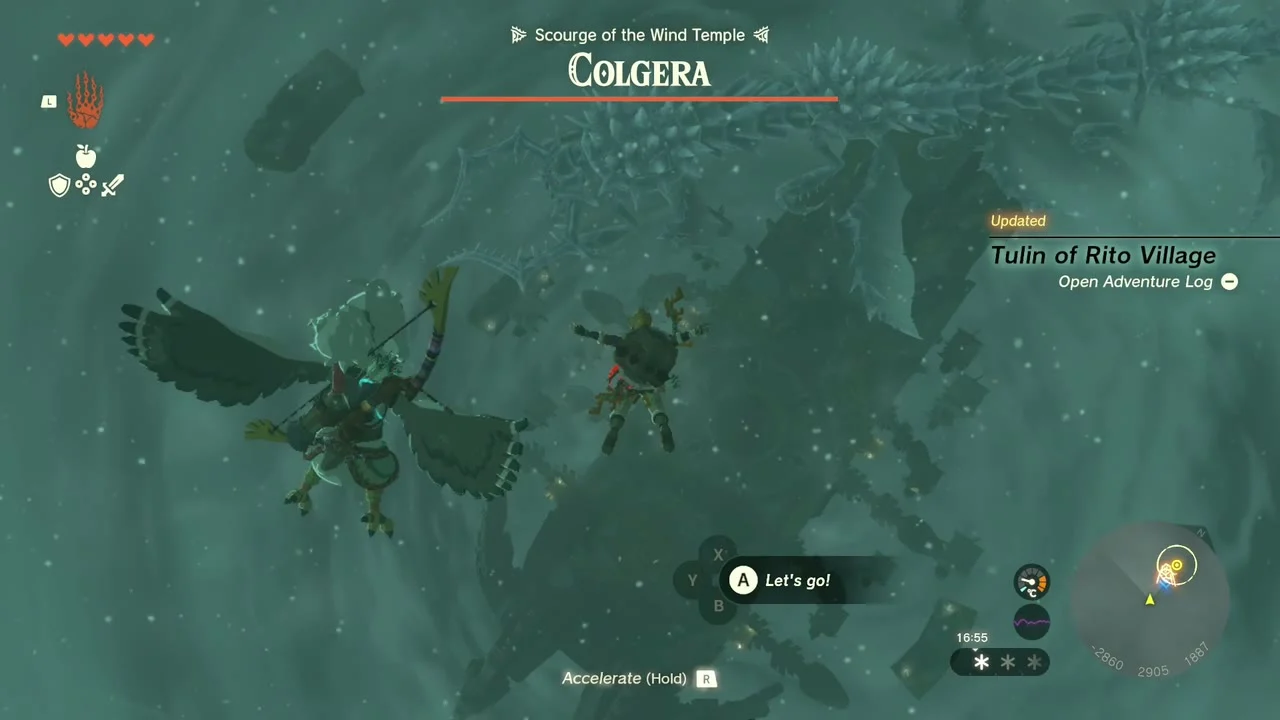
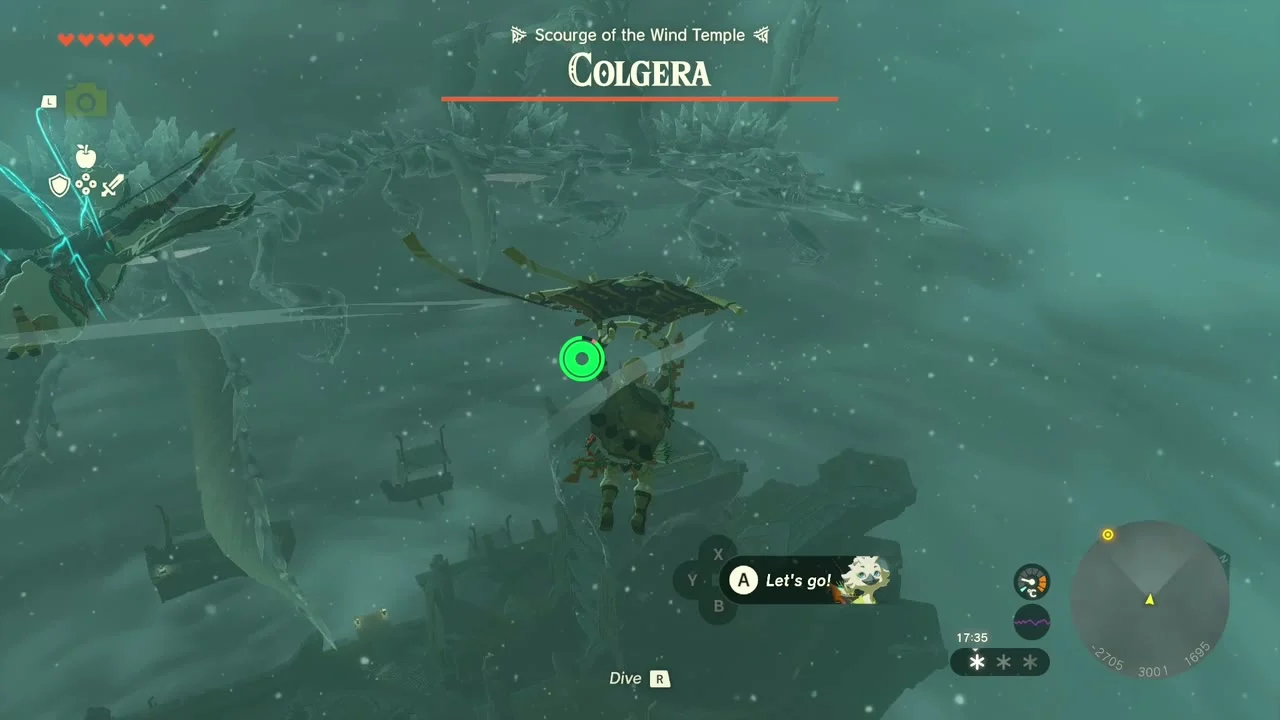
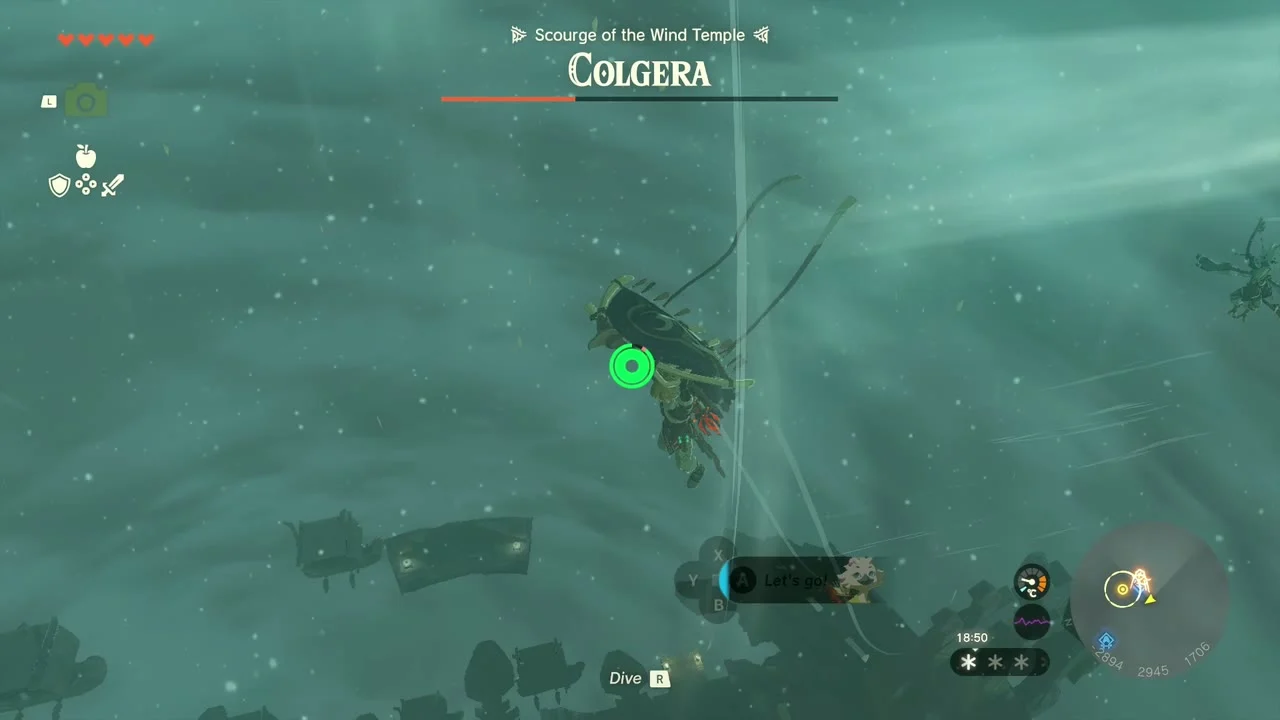
Boss: Colgera (Scourge of the Wind Temple). Glide off the deck and use Tulin’s gust to stay airborne. Colgera has three weak spots on its back, covered in ice: break the ice first (a Fire Fruit or other fire-fused arrow does it in one shot, plain arrows take about three), then hit each weak spot twice. Falling below it gives the best mid-air shots, and the bow slows time while you aim. When all three are broken it vanishes through a portal and returns with the weak spots healed; repeat the process while dodging its tornadoes and ice rocks, which deal heavy damage. Upgrading your stamina first helps you stay in the air.
Take the Heart Container
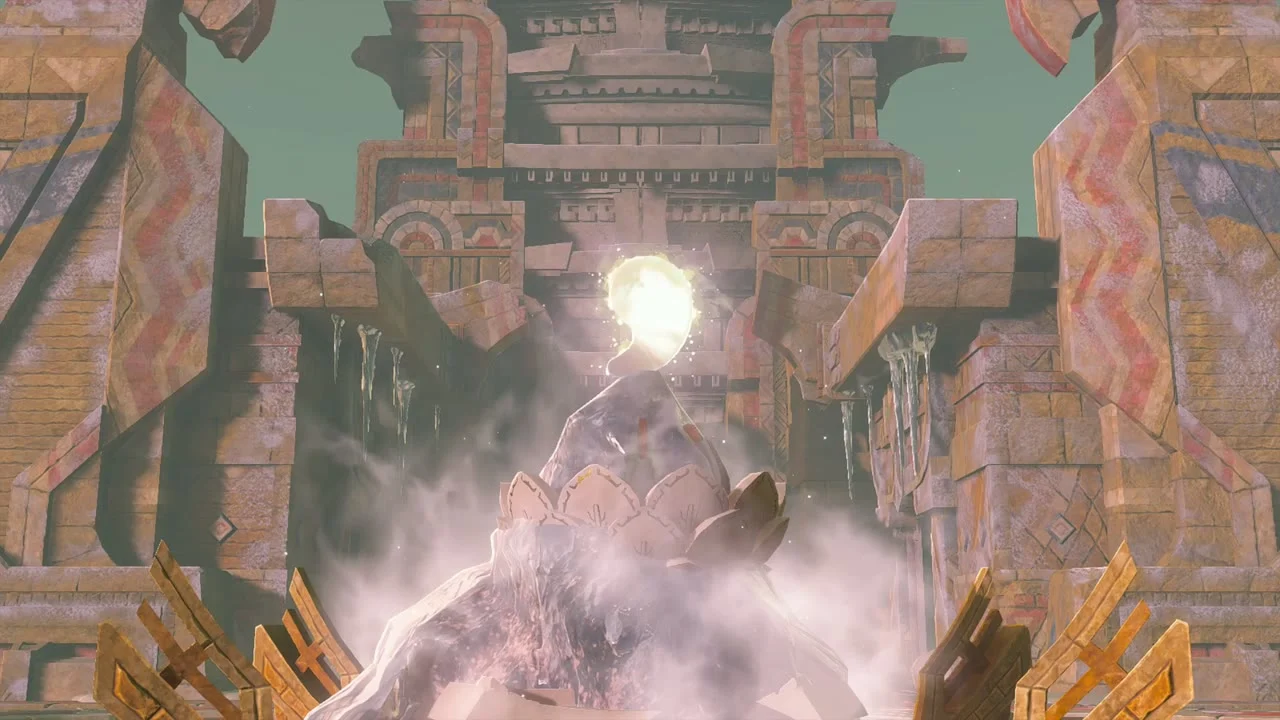
Heart Container. Colgera drops a Heart Container; step into the Light to restore the temple and finish the sage cutscene.
Receive the Vow of Tulin
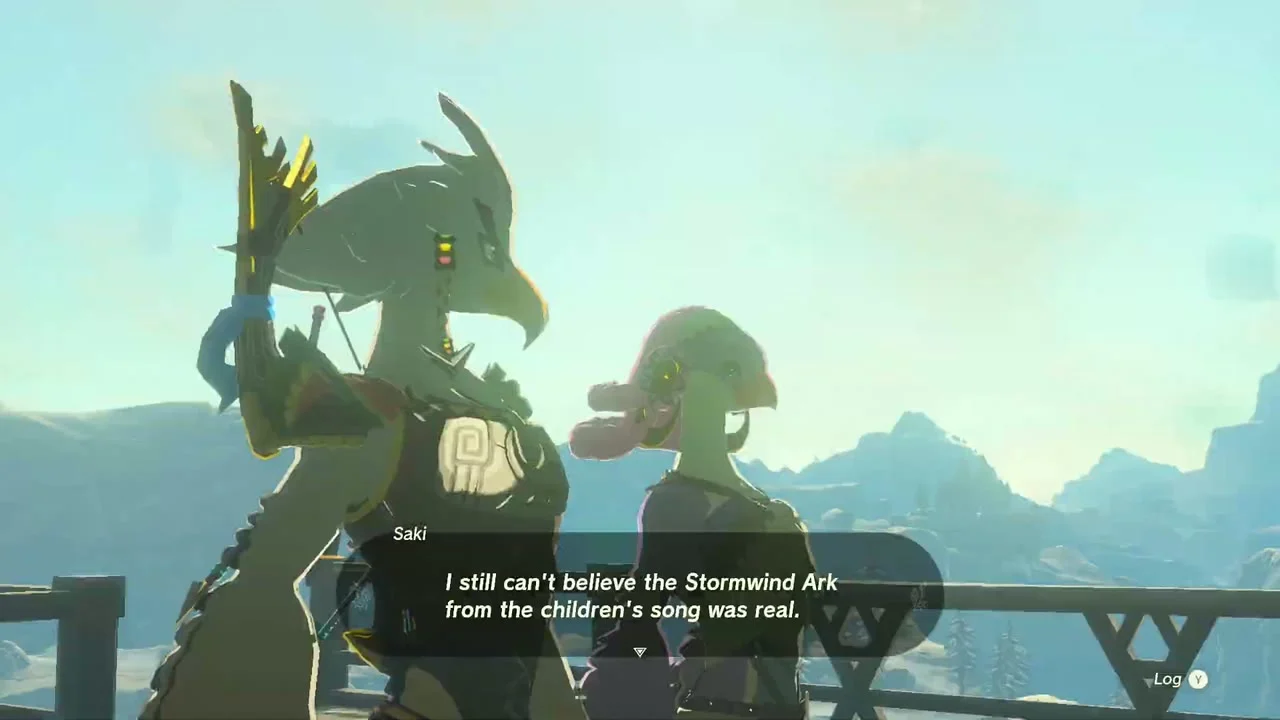
Vow of Tulin, Sage of Wind. Back in Rito Village you receive the Vow of Tulin, Sage of Wind. Use it to summon Tulin and create gusts of wind anywhere.
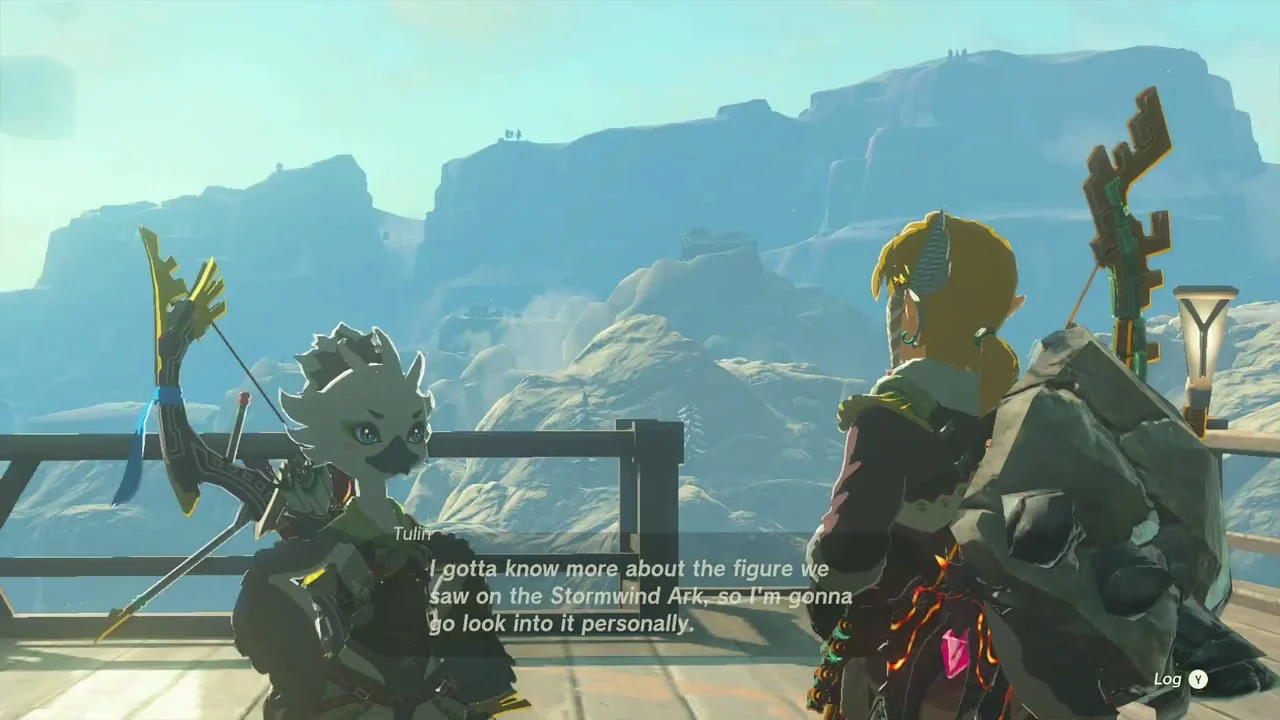
Rito Village after the storm
Give Bedoli fish for arrows
Fish for Fletching (Bedoli). Bedoli trades 10 arrows for 3 Glowing Cave Fish, which swim in caves. Catch fish at Lake Totori and return them to her.

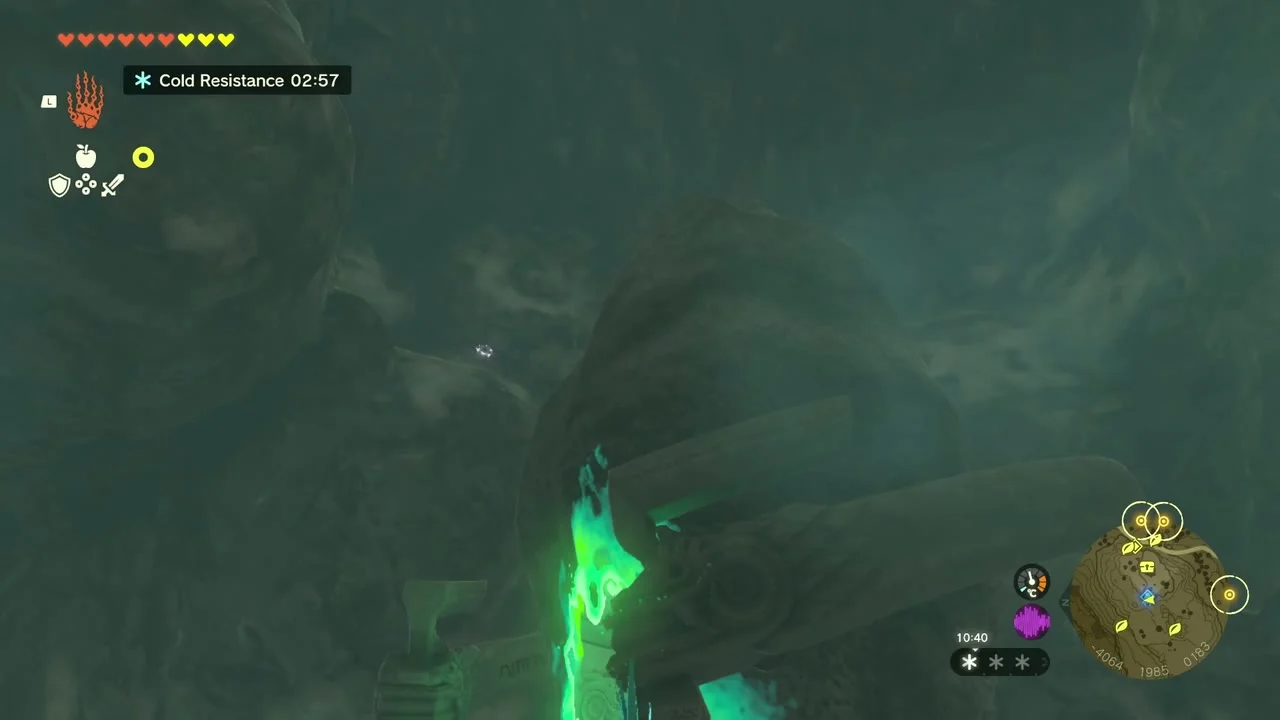
Start The White Bird’s Guidance
The White Bird’s Guidance (shrine quest, Laissa). Laissa has forgotten a cave she once found. Follow her clue about the long shadow cast by a perch west of the village; the cave is West Lake Totori Cave (-3958, 2029).
Solve Wao-os Shrine (Lever Power)
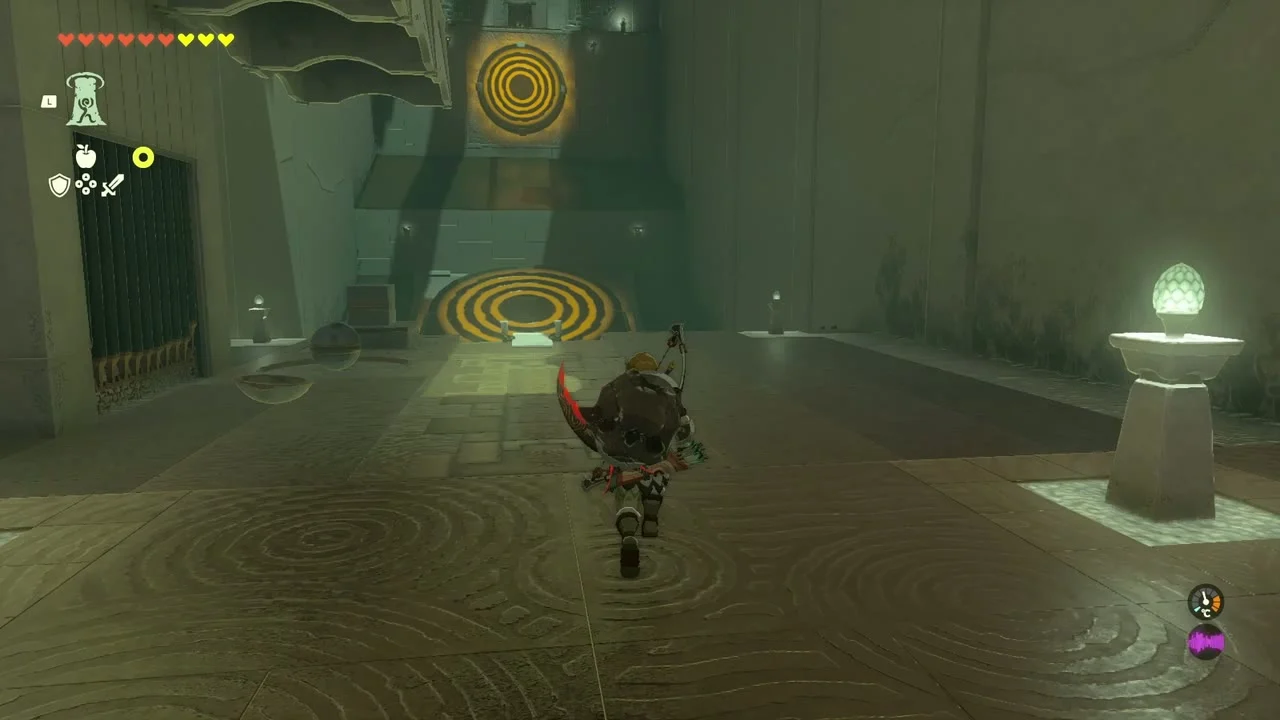
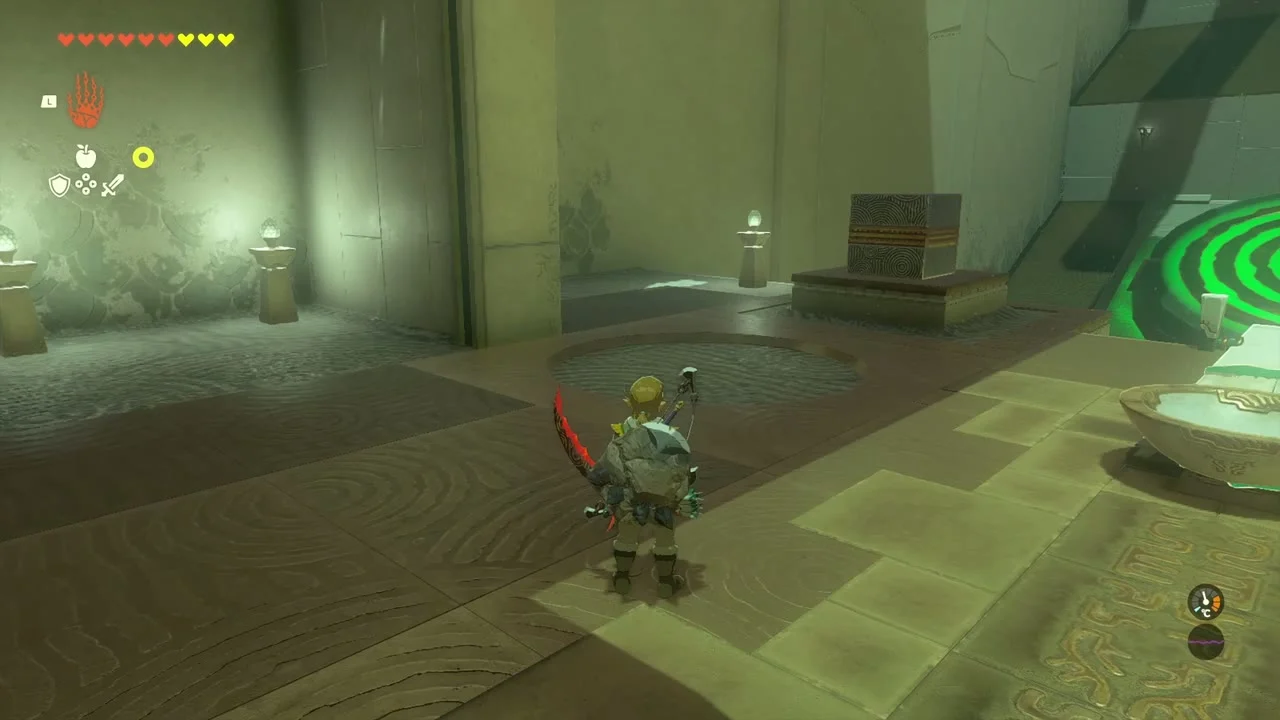
Wao-os Shrine (-4058, 1990, 196; So-oaw Lightroot below). Trial: Lever Power (puzzle). Fuse a plate to the near end of the lever, set the sphere on it and drop a cube on the far end to launch the sphere into the first target. The bars lift, giving you a plank; extend the lever and repeat, then ride the lever yourself for the second target. Open the chest for a Spicy Elixir and collect the Light of Blessing.


Take the Bubbul Gem in West Lake Totori Cave
Bubbul Gem (West Lake Totori Cave). The gem is in the cave itself; shoot the Bubbulfrog and take the Bubbul Gem.


Start Treasure of the Secret Springs and Legacy of the Rito
Treasure of the Secret Springs (Tulin). Tulin recites a riddle about three springs: Sturnida, Goflam’s and Sherfin’s. This quest is only started here. Legacy of the Rito (Teba): give Teba the Swallow Bow, 5 Wood and 3 Diamonds to receive a Great Eagle Bow.
Lakes Totori and Kilsie
Collect the Korok seeds
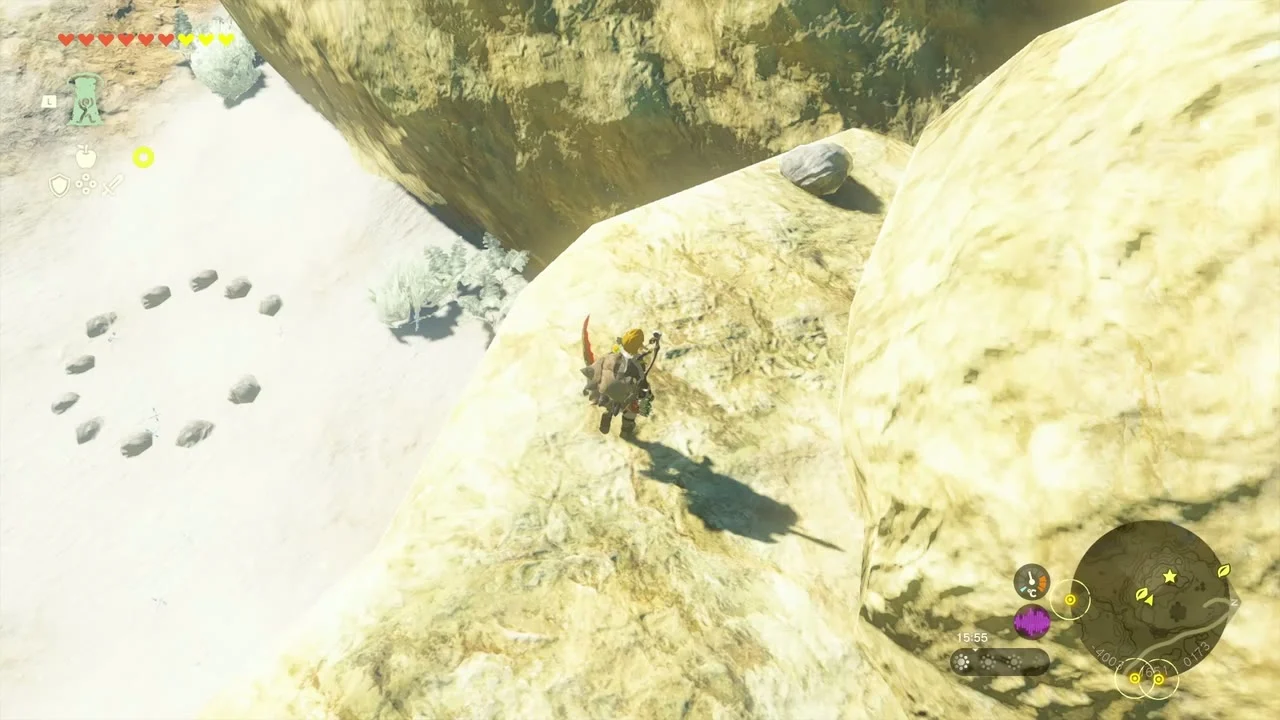
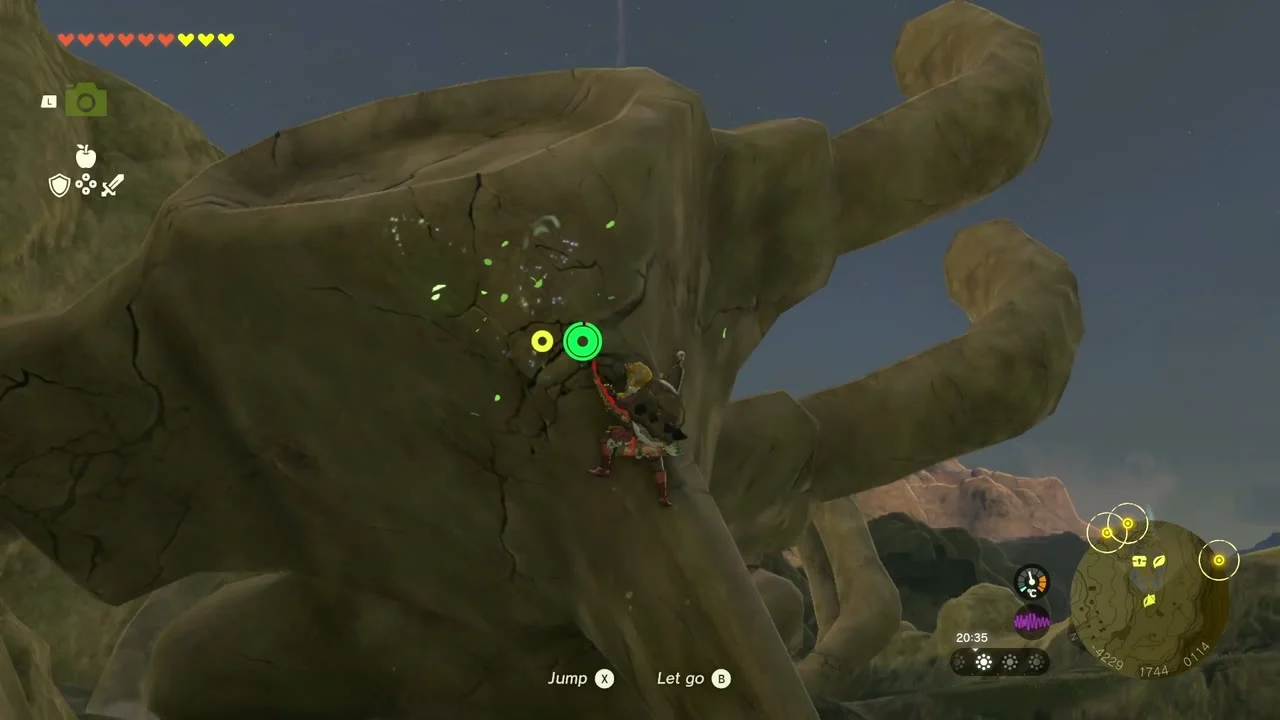
Korok seeds (Lake Totori area). Ten seeds lie between West Lake Totori Cave and Lake Kilsie, including a ring of red stones to complete on a snowy ridge and a seed under a giant skeleton arch. The rest are listed under Also in this area.
Defeat the Battle Talus
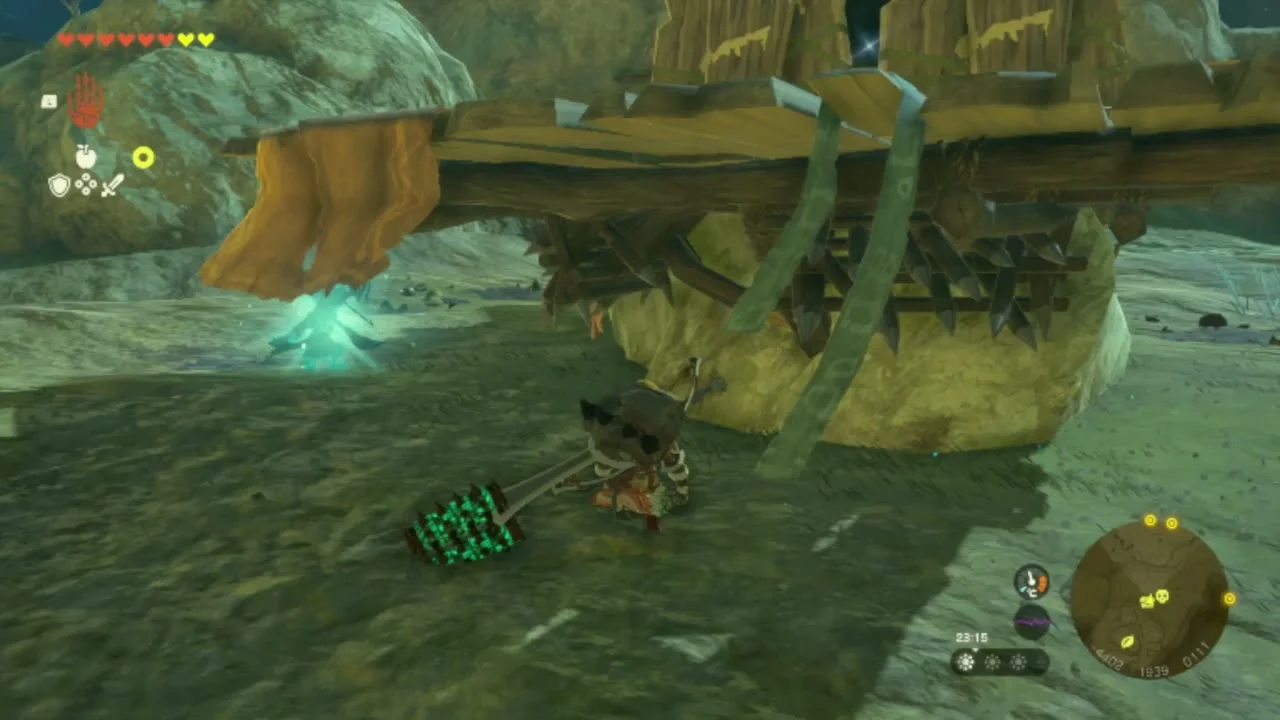
Miniboss: Battle Talus. Hit the glowing ore on its back with arrows; it drops Bokoblin Horns, Amber and a Battle Talus Heart. A Sapphire chest sits nearby.

Fly the Flight Range
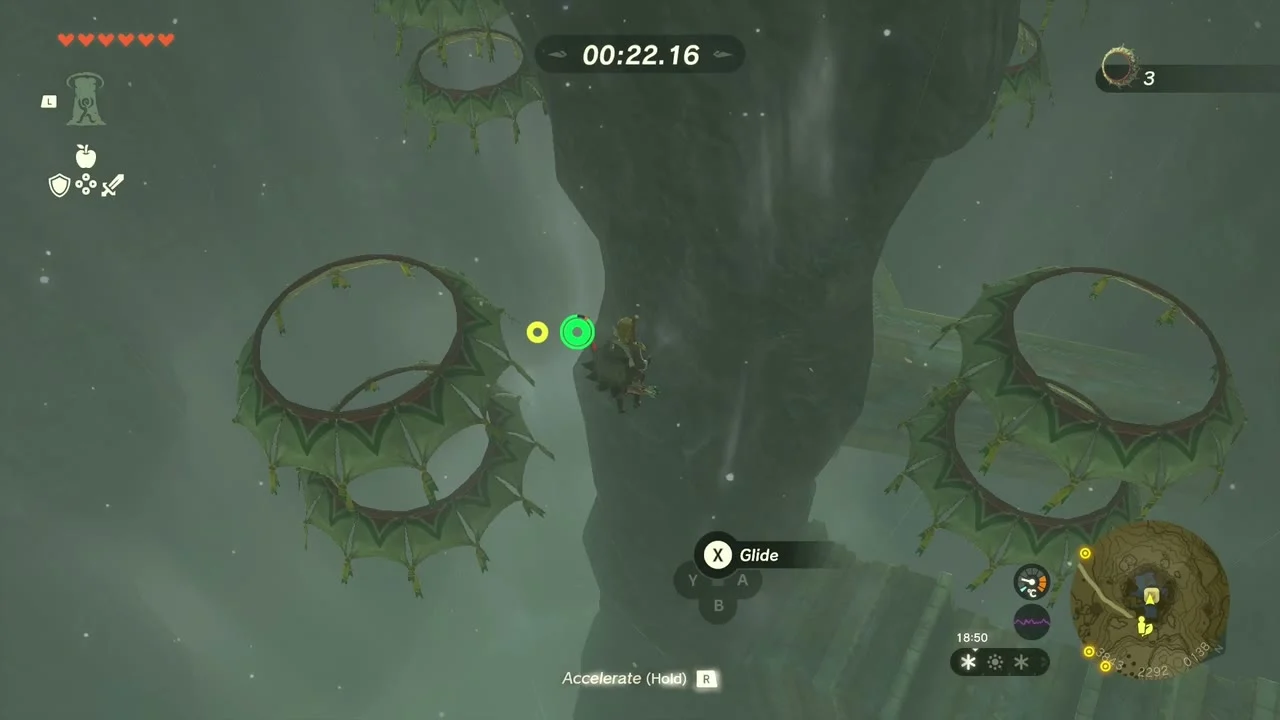
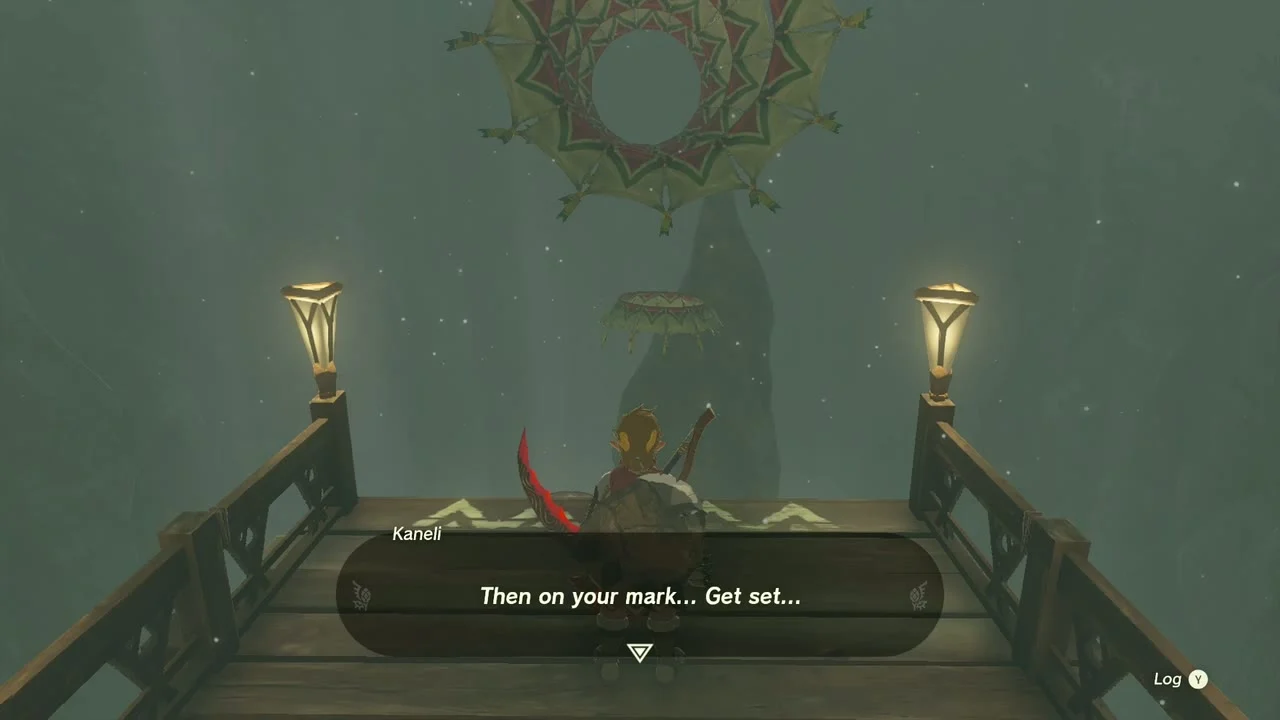
Kaneli’s Flight Training (Kaneli, Flight Range). Take the advanced flying course and pass through at least 15 rings.
Investigate in Lookout Landing
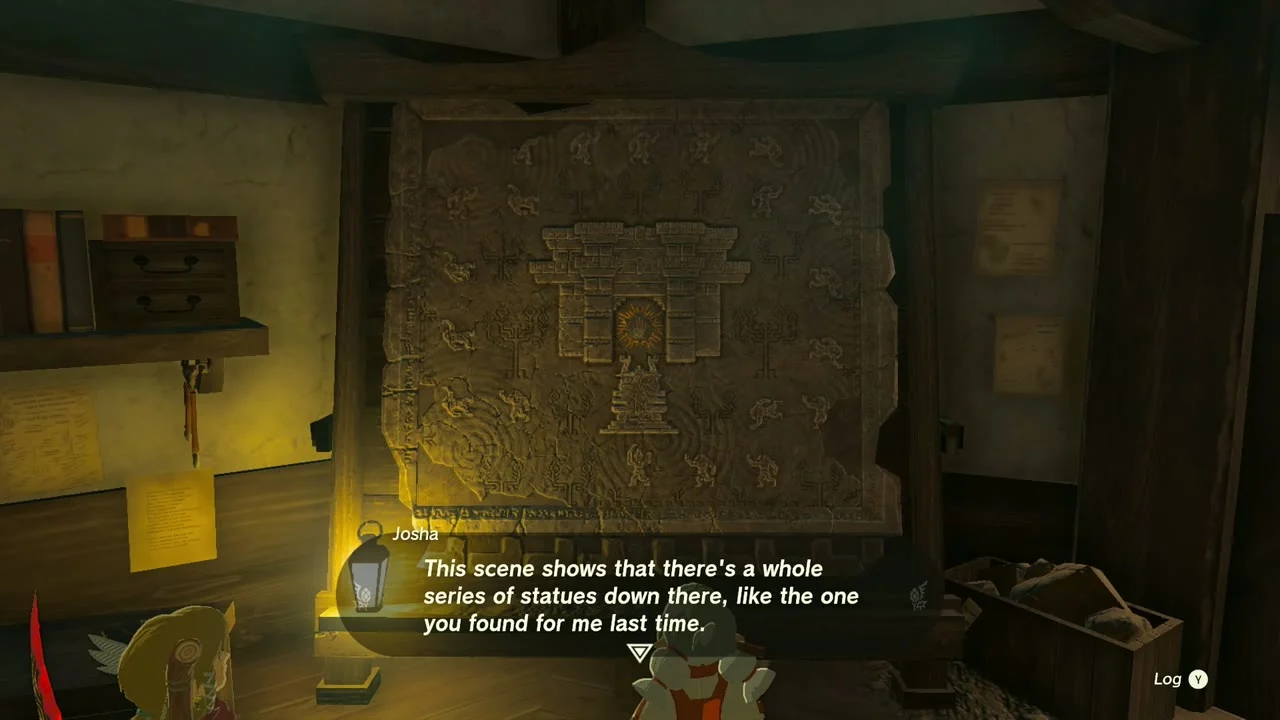
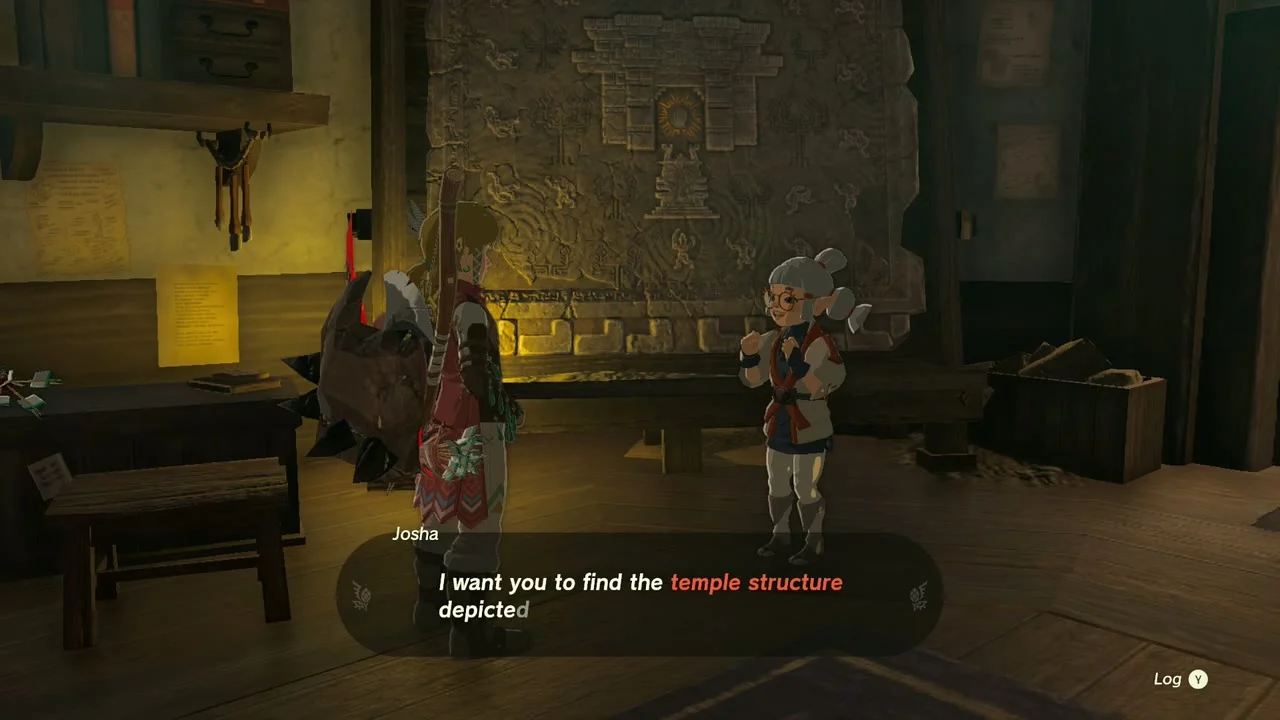
A Mystery in the Depths (Josha). Go to Lookout Landing to hear Josha about the mural fragments and receive 10 Giant Brightbloom Seeds.
Ferry the exhausted Korok across the lake
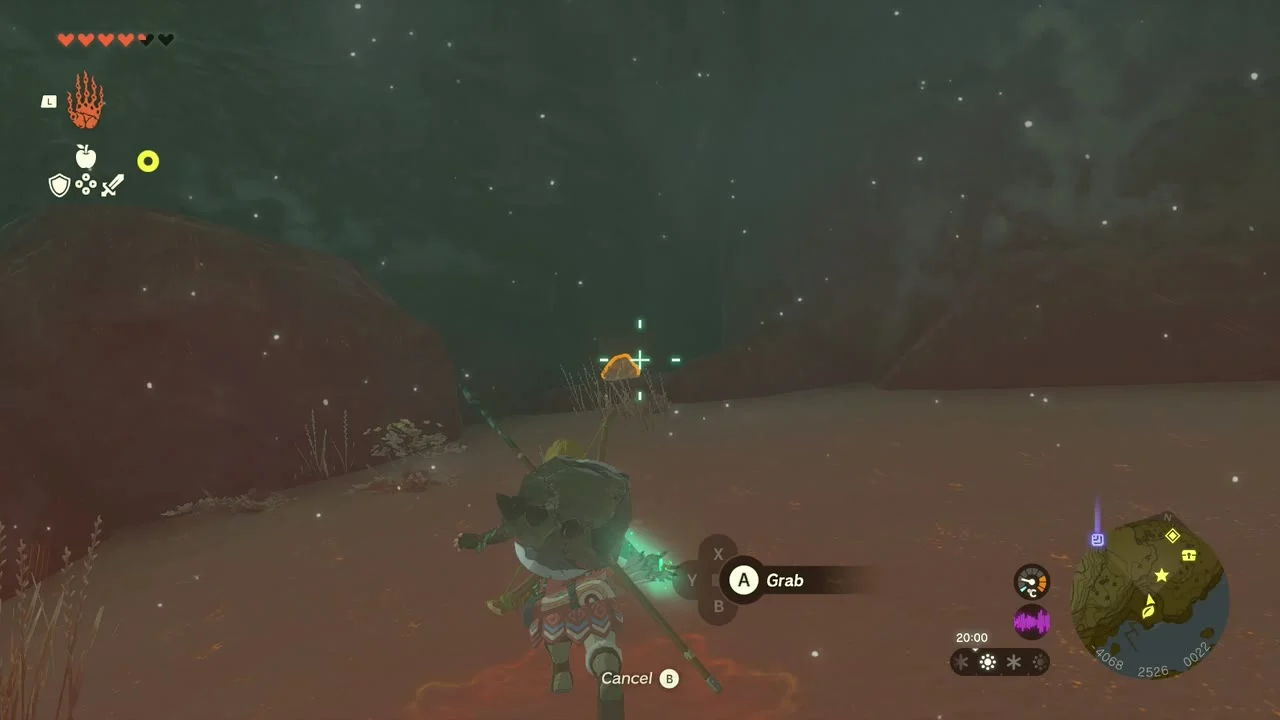
Korok seeds (exhausted Korok, lake). Build a fan raft to carry the tired Korok across the water to its friend on the far shore; the friend rewards you with a seed.


Clear Lake Kilsie Cave
Lake Kilsie Cave (-3930, 2861). The chests hold a Feathered Edge and a Frostbite Headdress (a cold-resistance armor piece). A Bubbulfrog at the back drops the last Bubbul Gem of the chapter.

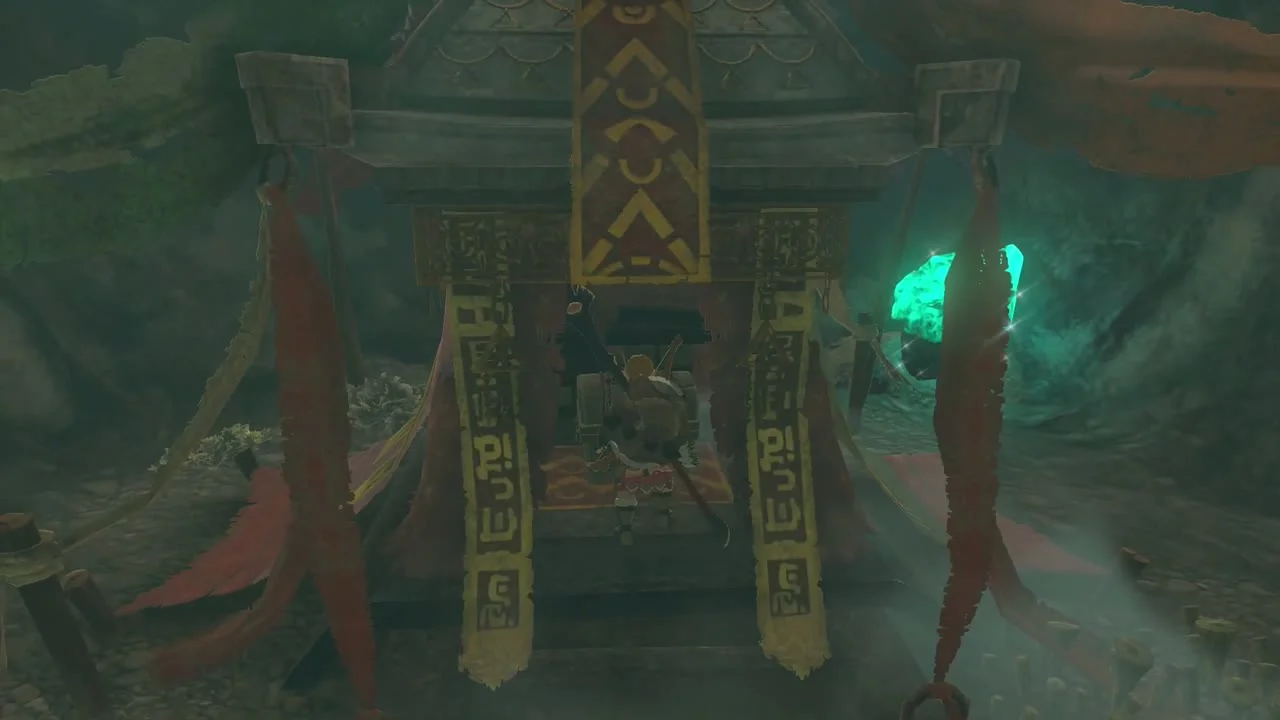
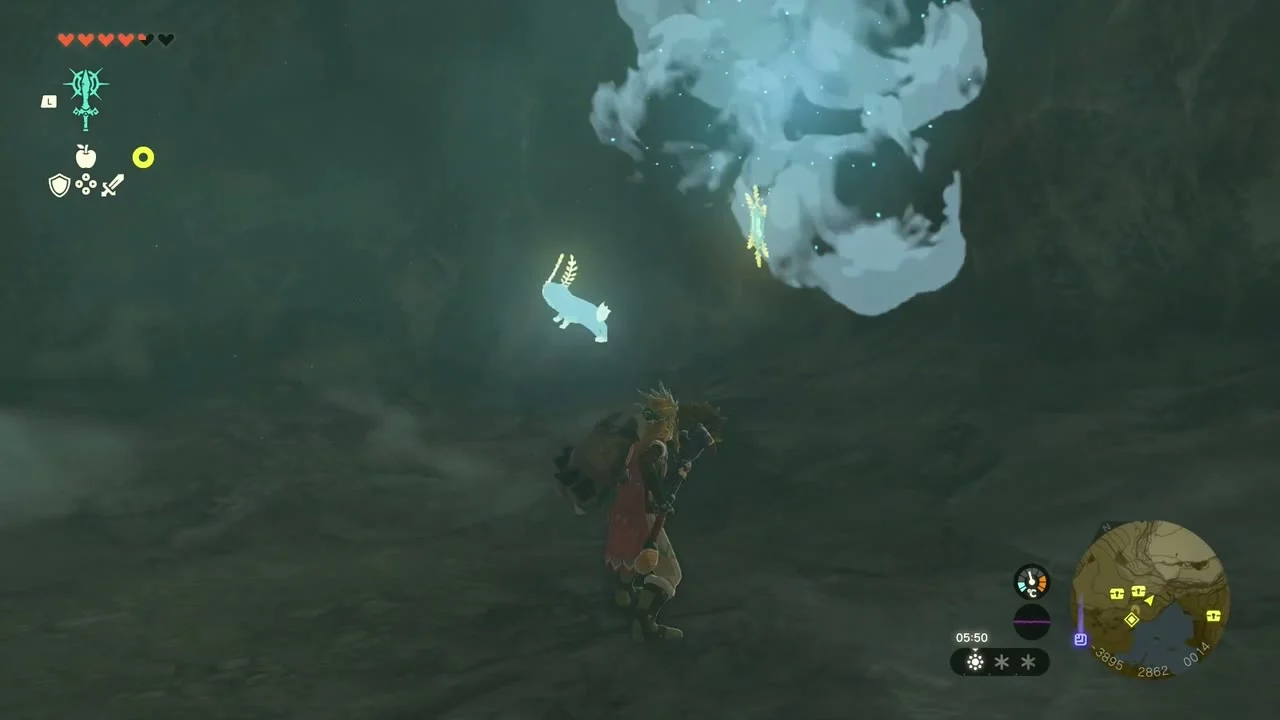
Also in this area
Datamined Koroks in the Hebra Mountains box not covered above: Break the acorn pot (-2530, 1854; -2739, 2267), Lift the rock (-3944, 1969; -3958, 2035; -3087, 2119; -3752, 2797; -3350, 2992; -4038, 3364; -3218, 3376), Complete the cube puzzle (-4105, 2048; -2635, 2055; -3048, 2360; -2477, 2748; -3941, 3161; -4509, 3460), Complete the rock pattern (-2800, 1947; -3162, 2465; -4066, 2505; -3064, 2855; -2603, 3236), Build a roof for the statues (-4254, 2145; -3793, 3027; -4190, 3373), Reach the target ring within the time limit (-3292, 2442; -2989, 3141; -4418, 3181; -3507, 3836), Use Ascend on the marker (-3423, 2066; -3001, 3220; -3839, 3416), Melt the ice block and lift the rock (-3849, 2737; -3576, 3266; -4004, 3622; -4430, 3682), Pop the hidden balloon (-3975, 3713; -3973, 3734), Shoot the balloon(s) (-2384, 2137; -3466, 3475; -2359, 3678), Follow the flower (-4124, 1935; -3792, 2319; -3772, 3344), Pull the plug (-4332, 2602), and Climb on the wall to touch the marker (-3917, 2880).
Hebra Mountains checklist
| Collectible | Count | Where |
|---|---|---|
| Shrines | 4 | Sahirow, Wao-os (surface); Mayaumekis, Kahatanaum (sky) |
| Lightroots | 2 | Worihas, So-oaw |
| Caves | 5 | Rospro Pass, Talonto Peak, Hebra South Summit, West Lake Totori, Lake Kilsie |
| Bubbul Gems | 4 | Rospro Pass, Talonto Peak, West Lake Totori, Lake Kilsie |
| Well | 1 | Dronoc’s Pass Well |
| Minibosses and boss | 3 | Flux Construct I, Battle Talus, Colgera |
| Heart Containers | 2 | Goddess Statue trade, Colgera |
| Armor | 1 | Frostbite Headdress |
| Quests | 7 | Crossing the Cold Pool, Legacy of the Rito, Fish for Fletching, The White Bird’s Guidance, Treasure of the Secret Springs, Kaneli’s Flight Training, A Mystery in the Depths |
Part 2: Raspro Pass, Biron Snowshelf & Royal Hidden Passage
| Region | Hebra Mountains: the Sturnida Basin and Raspro Pass foothills, Icefall Foothills, Biron Snowshelf, Hebra West and East Summit, Hebra North Crest and Pikida Stonegrove; plus the Lightcast Island sky island above Tabantha Frontier and the Royal Hidden Passage under Lookout Landing |
|---|---|
| Shrines | Tauyosipun Shrine (Forward or Backward?), Otak Shrine (Proving Grounds: Traps), Eutoum Shrine (Proving Grounds: Infiltration), Rutafu-um Shrine (Rauru’s Blessing), Sisuran Shrine (Rauru’s Blessing) |
| Lightroots | Nupisoyuat (below Tauyosipun), Kato (below Otak), Muotue (below Eutoum), Mu-ufatur (below Rutafu-um), Narusis (below Sisuran); see all Lightroots |
| Caves | Sturnida Springs Cave, Icefall Foothills Cave, North Biron Snowshelf Cave, East Biron Snowshelf Cave, Hebra Great Skeleton, Hebra Mountains Northwest Cave, Pikida Stonegrove Northwest Cave, Royal Hidden Passage (a Bubbul Gem in six of them) |
| Well | One Energy Well in the Depths, used to turn Crystallized Charges into Zonai Energy |
| Quests | Who Finds the Haven?, Treasure of the Secret Springs, The Duchess Who Disappeared, The North Hebra Mountains Crystal, The Northwest Hebra Cave Crystal, Who Goes There? |
| Korok seeds | 32 Korok puzzles (34 seeds, two puzzles pay out for a Korok and its friend); see all Korok seeds |
| Chests | 41, including the Vah Medoh Divine Helm, the Soldier’s Greaves and Soldier’s Helm, and a Sage’s Will in the sky |
| Minibosses | Frost Talus (x3), Blue-Maned Lynel, Frost Gleeok, Blue Hinox, White-Maned Lynel, King Gleeok, Stalnox |
This is the second half of the Hebra Mountains sweep: five shrines, seven caves and 32 Korok puzzles scattered across the snowfields between Rospro Pass and Biron Snowshelf, then a last trip into the sky and down into the Royal Hidden Passage. Bring cold-resistance food or Snowquill gear, a fire source (Fire Fruit, a Flame Emitter or a Flameblade) and something to carry you uphill such as a rocket or fan vehicle.
Quick route
Start in Sturnida Basin: build the sign for Addison, enter Sturnida Springs Cave for the Royal Claymore (or Traveler’s Claymore, Soldier’s Claymore or Knight’s Claymore, depending on your progress) chest and the Mushroom Haven, then drop the first Frost Talus and the Blue-Maned Lynel on the slopes to the north.
Clear Tauyosipun Shrine at the edge of the basin, then follow the Korok trail north to the Icefall Foothills and melt your way into the cave for the Bubbul Gem and Otak Shrine.
Work east along Biron Snowshelf: open North Biron Snowshelf Cave and flood the hidden passage for the Vah Medoh Divine Helm, then rescue Selmie in East Biron Snowshelf Cave.
Fight the Frost Gleeok, build a snowmobile and a glider for the Korok cluster around the Hebra Great Skeleton, then climb to Eutoum Shrine beside Goflam’s Secret Hot Spring.
Swing back to Lookout Landing for supplies and a Heart Container, then take on the Northwest Cave crystal (Rutafu-um Shrine), shield surf with Selmie, and finish the east side with the North Hebra crystal (Sisuran Shrine) and Pikida Stonegrove Northwest Cave.
End in the sky above Tabantha Frontier with the White-Maned Lynel and King Gleeok, then drop into the Royal Hidden Passage under Lookout Landing for its Royal Shield (or Traveler’s Shield, Soldier’s Shield or Knight’s Shield, depending on your progress), Soldier’s armor and horned statue.
Sturnida Basin and Sturnida Springs Cave
Build the signpost for Addison
Addison’s sign. A traveler named Addison is standing next to a half-built signboard in the snowy flats north of Rospro Pass. Use Ultrahand to join the wooden board to the post stand so the sign stands upright, then talk to him again. He pays you a Red Rupee for the help.
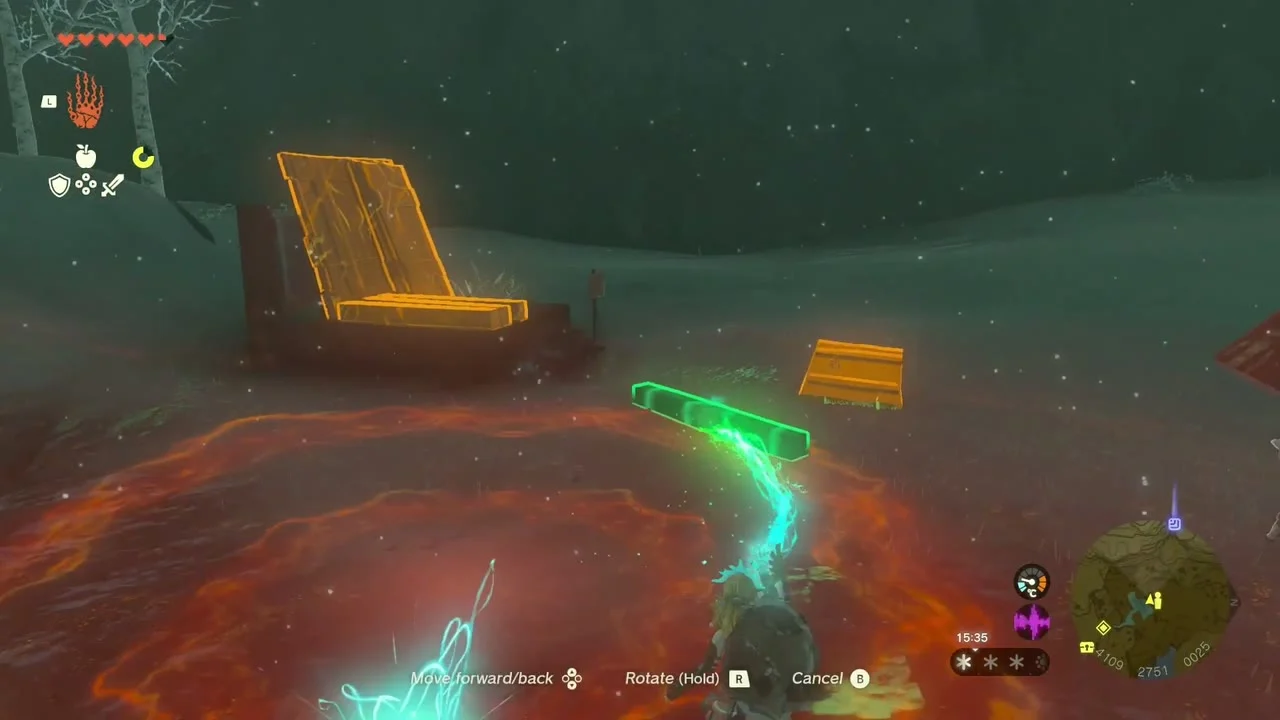

Find the crevice in the steam
Sturnida Springs Cave (-4041, 2671, 23). The entrance is a narrow crevice at the headwaters of Sturnida Secret Hot Spring (-4089, 2731), just past a torch. Inside, the first chest holds a Royal Claymore. Break the cracked rock walls with Bomb Flowers or a rock-smashing weapon and you will find Brightcaps growing along the route.

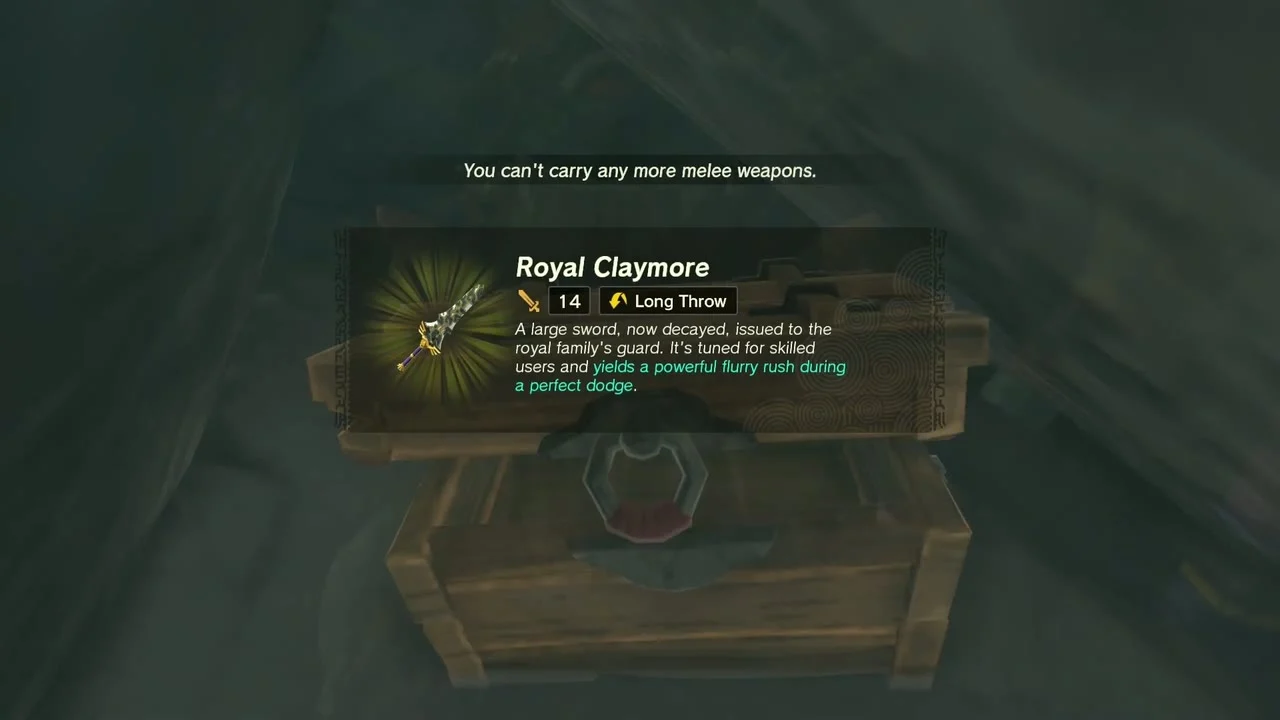
Reach the Mushroom Haven
Who Finds the Haven? The cave’s final chamber is a bright crystal cavern full of mushrooms: the Mushroom Haven that Nat and Meghyn are searching for (side quest chain: Cave Mushrooms That Glow, The Captured Tent, then Who Finds the Haven?, all given by Nat near Snowfield Stable). Walk in first to finish the quest; collect the Big Hearty Truffle growing on the crystals.


Shoot down the Bubbulfrog
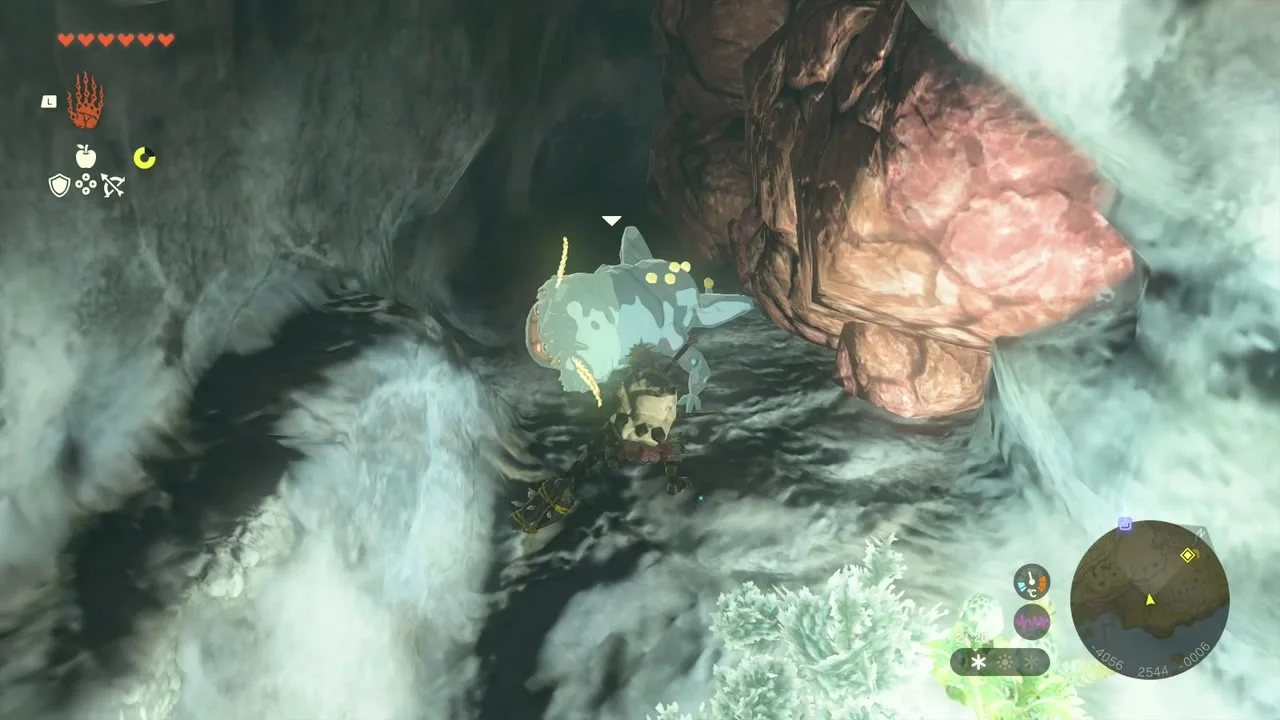
Bubbul Gem (Sturnida Springs Cave). A Bubbulfrog clings to the ceiling in the narrow passage after the pink boulders. Knock it down with an arrow and pick up the Bubbul Gem.

Pull the plug on the snow mound
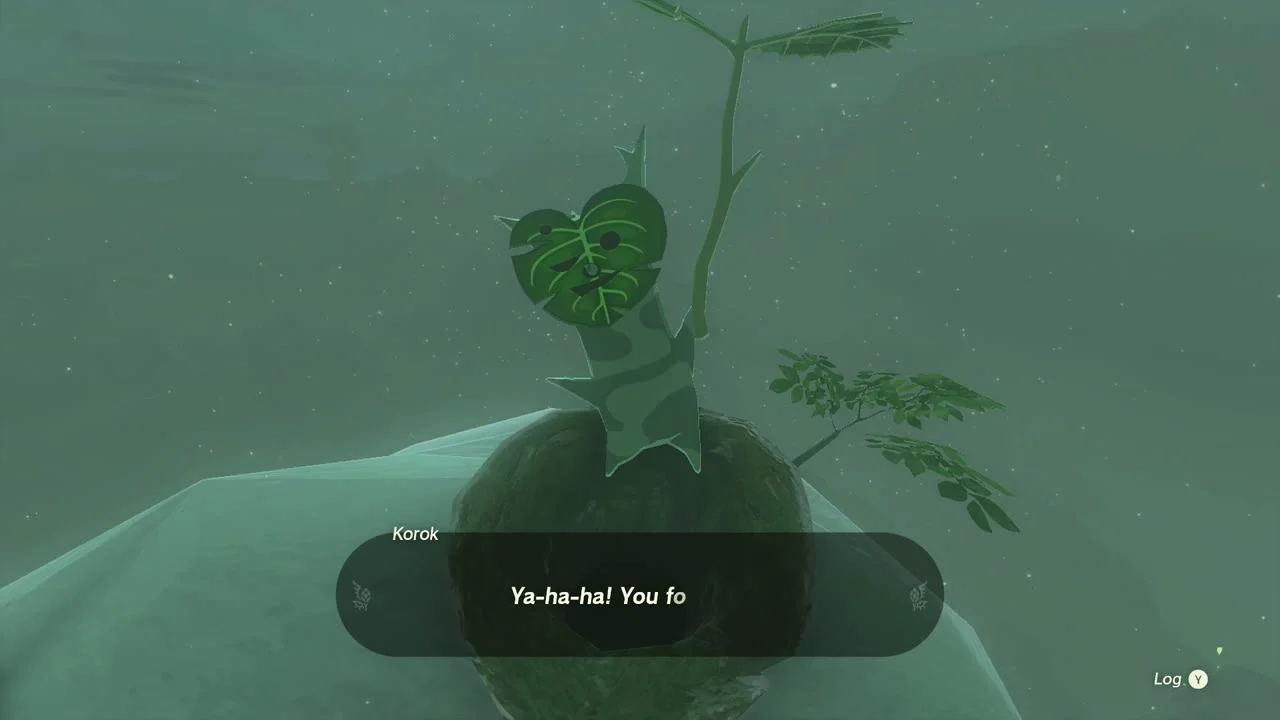
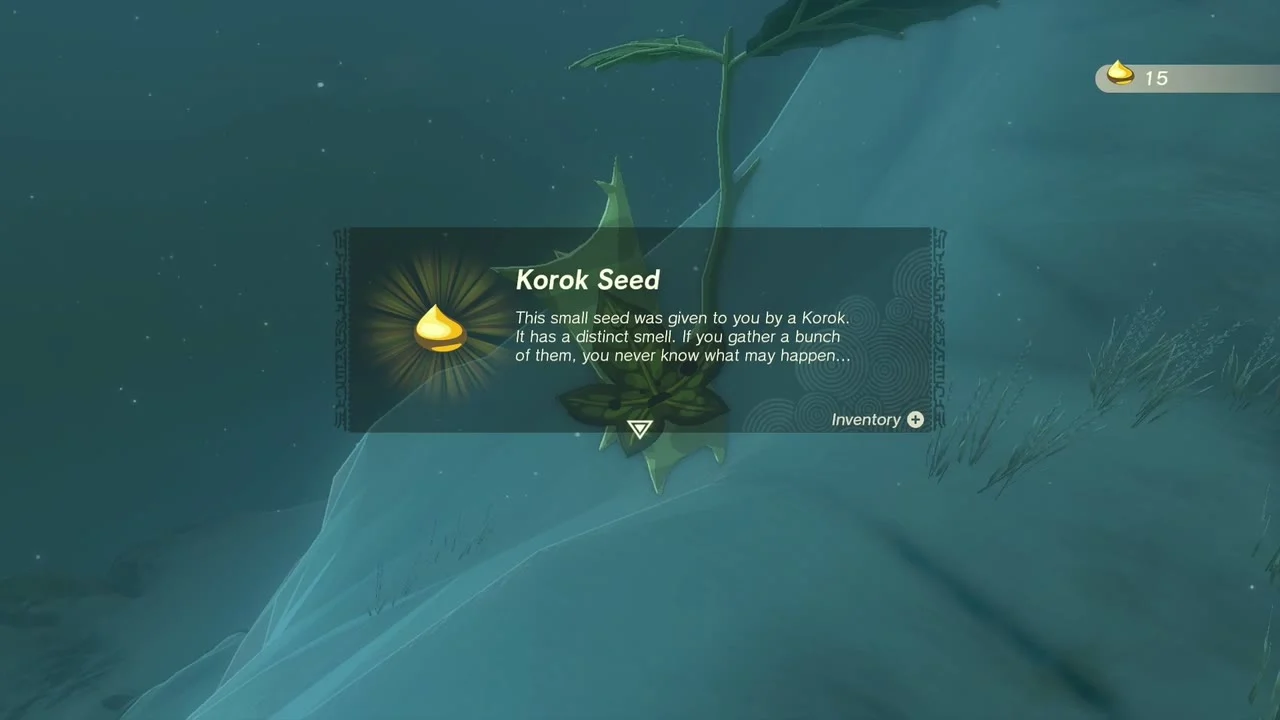
Korok seed (pull the plug). On the snow mound at -4332, 2602 a wooden plug sits in a hole beside a bare stump. Grab the plug with Ultrahand and pull it out; the Korok pops up from the nest and gives you the seed.
Frost Talus, Blue-Maned Lynel and Tauyosipun Shrine
Melt a Frost Talus
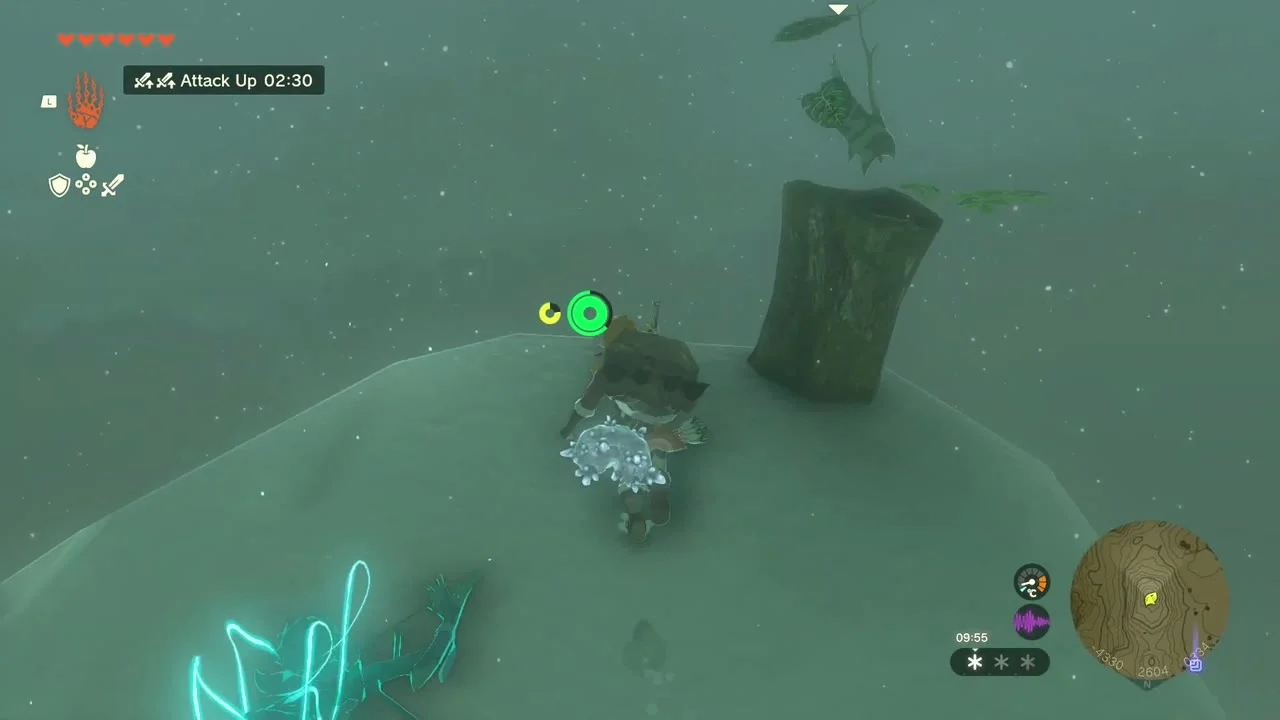
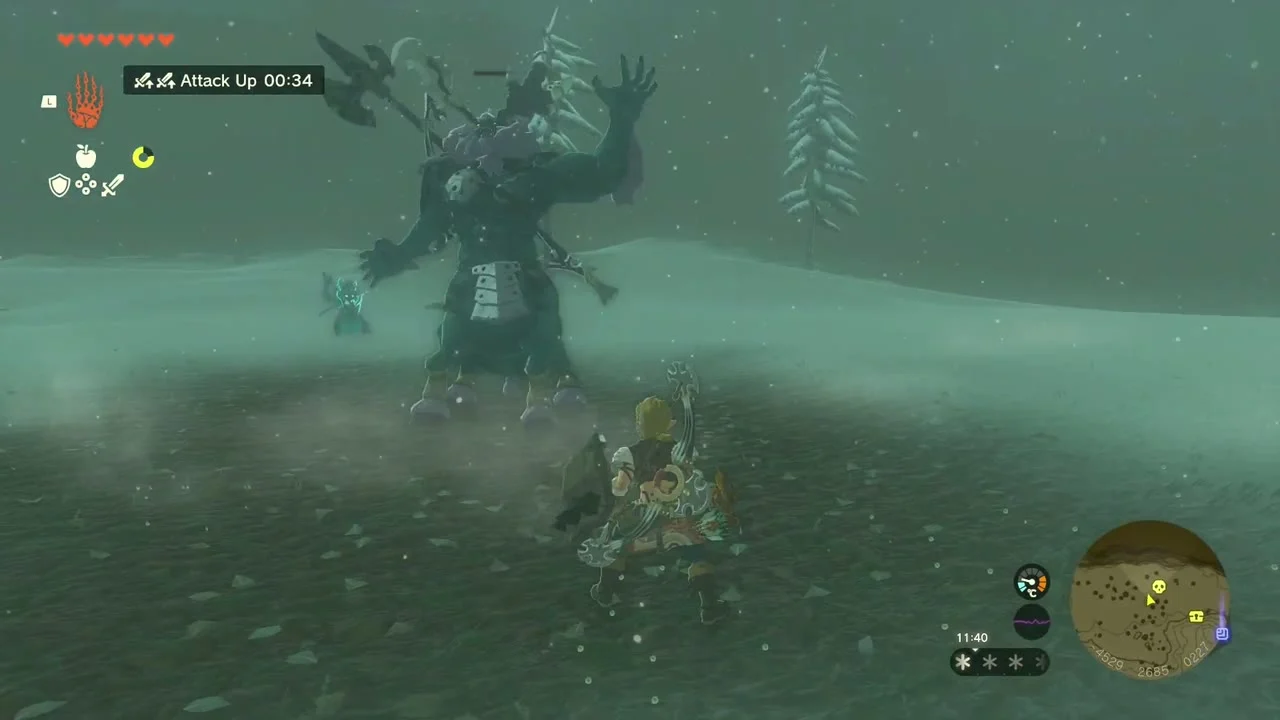
Miniboss: Frost Talus (Hebra West Summit South). Fire is the key: shoot it with a Fire Fruit arrow or attach a Flame Emitter to a shield to melt the ice armor, then hit the ore deposit on its back. A Bomb Flower arrow into the exposed ore does heavy damage. It drops ore and gems. A second Frost Talus waits further north at Hebra West Summit North and is fought the same way.


Take down the Blue-Maned Lynel
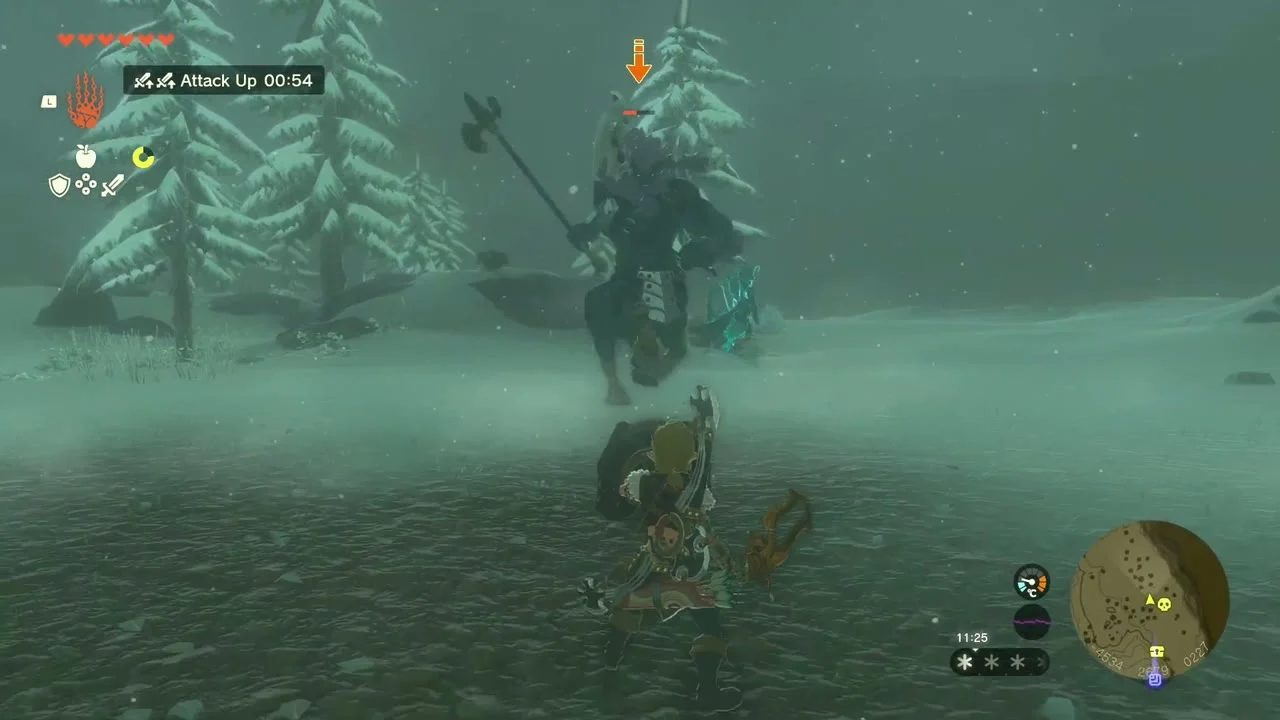
Miniboss: Blue-Maned Lynel. It patrols the snowy ridge above the first Talus. Keep behind trees and boulders, parry its charge with a shield and shoot its head to stagger it. It drops a Knight’s Halberd (or Traveler’s Spear, Soldier’s Spear or Royal Halberd, depending on your progress).
Open the chest in the ice
Chest (Brightbloom Seed x10). A large ice slab on the slope at about -4540, 2765 covers a chest. Melt it with fire and take Brightbloom Seed x10, useful for lighting the dark caves in the Depths.
Pop the balloon on the ridge
Korok seed (shoot the balloon). Just past the chest at -4635, 2819 a balloon bobs above the snow. Shoot it with an arrow and the Korok appears with its seed.
Run through the ring on the peak
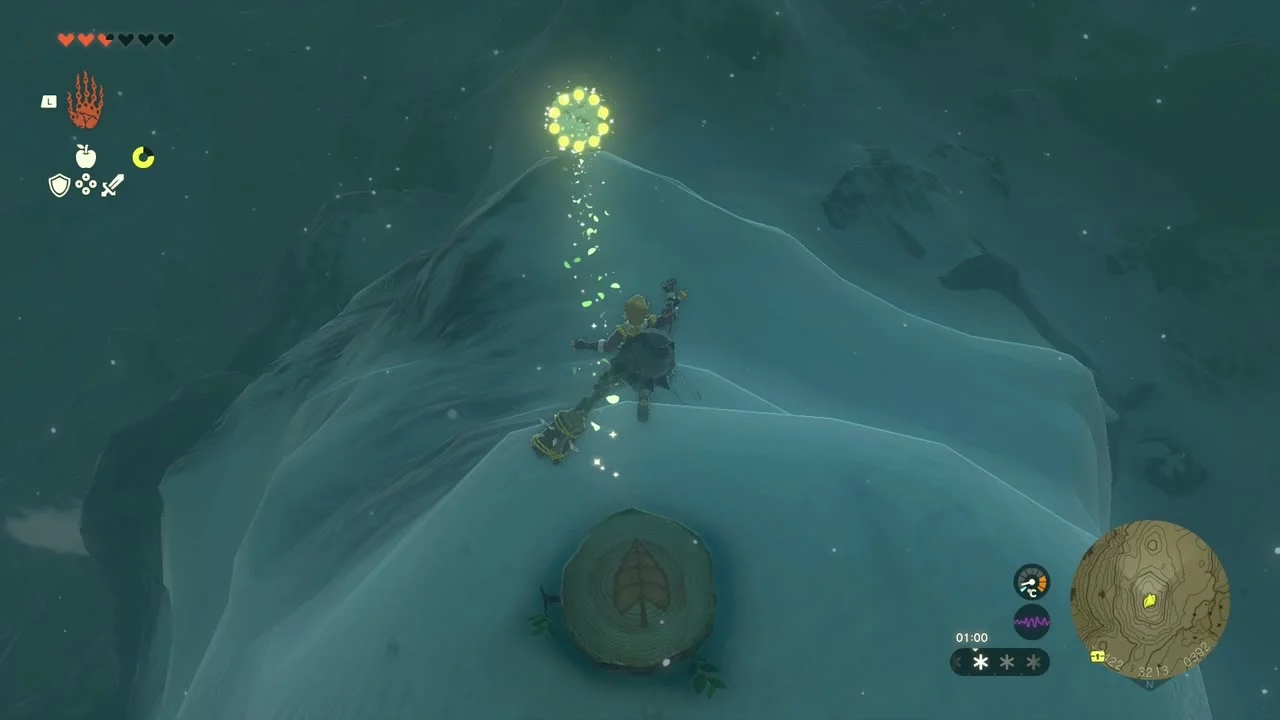
Korok seed (target ring). At -4418, 3181 a stump sits at the foot of an icy peak with a floating ring high above it. Start from the stump, climb, then dive through the ring within the time limit.
Recall the first ball
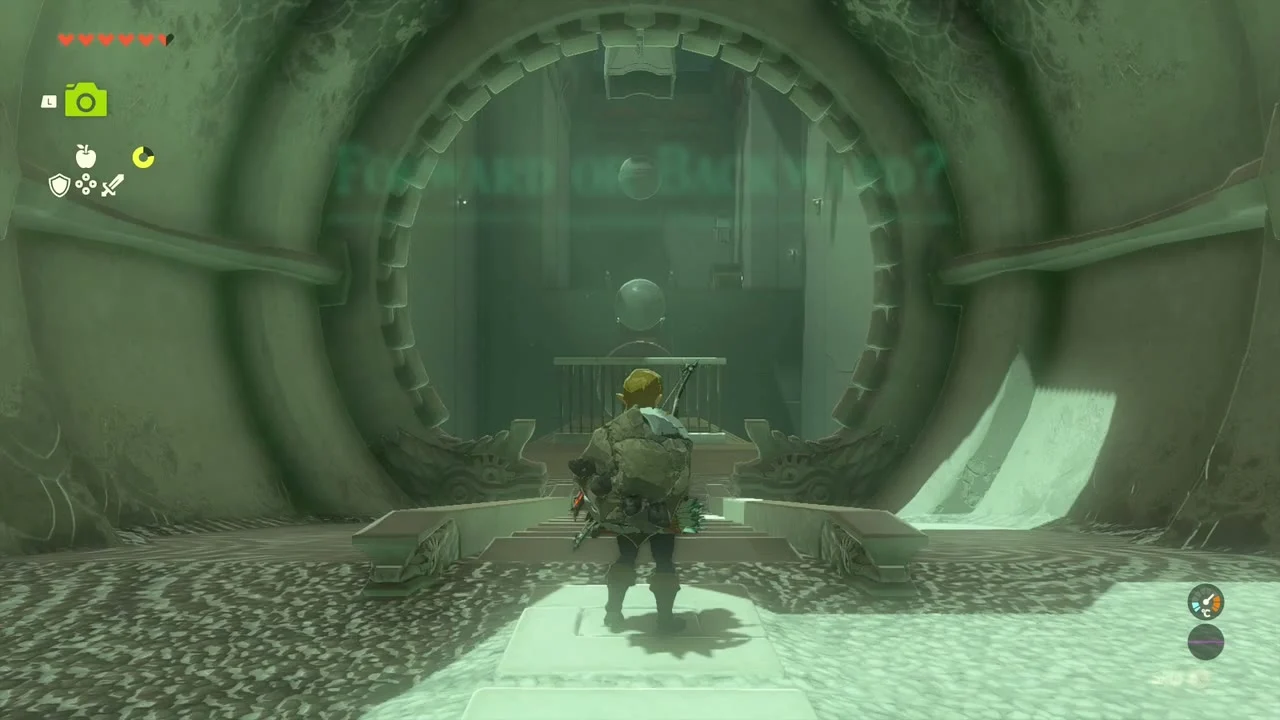
Tauyosipun Shrine (Forward or Backward?, puzzle; -4538, 2880, 276; Lightroot Nupisoyuat below at -4537, 2879, -728). The shrine stands on the slope above Lake Kilsie. Rolling balls come down a ramp at the start: wait until one is almost at the bottom, aim Recall at it and send it back up, then run up the ramp behind it.
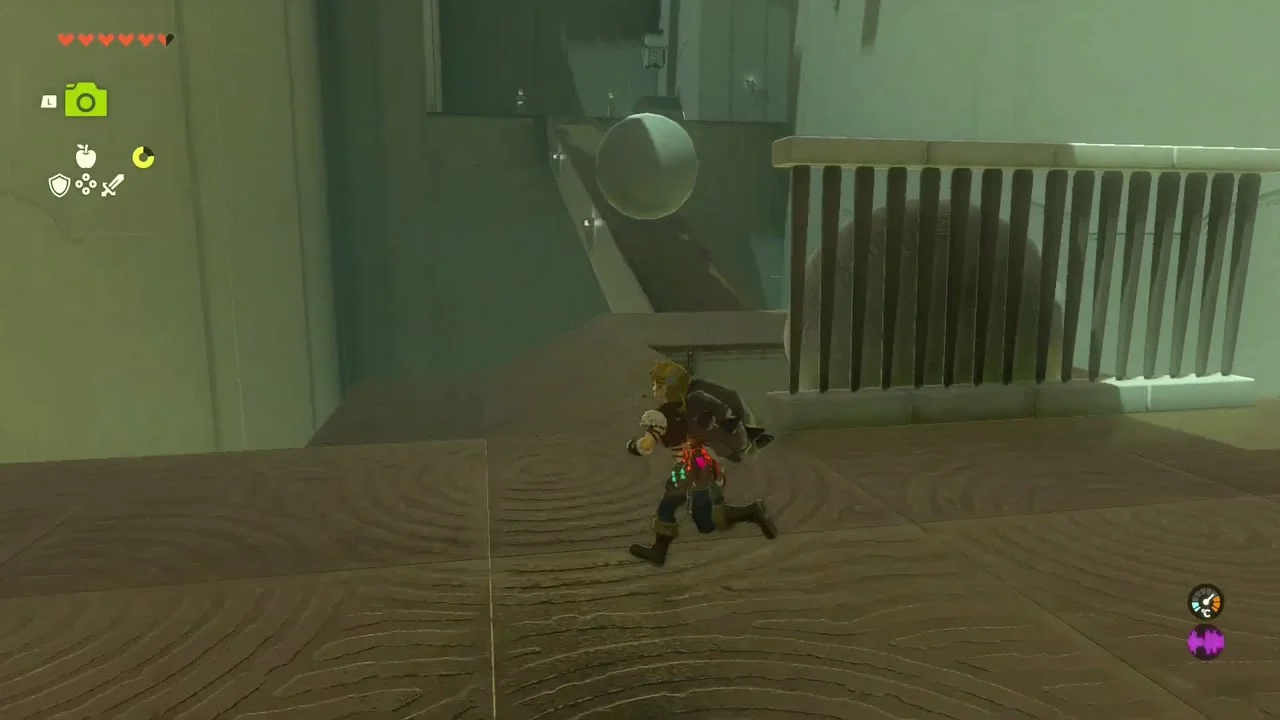
Recall the wheel to save the chest
At the top landing a spinning wheel throws the chest away from you. Use Recall on the wheel so the chest swings back in front of you, then open it for a Mighty Construct Bow (Strong or Mighty, depending on your progress).

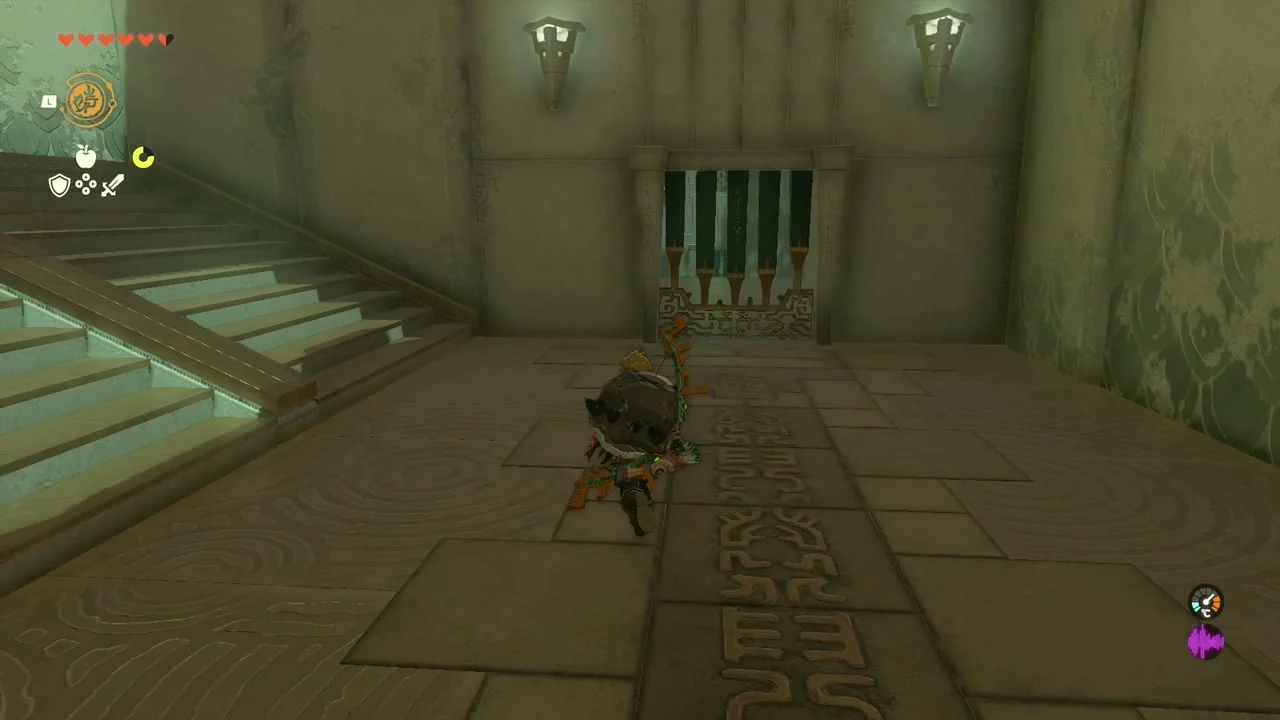
Hold the second ball with the floor switch
In the next room grab the ball with Ultrahand and step on the floor switch; this closes the gate and stops the other balls. If one jams on the ramp, set your ball behind it, then Recall the stuck one so it pushes the second ball up the slope and into the bowl.
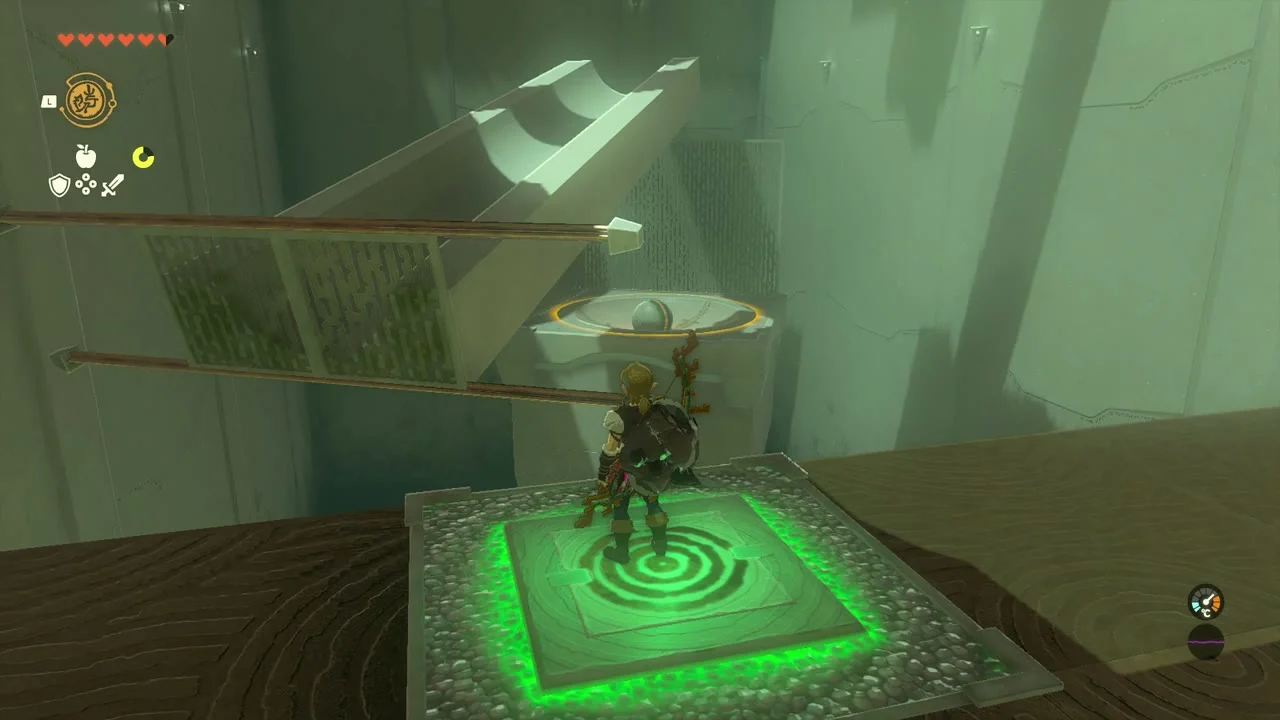

Time the last two balls
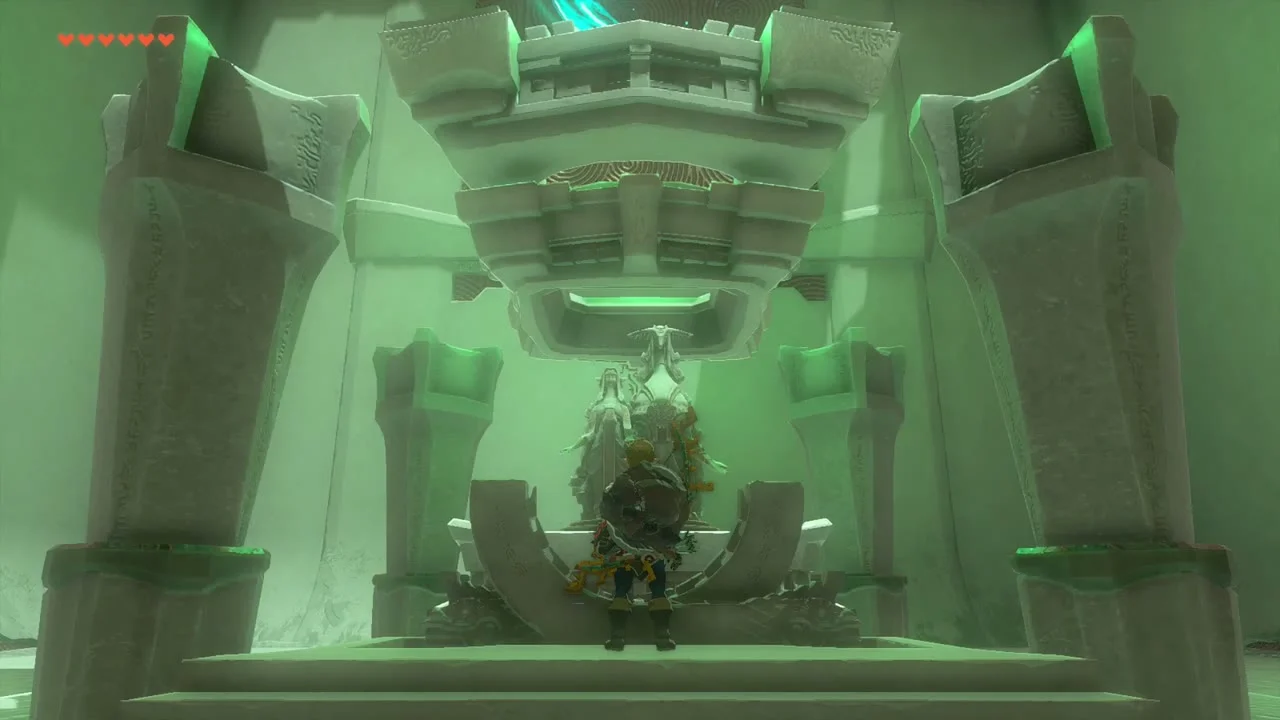
The remaining rooms are the same idea. Recall the marked ball as it rolls down and cancel the Recall while it is above the bowl; in the last room drop the ball into the moving bowl and Recall the ball itself (not the bowl) so it ends up above the target. The final door opens and the Light of Blessing waits at the end.
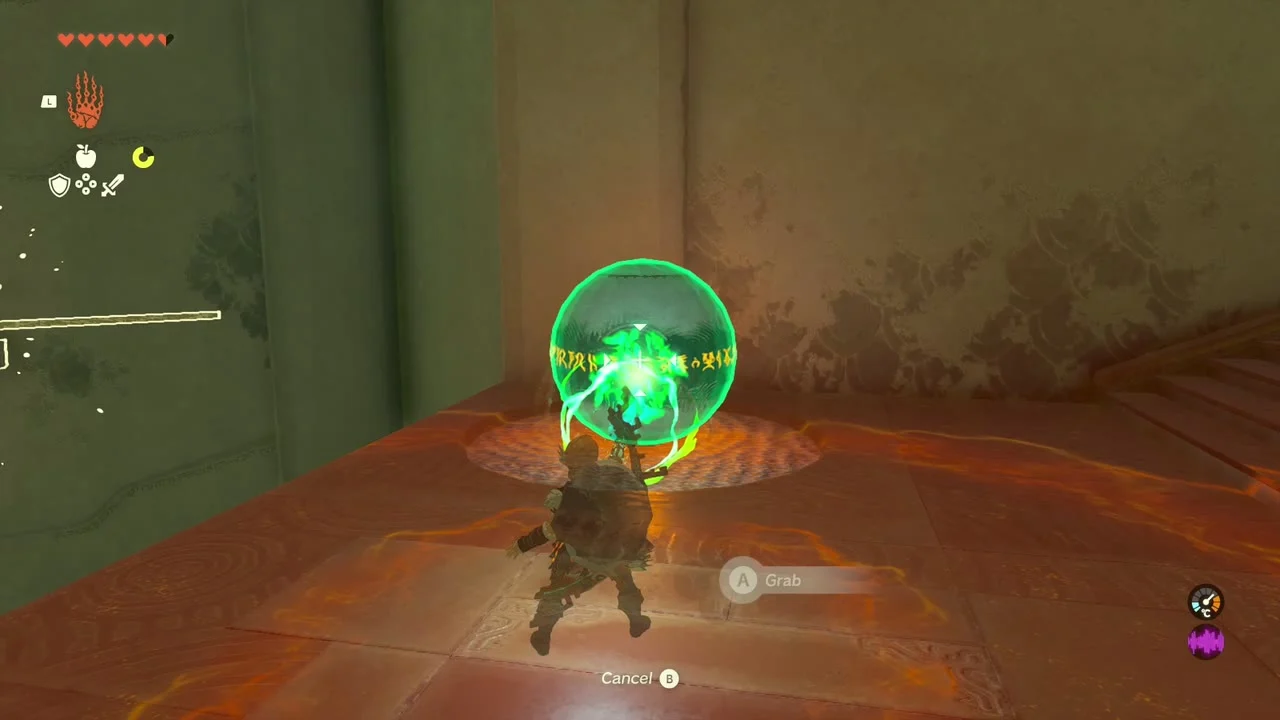
Sweep the burning chests
Chest (Falcon Bow). Further along (-4329, 3324) a pile of wood is on fire with a chest buried inside it. Put the fire out with an Ice Fruit or wait for it to burn out, then open the chest for a Falcon Bow. A second Falcon Bow chest sits a little further on the same slope at about -4372, 3508, beside an ice block.


Korok seeds. The cube puzzle at -4509, 3460 (arrange the loose cubes into the marked pattern) and the dandelion Korok at -4272, 3498 (catch the spinning dandelion seed with an arrow or by gliding into it) are both on this slope.
Icefall Foothills Cave and Otak Shrine
Melt the ice at the cave mouth
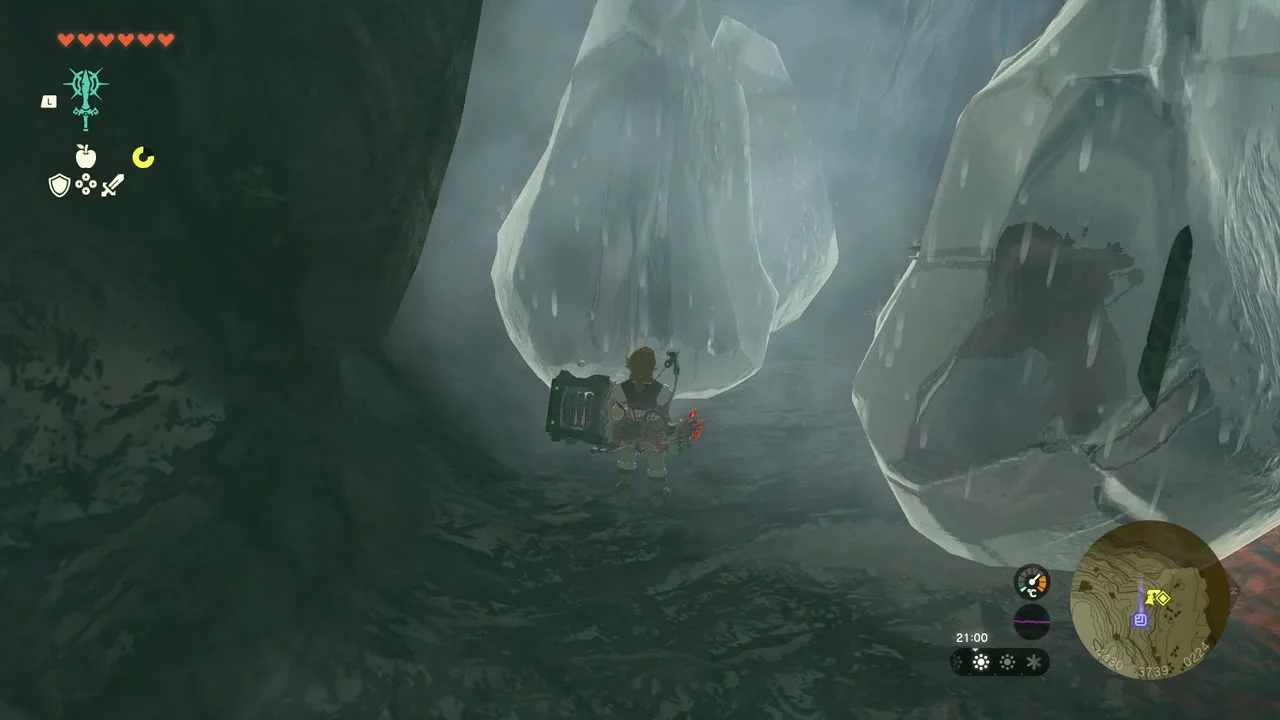
Icefall Foothills Cave (-4429, 3760, 223). Far in the north-west corner of Hebra a large ice block blocks the entrance. Melt it with a Fire Fruit arrow or a Flame Emitter, then walk in. A Bomb Flower x10 chest sits near the entrance; use it to blast the cracked walls ahead.

Take the Bubbul Gem
Bubbul Gem (Icefall Foothills Cave). Past the first chamber a Bubbulfrog hovers in a dark side room. Shoot it down and take the Bubbul Gem.

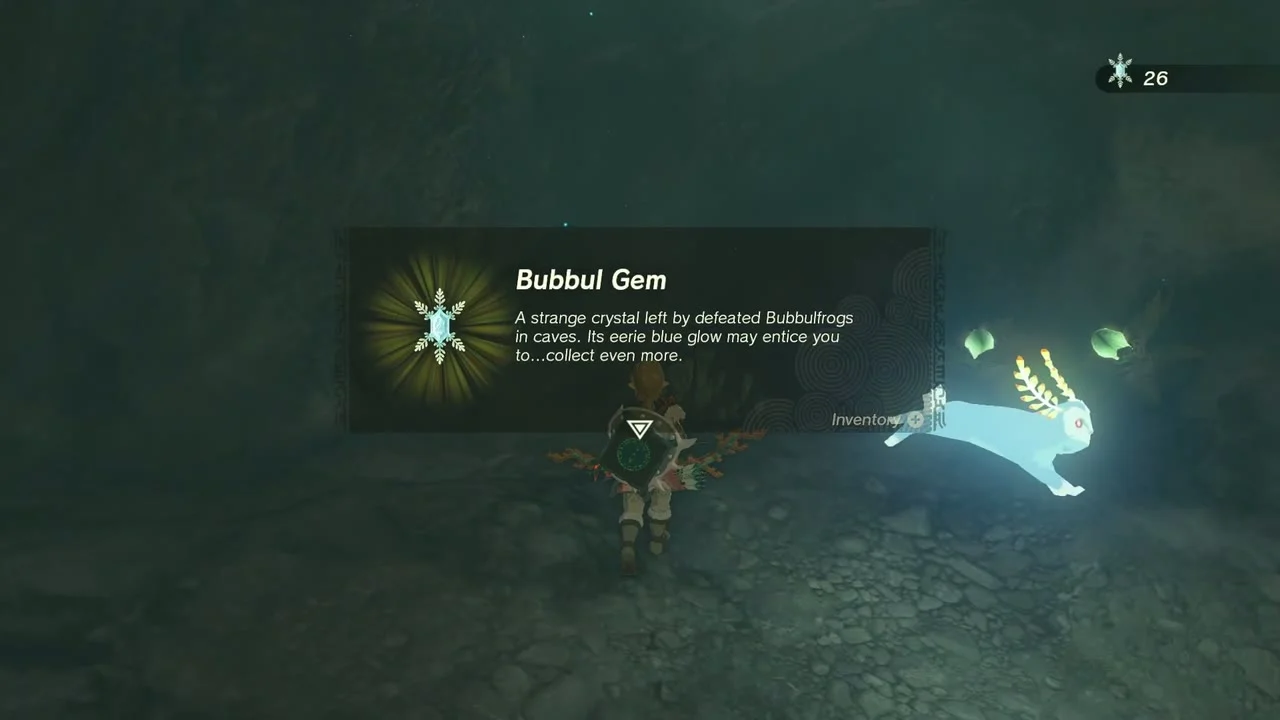
Burn the Constructs in Otak Shrine
Otak Shrine (Proving Grounds: Traps; -4390, 3714, 226; Lightroot Kato below at -4389, 3713, -723). Reach it by melting the ice at the back of the cave, jumping on the ice over the floor hole until it breaks, clearing the Bokoblins in the lower cave and melting the ice wall above the campfire. Gear is taken away inside, so grab the weapons from the rack on the left, then pick the Constructs off one at a time rather than together. Shoot the hanging lanterns above the dry leaf piles to set the leaves alight under the heavy Constructs and let the electrified floor trap hit them. Six Constructs open the exit gate.
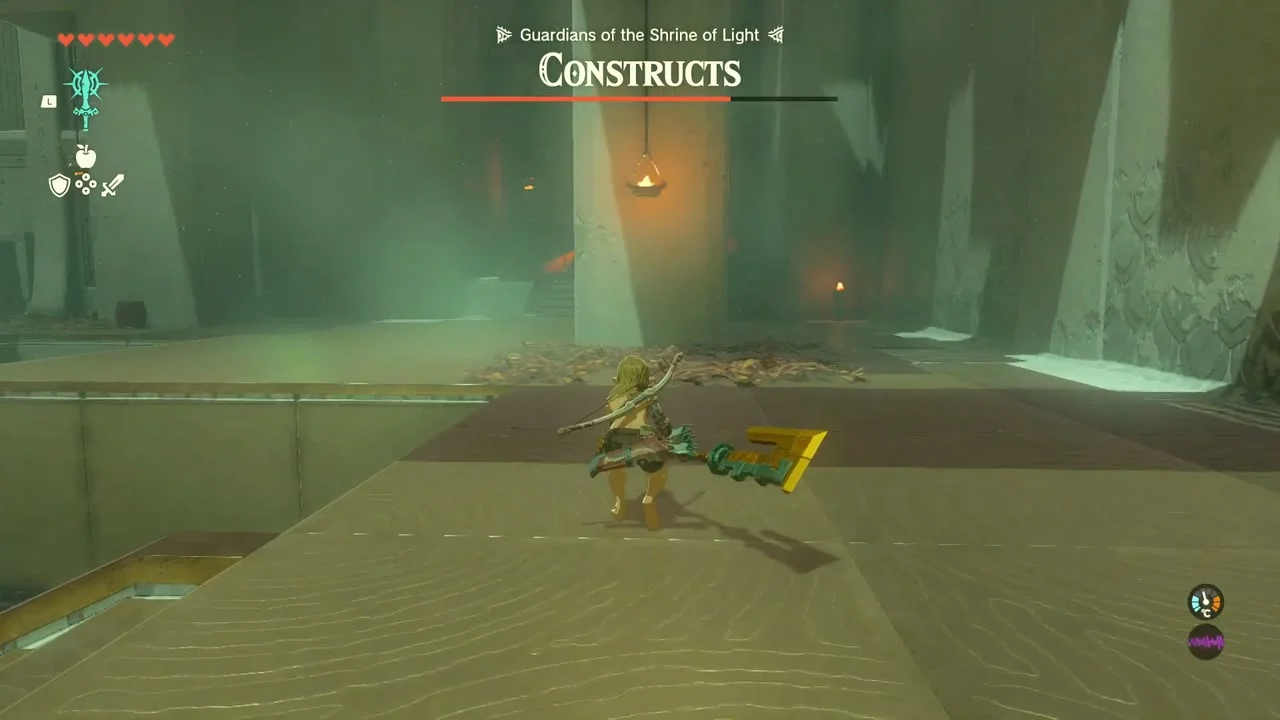


Open the chest and claim the Light
The chest in front of the Light of Blessing holds a Mighty Construct Bow. Take the Light of Blessing to complete the shrine.
Korok trail south of Otak
From the cave exit the Koroks run in a line towards Biron Snowshelf. Melt the ice block and lift the rock at -4430, 3682 (fire on the ice, Ultrahand on the rock under it), paraglide to the goal at -4176, 3816, melt the ice and lift the rock again at -4004, 3622, examine the sparkling spot at -4247, 3125, build a roof for the statues at -4190, 3373 and lift the rock at -4038, 3364. Each pays one seed.
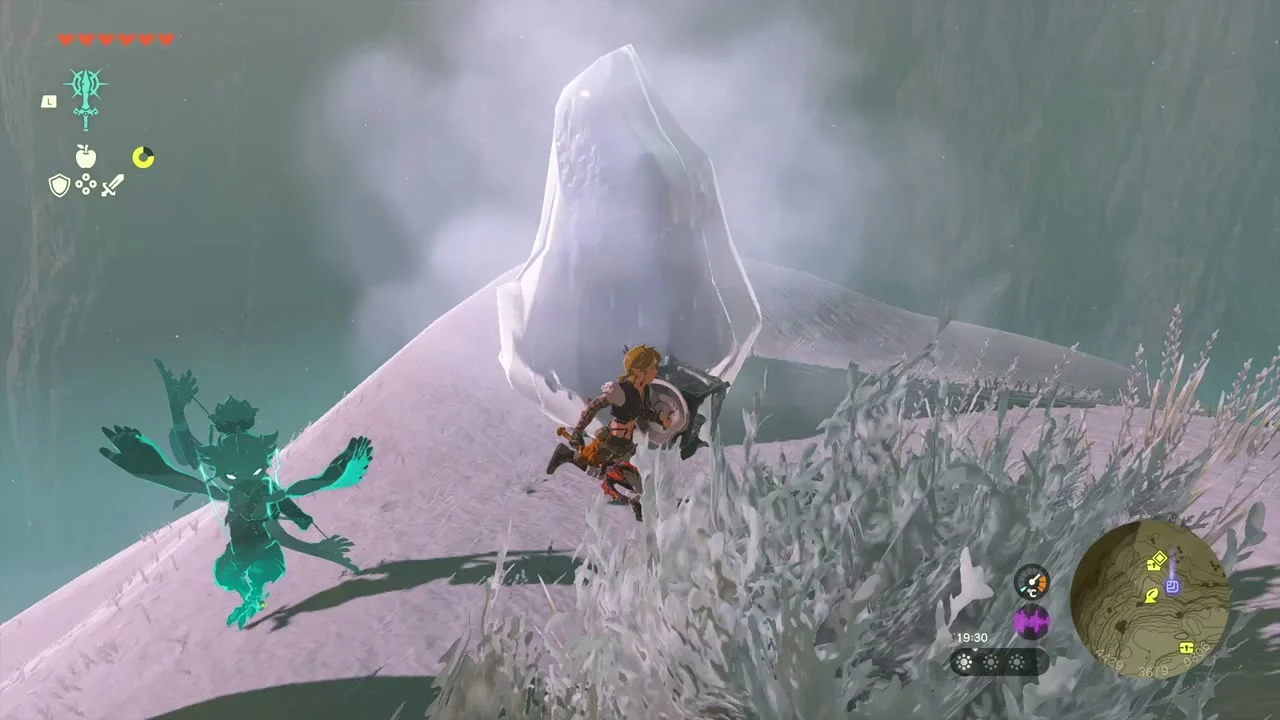
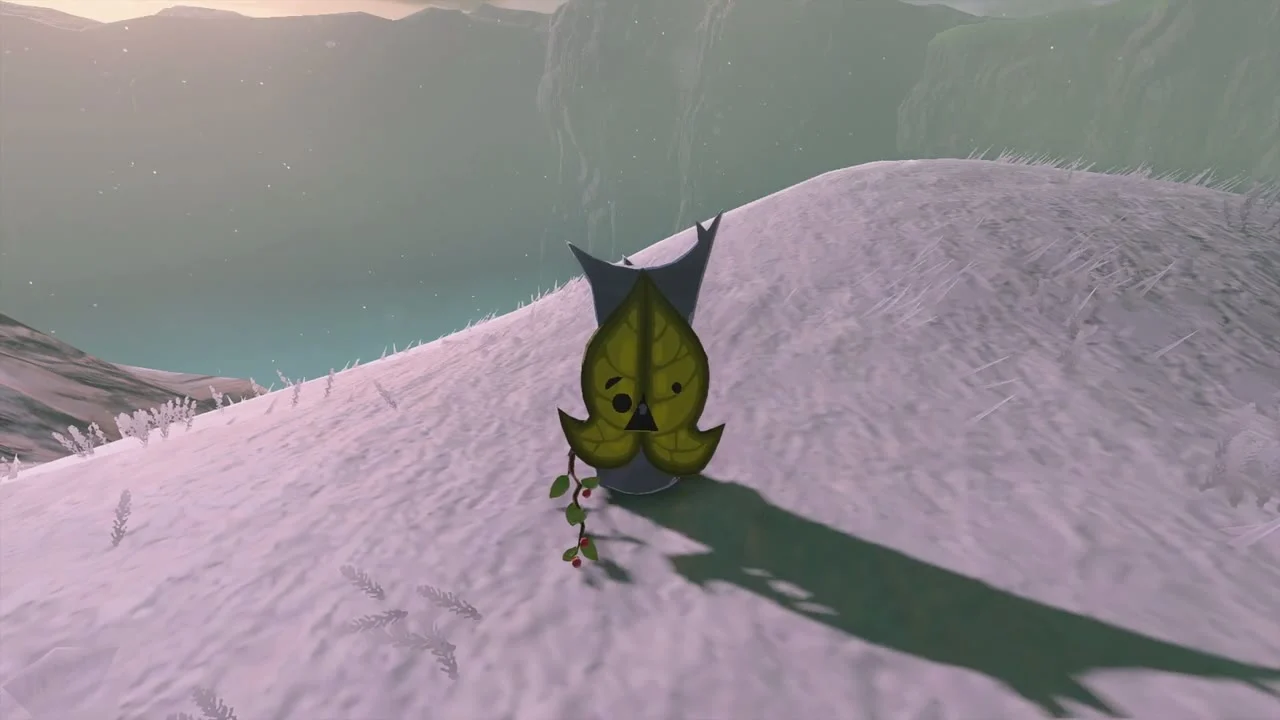
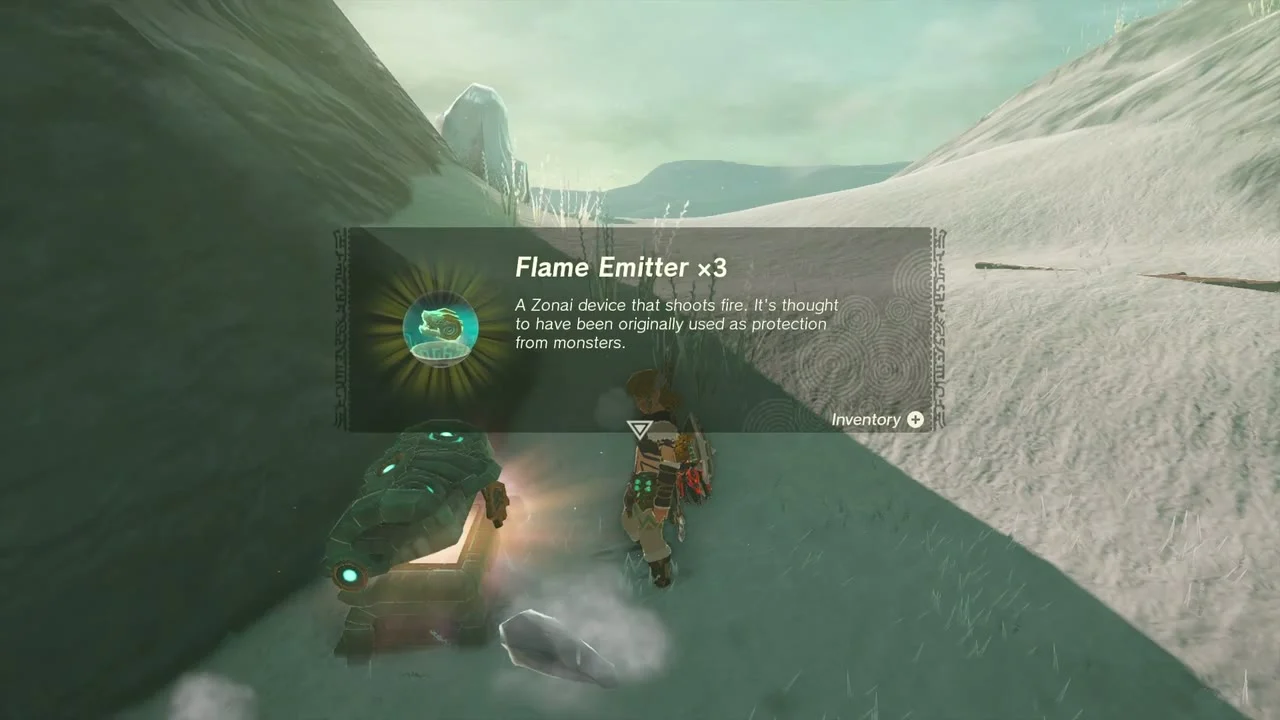
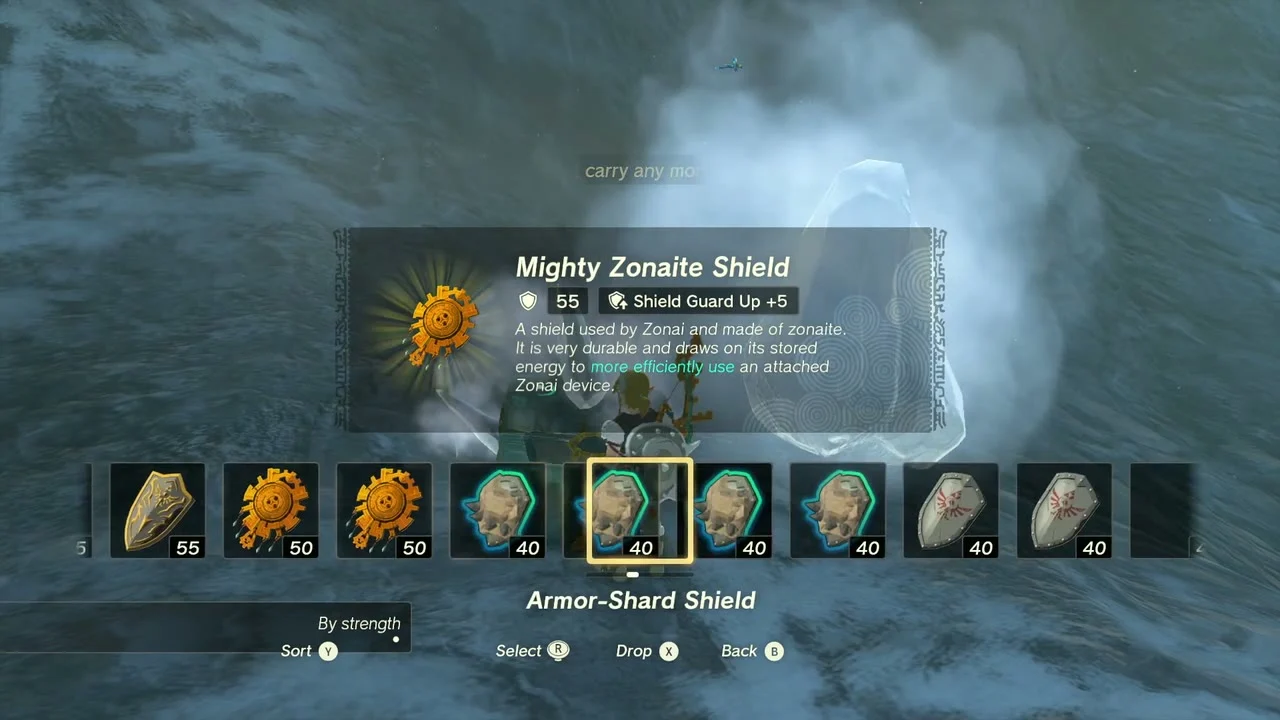
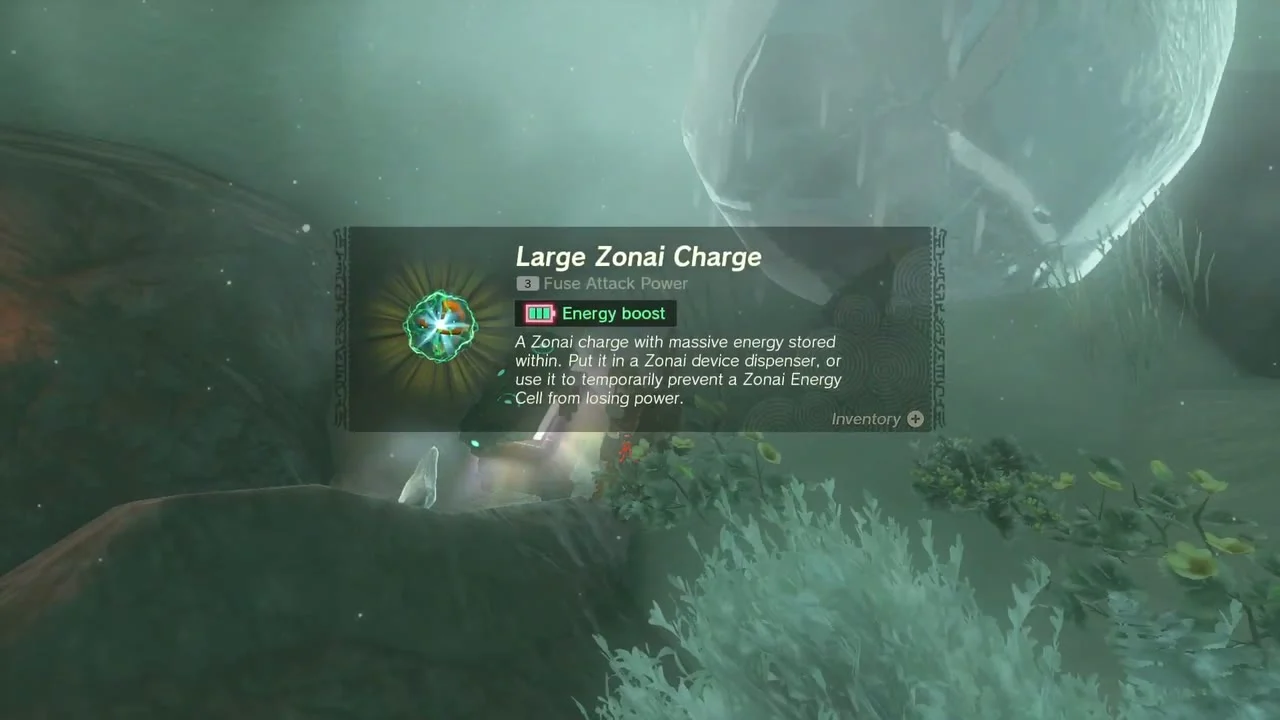
Chests along the way. A Rocket x5 chest sits on the snowy ridge at -4262, 3583, a Flame Emitter x3 chest in a gully at -4329, 3607 under a steaming ice boulder, a Mighty Zonaite Shield (Strong or Mighty, depending on your progress) chest tucked into a snowy hollow, and a Large Zonai Charge chest at -3951, 3688 beside another ice block.
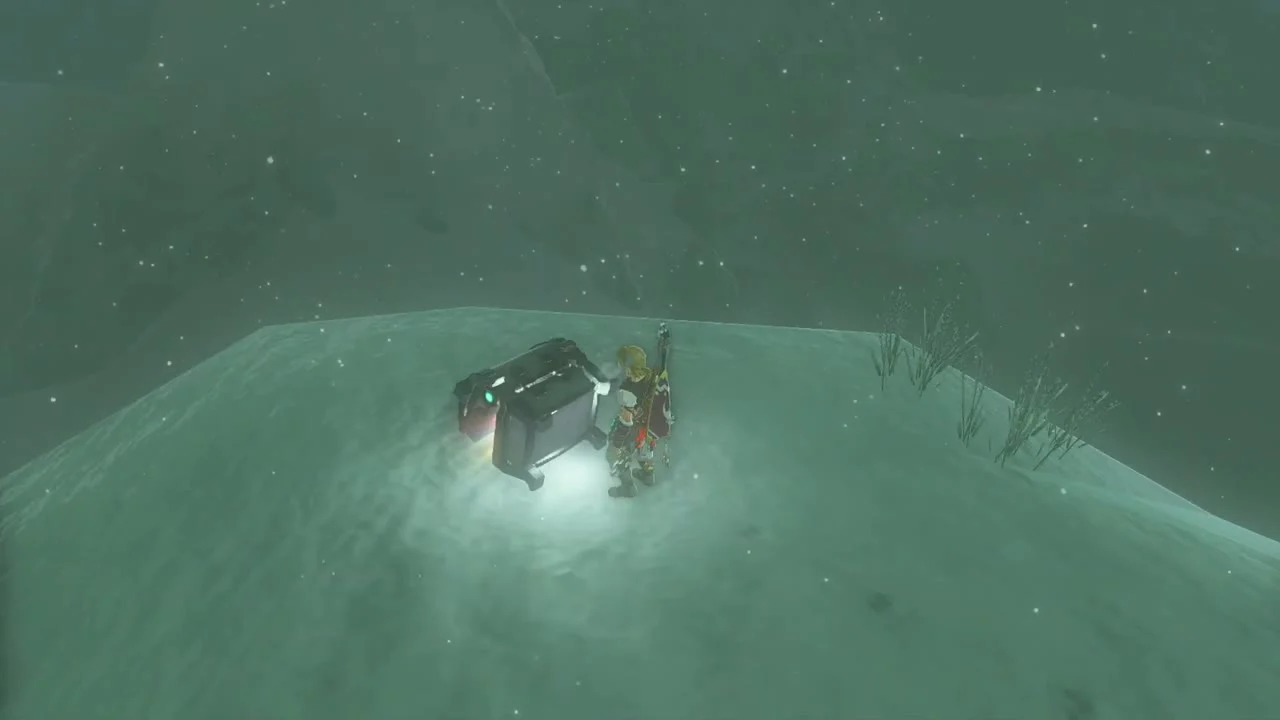
North and East Biron Snowshelf Caves
Open the Zonai cart chest
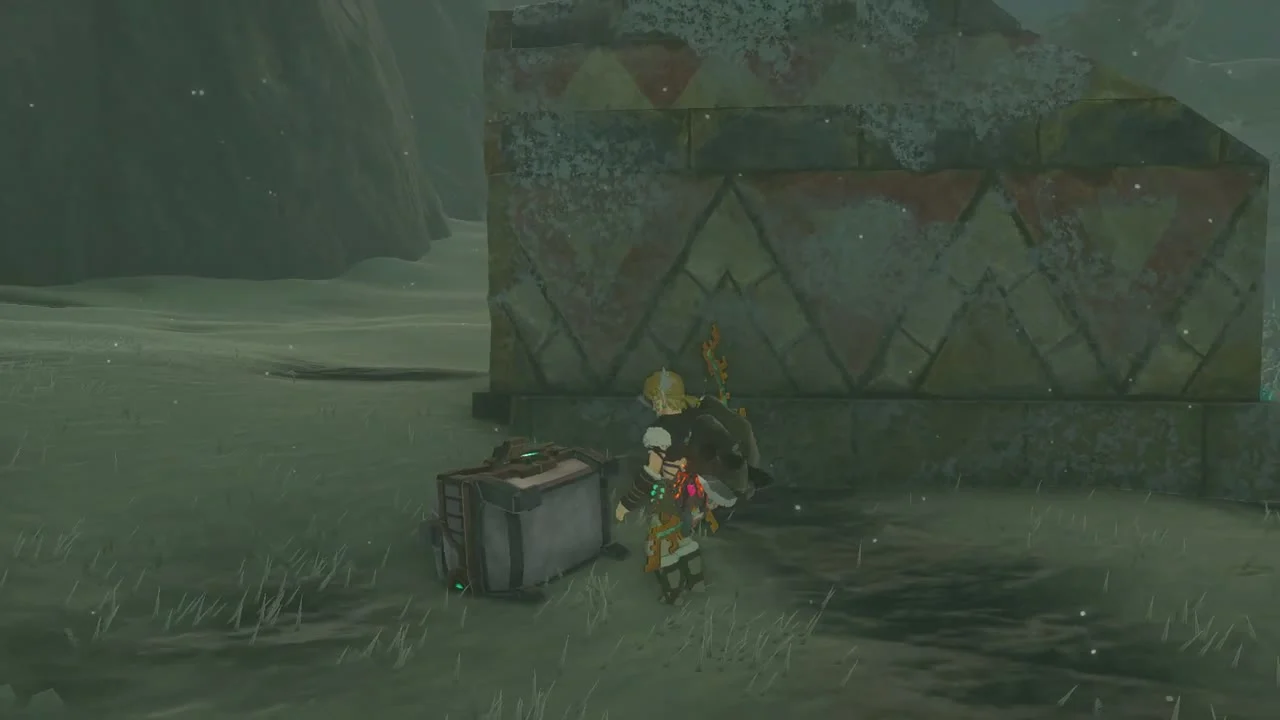
Chest (Cart x3). A Zonai ruin on the shelf has red-and-gold zigzag walls. The chest stands against its wall: open it for Cart x3.
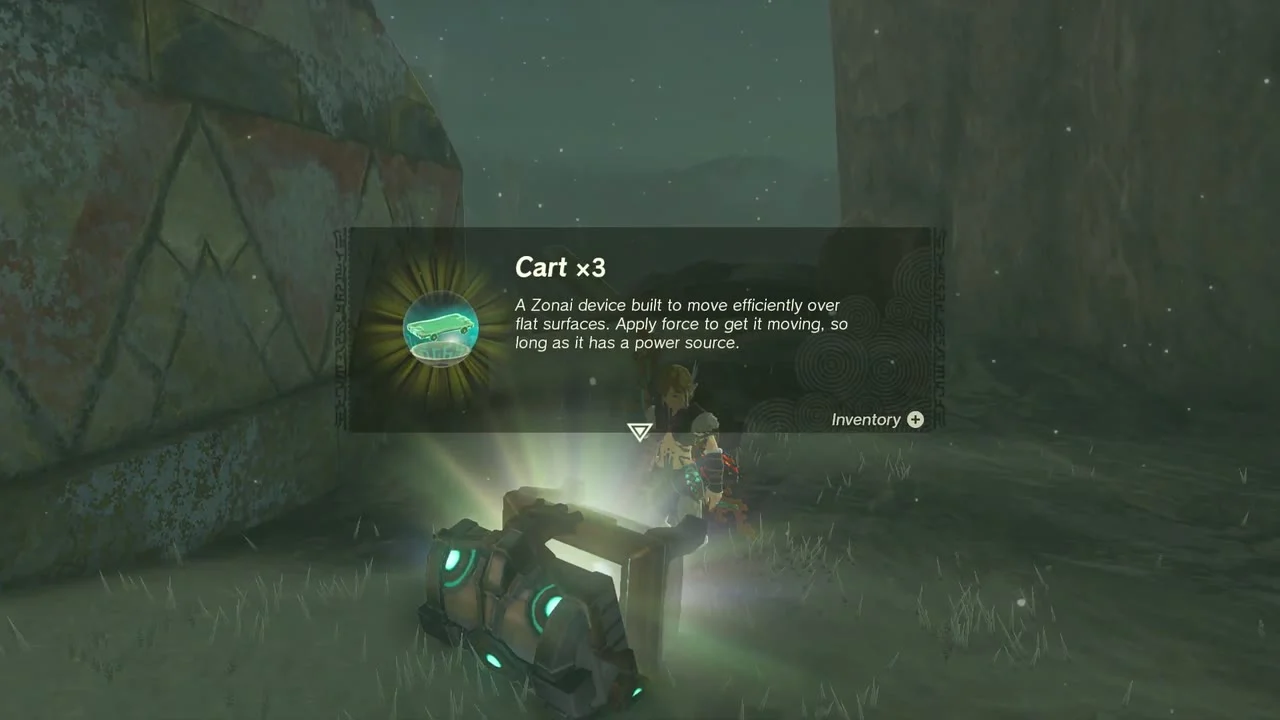
Reach the cave’s secret spring
North Biron Snowshelf Cave (-3960, 3245, 236) and Treasure of the Secret Springs (side quest from Tulin in Rito Village; riddle: reach the middle of Sturnida, Goflam’s and Sherfin’s Secret Hot Springs). A large ice block hides the cave in the mountainside; melt it, then use Bomb Flowers to break the rocks, descend and use the paraglider on the giant fan to float up. Shoot the breakable rocks overhead so the water falls and fills the cave.
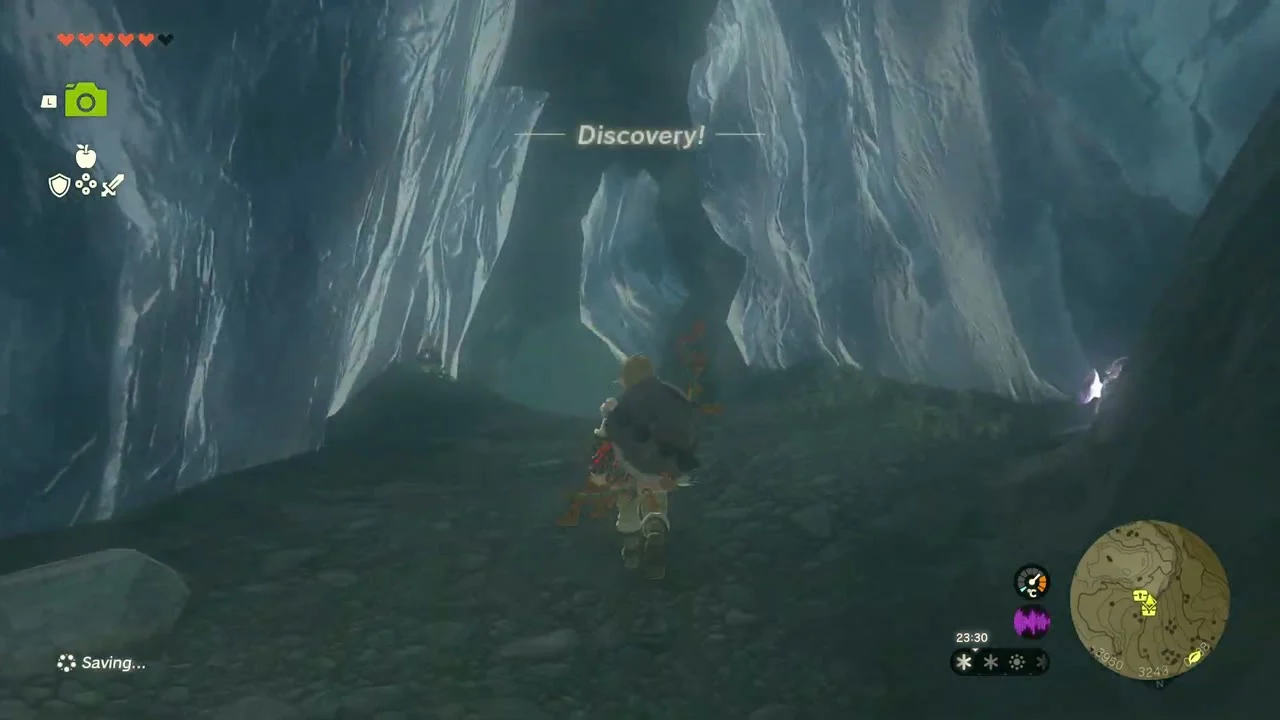

Take the Vah Medoh Divine Helm
When the water fills the area, walk to the room the statue was blocking and open the chest for the Vah Medoh Divine Helm (a cold-resistant helm for the Rito set). An Arrow x5 chest sits earlier in the same cave.
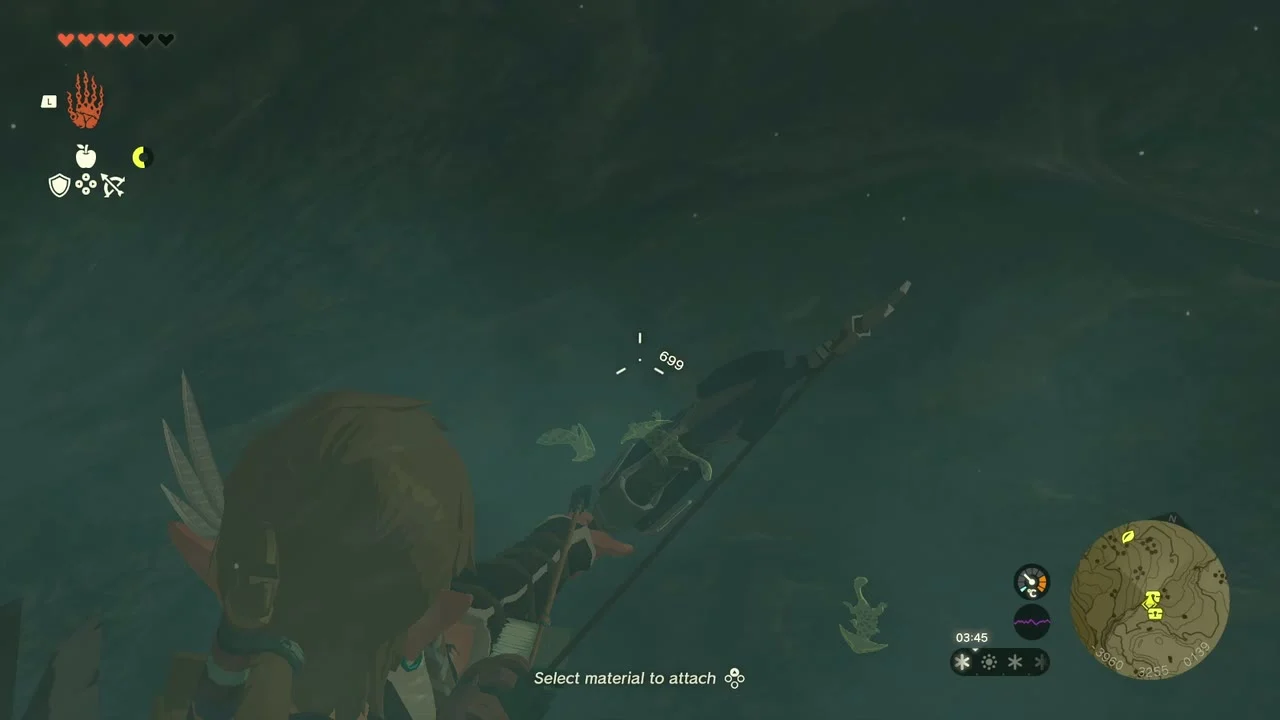

Free Selmie from the cave-in
The Duchess Who Disappeared (side quest, given by Russ at Selmie’s Spot; Selmie is in East Biron Snowshelf Cave, -3555, 3088, 273). Follow the tunnel behind the campfire and break the boulders with Bomb Flowers or a rock weapon until you reach Selmie. Talk to her, then go to her lodge at Selmie’s Spot (-2954, 3140) for the reward.
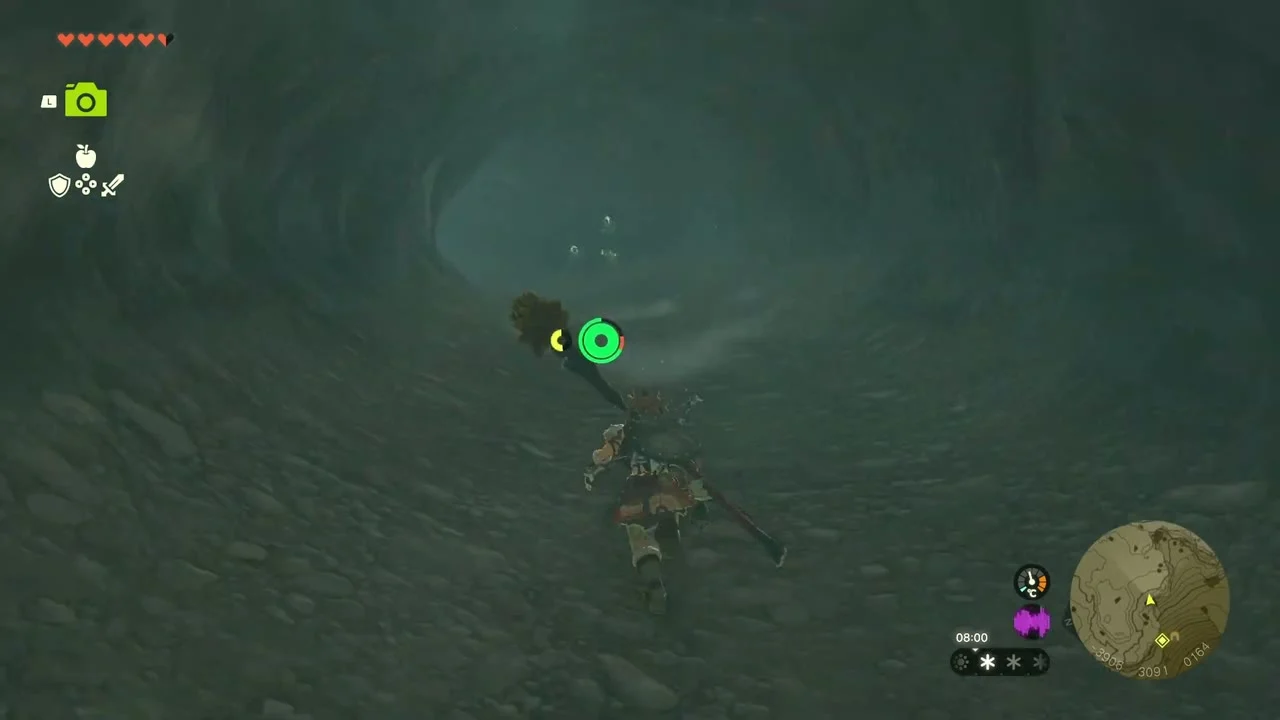

Take the second Bubbul Gem
Bubbul Gem (East Biron Snowshelf Cave). A Bubbulfrog and a few ore nodes sit in a side passage just beyond Selmie. Shoot the Bubbulfrog for the Bubbul Gem.

Frost Gleeok, snowmobile and Hebra Great Skeleton
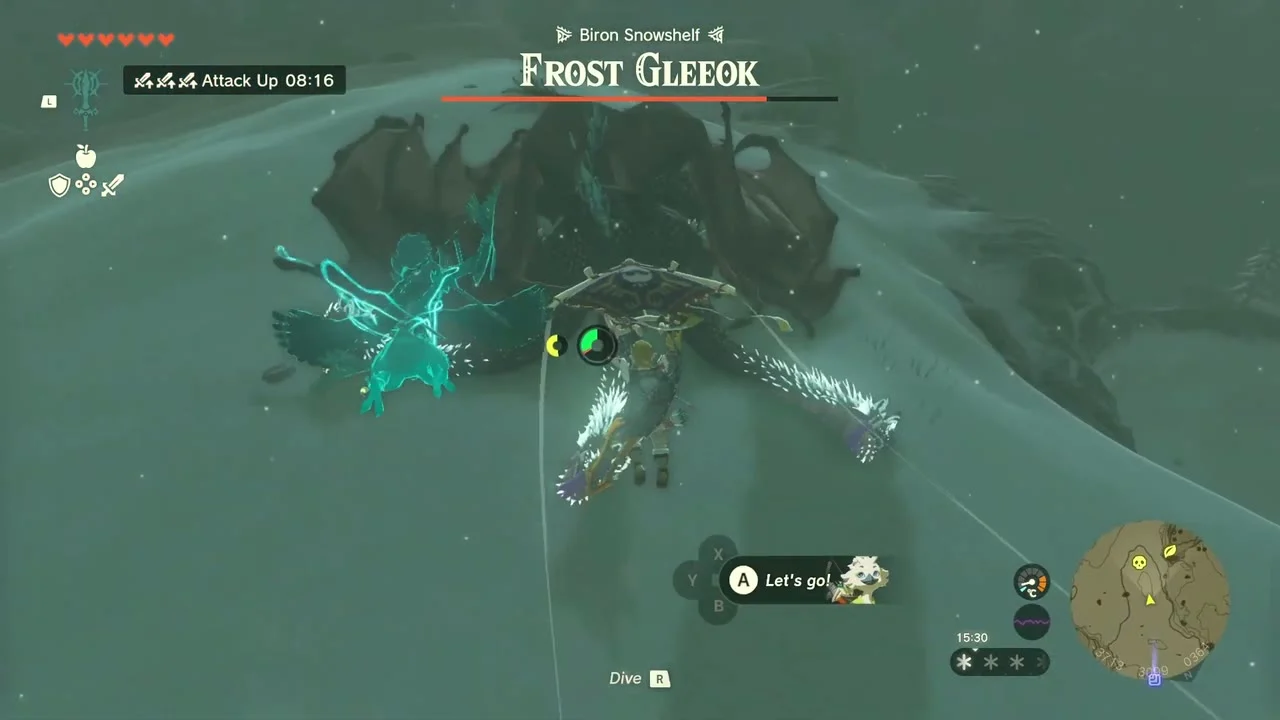
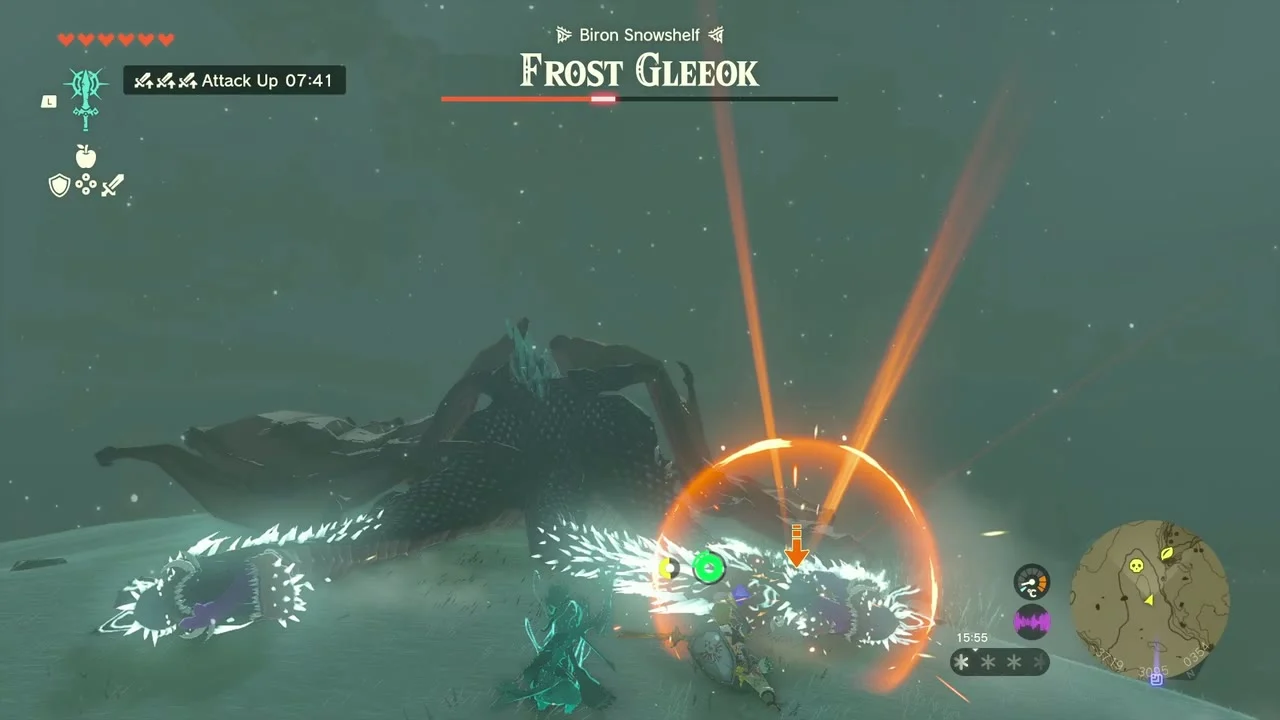
Bring down the Frost Gleeok
Miniboss: Frost Gleeok. A Frost Gleeok circles over Biron Snowshelf. Shoot its heads with arrows (fire or Bomb Flower arrows work well) until it drops to the snow, then attack the heads and body up close. It drops Frost Gleeok parts such as its horn and wing.
Build a snowmobile
Snowmobile. The snow flats beyond the Gleeok are easiest by sled: build a vehicle from wheels (or a sled), a steering stick, a battery and a Flame Emitter or rocket for thrust, then go for the Koroks in the high flats. A Sled x3 chest later in the area gives you extra parts.
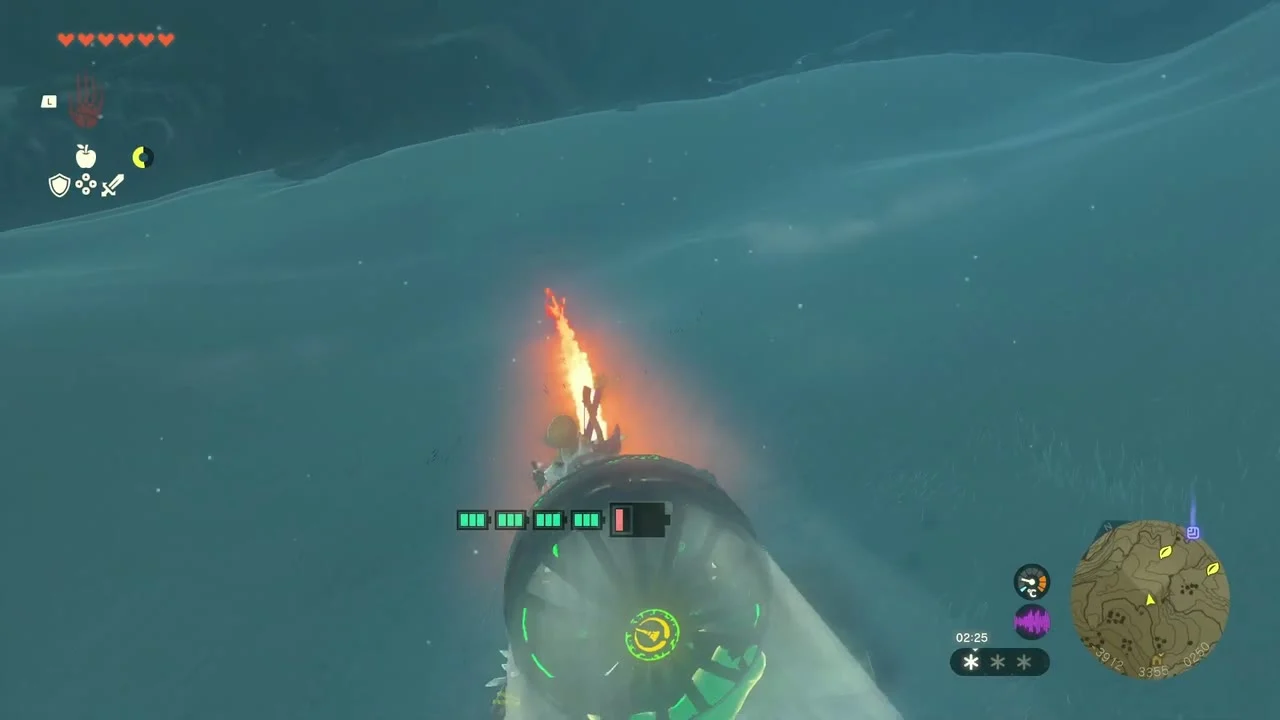
Collect the Korok line
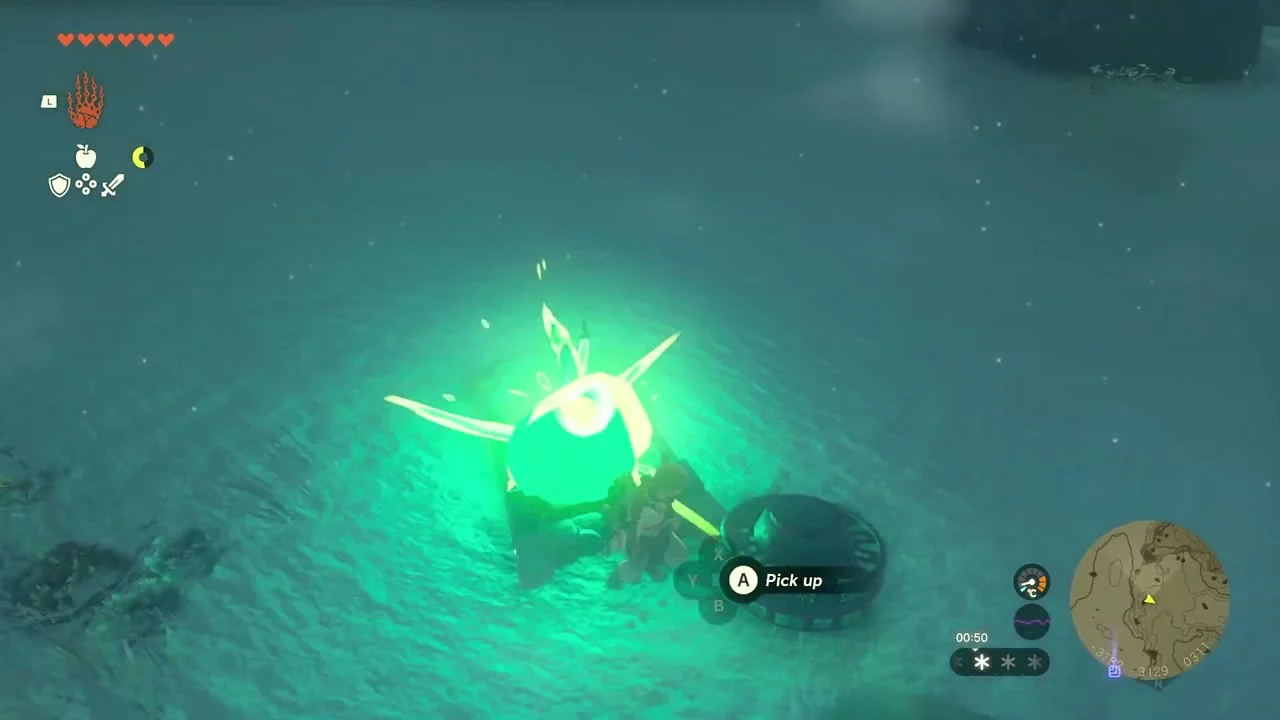
Seeds on this stretch: build a roof for the statues at -3793, 3027 (one roof piece over the three statues), the cube puzzle at -3941, 3161, use Ascend on the marker at -3839, 3416, follow the flower at -3772, 3344 (a flying machine helps), and the exhausted Korok at -4124, 3430 which you carry to its friend’s tent for two seeds.

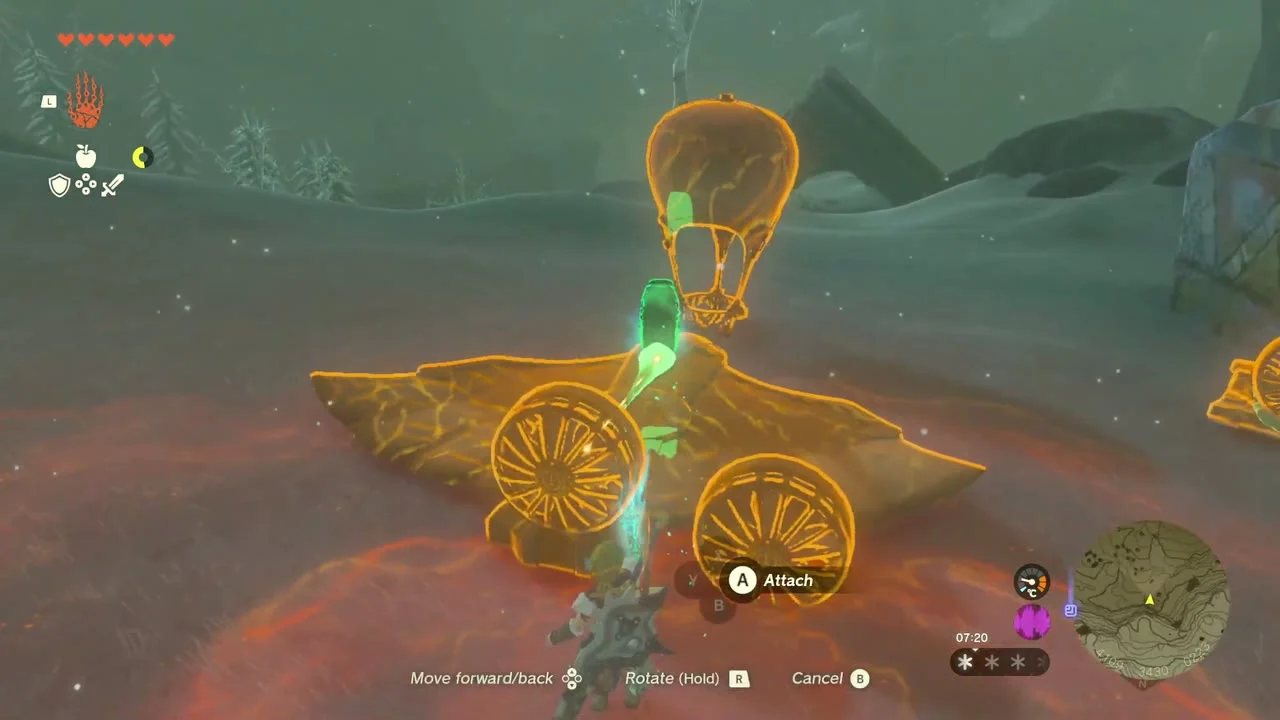
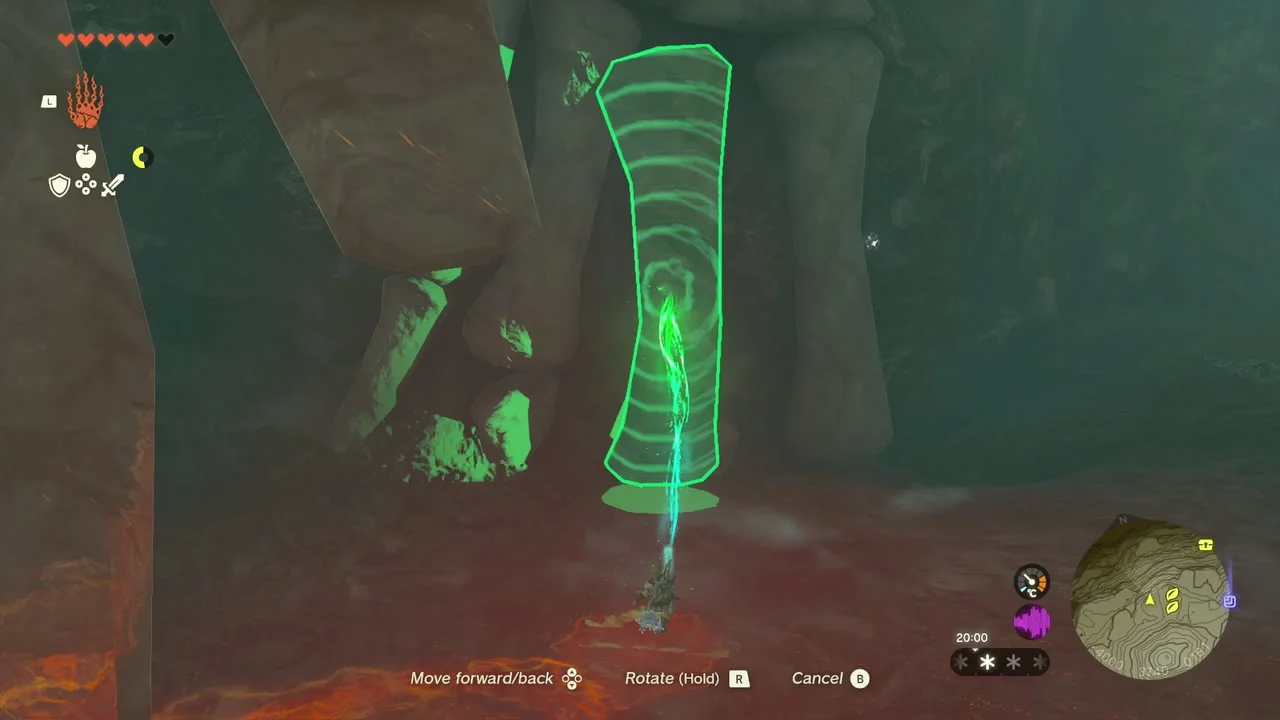
Repair the skeleton and shoot the balloons
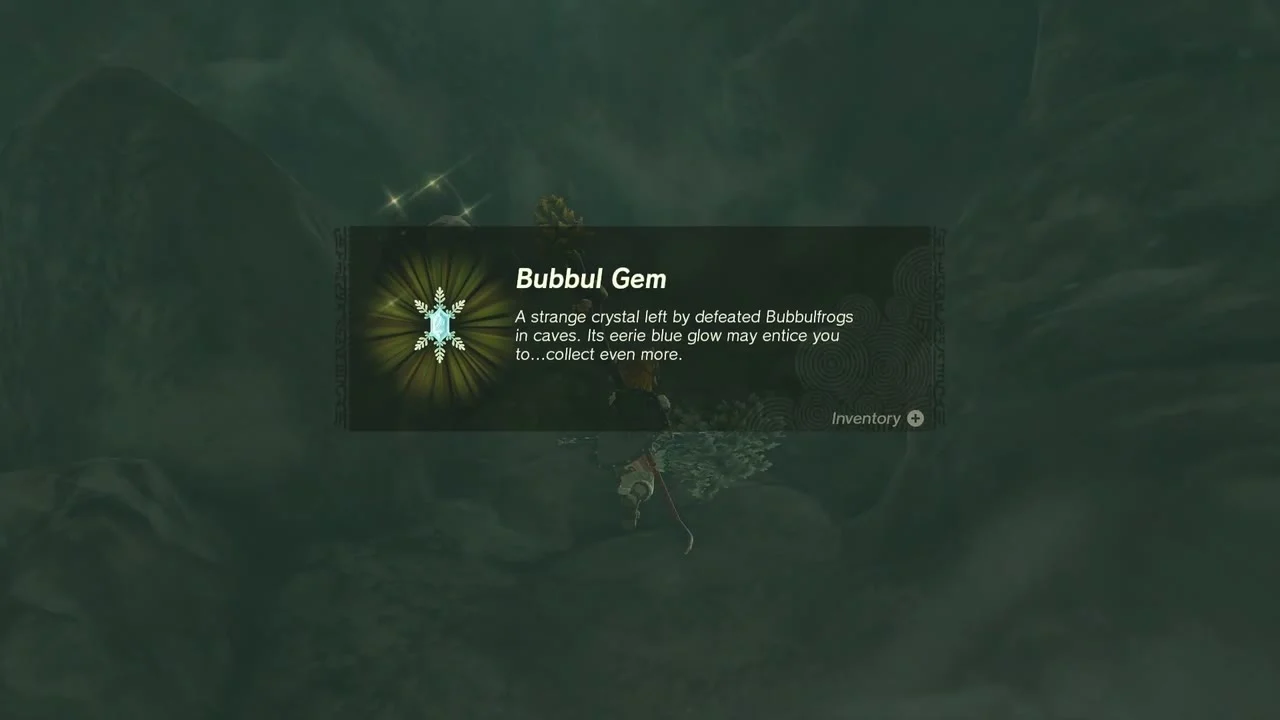
Hebra Great Skeleton (-3814, 3595, 255). Enter the cave under the skeleton. Inside, repair the skeleton in two separate places by reattaching the loose bones with Ultrahand, then shoot the balloons that appear in its eye sockets. Each balloon is a Korok: -3975, 3713, 237 and -3973, 3734, 227. Shoot the Bubbulfrog in the cave for a Bubbul Gem.
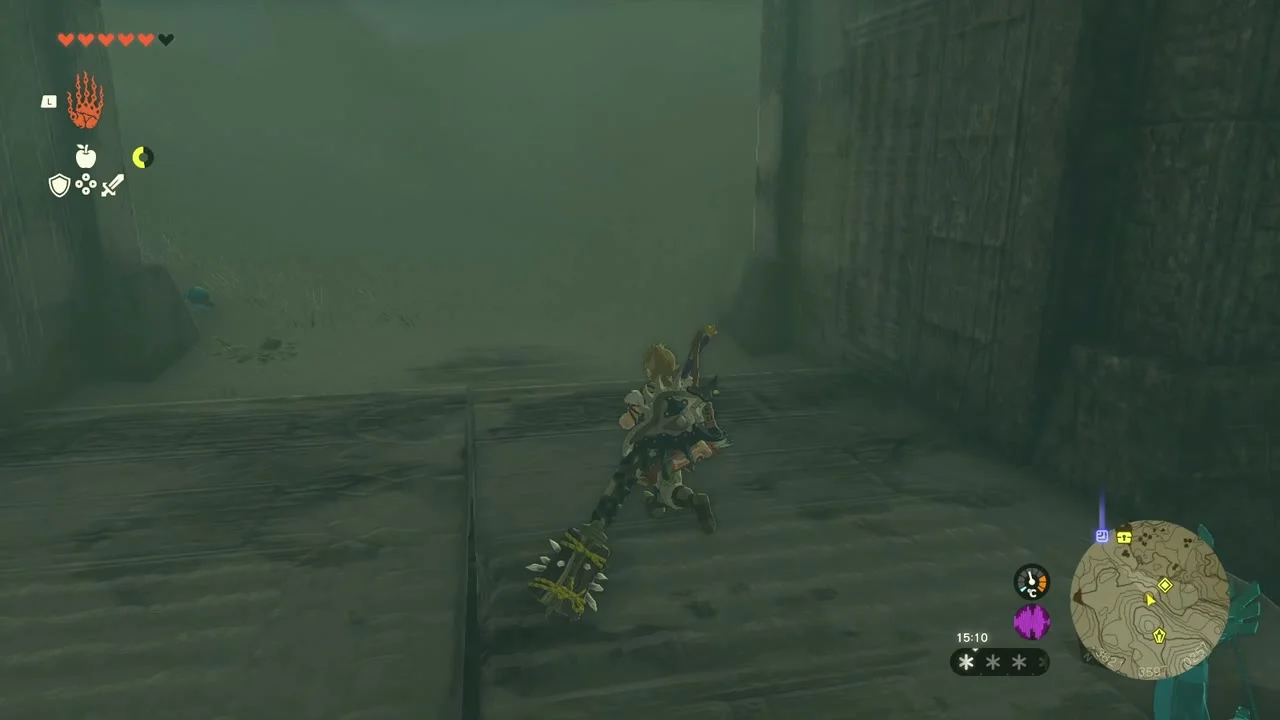
Take the chests and the Blue Hinox
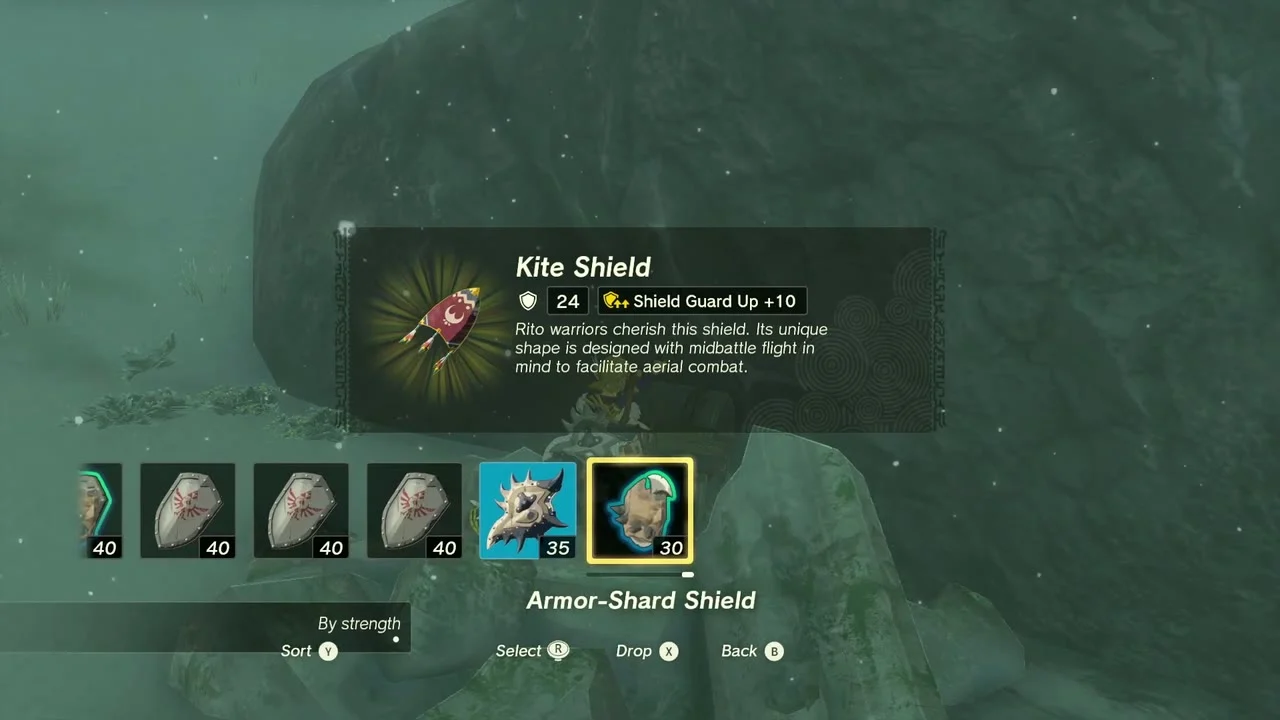
Chests. Large Zonaite is in a chest at -3978, 3129 on the snow flats; a Kite Shield chest sits in snowy rubble nearby. Miniboss: Blue Hinox (Hebra North Crest). Shoot its eye to make it kneel, then hit it with melee attacks. A Sapphire chest and the Sled x3 chest are further on, and the sparkling spot at -3764, 3845 and the target ring at -3507, 3836 are the last Koroks before the shrine.


Cross the laser rooms of Eutoum Shrine
Eutoum Shrine (Proving Grounds: Infiltration; -3506, 3569, 400; Lightroot Muotue below at -3508, 3568, -847). It stands at Goflam’s Secret Hot Spring (-3442, 3545). Gear is removed inside, so take the Long Stick, Wooden Stick (or Sturdy Wooden Stick or Gnarled Wooden Stick, depending on your progress) and Old Wooden Shield provided. Defeat the two Constructs in the left hallway, push a spike strip into the aggressive ones, then deal with the Construct that fires lightning arrows in the middle room. When all five are down your gear returns and the exit opens; the chest in front of the Light of Blessing holds a Sapphire.


Lookout Landing, Zonai Energy and the Northwest Cave
Spend your Crystallized Charges at the Energy Well
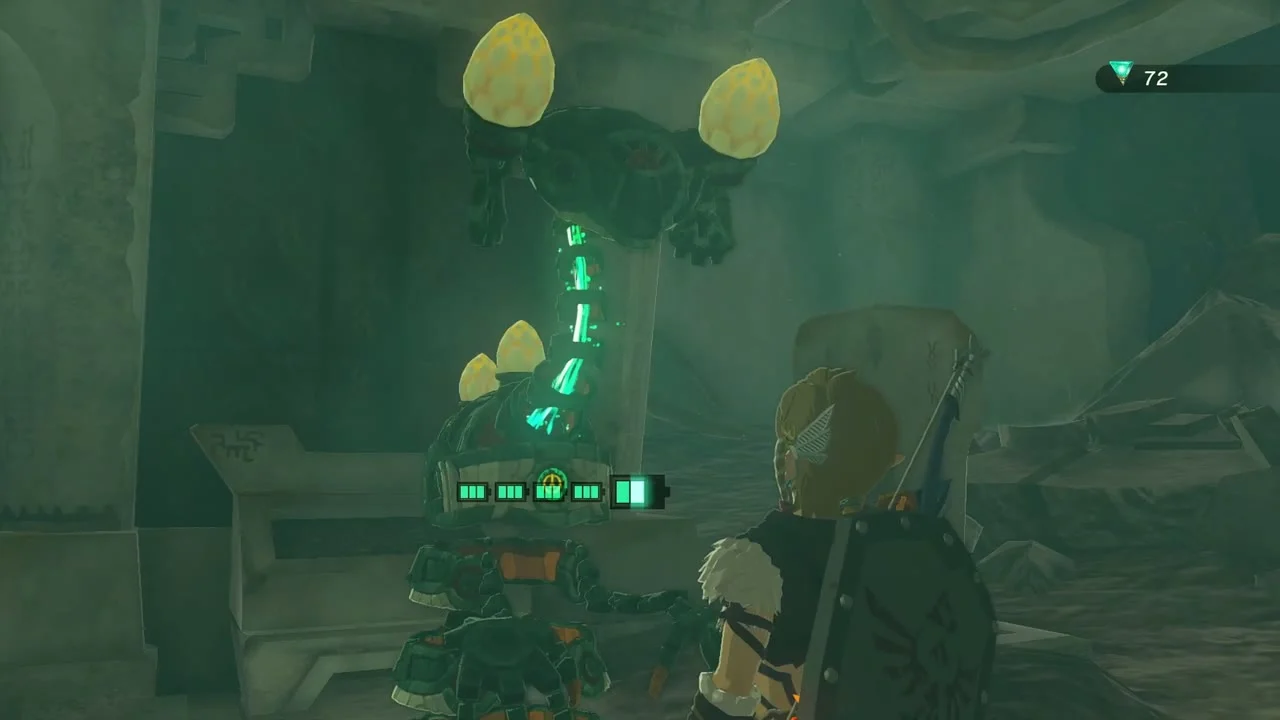
Energy Well. In the Depths, a Steward Construct stands beside each Energy Well: hand over Crystallized Charges and it converts them into more Zonai battery capacity. A Forge Construct nearby turns Zonaite into more Crystallized Charges.
Trade for a Heart Container
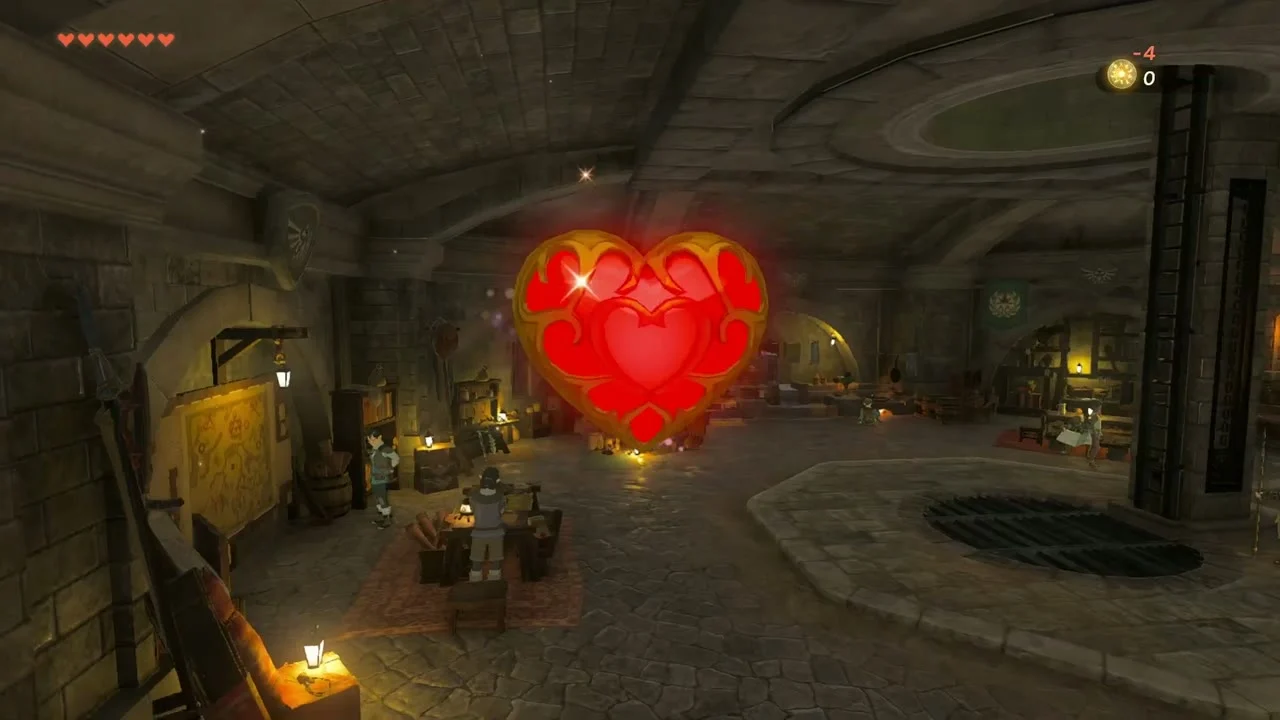
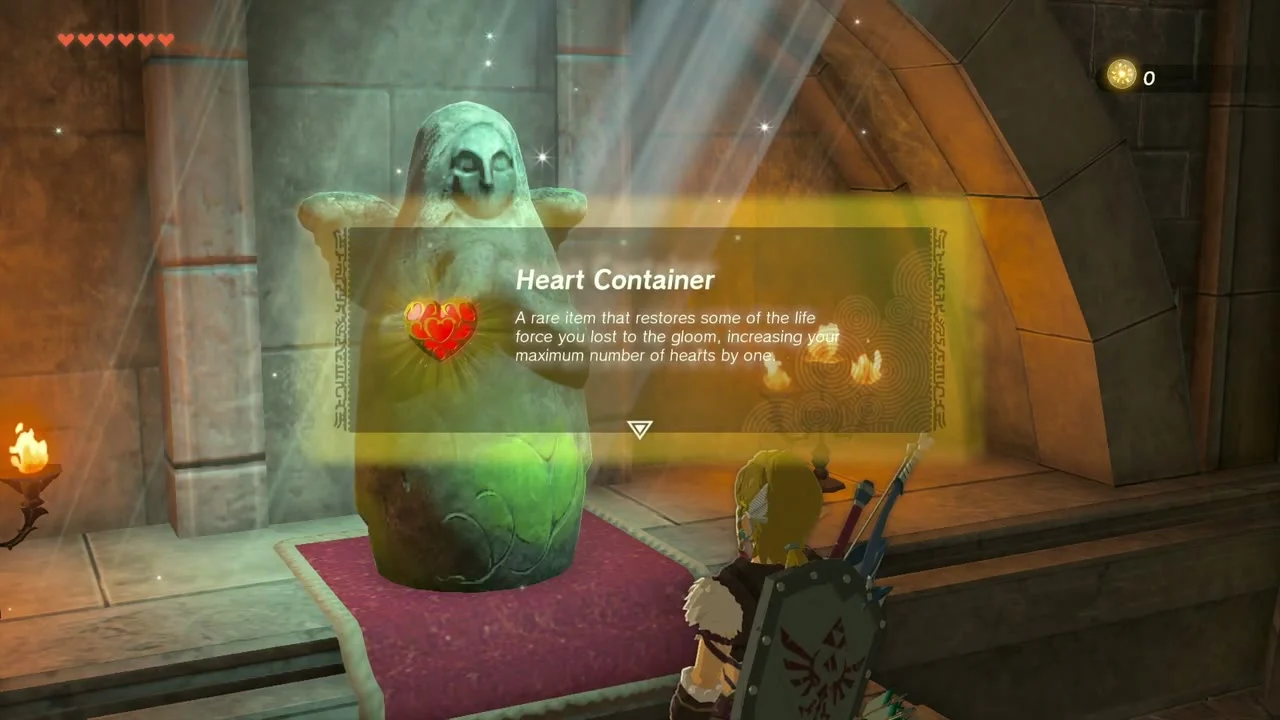
Heart Container. Back at Lookout Landing, offer your Lights of Blessing at the Goddess Statue in the Emergency Shelter for a Heart Container.
Reach the Northwest Cave
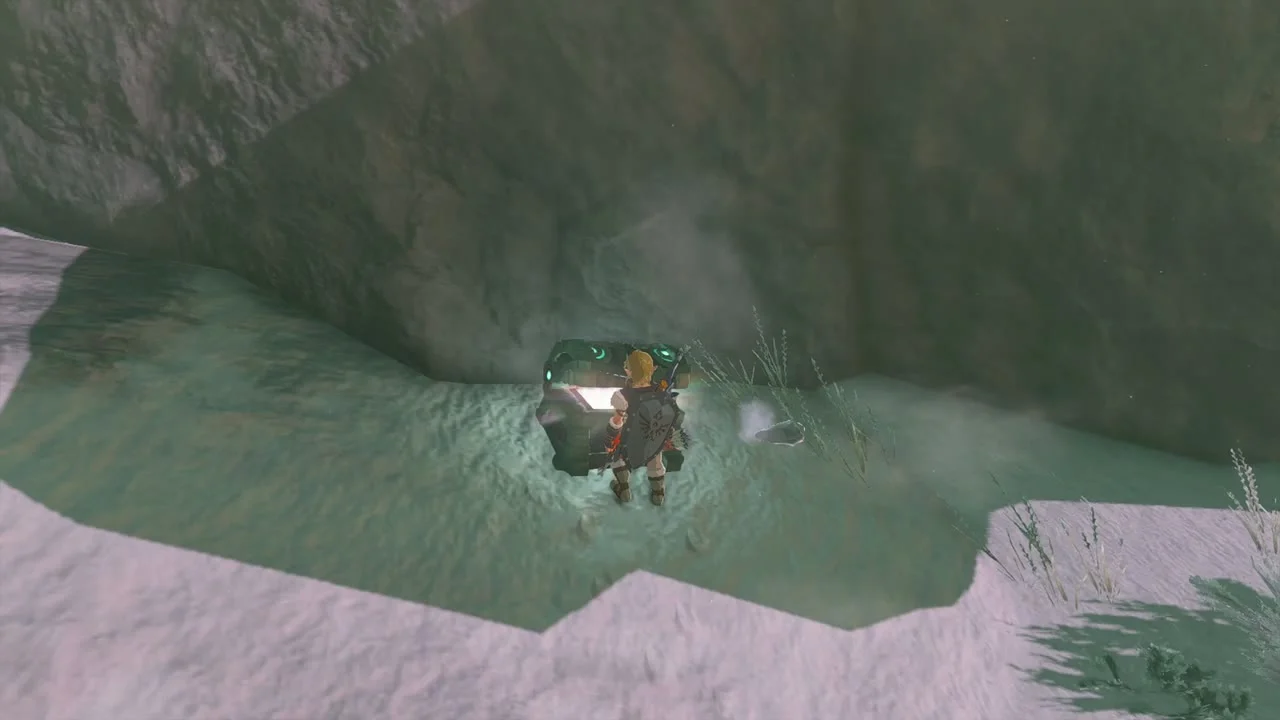
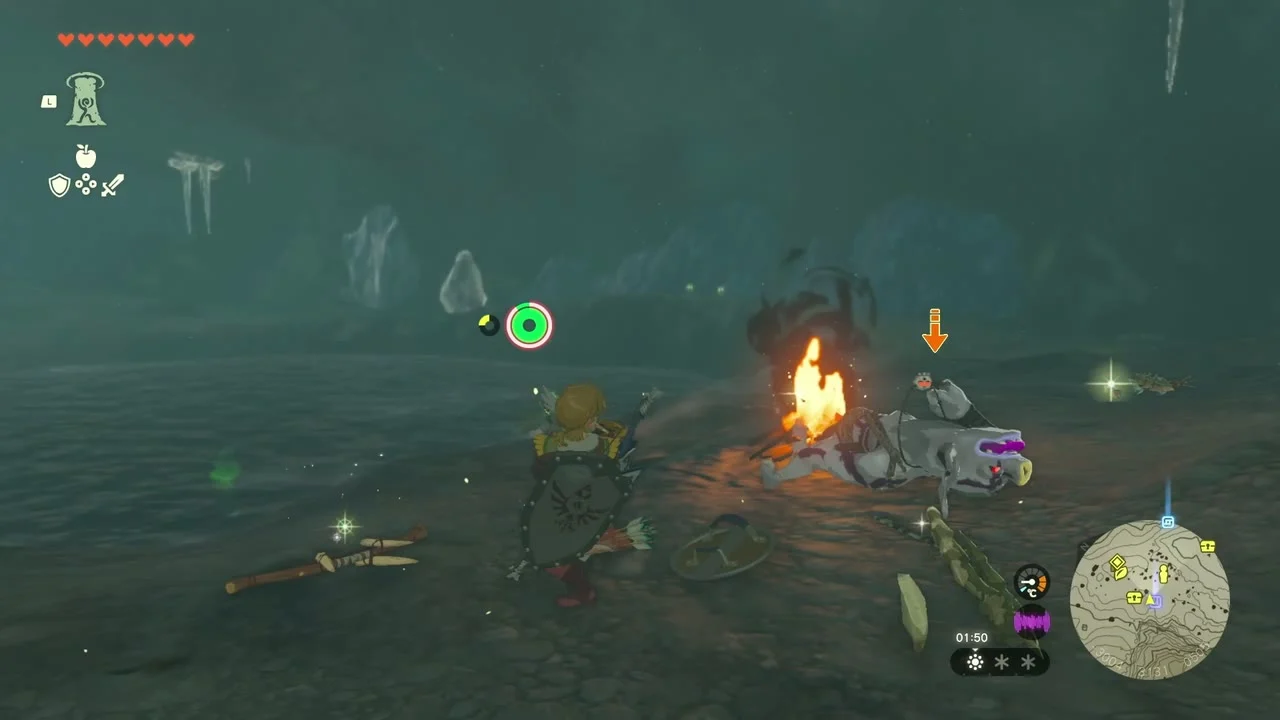
Hebra Mountains Northwest Cave (-2995, 3225, 539). Go to Selmie’s Spot and walk a short way north-west to a crevice marked by a small fire, a barrel and crates; jump into the hole inside. A Zonaite x3 chest sits on a snow shelf on the way there; inside, a Wing x3 chest is near the Bokoblin camp.
Raise the crystal out of the lake
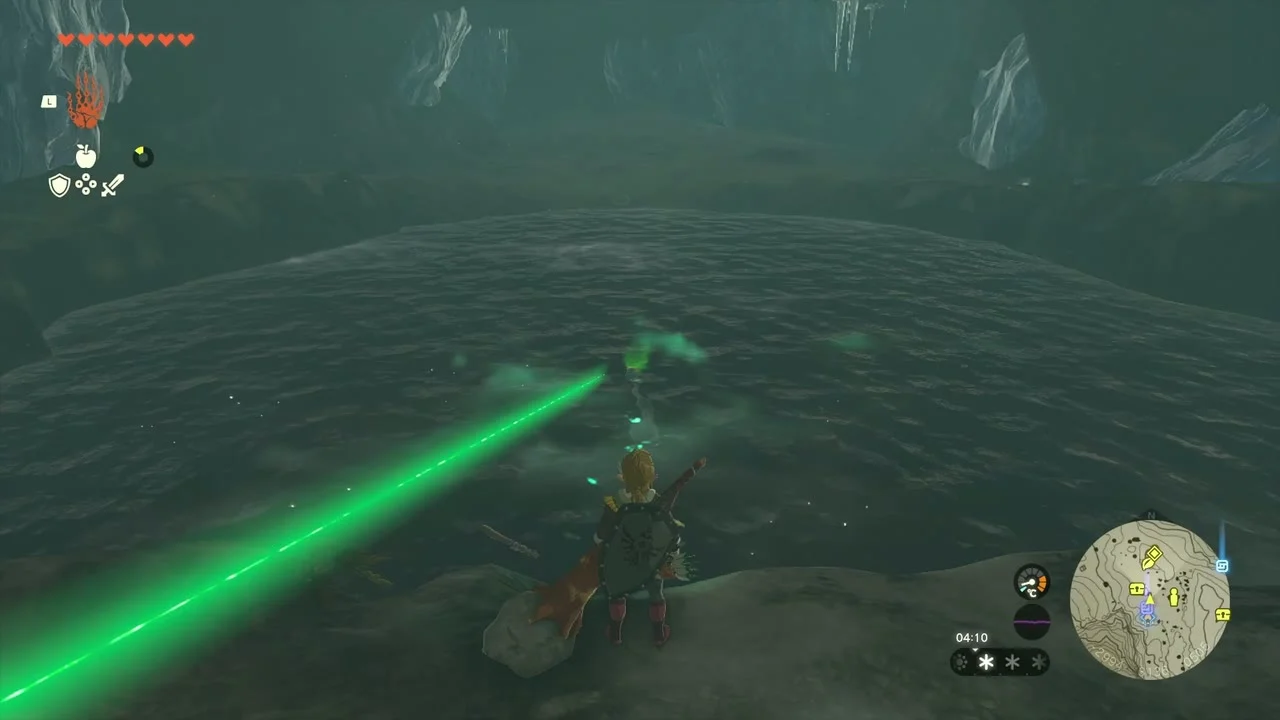
The Northwest Hebra Cave Crystal. Touch the Rutafu-um Shrine to start the quest. A green beam points to a crystal under the lake’s cold water: toss Ice Fruit into the water to form ice blocks to walk on, or tie an icicle to the crystal with Ultrahand and drag it to shore. Lift it out and carry it to the shrine.

Light the Rutafu-um Shrine
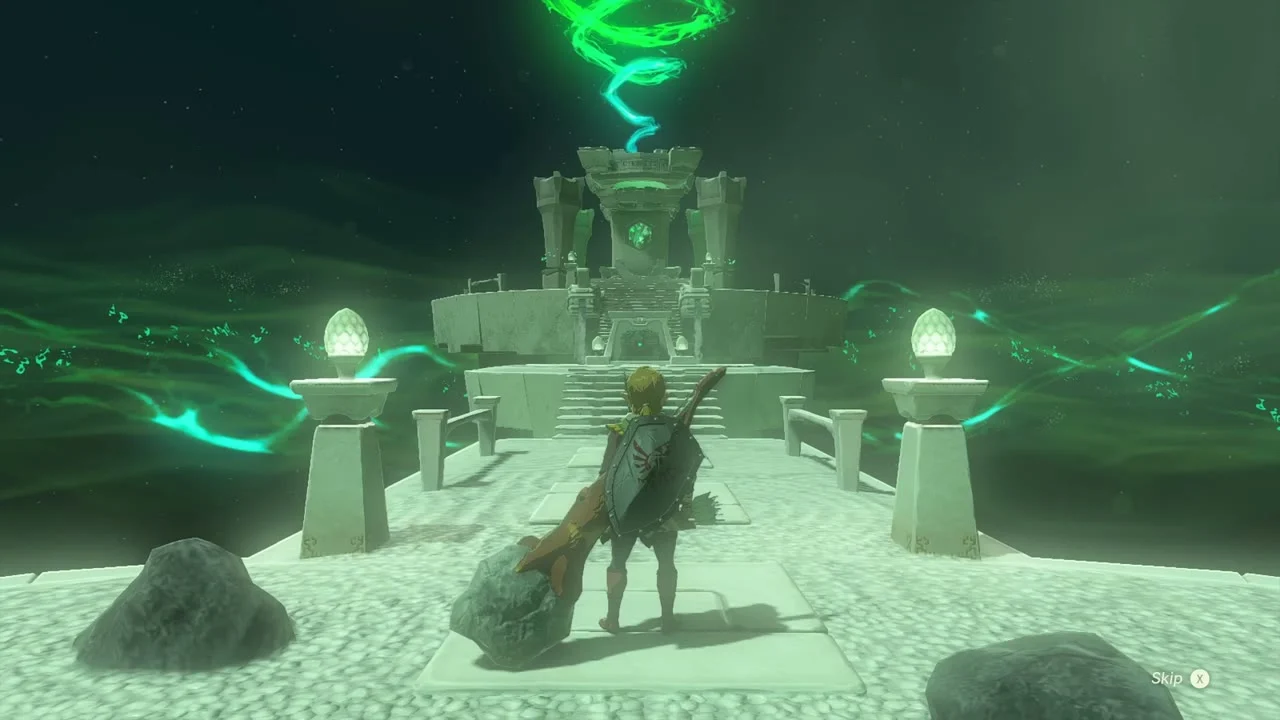
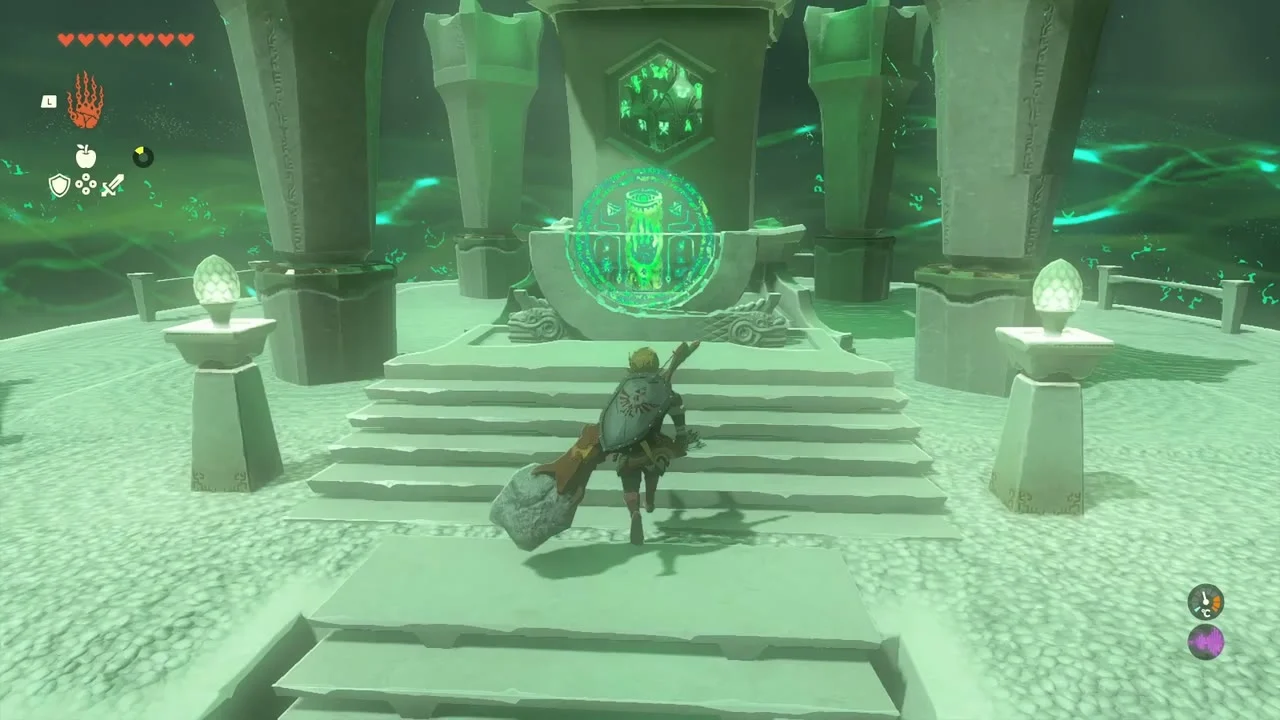
Rutafu-um Shrine (Rauru’s Blessing; -2997, 3101, 528; Lightroot Mu-ufatur below at -2998, 3100, -1027). Place the crystal on the stand to open the shrine. Inside, the chest holds a Topaz; take the Light of Blessing at the end. No puzzle.
Shield surfing at Selmie’s Spot
Collect Selmie’s reward
The Duchess Who Disappeared (finish). Talk to Selmie at the lodge in Selmie’s Spot, north-west of Hebra Peak. She hands over a shield as thanks (make space in your shield pouch first) and accepts you as her third shield-surfing student; Jogo and Yammo from the Open the Door quest are there too.
Shield surf the beginner and expert courses
Minigame: Shield Surfing. Stand on a shield and ride it down the snow slope outside the lodge, staying inside the course and beating the time limit. Run the beginner course first, then the expert course.

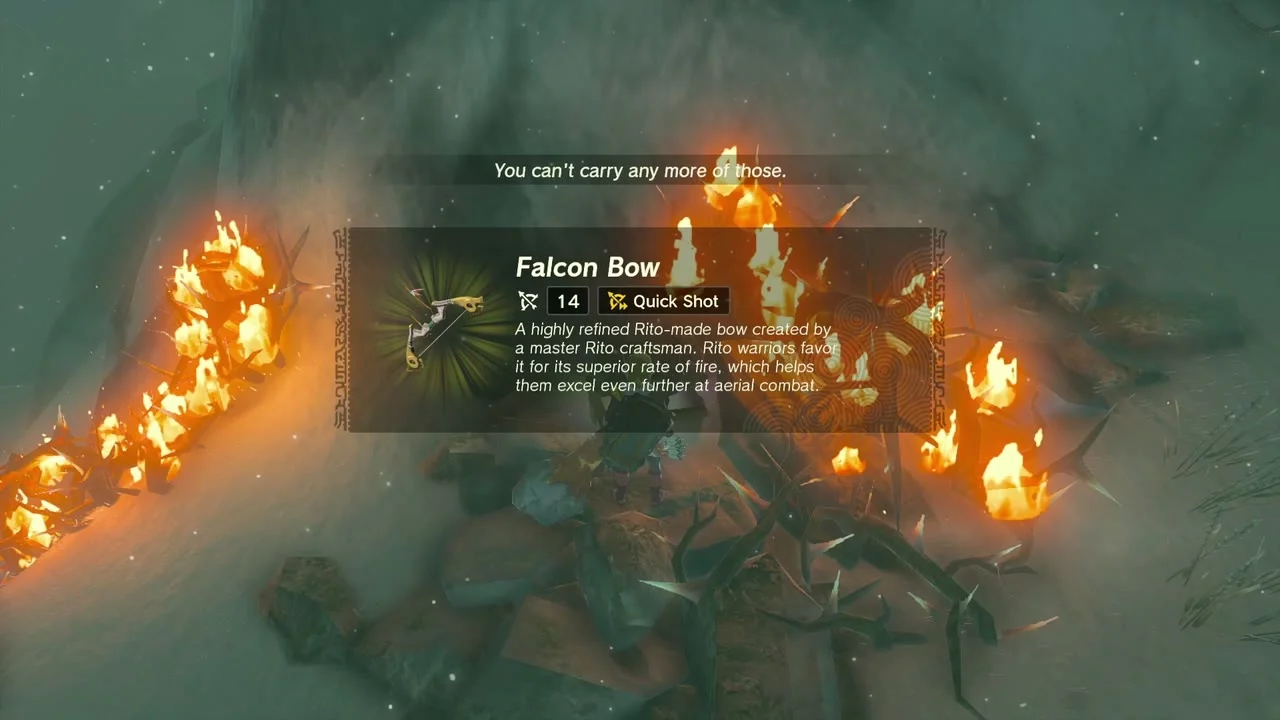
A burning wood pile near the lodge hides a Falcon Bow chest; wait out the fire or douse it, then open it.
Take the Korok seeds on the way
Korok seeds. On this stretch: the sparkling spot at -3412, 3506, the balloon at -3466, 3475, melt the ice block and lift the rock at -3576, 3266, lift the rock at -3350, 2992 and use Ascend on the marker at -3001, 3220.
Sisuran Shrine and Pikida Stonegrove Northwest Cave
Melt the Frost Talus hiding the crystal
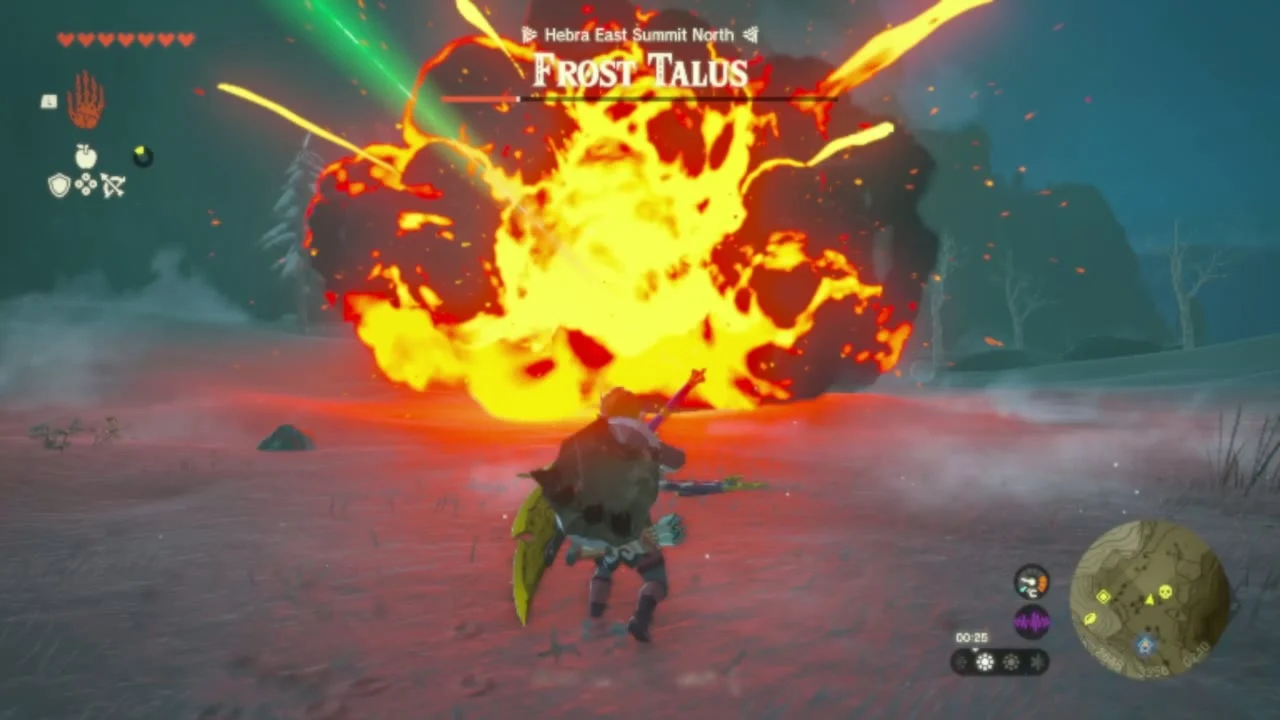
Miniboss: Frost Talus (Hebra East Summit North). The shrine’s green beam points to a dormant Frost Talus north of Hebra East Summit. Wake it, melt the ice with a Flame Emitter or Fire Fruit arrows, and break the green crystal embedded in its back.
Carry the crystal back
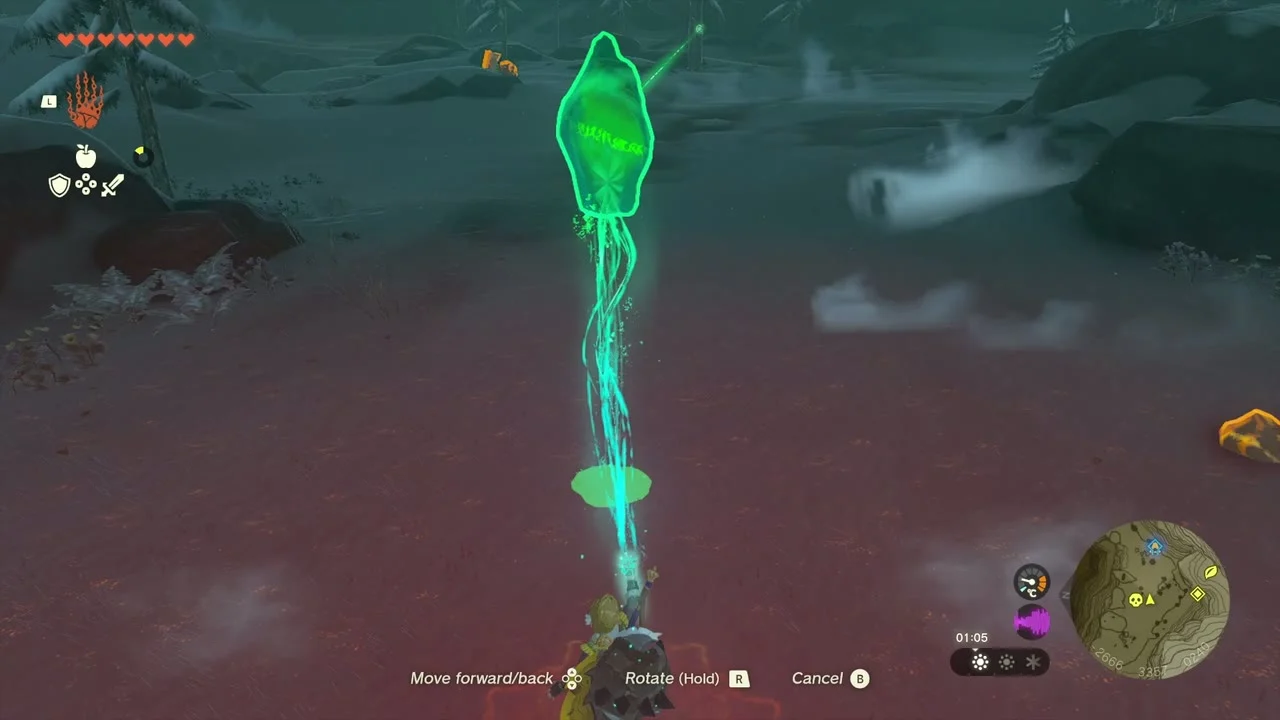
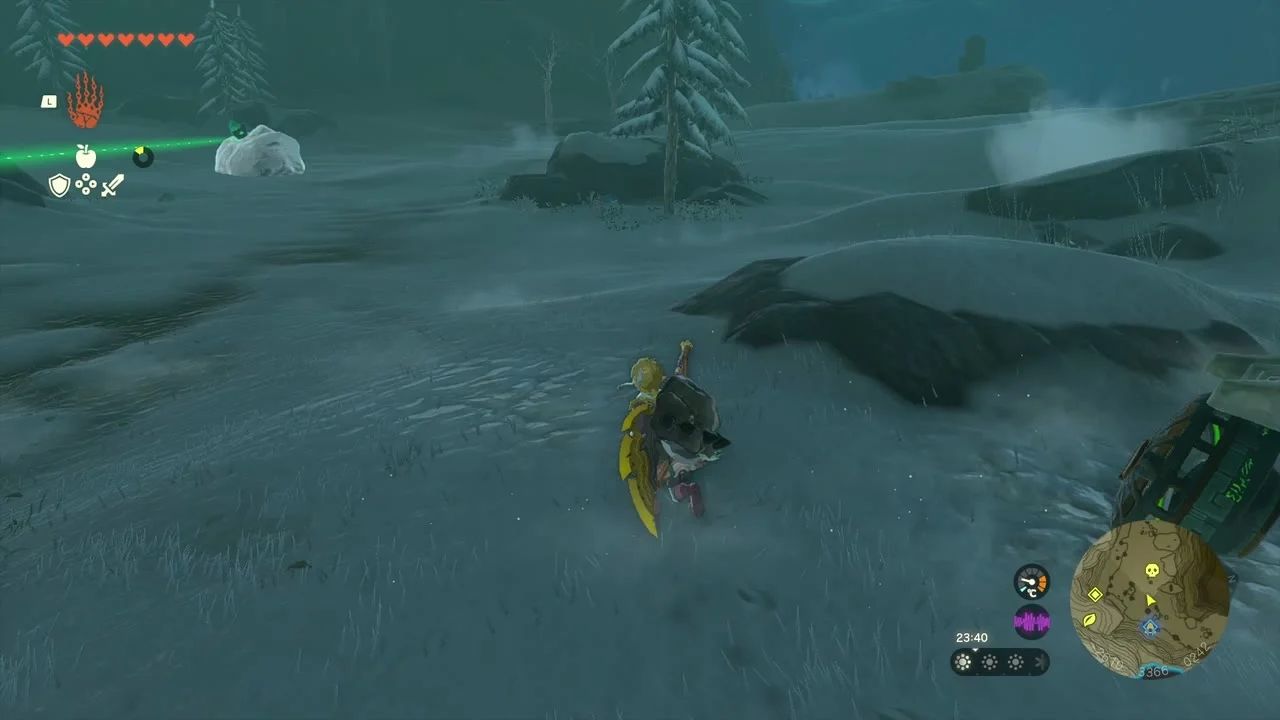
The North Hebra Mountains Crystal. Use Ultrahand to lift the crystal off the Talus, carry it to the shrine and set it on the stand.
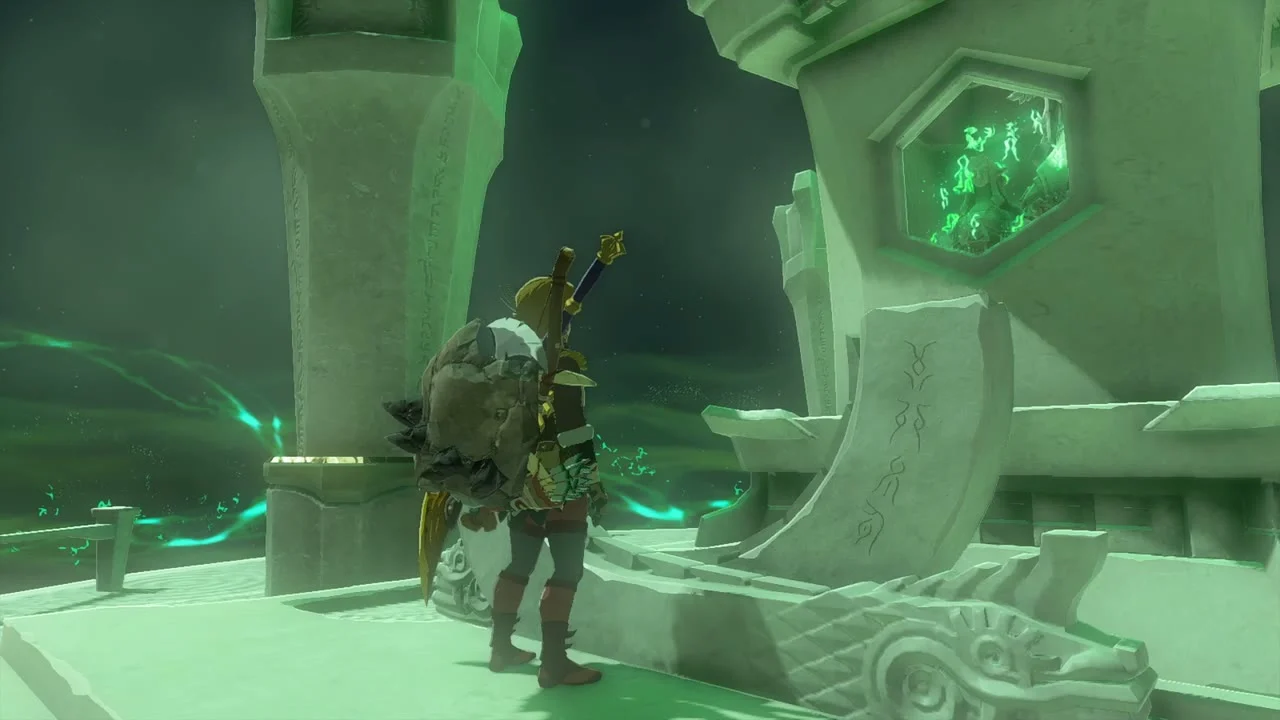
Take the Sapphire and the Light
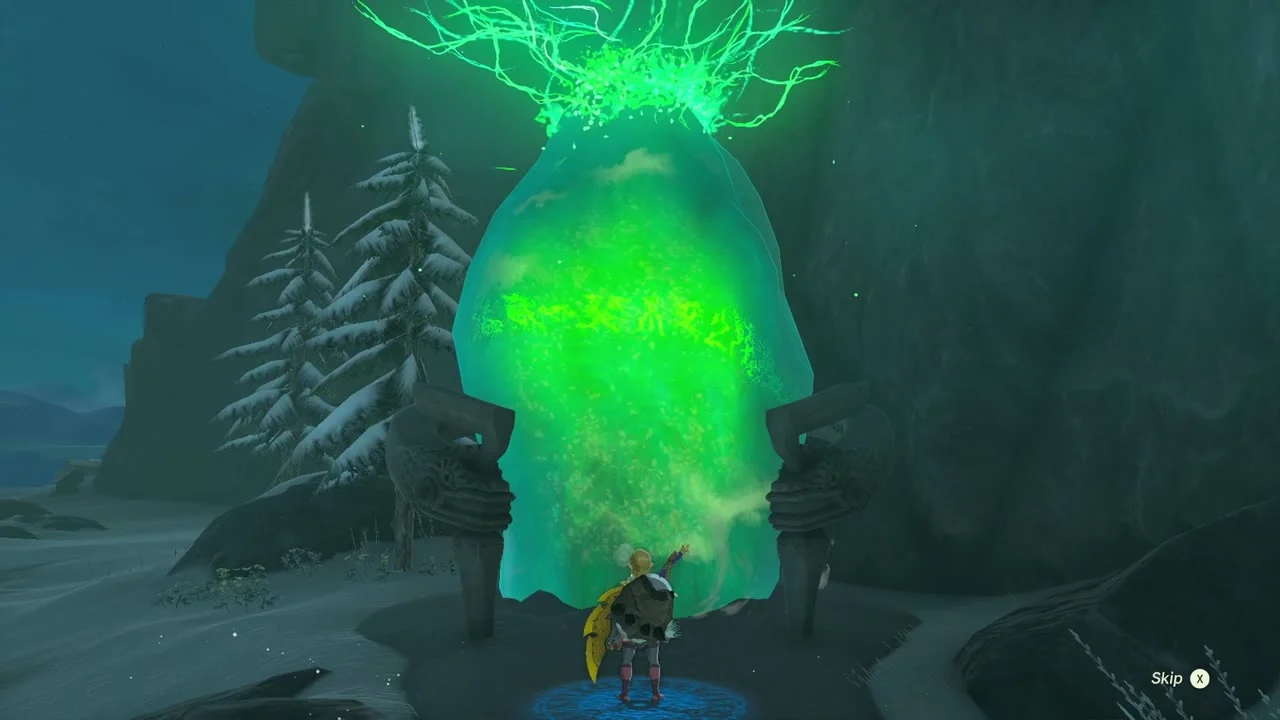
Sisuran Shrine (Rauru’s Blessing; -2559, 3353, 258; Lightroot Narusis below at -2558, 3354, -711). No puzzle: open the chest for a Sapphire and take the Light of Blessing.
Enter Pikida Stonegrove Northwest Cave
Pikida Stonegrove Northwest Cave (north-west entrance -2642, 3268, 249; south-east entrance -2414, 3136, 372). Enter from Hebra East Summit North and work through the wind-blown passage. Chests in route order: Hunter’s Shield, then a Bubbulfrog room you reach by blasting boulders with a Bomb Flower arrow (Bubbul Gem), then the windy room with a Feathered Edge chest at its west end and a Soldier’s-Spear Stick chest.

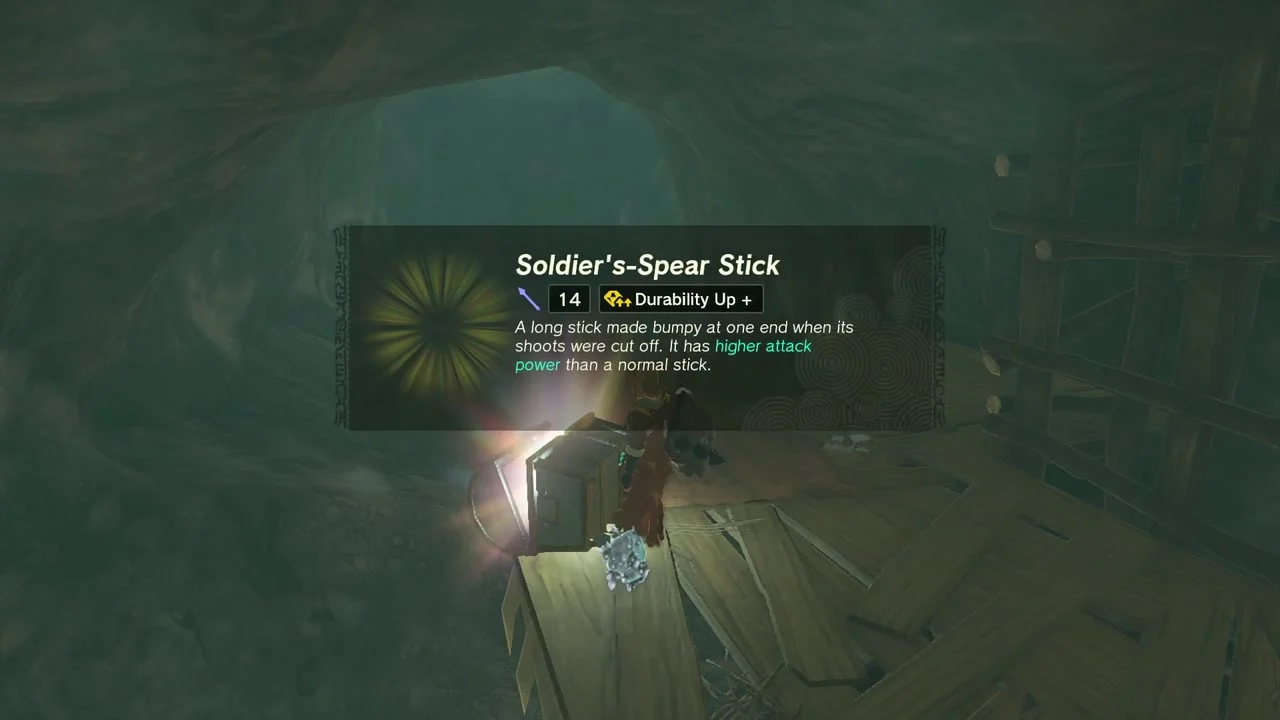
Collect the rest of the east side
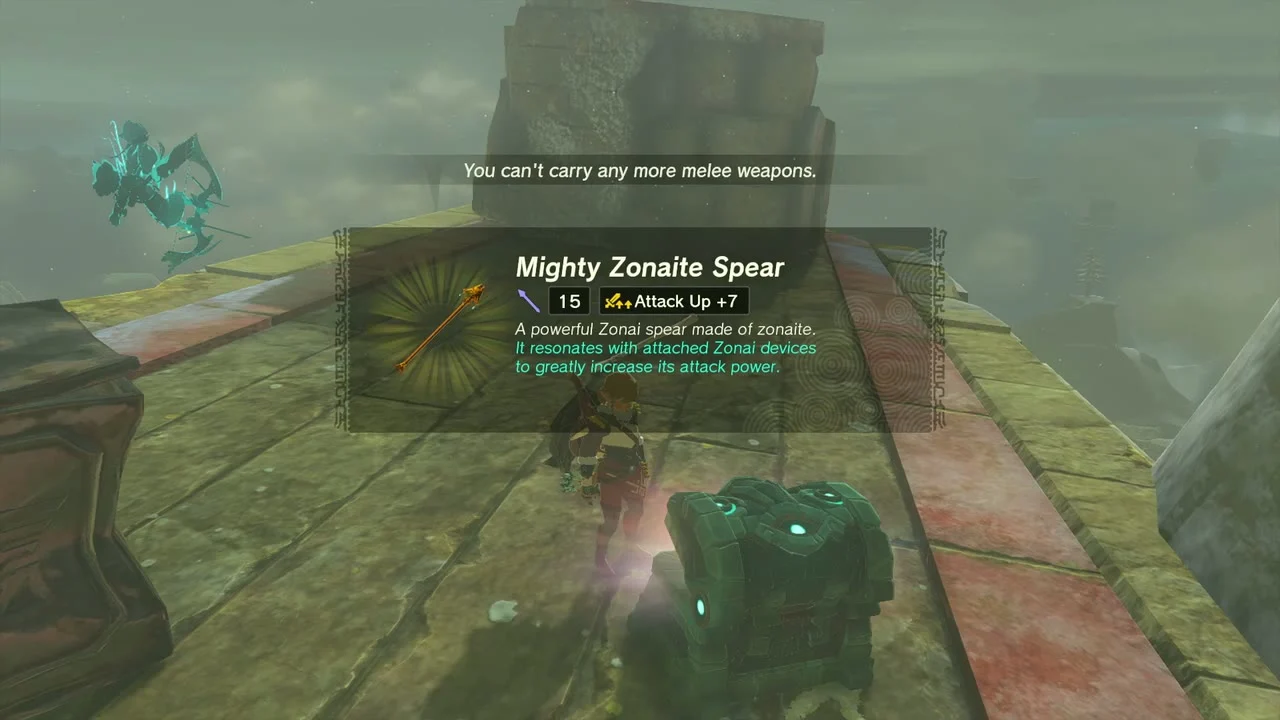
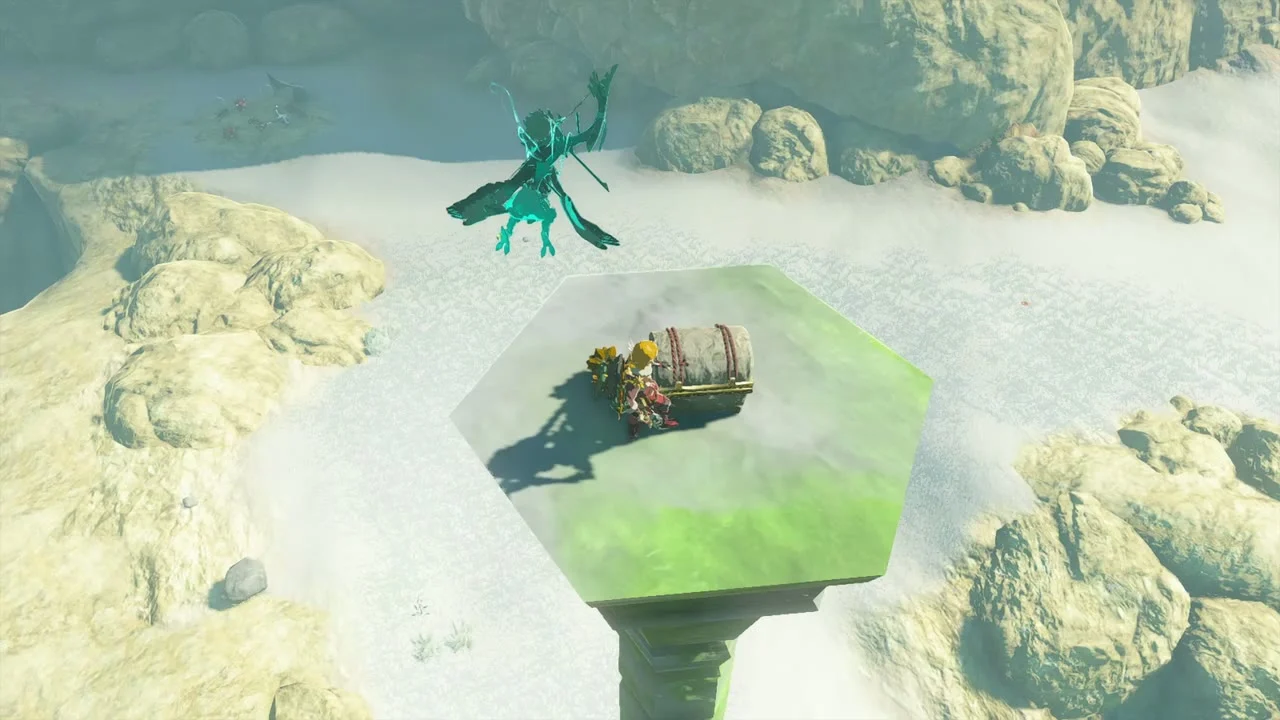
Chests. A Swallow Bow chest sits next to an ice block on a snowy peak; a Mighty Zonaite Spear (Strong or Mighty, depending on your progress) chest stands on a Zonai ruin; a Mighty Construct Bow chest is on a snowy cliff ledge; a Royal Bow (or Traveler’s Bow, Soldier’s Bow or Knight’s Bow, depending on your progress) chest follows further on; and a Kite Shield chest sits on a floating green hexagonal platform at -3188, 1905, reached with Ultrahand and the paraglider.

Korok seeds. Exhausted Korok at -3238, 3688 (carry it to the yellow tent for two seeds); the rock-pattern puzzle at -2603, 3236, cube puzzle at -2477, 2748, rock pattern at -3064, 2855, cube puzzle at -3048, 2360, lift the rock at -3087, 2119 and rock pattern at -2800, 1947.
The last of the sky above Hebra
Defeat the White-Maned Lynel
Miniboss: White-Maned Lynel. A White-Maned Lynel patrols a sand island in the Tabantha Frontier sky. Use ranged attacks and shield parries; it drops a Lynel Saber Horn.


Raid the device dispenser
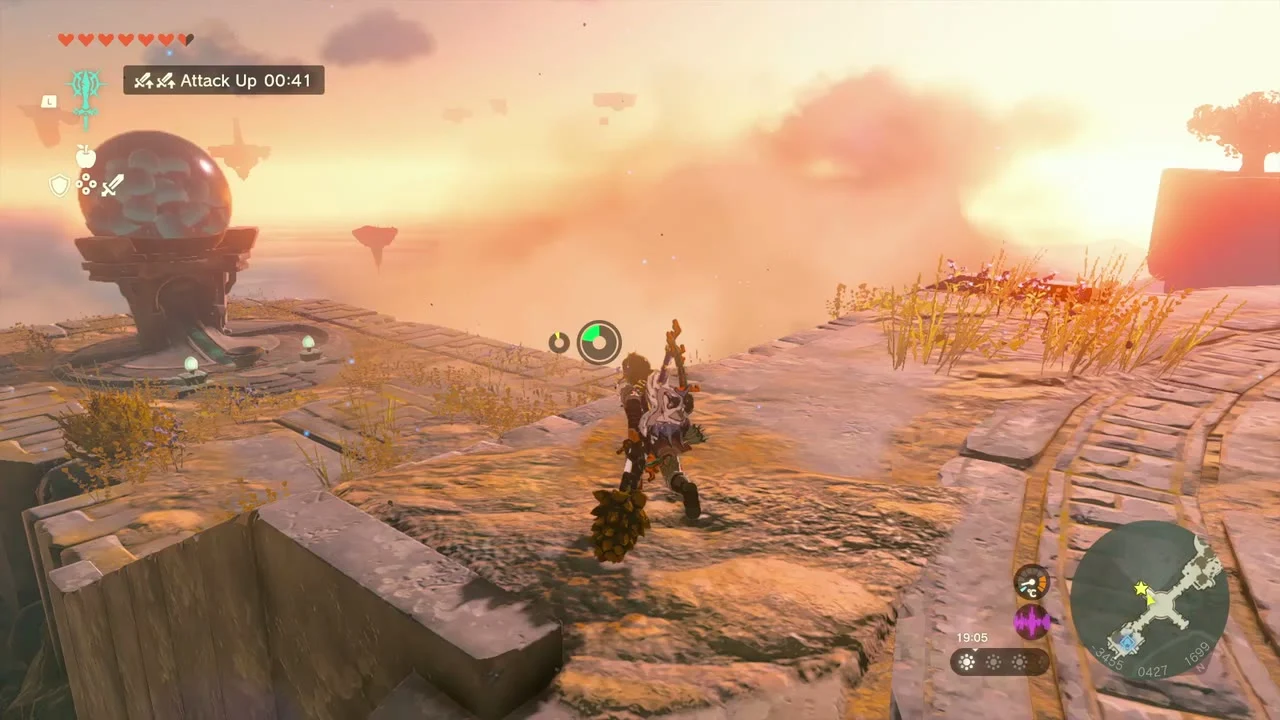
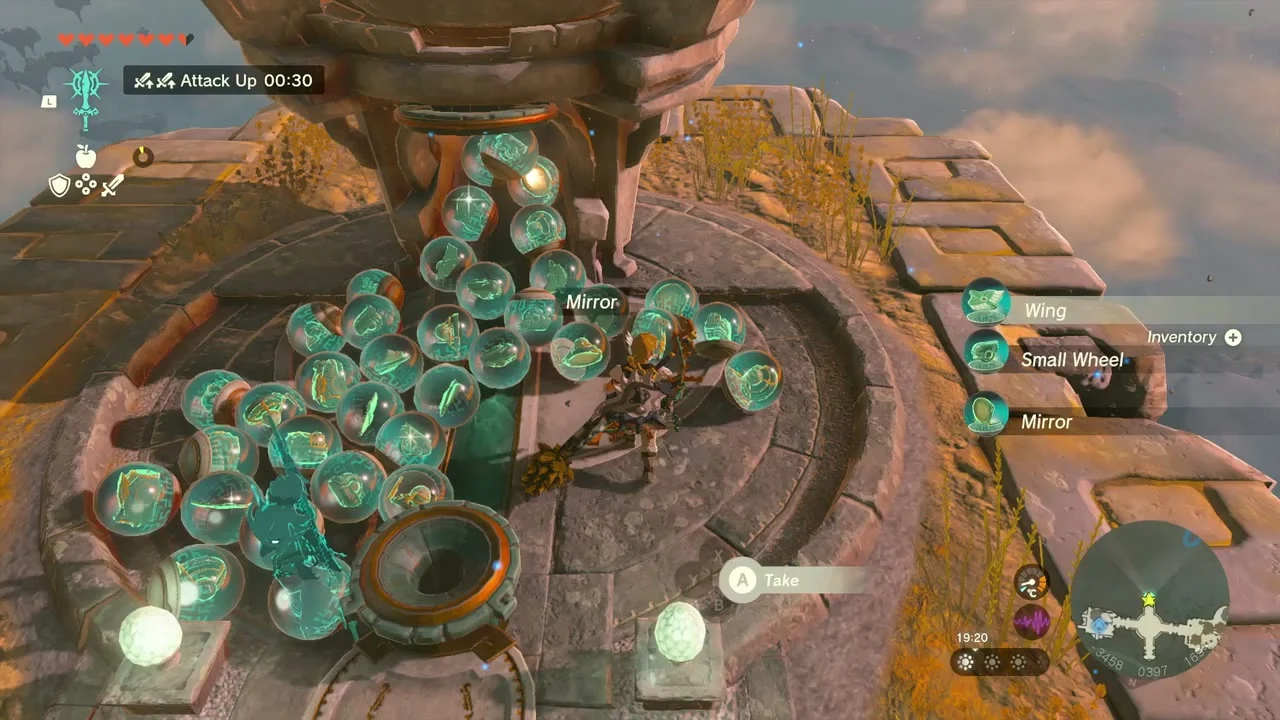
Zonai device dispenser. A dispenser on the next island trades Zonaite for Zonai devices: take Wings, Small Wheels and Mirrors for flying machines.
Beat King Gleeok
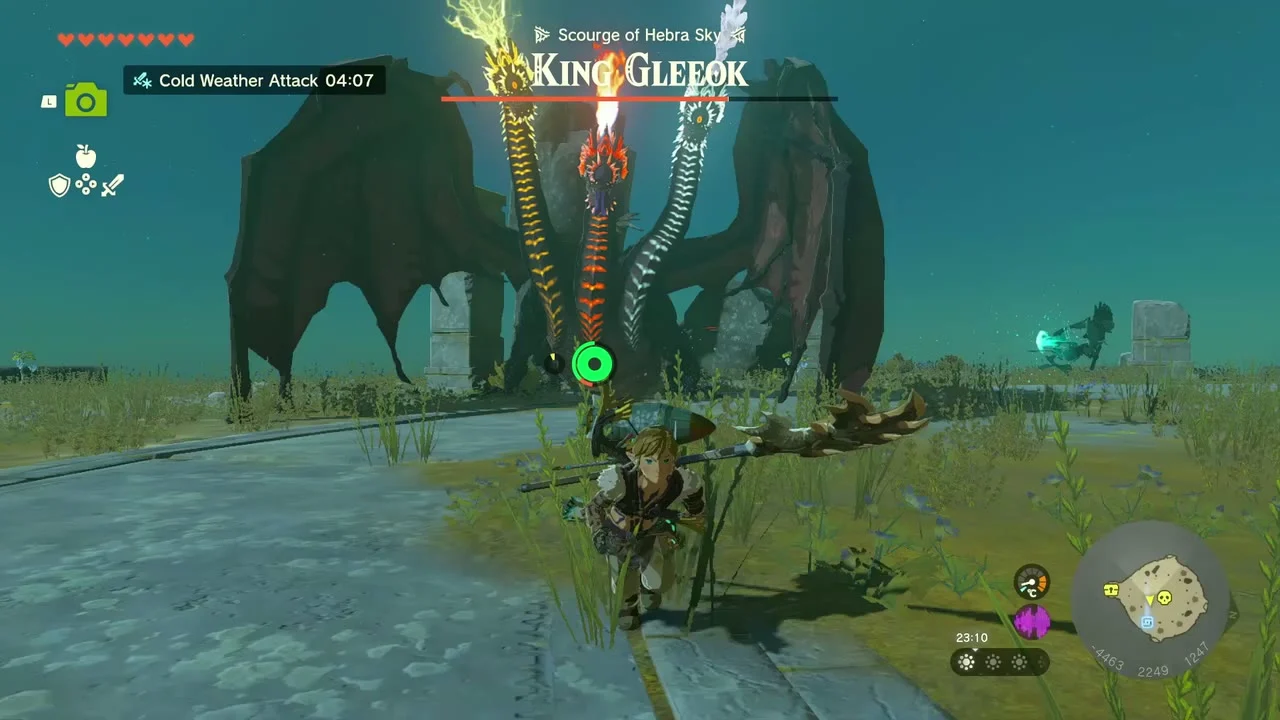
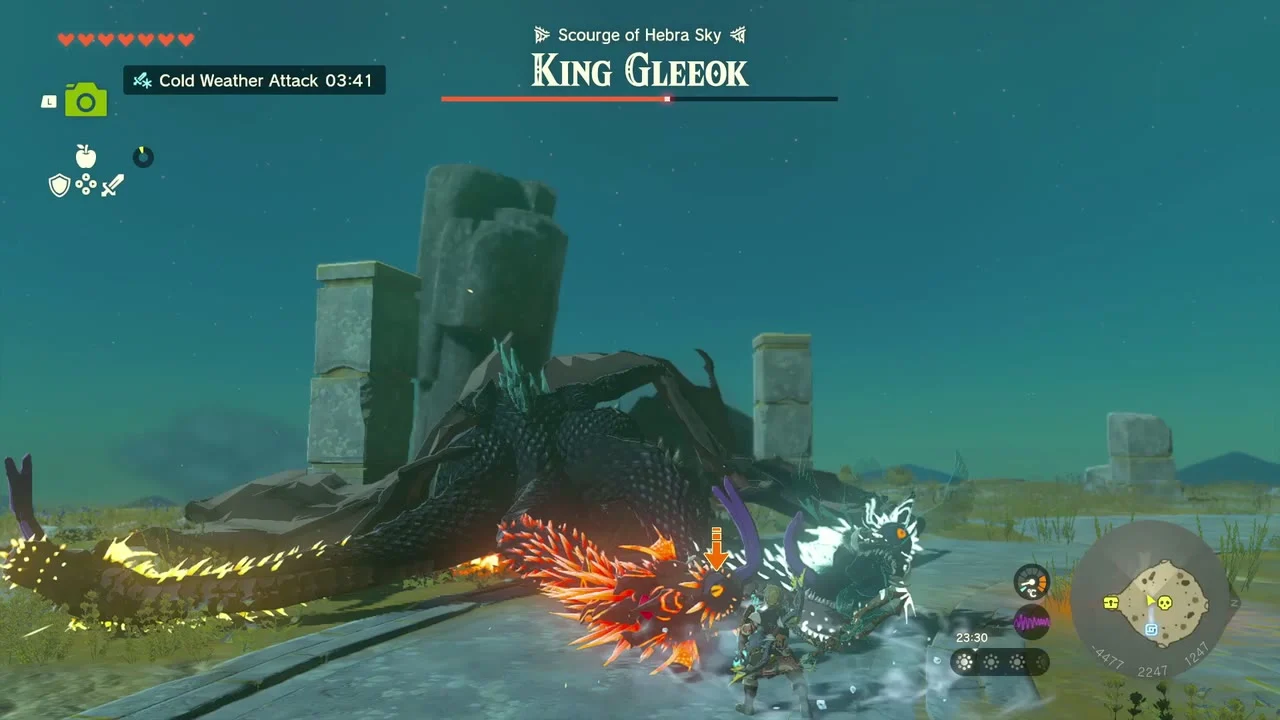
Miniboss: King Gleeok (Scourge of Hebra Sky, above Lightcast Island). Keep moving, shoot each head with arrows (Bomb Flower arrows and fire work well) and attack the body when it falls. A chest waits on a nearby island afterwards.
Open the Sage’s Will chest
Chest (Sage’s Will). On a mossy island nearby sits a chest holding a Sage’s Will. Gather four and offer them to a Goddess Statue to deepen your bond with the Sages.

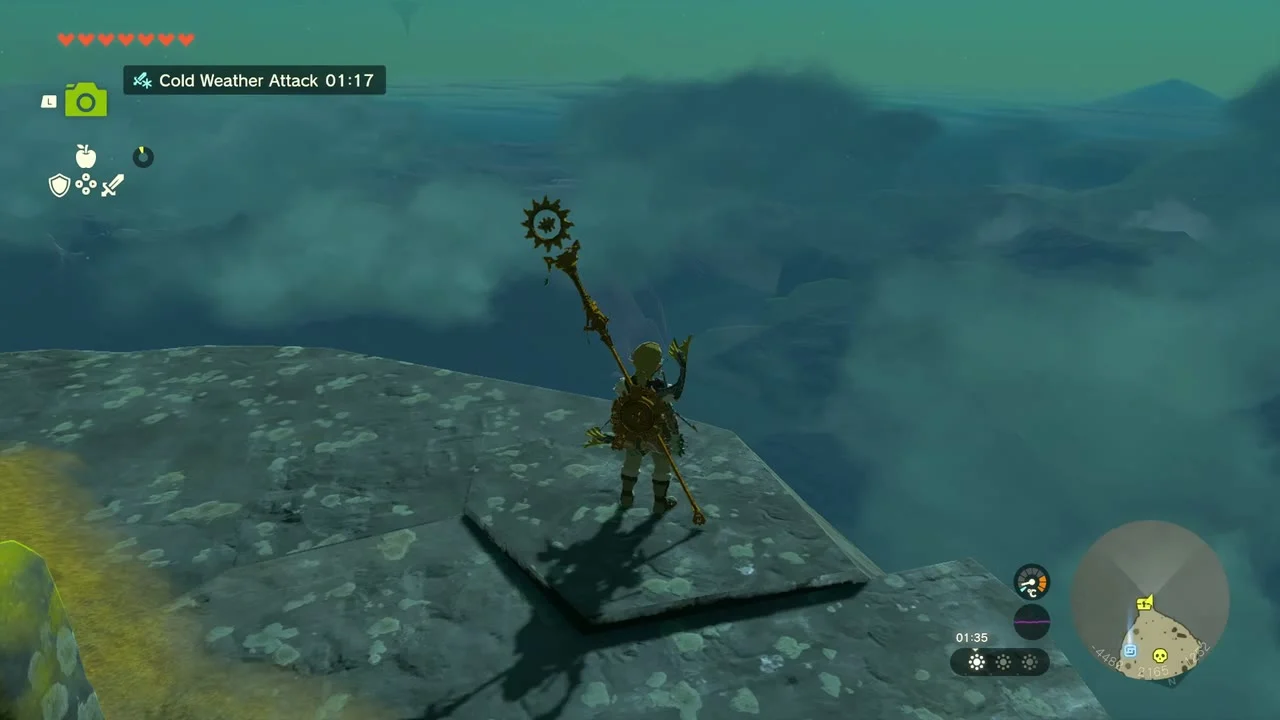
Royal Hidden Passage
Enter from the Emergency Shelter
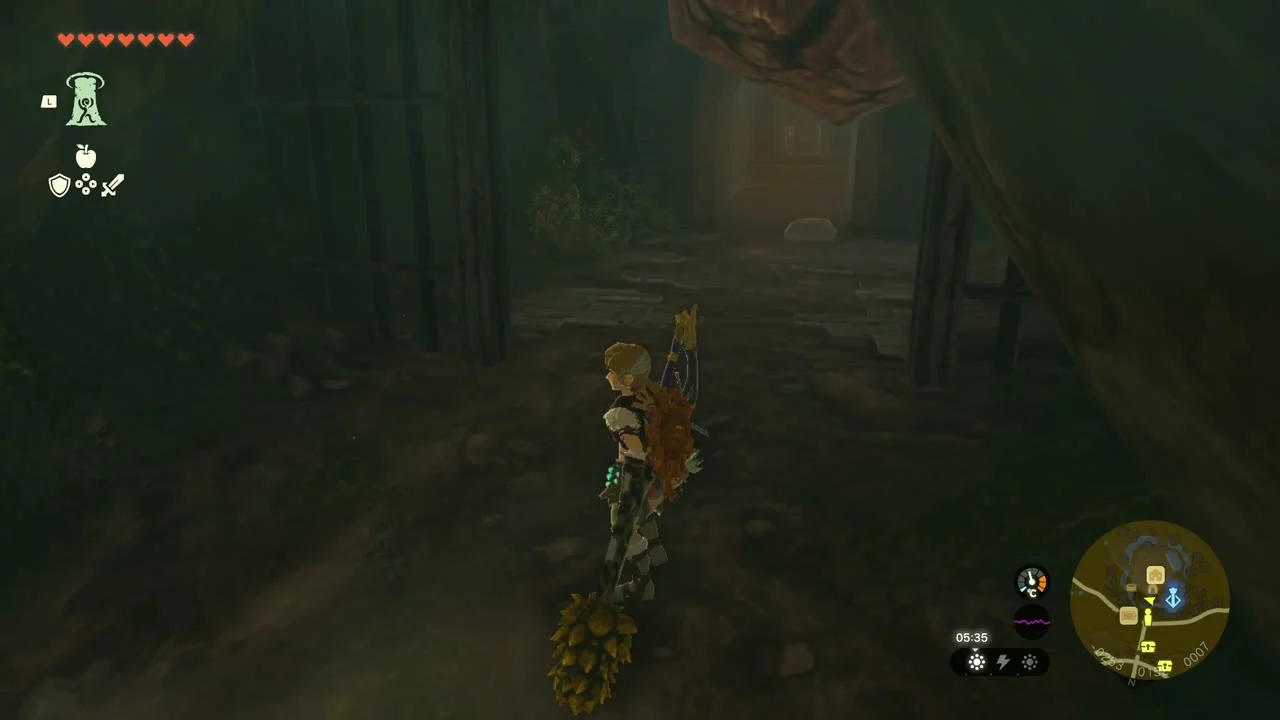
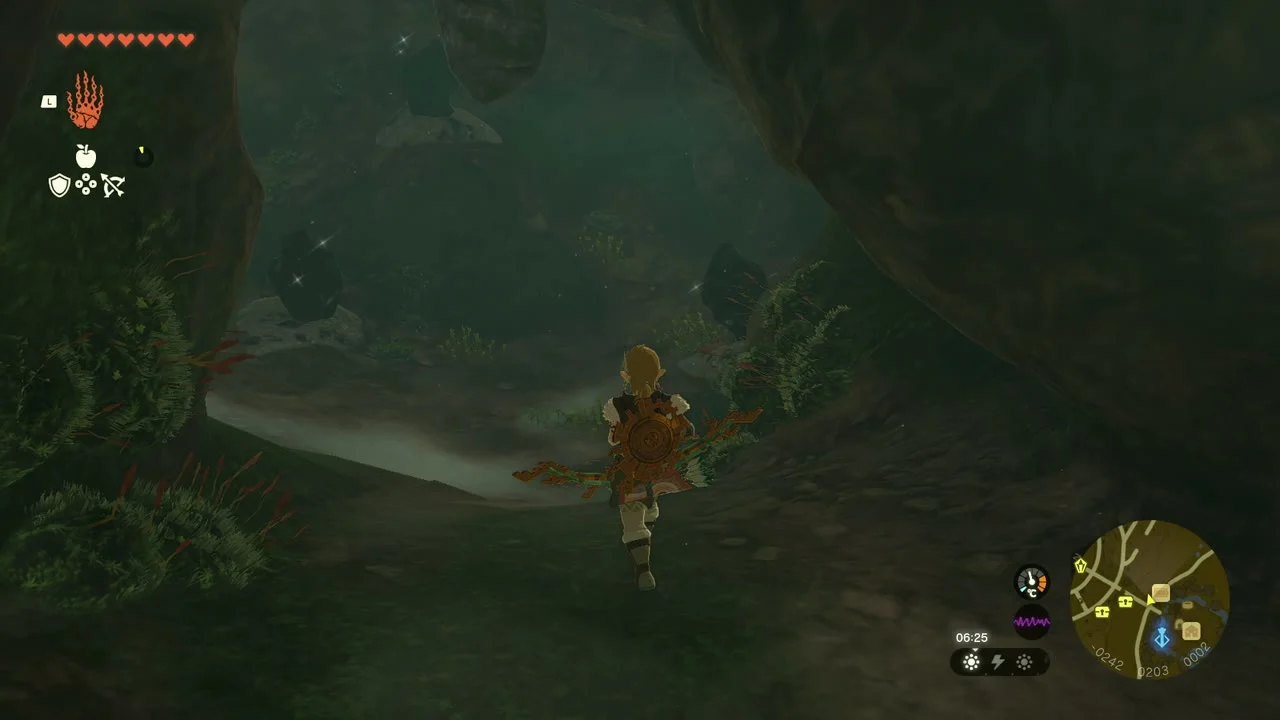
Royal Hidden Passage (-325, 802, 54, in Hyrule Field below Lookout Landing). Once you have finished a Regional Phenomena stop, a hole in the wall of the Emergency Shelter opens into the passage. Crouch through and follow the tunnel past the breakable rock.
Talk to the horned statue
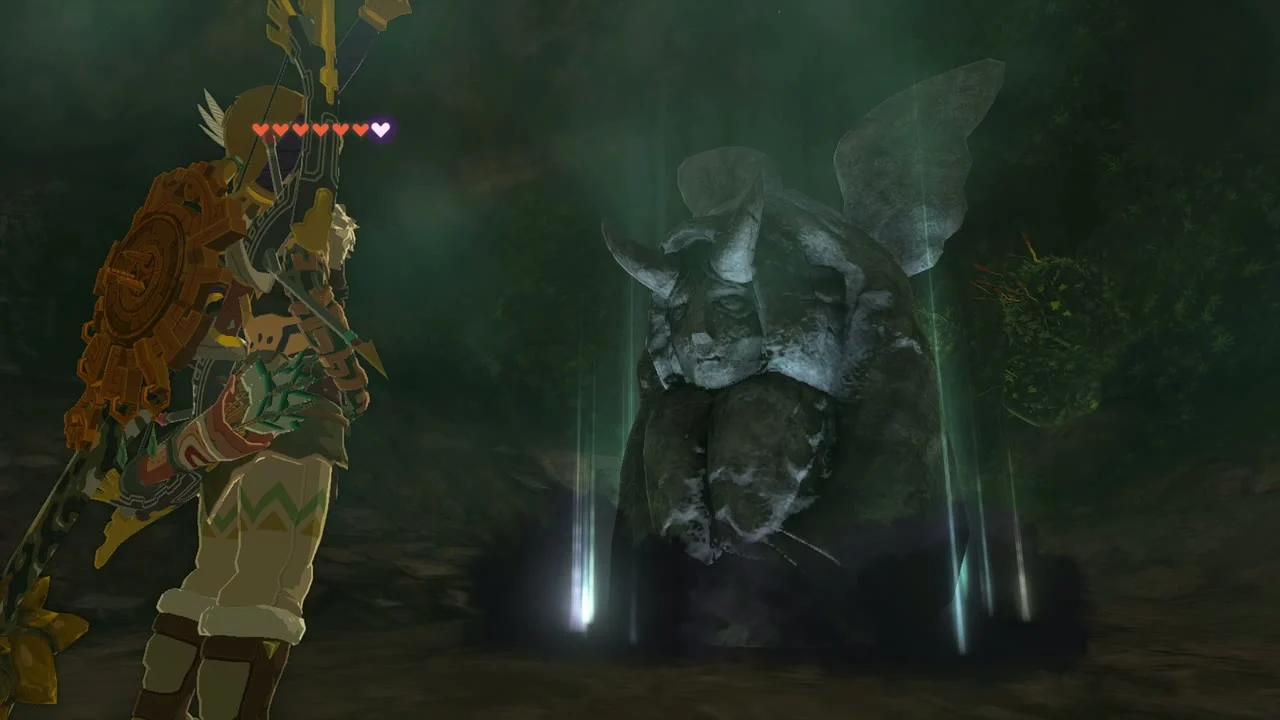
Who Goes There? (side adventure, given by Jerrin in Lookout Landing). Break the rock at the dead end and the second rock beside it to reach the horned statue. Talk to it, then return to Jerrin and tell her the voice was only a statue to finish the quest.

Take the Royal Shield and armor
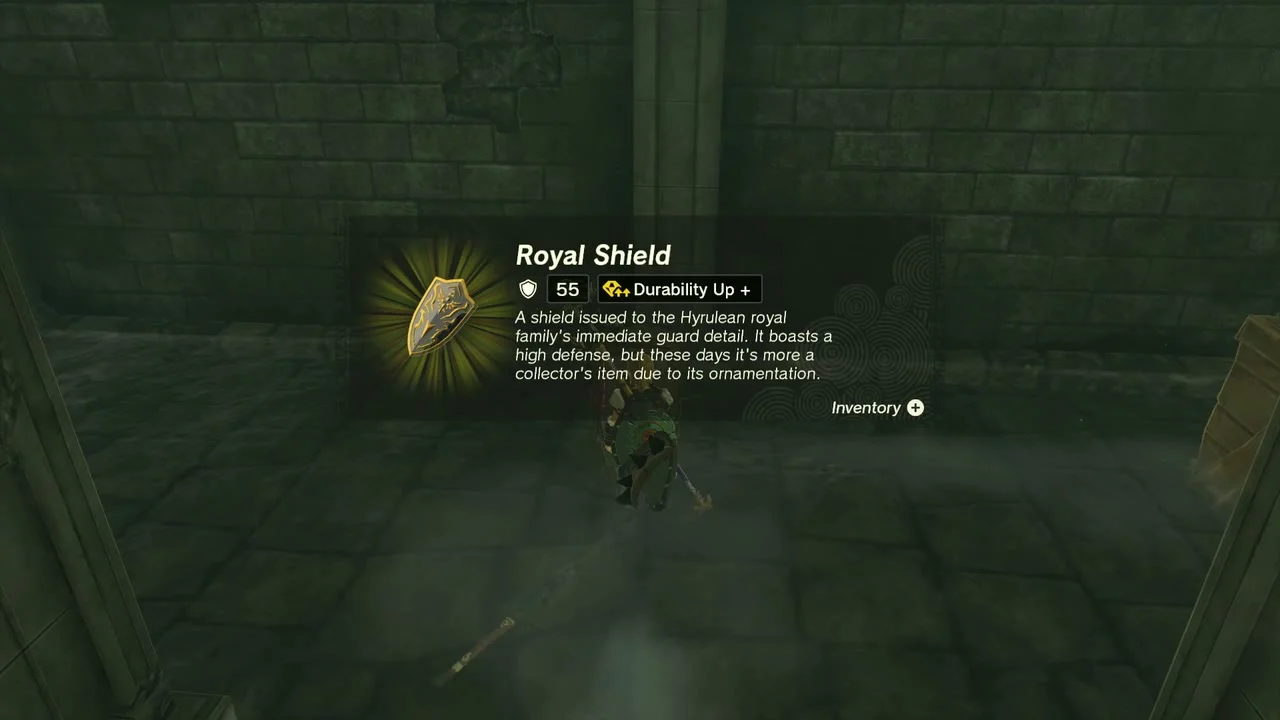
Chests. The passage holds three Royal Shield chests, a Soldier’s Greaves chest (climb the higher ledge with Ascend), a Royal Claymore, a Soldier’s Helm (behind black sediment east of the Stalnox cavern, with an Ice Like guarding it), a Royal Broadsword (or Traveler’s Sword, Soldier’s Broadsword or Knight’s Broadsword, depending on your progress) and a Knight’s-Halberd Halberd. Together with the Soldier’s Greaves and Helm, they start the Soldier’s armor set.

Break the rubble to wake the Stalnox
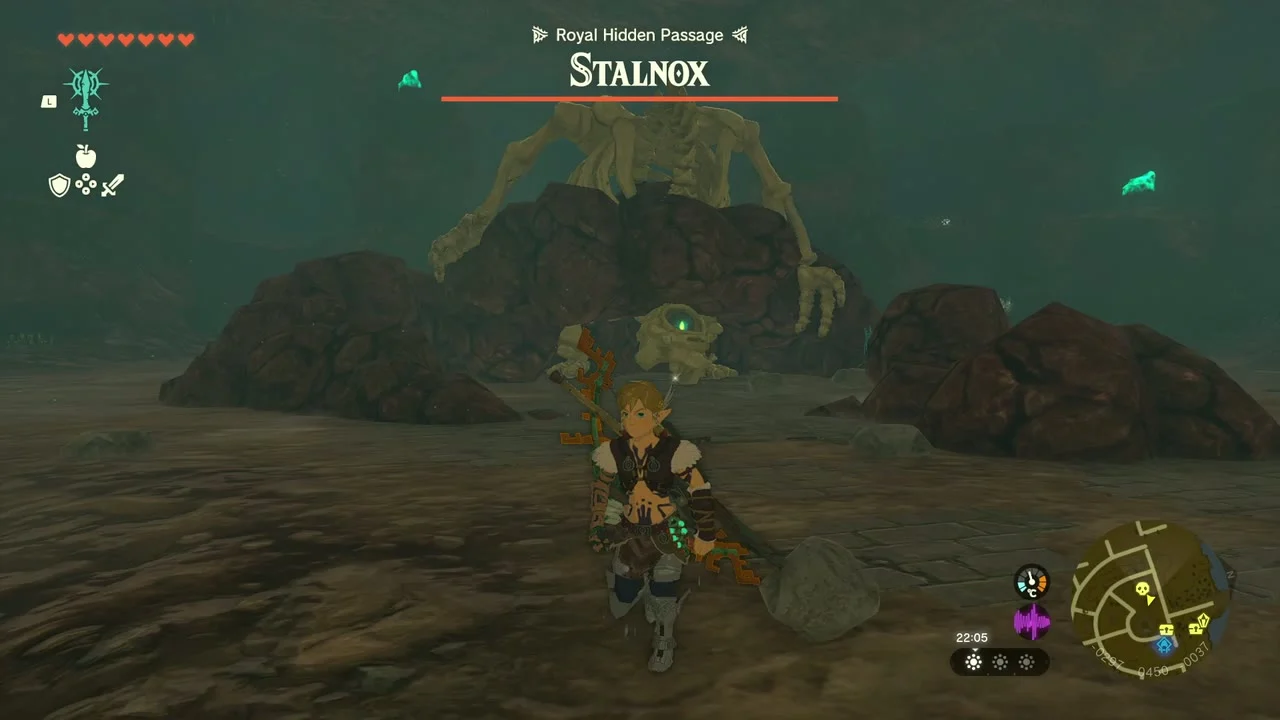
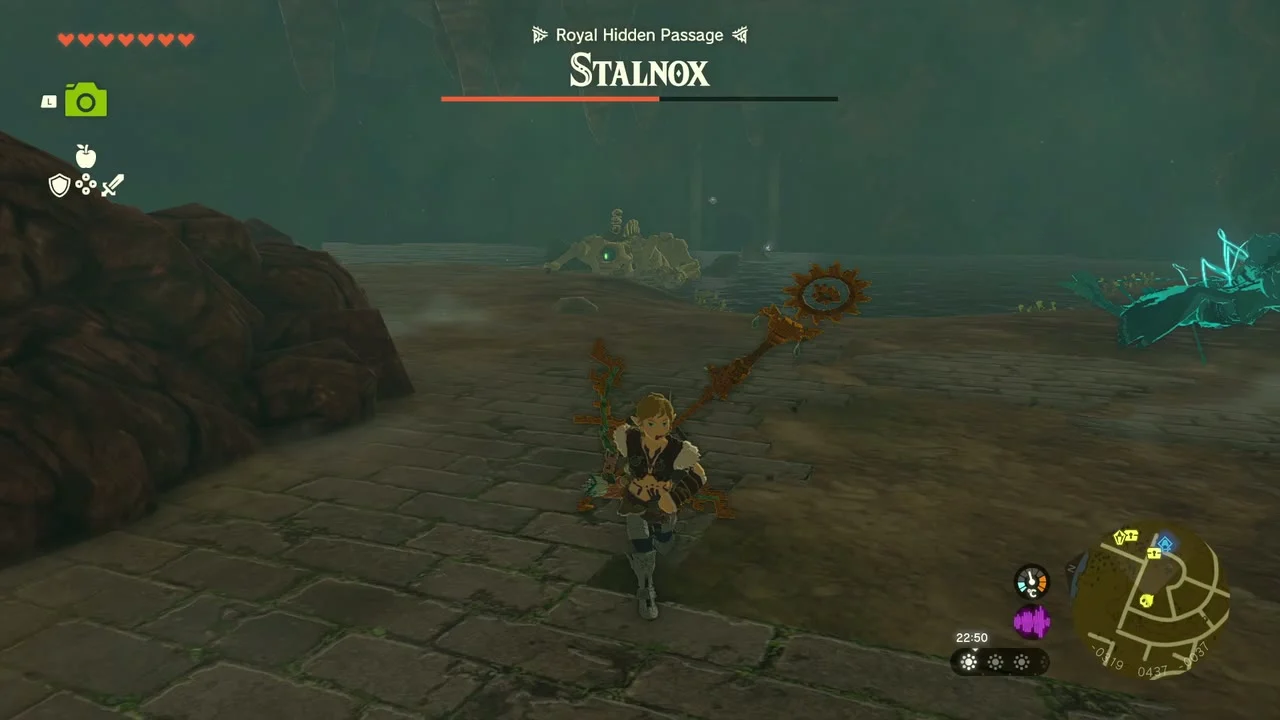
Miniboss: Stalnox. A pile of rubble in the large cavern hides a Stalnox. Clear the rubble, shoot the glowing eye on its head and finish the skeleton when it collapses. It drops Stalnox parts.
Collectibles in this chapter
Shrines and Lightroots (5)
Tauyosipun Shrine, Otak Shrine, Eutoum Shrine, Rutafu-um Shrine and Sisuran Shrine; their Lightroots (Nupisoyuat, Kato, Muotue, Mu-ufatur, Narusis) lie below each shrine.
Caves (8)
Sturnida Springs Cave, Icefall Foothills Cave, North Biron Snowshelf Cave, East Biron Snowshelf Cave, Hebra Great Skeleton, Hebra Mountains Northwest Cave, Pikida Stonegrove Northwest Cave and the Royal Hidden Passage. Bubbul Gems come from six of them (Sturnida Springs, Icefall Foothills, East Biron Snowshelf, Hebra Great Skeleton, Northwest Cave, Pikida Northwest).
Chests (41)
Royal Claymore (Sturnida Springs Cave), Brightbloom Seed x10, Mighty Construct Bow (Tauyosipun), Falcon Bow x2, Rocket x5, Flame Emitter x3, Bomb Flower x10 (Icefall Foothills Cave), Mighty Construct Bow (Otak), Mighty Zonaite Shield, Large Zonai Charge, Cart x3, Arrow x5, Vah Medoh Divine Helm, Large Zonaite, Kite Shield, Sapphire, Sled x3, Sapphire (Eutoum), Zonaite x3, Wing x3, Topaz (Rutafu-um), Falcon Bow, Sapphire (Sisuran), Hunter’s Shield, Feathered Edge, Soldier’s-Spear Stick, Swallow Bow, Mighty Zonaite Spear, Mighty Construct Bow, Royal Bow, Kite Shield, Sage’s Will, Royal Shield x3, Soldier’s Greaves, Royal Claymore, Soldier’s Helm, Royal Broadsword and Knight’s-Halberd Halberd.
Korok seeds (32 puzzles)
Datamined Koroks in this stretch that you may still need: bring the exhausted Korok to its friend at -4116, 2416 -2837, 2317, -2795, 2877 and -2372, 3018; burn the thorns and lift the rock at -3677, 2466; climb the wall to touch the marker at -3917, 2880; rock patterns at -4066, 2505 and -3162, 2465; follow the flower at -3792, 2319; examine the sparking spot at -3158, 2689; lift the rock at -3752, 2797 and -3218, 3376; melt the ice and lift the rock at -3849, 2737; target rings at -3292, 2442 and -2989, 3141; and shoot the balloon at -2359, 3678.
