





















Tears of the Kingdom 100% Completion Walkthrough43 chapters
Great Sky Island
- Great Sky Island4 shrines, 4 caves and Bubbul Gems, 17 Korok seeds
Hyrule Field and Hyrule Castle
- Lookout LandingParaglider, Crisis at Hyrule Castle, Jiosin and Kyononis shrines, 2 caves, 3 wells
- Hyrule FieldSusuyai and Ishodag shrines, the Hyrule Field Chasm, 2 caves, 13 Koroks
- Hyrule Castle Town RuinsSepapa, Yamiyo and Tukarok shrines, 2 caves, 4 wells, Koroks, chests and Battle Taluses in route order
- Central Hyrule Depthslight all 7 Lightroots, loot Daphnes and Gustaf Canyon Mines, find the Miner's Top
- Rest of Hyrule CastleRoyal Hidden Passage loot, 8 castle chests, Phantom Ganon, Energy Wells
- South Hyrule FieldShrines, Koroks & the Great Plateau
- South Hyrule Field DepthsGreat Abandoned Central Mine, Master Kohga, Autobuild, Majora's Mask
Tabantha and Hyrule Ridge
- Tabantha FrontierNew Serenne Stable, Hestu, Courage Island and the Glide Shirt, 3 shrines, 2 Korok seeds, Lindor's Brow Cave
- Forgotten TempleImpa and the Geoglyphs, Dragon's Tears, Kiuyoyou and Mayausiy shrines, Yiga Maritta Branch, 9 Koroks
- Tanagar Canyon & Hyrule RidgeRunakit and Iun-orok shrines, 2 caves, 12 Koroks, 20 chests, 8 minibosses and Dragon's Tear 6
- Thundra Plateau & Tabantha Bridgesolve the noon shadow puzzle, Tabantha Bridge Stable, Makurukis Shrine, 19 Korok seeds, 9 chests, 3 minibosses
- Lindor's Brow DepthsLightroots; Two Yiga camps (Bomb Bouquet, Flamethrower Balloon)
- Hyrule Ridge and Tabantha FrontierIkatak, Oromuwak, Ganos and Ga-ahisas shrines, 4 caves, a well, 26 Koroks and 3 minibosses
Hebra
- Rito VillageGatakis and Ijo-o shrines, Sikatag Lightroot, 9 Korok seeds, 14 chests
- Hebra MountainsShrines, Wind Temple & Koroks; Raspro Pass, Biron Snowshelf & Royal Hidden Passage
- Corvash Canyon MineTrousers of the Hero, Floodlights schematic, Sea-Breeze Boomerang, four Lightroots, Colgera
- Raspro Pass DepthsNupisoyuat and Sasag Lightroots, Colgera, Cap of Time, Tunic of the Wind, two Yiga camps and 13 minibosses
- Tabantha TundraTaninoud, Orochium, Oshozan-u, Mayaotaki, Nouda and Tenbez shrines, three Lightroots, caves and Bubbul Gems
- Pikida Stonegrove DepthsEvil Spirit Greaves, Ikatoayam, Muihcoro and Sikatag Lightroots, 3 Yiga schematics, Frox fights
Great Hyrule Forest
- Great Hyrule Forest7 shrines, 8 Lightroots, 2 caves, 2 wells, Korok Mask, Glide Tights
Eldin
- EldinEldin Canyon, Shrines, Caves & Goron City
- Eldin Canyon Depths10 Lightroots, Zant's Helmet, Trousers of the Wild, Biggoron's Sword, 3 Yiga schematics and Eldin's sky chests
Faron
- FaronHighland Stable, Lake Hylia & Popla Foothills
Necluda
- Kakariko VillageMakasura Shrine, Kakariko Village Well, 2 caves, Ring Ruins chests, 10 Korok seeds and village quests
- West Necluda and Lanayru WetlandsShrines, Koroks & Caves; Jonsau, Kurakat
- Hateno VillageZanmik and Mayahisik shrines, Shield of the Mind's Eye and Phrenic Bow wells, 7 Koroks
- East NecludaRabella Wetlands, Sifumim Shrine, Lurelin Village, 21 Korok seeds
- East Necluda DepthsKumamayn Shrine, 4 Lightroots, Midna's Helmet, Cap of the Hero, Trousers of the Wind and 18 Depths chests
Lanayru
- Lanayru Great SpringShrines, Koroks & Caves; Ralis Channel, 3 shrines, 8 caves
- Zora's DomainMogawak and Ihen-a shrines, Ploymus cave, Pristine Sanctum, Zora Armor, Sidon of the Zora and Clues to the Sky
- Wellspring IslandAncient Zora Waterworks chests, Igoshon Shrine, 2 Korok seeds, Water Temple's four wheels and Mucktorok
- Mount LanayruShrines, Koroks & Light Rings; Jikais and Anedamimik shrines
Gerudo
- Gerudo DesertShrines, Caves & Koroks; West and South Sands
- Gerudo TownGerudo Shelter shops and quests, Valley of Silent Statues, Lightning Temple and Queen Gibdo, Chichim Shrine
- Gerudo Desert DepthsGranajh and Daval mines, three Master Kohga fights, Queen Gibdo, Mucktorok, Sheik's Mask and 37 chests
- Gerudo HighlandsSkyview Tower, Rotsumamu and Suariwak shrines, Mayasiar Shrine, Yiga hideout
Akkala
- AkkalaTarrey Town quests, 4 shrines, Hinox, Battle Talus
- Akkala Sky Islands and DepthsGikaku and Natak shrines, Old Maps, Lomei Depths Labyrinth, Mucktorok, 5 Lightroots and 19 chests
Finale and completion
- Ancient Tablets, Gleeoks and Armor Upgradesall 13 stone tablets with coordinates, Frost and King Gleeok, Obsidian Frox, Cotera upgrades and farming
- Hyrule CastleRoyal gear chests, Korok seeds, Serutabomac Shrine
- Thunderhead IslesCharged armor, Joku-usin and Joku-u Shrines, Dragonhead Island's relic
- 100% Completion: Armor Upgrades & Korok BonusHestu's Gift, Ancient Hero's Aspect, Great Fairy Cotera upgrade costs and materials, then Destroy Ganondorf
| Region | Hyrule Ridge and the Tabantha Frontier: Lindor’s Brow, Upland Lindor, Tanagar Canyon, Illumeni Plateau and Washa’s Bluff |
|---|---|
| Shrines | Runakit Shrine (Built to Carry), Iun-orok Shrine (The Right Roll) |
| Lightroot | Tikanur Lightroot, below the Hyrule Ridge Chasm (see all Lightroots) |
| Caves | Tanagar Canyon East Cave, Tanagar Canyon West Cave (one Bubbul Gem each) |
| Well | Maritta Exchange Ruins Well |
| Quest | The Dragon’s Tears: the sixth geoglyph and its memory (“Zelda and Sonia”) |
| Korok seeds | 13 seeds from 12 Koroks (one carry pair gives 2) |
| Chests | 20: 12 in the open, 1 in the well, 5 in caves, 2 in shrines |
| Minibosses | 8: Stalnox, Boss Bokoblin, 2 Red-Maned Lynels, Hinox, Stone Talus, Battle Talus, Red Boss Bokoblin |
| Previous / next | Forgotten Temple / Thundra Plateau |
This chapter sweeps the canyon country west of Lindor’s Brow: two cave dungeons with Bubbul Gems, Runakit and Iun-orok Shrines, the Hyrule Ridge Chasm into the Depths, a long run down Tanagar Canyon, and the geoglyph on Illumeni Plateau with its Dragon’s Tear. Coordinates are map units (east, north); the map screen and the compass bezel show the same numbers, so use them to pin a spot.
Quick route
Open the chest by the Cliff Bargainer Statue and shoot the balloons at the Forgotten Temple for a Korok, then go to Lindor’s Brow and clear Tanagar Canyon East Cave for its Amber, Ruby and Bubbul Gem.
Cross Salari Plain (Juney’s wagon, a Boss Bokoblin, Maritta Exchange Ruins Well), then work west past Lindor Canyon Mine: a tree-top Korok, the Lizal Blade camp, a Red-Maned Lynel and a boulder Korok.
Enter Runakit Shrine, drop into the Hyrule Ridge Chasm to light Tikanur Lightroot, then take the Hinox, the ring Korok and the cube Korok on Upland Lindor.
Ride the canyon floor west to Tanagar Canyon West Cave and Iun-orok Shrine, play Ultra Ball Haul, then finish the canyon’s west end and sweep Illumeni Plateau, Tabantha Bridge Stable’s slopes and Washa’s Bluff.
Cliff Bargainer Statue and the Forgotten Temple
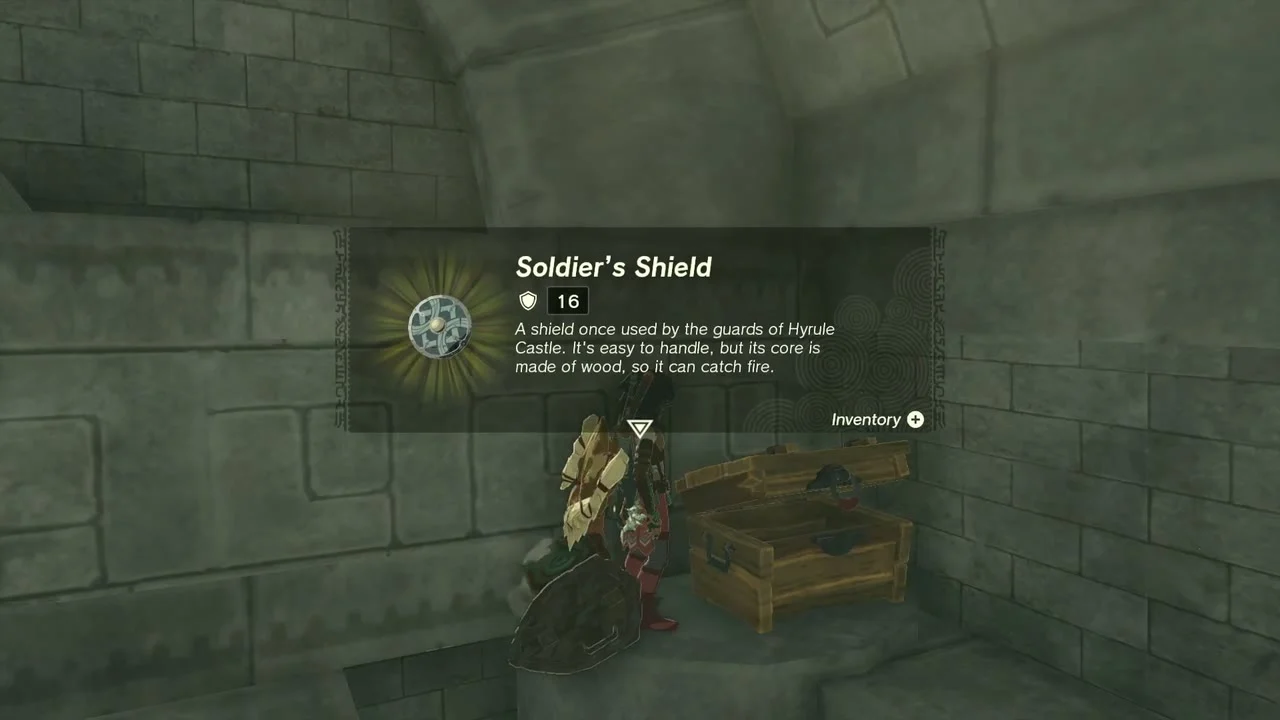
Chest (Soldier’s Shield (or Traveler’s Shield, Knight’s Shield or Royal Shield, depending on your progress)). A ruined stone chamber stands a few steps north of the Cliff Bargainer Statue at (-1030, 2730). Walk inside and open the chest on the floor for a Soldier’s Shield. Free a shield slot first.

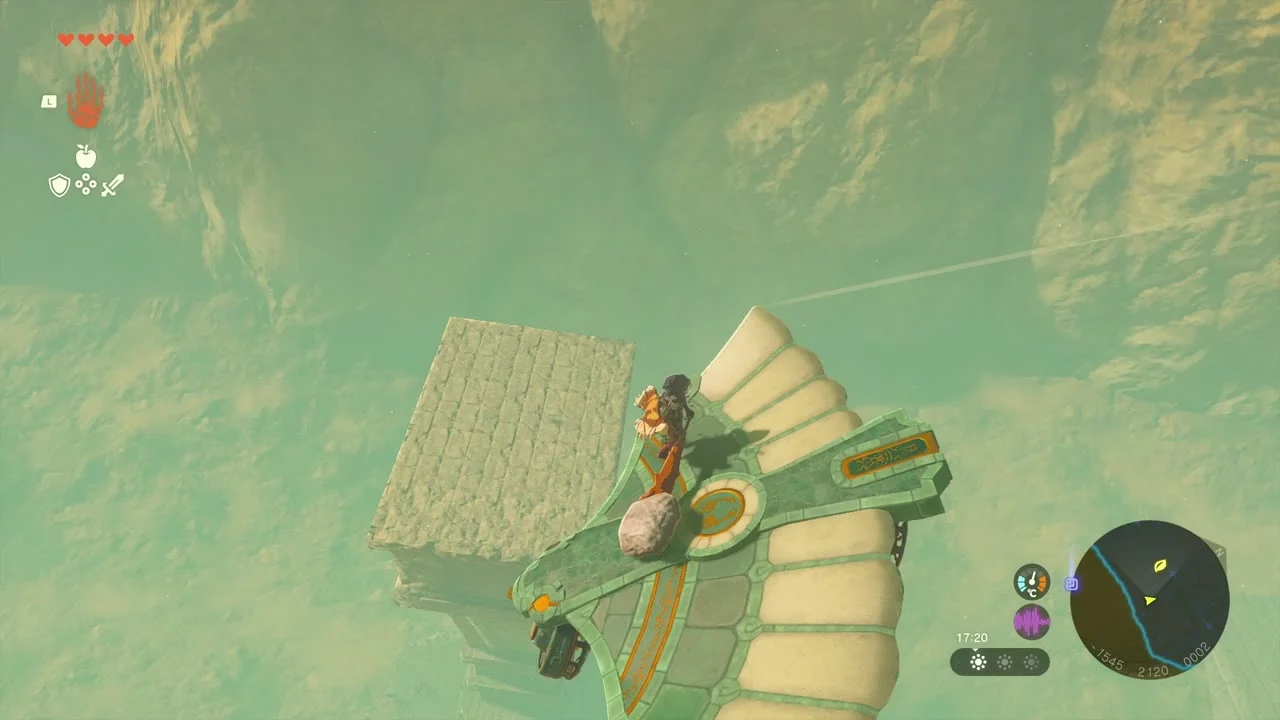
Korok seed (balloons). On the canyon wall beside the Forgotten Temple at (-1580, 2133) a Korok hides behind a “shoot the balloon” puzzle. Glide to the stone shelf on the wall, then shoot every balloon floating around it with arrows. The Korok appears on the shelf and gives you its seed.

Lindor’s Brow: Tanagar Canyon East Cave
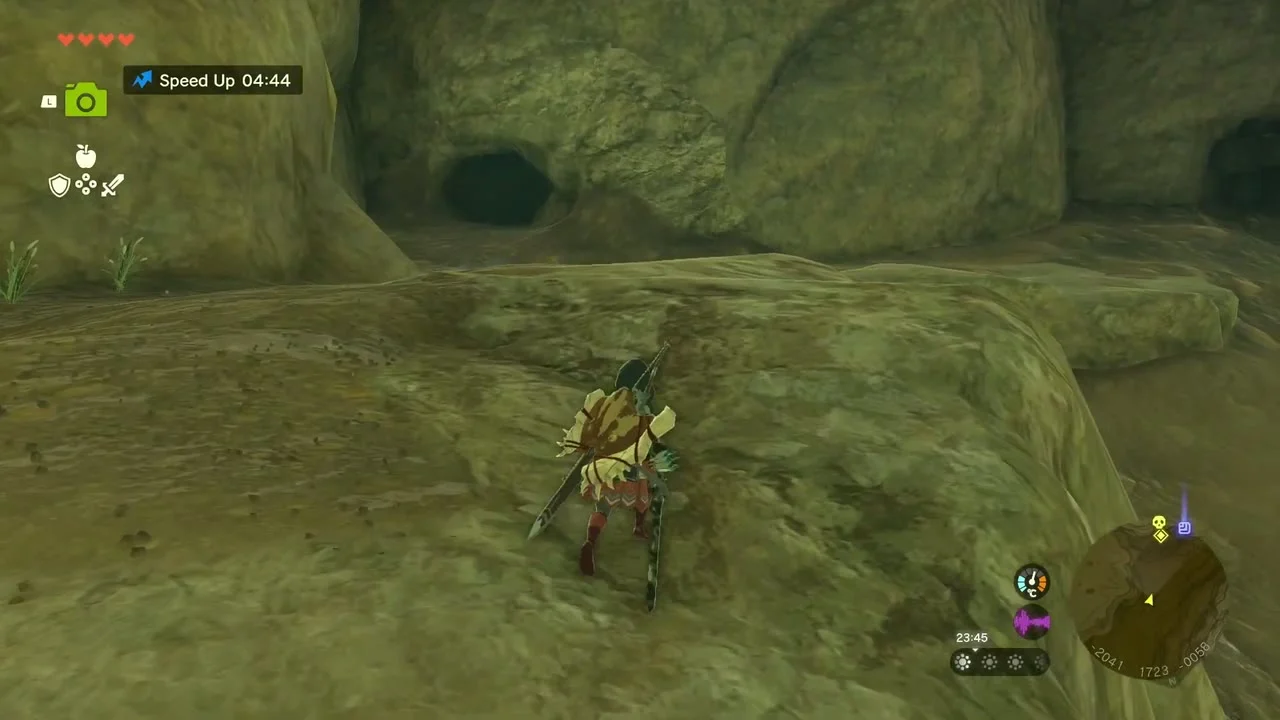
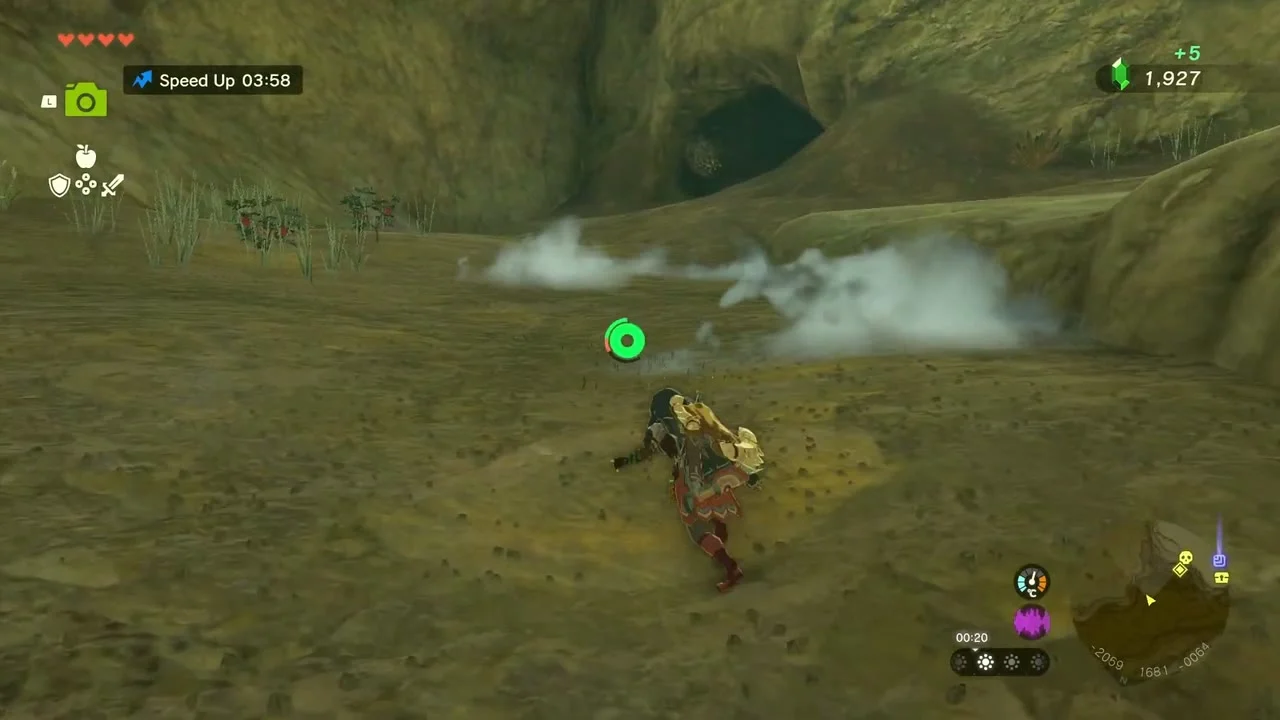
Tanagar Canyon East Cave. Walk down into Tanagar Canyon from Lindor’s Brow and follow the east wall. At the top of a sandy, rubble-strewn slope at (-2049, 1631) a round hole opens in the rock; a Rock Like hangs in the mouth, so knock the flower off it with a heavy swing before you step in. Bring a stack of hammers and bomb arrows. Inside, the Amber chest is in the first chamber, a sleeping Stalnox rises from a rock mound in the gloom cavern (shoot its glowing eye with bomb arrows, then club it), the Ruby chest sits at the end of the first rubble tunnels, and a Bubbulfrog clings high on the wall of the last cavern. The exit climbs a shaft to the canyon floor. Full route: Tanagar Canyon East Cave.

Salari Plain and Maritta Exchange Ruins
Collect the Sand-Seal for Juney
Juney’s wagon stands in a cedar clearing at the east end of Salari Plain, near (-1550, 1778). Her horse bolts, scattering her plush toys across the grass. Pay the 20-rupee deposit, then pick up each plush with Ultrahand and put it back in the wagon before the 90-second timer runs out. Only toys inside the wagon count: you earn between 20 and 100 rupees, and fewer than five earns nothing.


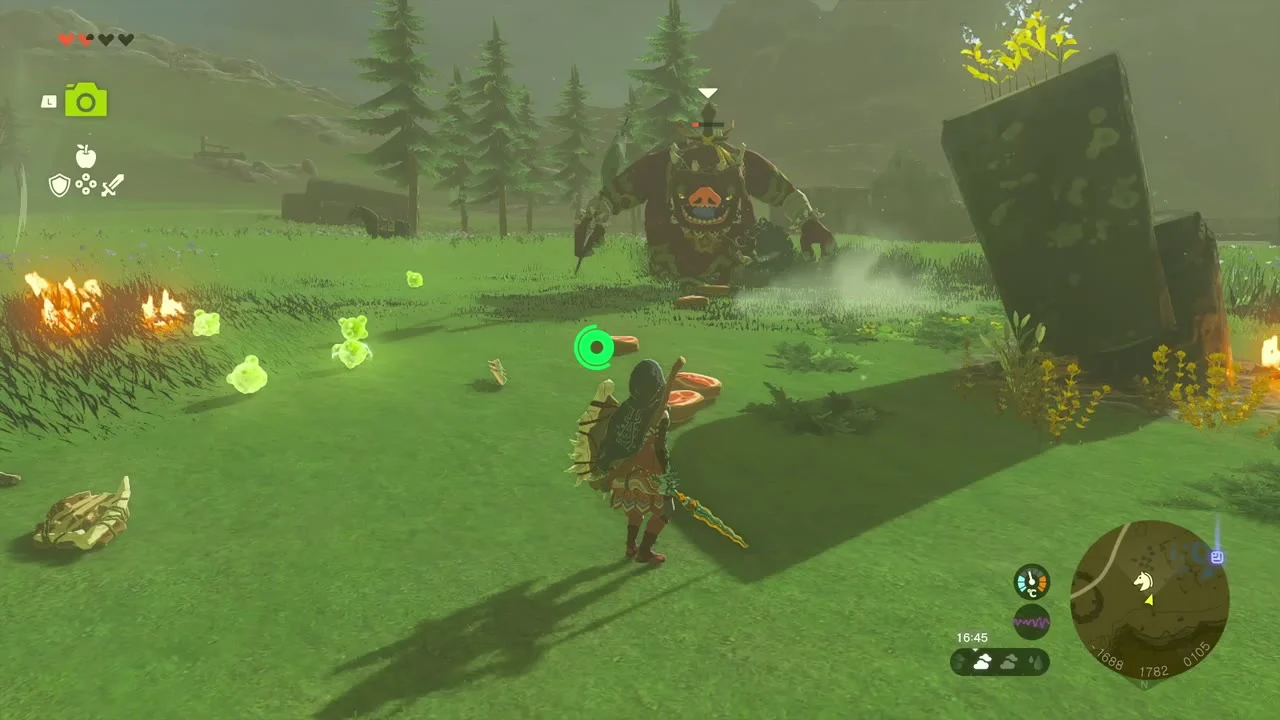
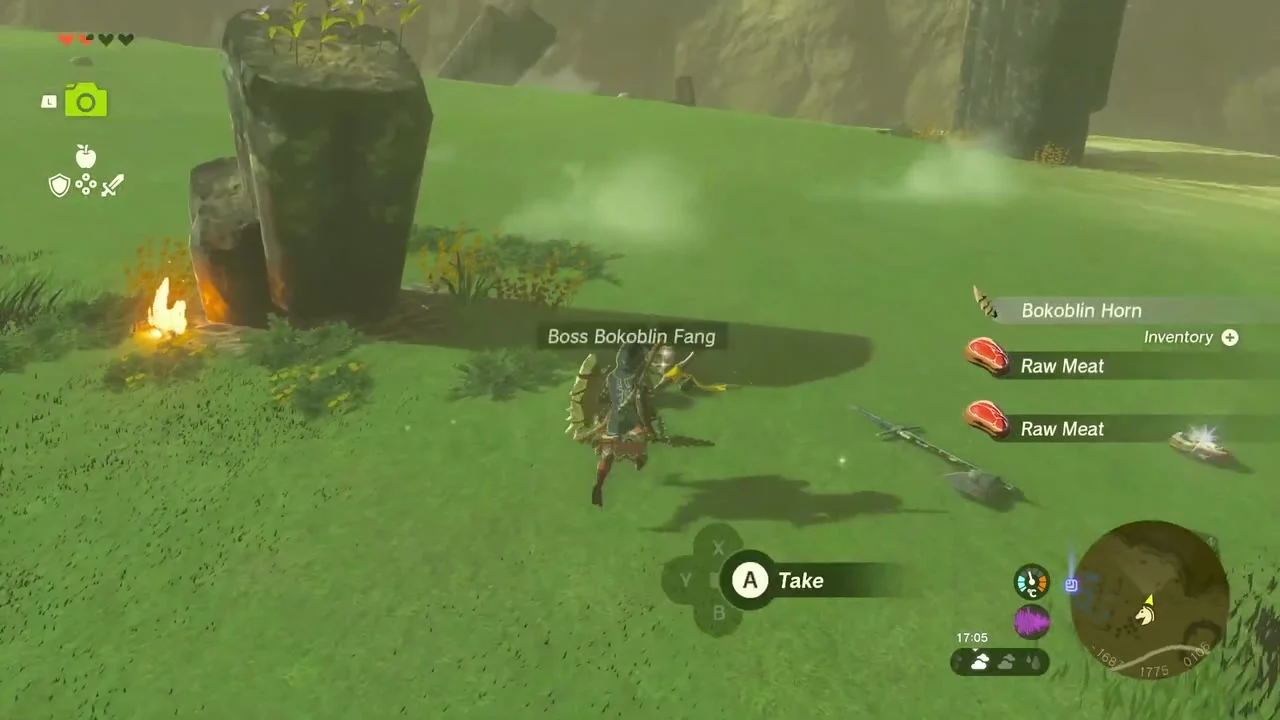
Defeat the Boss Bokoblin
A Boss Bokoblin camps in the stone ruins at (-1667, 1772) on Salari Plain, with a Bokoblin horde around it. Fire arrows or a fire fruit fused to a weapon scorch the whole group; then hit the boss with your heaviest weapon. It drops Boss Bokoblin Fangs and Bokoblin Horns, and the camp’s weapons and shields are yours to take.
Cross the gloom pools
Red gloom pools fill the ruins near (-1703, 1679). Do not wade through them: they sap your hearts and a Gloomspawn can rise from them. Fuse a few planks into a flat raft with Ultrahand, set it on the pool and cross on top of it.


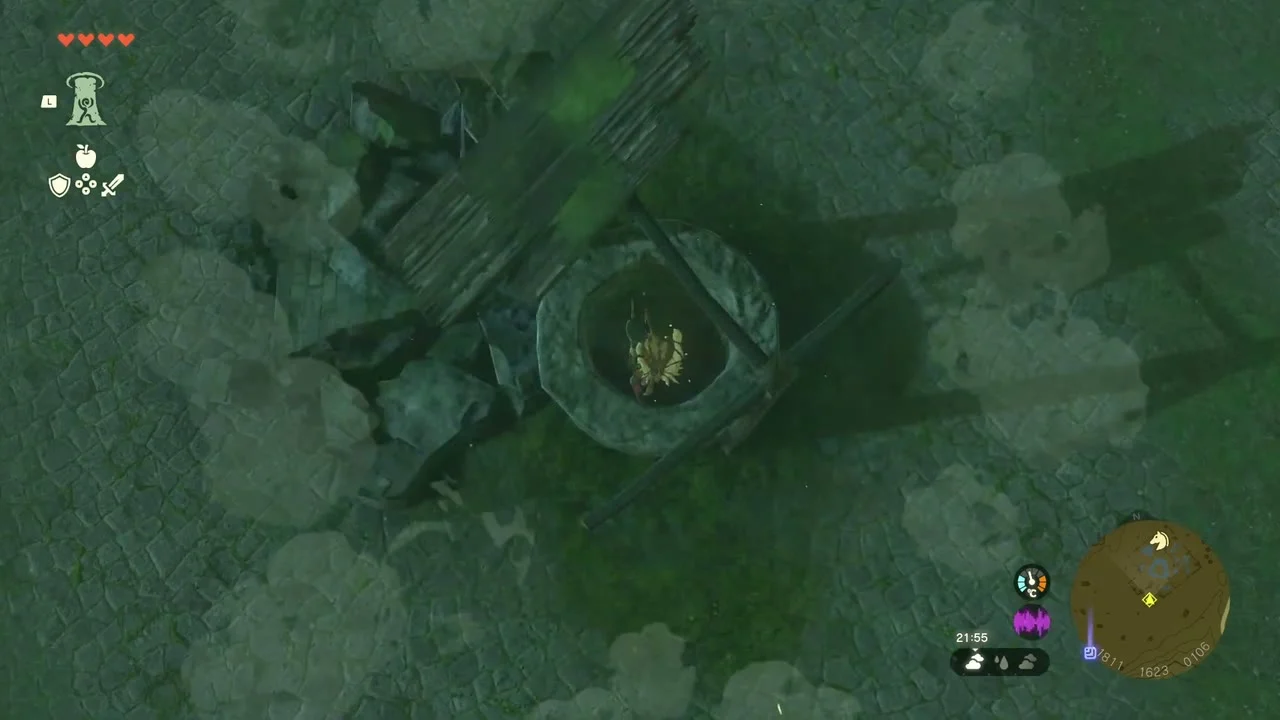
Maritta Exchange Ruins Well (chest: Traveler’s Shield). The well sits in the ruins at (-1811, 1623), with a ring of rubble around its rim. Drop in; a chest in the dark tunnel below holds a Traveler’s Shield. Hammer the rock walls for Amber and Rock Salt.

Lindor Canyon Mine and Upland Lindor
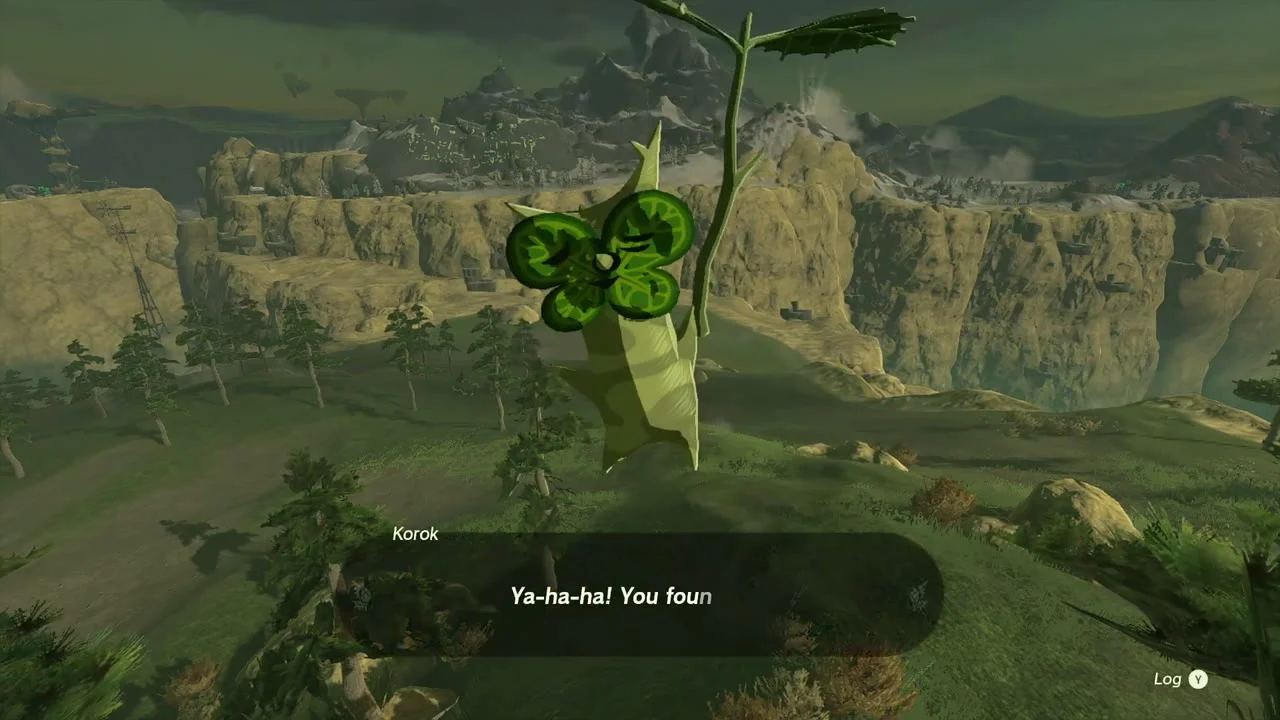
Korok seed (tree top). A tall dead tree stands at the edge of Lindor Canyon Mine at (-2024, 1304). Climb its trunk until you spot the sparkling spot at the top and talk to the Korok there for the seed.

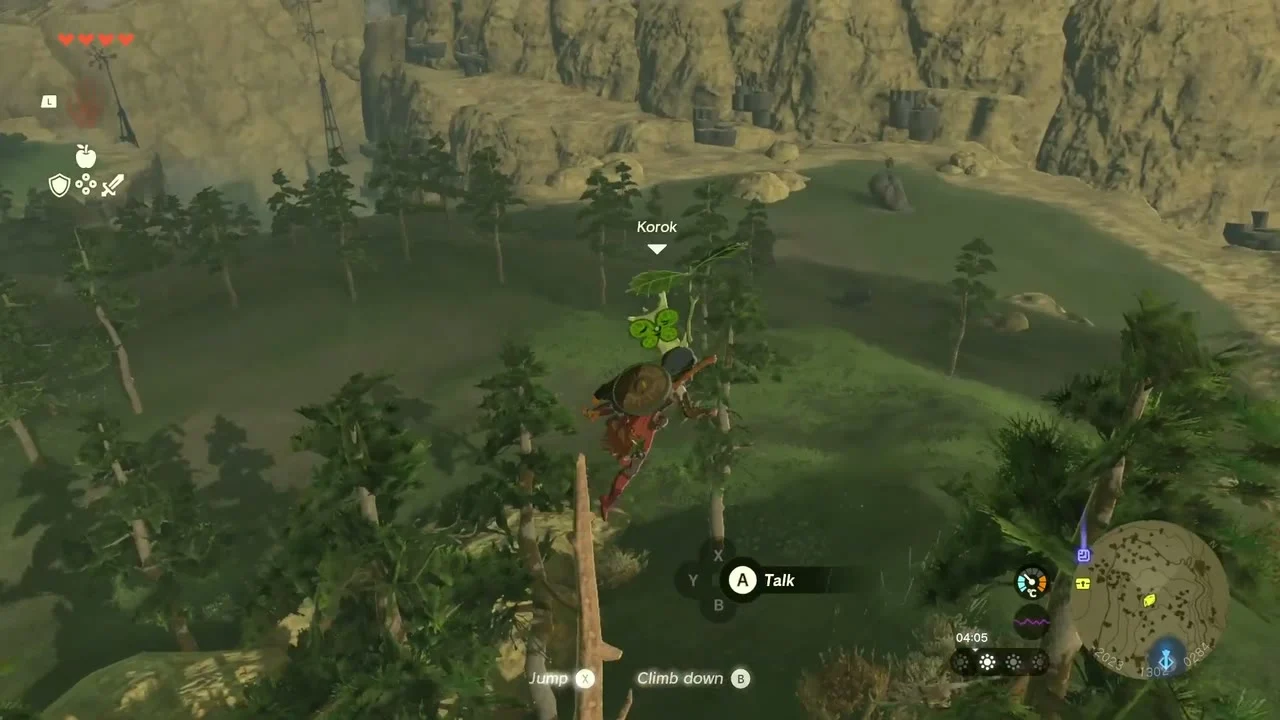
Chest (Lizal Blade). A Bokoblin camp with a wooden lookout tower sits west of Lindor Canyon Mine, around (-2165, 1225). Burn the camp down with fire arrows, then climb the tower’s wooden platform to the chest for a Lizal Blade.


Miniboss: Red-Maned Lynel. A Red-Maned Lynel roams the plain at (-2154, 1536), between the mine and the East Cave. Its fire arrows and flurry rush hurt, so strafe, drop it with shield parries and dodges, and finish with bomb arrows. It drops Lynel horns, hooves and guts.

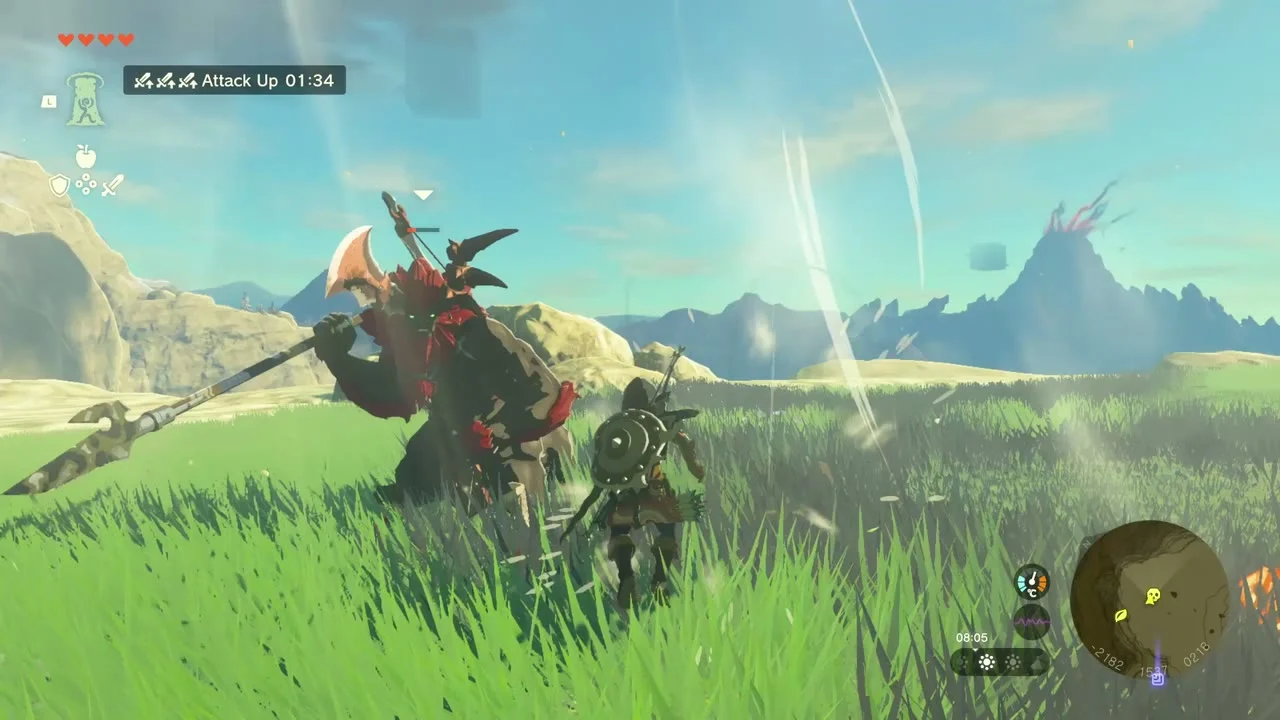
Korok seed (boulder). A big boulder lies beside the Lynel’s plain at (-2221, 1580). Lift it with Ultrahand or Recall and the Korok waiting underneath thanks you with a seed.


Runakit Shrine. The shrine is built into a tall boulder on the grassy hillside at (-2529, 1170), west of Lindor’s Brow Skyview Tower and just east of the Hyrule Ridge Chasm. Step on the blue platform in front. The trial is a ball-and-rail puzzle: lift the stone ball off its high stand, ride it down the rails in a small frame, and drop it into the socket by the exit; the chest on the ladder pillar holds a Construct Bow. Full solution: Runakit Shrine.
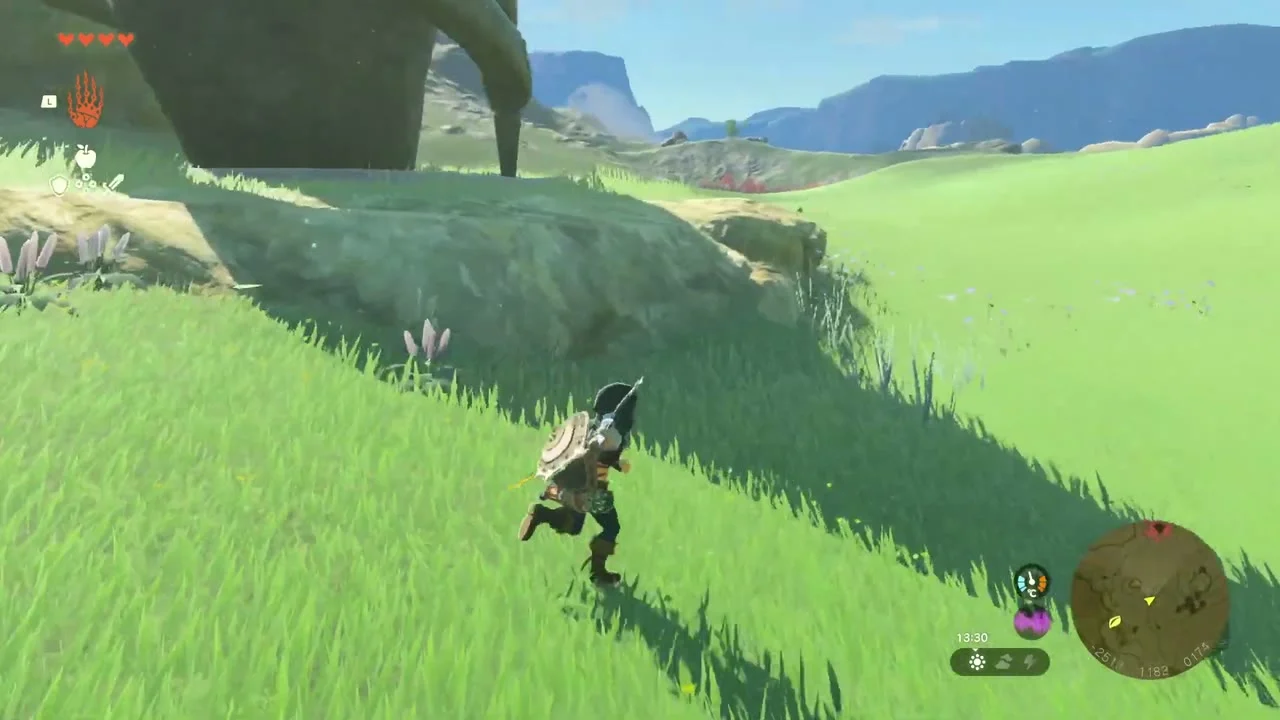

Hyrule Ridge Chasm and Tikanur Lightroot
Hyrule Ridge Chasm and Tikanur Lightroot. The chasm opens on the ridge at (-2644, 1126), a short walk west of Runakit Shrine. Glide in and aim for the Depths floor below the shrine, where the Tikanur Lightroot grows at (-2529, 1170). Touch it to light the area and unlock a fast-travel point directly below Runakit Shrine.

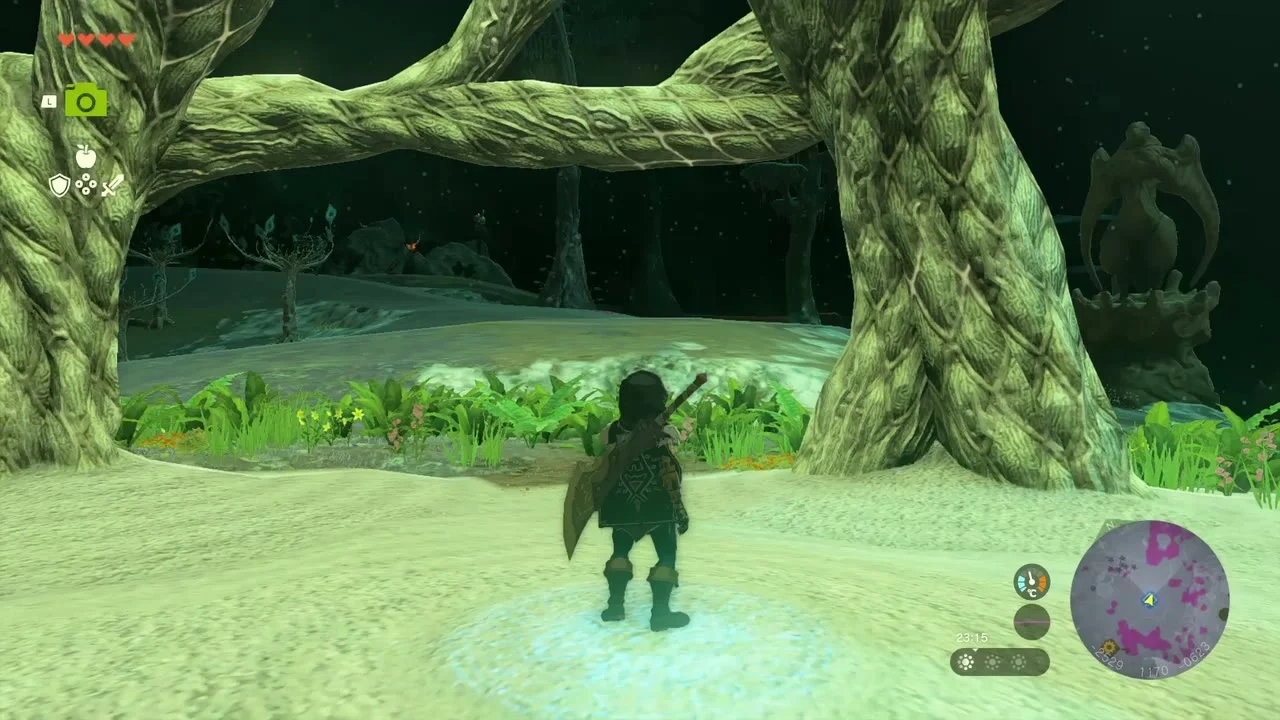
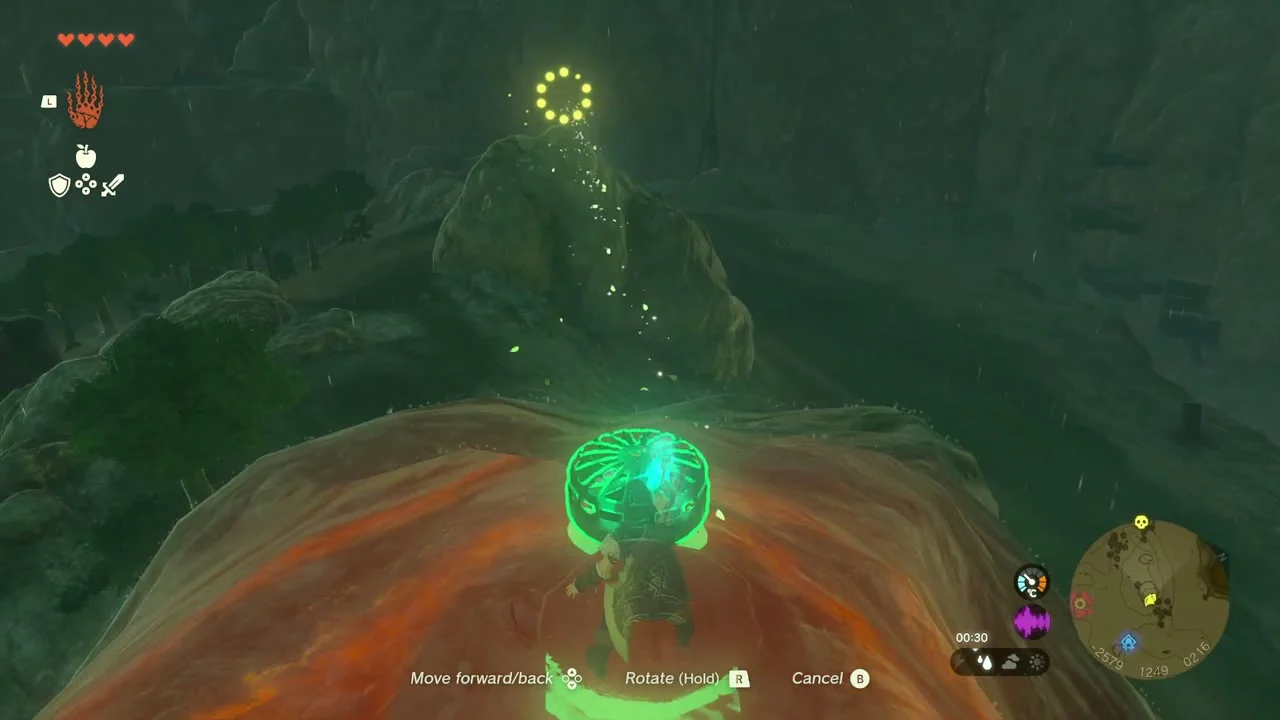
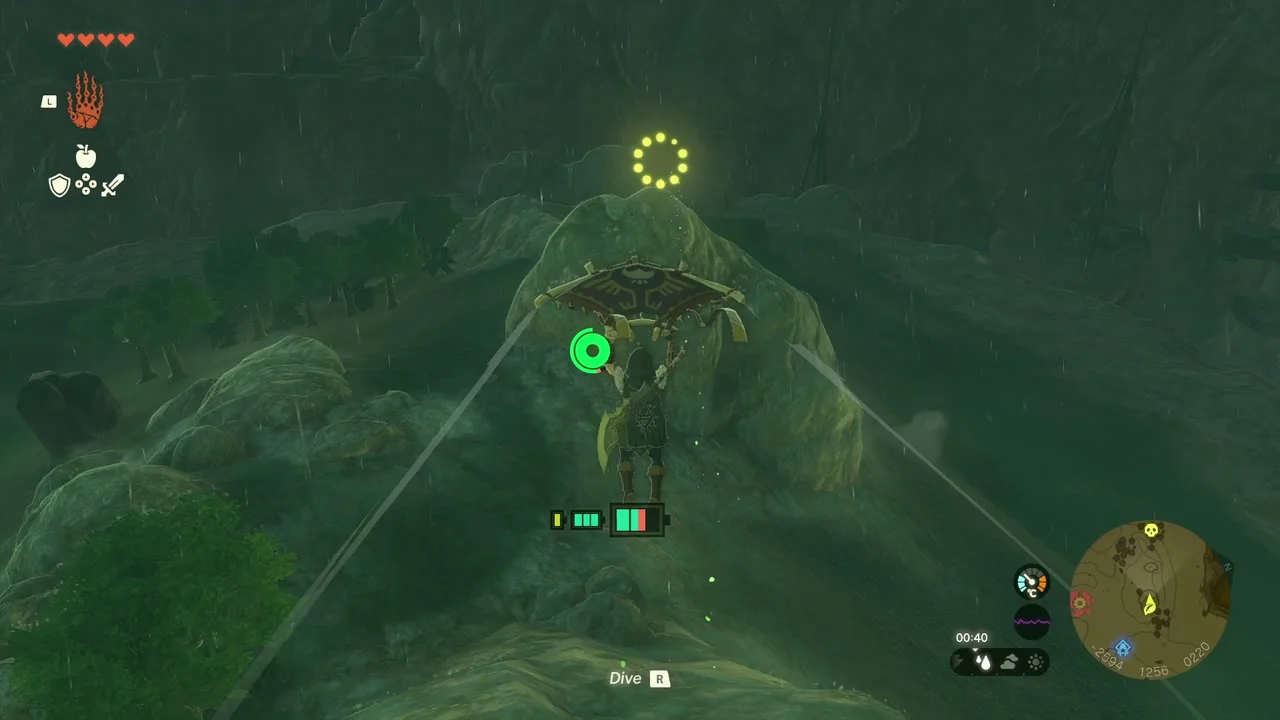
Korok seed (target ring). A mossy boulder at (-2653, 1283), 160 units north of the chasm, has a ring hovering over its summit. Fuse a fan or flight device to the starting pad on the rock and fly or glide through the ring before the timer ends. The Korok then drops its seed.
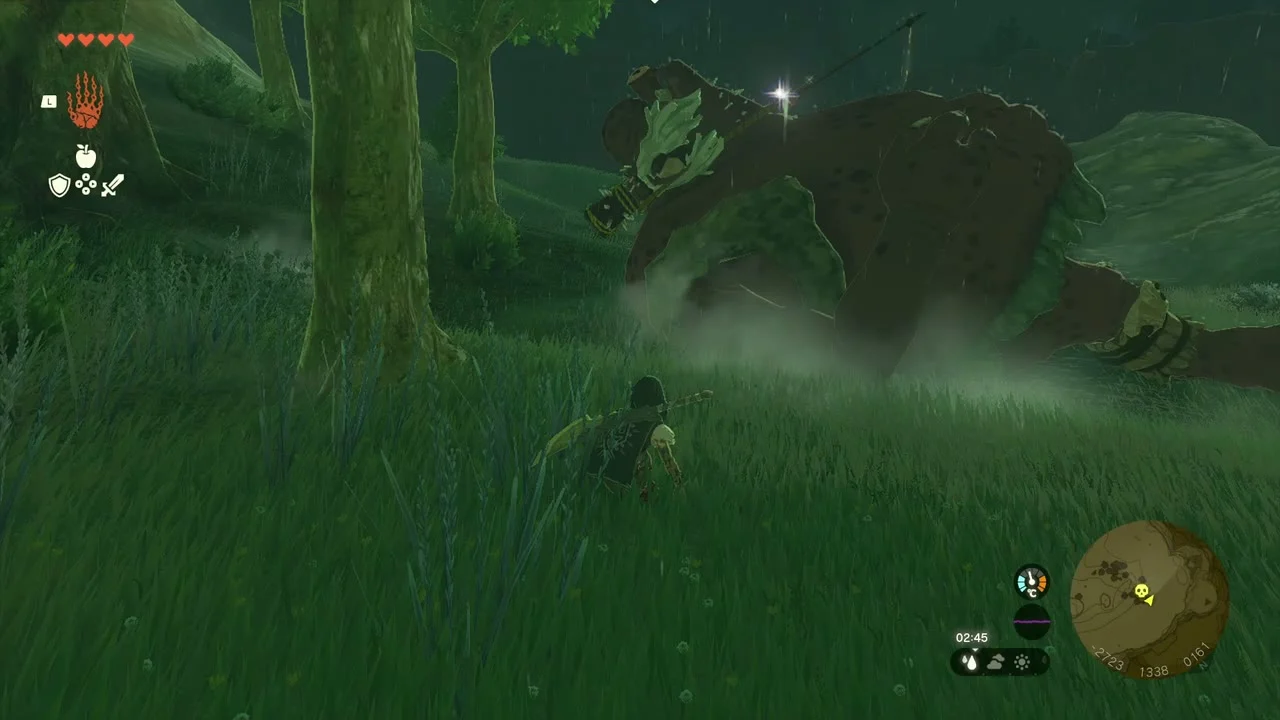
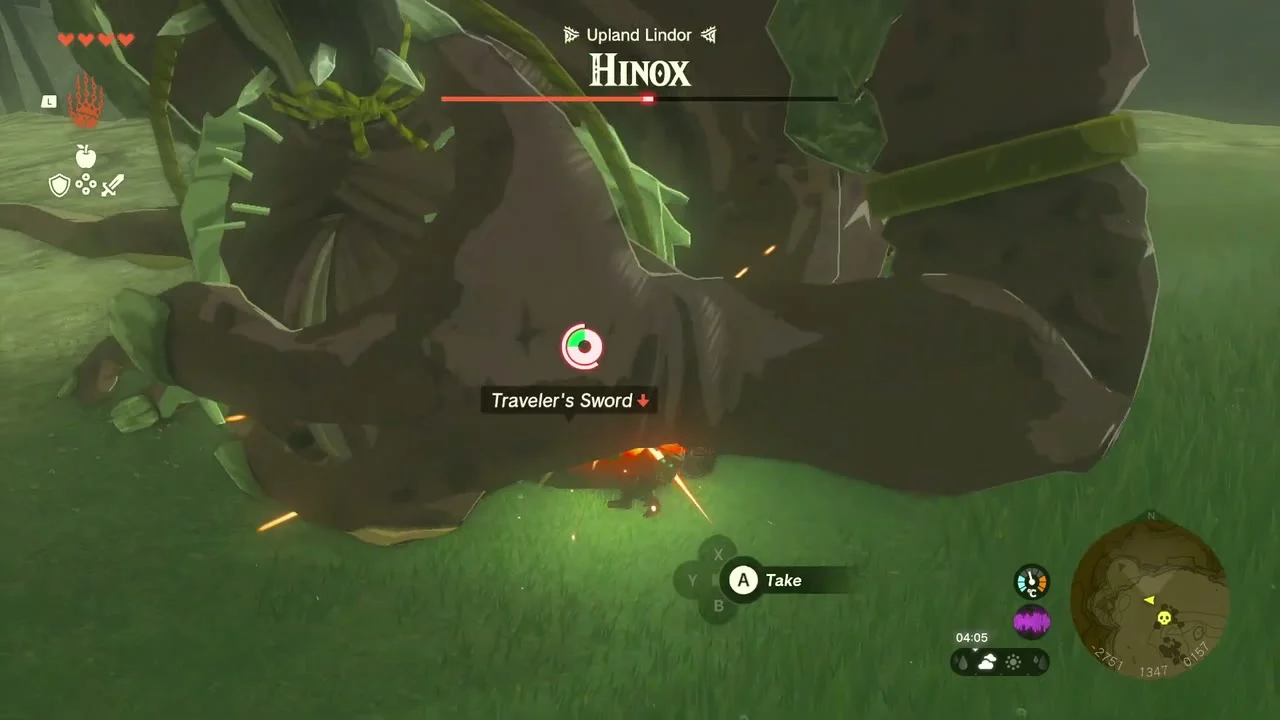
Miniboss: Hinox. A Hinox sleeps in the forest on Upland Lindor near (-2751, 1326). Sneak to it, then shoot its eye with arrows to topple it. Ride out the follow-up and hit its belly while it is down. It drops a Hinox Toenail, Tooth and Guts, plus weapons from its belt.
Korok seed (cube puzzle). A sunken pocket of the canyon’s north wall at (-2818, 1598) holds a wall of Zonai stone blocks with one cube missing. Lift the loose cube with Ultrahand and set it in the gap so the pattern is complete; the seed pops out beside it.


Down Tanagar Canyon to the West Cave
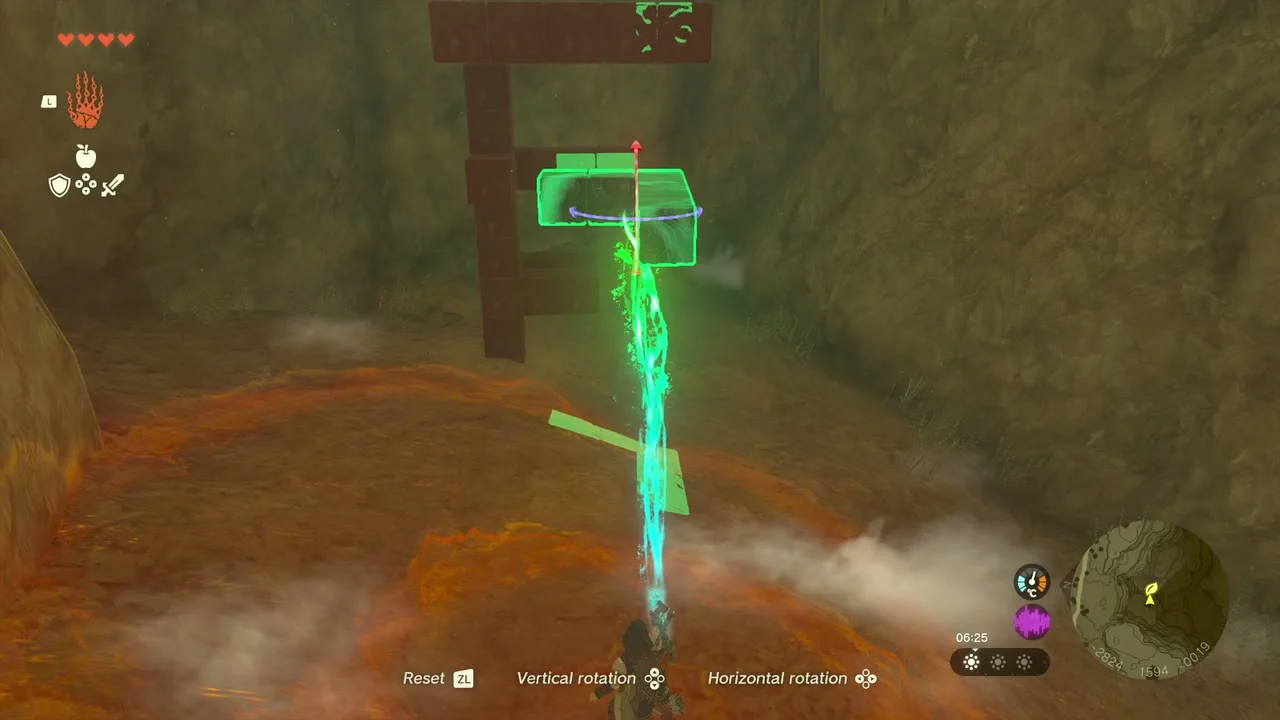
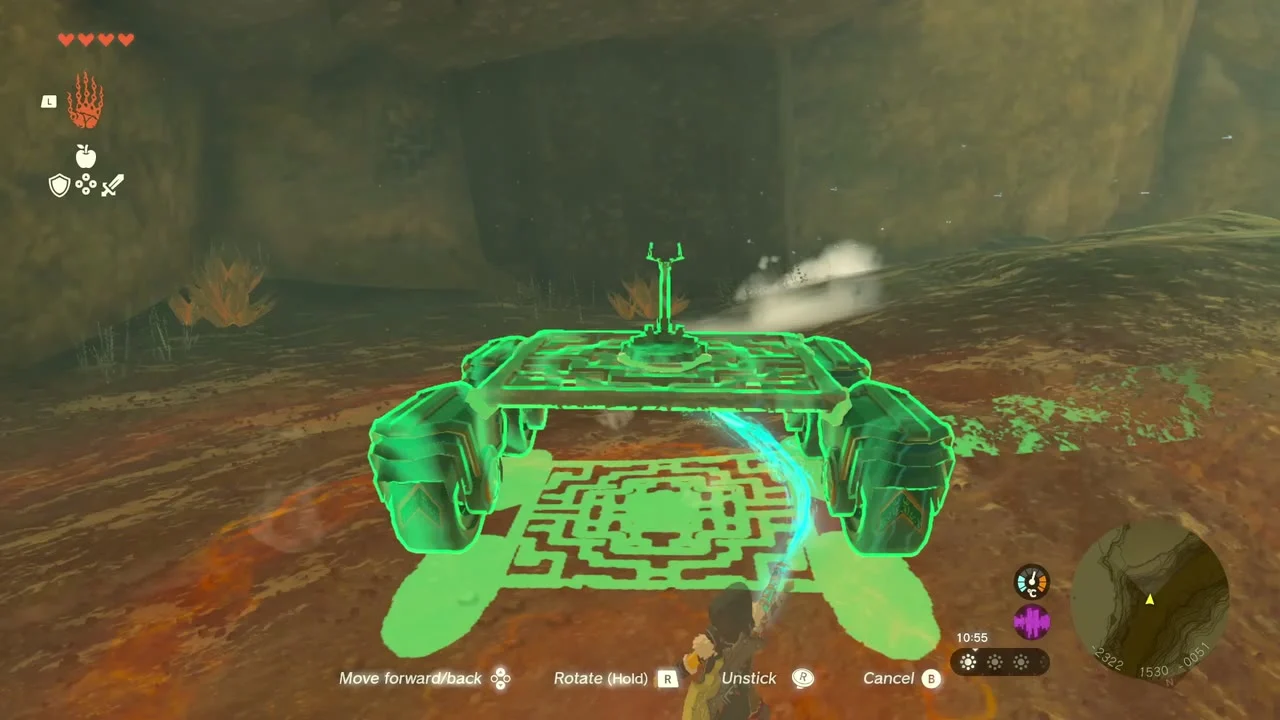
Ride the canyon floor. The floor of Tanagar Canyon is a long walk of about 1,200 units. At the east end near (-2328, 1520), build a steerable cart: a flat board, two wheels, a Fan or a Rocket, and a Control Stick fused to the front. Drive west along the sandy floor to the West Cave at (-3308, 789).


Tanagar Canyon West Cave. The entrance is a dark hole in the west wall, a little north of Tabantha Great Bridge. Hammer the rubble walls inside. The cave has three chests (Feathered Spear, Hunter’s Shield and Kite Shield), a Bubbulfrog on the cavern wall just past the first chest, a Shock Like and Iun-orok Shrine (The Right Roll), whose chest holds Arrow x10. Full route: Tanagar Canyon West Cave.
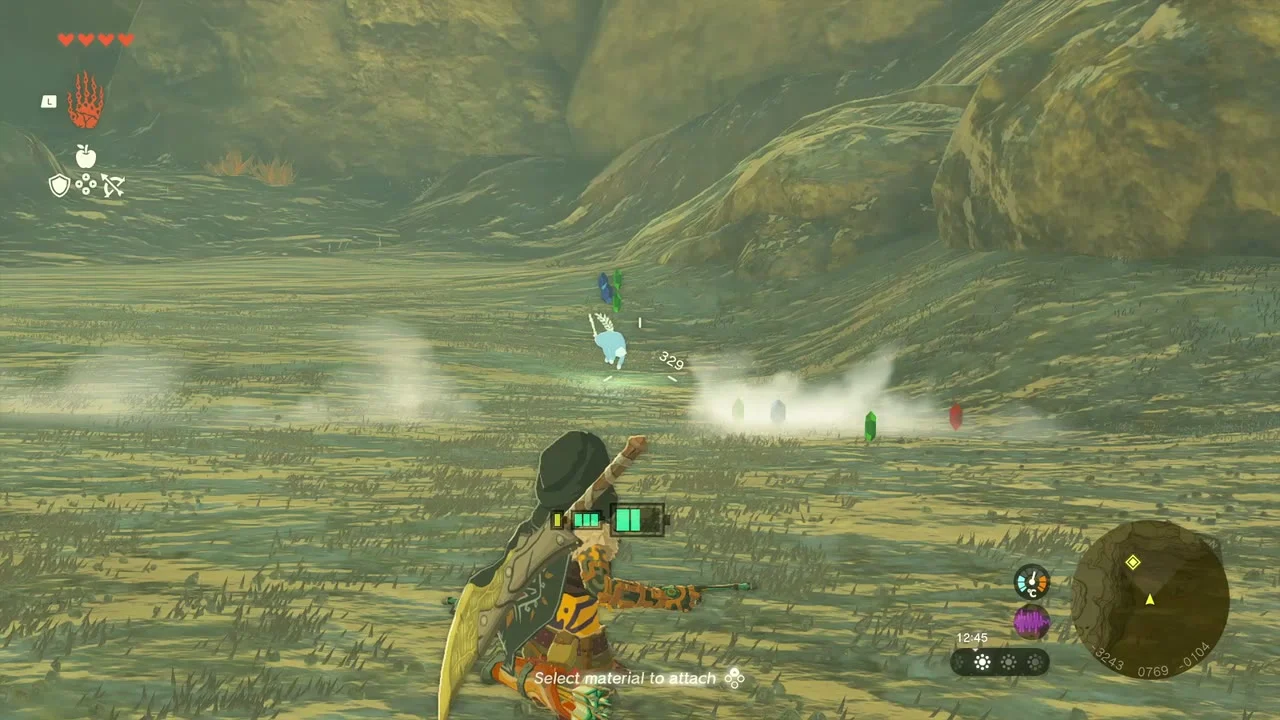
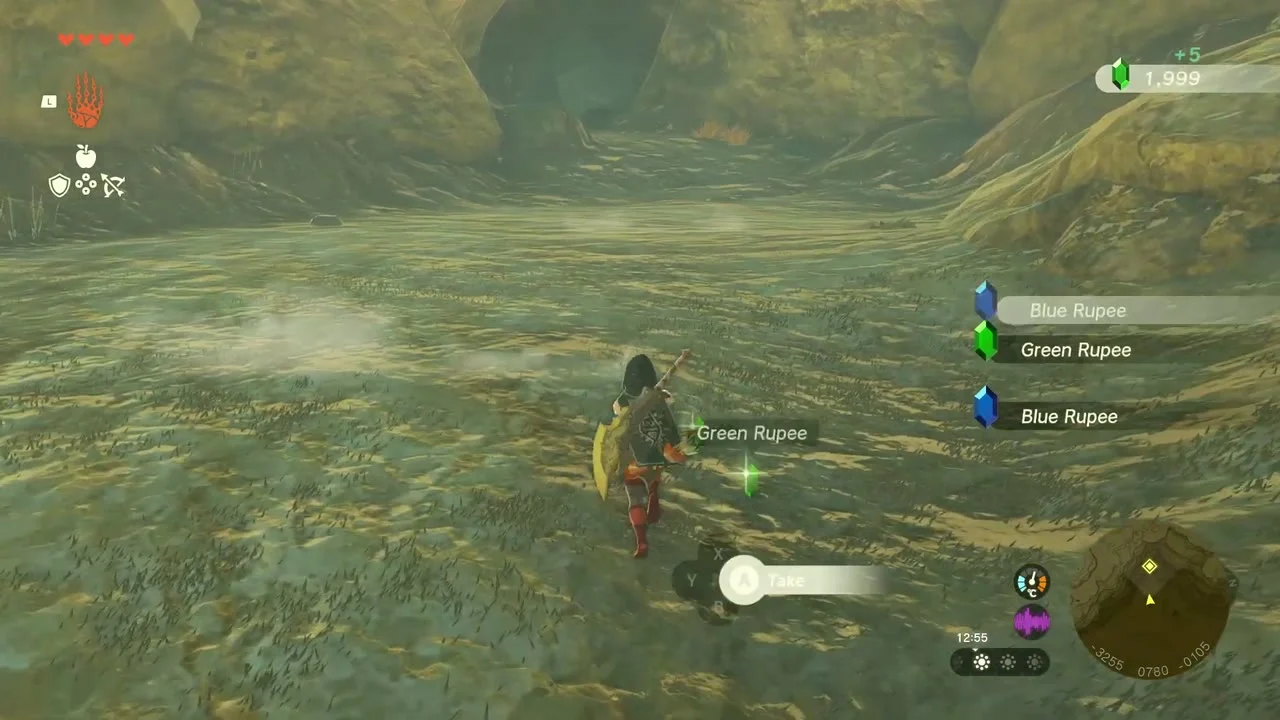
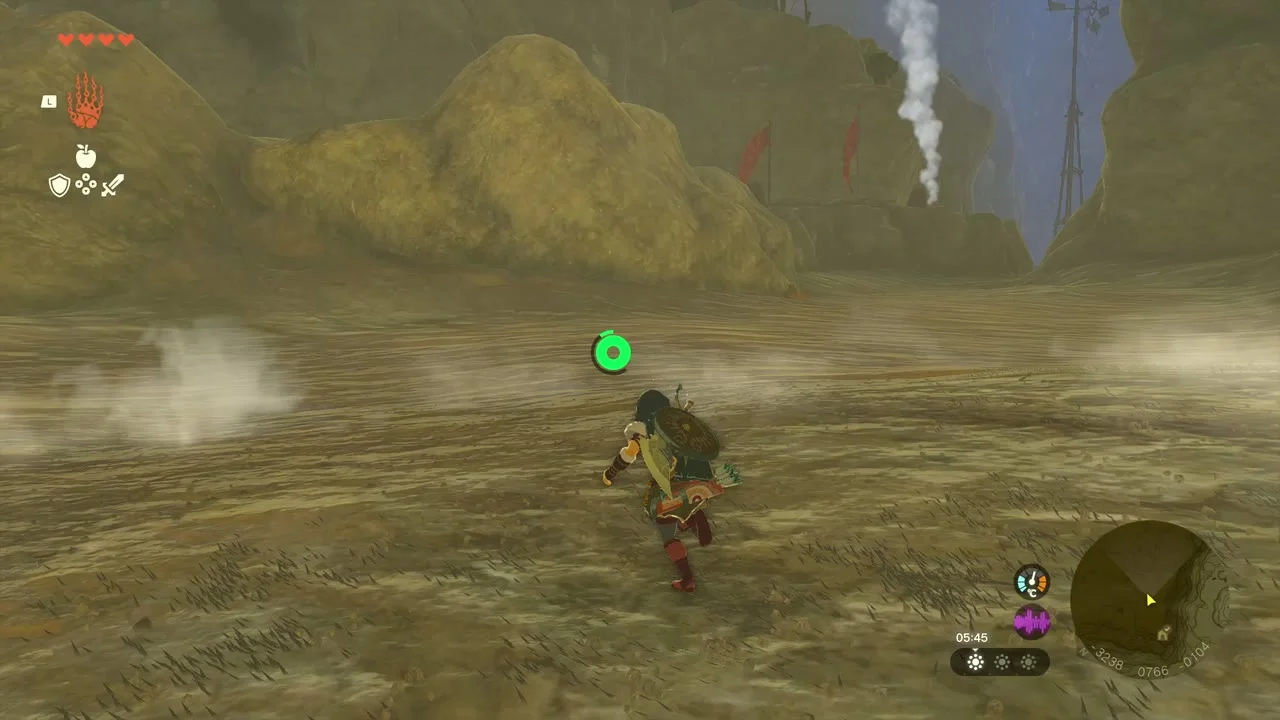
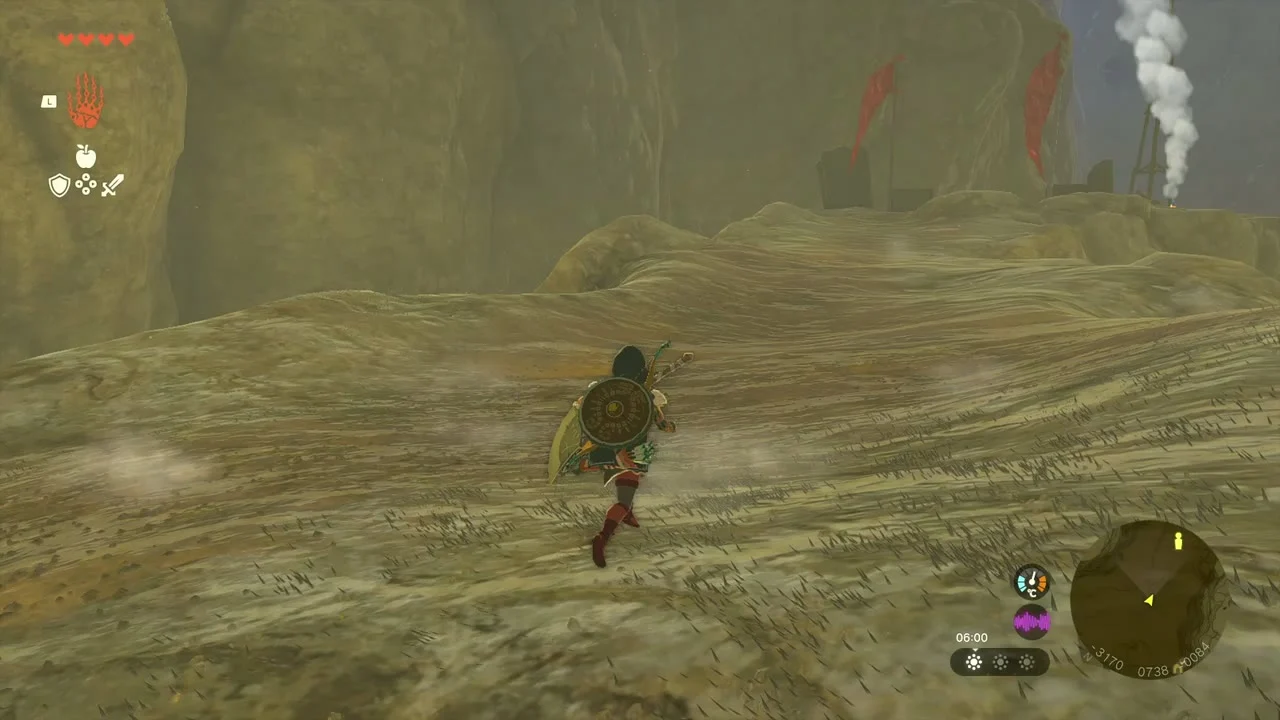
Back out of the cave. The last tunnel leads to a bright stretch of the canyon floor with smoking Zonai ruins to the north: Modar’s course is straight ahead.
Play Ultra Ball Haul
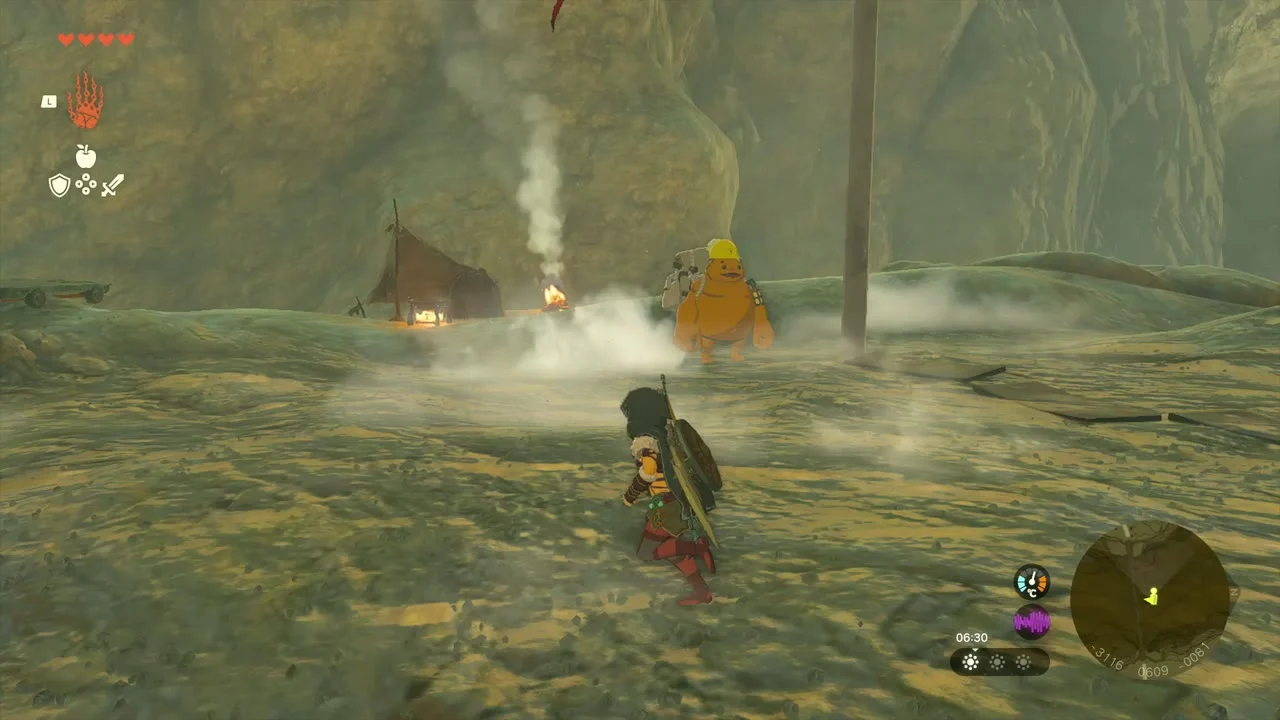
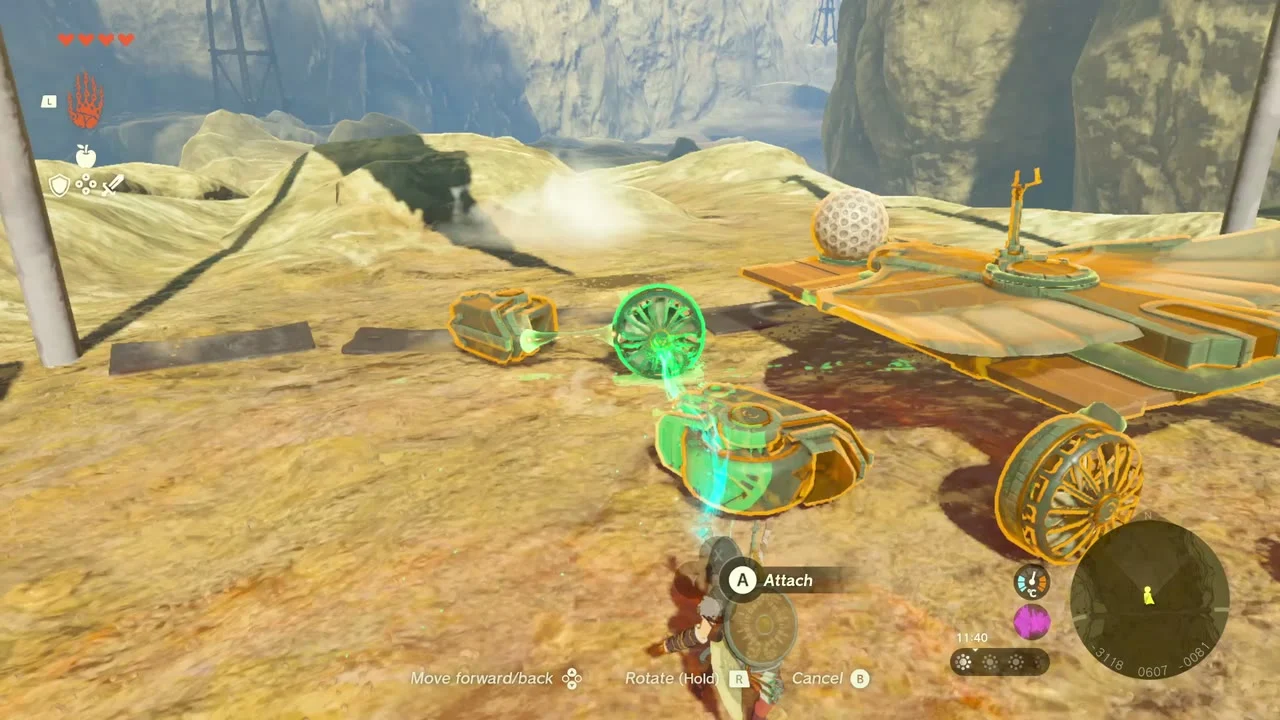
Modar waits at the Ultra Ball Haul Check-In at (-3128, 611), just north of Tabantha Great Bridge. For 20 rupees you get a ball; carry it as far as you can along the canyon before the timer ends, and lose it and you lose the game. Fuse the ball to a wheeled board with Fans or Rockets and a Wing; our best run of about 750 units earned a Silver Rupee (100 rupees). The prize tiers are Red, Purple and Silver Rupee.

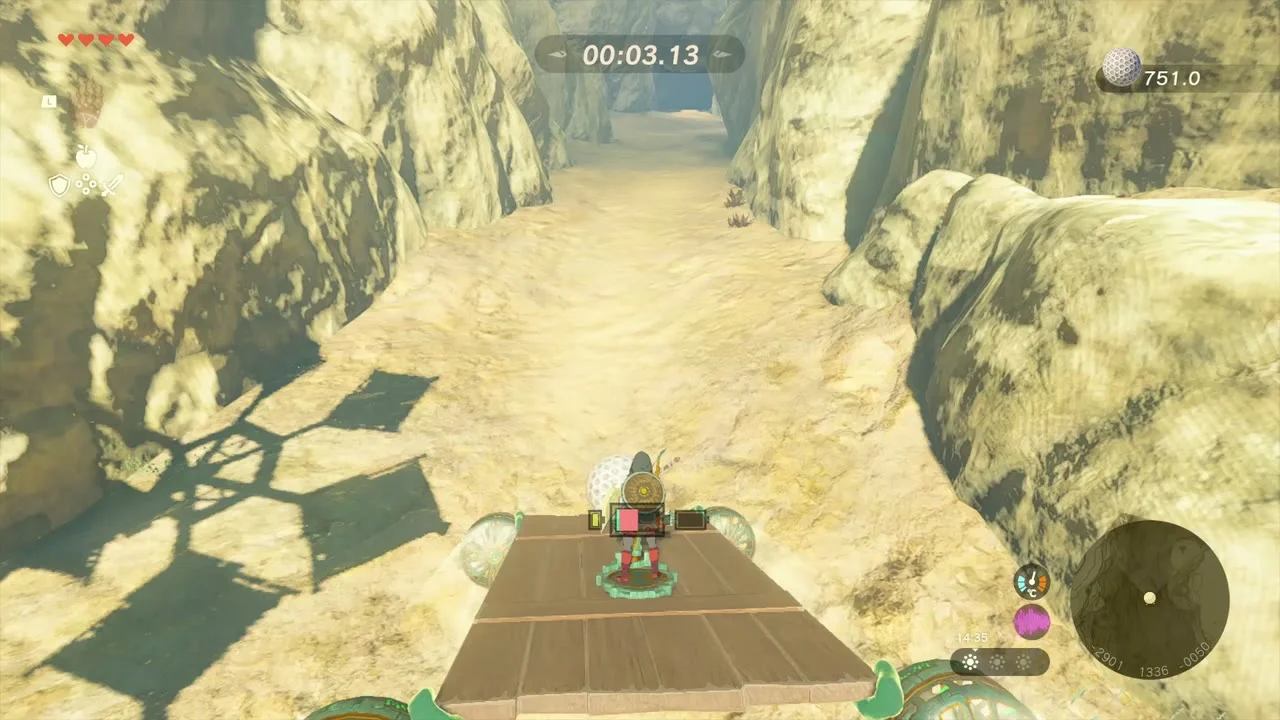
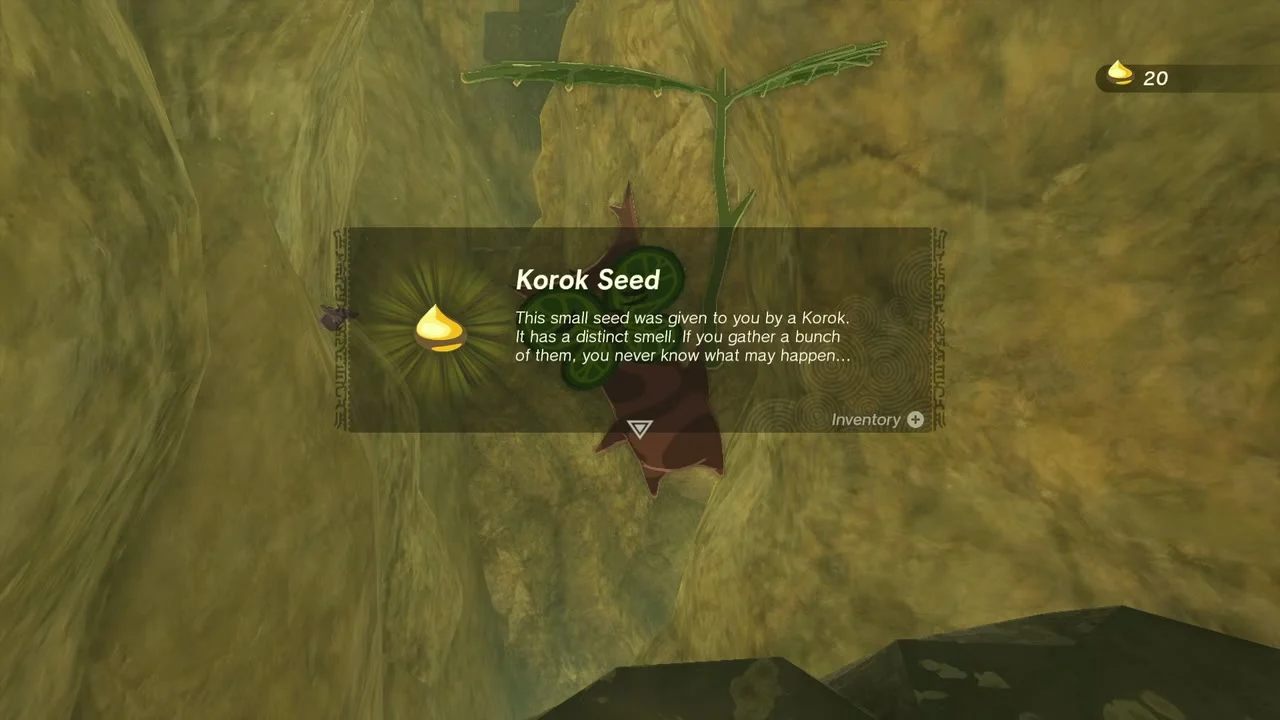
Korok seed (target ring). On the canyon floor south of Tabantha Great Bridge at (-3200, 343) a target ring floats over the rocks. Glide or fly through it before the timer runs out and the Korok in the wall nook gives its seed.

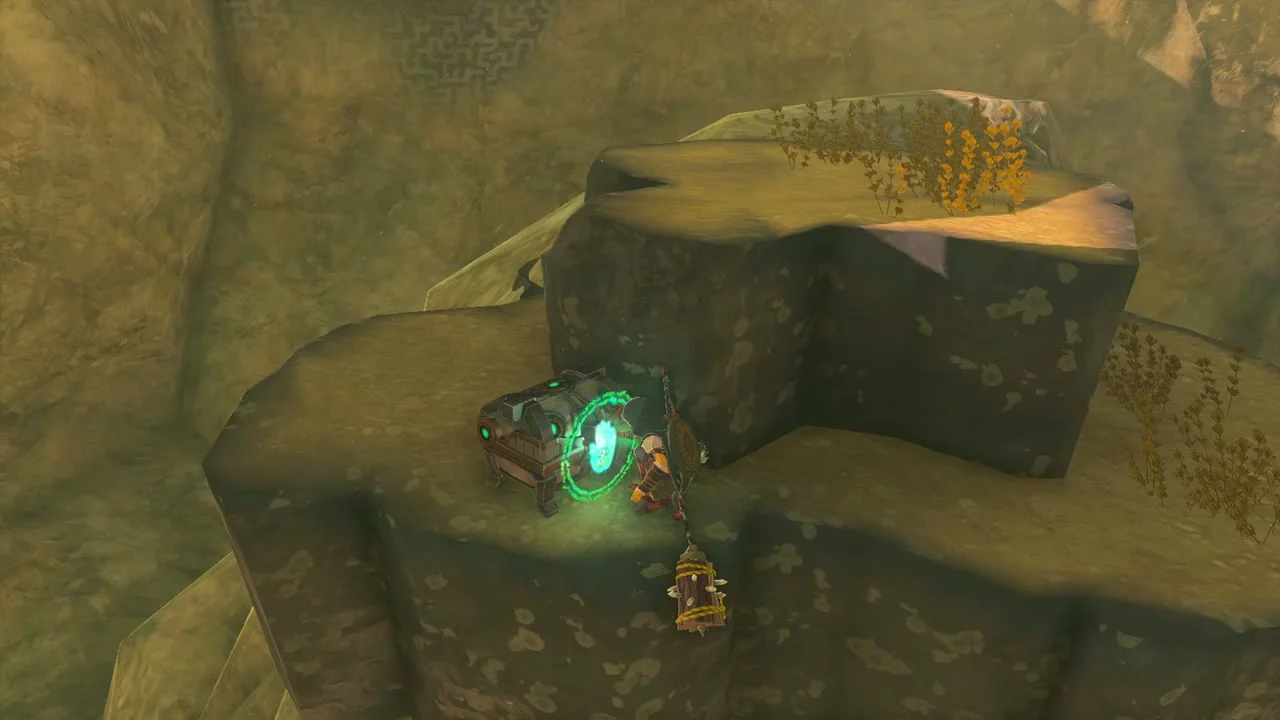
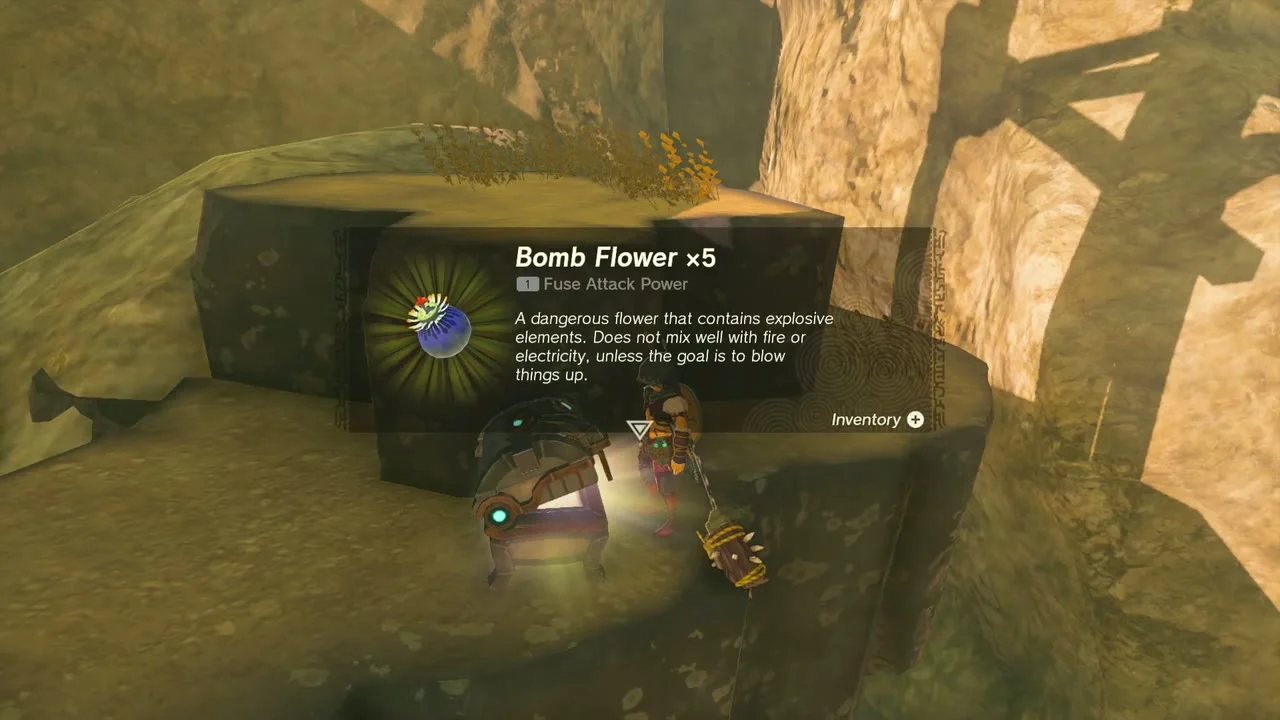
Chest (Bomb Flower x5). On top of the carved Zonai ruins at (-3327, 335), east of the Ancient Columns, a chest holds five Bomb Flowers. Climb the stone block pile or glide onto the ruin top.
Miniboss: Stone Talus. A Stone Talus walks the canyon floor near (-3485, 173), south of the Ancient Columns. Stay clear of its swings and shoot the glowing ore on its back with arrows, or knock its weak point with a hammer. It leaves a Diamond.

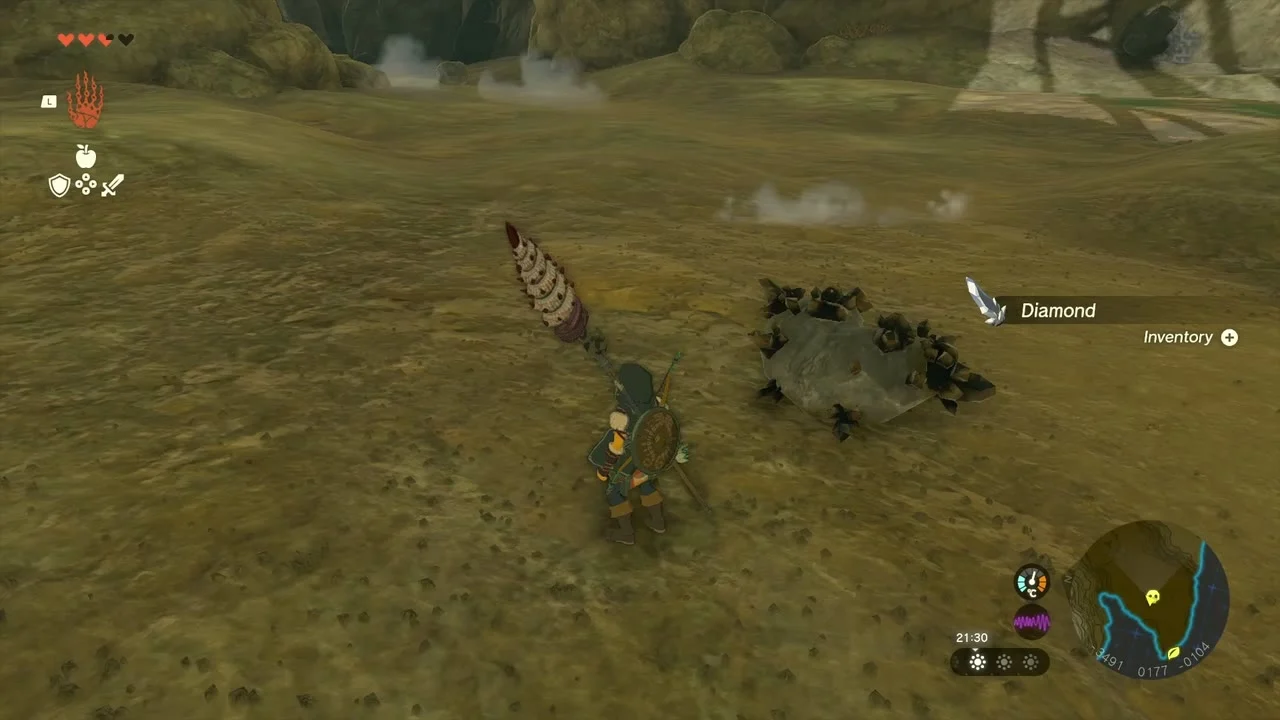
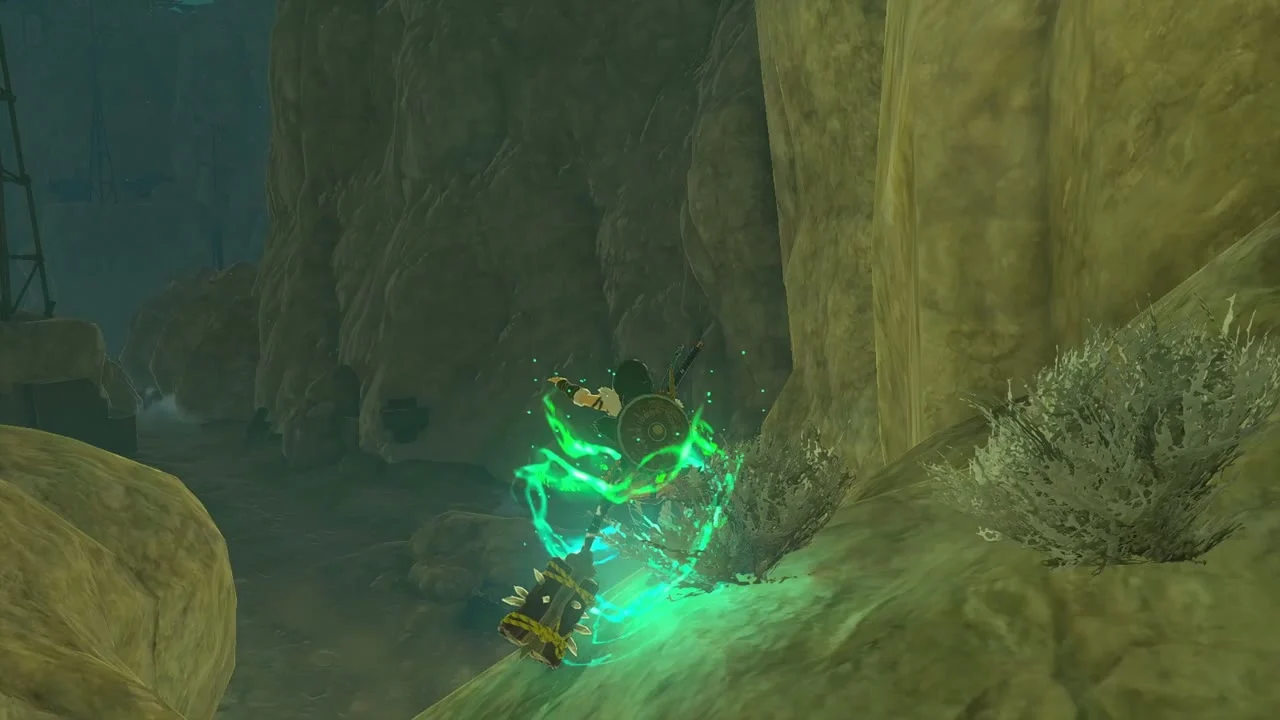
Korok seed (Ascend marker). At the far west end of the canyon at (-3600, 110), north of Lake Illumeni, a mark on the ceiling marks the Korok. Stand under it, use Ascend through the rock and talk to the Korok on top.

Illumeni Plateau and the geoglyph
Miniboss: Red-Maned Lynel. A second Lynel patrols the grass north-east of Lake Illumeni at (-3375, -10). Fight it in the open with the same plan: dodge for flurry rush, parry shots with the shield, and use fire or bomb arrows to burn it down.


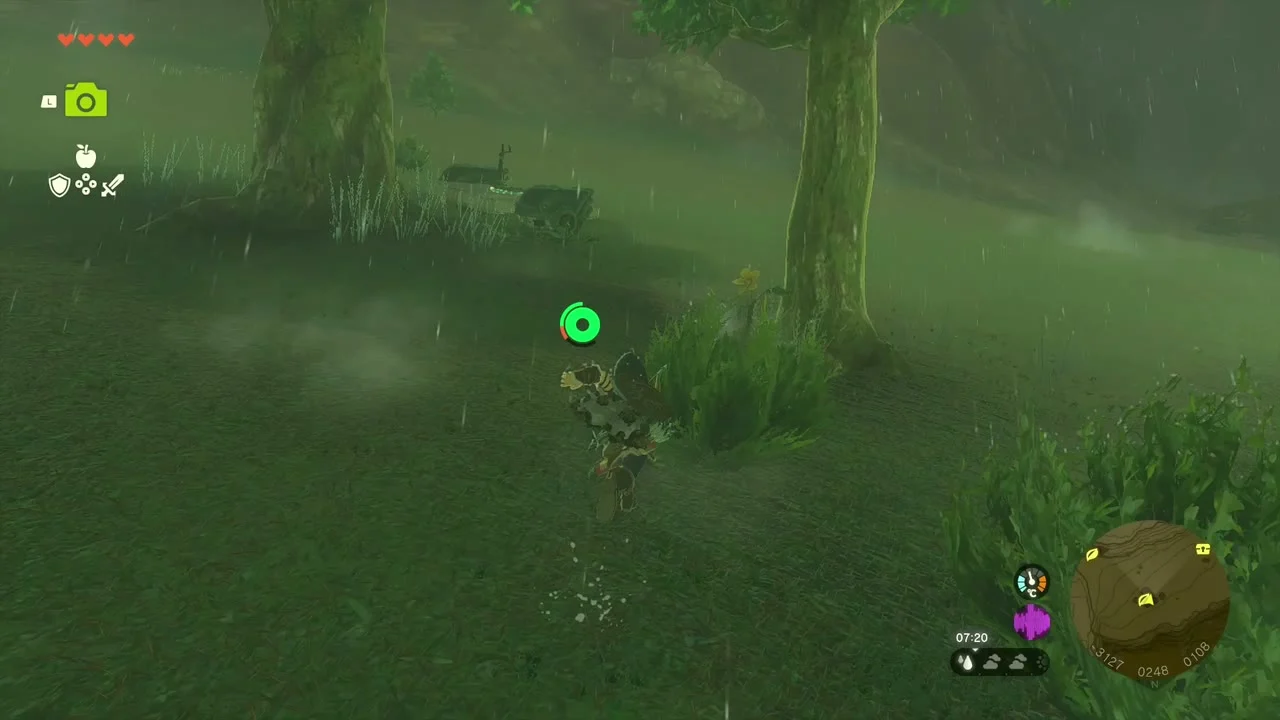
Korok seed (follow the flower). About 250 units north of Illumeni Plateau at (-3117, 234), a flower floats in the air. Chase it across the grass until it lands, then talk to the Korok. A chest with Arrow x5 sits nearby at about (-3190, 205).

Carry the exhausted Korok
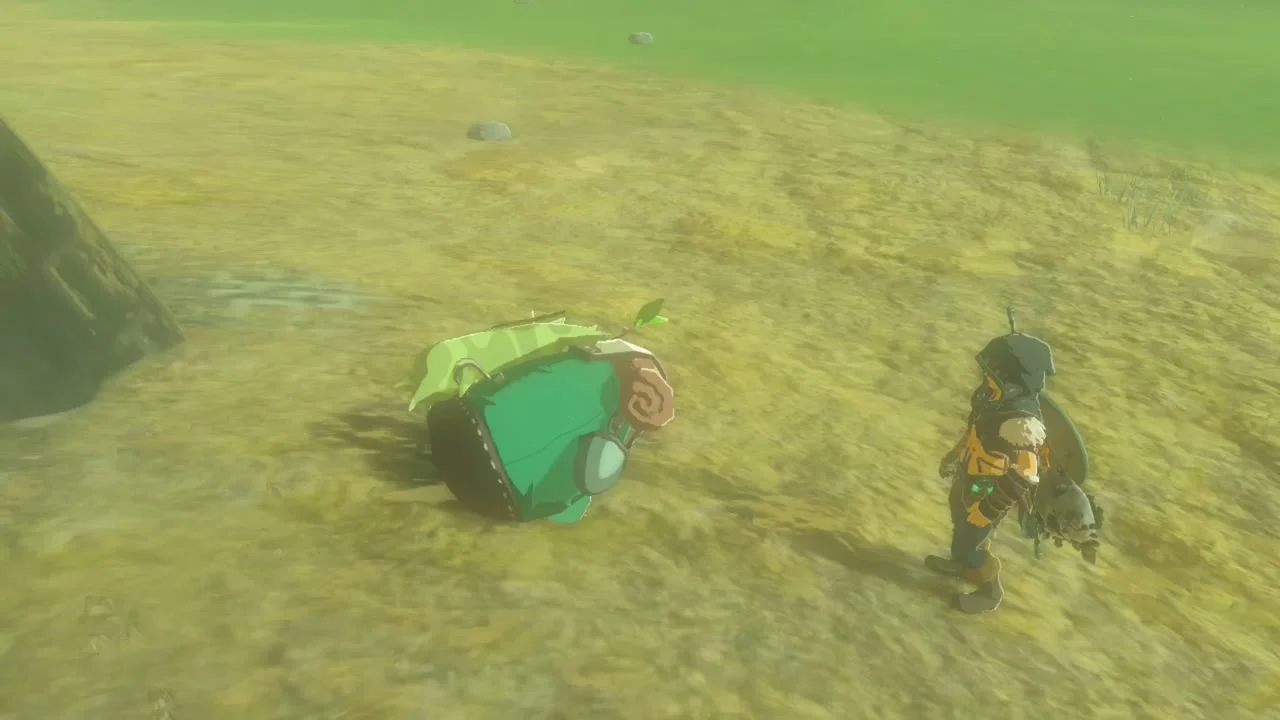
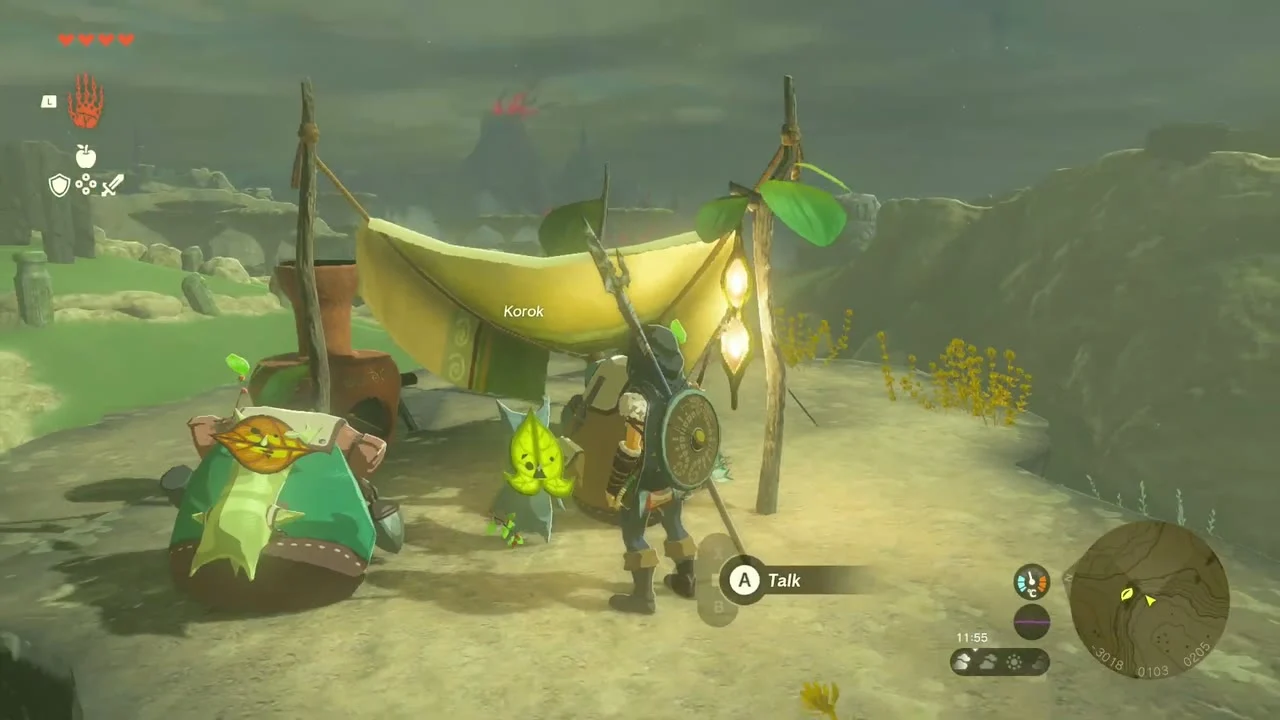
A Korok at the foot of the rise near (-2960, 88) says he needs to reach his friend, who waits on the ledge at (-3017, 104). Strap the Korok on with Ultrahand, build a balloon and wing glider and fly him up to the ledge. The friend and the carried Korok each give a seed.

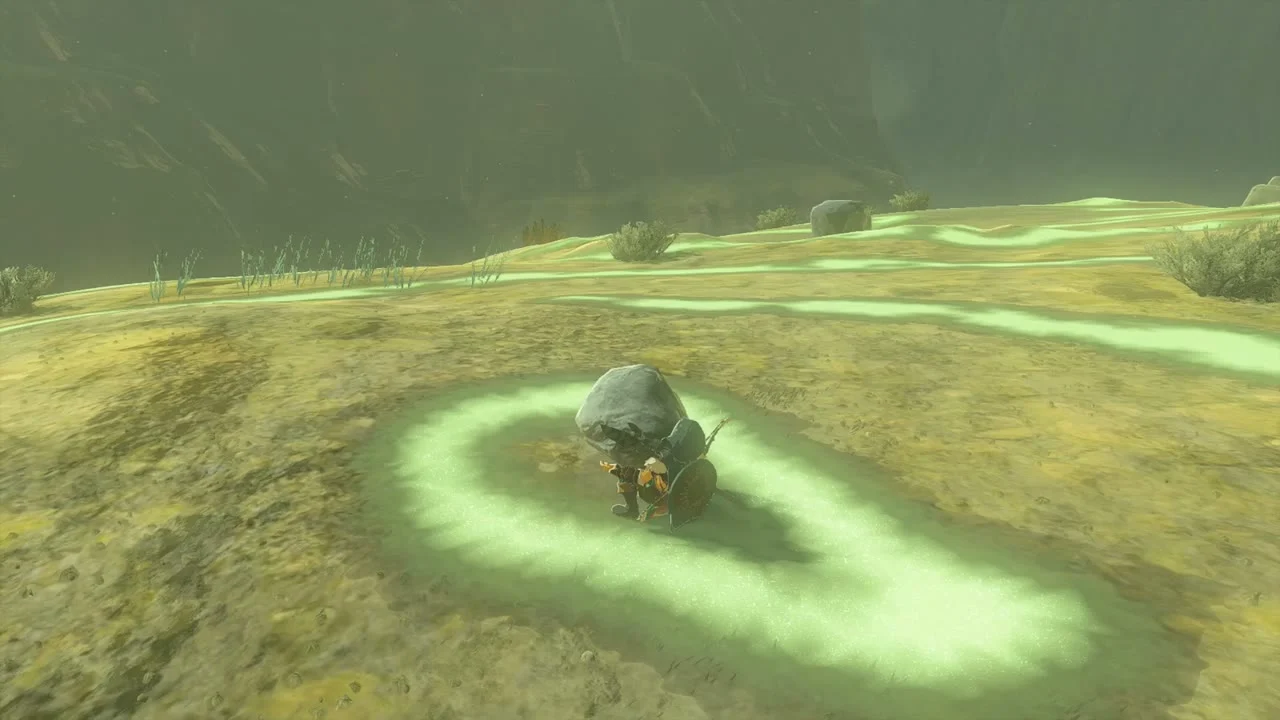
Korok seed (lift the rock). A pale rock lies inside a loop of the geoglyph’s glowing lines at (-3132, -113). Lift it and the Korok underneath hands over the seed.

Dragon’s Tear and the memory
The glowing tear pool of Dragon’s Tear 6 sits in the middle of the geoglyph’s lines on Illumeni Plateau at (-3096, -77). Walk to the pool, grab the tear and watch the memory “Zelda and Sonia”. Impa and Cado wait on the plateau.

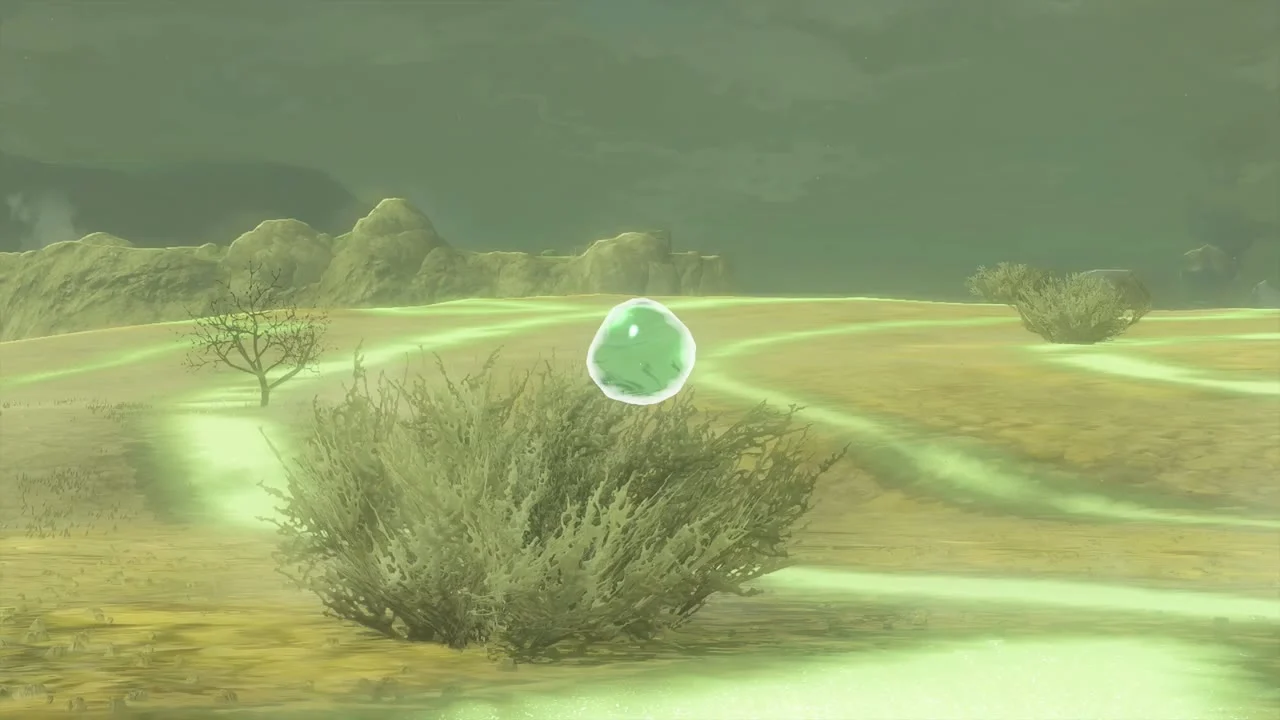
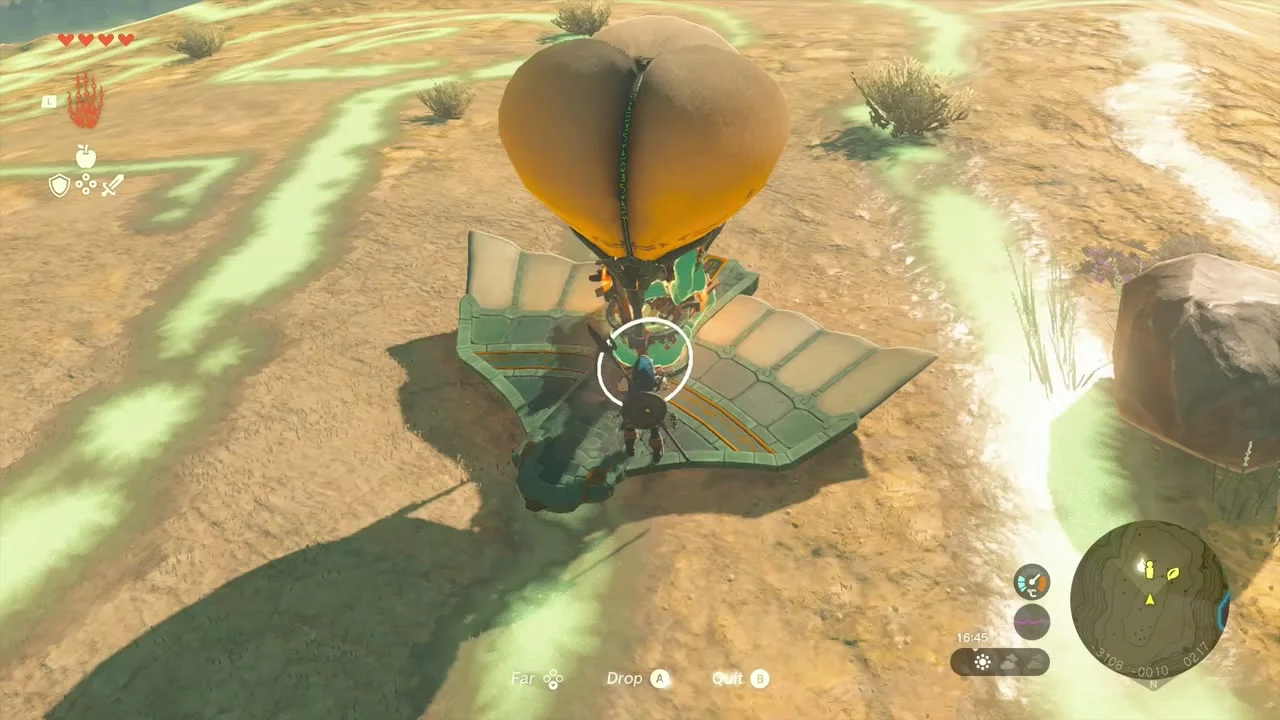
View the whole geoglyph. To see the full figure, fuse a balloon, a Wing and a Flame Emitter into a small glider, light the burner and rise above the plateau. The lines form a single maze-like pattern around the tear.

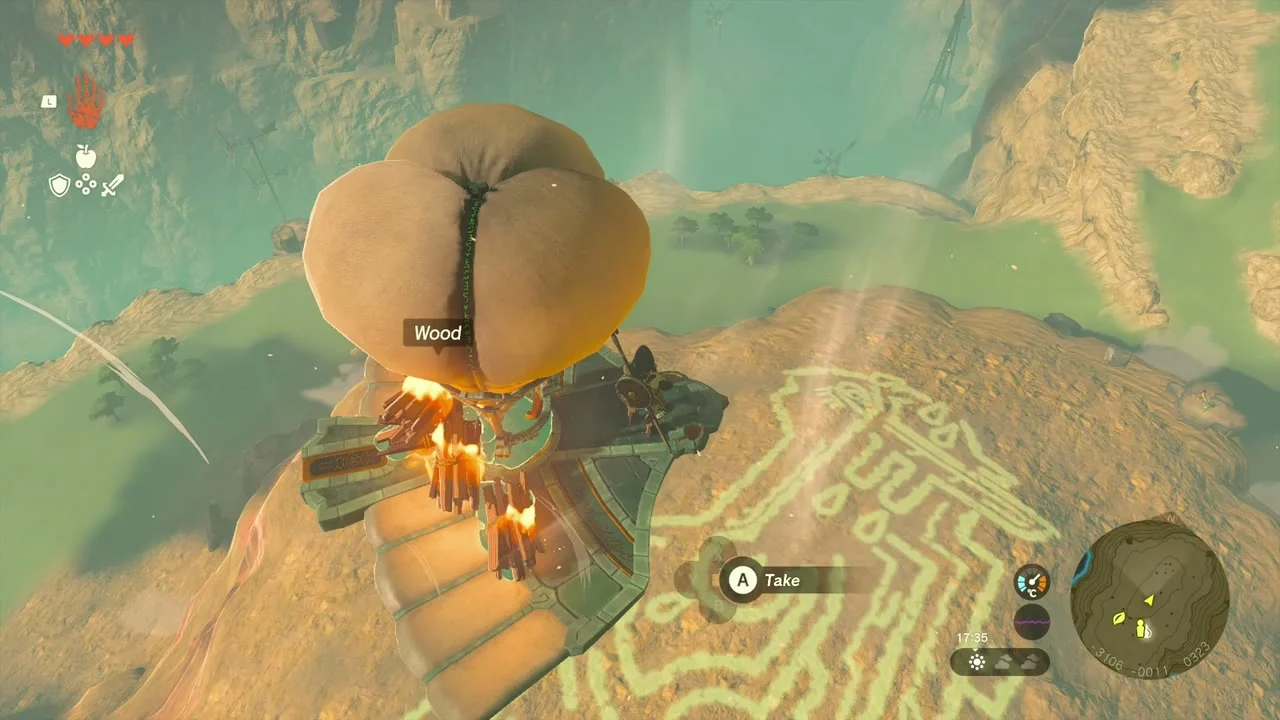
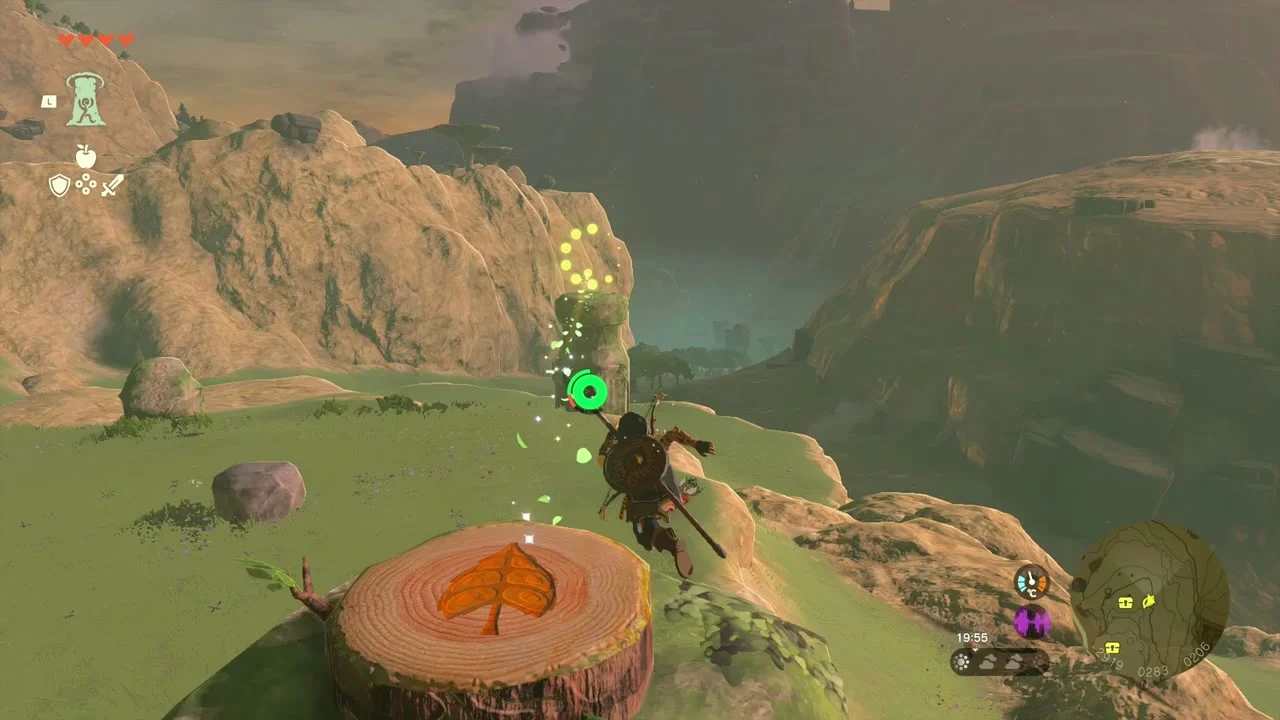
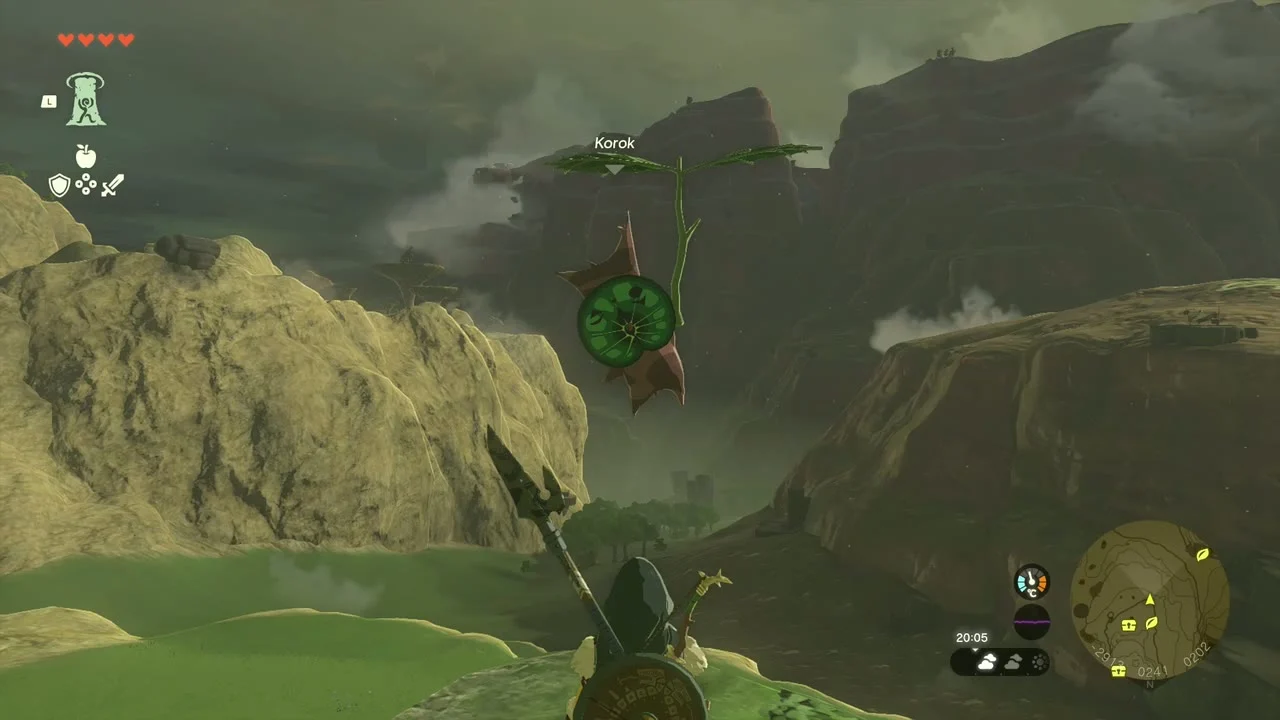
Korok seed (target ring). A leaf-topped stump at (-2913, 240), south of Tabantha Bridge Stable, starts a timed flight. Touch it, dive off the ledge and glide through the ring before the time runs out; the Korok flies in front of you.
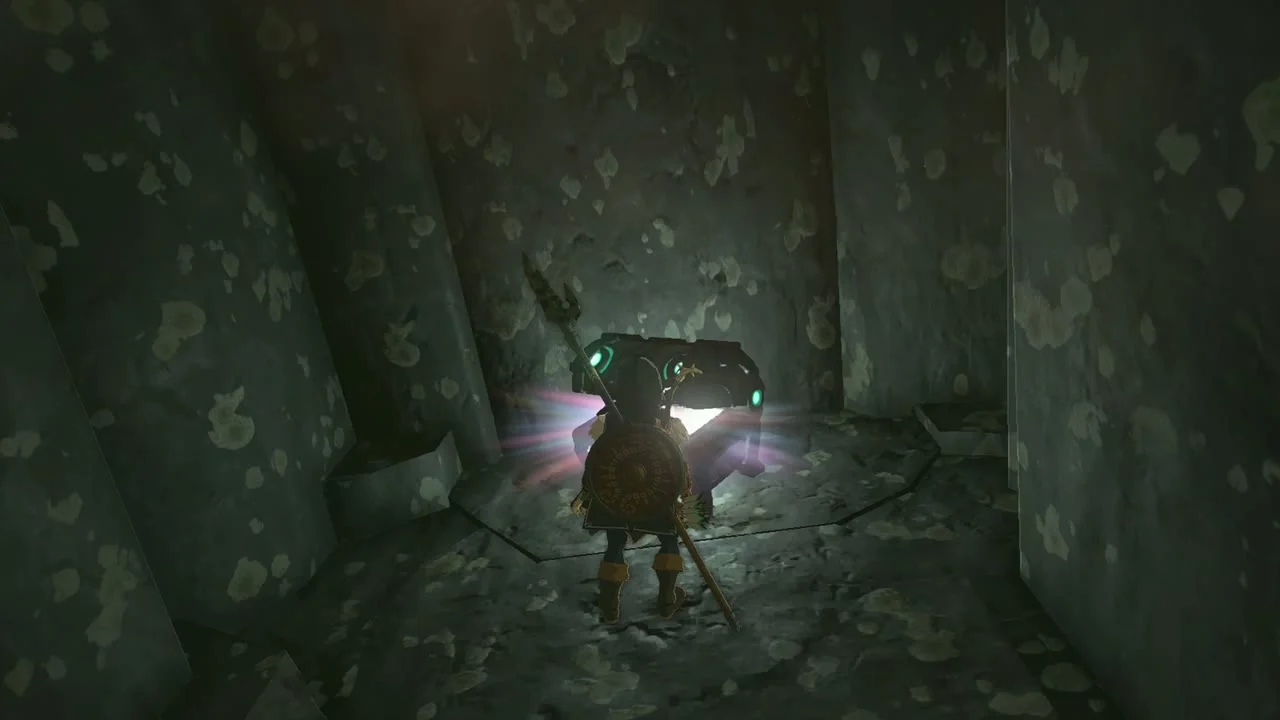
Chest (Zonaite x3). Under the plateau edge near (-2900, 310) a dark ruin chamber holds a chest with three Zonaite. Use Ascend through the ceiling to climb back out.
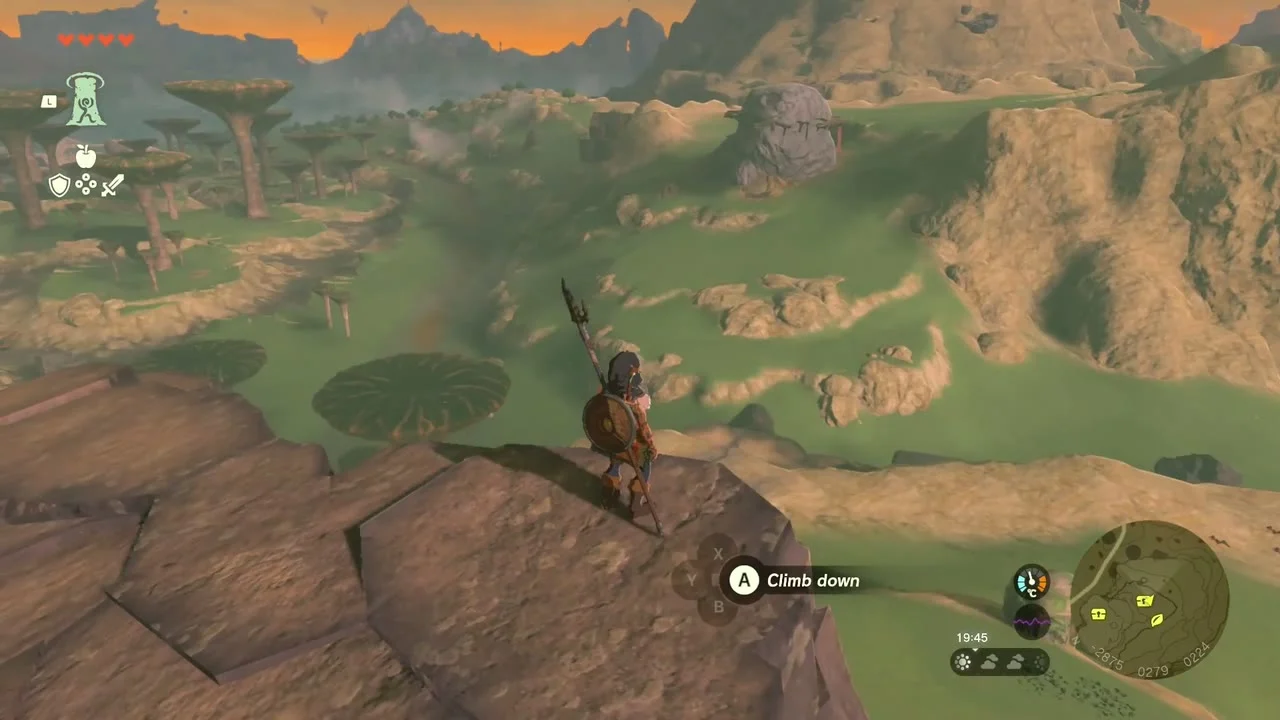
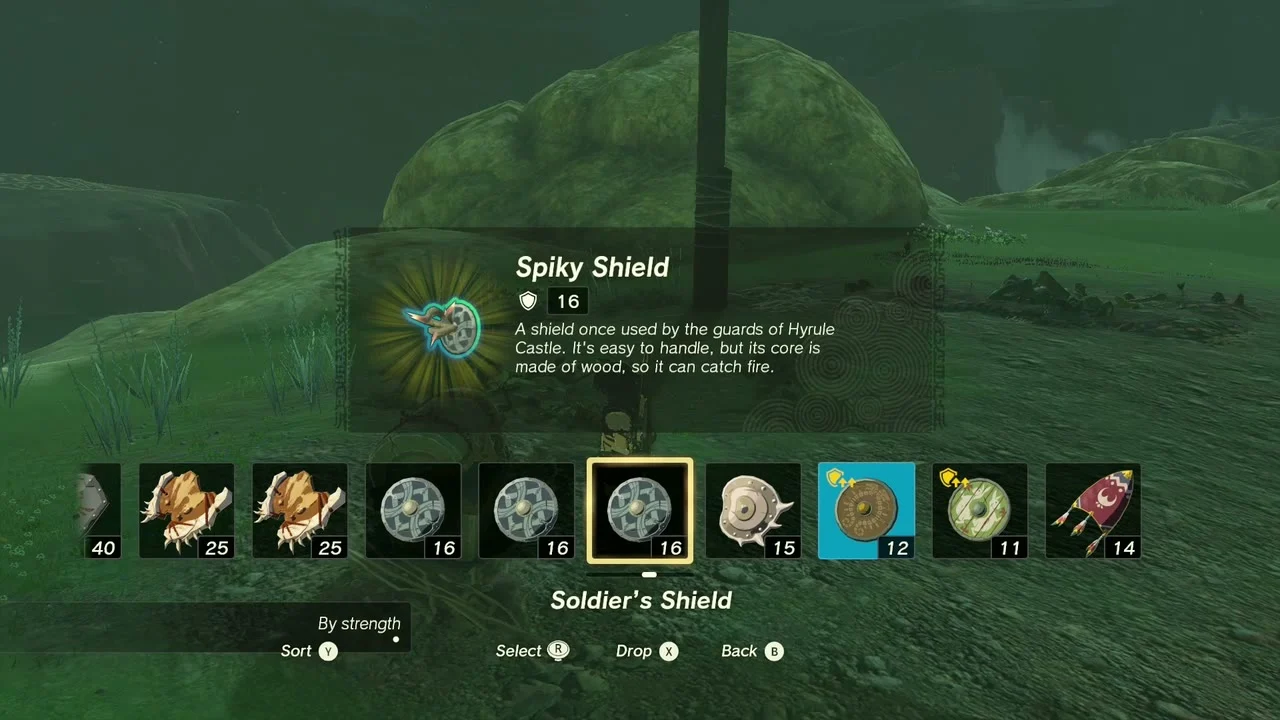
Chest (Spiky Shield). South of Tabantha Bridge Stable, in the dark grass at about (-2880, 400), a chest holds a Spiky Shield. Free a shield slot before you open it.
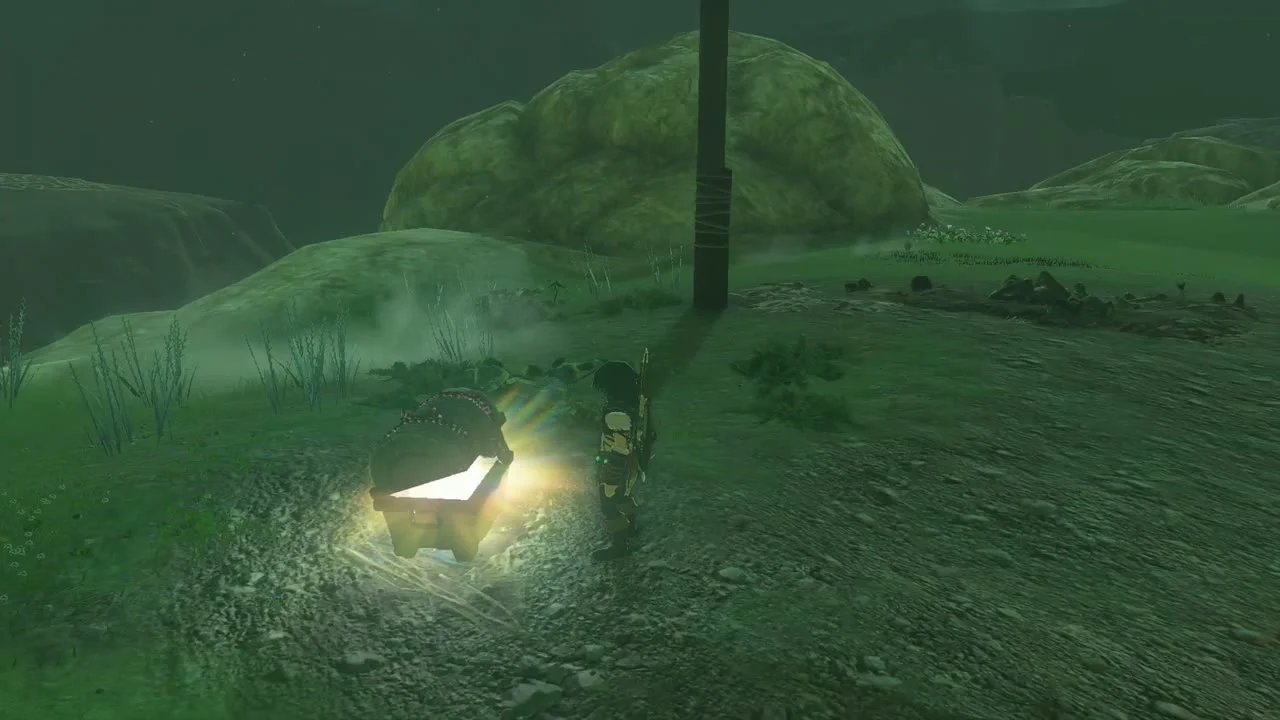
Blood Moon. The moon turns red at some point in this stretch. Enemies, chests and materials you already cleared respawn, so cook and restock while you wait.
Washa’s Bluff and the Tamio River
Chest (Mirror x3). At a small monster camp with a campfire and crates, about 330 units south-west of Washa’s Bluff at (-2961, -327), a chest holds three Mirrors. Clear the camp, then open it.
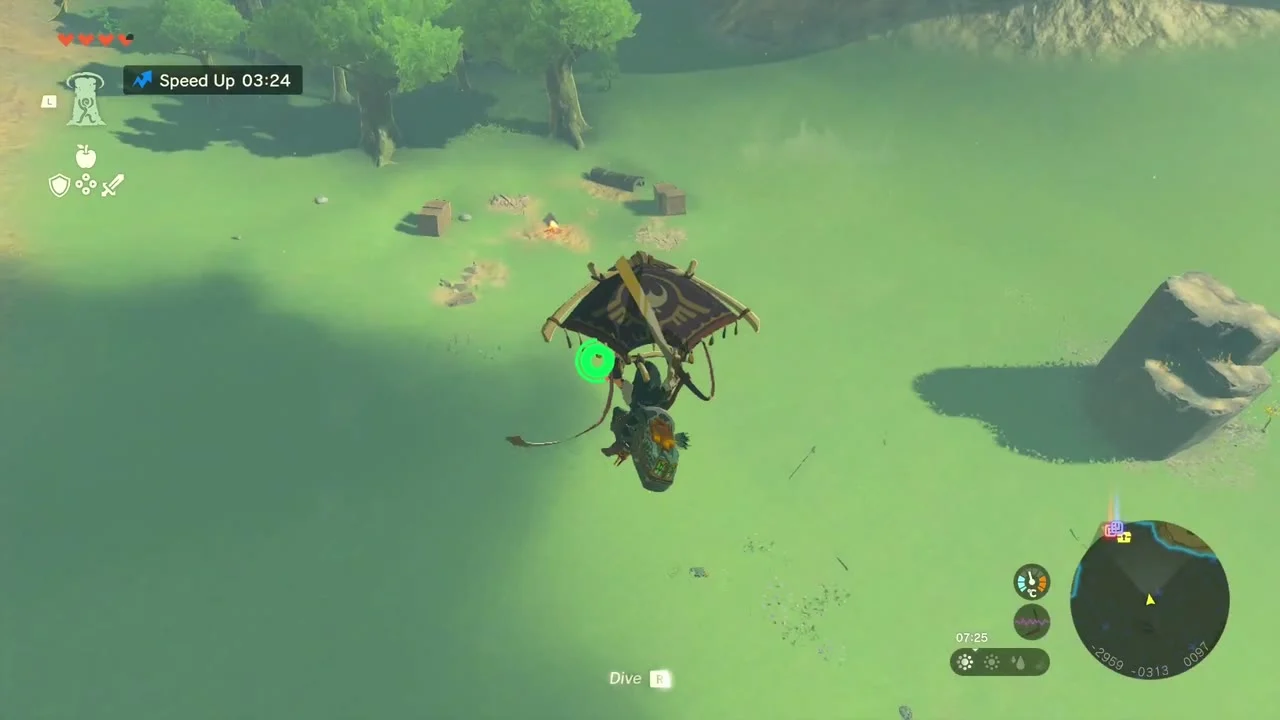
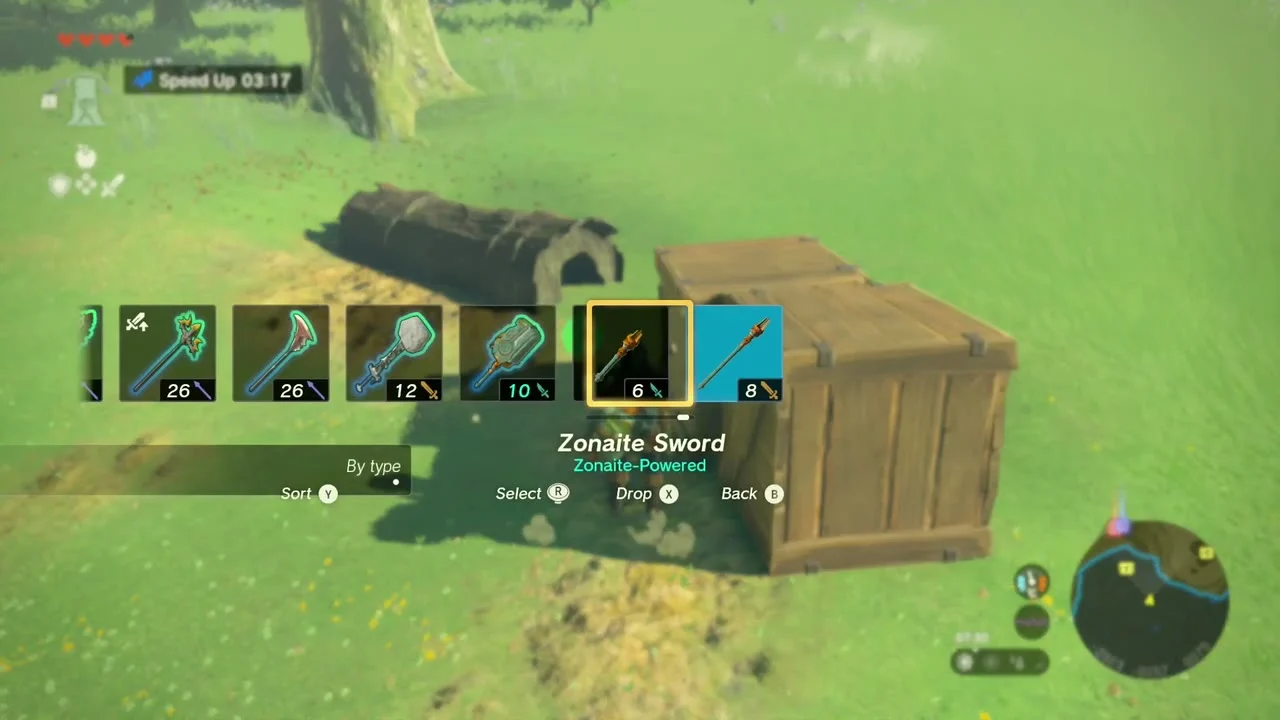
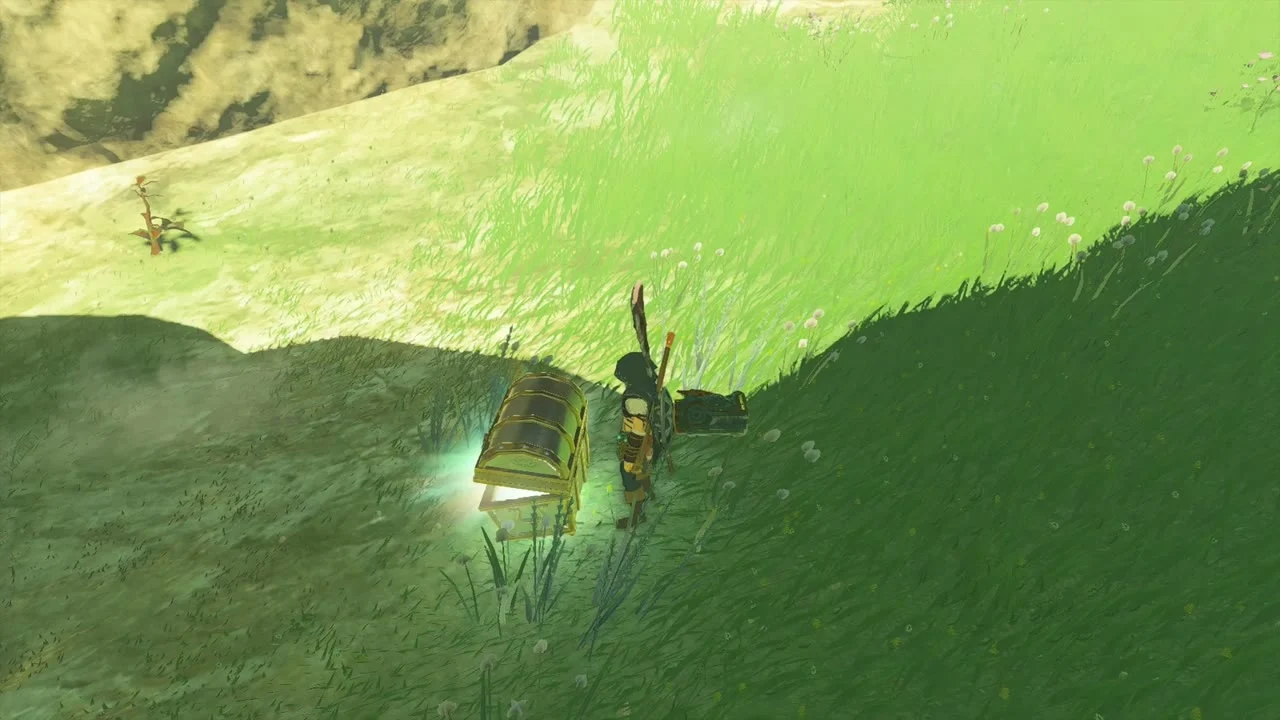
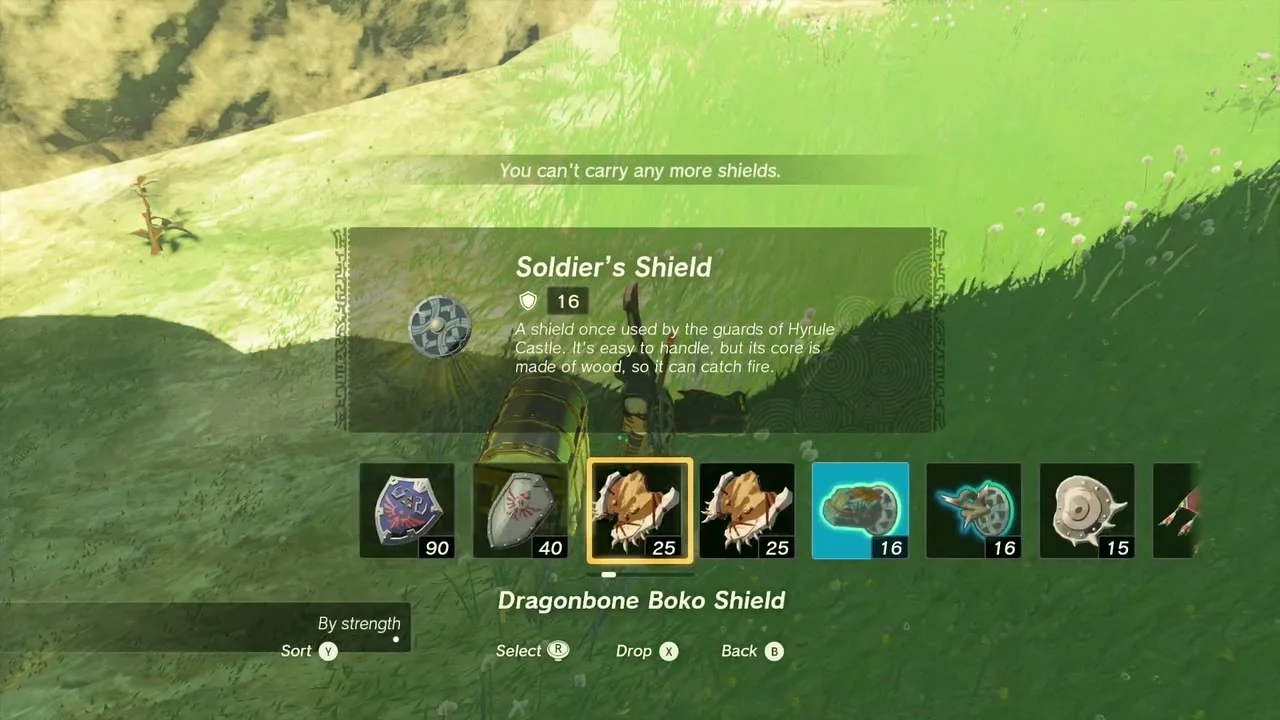
Chest (Soldier’s Shield). West of the Tamio River at (-2655, -262), a chest on a grassy slope holds another Soldier’s Shield.
Korok seed (cube puzzle). Just south of the chest at (-2640, -322) a table-shaped frame of Zonai blocks has a square gap in its top. Lift the stray cubes with Ultrahand and fill the gap; the Korok appears and gives its seed.


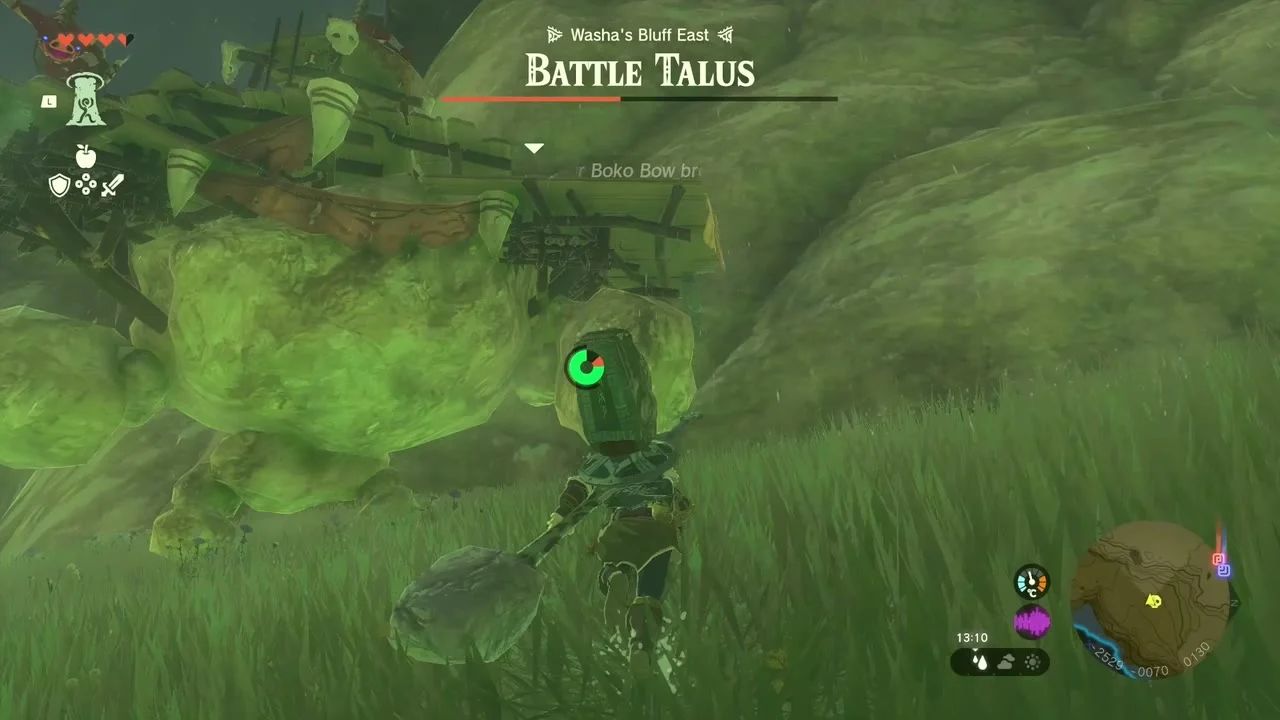
Miniboss: Battle Talus. A Battle Talus patrols east of Washa’s Bluff near (-2540, -81), with a Bokoblin lookout platform on its back. Burn the planks, climb its back and hit its weak point.
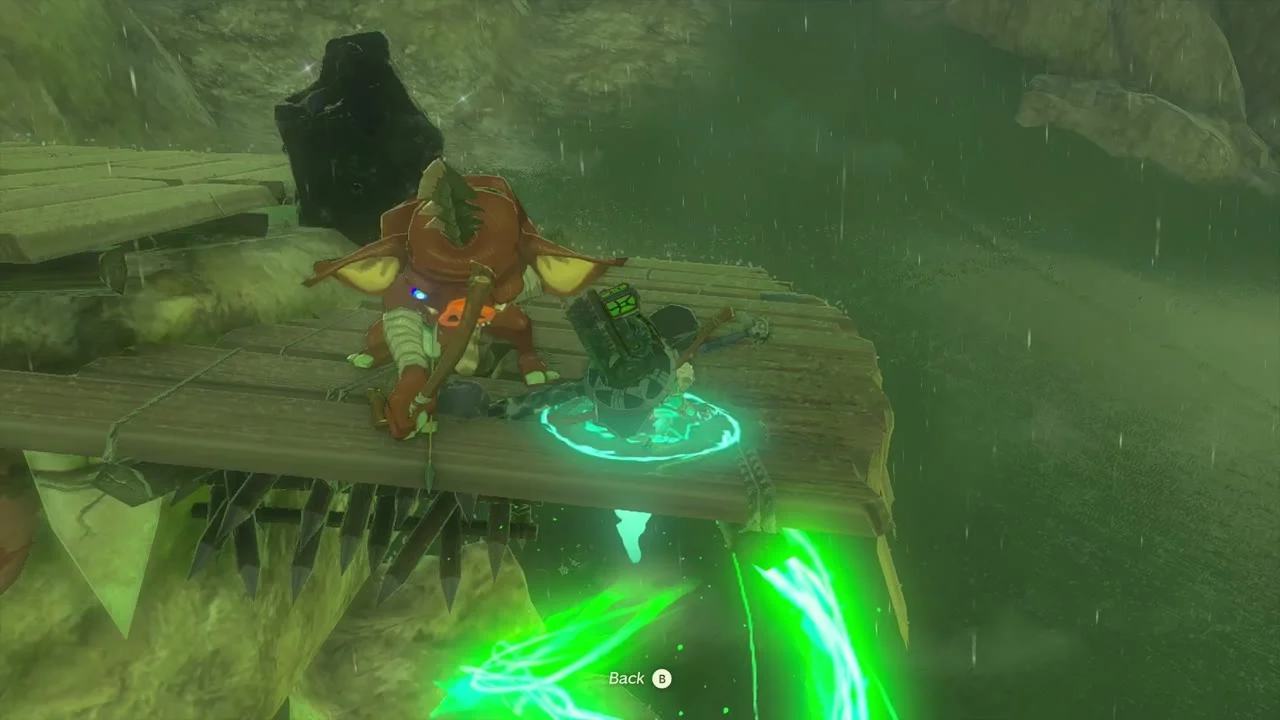
Chest (Bomb Flower x5) and Red Boss Bokoblin. North of Washa’s Bluff at (-2670, 105), a rocky hollow with burning campfires holds a Red Boss Bokoblin and a chest of five Bomb Flowers. Clear the camp, then open the chest.
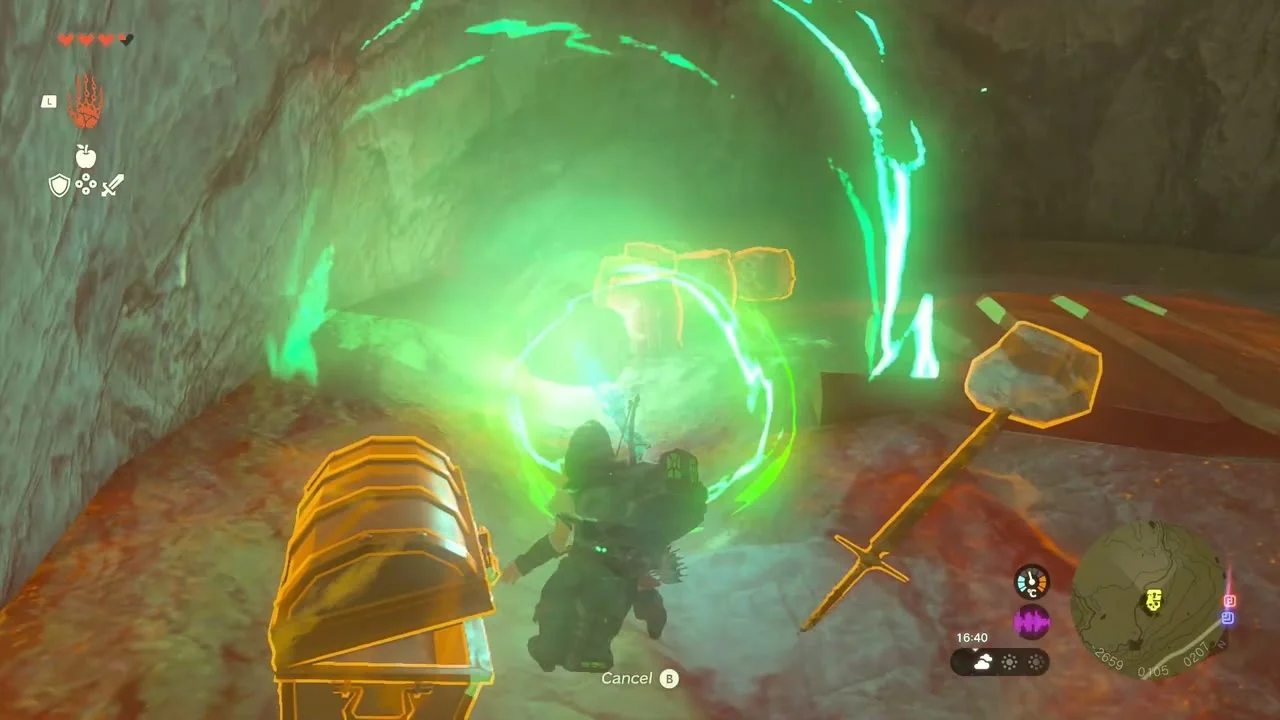
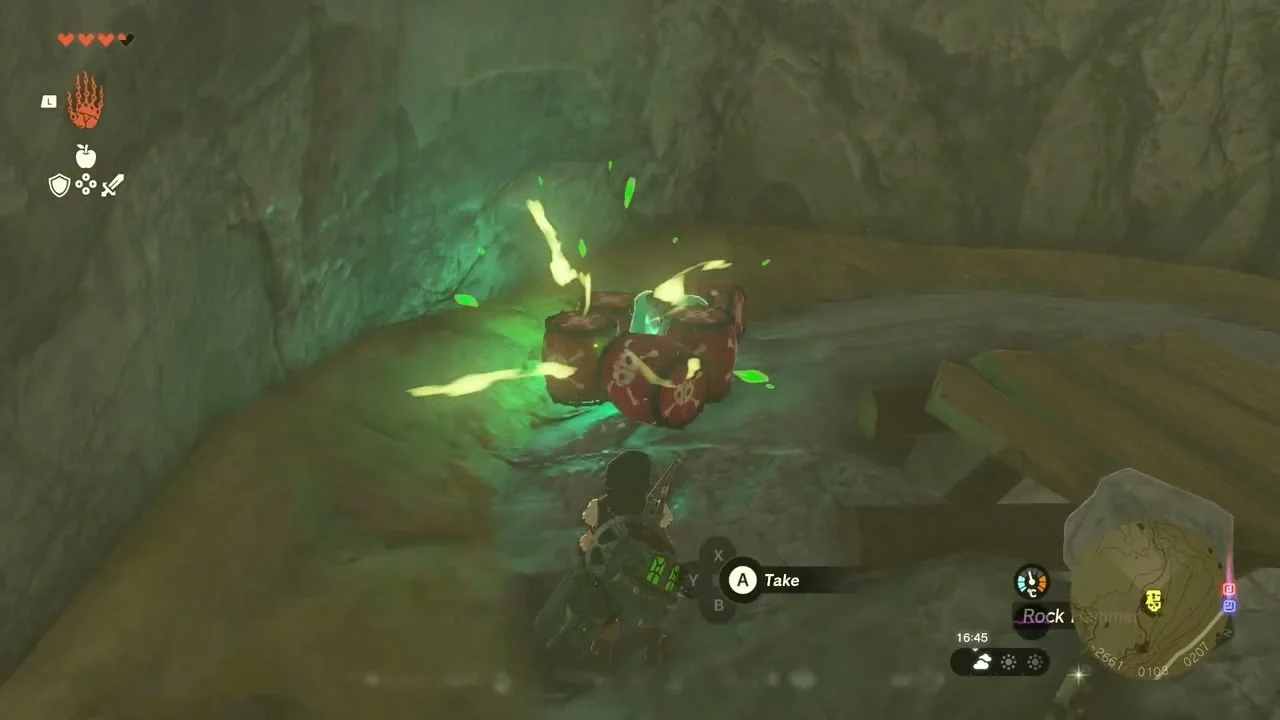
Chest (Opal). A second chest in the same hollow at (-2656, 104) holds an Opal.

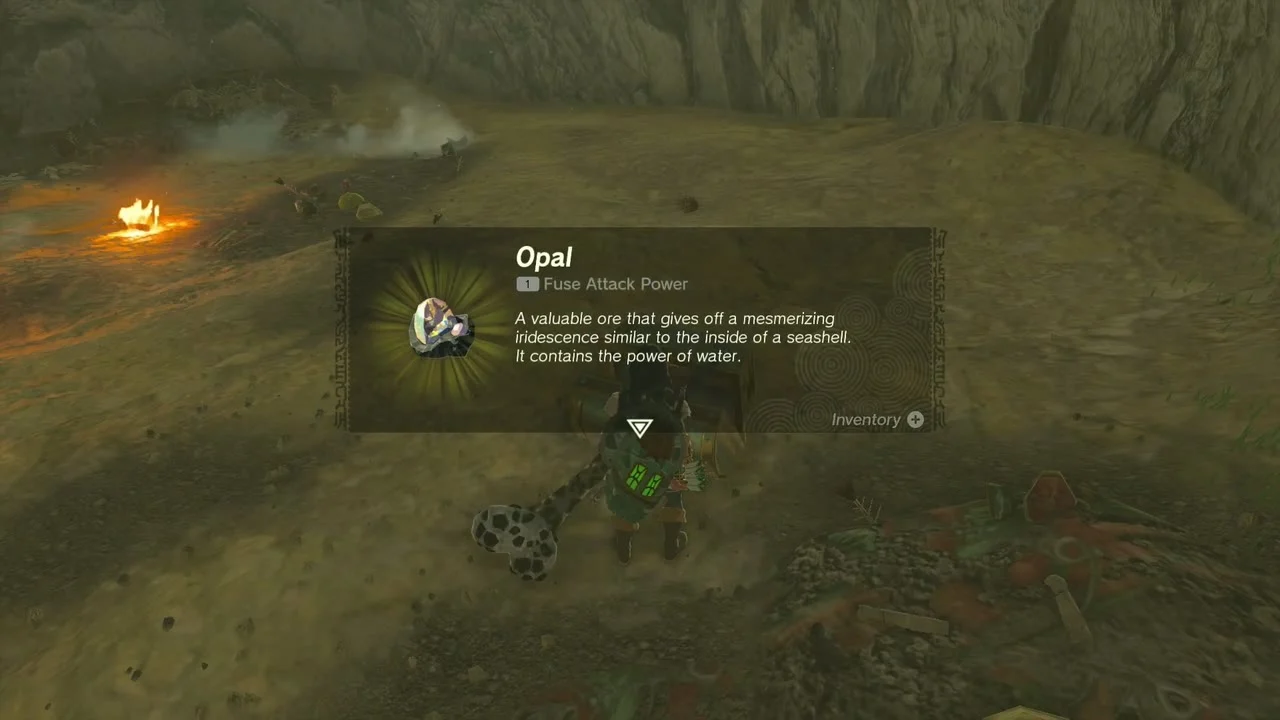
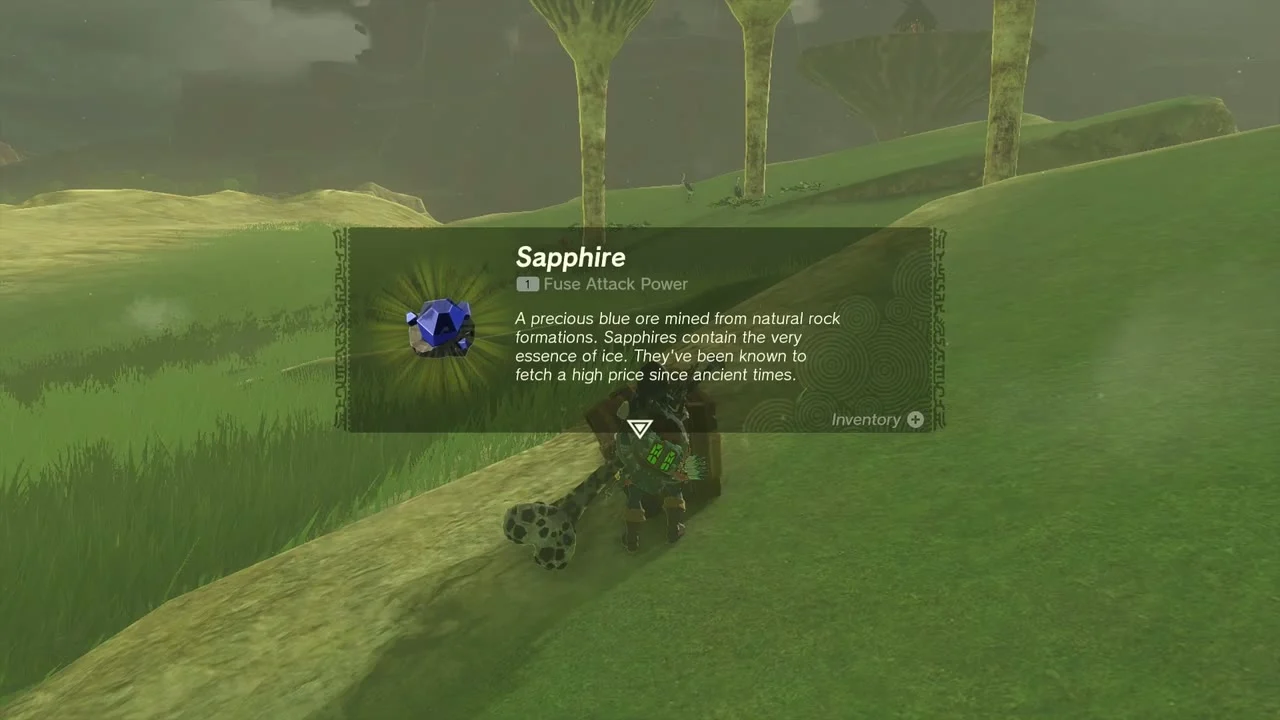
Chest (Sapphire). Over on the slope of Washa’s Bluff at (-2690, -70) a chest by a flat boulder holds a Sapphire.
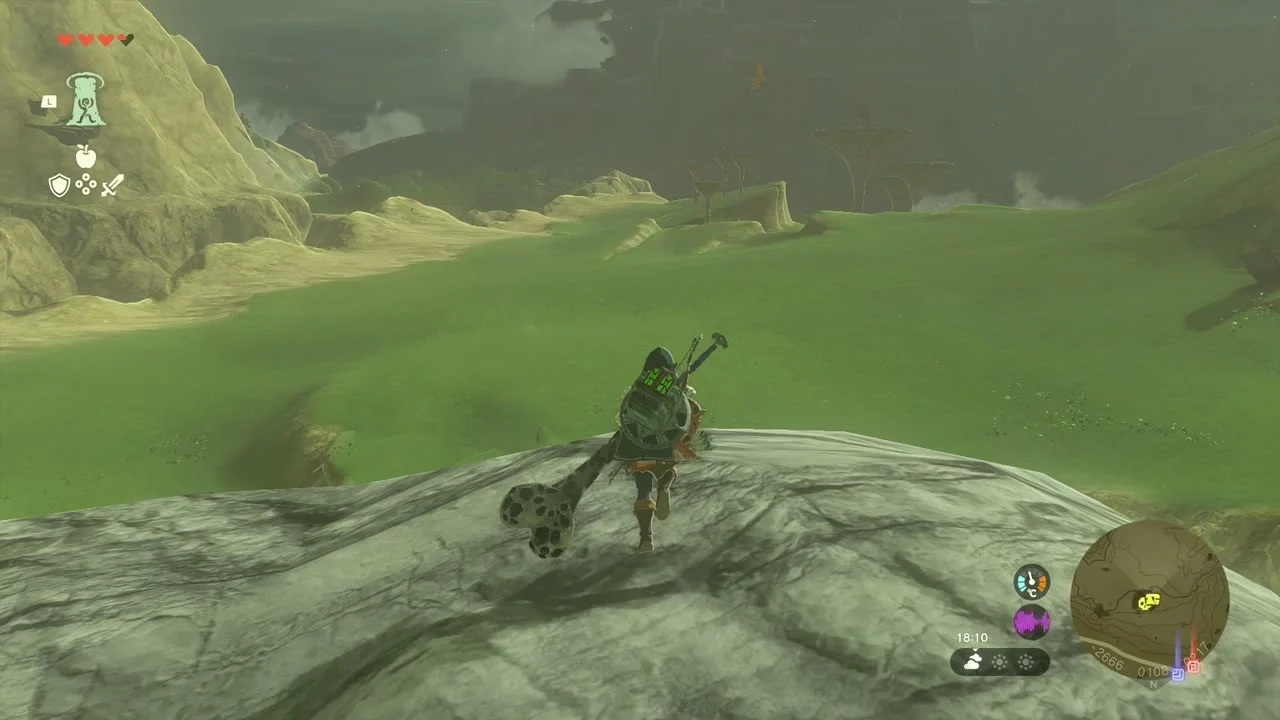
Chest (Ancient Blade). On the southern edge of Washa’s Bluff at (-2775, -192) a chest in a shallow dip holds an Ancient Blade.


Tips
Pack a lot of spare hammers for the two caves and a light for the dark Zonai passages: both caves are blocked by rubble walls, and hammers wear out quickly. Take bomb arrows for the Stalnox, Hinox and Talus fights, and keep fire fruit for the Bokoblin camps.
Free a few shield and weapon slots before you start. This chapter drops six shields (Soldier’s Shield twice, Traveler’s, Hunter’s, Kite and Spiky) plus a Lizal Blade, Feathered Spear and Ancient Blade, and the game stops you from picking them up when your slots are full.
The geoglyph pattern is easy to miss from the ground, so use a balloon glider on the plateau. Before you leave, light Koro-nui Lightroot below Iun-orok Shrine if you want a second Depths travel point.
Tanagar Canyon & Hyrule Ridge checklist
| Collectible | Count | Where |
|---|---|---|
| Shrines | 2 | Runakit, Iun-orok |
| Lightroot | 1 | Tikanur |
| Korok seeds | 13 | 12 Koroks (one carry pair gives 2) |
| Chests | 20 | 12 open-air, 1 well, 5 cave, 2 shrine |
| Caves | 2 | Tanagar Canyon East Cave, Tanagar Canyon West Cave |
| Bubbul Gems | 2 | One in each cave |
| Minibosses | 8 | Stalnox, Boss Bokoblin, Red-Maned Lynel x2, Hinox, Stone Talus, Battle Talus, Red Boss Bokoblin |
| Dragon’s Tear | 1 | Tear 6, Illumeni Plateau |
