





















Tears of the Kingdom 100% Completion Walkthrough43 chapters
Great Sky Island
- Great Sky Island4 shrines, 4 caves and Bubbul Gems, 17 Korok seeds
Hyrule Field and Hyrule Castle
- Lookout LandingParaglider, Crisis at Hyrule Castle, Jiosin and Kyononis shrines, 2 caves, 3 wells
- Hyrule FieldSusuyai and Ishodag shrines, the Hyrule Field Chasm, 2 caves, 13 Koroks
- Hyrule Castle Town RuinsSepapa, Yamiyo and Tukarok shrines, 2 caves, 4 wells, Koroks, chests and Battle Taluses in route order
- Central Hyrule Depthslight all 7 Lightroots, loot Daphnes and Gustaf Canyon Mines, find the Miner's Top
- Rest of Hyrule CastleRoyal Hidden Passage loot, 8 castle chests, Phantom Ganon, Energy Wells
- South Hyrule FieldShrines, Koroks & the Great Plateau
- South Hyrule Field DepthsGreat Abandoned Central Mine, Master Kohga, Autobuild, Majora's Mask
Tabantha and Hyrule Ridge
- Tabantha FrontierNew Serenne Stable, Hestu, Courage Island and the Glide Shirt, 3 shrines, 2 Korok seeds, Lindor's Brow Cave
- Forgotten TempleImpa and the Geoglyphs, Dragon's Tears, Kiuyoyou and Mayausiy shrines, Yiga Maritta Branch, 9 Koroks
- Tanagar Canyon & Hyrule RidgeRunakit and Iun-orok shrines, 2 caves, 12 Koroks, 20 chests, 8 minibosses and Dragon's Tear 6
- Thundra Plateau & Tabantha Bridgesolve the noon shadow puzzle, Tabantha Bridge Stable, Makurukis Shrine, 19 Korok seeds, 9 chests, 3 minibosses
- Lindor's Brow DepthsLightroots; Two Yiga camps (Bomb Bouquet, Flamethrower Balloon)
- Hyrule Ridge and Tabantha FrontierIkatak, Oromuwak, Ganos and Ga-ahisas shrines, 4 caves, a well, 26 Koroks and 3 minibosses
Hebra
- Rito VillageGatakis and Ijo-o shrines, Sikatag Lightroot, 9 Korok seeds, 14 chests
- Hebra MountainsShrines, Wind Temple & Koroks; Raspro Pass, Biron Snowshelf & Royal Hidden Passage
- Corvash Canyon MineTrousers of the Hero, Floodlights schematic, Sea-Breeze Boomerang, four Lightroots, Colgera
- Raspro Pass DepthsNupisoyuat and Sasag Lightroots, Colgera, Cap of Time, Tunic of the Wind, two Yiga camps and 13 minibosses
- Tabantha TundraTaninoud, Orochium, Oshozan-u, Mayaotaki, Nouda and Tenbez shrines, three Lightroots, caves and Bubbul Gems
- Pikida Stonegrove DepthsEvil Spirit Greaves, Ikatoayam, Muihcoro and Sikatag Lightroots, 3 Yiga schematics, Frox fights
Great Hyrule Forest
- Great Hyrule Forest7 shrines, 8 Lightroots, 2 caves, 2 wells, Korok Mask, Glide Tights
Eldin
- EldinEldin Canyon, Shrines, Caves & Goron City
- Eldin Canyon Depths10 Lightroots, Zant's Helmet, Trousers of the Wild, Biggoron's Sword, 3 Yiga schematics and Eldin's sky chests
Faron
- FaronHighland Stable, Lake Hylia & Popla Foothills
Necluda
- Kakariko VillageMakasura Shrine, Kakariko Village Well, 2 caves, Ring Ruins chests, 10 Korok seeds and village quests
- West Necluda and Lanayru WetlandsShrines, Koroks & Caves; Jonsau, Kurakat
- Hateno VillageZanmik and Mayahisik shrines, Shield of the Mind's Eye and Phrenic Bow wells, 7 Koroks
- East NecludaRabella Wetlands, Sifumim Shrine, Lurelin Village, 21 Korok seeds
- East Necluda DepthsKumamayn Shrine, 4 Lightroots, Midna's Helmet, Cap of the Hero, Trousers of the Wind and 18 Depths chests
Lanayru
- Lanayru Great SpringShrines, Koroks & Caves; Ralis Channel, 3 shrines, 8 caves
- Zora's DomainMogawak and Ihen-a shrines, Ploymus cave, Pristine Sanctum, Zora Armor, Sidon of the Zora and Clues to the Sky
- Wellspring IslandAncient Zora Waterworks chests, Igoshon Shrine, 2 Korok seeds, Water Temple's four wheels and Mucktorok
- Mount LanayruShrines, Koroks & Light Rings; Jikais and Anedamimik shrines
Gerudo
- Gerudo DesertShrines, Caves & Koroks; West and South Sands
- Gerudo TownGerudo Shelter shops and quests, Valley of Silent Statues, Lightning Temple and Queen Gibdo, Chichim Shrine
- Gerudo Desert DepthsGranajh and Daval mines, three Master Kohga fights, Queen Gibdo, Mucktorok, Sheik's Mask and 37 chests
- Gerudo HighlandsSkyview Tower, Rotsumamu and Suariwak shrines, Mayasiar Shrine, Yiga hideout
Akkala
- AkkalaTarrey Town quests, 4 shrines, Hinox, Battle Talus
- Akkala Sky Islands and DepthsGikaku and Natak shrines, Old Maps, Lomei Depths Labyrinth, Mucktorok, 5 Lightroots and 19 chests
Finale and completion
- Ancient Tablets, Gleeoks and Armor Upgradesall 13 stone tablets with coordinates, Frost and King Gleeok, Obsidian Frox, Cotera upgrades and farming
- Hyrule CastleRoyal gear chests, Korok seeds, Serutabomac Shrine
- Thunderhead IslesCharged armor, Joku-usin and Joku-u Shrines, Dragonhead Island's relic
- 100% Completion: Armor Upgrades & Korok BonusHestu's Gift, Ancient Hero's Aspect, Great Fairy Cotera upgrade costs and materials, then Destroy Ganondorf
| Region | Hyrule Ridge, north of New Serenne Stable and Lindor’s Brow, plus Courage Island in the sky above |
|---|---|
| Quests | Horse-Drawn Dreams, Hestu’s Concerns |
| Shrines | Sinakawak, Taunhiy, Taki-ihaban |
| Cave | Lindor’s Brow Cave (one Bubbul Gem) |
| Well | New Serenne Stable Well (Purple Rupee) |
| Korok seeds | 2 |
| Chests | 4: Purple Rupee, Opal, Strong Construct Bow (Strong or Mighty, depending on your progress), Large Zonai Charge |
| Miniboss | Phantom Ganon (Lindor’s Brow Cave) |
| Gear and upgrades | Silver Rupee, Horse-God Fabric, Spicy Elixir, Stamina Vessel, Glide Shirt, Large Zonai Charge (Dive Ceremony record) |
| Previous / next | Central Hyrule Depths / Forgotten Temple |
This chapter covers the area around New Serenne Stable and Lindor’s Brow: a wagon-and-horse quest, a well, Hestu’s tree problem, the Skyview Tower, and Courage Island with the Dive Ceremony that earns the Glide Shirt. You finish by dropping into Lindor’s Brow Cave for a Phantom Ganon fight, a Bubbul Gem and one more shrine.
Quick route
New Serenne Stable: fix Zumi’s wagon, catch a wild horse, claim Horse-God Fabric, then clear the well.
Sinakawak Shrine, then trade the Light of Blessing for a Stamina Vessel at Lookout Landing.
Cut down Hestu’s scary trees and expand a stash.
Bridge to Lindor’s Brow Skyview Tower and launch to Courage Island.
Dive through the rings, run the timed Dive Ceremony for the Glide Shirt, then the record dive for a Large Zonai Charge, and clear Taunhiy Shrine.
Glide back to Hyrule Ridge for the Ascend Korok seed and Lindor’s Brow Cave.
New Serenne Stable
Horse-Drawn Dreams. New Serenne Stable is on the road across North Hyrule Plain. Zumi stands beside a wheel-less wagon next to the paddock fence; talk to her to start Horse-Drawn Dreams. Full steps are on the quest page.
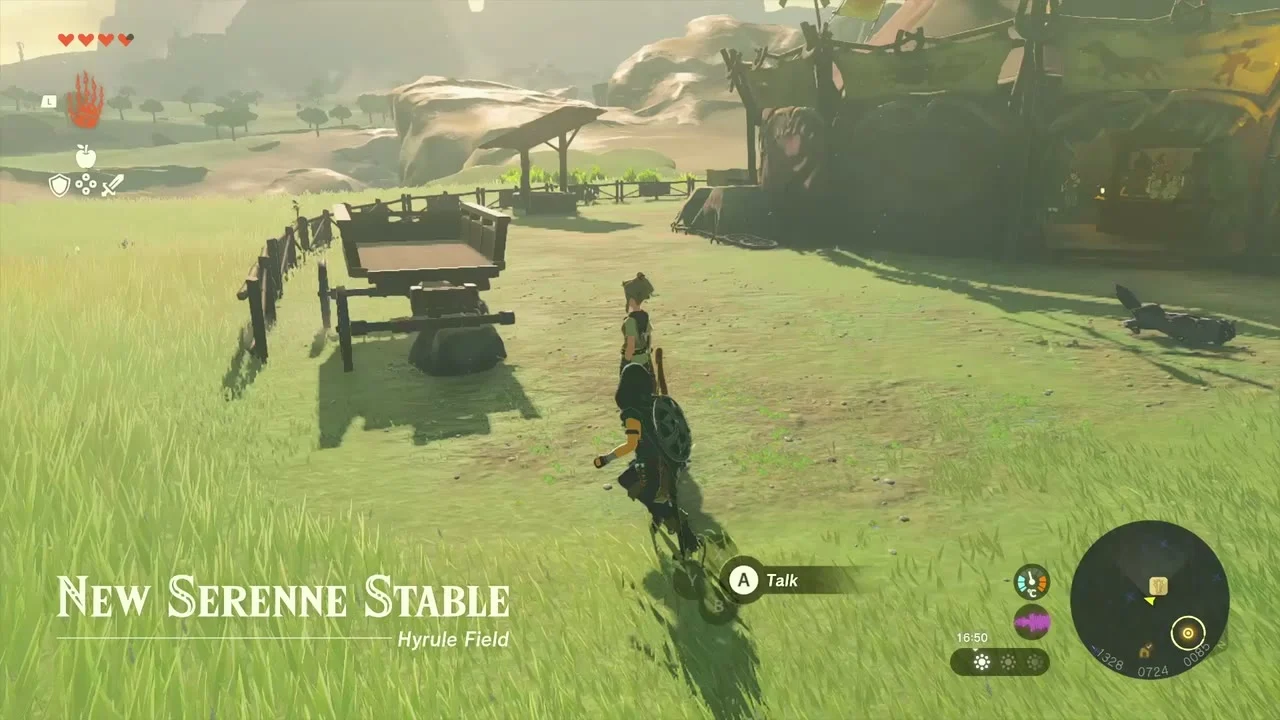
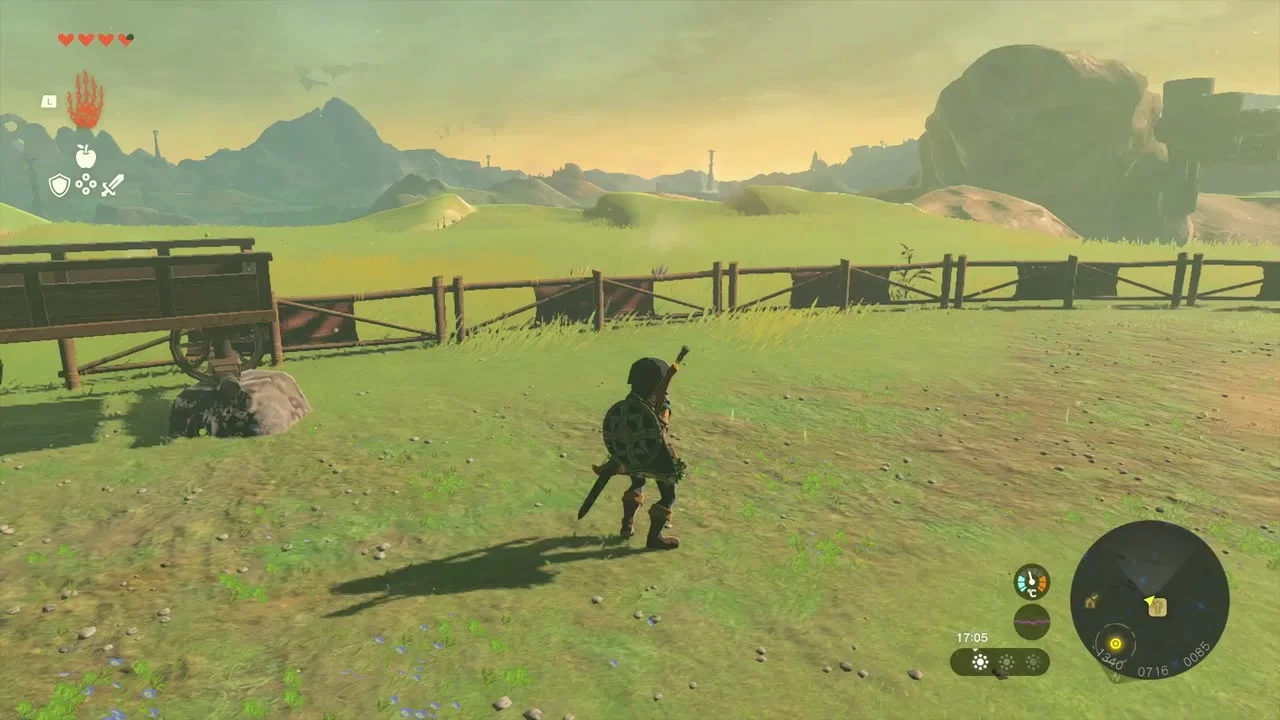
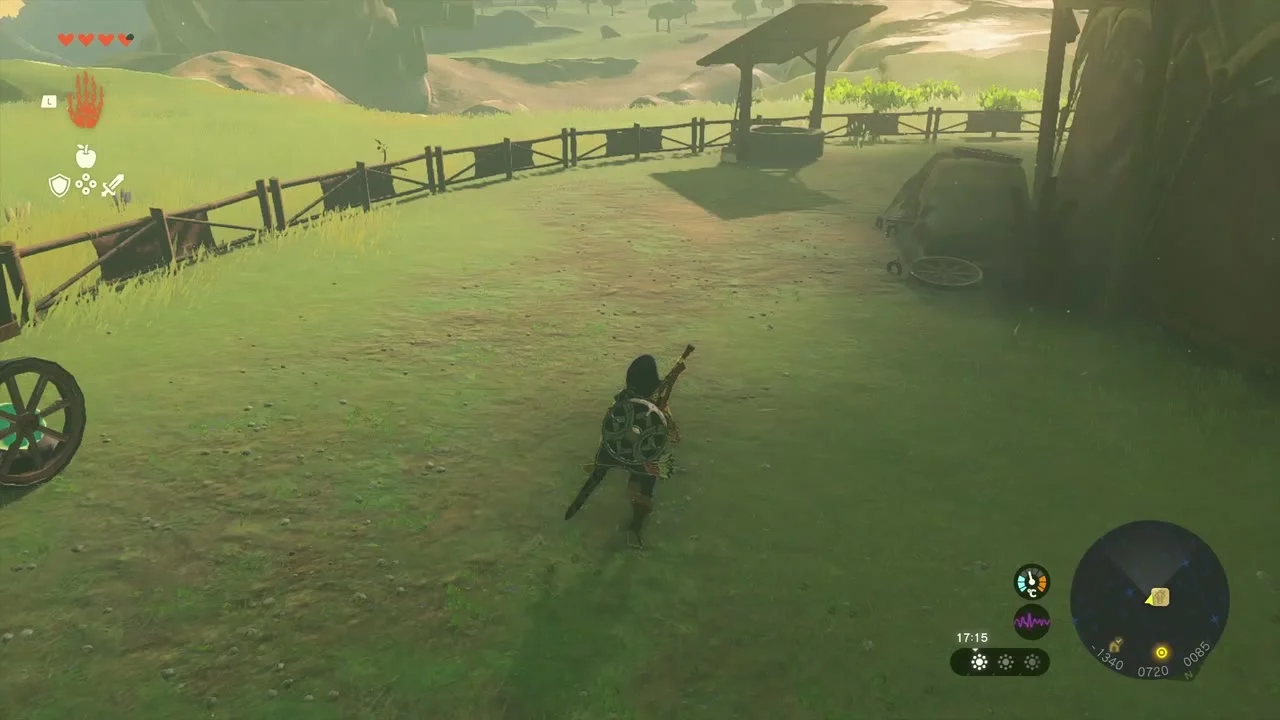
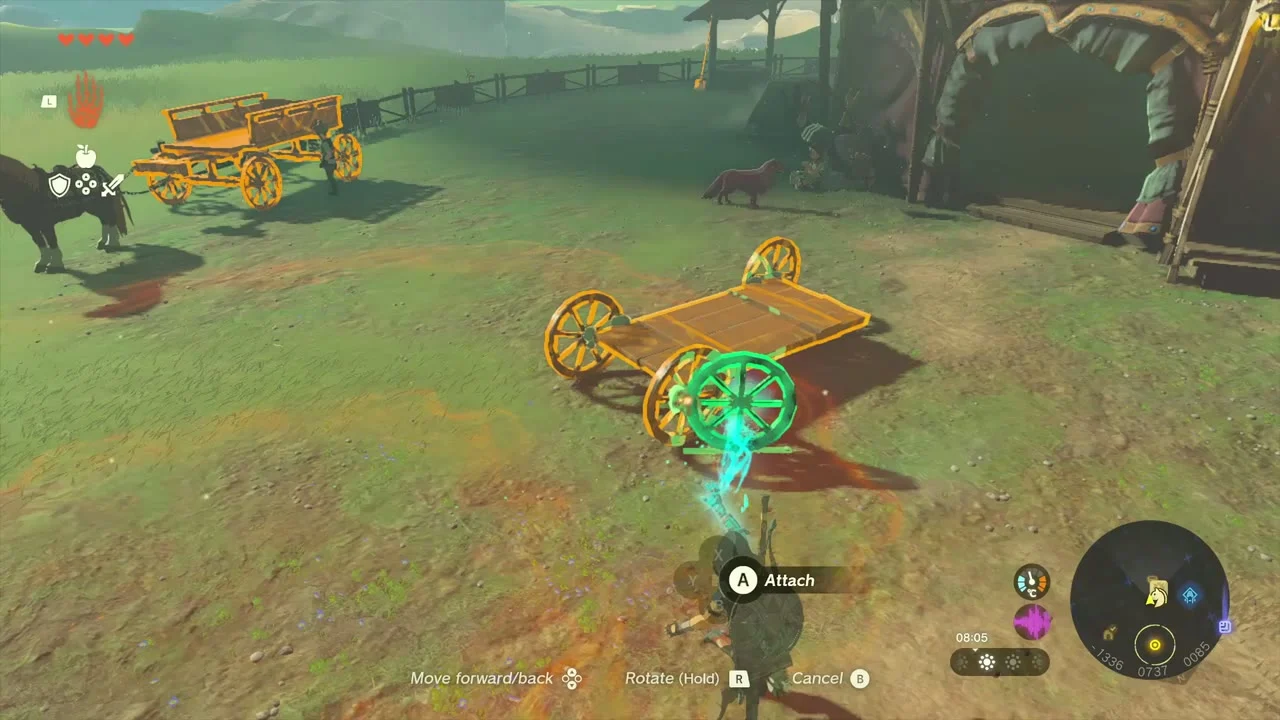
Repair the wagon. Spare wheels lie on the grass beside the fence. Pick each one up with Ultrahand and attach it to an axle, so the wagon rests on both wheels.

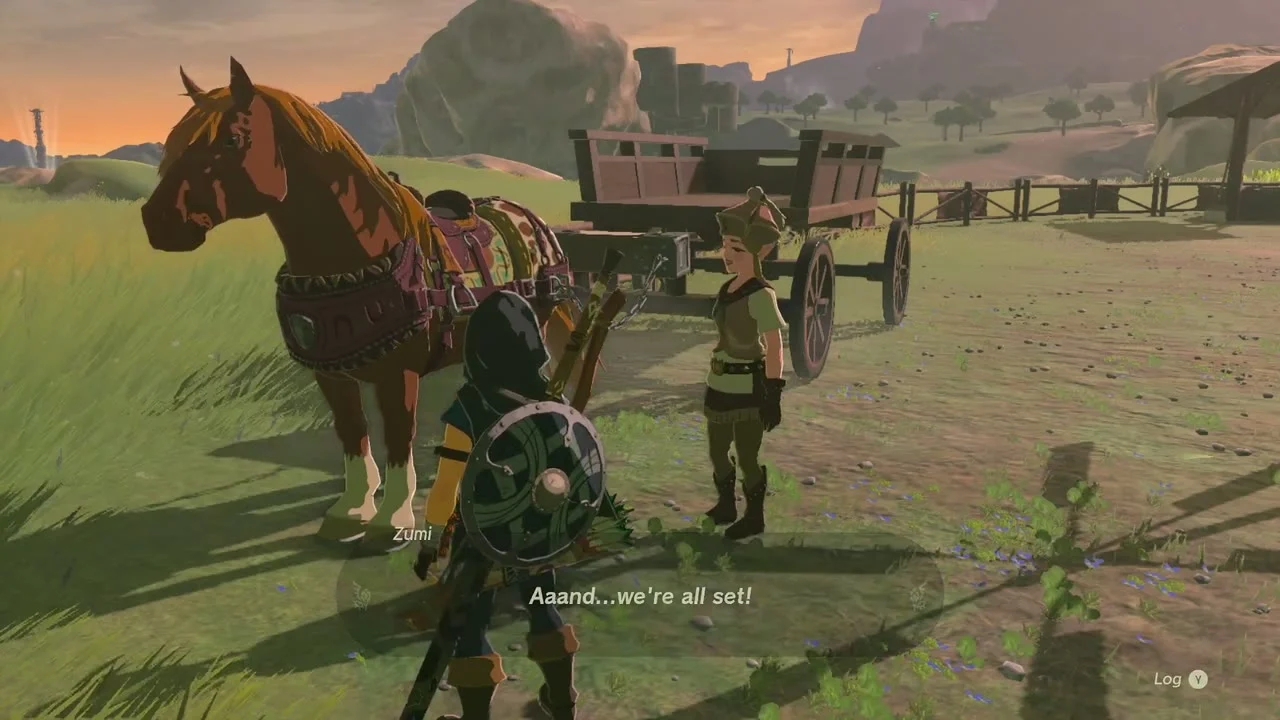
Catch a wild horse. Walk out onto the open grass north of the stable, where unregistered horses graze. Crouch to approach (a Stealth Up meal helps), mount one and use Soothe to calm it, then ride it back to Zumi.


Reward: Silver Rupee. Talk to Zumi once the horse is hitched to the wagon and she pays you a Silver Rupee (100 rupees).

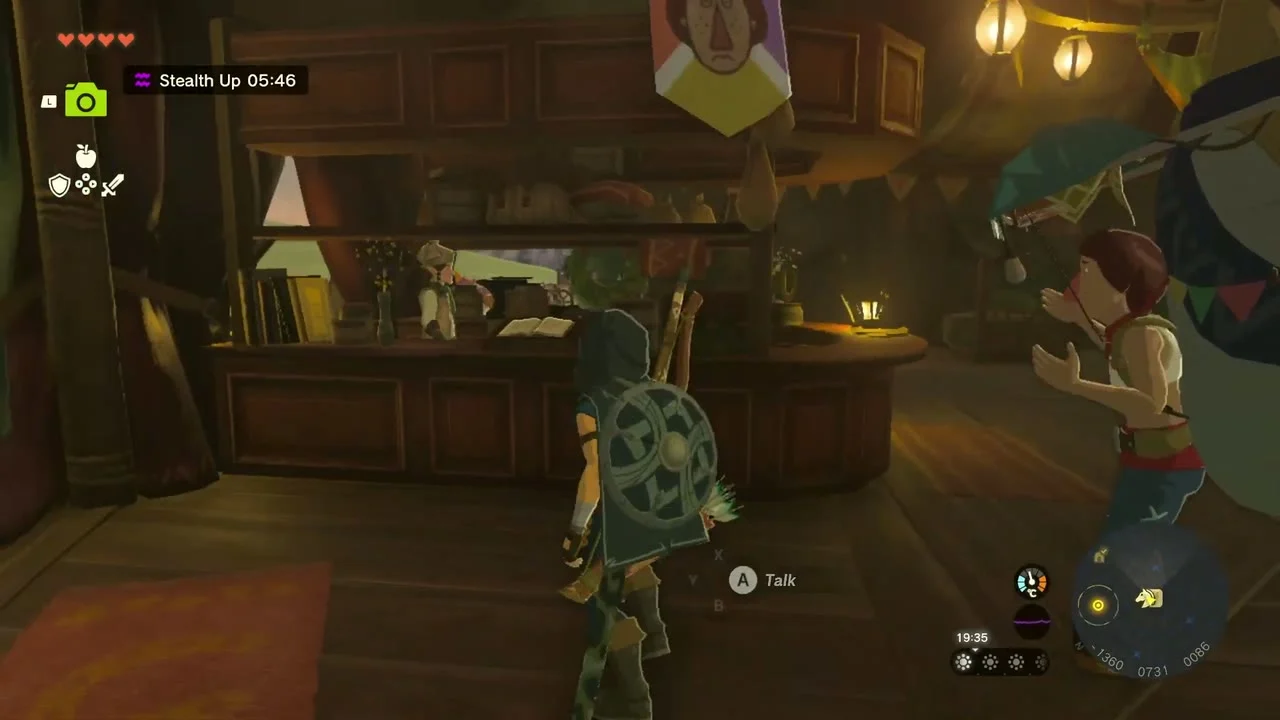
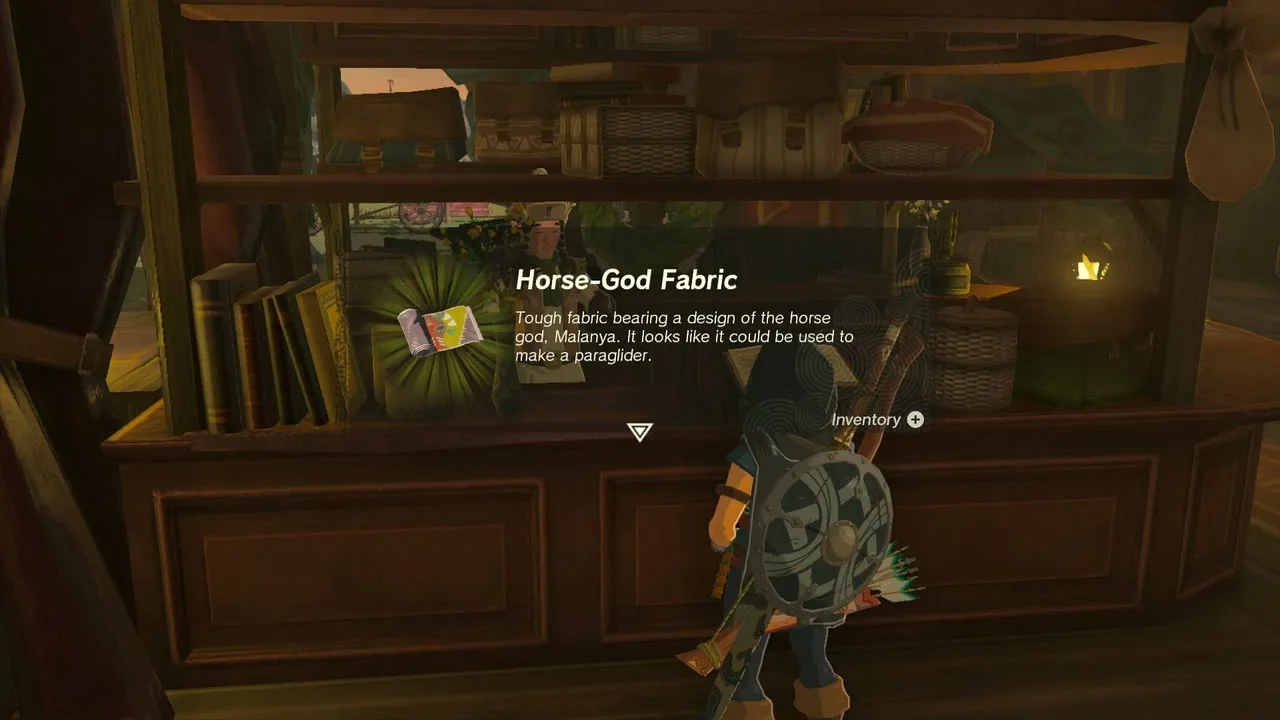
Horse-God Fabric (paraglider fabric). Inside the stable, interact with the Pony Points Ledger at the counter and choose Receive reward. Five Pony Points buy the Horse-God Fabric; registering a horse and sleeping at stables both earn points. Talk to the stable keeper Sprinn at the same counter to fit your horse with a towing harness.
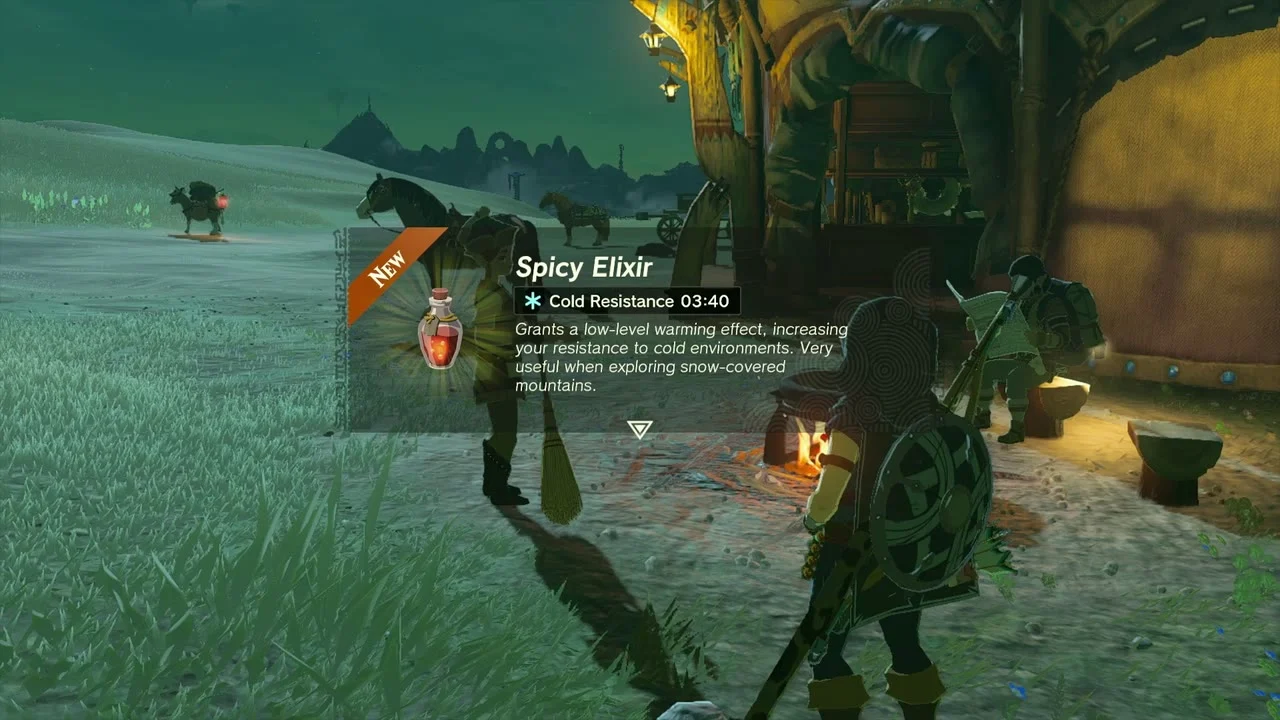
Spicy Elixir. Ariane tends the cooking pot outside the stable. She warns you about the cold in Hebra and gives you a free Spicy Elixir for cold resistance.

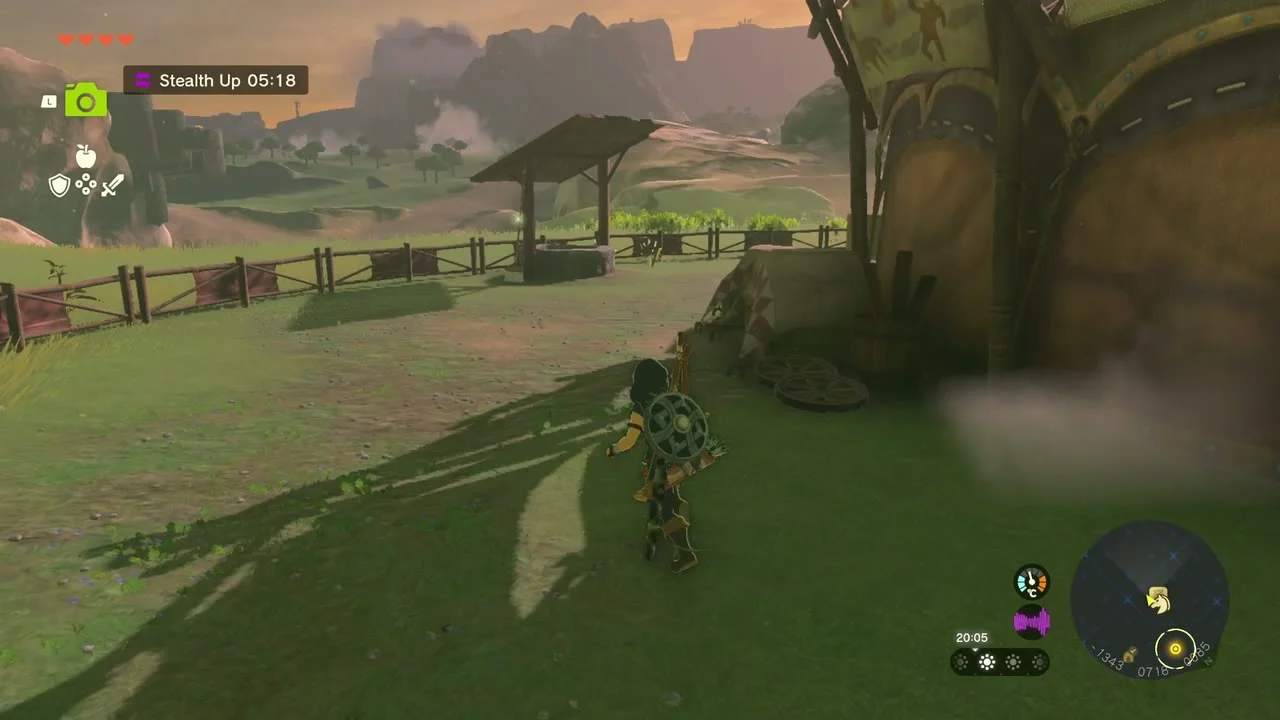
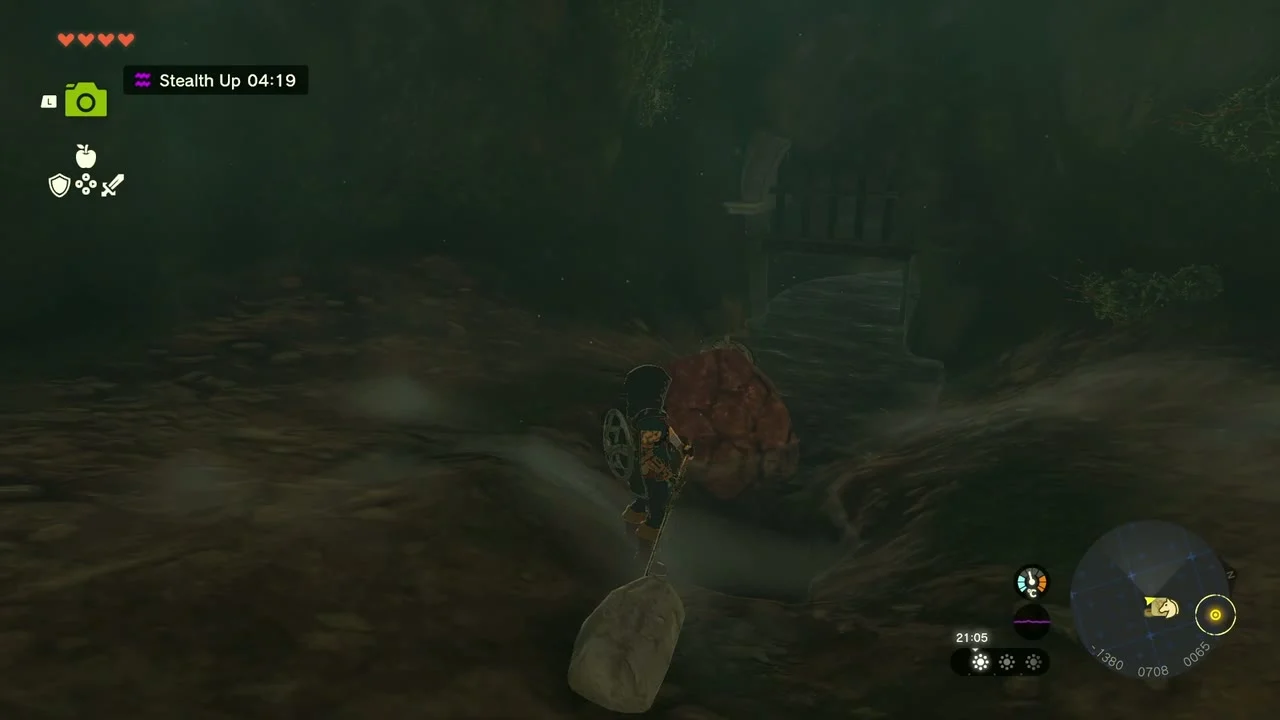
New Serenne Stable Well: Purple Rupee. The well stands under a small wooden roof beside the paddock fence. Drop in and light your way with a Brightbloom Seed. A pile of reddish cracked rock blocks the low tunnel; smash it with a heavy fused weapon (a rock on a stick works) or a bomb arrow. The chest behind it holds a Purple Rupee (50 rupees). Leave with Ascend through the cave ceiling.



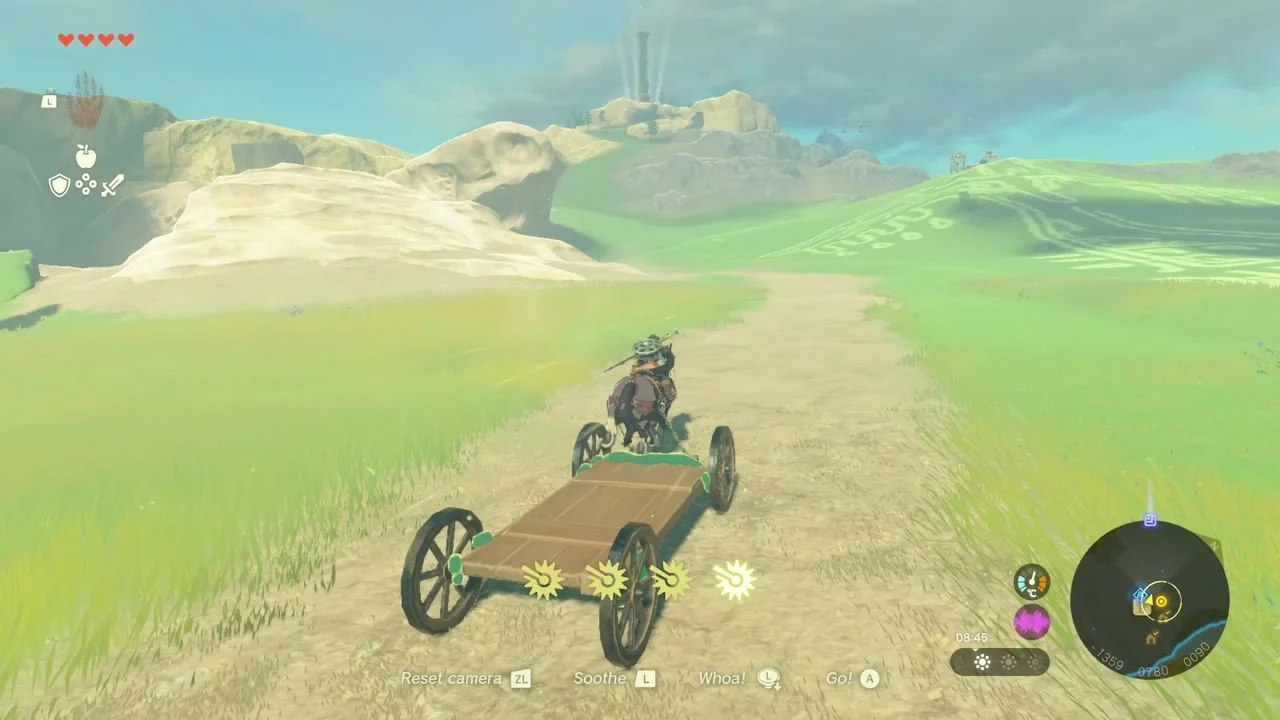
Harnessed cart (optional). With the harness fitted, build a small cart from boards and wheels with Ultrahand, hitch it to your horse and ride it across the plain. The same harness works on any wagon or cart you build.
Sinakawak Shrine and the Stamina Vessel
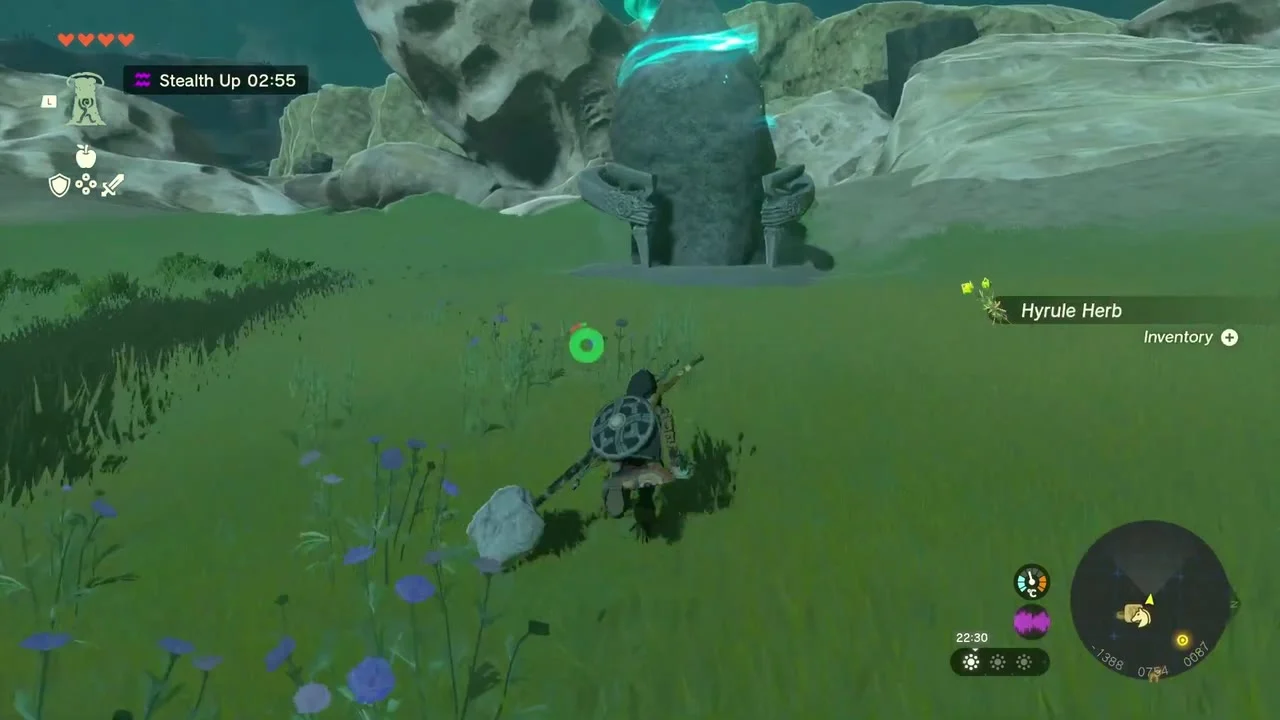
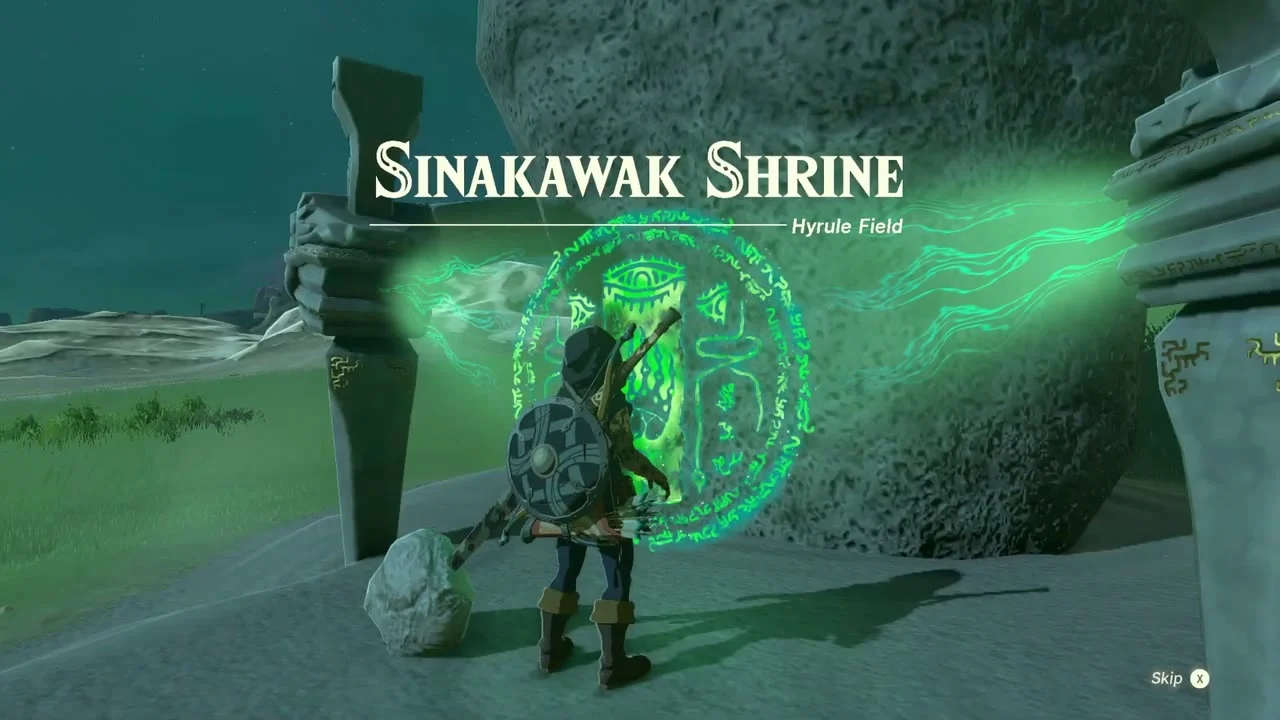
Sinakawak Shrine (An Uplifting Device) sits on the grassy rise just northwest of New Serenne Stable, in front of a pale, skull-shaped rock outcrop.
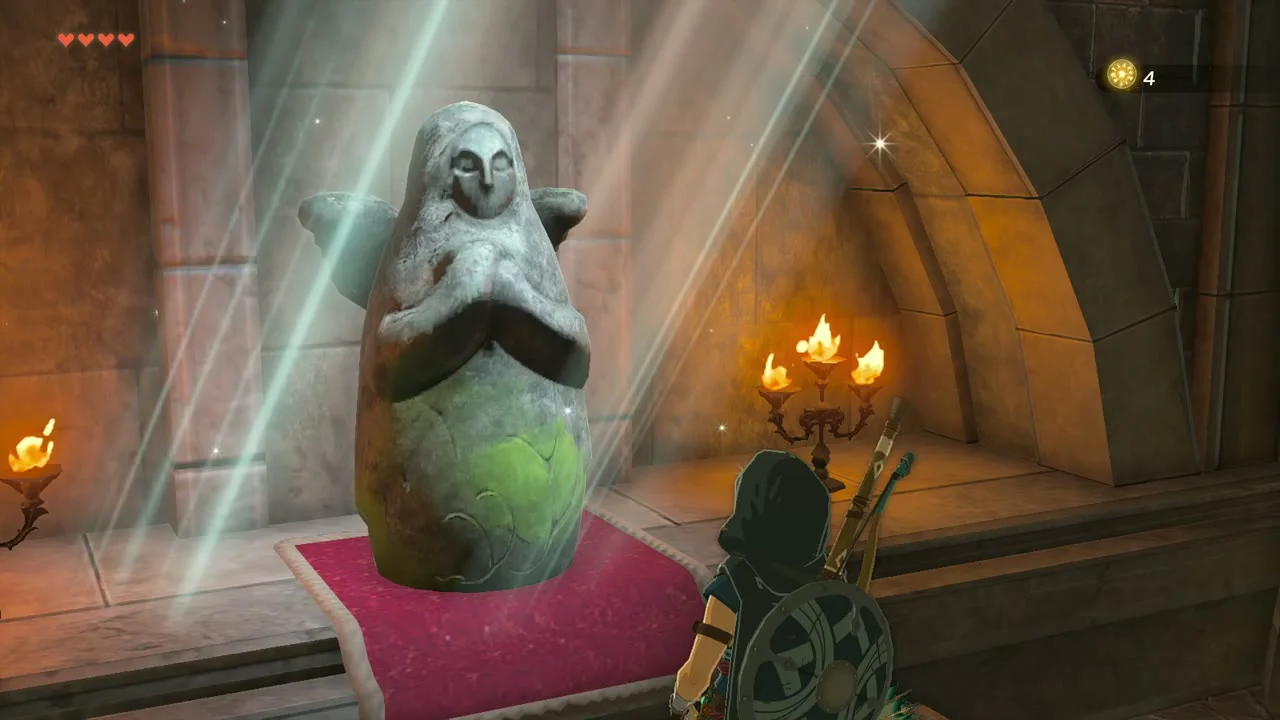
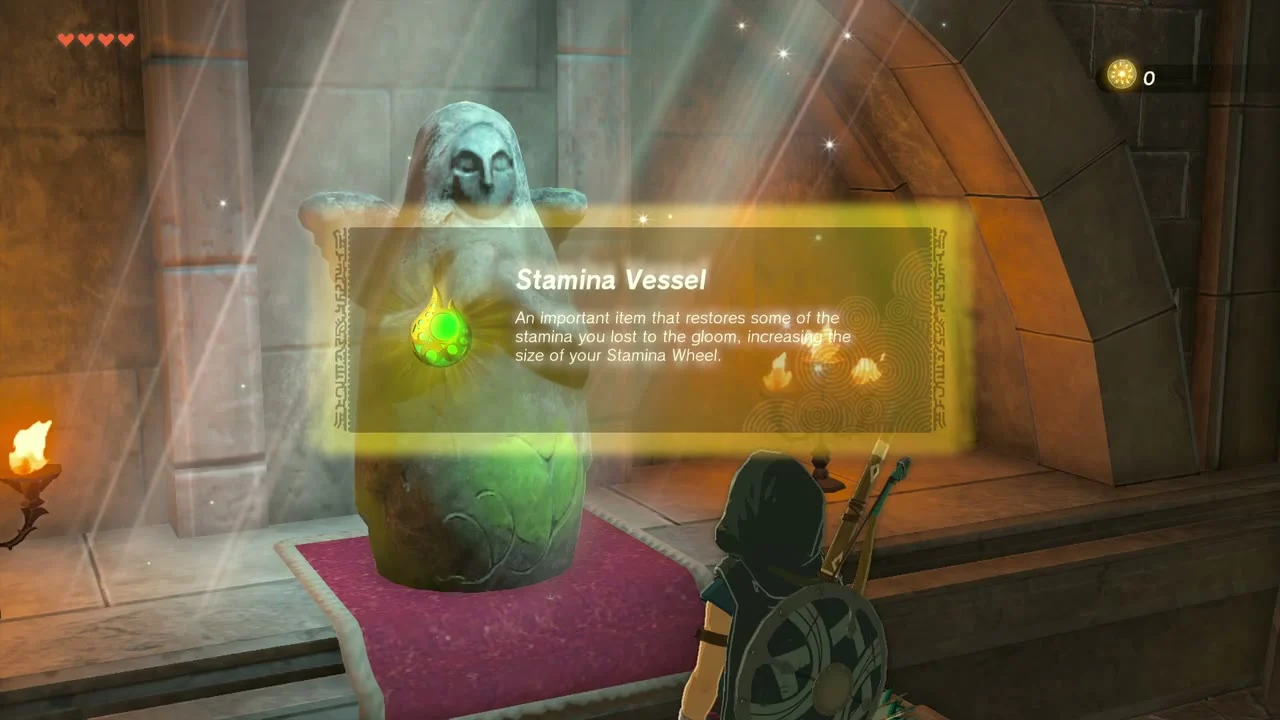
Stamina Vessel. Spend the Light of Blessing at once. Travel to Lookout Landing, go down into the Emergency Shelter and pray at the Goddess Statue, then choose Stamina Vessel from the Heart Container or Stamina Vessel options.
Hestu’s Concerns
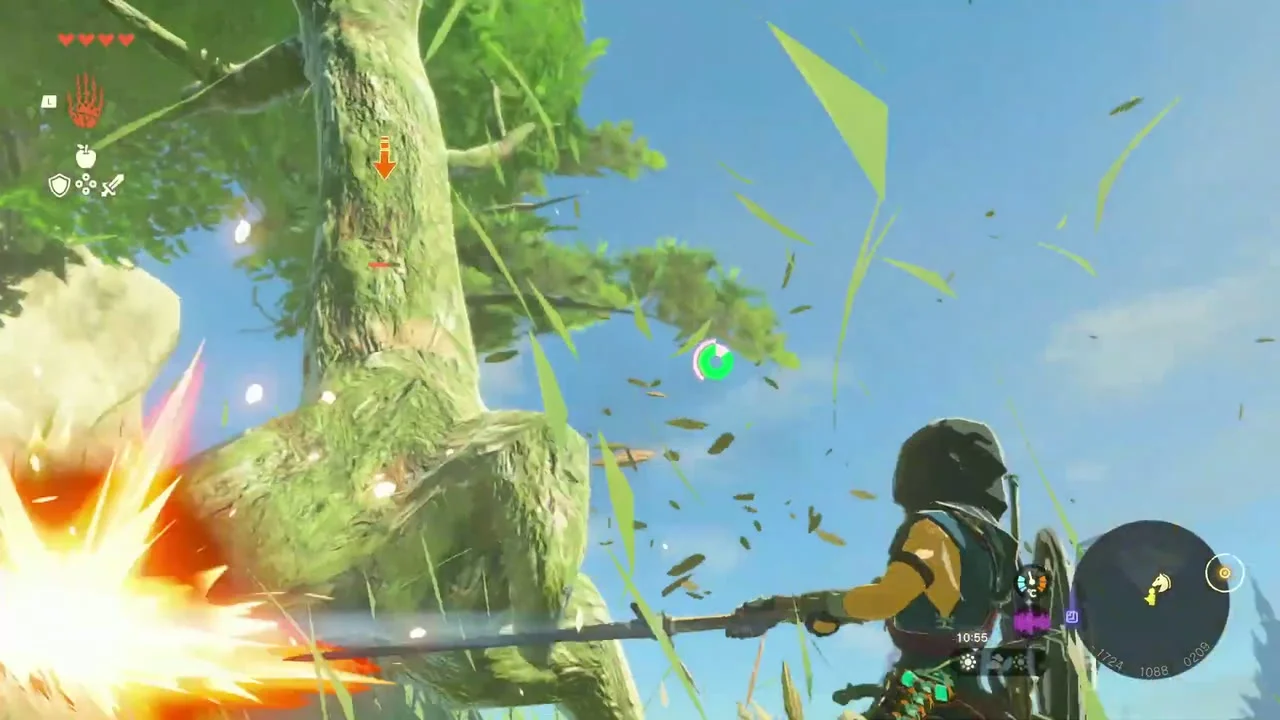
Hestu. Climb the grassy hillside below the pale rock arch near Lindor’s Brow. The giant Korok Hestu hides on the slope, scared of trees that are really monsters. Talk to him to start Hestu’s Concerns, strike each marked tree trunk until it topples, then bring him one Korok Seed and pick a stash (Weapon, Bow or Shield) to expand by one slot.


Lindor’s Brow Skyview Tower
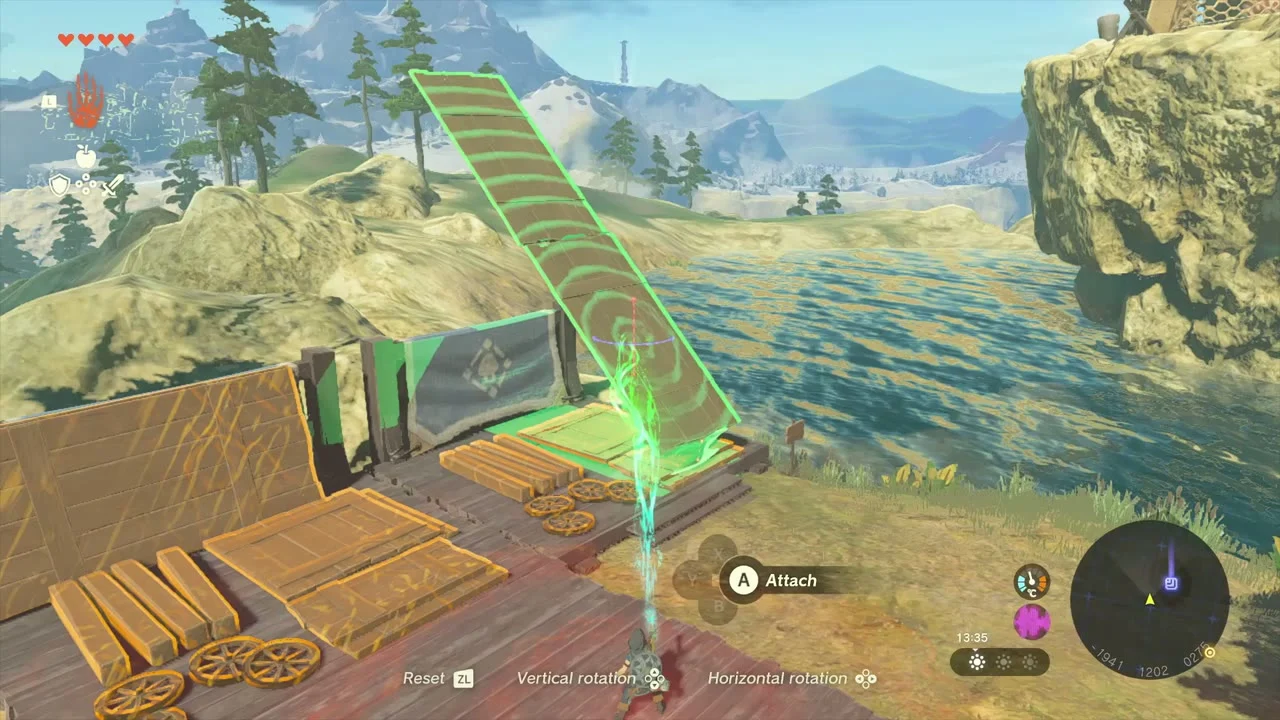
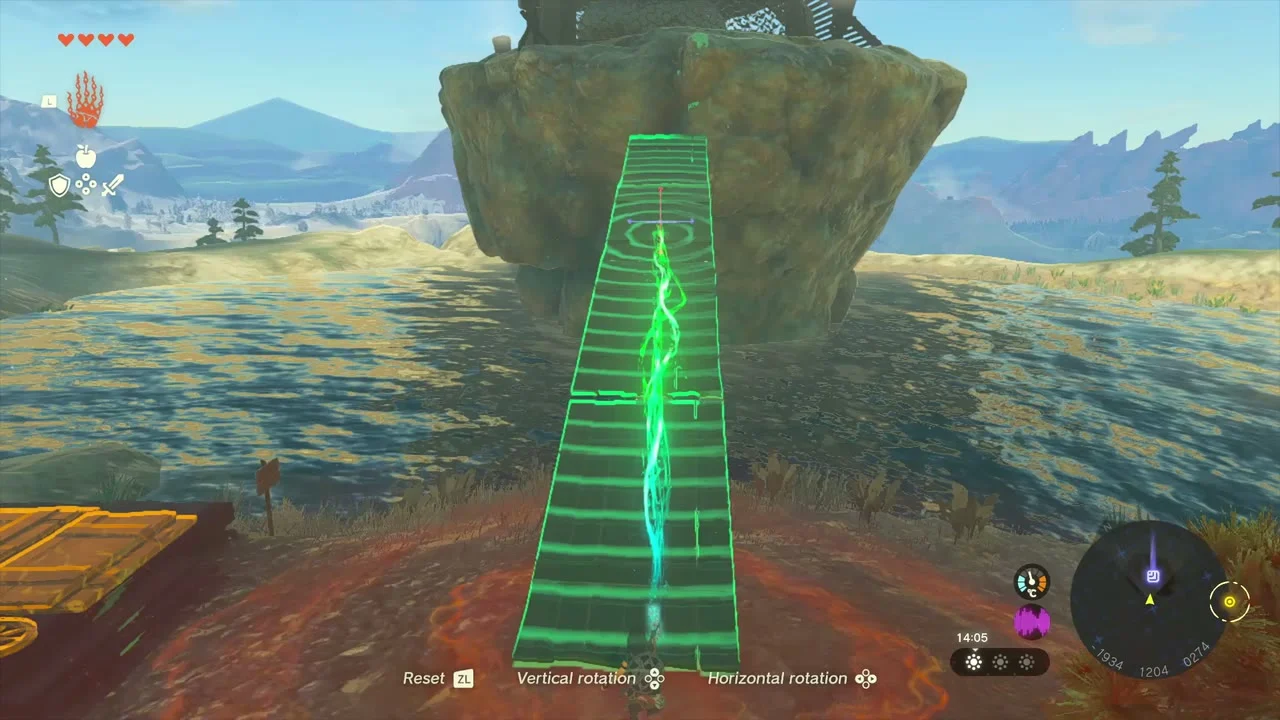
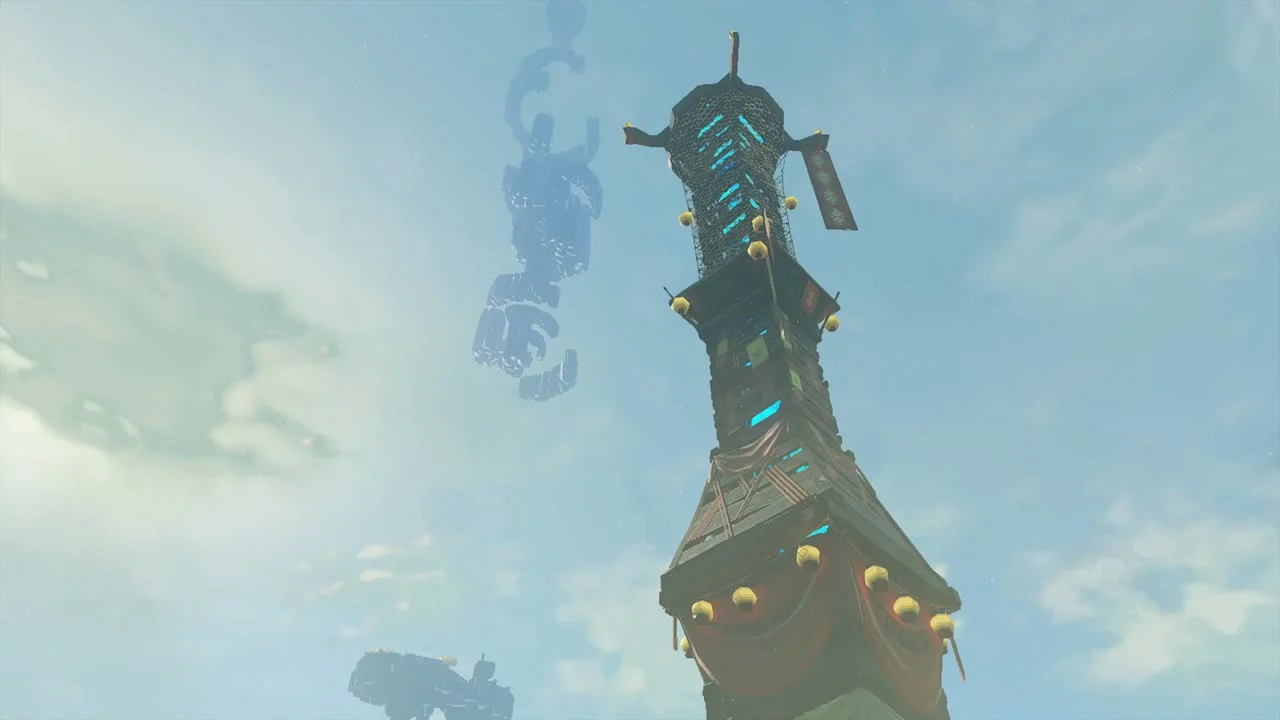
Reach the tower. Lindor’s Brow Skyview Tower stands on a rocky islet in a pool a short walk past the rock arch. Take the stack of boards on the shore, join them end to end with Ultrahand into a long plank and lean it from the shore up to the islet’s ledge. Climb up, activate the terminal inside and ride the launch pad. The tower scans the Hyrule Ridge map and fires you into the sky; glide toward the golden island ahead, Courage Island.


Courage Island
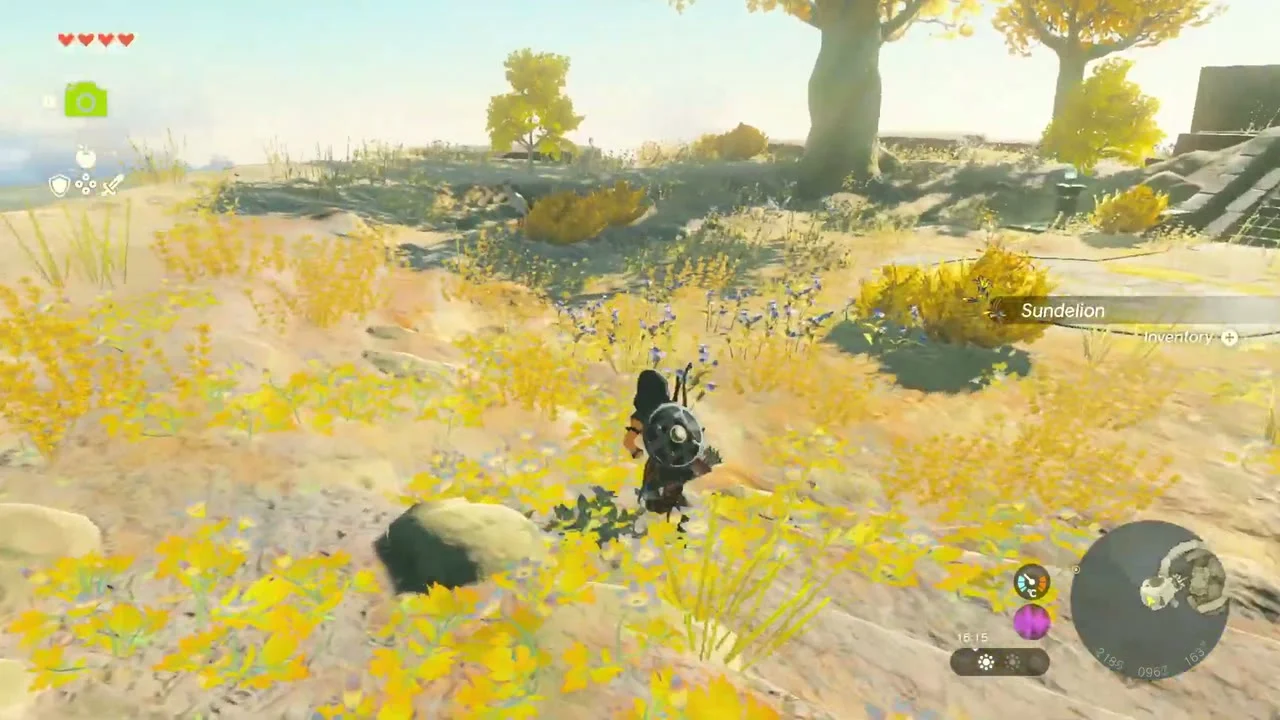
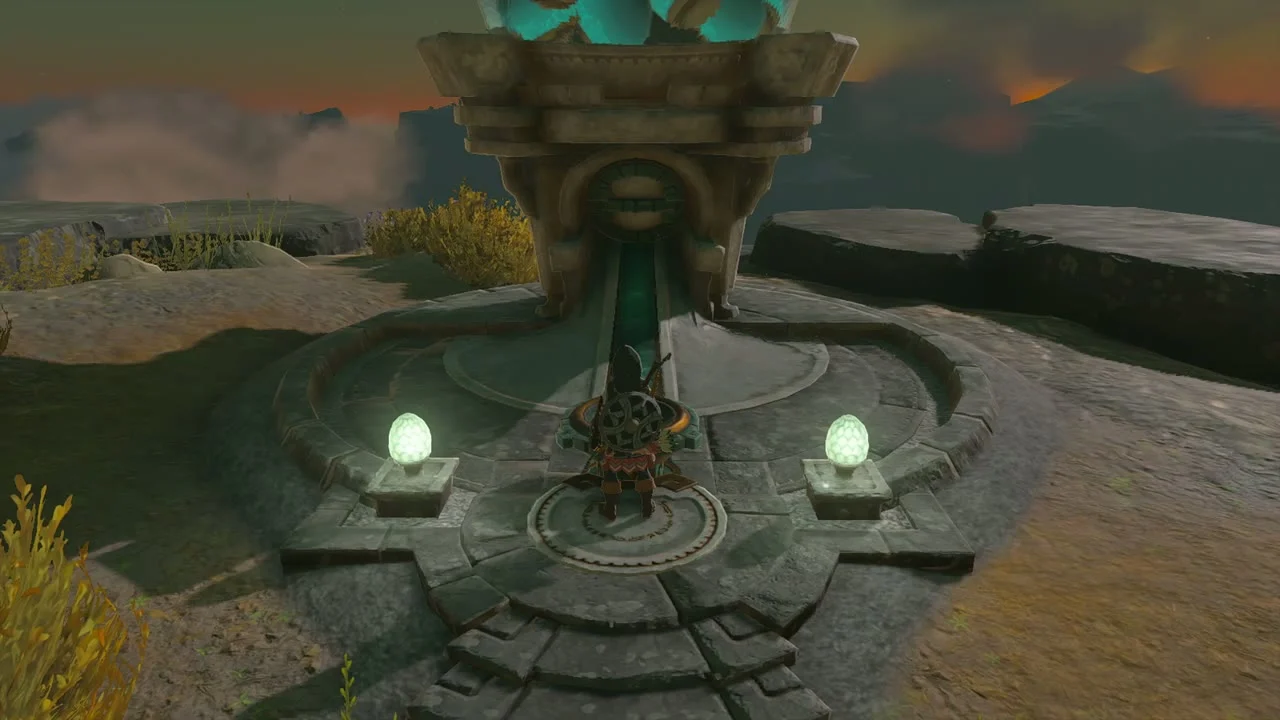
Landing and plants. Courage Island is a ruined stone island with yellow grass and Sundelions. Climb the stone stairs and follow the stone path to the diving ledge at the island’s edge, collecting Sundelions on the way.
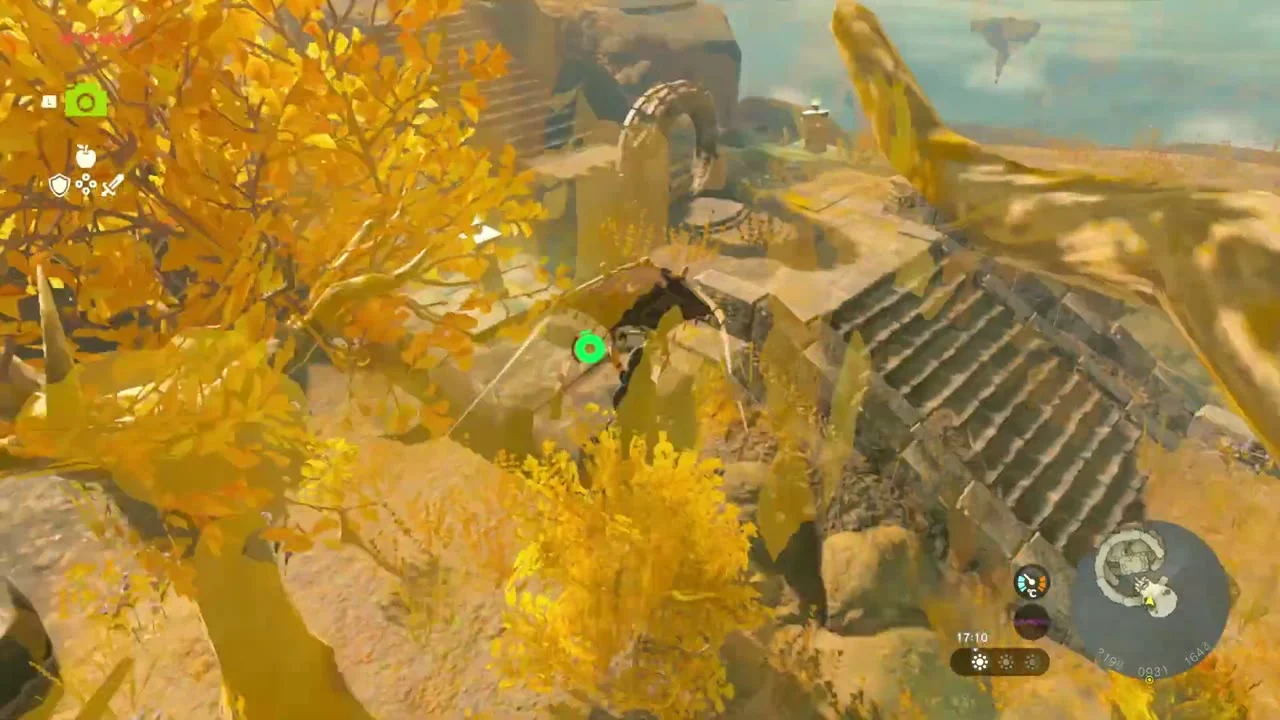
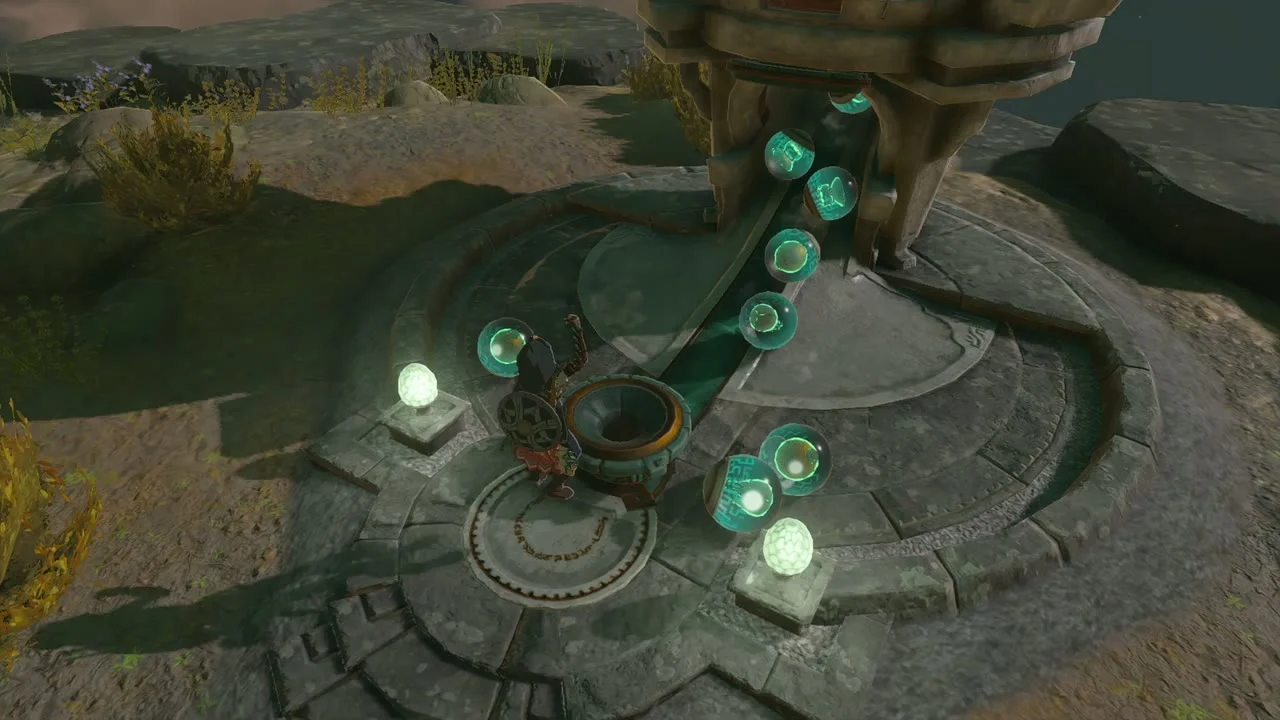
Reveal Taunhiy Shrine. Step up to the stone ring gate at the top of the stairs and activate the green seal beside it, then jump from the diving ledge and dive through the green rings, steering with the paraglider if you drift. The shrine rises out of the pool when you finish the rings.
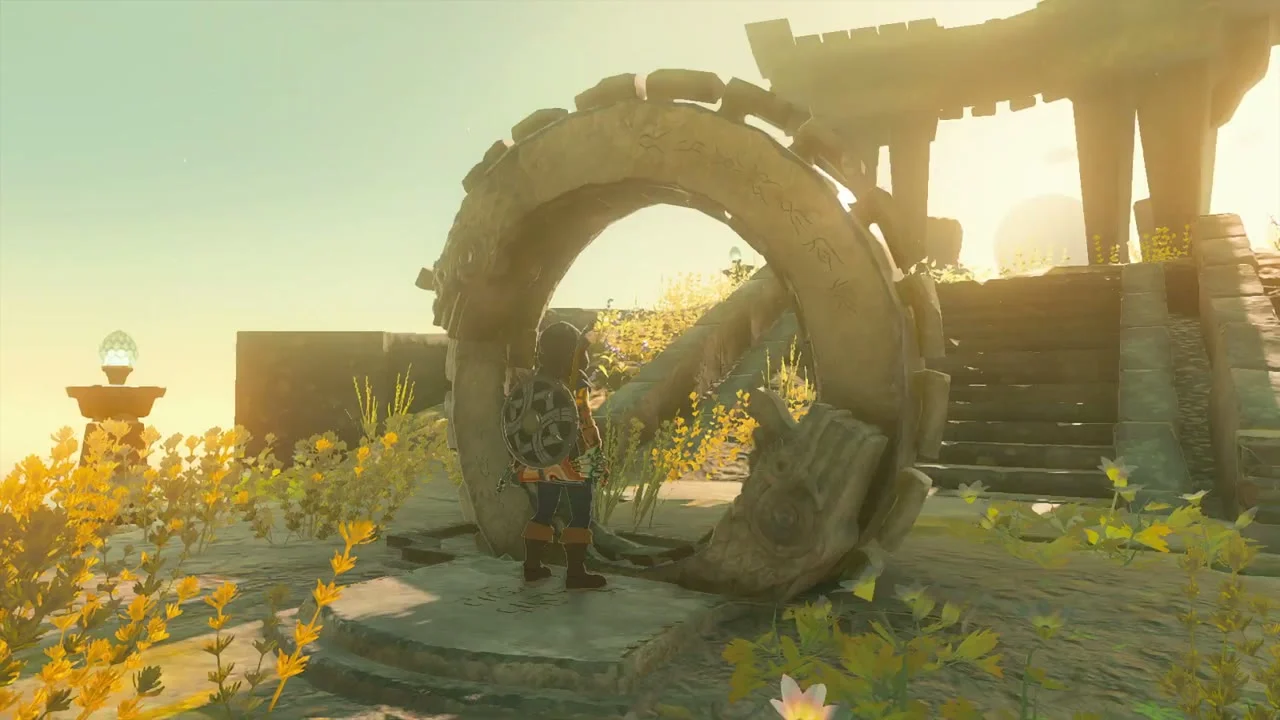


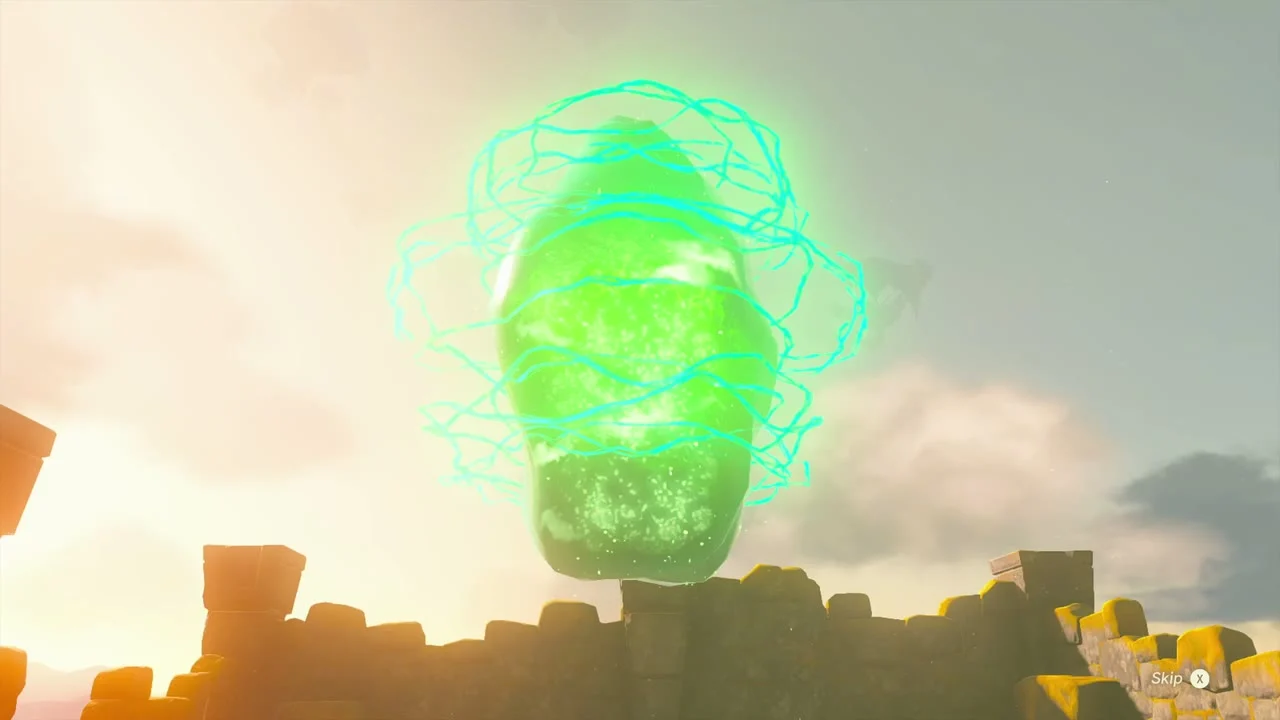
Taunhiy Shrine (Combat Training: Archery). The shrine now stands by the pool at the bottom of the island. Its trial teaches mid-air bow shots, its chest holds a Strong Construct Bow (free up a bow slot first) and it grants a Light of Blessing.

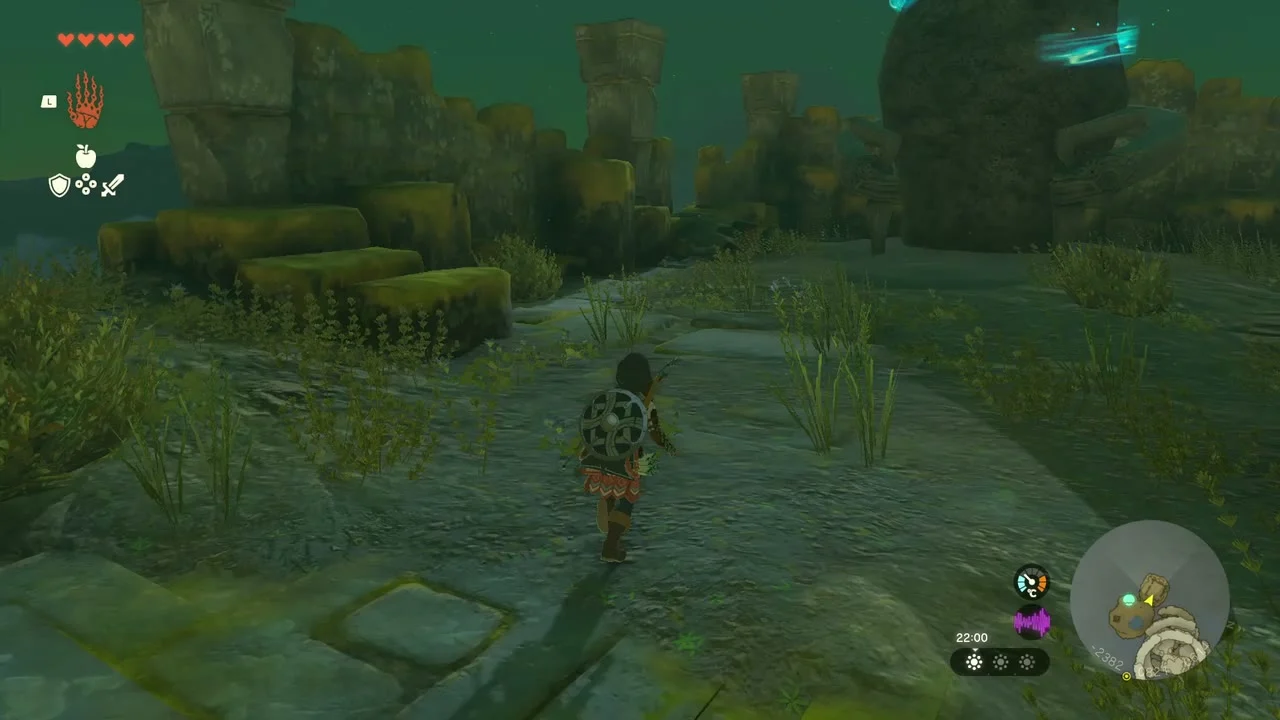
Dive Ceremony: Glide Shirt. Talk to the Steward Construct beside the lower pool. Pay one Zonai Charge, then dive from the ledge and glide through every ring before time runs out (guides give 30 to 35 seconds). A finished run rewards you with the Glide Shirt (Skydive Mobility Up).
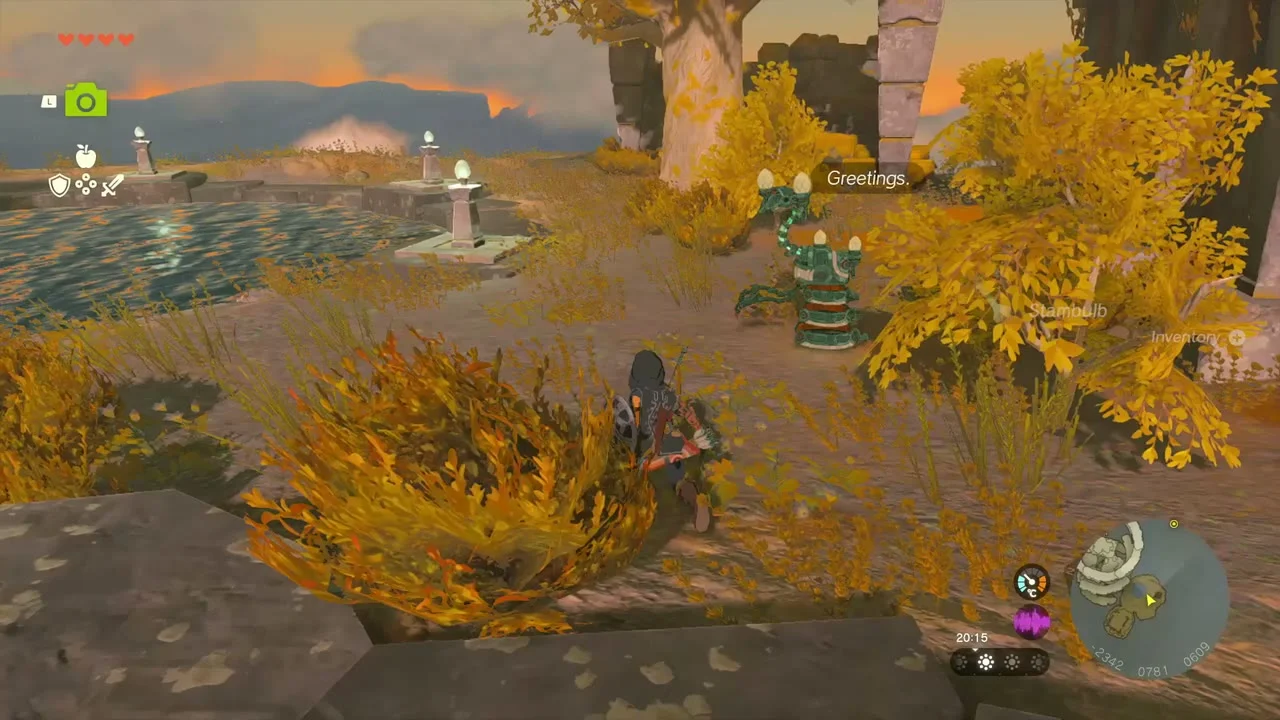
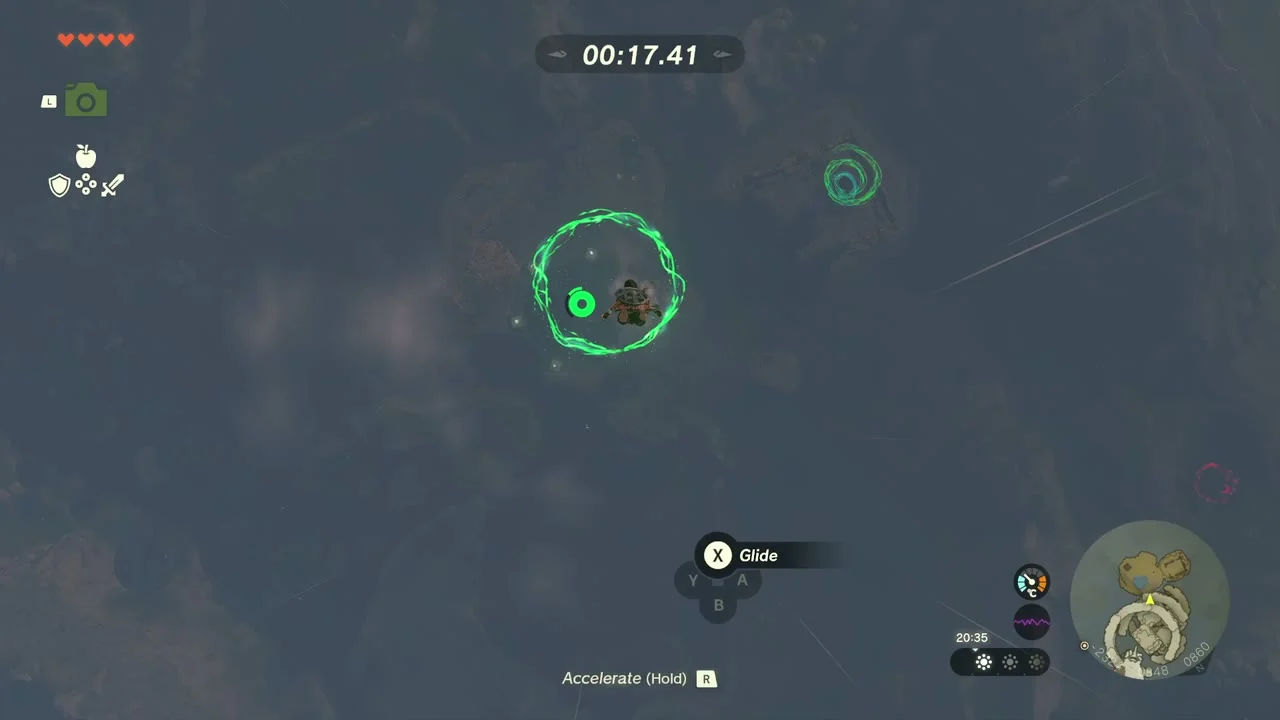
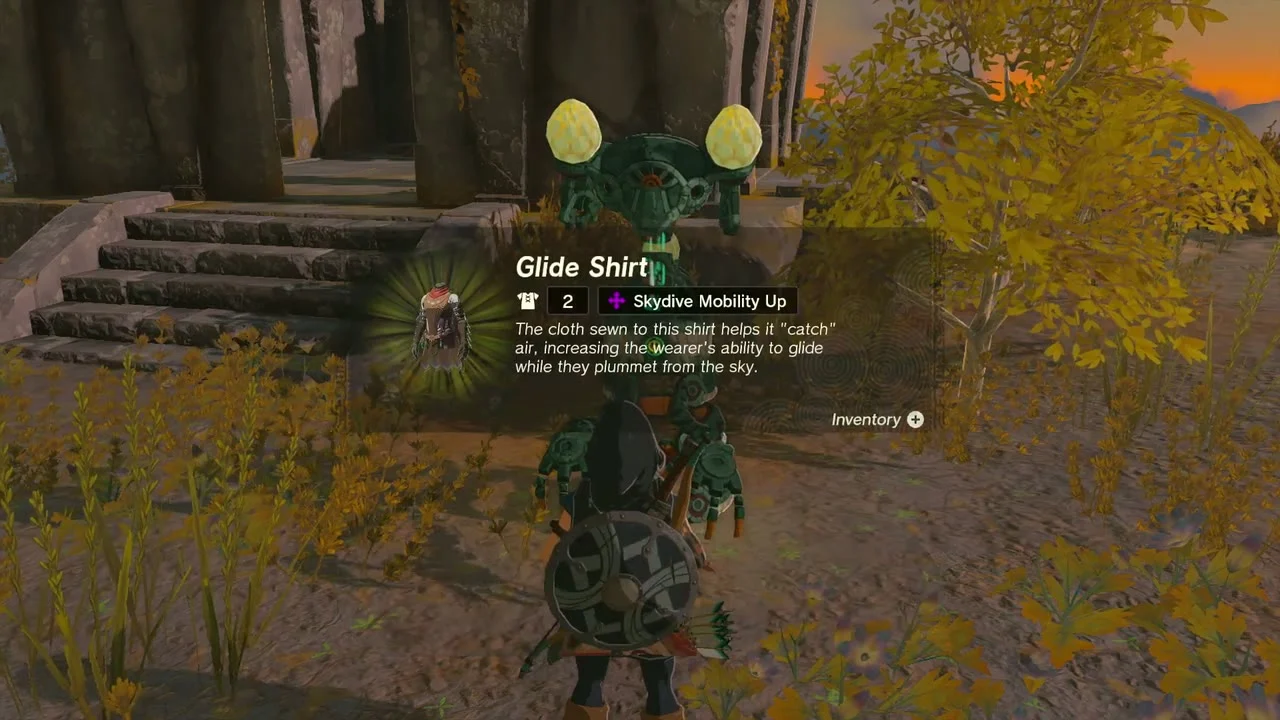
Ceremony notes. The Steward Construct always offers a free, untimed practice run first. Each timed attempt costs one Zonai Charge, so a missed ring or a slow run means paying again. Guides disagree on the exact time limit for the Glide Shirt run (30 or 35 seconds), so aim for a clean line rather than speed; the Vow of Tulin (Sage of Wind) helps if you drift from a ring. Clearing the rings also raises Taunhiy Shrine, which then works as a fast-travel point back to the island. If you miss the dive, the Glide Shirt can also be bought from Cece at the Ventest Clothing Boutique for 4000 rupees.
Record dive: Large Zonai Charge. Talk to the Steward again and dive a second time, beating its 20-second record. Wearing the Glide Shirt makes the course easier; a clean run earns a Large Zonai Charge.


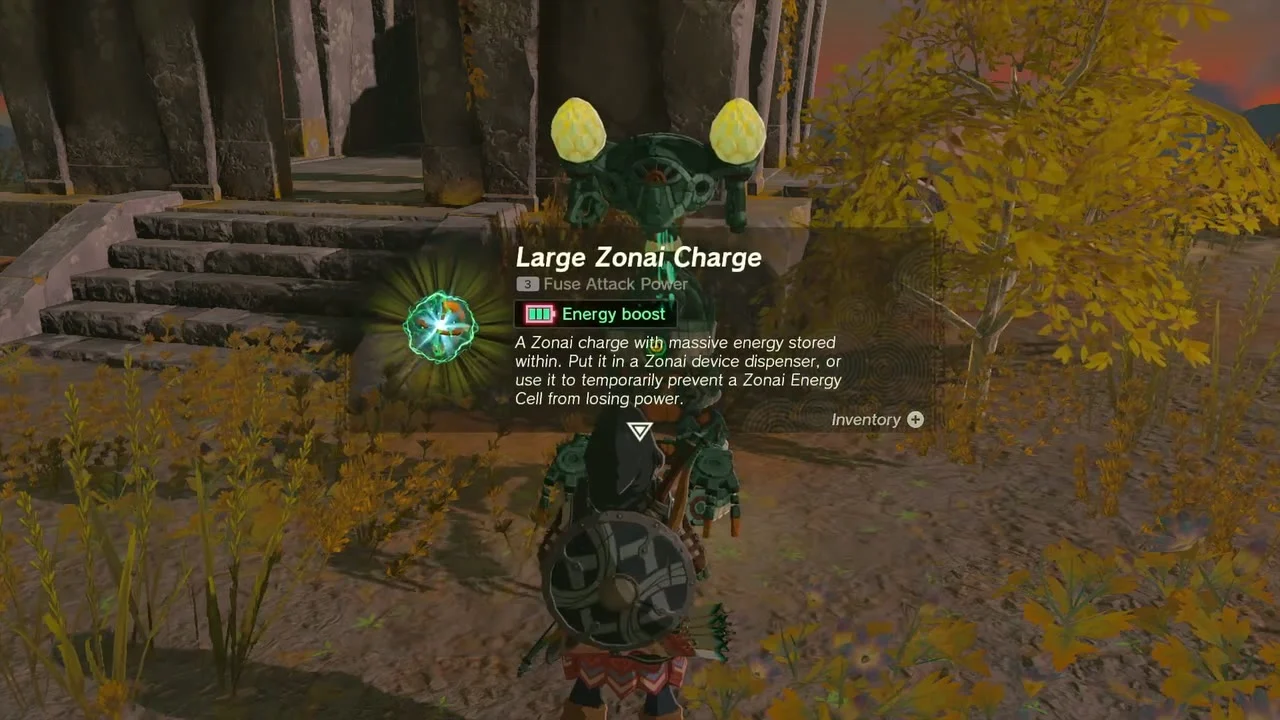
Device dispenser. A Zonai device dispenser stands next to the pool. Feed it a Zonai Charge for a random capsule: Balloon, Fan, Portable Pot or Time Bomb.
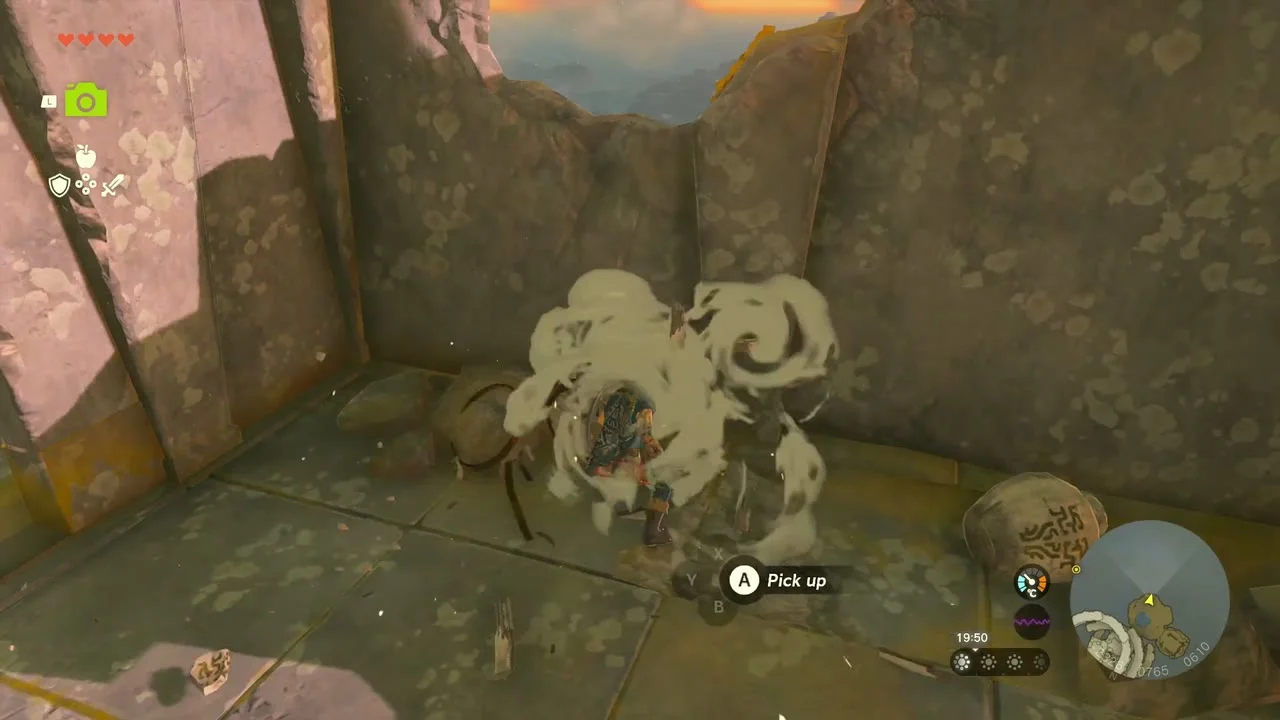
Fairy and arrows. Walk the terraces by the pool to find a Fairy hovering over the water’s edge and a stone room across the terrace with arrows lying on the floor.

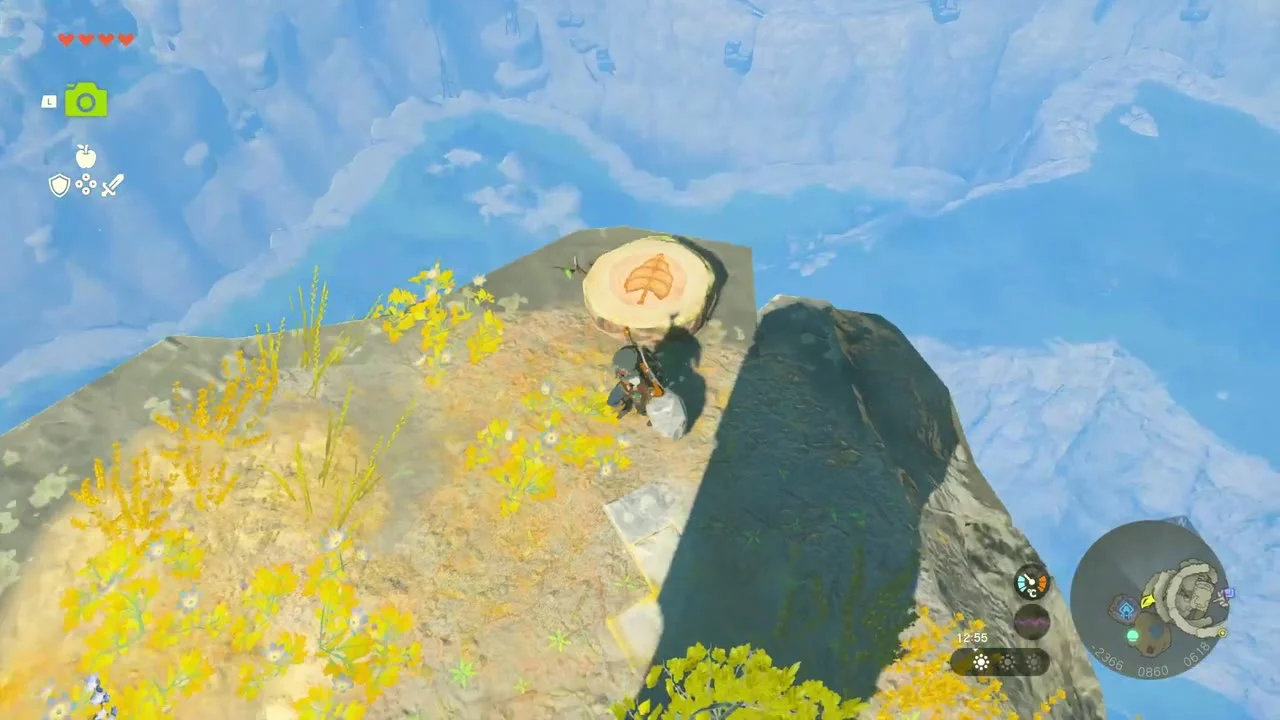
Korok seed (stump ledge). Next to the shrine, climb the rock pillar at the island’s edge to a narrow ledge with a leaf-marked tree stump on top. Step off the edge and glide down the side of the pillar; a Korok hangs from a leaf in mid-air just below the ledge. Examine it for the seed. The Glide Shirt helps with the landing.



Hyrule Ridge and Lindor’s Brow Cave
Korok seed (Ascend). Glide off Courage Island toward the pale rock hills of Hyrule Ridge, southeast of the tower. Look for the round hole in the side of a hill with a toppled stone column beside it. Drop in, stand under the stump in the ceiling and use Ascend to come out on the hilltop above, where the Korok waits.

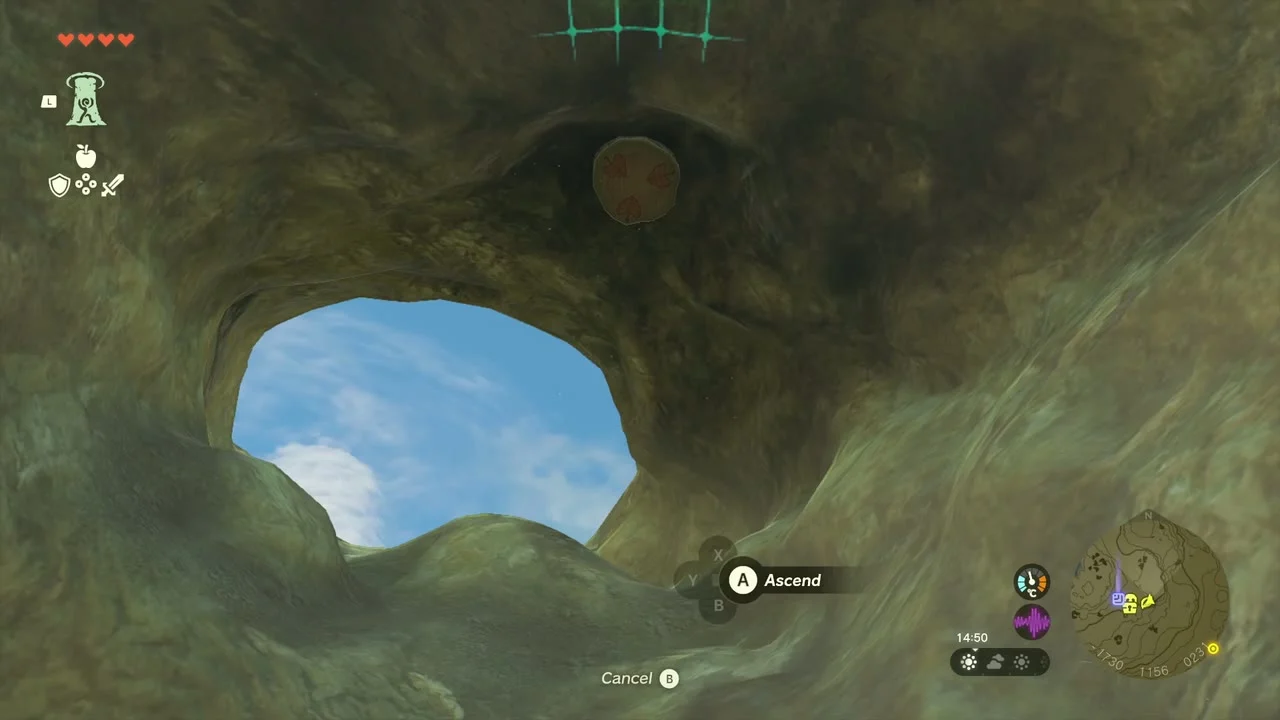

Lindor’s Brow Cave entrance. The same hole drops into Lindor’s Brow Cave. Bring gloom-resistant gear, Brightbloom Seeds and arrows; the cave is dark and lined with gloom.


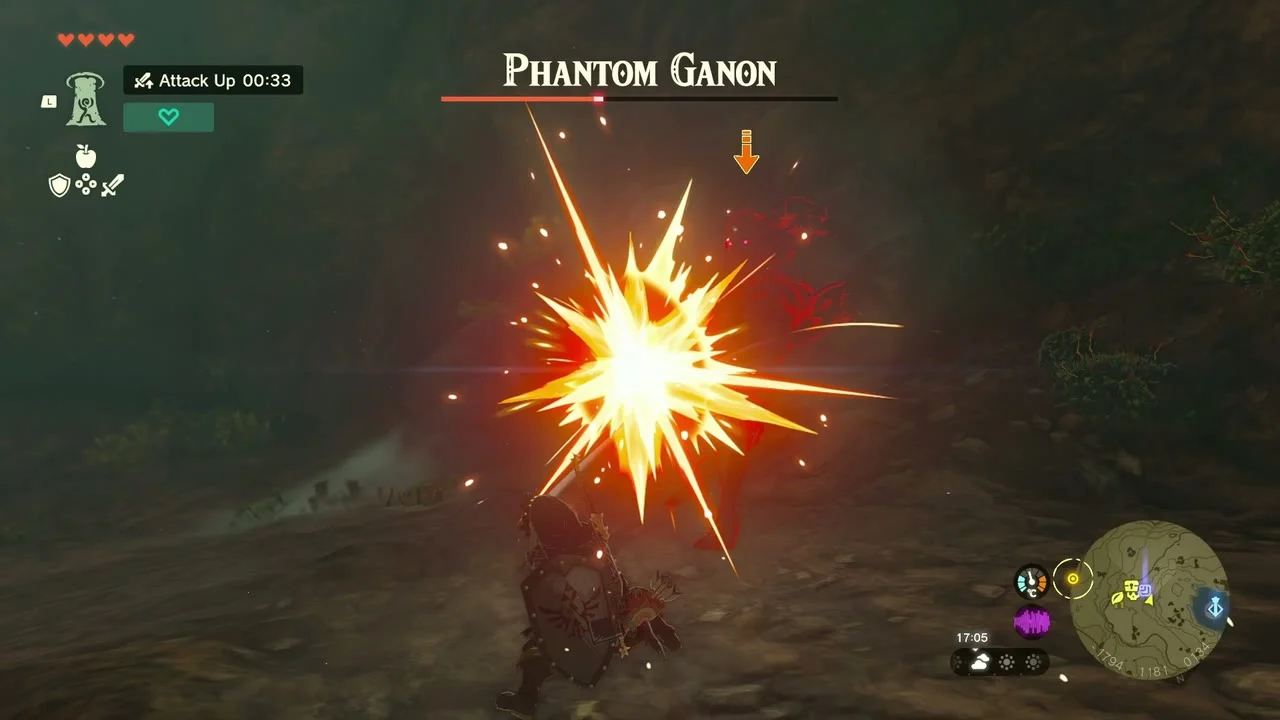
Phantom Ganon (miniboss). In the main chamber, Gloom Spawn crawl out of the pools, and Phantom Ganon rises once you defeat them. Bomb arrows from the high ledge are effective, and Attack Up food helps. It drops a Gloom Sword (it may carry another Gloom weapon instead) and Dark Clump, and some guides list a Demon King’s Bow as a possible drop. The fight is optional: the Gloom Hands only matter if you engage them.

Bubbul Gem. Climb the higher ledge on the northwest side of the main chamber.
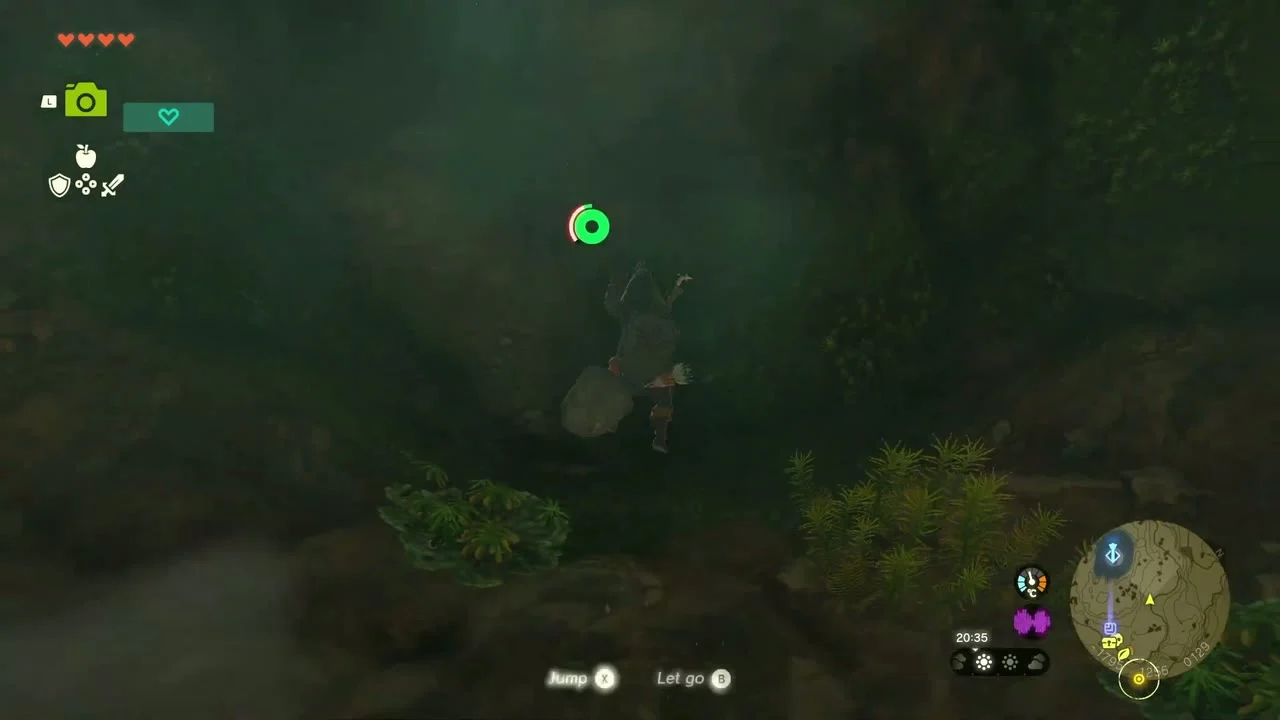
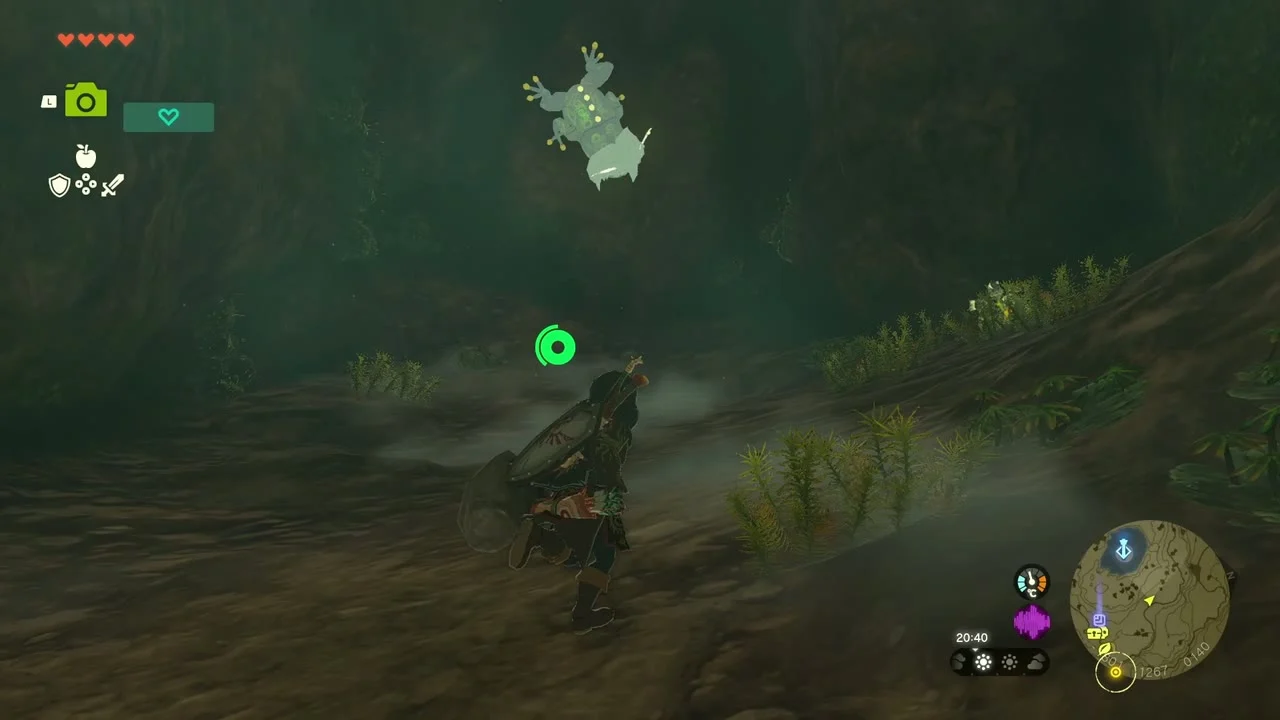
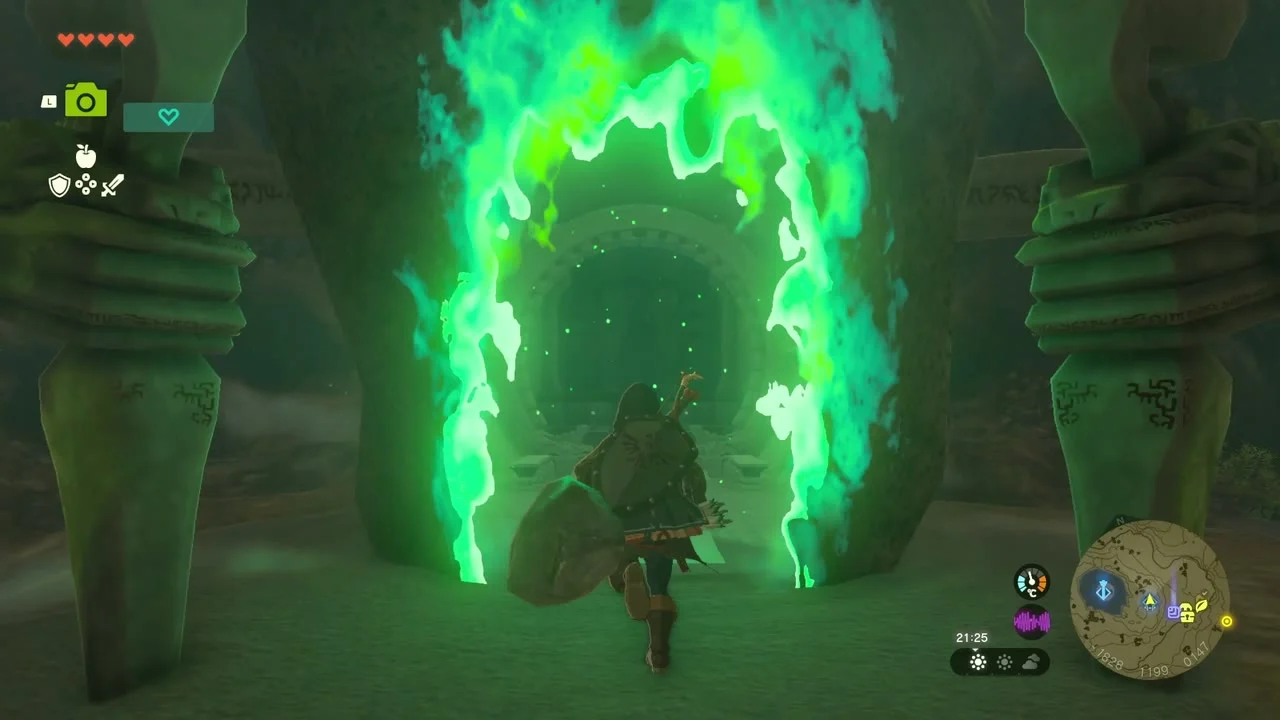
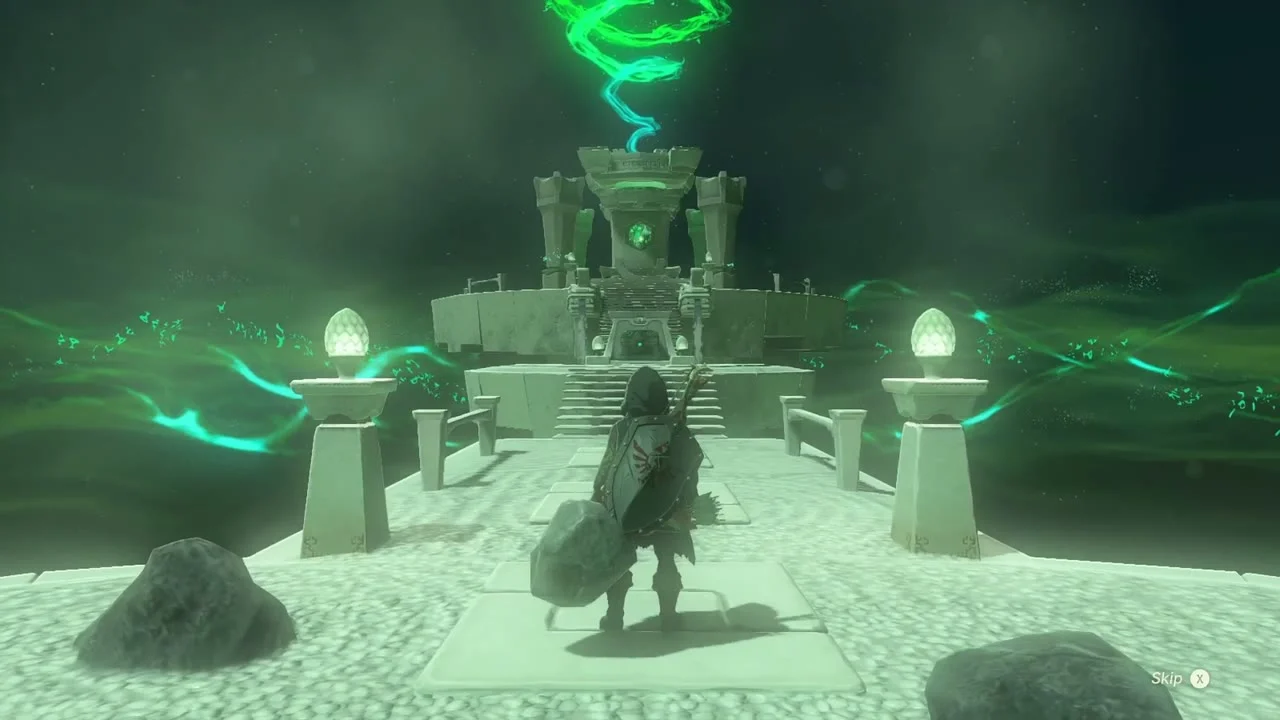
Taki-ihaban Shrine (Rauru’s Blessing). Past the frog, a stone arch with a glowing green portal leads to Taki-ihaban Shrine. There is no puzzle: open the chest for a Large Zonai Charge and take the Light of Blessing. Ascend through the cave ceiling afterwards to return to the surface.
Collectibles in this chapter
| Collectible | Count | Where |
|---|---|---|
| Shrines | 3 | Sinakawak (Opal), Taunhiy (Strong Construct Bow), Taki-ihaban (Large Zonai Charge) |
| Chests | 4 | Purple Rupee (New Serenne Stable Well), Opal, Strong Construct Bow, Large Zonai Charge |
| Korok seeds | 2 | Stump ledge pillar on Courage Island; Ascend hilltop on Hyrule Ridge |
| Bubbul Gem | 1 | Lindor’s Brow Cave |
| Outfit and upgrades | 3 | Glide Shirt (Dive Ceremony), Stamina Vessel (Goddess Statue), Horse-God Fabric (Pony Points) |
| Rewards | 3 | Silver Rupee (Zumi), Spicy Elixir (Ariane), Large Zonai Charge (Dive Ceremony record) |
| Quests | 2 | Horse-Drawn Dreams, Hestu’s Concerns (extra stash slot) |
| Miniboss | 1 | Phantom Ganon in Lindor’s Brow Cave |
