





















Tears of the Kingdom 100% Completion Walkthrough43 chapters
Great Sky Island
- Great Sky Island4 shrines, 4 caves and Bubbul Gems, 17 Korok seeds
Hyrule Field and Hyrule Castle
- Lookout LandingParaglider, Crisis at Hyrule Castle, Jiosin and Kyononis shrines, 2 caves, 3 wells
- Hyrule FieldSusuyai and Ishodag shrines, the Hyrule Field Chasm, 2 caves, 13 Koroks
- Hyrule Castle Town RuinsSepapa, Yamiyo and Tukarok shrines, 2 caves, 4 wells, Koroks, chests and Battle Taluses in route order
- Central Hyrule Depthslight all 7 Lightroots, loot Daphnes and Gustaf Canyon Mines, find the Miner's Top
- Rest of Hyrule CastleRoyal Hidden Passage loot, 8 castle chests, Phantom Ganon, Energy Wells
- South Hyrule FieldShrines, Koroks & the Great Plateau
- South Hyrule Field DepthsGreat Abandoned Central Mine, Master Kohga, Autobuild, Majora's Mask
Tabantha and Hyrule Ridge
- Tabantha FrontierNew Serenne Stable, Hestu, Courage Island and the Glide Shirt, 3 shrines, 2 Korok seeds, Lindor's Brow Cave
- Forgotten TempleImpa and the Geoglyphs, Dragon's Tears, Kiuyoyou and Mayausiy shrines, Yiga Maritta Branch, 9 Koroks
- Tanagar Canyon & Hyrule RidgeRunakit and Iun-orok shrines, 2 caves, 12 Koroks, 20 chests, 8 minibosses and Dragon's Tear 6
- Thundra Plateau & Tabantha Bridgesolve the noon shadow puzzle, Tabantha Bridge Stable, Makurukis Shrine, 19 Korok seeds, 9 chests, 3 minibosses
- Lindor's Brow DepthsLightroots; Two Yiga camps (Bomb Bouquet, Flamethrower Balloon)
- Hyrule Ridge and Tabantha FrontierIkatak, Oromuwak, Ganos and Ga-ahisas shrines, 4 caves, a well, 26 Koroks and 3 minibosses
Hebra
- Rito VillageGatakis and Ijo-o shrines, Sikatag Lightroot, 9 Korok seeds, 14 chests
- Hebra MountainsShrines, Wind Temple & Koroks; Raspro Pass, Biron Snowshelf & Royal Hidden Passage
- Corvash Canyon MineTrousers of the Hero, Floodlights schematic, Sea-Breeze Boomerang, four Lightroots, Colgera
- Raspro Pass DepthsNupisoyuat and Sasag Lightroots, Colgera, Cap of Time, Tunic of the Wind, two Yiga camps and 13 minibosses
- Tabantha TundraTaninoud, Orochium, Oshozan-u, Mayaotaki, Nouda and Tenbez shrines, three Lightroots, caves and Bubbul Gems
- Pikida Stonegrove DepthsEvil Spirit Greaves, Ikatoayam, Muihcoro and Sikatag Lightroots, 3 Yiga schematics, Frox fights
Great Hyrule Forest
- Great Hyrule Forest7 shrines, 8 Lightroots, 2 caves, 2 wells, Korok Mask, Glide Tights
Eldin
- EldinEldin Canyon, Shrines, Caves & Goron City
- Eldin Canyon Depths10 Lightroots, Zant's Helmet, Trousers of the Wild, Biggoron's Sword, 3 Yiga schematics and Eldin's sky chests
Faron
- FaronHighland Stable, Lake Hylia & Popla Foothills
Necluda
- Kakariko VillageMakasura Shrine, Kakariko Village Well, 2 caves, Ring Ruins chests, 10 Korok seeds and village quests
- West Necluda and Lanayru WetlandsShrines, Koroks & Caves; Jonsau, Kurakat
- Hateno VillageZanmik and Mayahisik shrines, Shield of the Mind's Eye and Phrenic Bow wells, 7 Koroks
- East NecludaRabella Wetlands, Sifumim Shrine, Lurelin Village, 21 Korok seeds
- East Necluda DepthsKumamayn Shrine, 4 Lightroots, Midna's Helmet, Cap of the Hero, Trousers of the Wind and 18 Depths chests
Lanayru
- Lanayru Great SpringShrines, Koroks & Caves; Ralis Channel, 3 shrines, 8 caves
- Zora's DomainMogawak and Ihen-a shrines, Ploymus cave, Pristine Sanctum, Zora Armor, Sidon of the Zora and Clues to the Sky
- Wellspring IslandAncient Zora Waterworks chests, Igoshon Shrine, 2 Korok seeds, Water Temple's four wheels and Mucktorok
- Mount LanayruShrines, Koroks & Light Rings; Jikais and Anedamimik shrines
Gerudo
- Gerudo DesertShrines, Caves & Koroks; West and South Sands
- Gerudo TownGerudo Shelter shops and quests, Valley of Silent Statues, Lightning Temple and Queen Gibdo, Chichim Shrine
- Gerudo Desert DepthsGranajh and Daval mines, three Master Kohga fights, Queen Gibdo, Mucktorok, Sheik's Mask and 37 chests
- Gerudo HighlandsSkyview Tower, Rotsumamu and Suariwak shrines, Mayasiar Shrine, Yiga hideout
Akkala
- AkkalaTarrey Town quests, 4 shrines, Hinox, Battle Talus
- Akkala Sky Islands and DepthsGikaku and Natak shrines, Old Maps, Lomei Depths Labyrinth, Mucktorok, 5 Lightroots and 19 chests
Finale and completion
- Ancient Tablets, Gleeoks and Armor Upgradesall 13 stone tablets with coordinates, Frost and King Gleeok, Obsidian Frox, Cotera upgrades and farming
- Hyrule CastleRoyal gear chests, Korok seeds, Serutabomac Shrine
- Thunderhead IslesCharged armor, Joku-usin and Joku-u Shrines, Dragonhead Island's relic
- 100% Completion: Armor Upgrades & Korok BonusHestu's Gift, Ancient Hero's Aspect, Great Fairy Cotera upgrade costs and materials, then Destroy Ganondorf
| Region | The Depths beneath the Gerudo Highlands and Gerudo Desert (Granajh and Daval Canyon Mines, Desert Coliseum, Gerudo Dark Skeleton, Abandoned Gerudo and Abandoned Kara Kara Mines), then the Abandoned Lanayru and Abandoned Hebra Mines, the Queen Gibdo and Mucktorok arenas, and a short surface trip to Typhlo Ruins and Ulri Mountain |
|---|---|
| Depths landmarks | Granajh Canyon Mine (-1380, -3363, -952), Daval Canyon Mine (-1391, -3604, -917), Abandoned Kara Kara Mine (-3171, -2311, -475), Abandoned Gerudo Mine (-3816, -2890, -383), Desert Coliseum (-4314, -3802, -362), Gerudo Dark Skeleton (-4619, -3685, -530), Abandoned Lanayru Mine (3170, 936, -677), Abandoned Hebra Mine (-3457, 1862, -316) |
| Lightroots used | Kawagom (3299, 423) for the Abandoned Lanayru Mine, Sikatag (-3651, 1806) for the Abandoned Hebra Mine, Korakut (915, -251) for the Queen Gibdo arena and Uoyoyuik (-1106, 2087) for the Mucktorok arena. See all Lightroots. |
| Bosses | Colgera (Depths), Queen Gibdo (Depths), Mucktorok (Depths), Master Kohga x3 |
| Minibosses | Stalnox, Flux Construct II, Phantom Ganon with Gloom Hands, Hinox, Frox x8, plus other Hinox, Lynel and Stone Talus fights on the way |
| Armor | Sheik’s Mask (Desert Coliseum), Tunic of the Wild (Gerudo Dark Skeleton skull), Miner’s Mask (Abandoned Kara Kara Mine) |
| Quests | Master Kohga of the Yiga Clan, The Long Dragon, Investigate the Thyphlo Ruins |
| Previous / next | Gerudo Desert, part 2 / Akkala |
This chapter is a Depths clean-up run: with the Gerudo Lightroots already lit, you sweep the dark between the Gerudo Highlands and the desert, raid Yiga camps, beat Master Kohga in three abandoned mines, clear the Colgera, Queen Gibdo and Mucktorok rematch arenas for Huge Crystallized Charges, then surface at Typhlo Ruins and finish at Ulri Mountain Skyview Tower. Coordinates are map units (X, Y, height); larger Y is further north. Bring plenty of Brightbloom Seeds and a Zonai vehicle with batteries, because the distances in the dark are long.
Quick route
Start at Granajh Canyon Mine, defeat Colgera between the two canyon mines, open the Daval Canyon Mine chest and clear the Yiga camps and Frox on the way east and south toward the Gerudo Dark Skeleton.
Break Stalnox, clear the Desert Coliseum for Sheik’s Mask, defeat Phantom Ganon and find the Tunic of the Wild in the tree roots, then take Flux Construct II.
Visit the Abandoned Gerudo Mine for a Schema Stone and the first Kohga fight, Lightroot-travel to the Abandoned Lanayru Mine and the Abandoned Hebra Mine for the other two, then work through the Abandoned Kara Kara Mine, the Hinox and the last platform chests.
Finish with Queen Gibdo near Korakut Lightroot, Mucktorok near Uoyoyuik Lightroot, and the Typhlo Ruins and Ulri Mountain surface trip.
Granajh and Daval Canyon Mines
Open the first Large Crystallized Charge chest at Granajh Canyon Mine
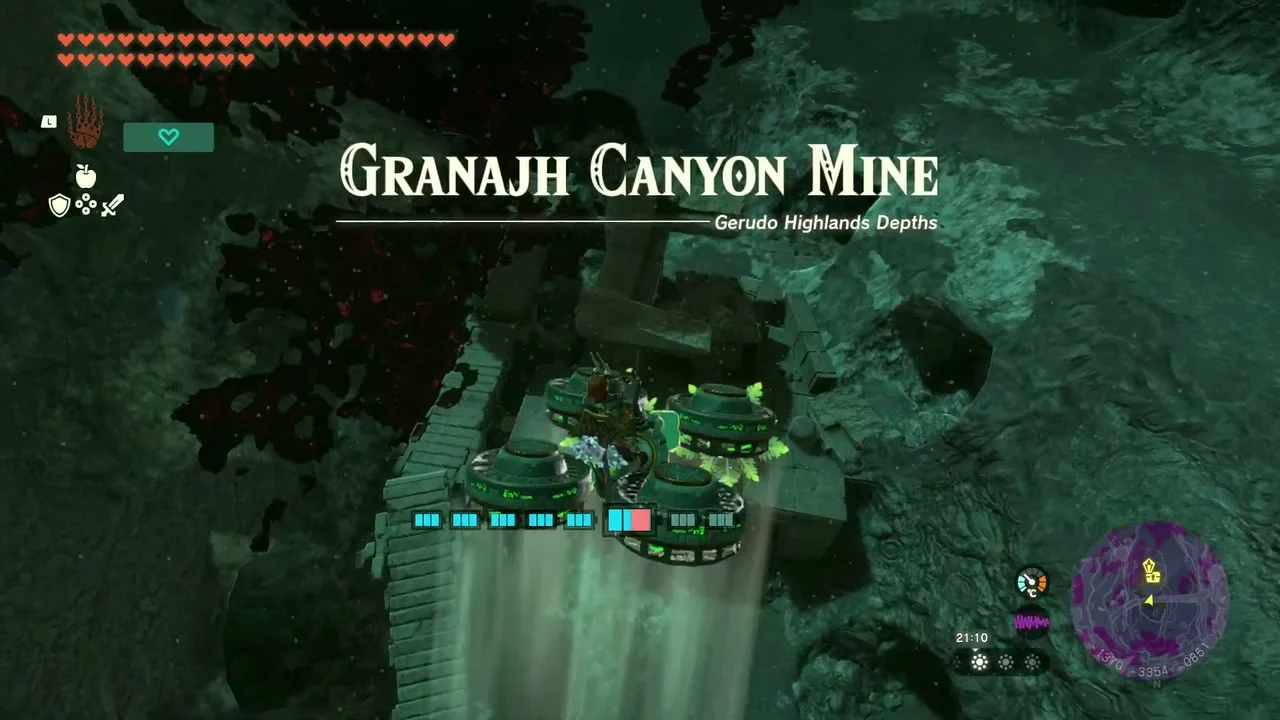
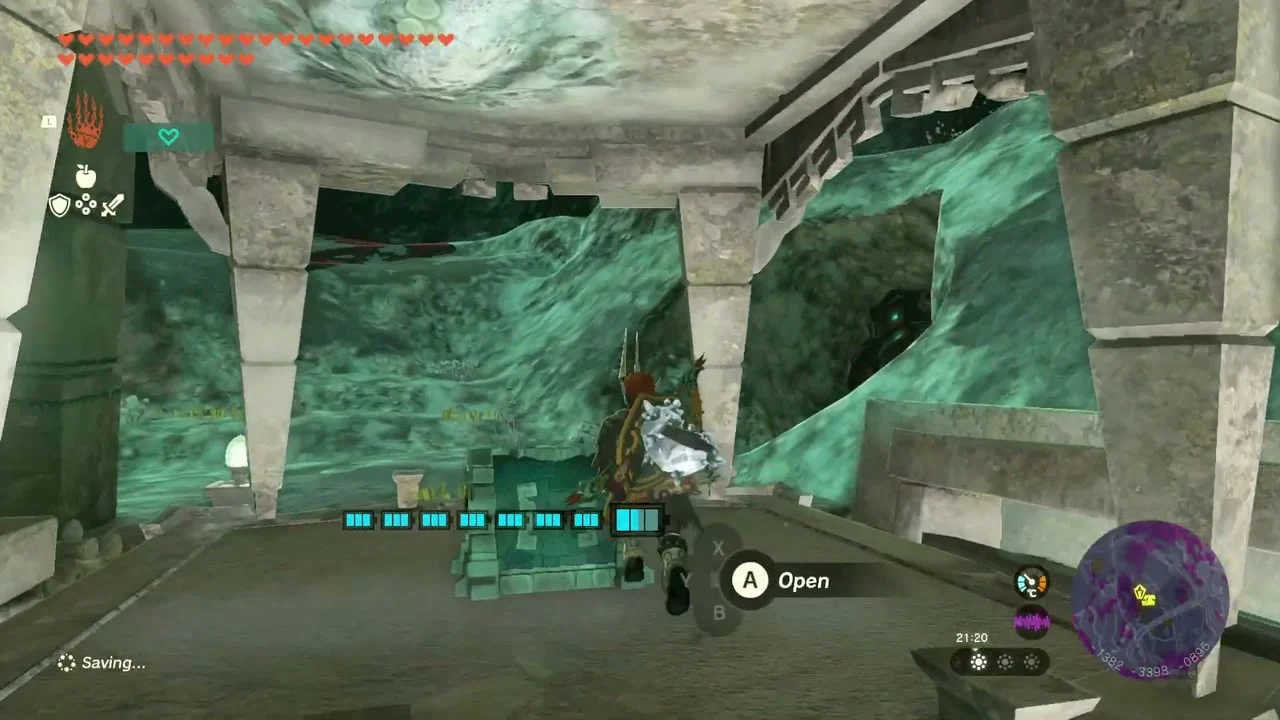
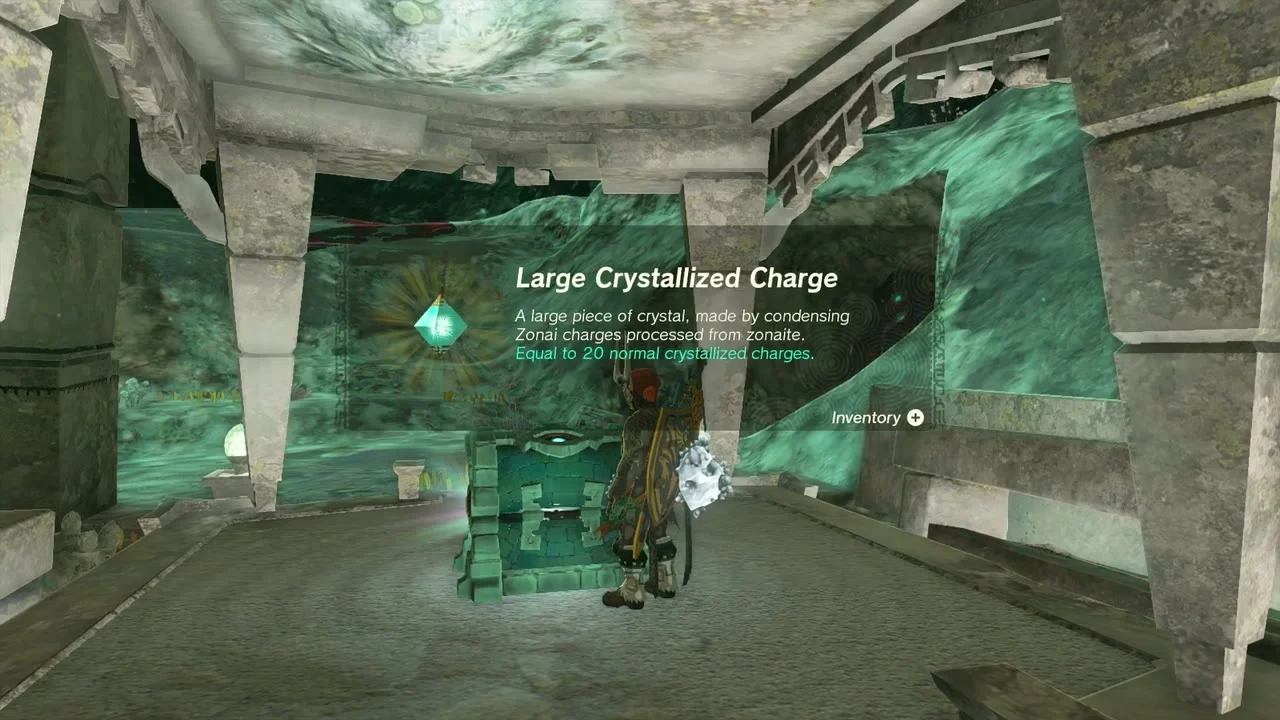
Granajh Canyon Mine at (-1380, -3363, -952) lies under Mount Granajh in the Gerudo Highlands Depths. Glide to the lamp-lit stone hall inside the mine and open the chest for a Large Crystallized Charge.
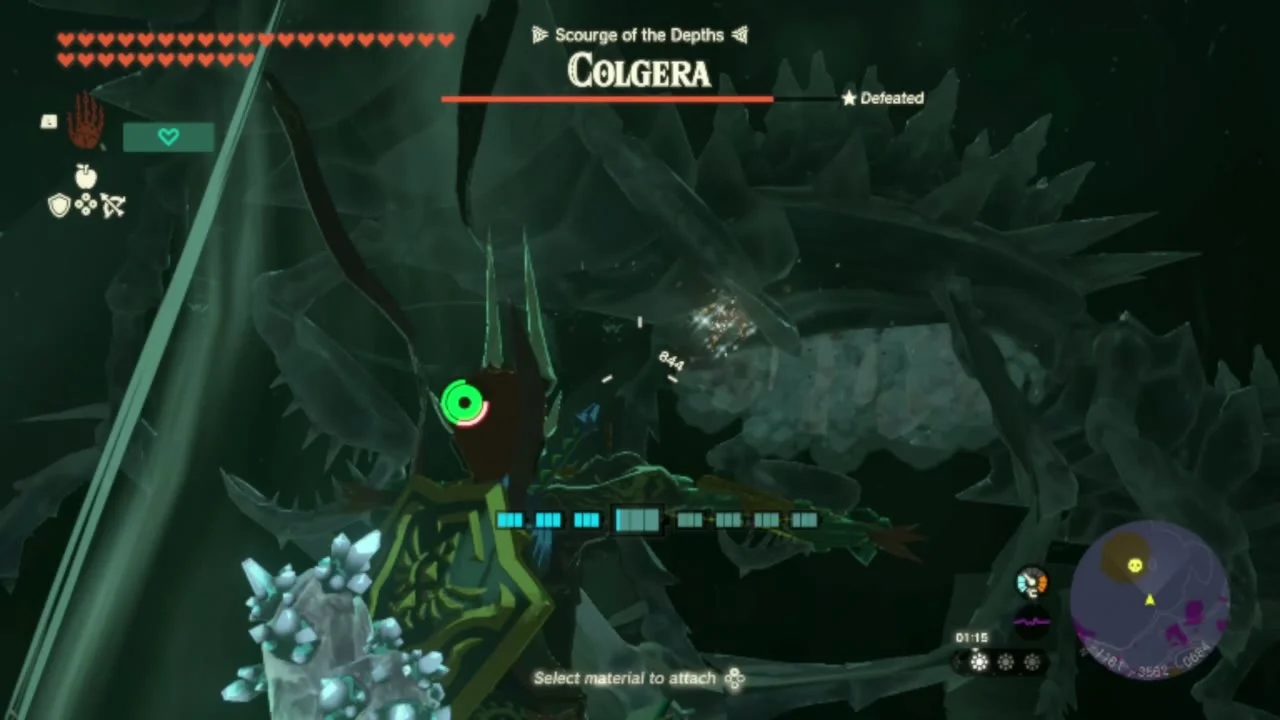
Defeat Colgera
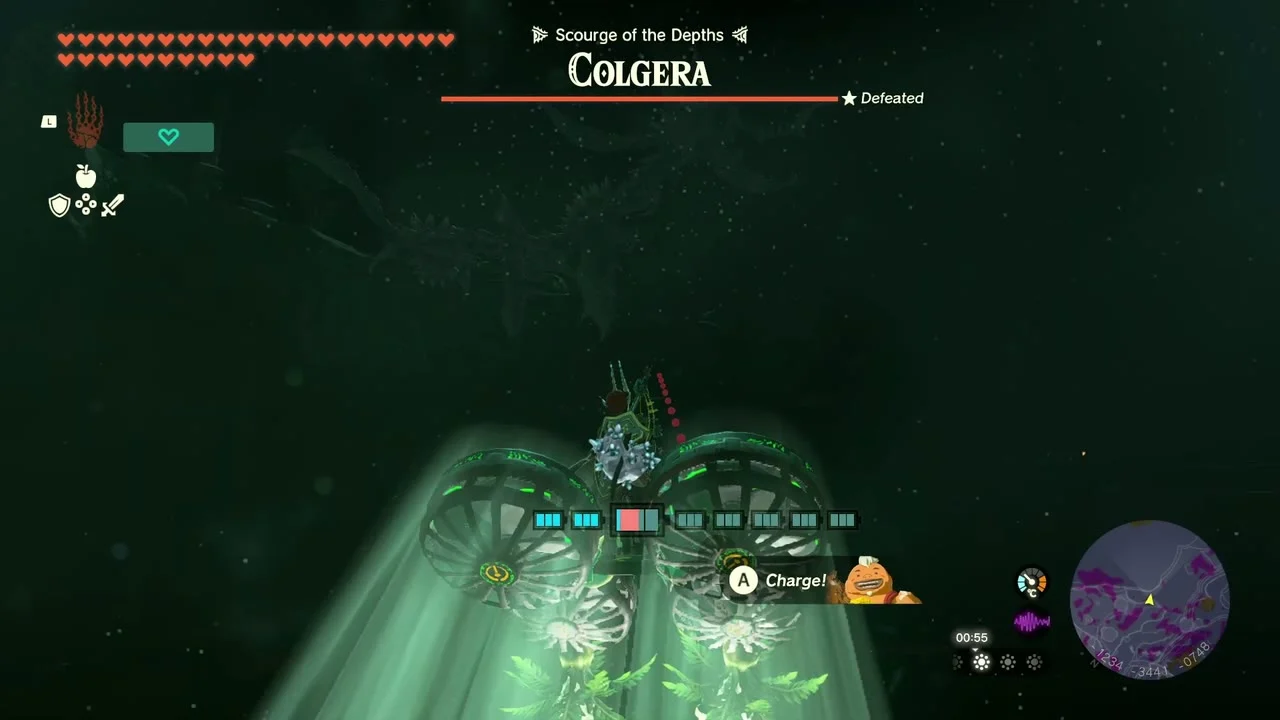
Boss: Colgera (Depths), in the open cavern between the two canyon mines. Shoot the wings and the weak points on its back, then fall back to cover while it spins. Aim for the wing joints first, and let it fall before hitting the body. This is a rematch arena for the Wind Temple boss; beating it yields Colgera Jaw material as well as the chest.

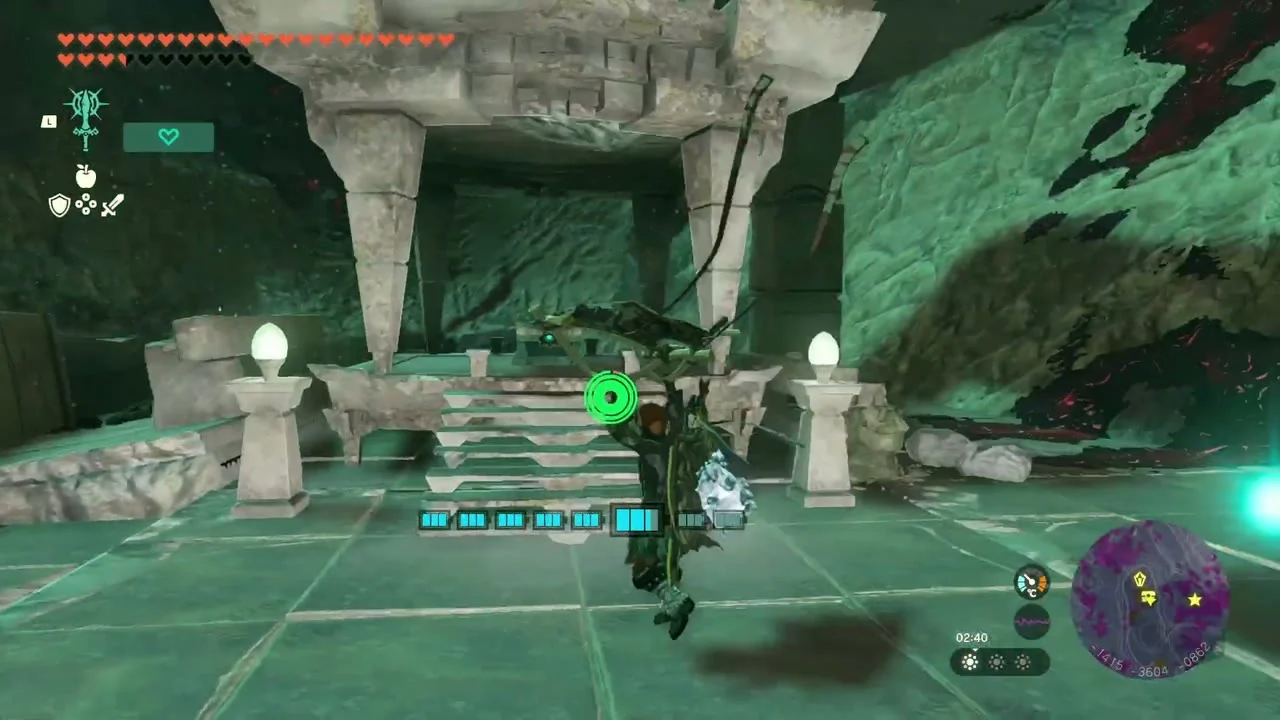
Search the hall at Daval Canyon Mine
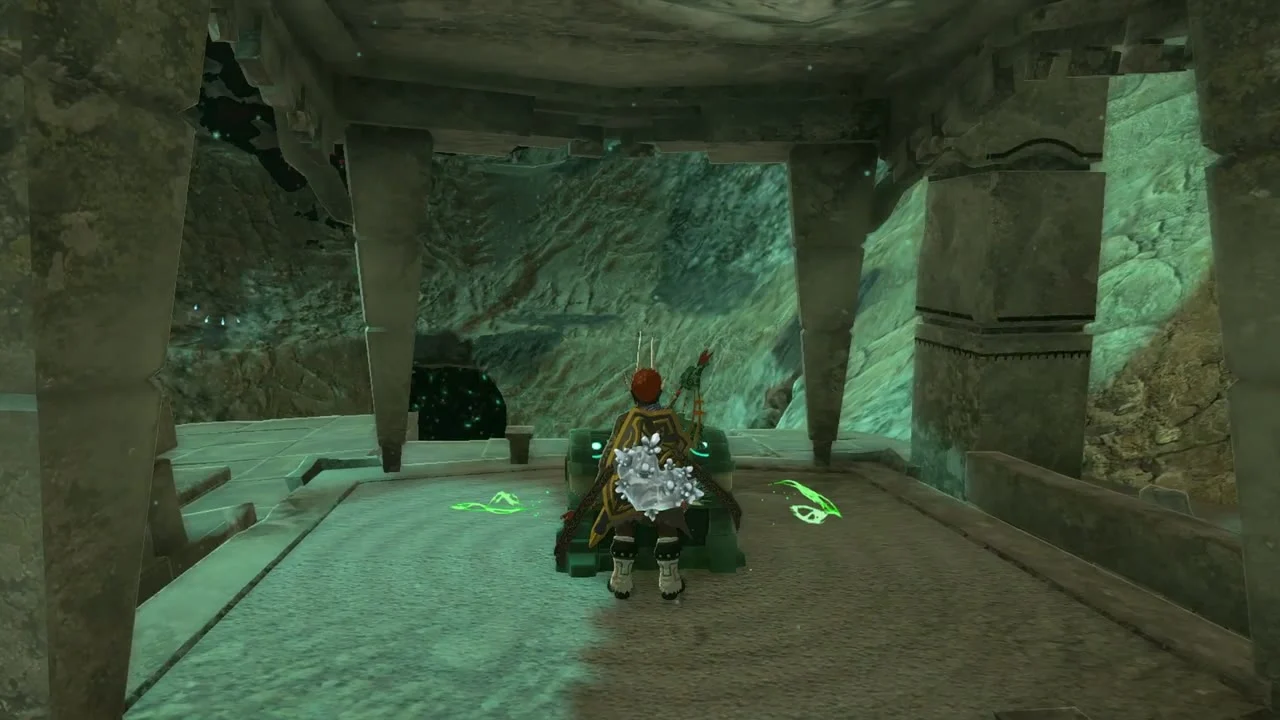
Daval Canyon Mine at (-1391, -3604, -917), south of Granajh. Climb the staircase between the two lamps into the stone hall and open the chest for another Large Crystallized Charge.
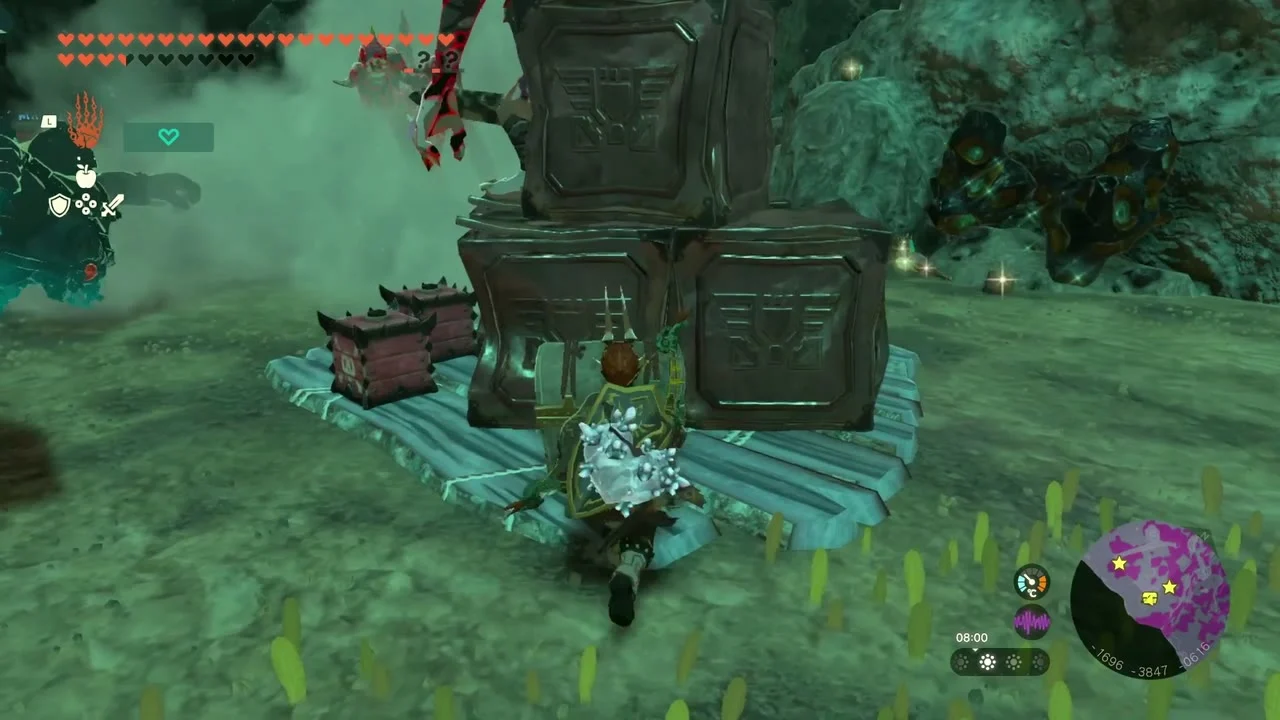
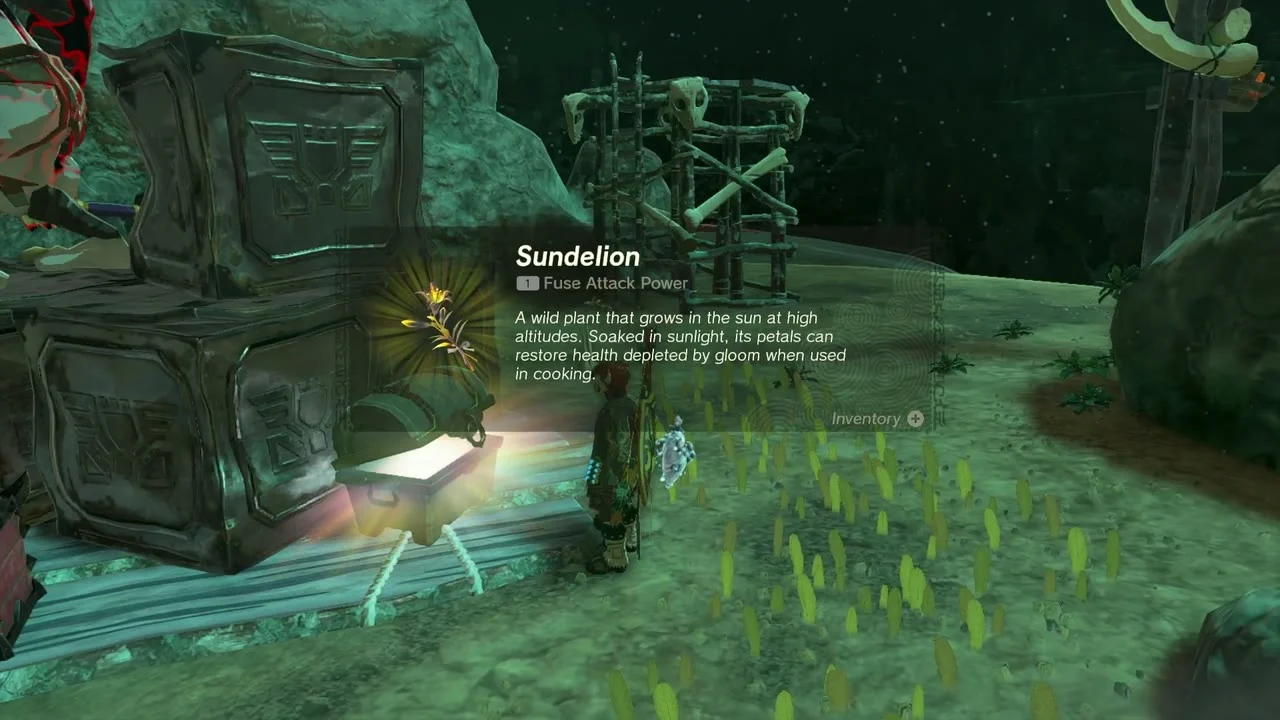
Grab the crate-stack Sundelion chest
Beyond the mines, a chest sits at the foot of a stack of stone crates guarded by a Bokoblin camp. Clear the camp, then open it for a Sundelion.
Cut Farosh’s spike shards
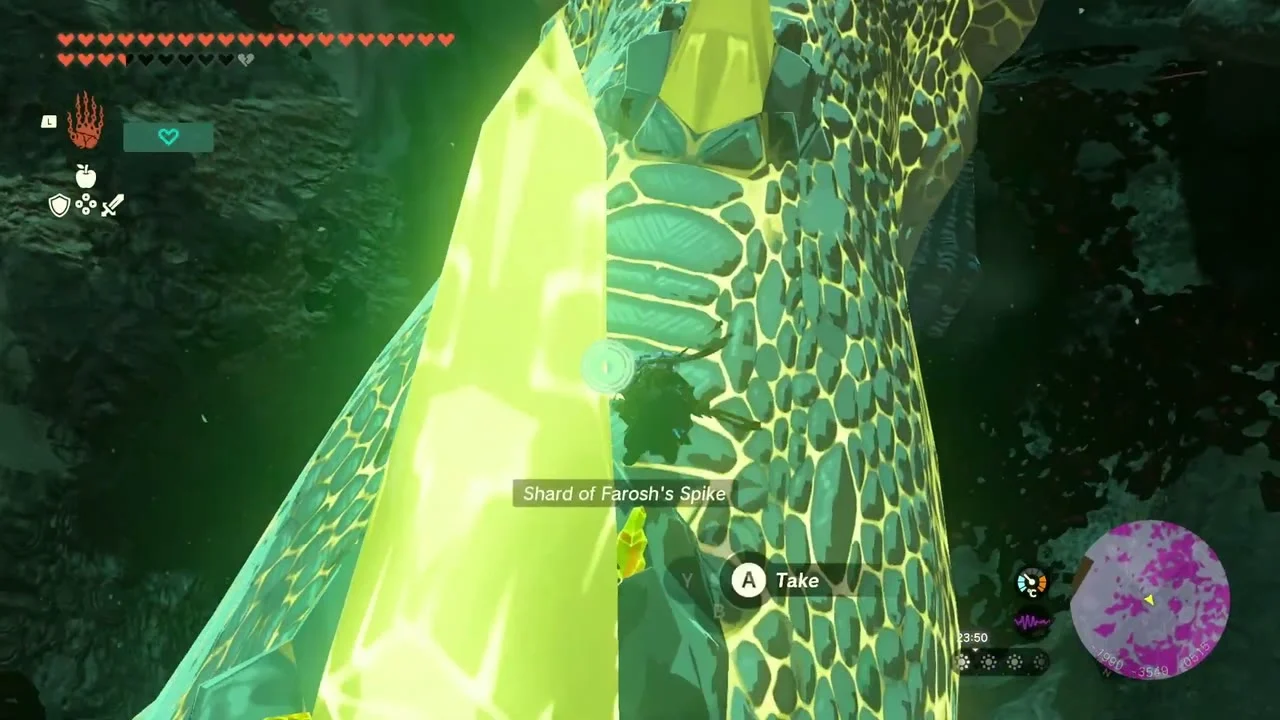
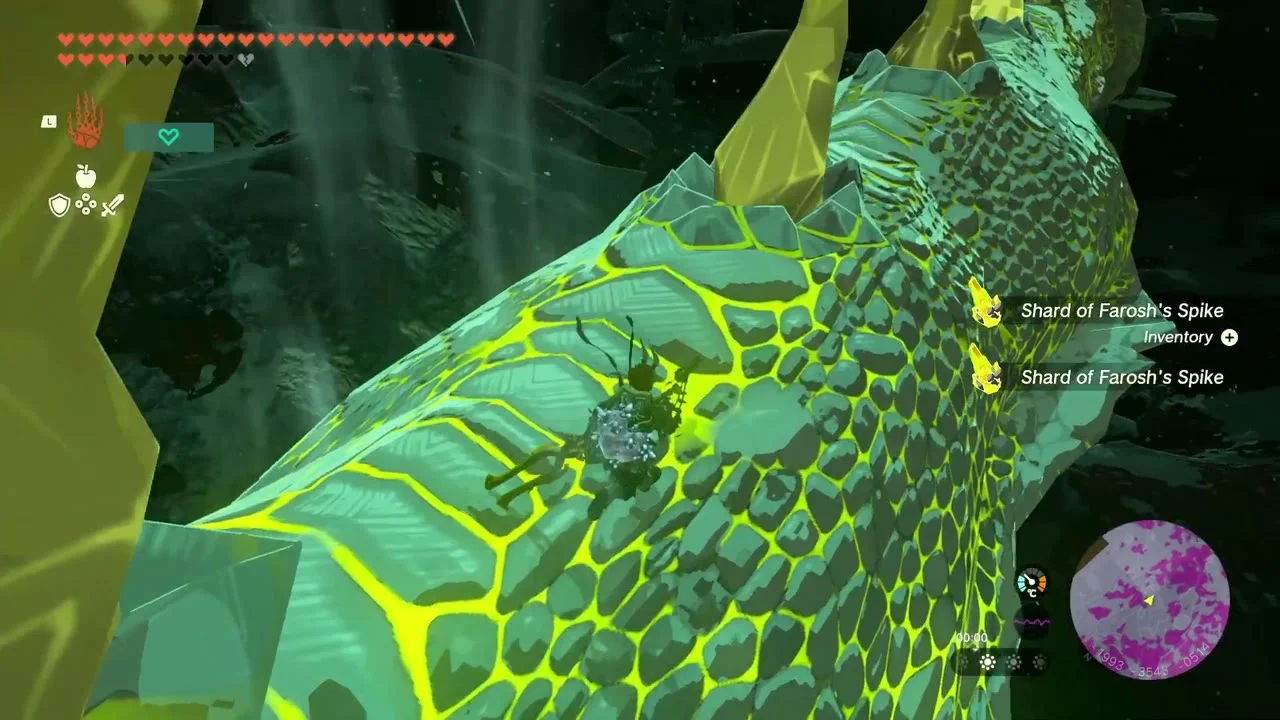
Back on the surface, land on Farosh as it passes and climb to the glowing spike on its back. Hold the button to cut the spike and collect Shard of Farosh’s Spike, a Fuse material.
Raid the first Yiga camp
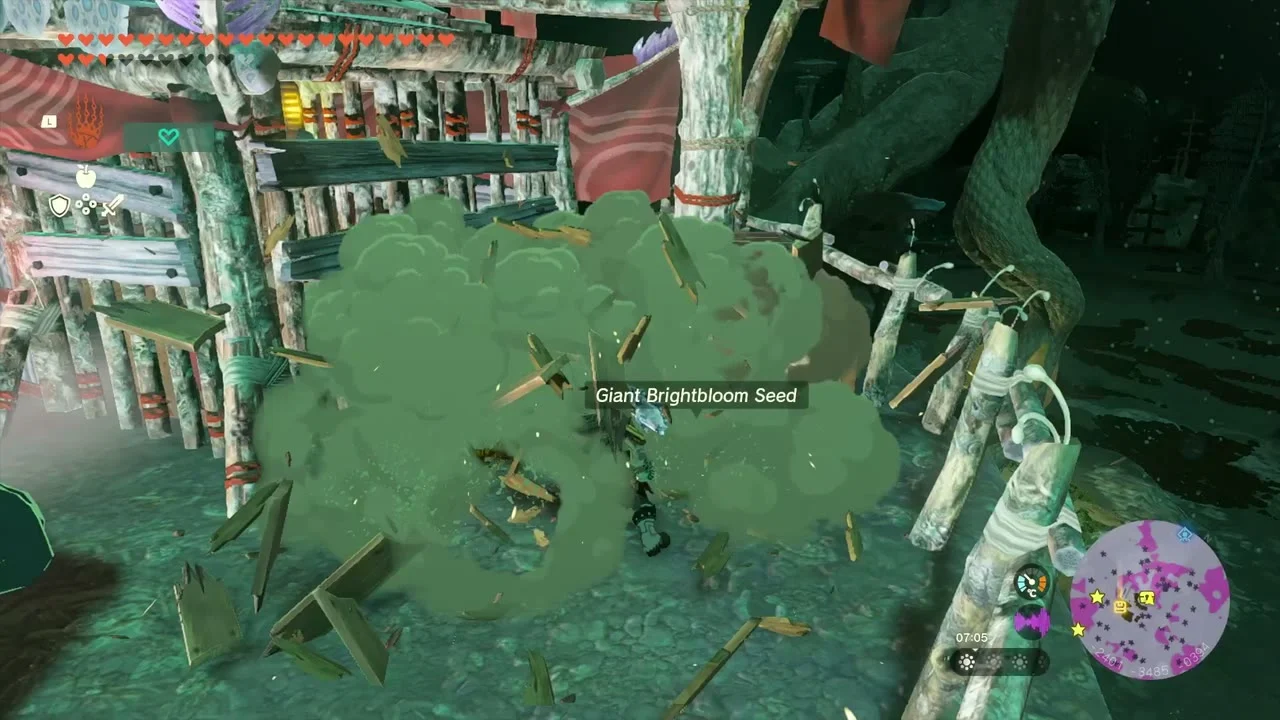
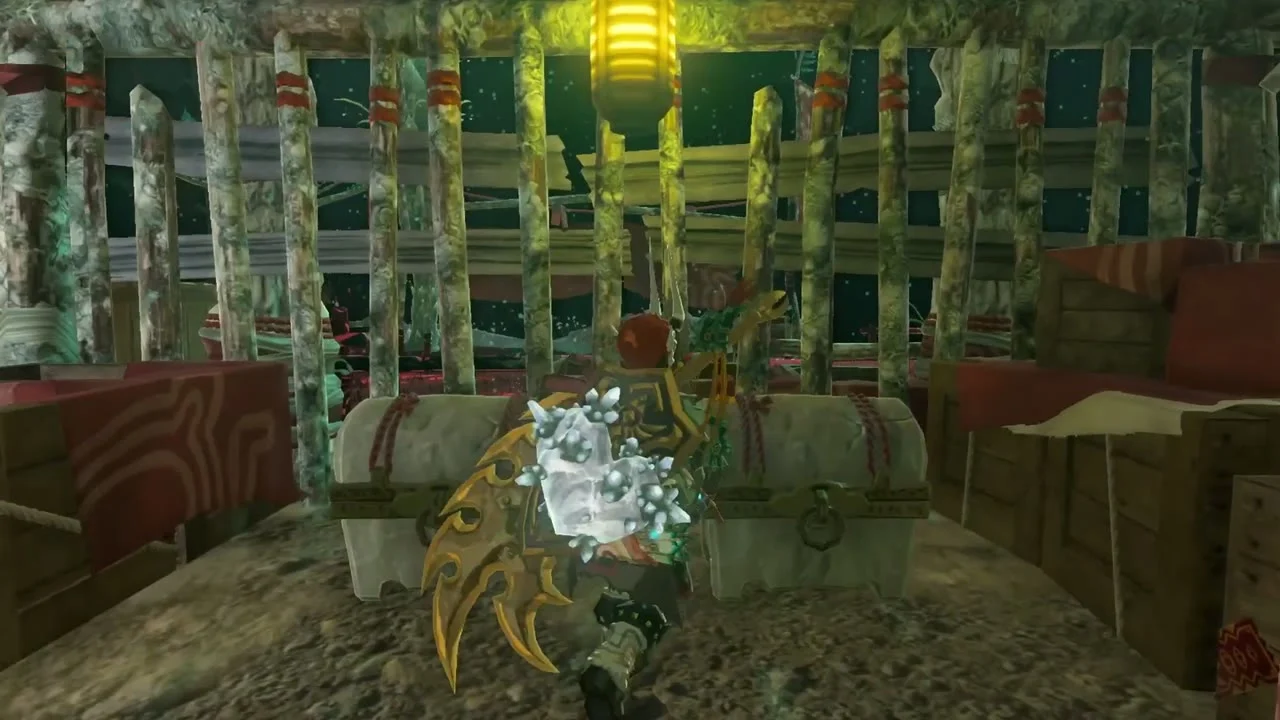
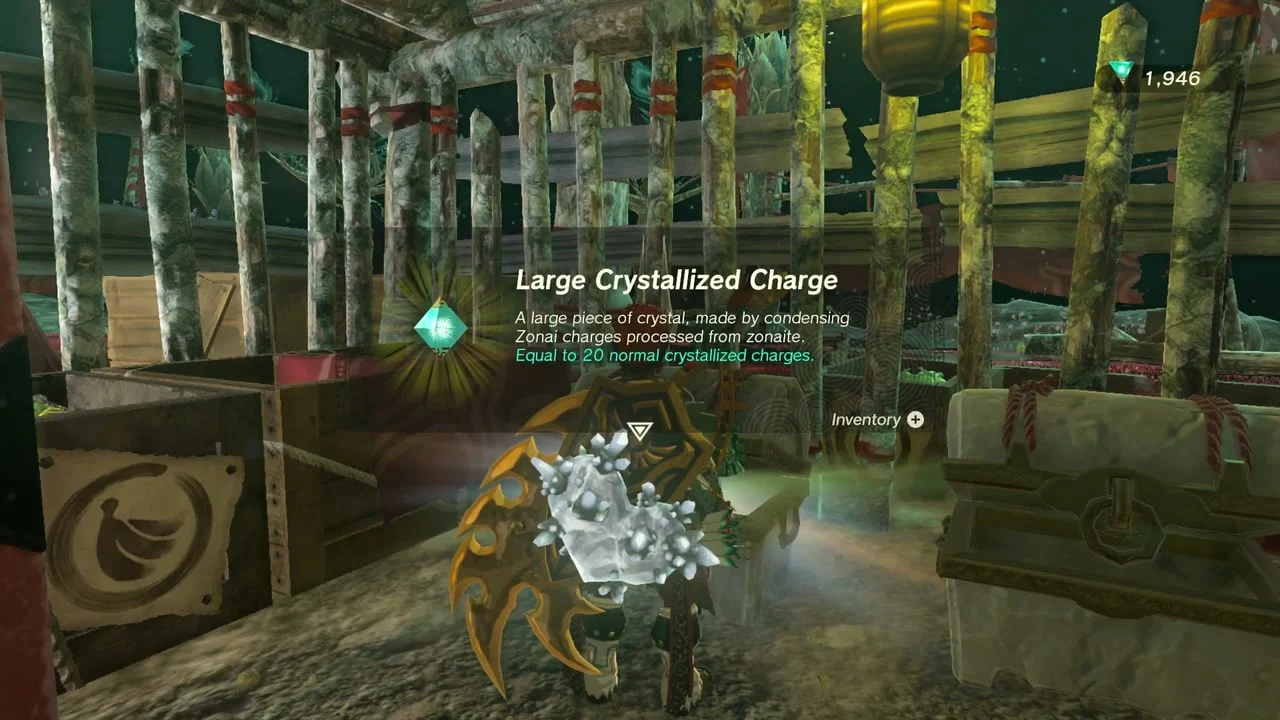
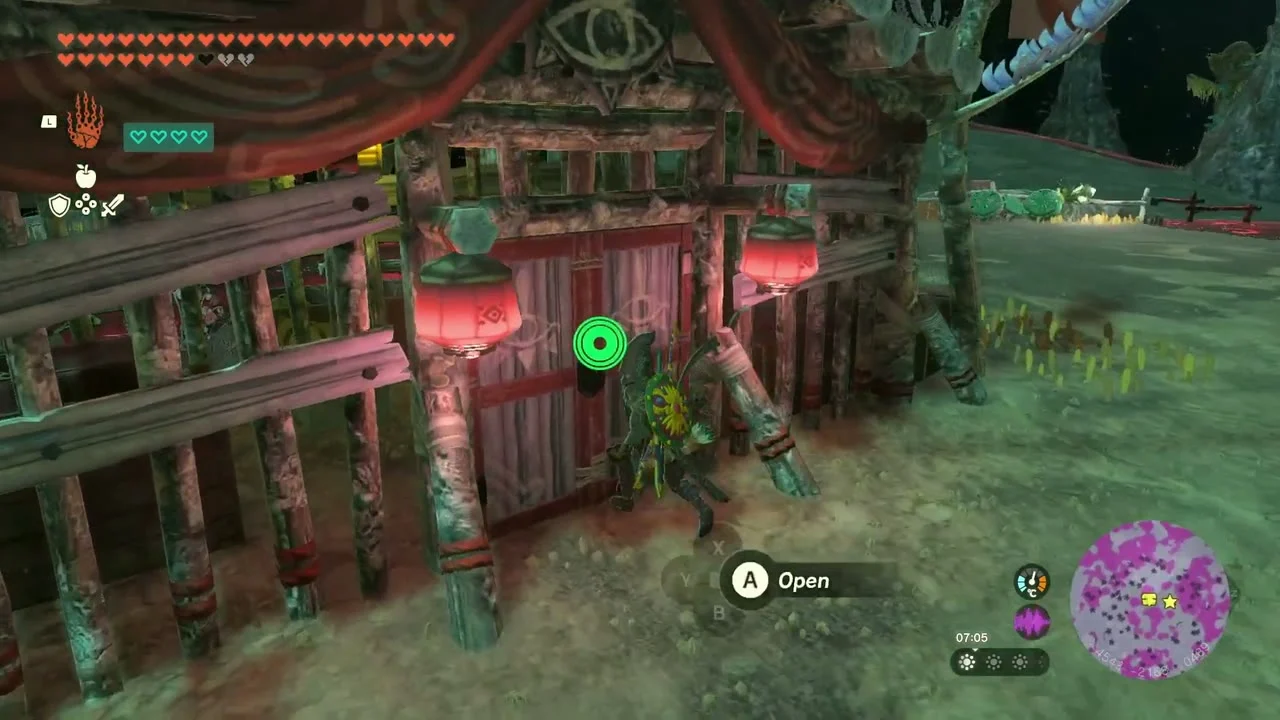
Back in the Depths, a Yiga camp sits on a raised platform. Light the area with a Giant Brightbloom Seed, beat the Yiga, then open the chests inside the red-and-white fence. One holds a Large Crystallized Charge.


Take the second Yiga camp
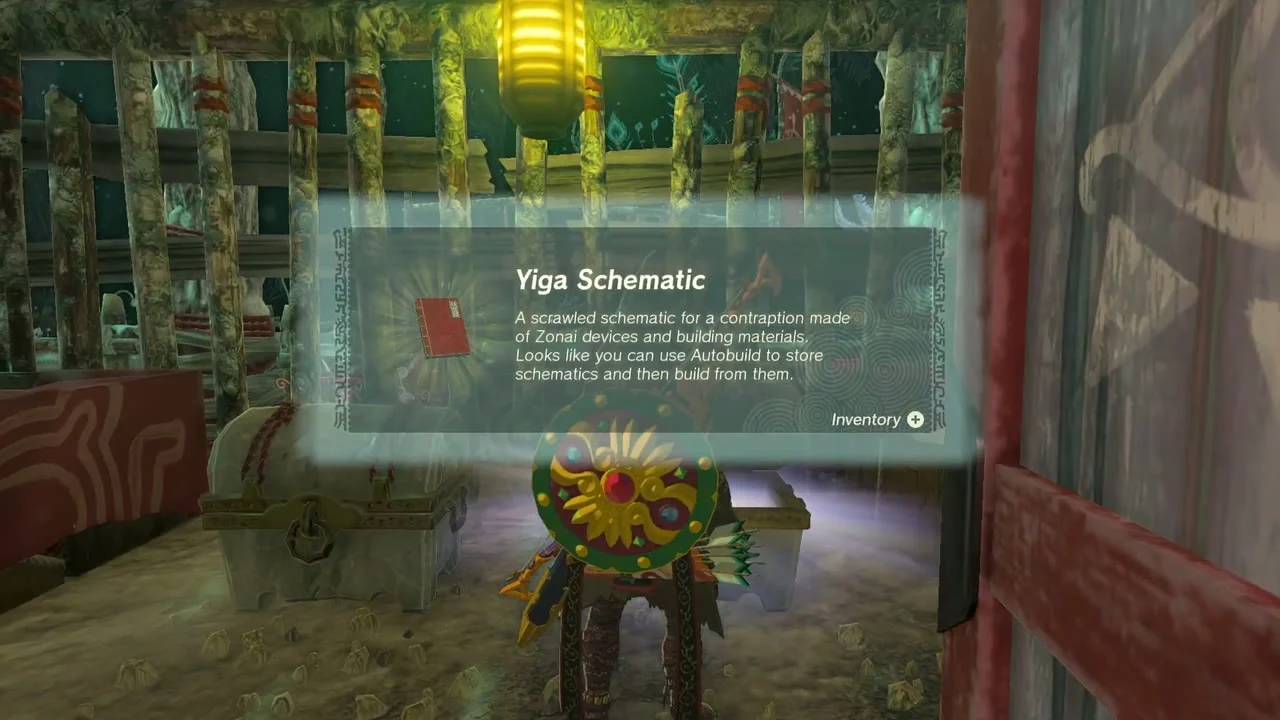
A second camp further on holds a Yiga Schematic, which registers the Vertical Escape design with Autobuild, and another Large Crystallized Charge. Open the chests in the large tent at the camp.

Break the Frox with the Depths in the way
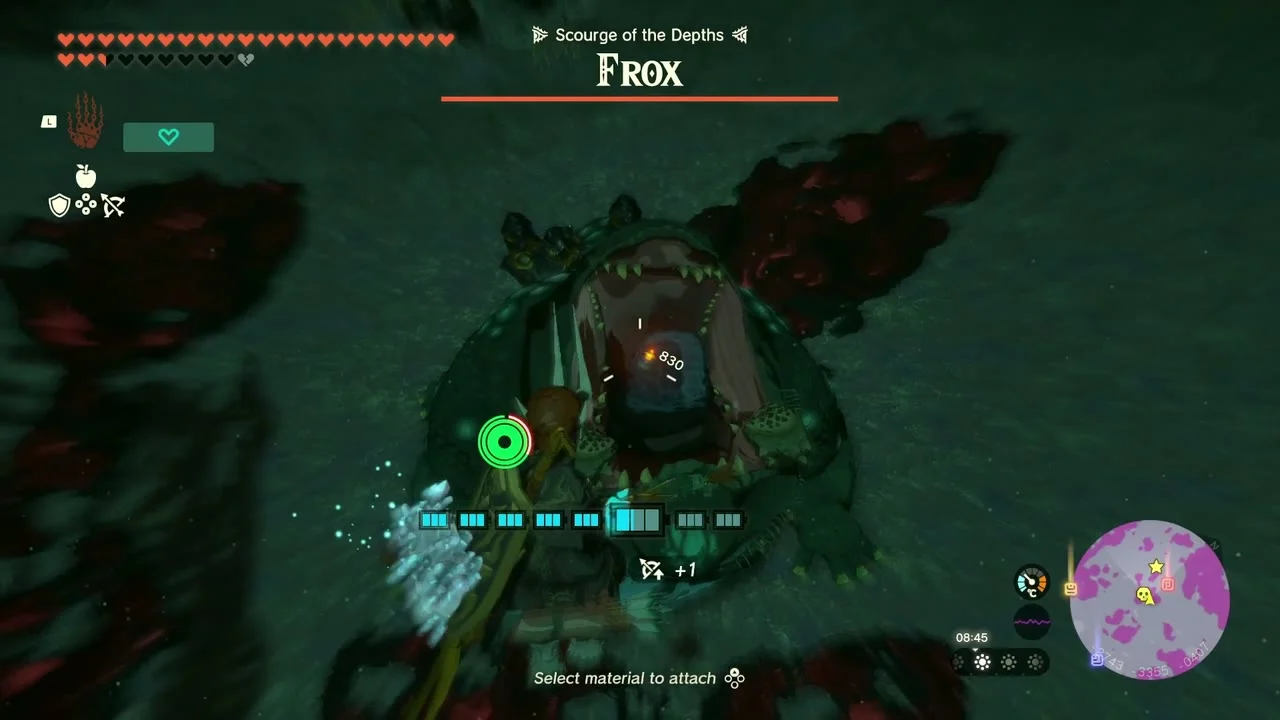
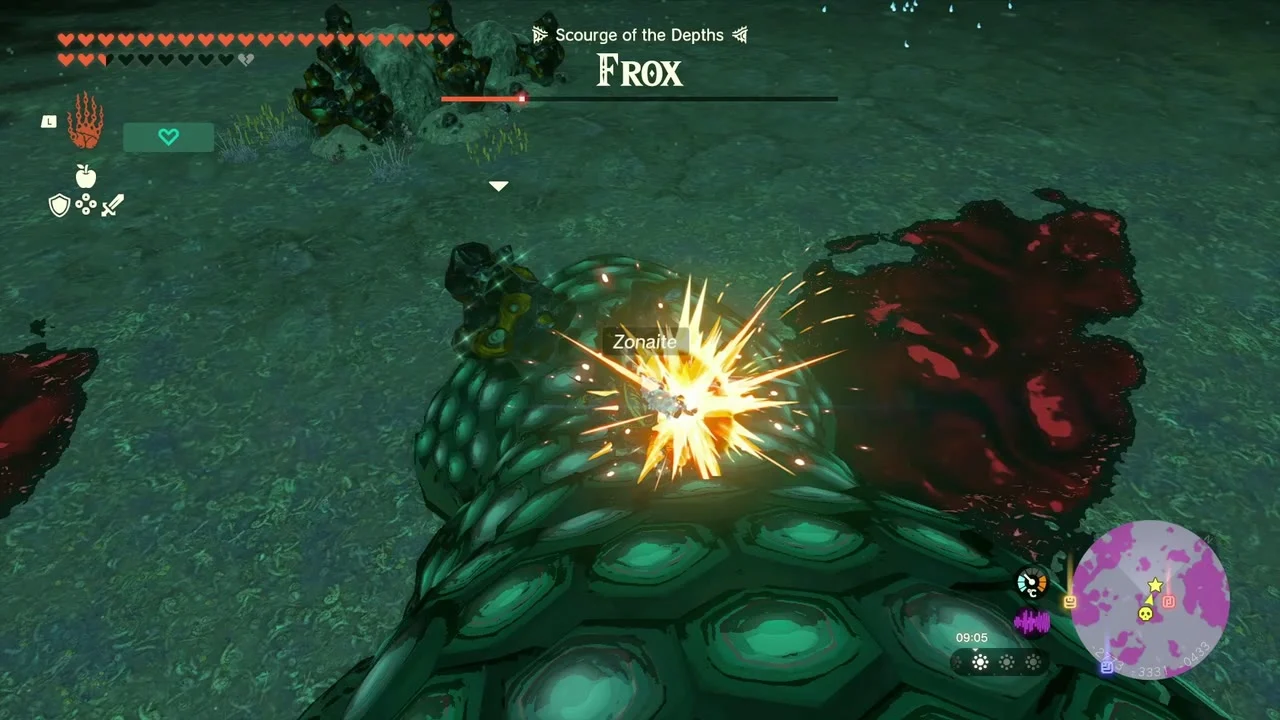
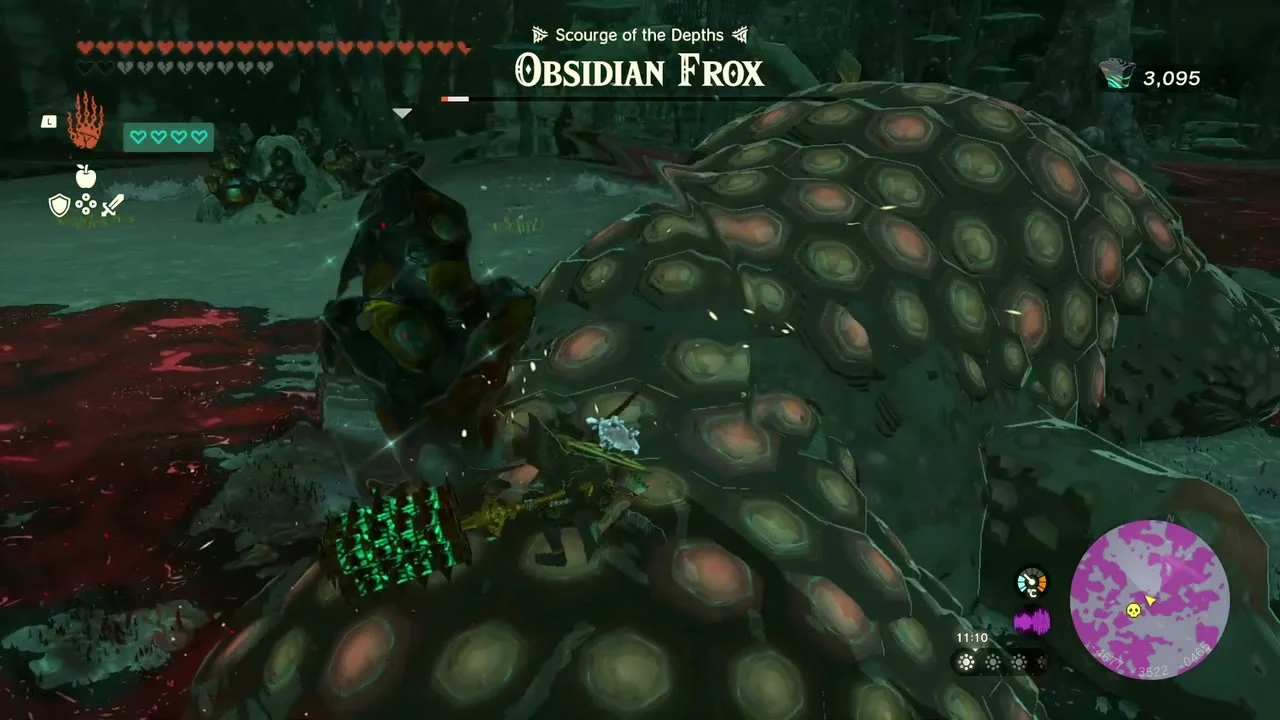
Miniboss: Frox. Several Frox are scattered through this stretch. Each time, stand clear of its stomping, climb onto its back using the crystal growths, and strike the glowing eye; Puffshrooms thrown at its feet make it stagger. Zonaite and Large Zonaite drop from its shell.
Stalnox, Desert Coliseum and Gerudo Dark Skeleton
Defeat Stalnox
Miniboss: Stalnox on open ground before the coliseum. Bomb Flowers hit the eye as it surfaces, and the skeleton drops when it is down. Fused Bomb Flowers on arrows make this fast.
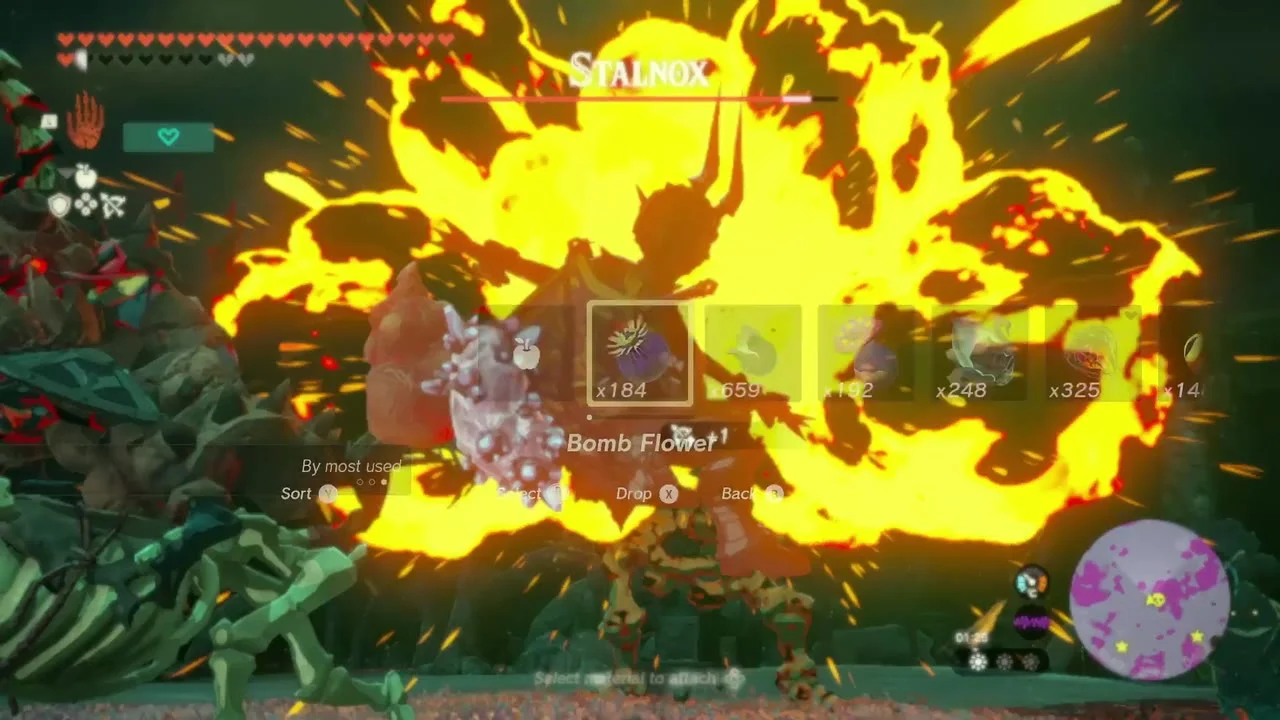

Open the Sundelion chest in the Bokoblin camp
Further on, a chest on a wooden platform in a Bokoblin camp holds a Sundelion. Clear the camp first and pick up the Large Zonaite its Bokoblins drop.
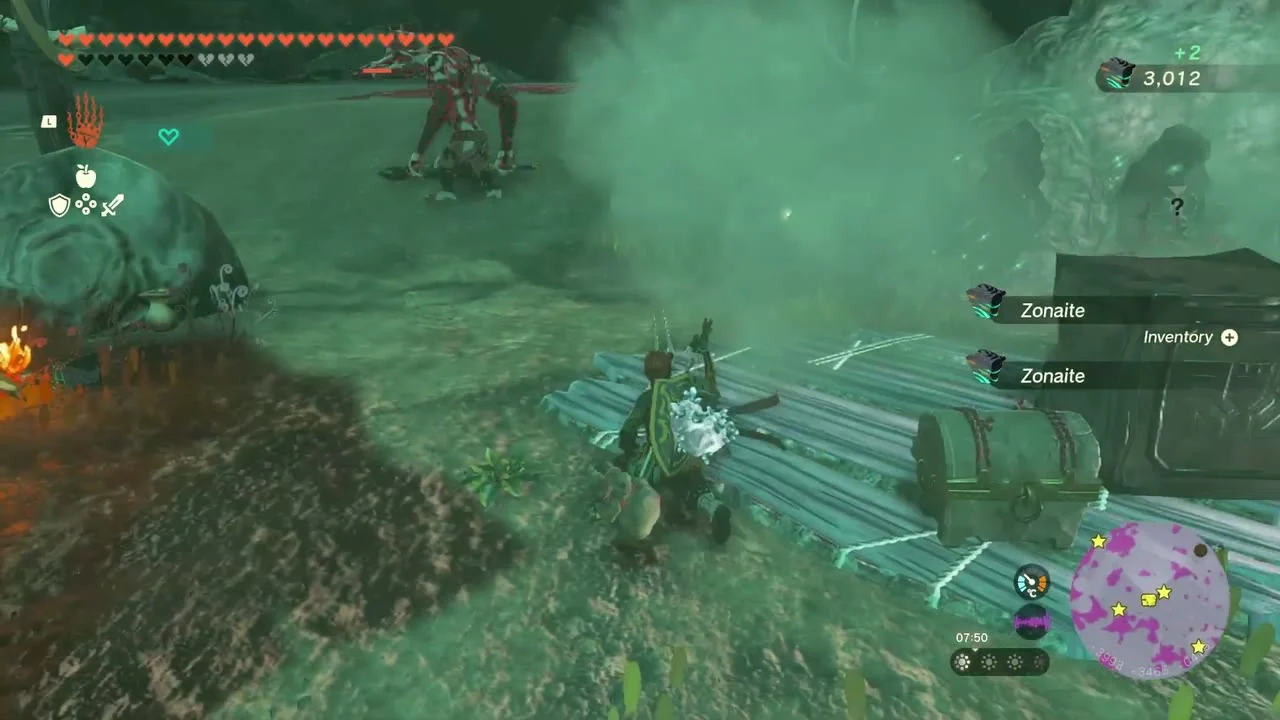

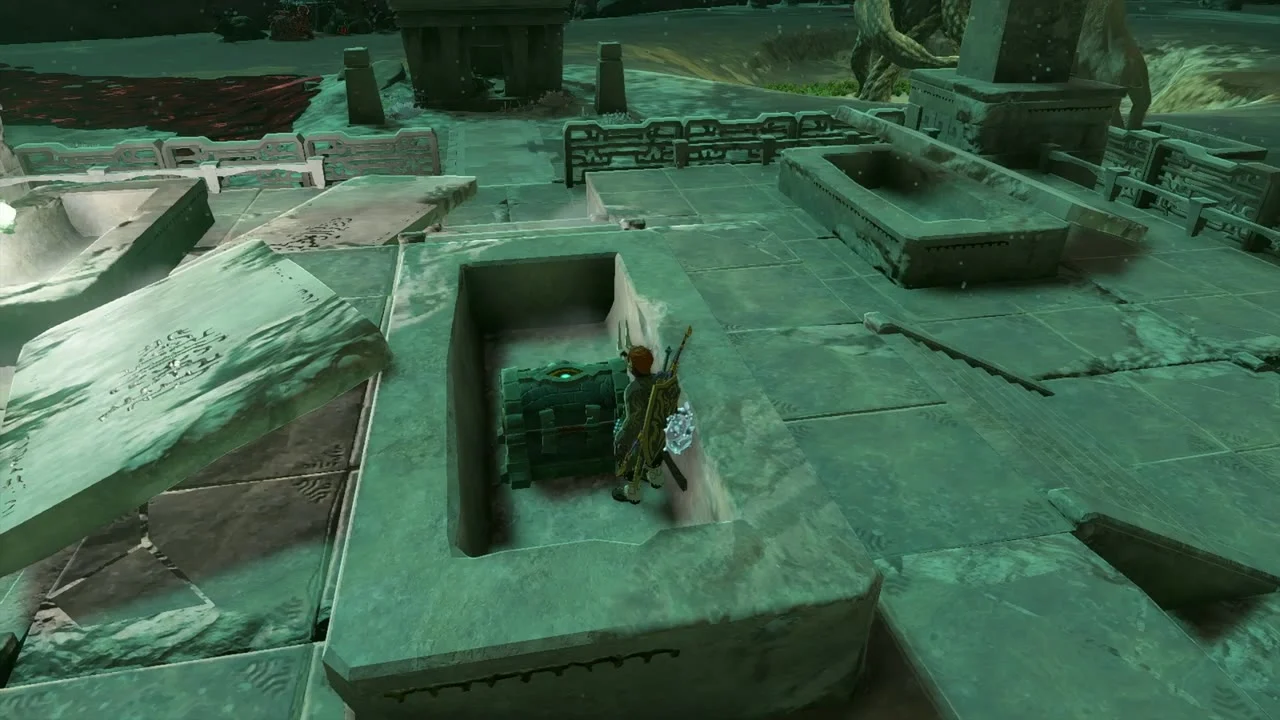
Raise the tomb lid for a Large Crystallized Charge
In a stone ruin of low sunken tombs, one tomb holds a chest. Use Ultrahand to lift the lid out of the way, then open it for a Large Crystallized Charge.

Clear the Desert Coliseum
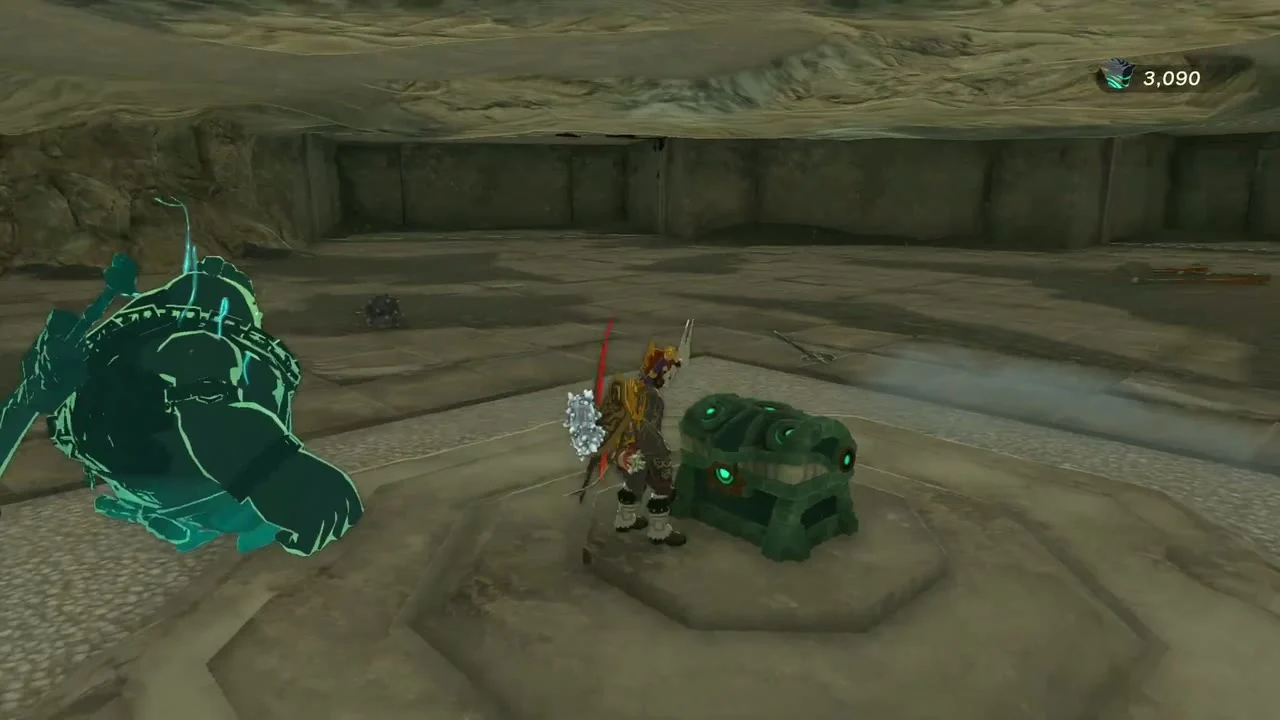
Desert Coliseum at (-4314, -3802, -362). Build a platform with Ultrahand and Zonai devices to hold the Horriblins and Constructs back while you fire arrows; beam emitters make short work of the waves.

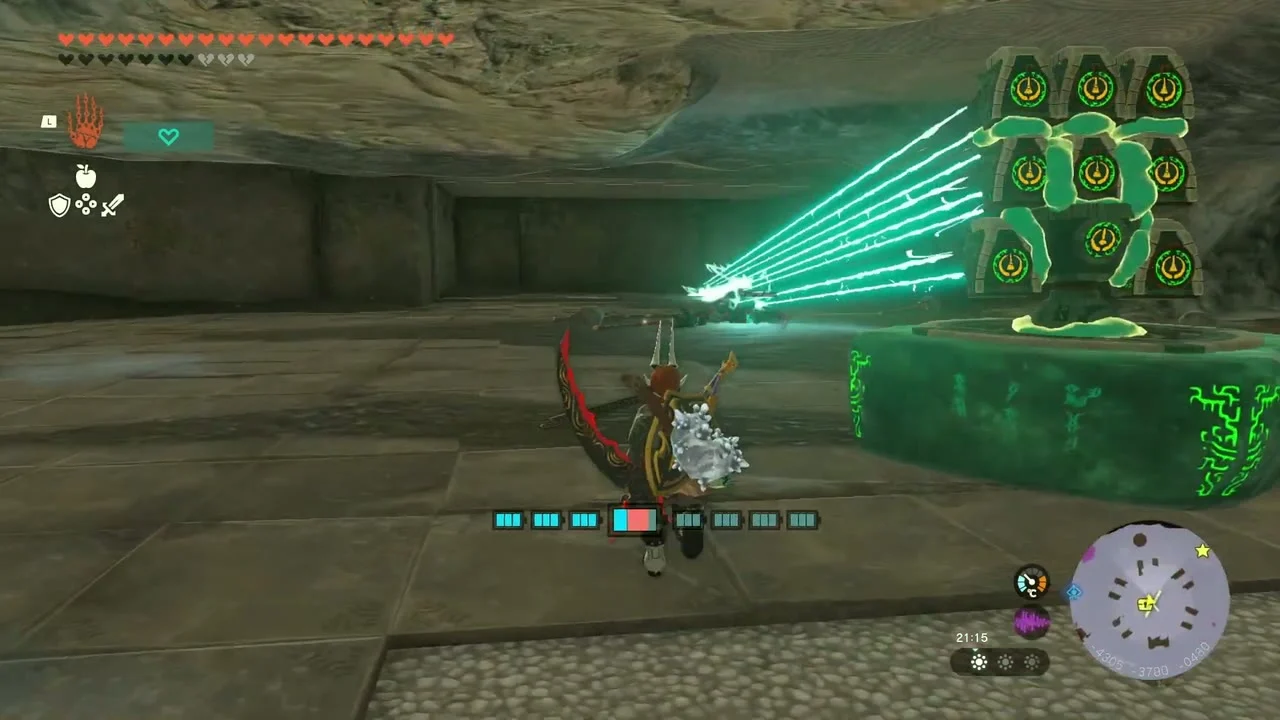

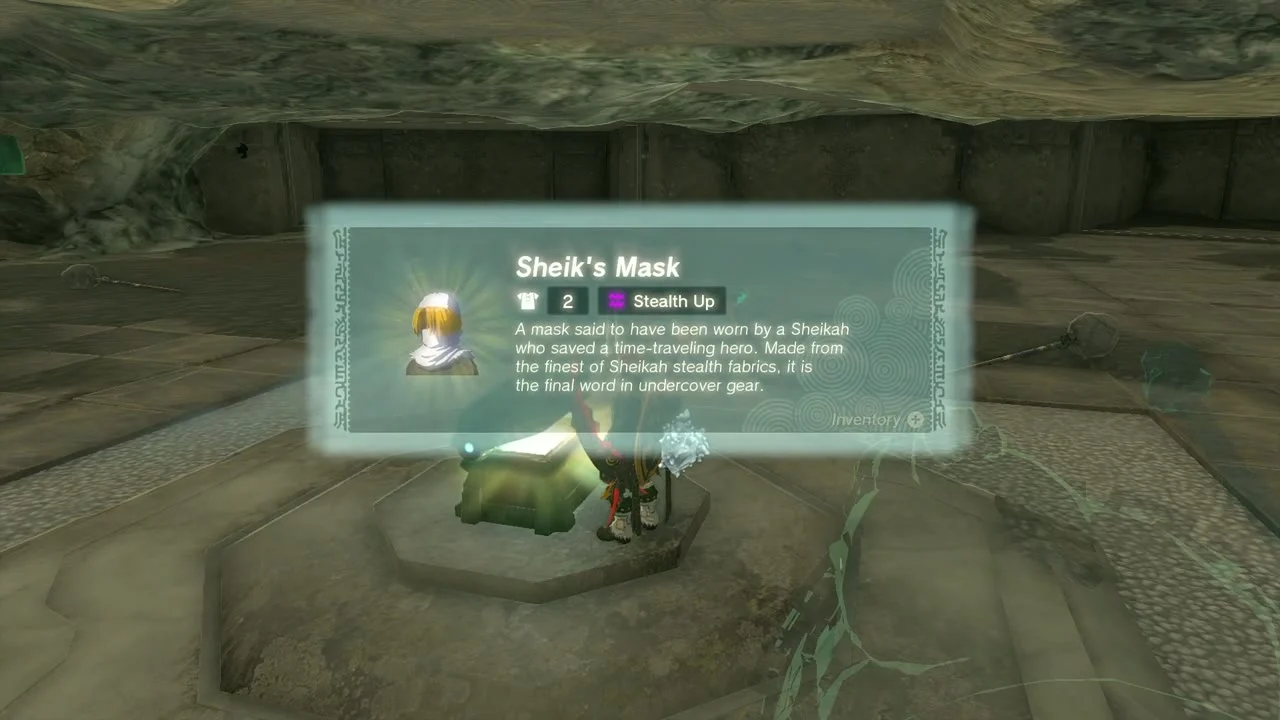
Open the Sheik’s Mask chest
When the arena is cleared, the Gloom around the chest in the middle of the floor clears and it holds Sheik’s Mask, a Stealth Up headpiece. The Horriblins begin on the ceiling, so shoot them down. If you lose the mask, a Bargainer Statue sells it back for Poes.
Defeat Phantom Ganon past the Gerudo Dark Skeleton
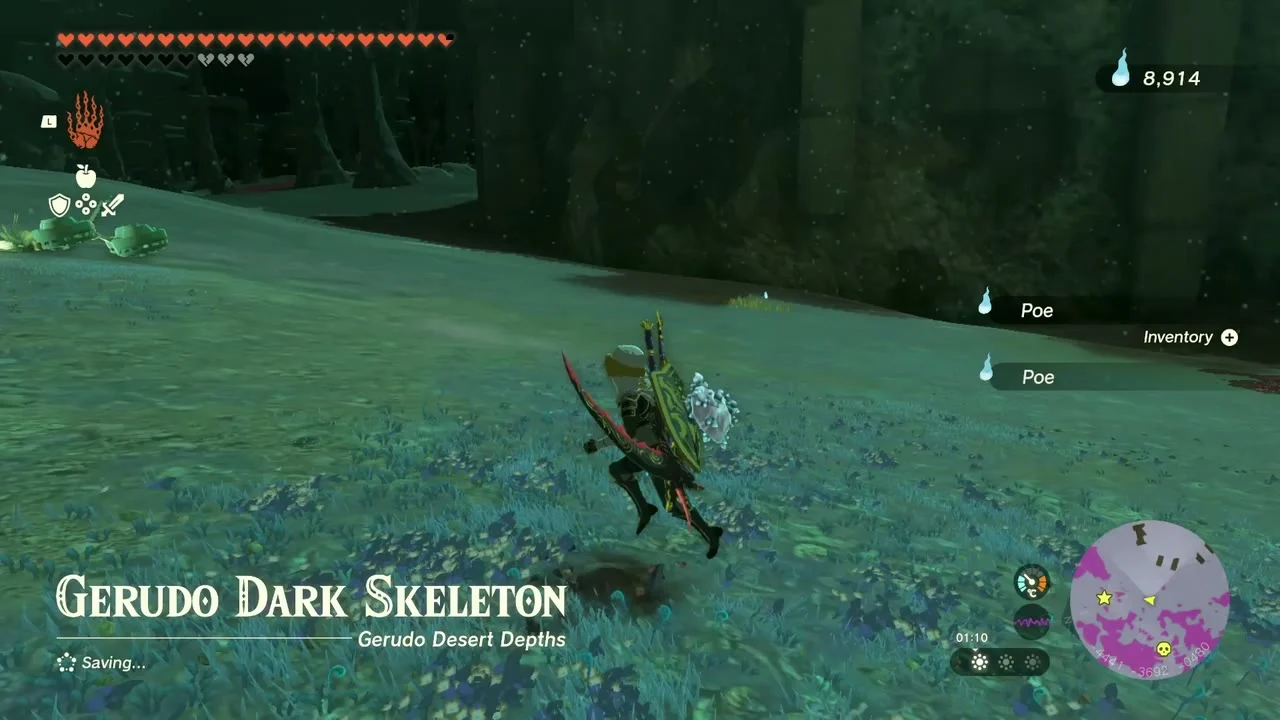
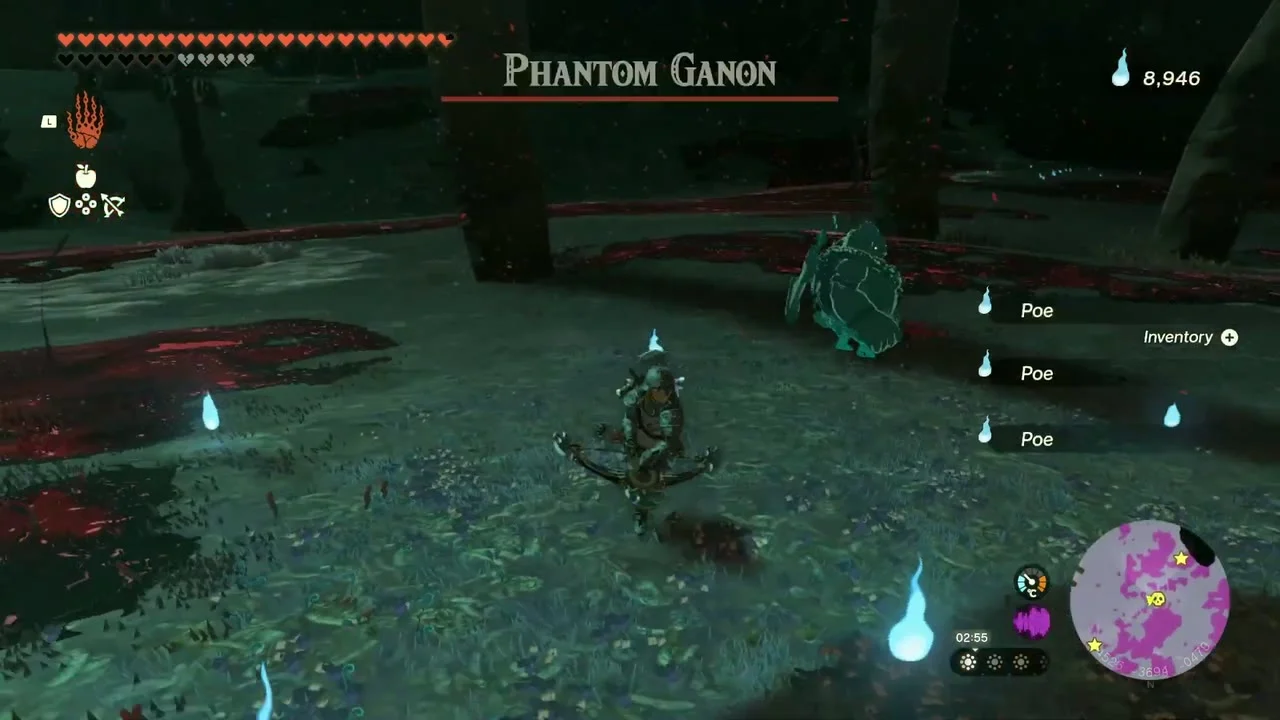
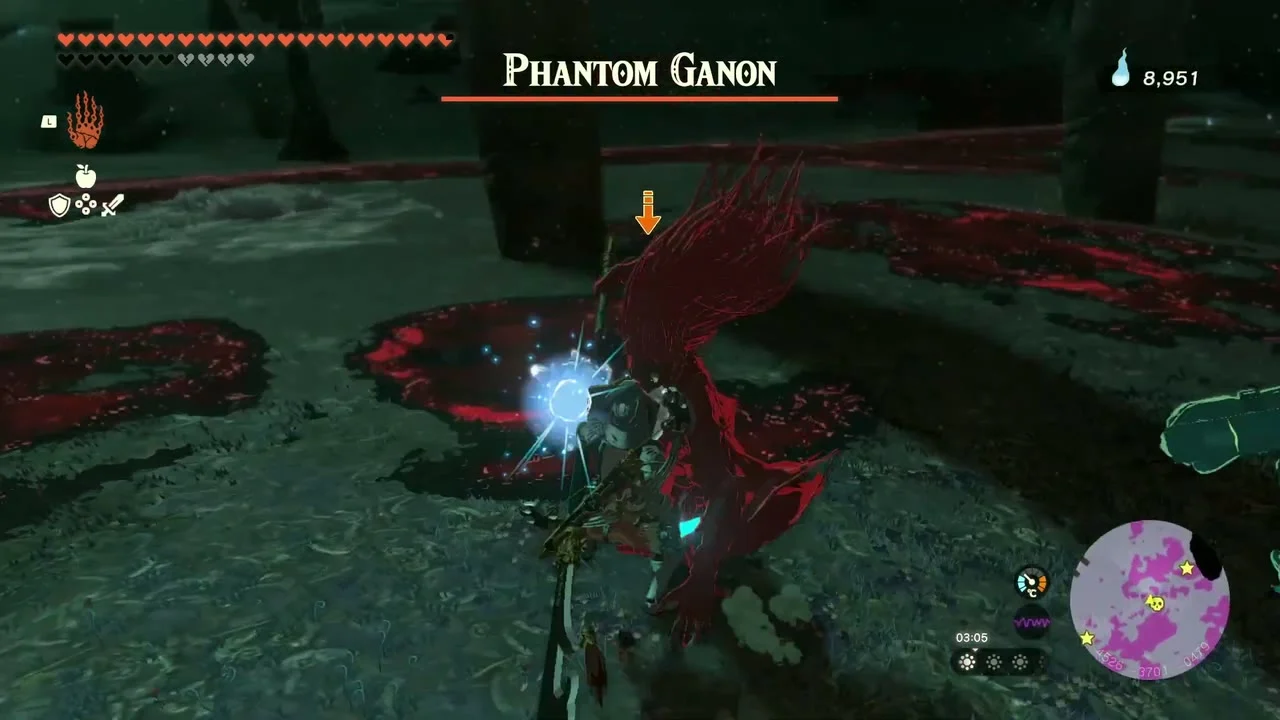
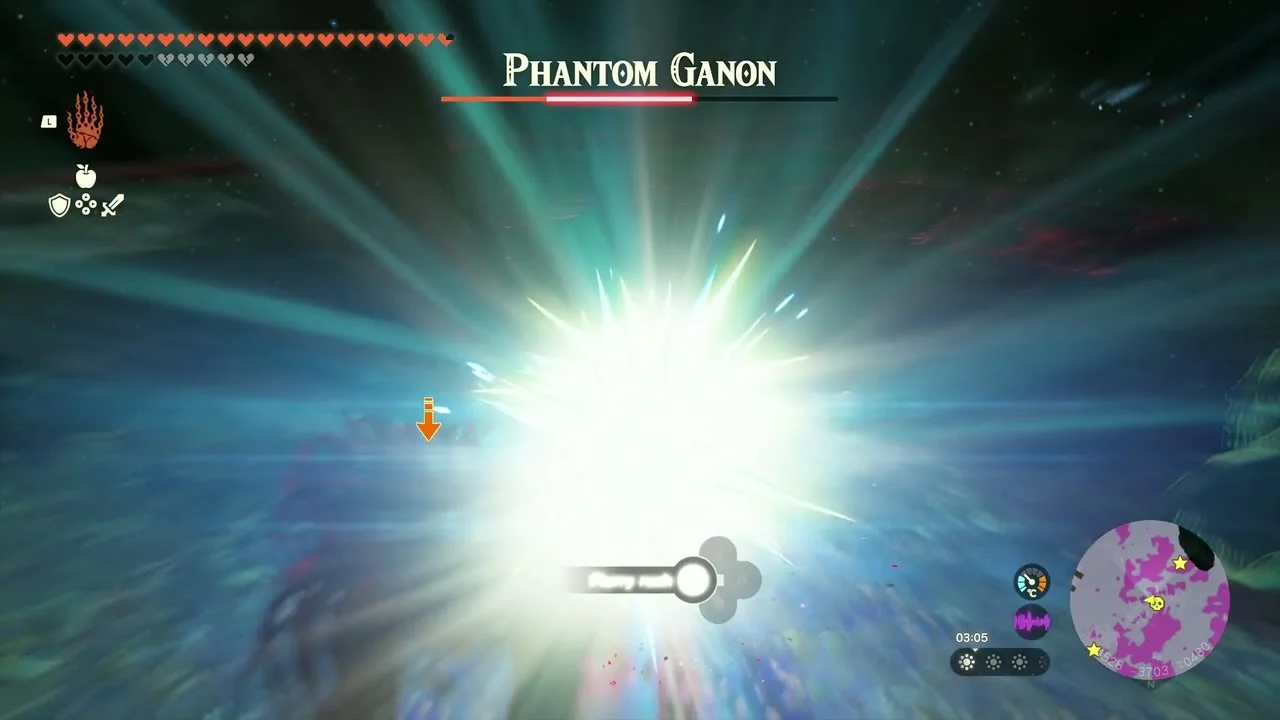
The Gerudo Dark Skeleton at (-4619, -3685, -530) marks the western edge of this stretch. In the open ground nearby, Phantom Ganon and a set of Gloom Hands fight together: keep moving, shoot Phantom Ganon with arrows and finish it with your strongest weapon.
Find the Tunic of the Wild in the skeleton’s skull
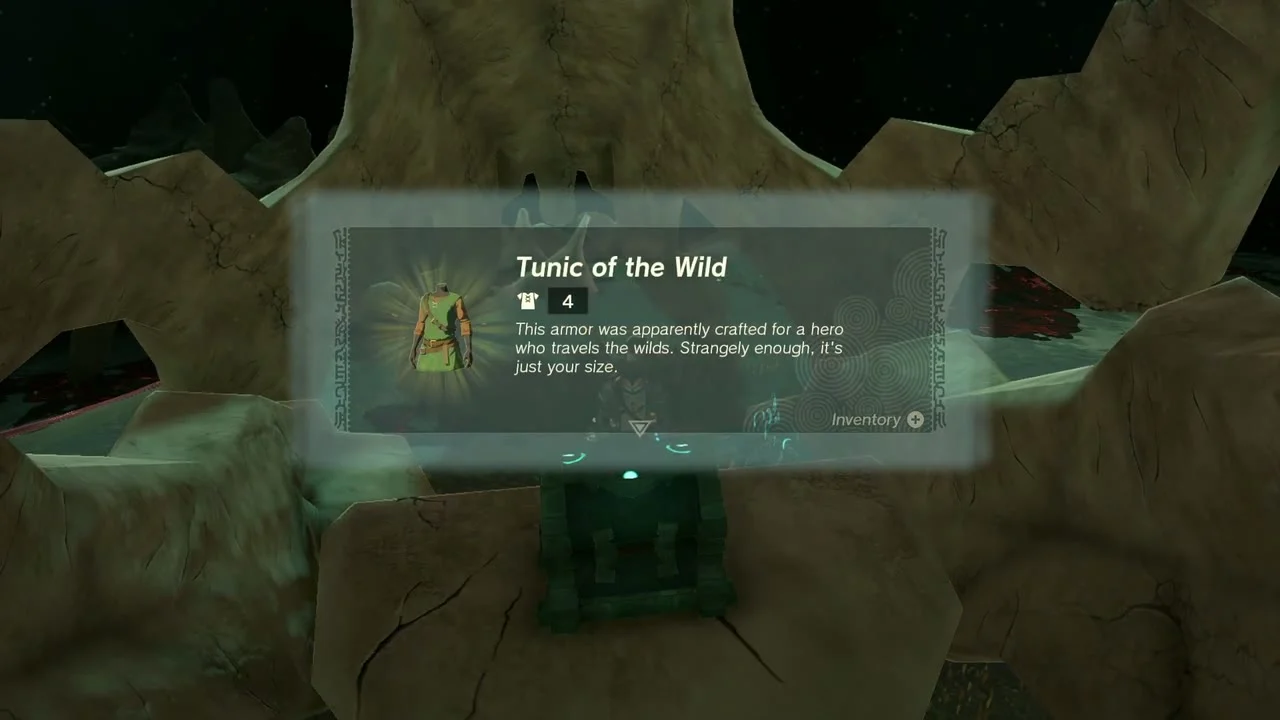
The Tunic of the Wild is in the skull of the Gerudo Dark Skeleton, which lies apart from its body. Several Horriblins guard the entrance, and the chest sits on a bony ledge mostly ringed by Gloom; guides give it at about (-4877, -3720, -458). It holds the Tunic of the Wild, which can be upgraded like any other armor. Use Ascend on the ribs to escape the crowd and throw Giant Brightbloom Seeds to see.


Defeat the Frox
Miniboss: Frox in the dark flats east of the roots. Fight it the same way as the others: climb onto its back and break the eye.
Flux Construct II and the Abandoned Gerudo Mine
Defeat Flux Construct II
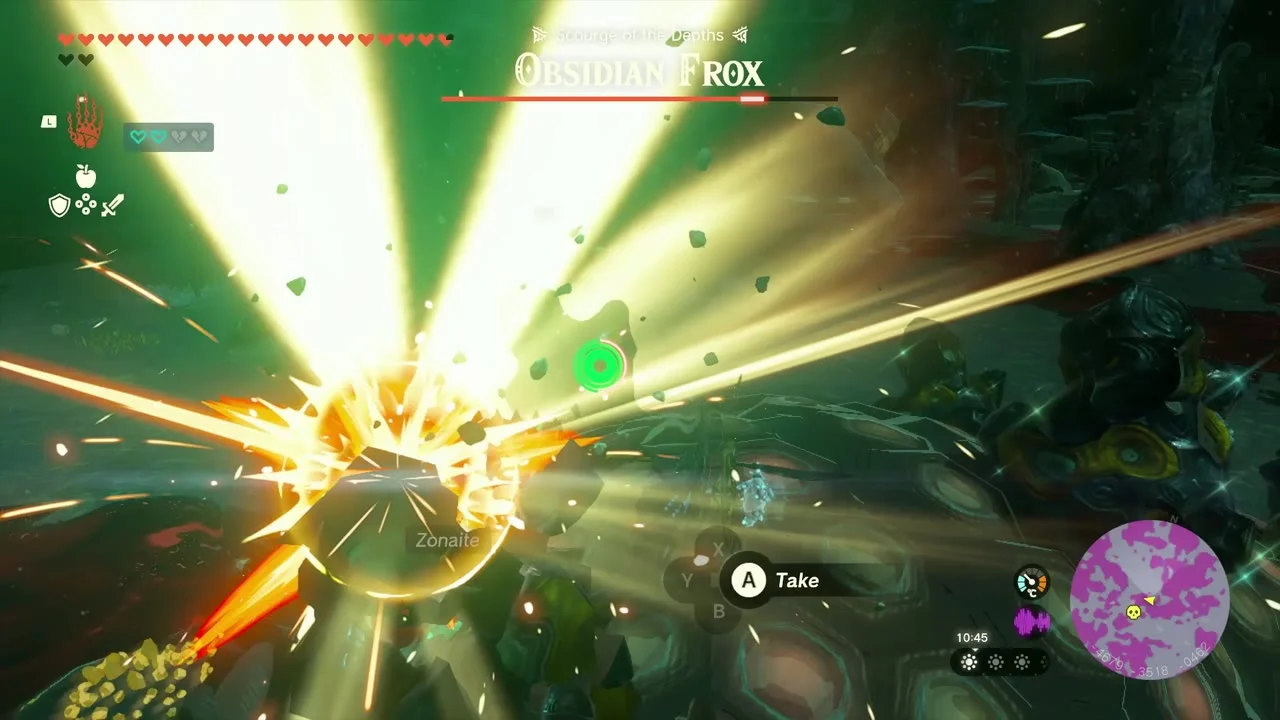
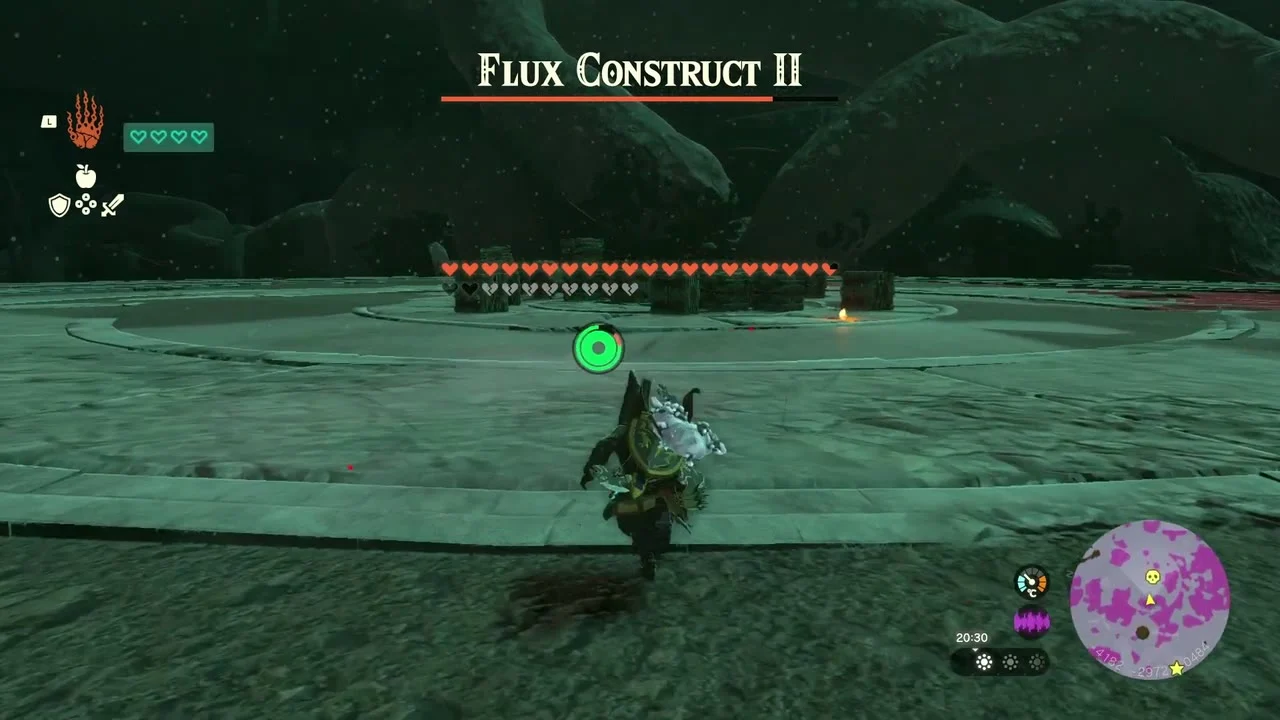
Miniboss: Flux Construct II in a round arena. It builds a stack of stone blocks around its core; shoot the core when it comes loose and use the Flux Core II Smasher it leaves behind.

Open the lamp-lit chamber chest
Just past the arena, a small chamber with two glowing lamps holds a chest with a Large Crystallized Charge.


Collect a Schema Stone at the Abandoned Gerudo Mine
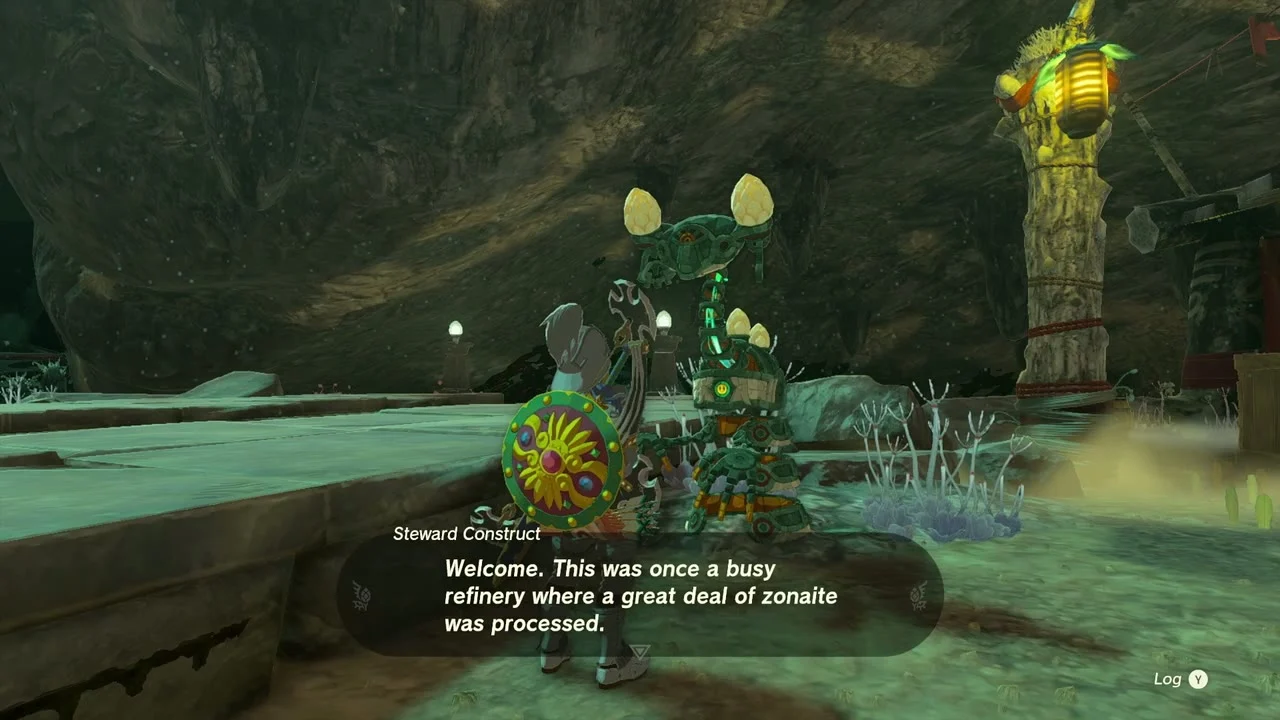
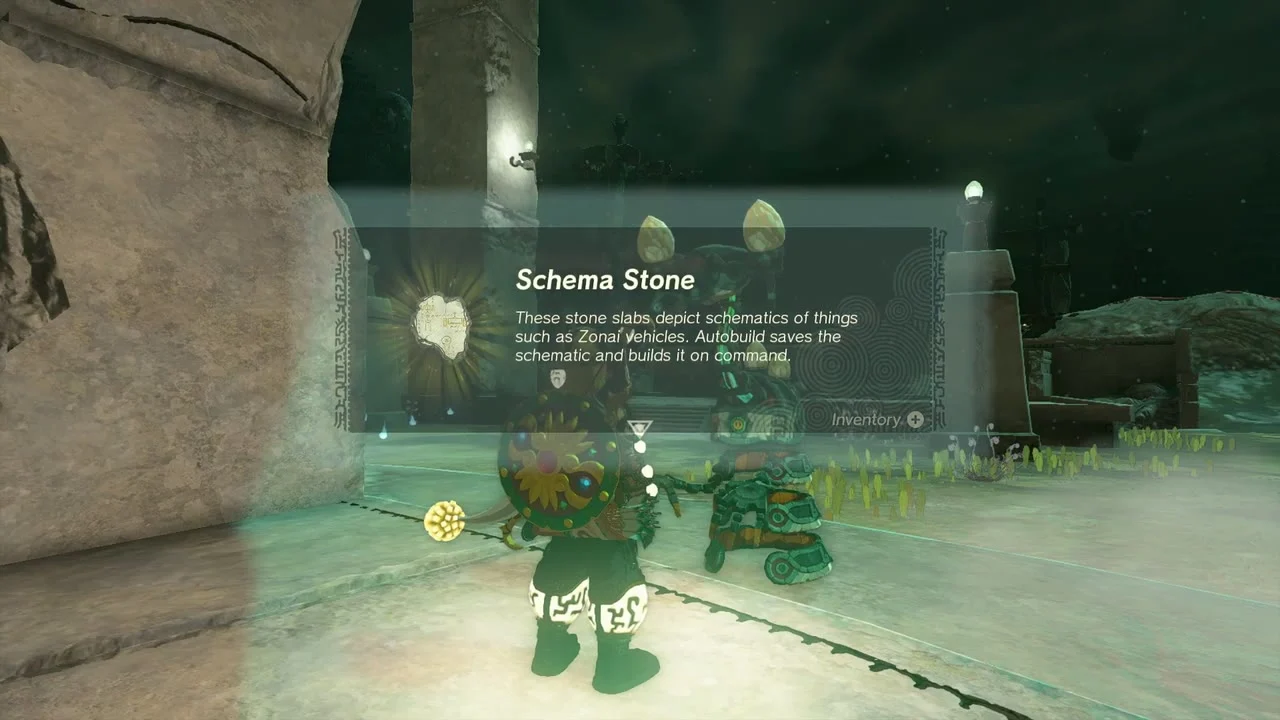
Abandoned Gerudo Mine at (-3816, -2890, -383). Talk to the Steward Construct in the refinery hall for a Schema Stone, which Autobuild uses to store a design. The Forge Construct nearby swaps Large Zonaite for Zonai Charges.


Defeat Master Kohga in the Abandoned Gerudo Mine
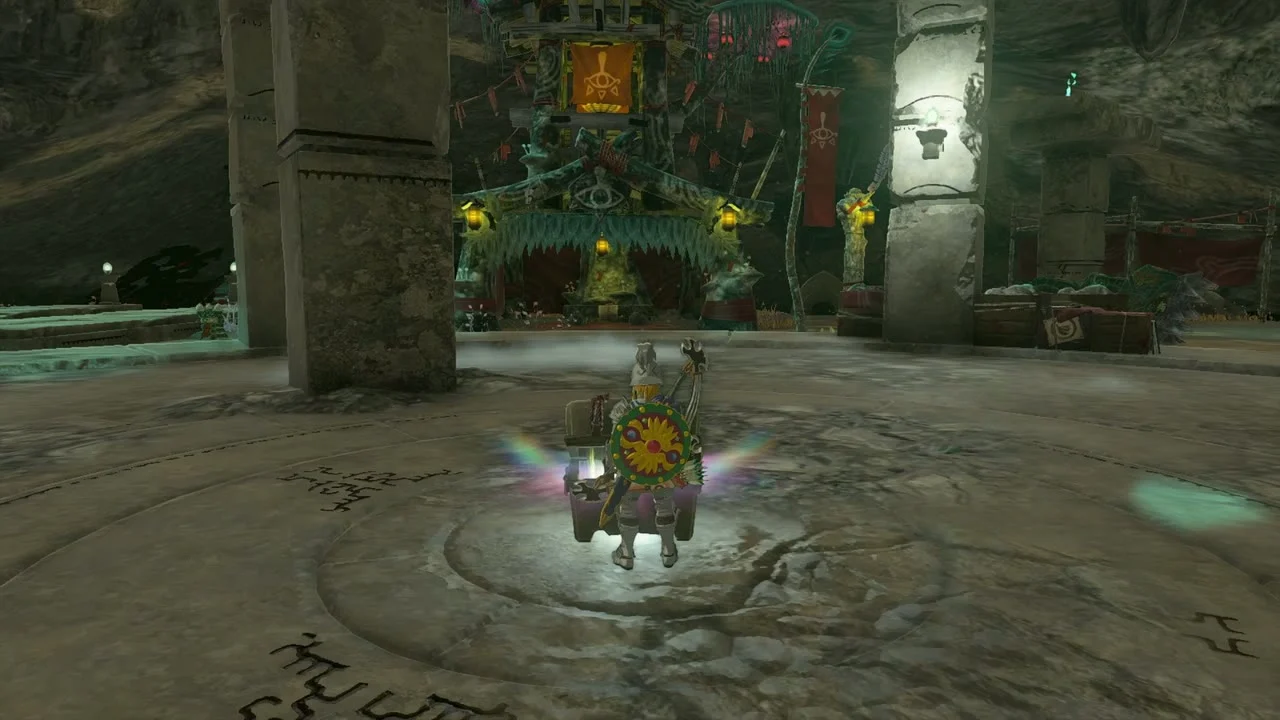
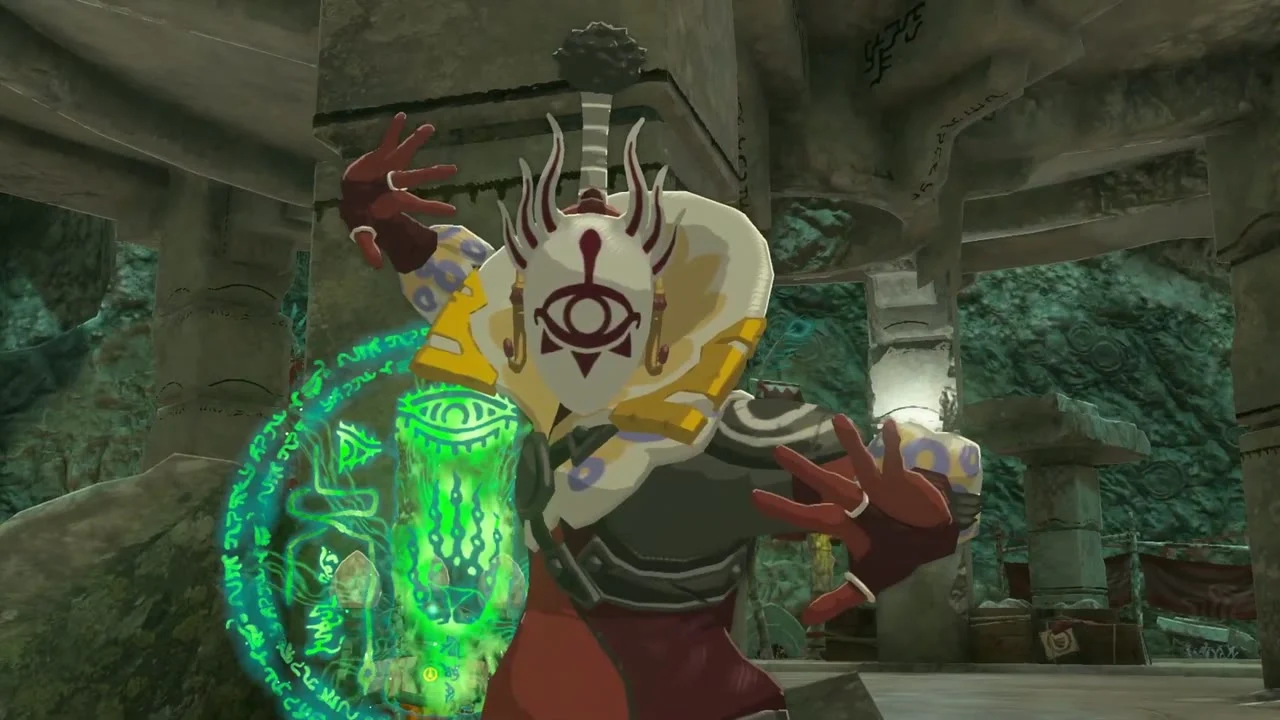
Boss: Master Kohga, the second fight of Master Kohga of the Yiga Clan. Keep your shield up against his fast strikes, hit him after his big swings, and finish the fight to open the chest in the middle of the hall for a Huge Crystallized Charge. Kohga flies a plane above you, so use a Zonai Fan to rise and shoot him down.

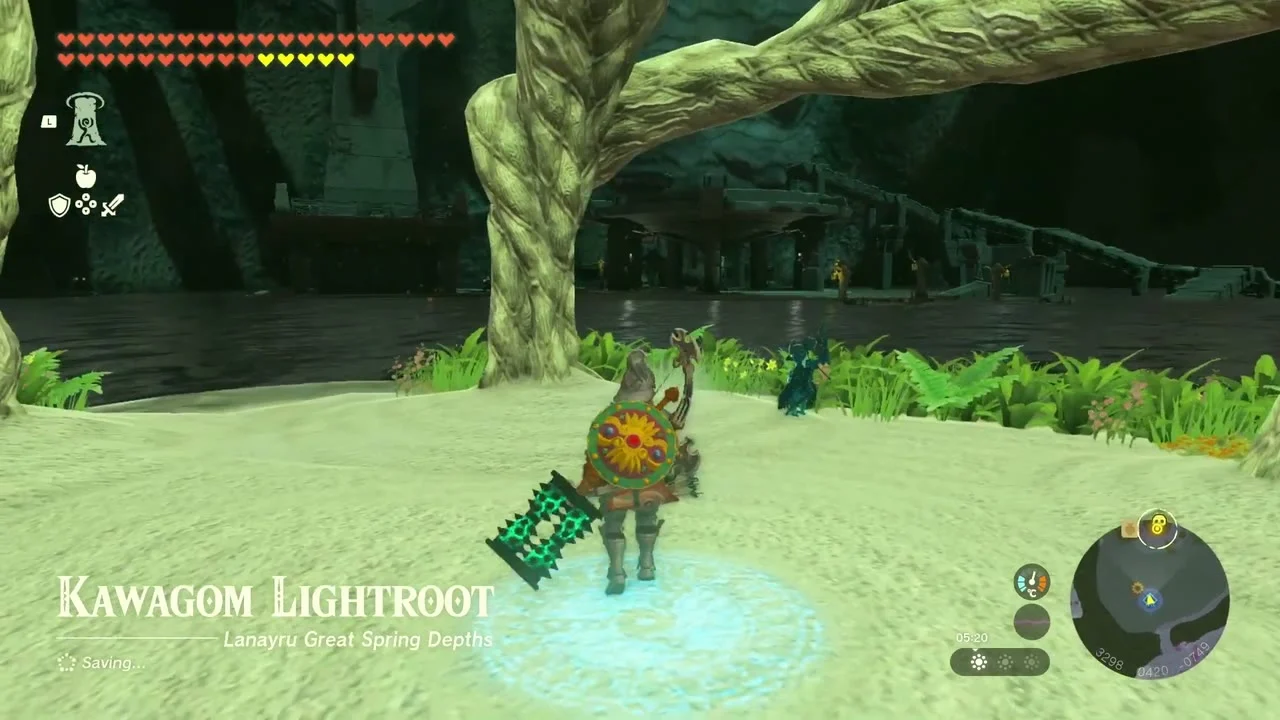
Fast-travel to Kawagom Lightroot and beat Kohga at the Abandoned Lanayru Mine
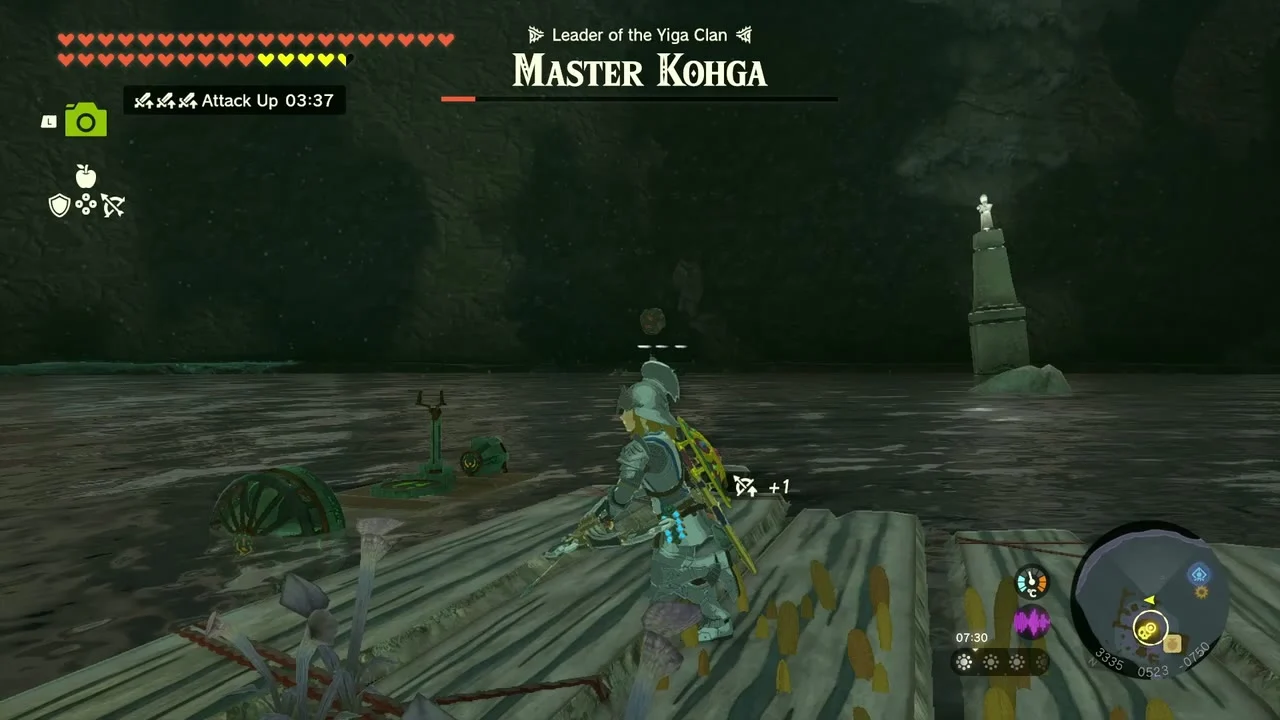
Warp to Kawagom Lightroot (3299, 423) and cross to the Abandoned Lanayru Mine at (3170, 936, -677). Kohga repeats his routine with a longer chain of attacks. The chest on the stone slab afterwards holds a Huge Crystallized Charge, and a Schema Stone and Forge Construct are on hand again. Guides also describe a shortcut: glide under the bridge beneath the giant waterfall south of Zora’s Domain and drop down the hidden chasm into the same mine.

Travel to the Abandoned Hebra Mine
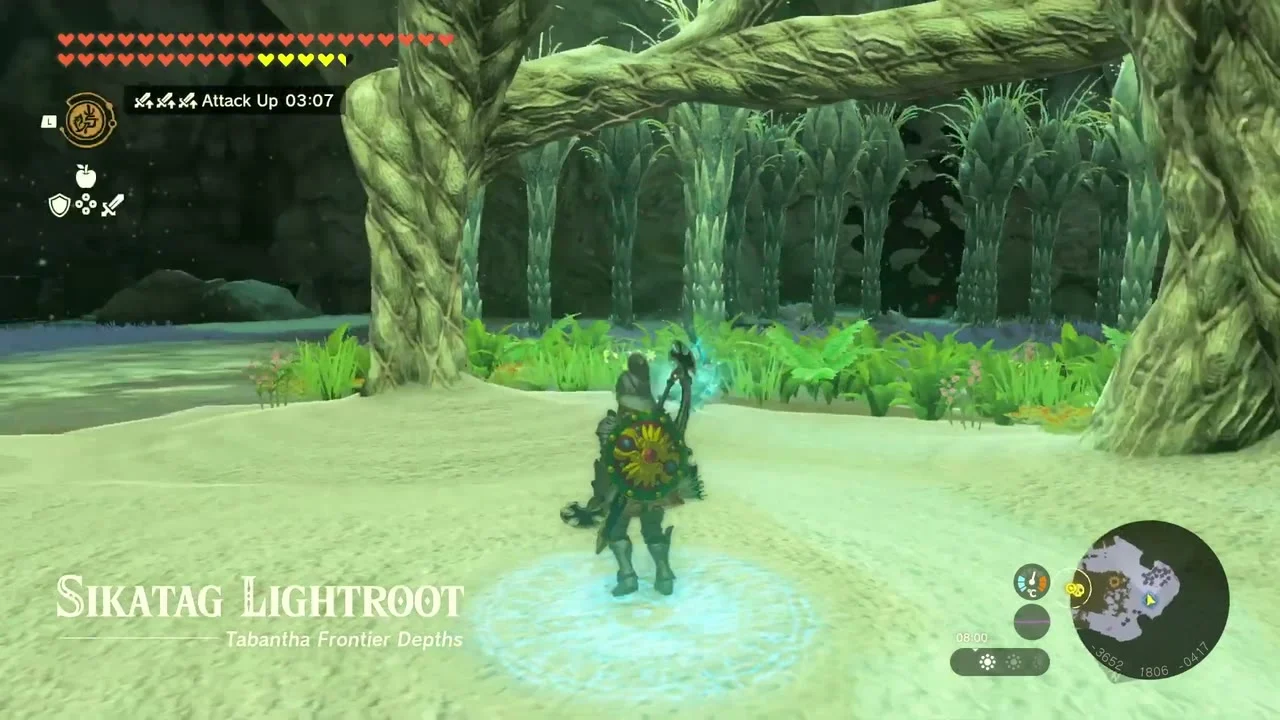
Use Sikatag Lightroot (-3651, 1806) in the Tabantha Frontier Depths to reach the Abandoned Hebra Mine at (-3457, 1862, -316), the last stop of the quest. On the surface, the way down is in Rito Village: look for the Depths researcher on the cliff in the south of the village, jump off and glide into the chasm below, avoiding the Gloom at its mouth.
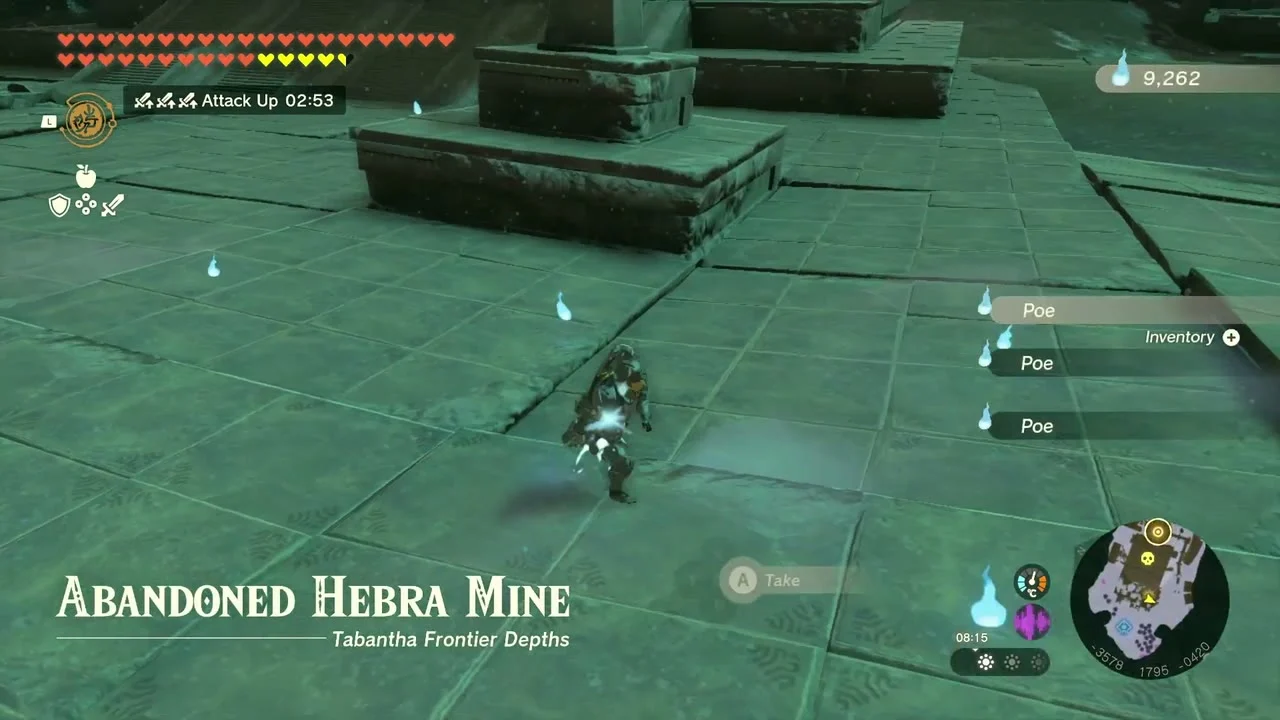
Defeat Kohga’s construct for the finale
The last fight revives Kohga’s ultimate weapon, a giant construct that sweeps the hall with beams. Dodge the beams, use Zonai devices or Recall to break its shields, and knock Kohga out of the mech with arrows; the Sage ability you have unlocked helps a great deal. Guides report two reward chests of Huge Crystallized Charges and a Diamond, plus a Forge Construct.


Light the dark with a Giant Brightbloom Seed
Back in the Depths, a chest on a raft holds Giant Brightbloom Seed x5. Clear the Bokoblins on the planks around it first.
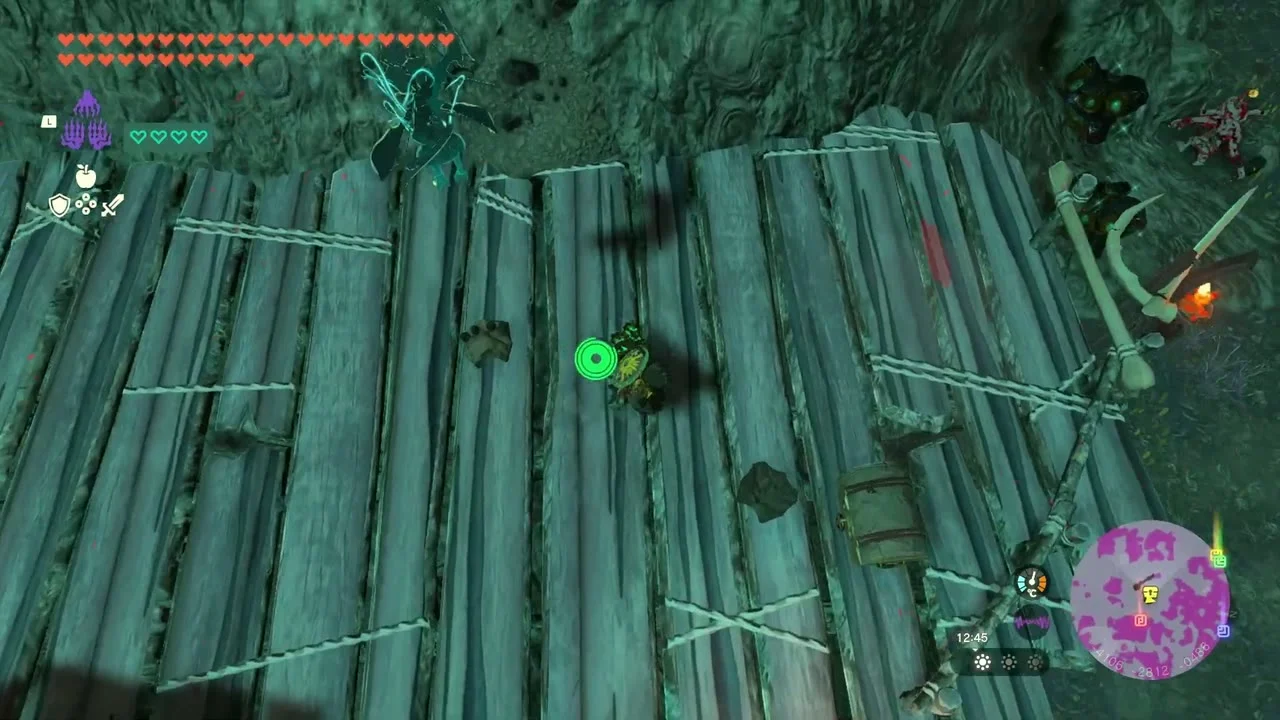

Pick up the Gerudo Shield and Gerudo Bow
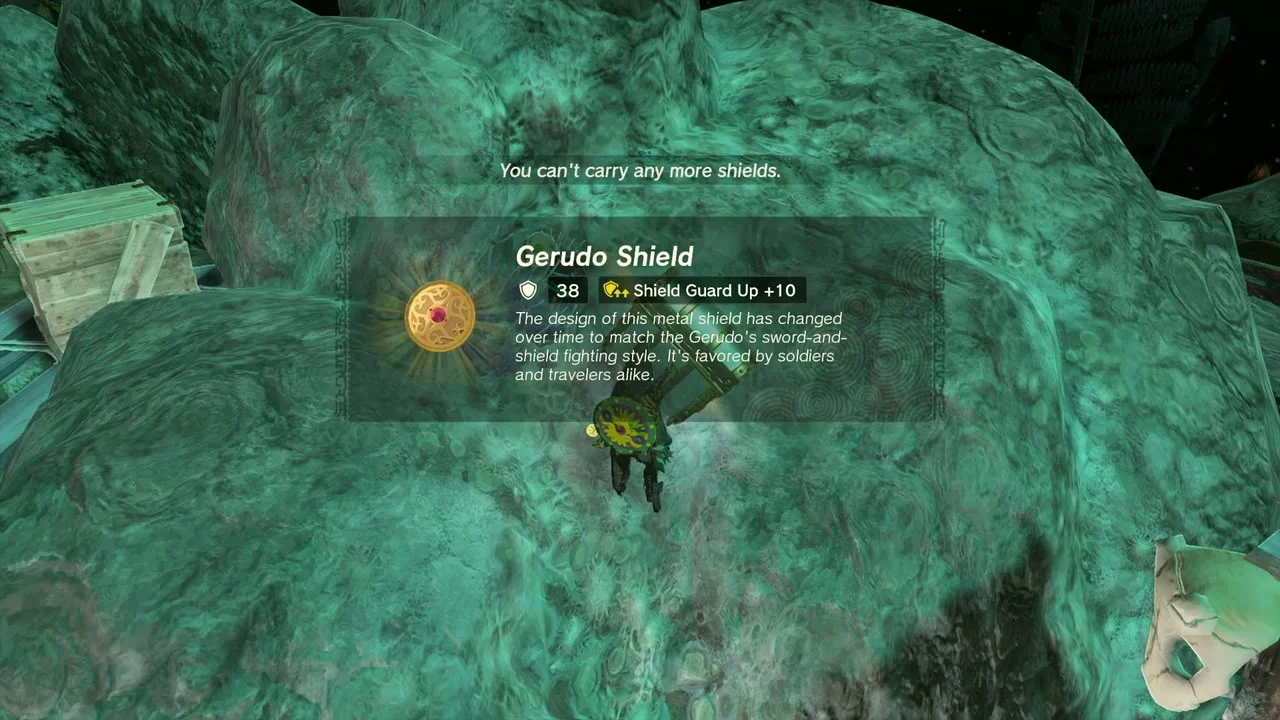
Two chests on a wooden platform near a cave mouth hold a Gerudo Shield, and a later chest holds Giant Brightbloom Seed x5 and a Gerudo Bow.
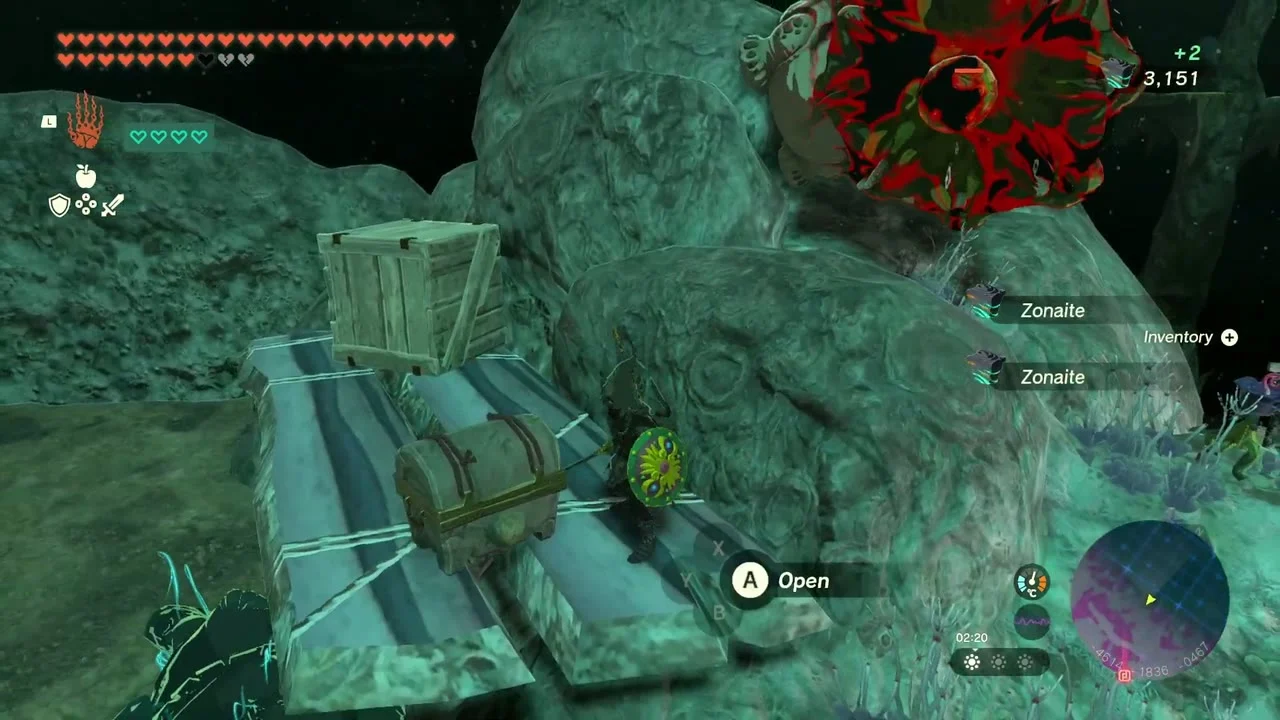
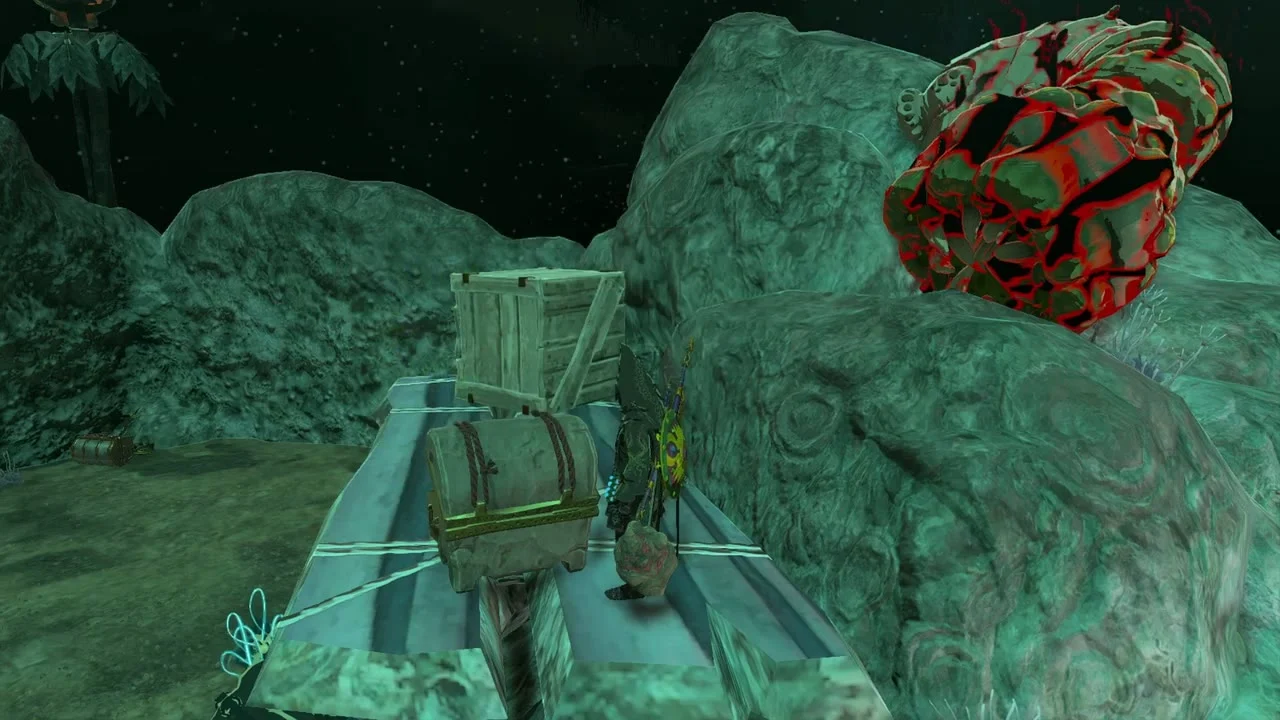
Raid the Yiga camp for another schematic
One more Yiga camp sits to the south. Open the tent chests there for a Yiga Schematic and a Large Crystallized Charge.
Abandoned Kara Kara Mine and the Depths Platforms
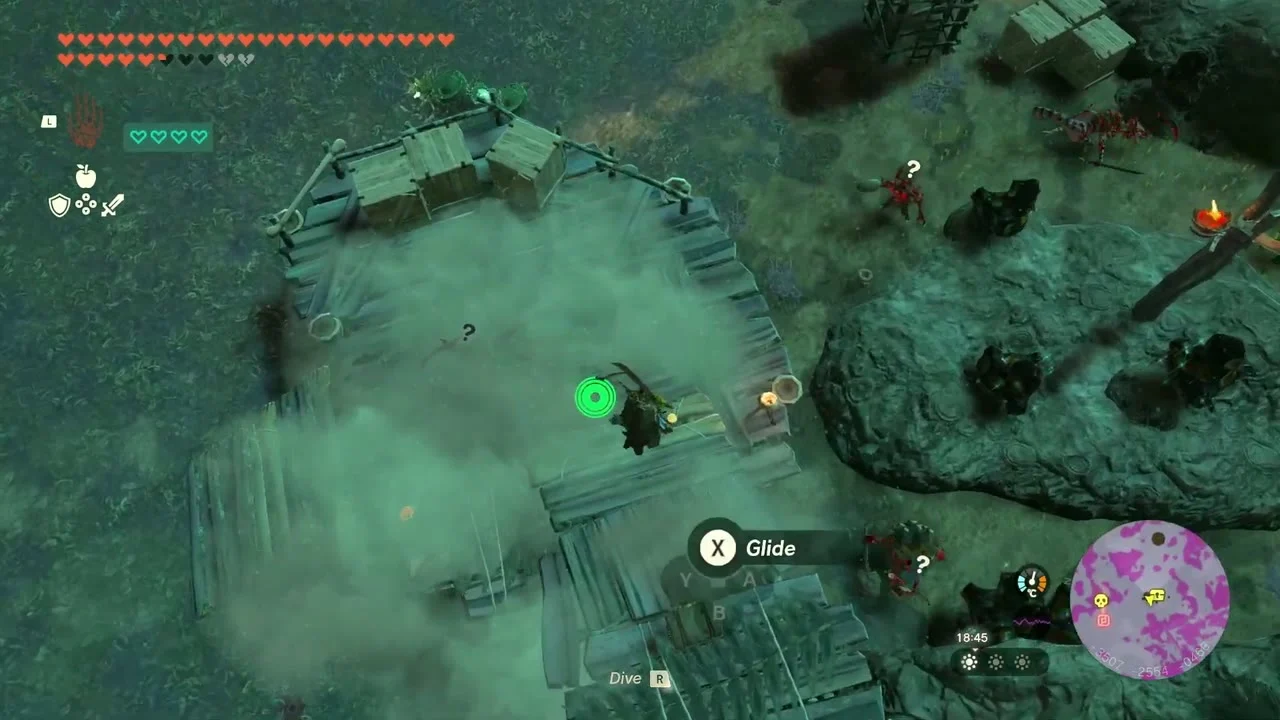
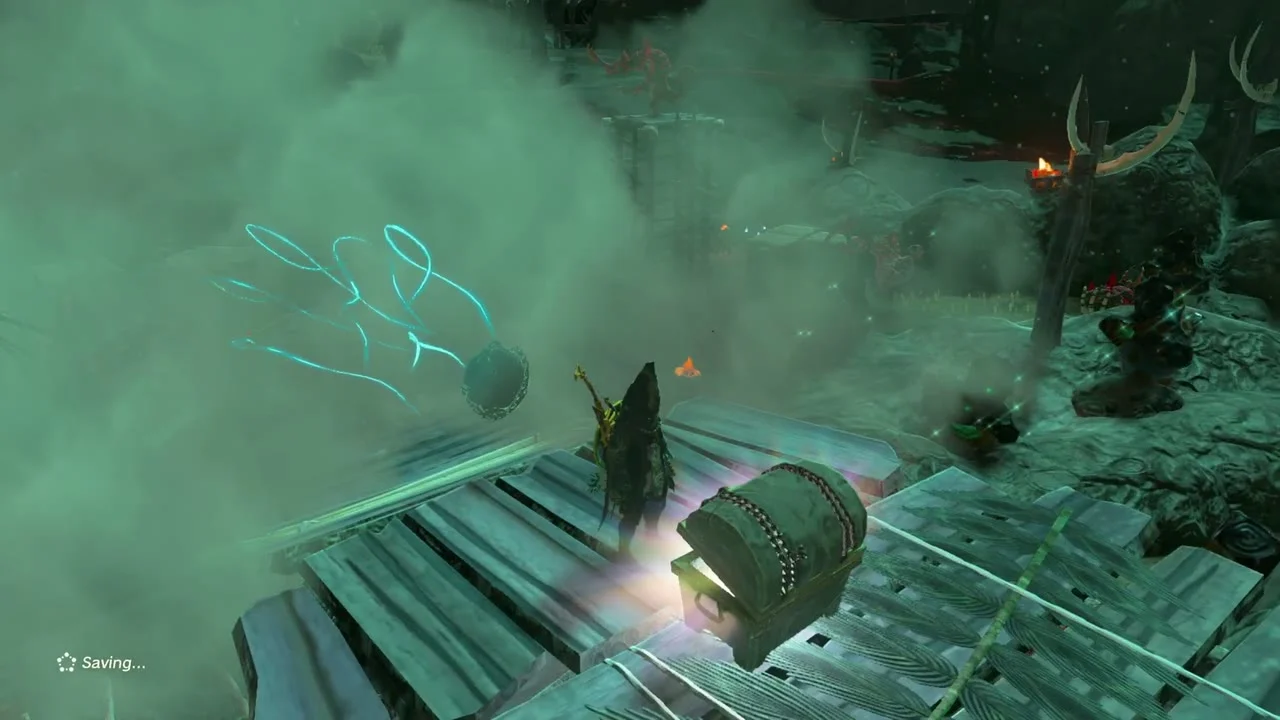
Loot the raft chests
A string of raft platforms holds Gerudo Scimitar, Gerudo Shield and Arrow x10 chests. Glide from raft to raft and clear the Bokoblins before opening them.

Take the Arrow x10 chest
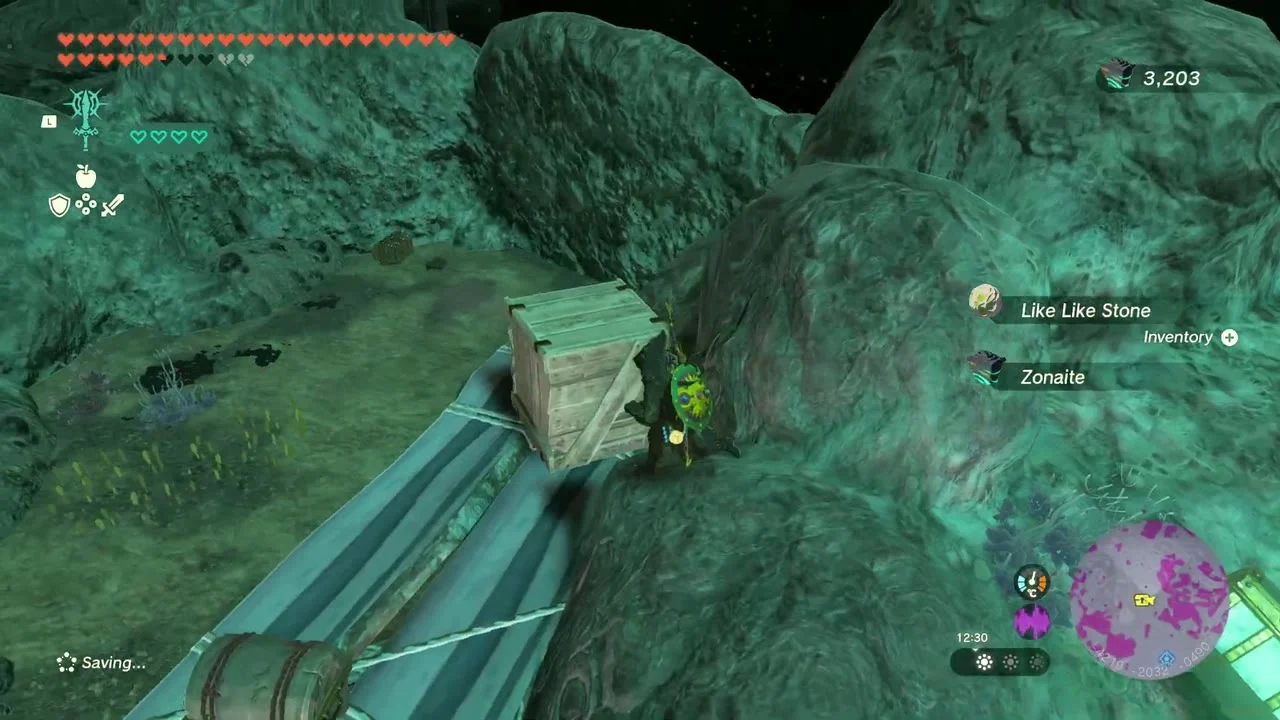
A lone raft holds a chest of Arrow x10. Glide in from the north and sneak past the camp.
Search the Abandoned Kara Kara Mine
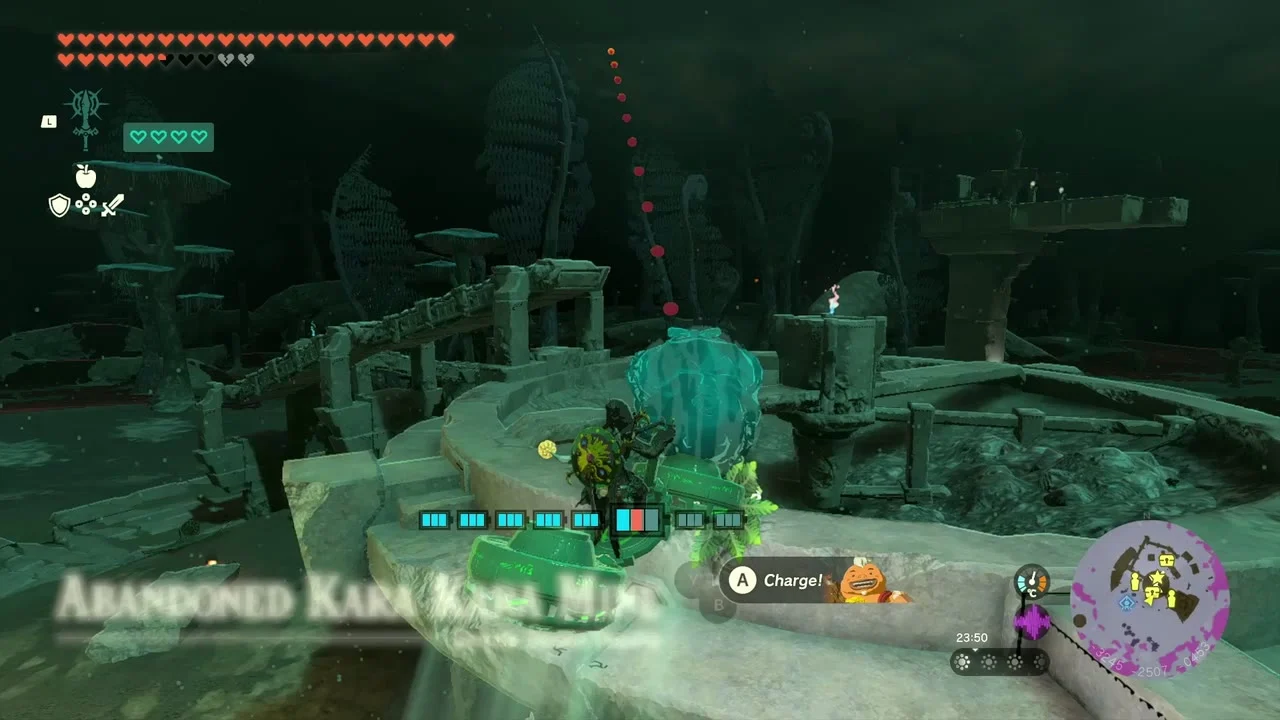
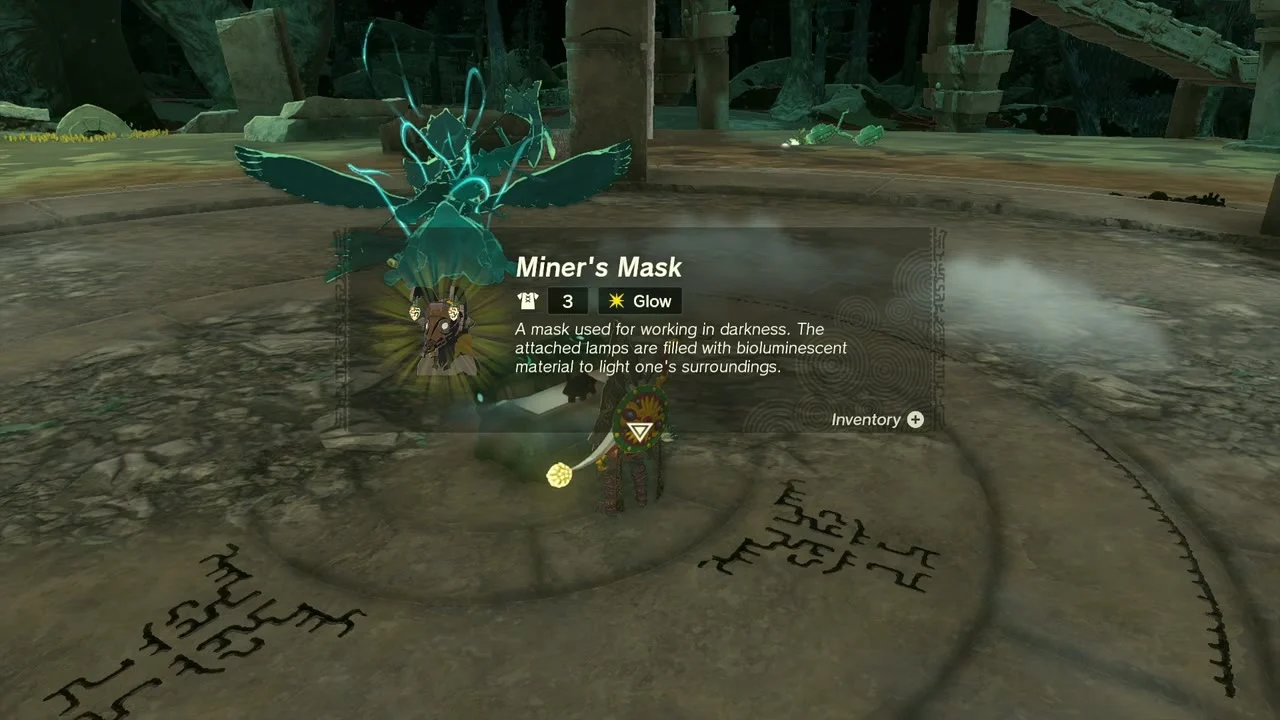
Abandoned Kara Kara Mine at (-3171, -2311, -475). A chest below the large round central platform holds Miner’s Mask, a Glow headpiece that lights nearby dark areas. The Tatayam Lightroot is the nearest fast-travel point.
Visit the Forge and Steward Constructs
The Forge Construct at (-3190, -2515, -476) swaps Large Zonaite for Zonai Charges. The Steward Construct beside it hands out another Schema Stone if you have run out.

Ascend to the pedestal chest
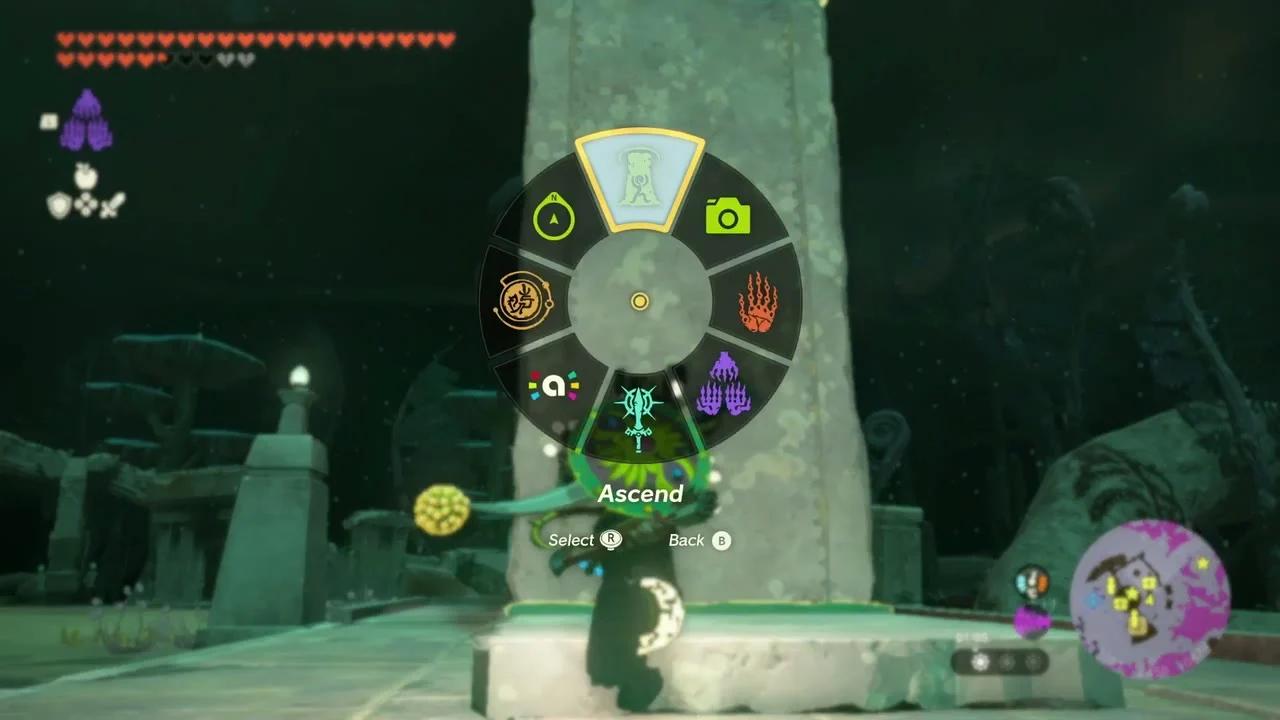
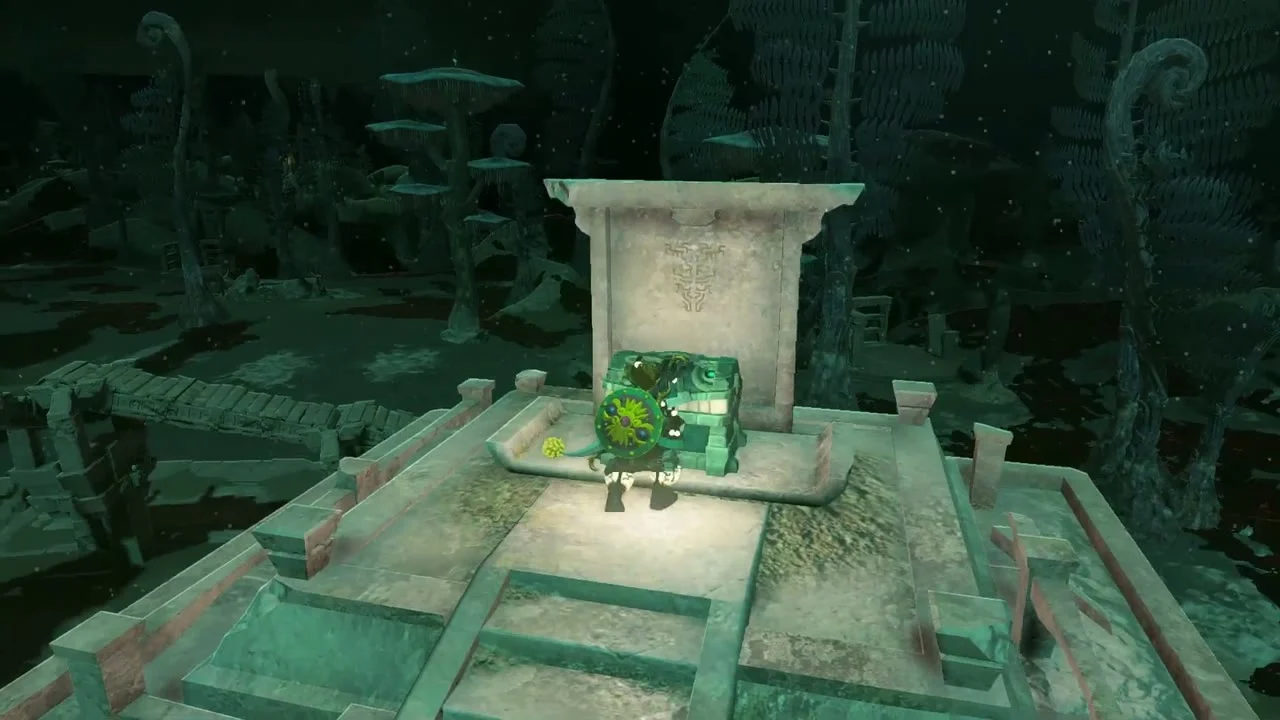
Ascend through the ceiling of the mine beyond the Constructs to find a chest on a stone pedestal that holds a Large Crystallized Charge.
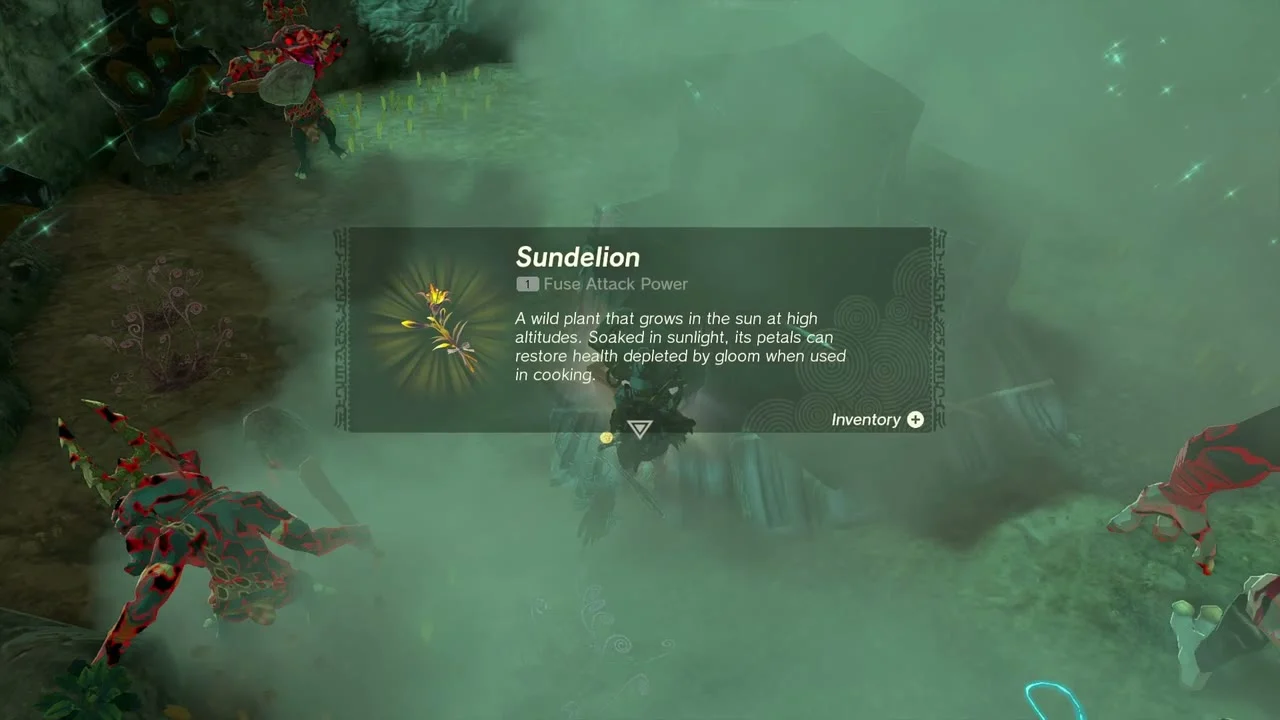
Open the Sundelion chest in the smoke
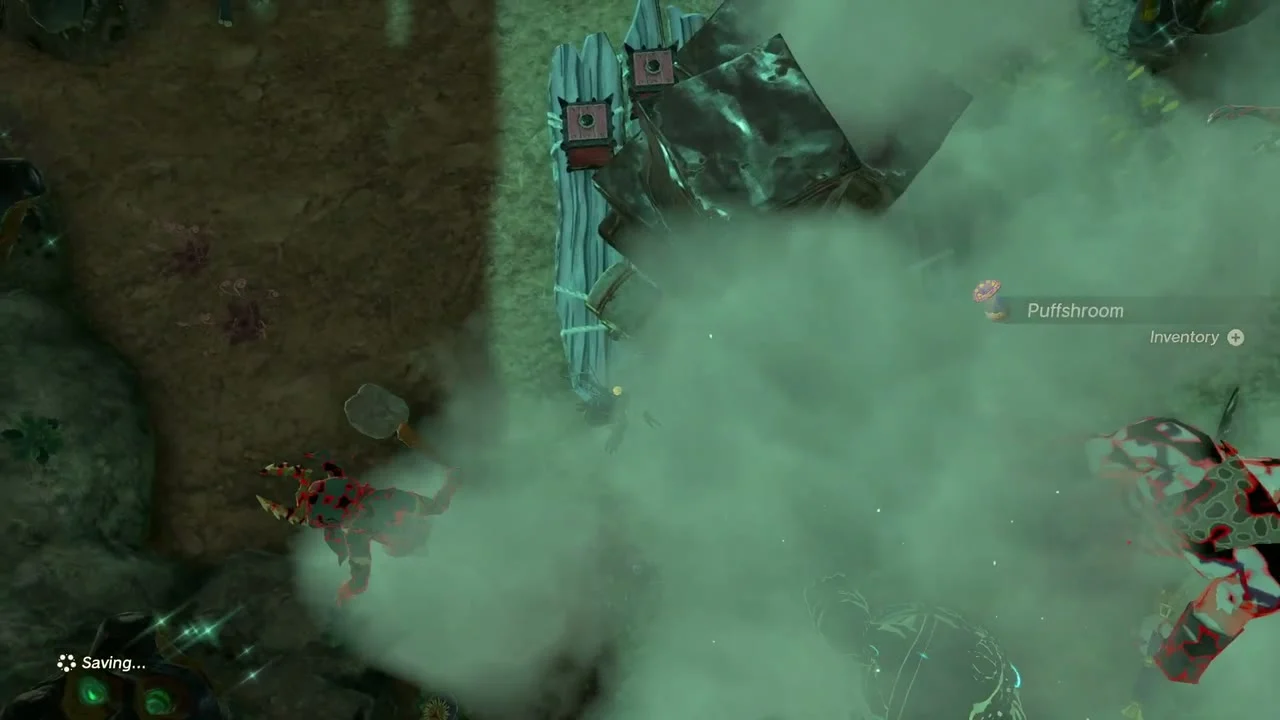
A chest on boards in a Bokoblin camp holds another Sundelion. Pop the smoke with a Fan or arrows to see your target.
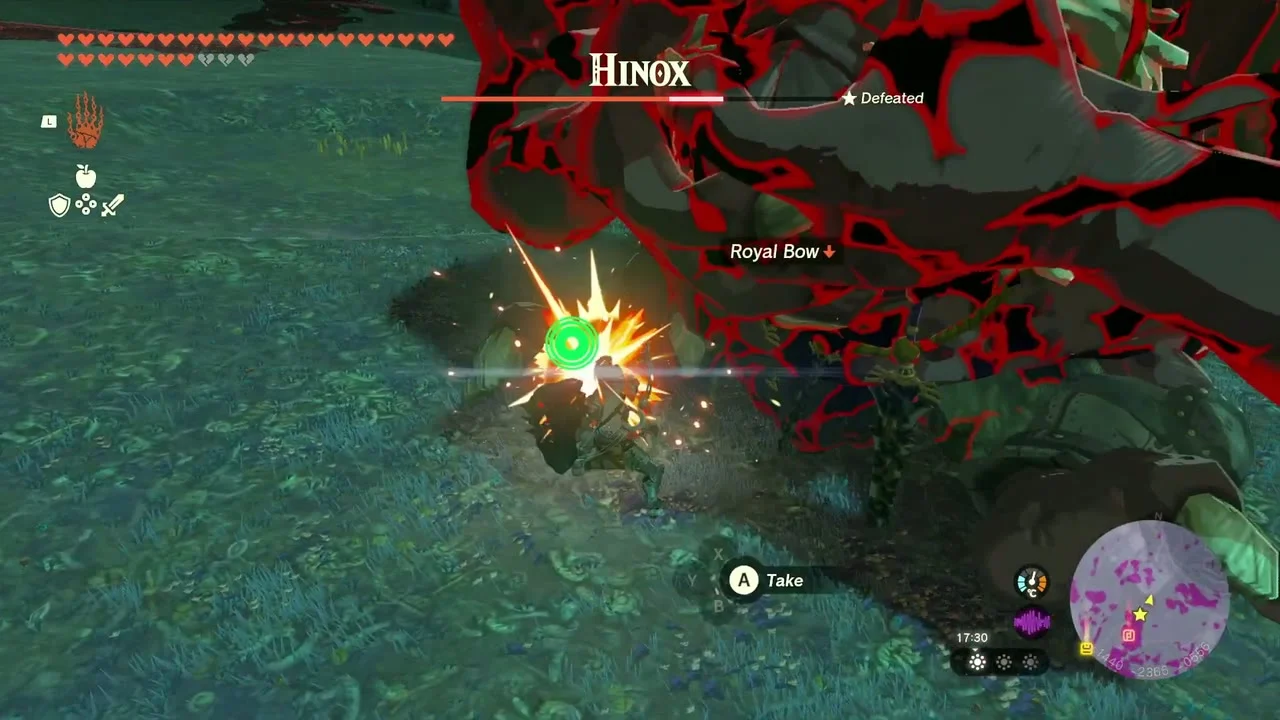
Defeat the Hinox
Miniboss: Hinox in the open cavern. Climb its stomach, use arrows on the eye, and take the weapon drops (a Royal Bow (or Traveler’s Bow, Soldier’s Bow or Knight’s Bow, depending on your progress) and a White-Maned Lynel Blade were among them).

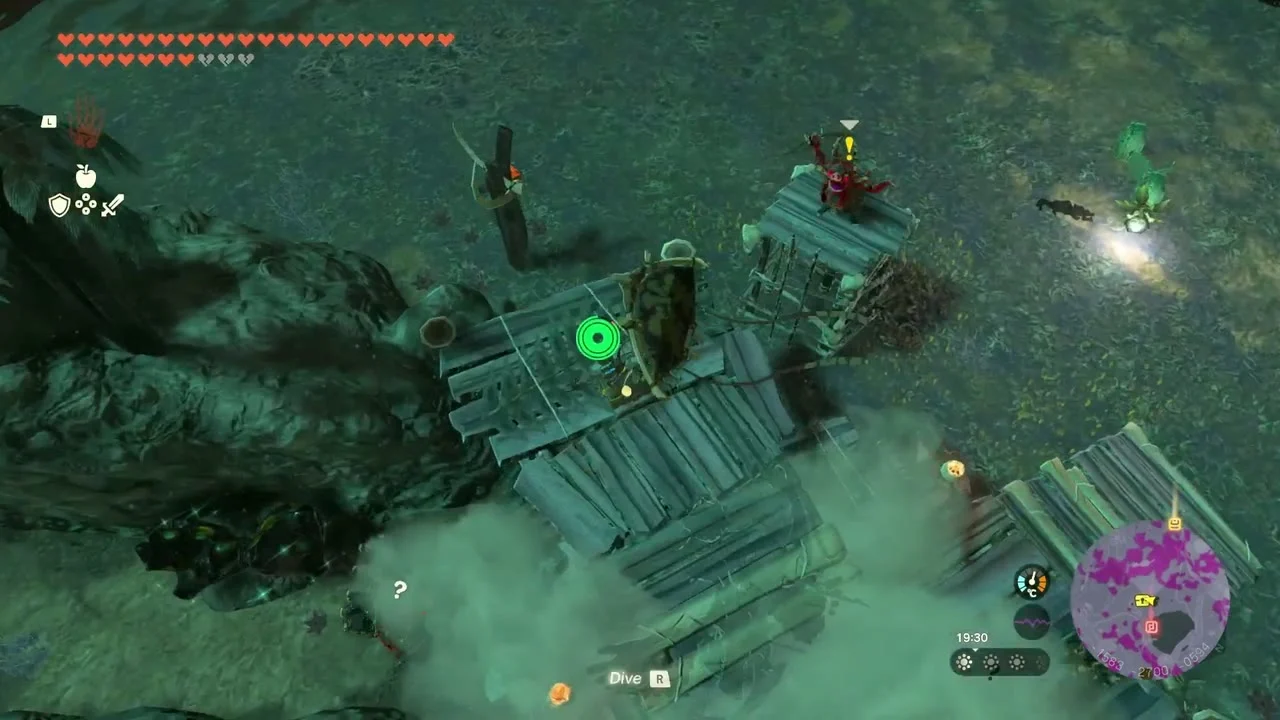
Open the Giant Brightbloom Seed chest
A chest on a raft holds Giant Brightbloom Seed x5.

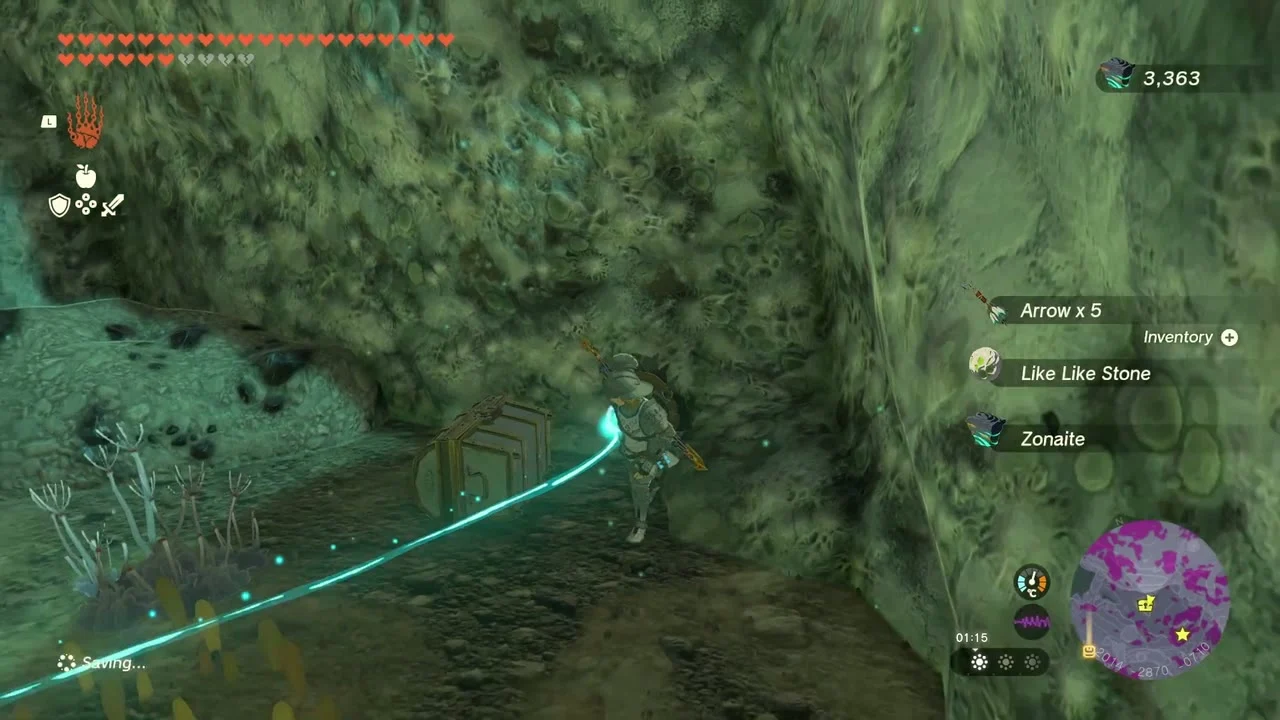
Break the Frox and loot the last platform chests
Miniboss: Frox. Beat it as before. The last platforms before the next Lightroot hold chests with Gerudo Shield, Arrow x10 and a second Gerudo Shield.


Queen Gibdo and Mucktorok
Sweep the rafts for Sundelion and Yiga loot
Raft chests along the route hold Sundelion (twice), Giant Brightbloom Seed x5, and a Yiga camp chest with a Yiga Schematic and Large Crystallized Charge. Clear the Frox that circles them.


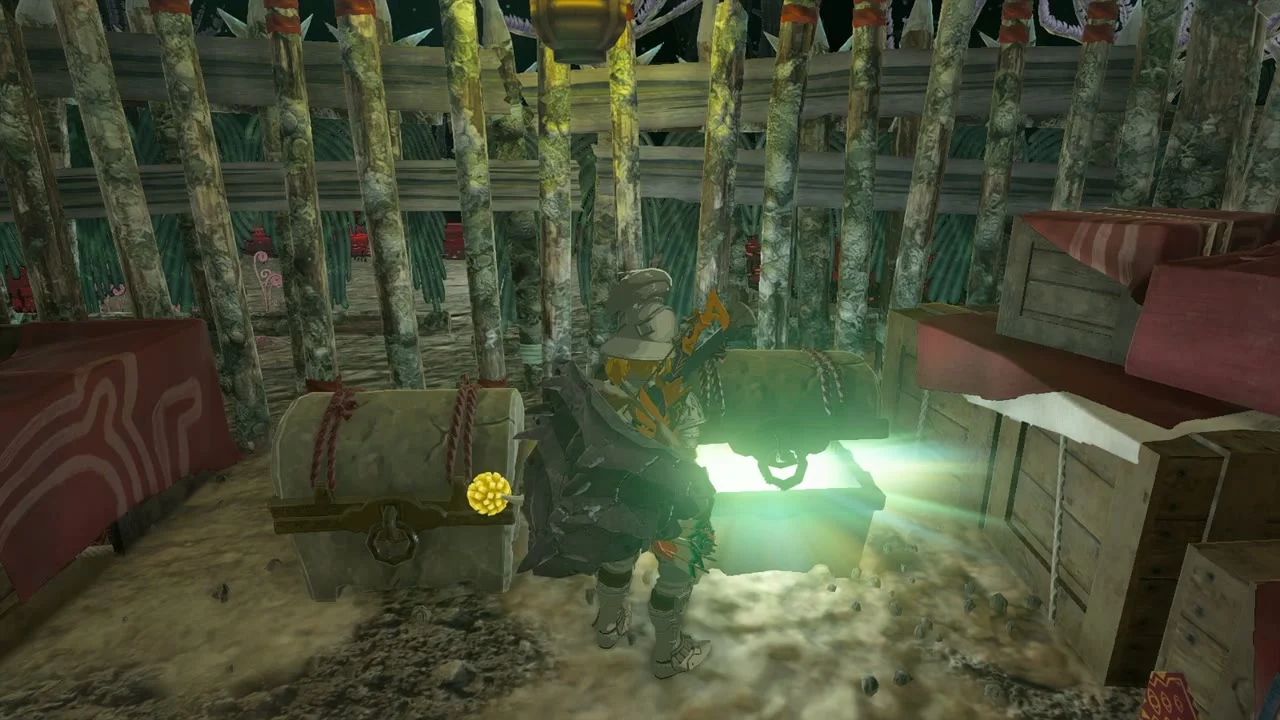
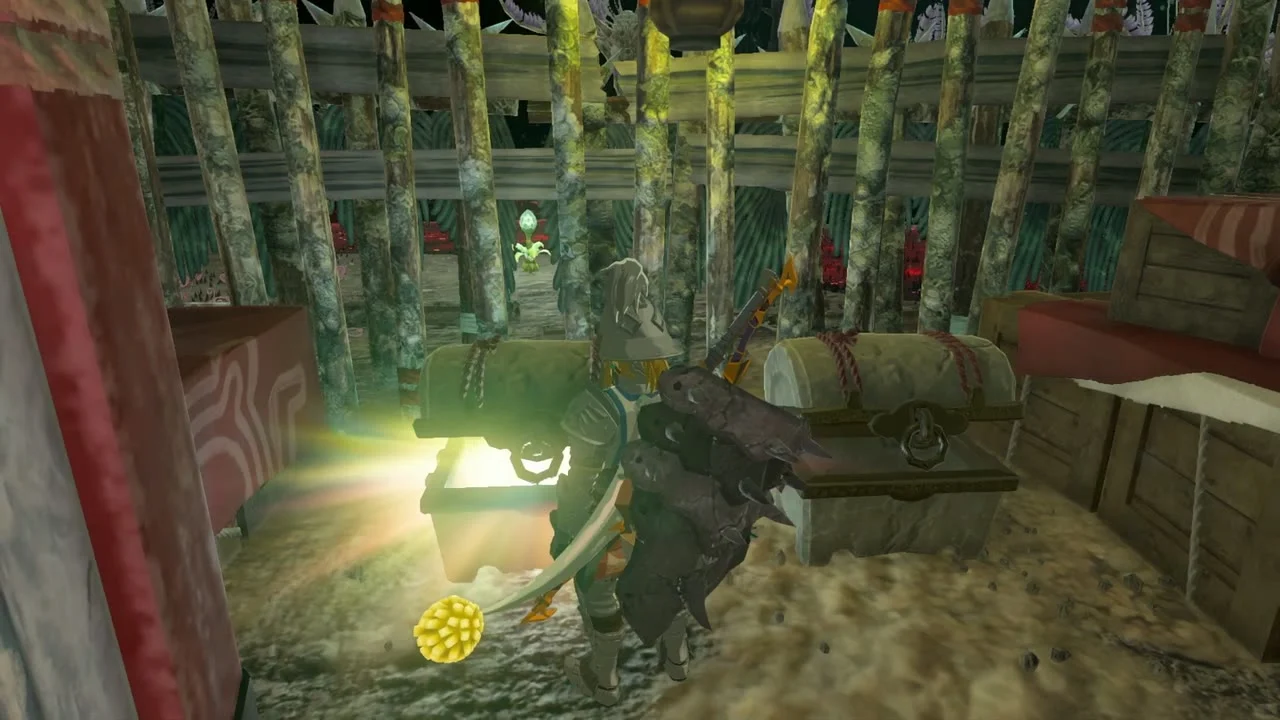


Defeat Queen Gibdo
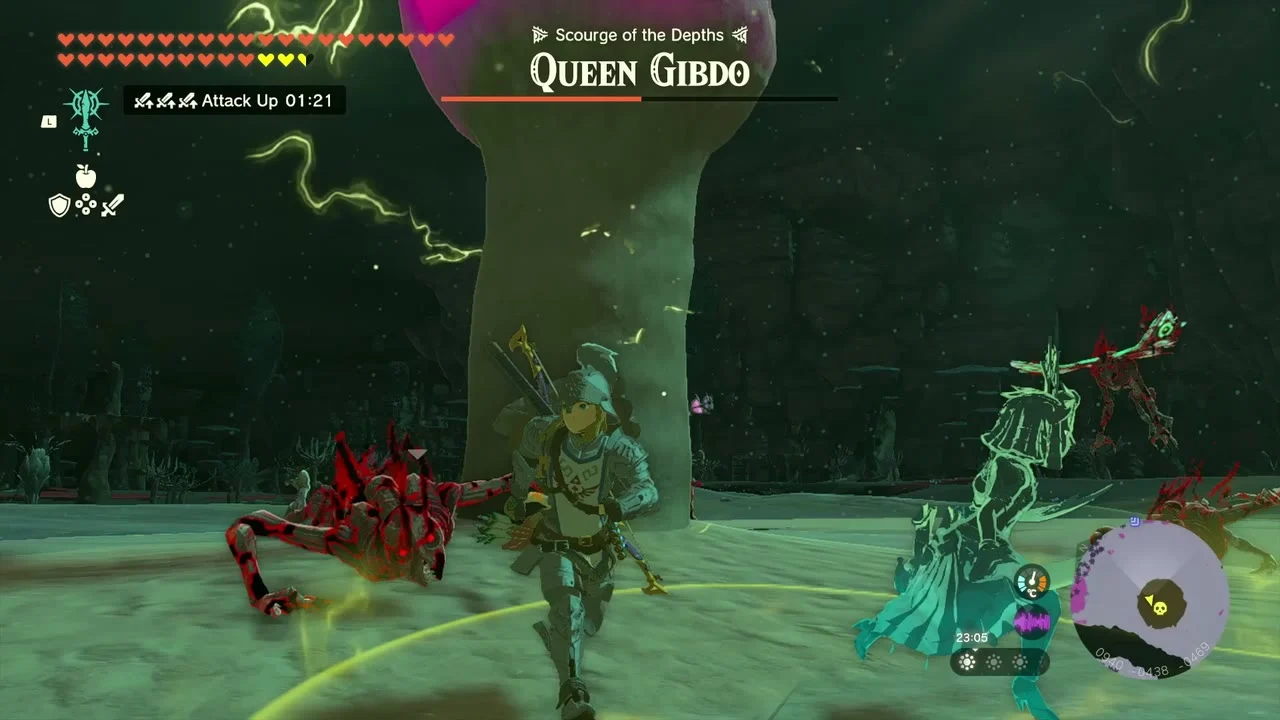
Boss: Queen Gibdo (Depths) in the arena beside Korakut Lightroot (915, -251). Her Gibdo swarm will keep you busy, so keep your distance and focus on the queen herself. The chest in the middle holds a Huge Crystallized Charge, and the queen drops a Queen Gibdo Wing.


Defeat Mucktorok
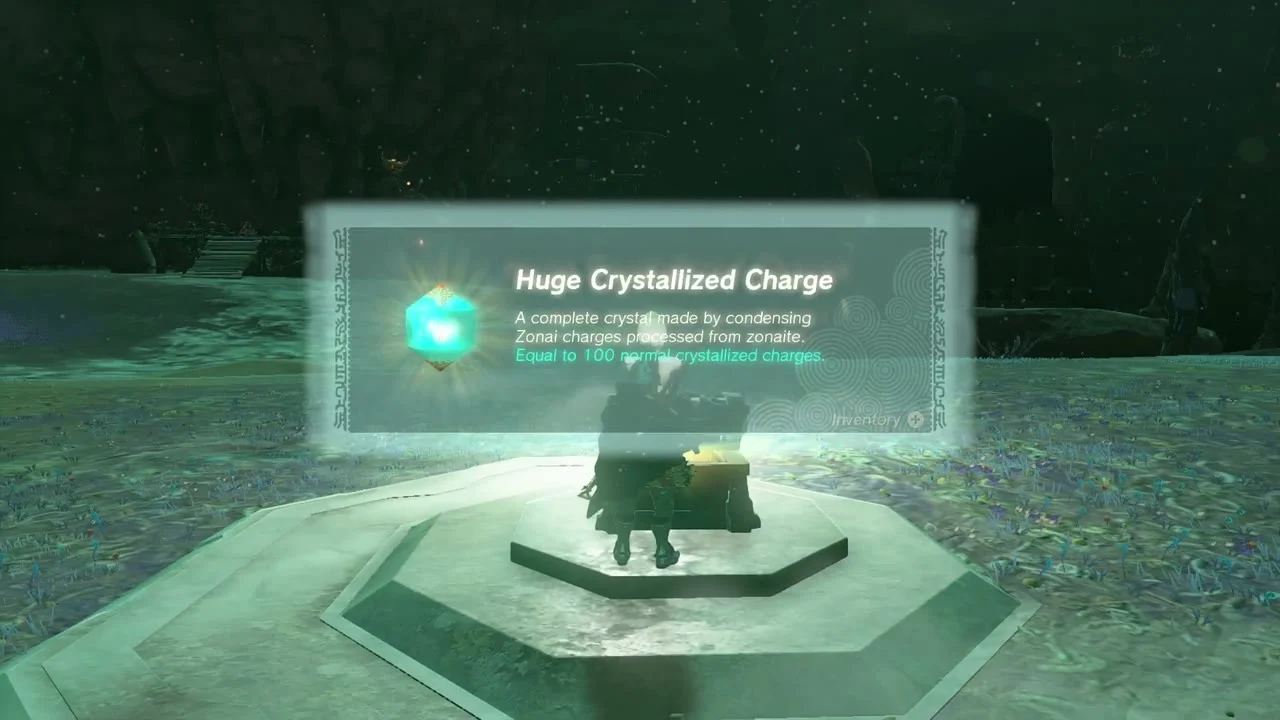
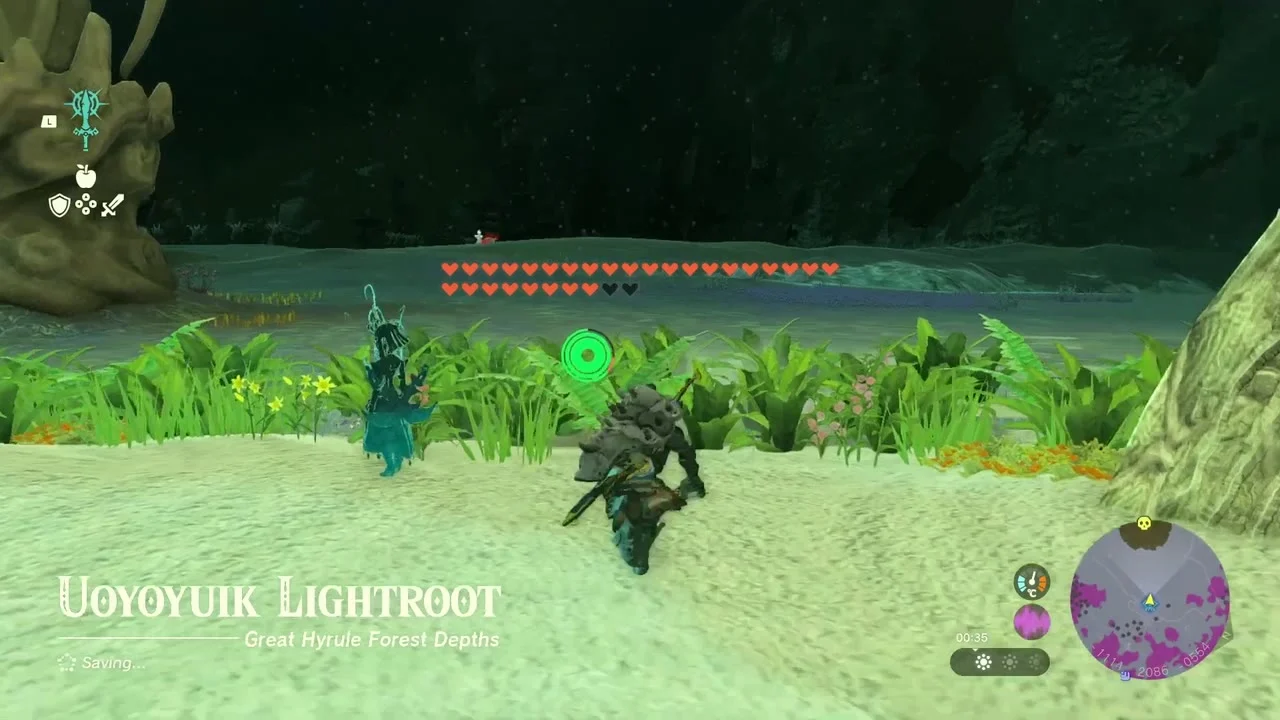
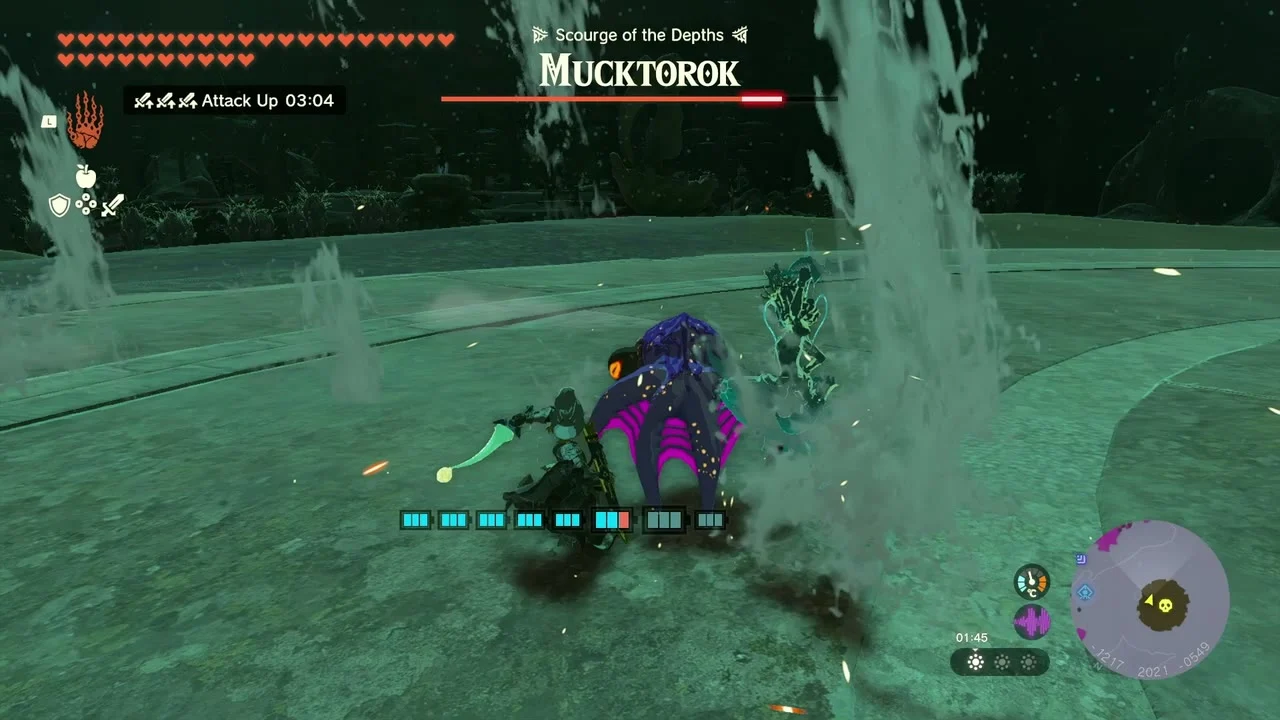
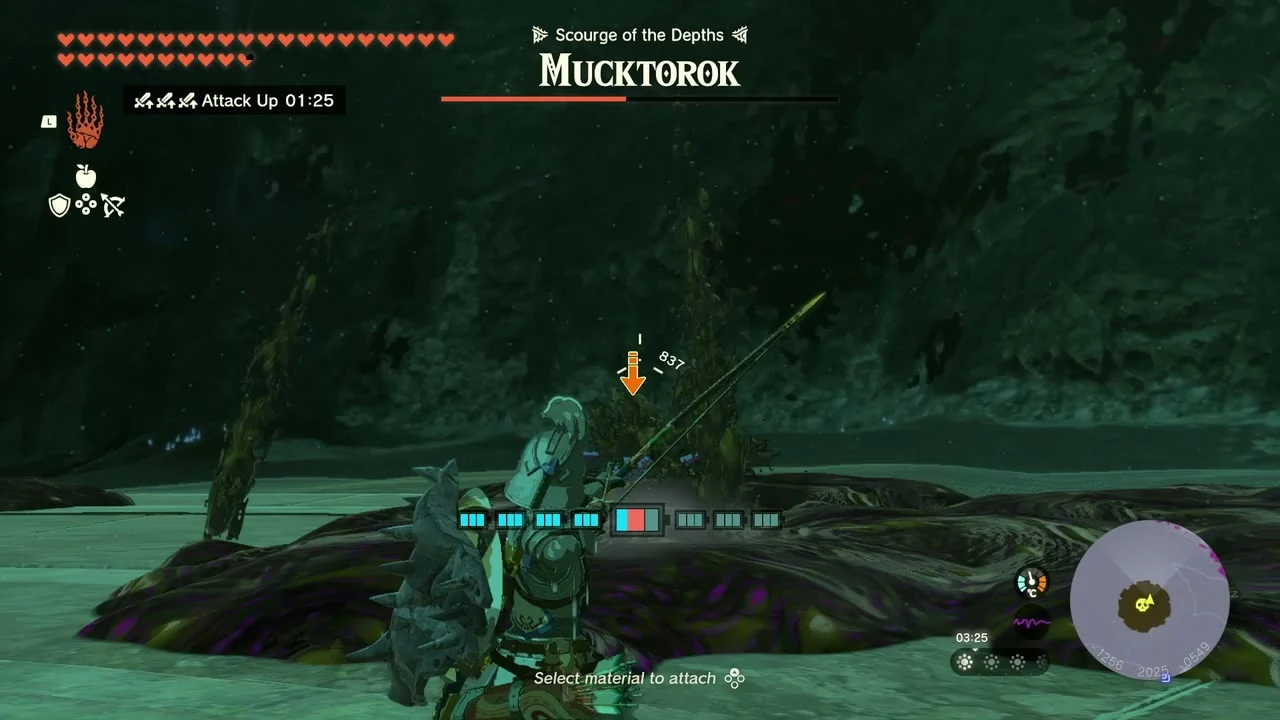
Boss: Mucktorok (Depths) in the arena beside Uoyoyuik Lightroot (-1106, 2087). Stay out of the muck pools and the erupting geysers, and strike it whenever it is exposed. The chest on the central dais holds a Huge Crystallized Charge; Mucktorok itself drops only ordinary Octorok materials.

Typhlo Ruins and Ulri Mountain
Solve The Long Dragon at Typhlo Ruins
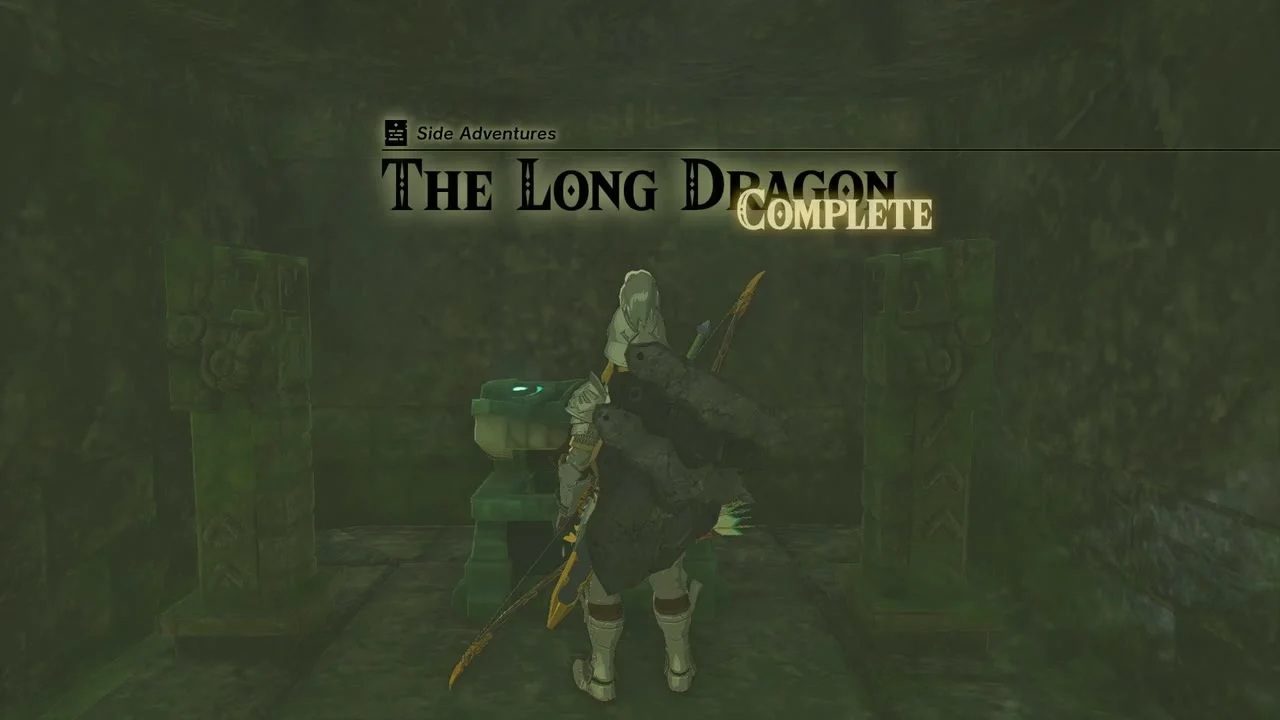
Surface at Typhlo Ruins Skyview Tower (344, 3142). For The Long Dragon, you need Riju’s Vow (clear the Lightning Temple first). Follow the dragon’s stone spine to its tail with Riju following you, activate the Vow and shoot the tail end with an arrow so lightning strikes; the slab rises and the hidden chest rewards Topaz x3.


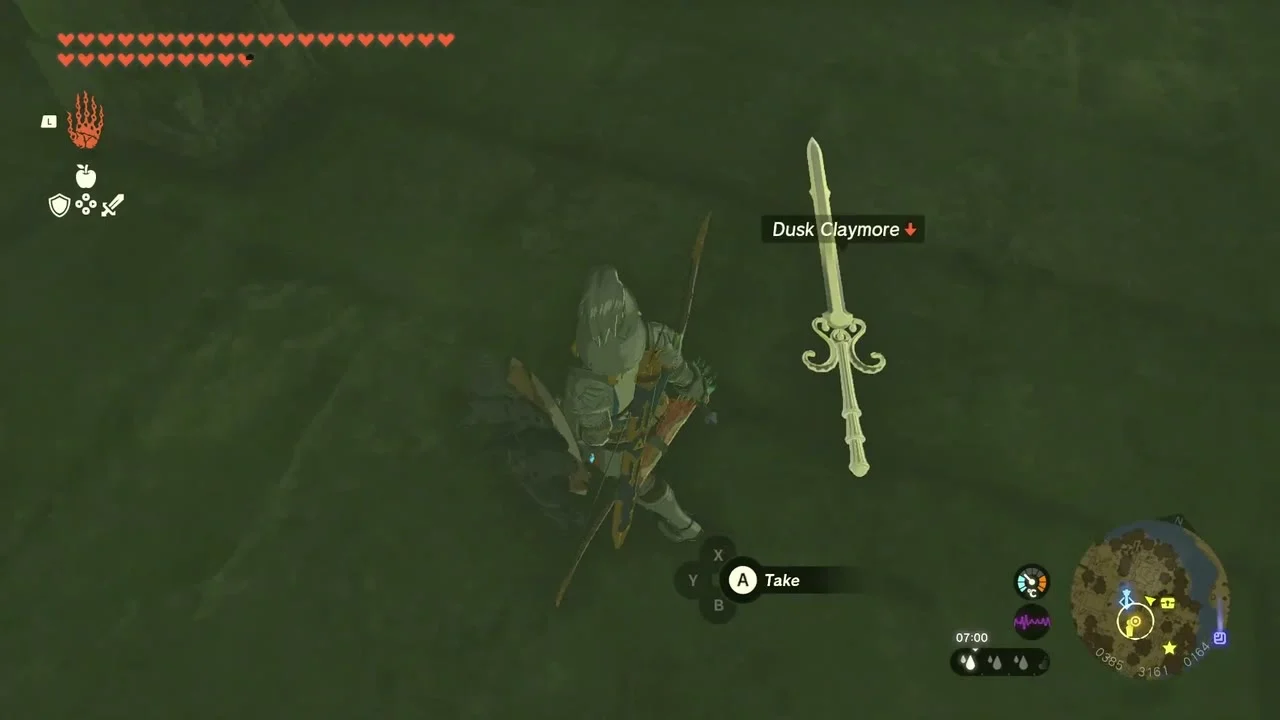
Take the Dusk Claymore
Kazul’s Investigate the Thyphlo Ruins has four side adventures; once all four are done an entrance opens east of the tower. Open the chest inside for the Dusk Claymore and examine the monolith for a Large Zonai Charge, a Big Battery and a Diamond.

Trade Poes at the Bargainer Statue
If you have collected Poes in the Depths, trade them at a Bargainer Statue for rewards, including the Sword of the Hero.


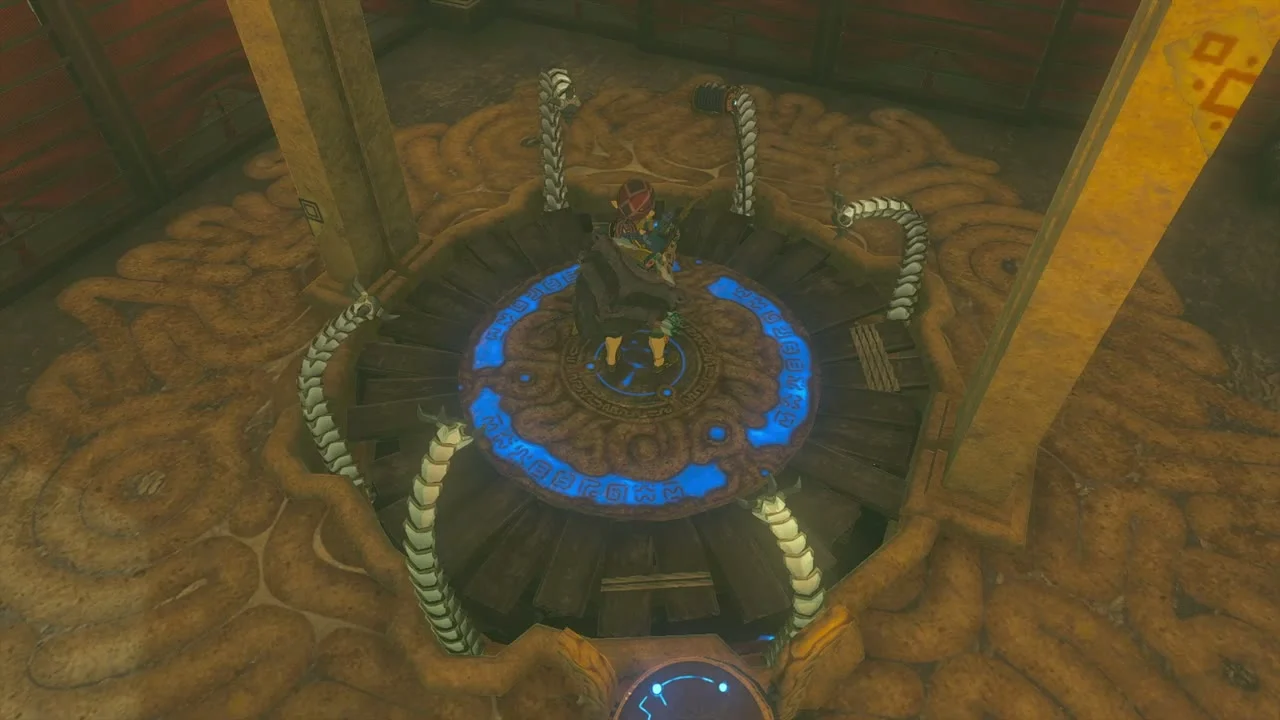
Activate Ulri Mountain Skyview Tower
Ulri Mountain Skyview Tower at (3499, 2026, 181) in the Akkala Highlands. Climb the stairs inside, step on the blue pad to activate it, and launch for the Akkala surface map.


Tips for this stretch
Large Crystallized Charges and Huge Crystallized Charges can be spent at the Forge Constructs for Zonai Charges and batteries, so open every chest before leaving. Bring Gloom Resistance meals or armor for the long dark crossings, and keep a stock of Bomb Flowers and Puffshrooms for the Frox and Stalnox fights.
Gerudo Desert Depths checklist
| Collectible | Count | Where |
|---|---|---|
| Chests | 37 | 7 around Granajh and Daval, 4 around the Desert Coliseum, 8 around the three abandoned mines, 10 on the platforms and in Kara Kara Mine, 8 in the Gibdo and Mucktorok stretch and at Typhlo Ruins |
| Armor | 3 | Sheik’s Mask, Tunic of the Wild, Miner’s Mask |
| Bosses | 6 | Colgera, Master Kohga x3, Queen Gibdo, Mucktorok |
| Schematics | 3 chests | Yiga Schematic (Vertical Escape and others) |
| Quests | 3 | Master Kohga of the Yiga Clan, The Long Dragon, Investigate the Thyphlo Ruins |
| Skyview Tower | 1 | Ulri Mountain |
